A Class Cab Light Directional Rewire.
All the wires that need swapping over are yellow. 2 wires at decoder end & 2 at stayalive/capacitor end.
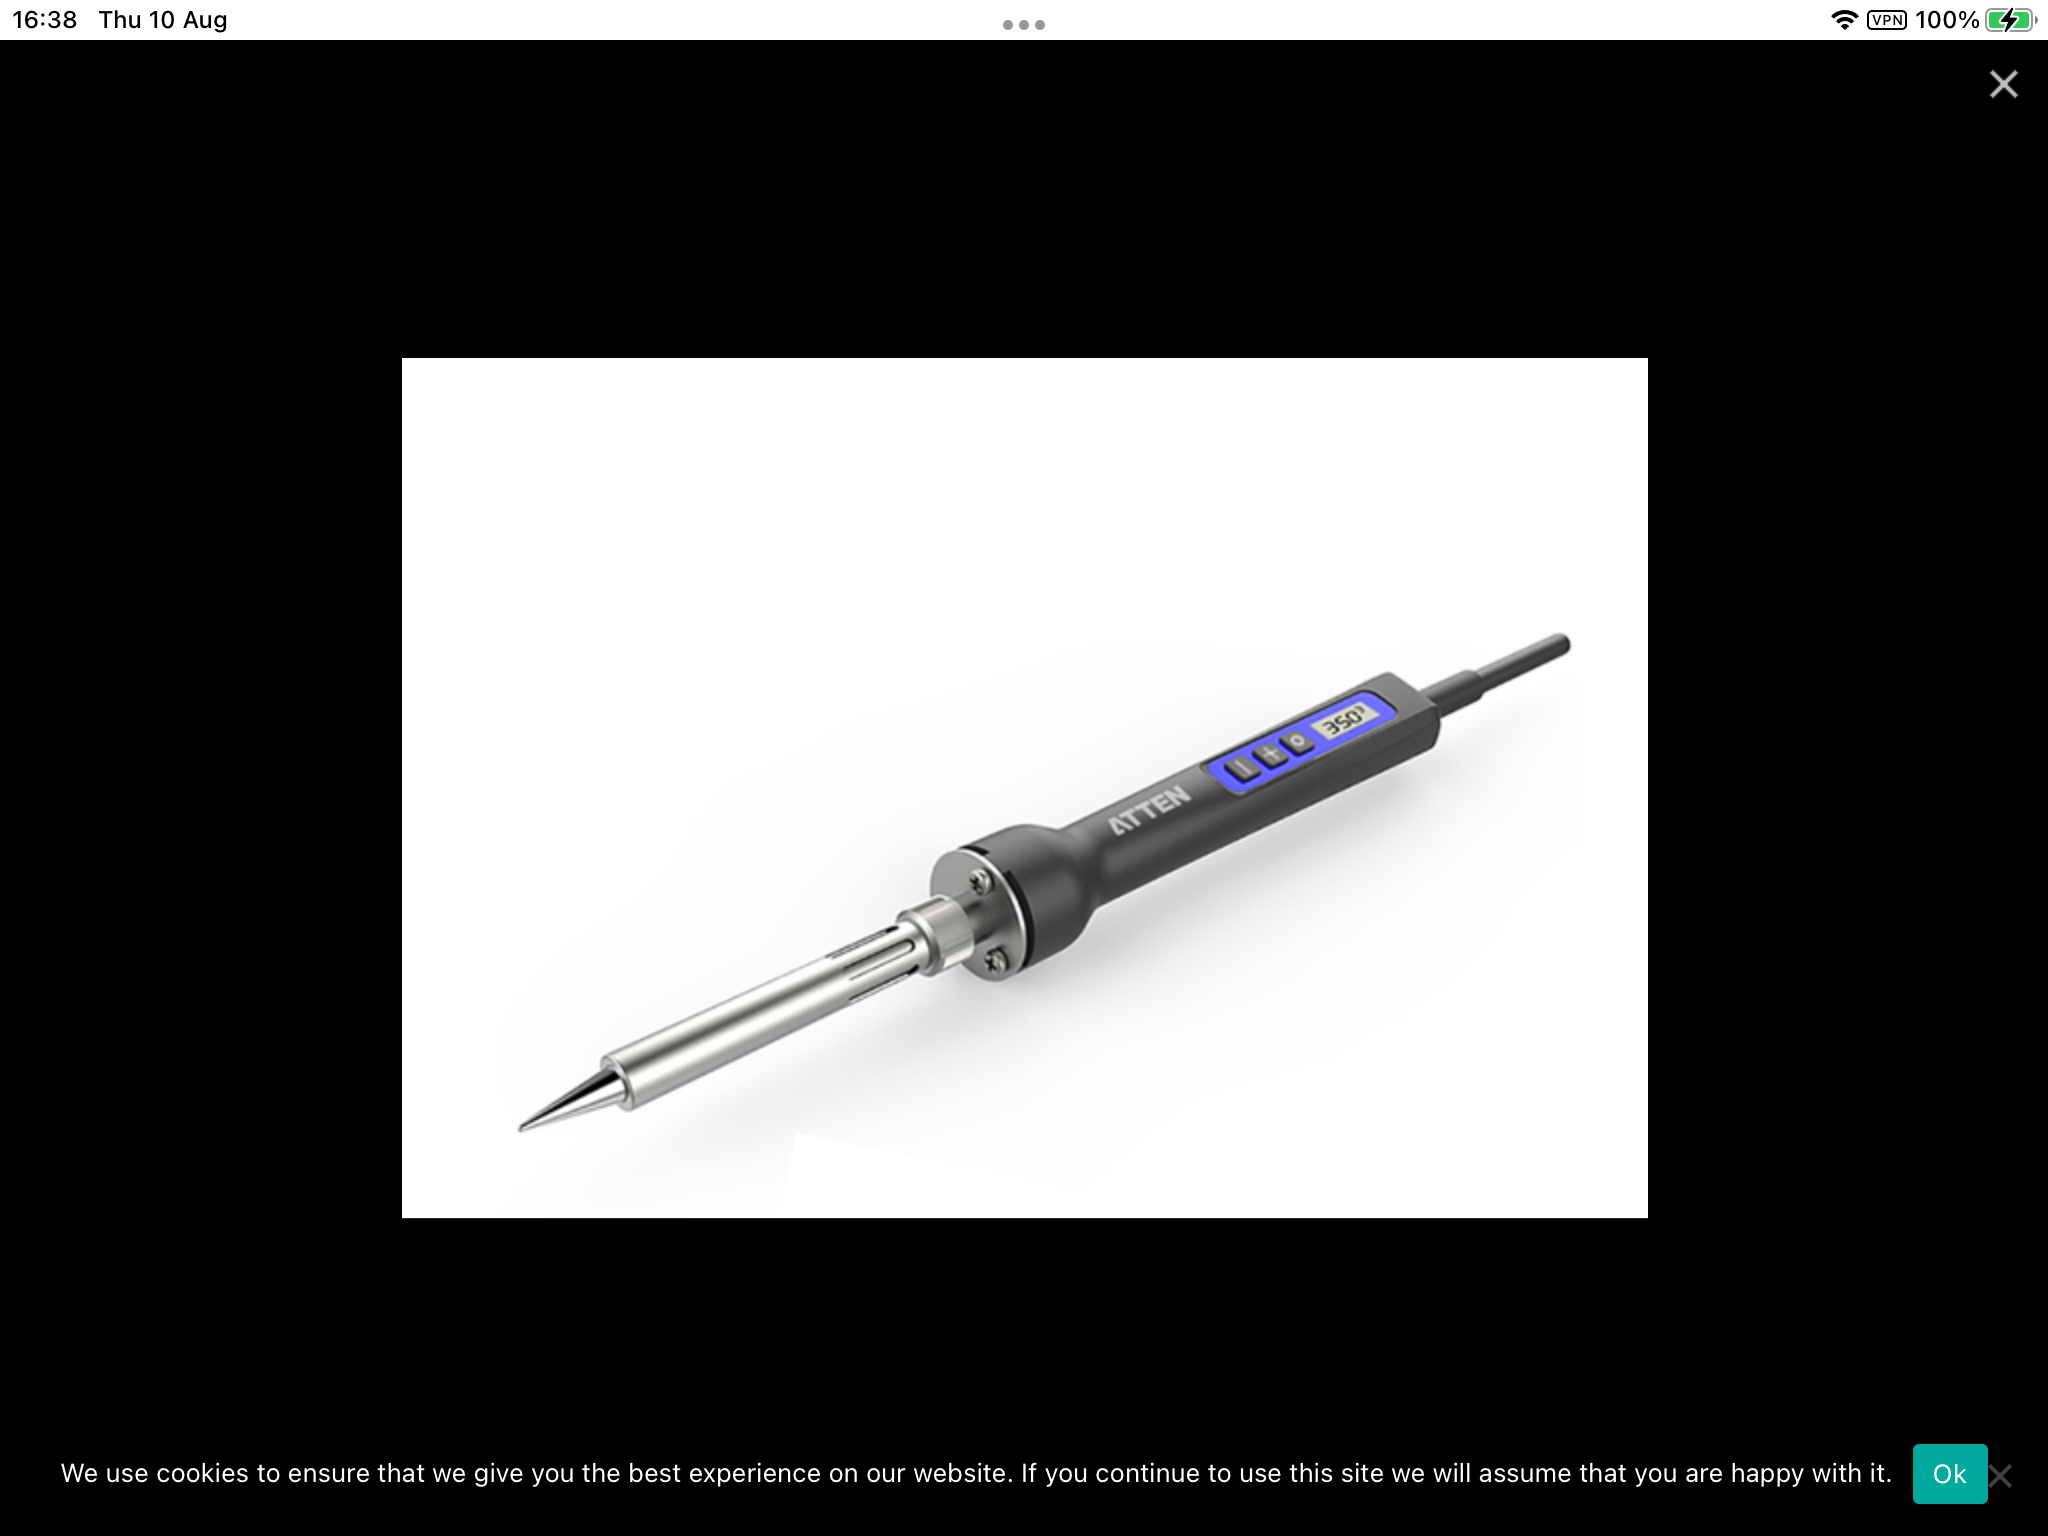
Tools needed : a good soldering iron @ 400° with a clean fine tip, solder & flux, a pair of fine nosed tweezers and a cocktail stick.
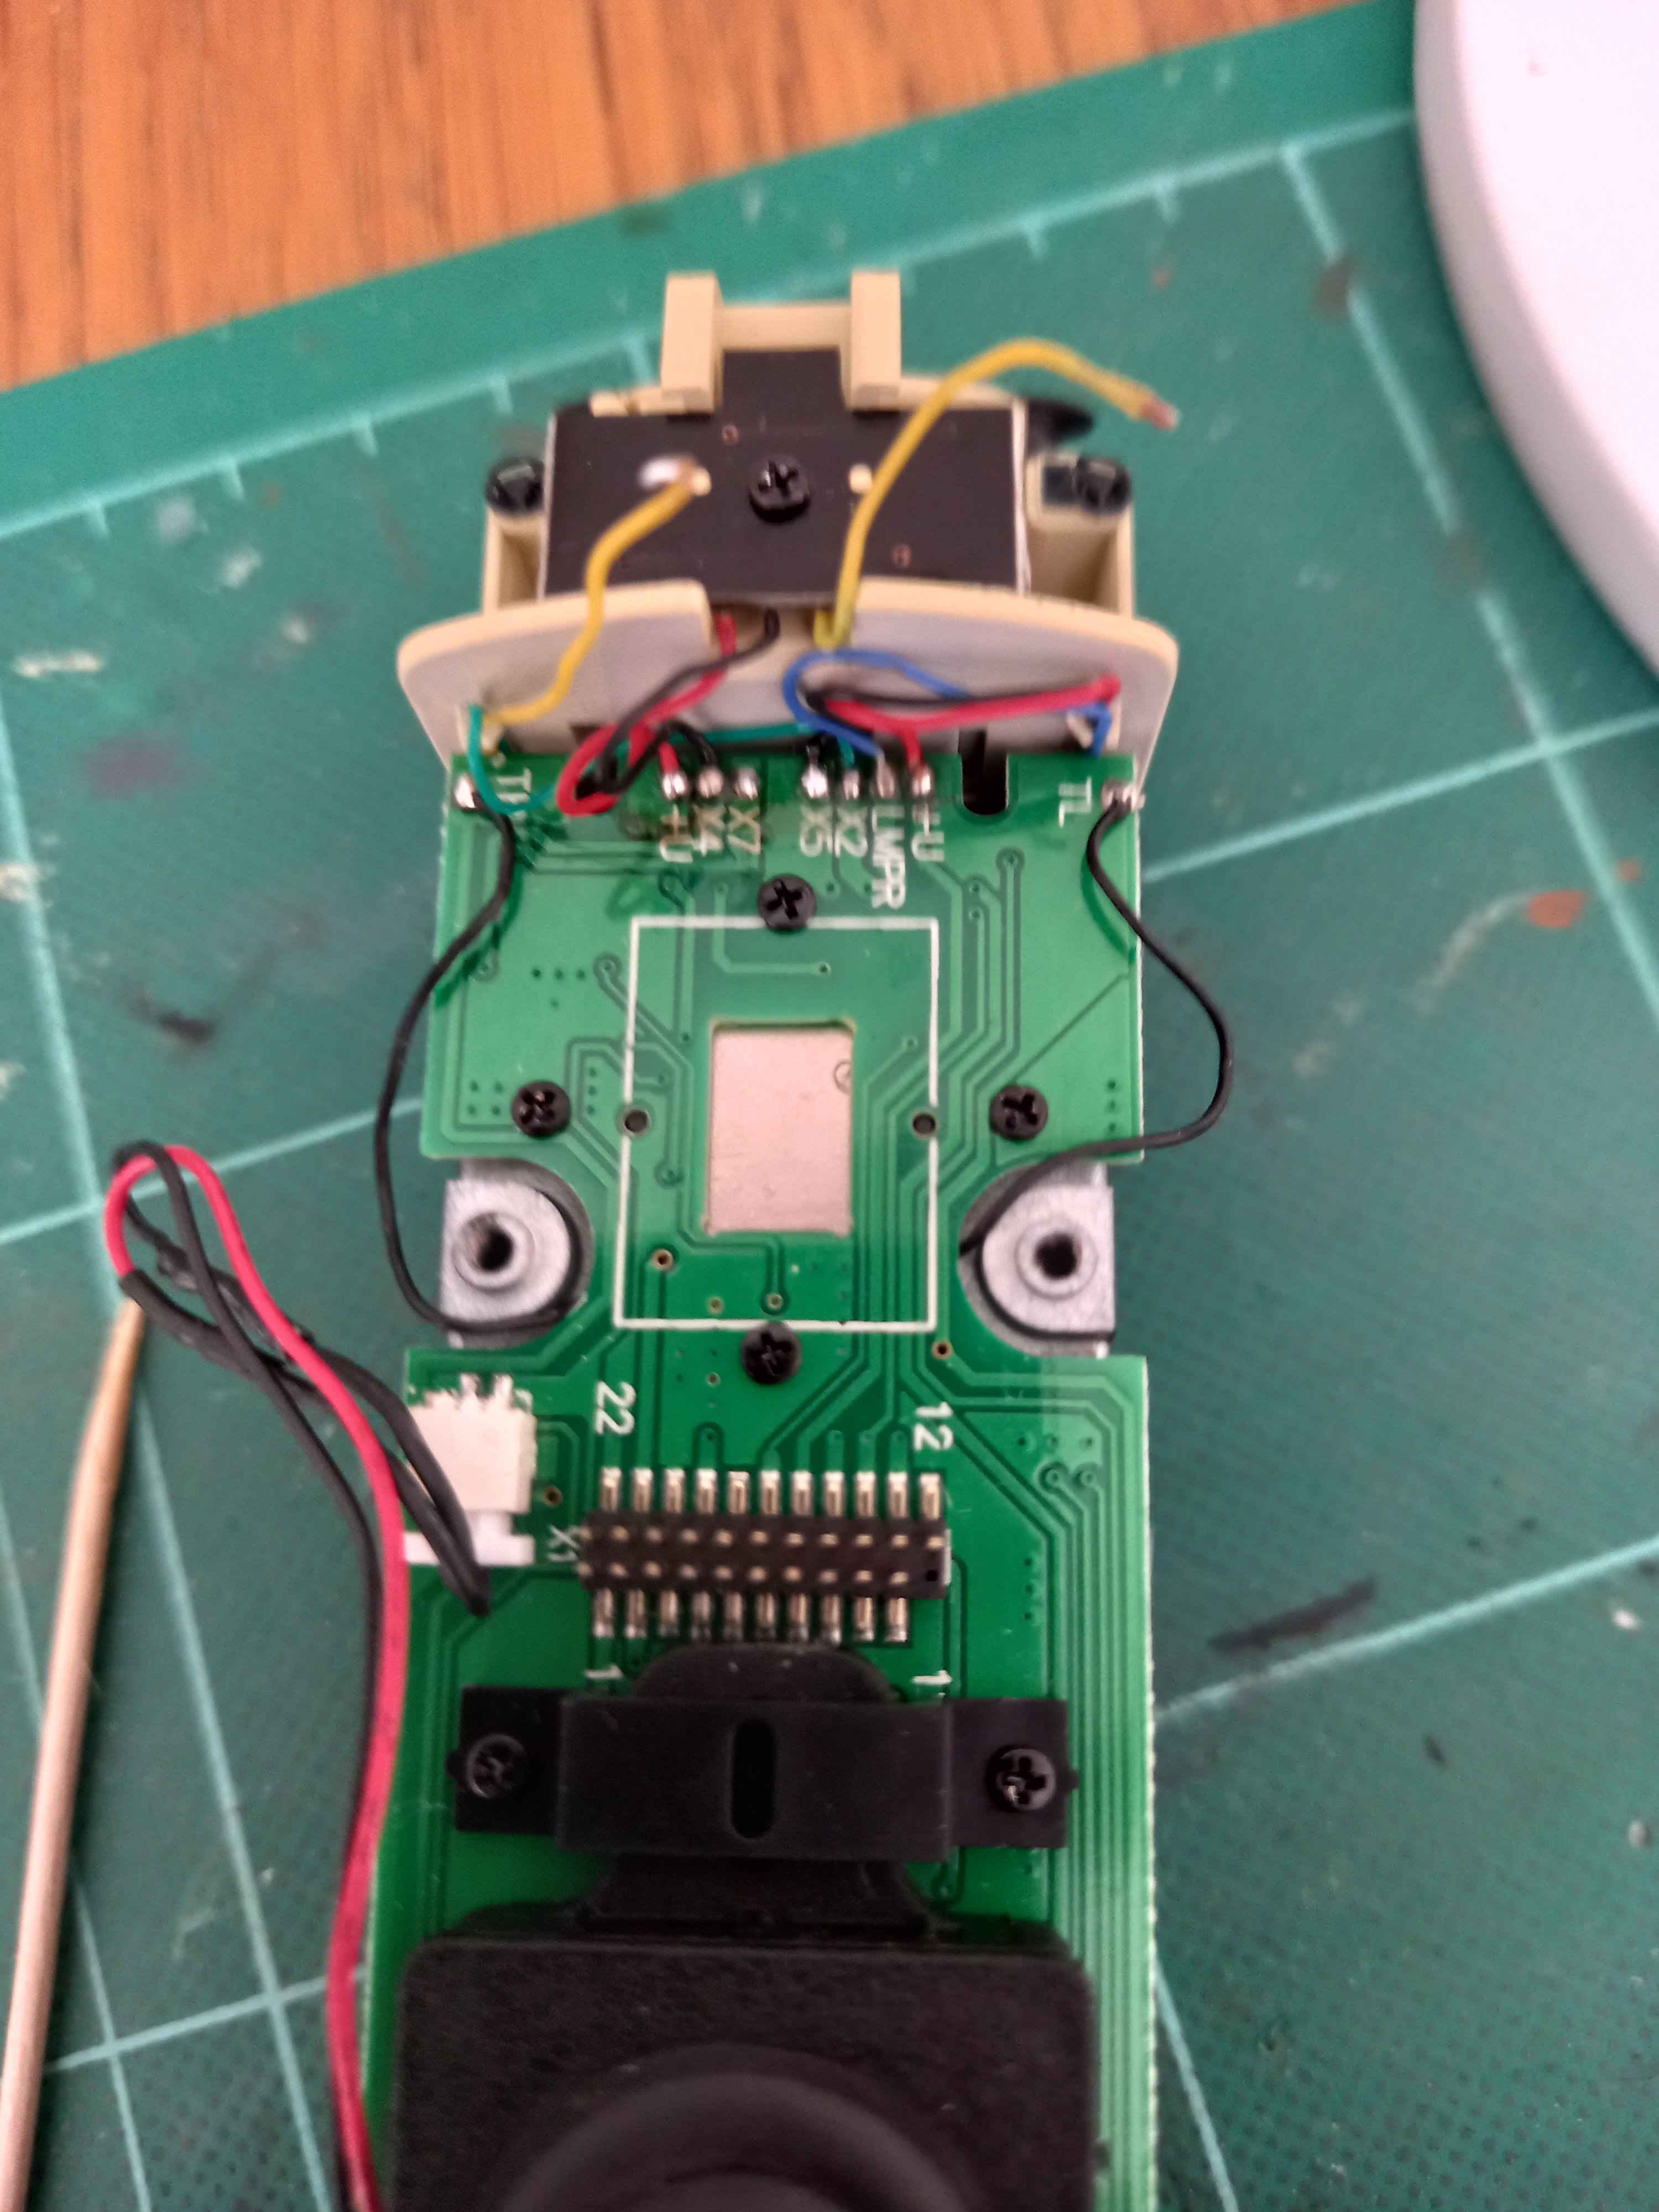
Decoder End : Remove the decoder as that allows a clear area to work in. The cab light wire is set on X5, this needs to be reset on X7. Thread the cocktail stick through X5 wire so you can lift it away when you apply soldering iron to tab, apply a tiny dab of solder to iron before unsoldering X5 wire, be careful as there is a black wire soldered to the same tab underneath. When you have released X5 wire, re tin the wire end. Clean the iron after each step.
You may now need to move other wires out of way to access X7 wire that comes in from side of cab back wall , again use cocktail stick to tension wire and apply tiny dab of solder to iron then release X7 wire from tab. Again re tin X7 wire end.
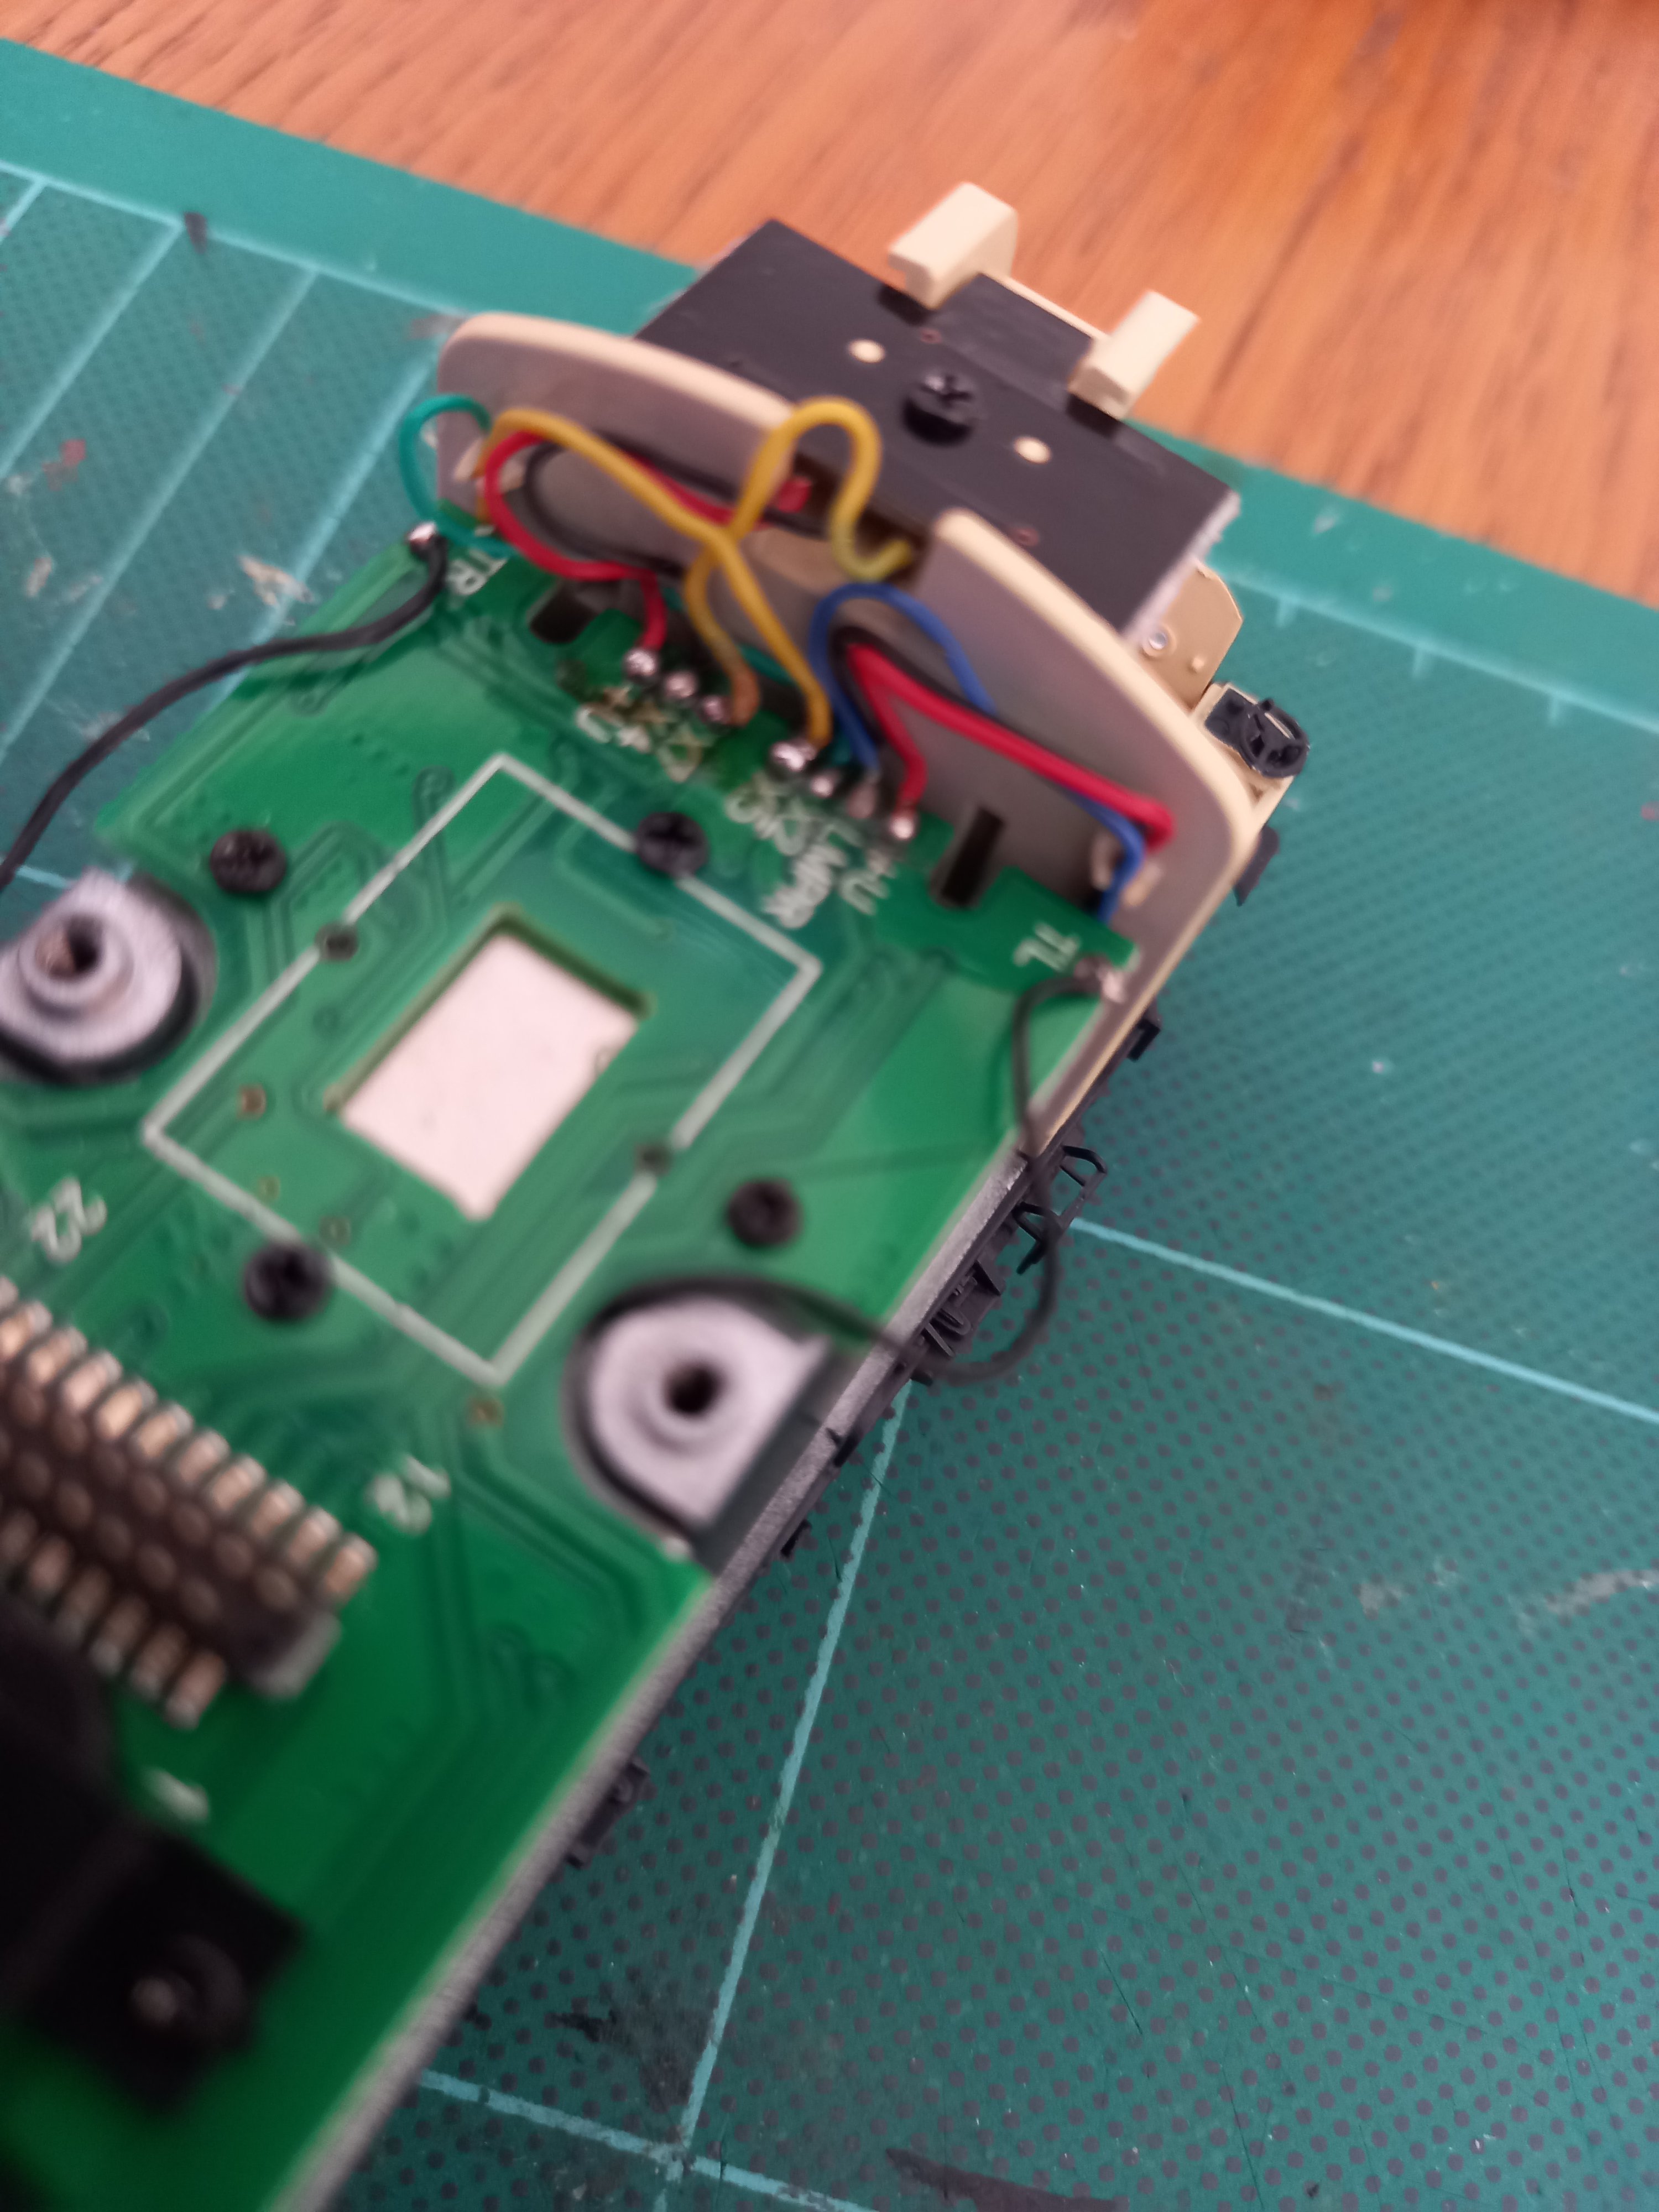
Apply tiny dab of solder to iron and using tweezers hold X5 wire to X7 solder tab & solder X5 wire to X7 tab. Try to keep tweezers away from tinned wire end as it dissipates heat from iron as wire is very thin.
Same procedure & solder X7 wire to X5 tab.
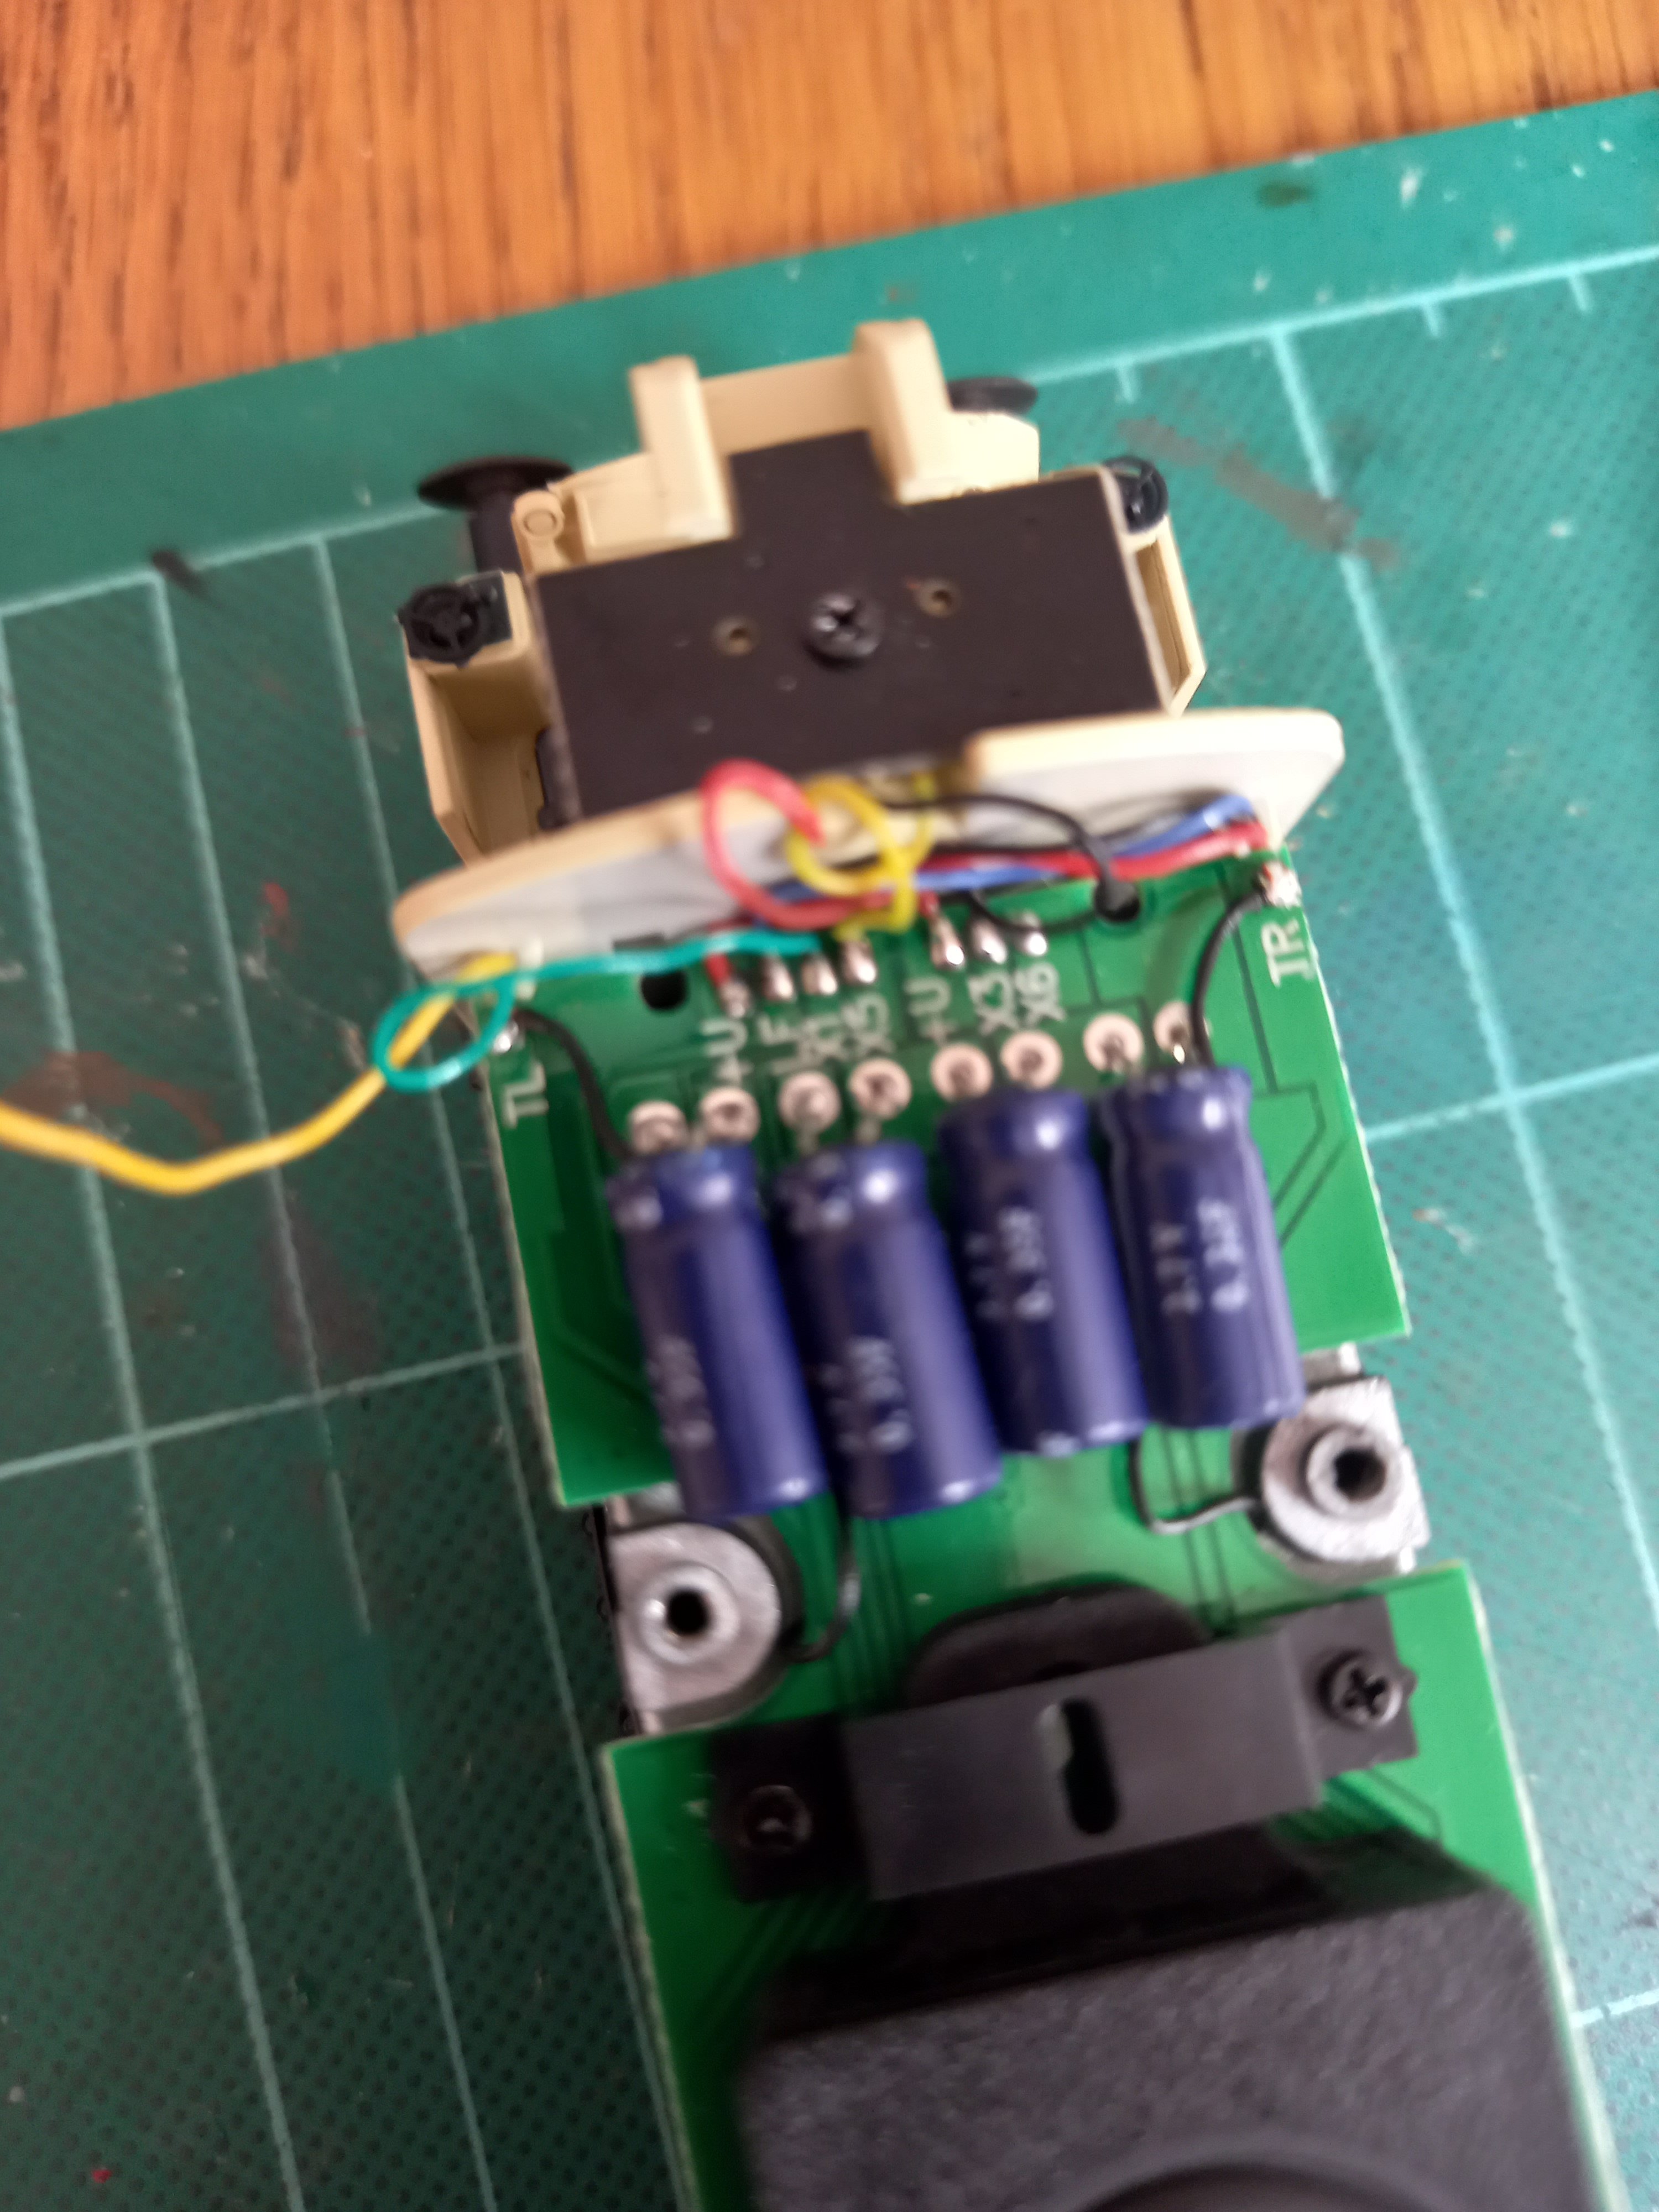
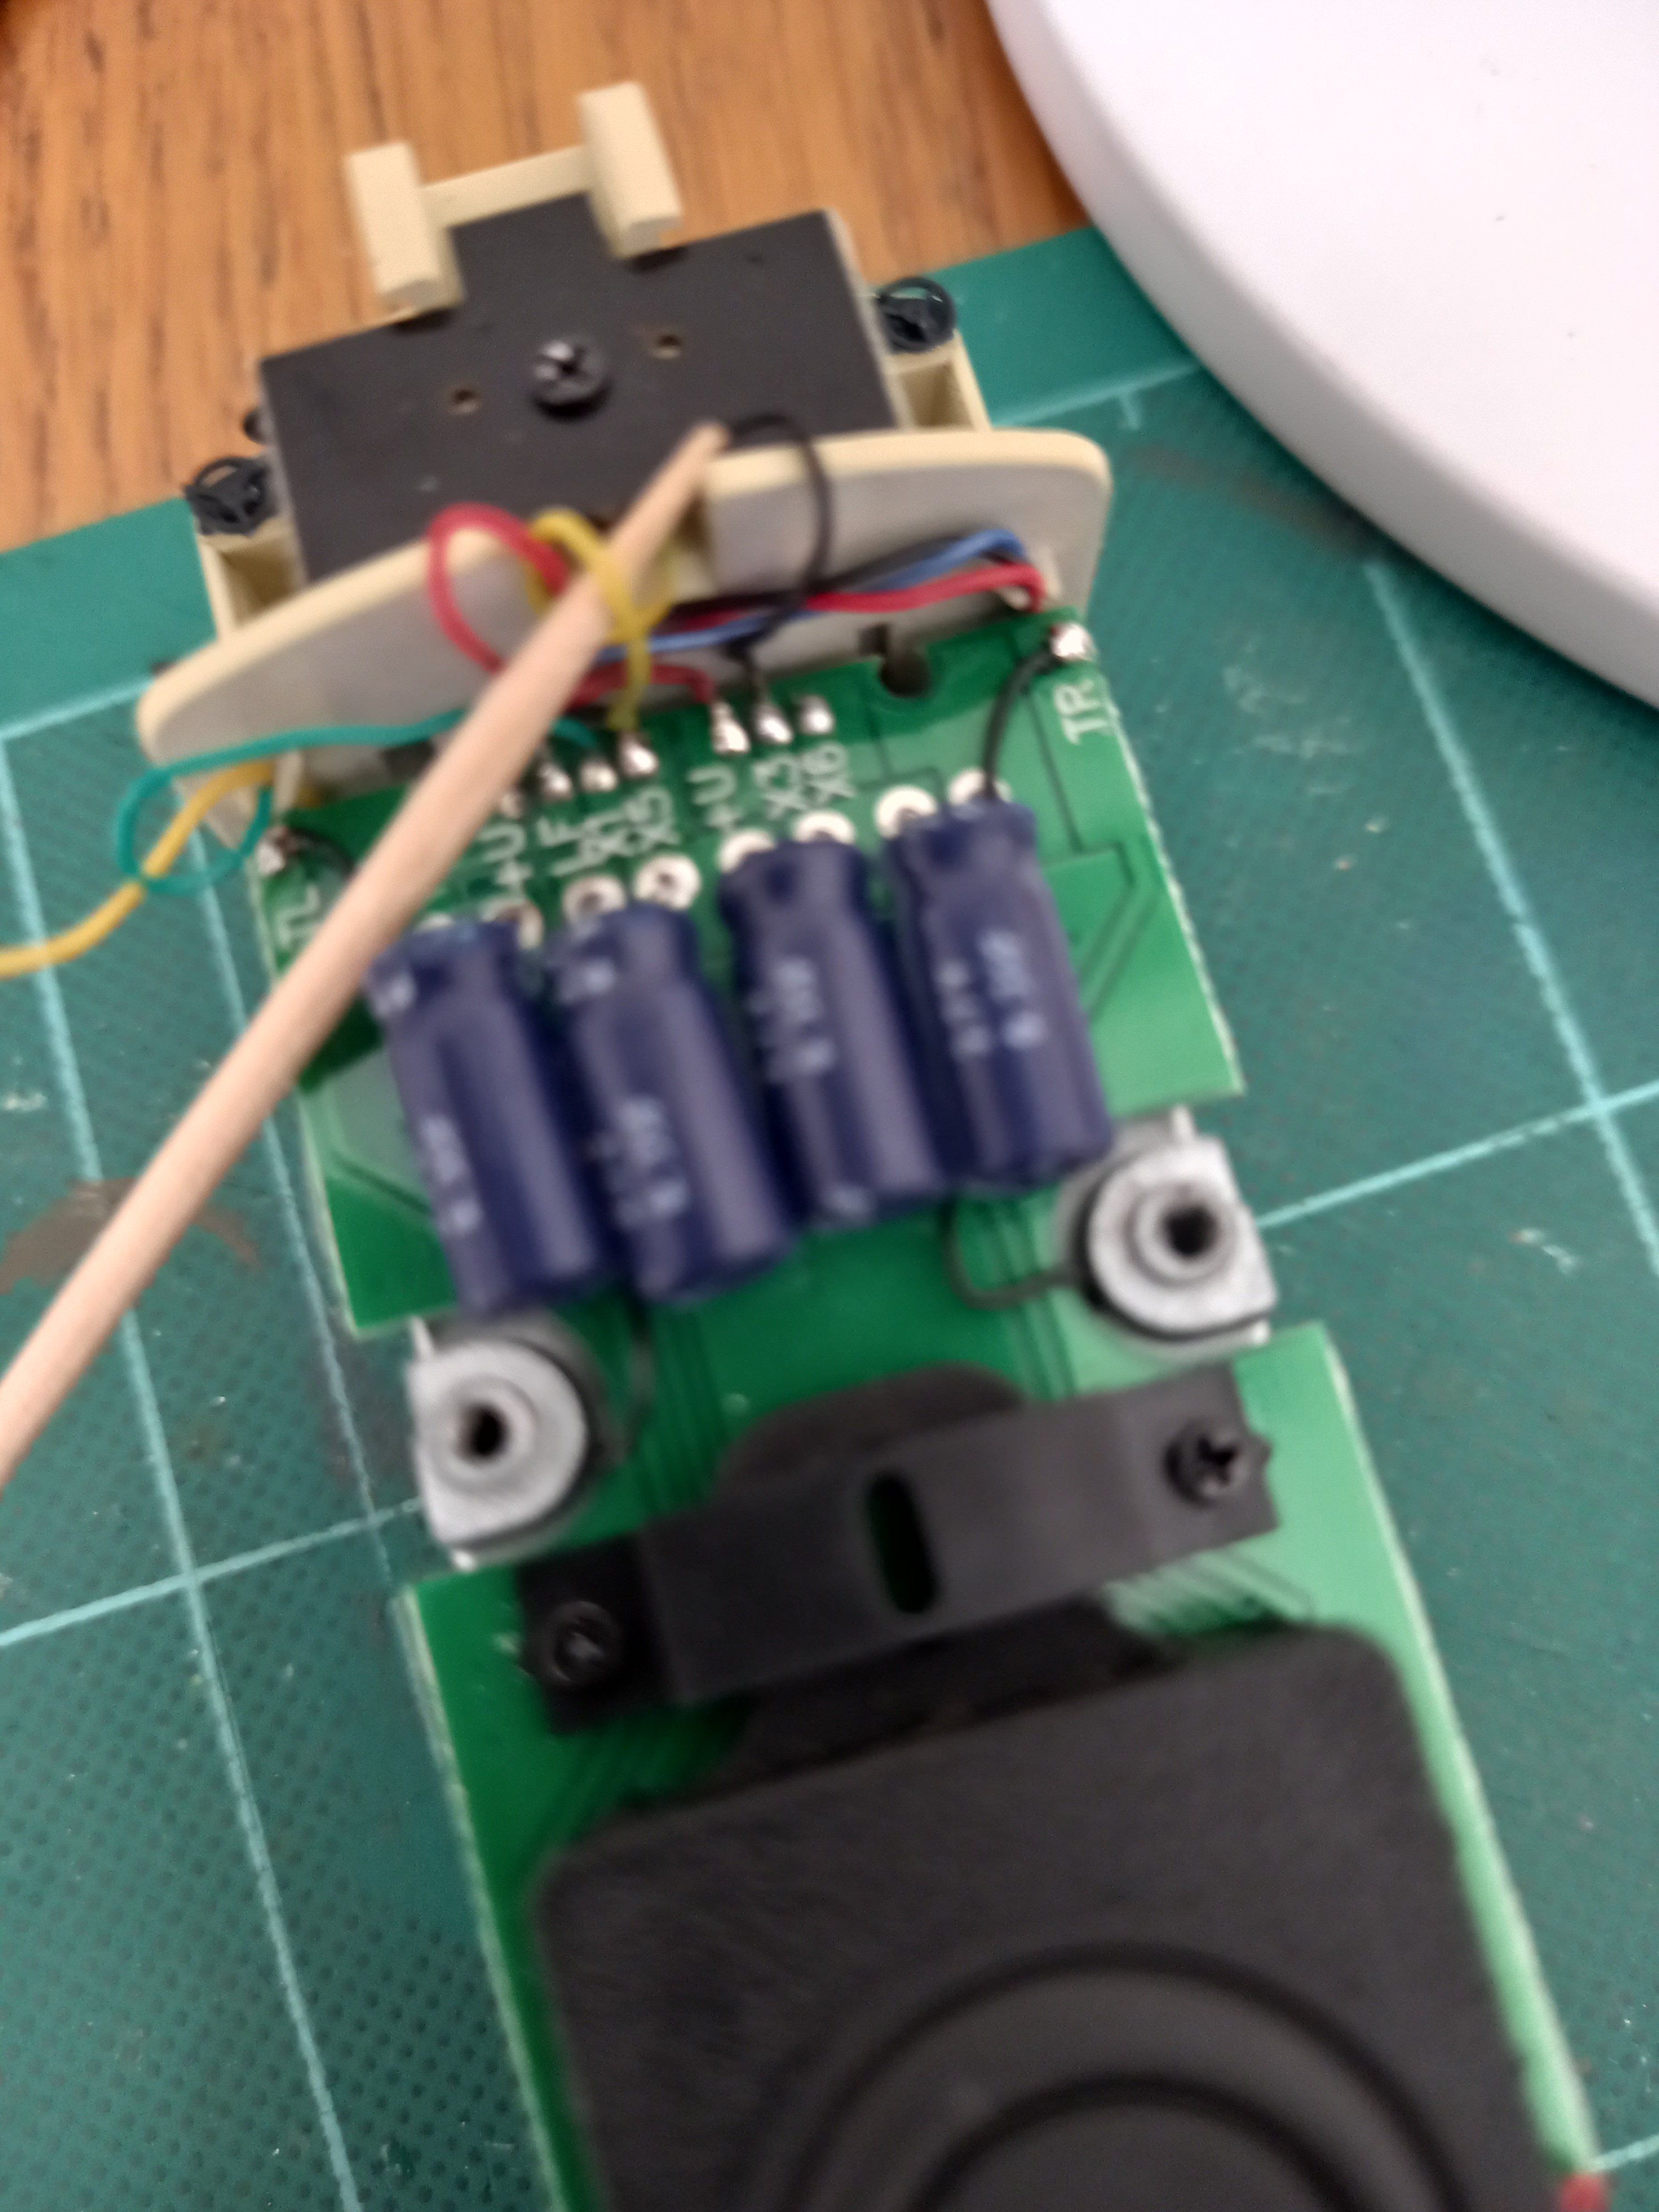
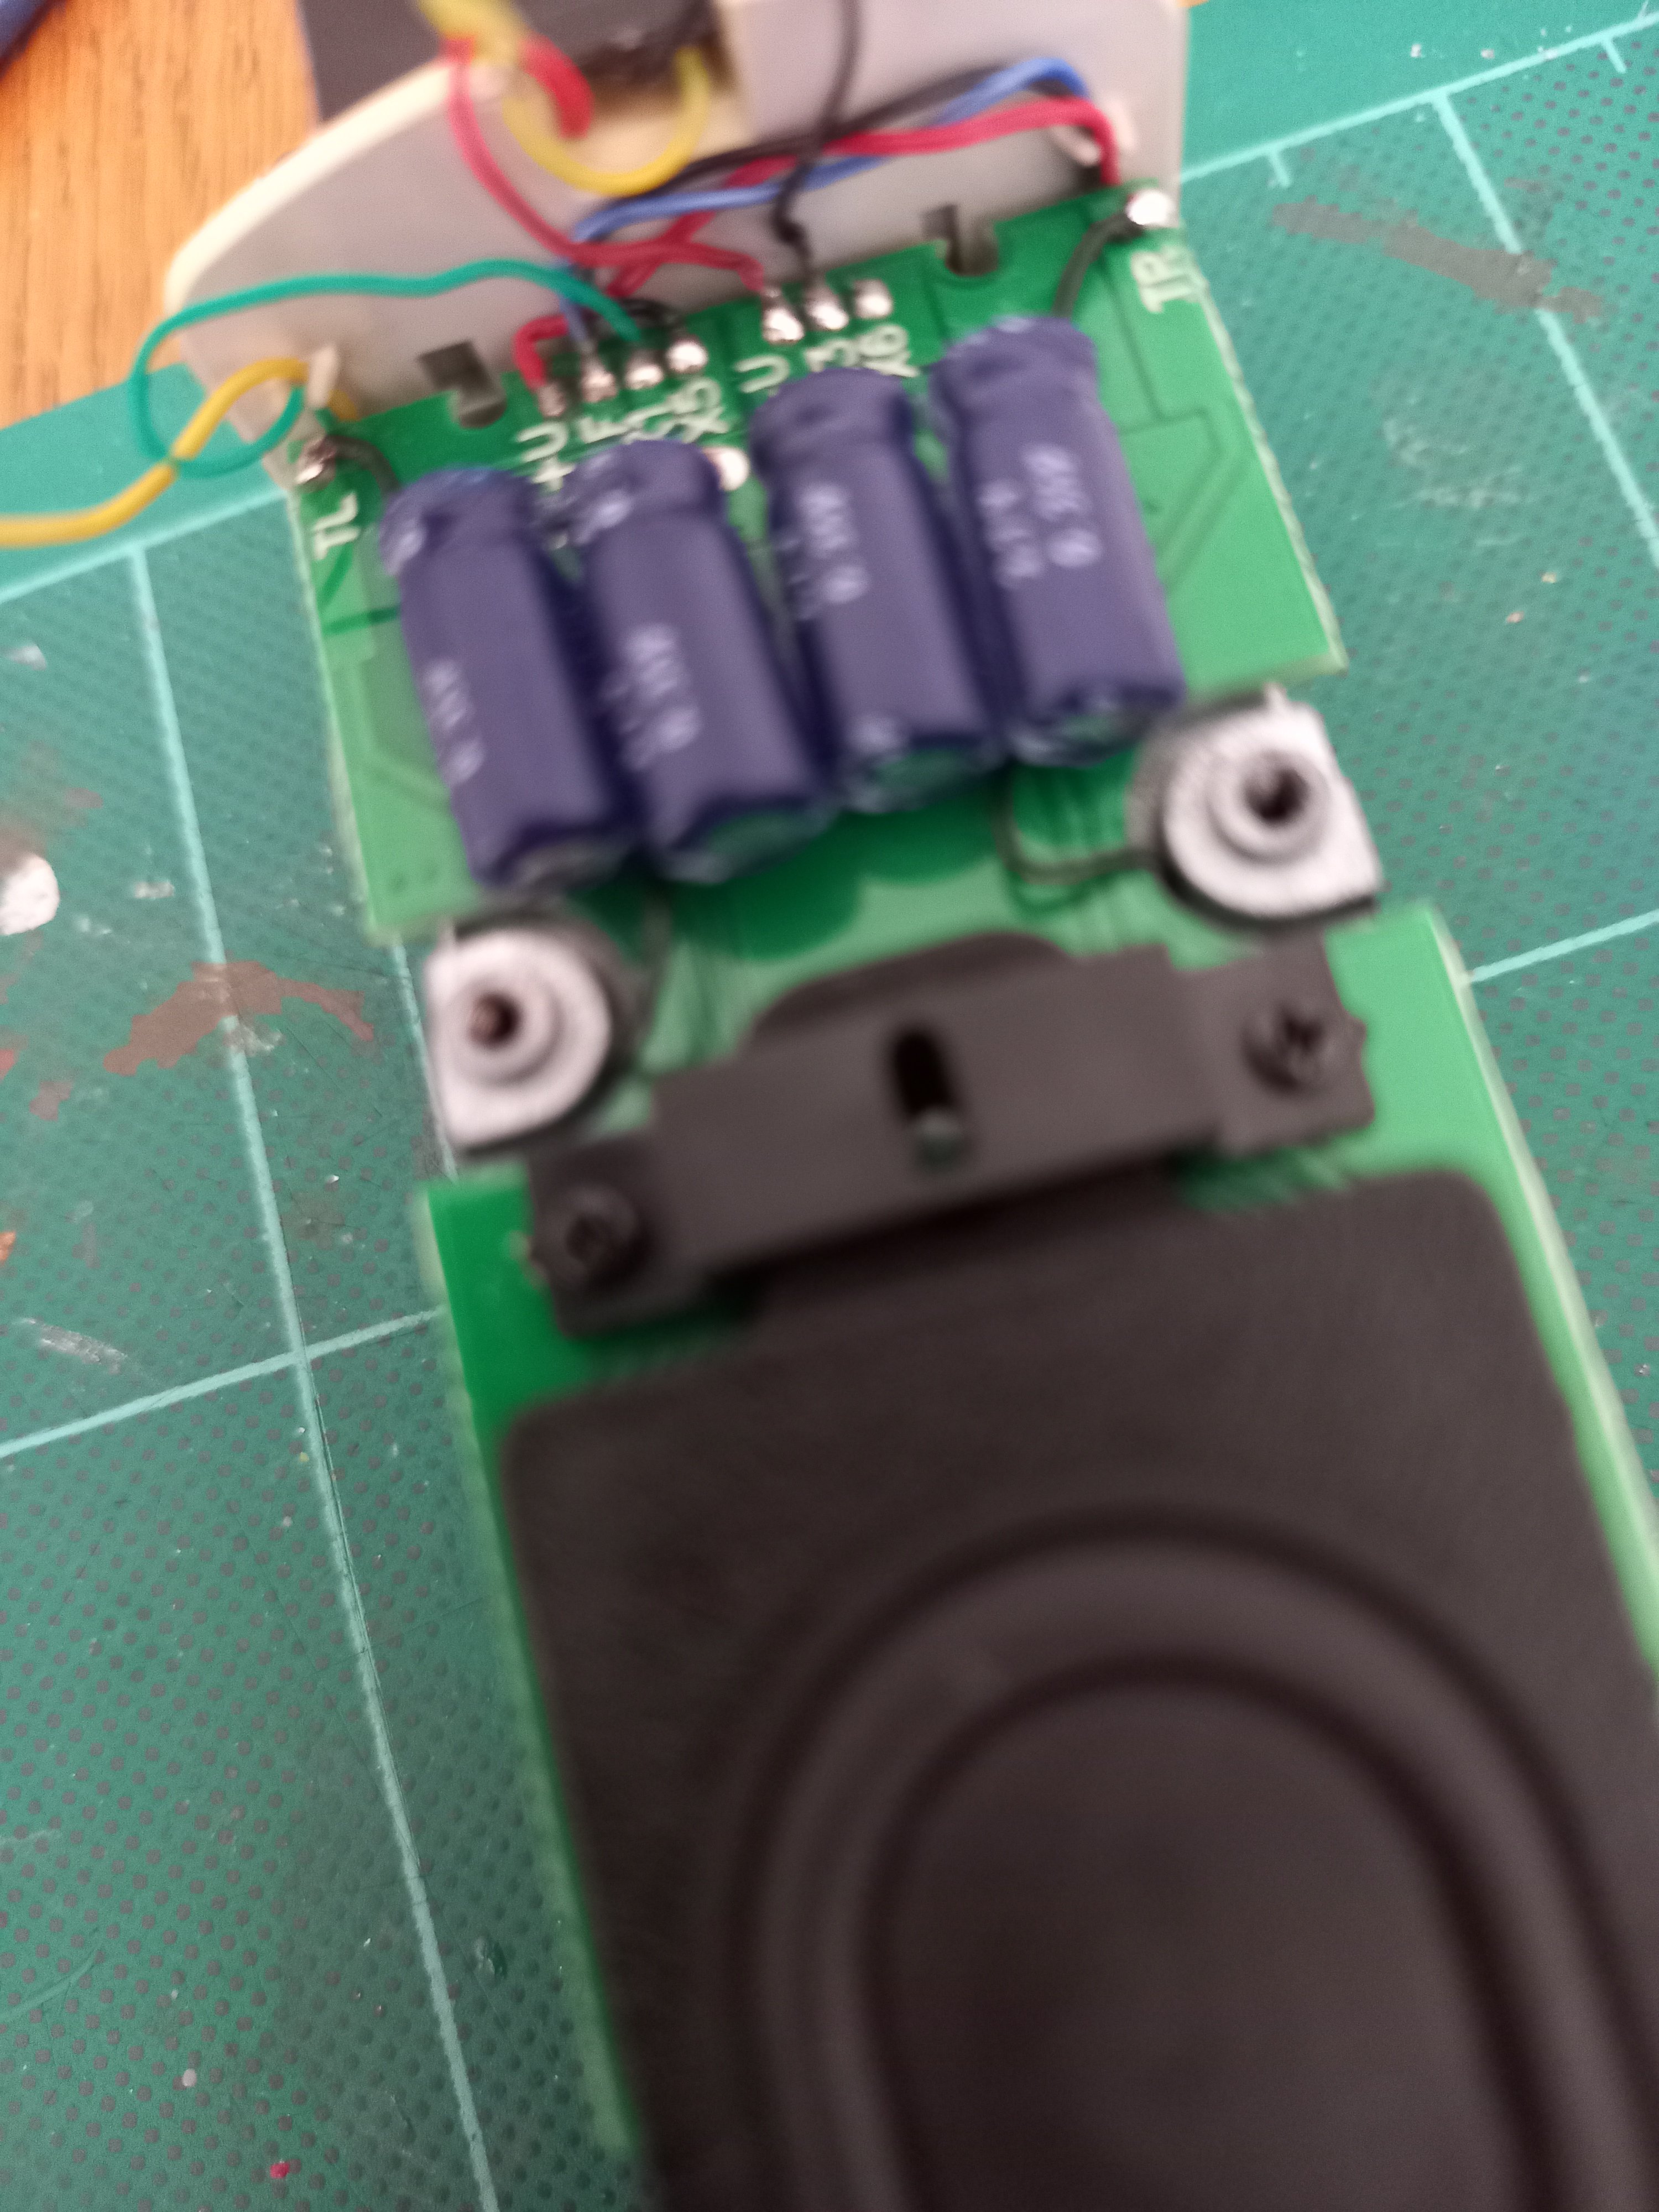
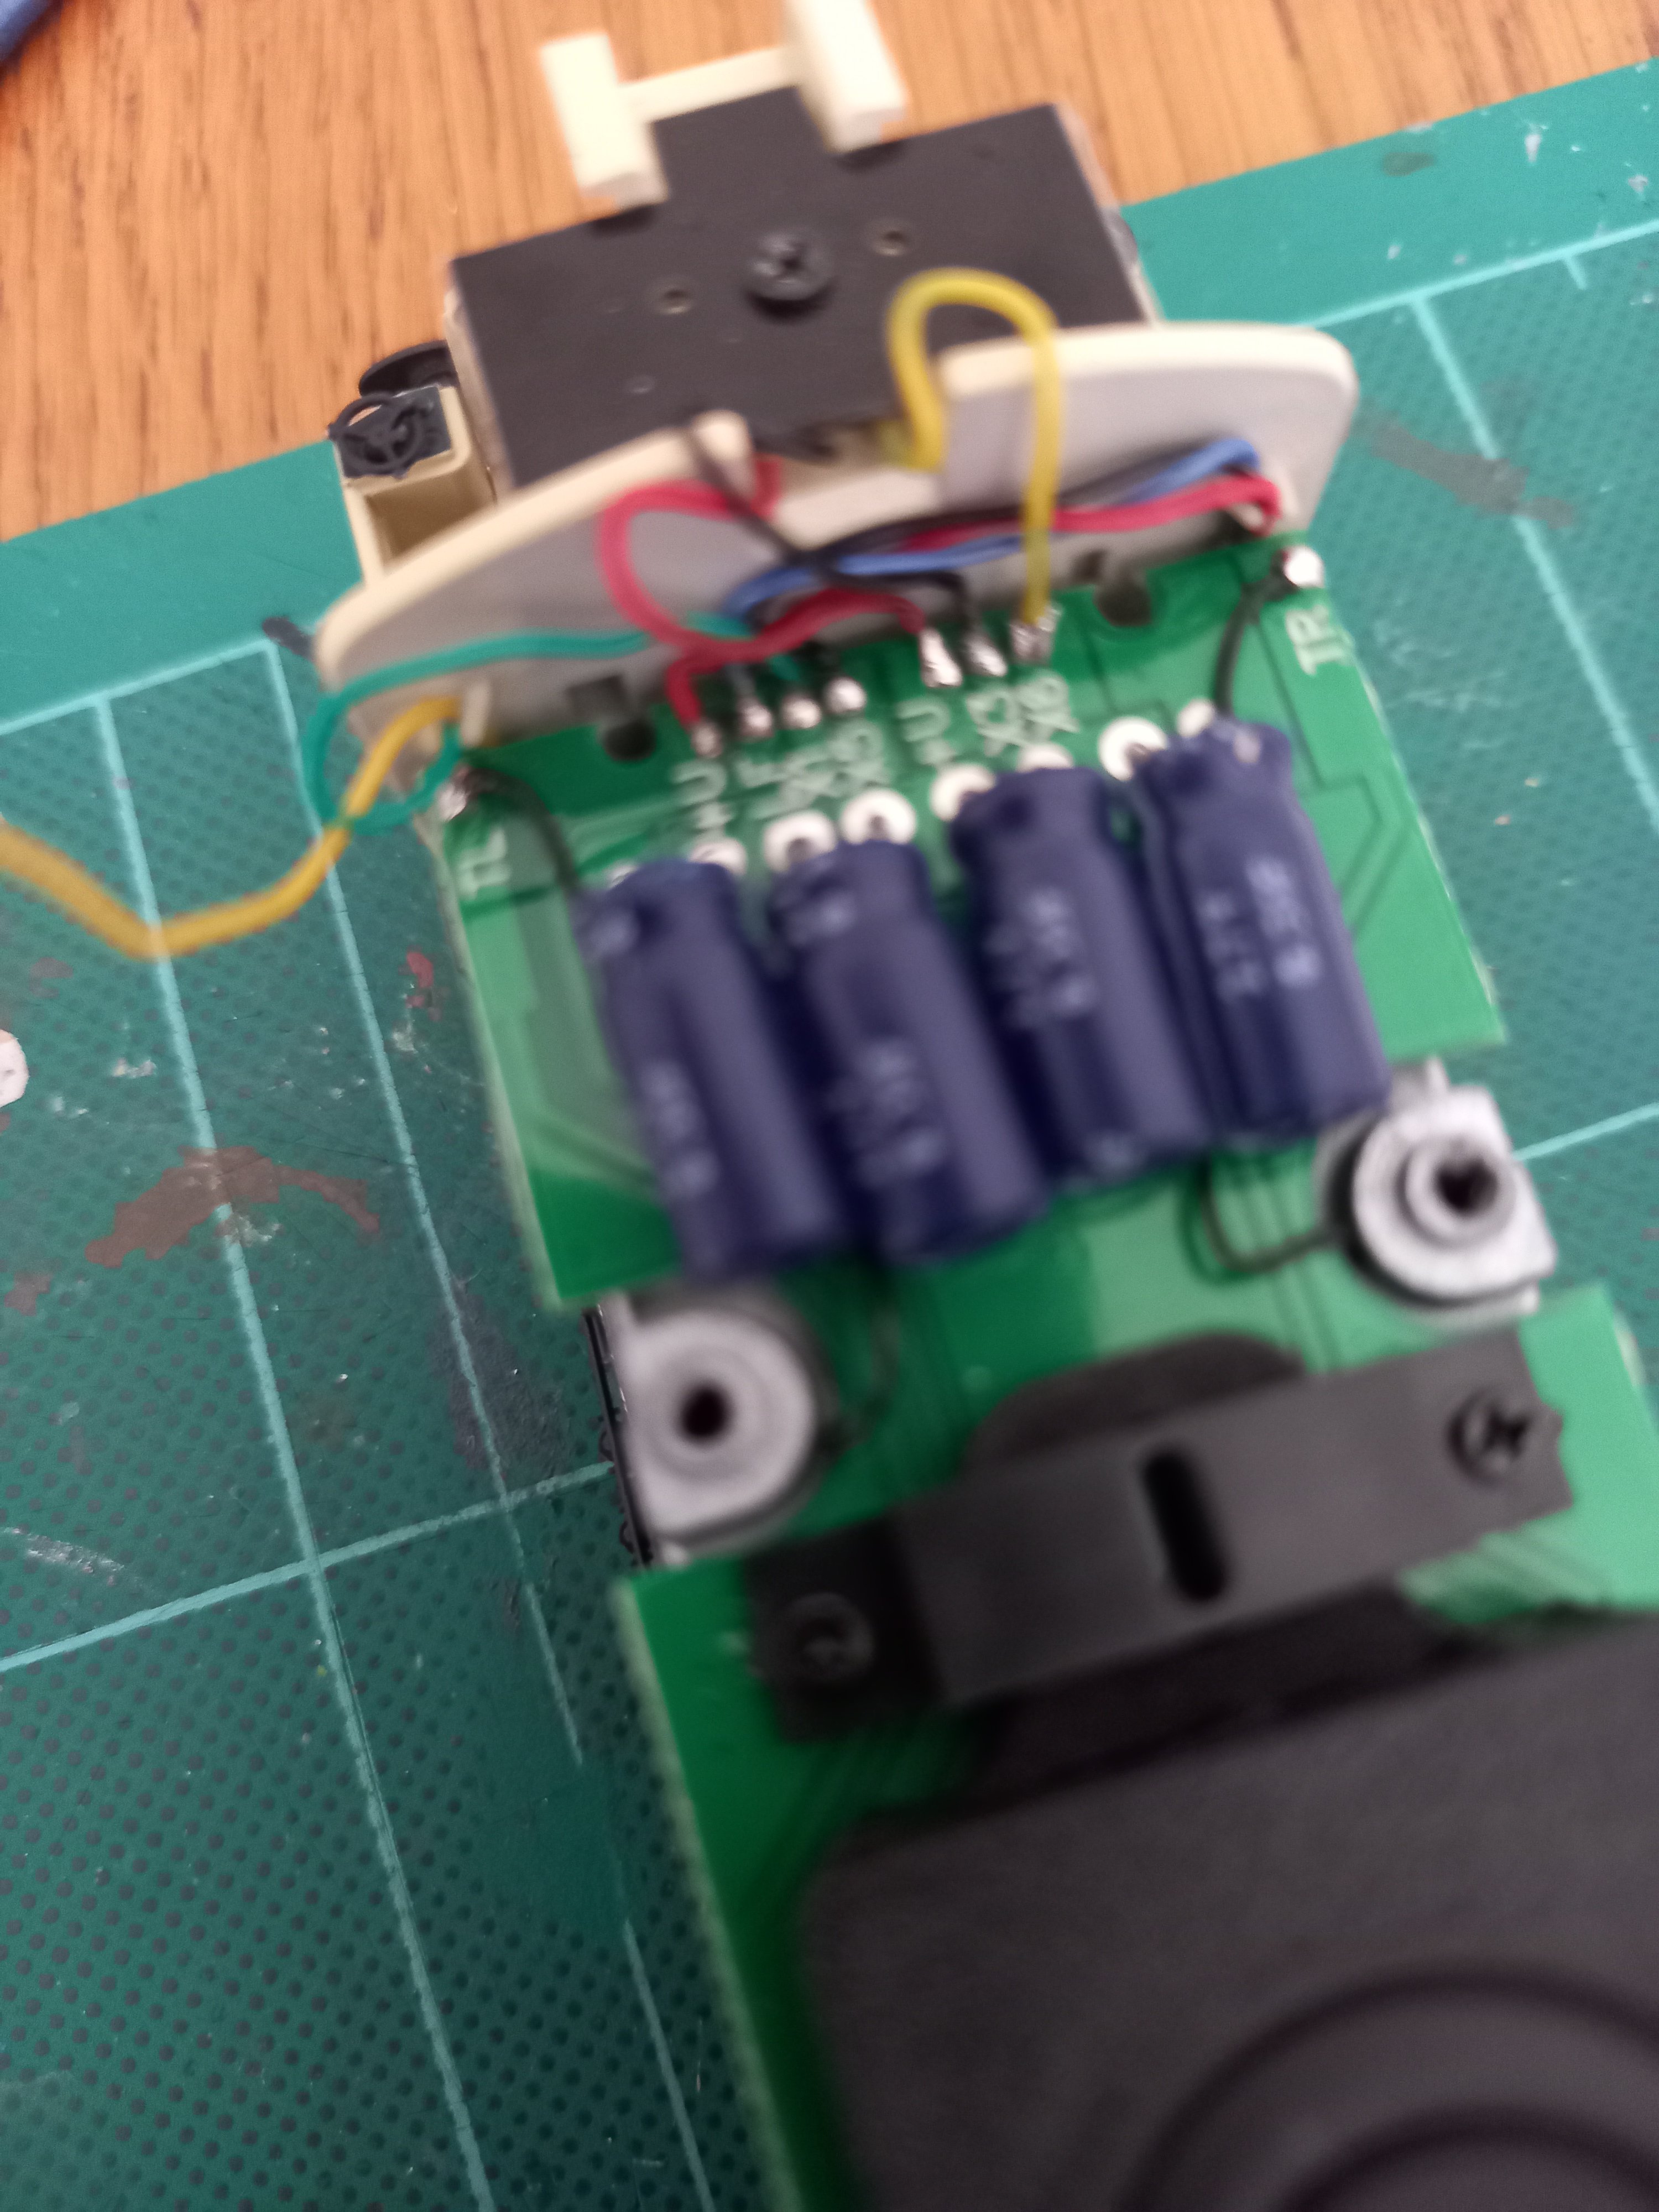
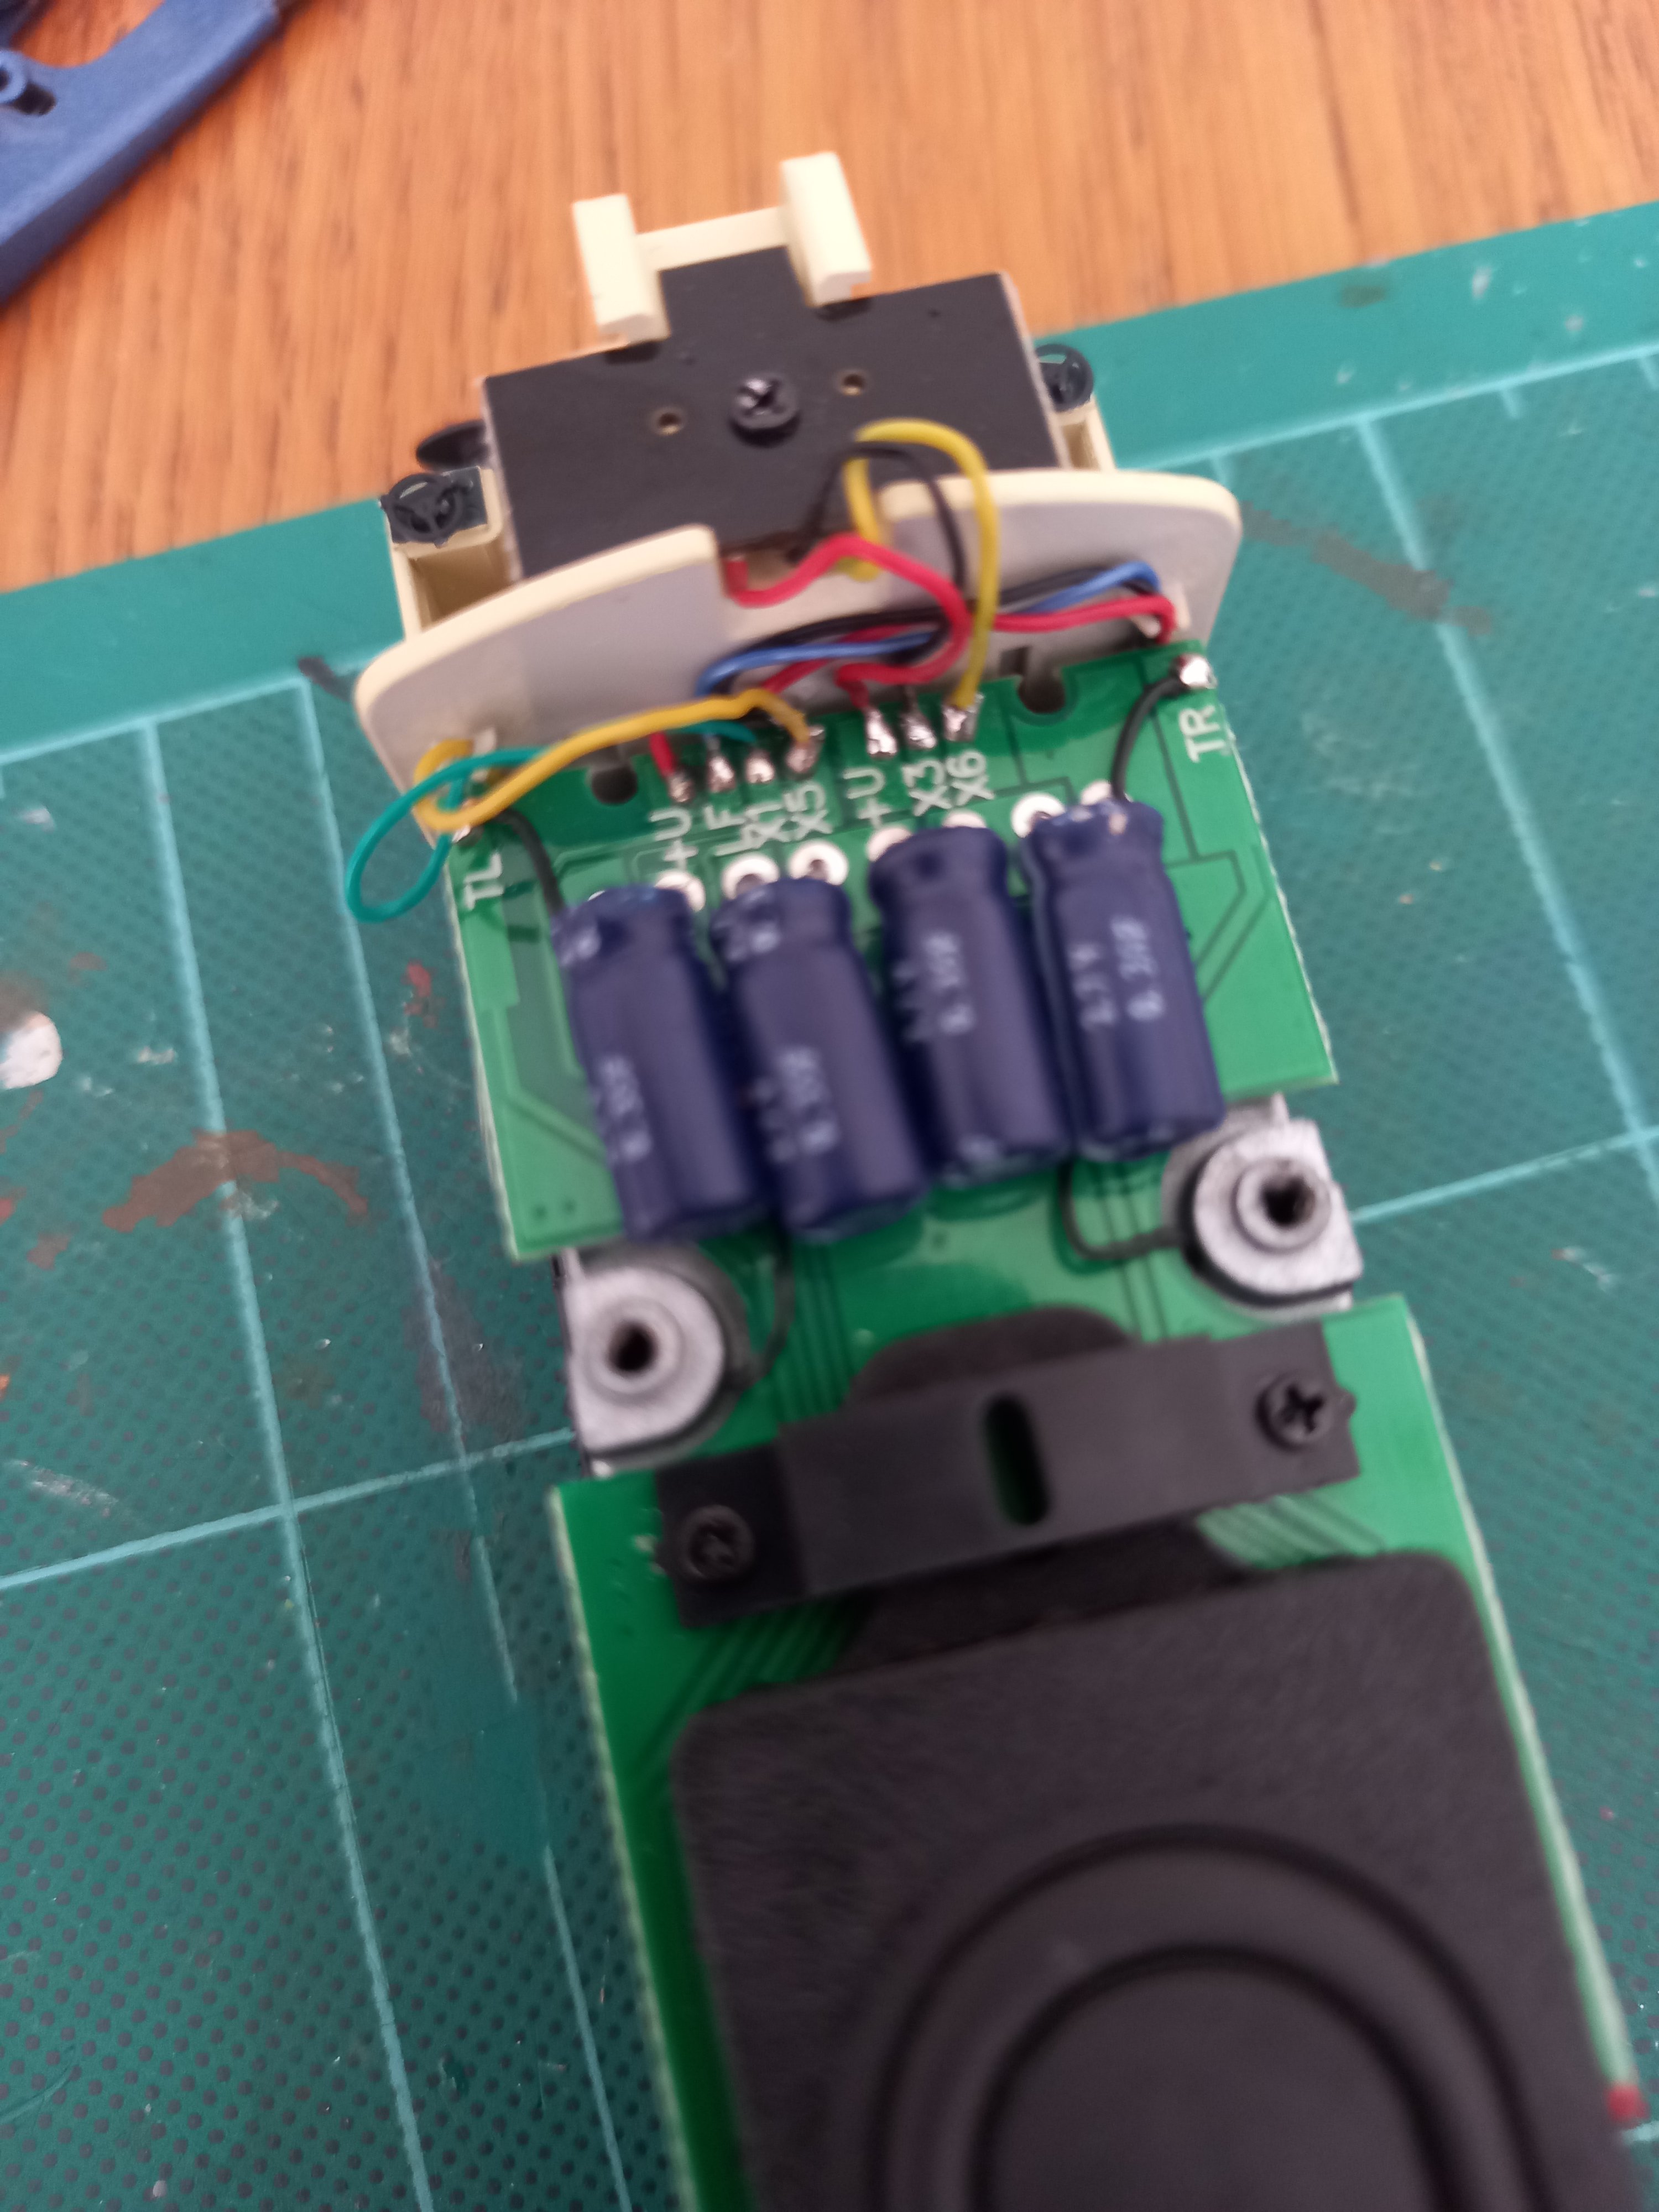
The Capacitor End : Not a lot of space to work in, same procedure as above, except start with releasing X6 first and then X5. The cab light wire is X5, again there is a black wire soldered underneath to X5 tab. If you are unlucky enough to release black wire resolder it back before doing anything else and give it time to cool, hence only tiny dab of solder to iron. The other wire is X6. Same procedure as before. X5 wire then goes to X6 solder tab & X6 wire goes to X5 solder tab. Using metal tweezers dissipates the heat from the iron through the wire as the wires are very thin. Try to hold the tweezers as far away from iron/solder tab as possible. Don't forget to clean iron after each step. You will see from photos other pcb wires moved out of way, you do not want to touch any wire cover with iron as the cover will melt instantly.
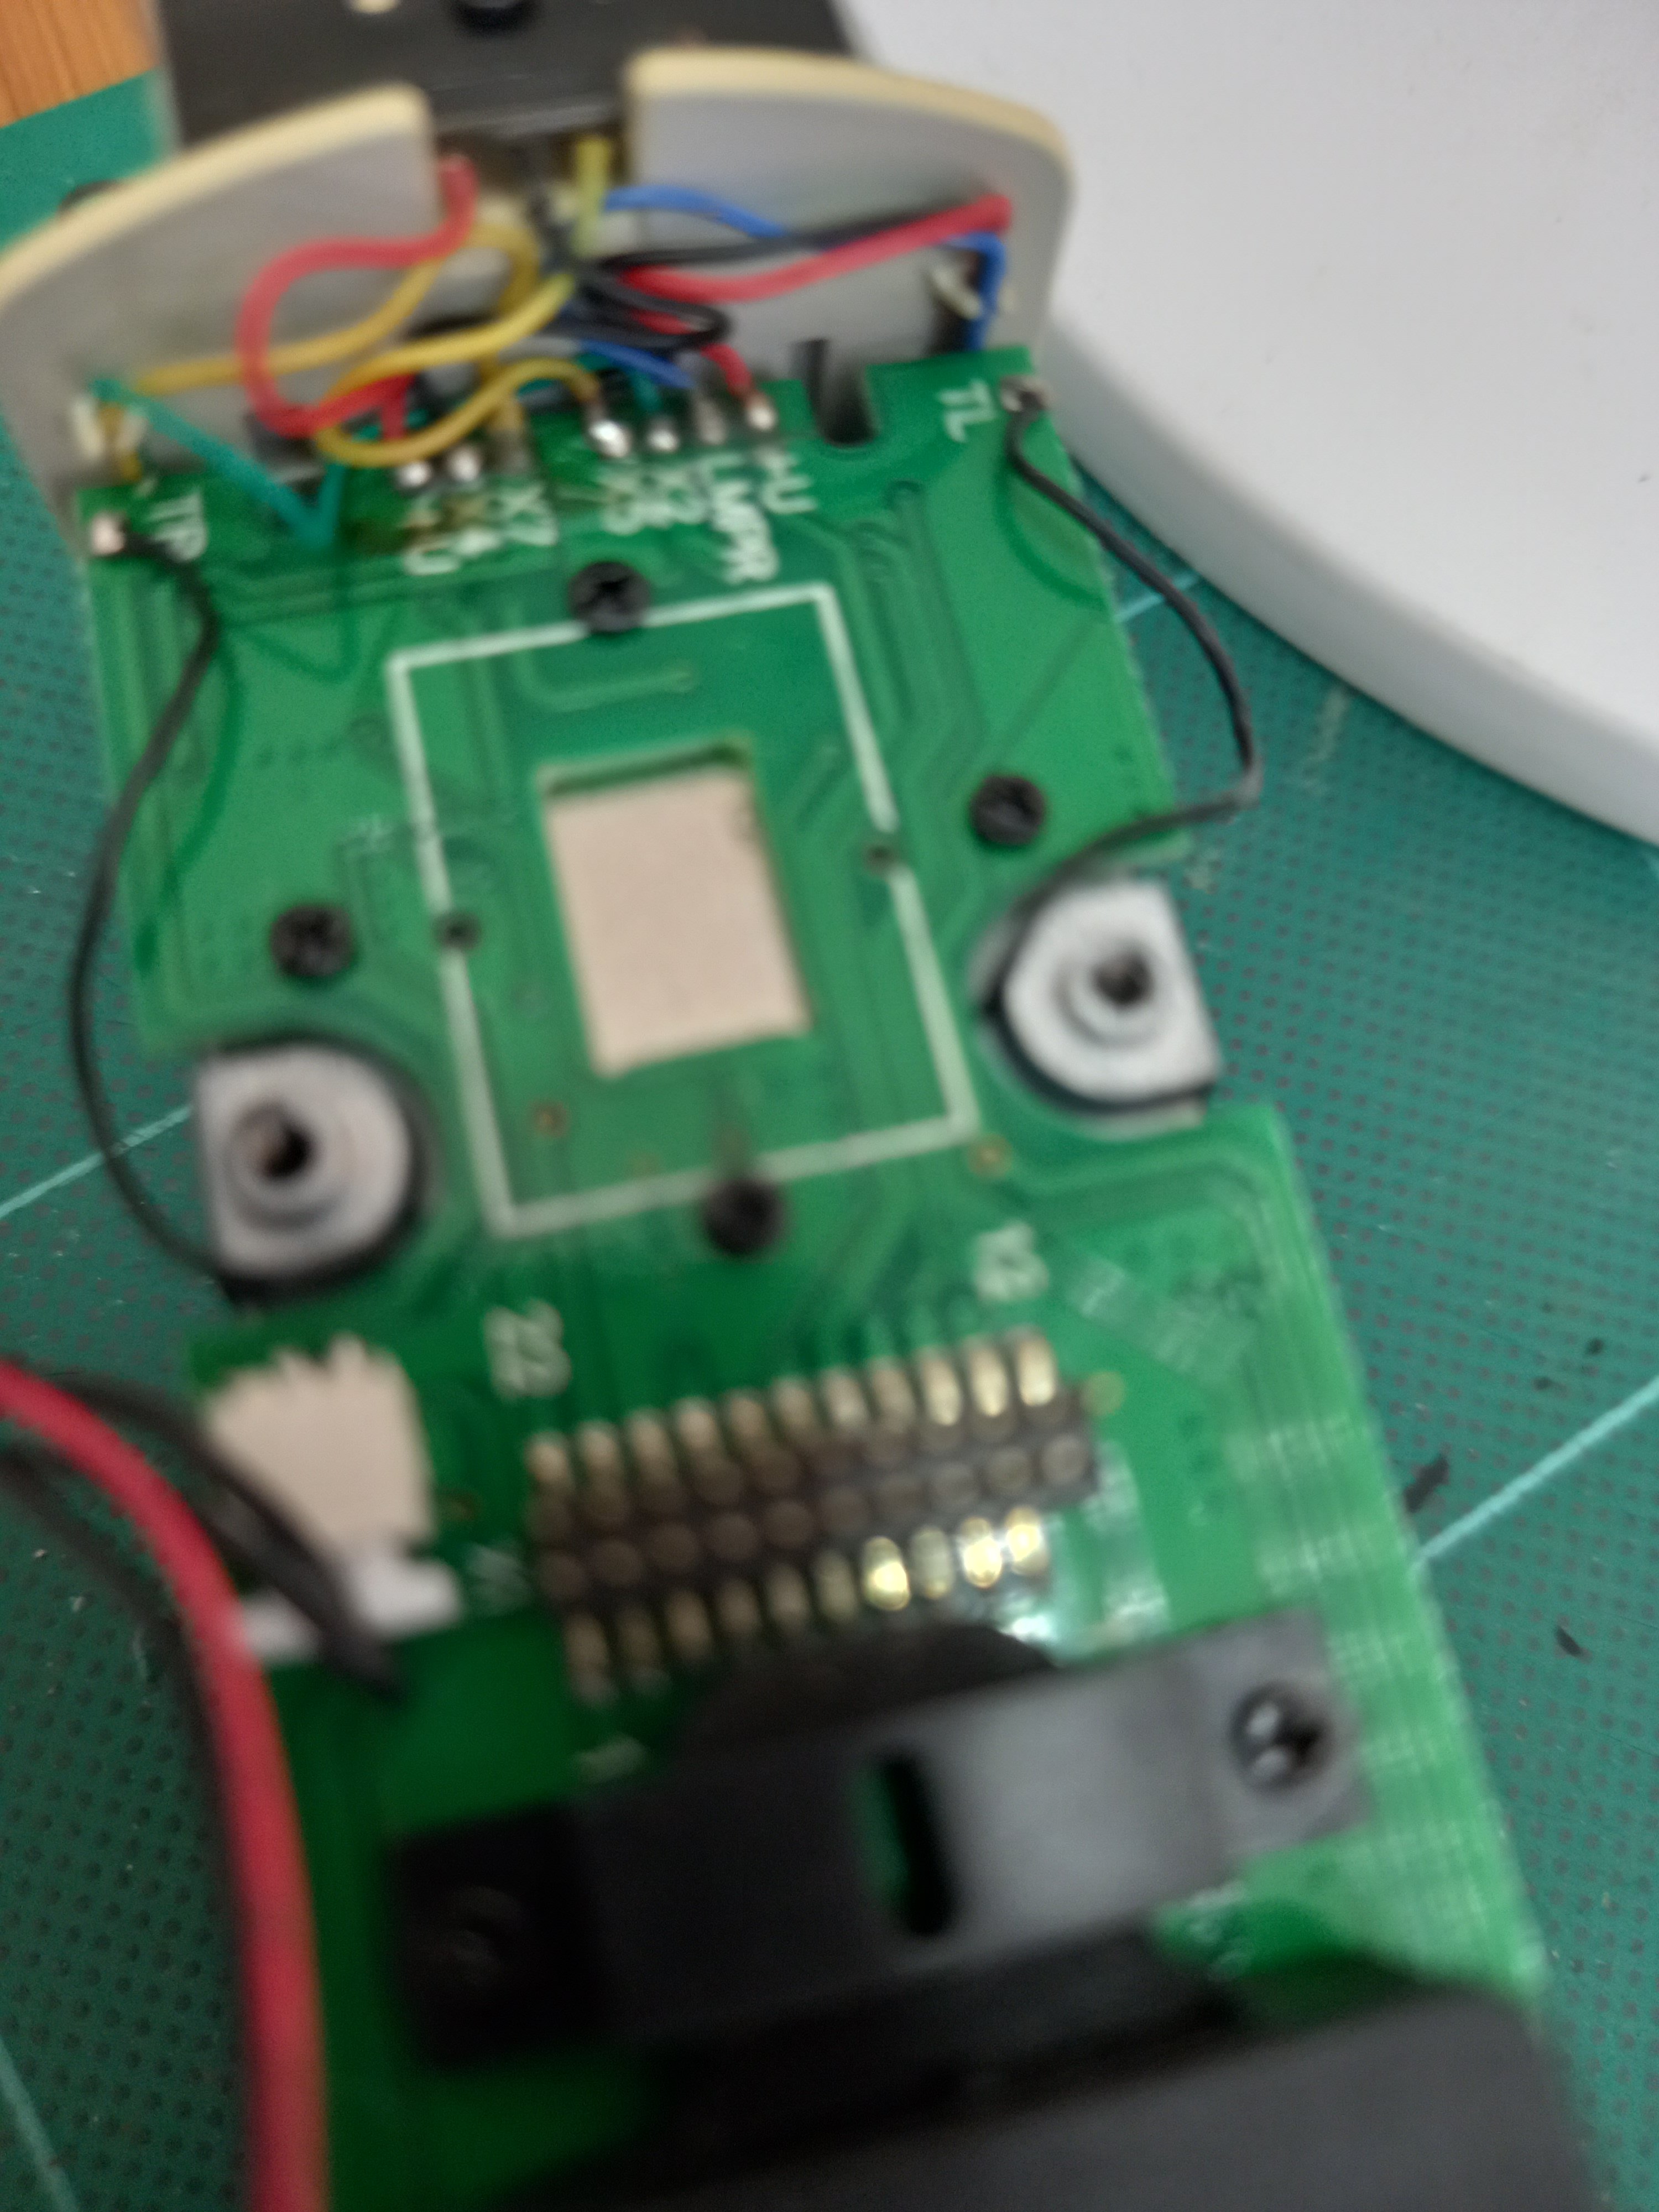
Apologies, the first photo is a little blurry, it shows the wires ex factory.
The last 2 photos show the iron, flux & solder I use.
Good luck & feel free to ask any question.


")