

JohnMcGahern
-
Posts
28 -
Joined
-
Last visited
-
Days Won
1
Content Type
Profiles
Forums
Resource Library
Events
Gallery
Blogs
Store
Community Map
Posts posted by JohnMcGahern
-
-
1 hour ago, jhb171achill said:
Looks really well. Where possible, I’ve started only posting pics of Dugort Harbour which are taken in natural light, often about this time of evening (20:00-ish). Seems to look best, especially when it’s in an attic with overhead spotlights only.
Agreed. This is in the basement (Canada) and the windows are at ground level so the sun is quite direct and on the horizon.
-
 1
1
-
-
-
-
-
On 17/2/2022 at 3:26 PM, chrvdv said:
Hello John,
As I would like to convert my A class to 21 mm gauge wheels as well, I would like to know what wheels you used. I looked at all the usual suppliers for 3'2" wheels but couldn't find any at all.
Christian
Hi Christian, It's been a while since I purchased any wheels from this guy who I believe is in England but gets these wheels that are manufactured in Australia. http://branchlines.blogspot.com/2006/07/black-beetle-nickel-silver-wheels.html I can't seem to find any contact information on this link but these are the wheels I've used with all my locos. I had used Ultrascale once, but they don't come in an all metal back so it is a pain to try and get the pick ups to make constant connectivity. With the all metal backs it's easy. You need the fully insulated ones which I believe are a special order. The down side to them is the hub area I find is not manufactured as well as the Ultrascale ones and as a result are not as easy to get squared to the axel. Ultrascale ones are better made and have a larger (deeper) hub and are so much easier to square. If they came in an all metal back I would go for them all he time as a wobbly wheel )although functional) is annoying as hell!
-
 1
1
-
-
21 minutes ago, NIRCLASS80 said:
Yes static grass. I’m sorry I can’t really give you details as my modelling gear is currently all packed up other than it was from the WWS grass range. It’s available on eBay.
No problem, thanks for the reply!
-
 1
1
-
-
On 31/12/2021 at 2:12 PM, NIRCLASS80 said:
Well the layout is stripped and Ballyercall is officially closed. Thanks for all the positive feedback and comments over the years. Happy new year to everyone.
Here’s a few images from the last couple of days of operation.
Love the tall grass on some of these photos. How did you do it? Is it static grass?
-
2
-
-
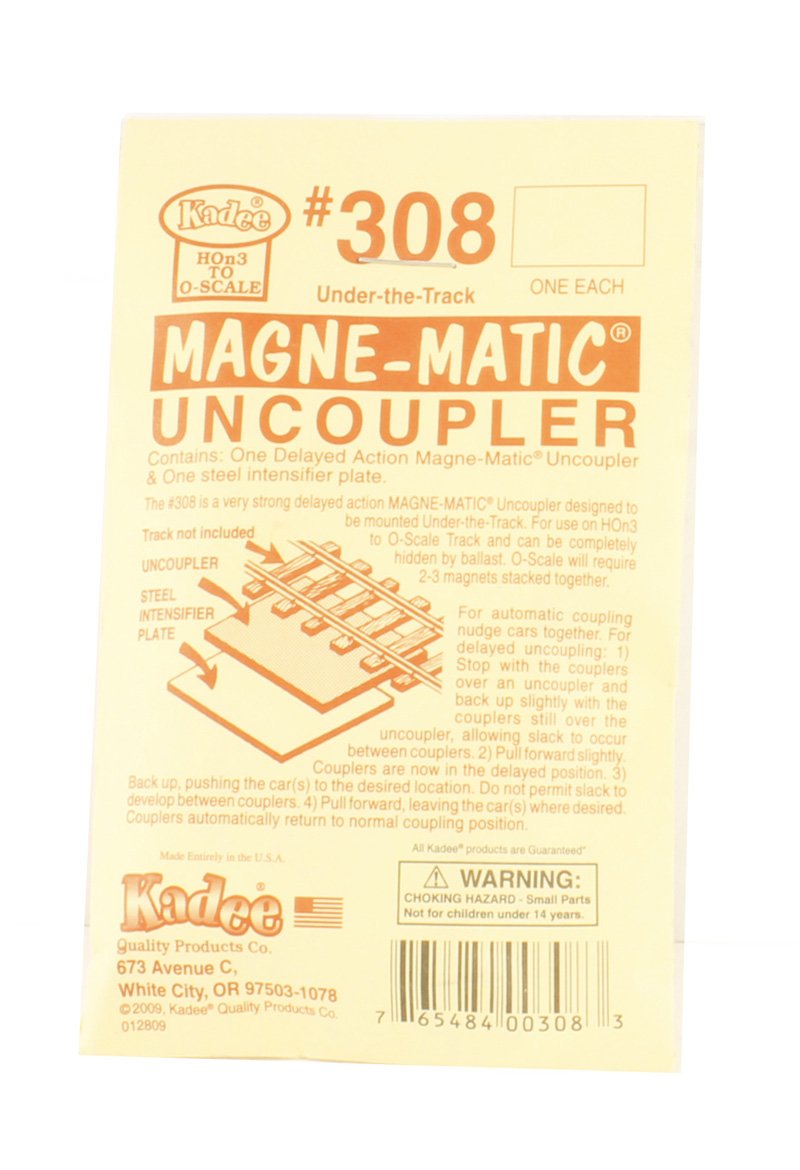
1 hour ago, Georgeconna said:
The Track looks Uber fab, Just wonder why you did not got for under track magnets instead of the track mounted ones?
When I initially started the layout about 7 years ago (hadn't touched it for the past 4 years) I hadn't even heard of the under track magnets otherwise for sure I would have gone that route. Although, there would have to be considerable planning made ahead of time for cutting out the baseboard (unless someone here has another way - I'm all ears) I know what you mean though, they are an eyesore but those magnets are only temporary and held in place with believe it or not, blue tack! To be honest I'll probably never stick them down permanently in case I ever want or need to work on that area of track and it actually works well as you can easily adjust them to the right height. I've even tried the small neodymium magnets between the sleepers but never had any luck.
-
1
-
-
3 hours ago, popeye said:
Proper track, looks and sounds great.
Those 2 guys used to work for me and they did nothing but talk so I let them go.
You will get no work out of them.

Thanks popeye! I know, neither of them have moved a muscle all f***in' day!
 3 hours ago, Patrick Davey said:
Could you give me my breath back please John......
Ha! Thanks Patrick!
-
 1
1
-
-
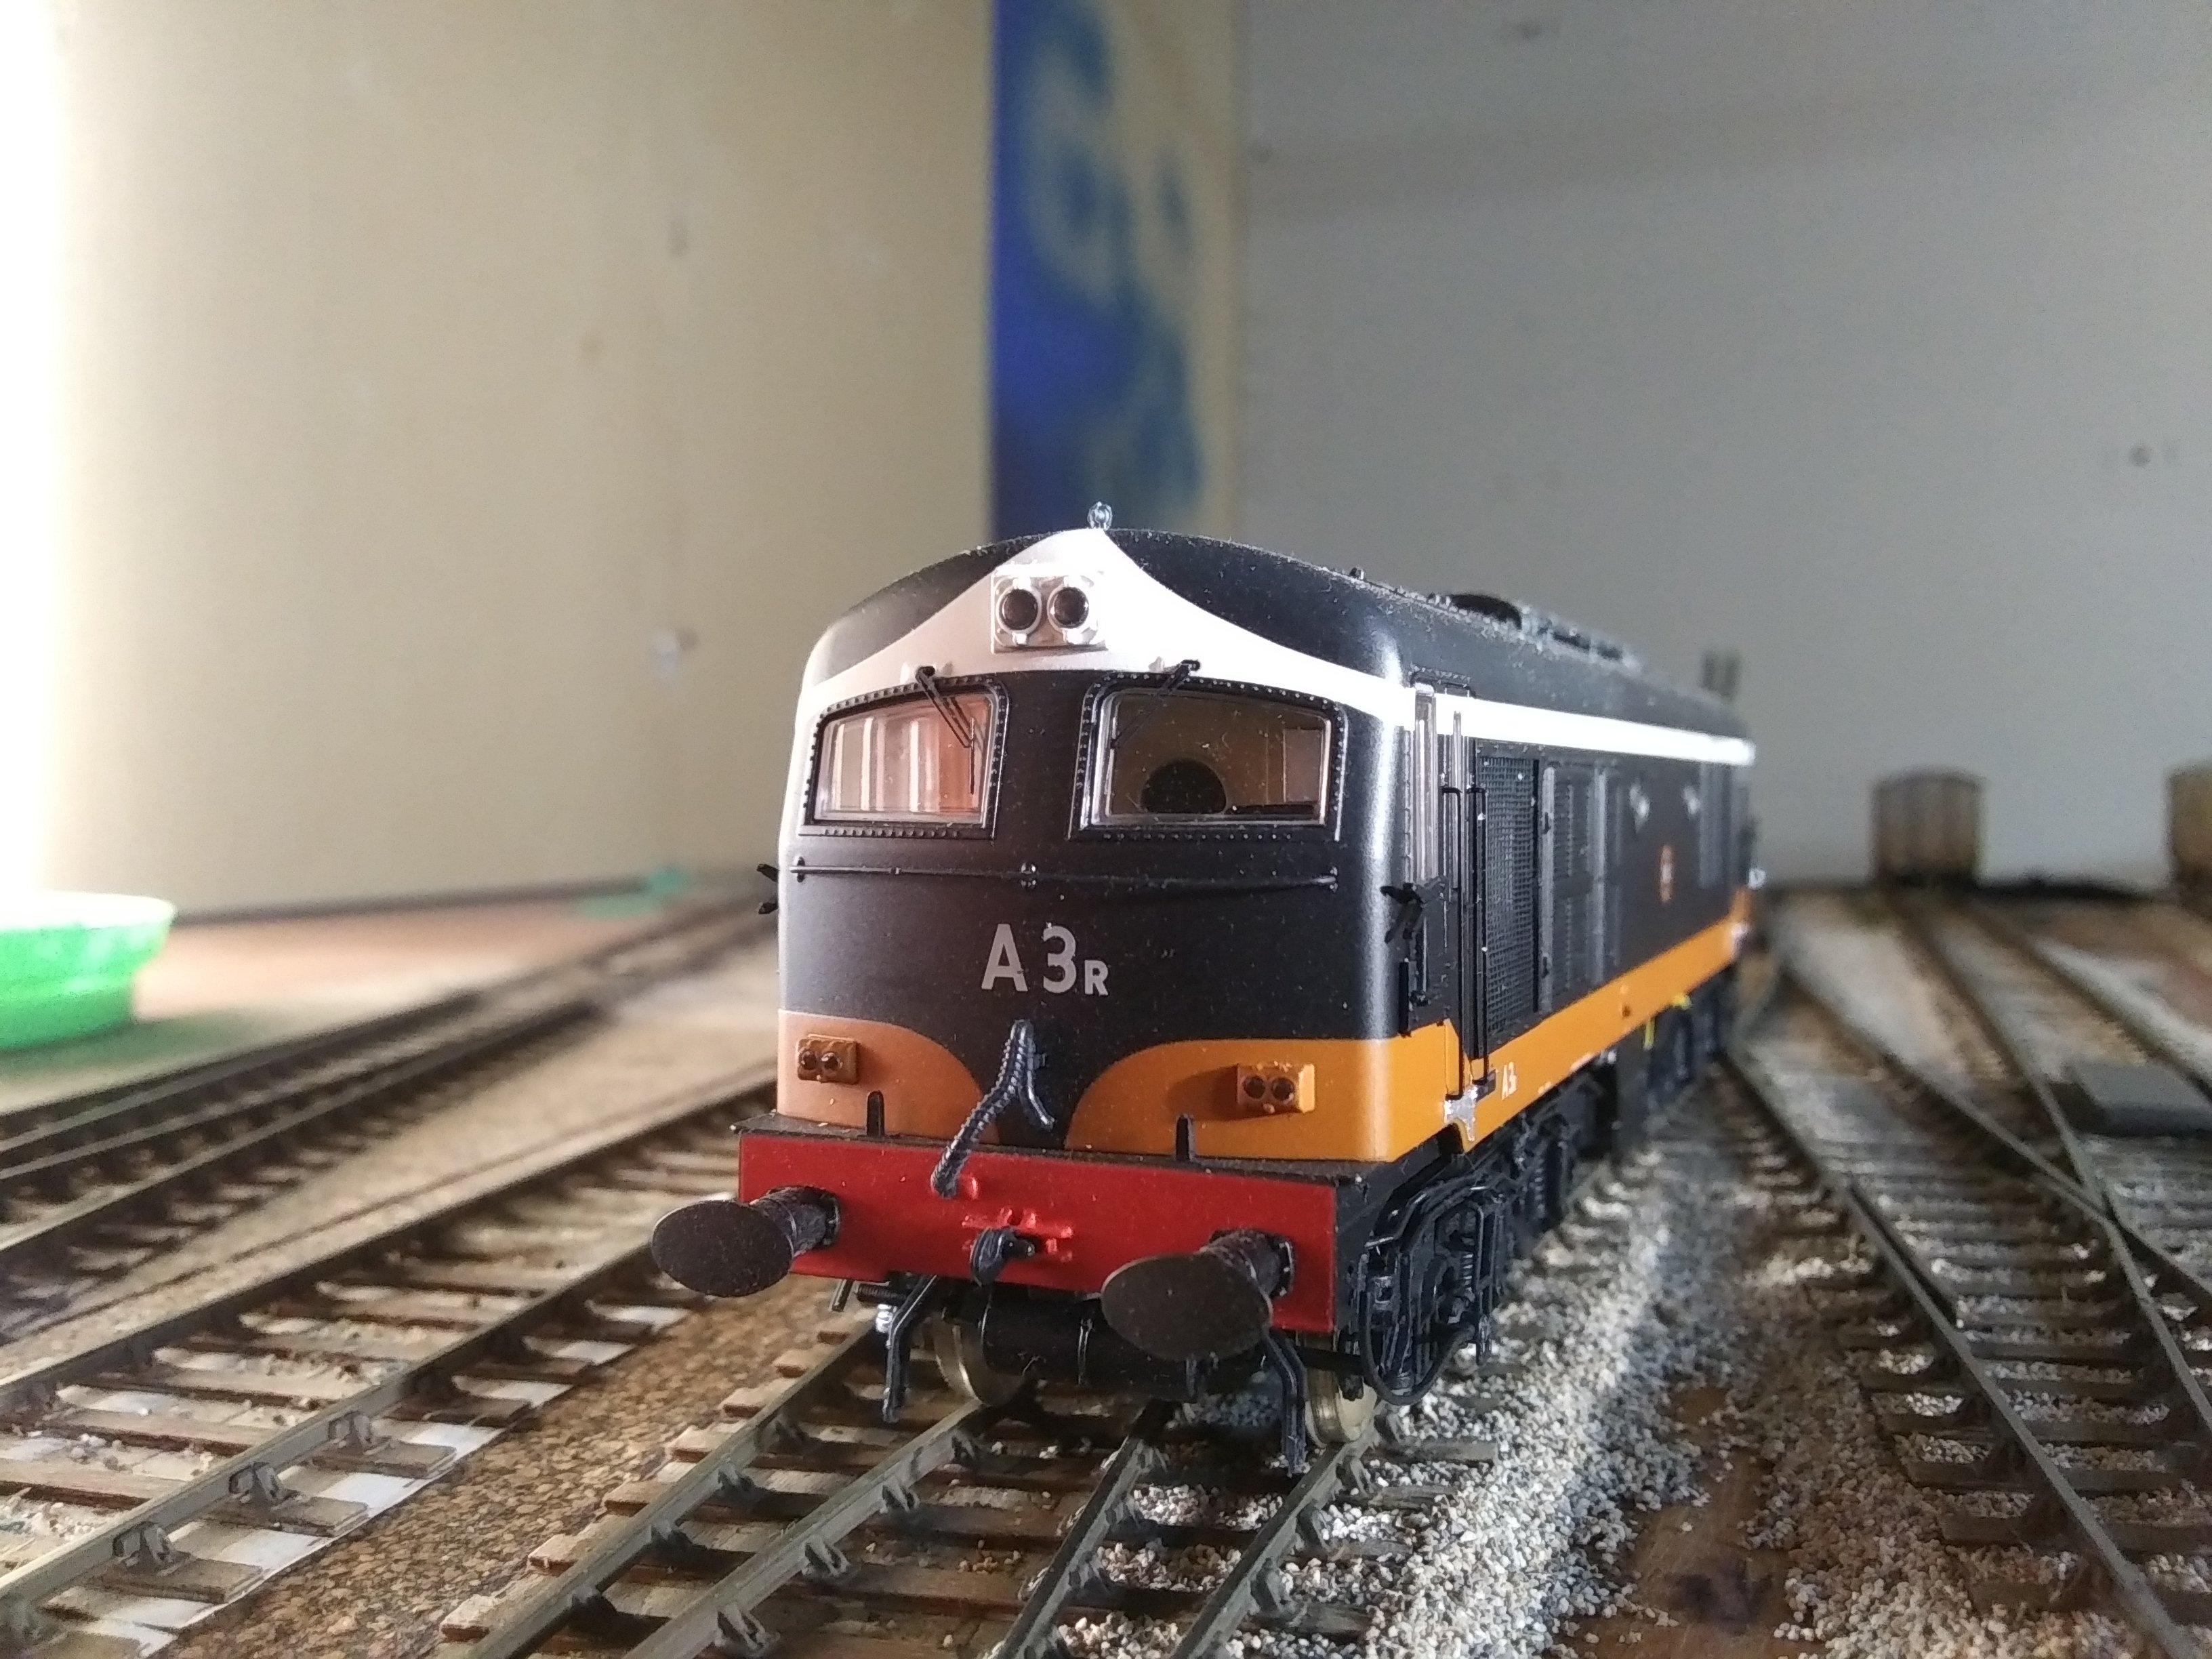
- Popular Post
- Popular Post
-
18
-
1
-
 7
7
-
On 18/1/2022 at 5:25 PM, jhb171achill said:
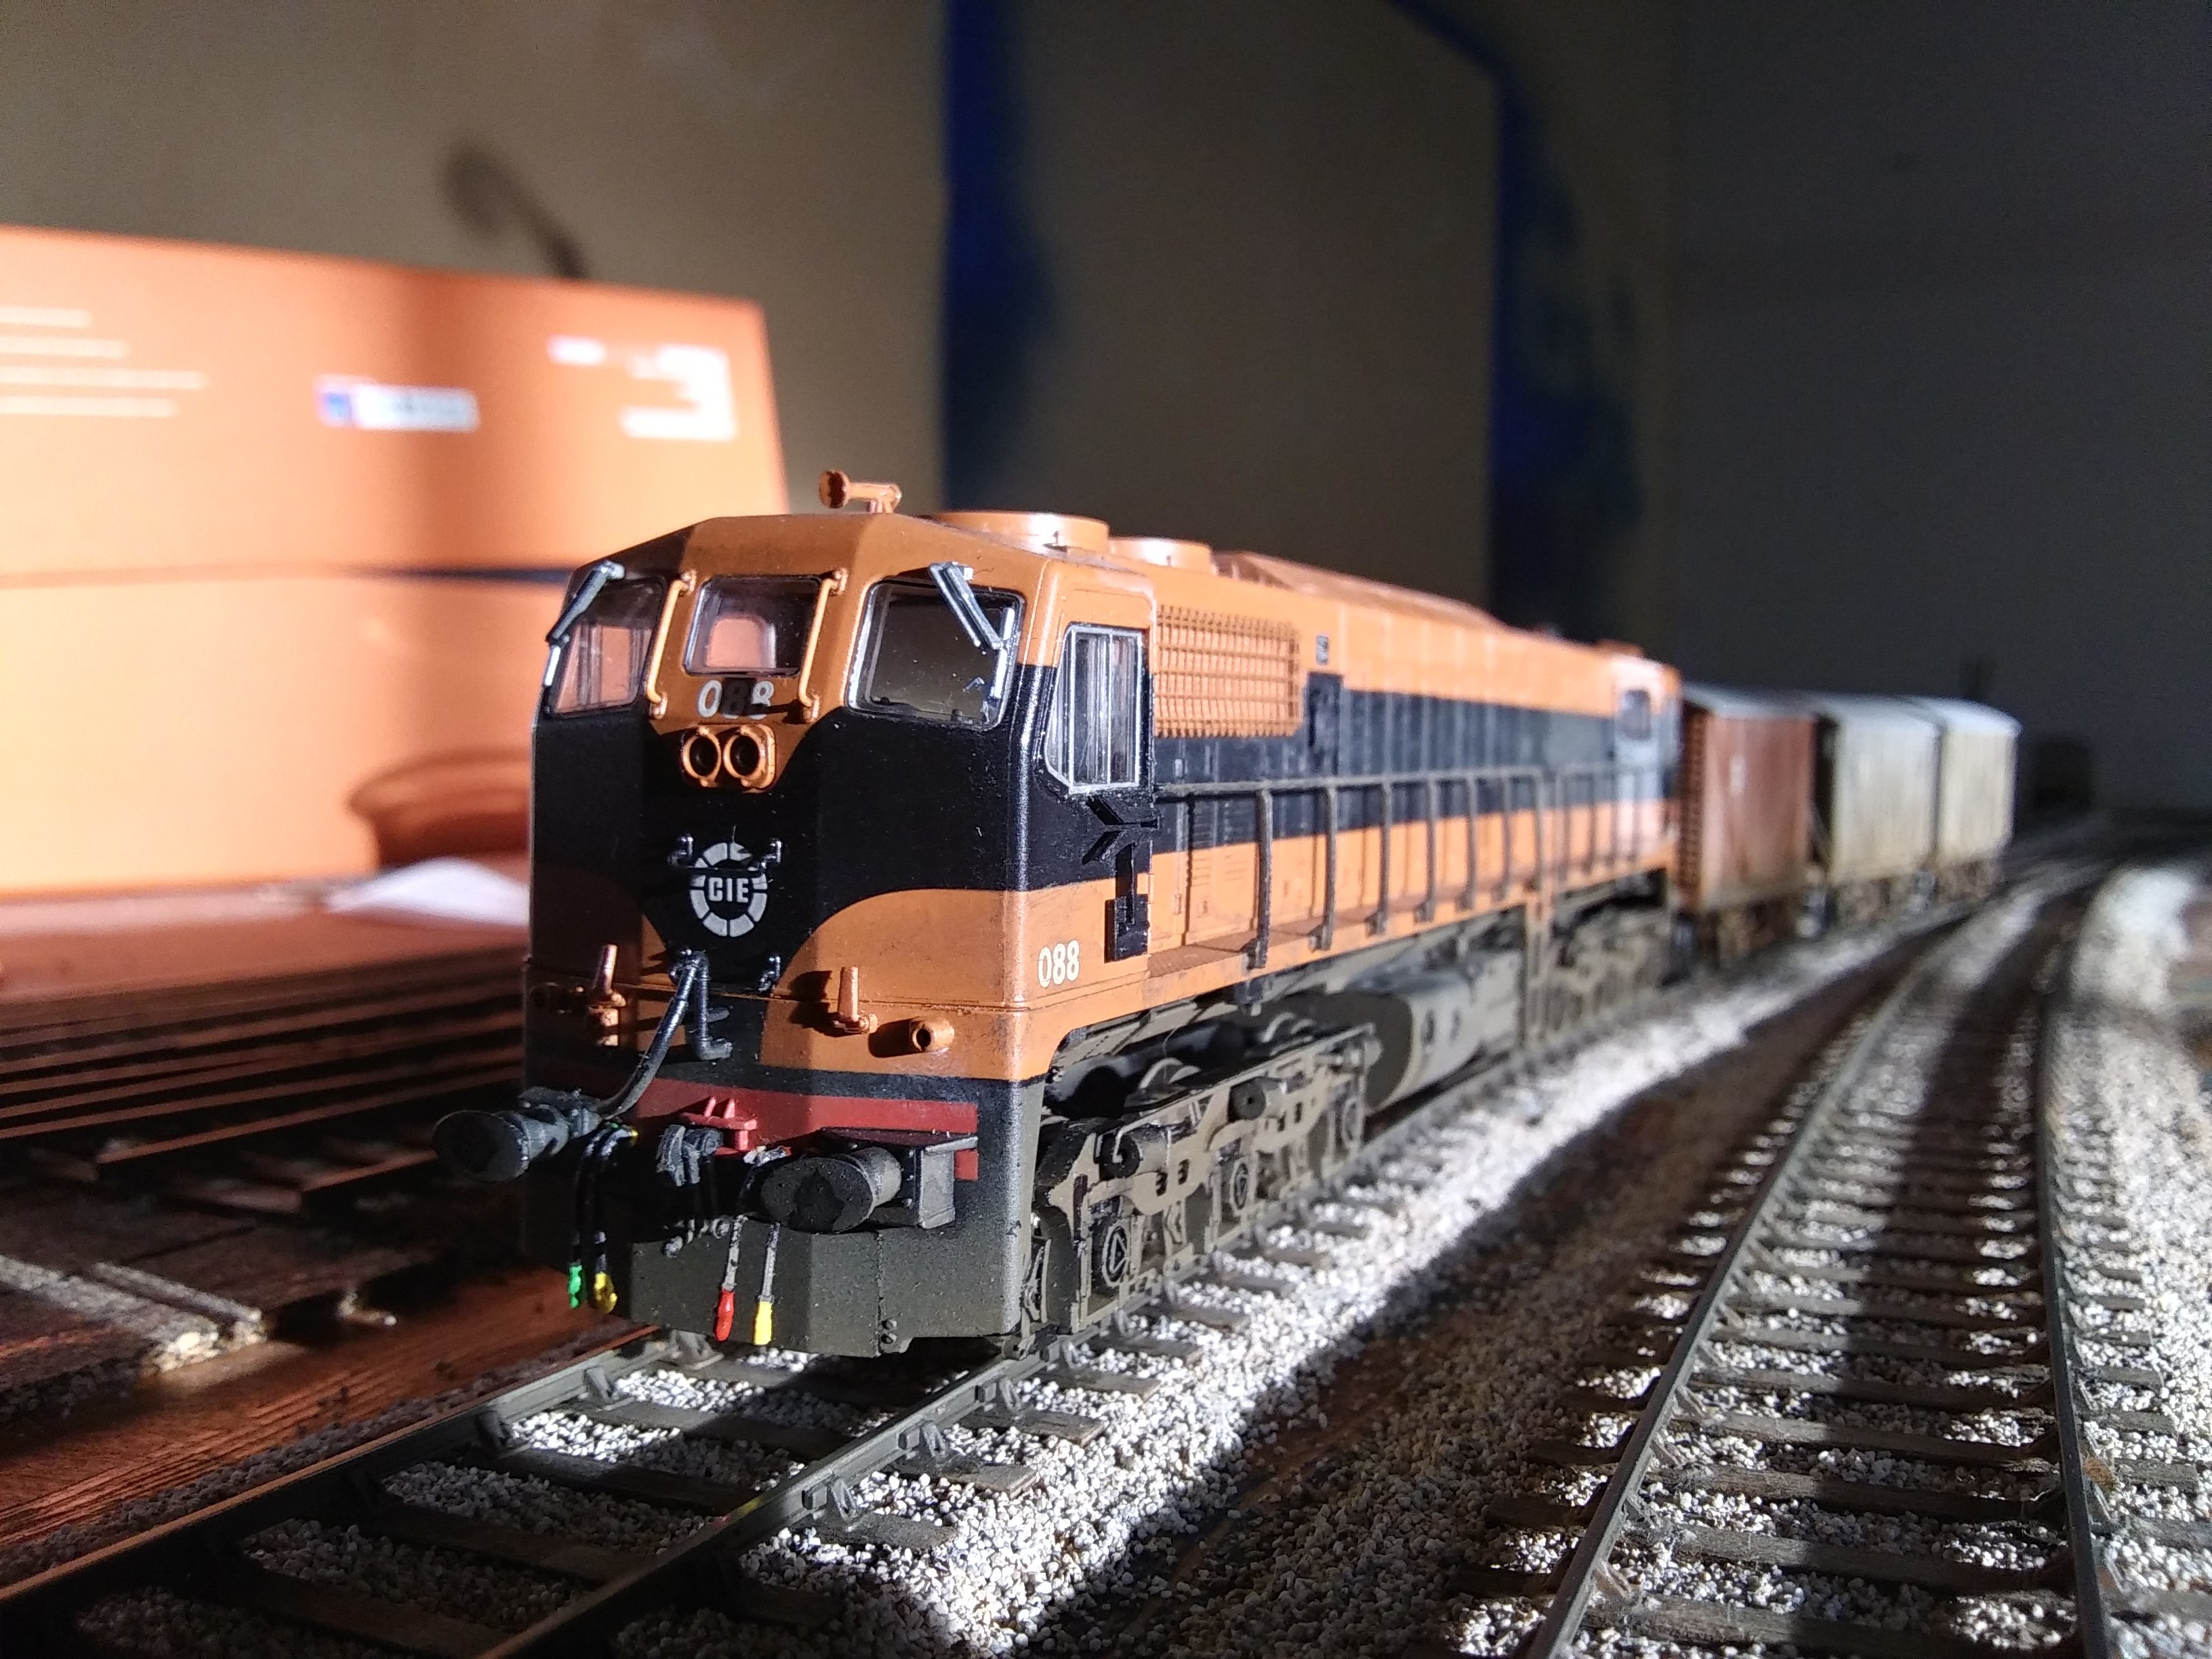
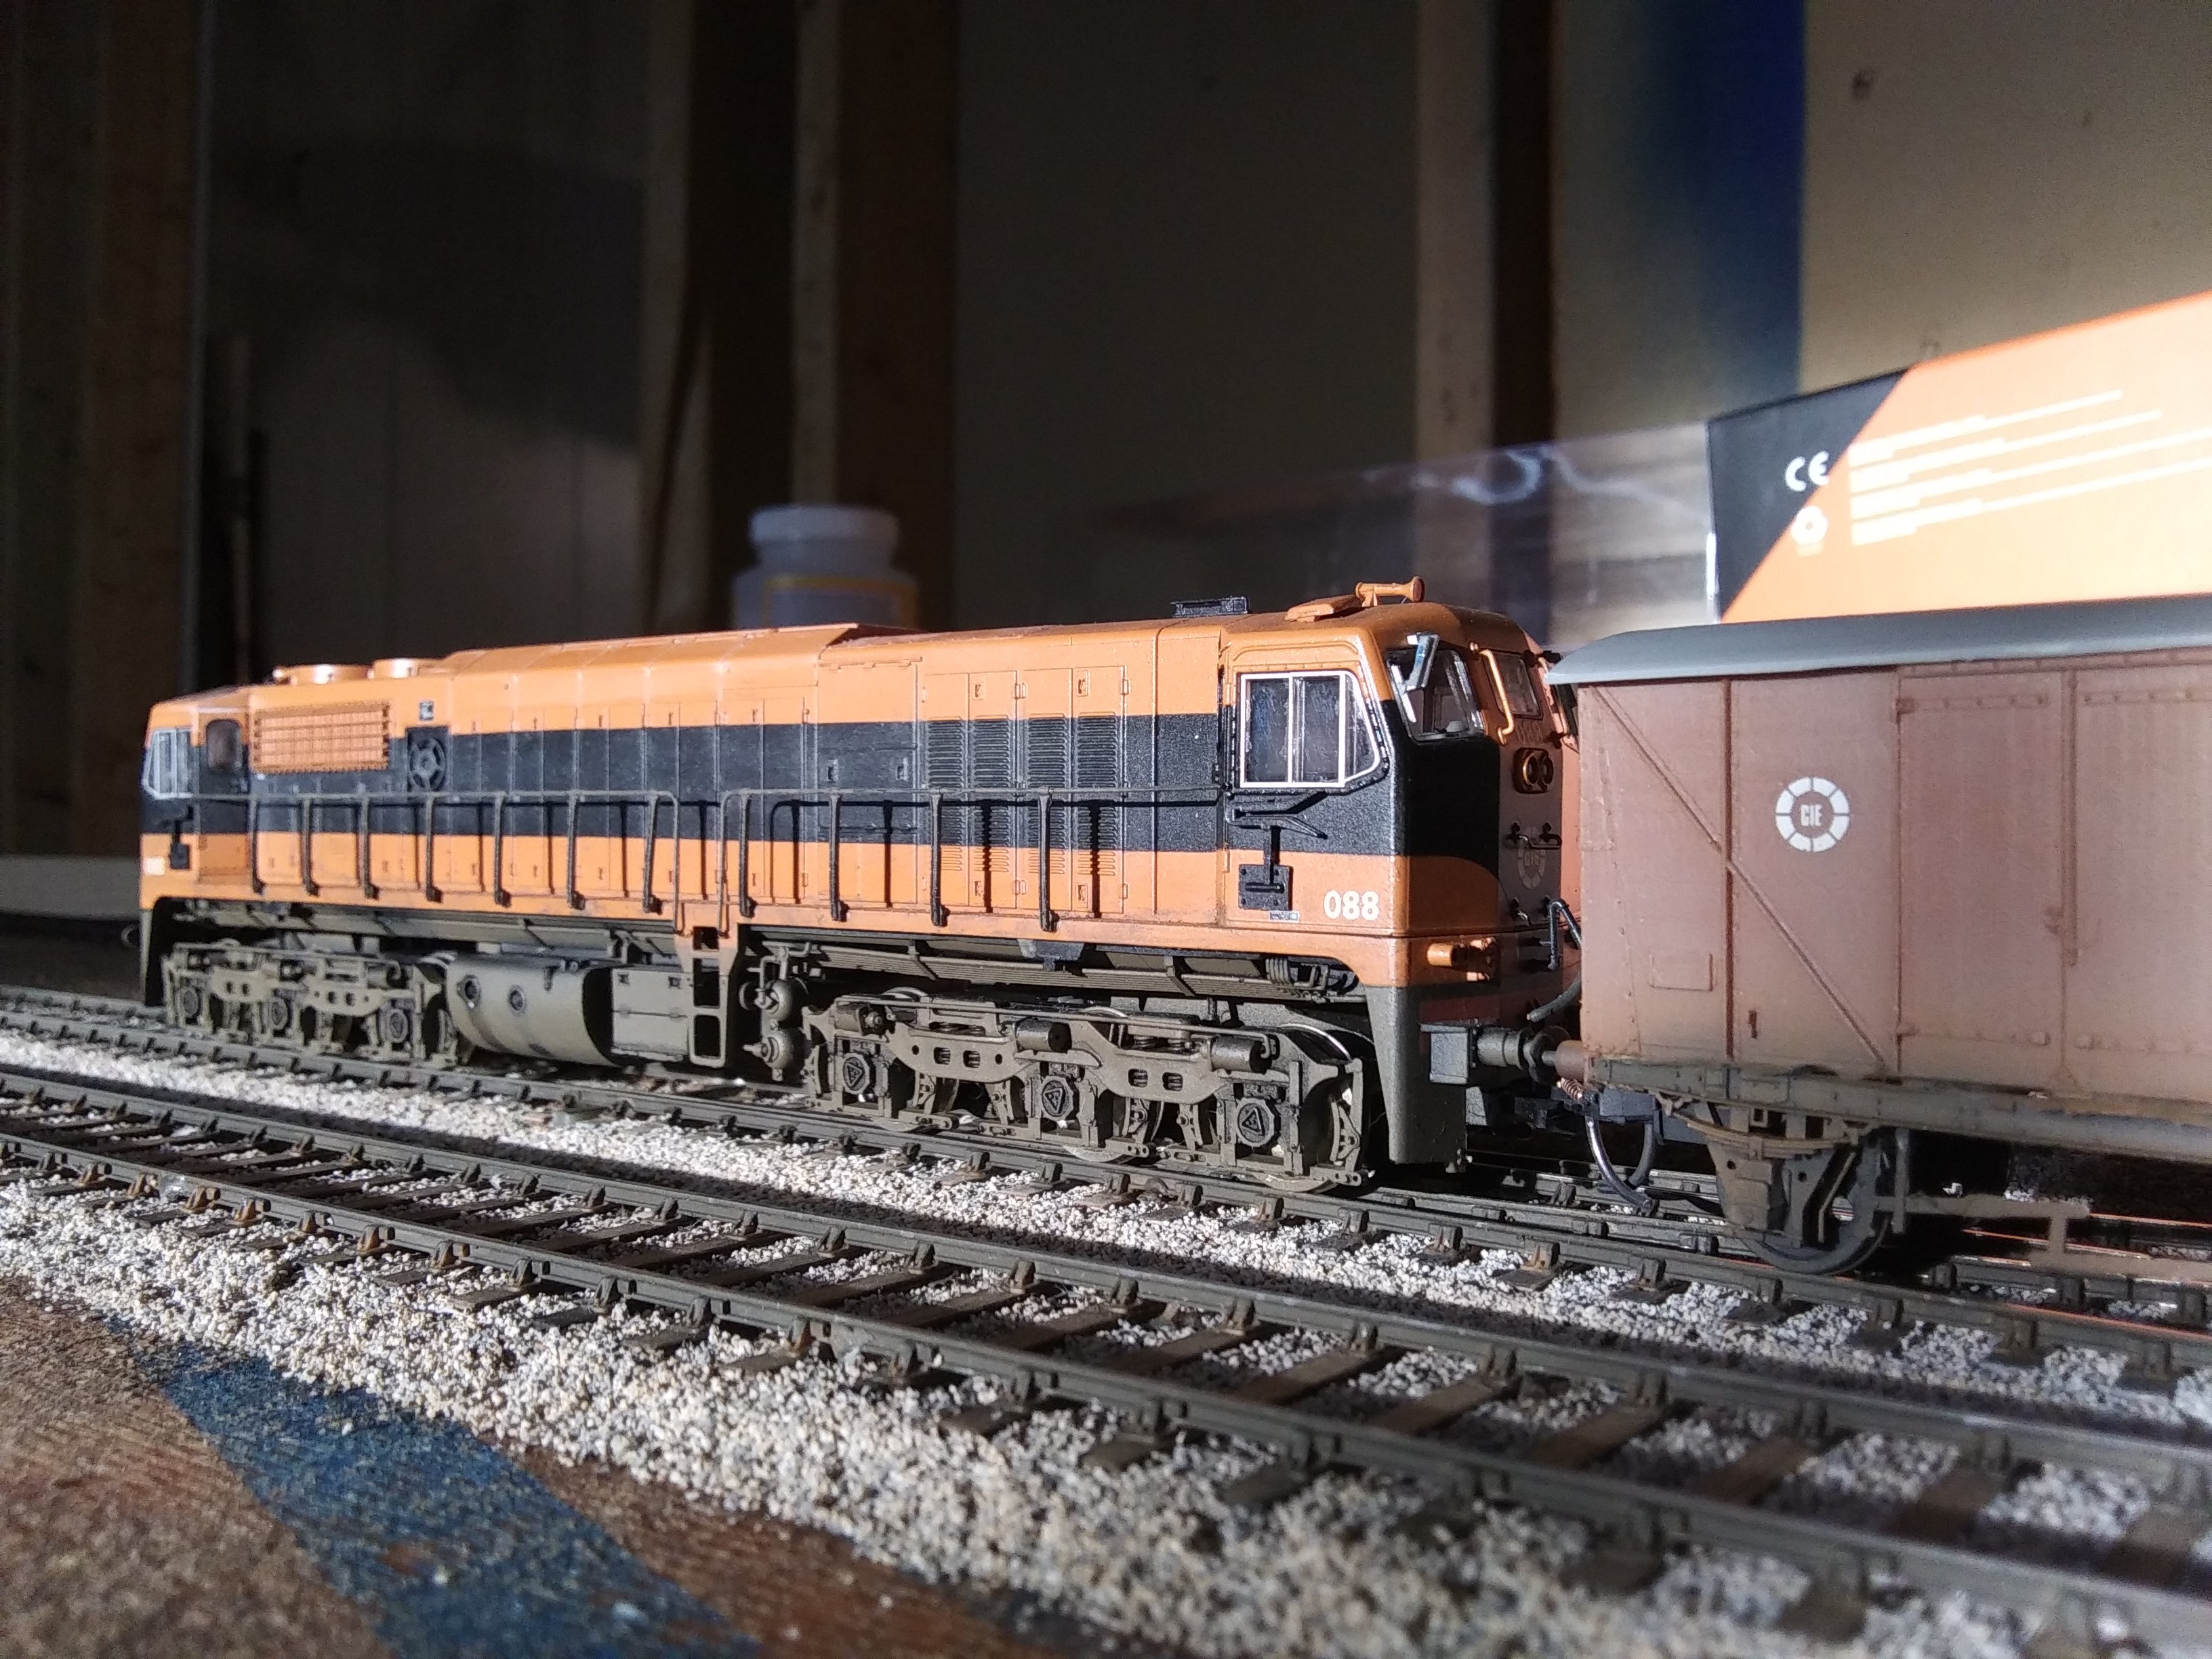
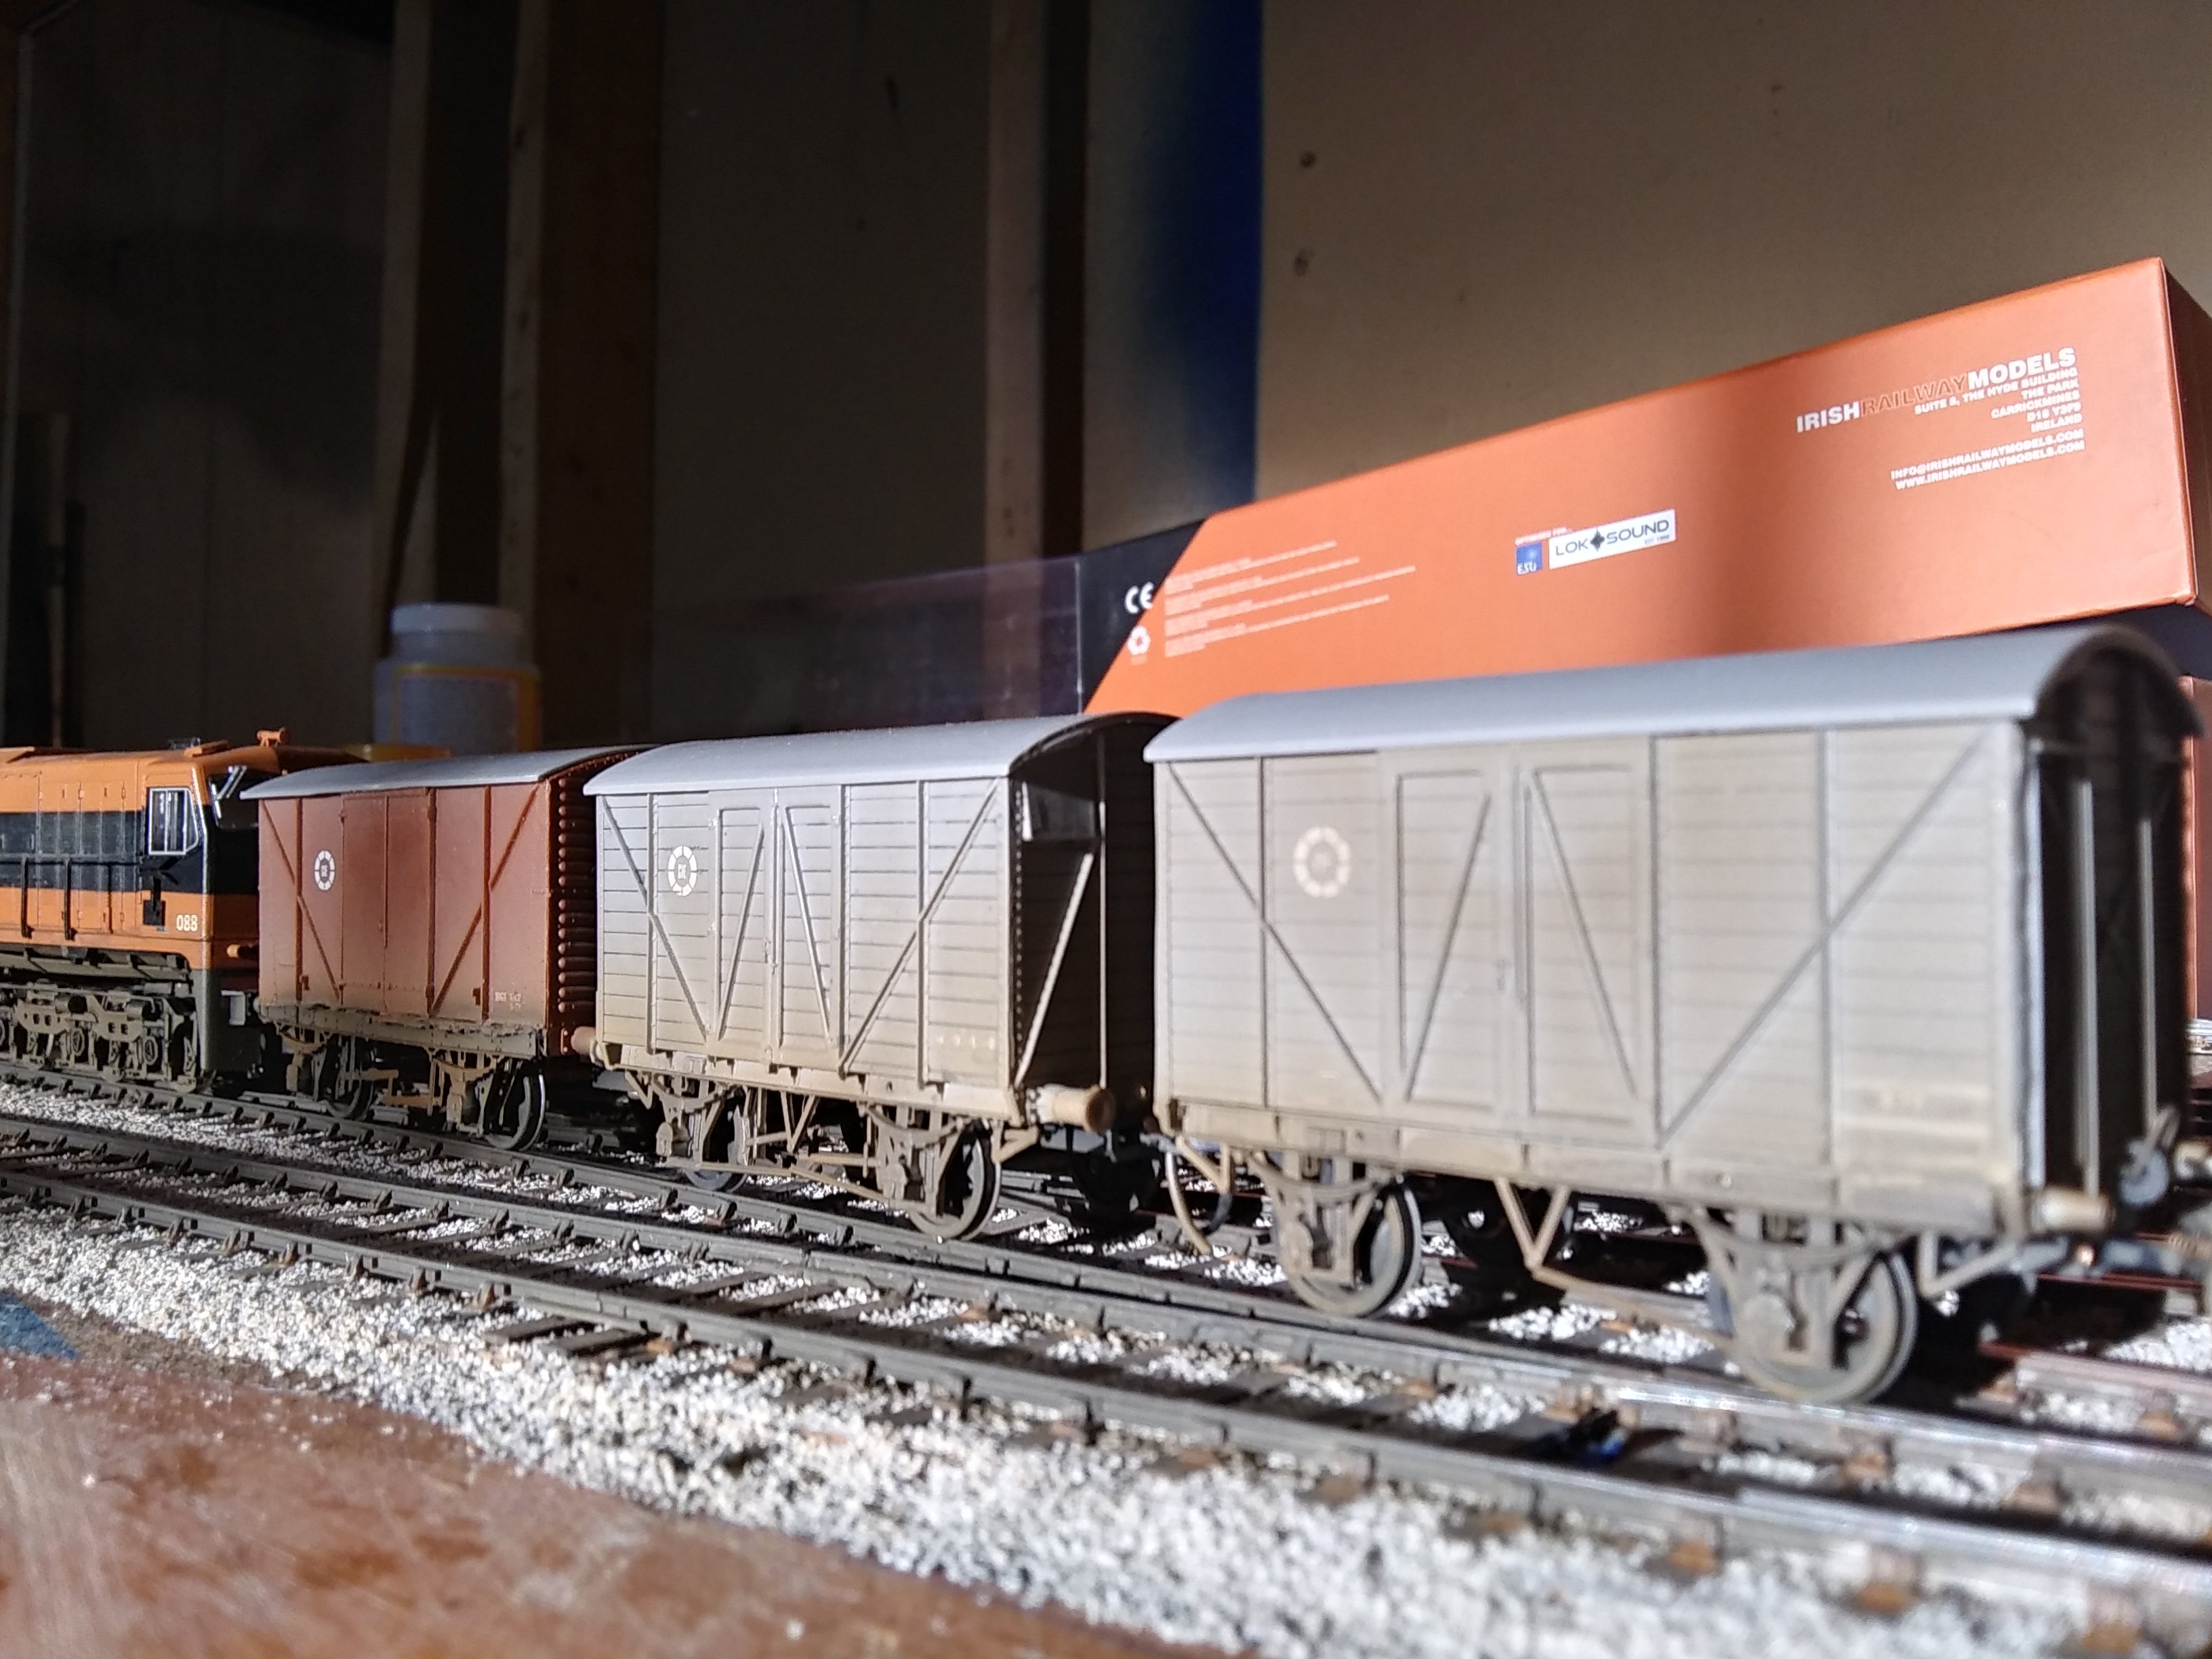
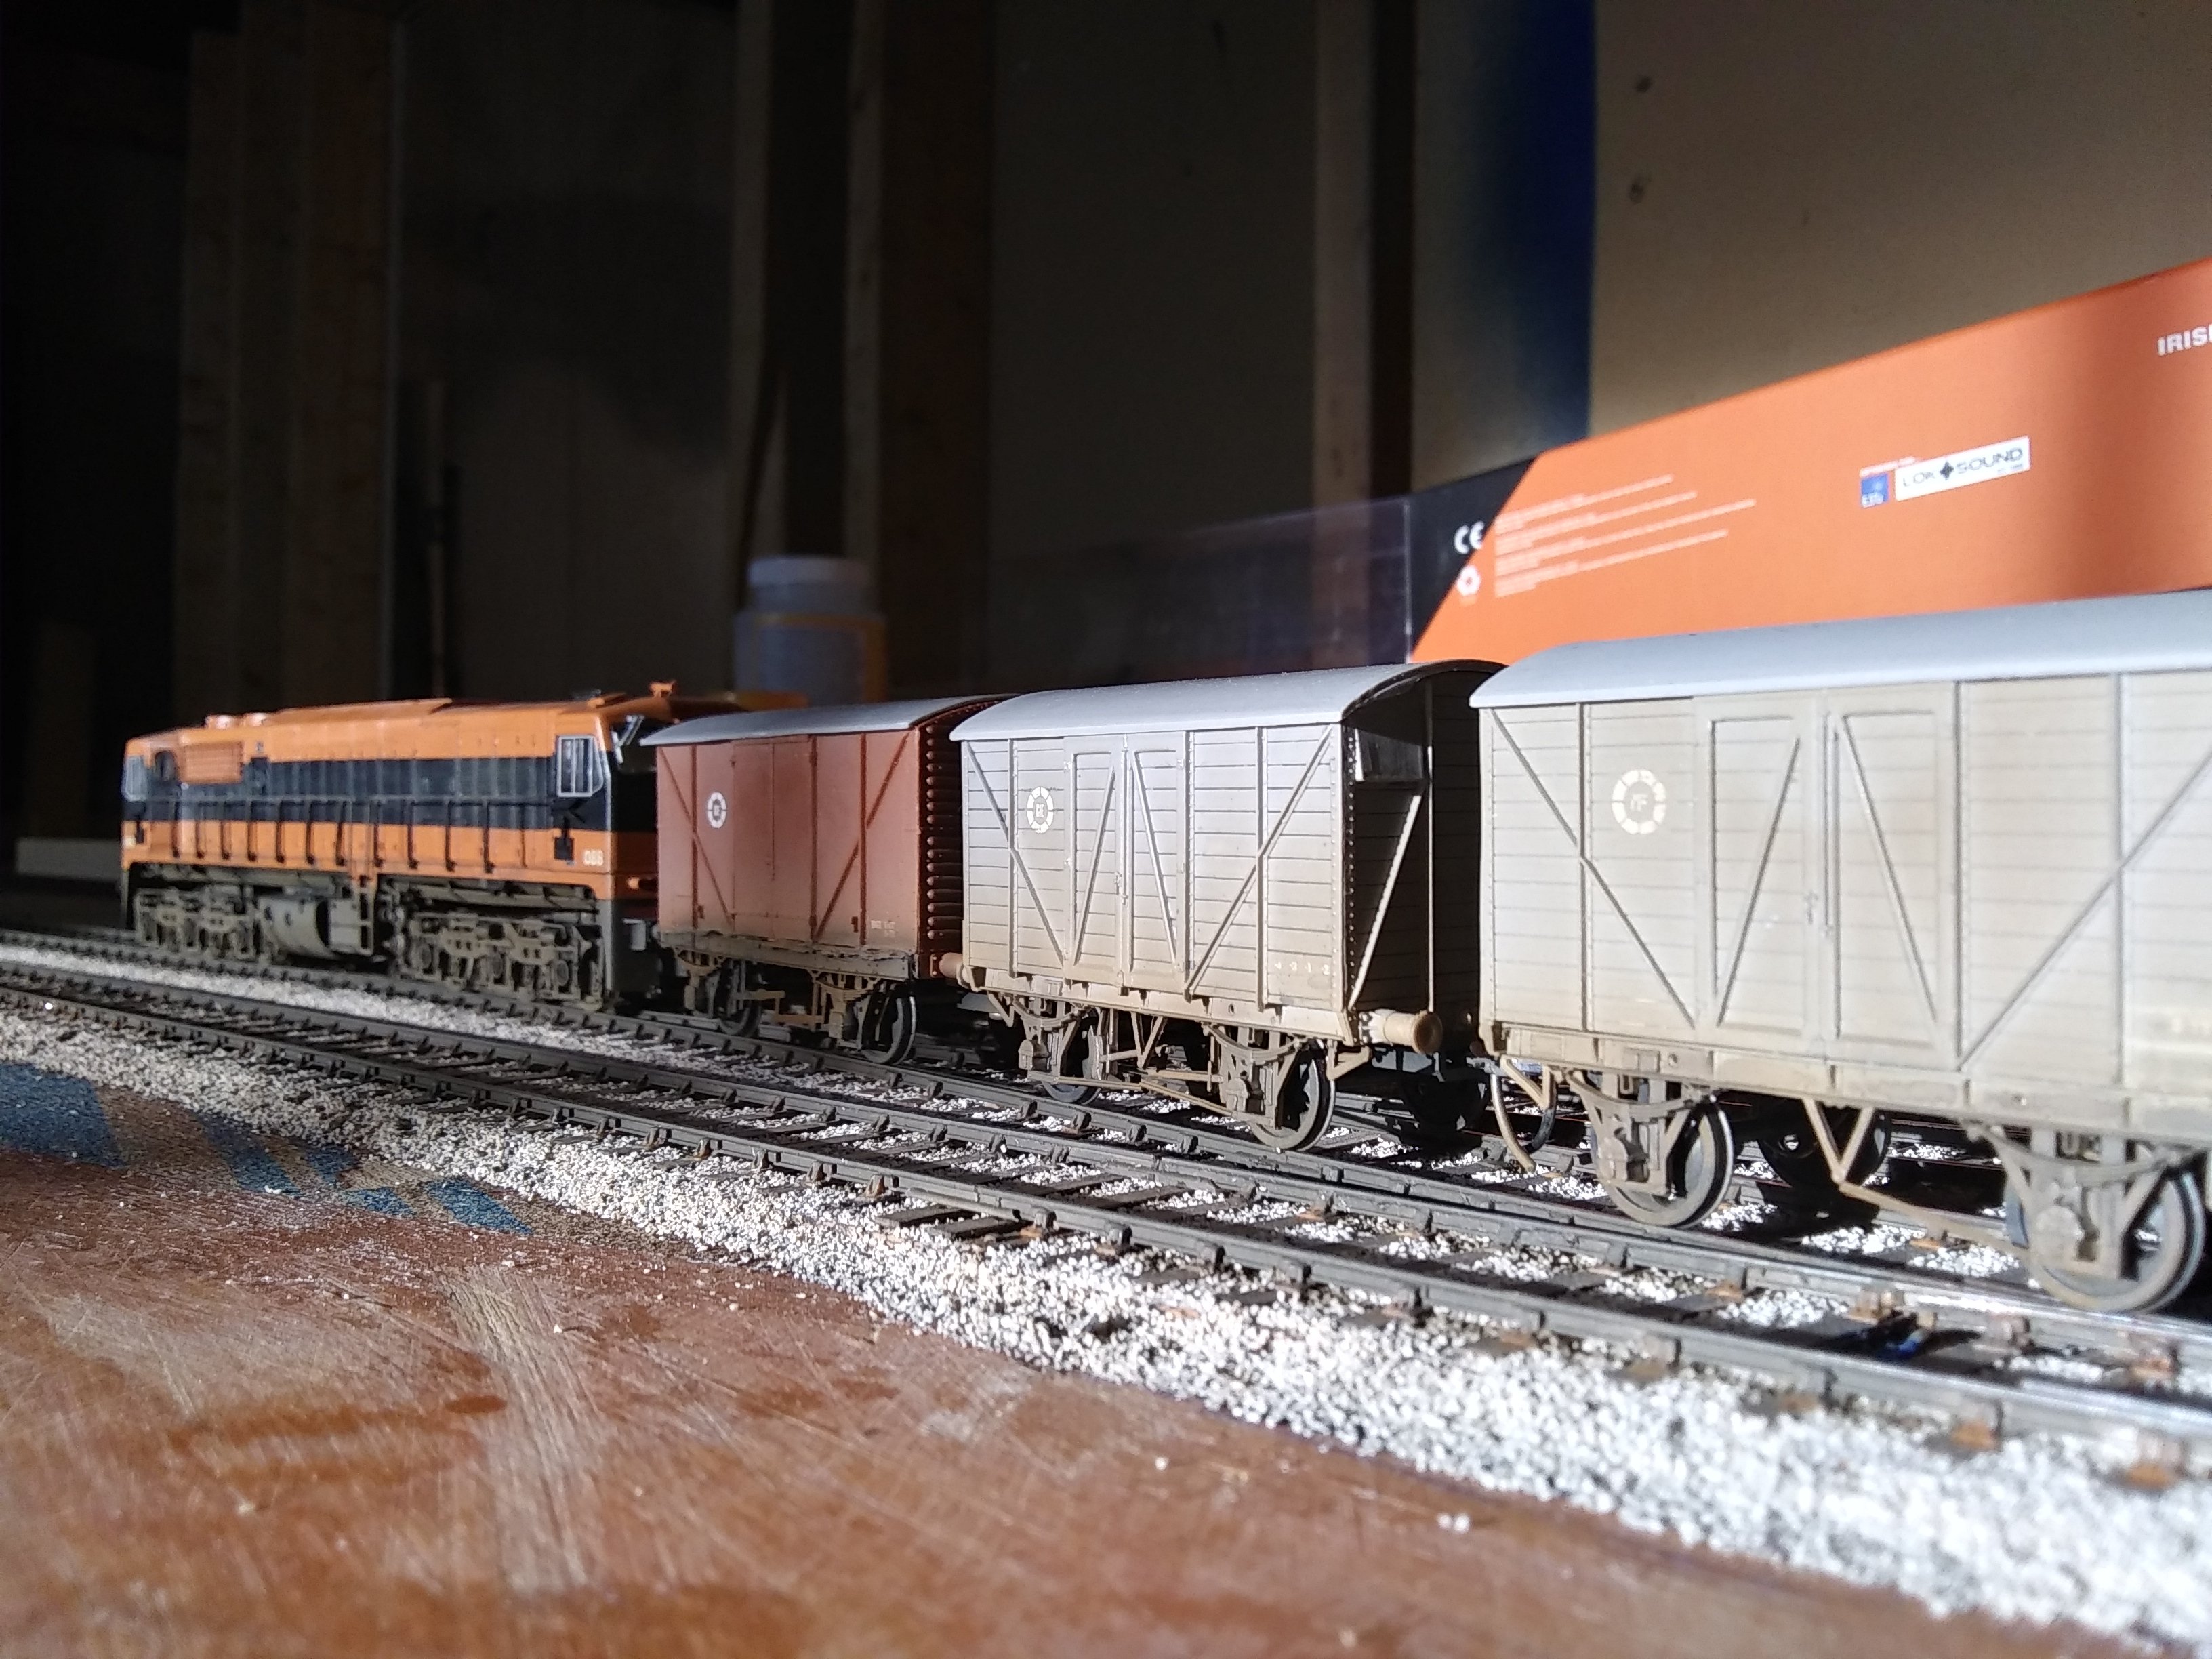
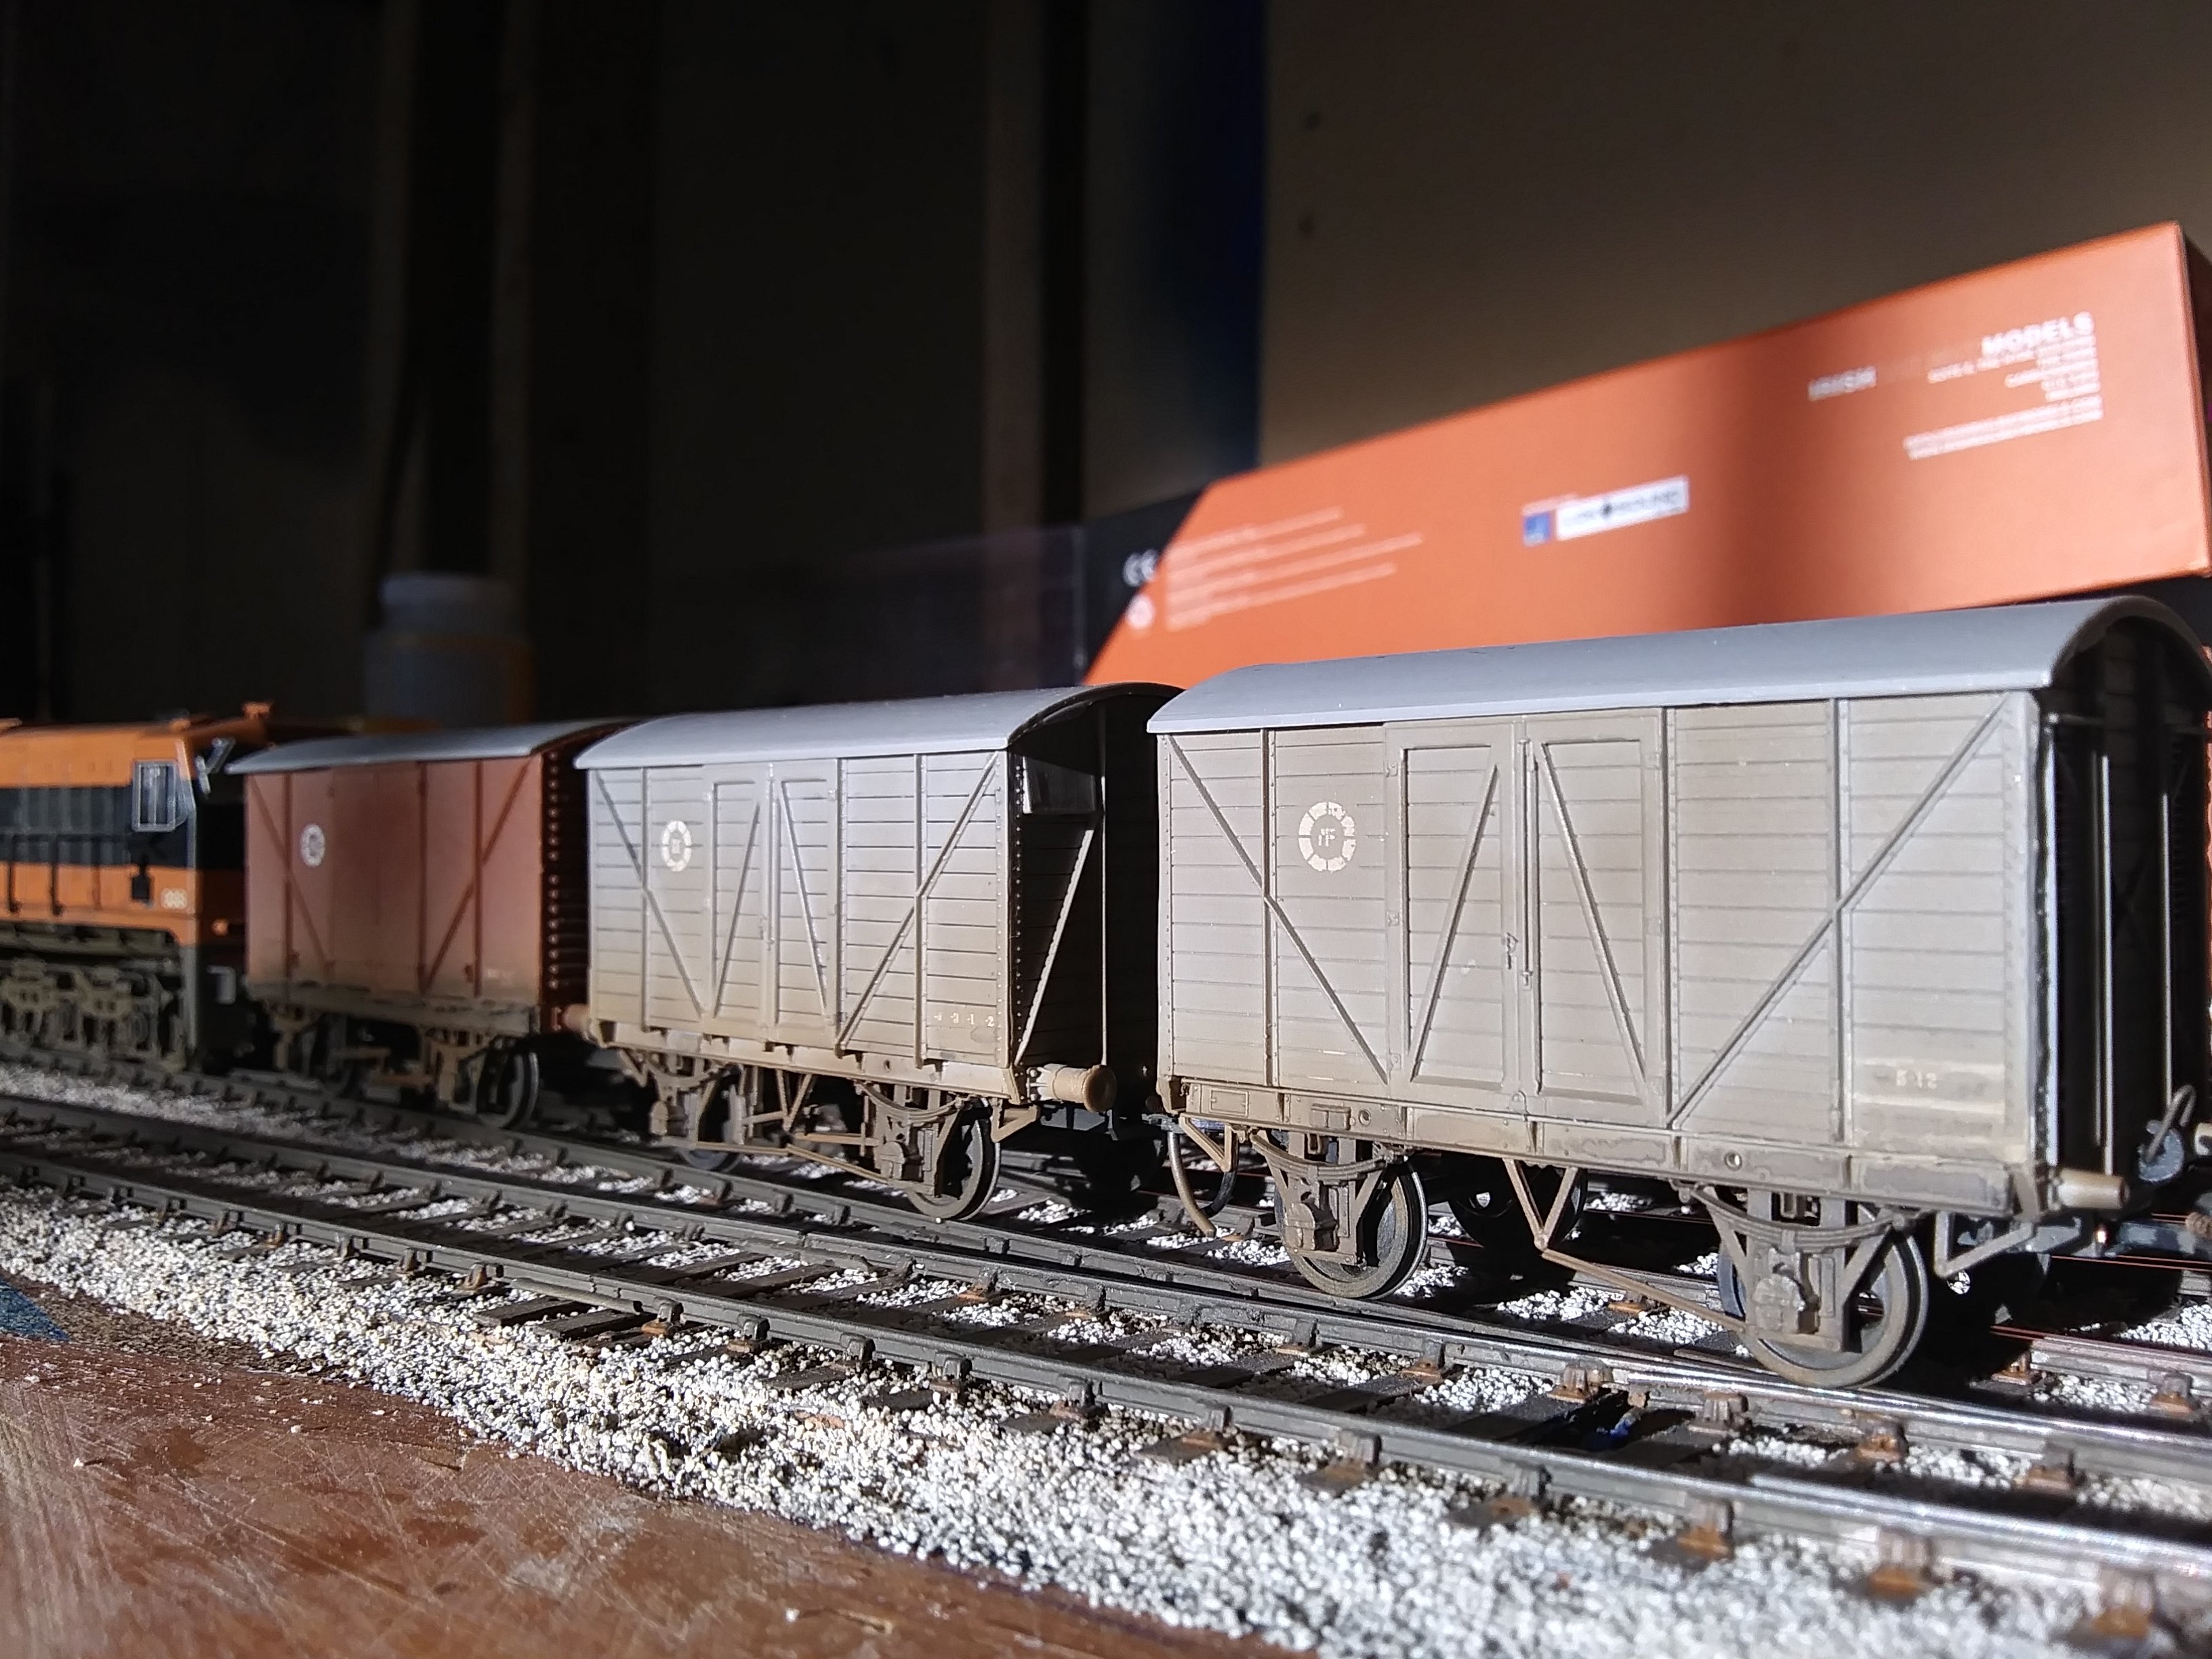
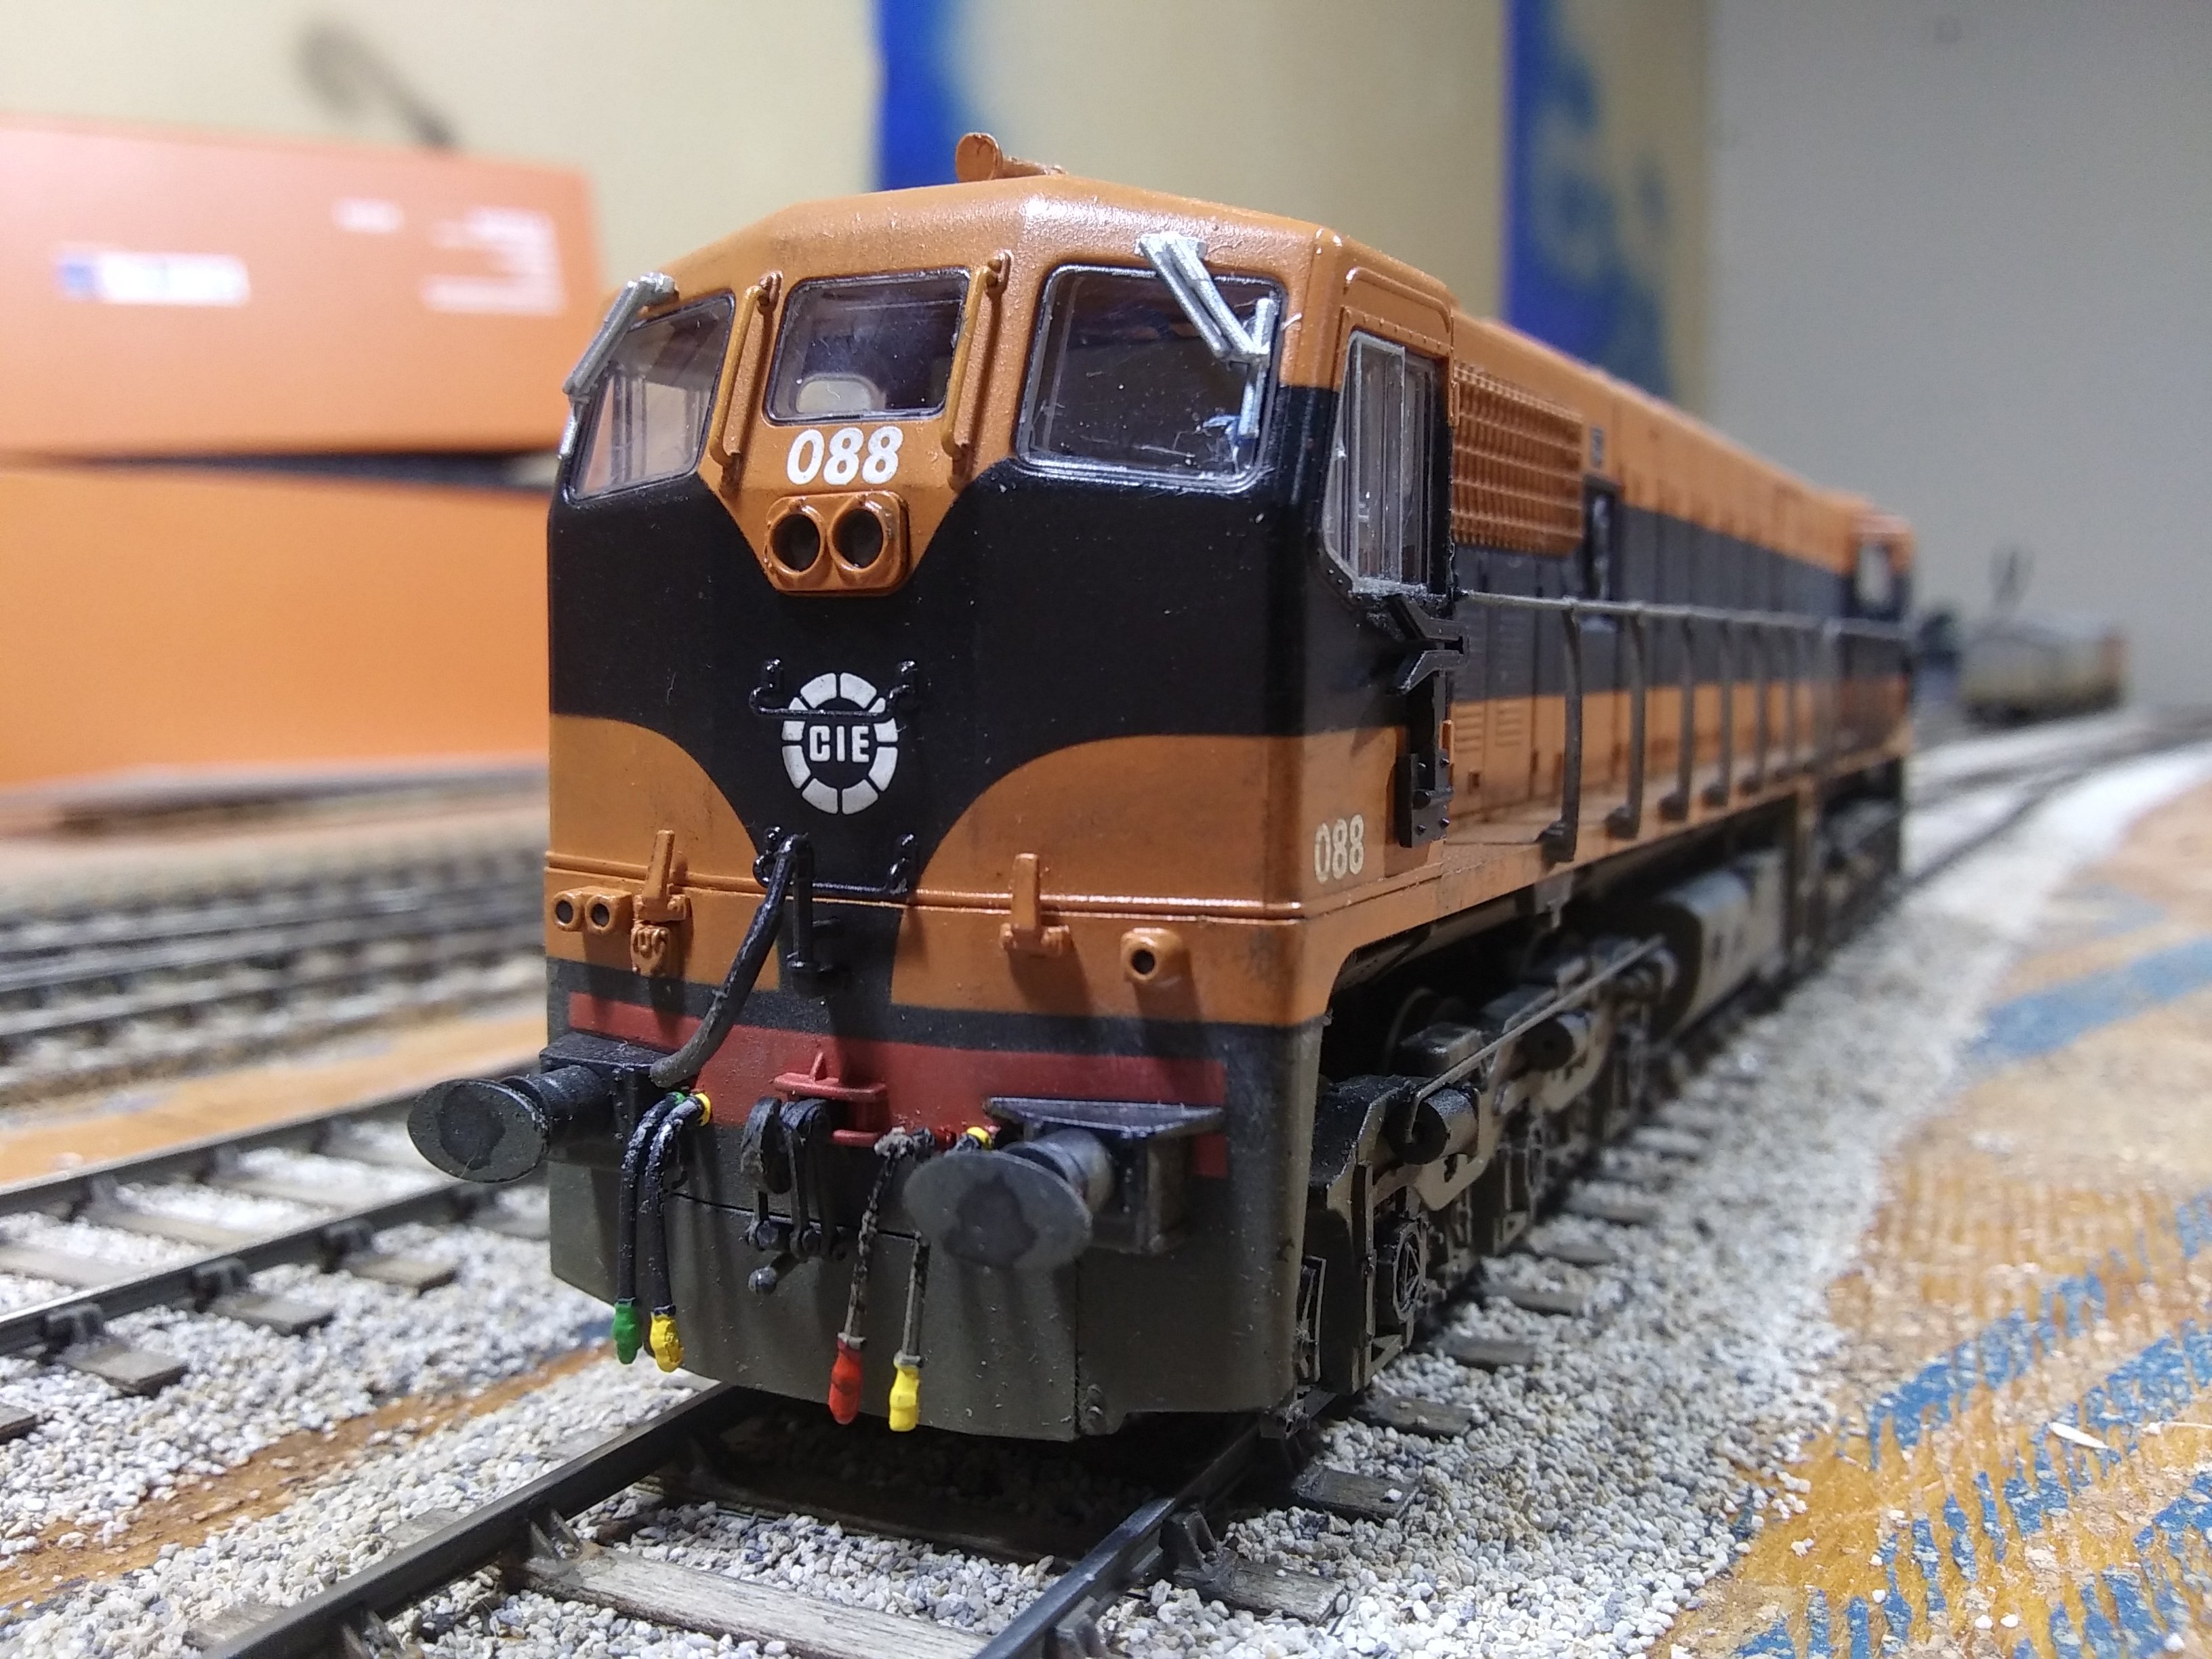
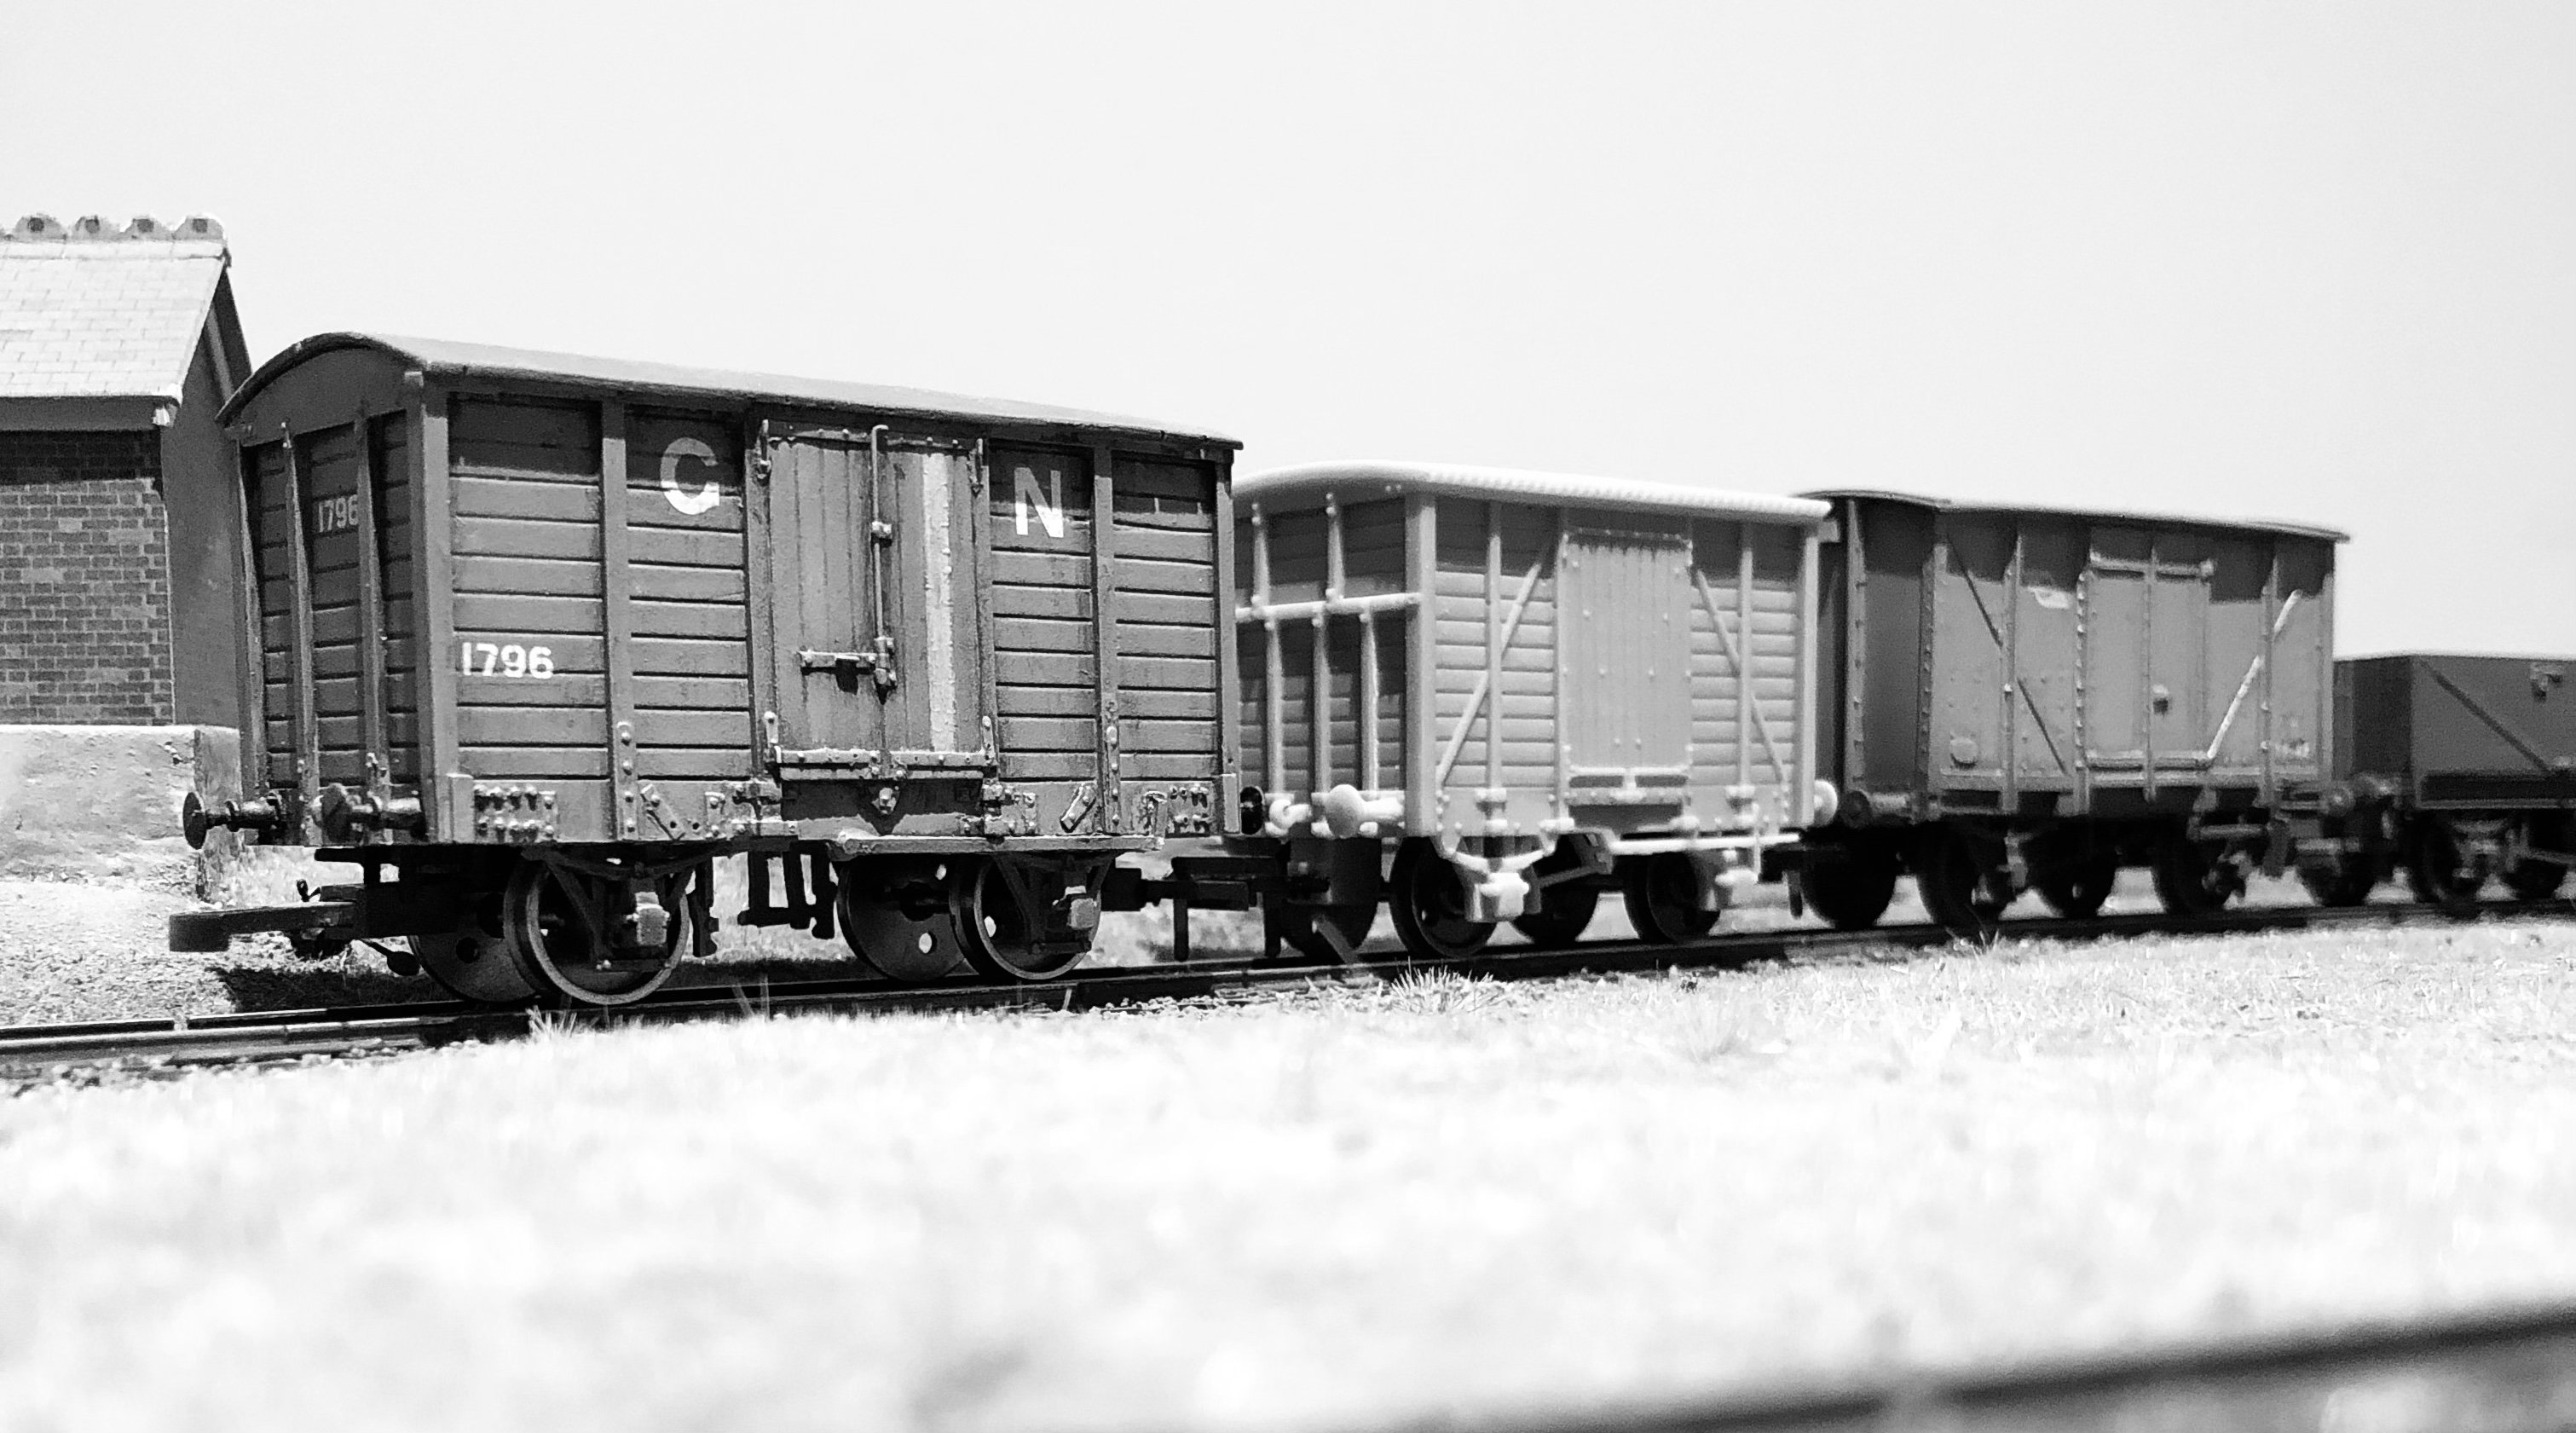
Until the mid 1960s and quite often later, it’s practically obligatory that few if ANY wagons in a train were the same type. Typically, brand new “palvans” and “H” vans mixed and mingled with older CIE types, old GSR vans of at least three types, older still the occasional antique of DWWR, DSER, GSWR (many types of this alone) and MGWR origin. After CIE ate the pitiful remnants of the GNR in October 1958, GNR vans of (again) at least three varieties joined the gang, many retaining their GNR markings well into the 1960s, and many GNR Cement Vans (very like CIE “H”s, but with corrugated ends) lasting until the end of loose-coupled goods in the 1970s.
Spotted at Dugort Harbour in 1960 are, left to right; “Provincial Wagons” standard timber-framed ex-GNR goods van, as yet not repainted in CIE style; a KMCE covered van of an earlier (DWWR) period (as yet not painted, and on temporary wheels; proper spoked ones on order); and another “Provincial” “H” van.
Looking forward to getting a few more onto the layout. I’ve two MGWR ones currently without wheels, and a few more of both KMCE and Provincial origin.
Superb models, gents!
Amazing detail!
-
1
-
-
Thanks for the compliments guys! It's amazing how a camera can create the illusion of expanse since the whole thing is only 6' x 2.5'
-
3
-
-
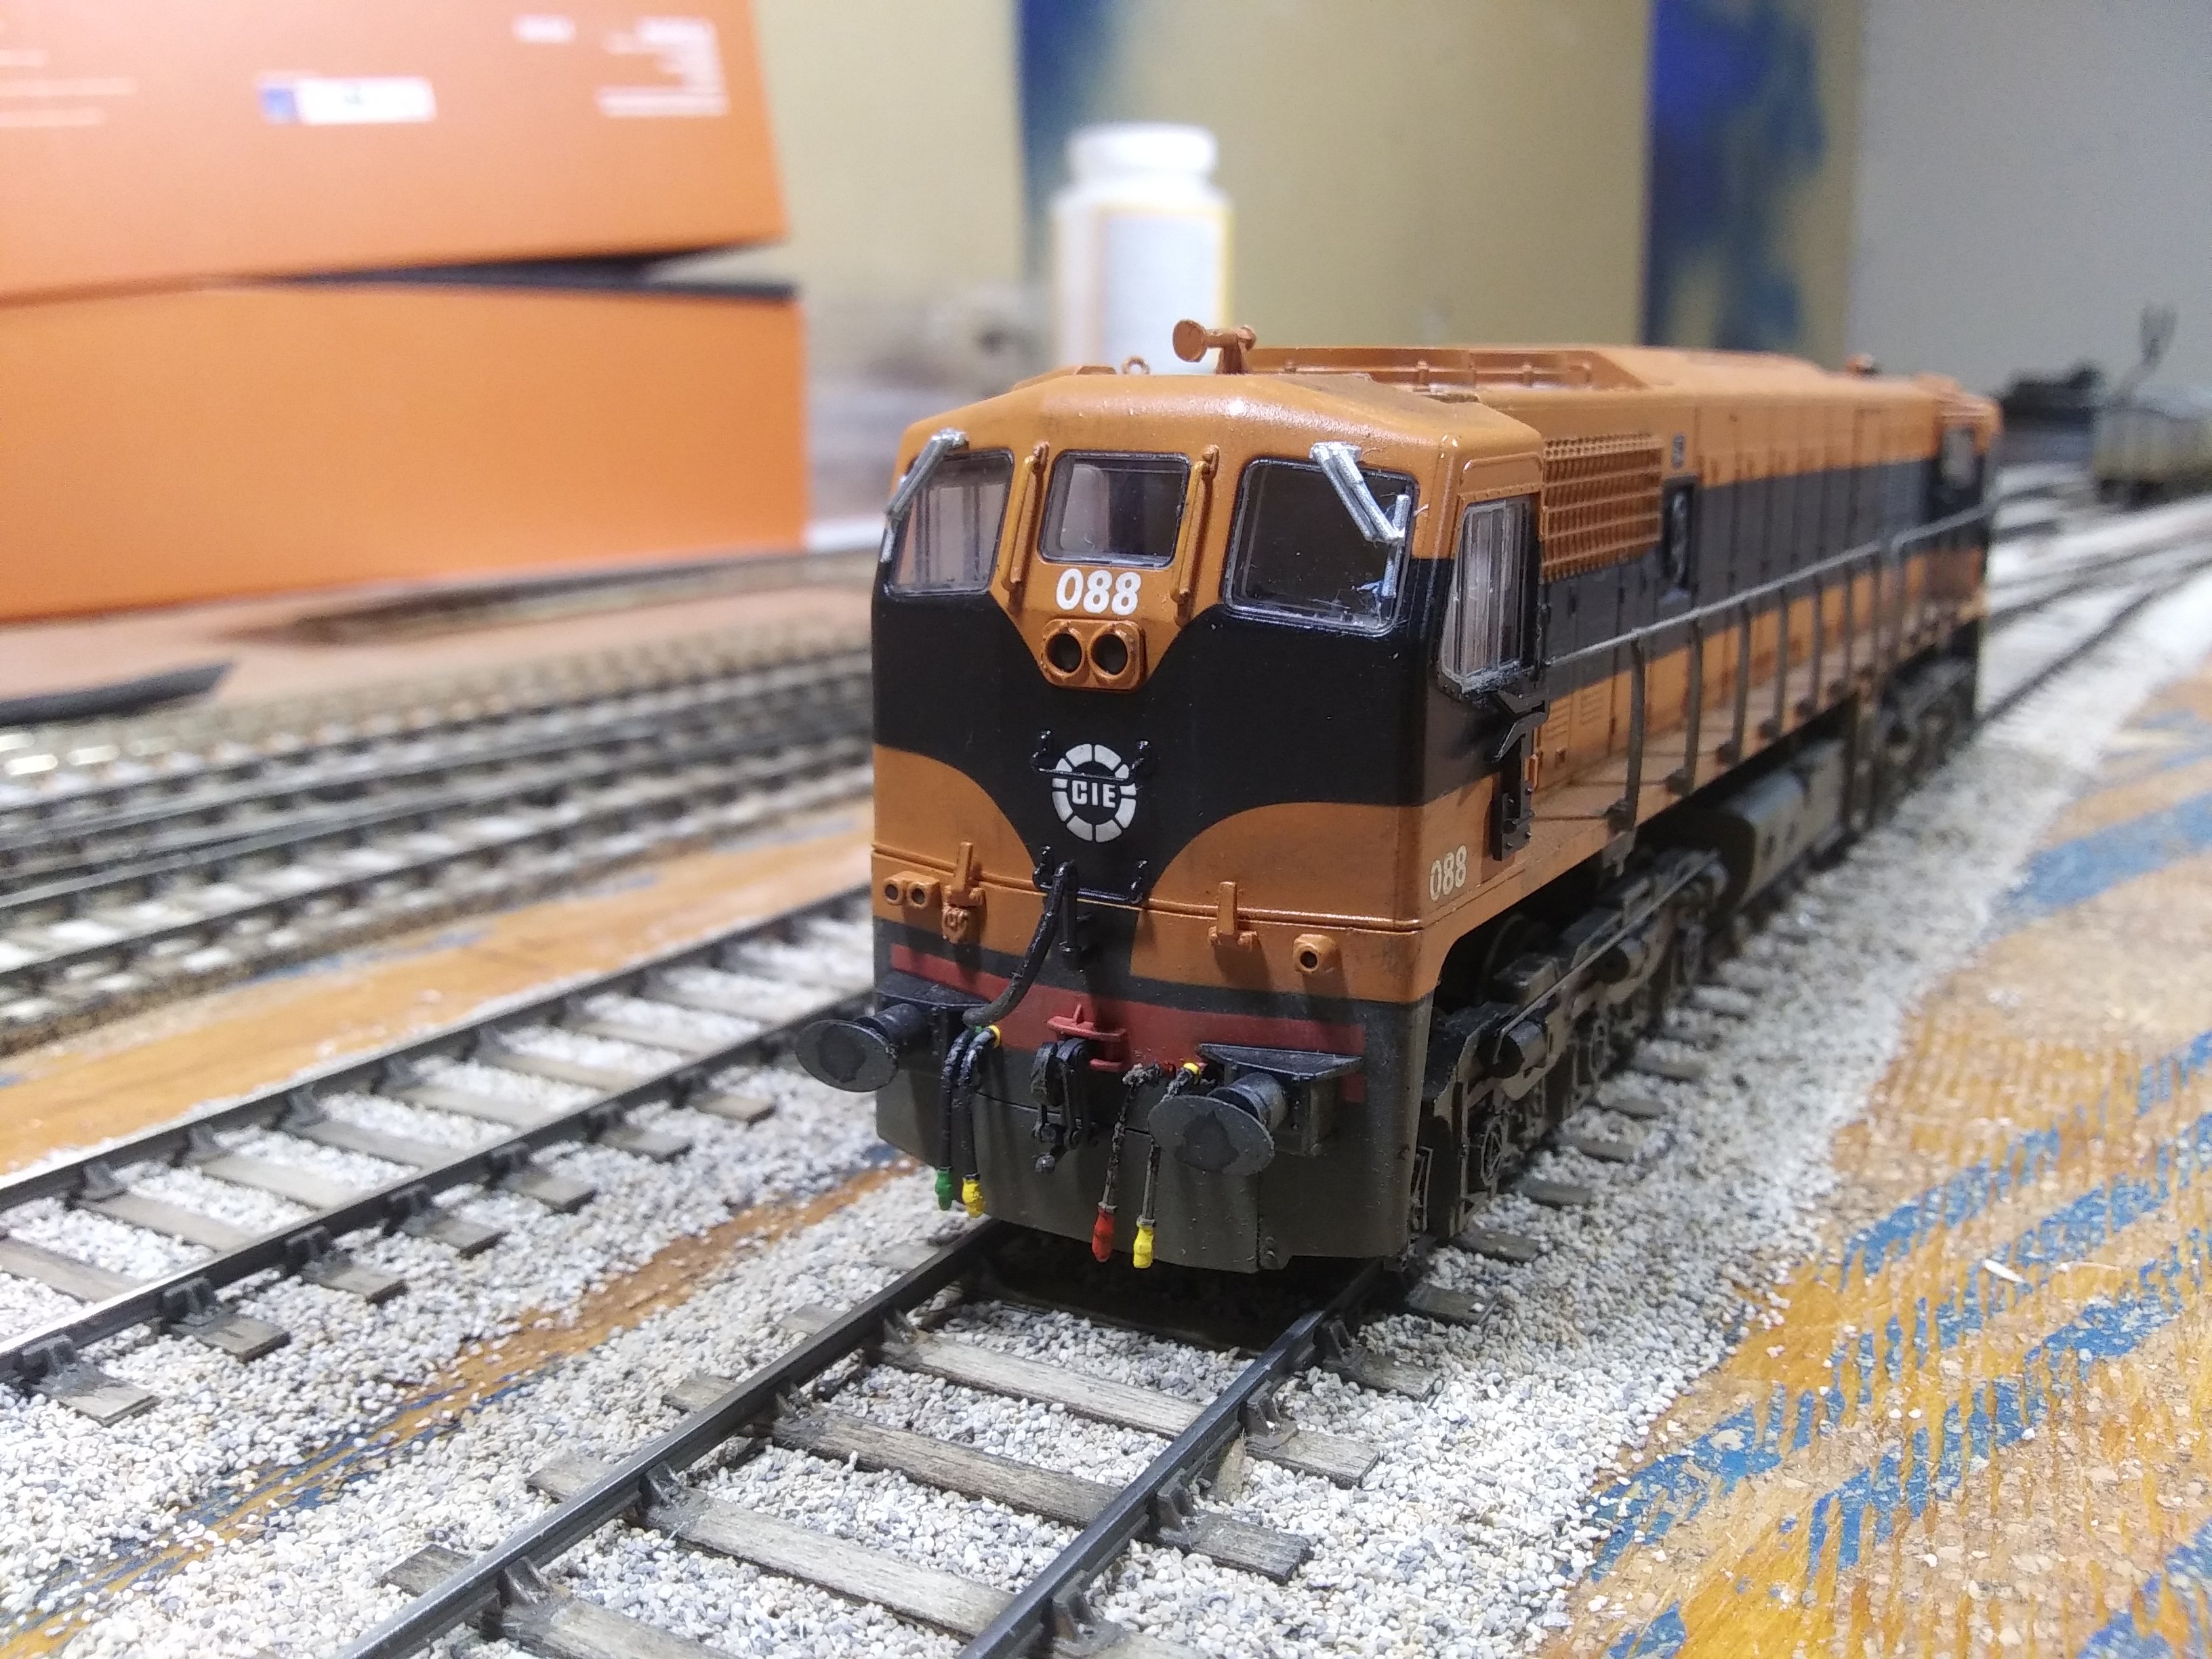
- Popular Post

-
17
-
2
-
3
-
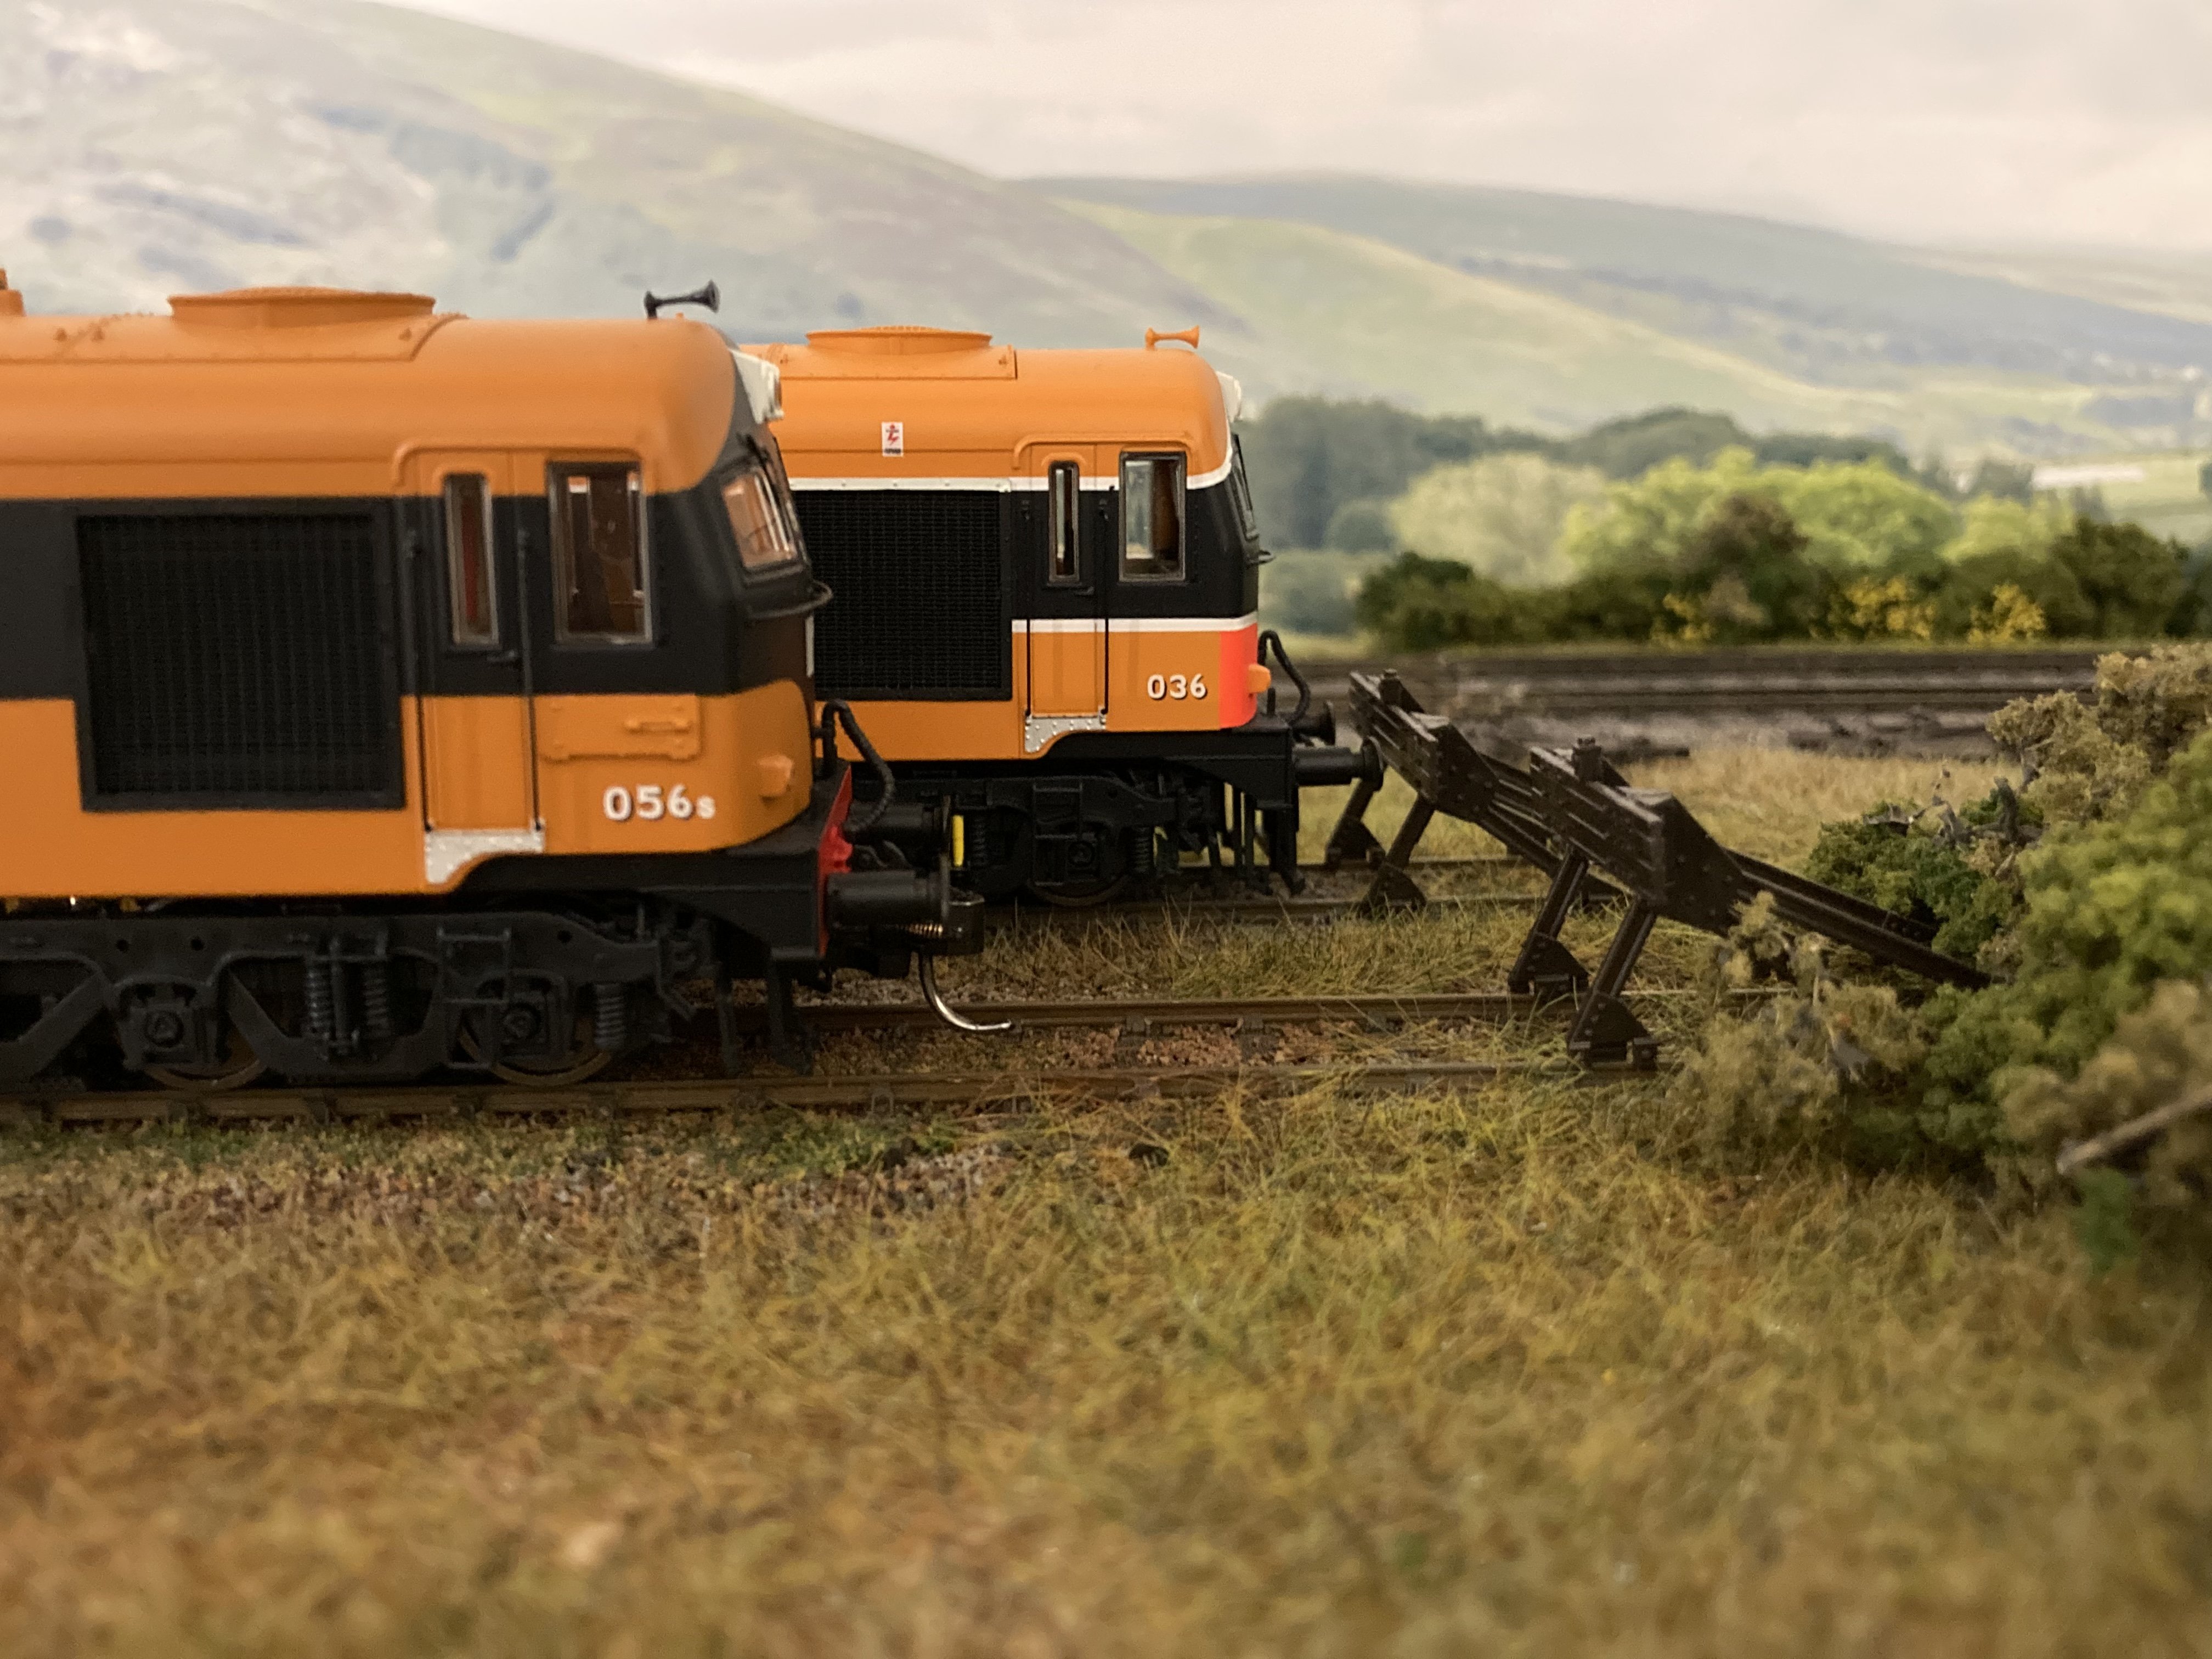
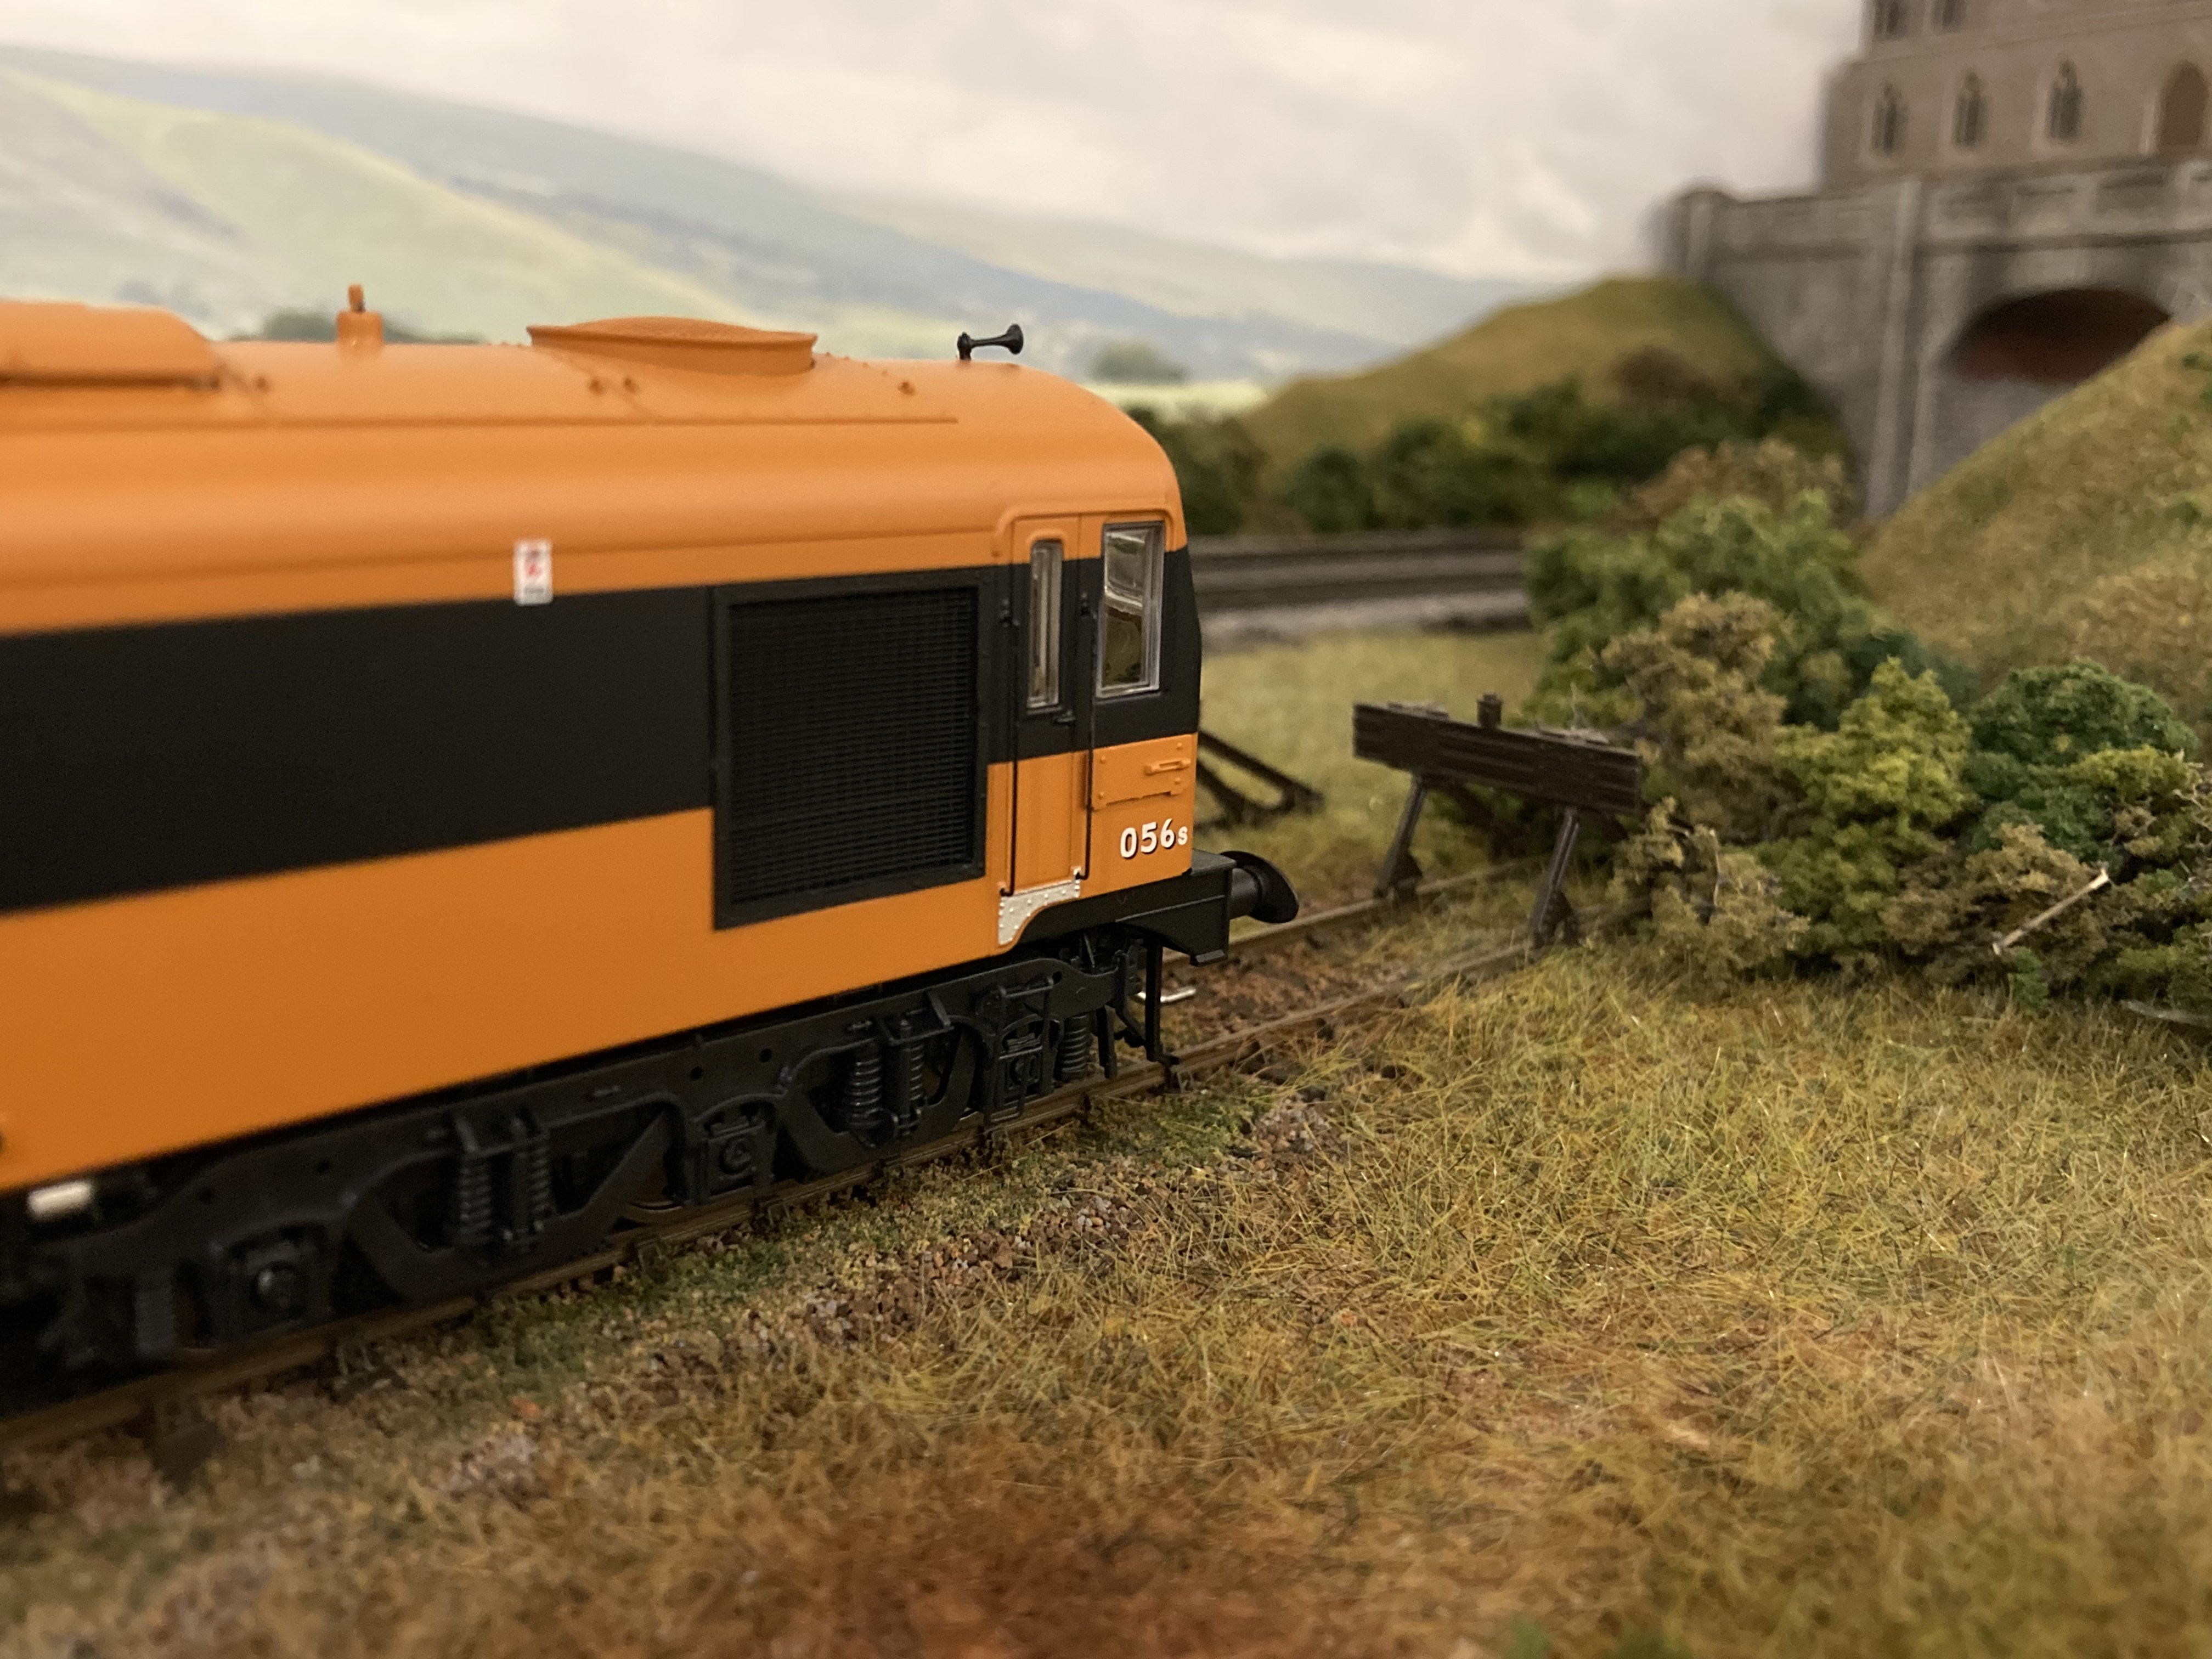
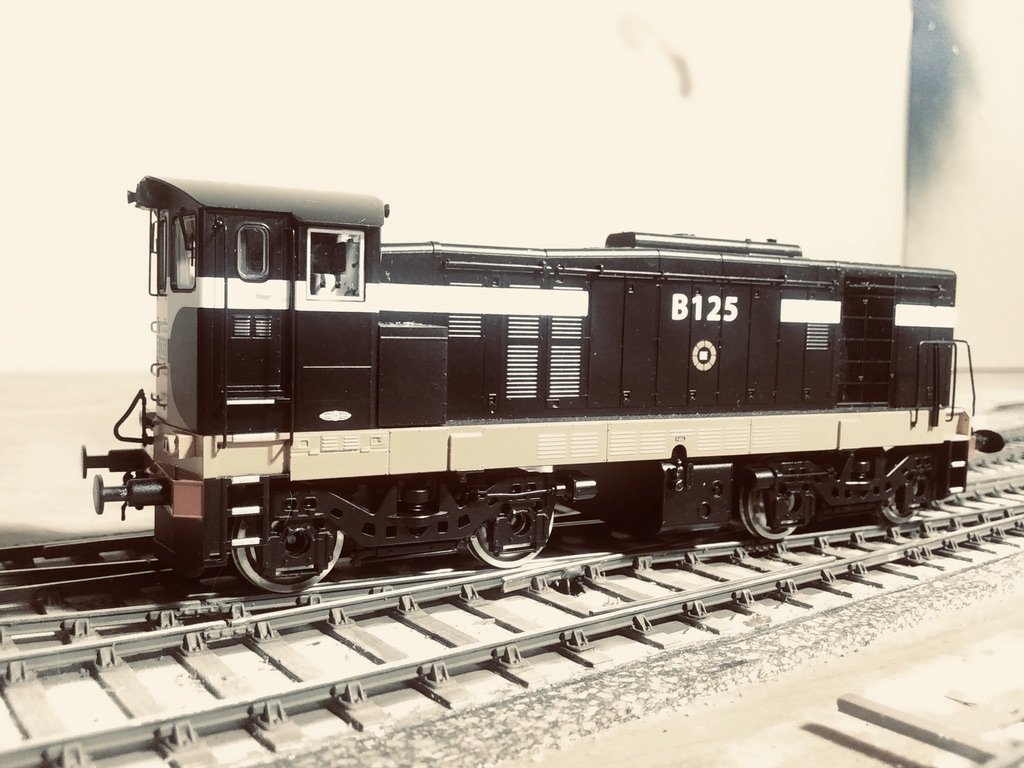
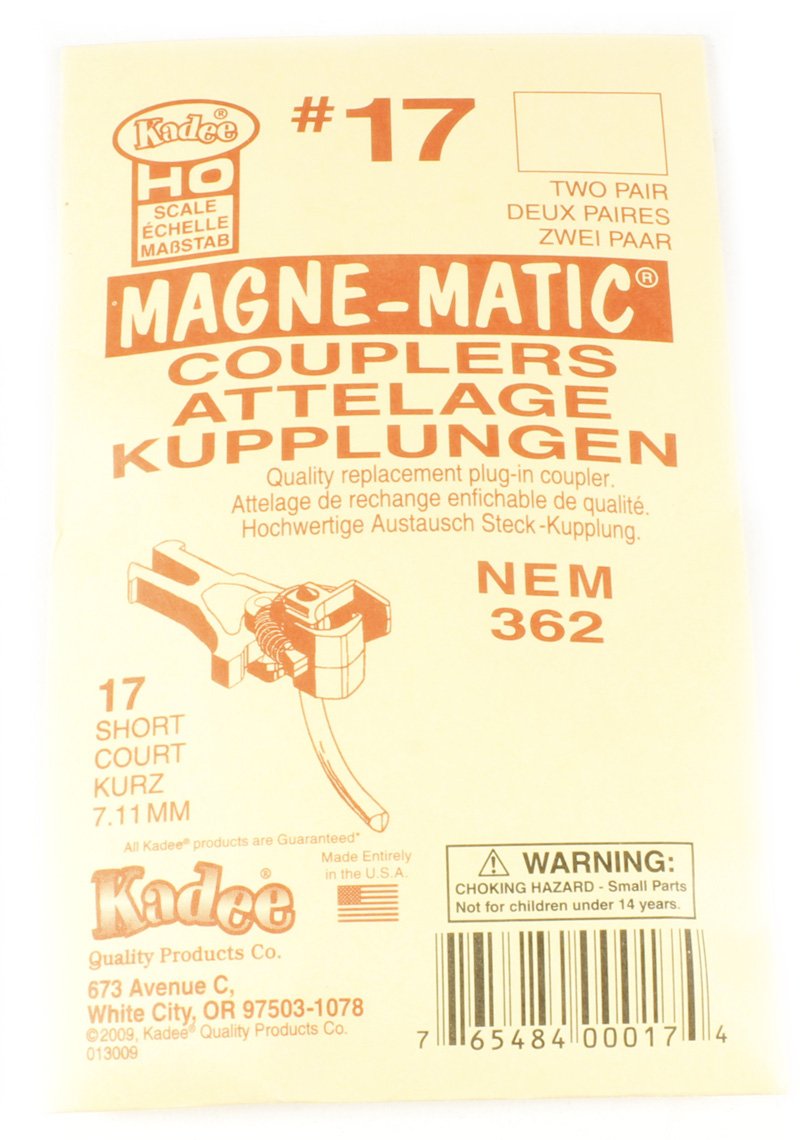
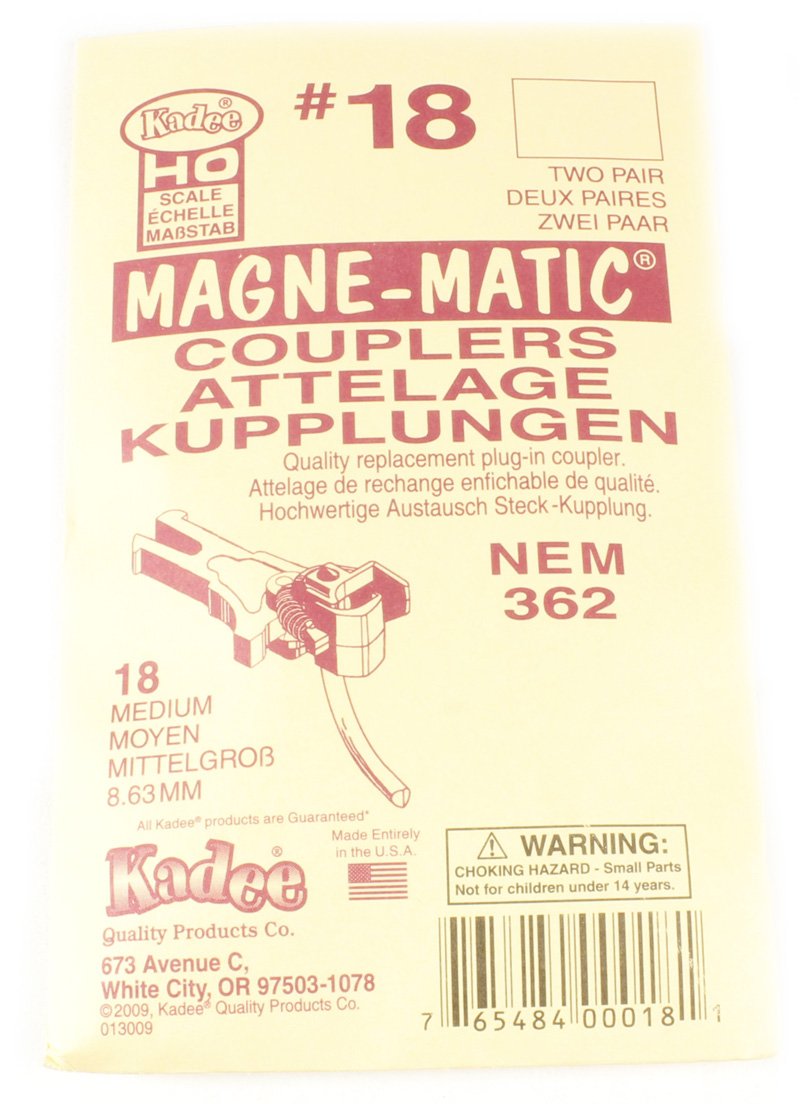
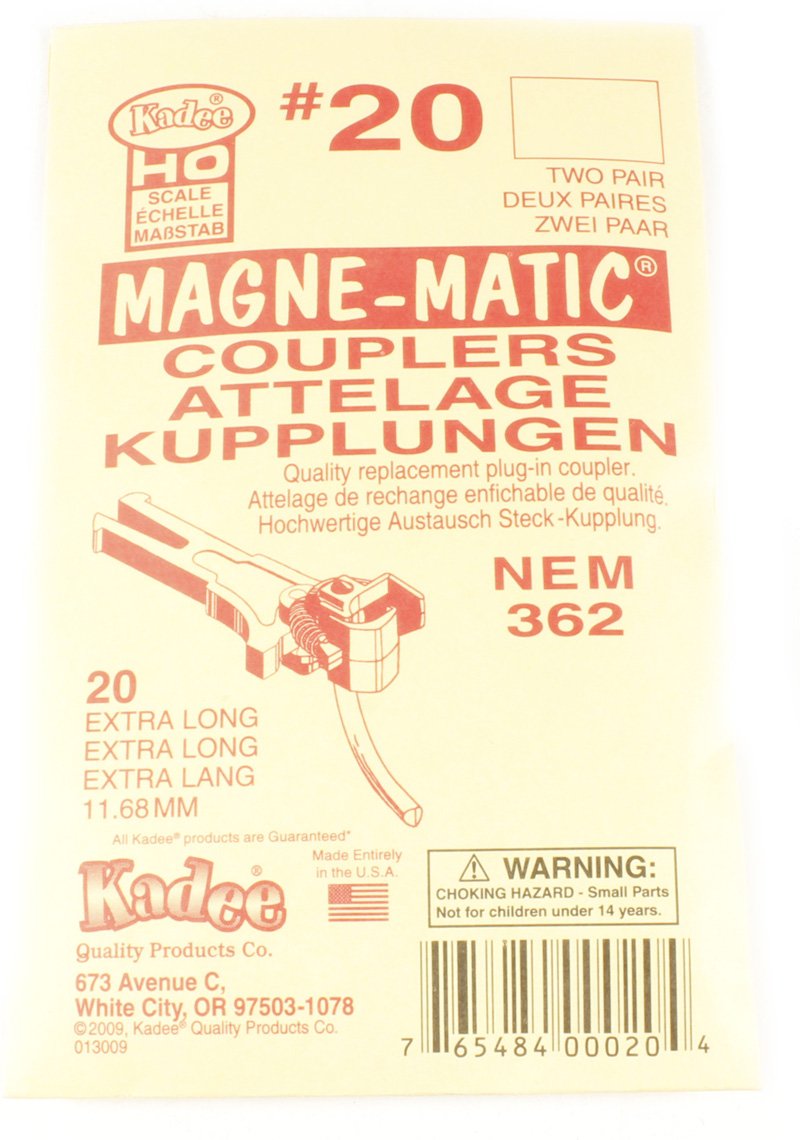
21 hours ago, Keano30 said:
Hello all,
I want to convert my Murphy models from the standard couplers to Kadee couplers. Just wondering if you have any recommendation on which Kadee couplings to use on the Class A 056 and the Class 121 murphy models and coaches.
I've seen there are a number of different sizes, 17" to 20", which ones should I use for best results? Has anyone used the magnetic uncouplers also, are there any issues with these?
I never had any problems with any size. Just make sure you don't get buffer lock.
I've had great success with all of them. I always try to go with the smallest I kind before getting buffer lock on smaller radius turns.
-
1 hour ago, Brendan8056 said:
John,
I have a few posts about trackwork, here is one relating to some points I built last year, I hope that is helpful.
Awesome work Brendan. It actually reminds me of a technique used by a company here in North America called Fast Tracks. I had tried their 00 point work years ago and loved the smoothness of the crossover with no "drop" as the vee and adjacent rails were a lot closer together than a standard Peco point. I still have their point jig which is made out of some sort of metal which you would solder the sleepers to the rails in. I'll throw in a pic so you can see it. Anyway I had actually contacted the company years ago and inquired about a custom point jig in 21mm - needless to say the price was ridiculous so I decline and that's how I got started in P4. Actually I still have a bag of copper clad sleepers which I use for my 'tiebars" on the points. A complete fluke as they fit under the bullhead rail and slide back and forth with just enough resistance to keep the point rails tight against the stock rails. I solder the point rails to the copper clad tiebar. I then use a push rod from underneath the layout to switch the points as well as an electrical switch to change the polarity.
-
4
-
-
5 hours ago, scahalane said:
The track looks amazing. Work of art.
Thank you!
5 hours ago, Patrick Davey said:Simply jaw dropping, both loco and trackwork!
Thank you!
2 hours ago, Mike 84C said:The extra width in track gauge seems to give a more "beefy" presence, muscular! Track and loco look very good. And welcome to the forum.
Thank you!
1 hour ago, StevieB said:The track looks the part.
Stephen
Thank you!
-
11 hours ago, jhb171achill said:
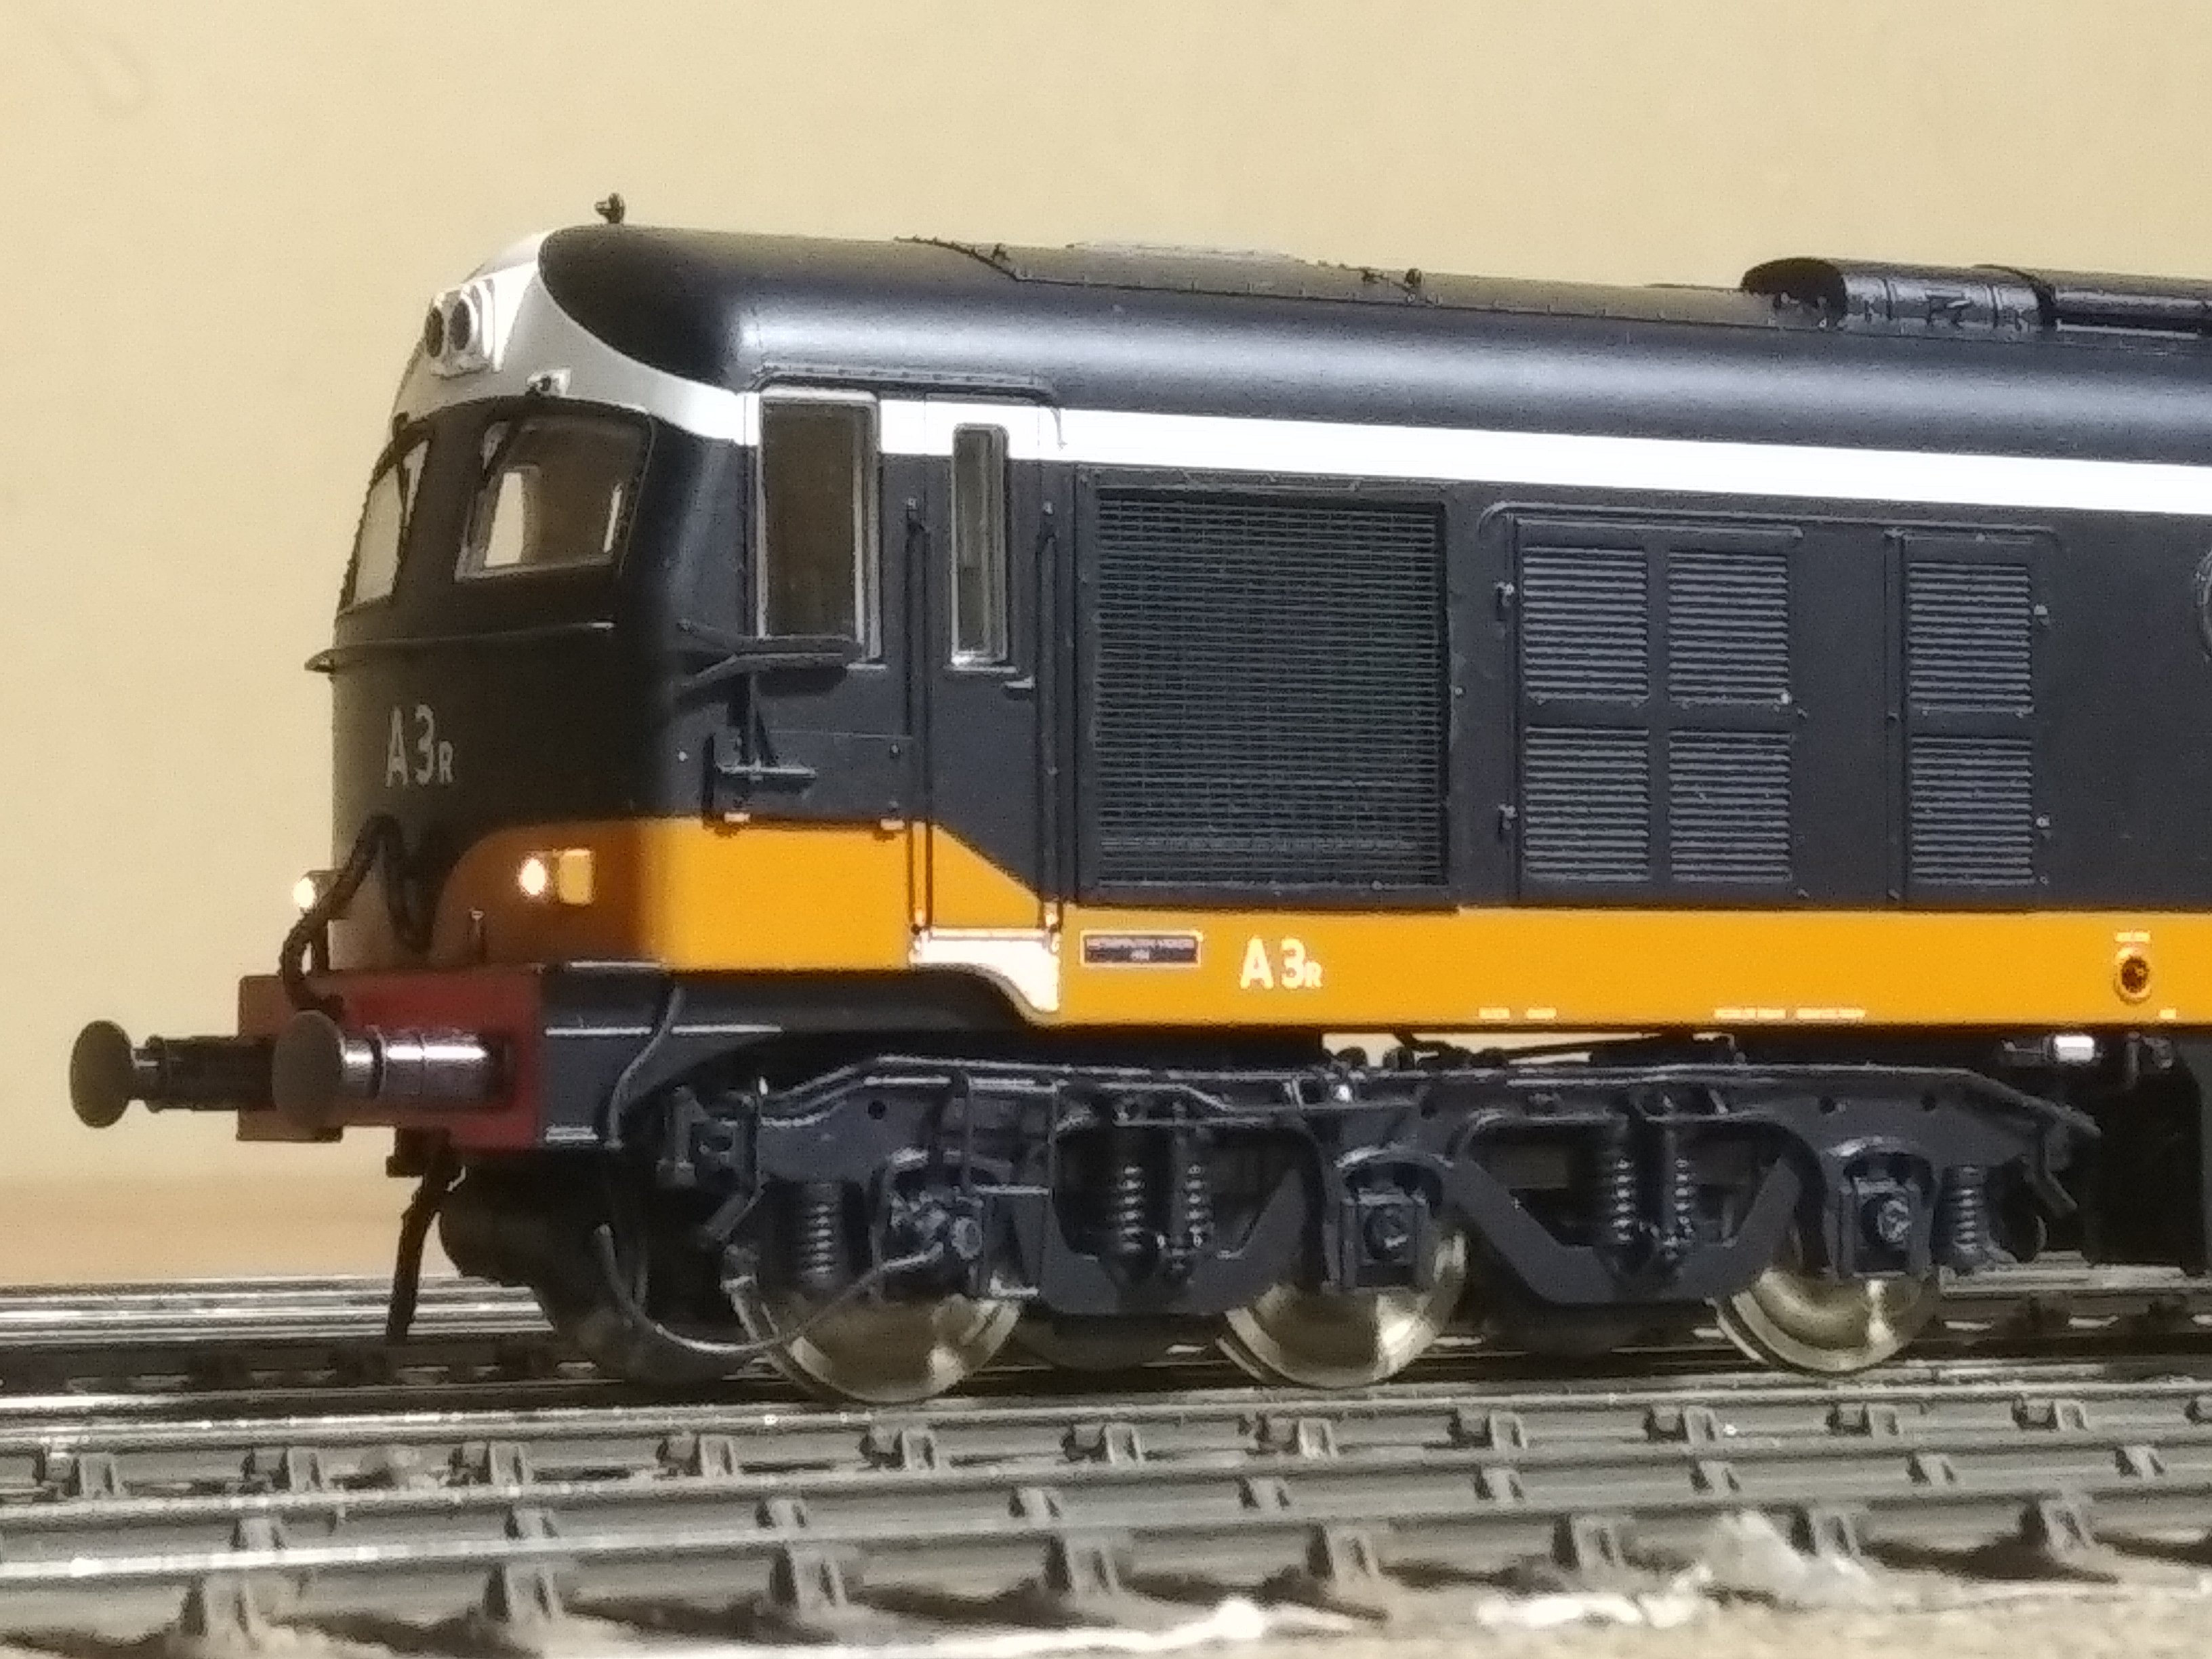
Track looks amazing too. Perhaps colour the shiny wheels? Overall, excellent job.
Thanks! Yeah, I only just installed the wheels and still trying to correct a couple of wobbly ones so once I'm happy with it I'll spray paint then.
3 hours ago, Brendan8056 said:John,
Your pointwork is so realistic, I have done plain track with C&L and Peco parts but still stick to copperclad for points, so they lack the detail of yours.
Here is another picture of the gauge change to 21mm. I am doing an article for "New Irish Lines", those who have yet to subscribe should consider doing so, as it is an inspiring read for Irish modellers of all gauges and scales.
Thanks for the compliment, always great to get feedback positive or negative as we sometimes wonder what kind of a job we're doing. So what kind of spacing do you have at your crossings? It must be like 00 right? If that's the case I almost wish I'd have known that years ago as it would be a lot less hassle!
-
2
-
-
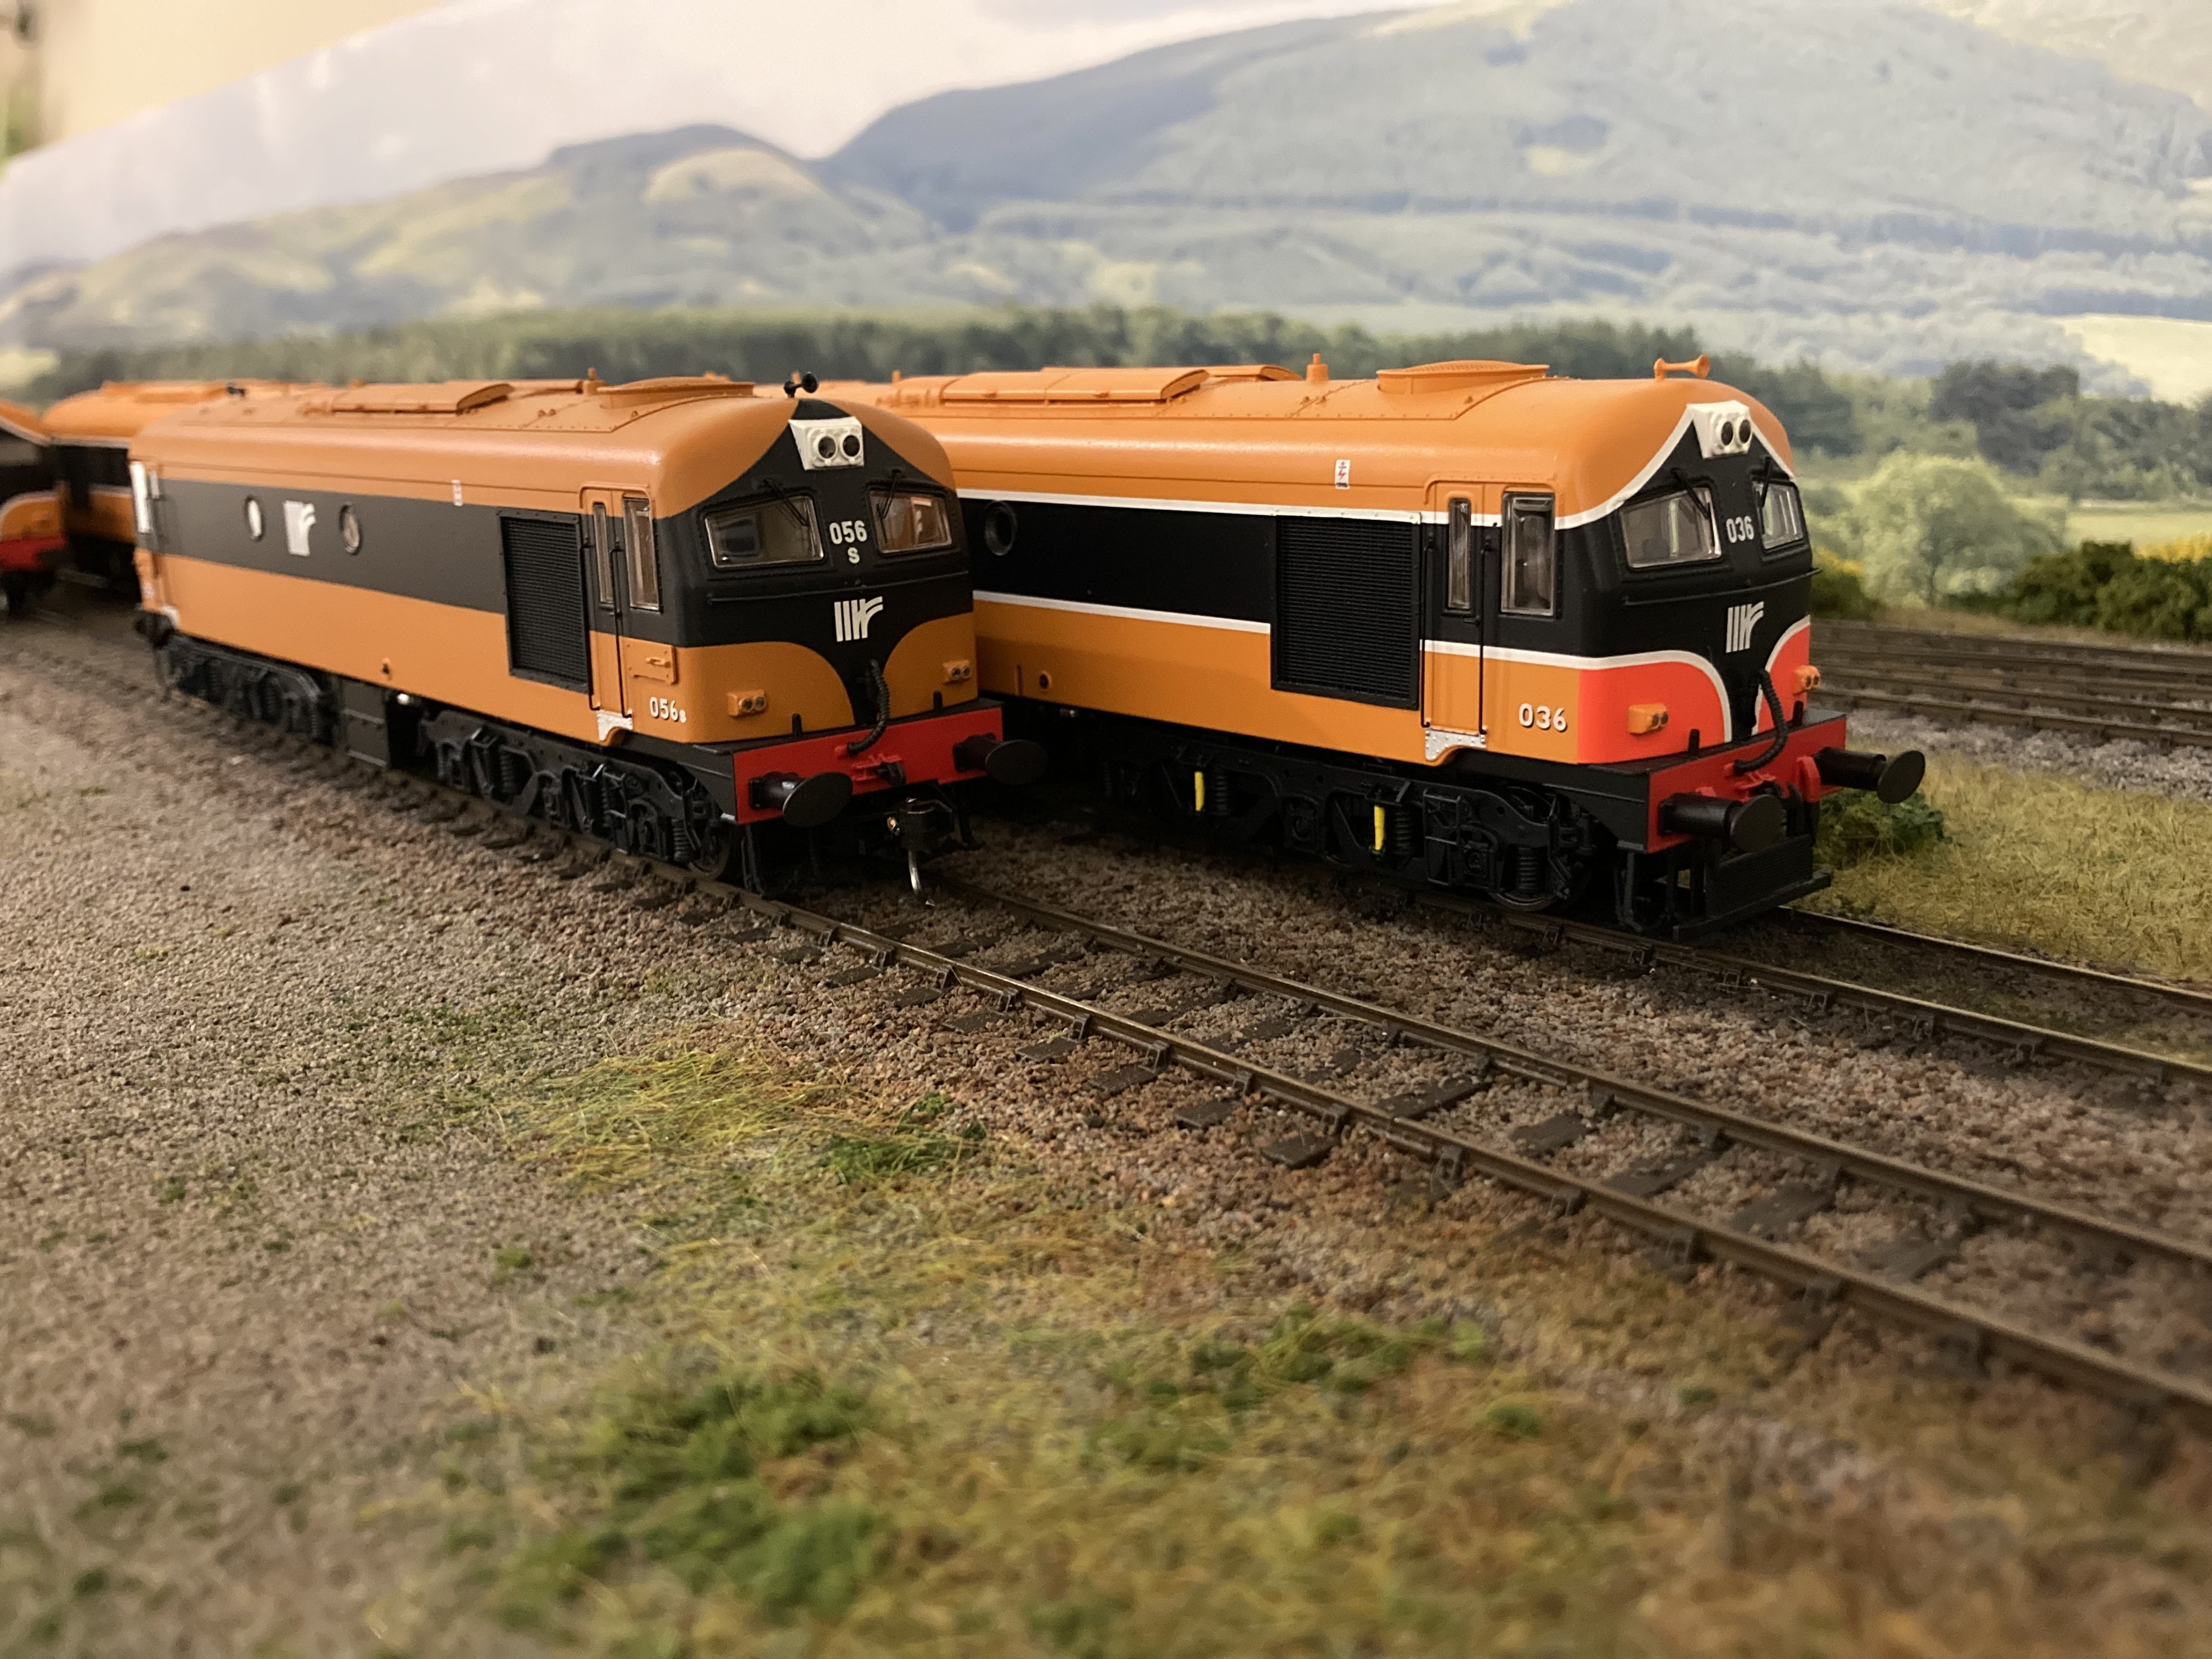
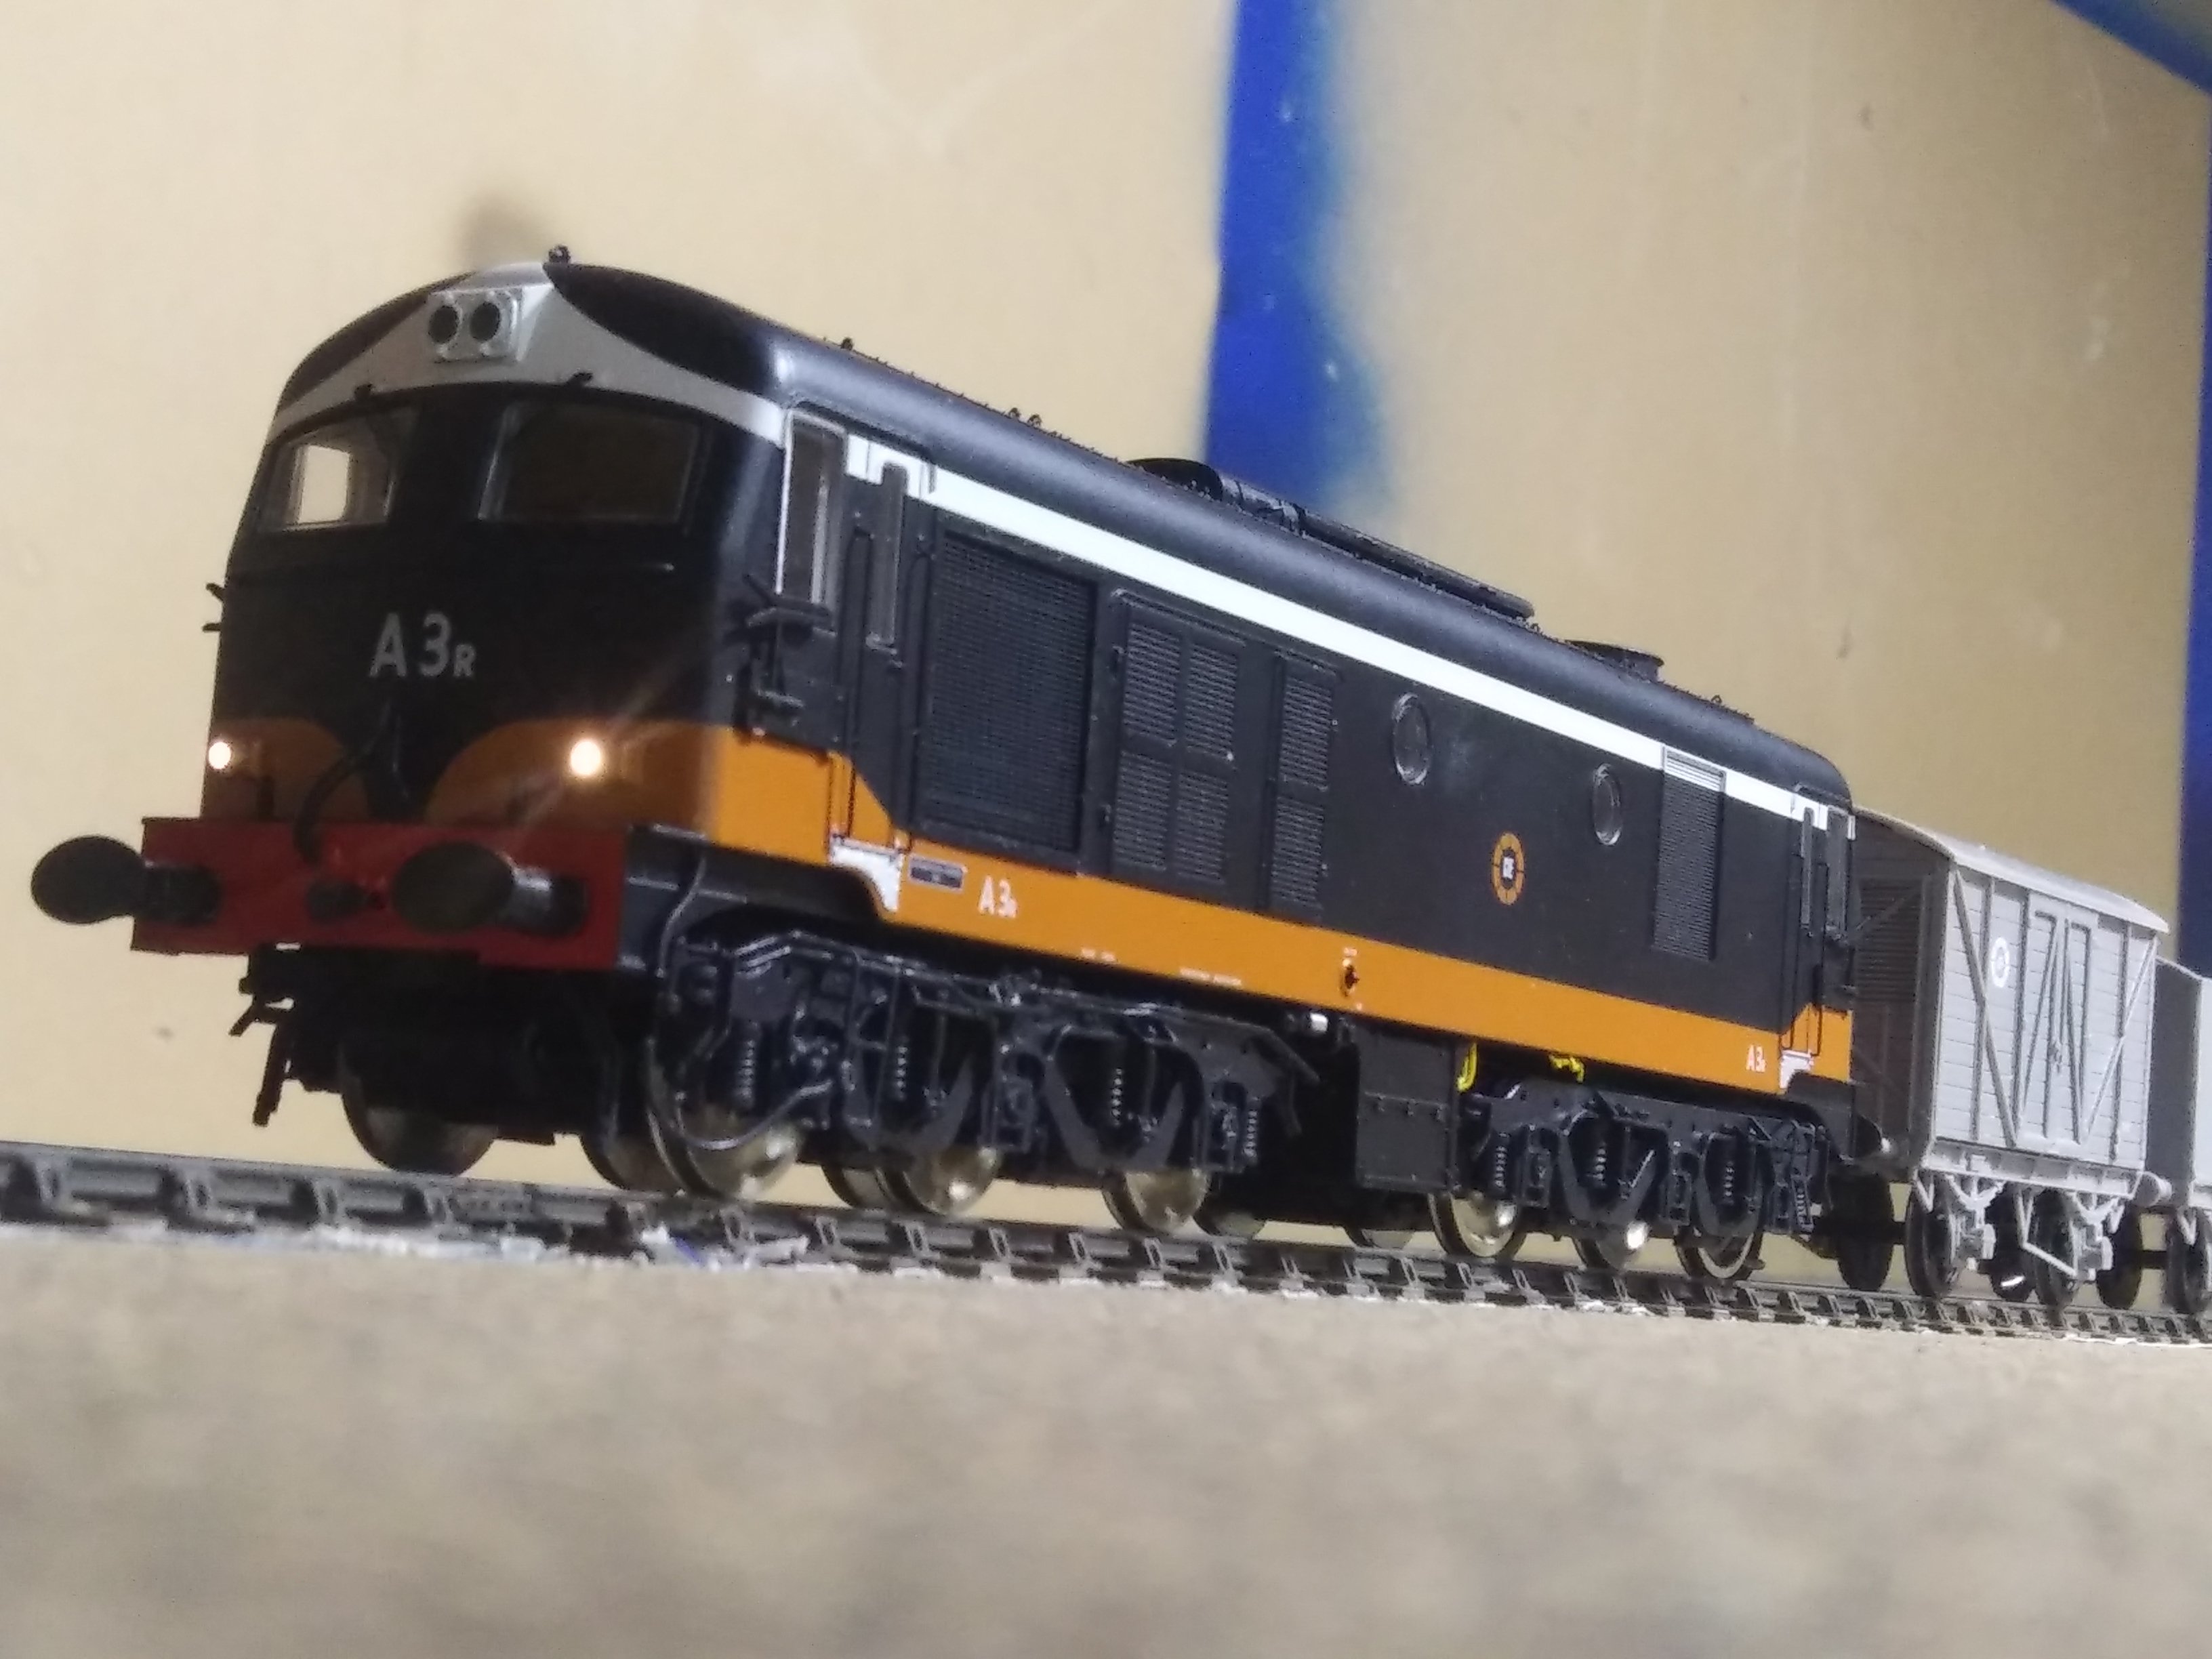
A few more photos...
-
9
-
1
-
6
-
-
Thank you sir! Yes it does, especially for the Irish models with the difference between 16.5mm and 21mm. At 4.5mm that's 13.46 inches in real life! If I was modelling English stock I don't think I'd bother with only 2.33mm difference but this is almost twice the difference.
-
1
-
1
-
-
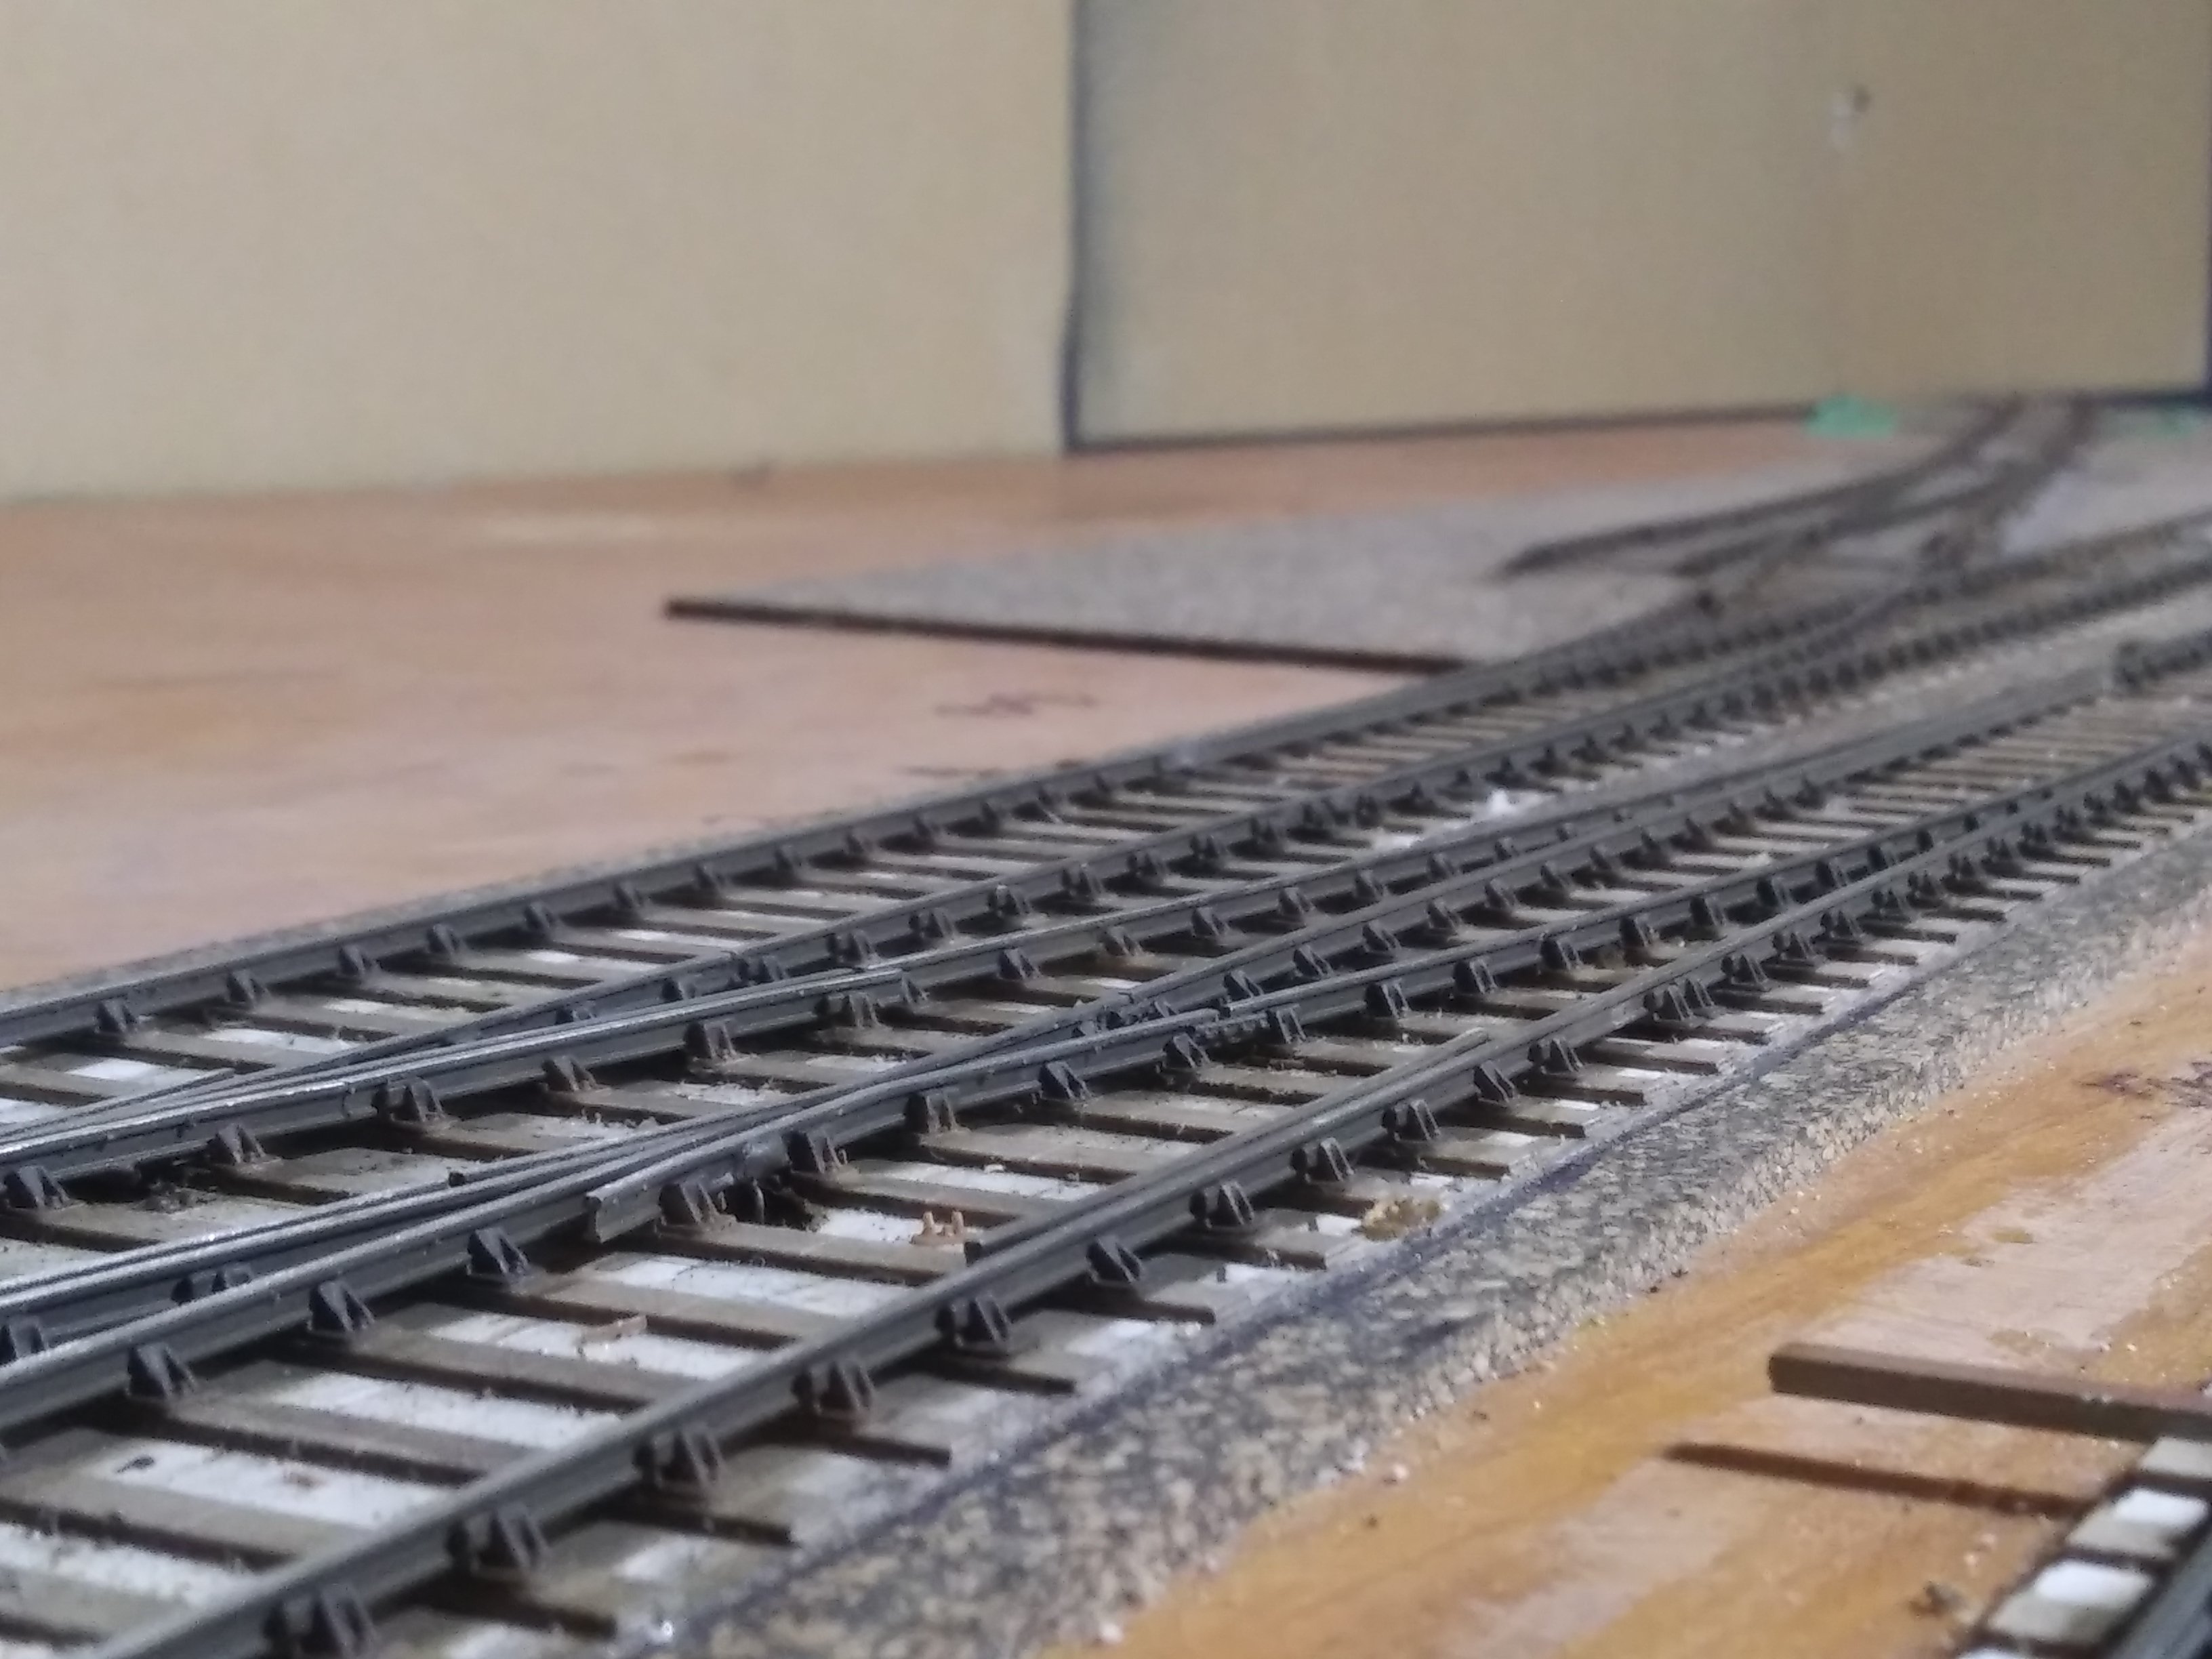
Furthermore to an example of my not so fussy P4 ways...If you look at the beginning of the video you can see one of my rail joints. I'm using a standard Peco joiner as opposed to having nothing but the P4 soldered scale fishplate. I do like to use those wherever I can, but that depends on the accuracy and flushness of the two adjoining rails. If the two rails aren't sitting flush for whatever reason then I simply use a Peco rail joiner which would make for a nice flush connection and thus smoother running of rolling stock. Honestly speaking at my age and deteriorating vision, the scale fishplates are only there for the benefit of better photos.
-
2
-
-
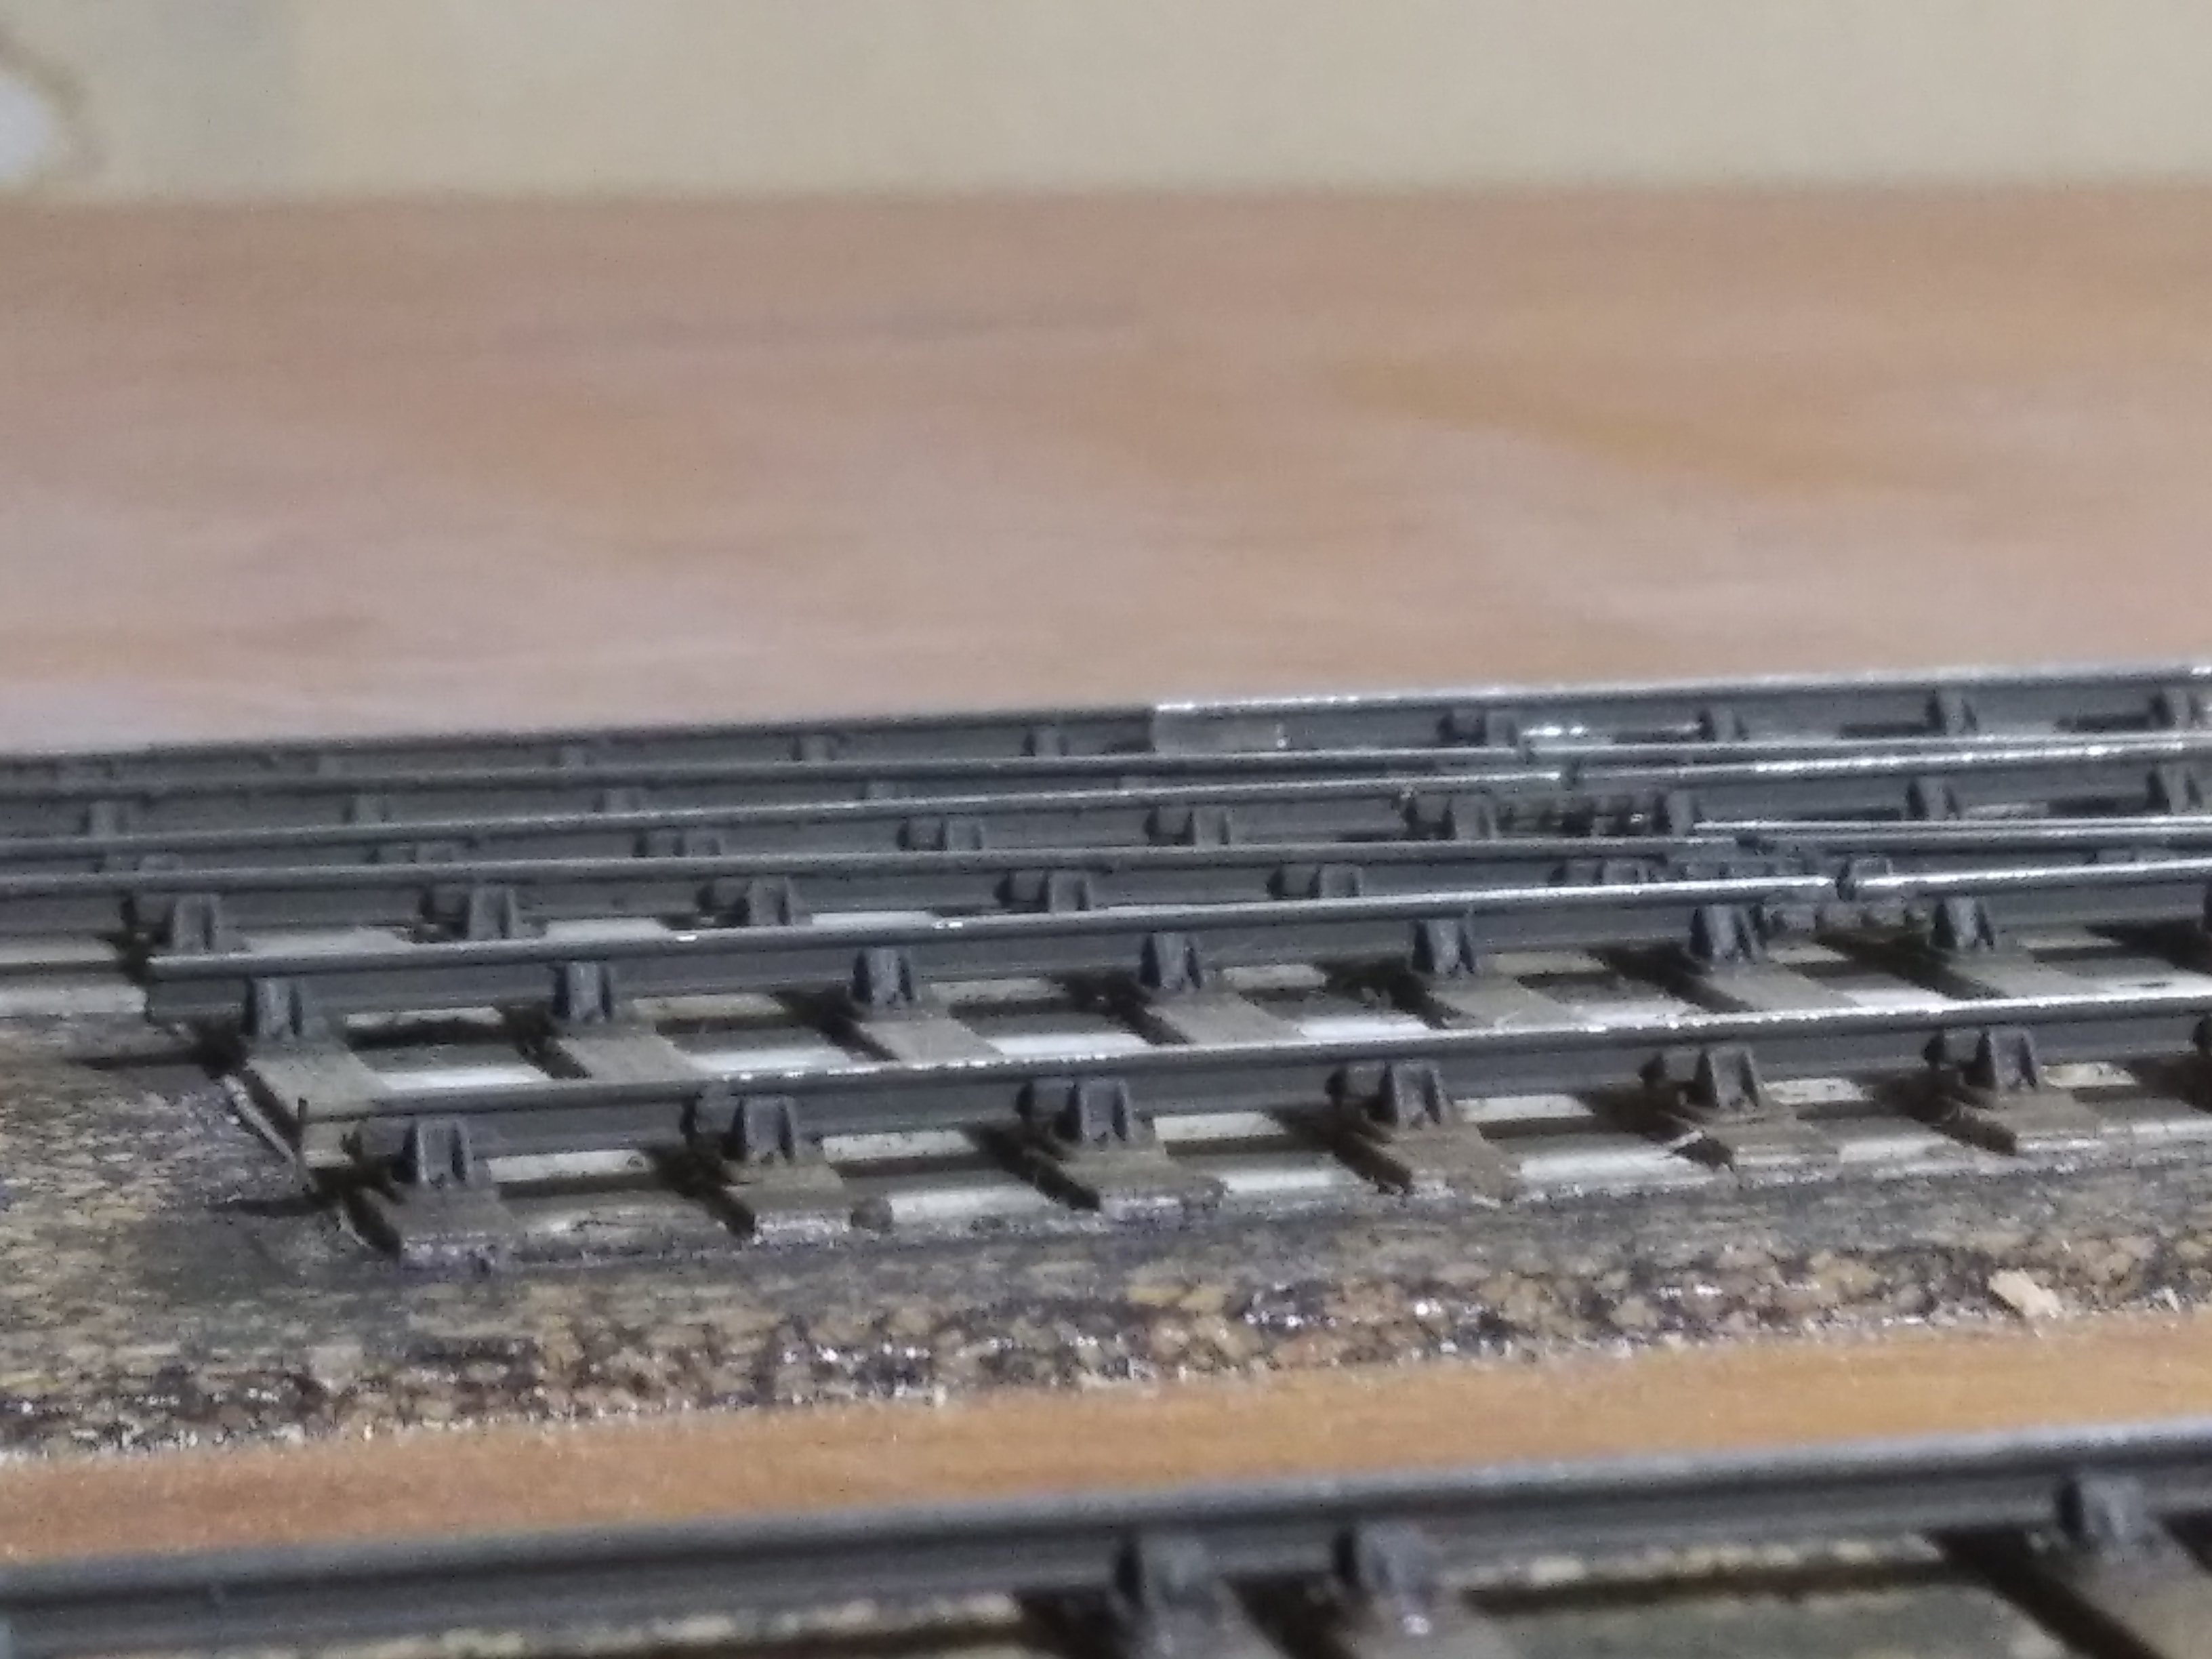
Regarding the P4 profiled wheels yes, as any standard 00 will not fit through the crossings. As far rolling stock is concerned. Since my layout is a 6 x 2.5 shunting yard there no coaches, just wagons. Compensation: Ironically, I found that the wagons I did compensate derail more than the ones that I didn't. Having examined the bottom of the compensation I have since realized that I didn't aline the two sets of wheels perfectly, and I believe this is the problem. With the uncompensated ones, it's just a simple case of gluing the sole bars to the body approximately 1.5 - 2mm out from center. FOr some strange reason they work perfectly fine. So in future I won't be bothering with that extra step. Based on that I strongly believe that the most important factor is as close to perfectly laid track as possible. ie; joints should be as flush as possible and the overall track as flat as possible. I don't build in situ but construct each piece on a piece of glass (can't get any flatter than that) over Templot templates, test run them on the glass with a loco/wagon then transfer them afterwards. I dod "cheat" with the crossings however (purchased from C+L Finescale) as I found trying to construct my own far too frustrating. Everyone has a different level of patience I suppose. I found the best route was to buy some Parkside Dundas kits as I found trying to manipulate a standard Hornby or Bachman model was too difficult. Just to add, I'm not so much a P4 stickler that I have to have everything perfect and the odd elitist may not approve of my methods but I care more about making it work mechanically well rather than going against the "allowable tolerances". Example: You may have noticed a wobble on my A Class video, yes that bothers me and I will try to fix it, but other stuff I can live with. II'll take some more pictures/videos when I get the chance.
-
5
-
-
Ha! No, that's my real name. Shamefully I've never read a word of his!

-
1
-
-
42 minutes ago, Galteemore said:
awesome stuff. May we see more please ?
Are you asking me or Brendan?
-
1
-
-
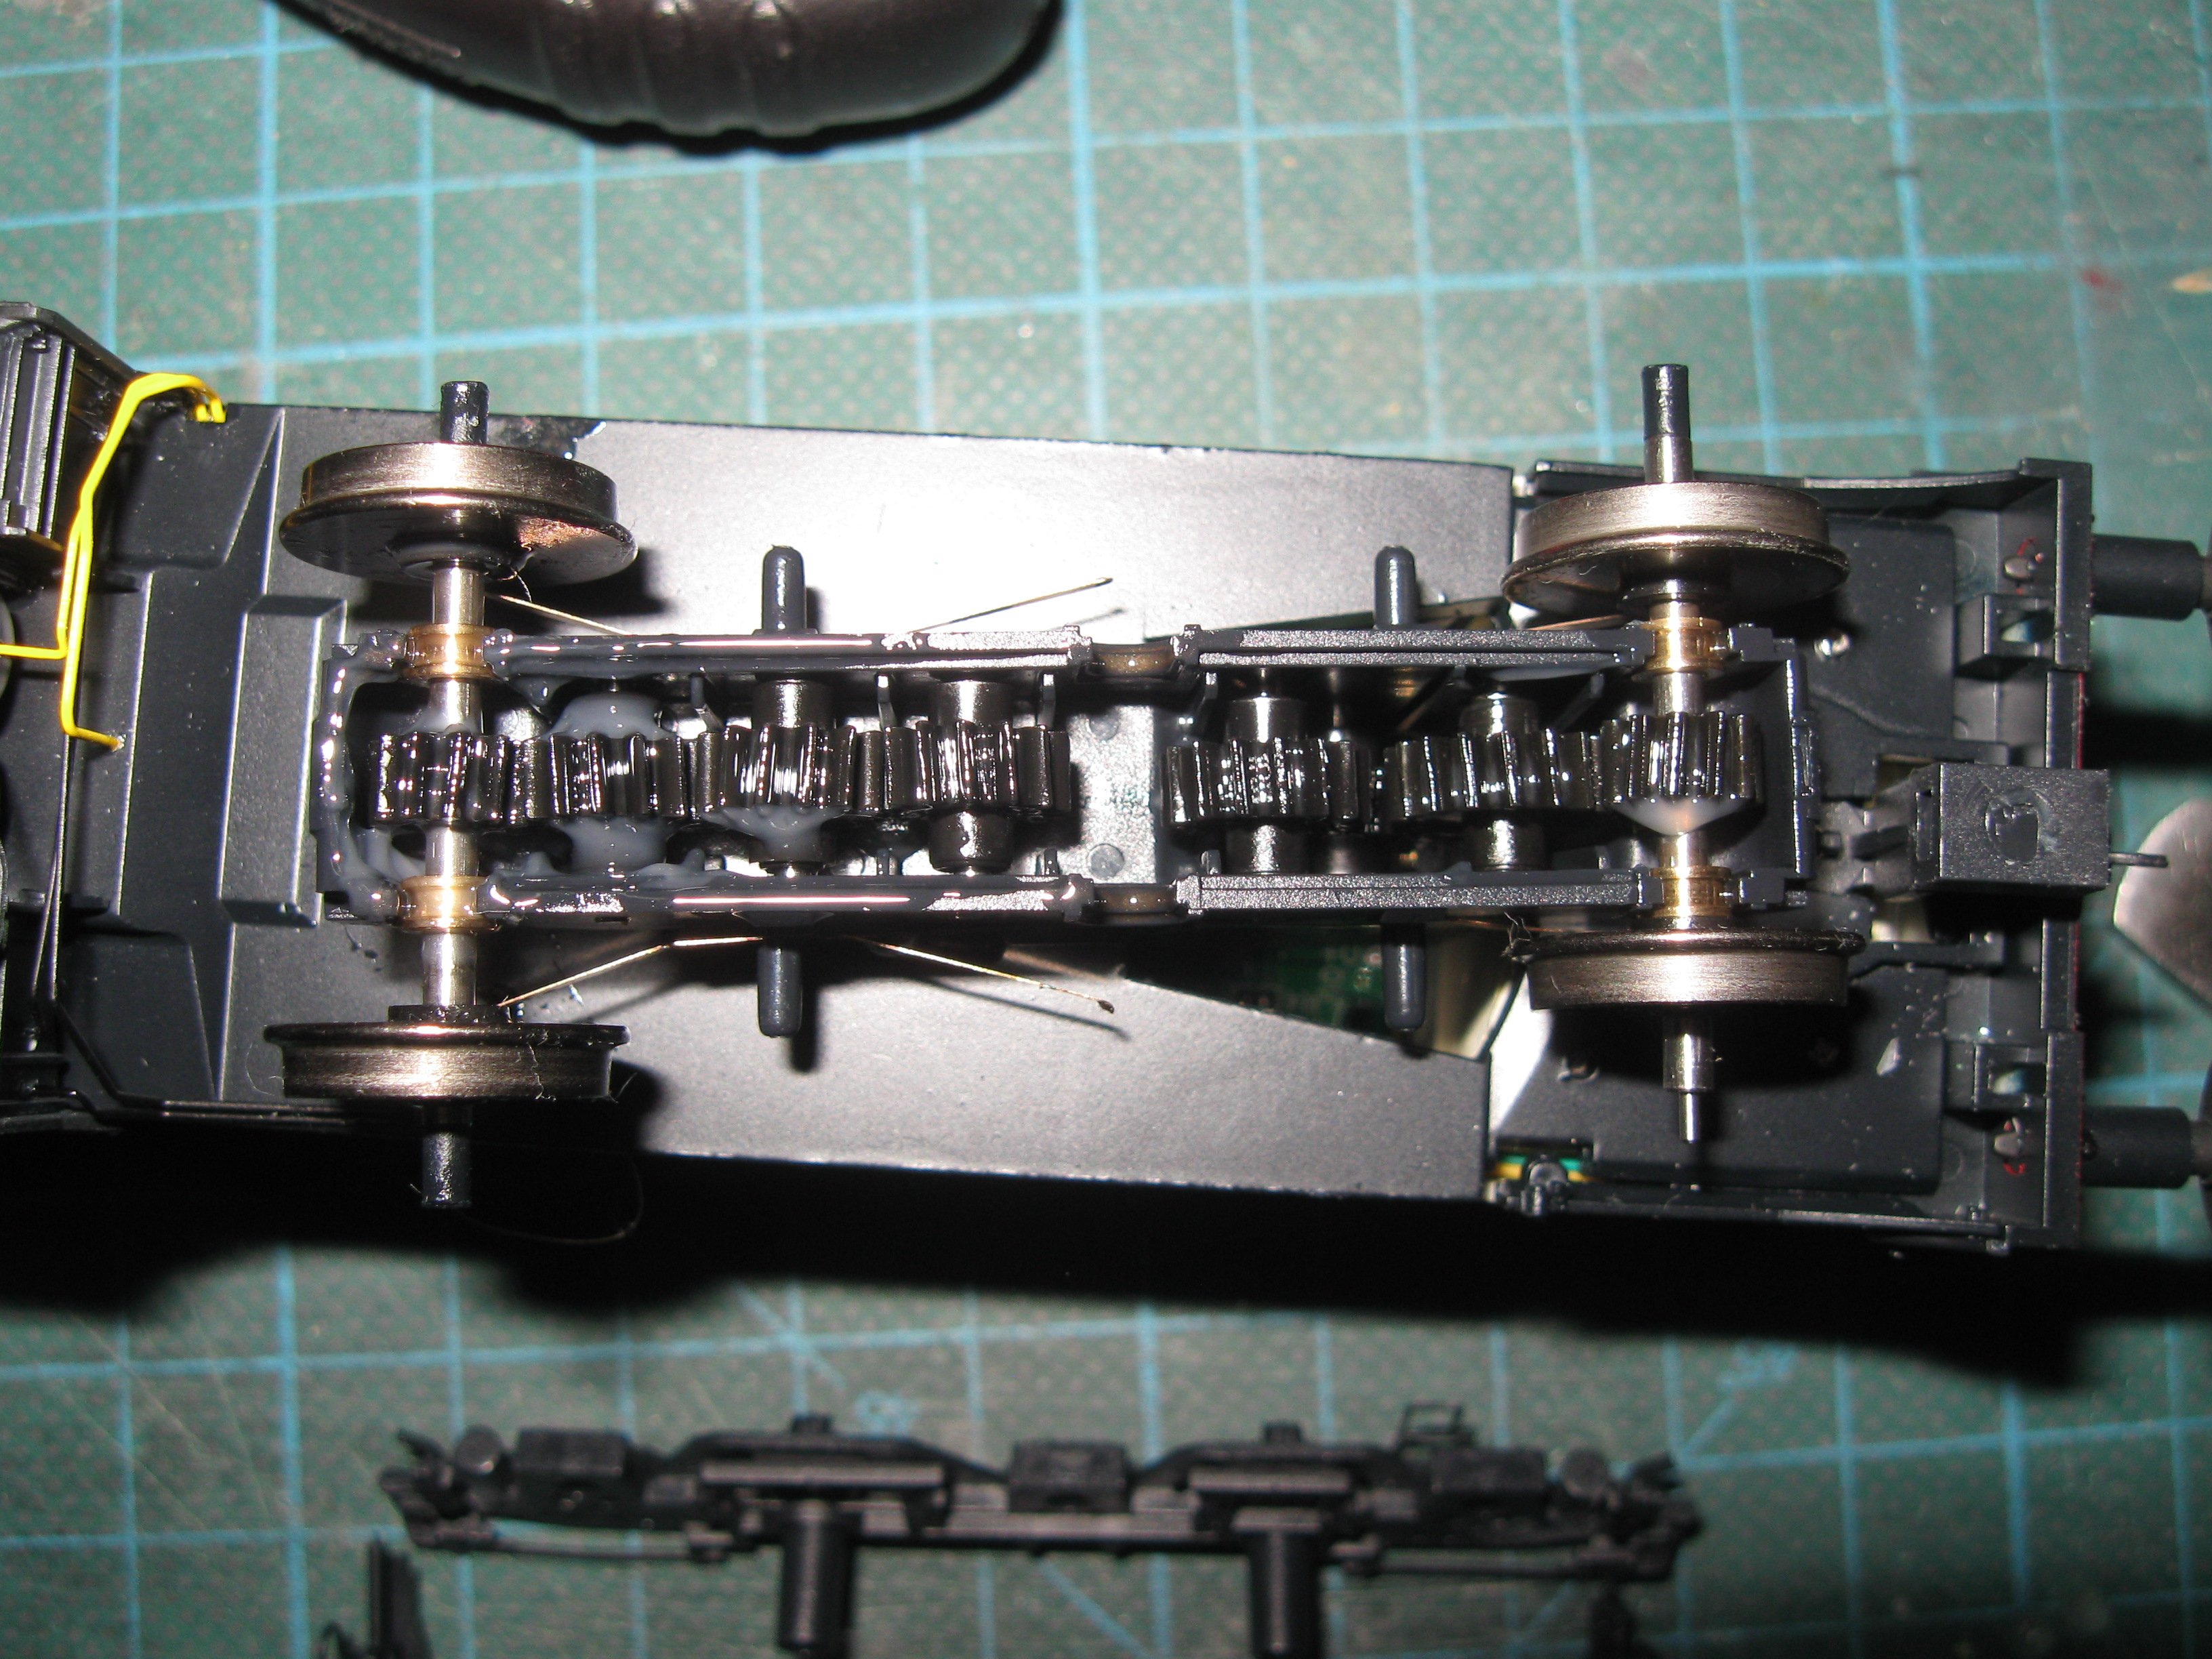
Yes, I replaced with P4 wheels as the profile (flanges and tyre width) are too big to fit through the point crossings, so if you have P4 track then you won't be able to keep the original wheels. Hmm, now there's something worth trying. The problem is getting them to sit perfectly without any wobble. Like I said before though, as I forget they're even rotating half the time, I'm not sure I'd be willing to put in the effort. In fact, the only time I've looked at the rotation recently on the A Class recently was watching the video I made
-
3
-
1
-


Dugort Harbour
in Irish Model Layouts
Posted
Great shots and love the lighting!