

Paddy Mac Namara
-
Posts
146 -
Joined
-
Last visited
-
Days Won
1
Content Type
Profiles
Forums
Resource Library
Events
Gallery
Blogs
Store
Community Map
Posts posted by Paddy Mac Namara
-
-

sorry might seem confusing what i'm doing just re did the photos and deleted old ones
-
 1
1
-
-
And the after video
-
4
-
-
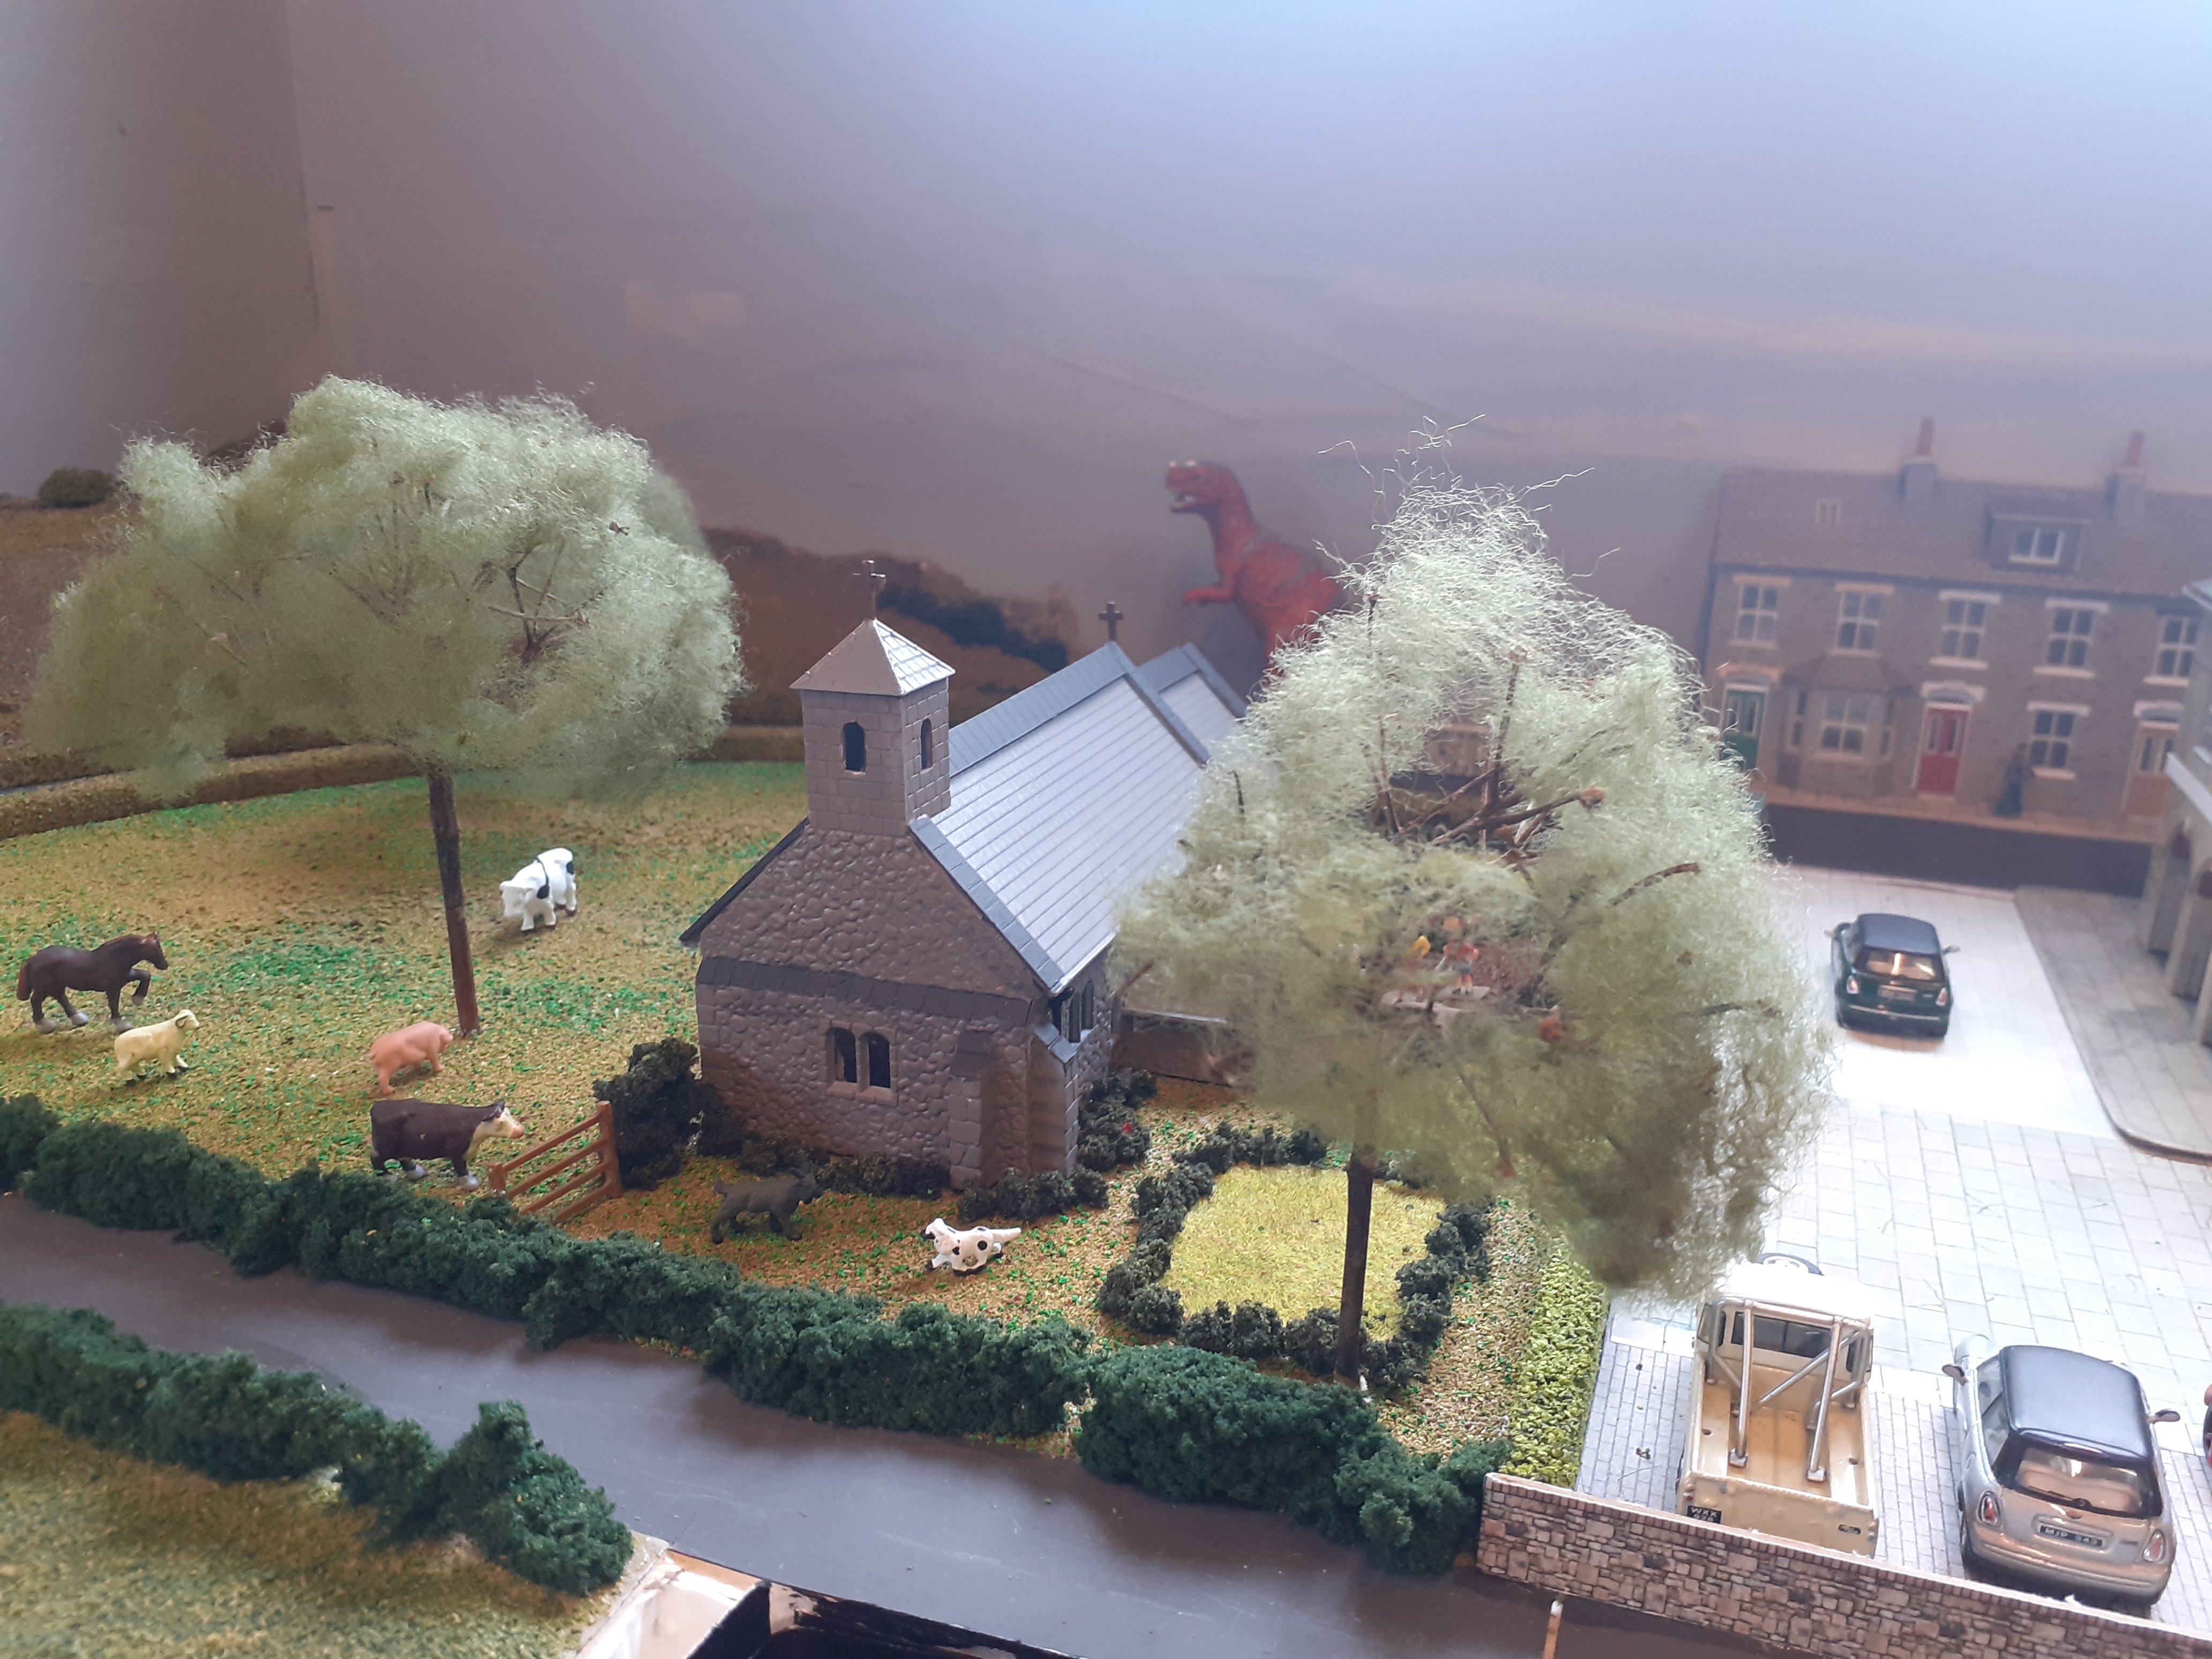
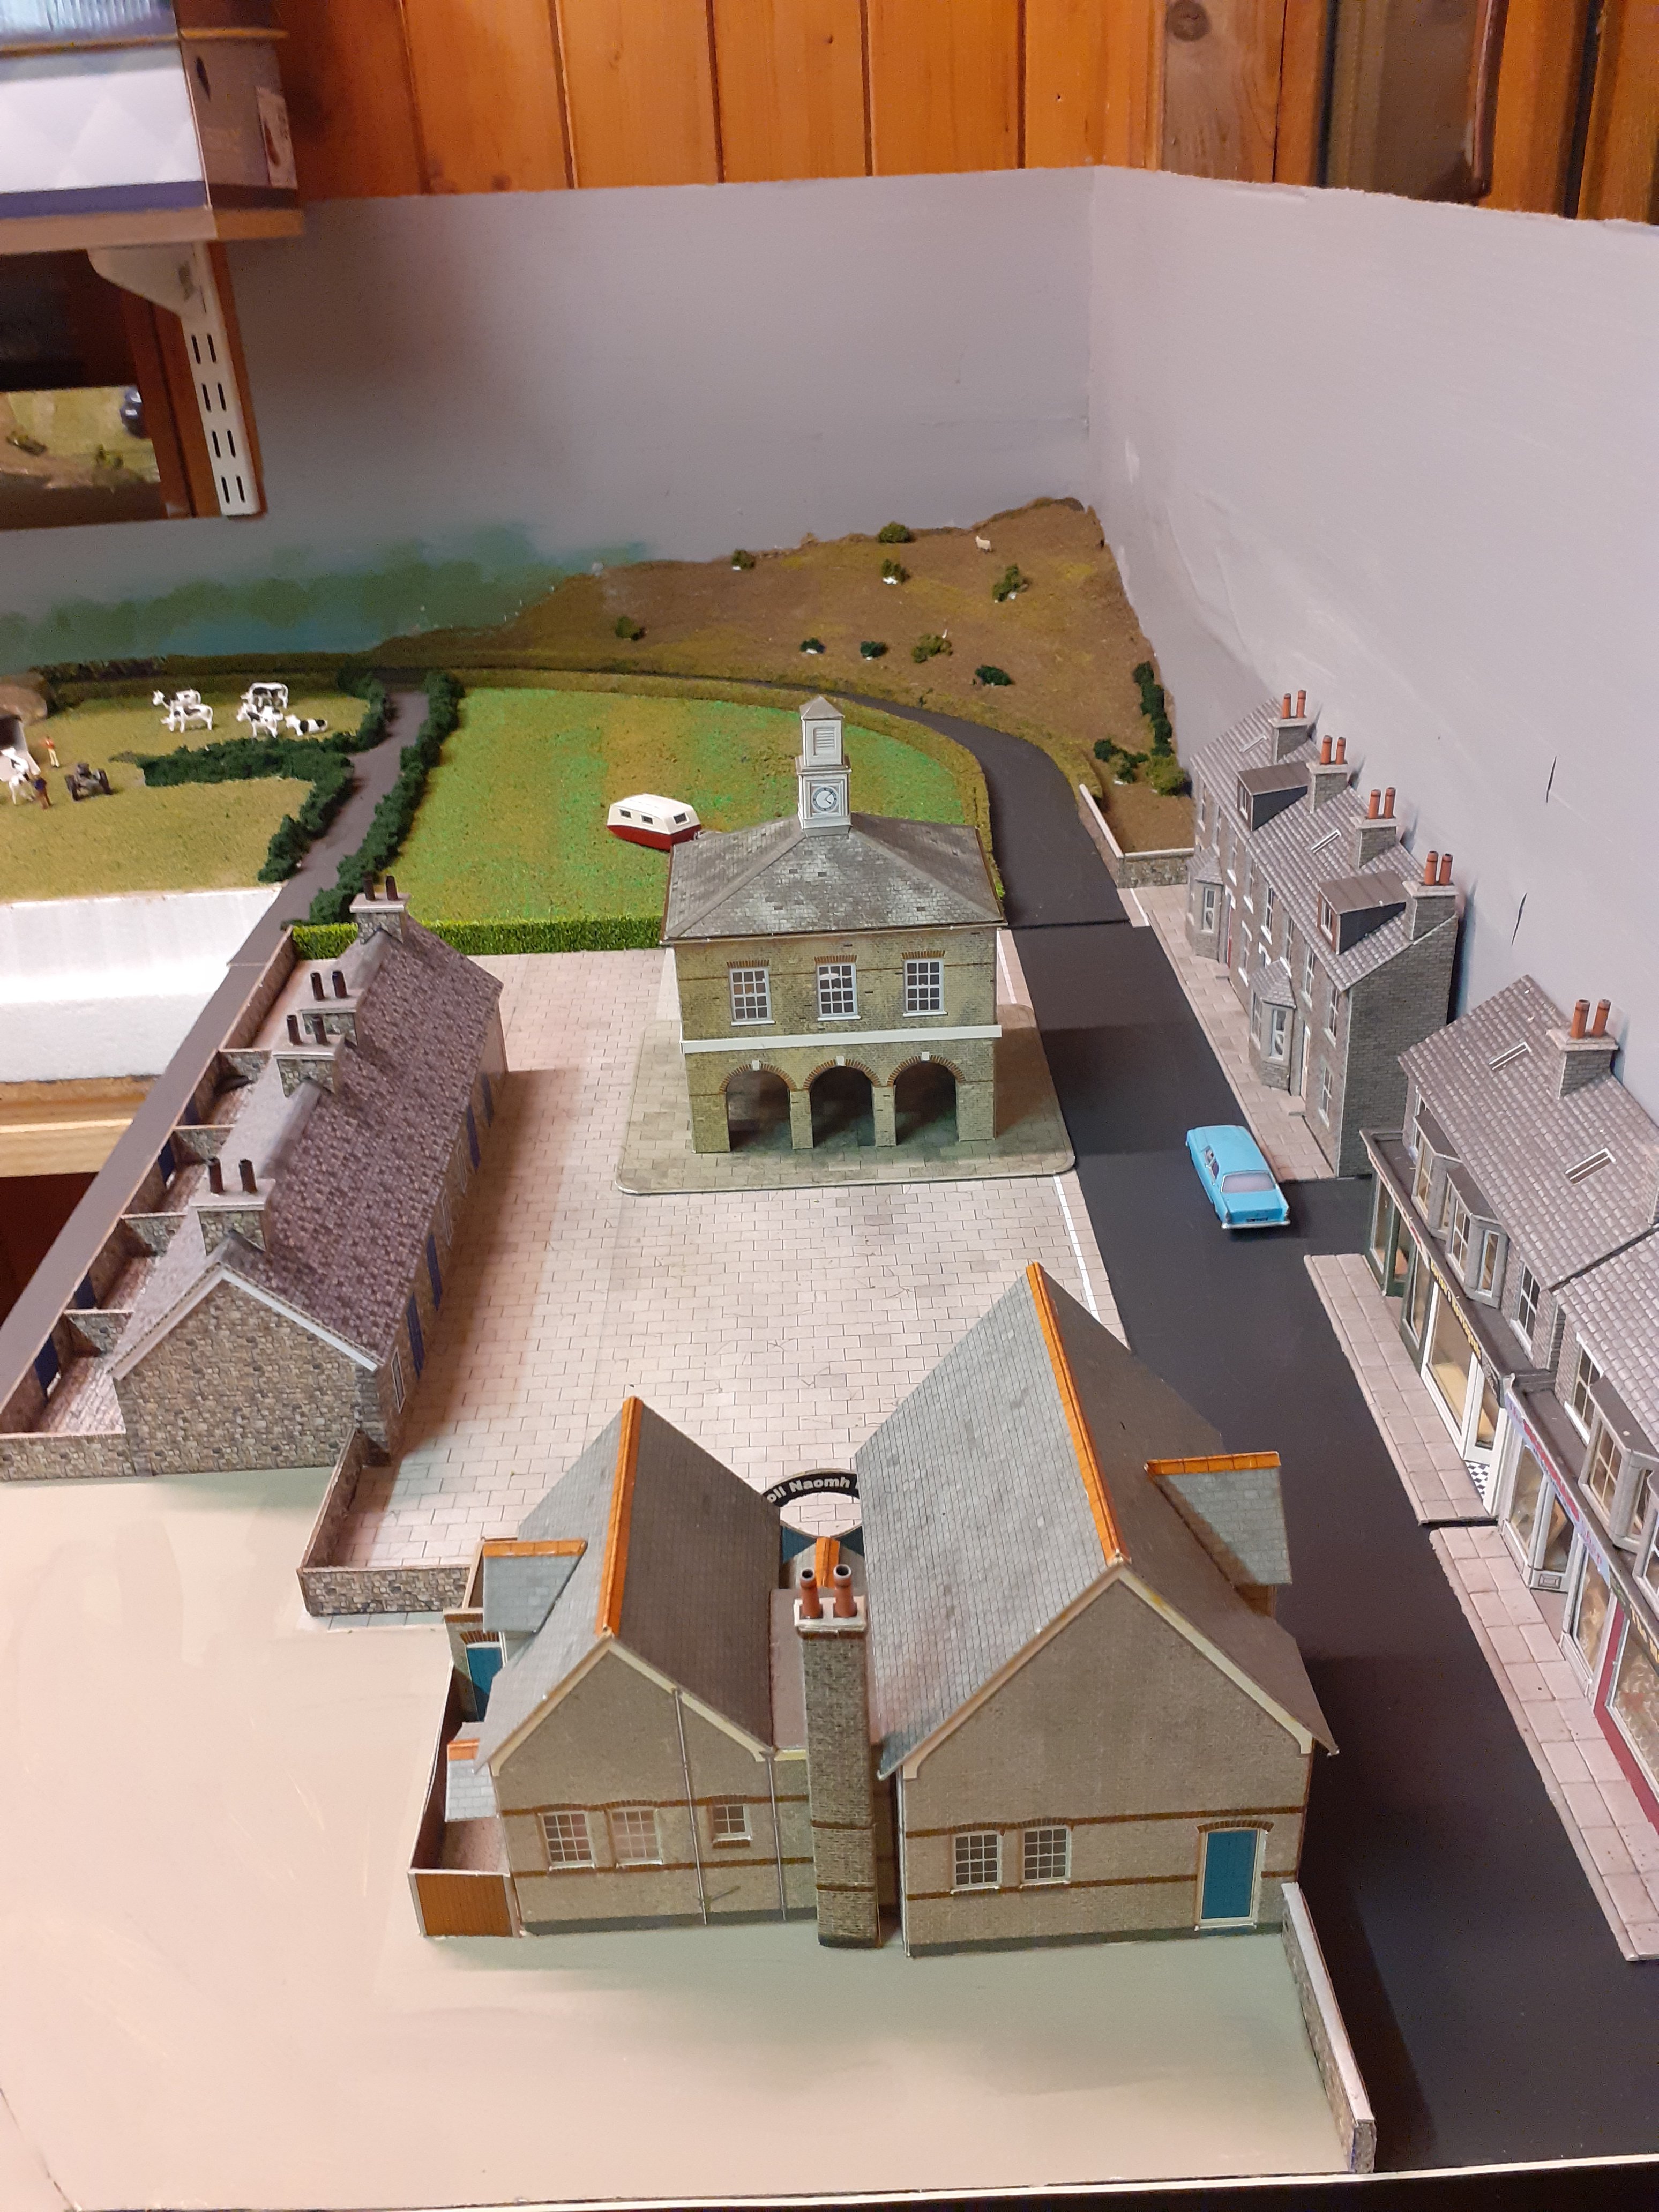
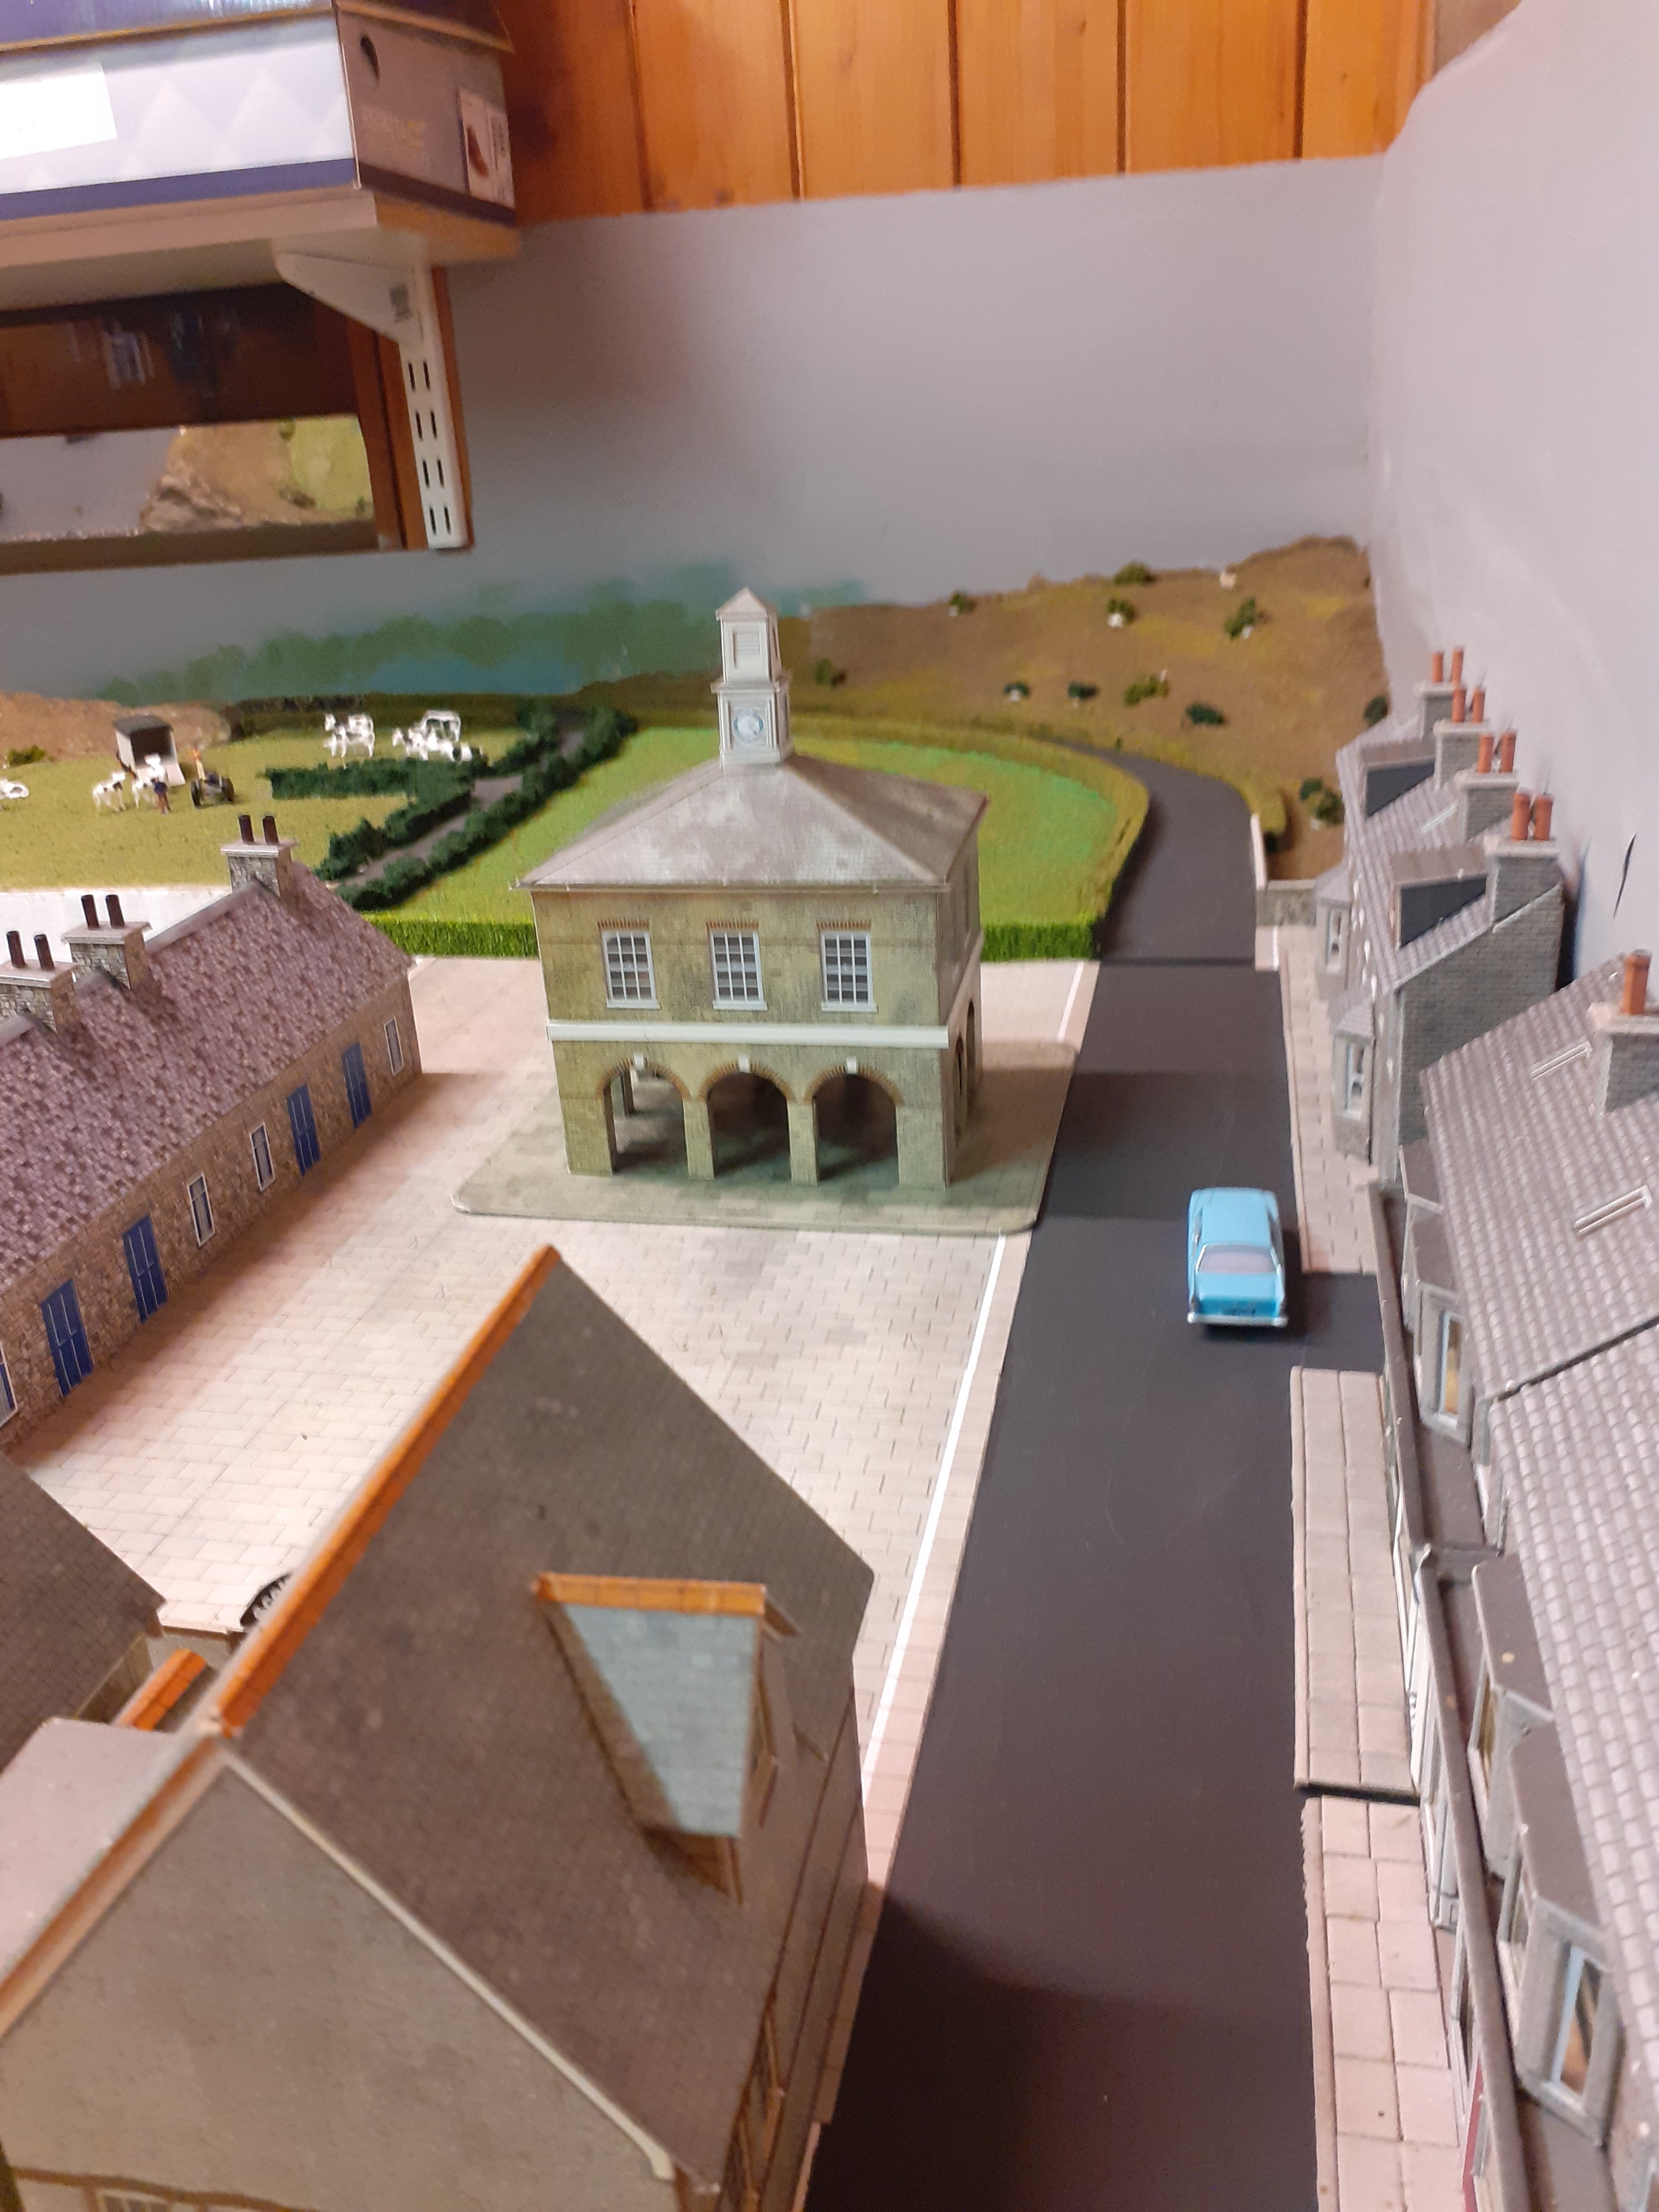
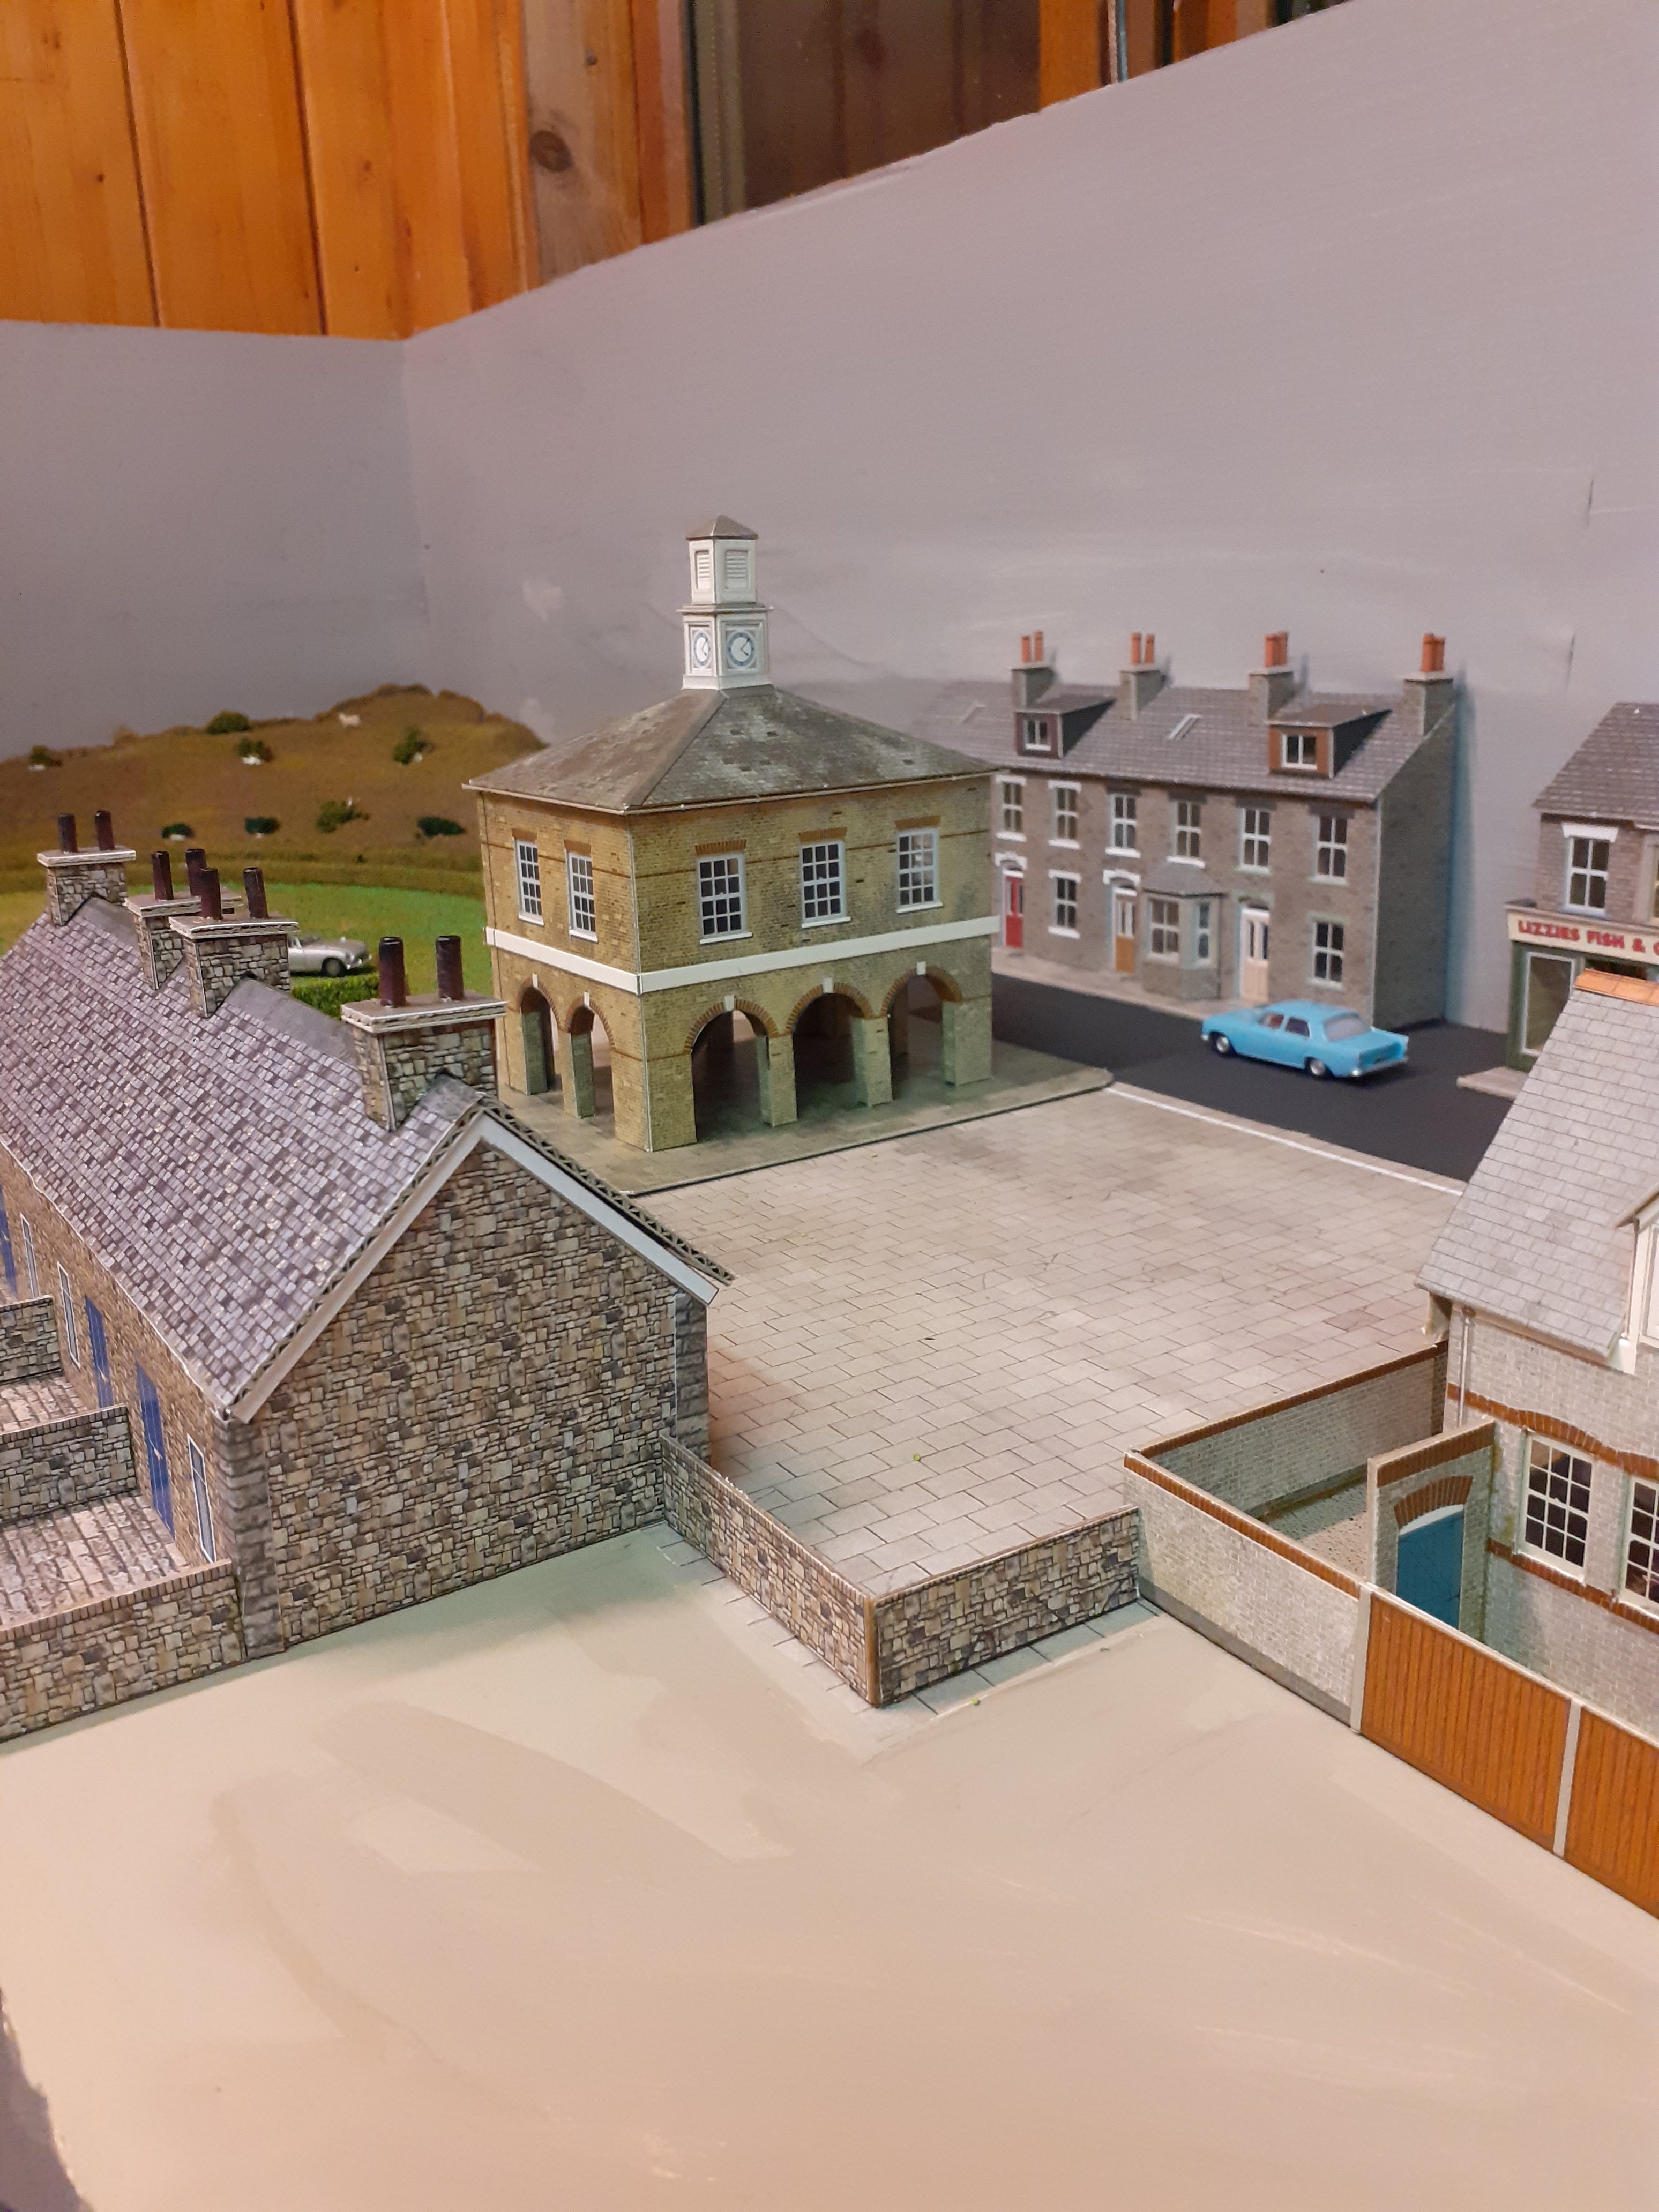
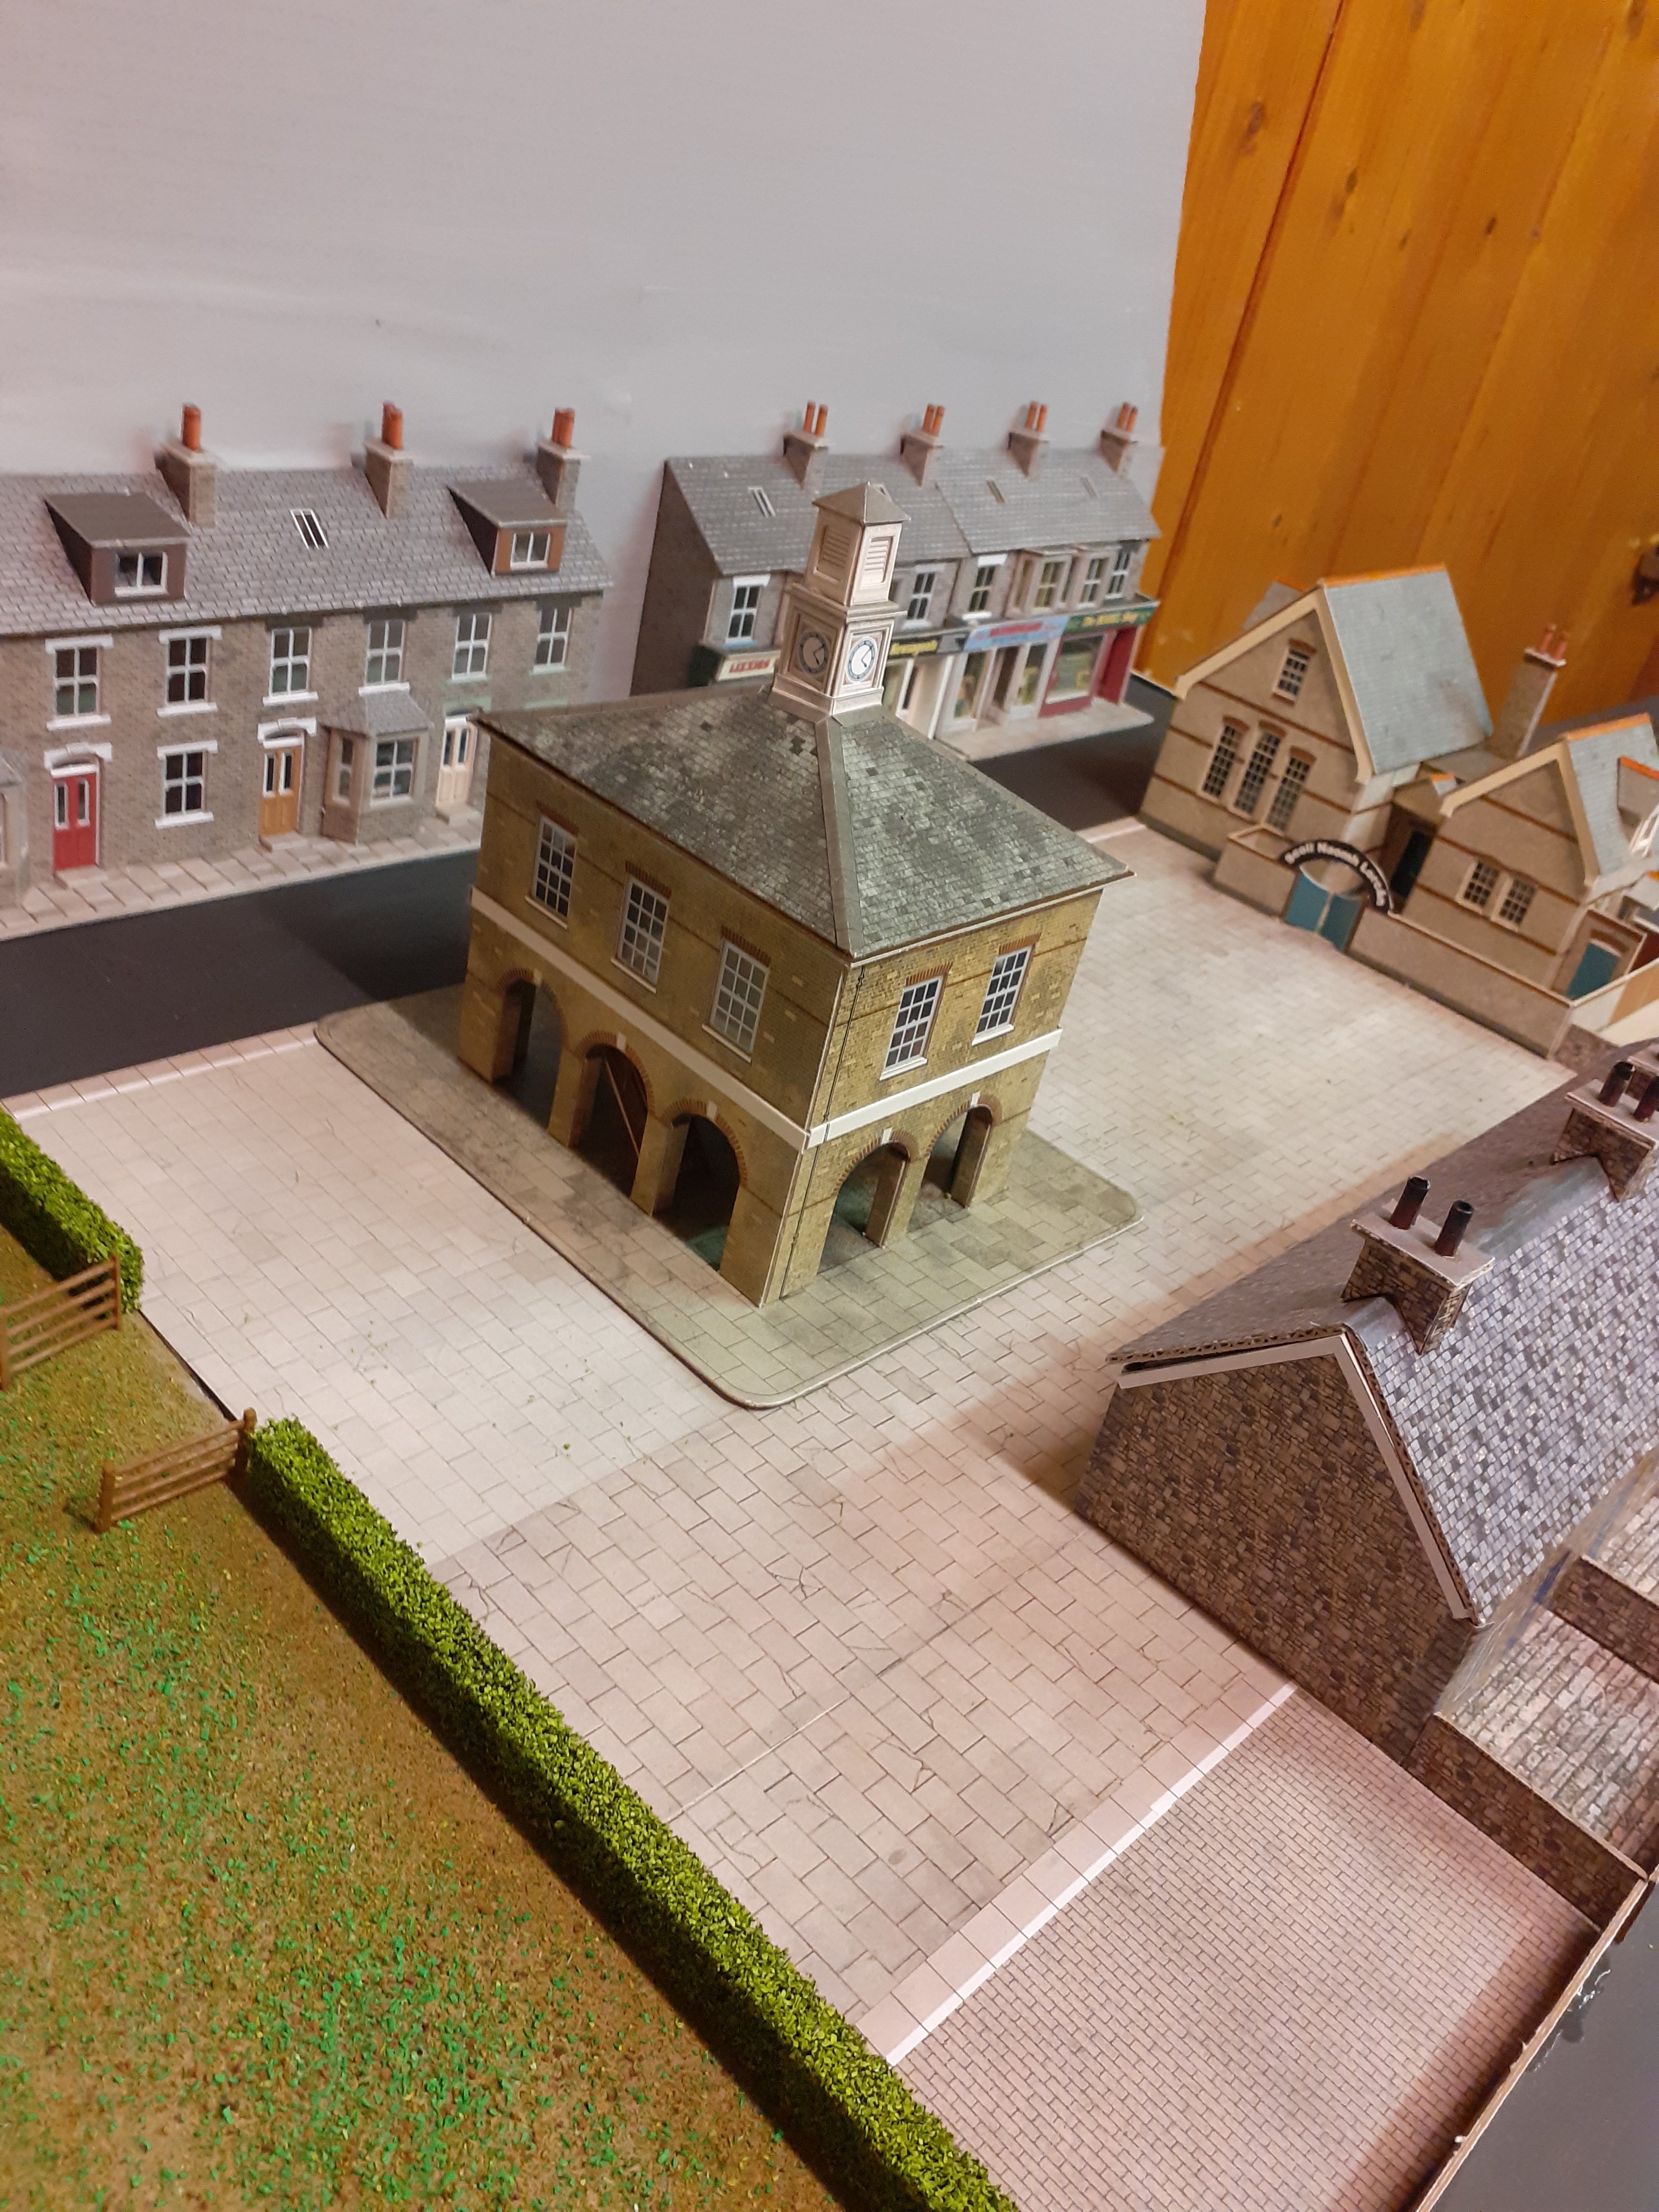
Some ground cover done, ballasting and Dapol church added to town scene.
Before and after Videos to illustrate and some photos.
-
3
-
-
Quite a long break since my last post. I usually work on the layout during the dark winter evenings.
However, this “season” I had a knee joint replacement in late november, so not too much done, until the past few weeks.
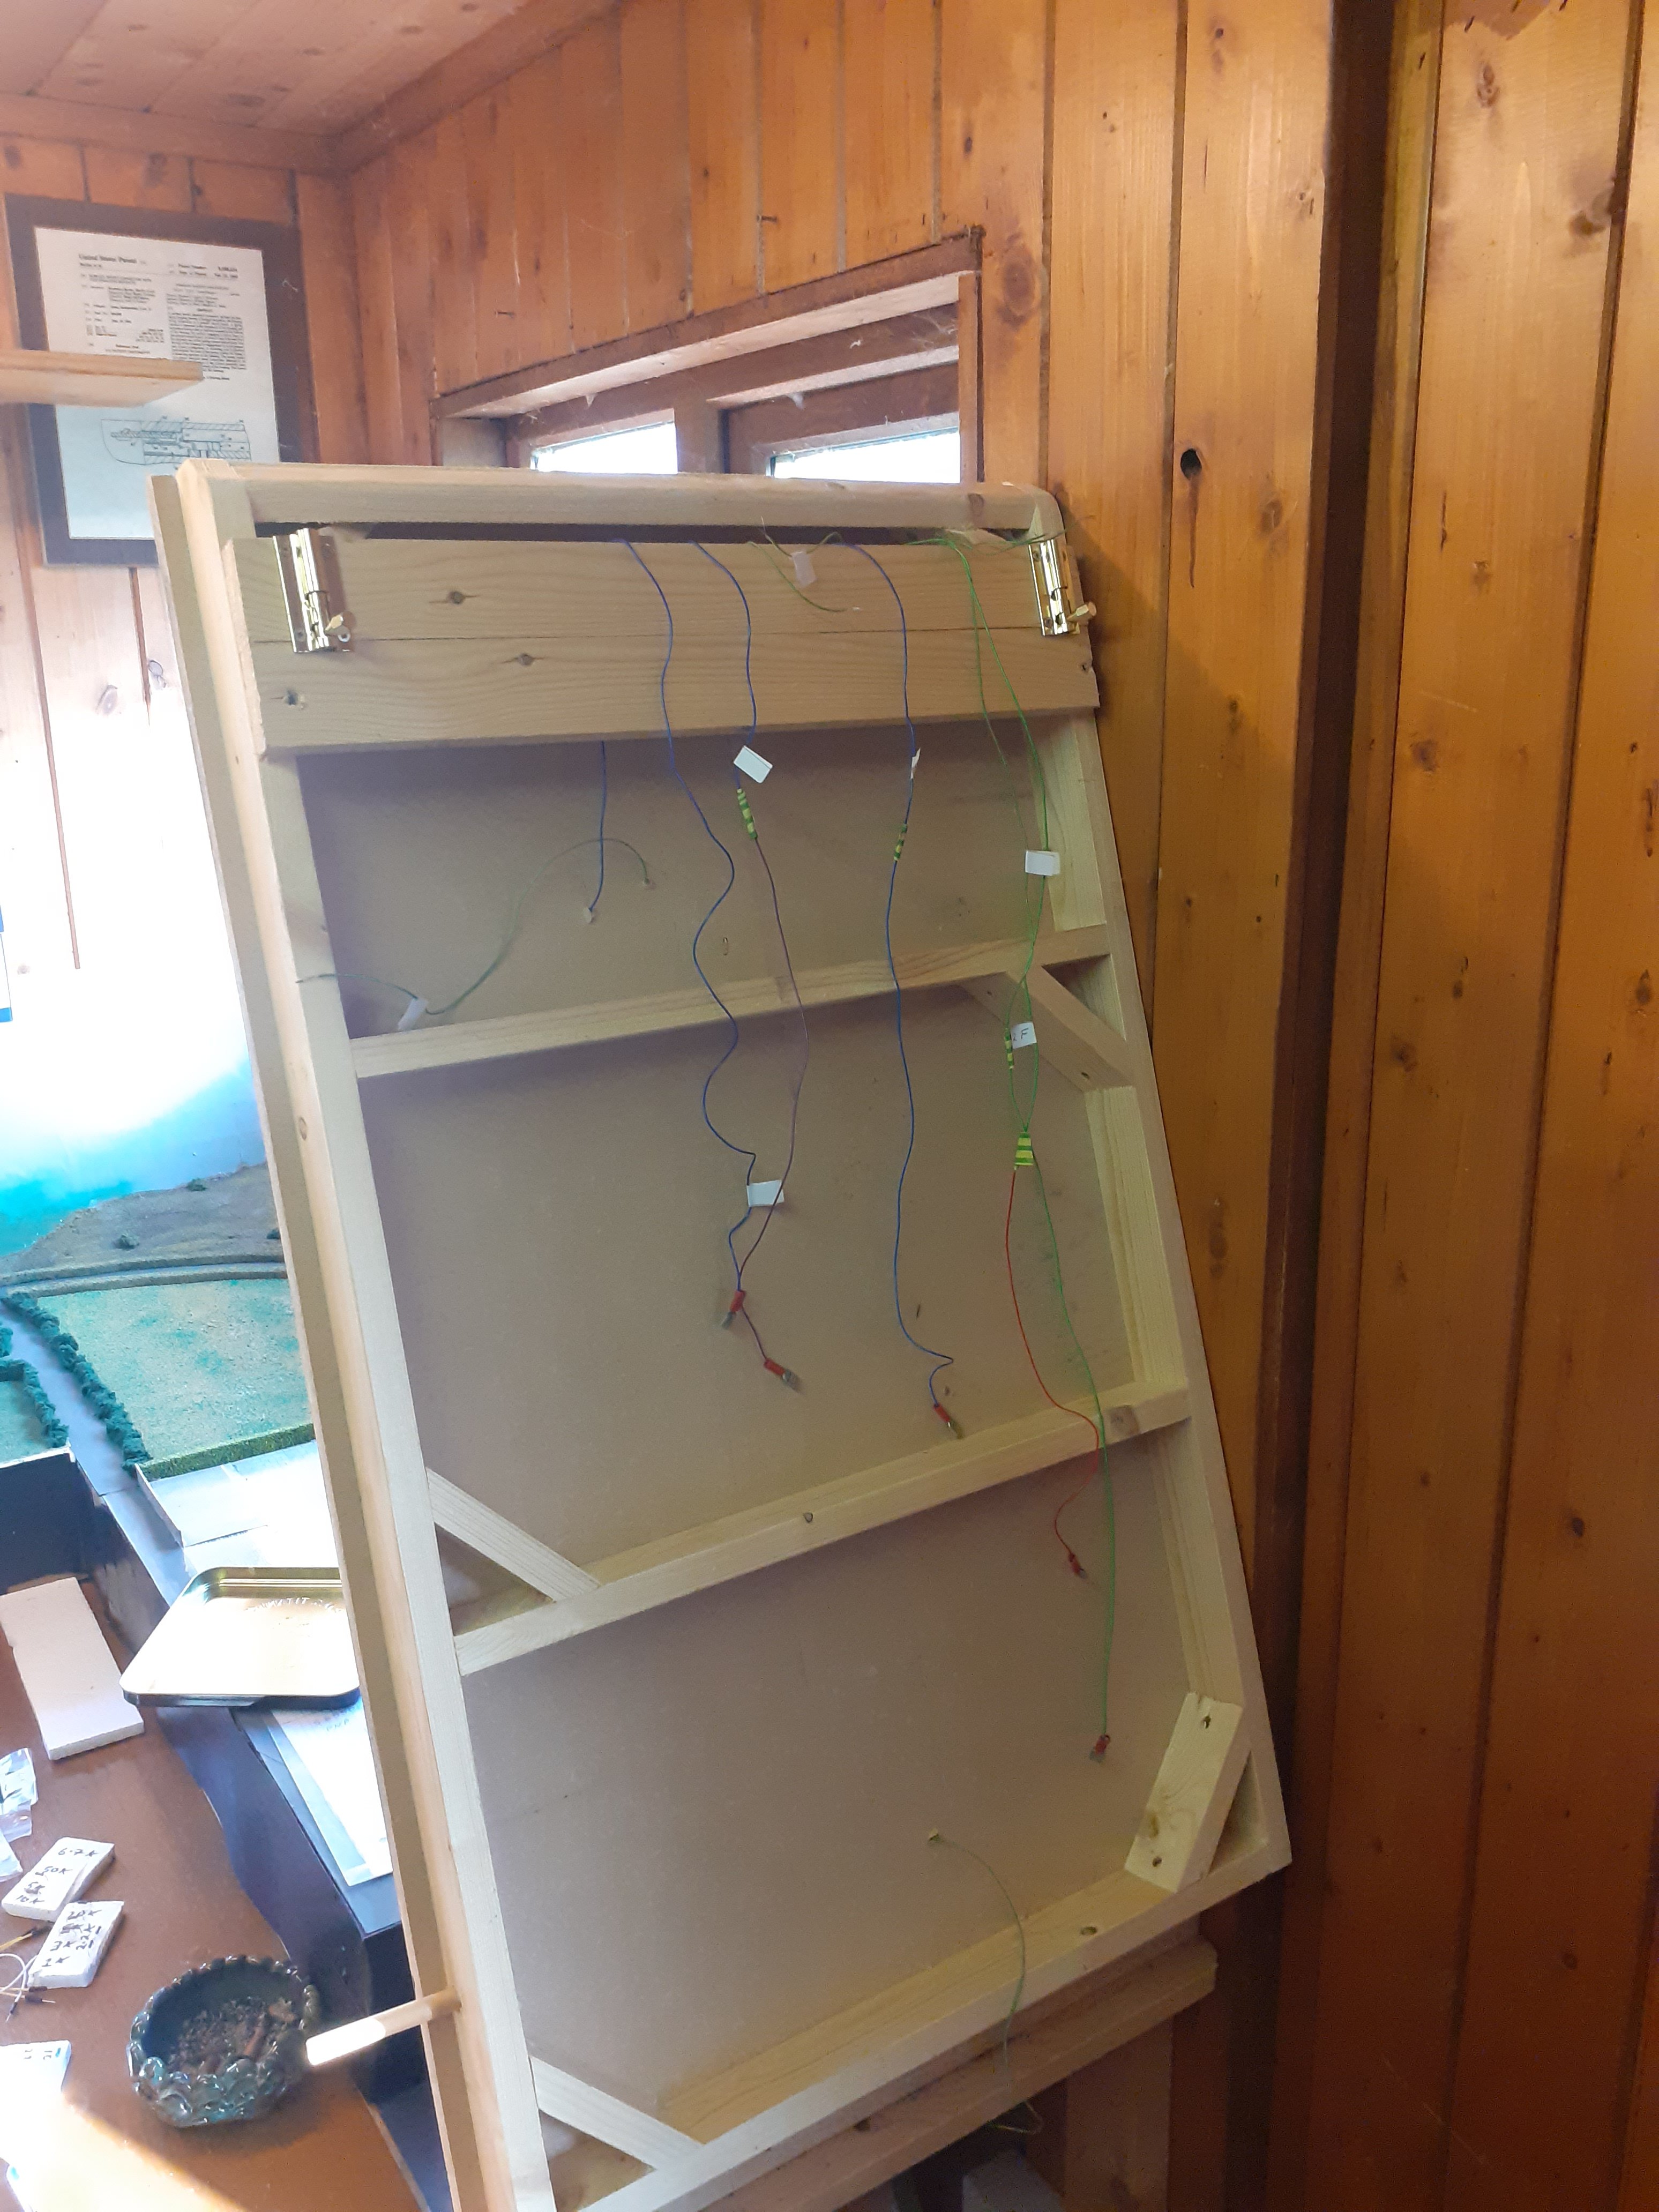
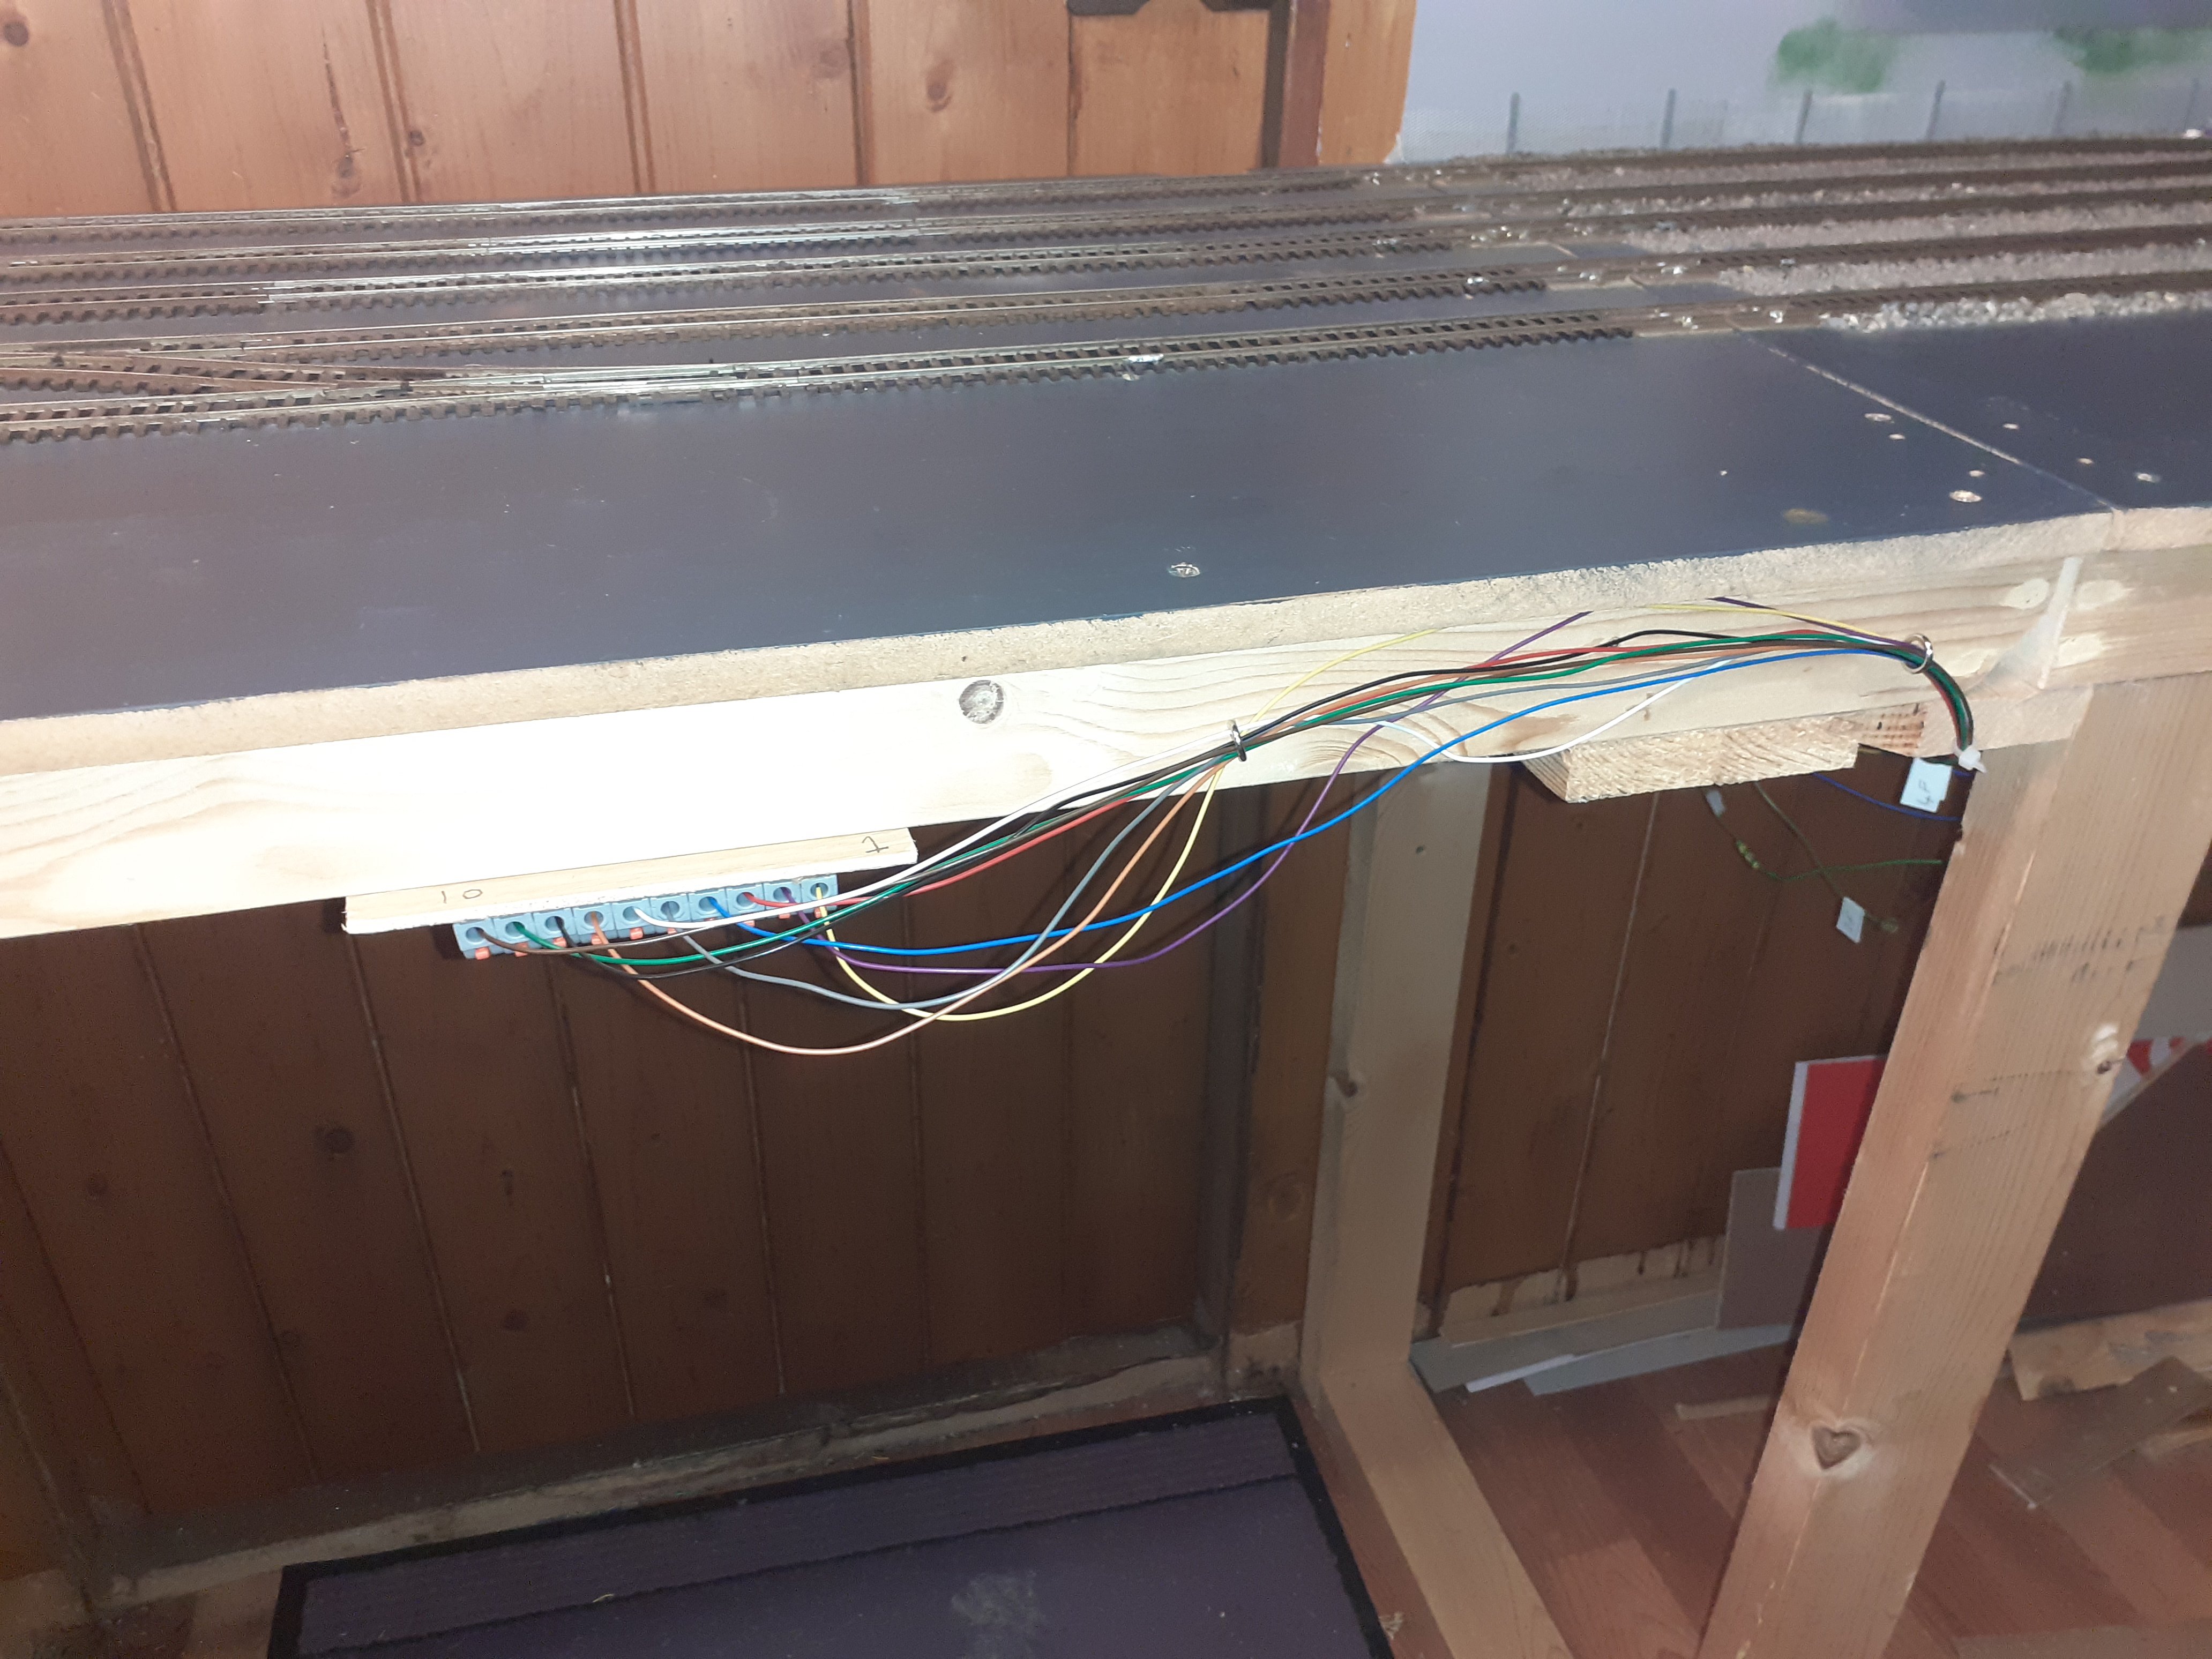
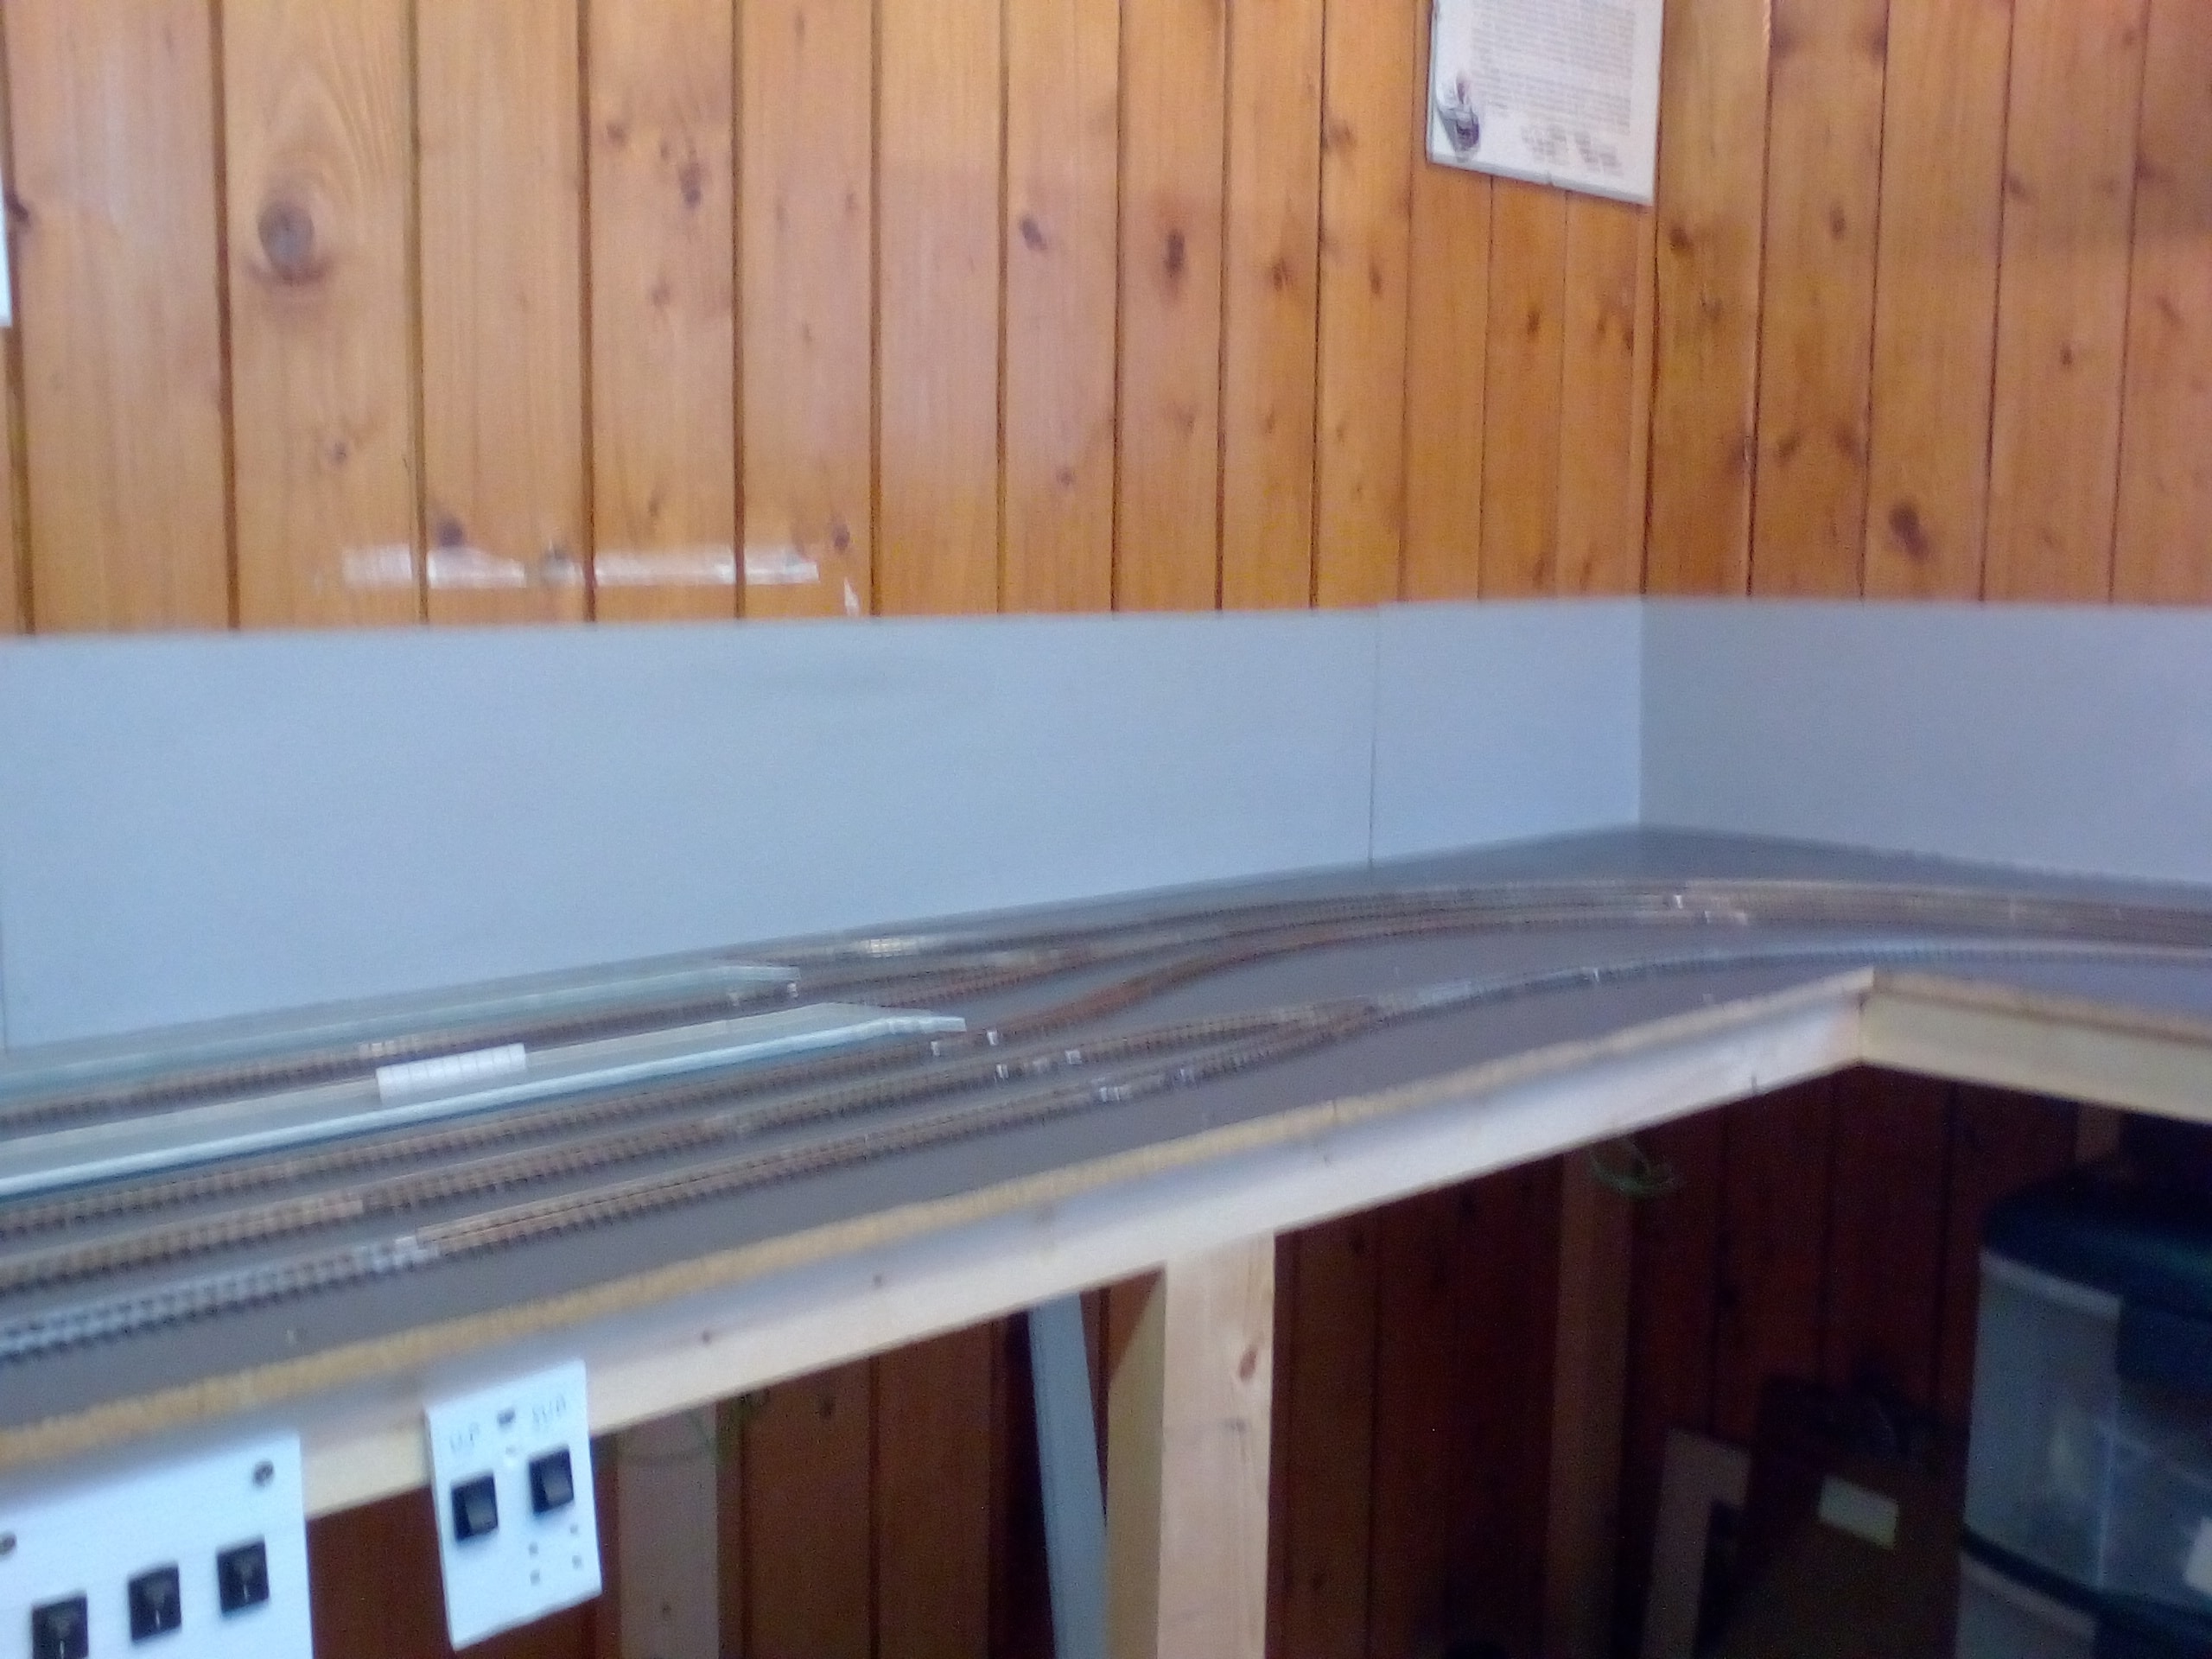
One job that I’d been putting off, became a necessity. I always used to crawl under the lifting flap at the door, the wiring was a mess, see photo, and reconnecting all 10 wires across the gap was not an easy job. But with the knee, my crawling days are over in the medium term, so I had to come up with a solution so that I could run trains.
I got some quick release connectors on amazon and set to work. Number all the wires and even coloured coded them. It works and just takes a couple of minutes to connect up.
More updates to follow.
-
6
-
-
yeah the tank is one of those airfix kits you get in lidl every so often, i've a spitfire hanging from the ceiling, i think we all cut our teeth making those kits, saving up the old pocket money.
I used to do dioramas with tanks and the soldiers. So i got a pack of 1/72 scale soldiers and might paint them up next winter and was thinking of doing a battle scene in the village....
not so sure about it now with a real war unfolding in front of us, seems a bit tasteless.
-
5
-
 1
1
-
-
Video tour around the layout.
-
8
-
-
Thanks for all the wows and likes, any questions feel free.
-
1
-
-
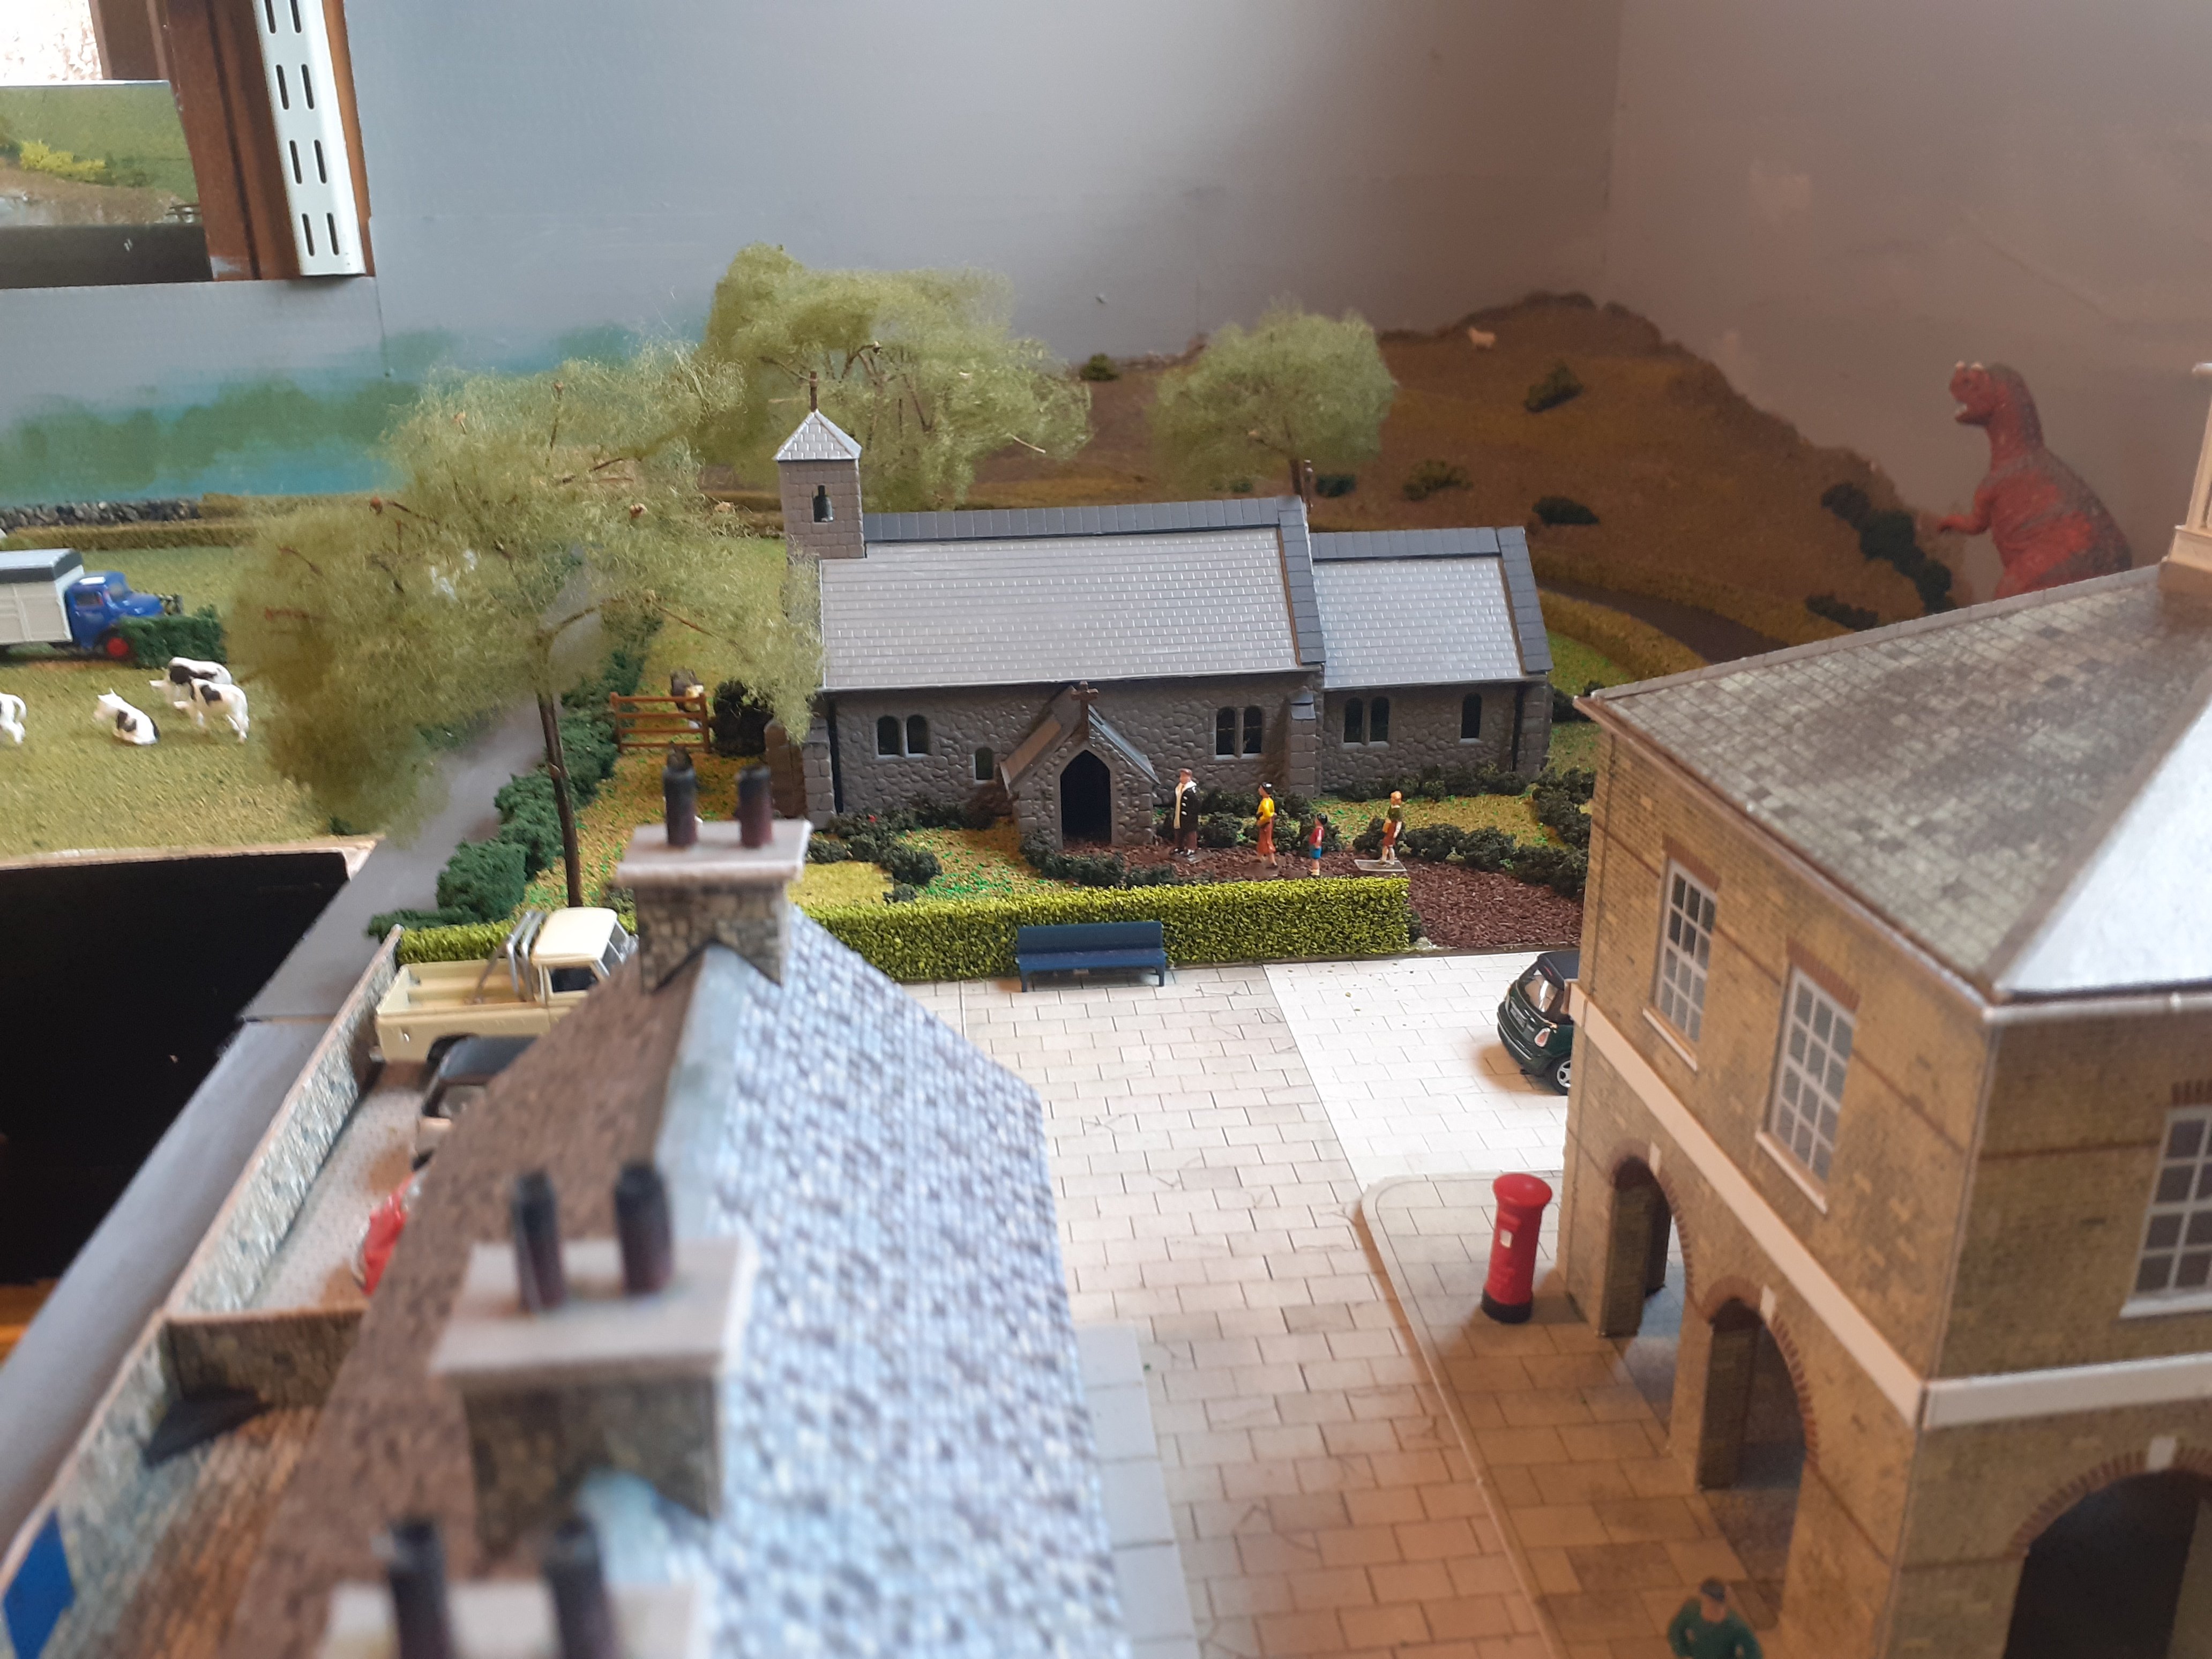
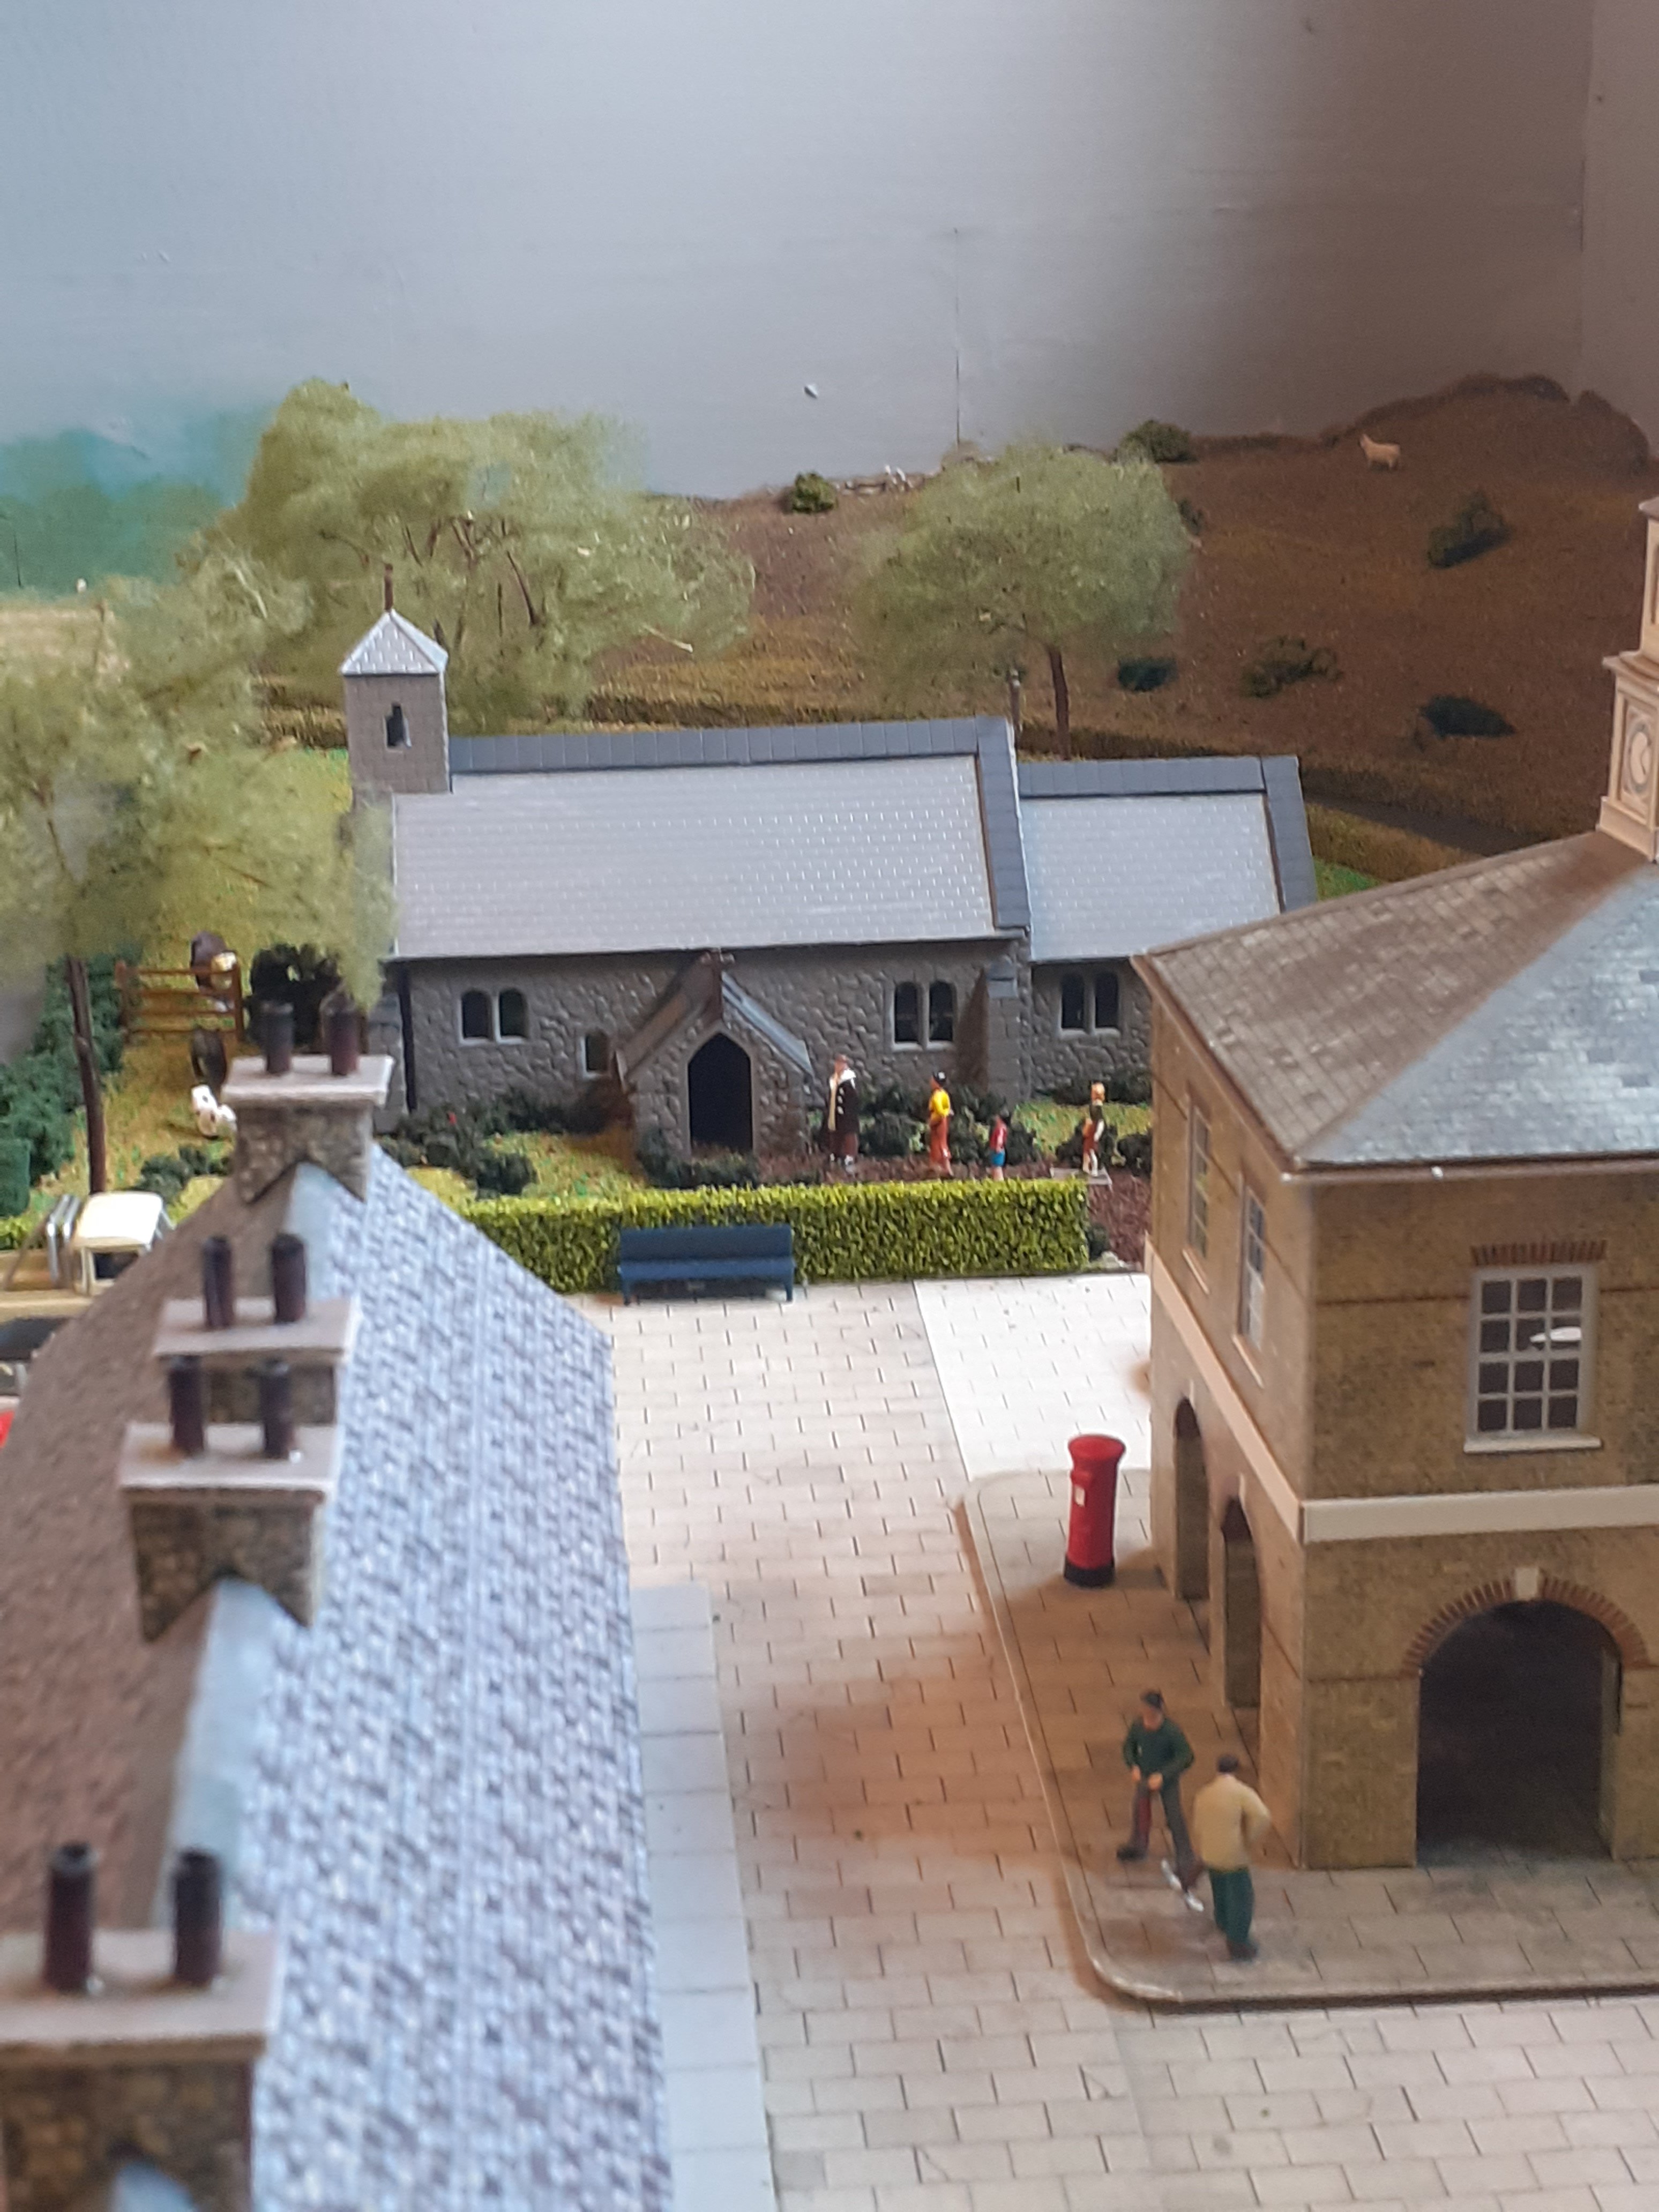
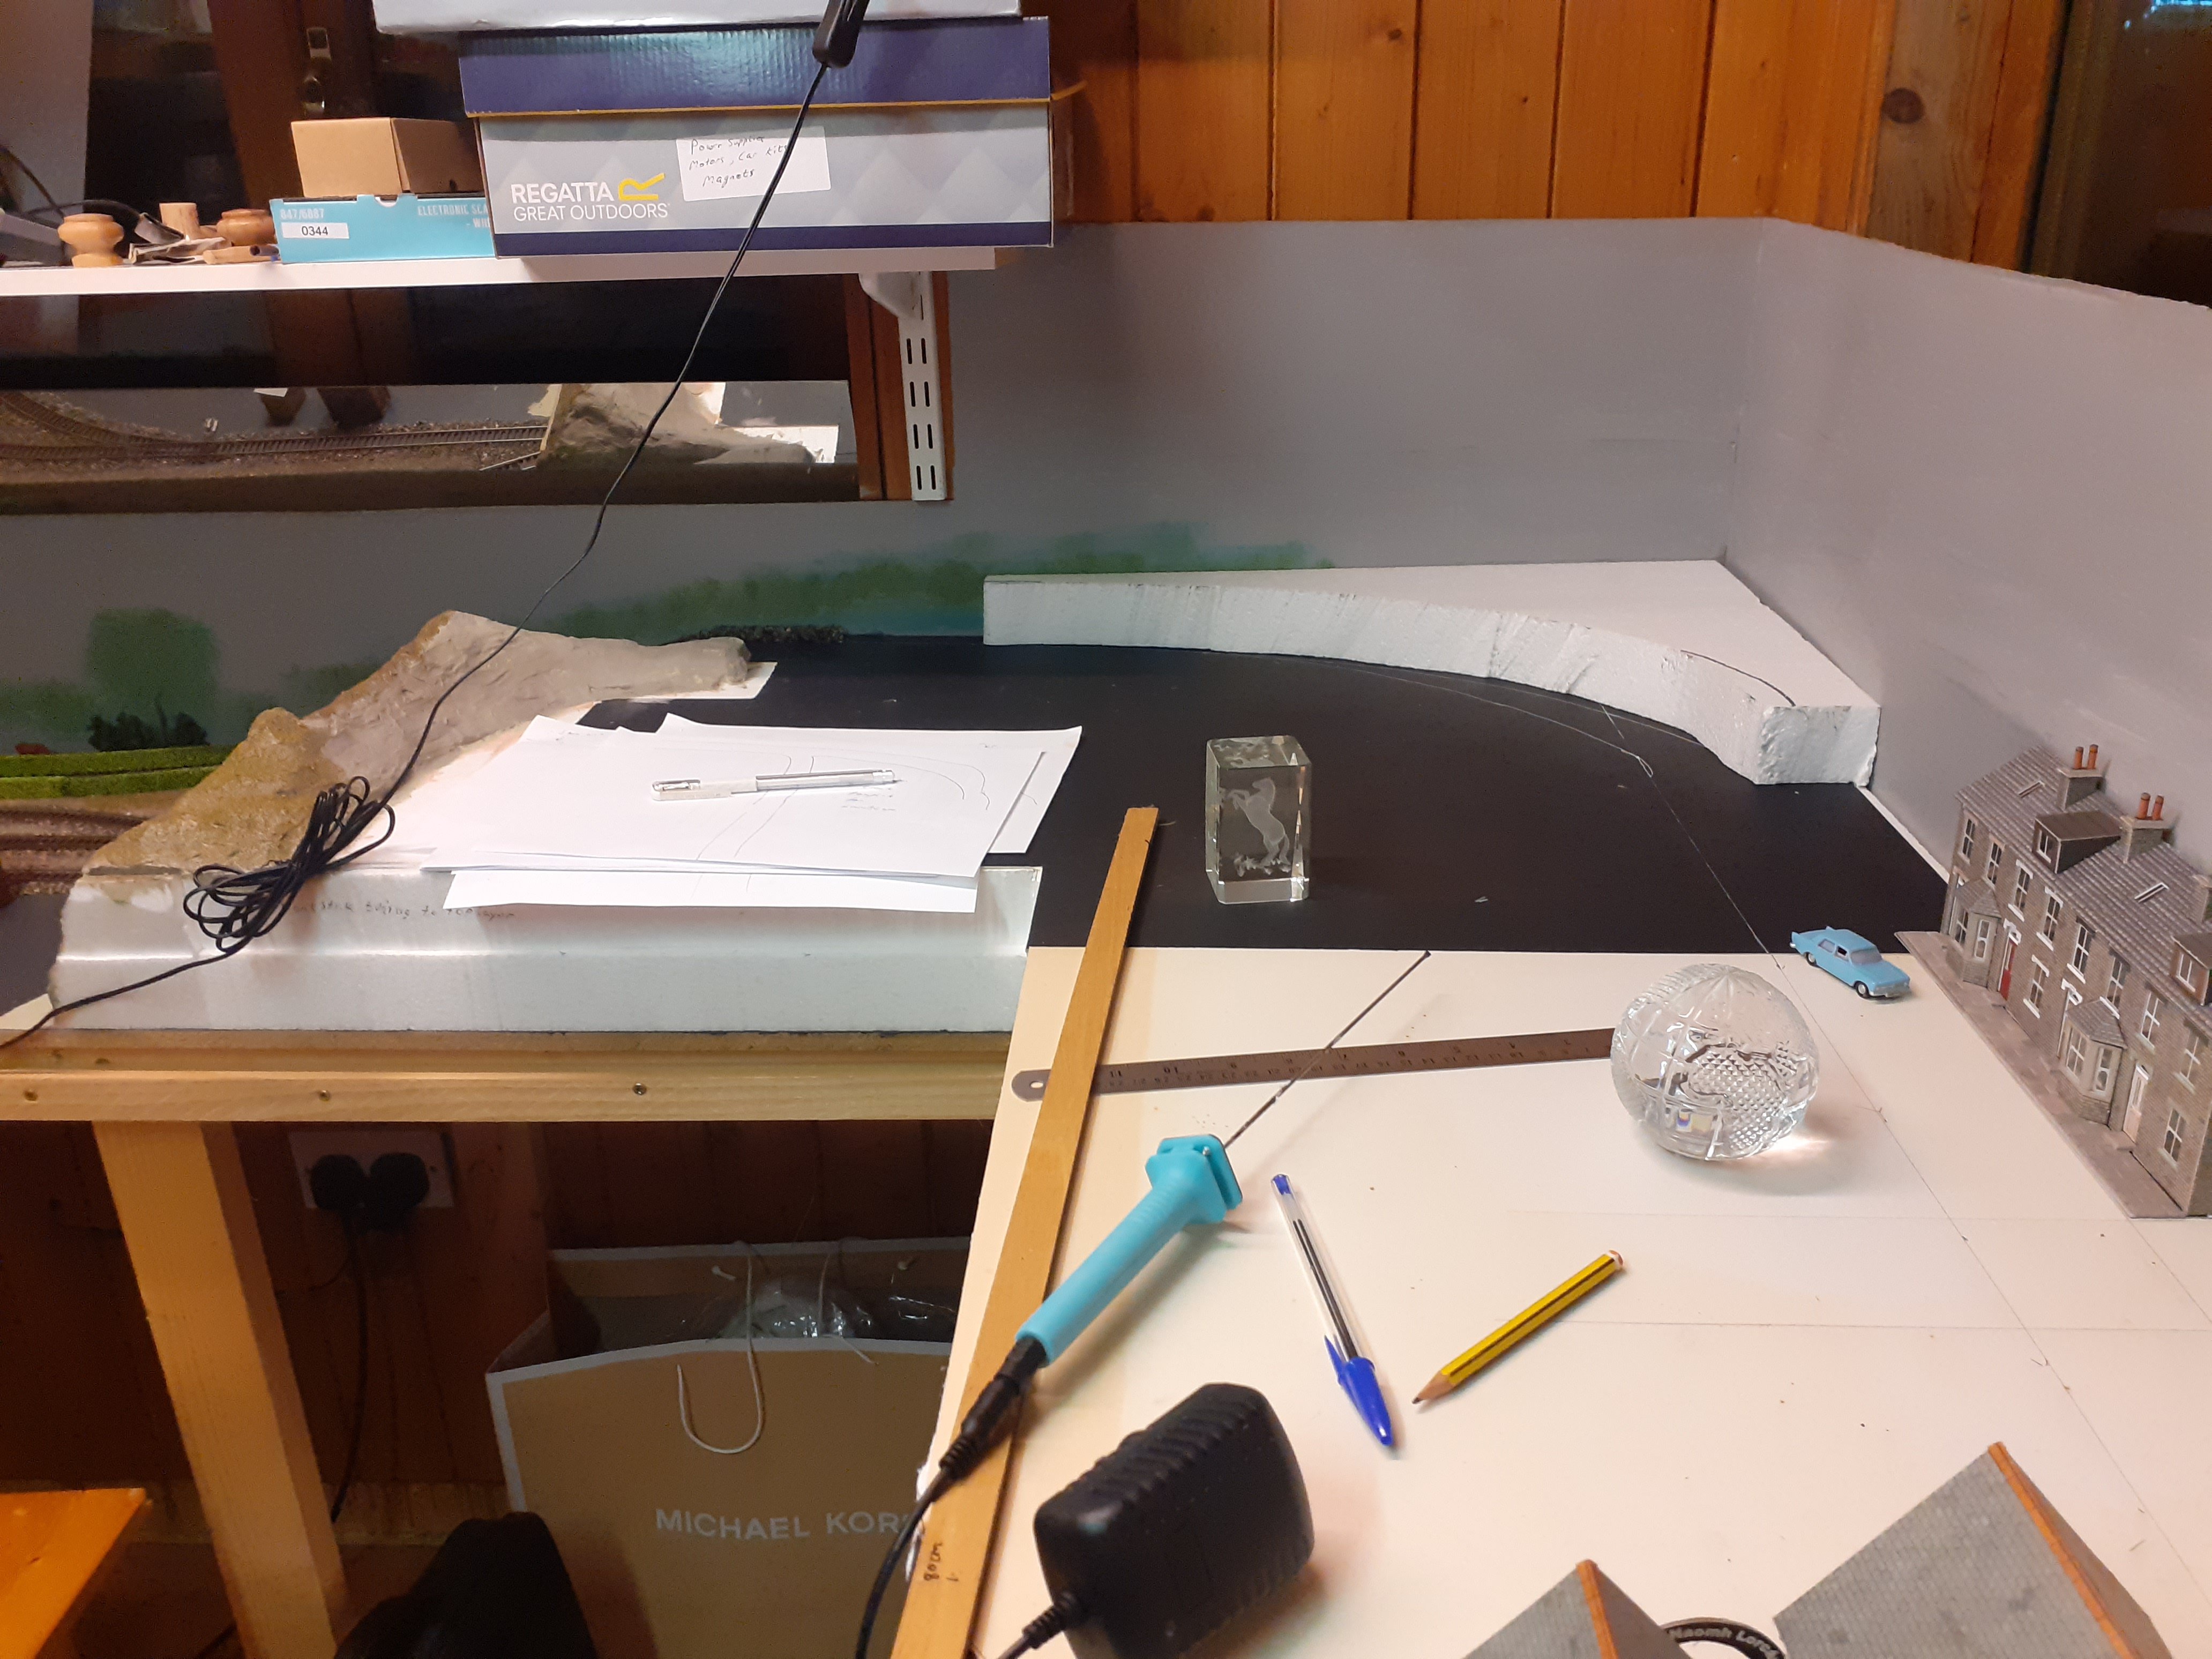
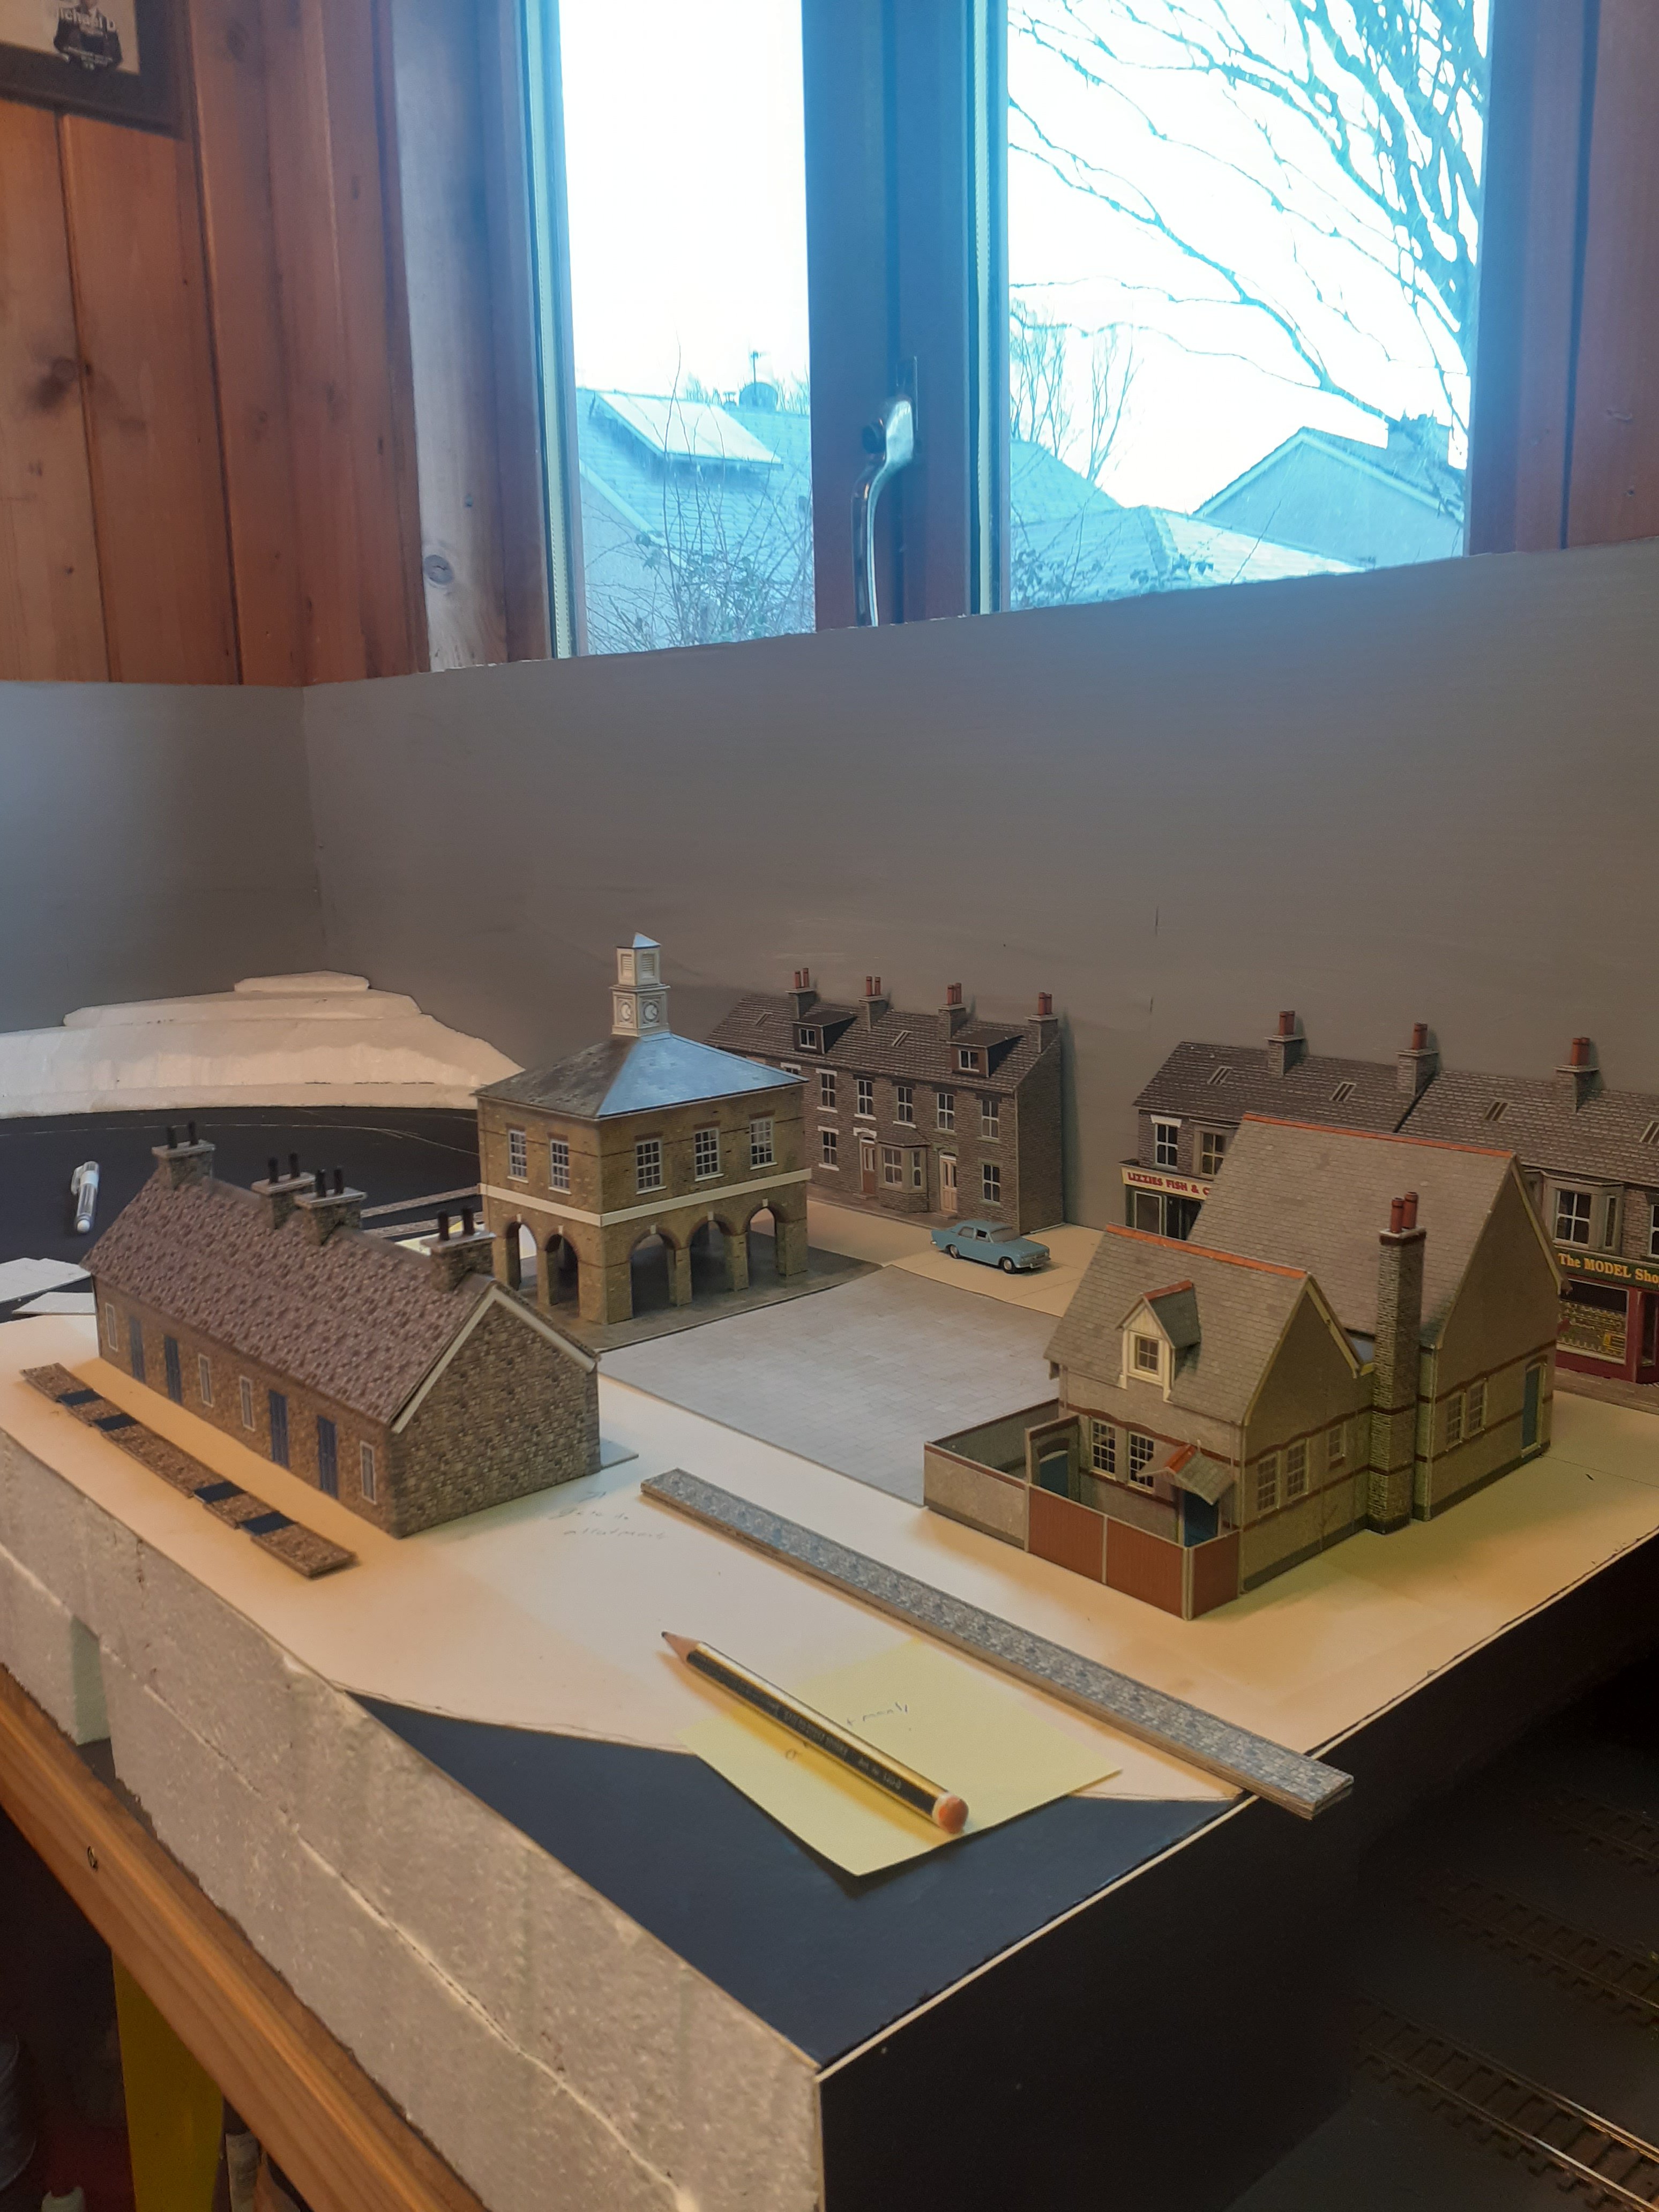
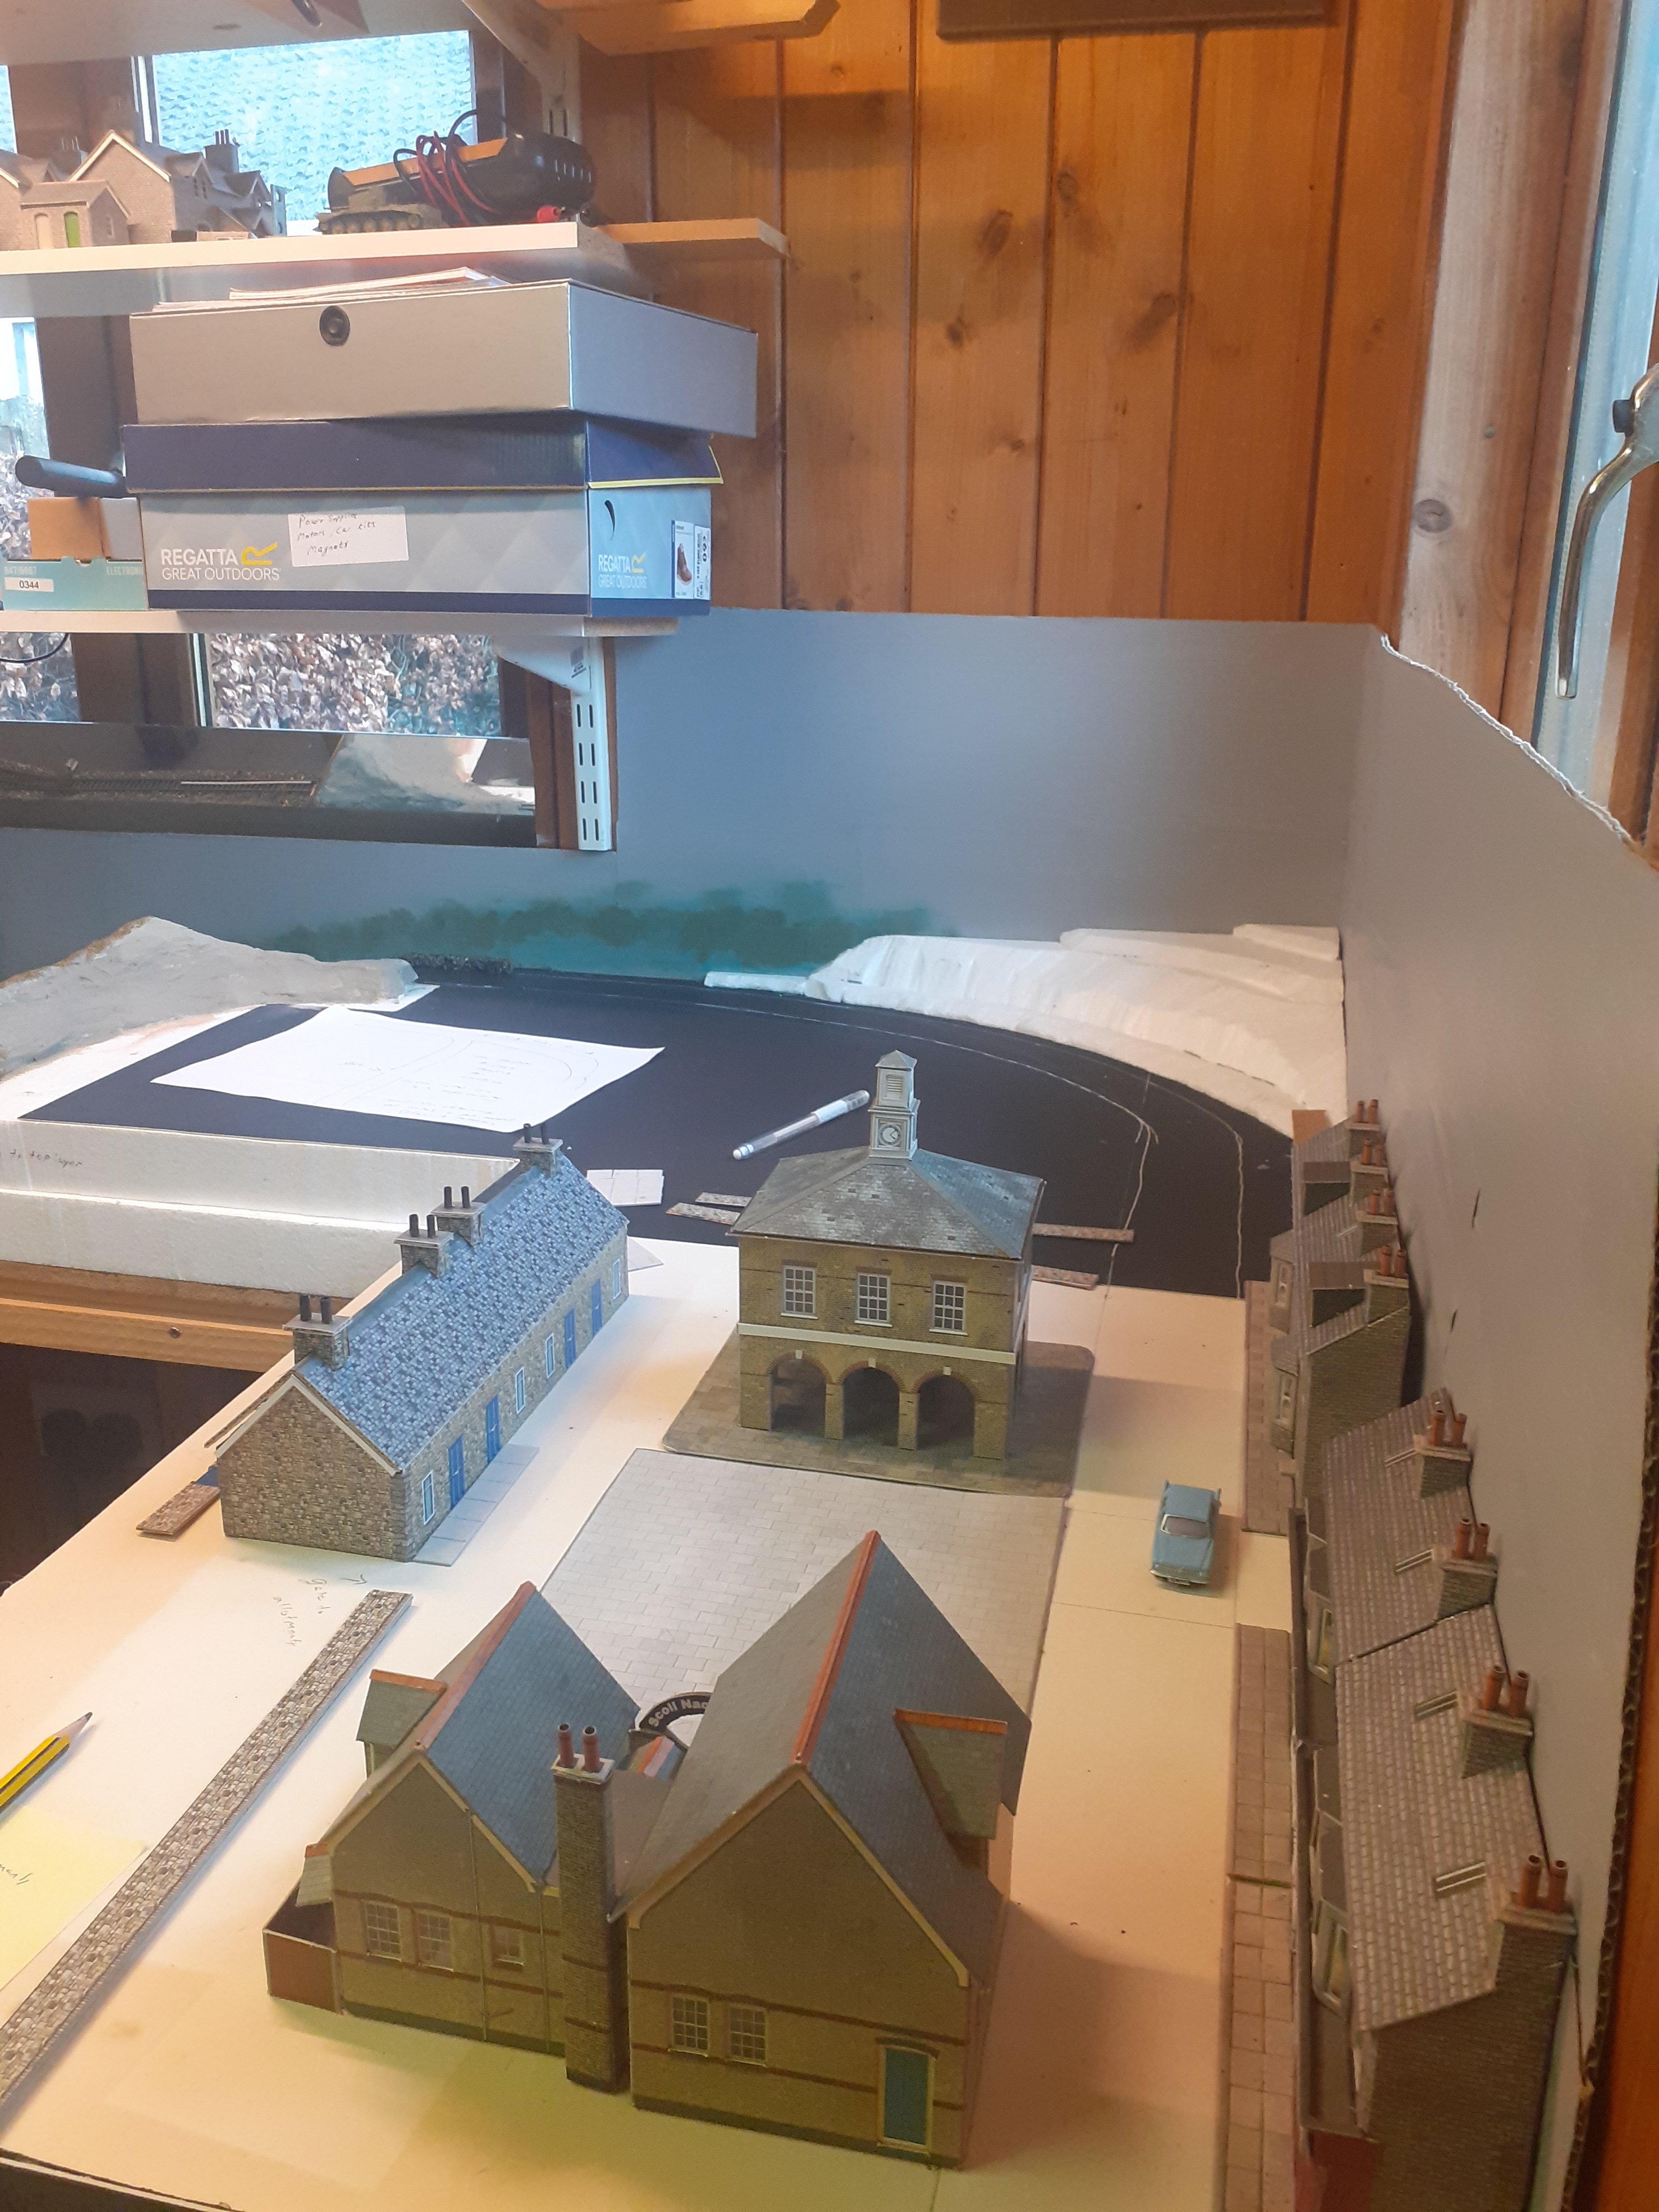
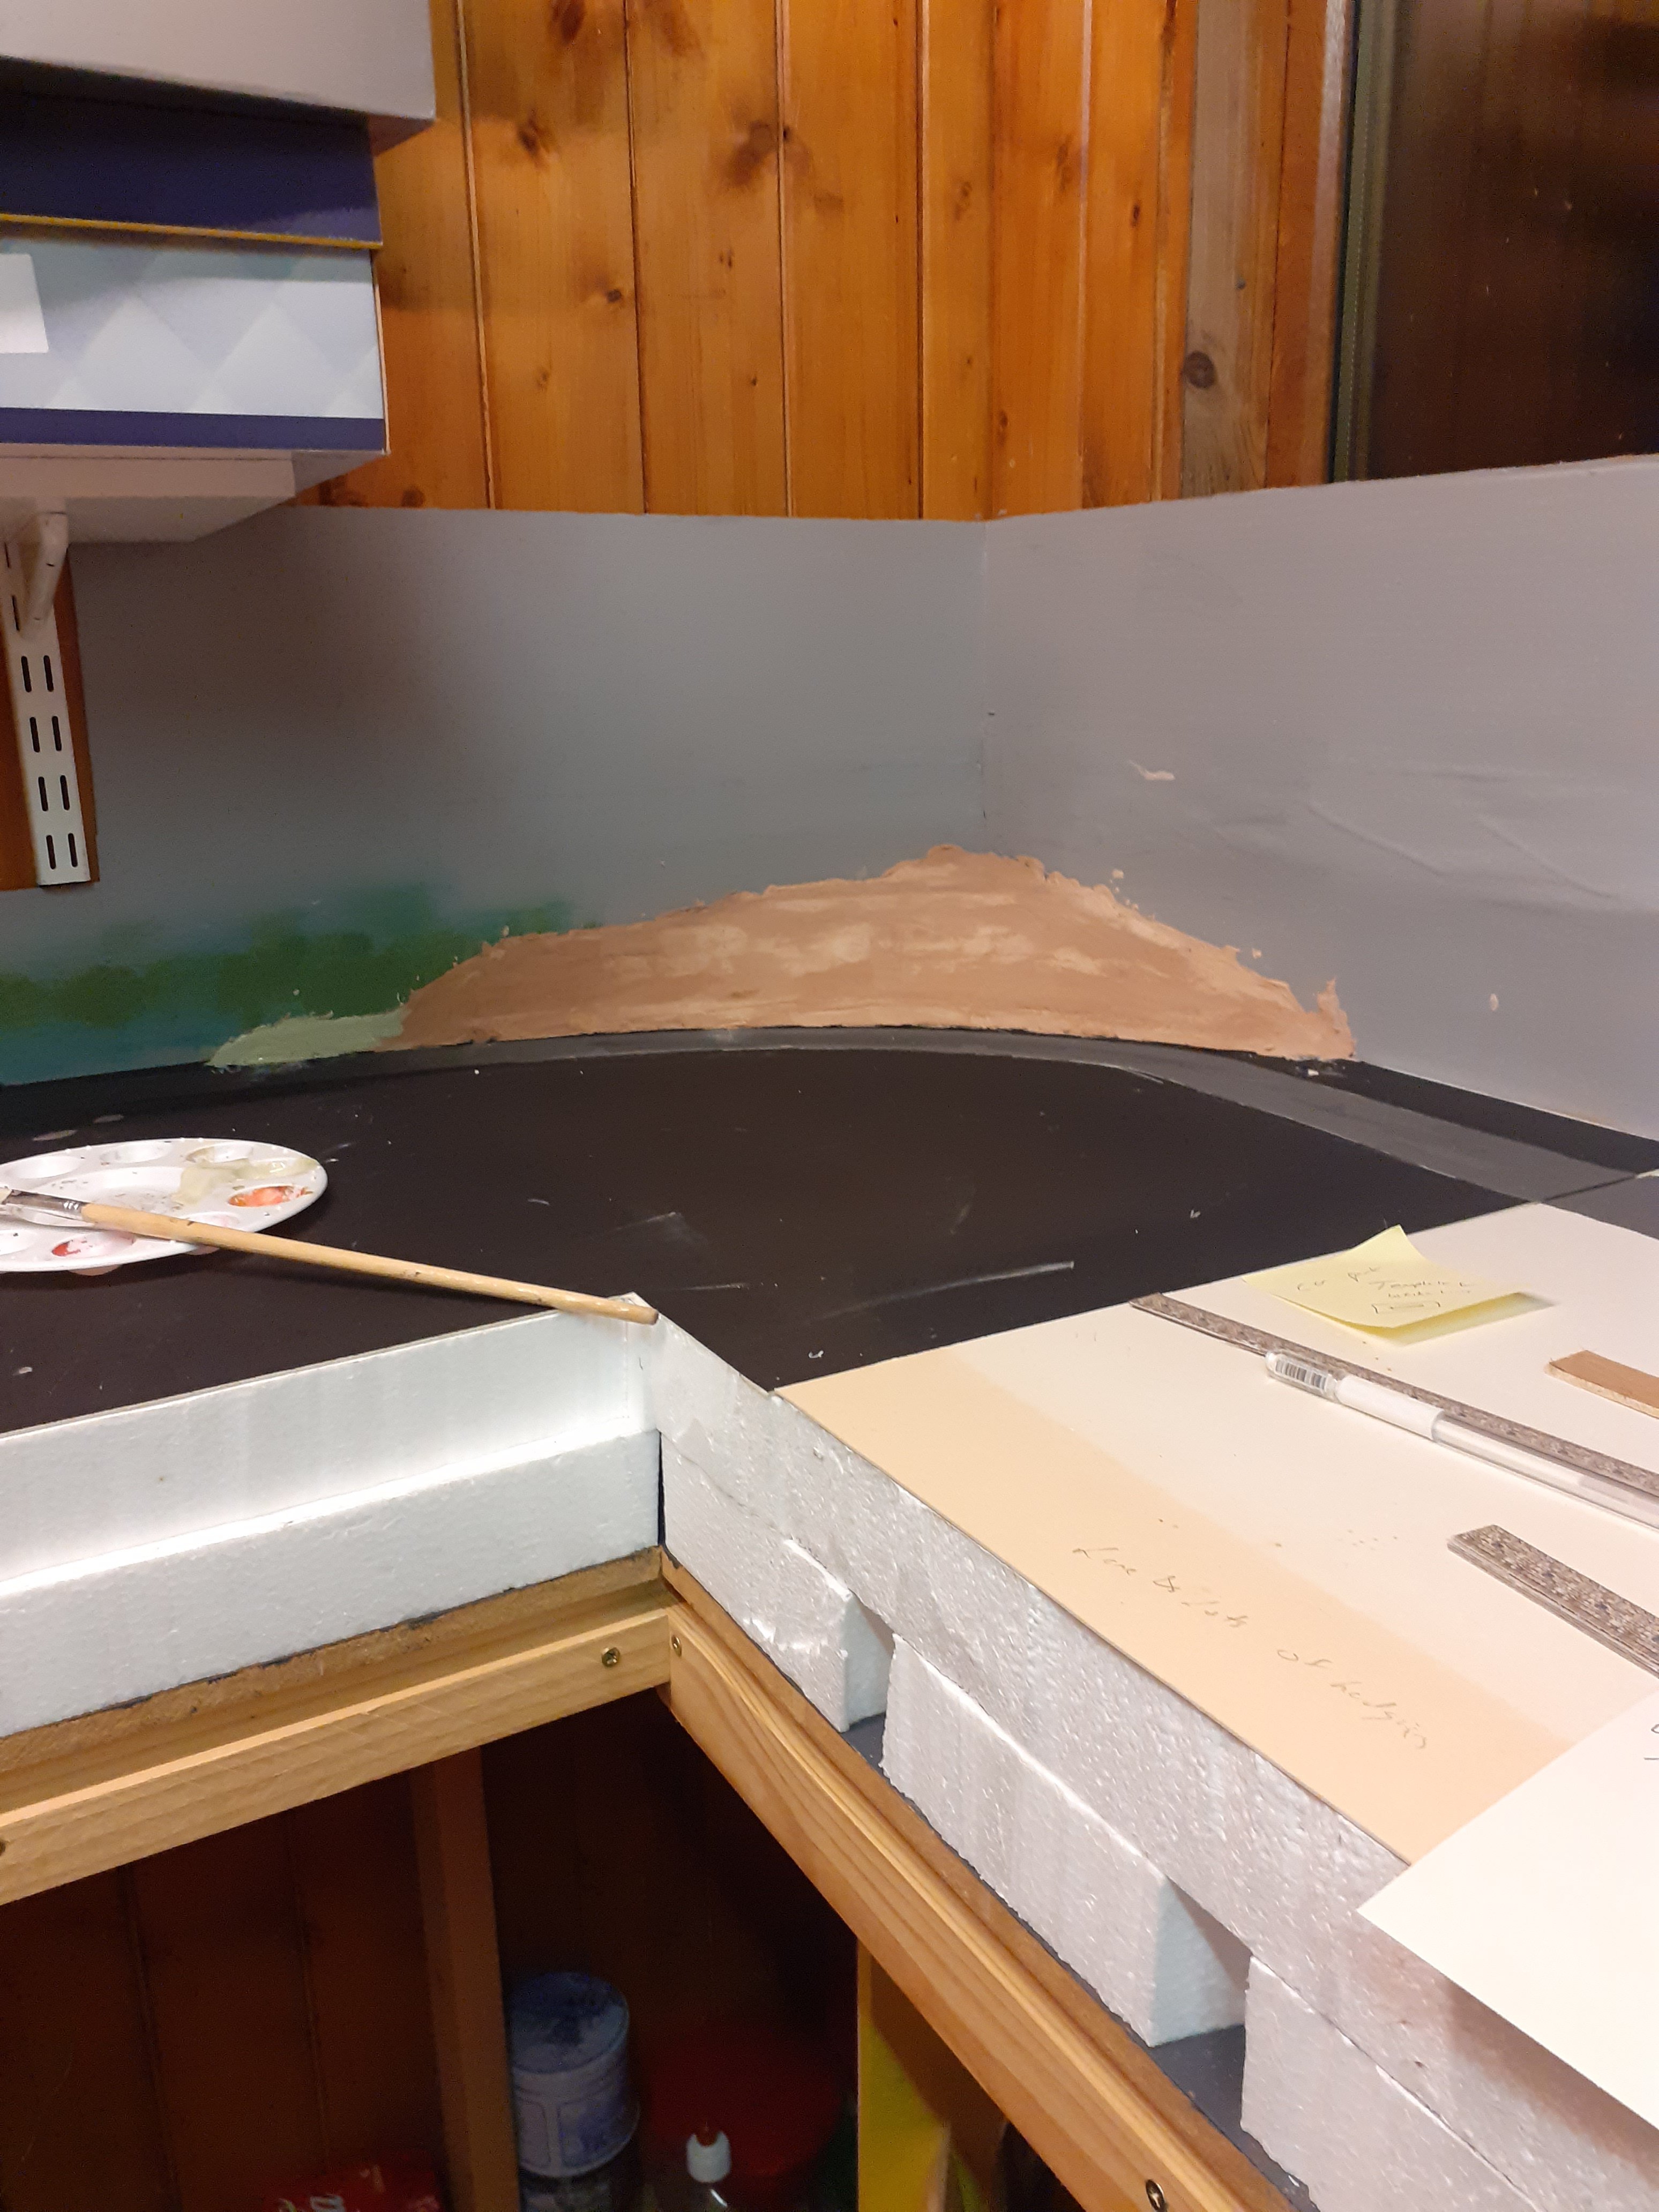
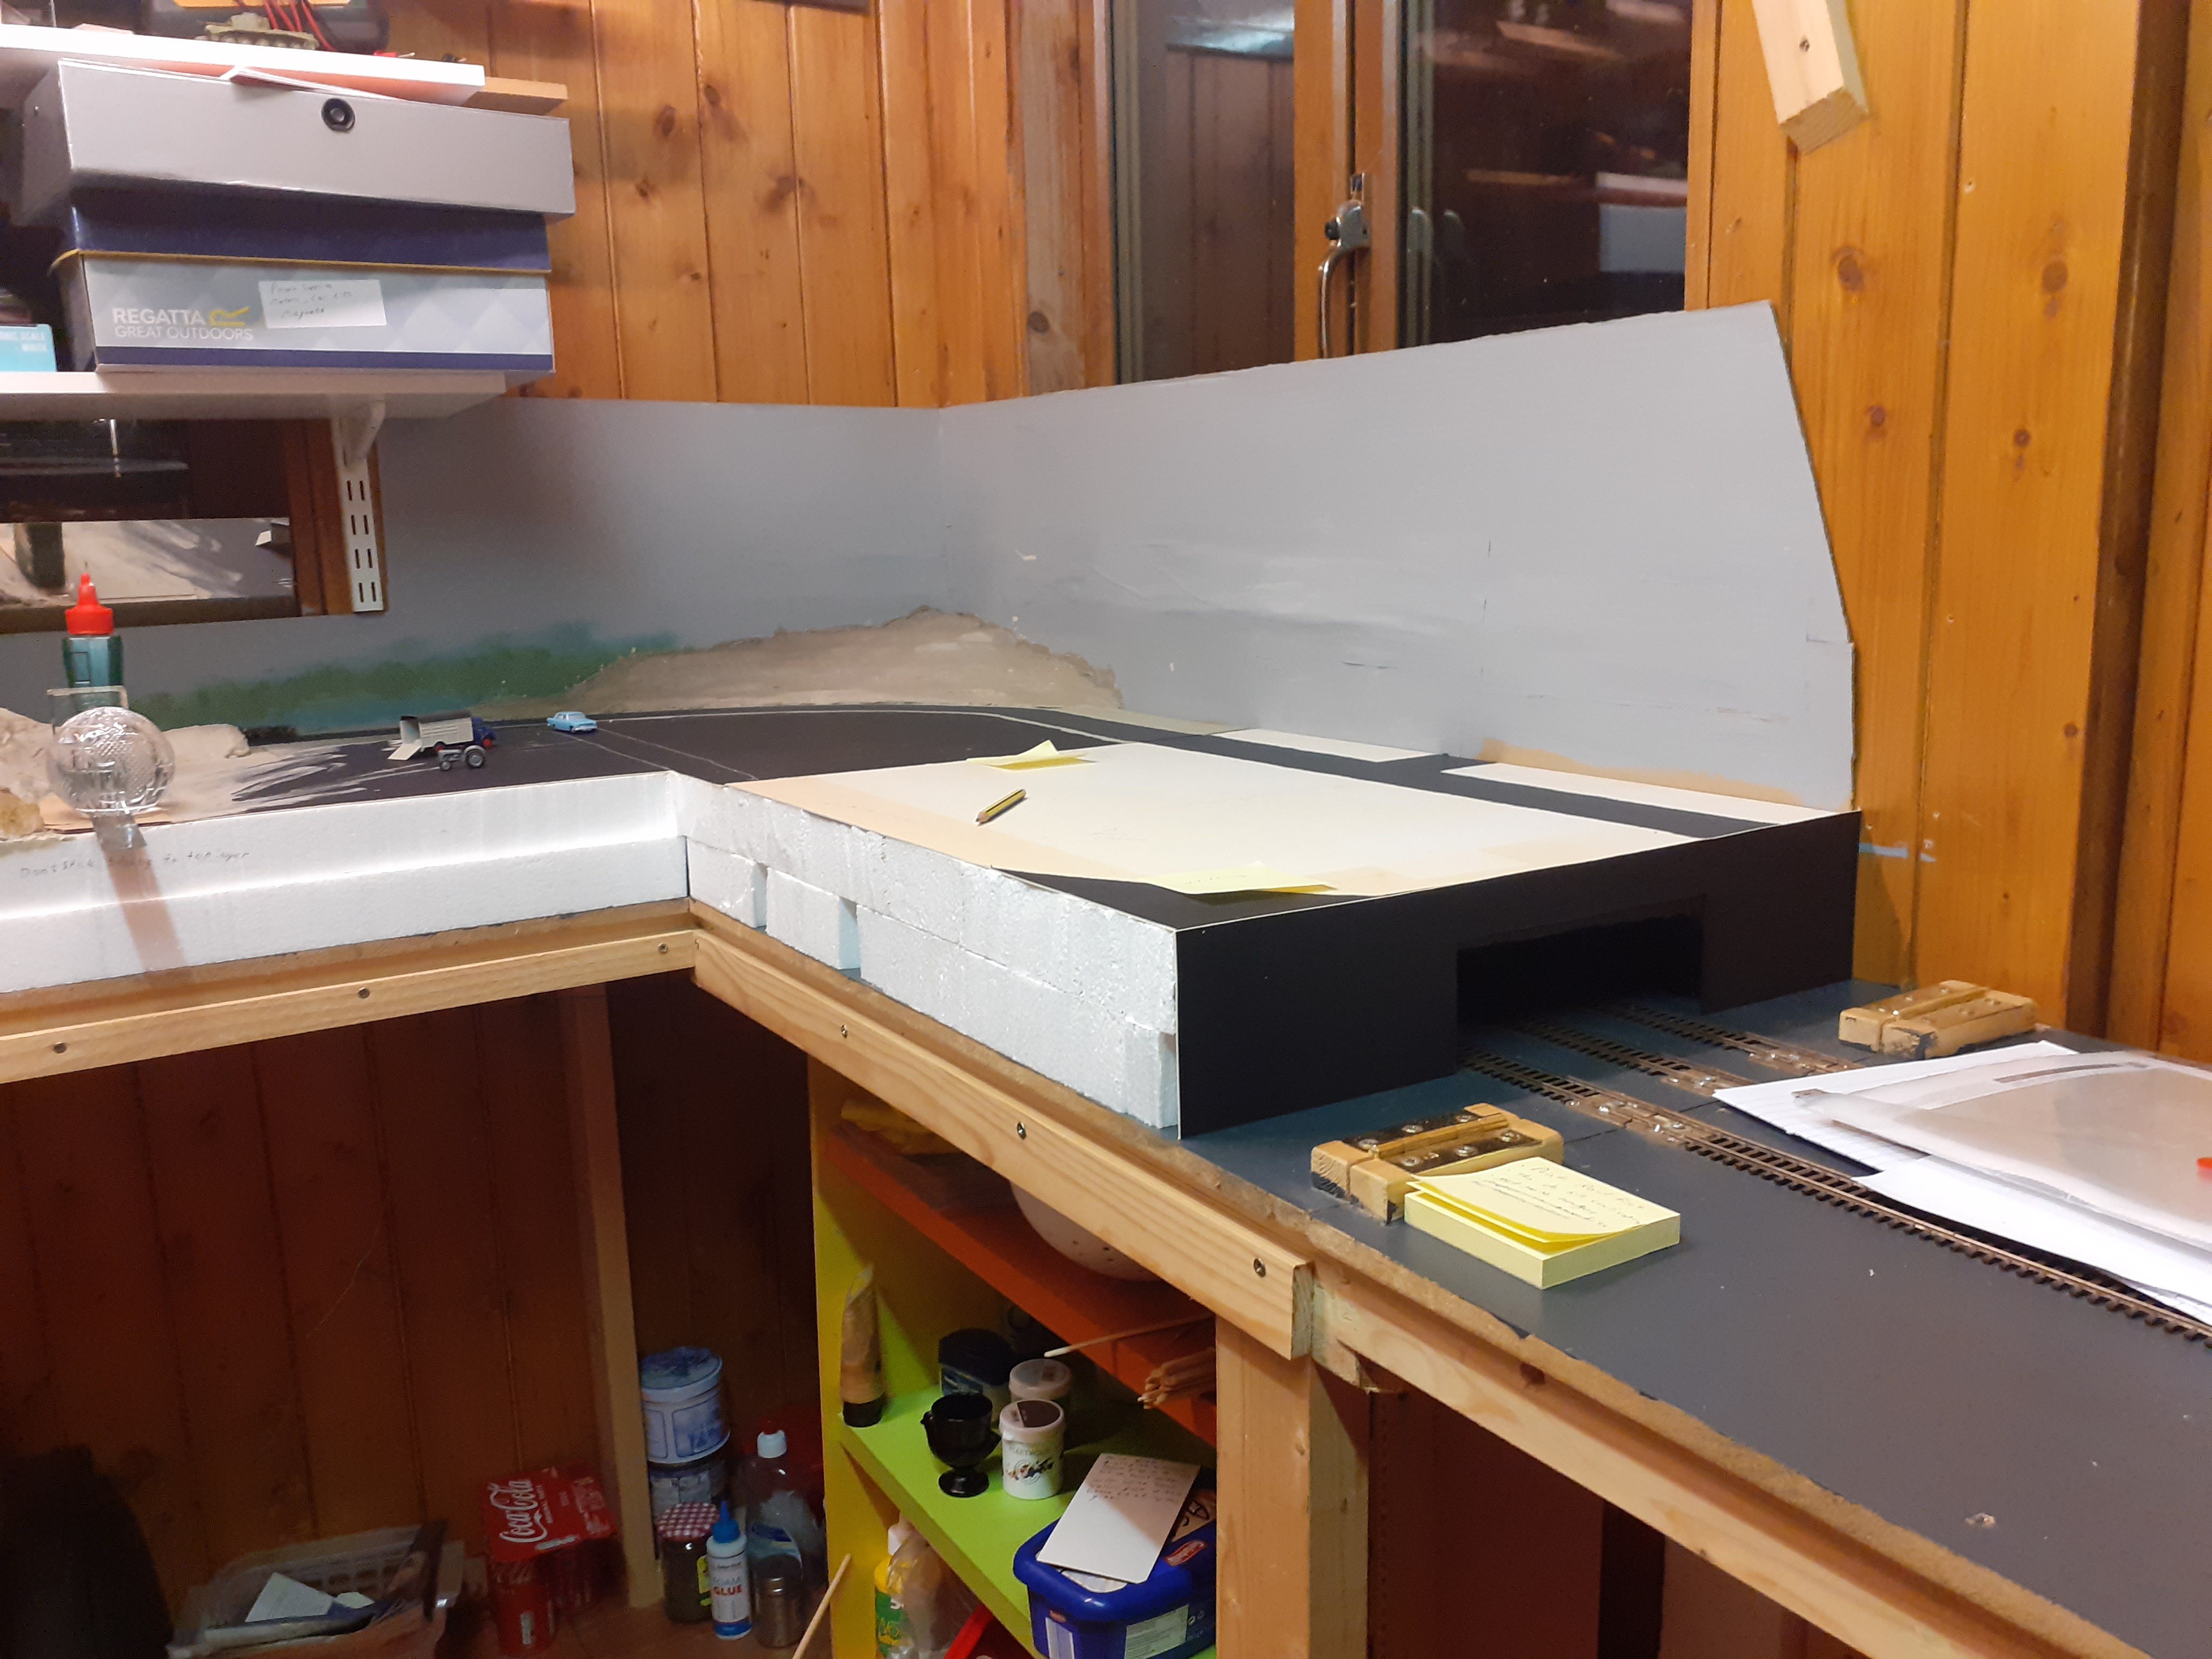
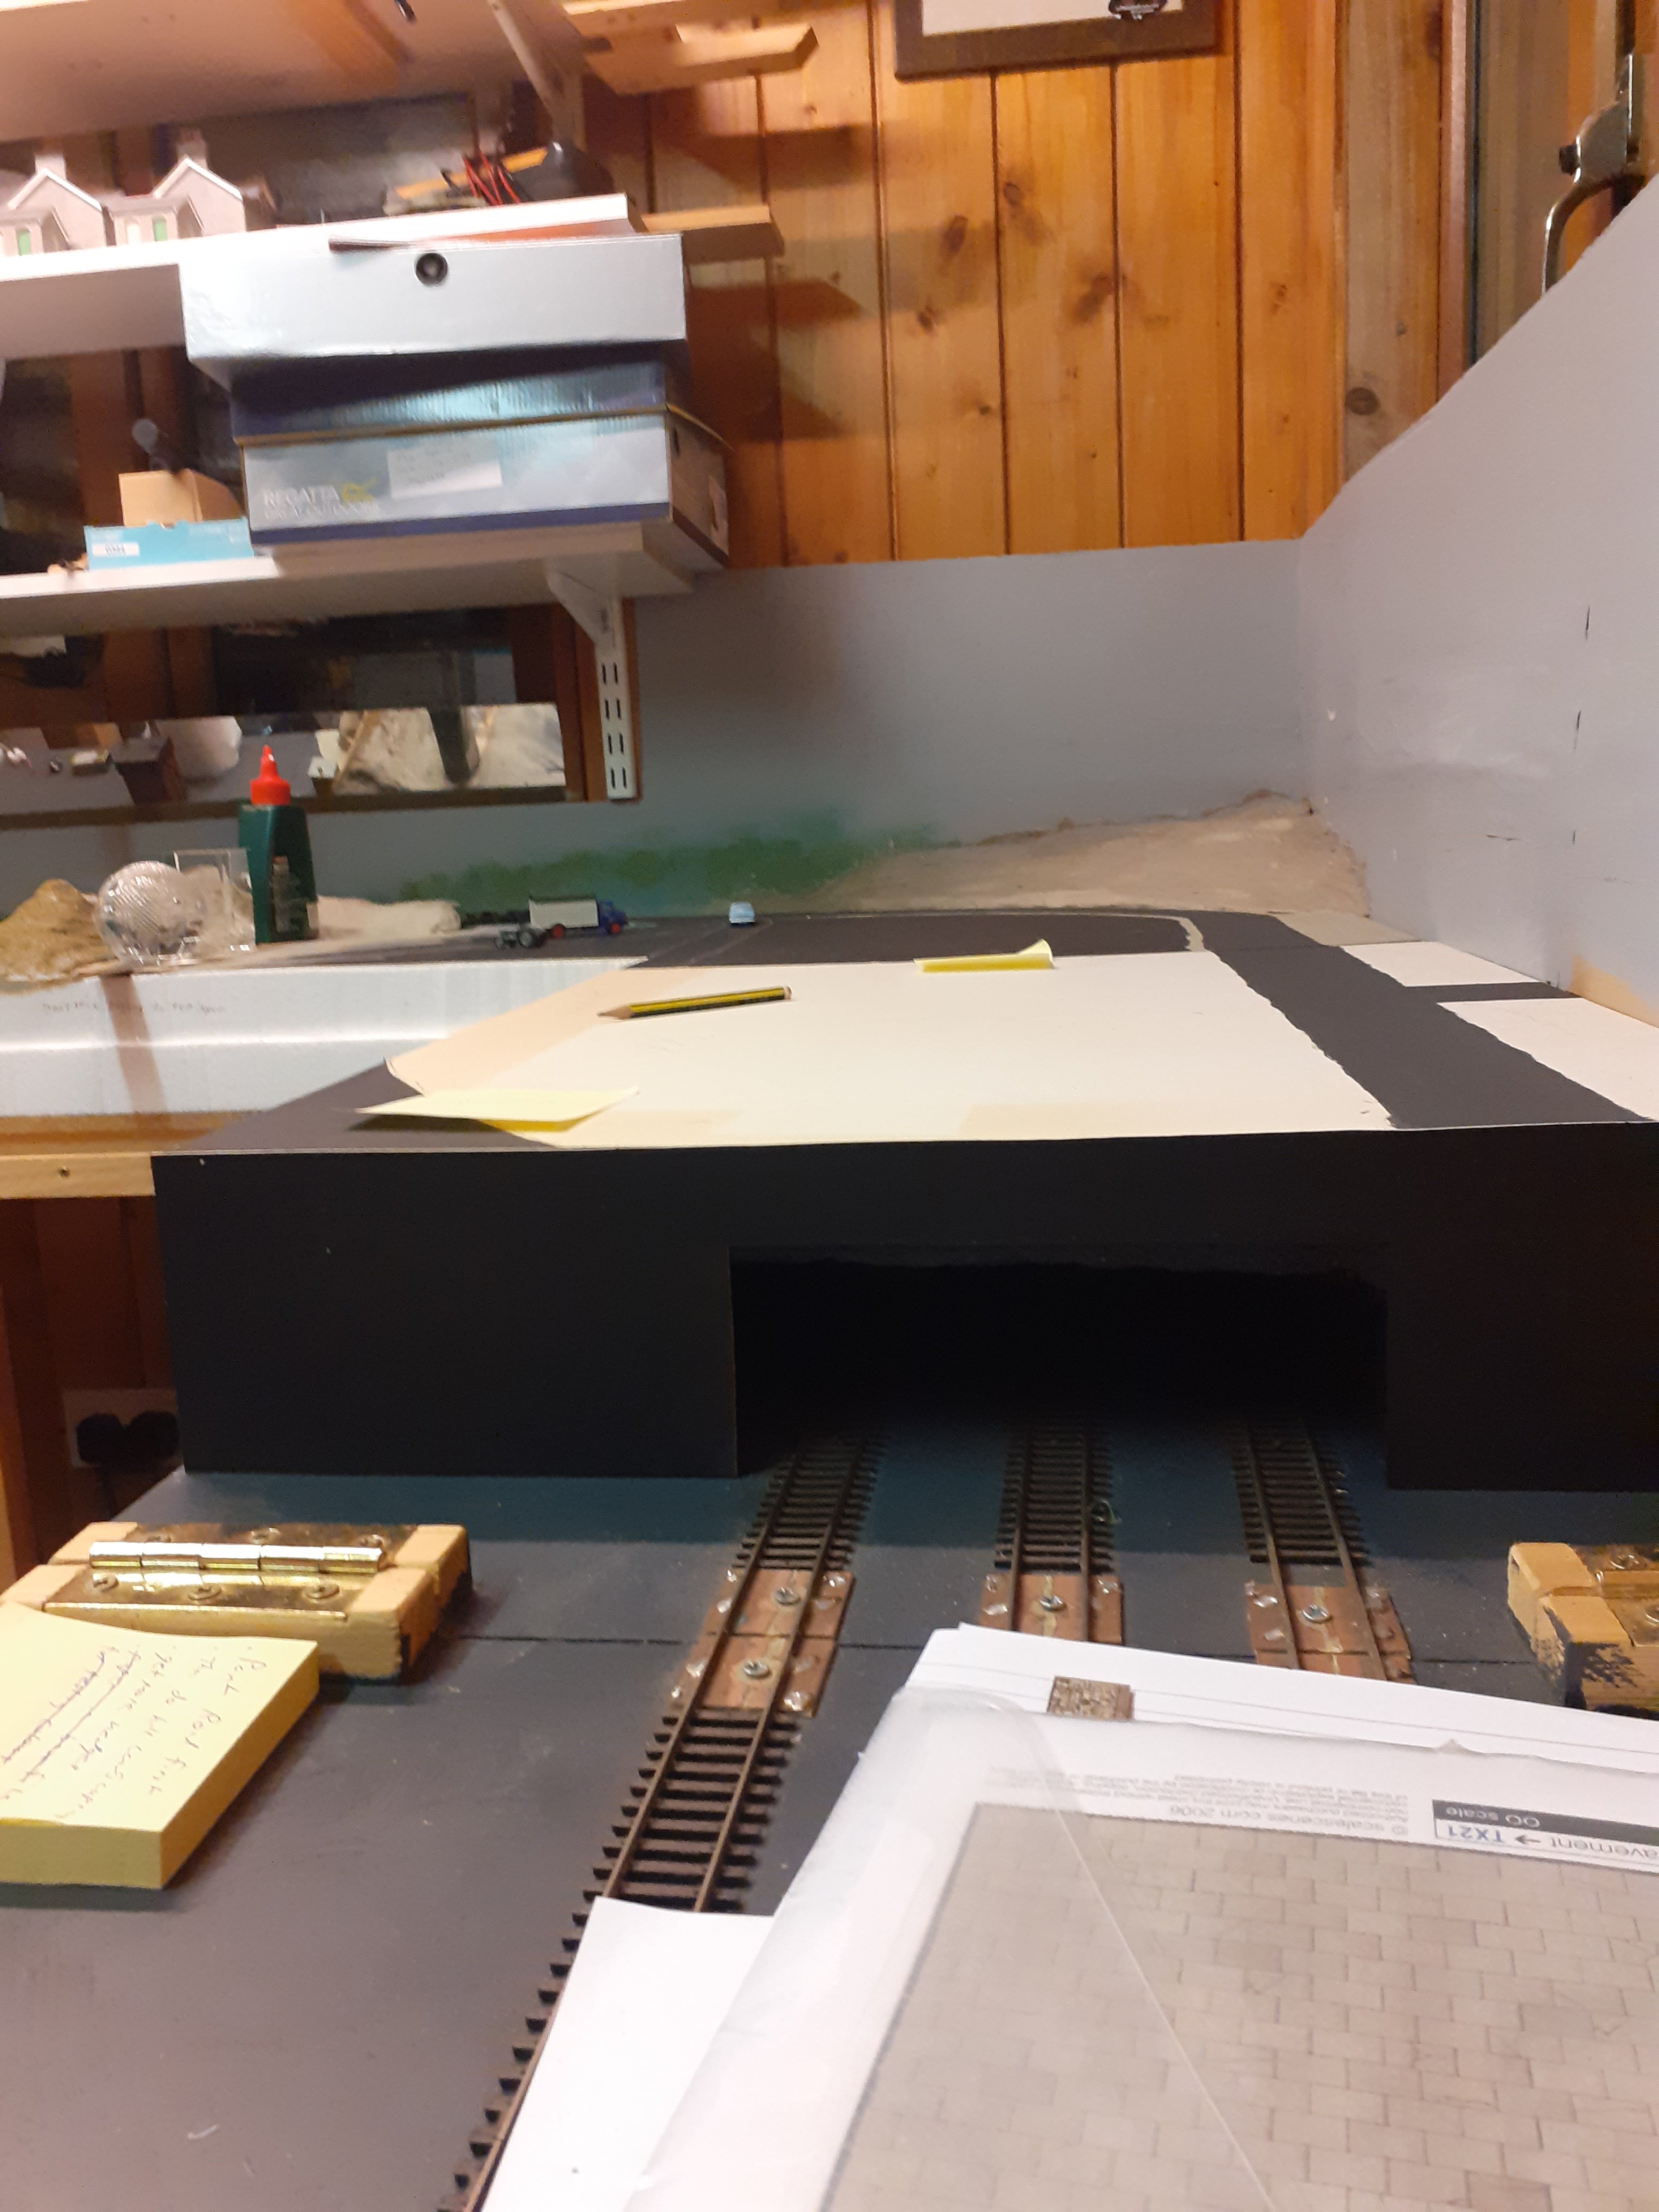
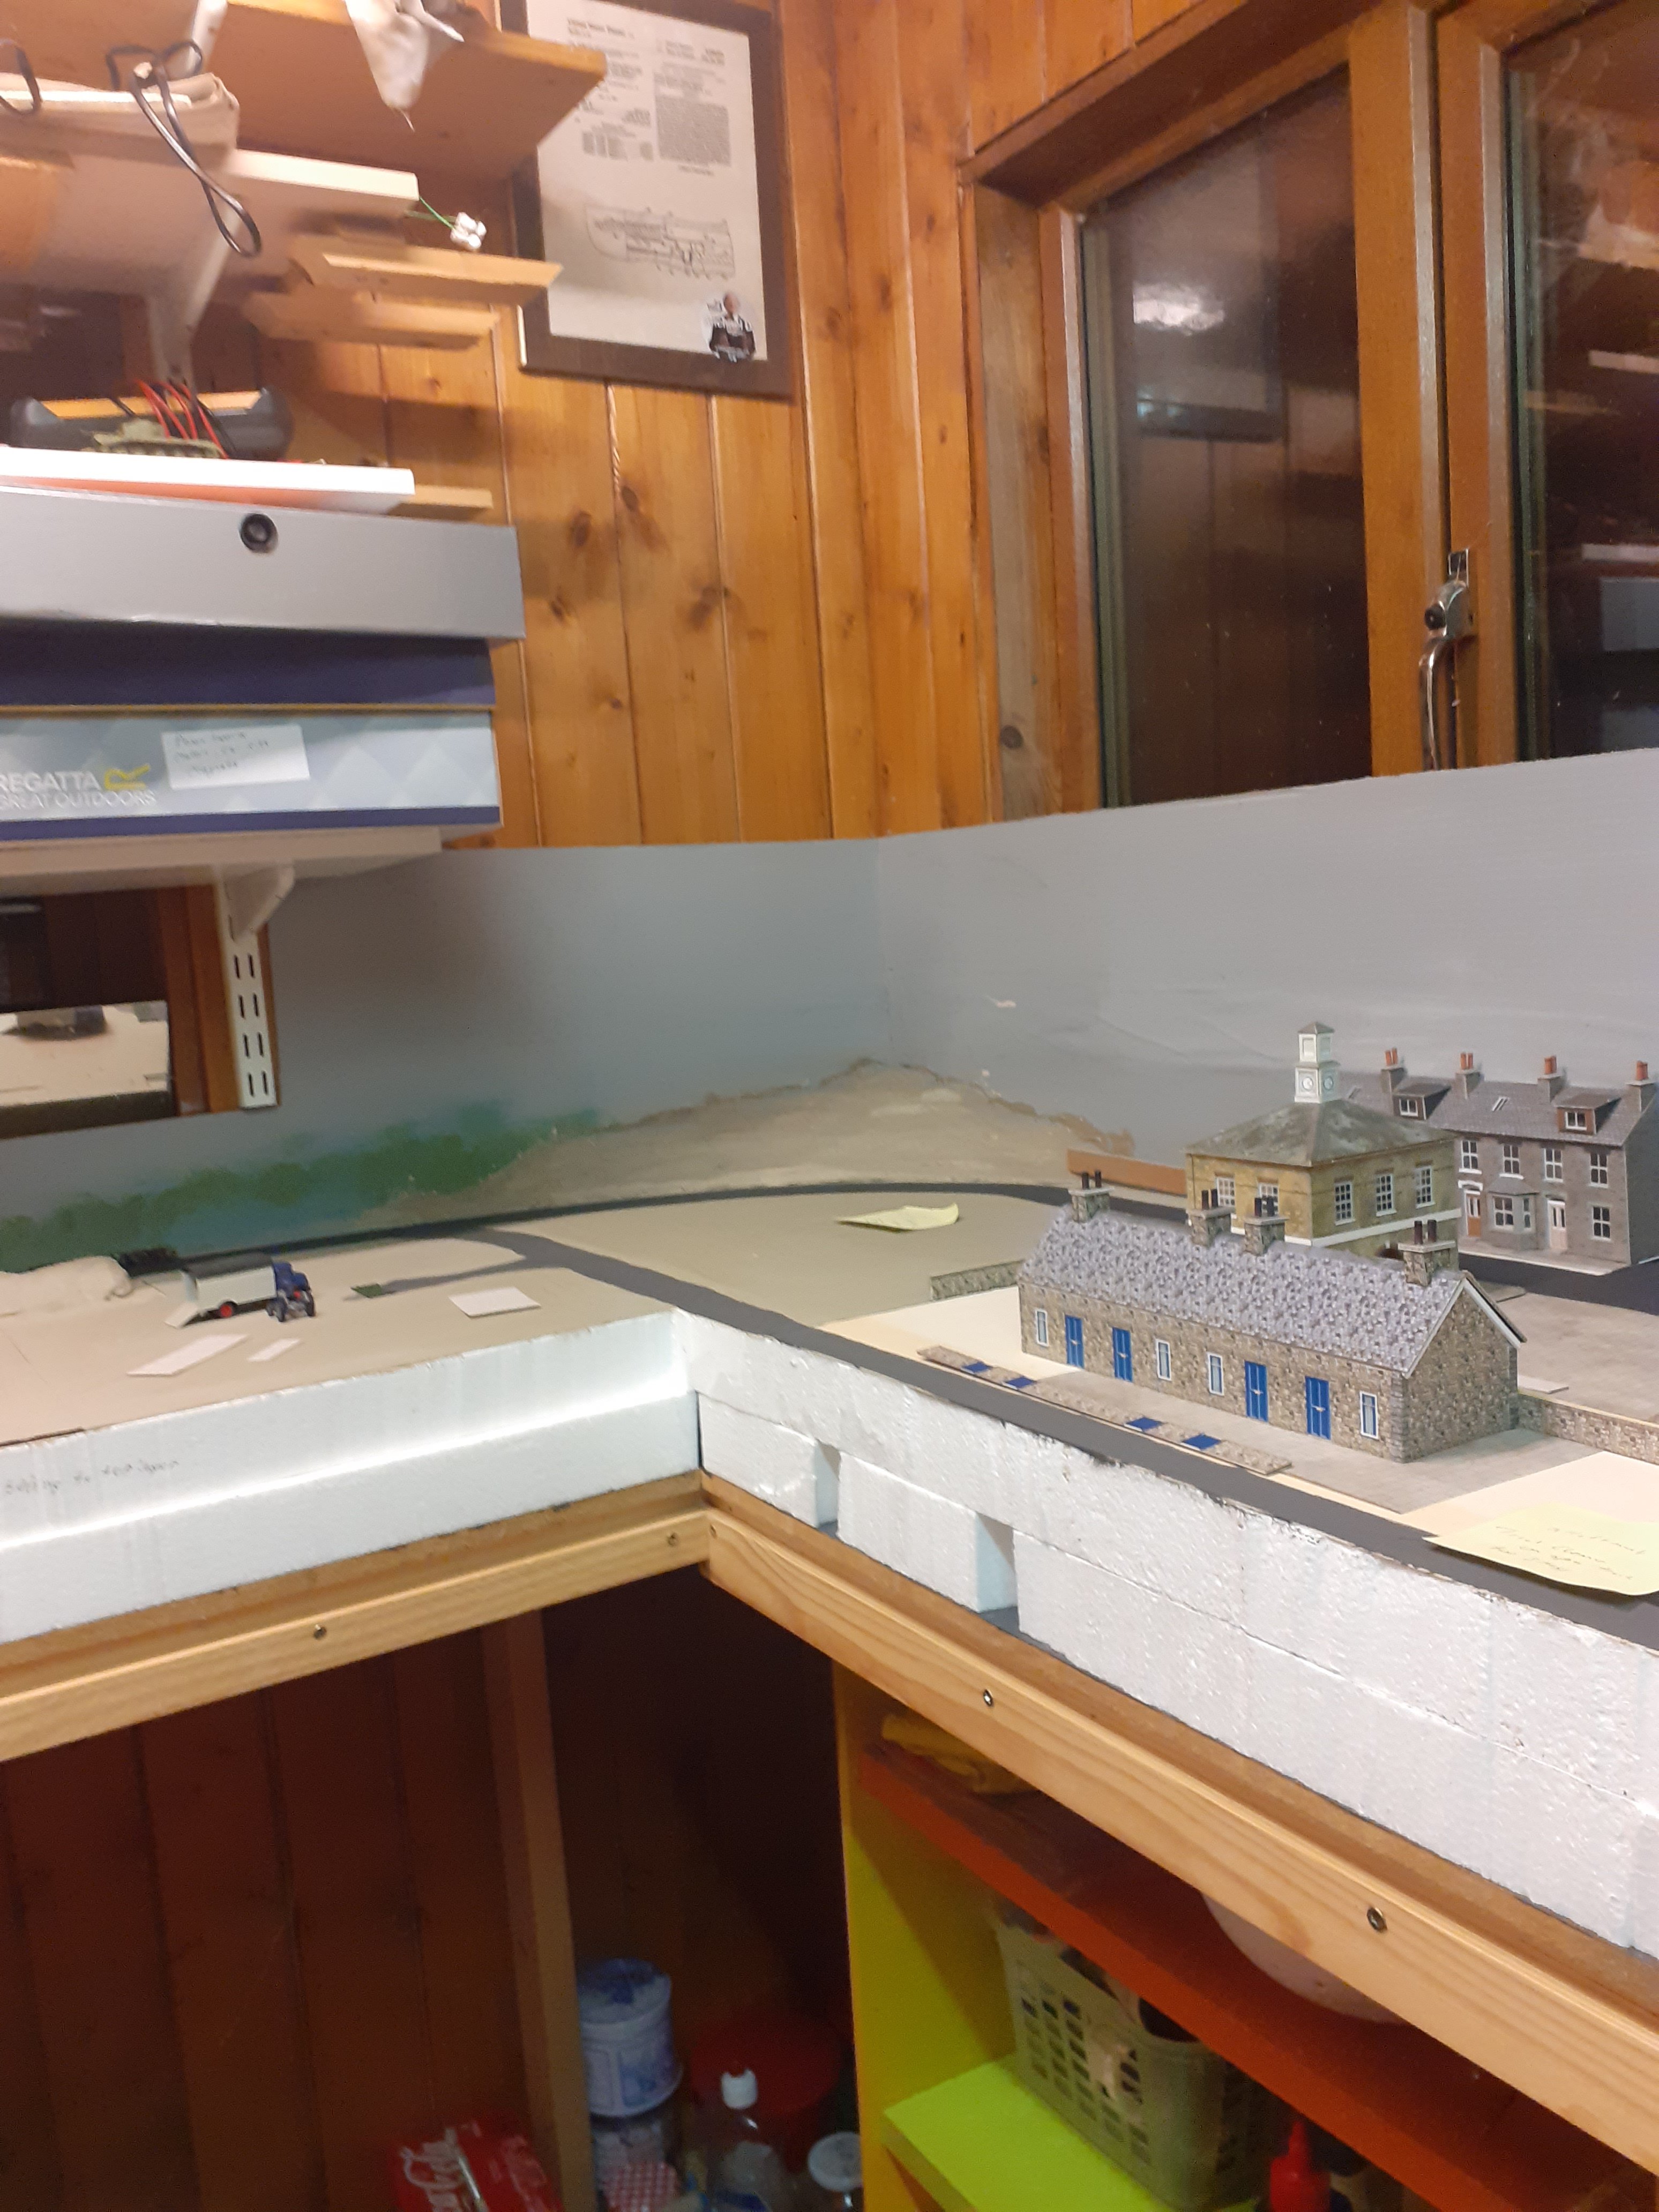
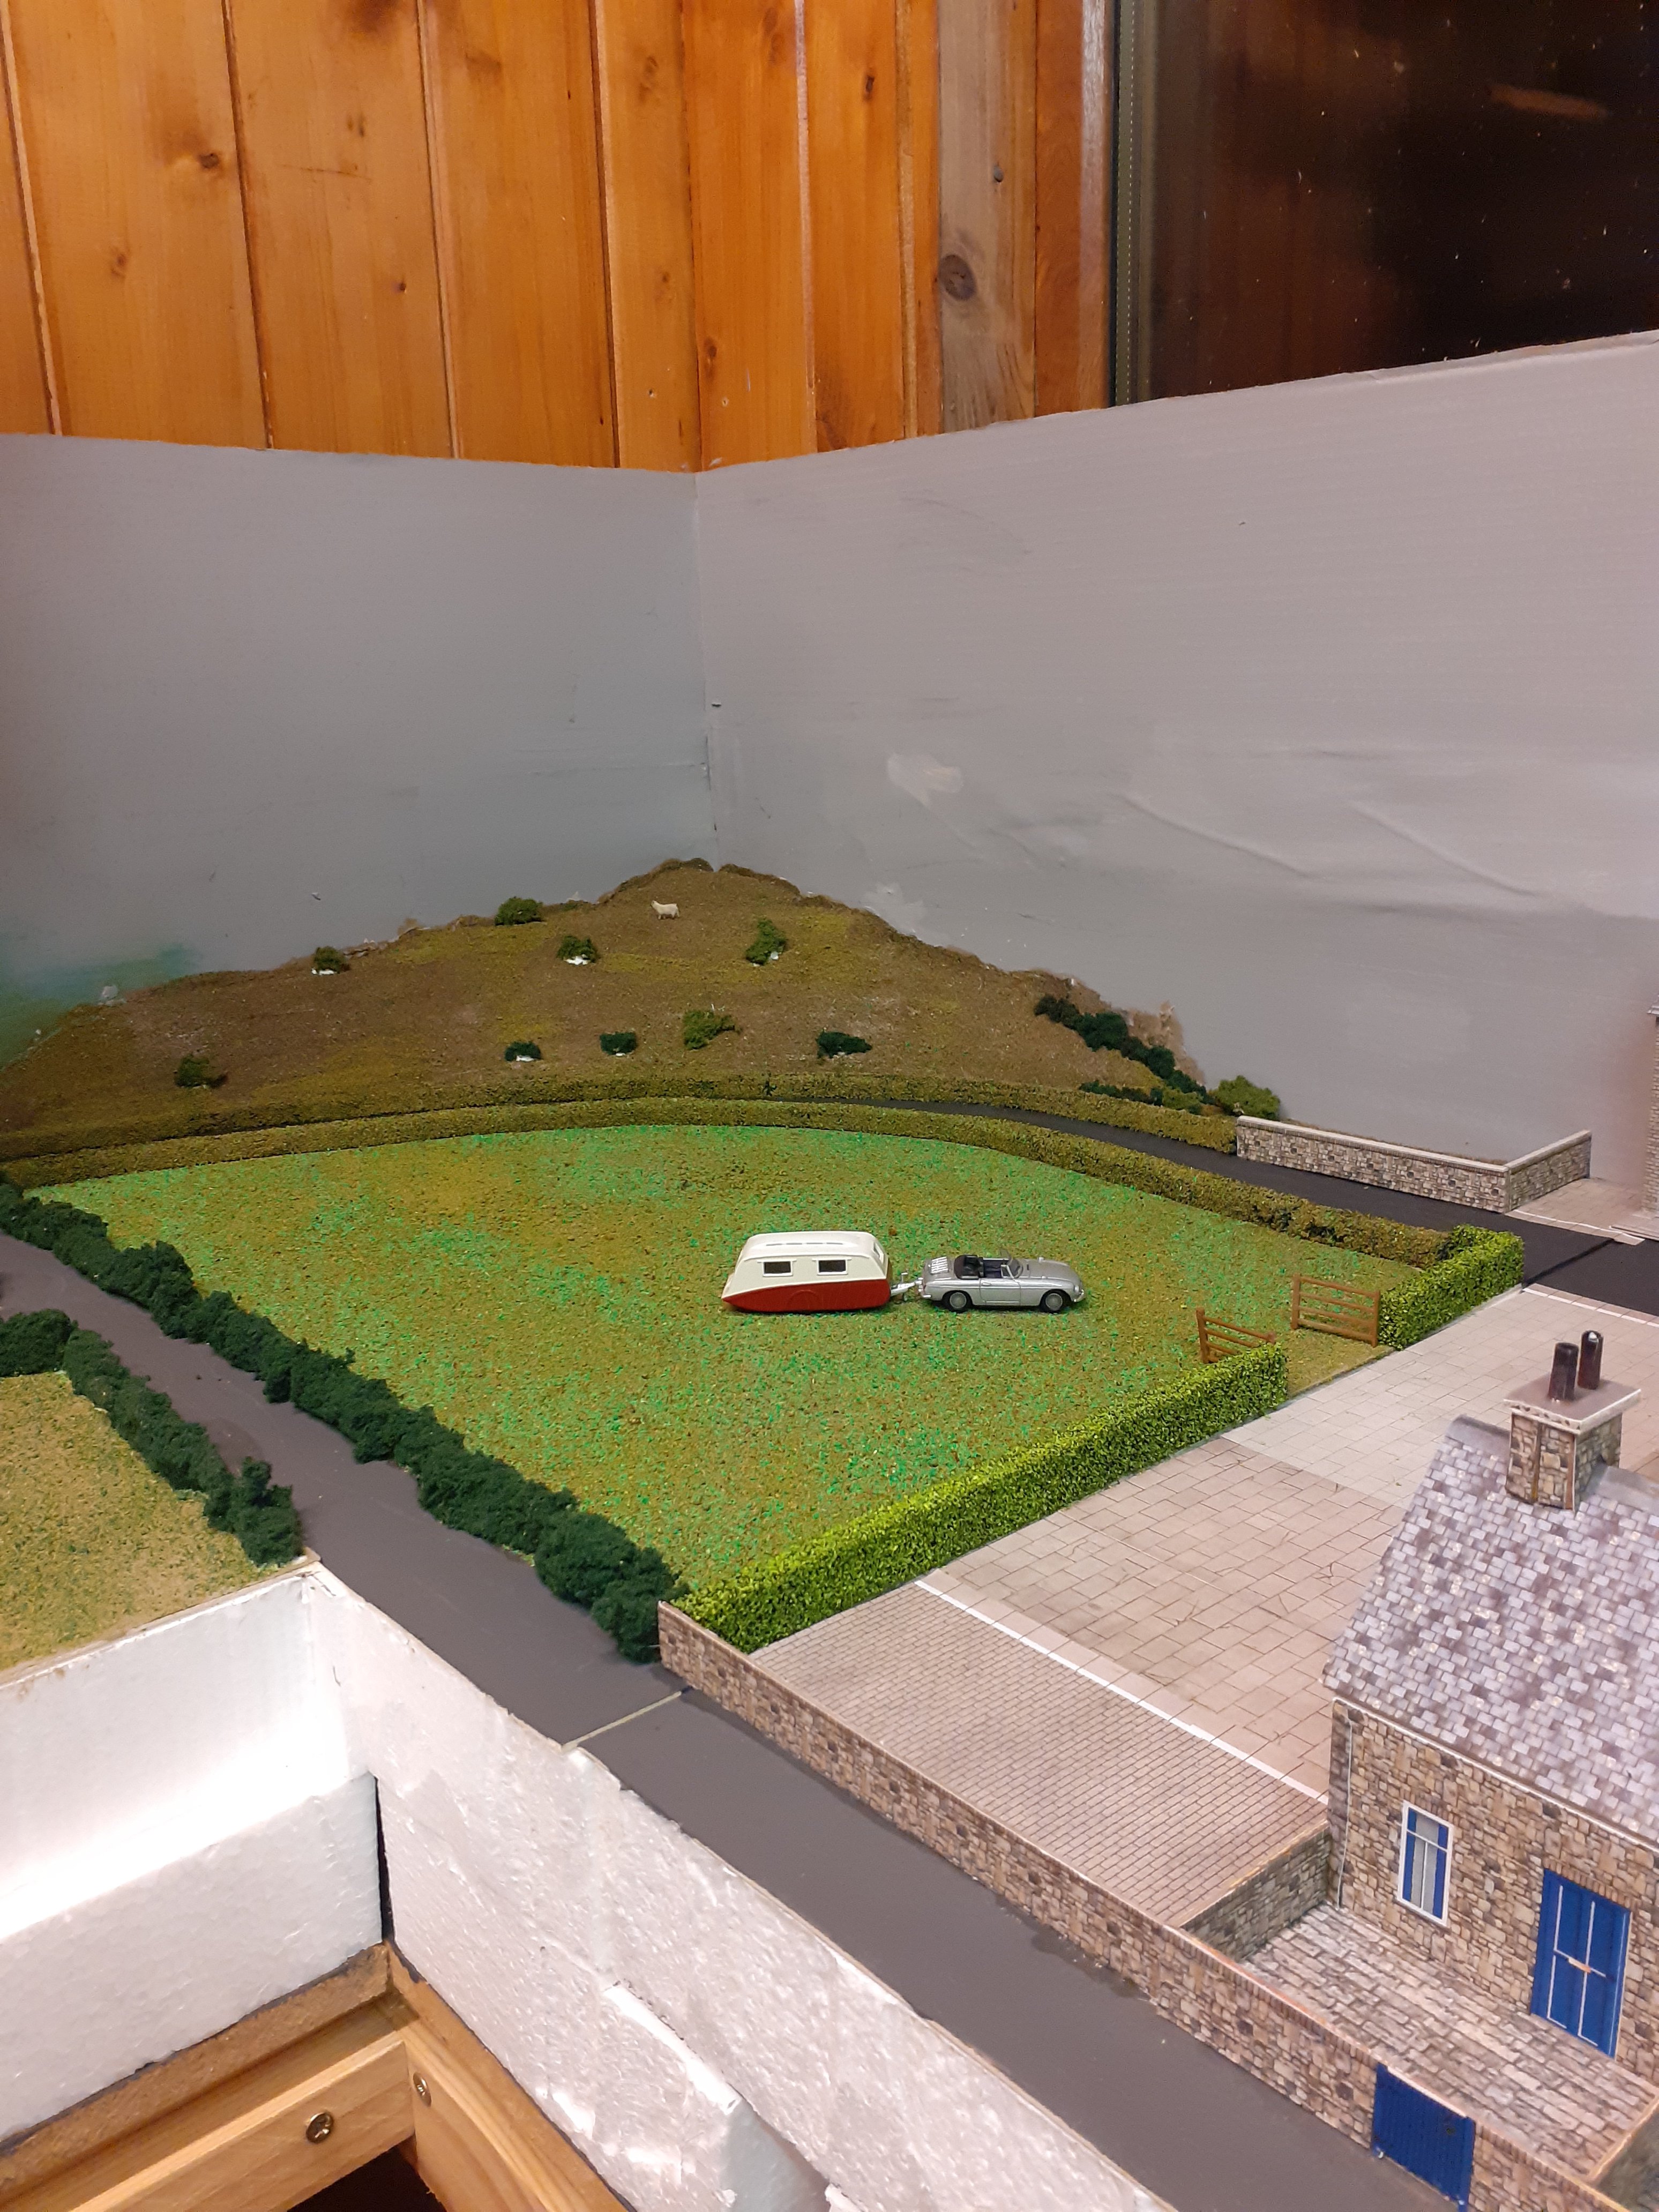
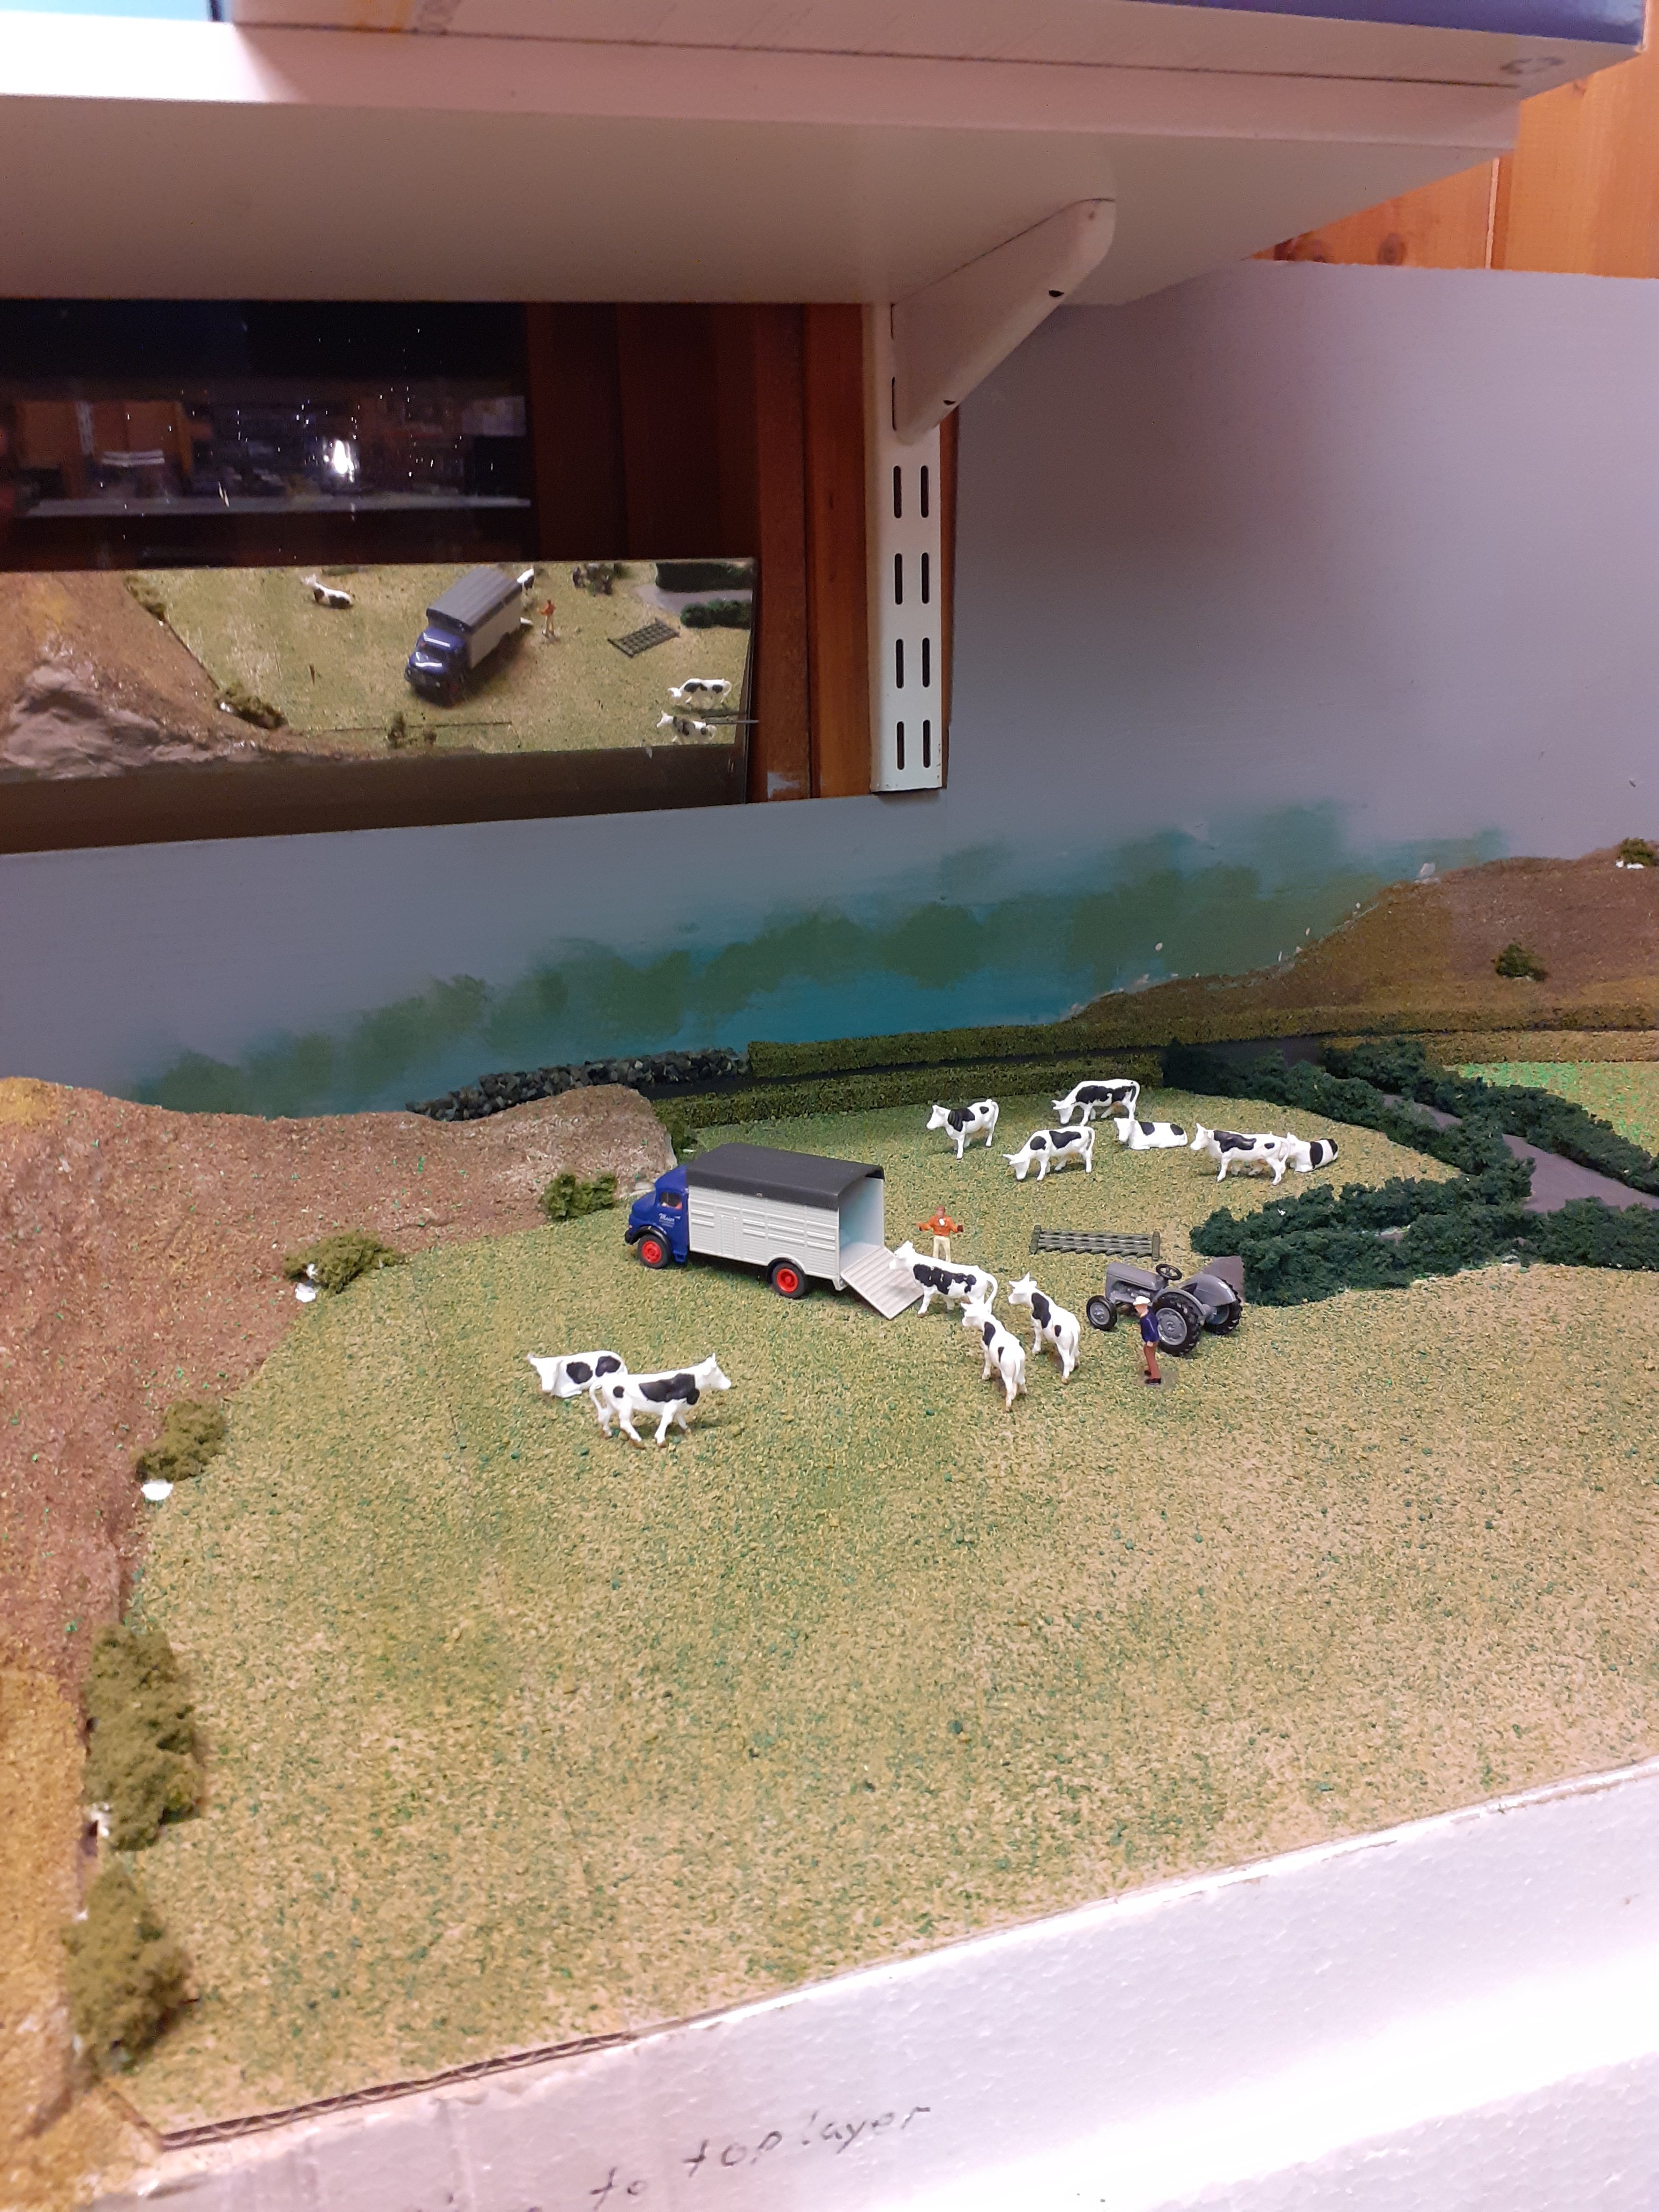
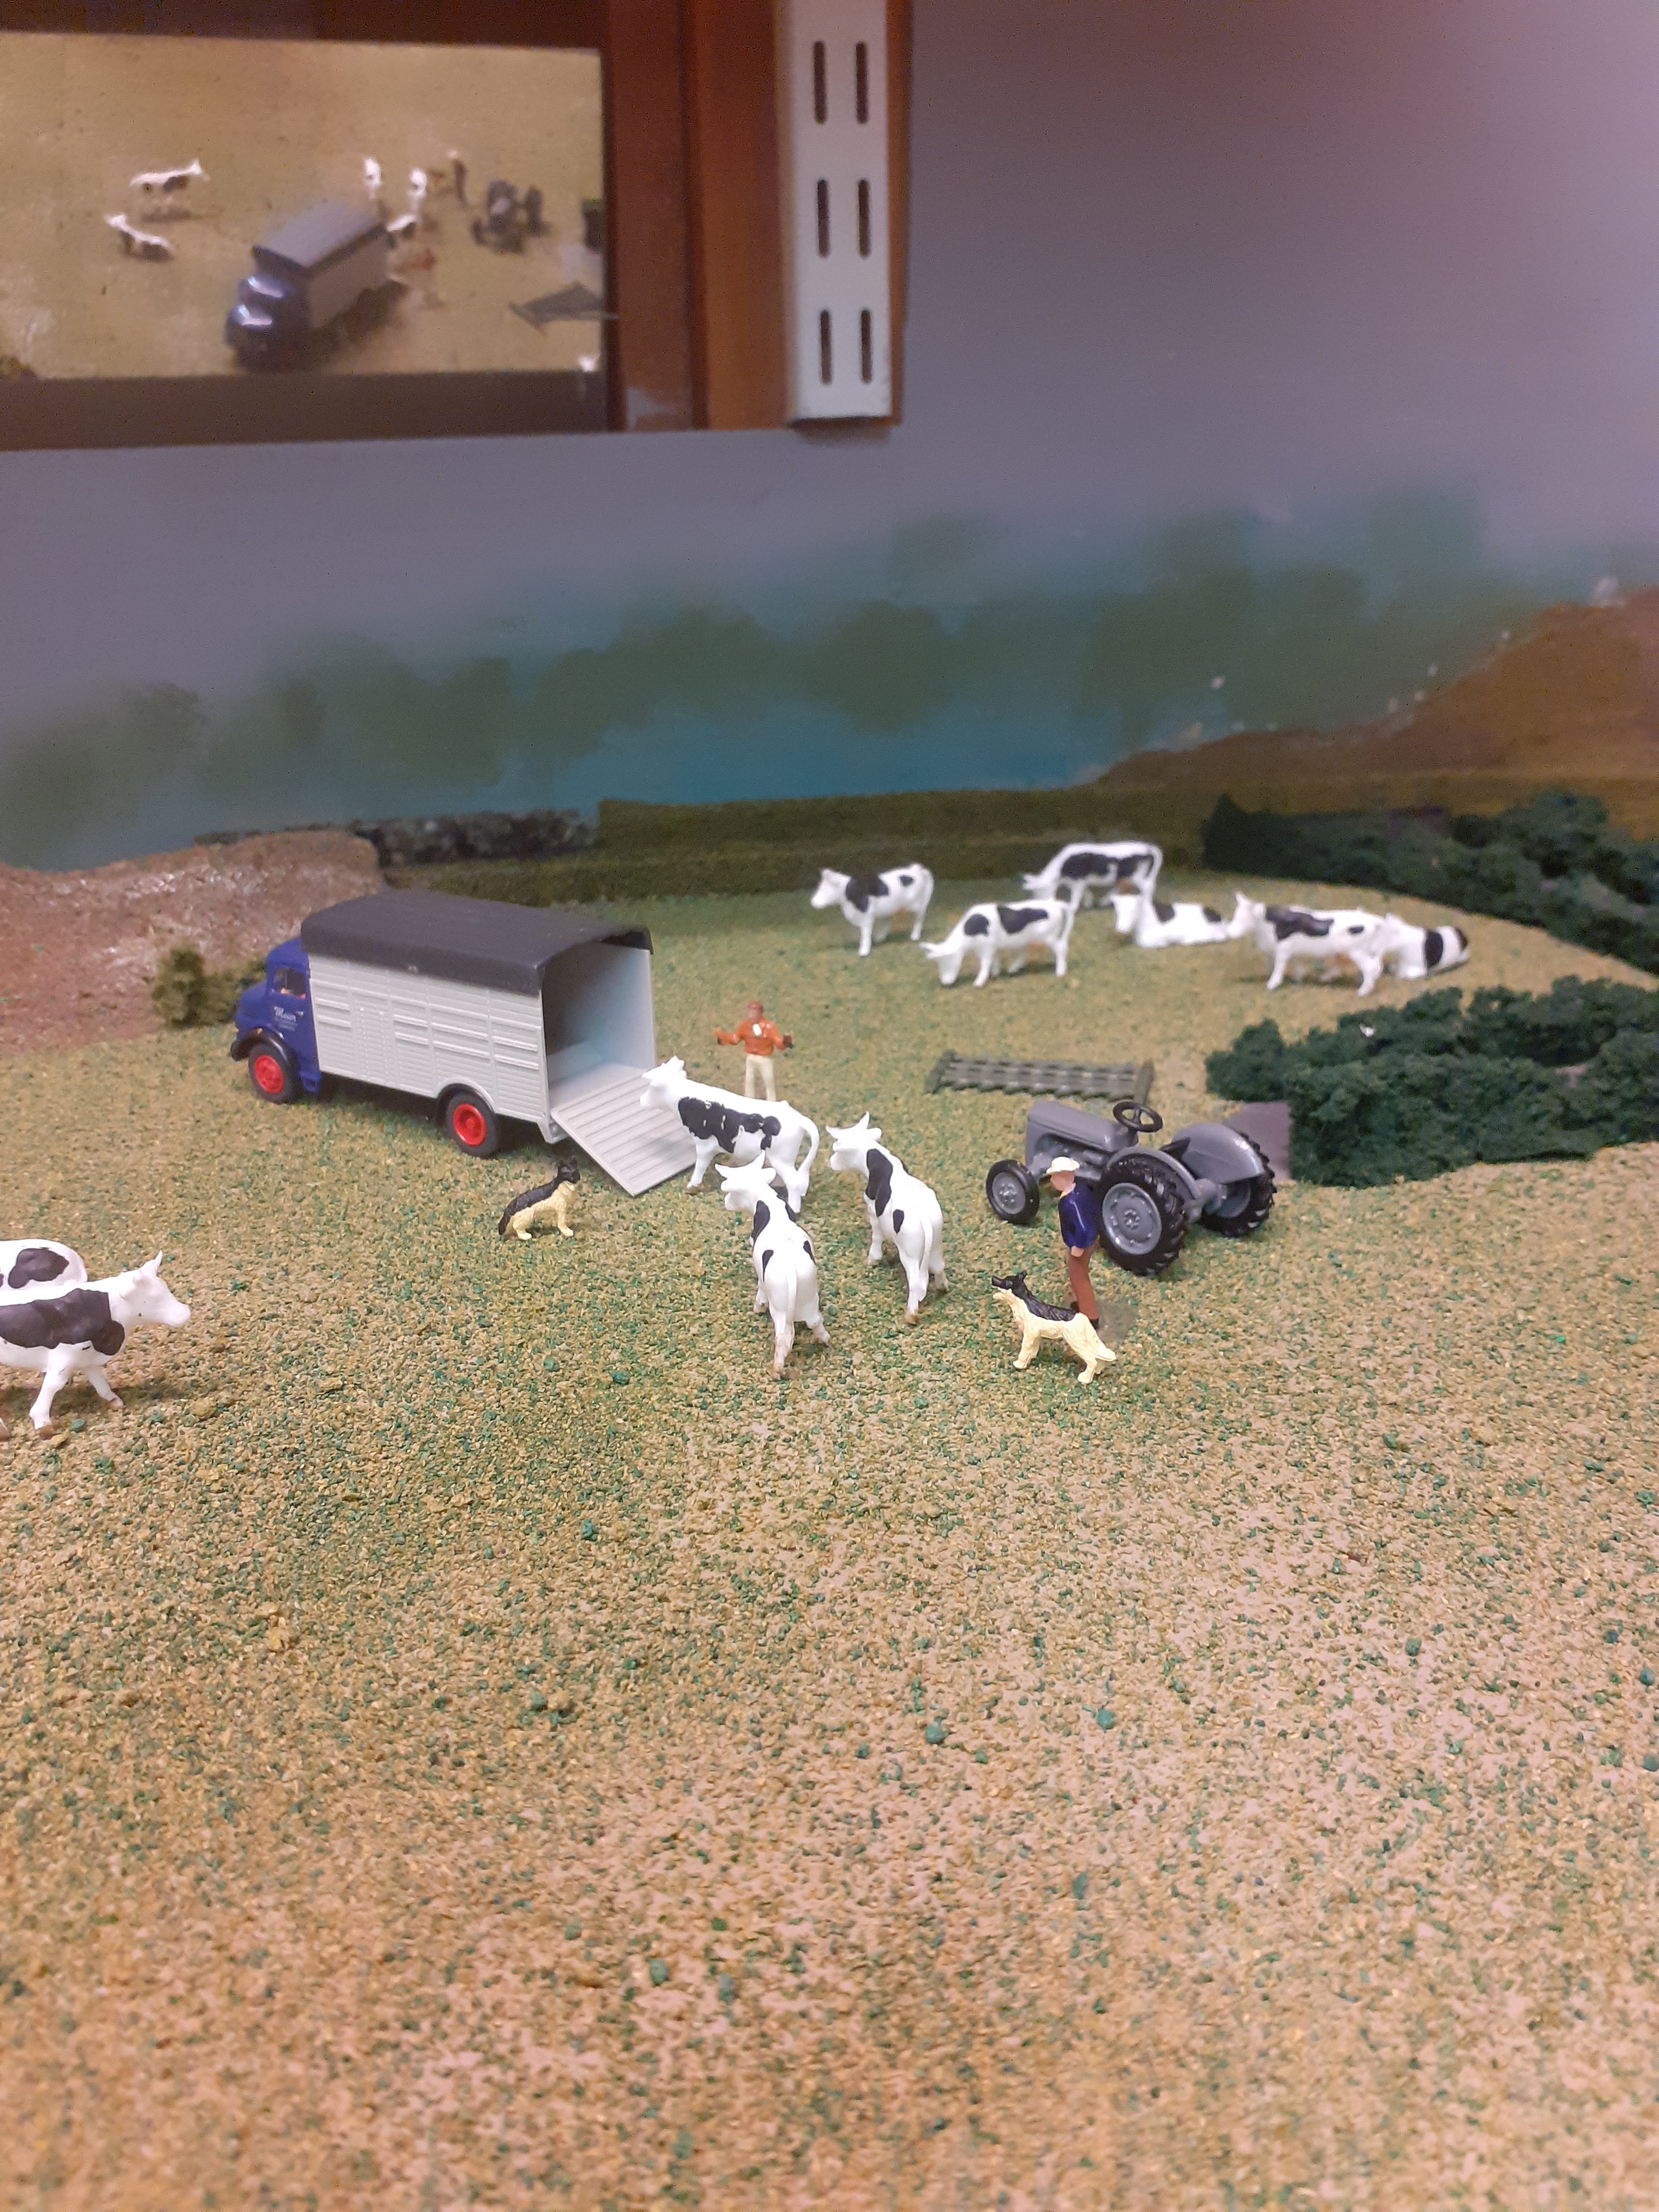
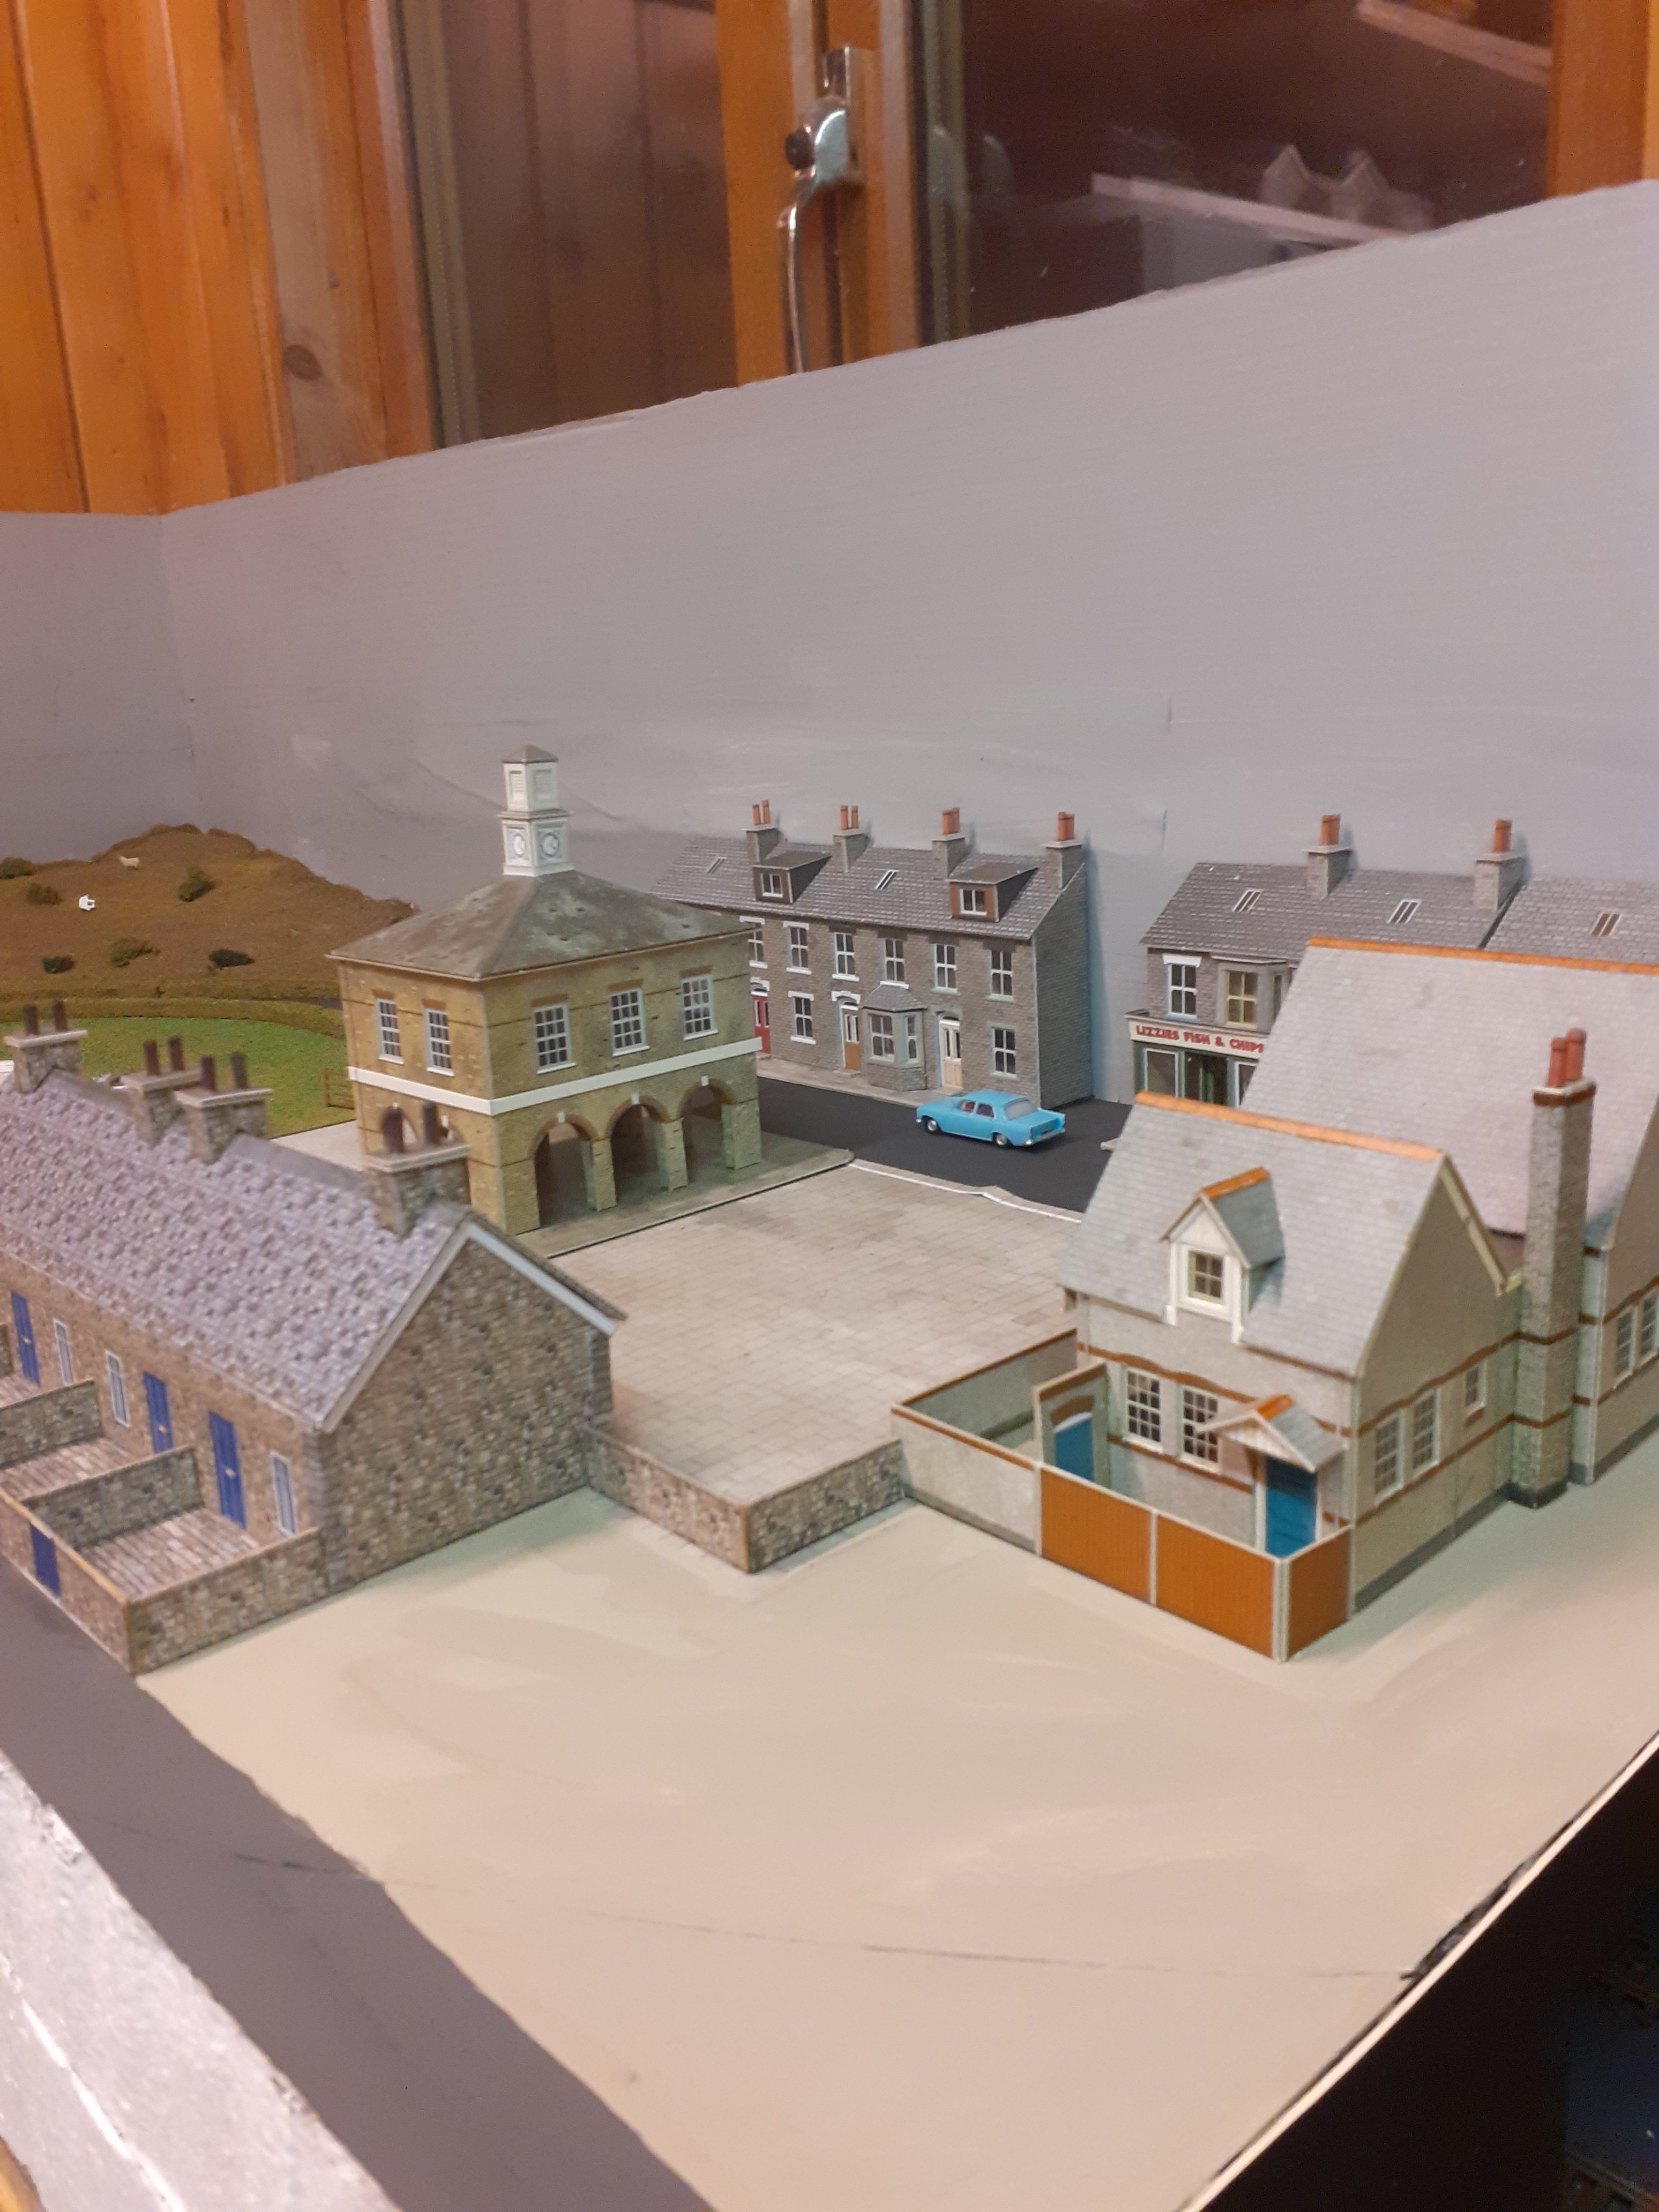
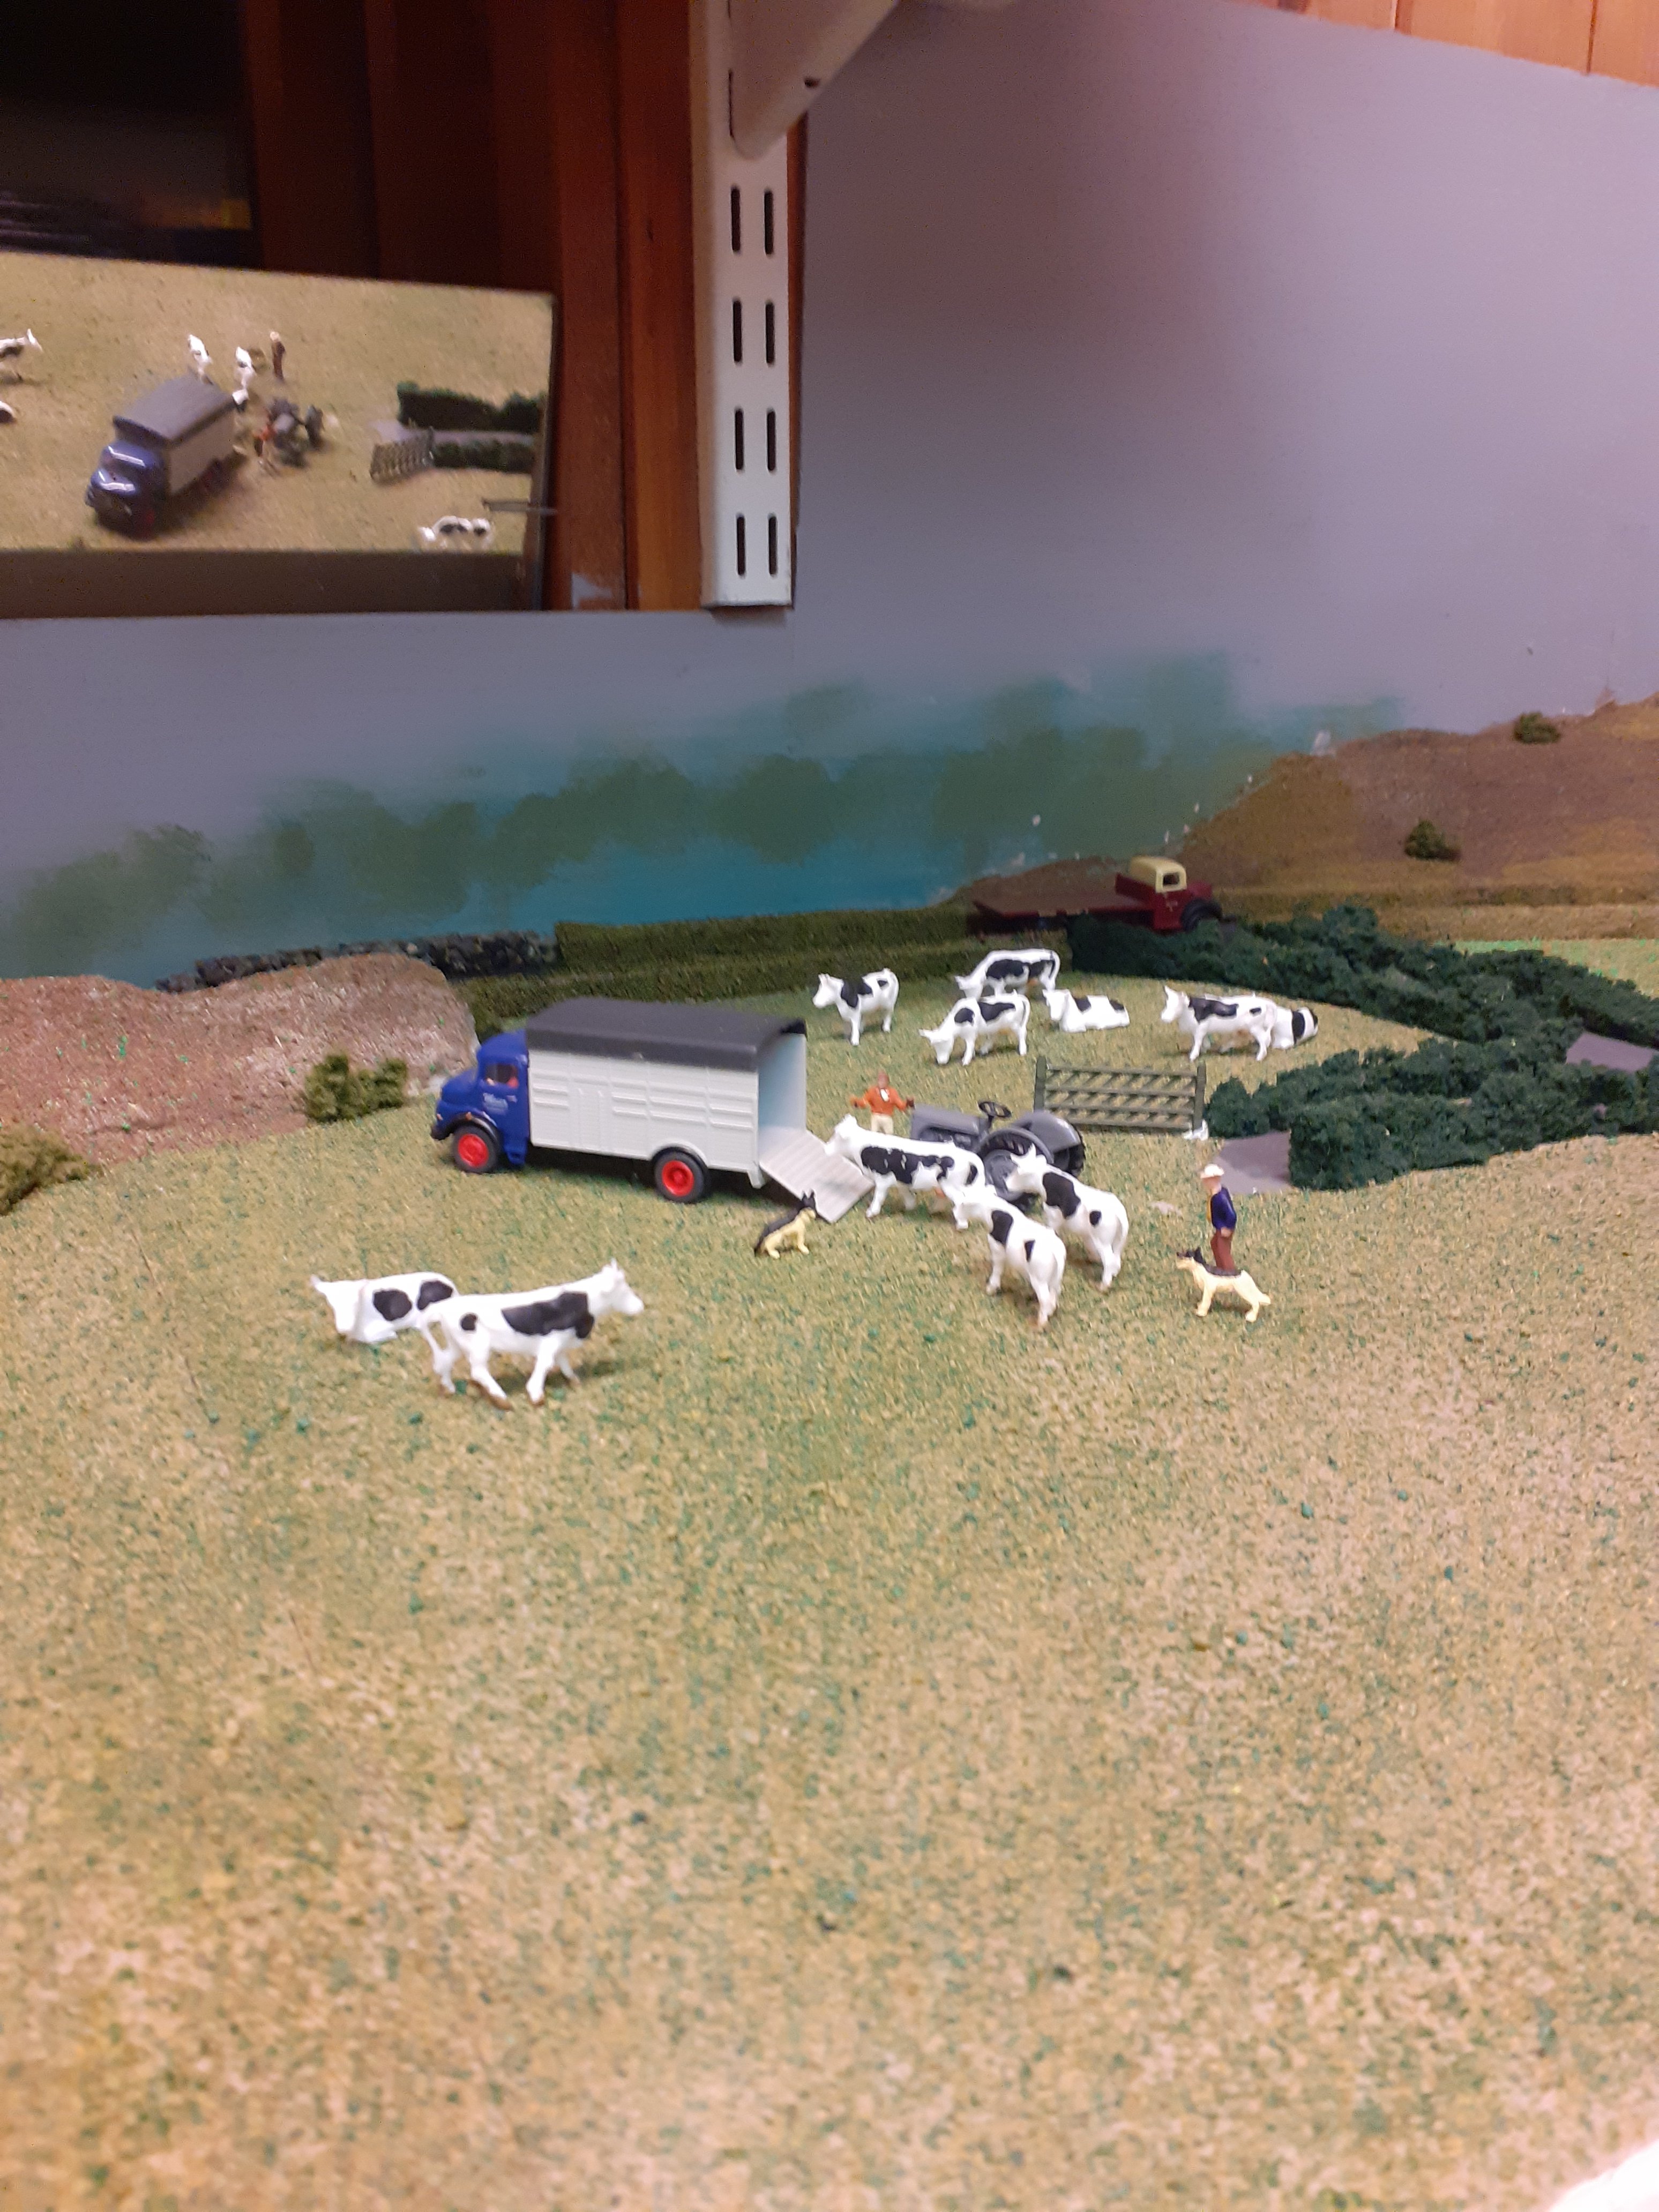
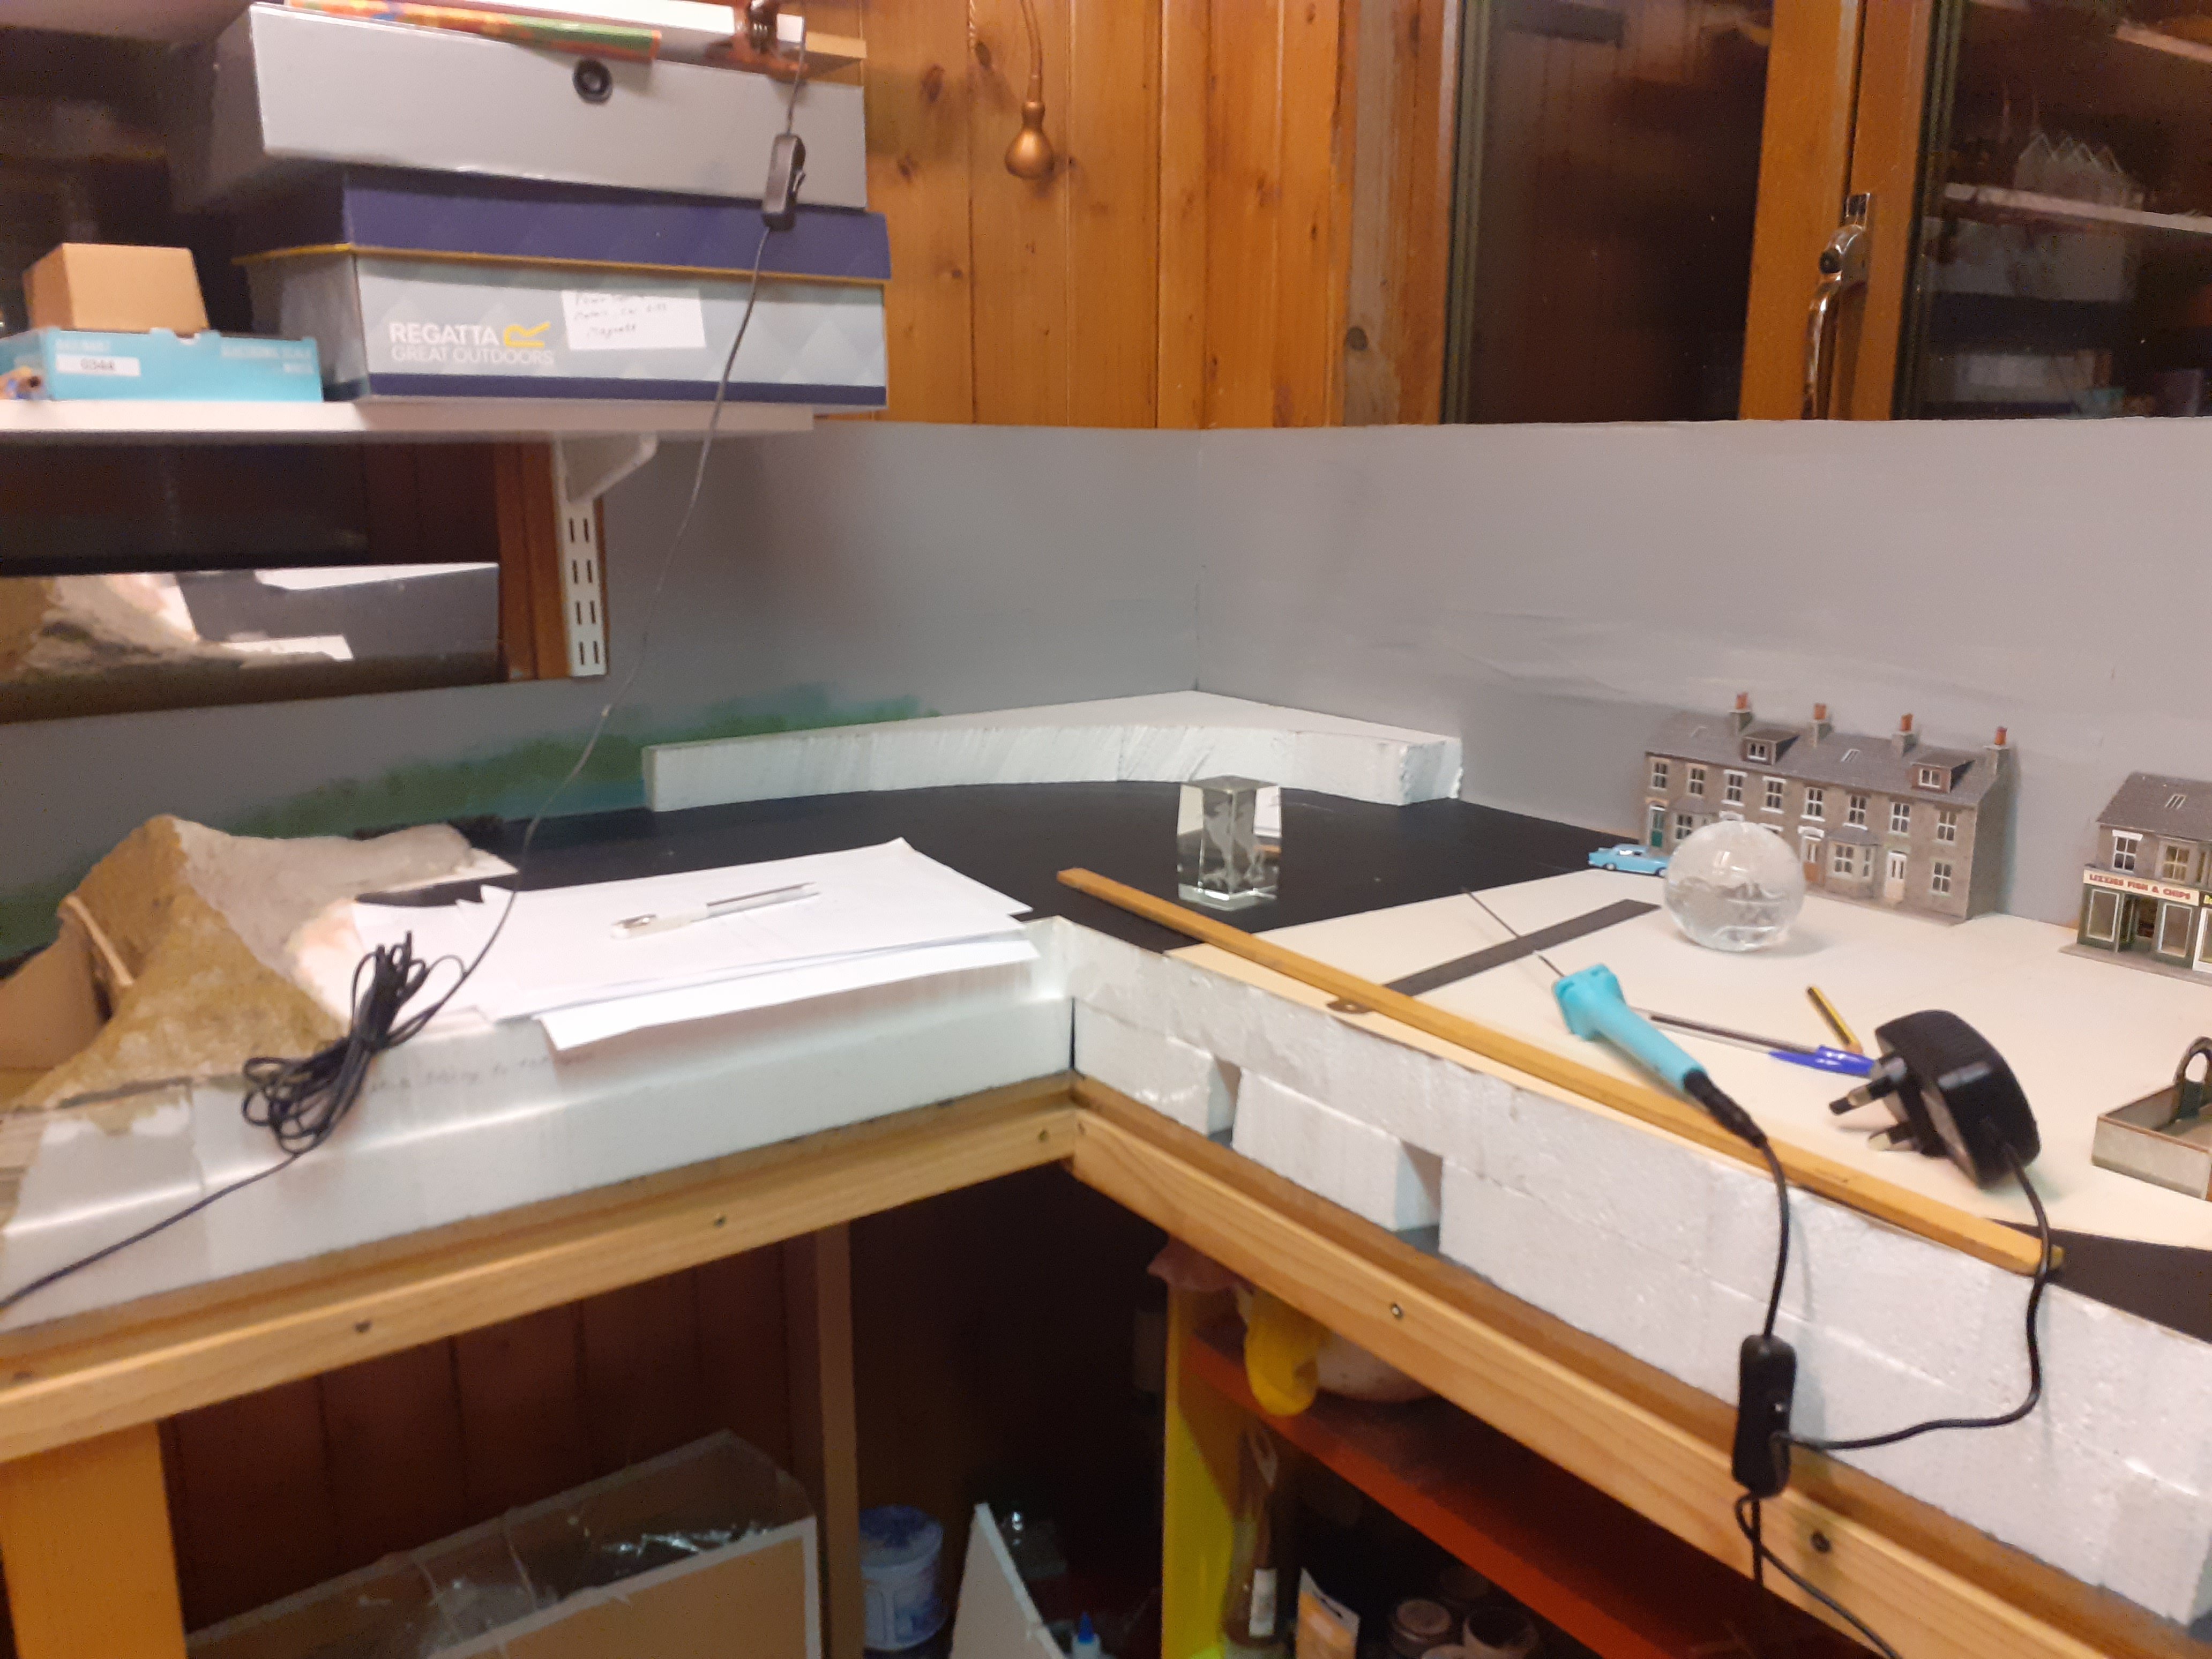
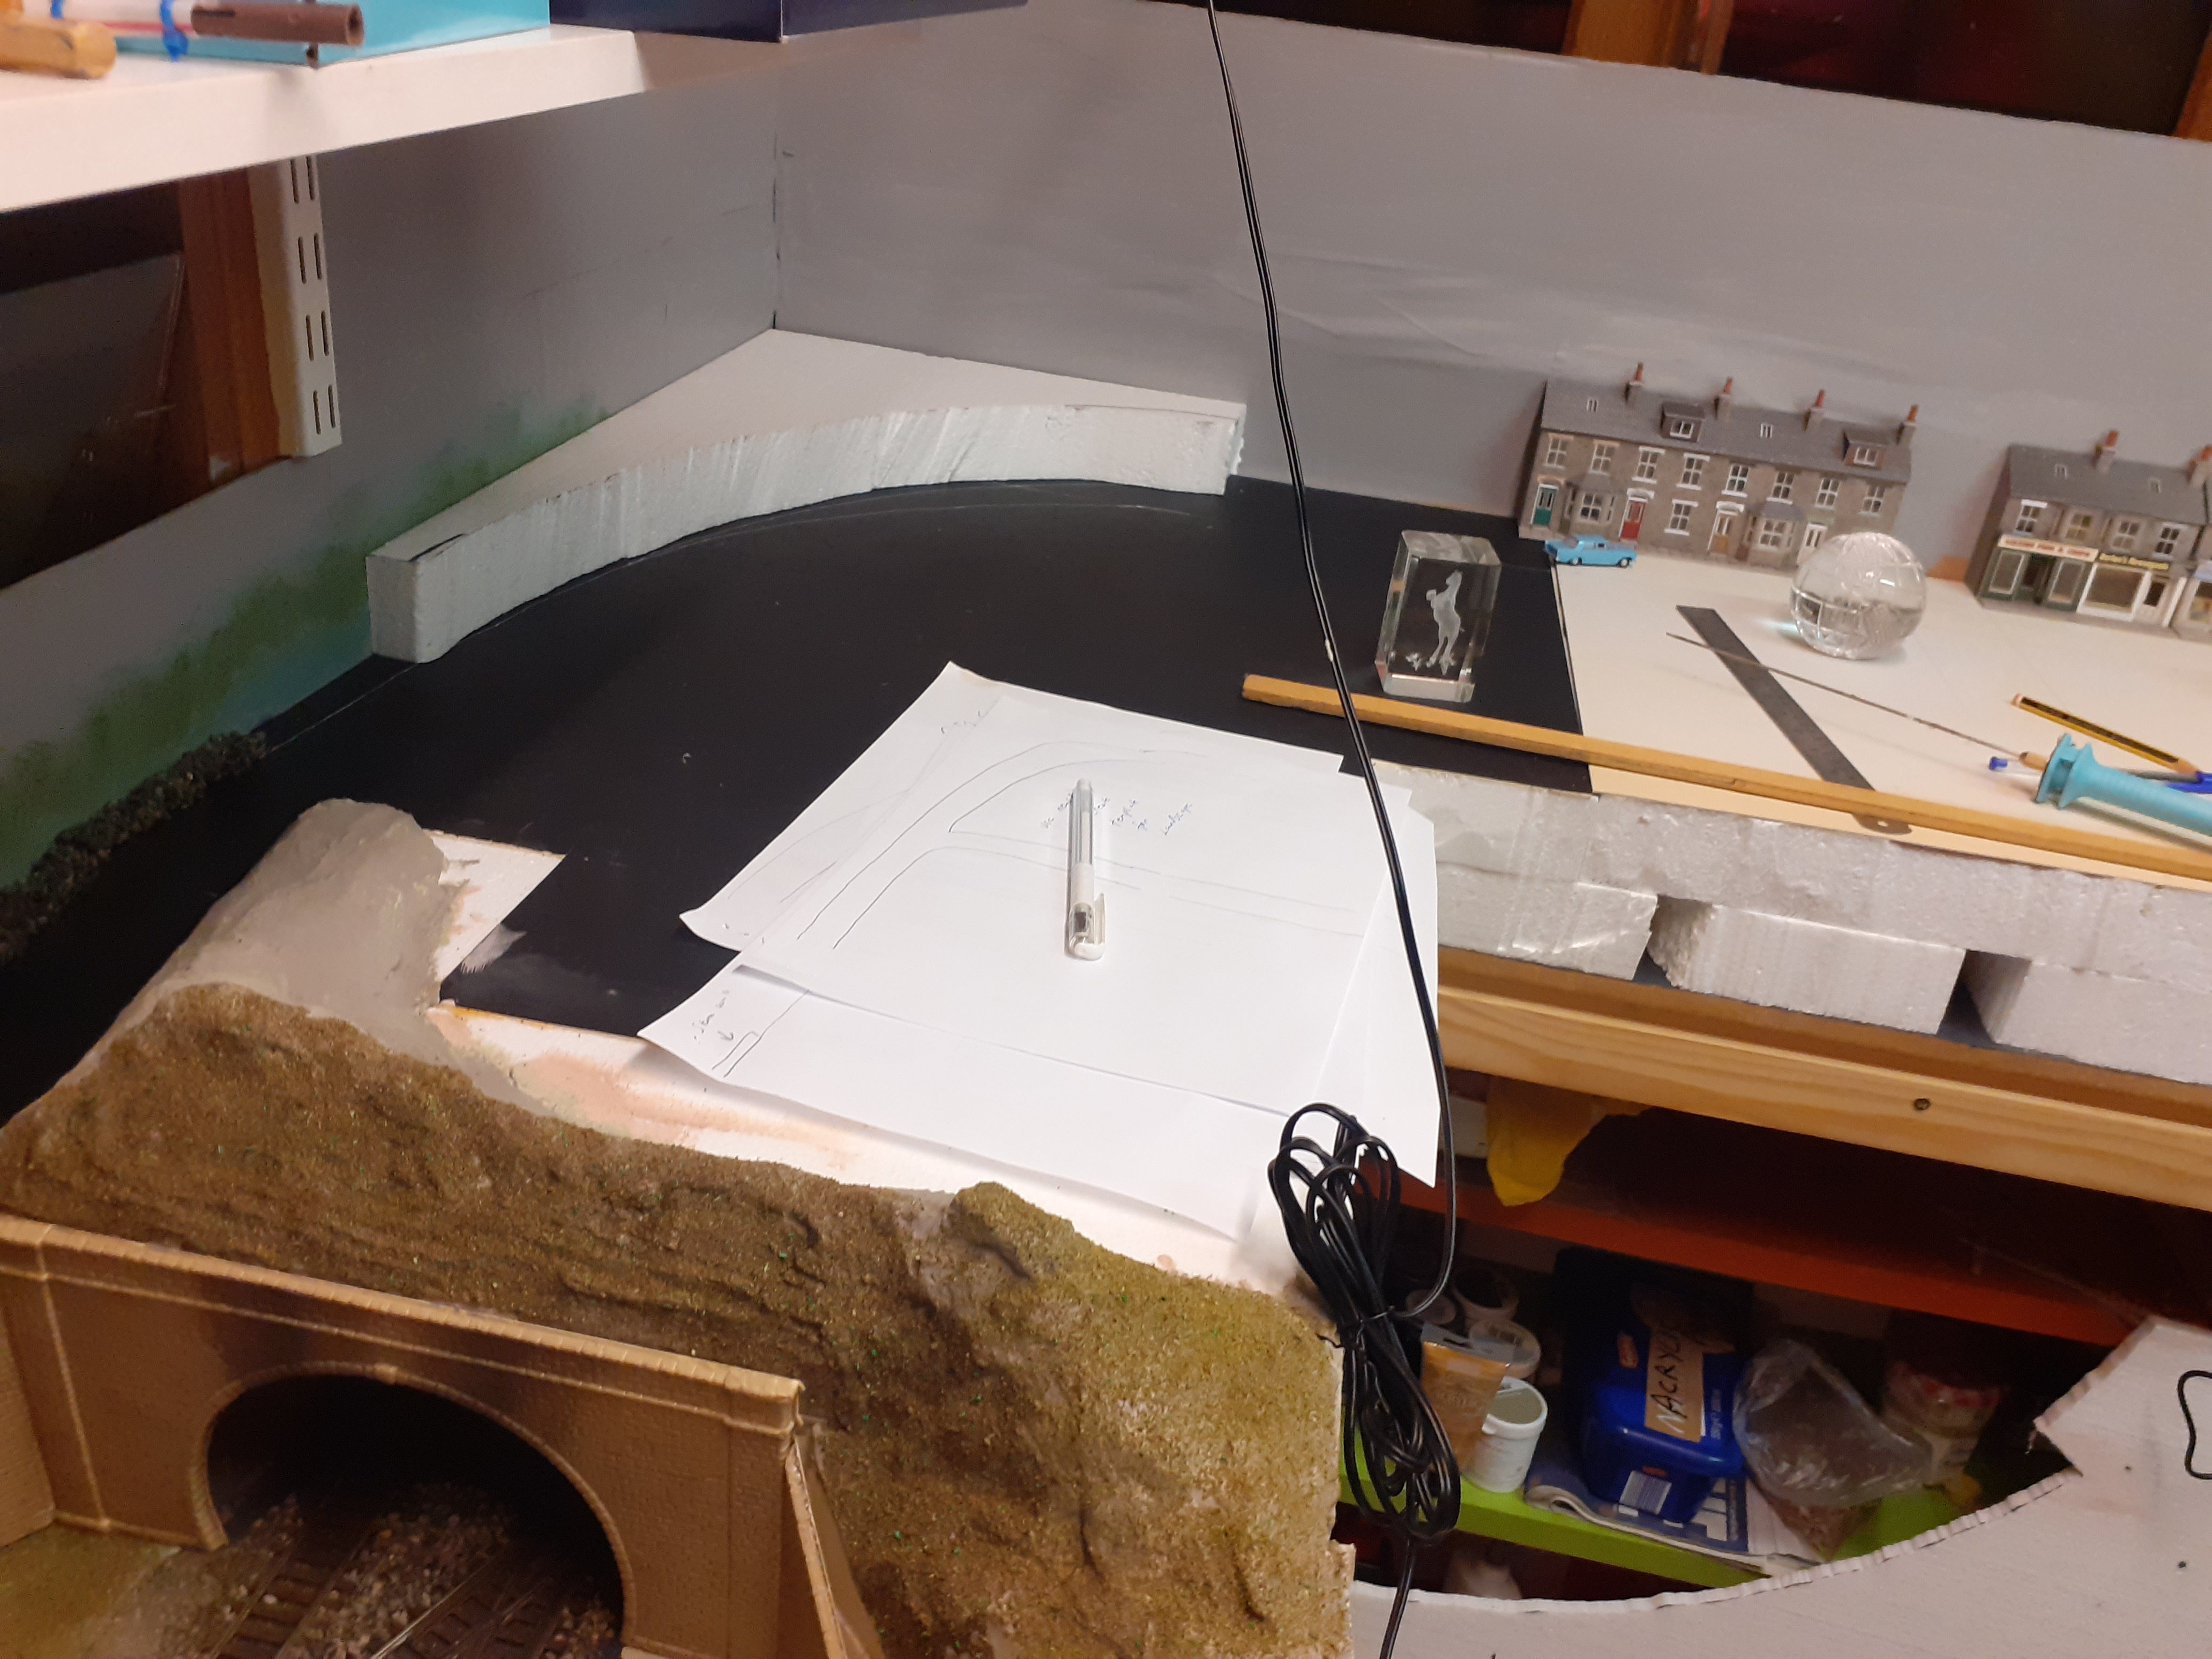
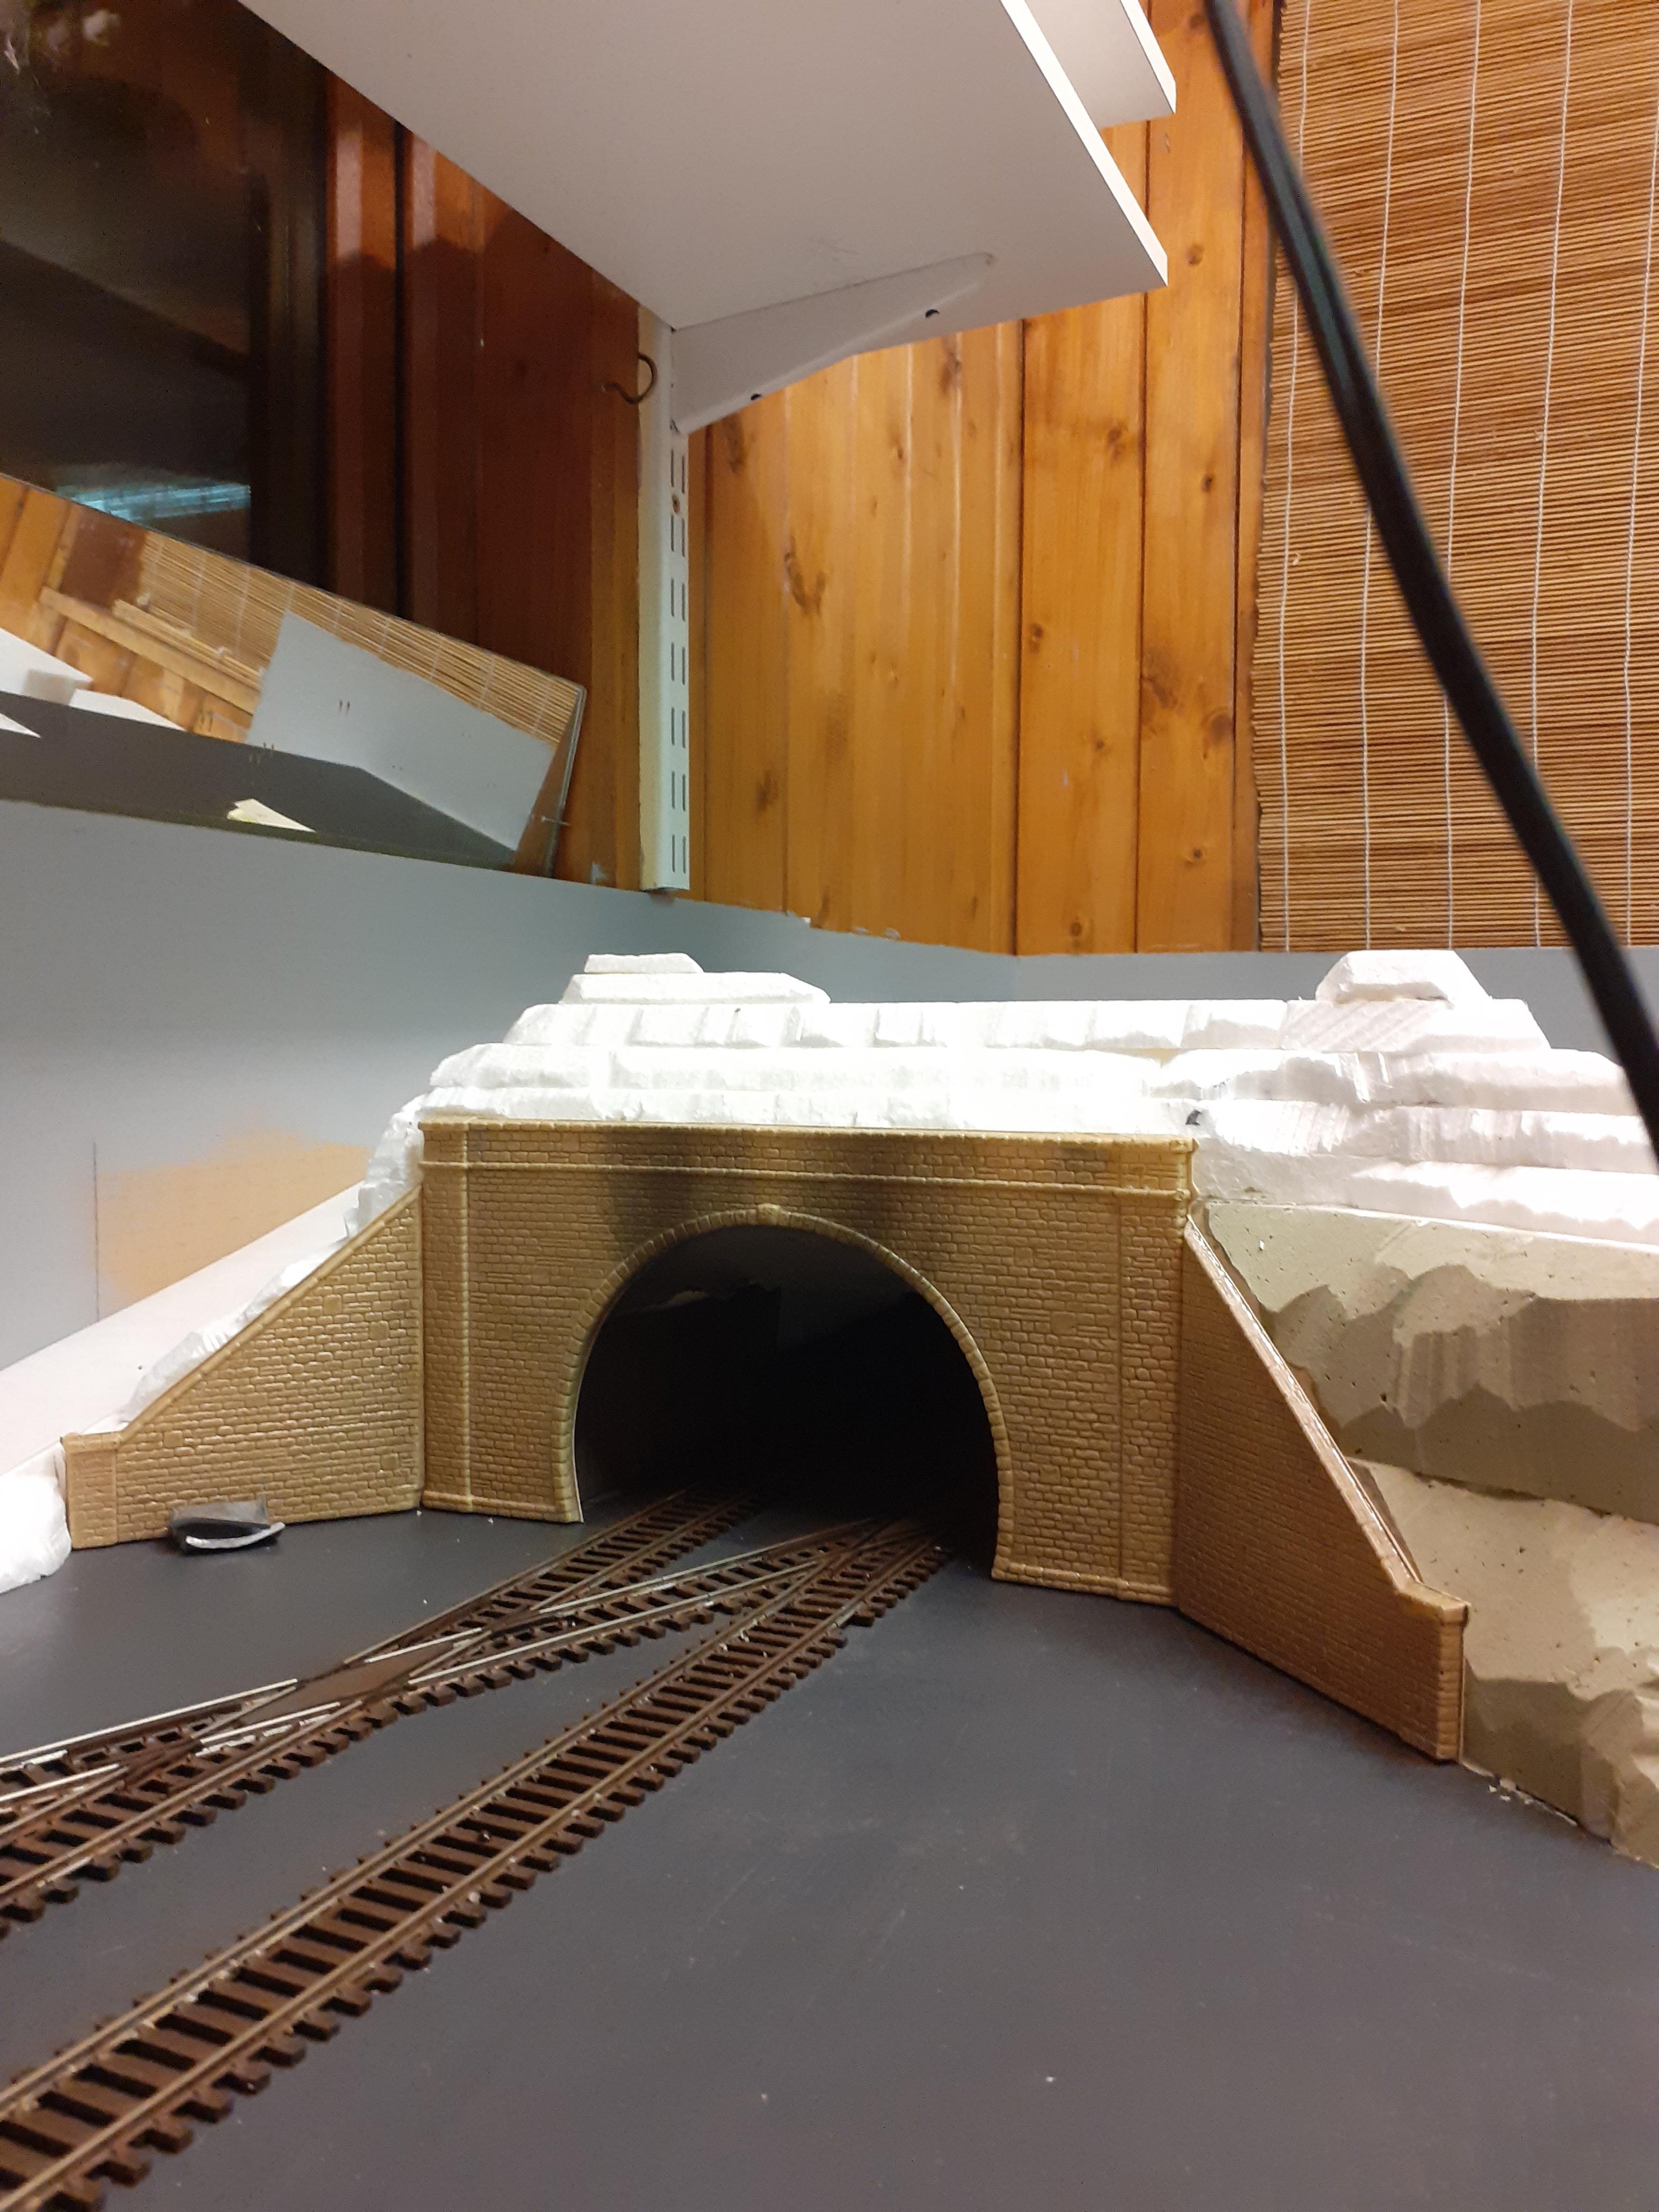
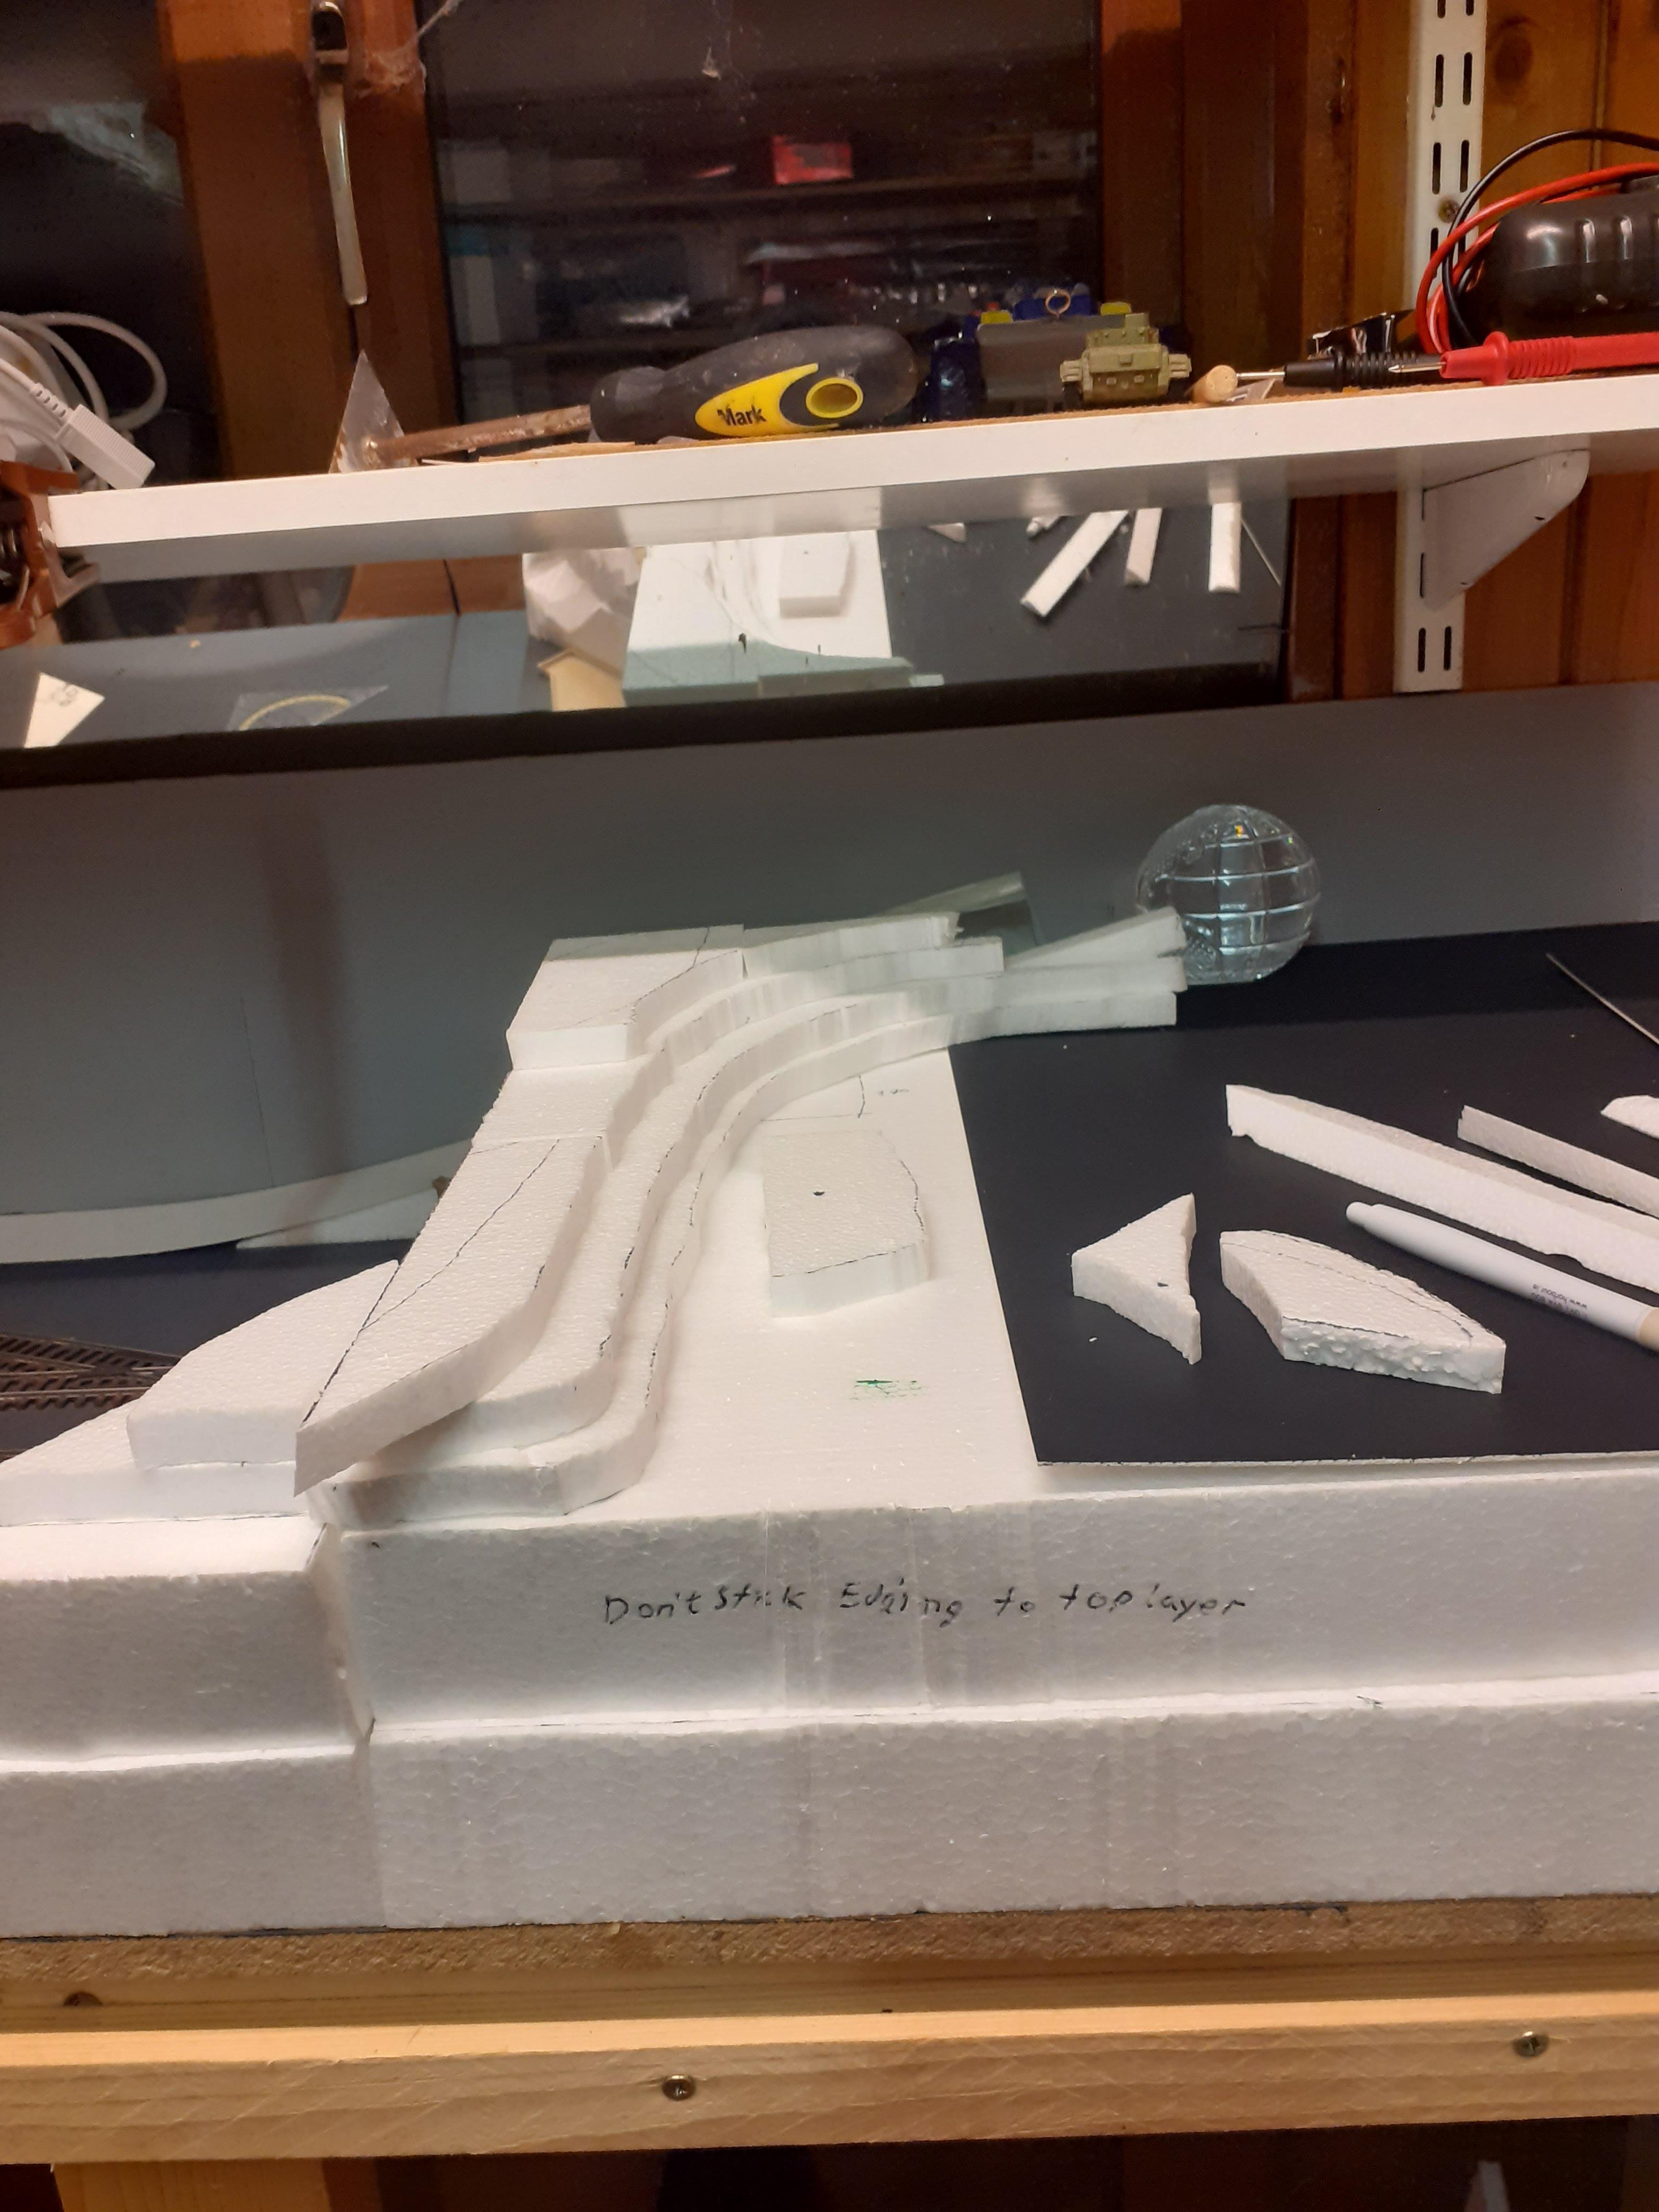
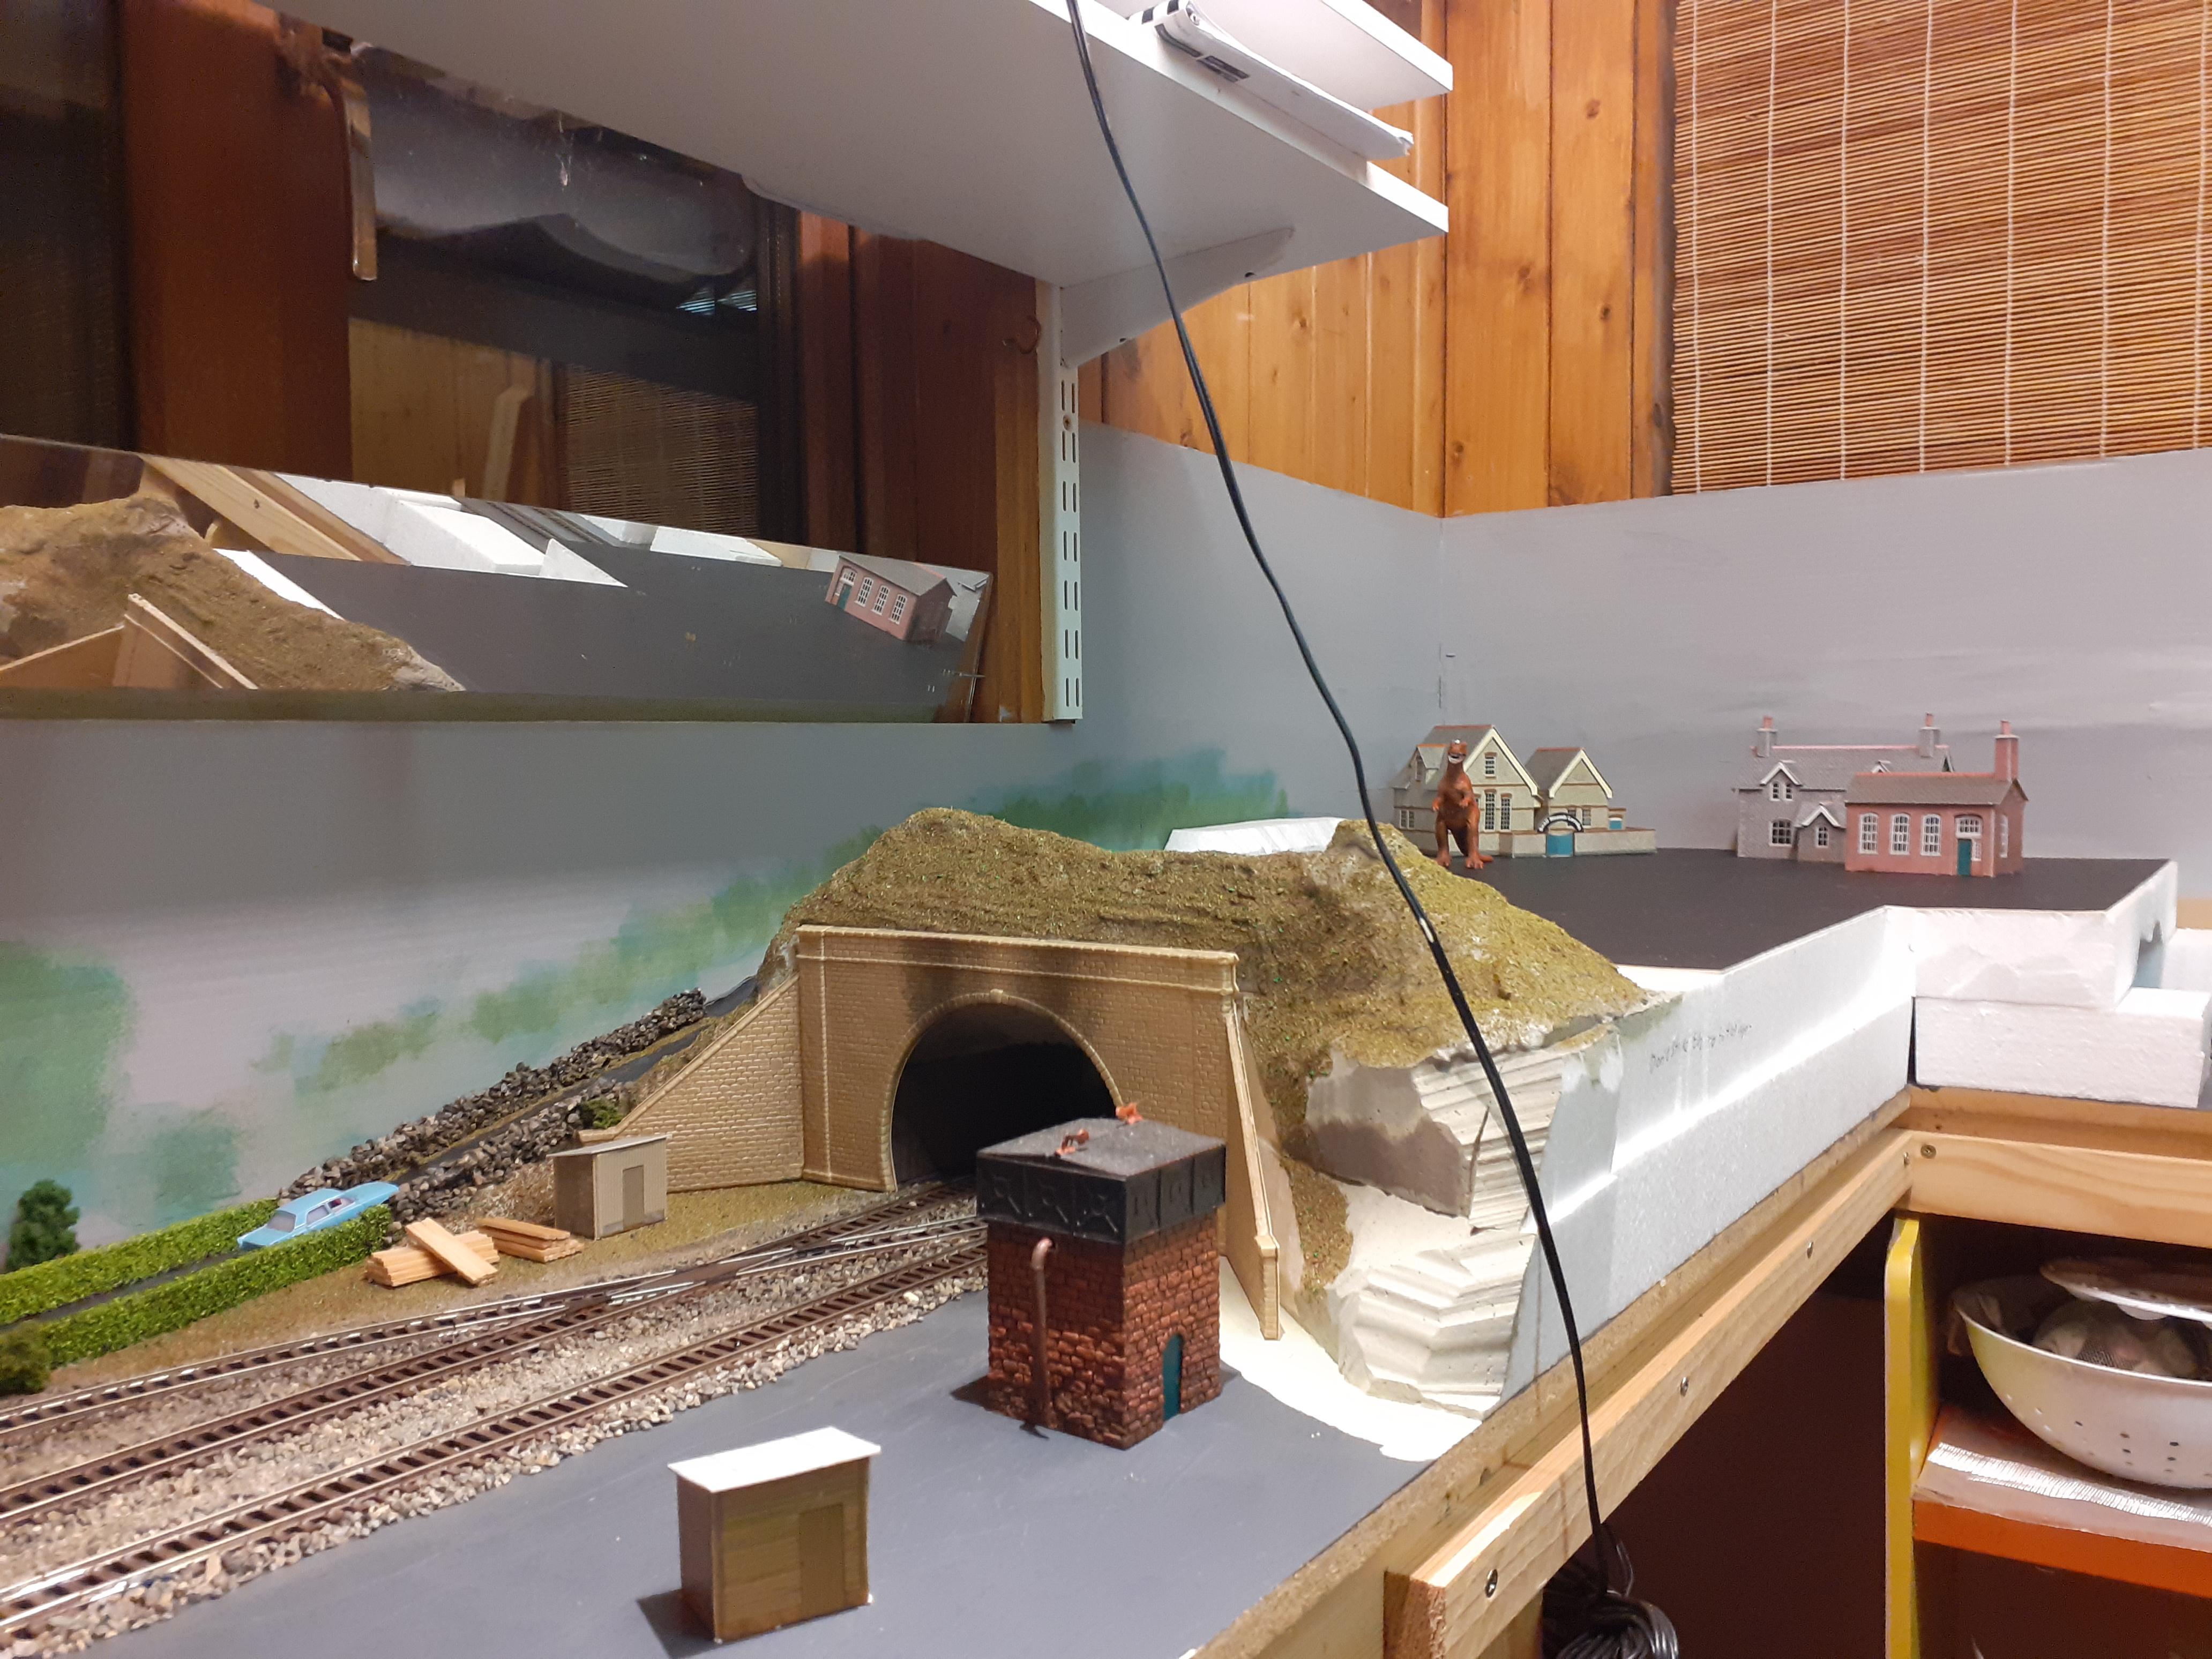
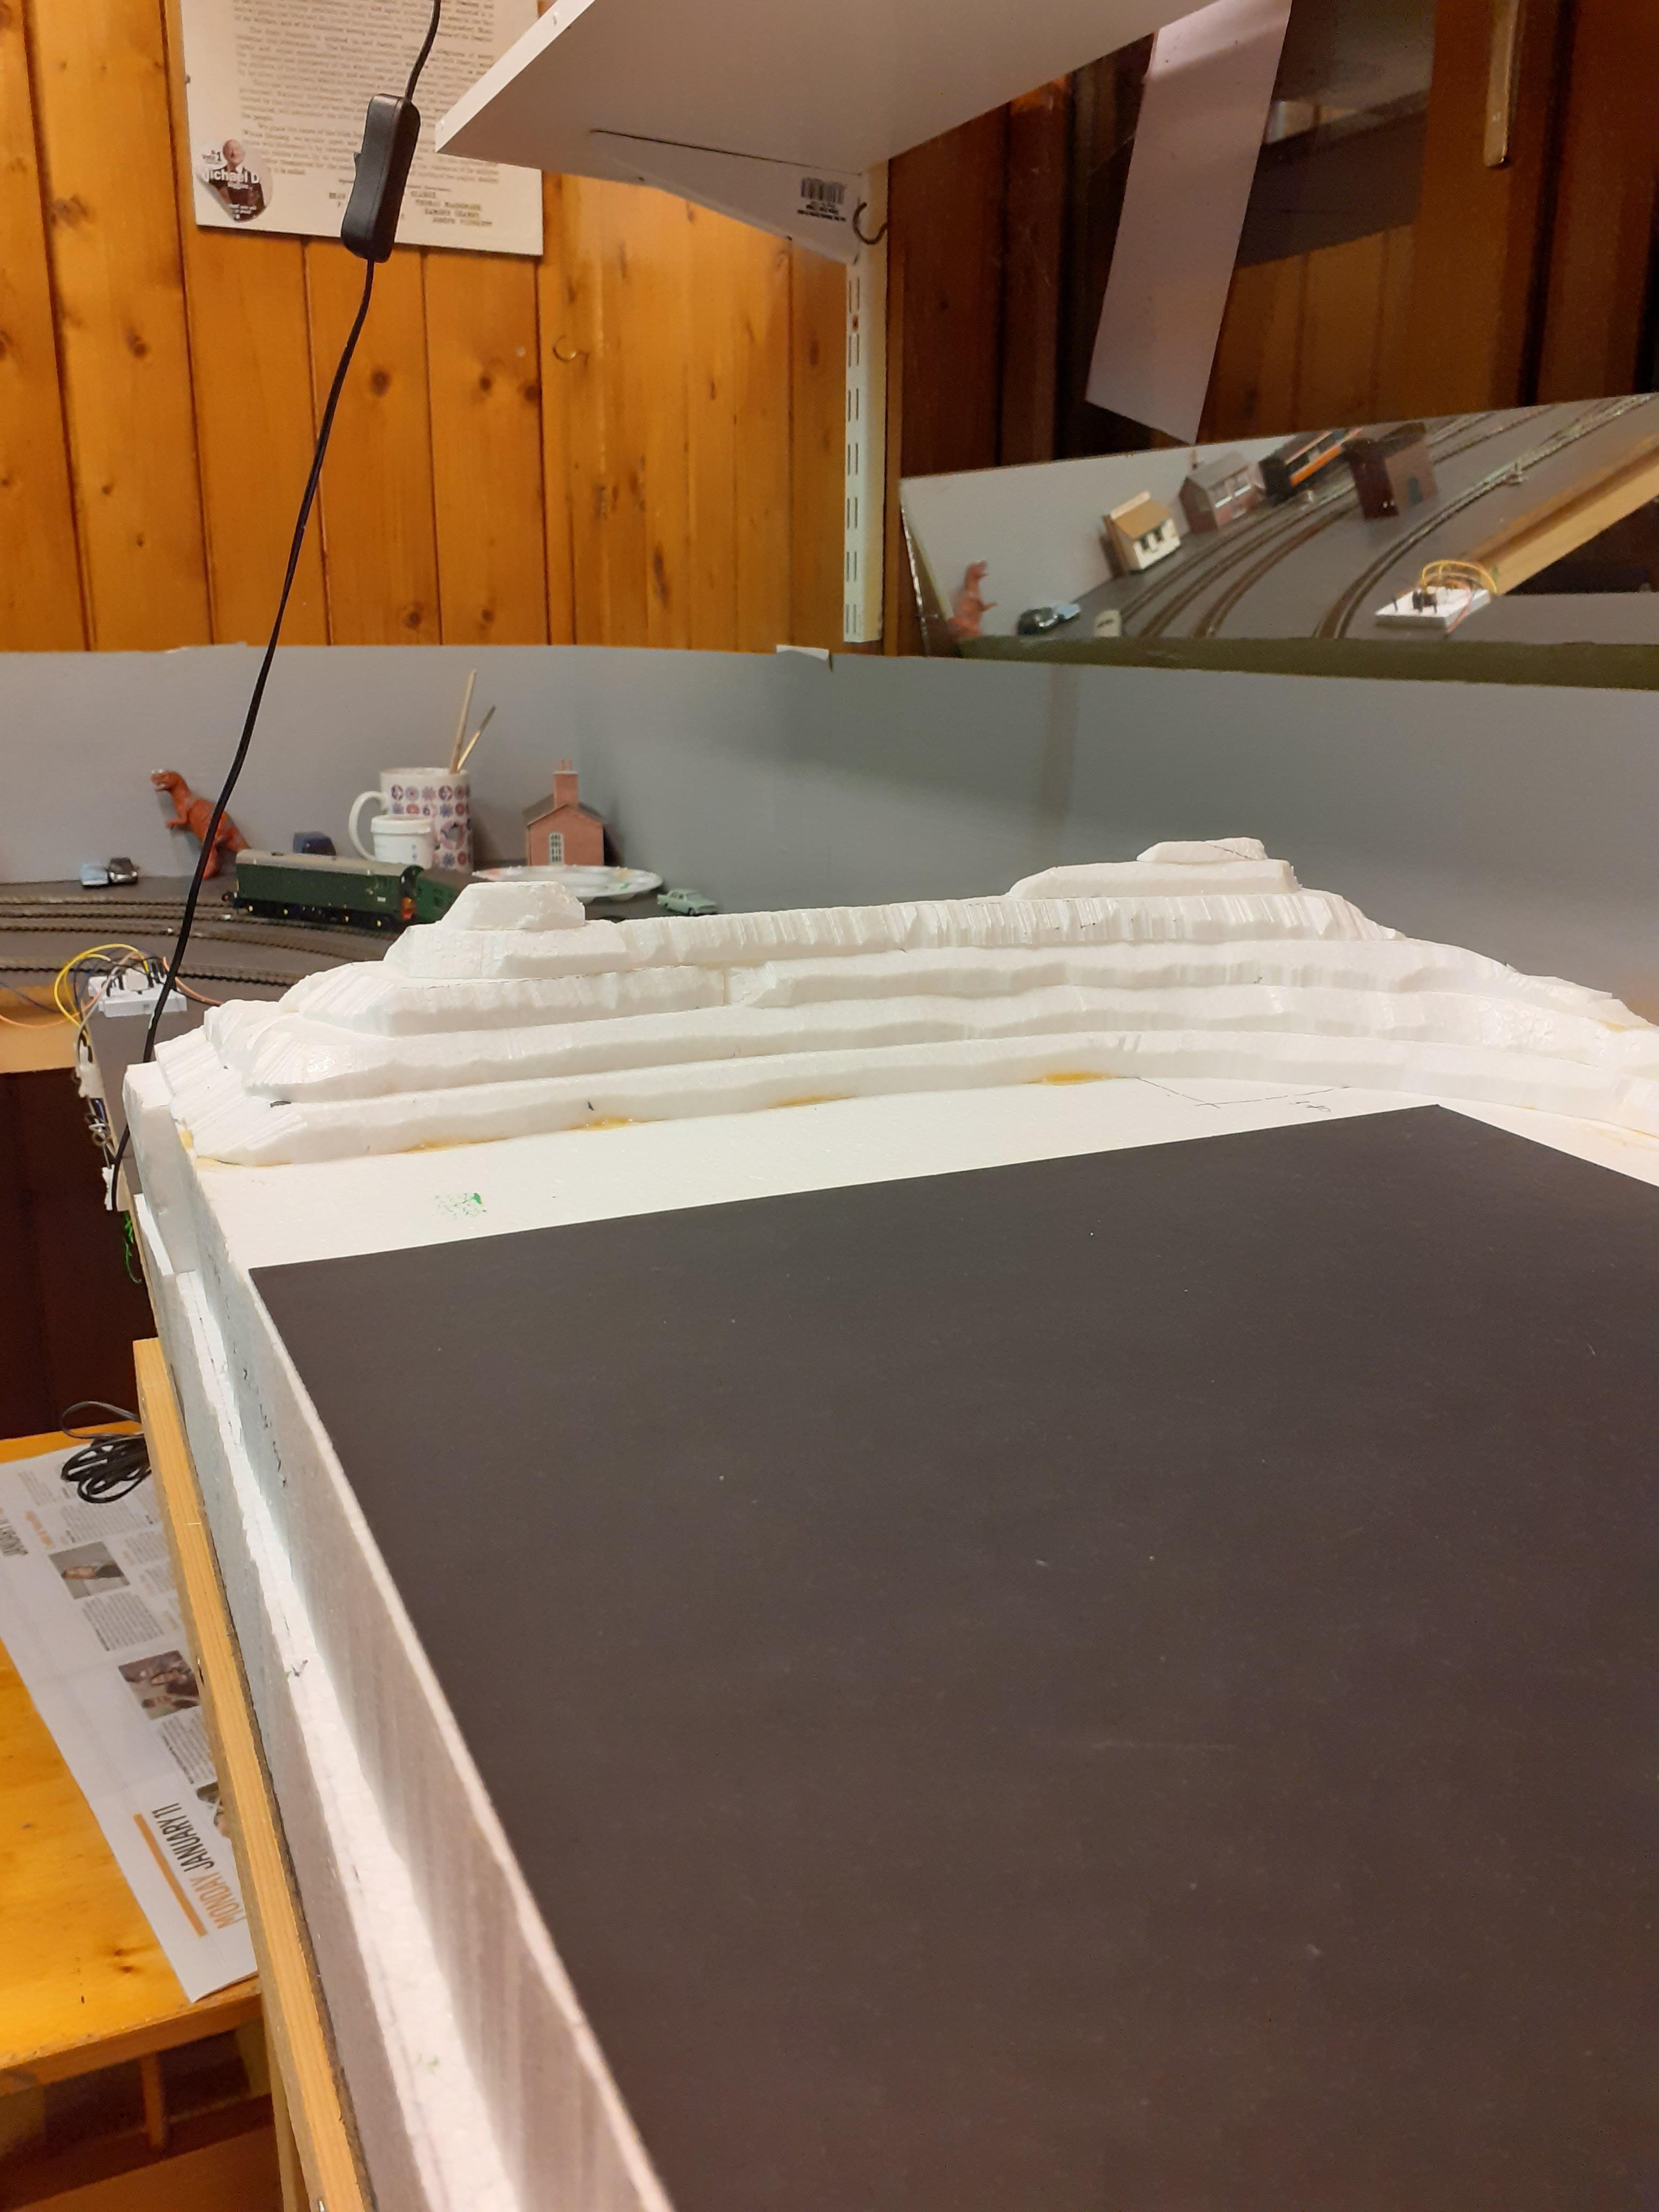
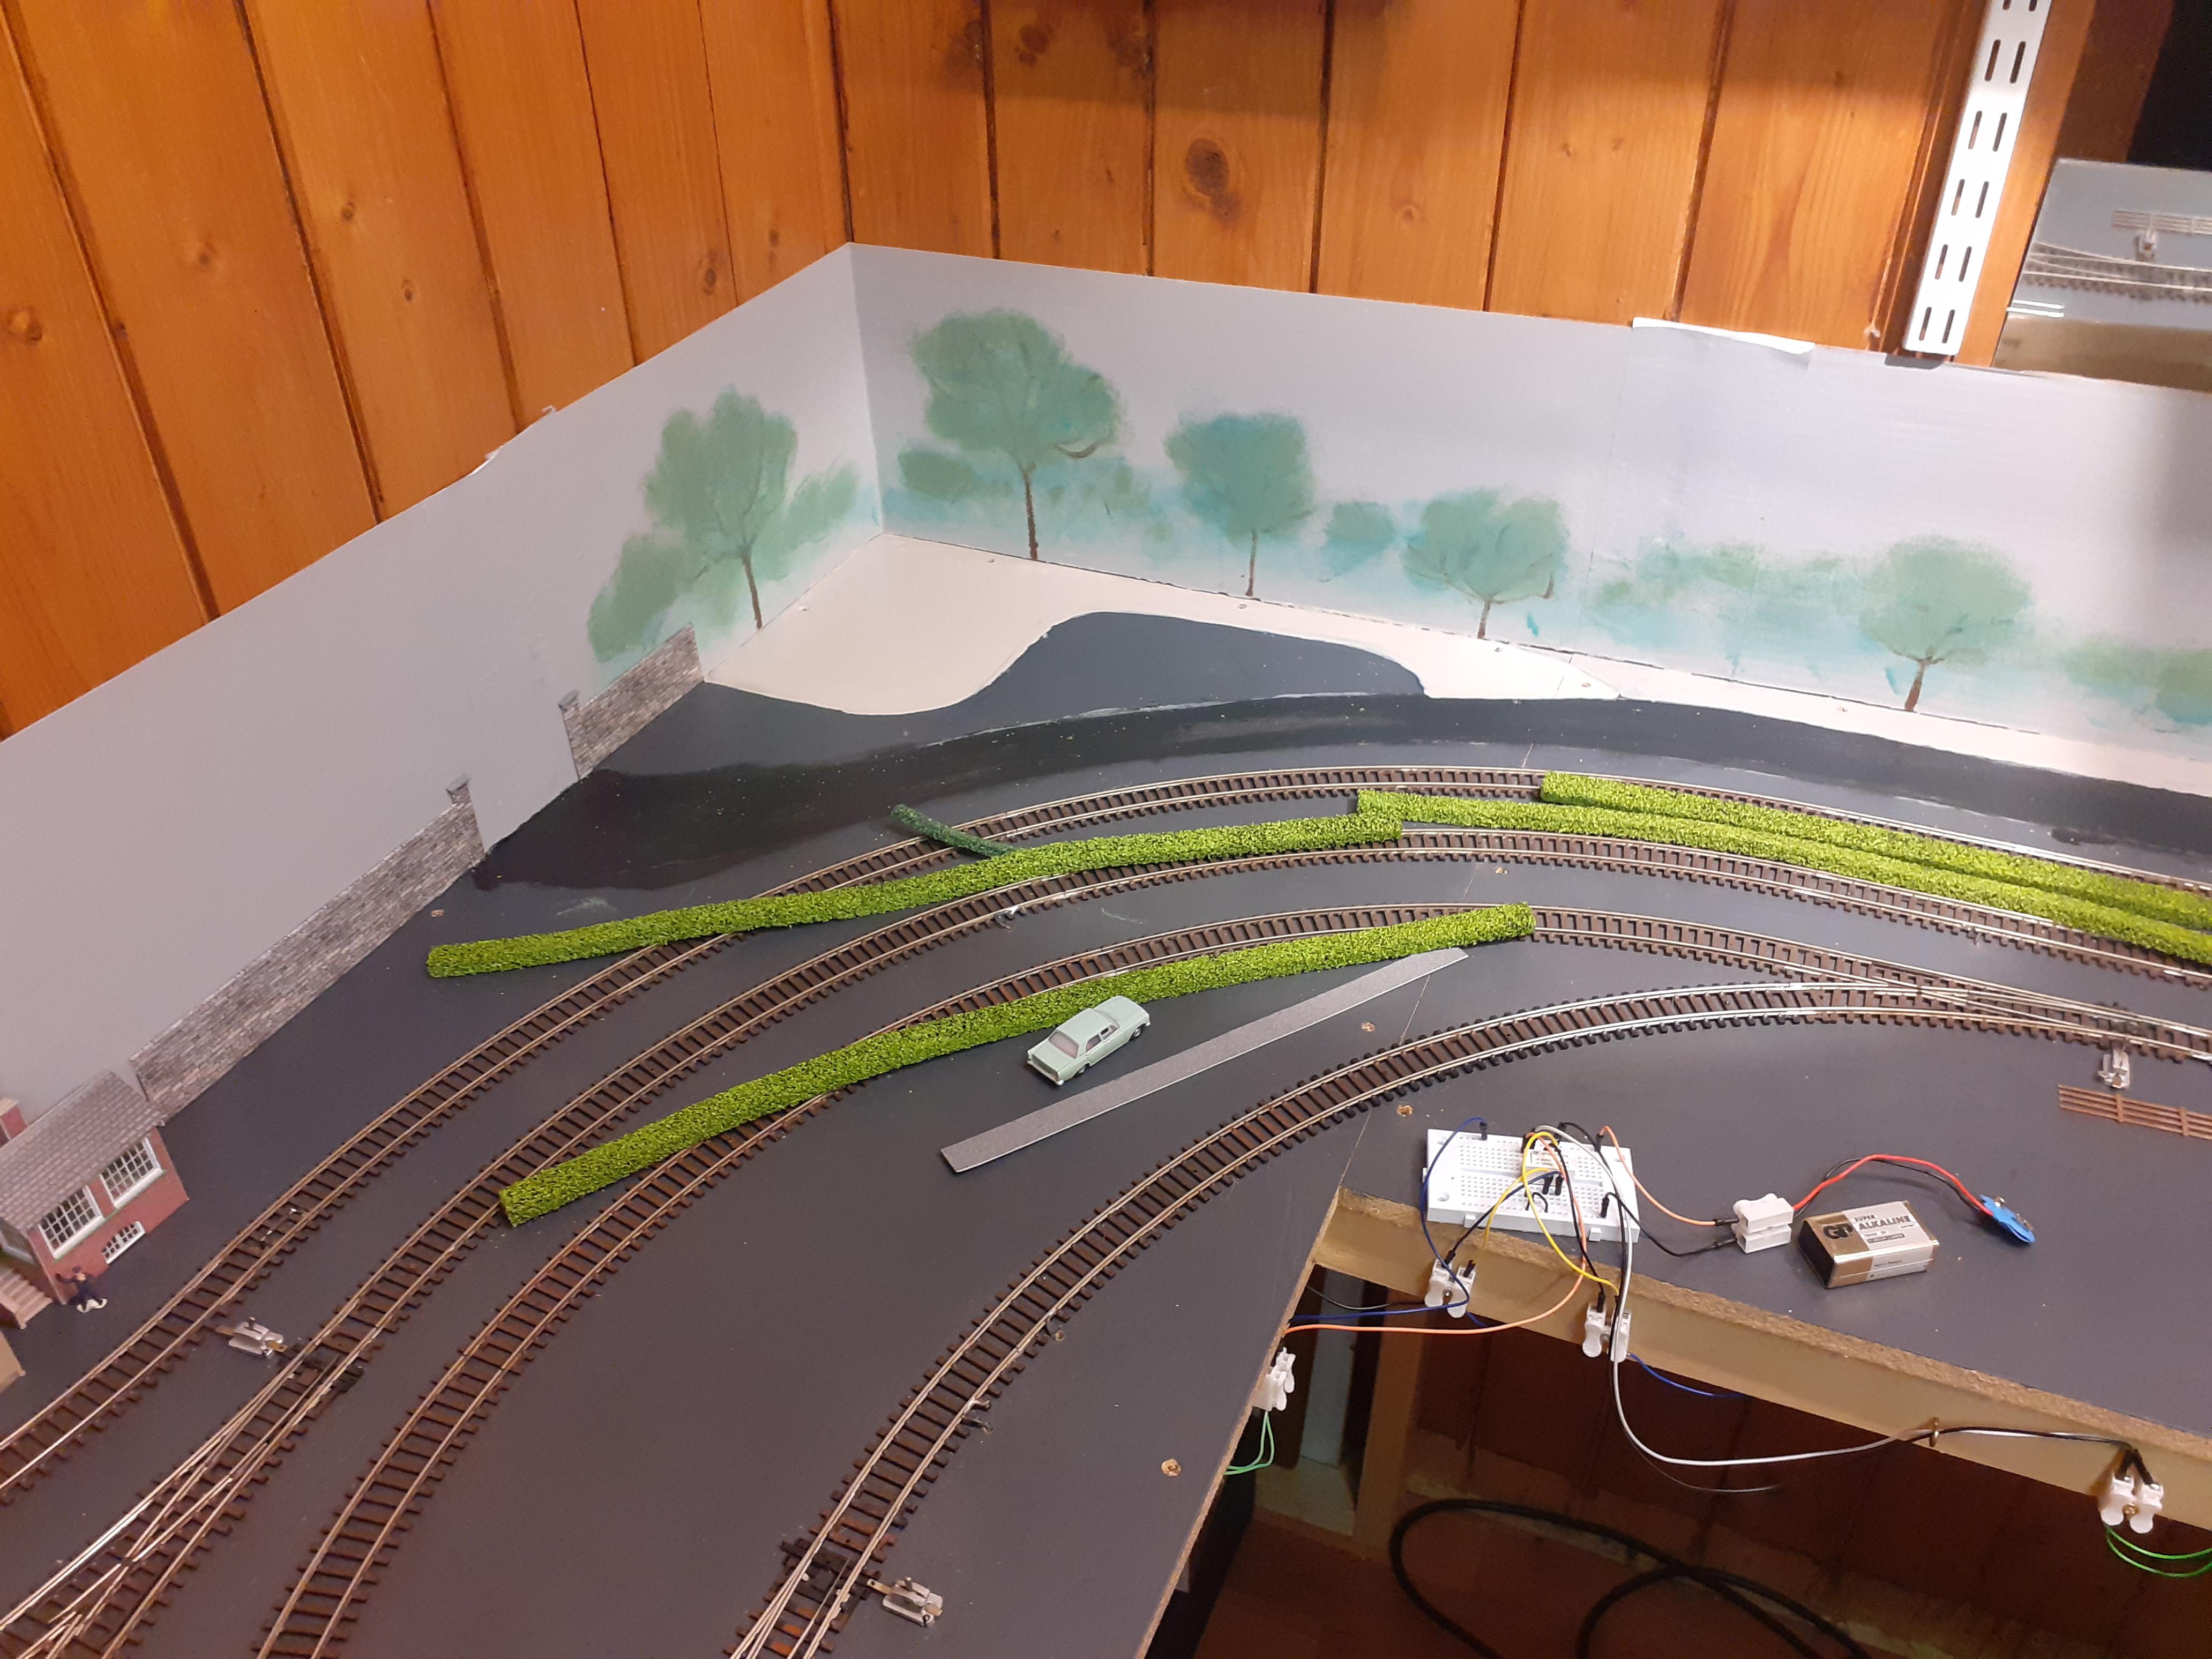
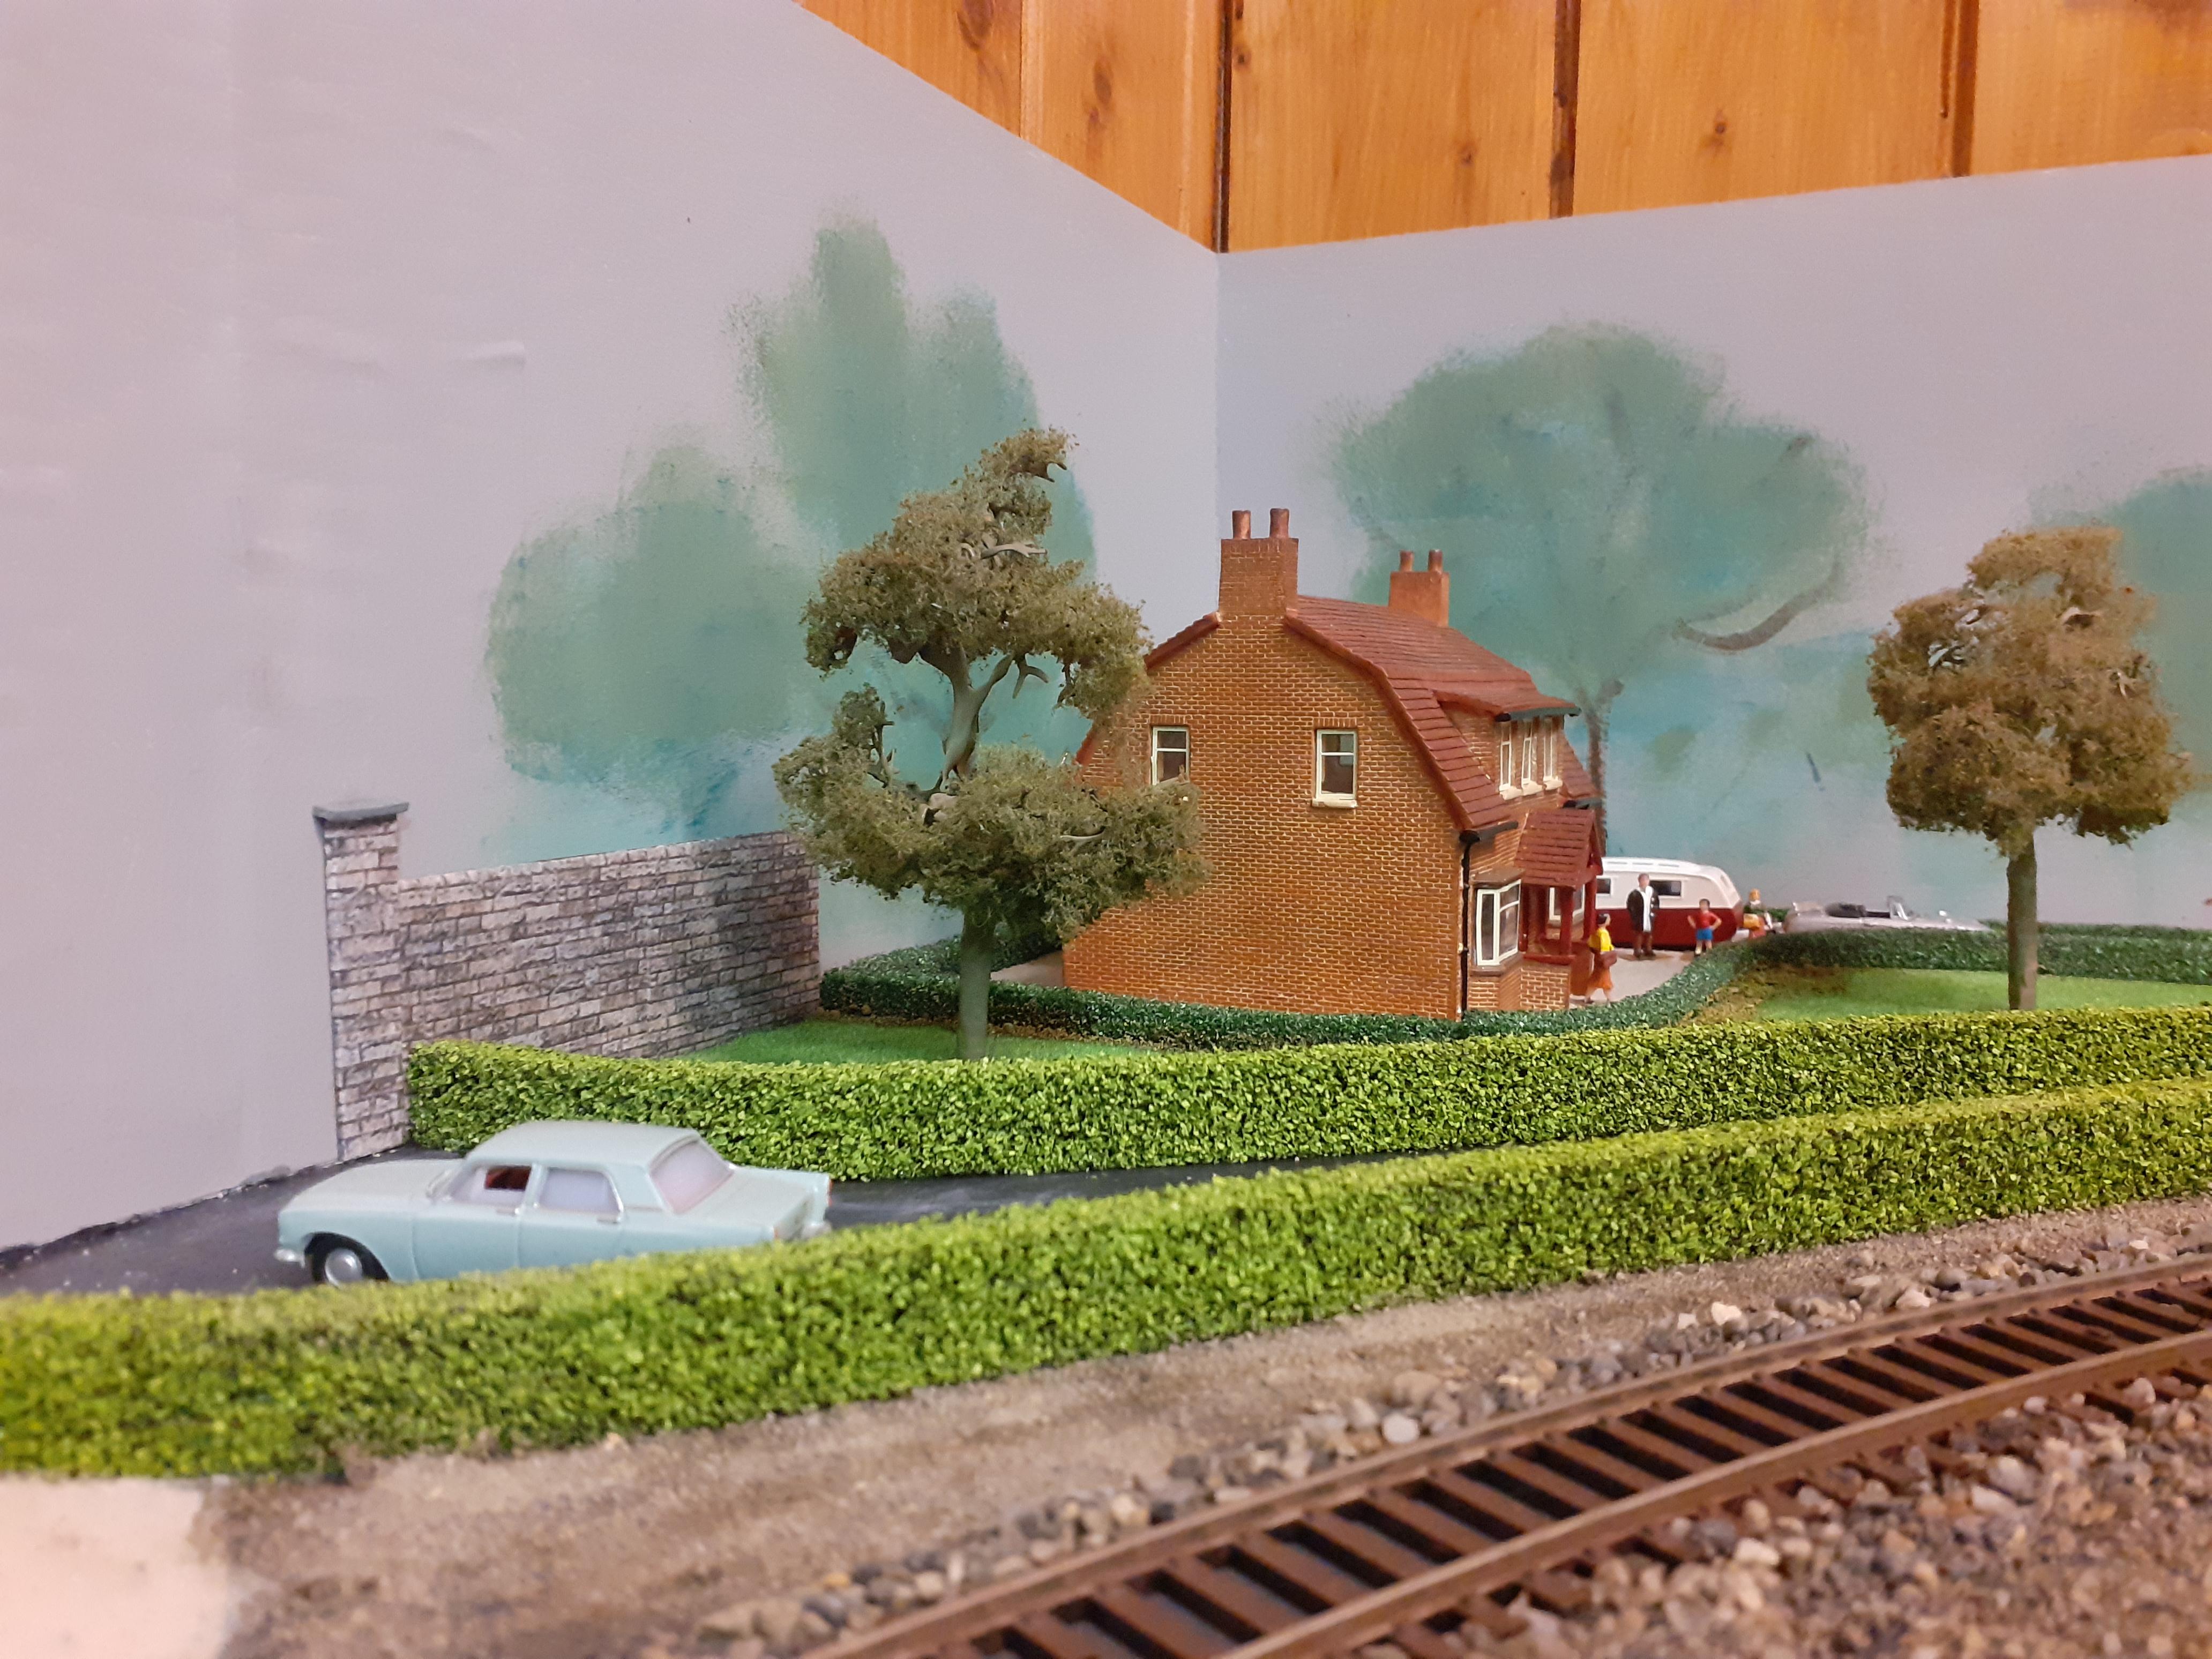
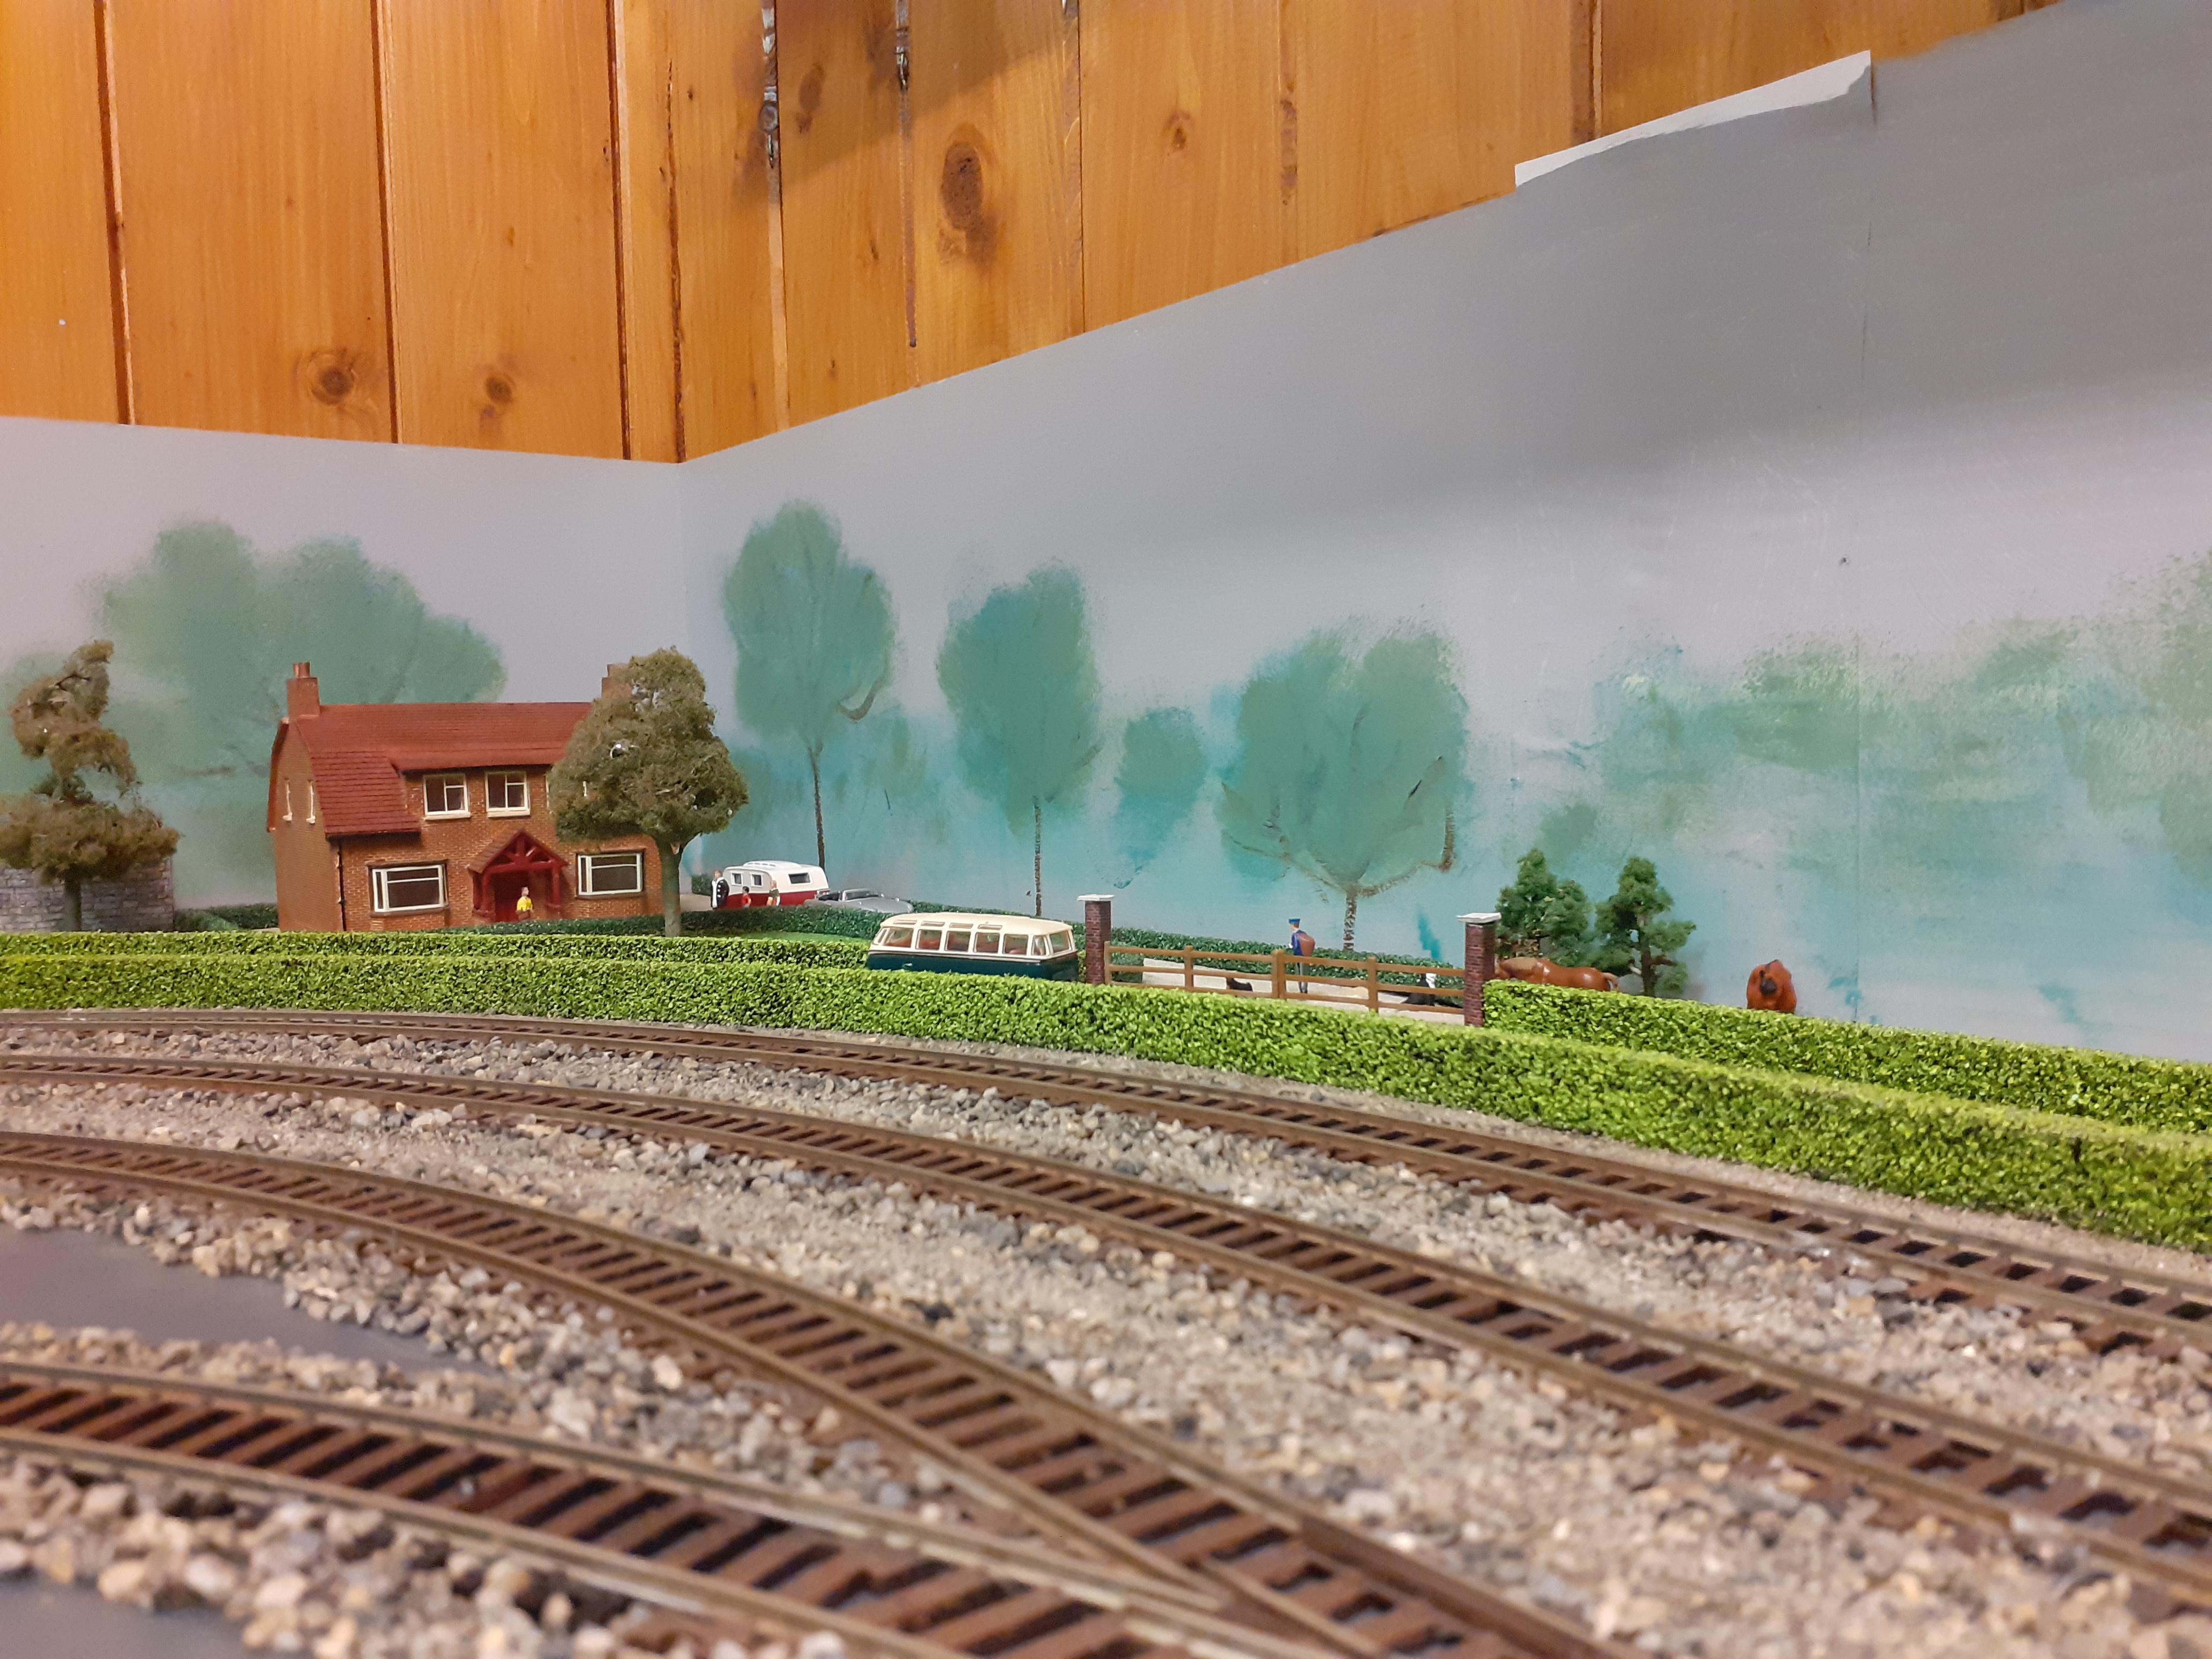
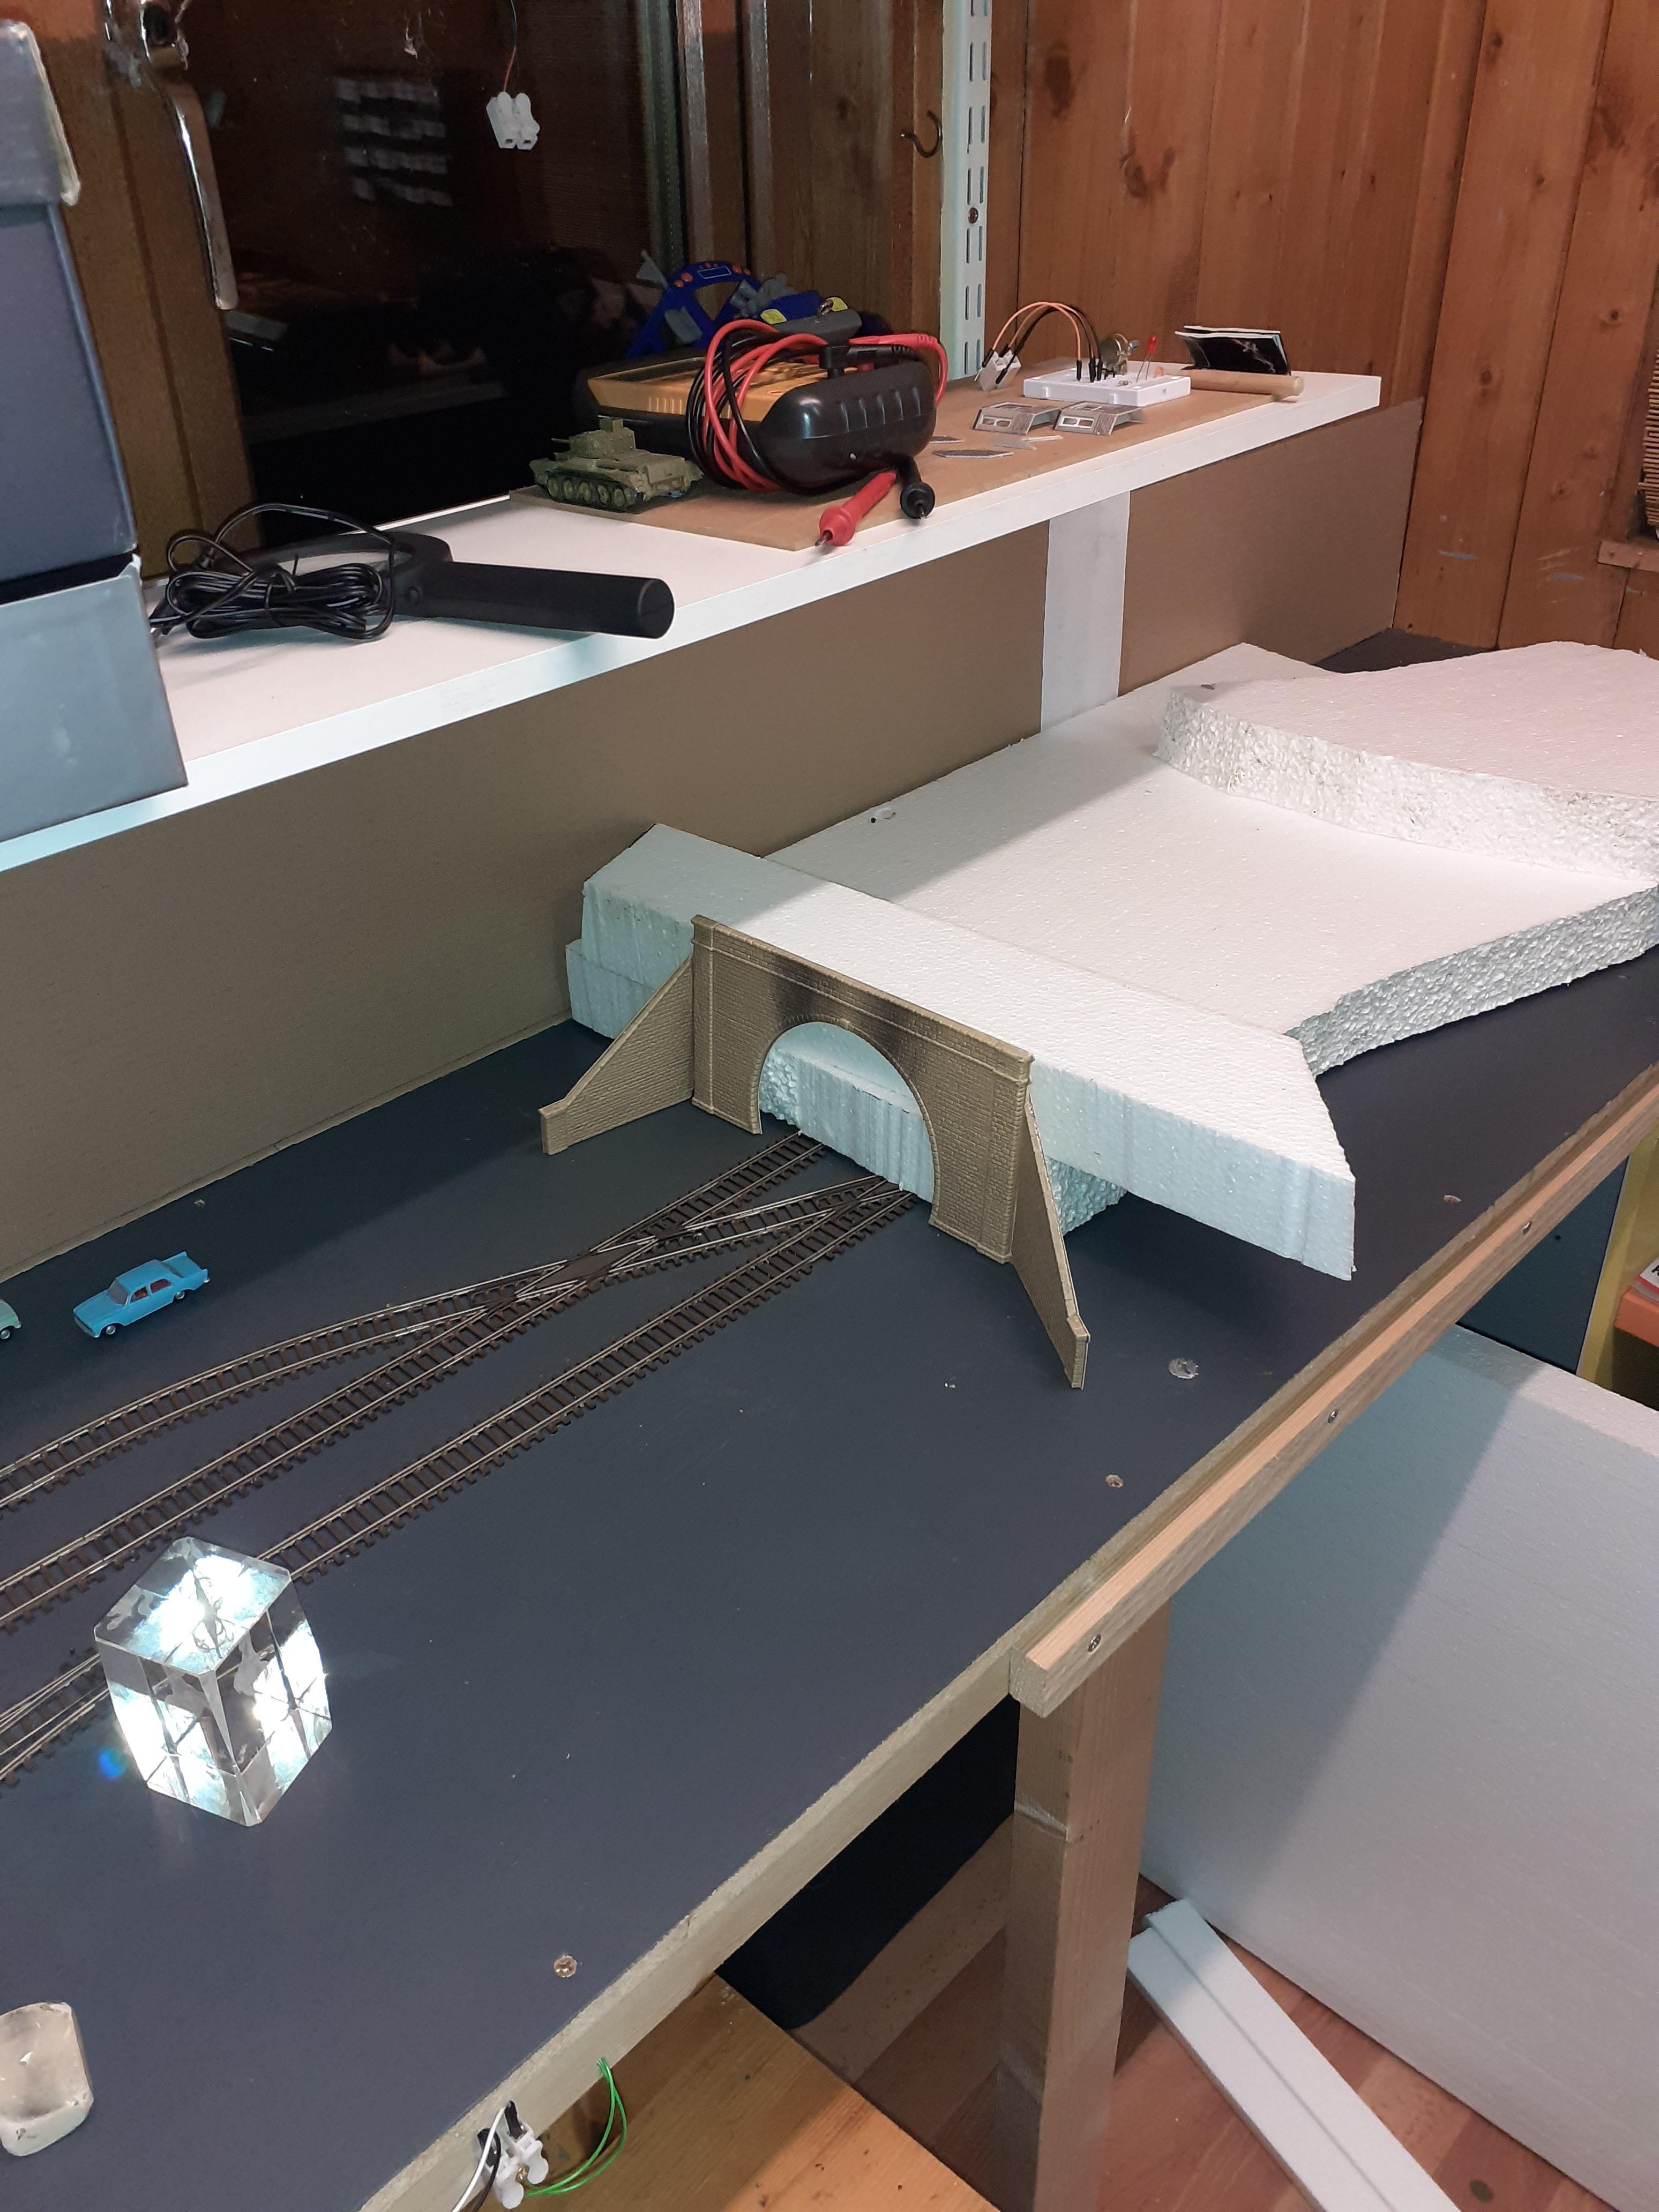
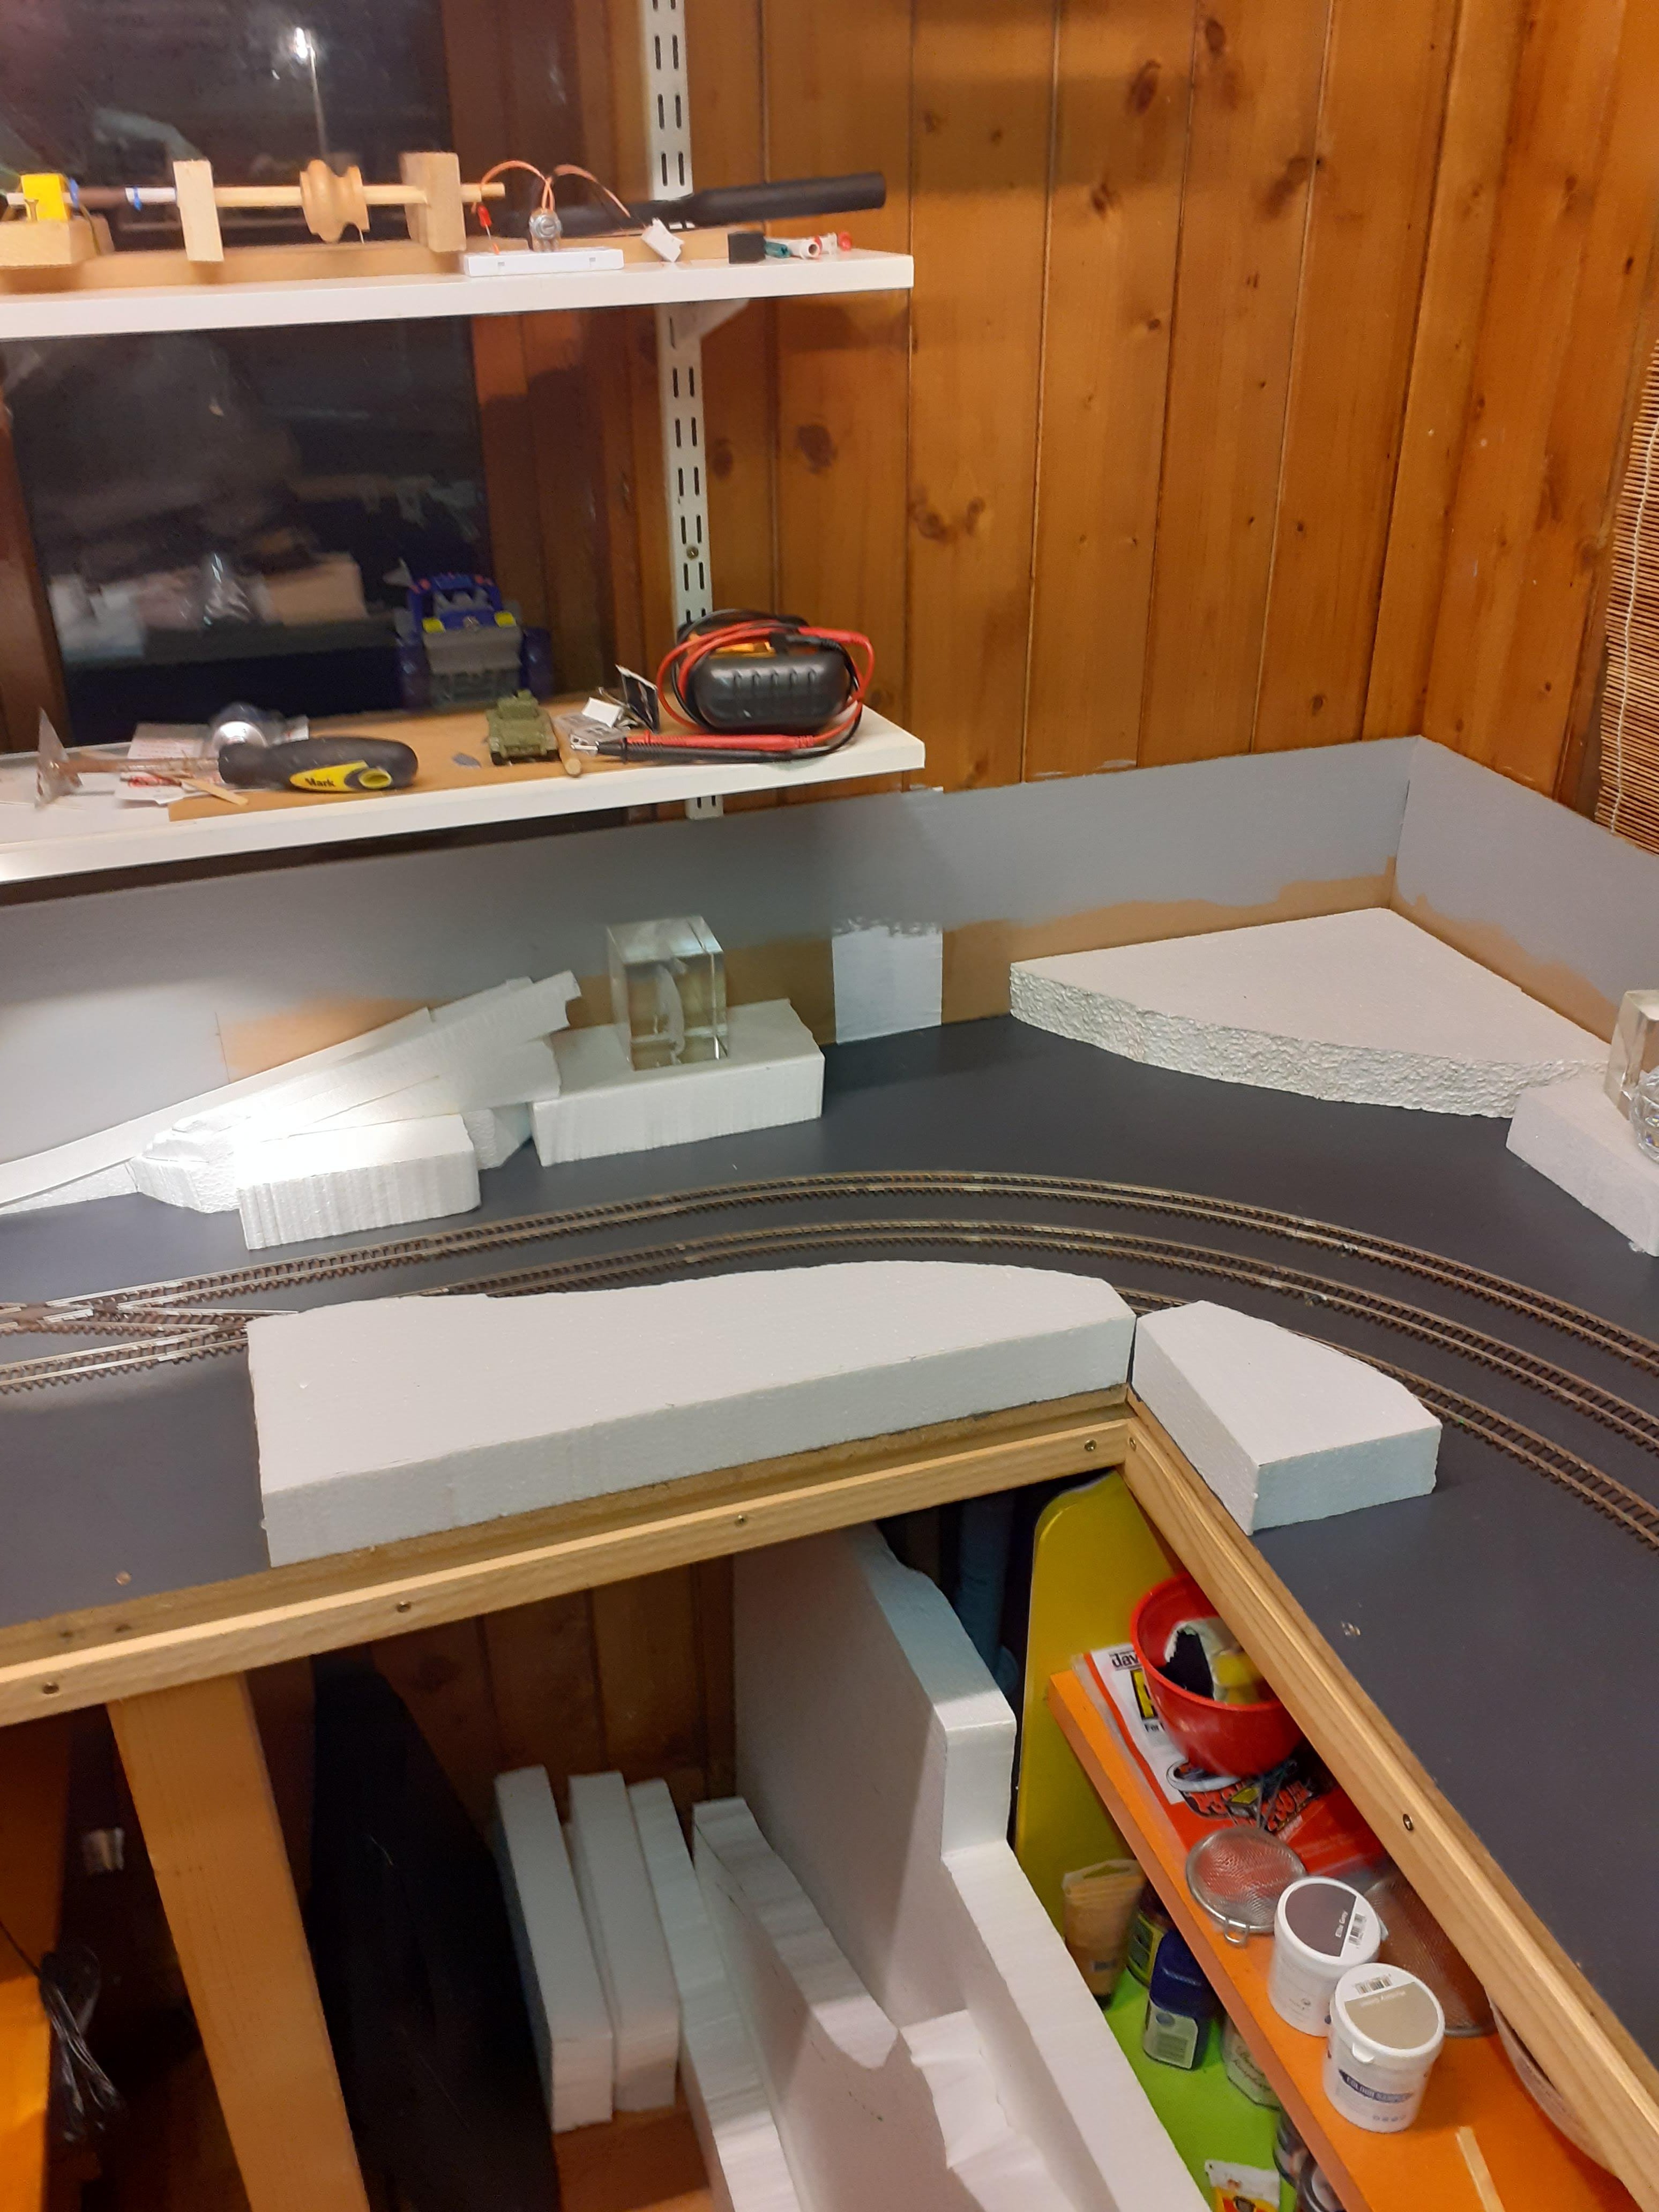
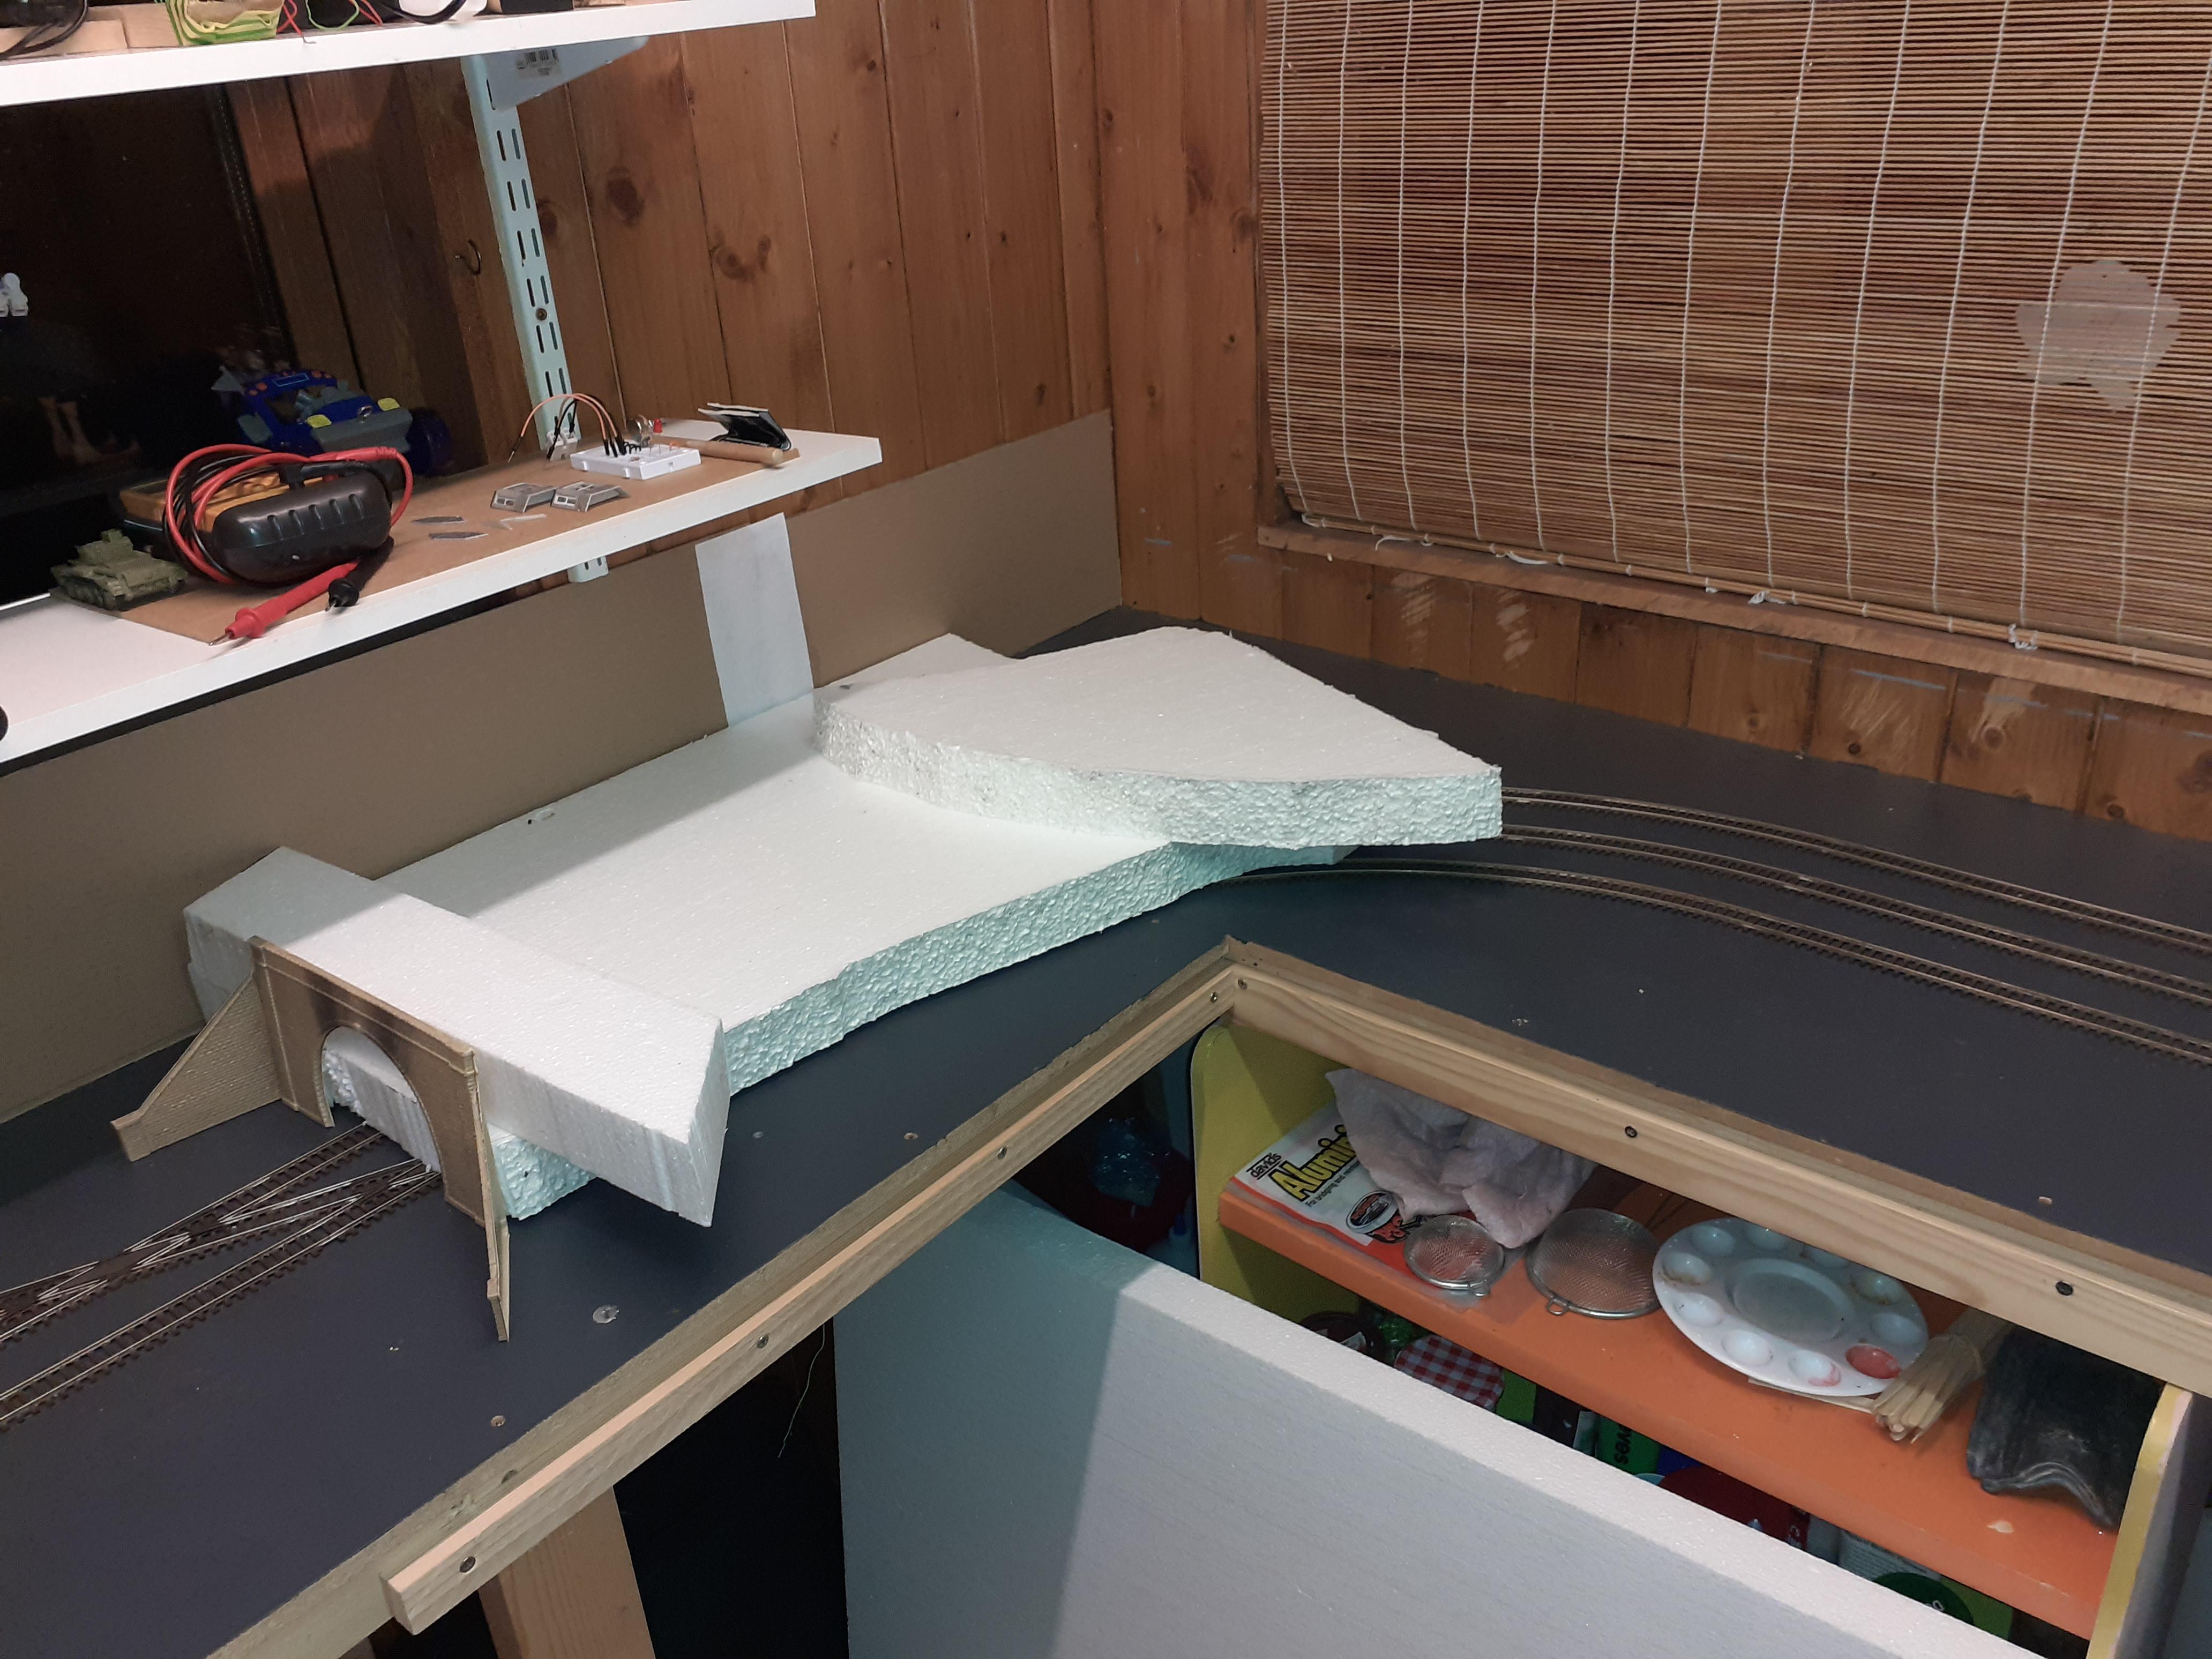
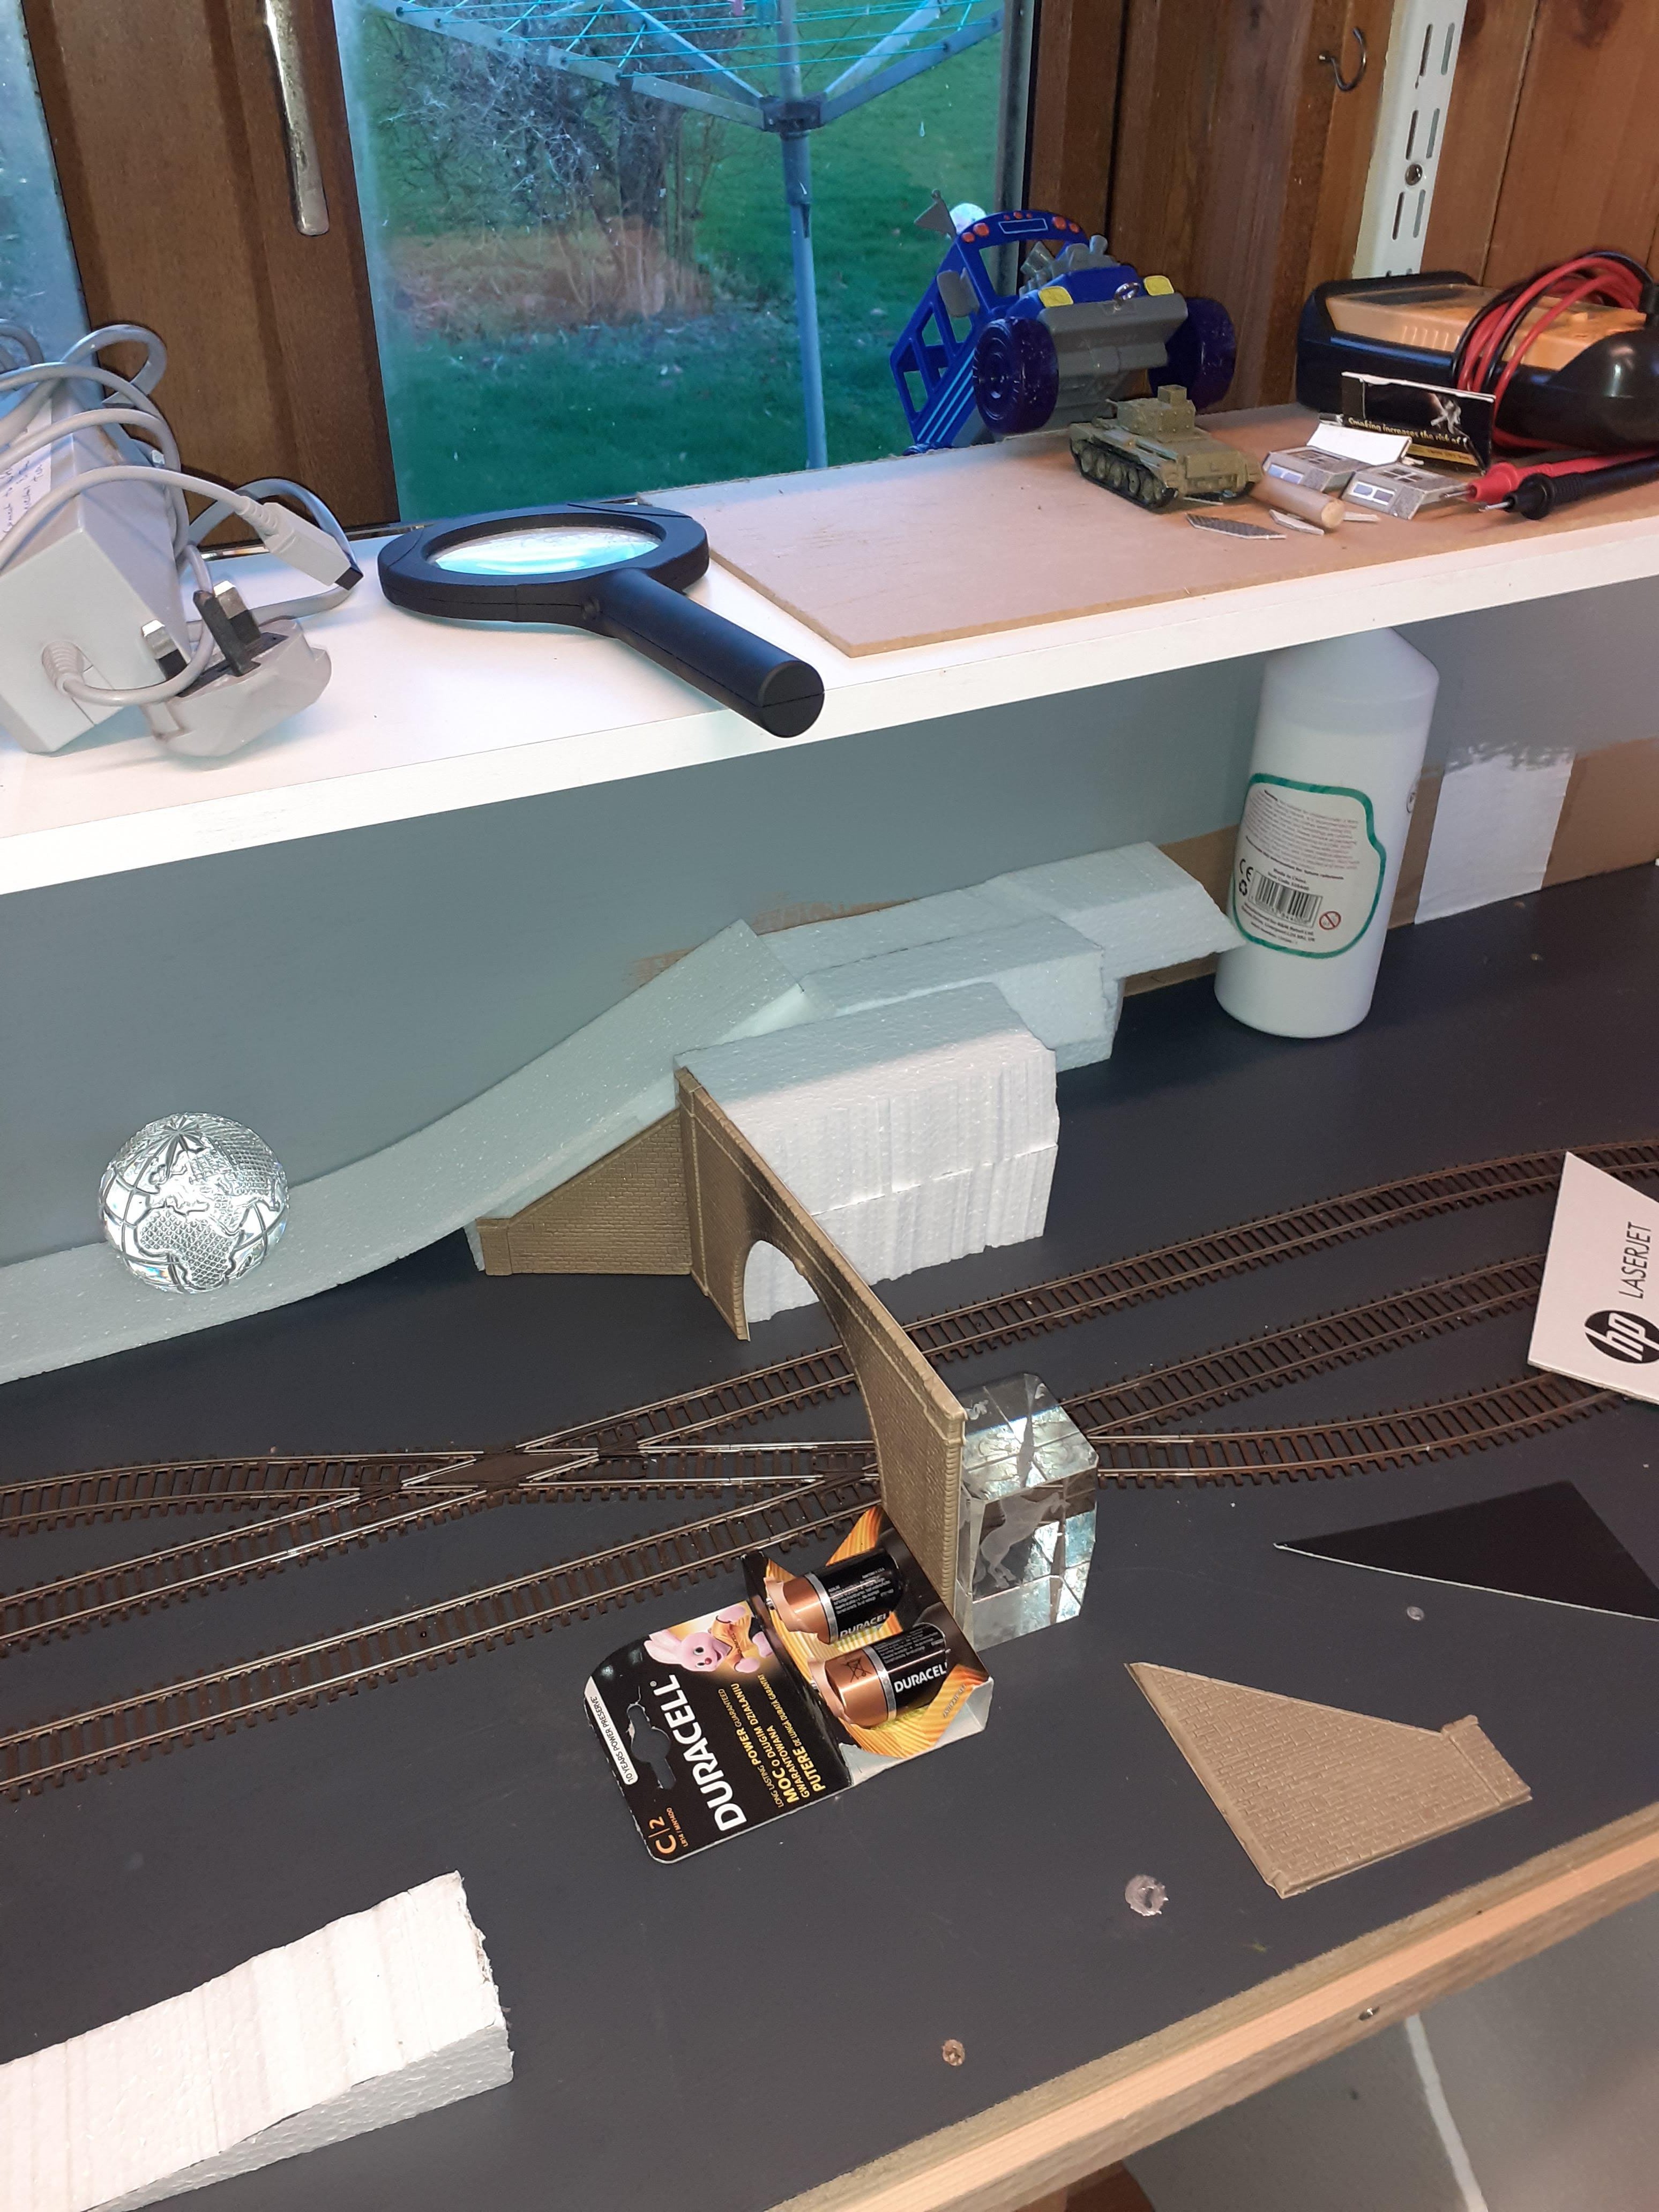
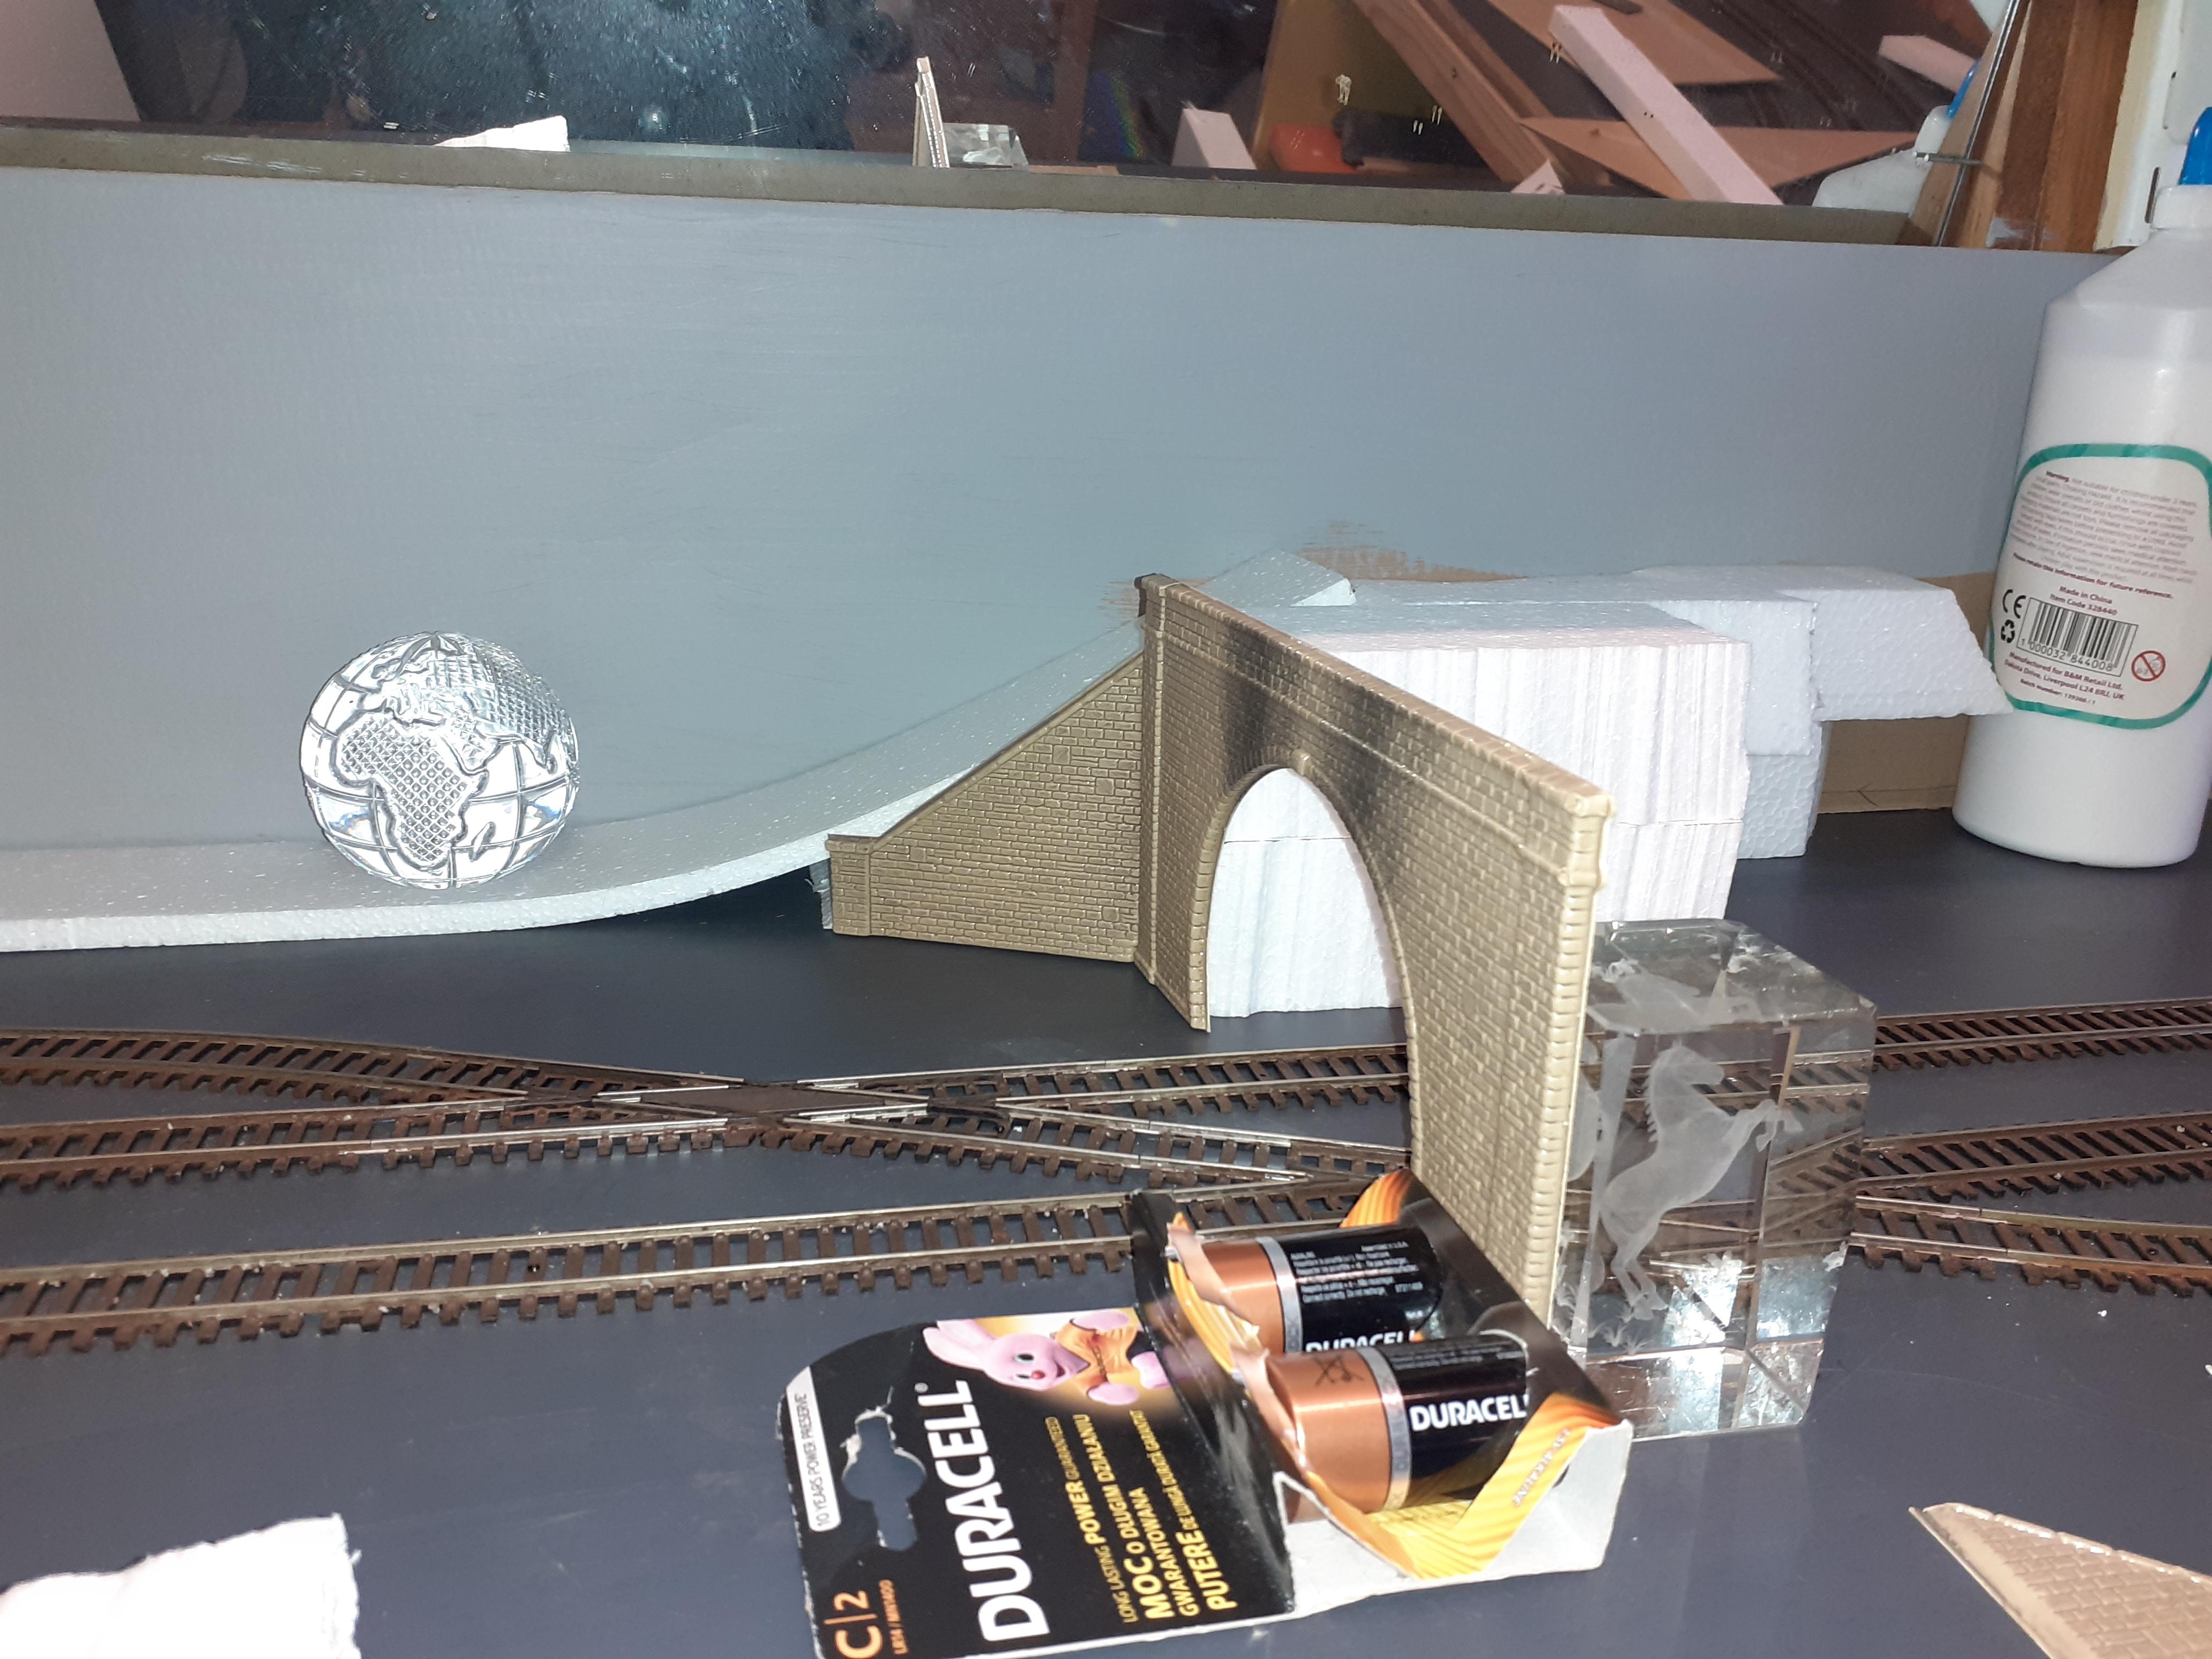
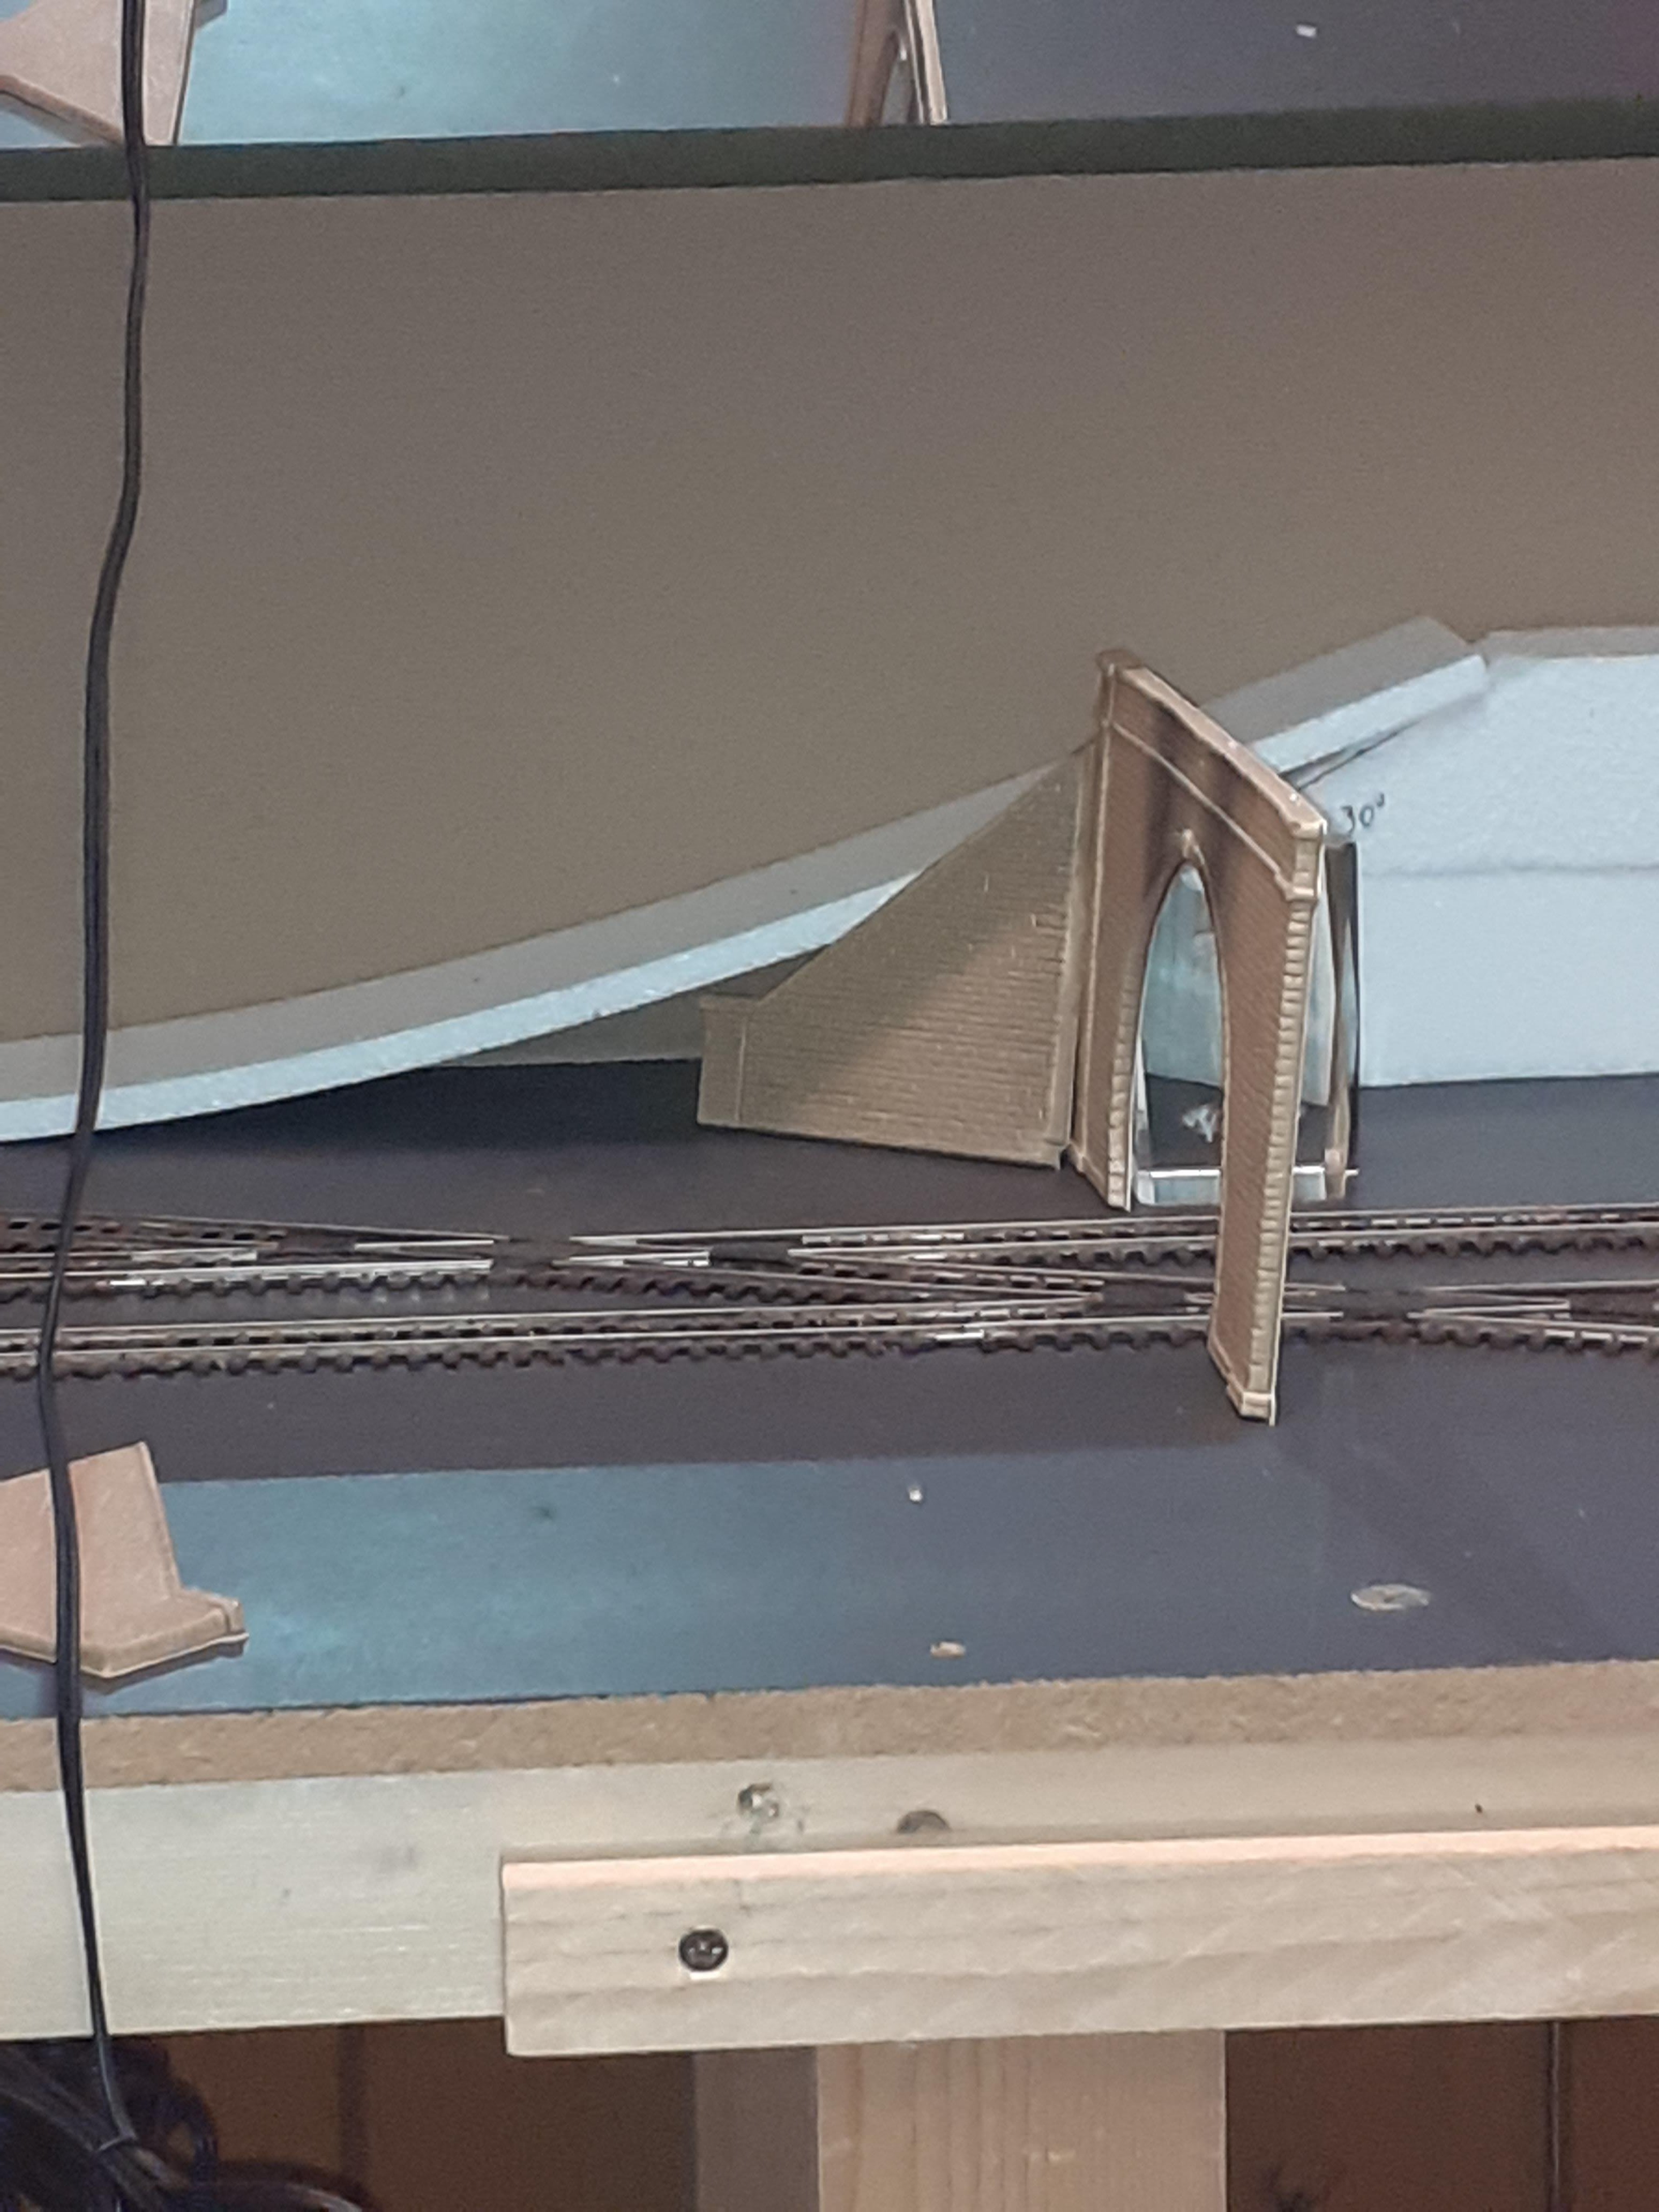
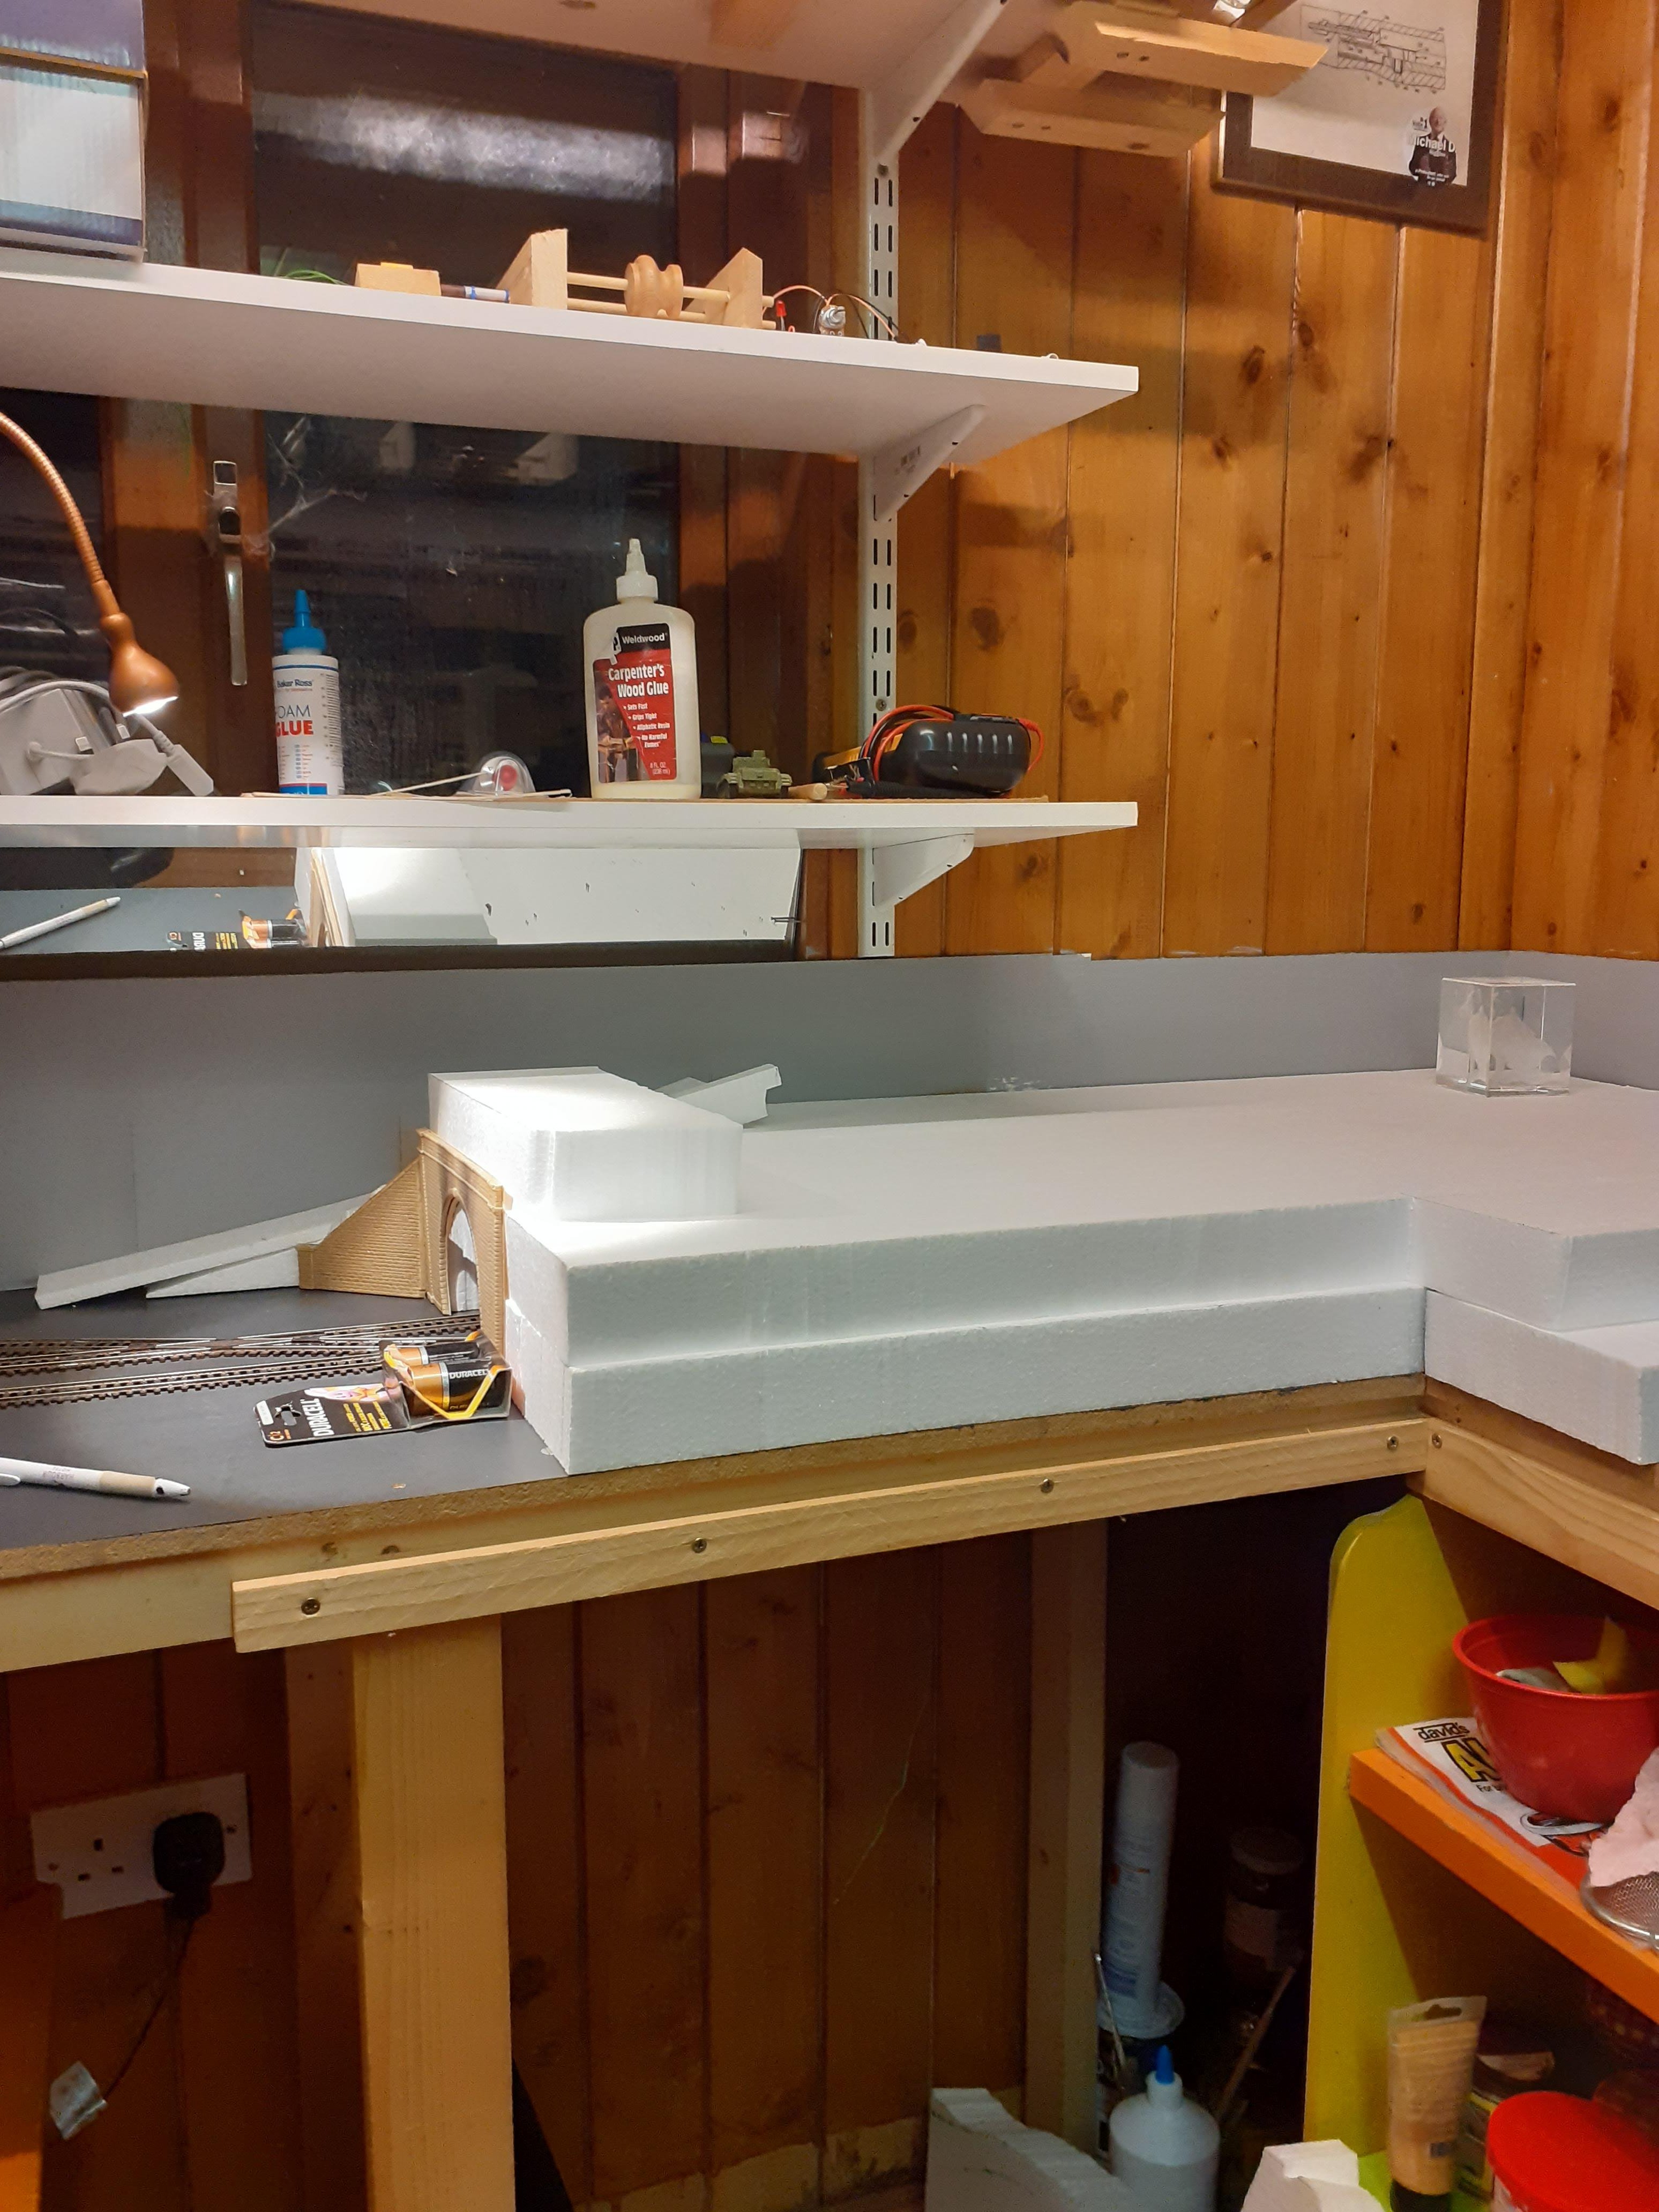
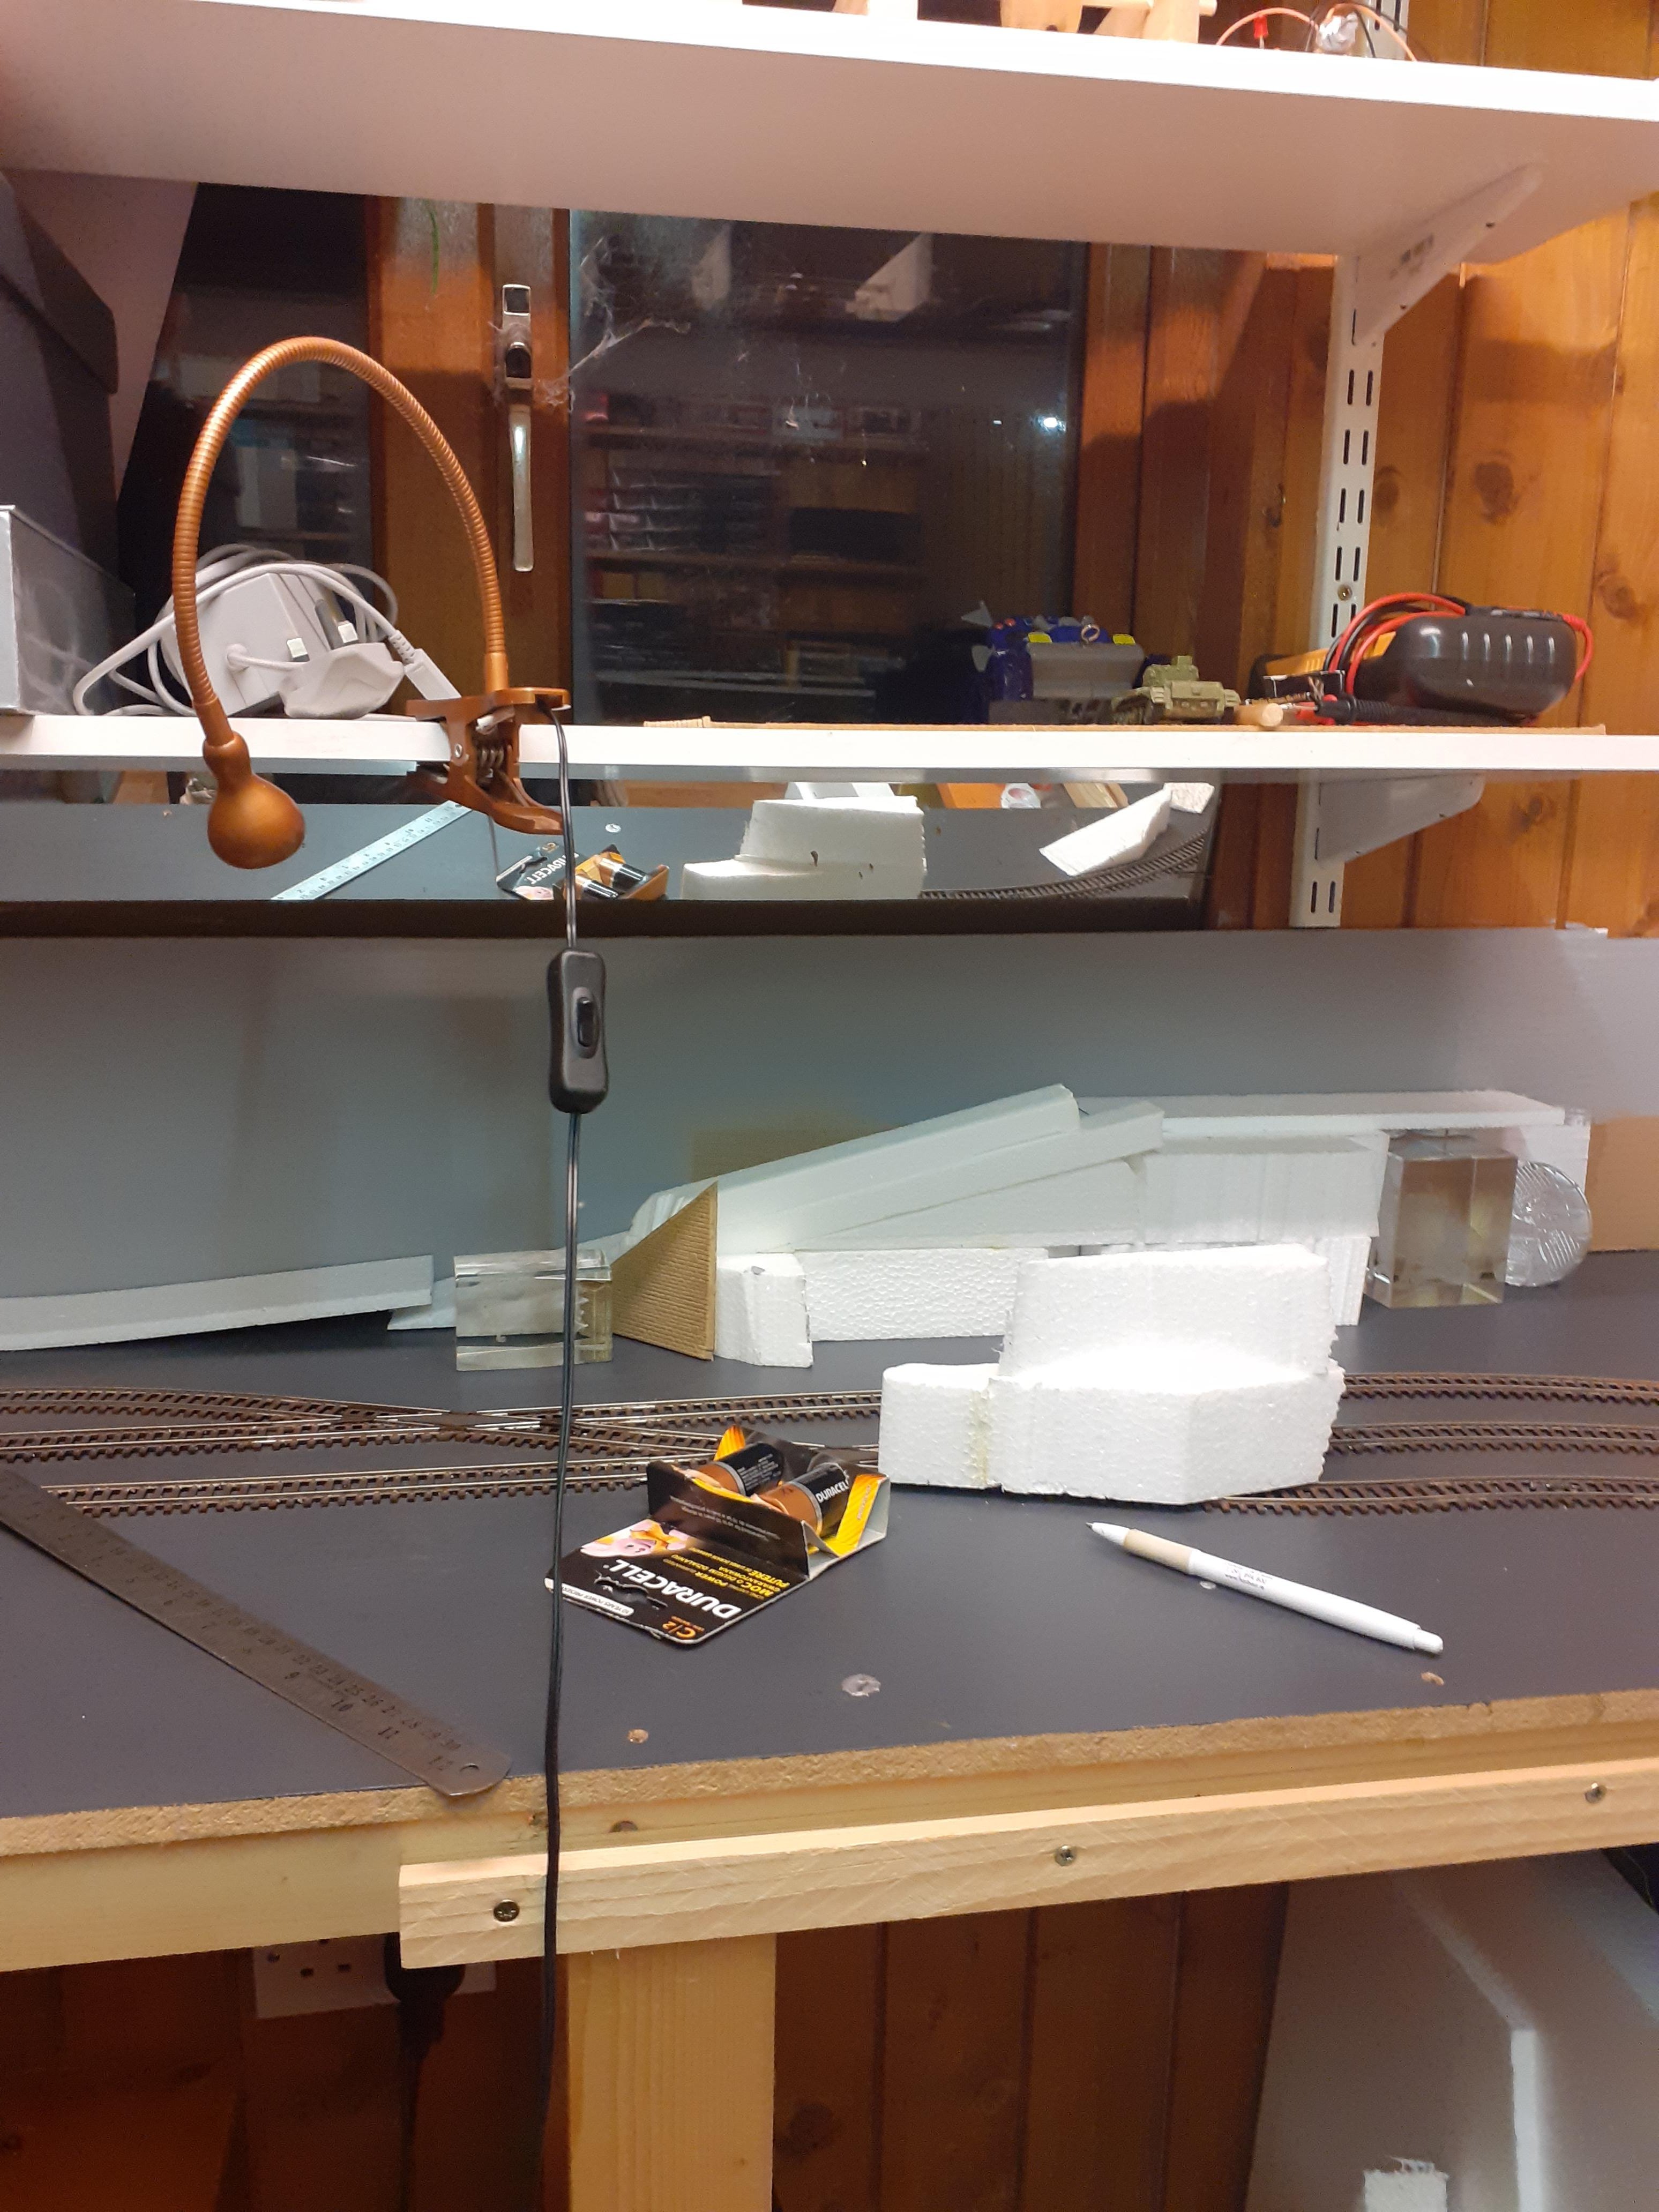
I added an elevated section to the remaining corner of the layout, so I have a tunnel which gives a scenic break. I used the area on top to create and town and country scene, I have been working on this since just after christmas. Lots of detailing still to do, but the core of the work is complete.
-
6
-
 3
3
-
-
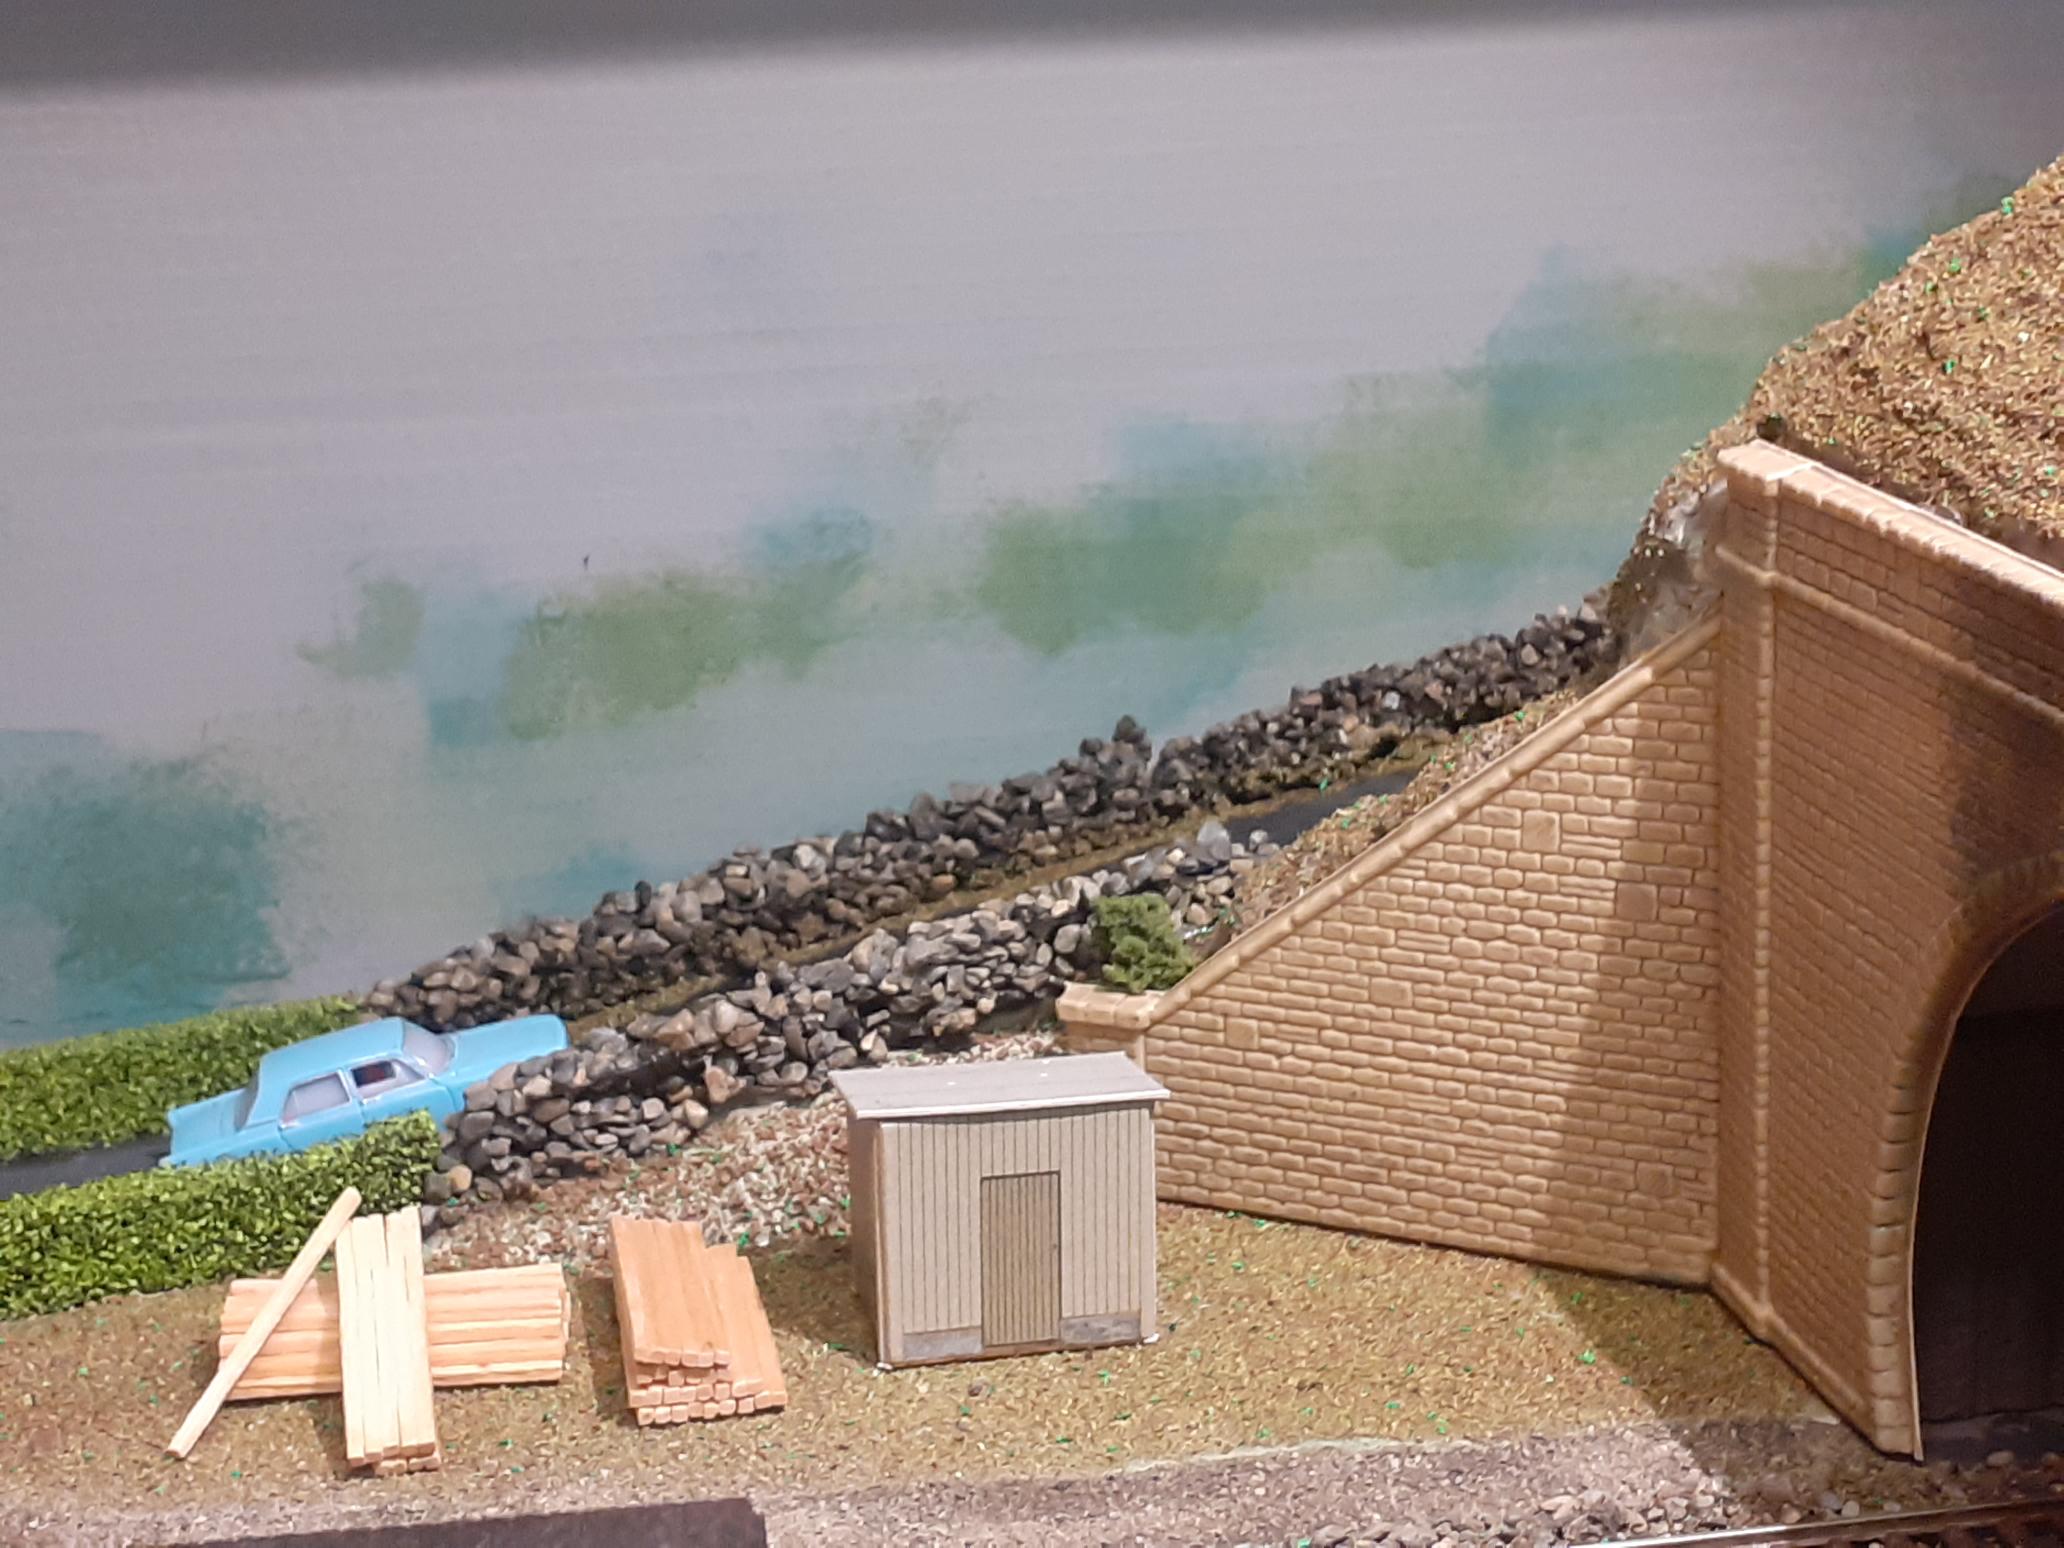
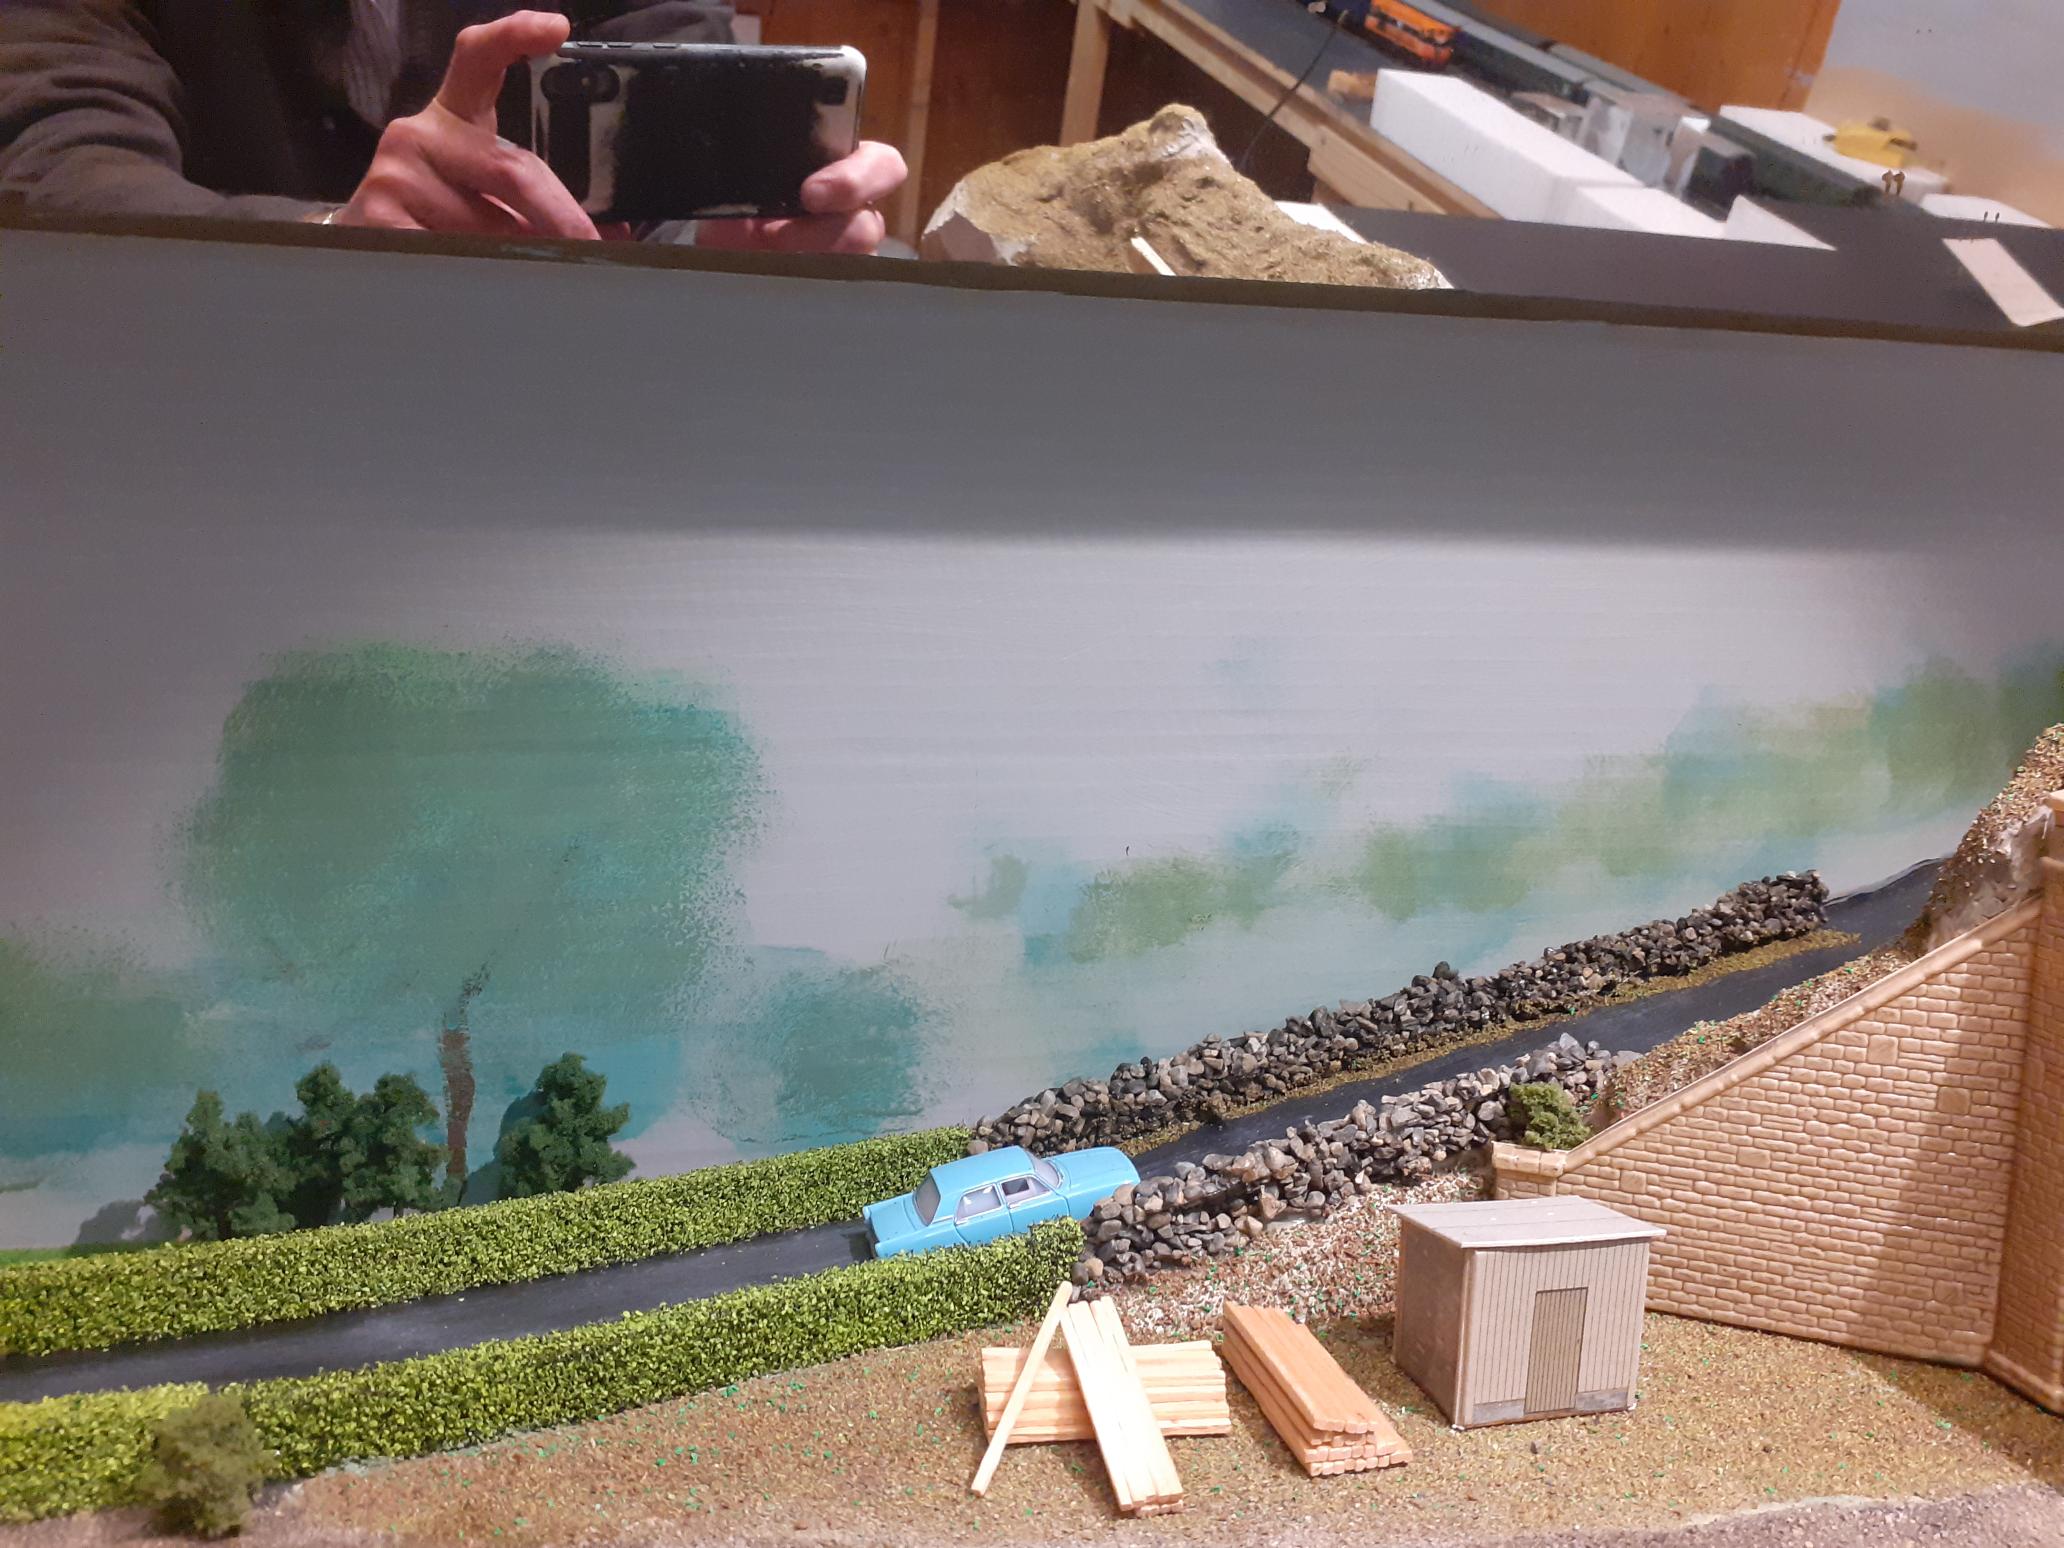
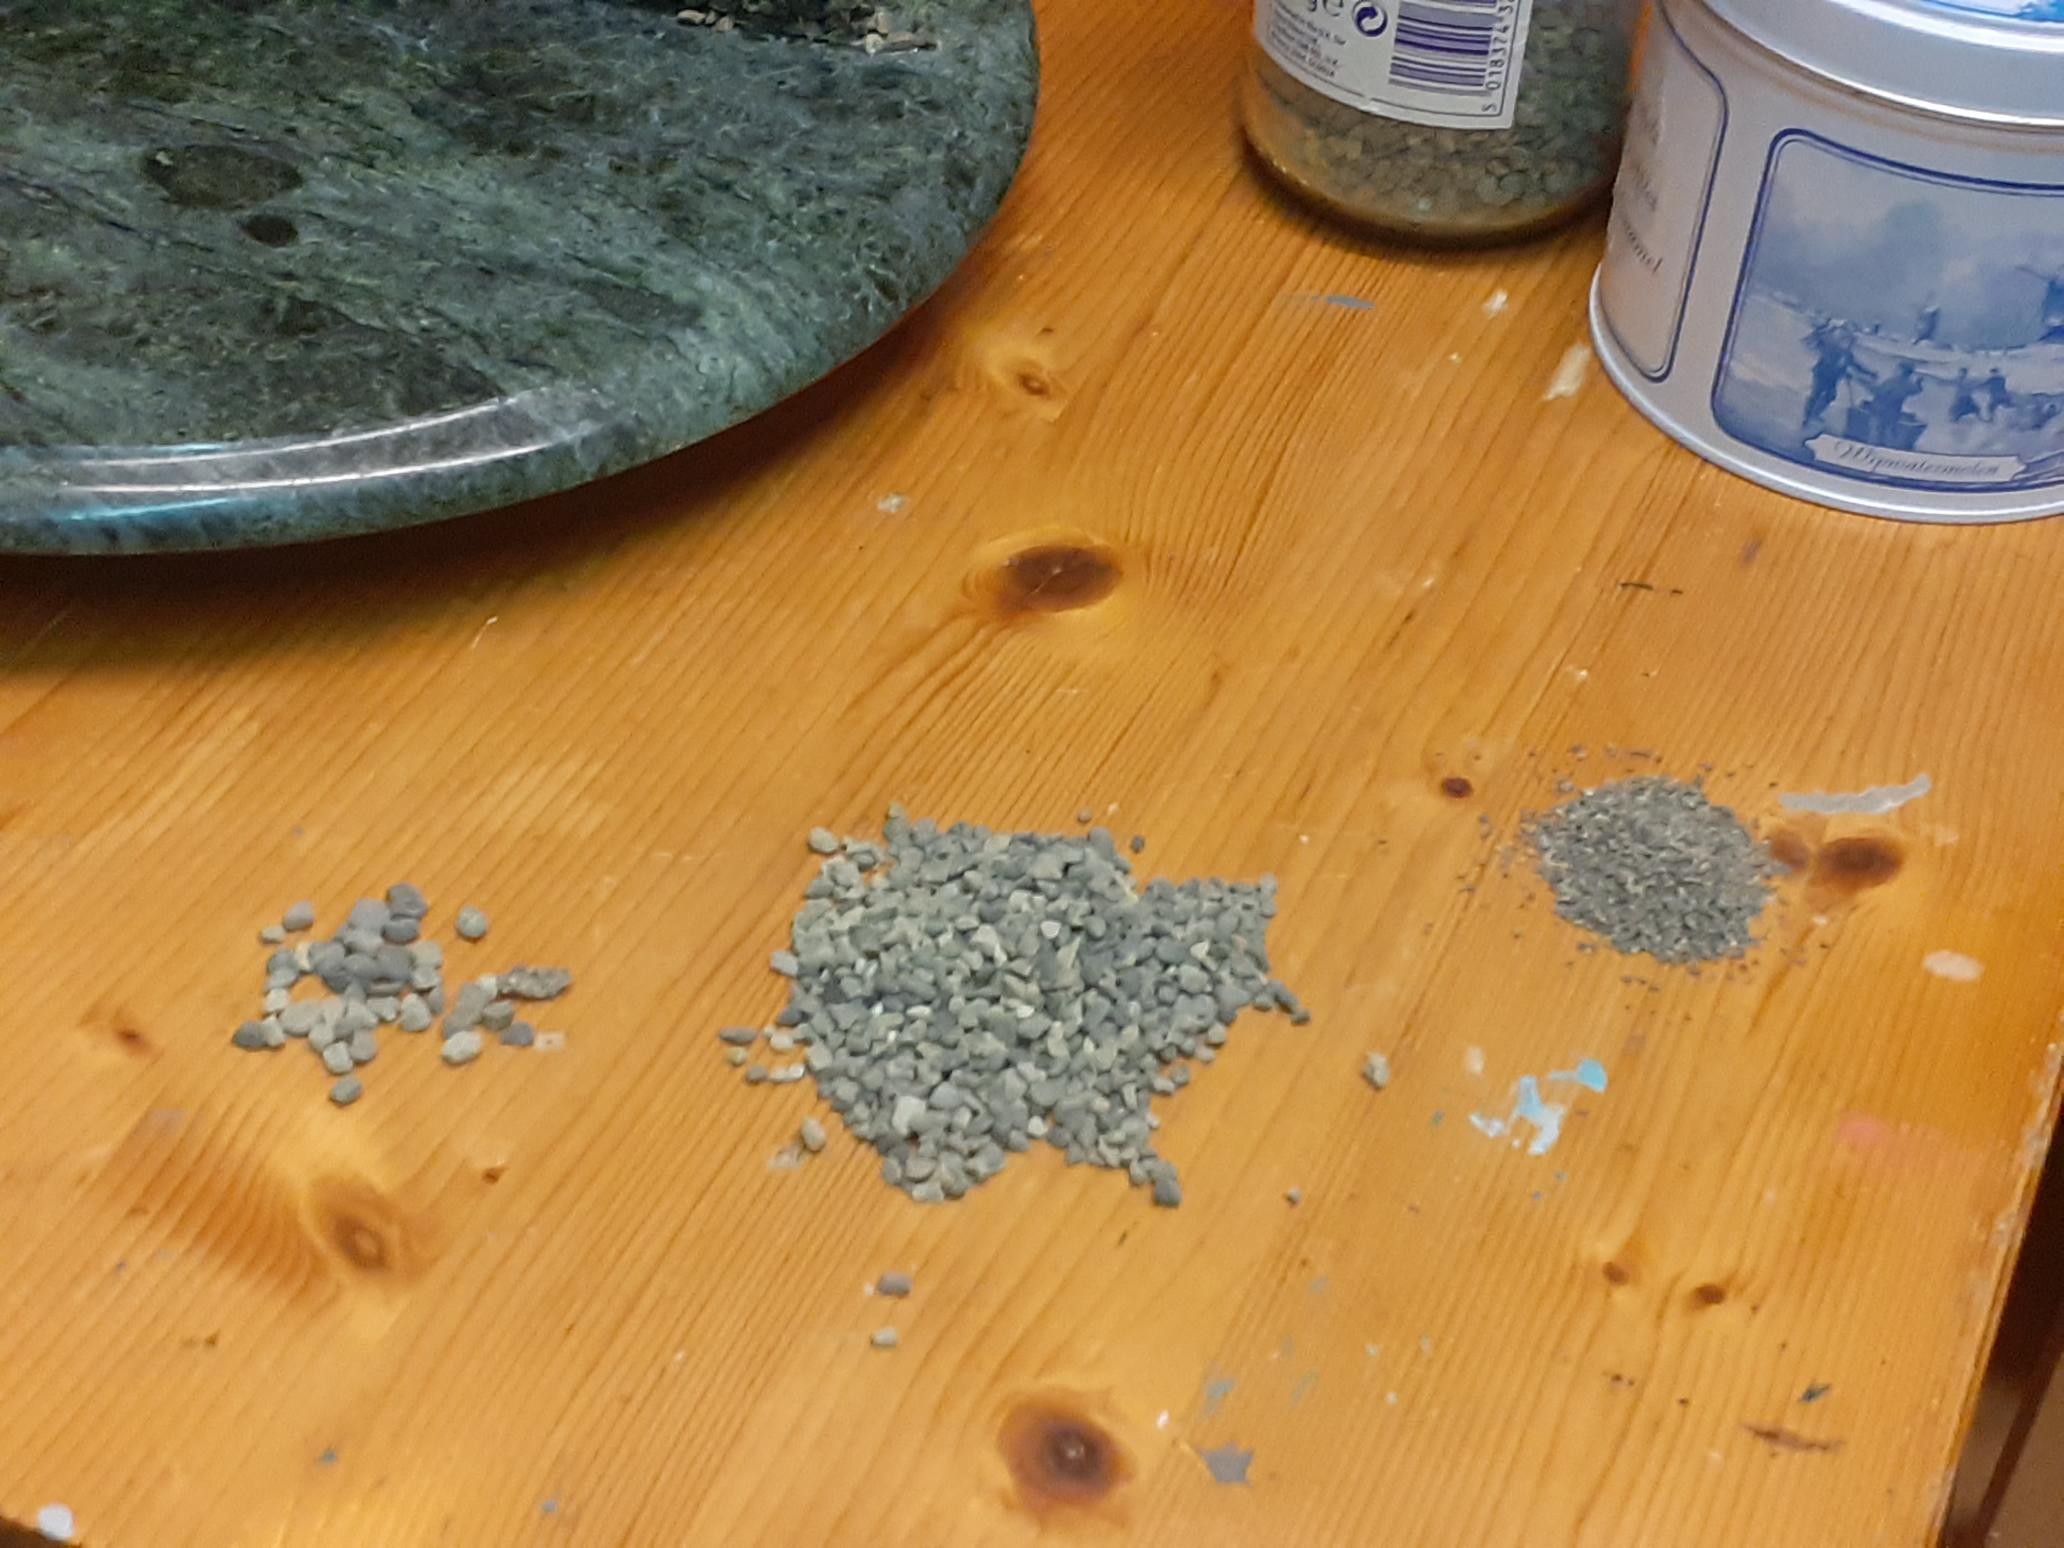
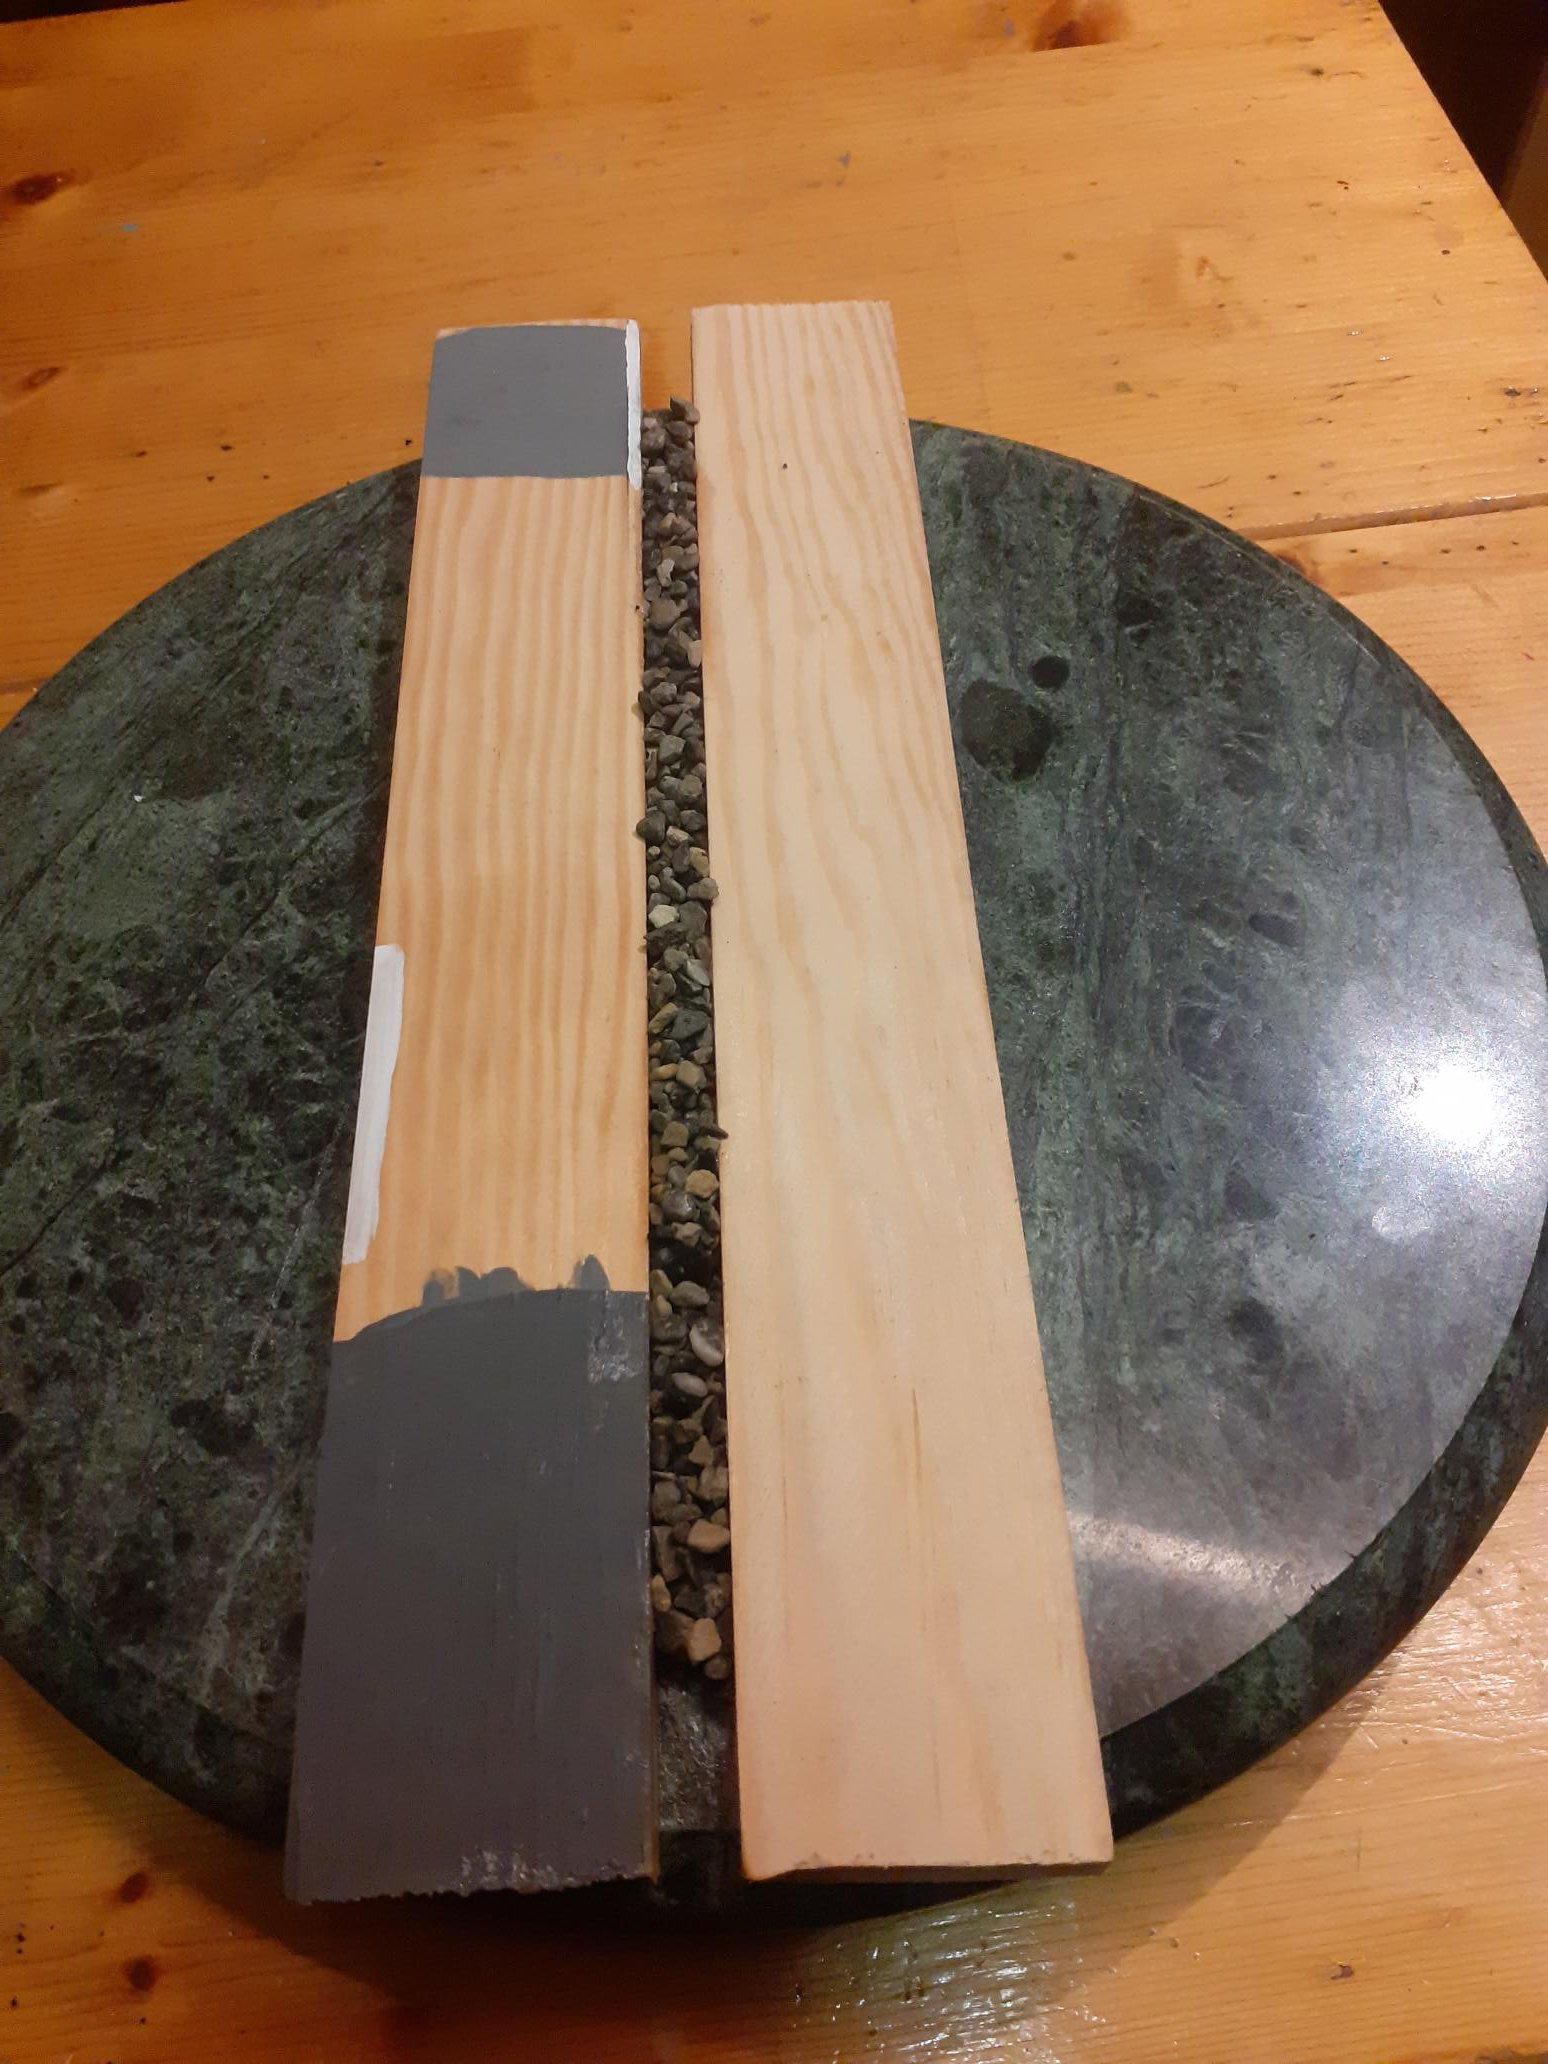
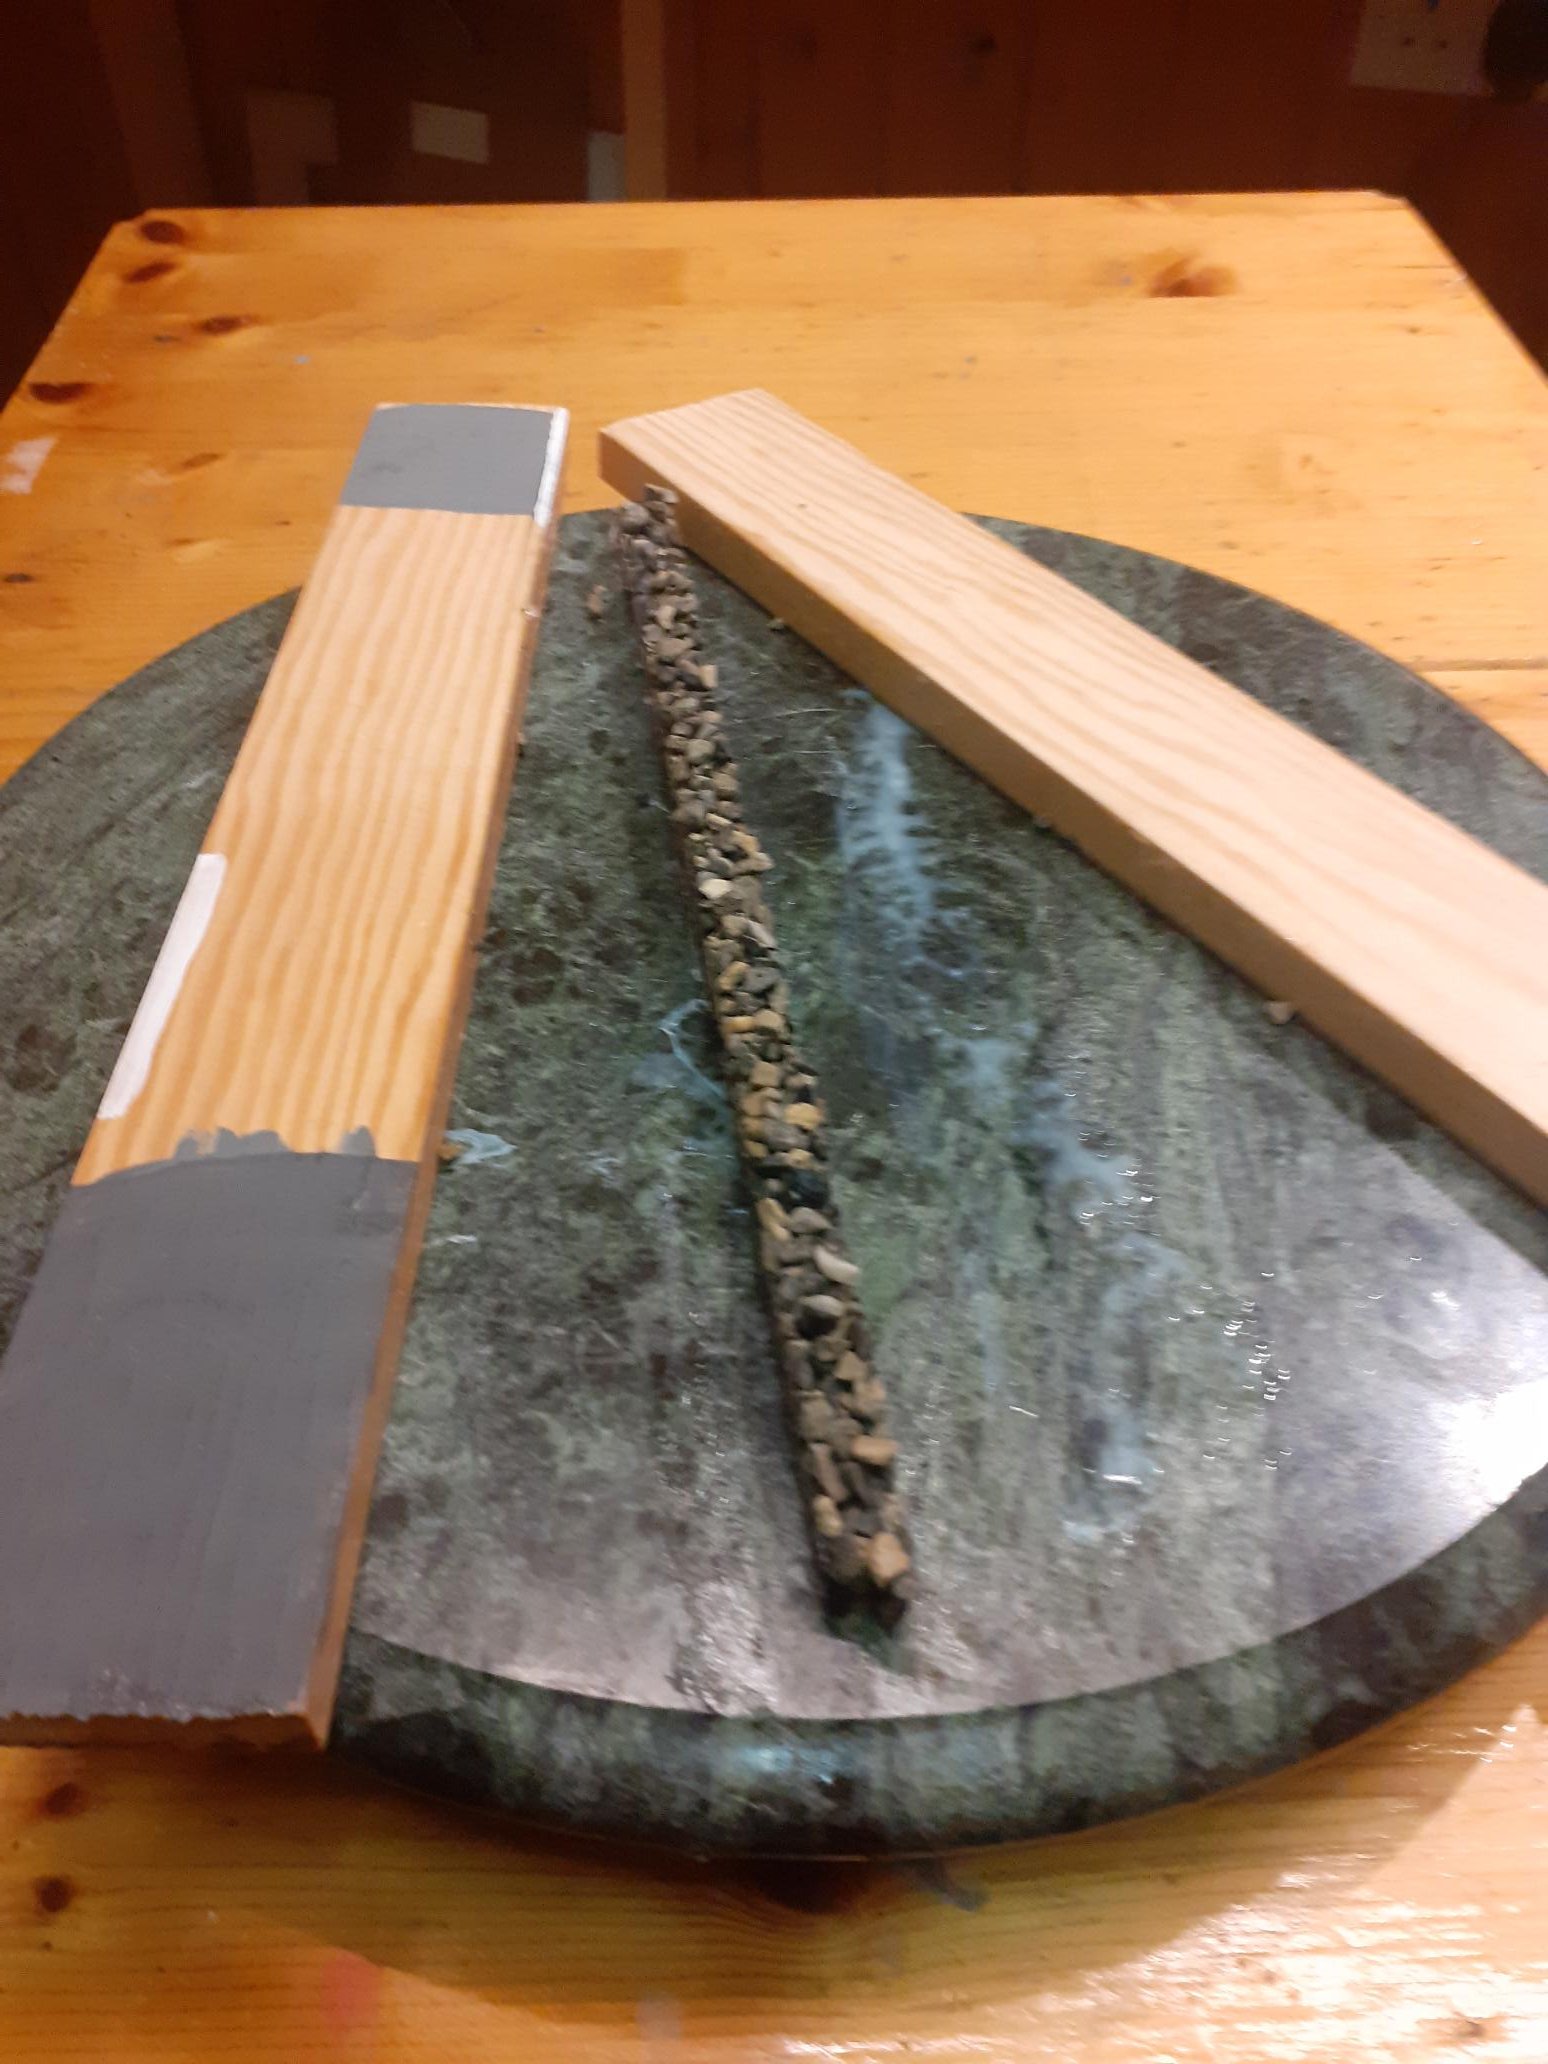
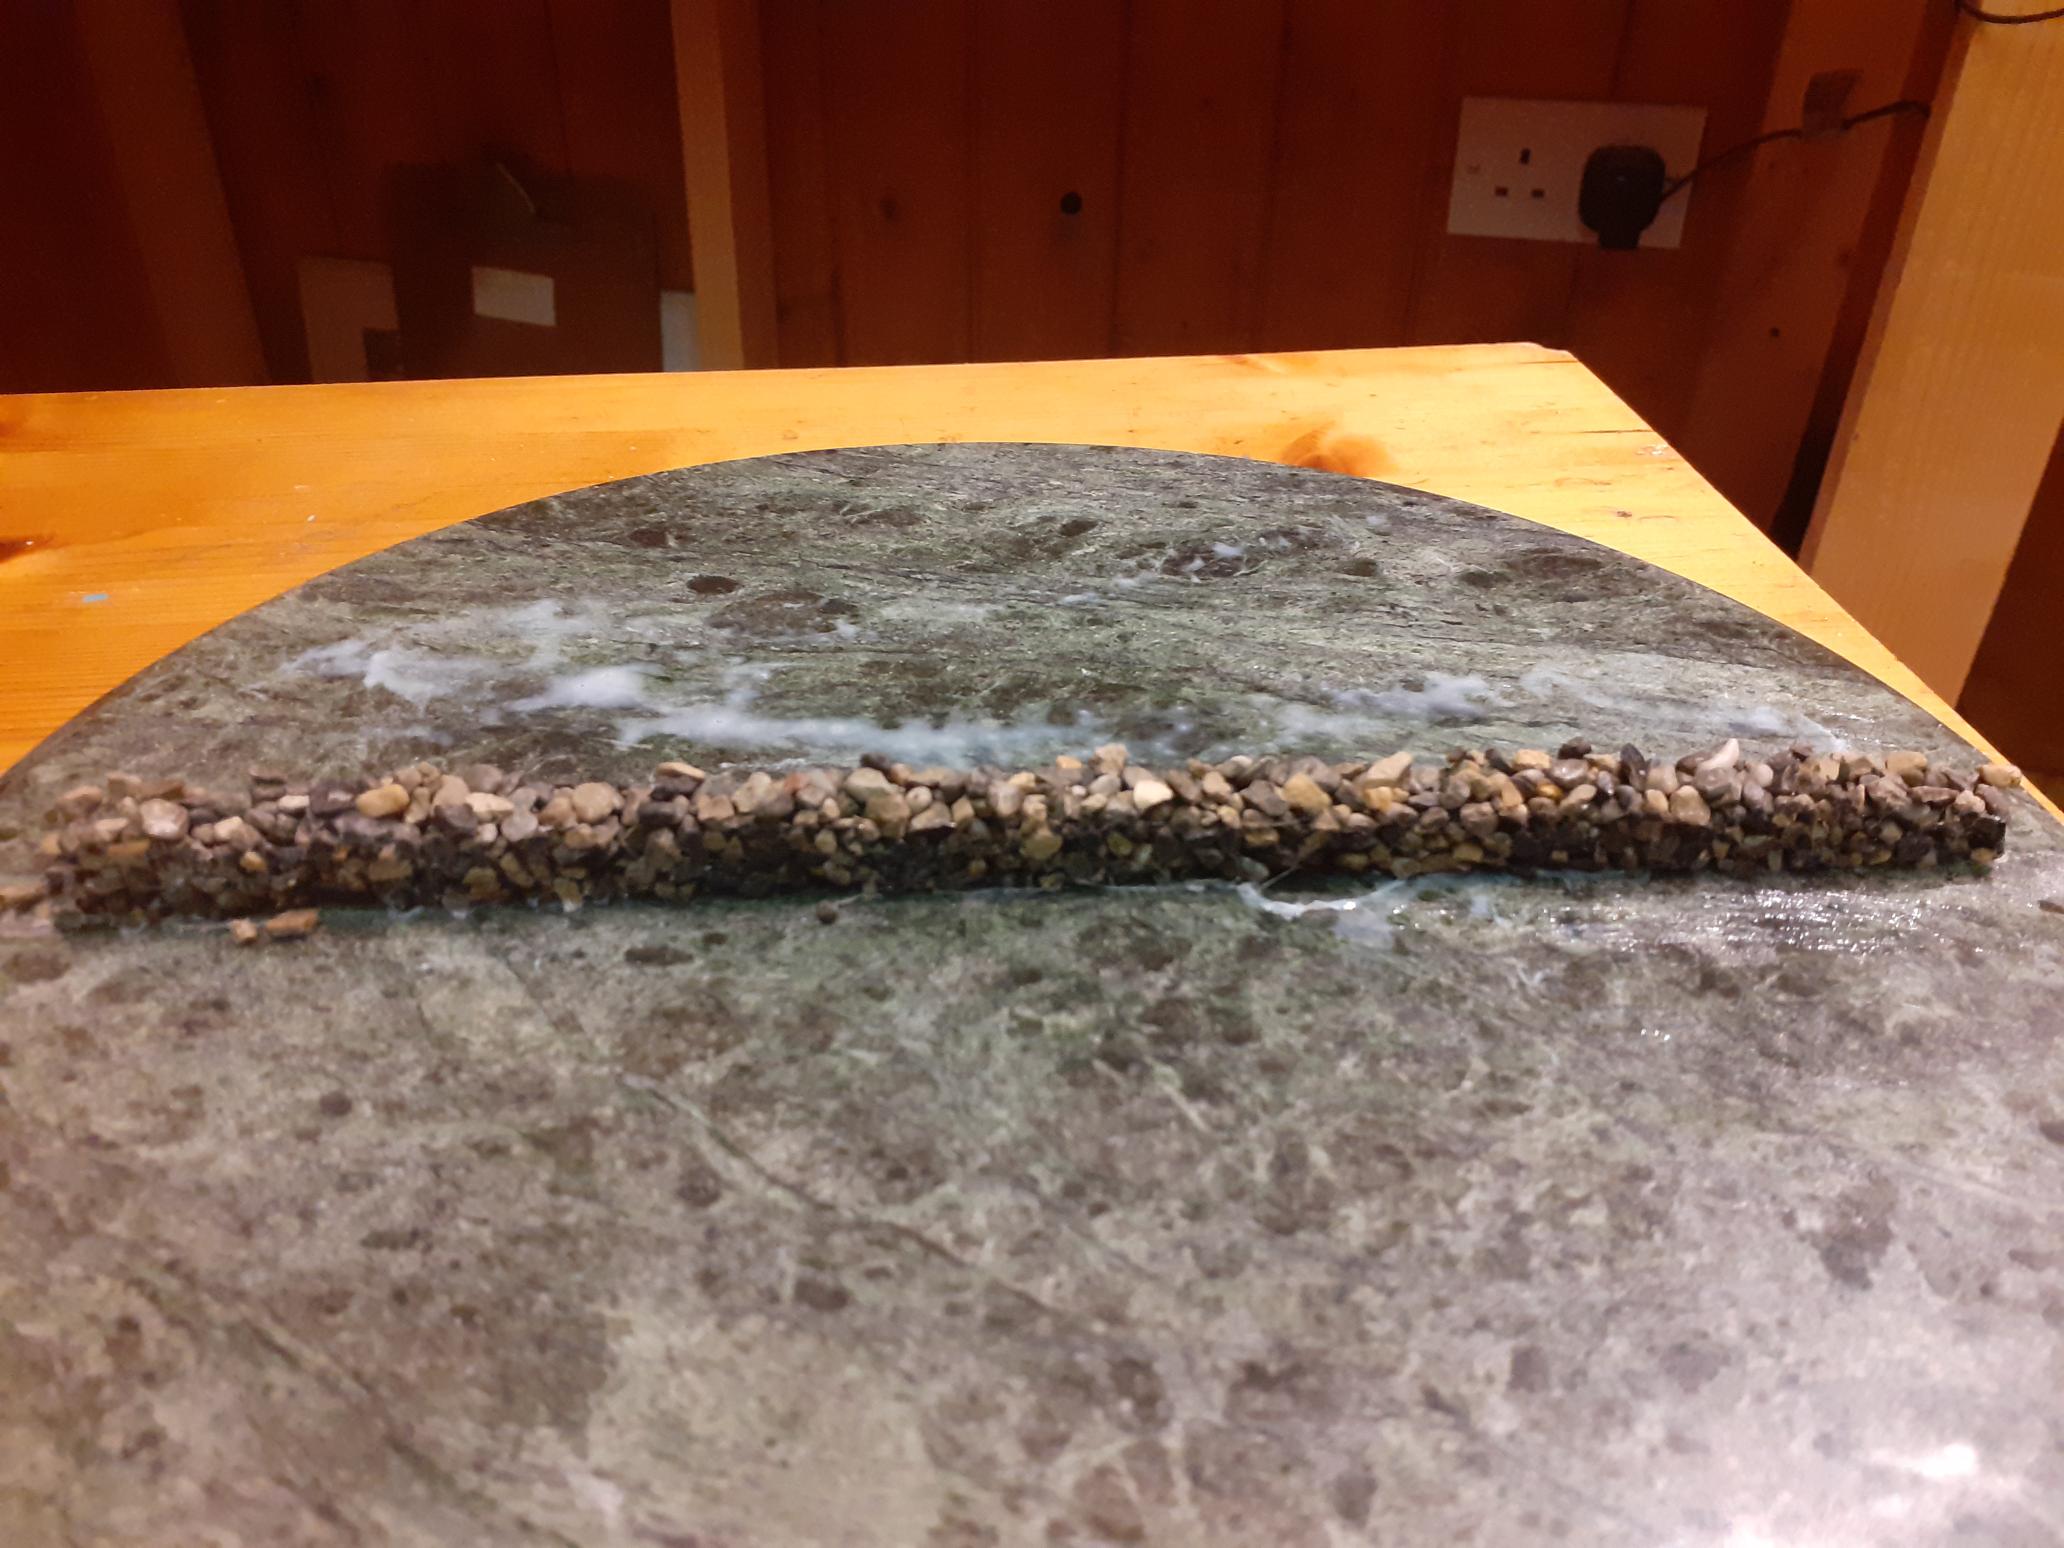
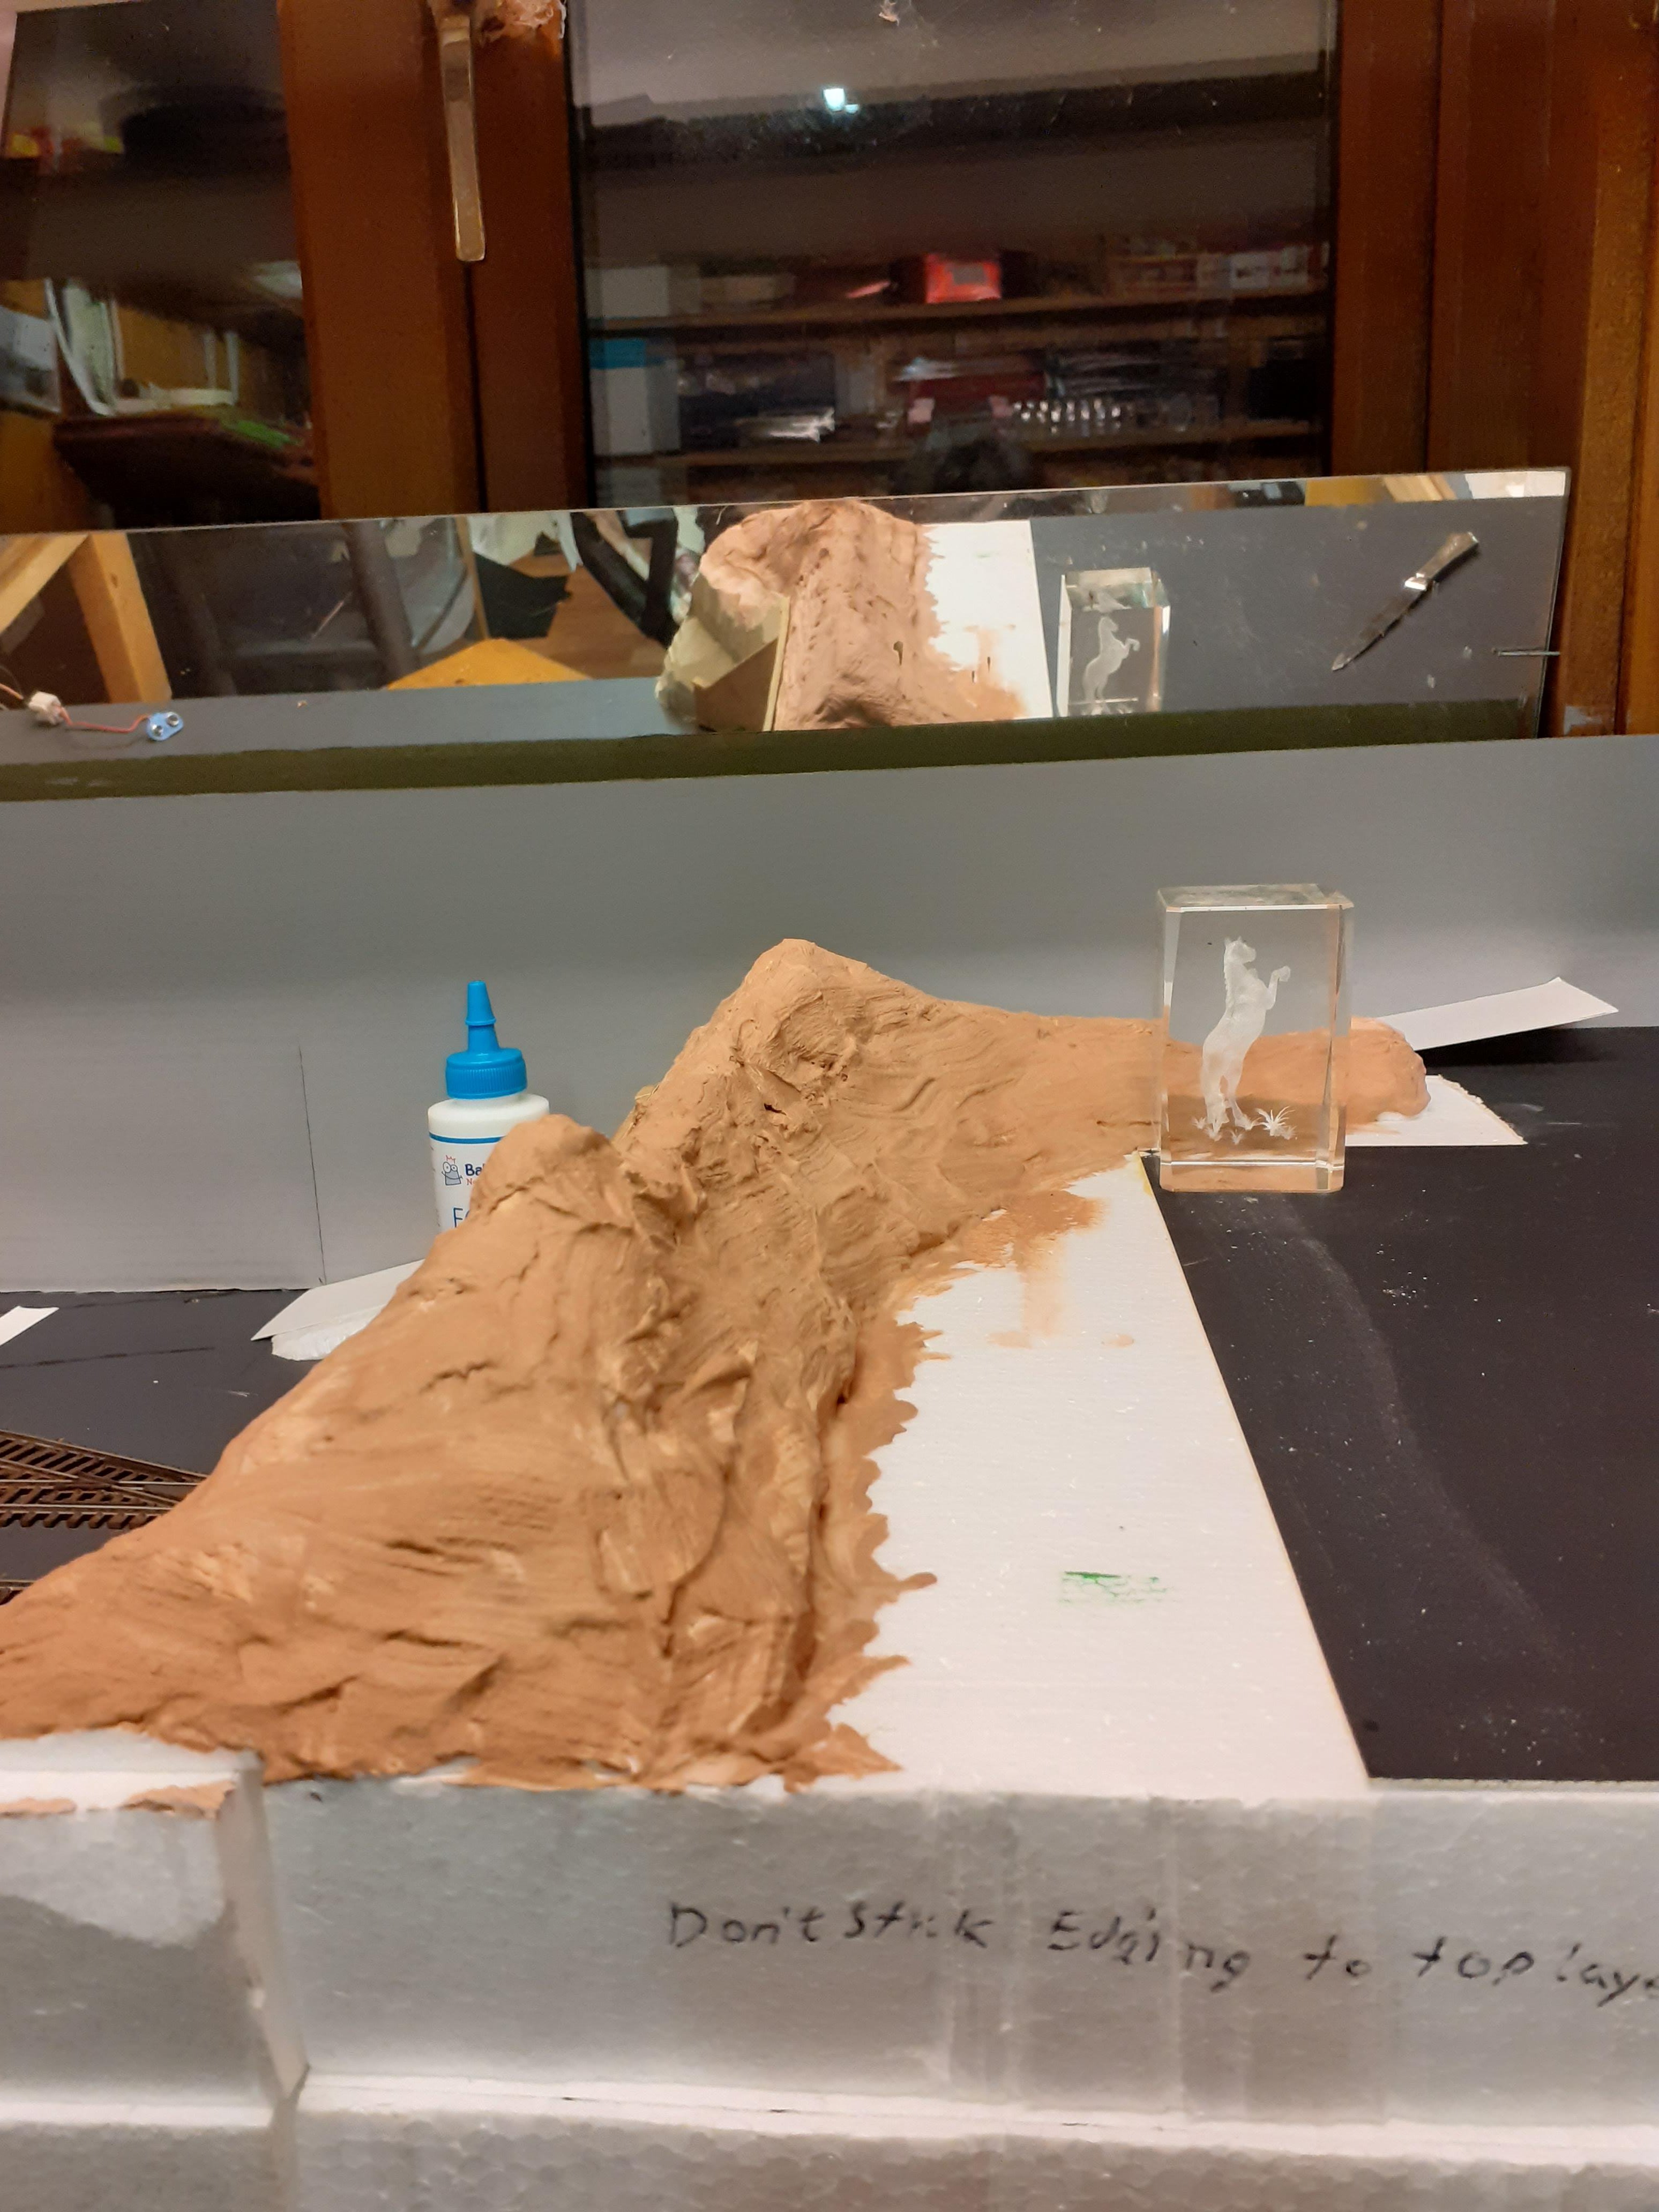
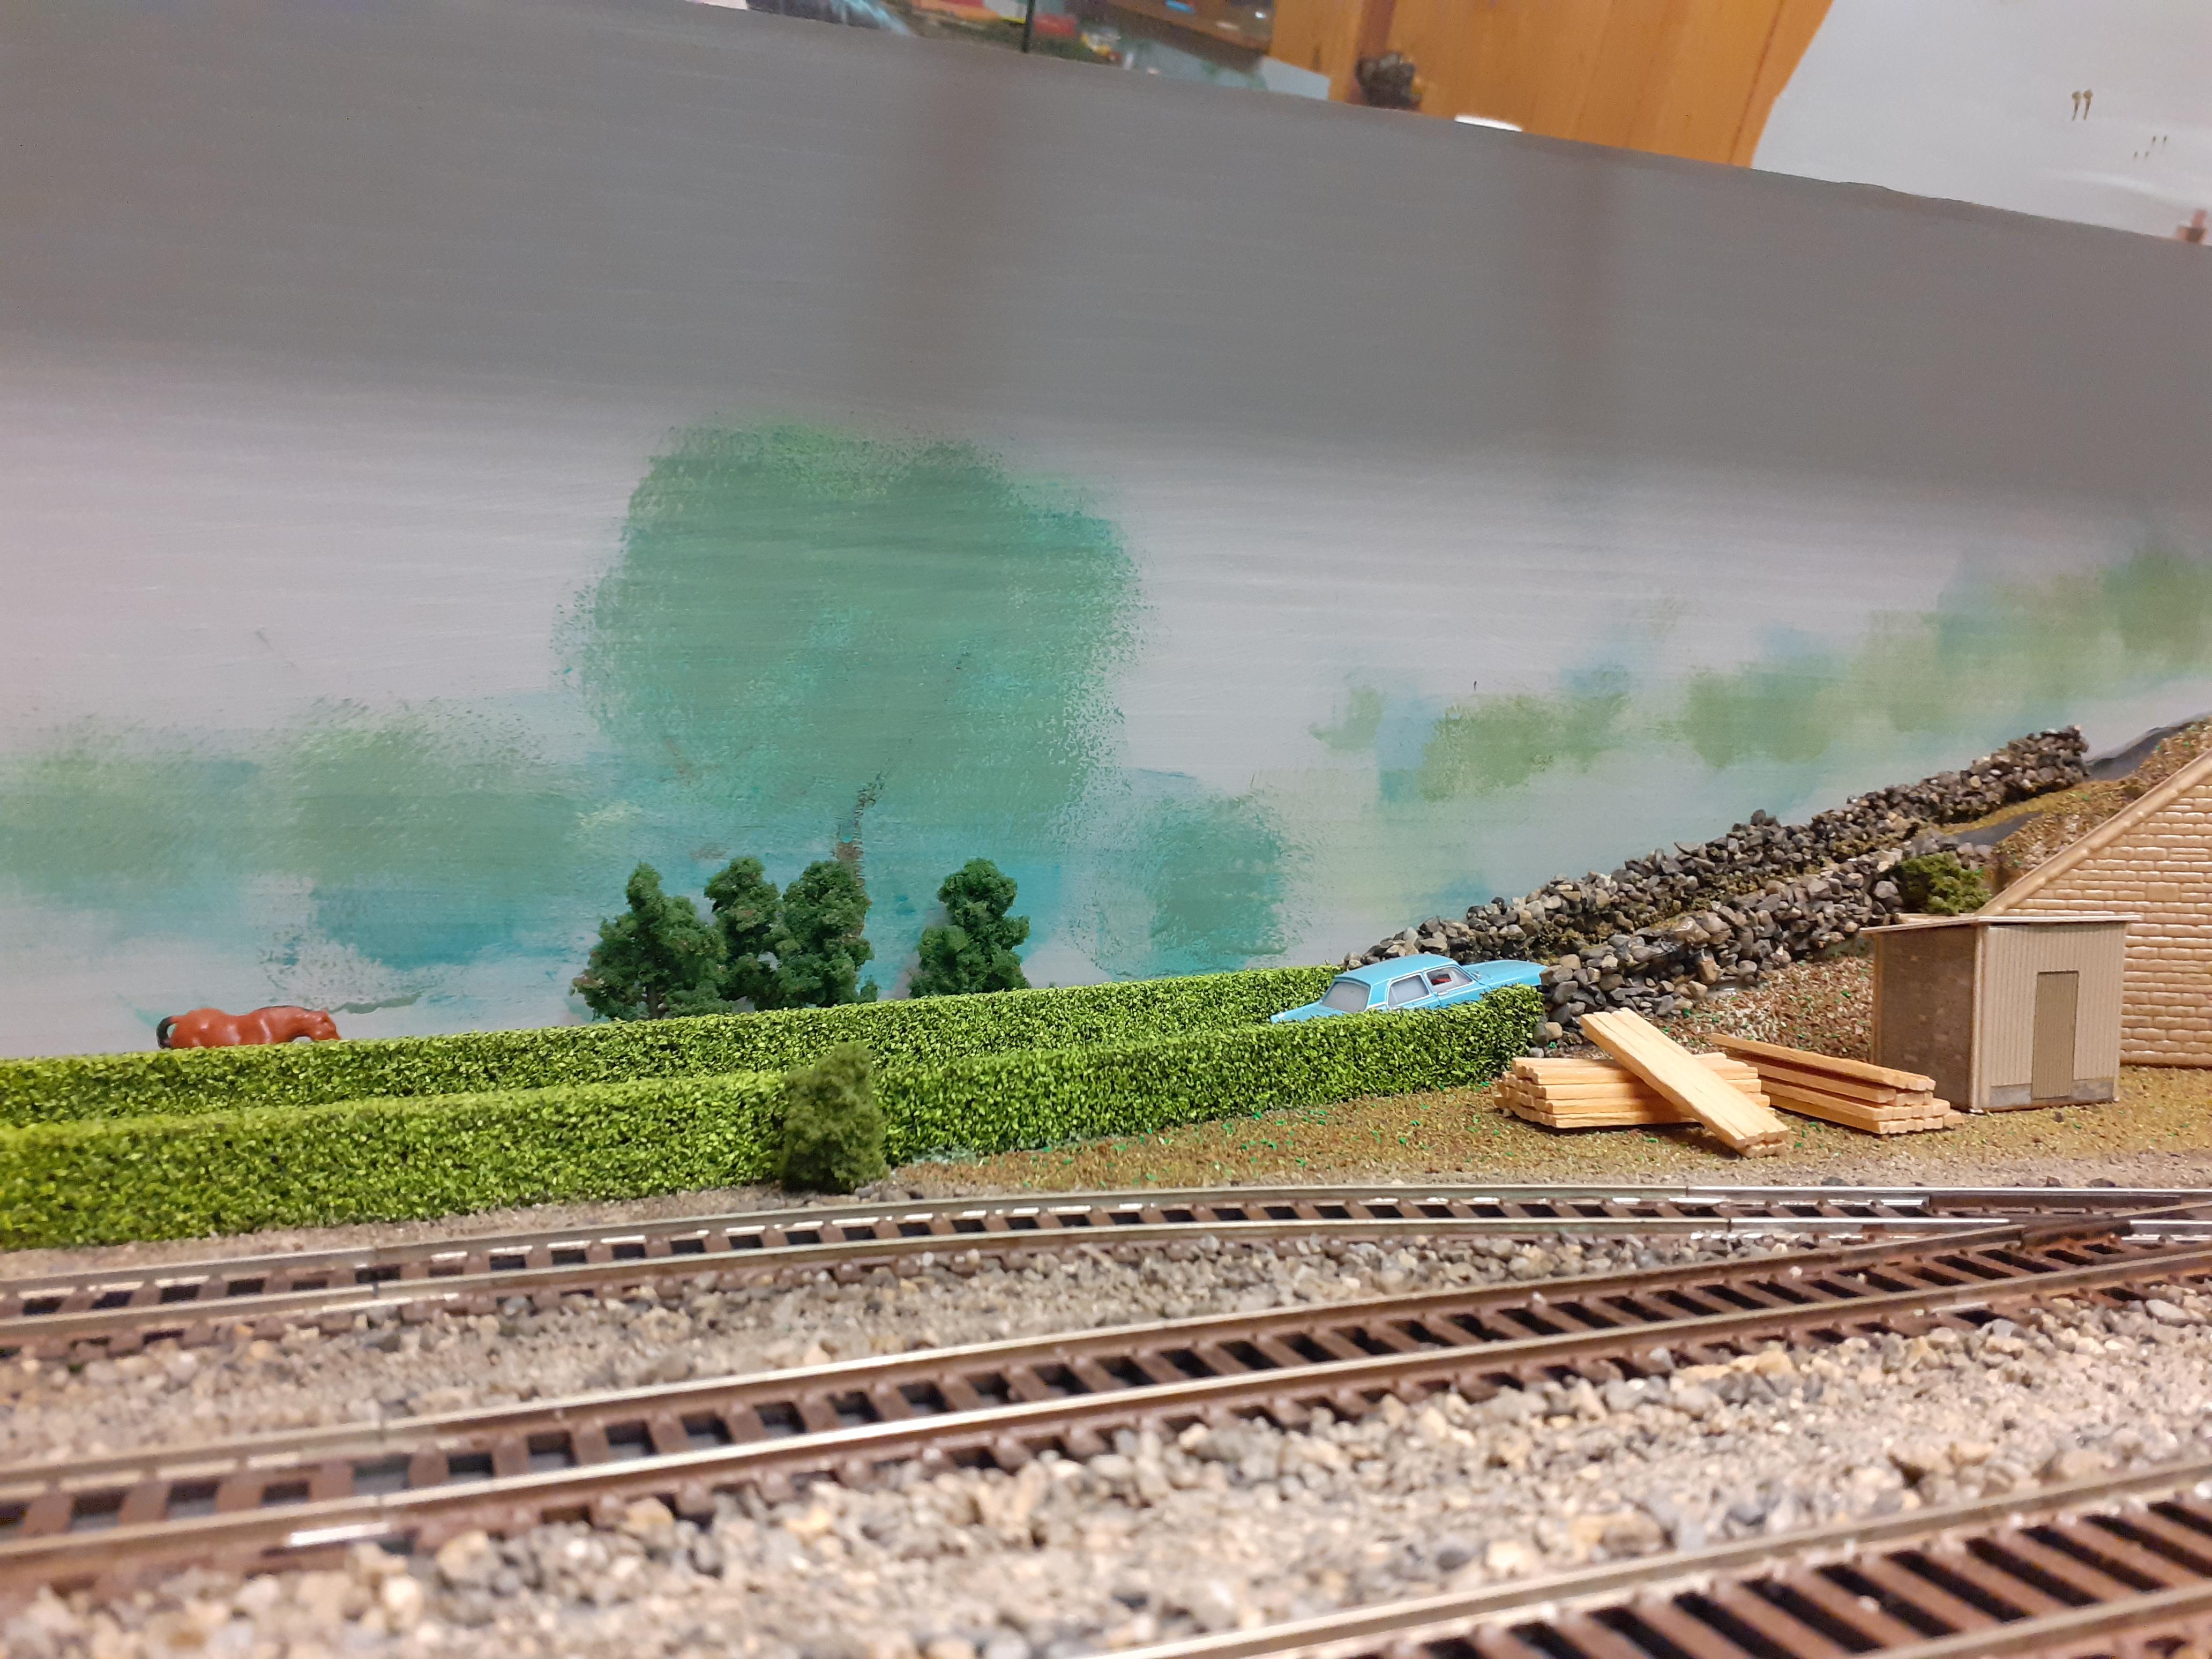
In case anyone is interested in how I made the wall along the ramp.

I sieve normal builders sand into 3 grades. Larger pebbles for the wall, next for ballast along track and the finer stuff for general scatter between tracks.
The wall is 15mm high by about 10mm deep. I make a mould with two pieces of wood. I smear a layer of vaseline on the wood and the ceramic base (learn’t this the hard way) to stop the wall sticking to it.
Spoon in the stones and then soak in 50/50 water/pva mix. It takes about a week to dry, but even still I will need a day in the open air to dry properly.
-
10
-
2
-
-
Thanks murph it's NOCH
-
2
-
-
Thanks for likes and wows.
-
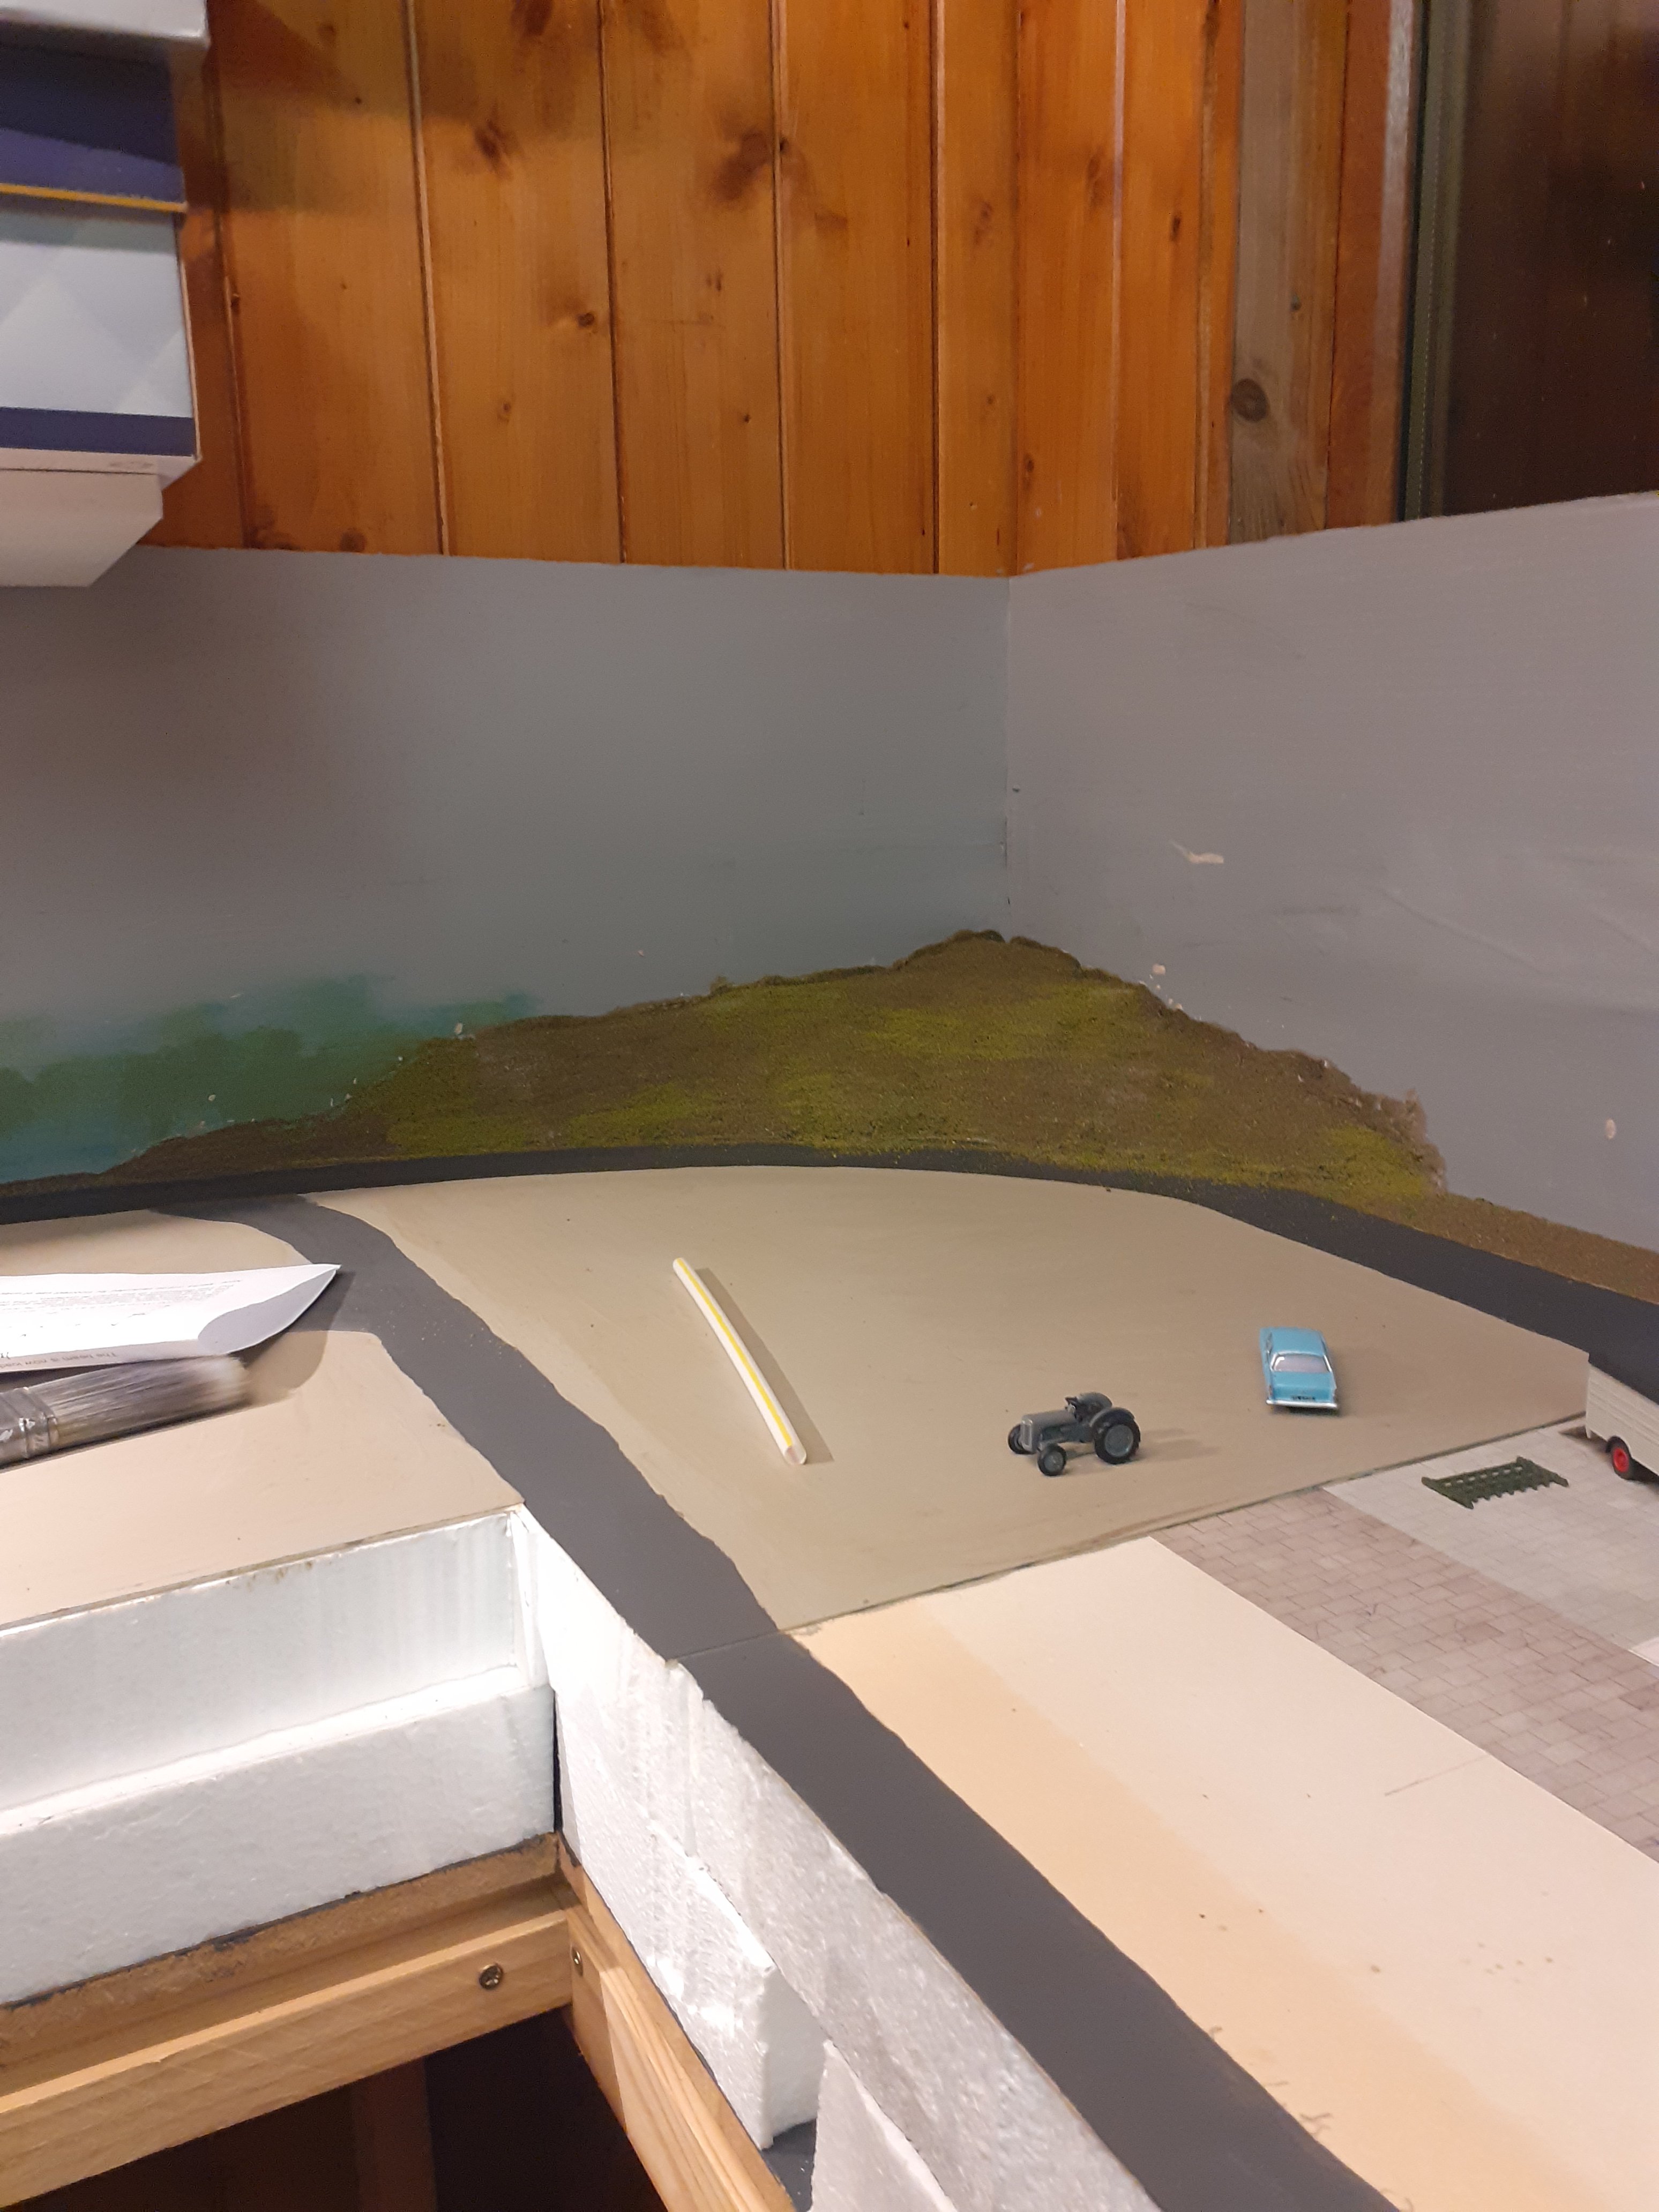
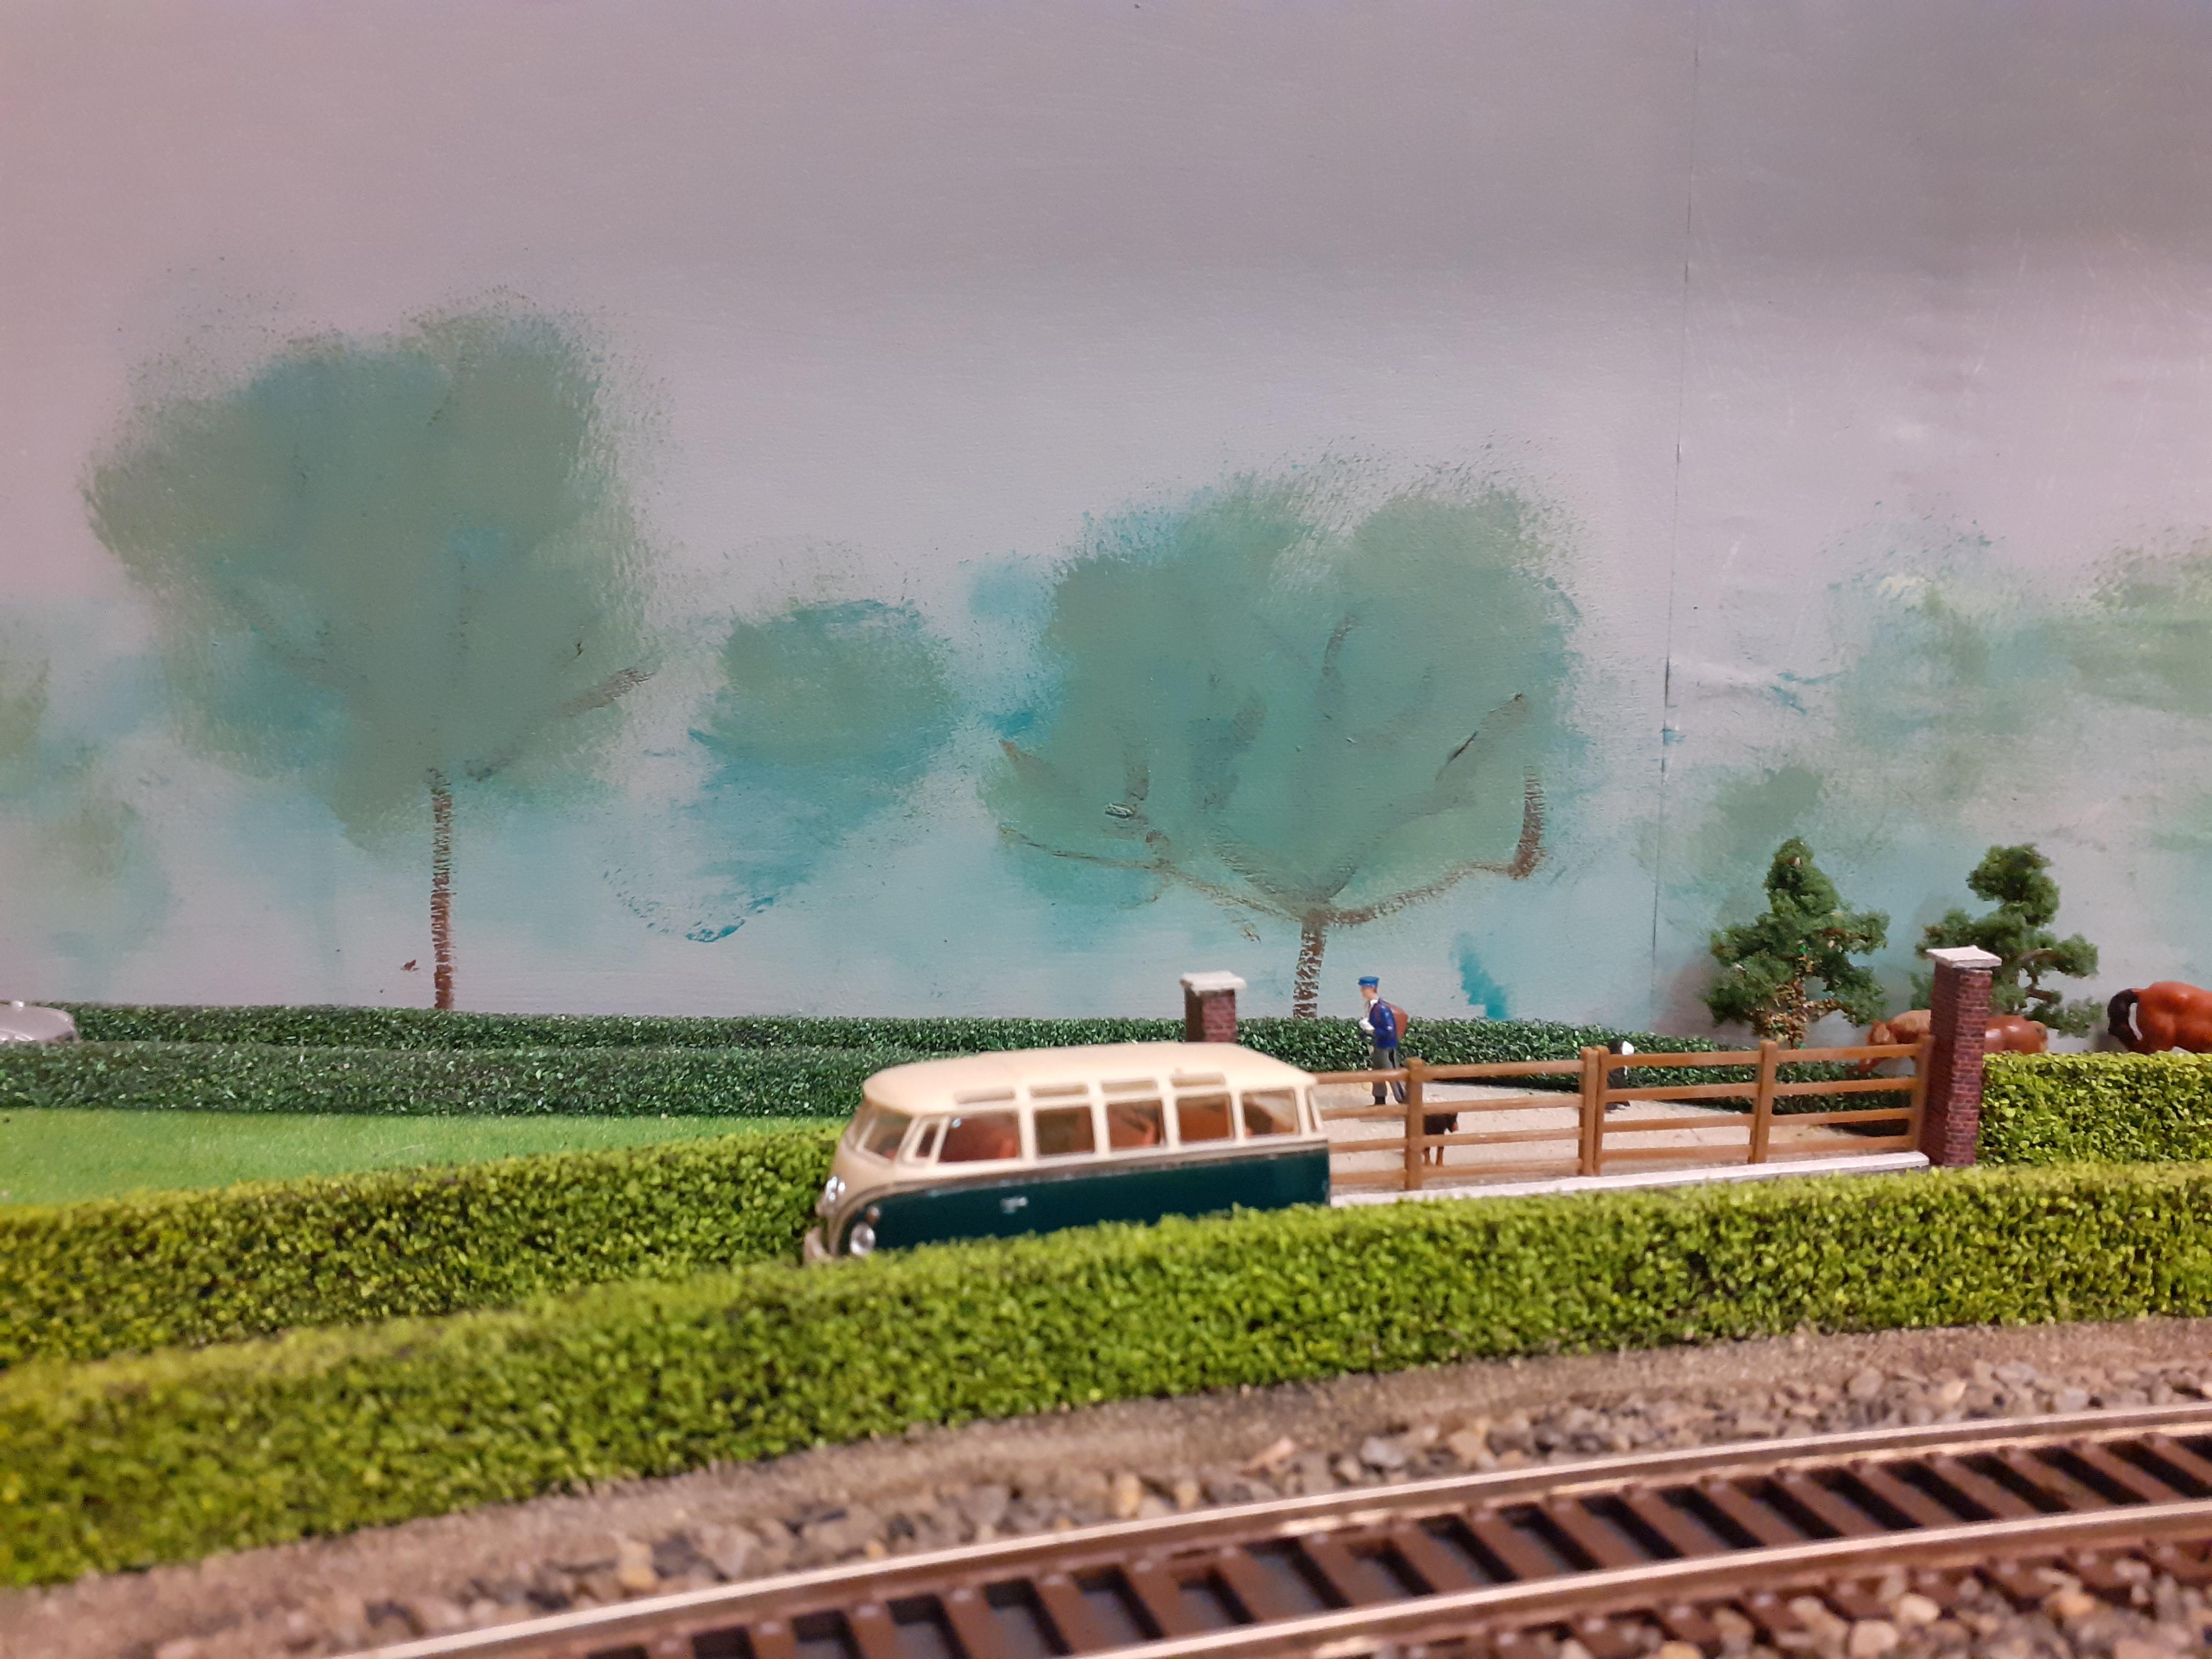
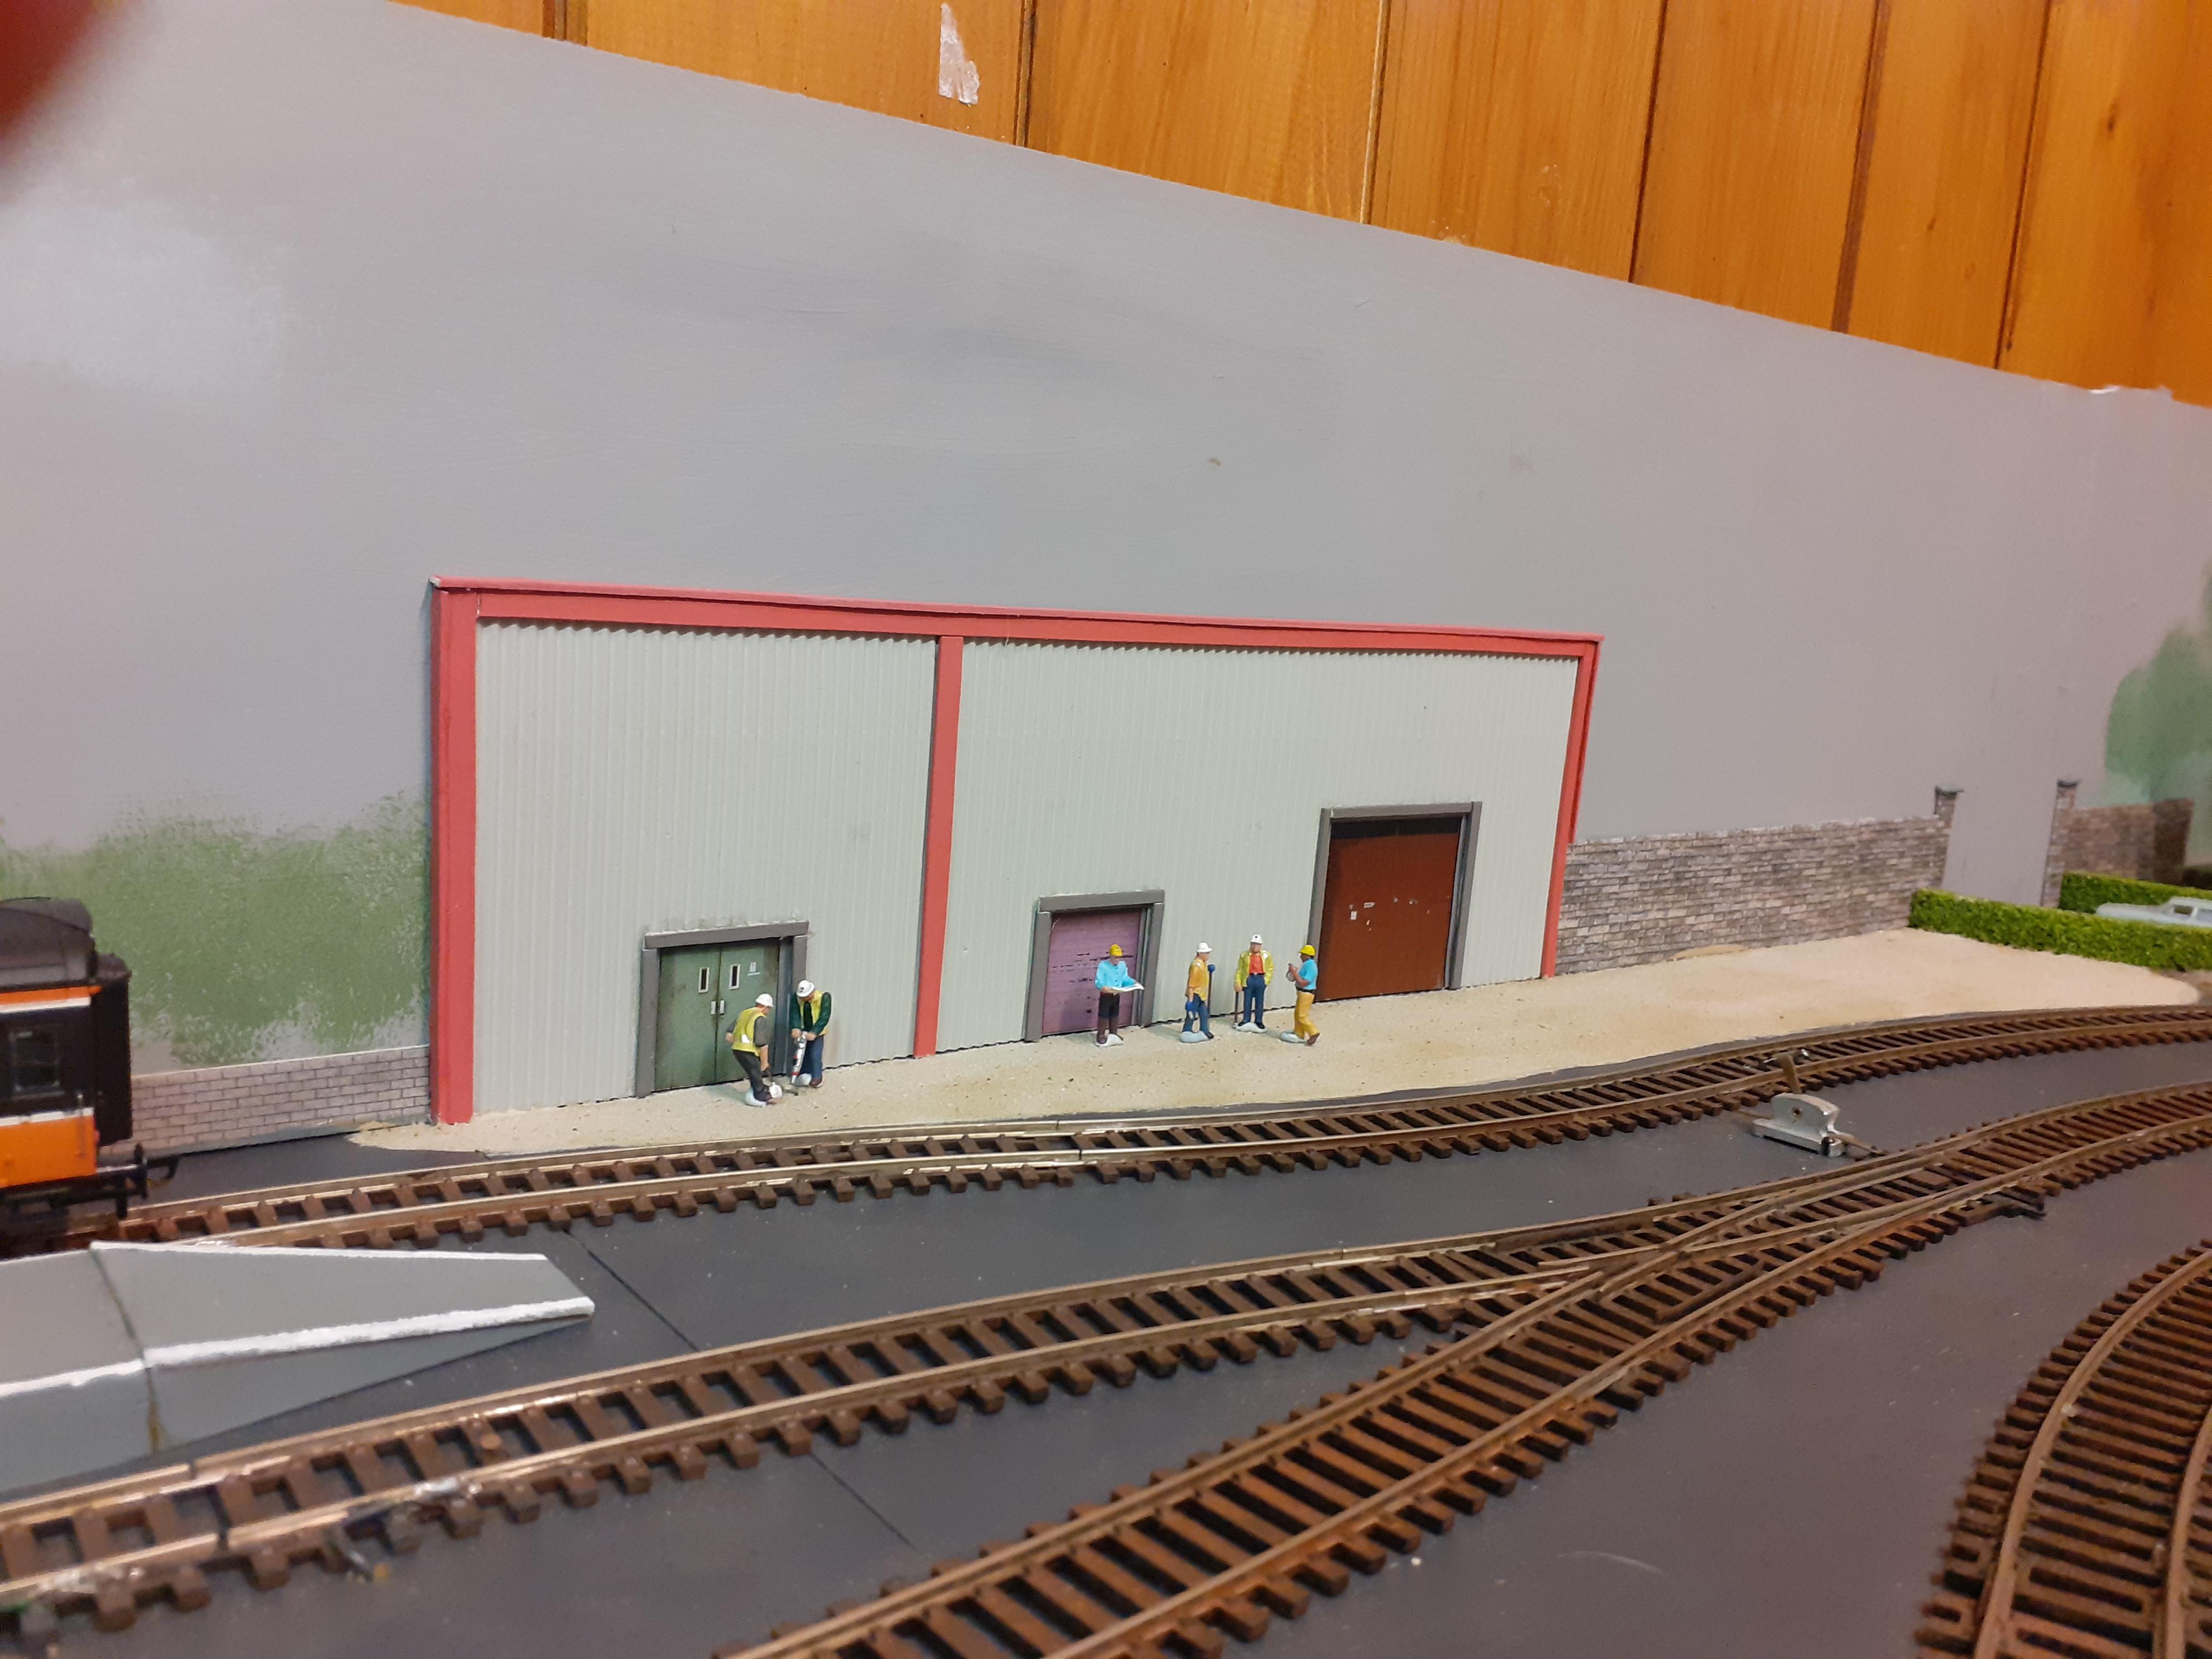
work on tunnel mouth and landscaping
and this area on station upside needed attention
-
11
-
1
-
-
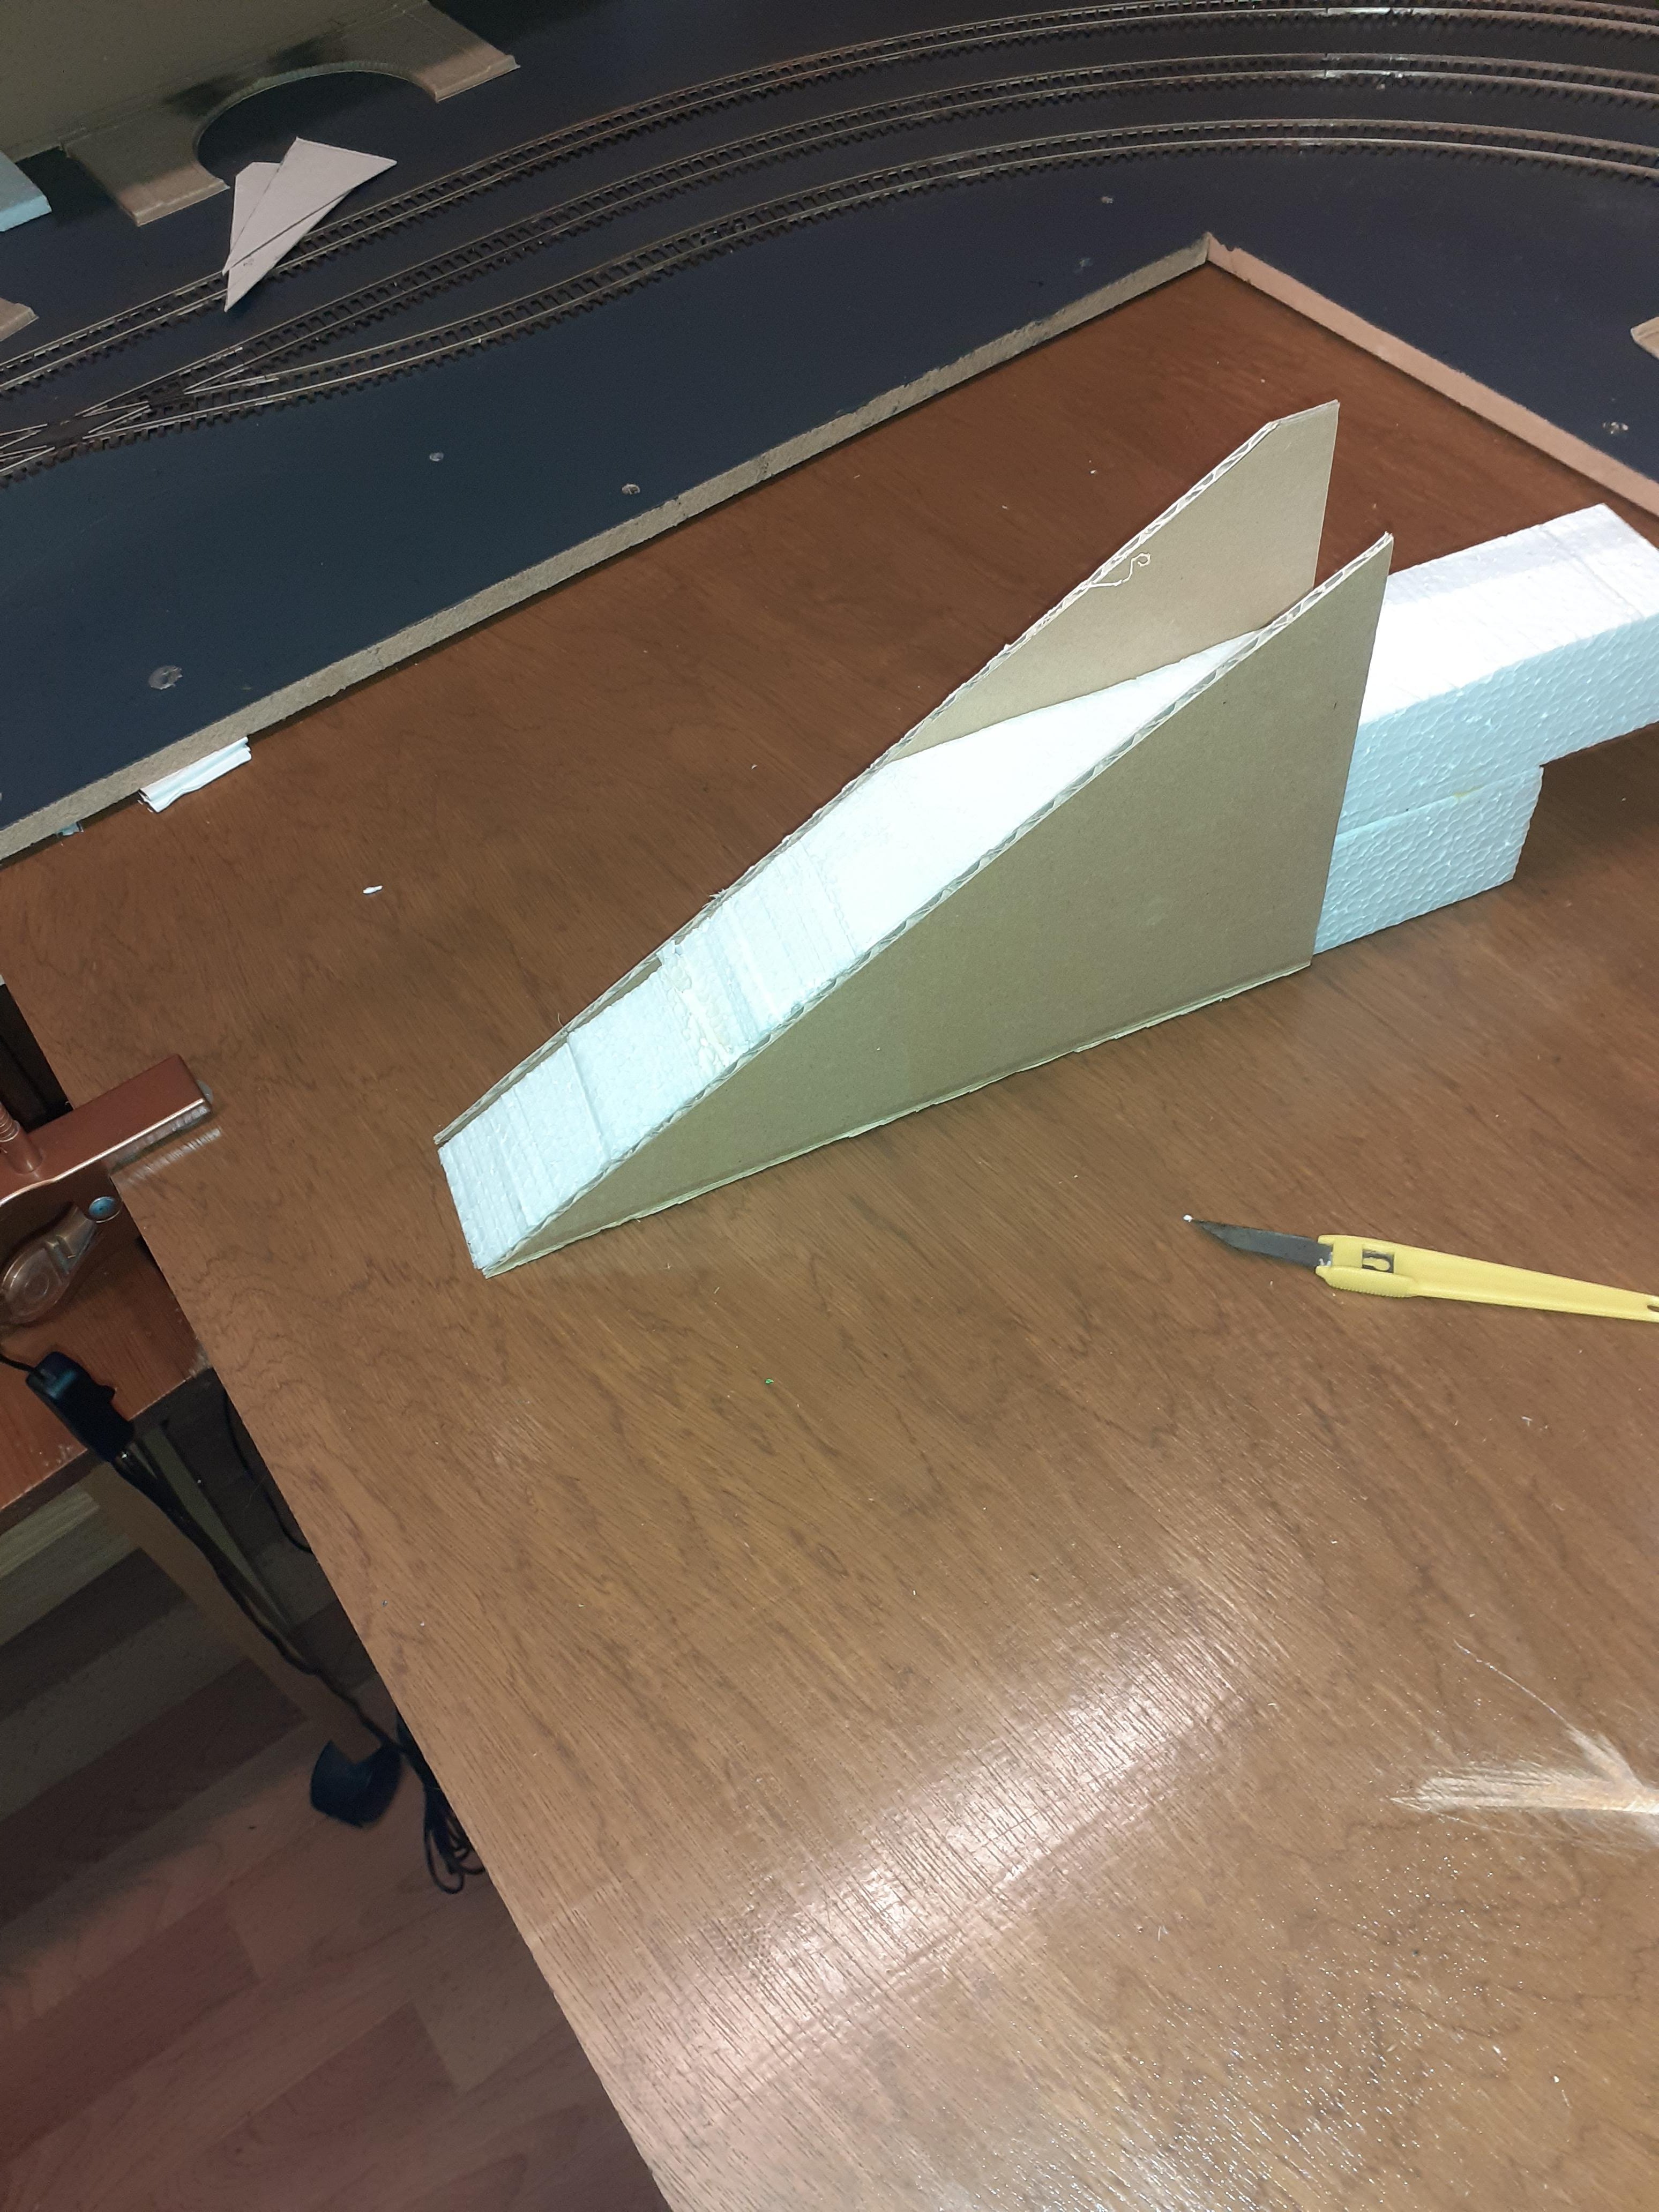
Latest developments, wanted to do something in this corner, so opted for a tunnel and this will allow me to create more landscape on top and town/village scene
spent a good bit of time just thinking about how i would do the road ramp
-
3
-
-
Hi Pat,
Sorry they are promised to someone else, who is going to pick them up after lockdown
-
I live in sallins near naas, if you want to collect them
-
Thanks noel for your words of encouragement. Not sure if i understand the question, i am detecting the loco on the "mainline", but there are loads of operation issues, its a solution, not a complete one.
For example if a "branchline" loco is already in the junction. the "mainline" loco will switch of power to the branchline loco and its stuck there so we have a crash.
Because the layout is continuous and i have an identical junction on the other side, once both junctions are protected, the branchline locos will always lag the mainline loco, so collisions should be avoided. a fail-safe solution, whilst possible, just gets way too complicated i'd spend my life under the layout wiring it all up.
I may come back to it in the future, but for the moment i have loads of scenic modelling to do
-
hi sven, i went with the reed switch, i posted video on "Celbridge" thread on layout forum. Yep you are right, Photo transistor is sensitive to ambient conditions but you can adjust sensitivity with resistor, with limitations, i have done quite a bit on this and if you check out my youtube channel you can see for your self. Name of channel is Patrick Mac Namara.
Here's a longer (winded) version with maybe clearer explanation on real track with the reed switches.
-
1
-
 1
1
-
-
Thanks MikeO
really appreciate the encouragement
-
So i decided to bite the bullet and try out the diamond crossing protector on the layout with actual locomotives.
-
4
-
-
This video is doing pretty much the same thing as the one above and uses the same code for the Arduino, but in this demo i am using Phototransistors.
-
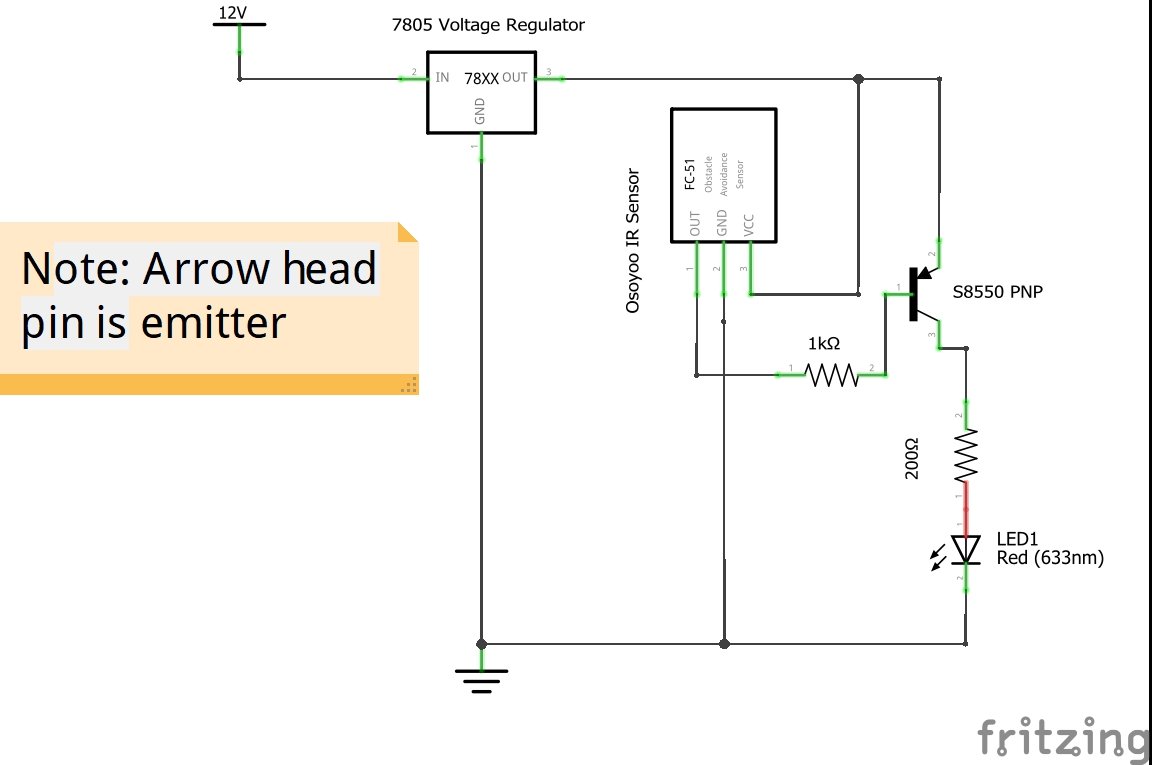
Got some IR sensors and have been playing around with them and Arduino micro-controller.
-
Just a quick video to show how Infra Red sensors work for detecting locomotives. I'll post a more detailed video on the electronics forum for those who may be interested.
-
1
-
-
I've been doing some experiments with phototransistors as a means of detecting locos.
-


.jpg.a2caf8e85c8a7e691fe957ae54df2693.jpg)


Celbridge
in Irish Model Layouts
Posted
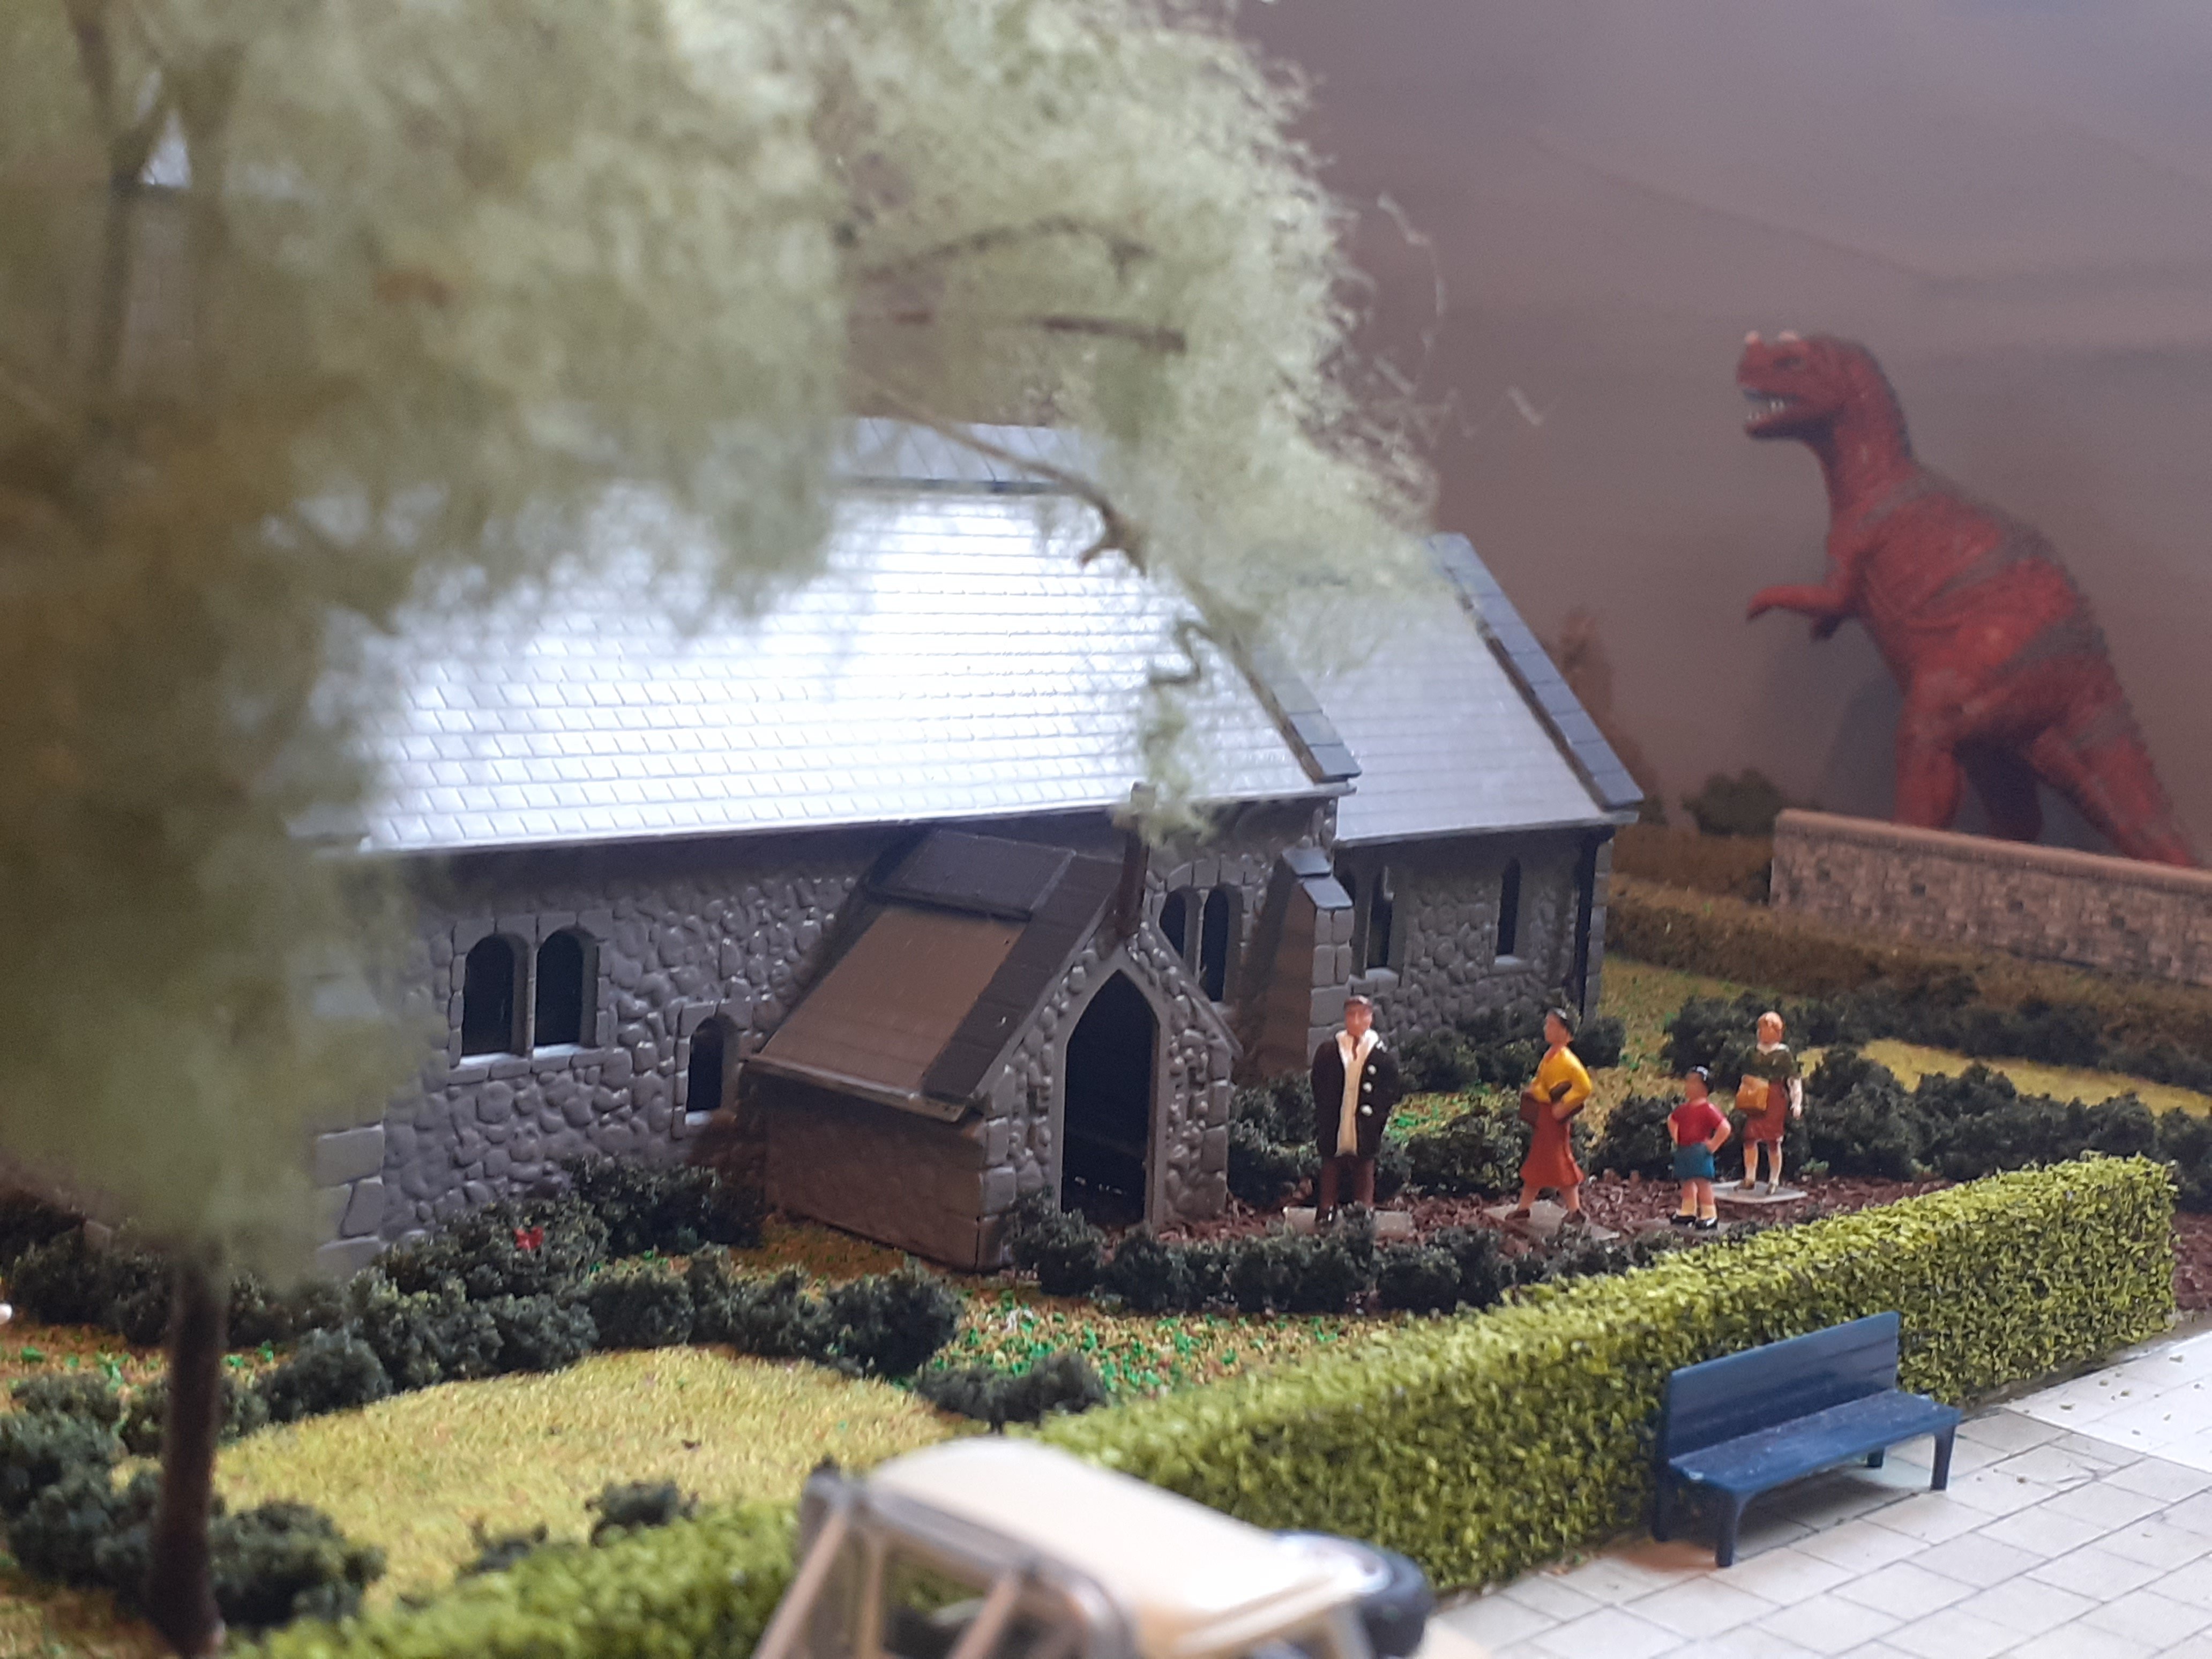
Thanks guys for likes and comments, the T Rex just keeps popping up in my photos!!!!, a bit like the elf on the shelf. What i love about our hobby is we can create a "world" and its our story.
Some of you might get a kick out of this video story i made......not quite the right time of year, but what the hay.