Hi
First, let me introduce myself to this forum. I am from England but I have recently developed an interest in Irish railways having visited the west of Ireland on holiday.
I mainly model European N gauge, but I also OO gauge including purchasing the excellent, if delicate, Accurascale models.
My main interest is building and converting rolling stock. I decided that modelling Irish HO using EM gauge track would be an interesting challenge, allowing accurate scale 5'3" gauge. The well known Lima and Rivarossi HO (or near HO) items provide a good basis for this, so not everything would need to be built from scratch. I am also developing a micro layout so they will have something to run on. This will be a terminus where the scenic break is at the main line end of the station, with a station roof hiding part of the fiddle yard. This means that I will not need full length rakes, allowing me to run main line services such as a Mk2 Supertrain with just two coaches. With careful design, I think this deception will work okay. I do not (and probably will never have) room to create an EM gauge continuous run layout due to the shallow curves that such a layout would need.
I have a number of other modelling interests, so progress has been a bit sporadic. I expect to post further updates in due course.
To start with, this is progress on my 141 class.
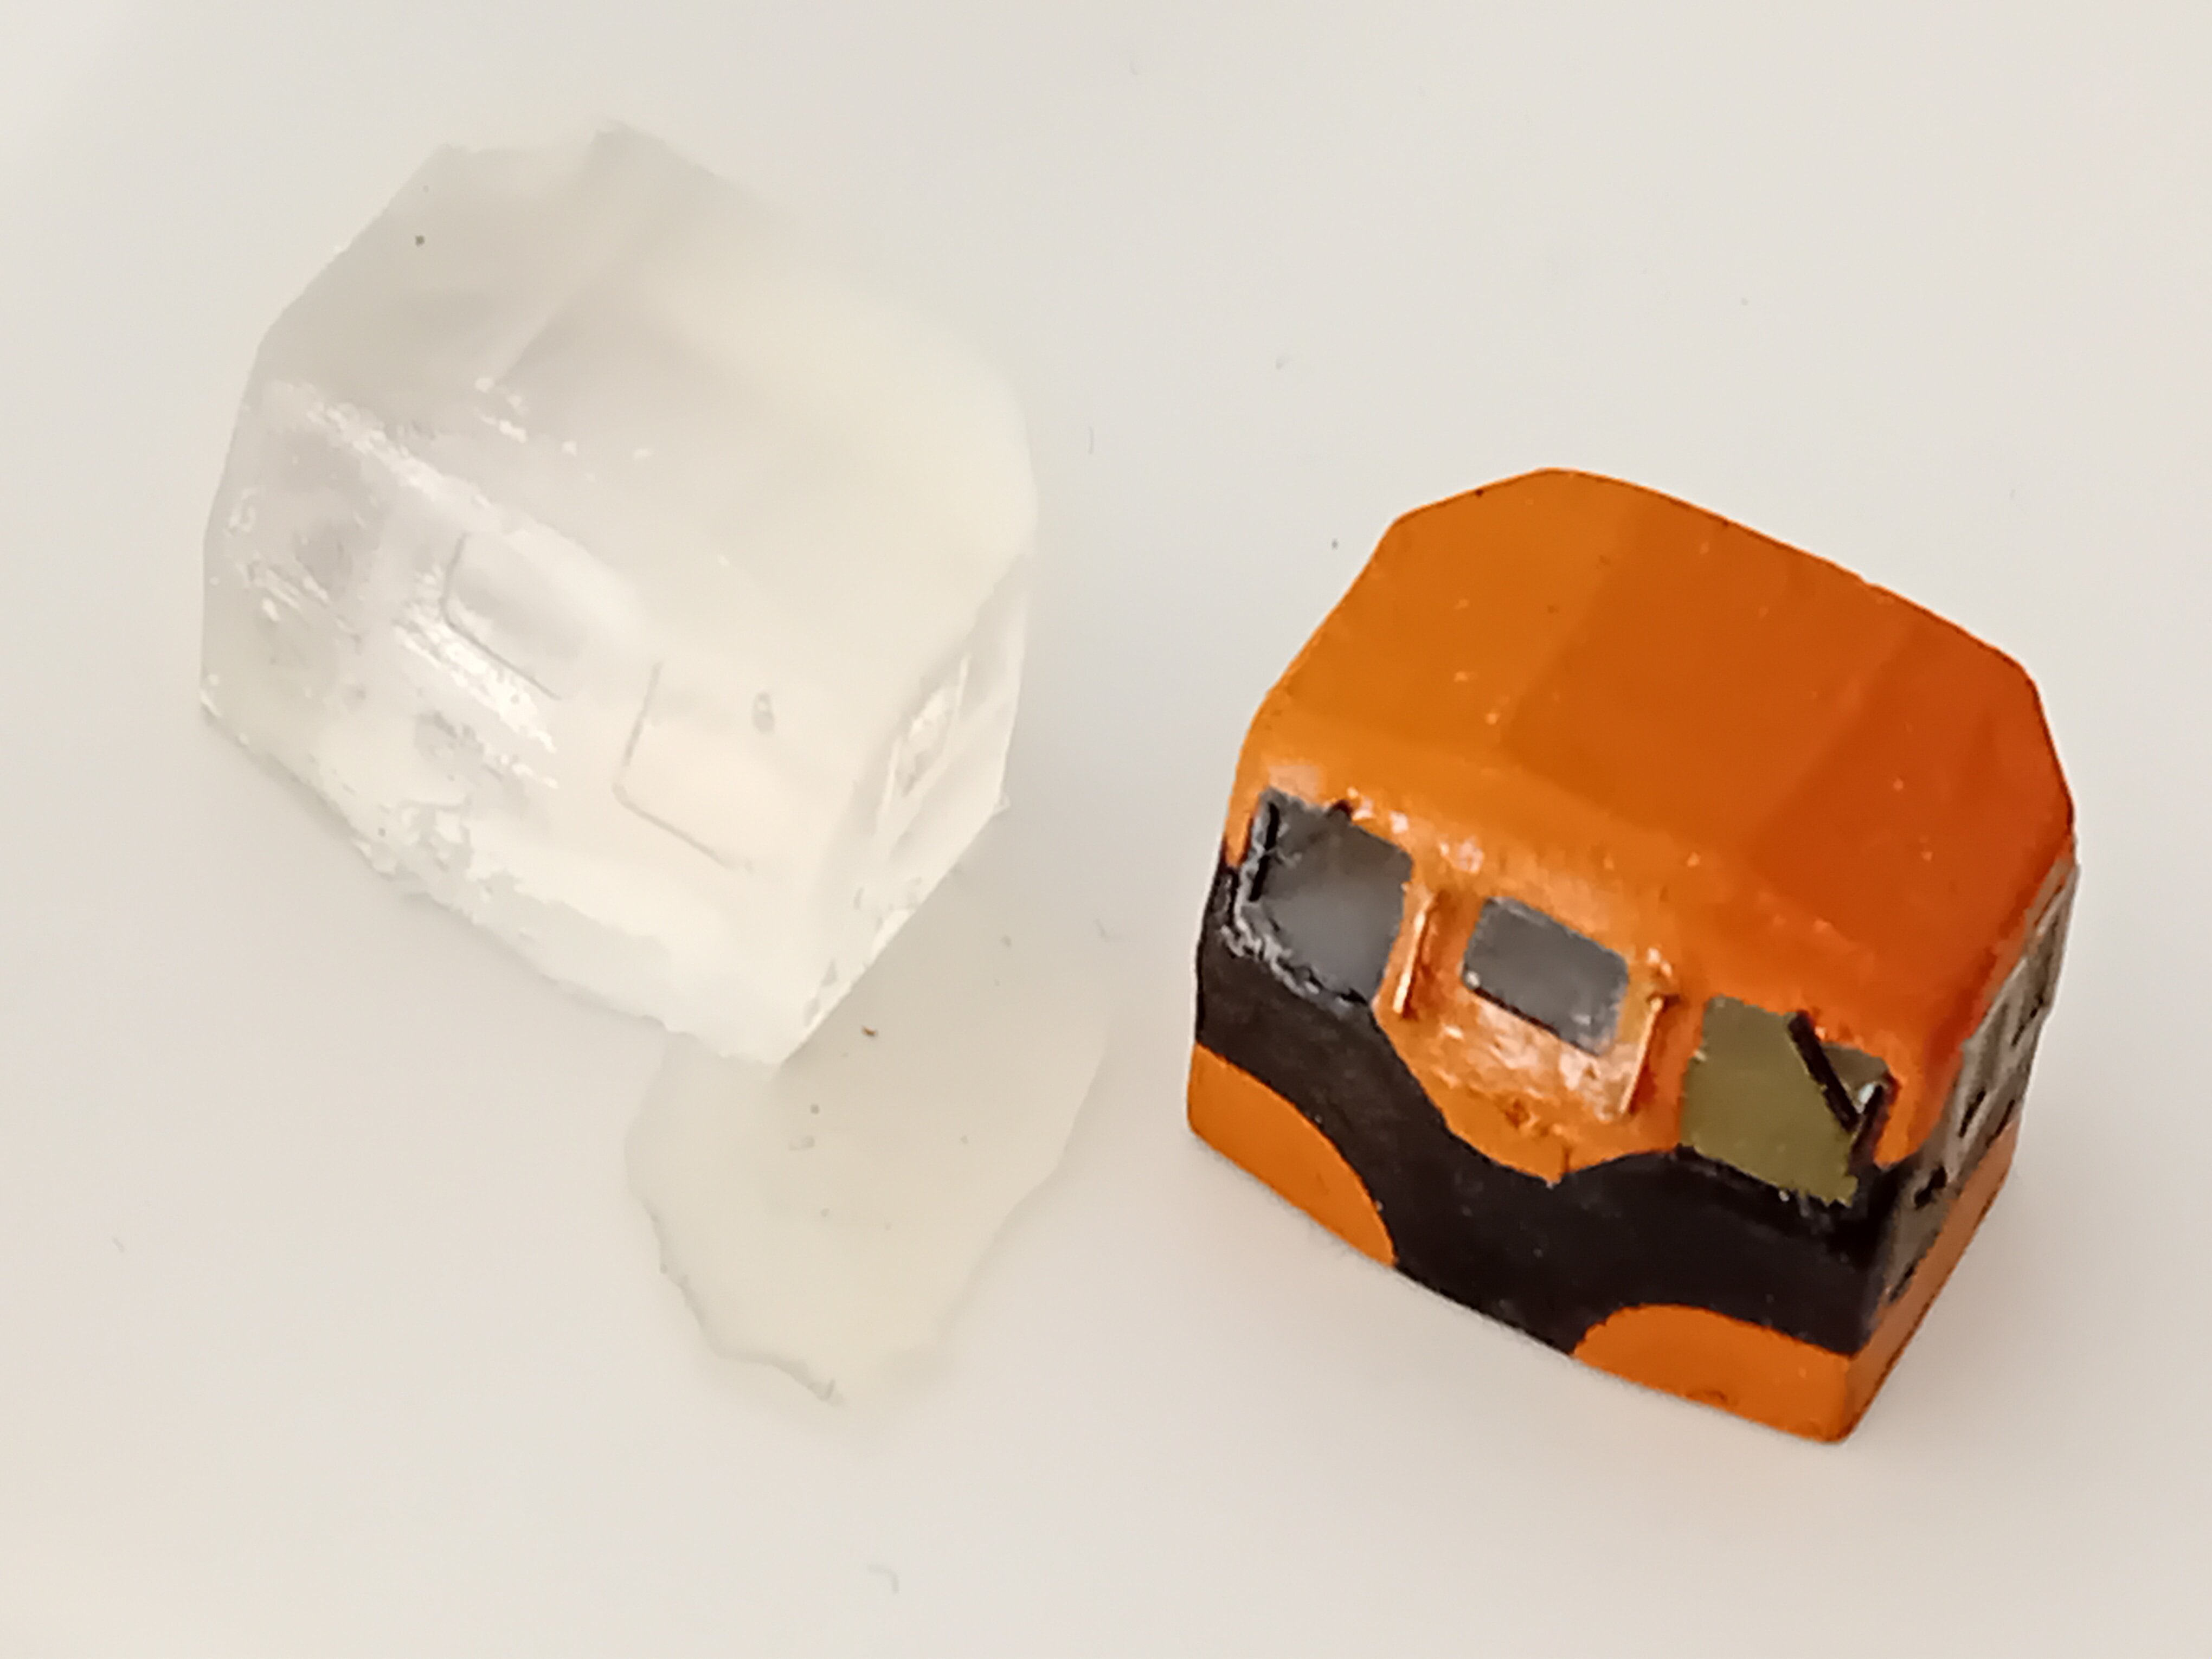
The first photo shows the transparent cast cabs, both painted and unpainted. The master was made from plasticard with the aid of my Silhouette cutter. The lower fairings and cabside windows are in plasticard and microstrip.
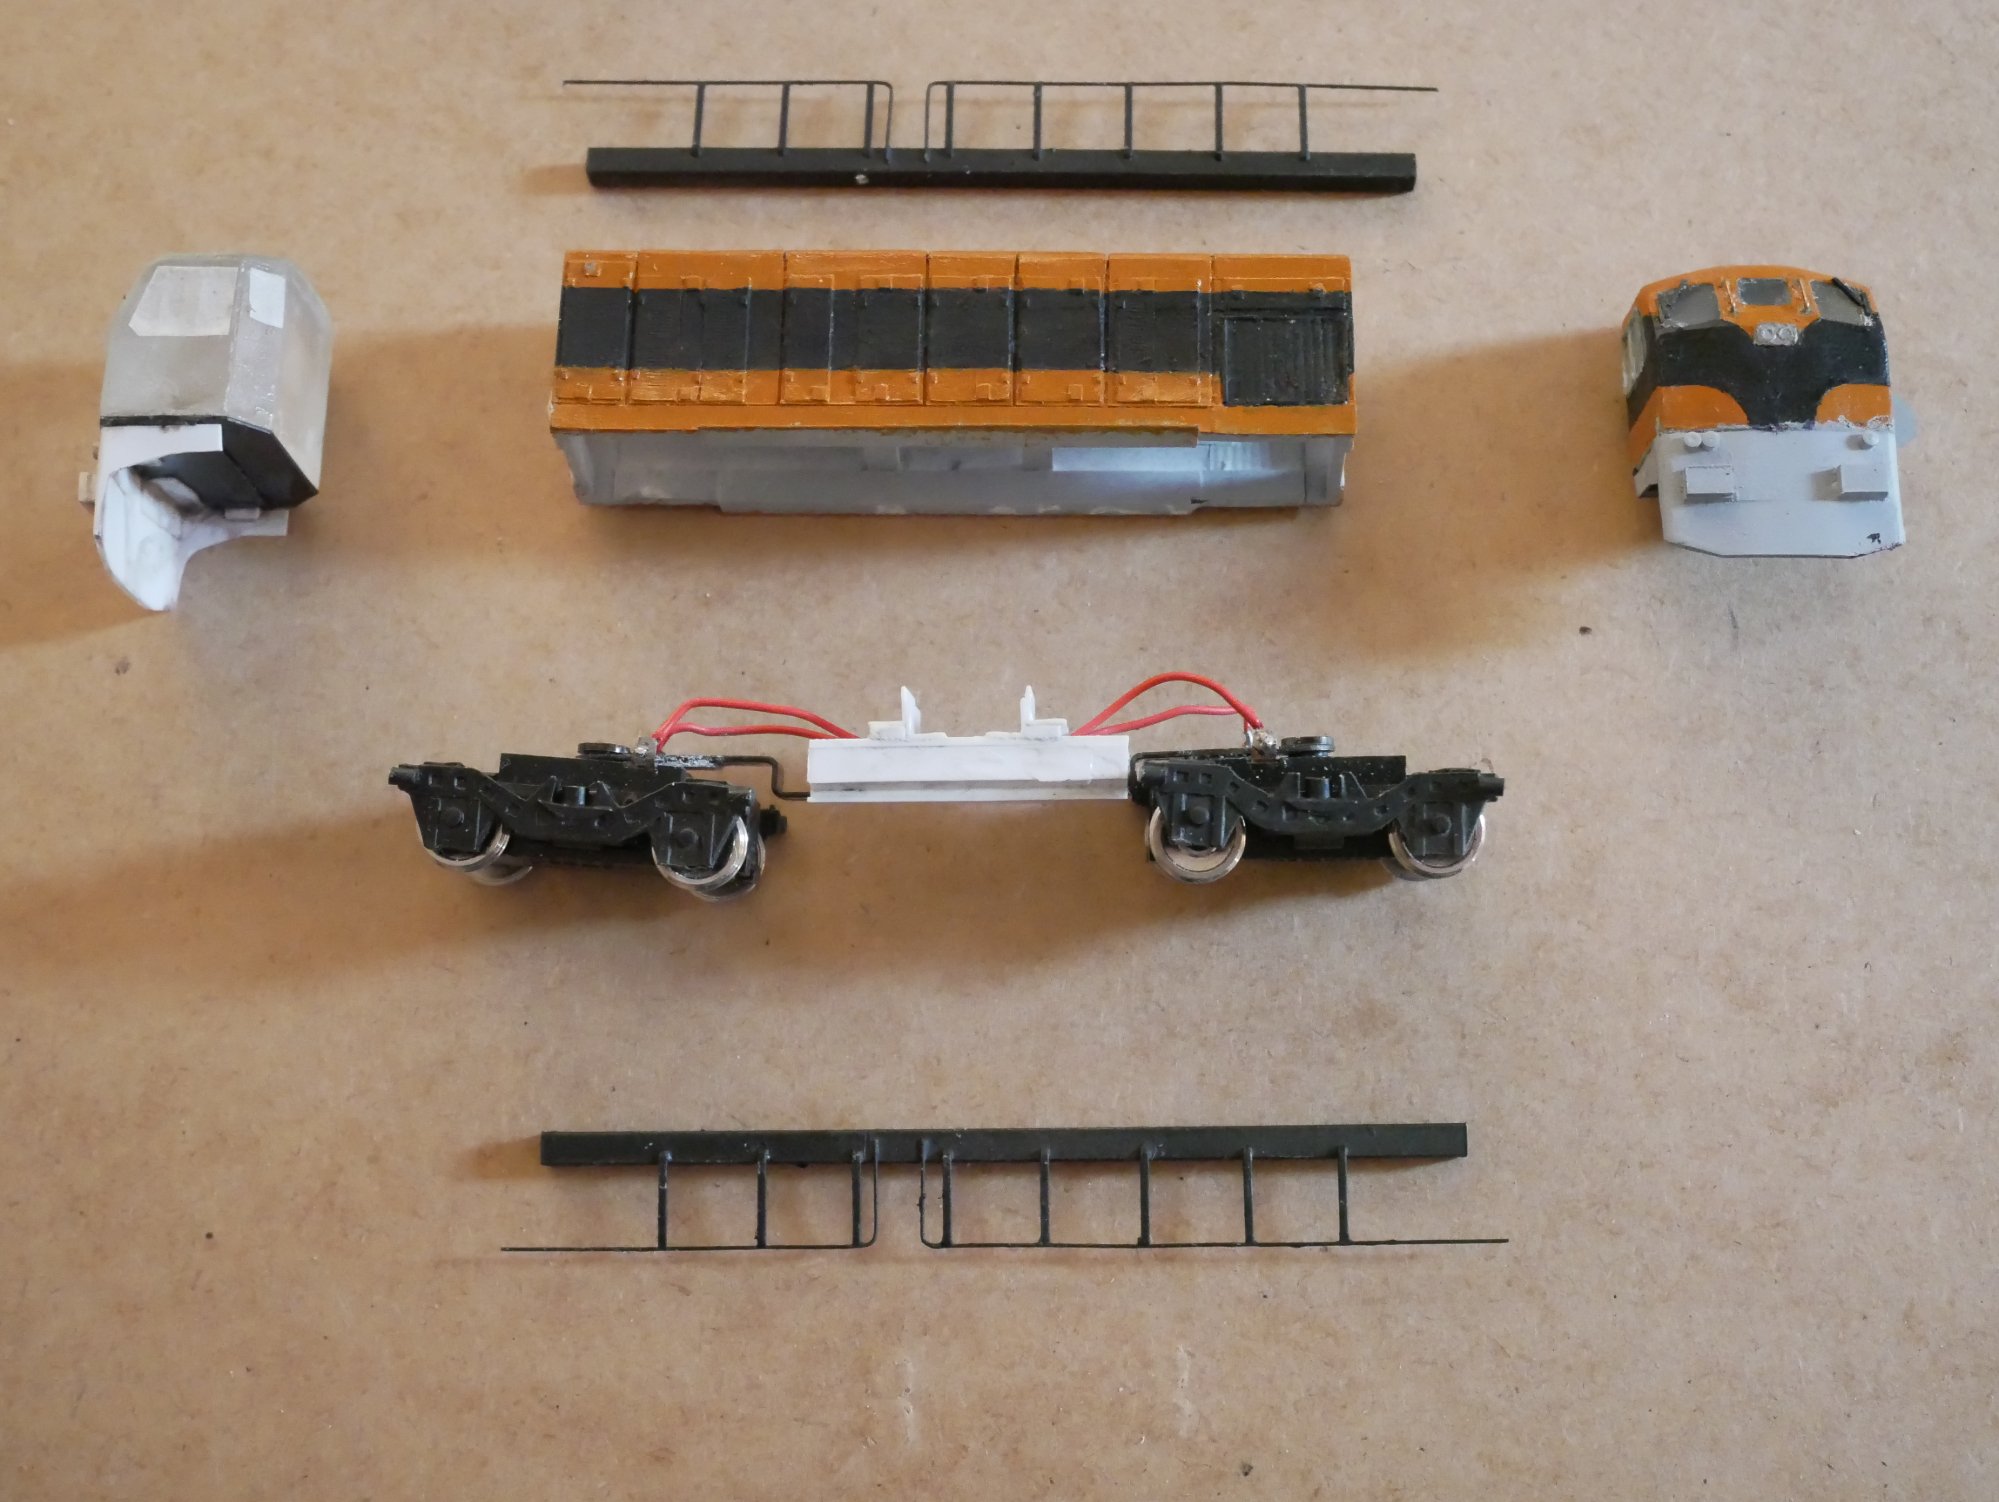
The second photo shows the parts laid out. The bogie sideframes are made using my cutter and slide on to the Tenshodo bogie sideframe holders. The bogies are wired together. The slow running is good, but should be better once some weight is added. This was not the cheapest motorising option, but I knew it would work and be compatible with the solid cab castings so there was a low risk of me wasting my money! I plan to create a "float" of bogies to service this and any future 141/181/121 models in case of failure.
The third picture shows the current progress. It is nearly finished, but there are still details like the fuel tanks and tablet catchers etc to add on. It will be in 1970s/early 1980s condition. The decals are nearly ready for printing on my inkjet printer.
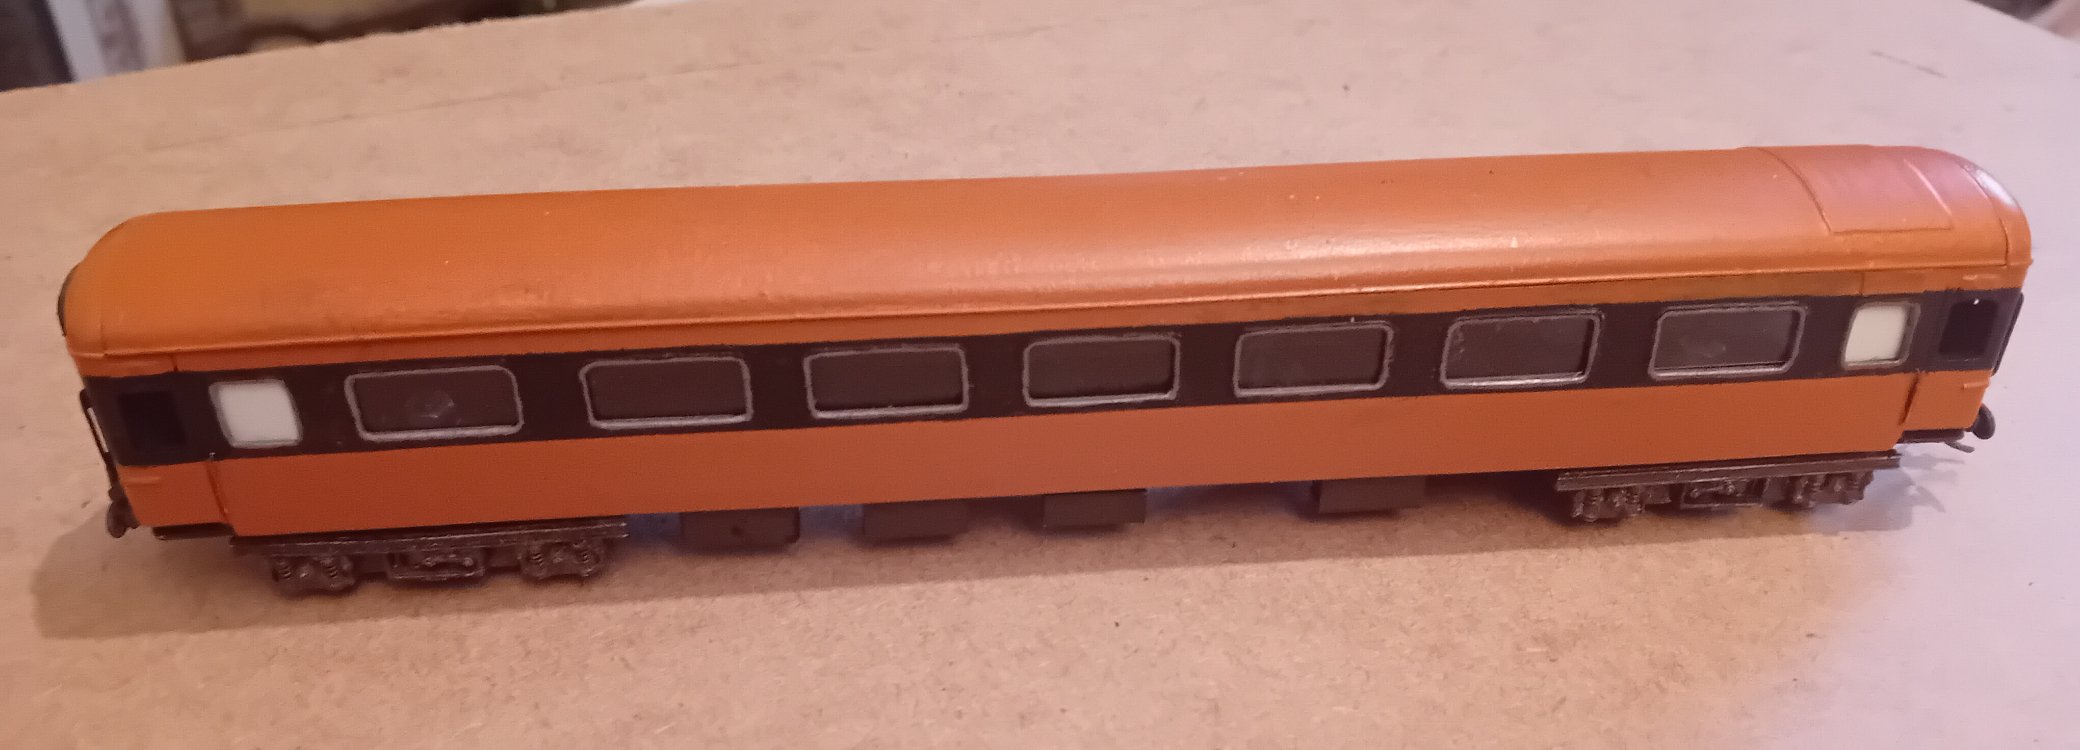
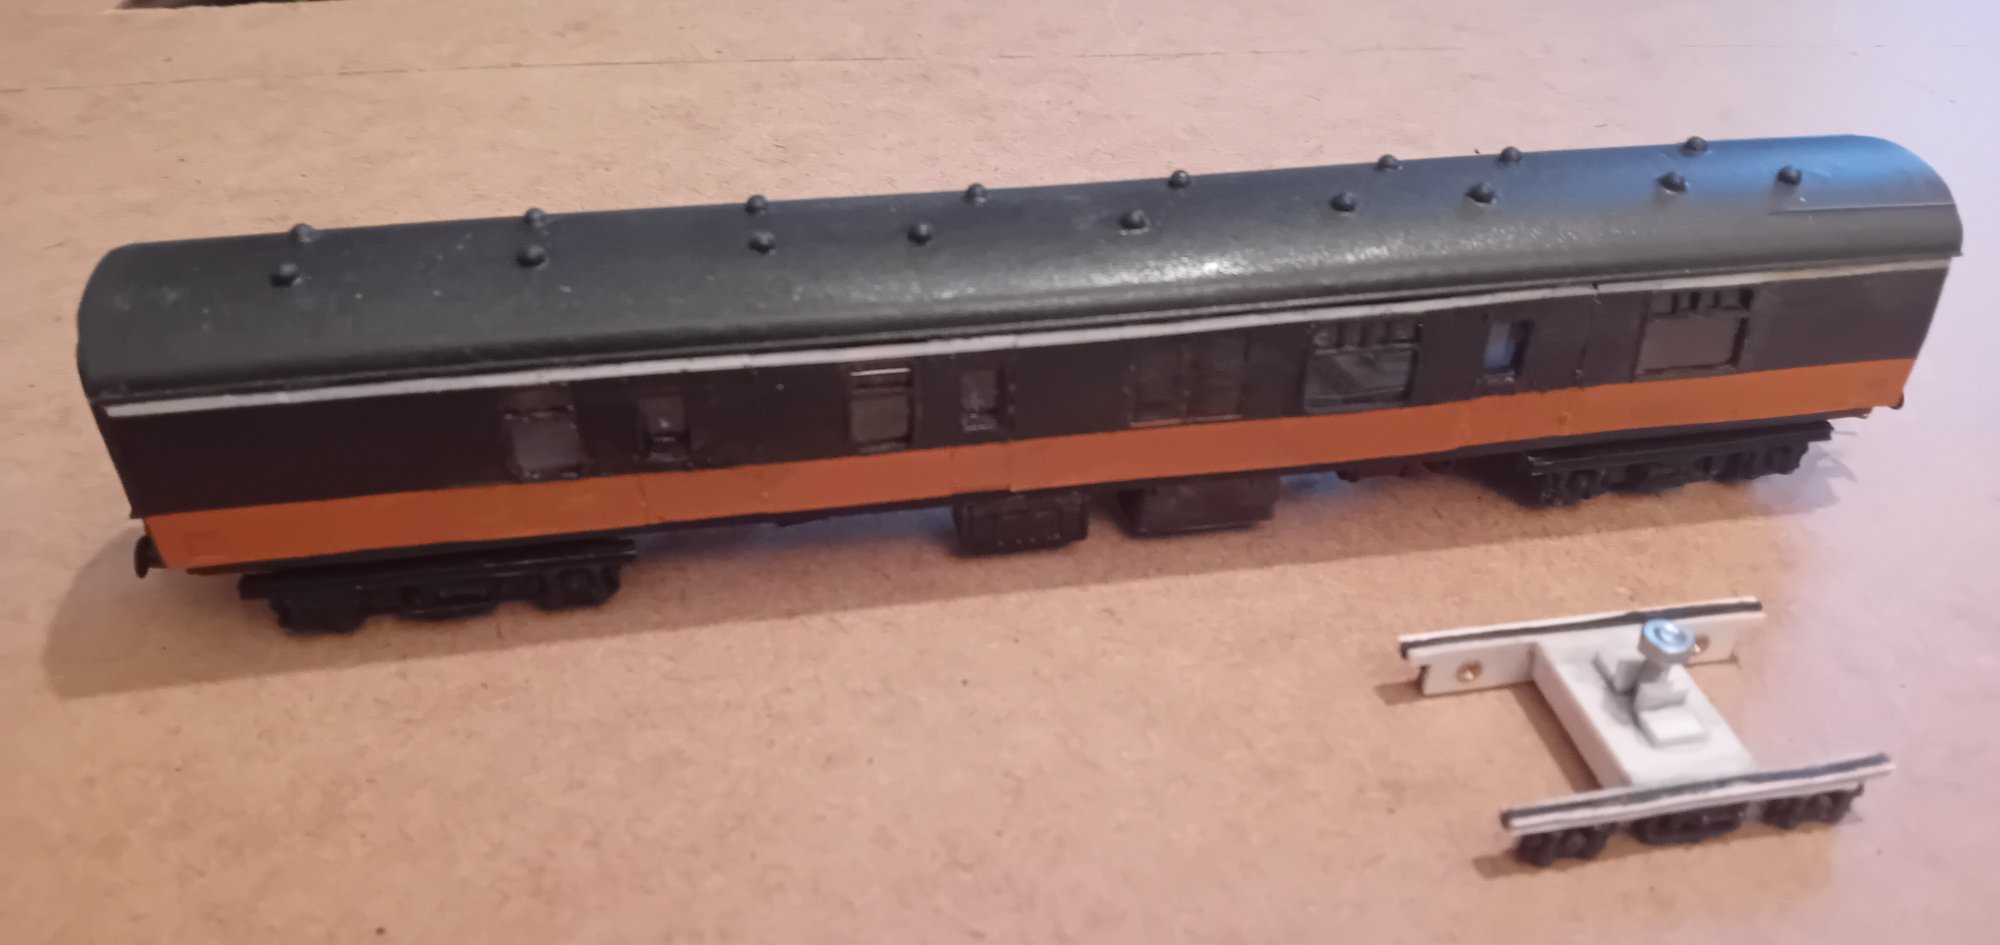
Next up are the two coaches. The Mk2 coach has new sides cut on my Silhouette cutter. The Lima sides were cut vertically along the inner side of the doors. The sides between the doors were then remounted slightly inside and the window areas cut out. The sides were then glued on to be flush with the doors. Apart from the glazing on the doors and decals and the odd minor detail, it is complete.
The Mk1 gen car is almost complete. The main thing left to do is the exhaust on the roof. Next to it is a replacement bogie. The frames were cut on the Silhouette and the detail added from chopped up bits of the original bogie and some U channel microstrip. The bogies in real life are wider than the British Rail versions, so the longer EM gauge axles are no problem. The damper in the middle is a bit too short but I can live with that.
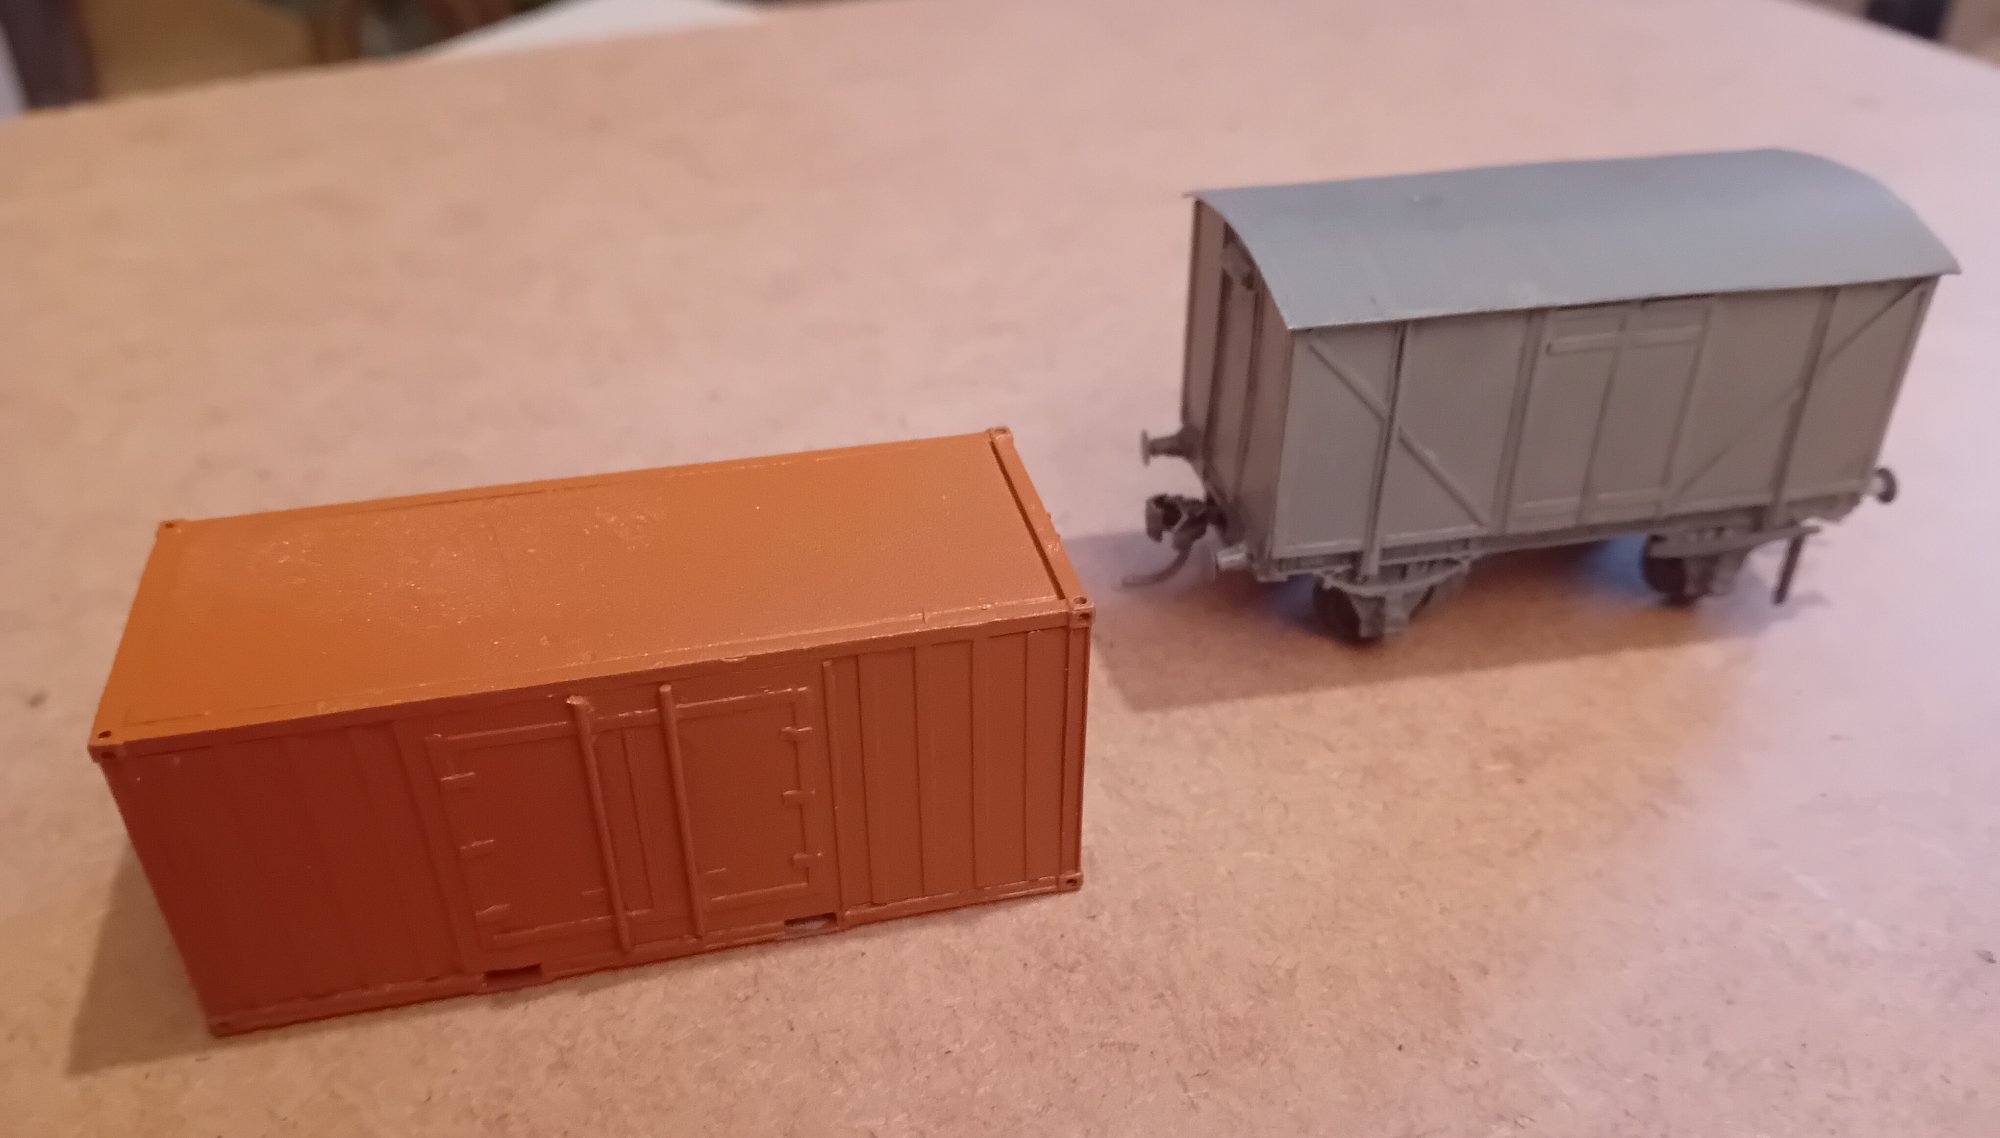
The H van is scratchbuilt using Silhouette-cut parts. The rivets are also created by the cut scoring small circles, which works for the small rivets found on these vans. The underframe is from a Ratio Iron Mink with heavily altered brake gear. A Lima wagon chassis would not have been suitable as the brake lever is completely different.
The container was converted with a conventional non-computer assisted method in plasticard and microstrip.
The CIE tan is the classic Tamiya orange with a dash of brown mix which I discovered when lurking on this forum. Thanks!


")