
Fiacra
-
Posts
60 -
Joined
-
Last visited
Content Type
Profiles
Forums
Resource Library
Events
Gallery
Blogs
Store
Community Map
Posts posted by Fiacra
-
-
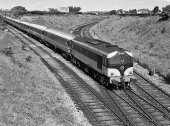
@Broadstone Any further progress on this layout? Liffey Junction has a special place in my heart, and I was quite excited when you announced plans for a layout based on it. As of the last post, it looks like you had made some good progress.
-
 1
1
-
-
Some nice examples of printed track and points in this RMweb thread. I haven't used Templot, but I assume it would be easy enough (?) to print in 21 mm gauge as well. With tools like this, and the fact that most IRM products have been manufactured with 21 mm conversion in mind, it's beginning to look like modelling in 21 mm could finally be a realistic option for the average modeller.
-
2
-
-
Apologies if this is already stated somewhere, but are these wagons readily convertible to 21 mm as per all other IRM rolling stock. This doesn't look to be the case from the photos, and I'm assuming Heljan only made cosmetic changes to a model they already produce?
-
 1
1
-
-
On 10/8/2024 at 11:37 AM, ttc0169 said:
Seen that too John-Athlone and Galway Easons don’t seem to stock any railway magazines.
Was in the Galway branch yesterday and was delighted to find single copies of both RM and BRM. This was the first time I found railway magazines there in a long, long time.
-
3
-
-
It's interesting to hear that there are no issues running on Peco bullhead code 75 track. I wonder if, despite both being labelled 'code 75', there are some dimensional differences between Peco and SMP rail/chairs. I came across a post on Rmweb a while back in which a poster claimed that Peco bullhead track is not 'finescale'. This would suggest some differences - and I'm pretty sure he was not talking about the gauge, given that some OO gauge layouts are billed as finescale (handmade track etc).
-
Hi folks,
I was under the impression that the wheels on modern RTR locos are likely to be compatible with most types of track - apart from P4 standards. However, I've tried running a MM 121 on Marcway SMP code 75 bullhead flexitrack and Exactoscale bullhead basses with the same SMP rail. In both cases, there's a very obvious 'thunk, thunk, thunk, thunk....' sound as the loco runs along the track. Evidently, the wheel flanges are hitting the chairs. Has anybody out there replaced the wheels on their IRM and MM locos with finescale alternatives, without going all the way to P4 tolerances?
-
On 11/5/2024 at 1:31 PM, LNERW1 said:
As far as I know, the Connemara Railway only plans to run less than 10km of the old line, but a railway to Clifden would, couple with effective onward transport, allow for easy, environmentally friendly, and hopefully cheap, access to areas like Roundstone, Ballyconneeley, historic areas like the site of the Marconi station and Alcock and Brown’s landing site, etc. as well as providing access to Moycullen, Oughterard, etc.
In theory, this would be fantastic. However, although much of the old trackbed still exists, there are houses, gardens and other private property on top of it in places now.
-
I came across this chap's YouTube channel recently, and it's very informative for anybody interested in finescale modelling and scratchbuilding. He has a few videos in which he describes how to use Templot and 3D printing/laser cutting to produce bespoke trackwork, and this looks like a viable option for 21 mm track. I've never used Templot, but my understanding is that it includes 21 mm templates, so it should be straight forward to produce 21 mm track and points. Has anybody here tried this approach?
-
2
-
 1
1
-
-
1 hour ago, Bob229 said:
Marks Models have the MM 121 loco decoder
Thank you - completely missed that!
2 hours ago, BEANO3005 said:Any decent 8 or 21 pin decoder will do. IRM and Murphy models recommended only using their decoders for warranty guarantees, but its over 12 months now since these locos were released. I use a mix of different decoders in my locos, and the only trouble I've had is with hornby 8 pin decoders. Lais dcc decoders are great value for money. I've used more that 30 so far over the last 5-8 years and all still going fine.
Hope this helps.
Thanks Beano. I'm very new to DCC and wasn't aware that generic decoders could be used - very helpful!
-
Hi folks,
I have been collecting Irish locos over the last couple of years, with a view to building a layout in due course. Unfortunately, at the time of buying the locos, I didn't give any consideration to DCC decoders - on the assumption that I would be able to pick them up at a later stage. Alas, not so. I've been able to find decoders for my 071 and 201, but it seems that A class and 121 decoders are out of stock everywhere. I'm assuming 141/181 decoders will be available when these locos are re-released, but does anybody know if the A class and 121 decoders are still available anywhere? Or, if they'll become available any time soon? Also, I should probably emphasise that it's only the decoders that I'm looking for, not the sound chips.
Many thanks!
-
10 hours ago, TimO said:
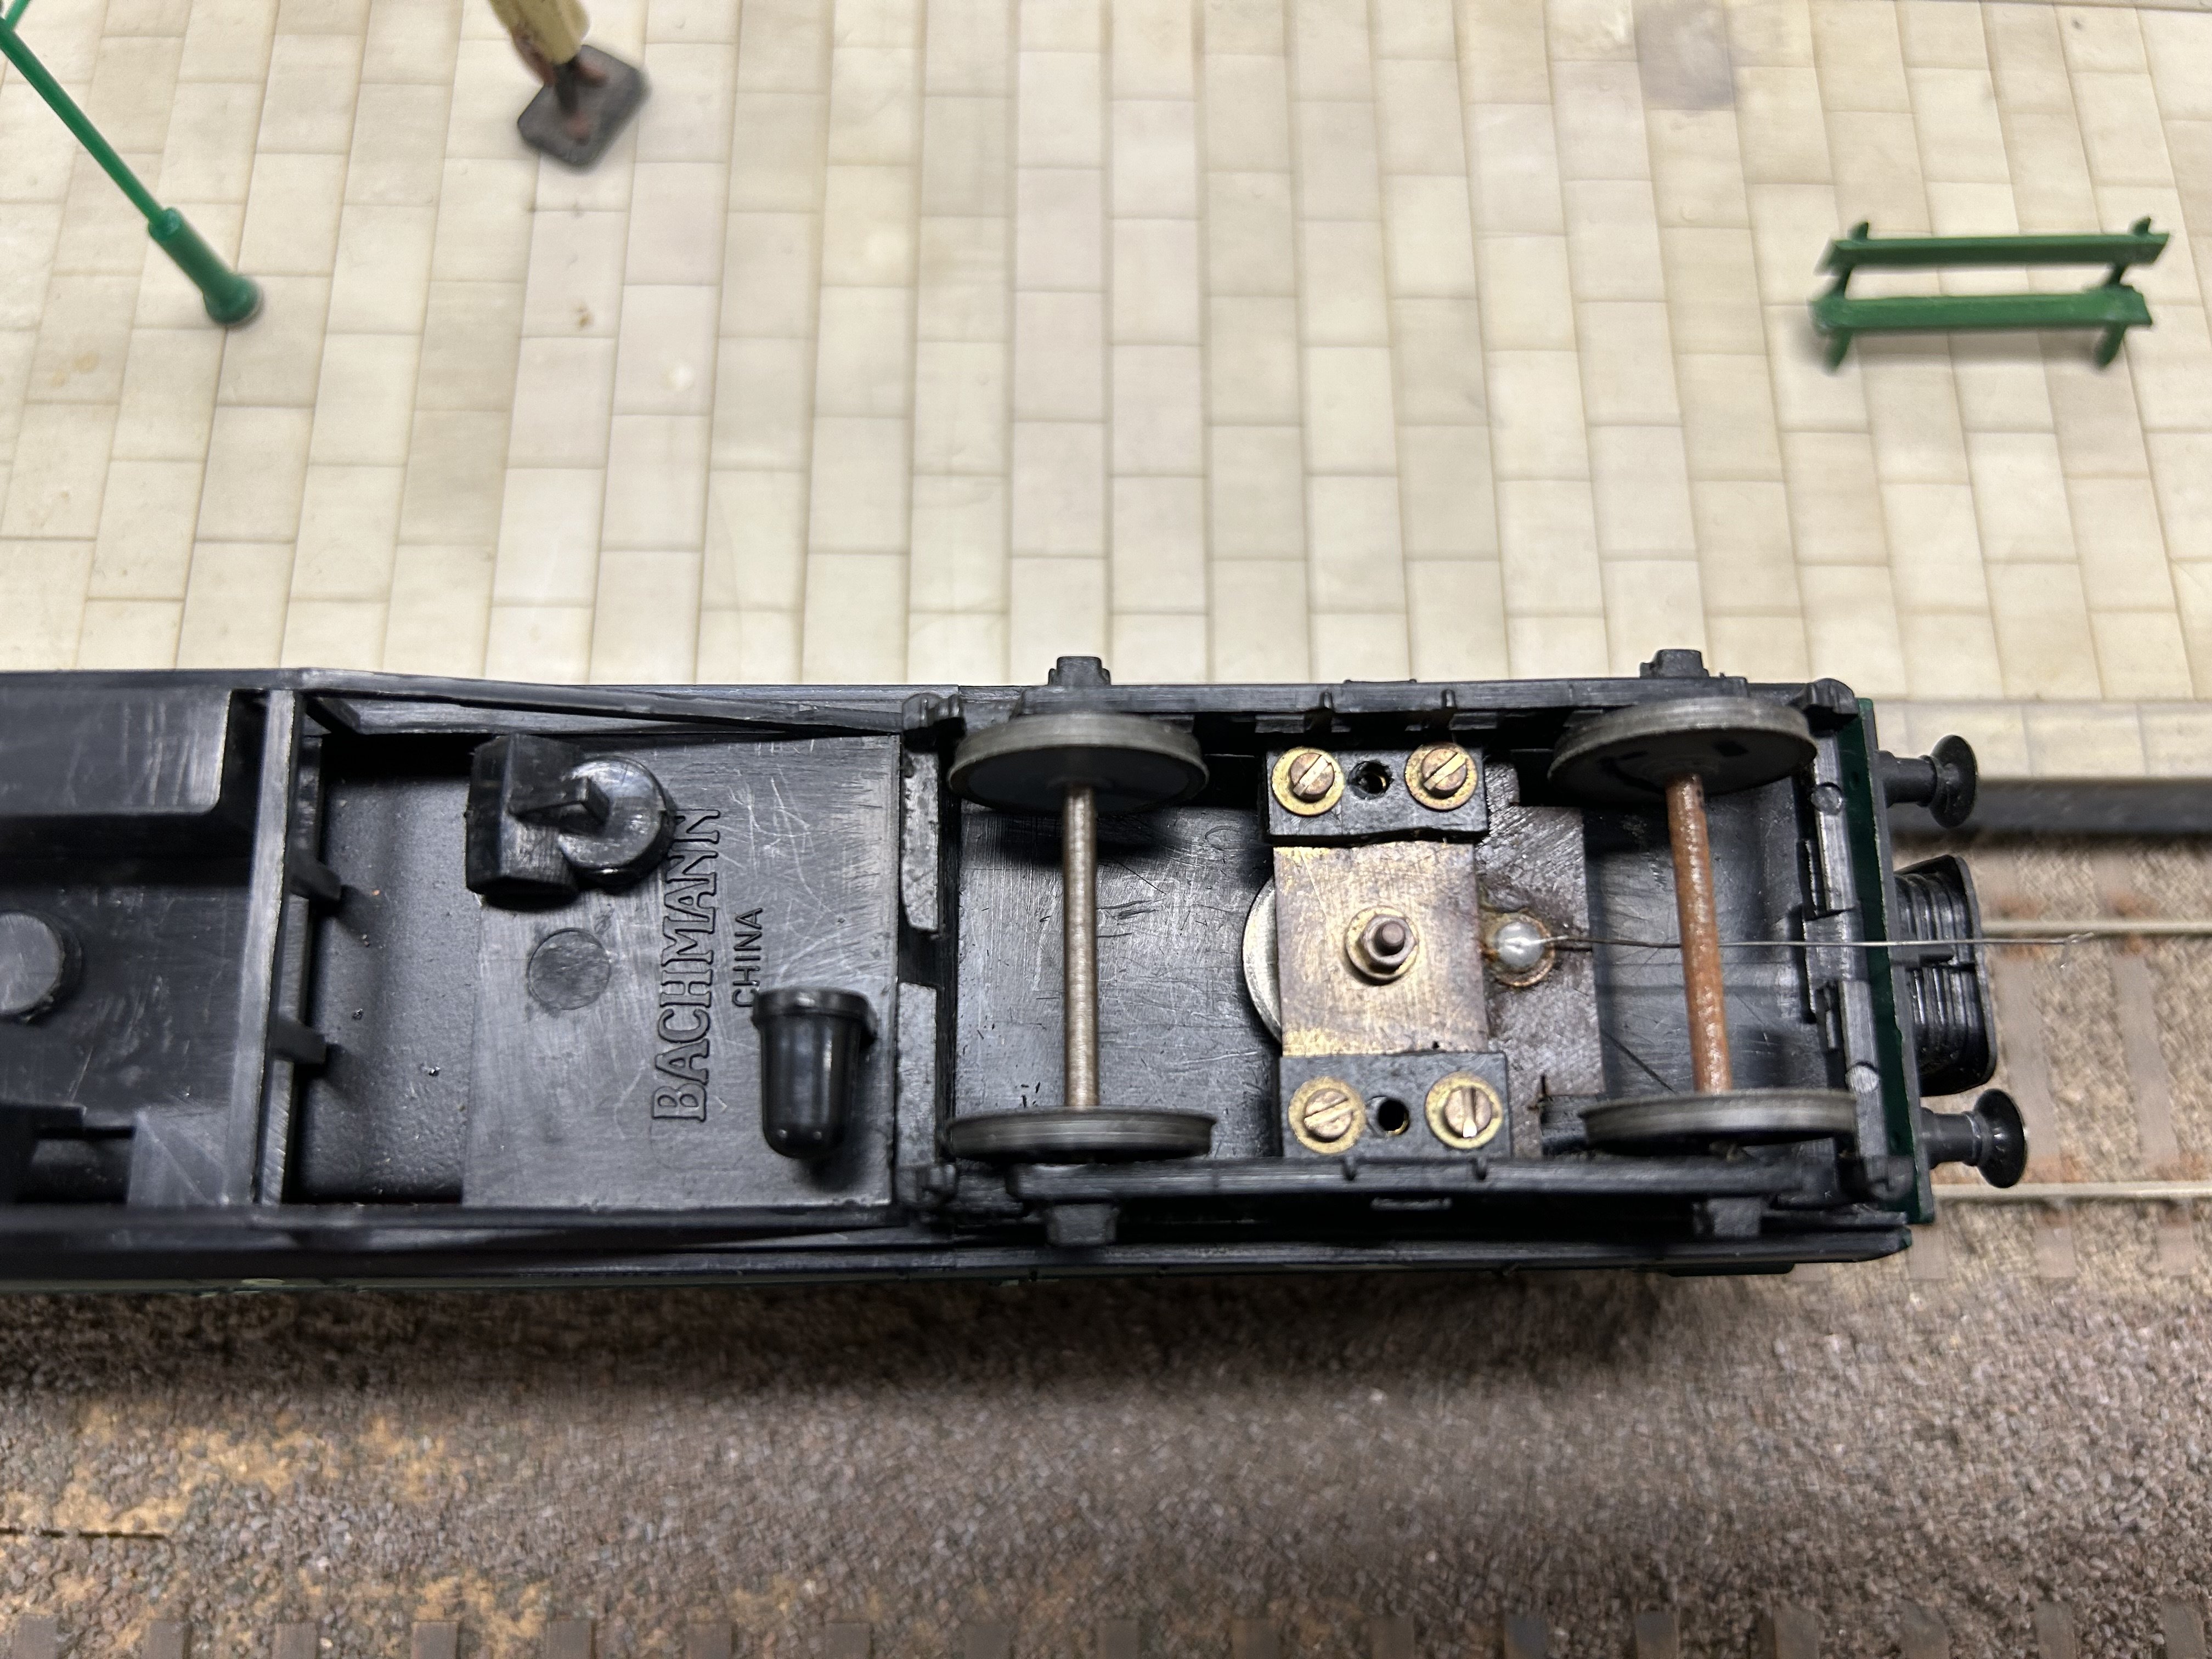
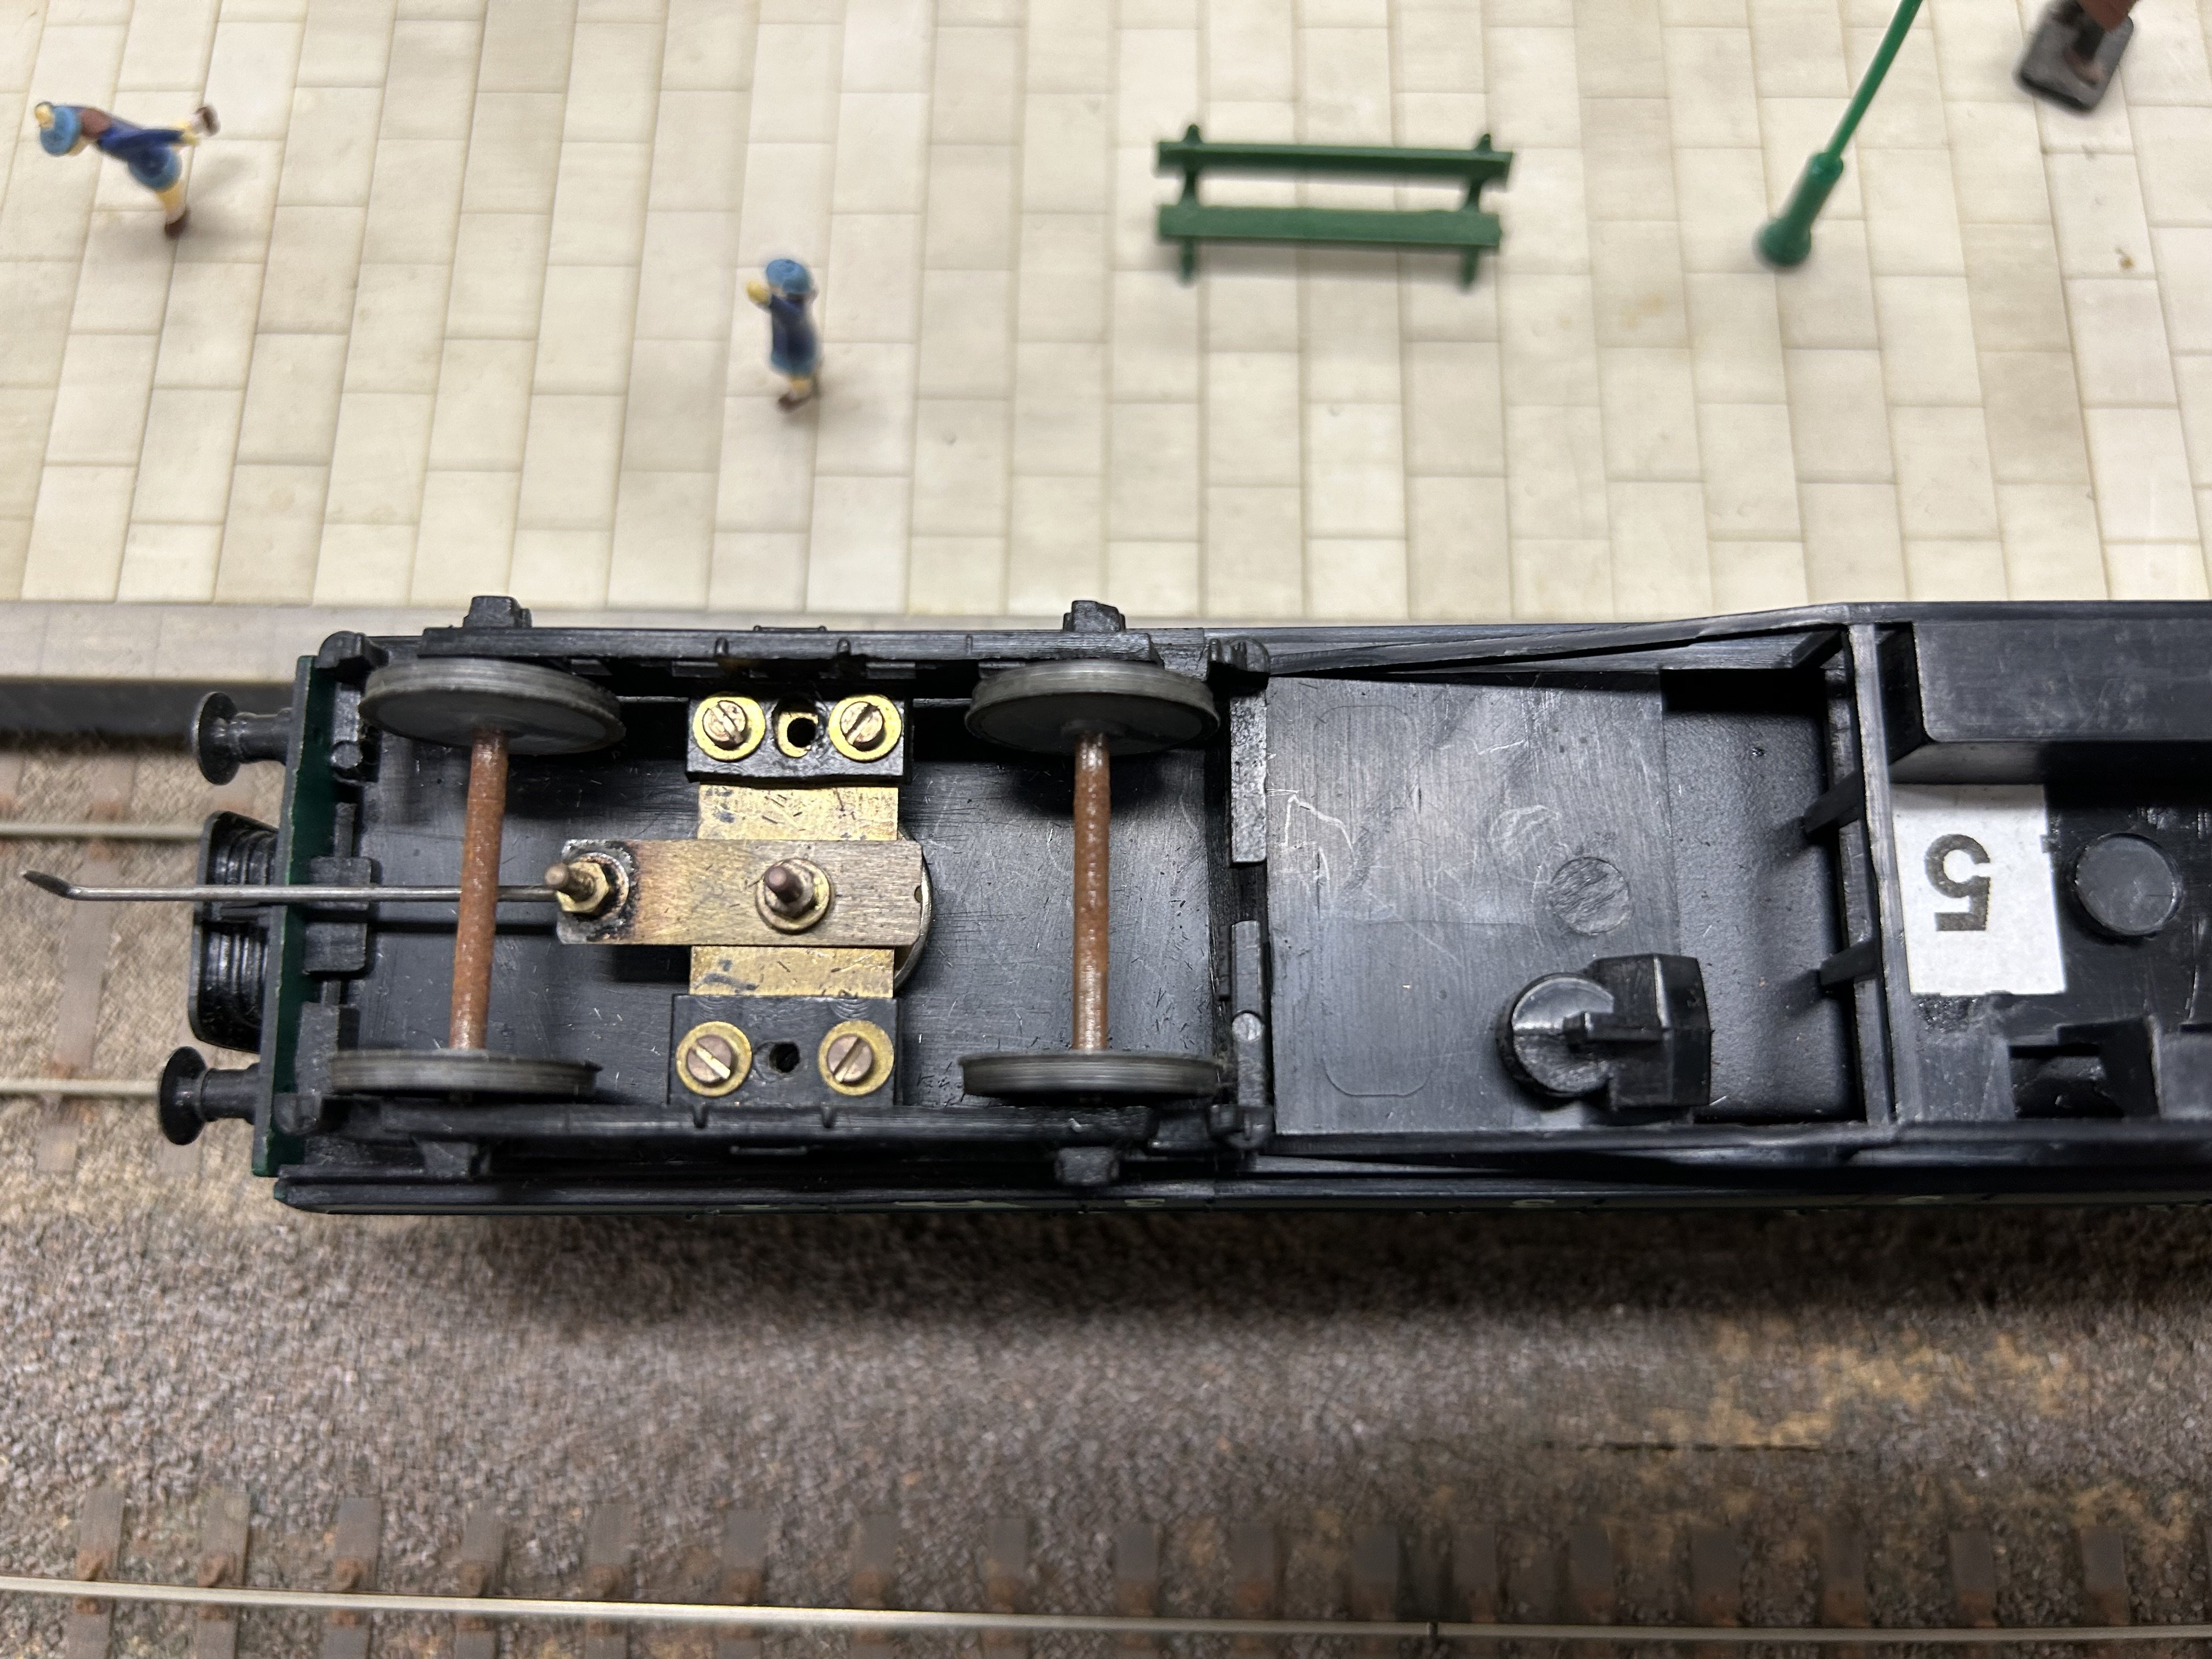
@Fiacra I took a few photos to show you what’s possible. This is a Murphy / Bachmann CIE coach from way back when, converted many moons ago to 21mm gauge, P4 Profile to run on Adavoyle. I think the wheels are Alan Gibson on 28mm axles and I suspect a jig was used to get everything square. Under the brass bolster plate there is a brass bush but the details are not visible. The screws are likely M2. the original bogie has just been cut down the centre and widened with the plate, nothing fancy. I hope this gives you some ideas.

Lovely work! Very helpful - thanks TimO!
-
 1
1
-
-
Thanks TimO - that is very welcome news! I only have a couple of the original MM mk2d's and have been using them as conversion guinea pigs ahead of the new batch arriving. But, if the new bogies are prototype width, that will make things a lot easier.
-
1
-
-
20 hours ago, RedRich said:
MJT Carriage Compensation Units can be assembled for EM P4 and 21mm. Brassmaster make nice units also.
Thanks for this info Rich. The MJT rigid bogie frame was my first foray into brass kits, but despite my trepidation it was quite straight forward. However, CCUs look like they would require a much more delicate touch - might be a step too far for me at this stage. I'll pick one up though, and see how it goes.
-
Well, I'm in a position to answer the question myself now - it being 'with some difficulty'. There may be an easier way, but I ended up having to remove the body from the chassis, and even then, there was a lot of blindly poking, squeezing, and forcing the attachment jaws out of position, before the bogie came away. Clearly designed to be robust rather than for easy removal. I wonder if the new batch of mk2d's will be designed in the same way?
My reason for wanting to remove the bogies in the first place is to regauge the models for EM track. I've mentioned this in a previous post, but I've opted to go EM gauge as a compromise between 00 and 21mm (the availability of track, points etc, being large part of the decision). Unfortunately, the bogies on the mk2d's are not wide enough for a simple axle swap-out. My original intention was to replace the whole bogie with an MJT brass bogie frame (using the original MM bogie sides as cosmetic attachments). Alas, it seems the MJT bogies are also strictly 00 gauge - something I only realised after constructing one and attempting to install a DCC Concepts EM gauge wheelset. That's no criticism of MJT, as they don't advertise the rigid bogie kits as anything other than 00 - I suppose I assumed there might be enough wiggle room in them to accept EM gauge axles.
So, it looks like the only way forward is to cut up the MM bogies and use plasticard to rebuild them to a suitable width. That shouldn't be too difficult, but if anybody knows of another way of approaching this, I'm all ears.
Many thanks!
-
2
-
2
-
-
Apologies for such a basic question, but how does one go about removing the bogies from a MM mk2d? I thought they might disconnect with a bit of force, but that starts pulling the whole chassis away from the body, so it must require a more nuanced approach.
Thanks for any help!
-
1
-
-
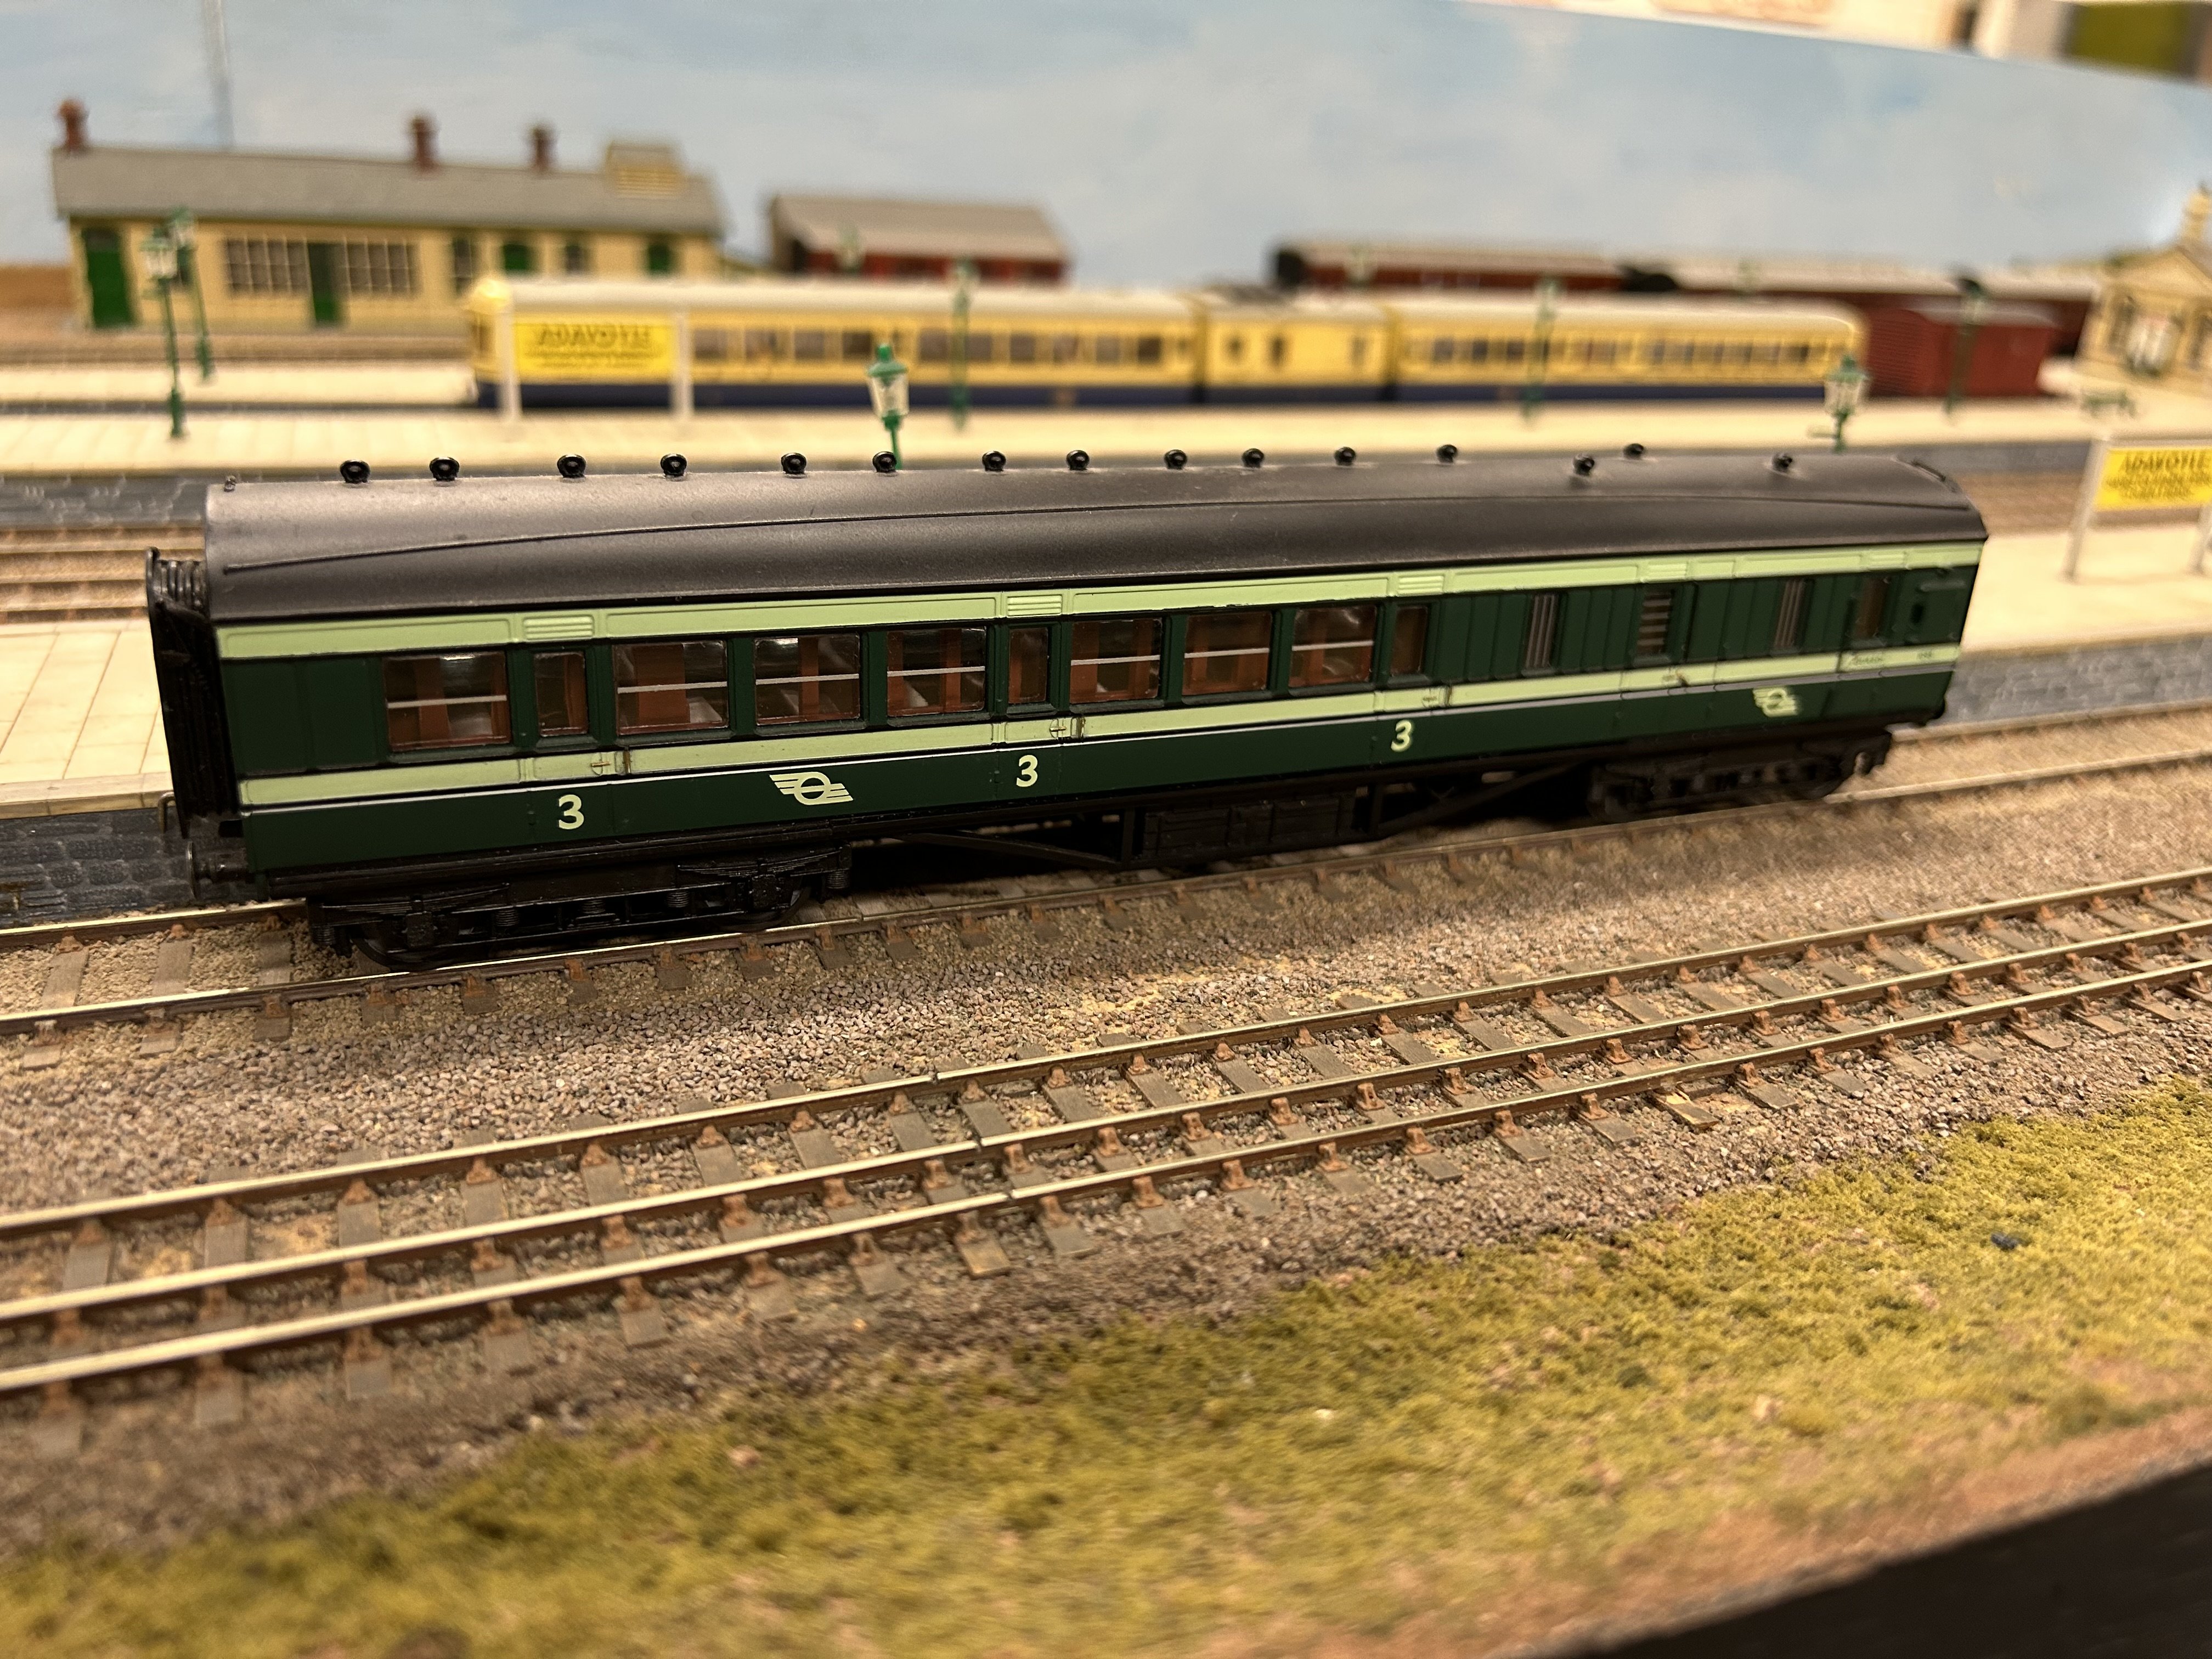
A question for the IRM folks. Now that Mk2 delivery is on the horizon, are there plans to sell the scale-Irish-width B4 bogies as separate packs (e.g. to replace the narrower bogies on MM carriages)?
-
1
-
-
Outstanding layout! The bridge in particular is stunning - how was the stonework created?
-
1
-
-
56 minutes ago, BosKonay said:
The details are still placeholders, so only the header information is correct, in that case, its "5203 Irish Railways Mark 2d Standard - Irish Rail (Orange roof)" - everything else is placeholder information, pending any details from Mr. Murphy.
Perfect - thank you!
-
I received the 'ready to purchase' notifications for the mk2D's that I pre-ordered. However, I would like to get some clarification before I pay. The carriages are listed as e.g '5203 Irish Railways Mark 2d Standard - Irish Rail (Orange roof)', which I take to mean IR tippex livery with orange roof (exactly what I'm looking for). However, the description section for all of the 2D's states 'CIE Supertrain Livery'. Can anybody here shed any light on the matter?
Many thanks!
-
Fantastic - thanks for all of this information Mayner!
-
1
-
-
Apologies in advance for adding a very basic question to this thread. Am I correct to assume that a single 15v source can power multiple point motors (if they will only be thrown one at a time)? If this is the case, how should one go about connecting everything? Presumably it's not as simple as connecting all of the wiring directly to the power source. Is there such a thing as a breakout box that can receives the two wires from the power source, and can then relay this to multiple point motors?
-
1
-
-
1 hour ago, murrayec said:
@FiacraA few photo of the motor mounting would help?
If the motor is mounted directly under the points this could restrict movement as the actuation rod is short and cannot bend for short point movement! So if the motor is mounted with, say a 20mm thick mdf spacer between the motor and point, this would allow the actuating rod to bend a bit and allow the switch to operate correctly??
Eoin.
Thanks Eoin - this seems to be the most common solution to this problem. However, the actuating rod on these seep motors is fairly strong stuff - even cutting them takes a fair bit of effort. I'm not so sure it would bend even slightly, given the extra distance if mounted as suggested. I'll certainly give it a try though!
27 minutes ago, Andy Cundick said:Its simple i used that setup for Lochty The trick with the SEEPs is to convert the fixing holes into slots(file or burr)and don't tighten the screws just leave them slightly floating that way you have enough movement for the switch,Andy
Ah, indeed - that sounds like just trick! Thanks Andy.
-
Hi folks,
Following on from a post I made last year regarding the possibility of modelling Irish railways in EM gauge, I decided to build a small test track consisting of a single, branching line (i.e. three lengths of track connected to a turnout) on which to test run some re-gauged rolling stock - dip my toes in the world of gauge conversion before committing to a full layout. I’m using an EM Gauge Society Peco turnout and I purchased a Gaugemaster PM-4 Seep point motor to control the switch rails and the polarity of the frog. Alas, I’ve already hit a bump in the road. It looks like the throw of the switch rails in the Peco turnout is considerably less than that of the point motor (and, presumably, of regular 00 gauge Peco turnouts). As a consequence, the contact at the base of the switch rod that would change the polarity of the frog can not move a sufficient distance to complete its job (i.e. it remains in contact with one of the polarity strips on the circuit board of the point motor, rather than disconnecting from one and then connecting to the other).
So, either I am doing something very wrong (which is very possible) or these Seep point motors are not suitable for finescale turnouts. As there are a number of finescale modellers on this forum, I would be very interested to hear what point motors they use, and whether or not they have to make any modifications to get them working properly.
Many thanks!
-
On 16/11/2022 at 11:13 AM, Dave Dawes said:
I ordered some Bullhead track last year and yes it was all very drawn out experience. Only just rejoined forum so only just noticed this post
Looks like that's going to be the case for me too. My order status has changed to 'paid' and I finally received an email last week to say there had been a delay in restocking some items. So, two months later and still waiting to receive anything. I suppose it's to be expected though - the producers of finescale items are probably very small operations.
-
1
-
BROOMBRIDGE JUNCTION
in Irish Model Layouts
Posted
Fantastic - can't wait to see more of it!