
modelshopbelfast.com
-
Posts
58 -
Joined
-
Last visited
Content Type
Profiles
Forums
Resource Library
Events
Gallery
Blogs
Store
Community Map
Posts posted by modelshopbelfast.com
-
-
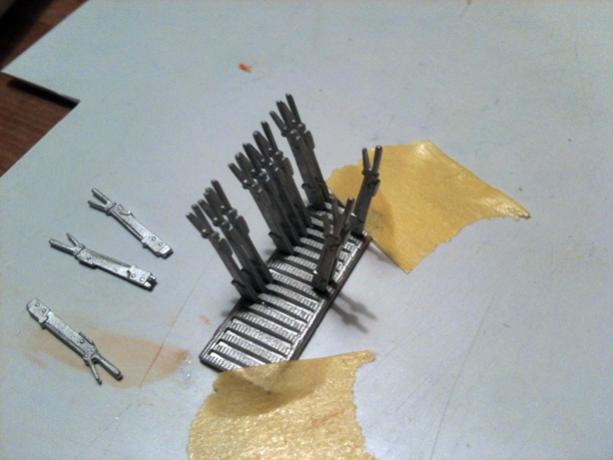
Step 2: Few dabs of zap and the kit starts to look like a signal cabin interior

-
Nice wee simple job done on Bachmanns Irish cabin using a Springside detailing kit http://modelshopbelfast.com/index.php/catalog/product/view/id/6198/s/springside-dk6-oo-scale/
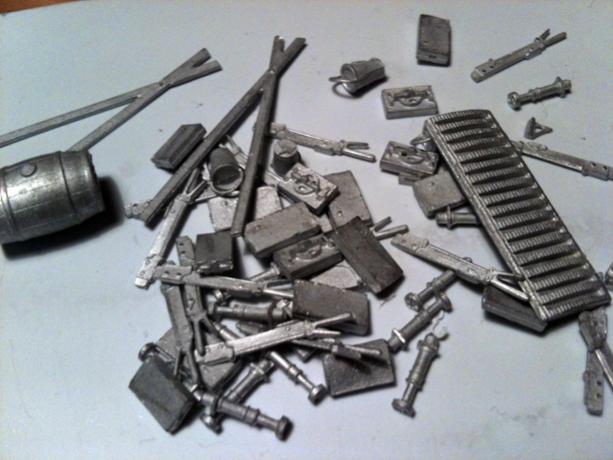
Step 1. Nice pack of whitemetal pieces, as with all springside kits the detail is great and they generally require minimal removal of flashing.
-
We've just put up a comprehensive scenic guide including using the track pens here: http://irishrailwaymodeller.com/showthread.php/345-Creating-countryside-scenics
-
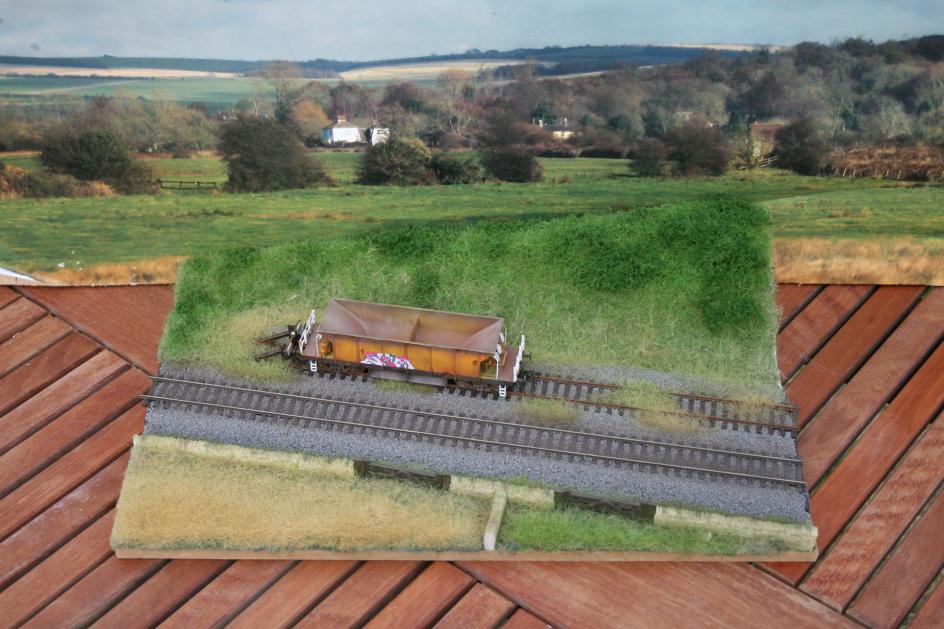
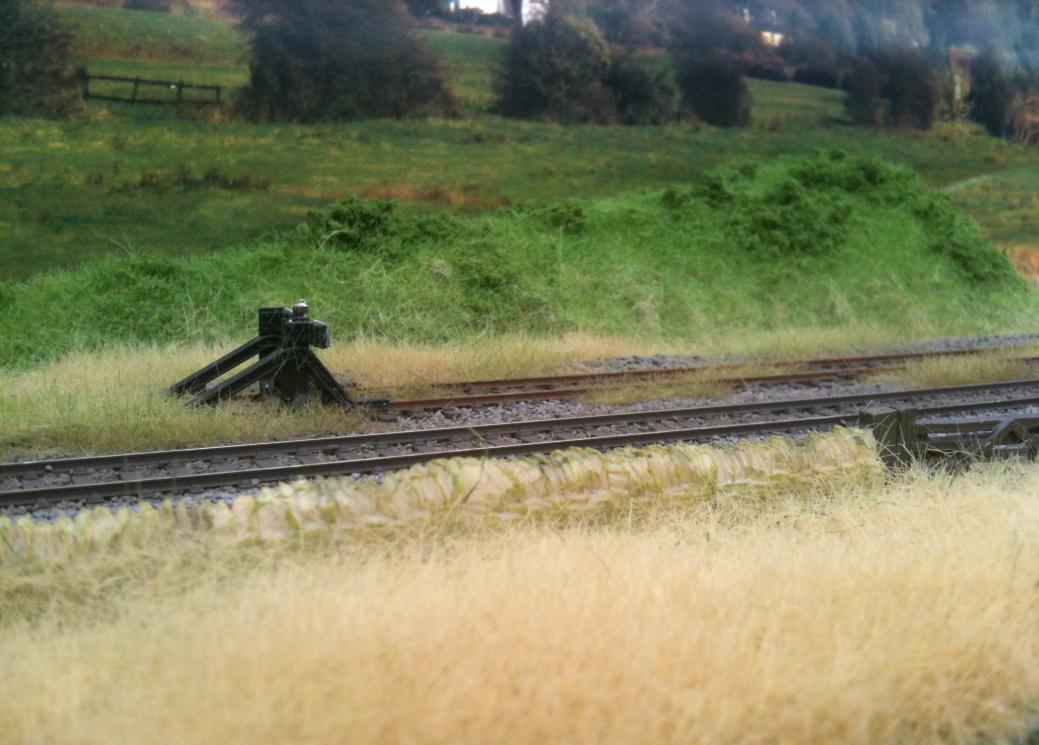
A distant shot showing how a very small board can give you many different photographic angles
-
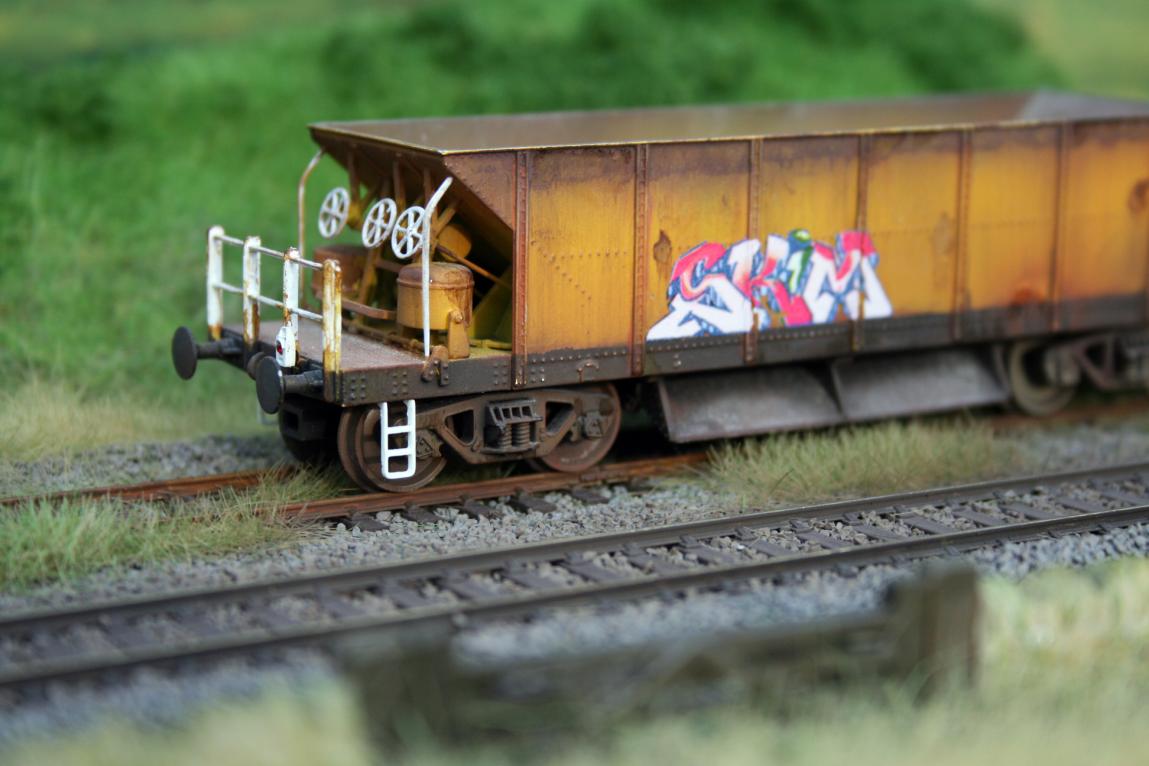
A Bachmann hopper wagon repainted to yelow then weathered. A Springside modern tail lamp has been added to the back.
-
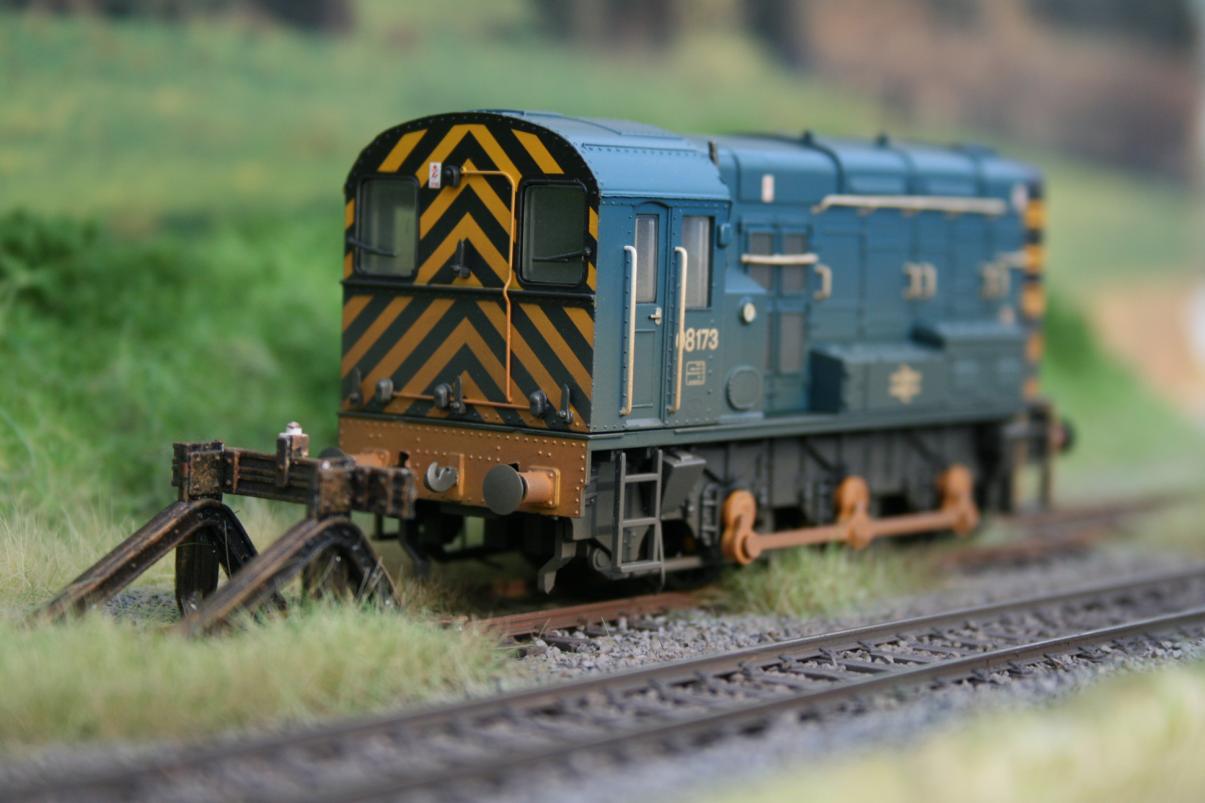
Bachmann's 08 again, the Peco buffer stop has been given a coat of metalcote paint then had a few different shades of rust dry brushed on
-
Some pictures on the board:
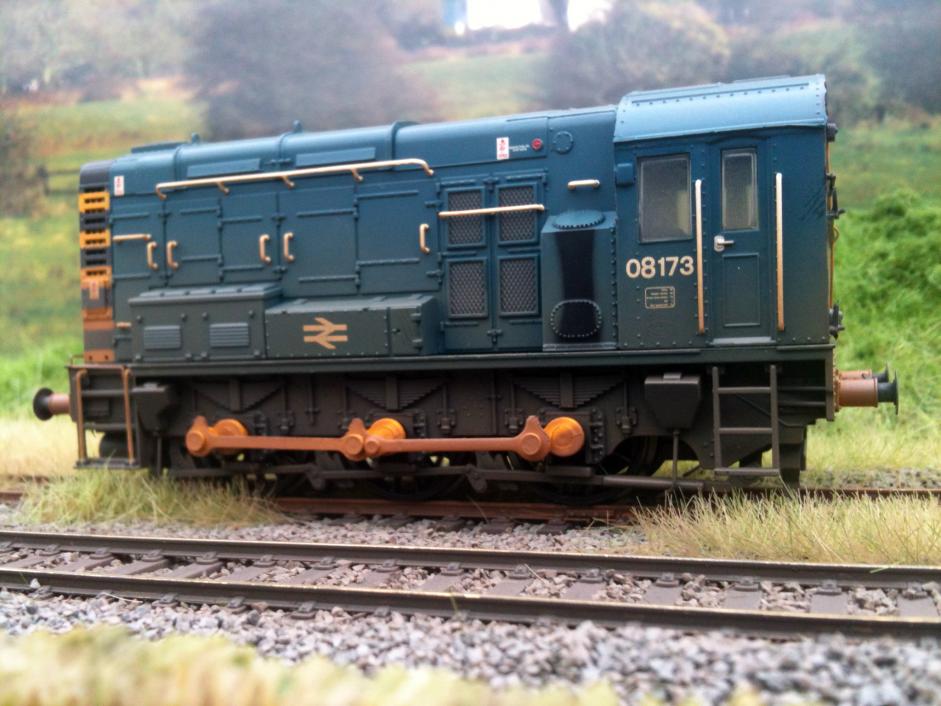
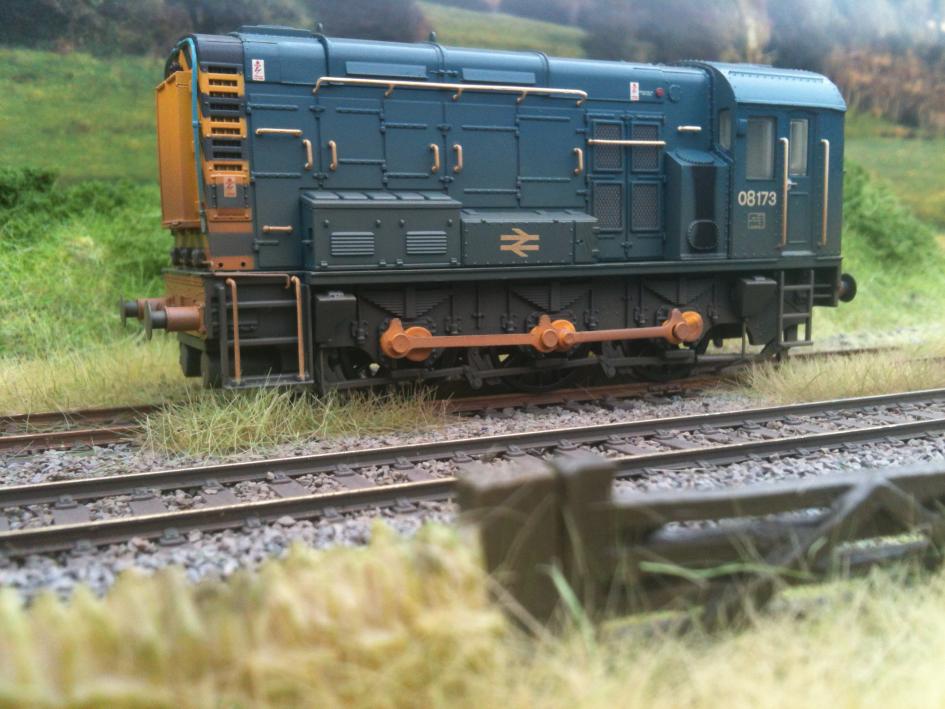
Another shot of the factory finished Bachmanns Class 08, a close up shot like this shows you how effective the static grass is and the difference the Woodland track pens make to the track. Other small details added to layouts will be noticed by very few but add extra realism, did you spot the authentic fishplates under the back wheel of the loco?
-
Some pictures on the board:
Heres Bachmanns Class 08 straight out of the box and set on the track. The loco has basic factory weathering that we'll change in a later feature but for now it looks quite at home resting up in the siding
-
Step 14: Add a suitable backscene in this case Gaugemaster, and it completes the look. Remember the board is less than a foot from front to back but the correct backscence will give the appearance of a large countryside.
-
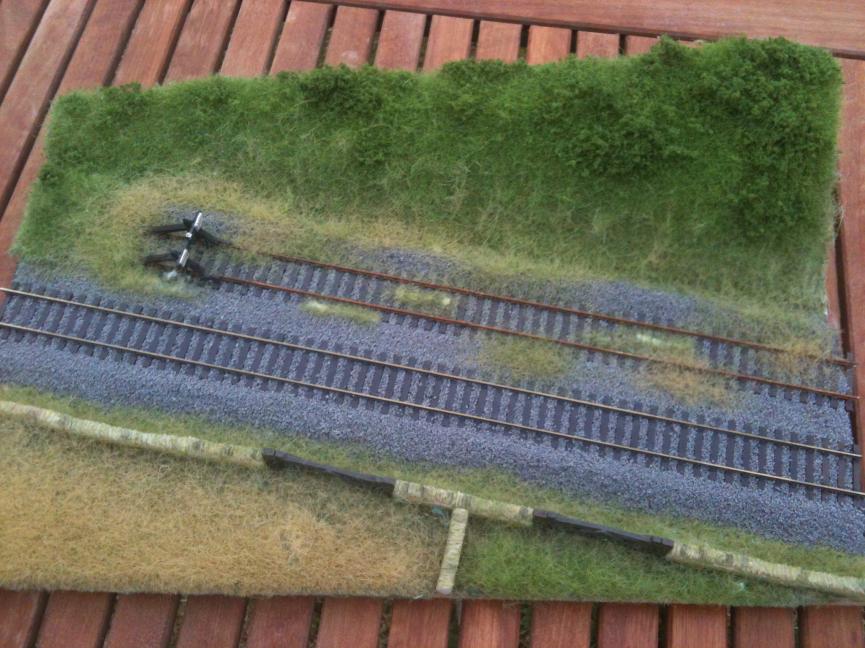
Step 13: To finished off the board give a light dusting of Railmatch Sleeper Grime to tone down the ballast and give a weathered appearance
-
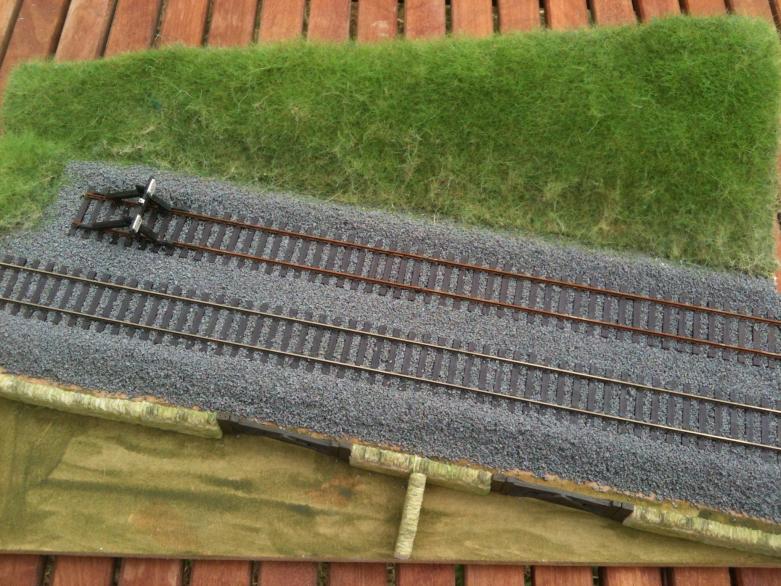
Step 12: Whilst the glue on the siding grass is drying we finished off the two fields at the front of the board, Grassmaster again and two different shades leaving a slightly darker shade towards the walls. The space between the ballast and the walls was completed too.
-
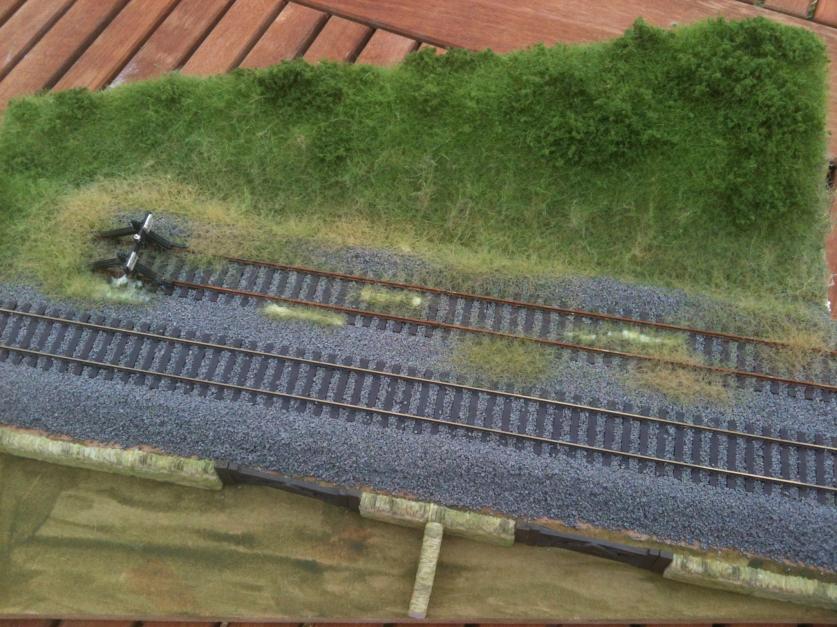
Step 11: Once you have the upper part of the bank looking the way you want it we move the the siding and the edge of the ballast shoulder. We're modelling a rarely used siding so we want to have the grass encroaching onto the siding. Same technic used again with the Noch grassmaster put glue down on the area you want to have grass then run the grassmaster over, mixing different shades with the lighter burnt grass closer to the track. You can see here the glue is still drying. Once the glue has dried then use a low powered hover to lift the excess grass.
-
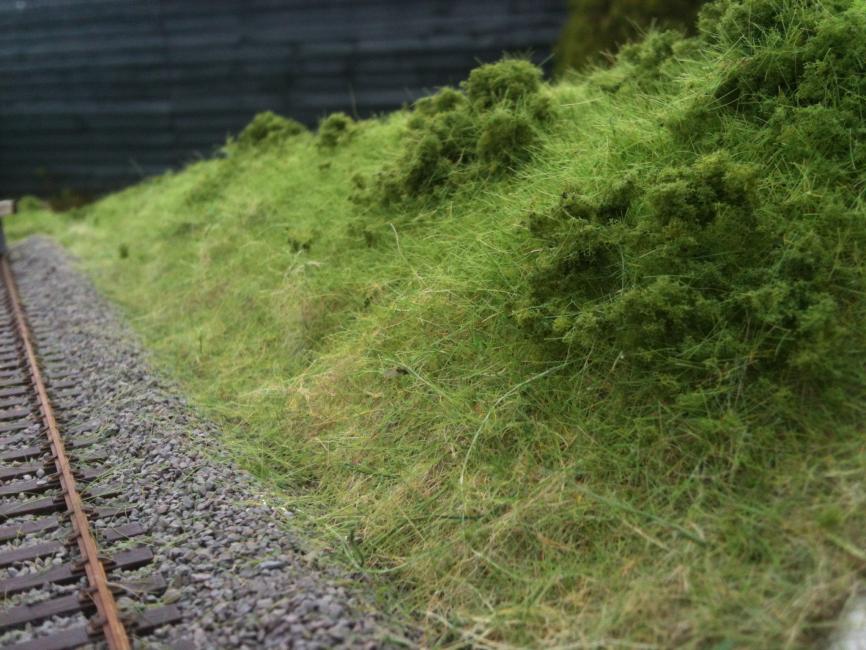
Still step 10: A close up up the bank shows how the depth is starting to take shape
-
Step 10: Still working on the bank, start to build up the depth of the grass using Woodland medium and coarse turfs, again we mix shades to give a more realistic appearance. We also use the grass master here building up layers. If this was a layout its likely we'd have a few tress added to the bank, but as this is only a small board we aren't putting any on here.
-
Still step 9: A close up of the grass bank, starting to take shape but stil needs another couple of layers added to get the effect we want
-
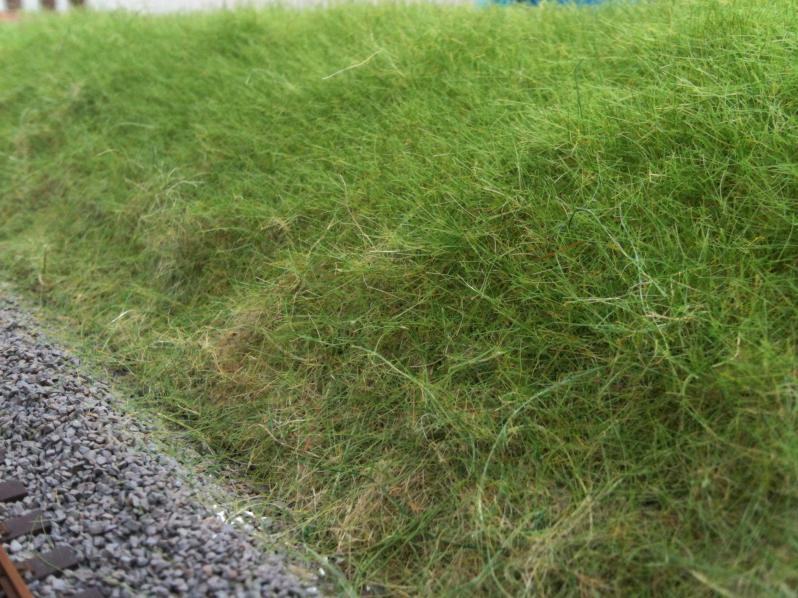
Step 9: Next its the grass bank, there are many ways of doing grass, we love our Noch Grassmaster and its used on all our layout builds as the grass effect it gives is super. The key here is to build up in layers and shades, again take the time to build it up and the results make it all worthwhile
-
Step 8: Now use Woodland plaster cloth to form the shape of the bank, covering squashed up newspaper. Use masking tape and water to hold the newspaper in place if its a larger area. The front area has the Hornby Granite walls glued in place. Once the glue and plaster cloth have dried, paint over with Woodland Green undercoat to hide all the white and brown. This provides a good base coat for the grass that will be added next.
-
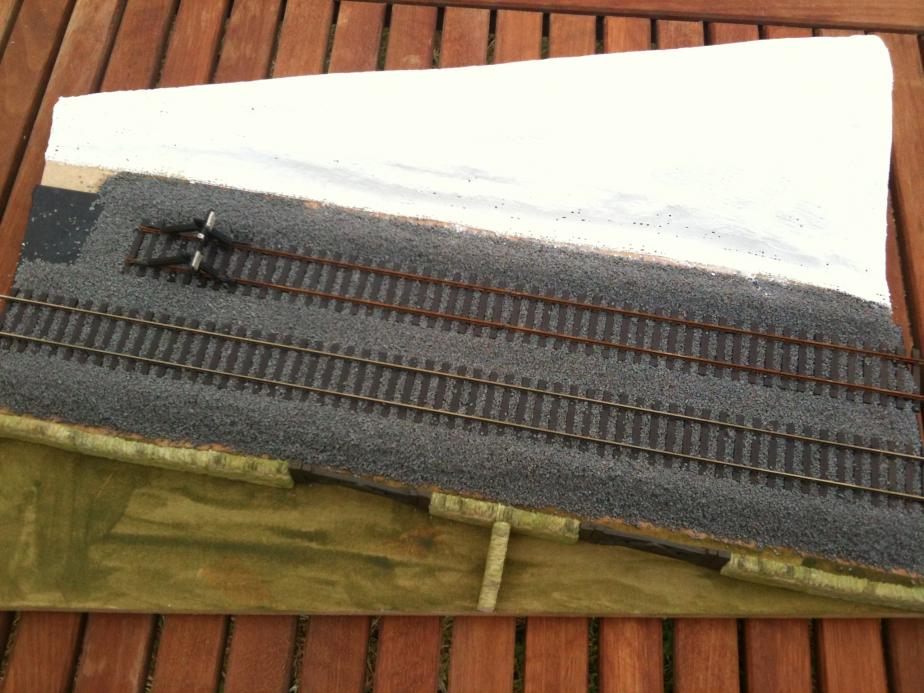
Step 7: Either a sharp knife or Woodland Hot wire cutter can be used to cut the back sections to shape.
-
Step 6: Next form your backing section from Woodland Scenic subterrain foam boards, very easy to cut and they are designed to lock together easily. They are glued in place using Woodland Foam Glue
-
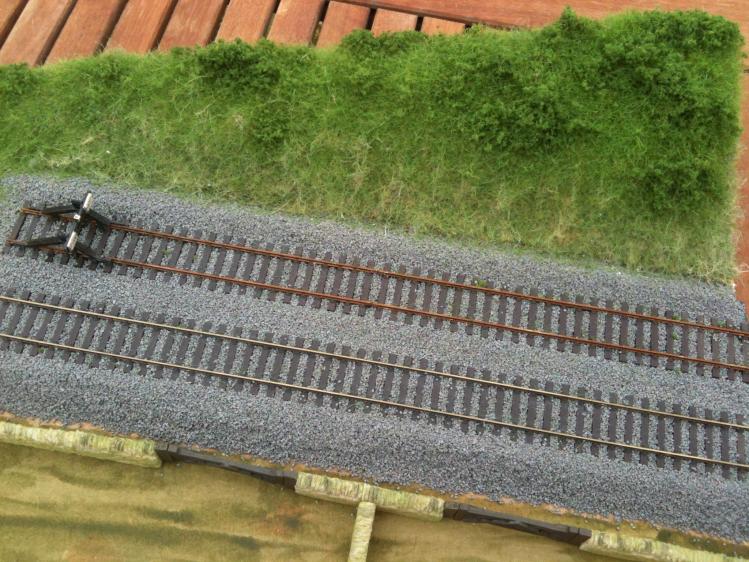
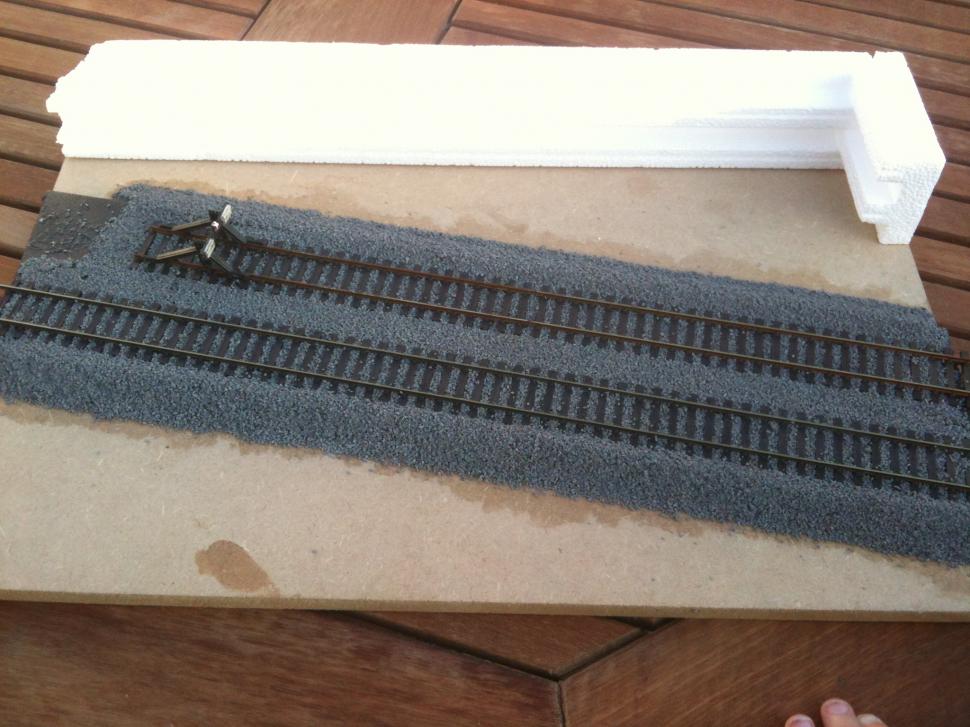
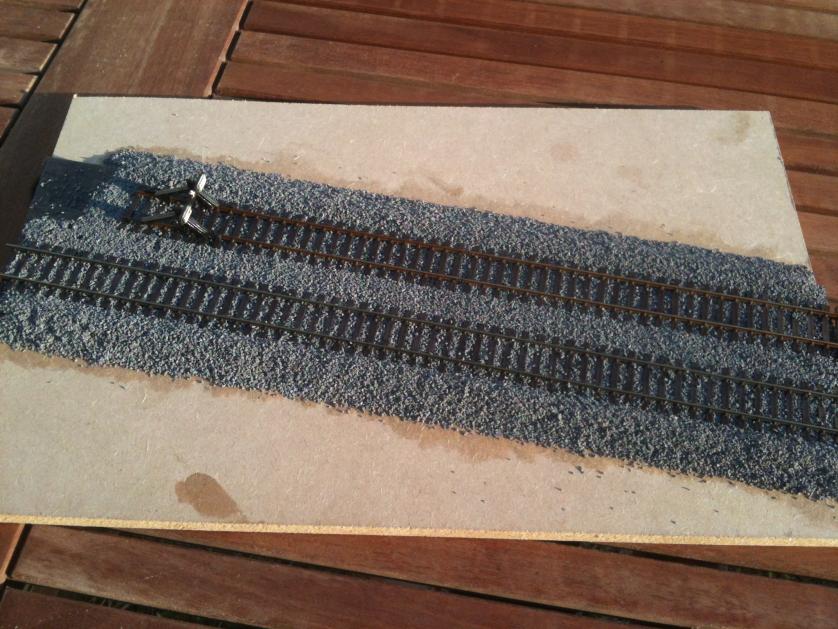
Step 5: Next its time for the ballast, a bit of a tedious process to do but take your time and get it right and its well worth the effort. Ballast was scattered dry gently brushed into place and a ballast shoulder created either side of the track. Once it was in place it was given a light spray of water using woodland scenic sprayer. Whilst still wet we used a dropper to soak the ballast with woodland scenic cement, the shoulder is quite deep so it's important to make sure the glue has soaked through. We generally as a rule of thumb let the glue dry overnight and then give it a second soak to make sure everything is locked in. Nothing worse than lifting a board and finding the ballast fall off as only the surface has got glue. If any bits of ballast move while gluing don't worry, once it drys touch in the ballast AFTER the glue drys. Do not touch the ballast while it is wet!
-
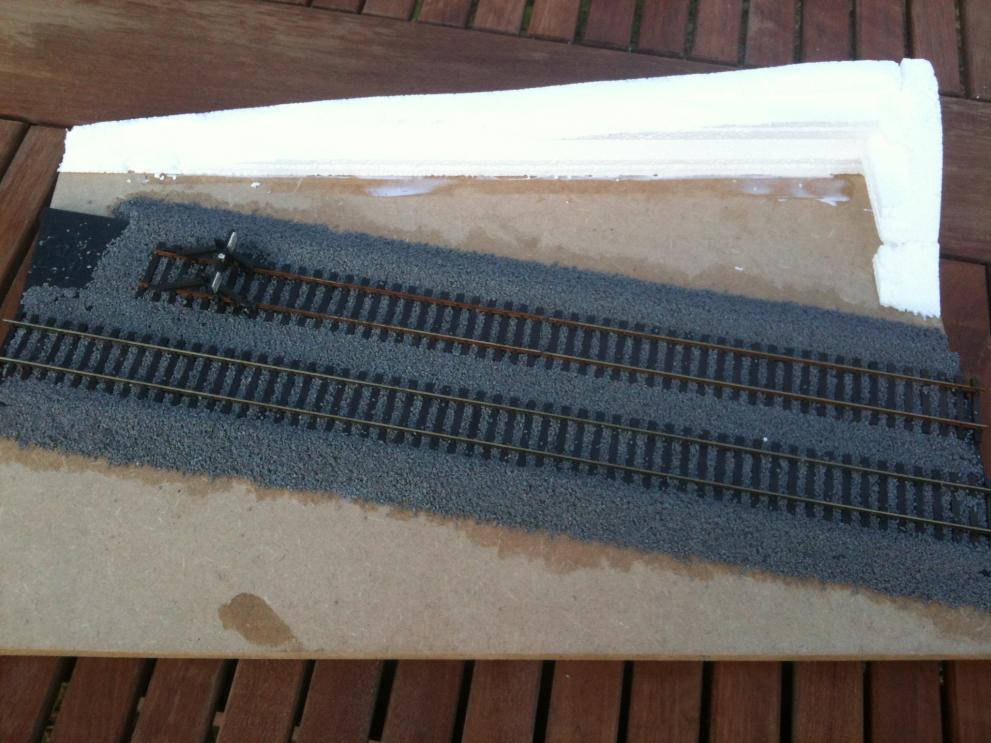
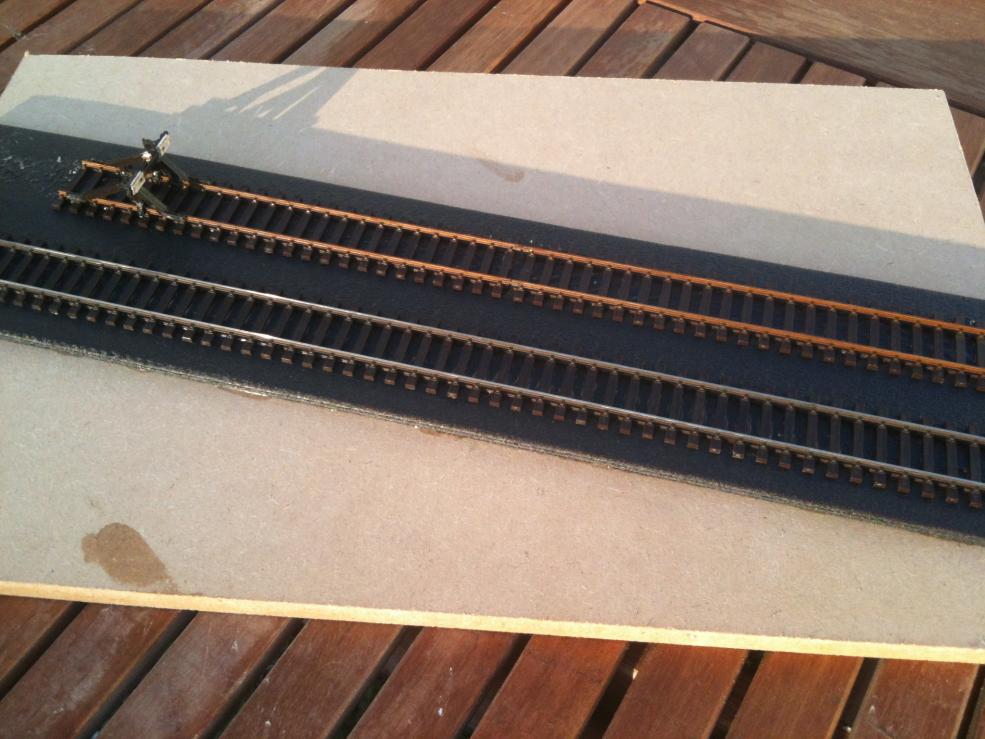
Step 4: We then trimmed the track on our siding. The rails are painted with Woodland scenics new track paint pens, so easy to use and make track painting a joy! The Peco buffer stop was then fitted in place.
-
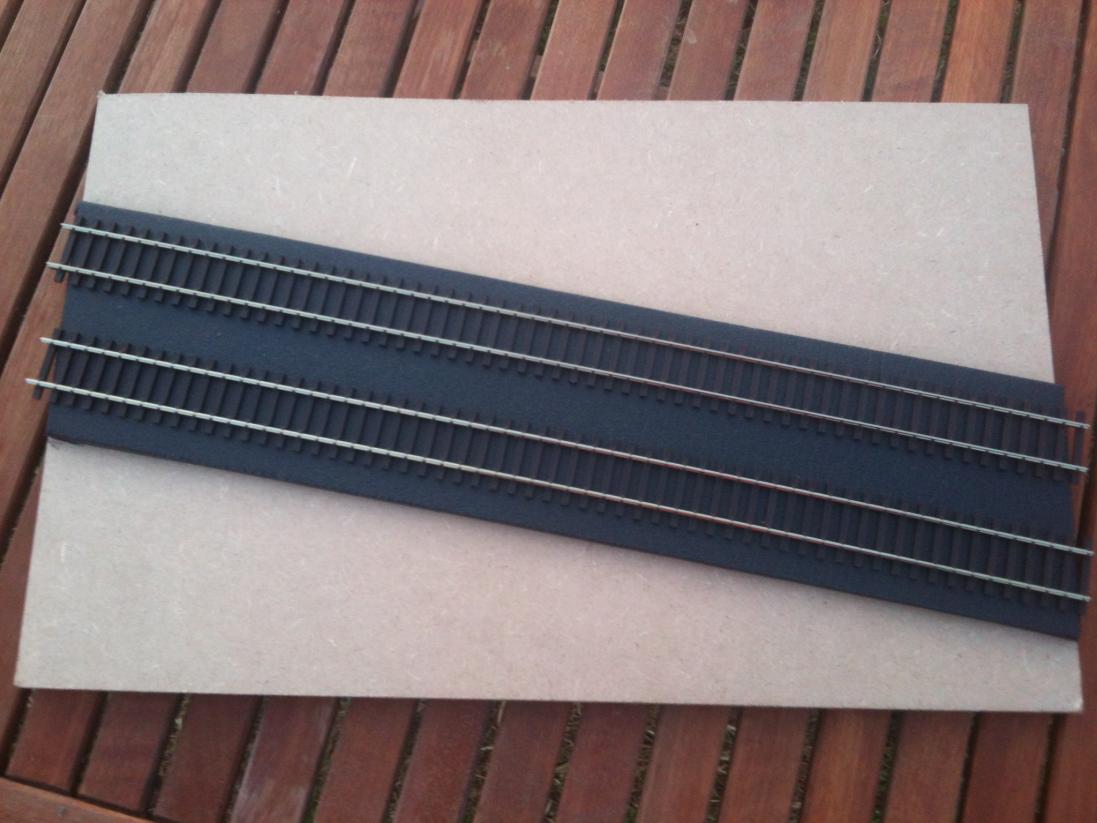
Step 3: Woodland underlay is cut to size and glued in place, the track is then glued on top. We used the larger sheet cut to size for the double track, the underlay is available in rolls of single width.
-
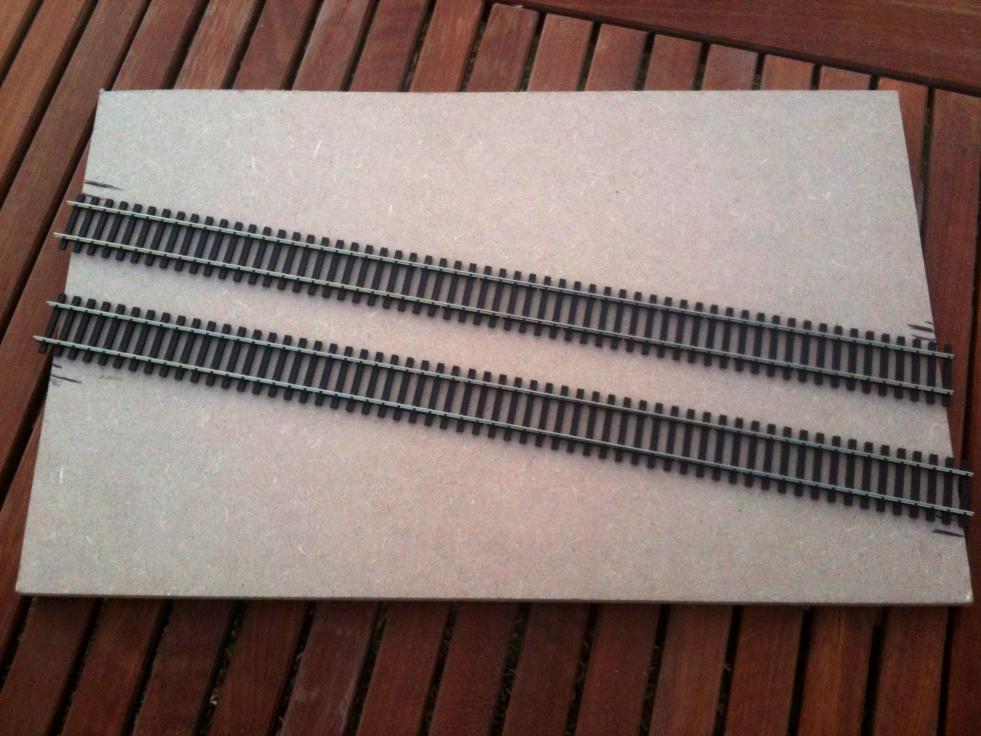
Step 2: Place the track on the board and cut to size, theres a slight overhang but we'll trim that later after the ballast is all down
-
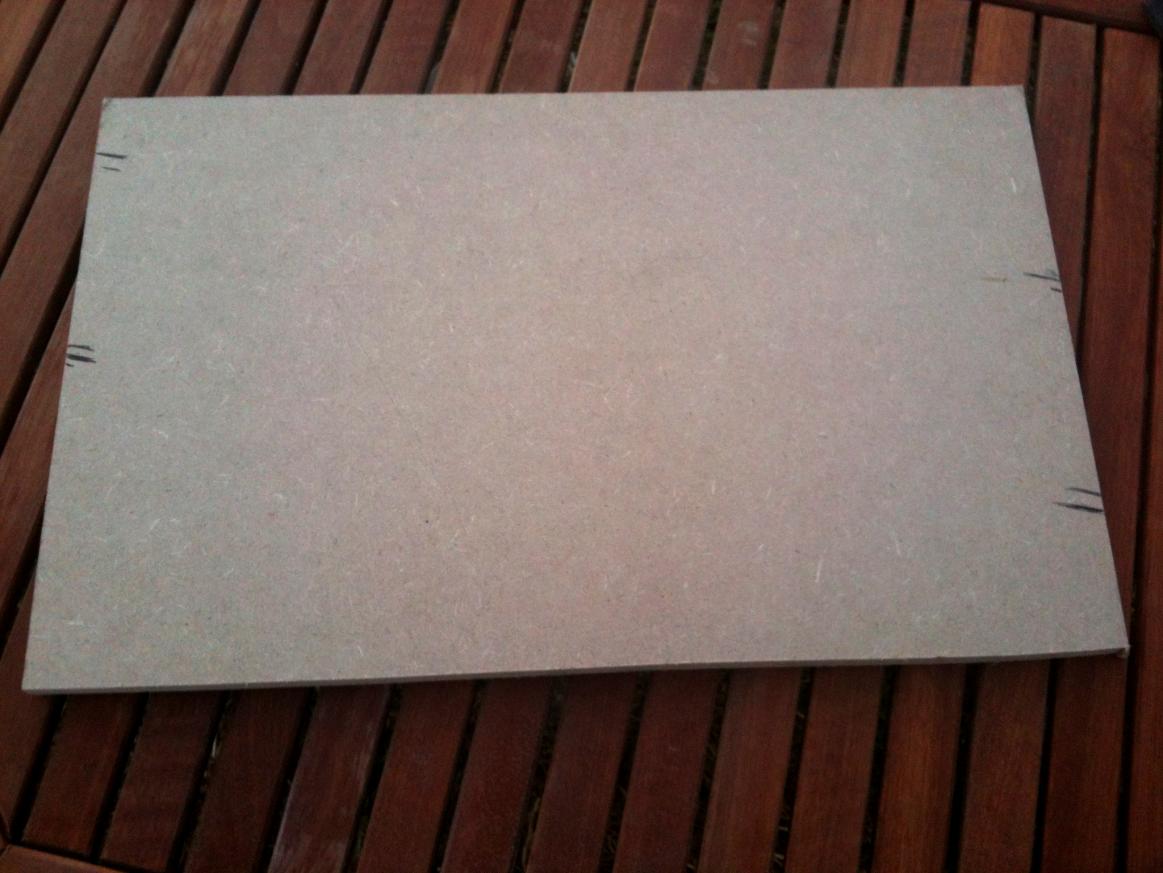
Scenic How to: We are always asked how to do scenics so we thought we'd put together a 'How to' step by step on doing a scenic board. This is a small sample board that we'll have on display in store so you can view it in detail. If your apply these technics across your layout you can recreate the same as is shown here. If don't have room for full layout then a small board this size is great for displaying your models or using to photograph. If you've any questions on anything shown here feel free to post.
Step 1: Starting off with our blank board we mark out roughly were we want the track to go


Detailing a signal cabin - how to
in Tips & Tricks
Posted
Step 3: We assembled all the pieces and then set them in the cabin on a dry run to check out placement and appearance.