
Angus
-
Posts
270 -
Joined
-
Last visited
-
Days Won
3
Content Type
Profiles
Forums
Resource Library
Events
Gallery
Blogs
Store
Community Map
Posts posted by Angus
-
-
On 4/19/2020 at 6:04 PM, Galteemore said:
Here’s some from my dad’s collection.
Hi Galteemore,
Thanks for those, they're nice detailed views of three vans on my build list.
Most useful!
-
 2
2
-
-
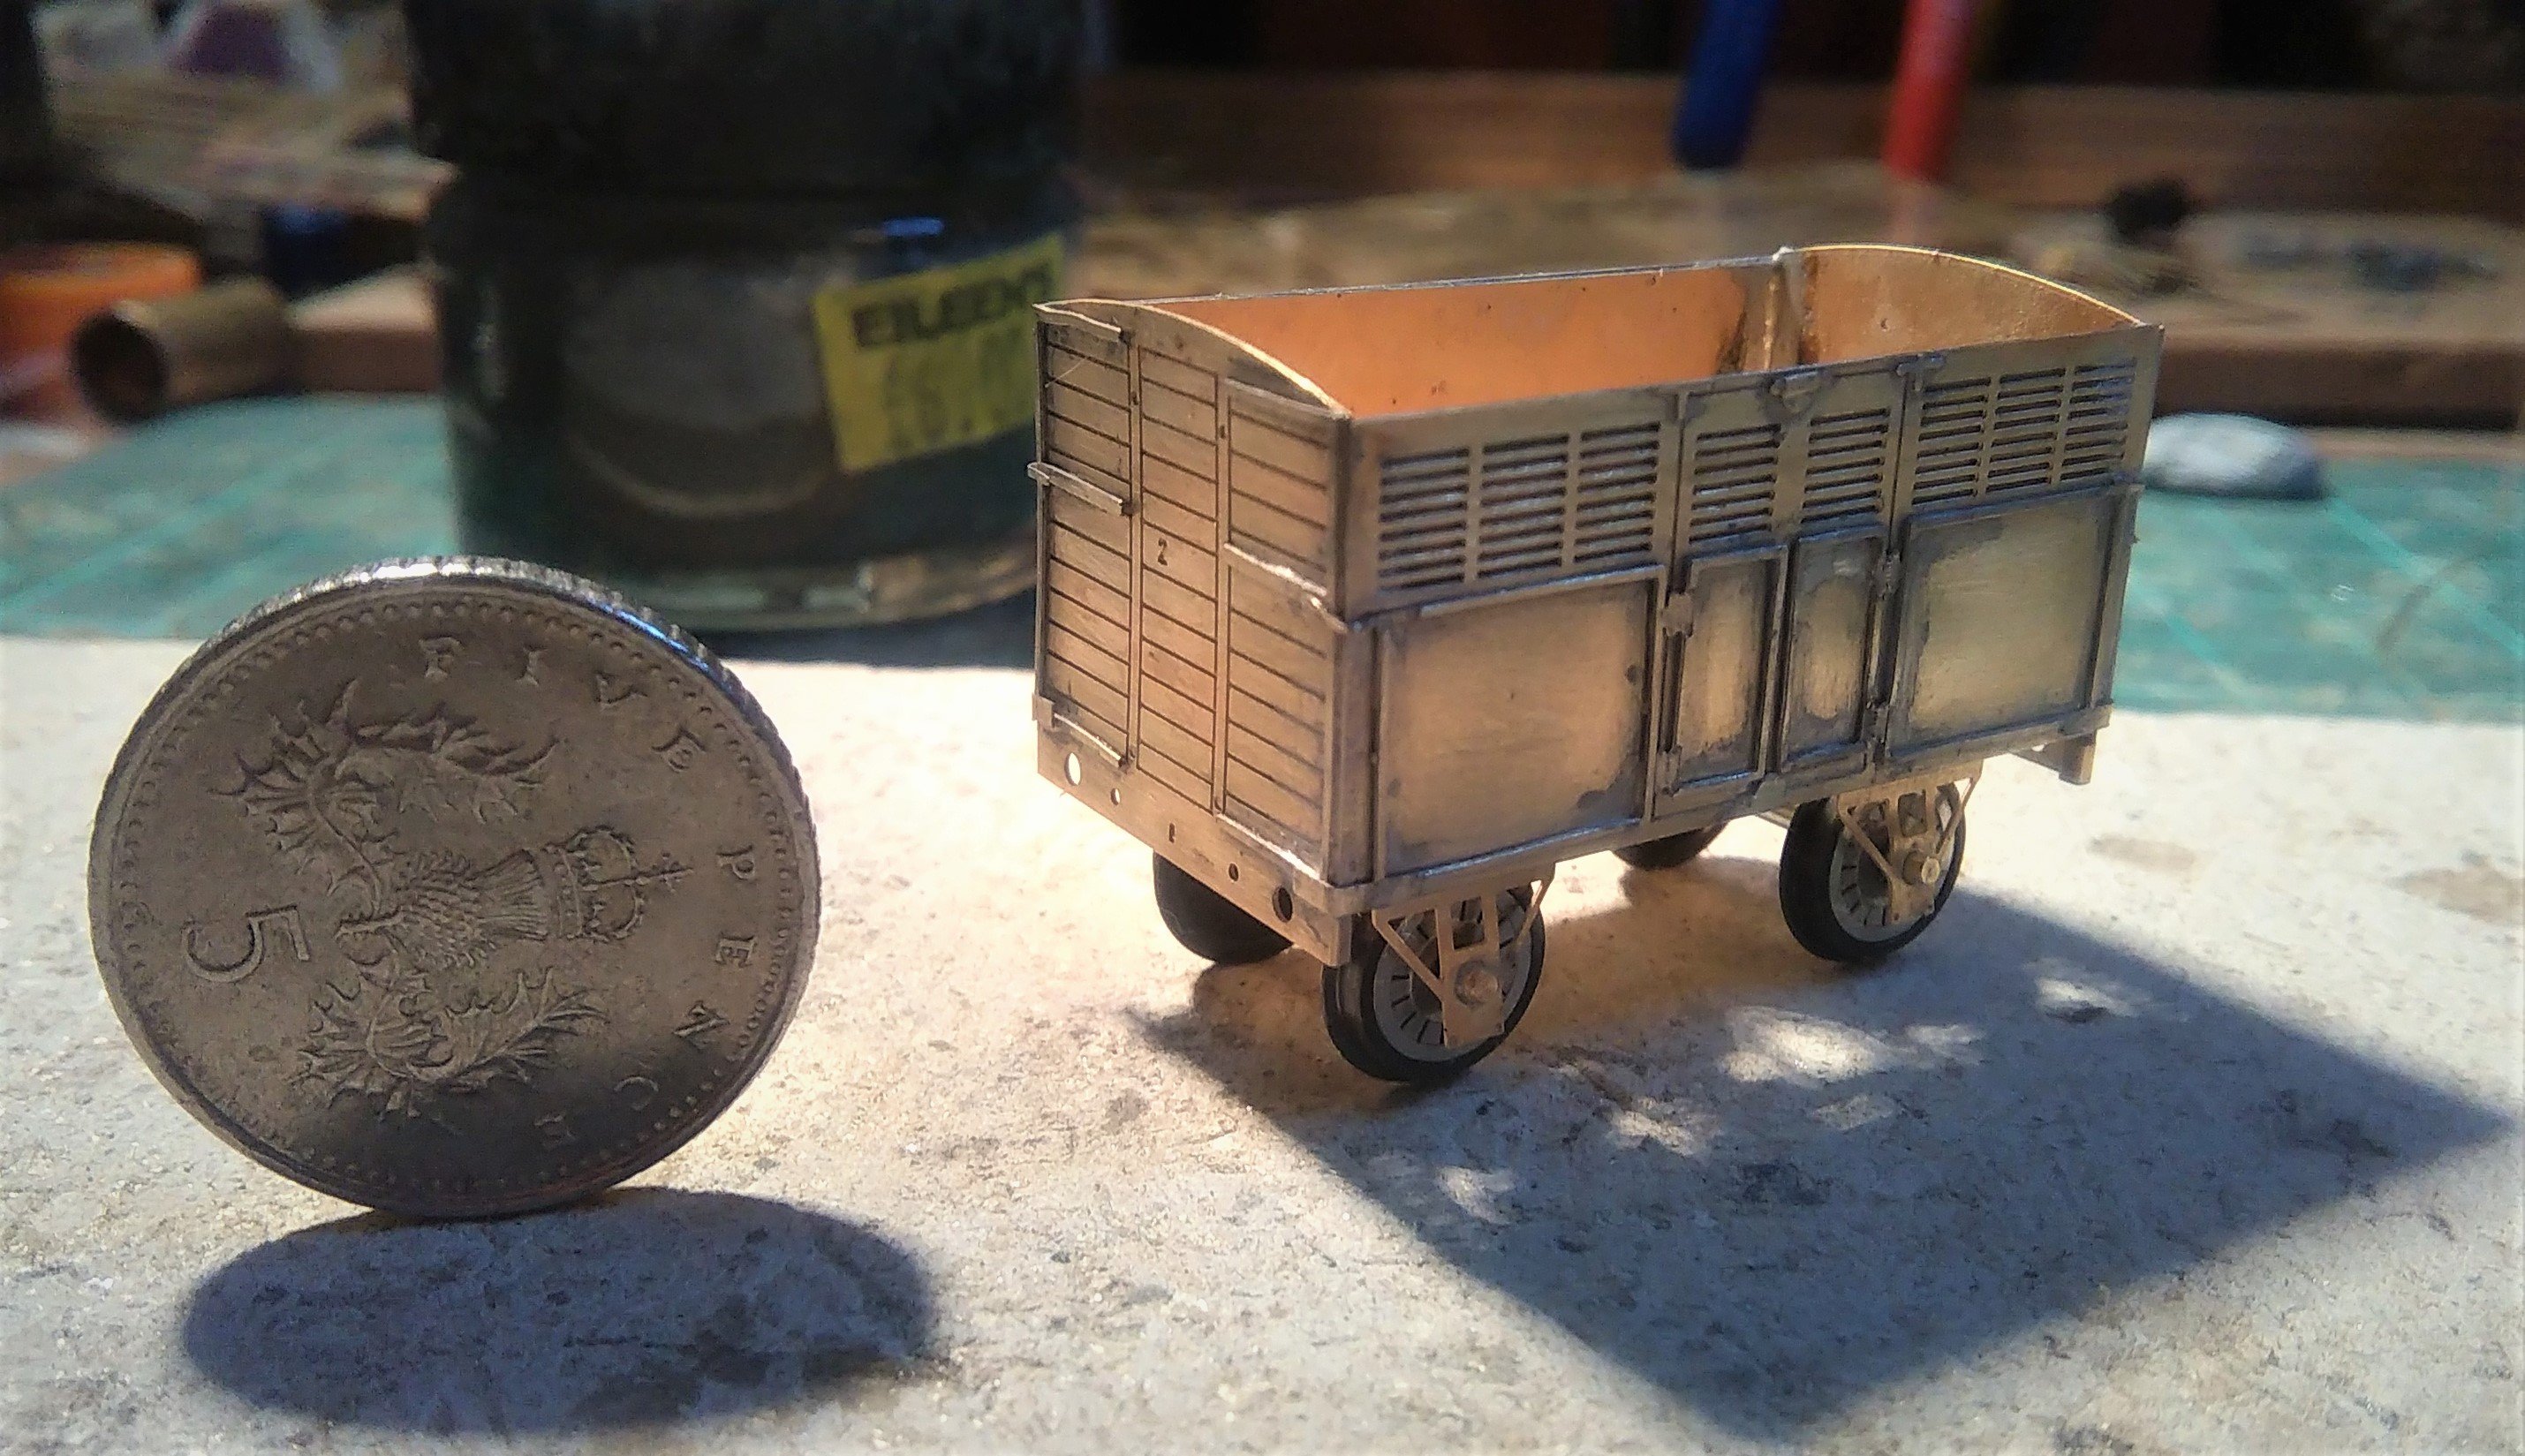
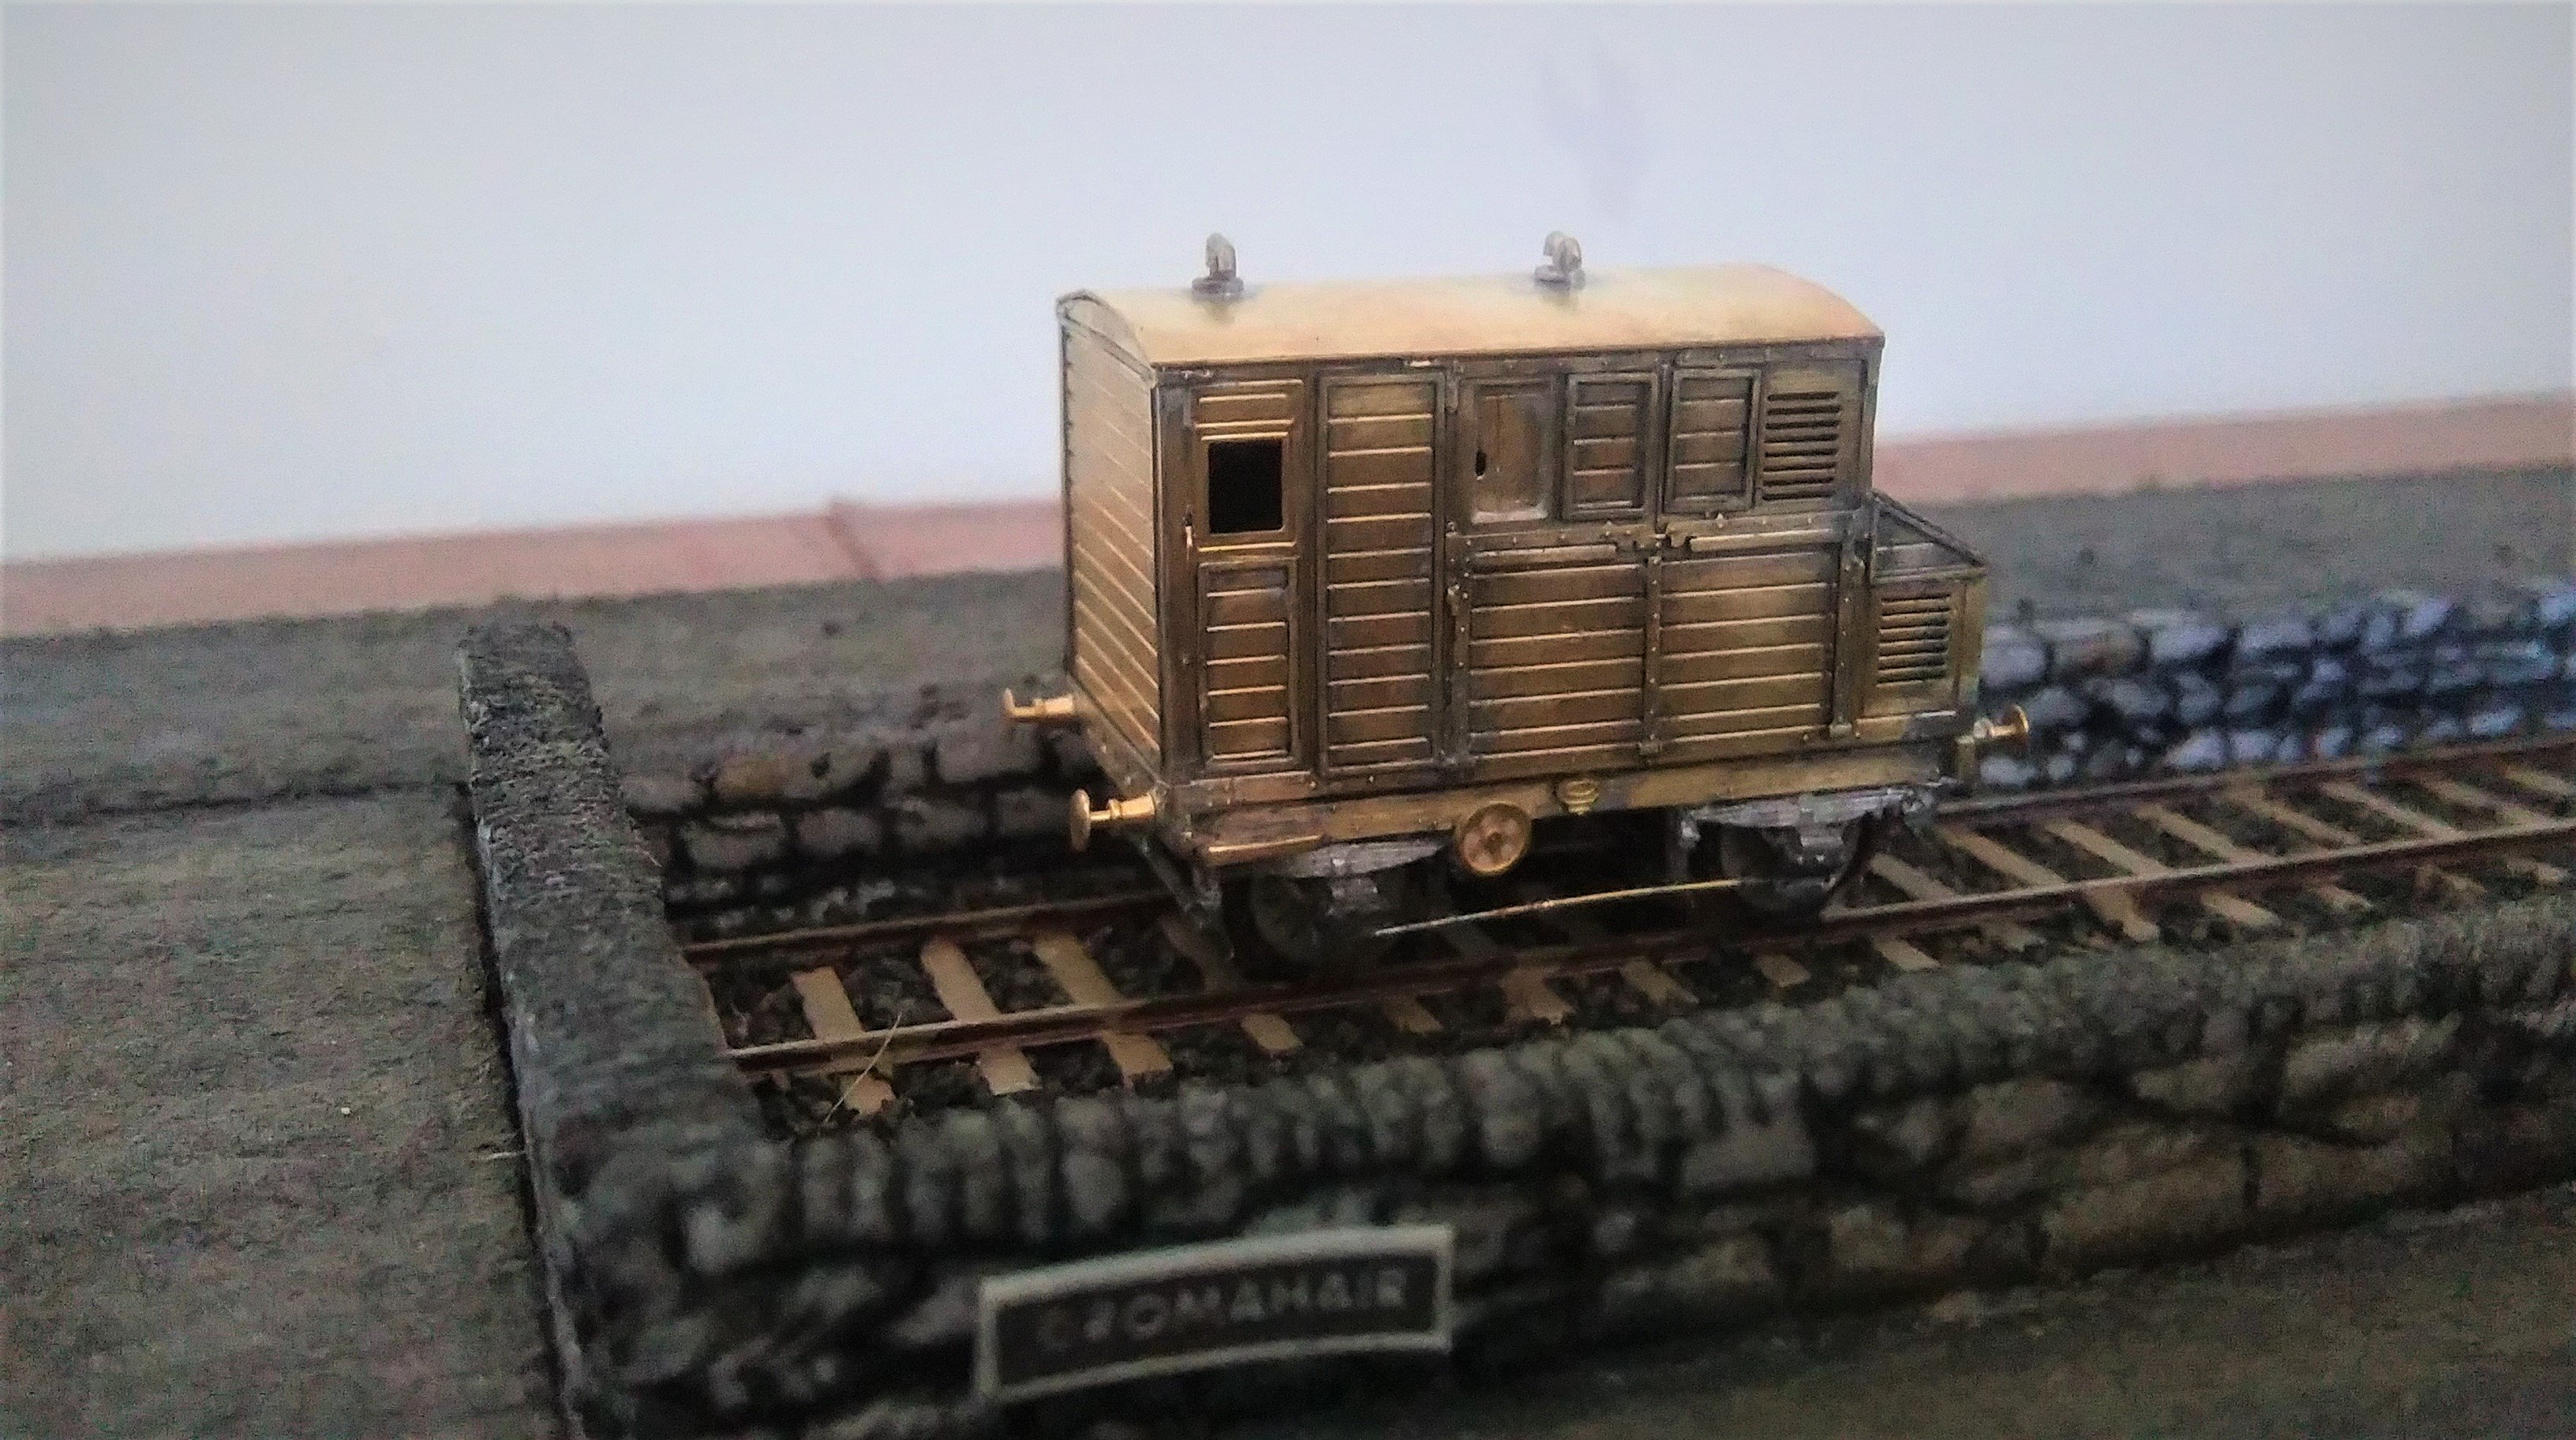
With the Horsebox finished I've been cracking on with the first of the meat vans.
Lessons from the horsebox build has meant the van is going quicker. Here staged beside the obligatory 5p piece.

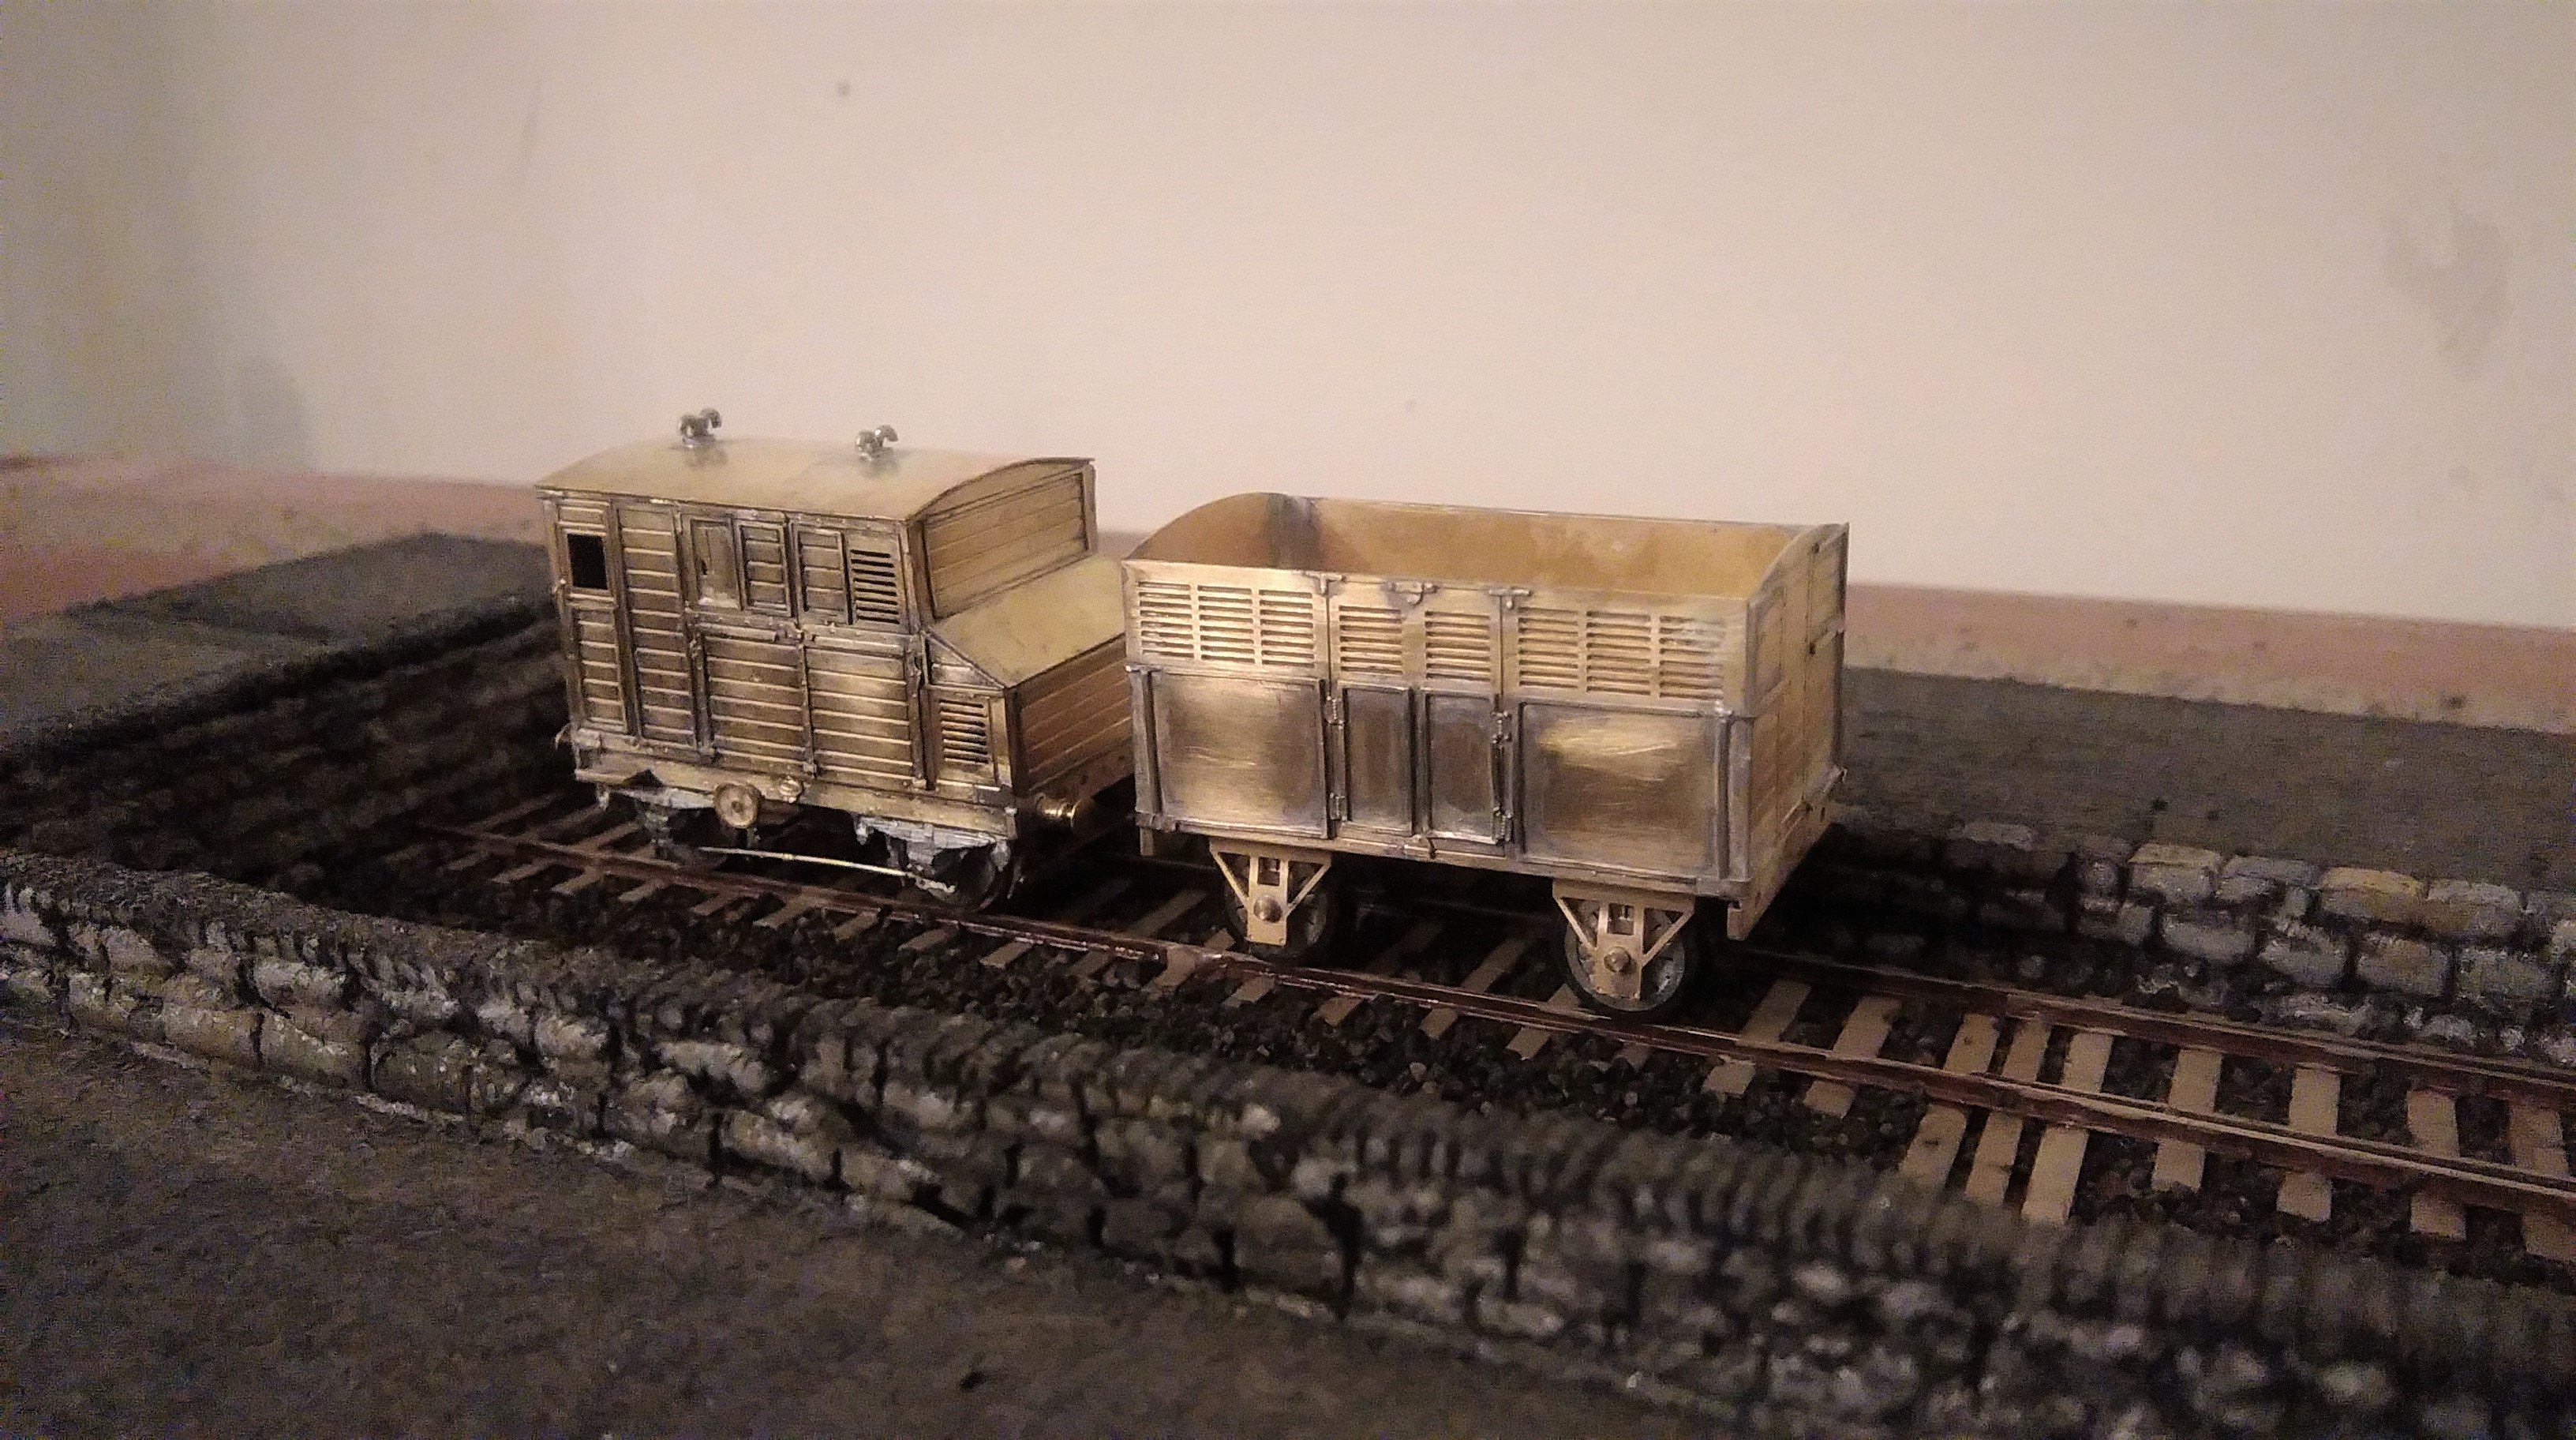
I couldn't resist a shot with the horsebox.
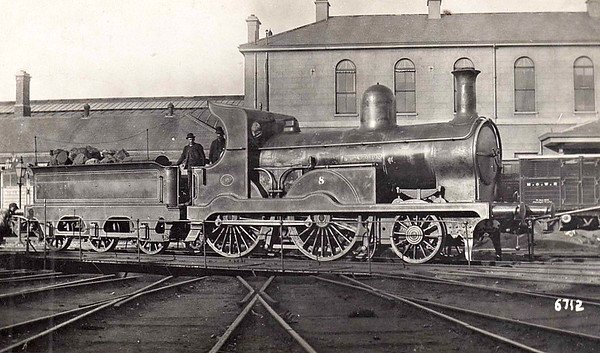
I'm planning to finish the first of the meat vans in MGWR livery.
The only photo I've found of a van in this condition is the one in this link:
I would love to know what the writing on the bottom planks says. It is probably too small to reproduce in 2mm scale. I like to know all the same, any ideas out there?
-
2
-
 2
2
-
-
Hi jhb171achill,
I think 1934-35ish is definitely the "sweet spot" of my interest. So a bit of back dating at Dromahair is required.
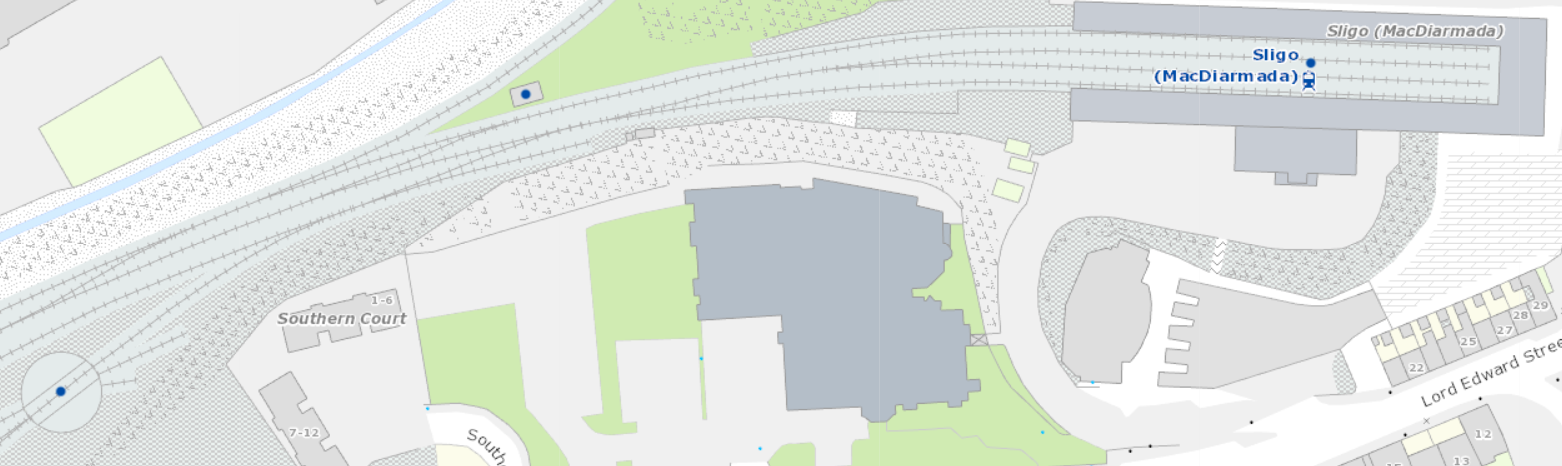
I've also being playing around with Sligo in Templot.
The background map is a bit weird as along its length it is to scale but slightly under scale in width, still it gives a good impression from a first attempt.Most of the pointwork is 1 in 7 but I had to go sharper in the engine yard just to make the trackwork fit.
The faint outline is the proposed baseboards at just over 9' x 1'6" the two board being connected at an angle to allow for the curve. It's this curve which give the layout a nice feel.
Note, the loading bay spur in front of the station needs extending bit.
I've curved the line down to the Quays back to allow a freight traffic to reverse into the fiddle yard off scene. The reverse curve will be hidden by the trees present in real life.
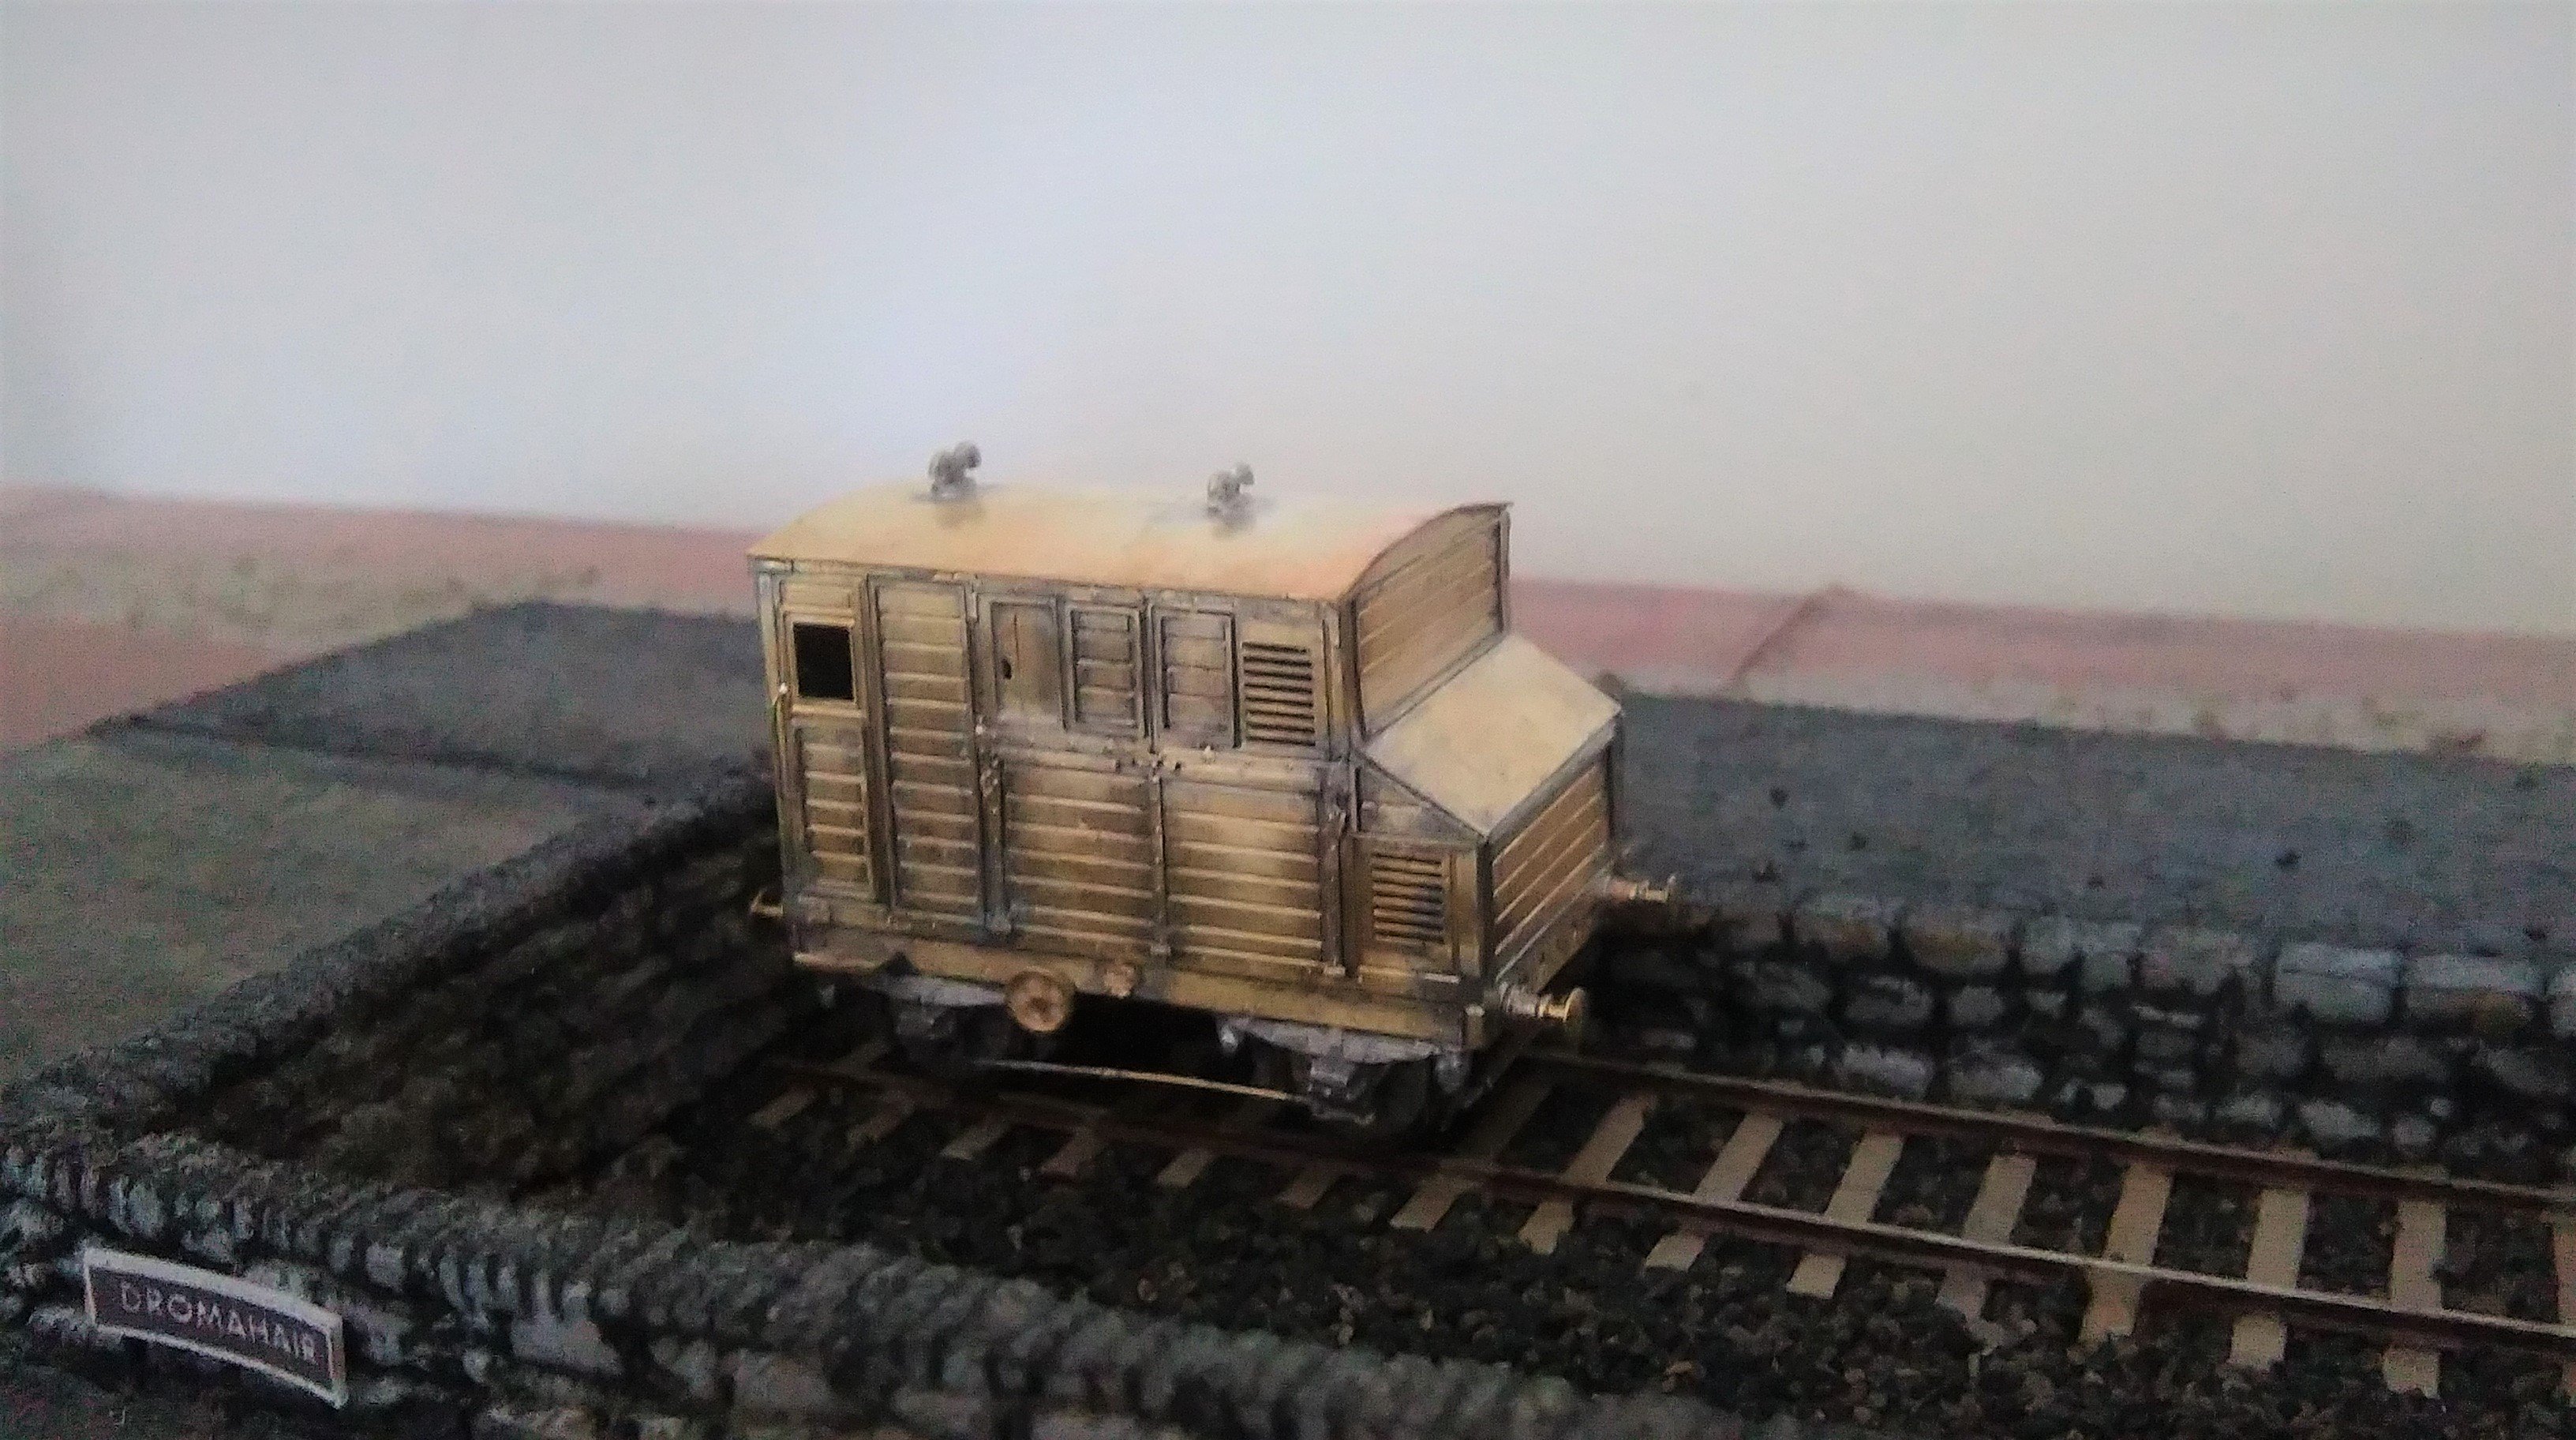
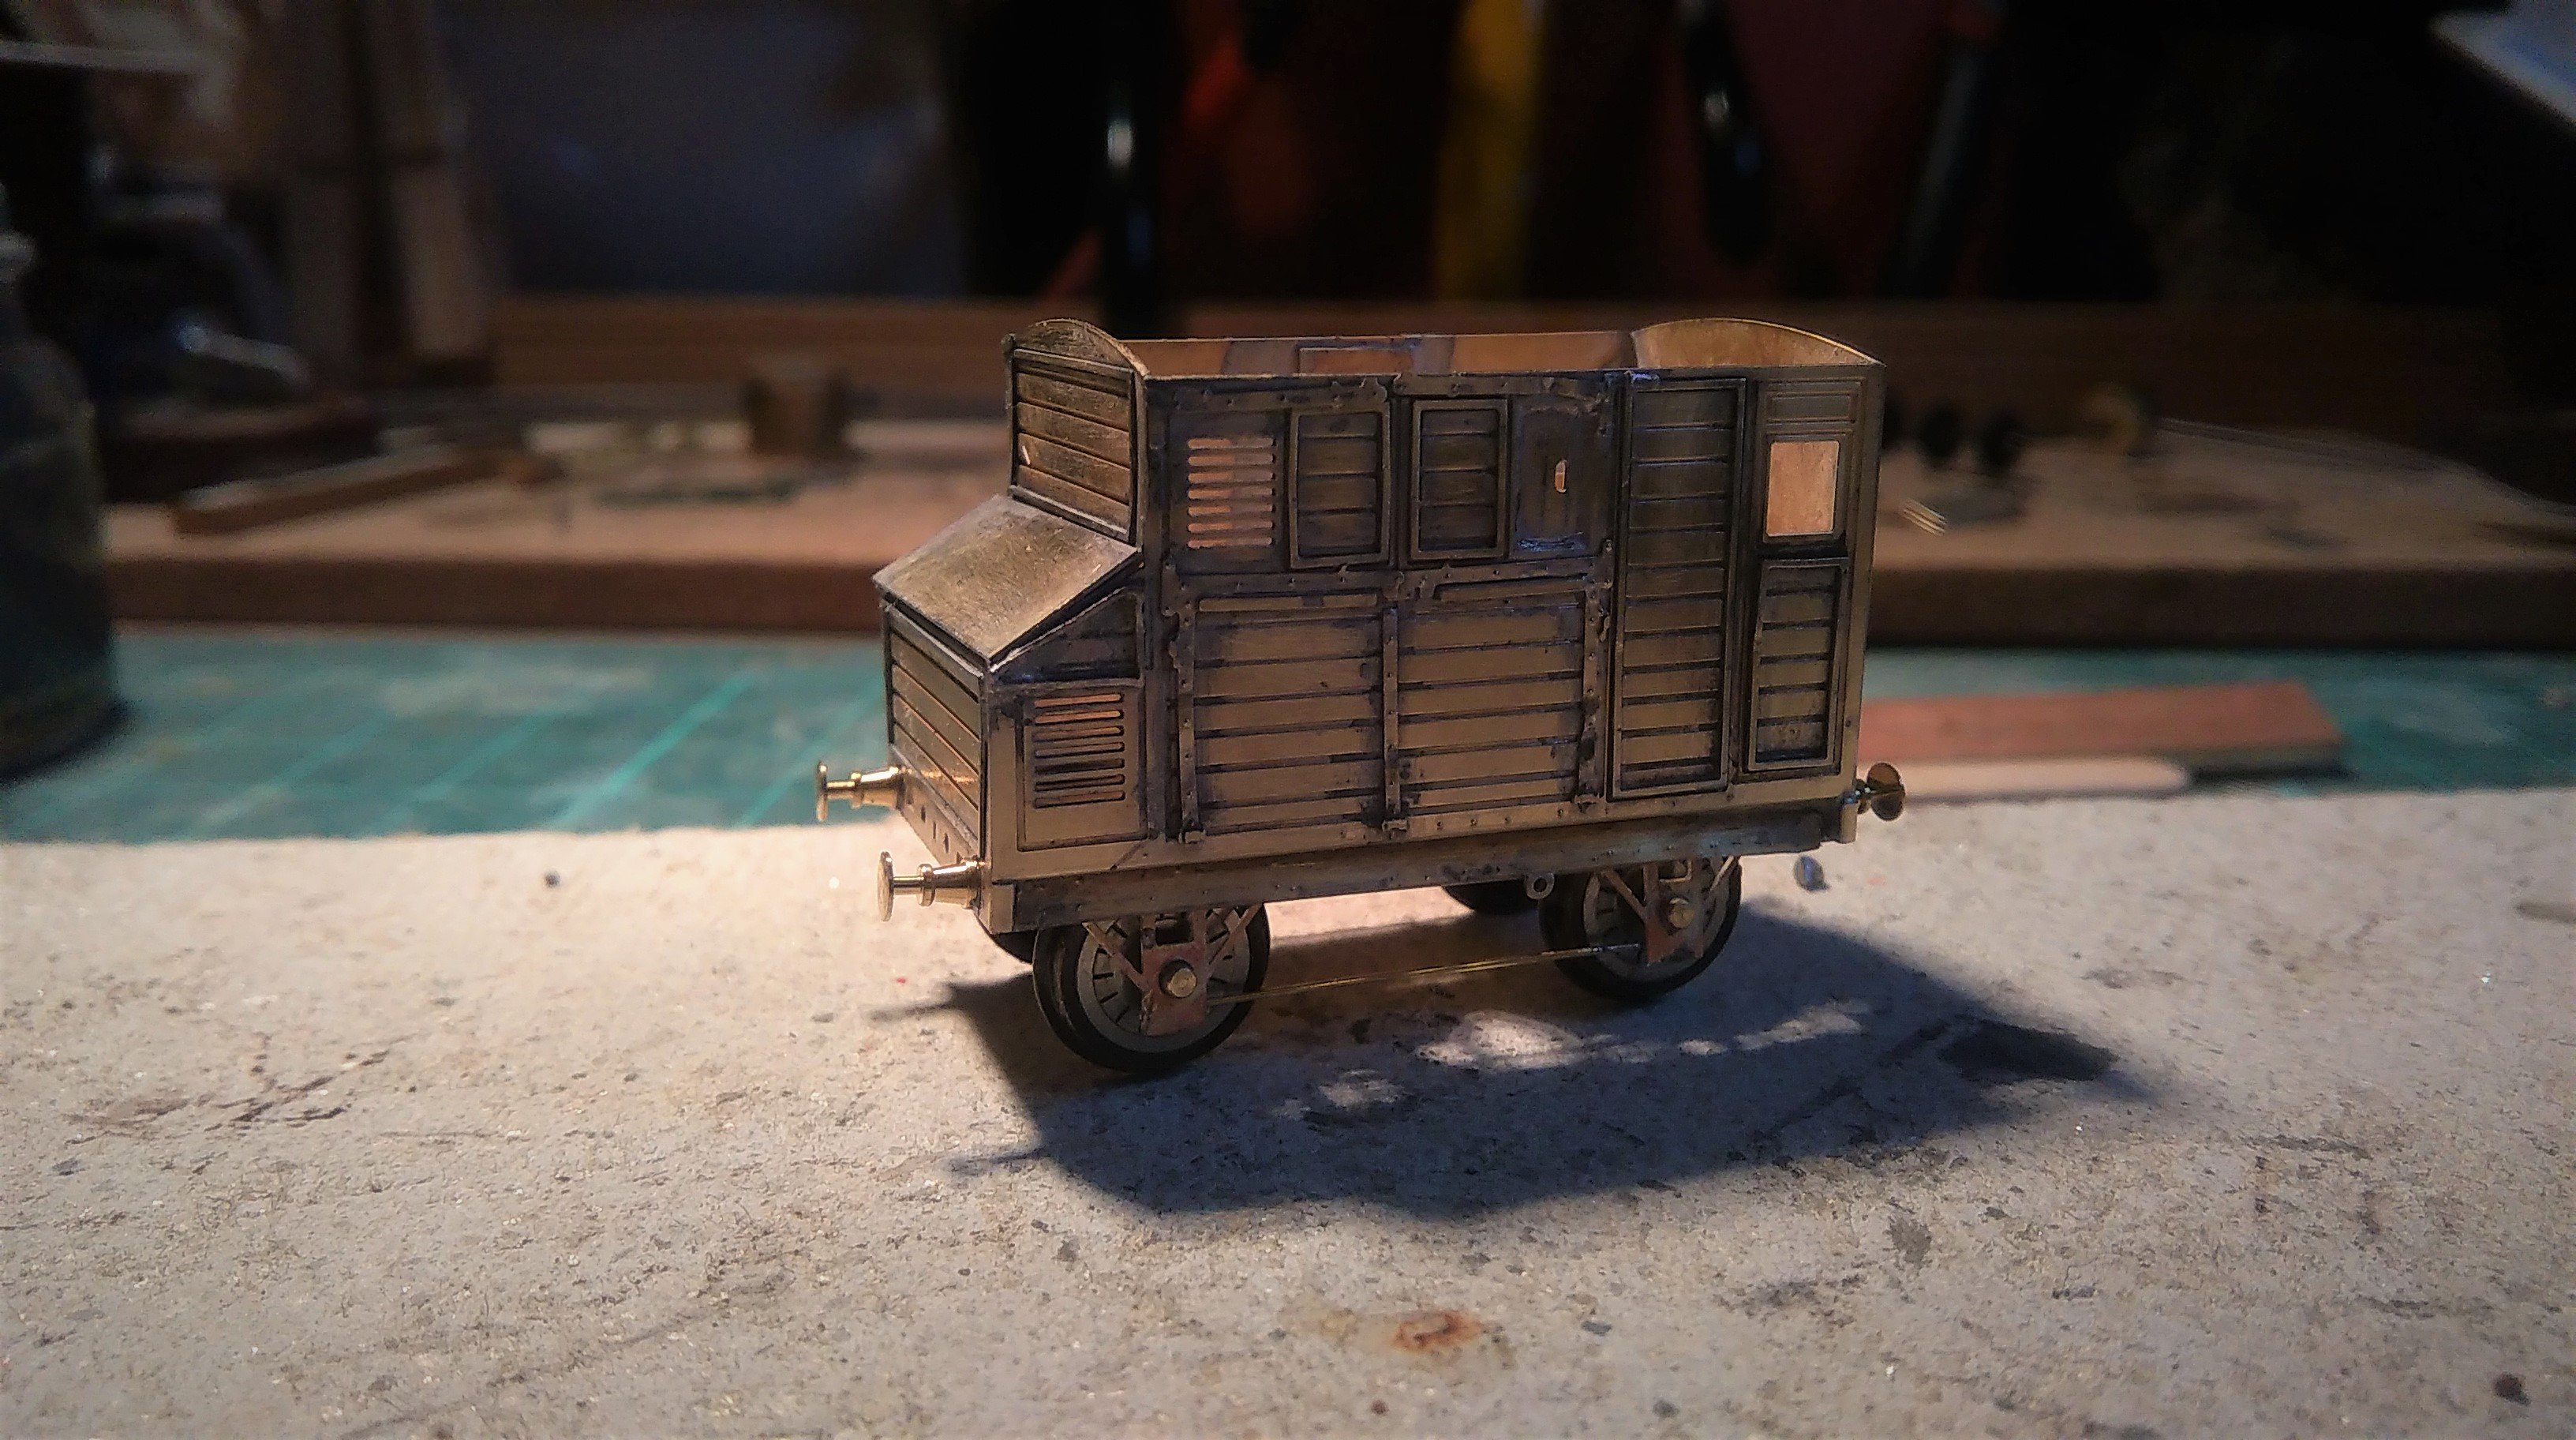
Anyway, enough dreaming! Prompted by a request for a photo for the 2mm Scale Association's bi-monthly magazine I've finished the horsebox build (still needs paint and decals)
The vents were formed from 0.6mm wire, two lengths being bent to shape and the backs filed to half thickness and the pair soldered together.
It was actually easier than I feared, the harder part was getting the vents mounted in the roof at a similar level and alignment.
Seen here posed on the fledgling Dromahair at the end of the goods bay ready for loading.
I'll have to re-do the station sign as it has warped.
I'm now on with the first of the meat vans. I'll post up progress as soon as I have anything worthwhile.
-
2
-
1
-
-
Thanks JHB171Achill. That livery information is useful, I think I'll go for the GSR livery.
it will add a splash of colour and will still be correct if I turn the clock back to the mid 30s.
I'll also keep my eye out for the Connemara book.
C E J Fryer's Waterford & Limerick book has just landed so more reading underway for traffic feeding Sligo.
Lots of nice D17 pics, one of the nicer GSWR locos as Mayer's recent build ably demonstrates.
-
2
-
-
A question if I may Jhb171achill?
Presumably the horsebox would have been maroon as a NPCS vehicle?
If so would the chassis have been grey originally?
Thanks.
-
Indeed David, that's the book I picked up that technique. It's a volume that should be on every modellers book shelf.
-
 1
1
-
-
That's a very nice van you've built there Galteemore, the rivets stand out particularly well.
-
 1
1
-
-
10 hours ago, David Holman said:
Minor health warning though - JHBAchill will not be amused to hear of wagon chassis being painted black!
Hi David,
I fairness I try to avoid painting anything black (unless it's an LNWR engine) for chassis I use a mixture of gunmetal and black mixed to give a faded metallic dark grey.
-
3
-
-
Hi Midland Man,
For etched kits I always use Halford''s primer in aerosol spray cans.
As long as you warm the cans it gives good coverage and adheres well, I've never seen the need for more expensive etched primers.
I tend to brush paint the chassis and anything black.
The body may be sprayed (aerosol spray again) or brush painted, depending on what colours in what format I have in stock;
I do have an airbrush, bought about 10 years ago, but embarrassingly have never used it. It's on my "to learn" list.
-
2
-
-
Well, it's the last day of my Easter hols and appropriately I finished the MGWR horsebox I started on the first day of the holiday.
I say finished, actually I still need to attach the roof and build the roof vents (still not sure how I will do this, they are casting on the 4mm kit).
I won't attach the roof until after painting so I can glaze the groom's compartment window.
It is all built as the kit with the addition of step and handrail outside the groom's compartment.
The question now is what livery to paint it?
I've three options MGWR, GSR and CIE.
Whilst my original intention was to model Dromahair in the late 40s since starting the layout I'm increasingly drawn to the MGWR as a prototype. As a result in the long term I might model something joint with the SLNCR, I'm currently considering Sligo station and shed, but may chose something fictional (there's plenty of might-have-been lines in the neck of the woods).
I quite like the idea of mid 30s GSR. From the Casserley photos in Jonathan Beaumont's Rails to Achill book there is plenty of pre-grouping rolling stock still in evidence and I would be able to run chocolate and cream carriages along side the earlier maroon. That would exclude CIE. I just need to decide between GSR and MGWR.
-
3
-
1
-
-
1 hour ago, Galteemore said:
Mayner - that’s fantastic work. You’ve really captured the grace of the original.
I couldn't agree more, stunning!
-
Checking some more plans on the Historic Environment viewer the cross overs are shown in a different position which correlate to MD220's memory and the signalling schematic in the link.
https://webgis.buildingsofireland.ie/HistoricEnvironment/
The link above didn't work sorry!
So, either the cross overs were shifted back at some point or the 25" drawing is wrong.
-
19 minutes ago, MD220 said:
As already mentioned, trains arrived in Sligo at the left hand platform, furthest from the station building. The train locos would then propel the coaches back out of the station well beyond the signal cabin where they would run round the train and then propel back to the right hand/near platform. This was certainly the procedure in the late 80's/ early 90's.
Hi MD220,
I'm intrigued, If the train was propelled past the signal box then, from the track plan posted there is only one crossover so the train can't run round.
I can see that working on the modern rationalised layout as the line reduces to single track.
https://photos.signalling.org/picture?/19486/category/1974-2000_may
I don't know when the line was singled, prior to that was there another crossover not shown on the OS plan?
-
I can't speak for Limerick or Galway, but Sligo had no run round loops at the station:-
The two centre roads (now only one) were used for carriage and rolling stock storage and regularly full to capacity.
There doesn't appear to be any run round facility without blocking both main lines so presumably a station pilot was used here.
If my scaling is correct then the whole station from the back of the engine shed to the end of the station building would fit in 9' x 2' in 2mm scale...........hmmm.........
-
2
-
-
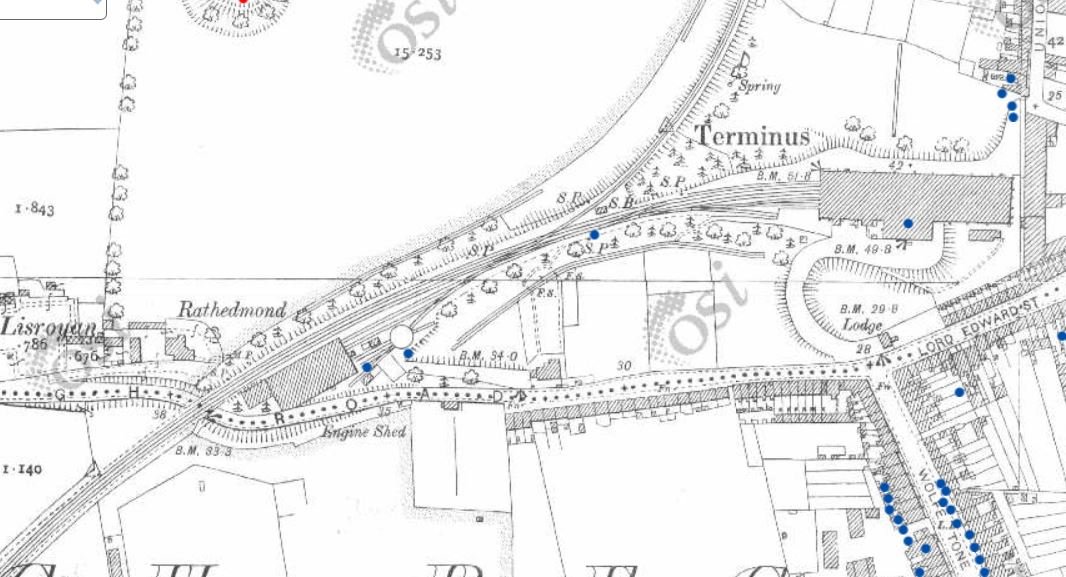
So onward with the brakes.
The etch includes fully detailed parts for the 8 shoe brakes, this is first for me in 2mm, I find them a faff even in 7mm!
Once the shoes were mounted on one end necessitating the remove of a buffer, the locating pin needed trimming as it interfered with the brake shoe locating slot on one side, The brake stretchers and adjusters were assembled.
After a couple of attempts I managed to get the whole lot fitted and the wheels spinning.
Tomorrow should see the other side brakes completed, then it's final detailing time.
-
2
-
-
6 minutes ago, Midland Man said:
I believe it is a JMdesign so if he could do it in 2mm I wonder If he could do it in 7mm
Hi Midland Man,
John very kindly made some minor alterations to his 4mm art work to enable it to be shot down to 2mm.
The etch is 8 thou brass, being half that of the 4mm version the fold lines stay true so the main elements do not need to be changed.
For this to work in 7mm it would need 30 thou brass, very heavy and difficult to work and solder (and expensive).
There is more information about John's products under "JM Designs" in the Manufacture's section of this web site.
Regards
Angus
-
1
-
-
Thanks Galteemore.
I've just measured off the drawing in Ernie Shepherd's MGWR Illustrated history.
They scale off the drawing at around 1' 10" the ones I've used , whilst the right shape, are 3mm so 1' 6".
I'm 4" short (just under 1mm).
A quick look shows nothing suitable to buy, so I'll either have to turn my own or live with the compromise.
At this point it'll be the latter.
-
1
-
-
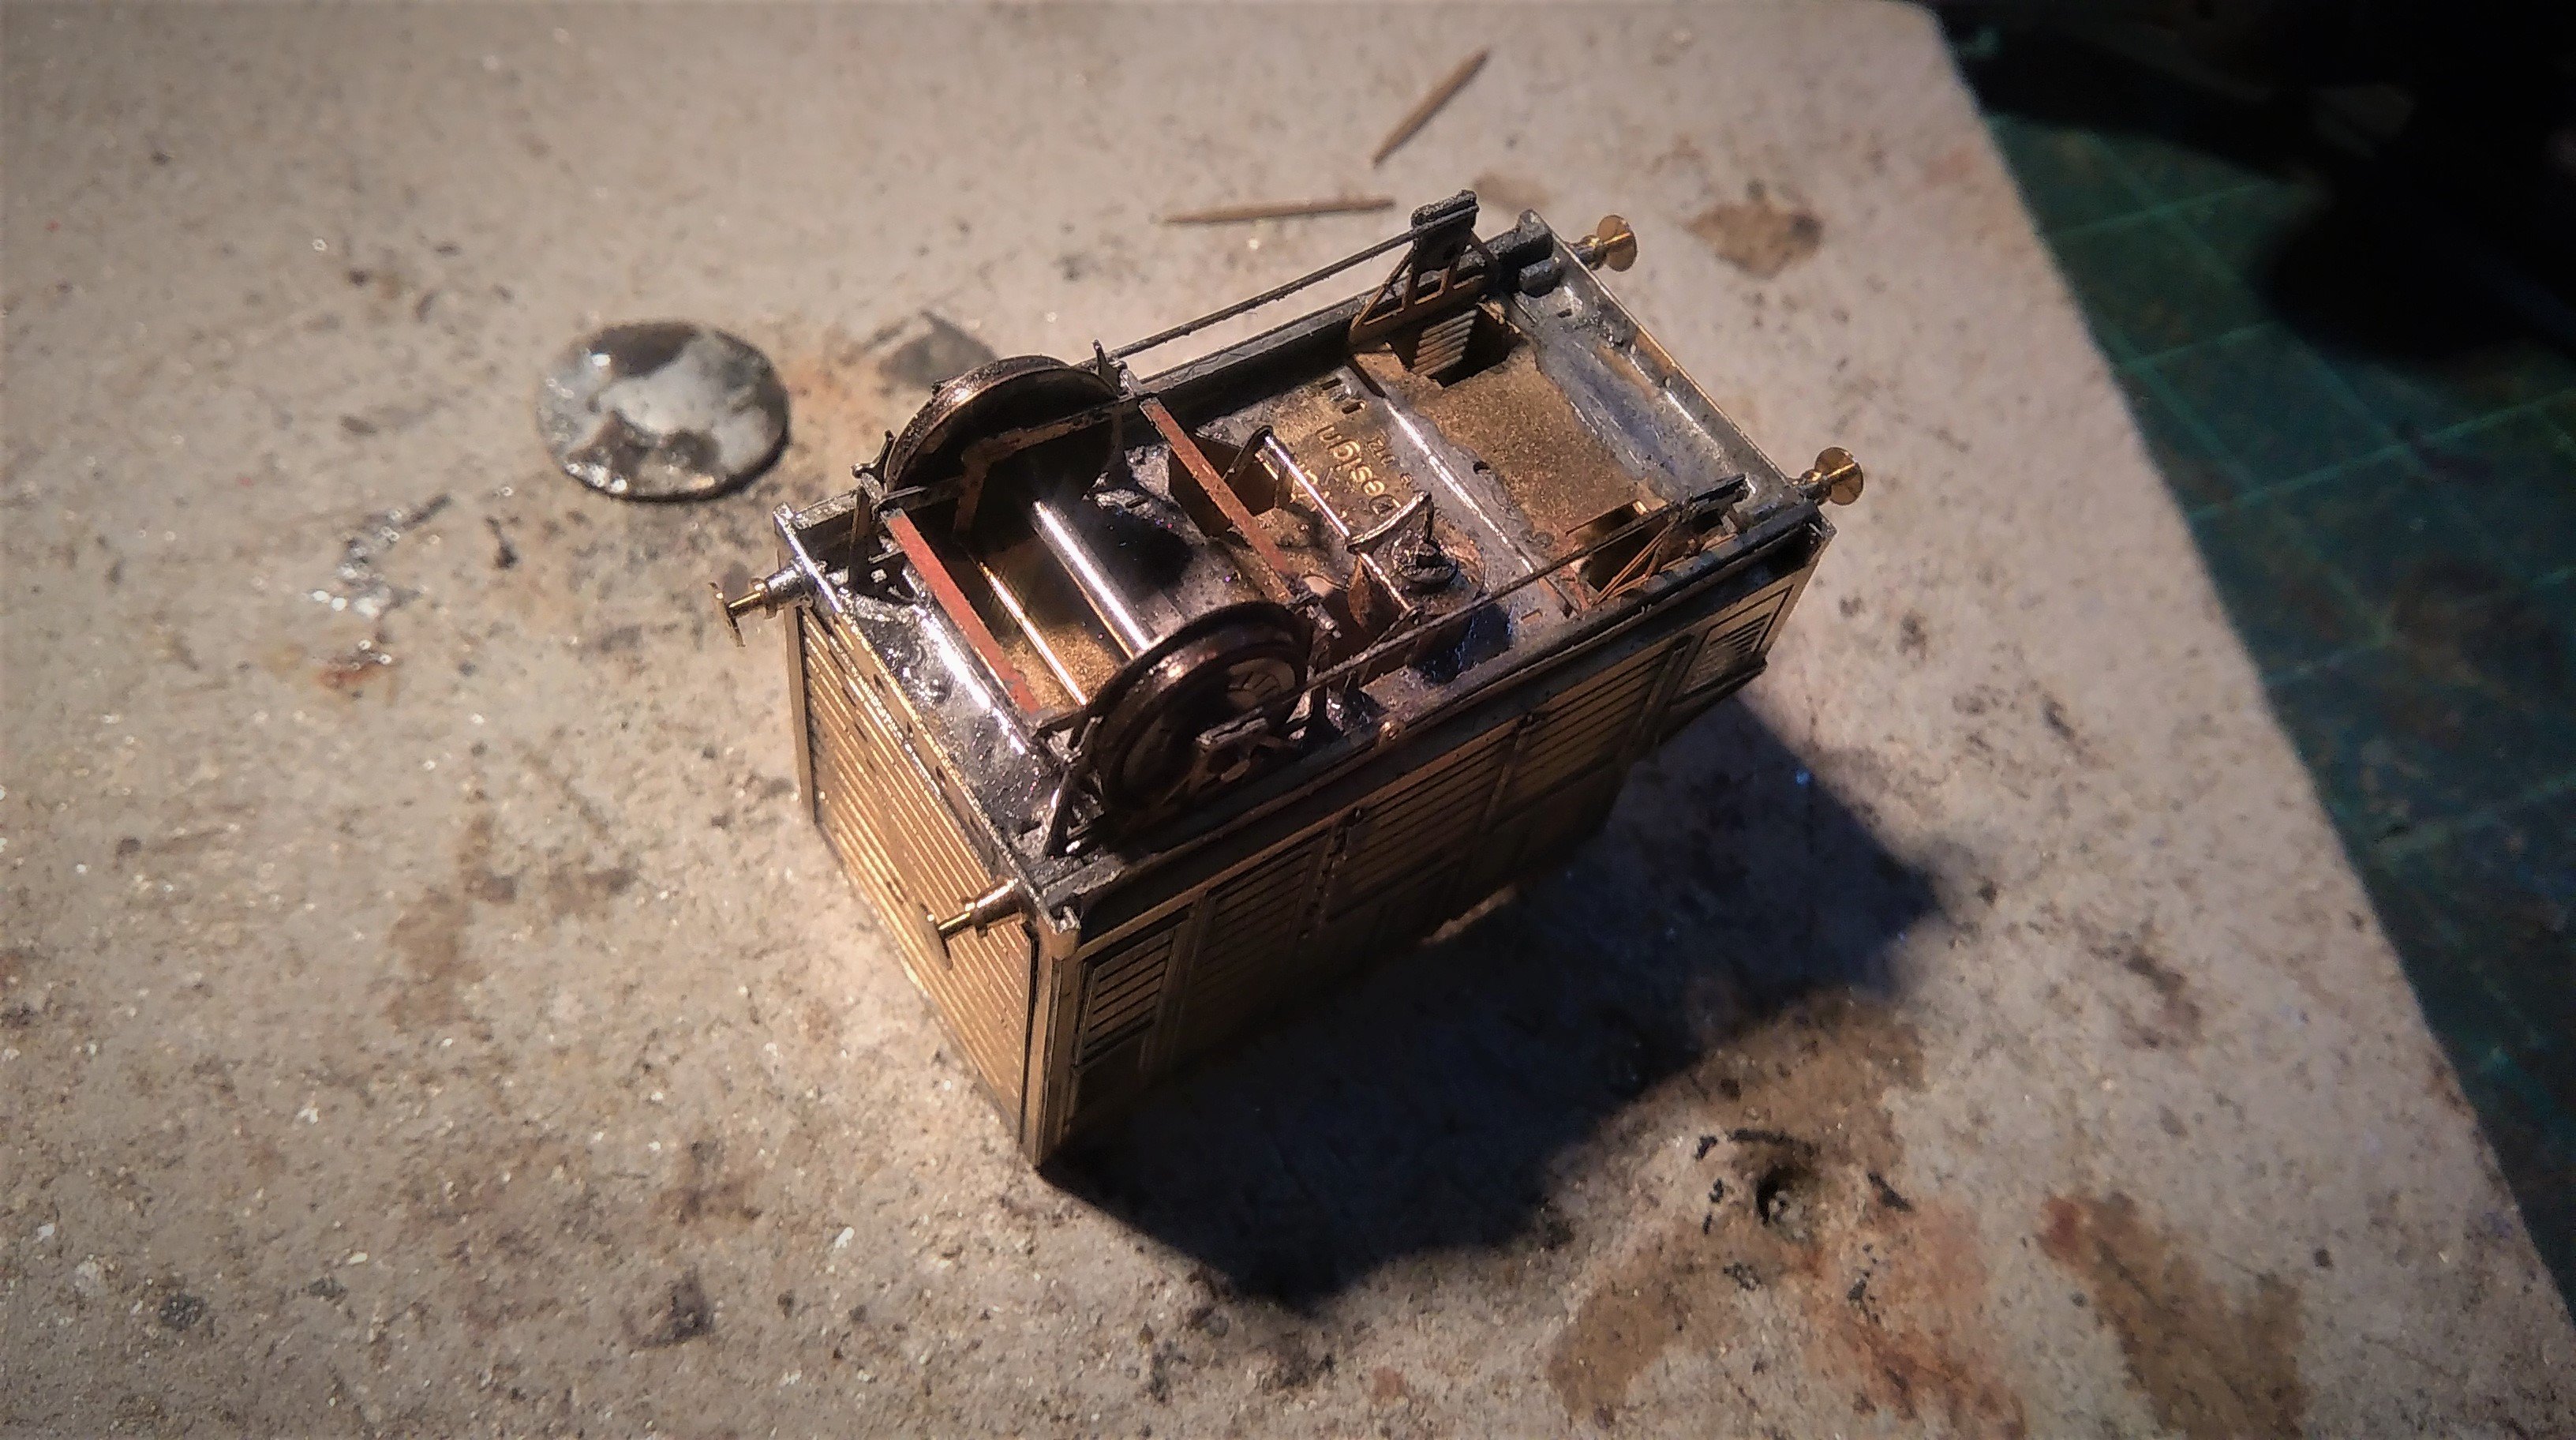
More progress today, solebars are on after a bit of a battle as is the sliding vent panrl.
The W irons are now mounted although I've used a piece of brass rod for the tie bar rather then the etch provided which looks too thick.
I'll use the facing piece for the W irons though.
I've not been as thorough cleaning this side, I'll do better tomorrow.
I'm not sure about the buffers, I think the spindles need to be longer.
-
5
-
-
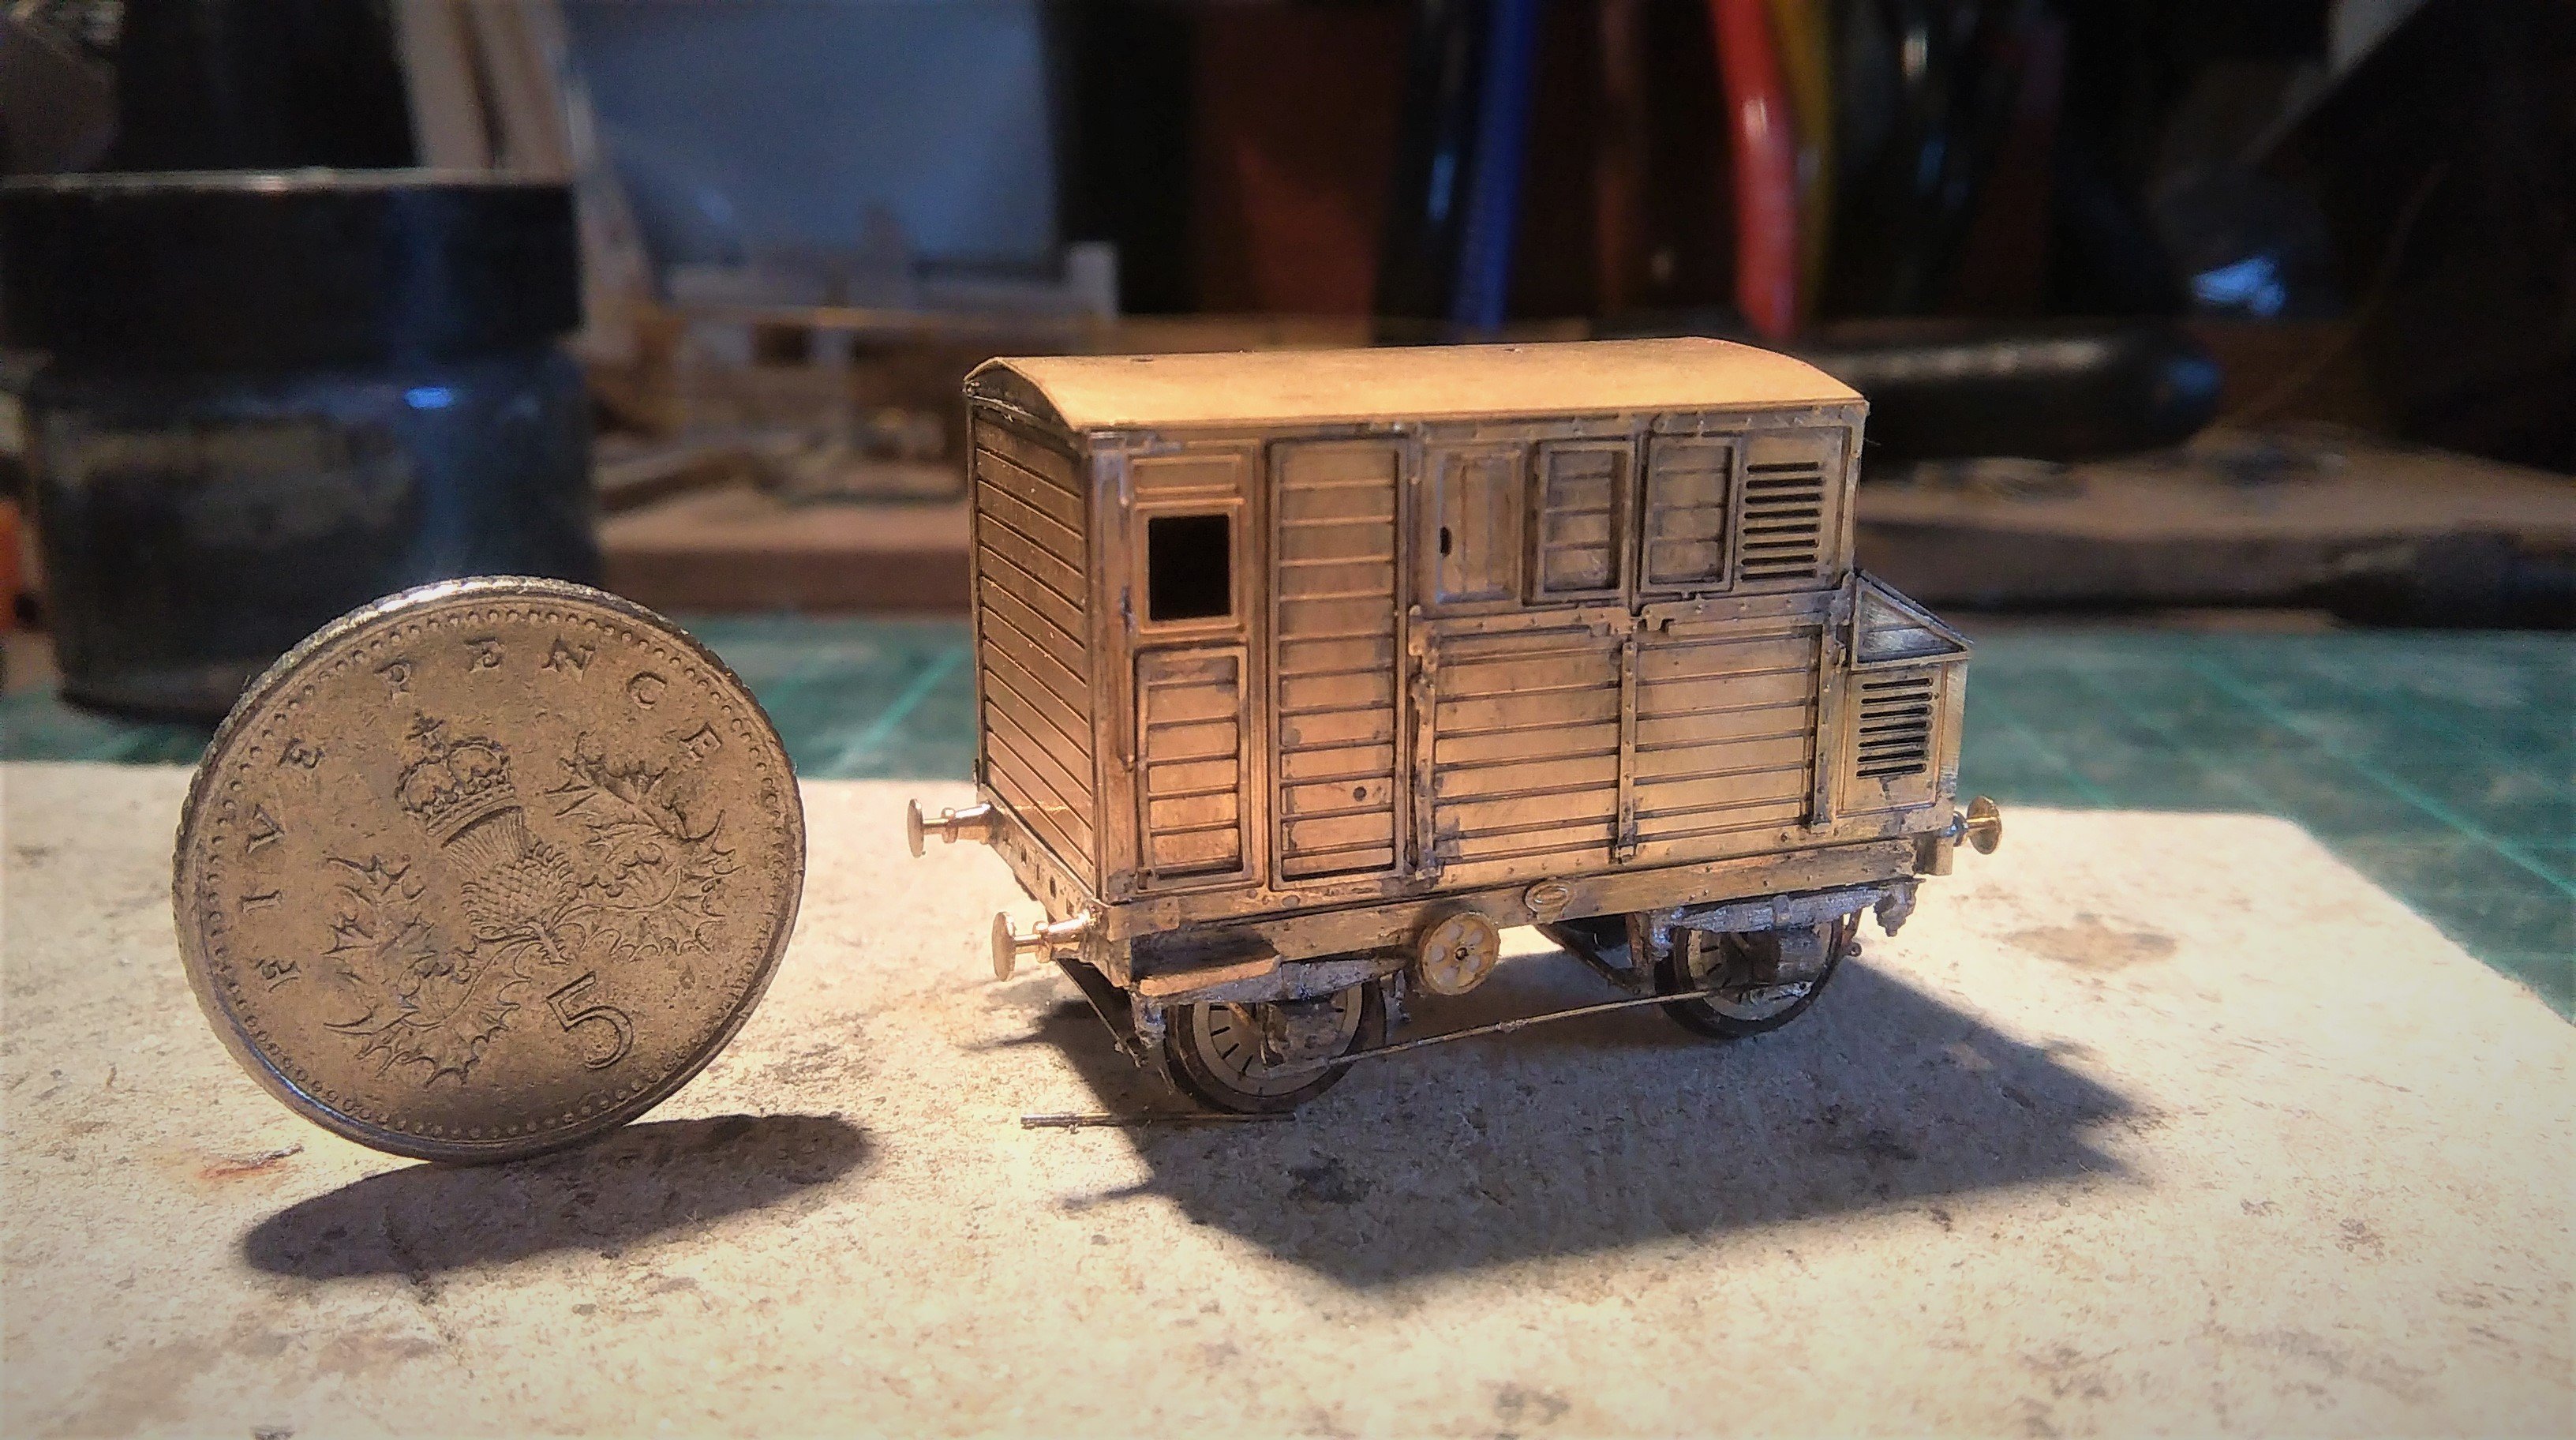
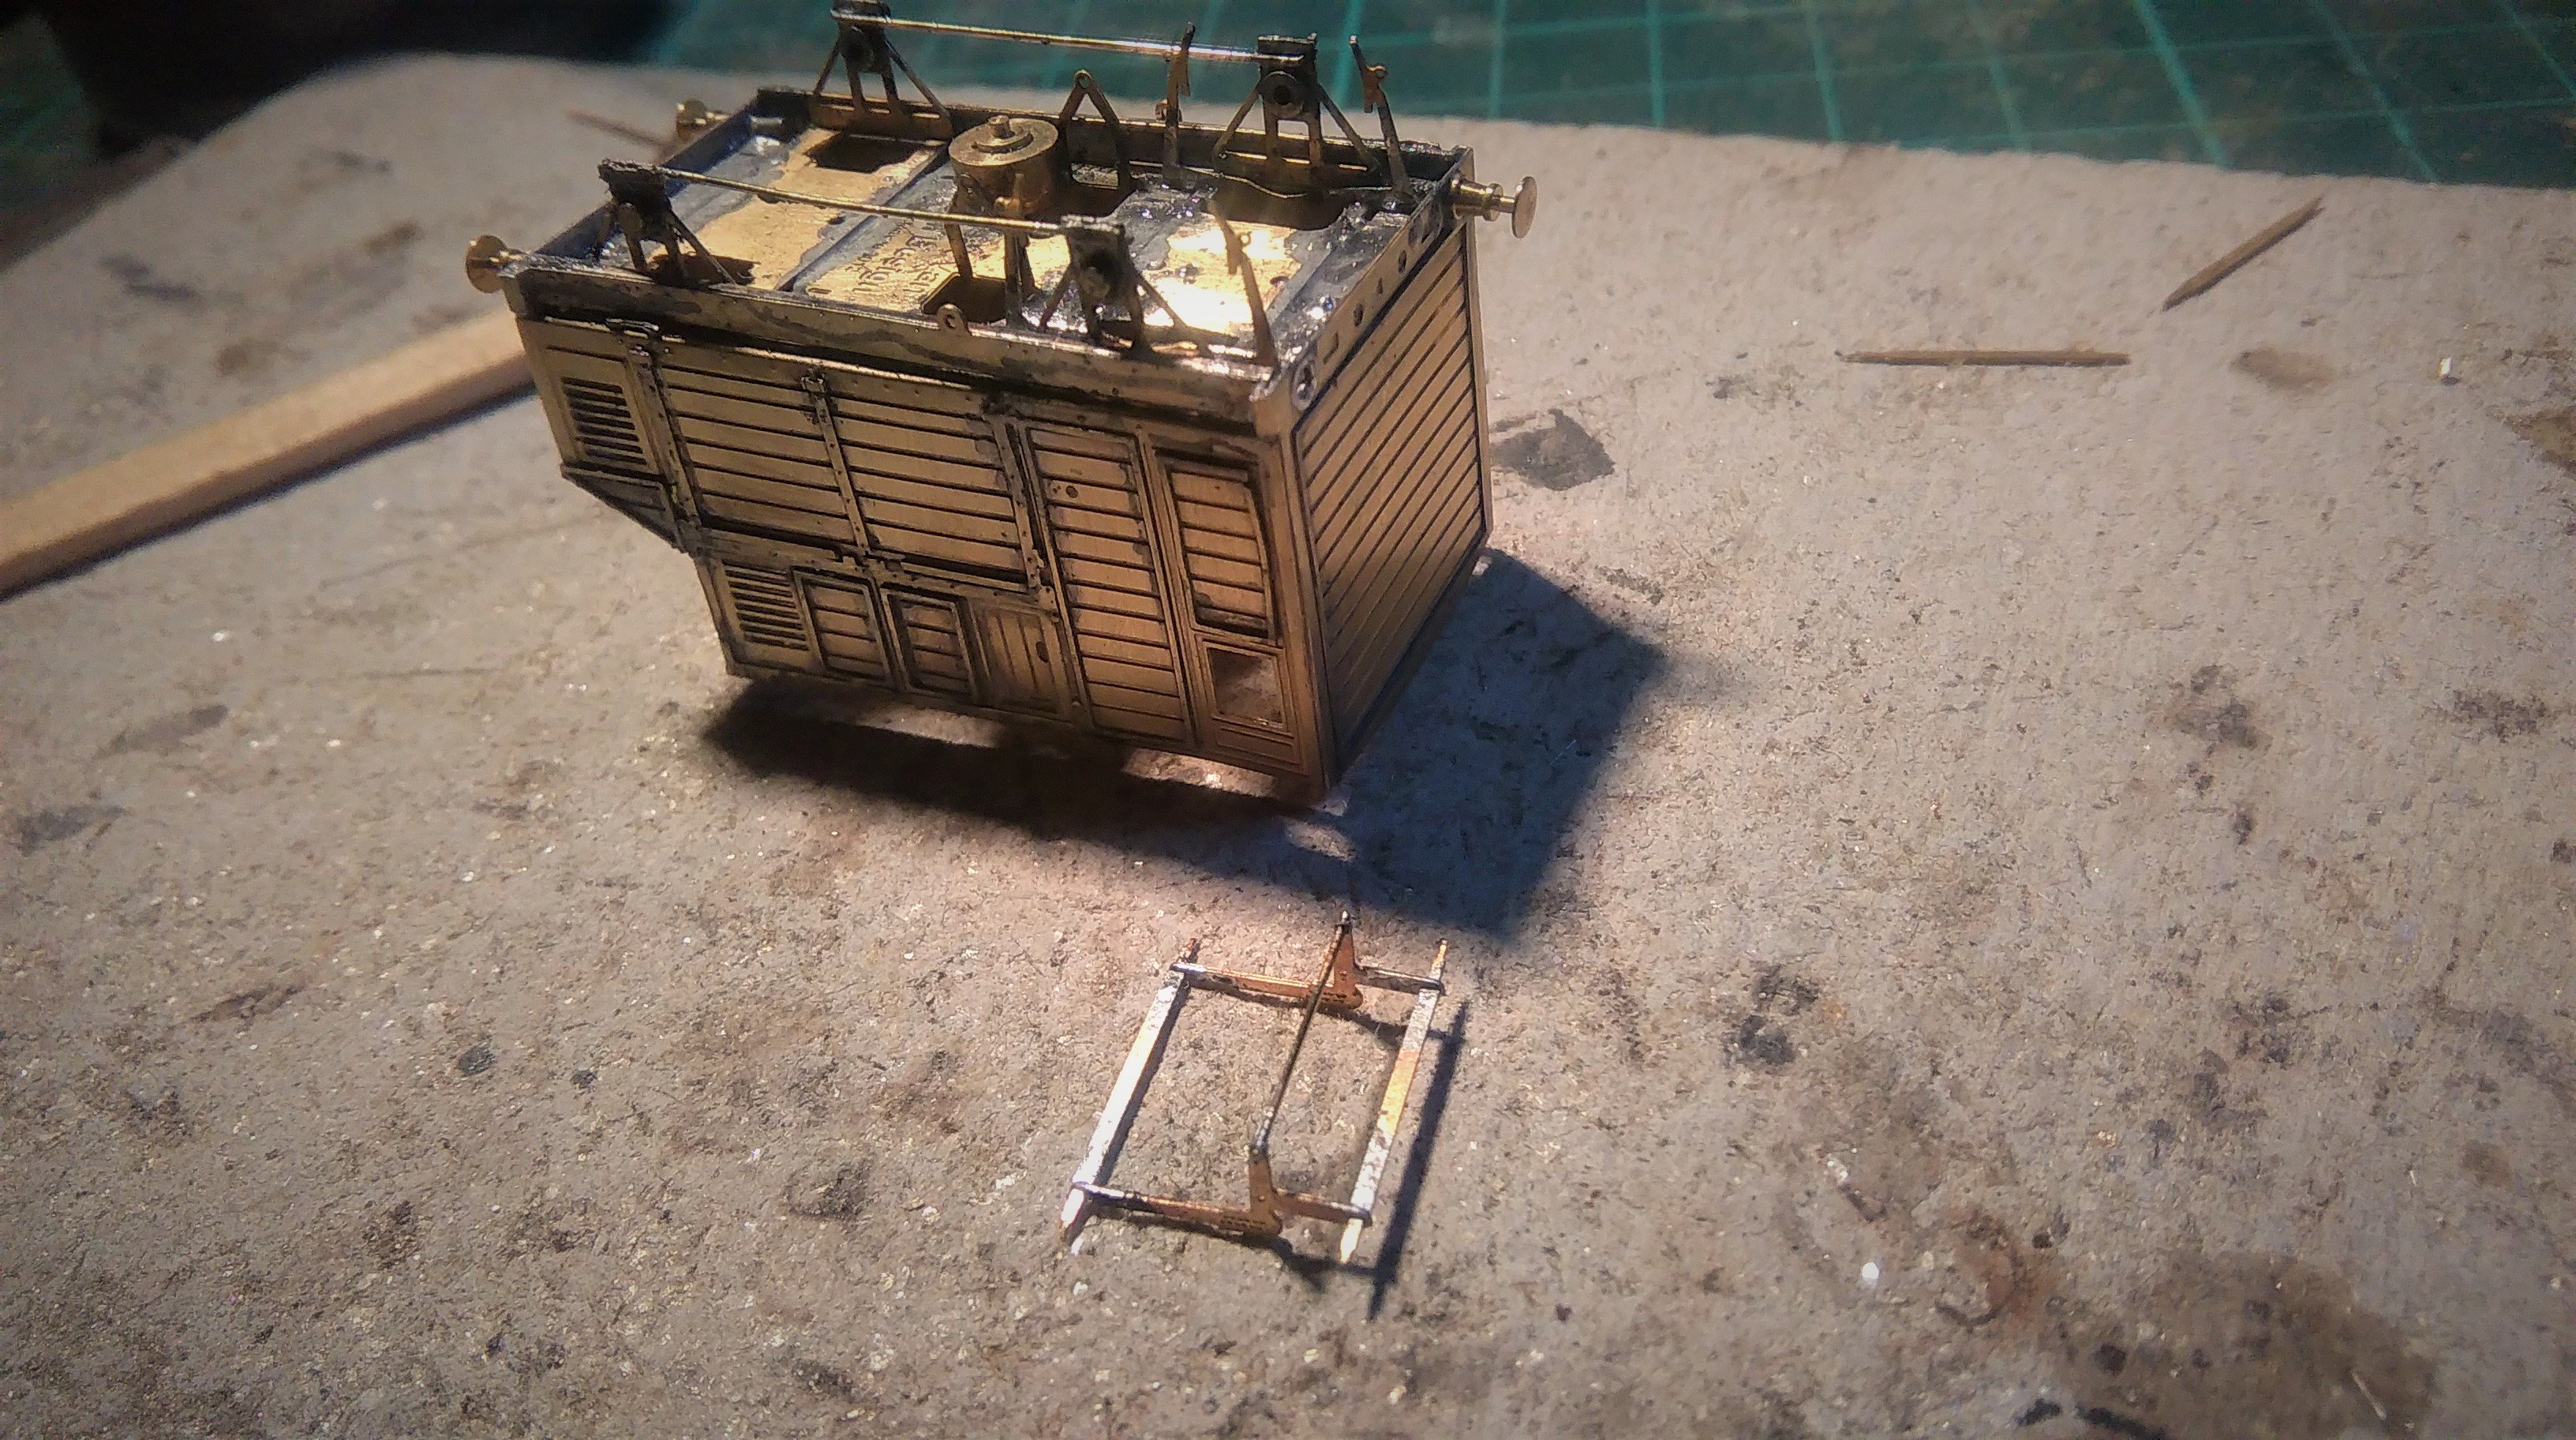
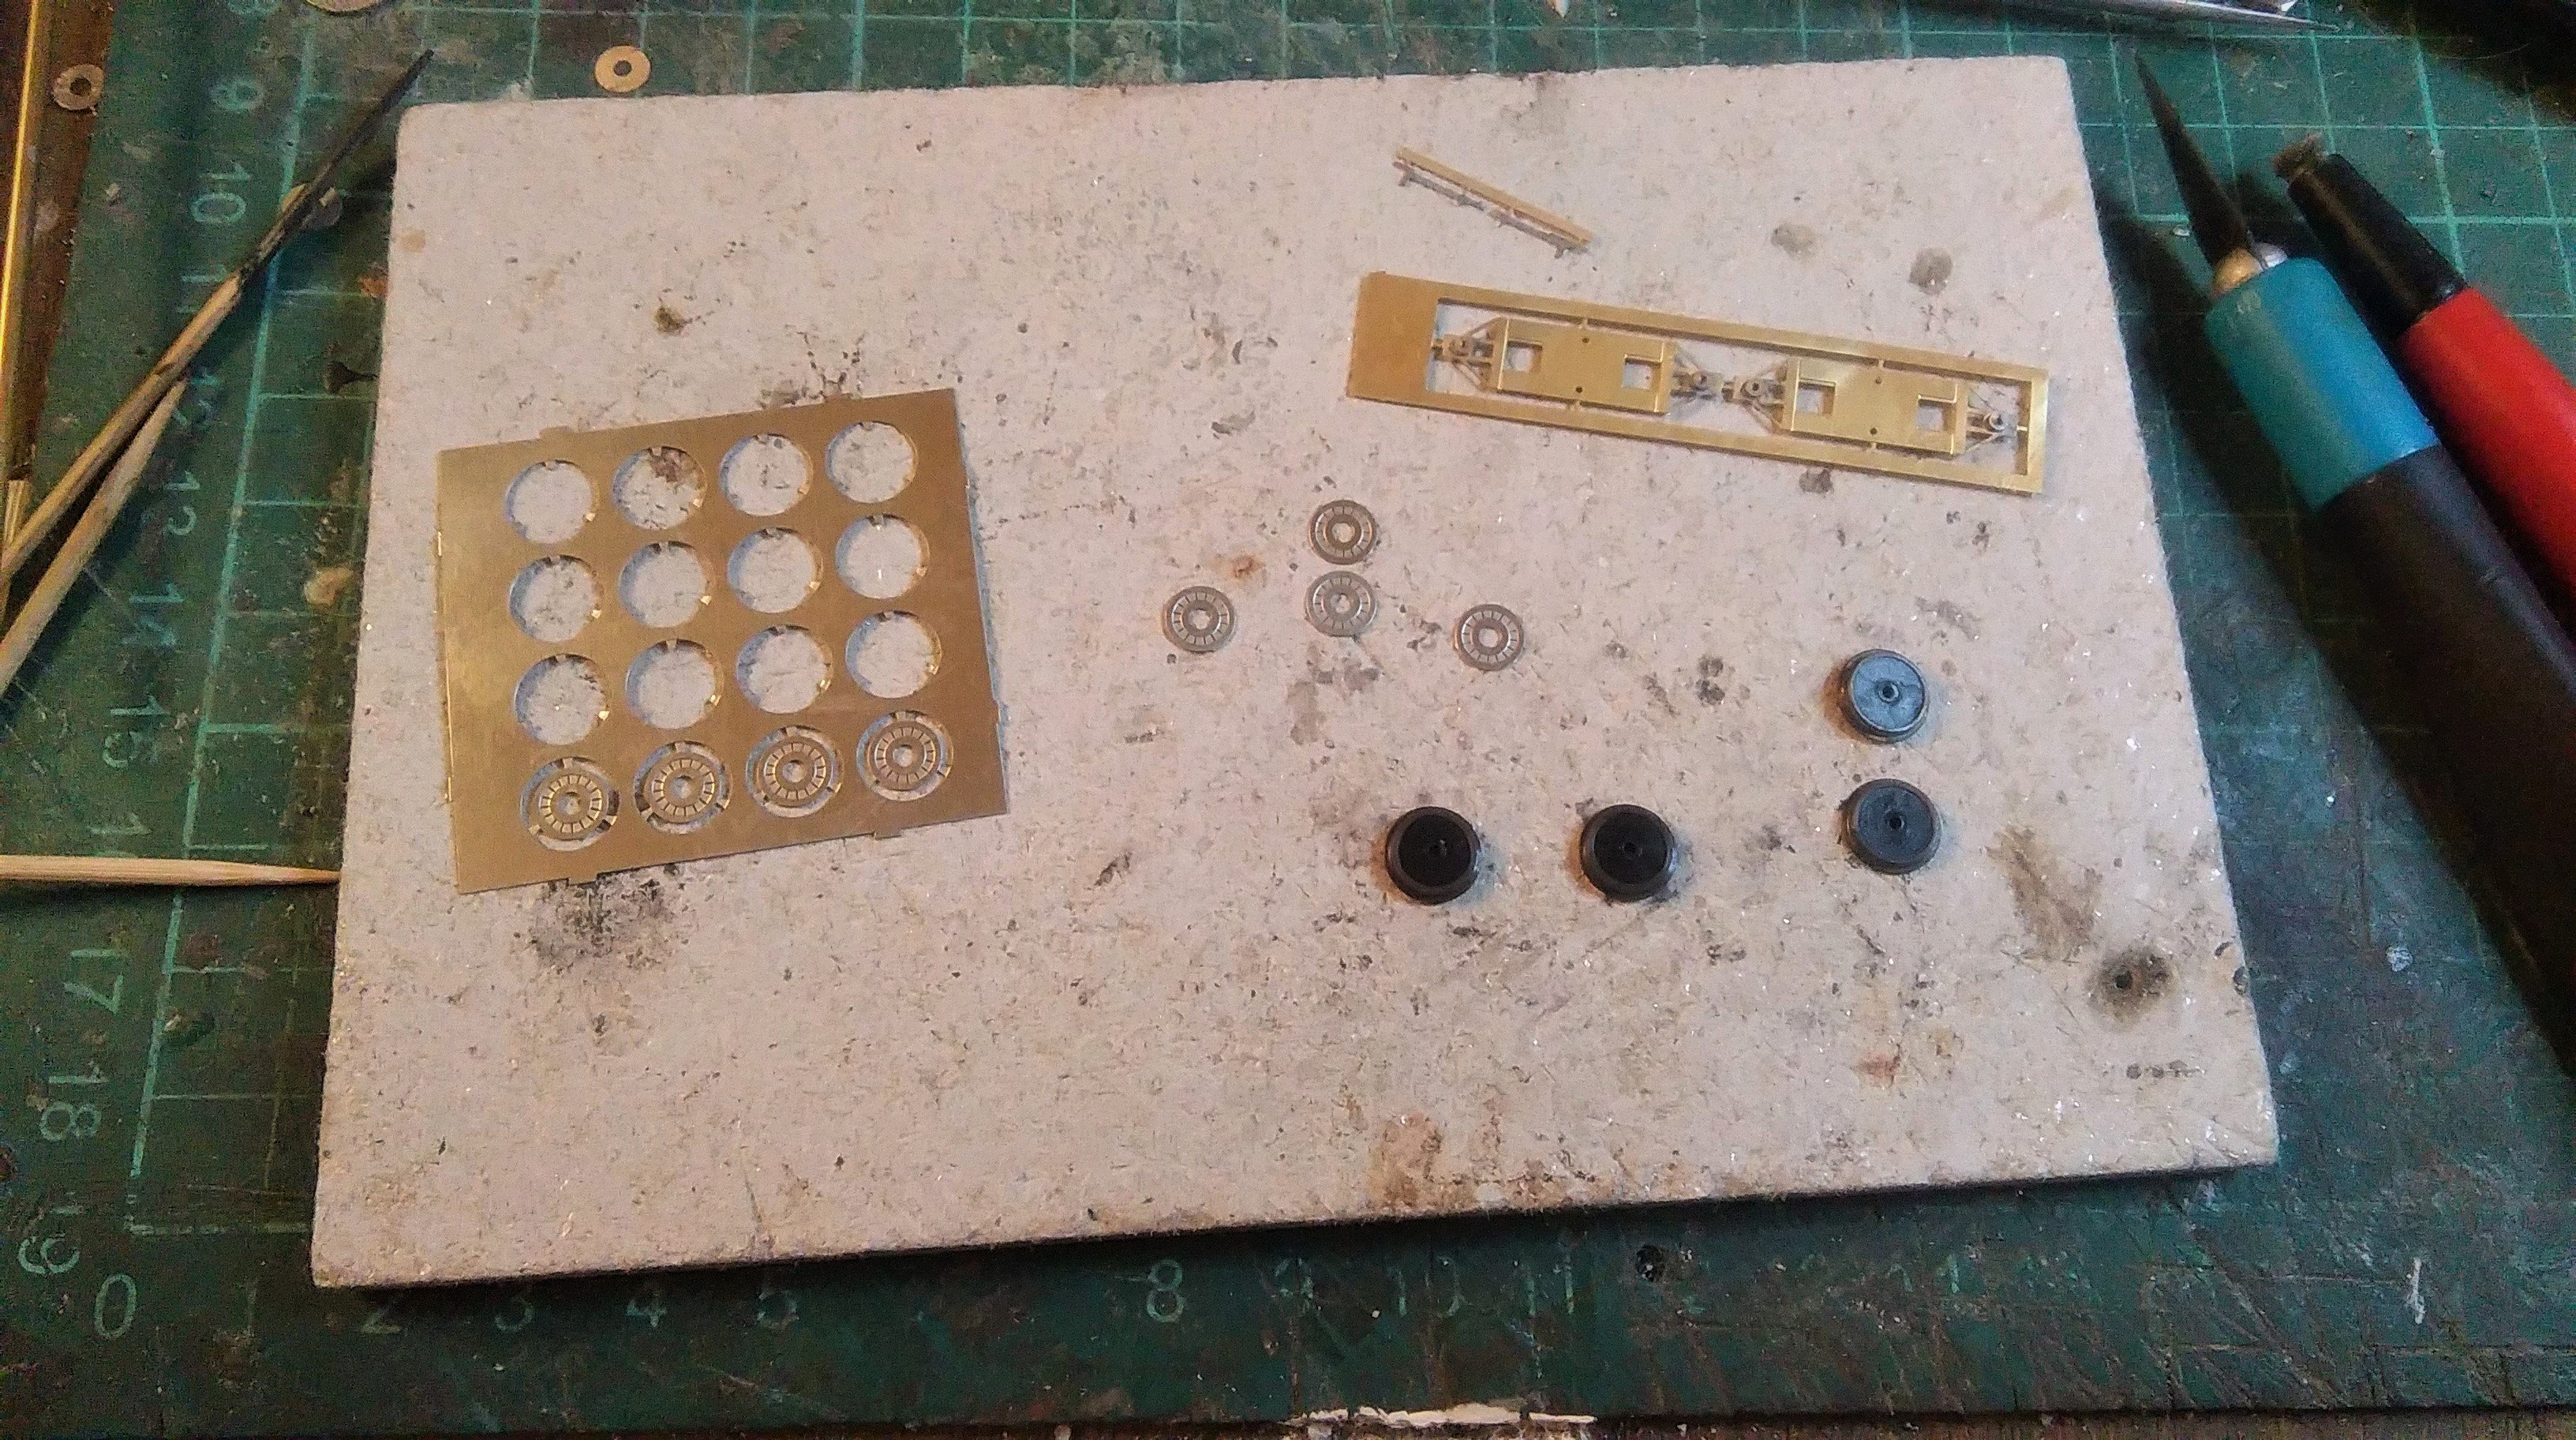
I didn't make much progress yesterday, a couple of glasses of wine with tea and then a large gin and tonic didn't bode well for messing around with such fine etches.
I just prepped the wheels adding the Mansell wheel inserts and soldering the bearings into the W irons.
Today was more productive.
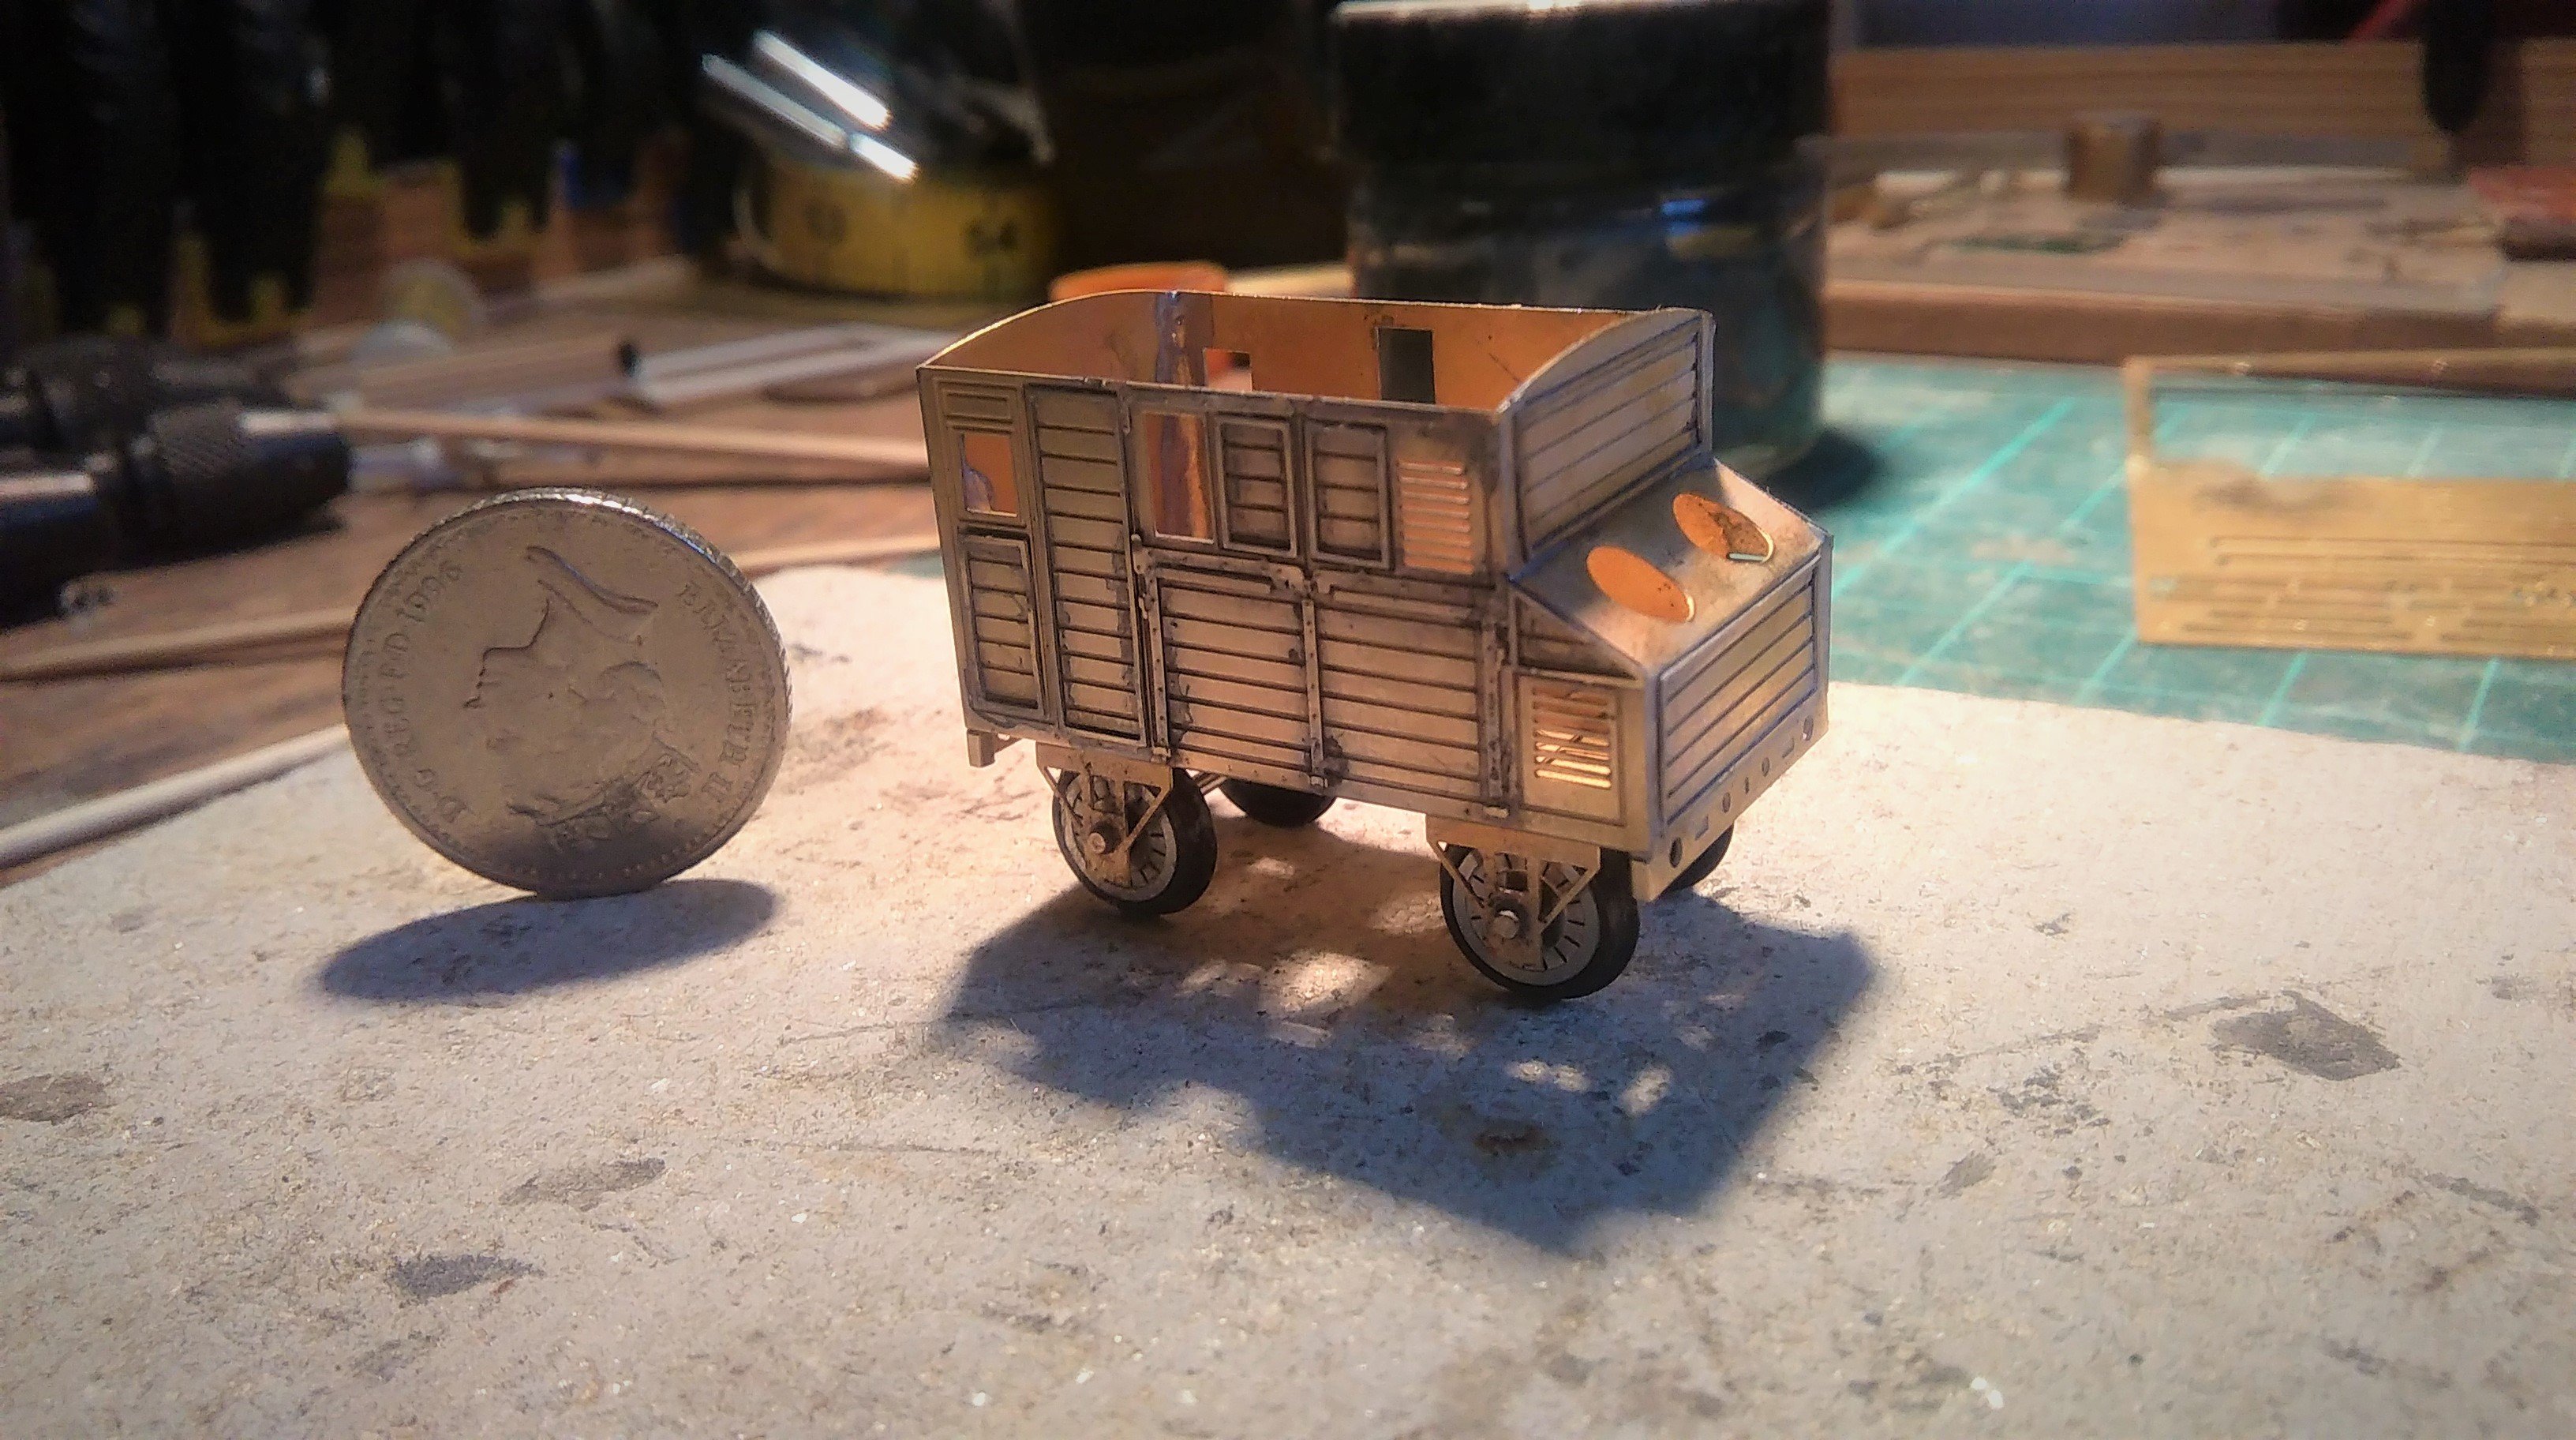
I finished off the etch overlays and constructed the box of the van.
That was after a short interlude where I managed to lose one of the overlays on my workbench, as it hadn't been tidied in years I took the opportunity to do just that (and find the offending overlay).
Here is the van sat one it's wheels, although these are not yet attached, with the obligatory 5p piece for scale (sorry I'm out of cents at the moment).
-
6
-
-
1 hour ago, Midland Man said:
I would also like to add this question what is the best way to cut brass.
For straight cuts this brass can be scored with a knife (two or three heavy passes with a sharp knife or ofla cutter) then flex the joint until it snaps.
It can also be cut with scissors or metal sheers, however for complex shapes is best to use a piercing saw with some very fine toothed blades.
It takes a bit of practise but with a bit of patience some nice consistent shape can be fretted out with a saw.
Hope that helps.
Angus
-
2
-
-
With the current lockdown it's no surprise that the June 2mm Scale Association Jubilee event has been postponed.
This means less of a panic to finish Dromahair as I have another year.
I am debating whether to move straight onto a full model of the station and abandon the entry though.
One task I have been looking forward to was building one of Mayner's MGWR horseboxes.
He reduced the etches down to 2mm scale for me a few months ago and I've been itching to get started ever since receiving them.
I just hope I can justify his work!
I promised it would be my Easter holiday build as I have the next week off.
So the etch was cut for the first time this evening and an hour or so was spent soldering on the overlays on the ends and one side.
Only the second side to complete.
-
6
-
-
I don't normally go for railwayana much, I find it expensive and ultimately takes up valuable modelling room!
However, I spotted this on Ebay a wee while ago and as it was not much more than a few quid bought it:-
Dated January 1957 it was written in the last year of the Railway's operation, the steam operated workings are a matter of record in the timetable and elsewhere.
What I thought was unusual was the reference to passengers being permitted to travel in the guards van on goods workings. I would have thought that counter to Board of Trade rules prior to independence and enforce once across the border into Fermanagh?
I thought it was a nice document to sit with my copy of the 1936 service timetable.
-
2
-
-
Unfortunately I'm hoping to get him to use a shrink ray......

Both his G2s and the D17 impostor could happily be found a place.
-
2
-
-
There has been little progress at Dromahair as I've been focusing my modelling time on getting my other layout ready for the Macclesfield Model Railway Exhibition in mid March.
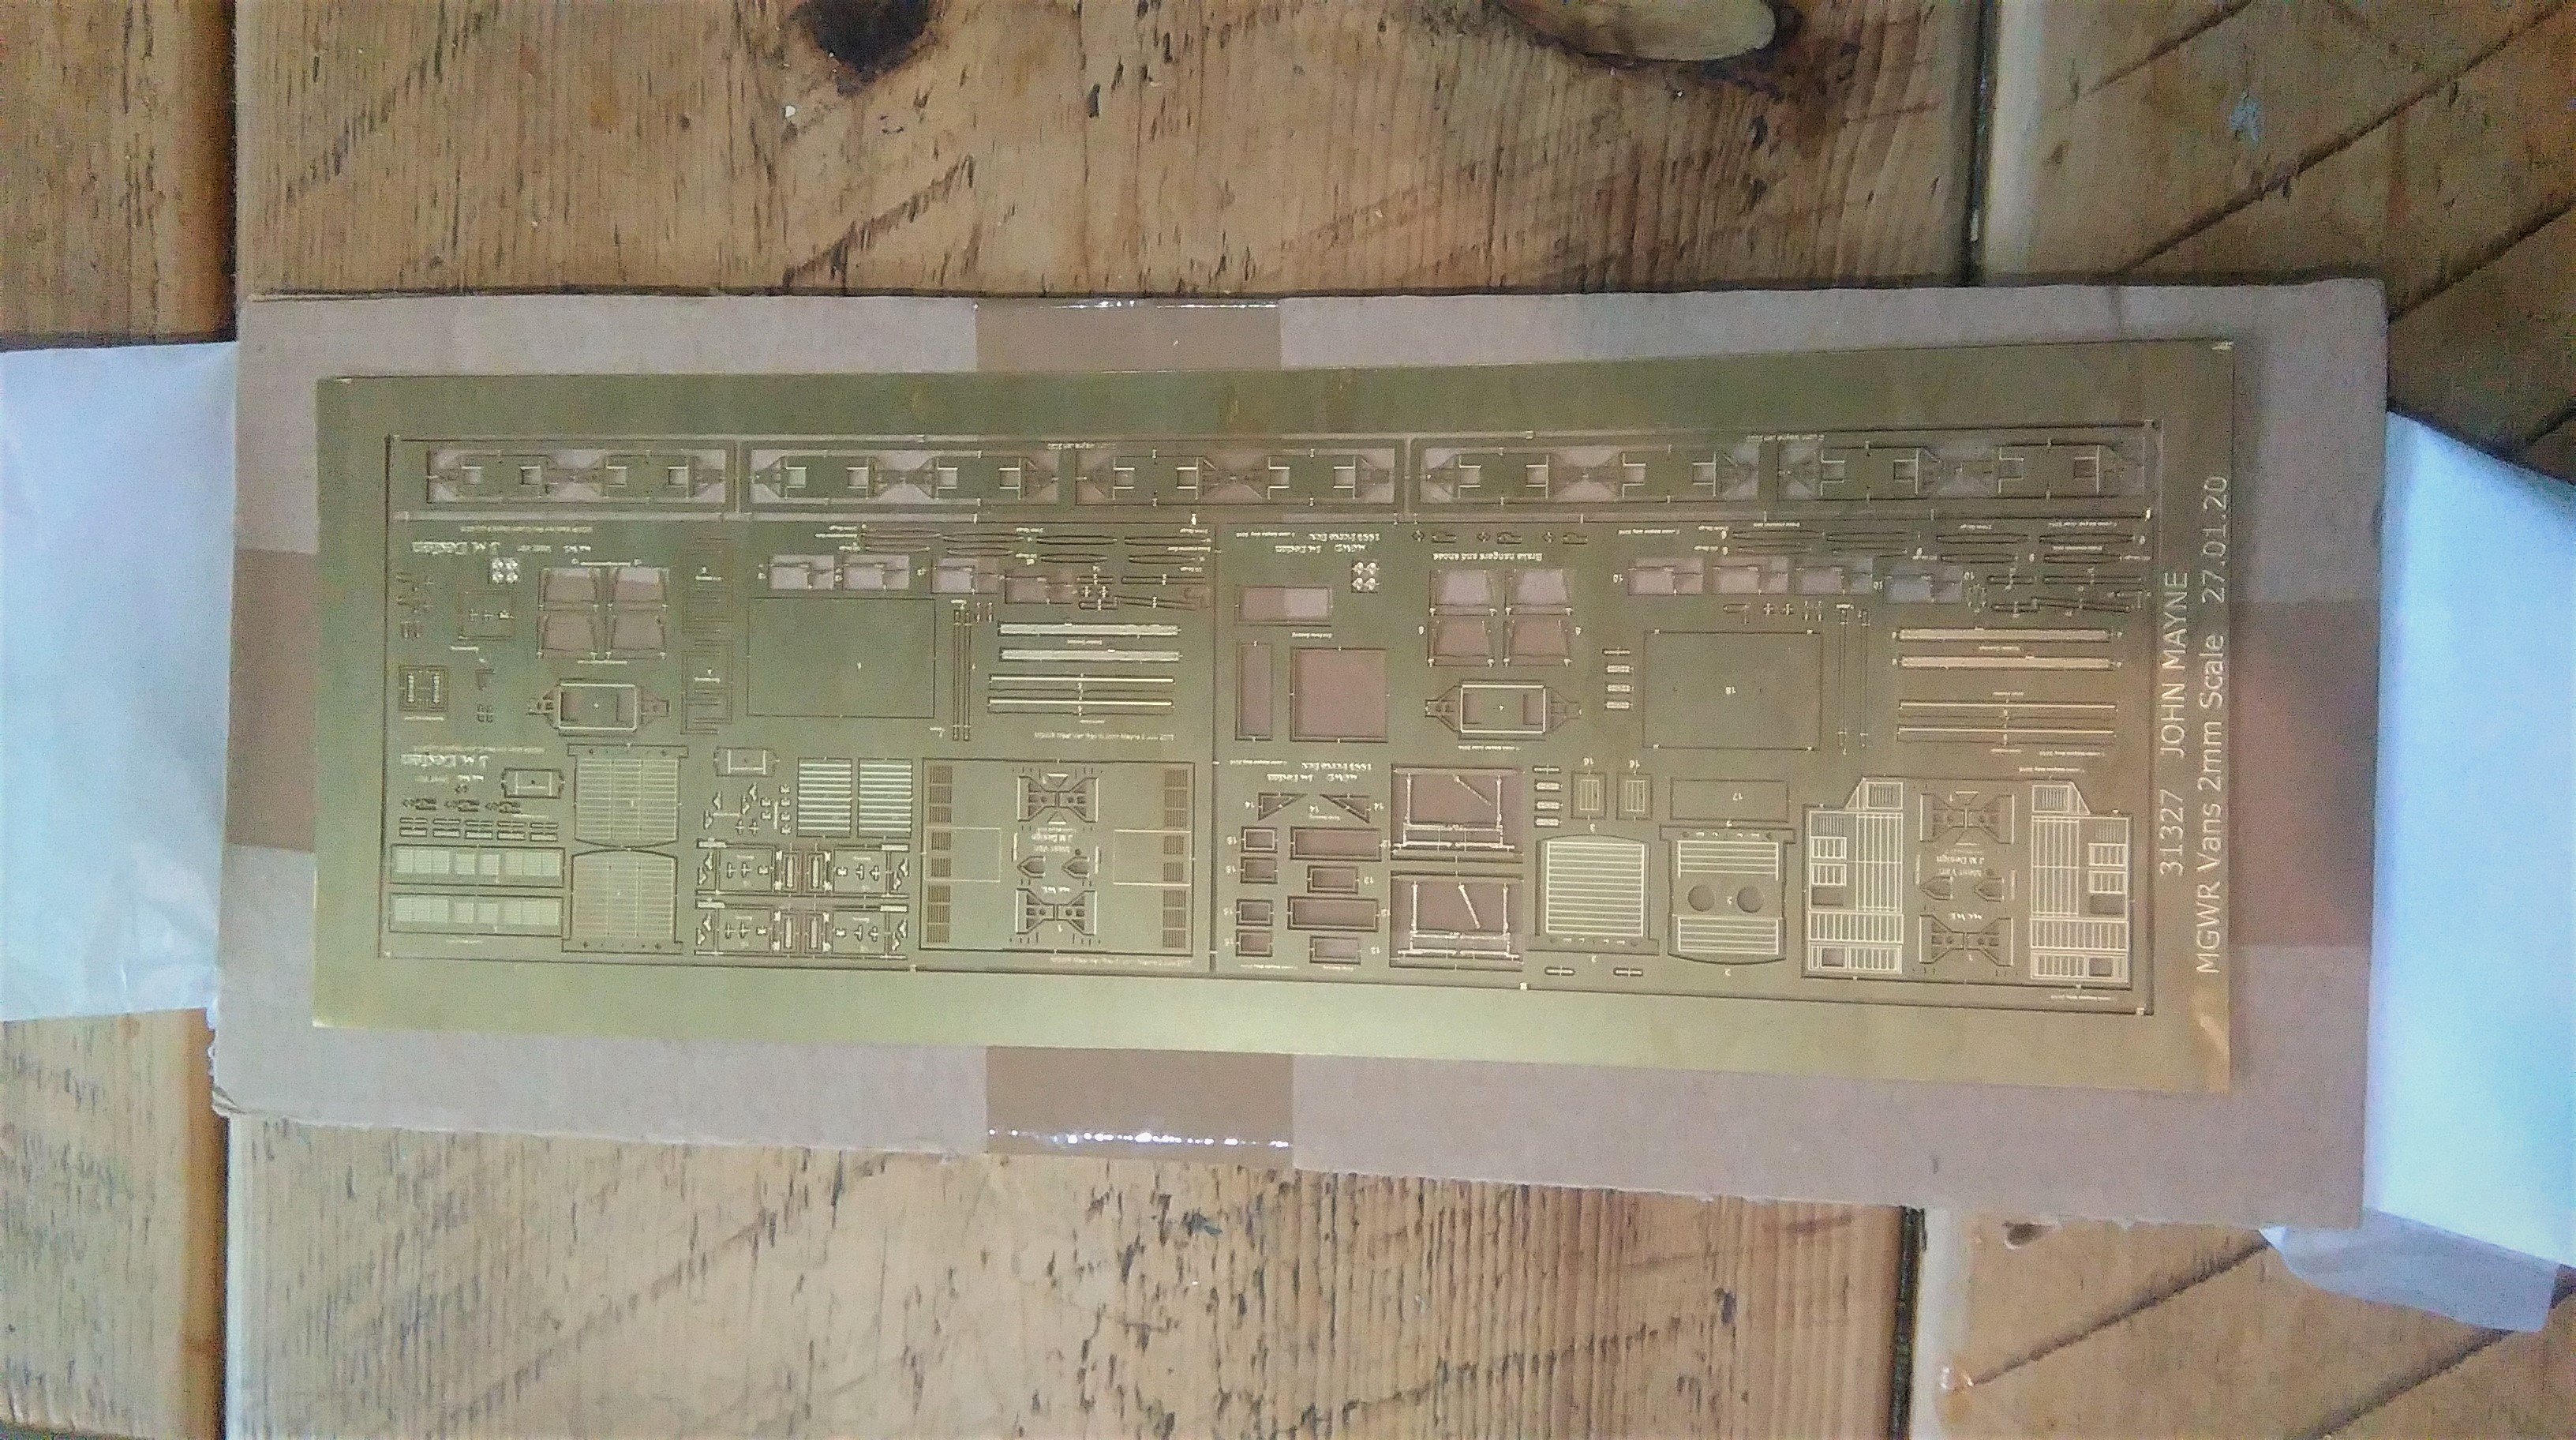
These have just arrived in the post and are tempting me to drop everything and dig out the soldering iron:-
The are the etches for JM Design's (Mayner on this forum) MGWR horse box and refrigerator van kits reduced to 2mm.
John hasn't merely reduced the size by 50% but also re-worked the W irons to work with standard 2mm scale association components.
I'm looking forward to getting started on these but I must contain my enthusiasm until the end of March!
-
5
-


Dromahair
in Irish Model Layouts
Posted
Hi Galteemore,
The text looks to be two lines long so would be longer.
In the UK it was quite common to have "when empty return to XXXXXX" I was wondering if this was something similar.
I haven't noticed such script on any other Midland vans.