J-Mo Arts
-
Posts
249 -
Joined
-
Last visited
-
Days Won
2
Content Type
Profiles
Forums
Resource Library
Events
Gallery
Blogs
Store
Community Map
Posts posted by J-Mo Arts
-
-
3 minutes ago, jhb171achill said:
The cab on that yoke is so very distinctly LNER that i doubt it to be honest. I would imagine that to convert it to the nearest equivalent in Ireland would require so much surgery that a new 3D print or scratchbuild would actually be easier.
Are there any things on a similar chassis then? I've got a 3D printer and can do the CAD. I have been inspired by the exhibition at Cultra and the Hattons coaches... Doesn't have to have made it to CIE though!
65mm/16'3" coupled wheelbase, 5'6" driver diameter, 24' overall wheelbase and 3'6" trailing wheel diameter.
-
3 minutes ago, Westcorkrailway said:
I’m not sure if the loco itself is similar to anything…I wonder could the wheel arrangement be changed for something like 461.
Perhaps with a different trailing wheel...?

Loco itself doesn't matter too much to me, I am trying to find things I can 3d print
")
-
 1
1
-
-
Does anything suit the N2 class chassis?
-
I wonder, if these are popular, might we see some "pre-grouping" Irish versions? That would certainly spark my interest
-
2
-
 1
1
-
-
Oh those dark green ones are tempting...
-
1
-
1
-
-
As did I! Many thanks for letting me have a go! Lovely to meet JHB and Airfixfan too
-
2
-
-
Phwoar, only just found this. Incredible stuff!!!
-
1
-
 1
1
-
-
Take care Ken, sorry to hear the news. Lovely work with the layout!
-
2
-
1
-
-
1 hour ago, Galteemore said:
I’m sure he’ll see through them eventually.
Well you've beaten me to making a joke, and made a better one that I could've. Thanks for shattering my comedic aspirations...
-
 3
3
-
-
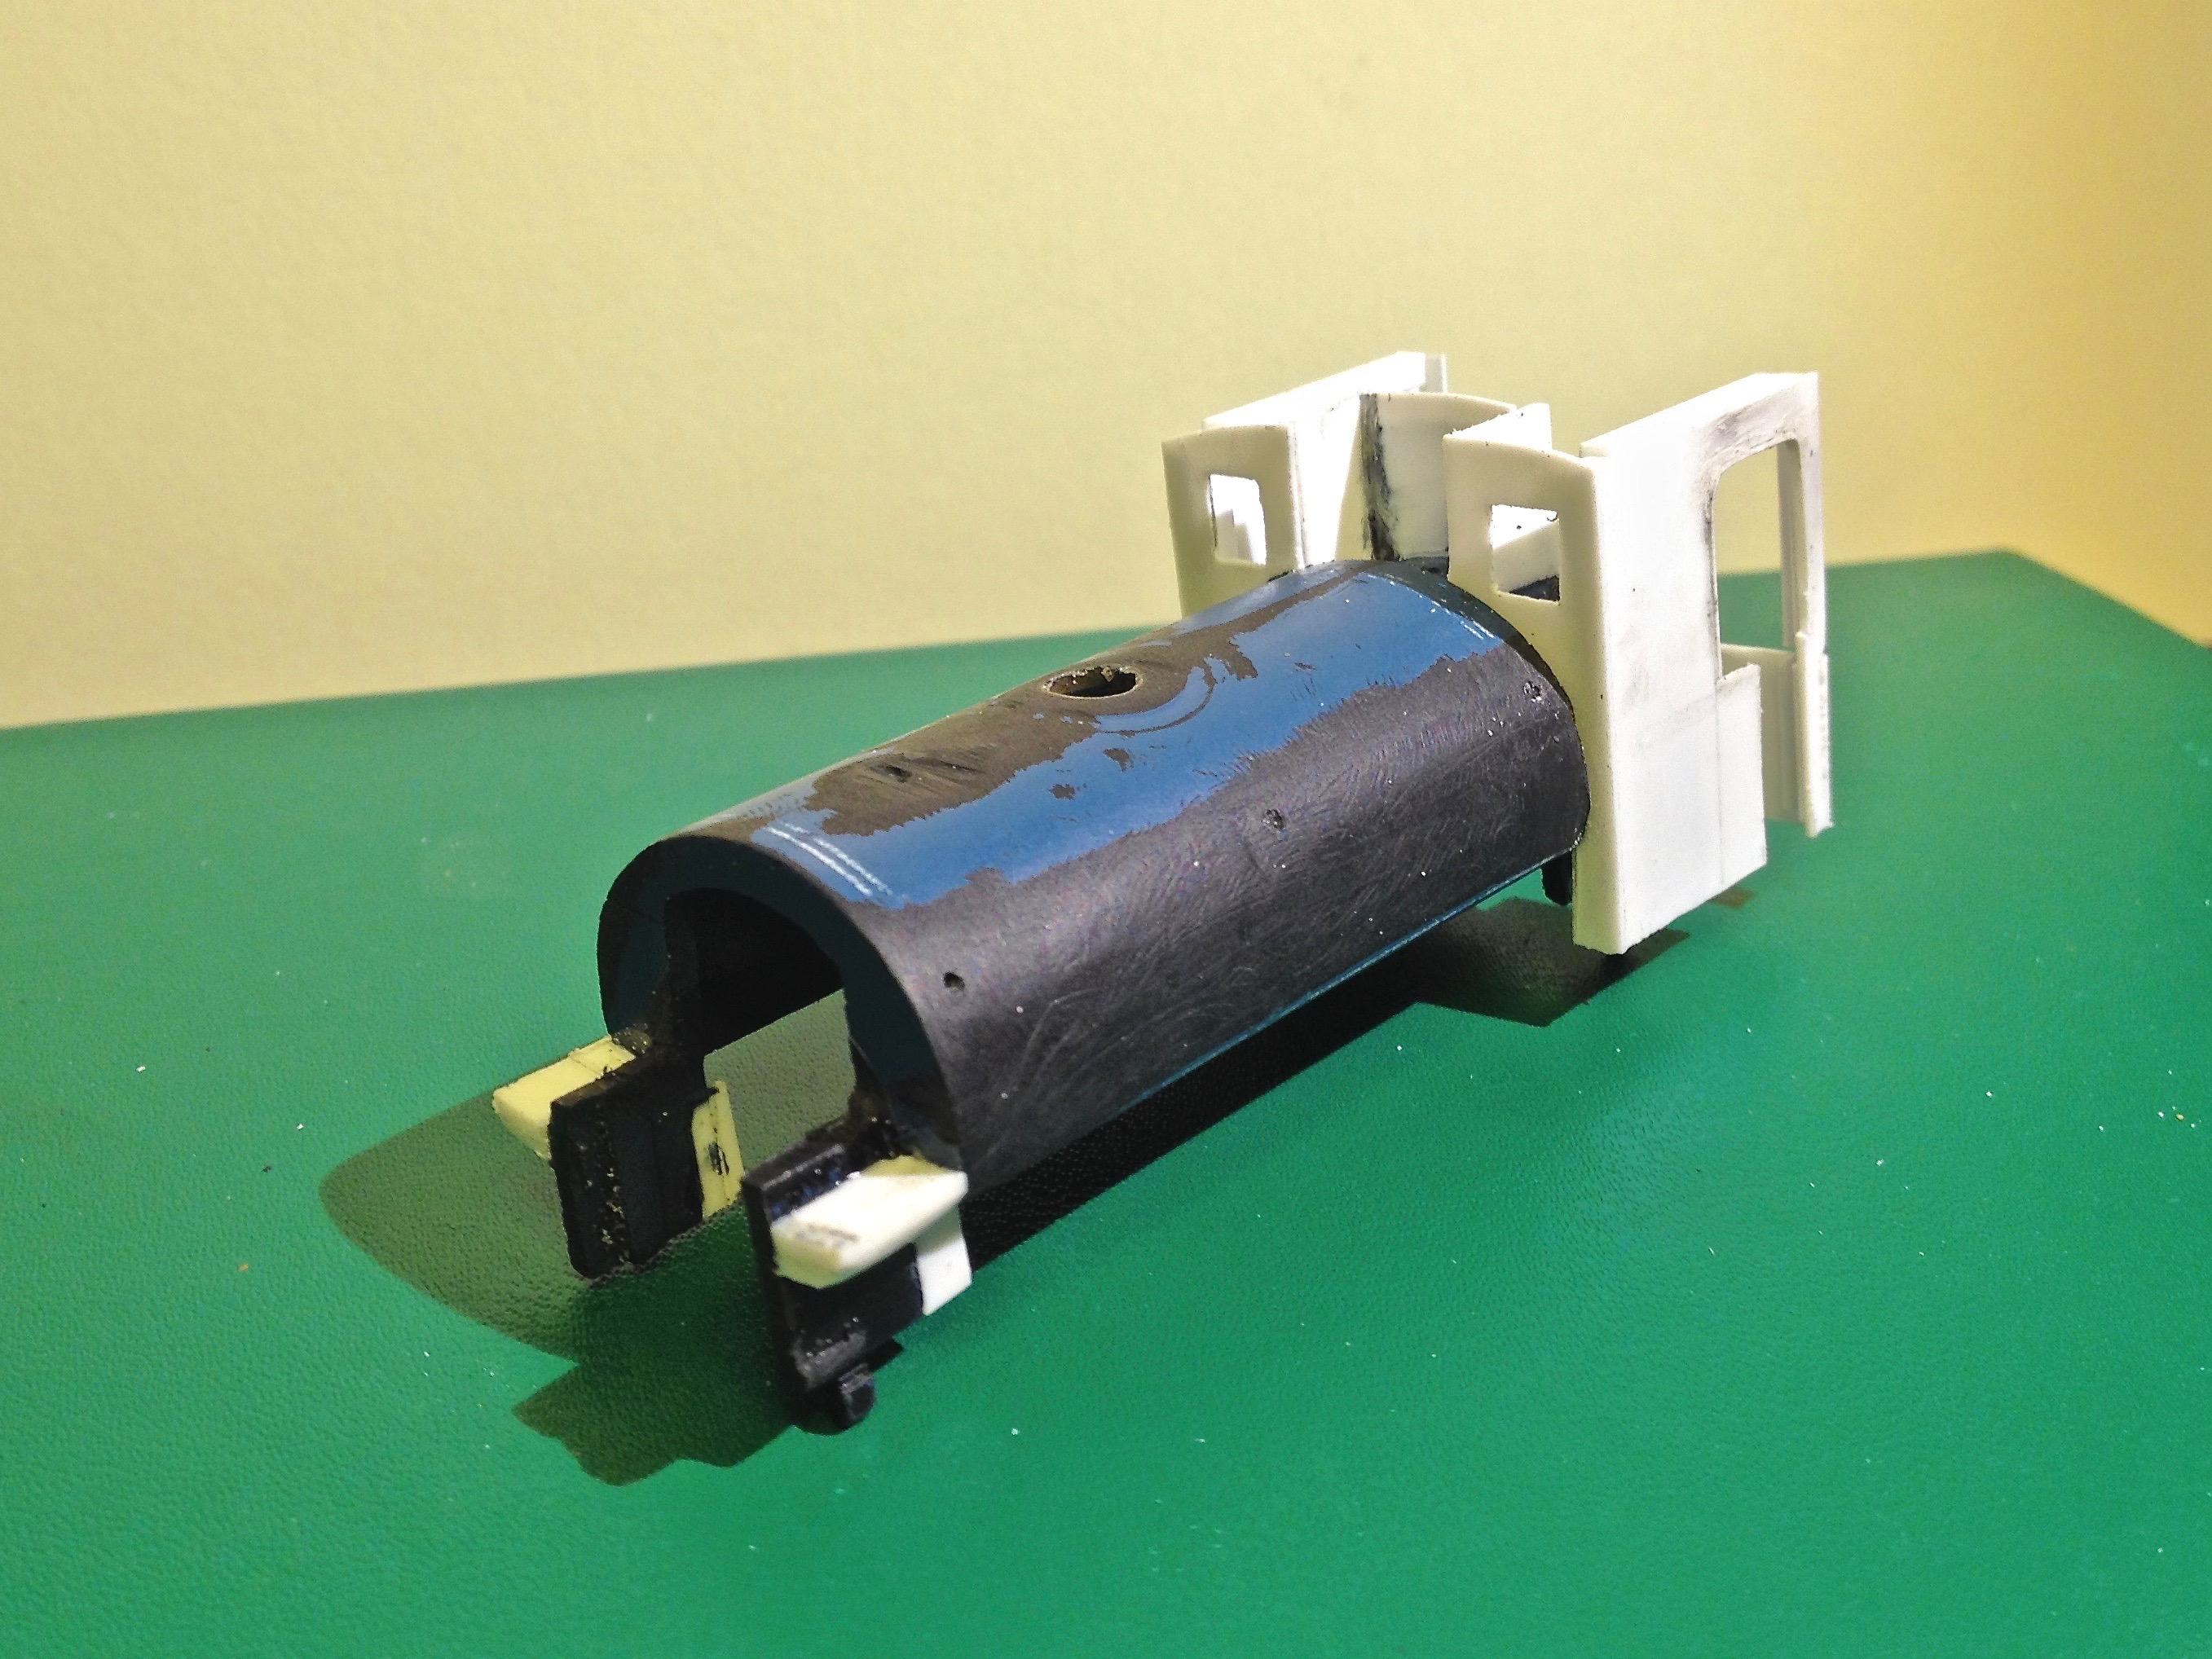
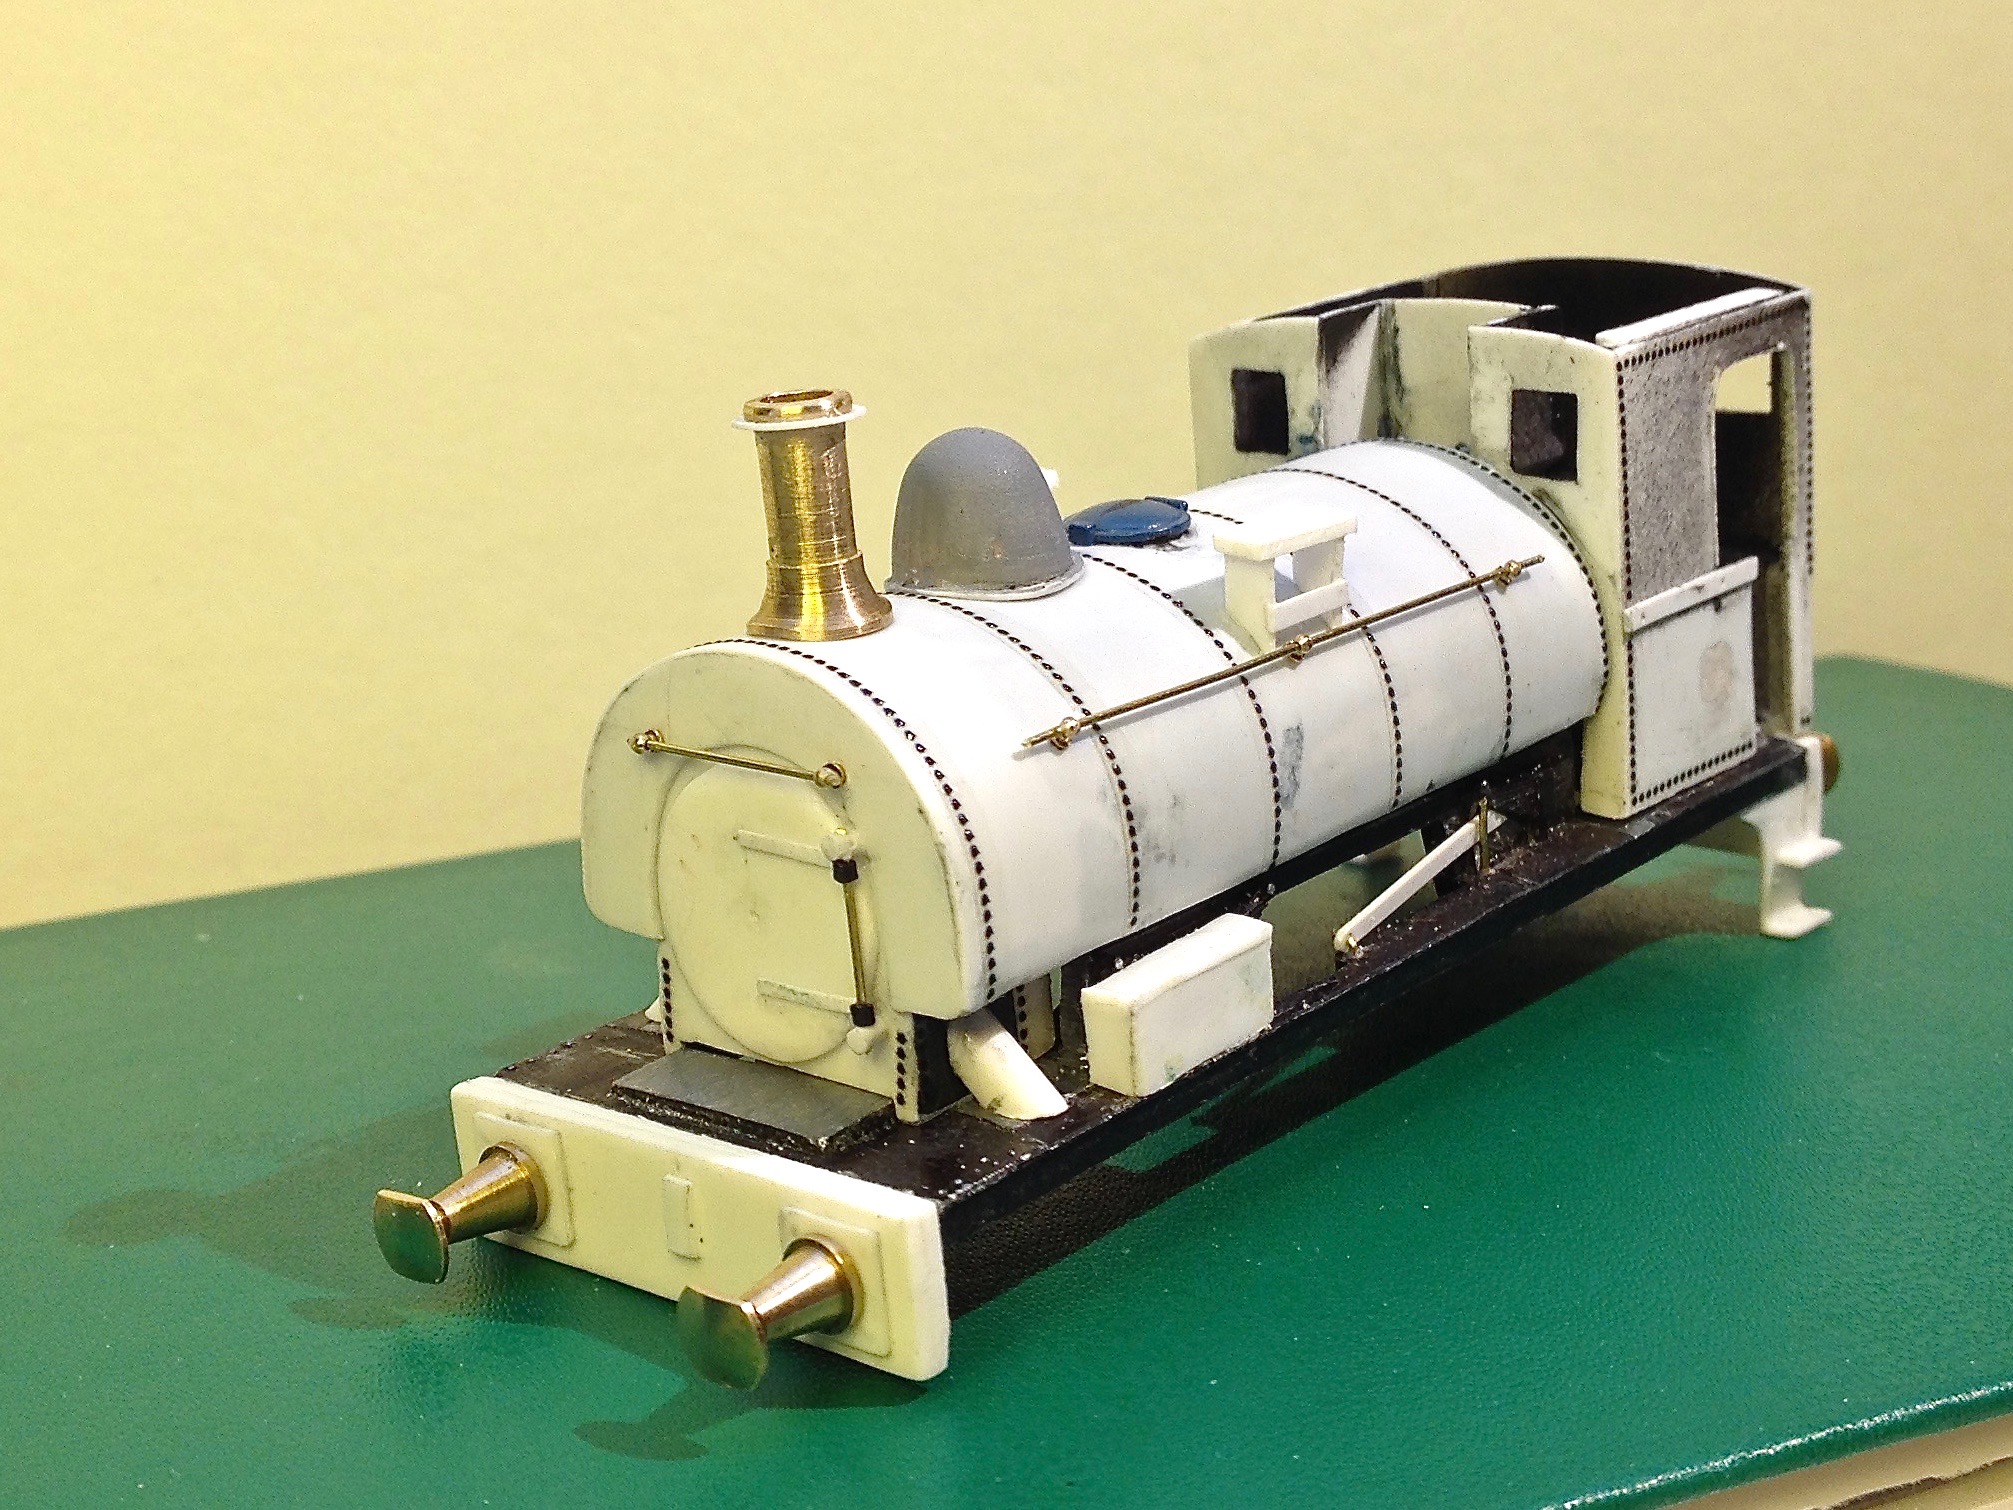
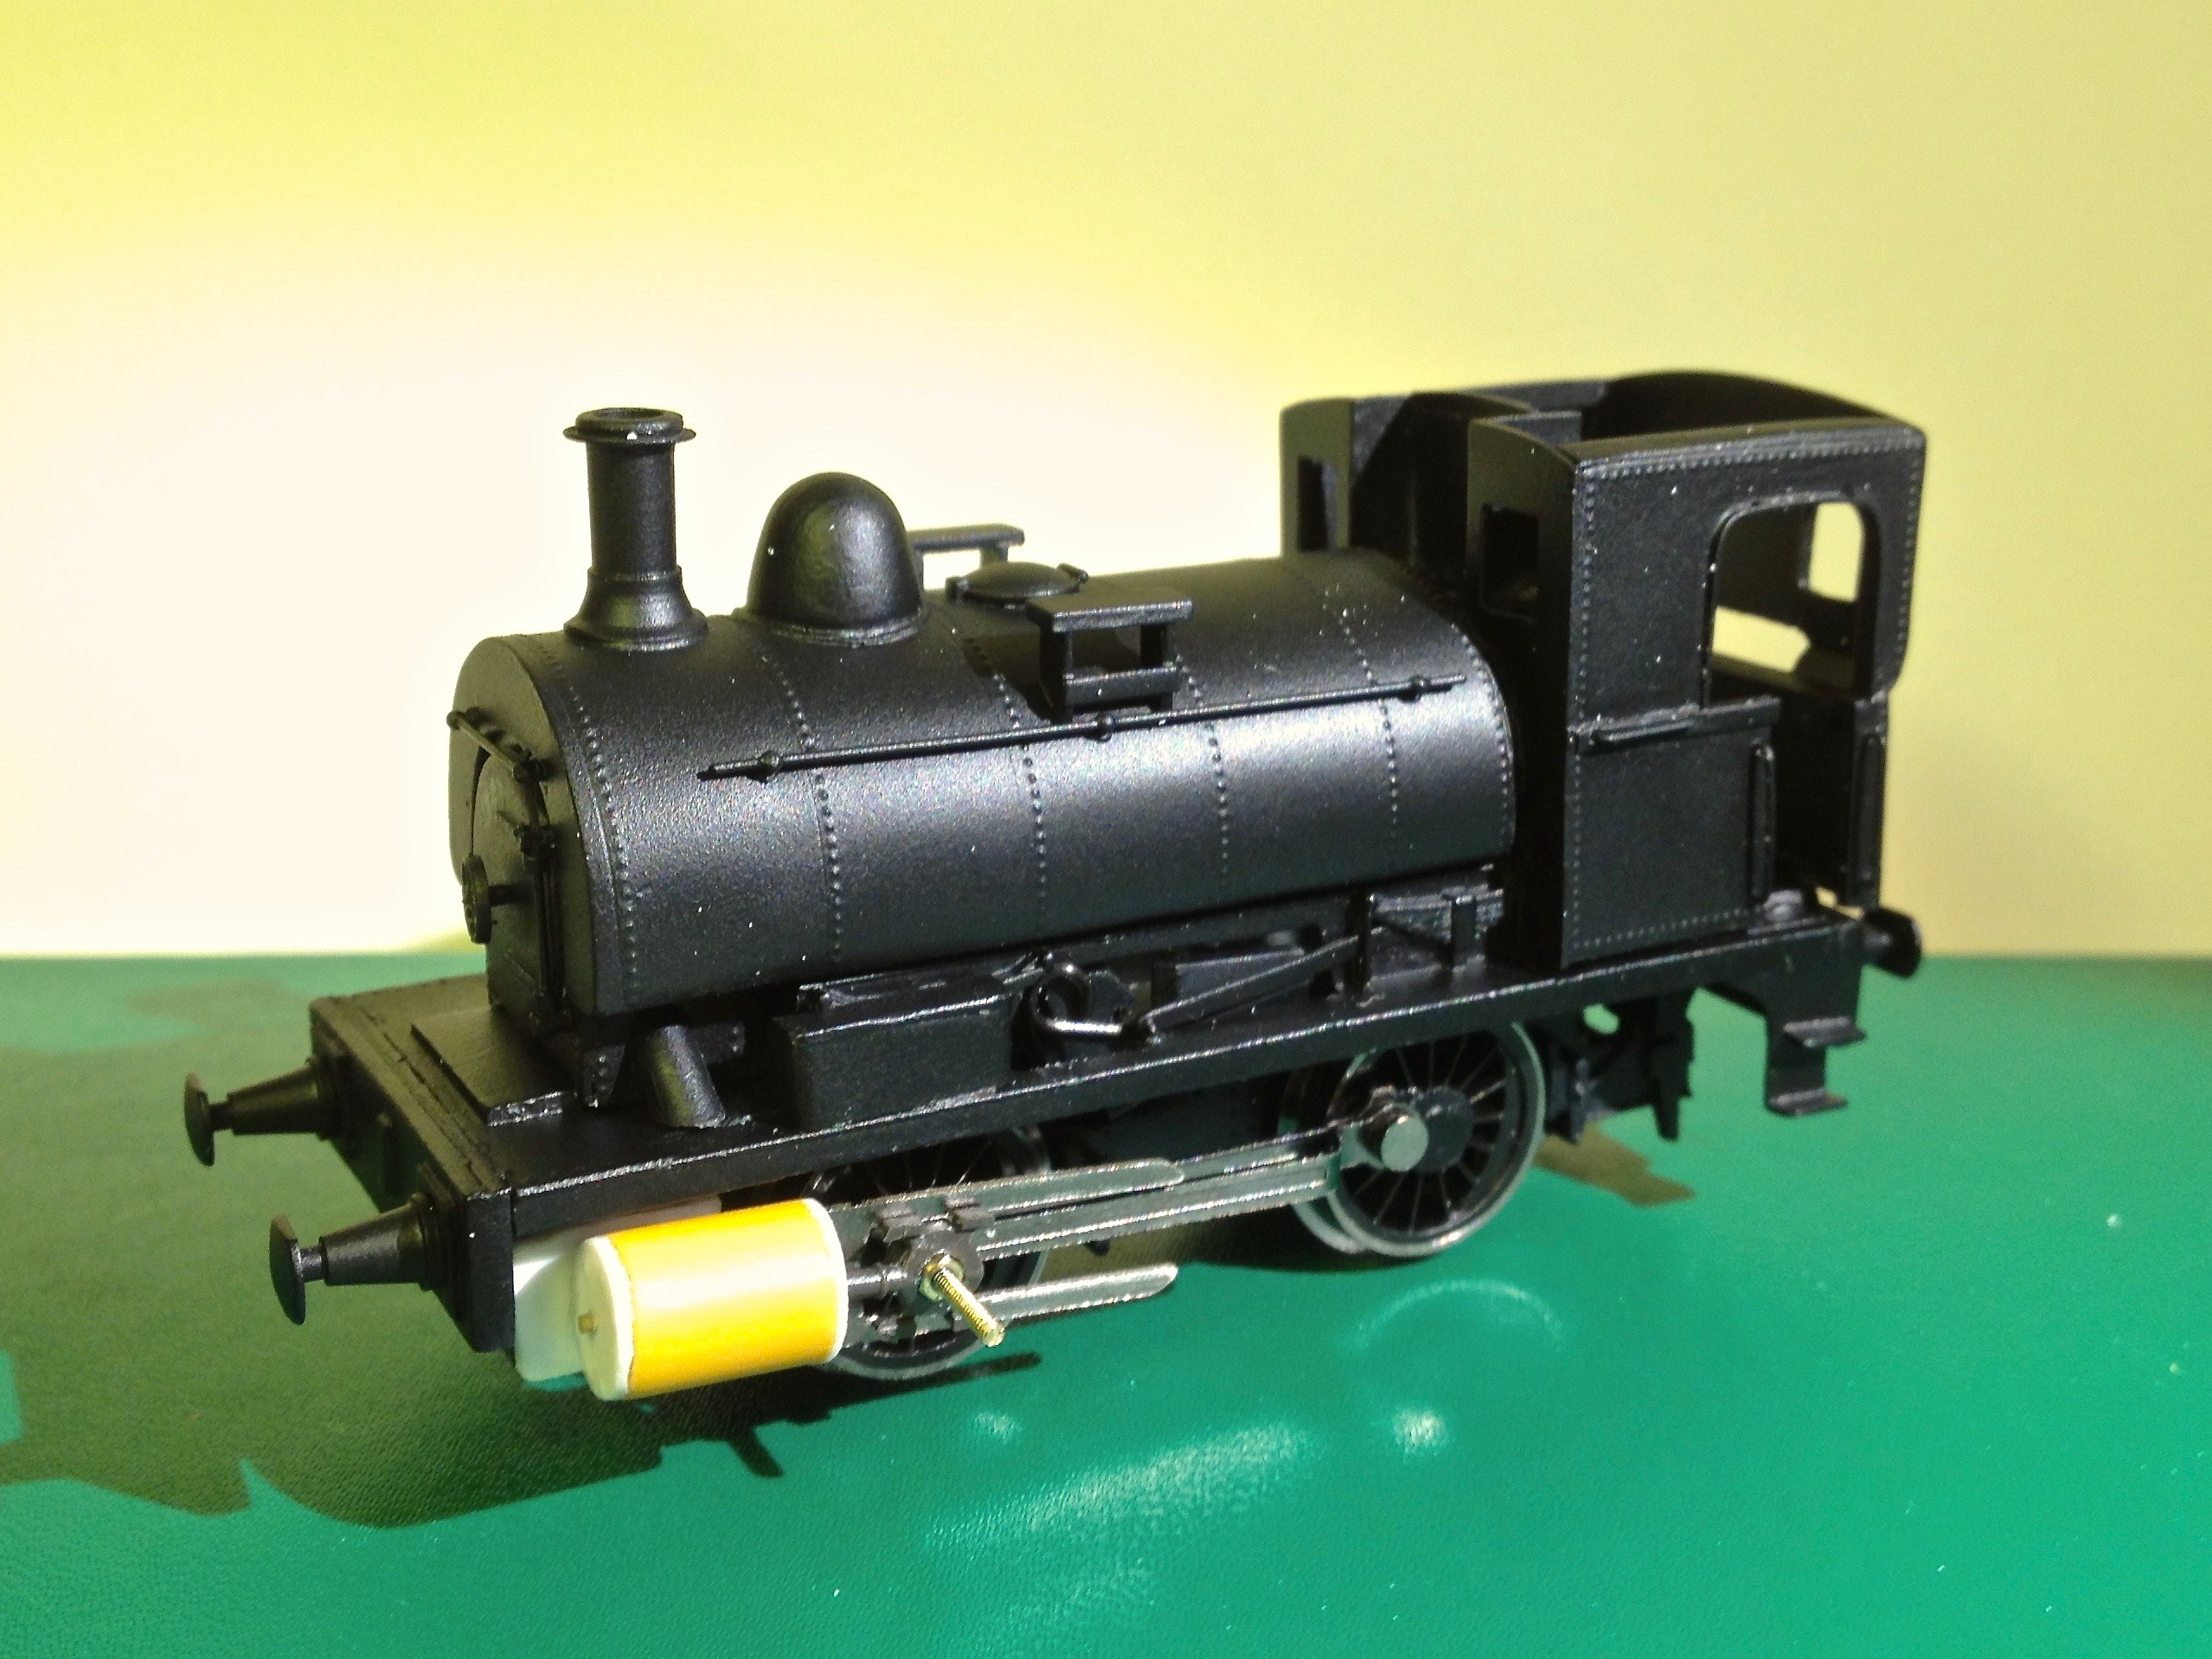
4 hours ago, Tullygrainey said:
I'm pleased you like it. Thank you J-Mo. As I said in the original post, the starting point was a Hornby 0-4-0 Caledonian Pug though there wasn't much left of the superstructure by the time I'd finished with the razor saw. The body mods are mostly plastic card, brass wire and bits from the spares box. The tank needed a lot filed off each side to get the profile I wanted. it was then skinned with 0.25mm plastic card so as to extend the tank forward over the smokebox without having an obvious join. The rivets are Archer 3D resin transfers.
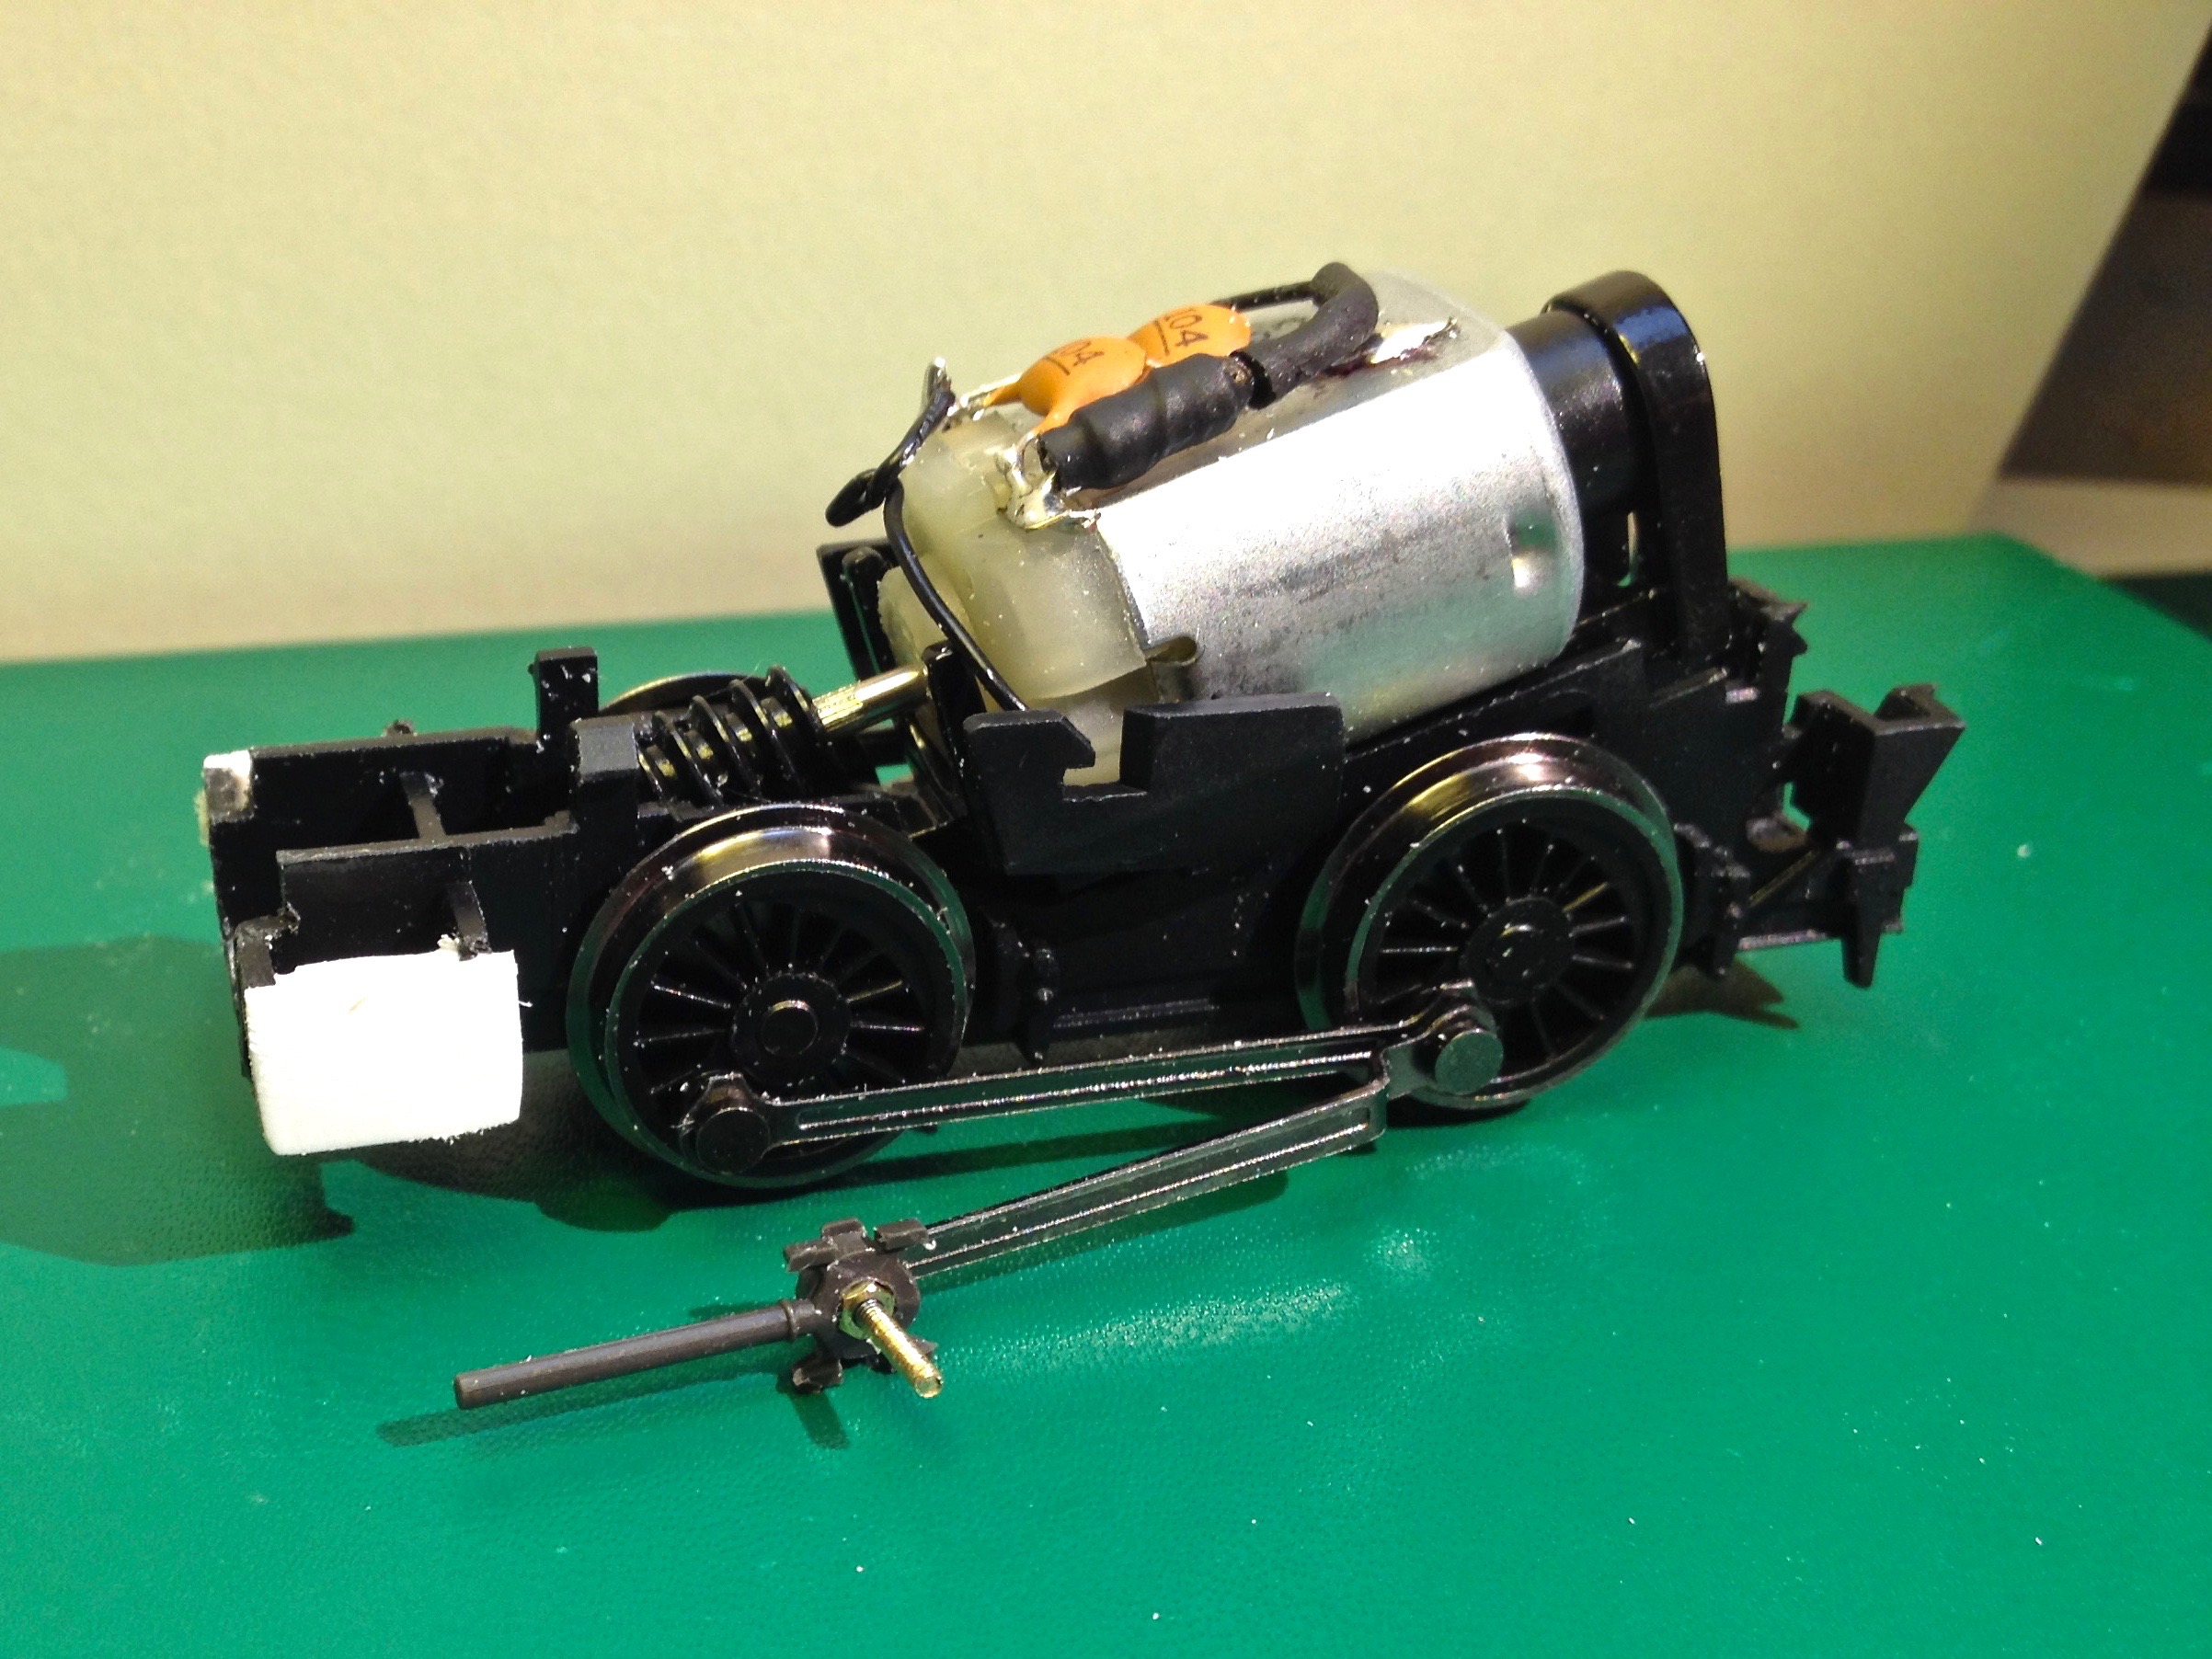
I used a Hornby spares pack for the crossheads and sliders - Part No. X8834, Class 28xx 2-8-0 valve gear set. They're a bit large and there might be better alternatives. The cylinders are sections cut from the barrel of a disposable propelling pencil, the sort you buy in 10 packs at the supermarket. They're just glued to the chassis.
It's DCC chipped which tames it a bit and it runs reasonably well. It's probably a bit over-scale but that's what you get for starting with a Hornby Pug

Alan
Thanks Alan, it looks stellar! Might have to have a go myself!
-
1
-
-
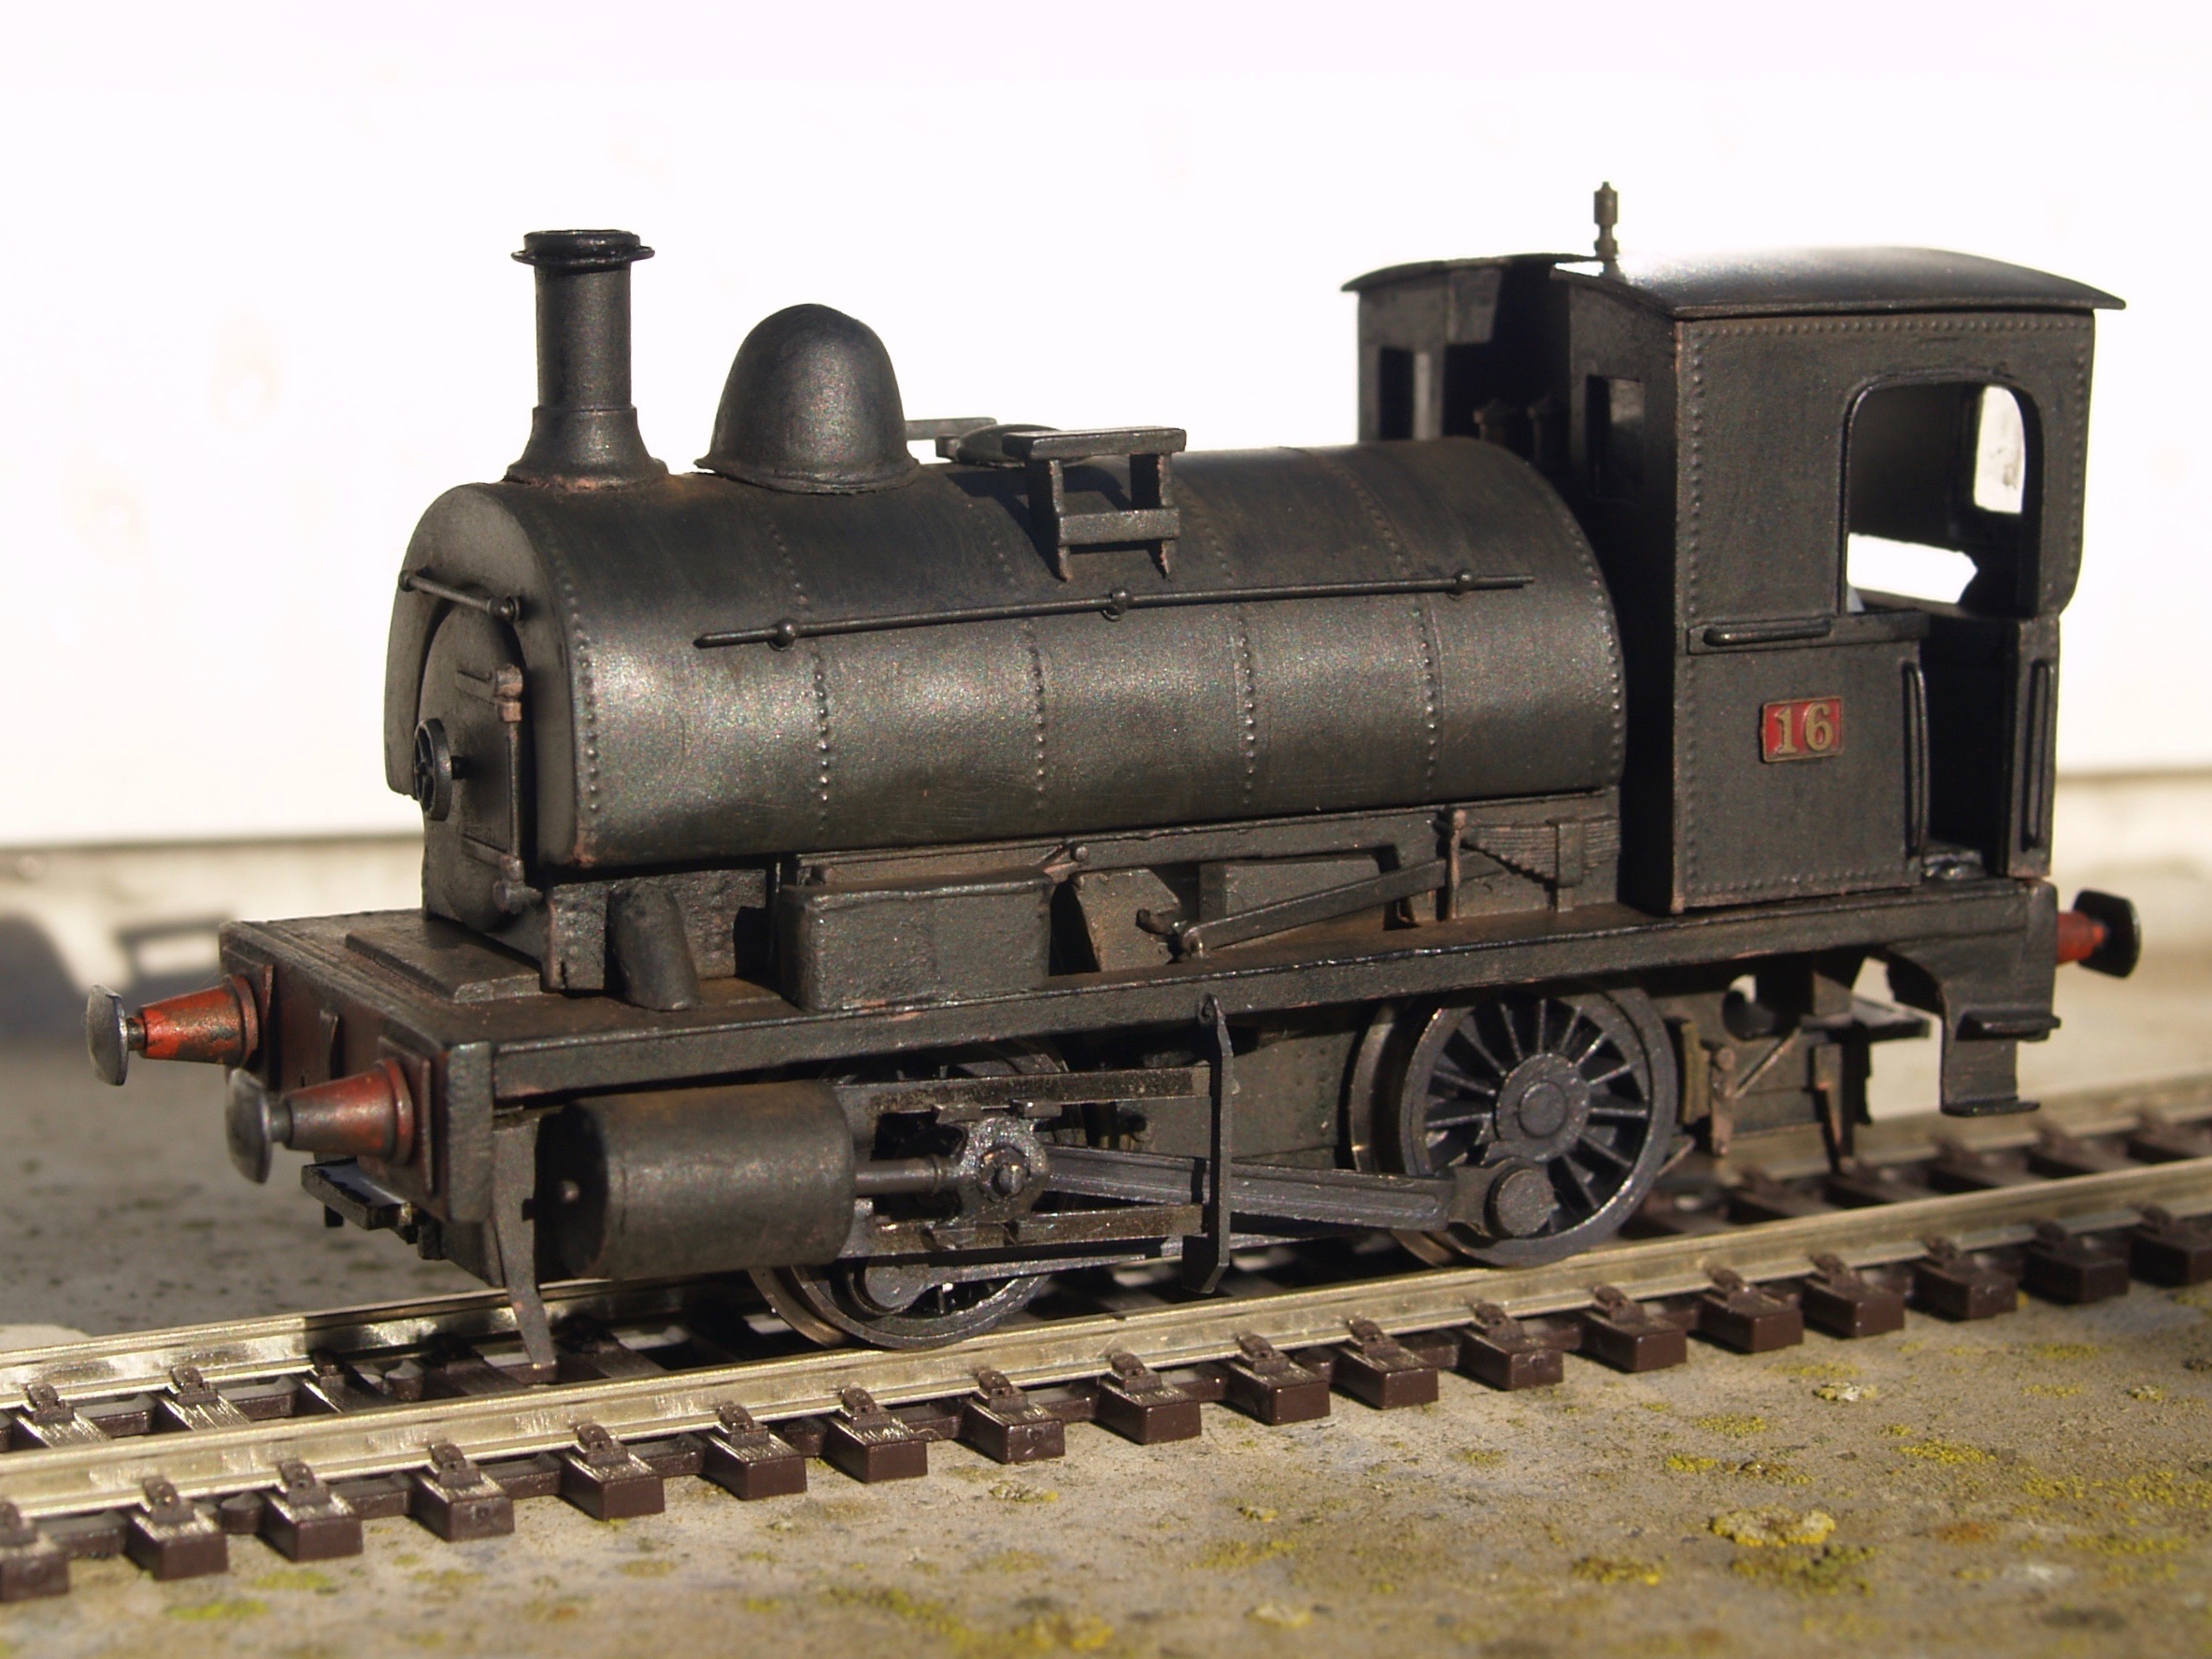
On 11/4/2019 at 5:20 PM, Tullygrainey said:
And here is a 4mm approximation of No. 16 using a Hornby 0-4-0 Caledonian Pug as a starting point.
Alan
Sorry to bring up an old thread but I've just seen this, and I like it a lot, do you have any details of the build?
-
1
-
1
-
-
Another picture, this time with unblocked windows and on the club layout.
388 simmers in the headshunt as carriages are shunted around the yard.
-
5
-
 1
1
-
-
The mogul is pretty much finished:
Of course I've only just realised that the windows are still masked

I presumed 388 would be in this livery before or after the red lining was removed, I may be totally wrong but I don't think many people at local exhibitions will know any better.
There are parts that are wrong, I couldn't face hacking off the smoke deflector bracket bits and the BR numberplate still has a shadow, but overall I'm really pleased with this loco and I can't wait to finish all the coaches.
Posed on a friend's layout.
-
10
-
-
1 hour ago, Westcorkrailway said:
the lack of “flying snail esque” coaching stock in circulation at the moment means these coaches get much attention! Even if (at least my ones are) pretty basic BR mk 1 conversions
Exactly like mine then!
-
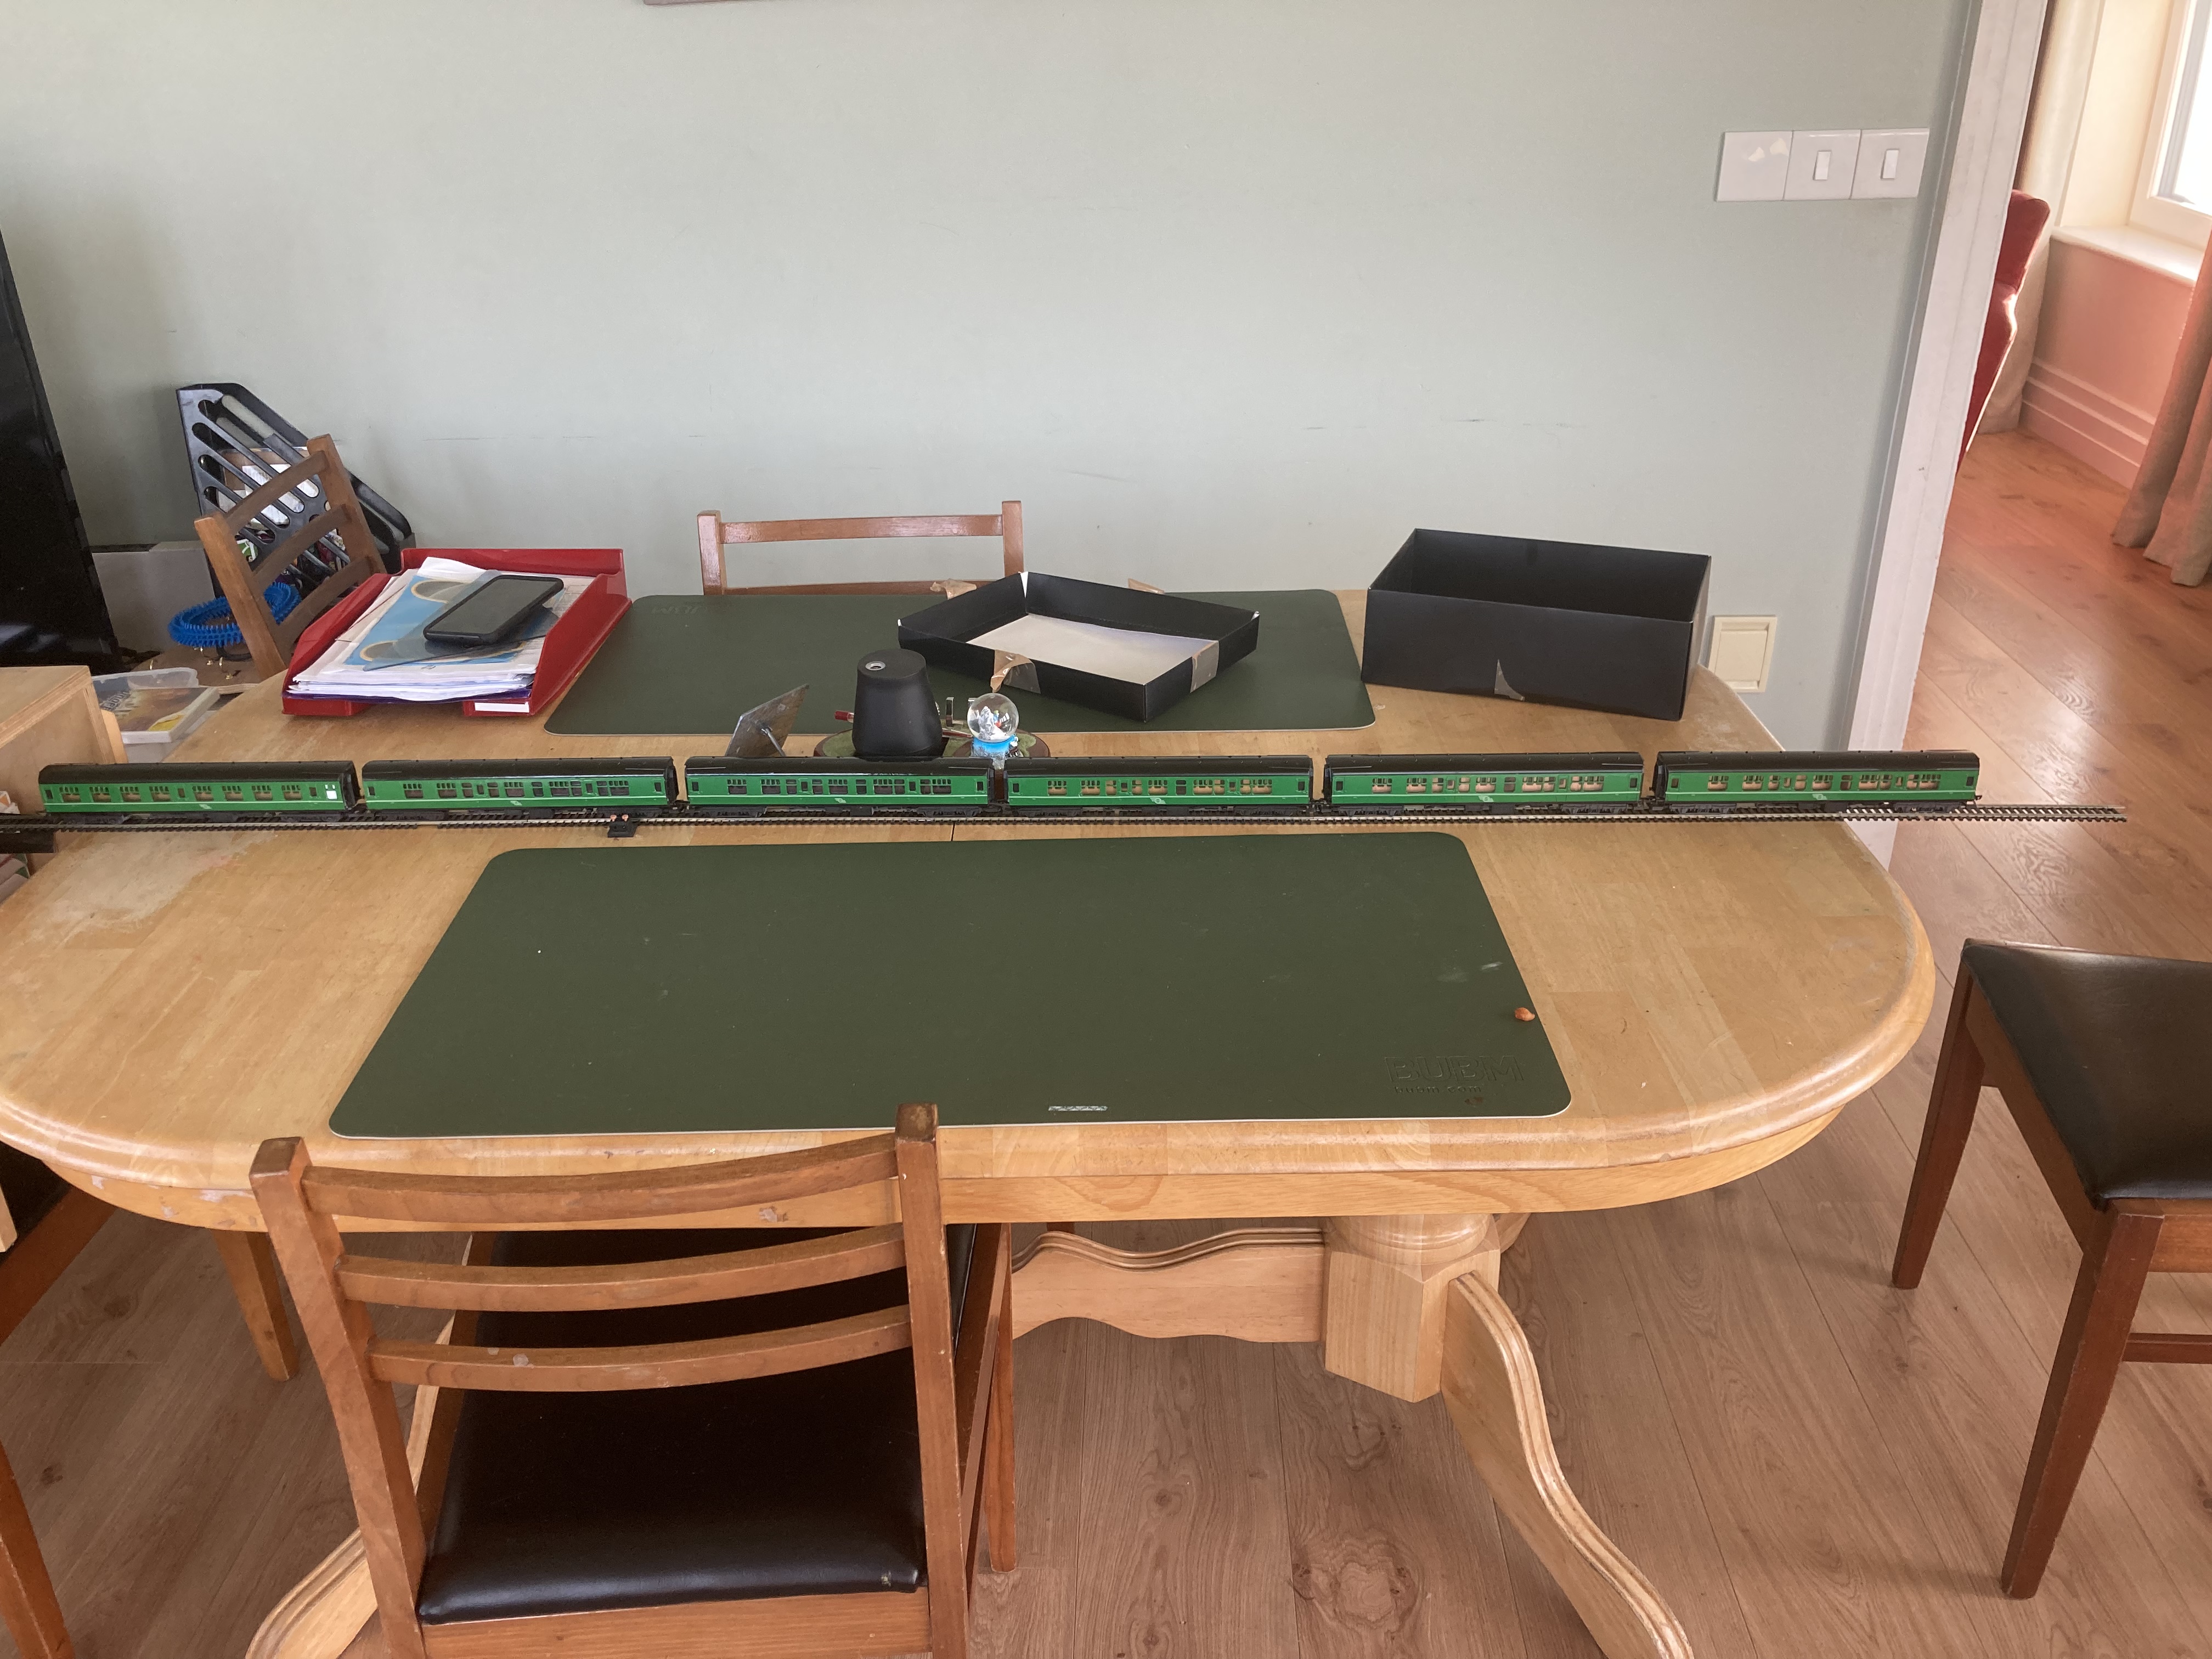
4 hours ago, Westcorkrailway said:
Of course you could always use Railtec Eau de nil transfers. My coaches are post 1955 green but the colour would be similar to the ones you have. They also come with an optional high line and running numbers if necessary
(Ignore the fact to fit then entire rake on the table that last one is teetering from death)
A 6 coach train is impressive, I don't that'd even fit on my layout properly! I'm hoping to finish my stock off to run on a club layout. I hope it'll turn some heads at upcoming exhibitions!
-
1
-
-
1 hour ago, jhb171achill said:
 Coaches very nicely sprayed…… practice painted lining on a bit of scrap plastic maybe?
Thanks and will do!
30 minutes ago, Mayner said:I am not the greatest at lining,.
I usually paint coaches in 2/3 colours using spray can auto paint and masking using Tamiya masking tape which is available in a variety of widths.
I don't remember whether I did the eau-de-nil strip using transfers (from Studio Scale Models) or masking.
As a general rule I cut the edge of the tape against a straight edge with a sharp knife before applying the masking take to the model as the edge of the role may be damaged or not 100% straight.
Carefully dress the tape around raised and recessed body detail before spraying the sides (and masking tape) with a light coat of body colour, this will stop the lining/second colour bleeding into the details ruining the model.
The spray of hand paint the lining colour.
I usually have 'livery colours" such as green, golden brown custom mixed by a local automotive/industrial paint supplier matched from existing models or colour samples.
Starting from scratch the best option is to spray the body/side in the lining colour then mask for the body colour.
The middle Tin Van has been spayed in white before applying the black and the tan as the livery colours, the van on the left is in silver livery colour, the van on the right in eau-de-nil primer before applying the light green livery colour.
Those look great! Next time I'll be sure to spray the lining colour first. Thanks for the advice, I hadn't thought about trimming the edge of the tape, I'll keep that in mind
")
-
2
-
-
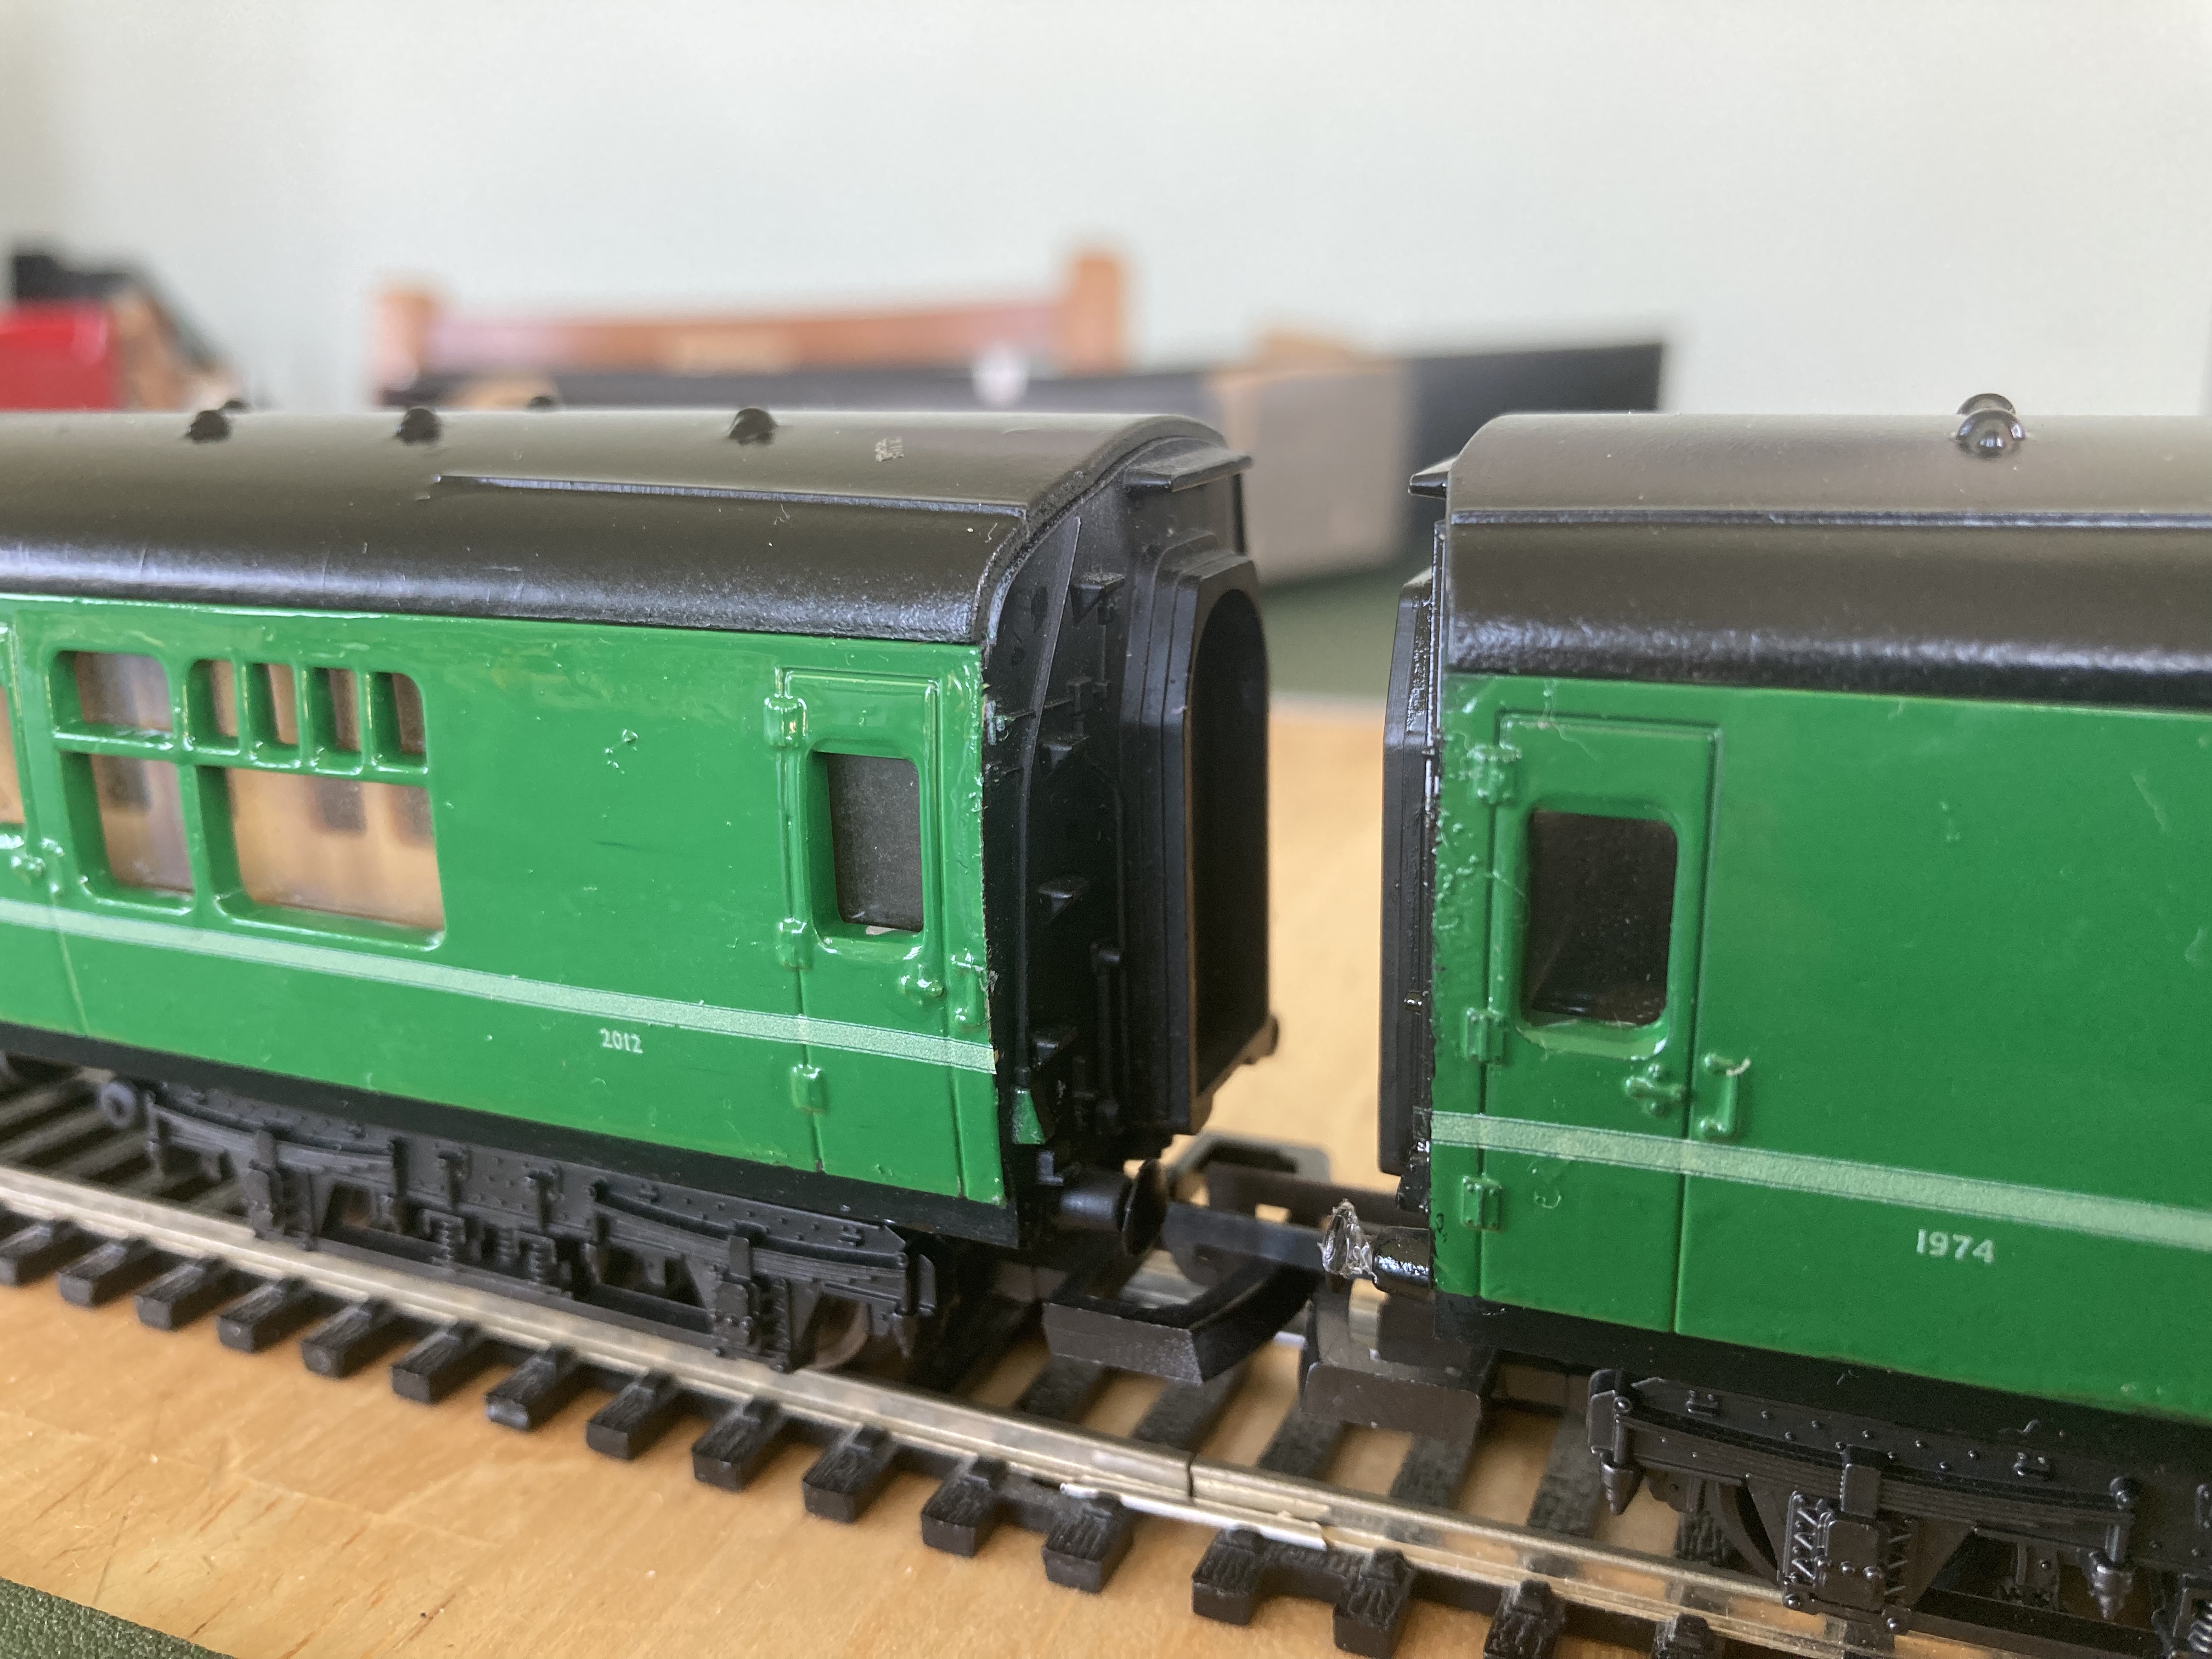
6 hours ago, jhb171achill said:
If you've painted them the lighter green, they would only have had a thinner waistline in pale green. Easy to do with a ruler in hand, hopefully?
Unfortunately they're in the darker shade, or as close to it as I could get:
The two coaches with separate sides there have beading above and below the window which will greatly help, and for the others I will use lots of masking tape and patience!
-
1 hour ago, jhb171achill said:
No. The lighter green livery appeared about 1956, and the laminates were initially unpainted, though with this becoming a total mess almost instantly in traffic, the earlier ones were repainted in green from about 1957 onwards; the later ones lighter green from the start.
However, ALL of the 1951-3 coaches, often referred to as "laminates" but with solid wood frames as opposed to "laminated timber", and similar in appearance to actual "laminates"; were the dark green from the start. One batch at least appeared new with no lining or snails at all, and silver window frames, but were repainted the then-normal livery of the dark green with upper and lower thick eau-de-nil bands, edged in black and white.
If it's a pic you're looking at, it is likely that the vehicle is a 1951-3 coach like this.
There's one thing though - in the late 1950s, a small number of secondary stock, mostly oul wrecks in West Cork and West Clare stuff, was given an unlined coact of dark green - probably to use it up. This was a sort of half-way-house unofficial livery, a bit like the raccoon pair of 201s today.
The "pre-laminates" were, of course, laterally painted in the lighter green after 1956, before getting their black'n'tan coats after 1962.
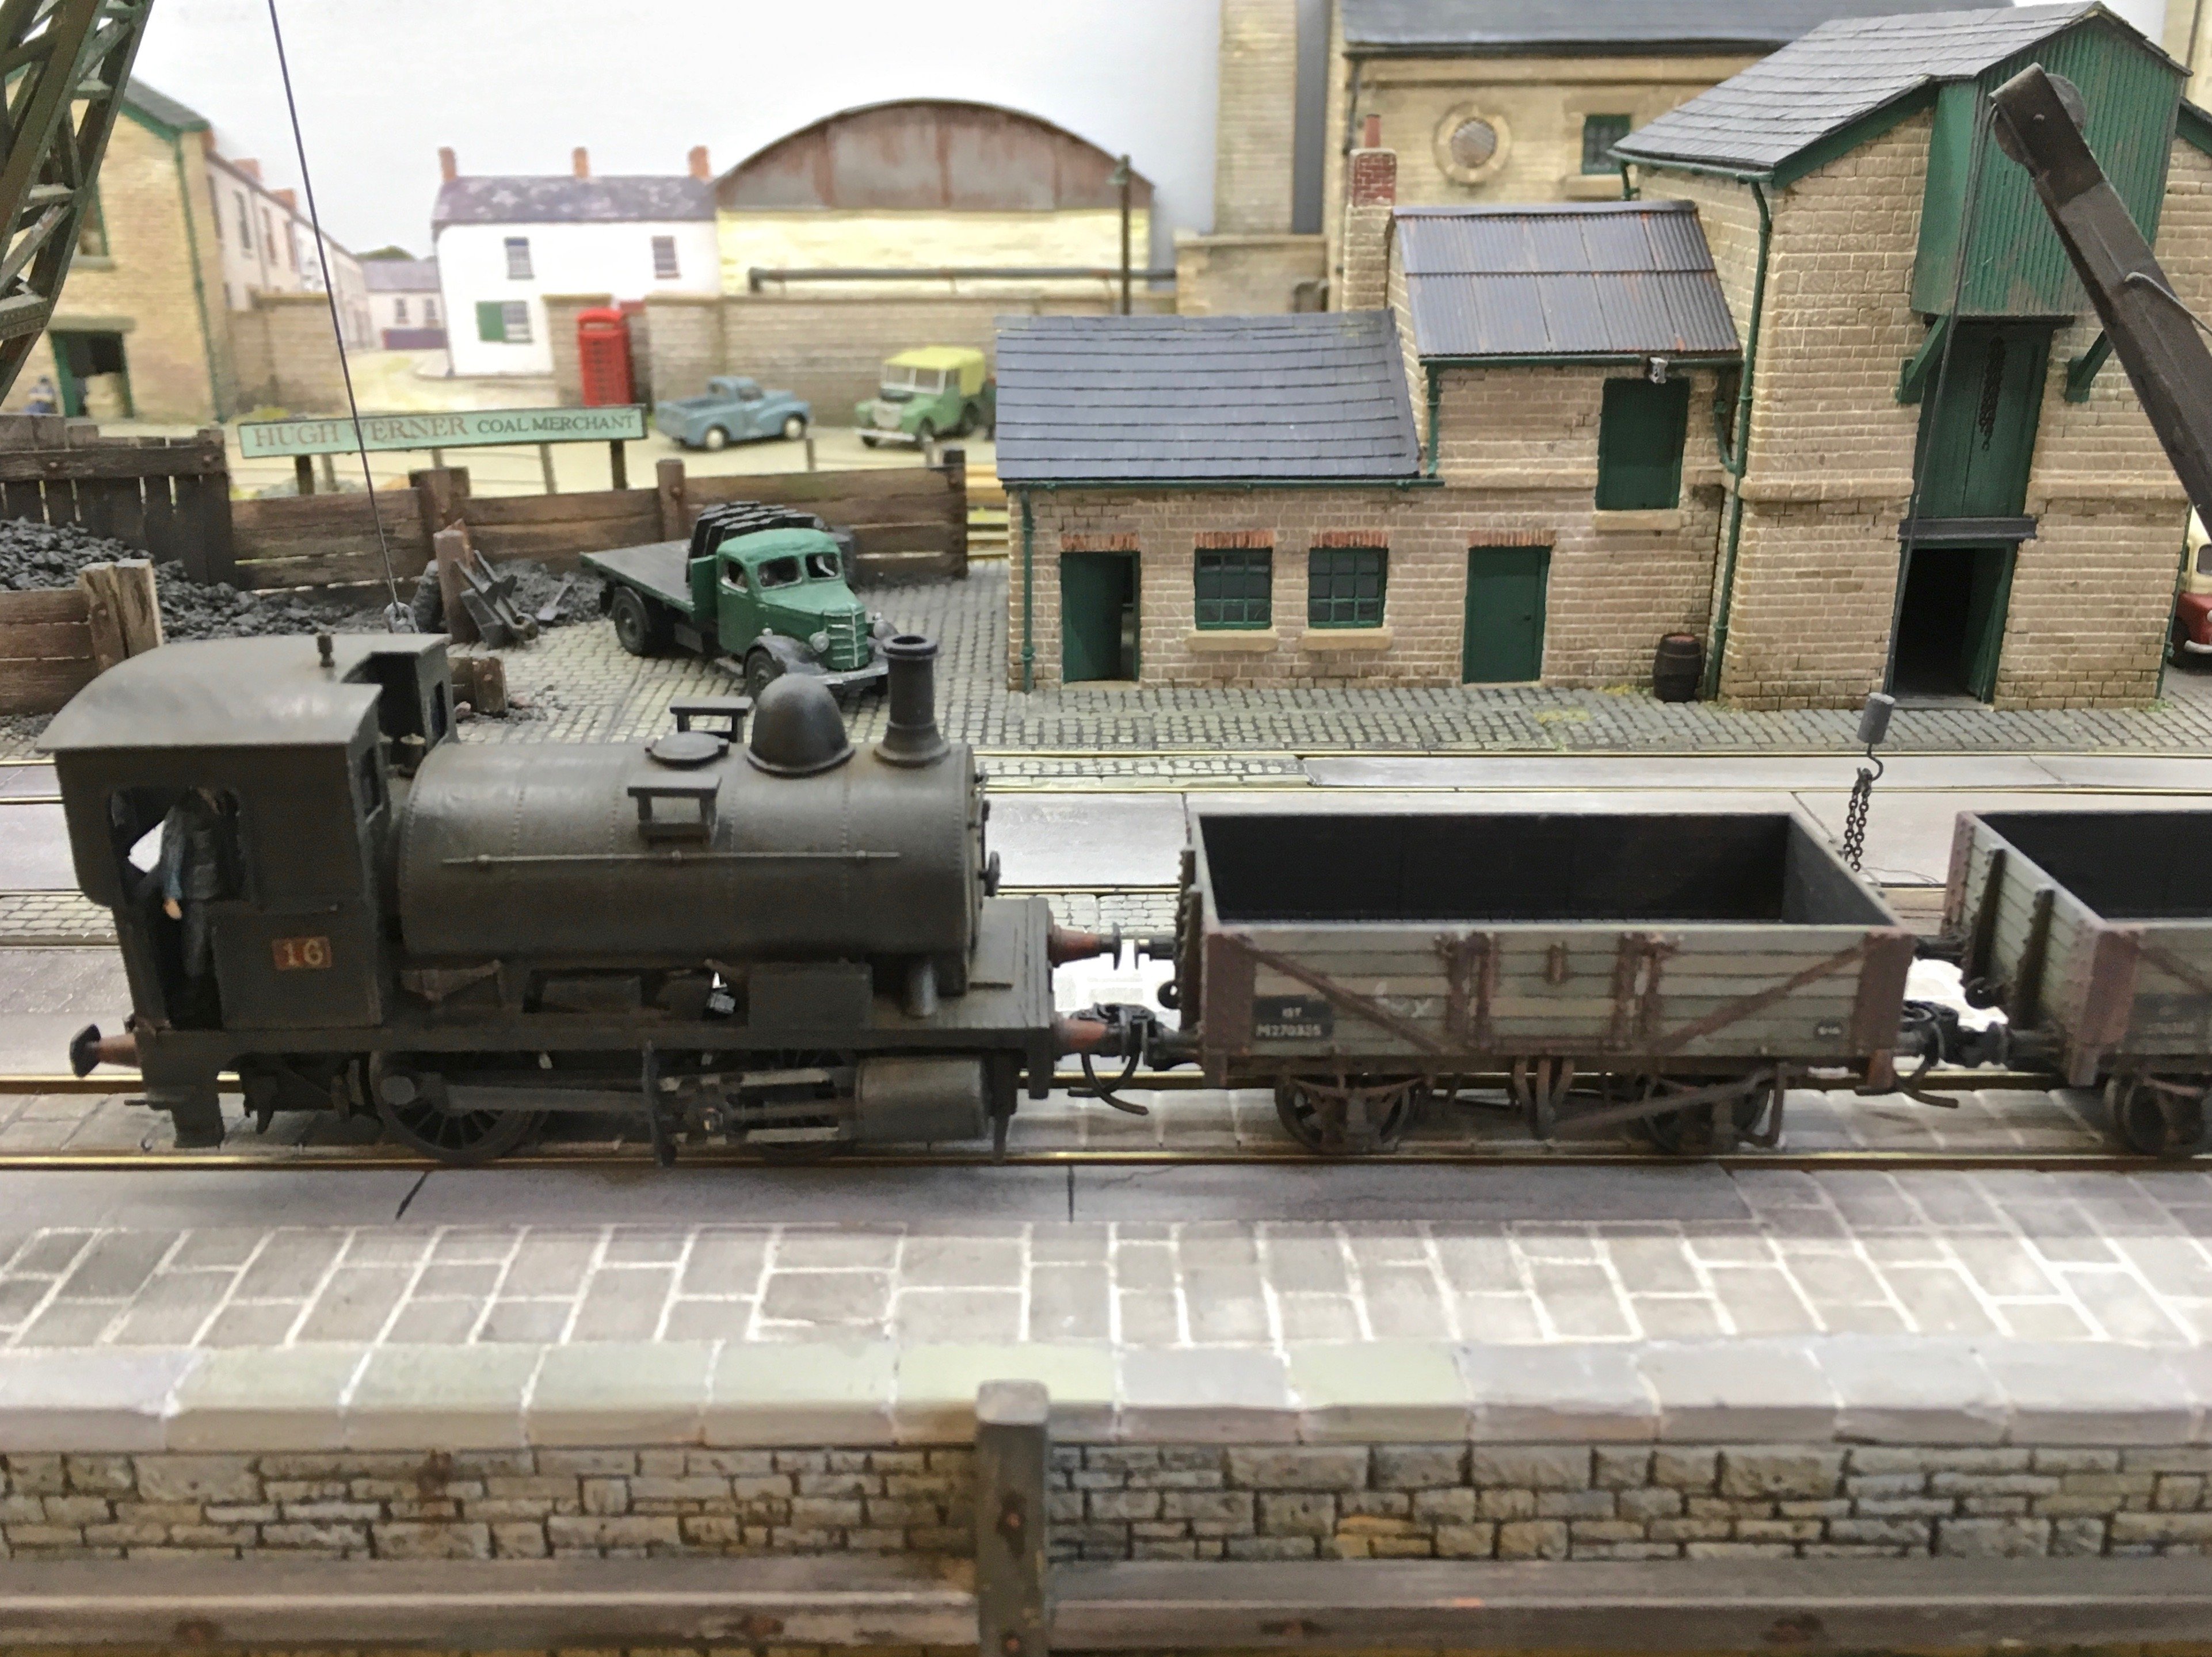
Lovely Donegal-esque job on that little tank engine! It actually shows perfectly why some people have incorrectly assumed that the GNR blue engines and CDR red engines had black domes! They never did - and your weathering job shows the reality as perfectly as the real thing!
Thank you very much jhb, for the information and the very kind words.
The reason I asked about the coaches was because I've sprayed some coaches green (BR Mk1s- please look away purists!) and have ordered some snail transfers, but I didn't buy any of the EdN bands. I may well just paint these on by hand as the transfers for them were very expensive.
-
1
-
-
Hi all, quick question- were any CIE laminates painted in the dark green without the Eau de Nil stripes above and below the window line?
-
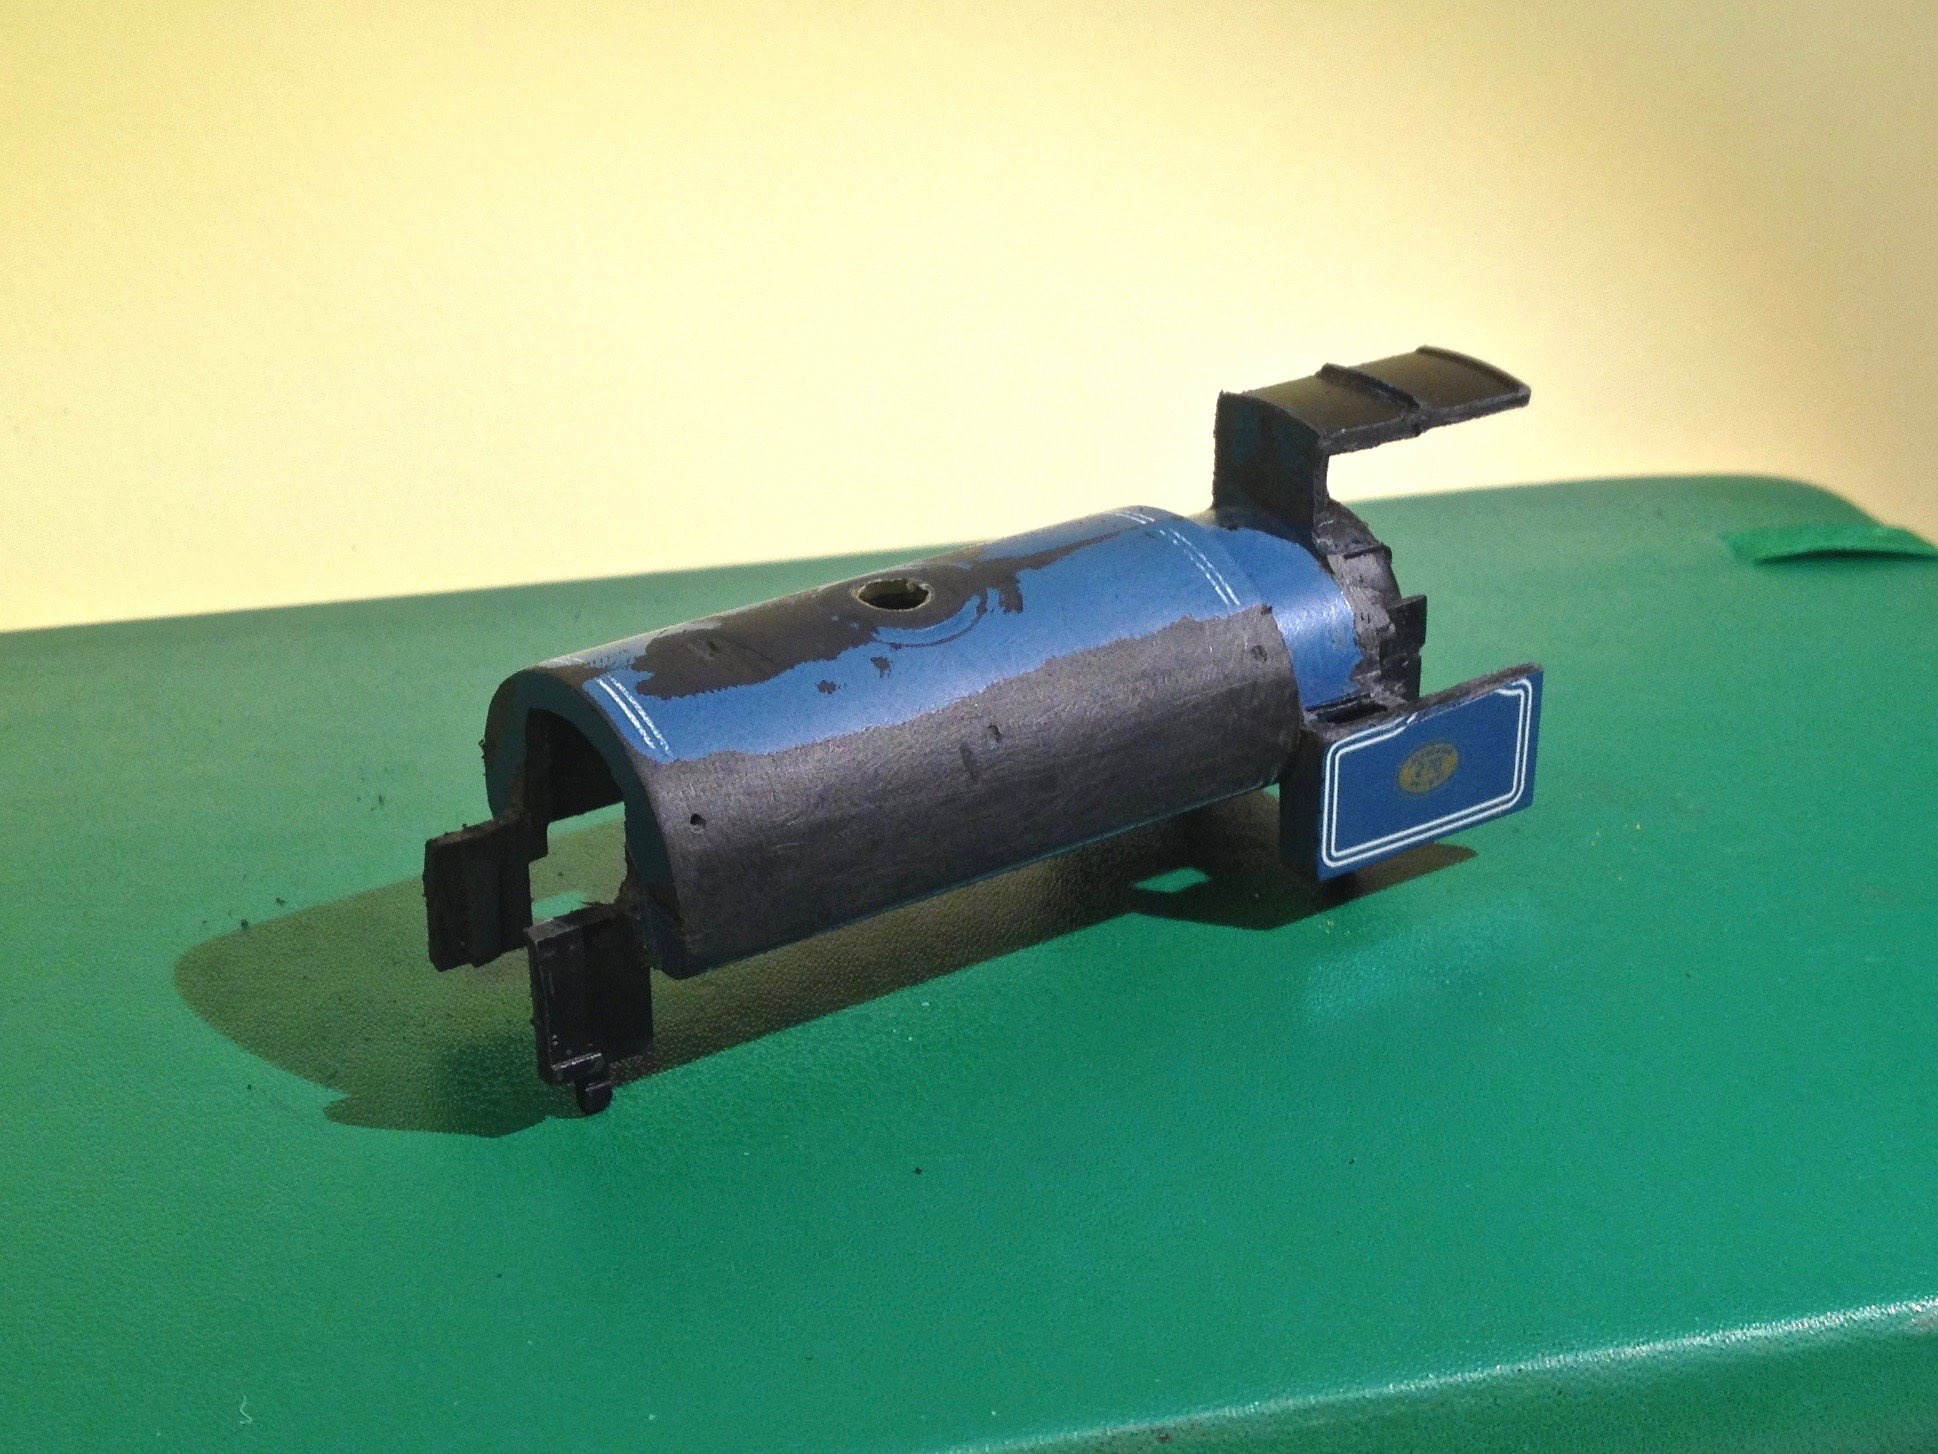
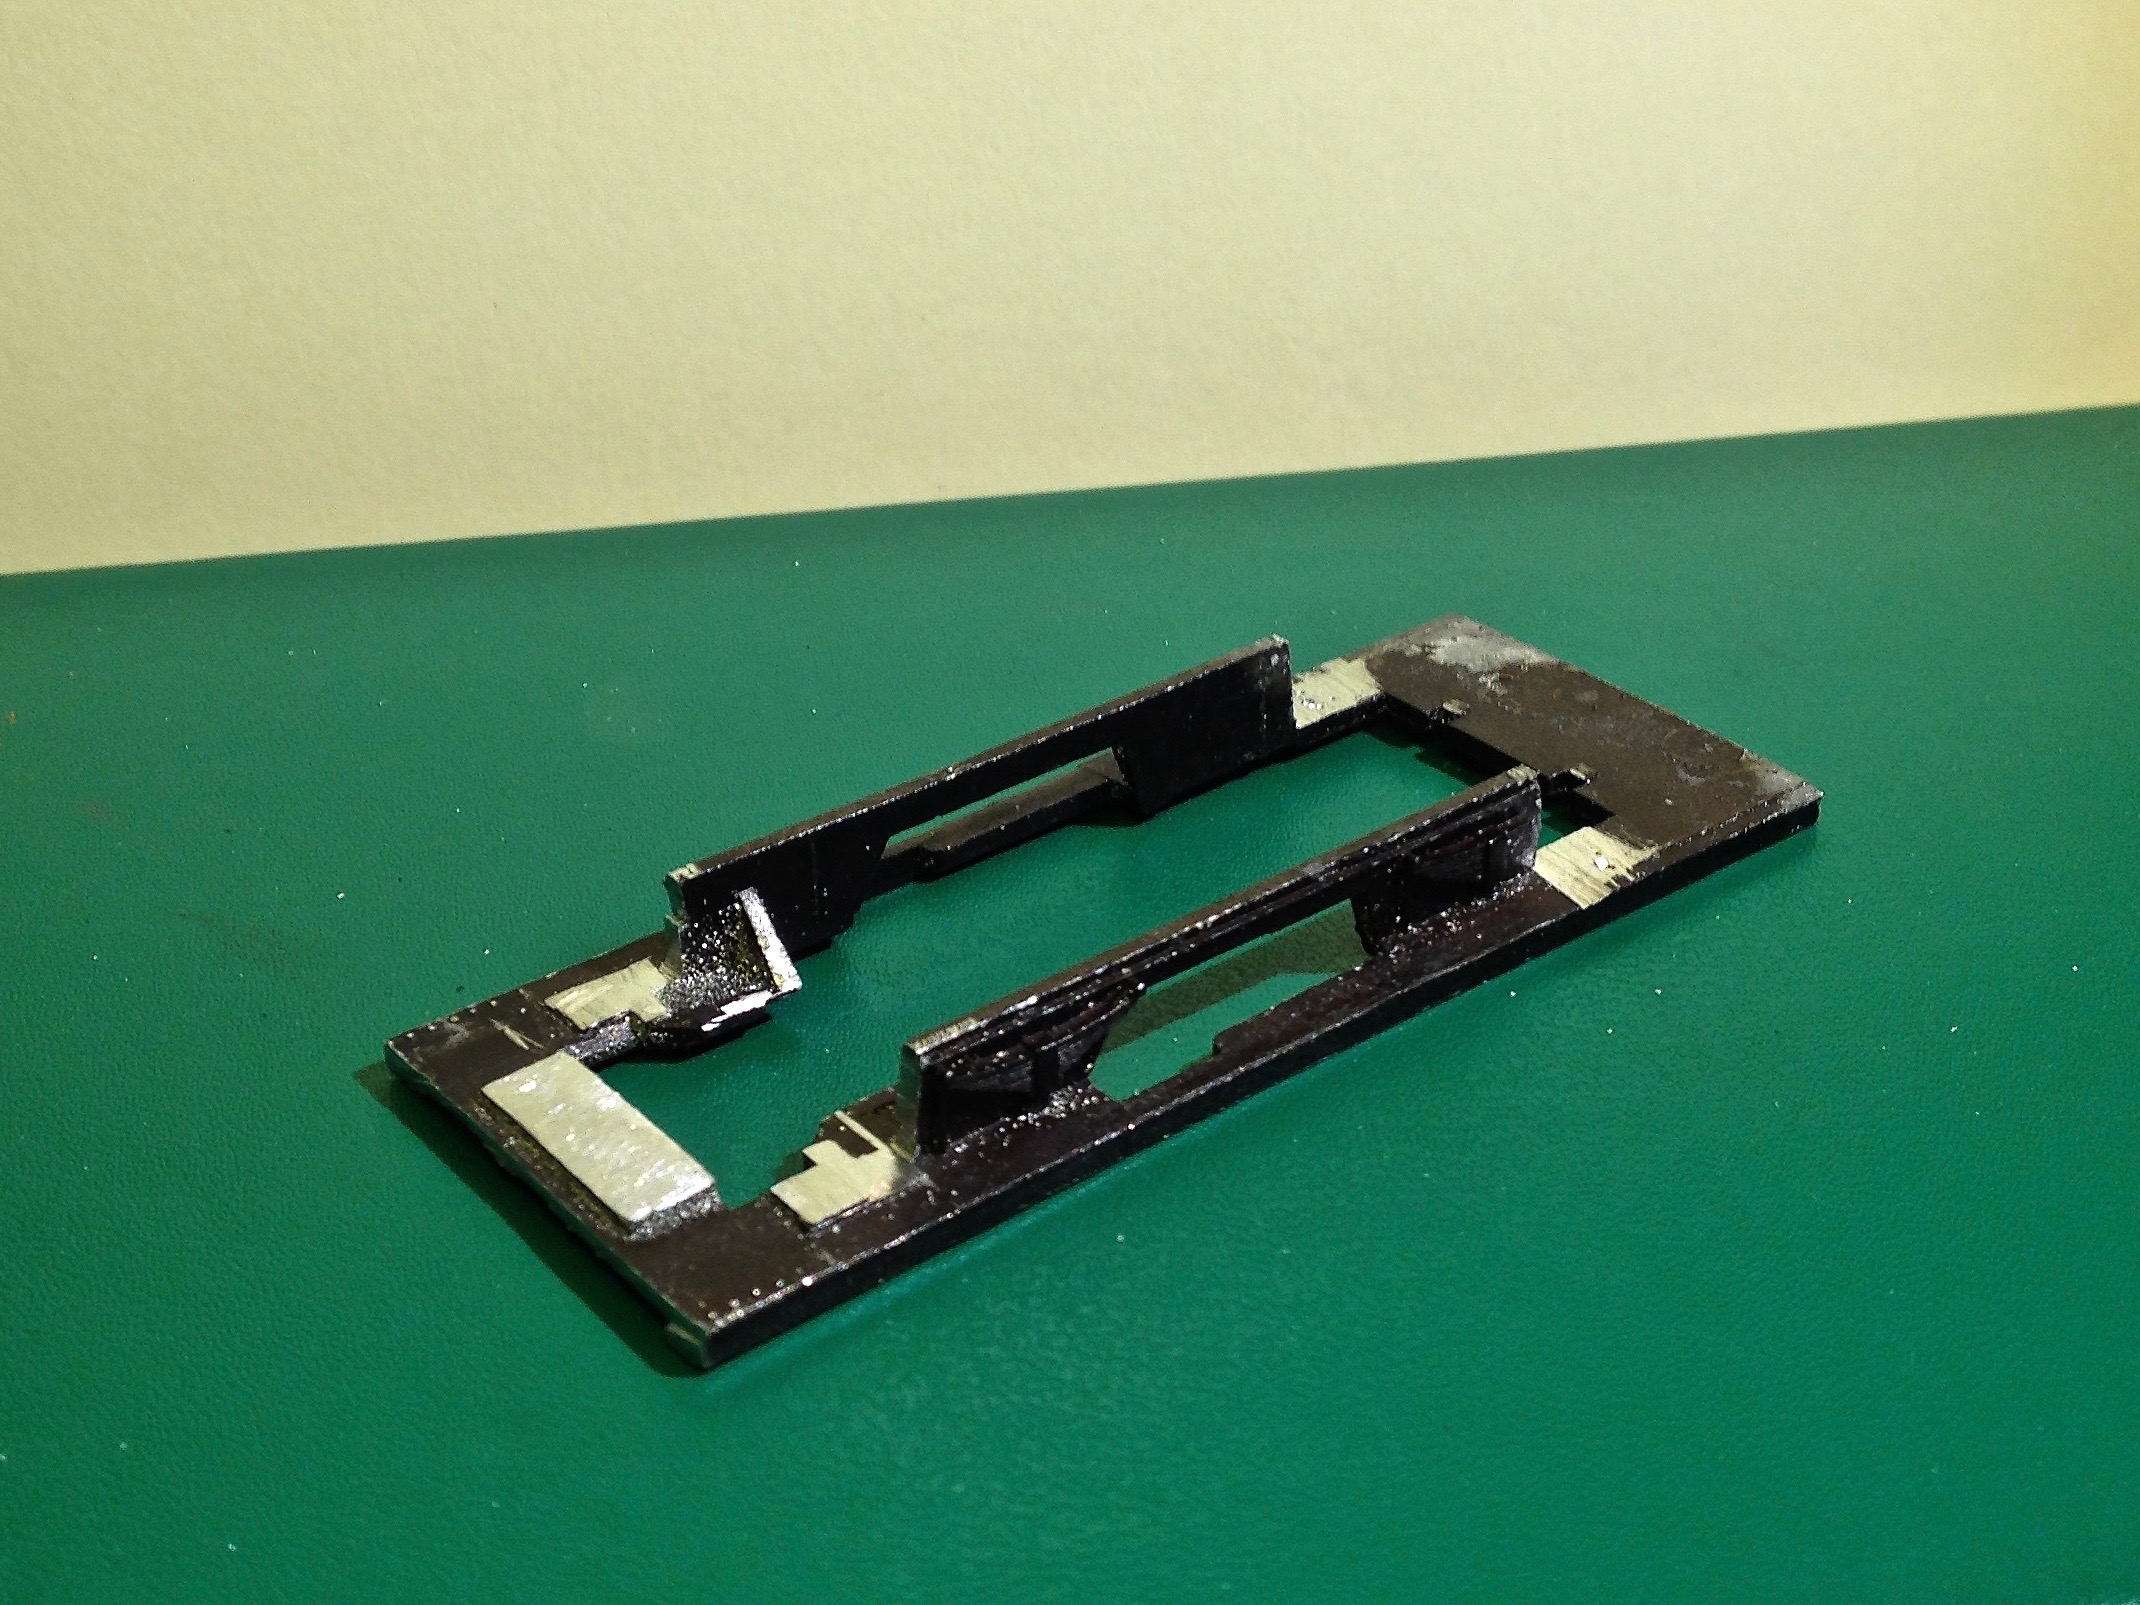
While thinking about this project, I've worked on a different one. All that remains now are couplings, and potentially a handrail on the smokebox, should I ever get round to that.
Freelance 00n3 0-8-0T inspired by the Nasmyth Wilson "Aurrera" and in CDR red livery. The weathering was very enjoyable to do.
-
8
-
-
12 minutes ago, jhb171achill said:
Hi J-Mo
Liveries for those locos were as follows:
Building date (1925) up to 1945: all were plain grey. No snails, obviously, as this was GSR days.
Between 1945 and 1949, most - possibly all - were repainted standard CIE green, lined black and white. It is possible some stayed grey.
1949 - approximately 1955/6 - it seems that at least a few were either repainted plain grey, this time with a "snail", or else just had them added, never having been repainted green at all, though I suspect the former.
Some time in the mid-50s, some were repainted black, I am not sure if any got a green repaint, as any remaining in green livery towards the end of the 50s were so very badloy worn, faded and filthy it was practically imposible to tell how they'd been painted.
The "glossy black" one was a complete one-off - not just for the class, but for the whole of CIE, and for one very specific duty - the Cork-Rosslare Boat Train. However, this was very short-lived, as diesels took over and the loco went back to humdrum duty for a short time before being scrapped.
Livery details:
GREY - GSR: All over, smokebox, wheels & cab roof included. No markings on tender. Loco number on cast metal plate, with same grey background but numbers picked out in pale yellow usually (a few exceptions).
GREY - CIE: Same as above, except loco number plates replaced by pale yellow numbers painted on cabside, and pale GREEN (eau-de-nil) "snail" on the tender. The "snails" were transfers, exactly same as my avatar logo here - which is a pic of one, and were thus lined in gold. Painted cabside numerals were not lined.
GREEN - CIE: Green livery on loco and tender, including wheels. Details as on "Maedb" in Cultra, or any of Drew Donaldson's models - black and white lining. Same pale green "snail" on tender, but cabside numerals also pale green, and lined, if on a green loco.
BLACK - CIE: Plain black all over, as with the grey livery, no relief at all. Pale yellow painted cabside numbers, pale green snail on SOME tenders; some CIE steam locos that were repainted in the last few years didn't have snails on tenders at all (a la GSR) while some did.
"ROSSLARE" UNIQUE BLACK LIVERY: All black, single red lining. Pale green snail on tender, but pale green instead of yellow cabside number.
It may be noted that in all circumstances above and elsewhere, yellow "snails" are never correct for loco tenders, white still less so! Always pale green, lined.
I put up a post here ages ago, which I can't find right now, giving details of what 400 class and "Woolwich" locos had grey, green or black in the 1950s. In the case of "Woolwiches", while officially the policy was for these to be green after 1945, photographic evidence indicates a mixture of green, grey or black, so whichever is appropriate will depend on which loco number you're modelling.
Hope that's of assistance!
Thanks very much for the livery details! Very useful indeed. I had been looking at that older thread, but the more detailed explanations of liveries are much appreciated. I think I'll paint it black and decide later whether to add the red lining or not. Somewhat annoyingly the eau-de-nil snail transfers I've found have the same colour of numbers, not yellow...
The old thread:
-
I'm back from a lovely 2-week trip around Ireland, with lots of railway bits crammed in of course.
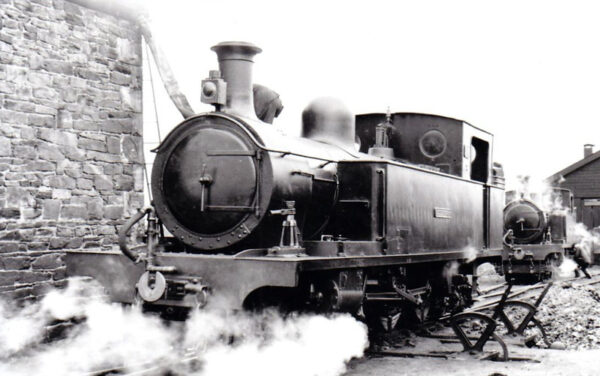
I also have picked up a Bachmann N class with a view to make it a CIE mogul as a 'souvenir'. I'm at a loss with which livery to paint it. I really like the one-off black with red lining, but I was thinking of doing plain black for ease. I was also wondering about this photo that I found:
Apologies for the low-res. I was wondering what the provenance of the lightning bolt on the smokebox is, and whether I could use this on my mogul to hide the BR numberplate that unfortunately is moulded onto the door.
My second question is whether the colour of the flying snail on the loco and on carriages is the same, as I've got one loco and 4 coaches to do

Thanks!
-
Love the 3d printed track. Hope the headshunt gives you all you need operations-wise. Your work never ceases to amaze!
-
1
-
1
-
-
3 hours ago, David Holman said:
Green frames may be needed, JB. Hopefully not too difficult once I get round to it.
What's it got at the moment?


.jpg.0c6dc871b8f6bd5ad86137ff18fb0b1e.jpg)
.jpg.5f51c6eb0d22cf321f8eca06c302229e.jpg)
.jpg.5bc6ca71b1172e89898c6754b38c27da.jpg)
.jpg.0d6cbdf0d4464e64a49cdc144355ac1d.jpg)
.jpg.0013b3c584733a653213d7a2d9f7d11a.jpg)


British locos and stock that can be disguised as Irish
in Irish Models
Posted
Thanks a lot for those! They'll be very useful. I don't suppose you'd know the width dimensions or have a front view? Might be being cheeky now
No worries, and I think the chassis is close enough for this to be a goer. I'll log progress on my workbench.
Thanks both!