
gm171 kk
-
Posts
759 -
Joined
-
Last visited
-
Days Won
9
Content Type
Profiles
Forums
Resource Library
Events
Gallery
Blogs
Store
Community Map
Posts posted by gm171 kk
-
-
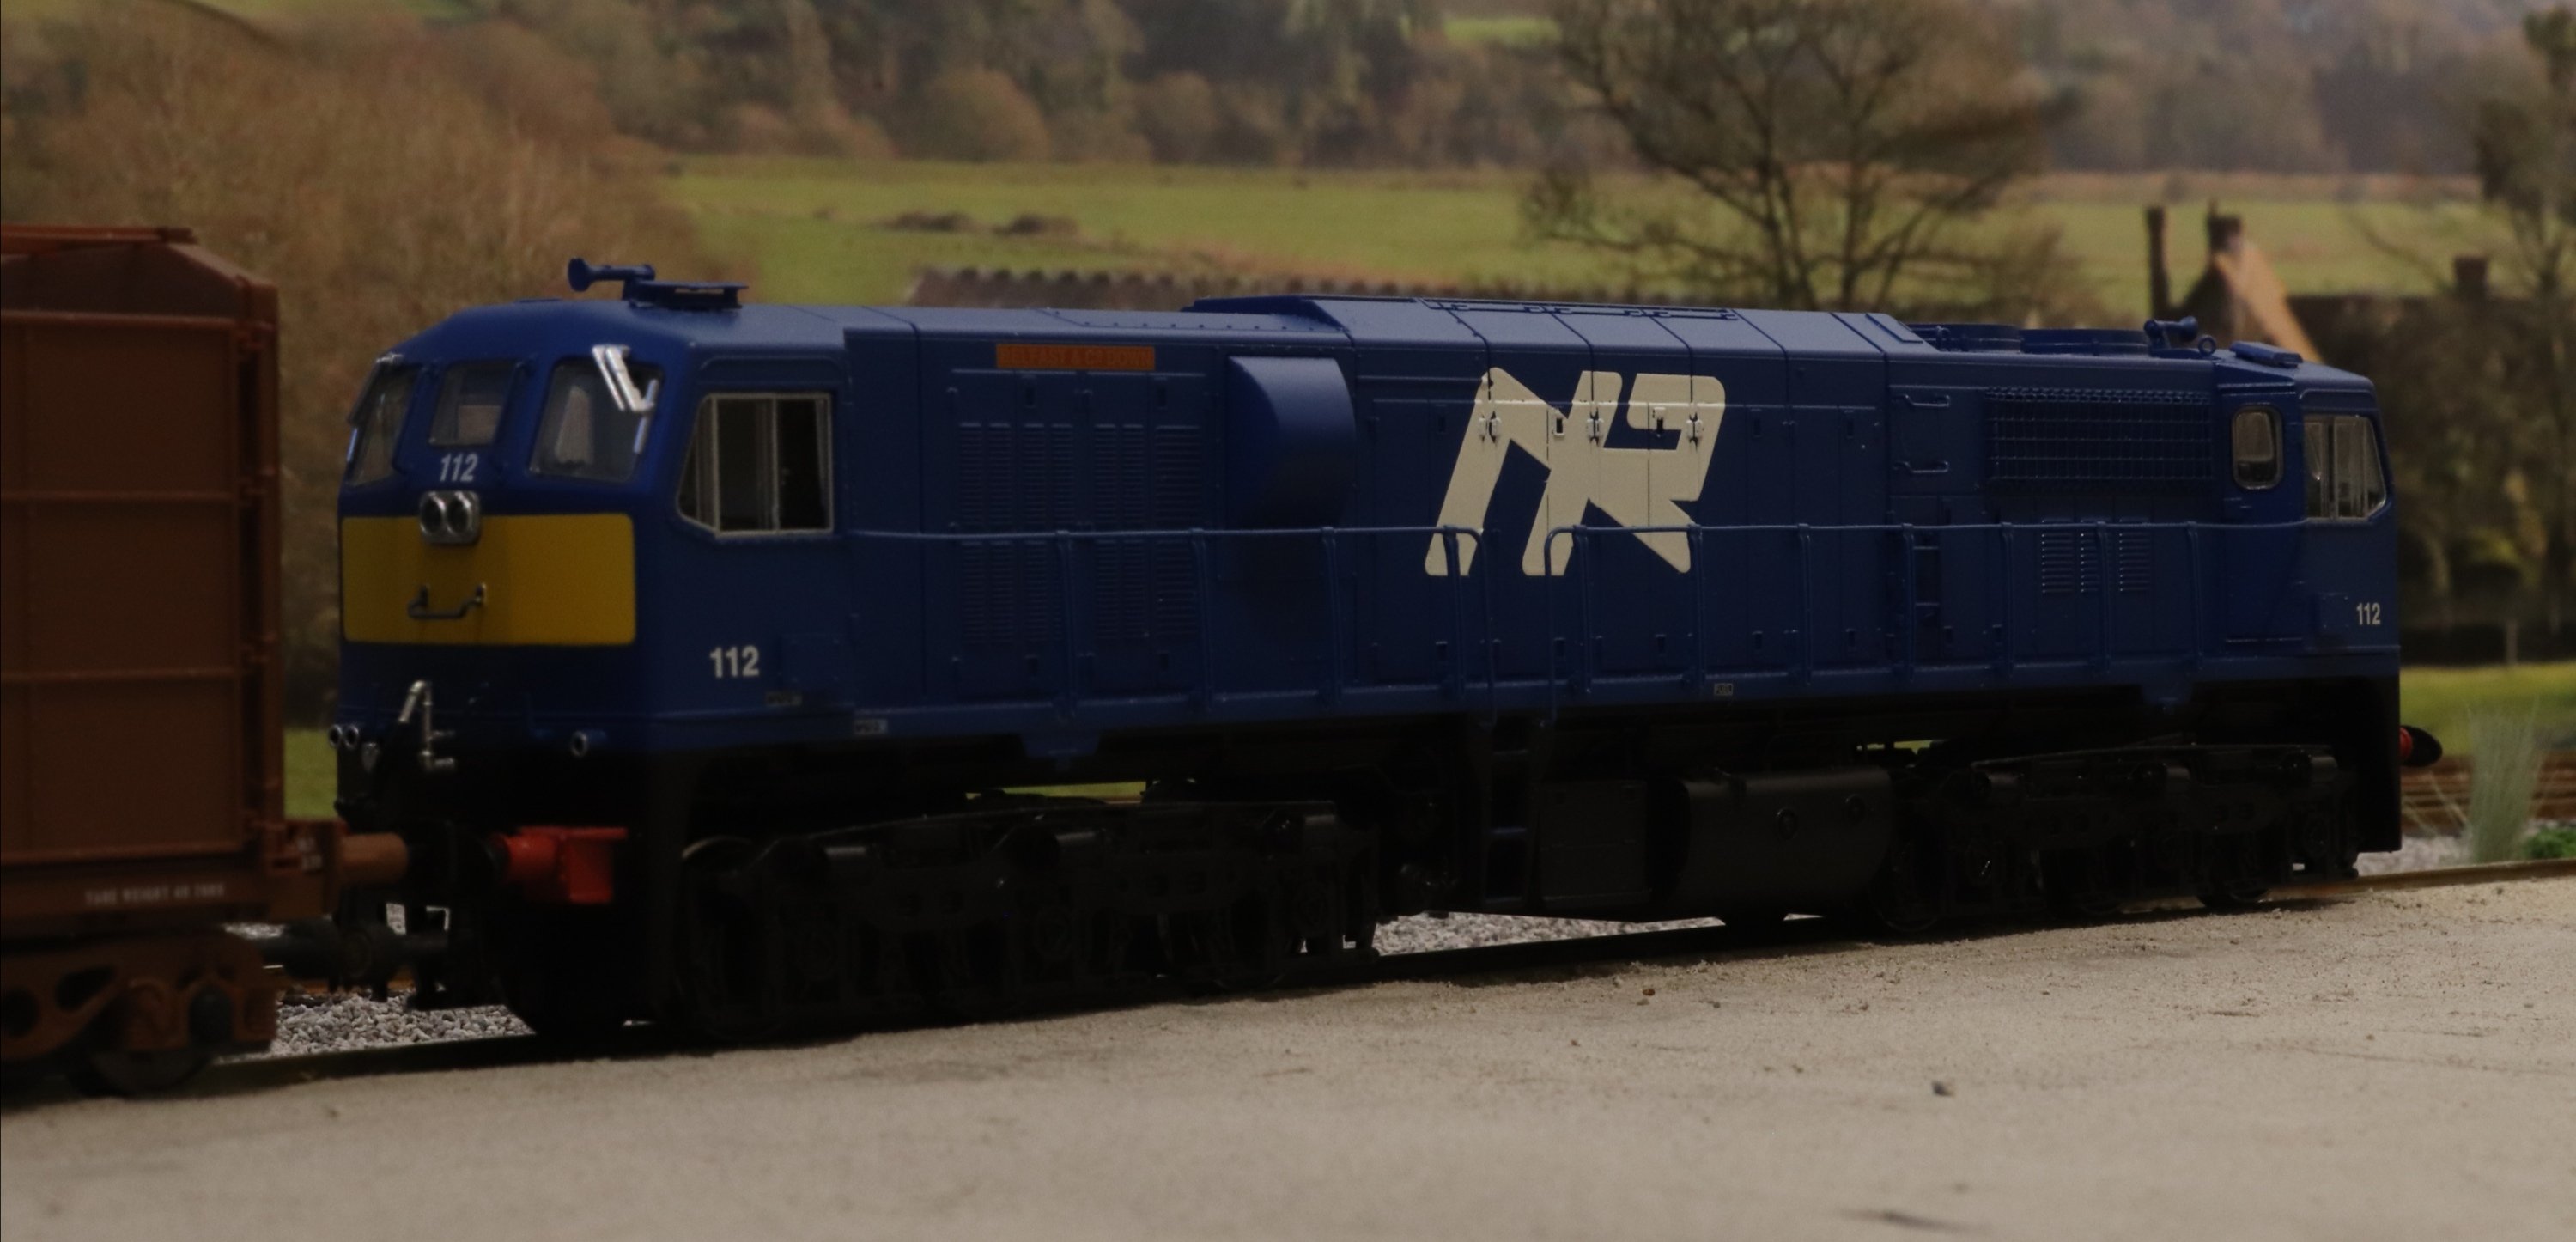
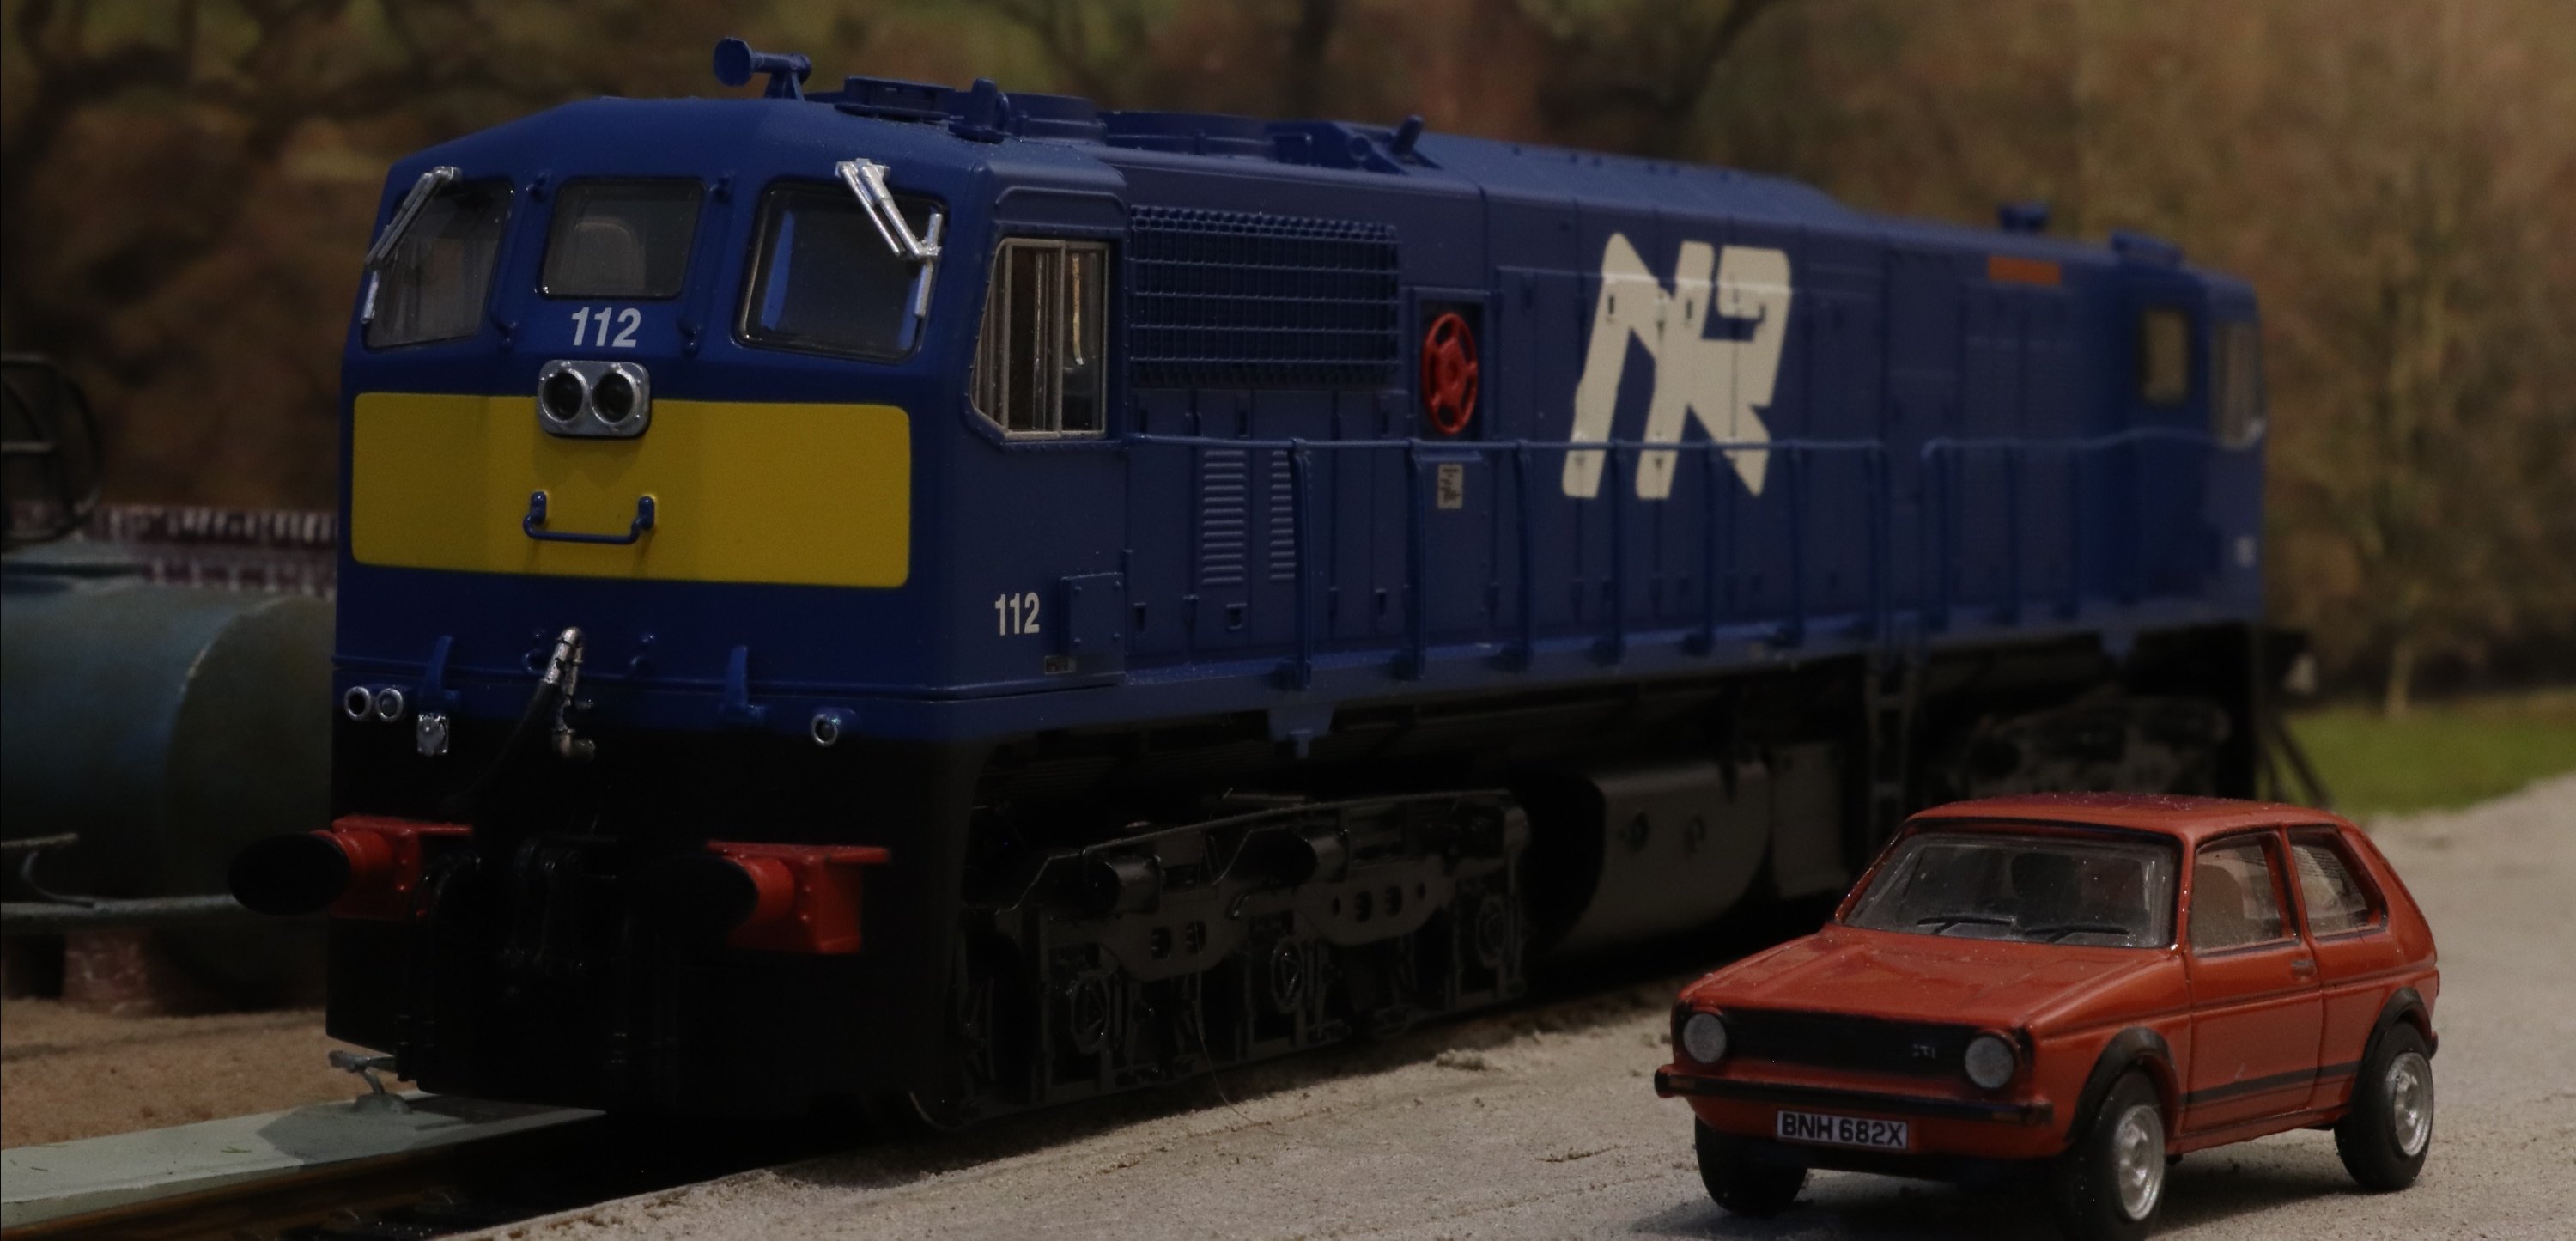
112 with the fertiliser train ready for unloading. Later seen again at the fueling point.

-
 4
4
-
-
So I started the first section of concrete in my freight yard today. Its still drying so next weekend I will smoothen and patch it (there's a lot to do) and pour the fuel siding section.
-
9
-
-
20 hours ago, WRENNEIRE said:
Lovely nails Dave!
-
1
-
-
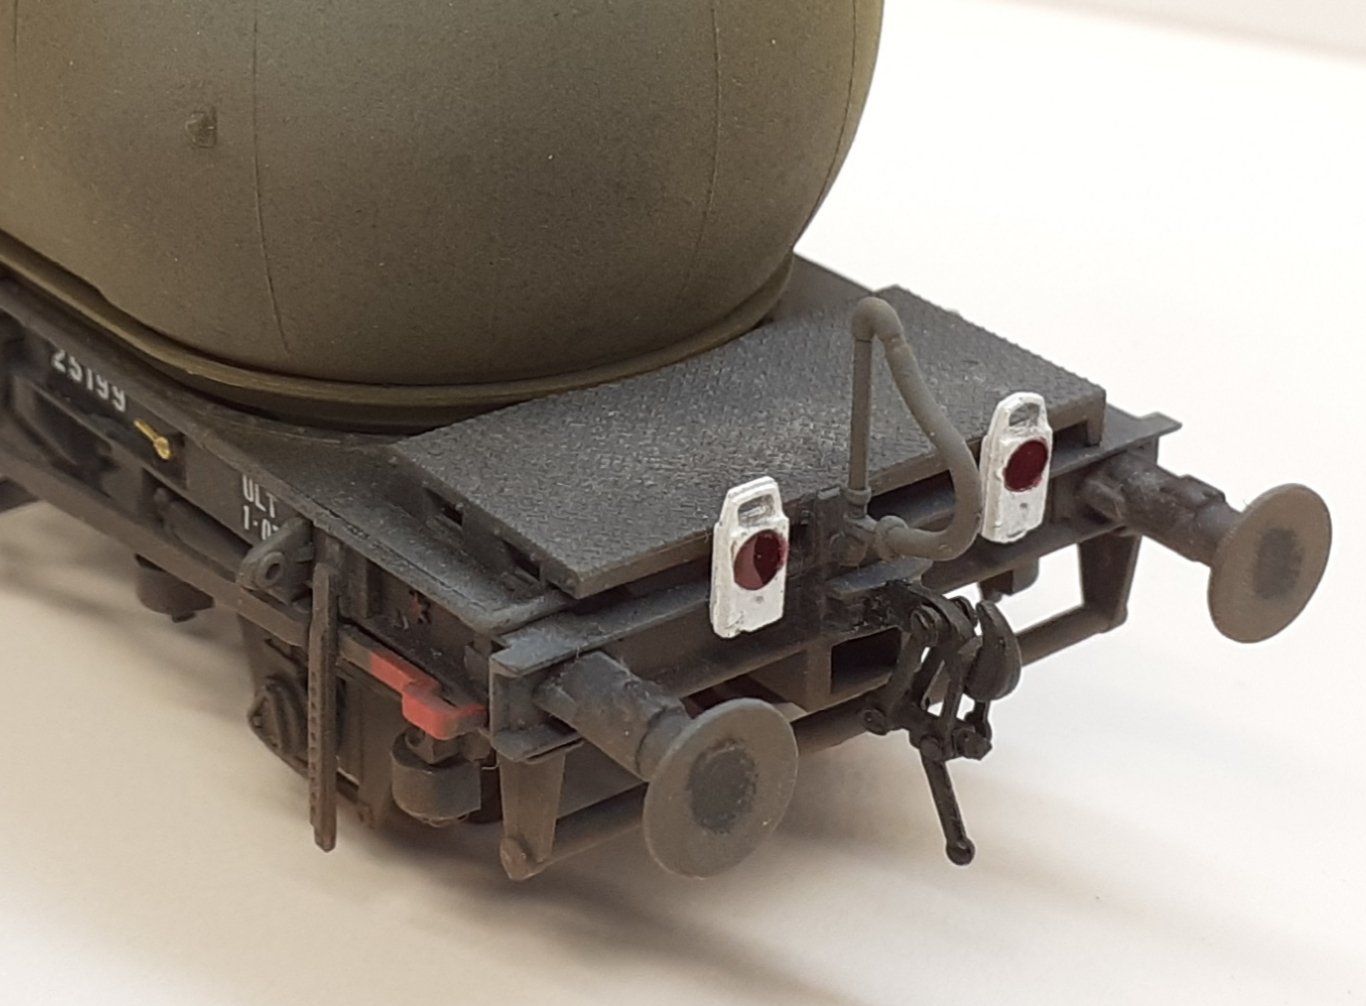
2 hours ago, JasonB said:
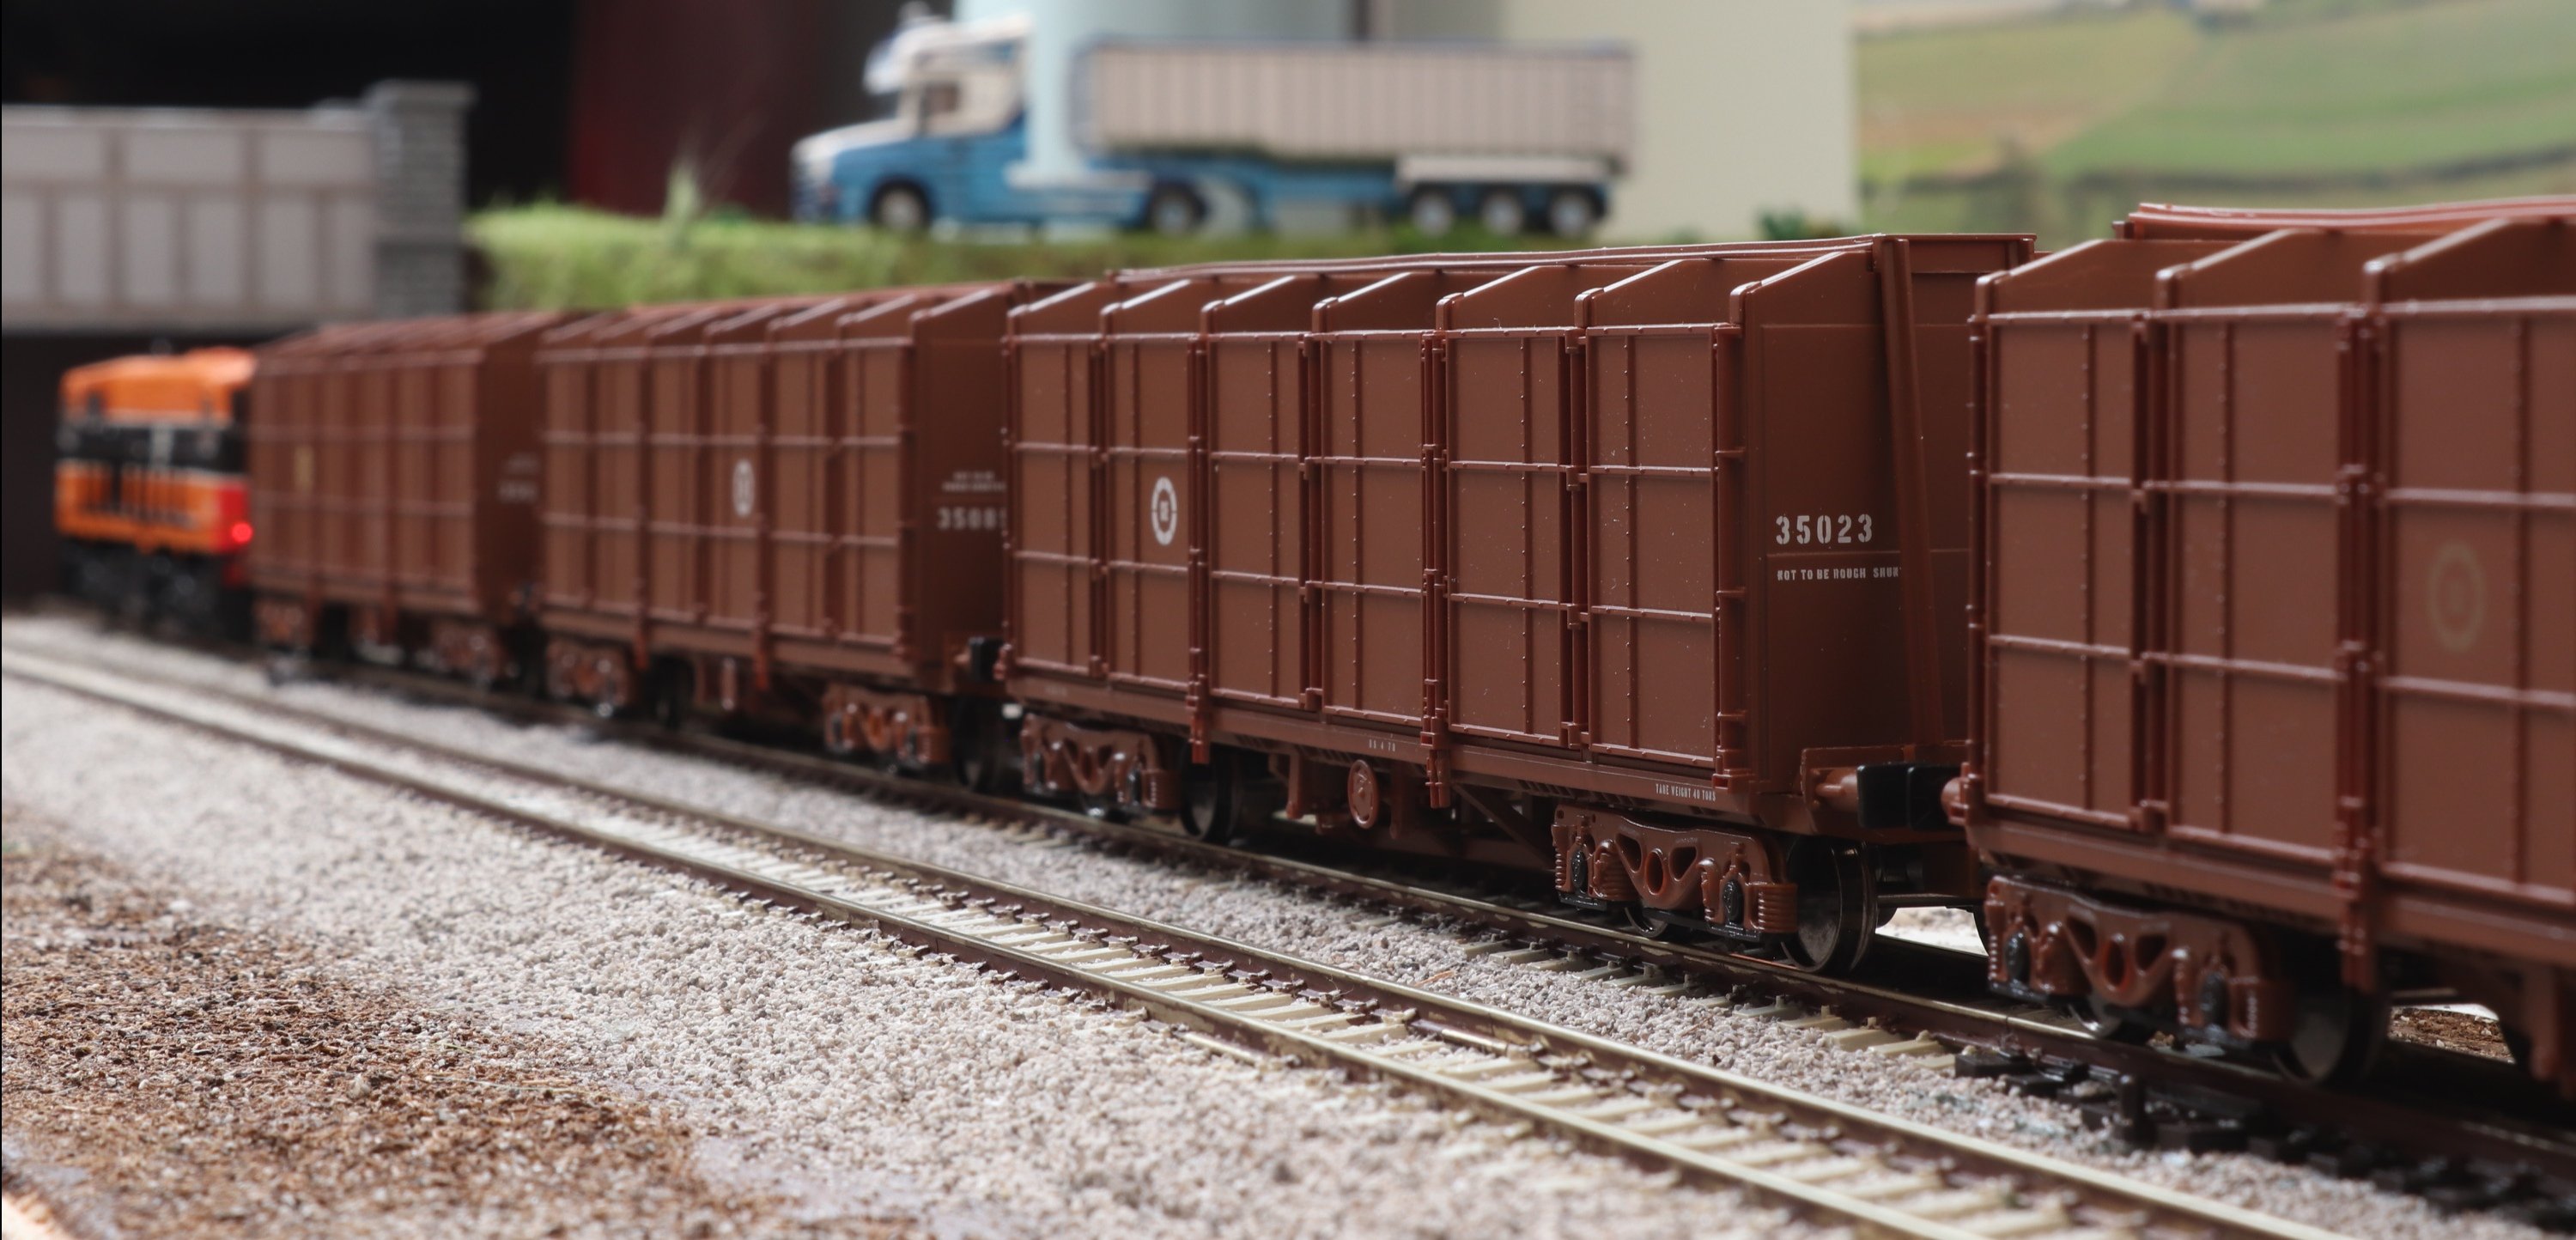
One final pic which I missed at the beginning. This shows some detailing added to the rear of what is the last wagon in the rake.

Are they the SSM lamps?
-
Looks great! Are there any front/side and rear/side shots?
-
Would anyone have any photos of CIE/IR fueling points or fuel depots? Either for internal use or for freight customers?
-
7 hours ago, DiveController said:
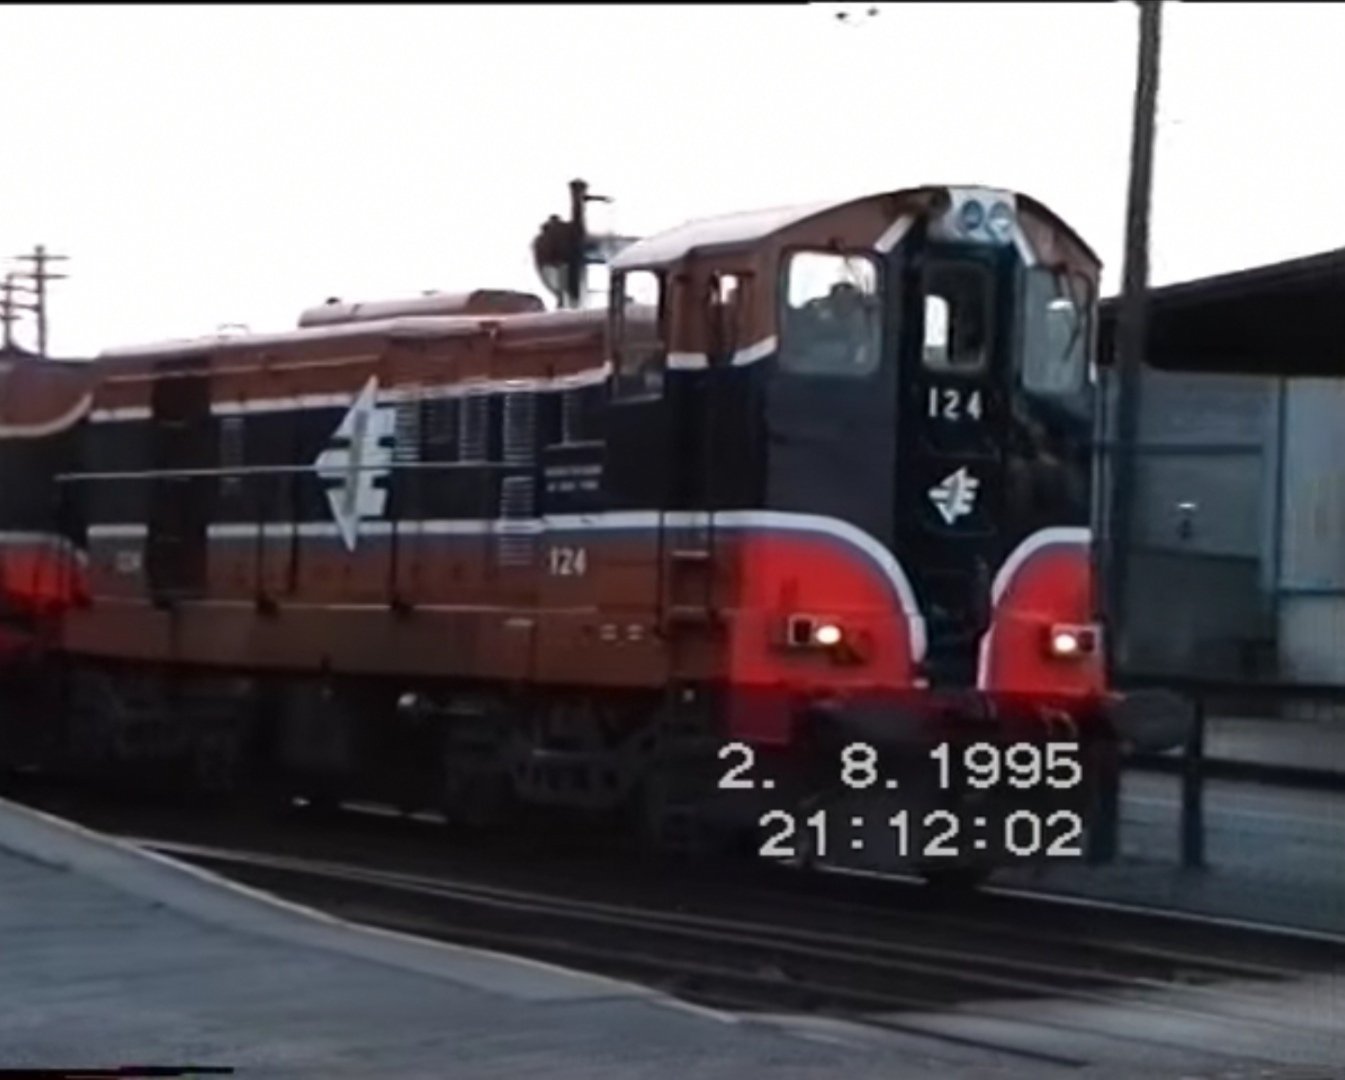
It looks like there is a third set of lights as these are not the original set of three (or was it 4?) not he the newest set of 4 round LEDs. I think these are square incandescents that were prevalent in later 80s/90s ish? Maybe replacement for the failing originals?
I thought there was three types. The original 2+1 lights, the square lights like the ones above (introduced for work with the push pull mk3s?) and the current LED cluster type.
-
2
-
-
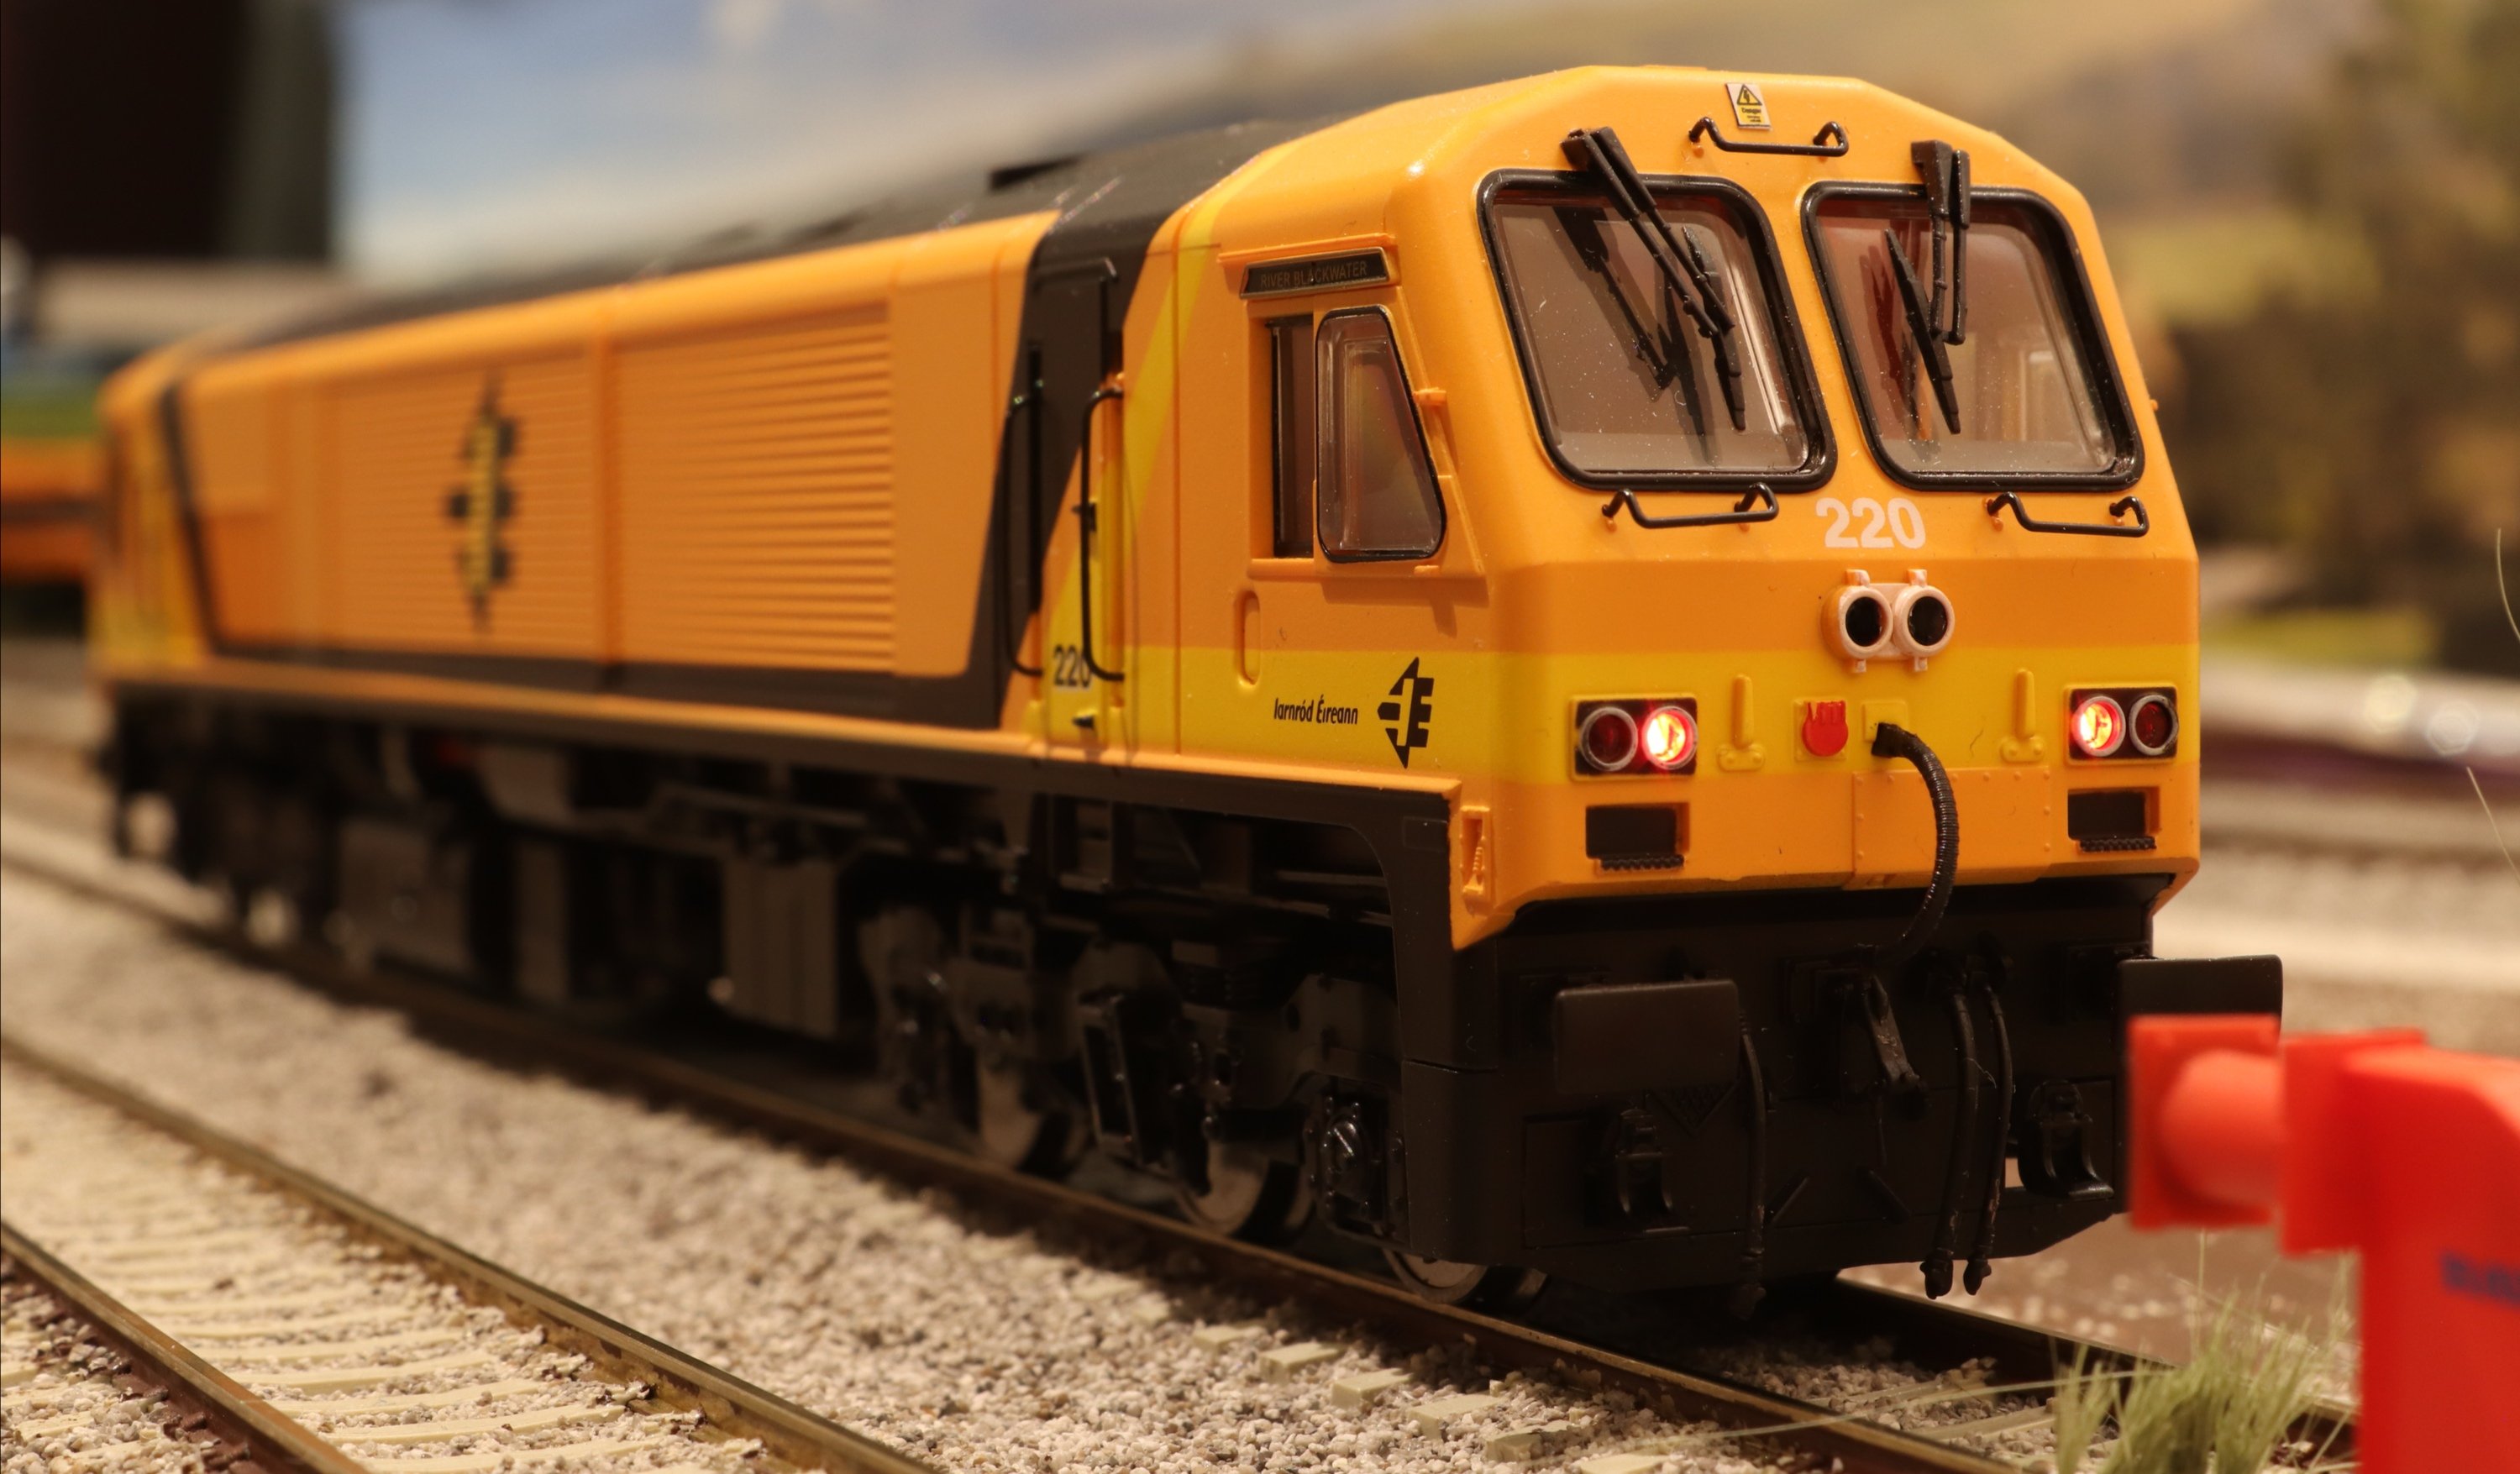
220 at the headshunt.
-
4
-
-
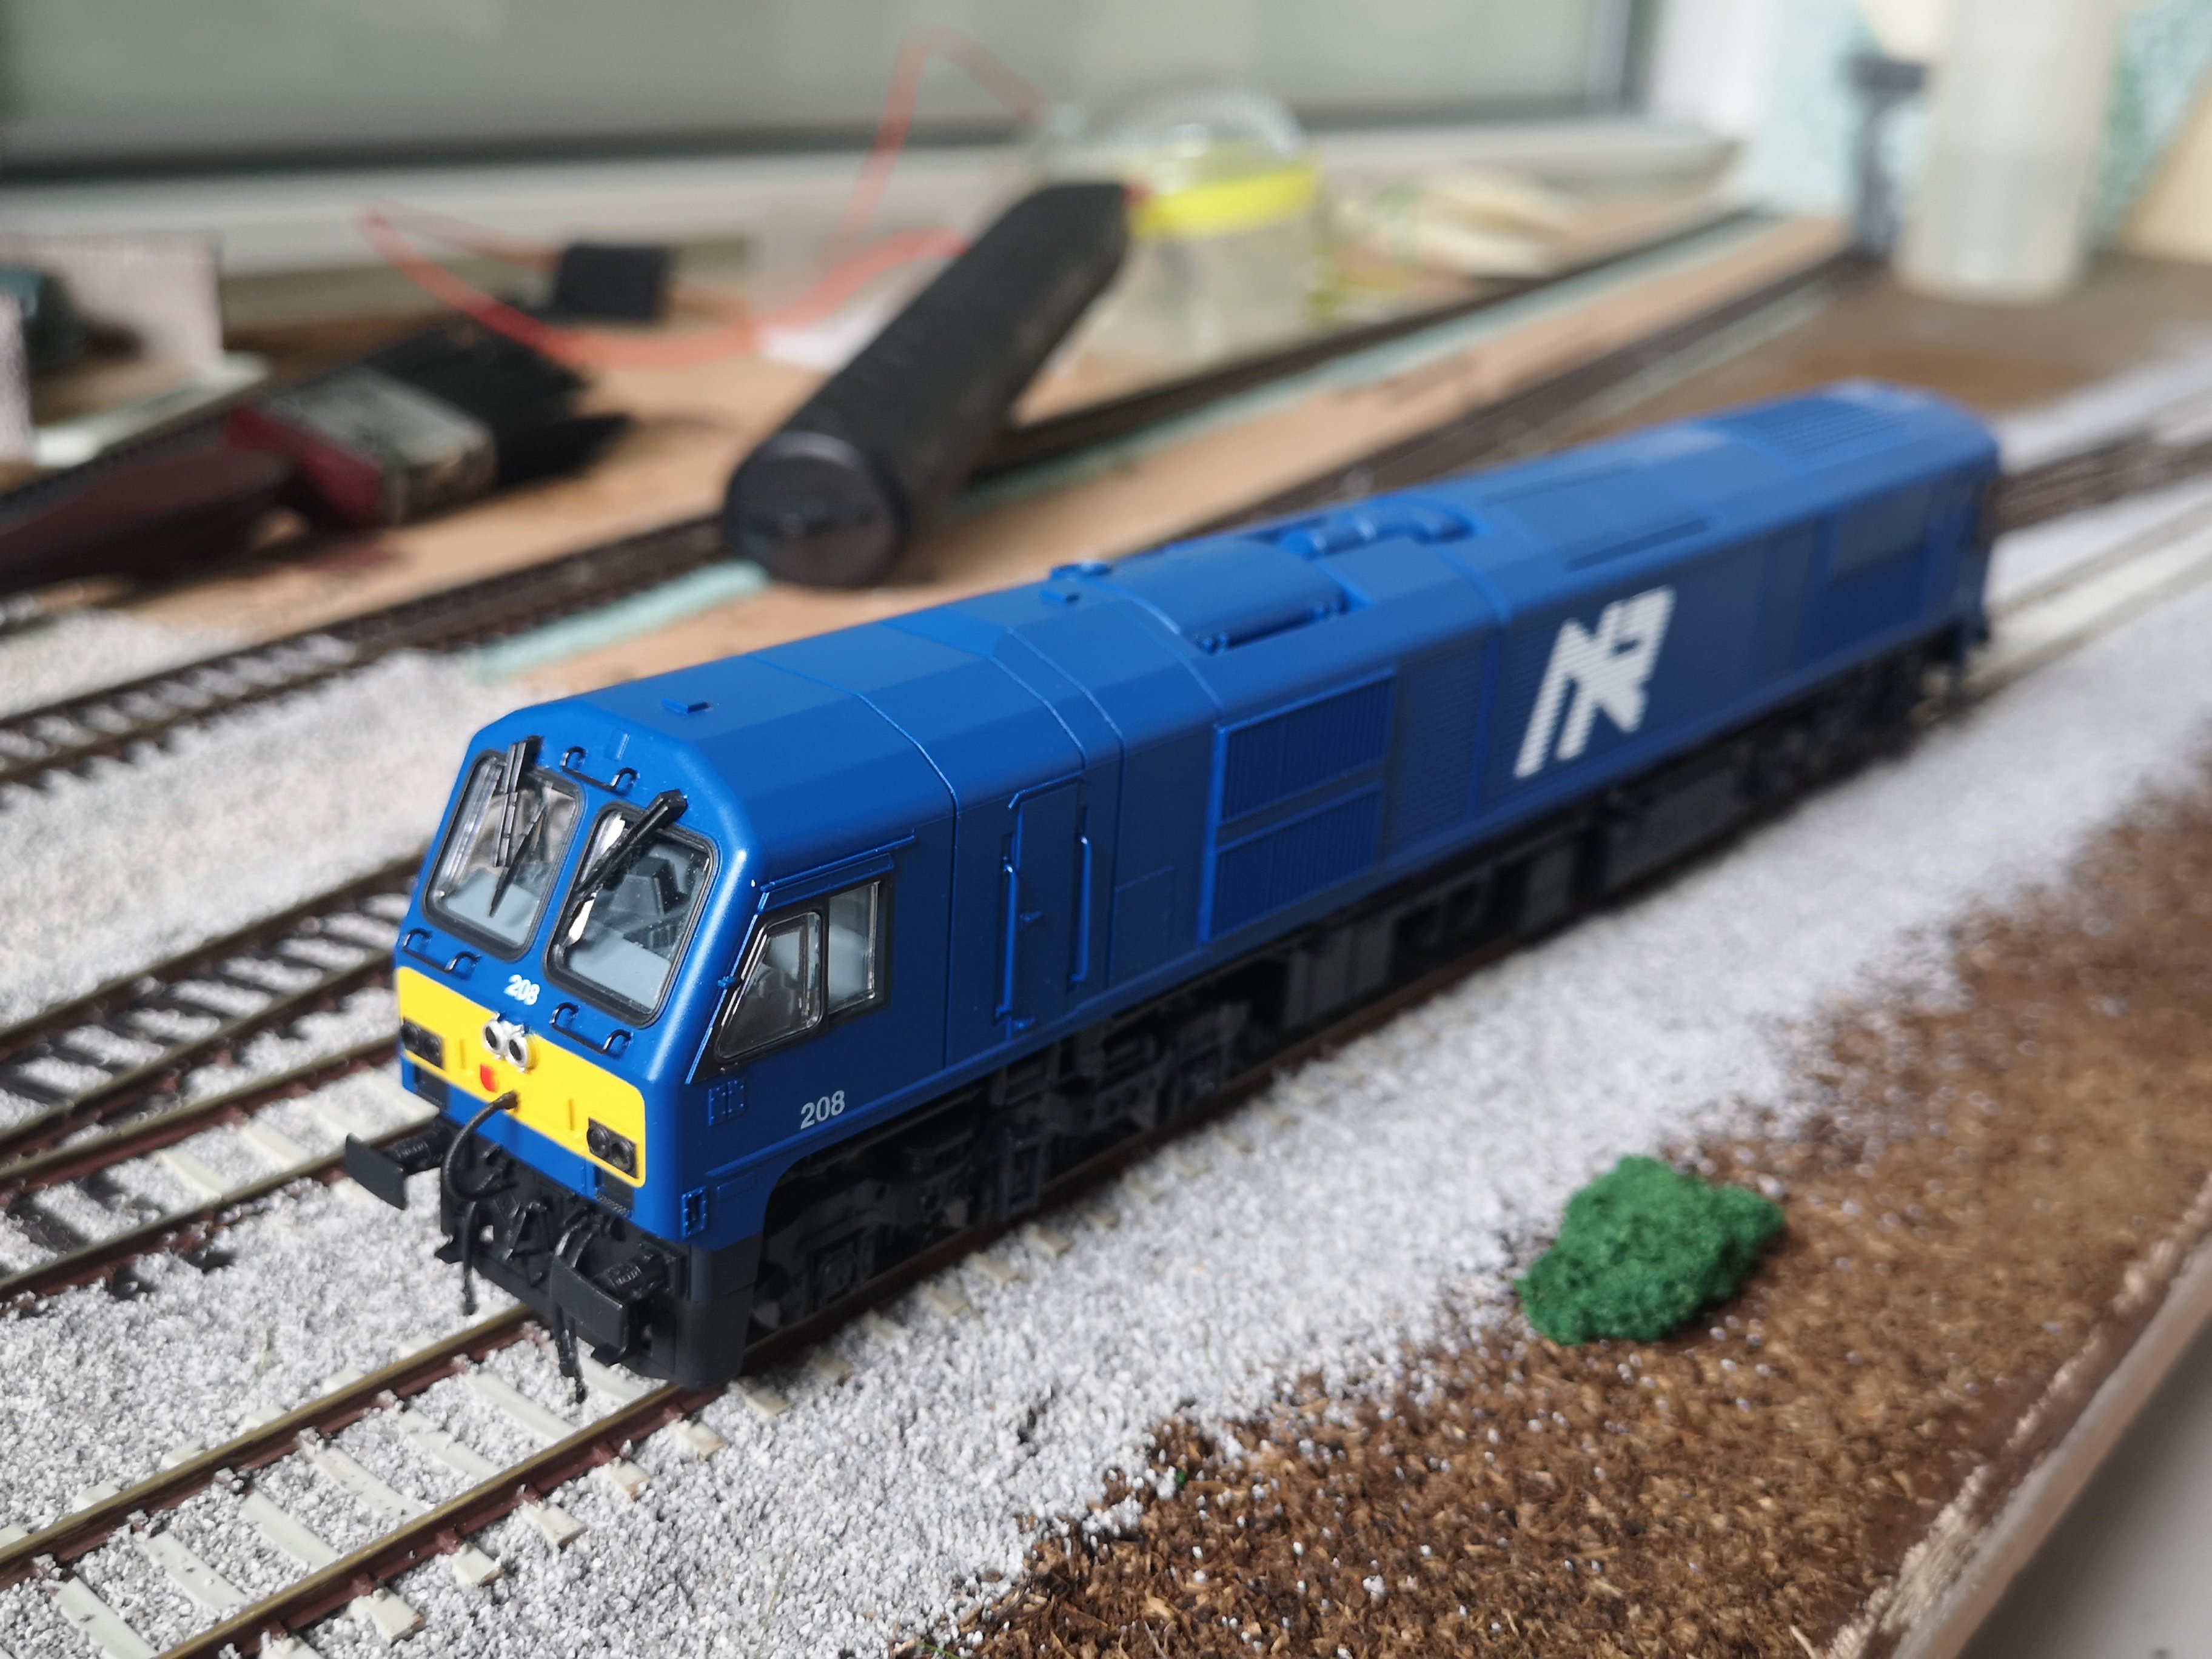
Very helpful. Thanks lads. 129 paired with an IR liveried 121 sounds good.
-
 2
2
-
-
10 minutes ago, Warbonnet said:
Can you tell me which pair you are interested in and I will check for you? Main differences are liveries, marker lights and the odd window change really.
Cheers!
Fran
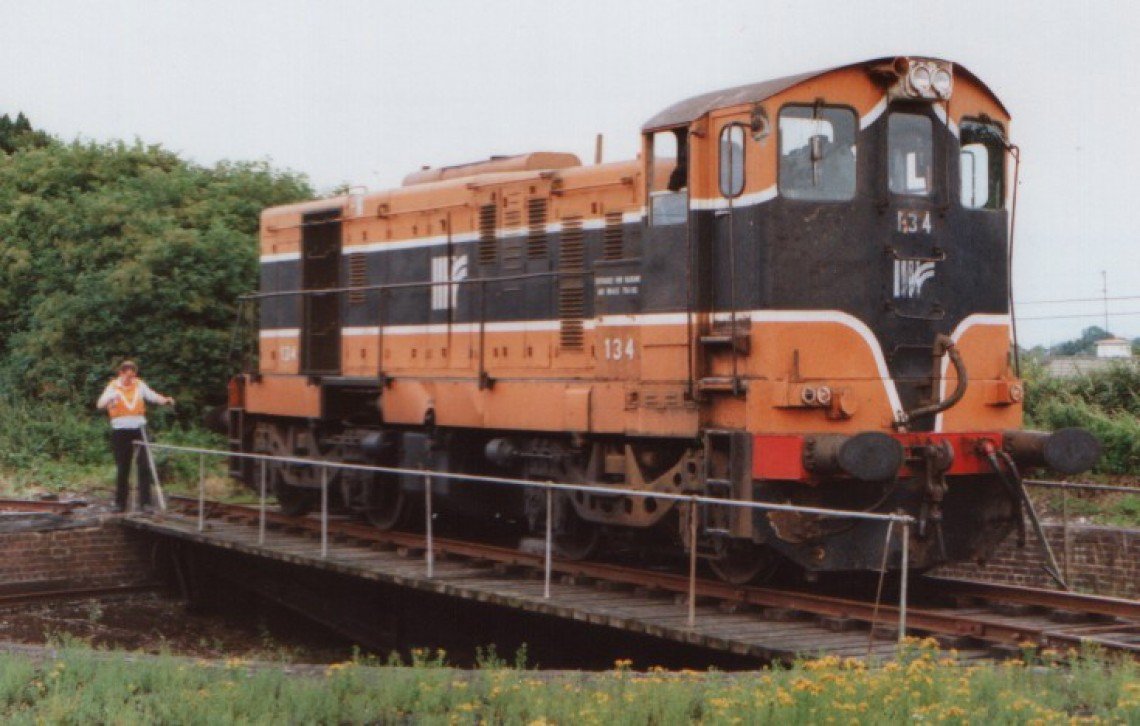
I'm modelling the mid 90s so I'd say the IR locos would have the correct body mods for that era. But my main question really is will any of the IÉ locos have the correct marker lights for that era? I'm guessing 124 and 134 will have the latest marker lights as their main appeal is that they were late to be withdrawn but maybe 129 will have the older type.
-
Is there any info on the differences for each loco number besides livery such as marker lights etc? It's what's stopping me from pre ordering my pair.
-
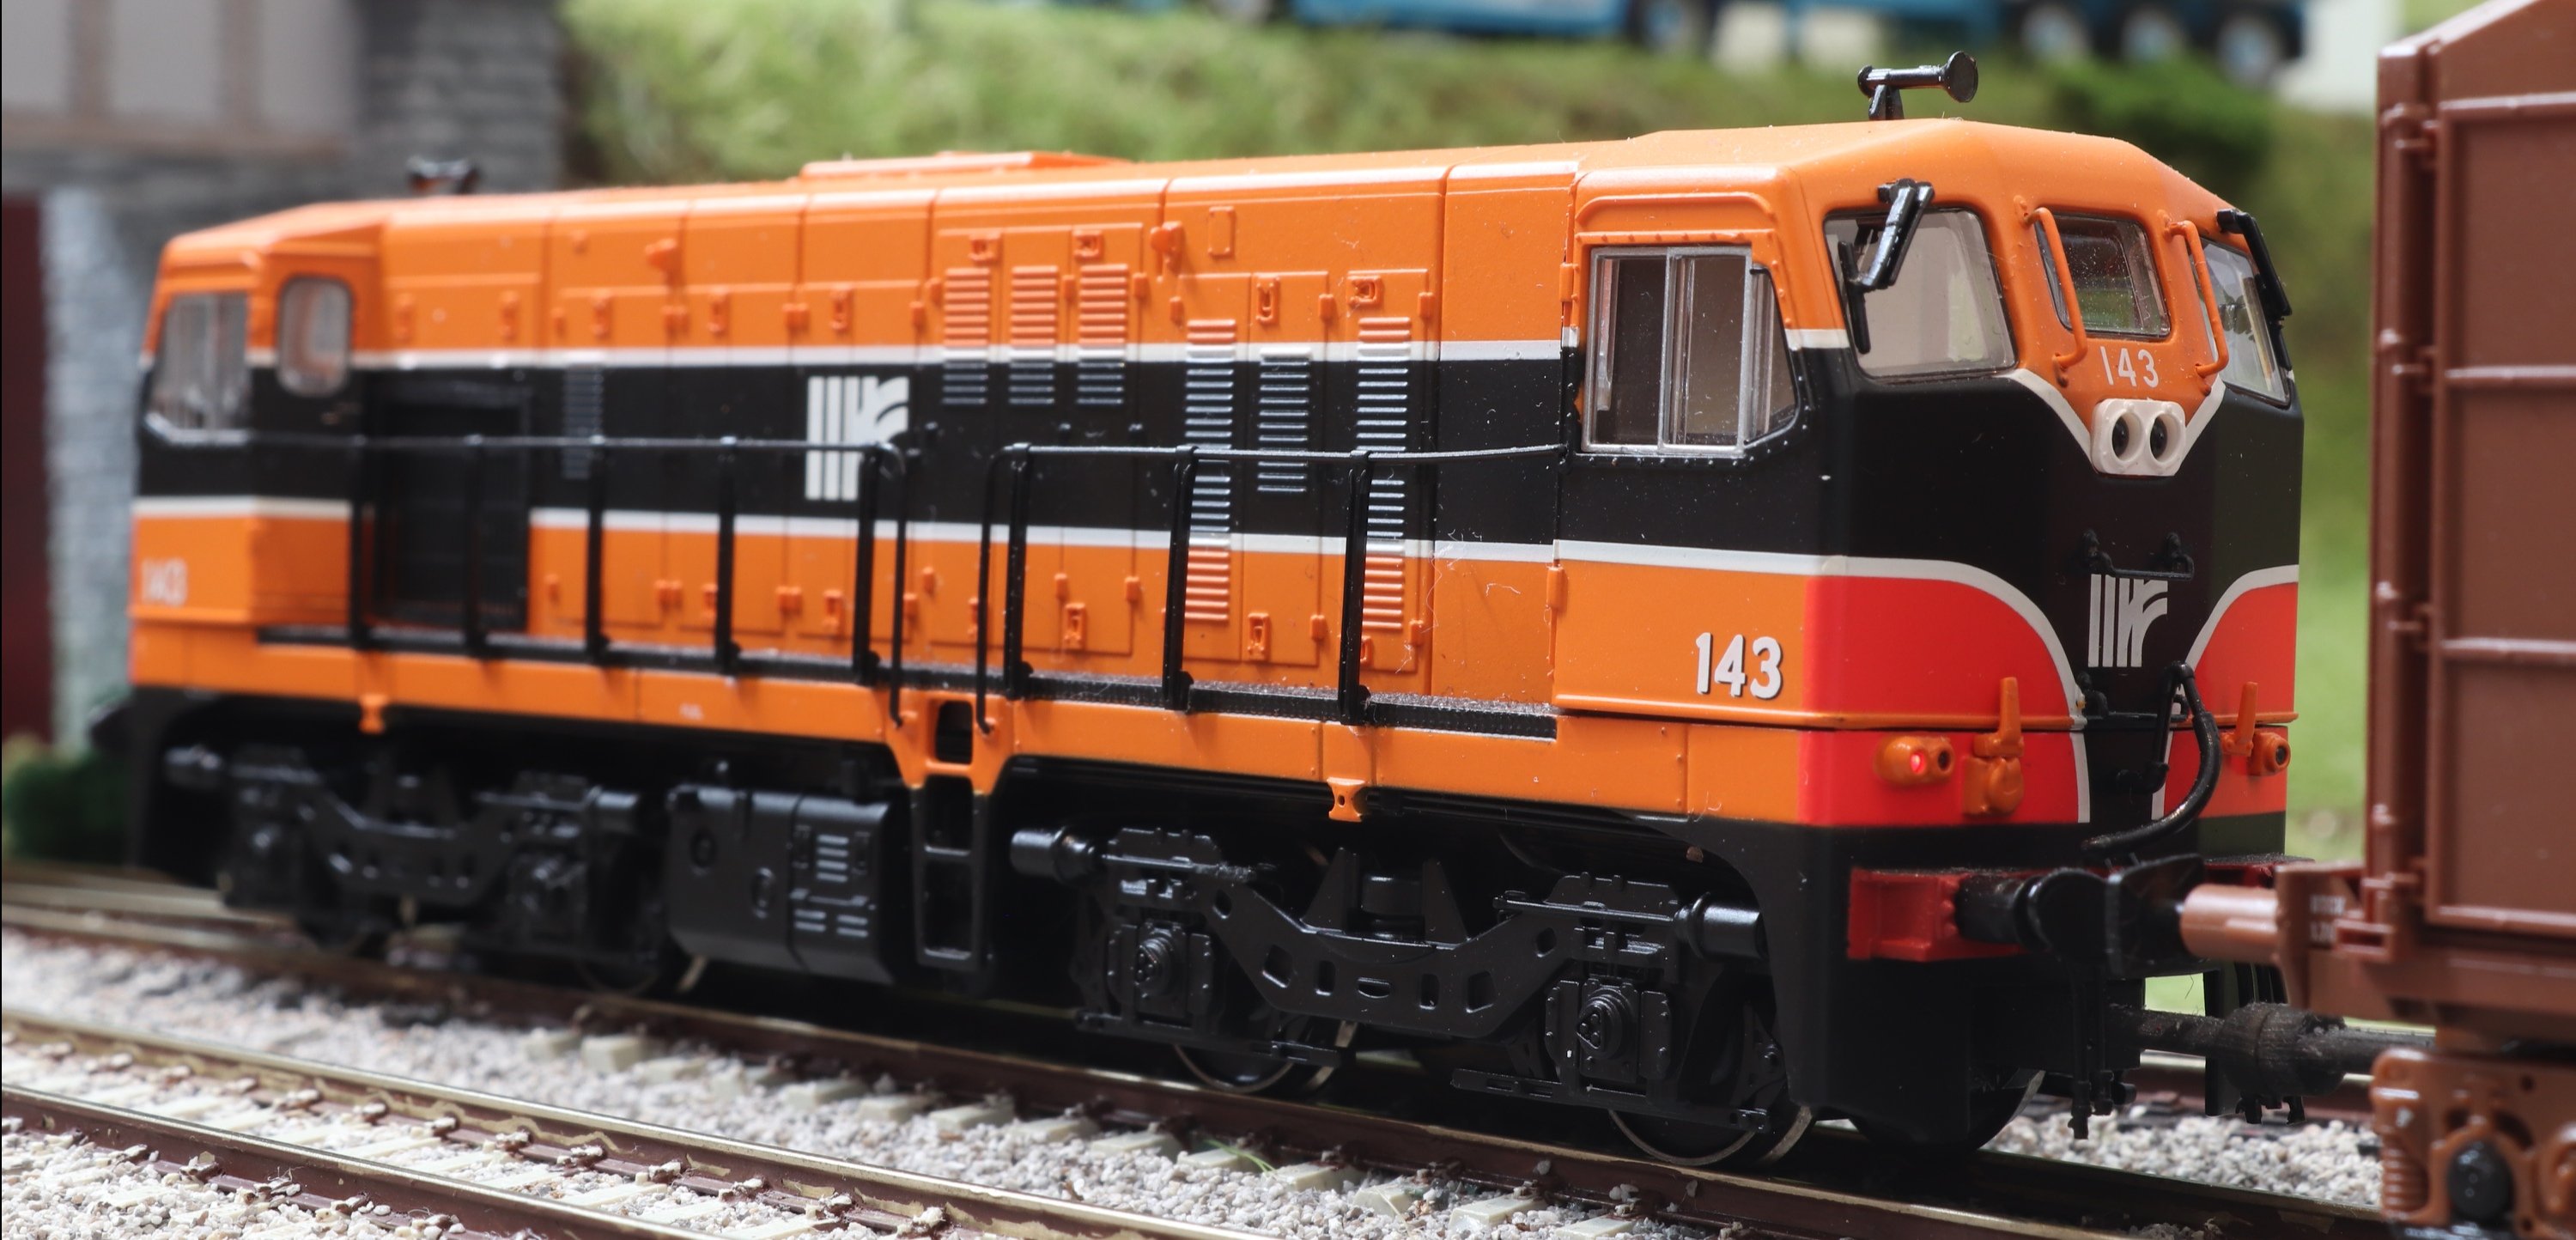
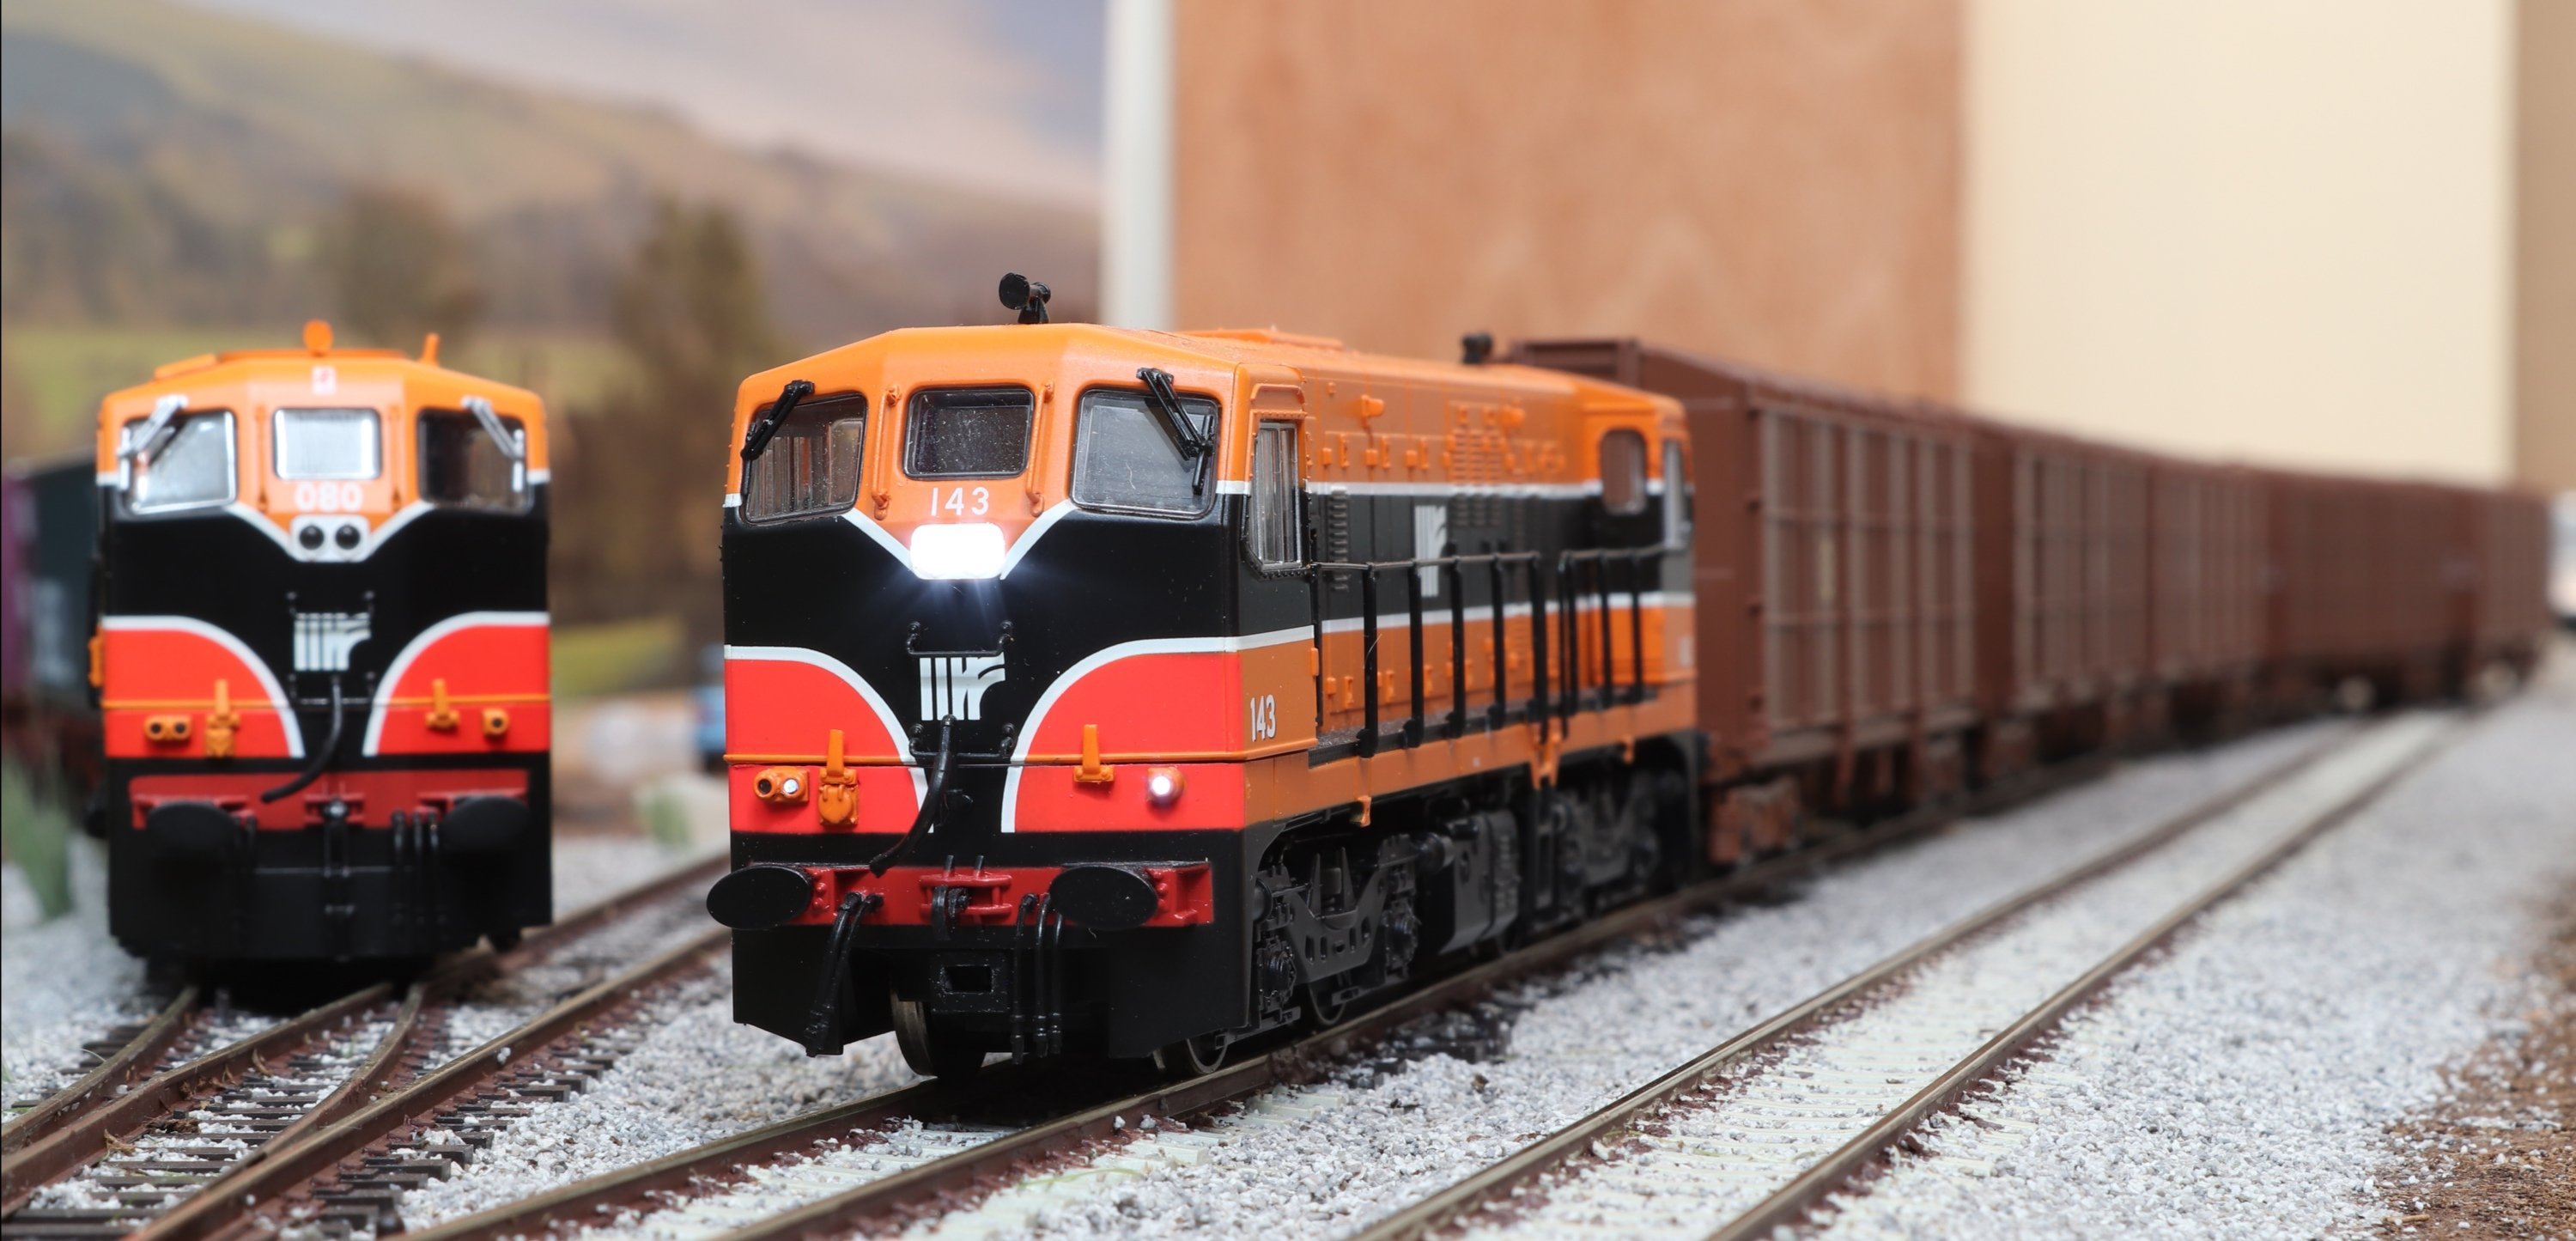
Some more photos of 143 arriving and pushing the Ferts into the yard for unloading.
-
10
-
-
10 hours ago, JasonB said:
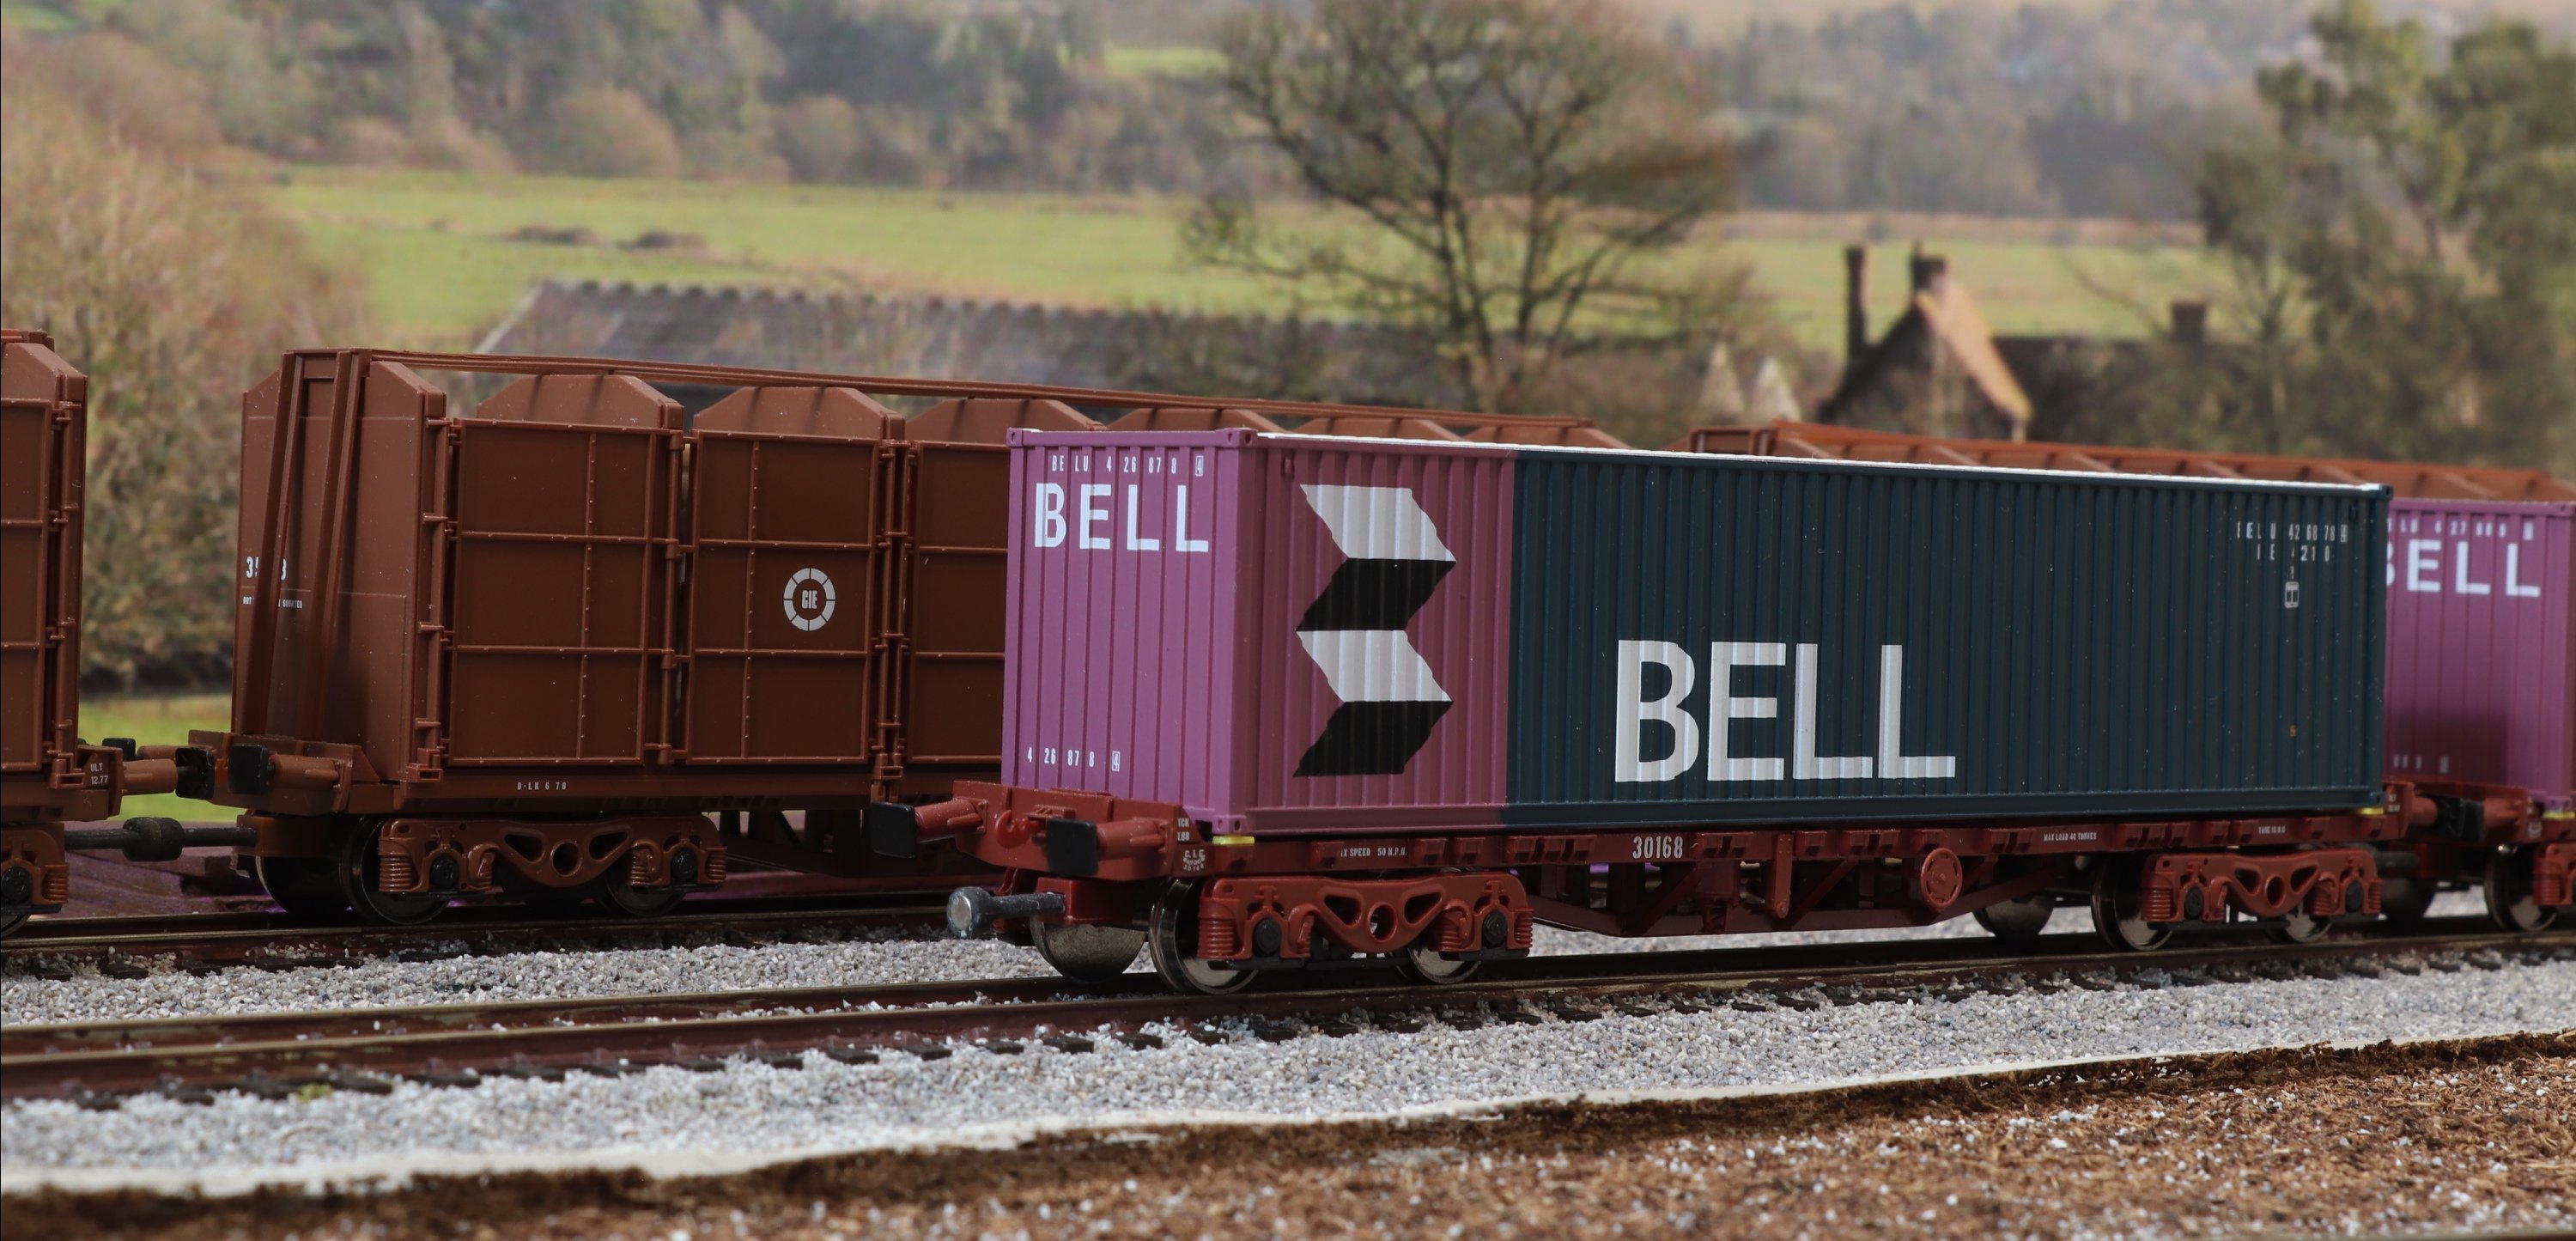
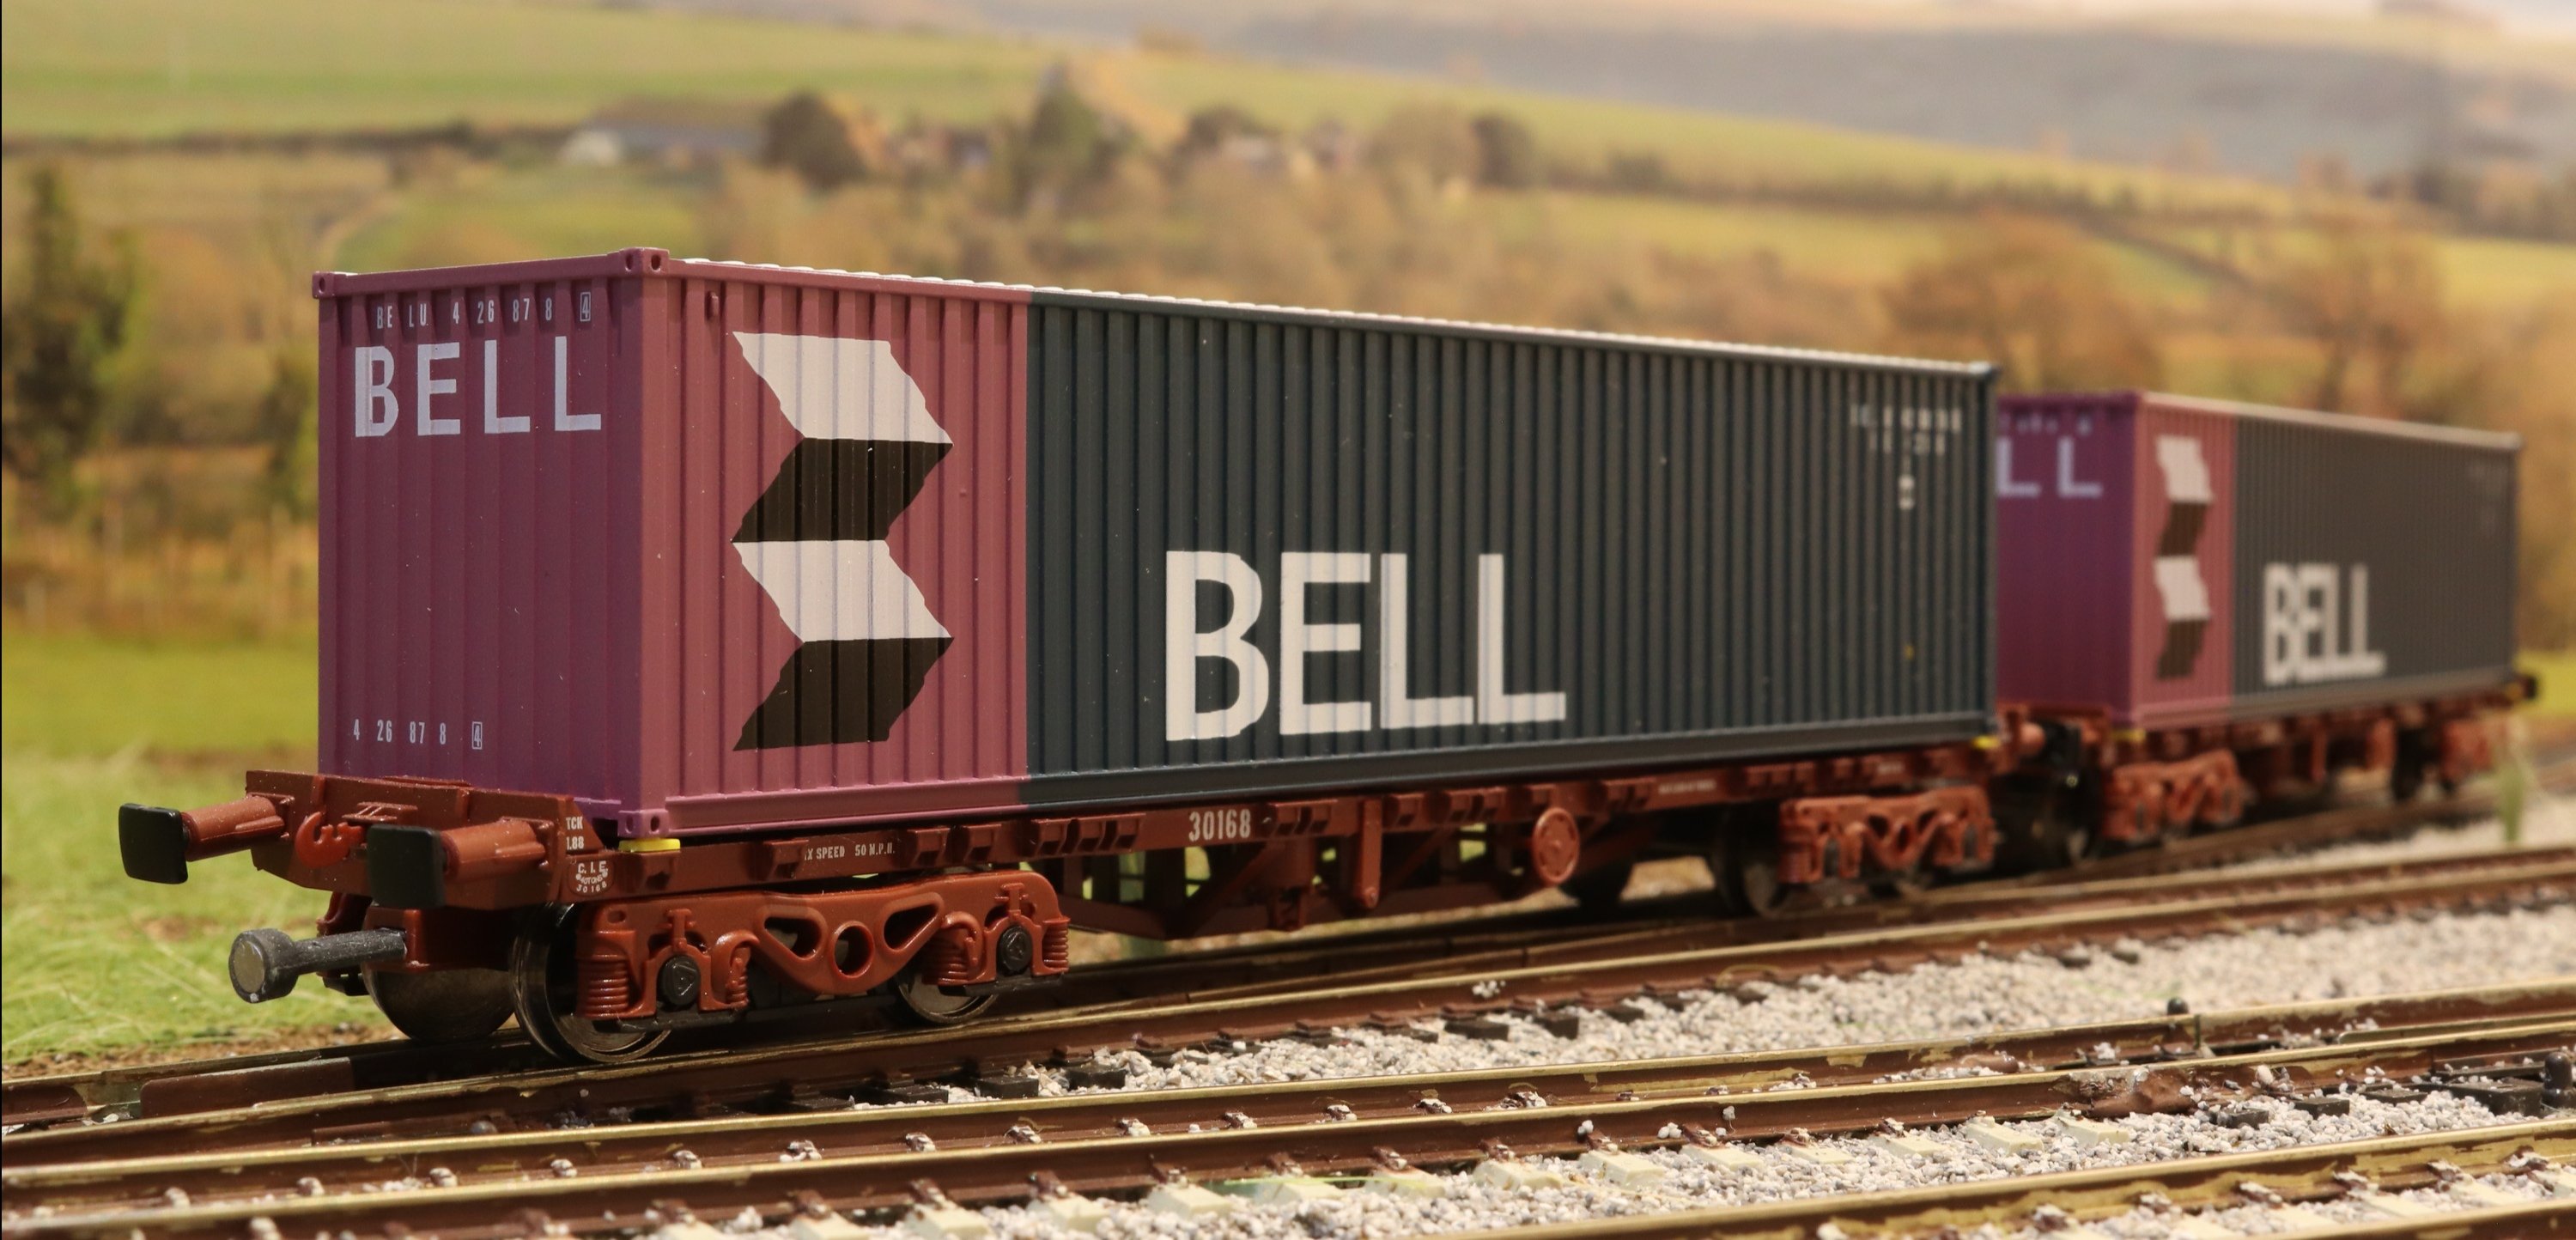
Nice work on the scenics. You've got my favourite Baby GM there carrying the IR livery, 143 with it's day-glo panels. Along with that, Bells and Bubbles. Perfect.
She's back this morning with a laden Fert.
-
7
-
-
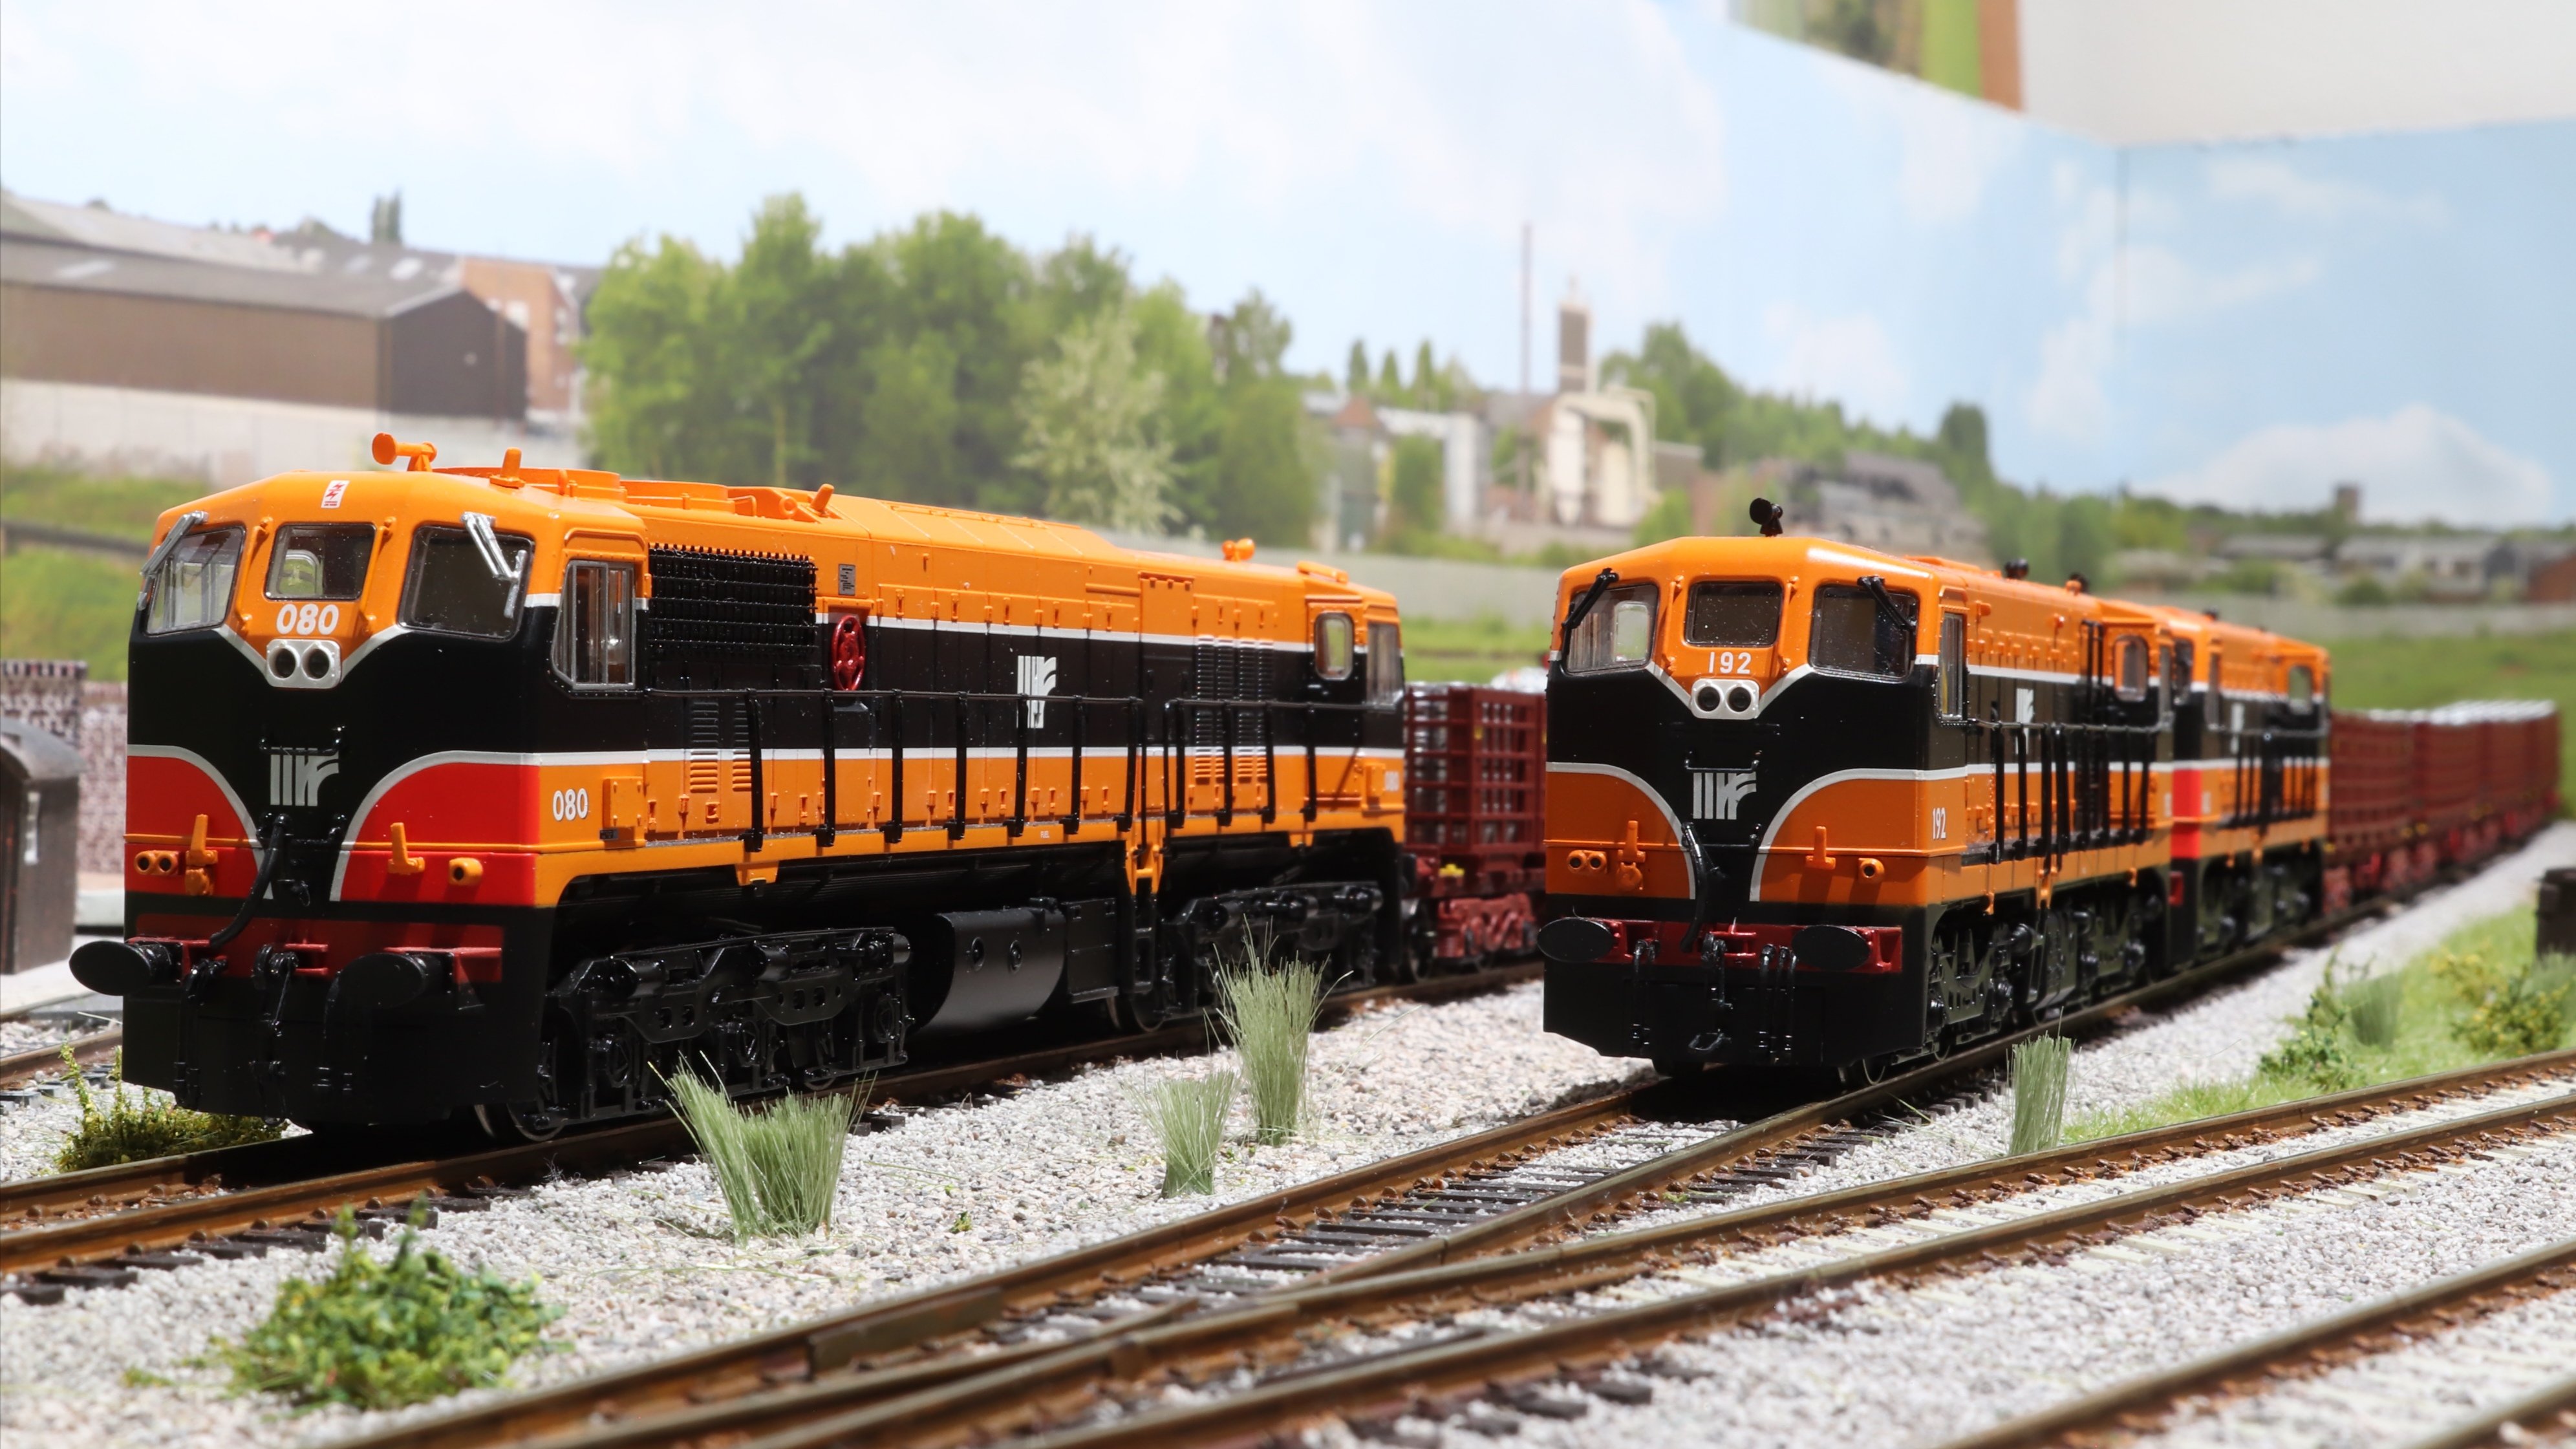
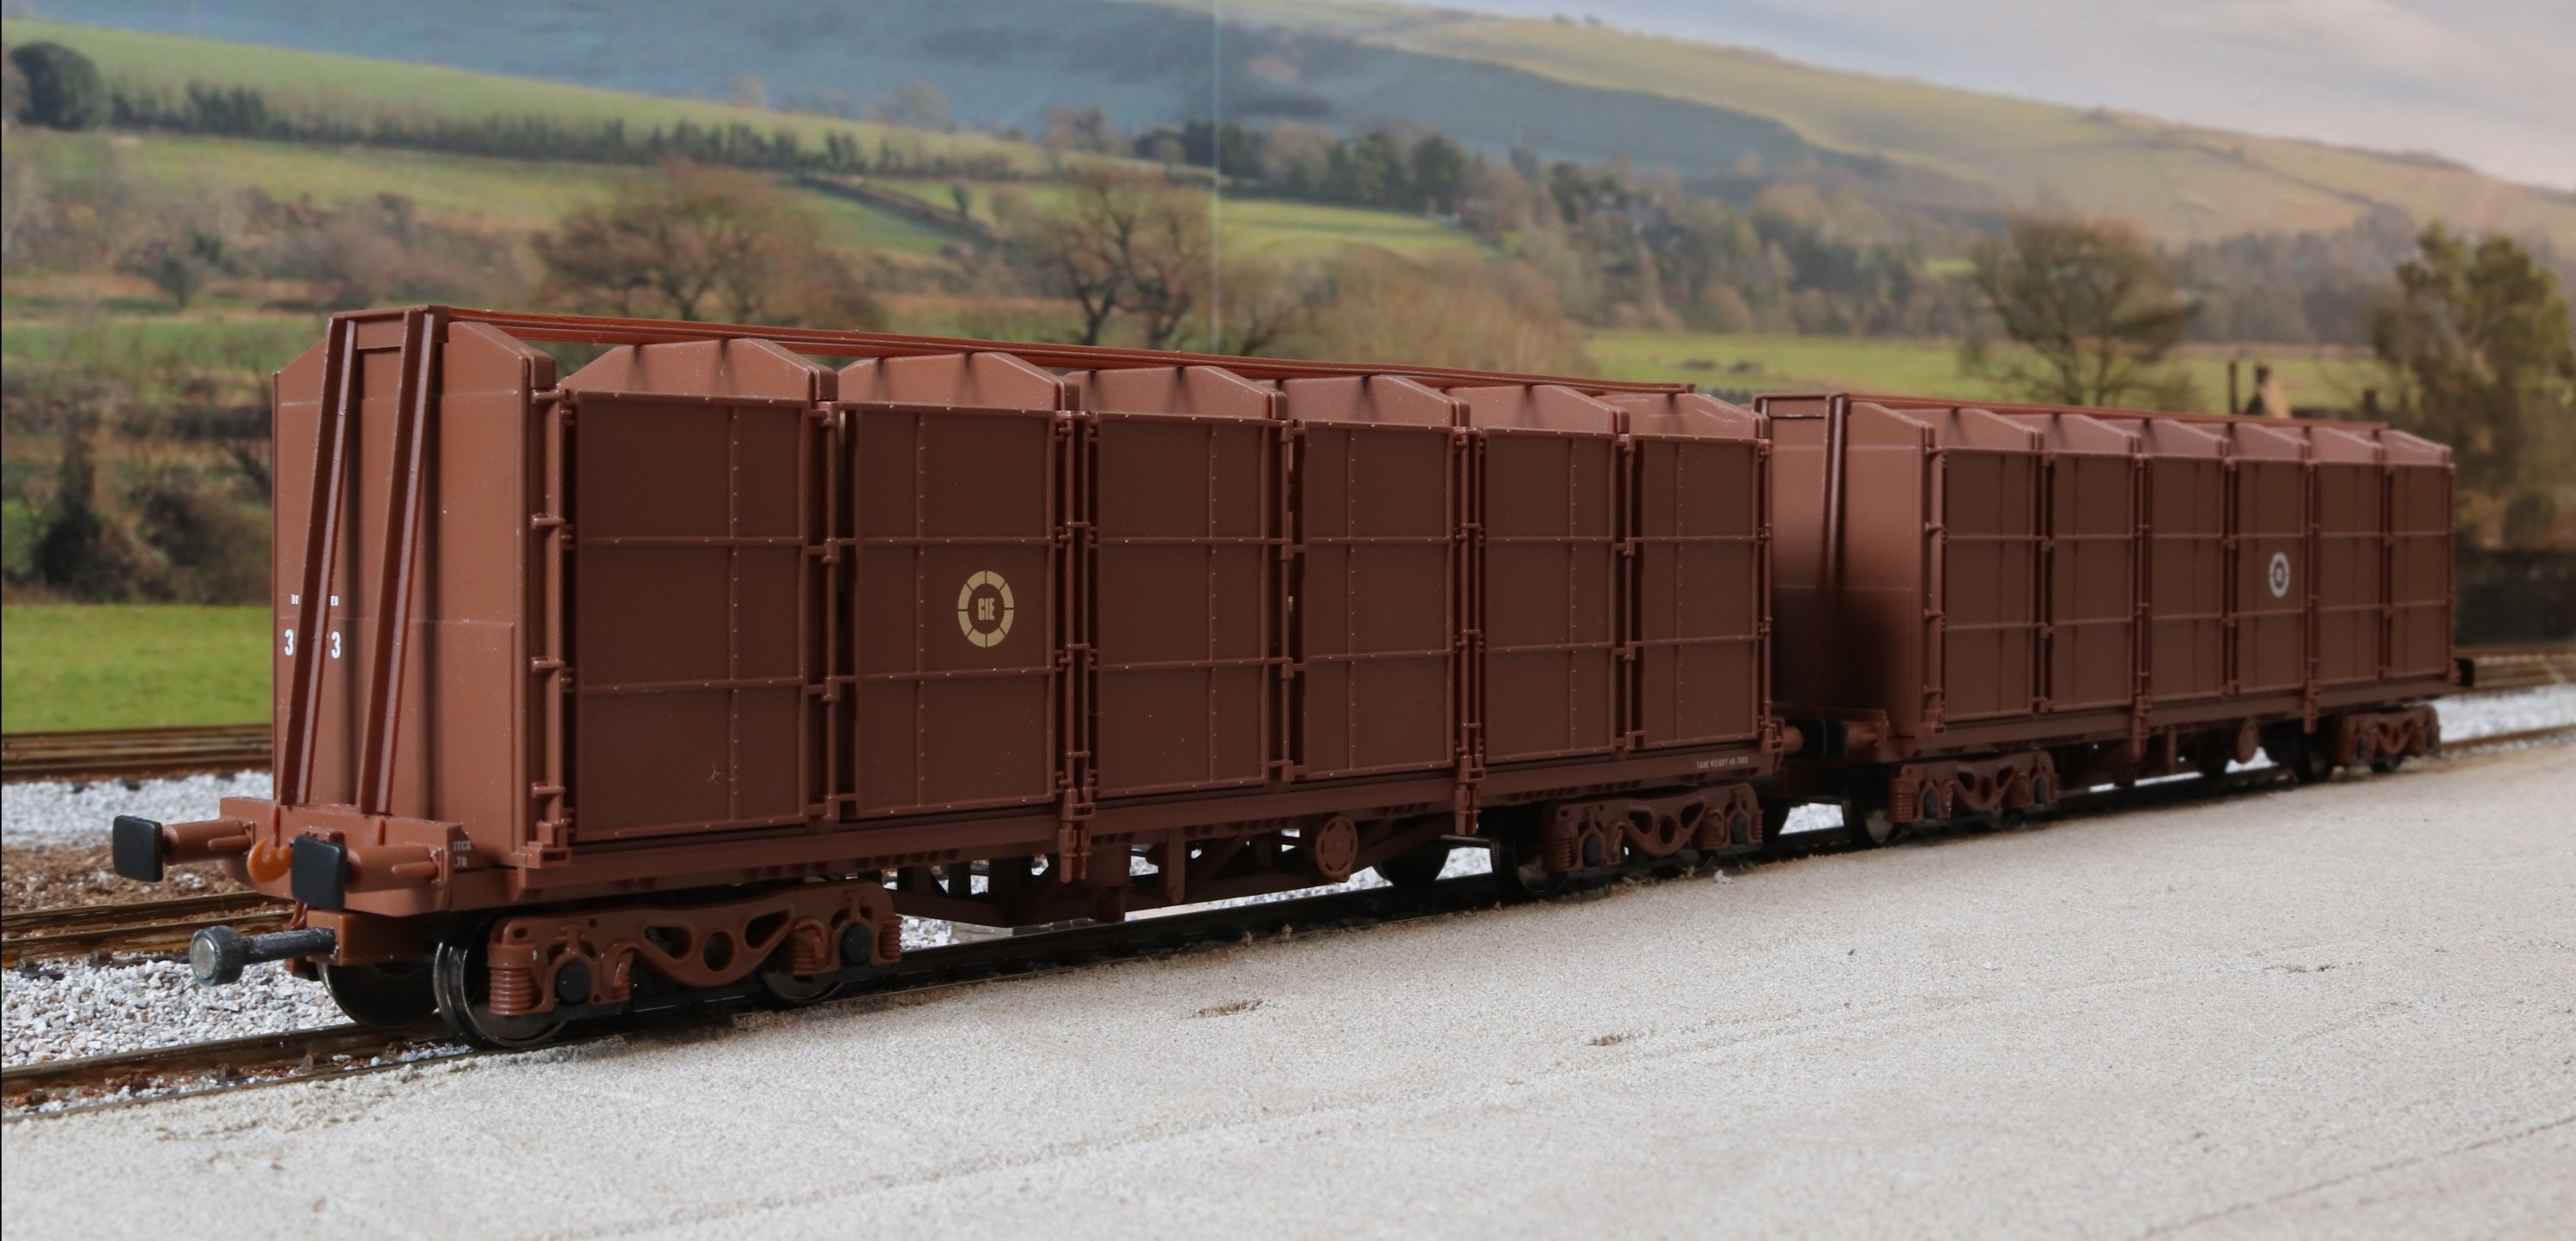
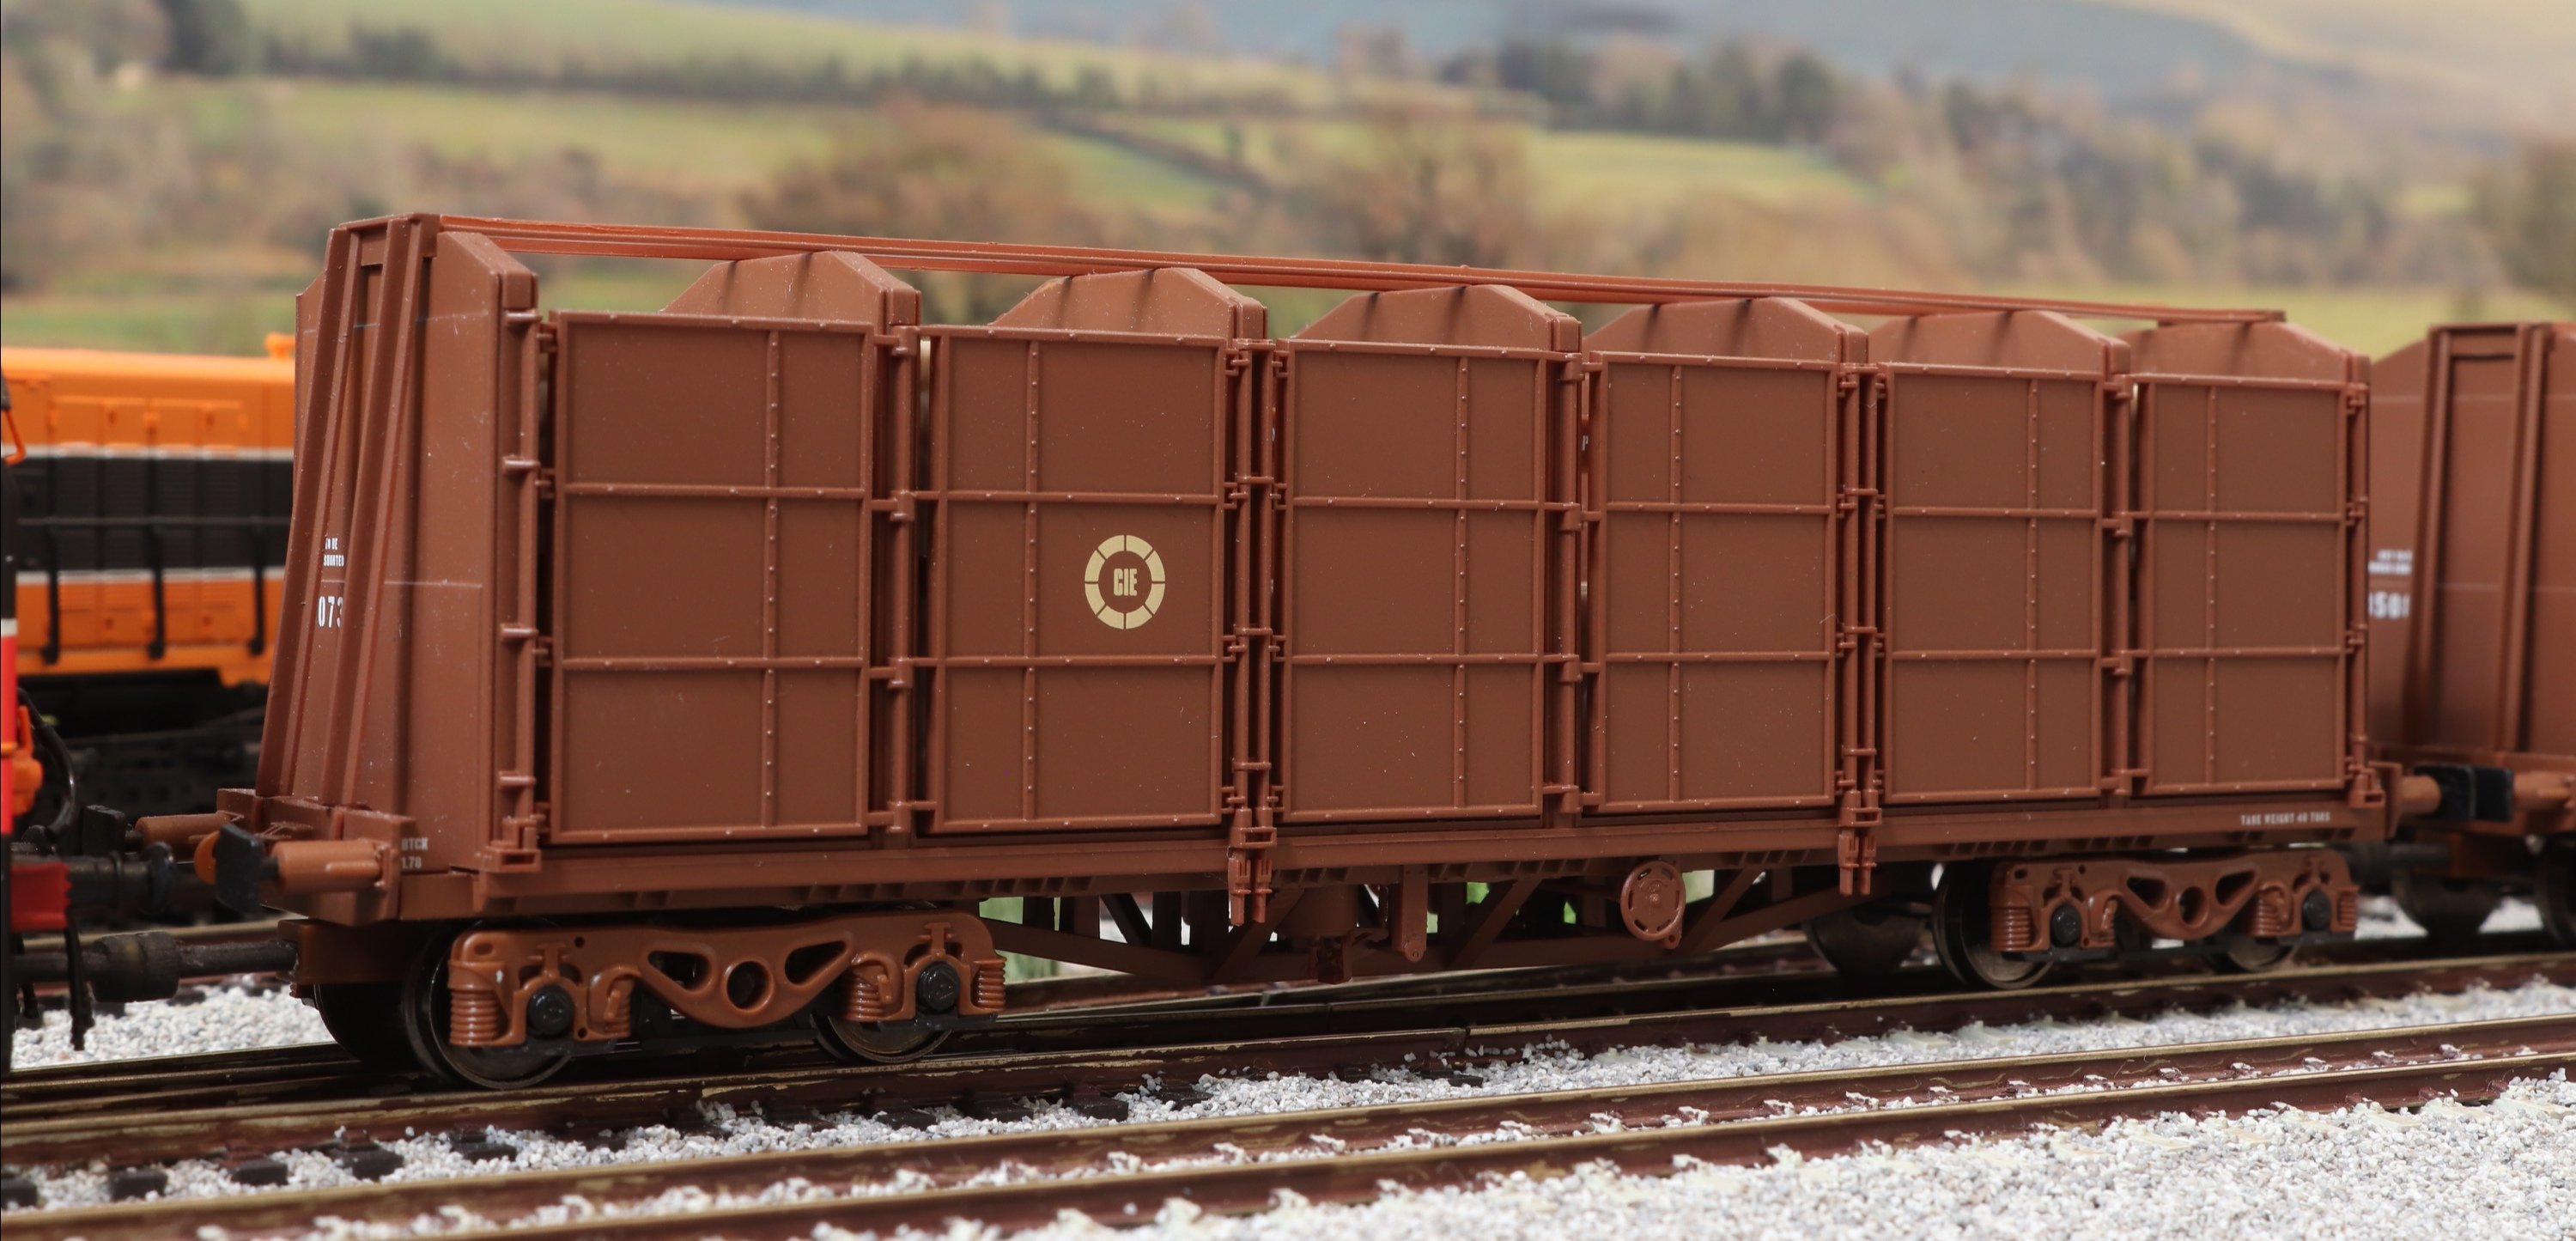
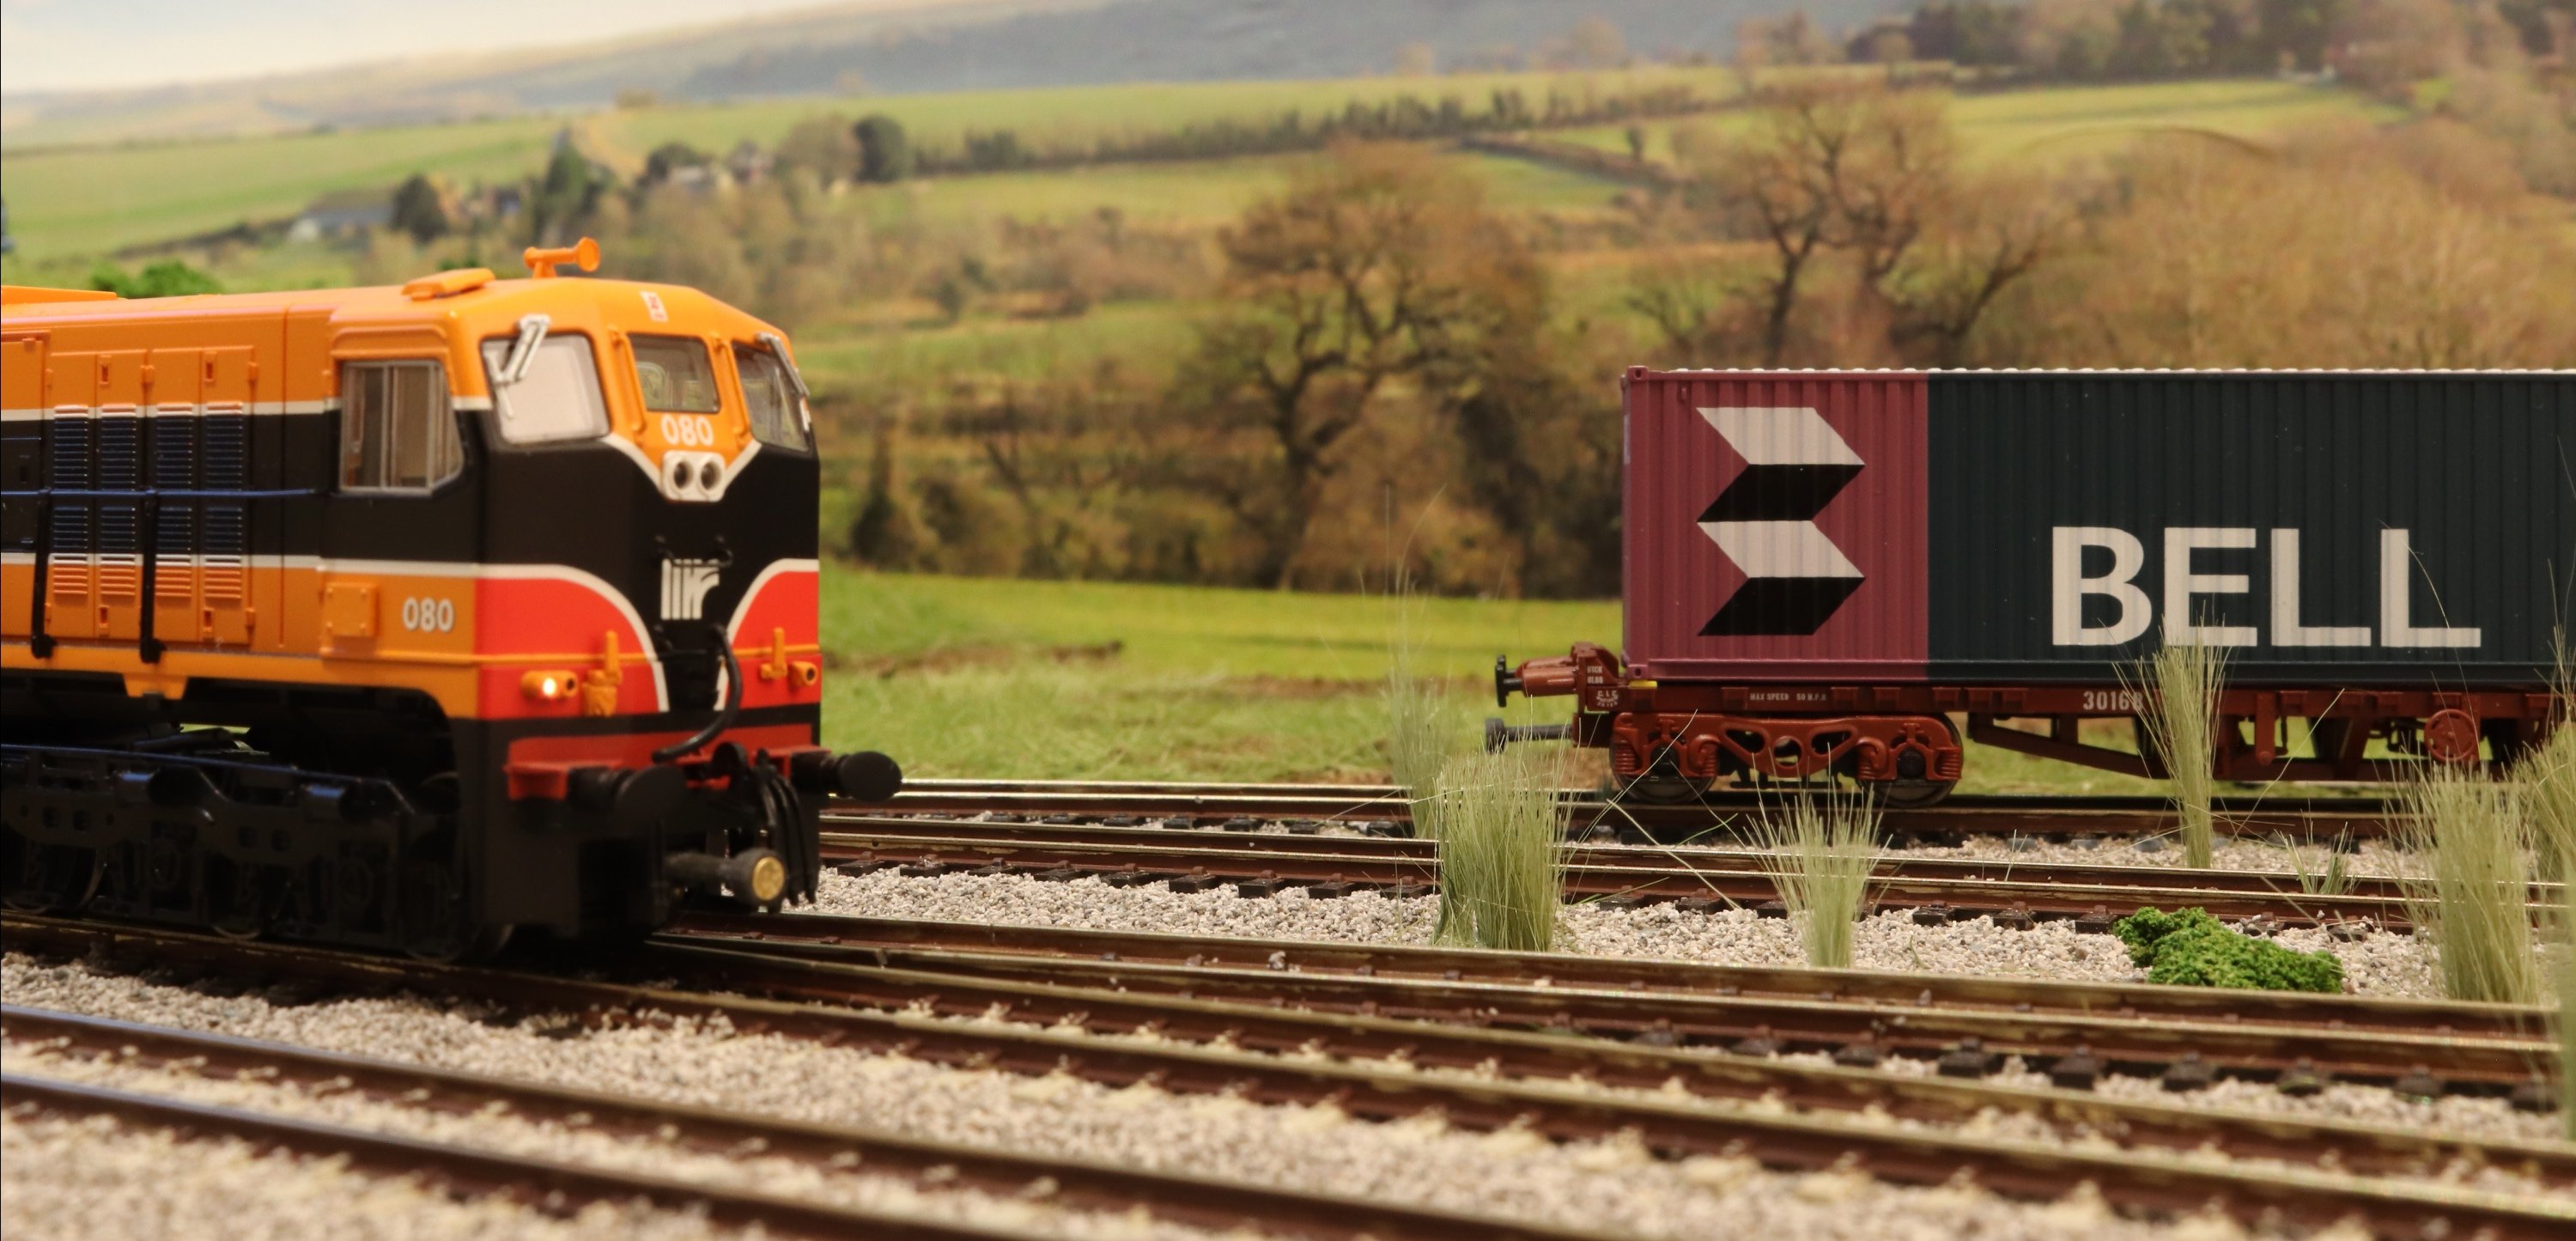
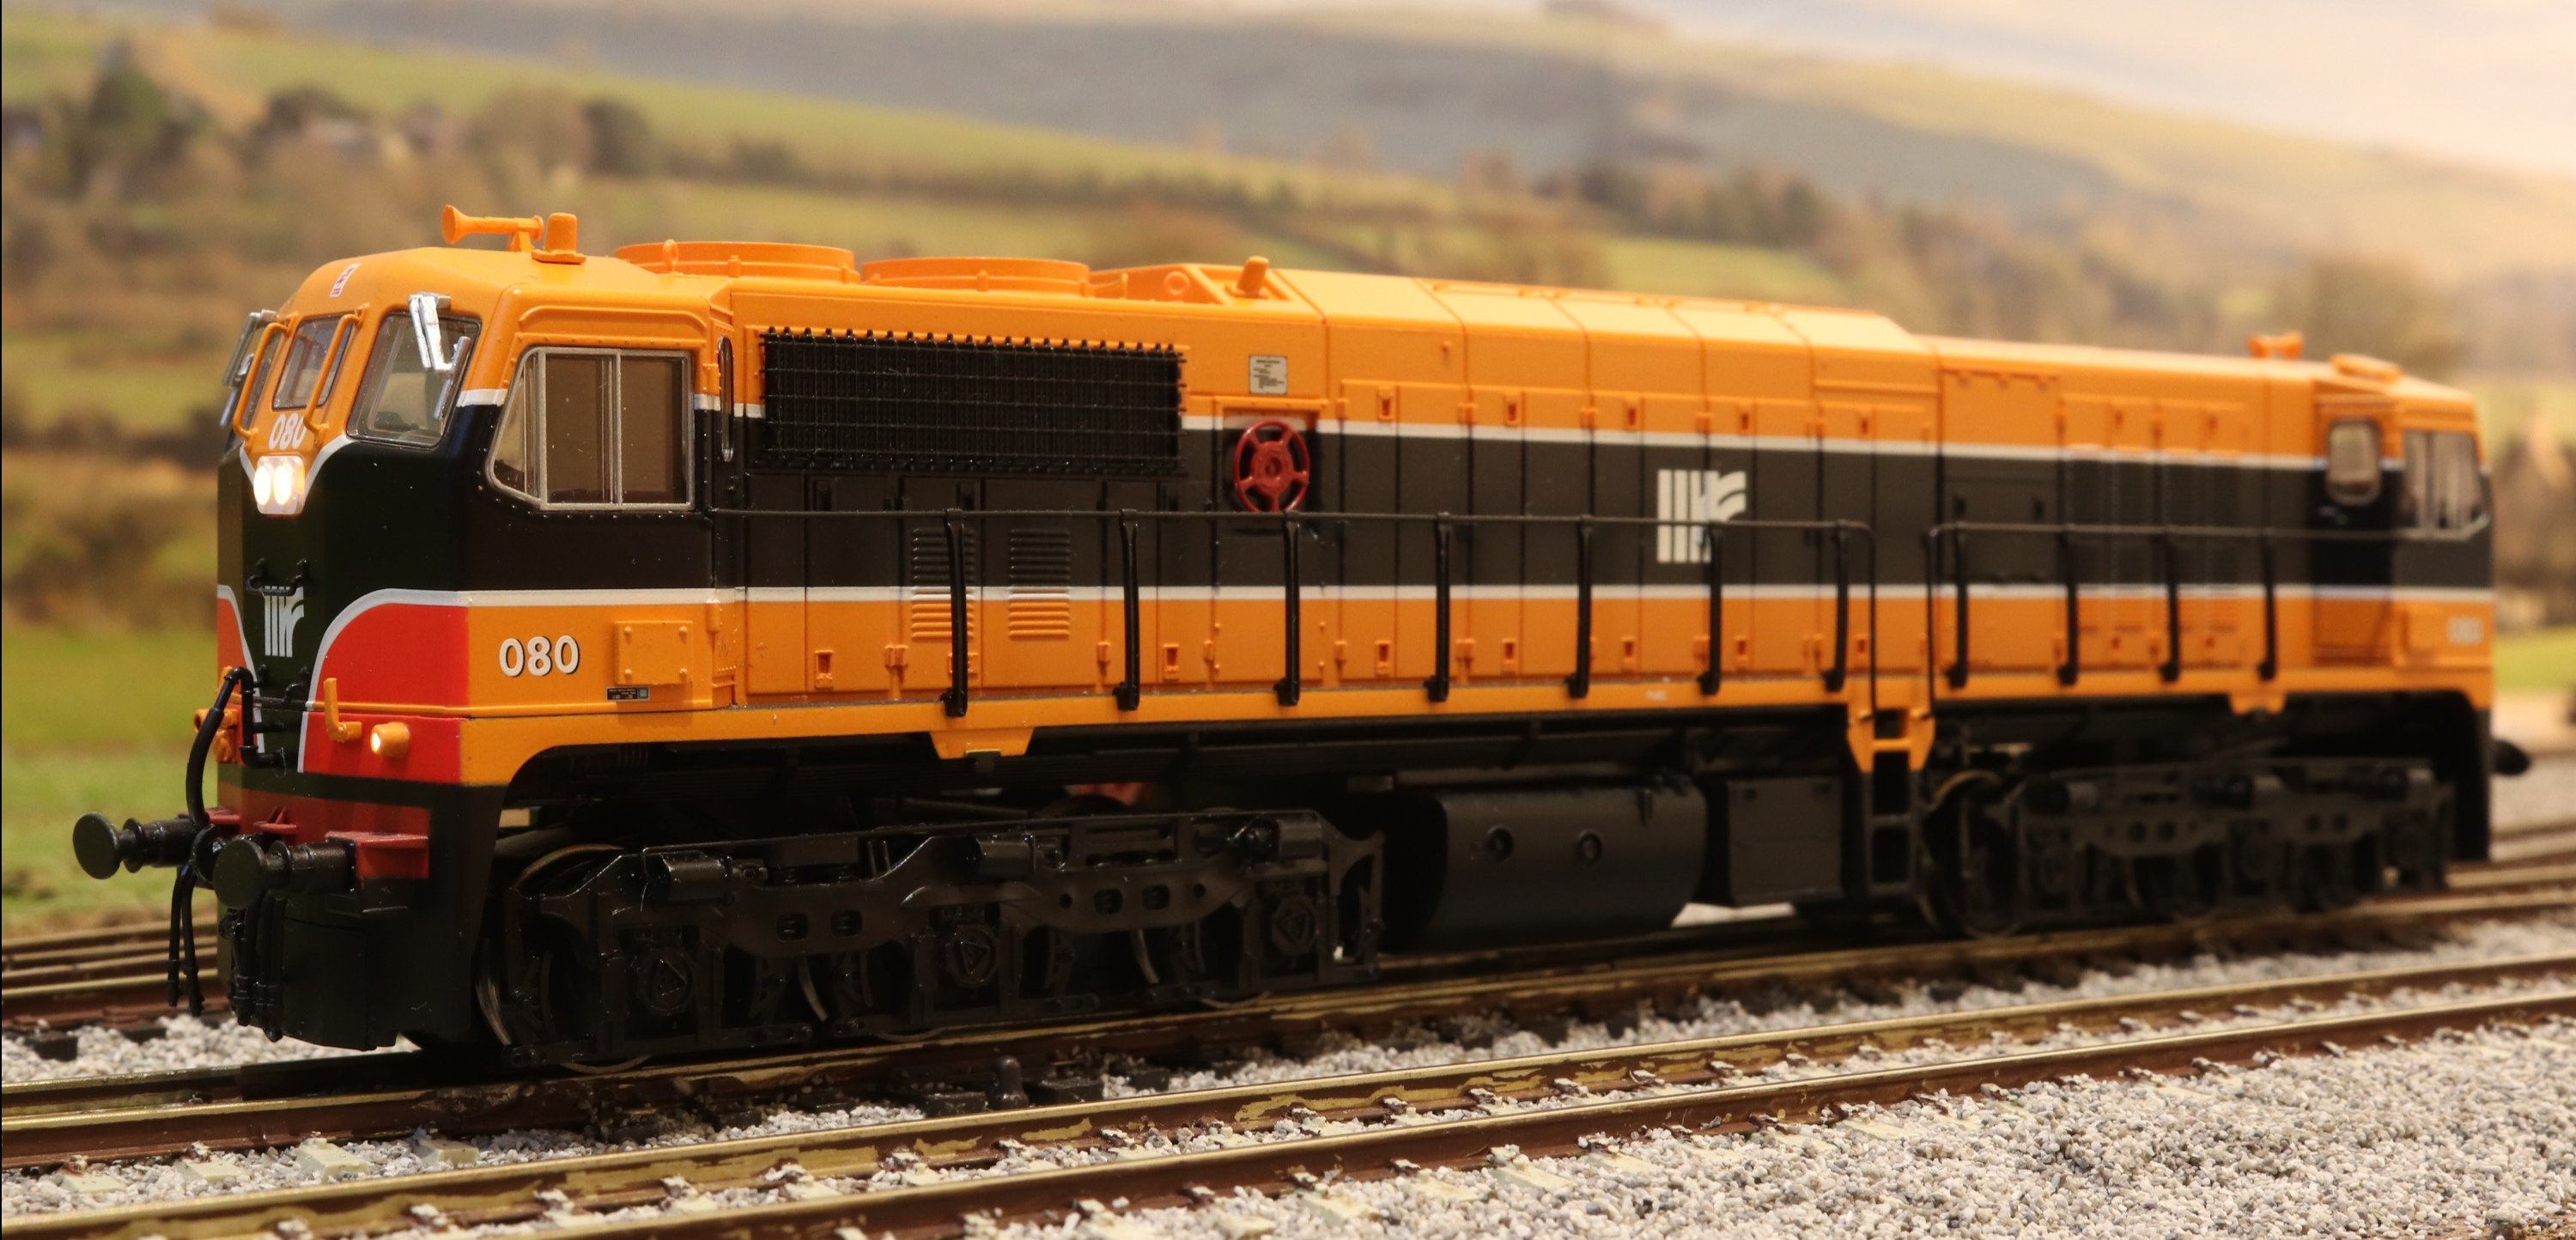
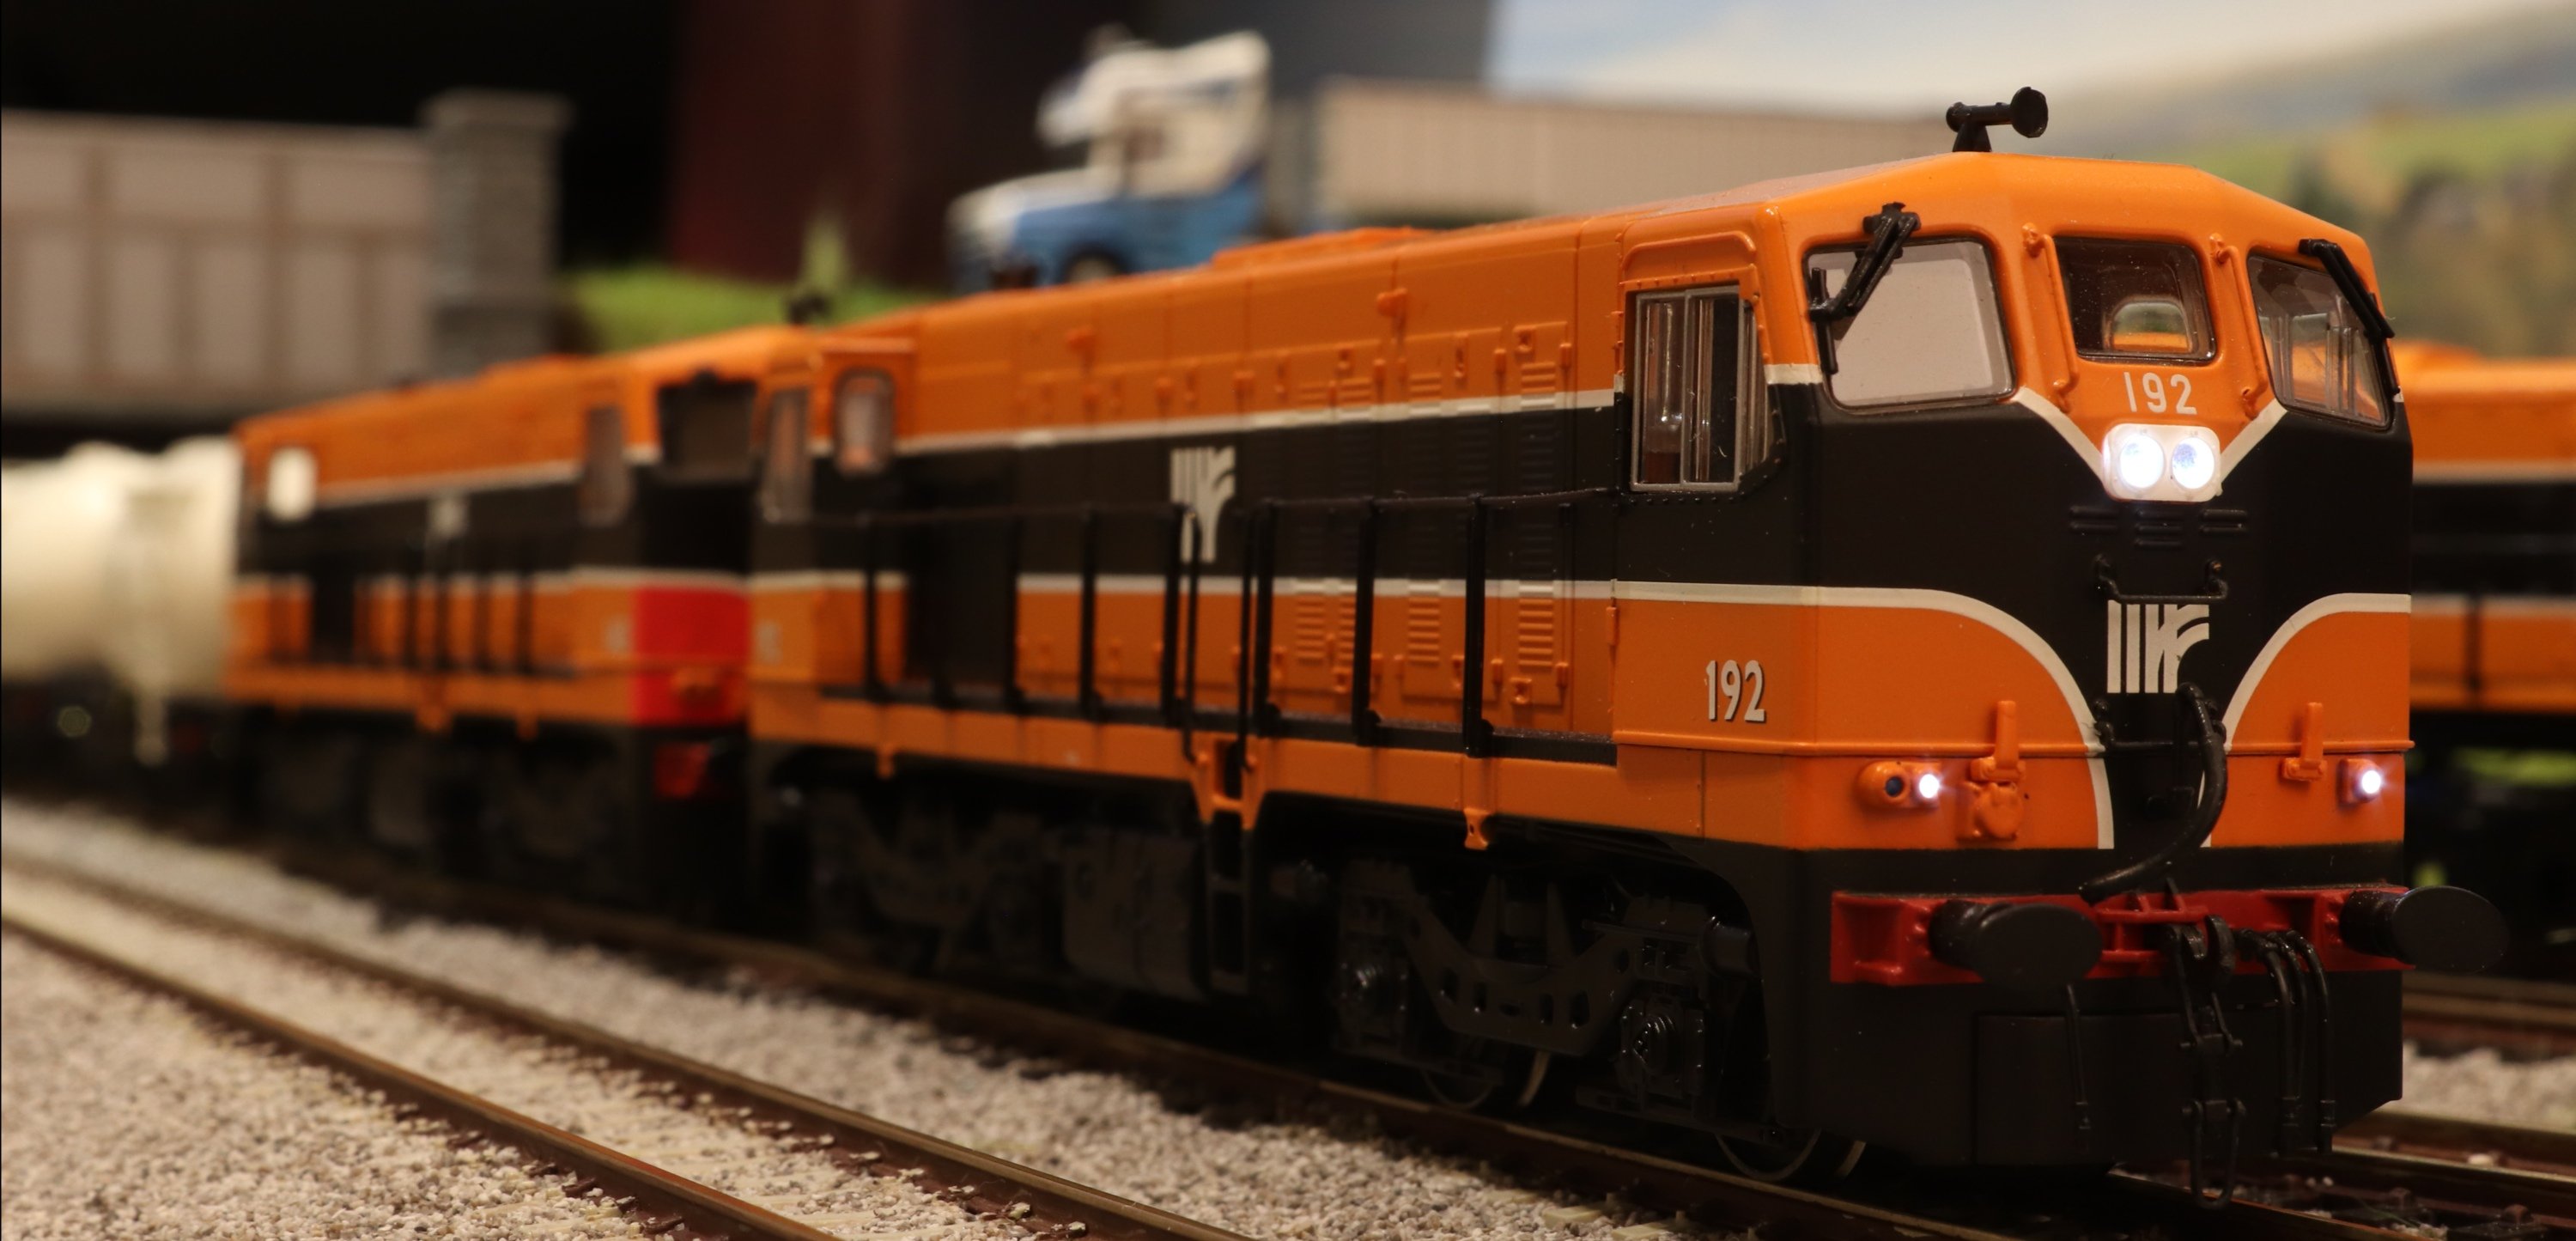
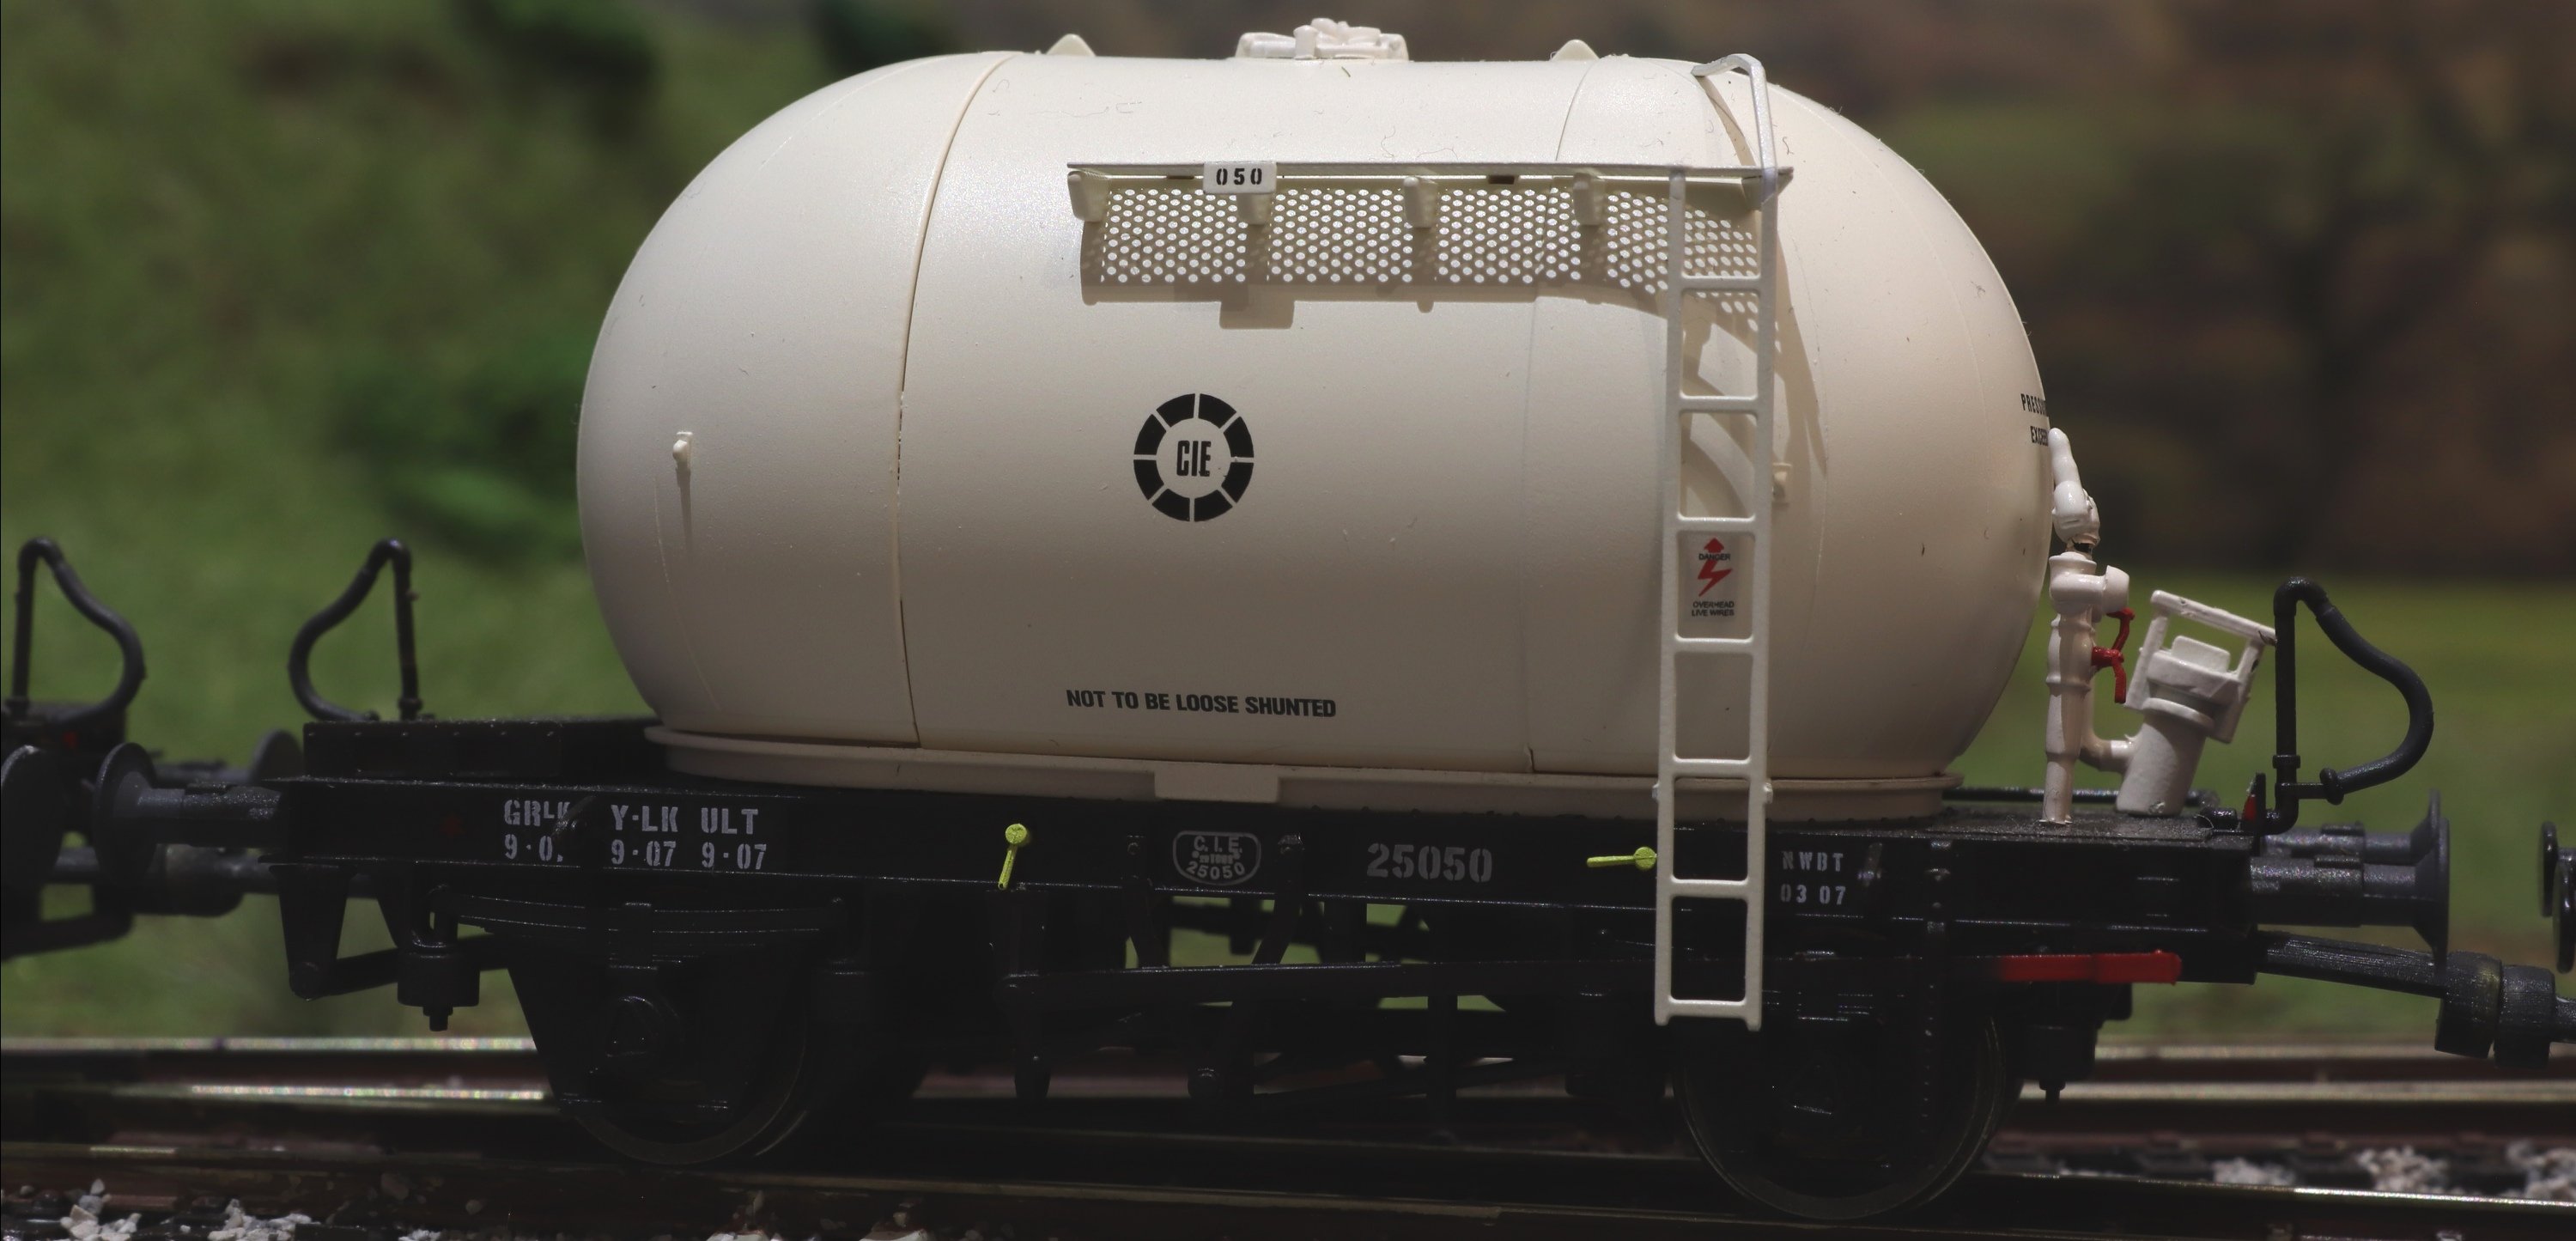
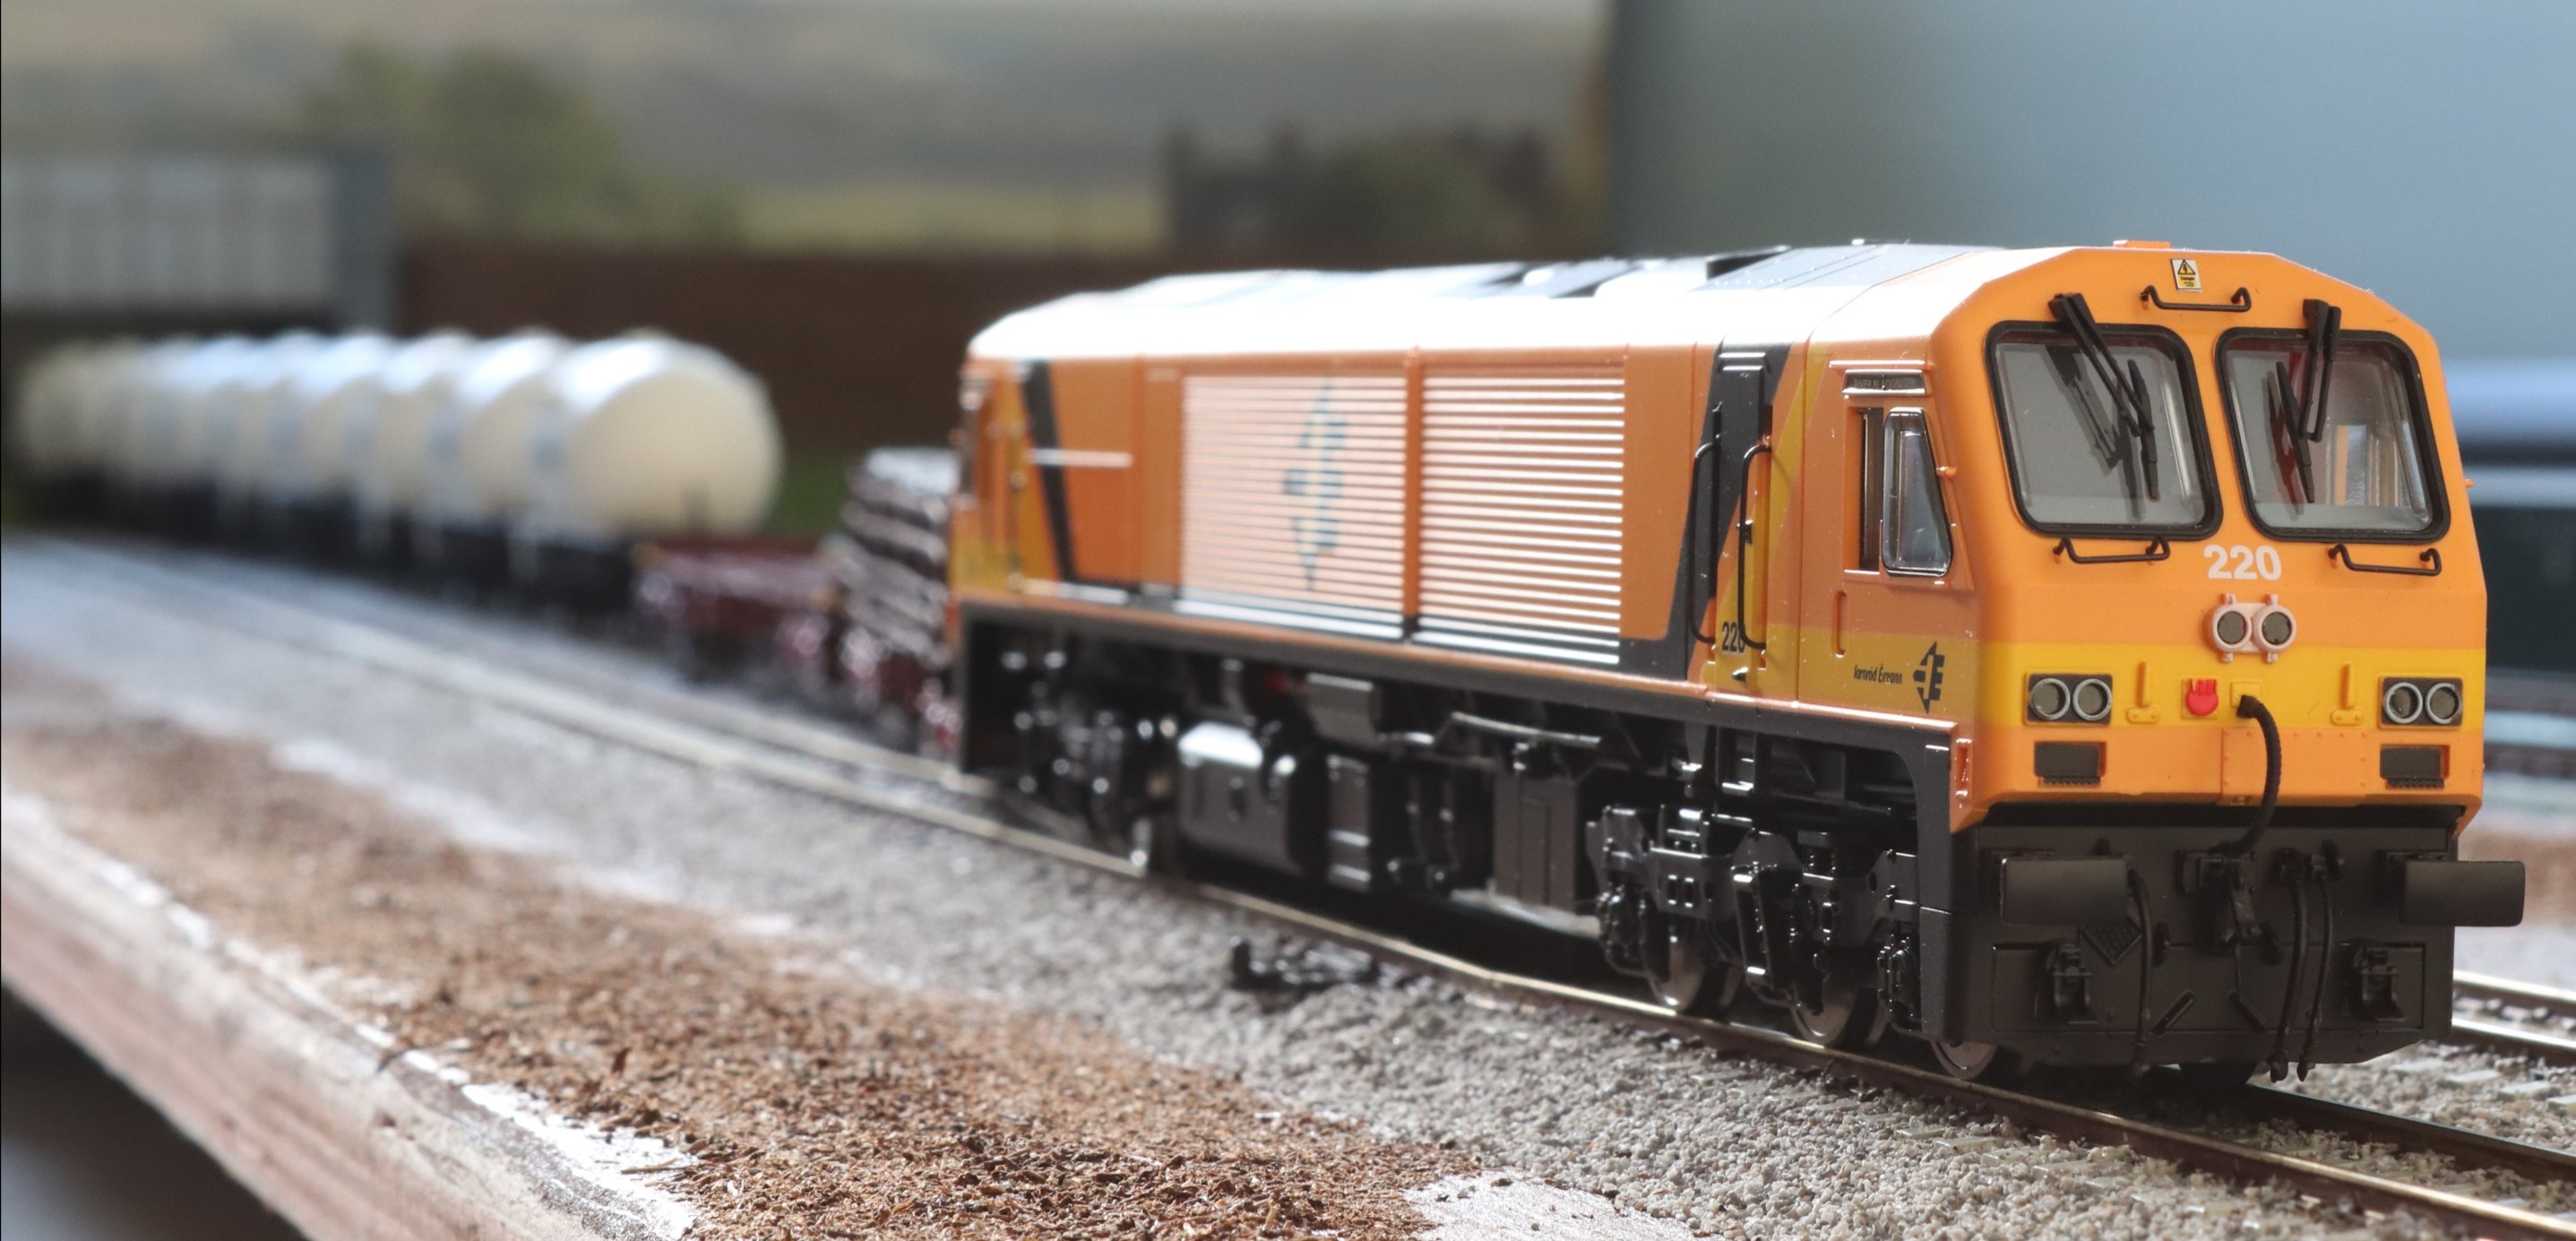
Some more scenic work done on the layout today. Later 080 shunts a pair of container flats before 192 and 143 arrive in the loop with a bulk cement train.
-
14
-
-
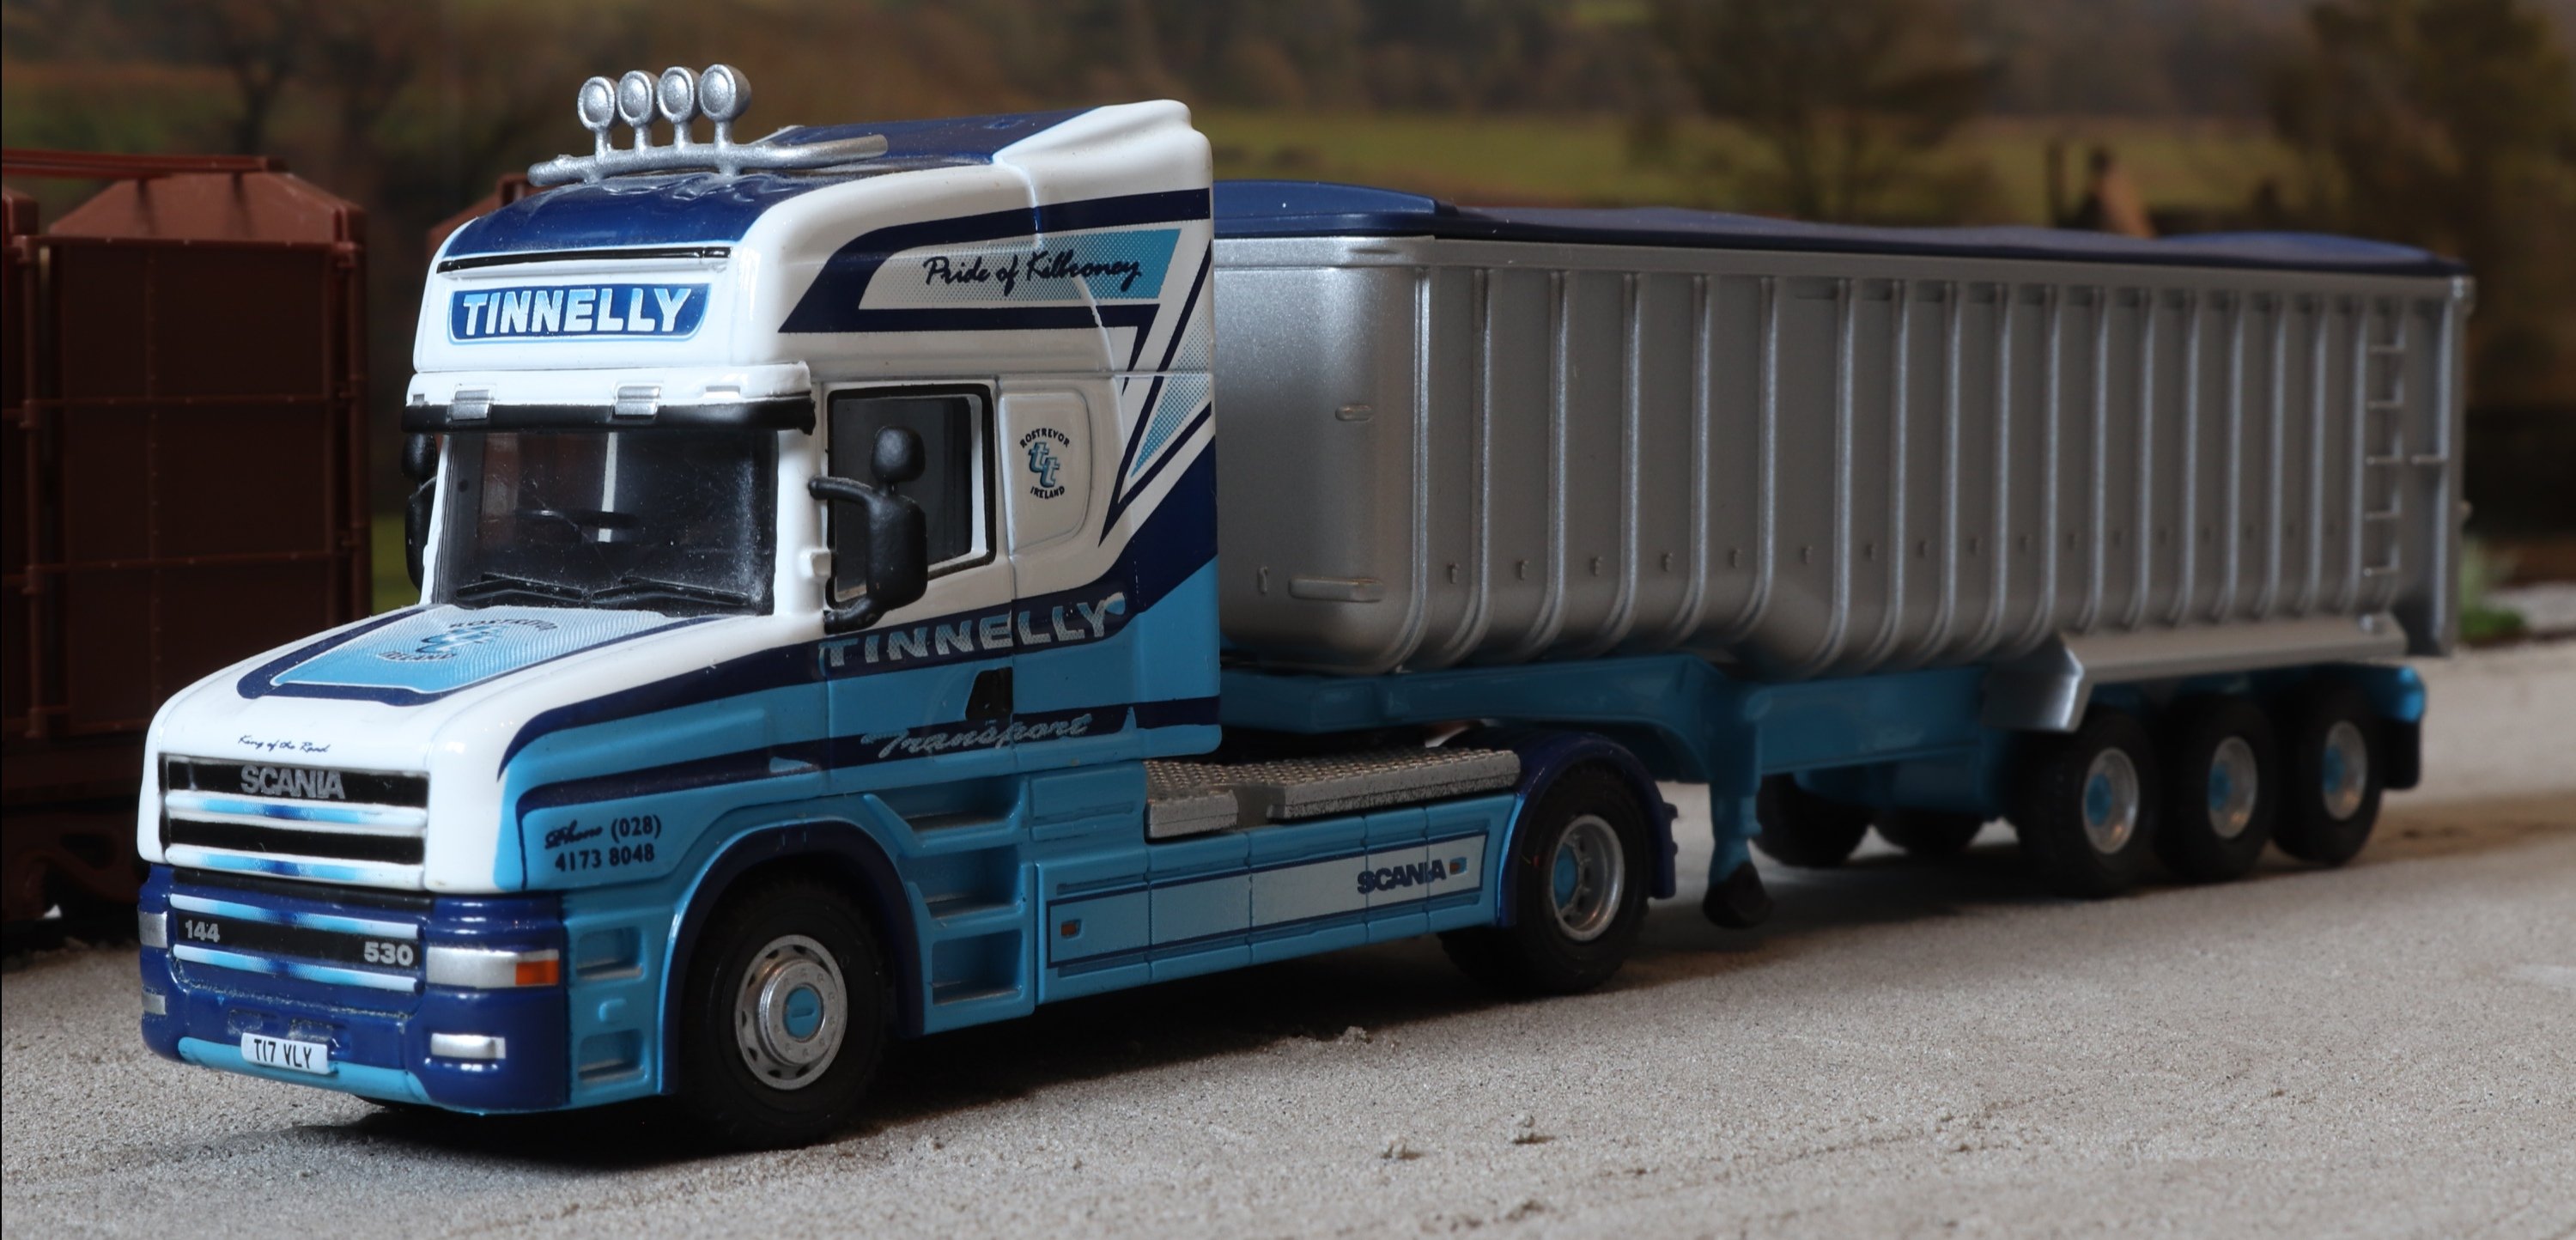
220 leaving the loop with two keg wagons and some bubble cement wagons.
-
3
-
 1
1
-
-
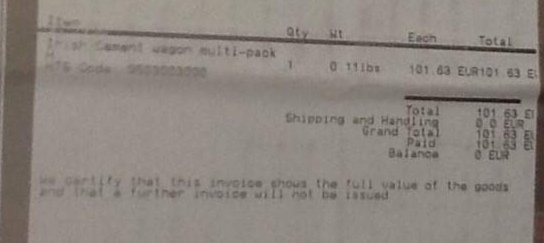
No more purchases from IRM until they stop putting how much I've spent on the front of the parcel!... I've just been sent this photo. Dead man walking.
-
 5
5
-
-
6 minutes ago, Midland Man said:
That came out quite well. Need weathering though
Definitely!
-
1
-
-
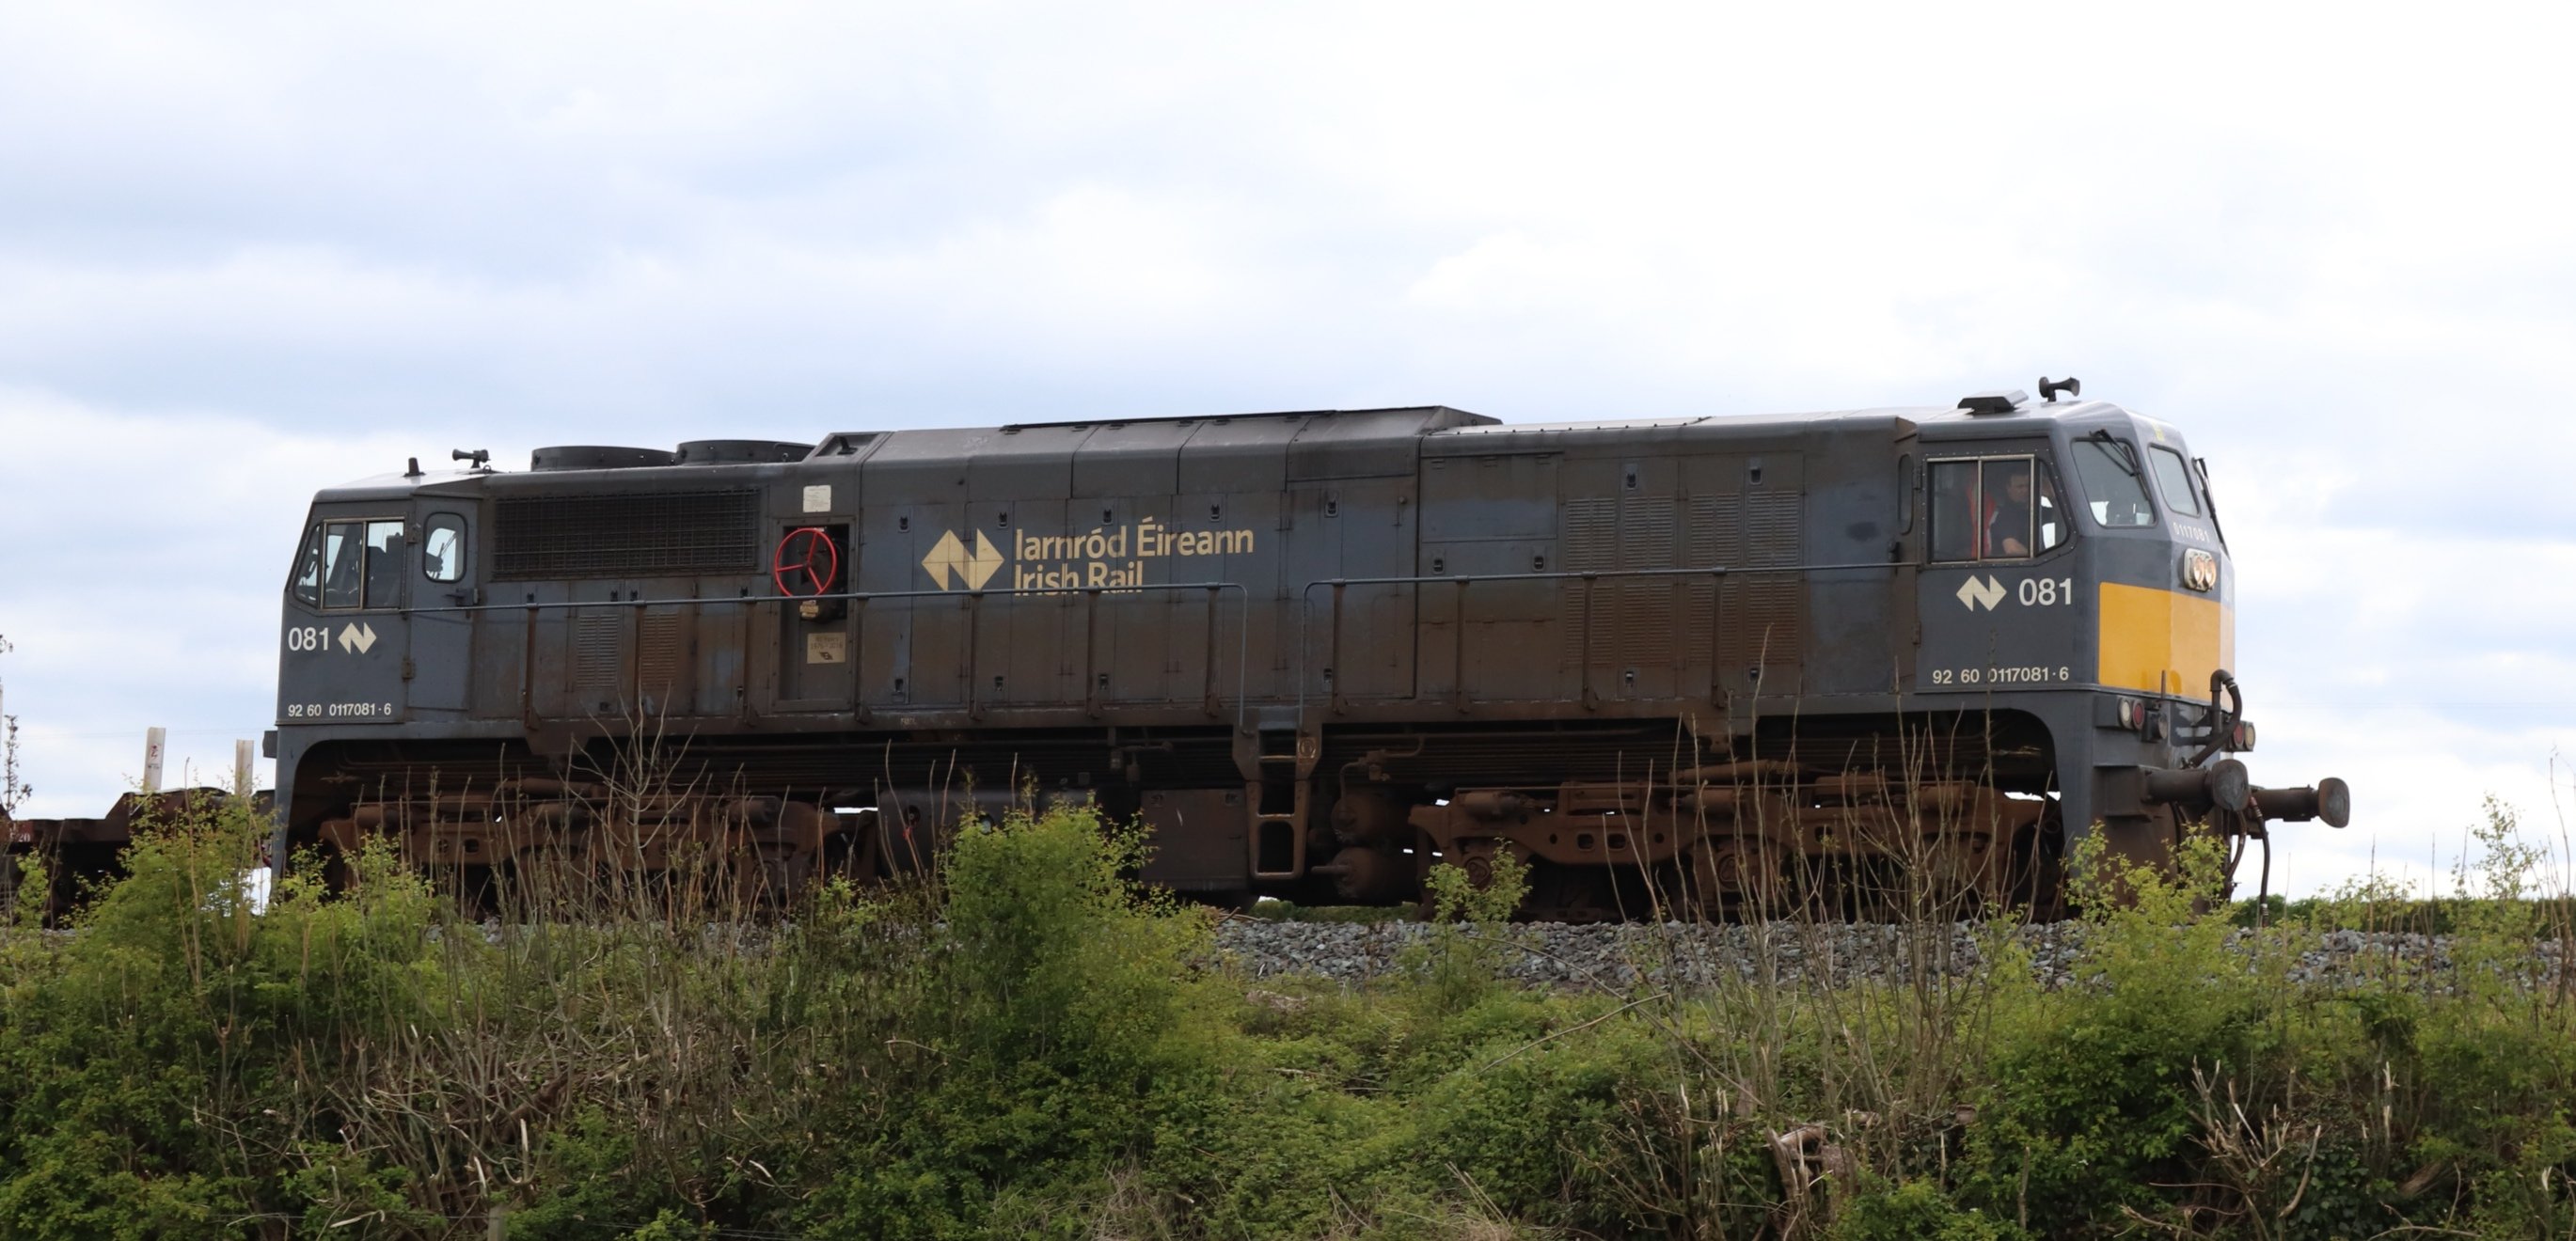
Nice to see them in 1/1 scale every now and then. 081 on the empty steel train today.
-
3
-
-
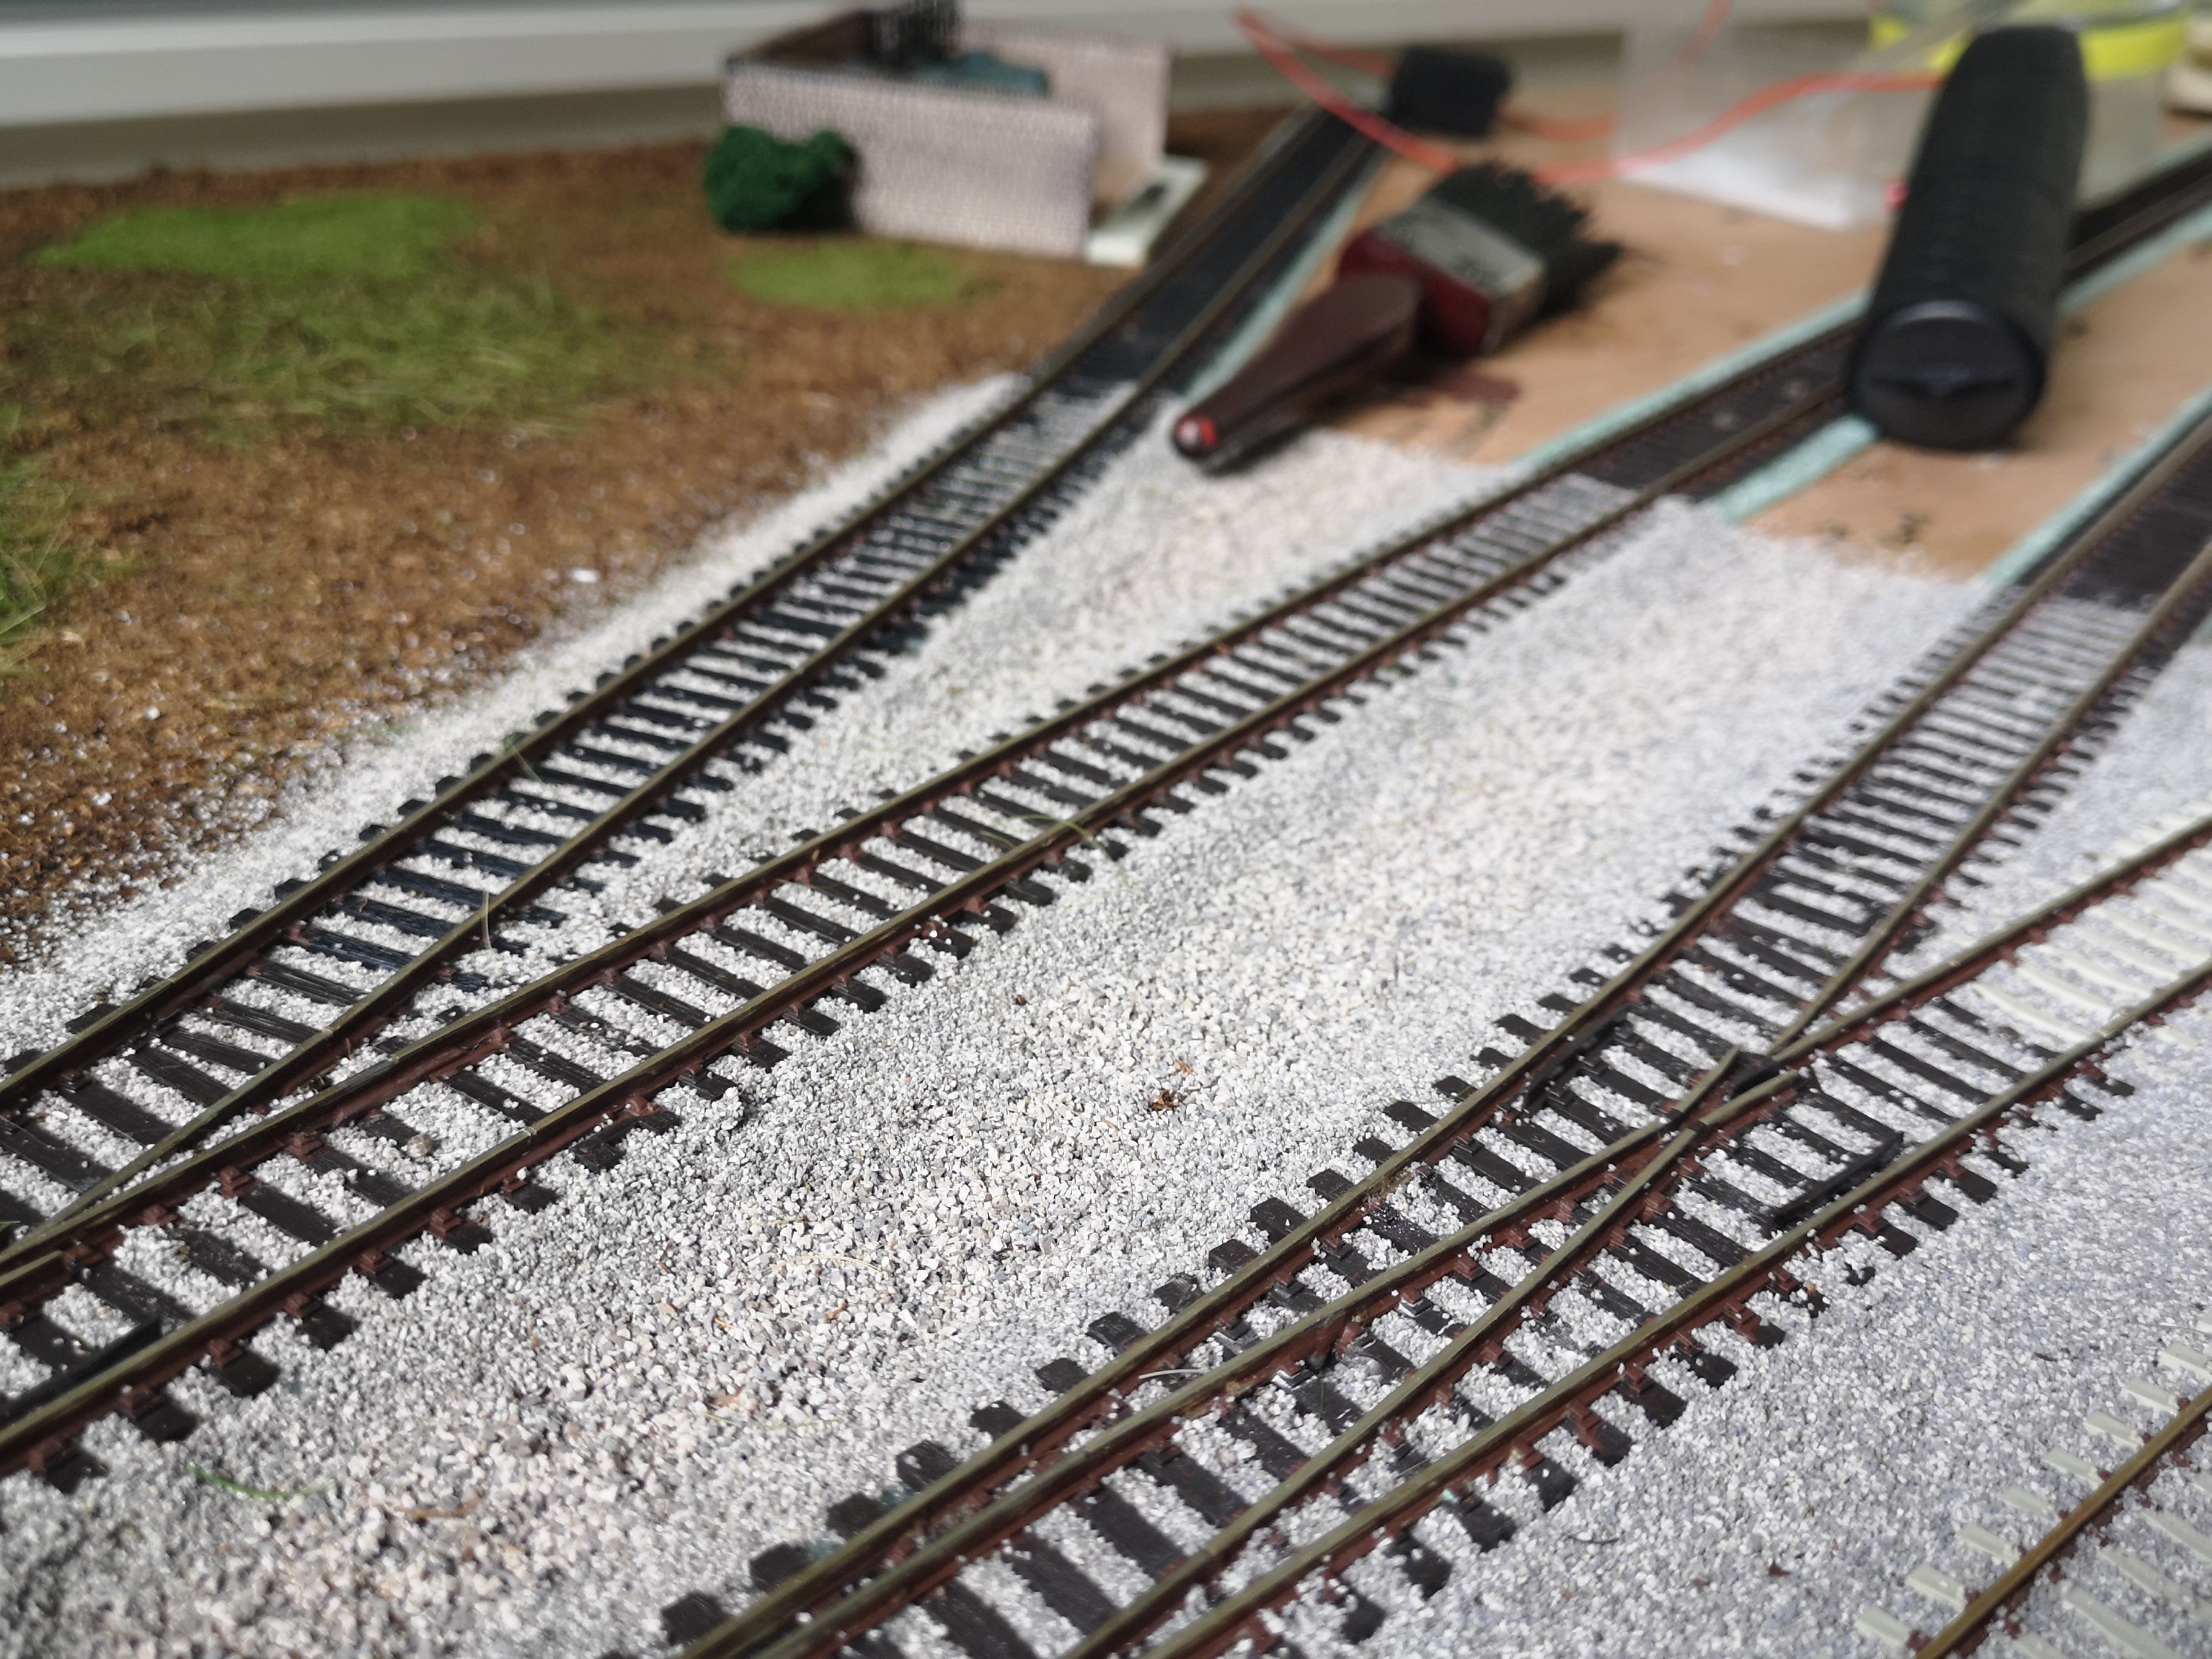
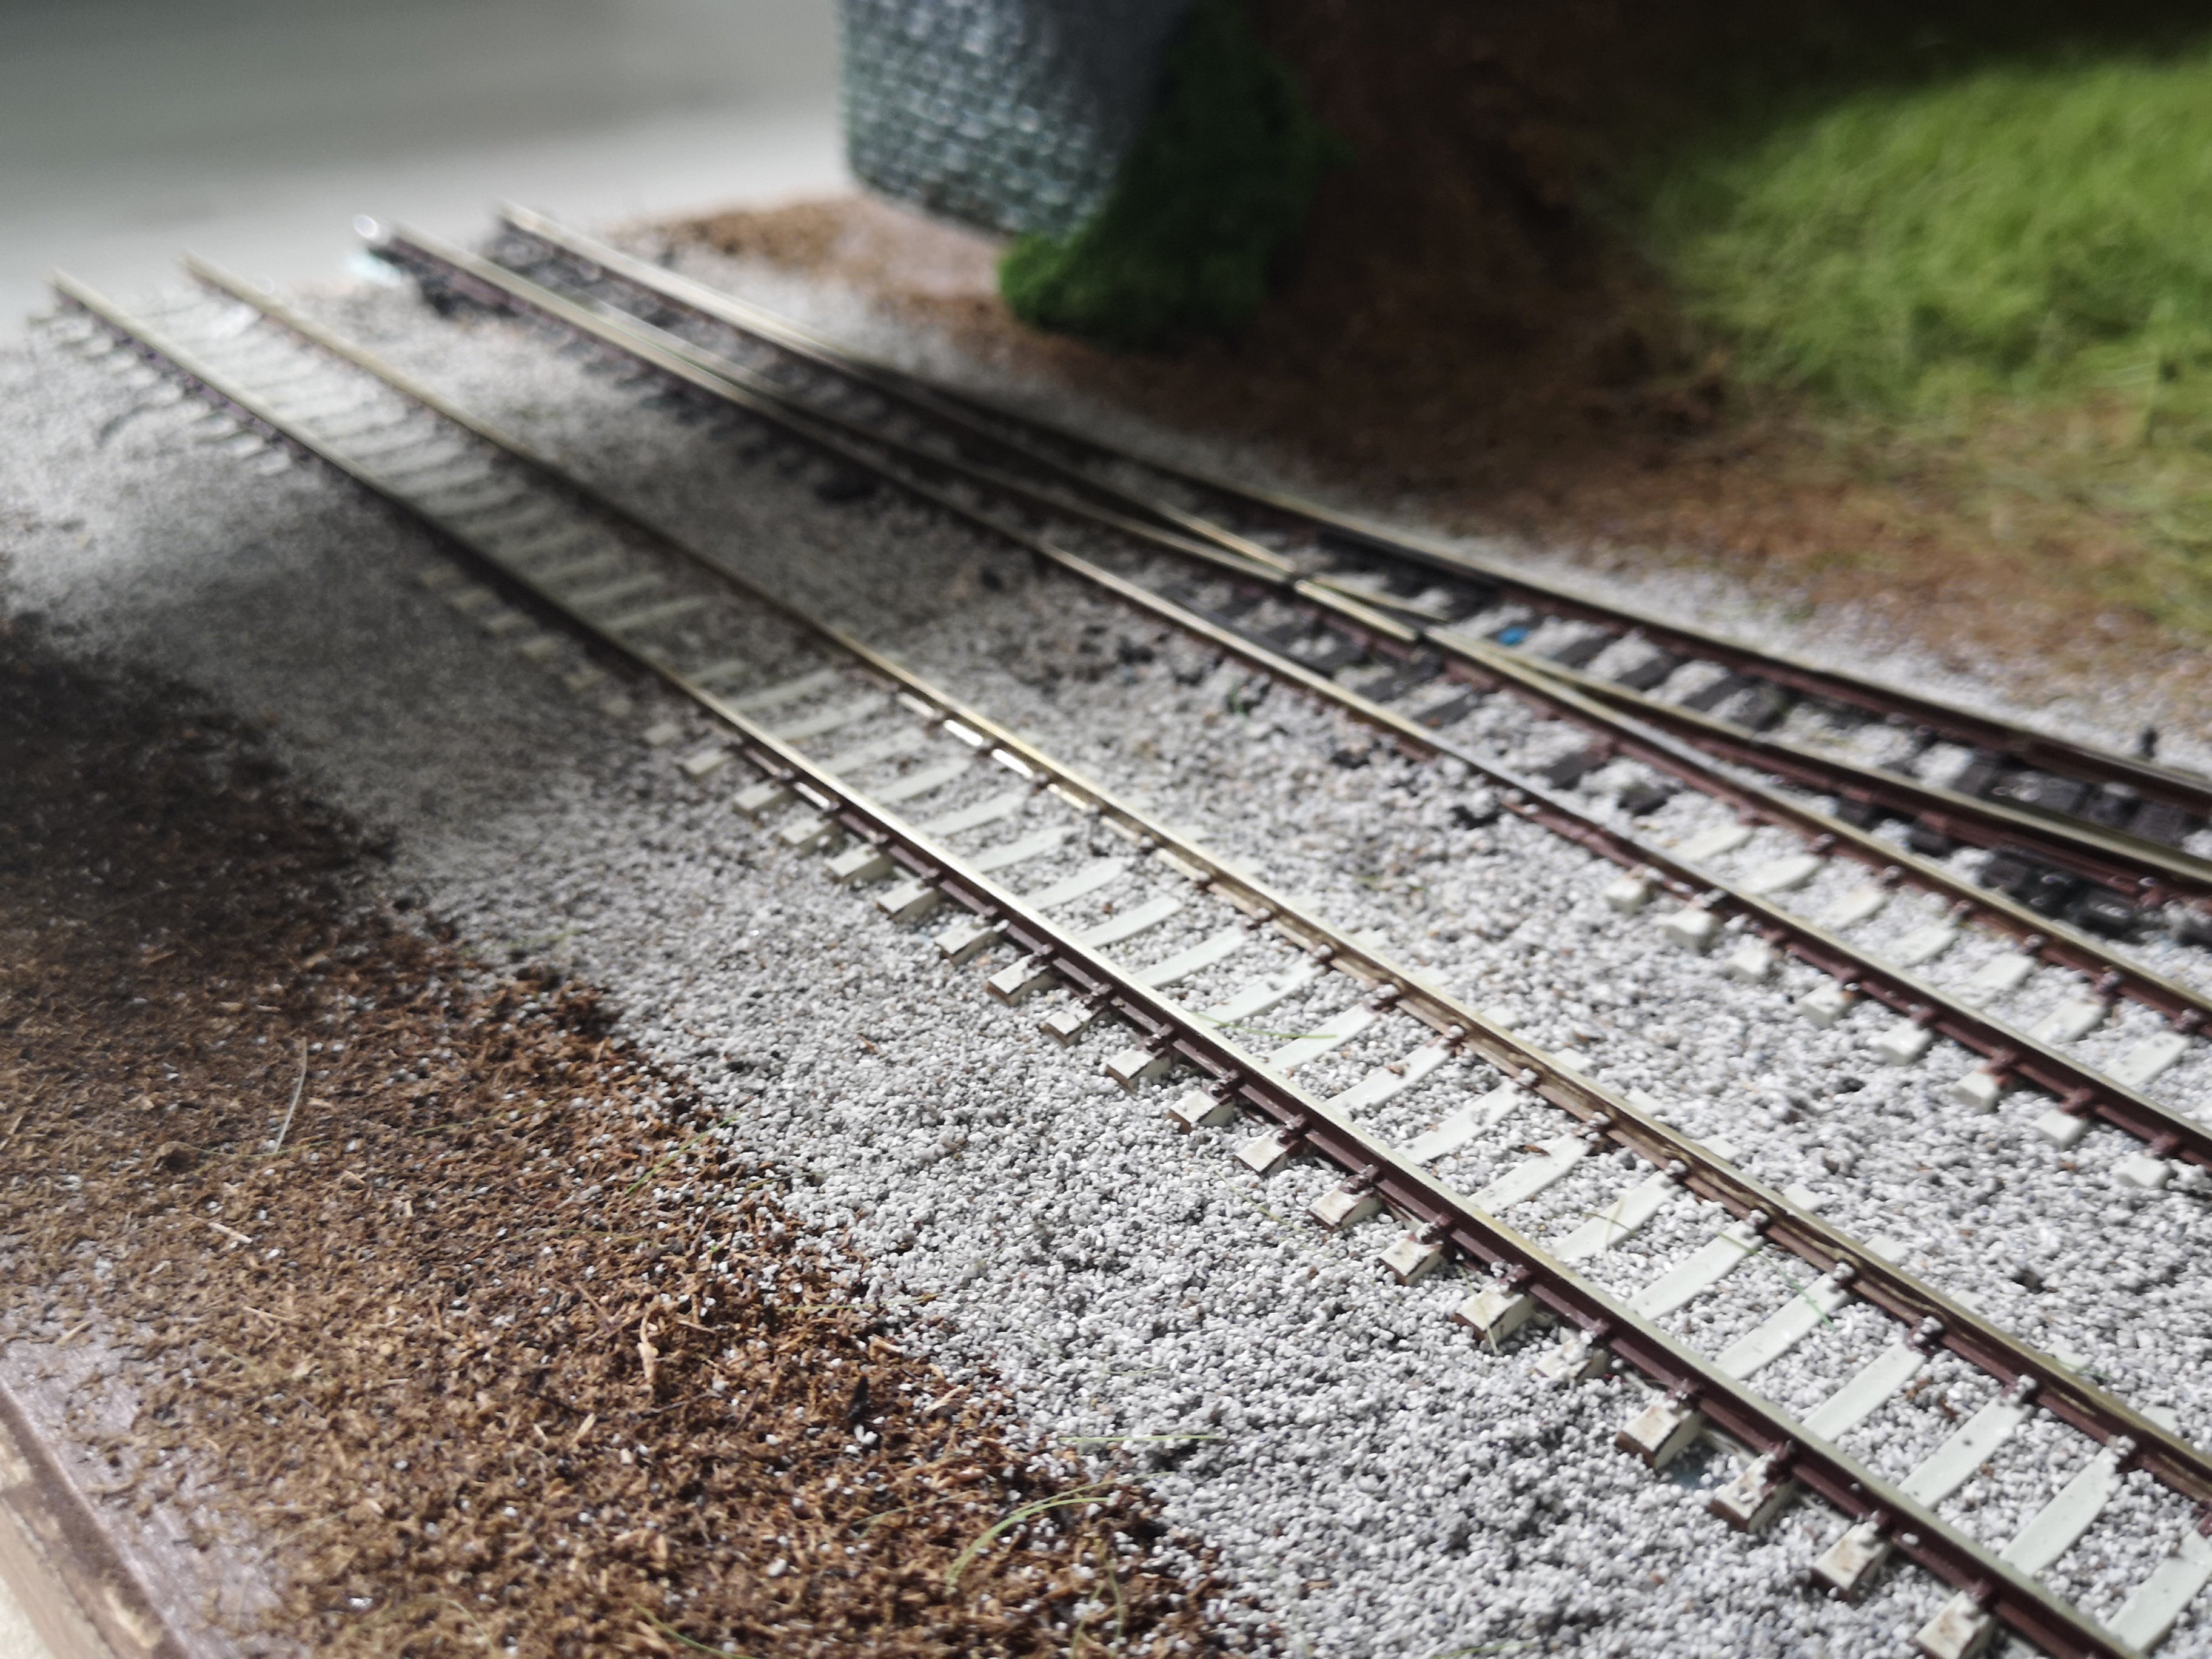
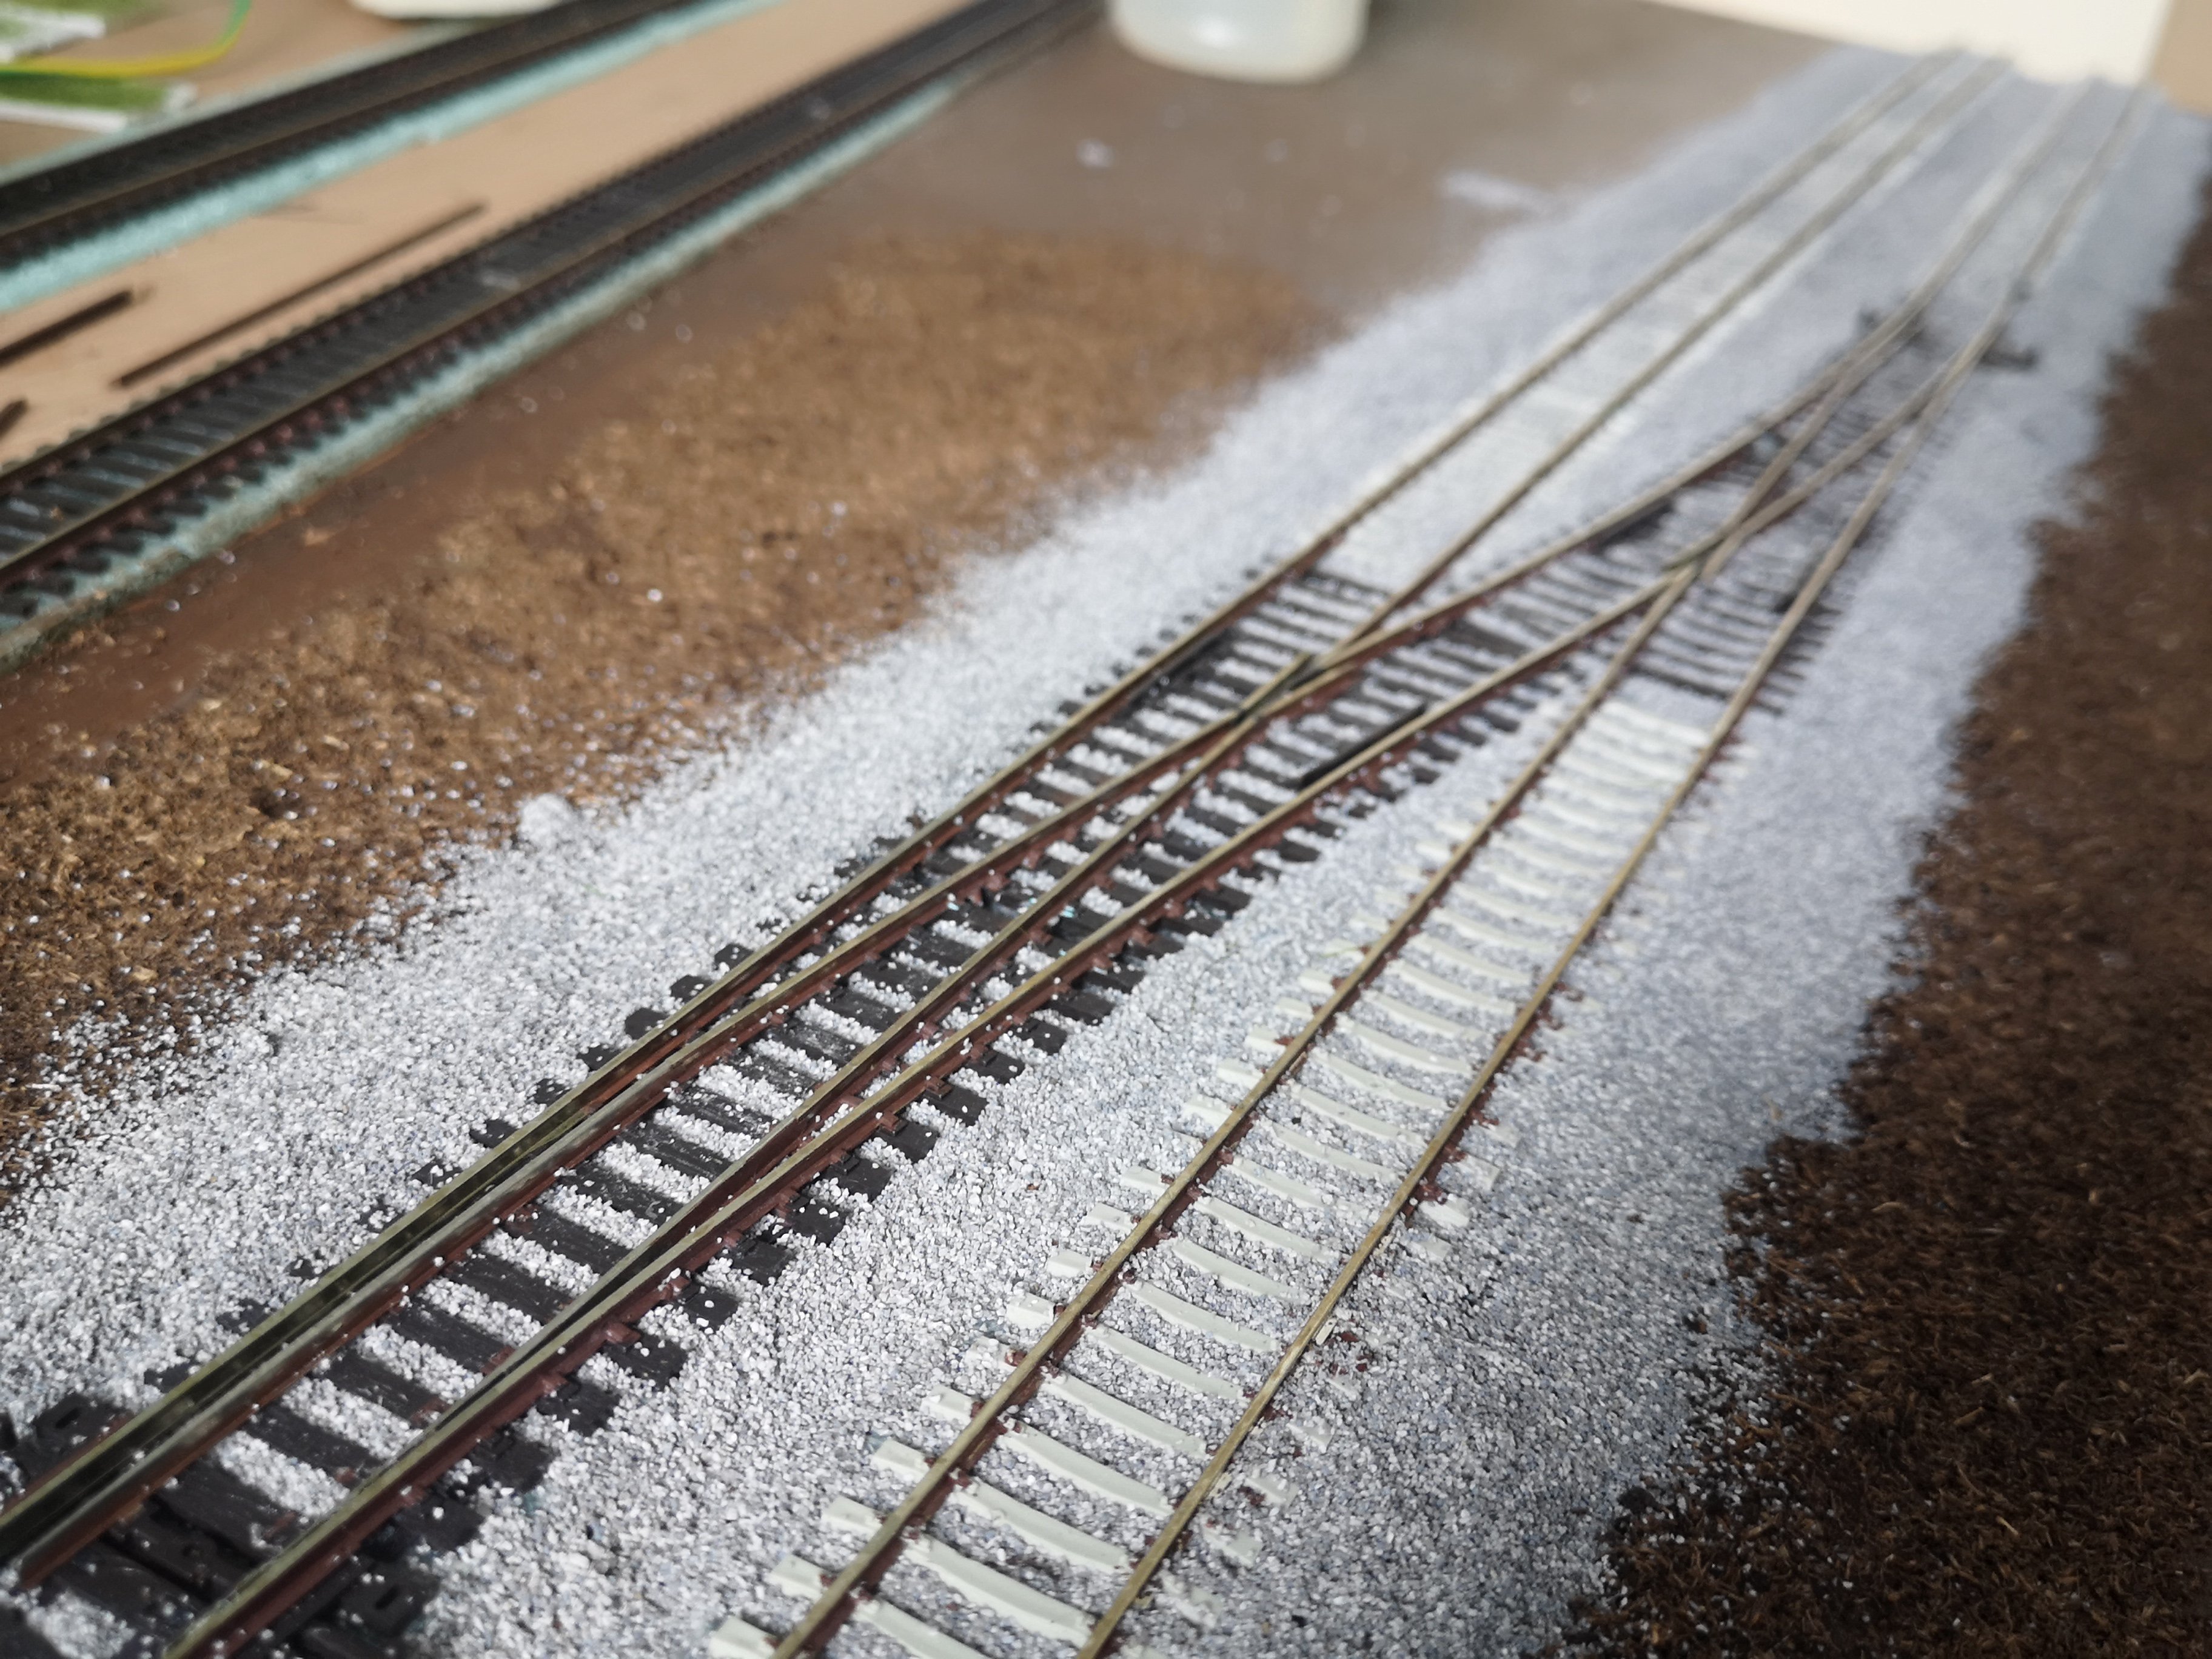
Most of the ballasting is now done. Not overly please with it but it's a start.
-
5
-
-
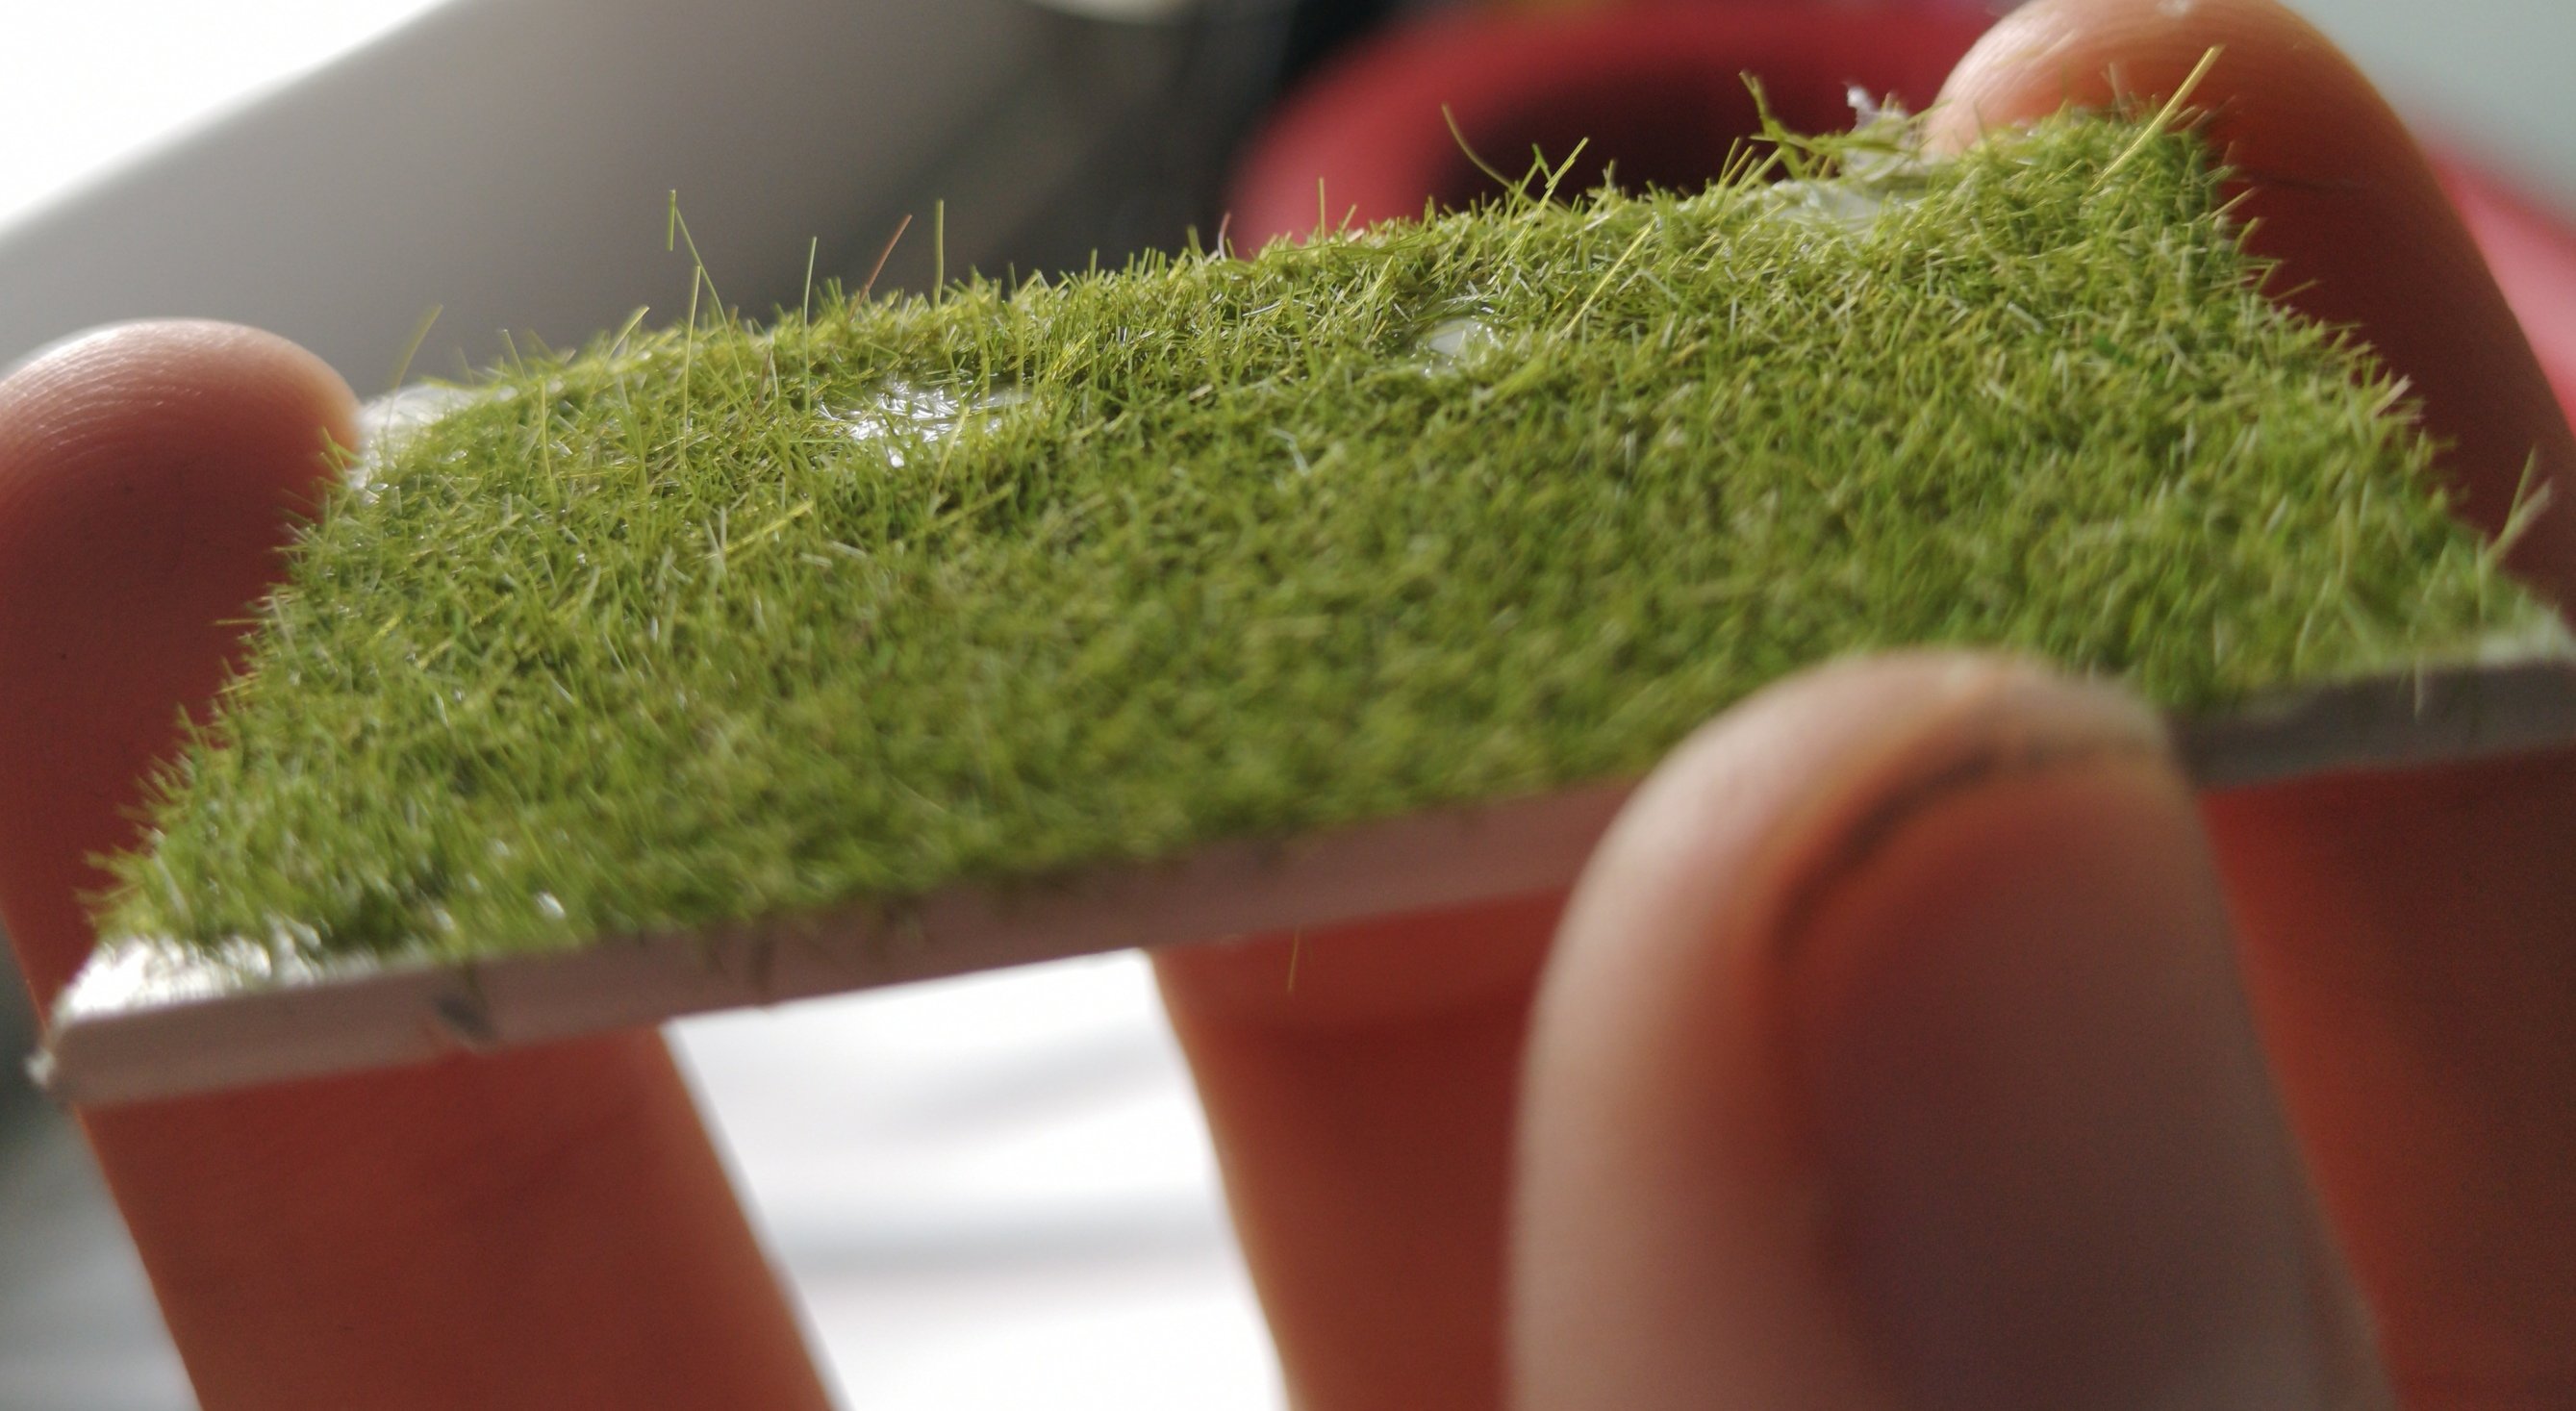
I've just tested these two this morning. I changed the nail to a wire to give me more room (I often hit the nail with the applicator). The 2mm grass is woodland scenics like the 12mm (not overly impressed with the result but most of it seems to stand). The 5mm grass is Faller and its all standing.
-
2
-
-
2 hours ago, Noel said:
Why is the earthing pin touching a metal rail instead of driven into the wet board near where you are applying it? Also for conductivity better to use a simple metal pin or nail rather than a galvanised one.
I'll try a different nail.
-
1
-
-
6 hours ago, gm171 kk said:
That photo is just to show the applicator I'm using. The nail is always in contact with the board where I'm applying the grass. The batteries are new and hood quality.
As above lads. The nail is always as close as possible to where I'm spreading the grass.
-
21 minutes ago, Garfield said:
Hmm. Is there any indication that the applicator is taking power from the battery (e.g. a small LED that lights up when switched on)?
Yes and it sparks in contact with the nail so it seems to work.
-
41 minutes ago, Garfield said:
In the second photo, the pin/nail at the end of the wire linked to the applicator is not pushed into the surface adjacent to where you're laying the grass. This could be the problem. If you move onto a different area, you will need to take out the pin and insert it into the surface of the new location you are working on.
Also, this may sound like a daft question, but... is the battery charged?That photo is just to show the applicator I'm using. The nail is always in contact with the board where I'm applying the grass. The batteries are new and hood quality.
-
 1
1
-


.jpg.e01ca00f4e0dd655421146c32b84a89d.jpg)


GM171kk's layout.
in Irish Model Layouts
Posted