.png.c363cdf5c3fb7955cd92a55eb6dbbae0.png)

Anders112
-
Posts
66 -
Joined
-
Last visited
-
Days Won
4
1 Follower

Recent Profile Visitors




Anders112's Achievements






-

Drogheda MacBride Station And Platin Cement Factory
Anders112 replied to Anders112's topic in Irish Model Layouts
Today’s running session 130 and 143 with the evening Dundalk to Connolly cravens. My Movie 1.mov -
Drogheda MacBride Station And Platin Cement Factory
Anders112 replied to Anders112's topic in Irish Model Layouts
Thanks Derek and Jason for the support I’m actually going to do bit more work on the fiddle yard next weekend,lll keep yous updated and show the inner workings of it My Movie 1.mov There’s something about the length of the curves that make it. This photo has just reminded how much work I’ve actually done since then. Form the platforms and ballasting this is way that view looks like now ! https://www.flickr.com/photos/irishrailwayarchive/53527463778/in/faves-200377986@N07/ I’ve also have roughly added a white strip to the edge of the platforms as per the real thing. Drogheda platforms have seems to have gotten a lick of white paint in around 1995 as you can see from the photos before. I used one of those ak paint pens, pardon the pun it’s a stop gap to fill before I actually do work on the platforms later down the line. notice the newly paint white line on the platform edge in the photos below compared to pre 1995
-
Getting going, finding inspiration--Mosney!
Anders112 replied to Tractionman's topic in General Chat
Some more photos form flicker. Personally love the scene of first one with 088 passing by with the enterprise and passengers waiting for the next train… gotta love the different colours of containers on the Belfast liners too- 25 replies
-
- 10
-

-
Getting going, finding inspiration--Mosney!
Anders112 replied to Tractionman's topic in General Chat
Hi Kieth, looks like a great layout and great idea with plenty of character. Here is a couple of videos of mosney in the 1990s. At the 10:40 minute mark you have a great variety between liner trains,Tara’s,cements and passenger I’m doing my current layout on Drogheda station in the 1990s and have done hours of research of movement on the line, that I would be more than happy to share with you. wishing you all the best with the layout and more important to enjoy the process of it. all the best Dave -
Drogheda MacBride Station And Platin Cement Factory
Anders112 replied to Anders112's topic in Irish Model Layouts
IMG_0155.mov Gypsum wagons out for a trial run on the layout managed to get a bargain for the whole rake on eBay (doesn't happens often) under the original price -
Drogheda MacBride Station And Platin Cement Factory
Anders112 replied to Anders112's topic in Irish Model Layouts
Thanks very much for the kind words Noel and means a lot coming from you. A big fan of Tara junction and all your work. One of the best things he ever did was got me into model trains,from trips away to model railway shows,to adventures on the actual mainlines to just have a little shunt in what was the “railway room”,I hope this layout will do him proud -
Drogheda MacBride Station And Platin Cement Factory
Anders112 replied to Anders112's topic in Irish Model Layouts
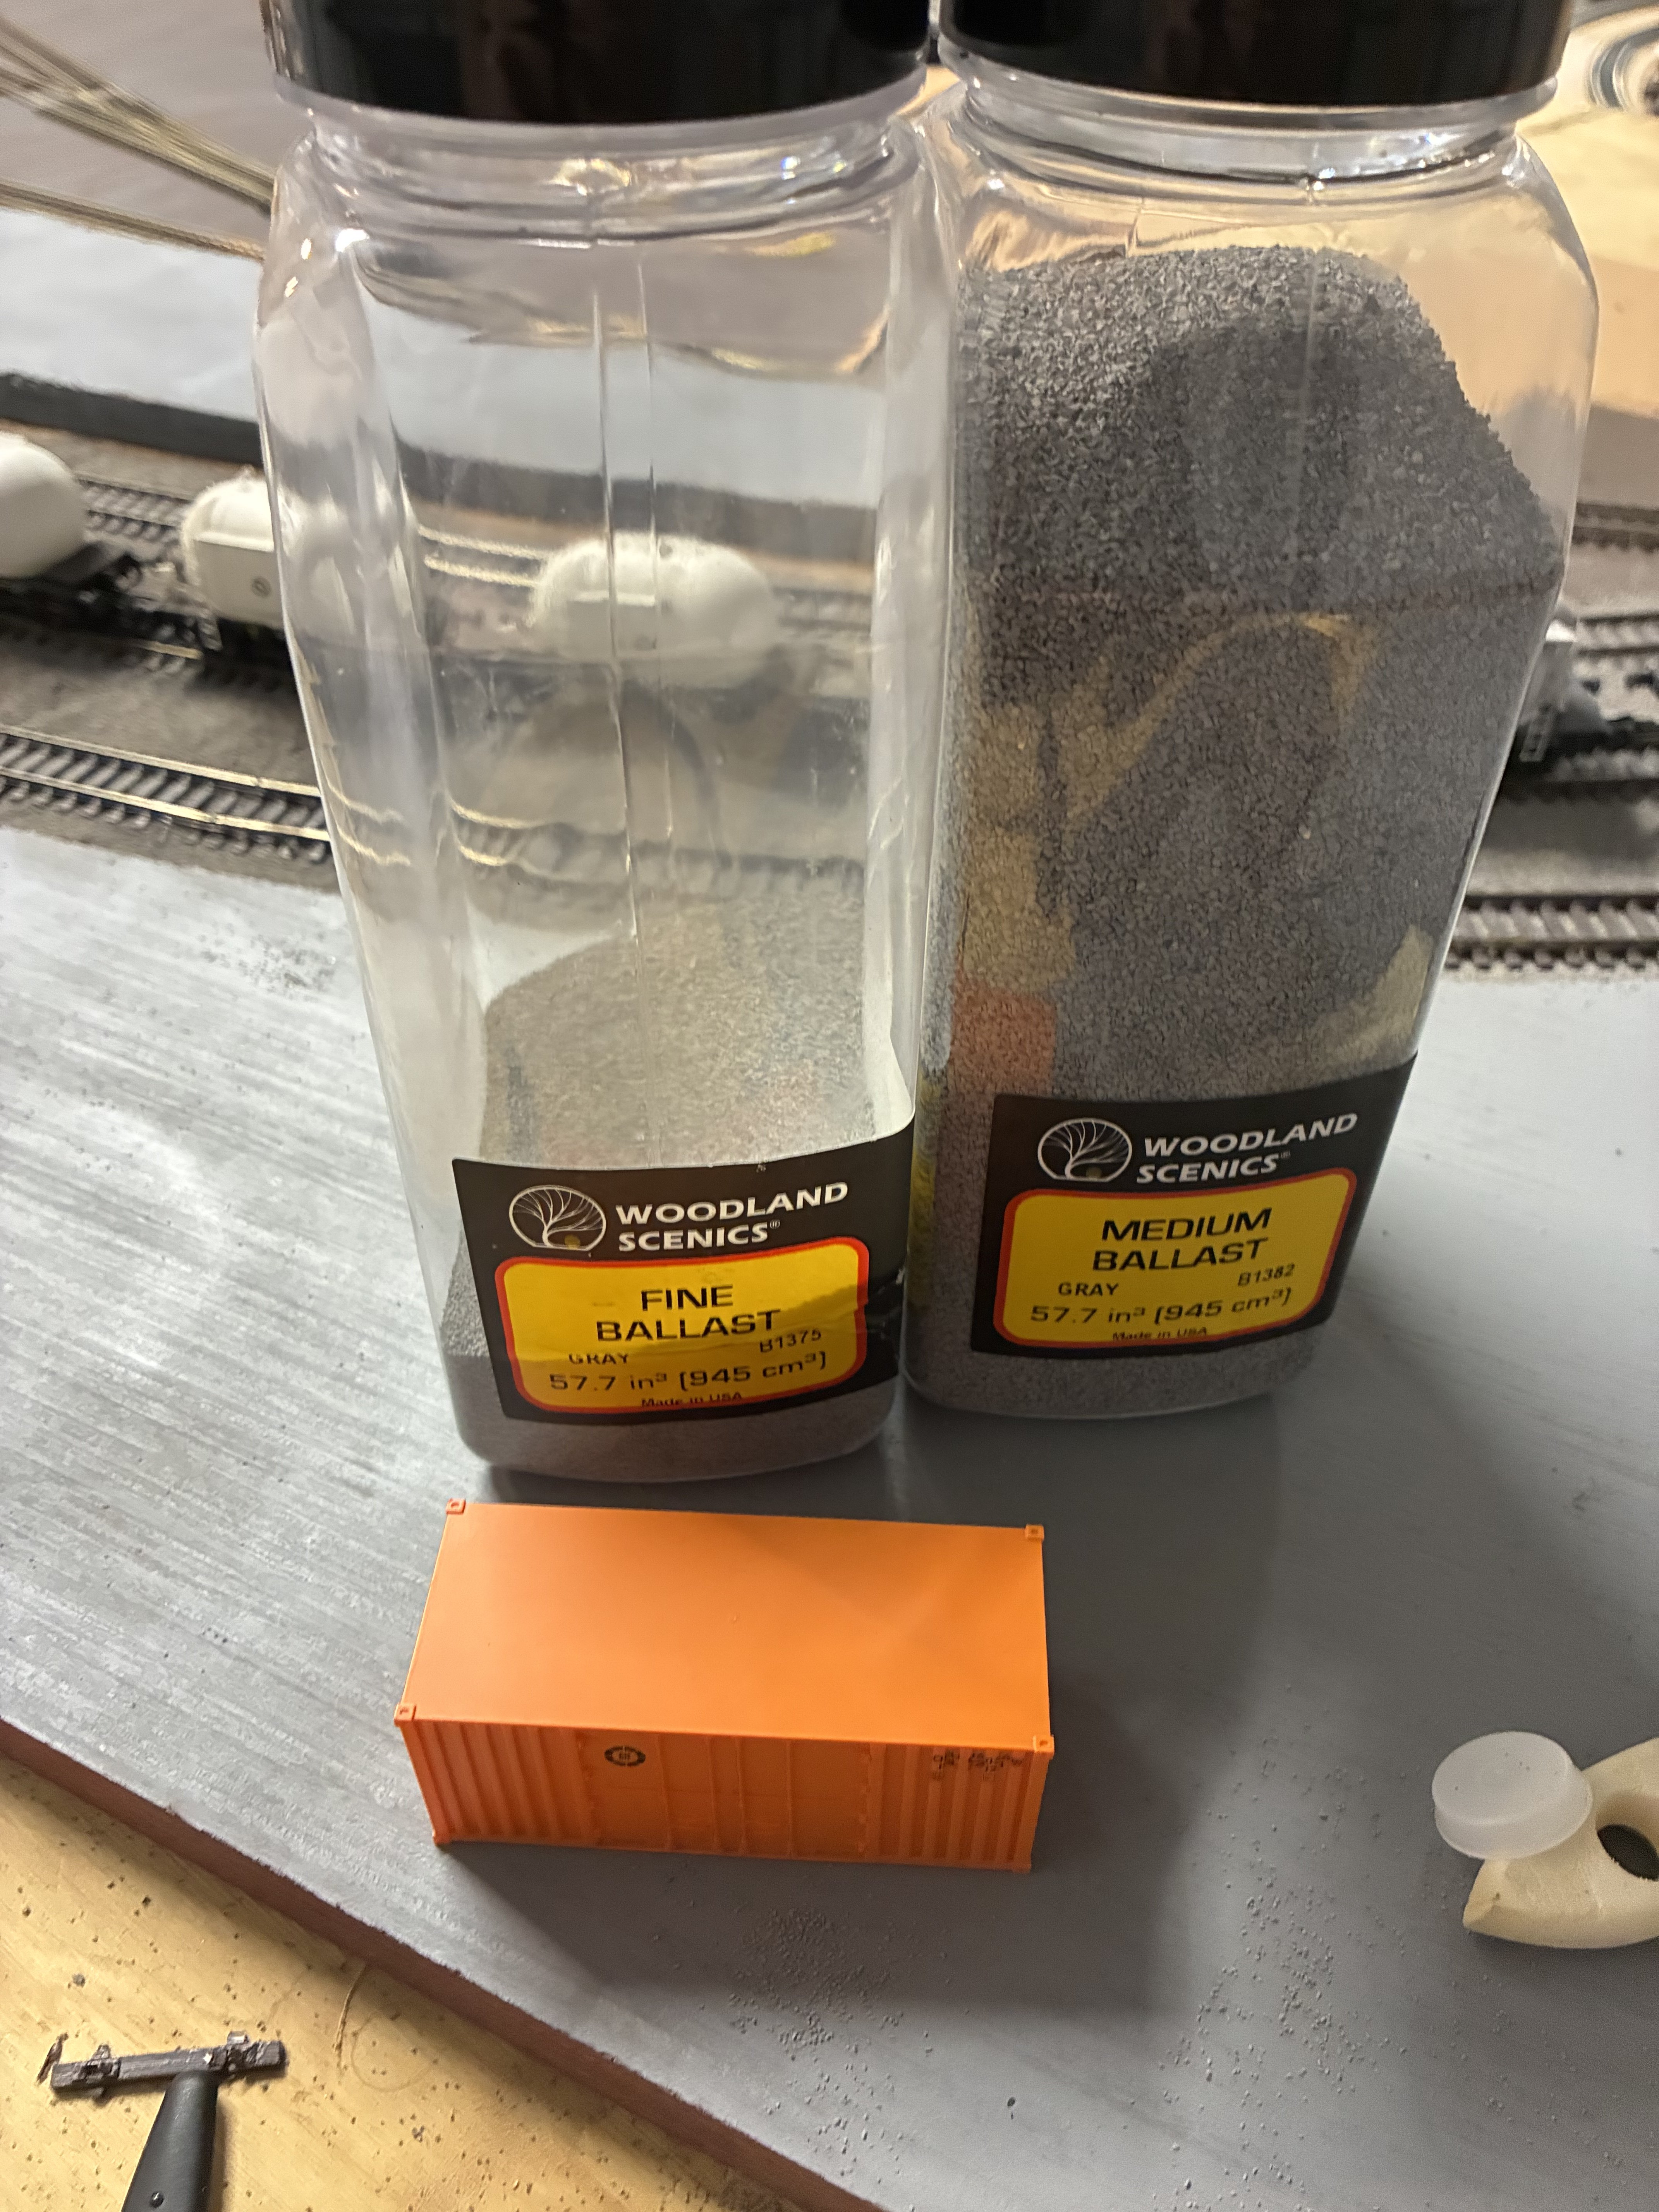
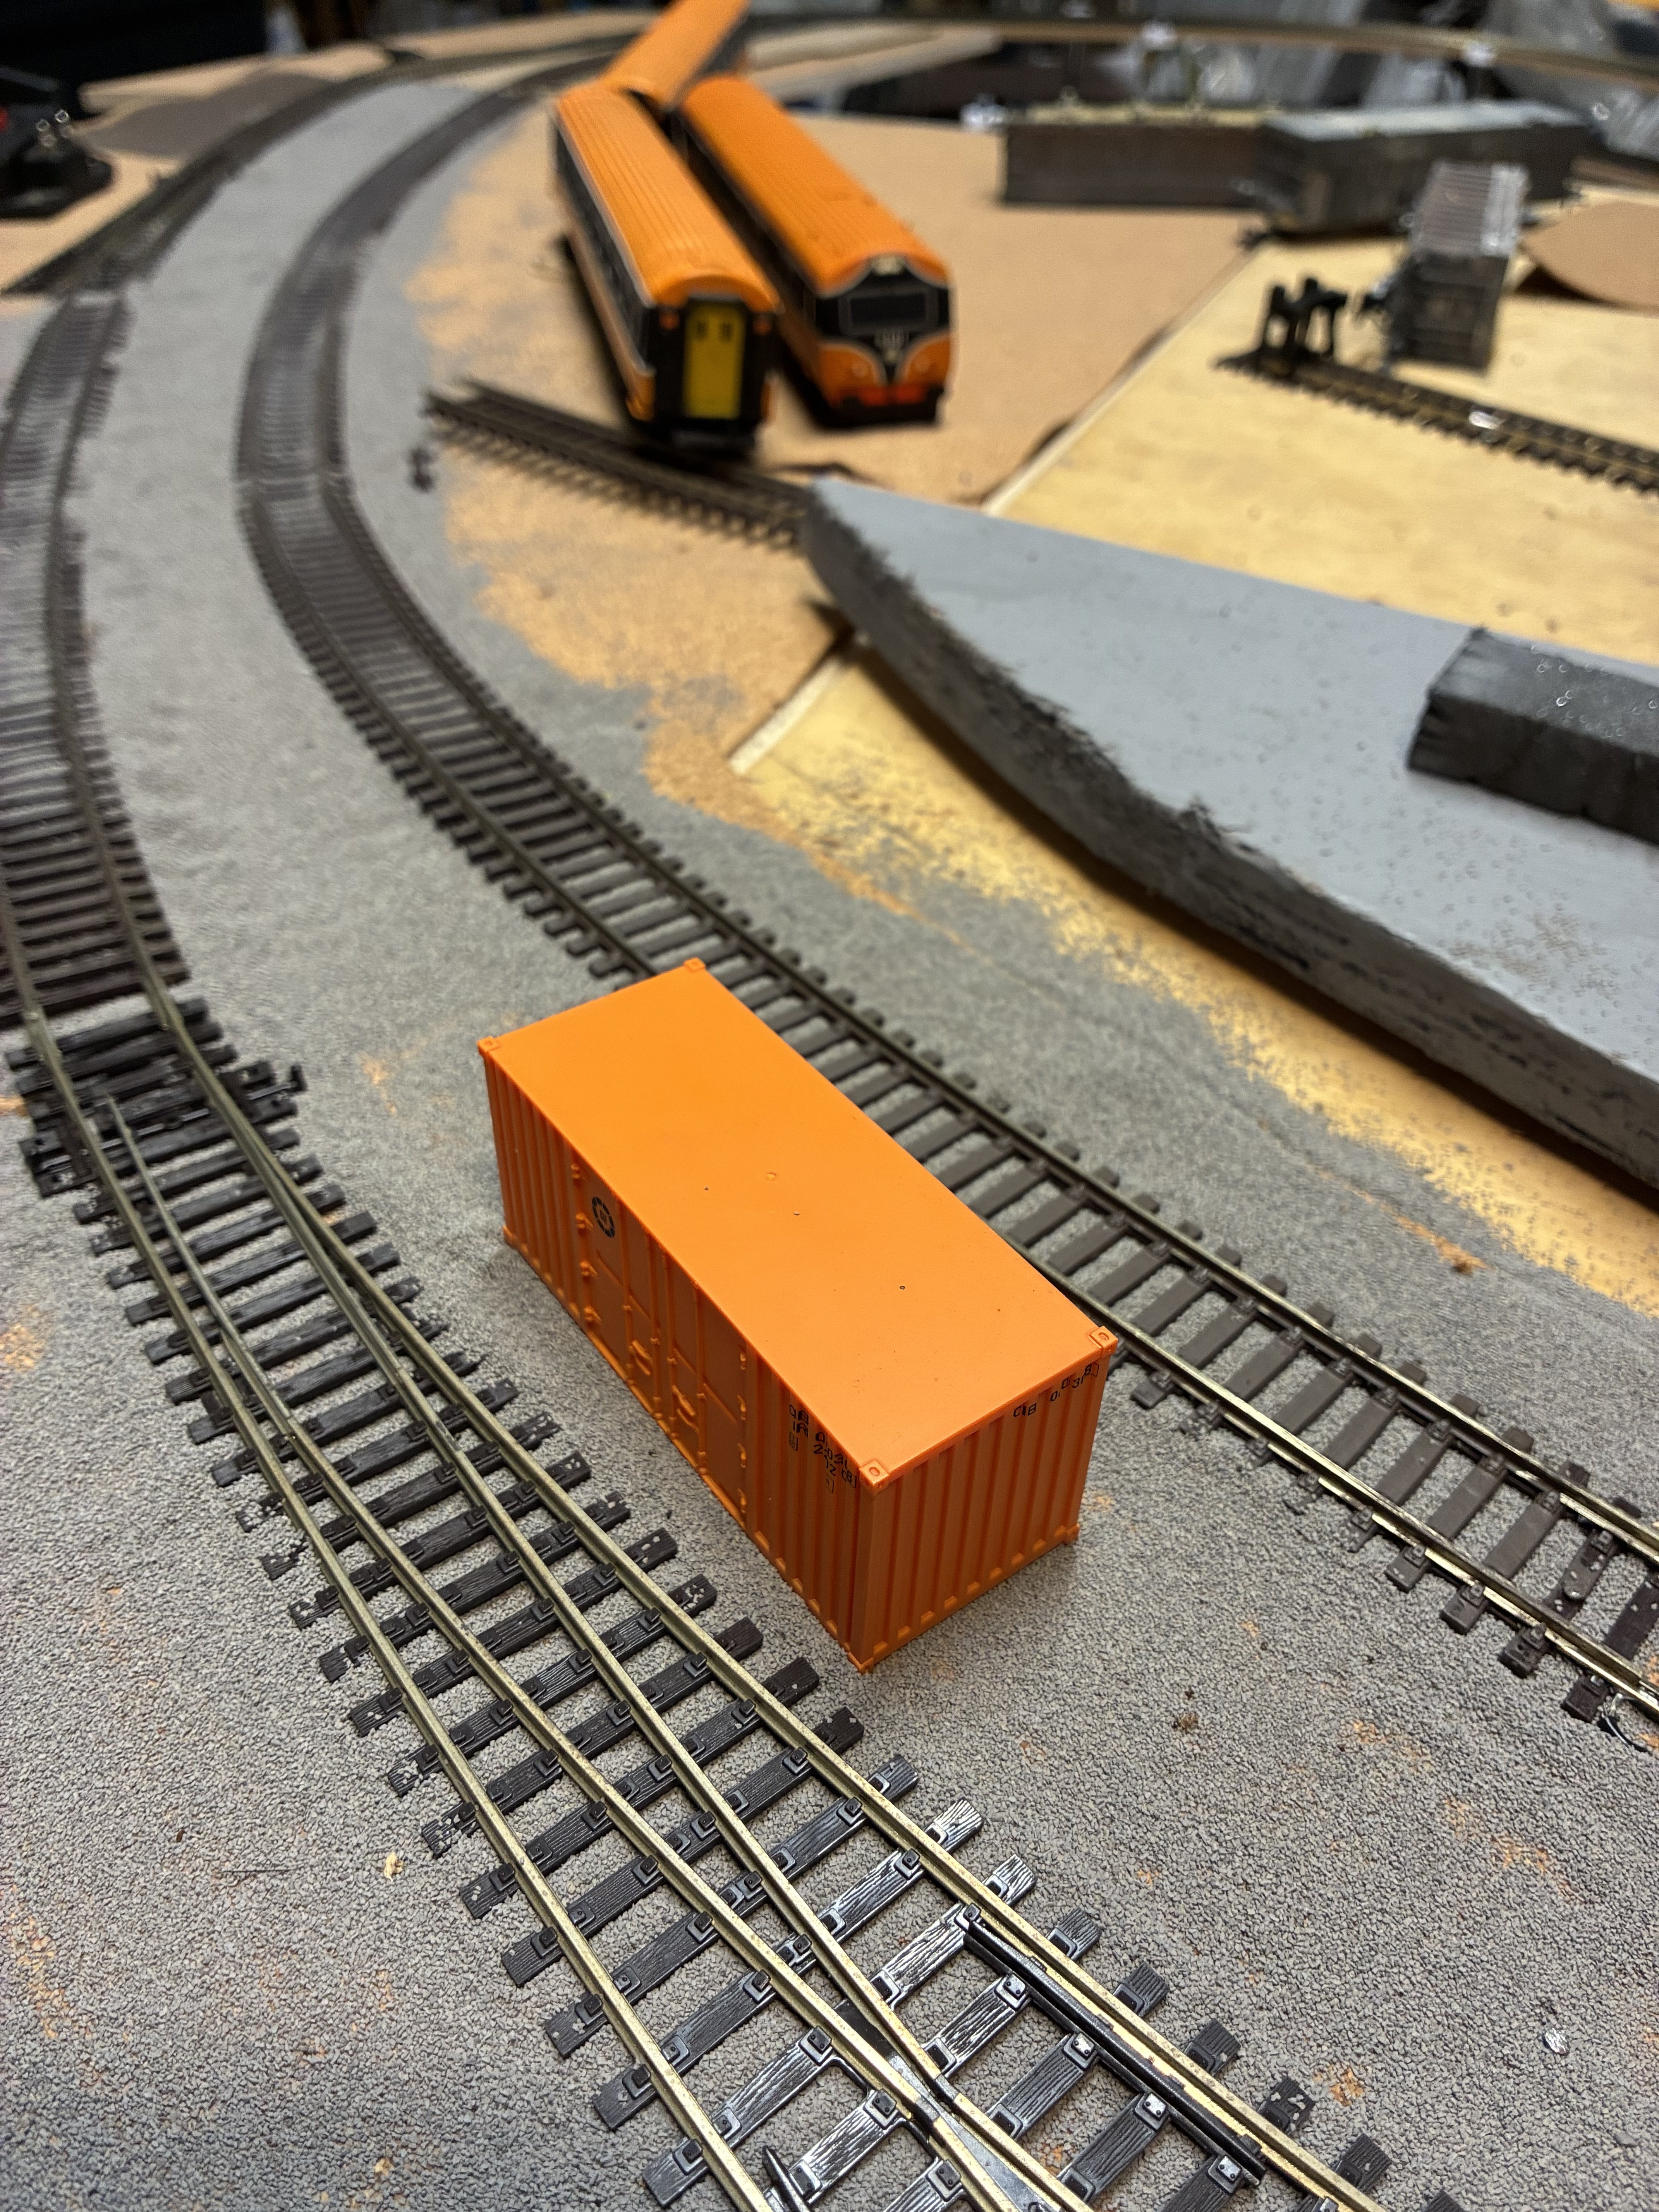
Anytime, forgot to mention in my reply,I actually use the bottom of IRM orange container to flatten the ballast to an even level. I felt brushing it with a paint brush some created some uneven spots between the track. I glued it using a syringe of Pva glue and water with a drop of fairy up liquid. If you have my questions feel free to drop me a line here or a private message -
Drogheda MacBride Station And Platin Cement Factory
Anders112 replied to Anders112's topic in Irish Model Layouts
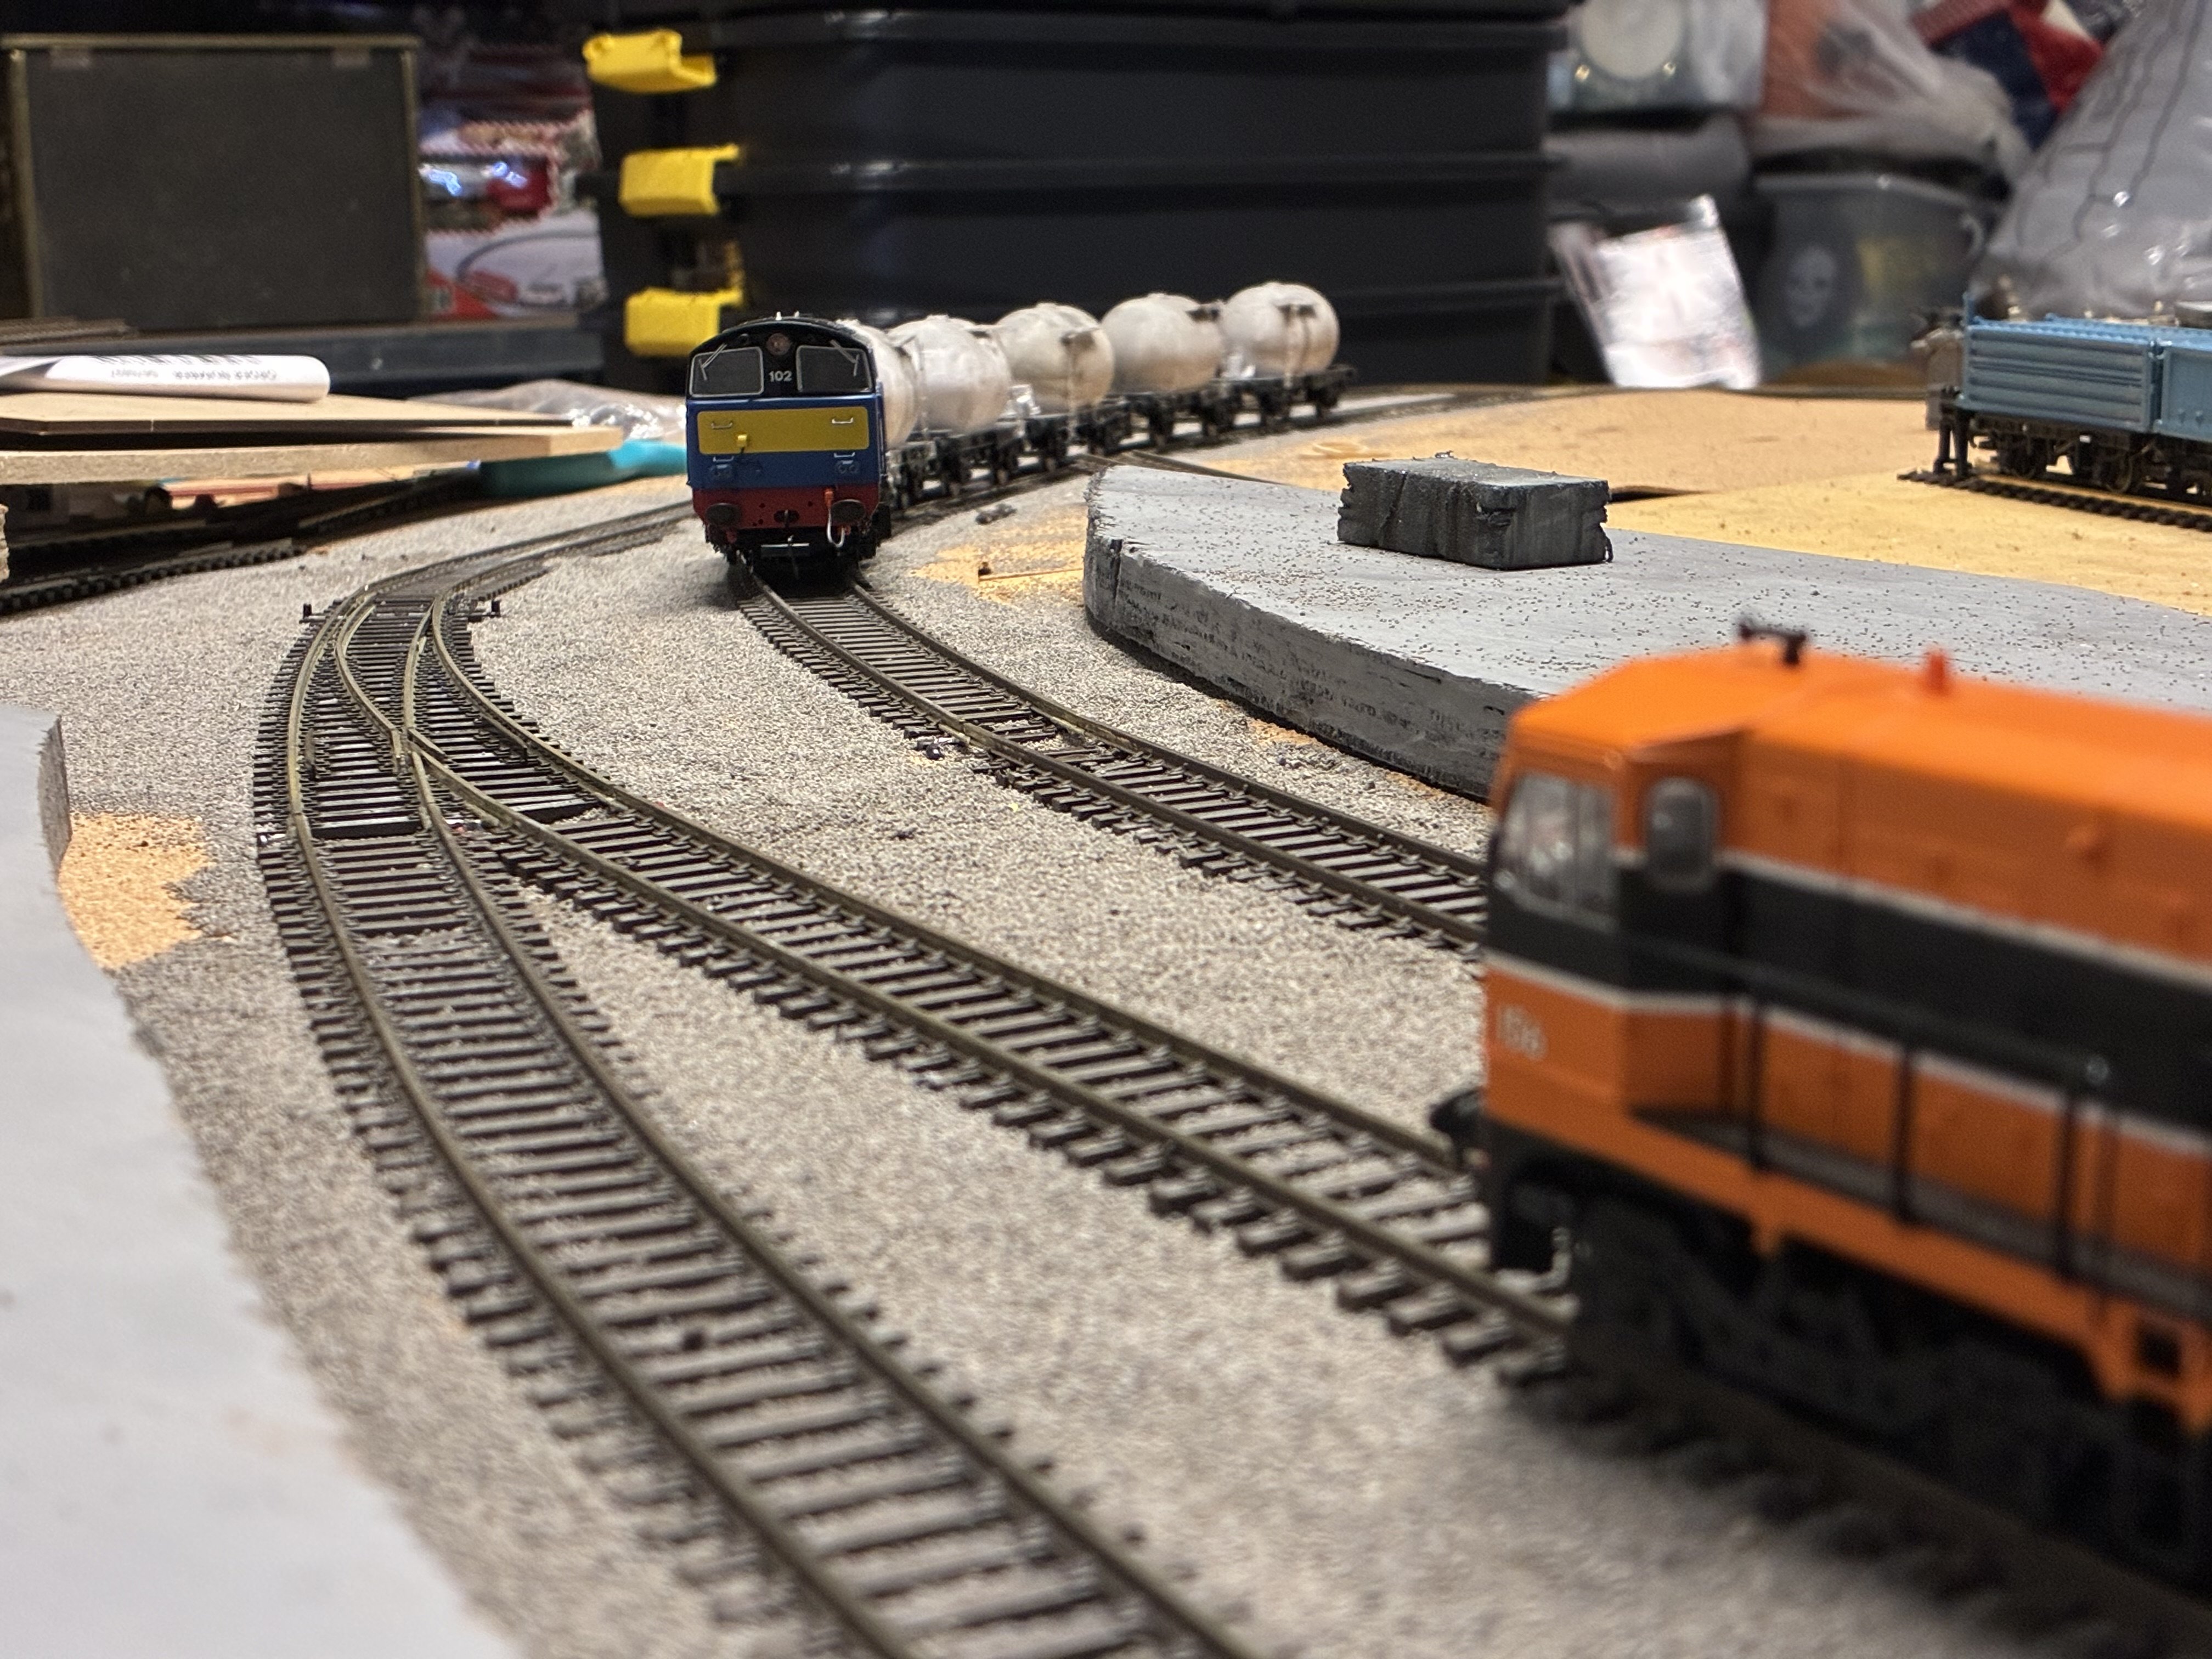
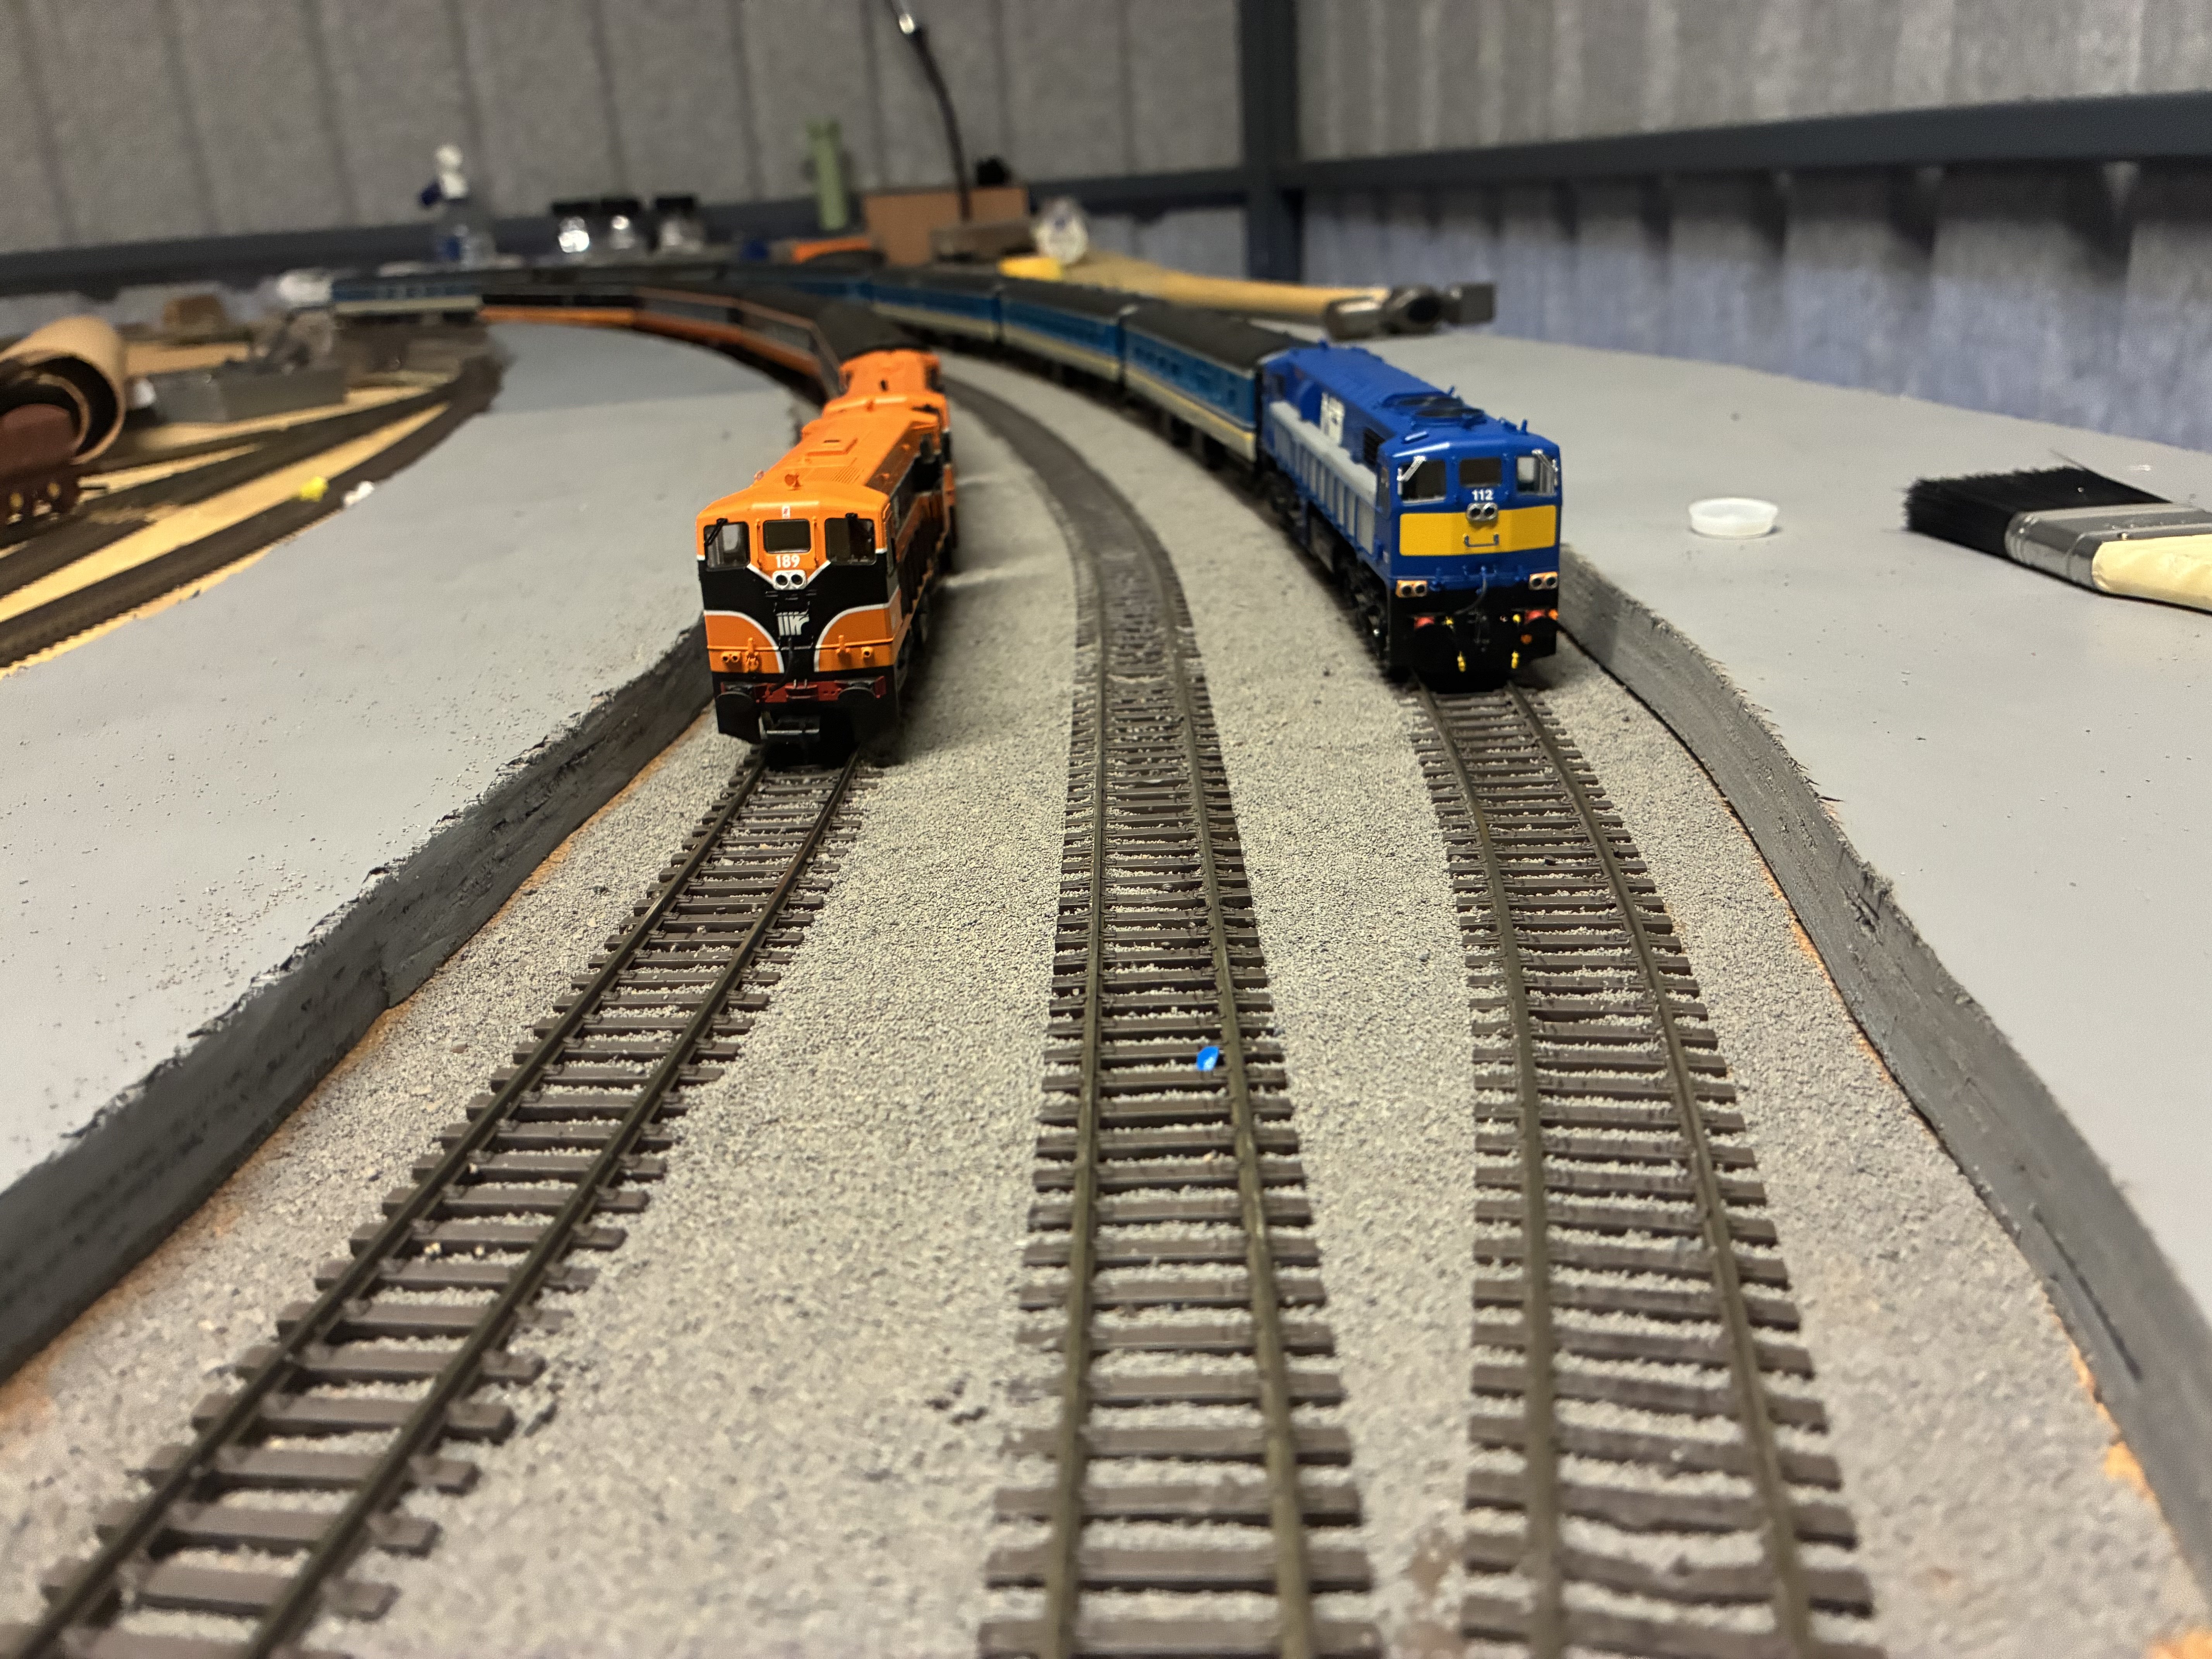
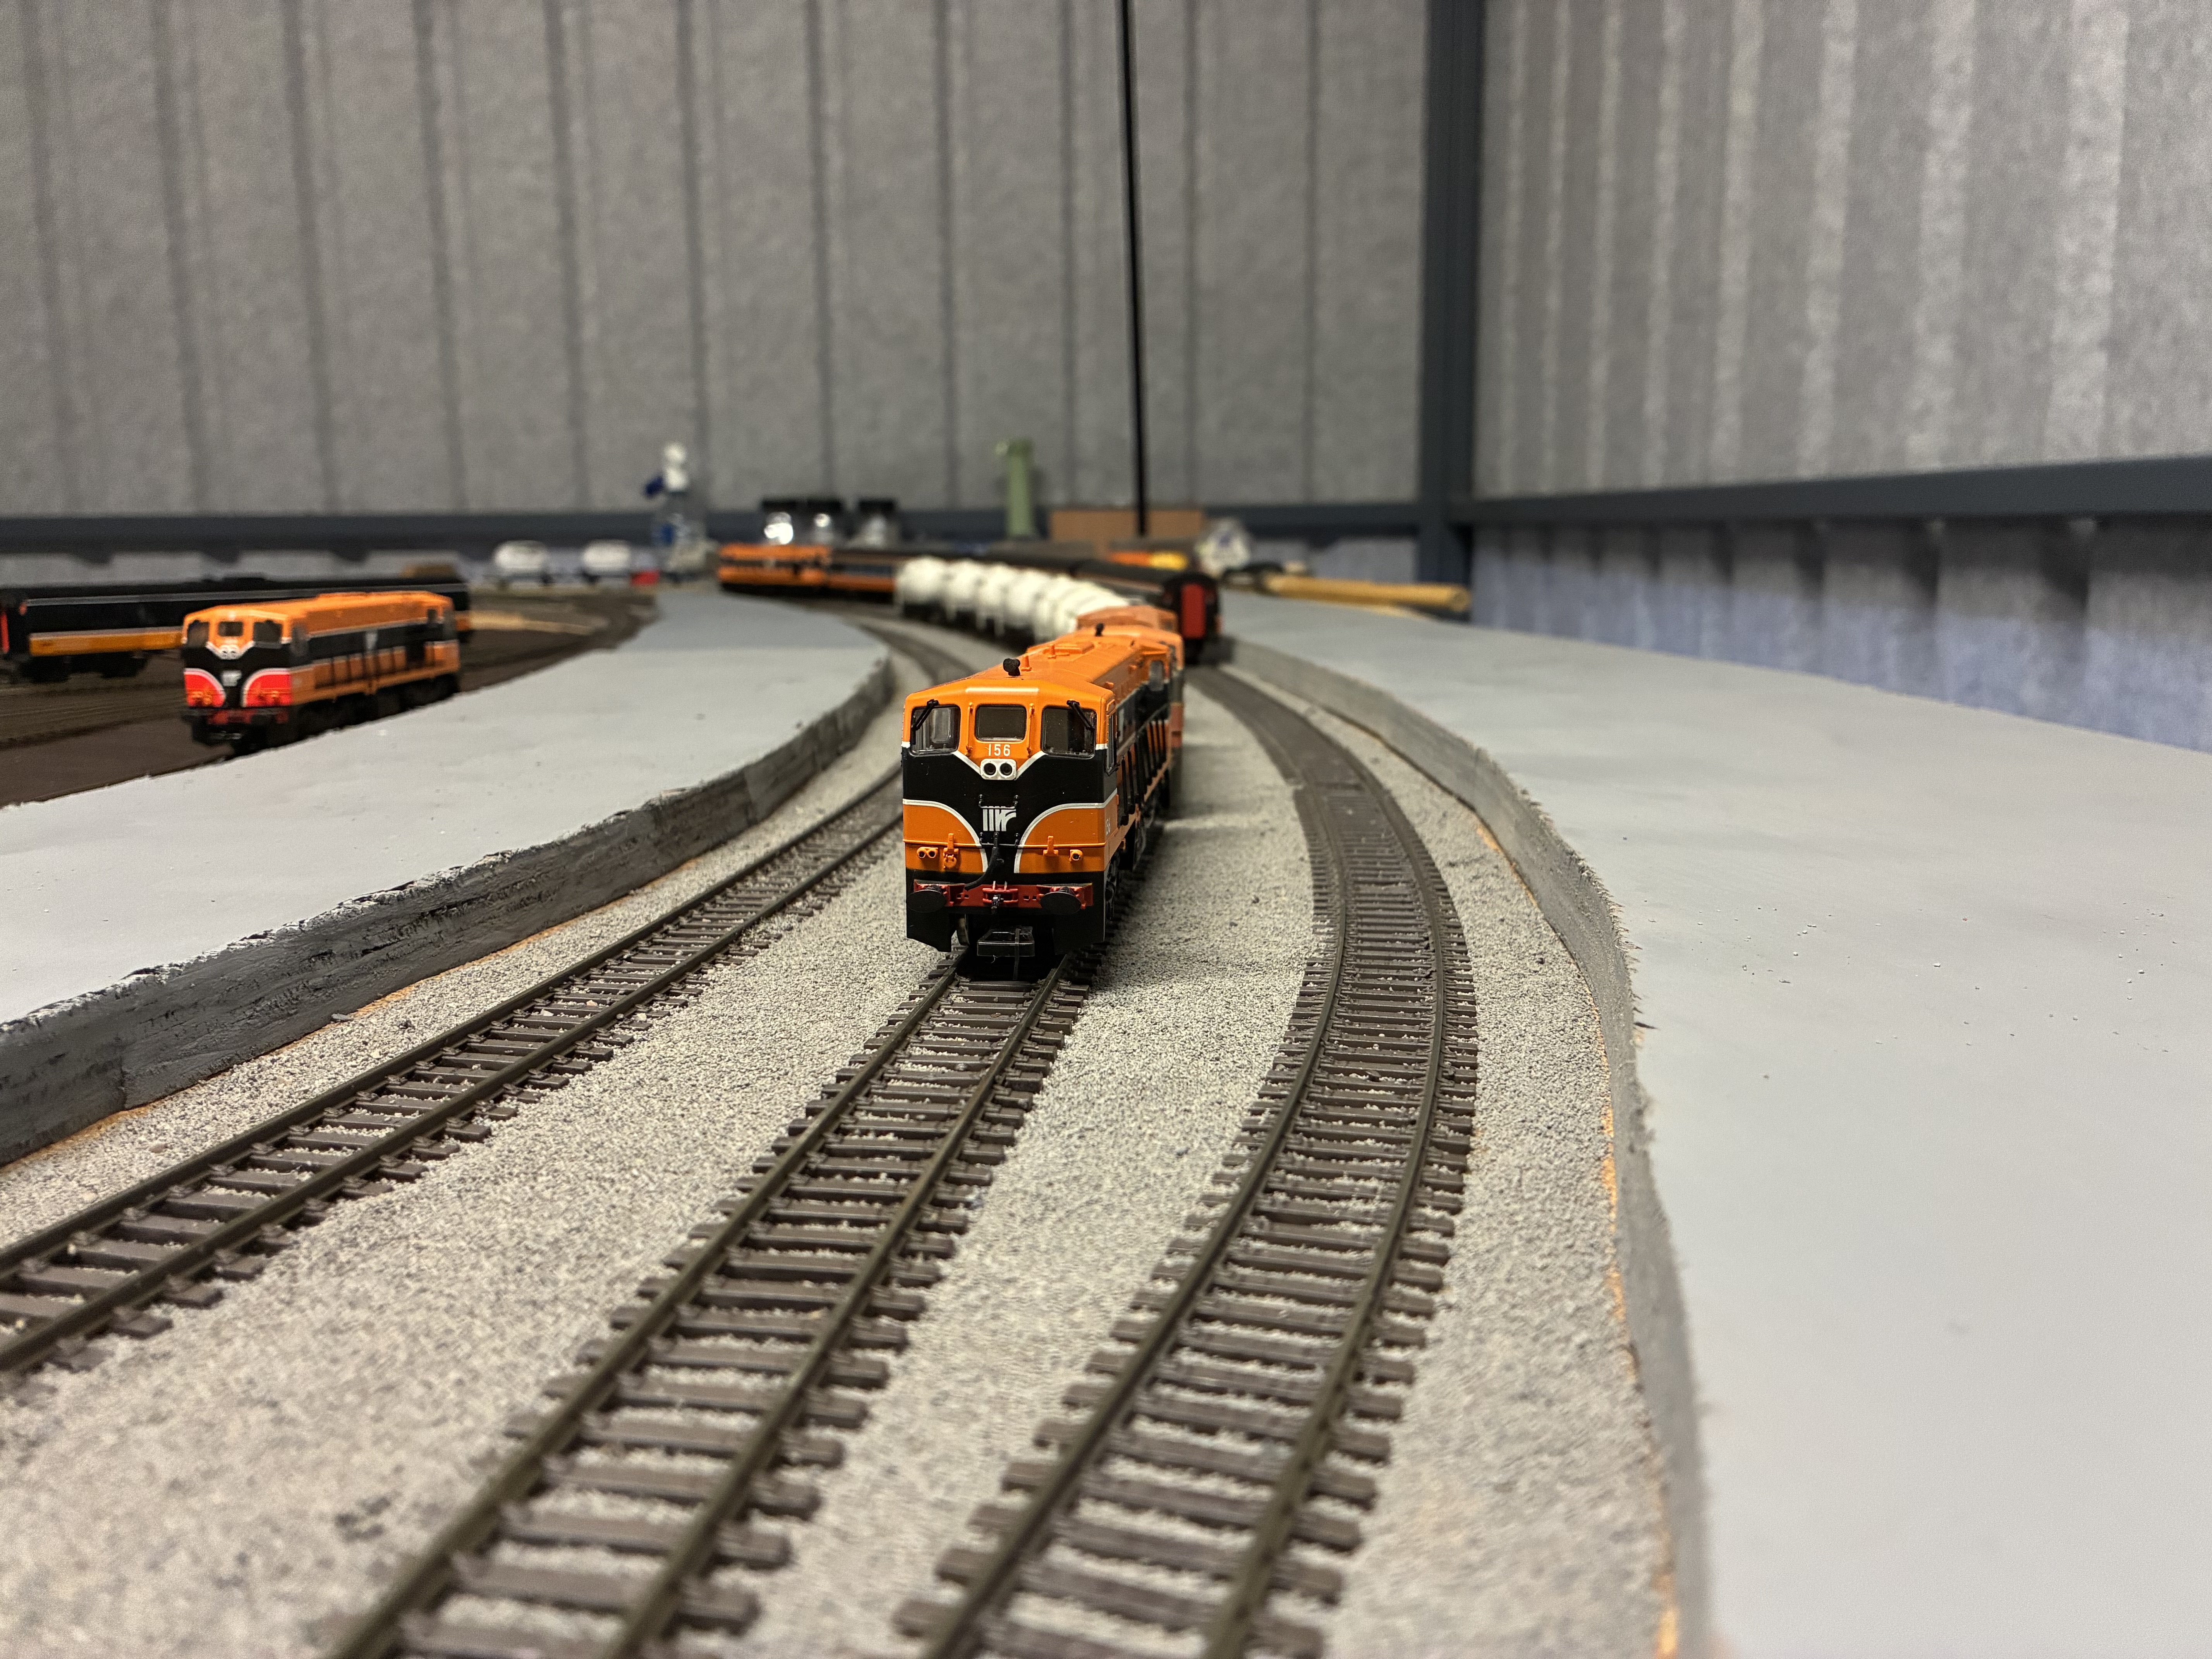
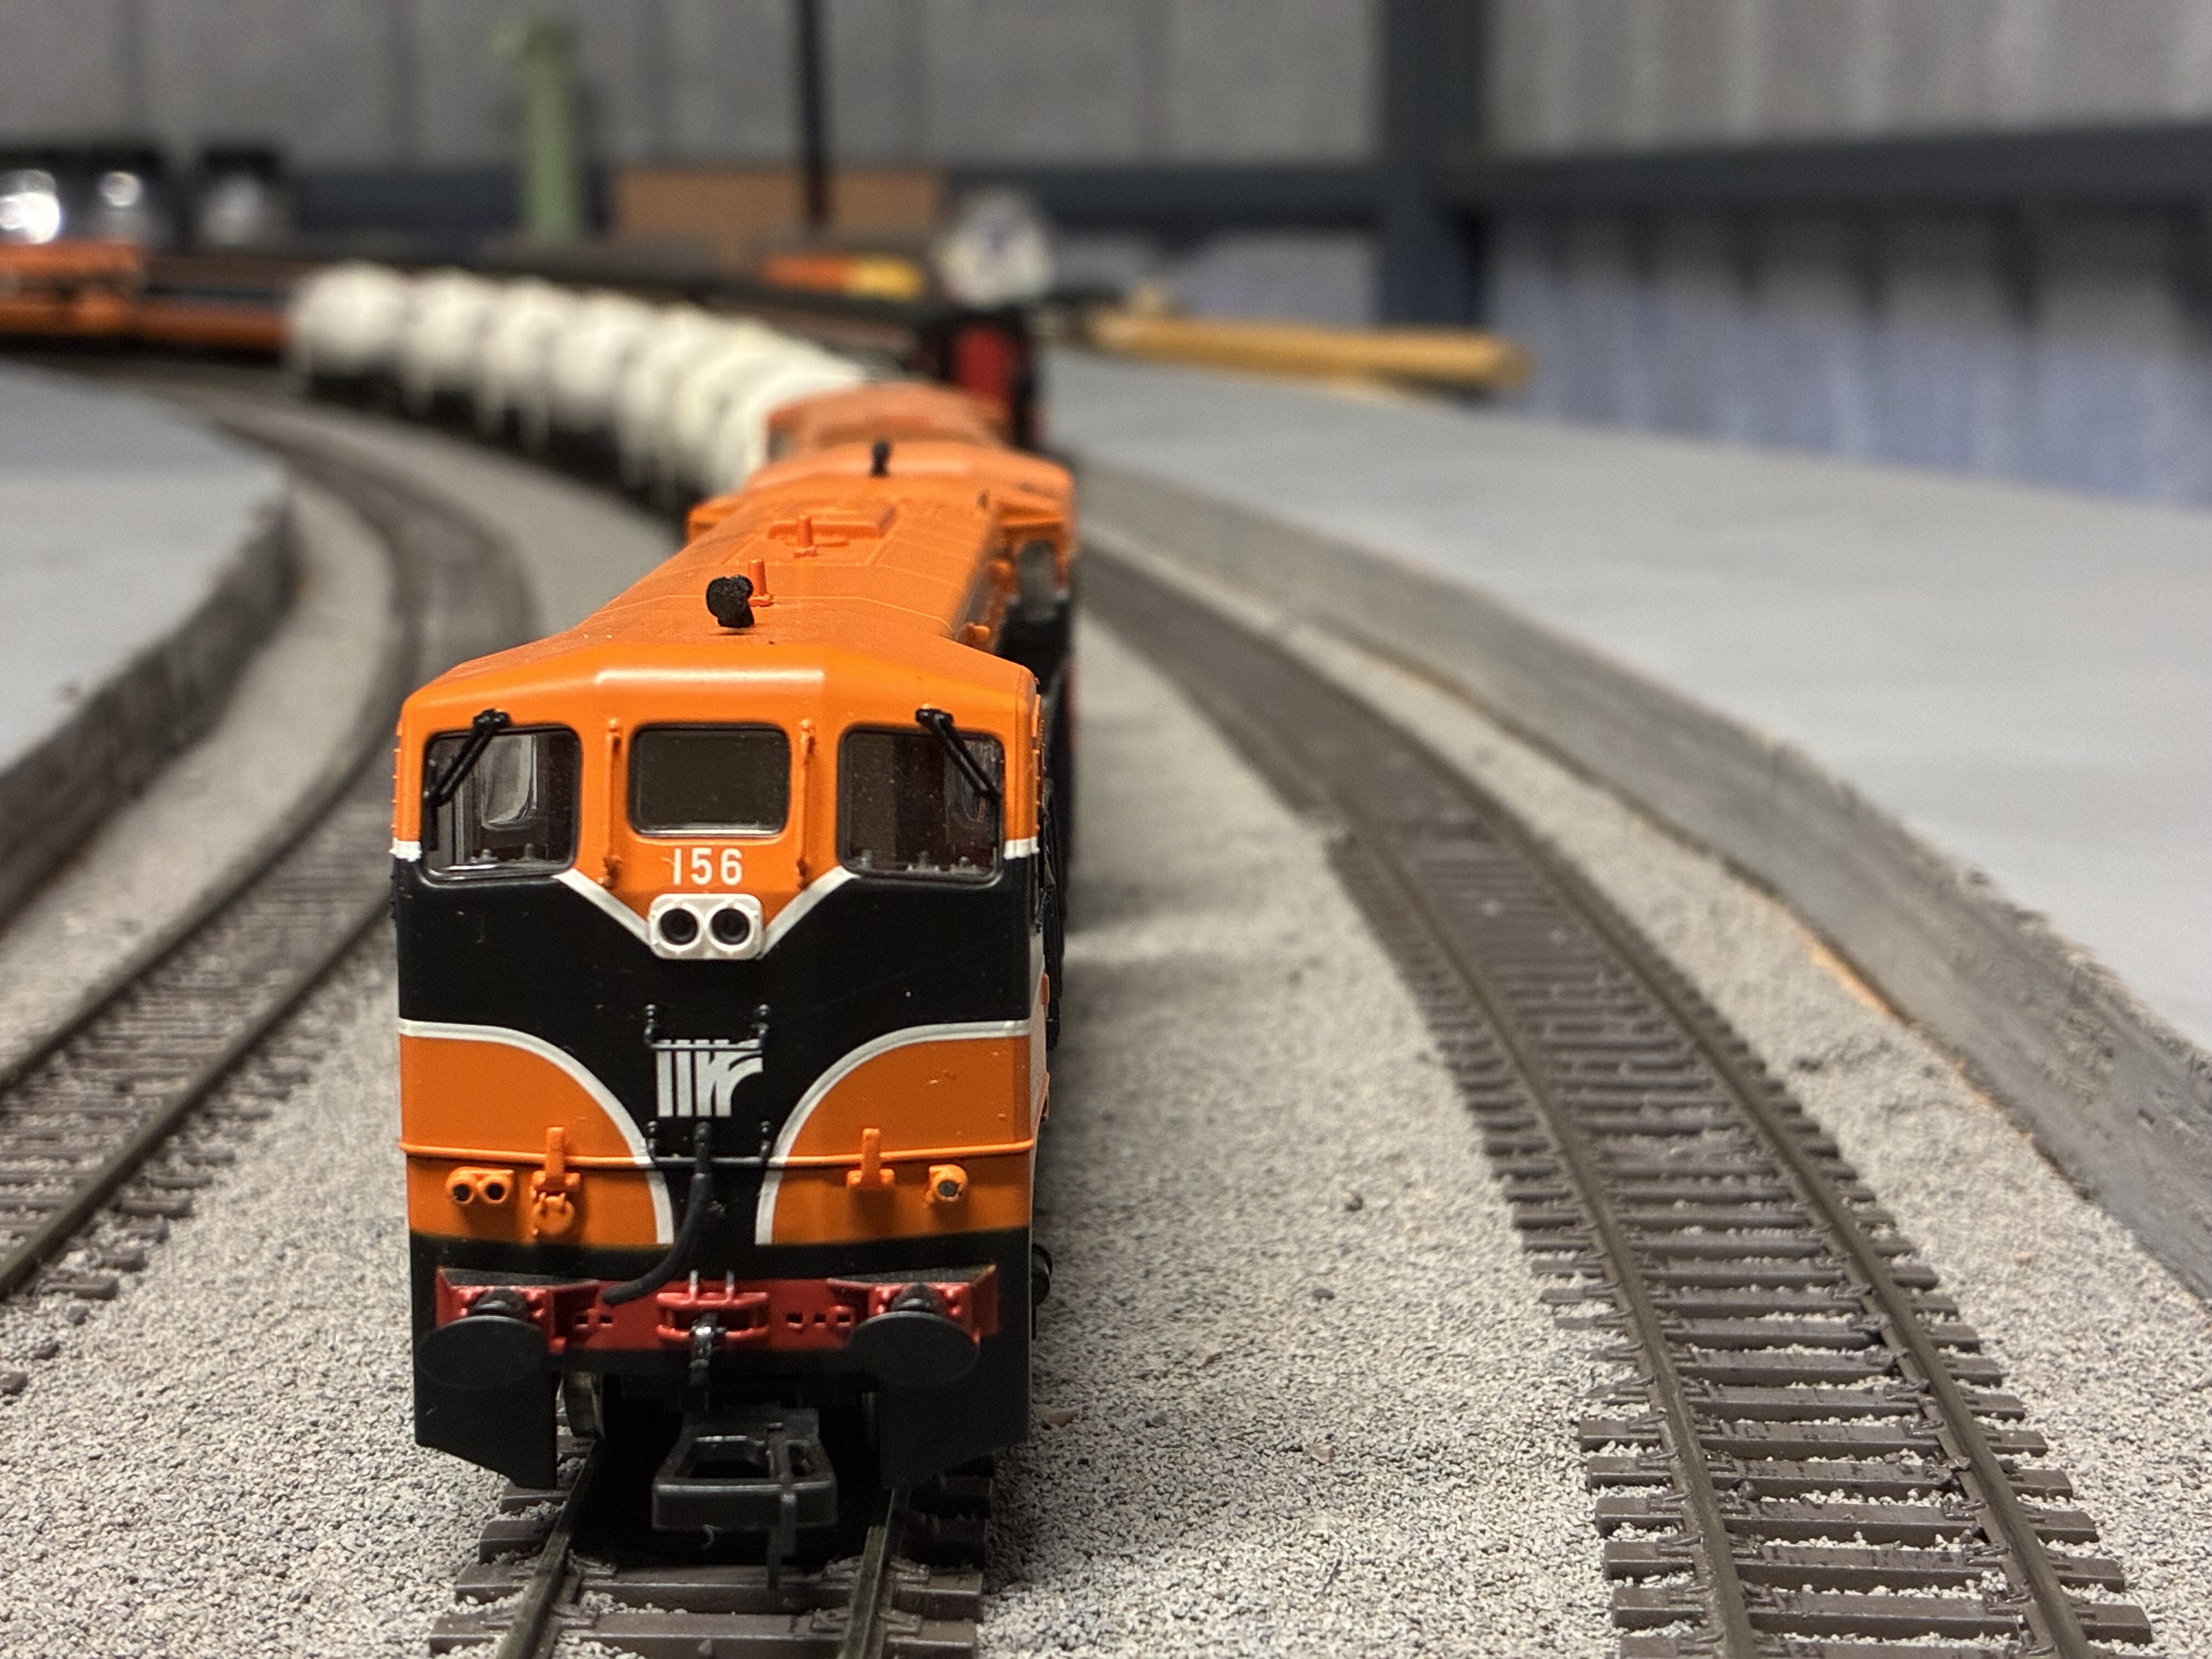
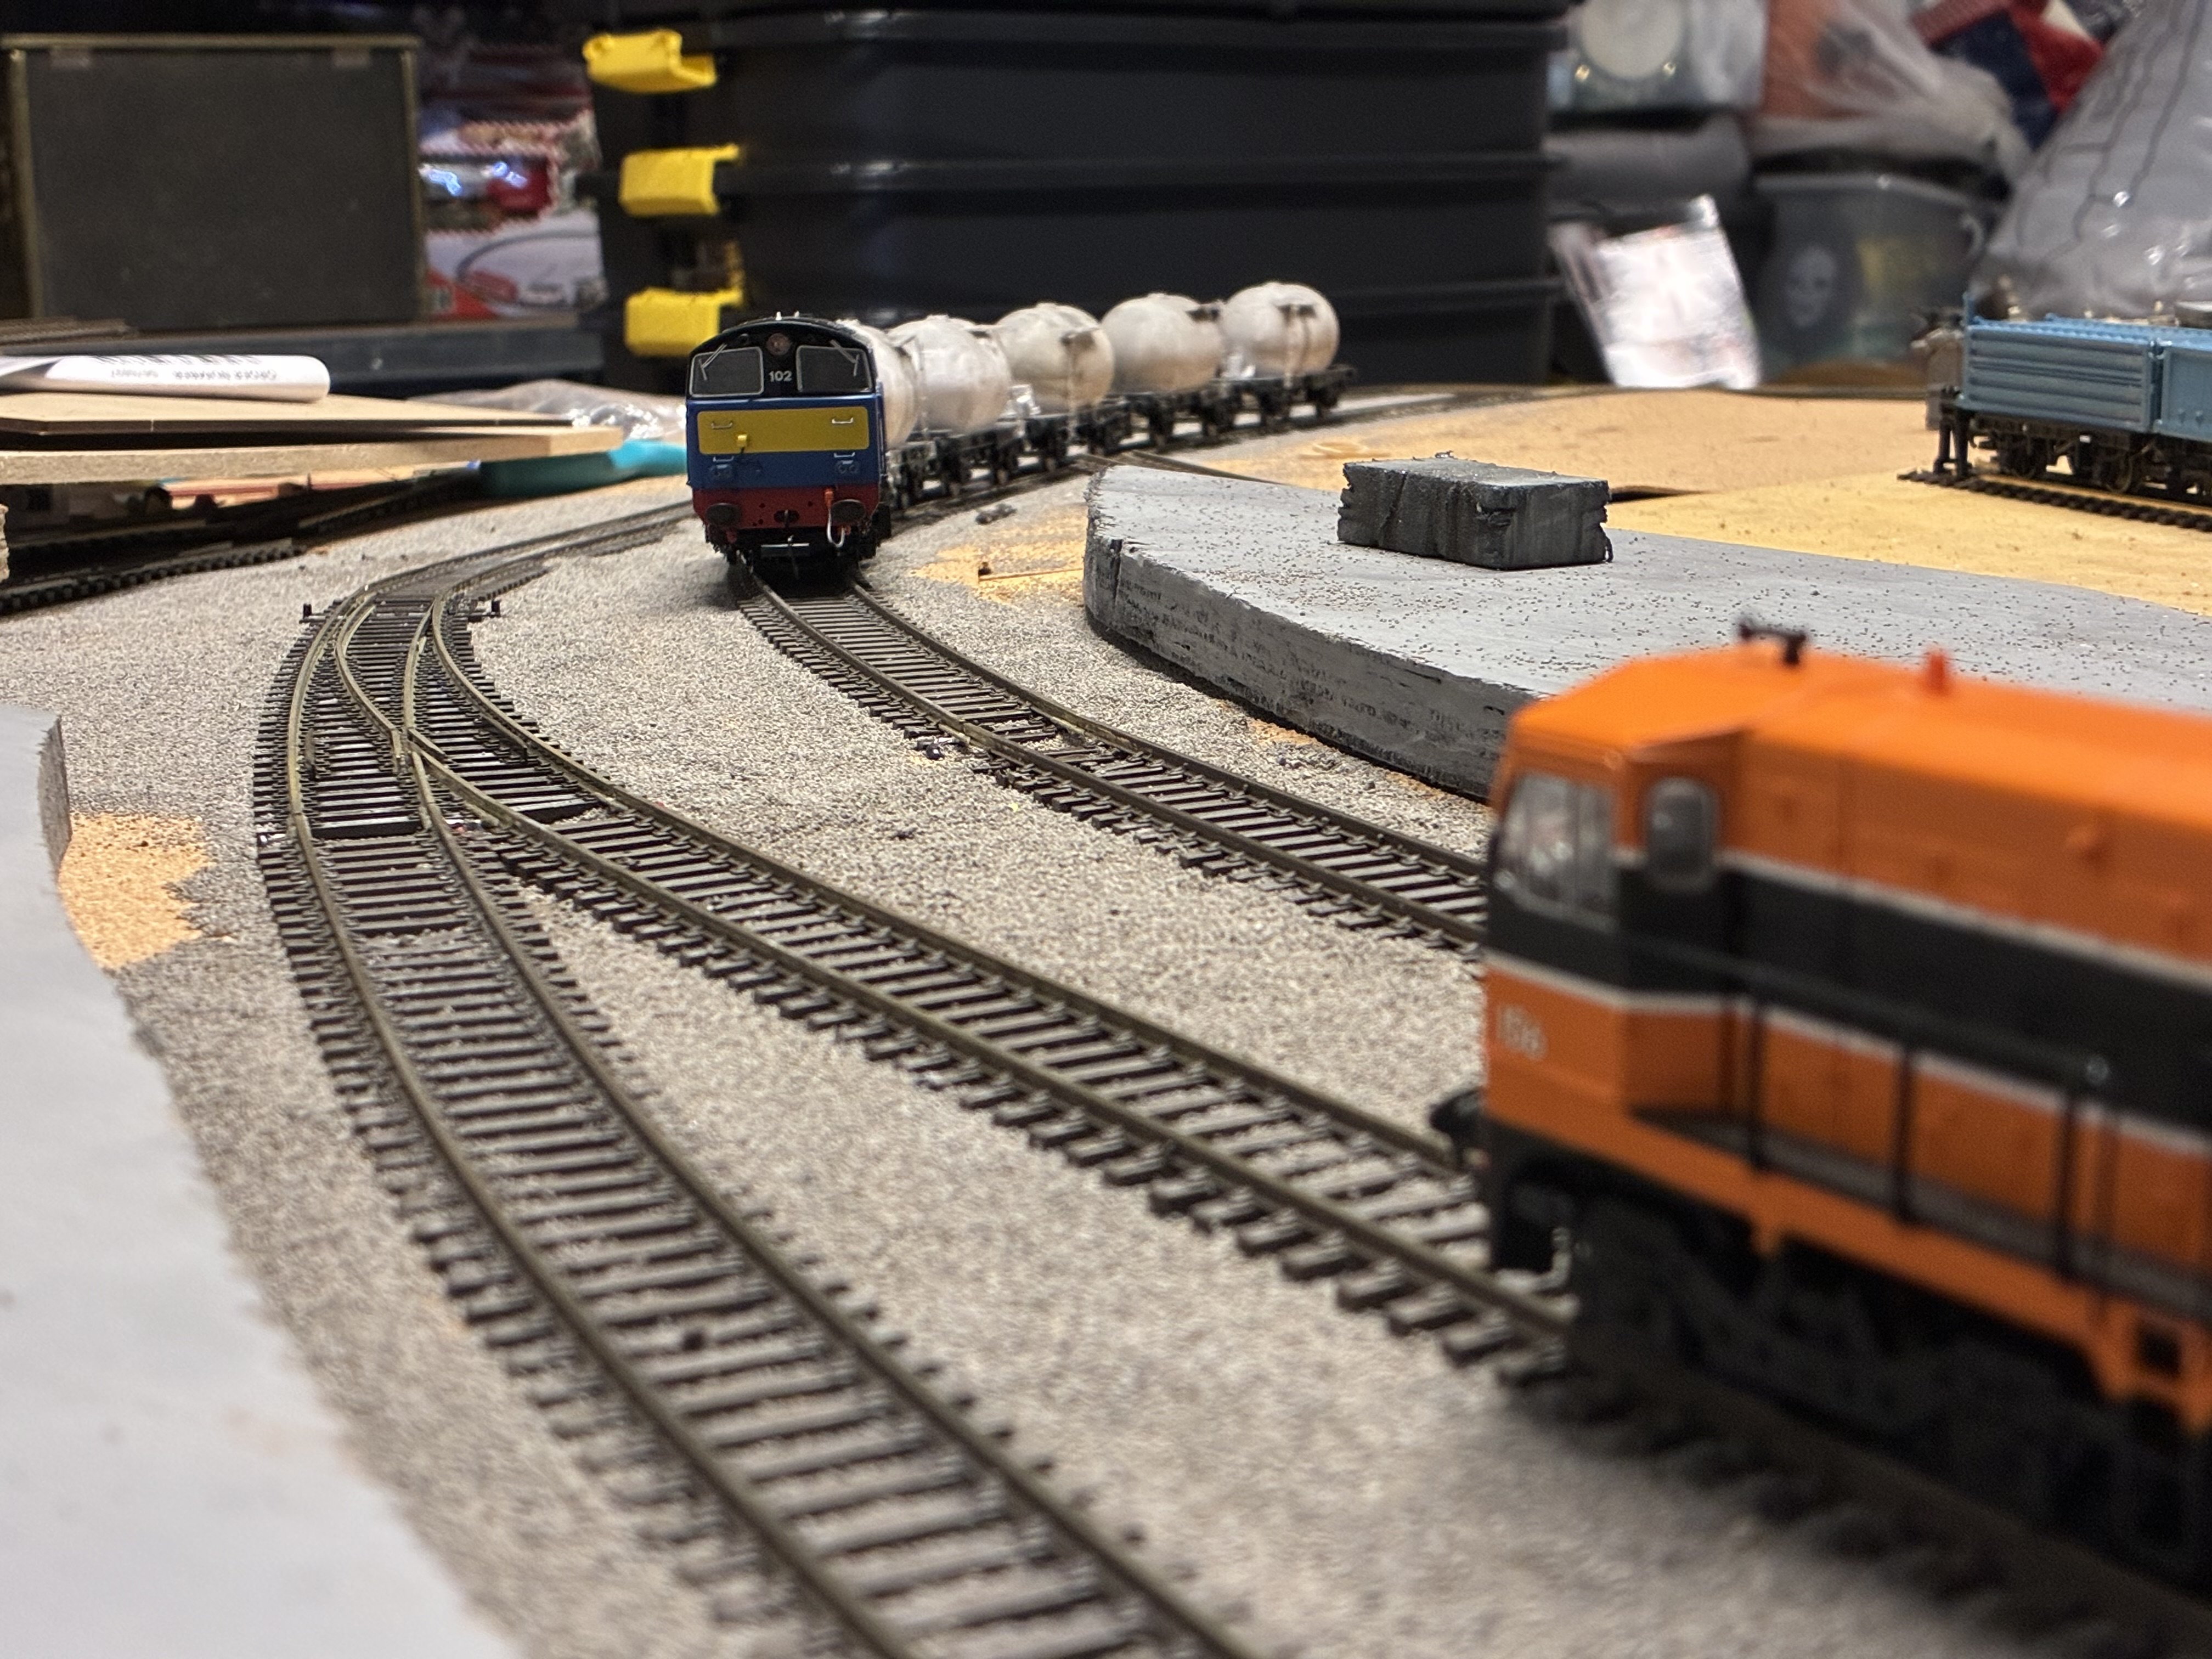
Thanks @DJ Dangerous.Theres just something about the 3 roads bending away and the train rounding the corner to stop. It’s even more unique when you have long trains in all three tracks. Leads to a rabbit hole of hours of fun IMG_0068.mov IMG_0110.mov
-
Drogheda MacBride Station And Platin Cement Factory
Anders112 replied to Anders112's topic in Irish Model Layouts
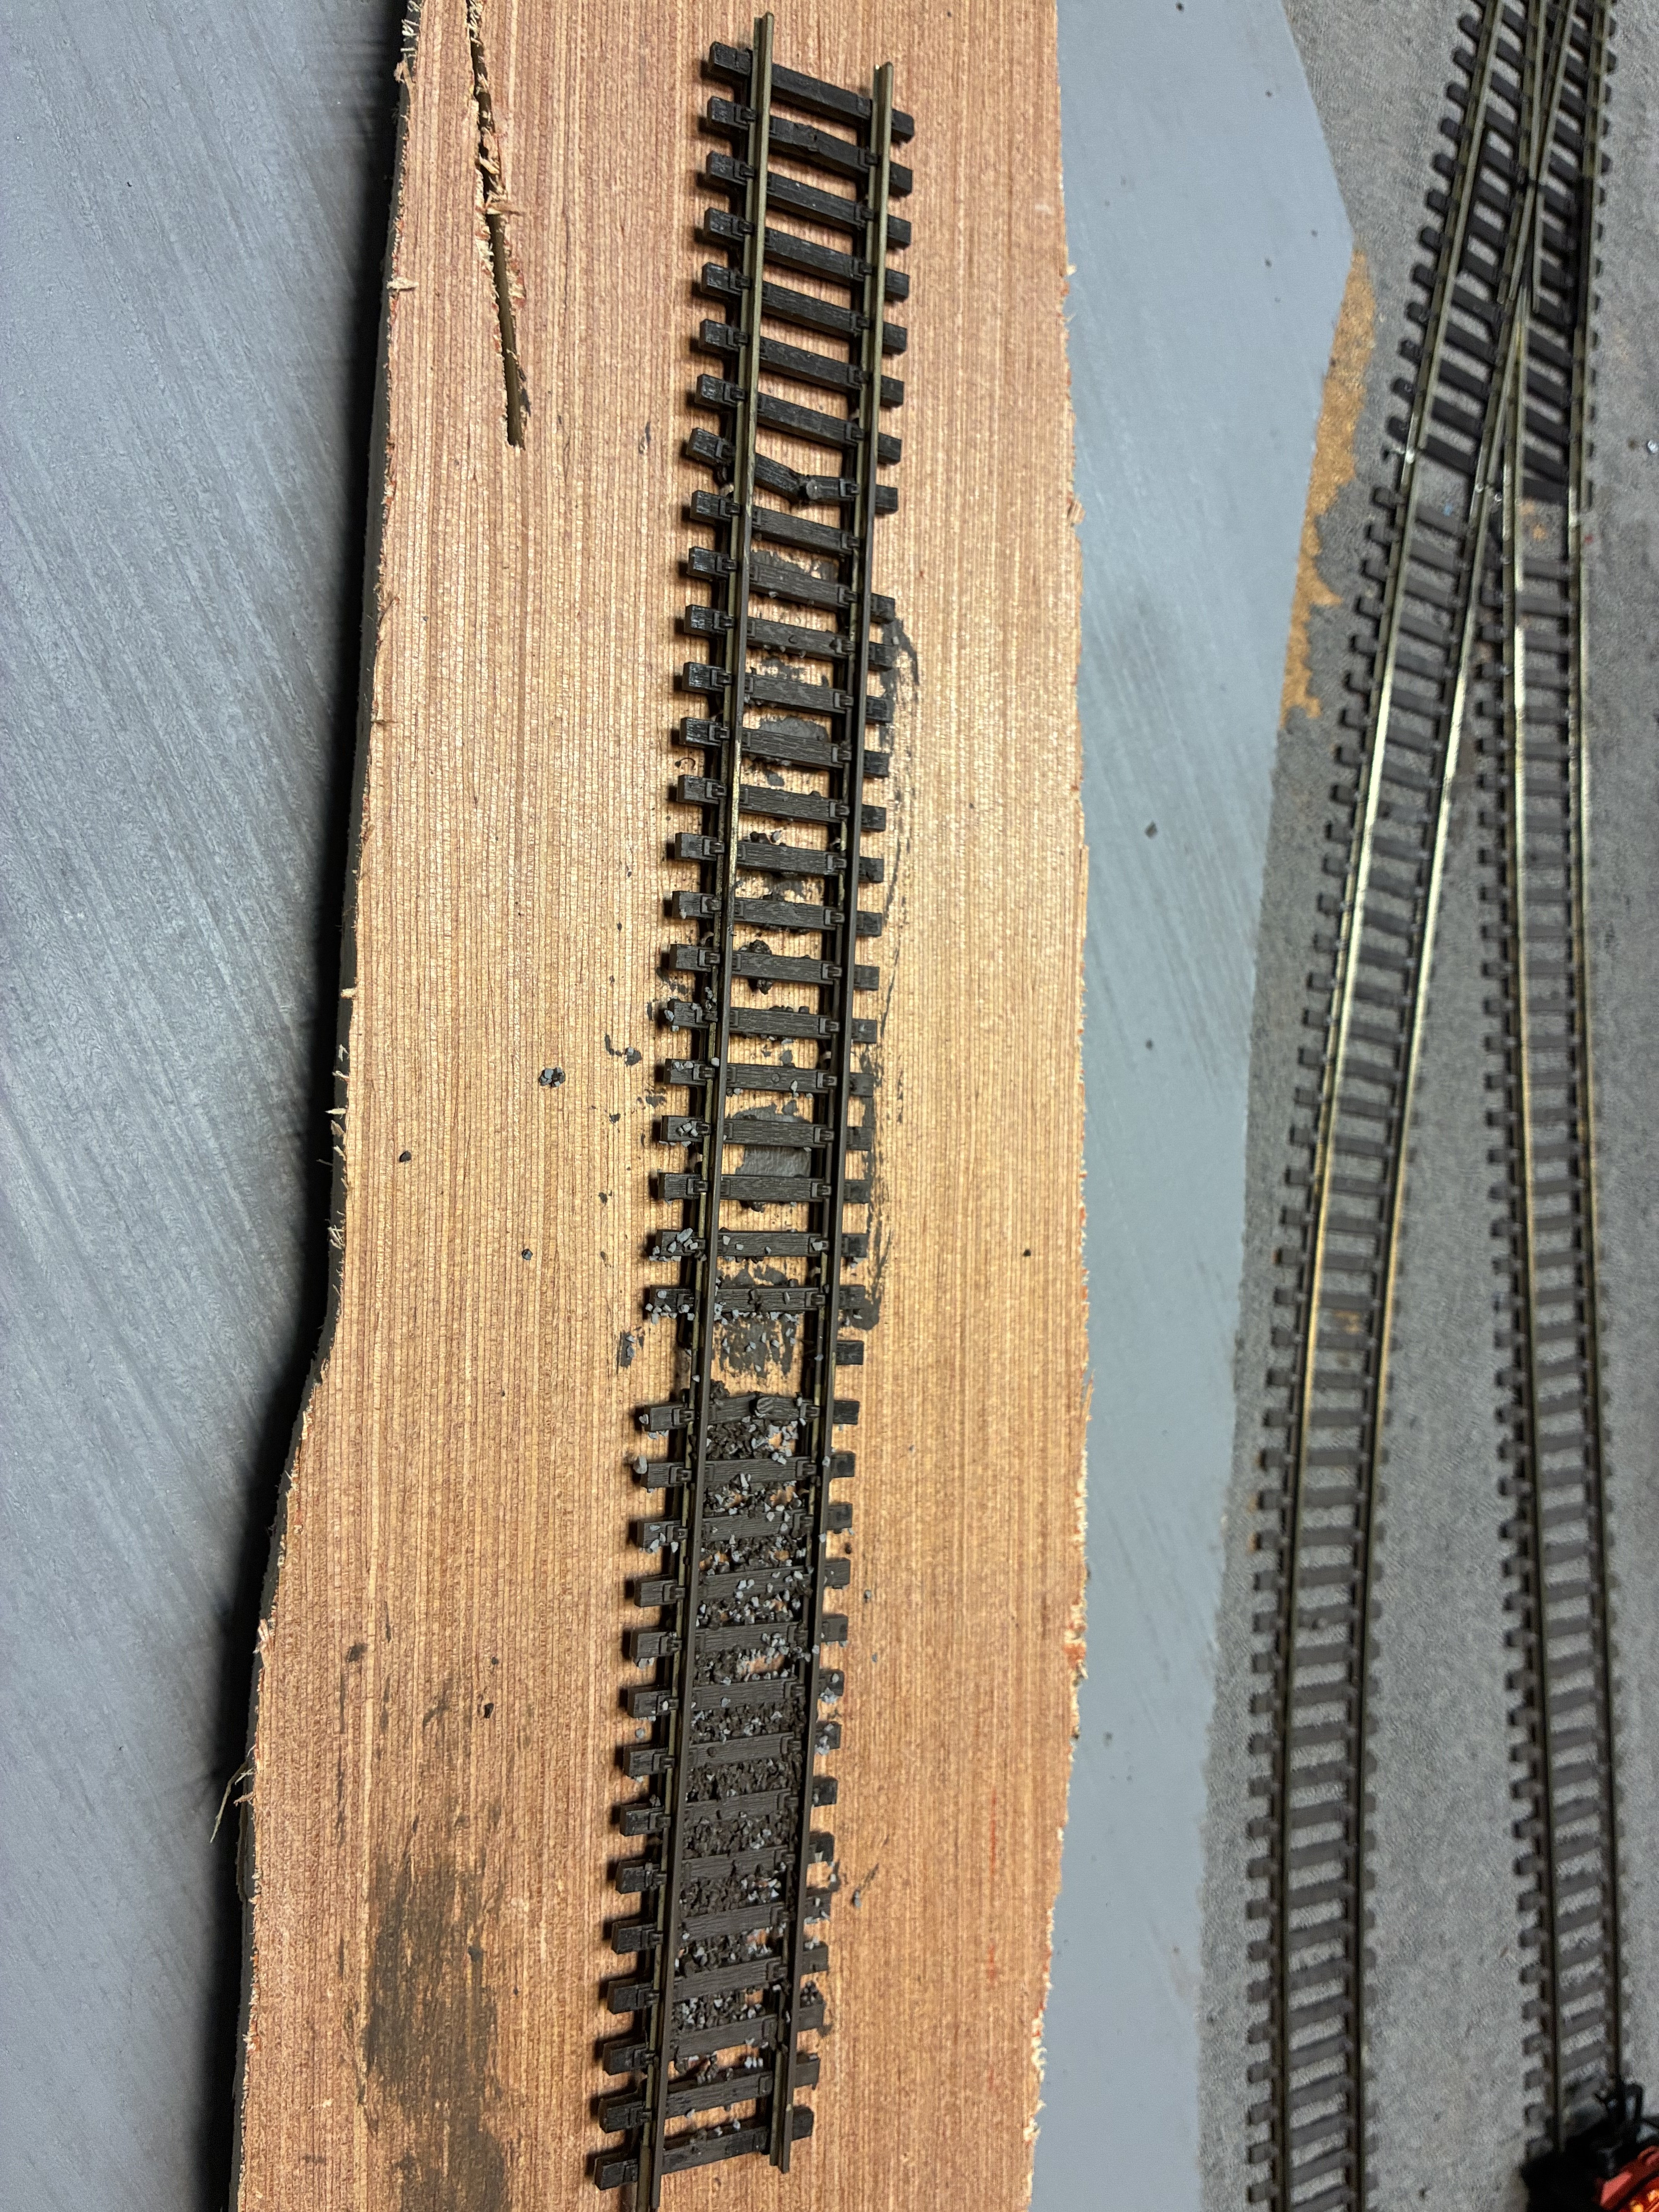
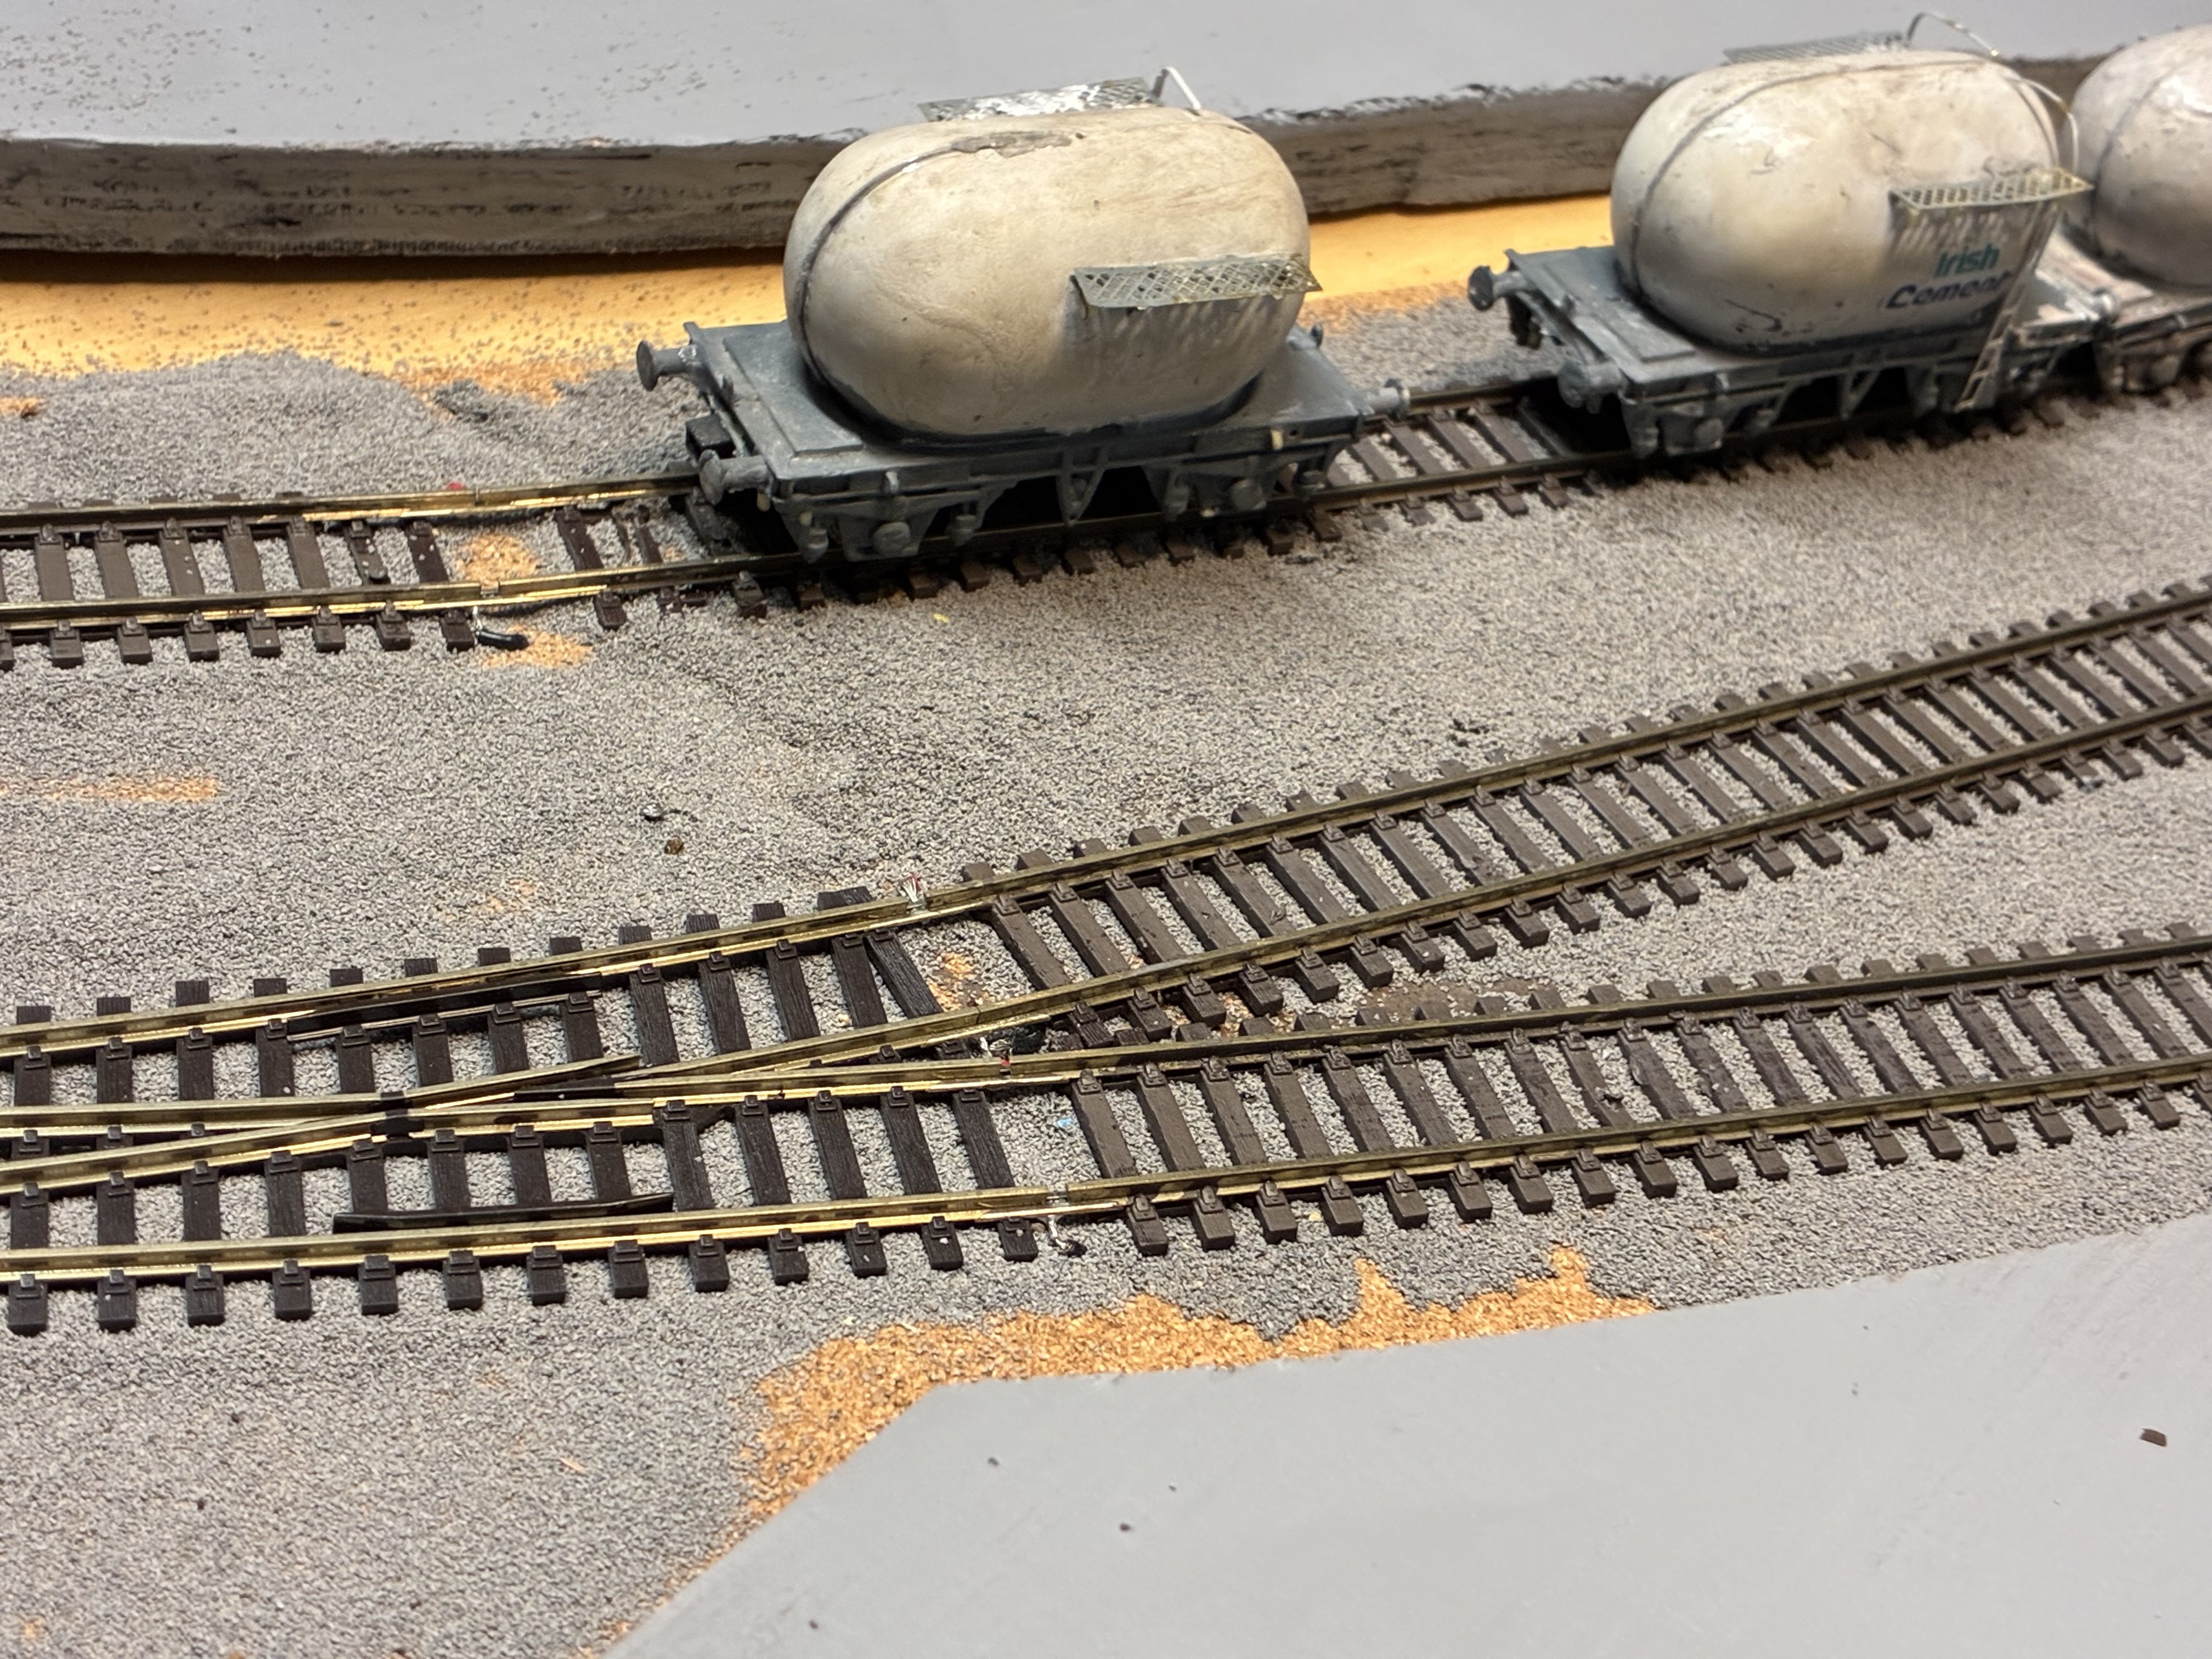
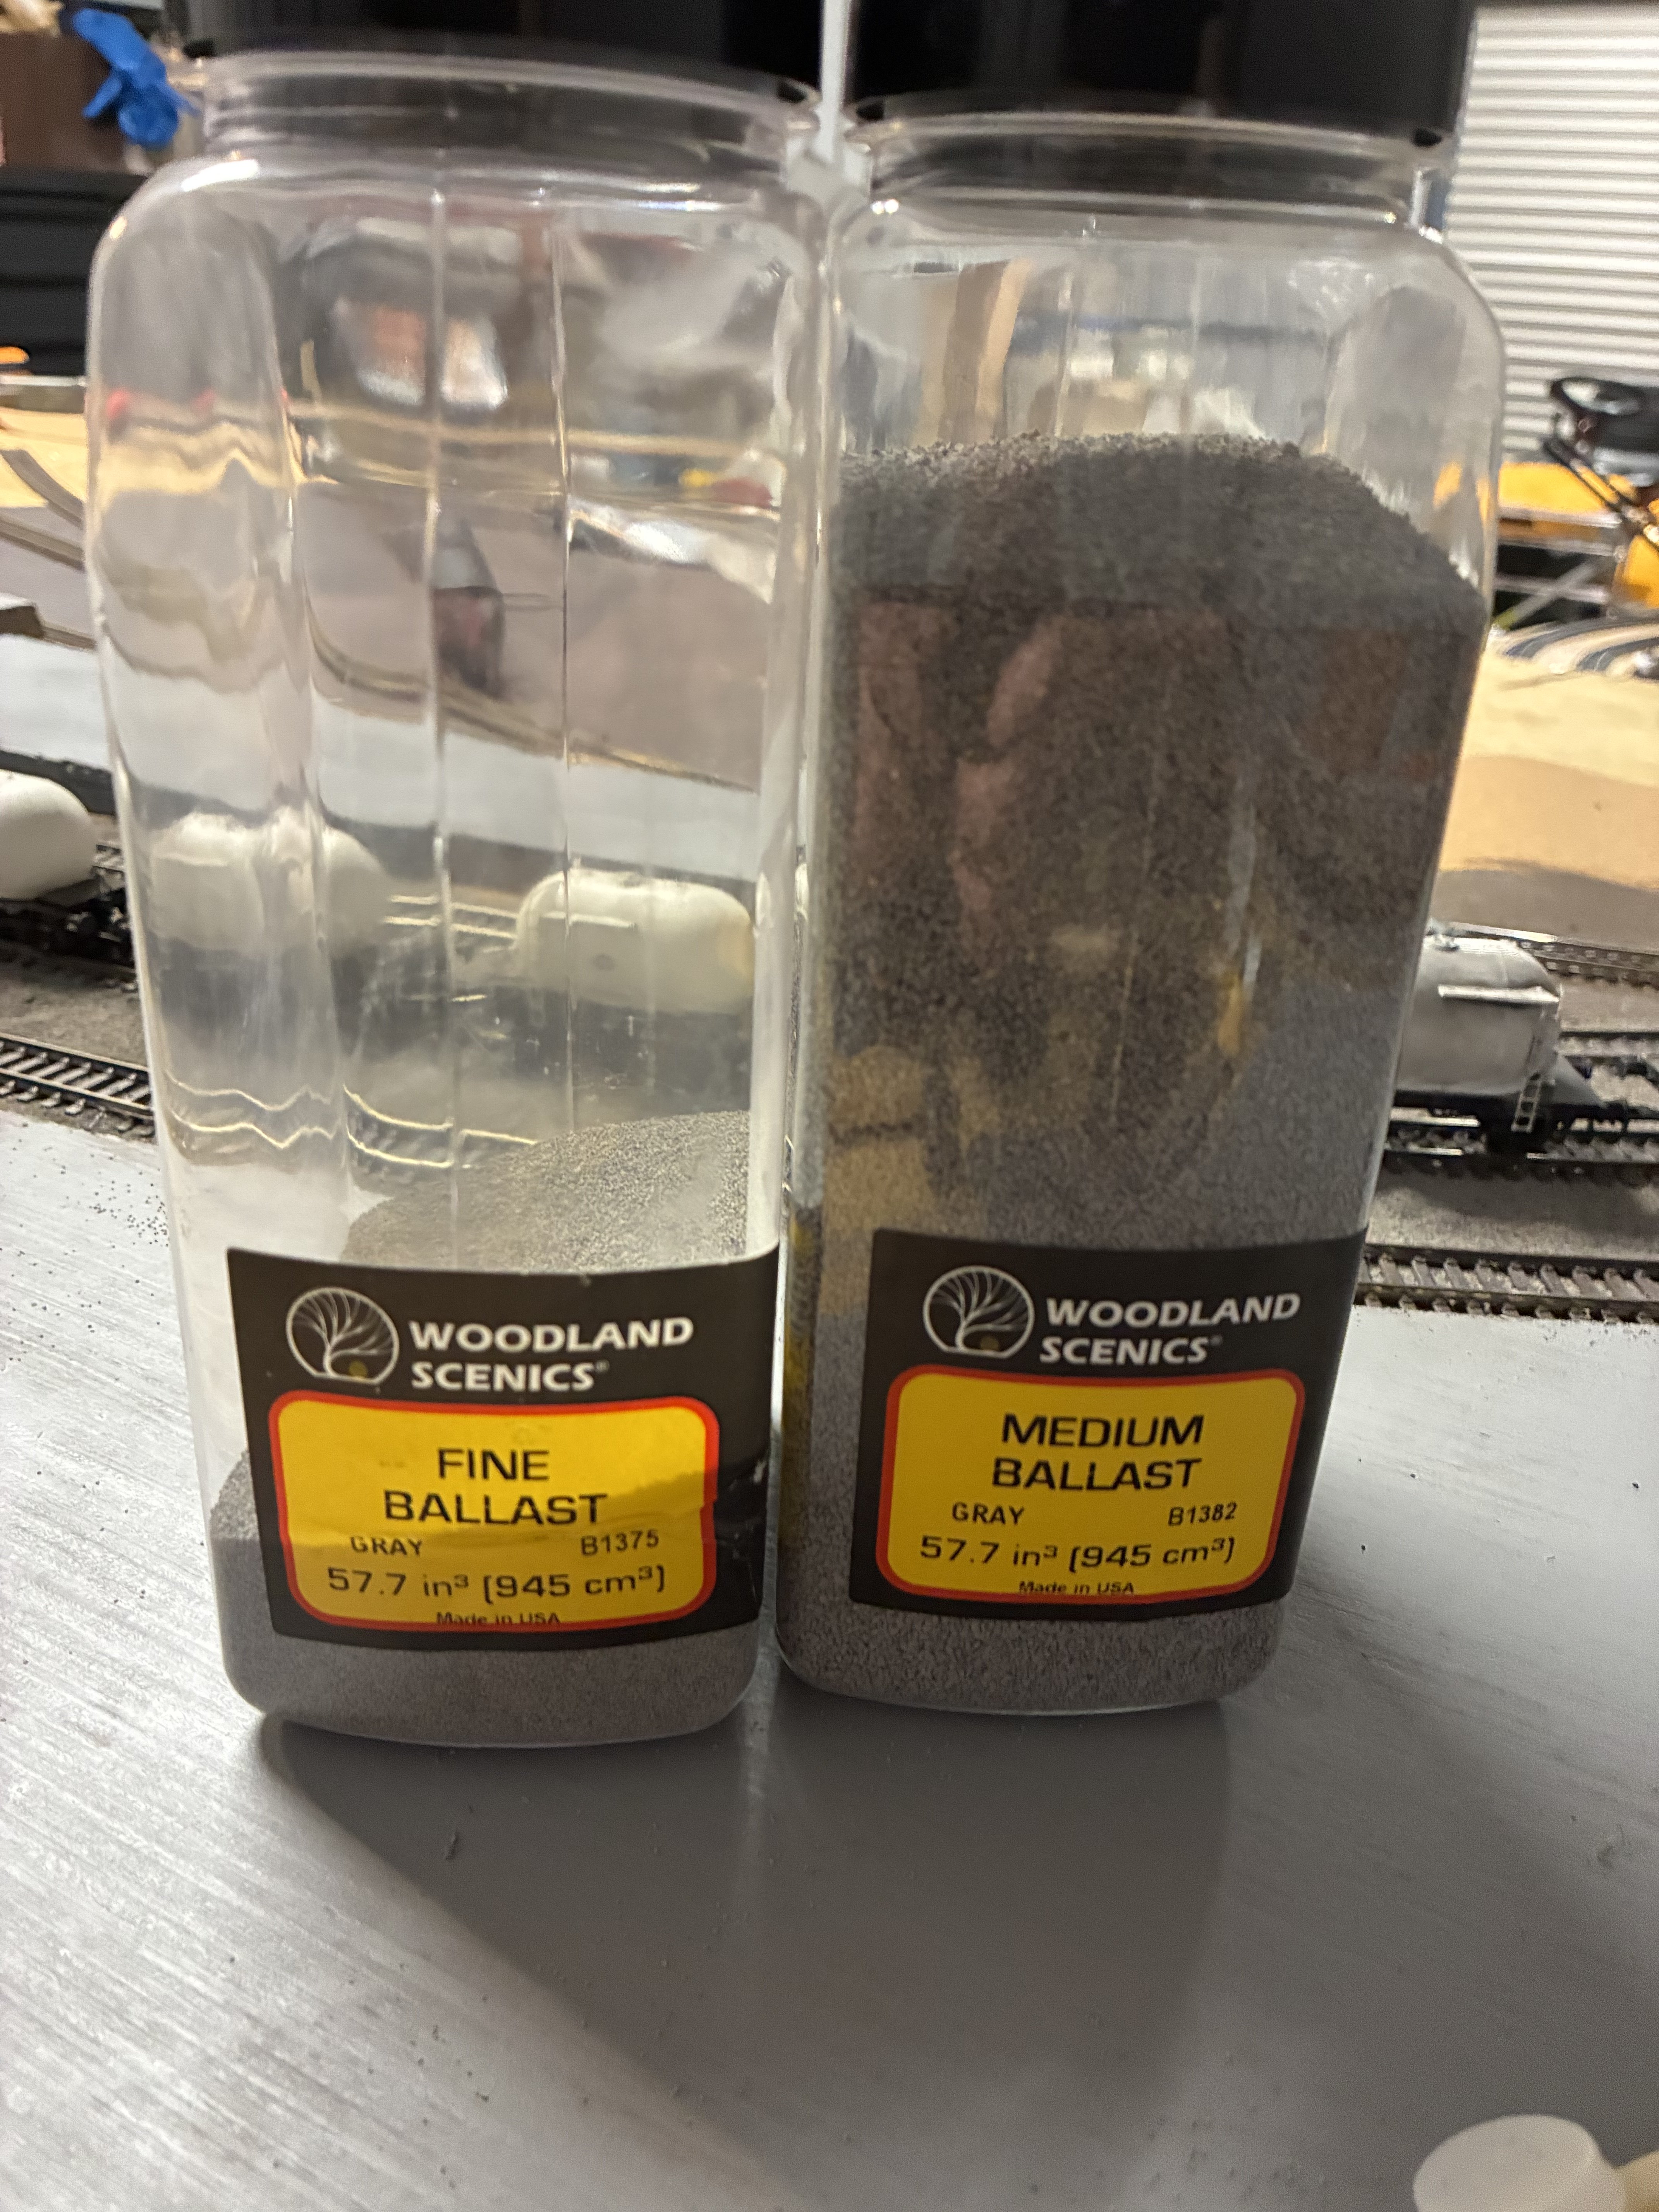
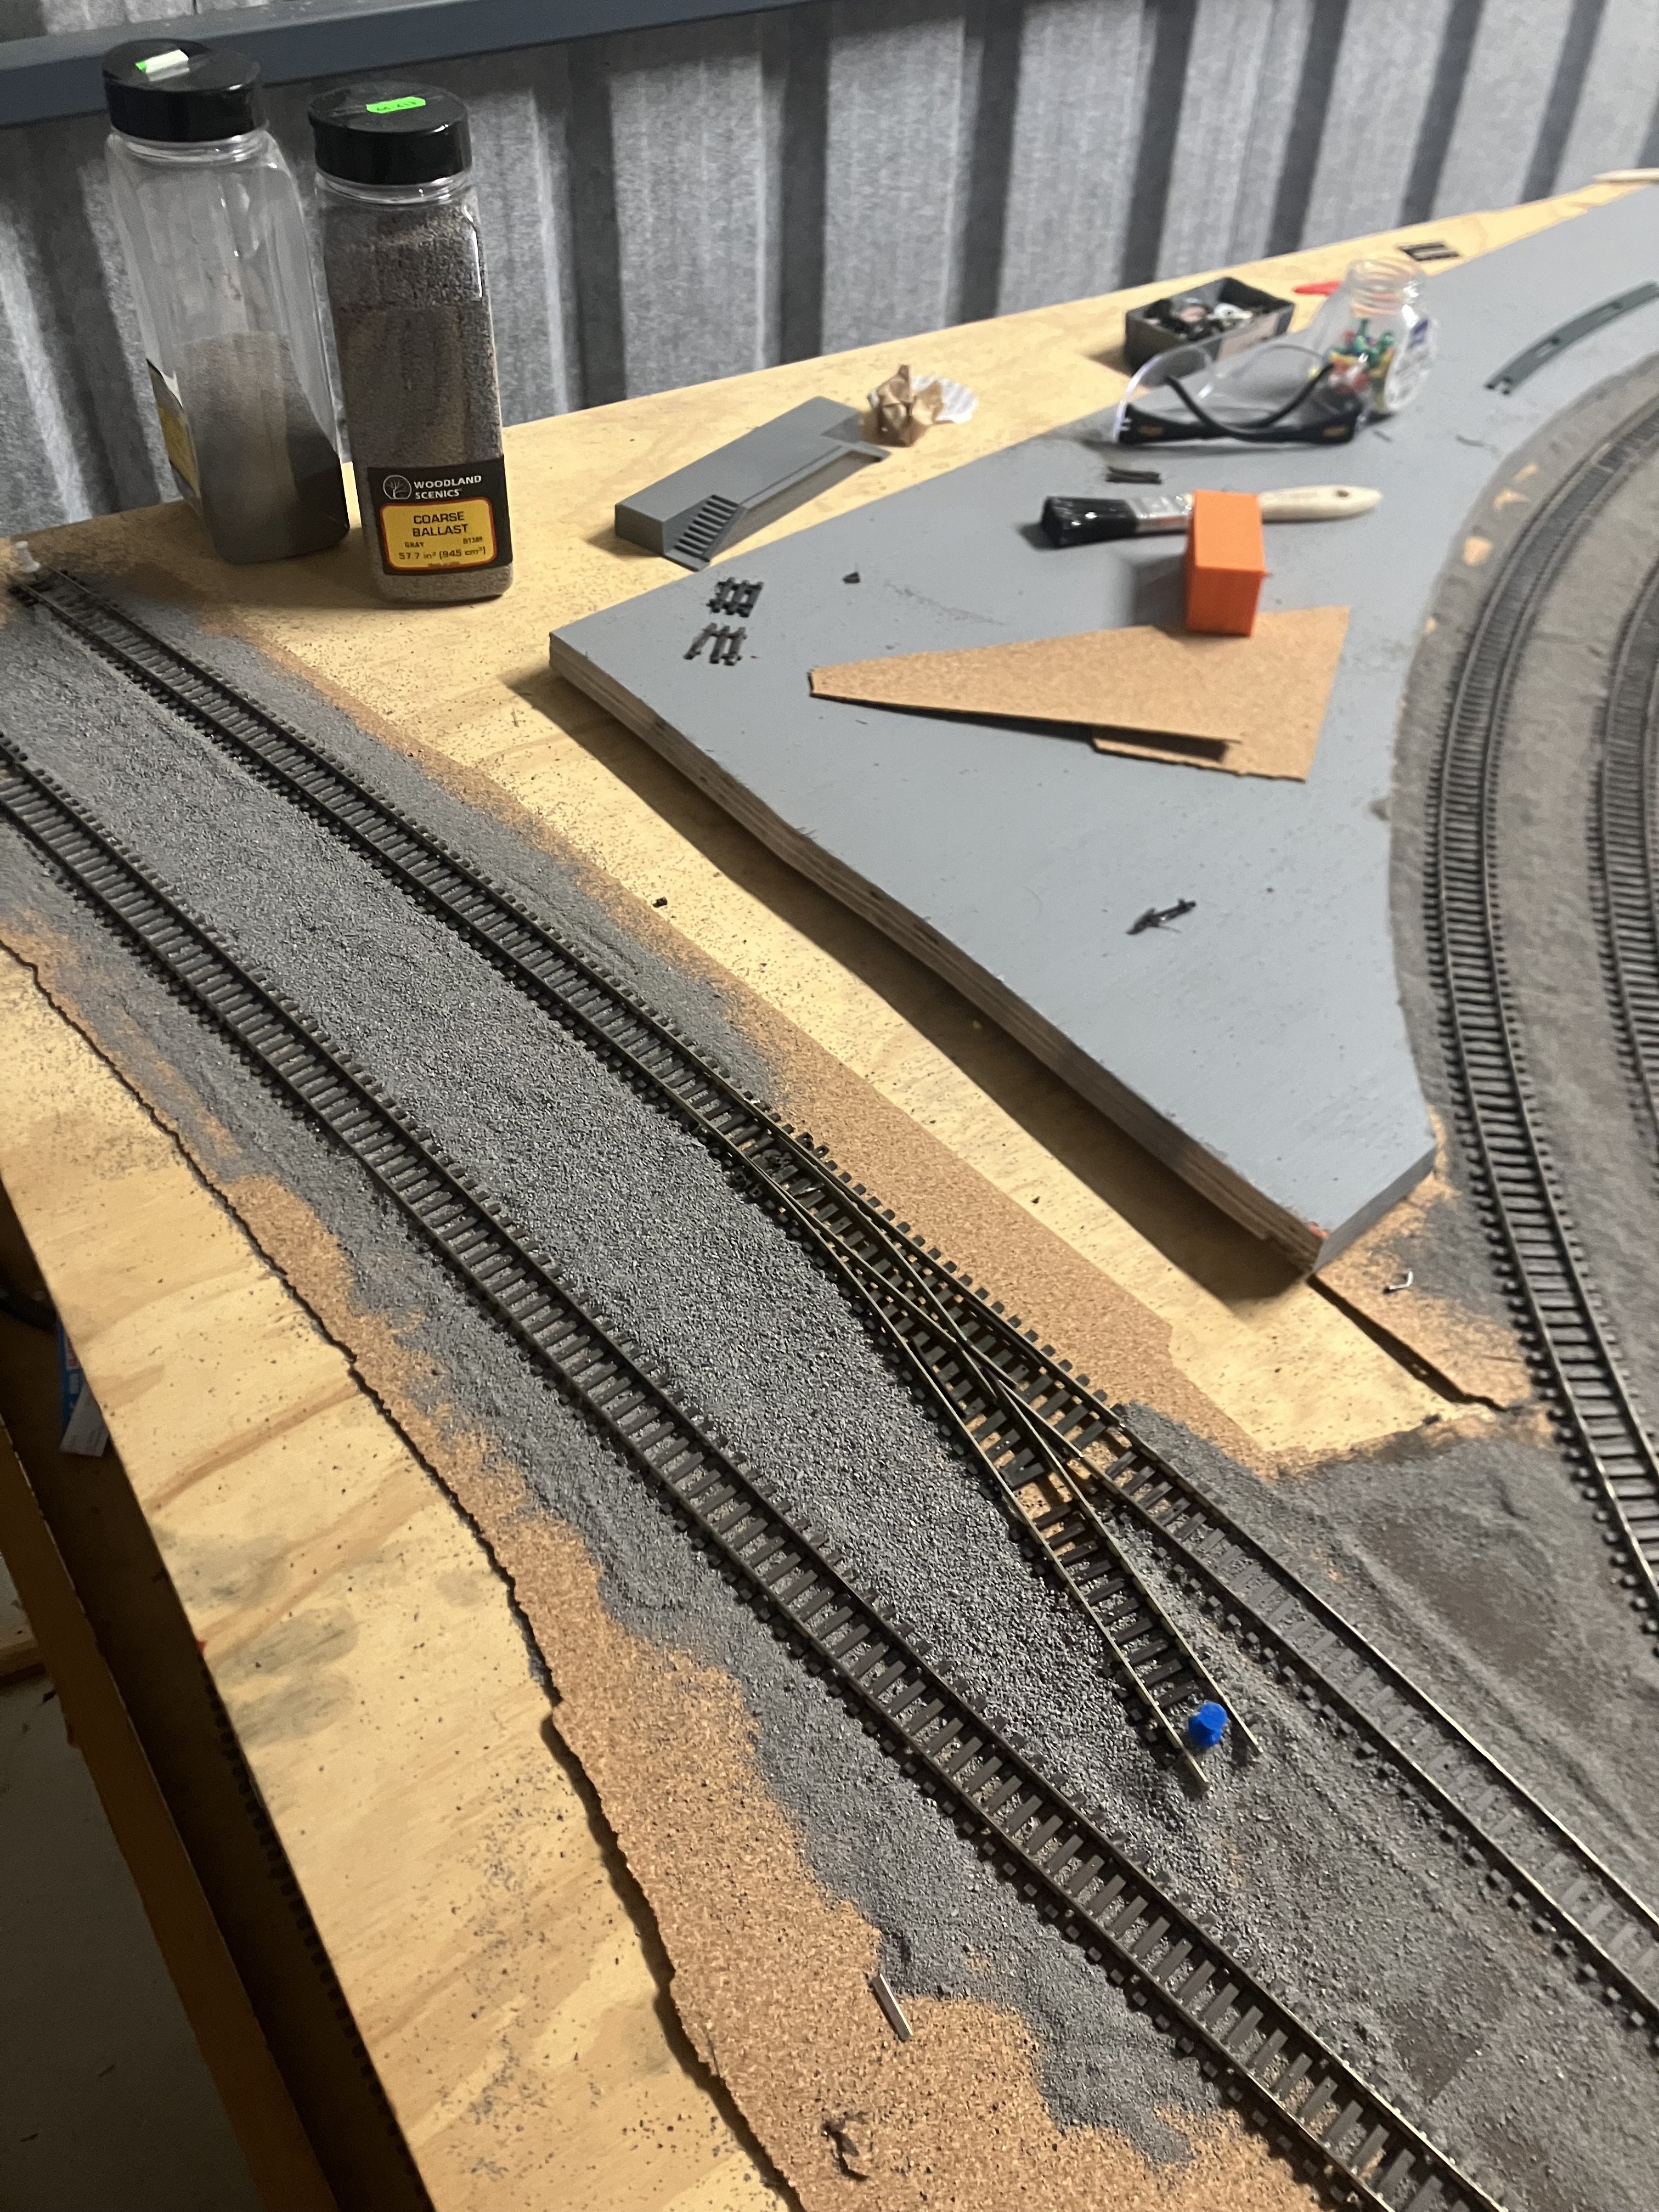
Hi Kieth, I actually bush painted it first before putting any ballast down . Here was my first test piece of painting on a scrap piece of plywood. In this photo you can see the difference between the non painted point and the painted track. It does actually make a difference. The grey ballast also slightly dulled brown sleeper grime and left a dusty finish on the track. Then rubbed down with a track rubber on the tops of the rail I used woodland scenics grey Fine ballast for 99 percent of the bit glued. This was after a disaster start, I was told to use medium ballast by the man in the model shop but when I put it down it was too large in scale for what I wanted to achieve.so I hovered it all up and got the smaller finer I did how ever use a mix of fine and medium ballast on the navan branch as form some photos I saw it was more coarse on it Thanks very much Ray, happy with hkw it turned out, still a few bit more sections on the layout to do around the points! Then it will be onto weathering the track,using lots of brown and black for all the grime and dripped diesel on the track
-
Drogheda MacBride Station And Platin Cement Factory
Anders112 replied to Anders112's topic in Irish Model Layouts
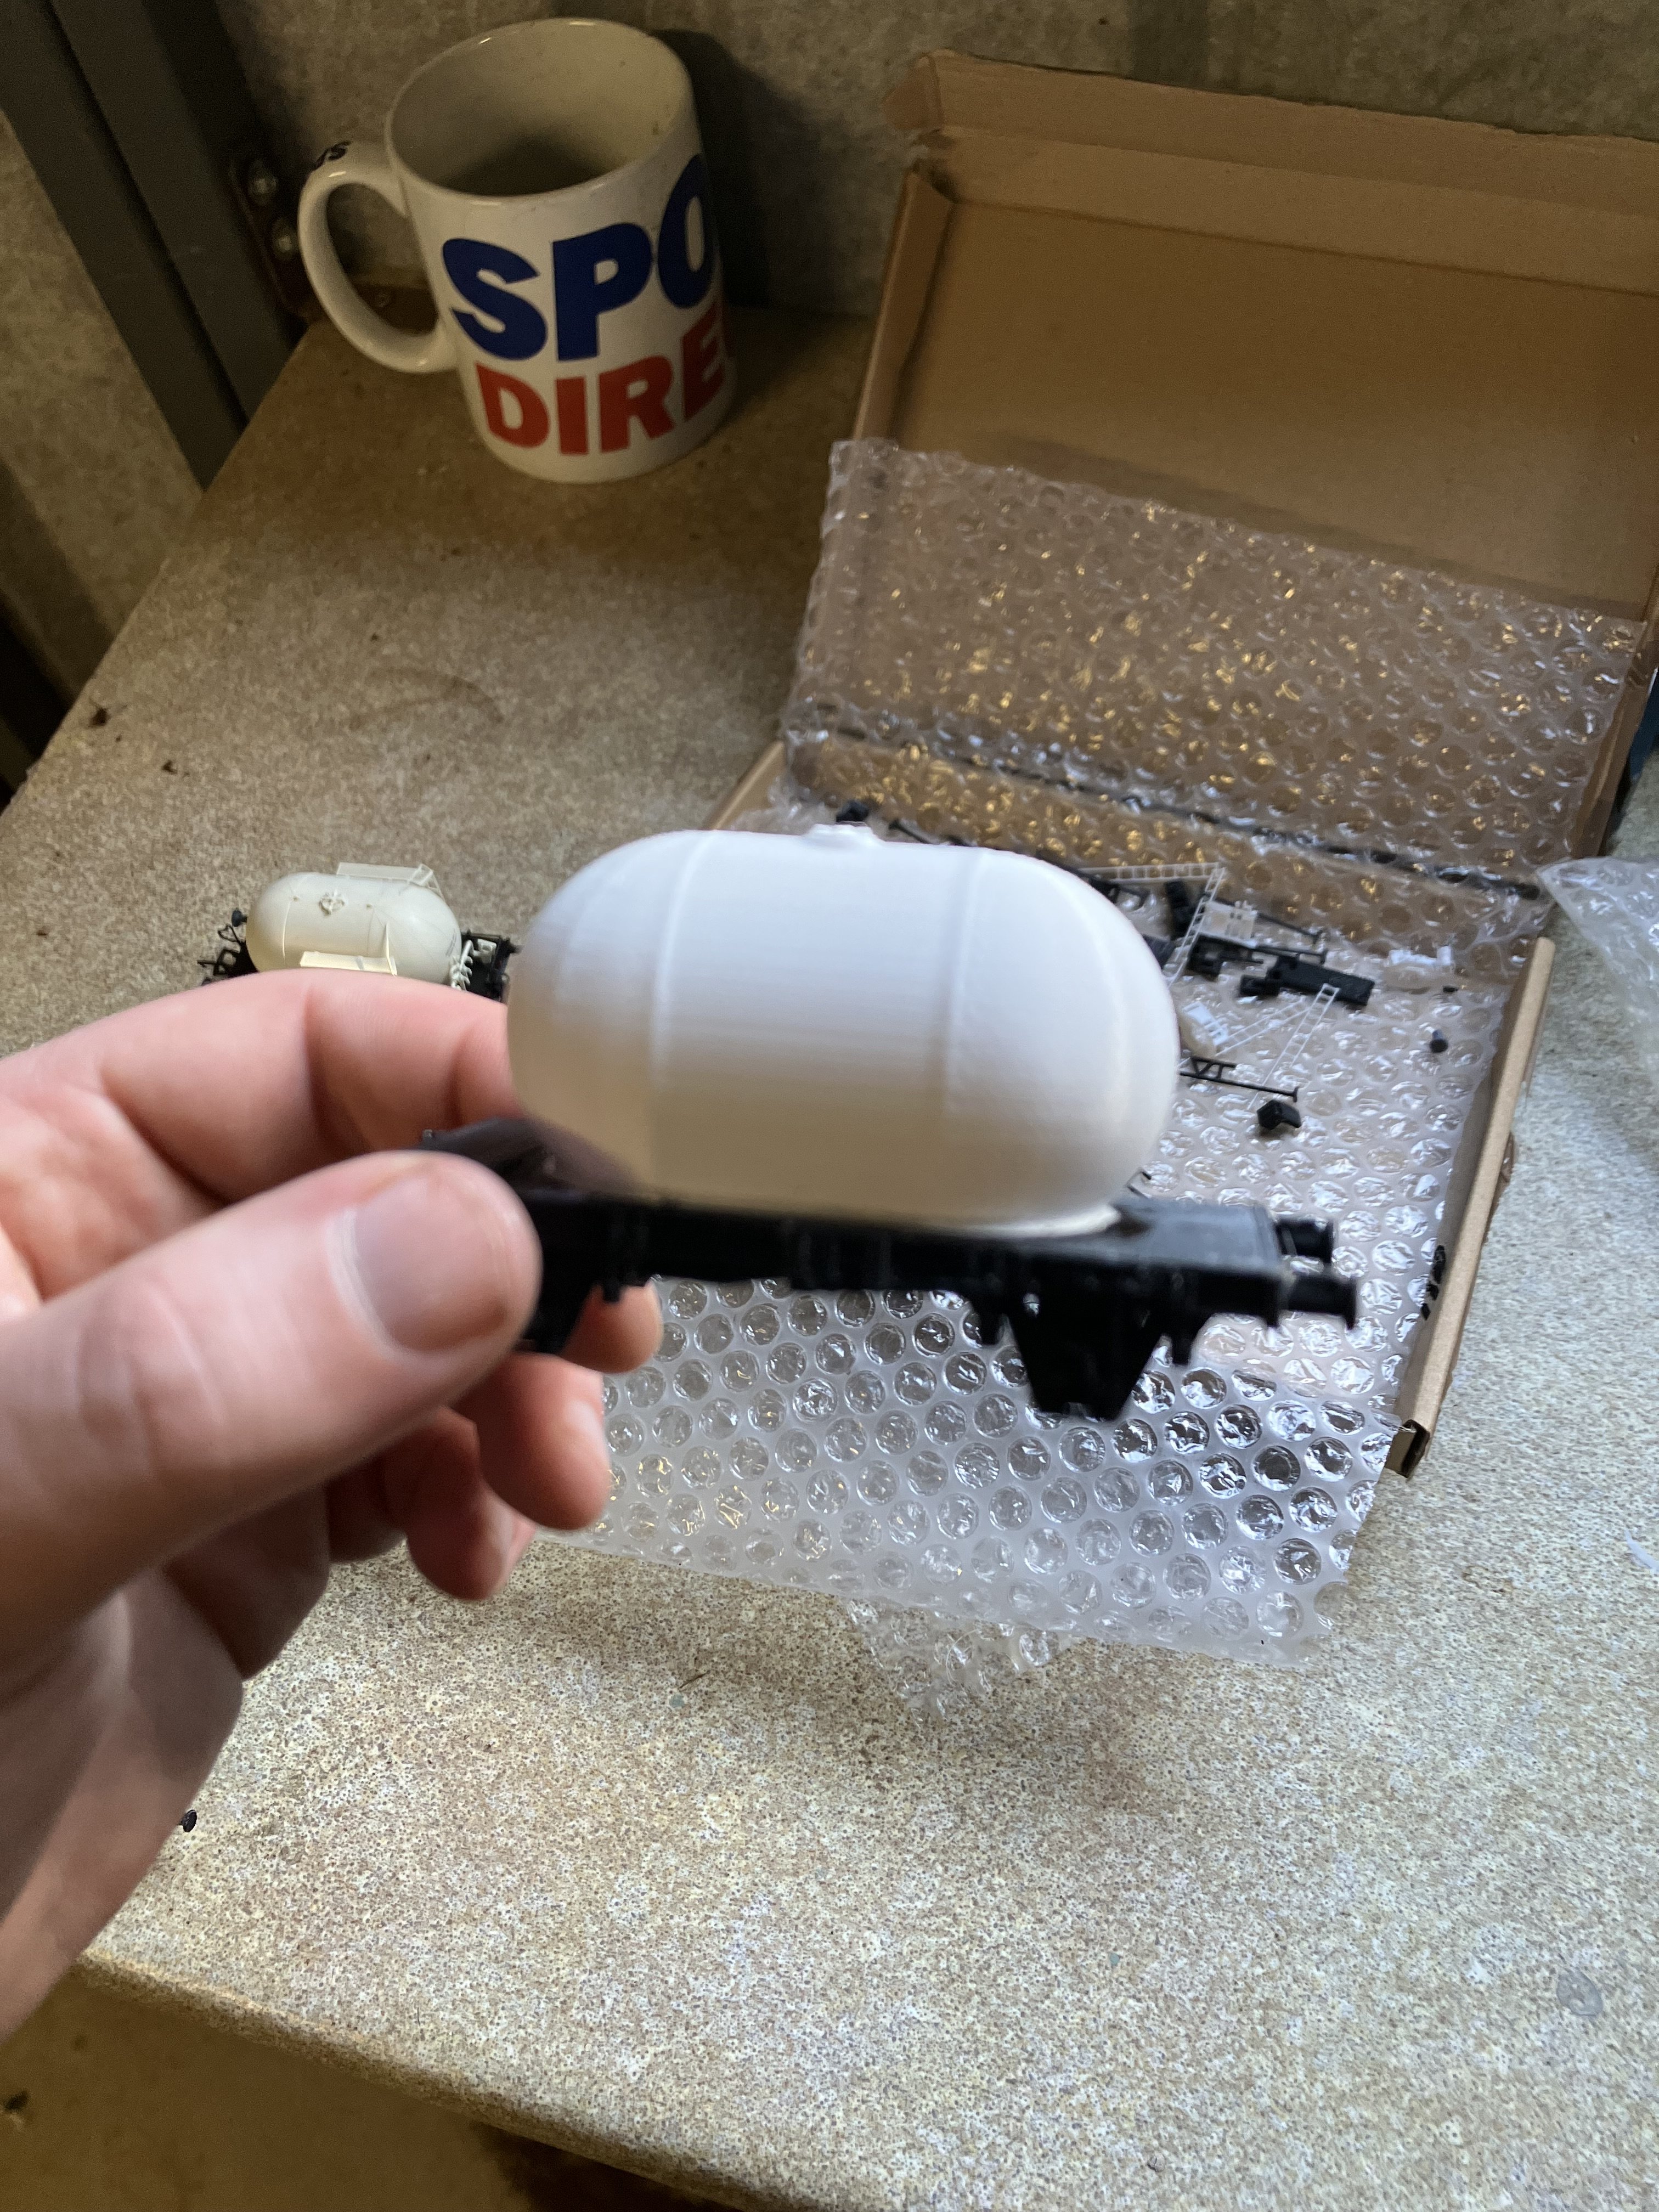
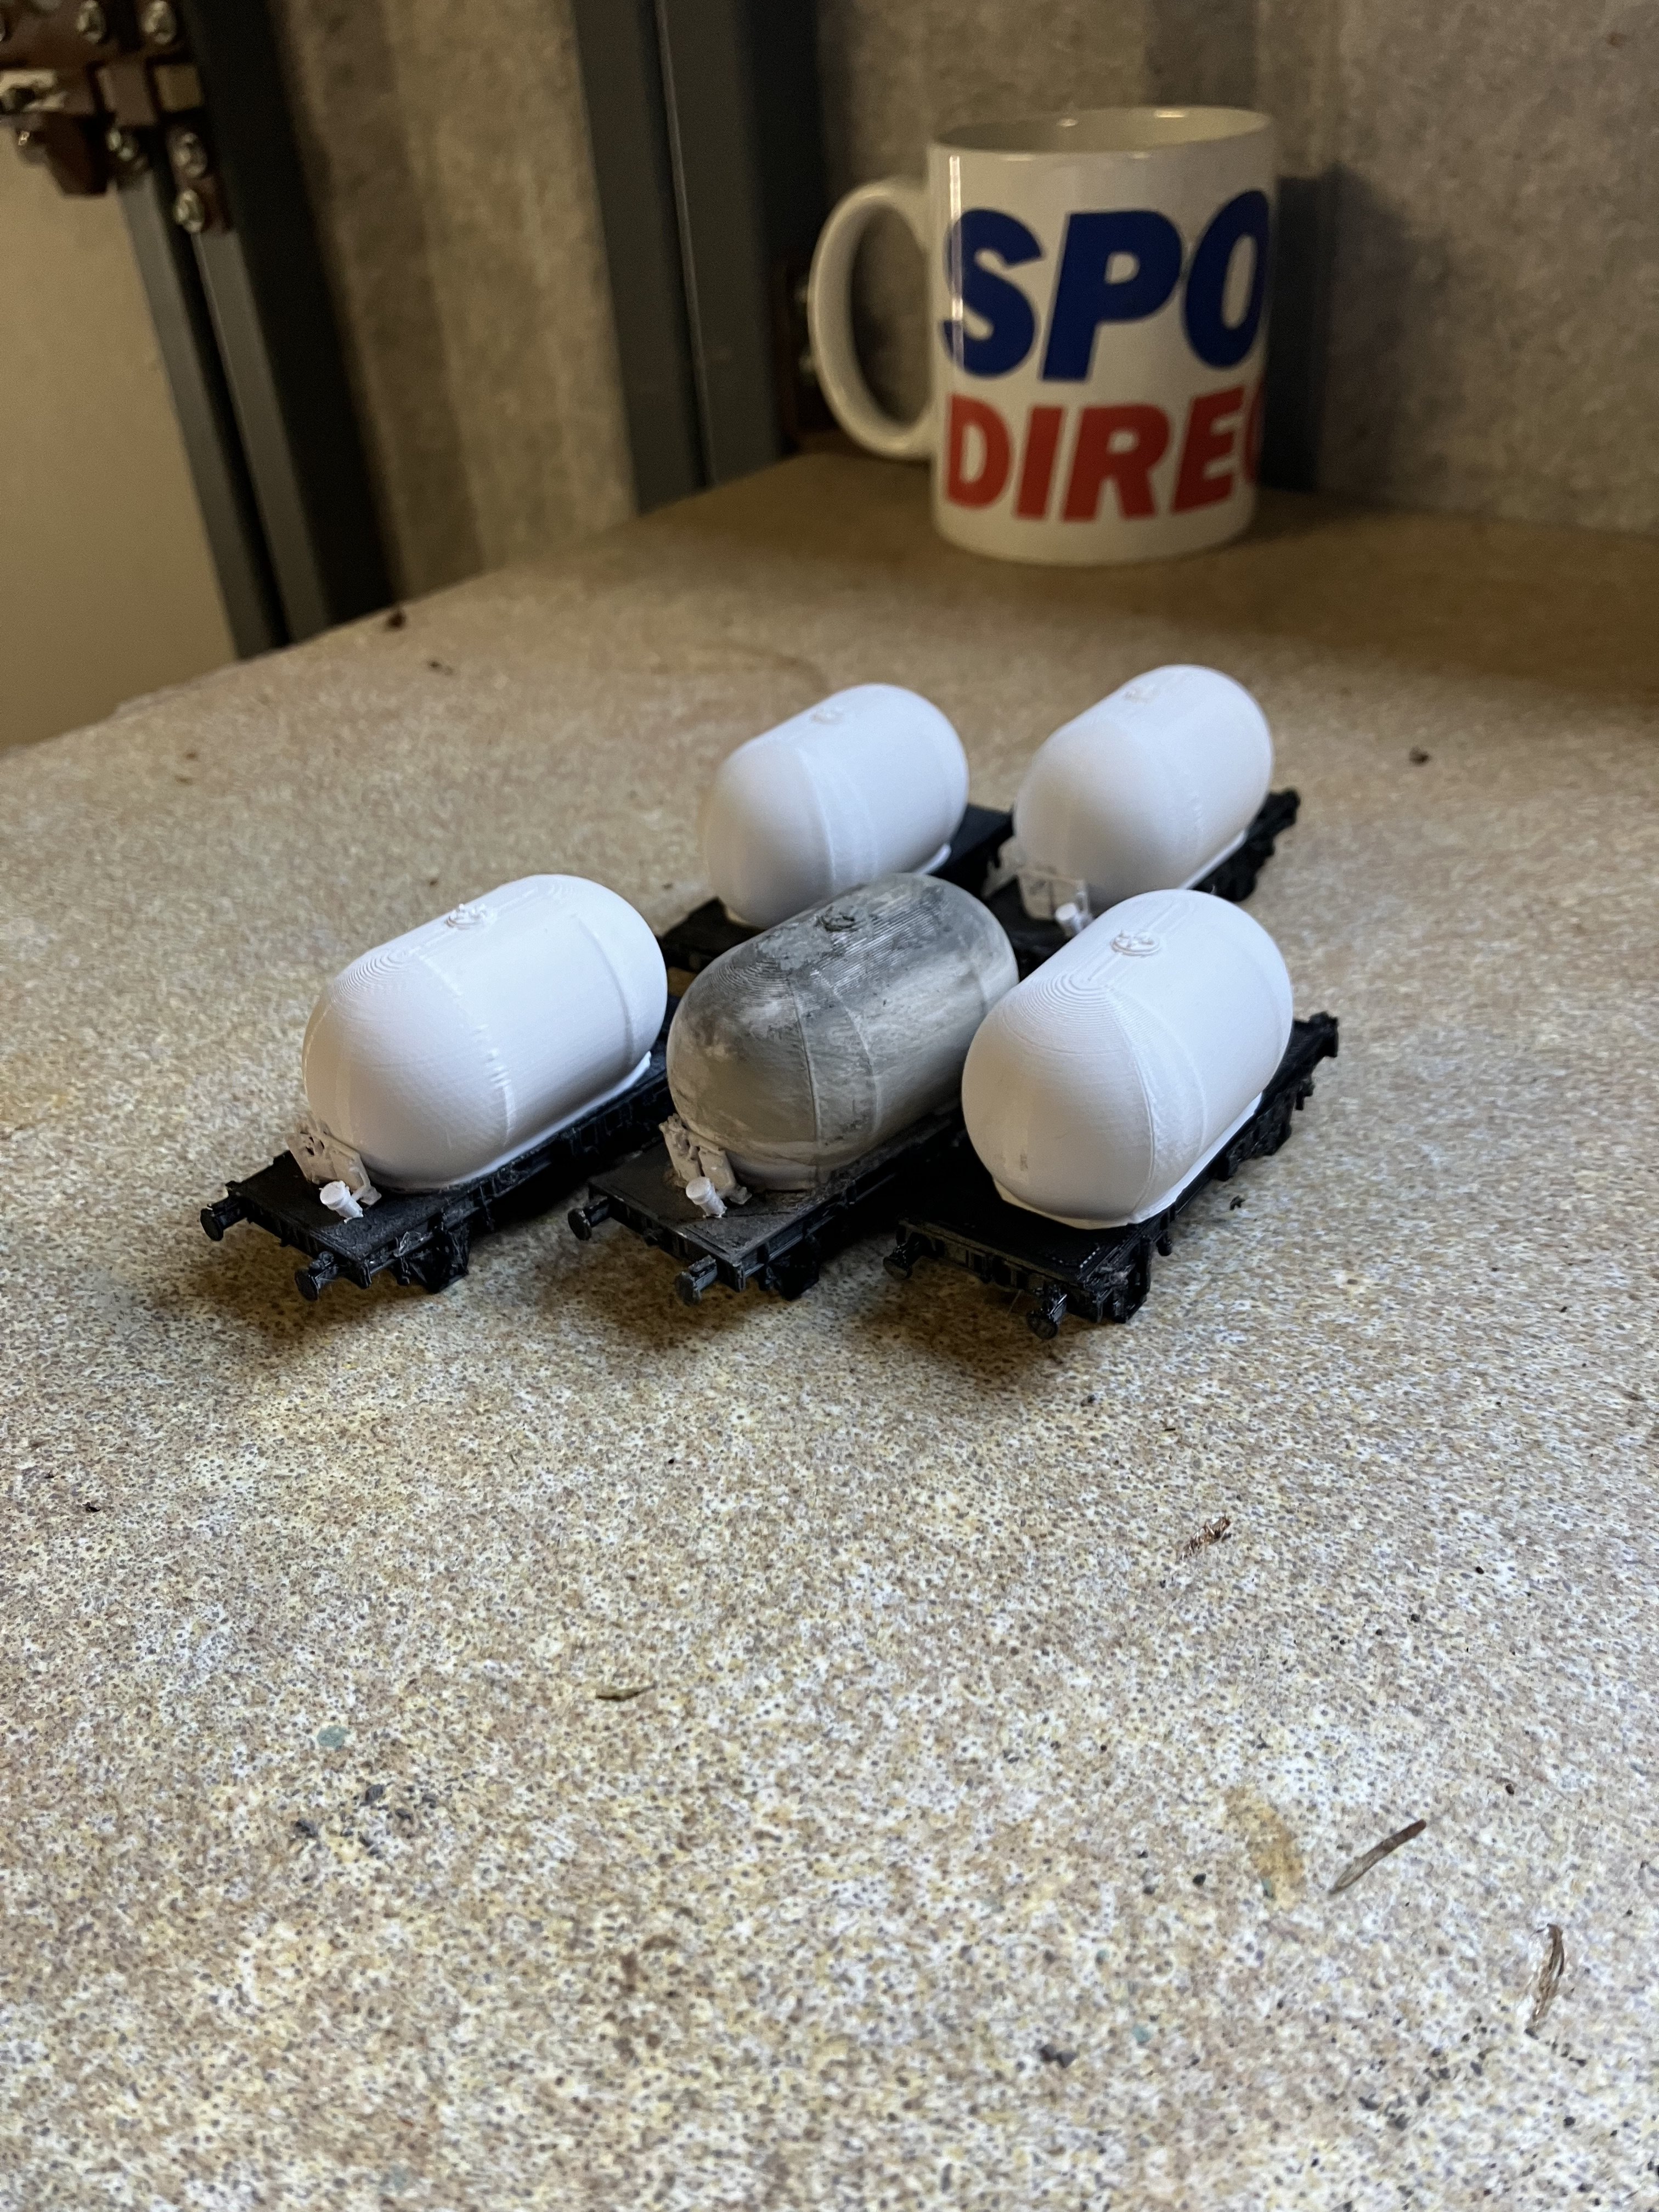
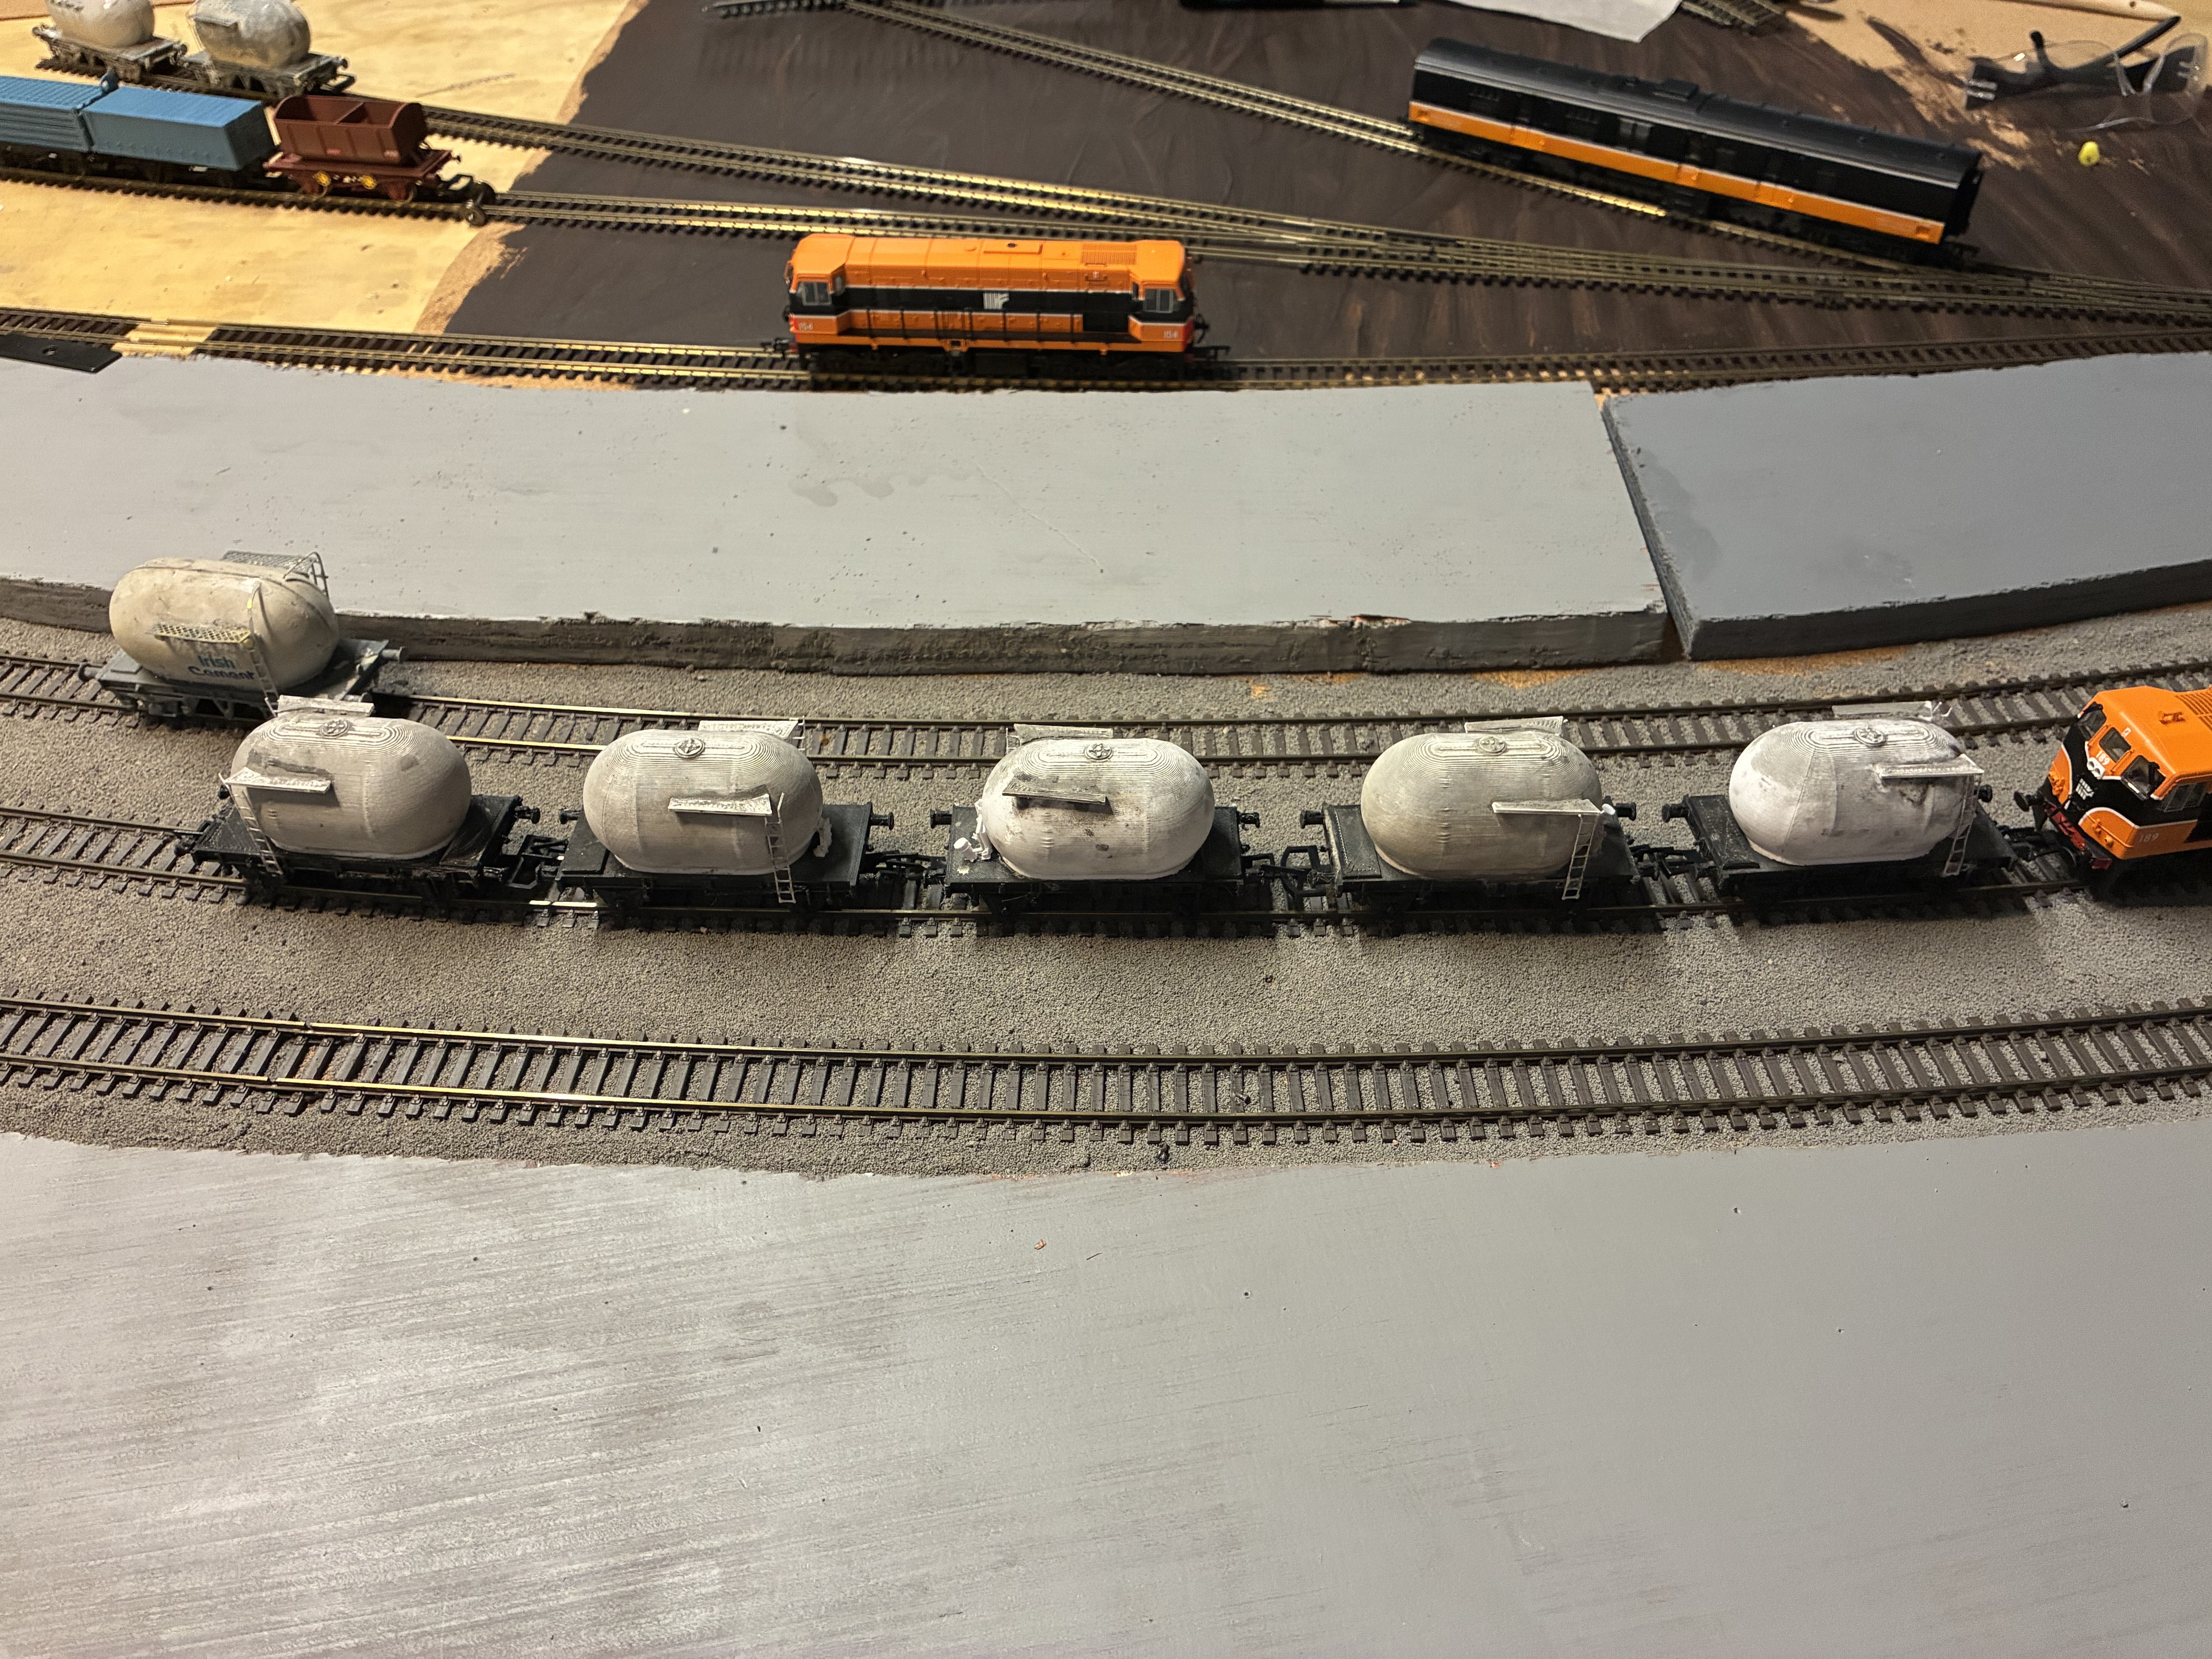
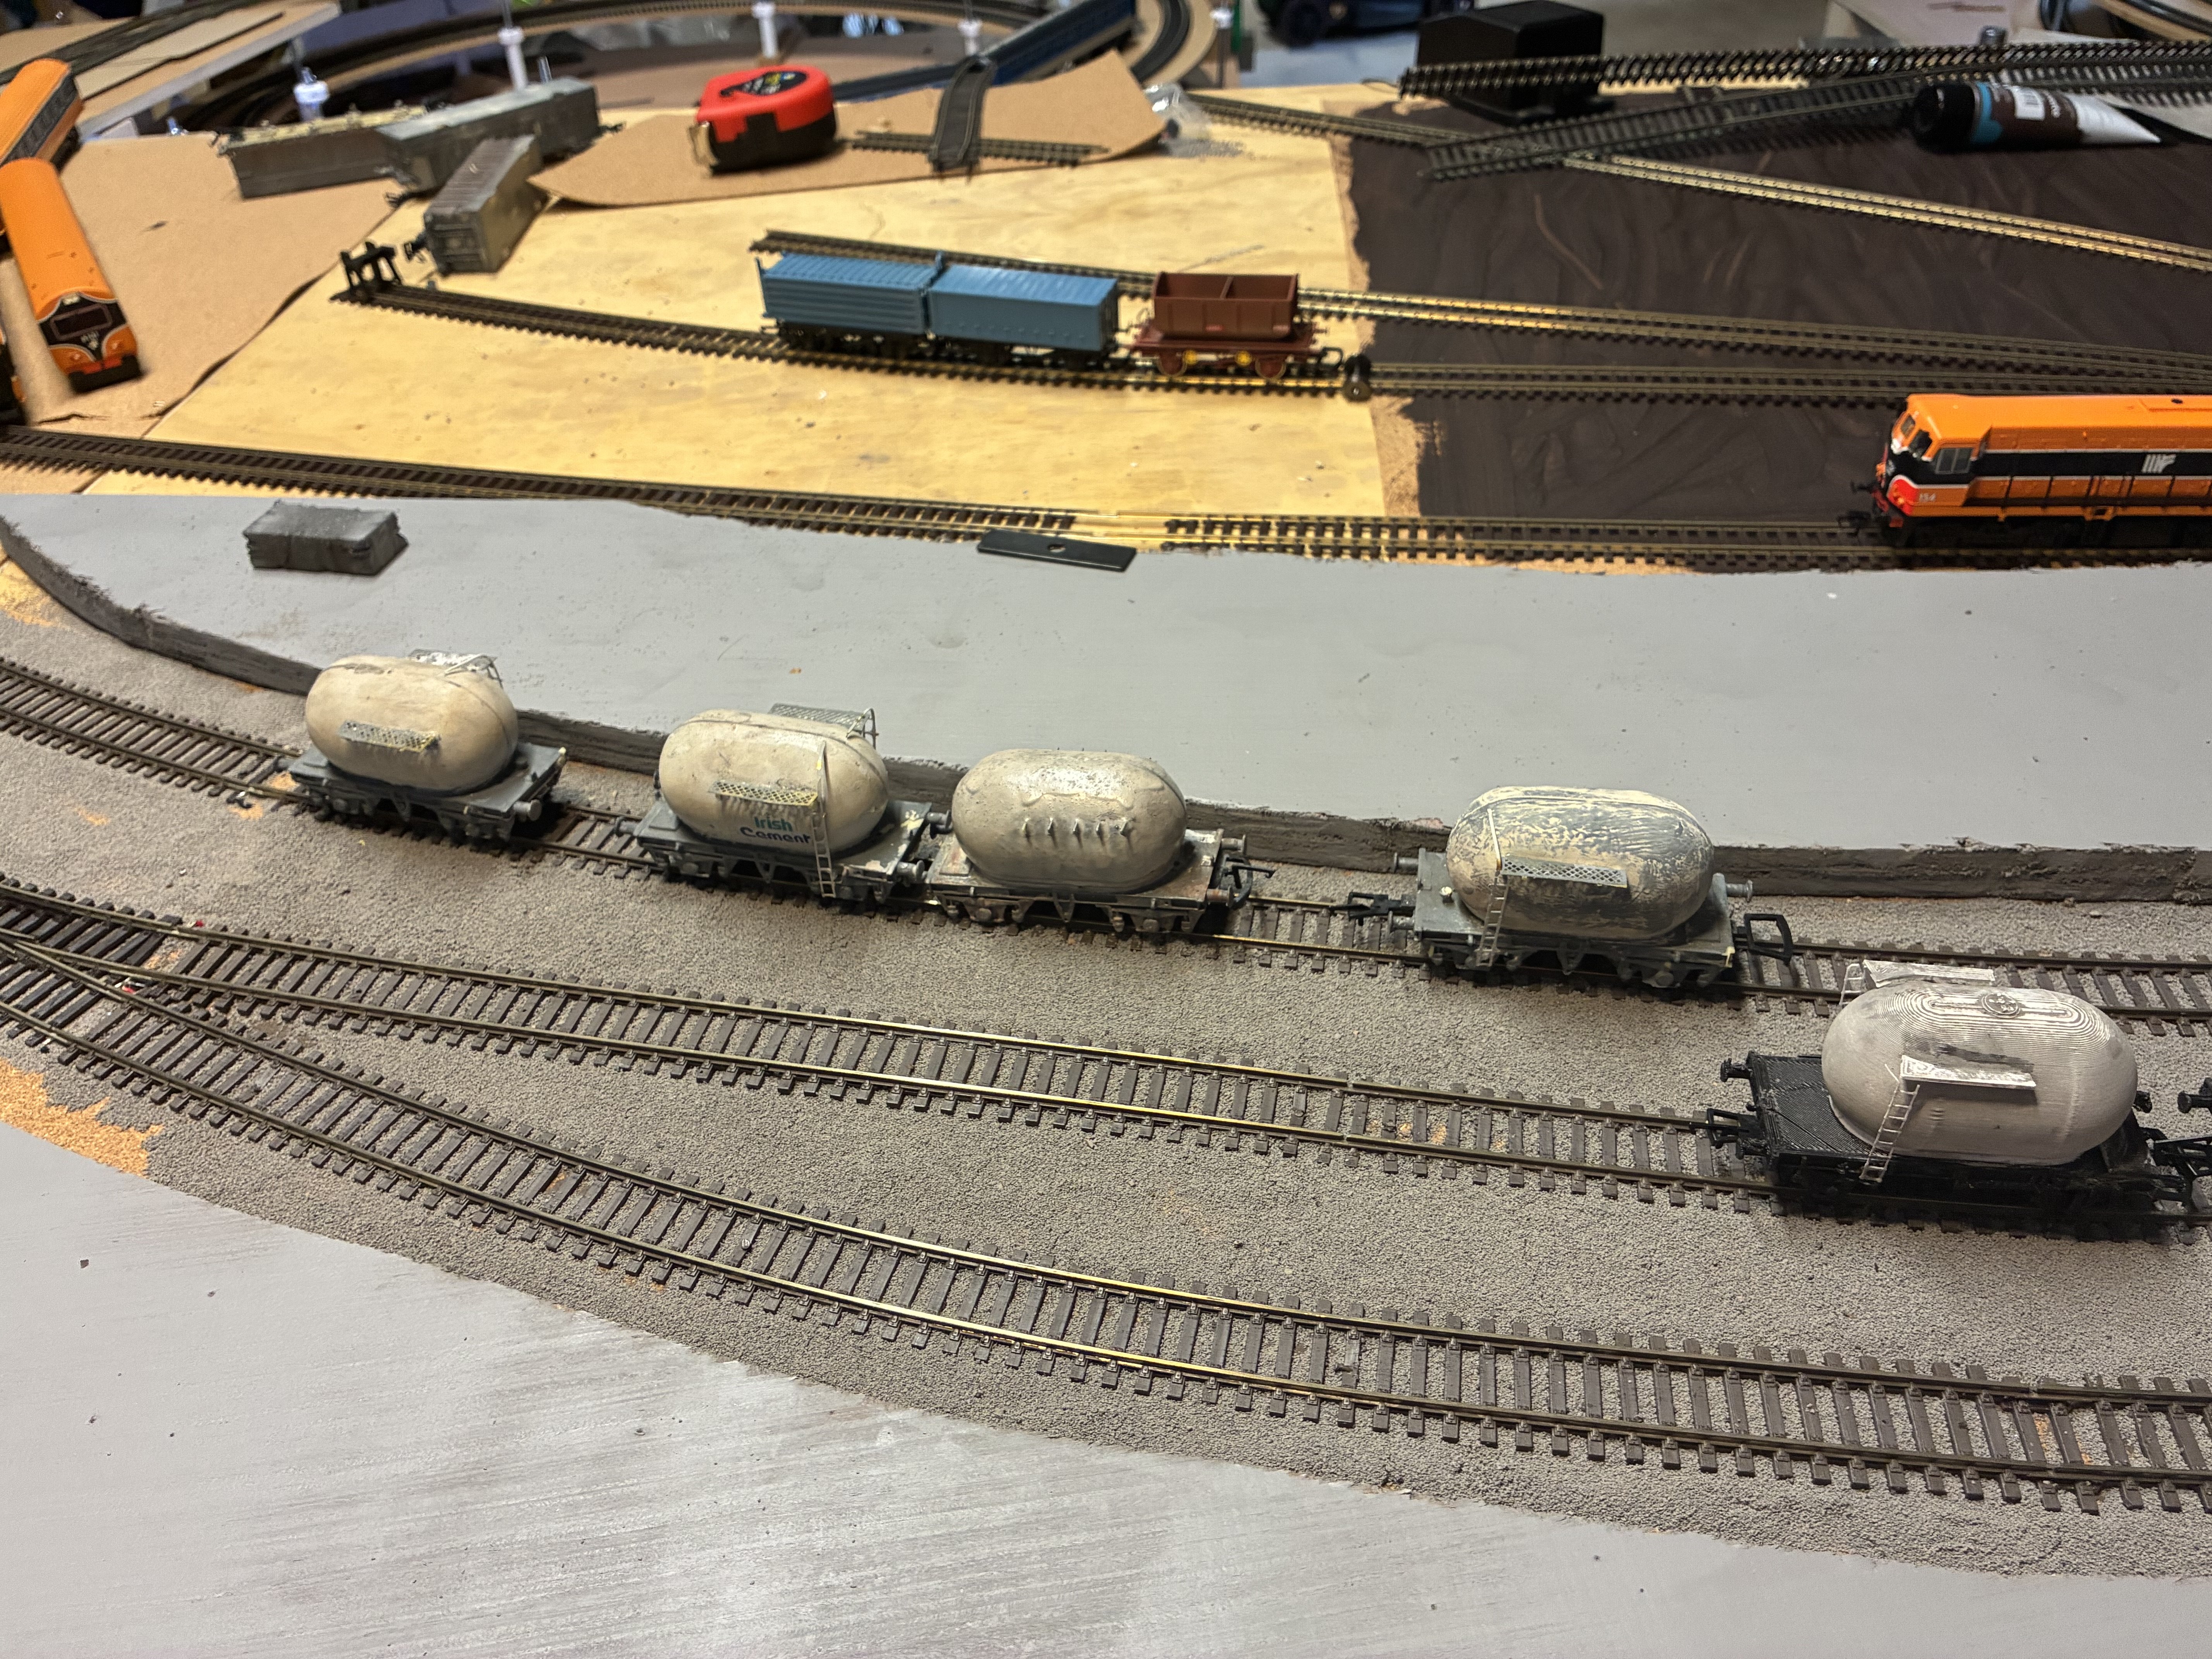
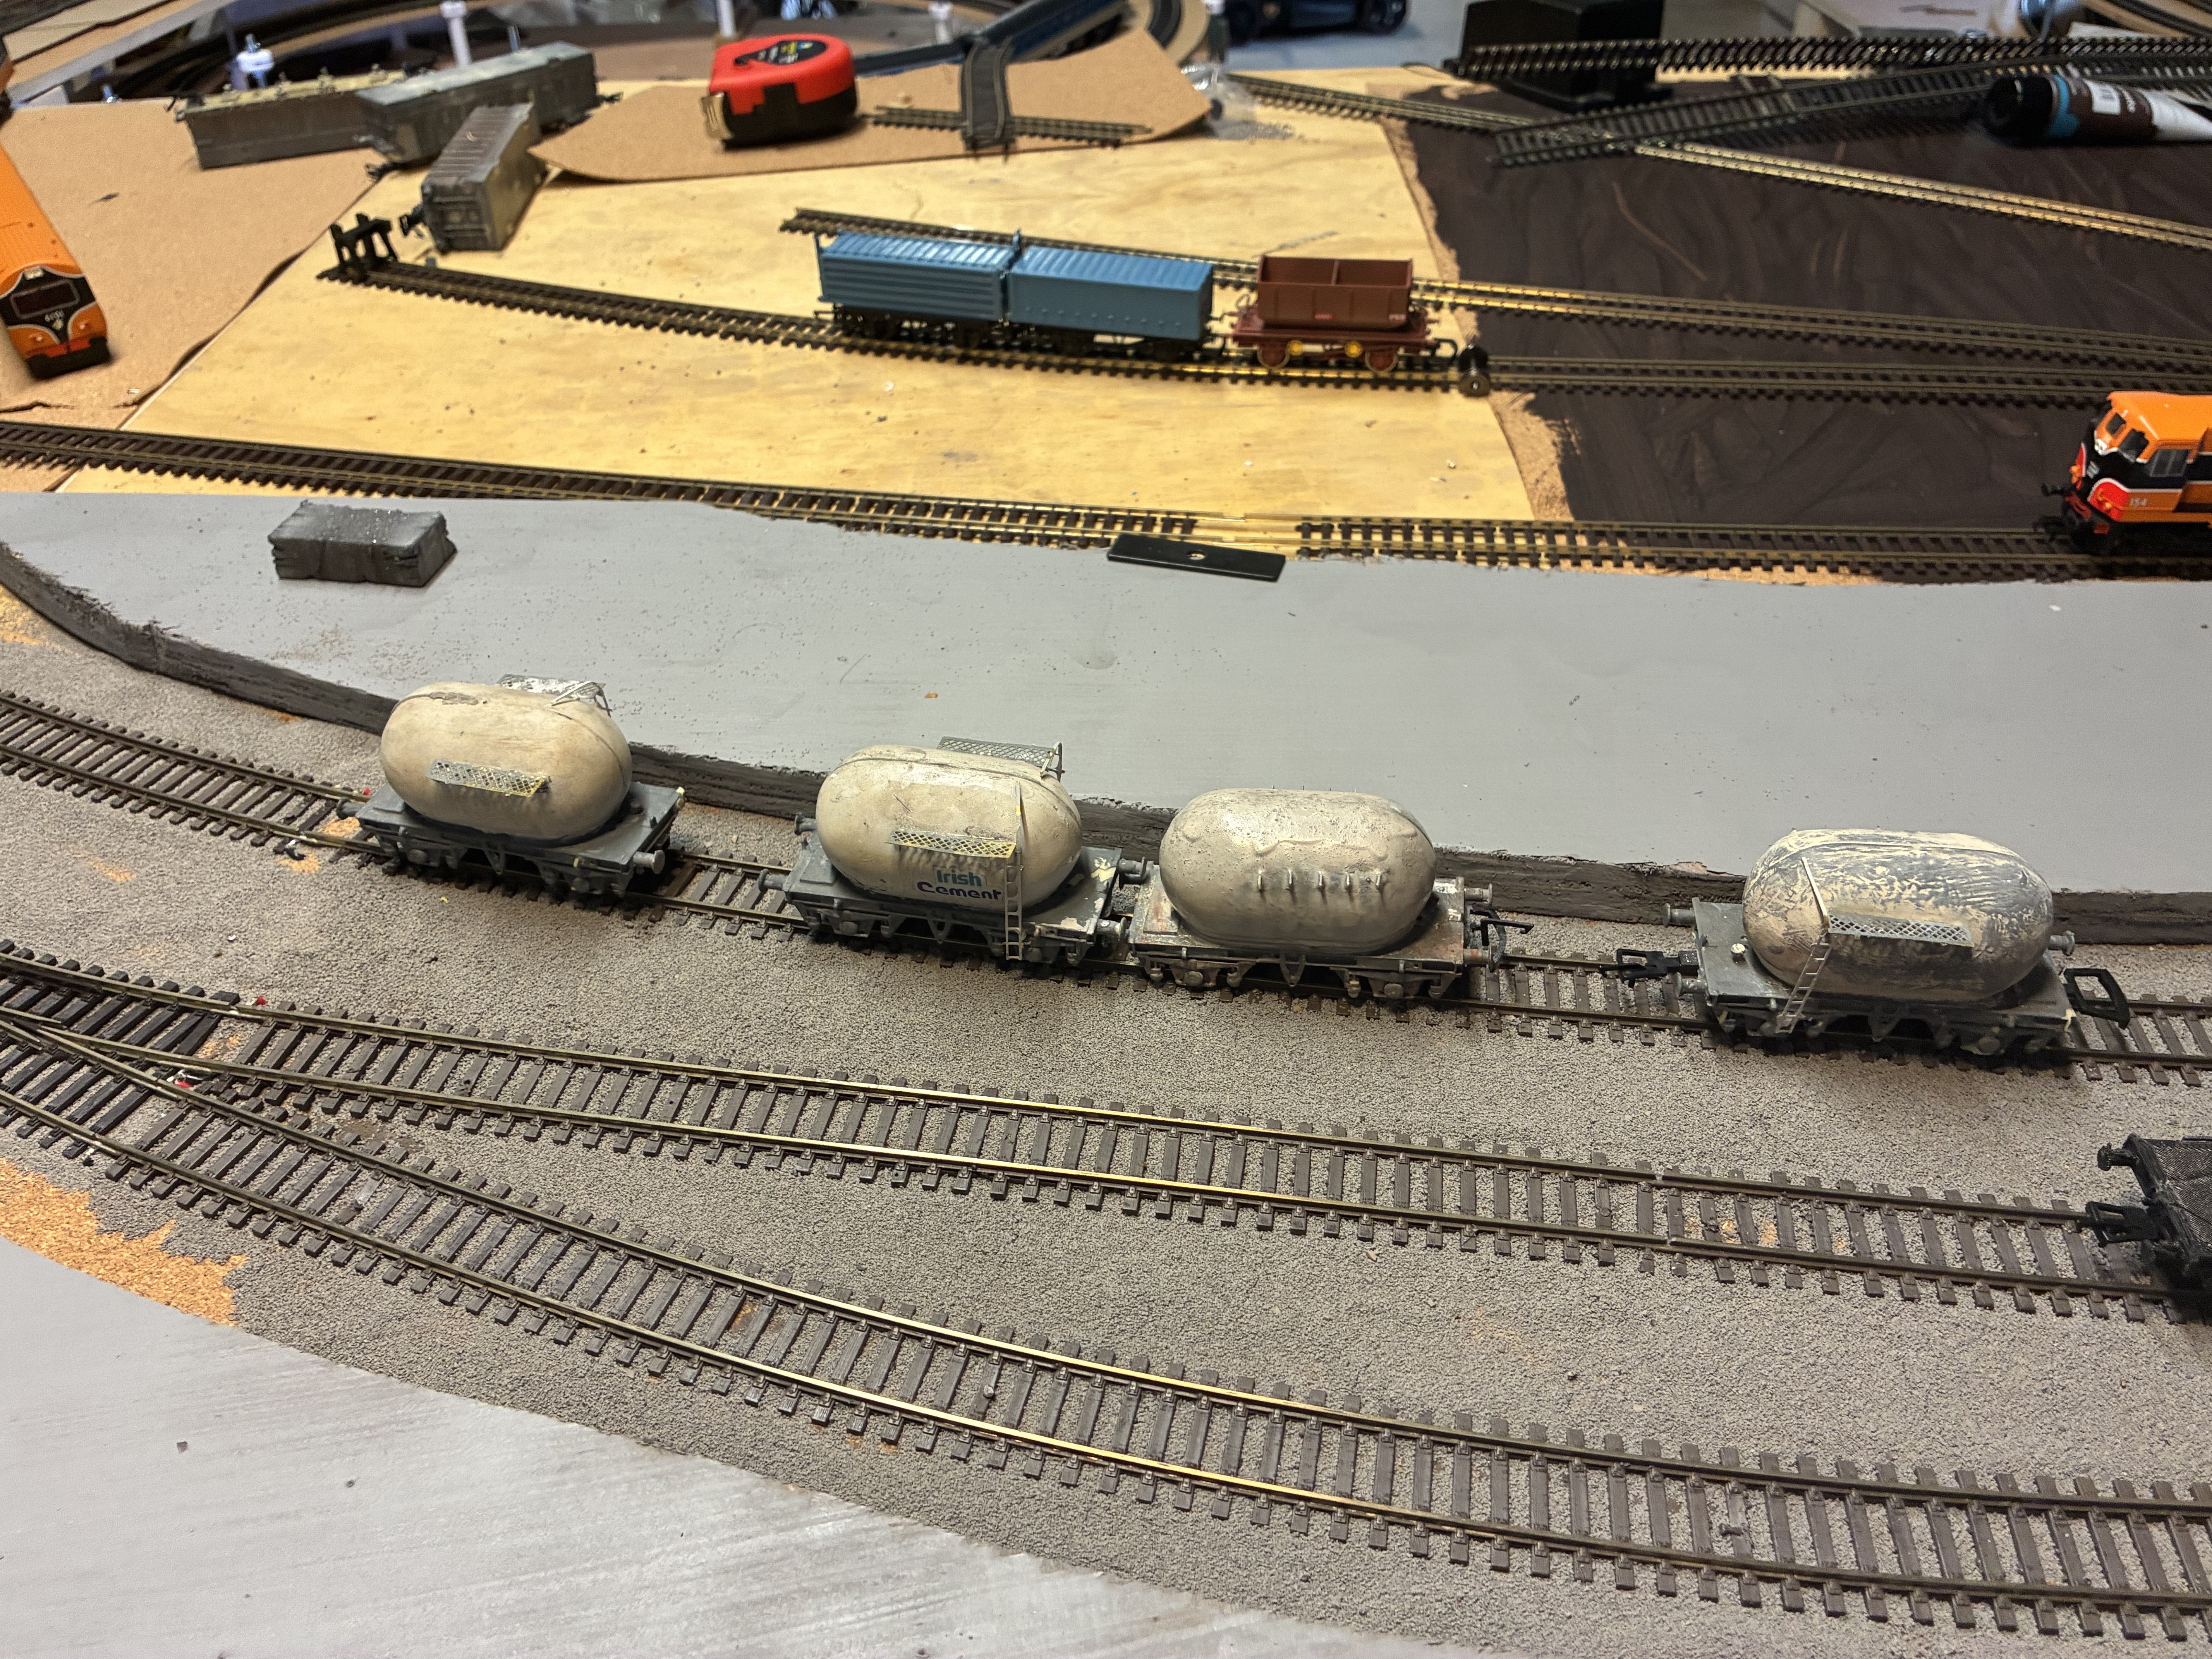
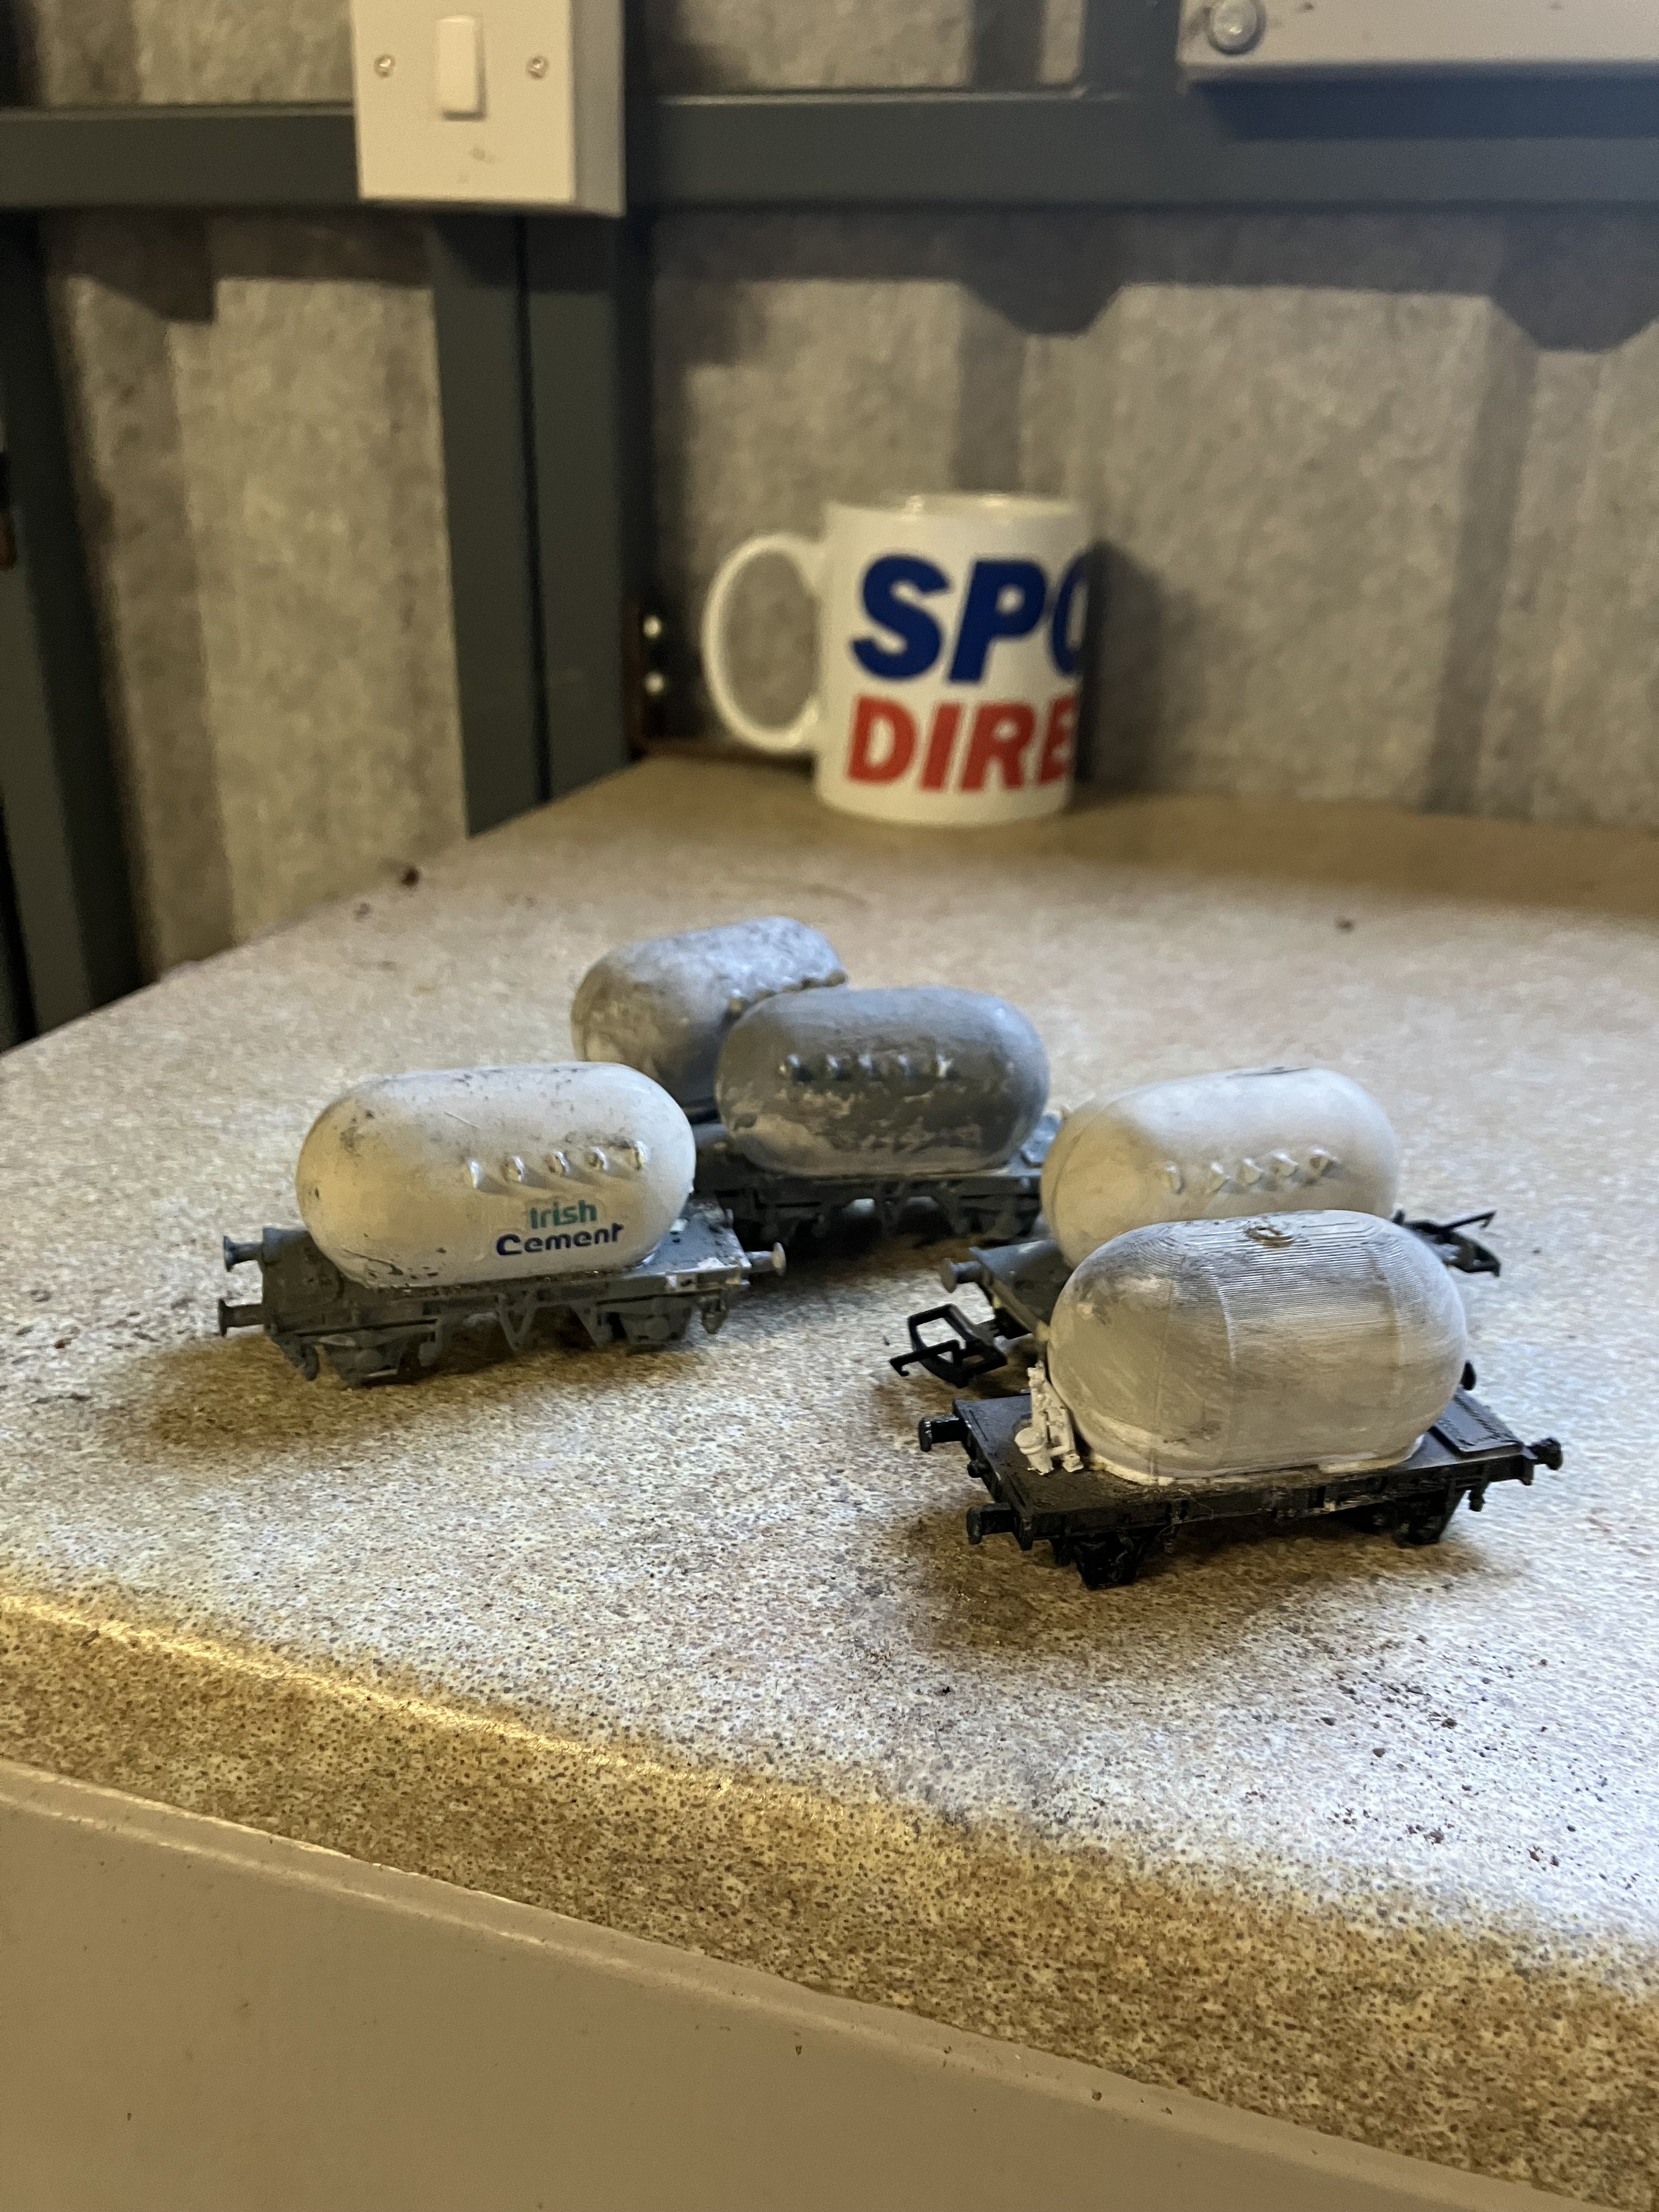
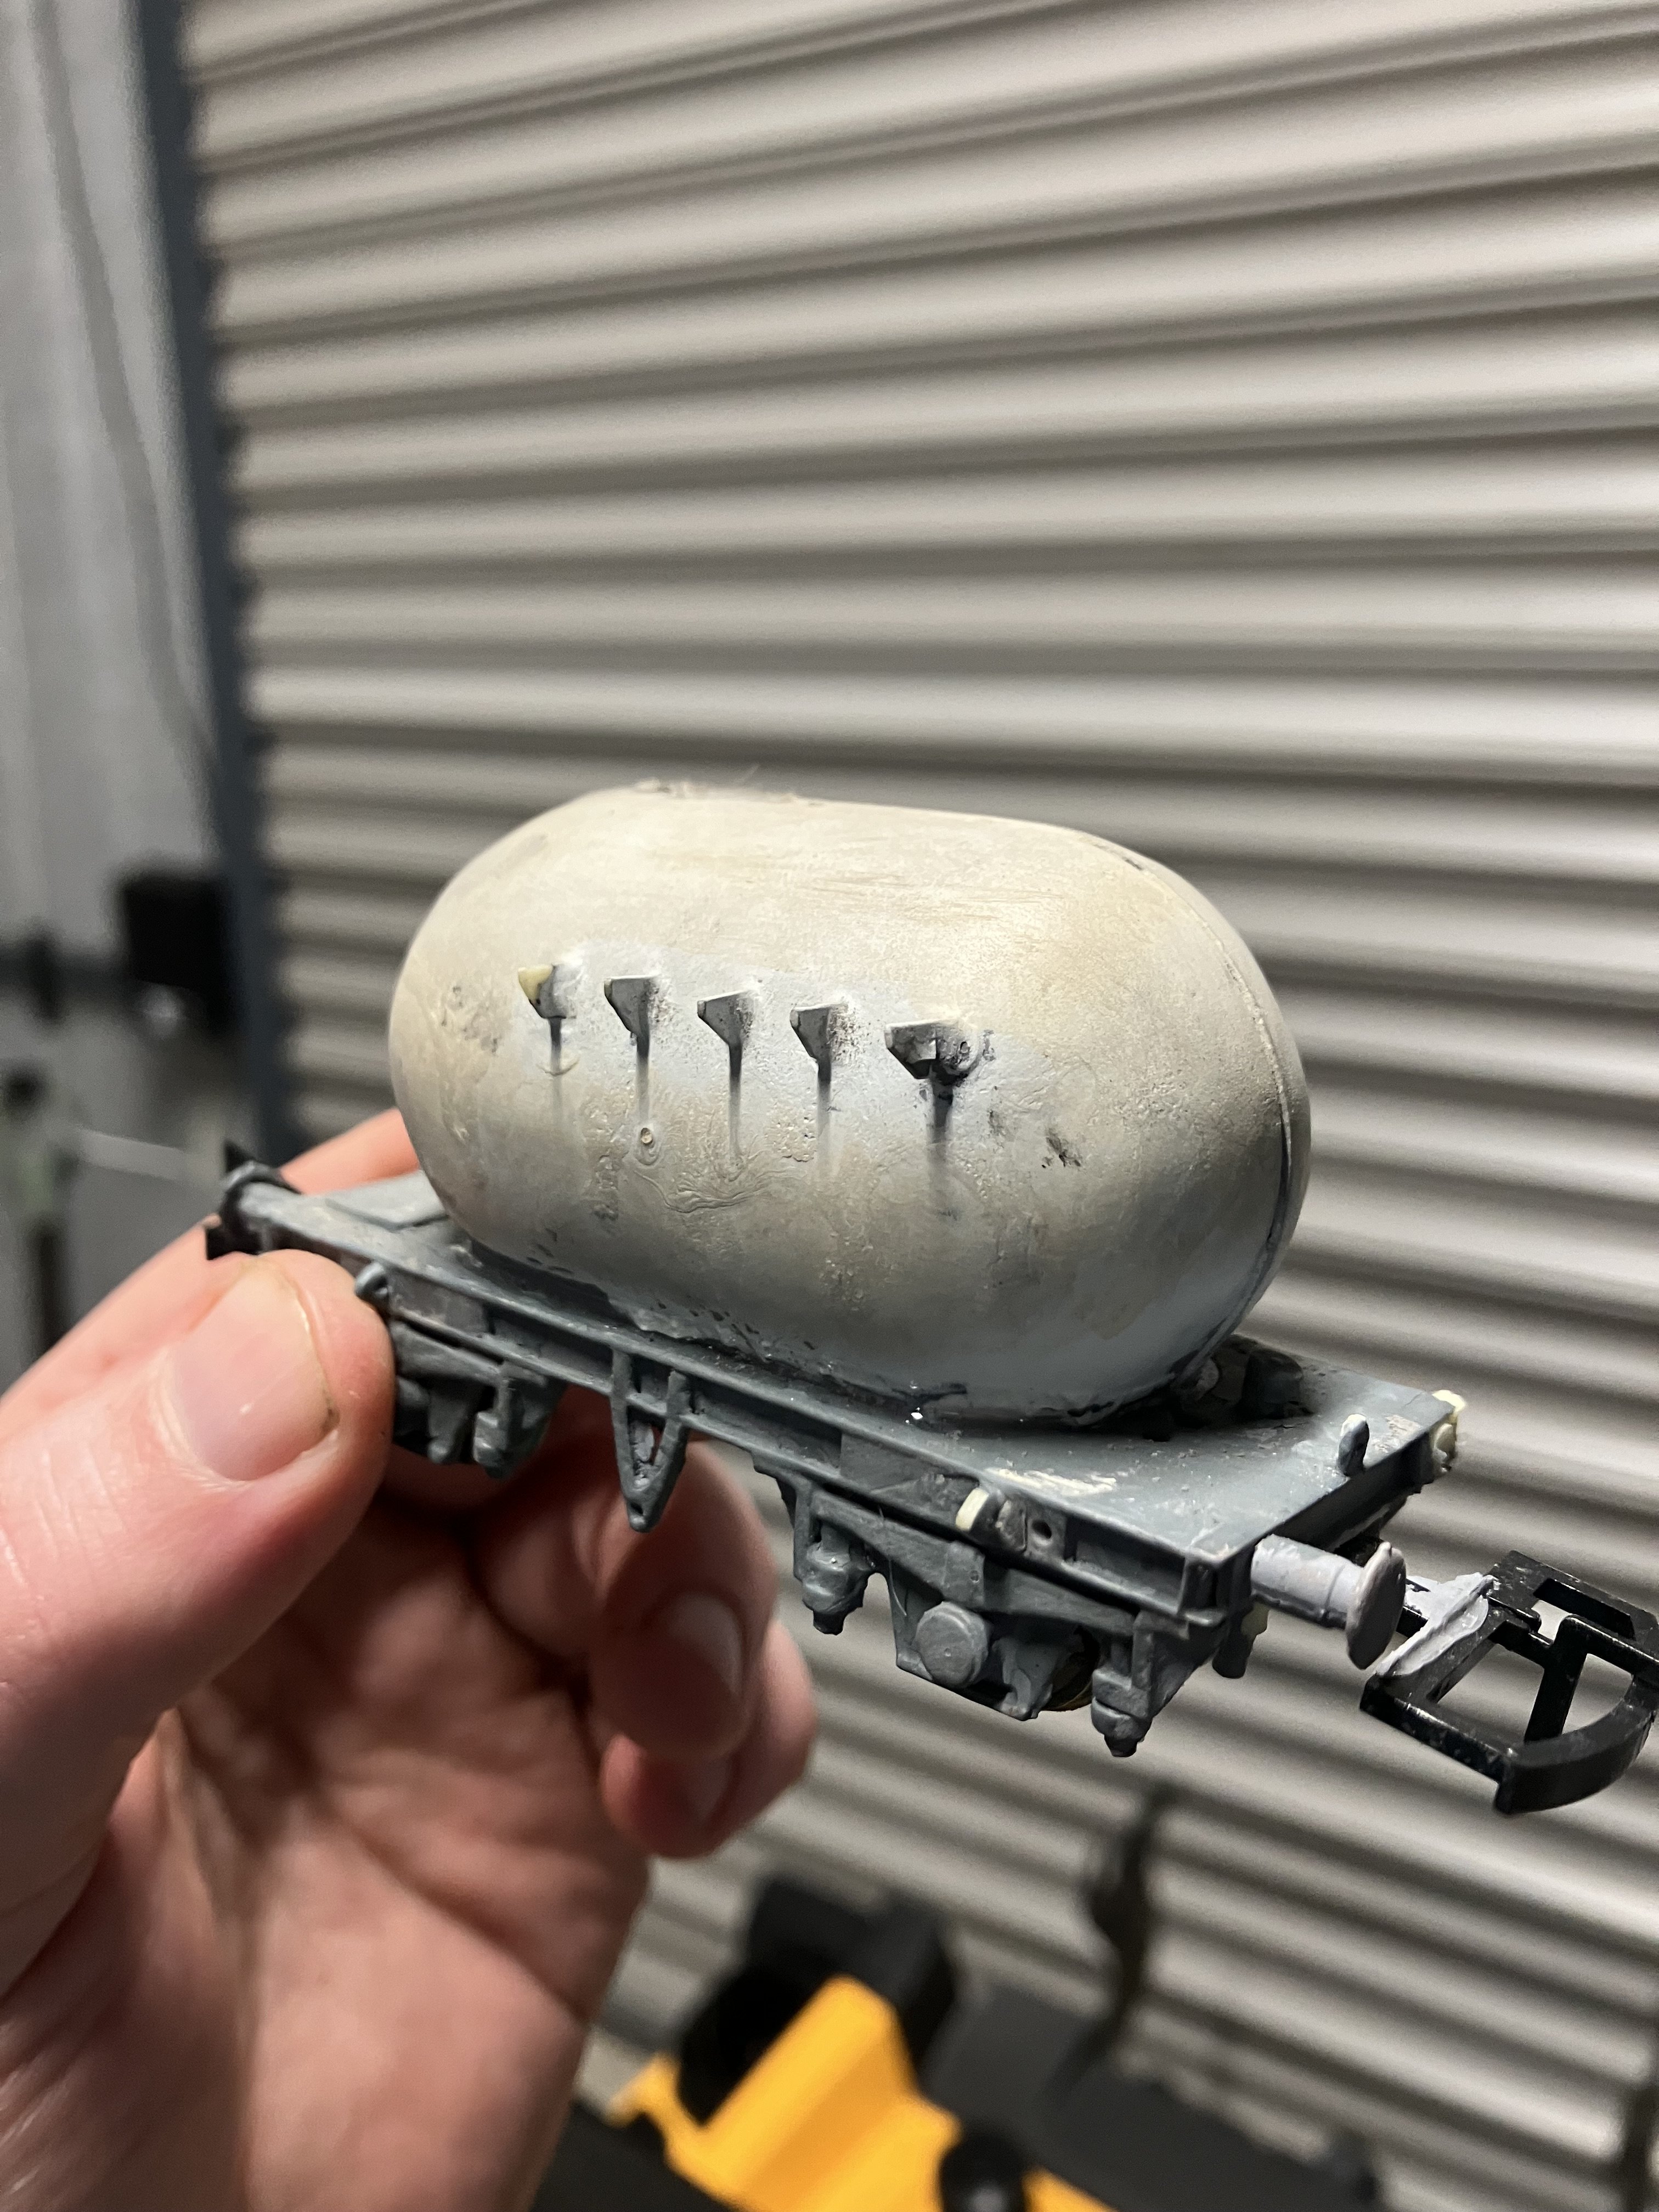
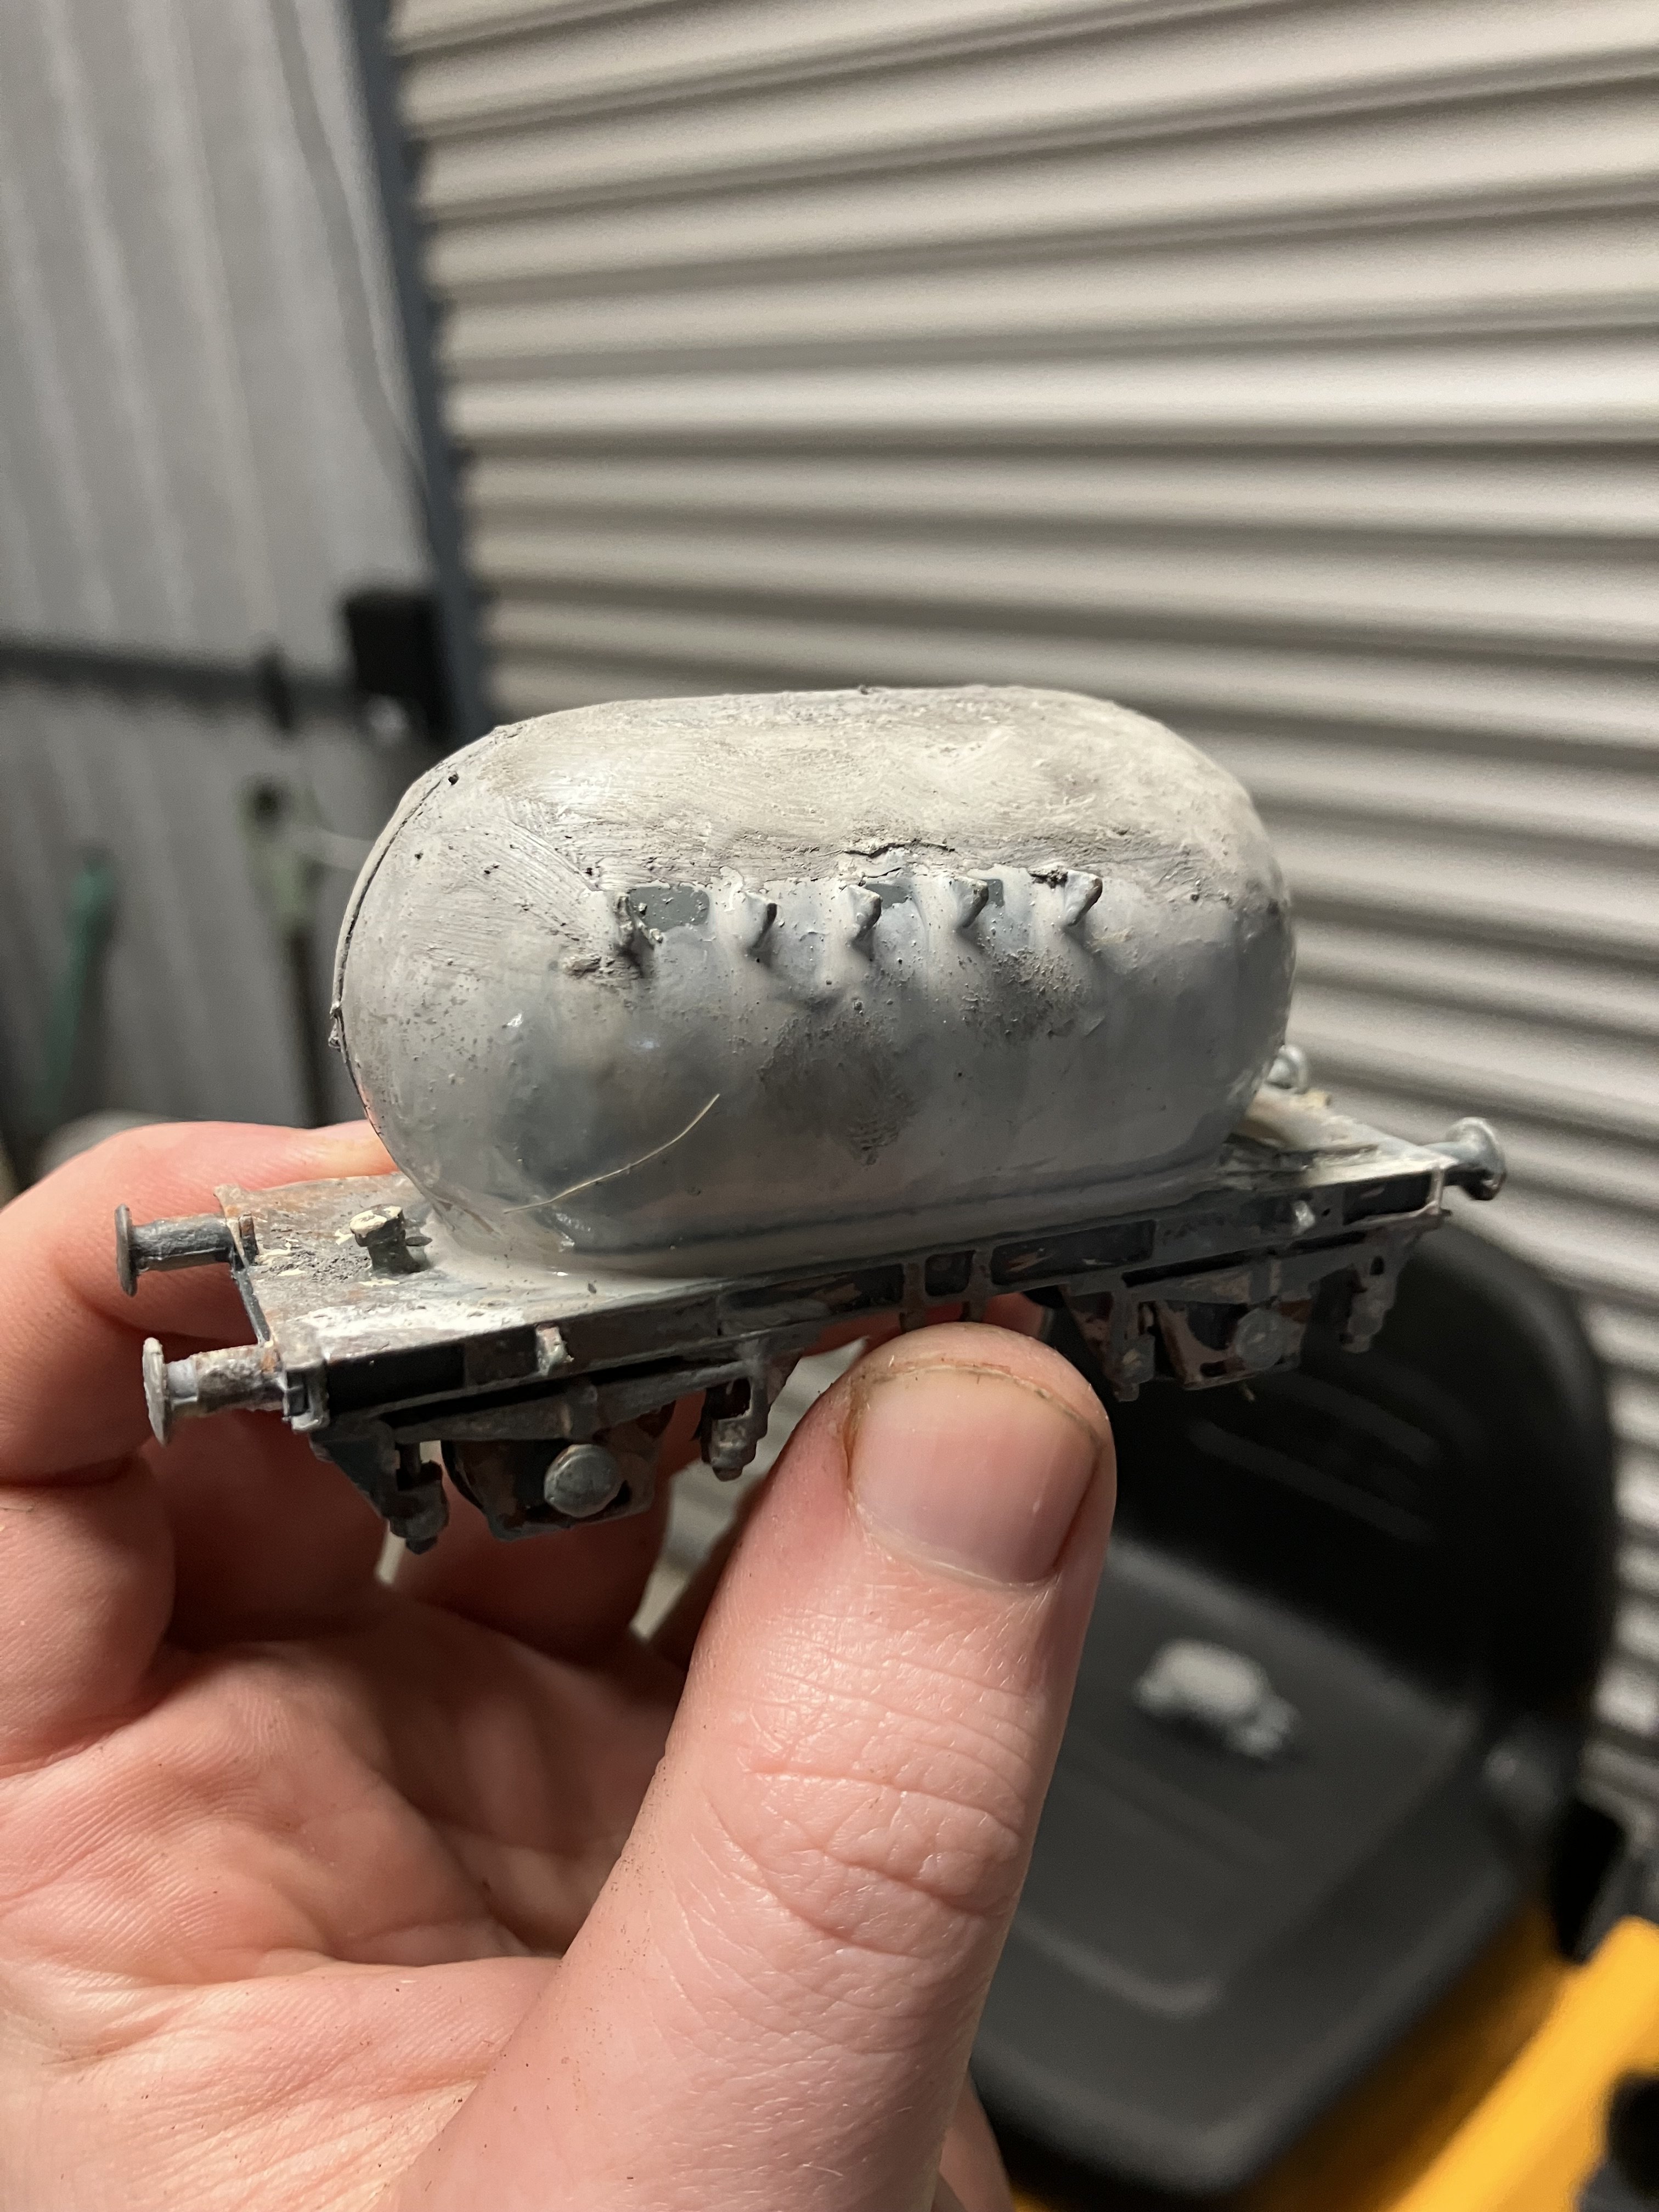
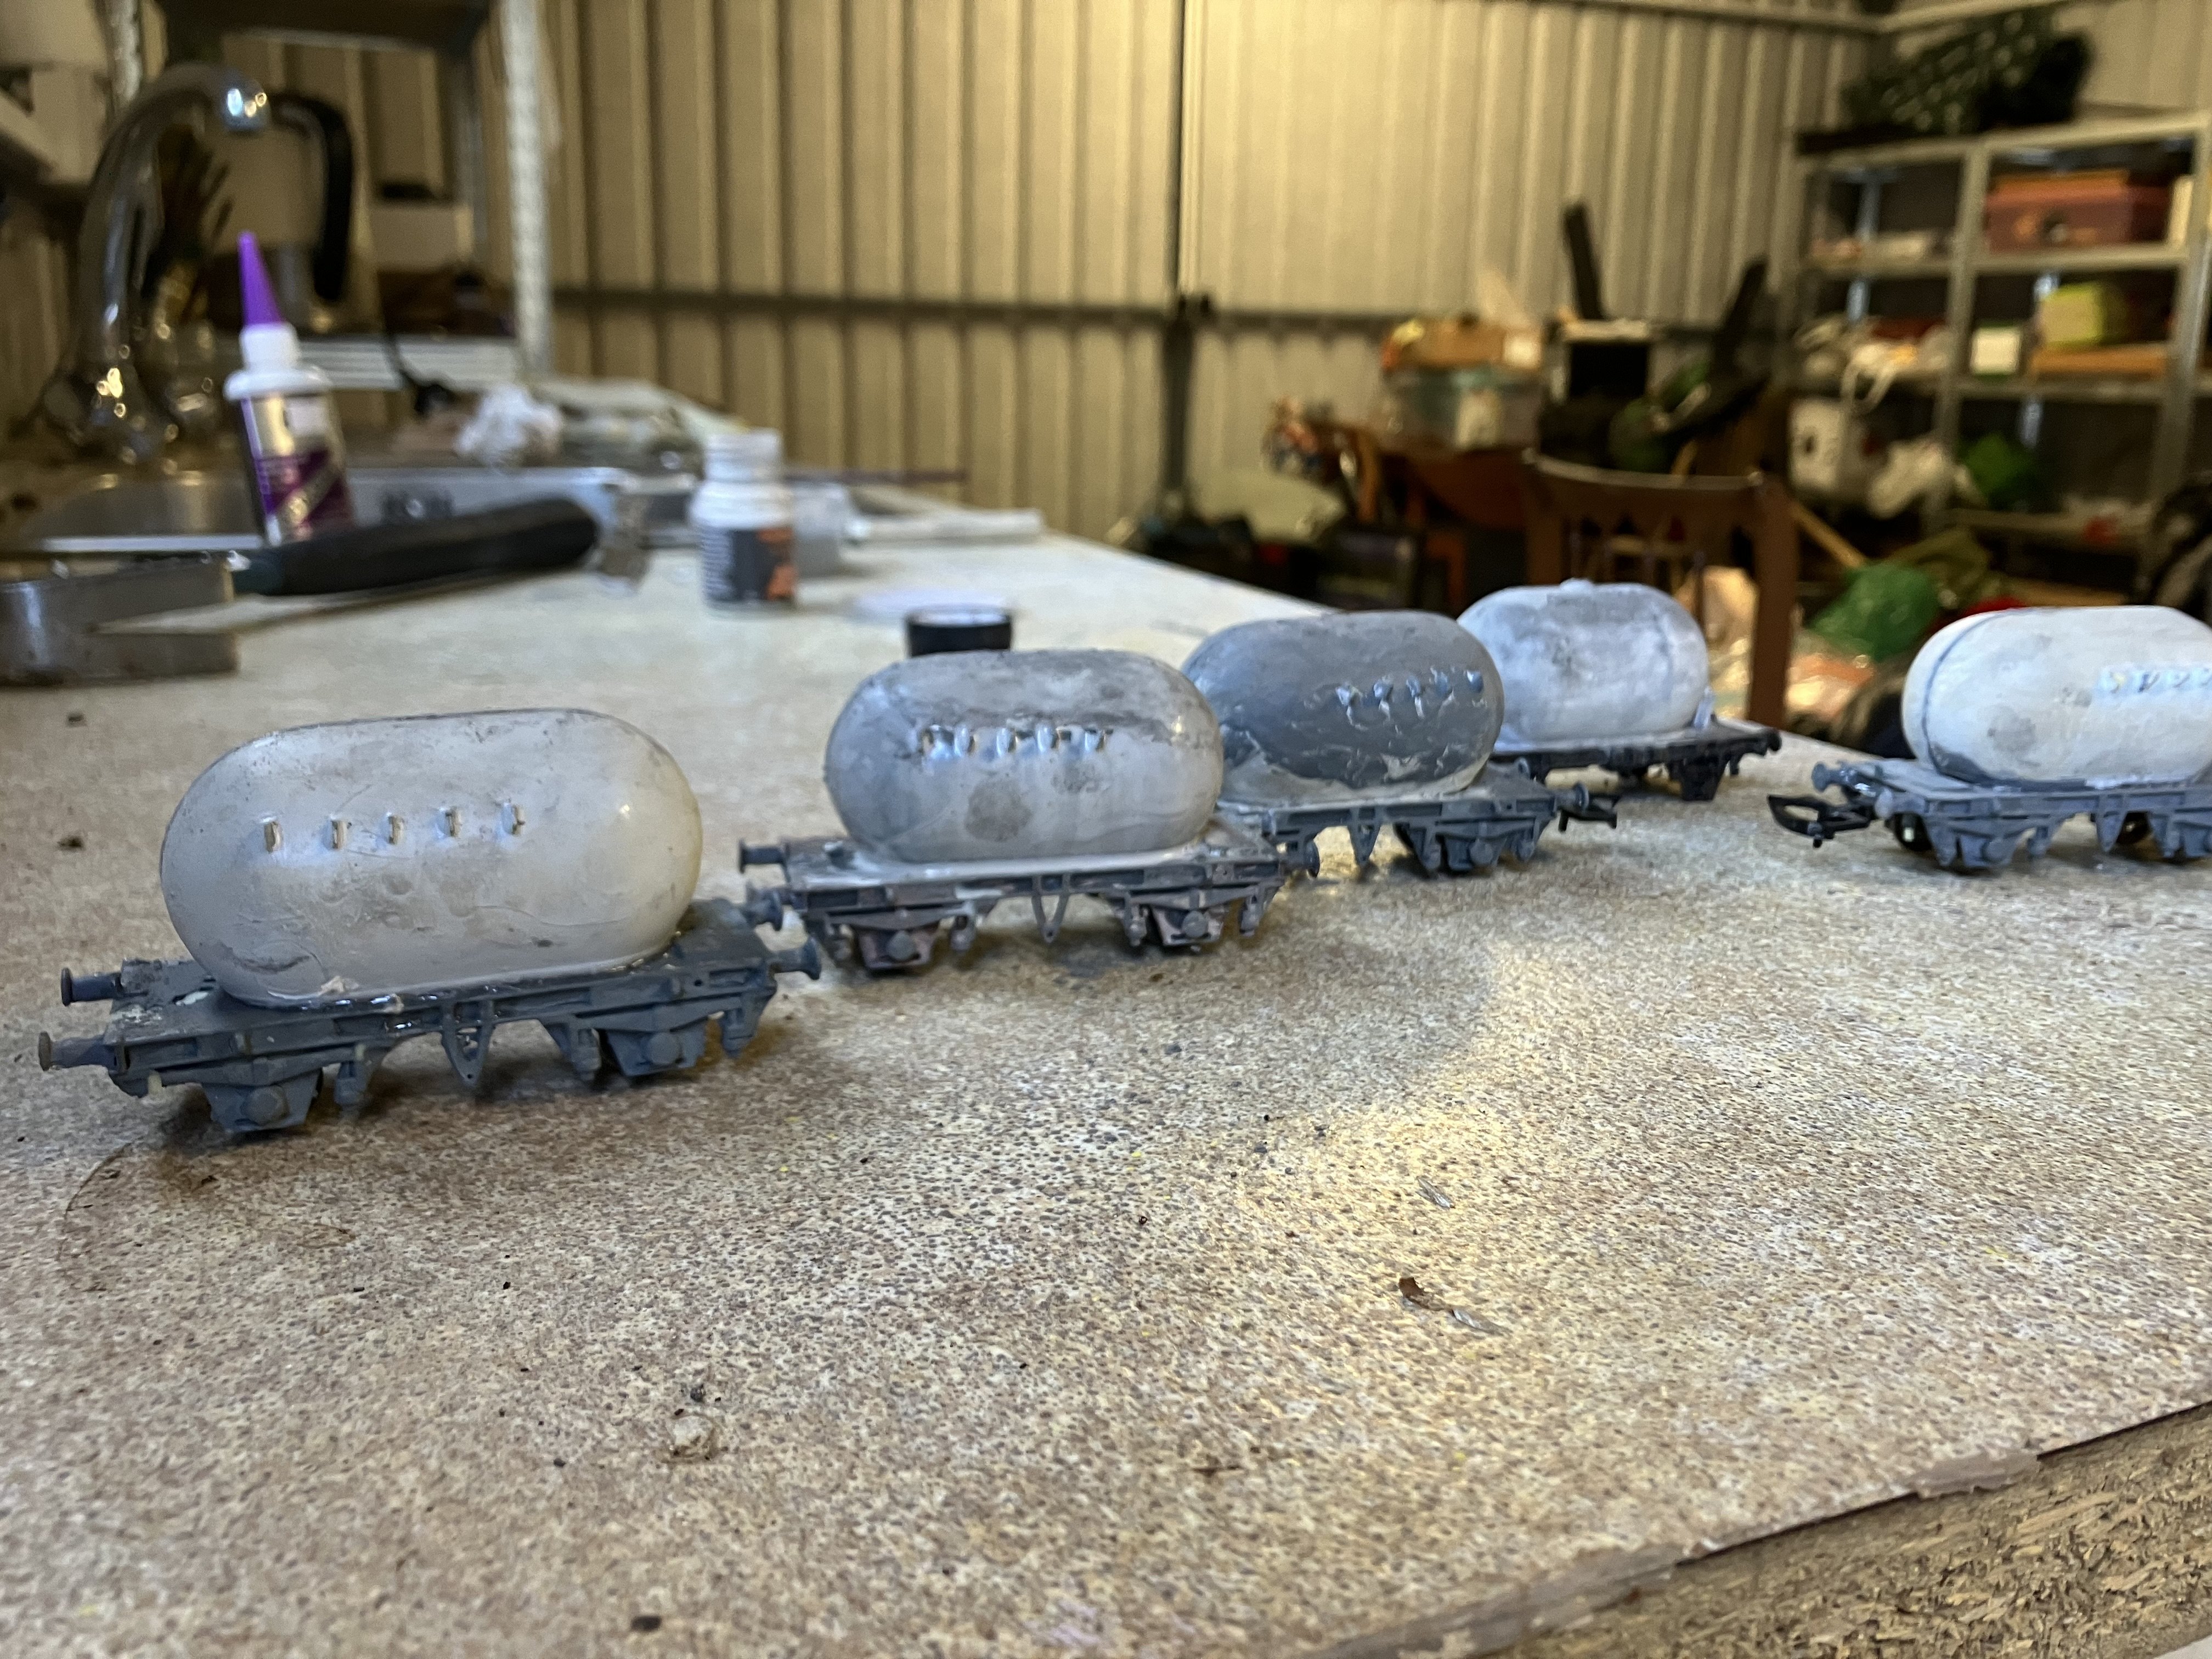
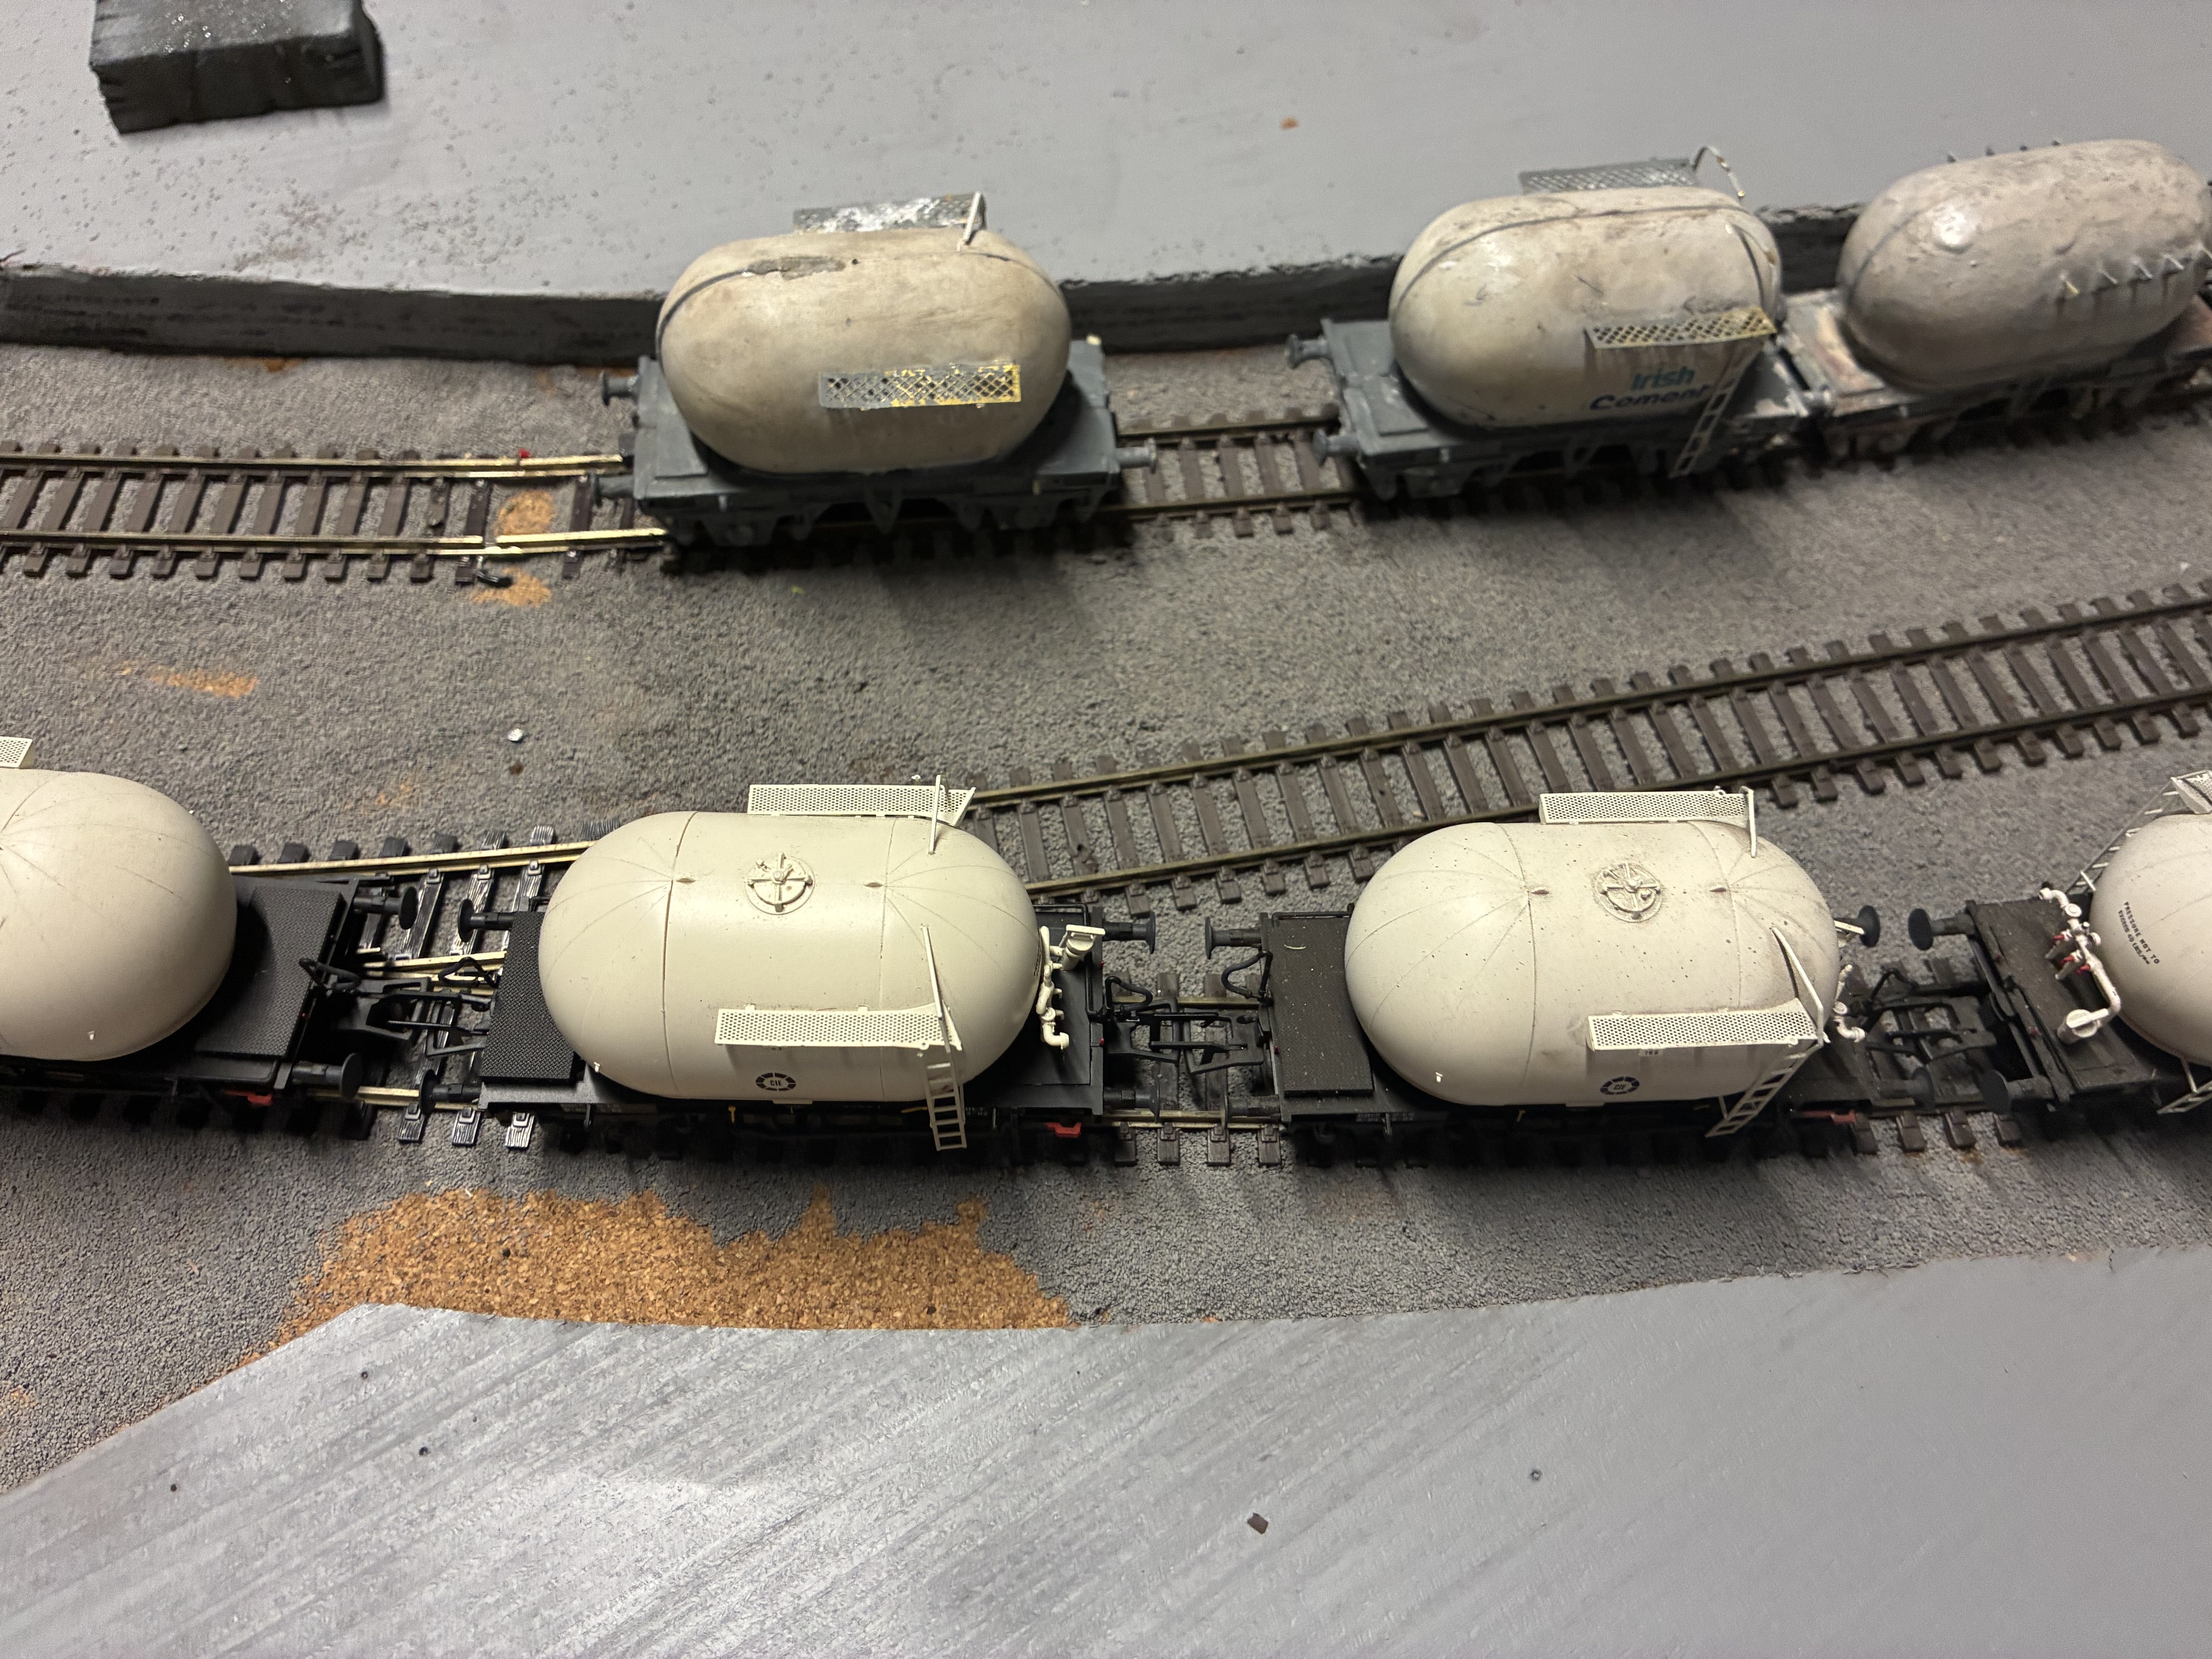
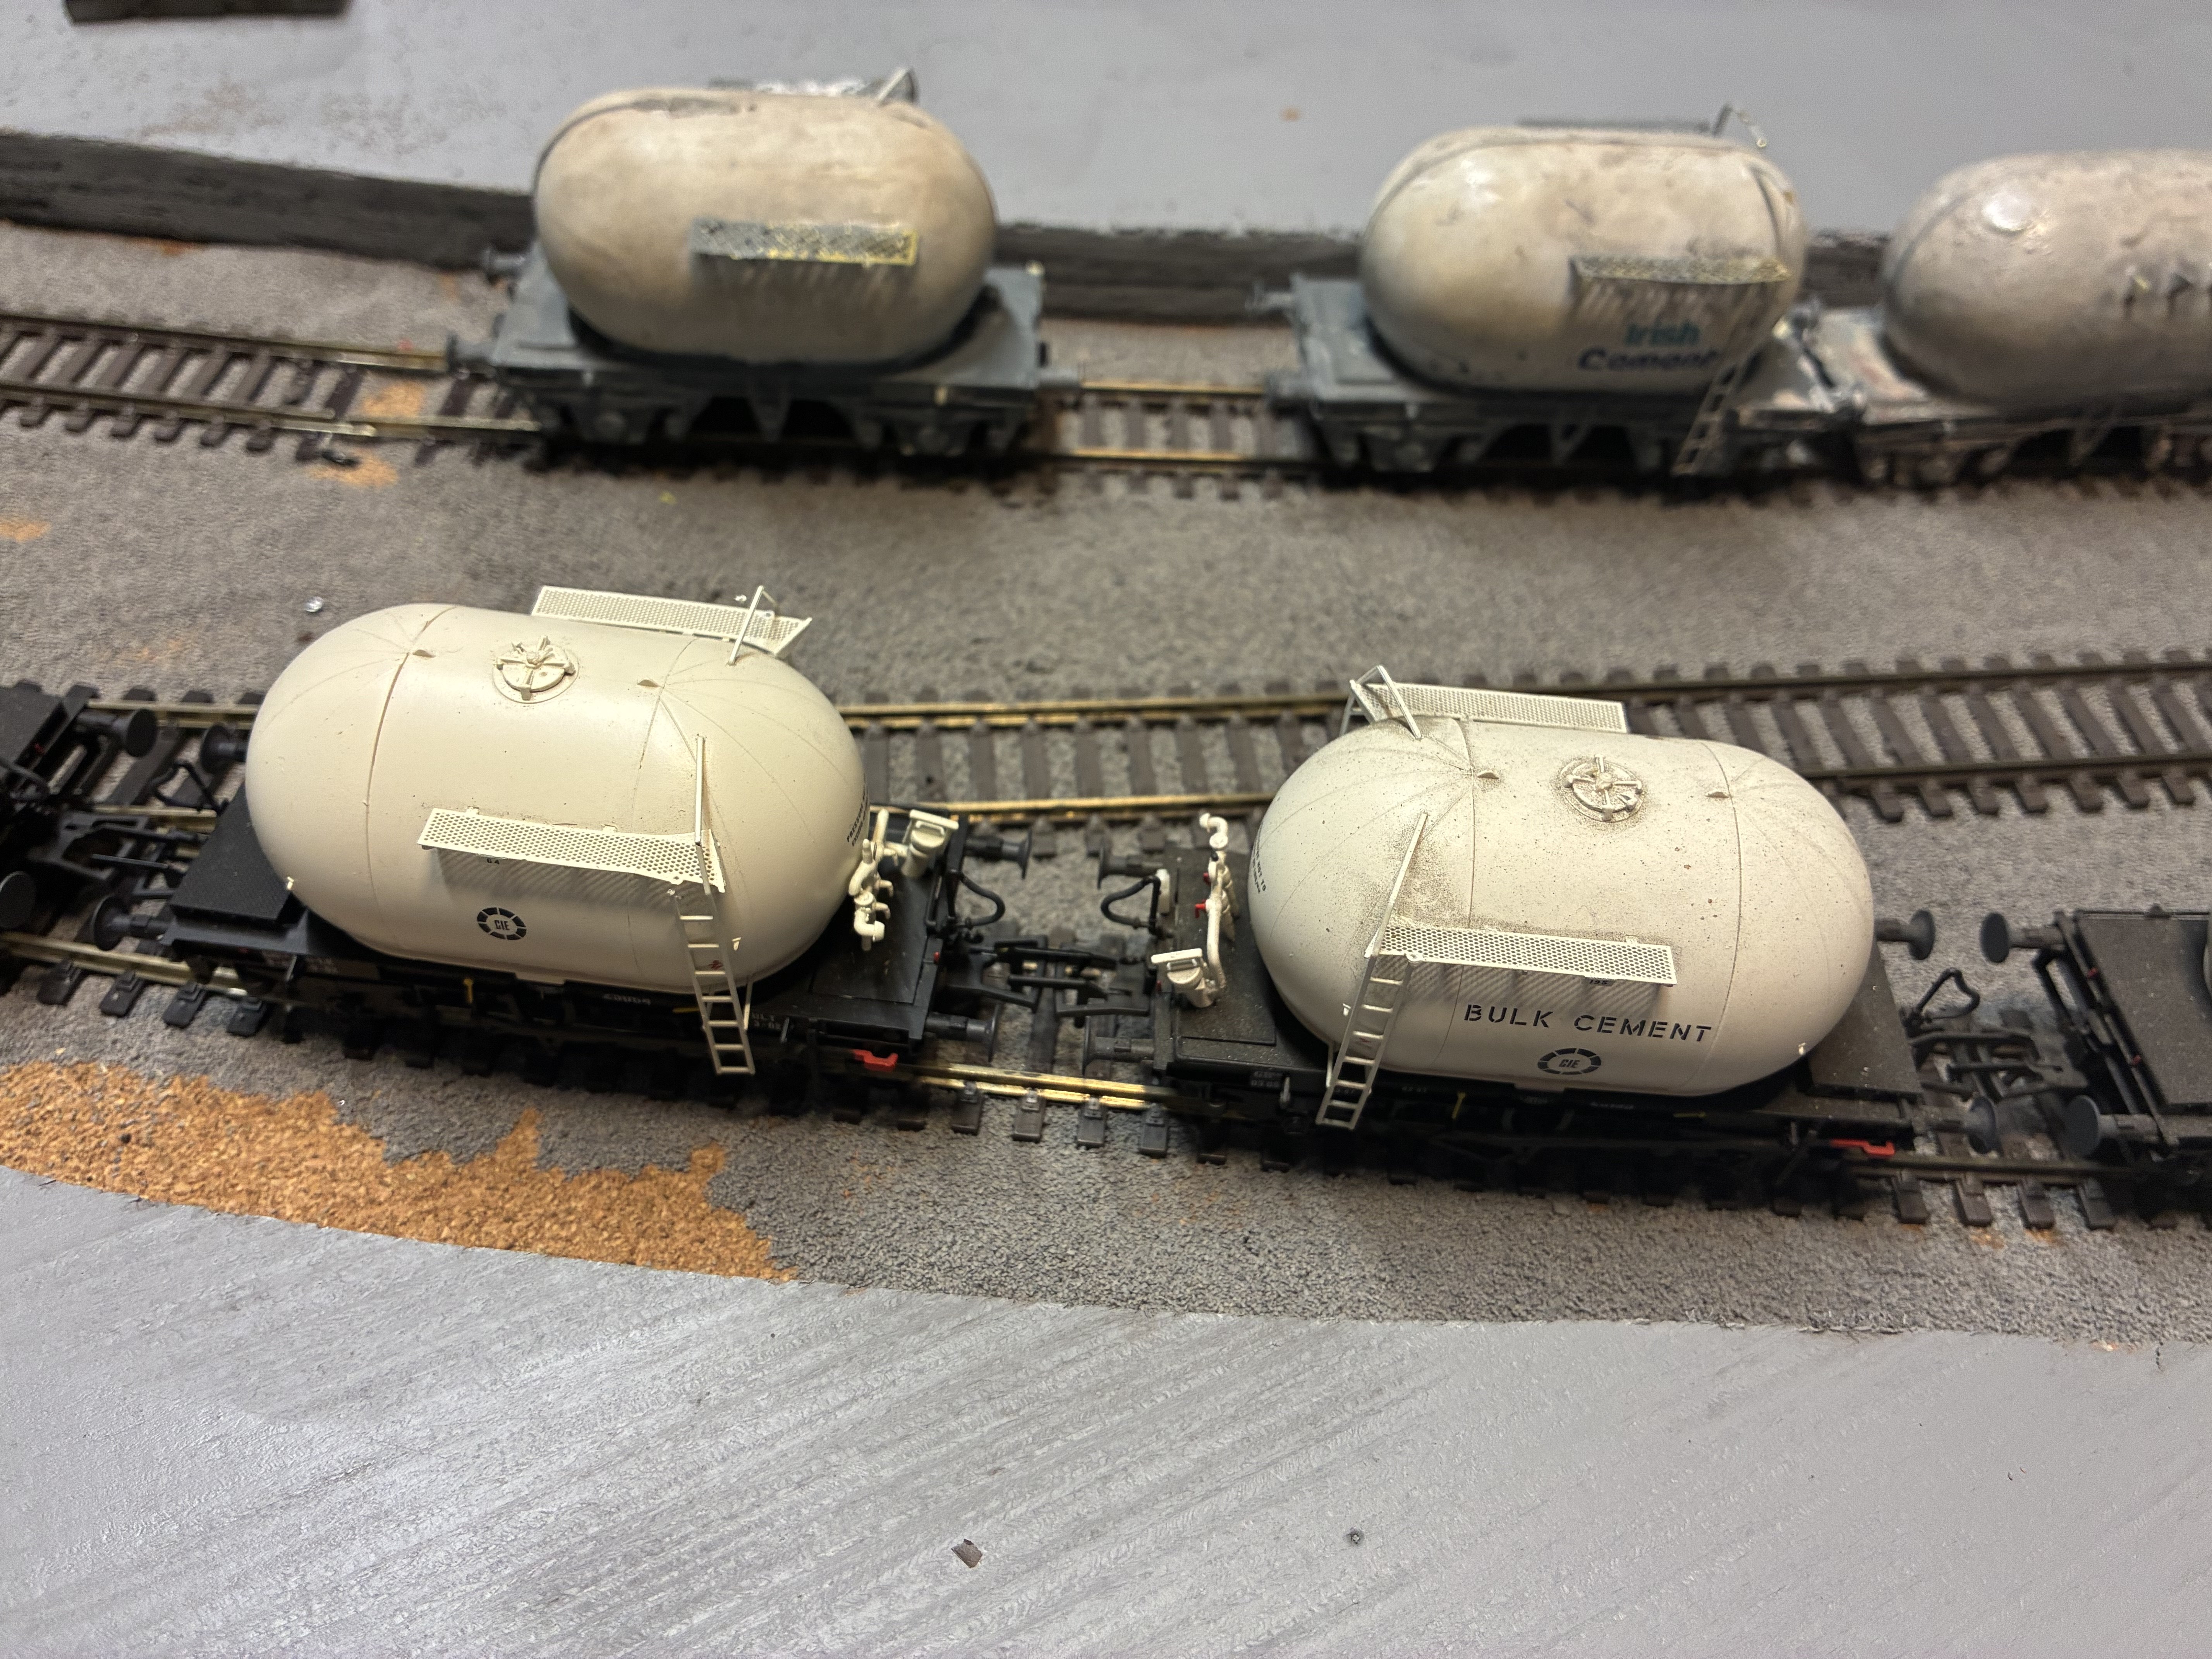
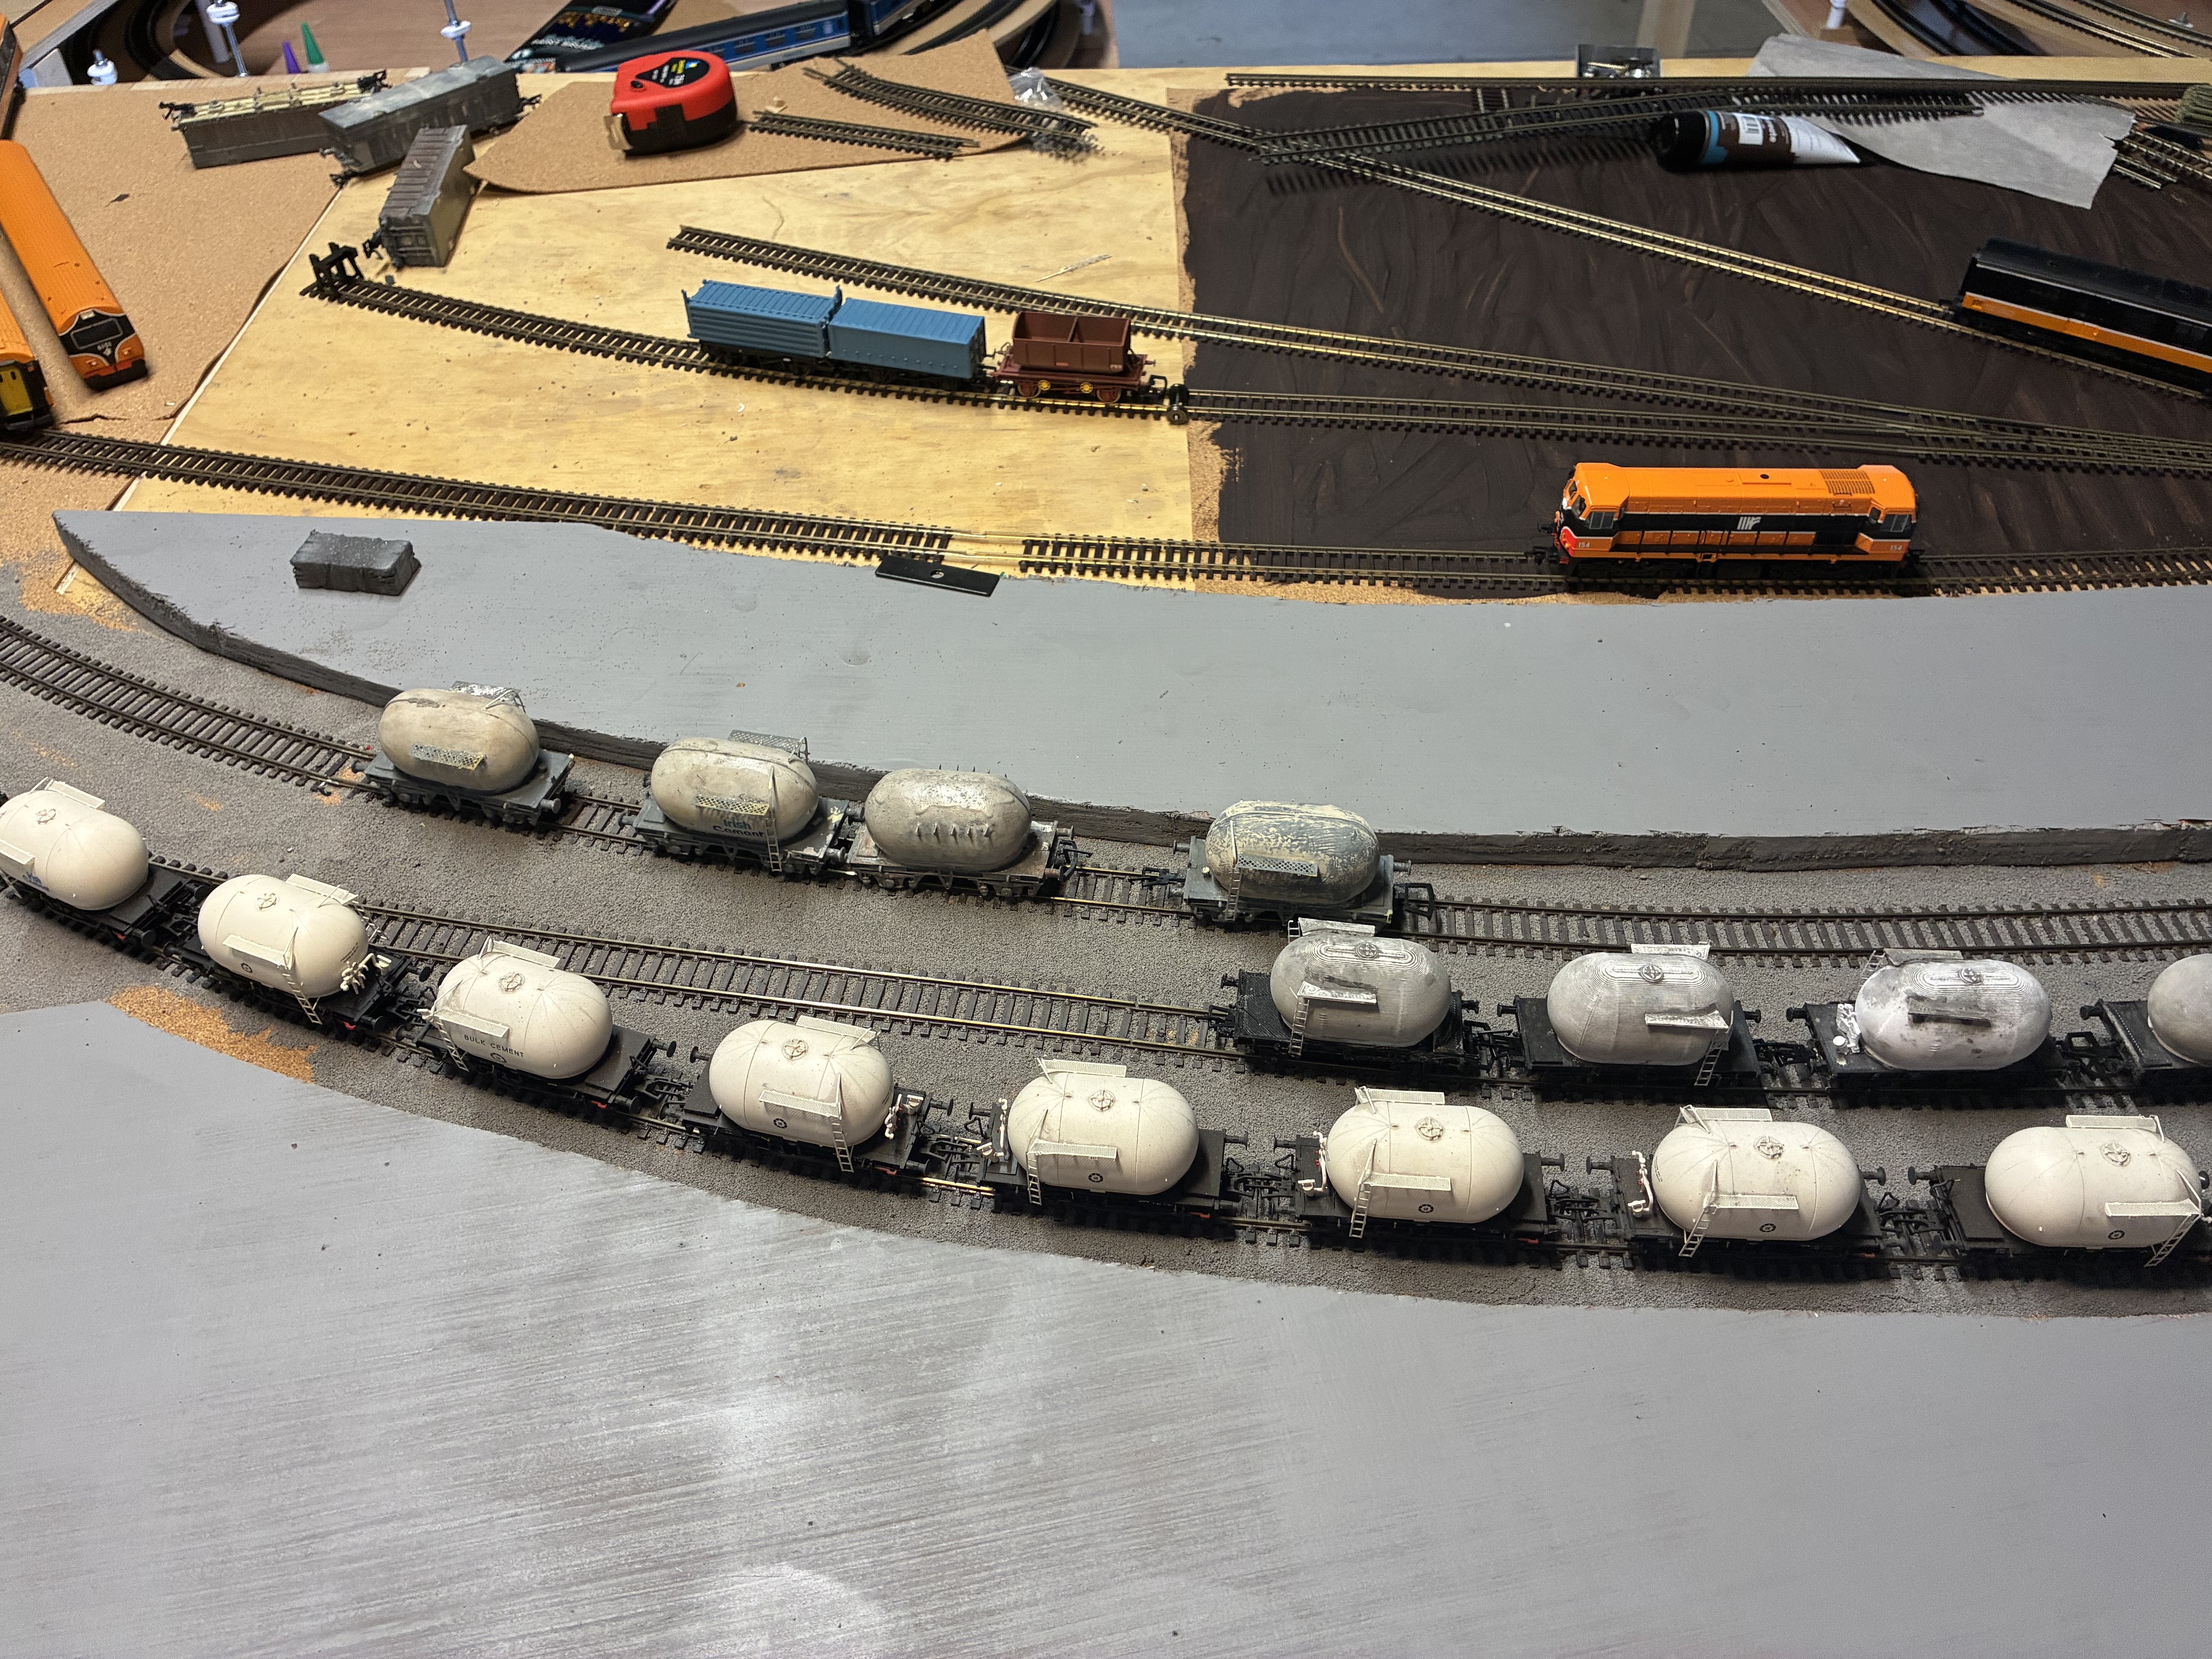
Thanks very much for the lovely comment @dropshort105. The weathered bubbles are actually a 3d model form own o Neil so i didn’t mind giving them a go with weathering. I just a hand brush and some concrete weathering powdering from my local model shop. https://eirehobbies.com/products/concrete-grey-weathering-powder?_pos=16&_sid=5047b23d0&_ss=r Mostly done with dry brushing and go a lot lighter on the sides than the top I actually have 3 different types of bubbles on the layout- or as I say a lot of bubble trouble! 1) Own o Neil’s 3d printed kits 2) some Mir kits my dad bought me when I was a younger,unfortunately we never got to finish them together but they were my first try at a kit. They didn’t come out as well as the 3d kits but are very handy for acting as bubbles that need to be repair outside the engine shed 3) IRM bubbles- I just can’t and I mean can’t do it… there just so well finished and don’t want to make a mess of them. I bought some on Facebook that were lightly weathered but even at that I still think it would be a crime to weather them. all the bubbles. I used some photos form Flickr for hope when trying to do the weathering ,I can share the photos here if you would ? I hope this helps
-
Drogheda MacBride Station And Platin Cement Factory
Anders112 replied to Anders112's topic in Irish Model Layouts
Drogheda has gone through many changes in the last 30-40 years. even look at the change in view from Buckie’s bridge.It has lost a lot of his character from vegetation to big changes in track work with the crossovers being moved south of the bridge in late 90s and more sidings due to the Railcar being opened in 2002! I could do a huge massive post on the changes of Drogheda during this period -
Drogheda MacBride Station And Platin Cement Factory
Anders112 replied to Anders112's topic in Irish Model Layouts
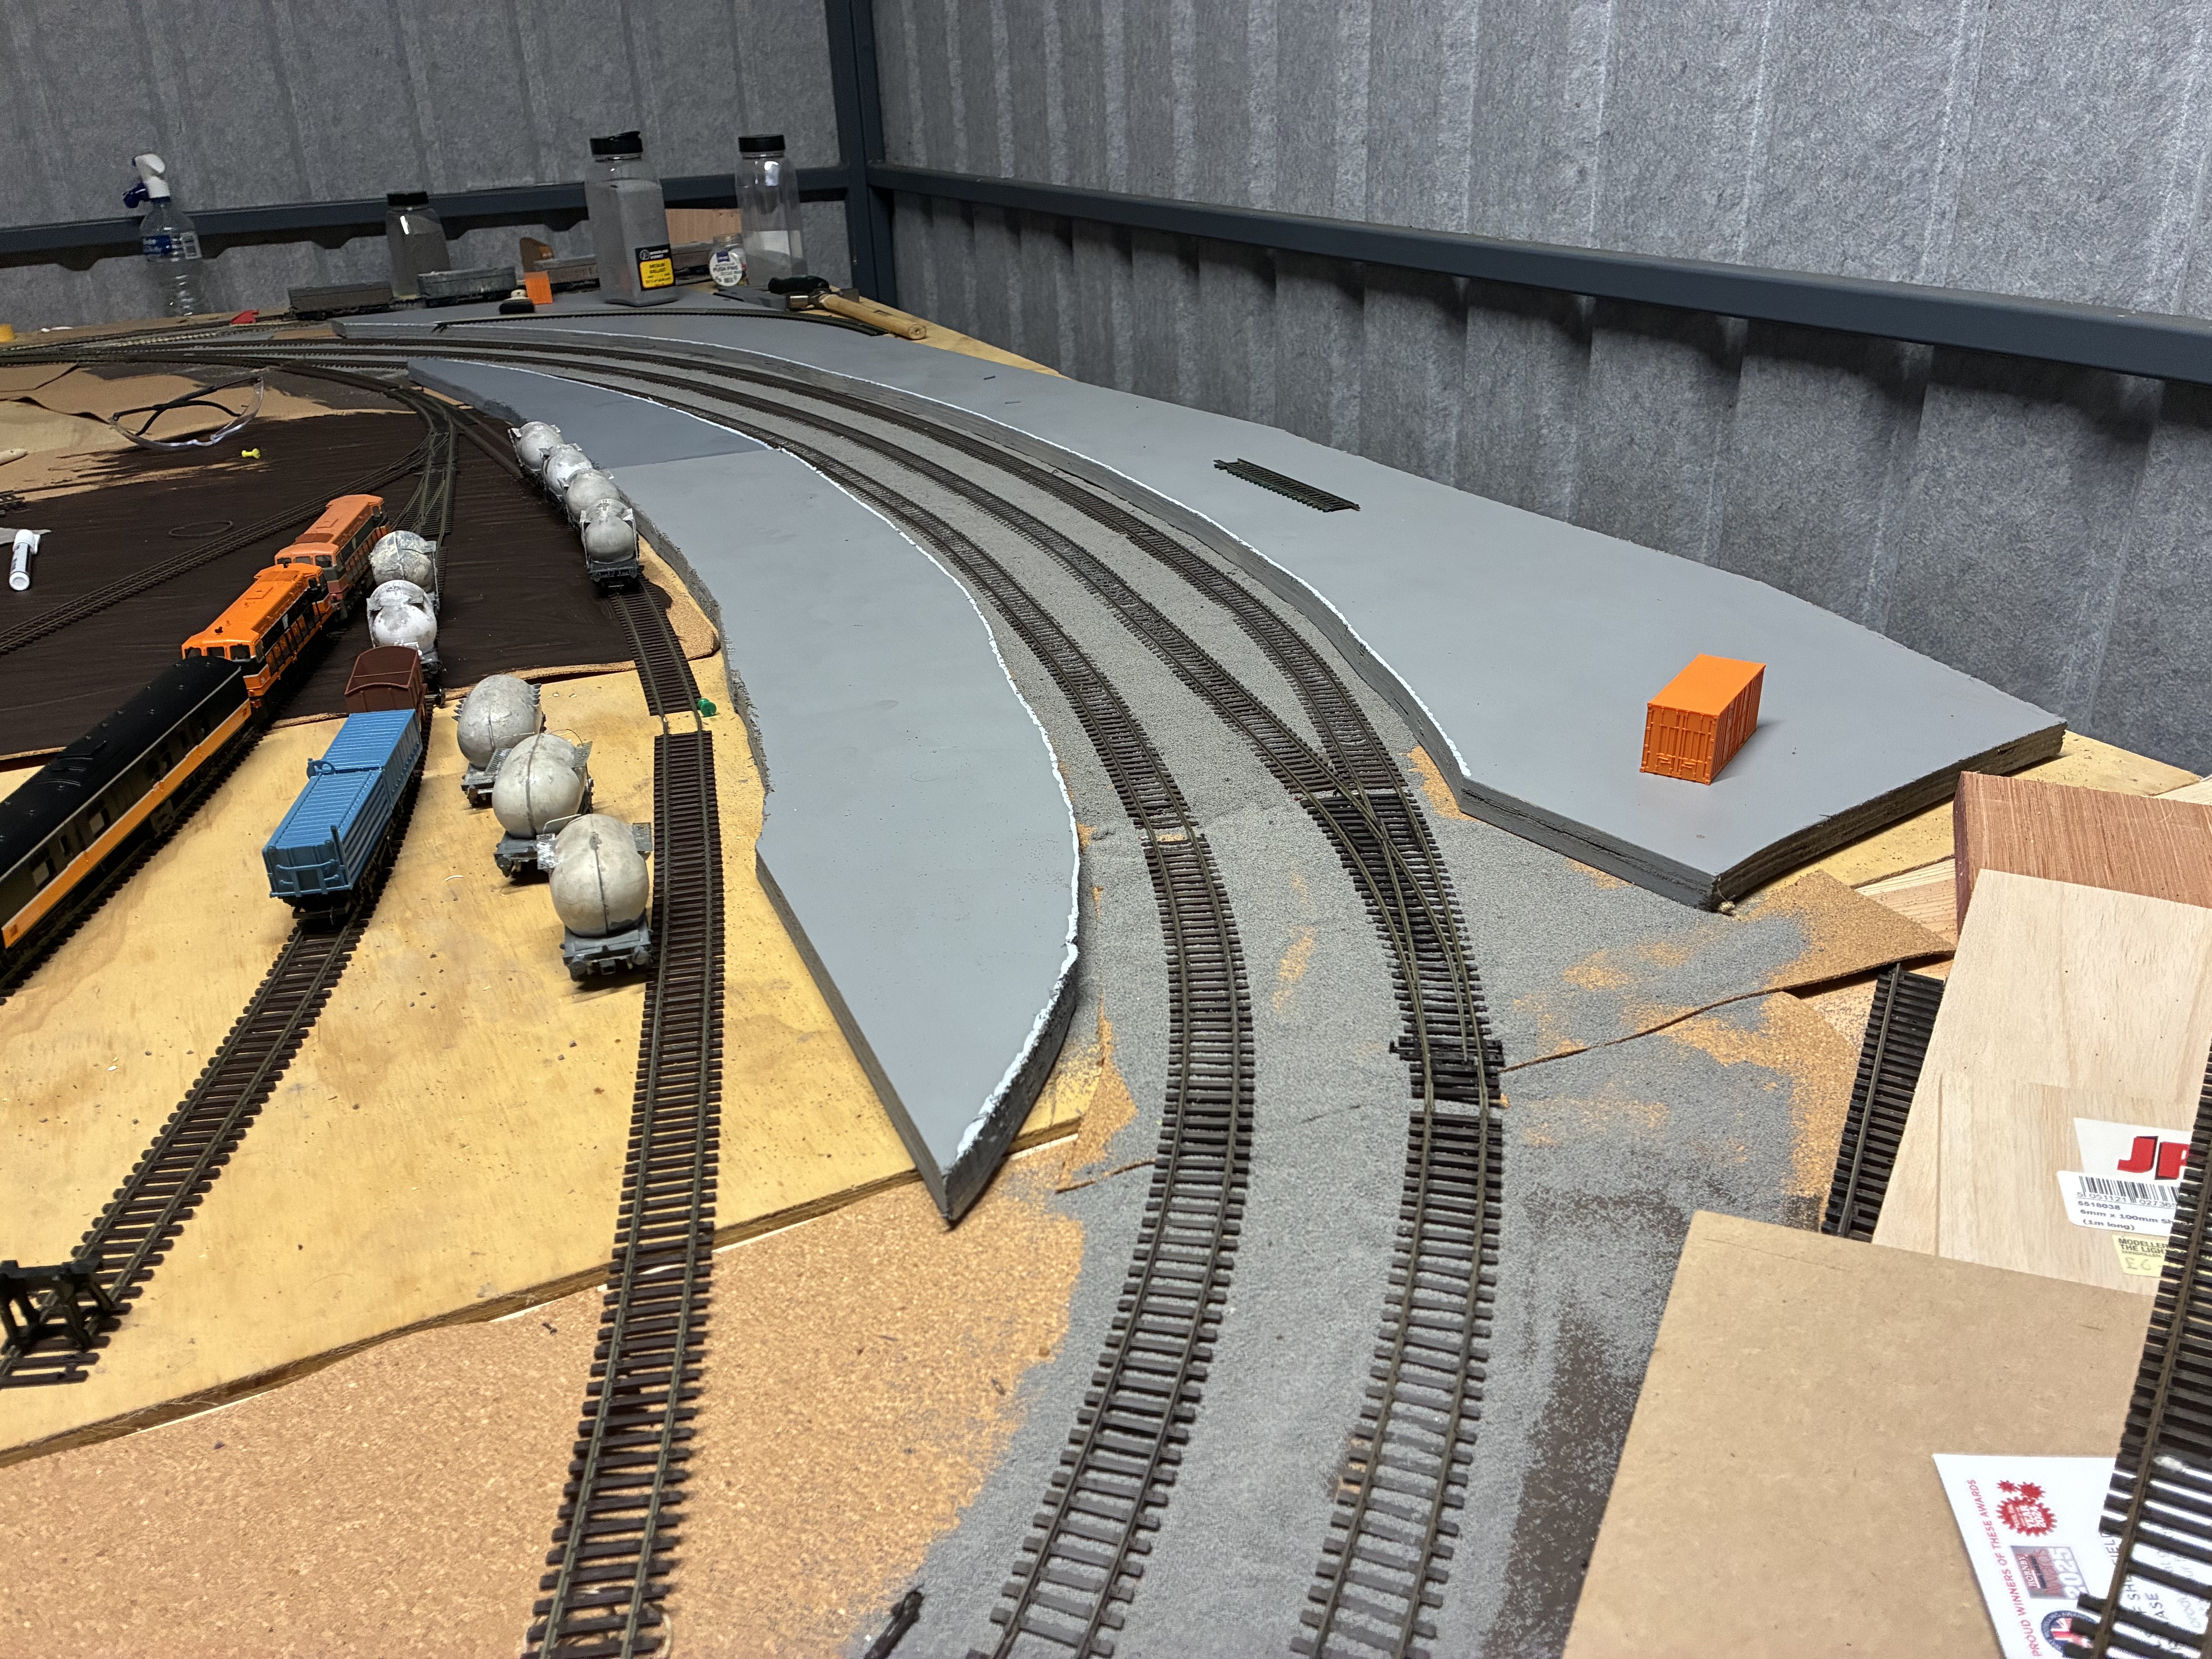
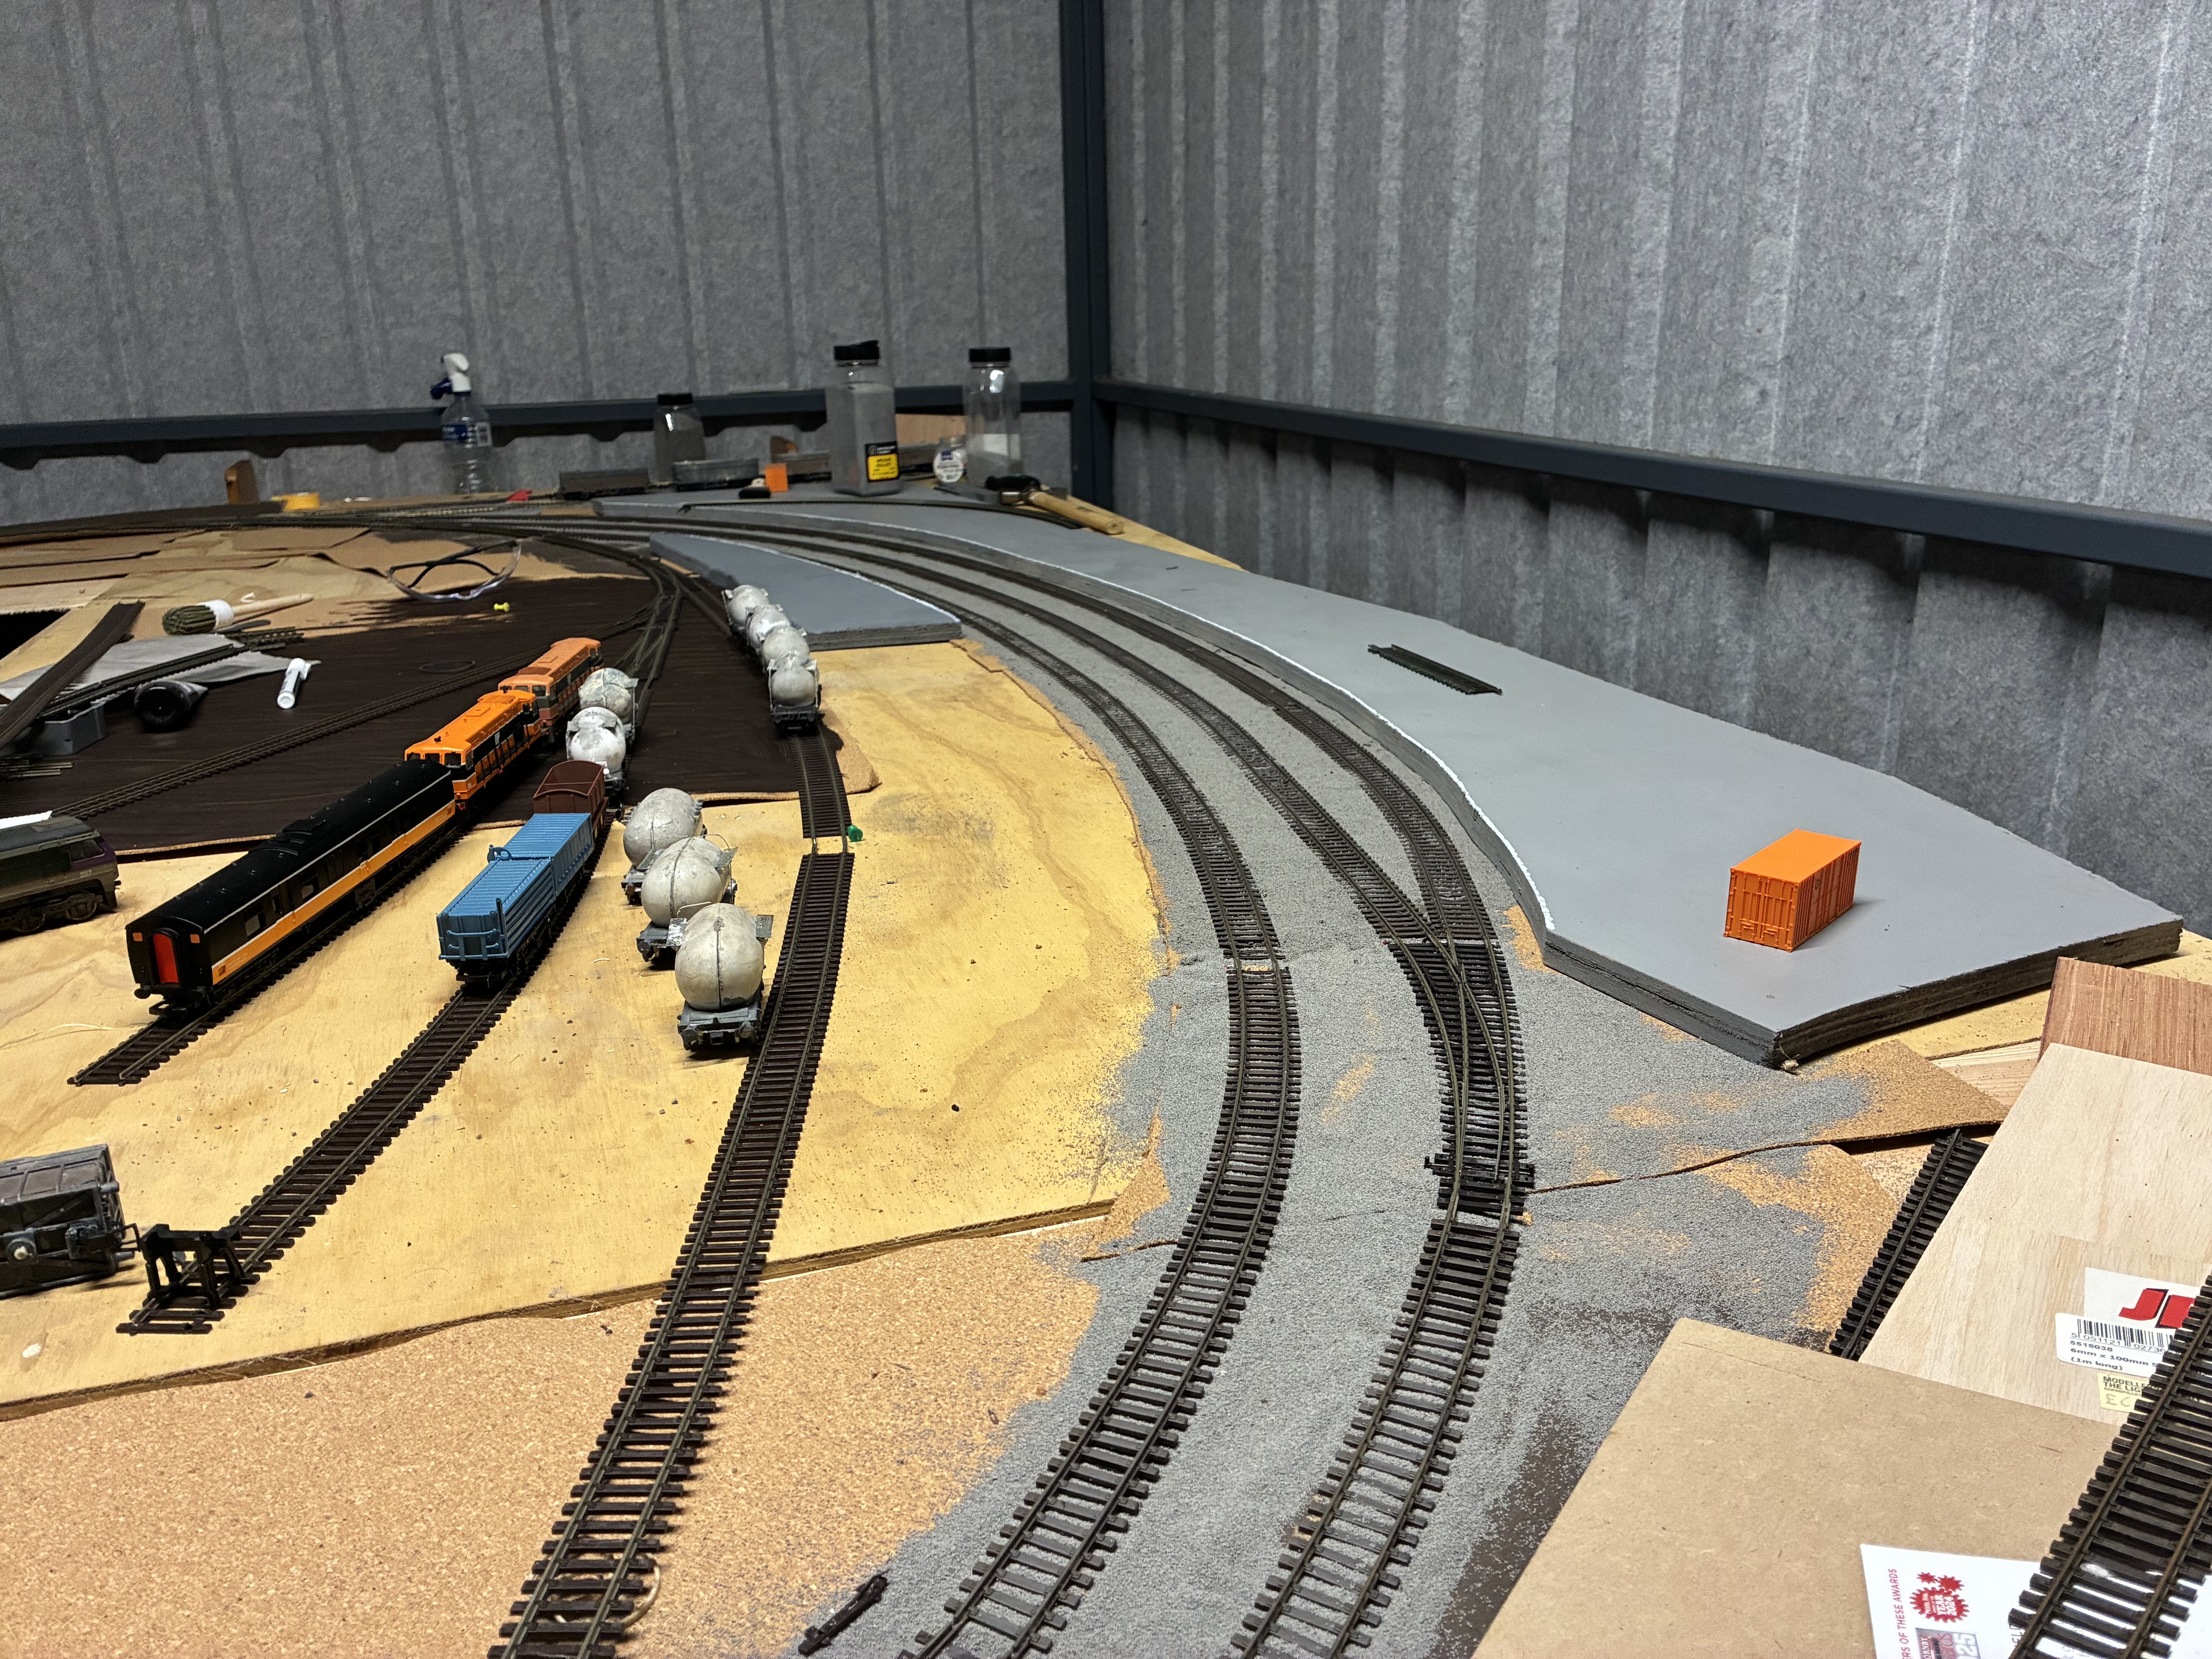
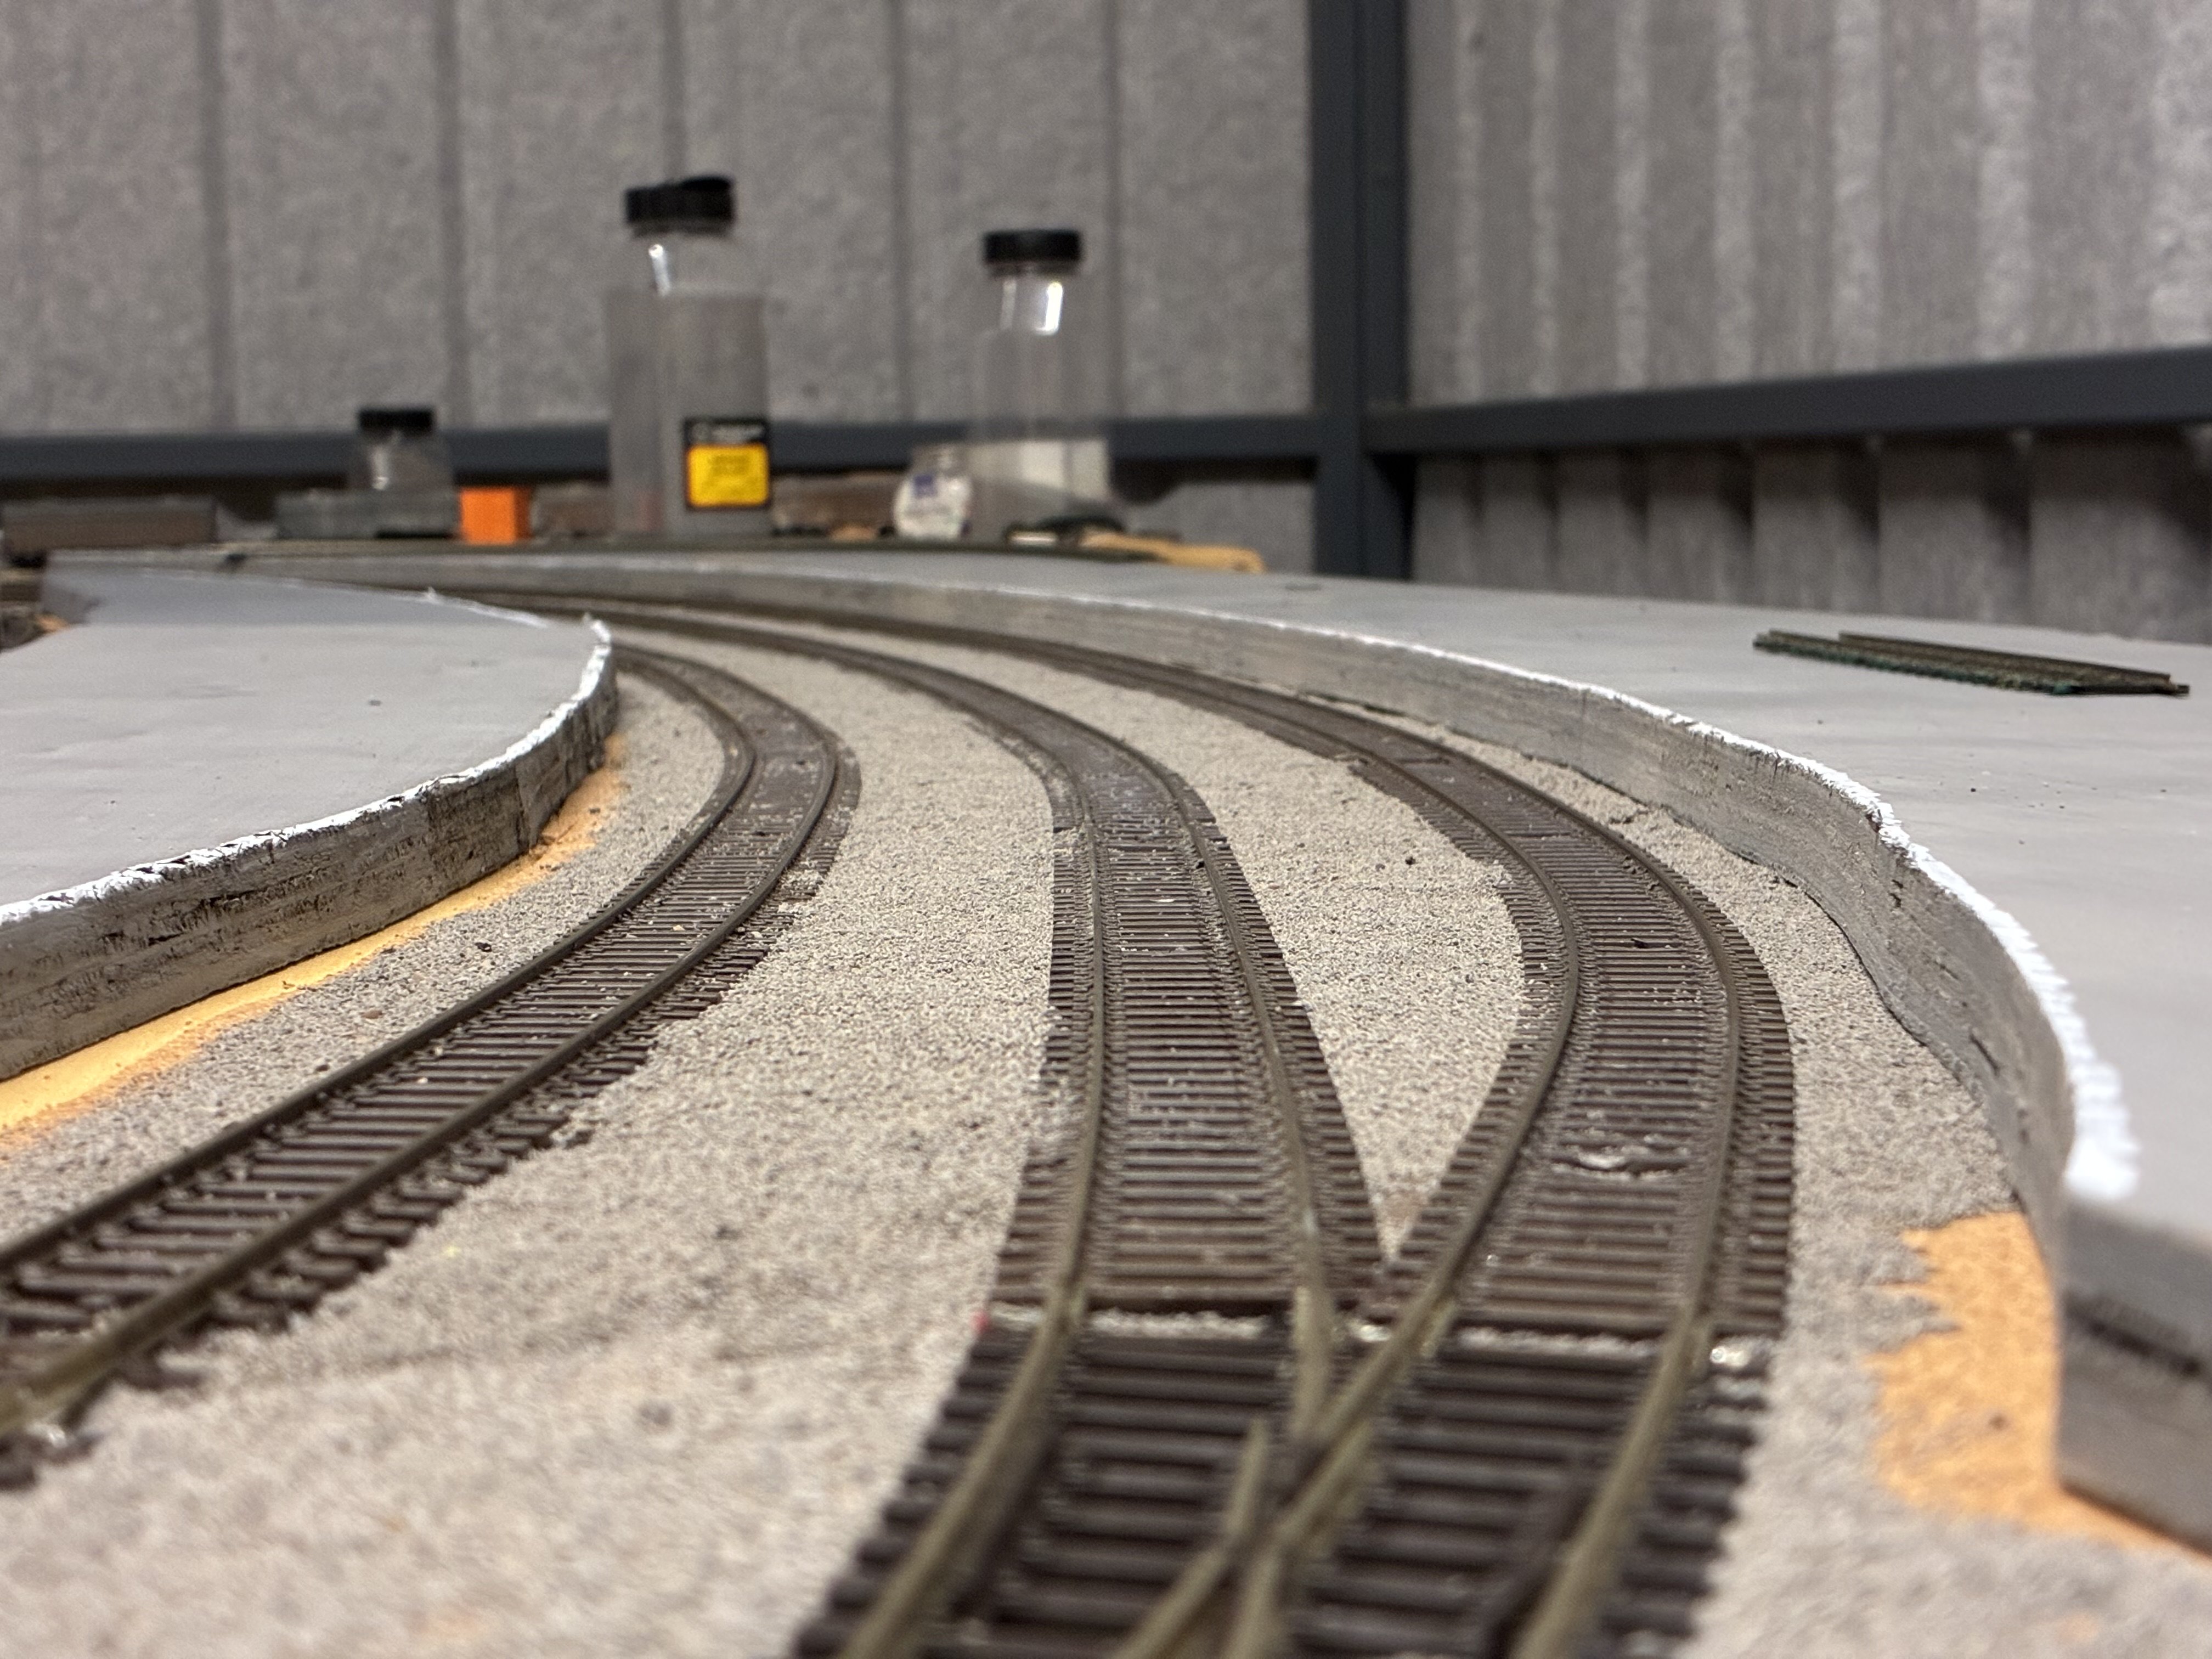
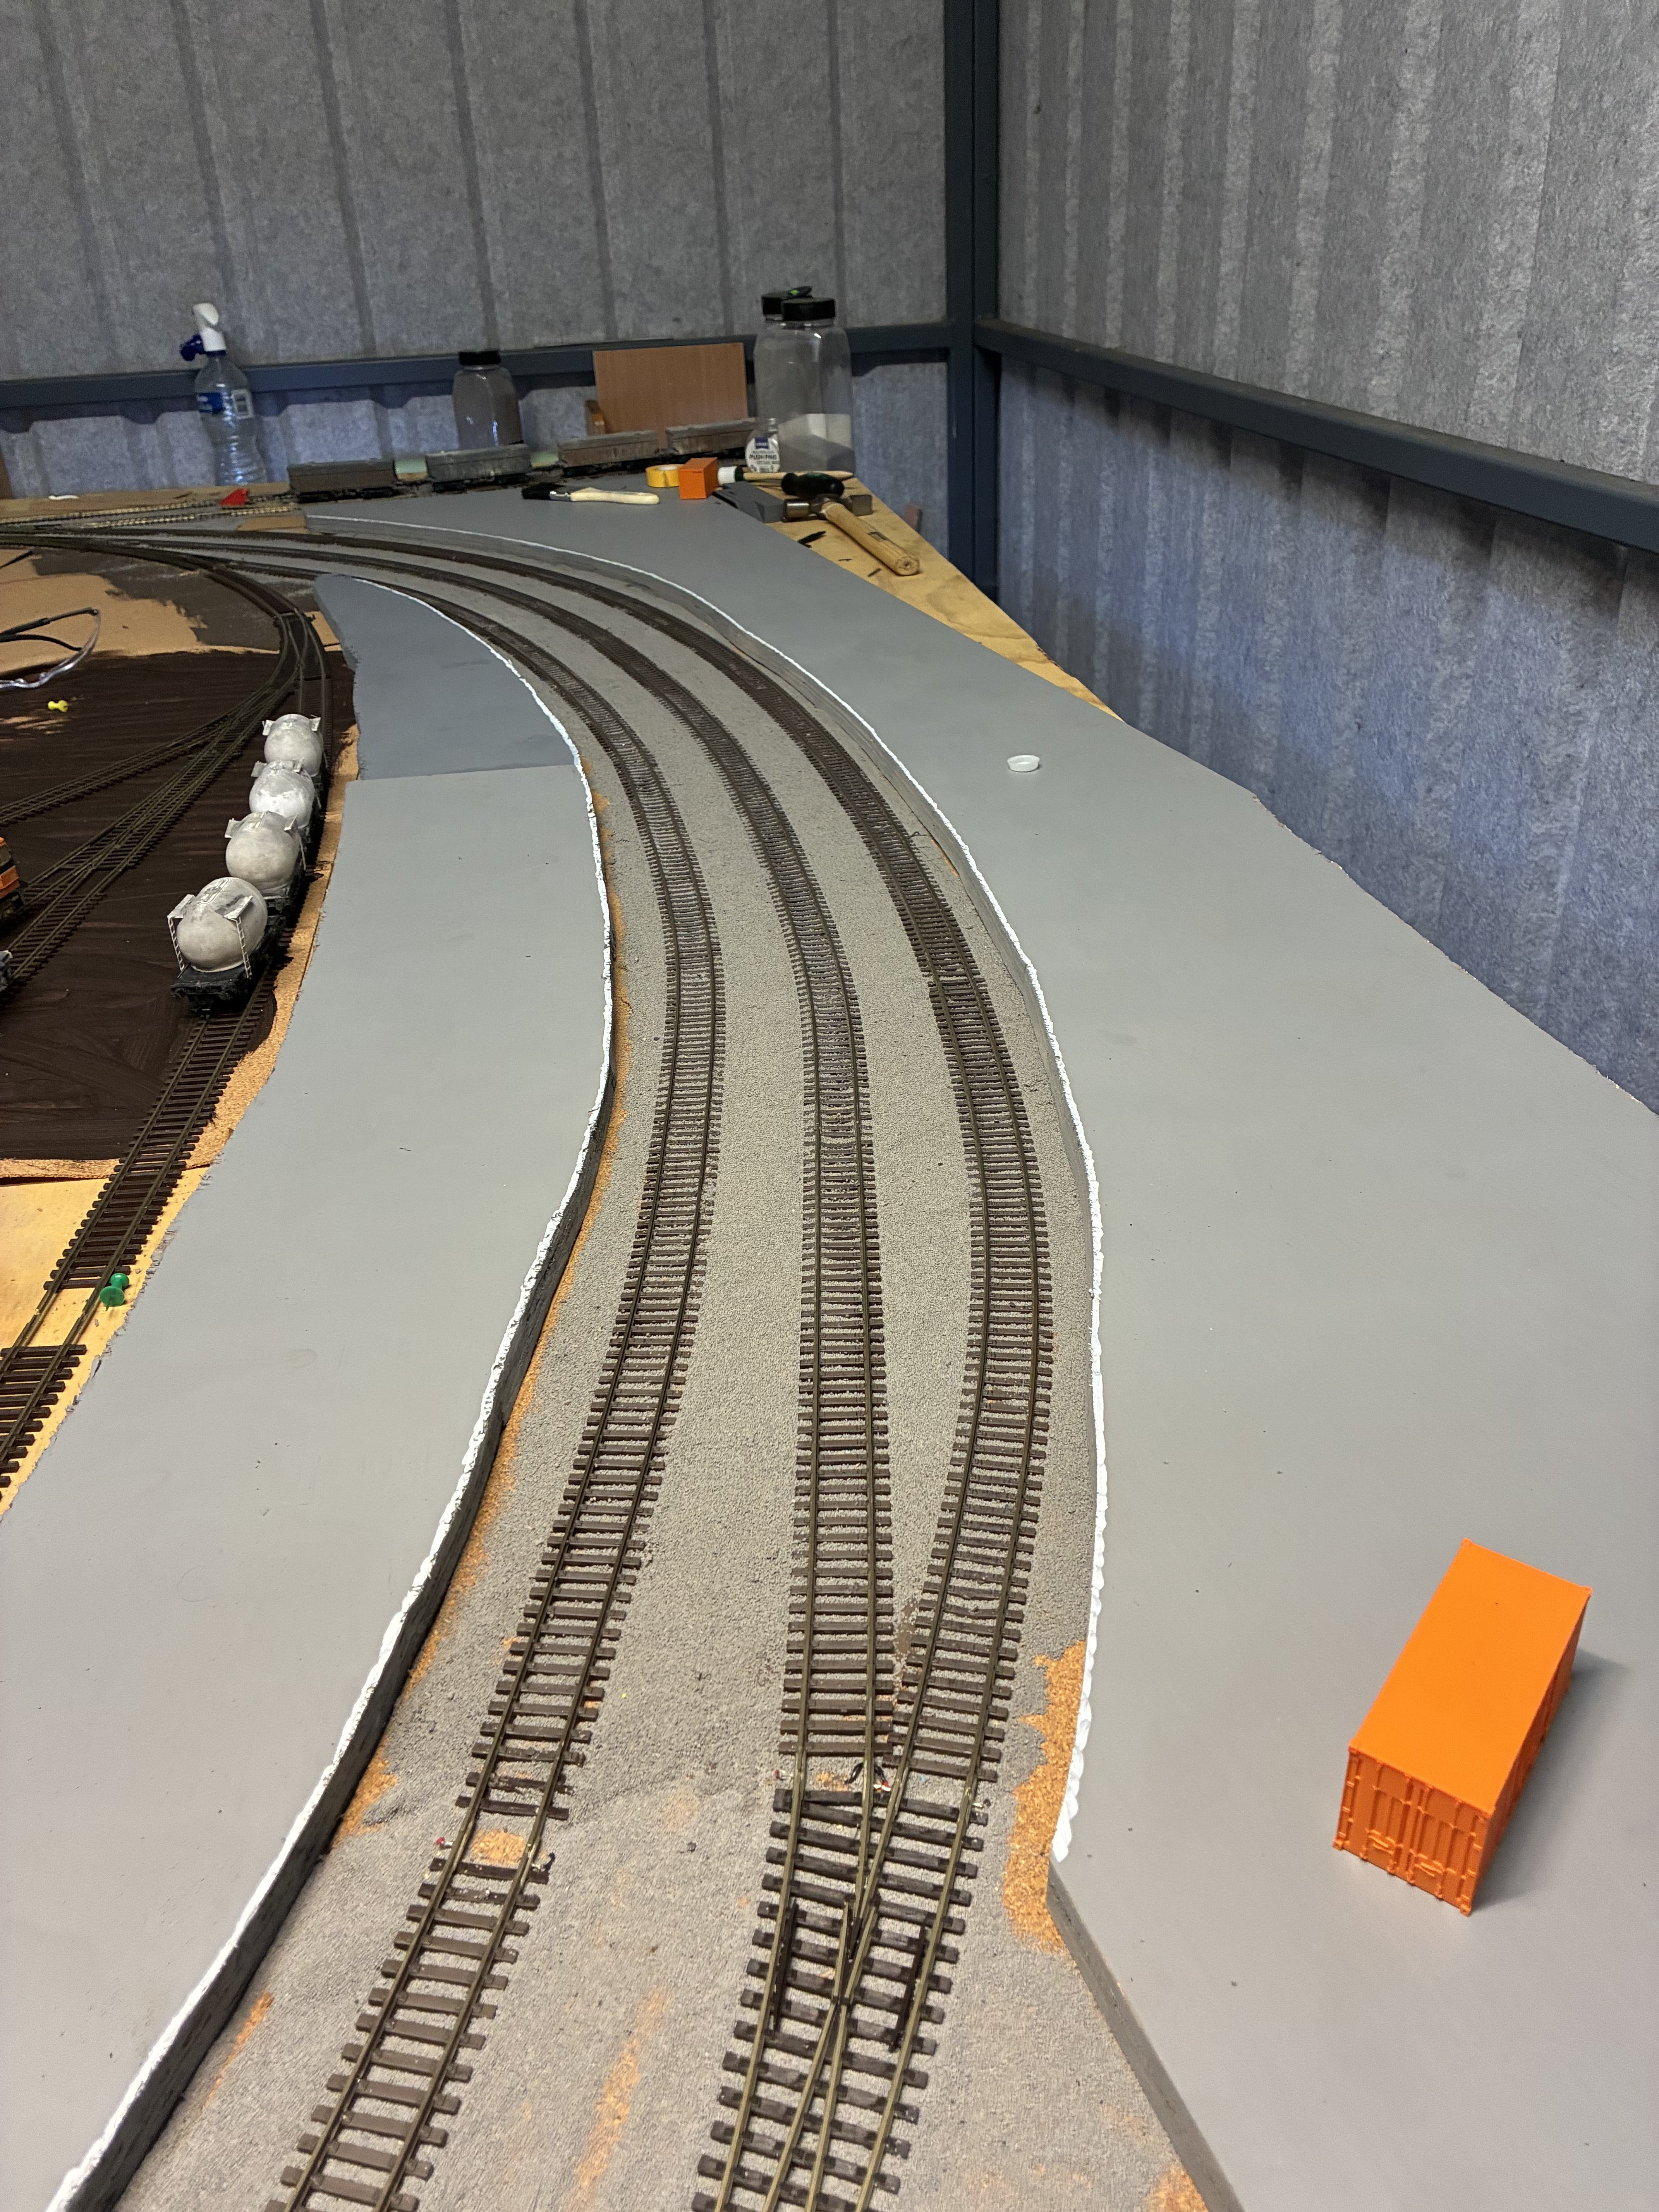
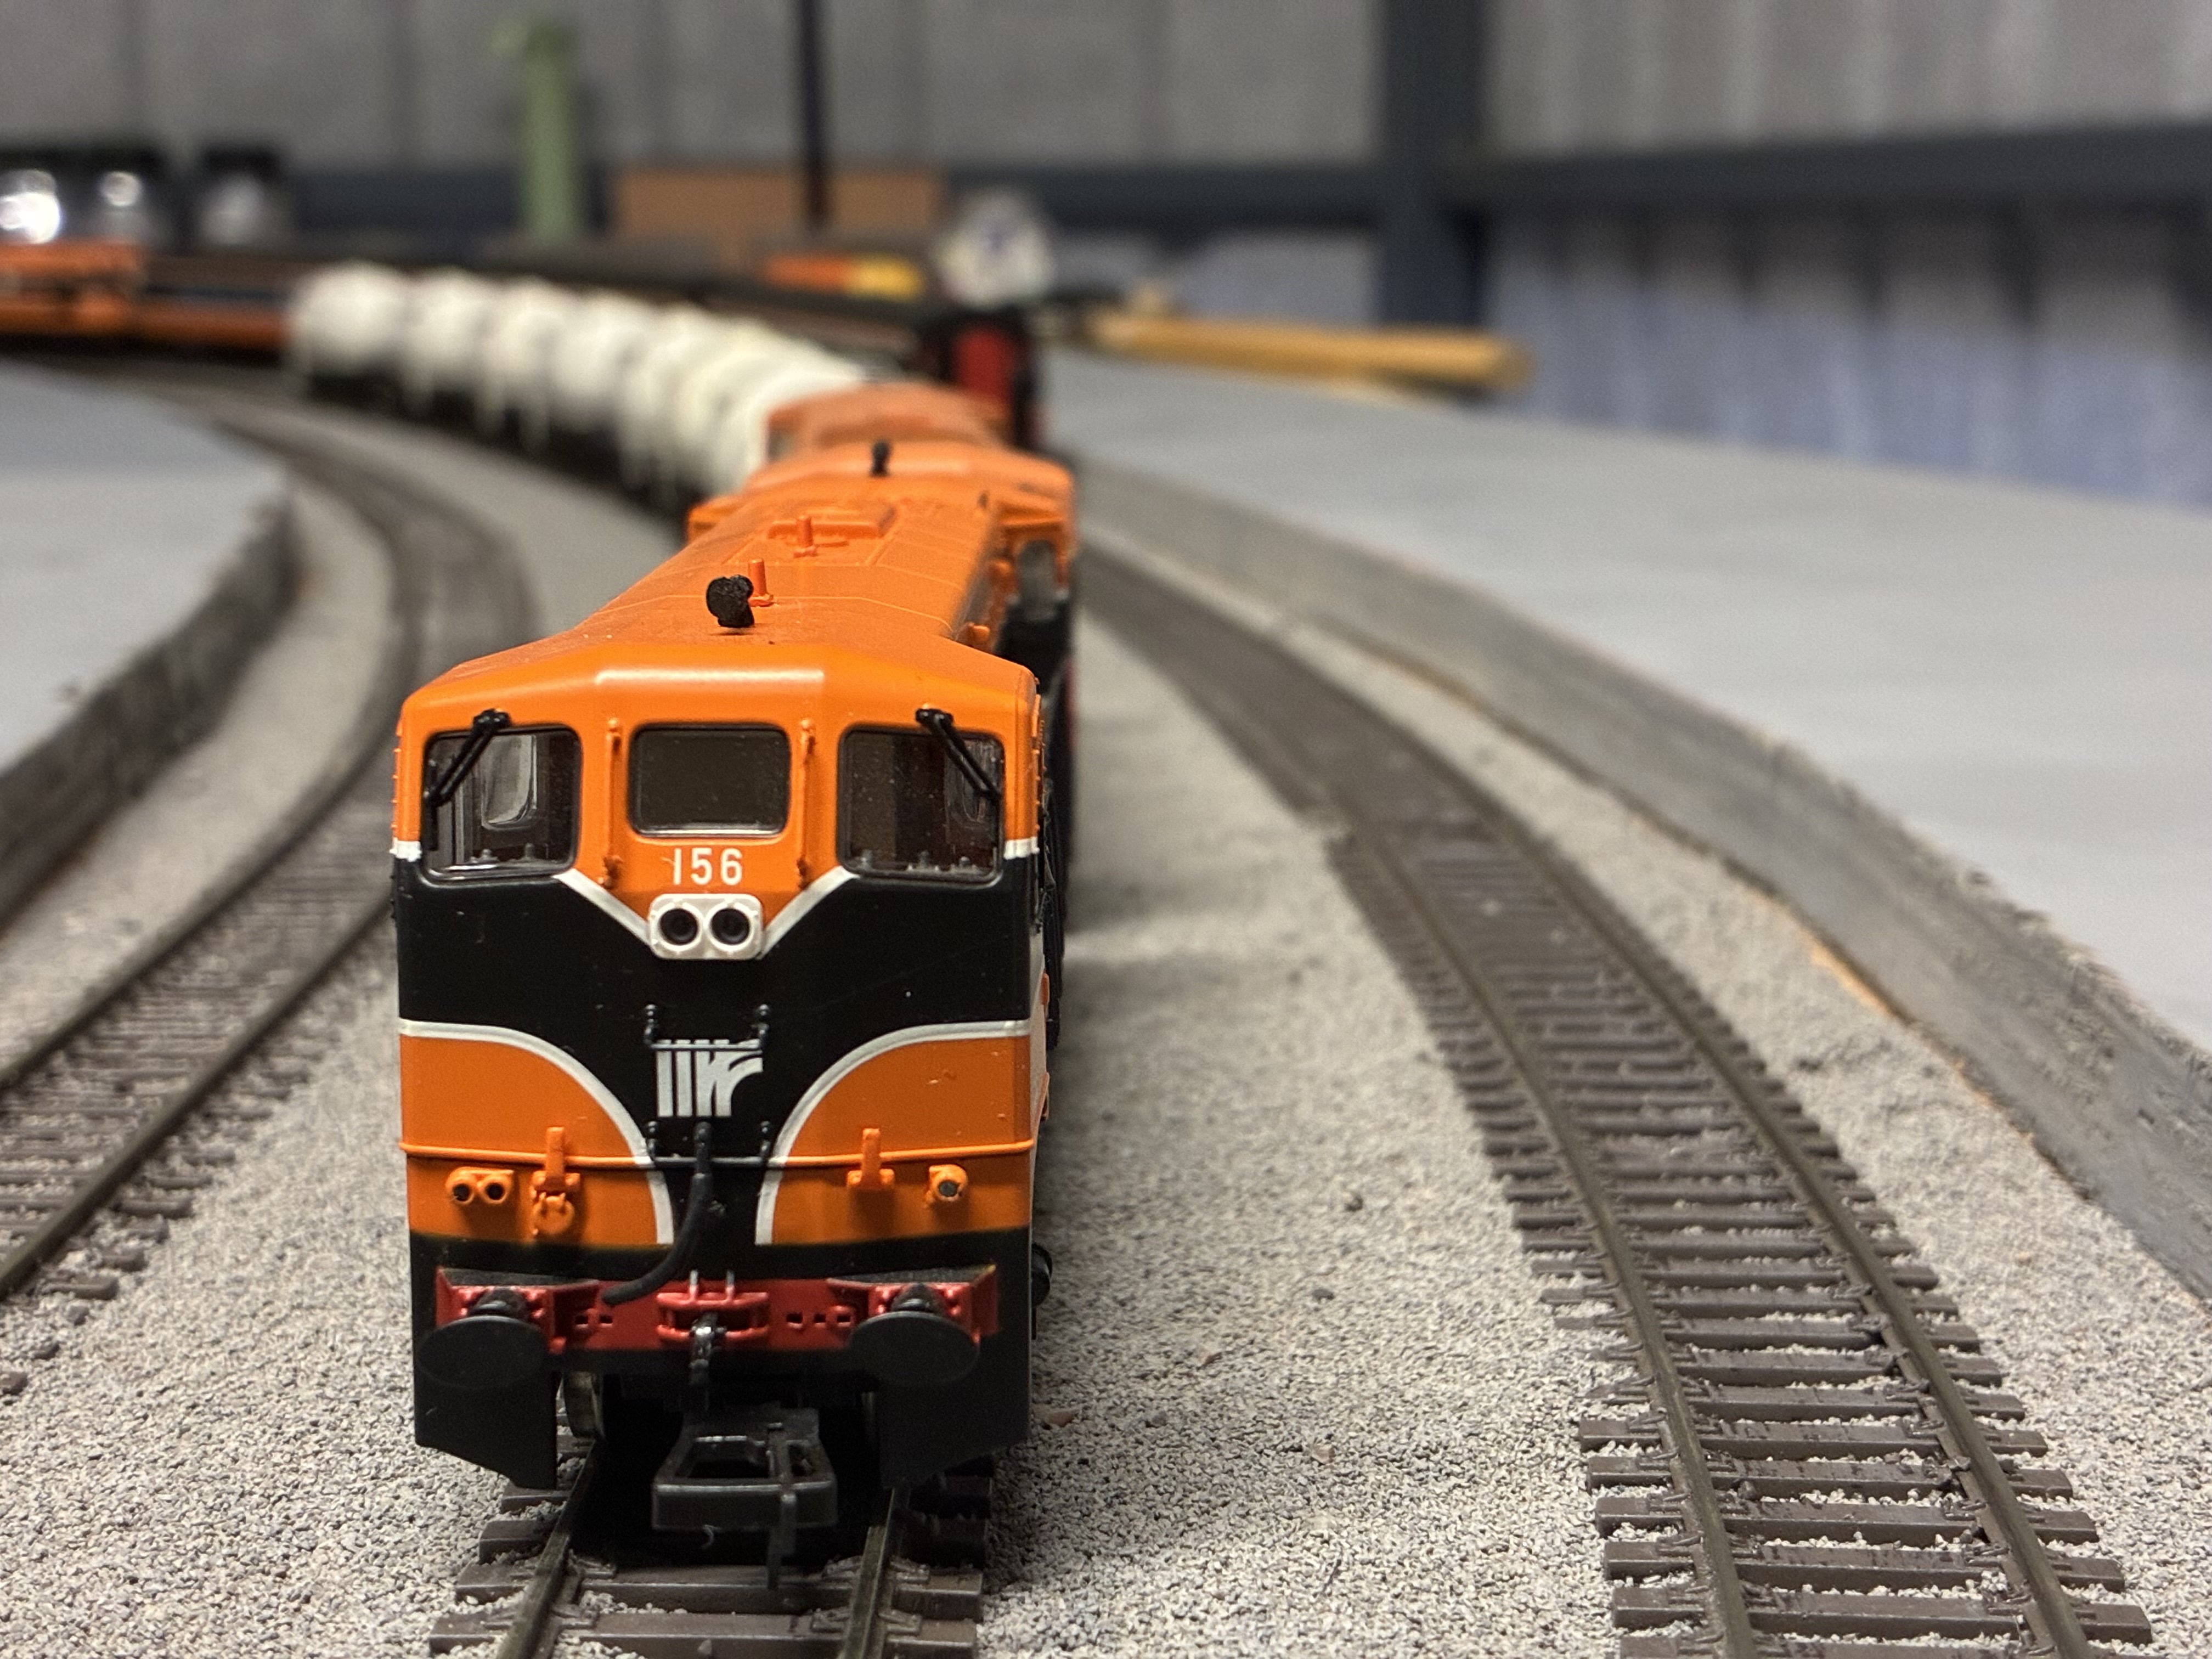
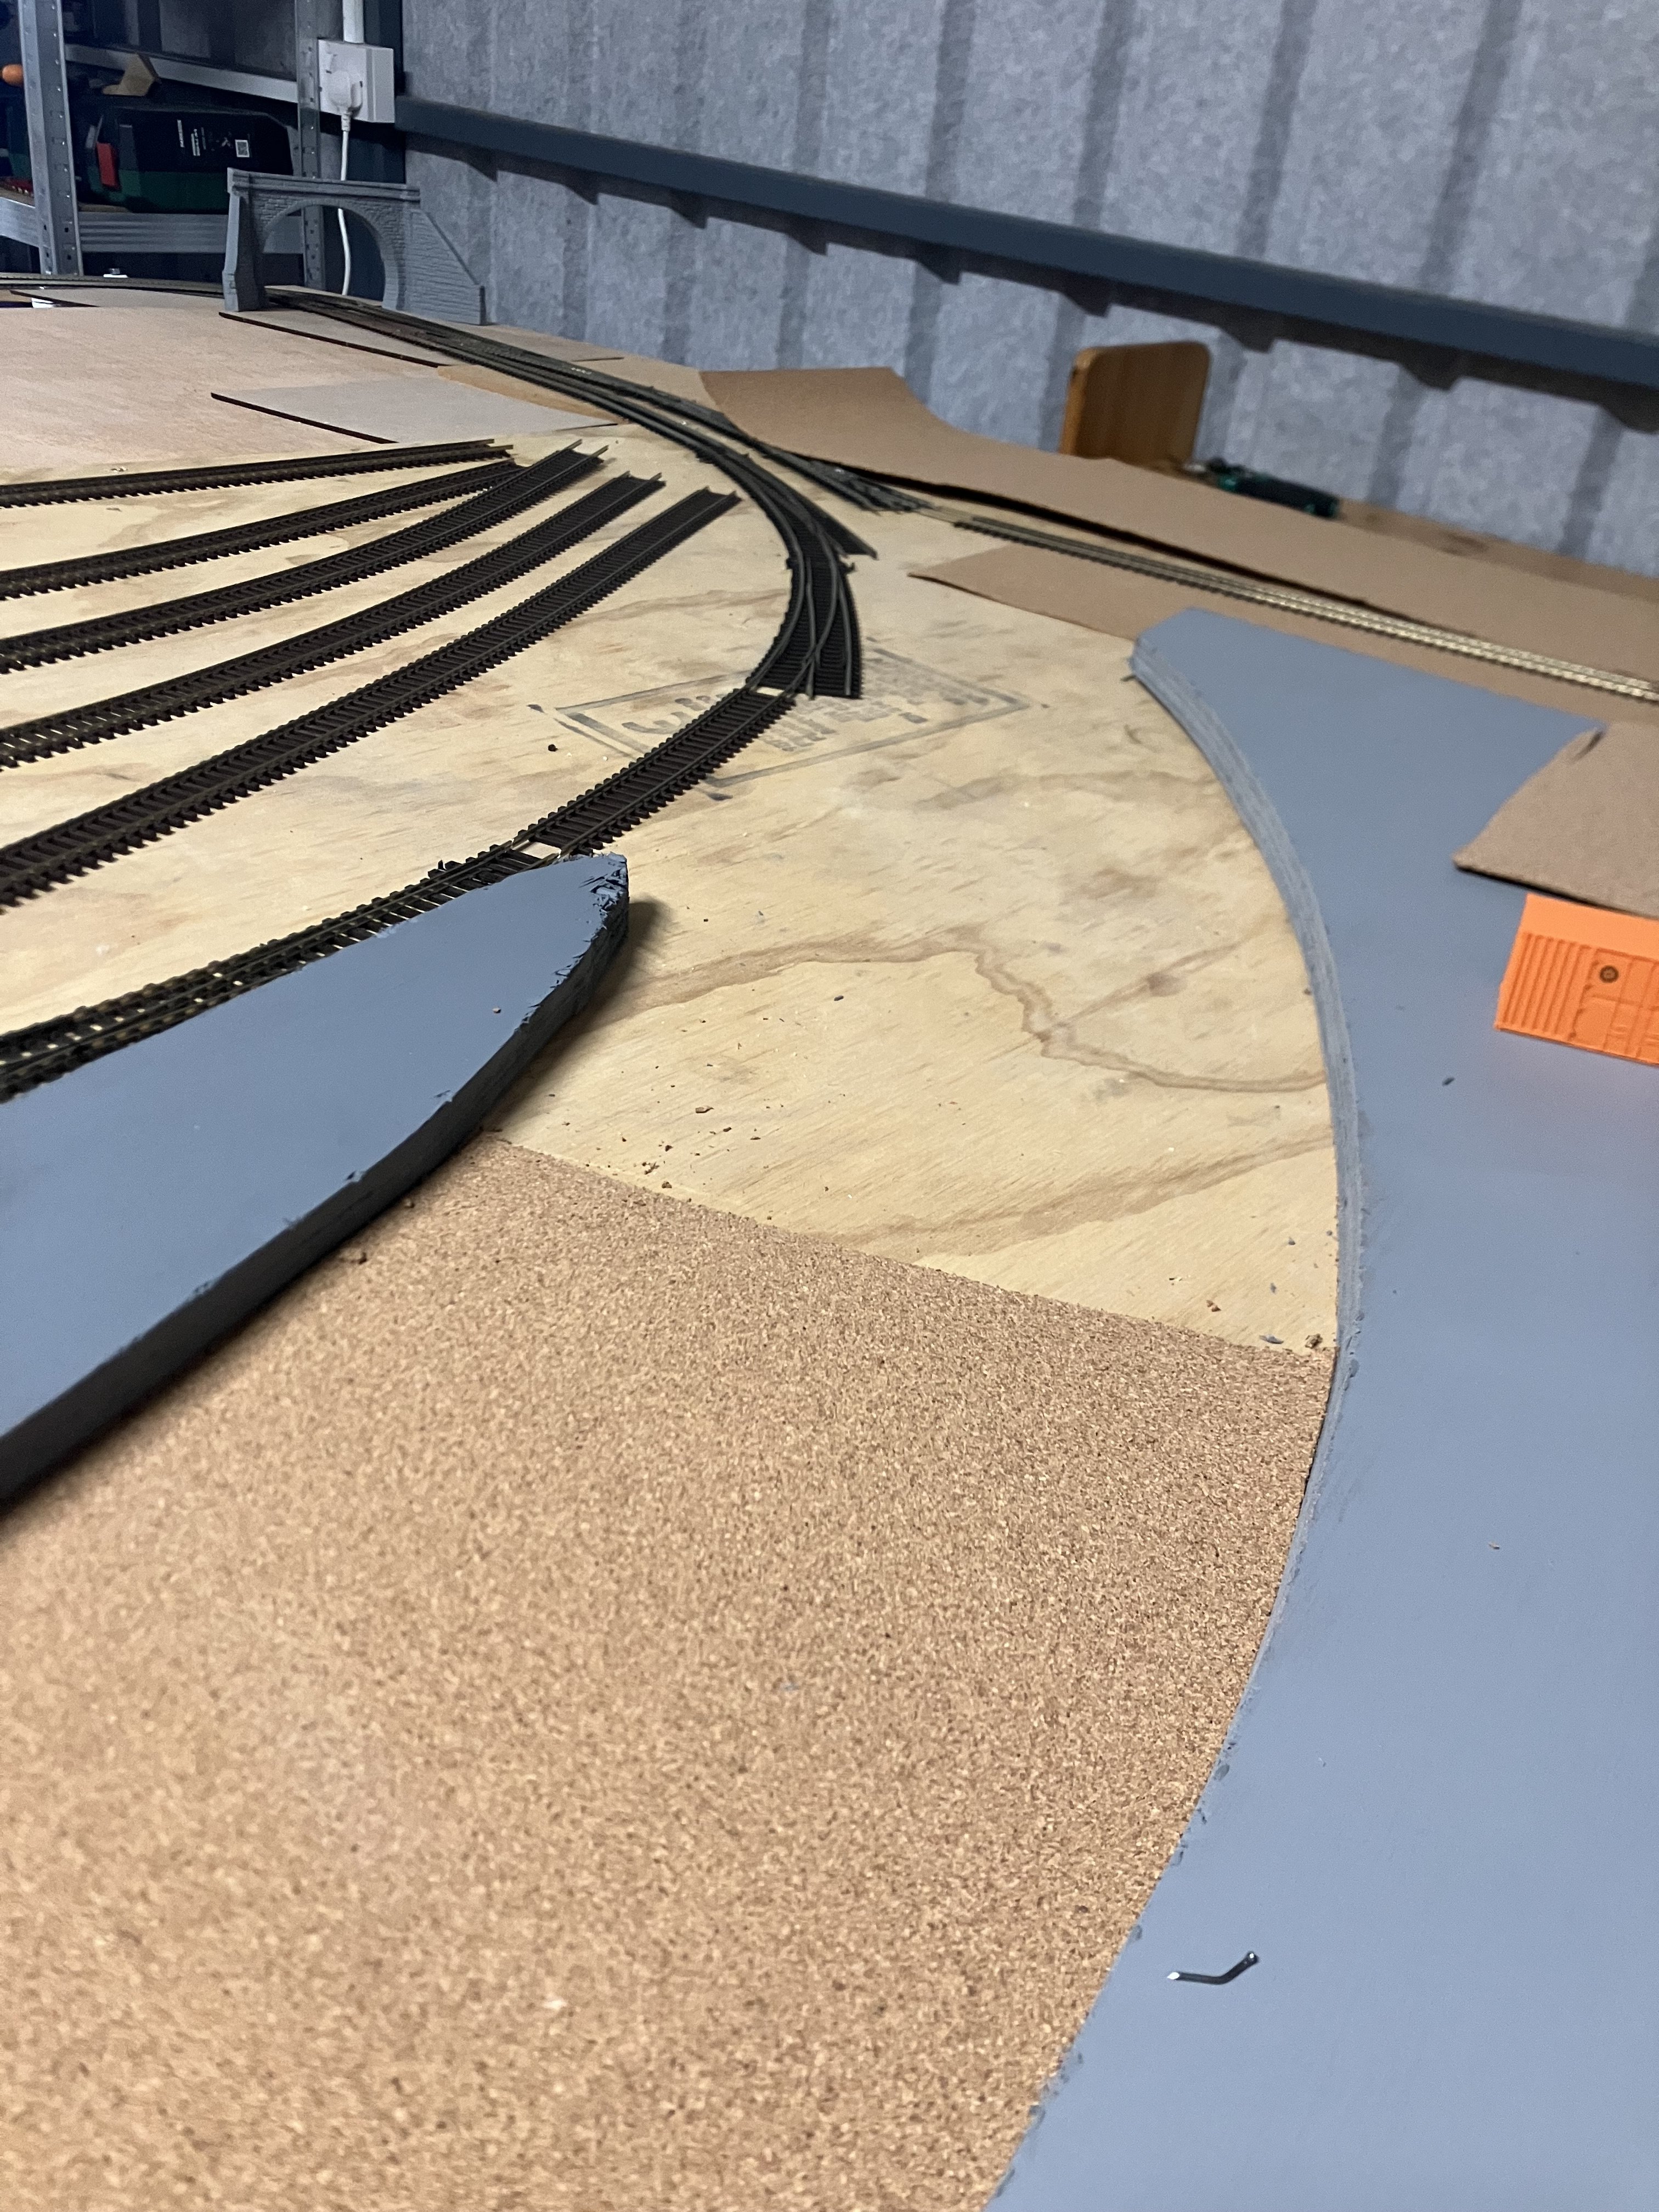
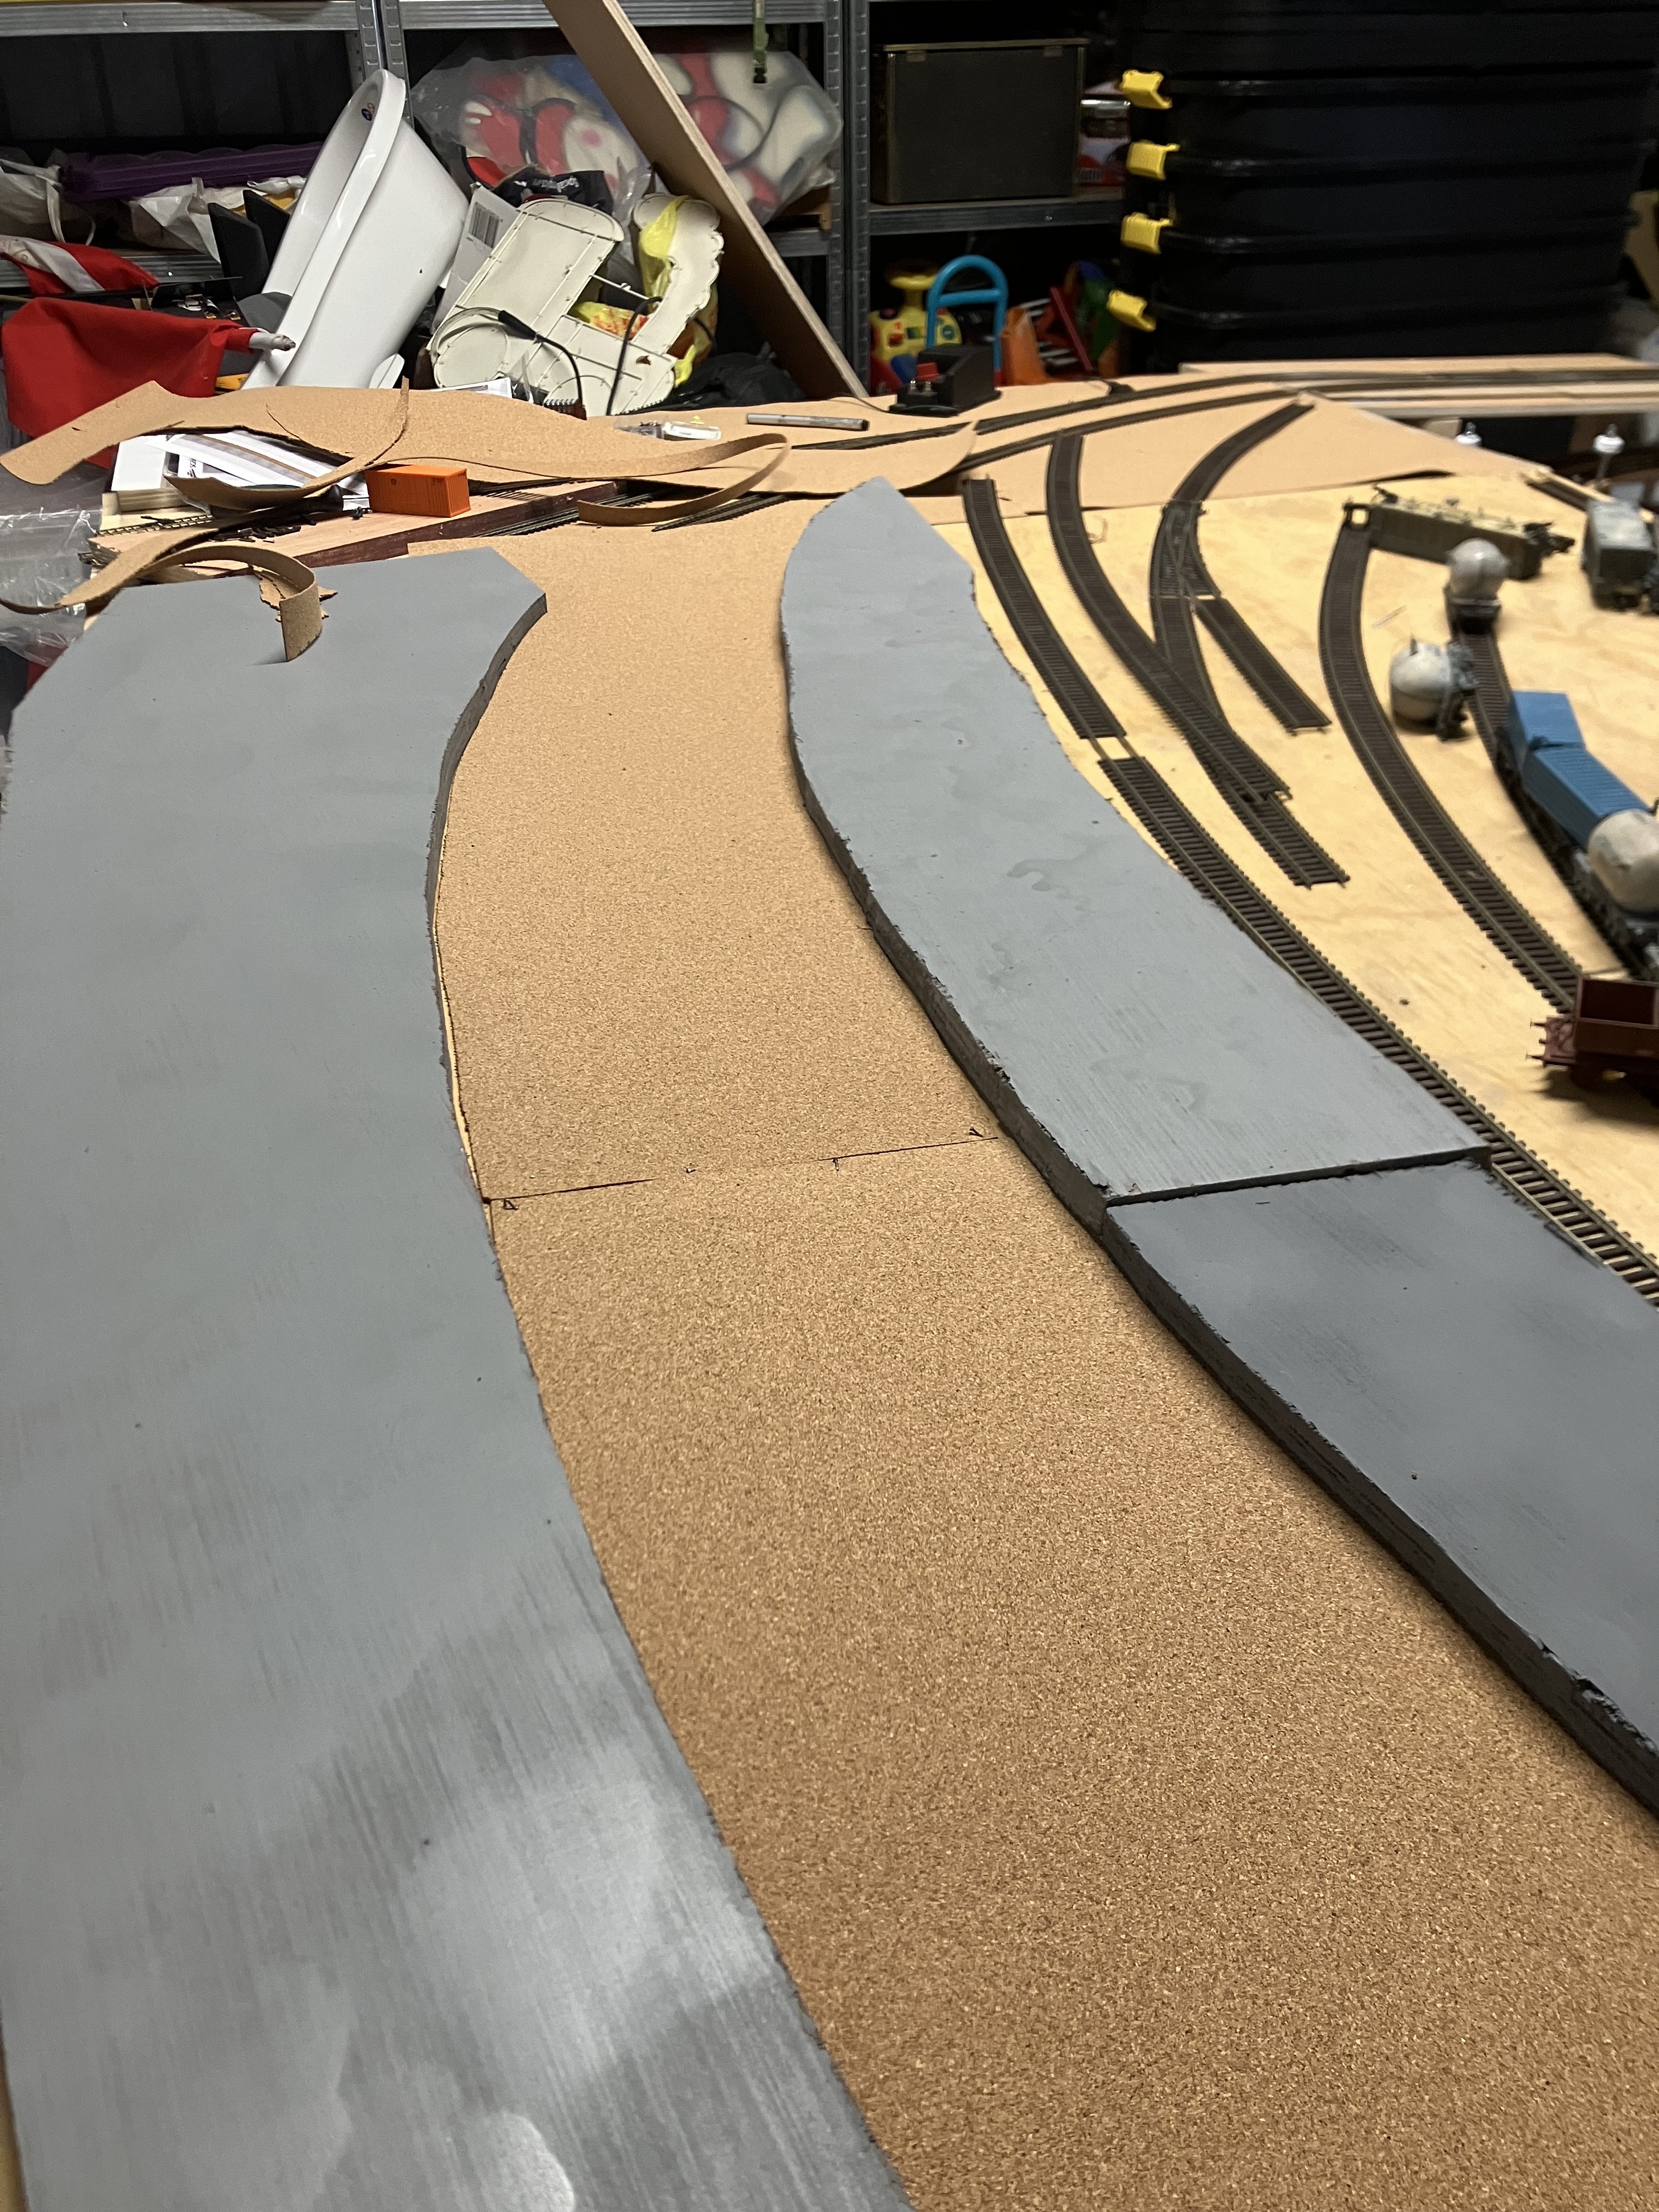
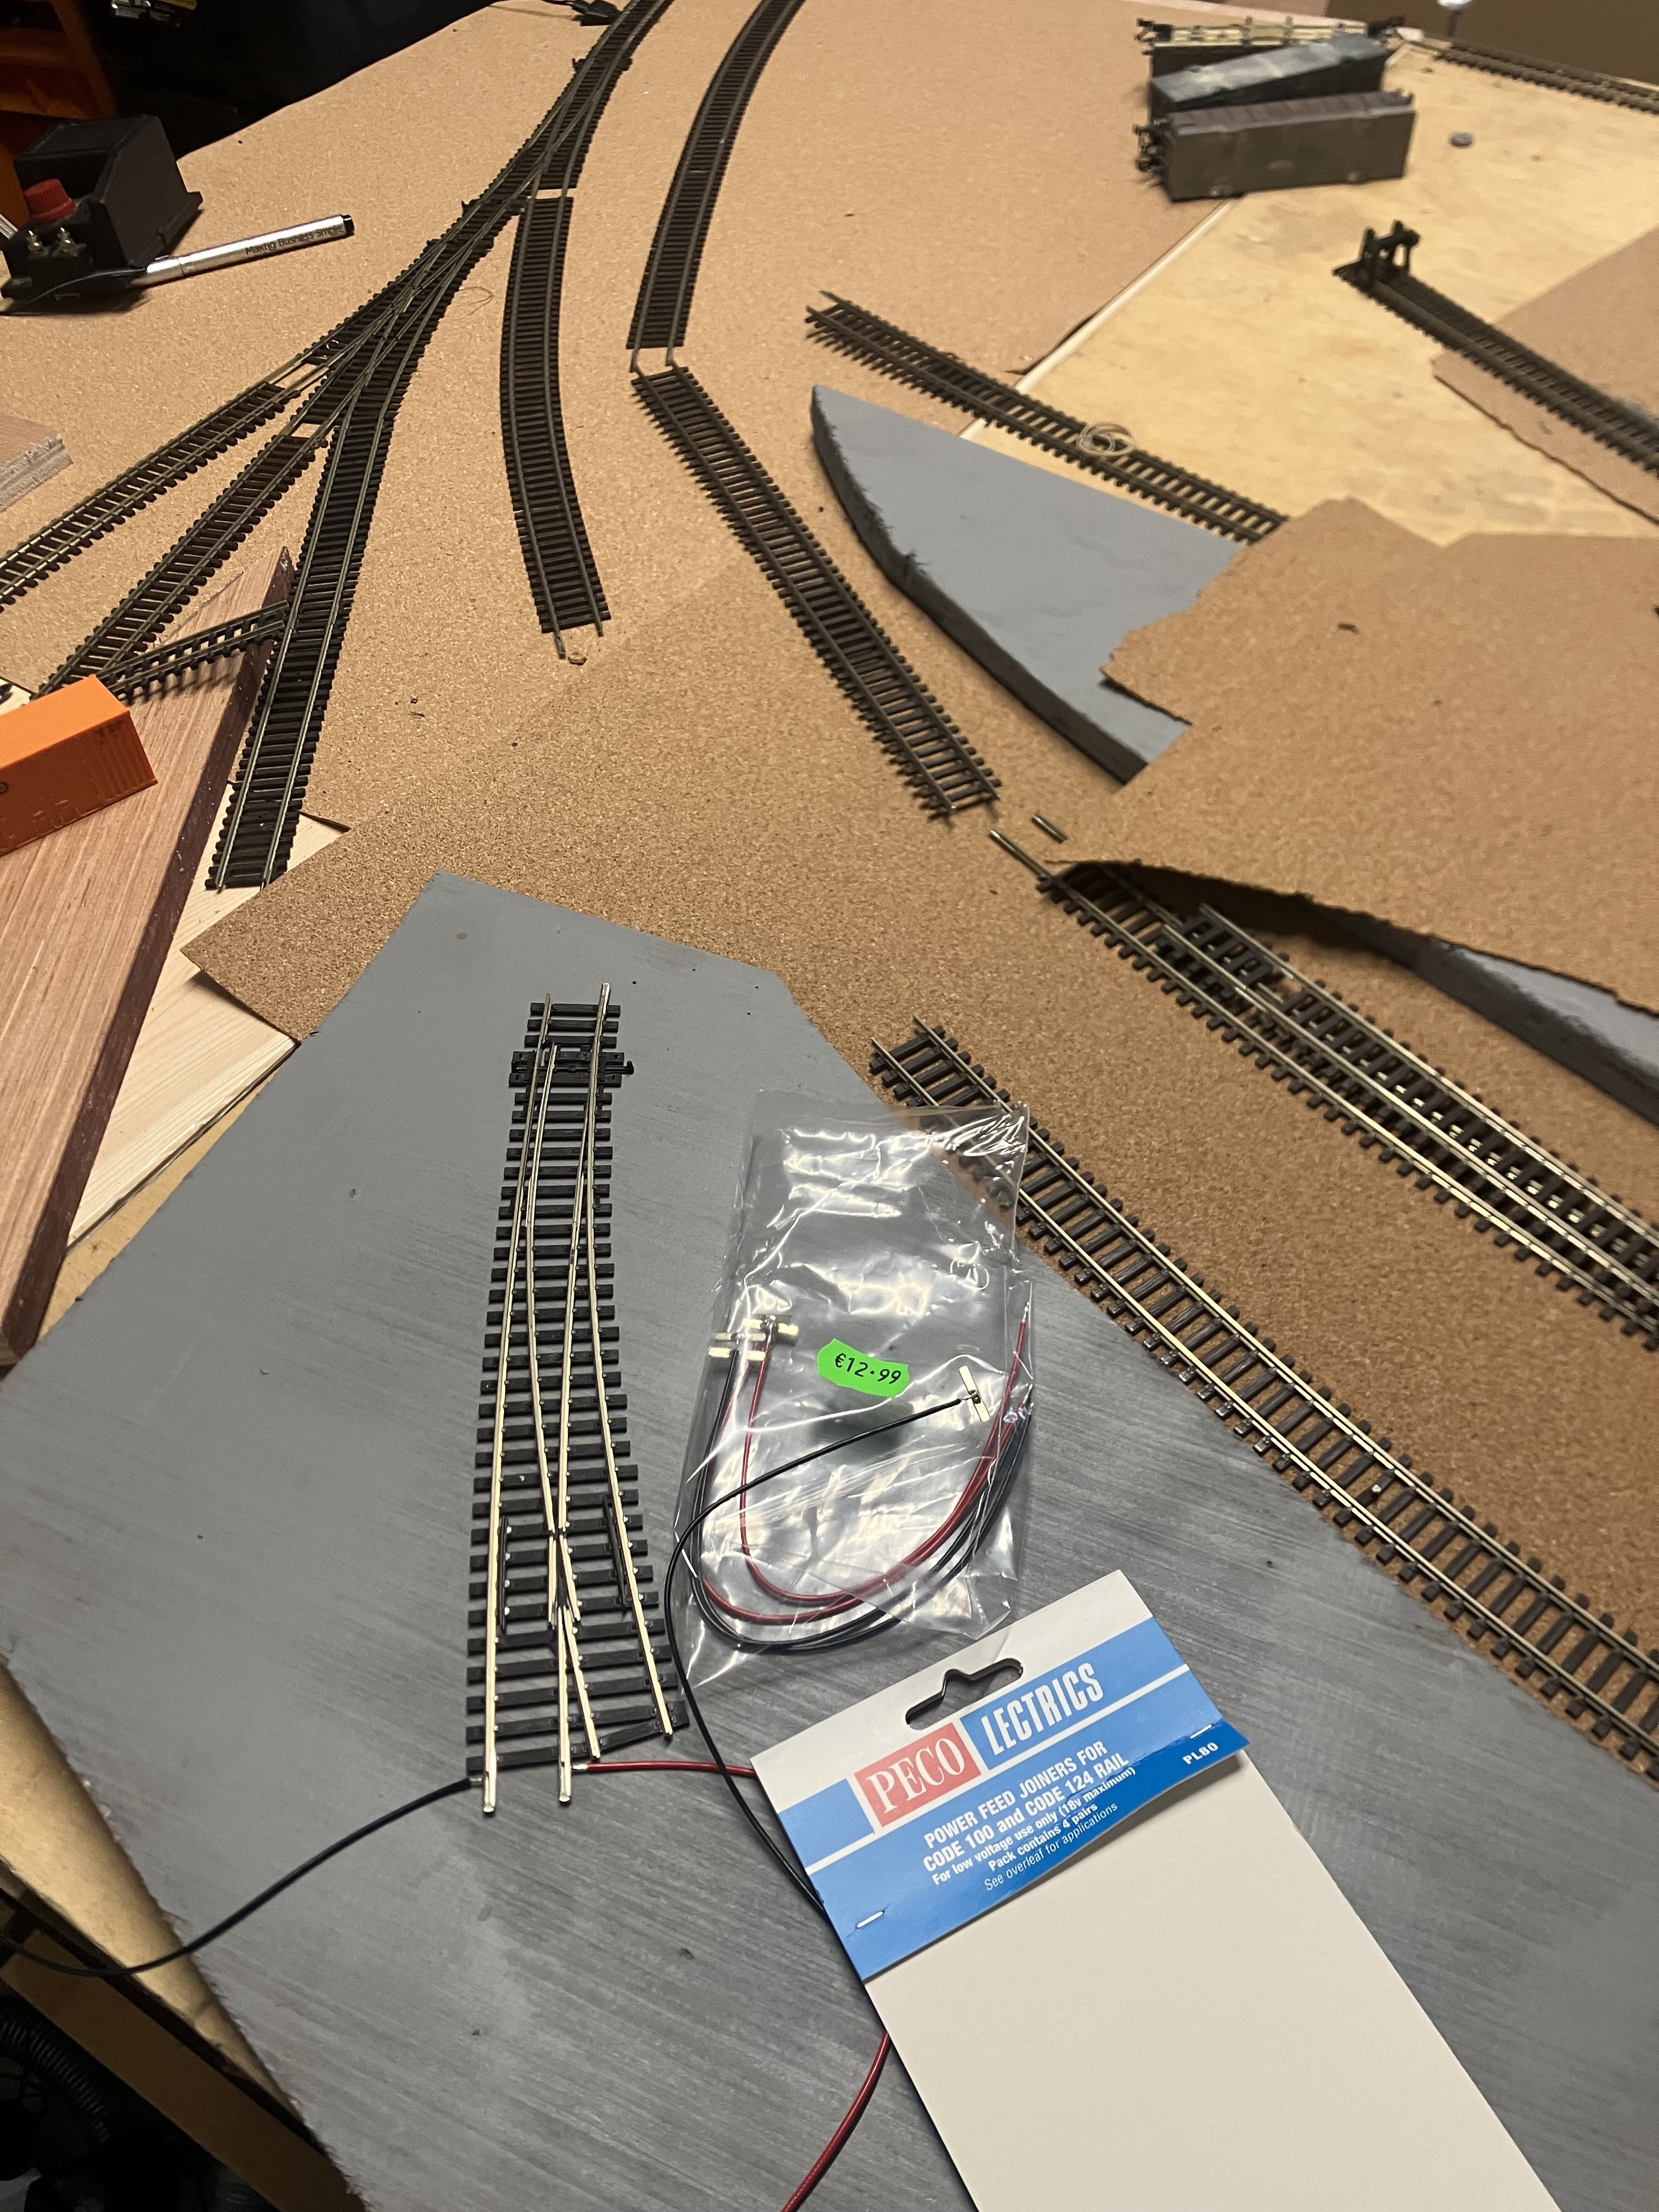
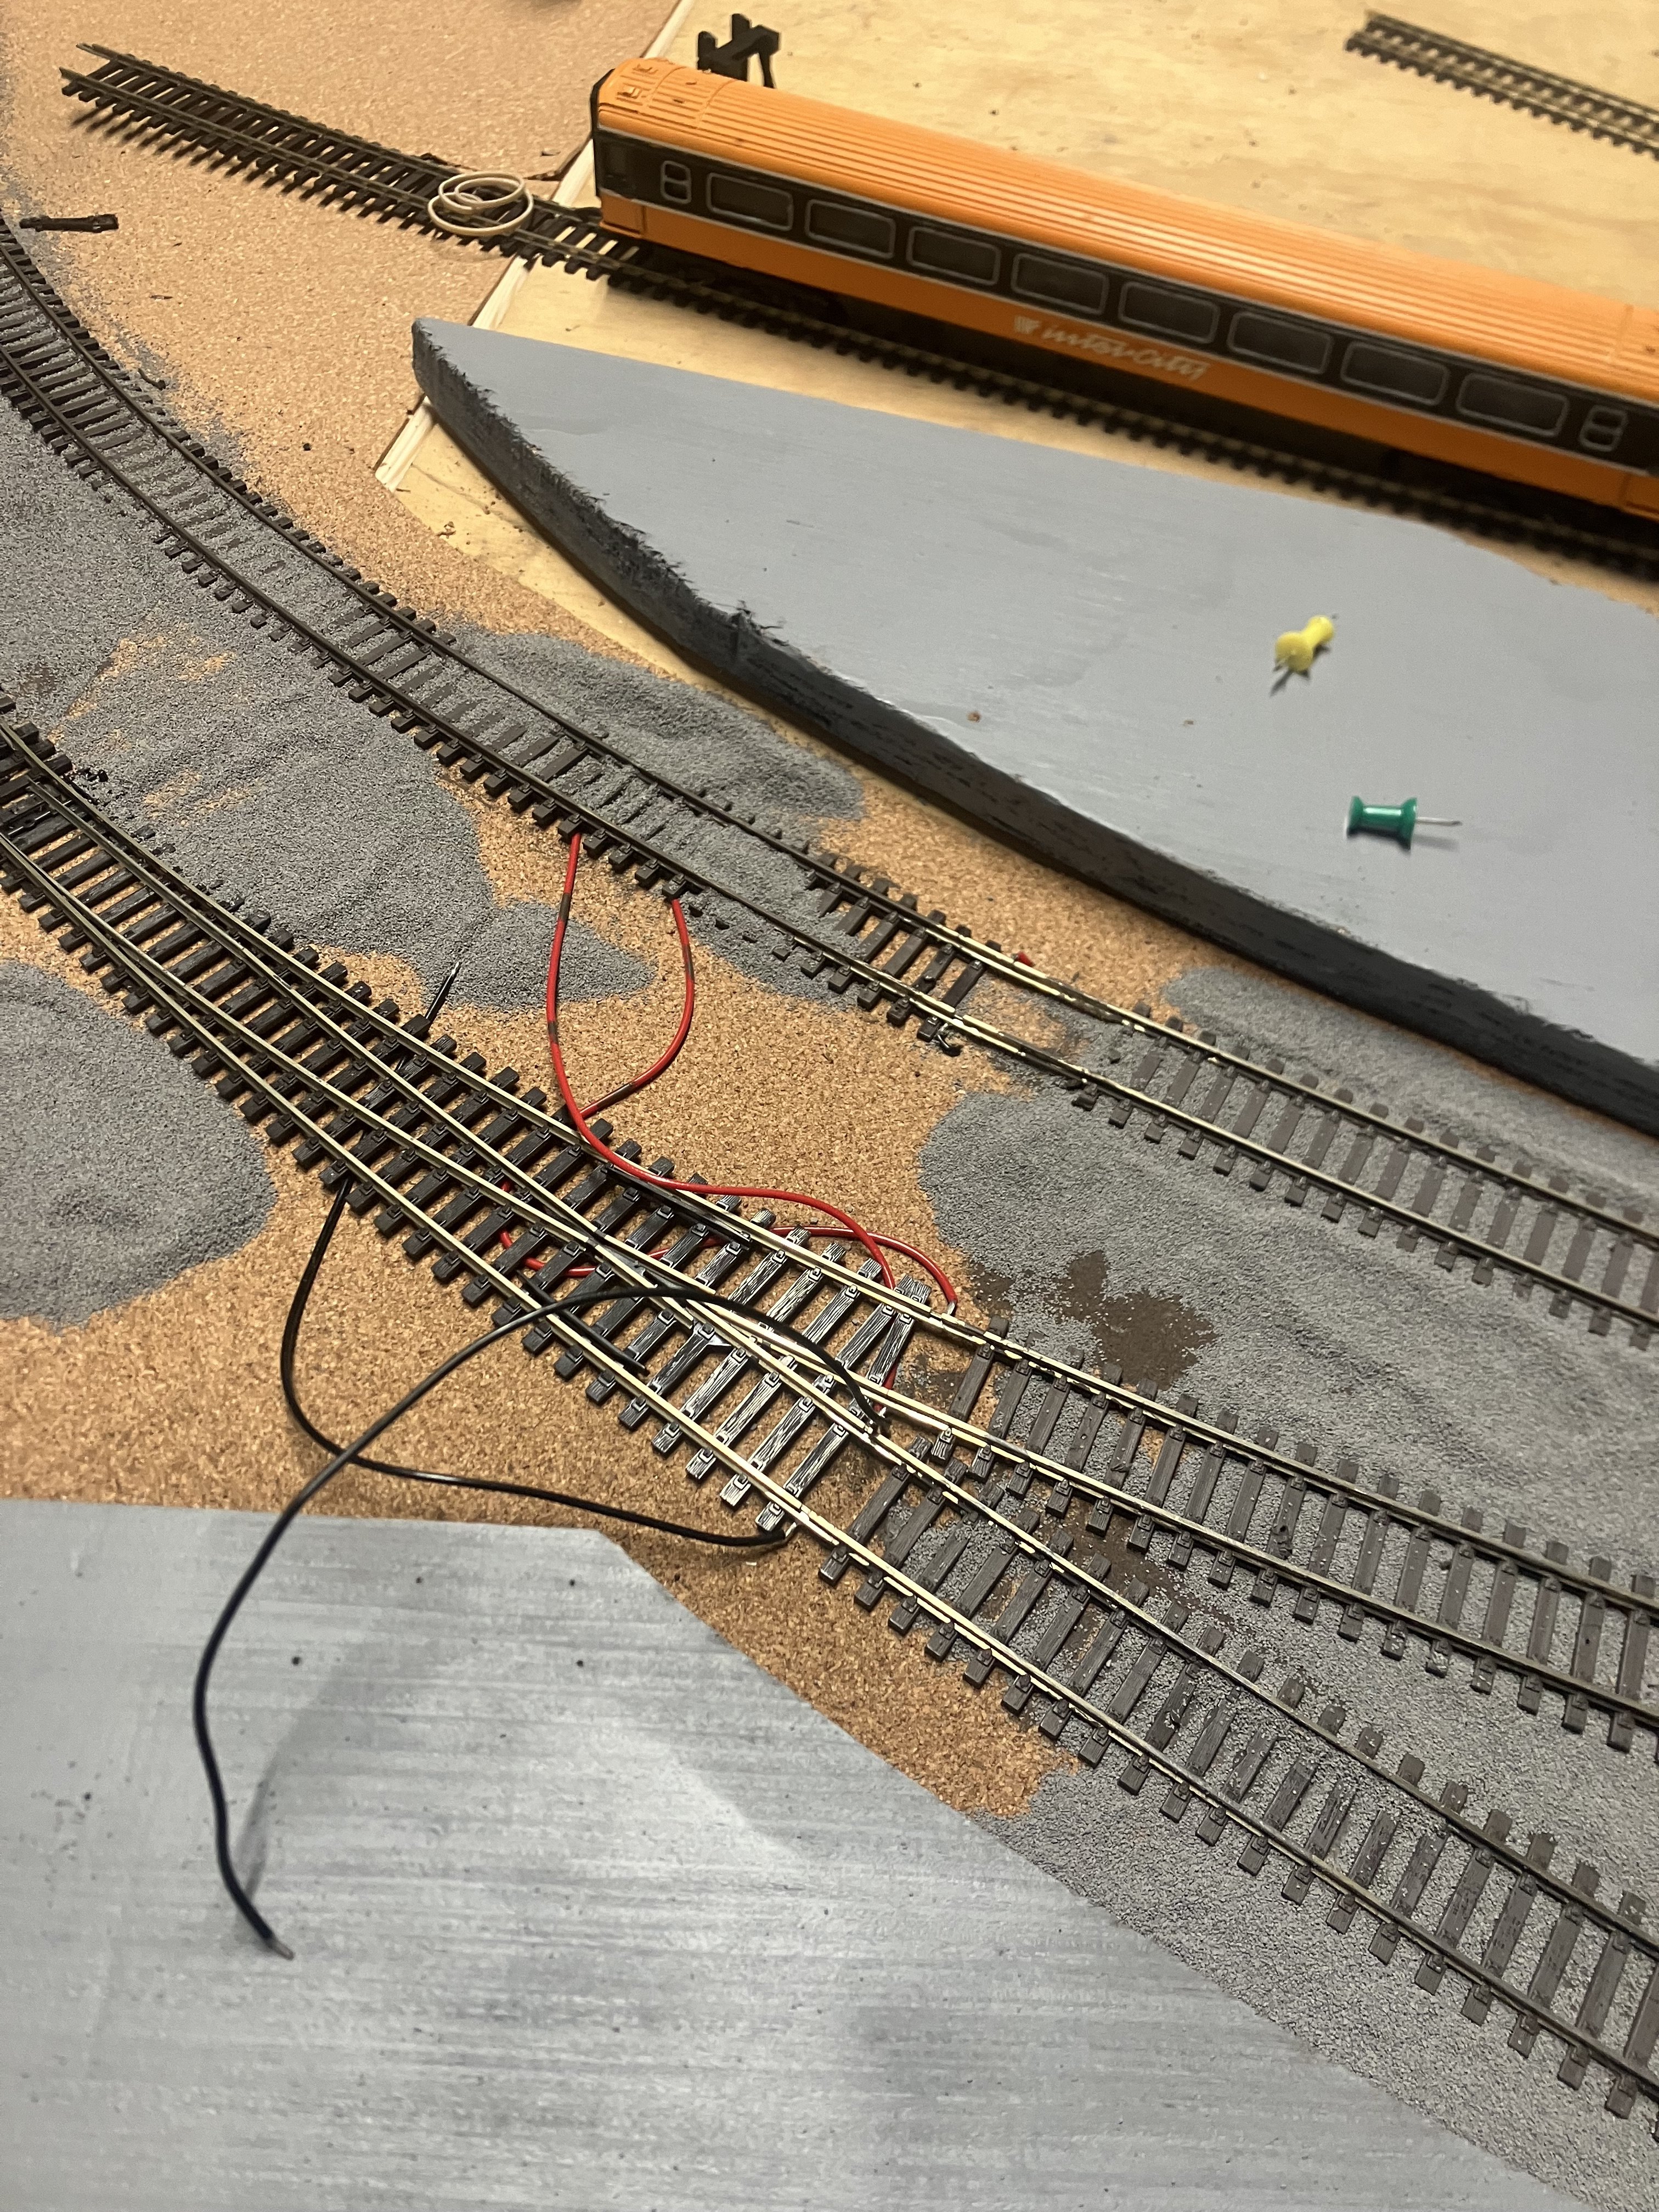
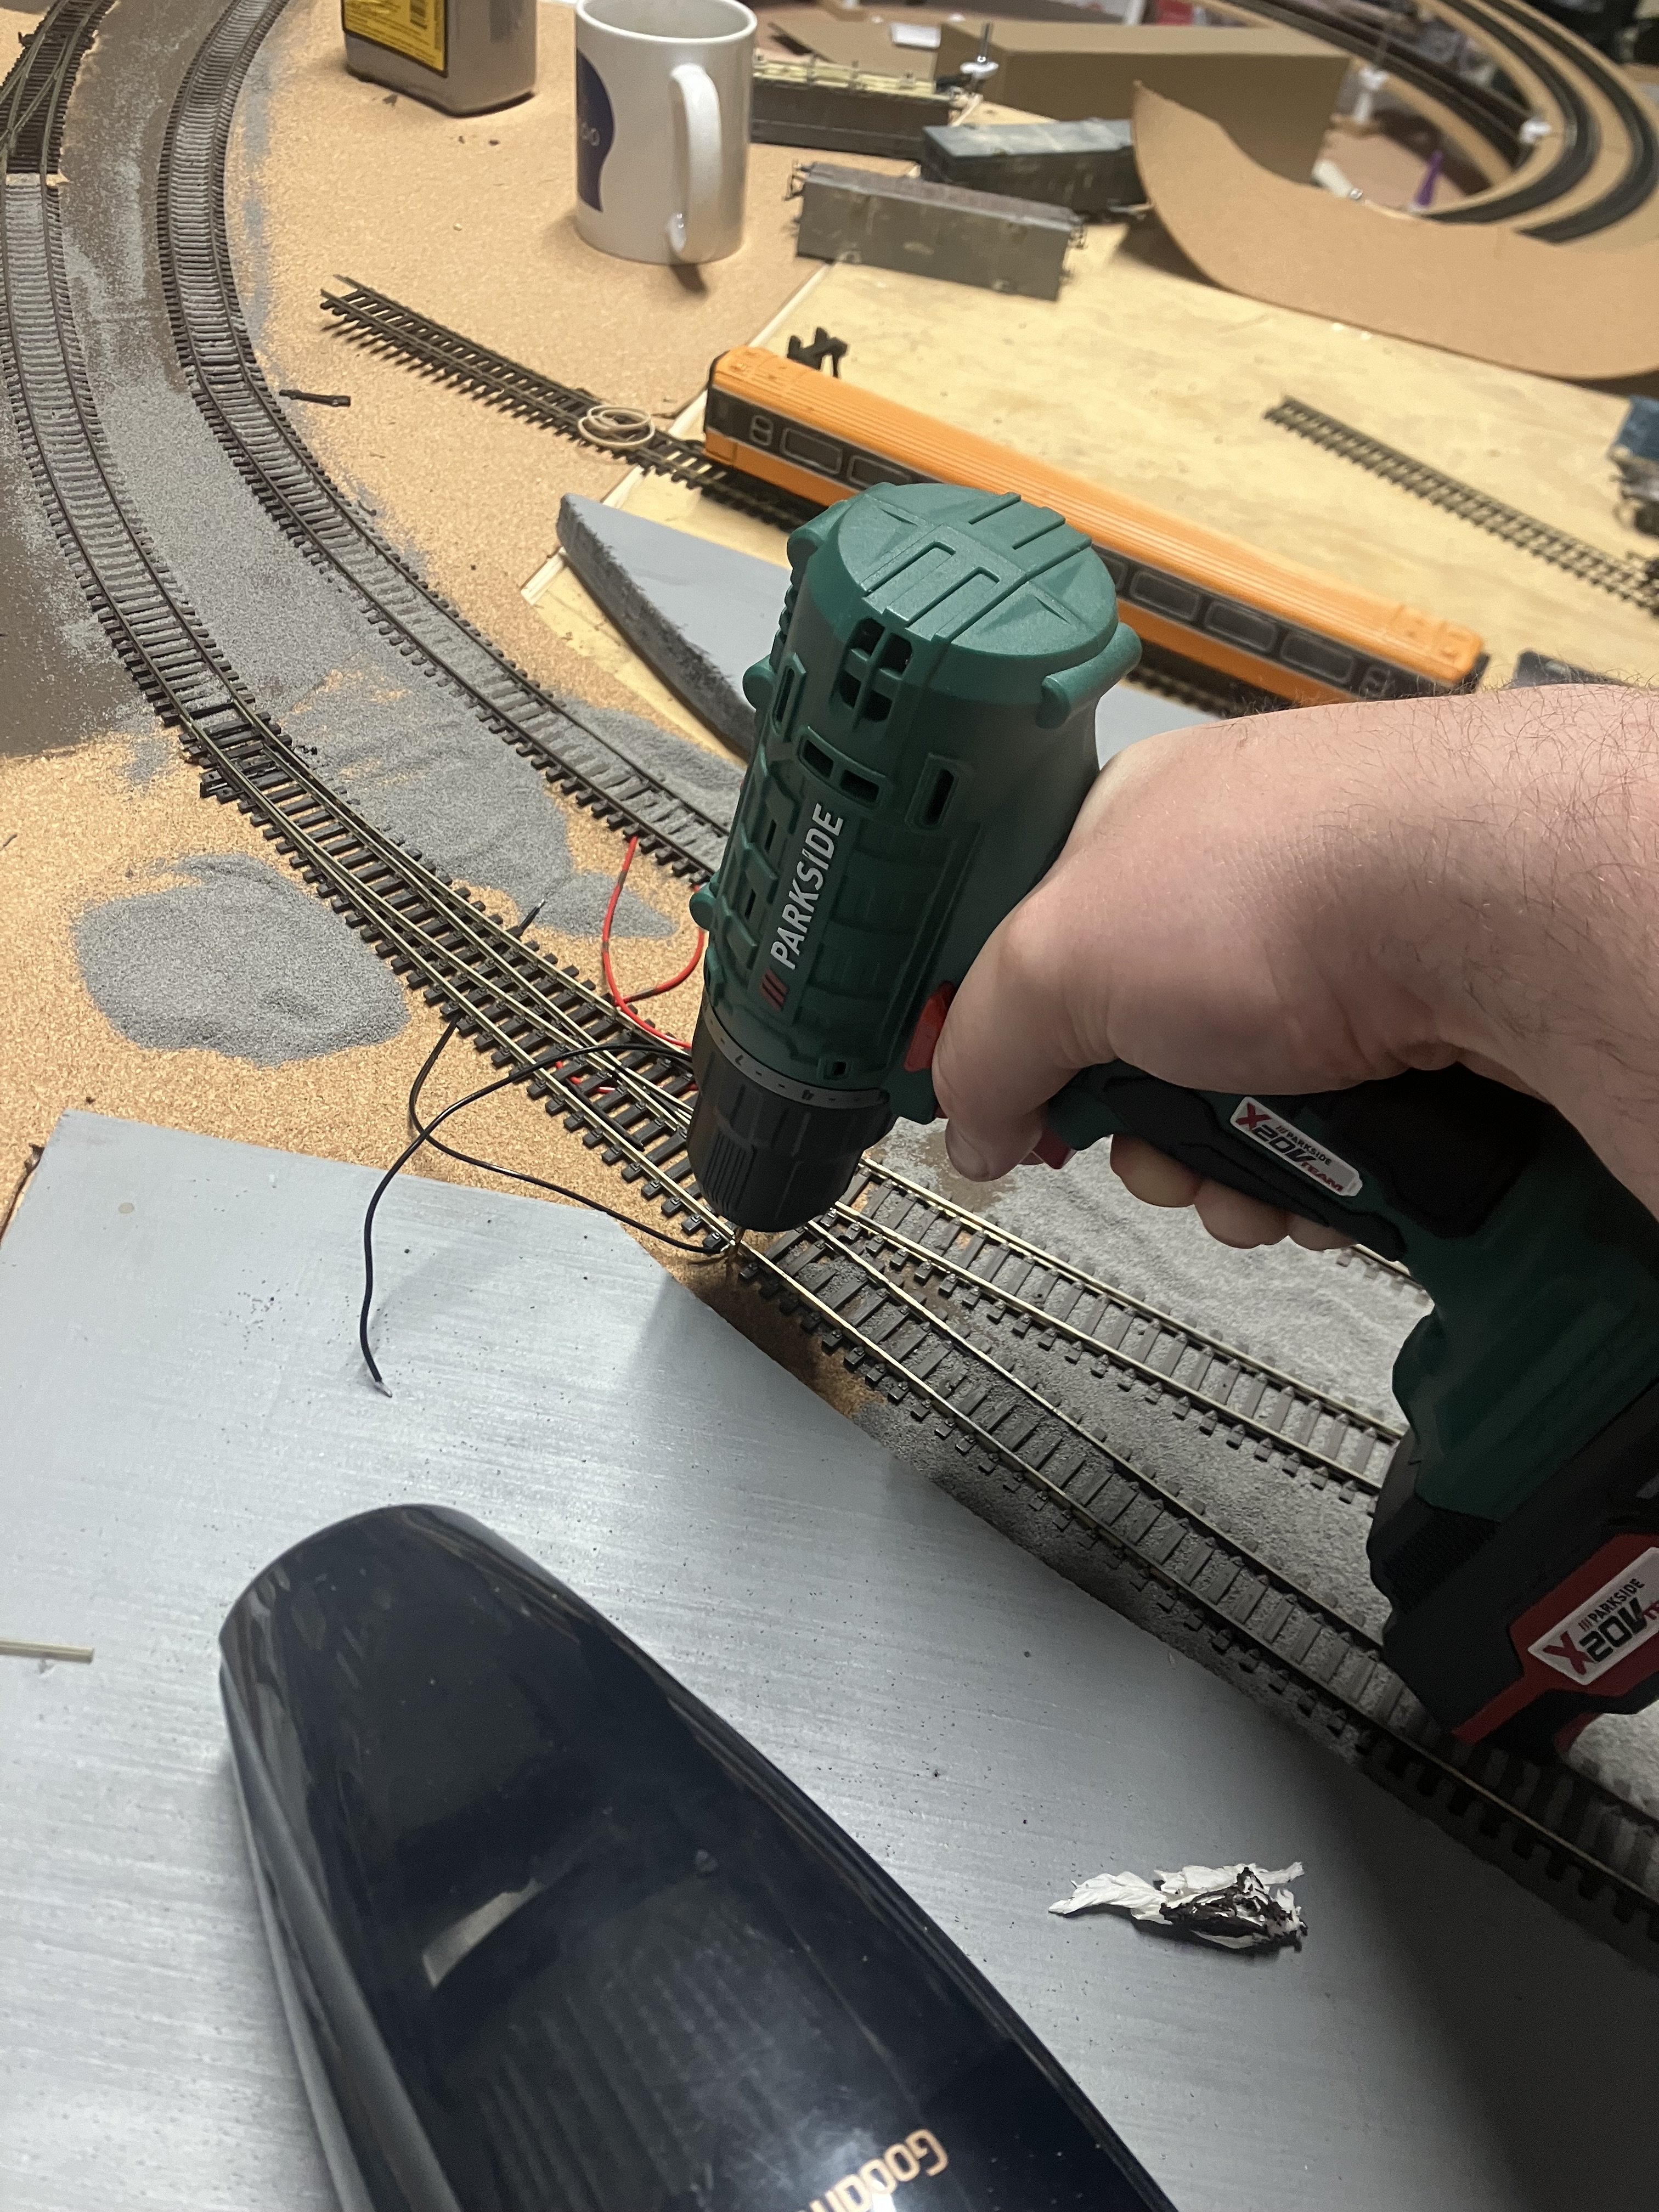
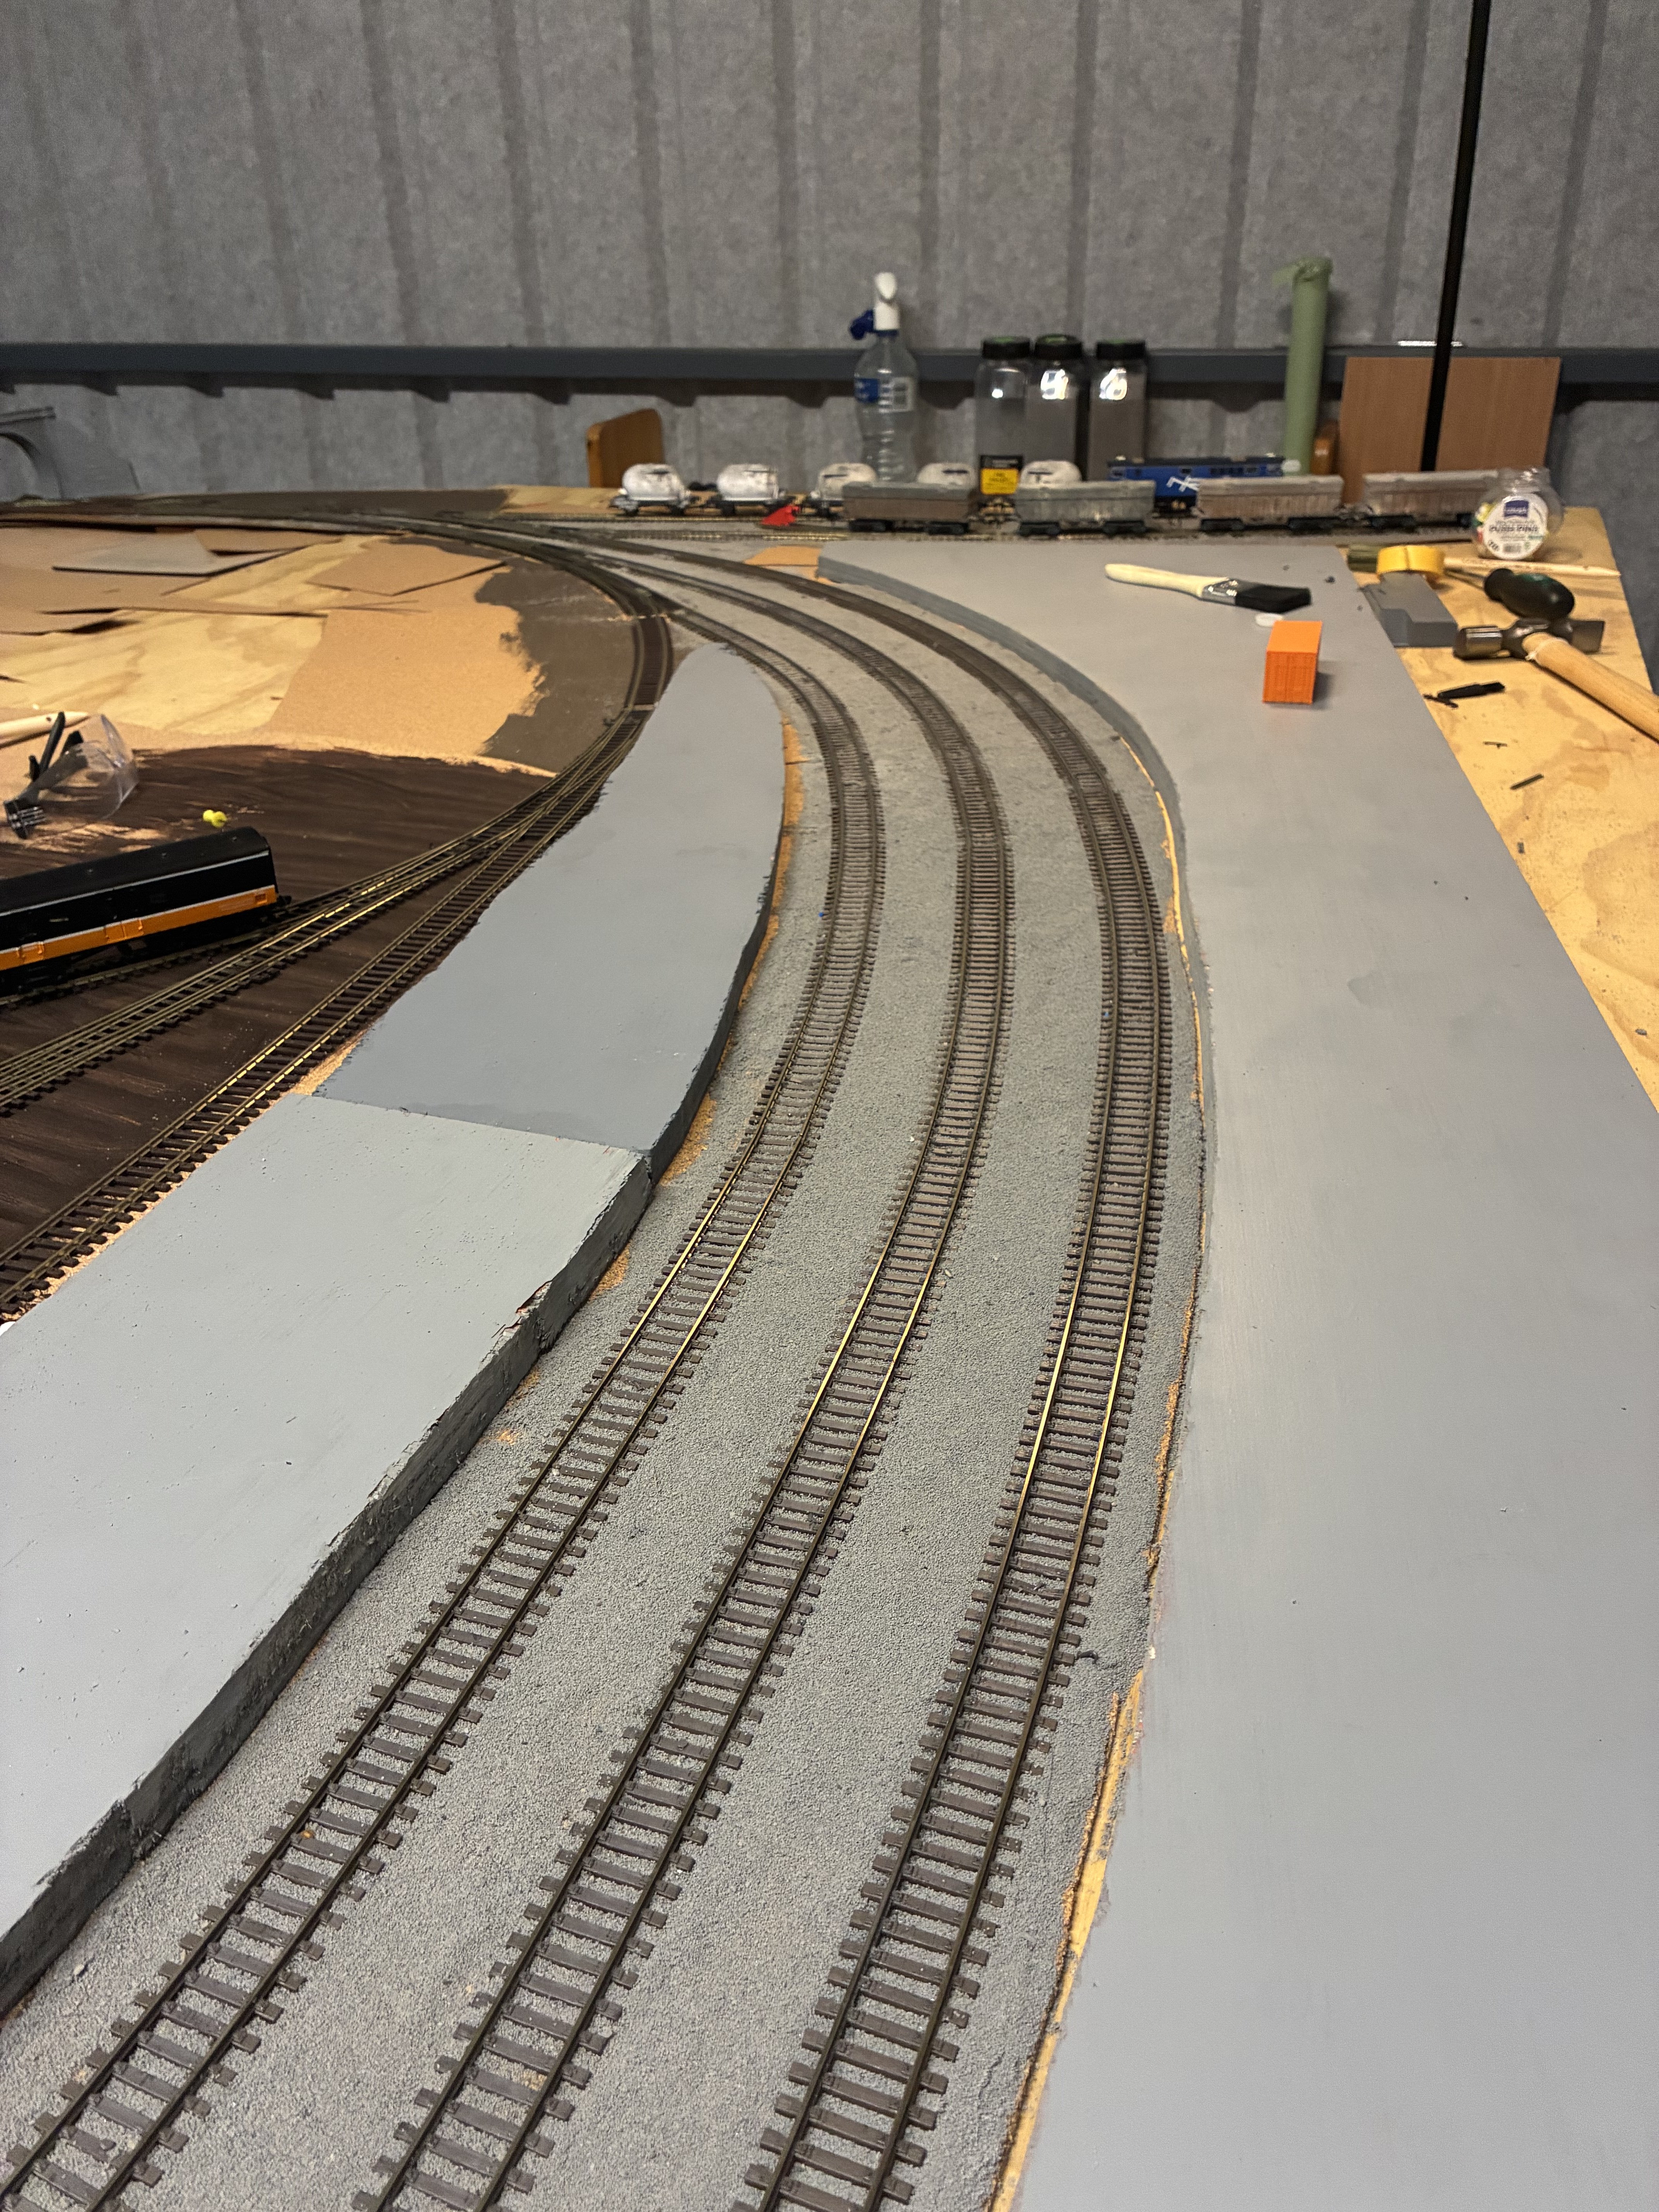
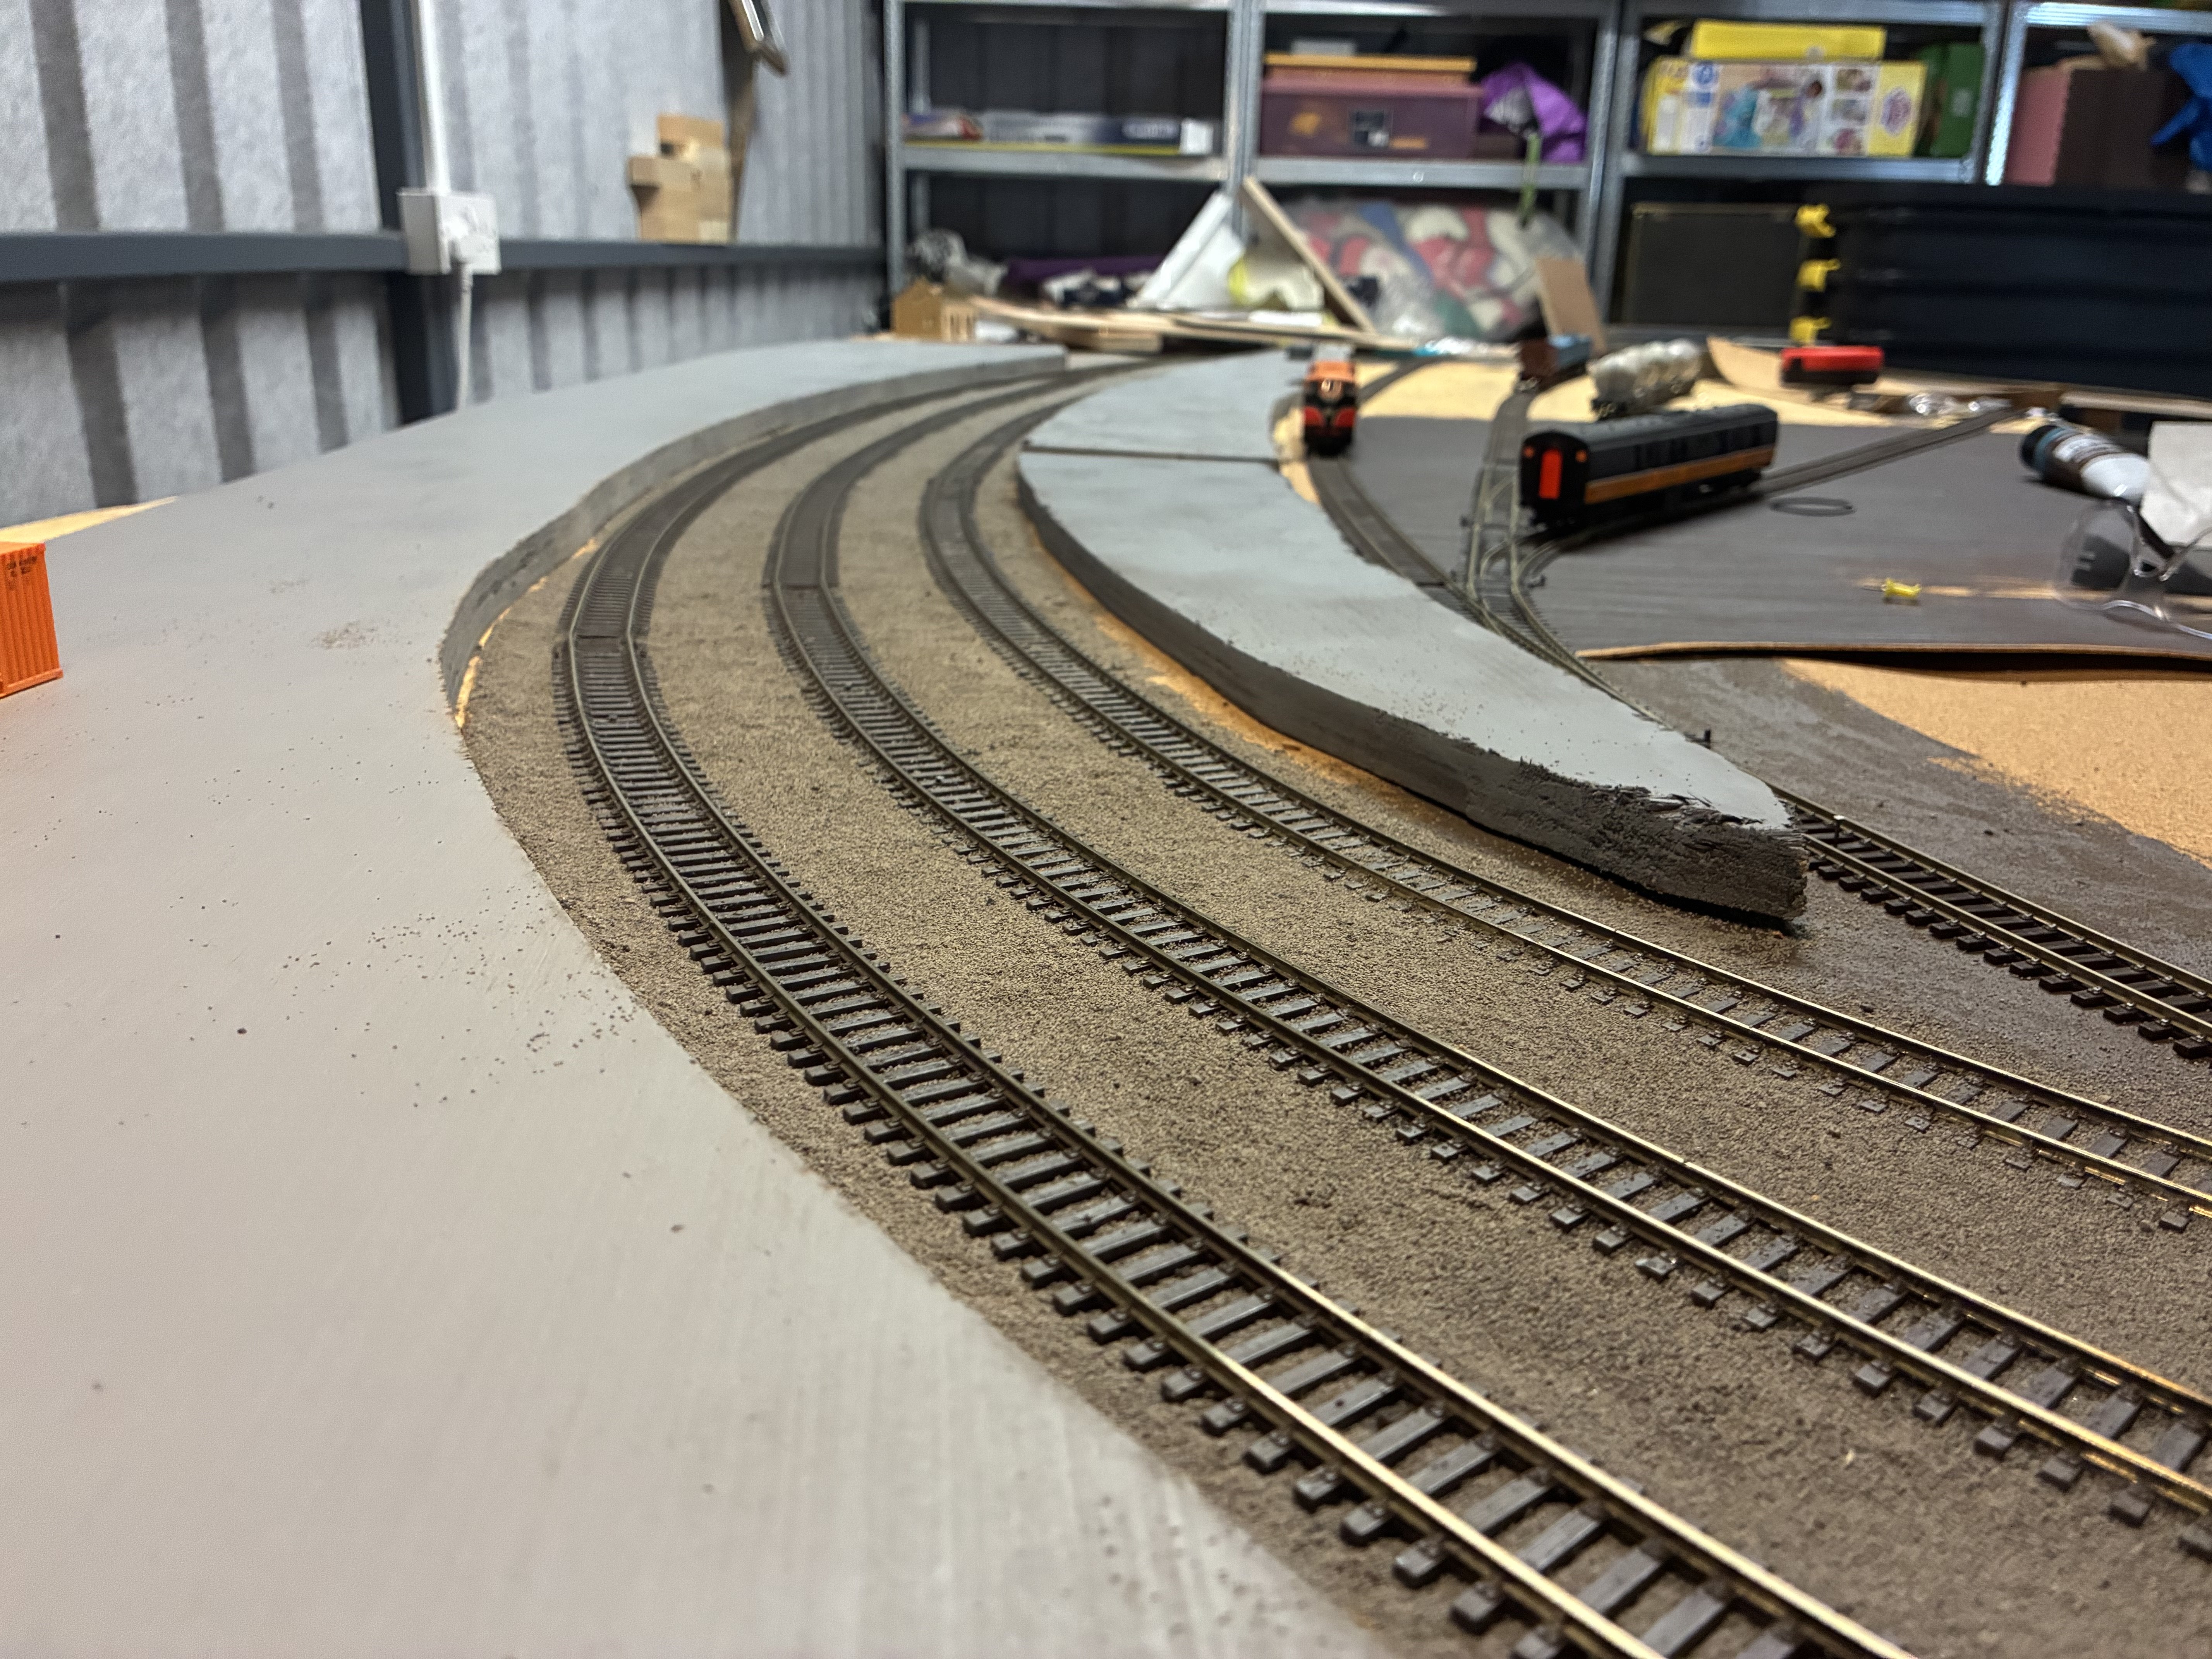
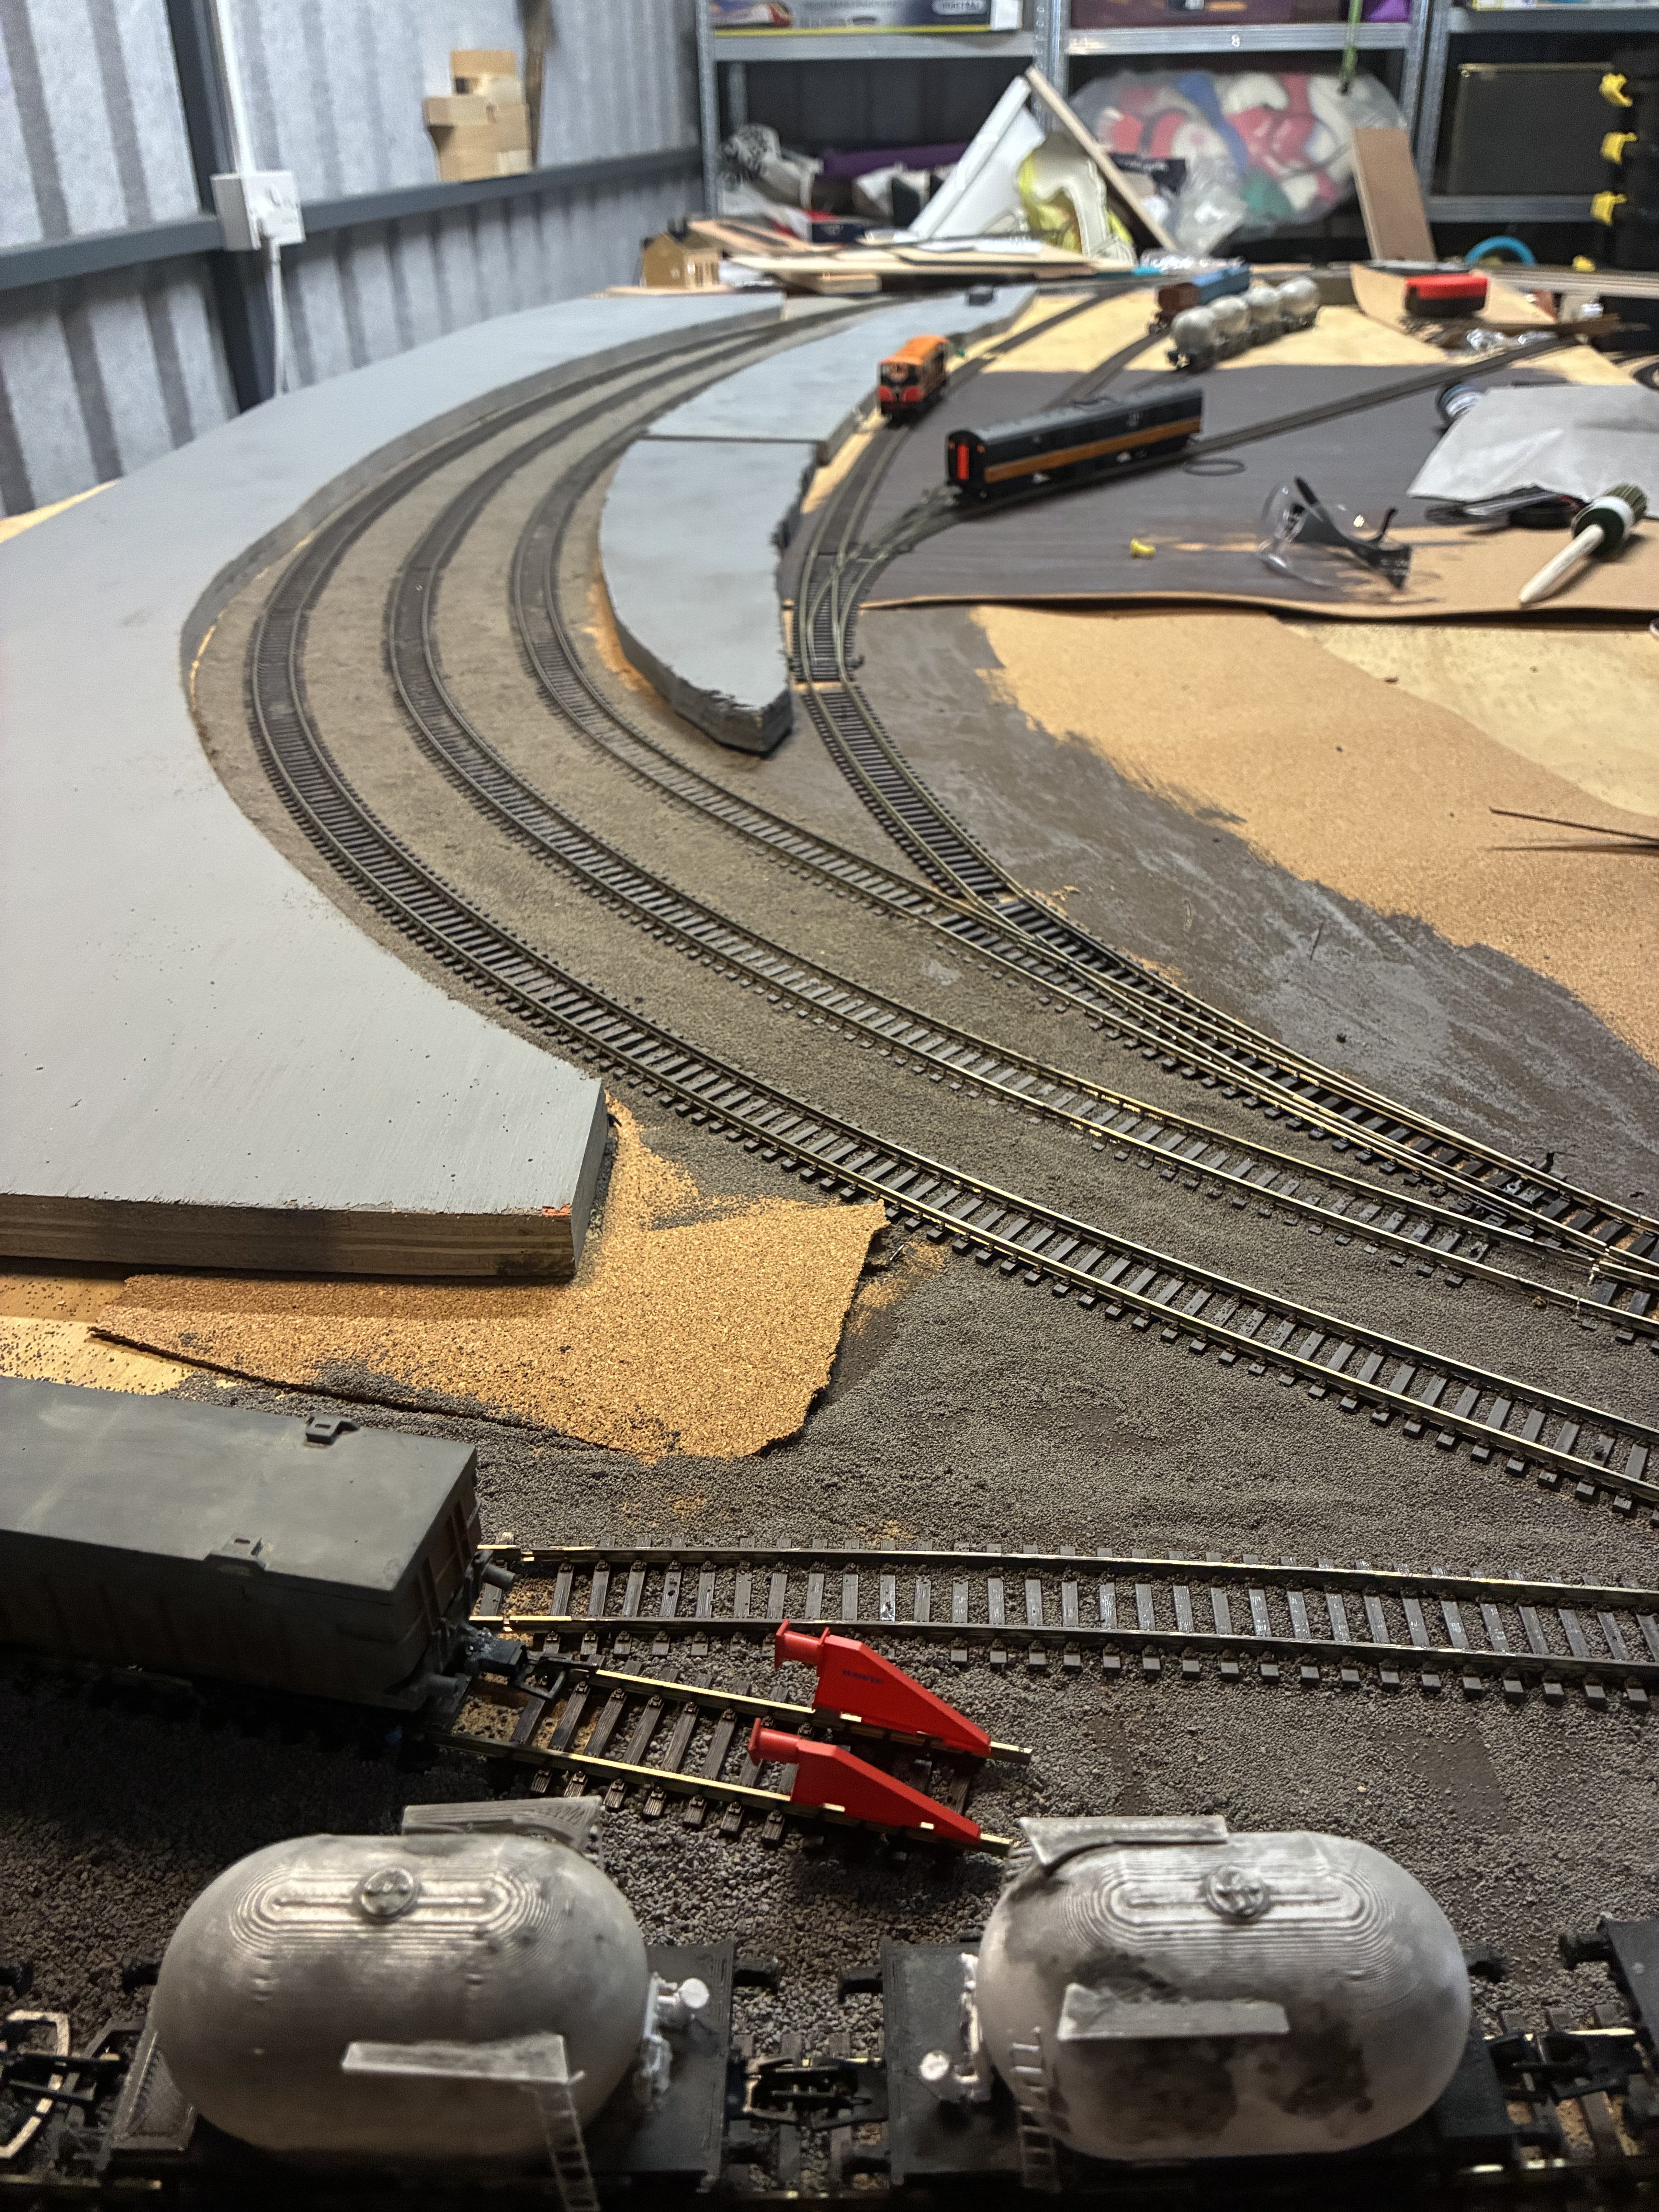
Ballasting and cork. Big step forward this week. Main station and Navan branch ballasted. This was my first time ballasting a model railway layout,was quite nervous at the start but delighted with the results Track was taken up. 2mm Cork was cut between platforms to keep the right height for the platforms when I put plasticard on the surface of it. Track was relaid, the middle road Track was spaced using a Peco 6ft gauge. Some future proofing and advanced thinking about Dcc . Before gluing the ballast,I placed pl80 pre soldered track joiners on all the points. drilled a small hole on the top baseboard. Taped up underneath for clearance. When I get the funds to go to dcc these droppers will be Conndctdf to the bus Ballasting. Track was painted with railmatch sleeper grime and Frame dirt before ballasting. Finished product- after two days of drying, The three roads and branch line are ballasted. Hairy moment when the cork started to swell upwards but thankfully settled when dried. Pretty happy how the ballast,still some spots to cover and some tidying. a quick snapshot of the layout vs an Arrow in 1995 and 192 with some cravens.
- 71 replies
-
- 16
-
-

-
Drogheda MacBride Station And Platin Cement Factory
Anders112 replied to Anders112's topic in Irish Model Layouts
Is this the stuff ?dosent seem natural to put bright green “snotty” substances on well sought after models https://bullfrogsnot.com/?srsltid=AfmBOoqlEroWL_Qlx9ugtRziXP8_ldq233YPb1TITRgbqdIWIZw8T9Ge I have also had problems at time with 071 and a class on the helix but strangely no problems with Murphy’s 201s -
Drogheda MacBride Station And Platin Cement Factory
Anders112 replied to Anders112's topic in Irish Model Layouts
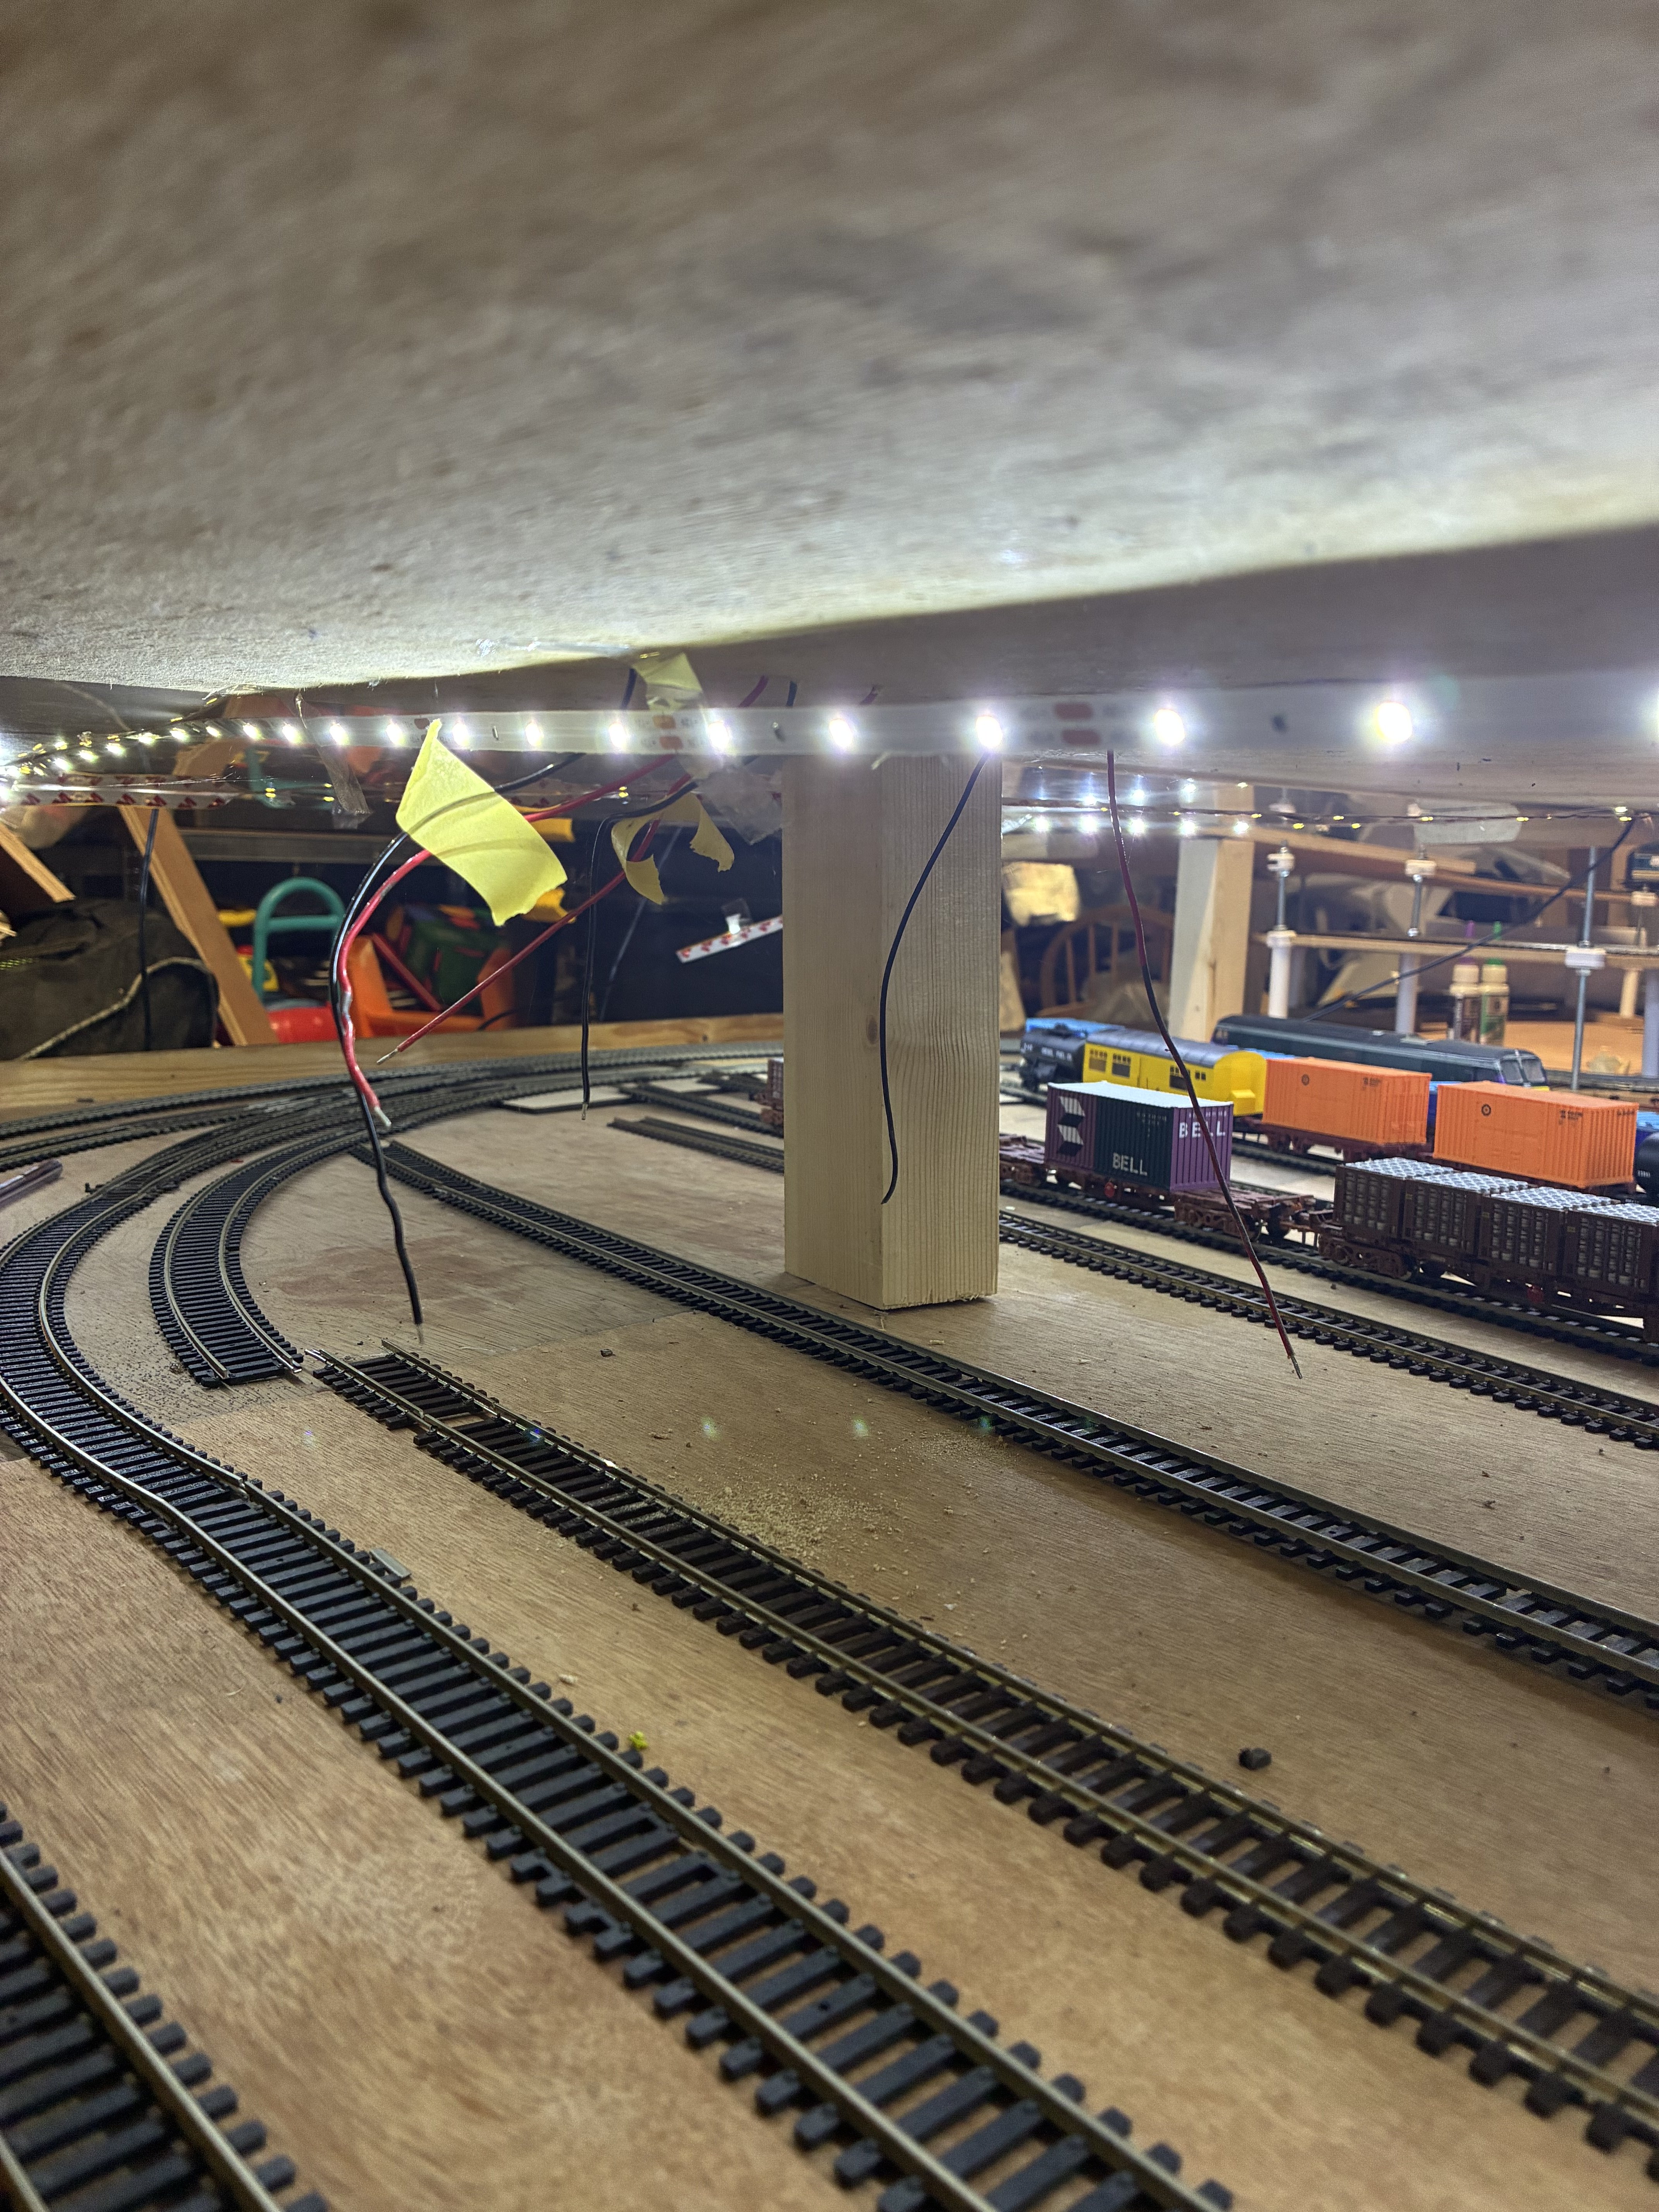
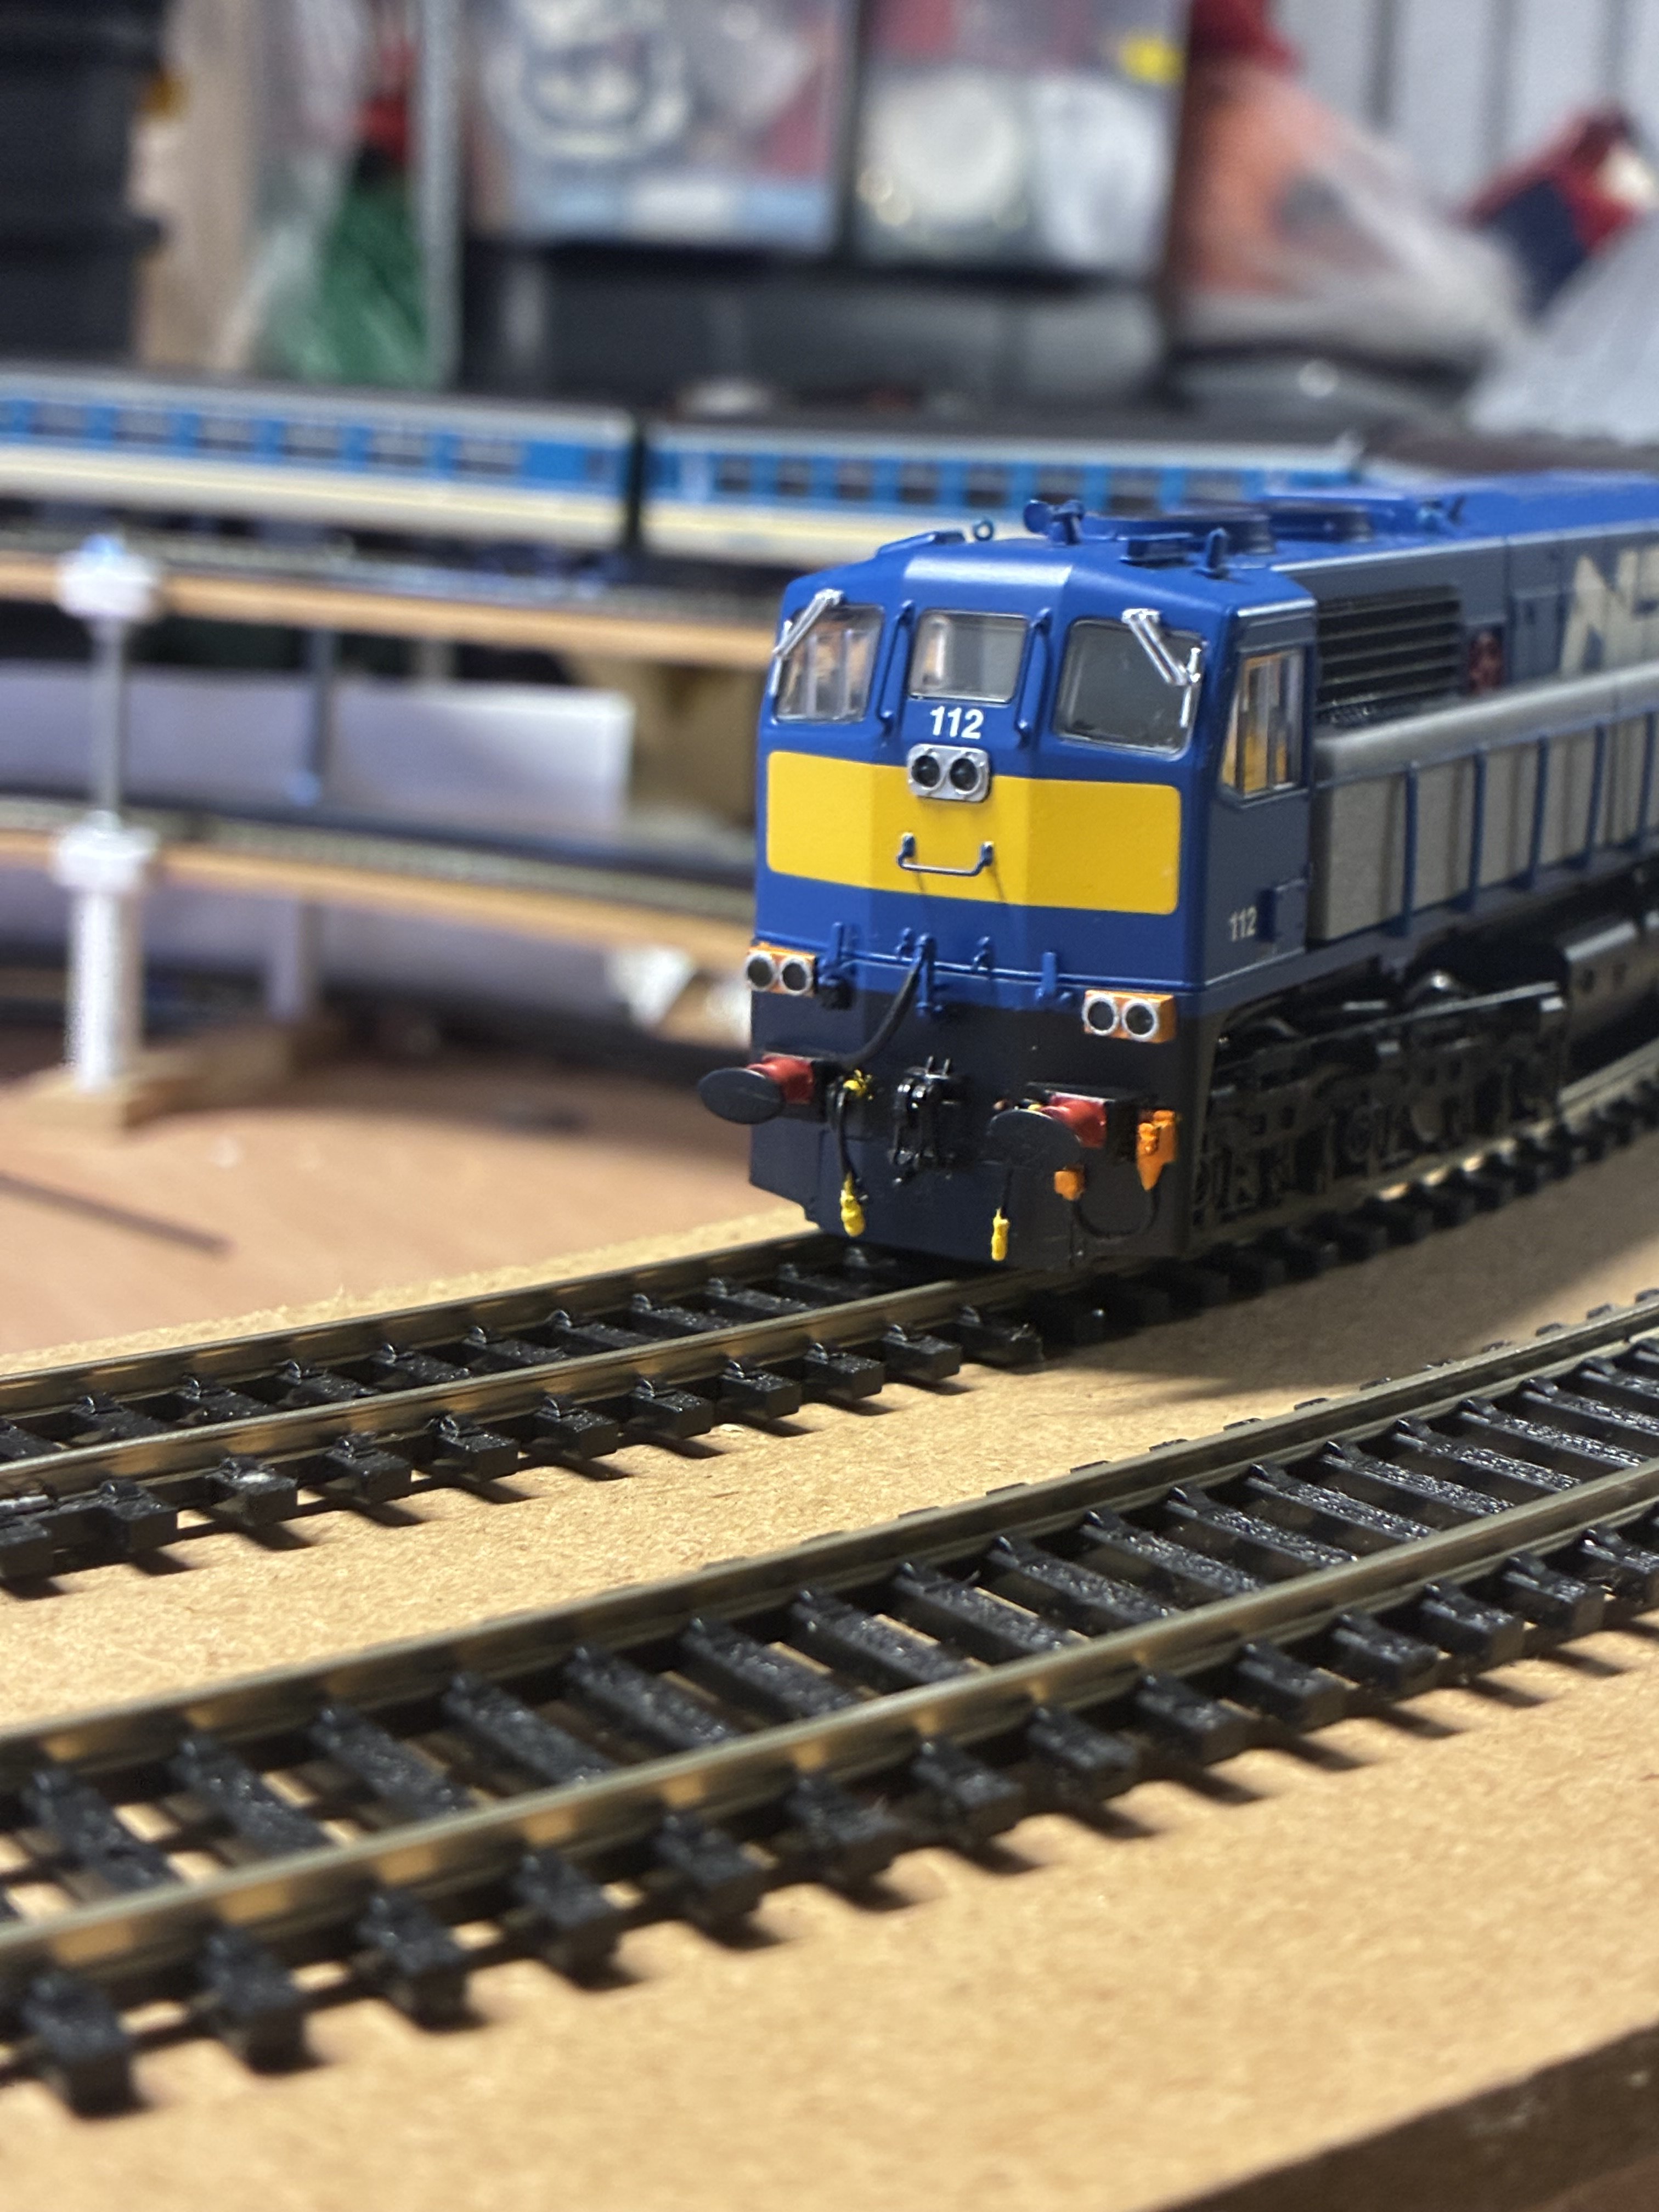
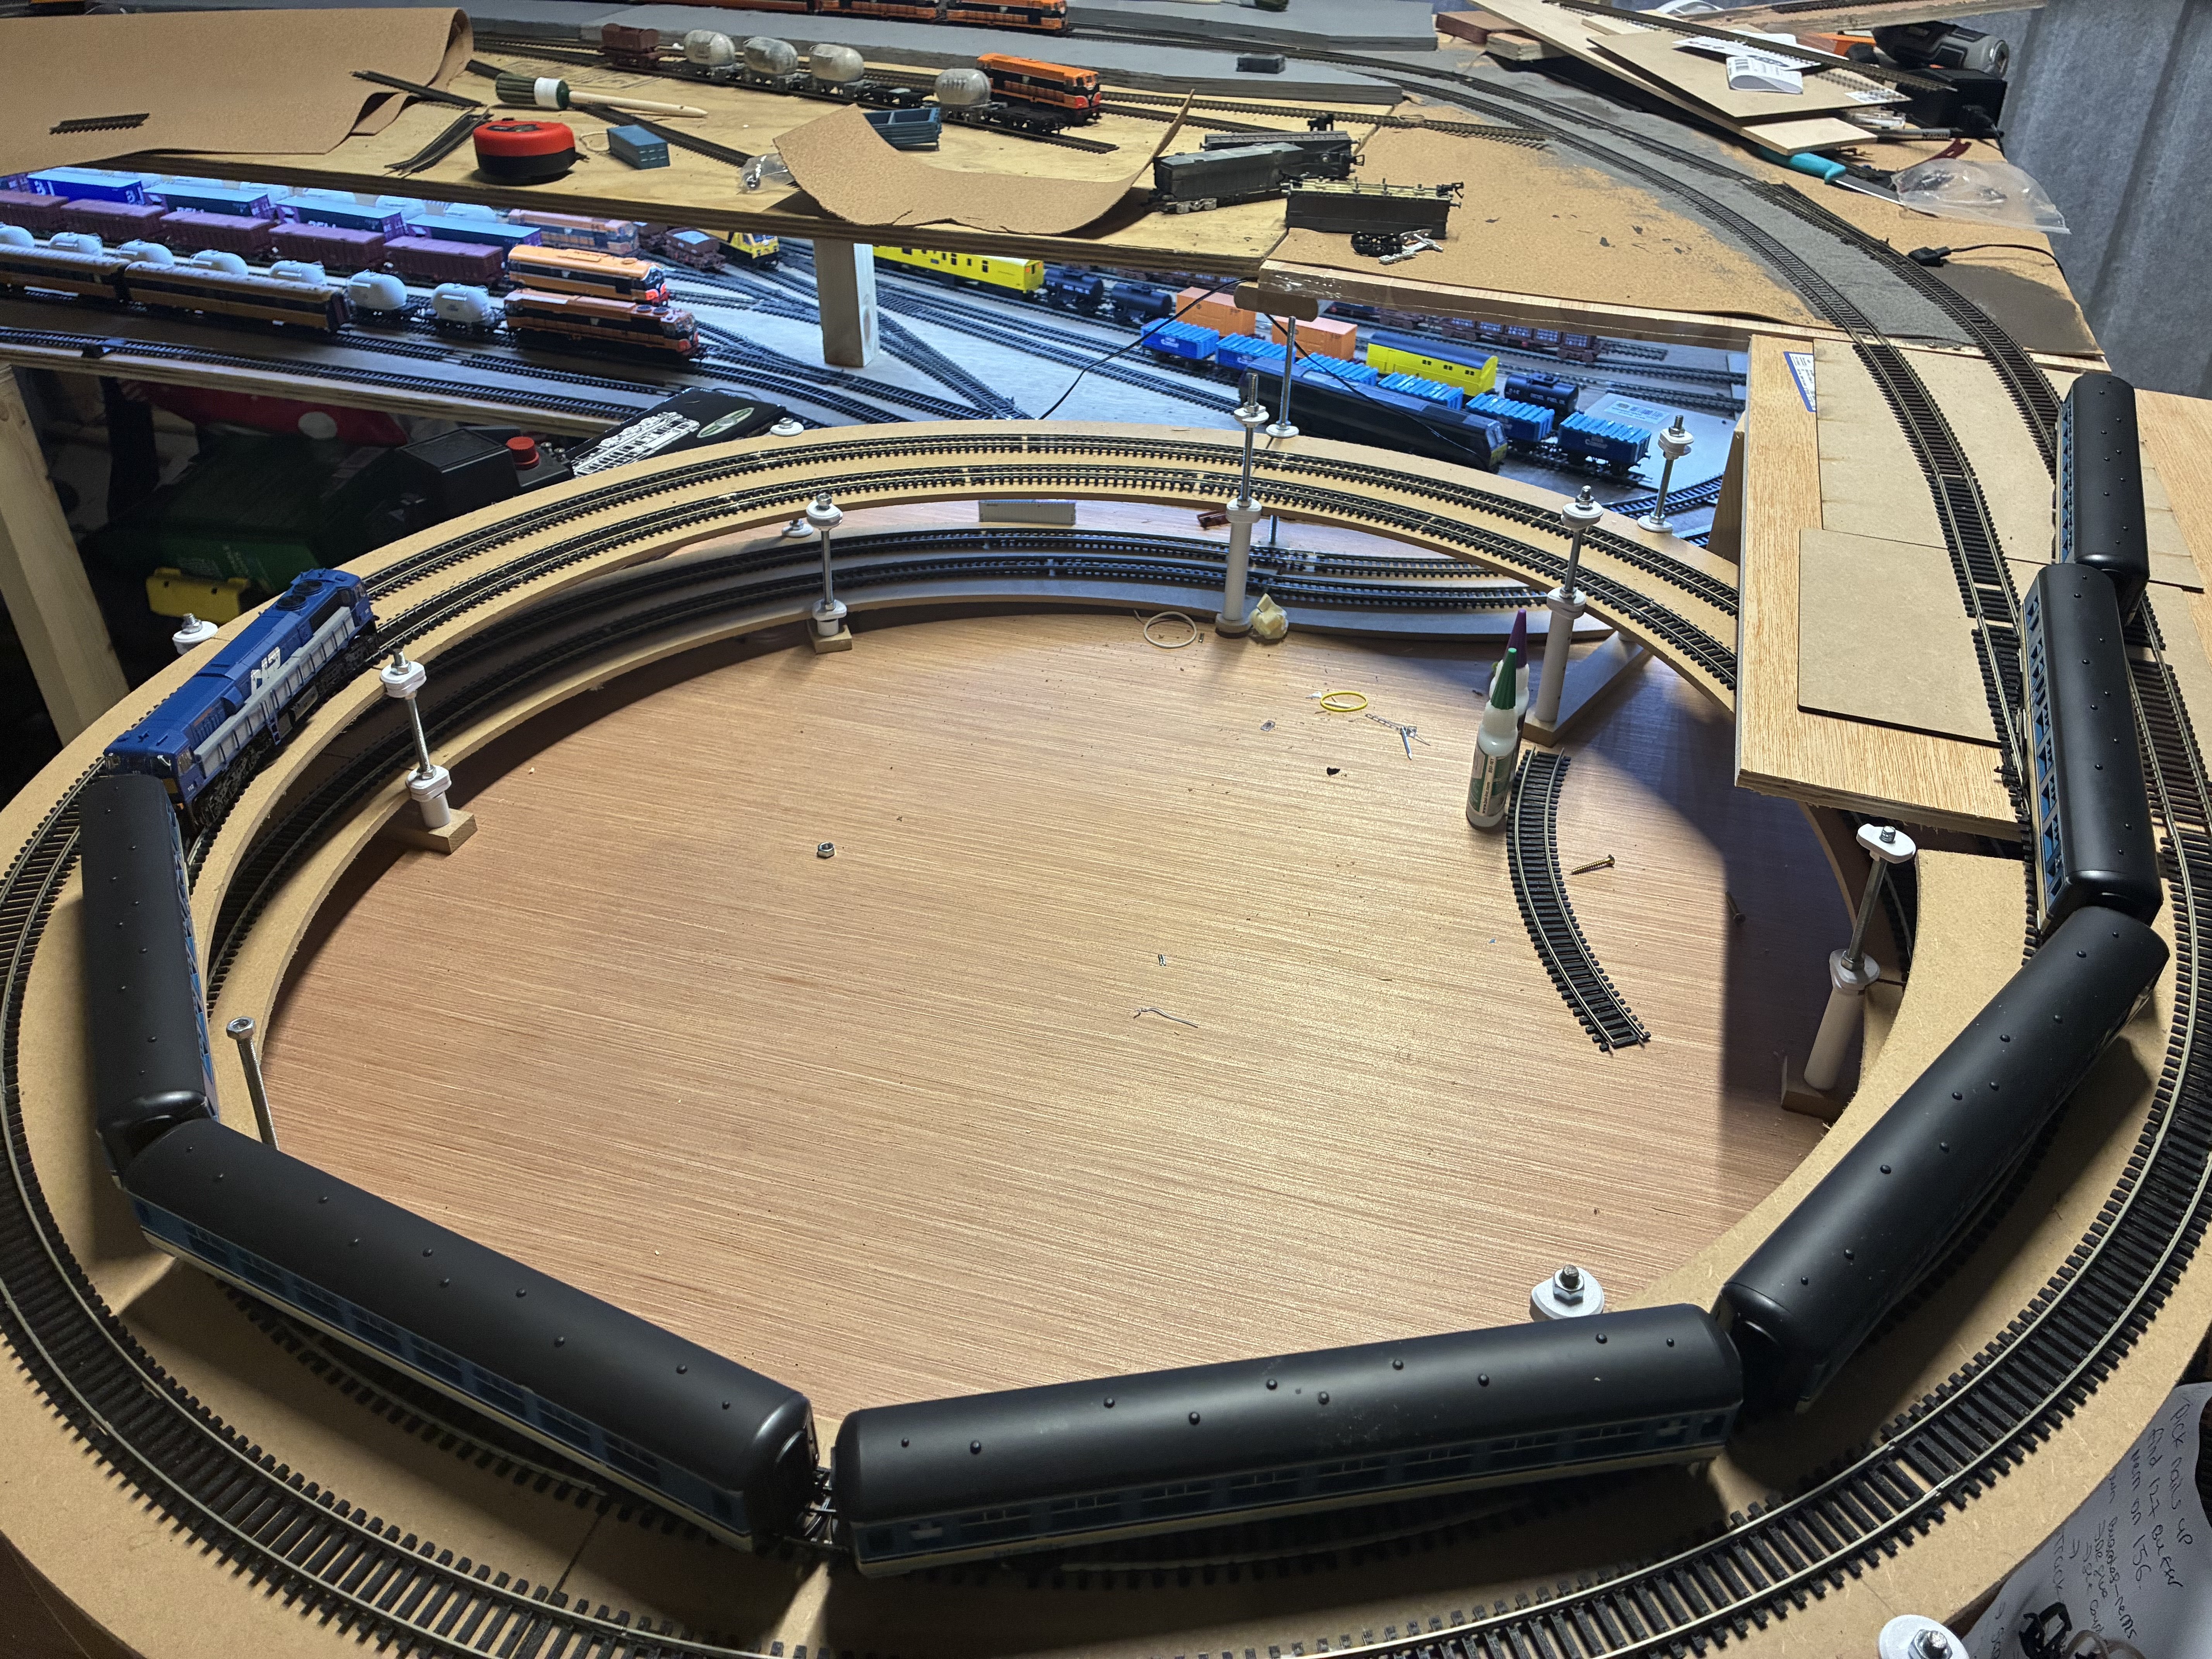
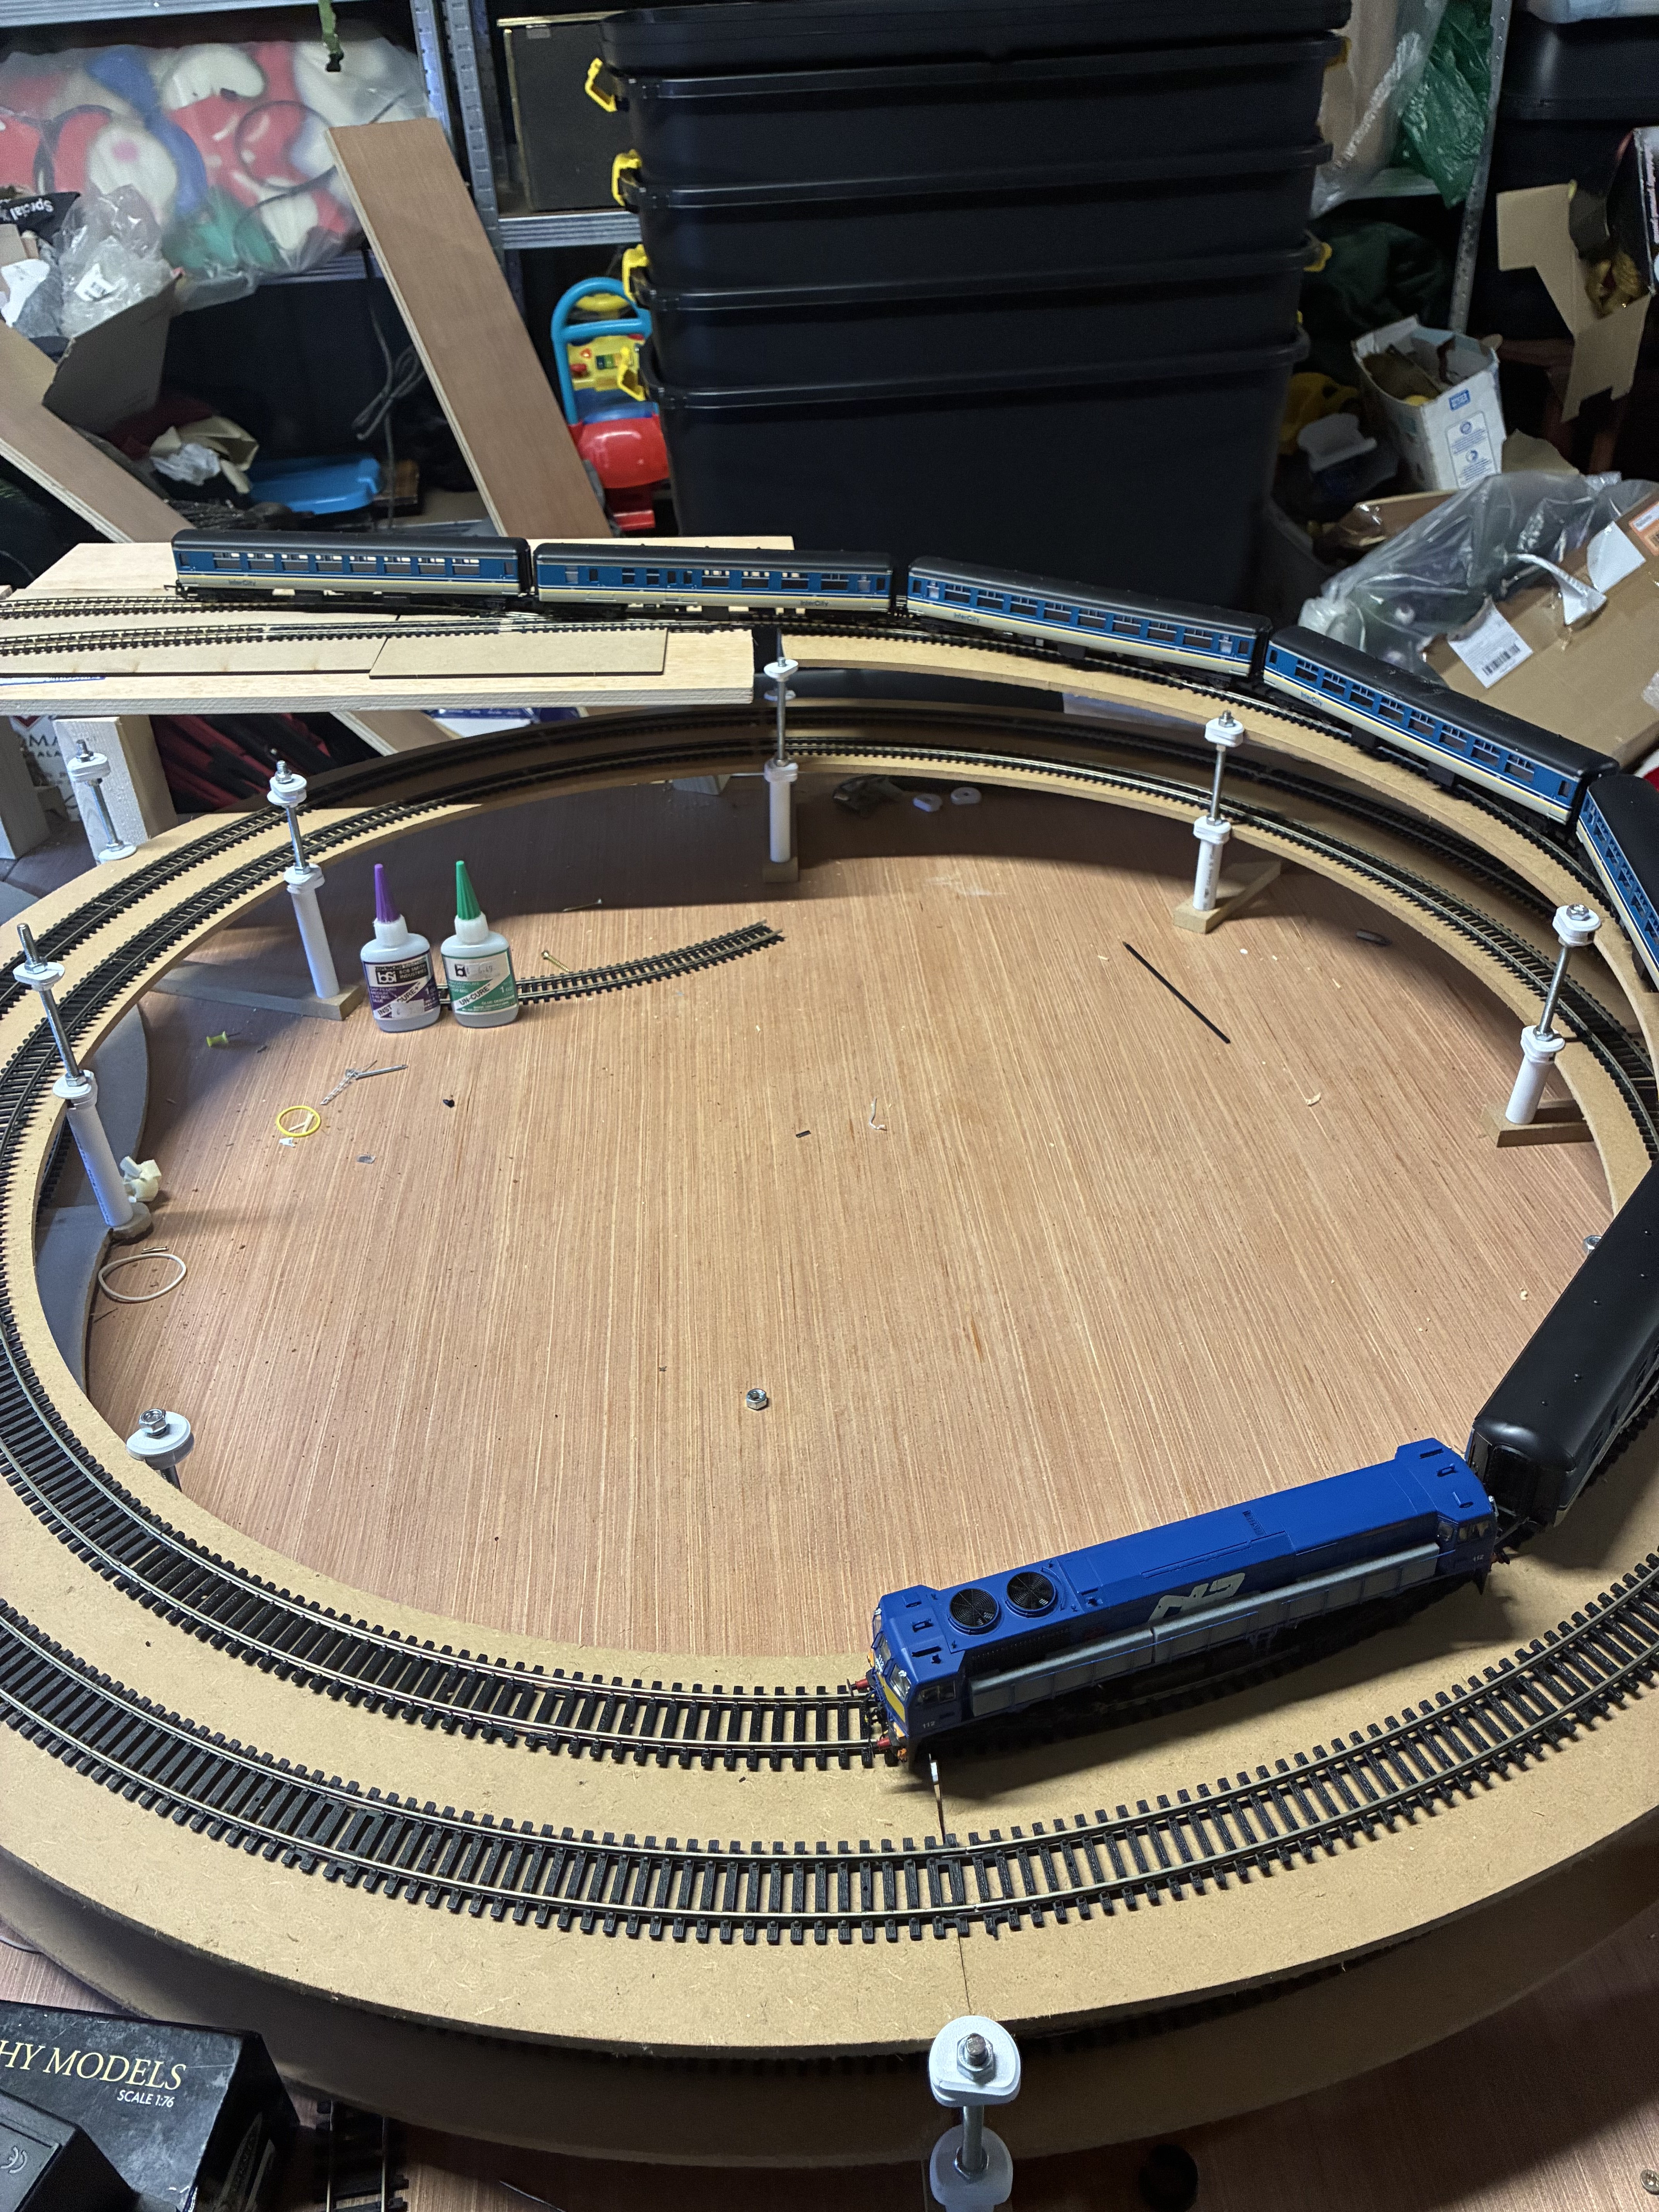
Thanks for the support Jason really appreciate it In fairness yours is really well done and I like the fact that your helix is hidden as well. What radius is your helix ? The helix has really gave me more space and allows more locos to stored underneath but comes with its limitations and doesn’t suit all rolling stock or running operations are limited. For example my Lima Nir mk2s pictured below can take the inside curve no problem but IRM nir mk2s keep derailing due to the slope and radius combining to make the second radius curve even sharper. 42 flats can take it no problem once there is a load on them,empty flats seem to derail. Cravens and Murphy’s mark 2 no problem taking curve but can become uncoupled. IRM two axle- bubbles and ballast- no problems at all I’ve had also two locos derail on the helix and met the concrete floor…thankfully survived. Working on installing barriers. Started laying cork and ballasting this week,will send one photos when done
- 71 replies
-
- 10
-
-

-
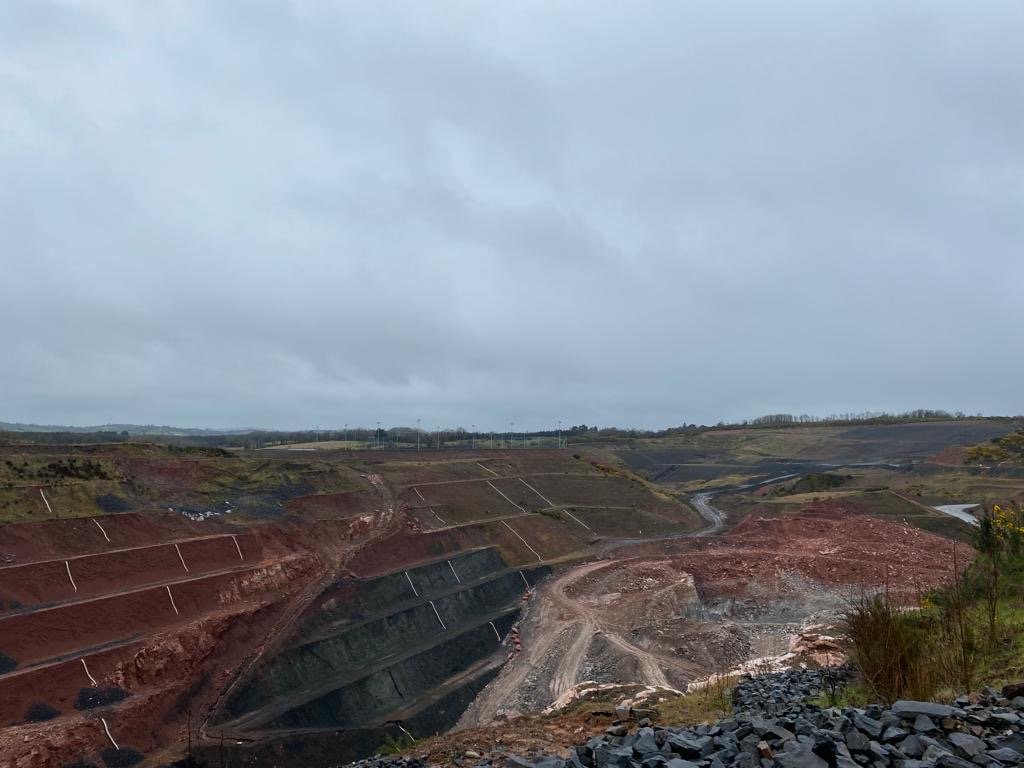
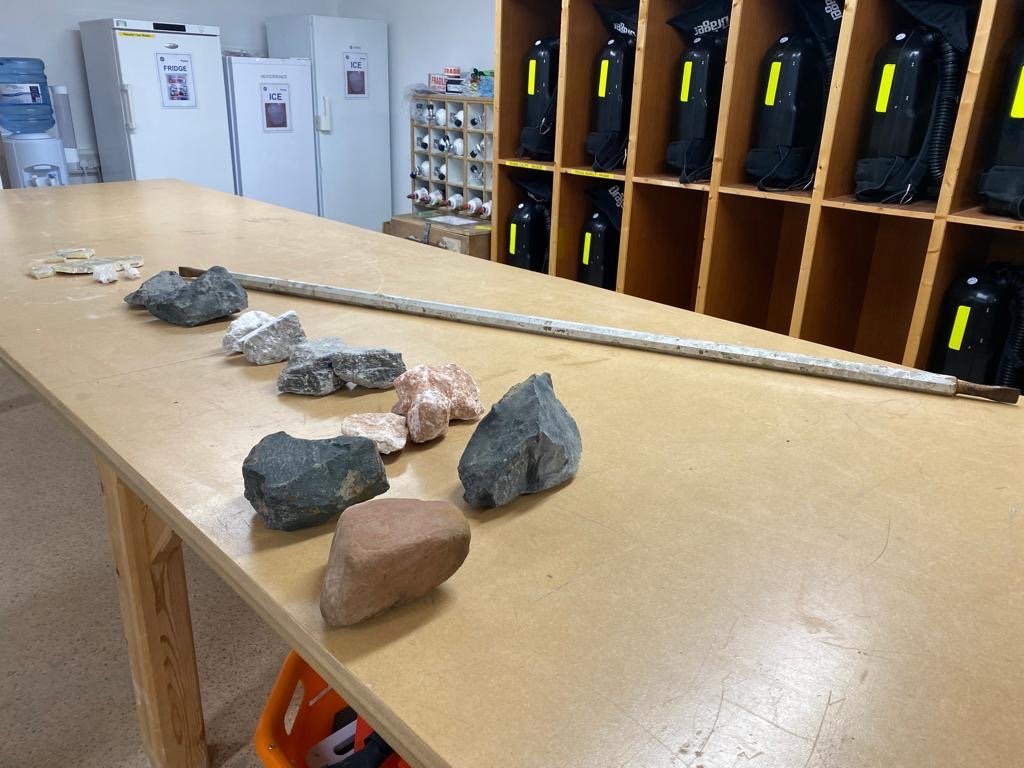
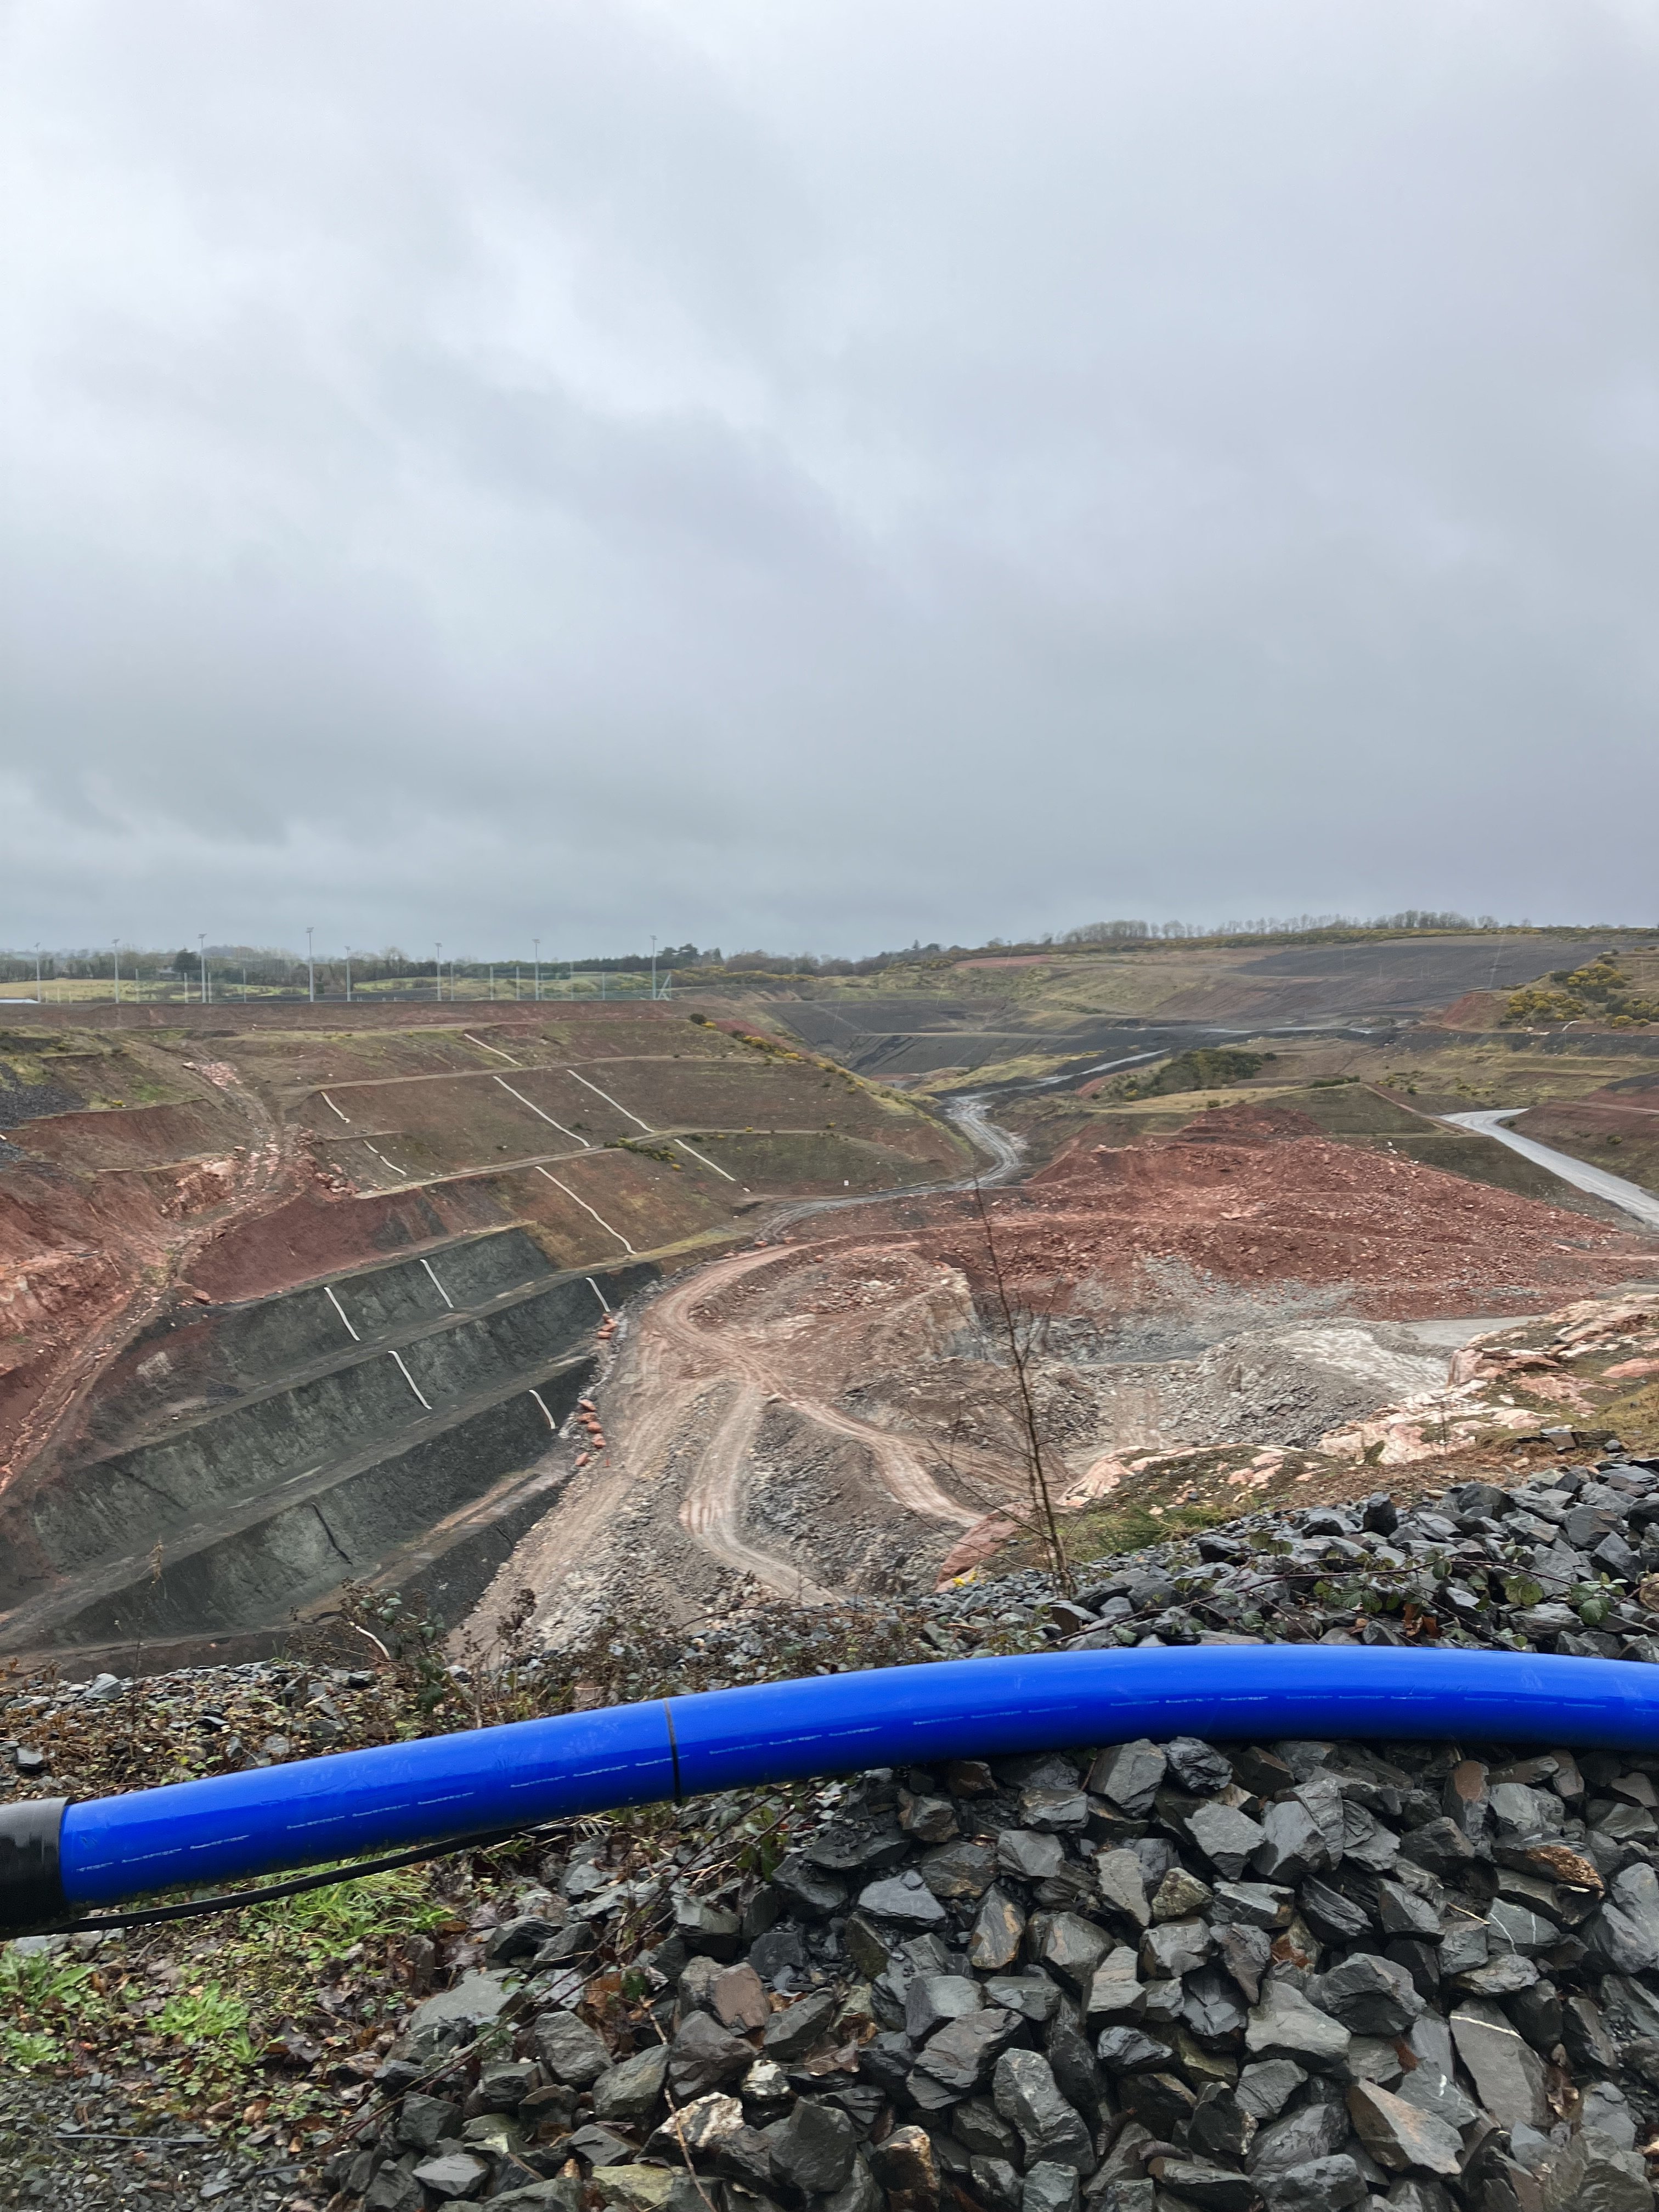
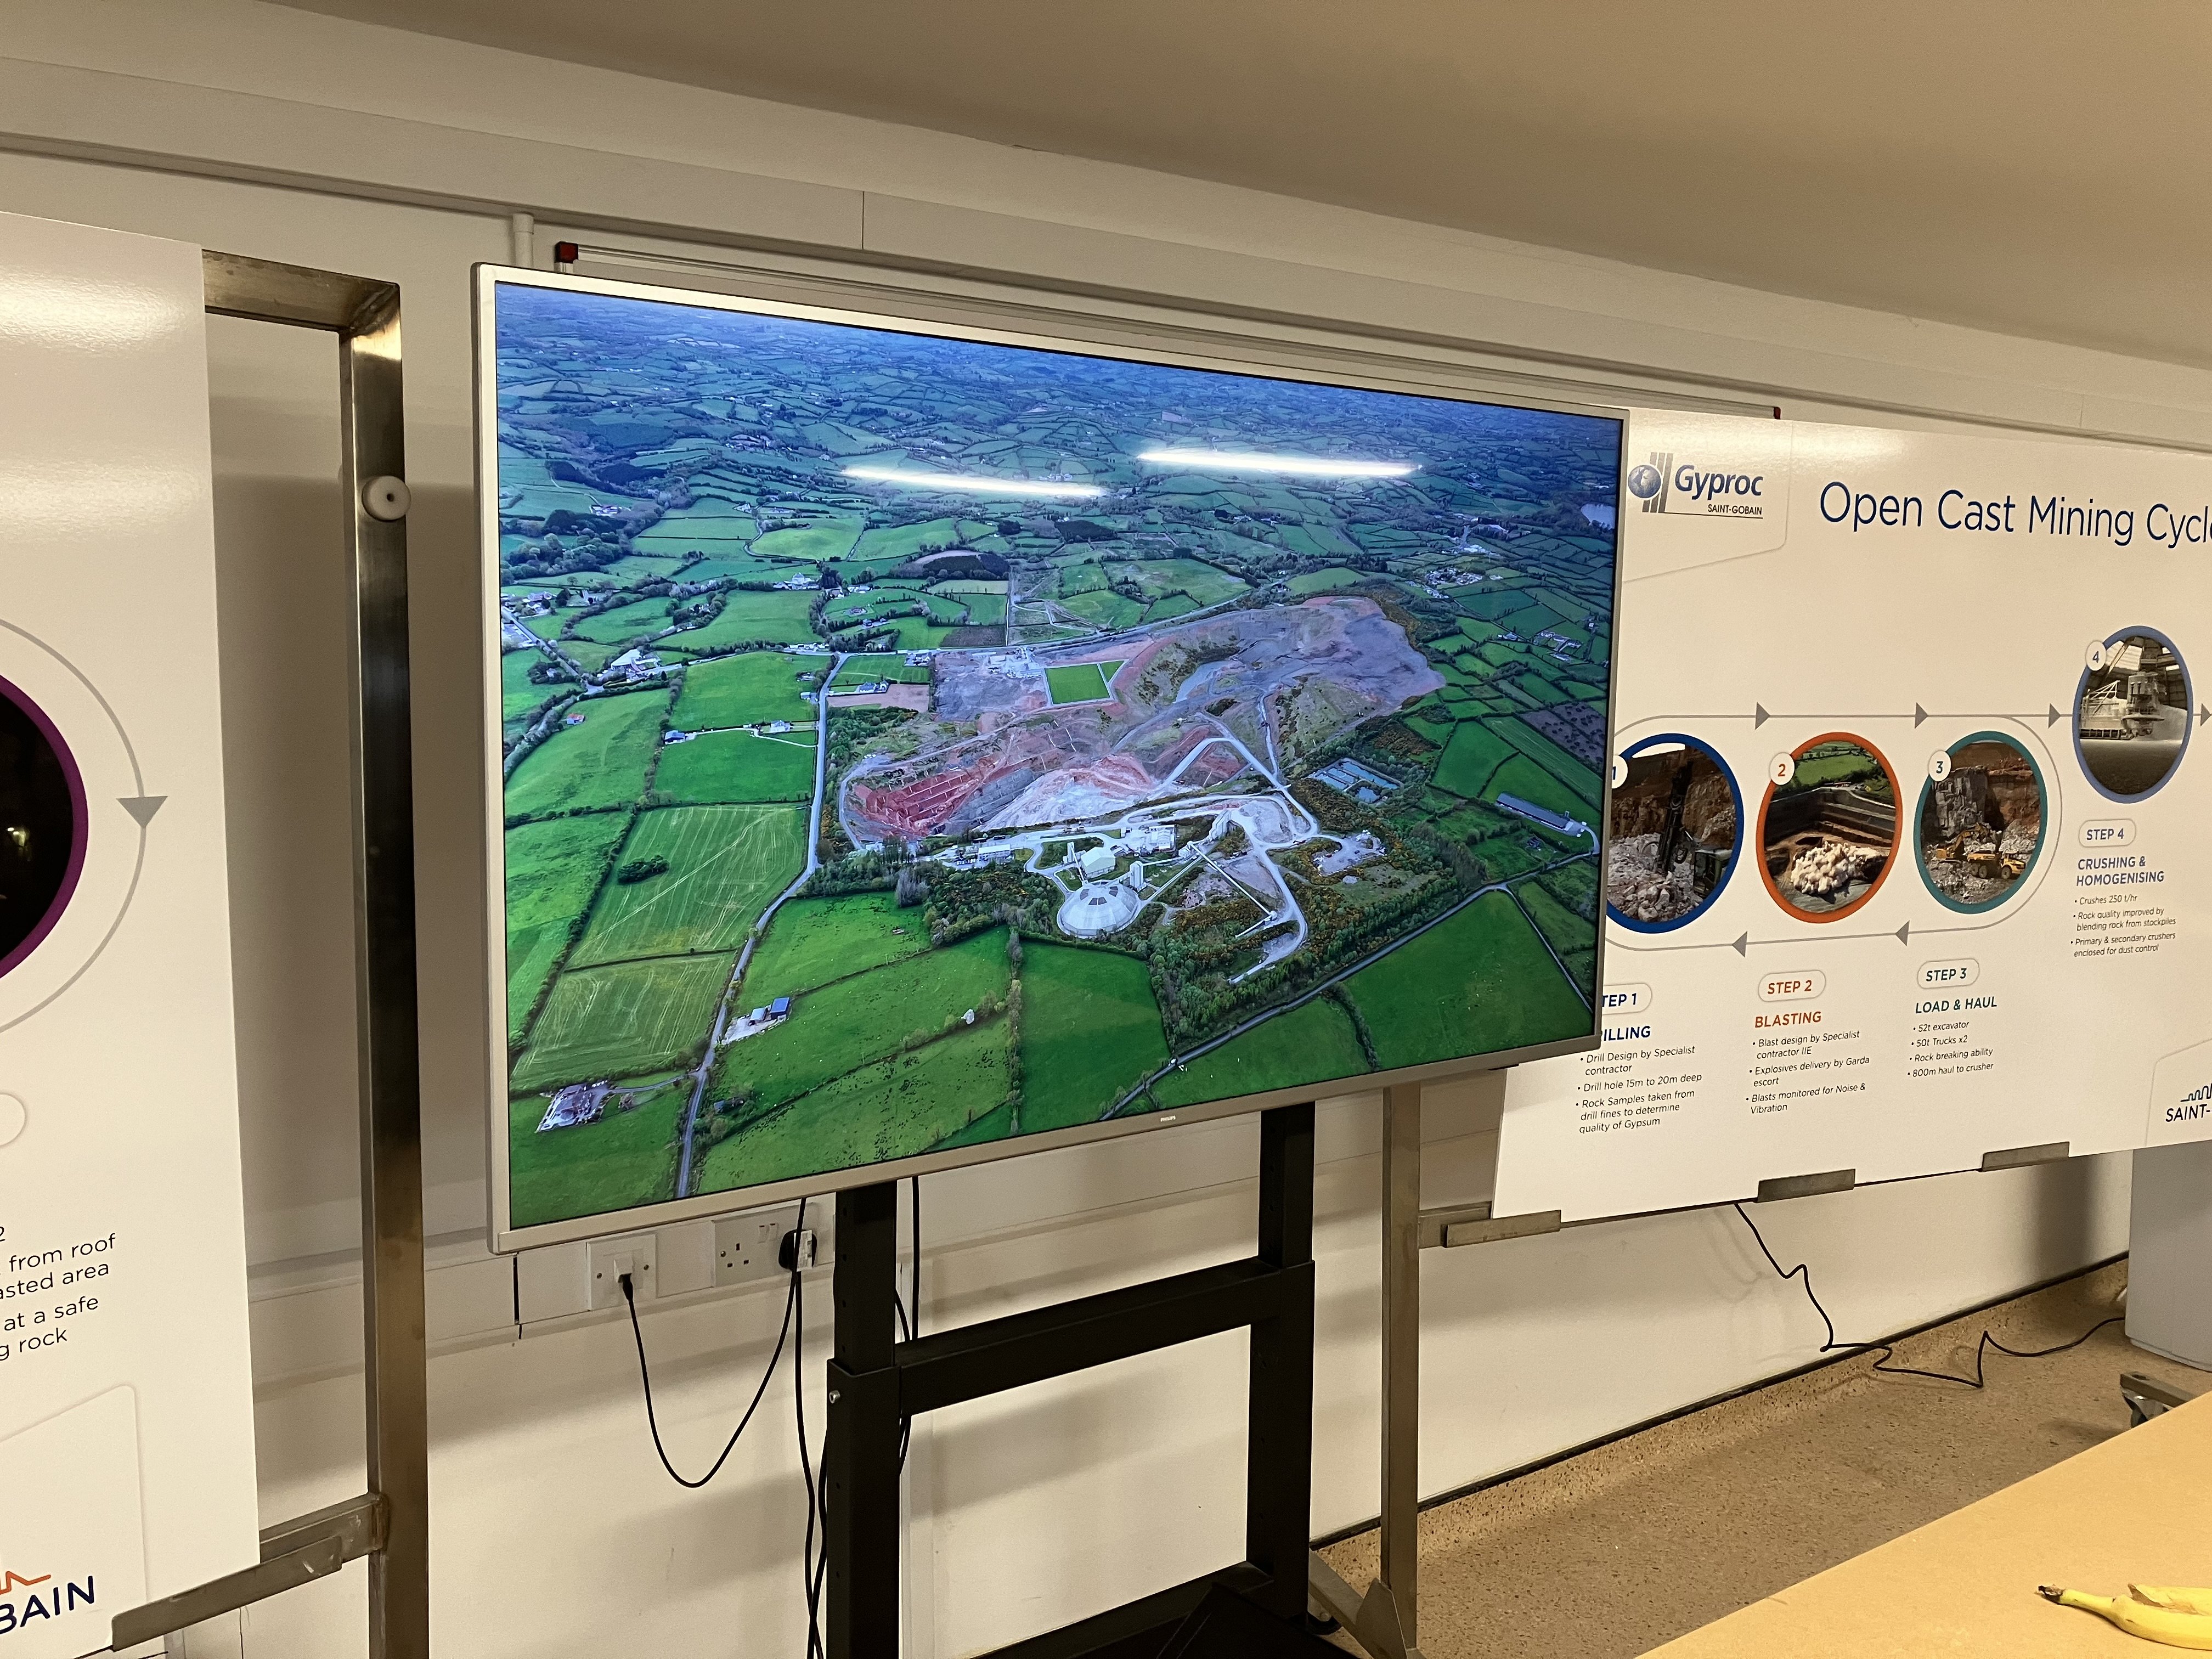
I was very fortunate to be part of a fieldtrip visit to the Gyproc mine for work. We had a great day out learning geology of gypsum. The big thing about the colour was the younger layers of the gypsum which are closer to the surface were the red colour while the grey was the older and deeper. You can see it in the photos below. The white gypsum samples we were show were more to be purer. I believe in recent weeks they have expanded the Mine over the far side of the R179. Still a shame to see it not go by rail. All goes by road now