
.jpg.580dc5508bbcbf9f16ddeb6488d081c2.jpg)
patrick
-
Posts
885 -
Joined
-
Last visited
-
Days Won
41
Content Type
Profiles
Forums
Resource Library
Events
Gallery
Blogs
Store
Community Map
Posts posted by patrick
-
-
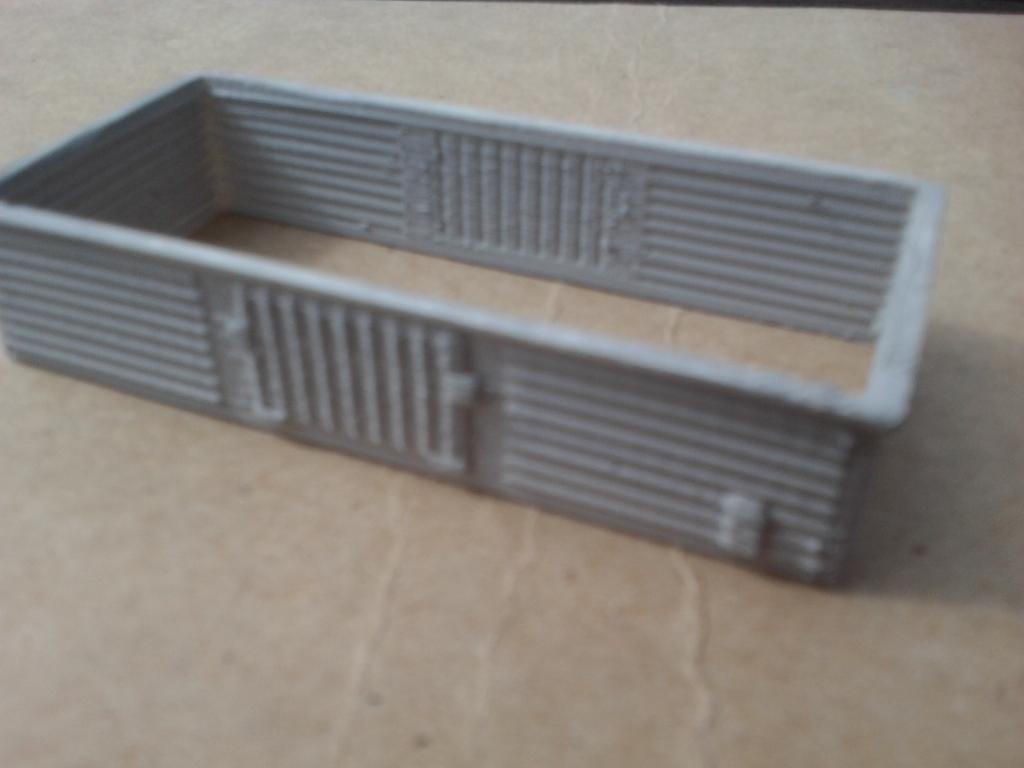
Work has stalled on devolopment of my Bulleid open. Can anyone with has CAD experience help fix the shapeways file? The photo shows the current state of the model but changes need to be made on the door and possibly the lip around the top. The cost was considerably cheaper than the body Shapeways currently offer and if sucessful I would gladly make it available to whoever wants it.

-
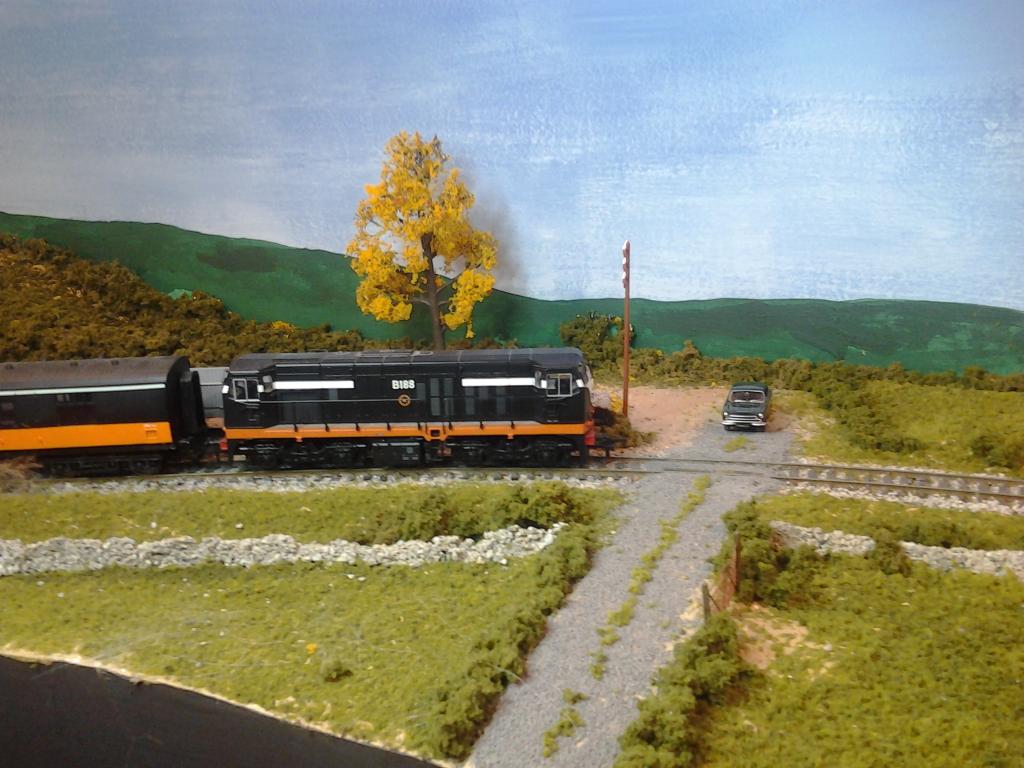
Thanks for the nice comments on the layout which have appeared on this thread. The layout reflects current US layout design trends, high level narrow benchwork and walk around control where operators follows their train using hand held throttles. In the photo below the benchwork at the front of the locomotive is 16" wide approximately and the track level is 58" above the floor. The backdrop although very basic rised above eye leven and makes the scene appear much deeper than it actually is. Very little scenrry is modelled outside of the railway right of way and outside of railway buildings none are planned at present. This saves space, time and scenic material which can get expensive when large areas must be covered.
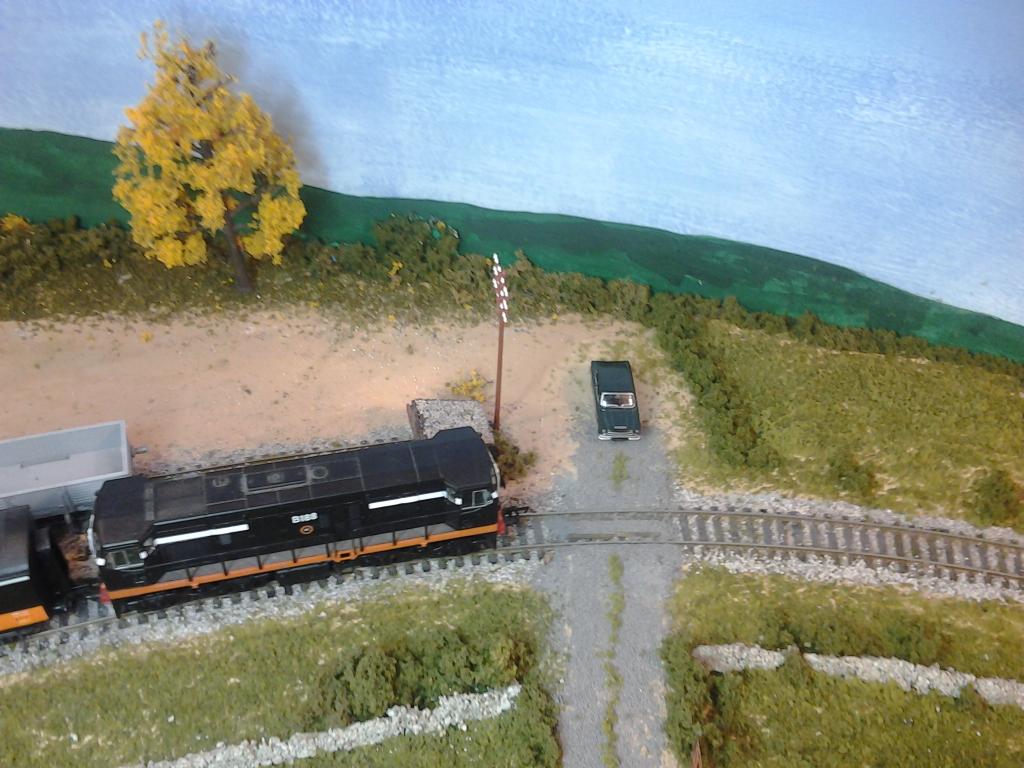
The next photo is taken at a higher level, reflecting track level of approxomatly48". The scene is nowhere as expansive and the curve appears much sharper.
To see first hand the effectiveness of high level narrow benchwork set up a few pieces of track, some rolling stock and a building or two on any convient high shelf at home.
The corners are the widest part of the layout, 22" at this point.
-
so basiclly we are talking break up the track into isolated blocks. Use on-off-on switchs for each block and controller one would have controll of all up switched track and controller 2 has control of all diwn switchex track?
Thats it in a nutshell!
-
Wonderful work as always Nelson. You are inspiration to us all.
-
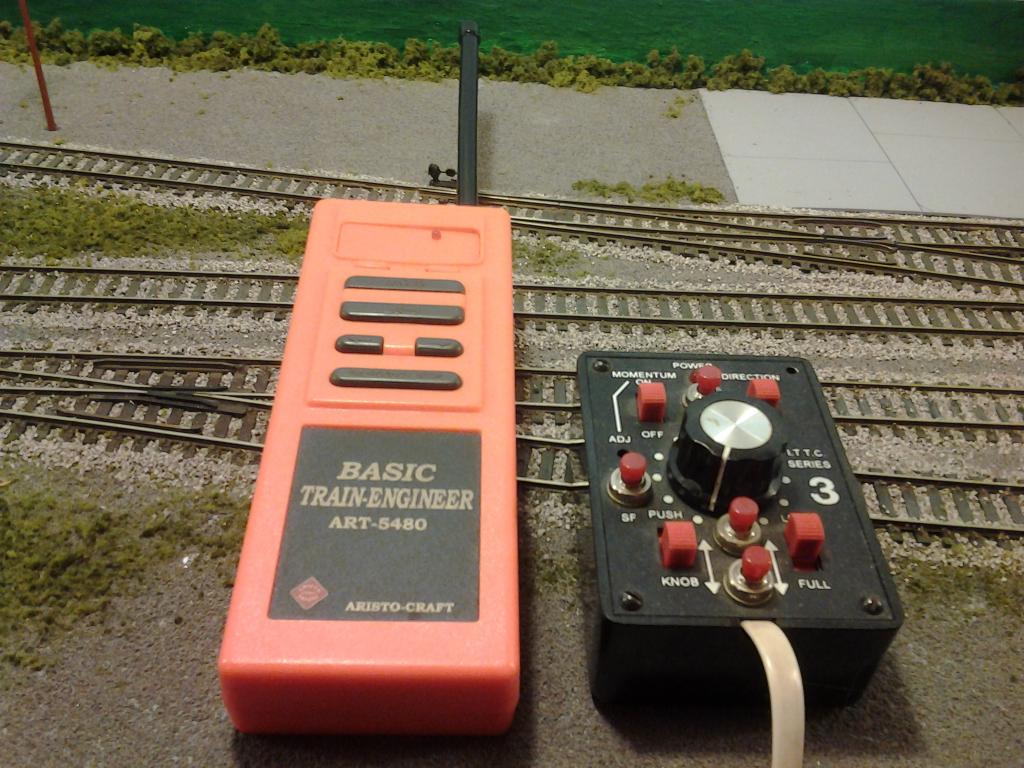
I have used twin cab control on three layouts over the last twenty odd years. Nothing against DCC, I hope to upgrade at some point but for now I choose to use my limited hobby budget to complete the layout. The photo below from "Modelling The Clinchfield in N Scale" illustrates how it works better than I can describe it.
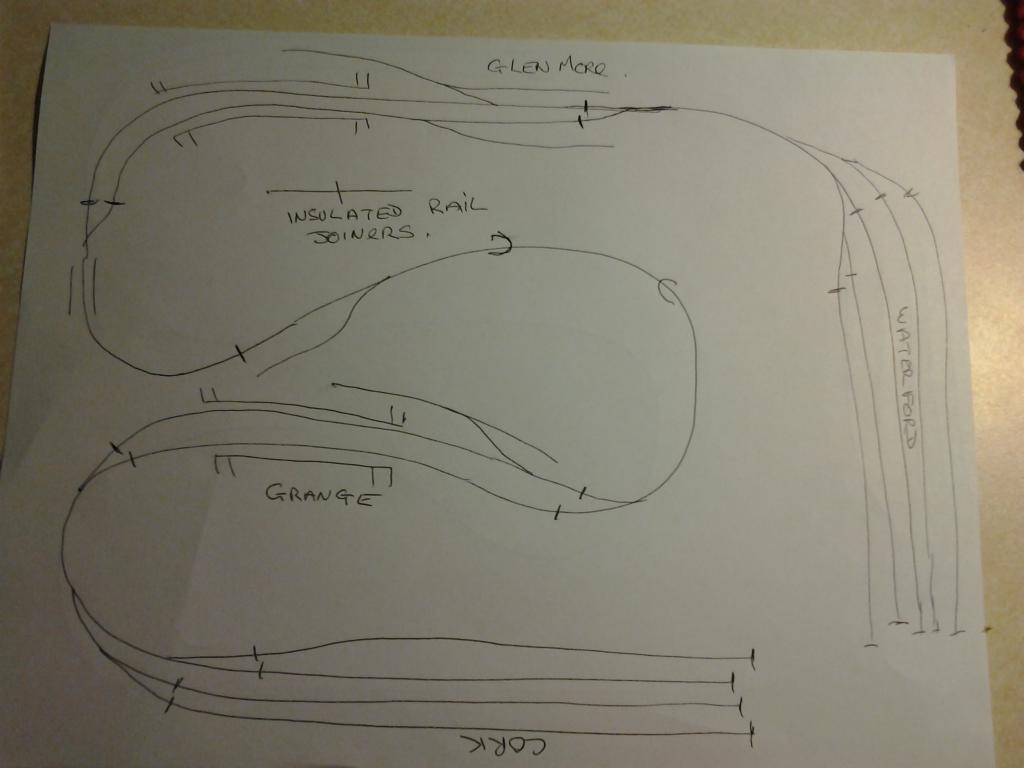
My layout is divided into seventeen blocks and designed for walk around control where the operator follows the train as it progresses along the layout. When the SPDT switch is in the right hand position the wireless Aristo Craft controller is engaged, the left engages the theathered walk around hand held unit. The center position is off.
Two trains can be operated simultaenously as long as they stay out of each others block which is perfectly adequete considering the size and design of the layout and allows for flexibality during operating sesions. When a train leaves a block the operator or acting signal man returns the switch to the center off position.
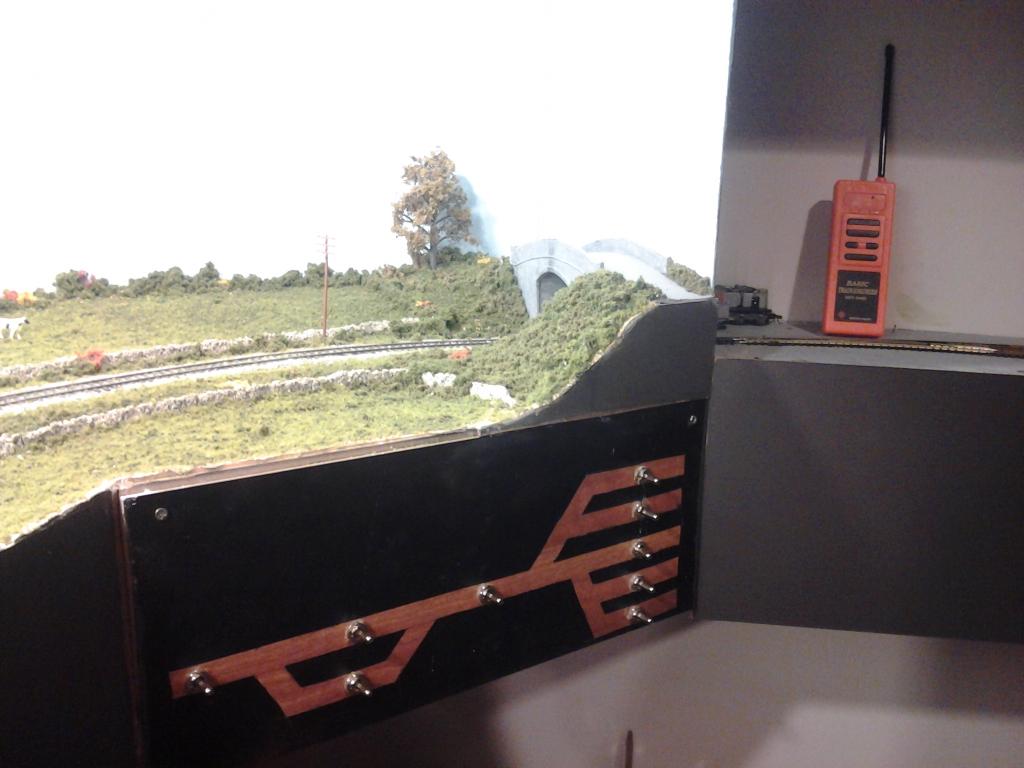
Control panel for Glen More showing the SPDT switches at the entrance of the Waterford fiddle yard.There are two control panels, the second is located between Grange and the Cork fiddle yard and controls both of these areas.The Glenmore passing loop is shown in the schematic but the sidings have been ommited.
-
https://www.youtube.com/watch?v=As8quxqkVpE
This is a clip from an old Mike Nesbith TV show from the seventies. I watch it every St Patricks day.
-
Replacing the metal clip that connects the gear towers to the motor with wire also helps.
-
I take it a decal sheet of snails, cie logos and specific H van numbers would go down well then?
Yes! Along with numbers for ex GN 12 ton vans and palvans.
-
Condolences to you and your family JHB.
-
1. How did you get interested in Railway Modelling?
I have been facinated by trains and railways both real and model as long as I remember. My mother told me that a guaranteed way to keep me quiet as a baby was to park my pram on the railway bridge at Patrickswell station in the early sixties before the family moved to Tralee.
2.What do you enjoy most about your hobby?
Just about everything although I am not fond of anything involving paint. I am not a rivet counter, my main goal is capturing the atmosphere and operations of Irish railways in the the late sixties to the mid seventies. During this period I spent a lot of time hanging out around Tralee station and was fortunate to get to ride on the goods trains to Listowel and Castleisland and beet trains to Fenit and Abbeydorney and railway modelling is a way to keep these memories alive. Research, scheming and planning are all very enjoyable aspects of the hobby but the greatest satisfaction is when everything comes togeather in an atmospheric believable scene.
3. Do you go to events and if so how often and where?
About one train show a year in the Cleveland Ohio area. I used to attend more when I modelled US railroads but very little is available here for the Irish modeller.
4.How much do you spend per annum on railway modelling?
All told about $40 a month. All the track on the layout except for a few curved points is recycled from a previous layout. I am not a collector. Anything aquired must support the theme of the layout and this keps cost down.
-
Does anybody know what colours the ex GN 12 ton vans wore on CIE in the 60's and 70's? I remember them painted brown with the CIE roundal but wonder if any were grey or had the flying snail.
-
Maybe not of publishable quality but invaluable to the historic record and as a resource for modellers of the era. Do please post more. The photo of the brown H van with the grey doors is interesting for another reason. The sliding door palvan next to it has a combination x bracing/corrugated end. They were built with three different ends. From the photos I have seen most were either one or the other.
-
I've just uncovered a photo of an A class working the dolomite ore train in the early days of the Ballinacourty plant. Perhaps it was the dolomite train that had the A class replaced by the pair of GMs......... [ATTACH=CONFIG]16518[/ATTACH]
I recall reading in Irish Railfan News that A class were tried on the dolomite trains but had difficulty starting loaded trains on grades after stopping at the then unmaned level crossings on the Waterford-Ballinacourty line. Great photo. Is that the line to Dungarvan on the right?
-
Wexford-Waterford goods at Bridgetown.
-
Wishing everybody a happy Christmas.
-
Before the re-organisation of freight services in the 1970's, there was a daily Waterford-Wexford train departing Waterford 8.30am. Does anyone have a time of return to Waterford, please?
Stephen
According to the April 1973 working timetable the Wexford -Waterford goods arrived in Waterford at 16:15. It ran Monday to Friday. There is no sign of it in the November 1975 WTT which is the next one in my collection.
-
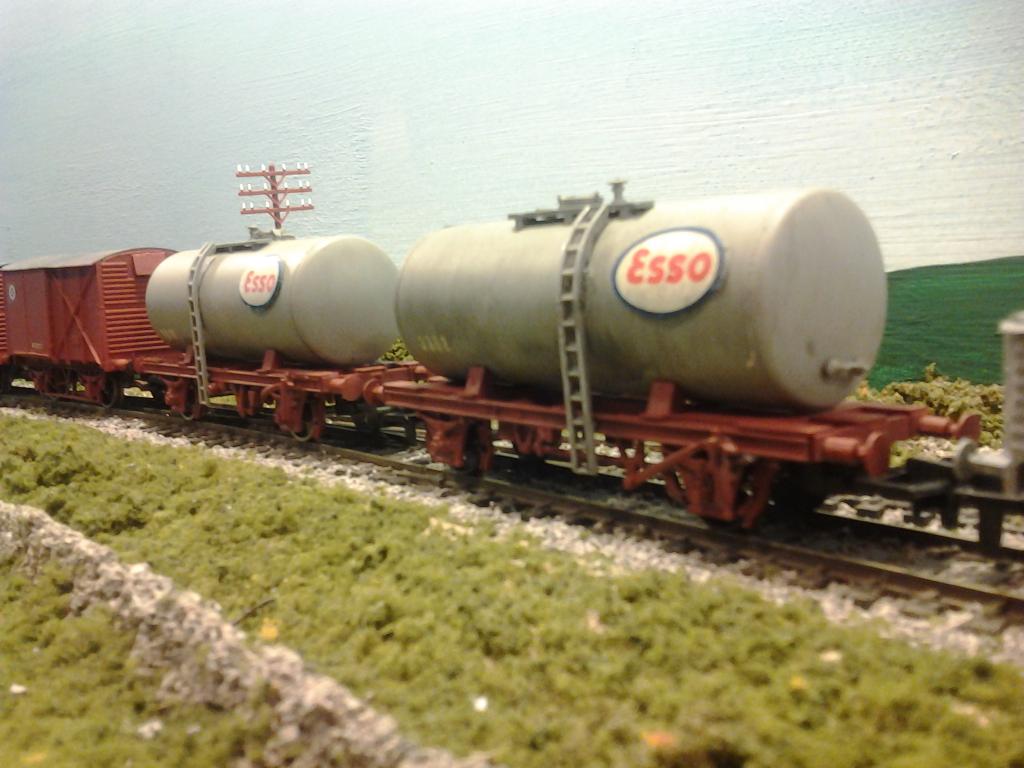
I think this was one of the Esso tankers
I remember seeing these wagons being unloaded into tanker lorries in the North Kerry yard in Tralee in the early seventies still sporting their Esso logos. I painted a couple of Dapol tank wagon kits to represent them.
-
 1
1
-
-
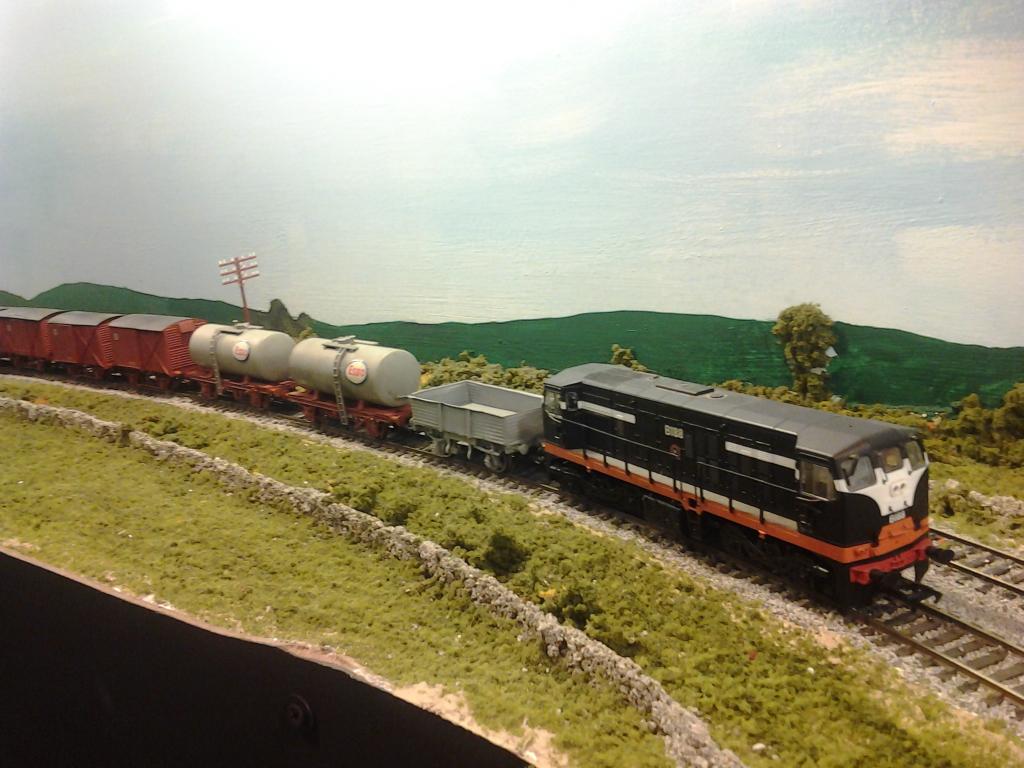
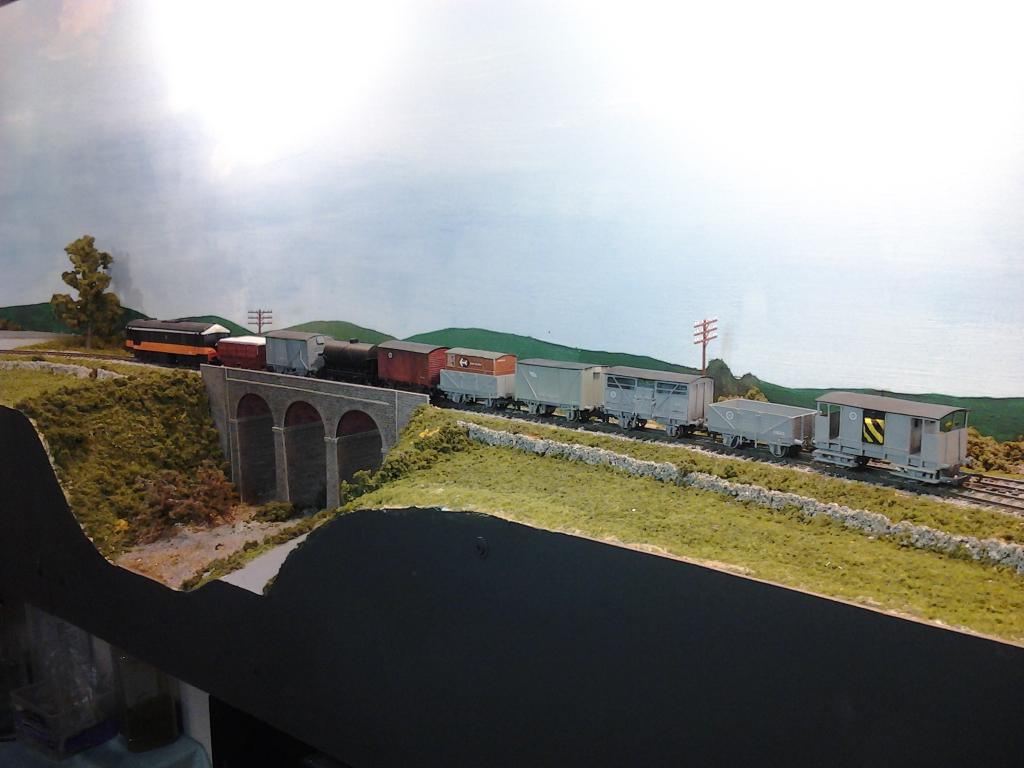
Ran some trains and took some photos this morning.
-
Establishing maximum train length and minimum radius were the first steps in the design prosess of my layout. A secondary cross country line theme was chosen because of shorter passenger trains. Most tracks in the fiddle yards (the layout is end to end) will accommodate a locomotive and four bogie coaches or eleven to twelve four wheel wagons. I agree with SteveB's point about using four wheel wagons. Eleven four wheel container flats look much more impressive than five or six 42' bogie flats. Longer freight trains would be nice but overall its an acceptable compromise.
-
-
A track cleaning rubber like this is the best method I have found. http://www.ehattons.com/7537/Peco_Products_PL_41_Rail_Cleaning_Rubber/StockDetail.aspx
-
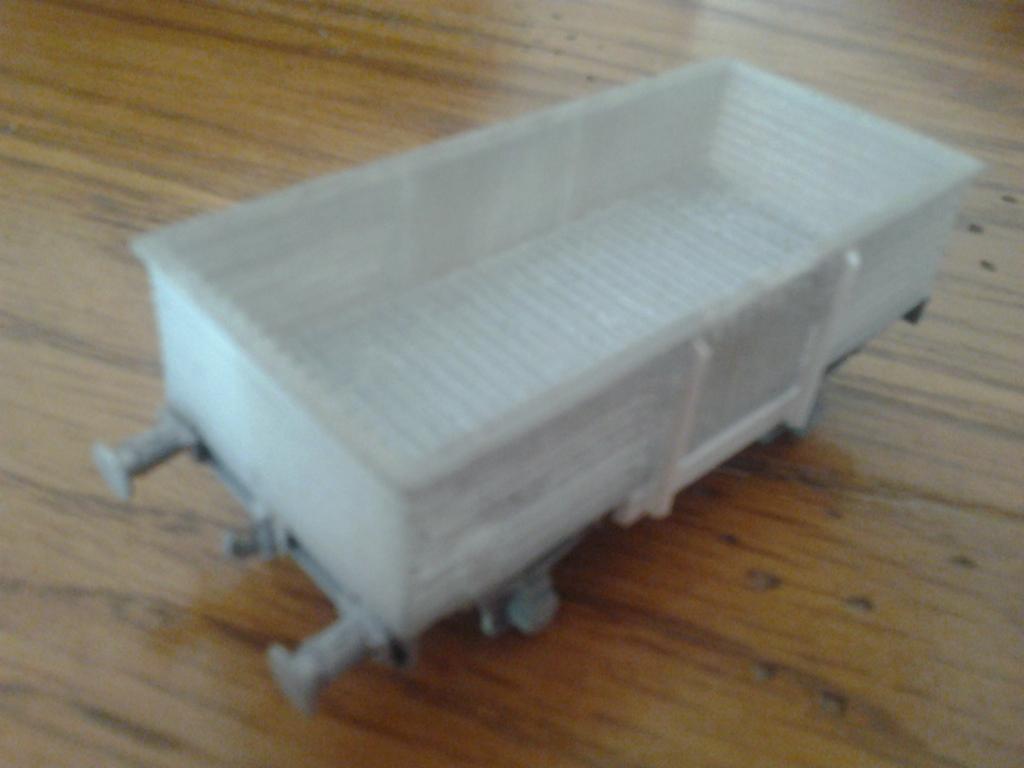
I got this test print of what will probabily be the final design for the Bulleid open body this morning. There are issues with the finish which Bob attributes to his printer but we are hopeful that we can outsource the printing at a cost not much greater than doing it ourselves. The floor has been ommited to save on material and reduce warping. On the model Plastistruct T section will be applied on each side of the doors and to the bottom of the underframe and door stops will be made from brass strip. A steryne floor will be fitted with the idea of covering it with photo shopped weathered planking.
-
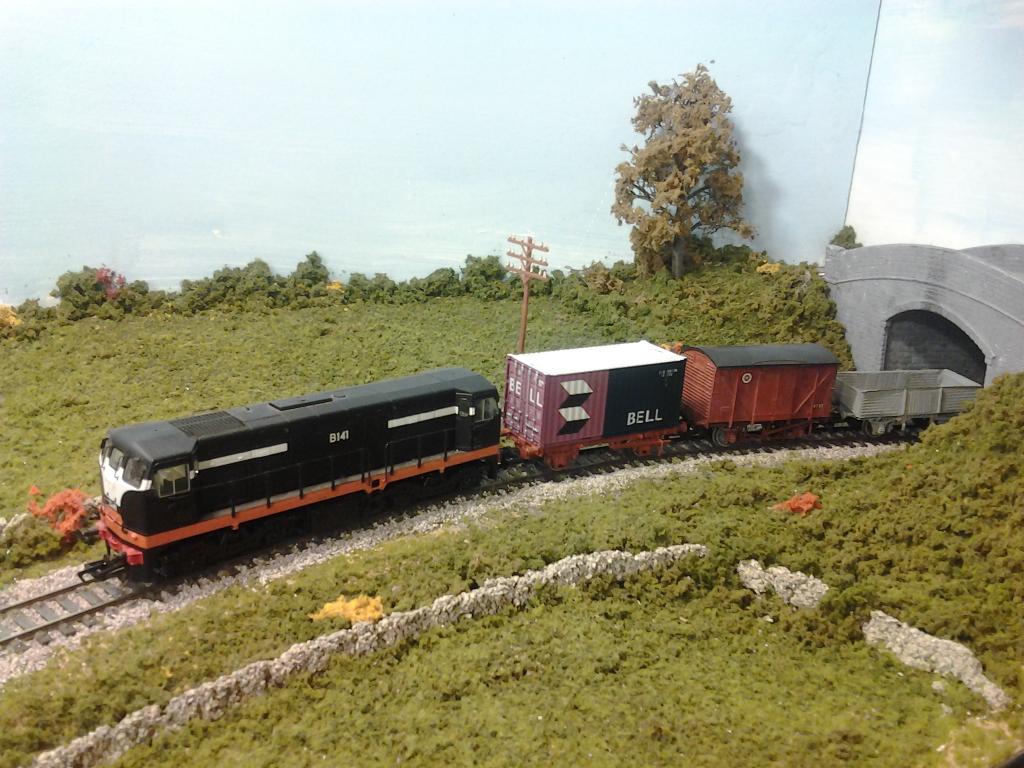
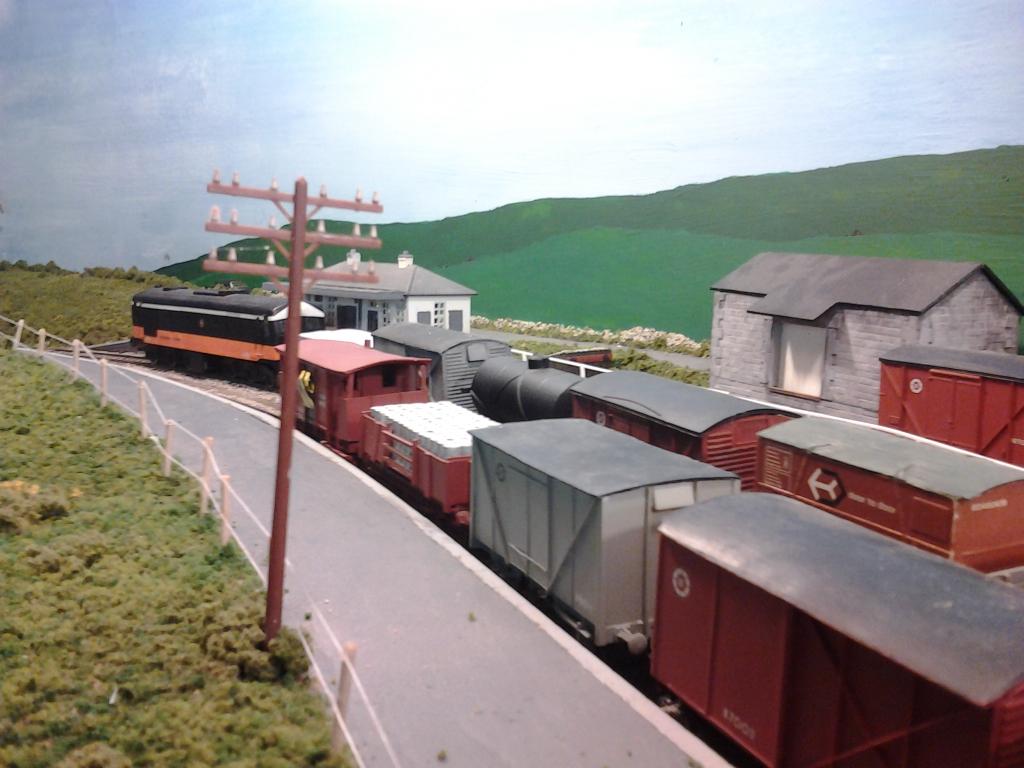
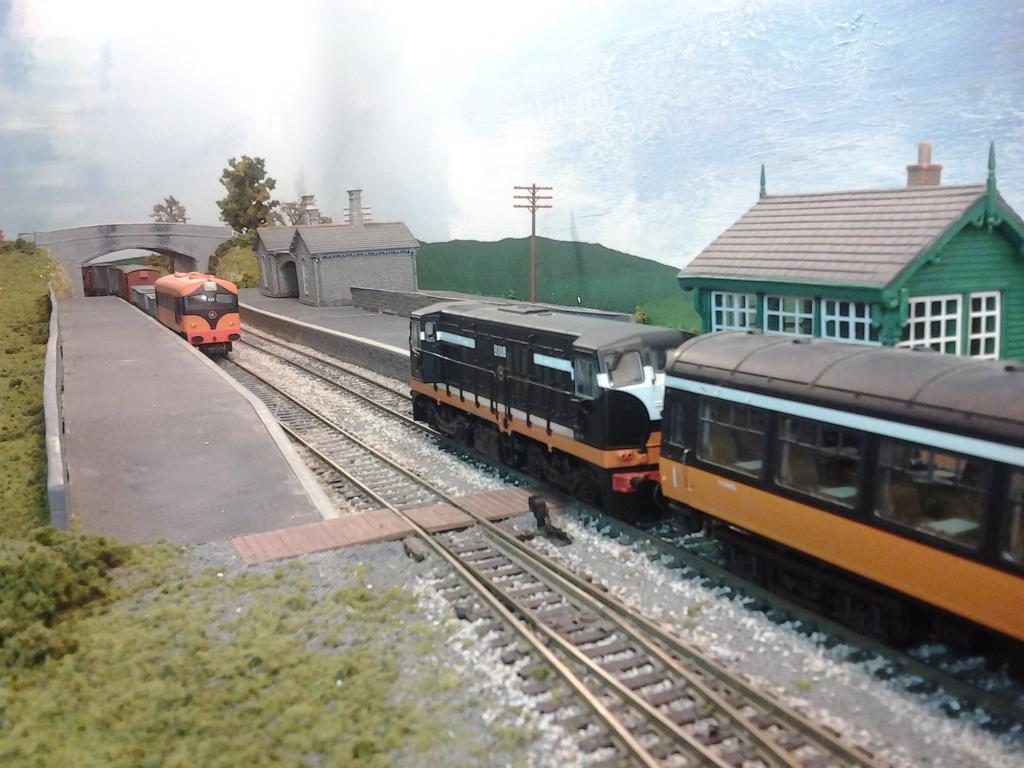
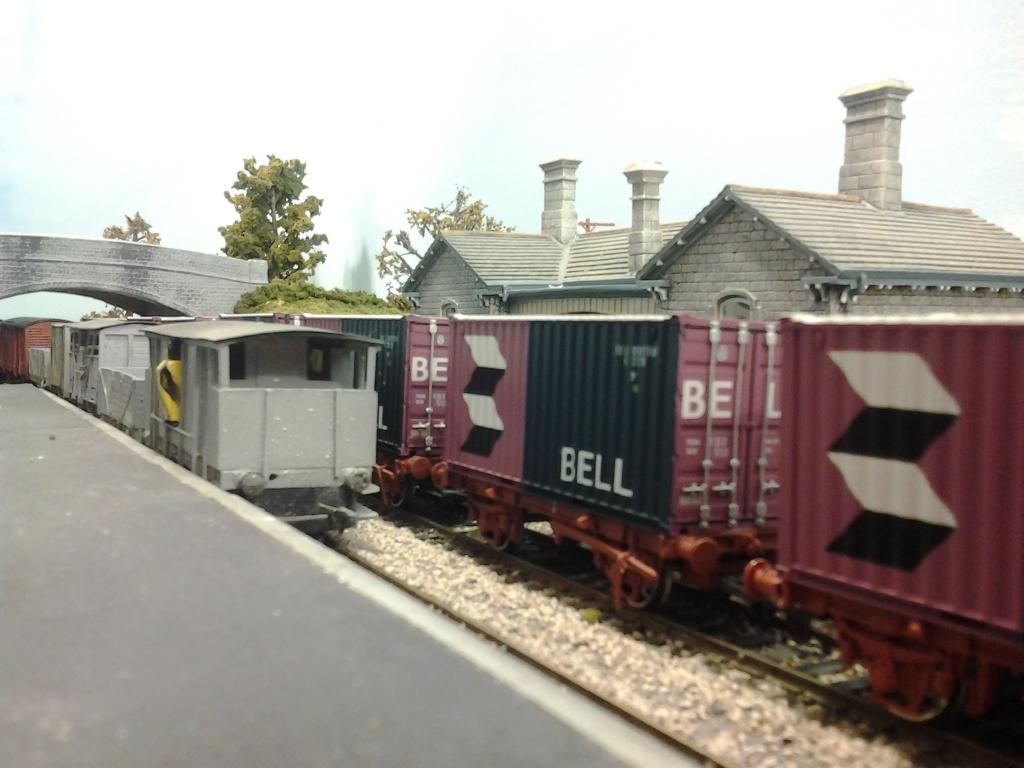
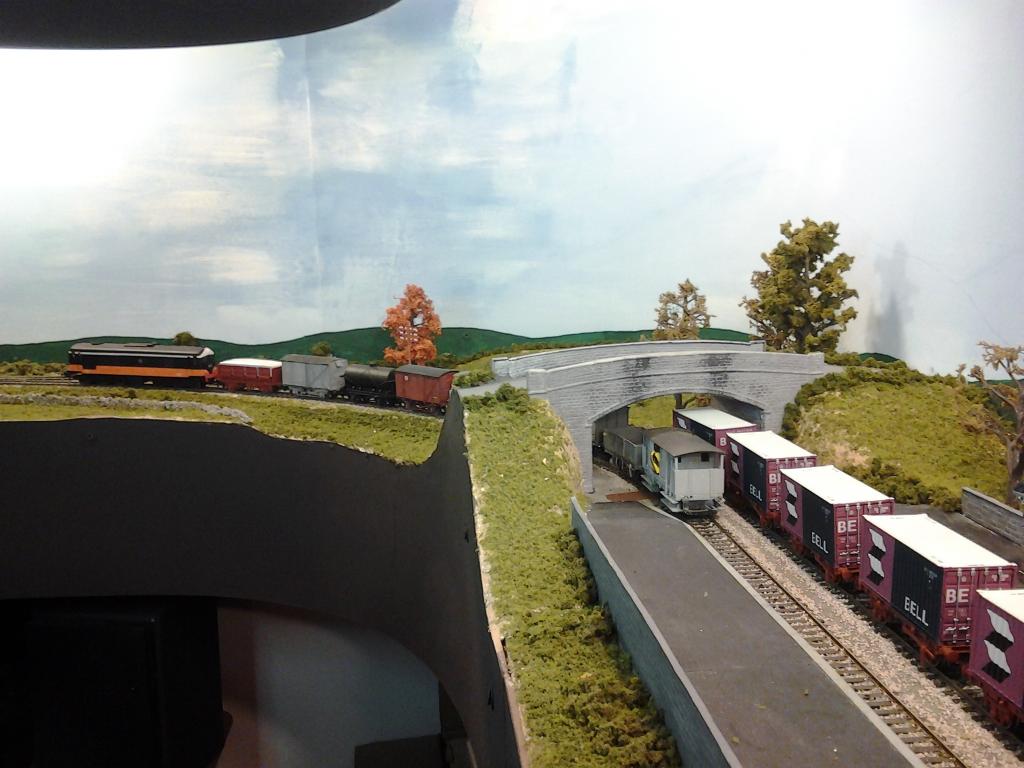
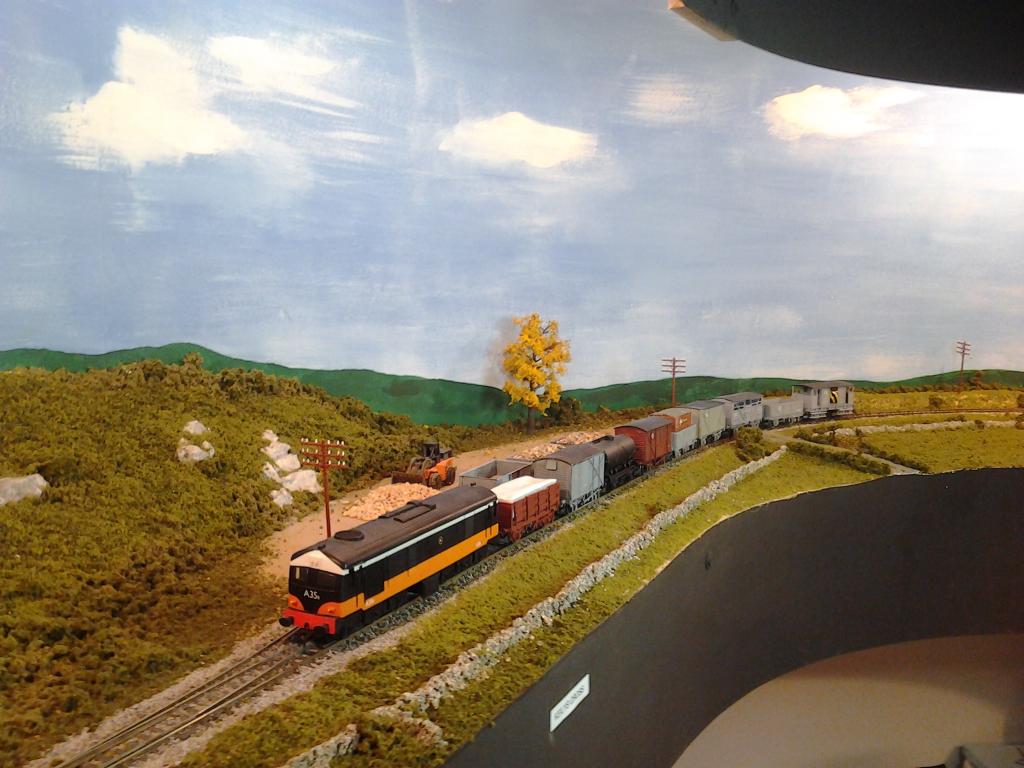
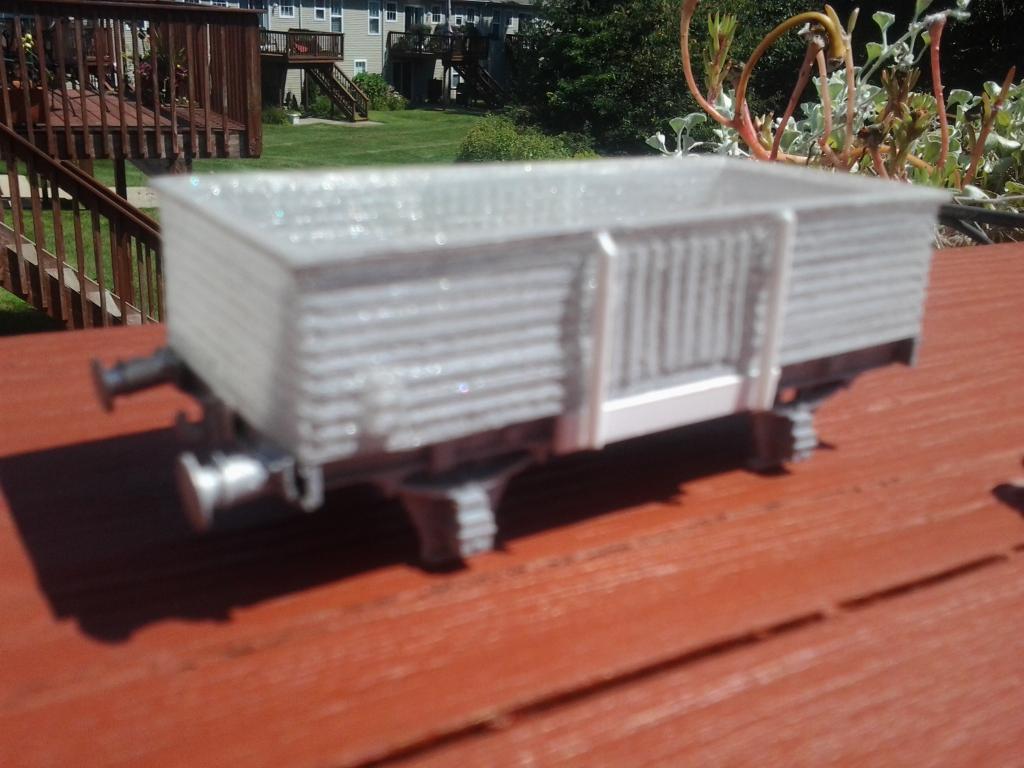
Here are a few more without the local scenery.
-
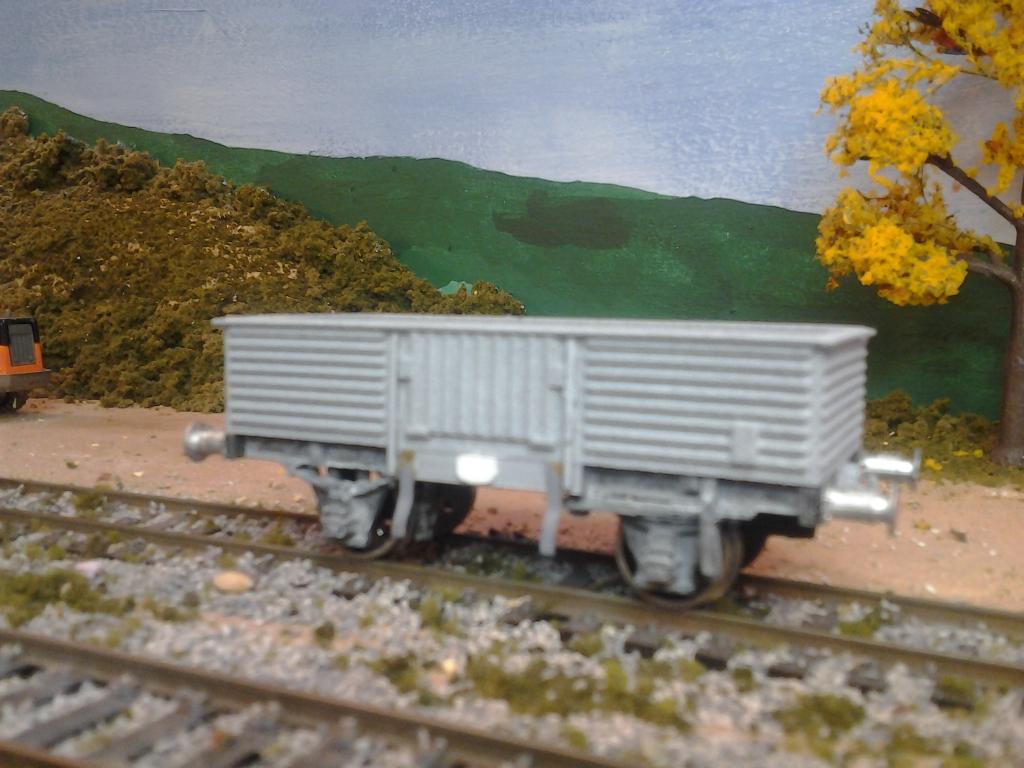
[ATTACH=CONFIG]14697A few weeks ago our friend and neighbor Bruce announced that his friend Bob had a 3D printer and would help producing Bulleid open wagons. My previous method produced good results but was way too time consuming and lacked consistency and since I wanted 25 to 30 wagons for the layout which is set in October at the start of the beet season a better way of producing them was needed. The photo shows the results so far. The clipboard for paper work is on the wrong side and will be corrected.


Help Wanted With CAD.
in Questions & Answers
Posted · Edited by patrick
I should have added that the photo above shows a prototype made on a friends printer not the Shapeways one which is of much higher quality.