
Dave
-
Posts
1,813 -
Joined
-
Last visited
-
Days Won
6
Content Type
Profiles
Forums
Resource Library
Events
Gallery
Blogs
Store
Community Map
Posts posted by Dave
-
-
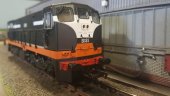
I built this for a layout a few years ago. It's a radio controlled kit. It was a pig to make though!

-
 6
6
-
 2
2
-
-
That's pretty worn alright! I'd say it's done quite a few hundred thousand scale miles! The amount of shows that has run all day without missing a beat has been incredible!
-
3
-
-
21 hours ago, BosKonay said:
Thanks Bos!
We can make cassettes for you, one issue with cassettes is holding them steady while taking them on and off the layout. We can make them with foam lined sides to stop the stock tipping over but it won't stop them derailing when moving them.
You can email me directly david@modelrailbaseboards.com if you want a quote.
-
1
-
-
Hey lads,
I'm looking for 4 Dapol pocket wagons. Has anyone got some they want to sell? Must be pristine!
-
1
-
-
10 hours ago, Glenderg said:
Ah super, any word on who designed it?

Also a massive thanks to Richie for the design work
-
7
-
-
- Popular Post
- Popular Post
Bit of news on the Fry Model Railway.
Model Rail Baseboards have been commissioned to build the new layout for the Cyril Fry Model Railway Museum. The new layout will be 11mtr long x 4mtr wide in OO gauge.
-
17
-
3
-
Hi Ryan,
I'm afraid I can't help. I'm fully booked up to Christmas. I don't do rental setups.
-
Due to an ever increasing workload and with the business growing in the UK market, Model Rail Baseboards will no longer be attending the Train and Model Fair in Bray.I would like to wish the lads the very best of luck and success in the future.
-
3
-
 1
1
-
-
Hi Ryan,
I am a professional layout builder. What are you looking to do?
-
2 hours ago, irishthump said:
But again they tend to be too strong for the couplers and push them too far to the side. Also, when you increase the area you start to get problems with the magnets attracting the metal axles of the rolling stock.
All methods have their drawbacks but the Kadee uncoupler's problems are purely cosmetic, they work well.
Not necessarily, the trick is to push them down into the baseboard. I have successfully done this, I drill through the baseboard and then push the magnets in. I then adjust by pushing them in further until they work perfectly!
-
Hi Noel,
If you use more magnets to create a bigger magnetic field they work better than the kadee magnet. I use 3mm dia neodymium magnets and they sit nicely between the sleepers. I find 6 or 8 in a row works well.
-
1
-
-
Nice find Paul, they do some nice stuff
-
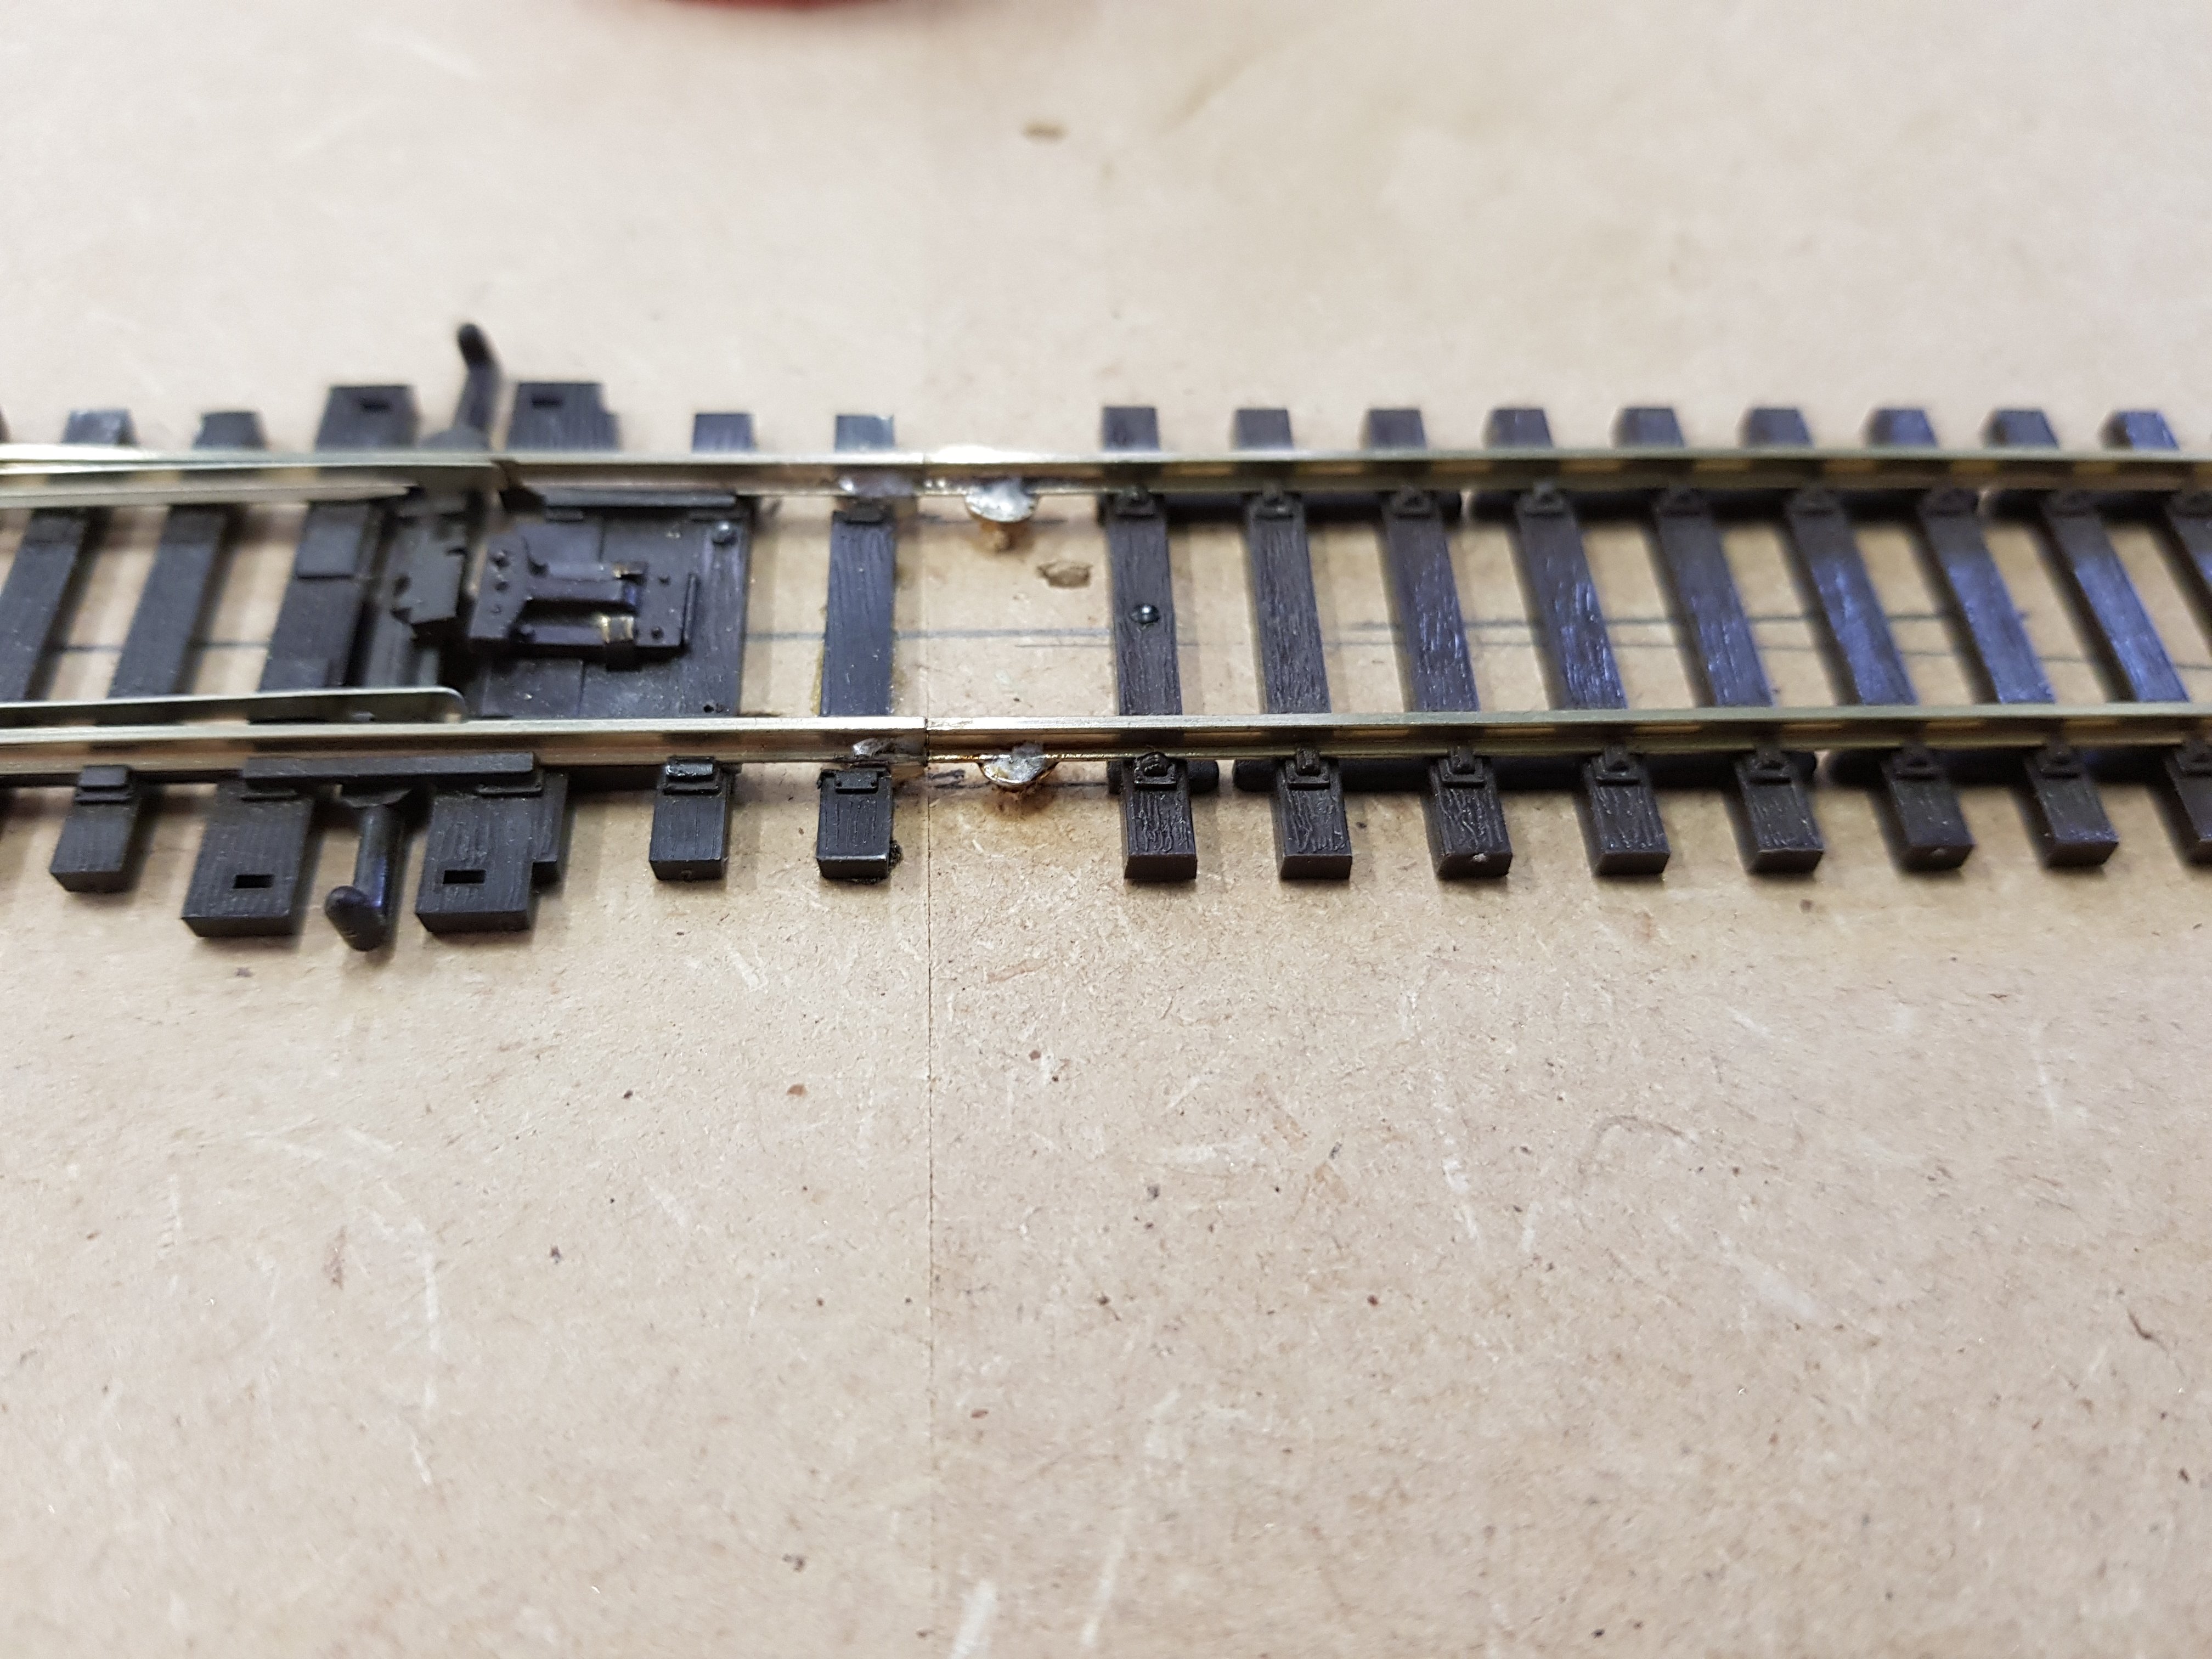
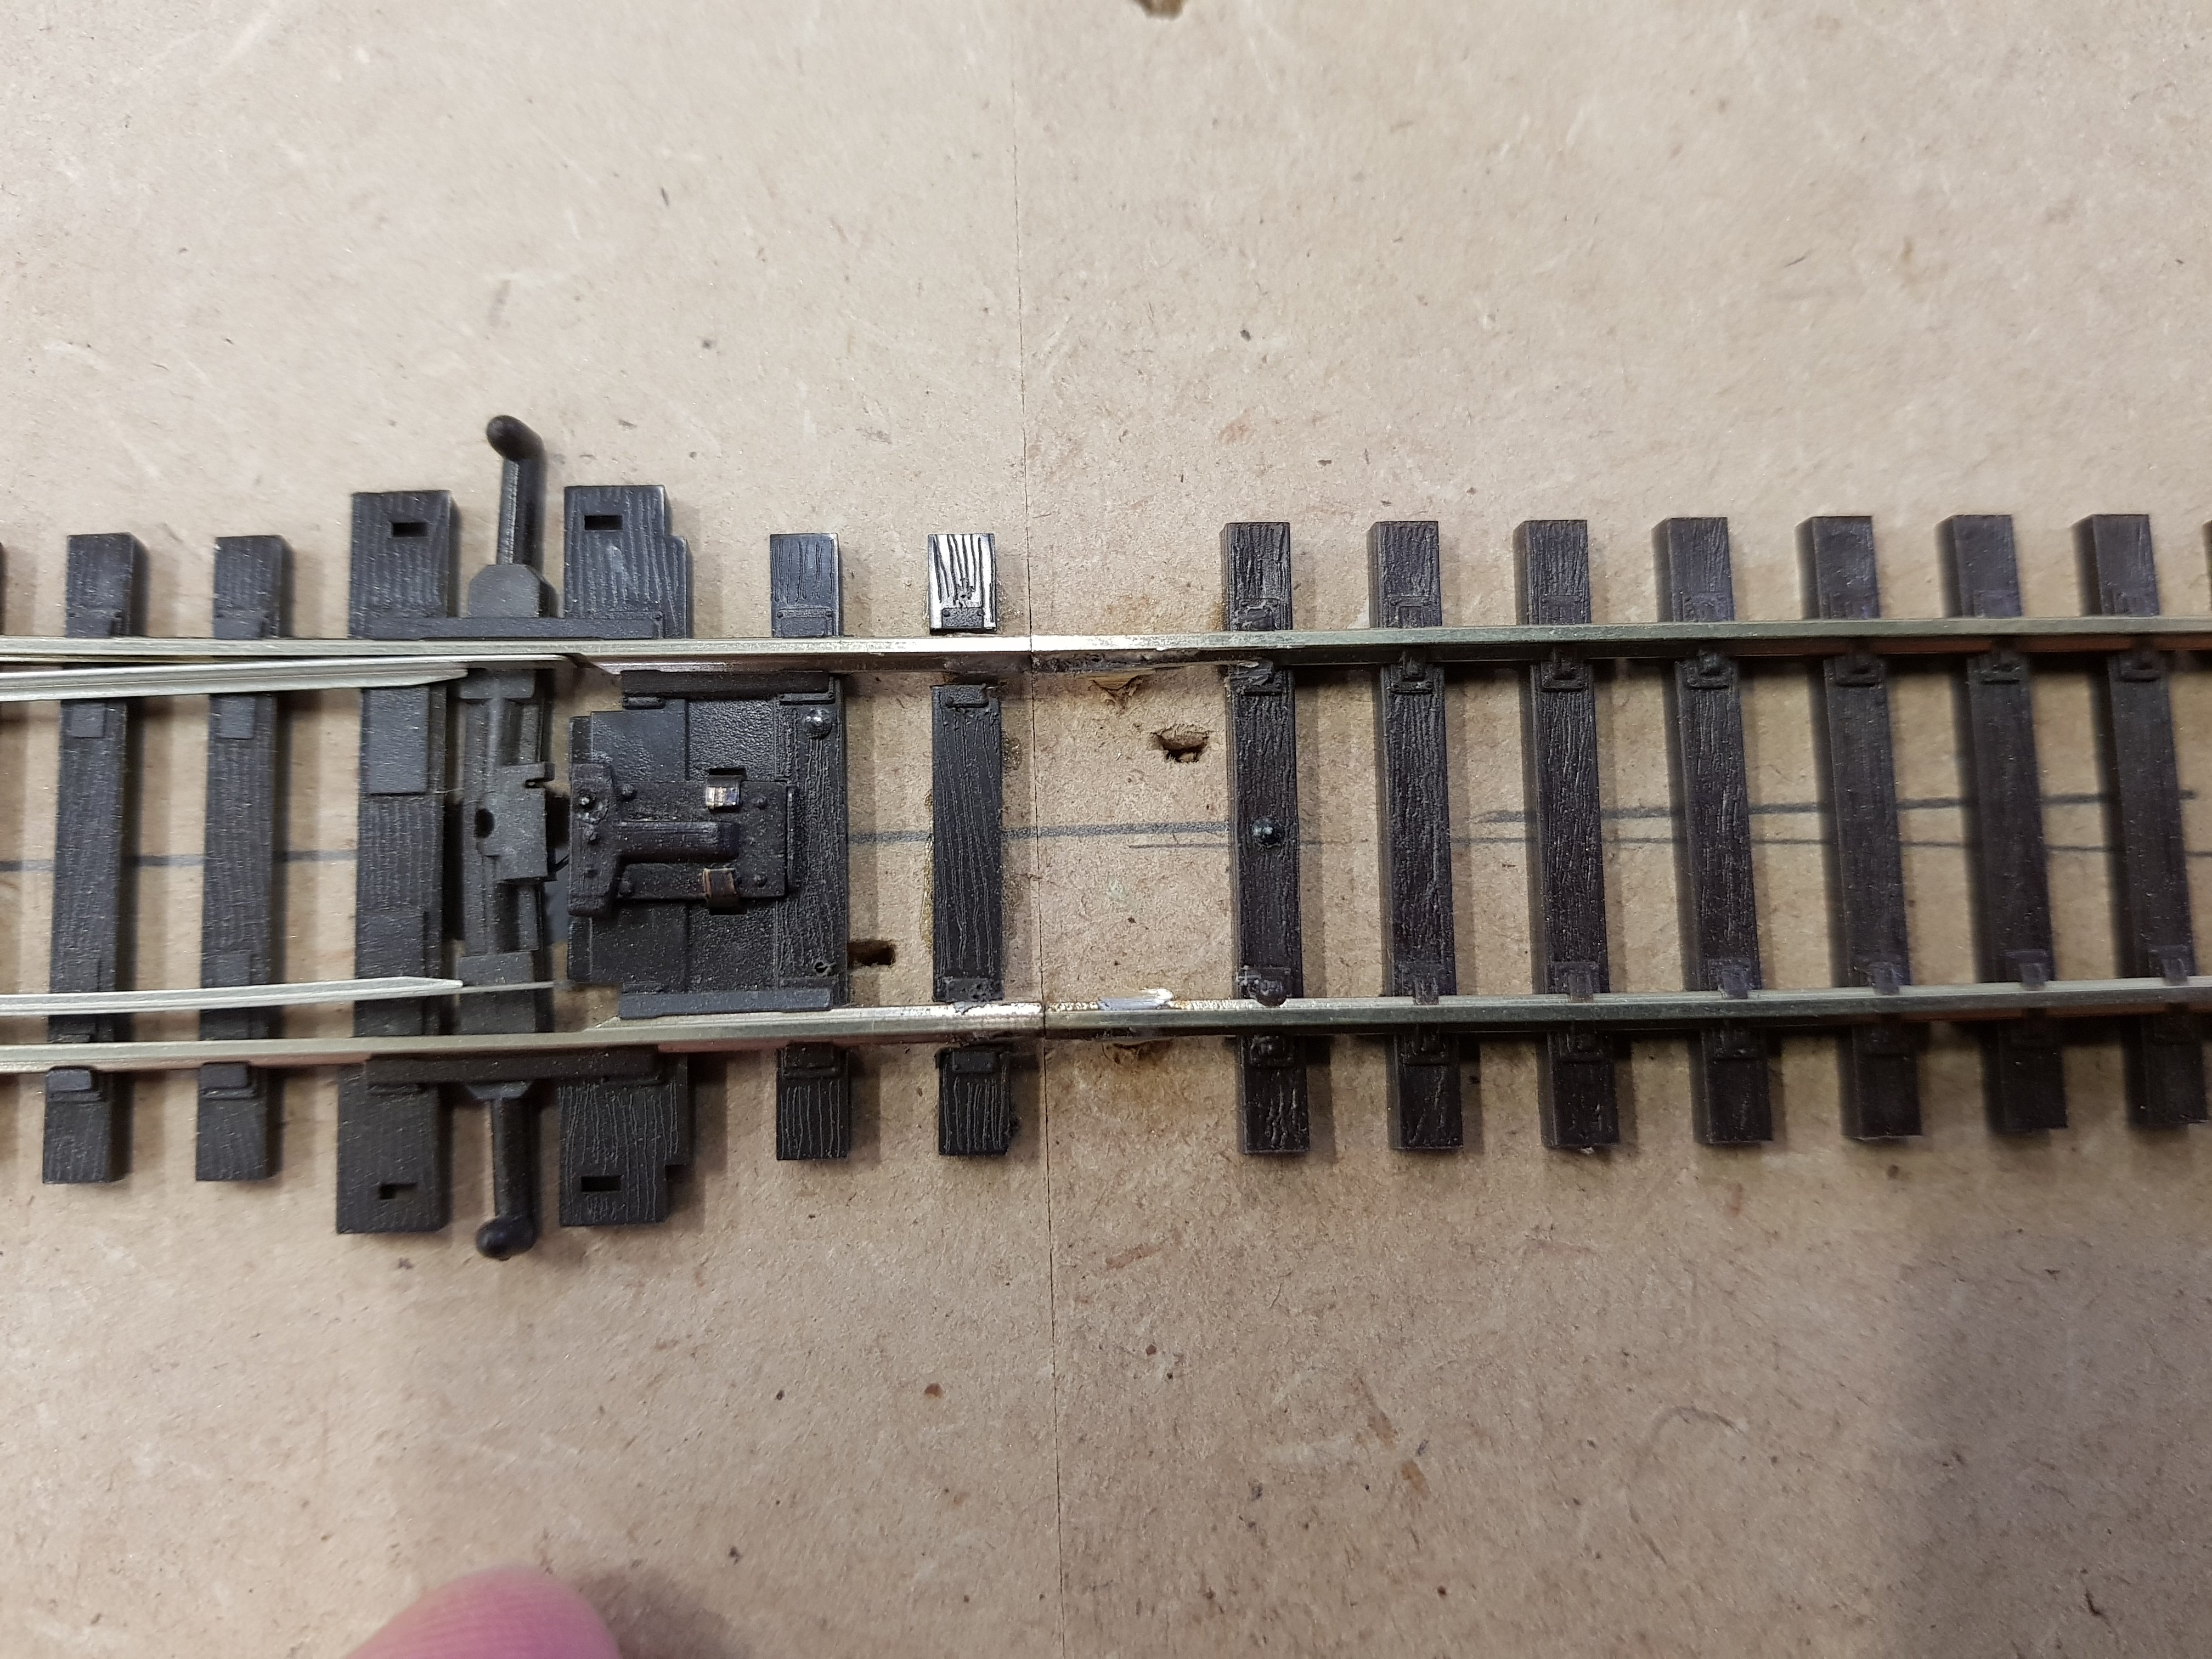
A lift up section is well worth doing. Yes it's a bit of a pain soldering track but once it's done you will be happy you did it. Most of the layouts I do that go around a room have a hinged lift up section.
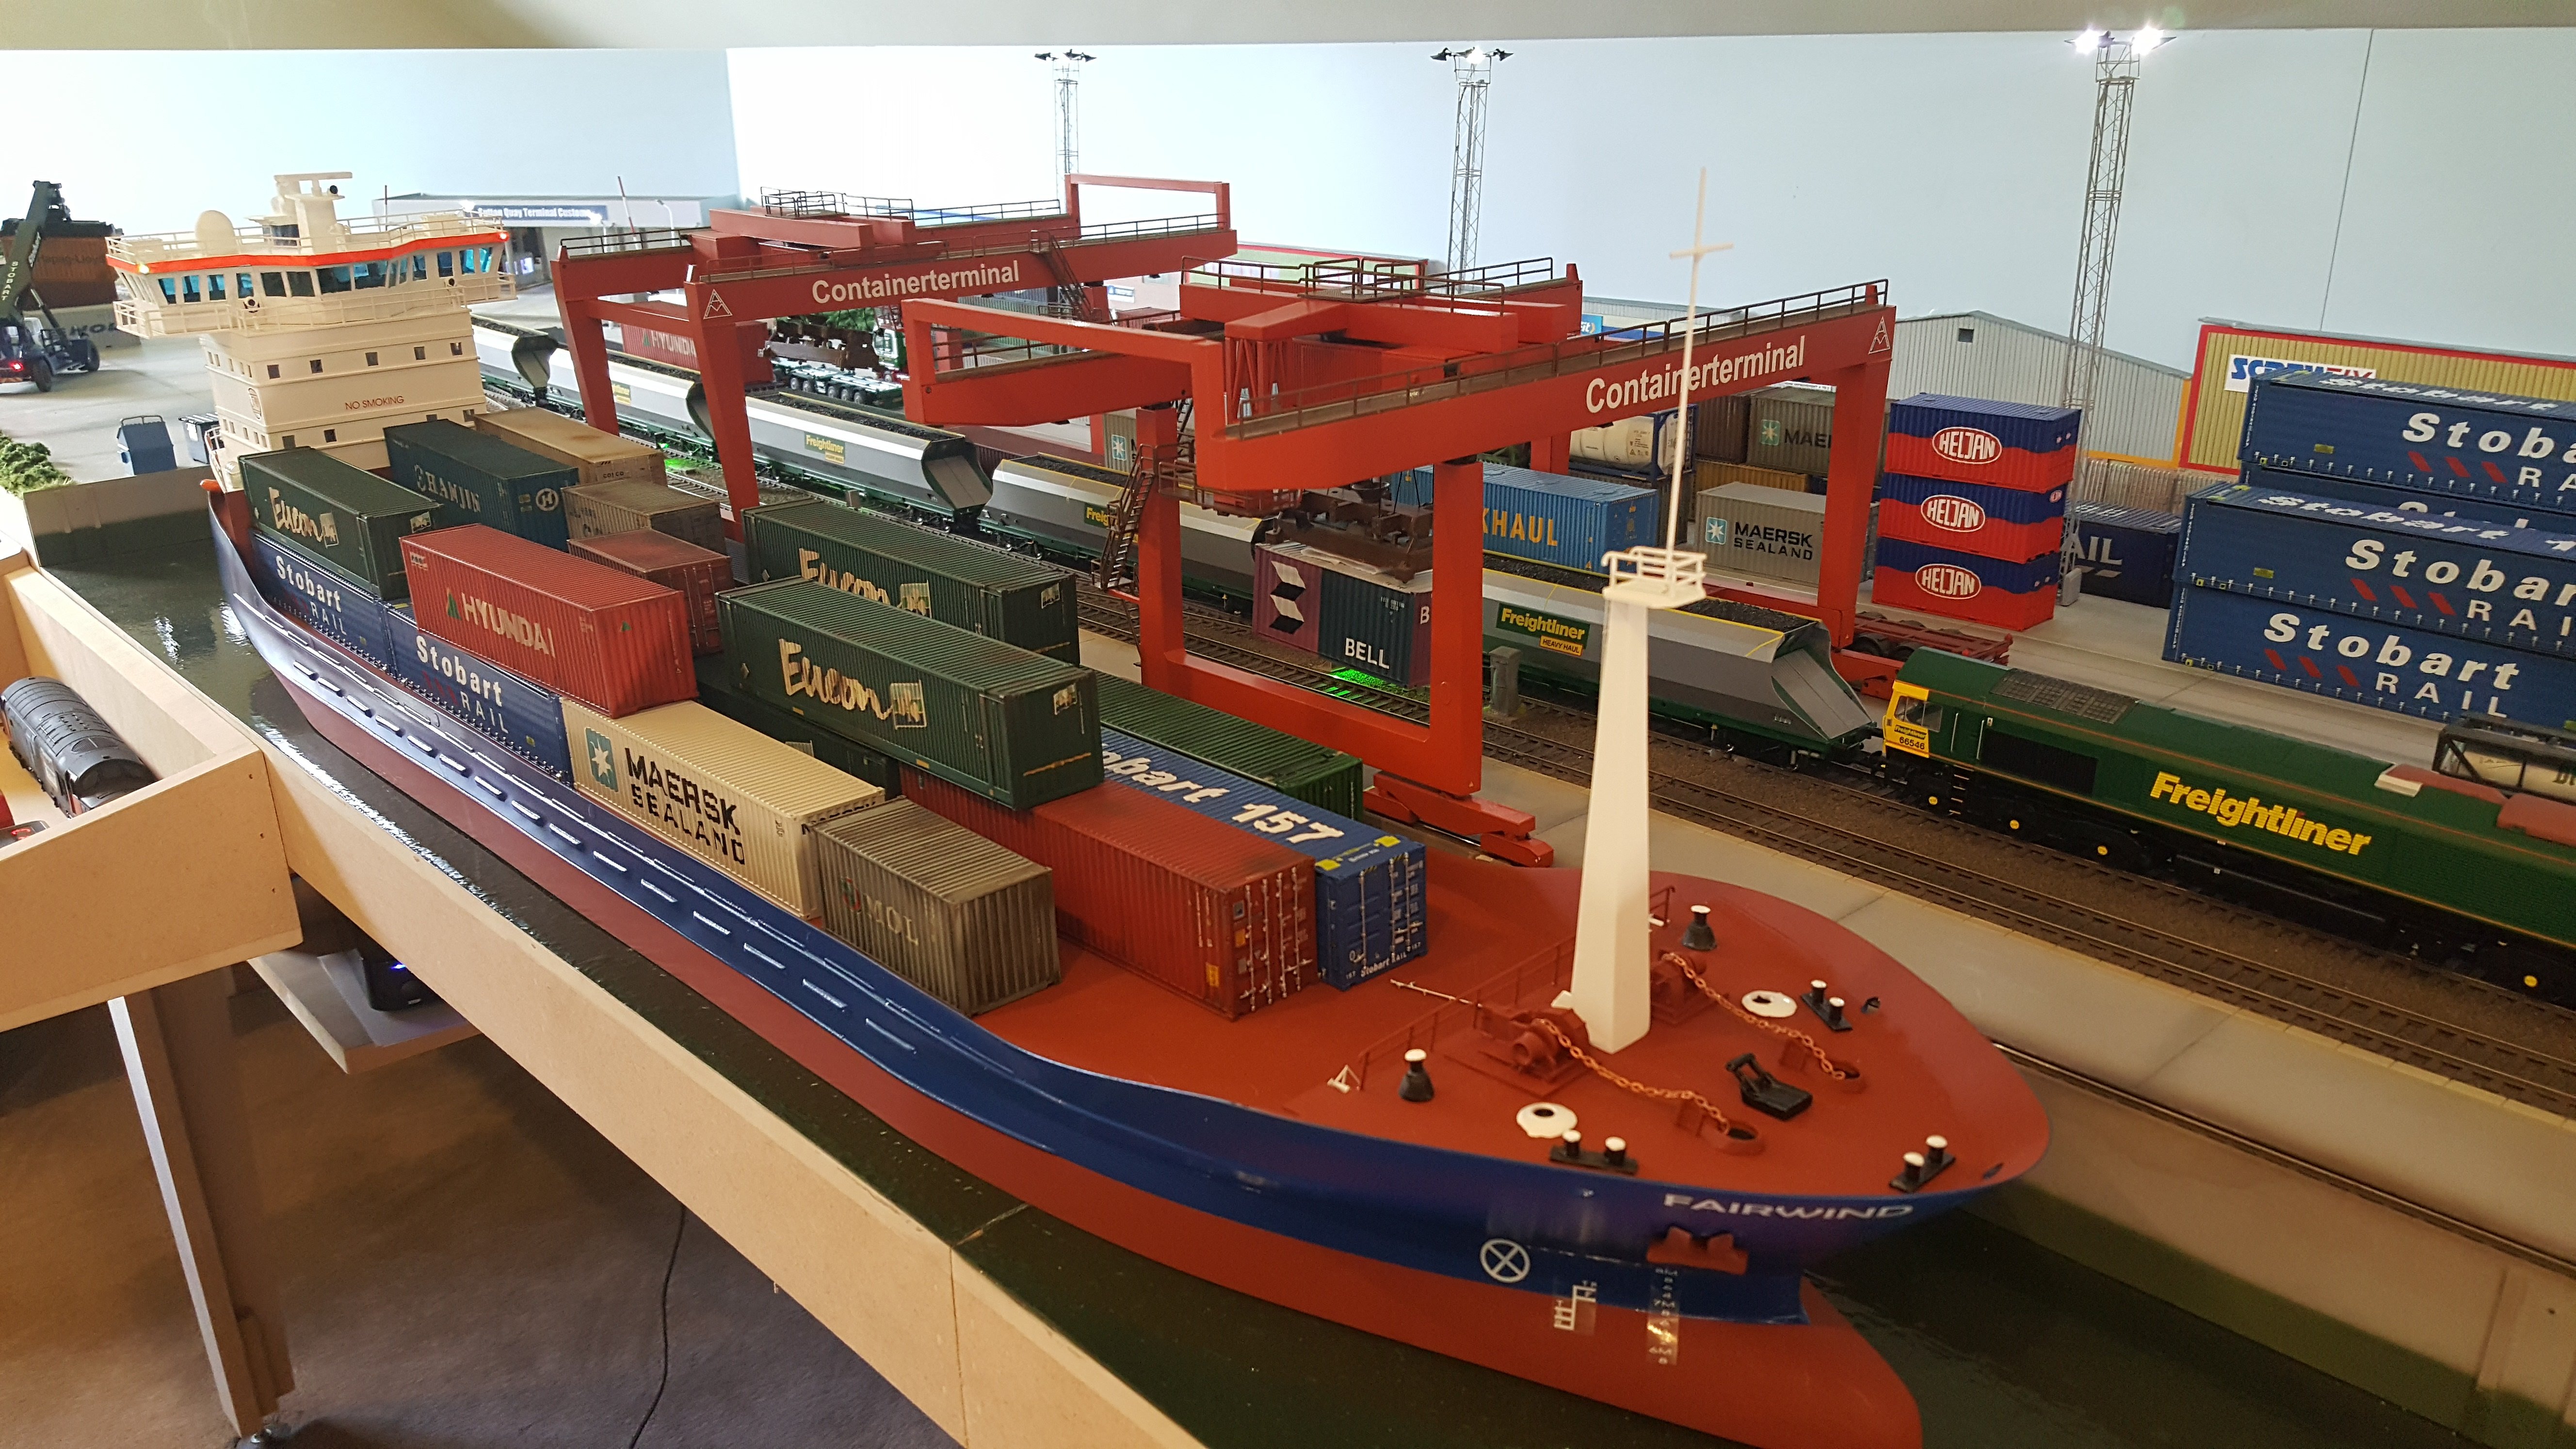
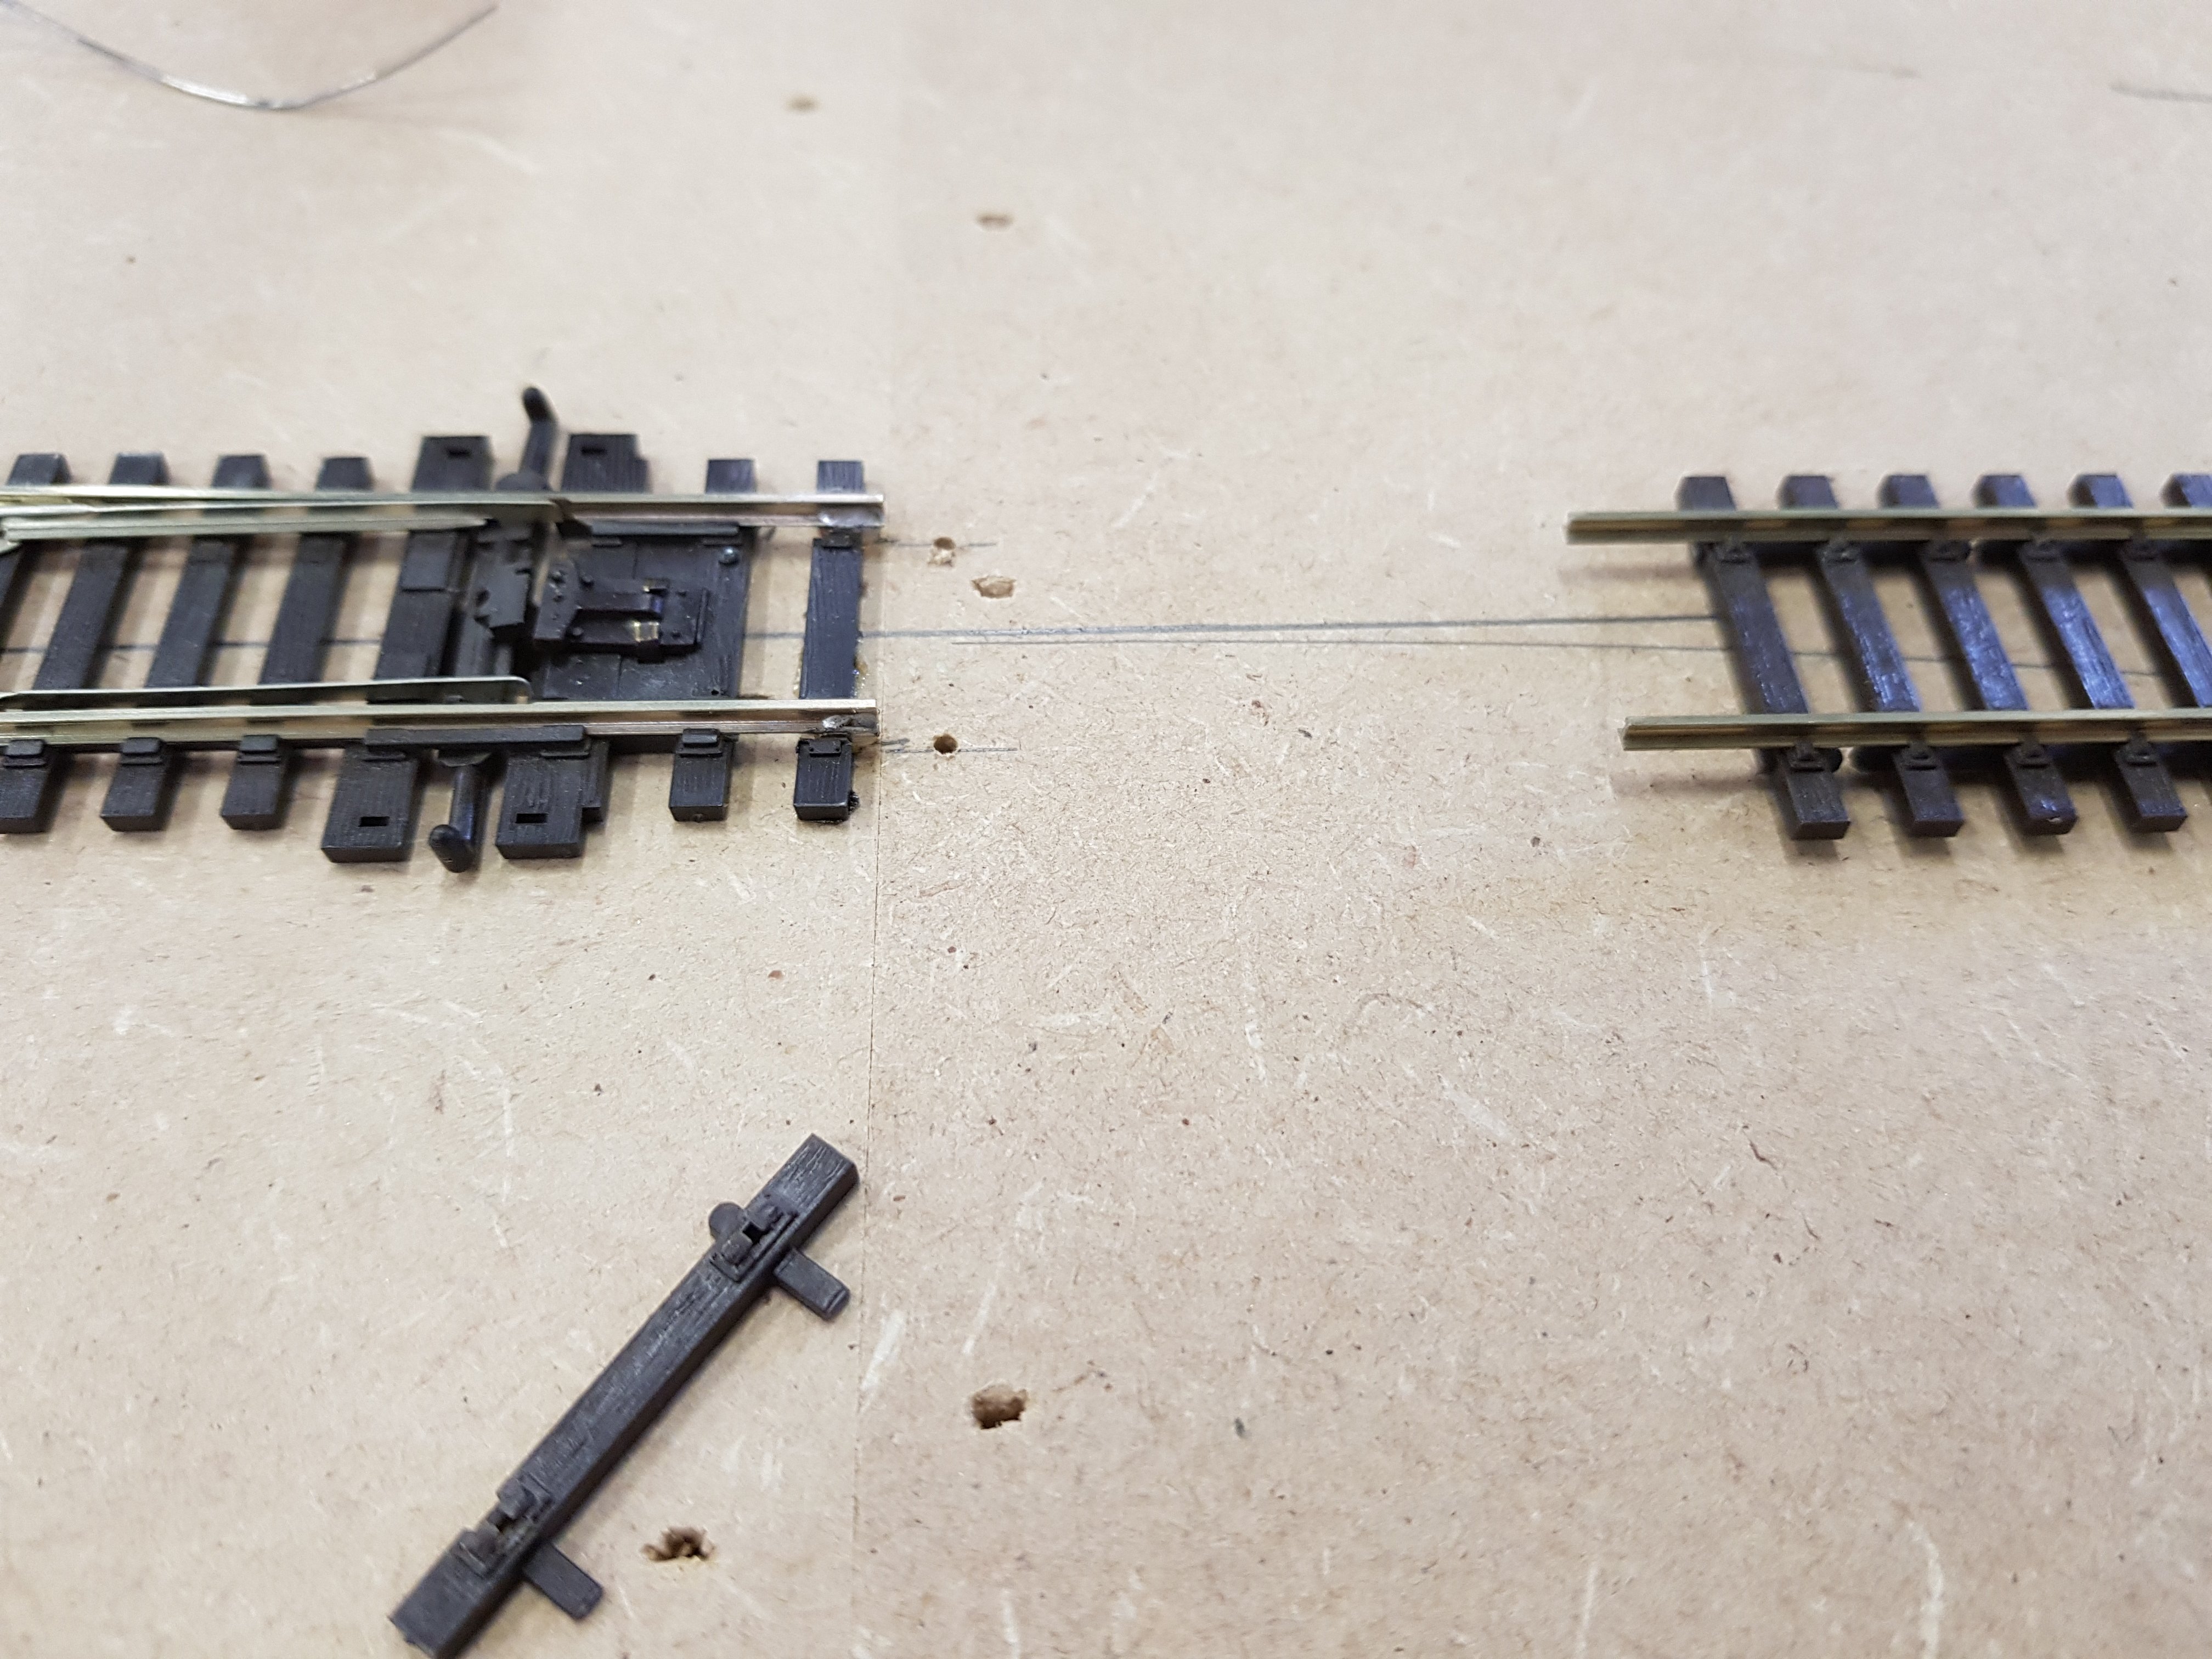
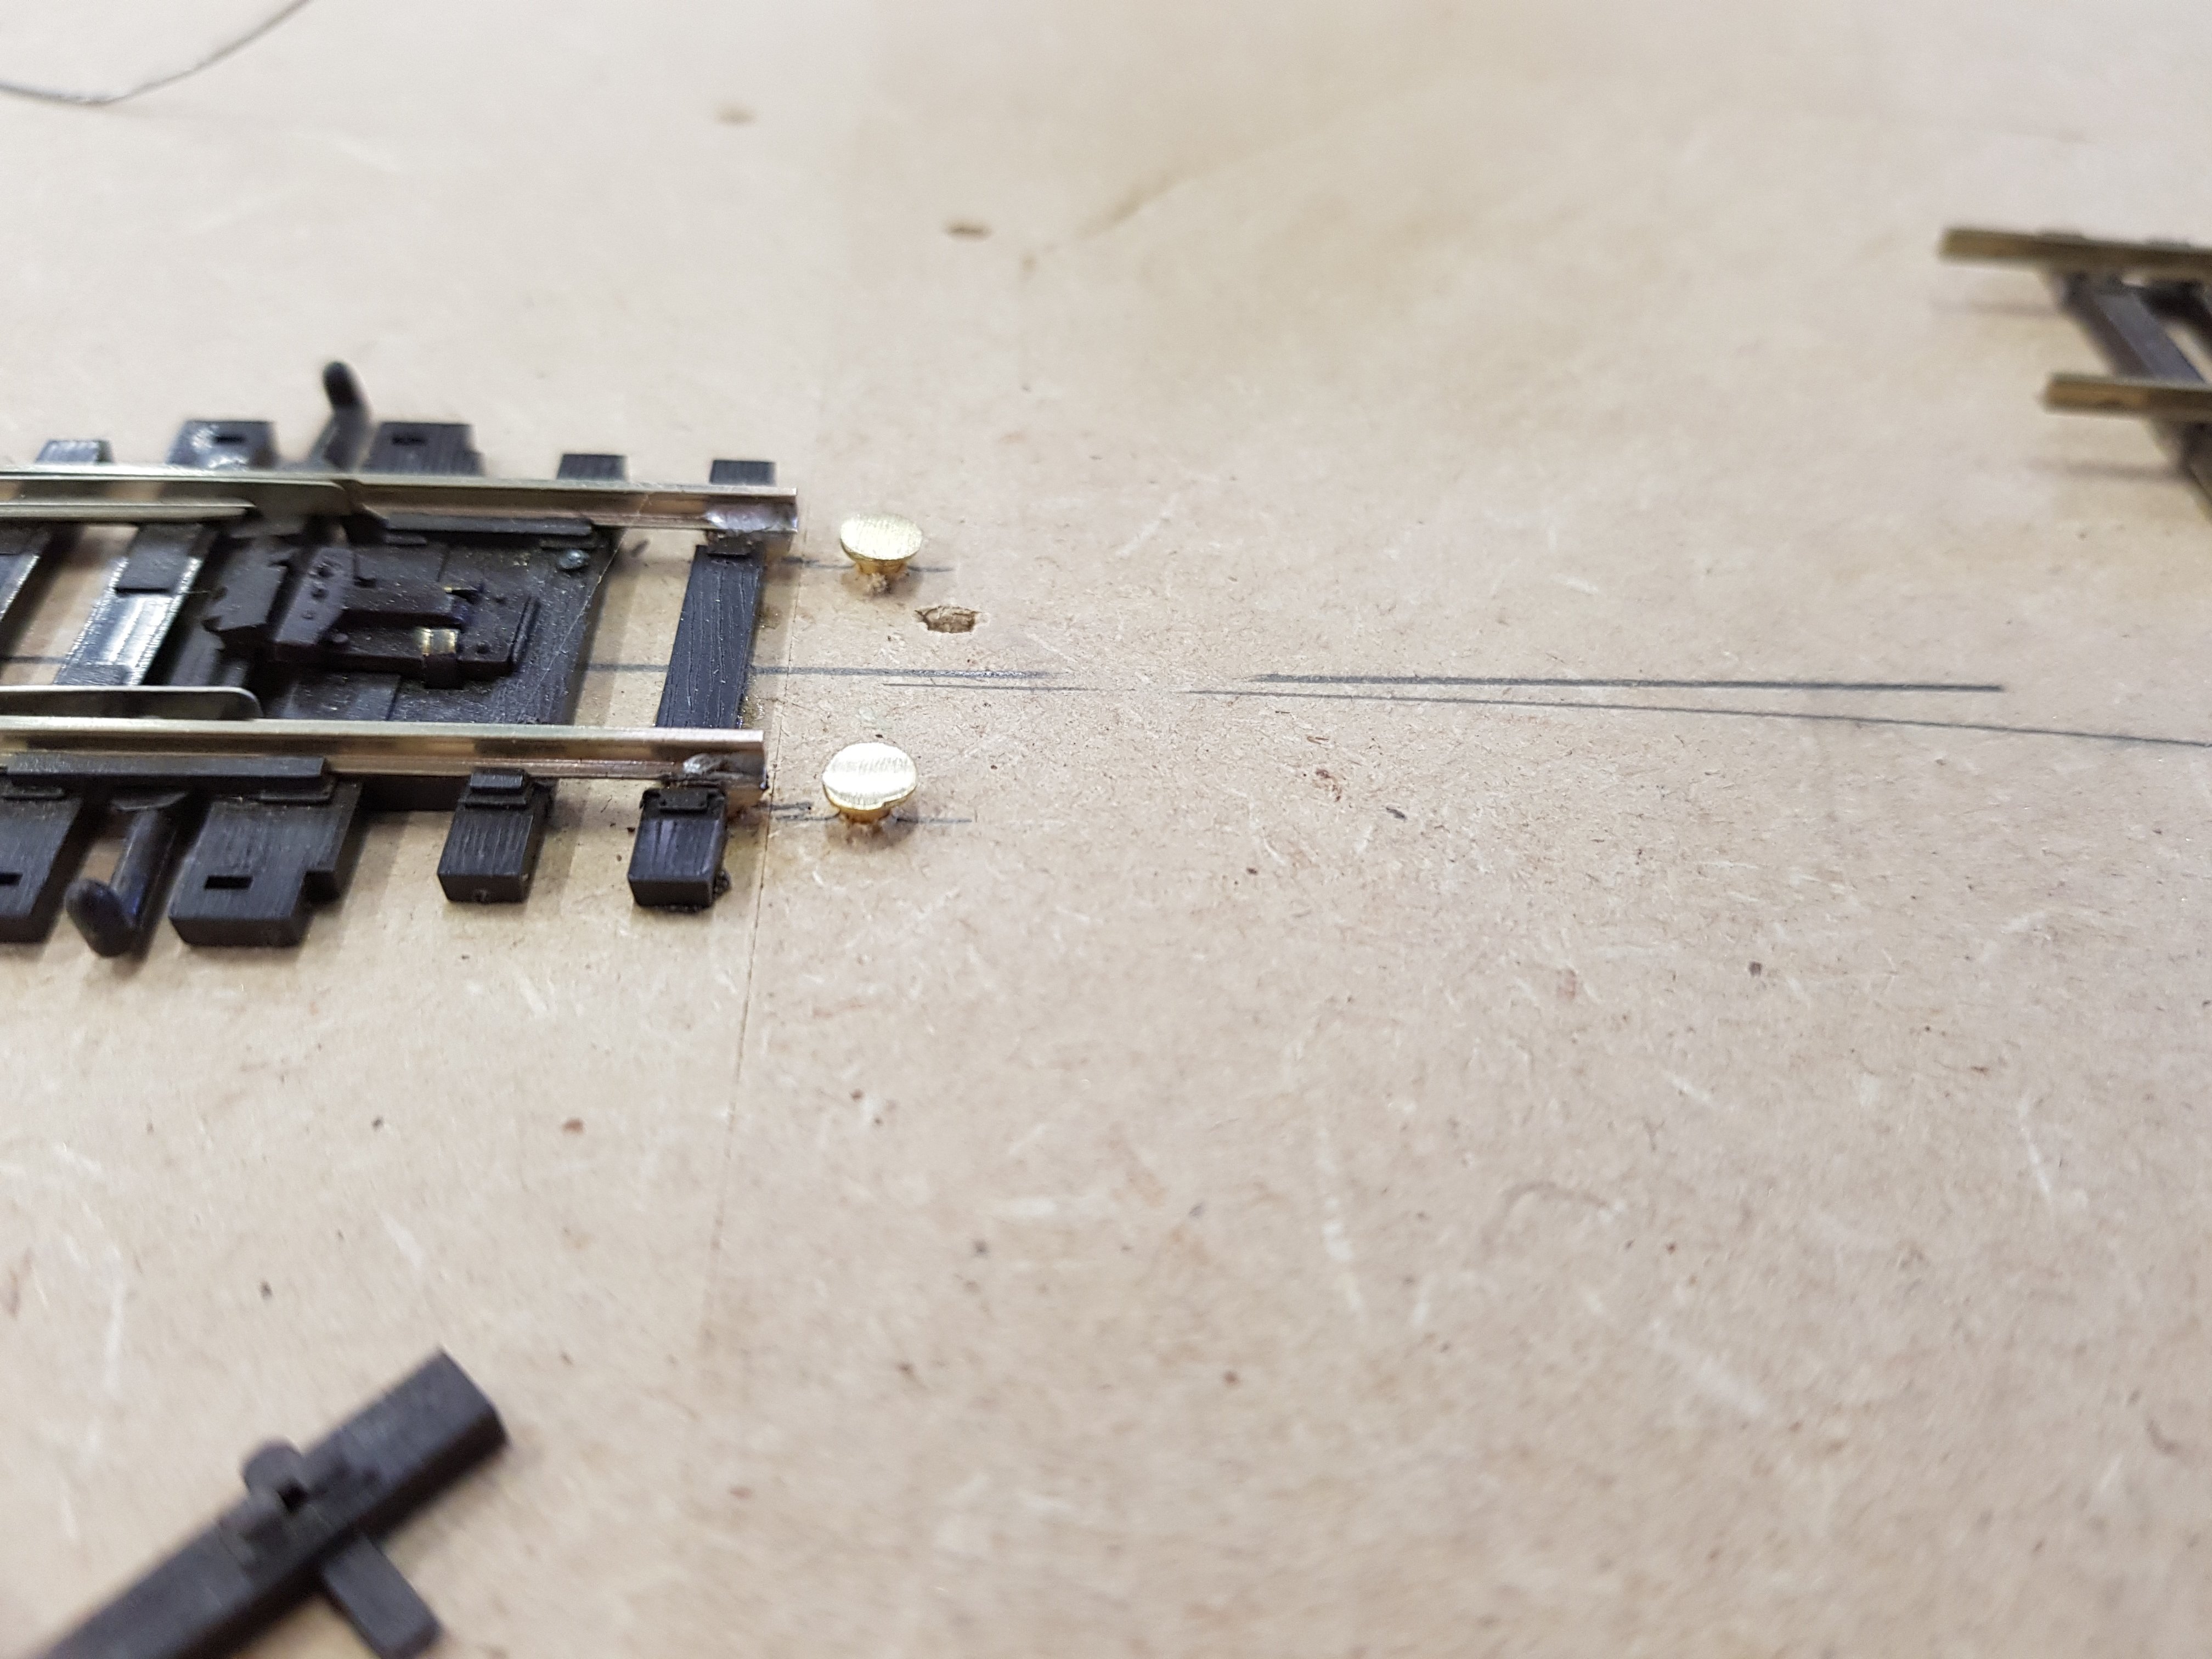
I wouldn't use copper clad sleepers, they can come away from the baseboard over time. I use brass screws, once soldered I trim them down to the width of the rail with a dremel then fill in the gap with sleepers. The best thing about using screws is once they are soldered to the rail they can't unscrew and come back out. Iv'e seen people use nails but they just come back out with expansion and contraction.
Here's some pics of how I solder track across a baseboard joint, same principal applies for a lift up section. (There is a joint there, it's perfectly joined together!)
-
2
-
1
-
-
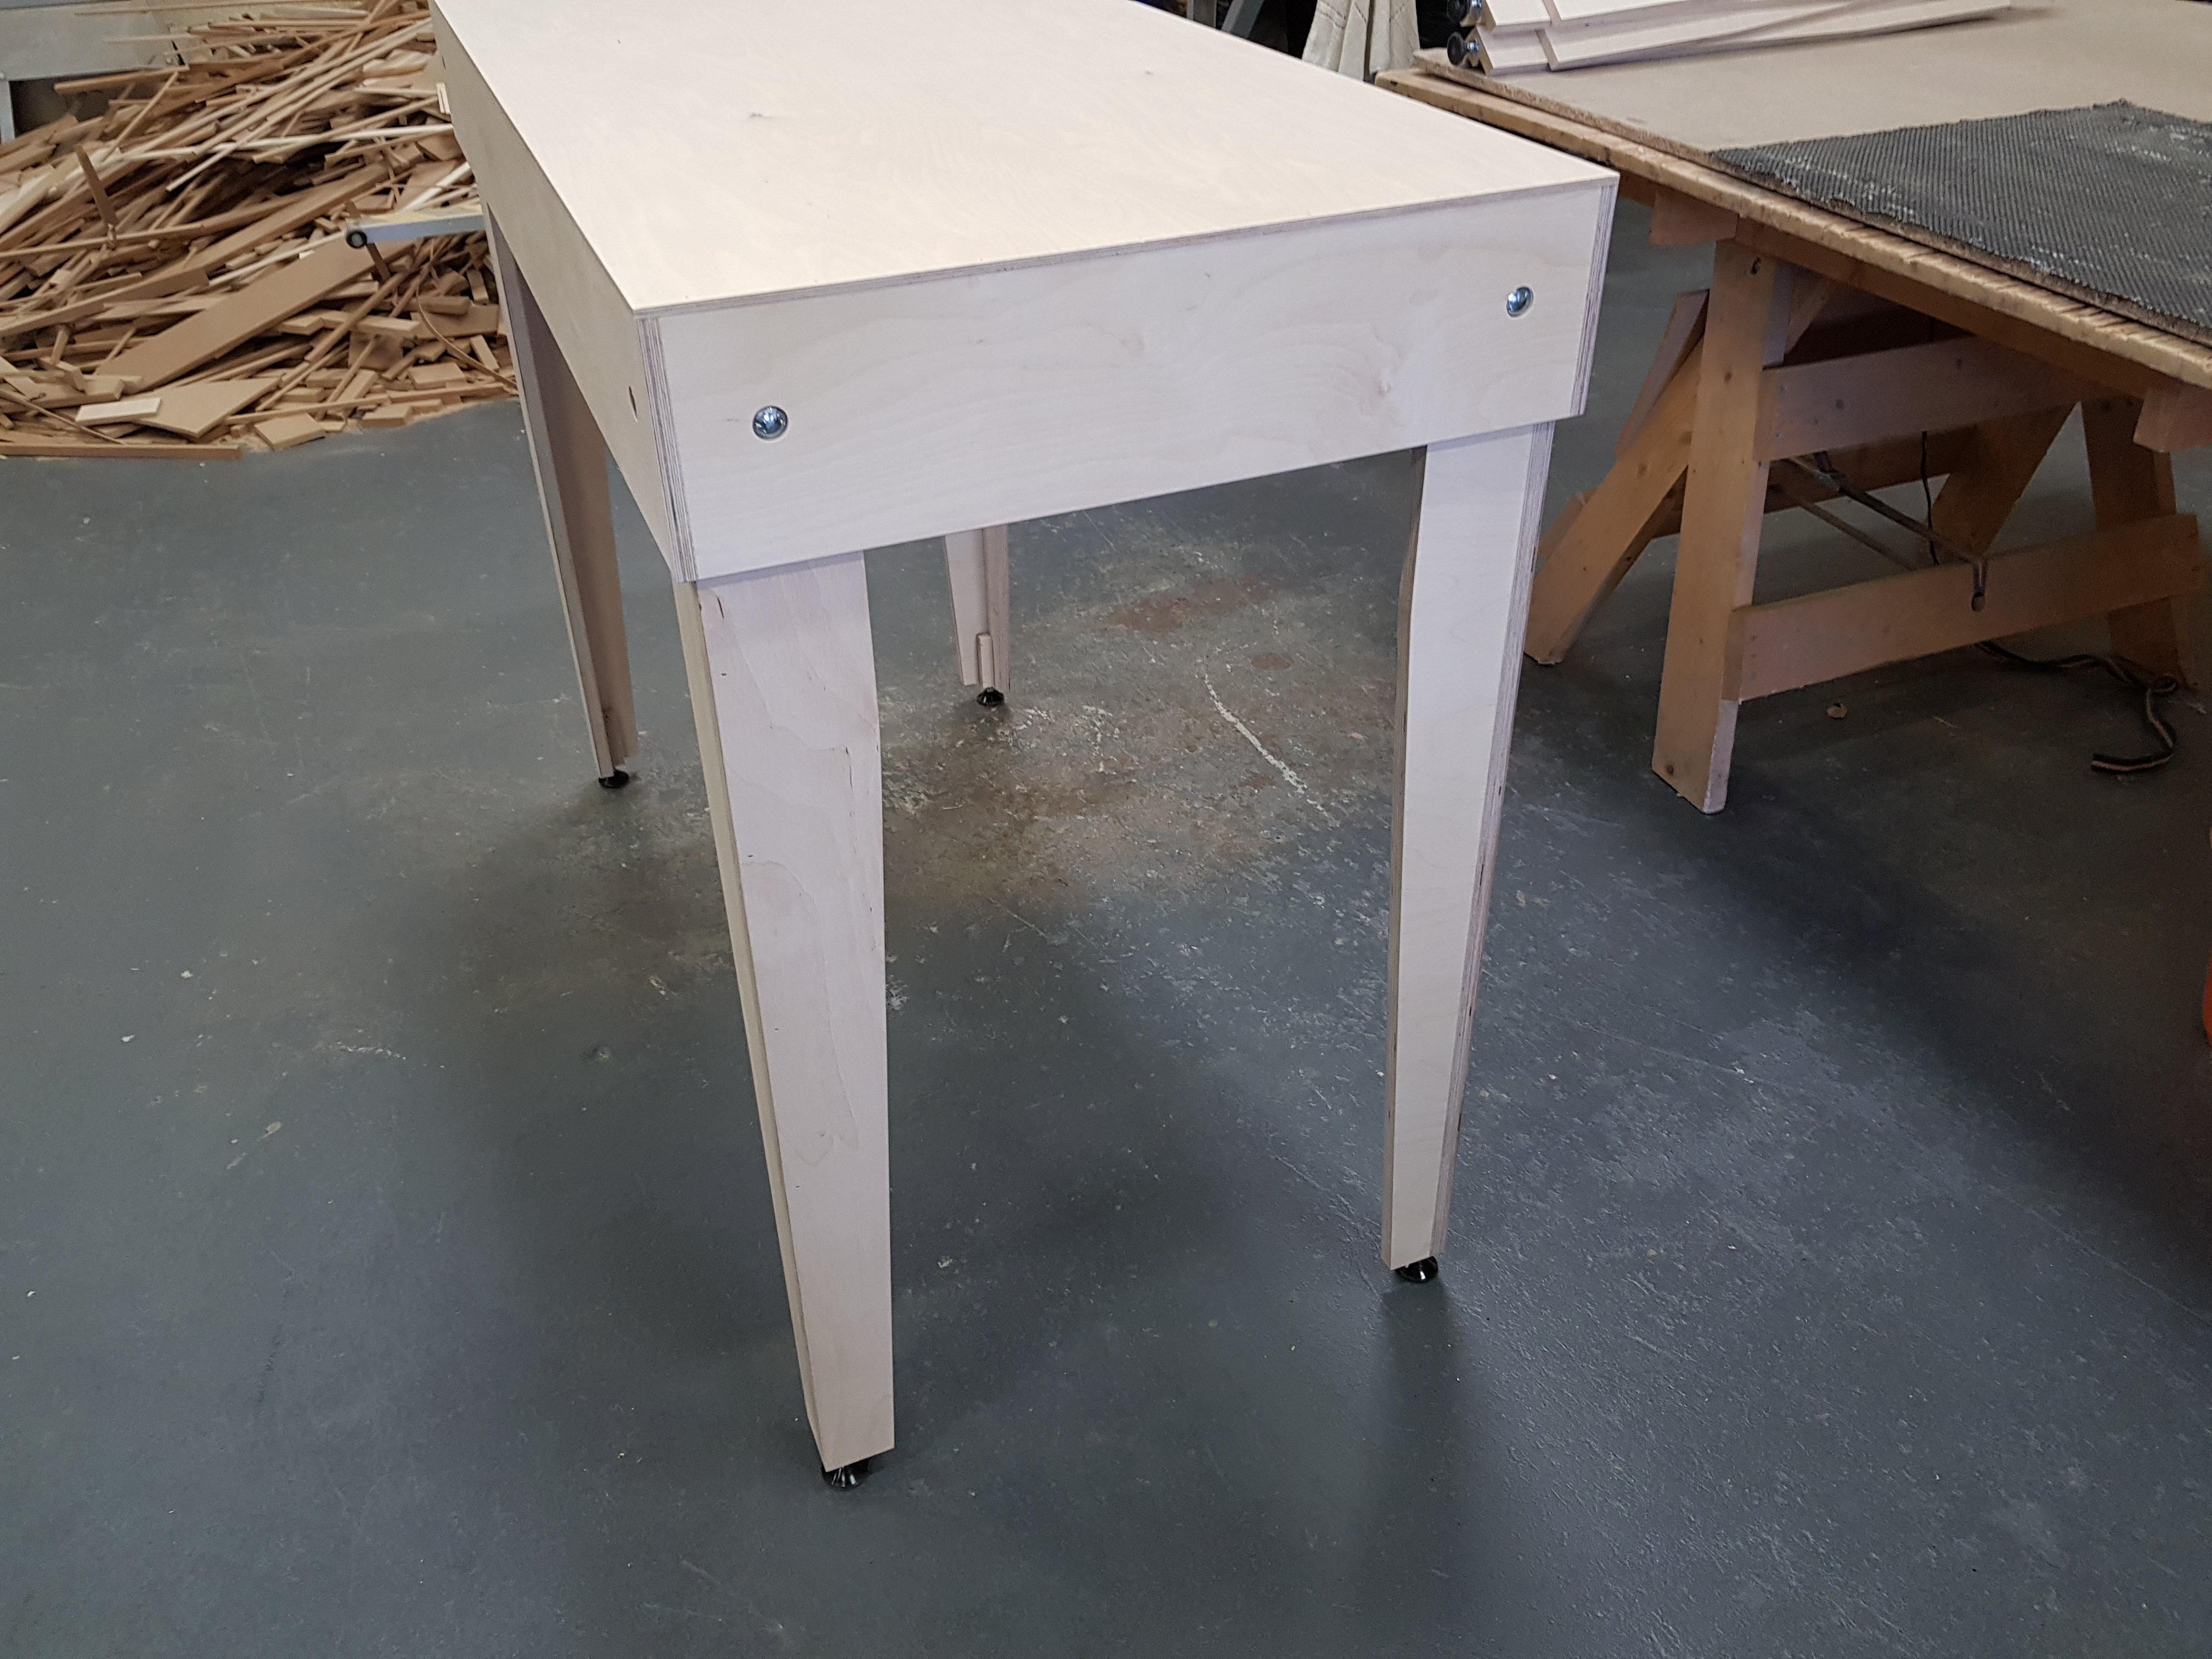
Hi Guys,
I have now developed a range of birch ply baseboards. They are incredibly strong and won't twist warp or sag. Ideal for exhibition use. The frame is 12mm and the cross braces are 9mm with a 6mm top.
They are much more expensive than the standard MDF boards due to the cost of the birch ply and the additional time that goes into making them.
I found that they are slightly heavier than the MDF boards, as birch ply is quite heavy!
-
1
-
-
Hi Guys, I have been working on the Fry Model Railway with Fingal county council. As part of the museum they would like information and photos of the Fry Model Railway.
They would like to hear personal stories and possibly use these with photos to tell the story of the Fry Model Railway.
So if you don't mind sharing your memories and pictures please comment below!
-
3
-
-
RIP
-
You can't read DCC on a multimeter. DCC is DC with a modified Bi Polar square wave alternating. It will give you a false reading. The only accurate way is an oscilloscope. It would be unusual for the prodigy to put that voltage out, it's factory set to 14.5 volts.
Have you had problems with any other decoders? Hornby can be problematic. Are you sure the LED's were wired correctly and is the decoder able to cope with the additional load?
-
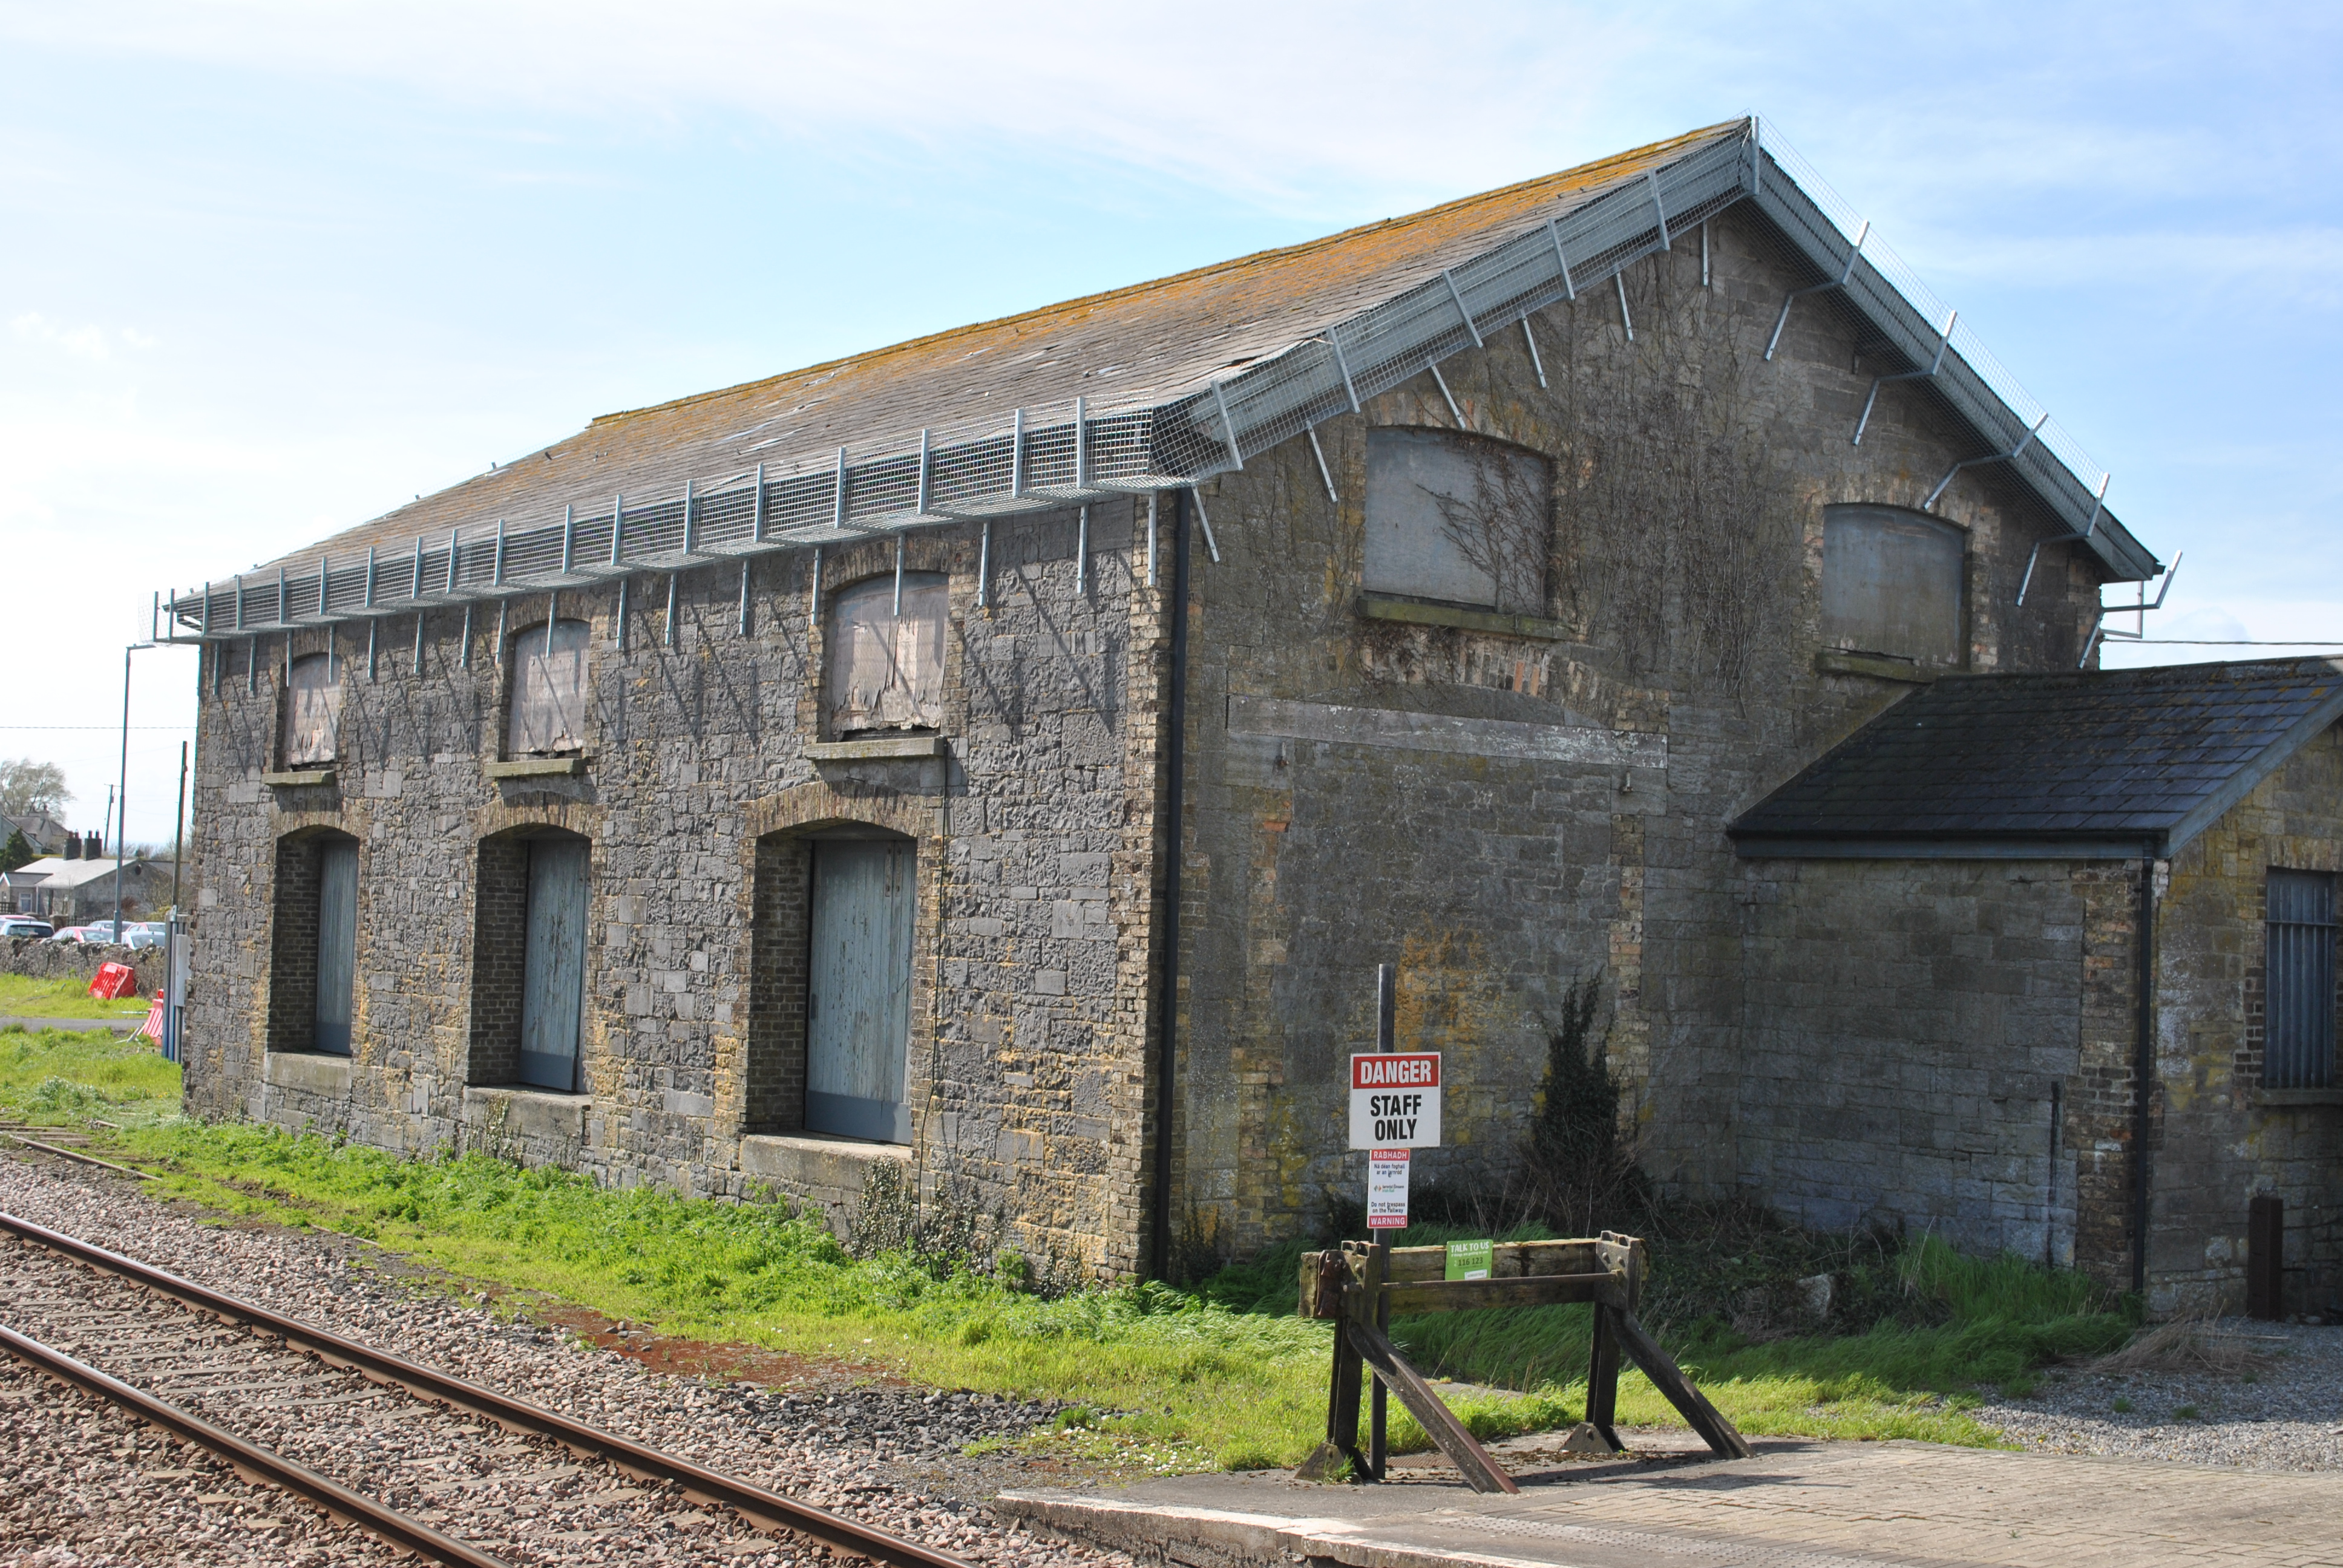
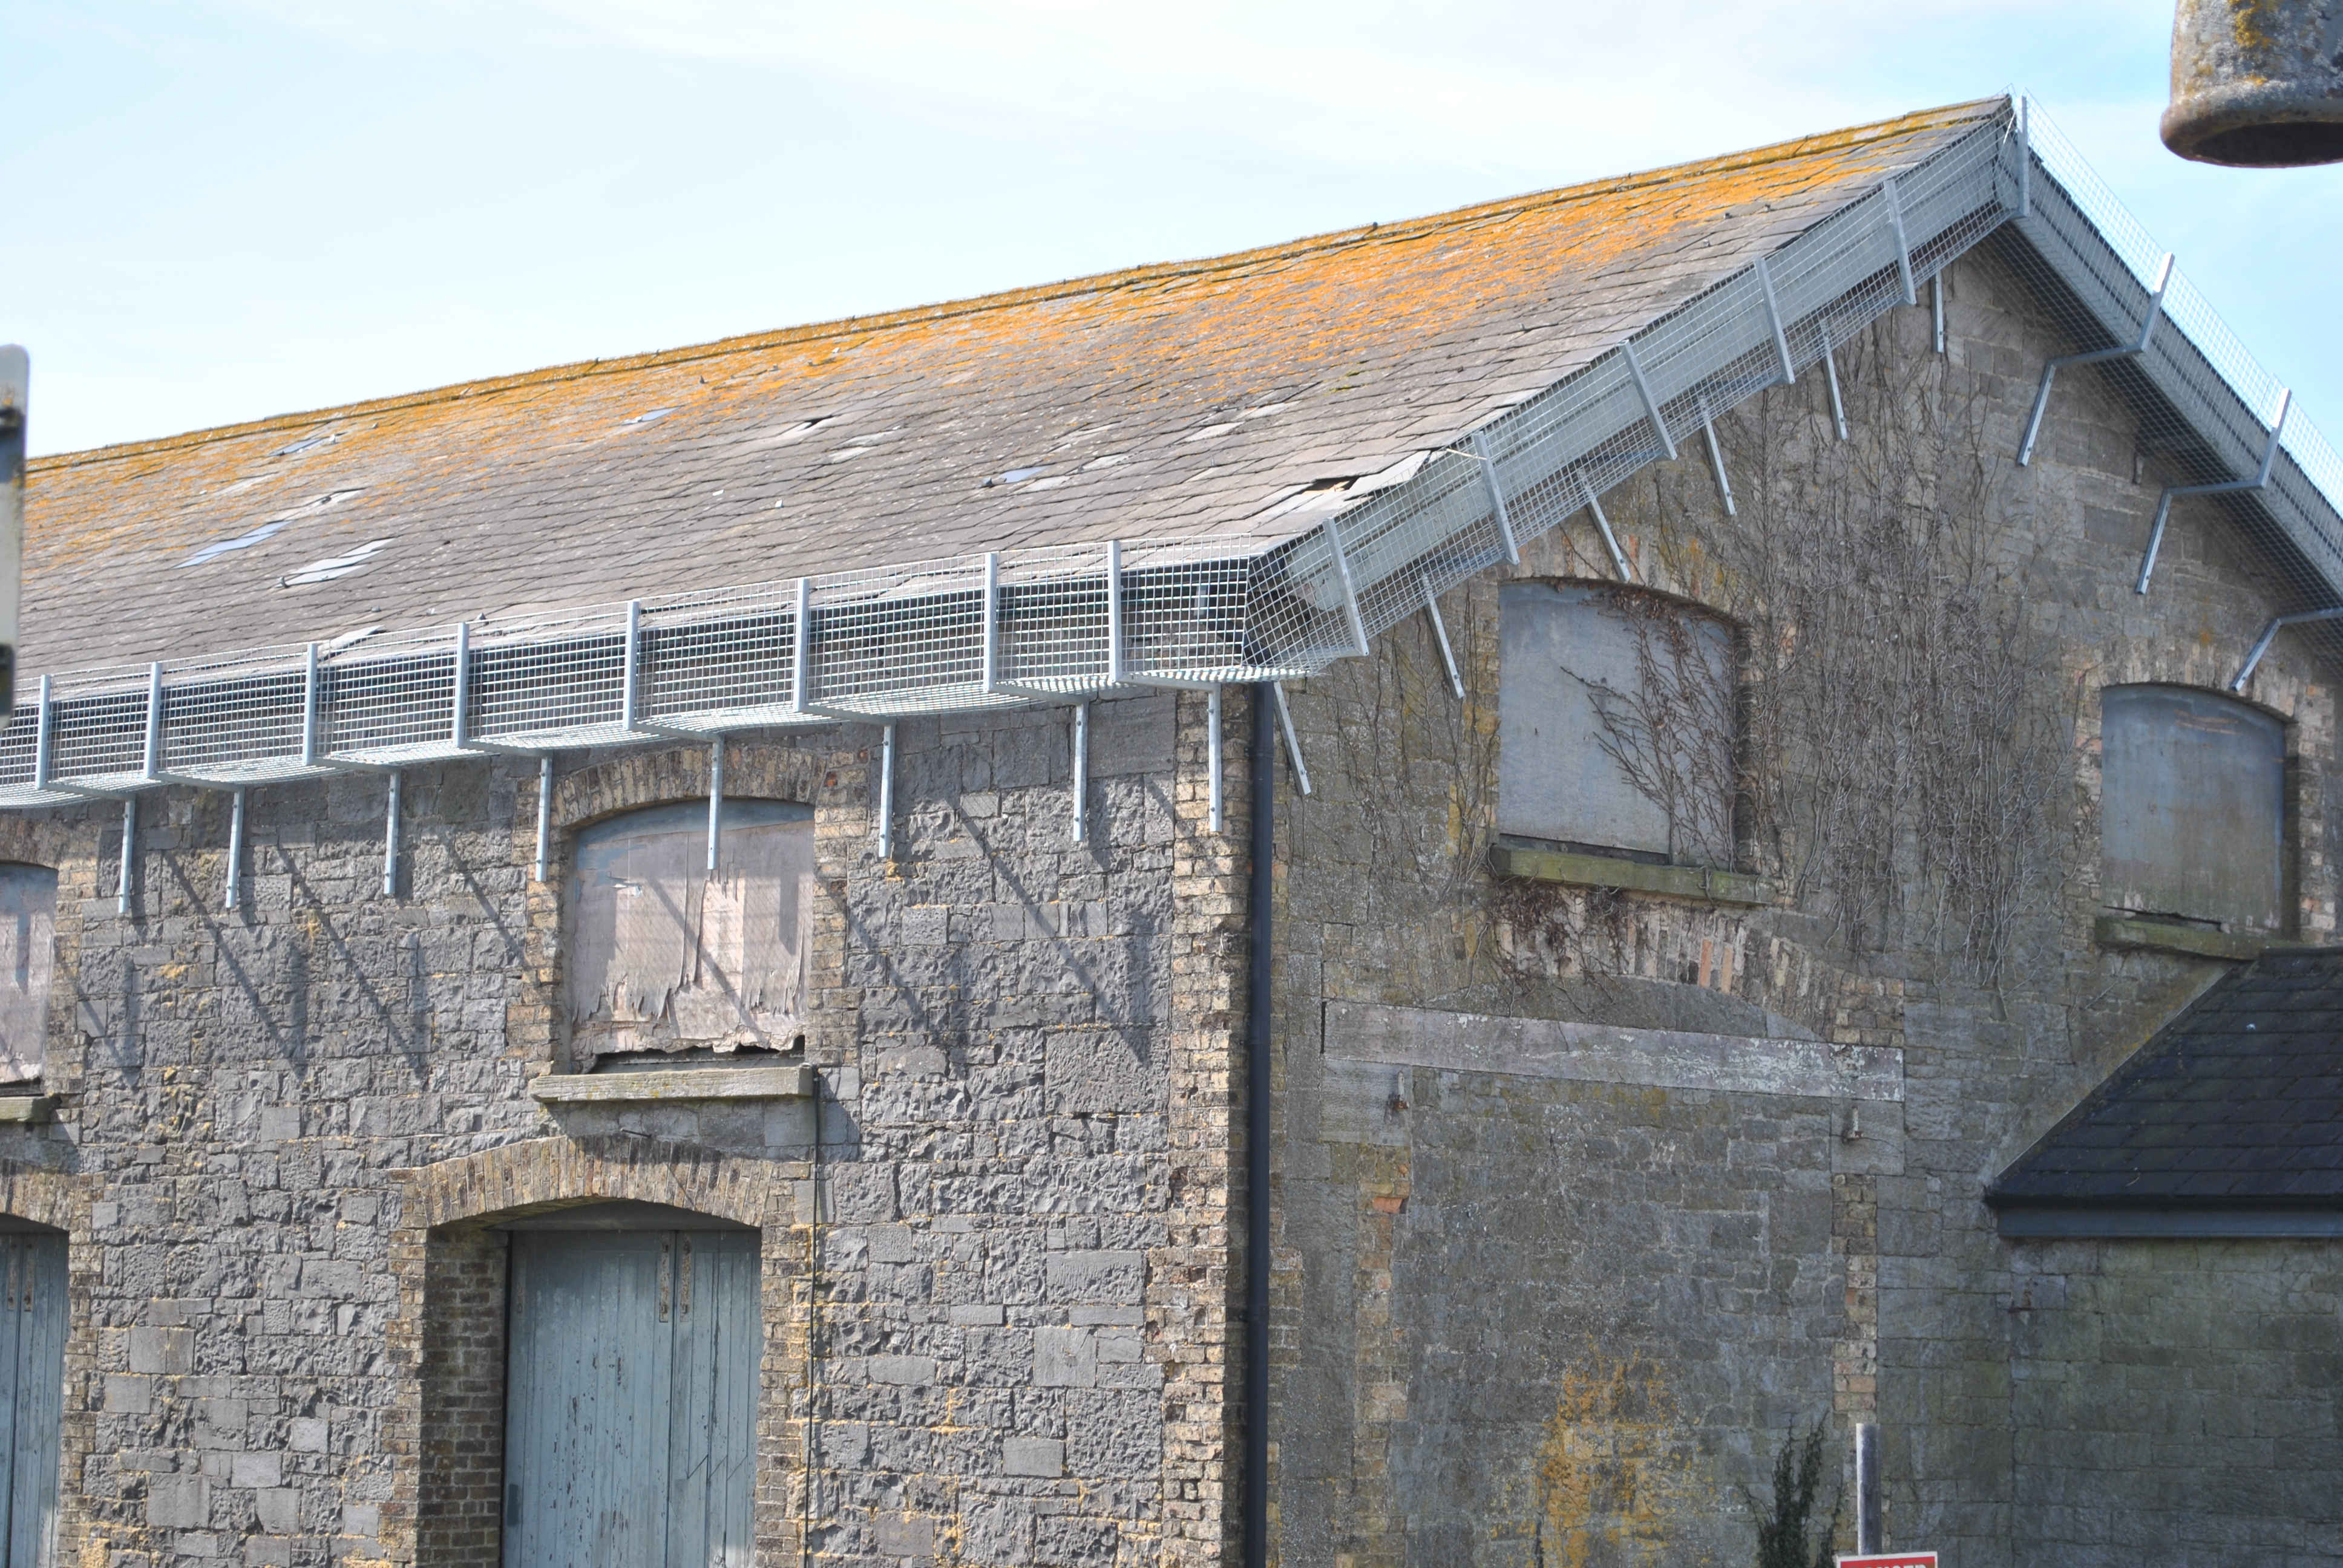
On 4/18/2018 at 6:55 PM, Broithe said:
The goods shed may be joining it on the Endangered List - there seems to be some concern over the roofing.
This has caused some of the overflow car-parking to be cordoned off, making things even tighter elsewhere.
It amazes me they go to the trouble to fabricate steel to protect people from falling roof tiles rather than fix the roof! Iv'e seen this on a number of buildings around Offaly. They still won't stop roof tiles in high wind from hitting someone.
-
1
-
-
Absolutely stunning. The attention to detail is amazing. This layout was the talk of the show at Bangor over the weekend. Beautifully crafted, well done.
Have you any plans to exhibit it?
-
1
-
-
Model Rail Baseboards will be there. Drop by and say hello!
-
The best method is a dremel with a flexidrive and a thin cutting disc. I use an Aldi one and have had it in use for the last 6 years!
I nearly splashed out on a new Dremel with all the bells and whistles but can't justify the cost against the cheap one. I use mine at least twice a week for nearly a day at a time building layouts.
-
1
-
-
On 23/02/2018 at 10:48 PM, BosKonay said:
and in 4th place for )) wagon of the year if you merge our votes for Bubble and Ballast
Overall tho, a staggering result for a manufacturer that has yet to deliver a single 'UK' outline item! We're humbled! Many thanks for all the votes!
Well done, an incredible achievement.
-
1
-
 2
2
-
-
I had a subscription but only got one copy
-
I use it too! I get most of my bits from the UK through it. Saves a fortune on postage.
-
2
-


Equalizing speed on two MM 071 locos
in Questions & Answers
Posted
The 2 locos need to be speed matched. The first step is to get the CV values for acceleration, start voltage and top speed matched. Then you run them one at a time and time them over a set distance, you fine tune the CVs to get them travelling over the same distance in the same time. This means they both run at exactly the same speed.
For double heading speed matching is important, it means one loco won't be pulling the other and therefore both pull equally across the acceleration curve.
After I speed match 2 locos I set up the consist and then keep the 2 locos about 50mm apart, I run them and see if the gap opens up or closes. If the gap stays the same they are speed matched.
There are quite a few videos on YouTube on how to do it.
Hope that helps!