

2996 Victor
-
Posts
357 -
Joined
-
Last visited
-
Days Won
2
Content Type
Profiles
Forums
Resource Library
Events
Gallery
Blogs
Store
Community Map
Posts posted by 2996 Victor
-
-
16 hours ago, Kevin Sweeney said:
On the northern end the ground will rise 10 mm to the NW corner and drop 14 mm at the NE corner. The trackbed will remain flat. I'm not sure yet how I'm going to create this non flat landscape, but I'm experimenting with plywood templates, to give me the basic shape
I've been using 3mm and 5mm thick foamboard on my 4mm/EM micro:

This was a while ago and things have moved on a bit, but you can see the foamboard profiles. Easy to cut with a craft knife or scalpel, glued with Javis VeloSet quick setting PVA. Its light and strong and its easy to carve if you need to modify it once its in place.
I've got mine from a seller on eBay - this is the link to the 3mm foamboard https://www.ebay.co.uk/itm/272000832907
Looking forward to see your progress!
All the best,
Mark-
 3
3
-
-
Many thanks - that's great advice.
I'm modelling to EM standards so not quite as fine as they could be, but still needing care! I think I can get away without suspension with careful track laying on rolling stock: items built so far seem to bear this out. But I would be happier if my locos have all the help possible in keeping their feet firmly planted!
All the best,
Mark
-
2
-
-
2 minutes ago, jhb171achill said:
I can’t answer that as I have zero knowledge of the process, but it seems like a simple issue to solve.
I think there can be limiting issues with print design and material type, but I would've thought in this scenario it wouldn't be an issue. Cost may be factor, though.
-
1
-
-
Beautiful loco and interesting solution to the balance problem.
Being a novice engine-builder with a grand total of zero completed locos, I was wondering if there would be any scope to run the drivers rigidly in the frames, and beam compensate the carrying wheels. I imagine space would be the limiting factor.
Cheers,
Mark
-
1
-
-
I've got some of Scale Model Scenery's weathered slates to try. They look really very good on your buildings - I'm looking forward to giving them a try!
The DAS flashing and rain streaks are particularly convincing.
Cheers,
Mark
-
1
-
 1
1
-
-
On 11/8/2022 at 11:18 AM, jhb171achill said:
True.
I do recognise that a huge investment in time is necessary to produce these designs, but I am also aware that there is ample technology now to 3D print things to a much, much higher standard.
Absolutely! When I first raised my doubts on my RMWeb thread, the first question asked by a guy who knows 3D-printing inside-out was, "What material was it printed in?"
I can't remember what the material was, but when I answered, the response was, "That's the problem - it's the wrong material for a good finish and fine detail. People don't use the right materials for the job!"
I wonder how much better RC21's prints could have been with just a change of material type.
Cheers,
Mark
-
6 hours ago, jhb171achill said:
That seems to be a general consensus, unfortunately!
A great shame

-
 1
1
-
-
On 5/8/2022 at 6:44 PM, Pete00018 said:
I don't know about the broad gauge ones, but I've a number of narrow gauge Rc21 Shapeway prints and so far they have been goods quality. The usual steeping, washing and rubbing down before priming. Fingers cross the next one has no issues..
A given tho that not as detailed as brass kits.
It would help if accurate drawings were to have for producing 3D CAD and prints.
Best regards,
Peter
Many thanks, Peter, that's good to hear.
The items I've had were narrow gauge as well, the War Department Class D bogie open wagons, which as mentioned were dimensionally seriously in error, and also some 009 wagon turntables. The print quality was really quite poor. I mentioned the quality of the prints on another forum, and the consensus from those who know about such things was that the choice of printing material was wrong.
Hopefully my experience is in the minority - he has many items that I'd be very interested in otherwise.
All the best,
Mark
-
1
-
-
Great improvement, Patrick, and as has already been said, taking the "wrecking ball" to what you've already built is a brave step. But the results are absolutely worthwhile!
Cheers,
Mark
-
1
-
-
20 hours ago, Galteemore said:
Terrific stuff. Love the door on that shed - just right
Agreed, and the rusted wiggly tin roof, too!
-
1
-
-
On 26/7/2022 at 8:57 PM, Patrick Davey said:
They’re still going……

This photo is phenomenal! So incredibly beautiful and atmospheric.
Cheers,
Mark
-
1
-
2
-
1
-
-
10 minutes ago, Patrick Davey said:
Looking forward to your thoughts!!!!!
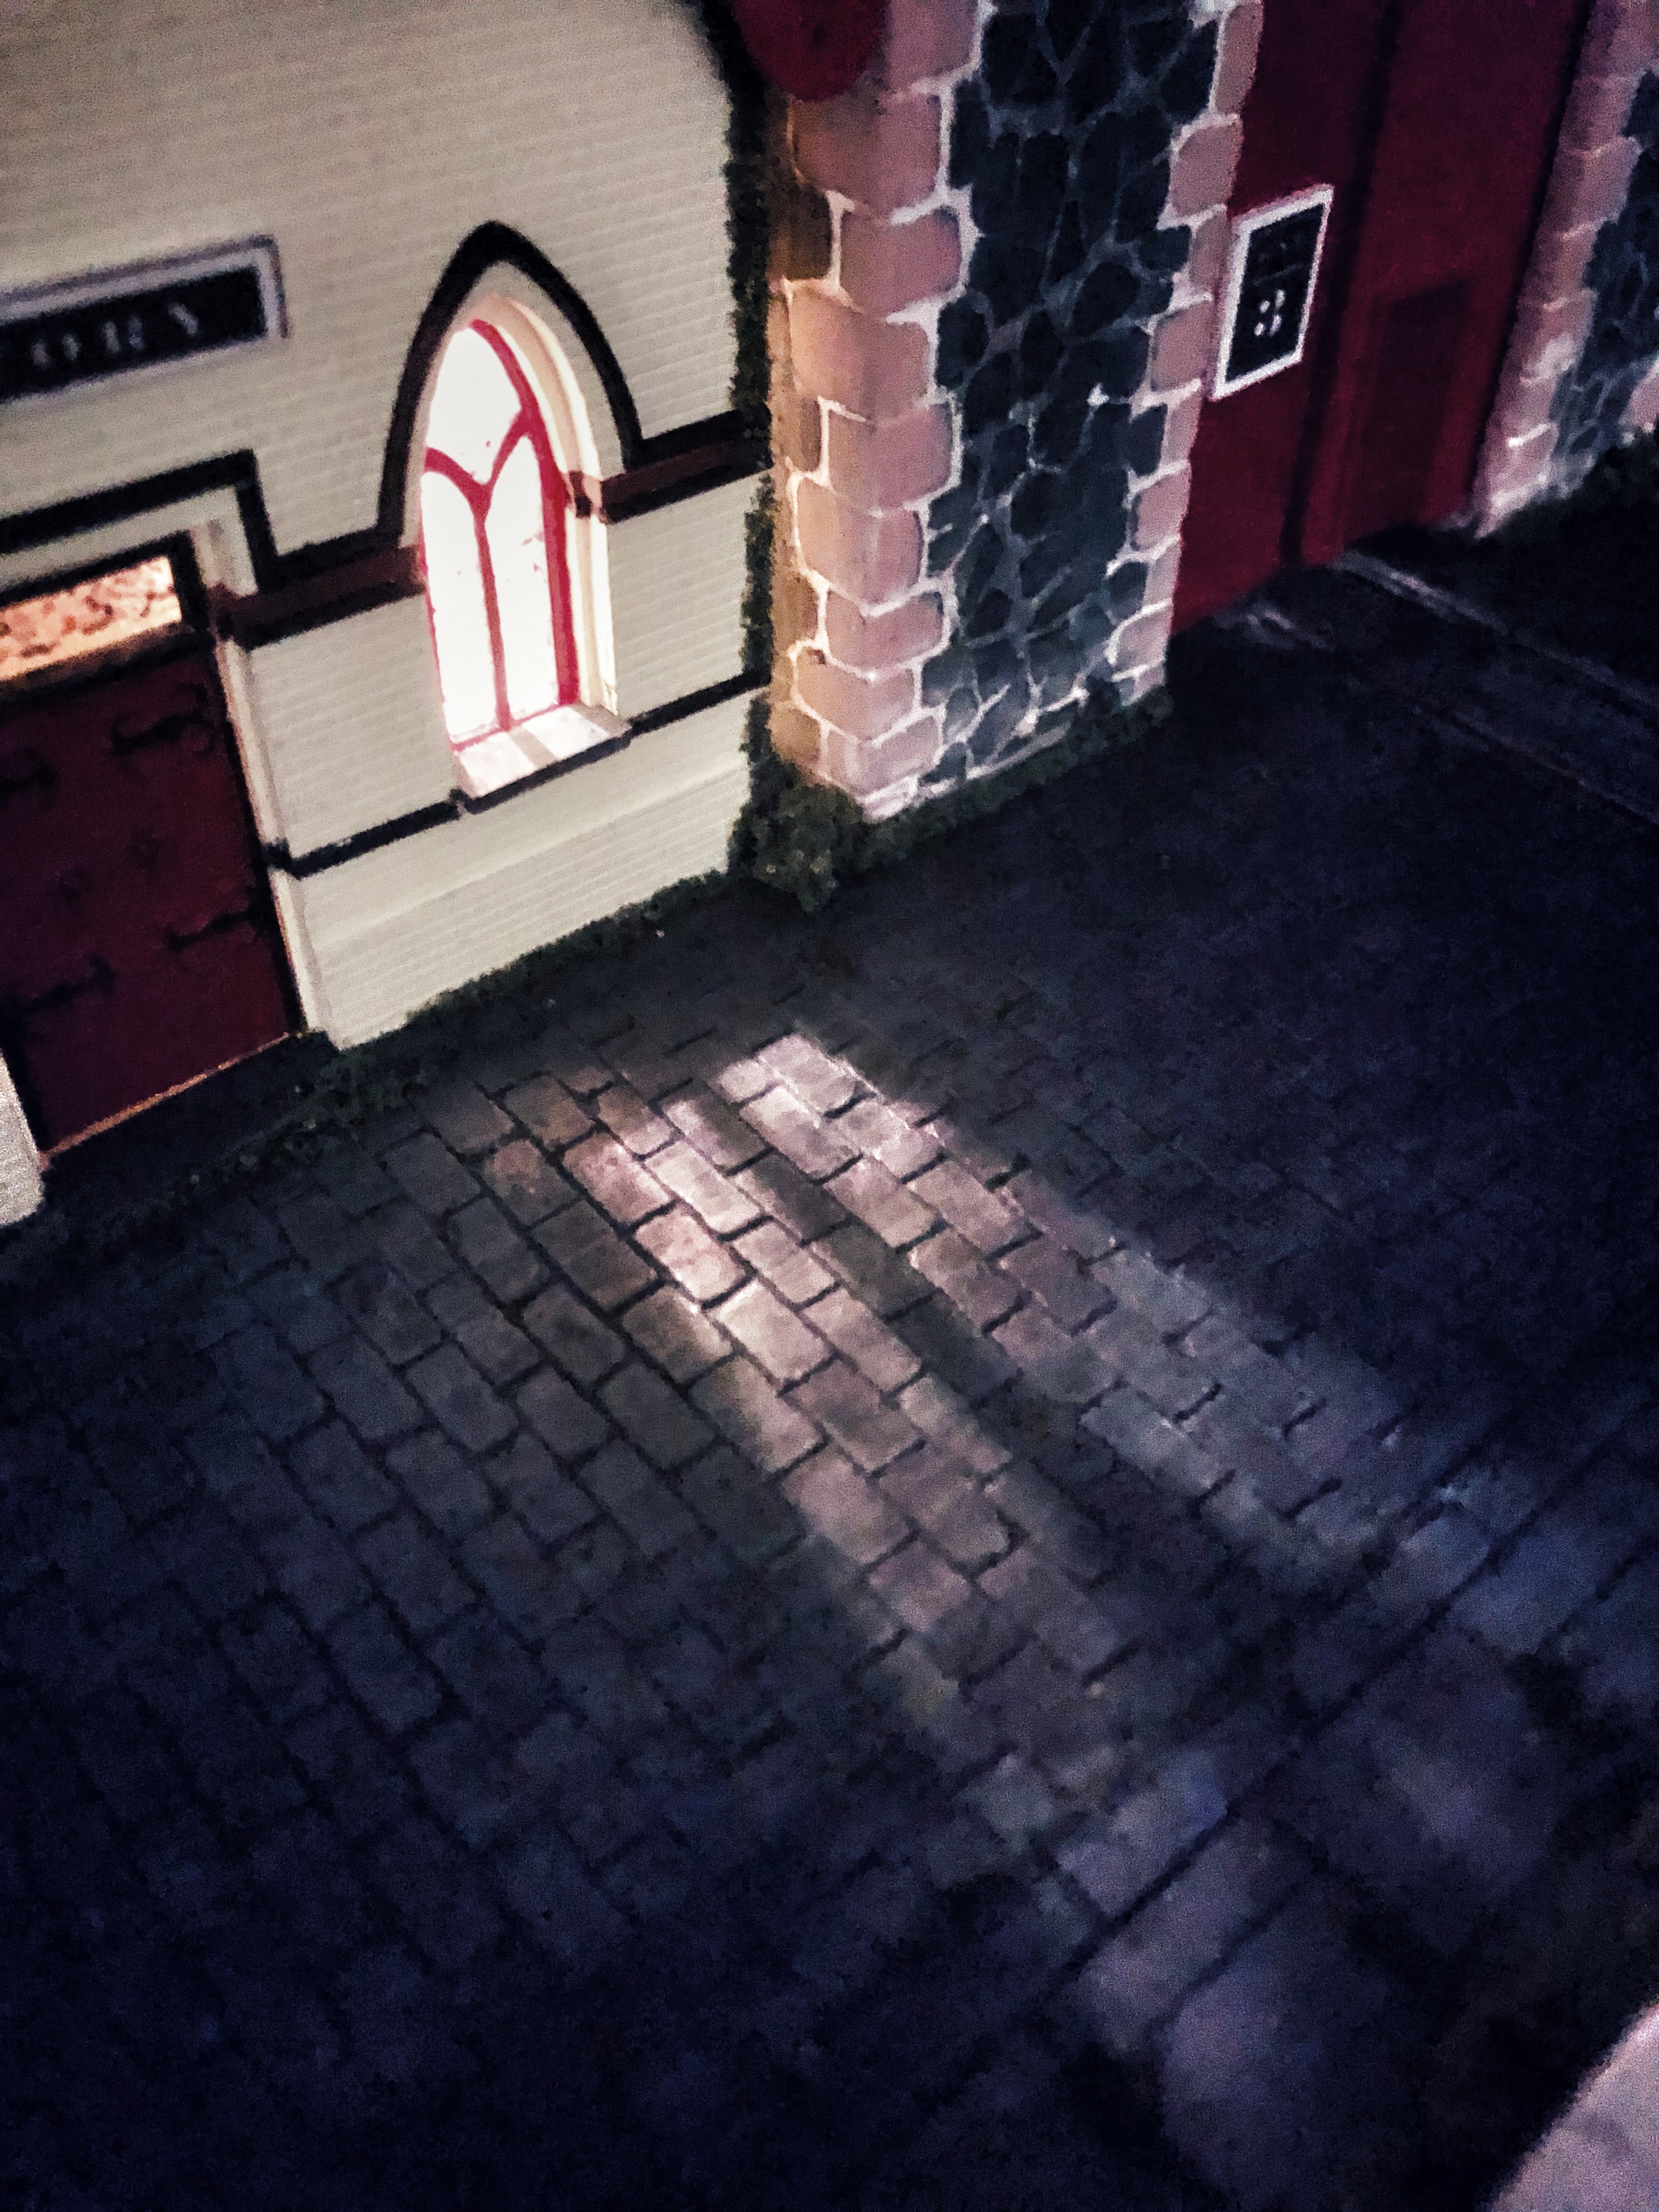
I can't speak for the likelihood of the Mills style on an ecclesiastical building, but it certainly looks very good to my eyes. I love the stained glass windows and the scroll-iron door hinge straps. Great work!
Cheers,
Mark-
1
-
1
-
-
23 hours ago, Patrick Davey said:
Exactly the current plan Mark!
")
I use Evergreen quite a lot, it seems easier to work than Slater's. Looking forward to seeing how you get on.
Cheers,
Mark
-
1
-
-
Fantastic progress, Ken! The extra track will make a huge difference to operating, I'm sure!
Cheers,
Mark
-
1
-
-
I'll be very interested to see how you manage the stone/brickwork on the shed.
It always seems easier to model when the quoins and reveals are stone and the walls brick, but as you say the brick quoins and reveals are a distinctive characteristic.
Cheers,
Mark
-
1
-
-
On 19/6/2022 at 7:19 PM, Patrick Davey said:
Well the louvres didn’t work….. they all fell apart! I had made a card frame for them to fit into but I don’t think the glue and the material liked each other
 I had left it all overnight to cure but when I started adjusting it all this morning, it collapsed
This small build really is putting up a big fight
Would styrene be an option? Evergreen do corrugated "metal" sheets. It could be easier to build a frame from styrene strip and use strips of corrugated for the louvres all joined with solvent.
Cheers,
Mark
-
1
-
-
Beautiful outcome, Patrick, well worth the false start to achieve this standard.
Cheers,
Mark
-
1
-
1
-
1
-
-
19 hours ago, Galteemore said:
That last photo is simply fabulous.
Absolutely agreed - wonderfully evocative.
And great progress on the extension, too, @jhb171achill.
Cheers,
Mark-
2
-
-
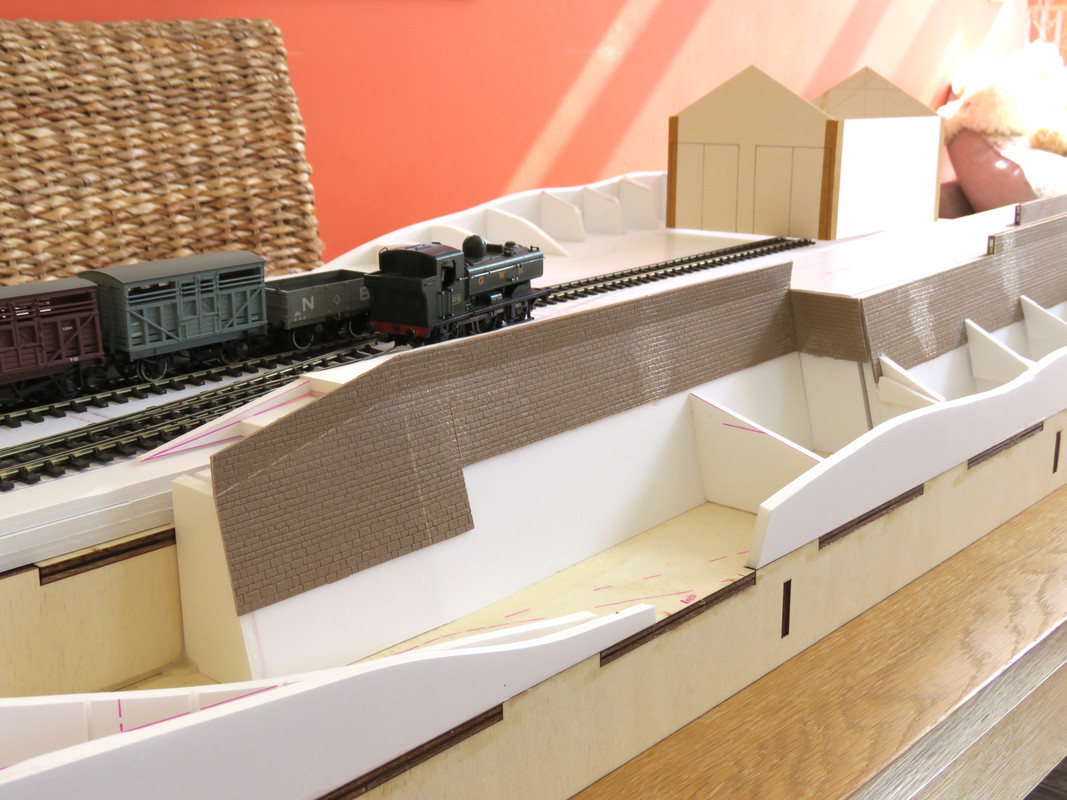
As mentioned above, the quay wall build-out has been made and added, and pretty much painted although I may tint a few more of the stones. I've also built a shallow brick plinth, and made the shell of the small warehouse that sits on top. I've got some new brick paper from Scale Model Scenery (no connection etc), which I think is so much better than what I've been using that I'm planning to redo the terraced houses.
Anyway, here it is set up in the dining room behind closed doors (Arthur has taken to sitting on the baseboard if its left flat.....):
The lucam will be wood framed and planked.There is enough room behind it to allow "Lyn" to comfortably pass by:
All-in-all, I'm pretty pleased with how its coming together although its a bit of a shame about the joint in the brick paper on the end wall. But this is a view that isn't going to seen much, if at all, so I think I can get away with a little trickery to blend it in. Unfortunately I had a little mishap with the window reveal on the top-right front window, which will need a bit of cosmetic work, too. The ground-level joints will need to be blended in when the building is finally fixed in place - some grass/weeds and general detritus (I fort 'e woz jus' a sergeant!) should do the trick.
Thanks for stopping by!
")
Cheers,
Mark-
6
-
-
How about giving the whole thing a coat of shellac before painting? It seals and stiffens the card. Lots of bracing helps, too, of course.
What about using oil-based paints?
Cheers,
Mark
-
2
-
1
-
-
Looking great! So many layouts seem to have verdant green grass, whereas it's usually much more yellowy. You've captured the look perfectly!
Cheers,
Mark
-
2
-
4
-
-
A little more progress has been made.
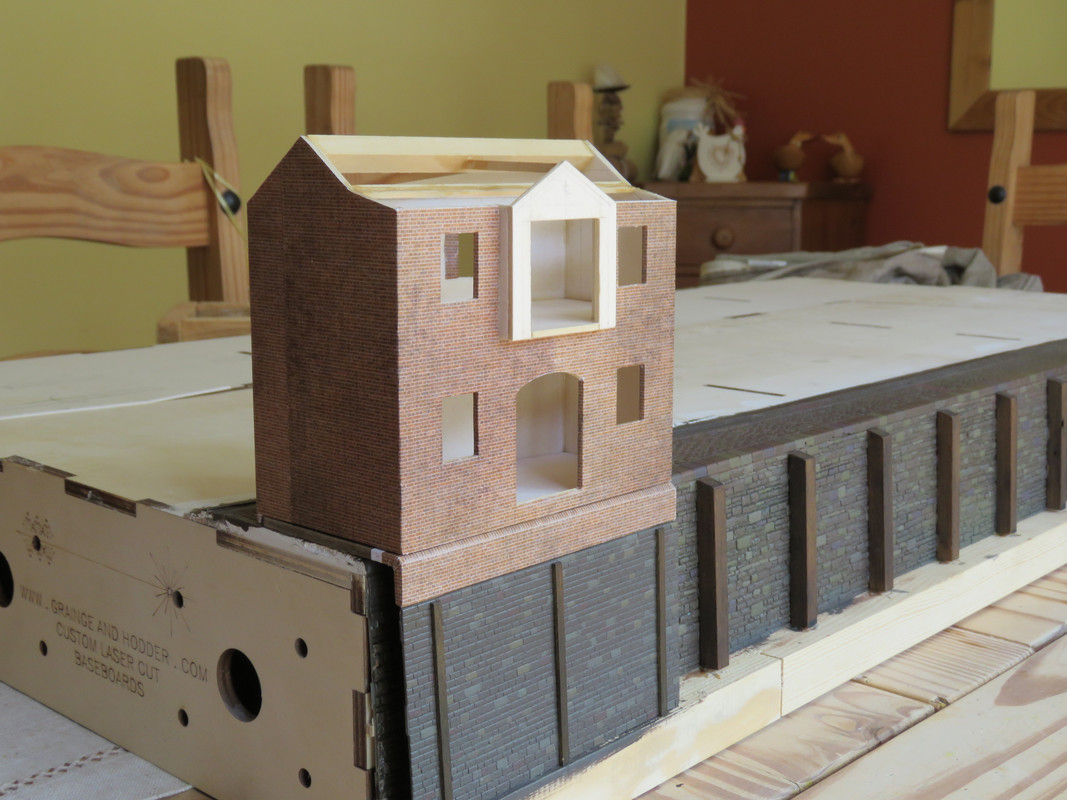
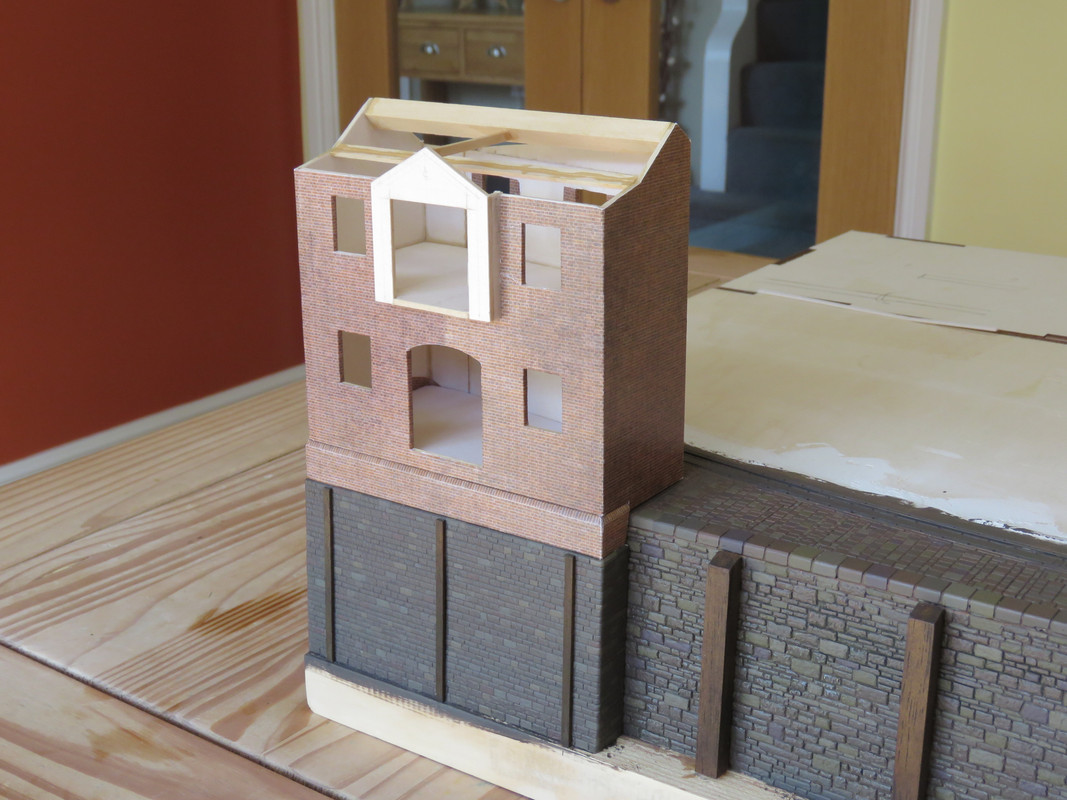
The quay wall extension mentioned above has been cobbled together and added. I've deliberately used a different pattern of stone sheet as I want it to look "added on". Most of the stonework has been painted as well, the idea being that it's similar rather than identical, again to look like it's been added. A brickwork capping will be made and a little warehouse to go on top. The warehouse is going to look like it's been extended as well, all a bit Heath Robinson

In other news, I've had an email to tell me that the points have been made, so I'm eagerly awaiting their arrival now
")
More photos when I've done a bit more!
Cheers,
Mark
-
On 13/7/2021 at 5:09 PM, jhb171achill said:
"Llanfairpwgyllwllygghhwghwghgwhyywjhgwhjhwllwklwjhyyyyllllwwwwywywywywywhjgsfdcugywtfb$mdxbcjkghwsejhgrfkljasxcjkhqlwkjsilliogogogochgochgoch".
-
Well now, what's been happening? Not a lot, if truth be told, mainly centred around other ideas and projects. However, with the healing after the surgery well on the way, I've been doing a few things with the buildings and getting back to the quay wall and inset track.
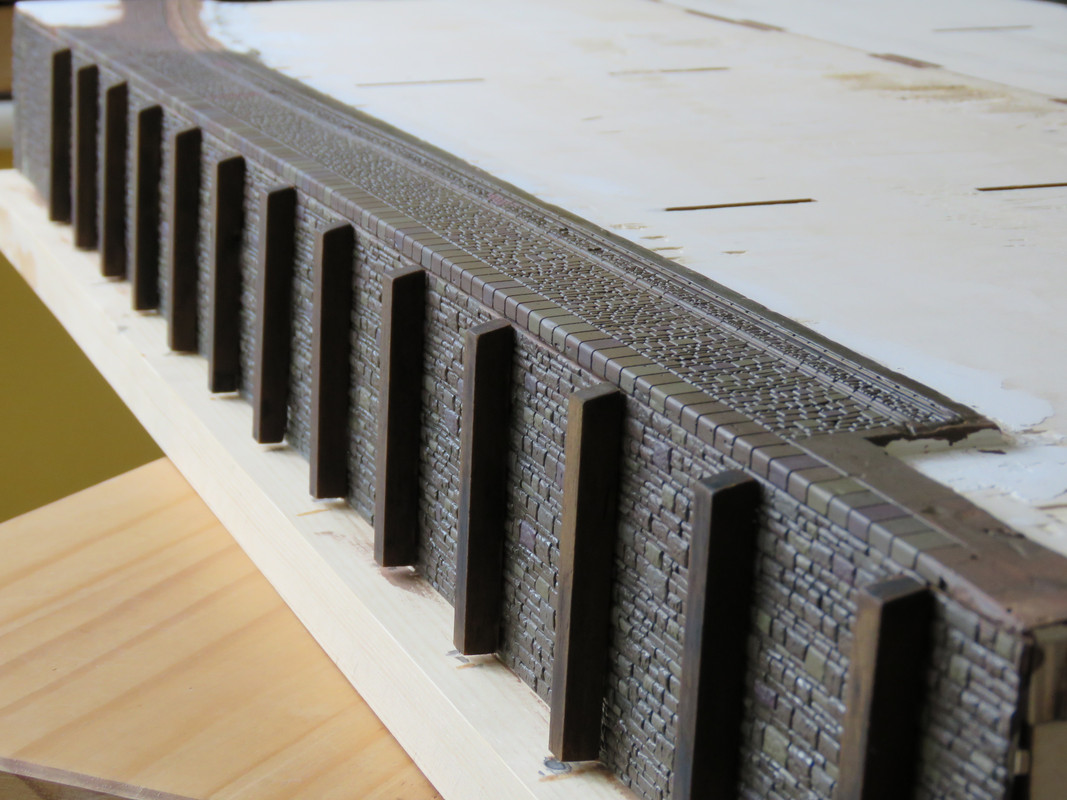
Firstly I needed to replace the two end sections of Wills stone wall, and having done that the next task was to attempt to correct the colour of the stonework from the overall grey to a warmer grey-brown with purplish tints more appropriate for the Baggy Sandstones prevalent in the Barnstaple area. I think I've managed that quite well, picking out individual stones with a variety of different shades. It all just needs a thin wash to blend it together. I've fixed the new timber baulks as well, and given these a wash with several coats of Citadel Nuln Oil, which I think works quite well. Photos:
The next jobs are to finish creating a projection of the quay wall at the far end of the second photo, which will have a small warehouse perched on top. I've also had to have a bit of a hack at the setts of the inset track as the flangeway clearances were too skimpy. Seems okay now
 I just need to touch in the paint (again!). Then I can create the 'orrible sludgy mud at the base of the wall, and tint the wall to represent the green gunk that builds up at the high tide mark.
The necessary points have been ordered and should be under construction shortly, after which I can get the track down properly
Thanks for looking in!
Cheers,
Mark-
3
-


N Scale Ballywillan, Co Longford.
in Irish Model Layouts
Posted · Edited by 2996 Victor
It is! Much! I'd definitely recommend it.
I've been covering the foam board formers with a lattice weave of wall paper lining paper, and then four layers of newspaper strip papier mache. It makes a pretty strong shell.
Cheers,
Mark