
2996 Victor
-
Posts
357 -
Joined
-
Last visited
-
Days Won
2
Content Type
Profiles
Forums
Resource Library
Events
Gallery
Blogs
Store
Community Map
Posts posted by 2996 Victor
-
-
12 hours ago, Galteemore said:
Sorry Mark - you haven’t been on the forum for a bit. Sadly Ken died earlier this year, which has left a huge hole in our midst.
Oh my word, that's absolutely terrible news. I'm so very sorry to learn this.
Yes, I've not been around for quite a bit, so thank you for bringing me up to date.
Kind regards,
Mark
-
As I understand it, these would be the etchings only, no castings, which would mean finding period-correct chimney, dome, etc.
John @Mayner, were the later boilers of different diameter? Or is it just that different style smoke doors were fitted? And also when Inchicore style smokeboxes etc were fitted?
Many thanks,
Mark
-
56 minutes ago, Galteemore said:
Mayner’s comments on the Alphagraphix one are correct, as I built one to MGWR style and it involved turning some etches inside out to hide the rivets! A cast early smokebox door and alternative chimney were included - I imagine that the GSR pattern will be easy to find off the shelf, whereas a 4mm modeller may need to turn their own MGW style chimney.

That's a stunning model!
-
 1
1
-
-
I'm a definite for 2 x Atock J26, maybe even 3 if the price is right (sounds like a good title for a game show
") ).
).
Cheers,
Mark
-
 1
1
-
 1
1
-
-
33 minutes ago, Horsetan said:
I though @Colin R was going to do that. We'd then contact Roger directly when it's time to pay the bill....
Many thanks - just wanted to be sure!
Cheers,
Mark
-
Hi Ken,
Just checking in to see if there was anything new on this super layout?
All the best,
Mark
-
Incidentally, might Roger be persuaded to downscale his etched coach kits, or at least the bodies?
Asking for a friend
-
Hi,
A bit of a thread bump, here!
I'd be interested in the three MGWR locos:
1 x Atock G2
1 x Fairbairn "Elf"
2 (maybe 3!) x Atock J26
Are we also contacting Roger direct to express our interest?
Cheers,
Mark
-
Fantastic news, Ken - keep at it!
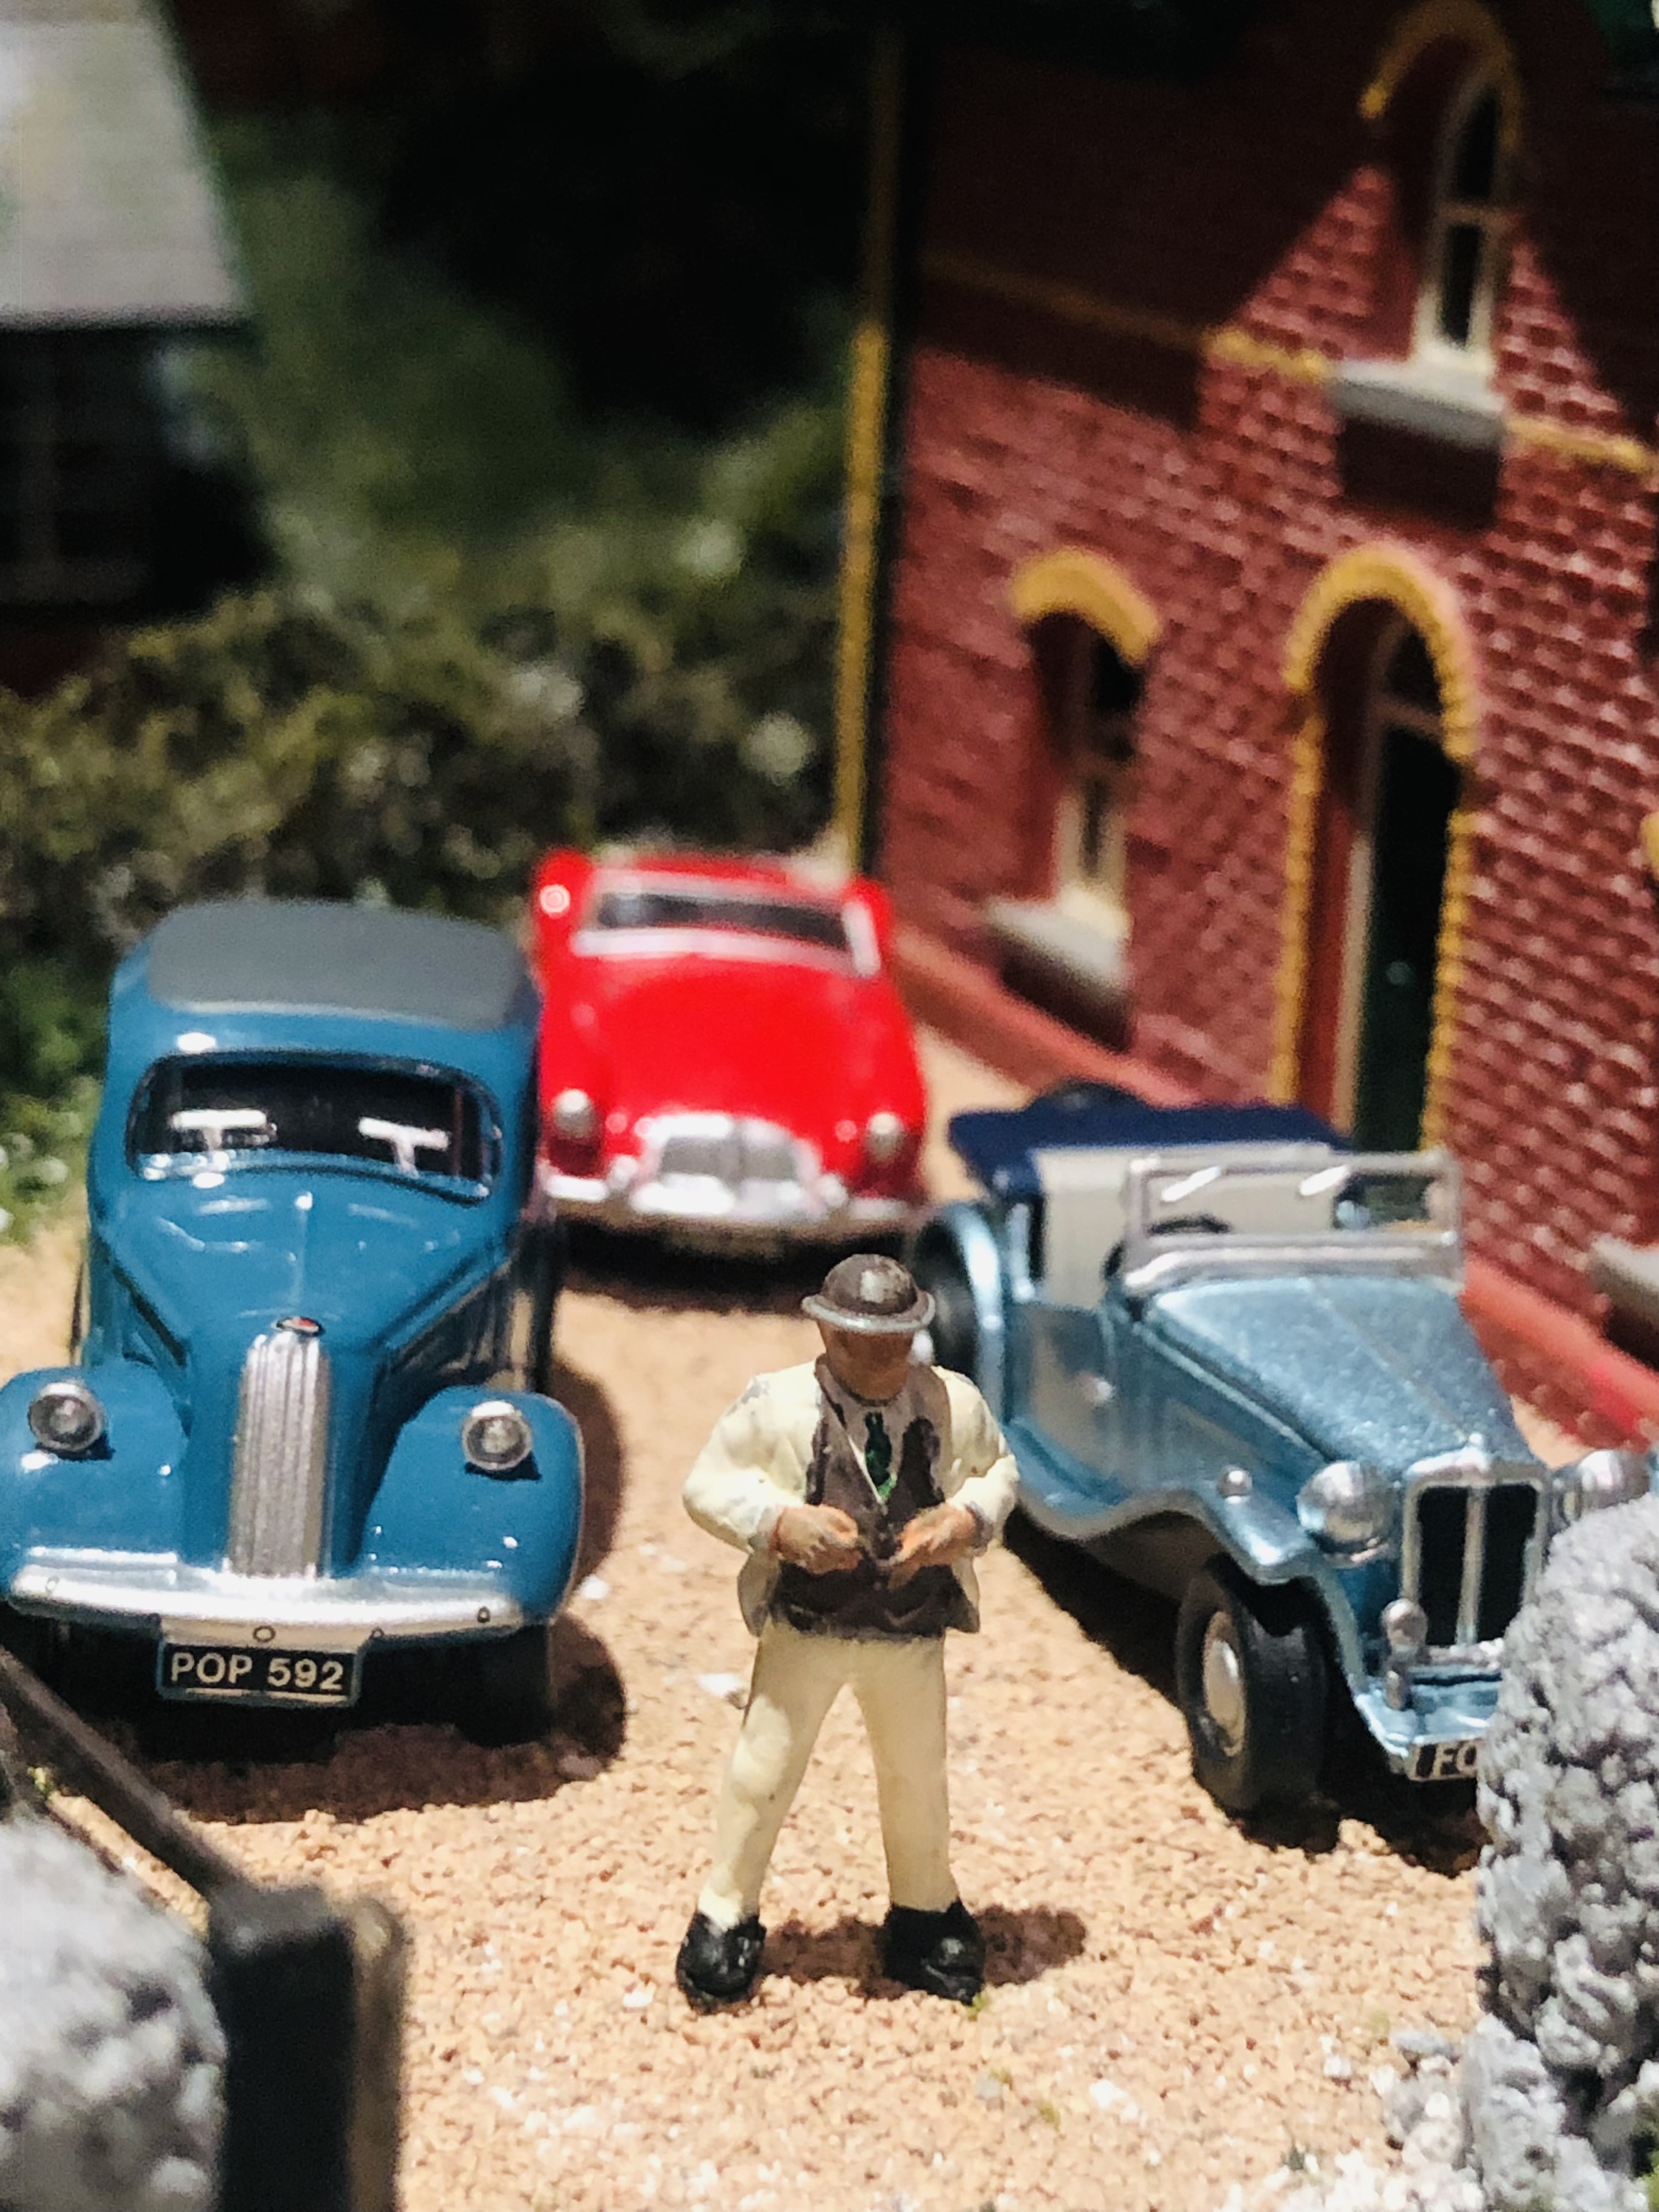
Some lovely little bits of progress on the Port, its the details that make the layout come to life and its certainly doing that. I do like Dart Castings products - their conical milk churns for instance are, imho, the best available (no association with them except as a satisfied customer). I don't think I've said before that I think the Maltings are superb, although all your buildings are excellent.
Nice convertible, by the way
Stay safe, keep strong, and keep getting yourself better
")
All the best,
Mark-
1
-
2
-
 1
1
-
-
So sorry to hear your news, Ken - along with everyone else, I'm sending you all best wishes for a speedy full recovery.
Stay safe and keep strong.
Mark
-
1
-
2
-
1
-
-
9 hours ago, David Holman said:
Hope you didn't do what I did when researching how to paint my nuns. An internet search resulted in some very interesting suggestions of how to dress up for the weekend!
Did it involve parachutes?
-
1
-
-
27 minutes ago, Patrick Davey said:
He says the electricians who work at the mill are all wired up anyway. He nearly blew a fuse when these lights didn’t work so he sent them all ohm.
Groan

-
3
-
-
Stunning work! And +1 on the tutorial - that's a brilliant technique.
Cheers,
Mark
-
1
-
-
Brilliant, David! Maggie is the G.O.A.T. goat
Cheers,
Mark
-
1
-
-
44 minutes ago, David Holman said:
Thanks Mark, had been thinking about that, but getting the fibres to fall the right way could be difficult. The model is only 3cm long and there's a danger of over doing things!
Worth a try though.
Yes - you'd have to "brush" the fibres soon after applying them to mimic how the real animal's coat lies. Although the "plugged into the mains" look would be quite funny.....

Or, after you're absolutely happy with the goat's shape, what about a very thin final covering of thinned clay more like potter's slip but not quite as runny. Then use a toothbrush or similar to brush in the goat's hair while it's still damp.
Perhaps a trial on a spare lump of clay might be worthwhile!
Cheers,
Mark
-
 1
1
-
-
9 minutes ago, David Holman said:
so am currently pondering how I might represent that.
What about using fairly short static grass fibres? Apply in the usual manner, and gently smooth flat like the animal's coat, perhaps with a soft paintbrush, before the glue dries. When dry, lightly airbrush over with goat-colour paint.
Cheers,
Mark
-
1
-
-
7 hours ago, Galteemore said:
That’s really annoying Mark. Hopefully you will get something sorted.
Thanks
it's more annoying because of the time wasted - I should have bitten the bullet and built my own to begin with.
At least it'll be good practice for the 21mm gauge track for Mount Bellew!
All the best,
Mark
-
1
-
-
Just a short non-update on Yeoman's Wharf.
I'd got to the stage where I really needed the track in place before I could go further with the structures and scenery.
I think I mentioned outsourcing the pointwork to a professional builder as the geometry is non-standard and I want avoid the toylike look to the track.
Well, the pointwork arrived at the beginning of the week after four months. To say I'm disappointed is an understatement: tie bars loose, rail heads filed to get them level, check and wing rail leads filed not bent, and very messy soldering throughout.
I know I should really go back to the builder but I just want to cut my losses and move on. With hindsight, I would have been better off using the intervening period to learn the skill myself. Shoulda', coulda', woulda'!
I hope to have some good progress to report soon.
Cheers,
Mark
-
4
-
-
12 hours ago, jhb171achill said:
I have found that setting features in place first, then taking pictures of them in black and white against a backdrop of a wagon or locomotive, tends to show up very starkly whether they’re about right or not.
What a brilliant idea! I have awful difficulty in gauging the relative proportions of landscape features to the point where I end up with either rapid erosion or orogeny to correct massive errors of judgement!
Great photos of the goods train in the evening sunlight, very evocative.
Cheers,
Mark
-
2
-
-
1 hour ago, Patrick Davey said:
Now I am extra gutted. I had hoped that Cultra would be my first outing with Brookhall Mill but I have to work that day

And now I’m going to miss Fintonagh too…..

-
3 hours ago, Northroader said:
I should try to progress jobs, finish stuff off, then another bright (?) idea hits me.
This is my story, too! I've six or seven aeroplane kits in various stages of being built, the 009 layout in the British section on here, and two EM Gauge micro layouts on the go as well. Then I've been bitten by inclined planes and the London underground railways at the turn of the 19th/20th centuries.
Nurse! My medication, please.....
Cheers,
Mark
-
3
-
1
-
-
10 hours ago, Patrick Davey said:Mr. Weaver was very proud of his vintage cars:
That's a rather nice MGTD on the right
Cheers,
Mark
-
1
-
-
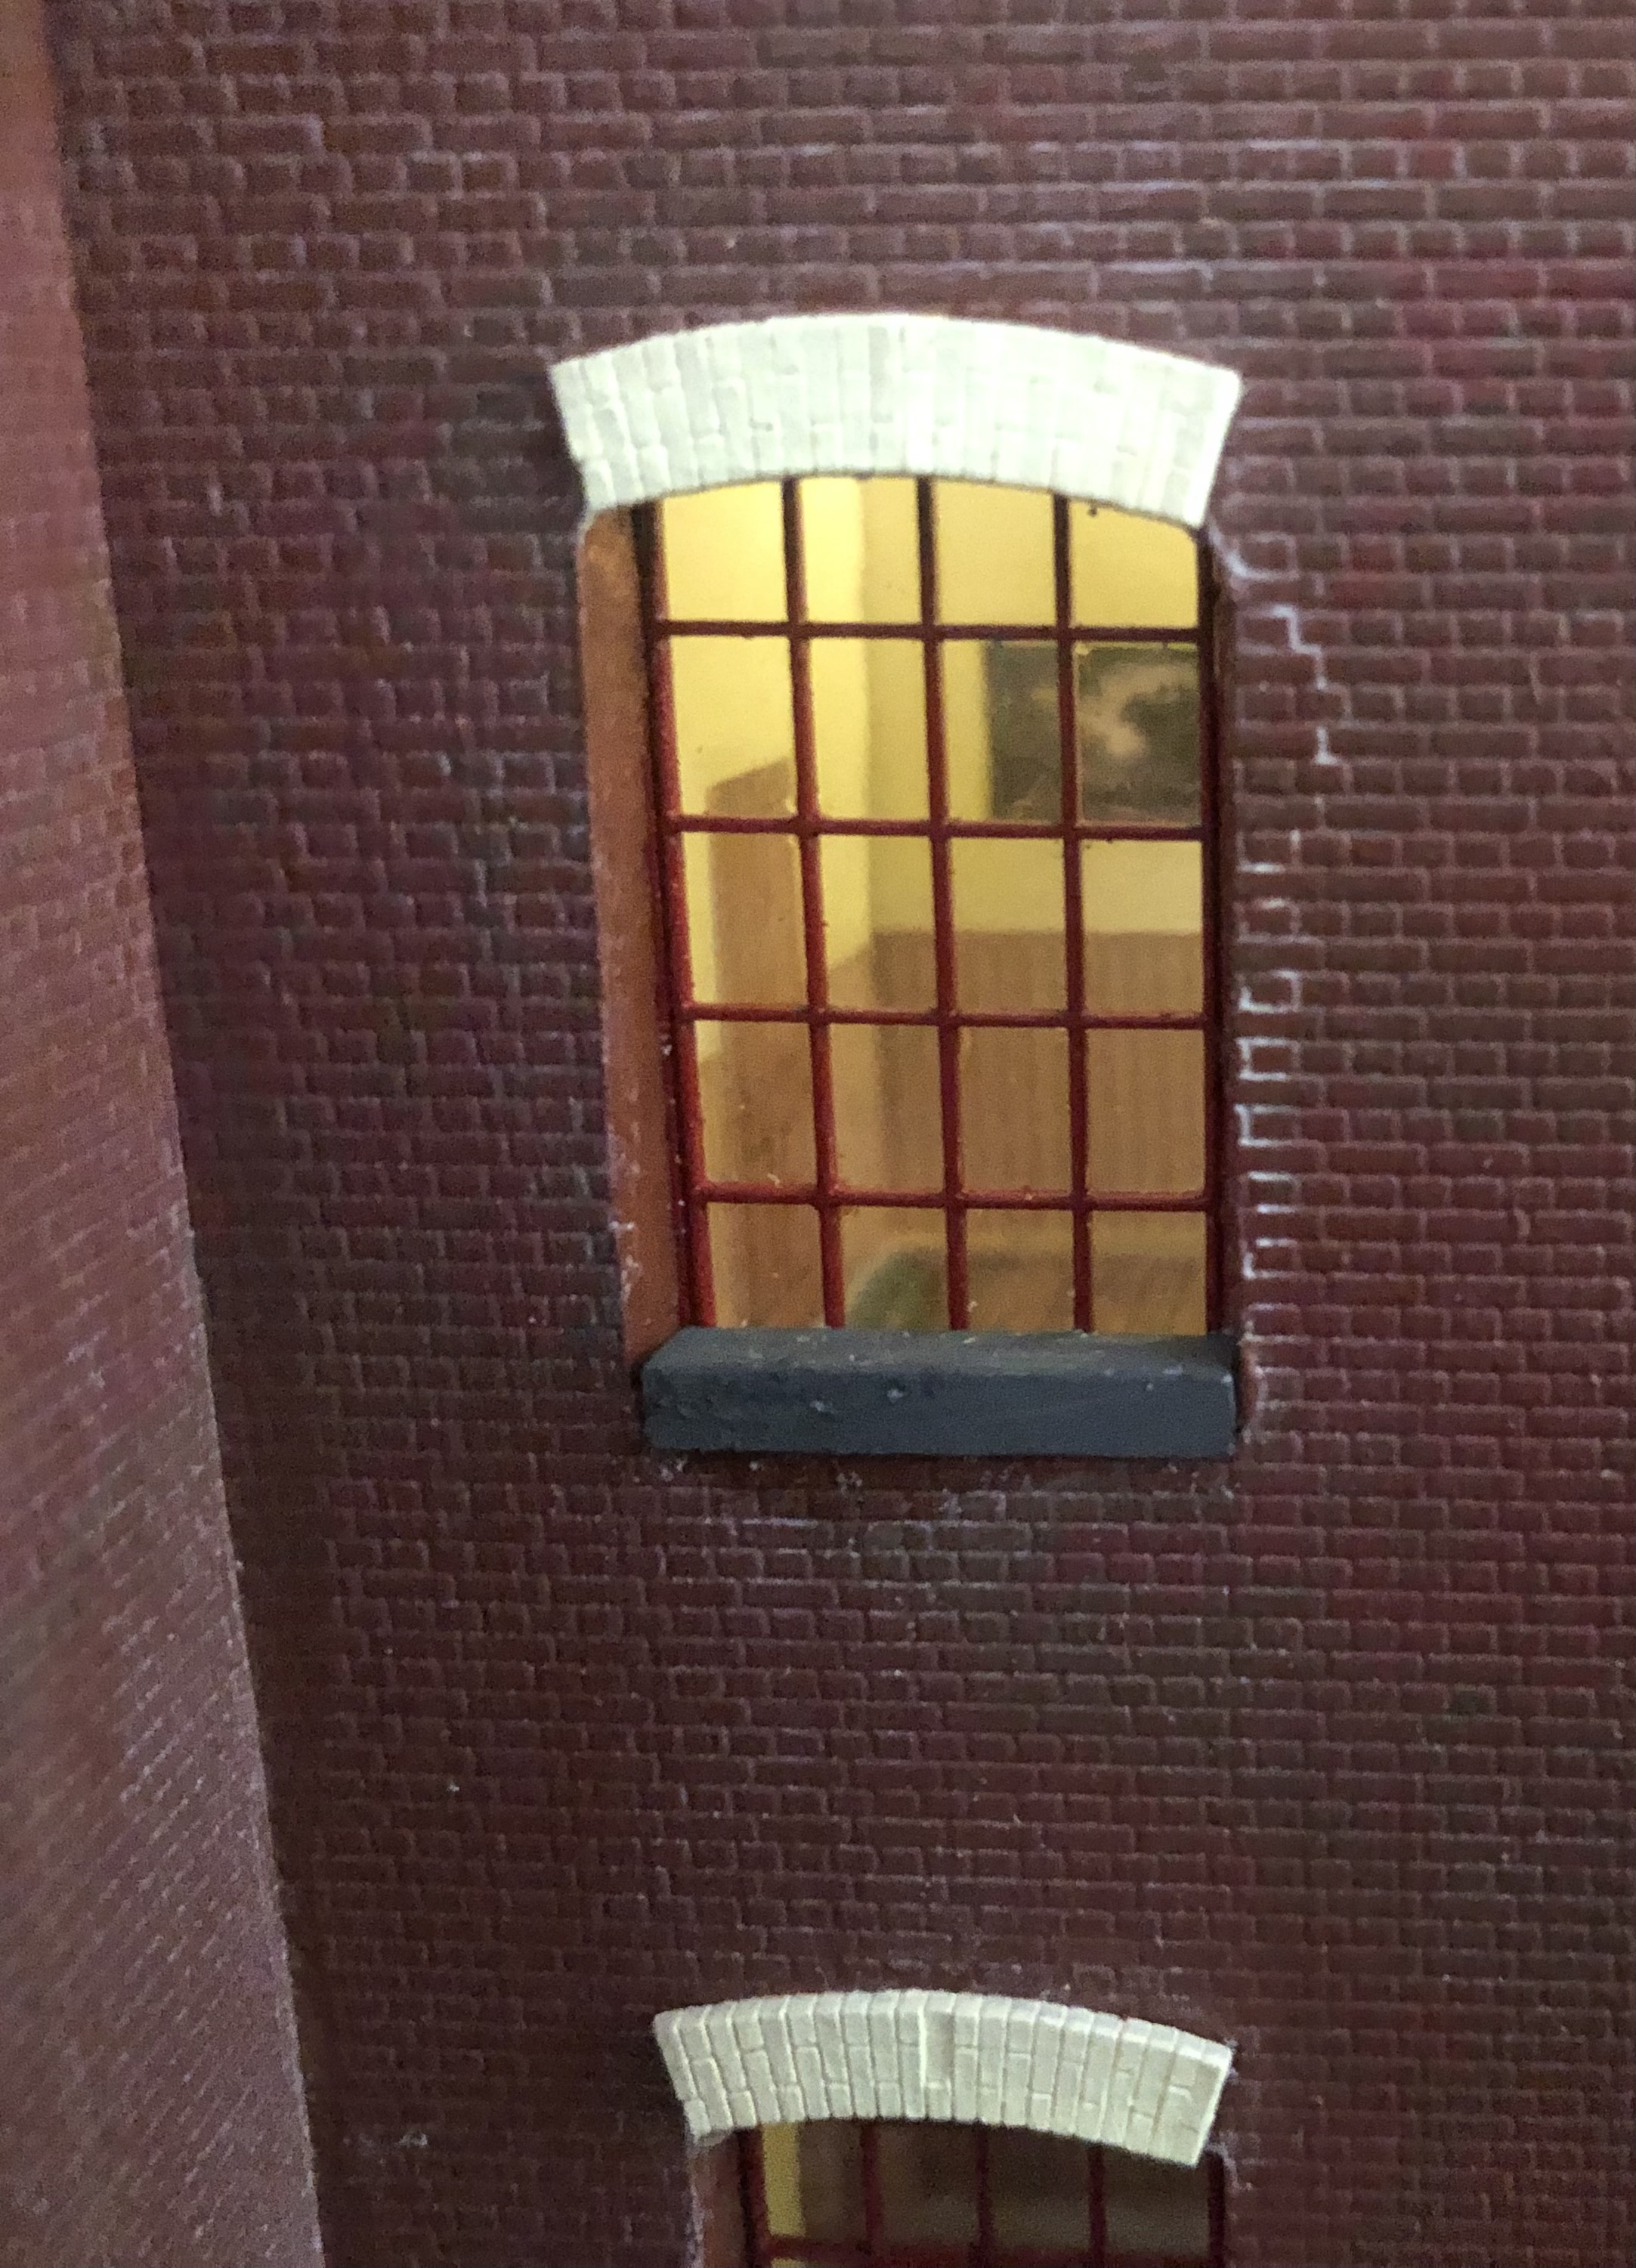
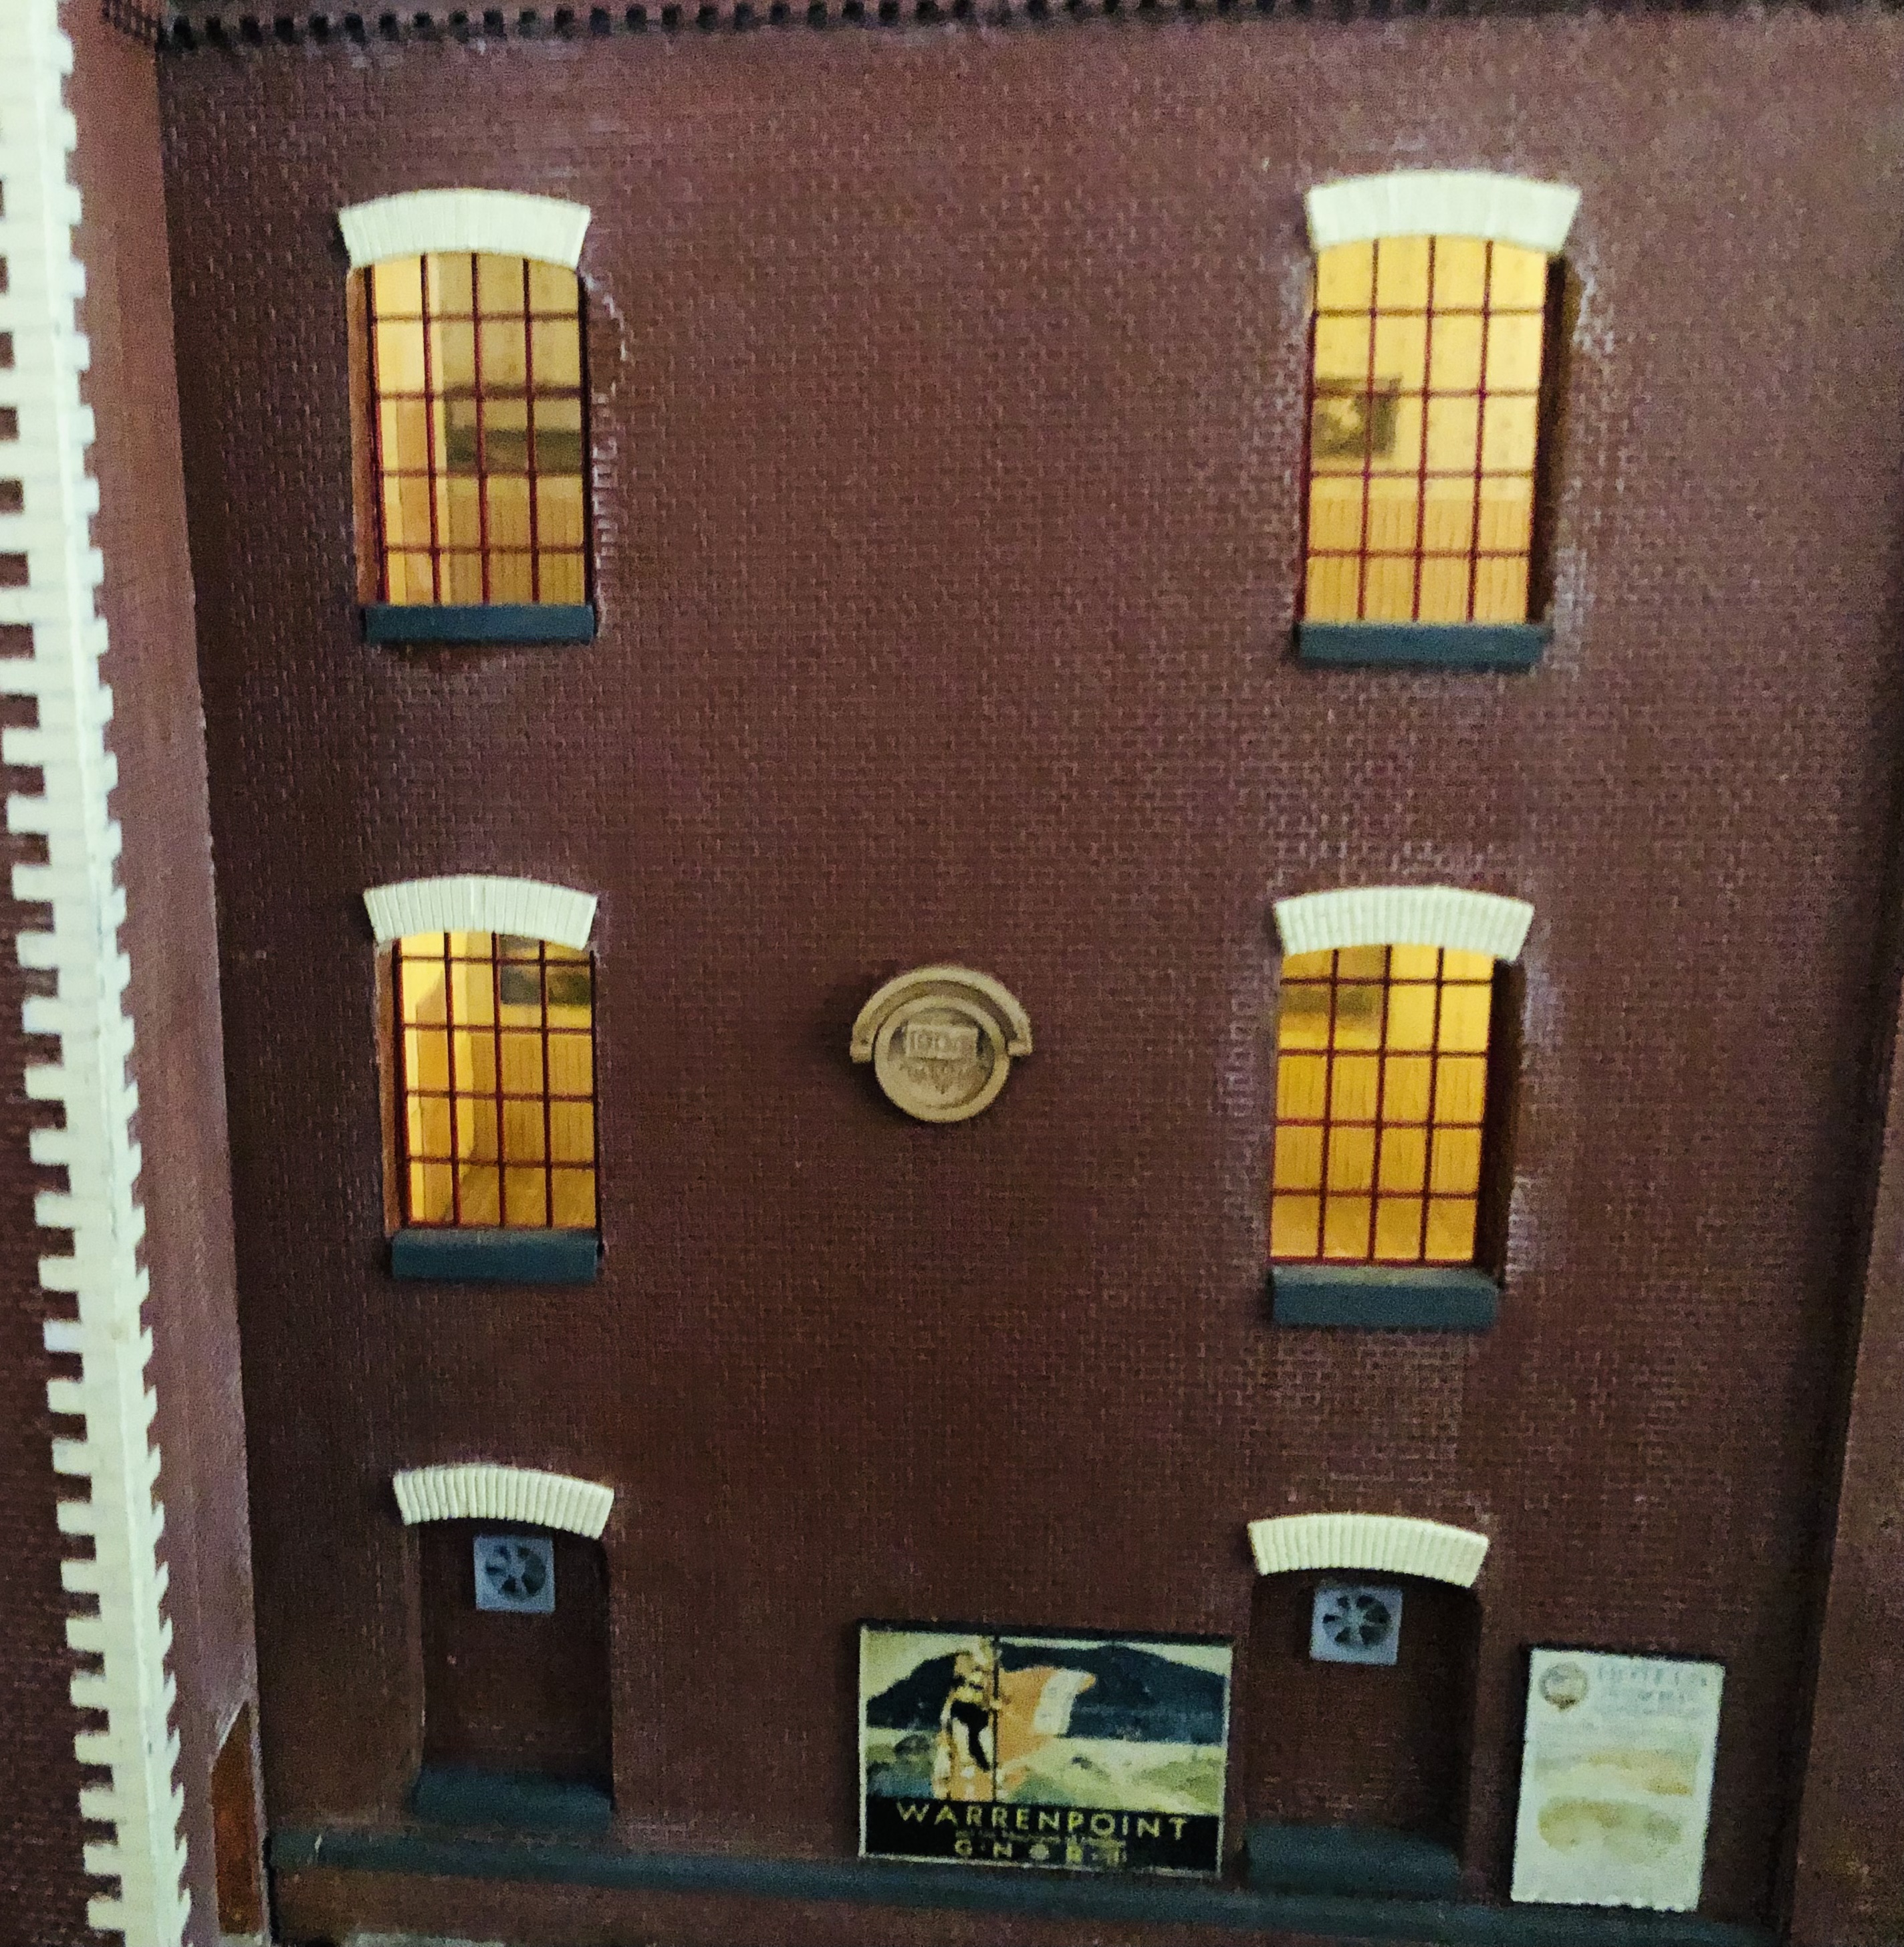
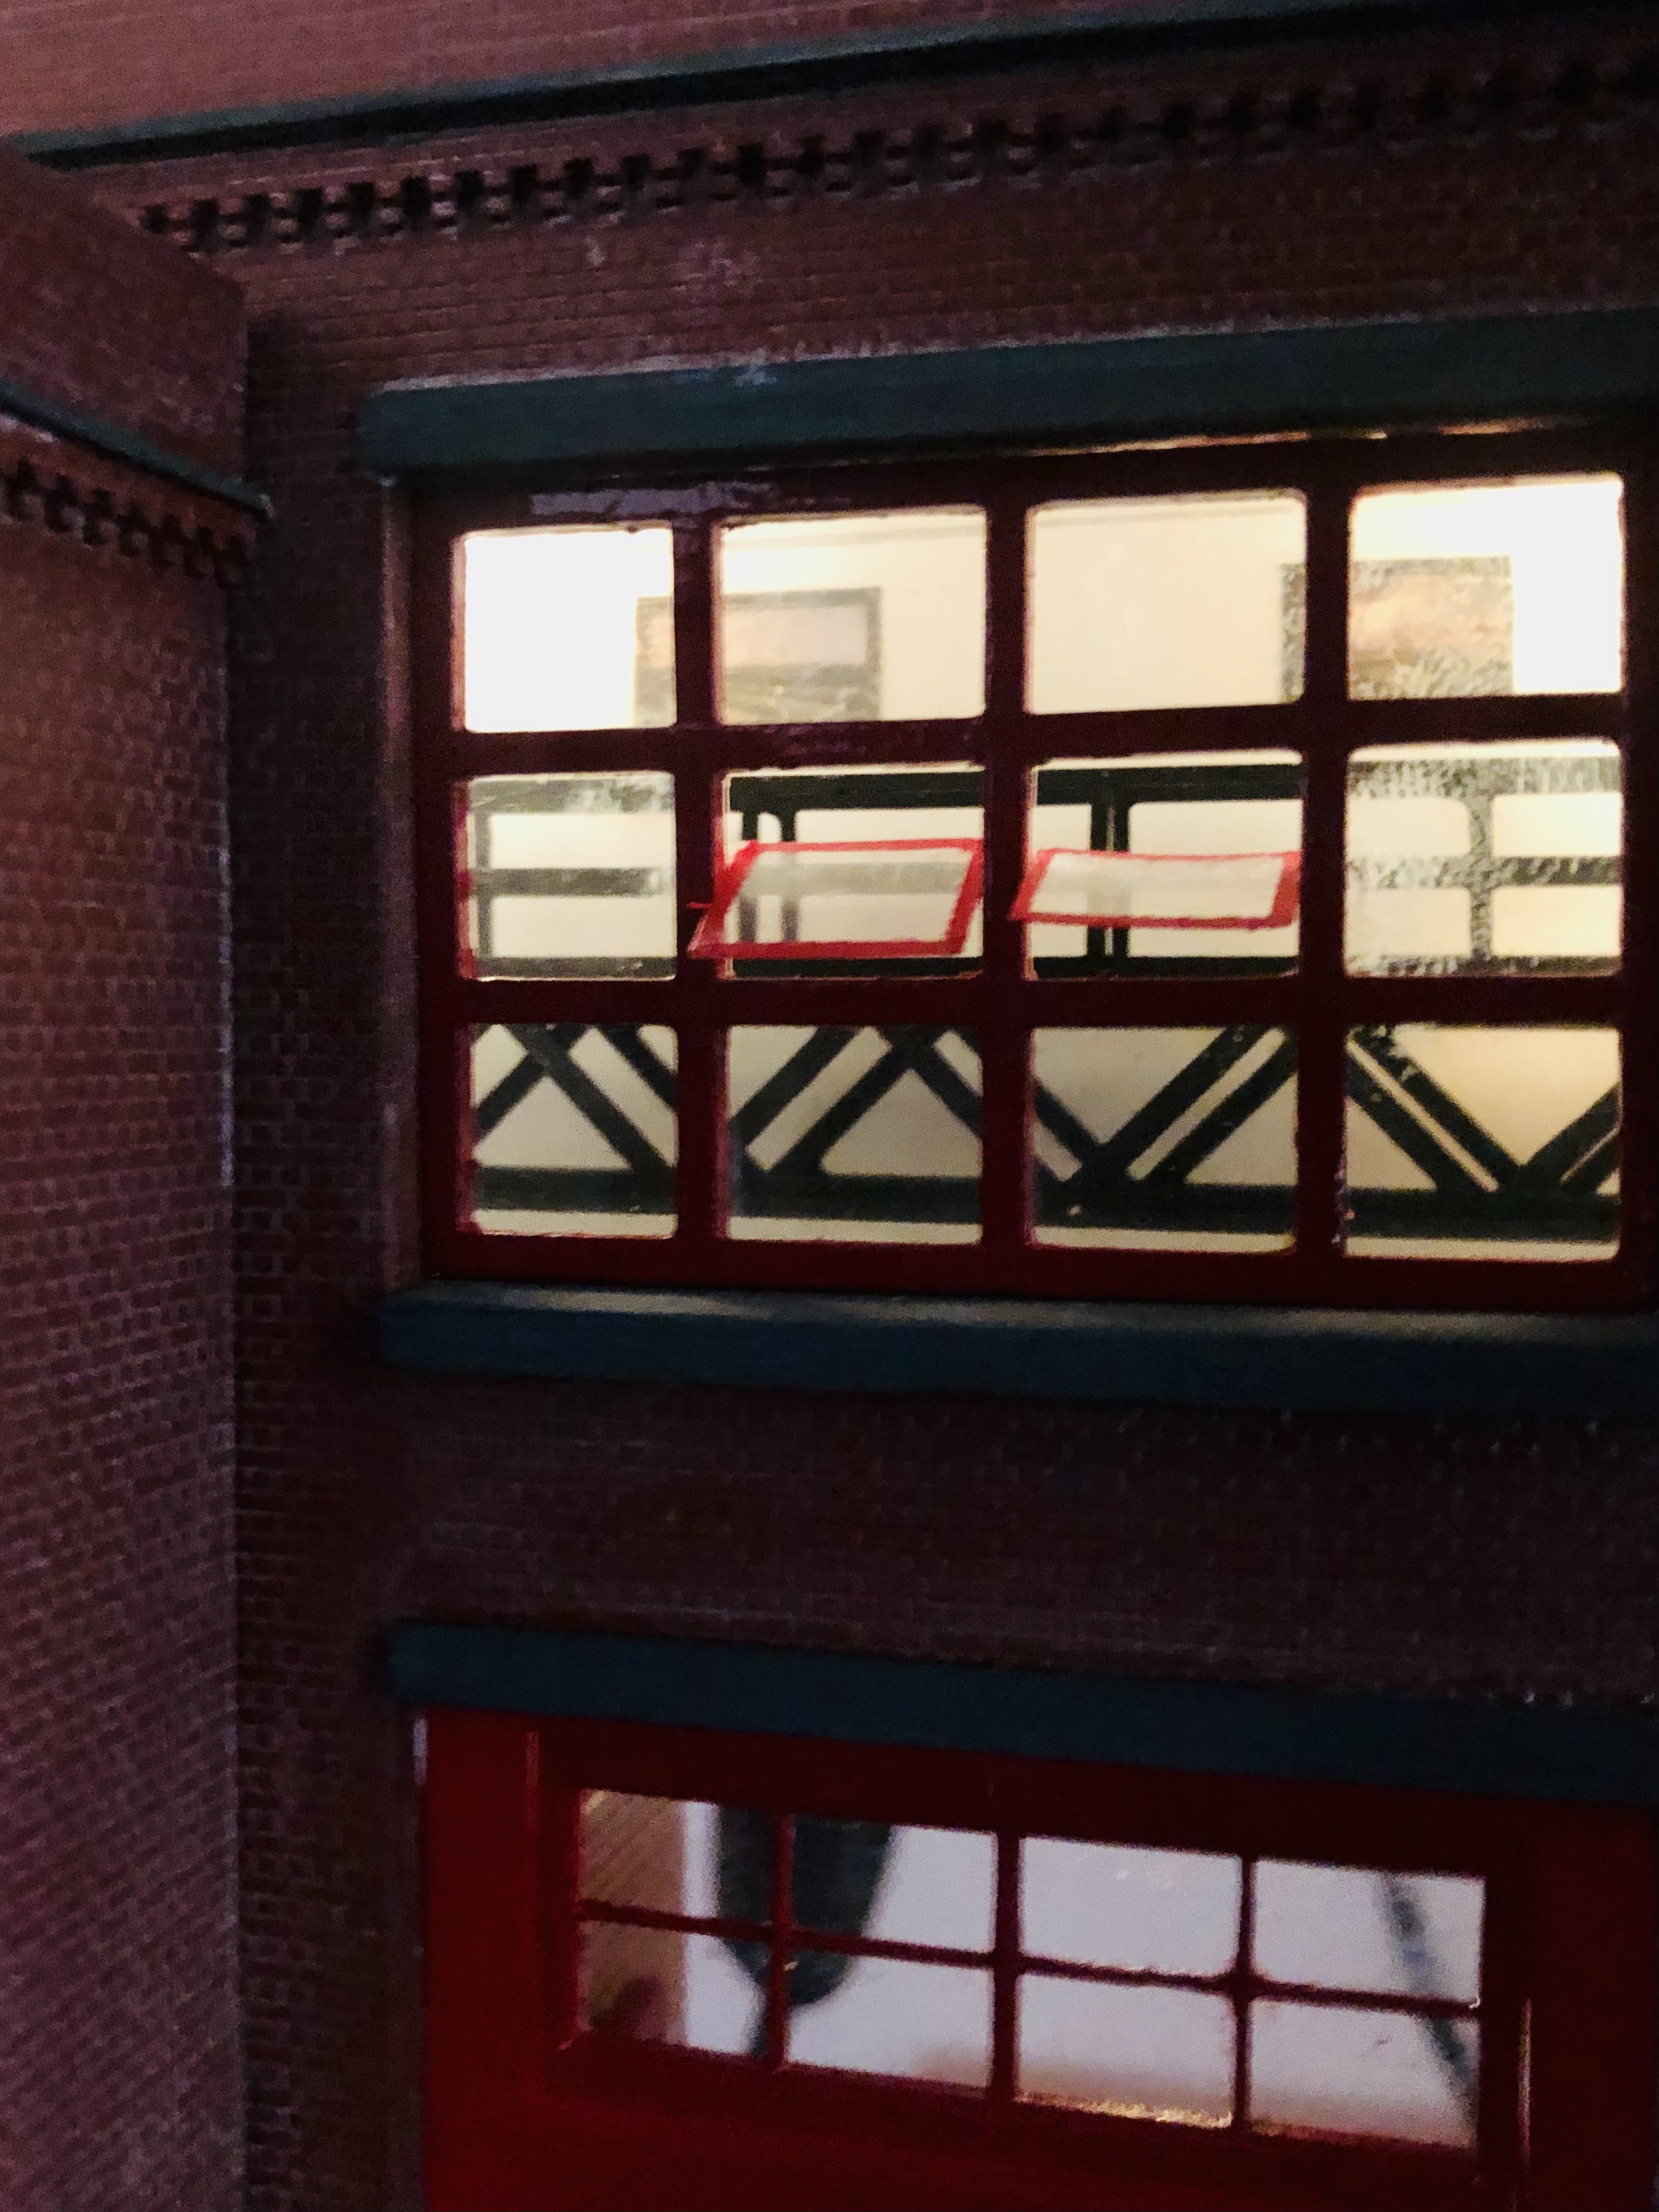
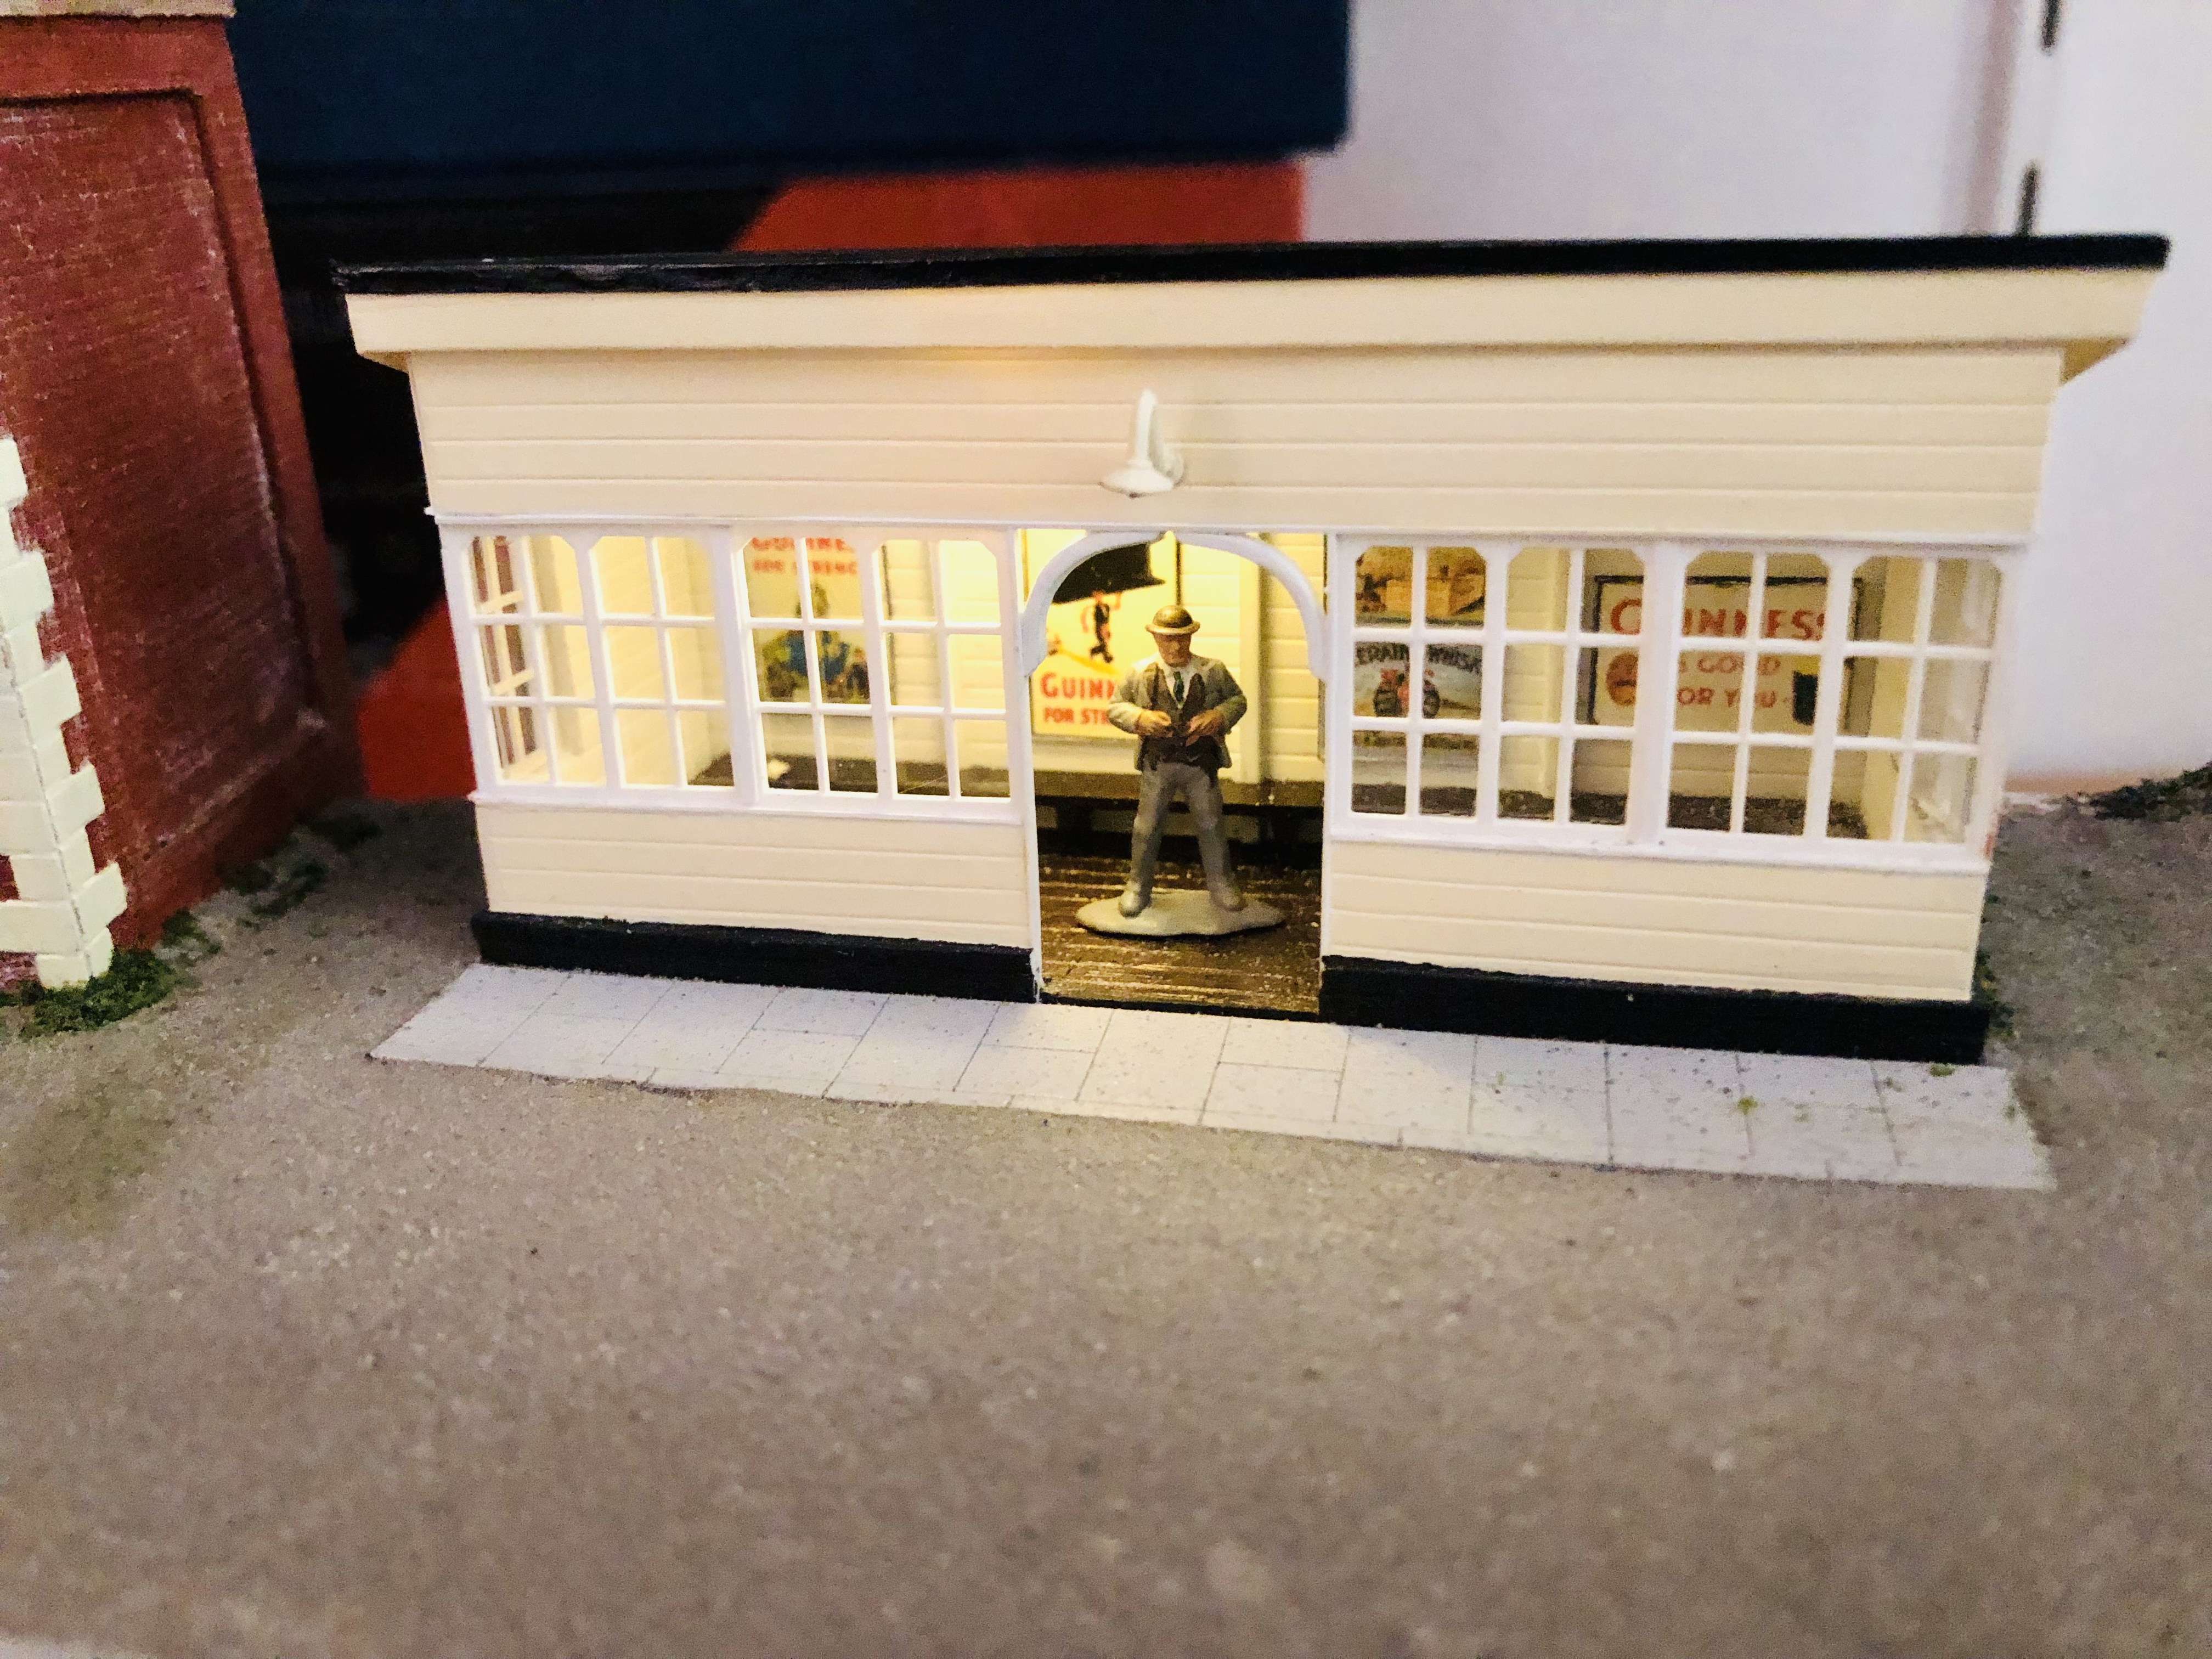
51 minutes ago, Patrick Davey said:
Been working on the interiors of the mill buildings recently, and experimenting with lighting. Lots of fun that!
Fantastic work - lit, detailed interiors look so good!
Can you post some details, please? I found a great article in a previous Railway Modeller about water colour tinting a drawn, fold-up interior.
All the best,
Mark
-
2
-
-
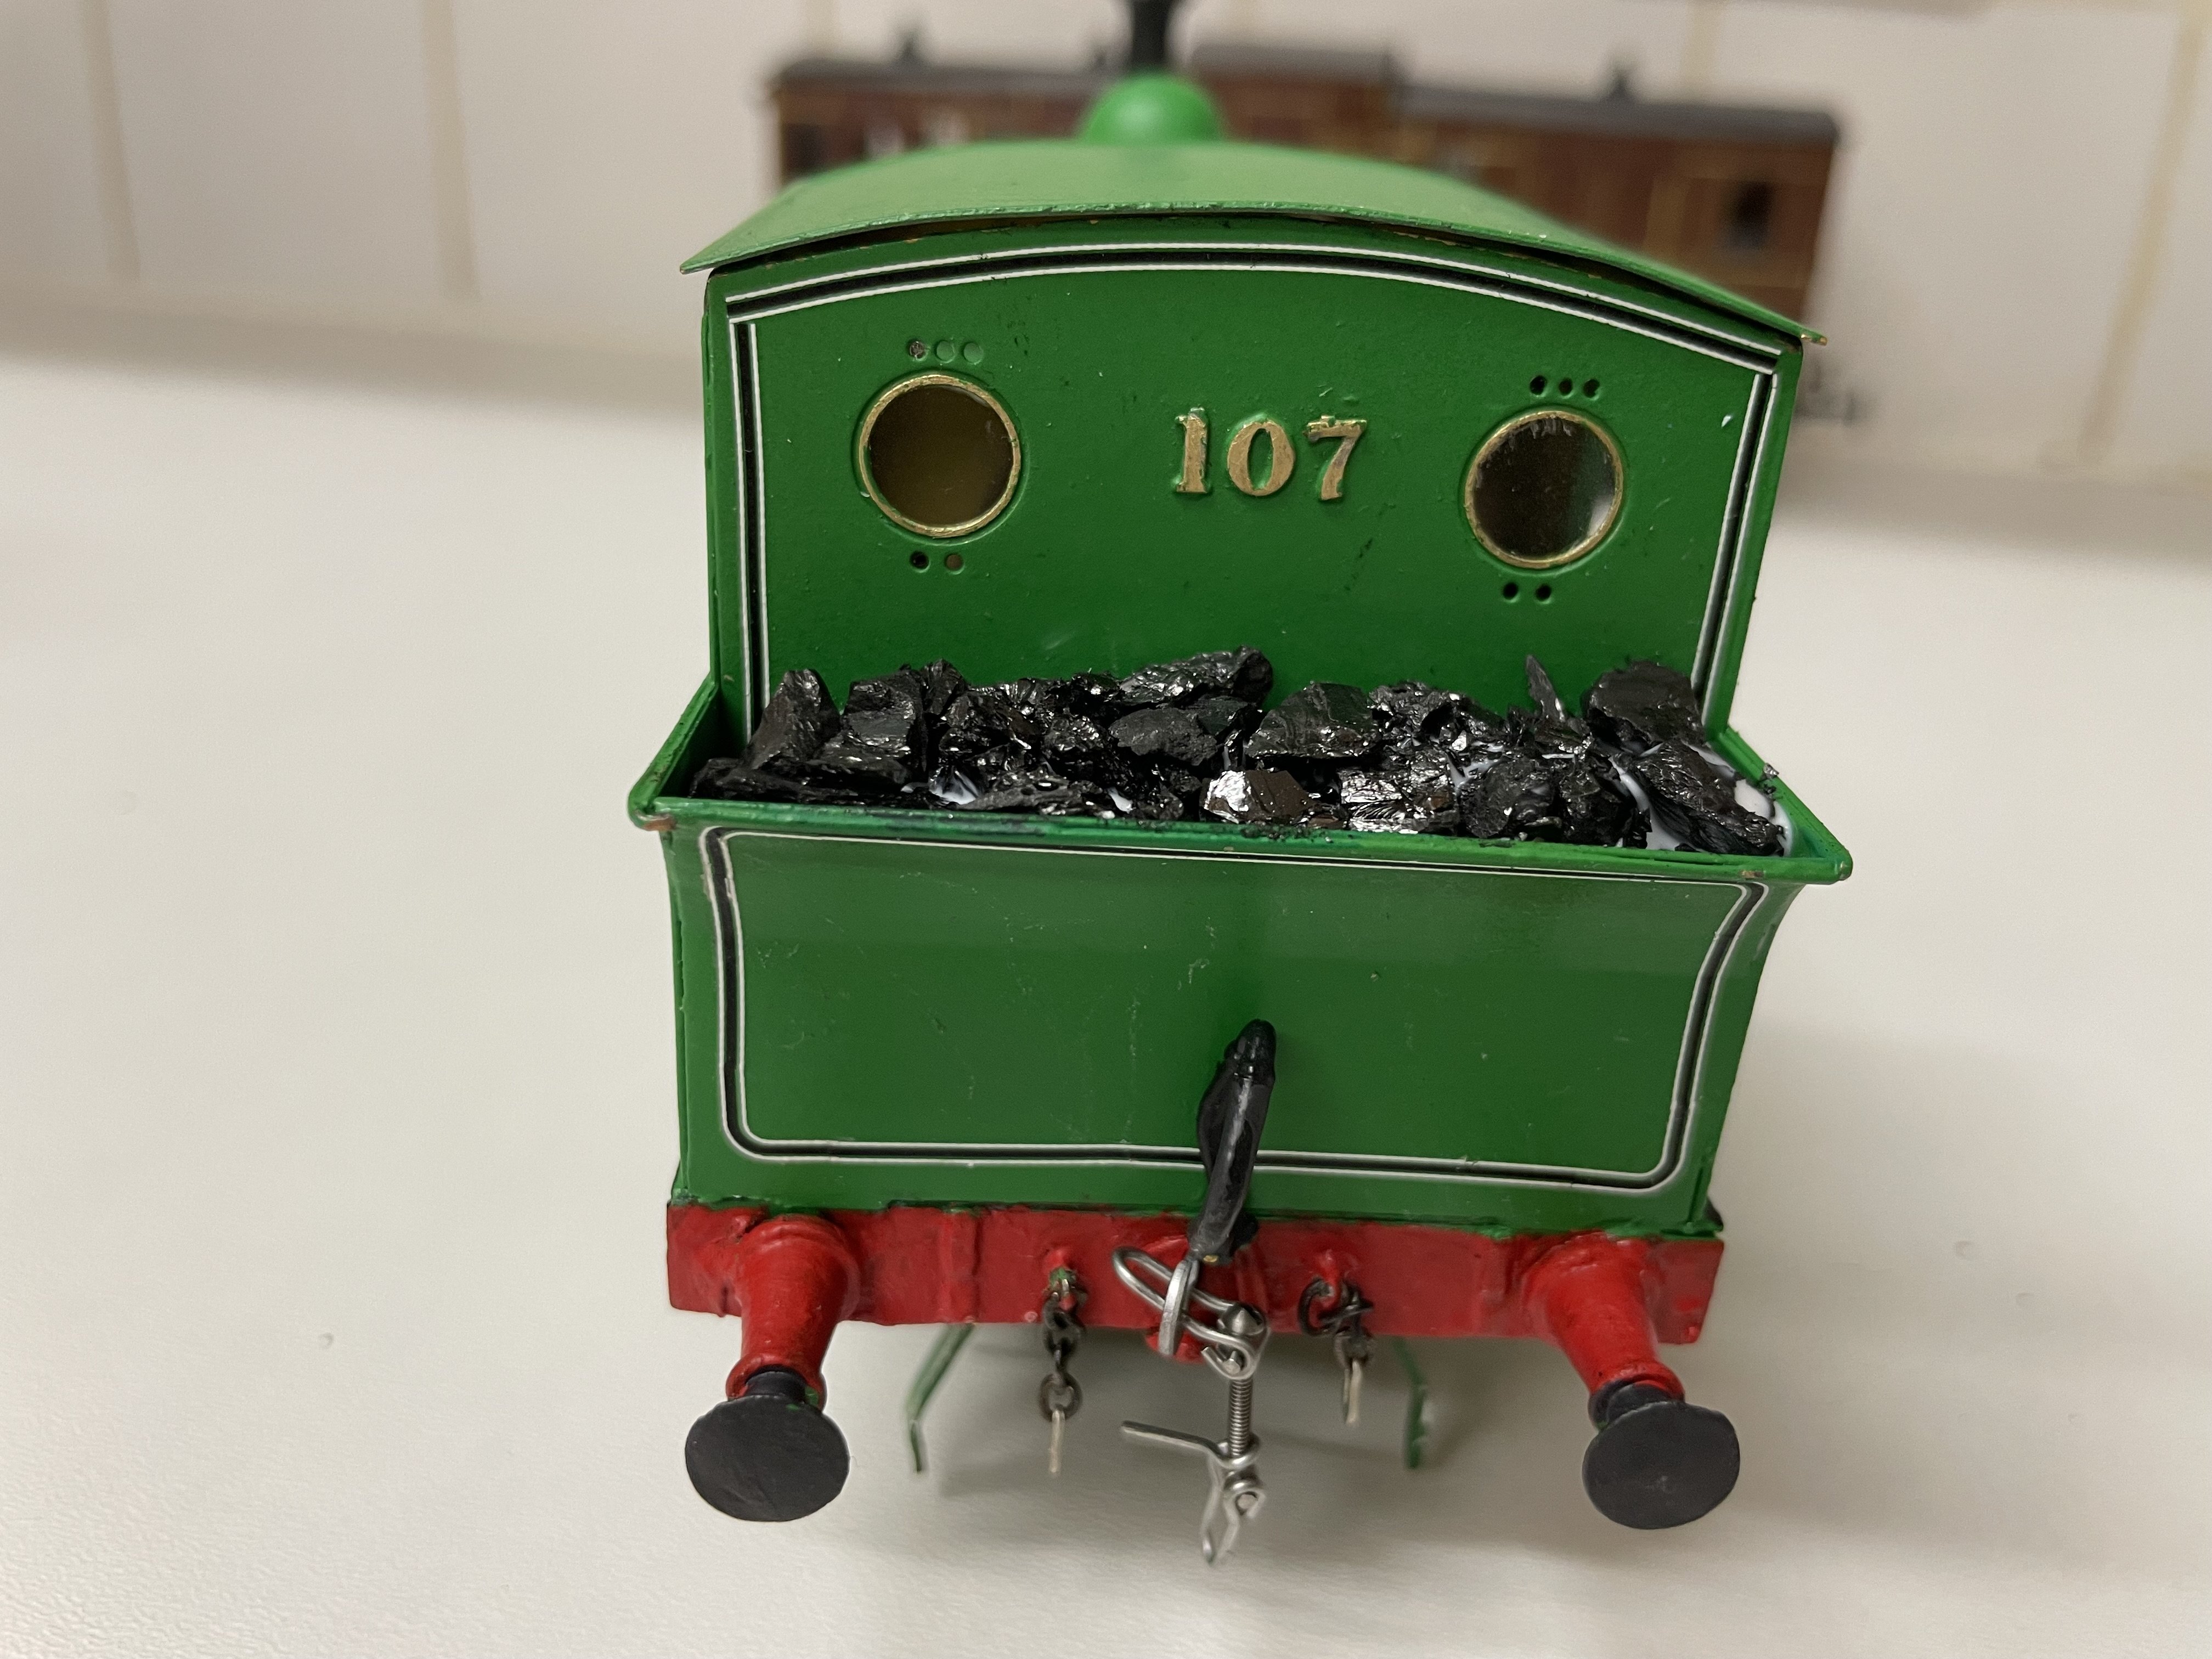
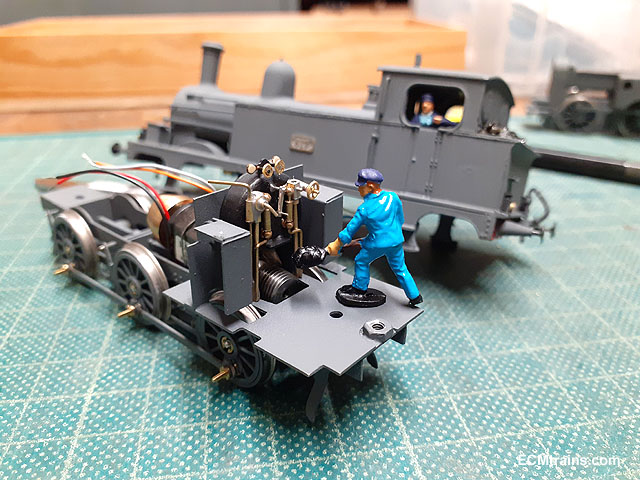
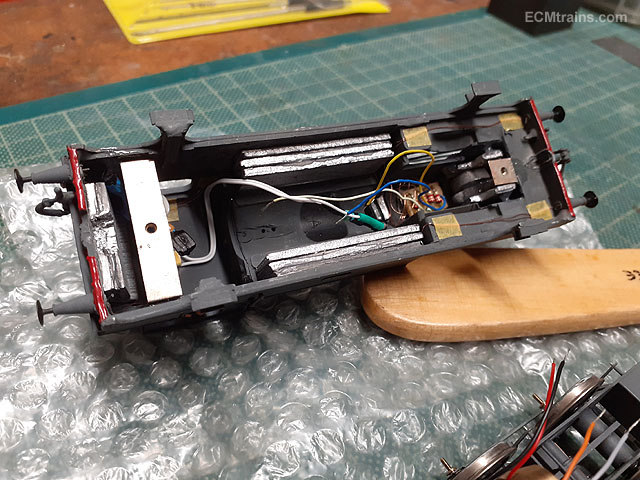
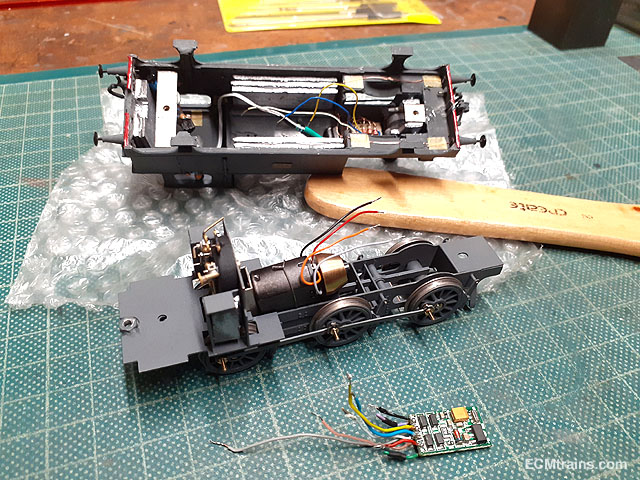
5 minutes ago, murrayec said:
On the final stretch now!
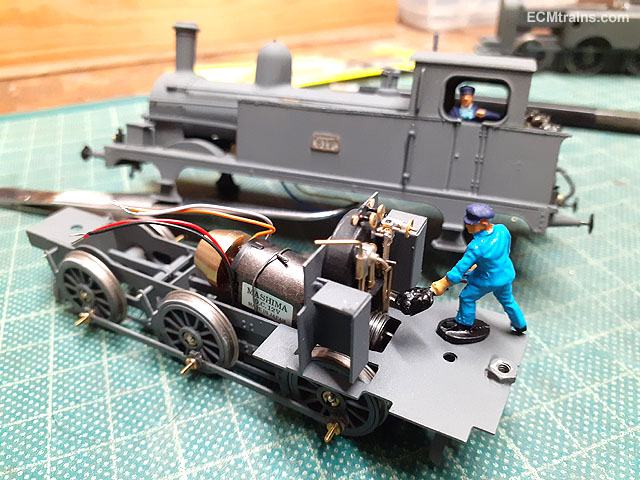
After assembling the chassis and giving it a test run to adjust the coupling rods the driver and fireman turned up to lend a hand.
After checking the fit of the fireman he was then epoxied onto the body-to-chassis fixing bracket, a LED cab light was also fitted. A bit of masking tape is placed over the LED to dull and yellow the light.
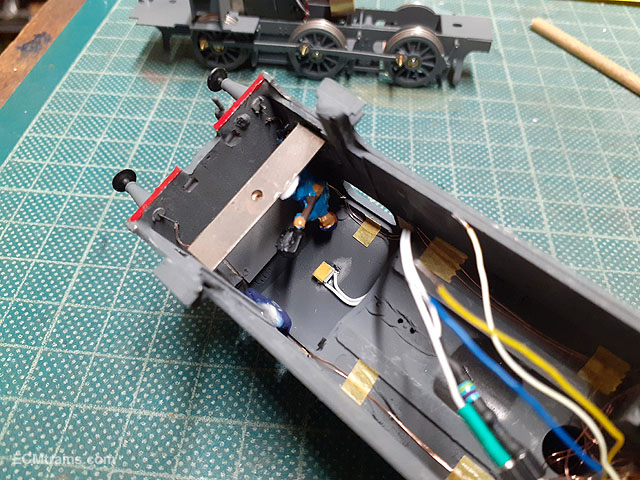
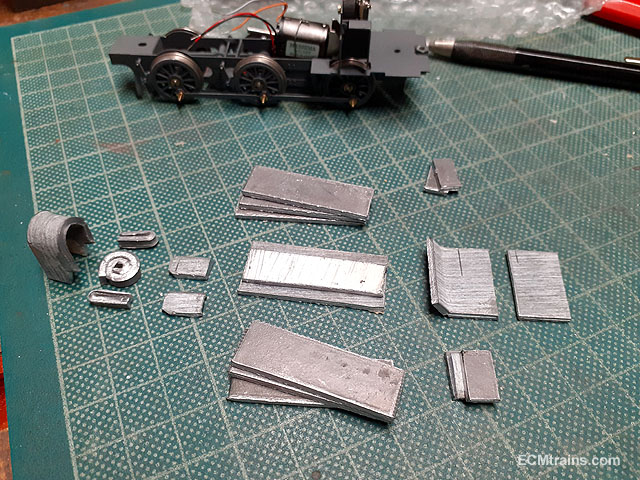
About 100 grams of lead weight was chopped up- sized to fit on the inside of the body. The main weight being centred over the back axles.
Weight epoxied in.
The final problem- fitting the chip and wiring in there somehow........
Phenomenal! Absolutely amazing modelling!
Cheers,
Mark
-
1
-
 1
1
-
Alphagraphix 4mm brass etches
in Irish Models
Posted
Thanks, @Mayner and @jhb171achill, for the extra info - all very useful as always.