Darius43
-
Posts
1,211 -
Joined
-
Last visited
-
Days Won
83
Content Type
Profiles
Forums
Resource Library
Events
Gallery
Blogs
Store
Community Map
Everything posted by Darius43
-
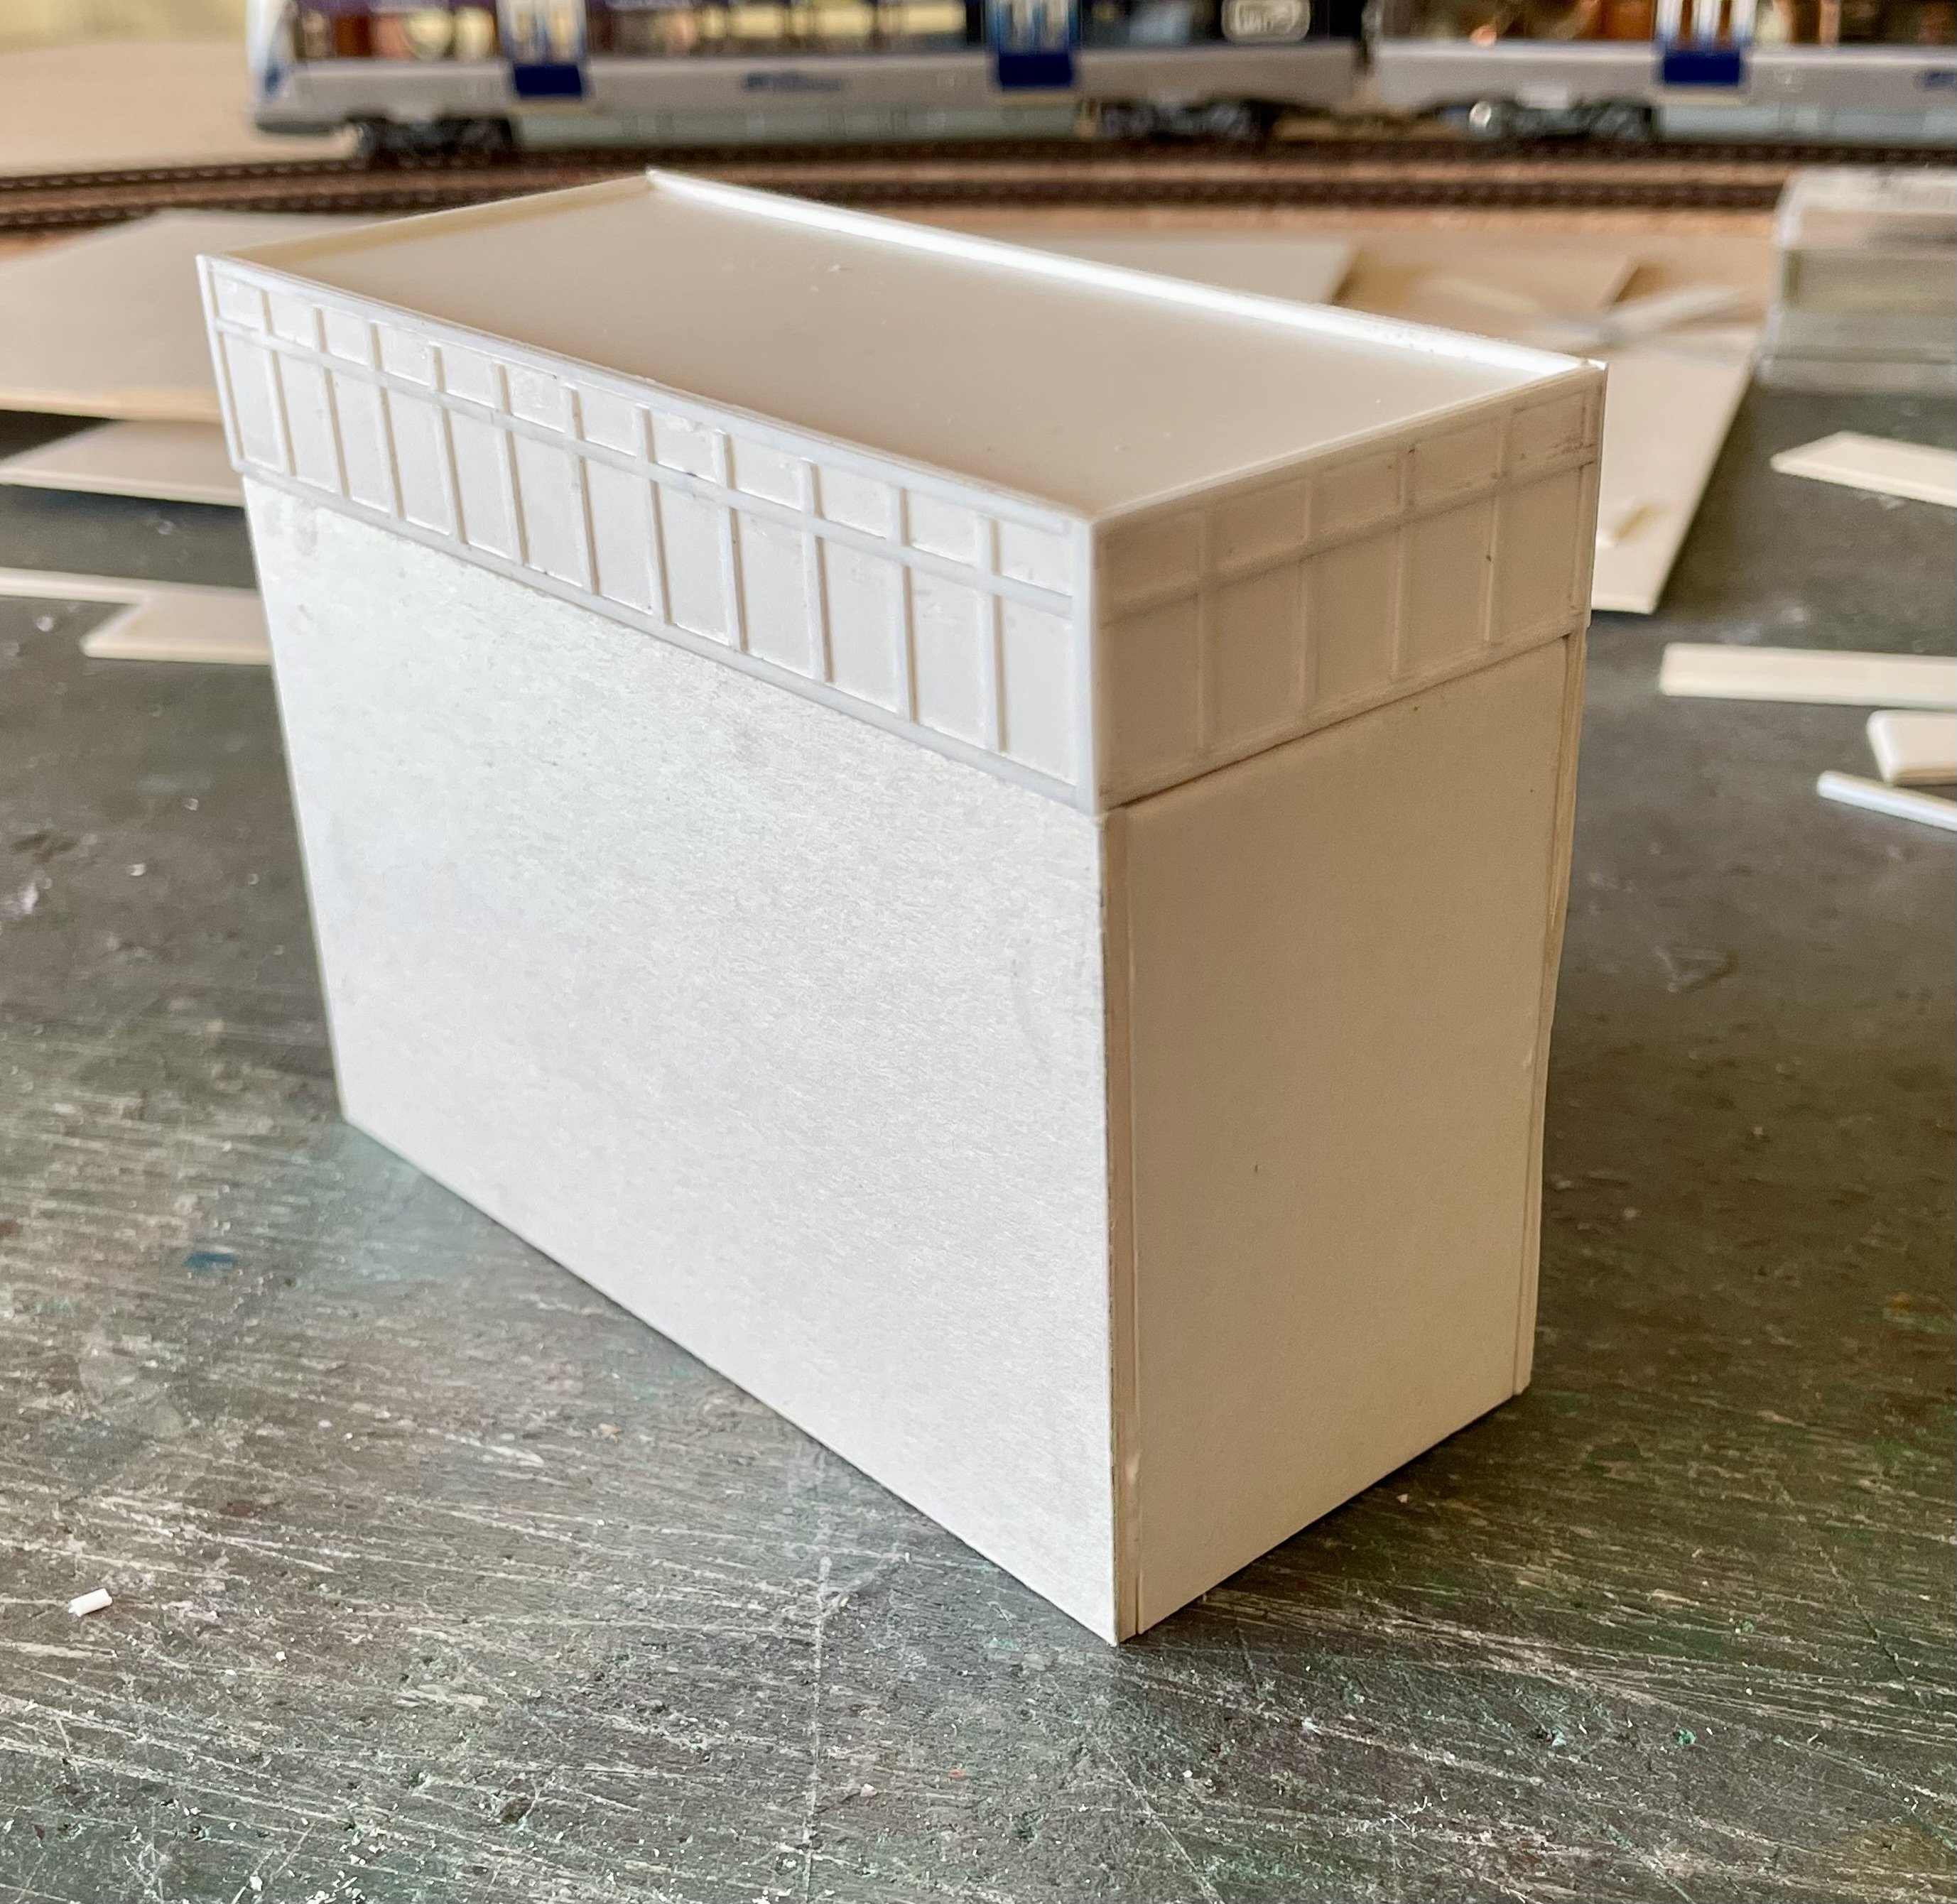
Water tank made from card and plasticard. Cheers Darius

- 194 replies
-
- 10
-

-
CAF 3000 unit now running. The unit was made using CMAC 3D printed body shells on modified Bachmann Class 170 chassis. Cheers Darius
-
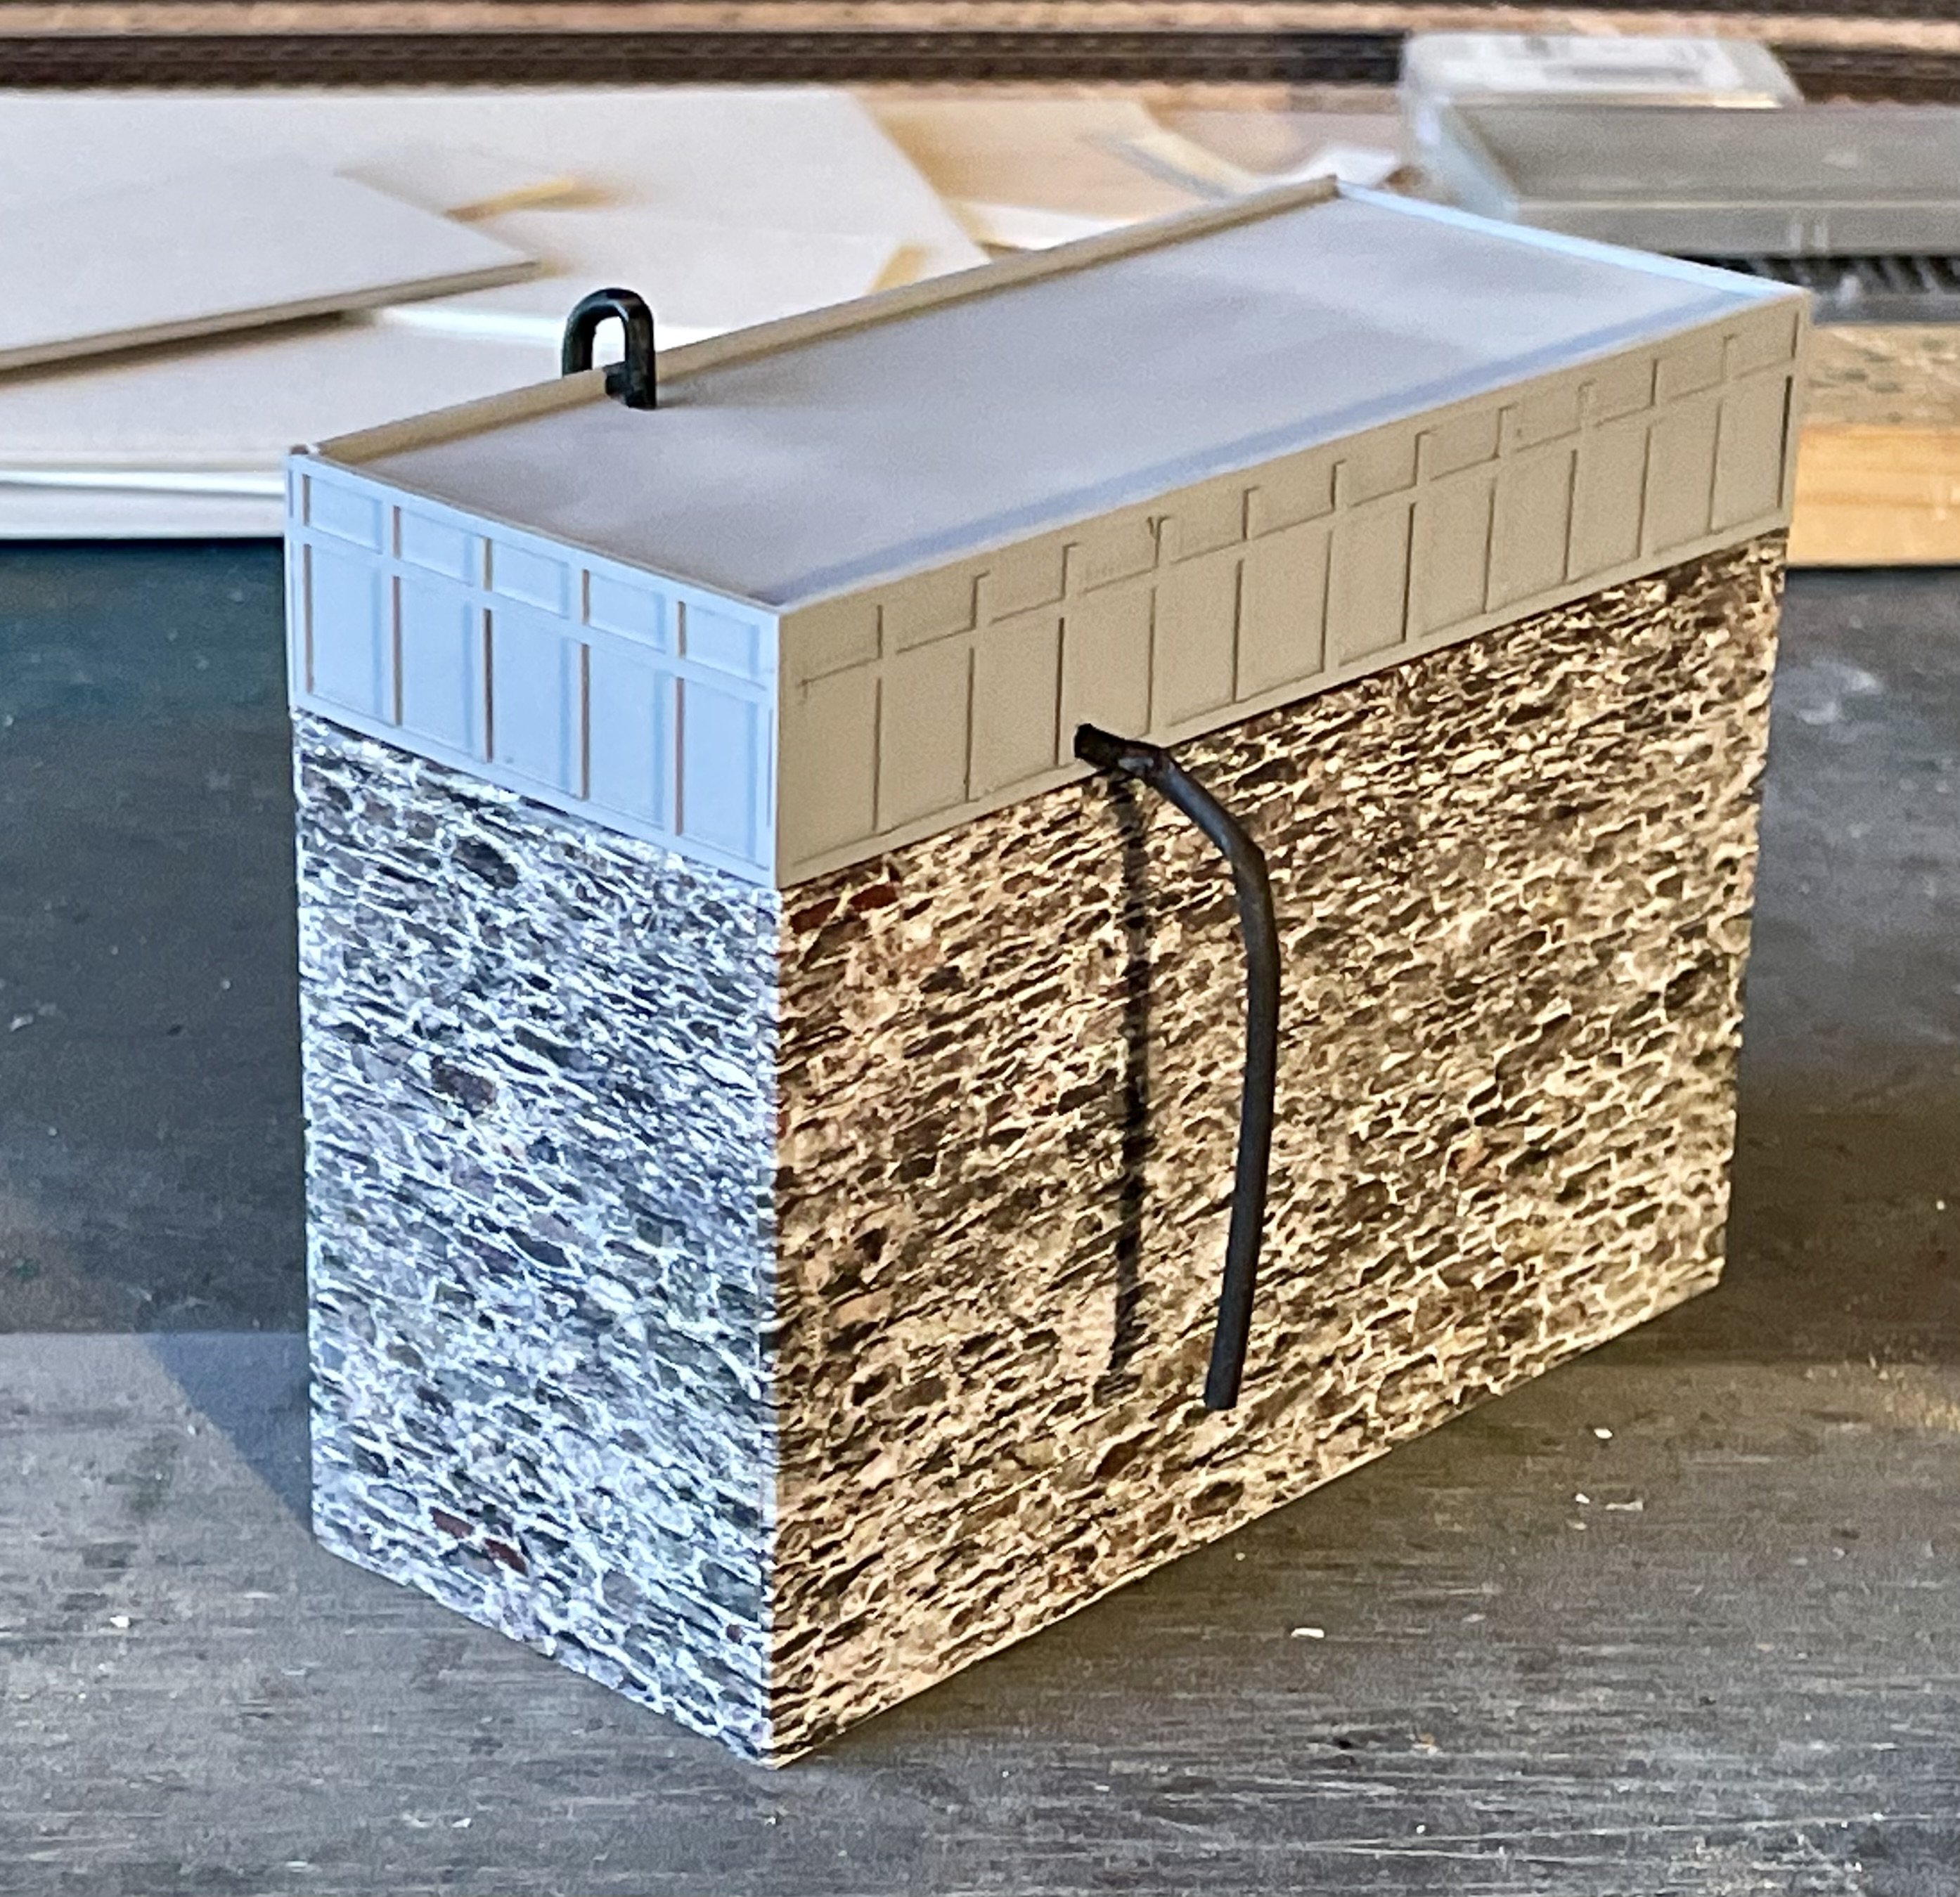
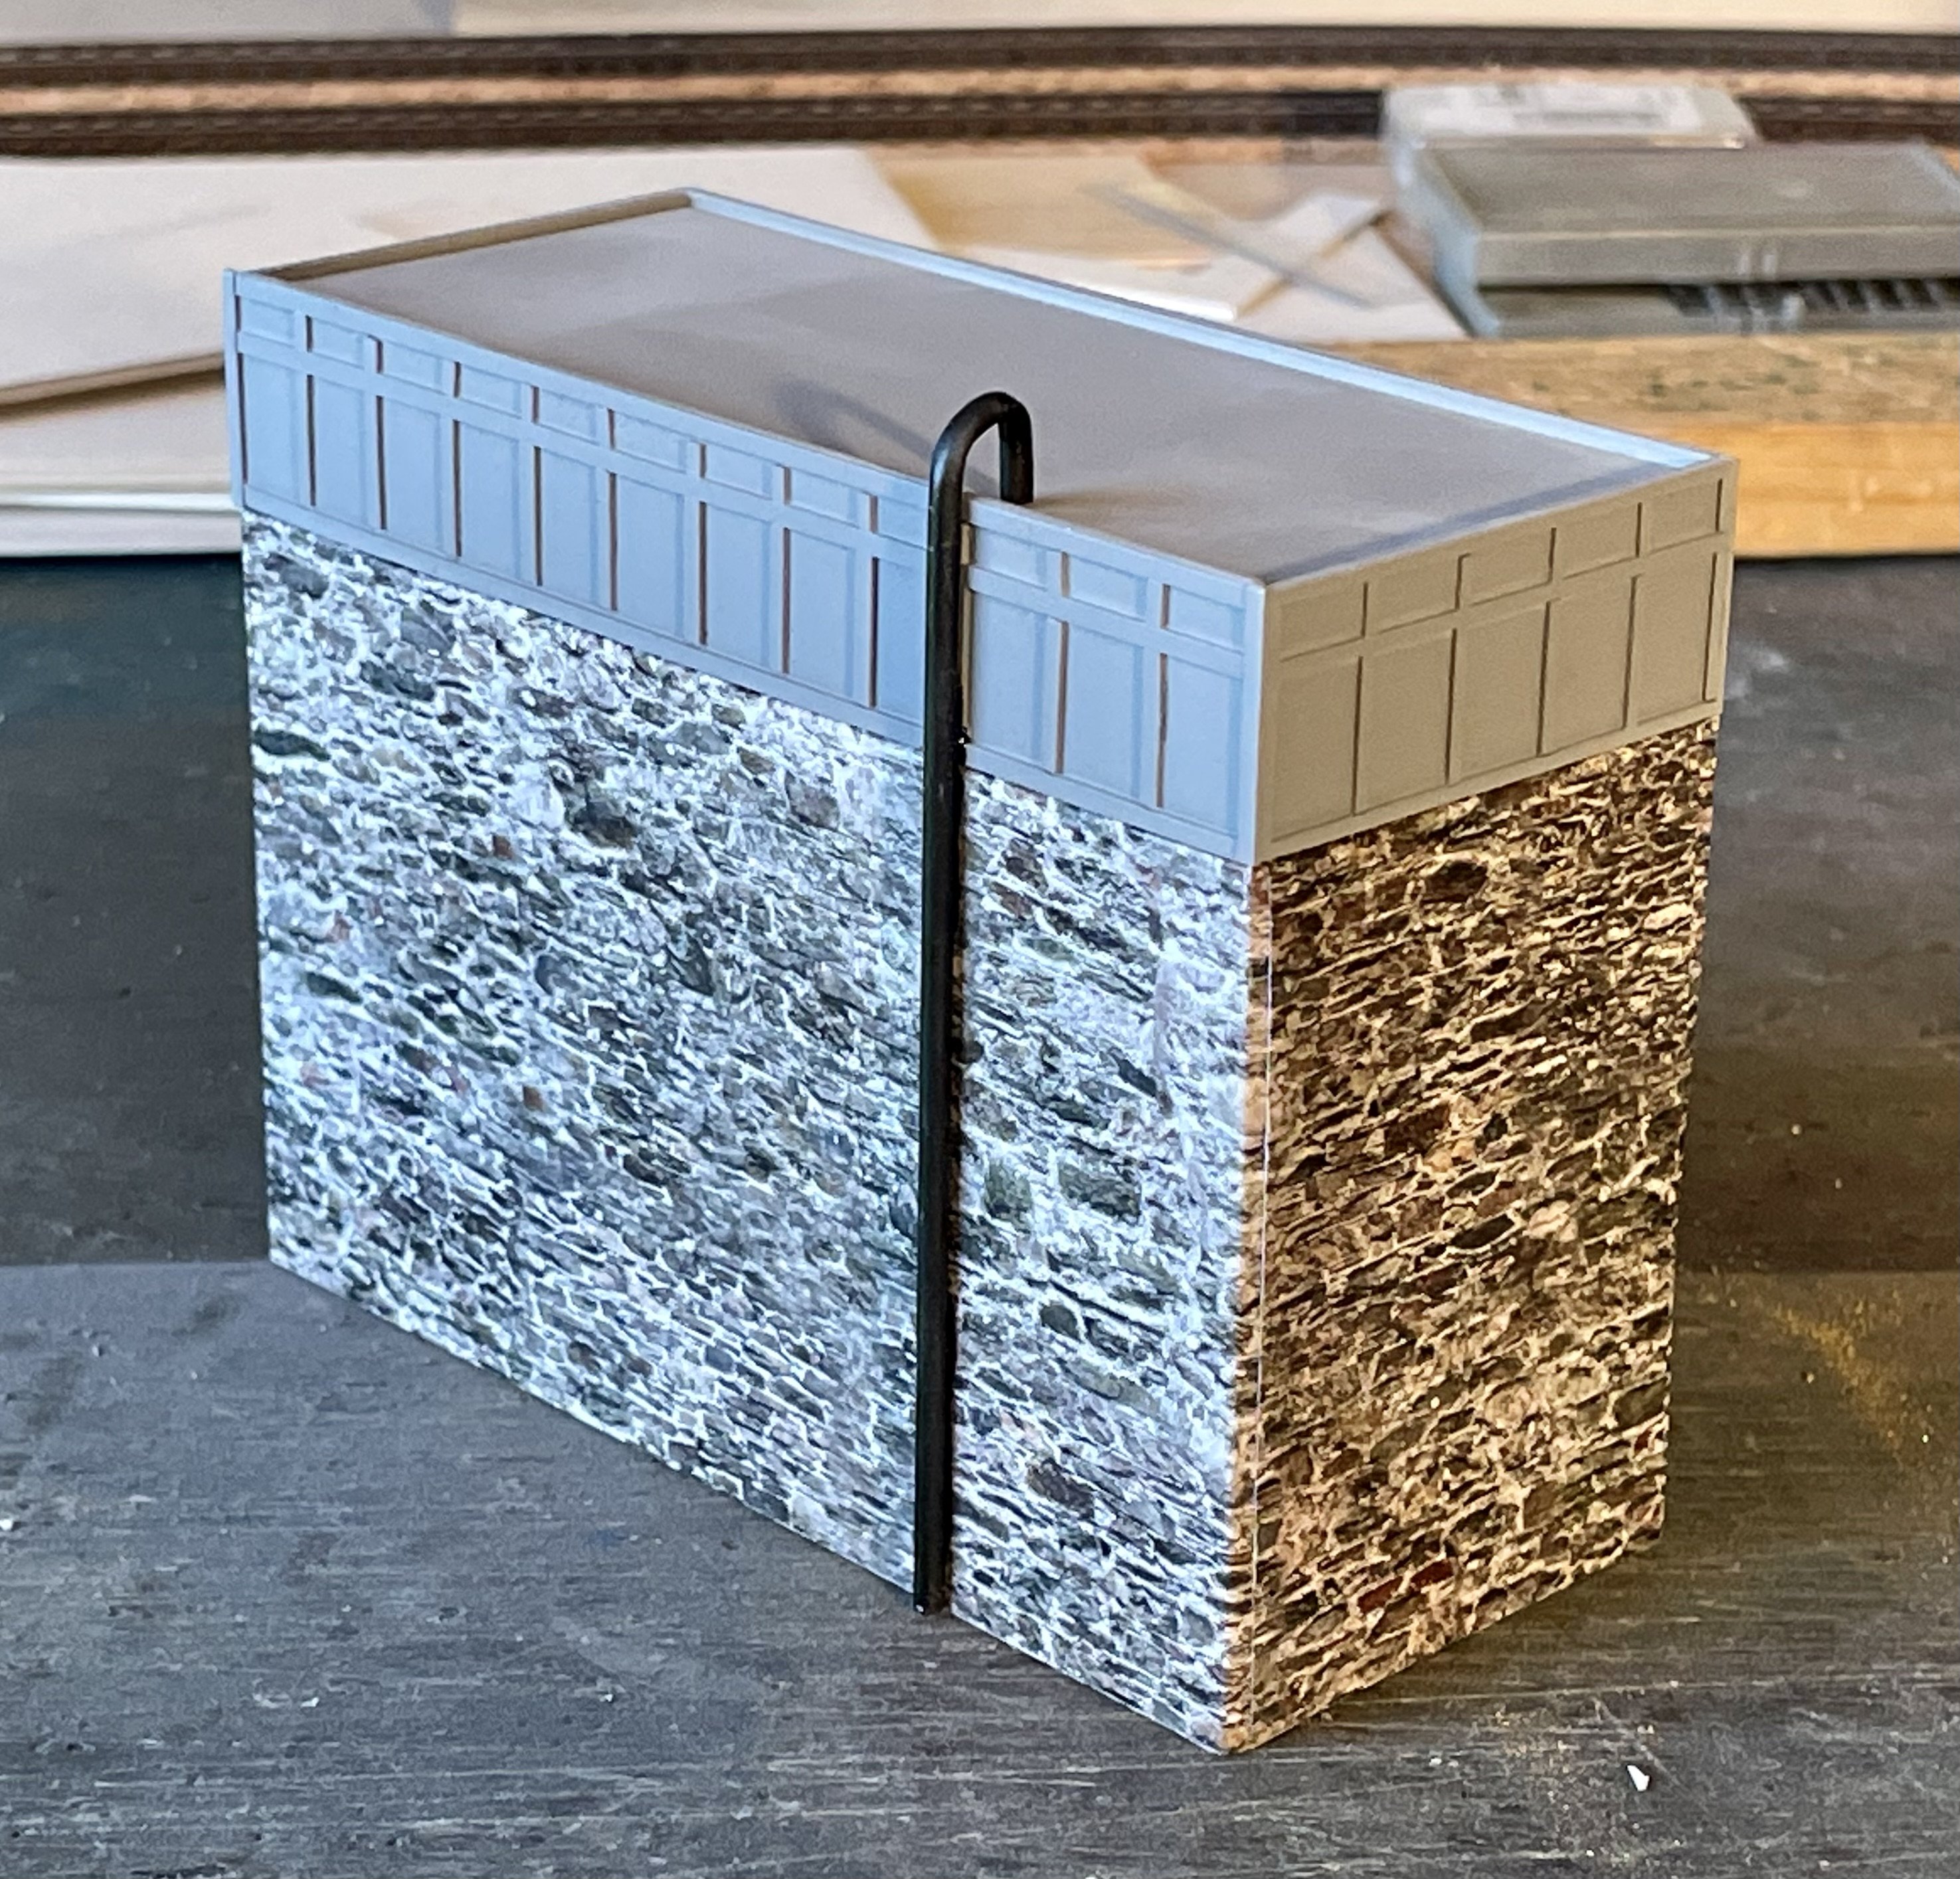
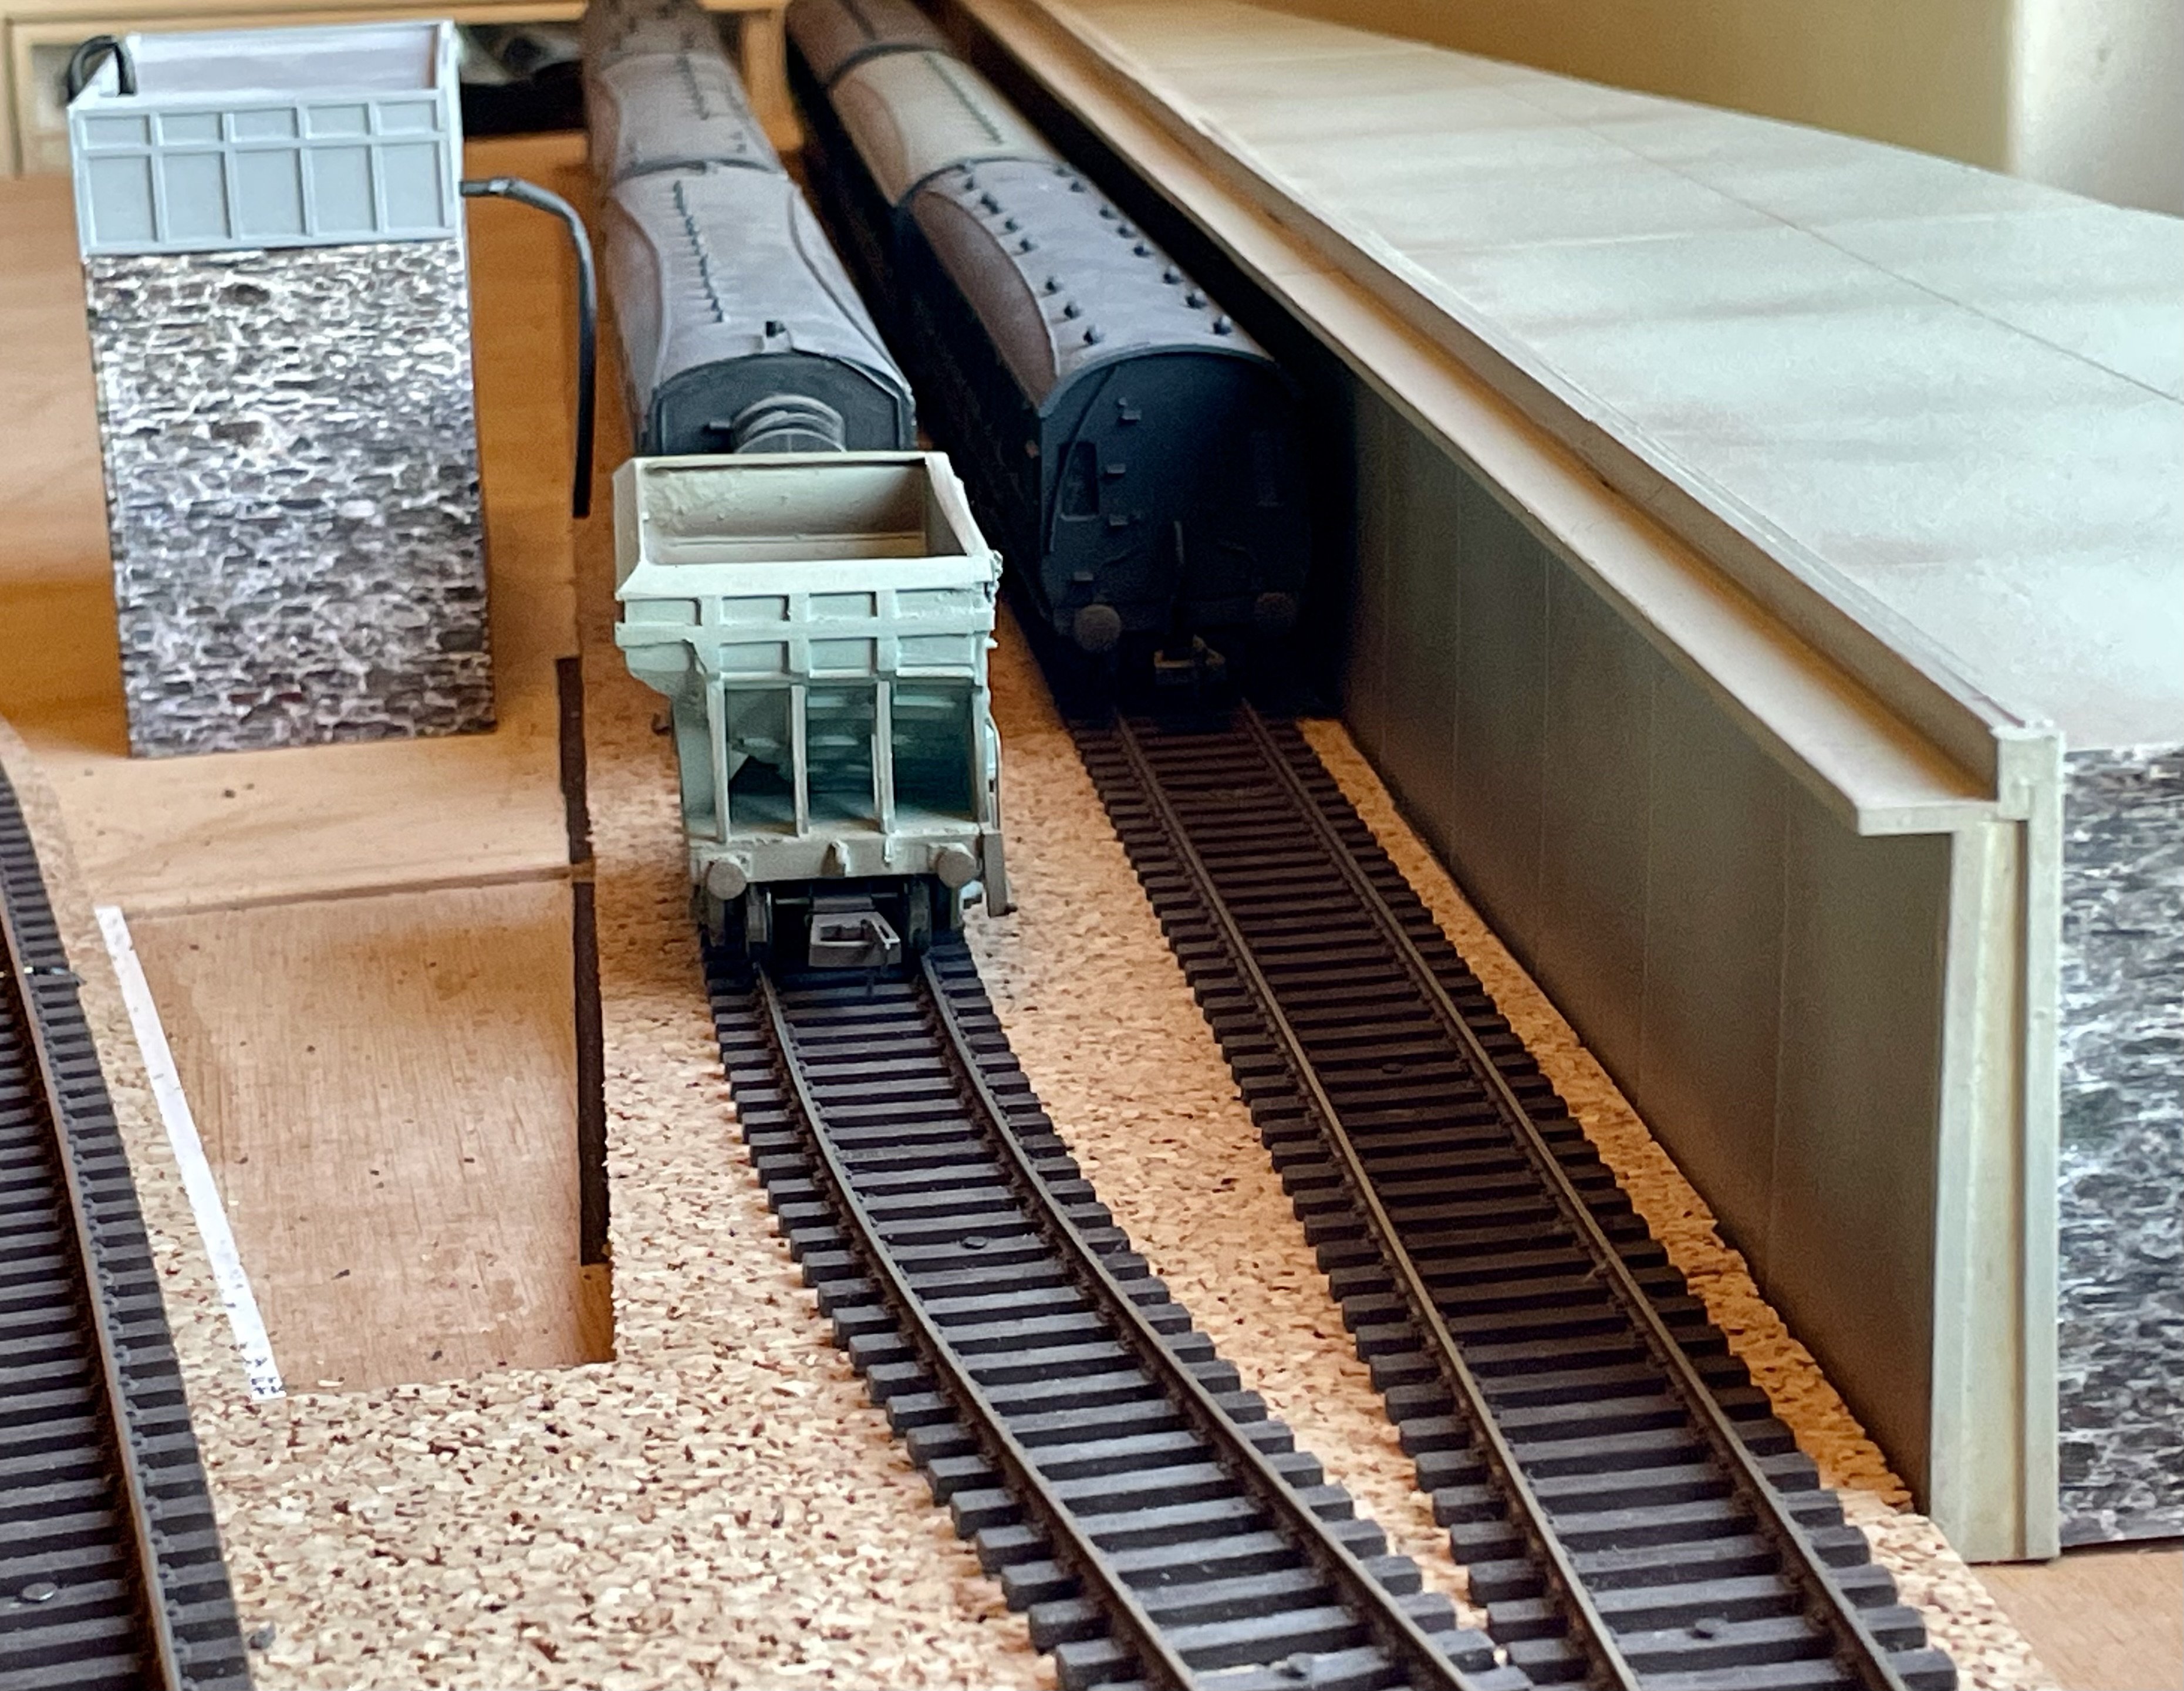
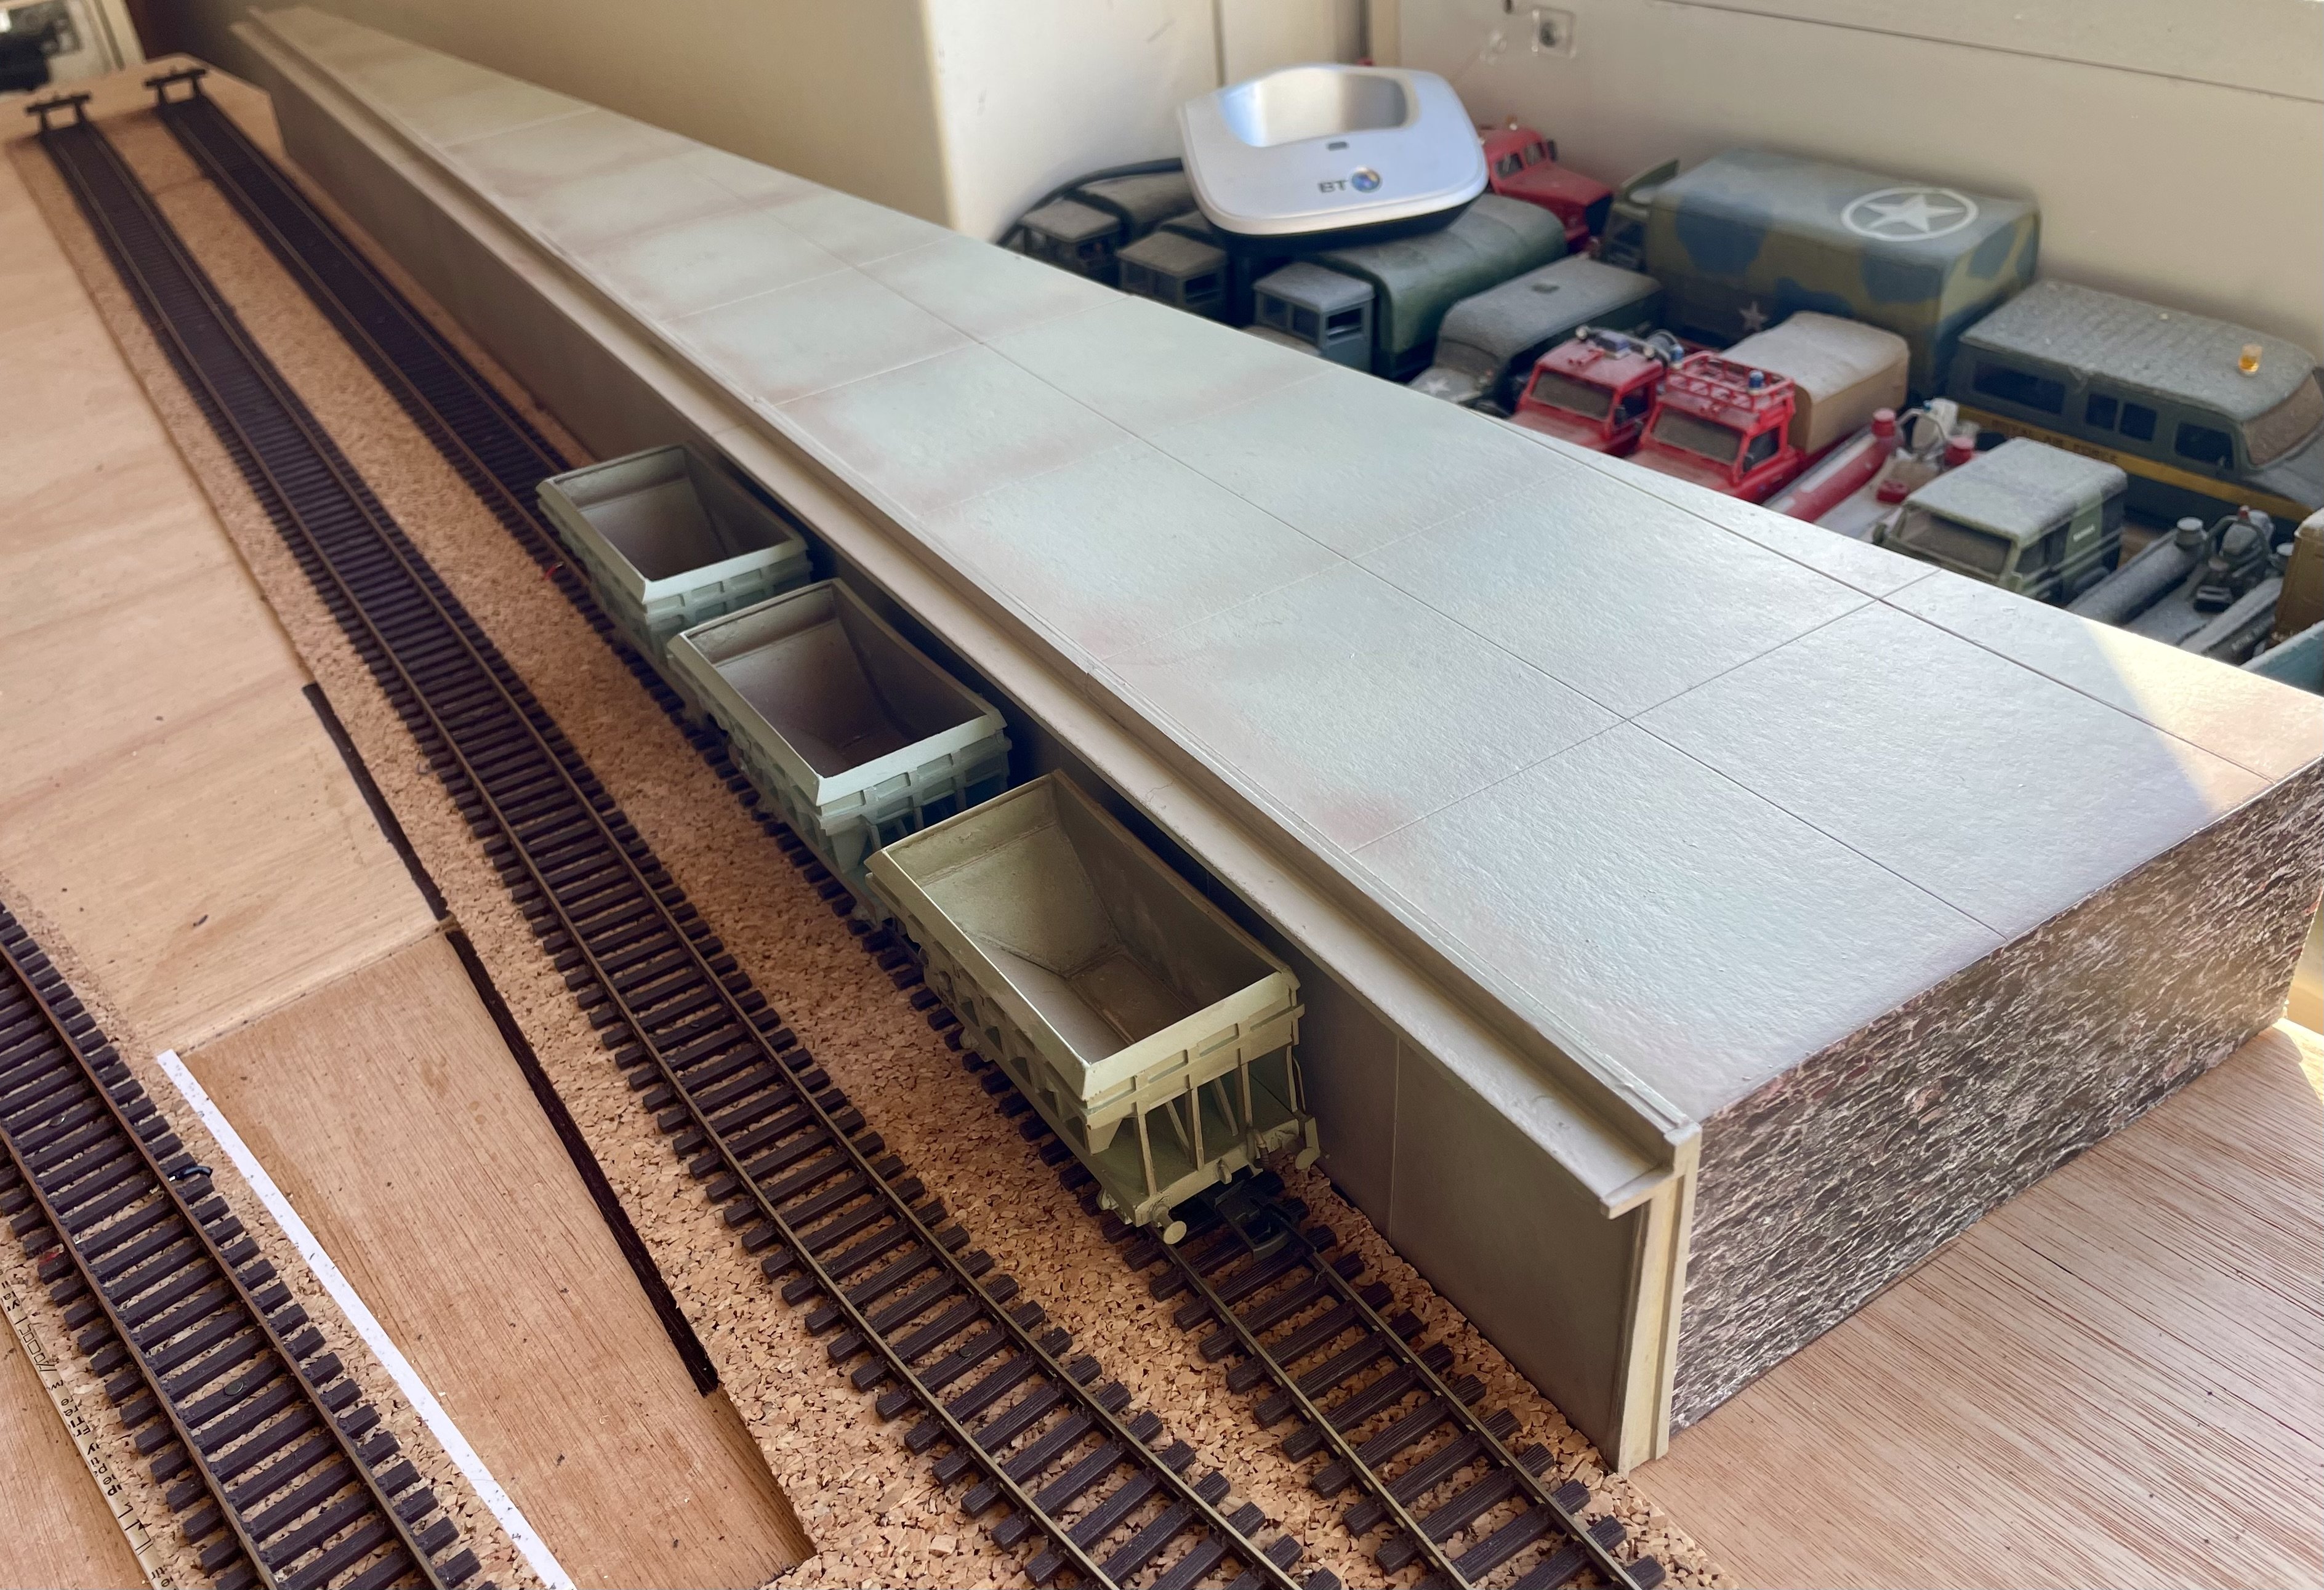
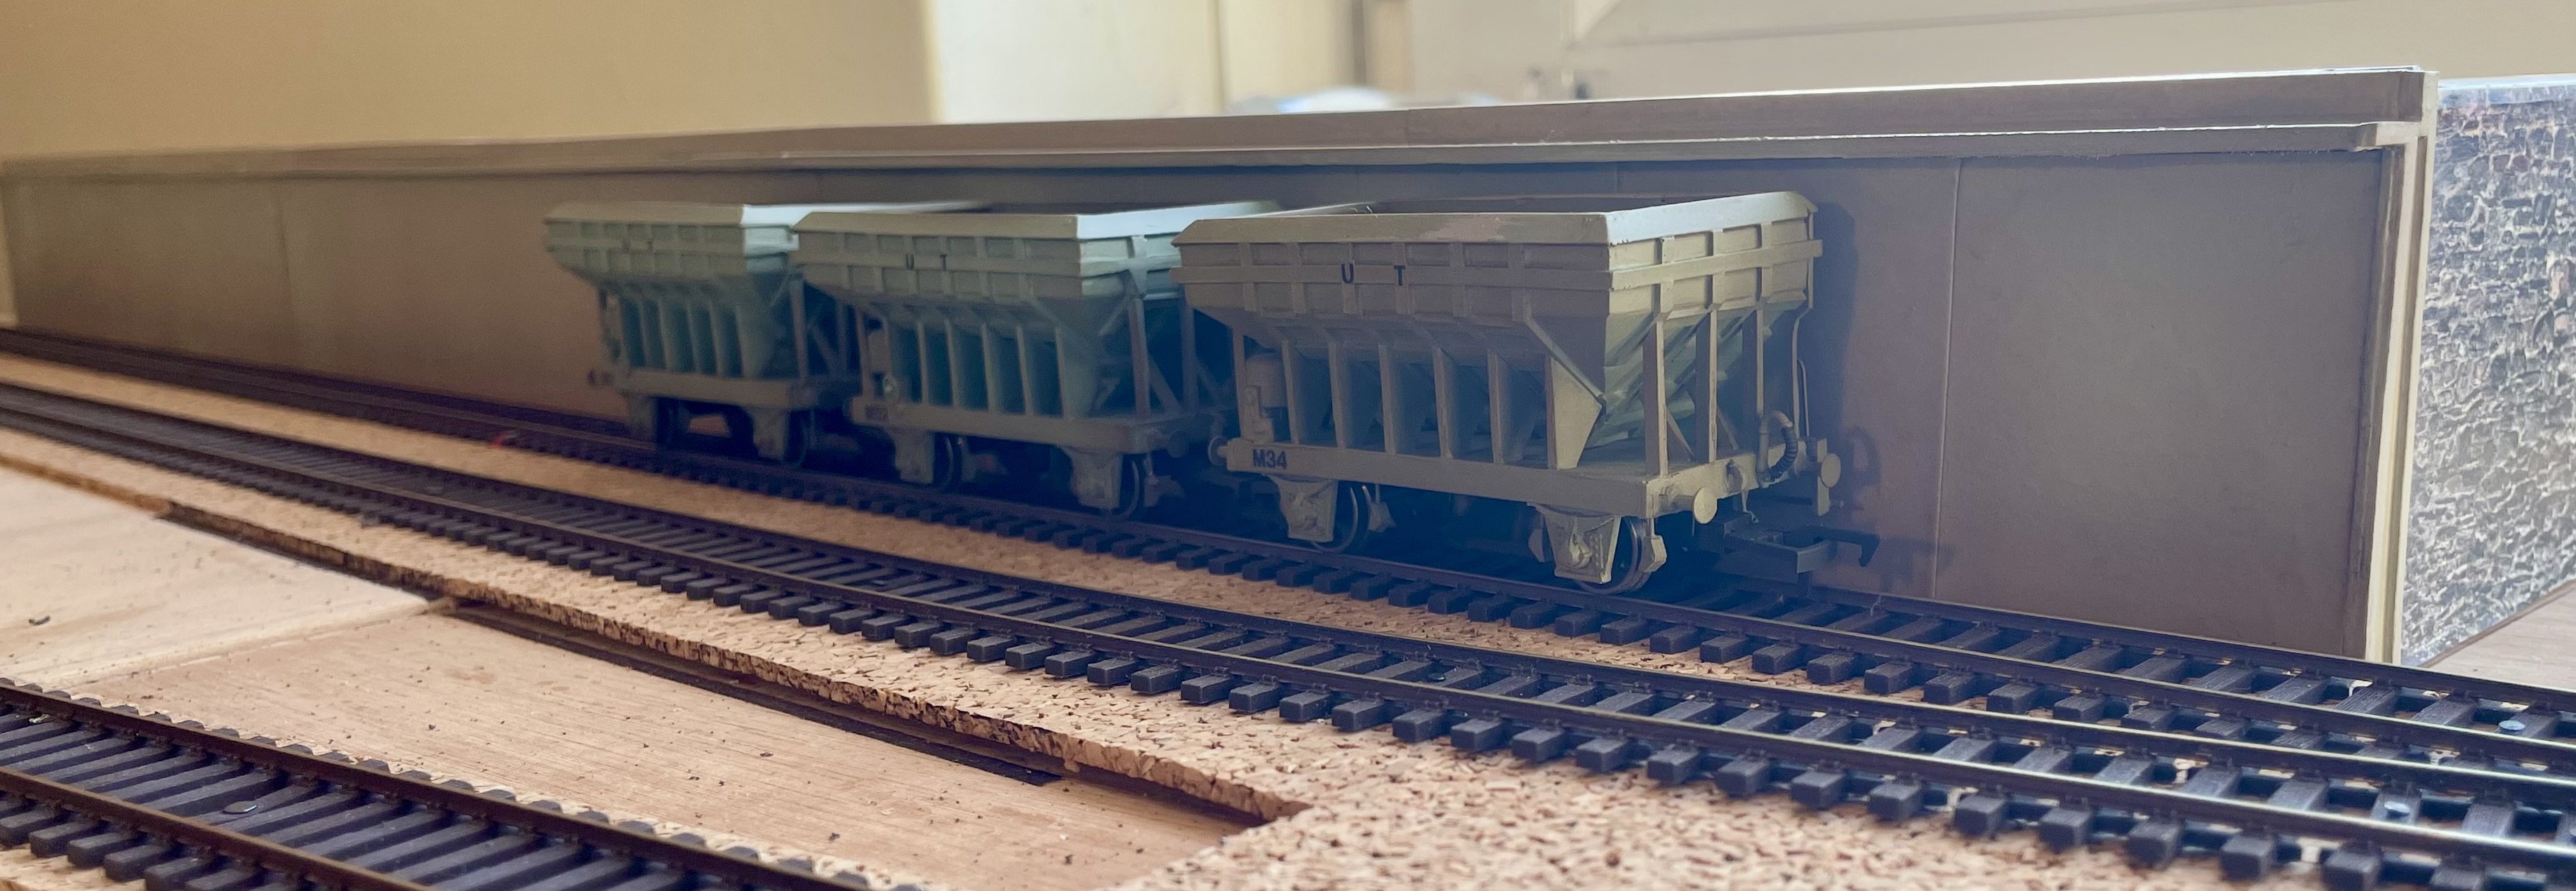
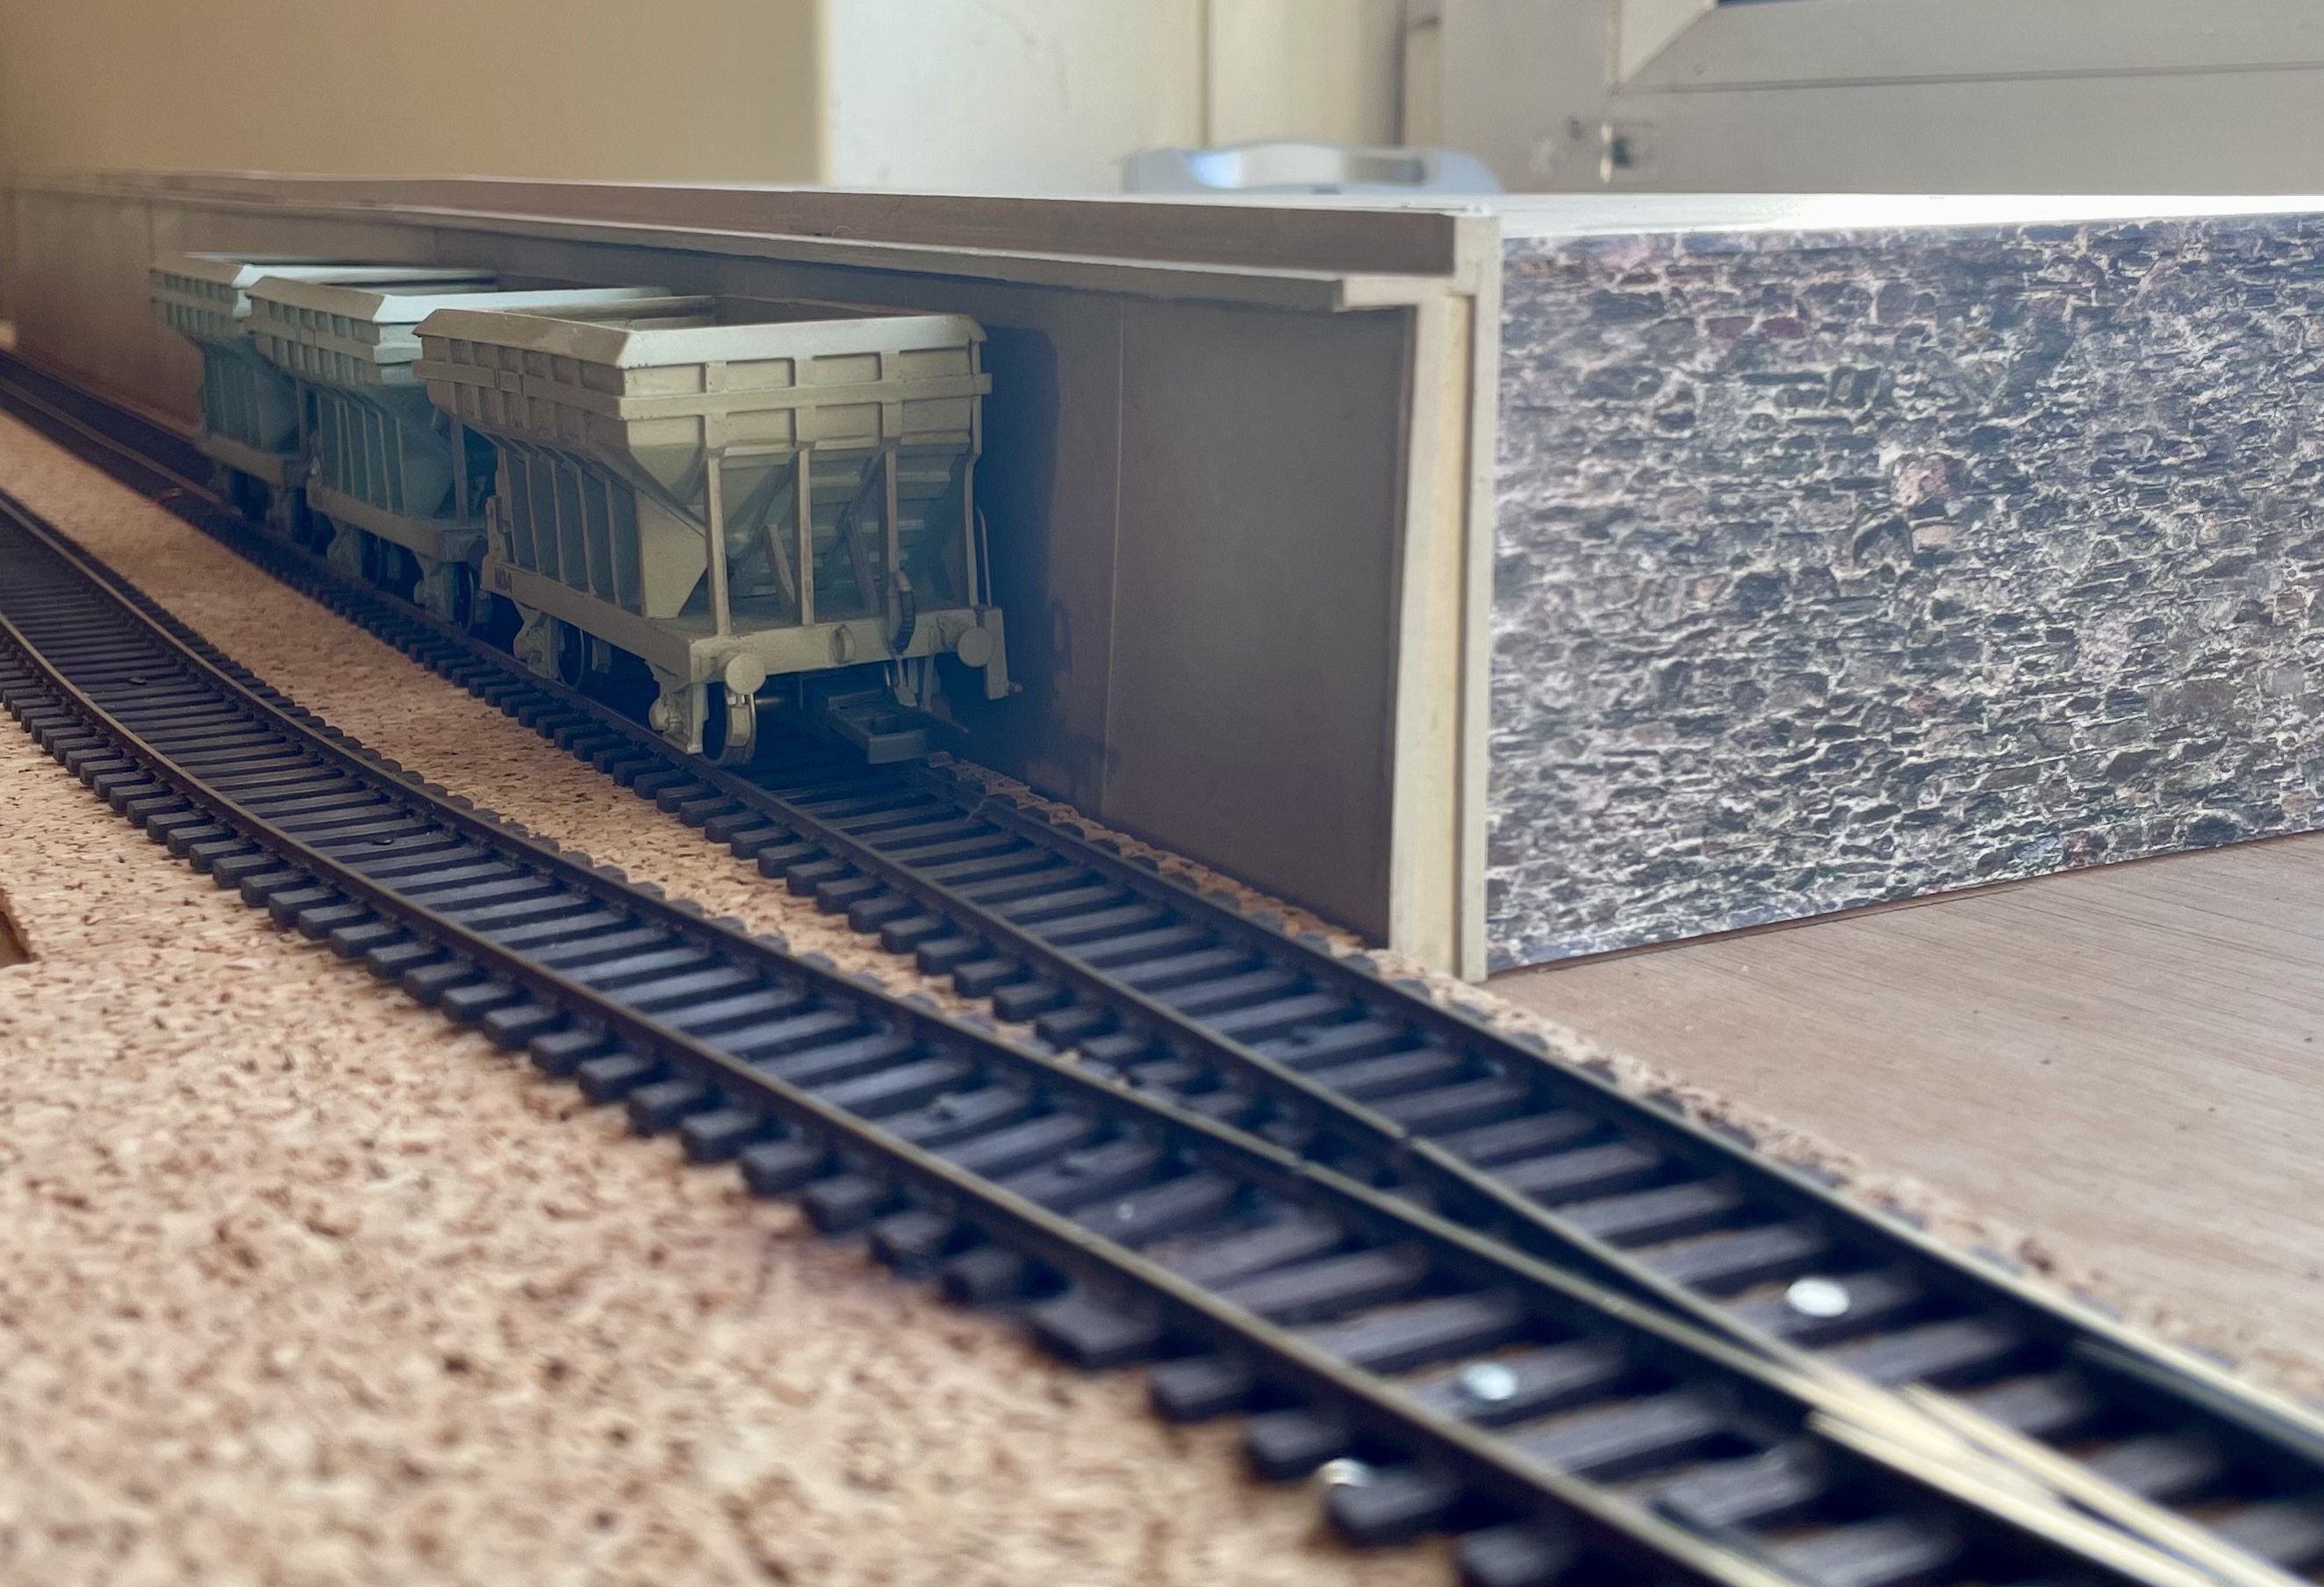
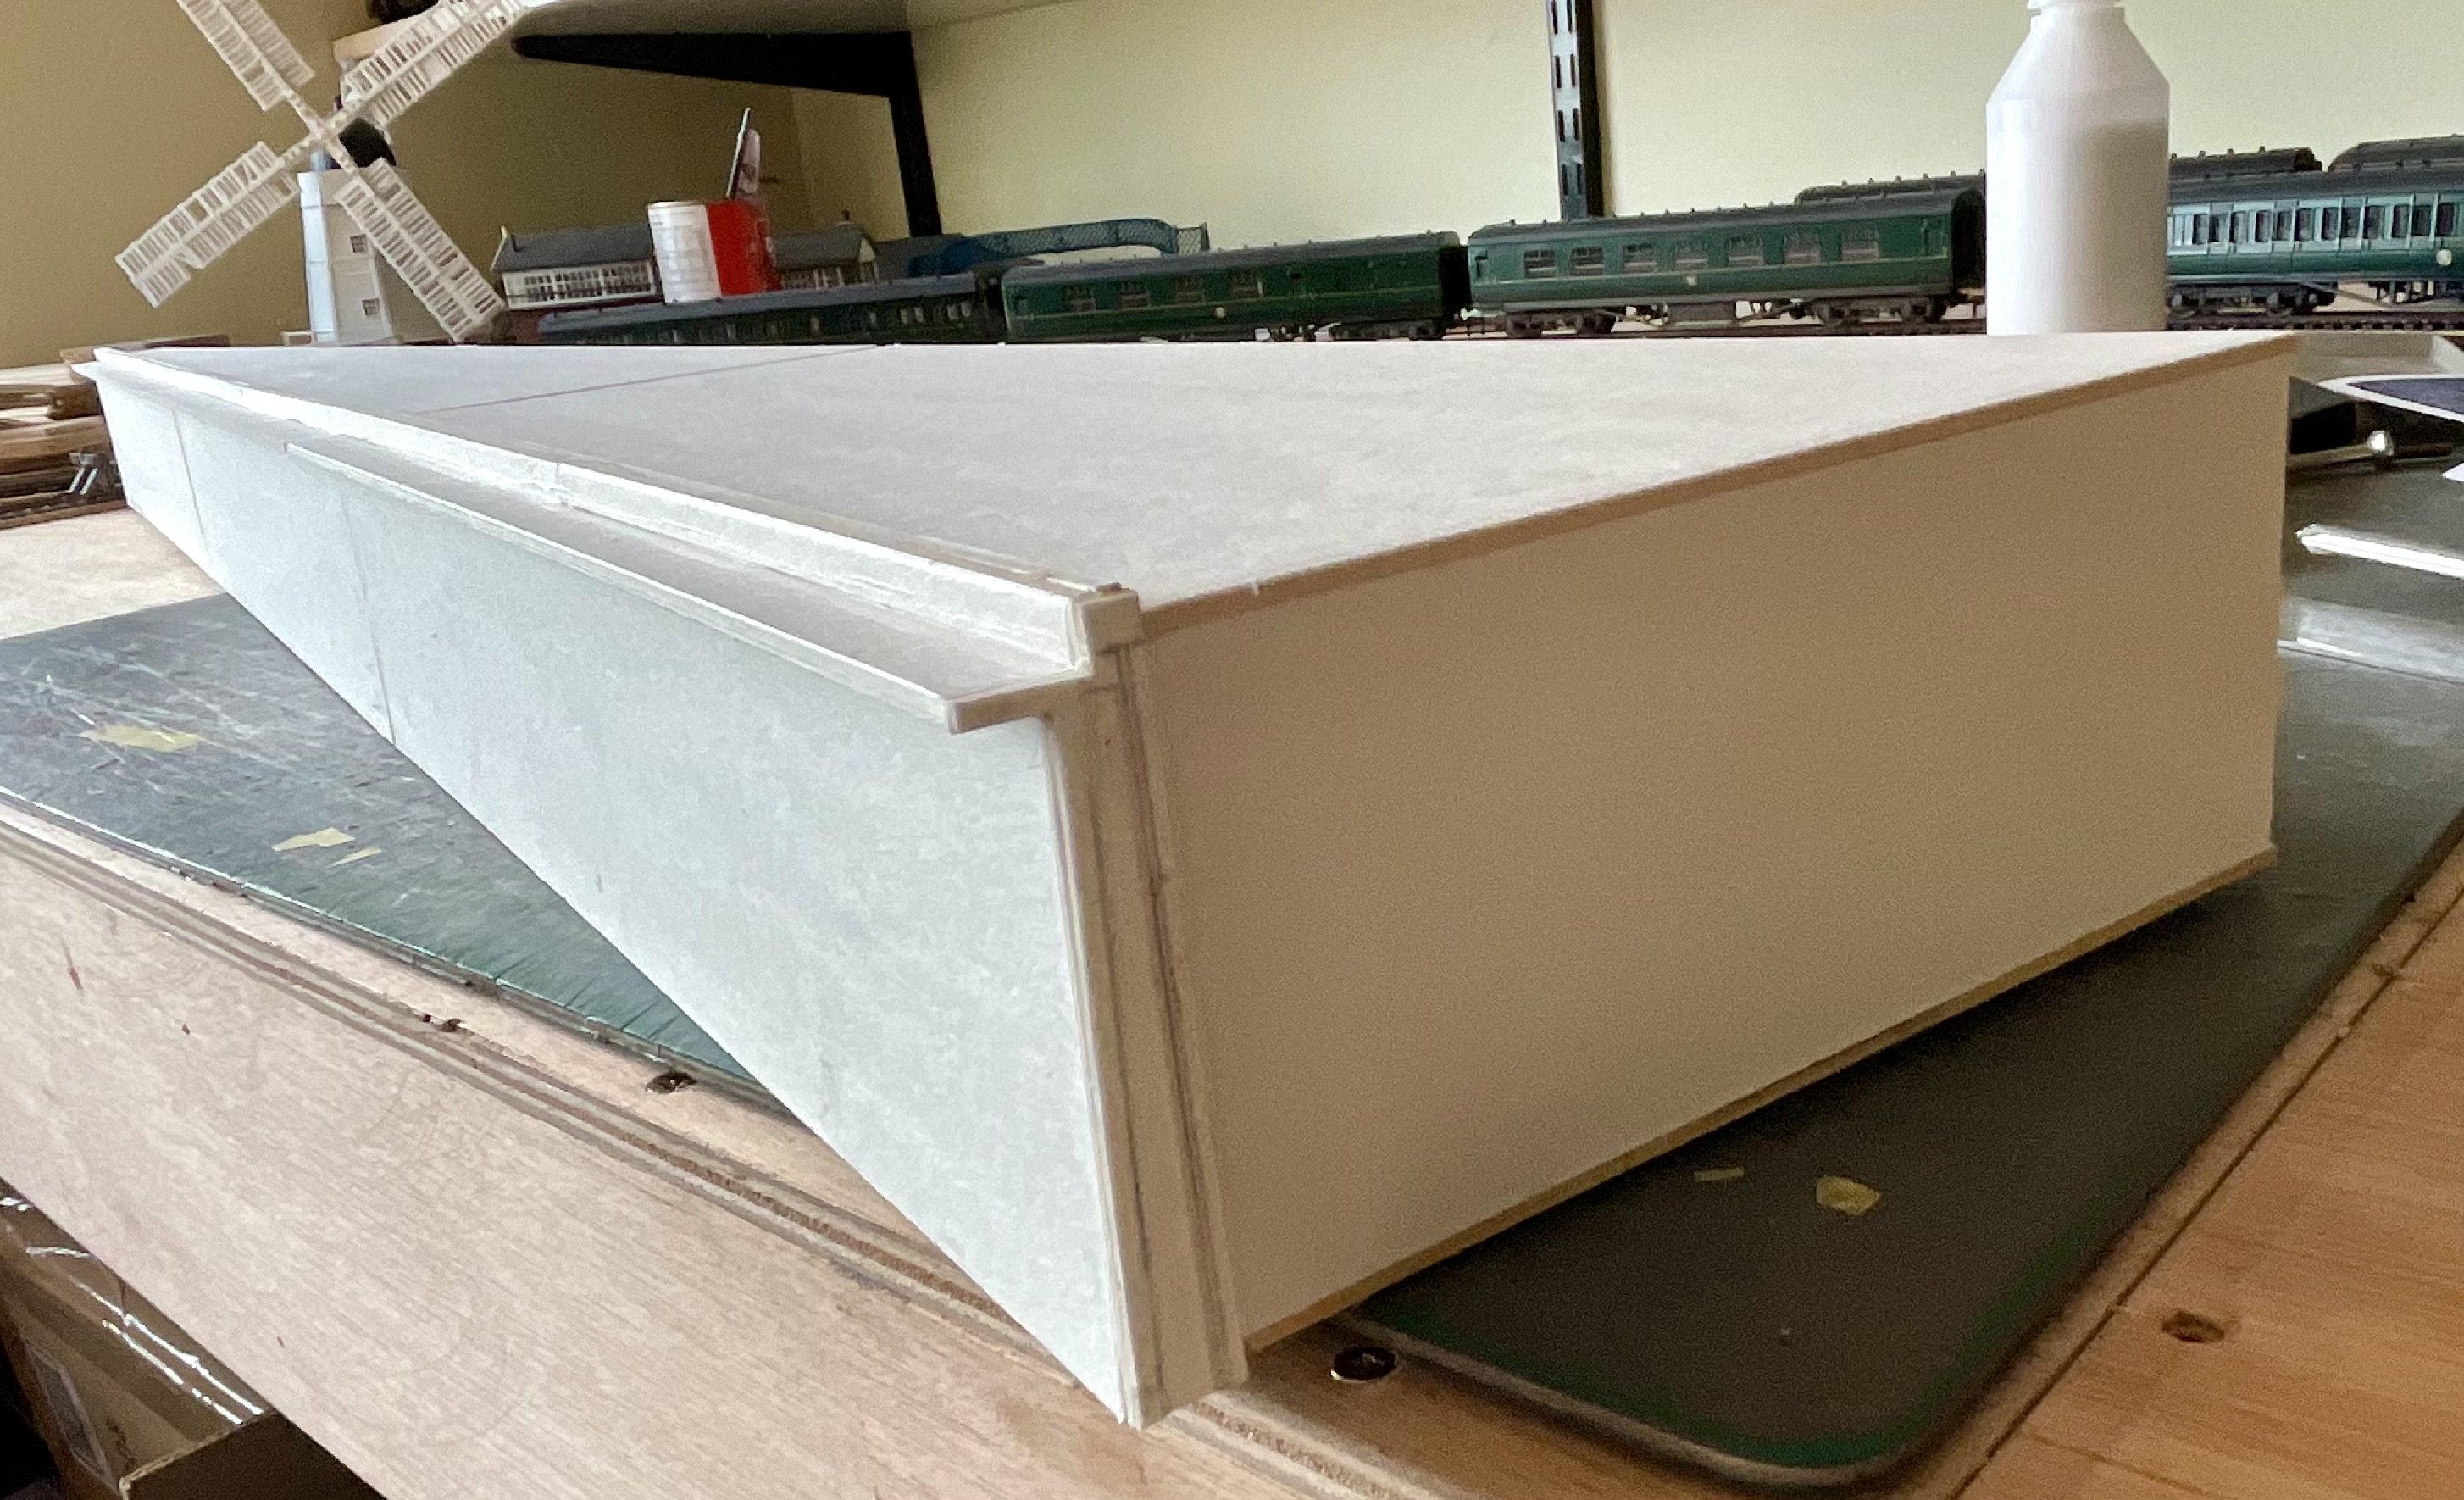
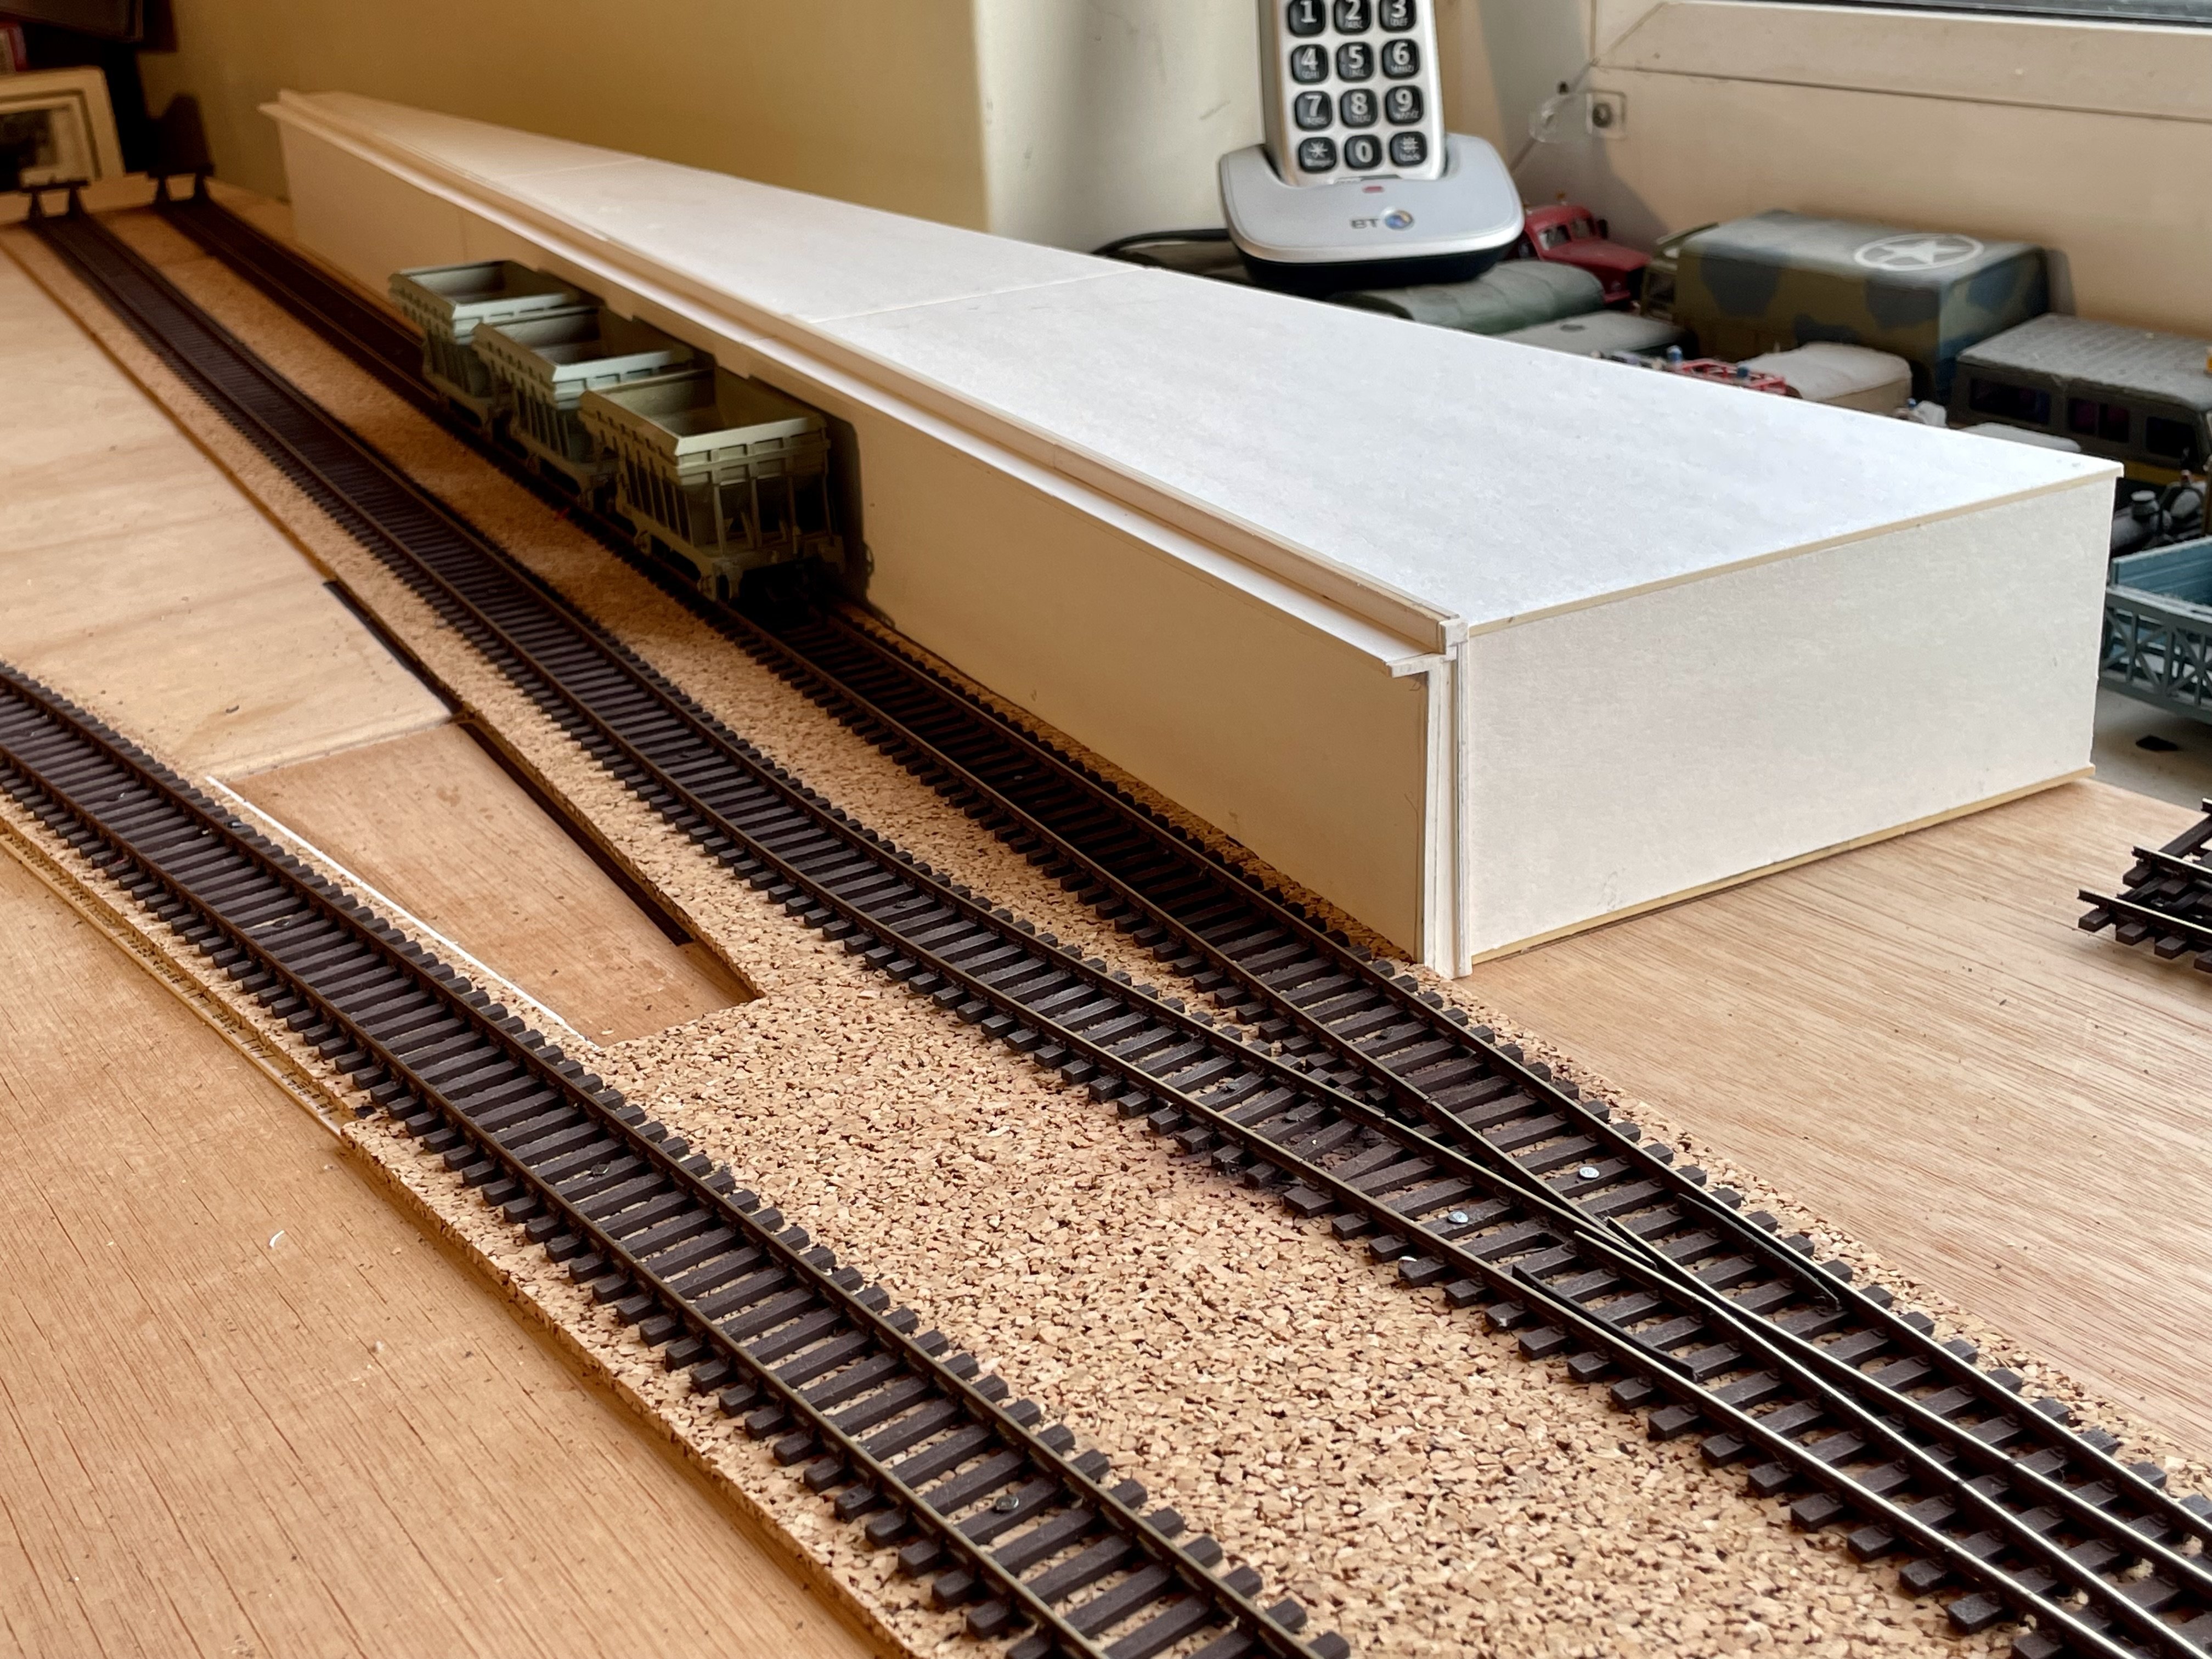
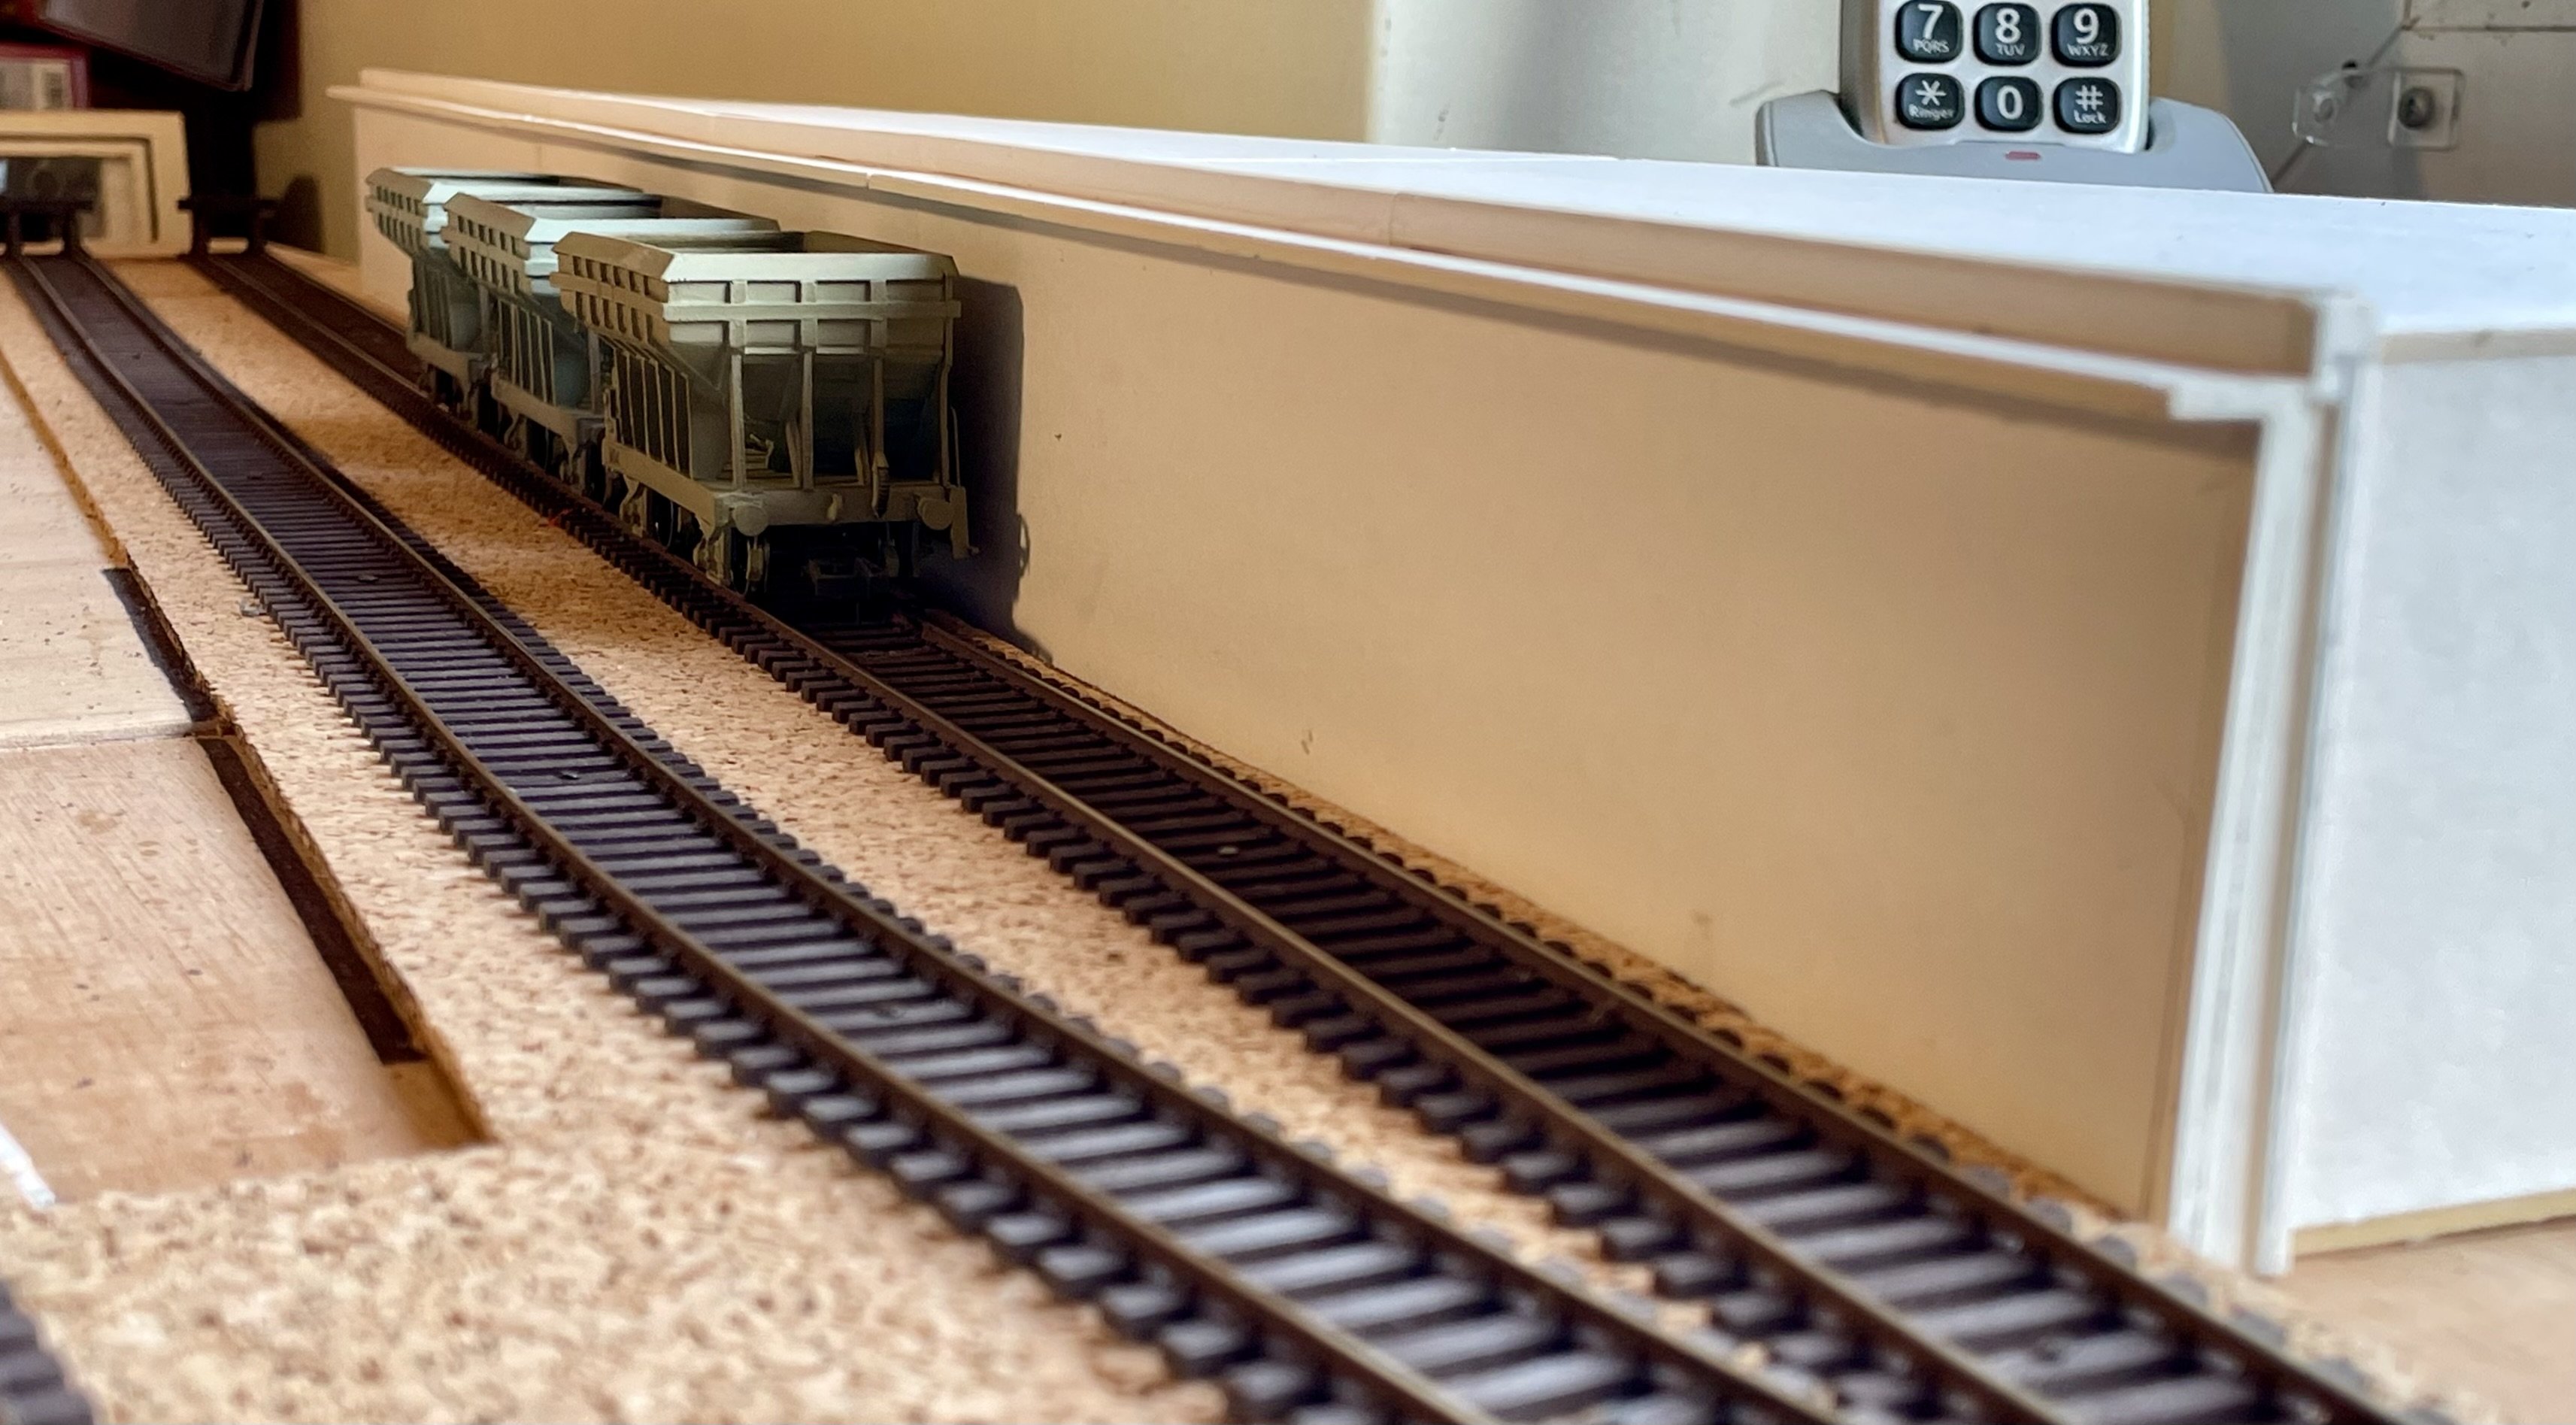
Spoil loading bank painted and weathered. Cheers Darius
- 194 replies
-
- 10
-
-
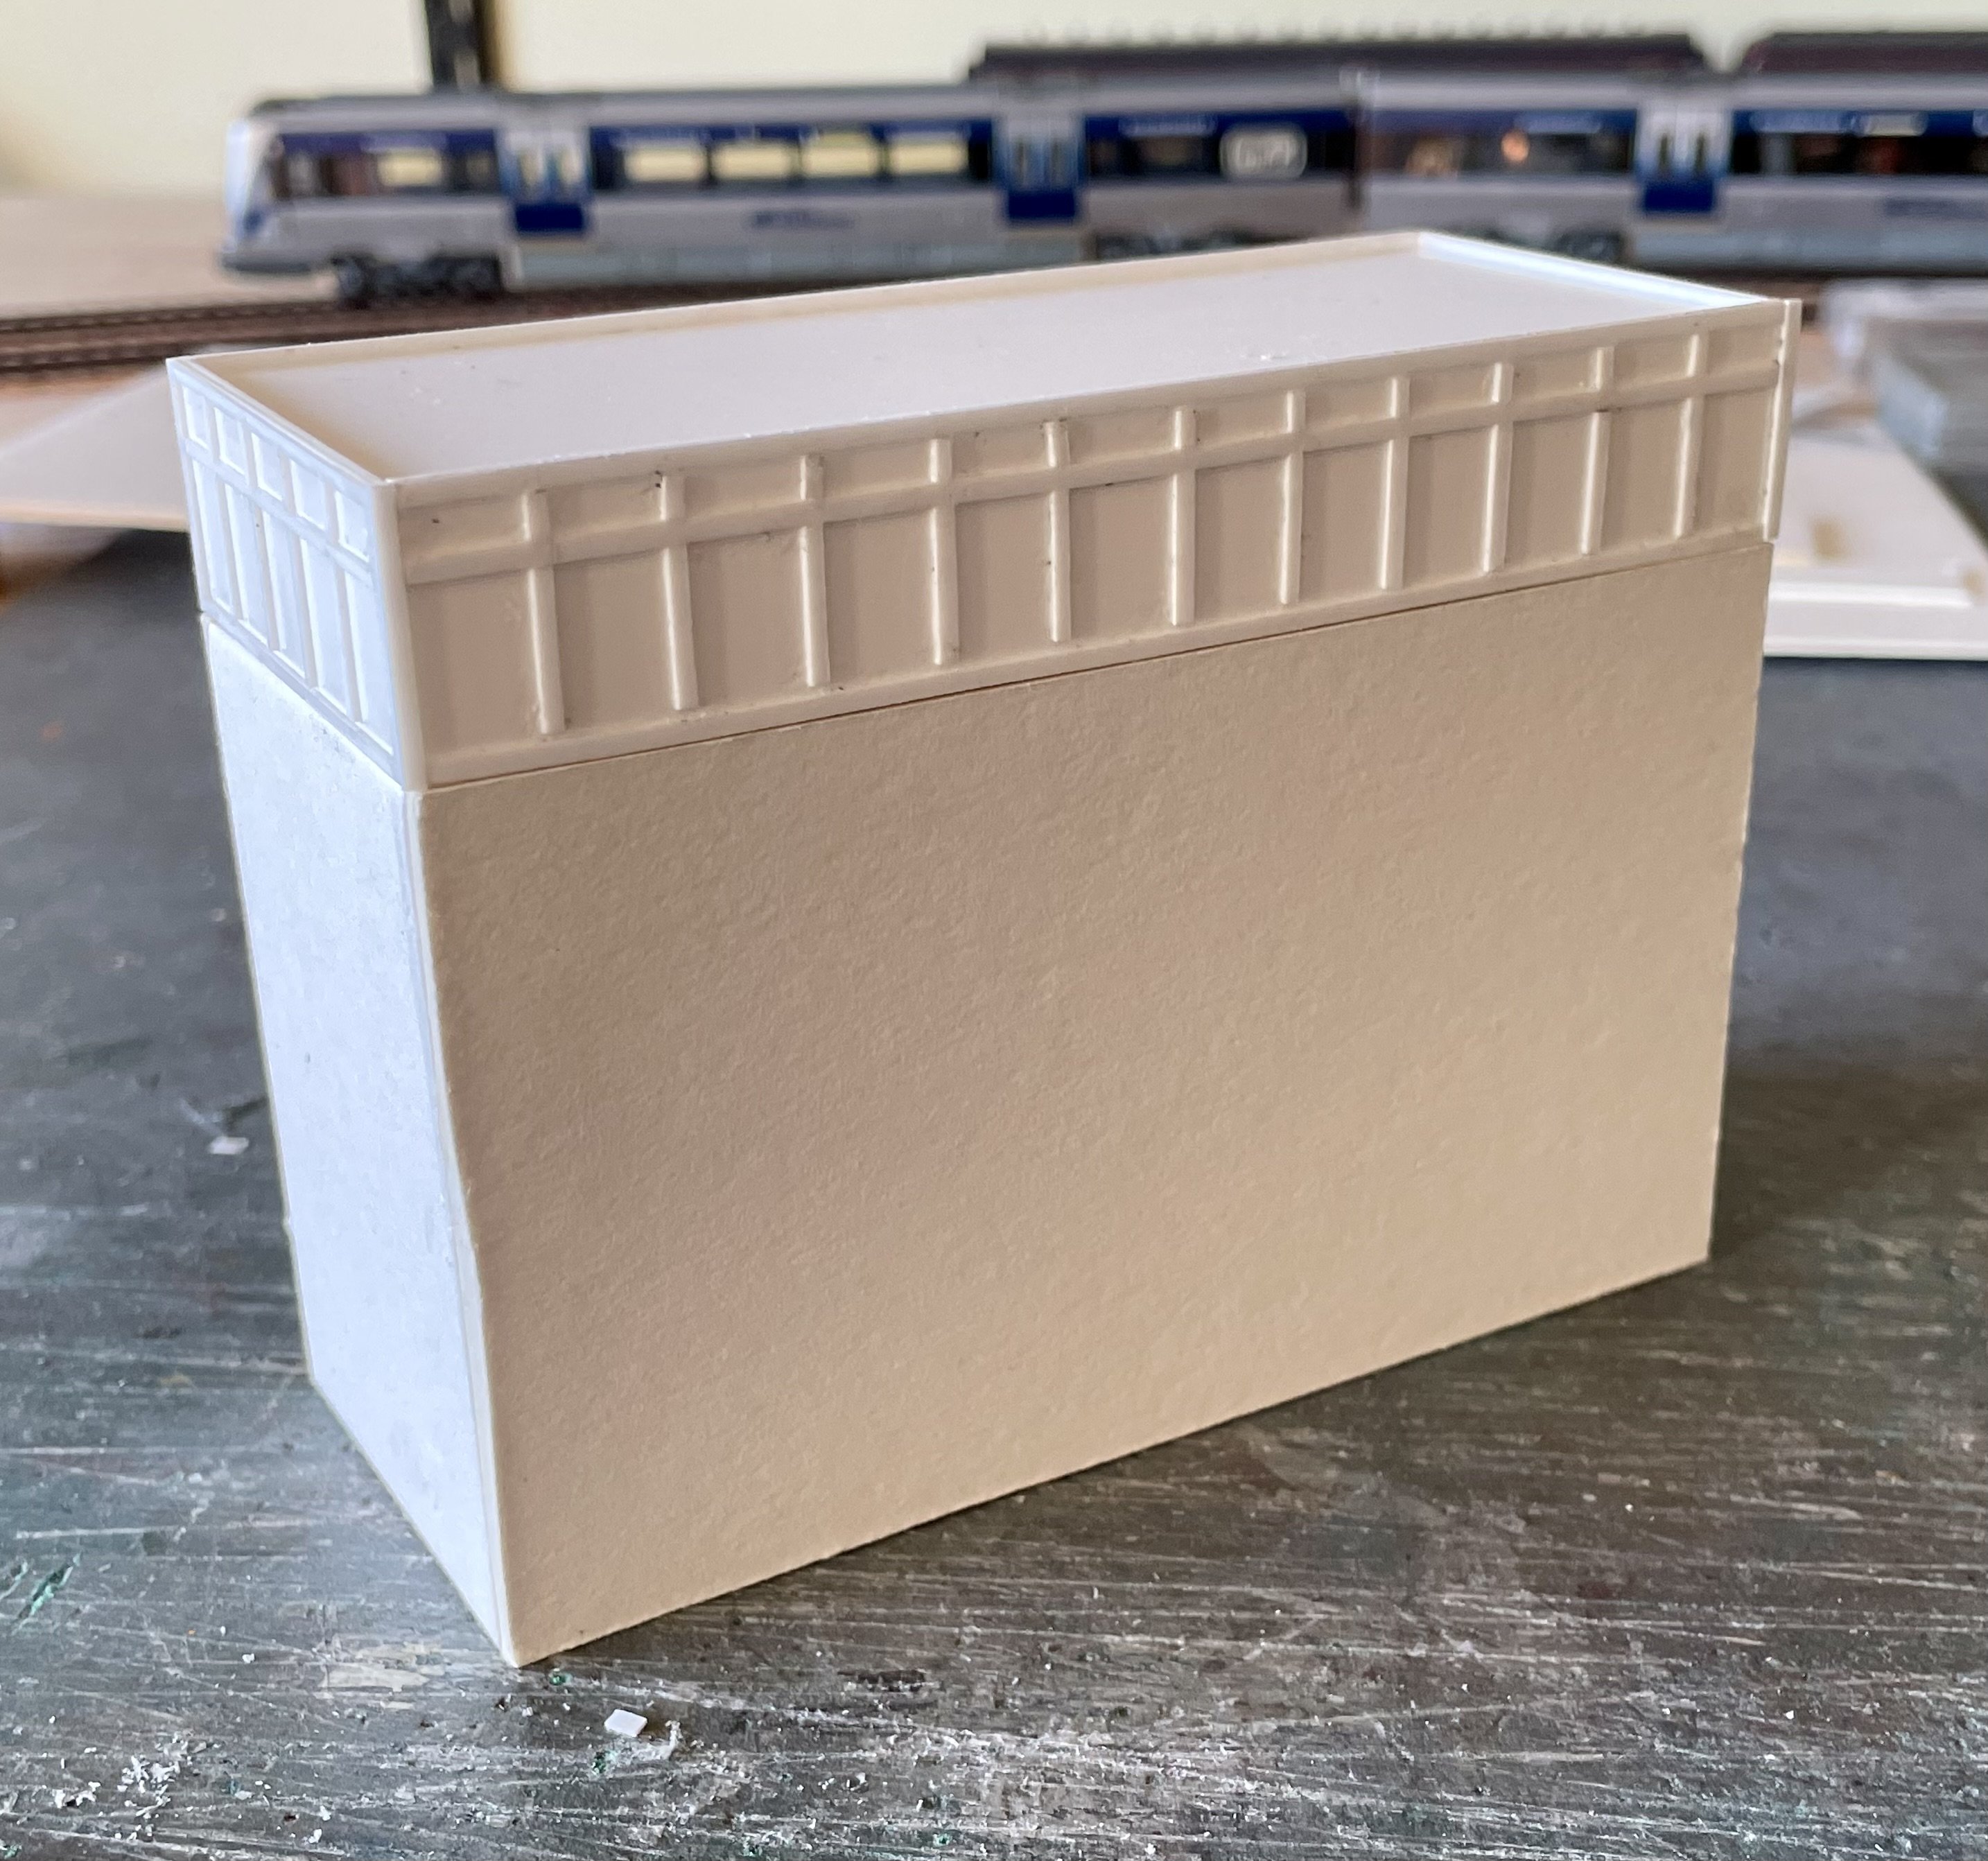
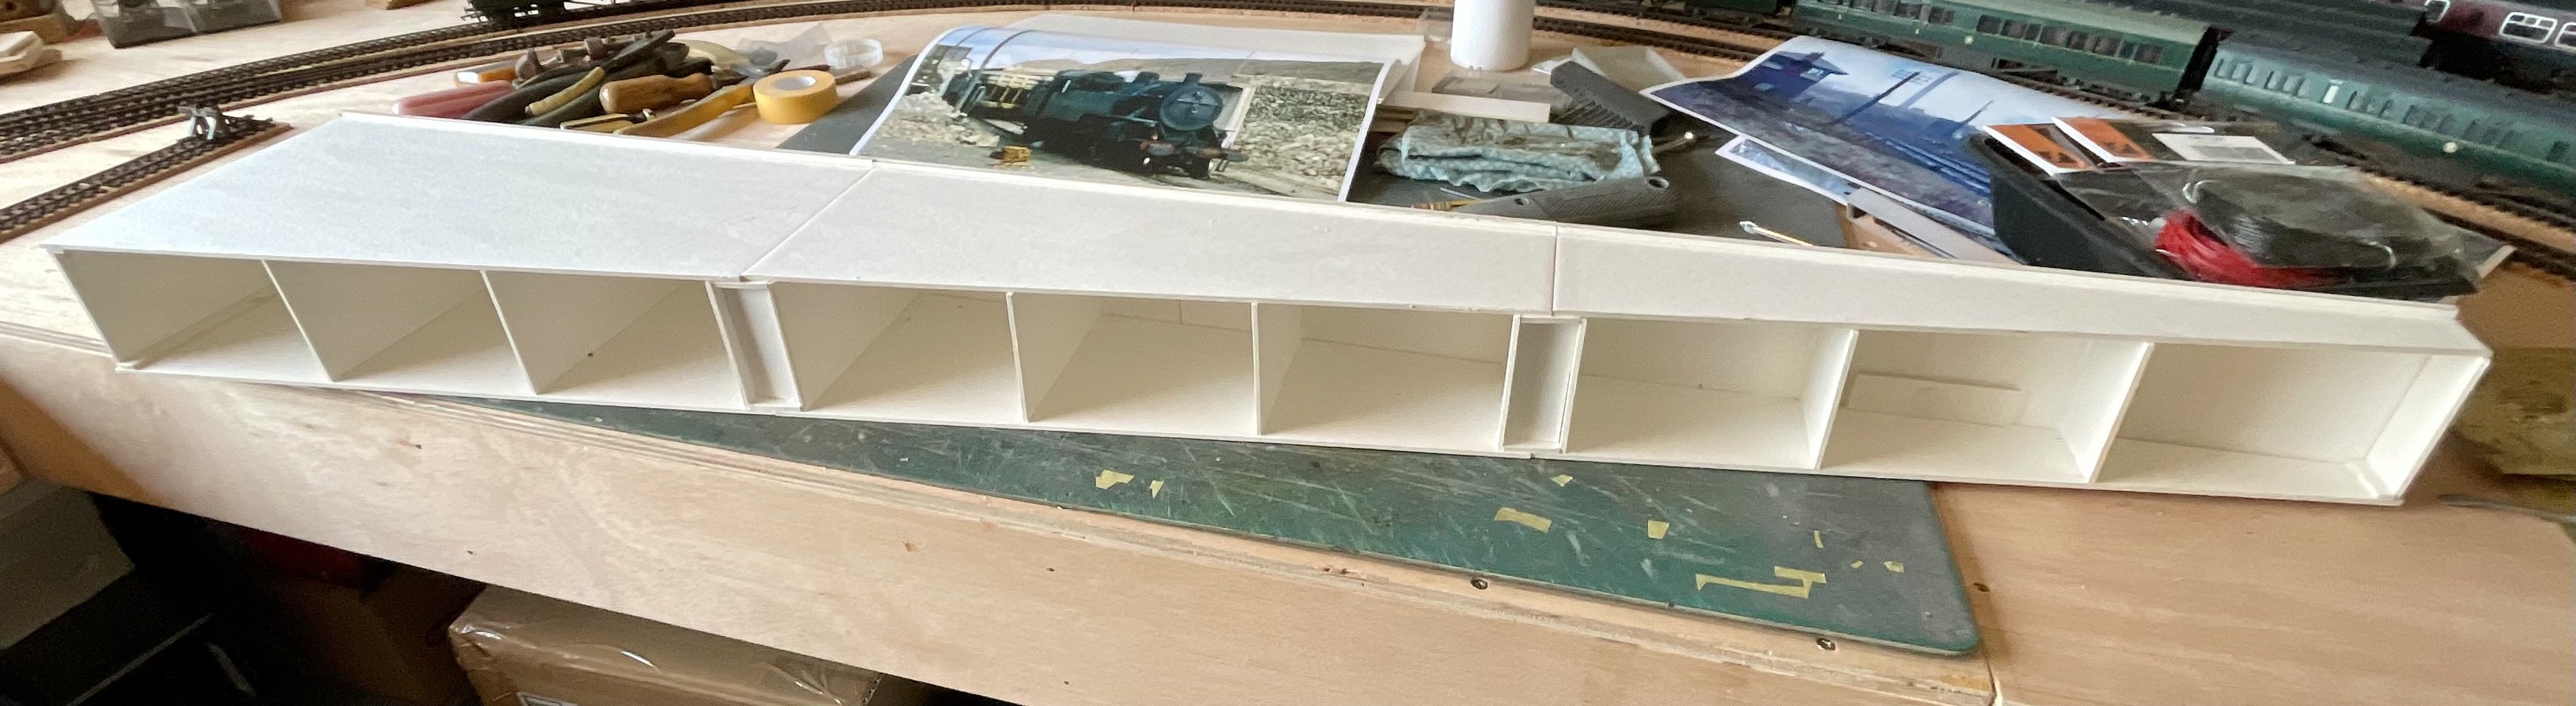
Spoil loading dock constructed using 2mm card stock. The dock structure has now been coated with diluted pva prior to painting. Cheers Darius
- 194 replies
-
- 13
-
-
MED now running nicely. Added pickups to the trailing bogie of the power car to improve things. Cheers Darius
-
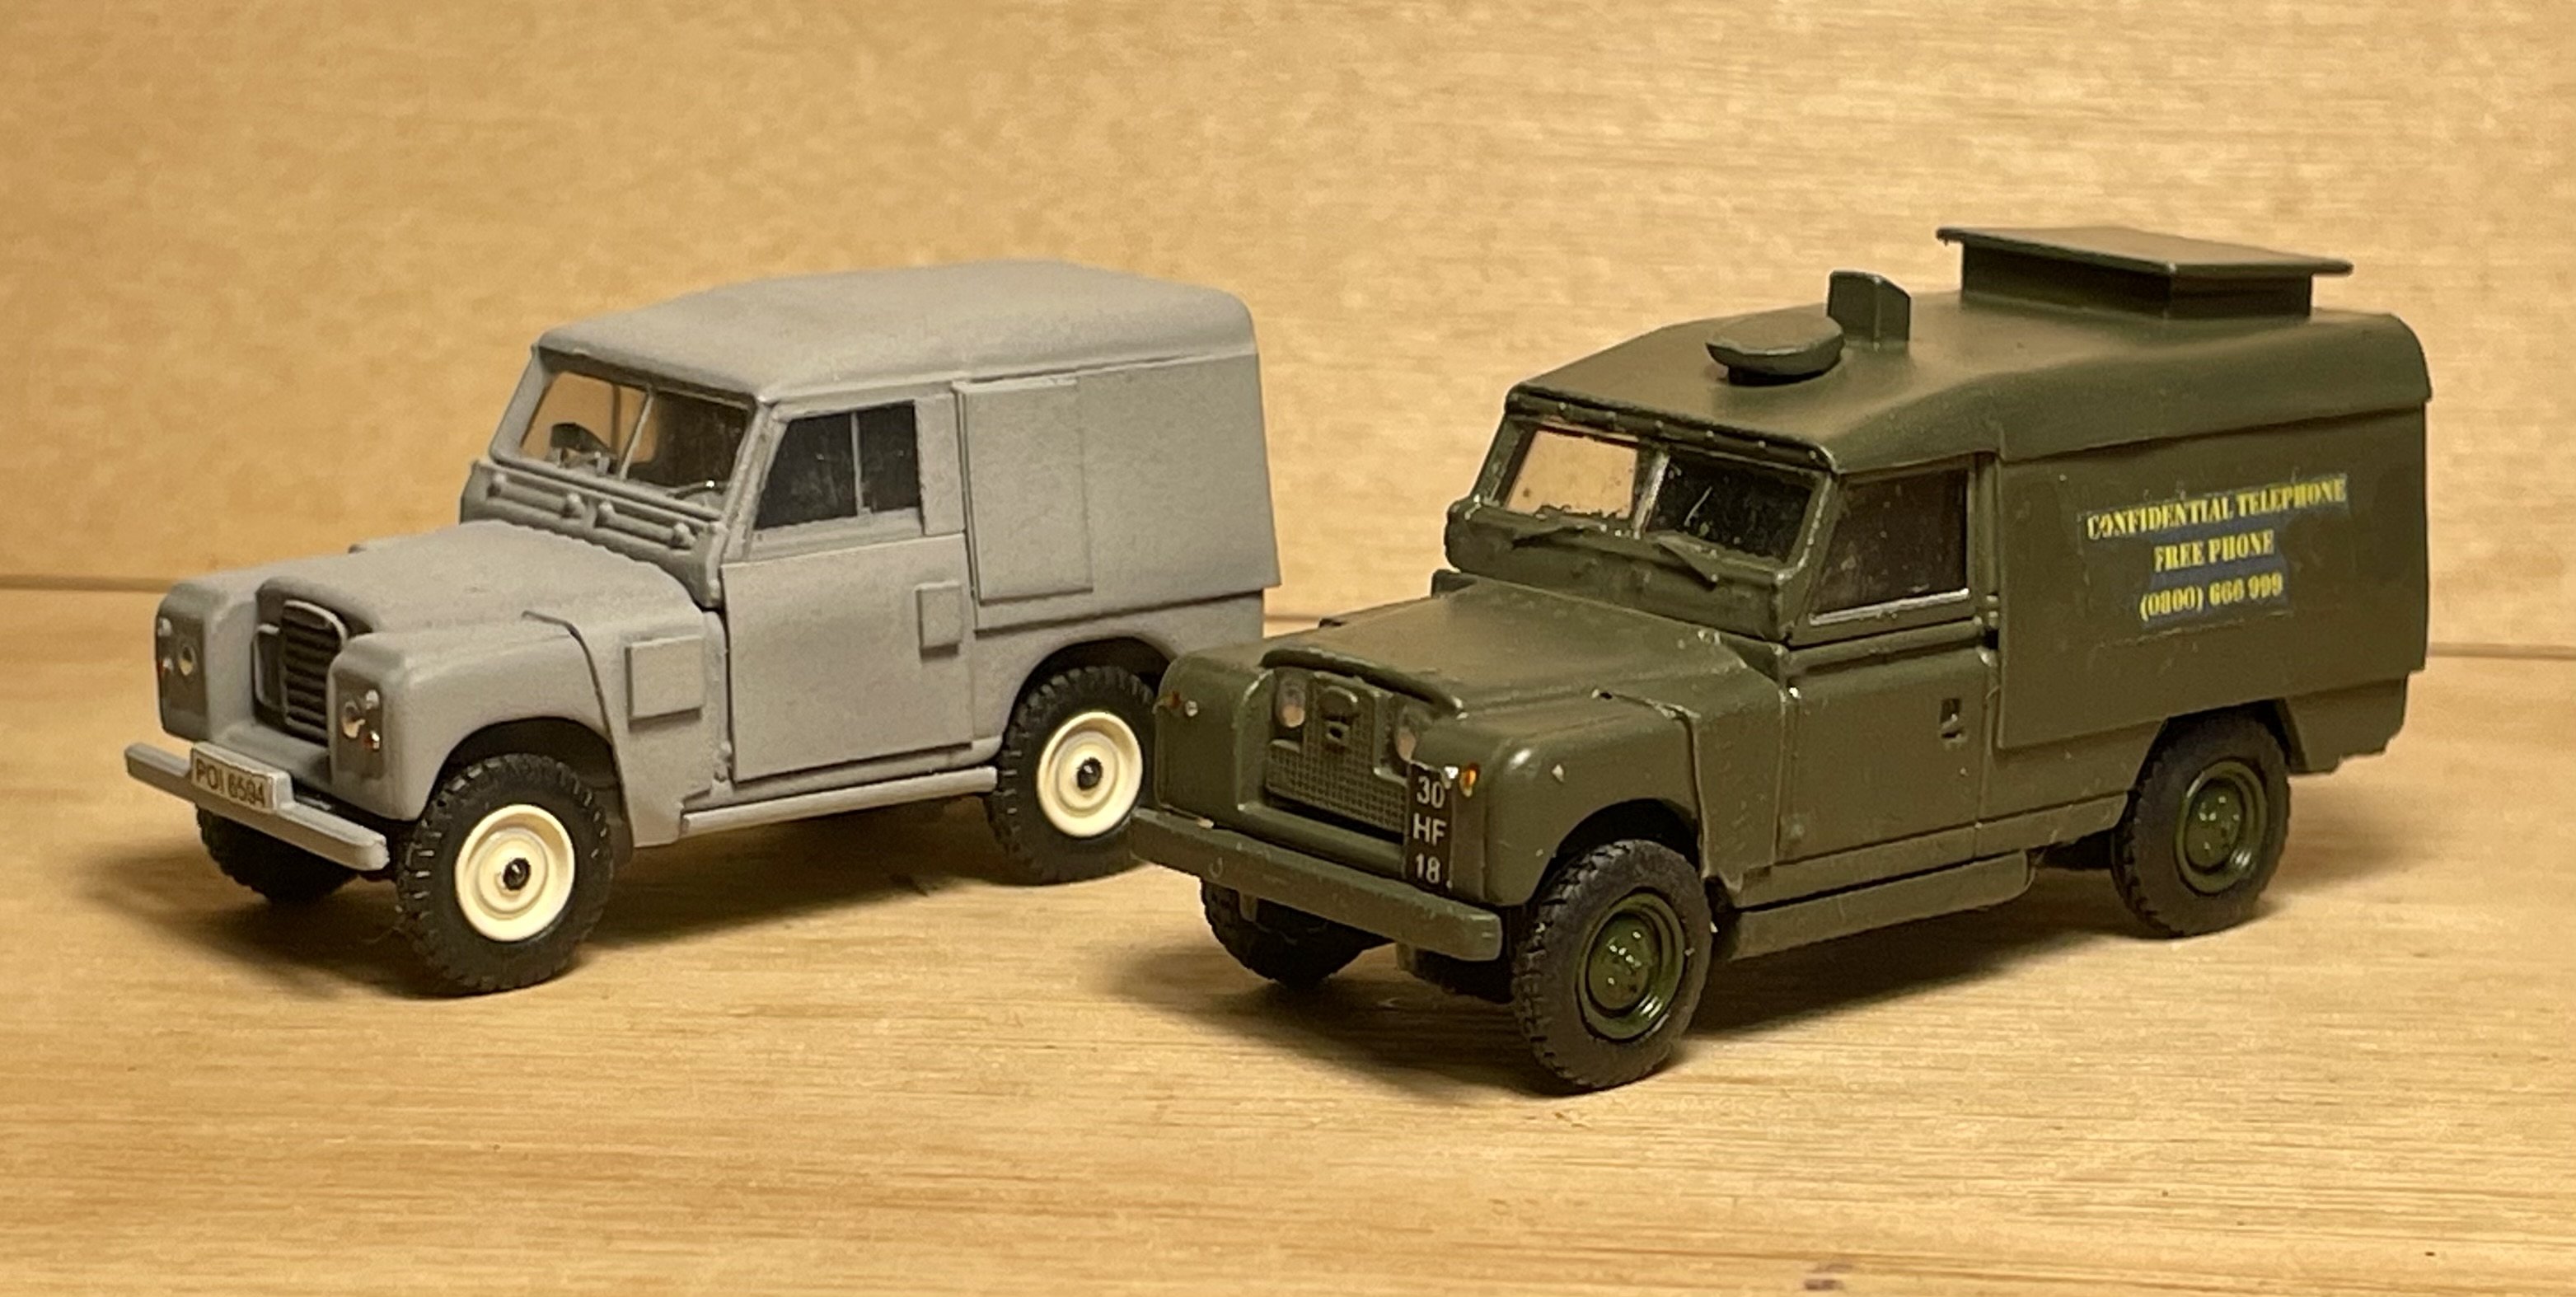
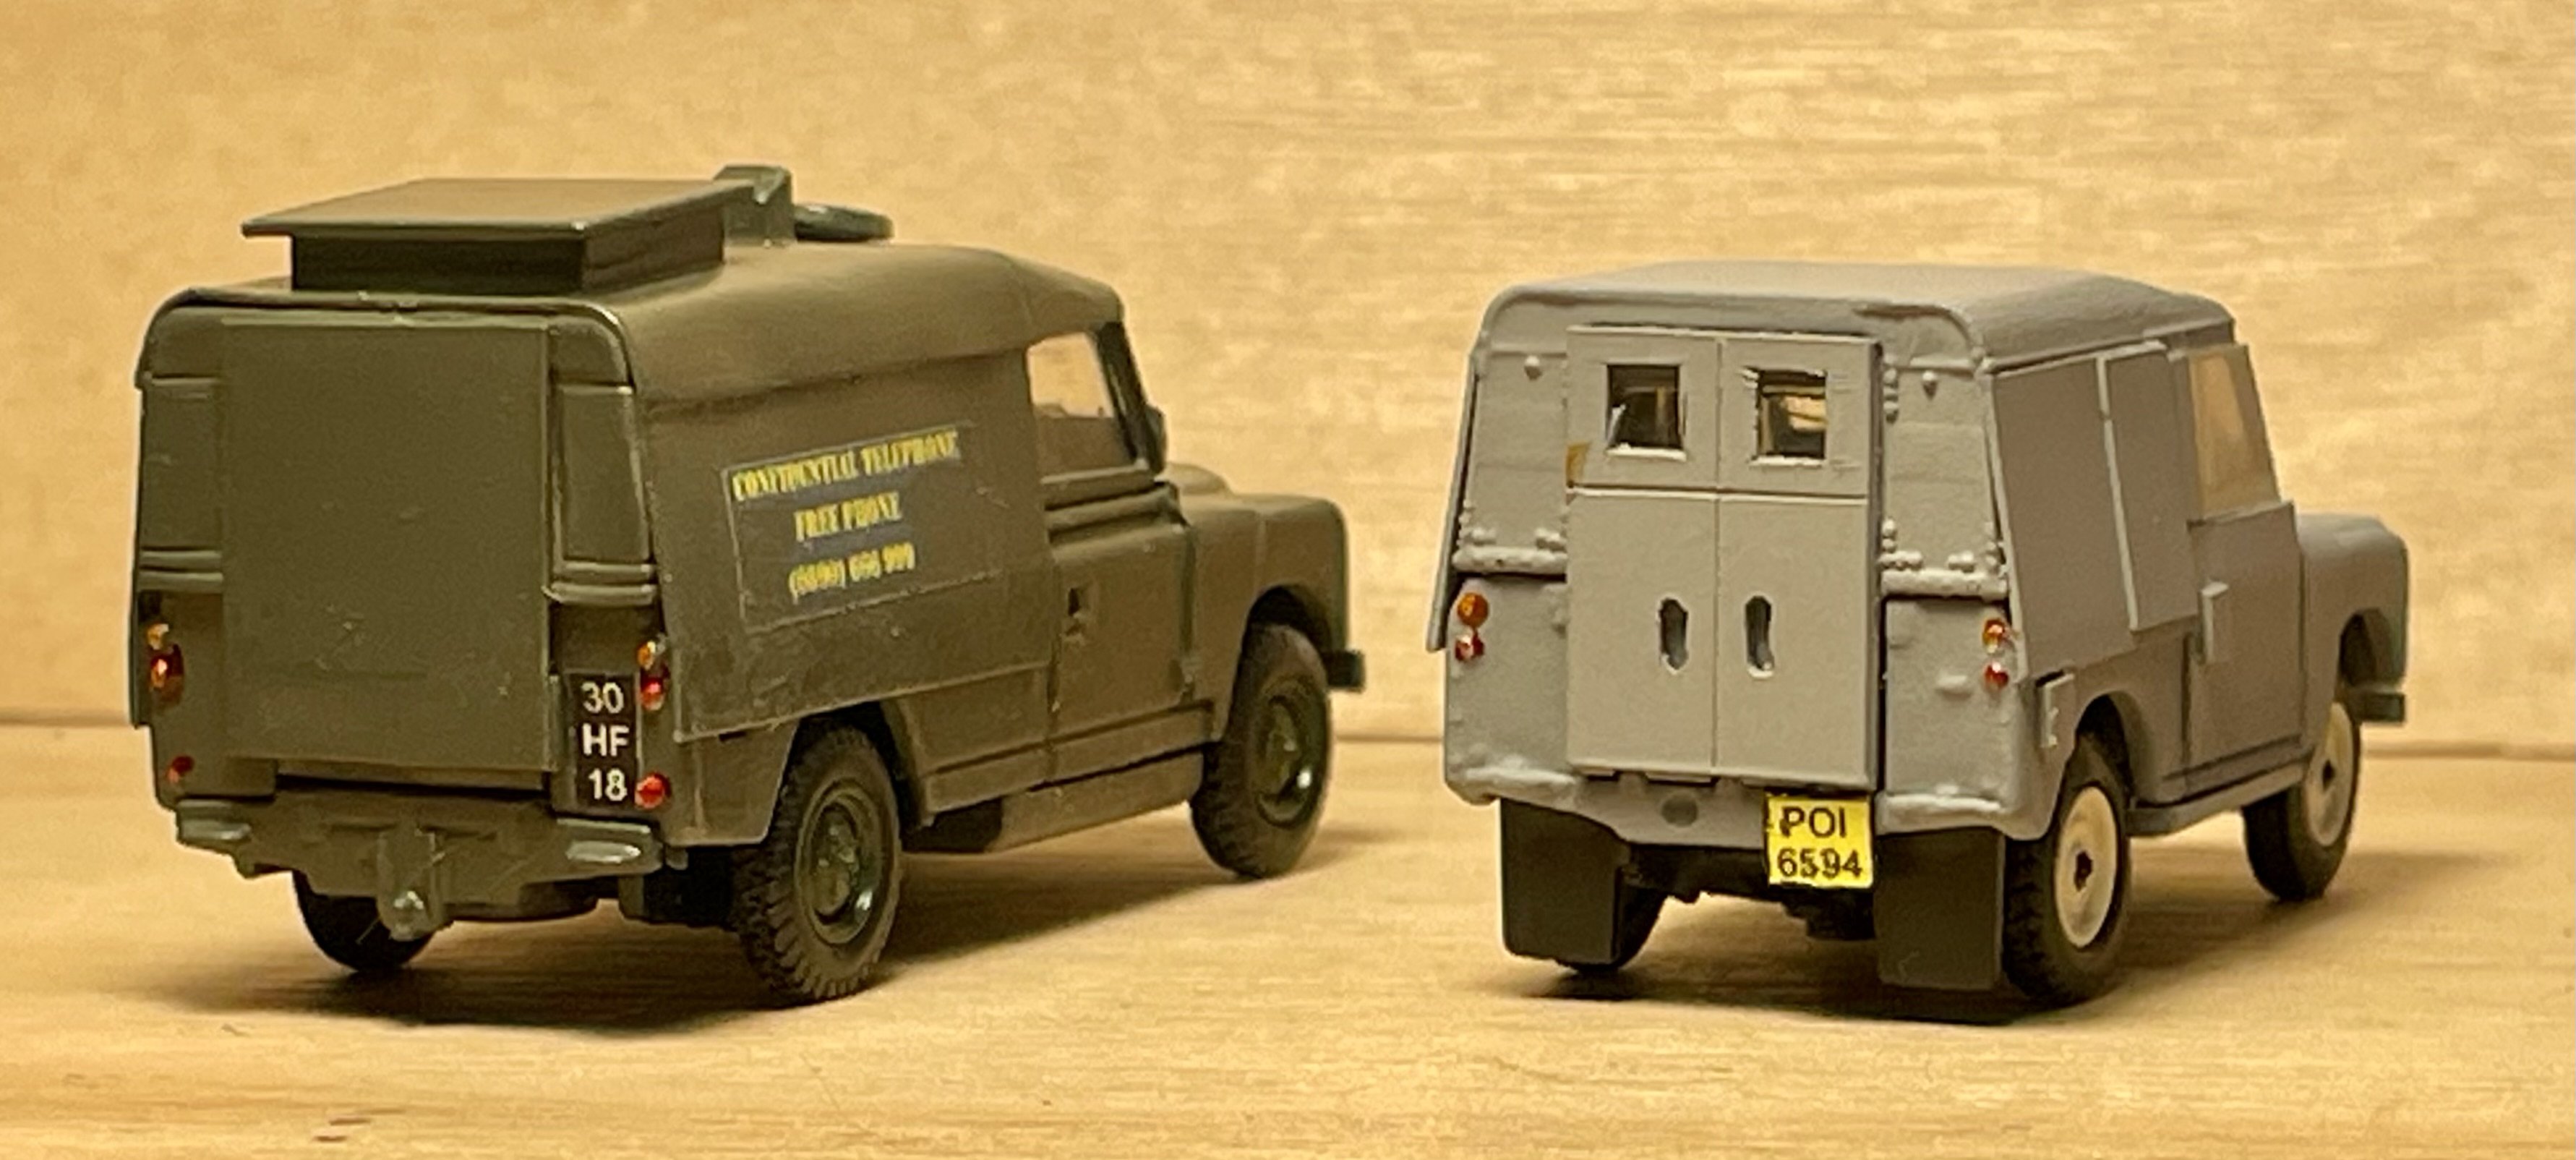
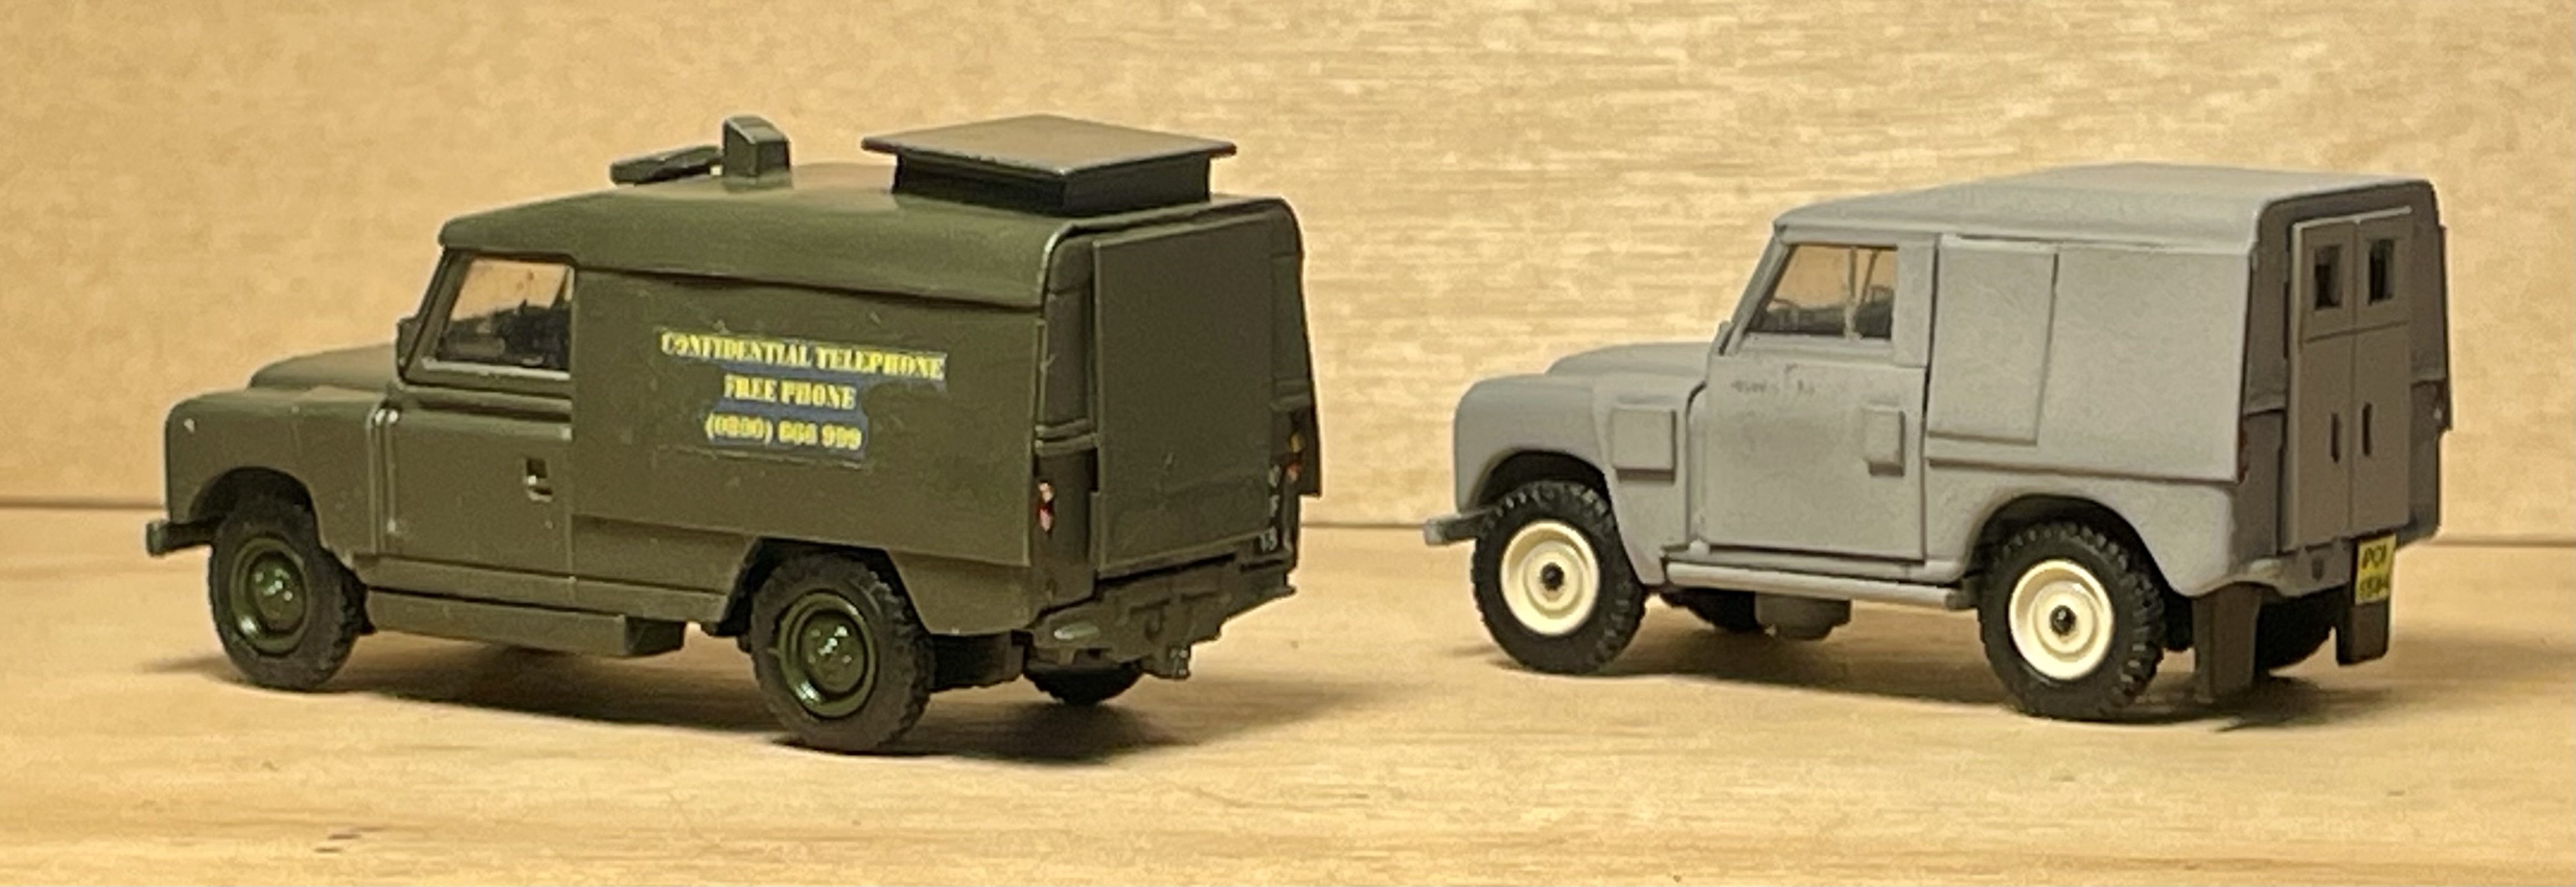
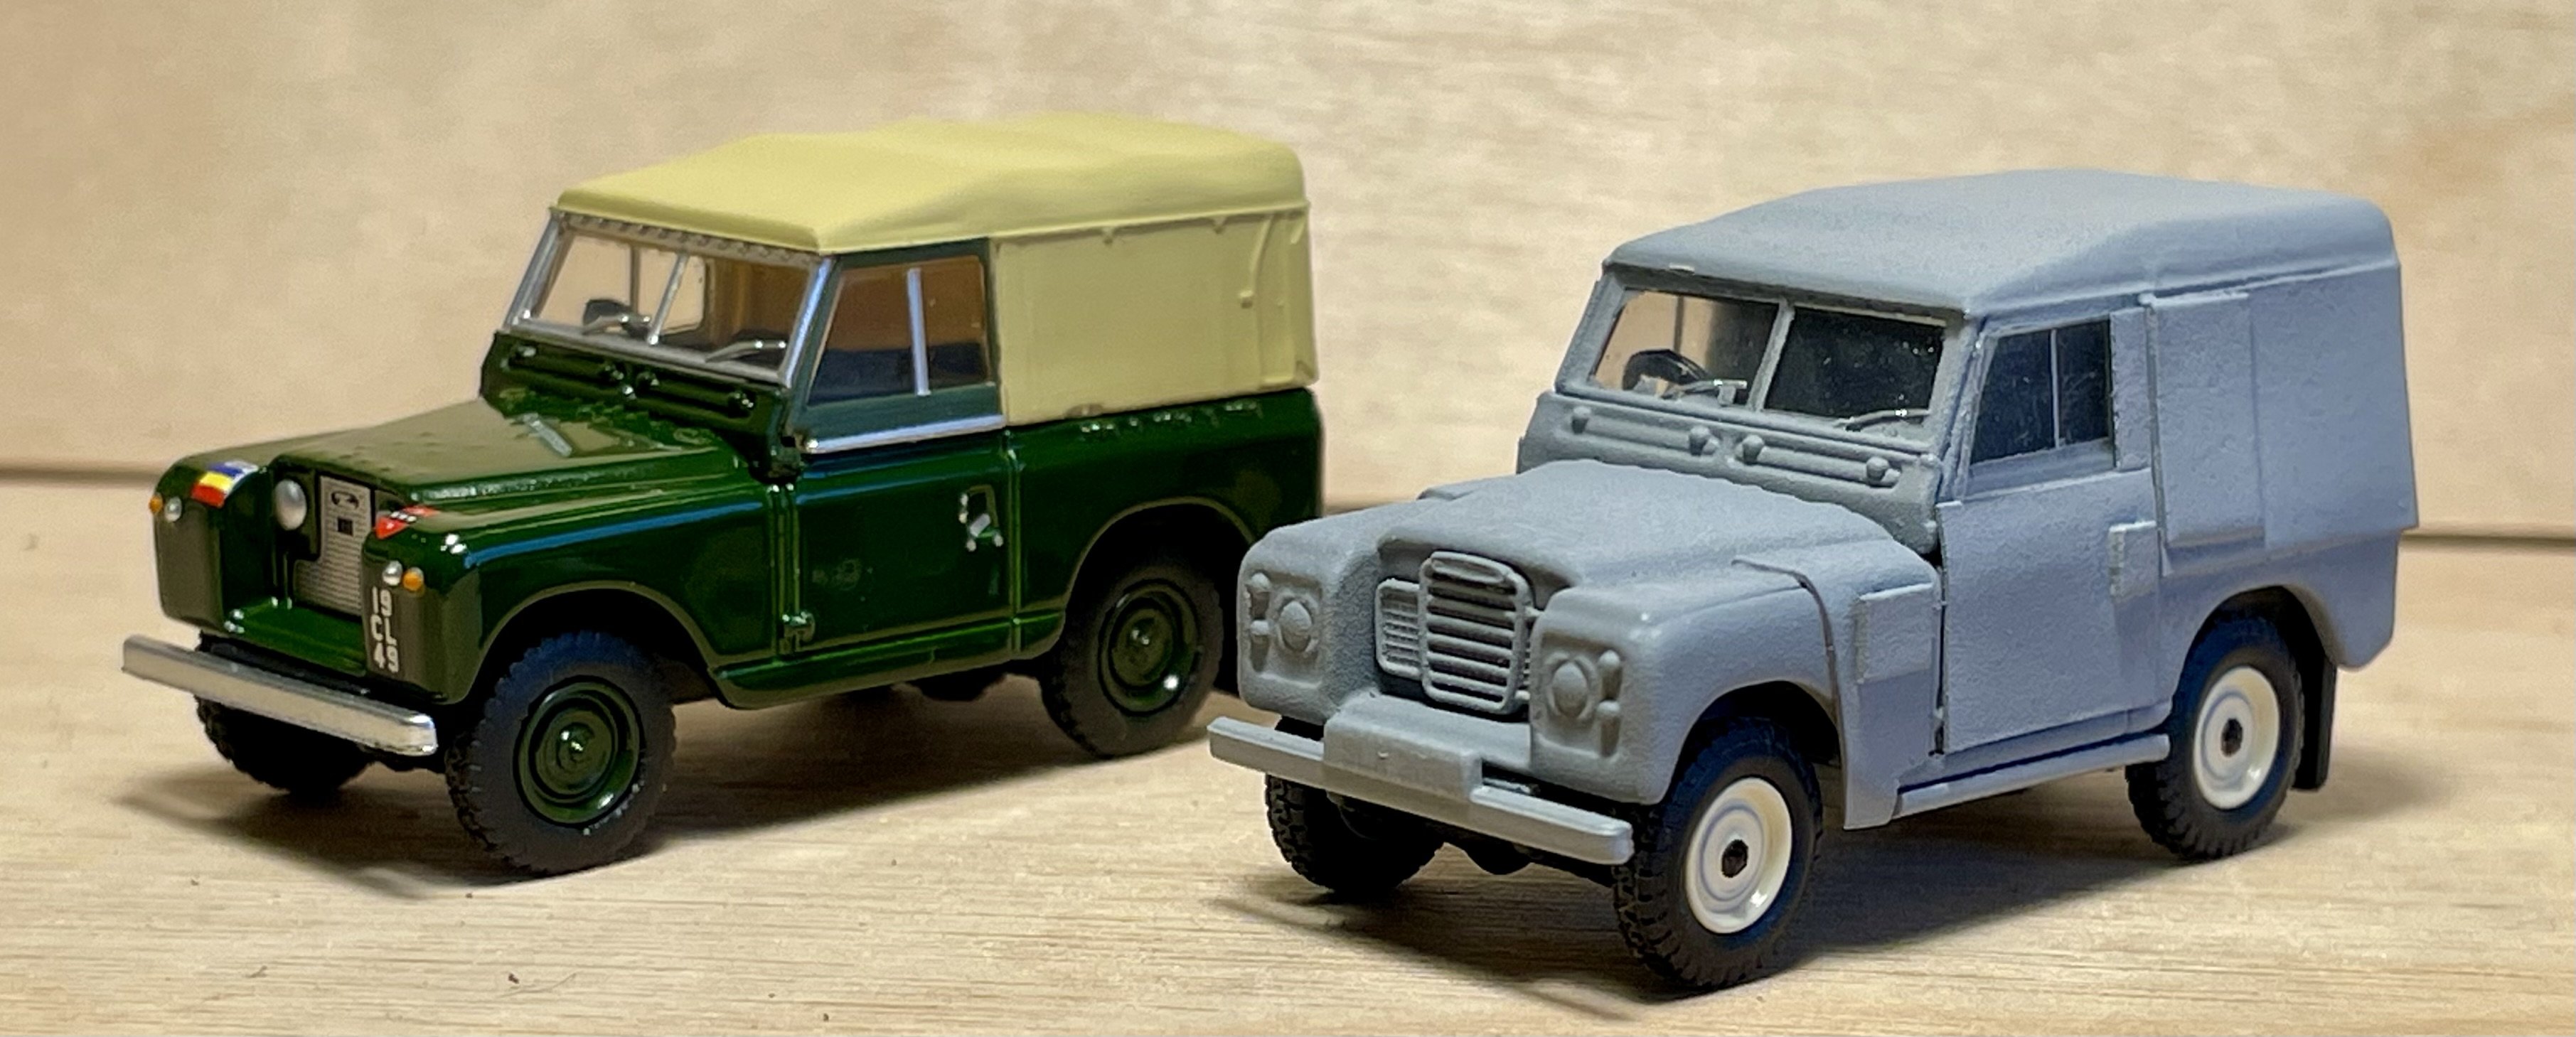
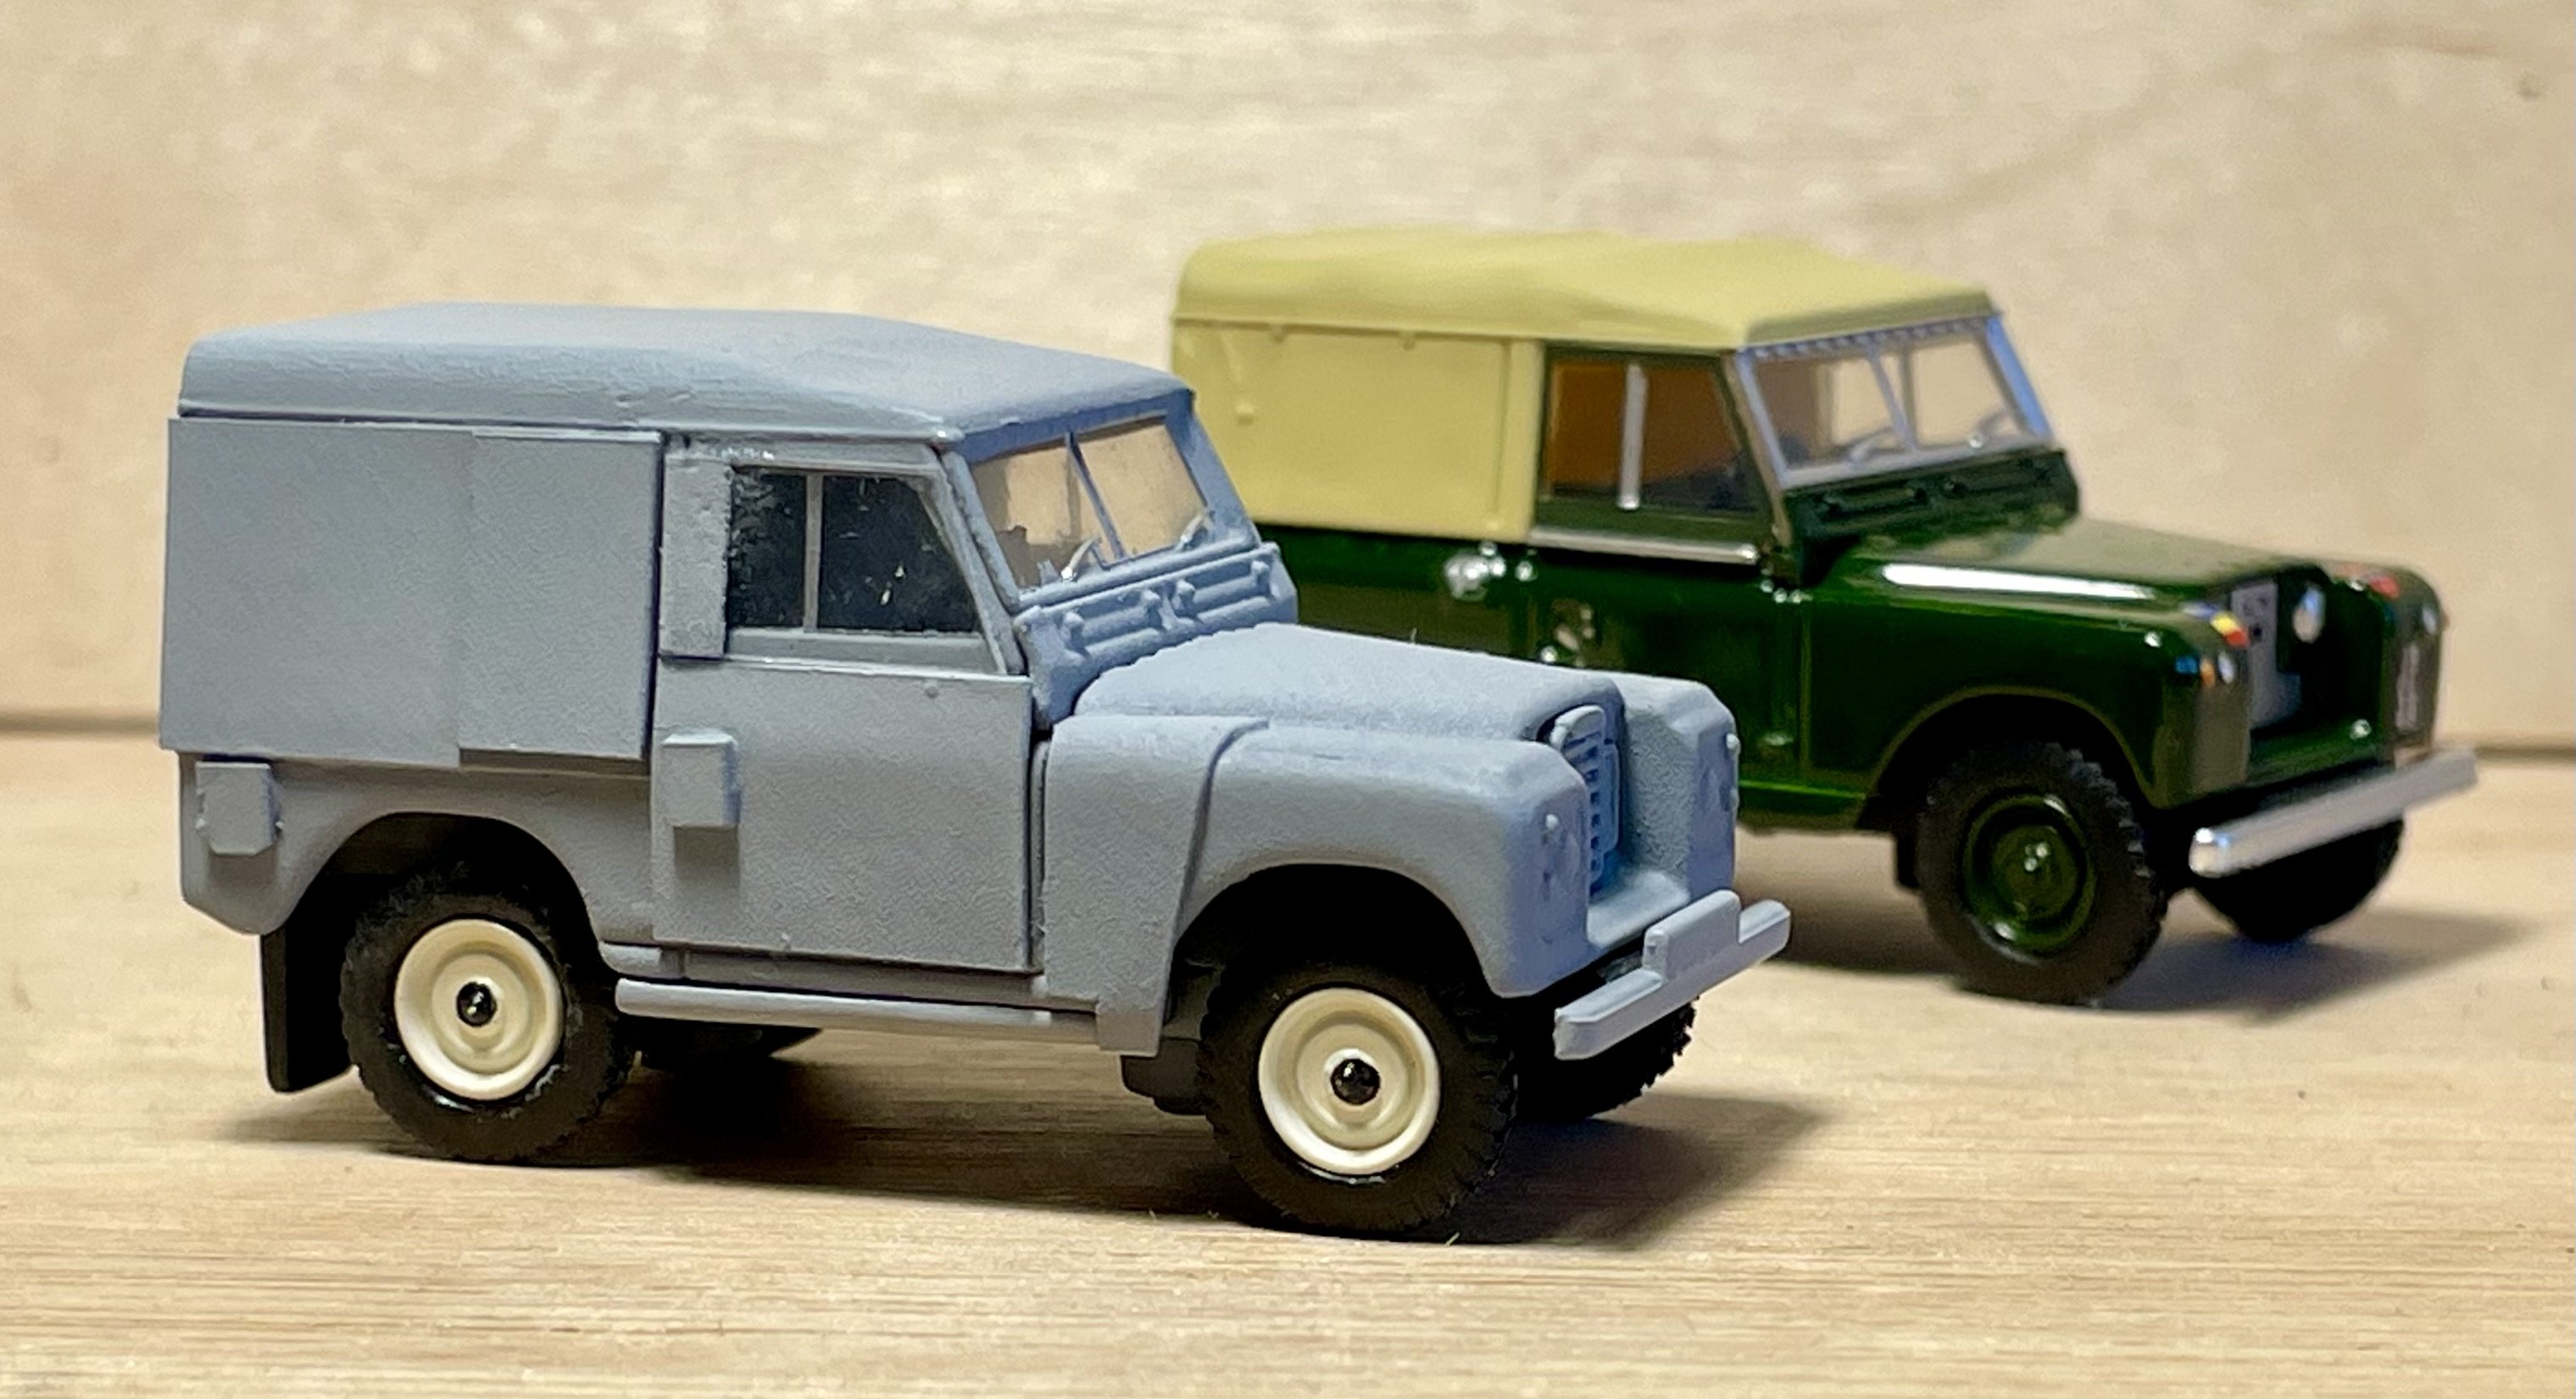
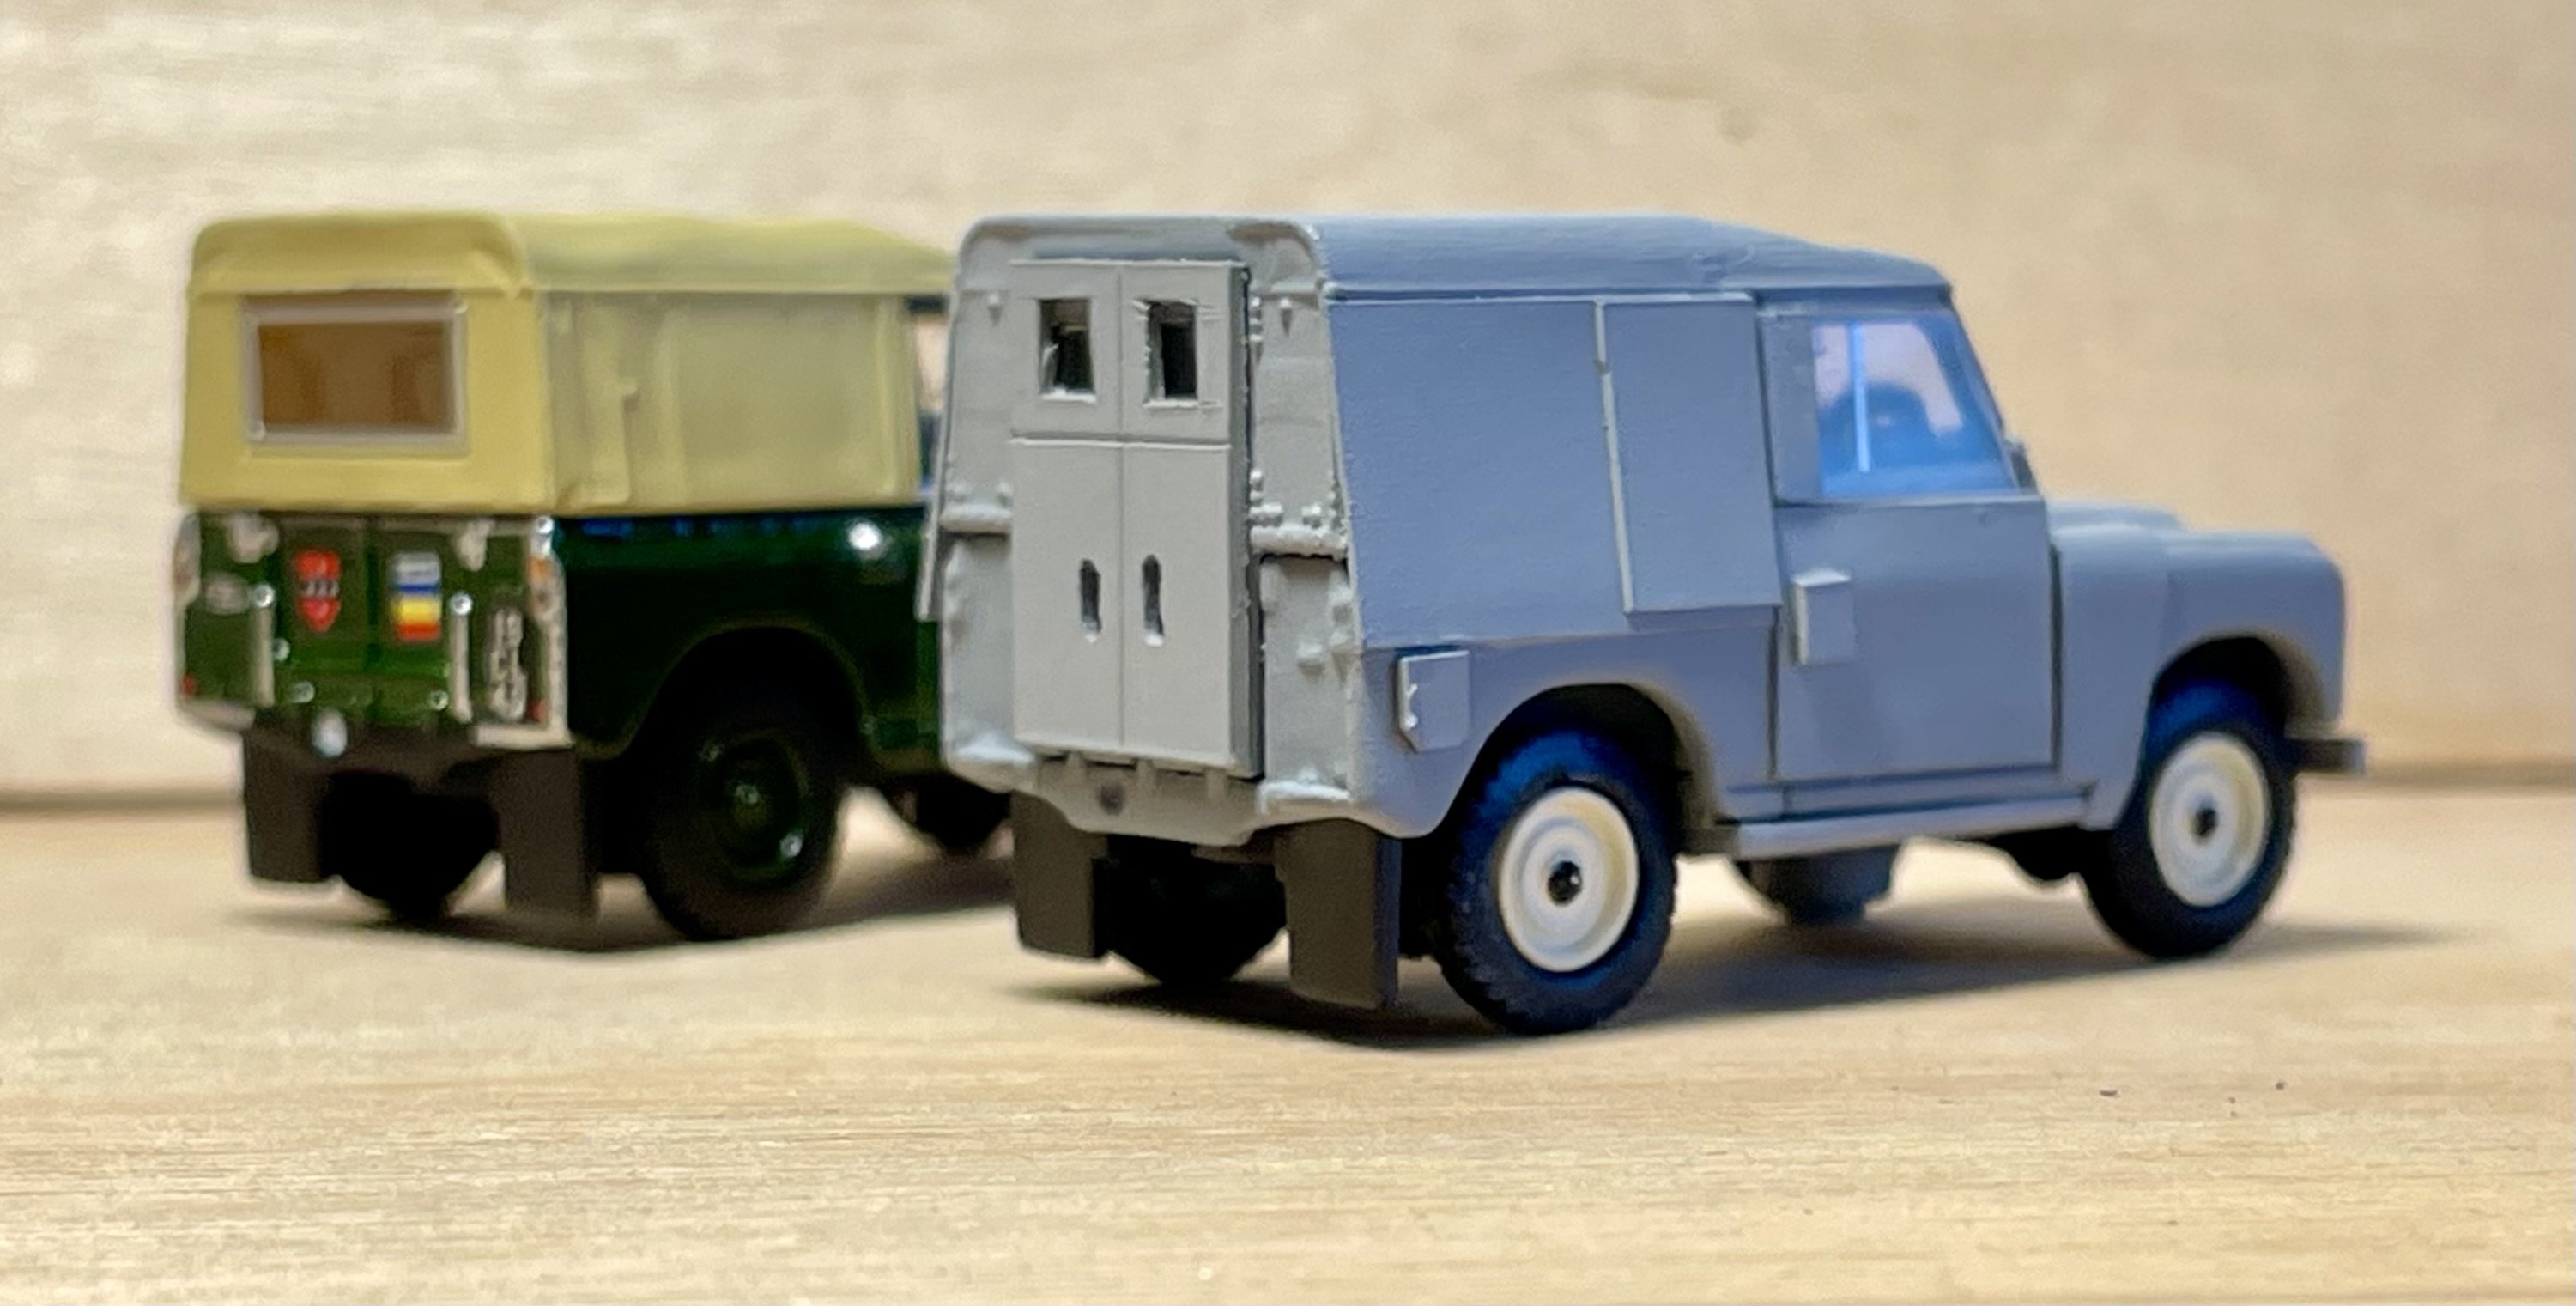
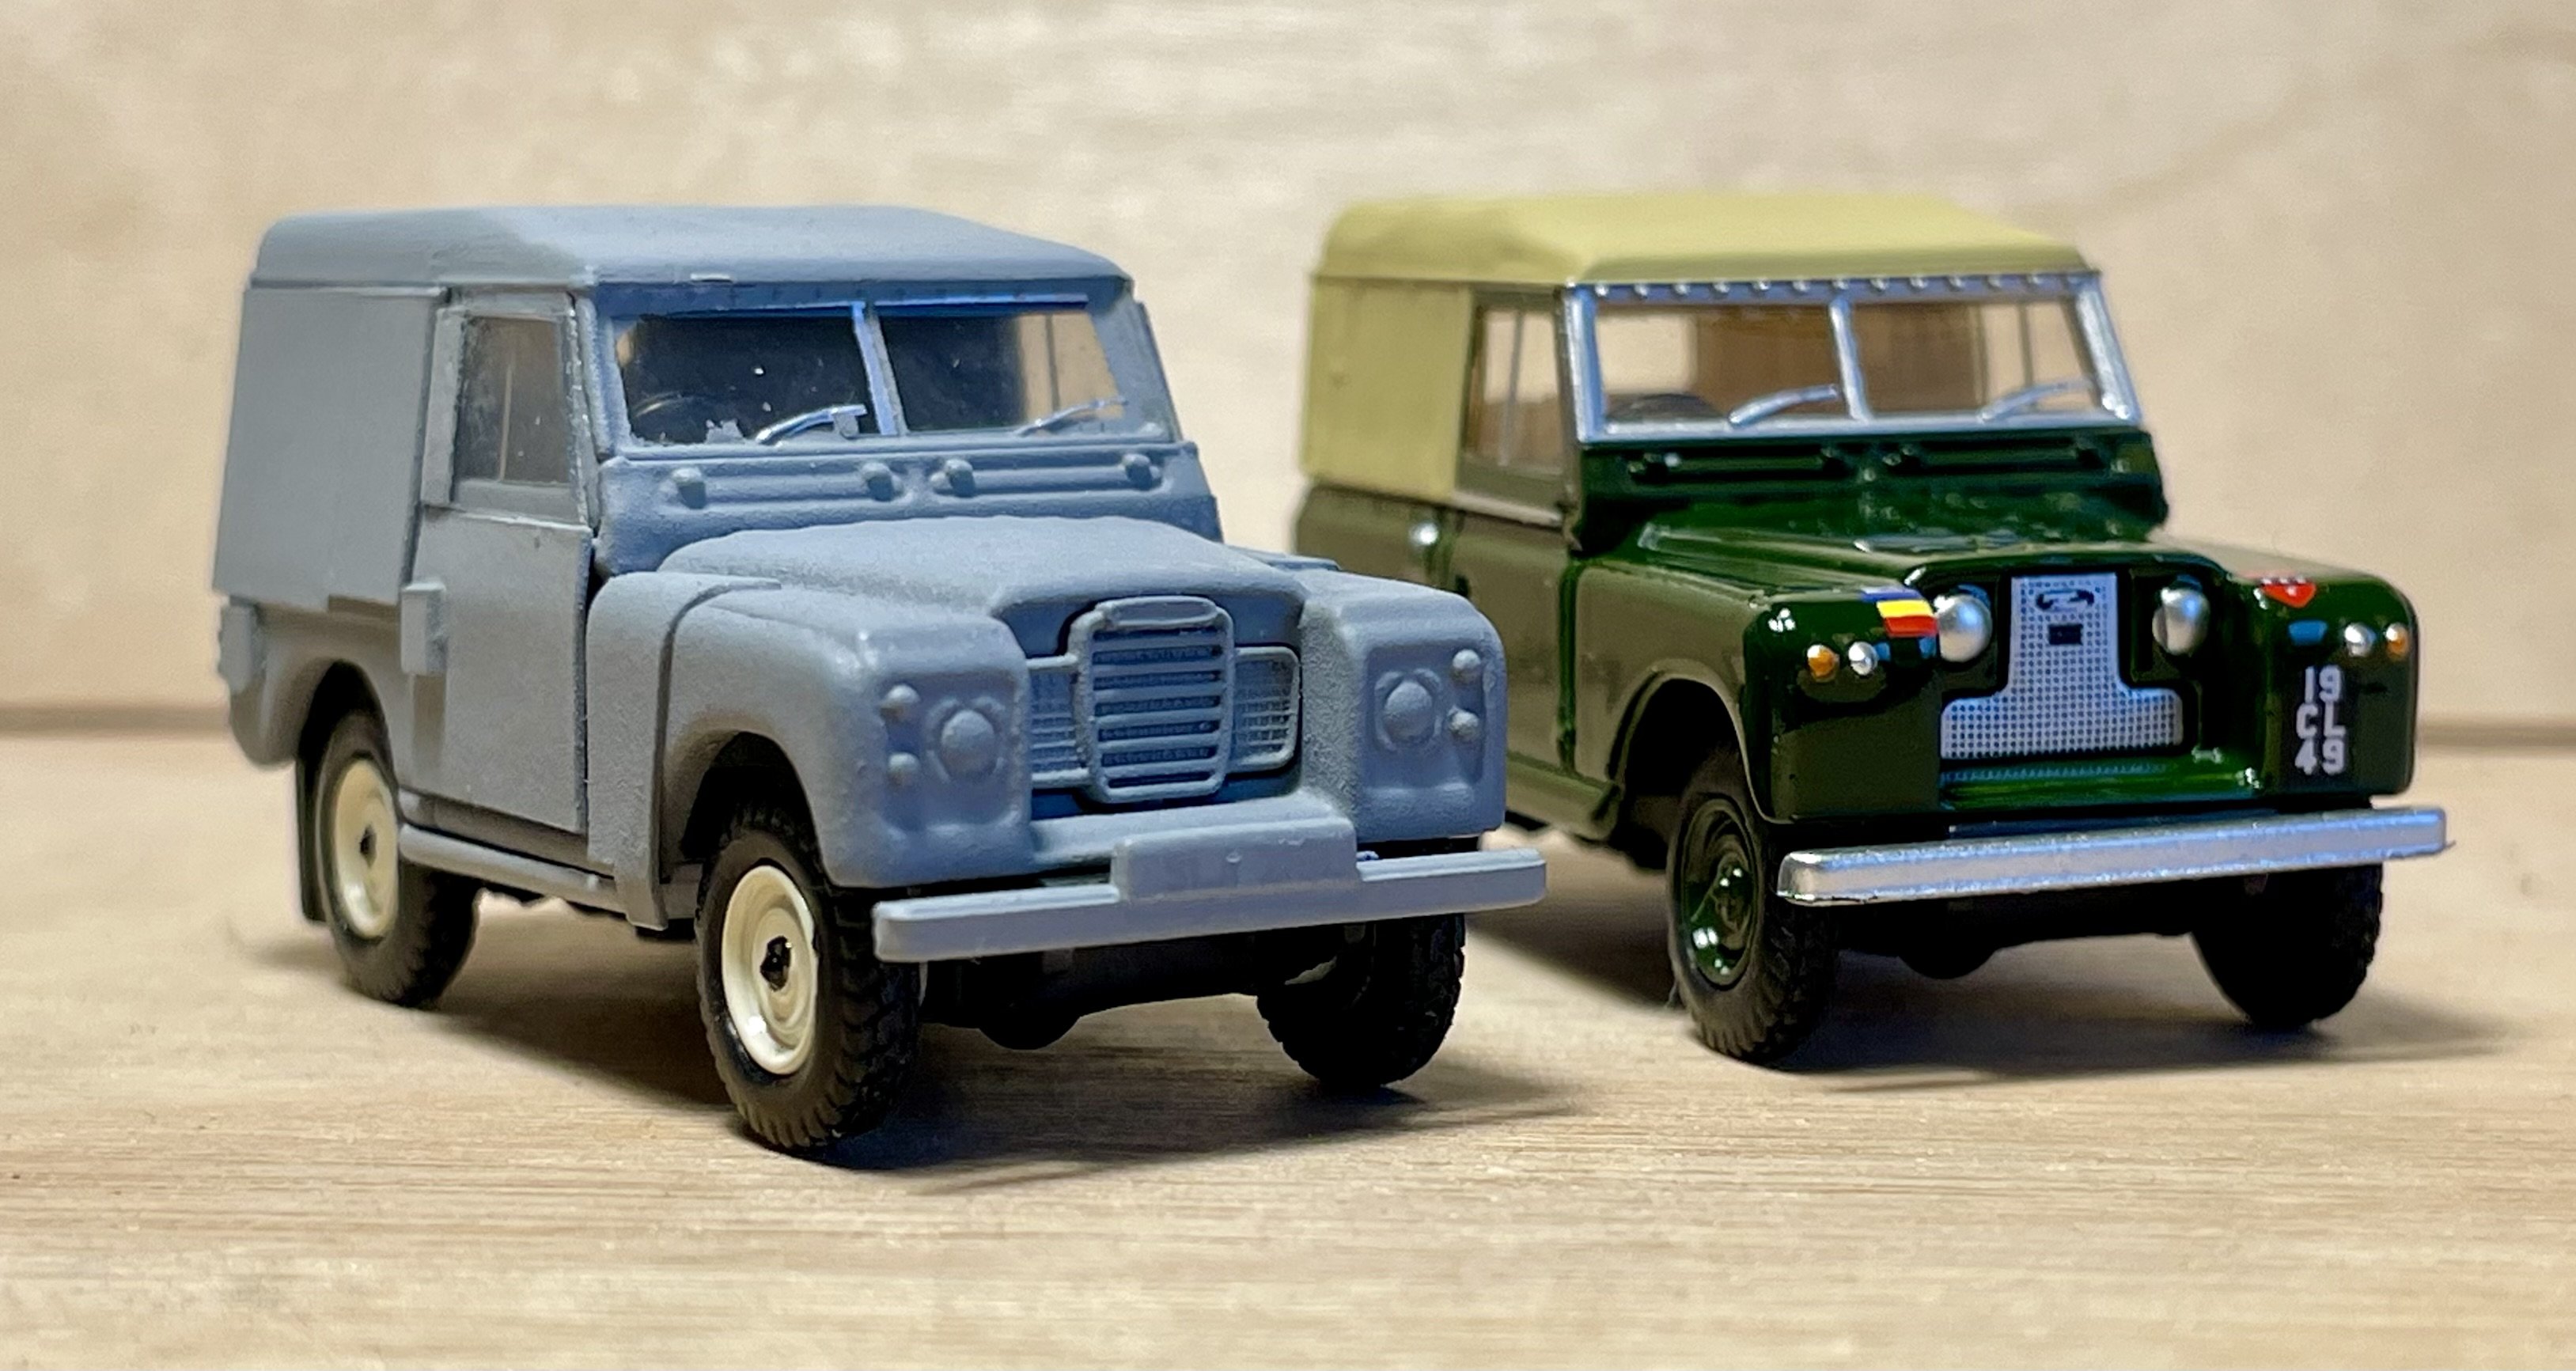
Modified another OD Land Rover. Cheers Darius
- 194 replies
-
- 13
-
-

-
Modified Oxford Diecast Land Rover using thin plasticard. Still need to add outer mesh screen to windscreen and touch in head and tail lamps - plus number plates. Cheers Darius
-
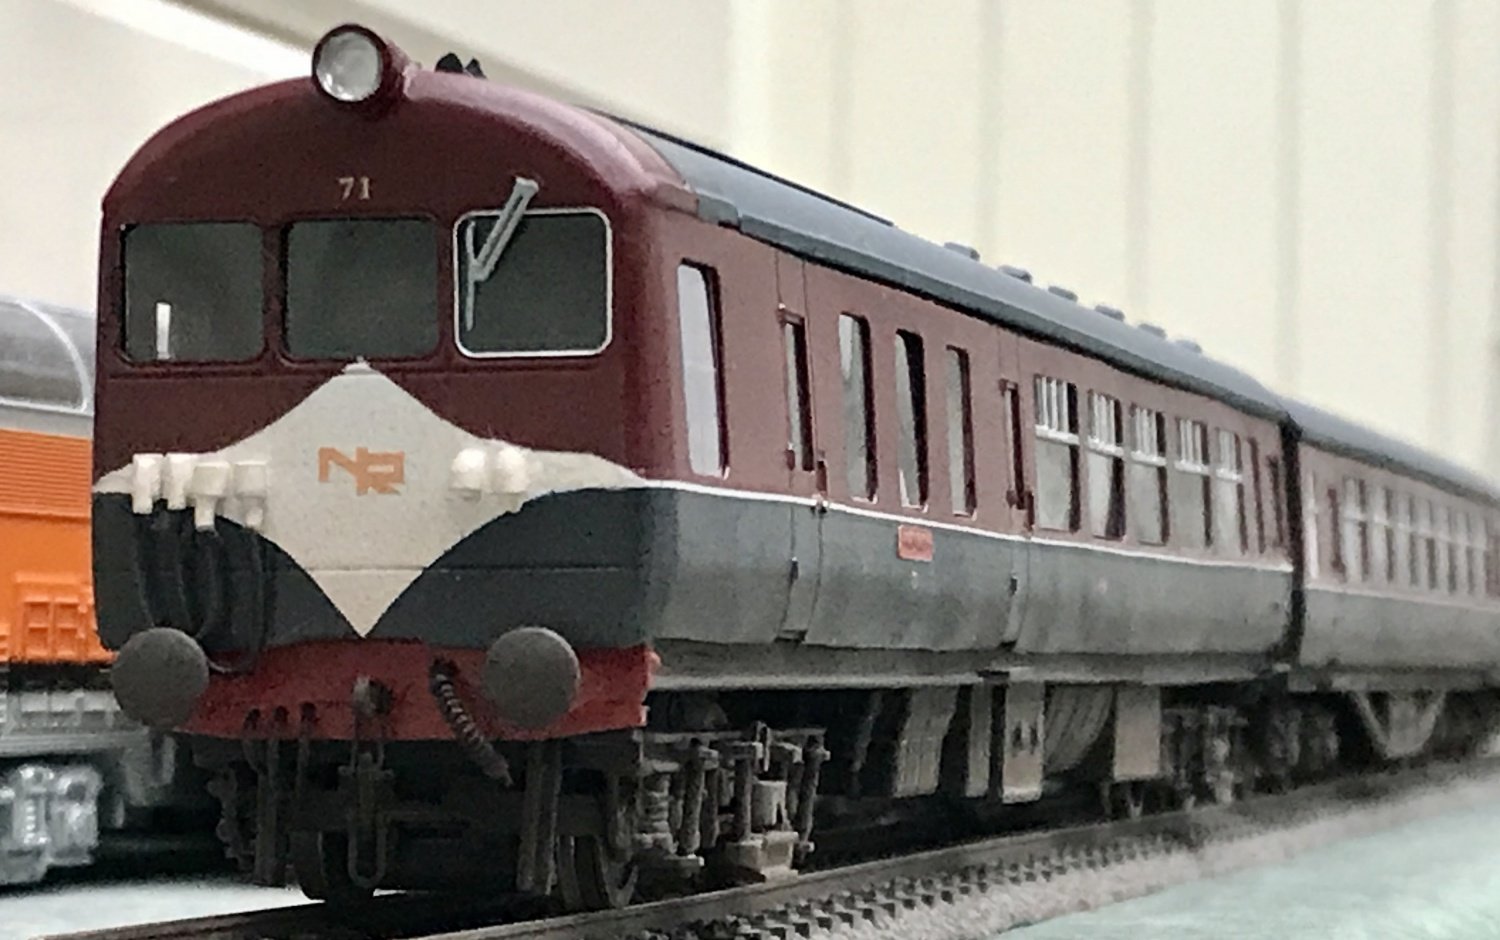
Some 1960s NIR stock on the move. Cheers Darius
-
UTA trains in action. A Larne boat train and post war Railcars 6 and 7. Cheers Darius
-
And the 80 Class is now operational. Cheers Darius
-
Dusted down the 70 Class for a run. I added pick ups to the trailing bogie of the power car to prevent gapping at the insulated frogs. Cheers Darius
-
My first and only main line steam trip in Ireland was from York Road to Whitehead and back in 1978, hauled by one of those two locos - not sure which but I recall it was green. Cheers Darius
-
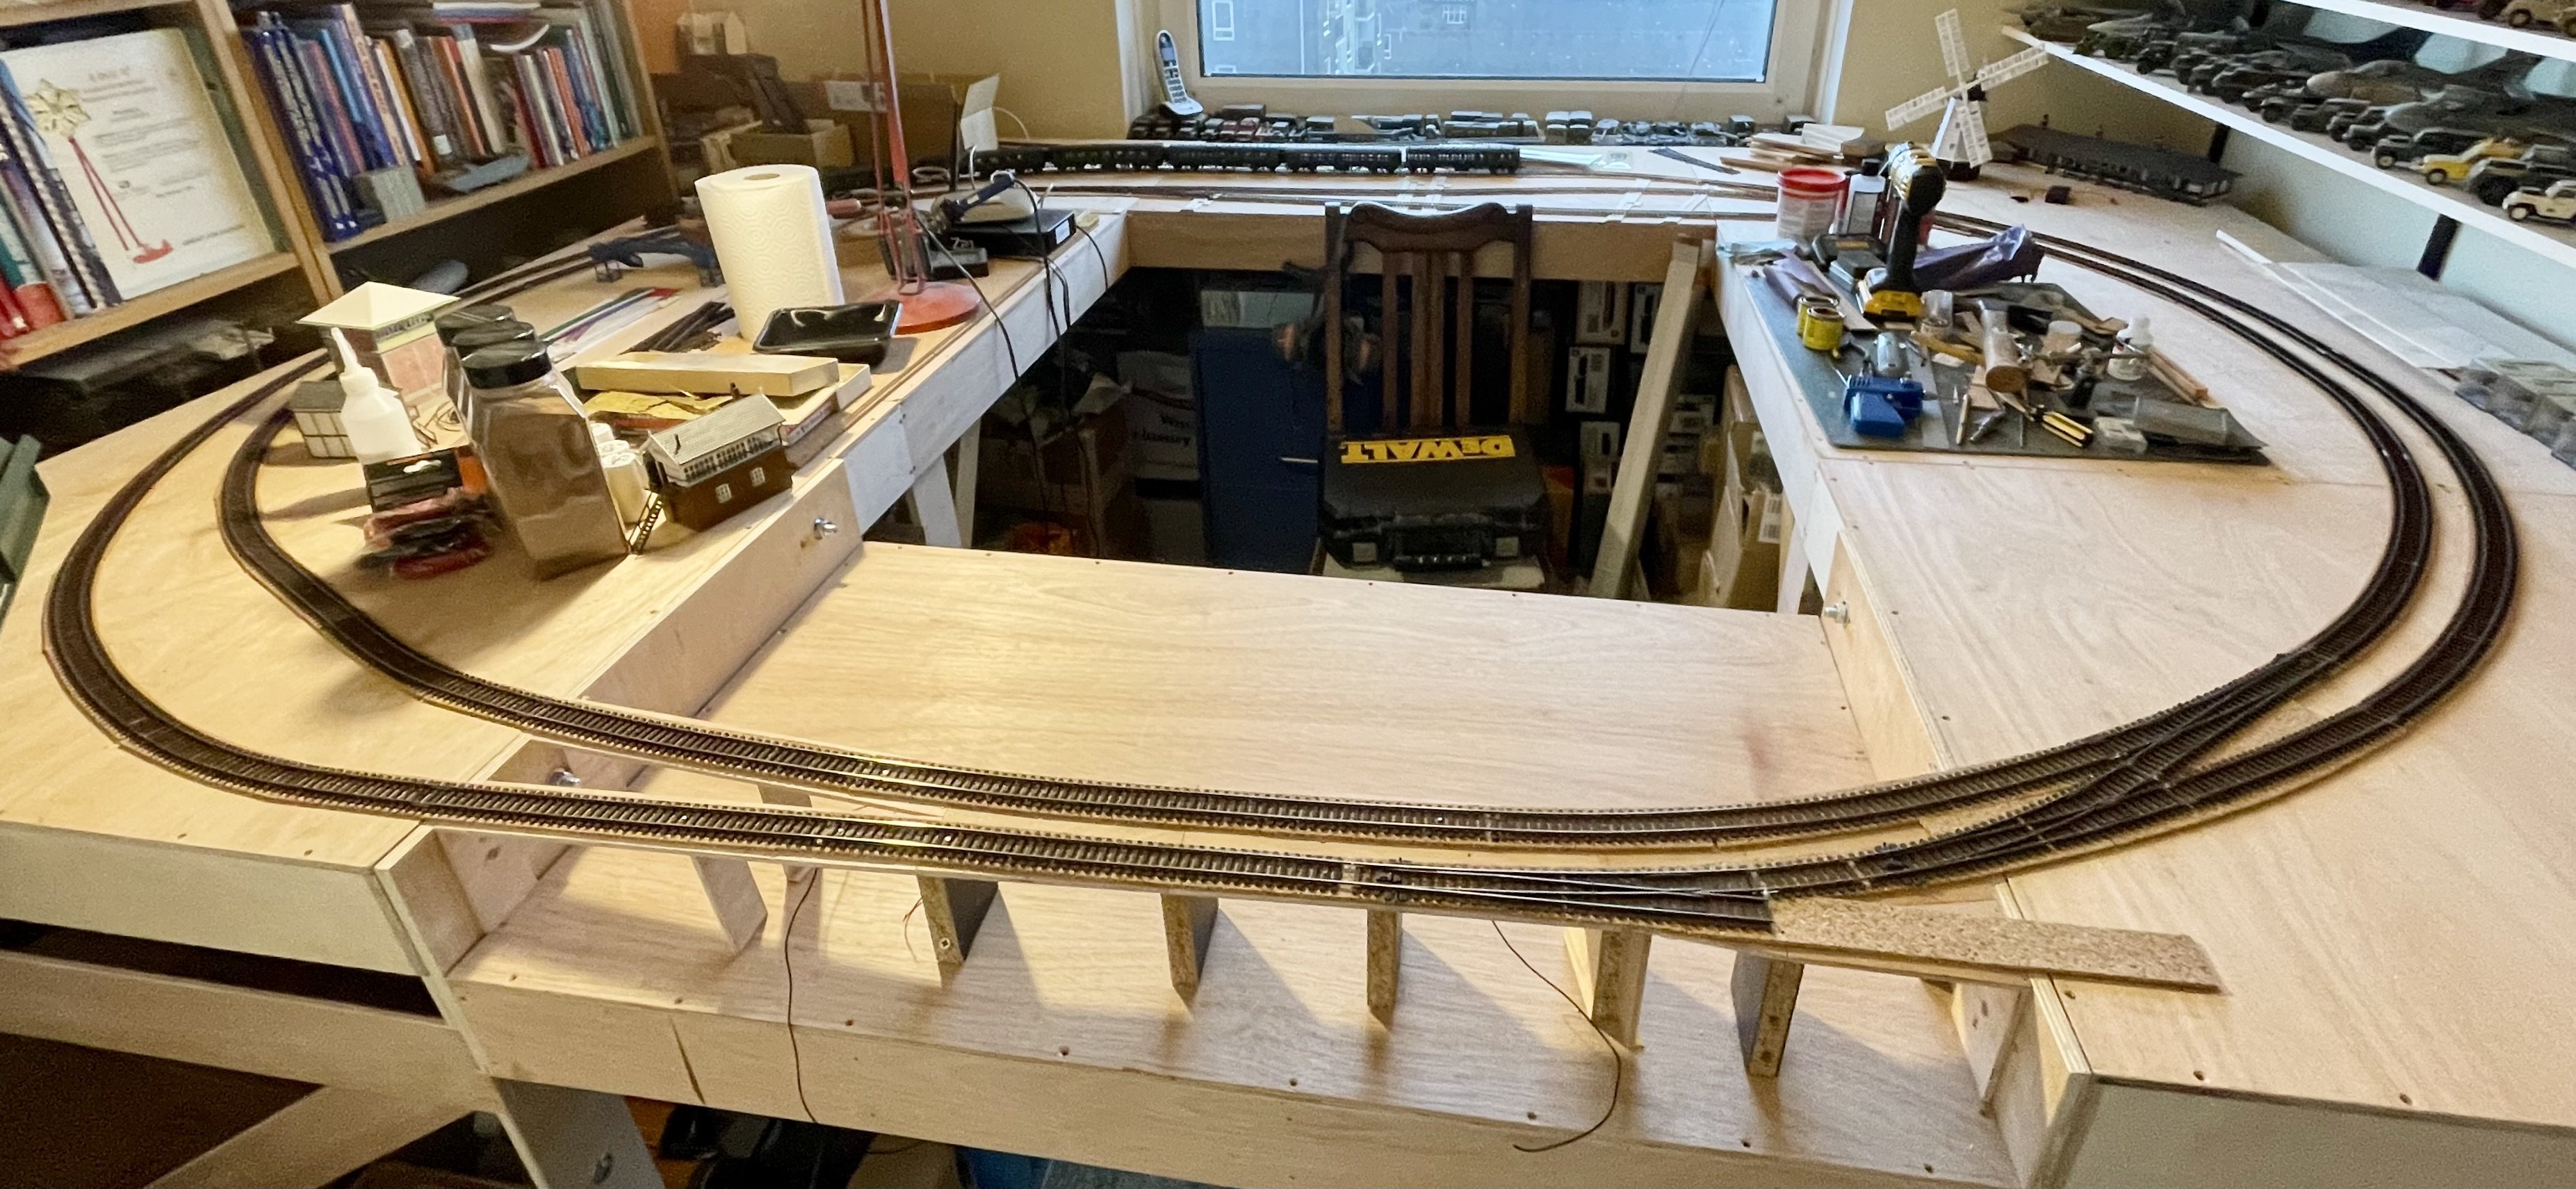
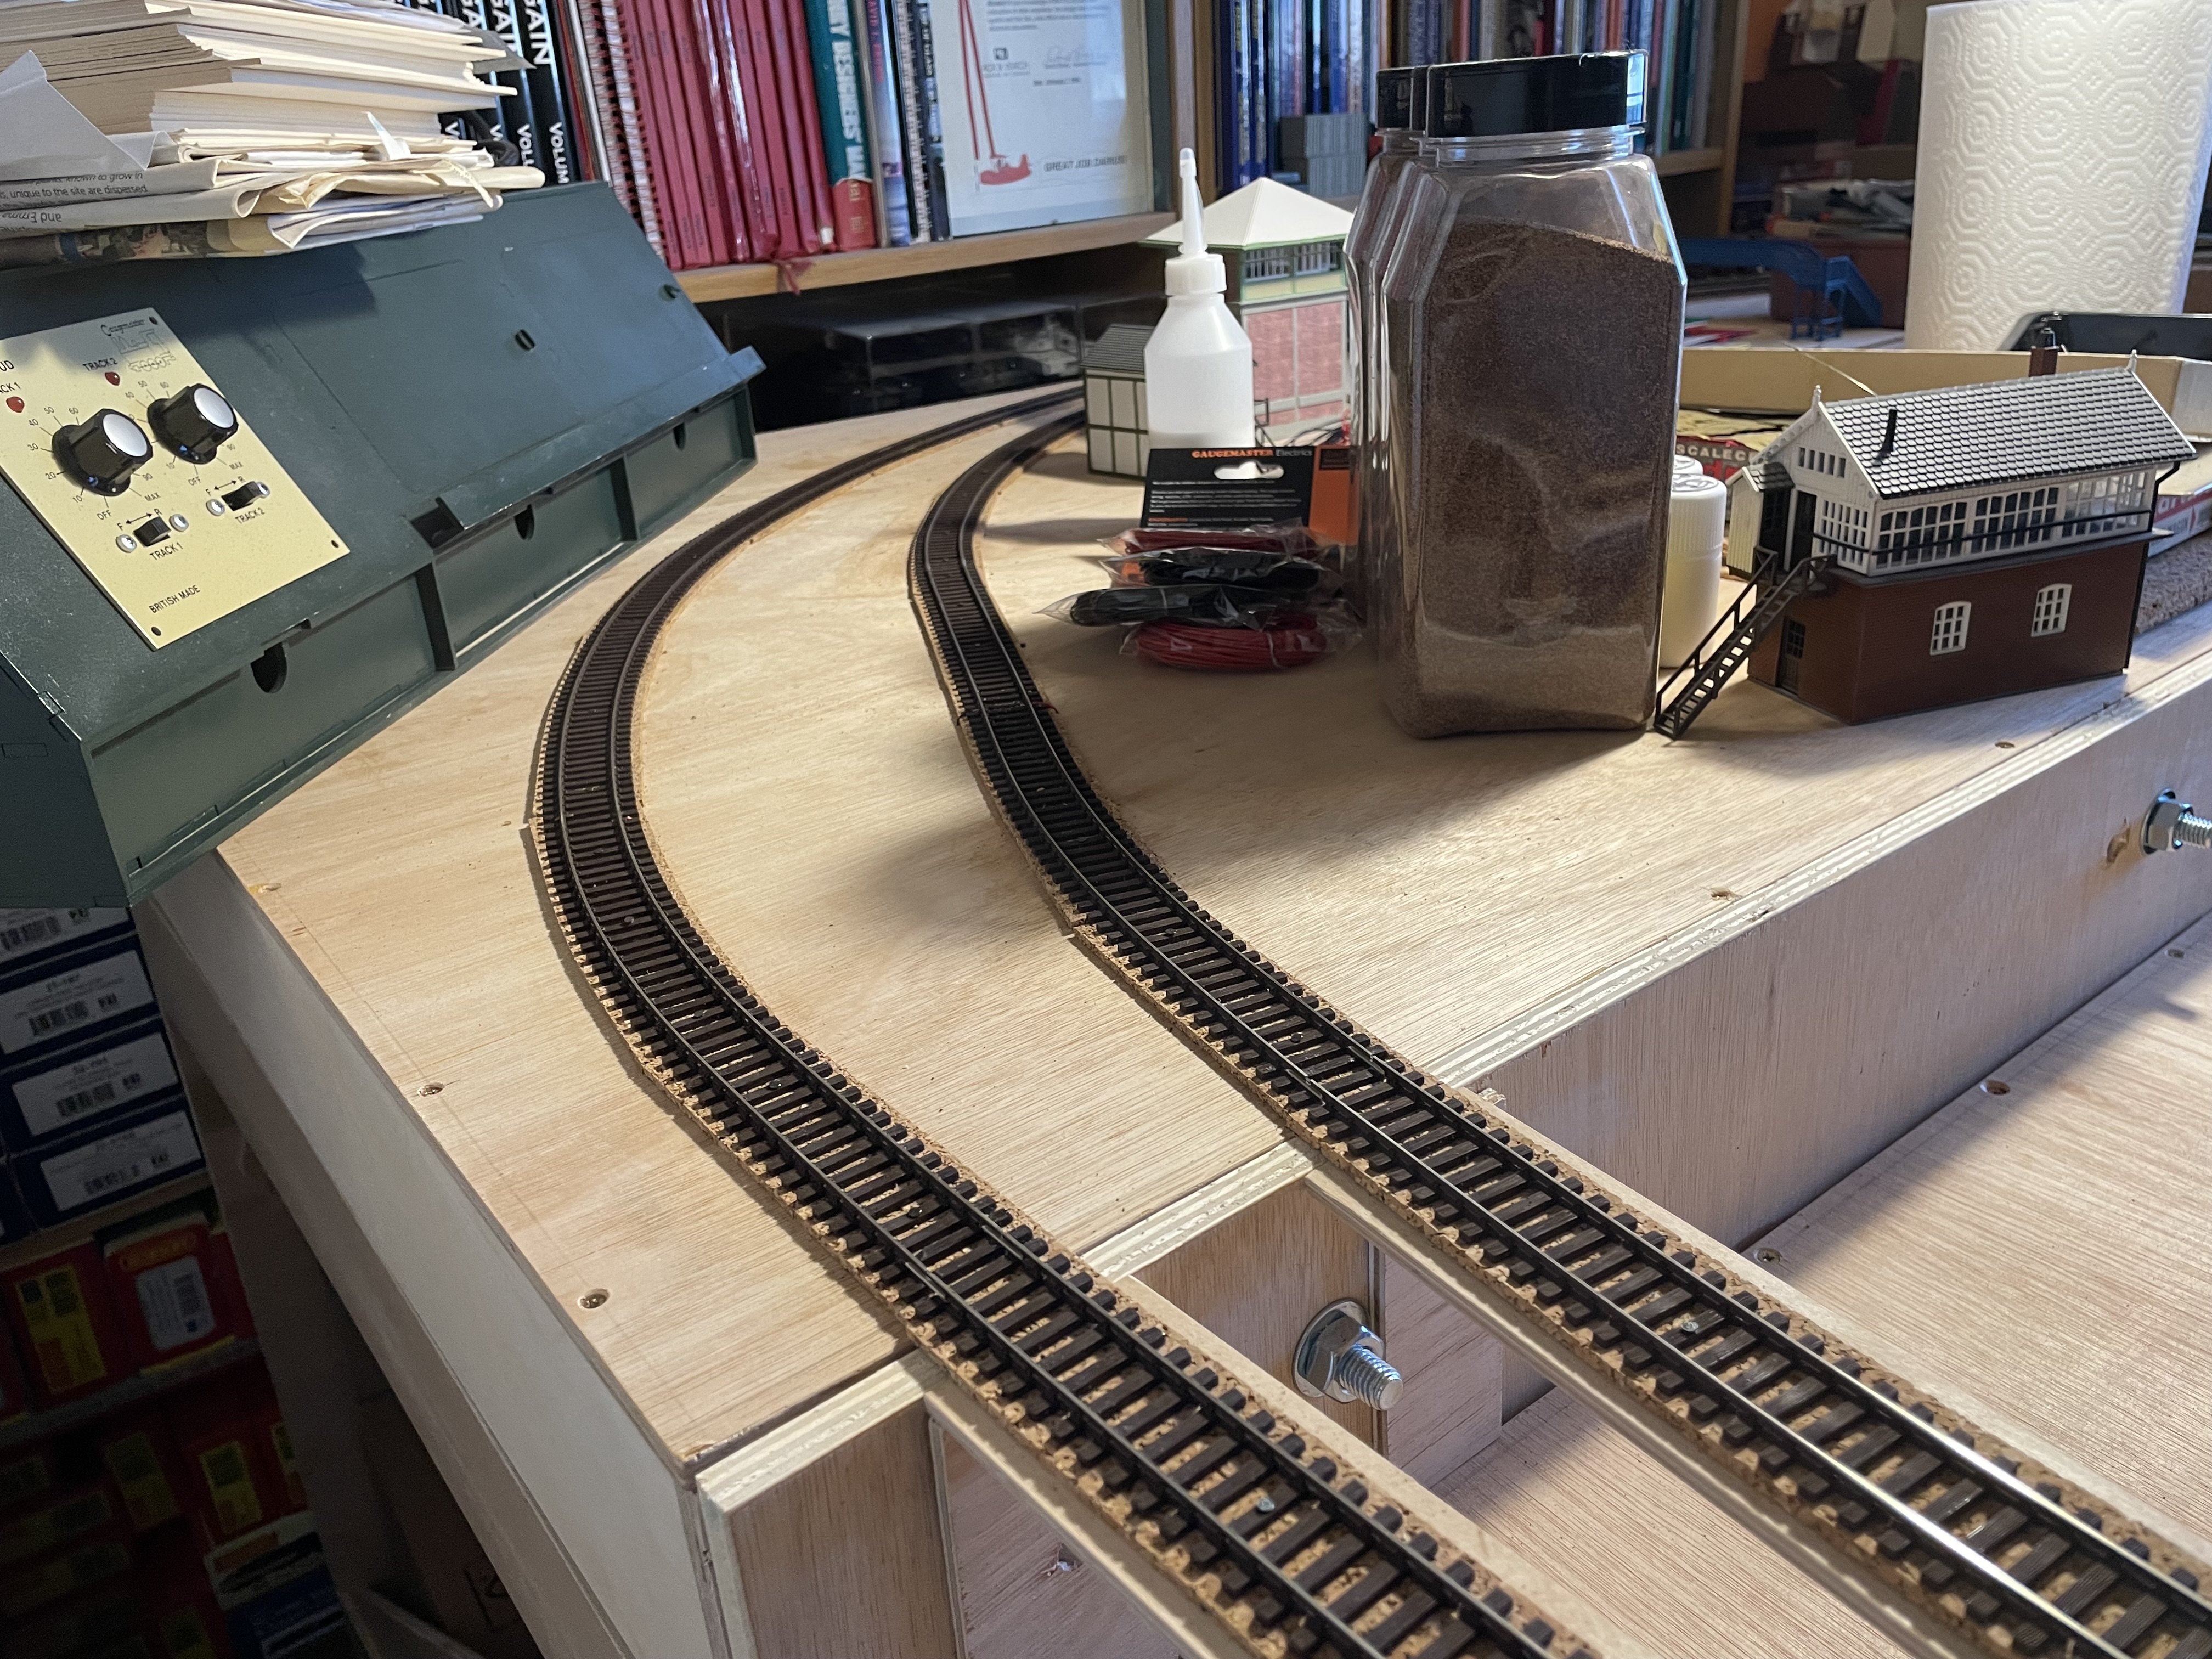
Power bus installed below the baseboards with feeds to each length of flexitrack soldered to the undersides of the rails. Found one short due to one of the turnout frog rails not having an insulated joiner - fixed. Running fine on DCC. Cheers Darius
-
Planning to use the same technique to build the station buildings and canopy for “Whiterock”. Cheers Darius
-
Hi Leslie, I used 2mm and 1mm thick card stock for the main structure and roof along with thinner card (photo print paper). For the cabin glazing I used clear acetate sheet (Ratio kit packaging). I used Ratio windows to make the large glazed units to the frame room. Cheers Darius
-
First running Cheers Darius
- 194 replies
-
- 12
-
-
-
It’s a duck under access scenario. Power bus installation tomorrow. Cheers Darius
-
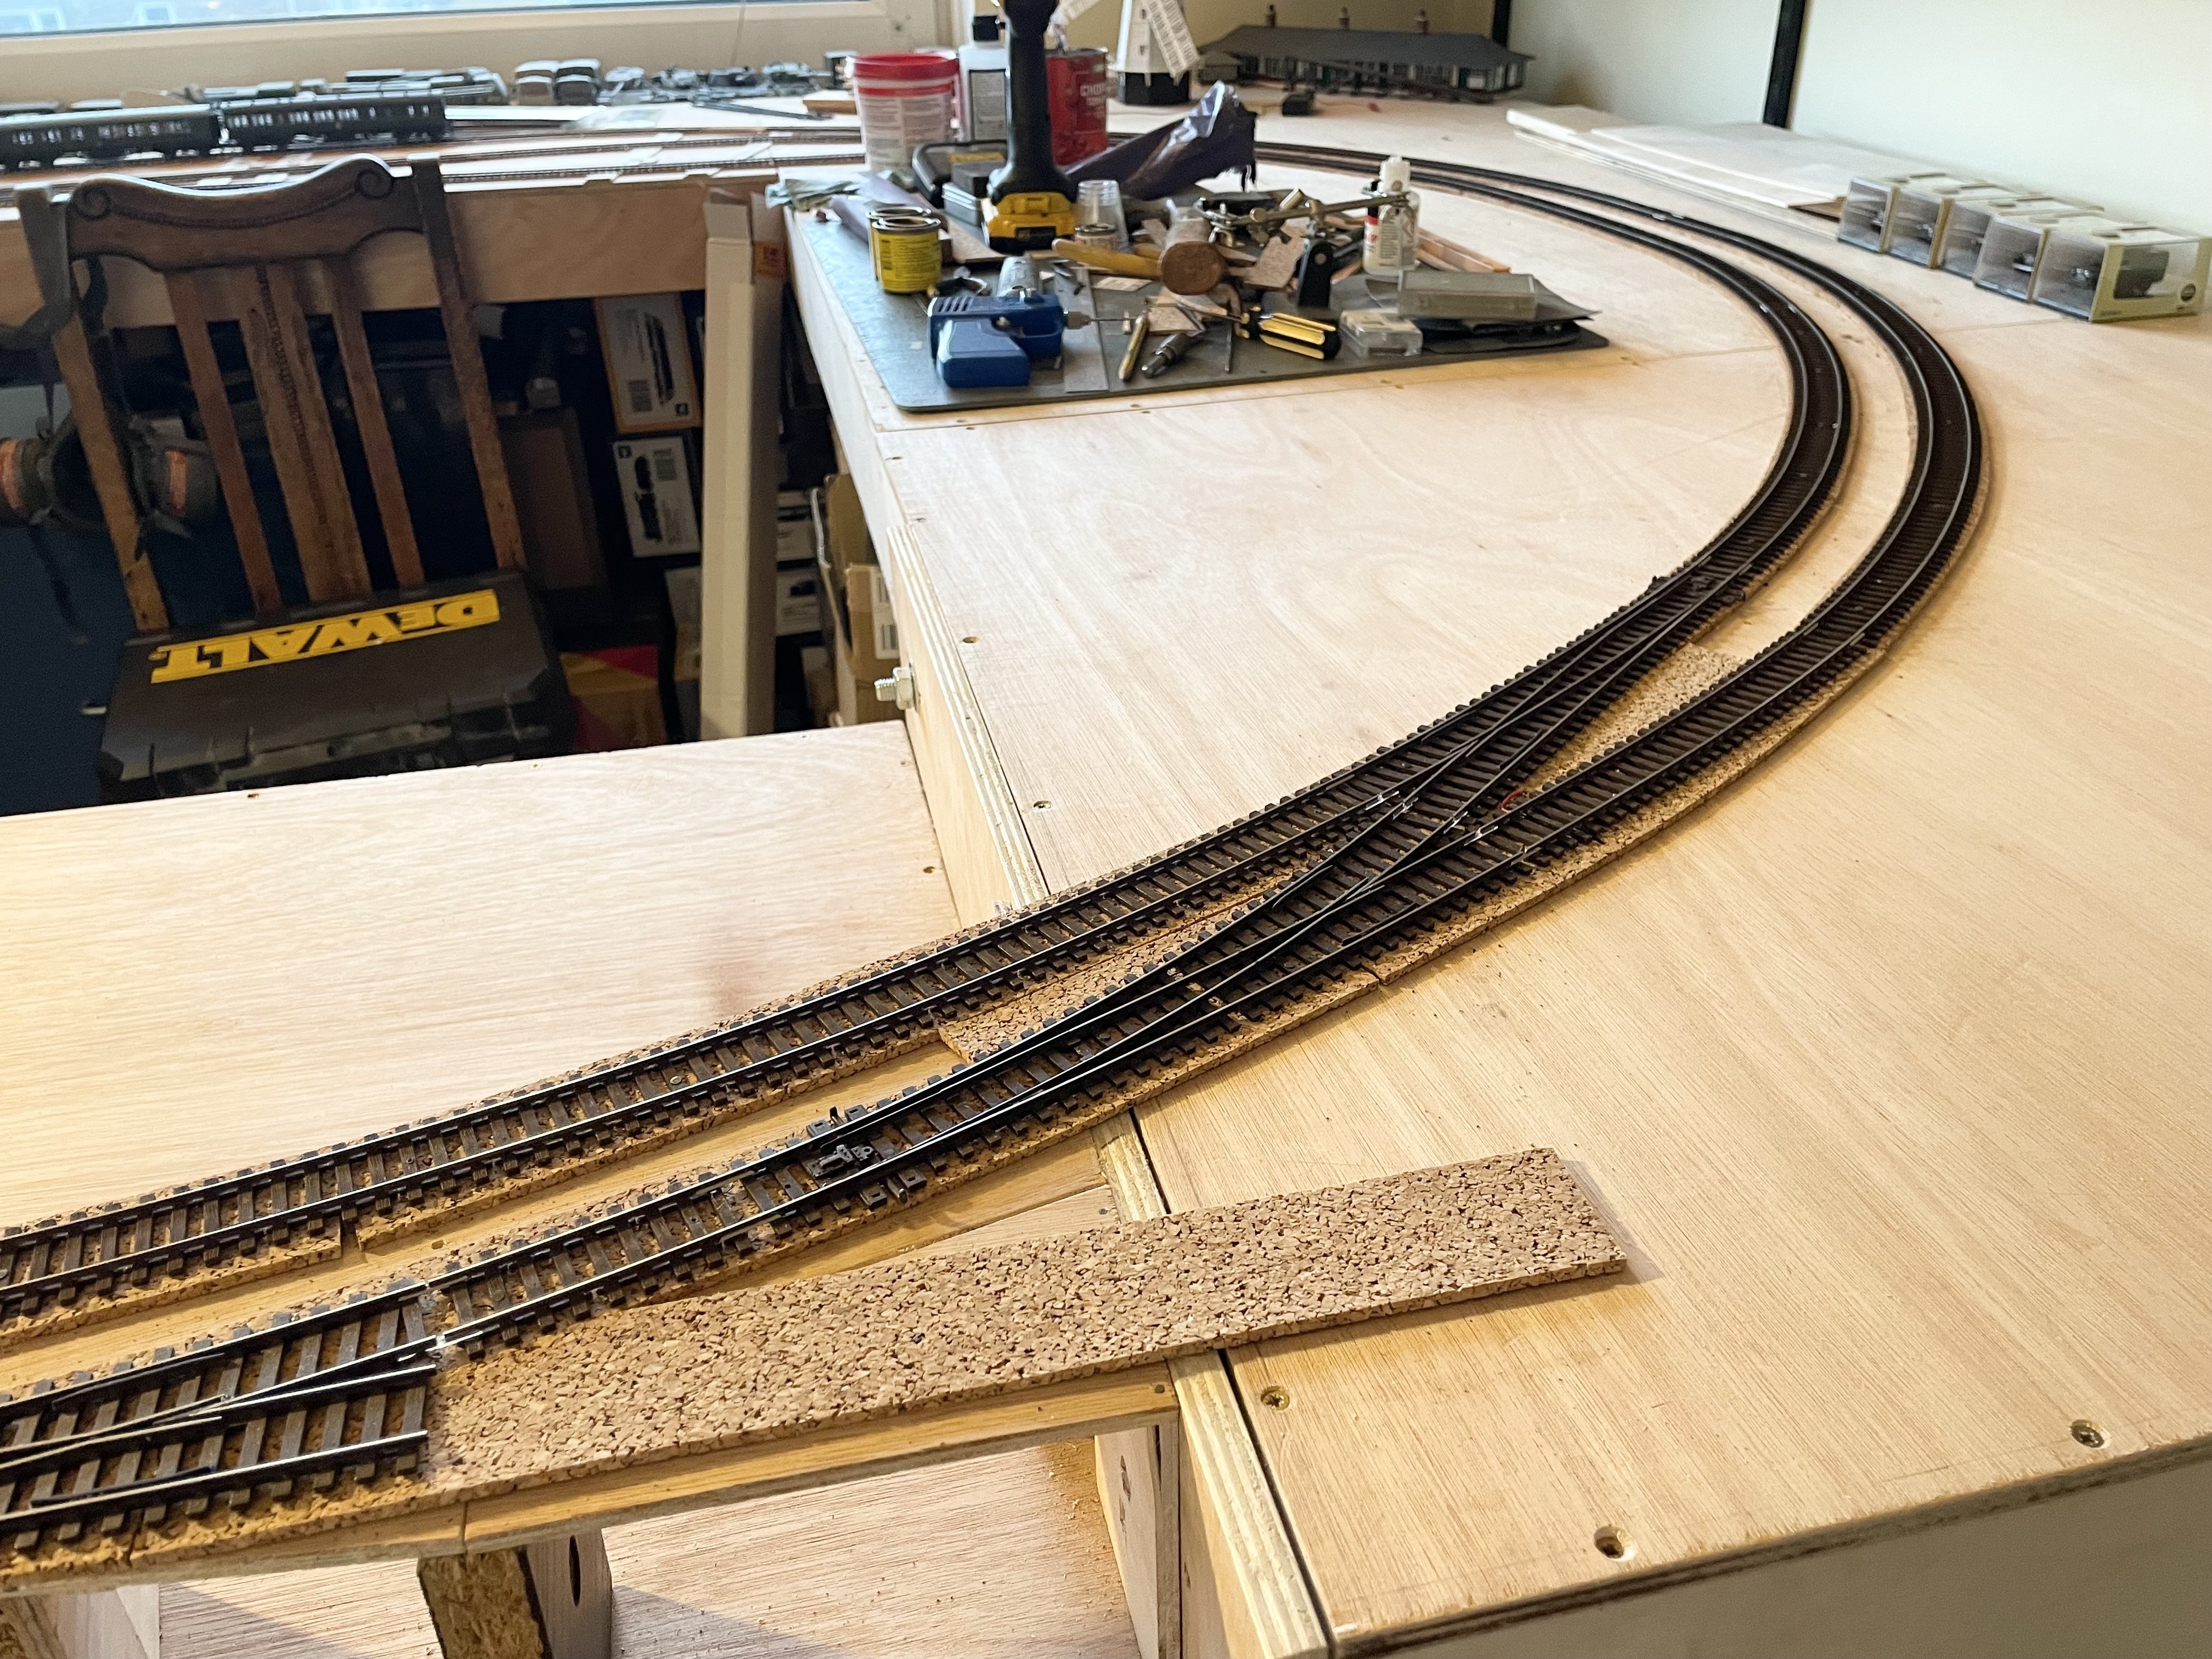
Double track circuit completed. o Cheers Darius
- 194 replies
-
- 12
-
-
 This popped up on my YouTube feed - nome nice UTA railcard footage at the start. Cheers Darius
- 1 reply
-
- 3
-
-
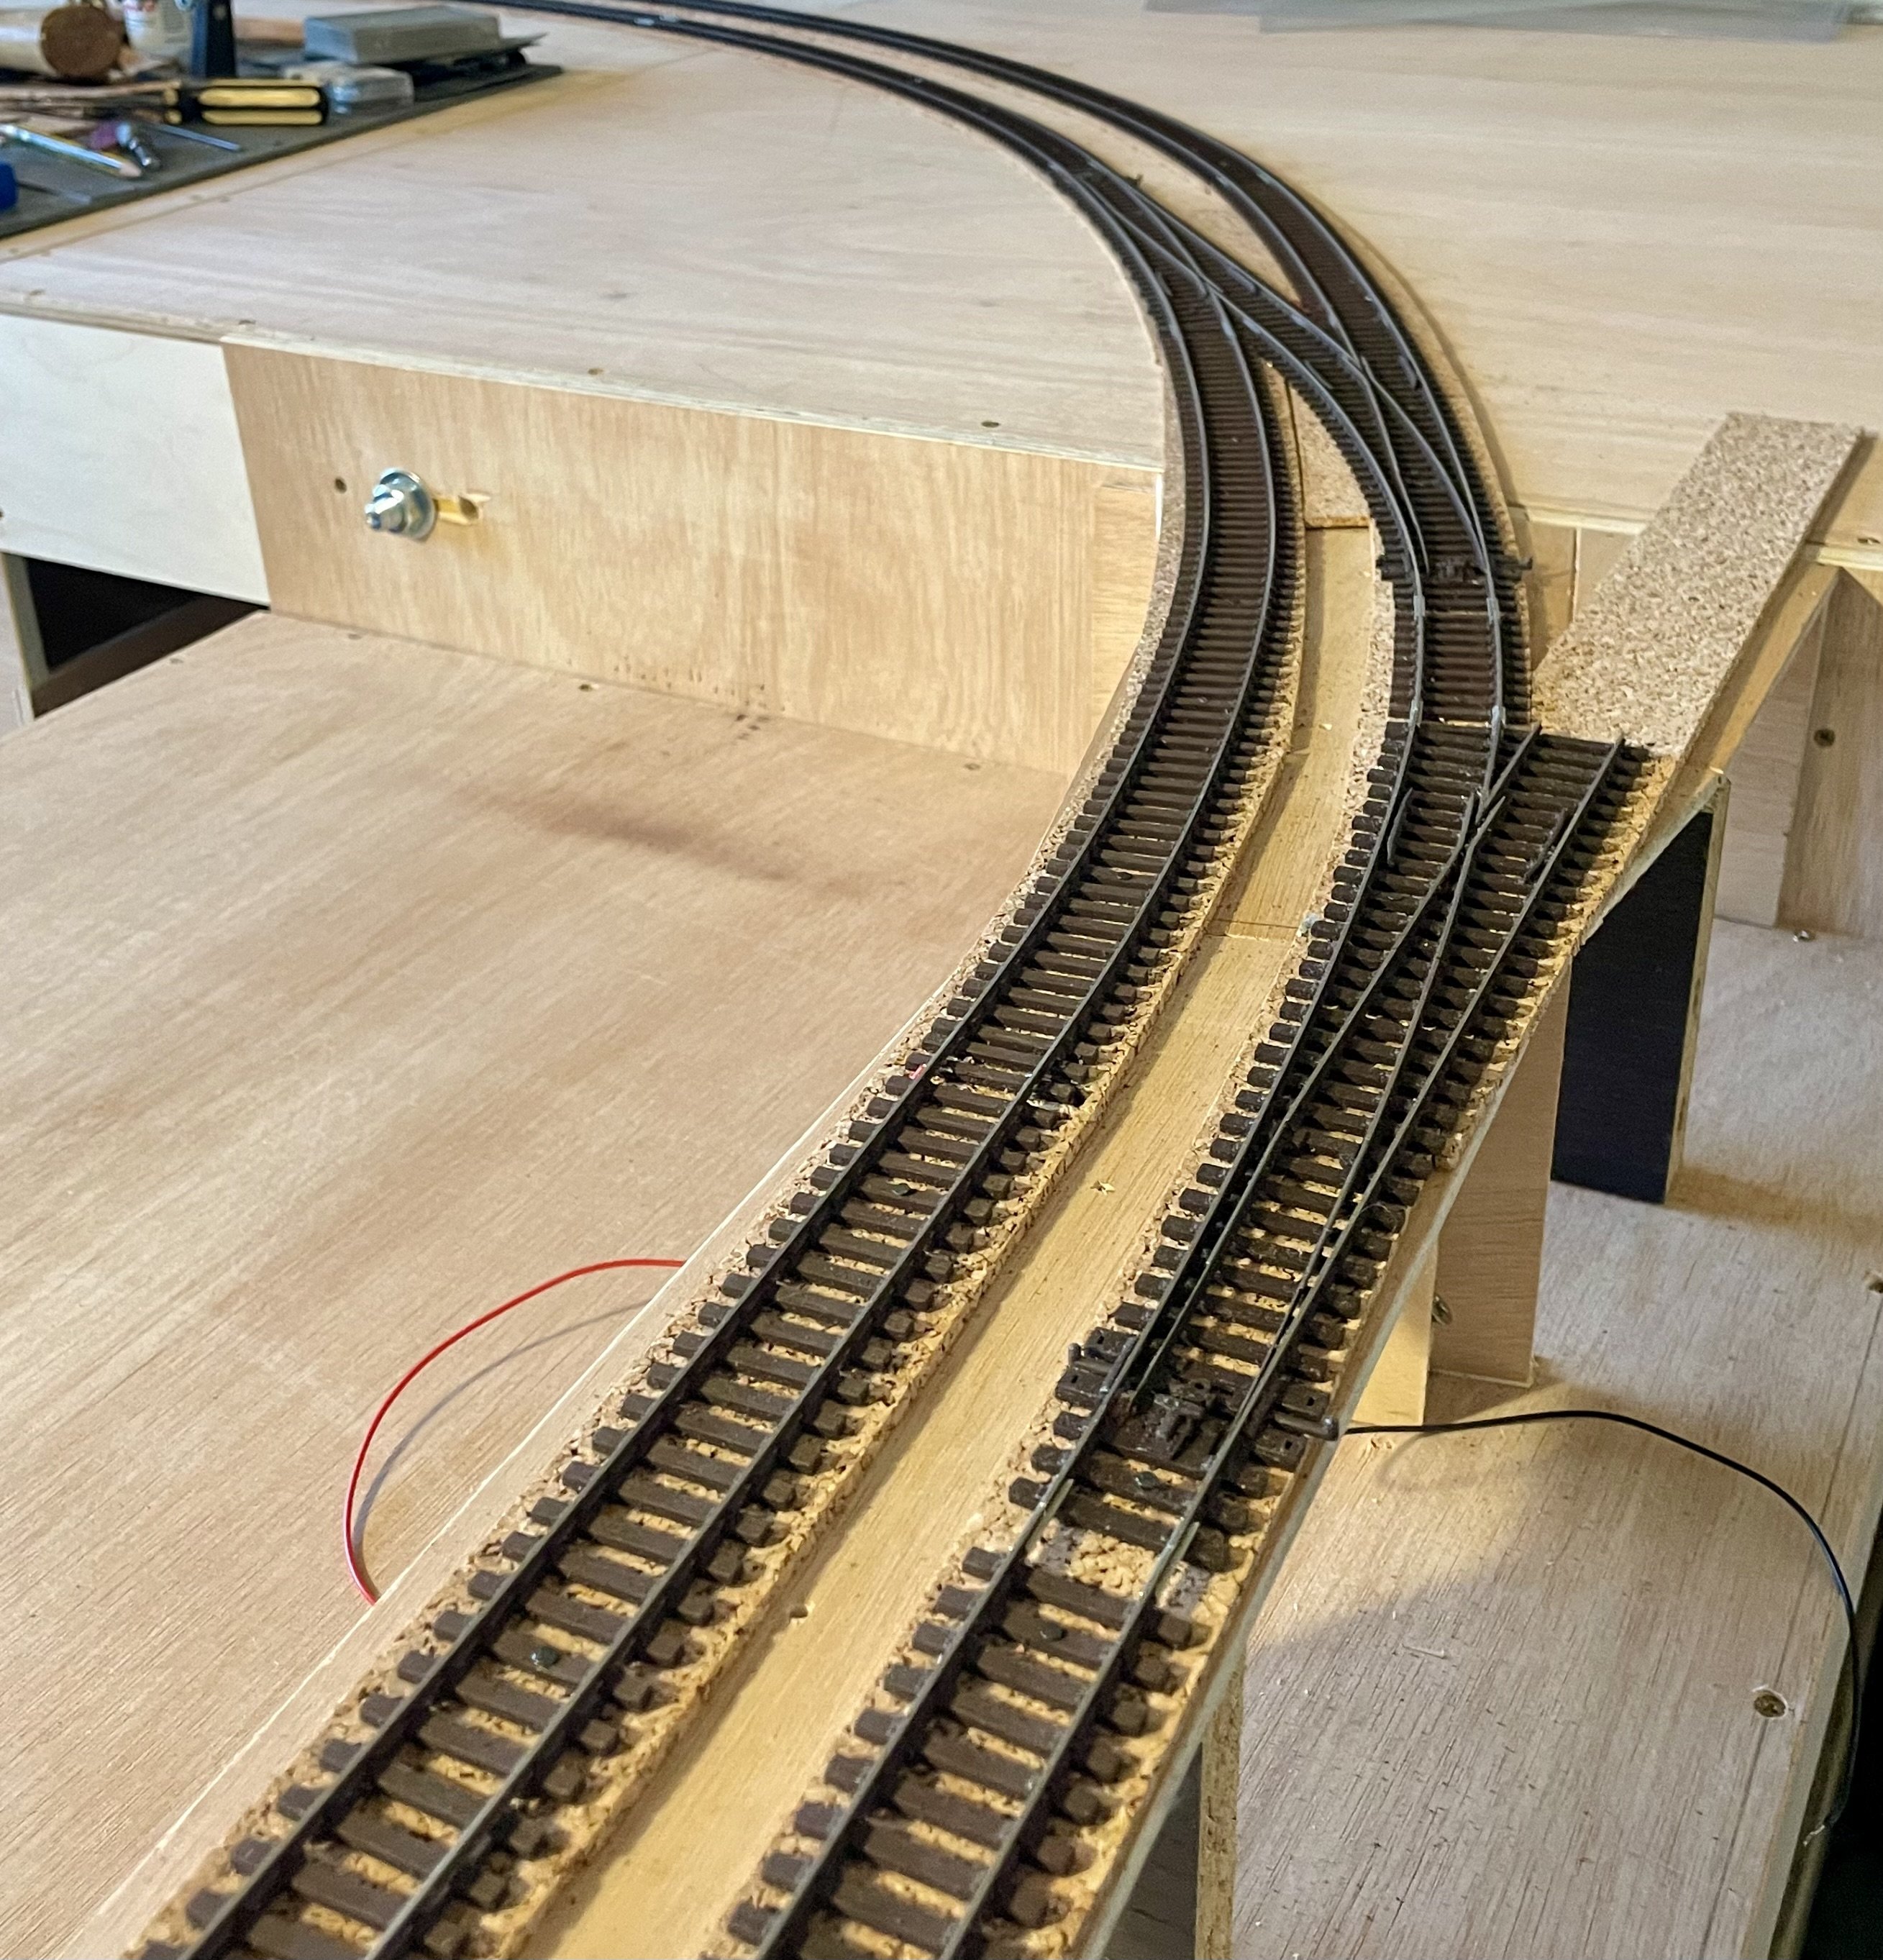
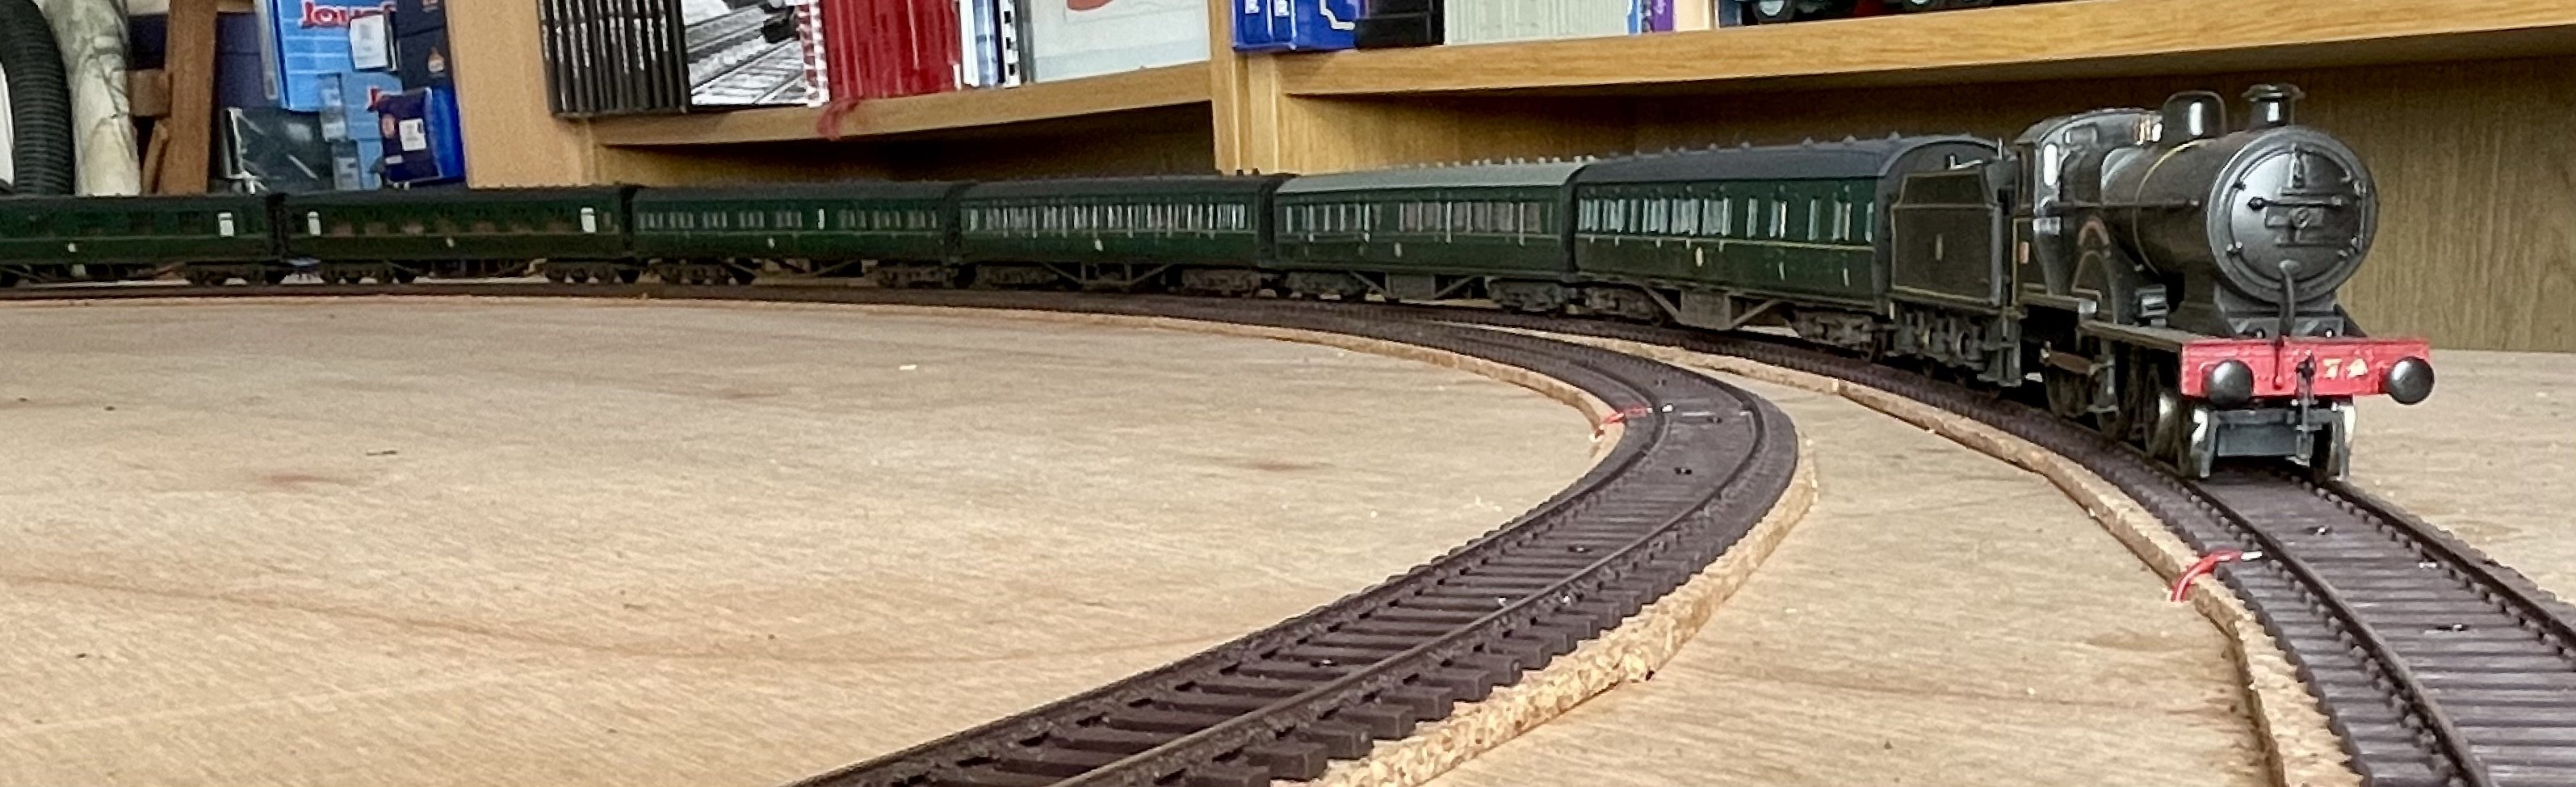
Track laying continues. Cheers Darius
- 194 replies
-
- 11
-
-
-
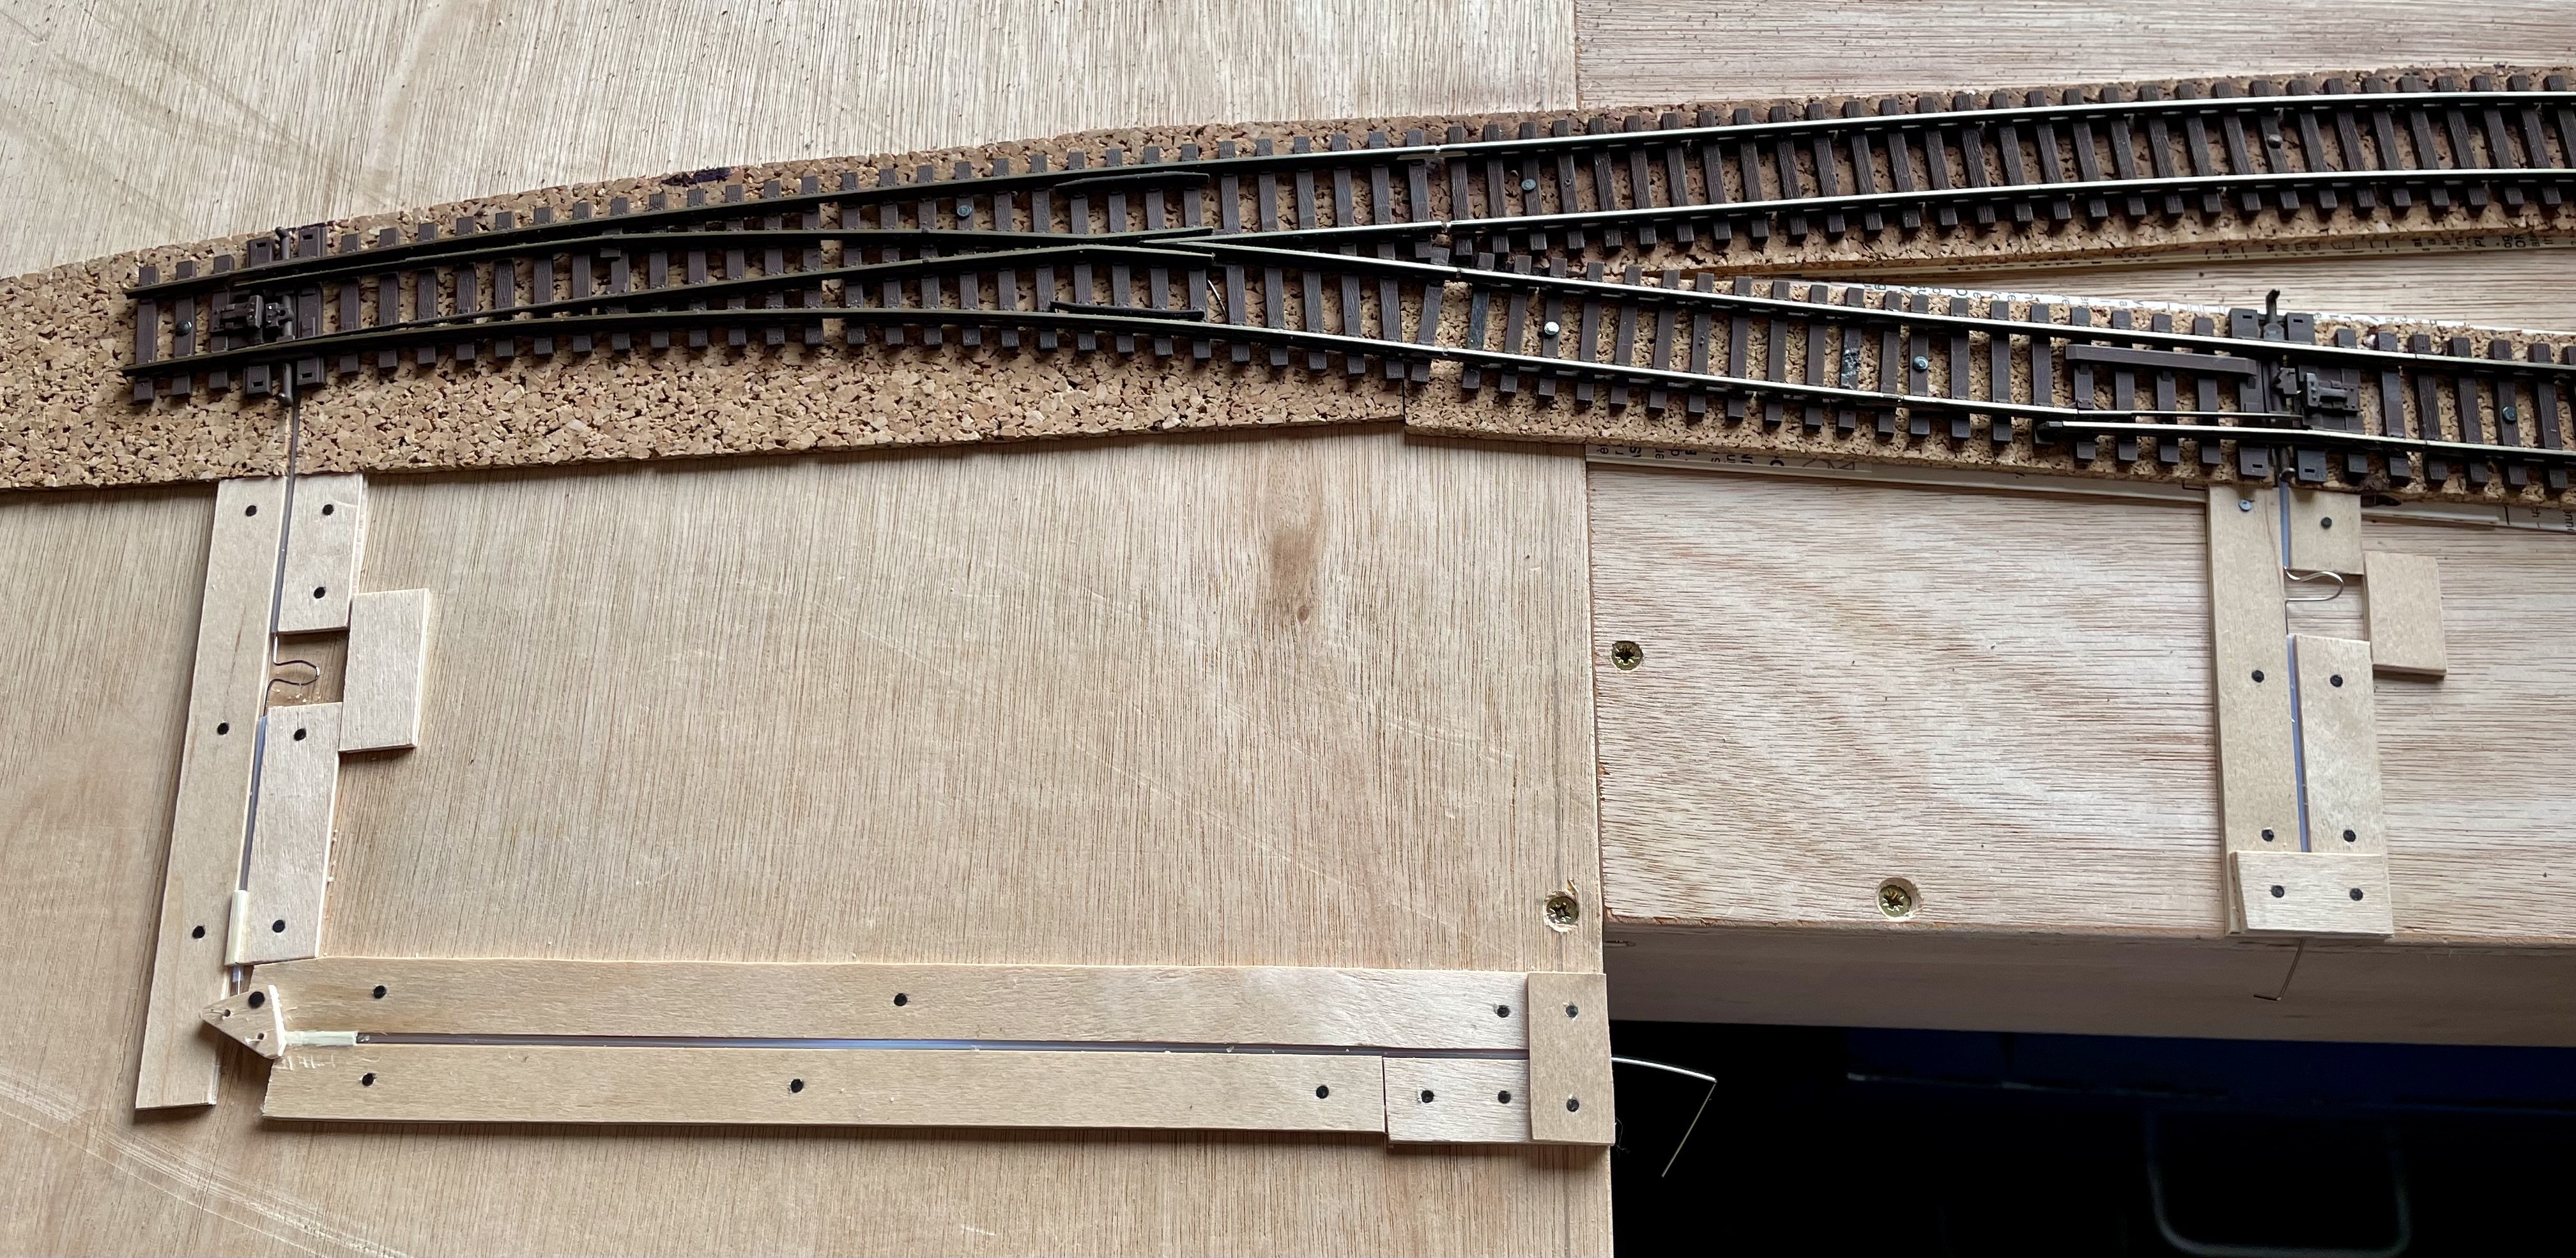
More wire in tube turnout controls added. Cheers Darius
-
Hi Patrick, It’s called an “omega loop” and prevents the pull or push of the wire from breaking the point by absorbing excess movement. Cheers Darius
-
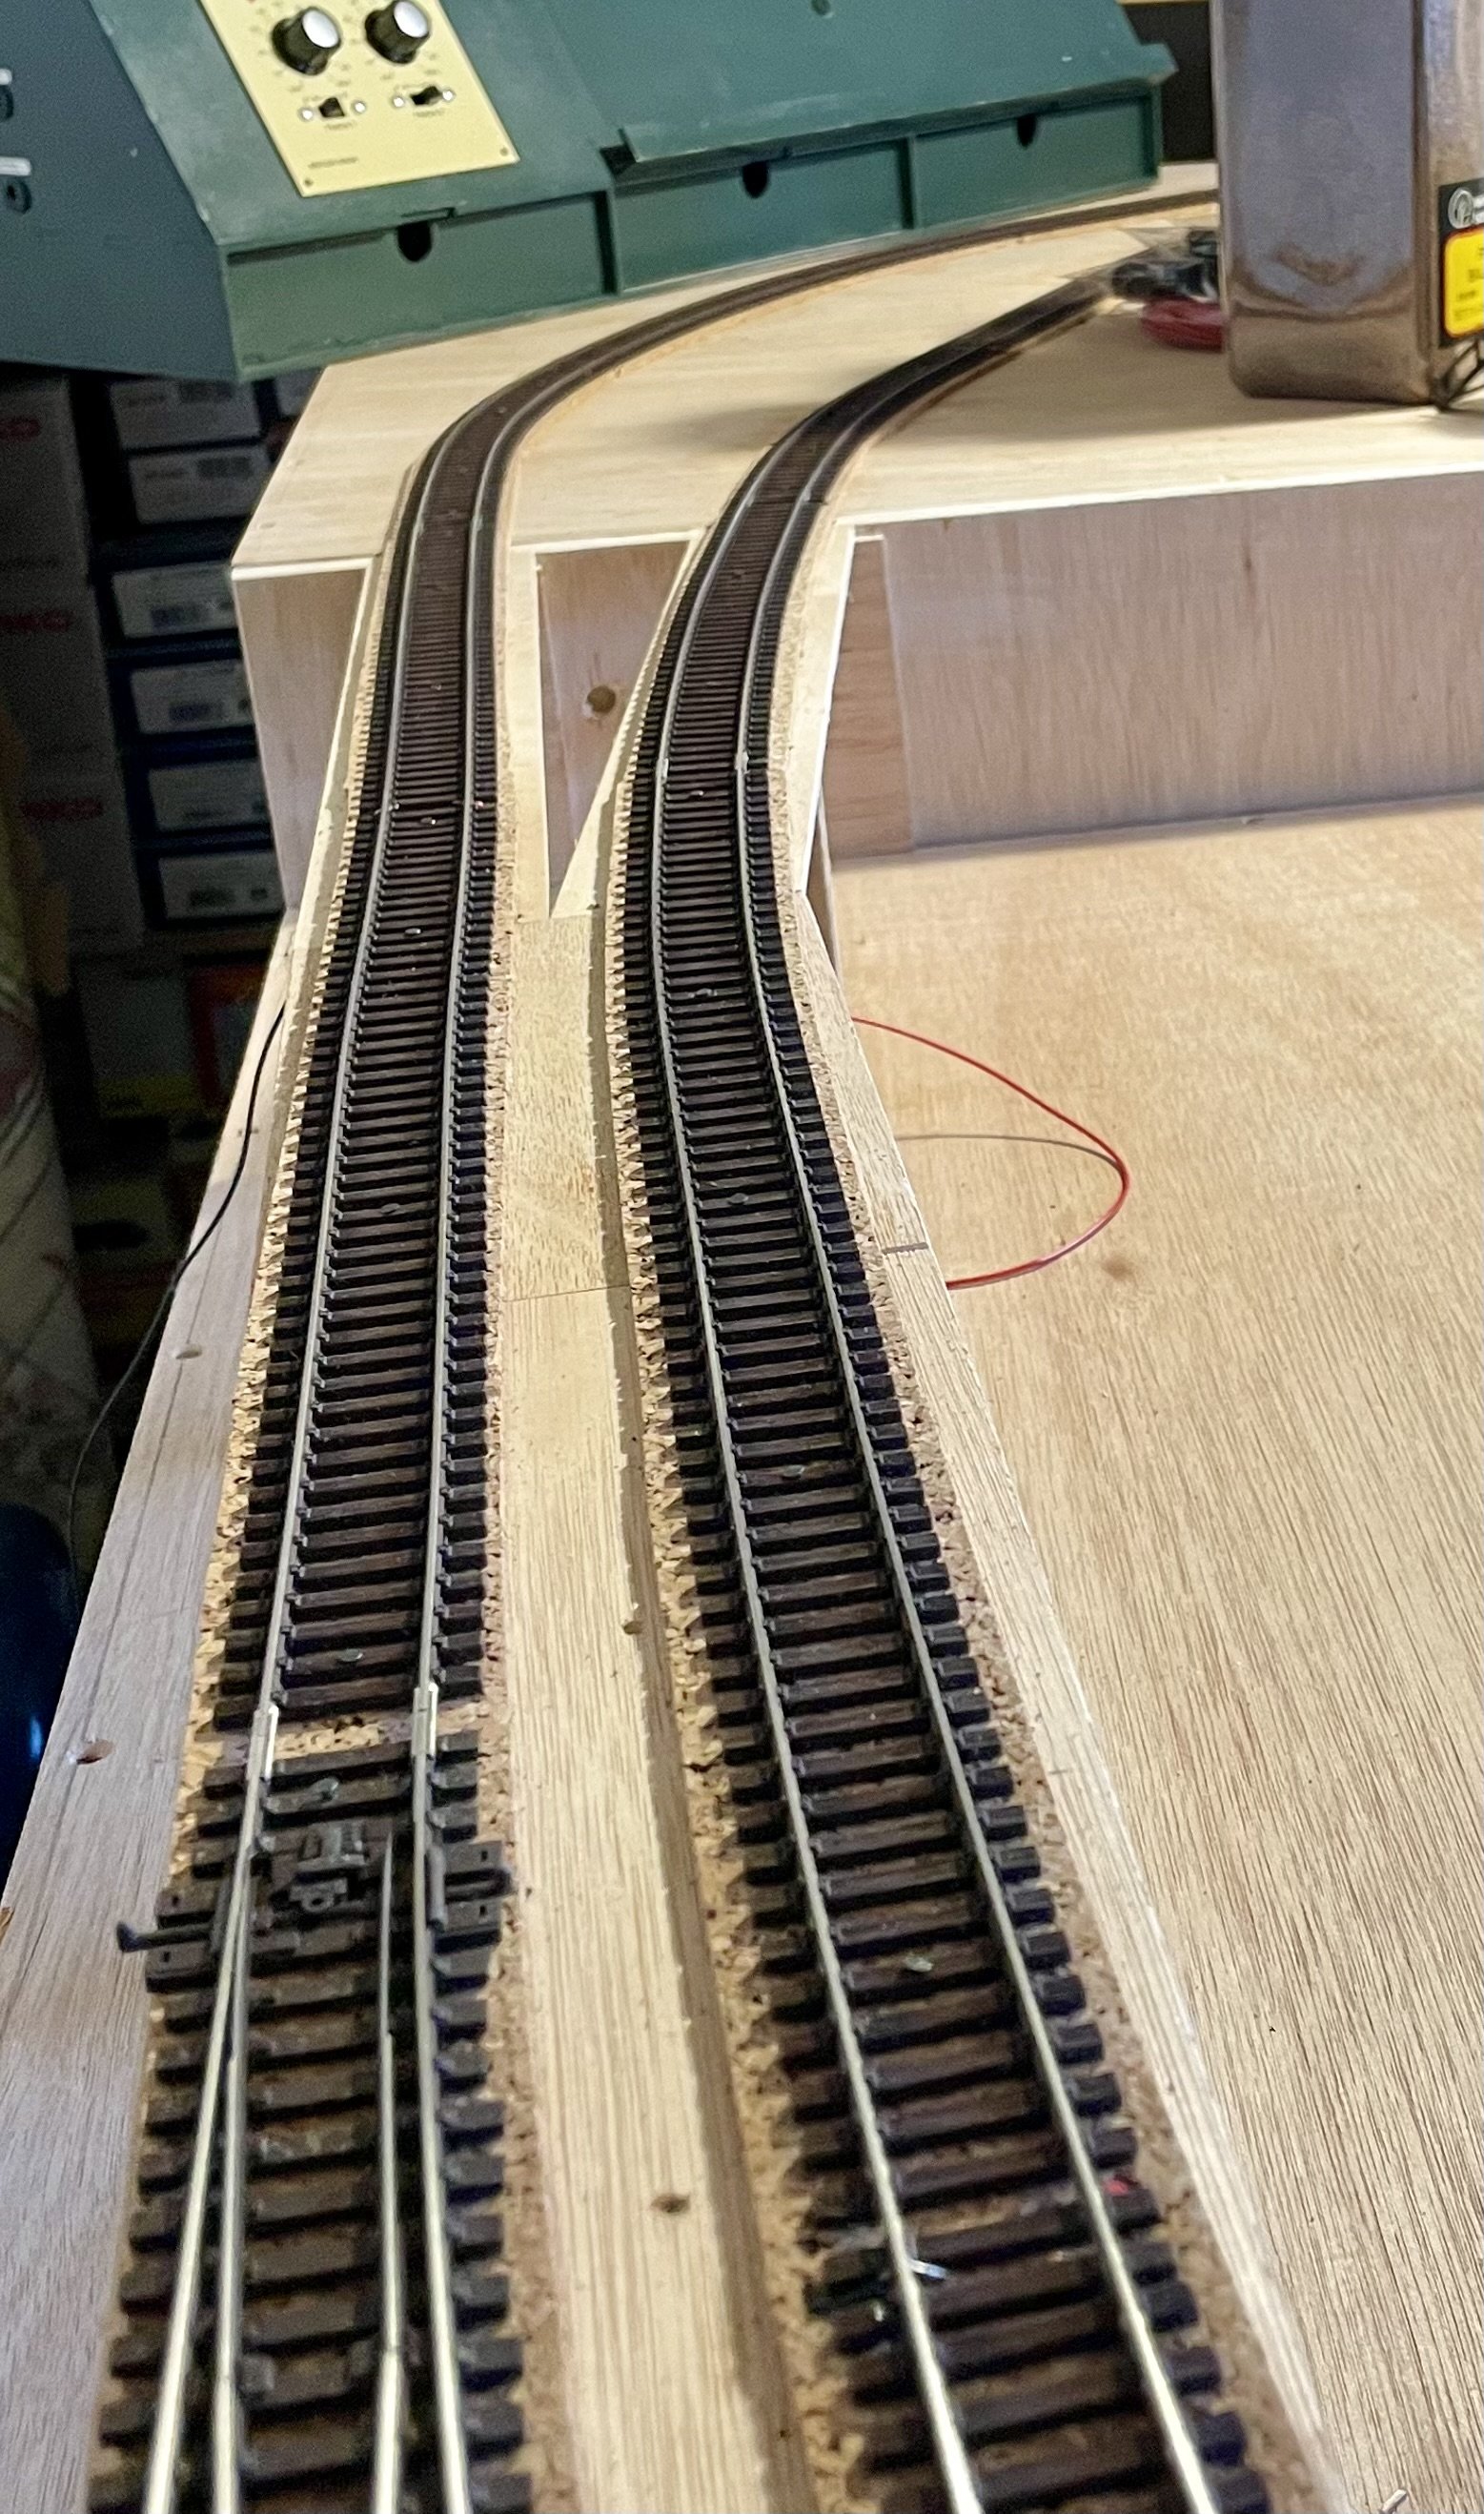
Track laying commenced. Point control by wire in tube. Cheers Darius
- 194 replies
-
- 13
-
-
-
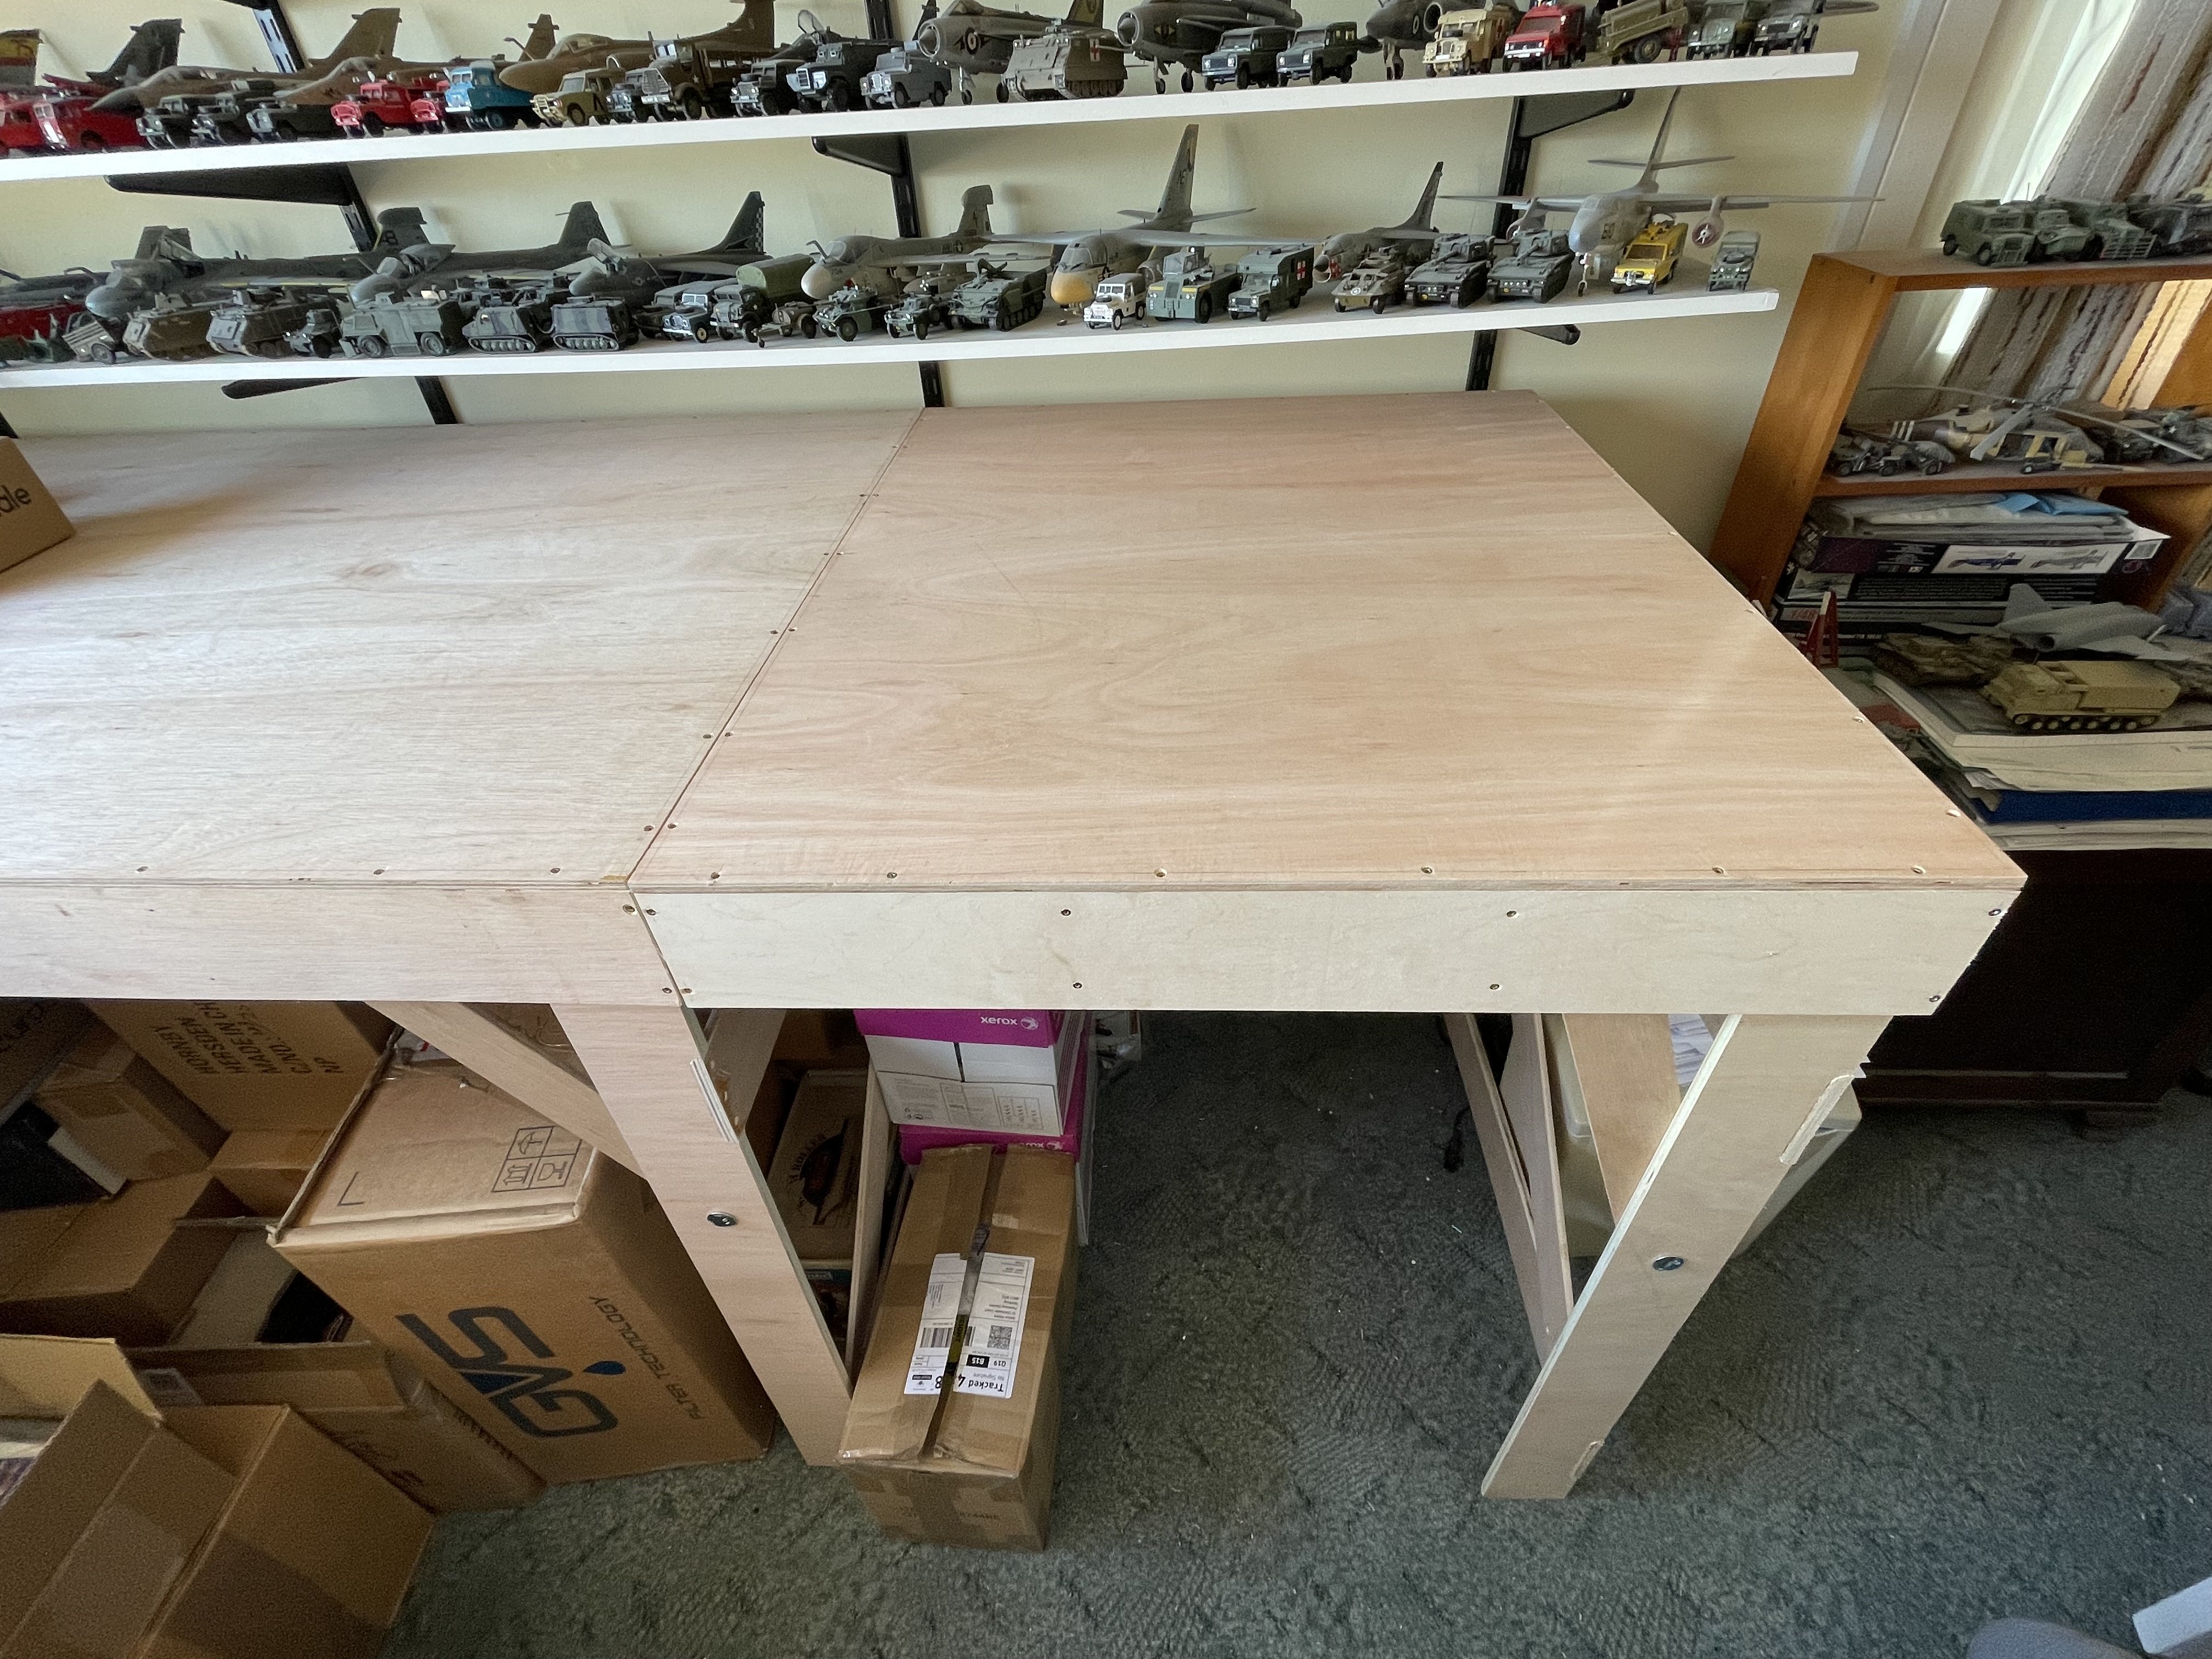
Radio silence on the missing parts so I ordered some cut to order 9mm plywood from another supplier and they arrived on Thursday. Baseboard assembly completed today. Track laying starts tomorrow. Cheers Darius
-
Arrived today Cheers Darius
-
- 2
-