
Darius43
-
Posts
1,425 -
Joined
-
Last visited
-
Days Won
110
Content Type
Profiles
Forums
Events
Gallery
Blogs
Everything posted by Darius43
-
That should do it… Cheers Darius

-
OK. I think I have enough now. Cheers Darius
-
Some Silverfox Models “Dutch Vans”. As delivered with chassis weathering applied and the bogies reassembled*. Cheers Darius * reassembly required since, as supplied, they were glued together using what looks like Copydex, which led to the bogie sides spreading and shedding the wheels. Not ideal for smooth running…
-
- 5
-

-

-
Some “interesting” 6-wheeled coaches. Look to be hand repainted French coaches - possibly Jouef/Playcraft? Cheers Darius Edit - on closer inspection you can see the printing layers, especially on the roof. Not the smoothest of prints…
-
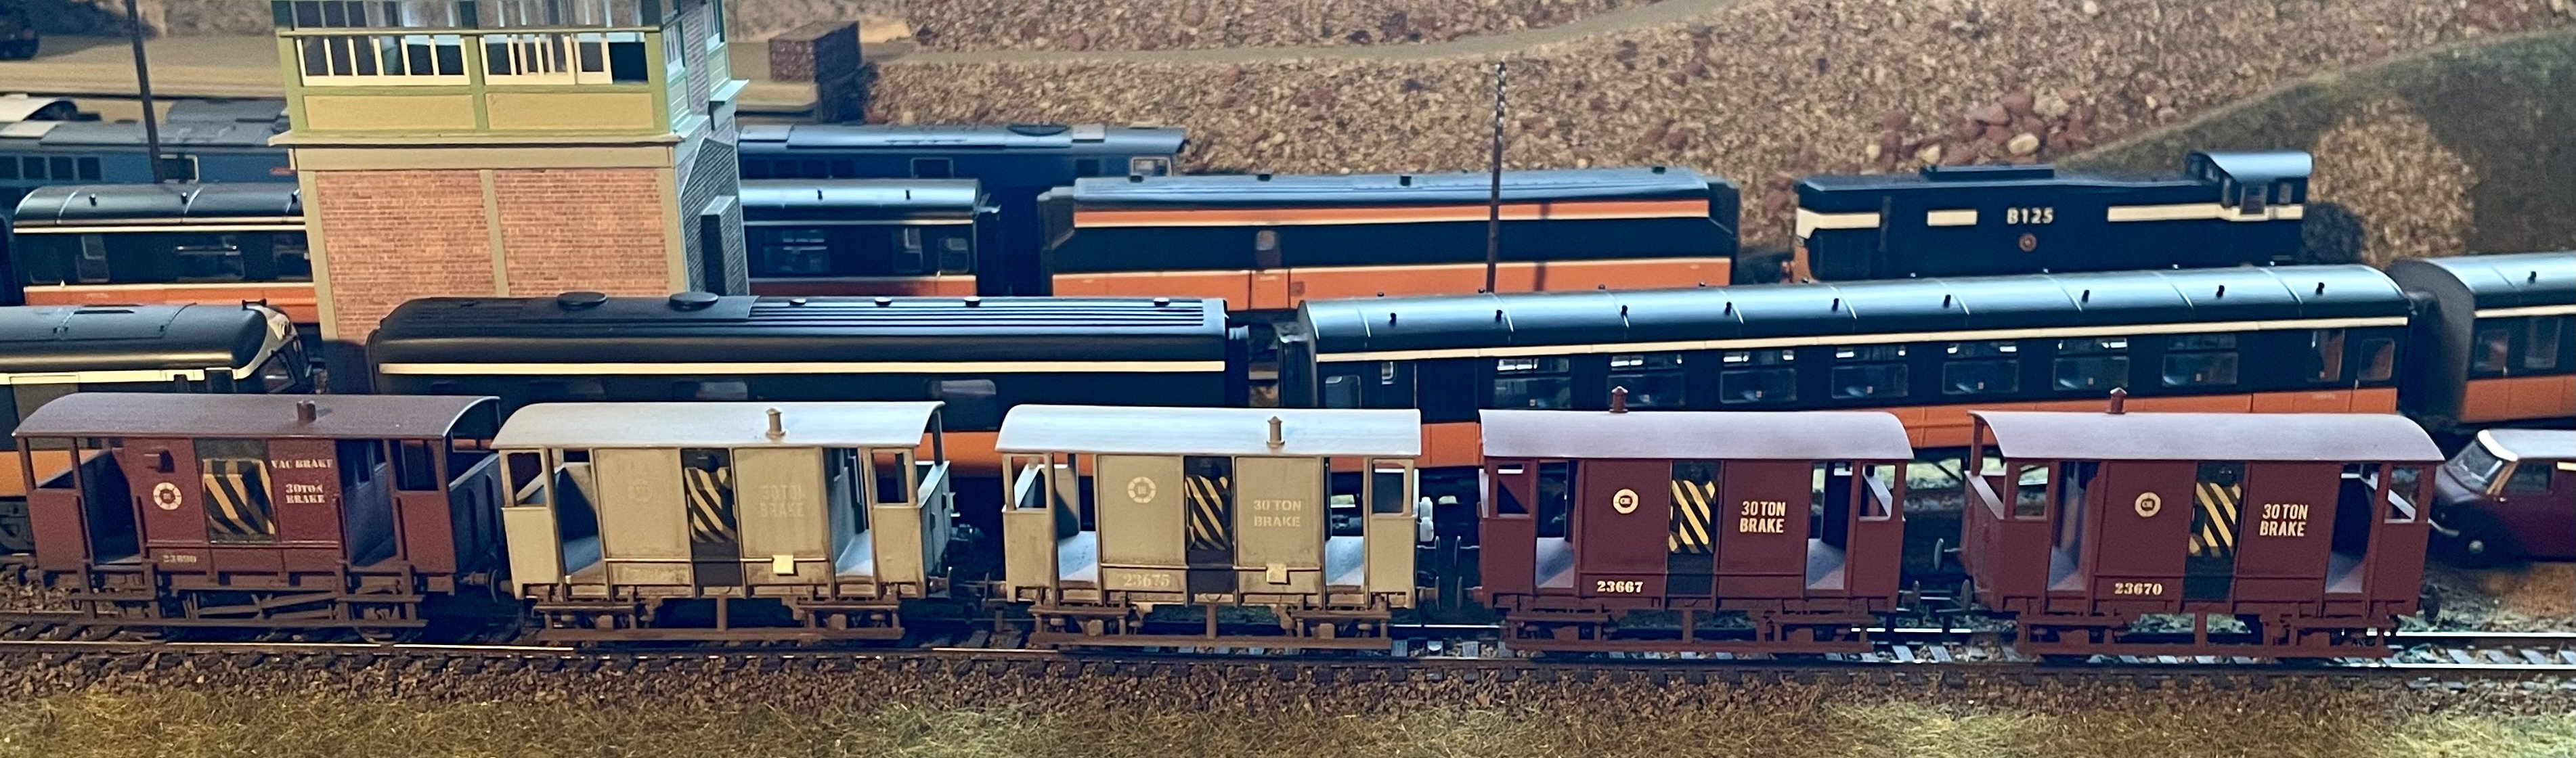
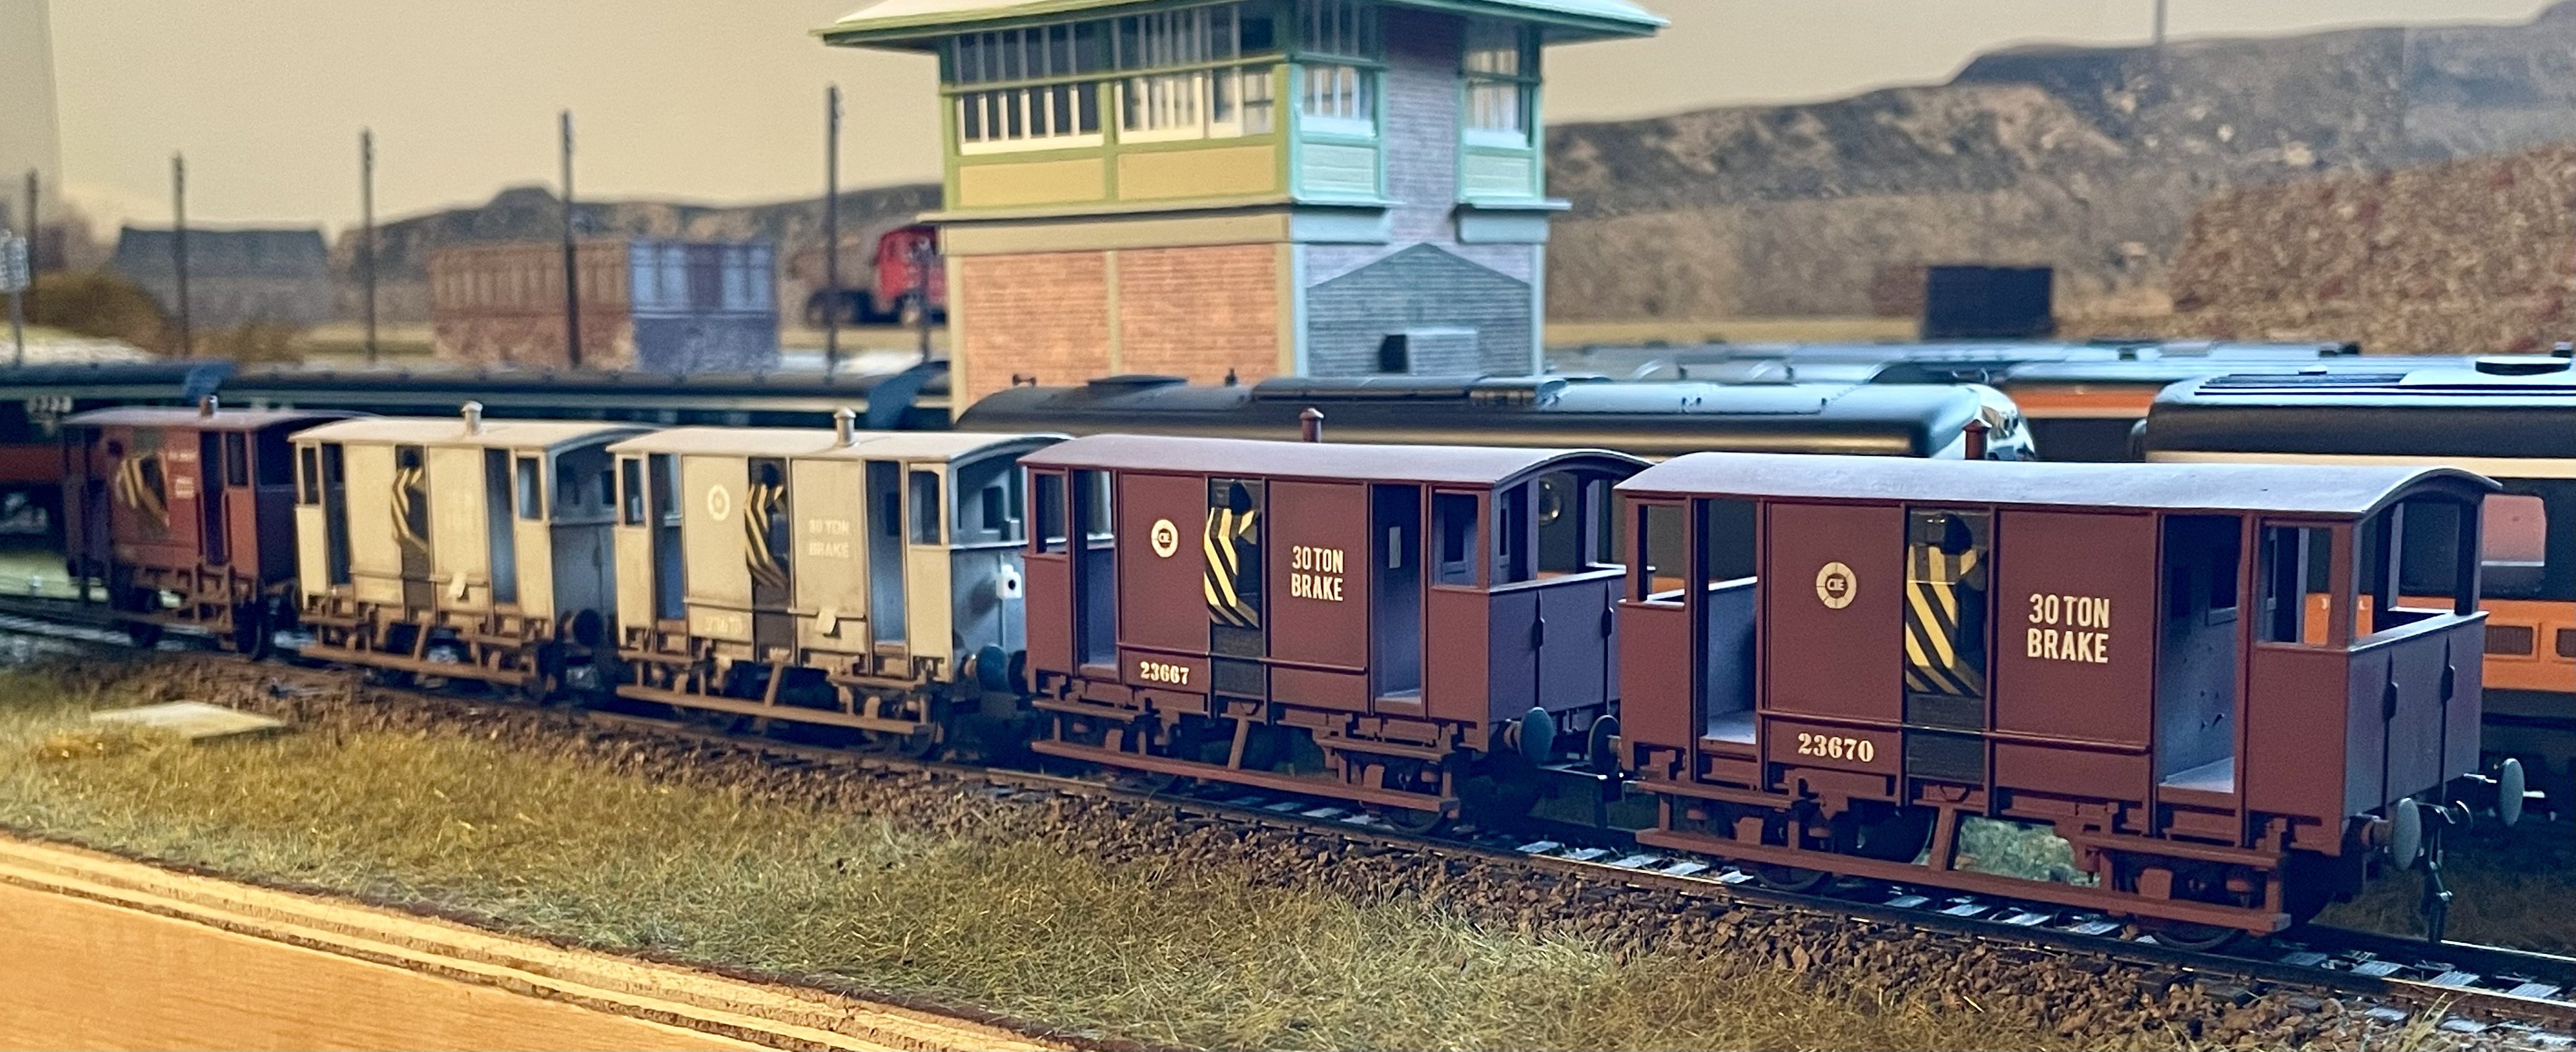
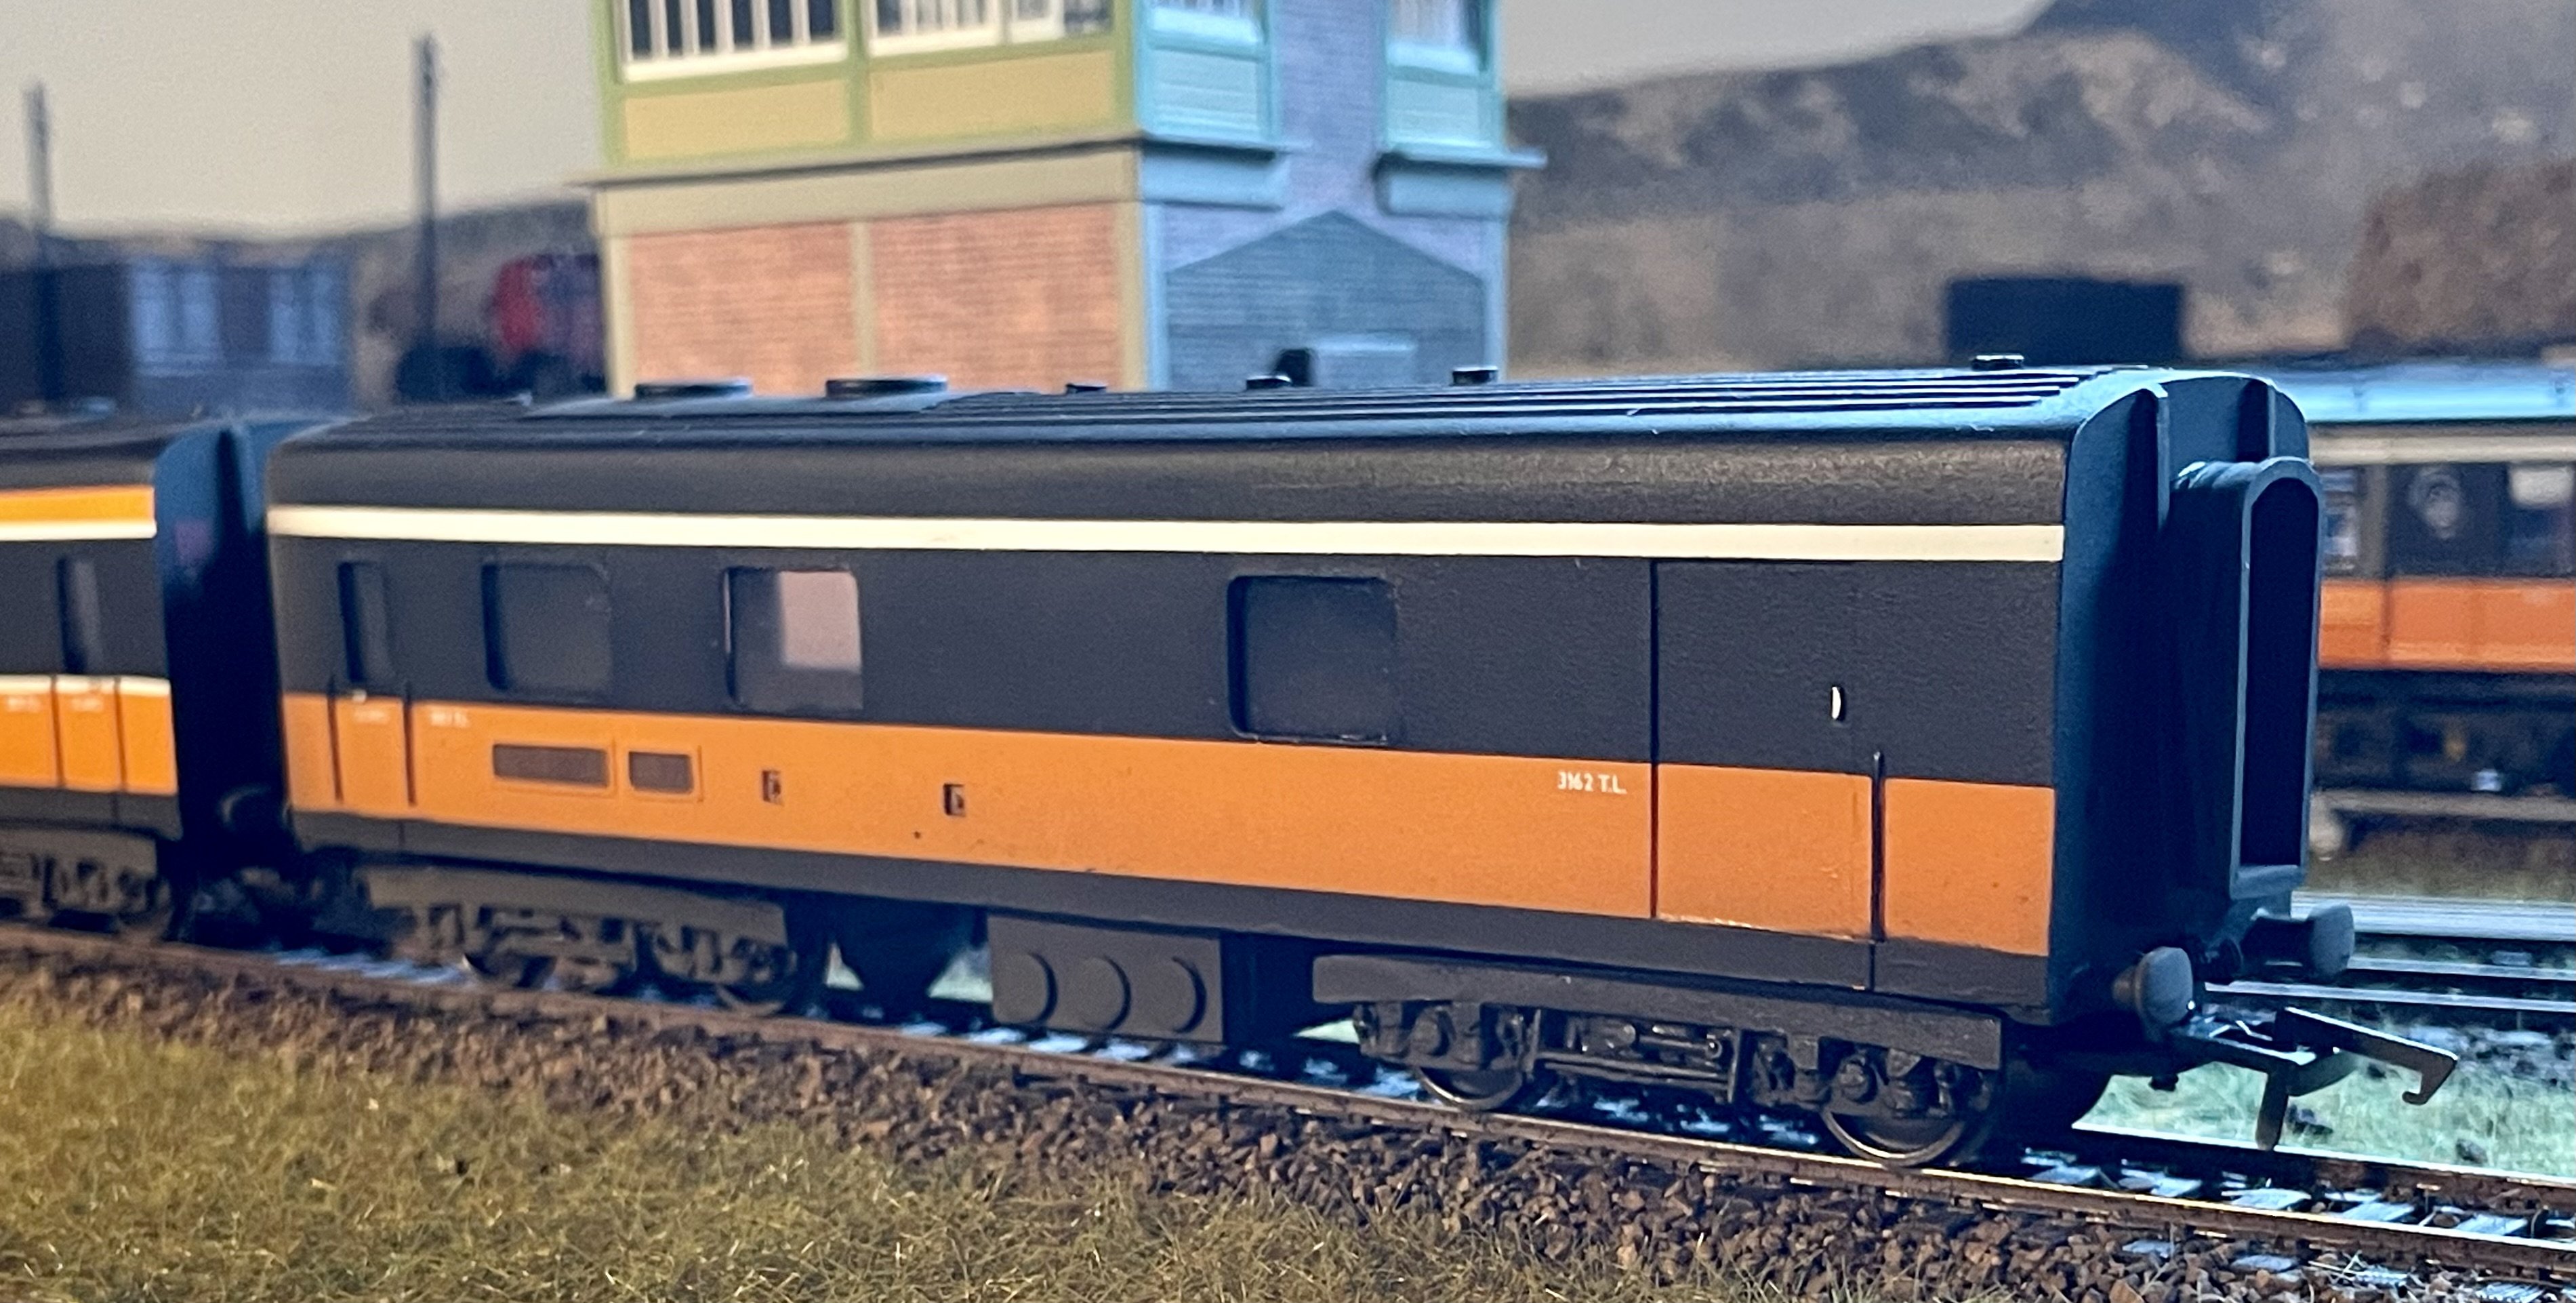
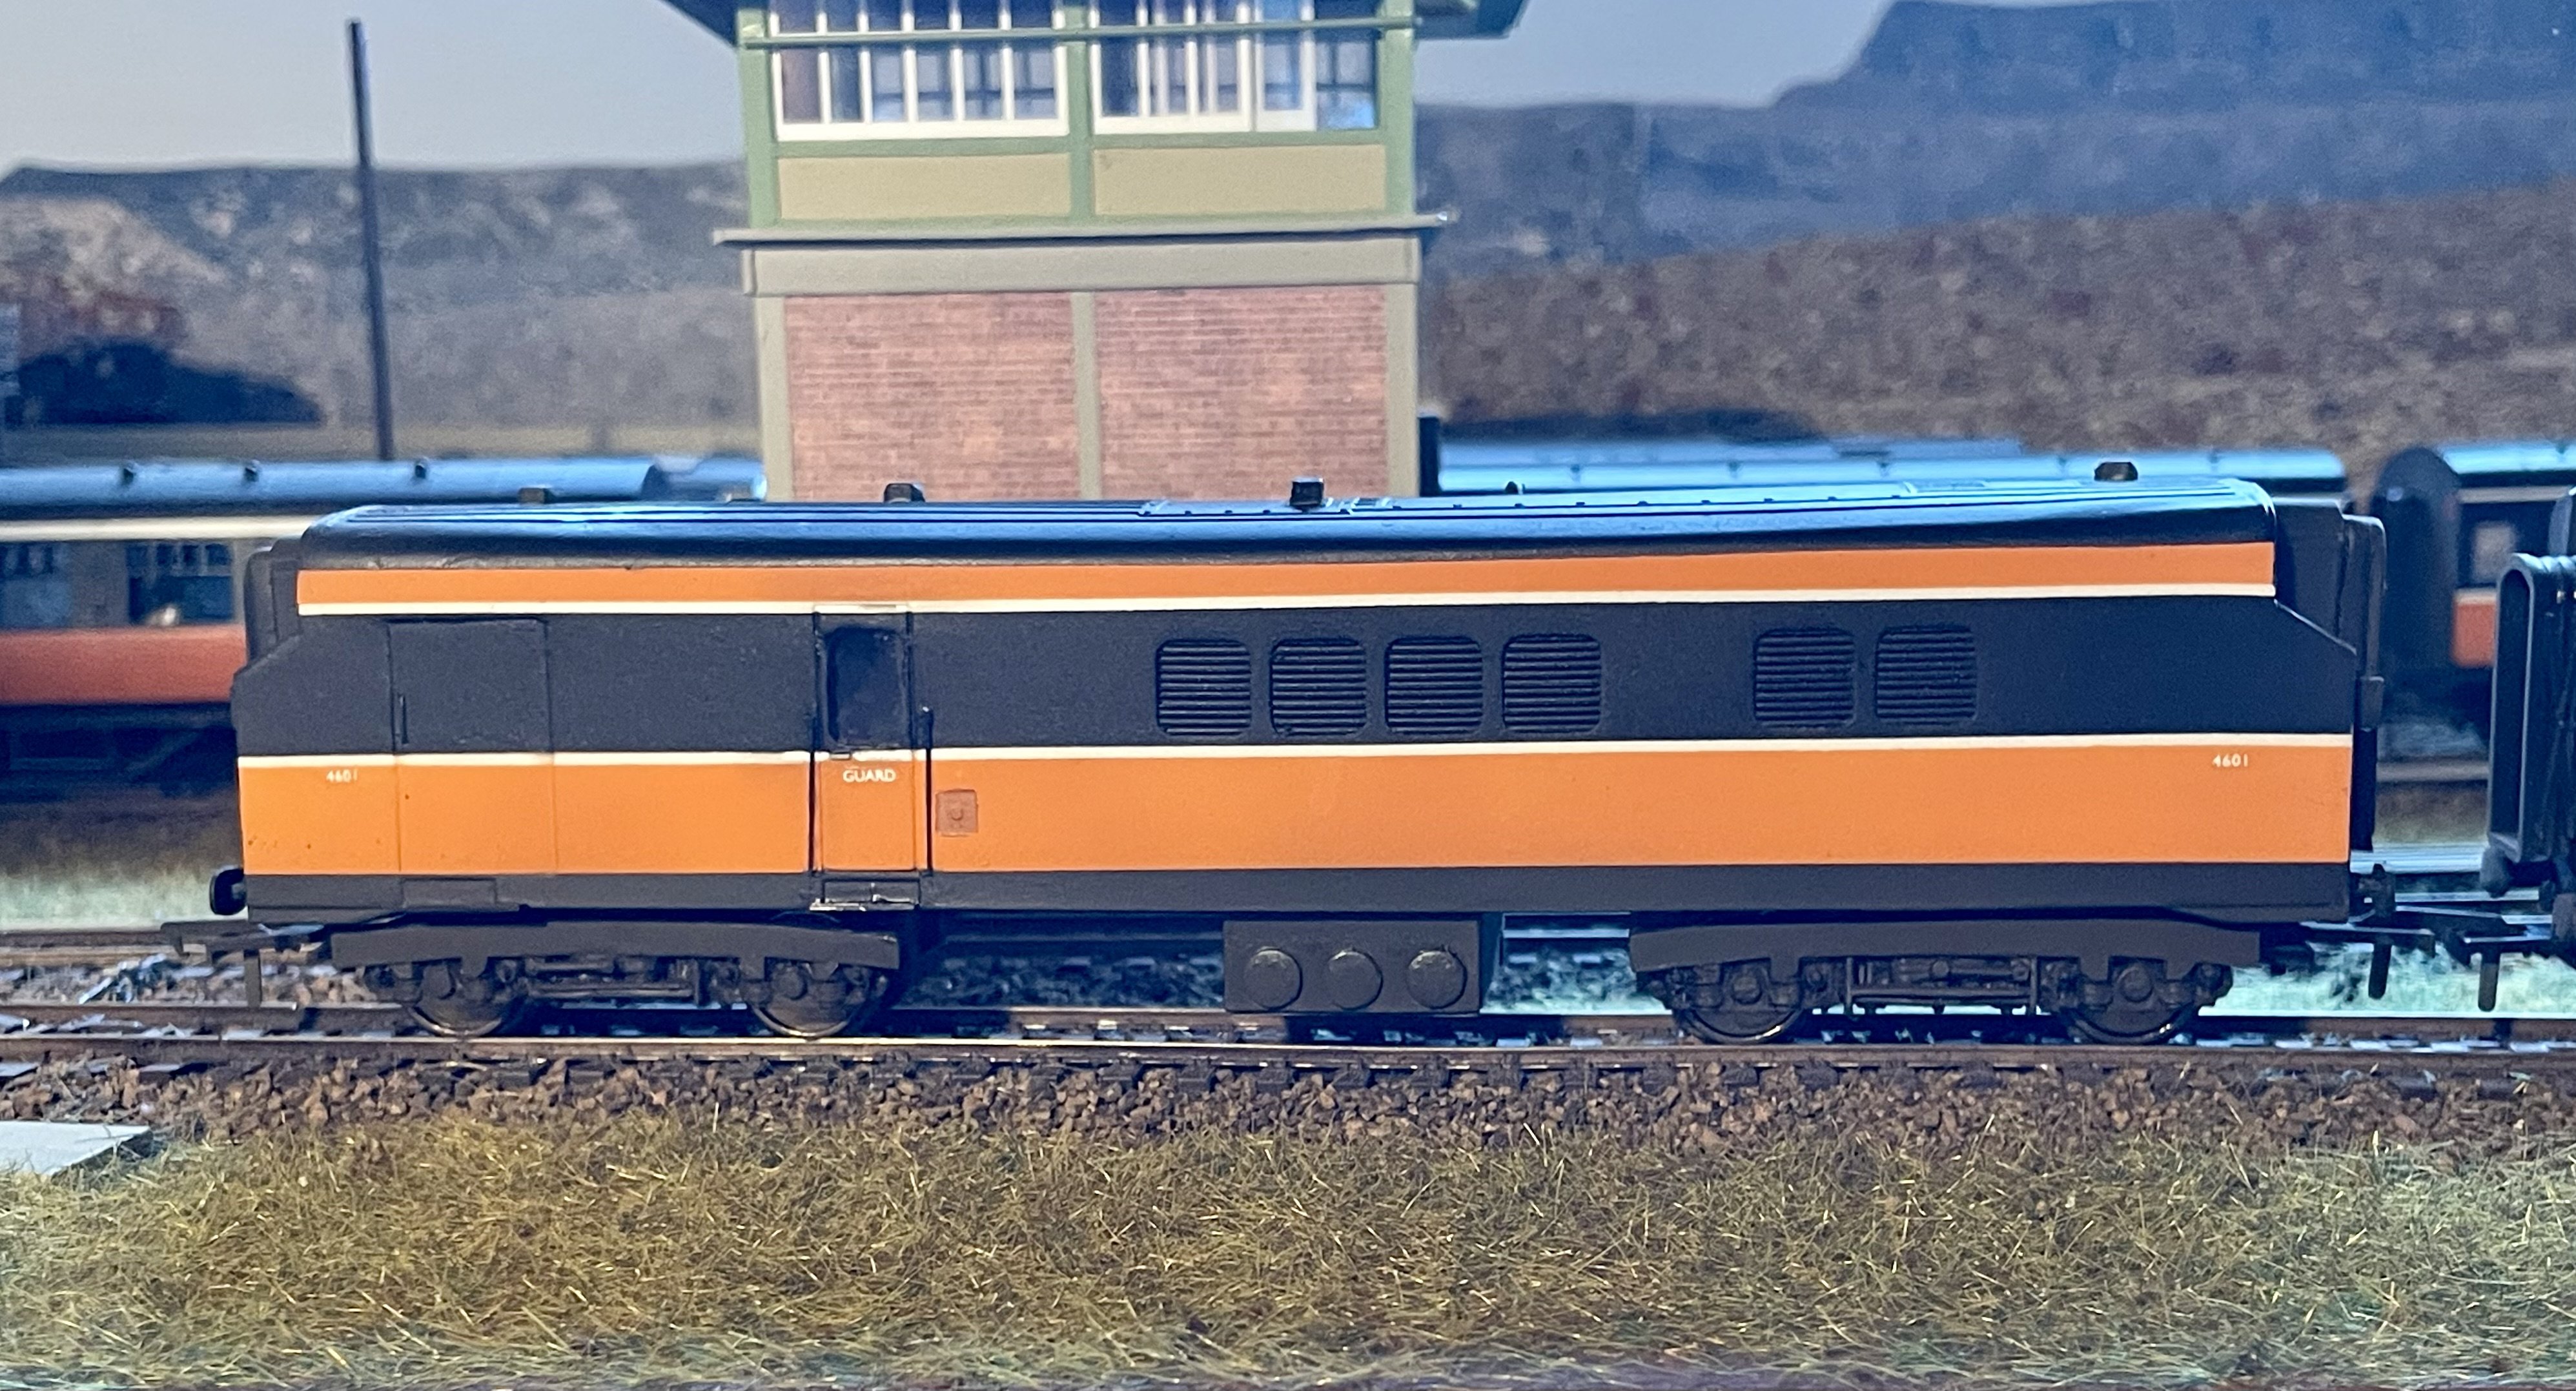
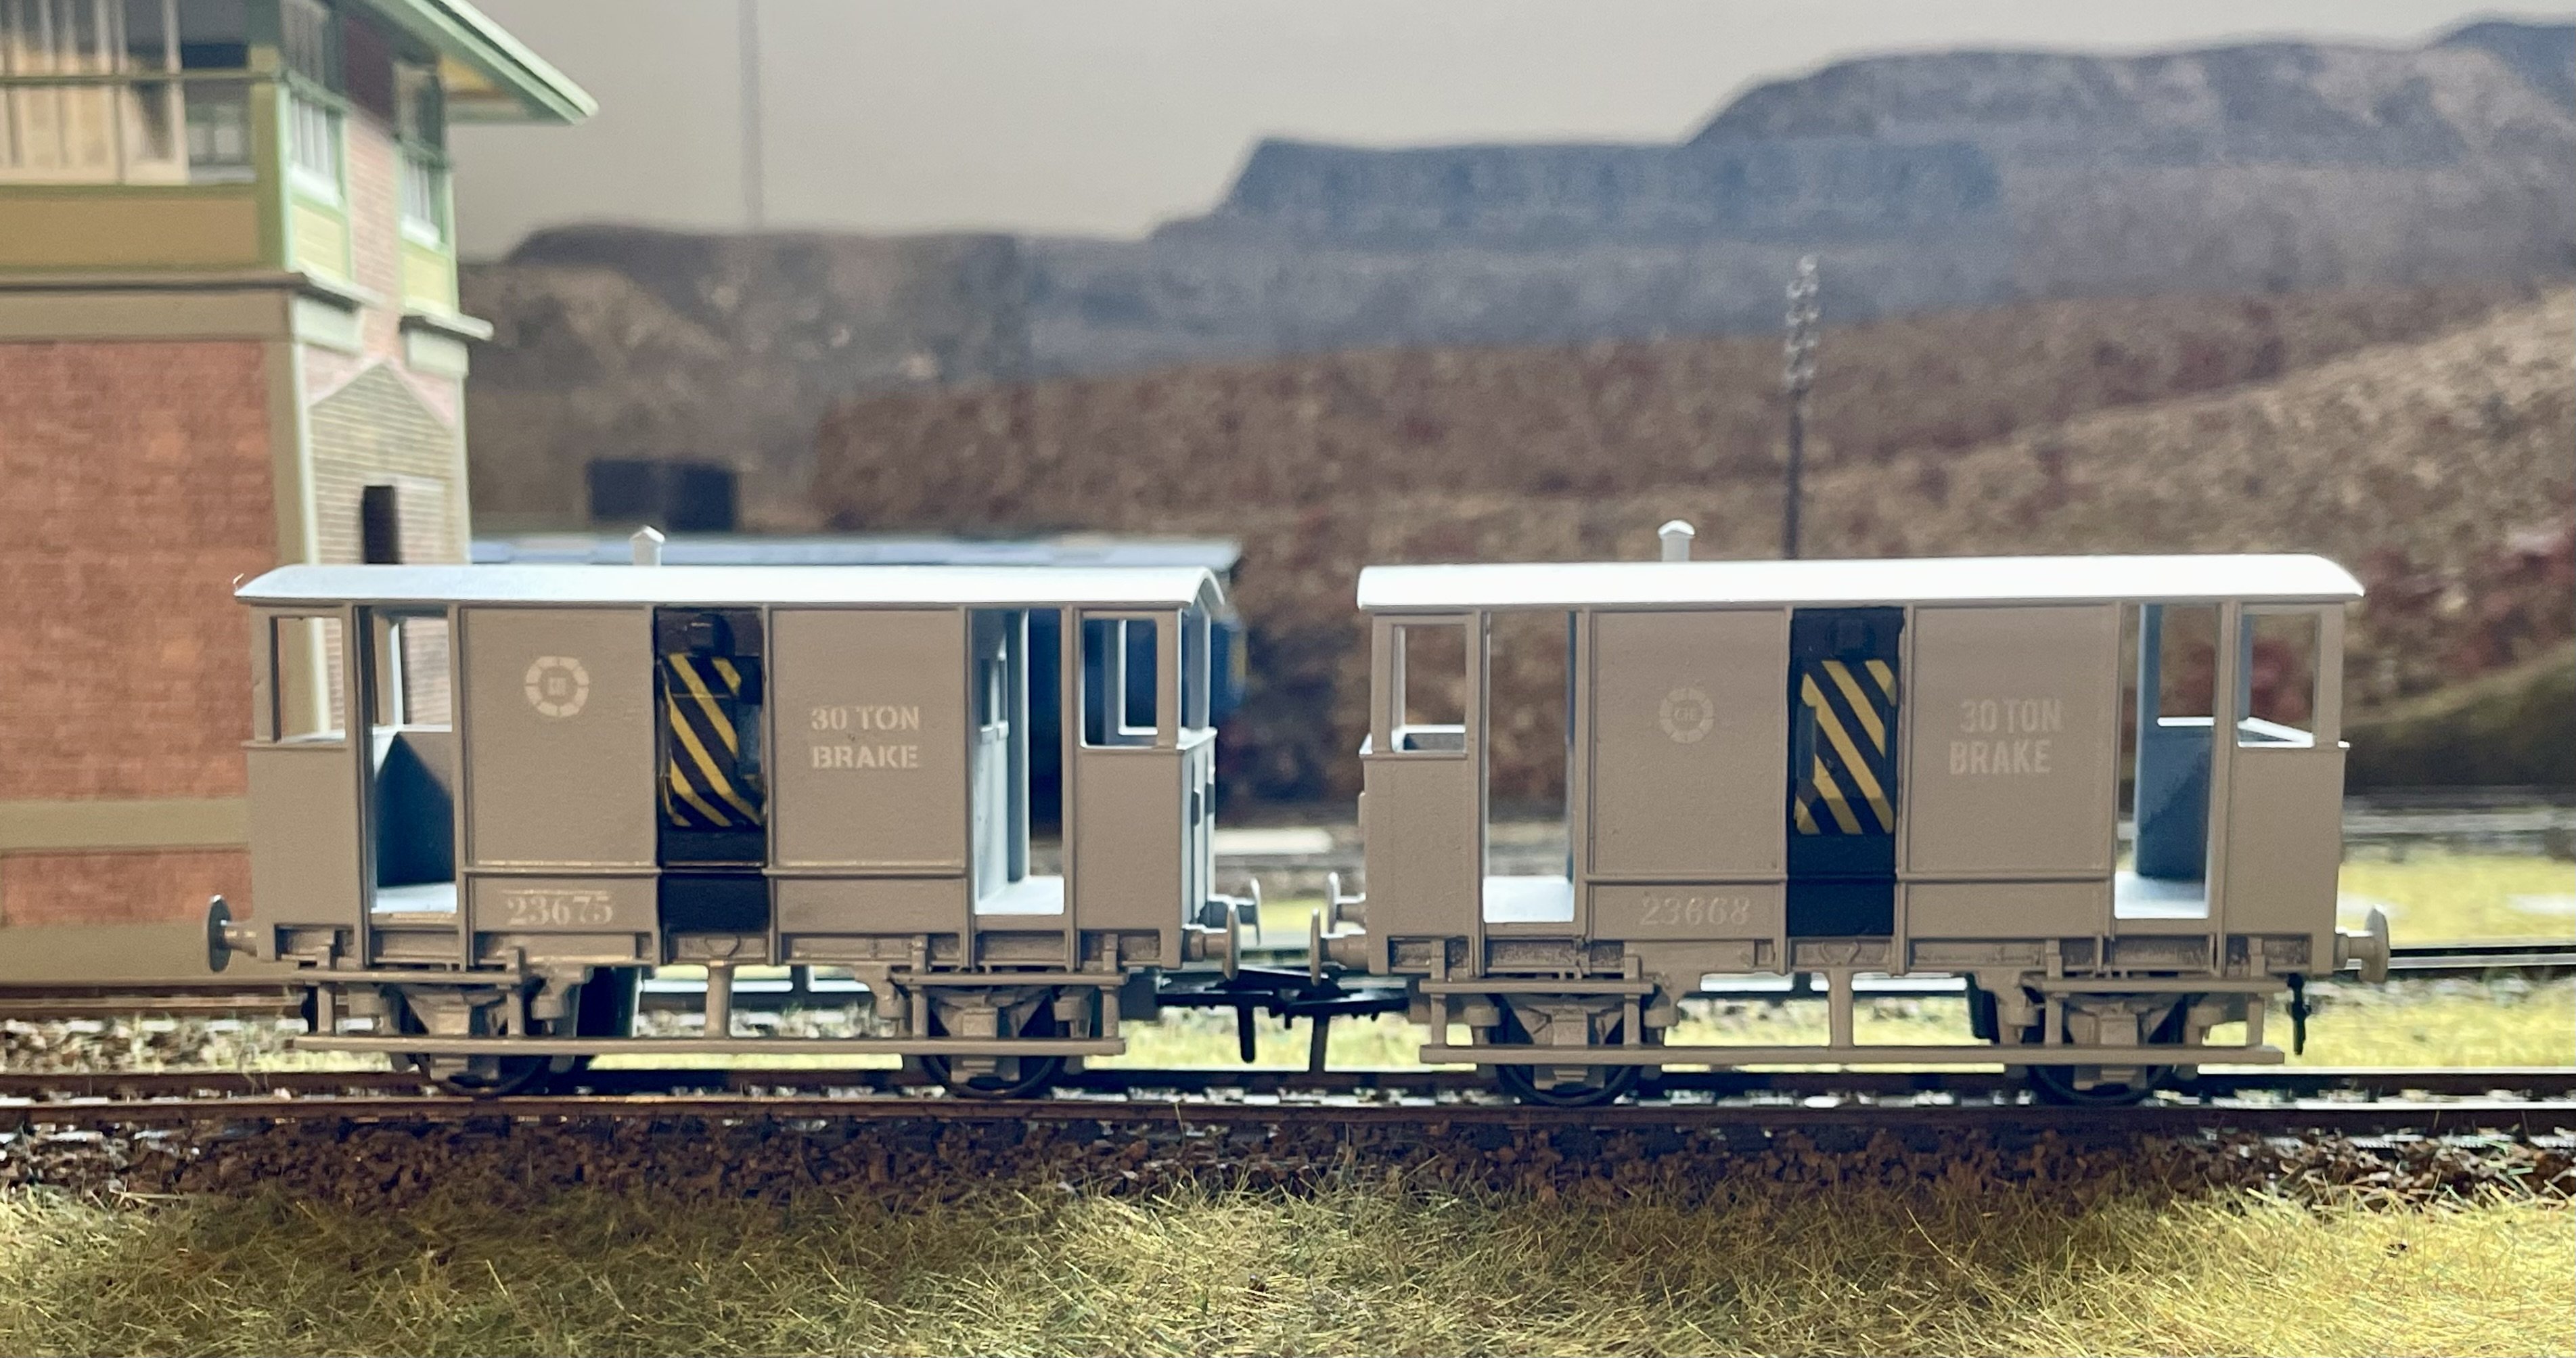
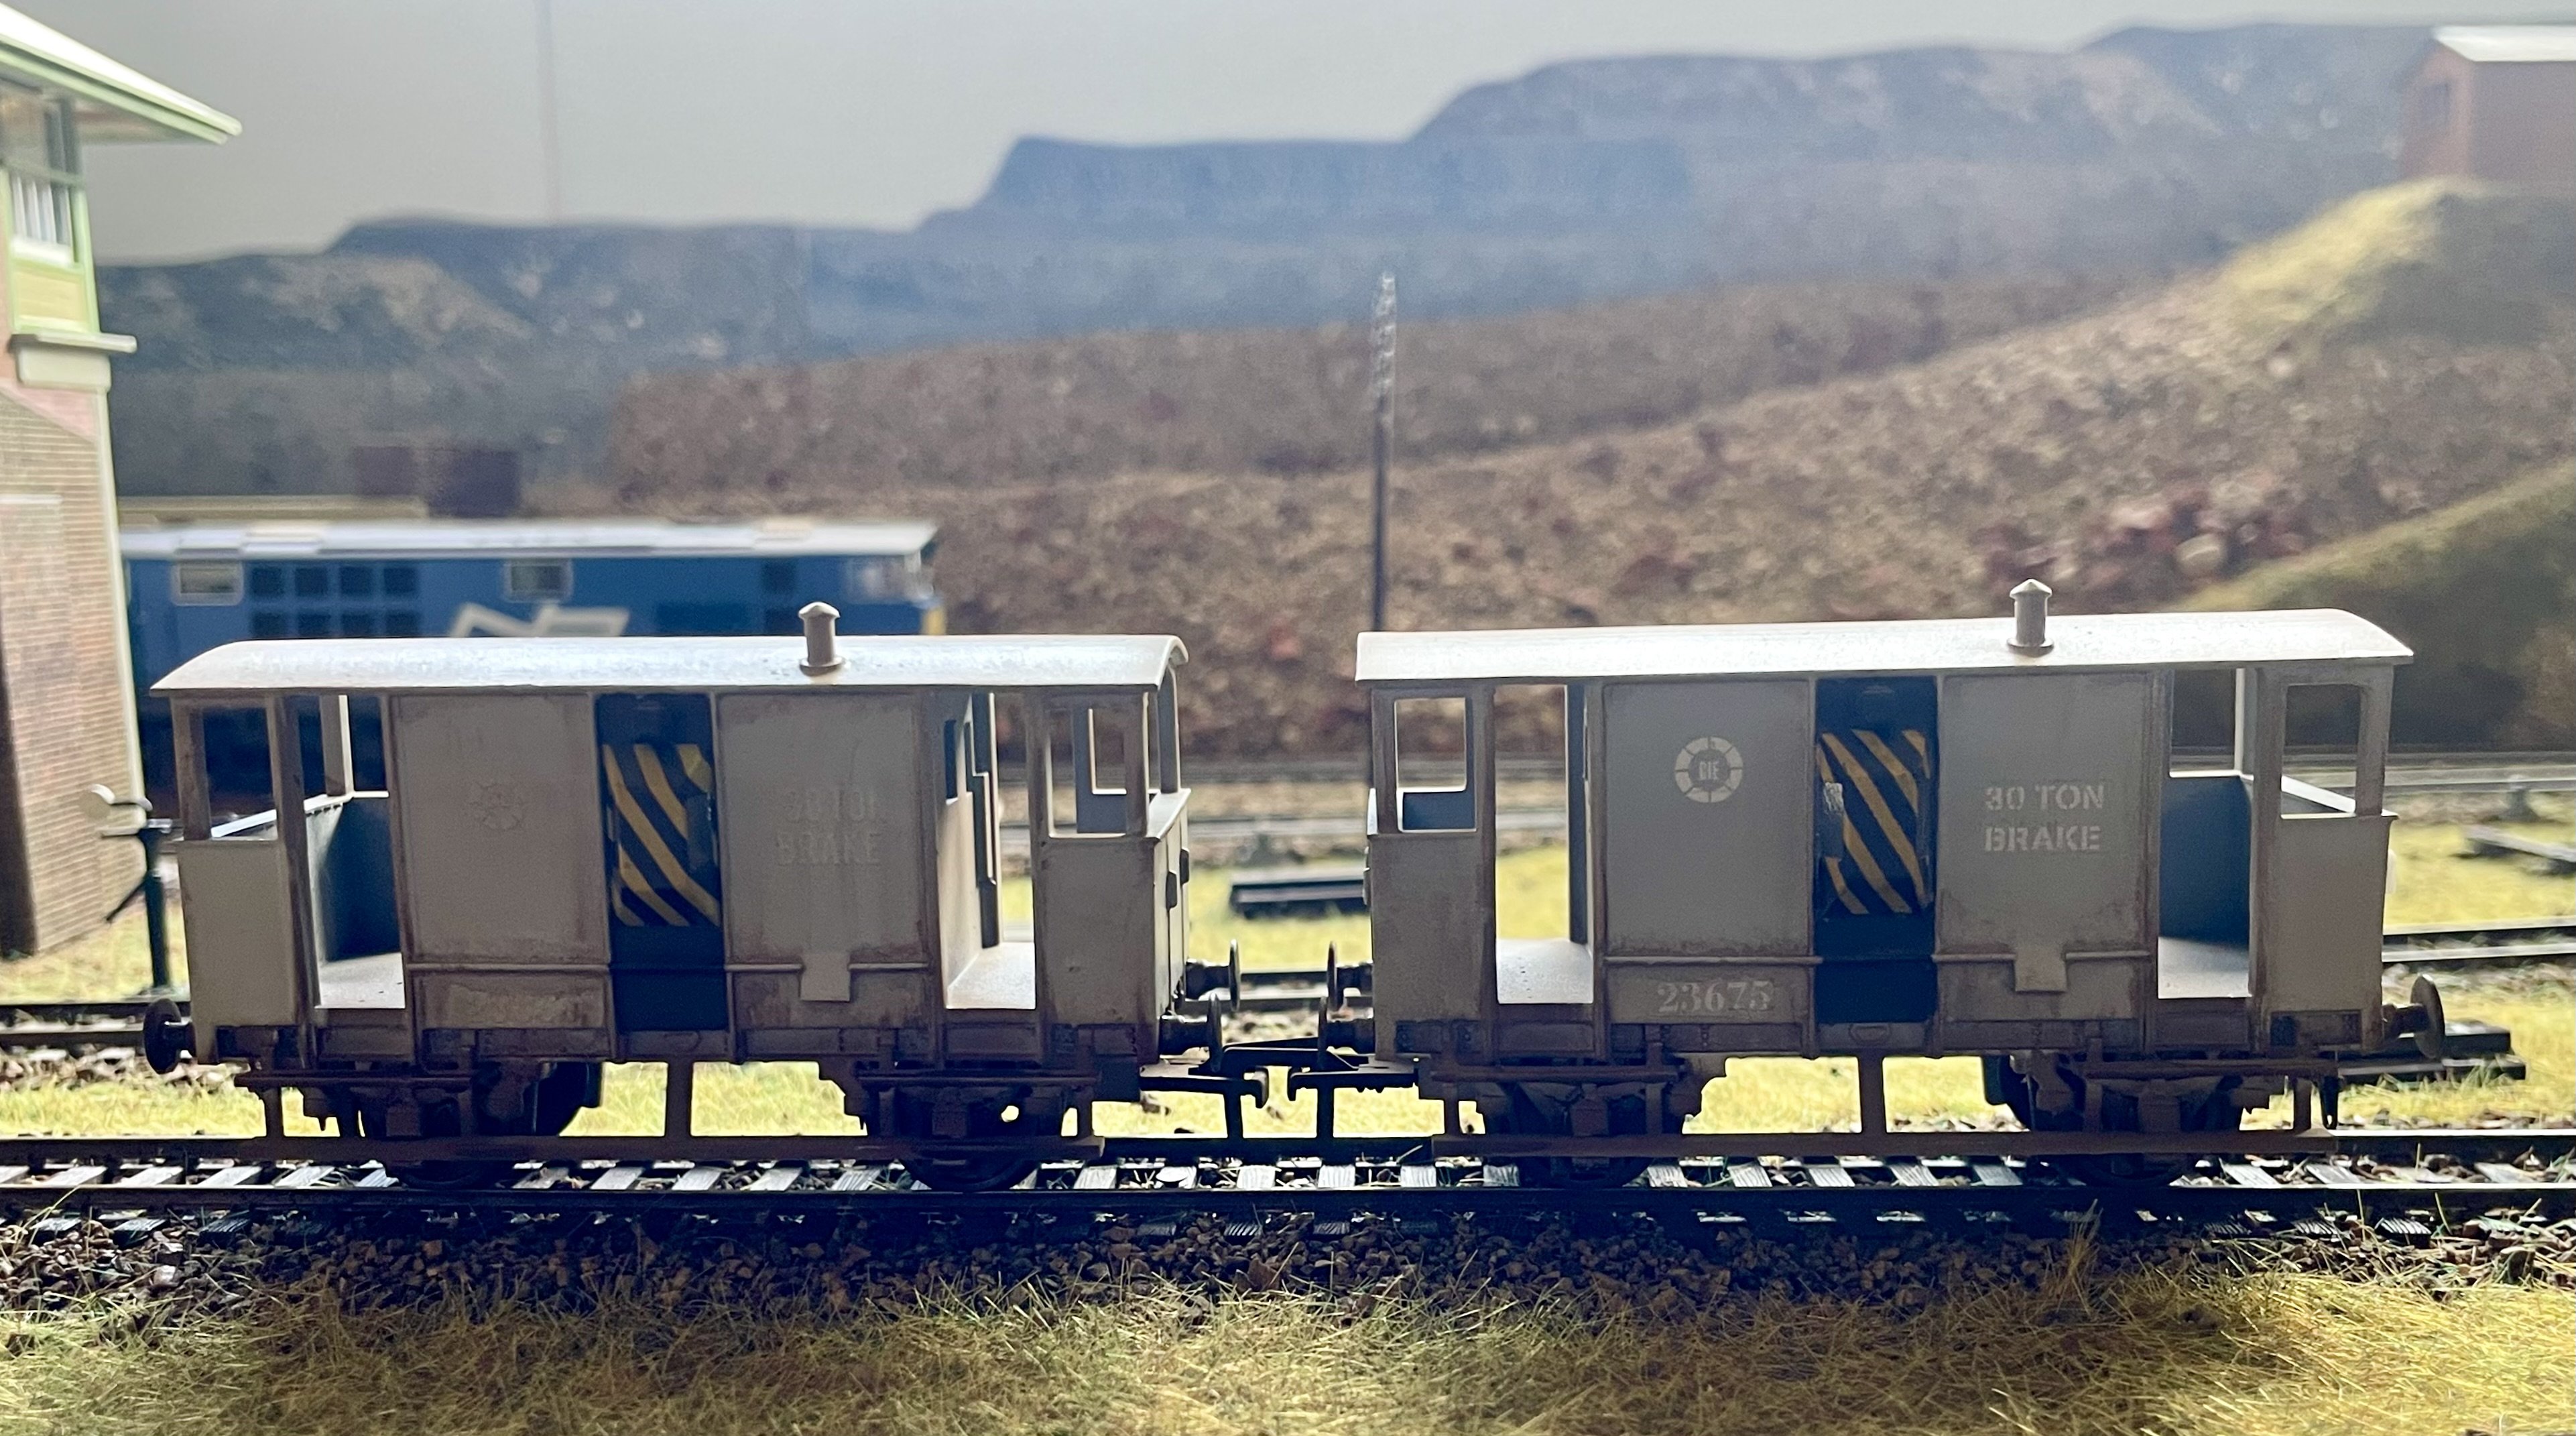
Just received from CK Prints. And after a spot of weathering. Cheers Darius
-
Just received from CK Prints. And after a spot of weathering. Cheers Darius
-
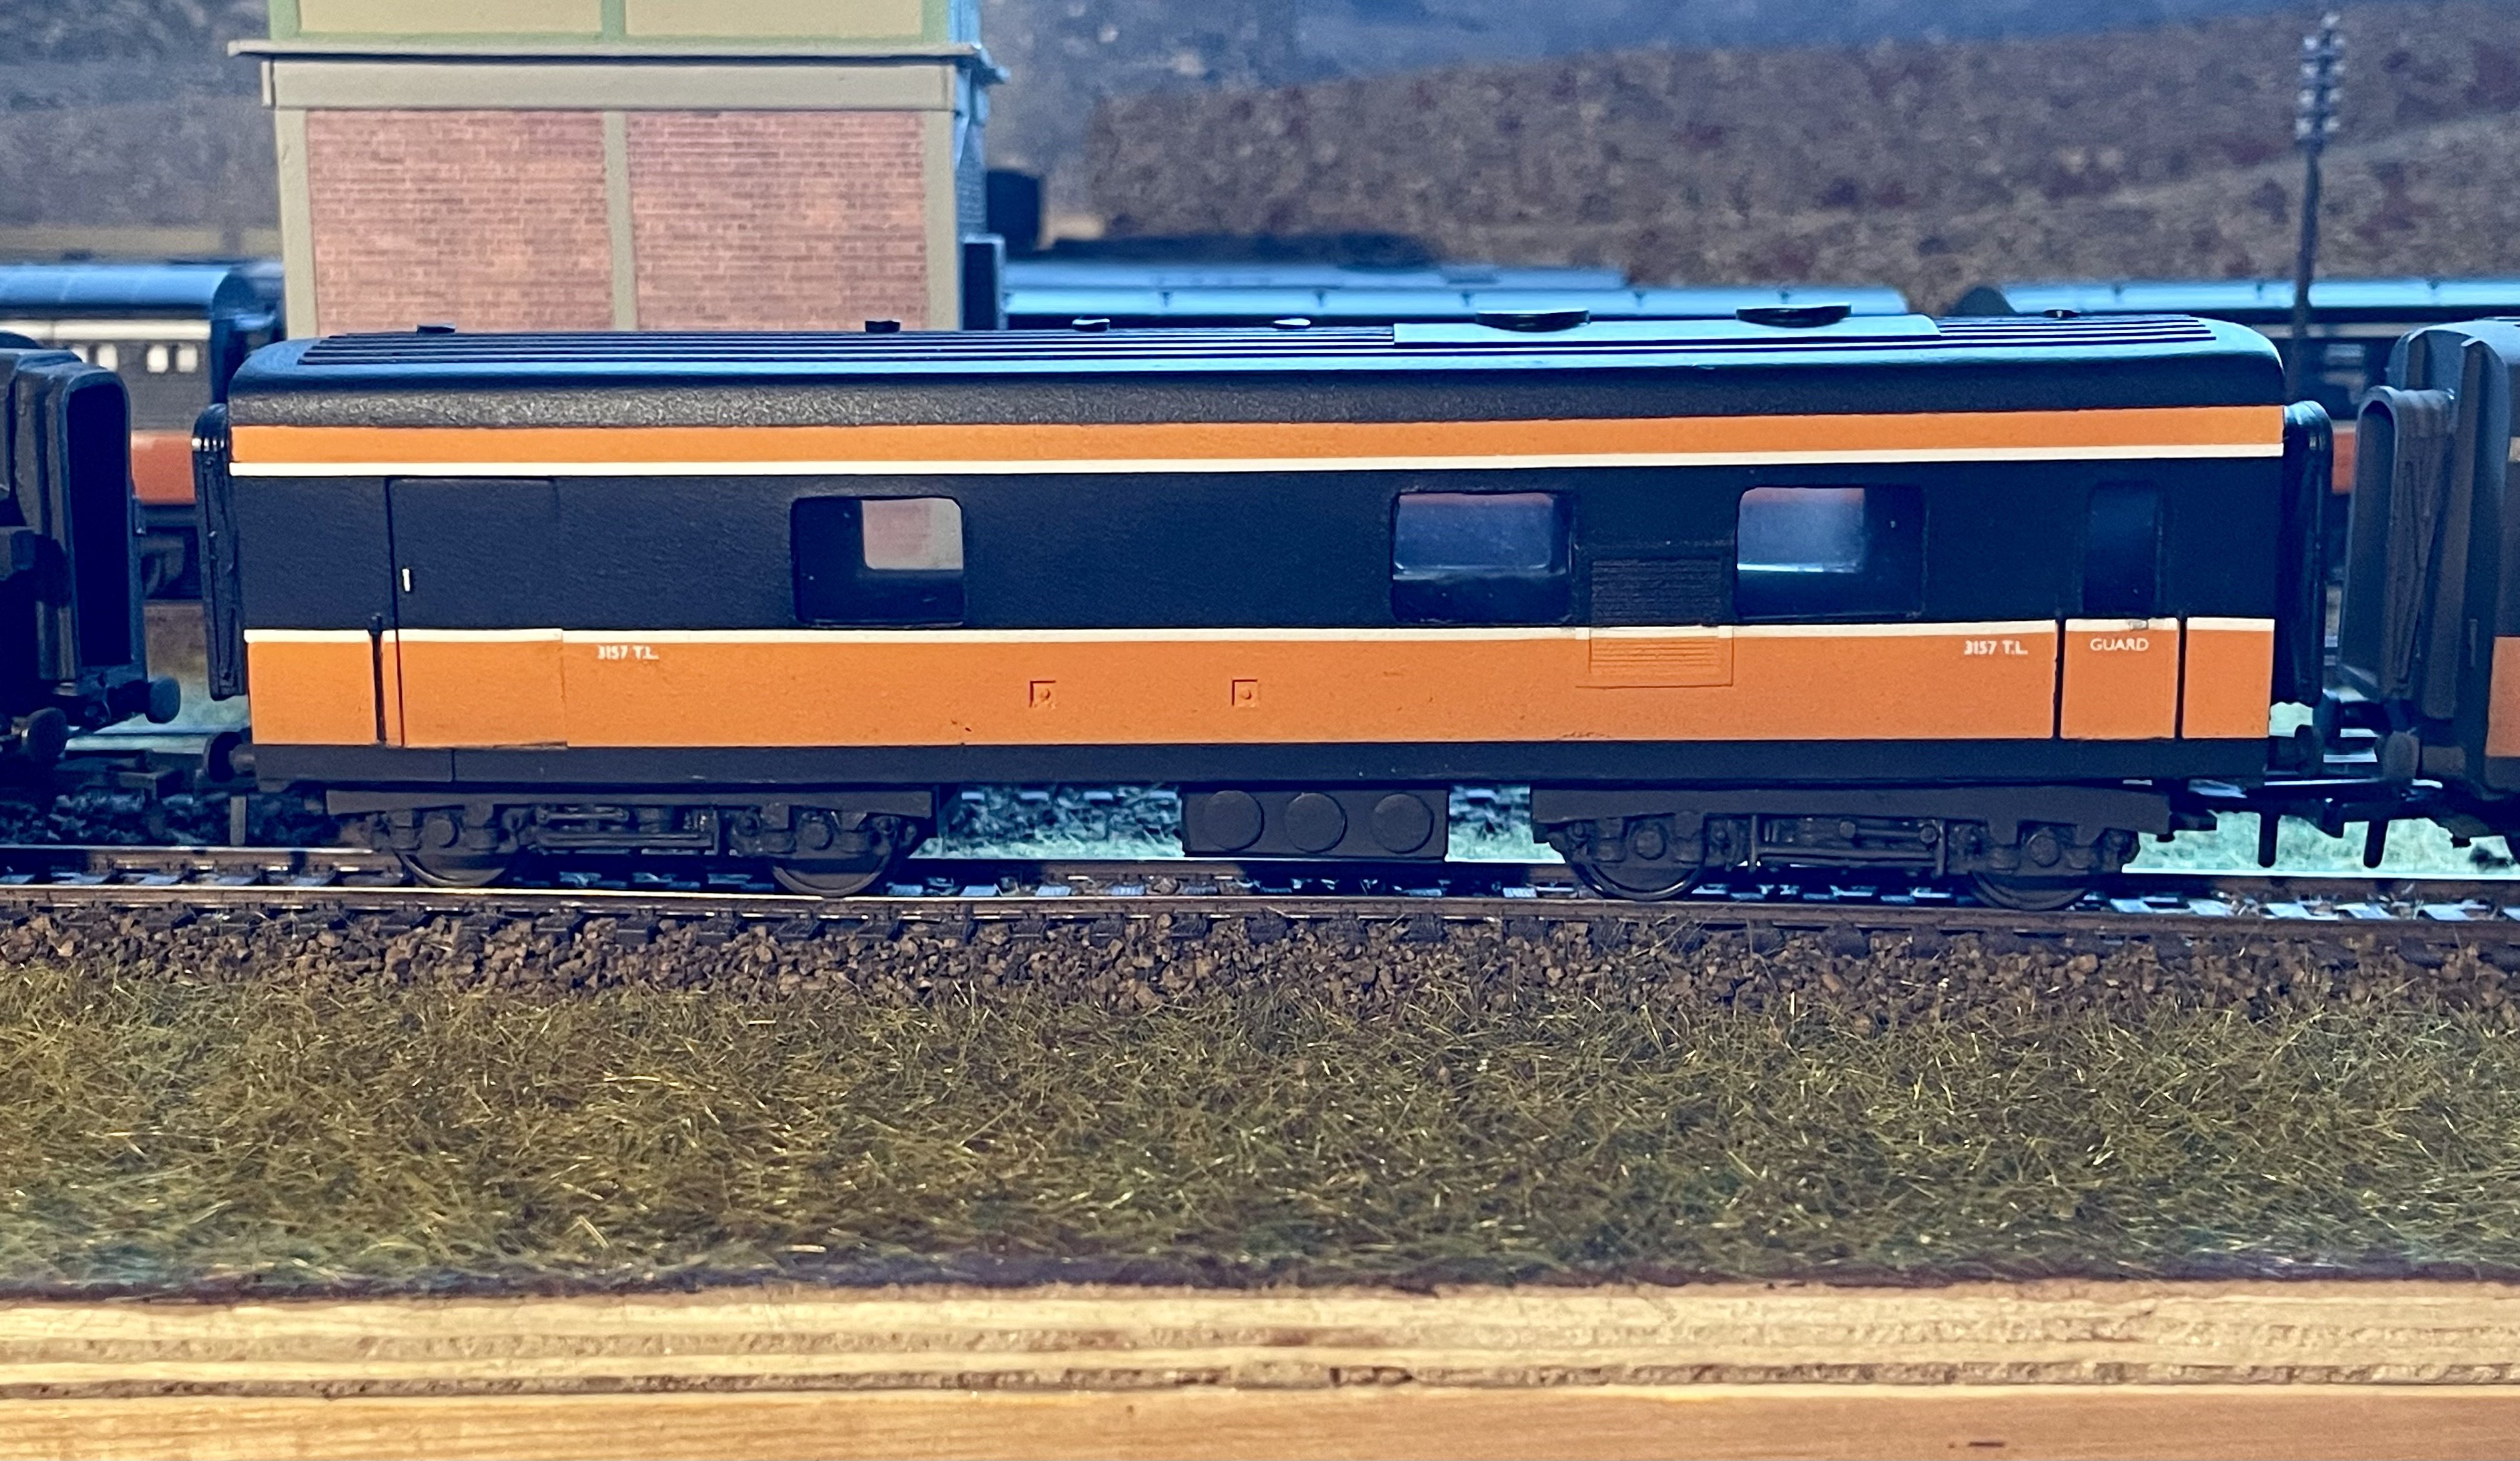
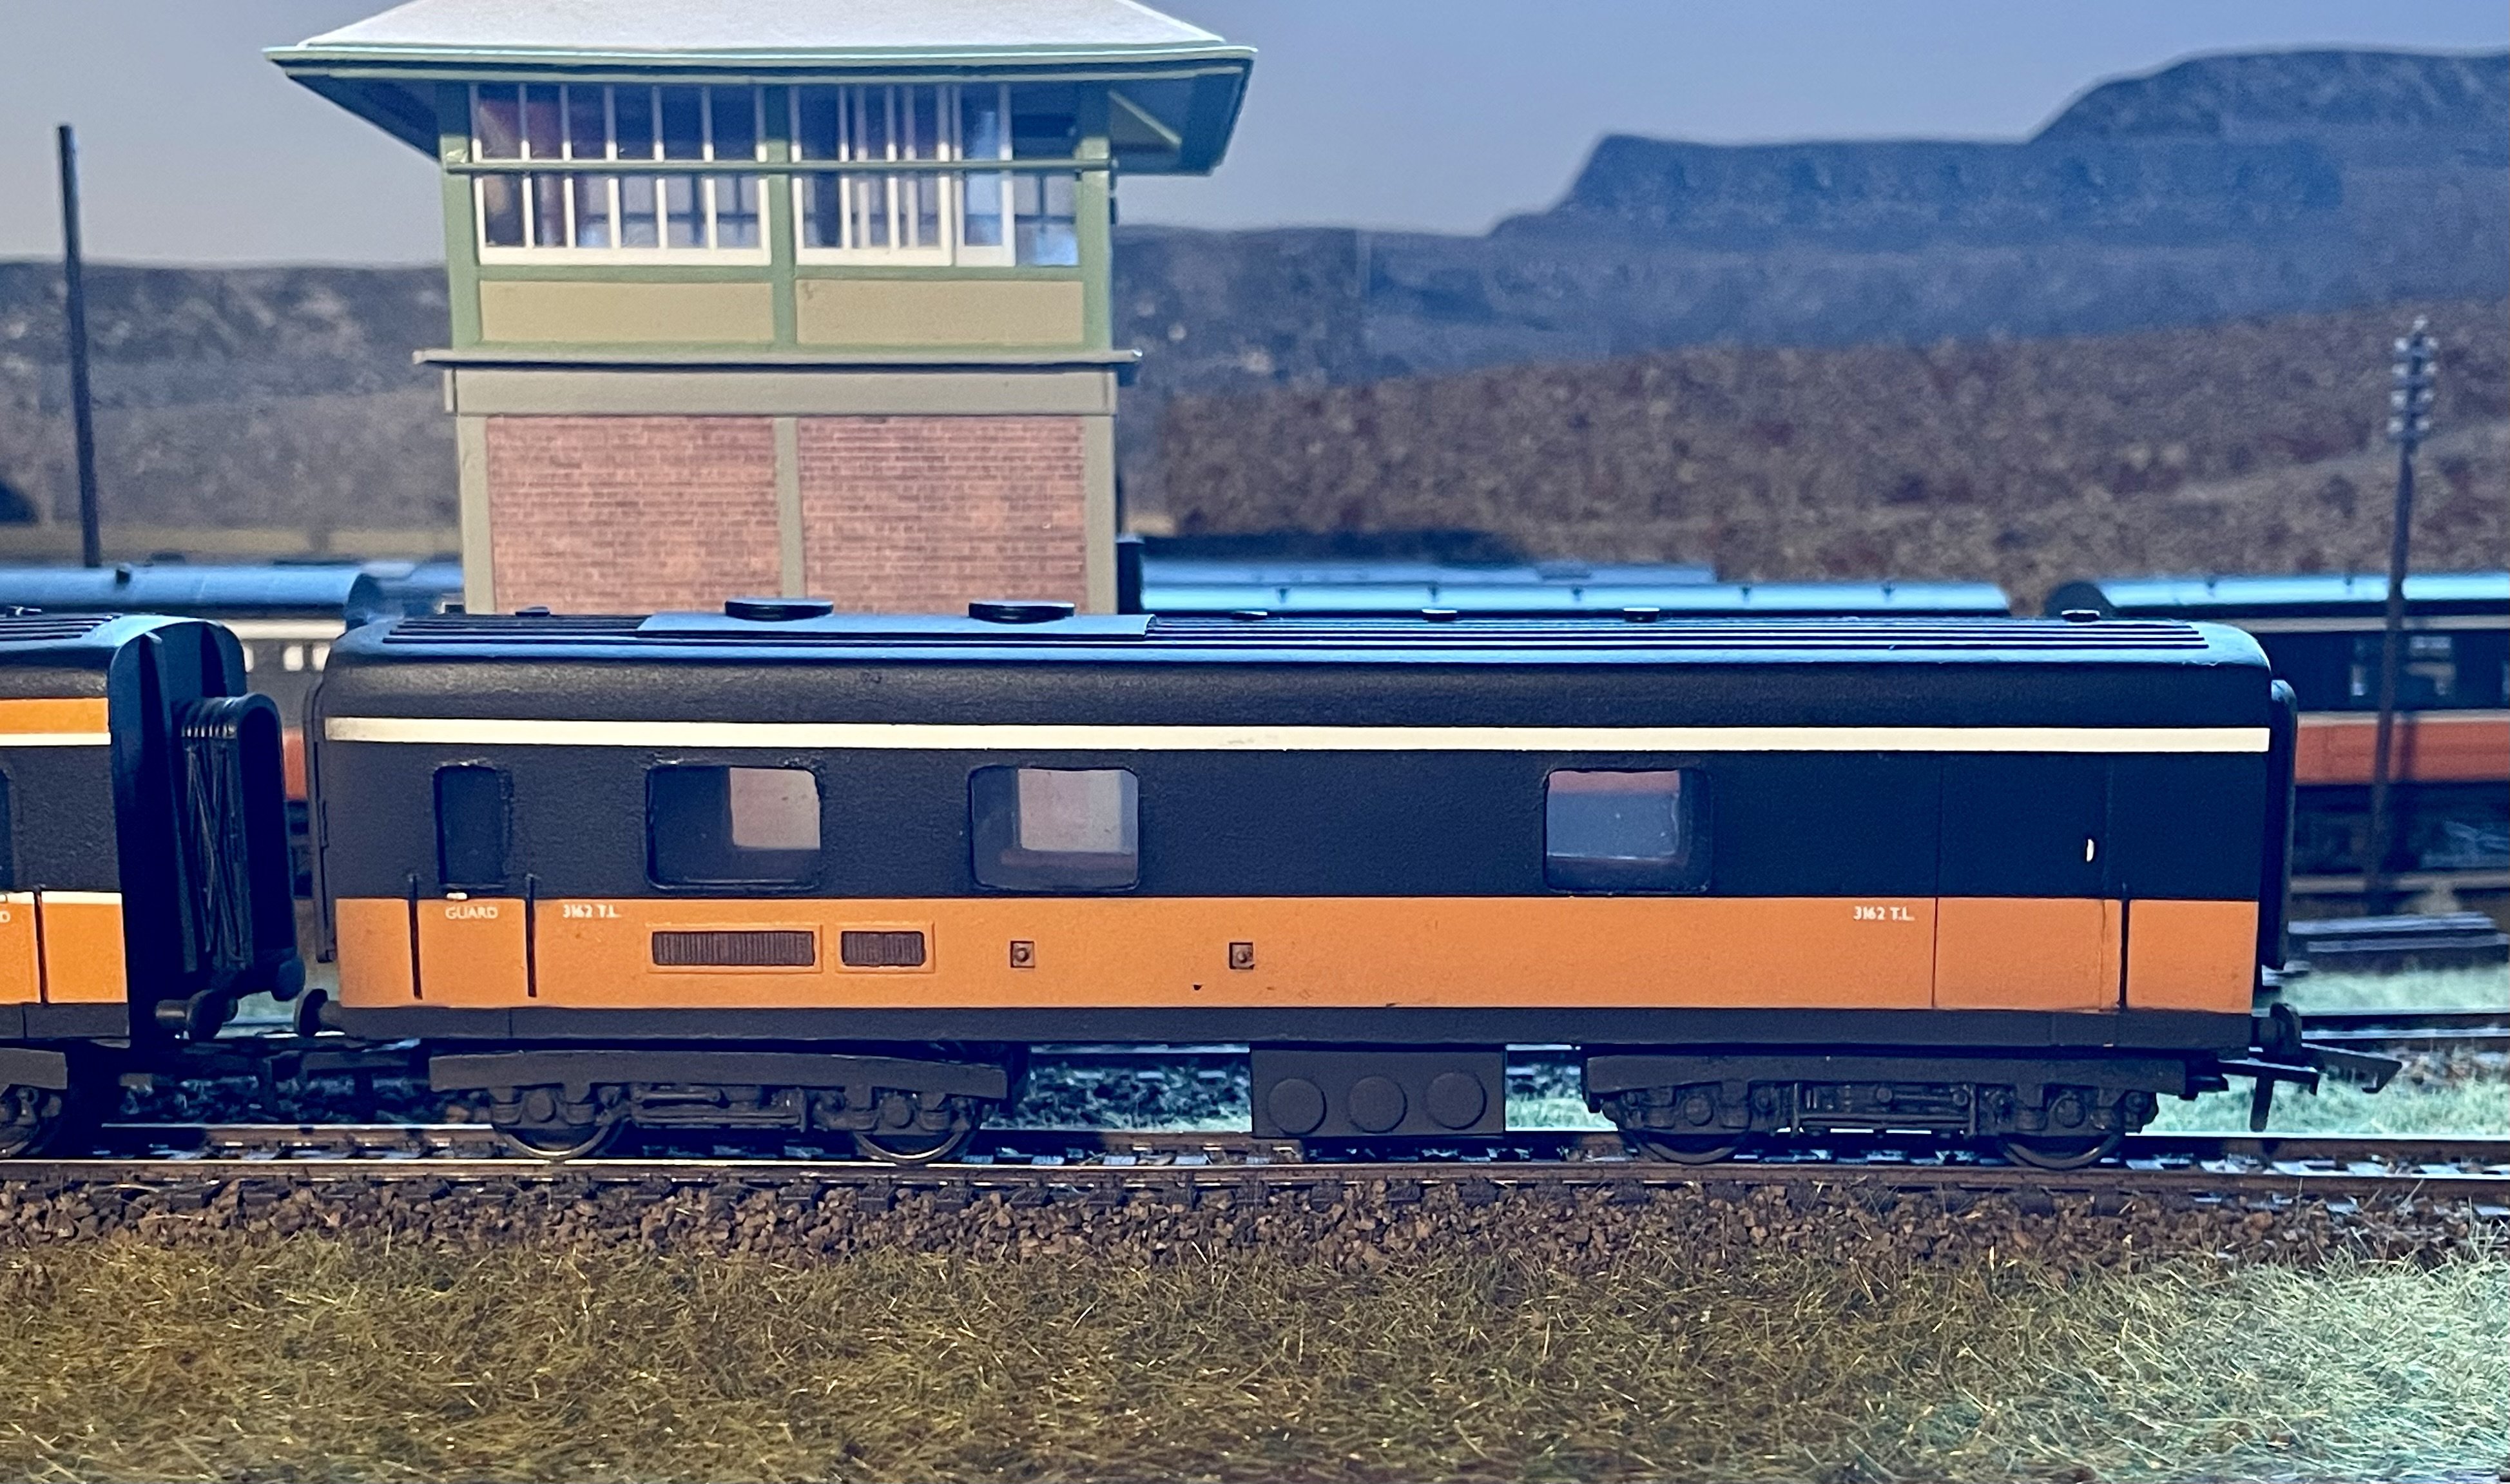
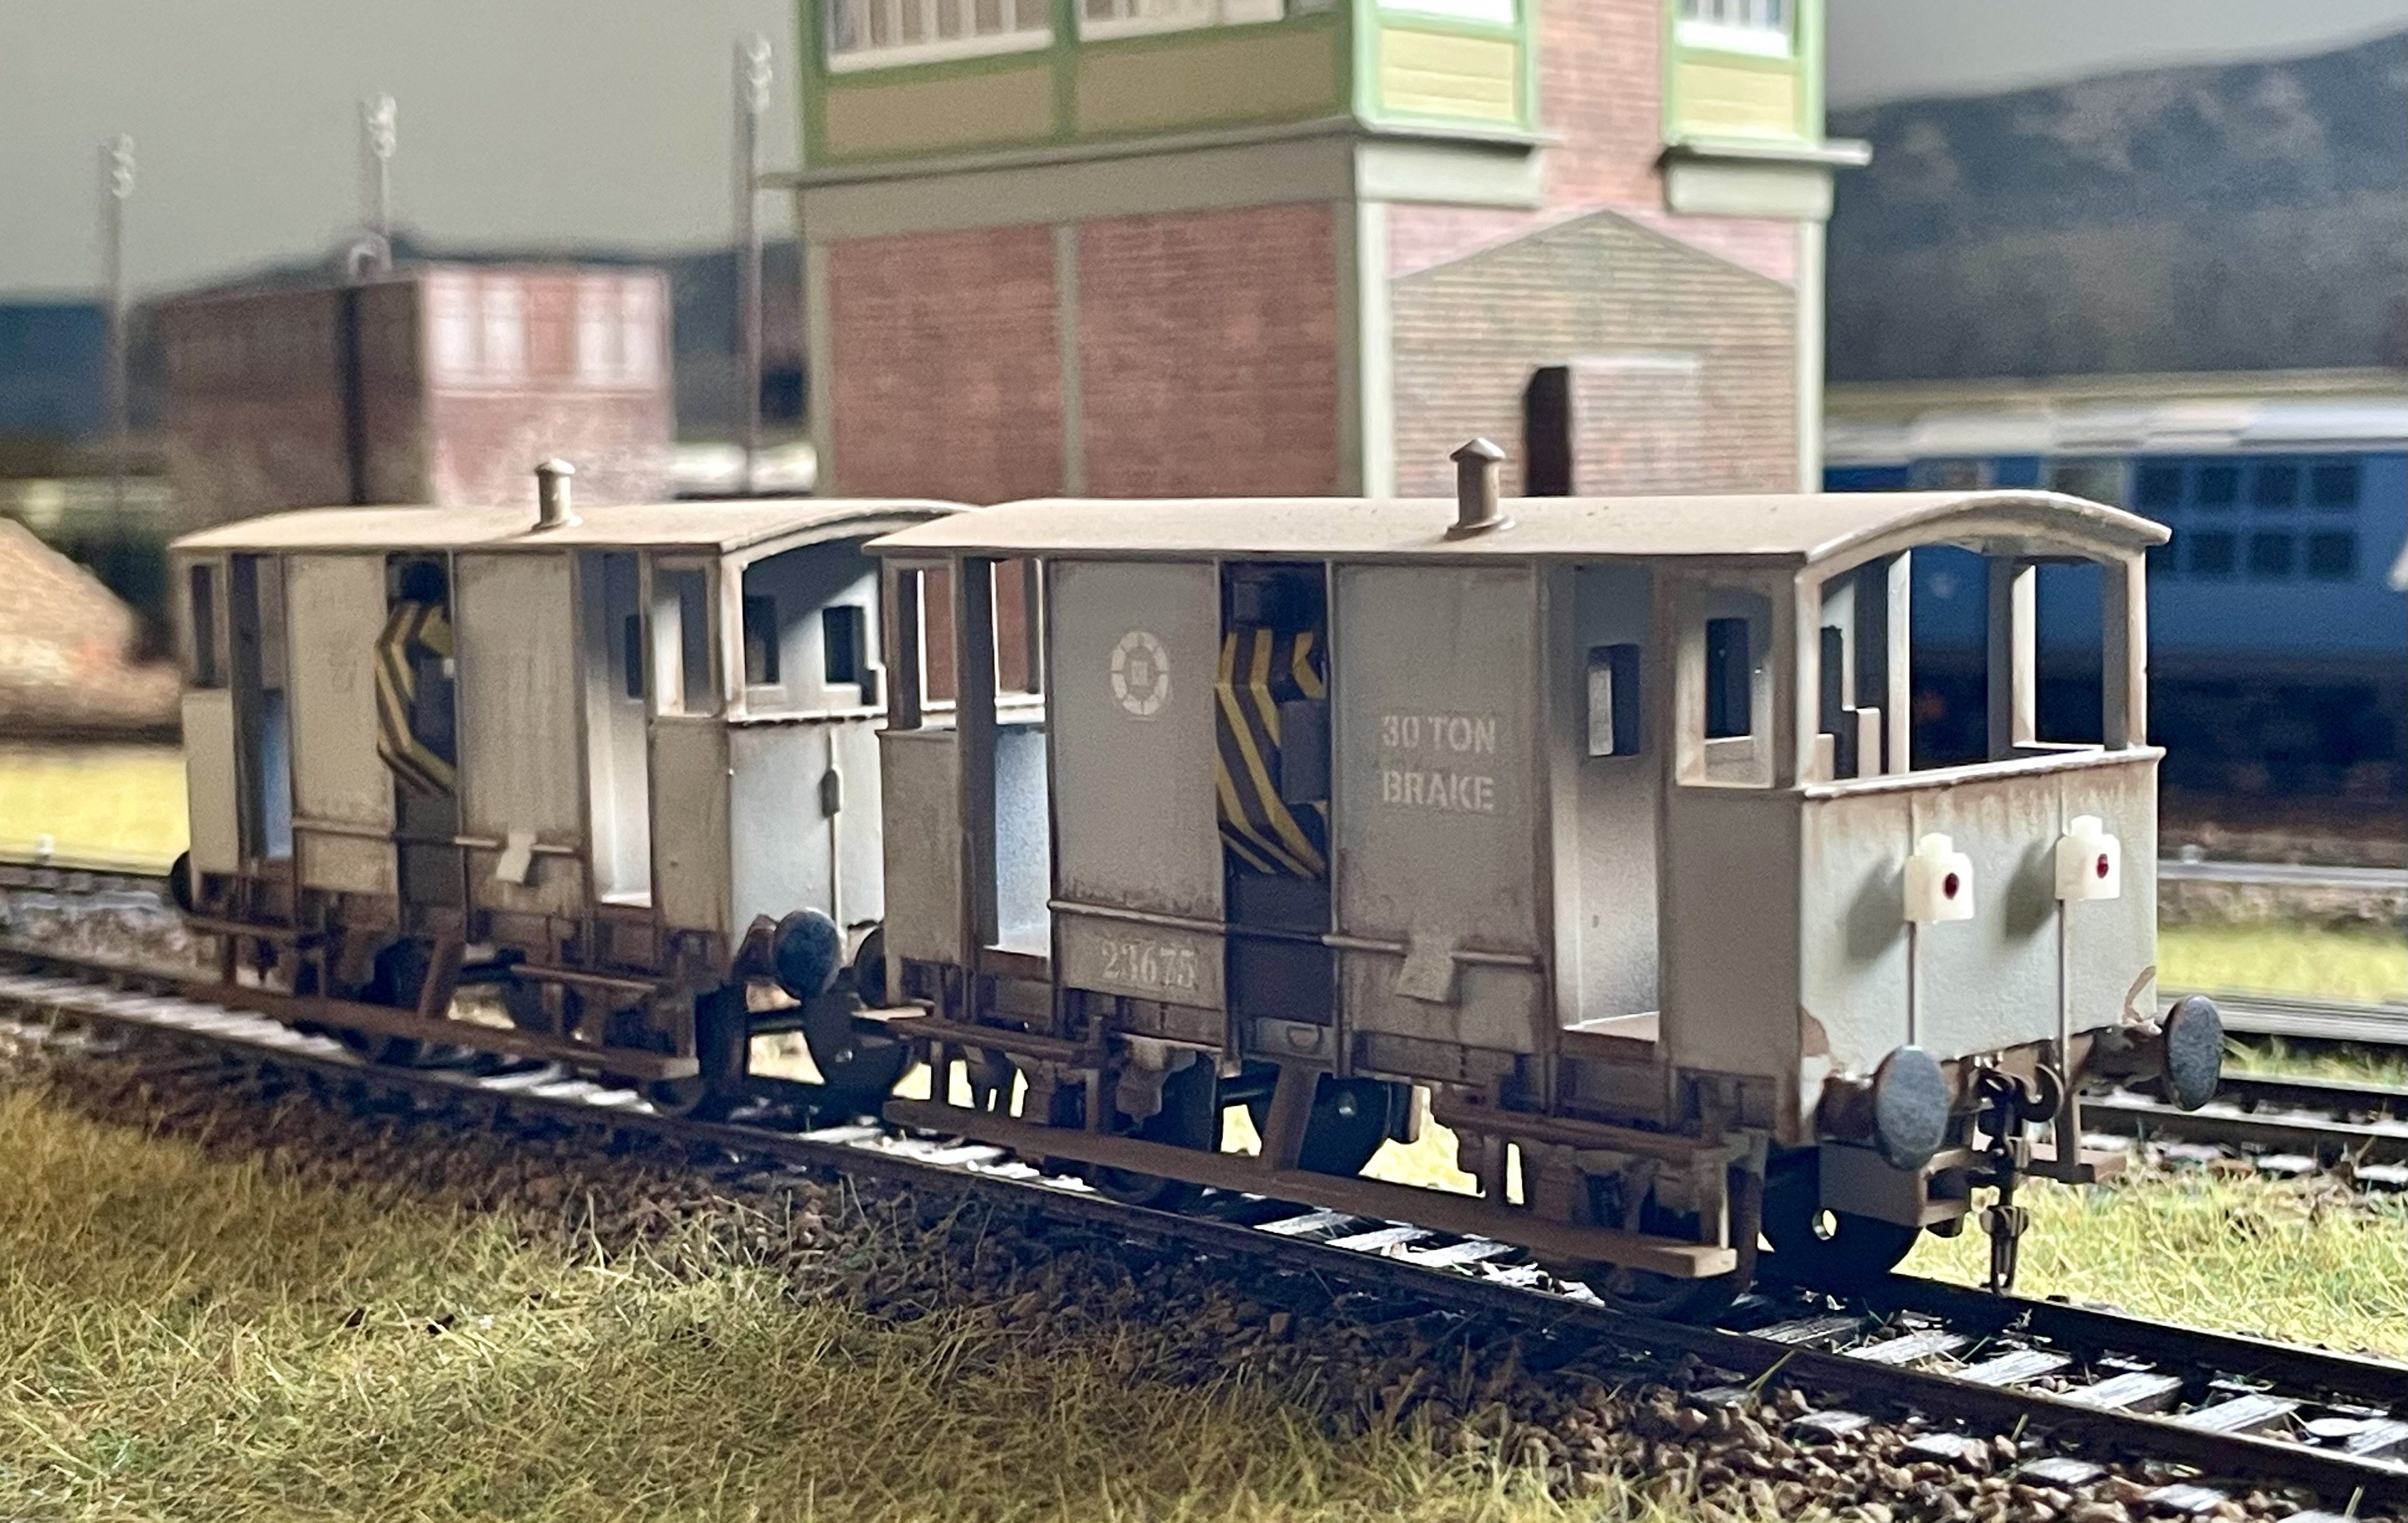
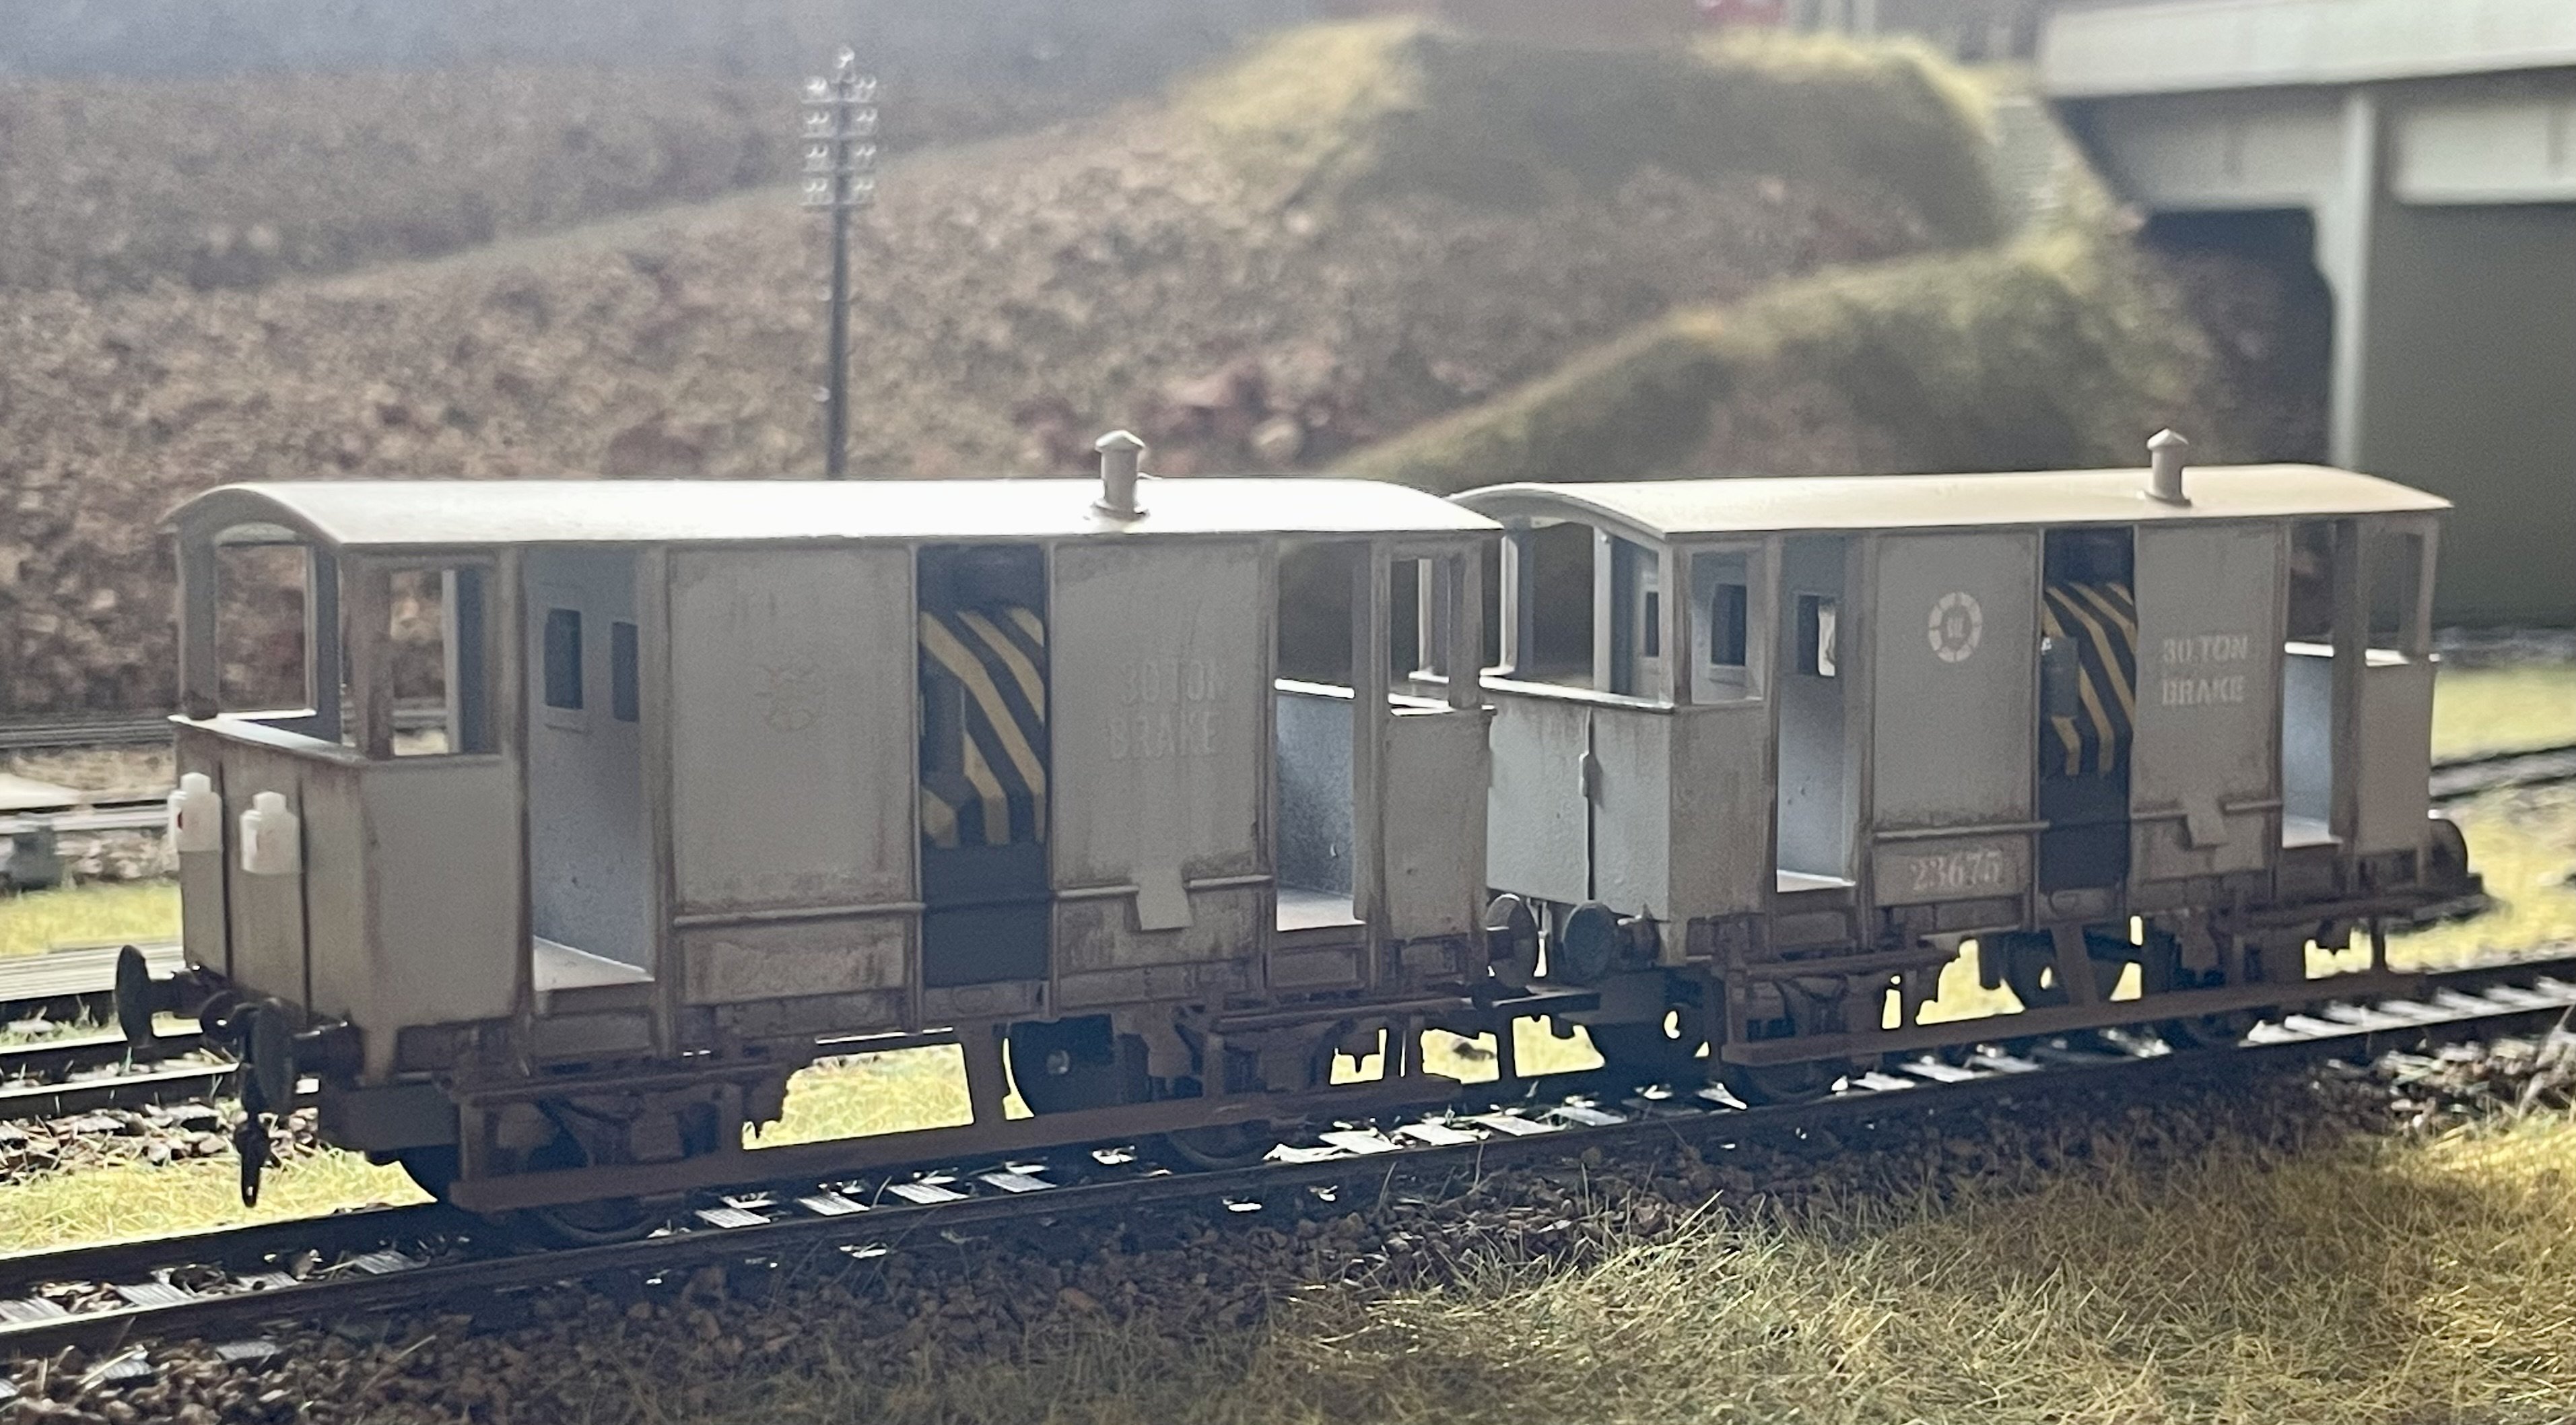
Added some more decoration. Cheers Darius
-
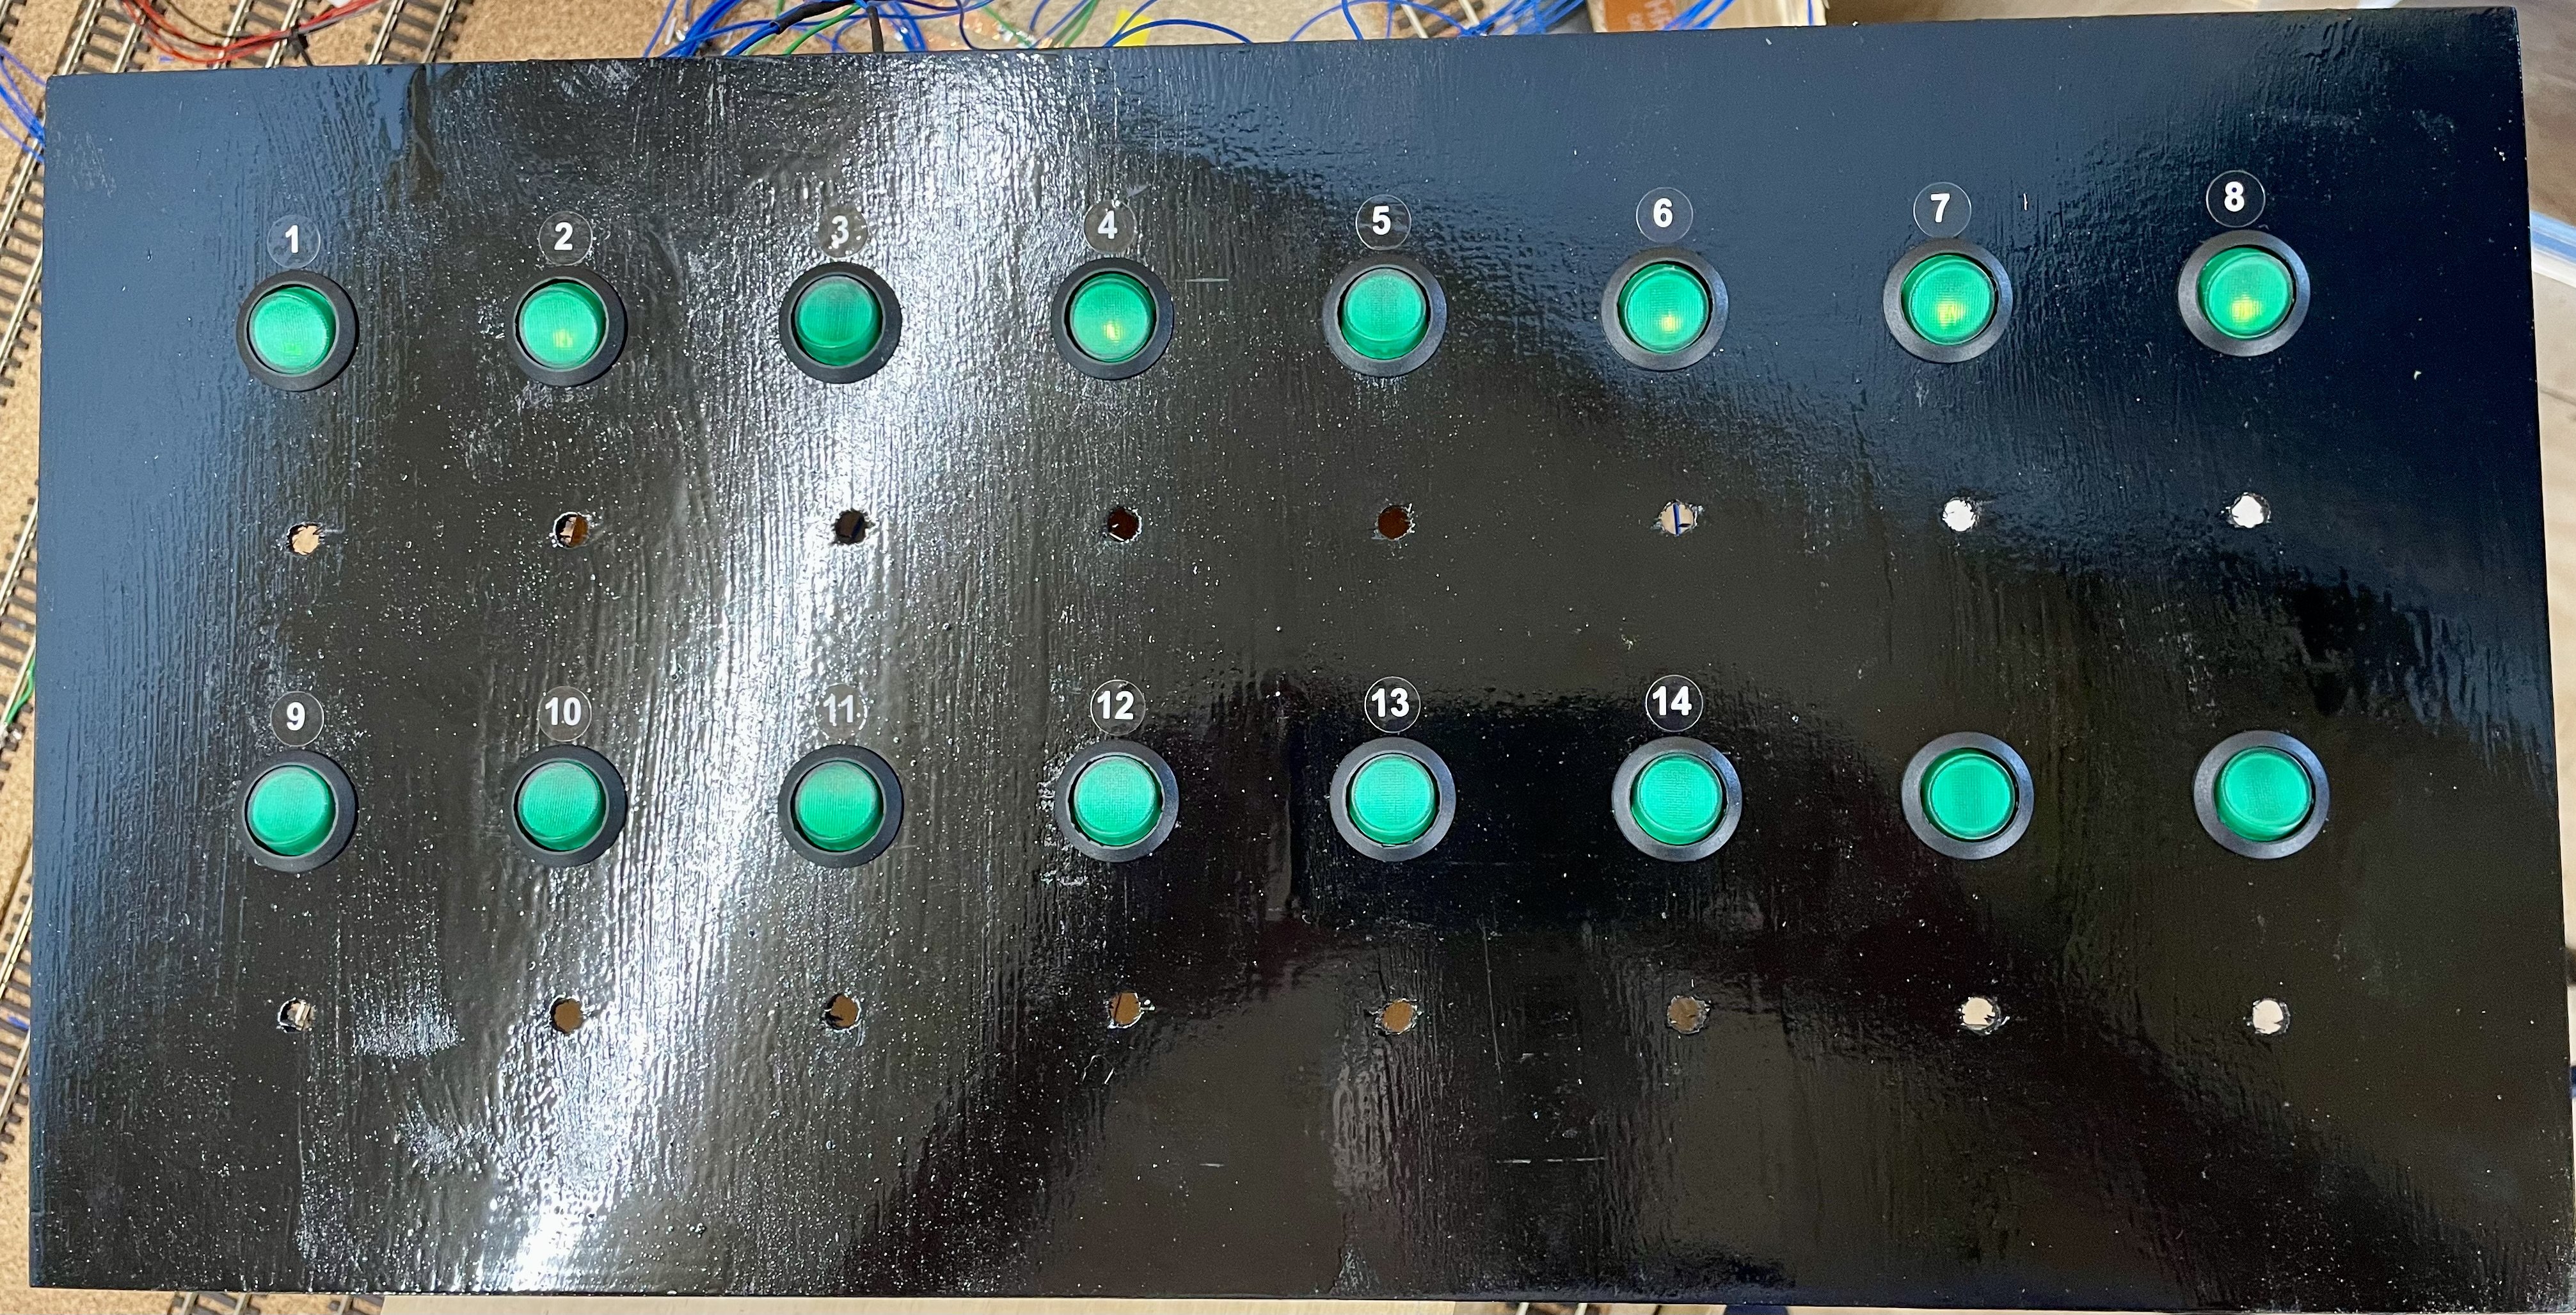
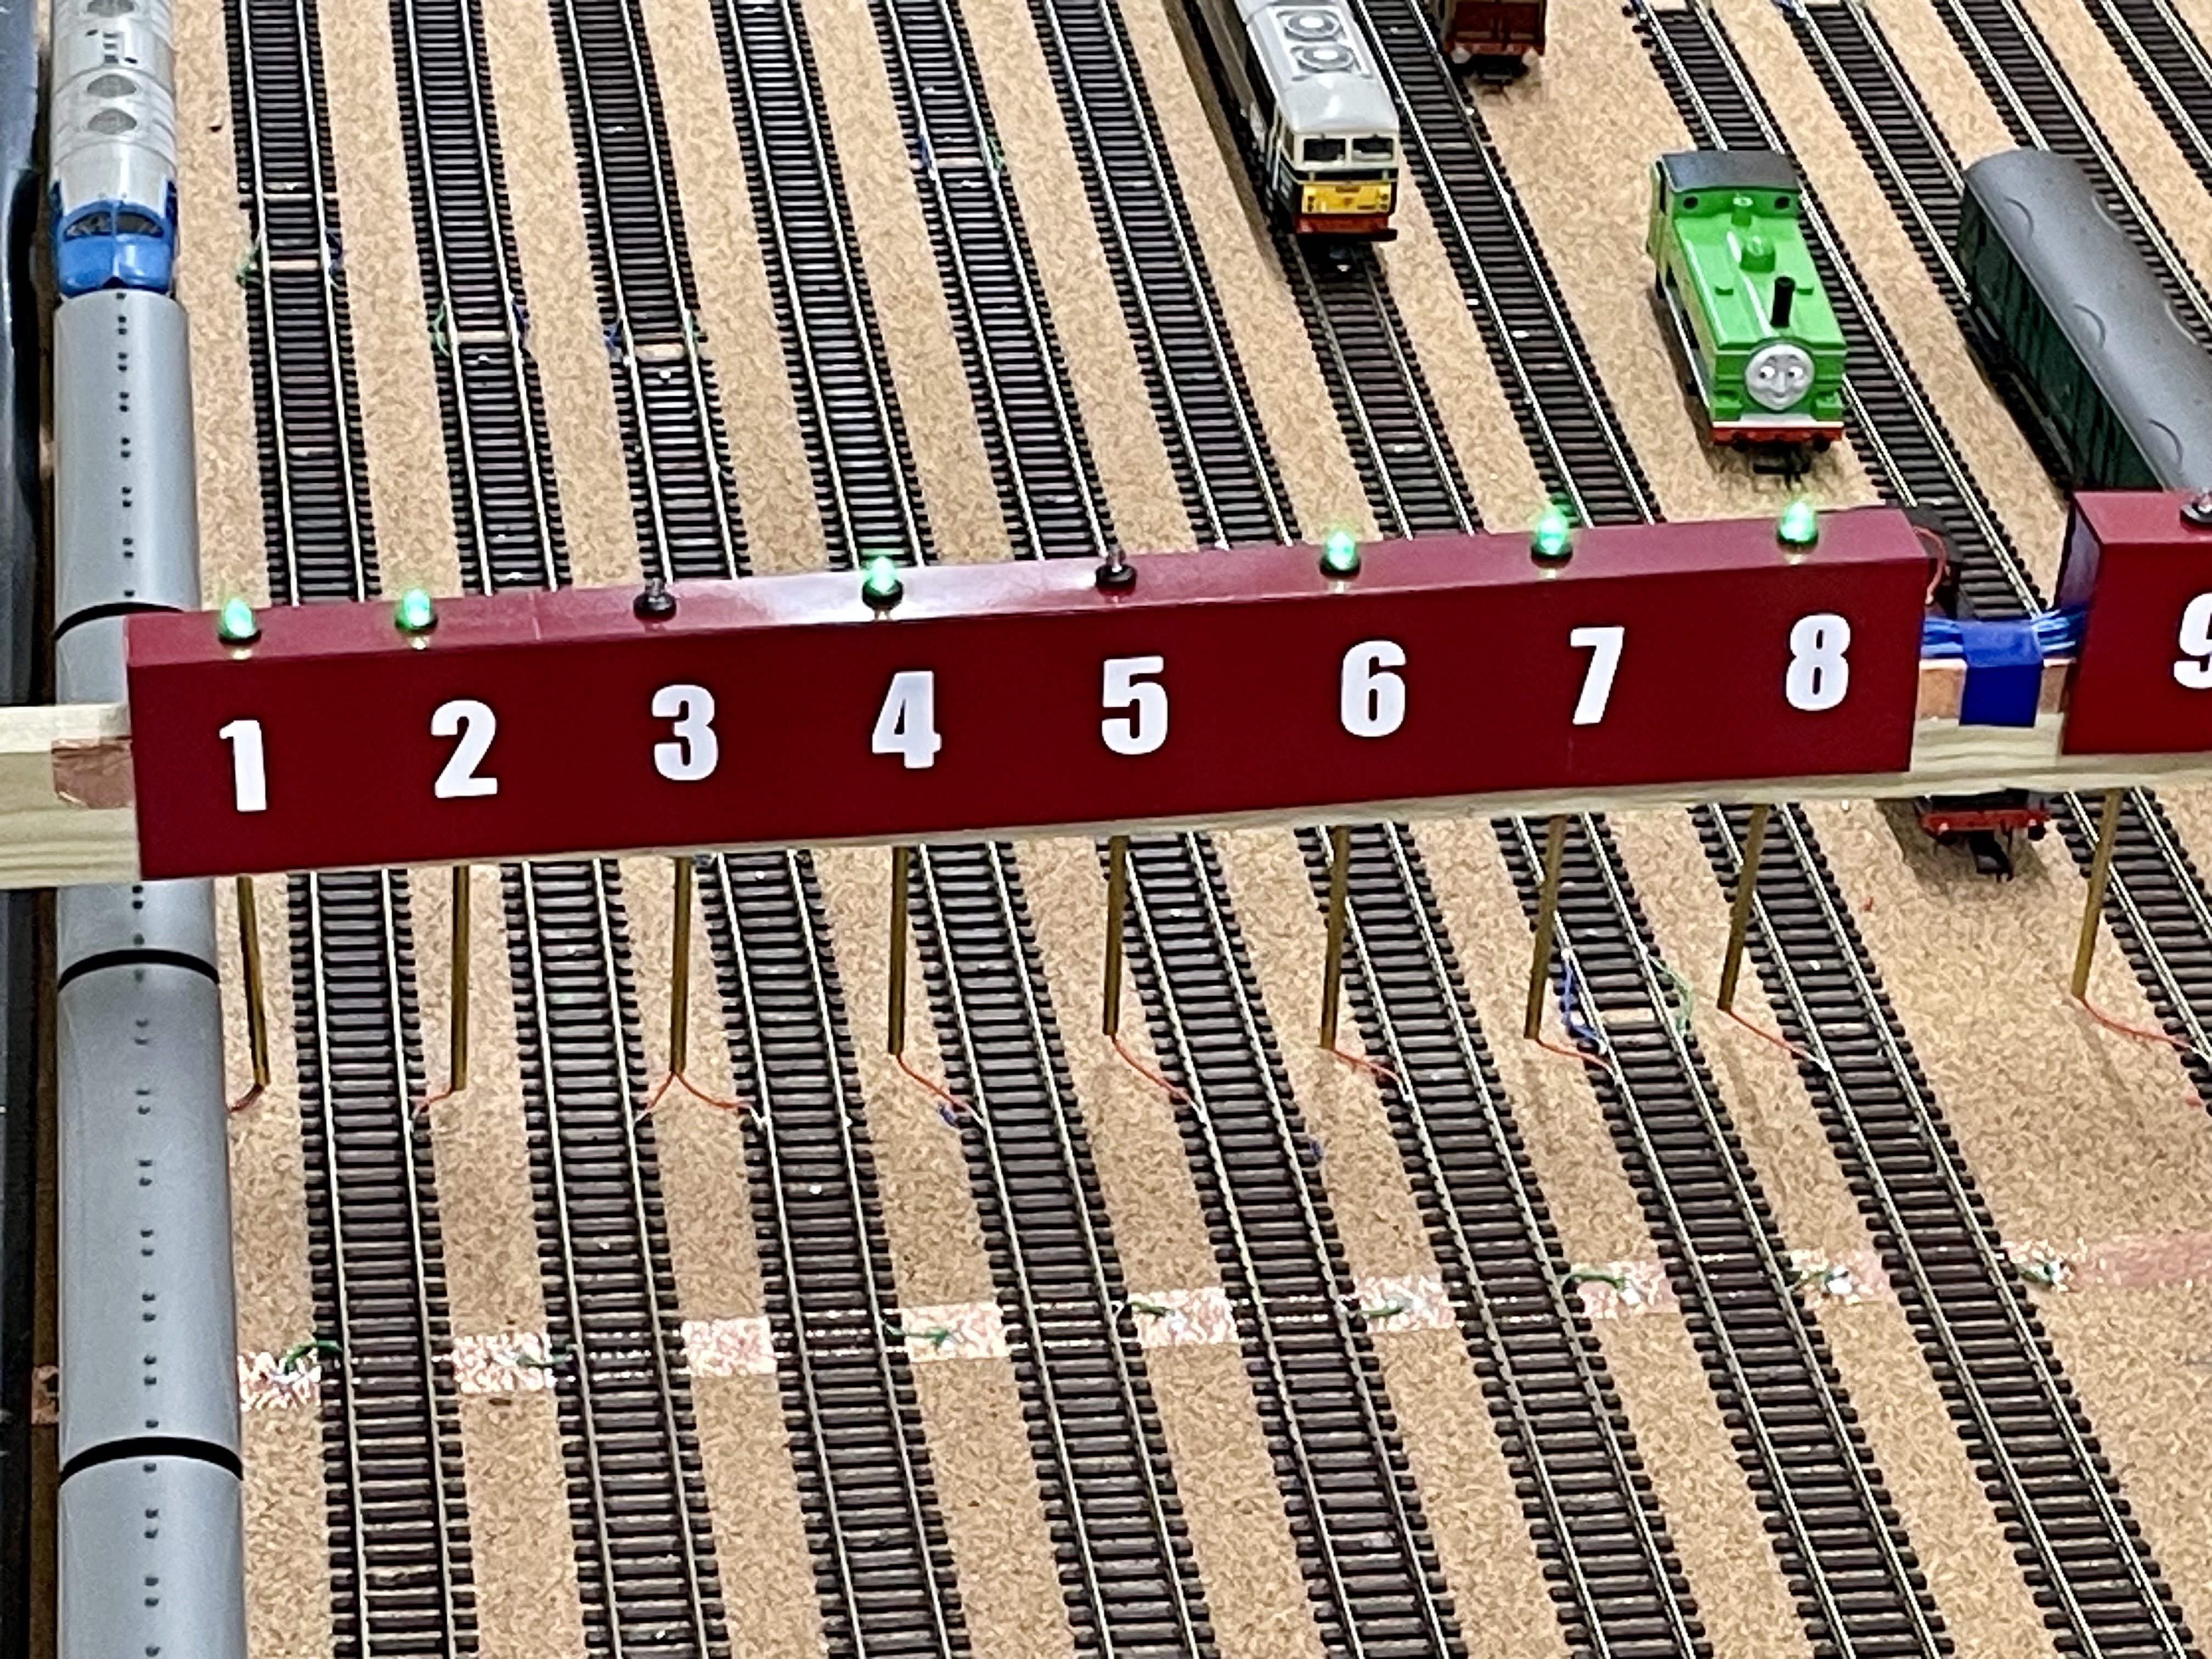
Wired up the storage siding control panel track isolation switches today. Cheers Darius
-
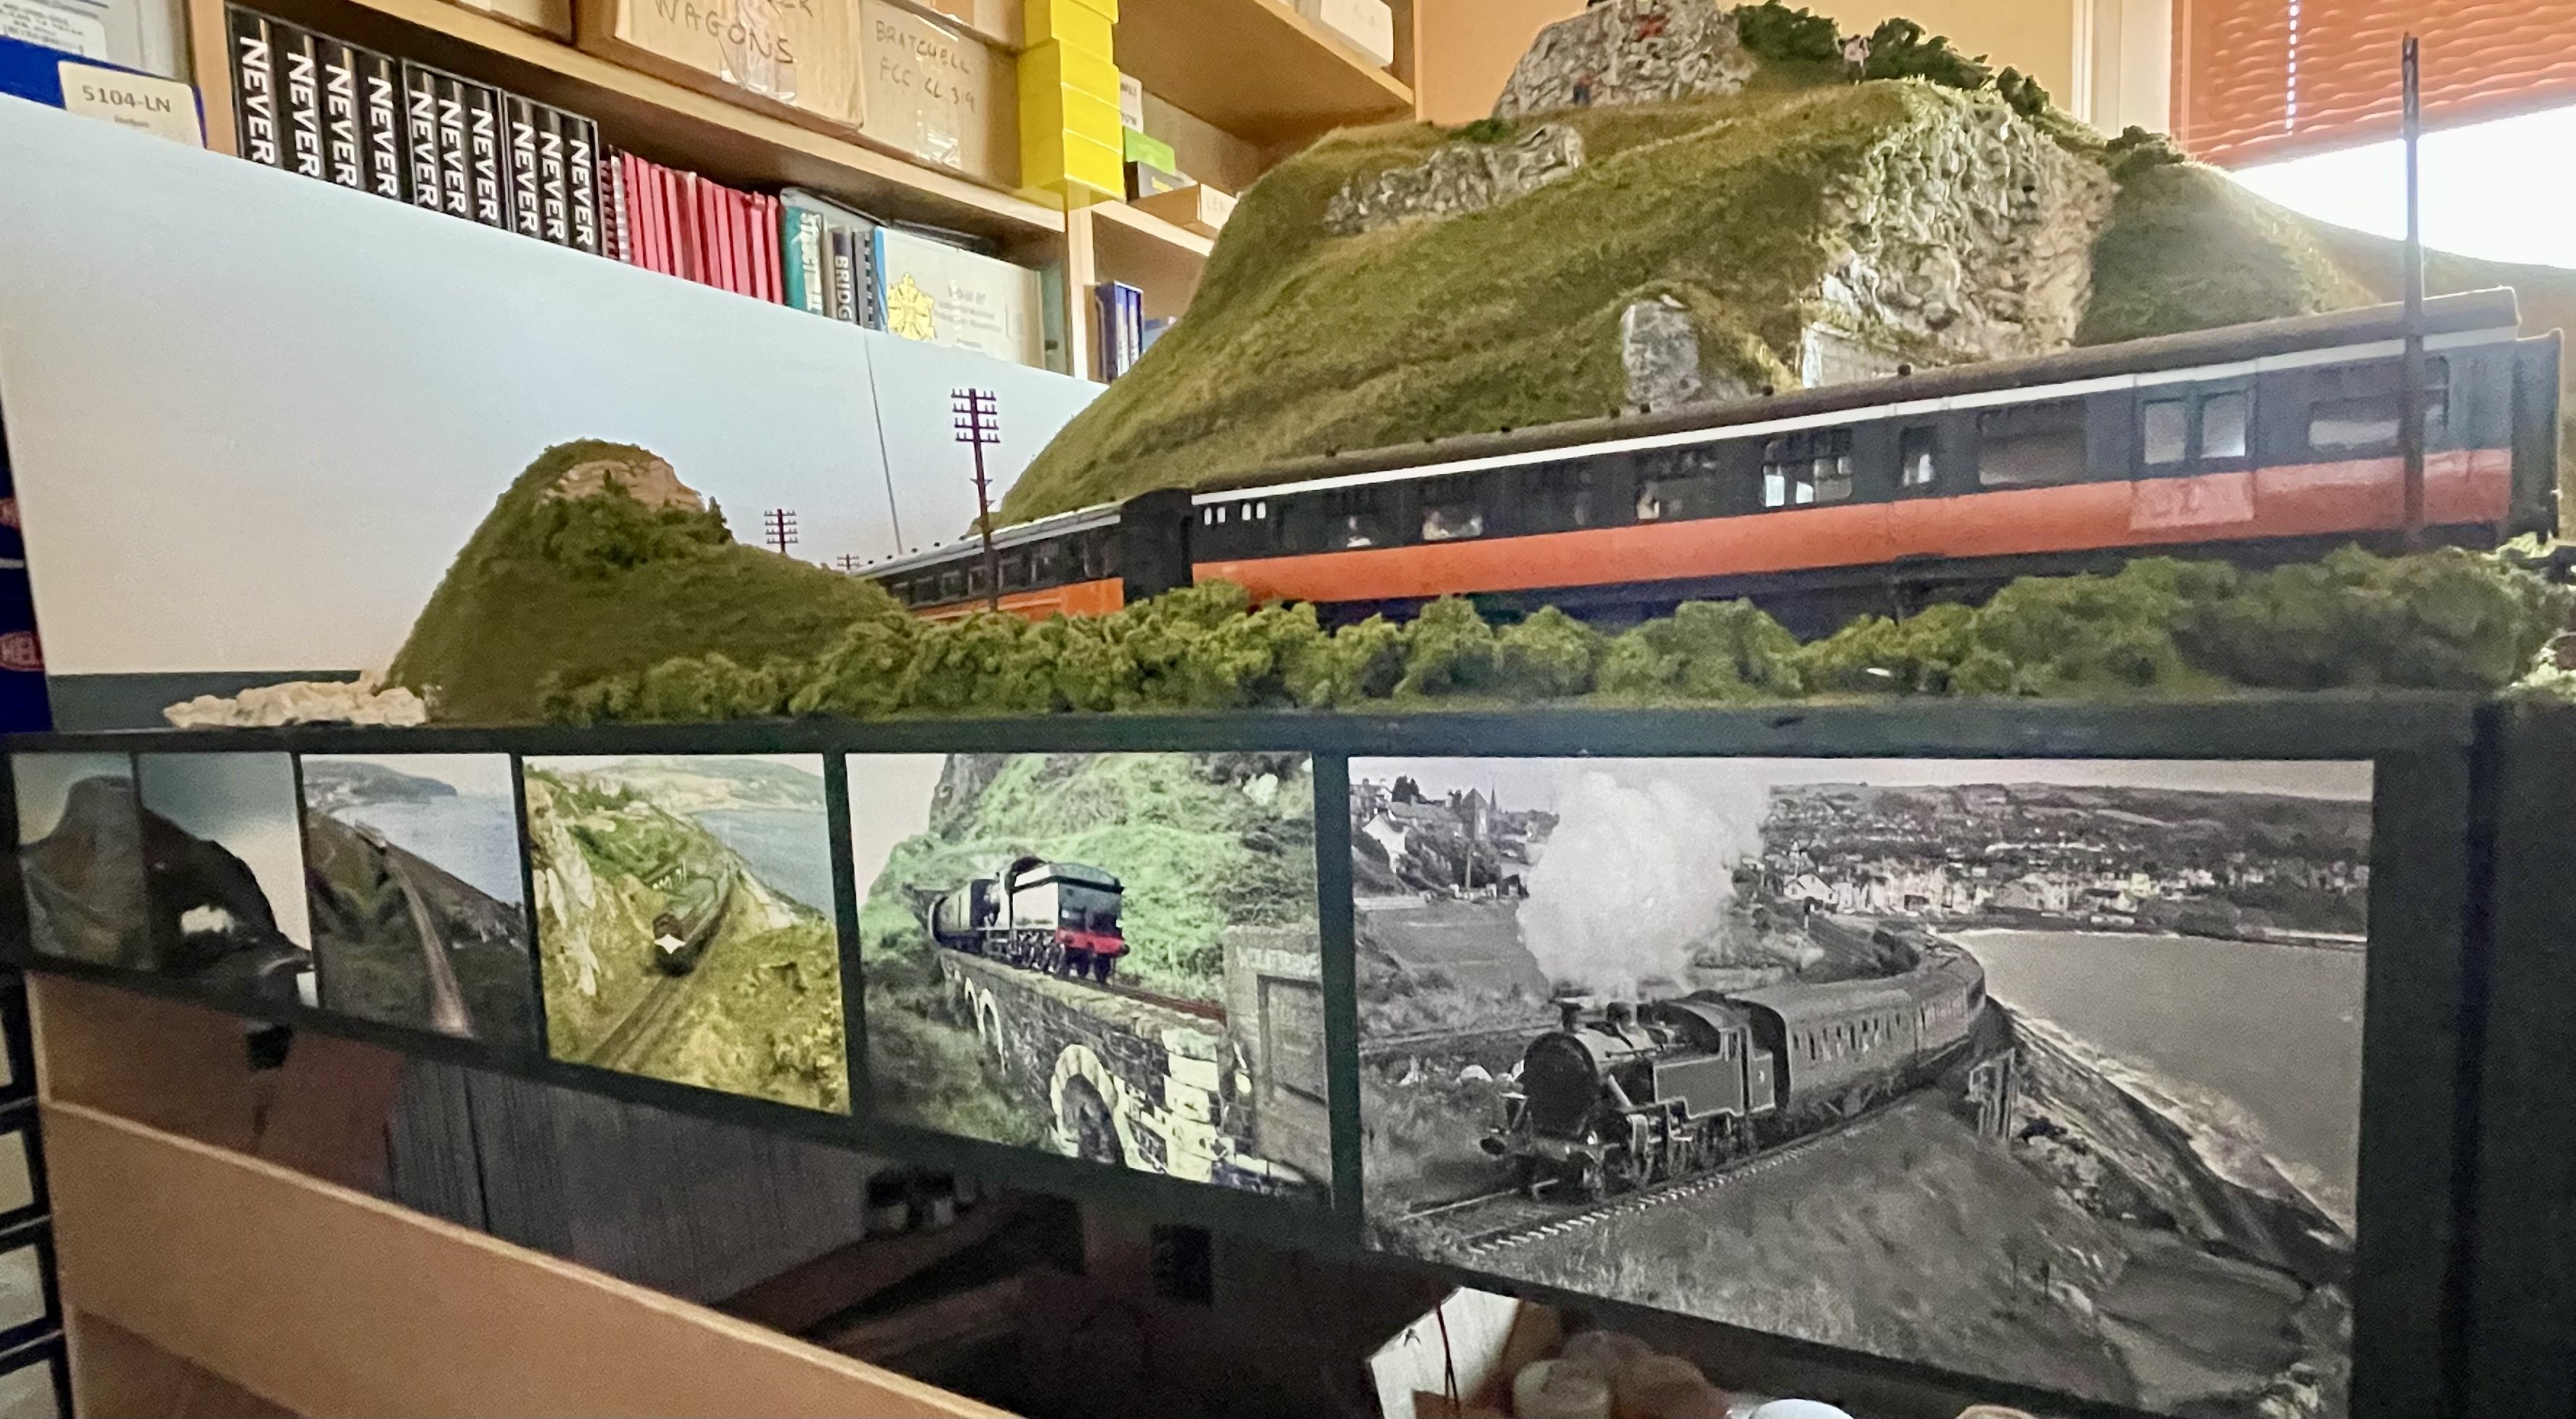
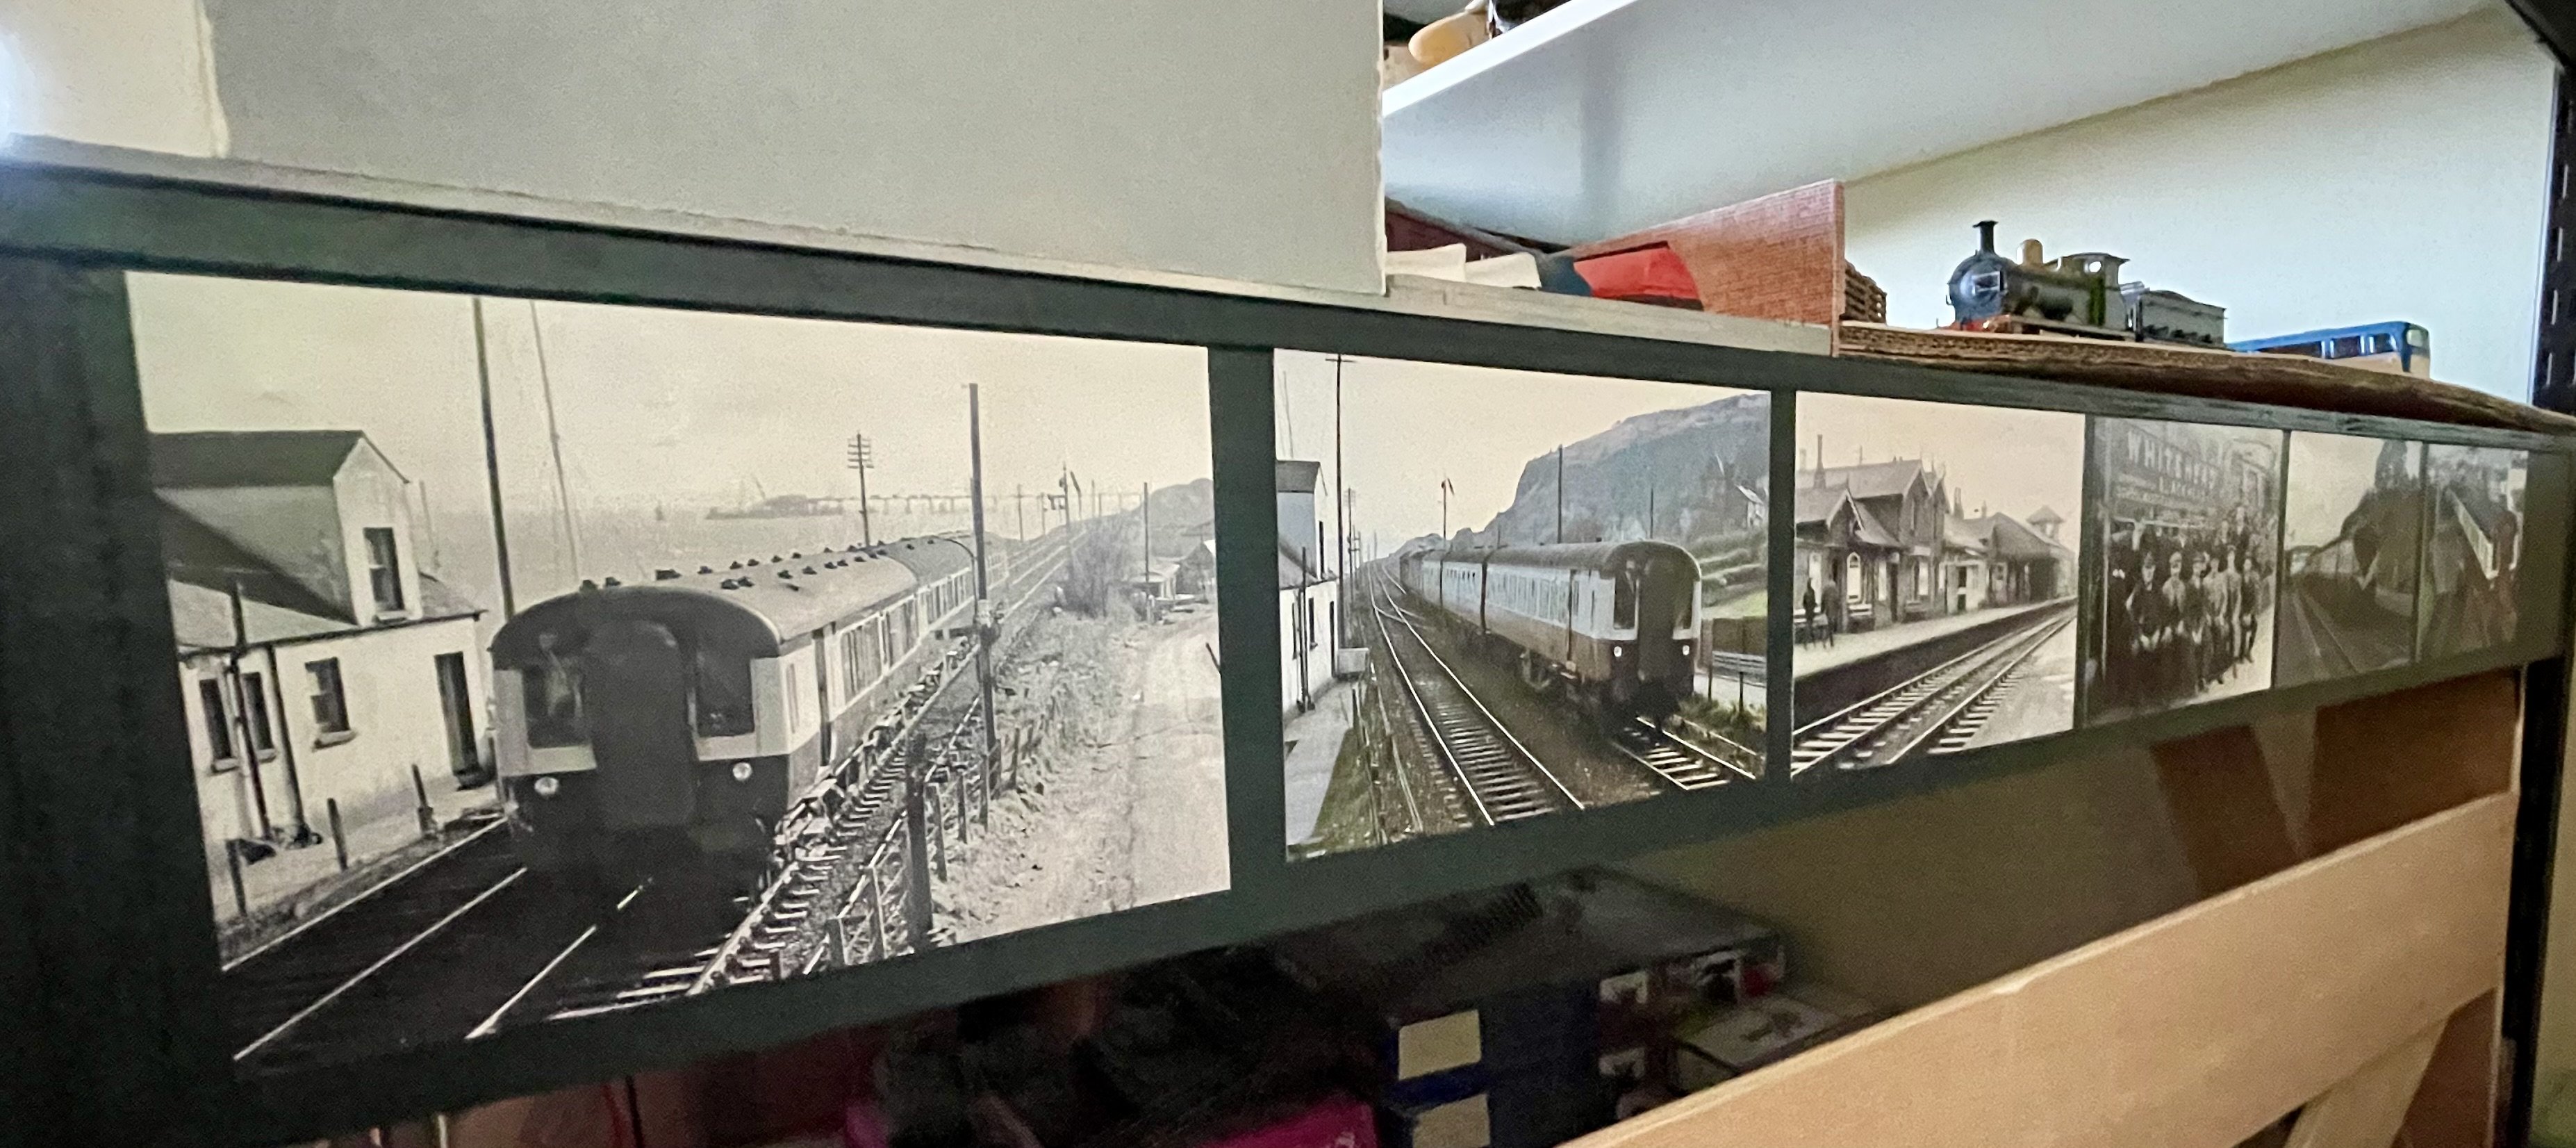
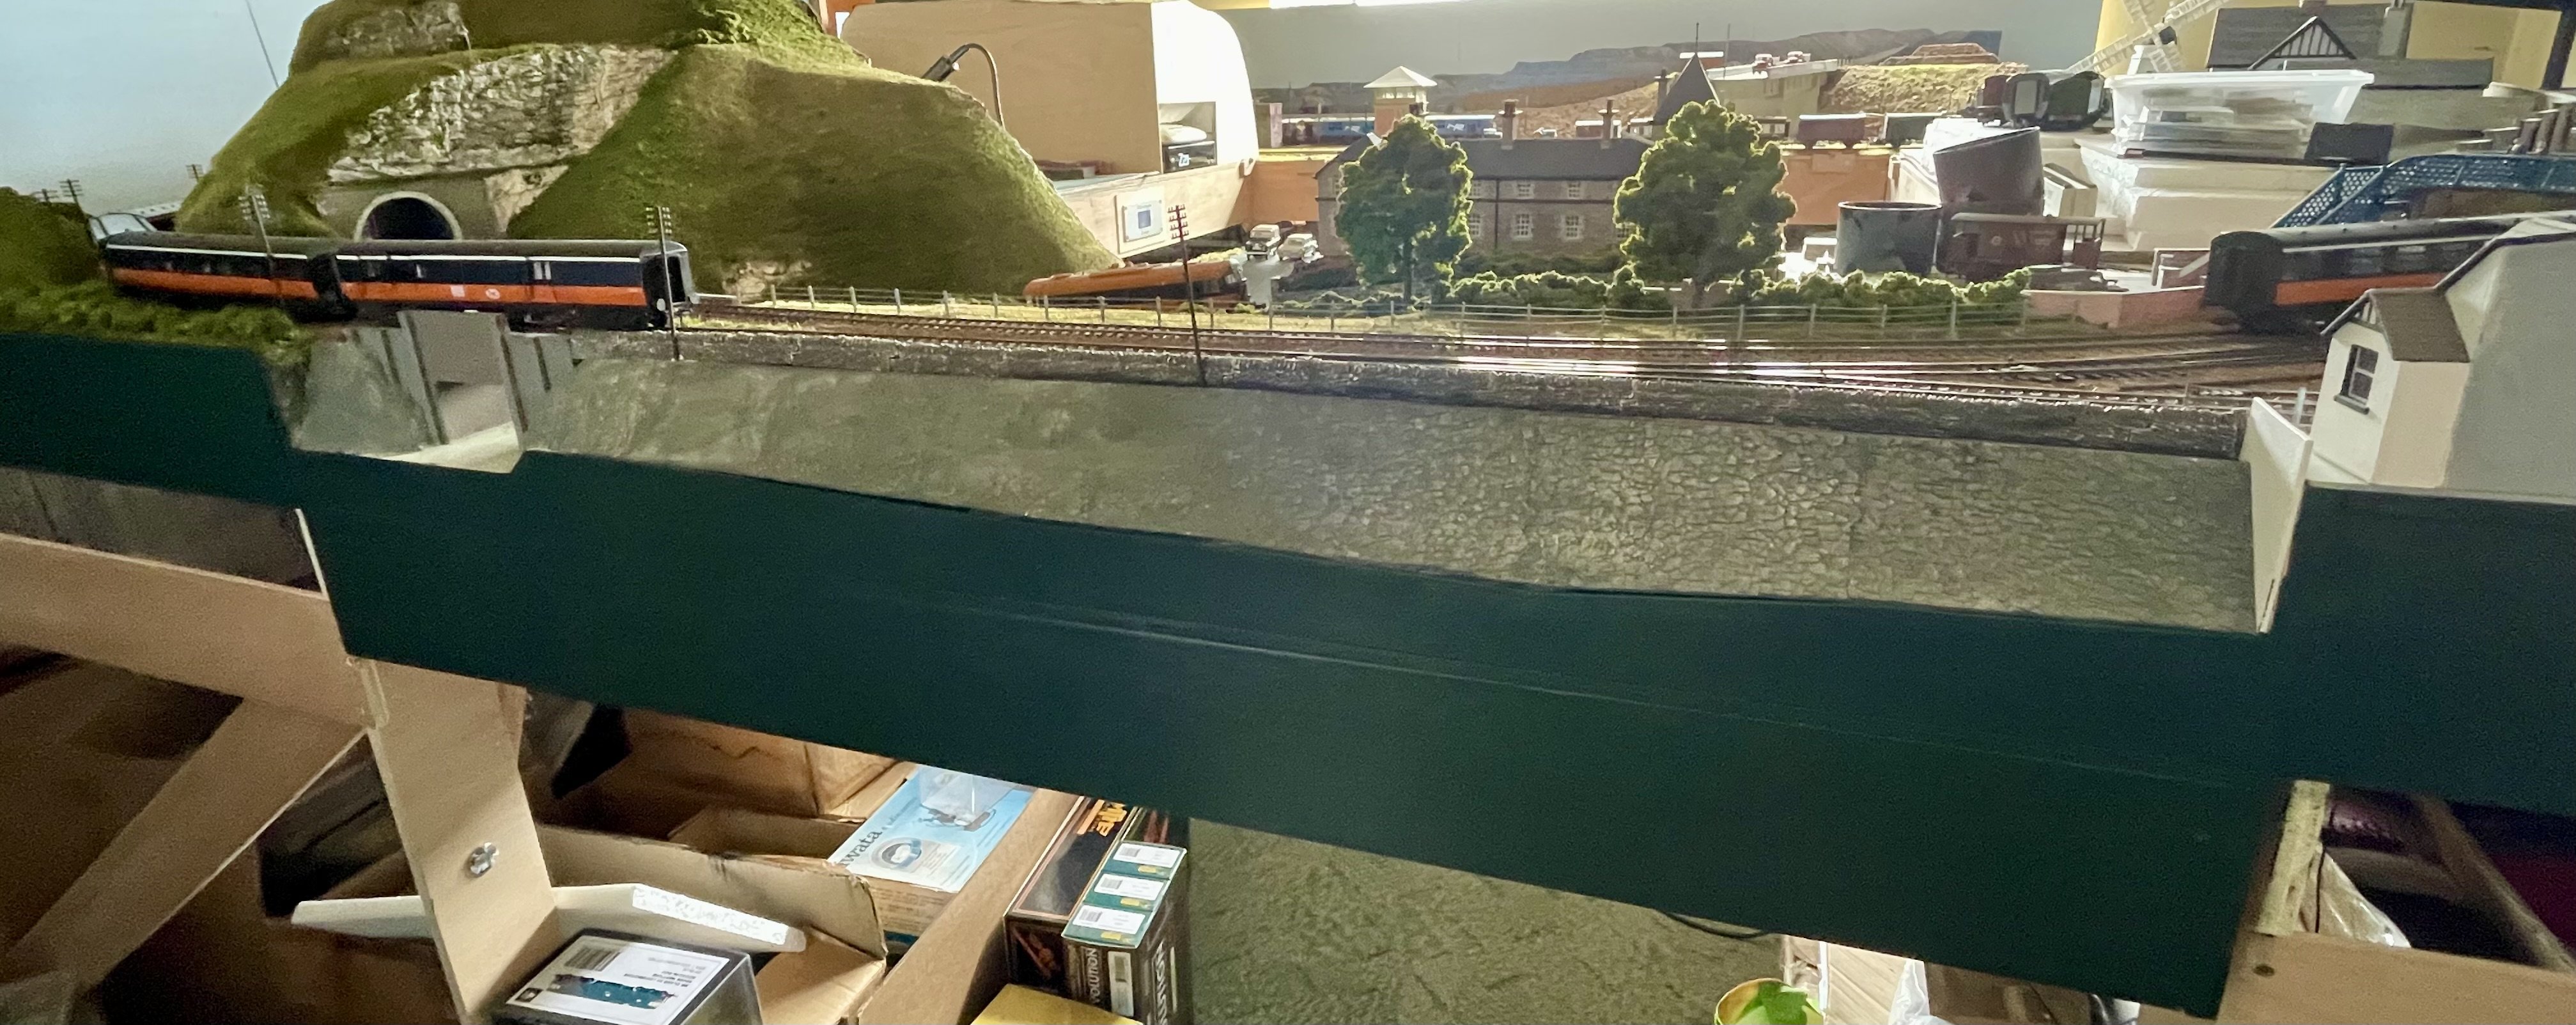
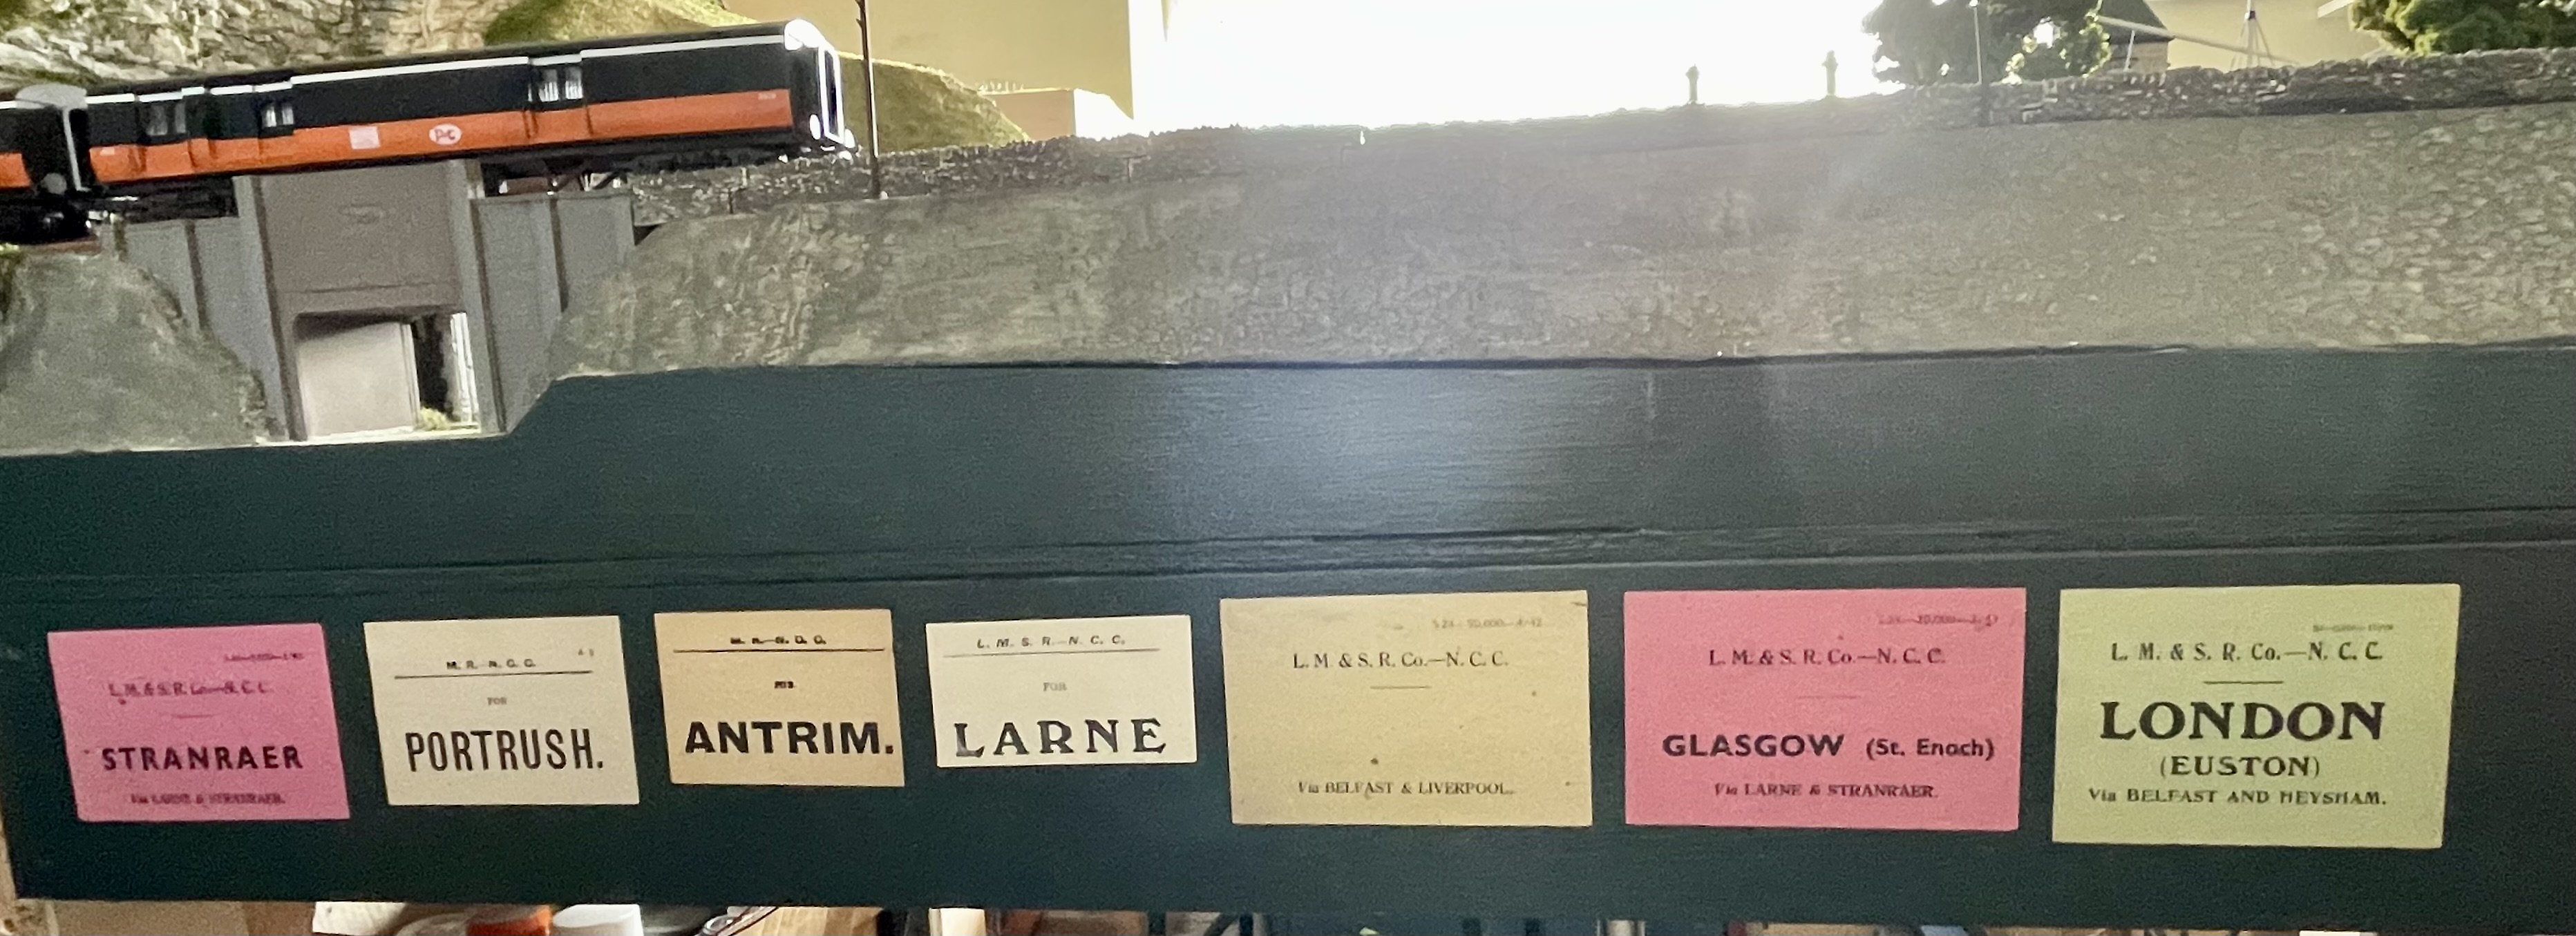
Painted the front fascia dark green. Then added some local colour… Cheers Darius
-
Hi Leslie, Great news!!! PM sent. Cheers Darius
-
Wizard Models sell the former Comet range of brass coach sides, some of which may be suitable for a conversion or two… Whilst not brass, I have used MTK punched aluminium coach kits to make ex LMS/NCC coaches… Cheers Darius
-
 Gangways?
 -
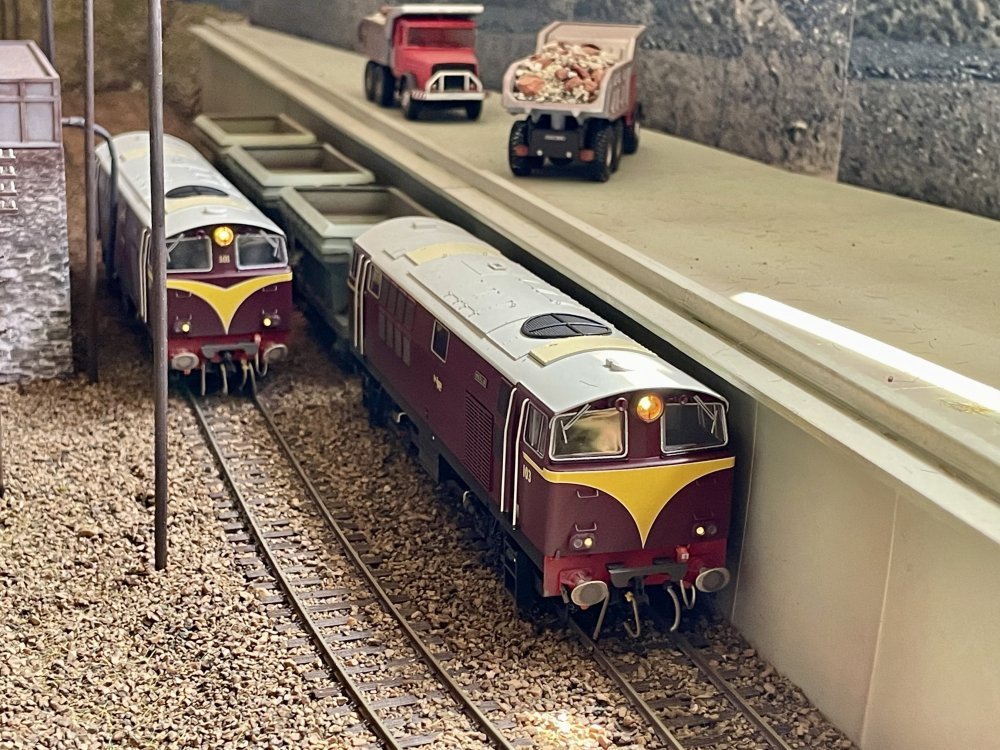
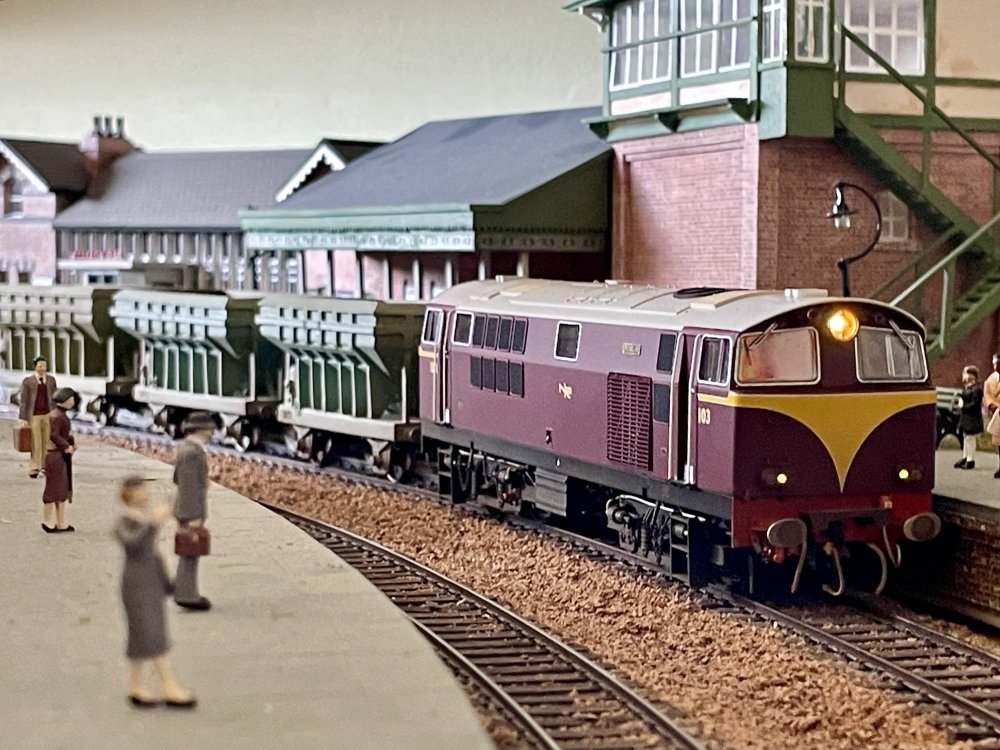
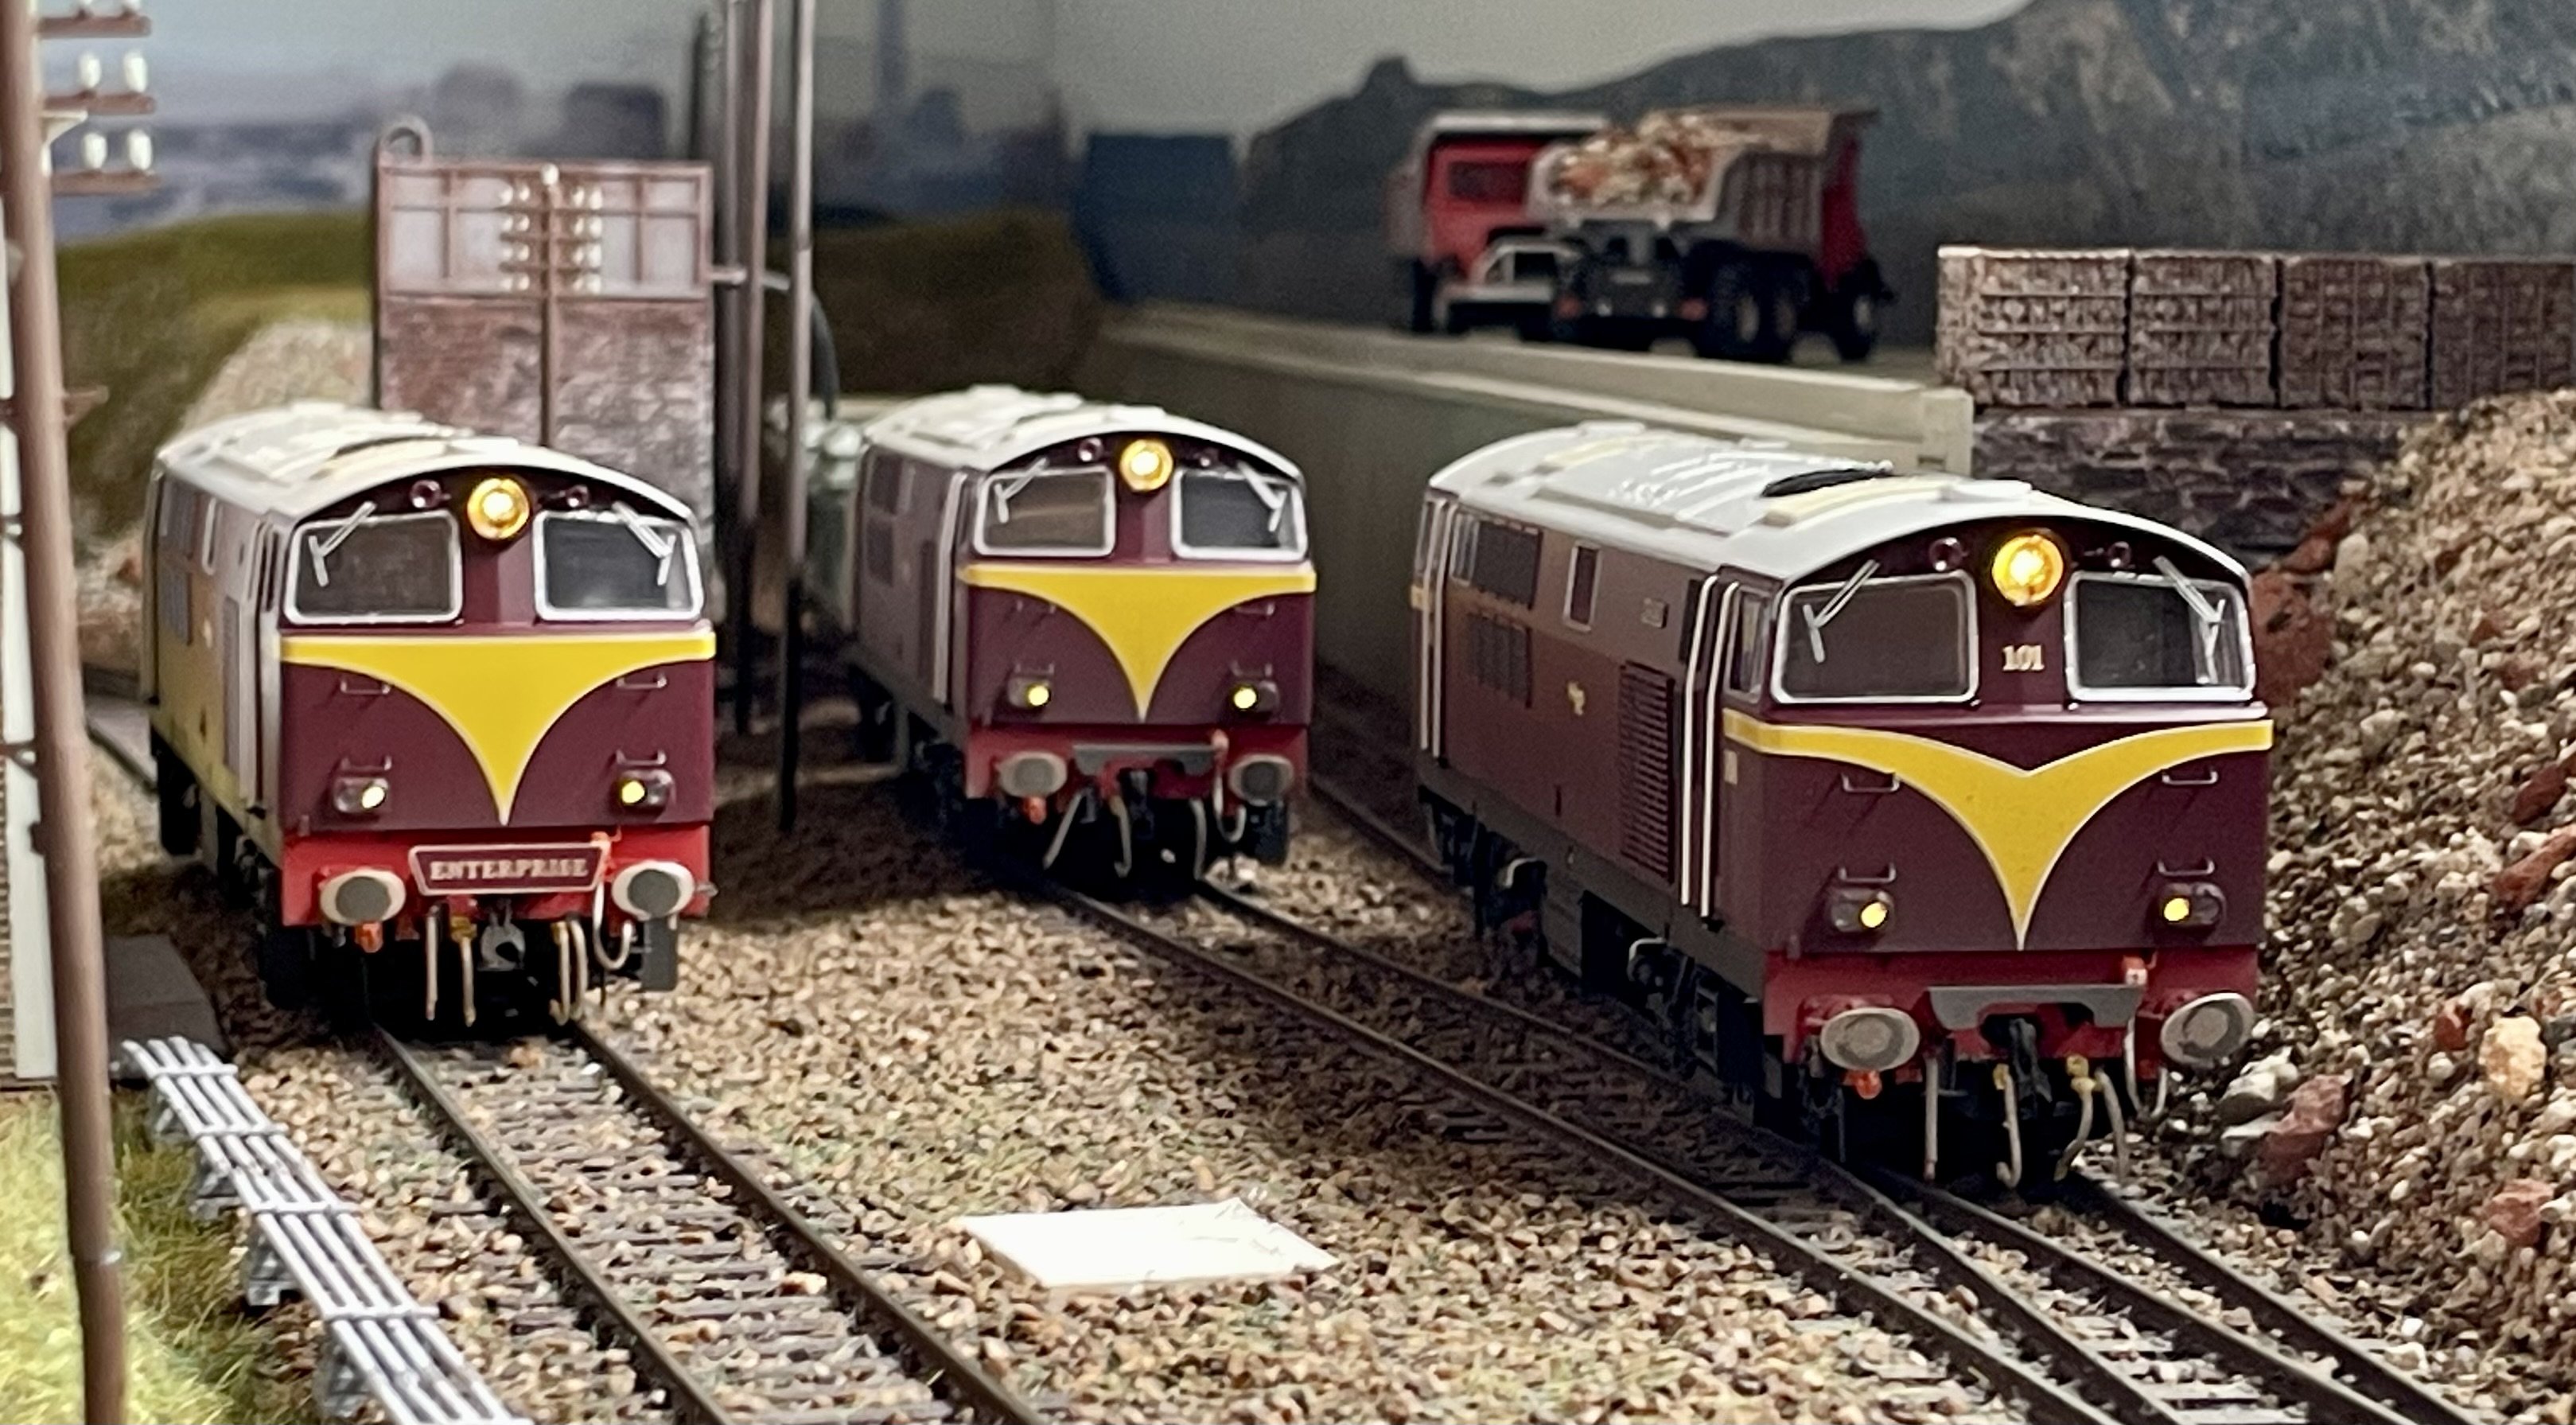
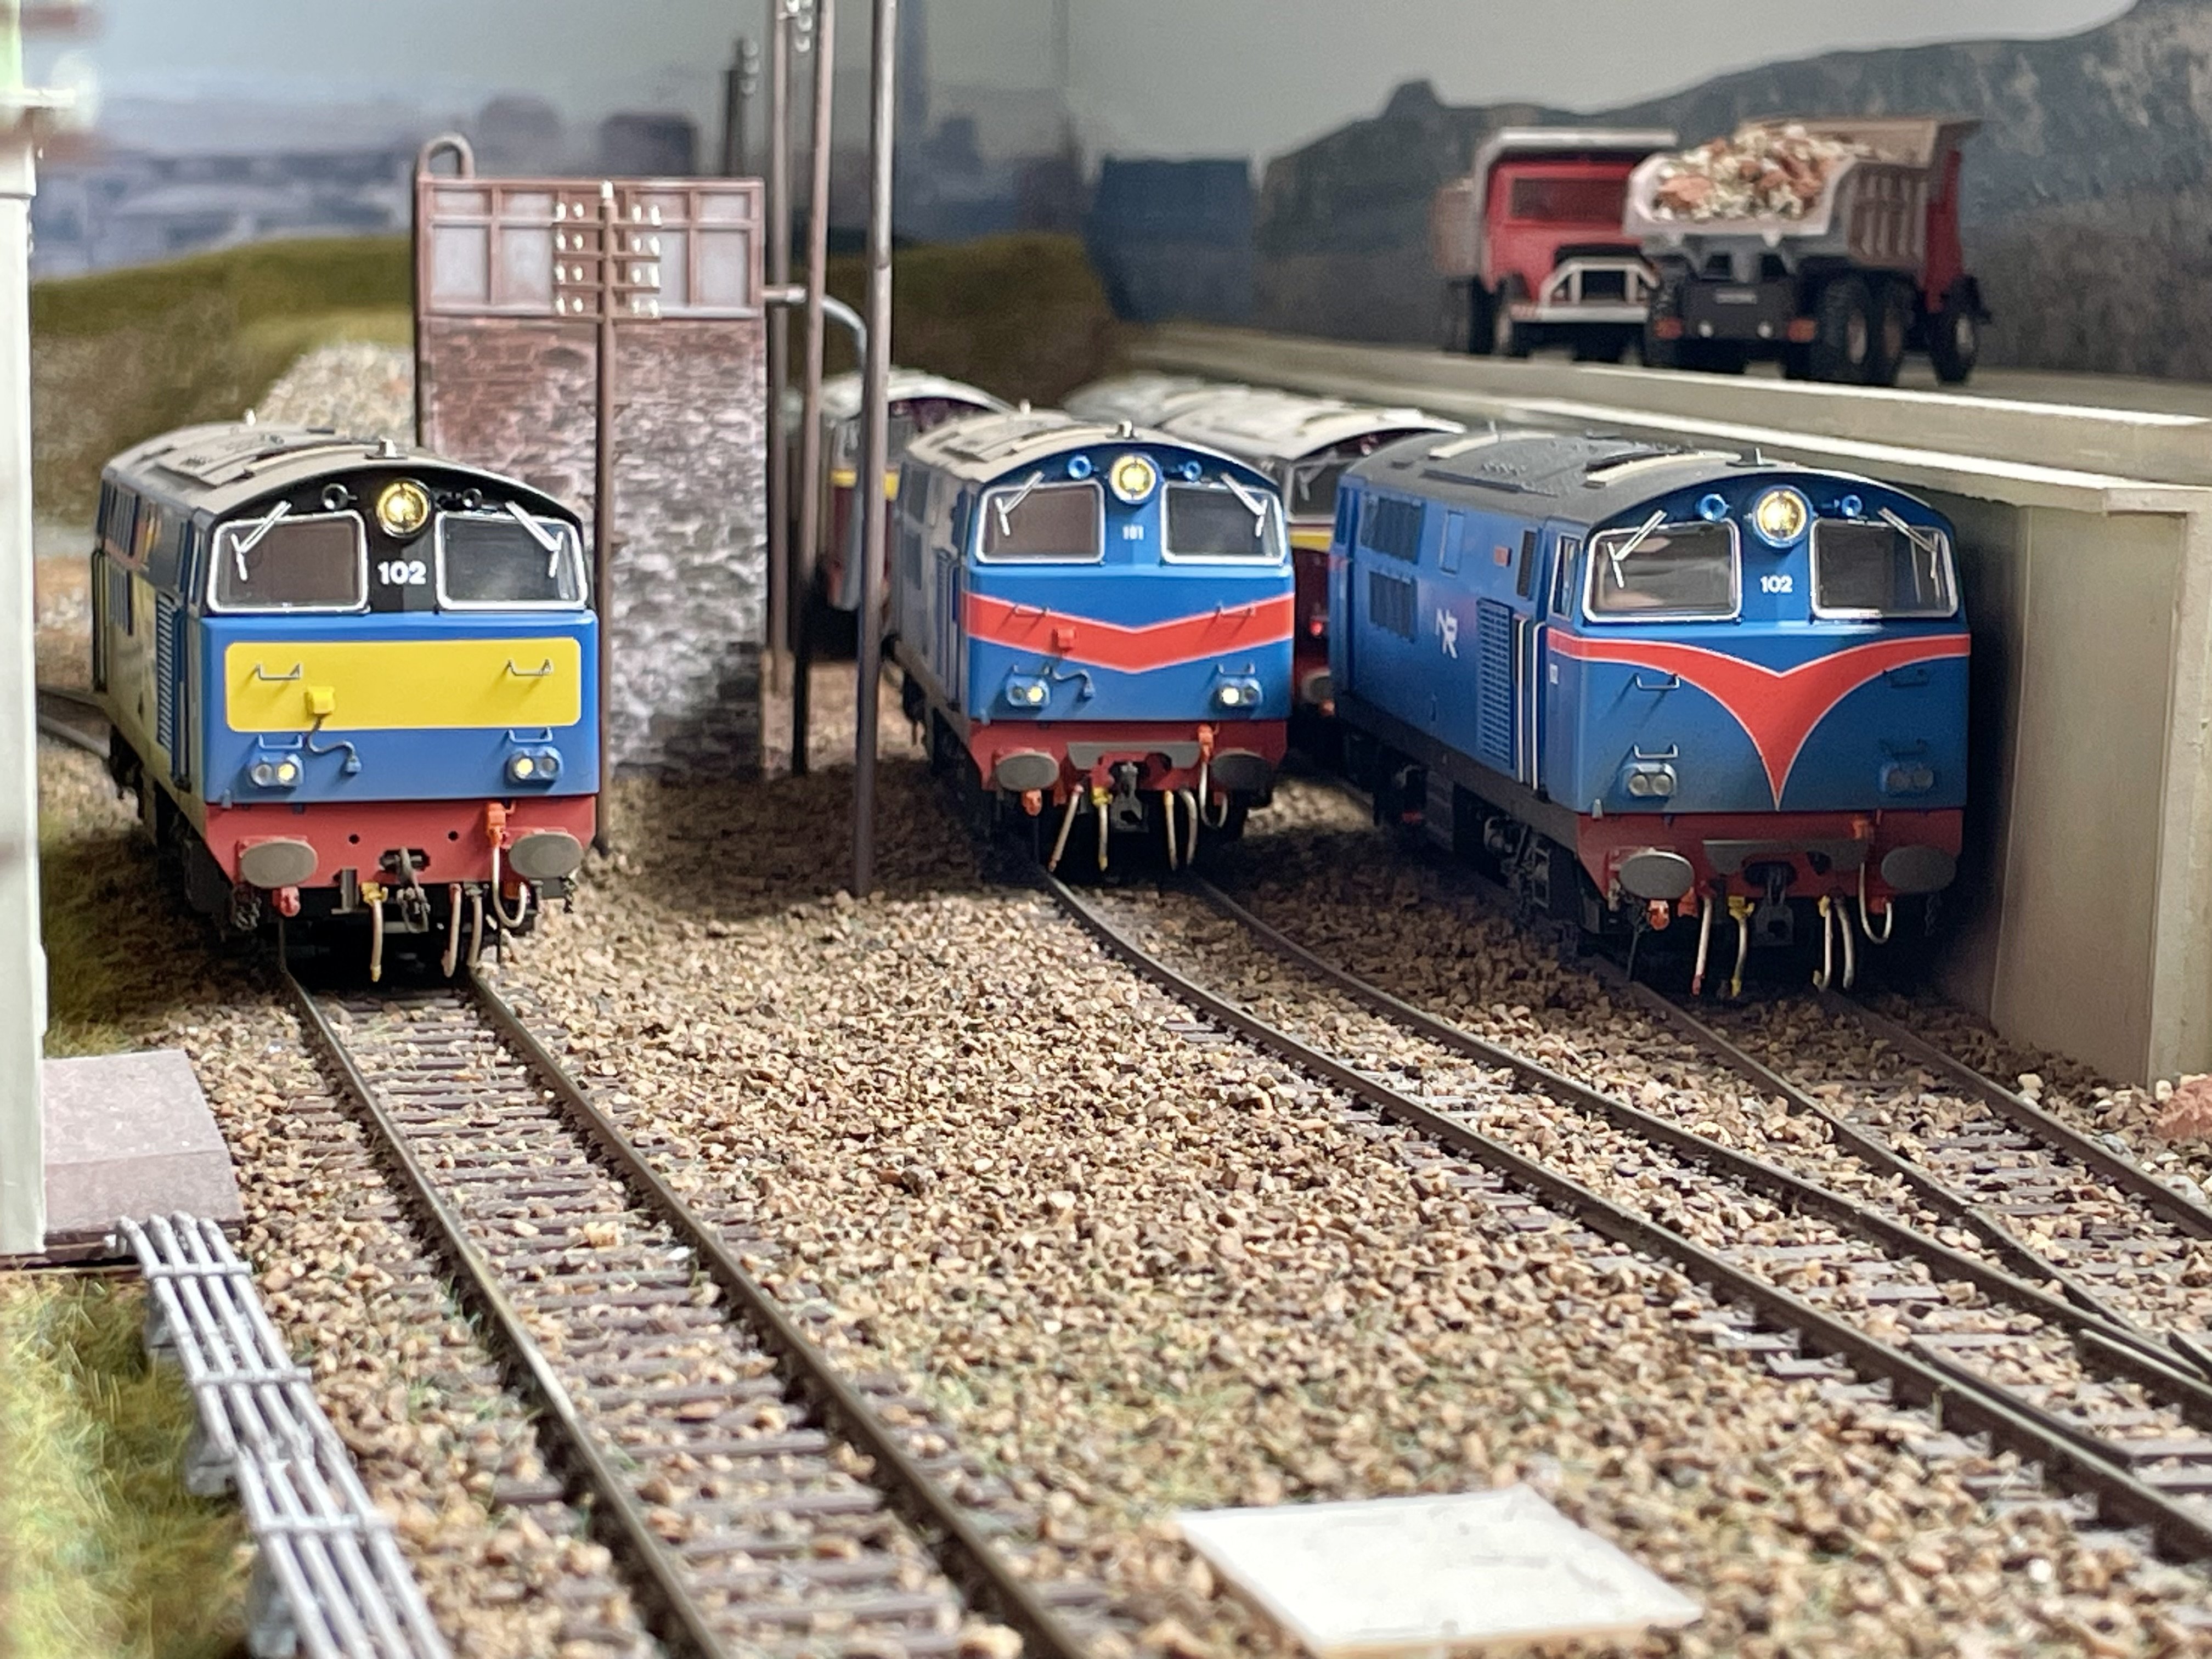
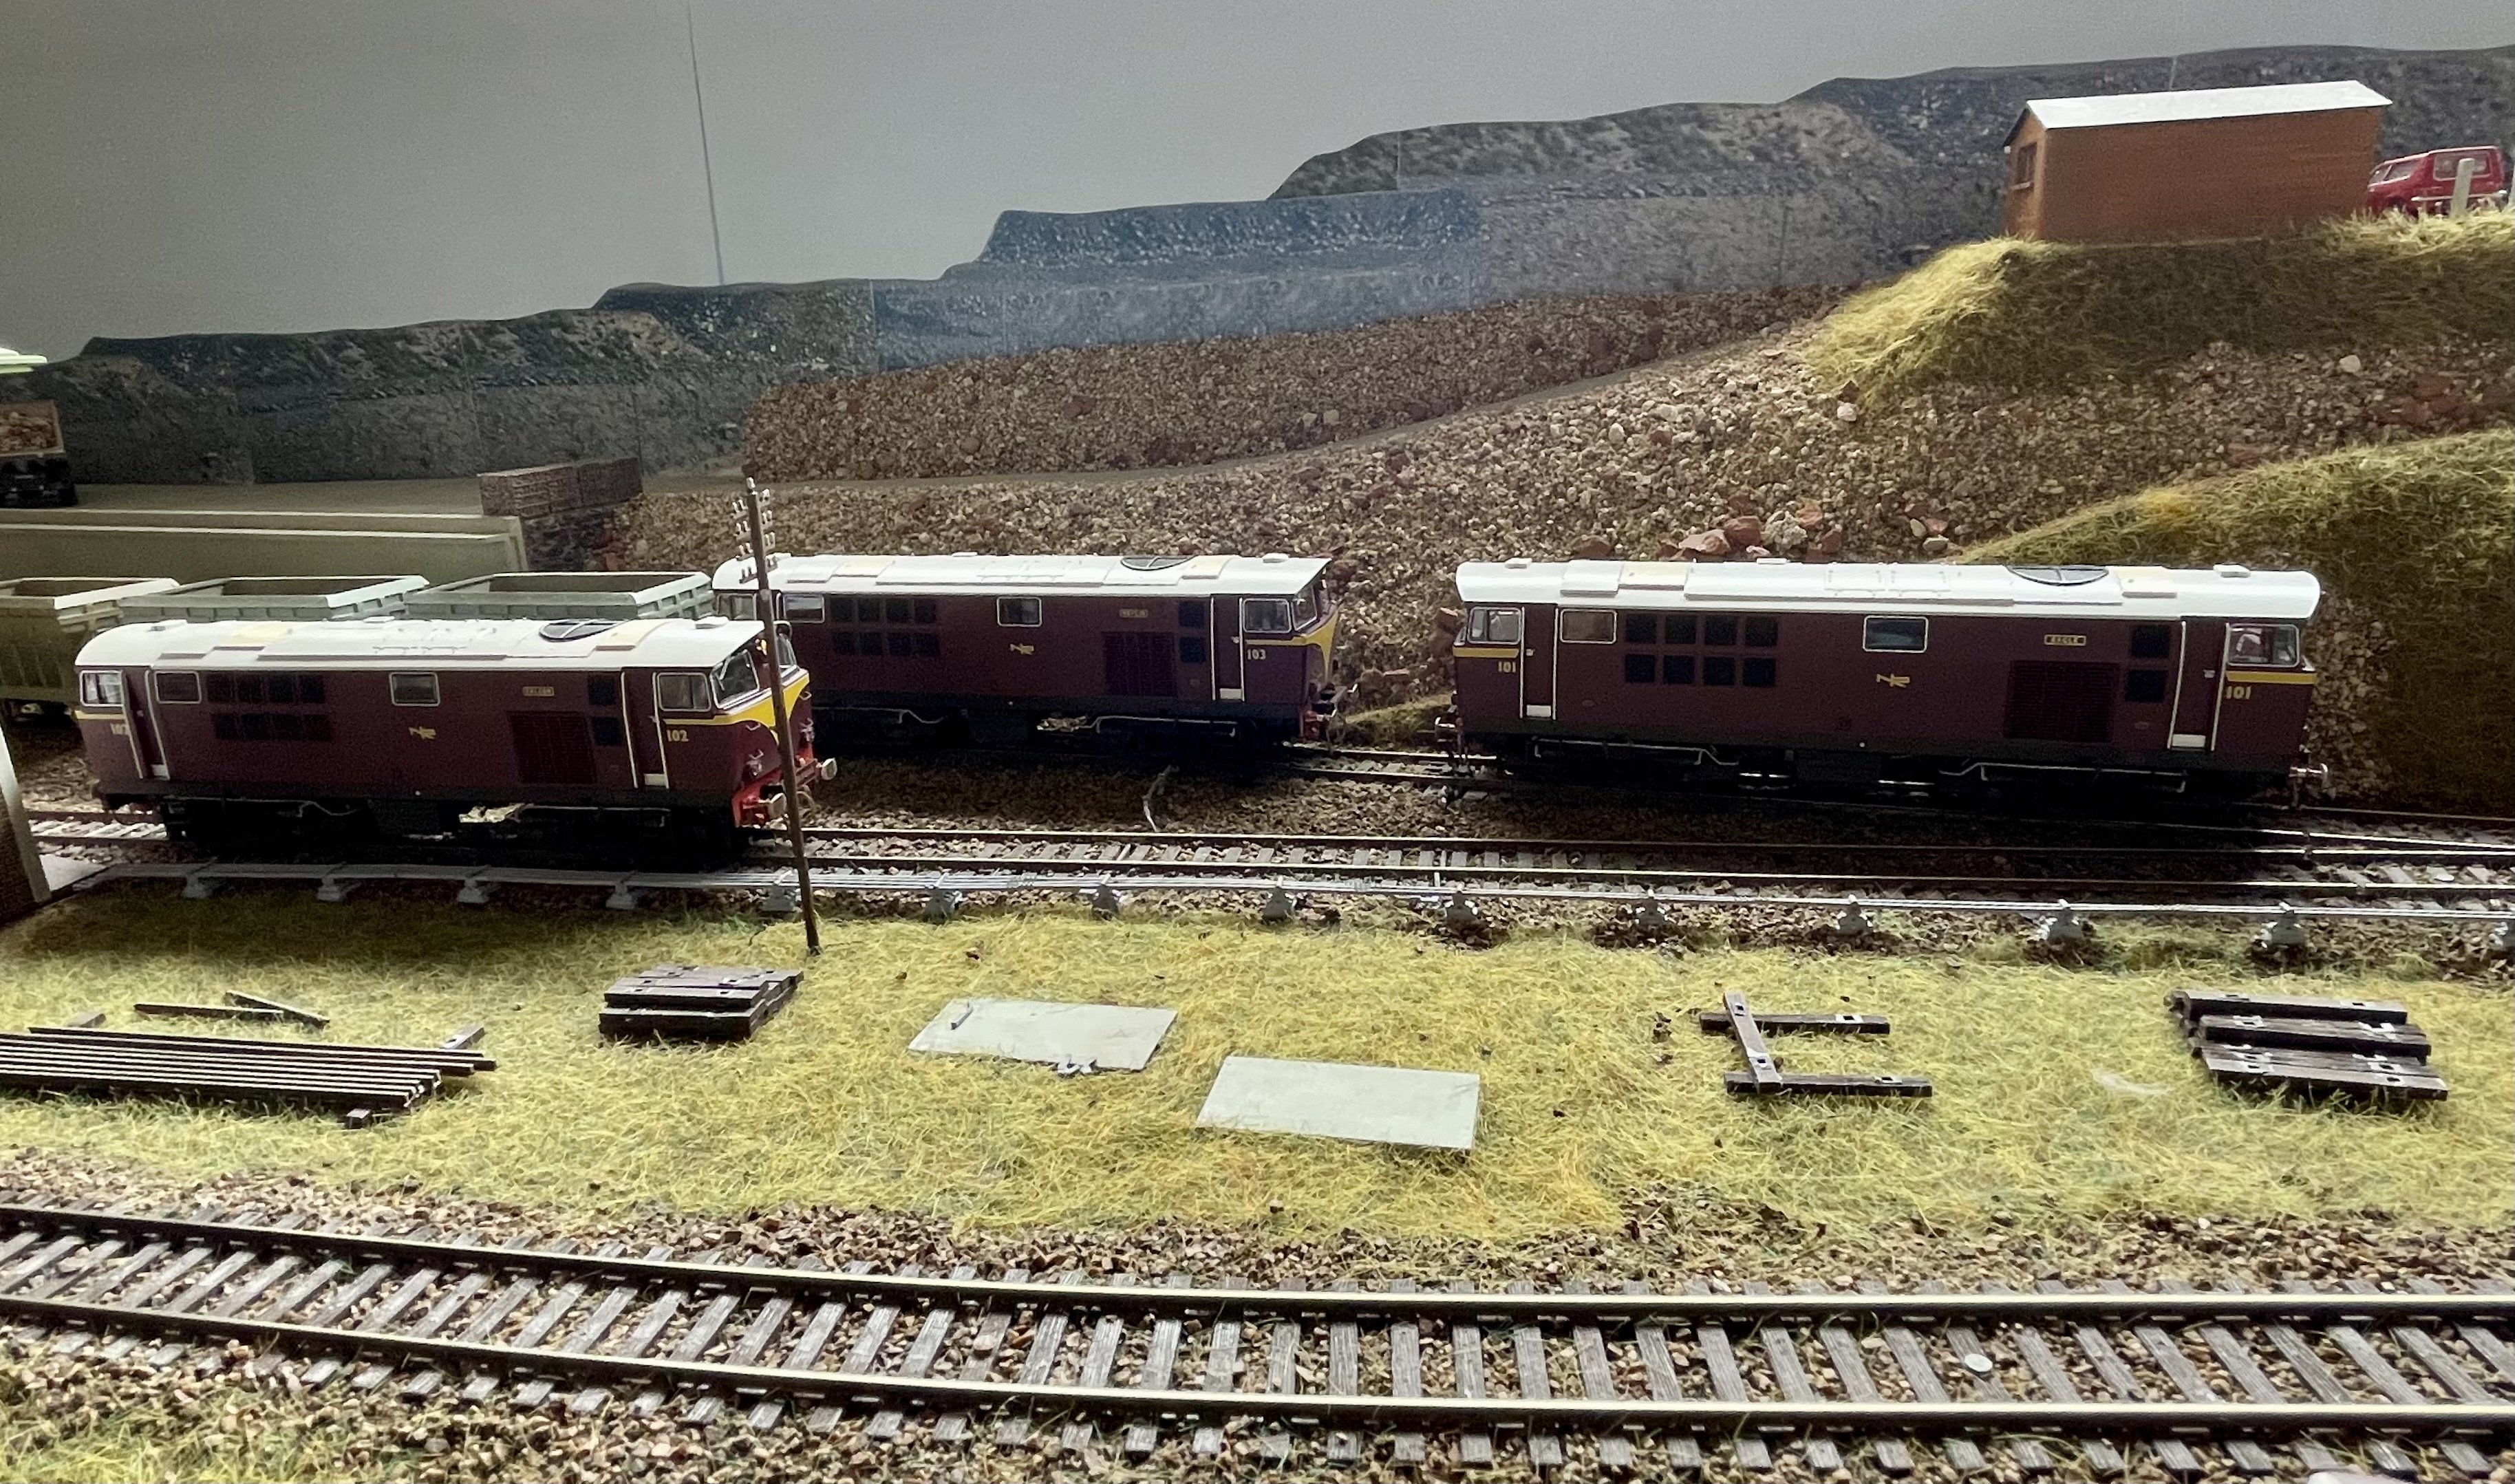
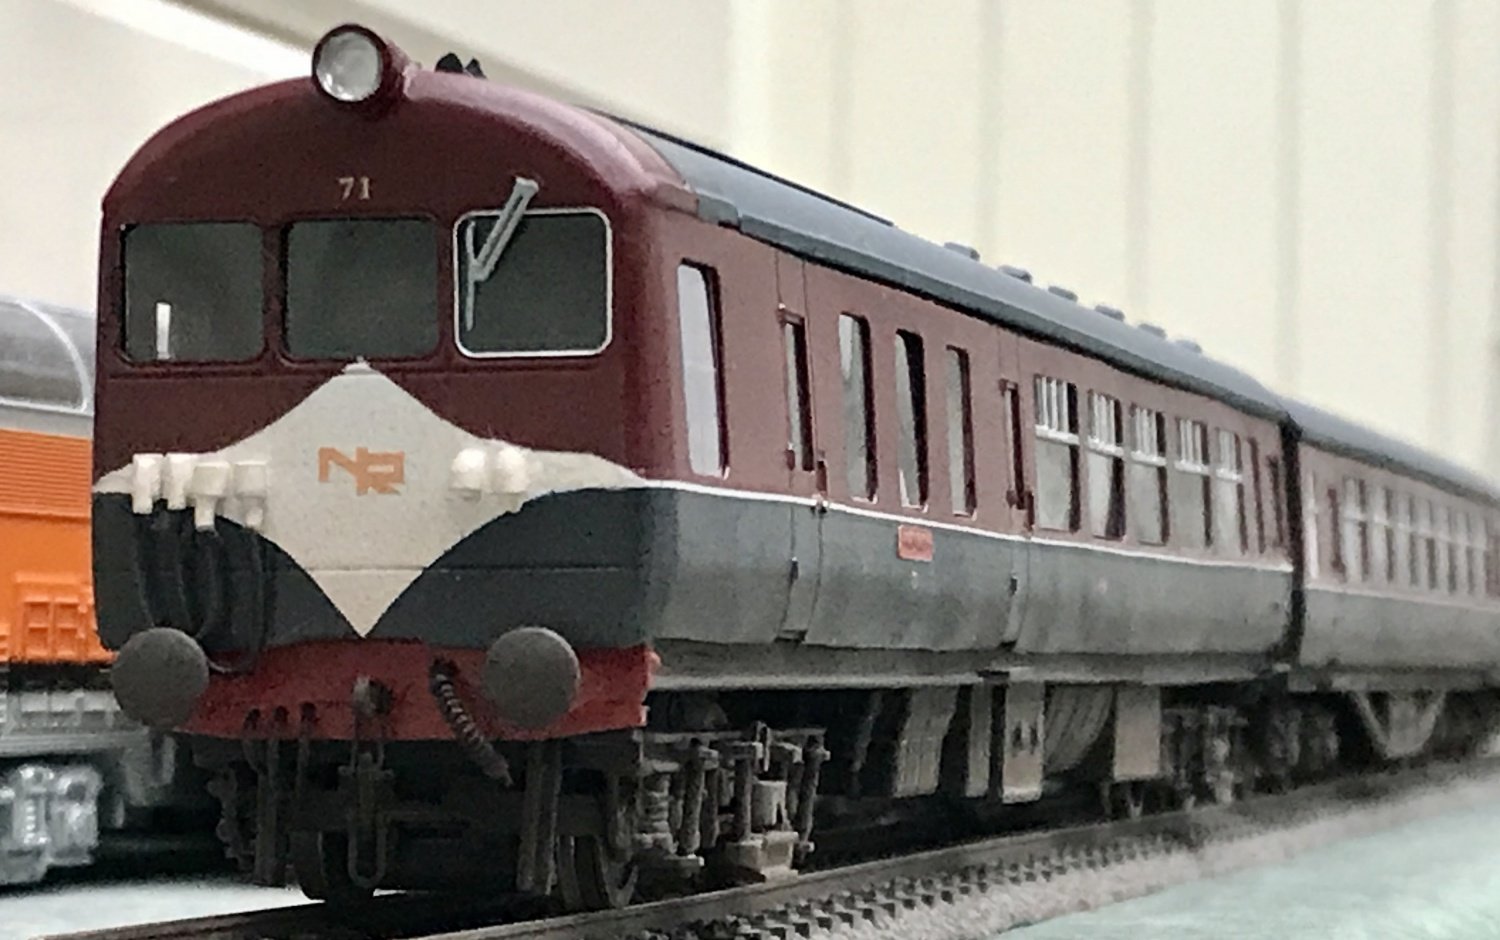
There were only three of these locos built, 101, 102 and 103. They were originally delivered in maroon livery with yellow chevrons and then repainted into blue with orange/dayglo chevrons, with 102 only repainted later in blue with yellow panel. Thus on my layout there are two 101s, three 102s and (so far) only one 103. Cheers Darius
-
Cheers Darius
-
In the case of “Falcon”, three times… Cheers Darius
-
A gathering of Hunslets. Cheers Darius
-
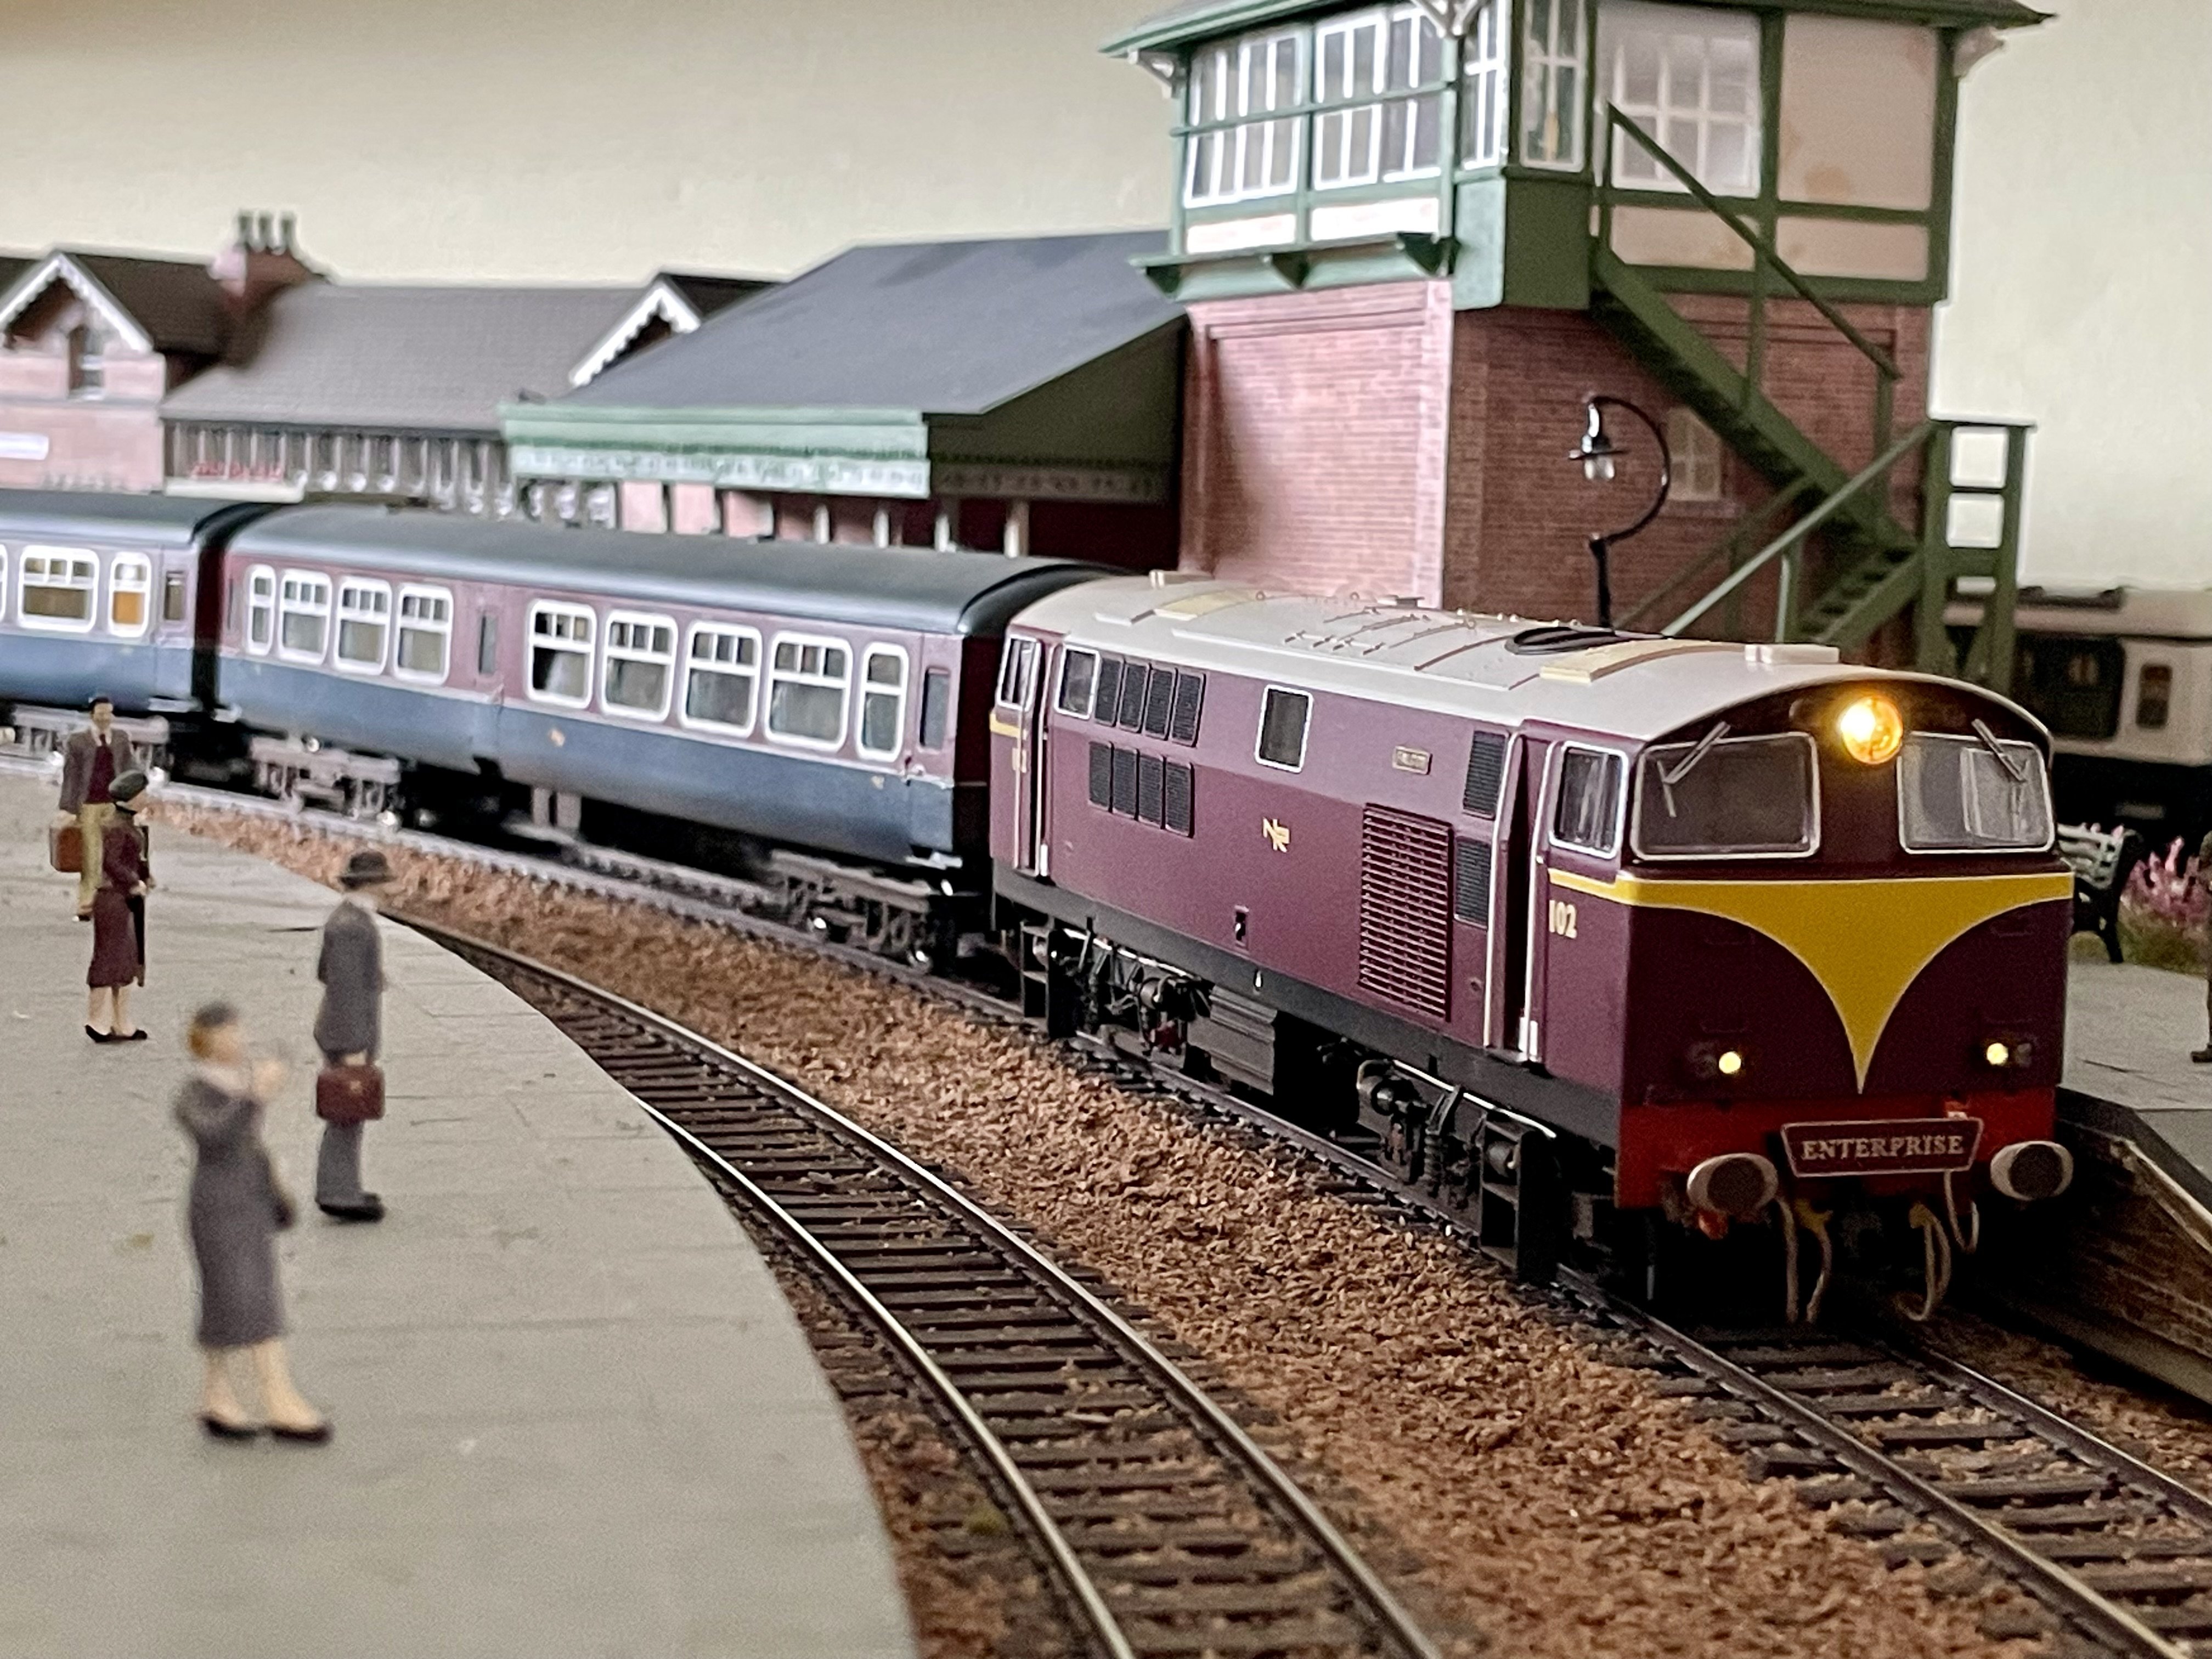
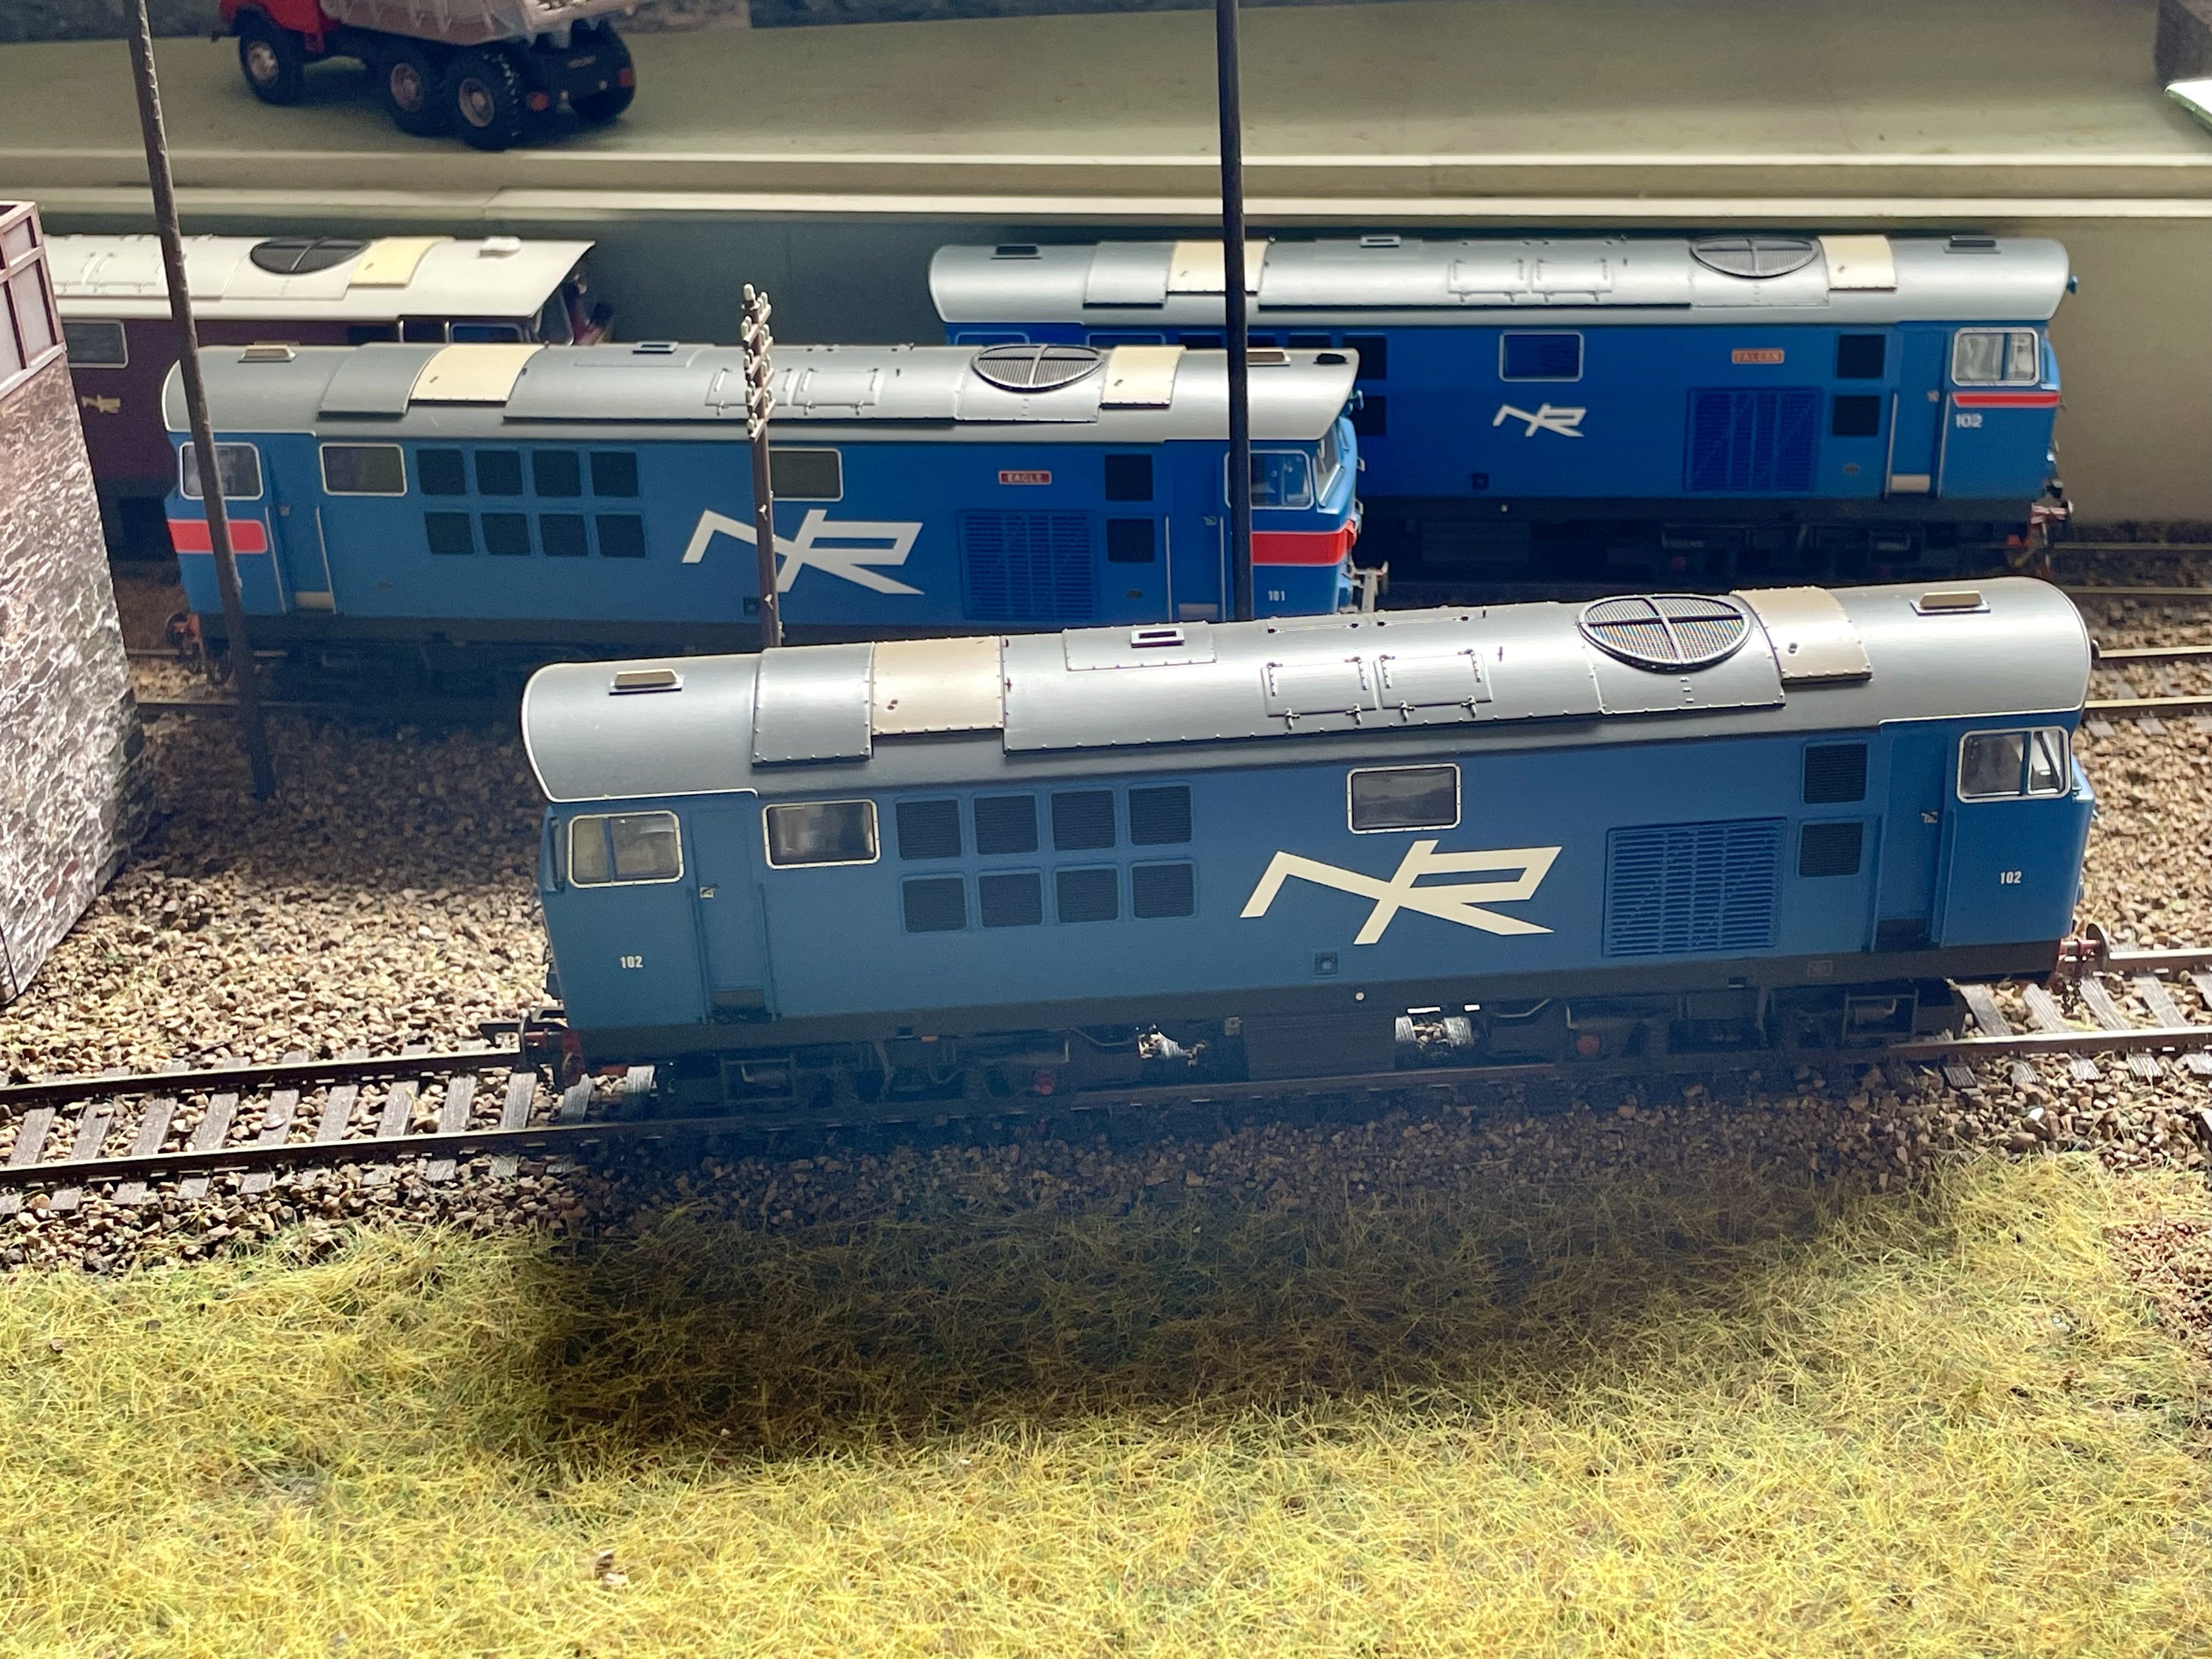
Some maroon ones… …and some blue ones. Cheers Darius
-
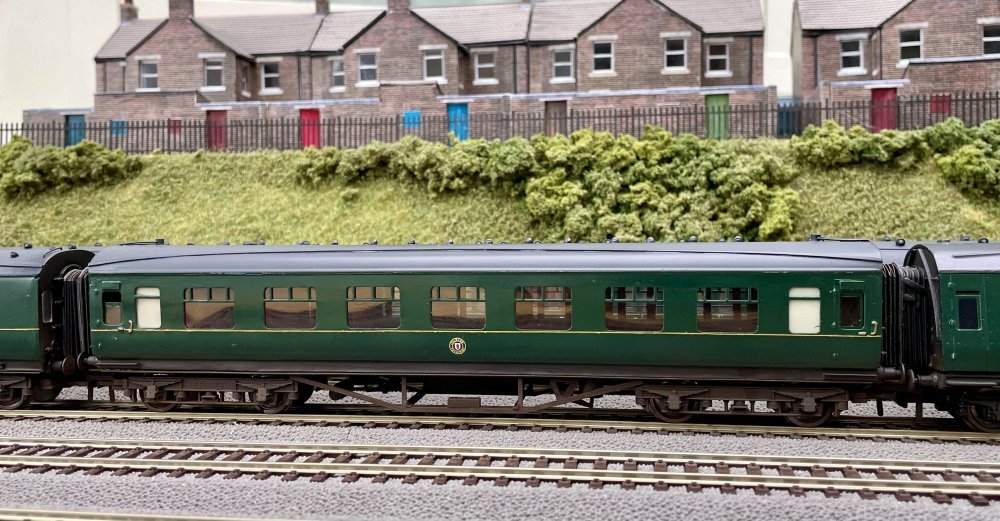
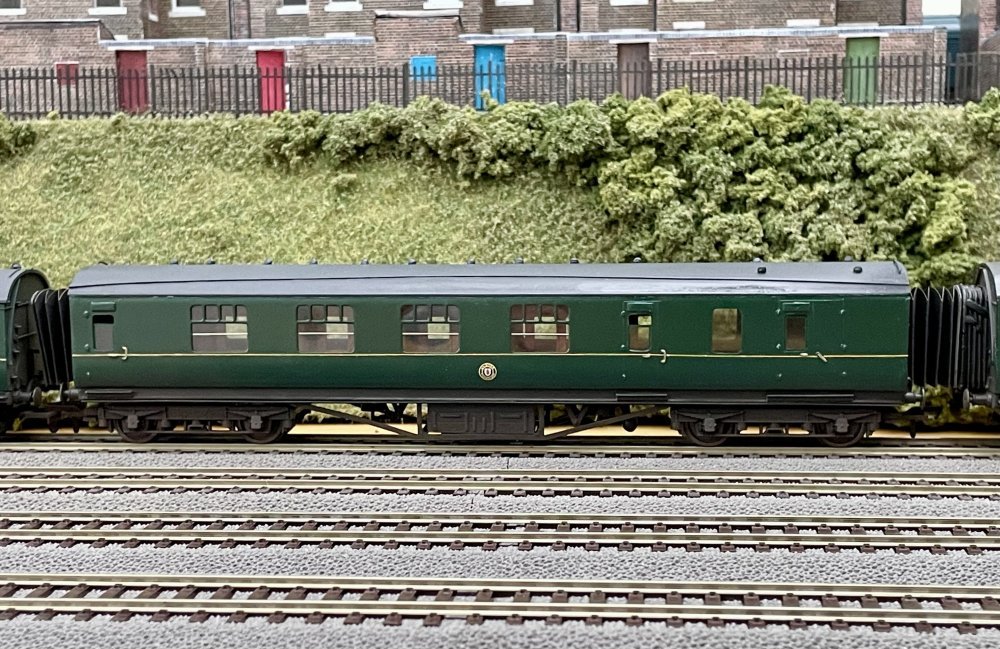
Waiting for the IRM Enterprise coaches to arrive but I have the locos to attempt this Would probably need fixed bar couplings for the whole consist for this to work. Cheers Darius
-
That’s probably why there are a couple of red tail lamps in the goody bag Cheers Darius
-
There’s one on the model. Cheers Darius
-
Perfect, thanks. Cheers Darius
-
I did watch the Sam’s Trains video and, whilst I don’t agree that KR Models are (or were) the worst model railway manufacturer (DJ Models anyone?), most of what he said was fair comment, in my view. He did put out a further video asking for no abuse to be directed at KR Models, whether that was conscience or pre-emptying possible legal consequences, I don’t know. I don’t watch much of Sam’s Trains output, or that of any of the other model railway “influencers” on YouTube as they are trying to monetise my attention, which I think is better directed elsewhere. KR Models, I believe did want to produce niche models and (unlike DJ Models) did try to address customer concerns and rectify defects in people’s models. In my view they let themselves down by over-reaching in the different types of prototype being offered at once and over-promising as to what they could provide, all this with poor and occasionally bizarre communication. As with so many other ventures, they ran out of money and went bust. Darius
-
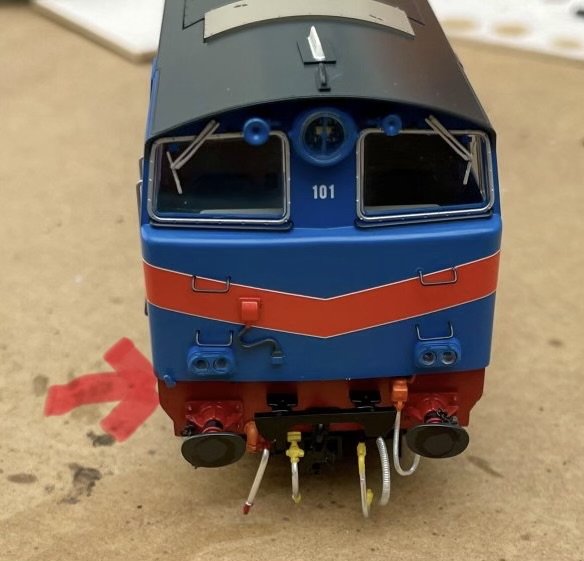
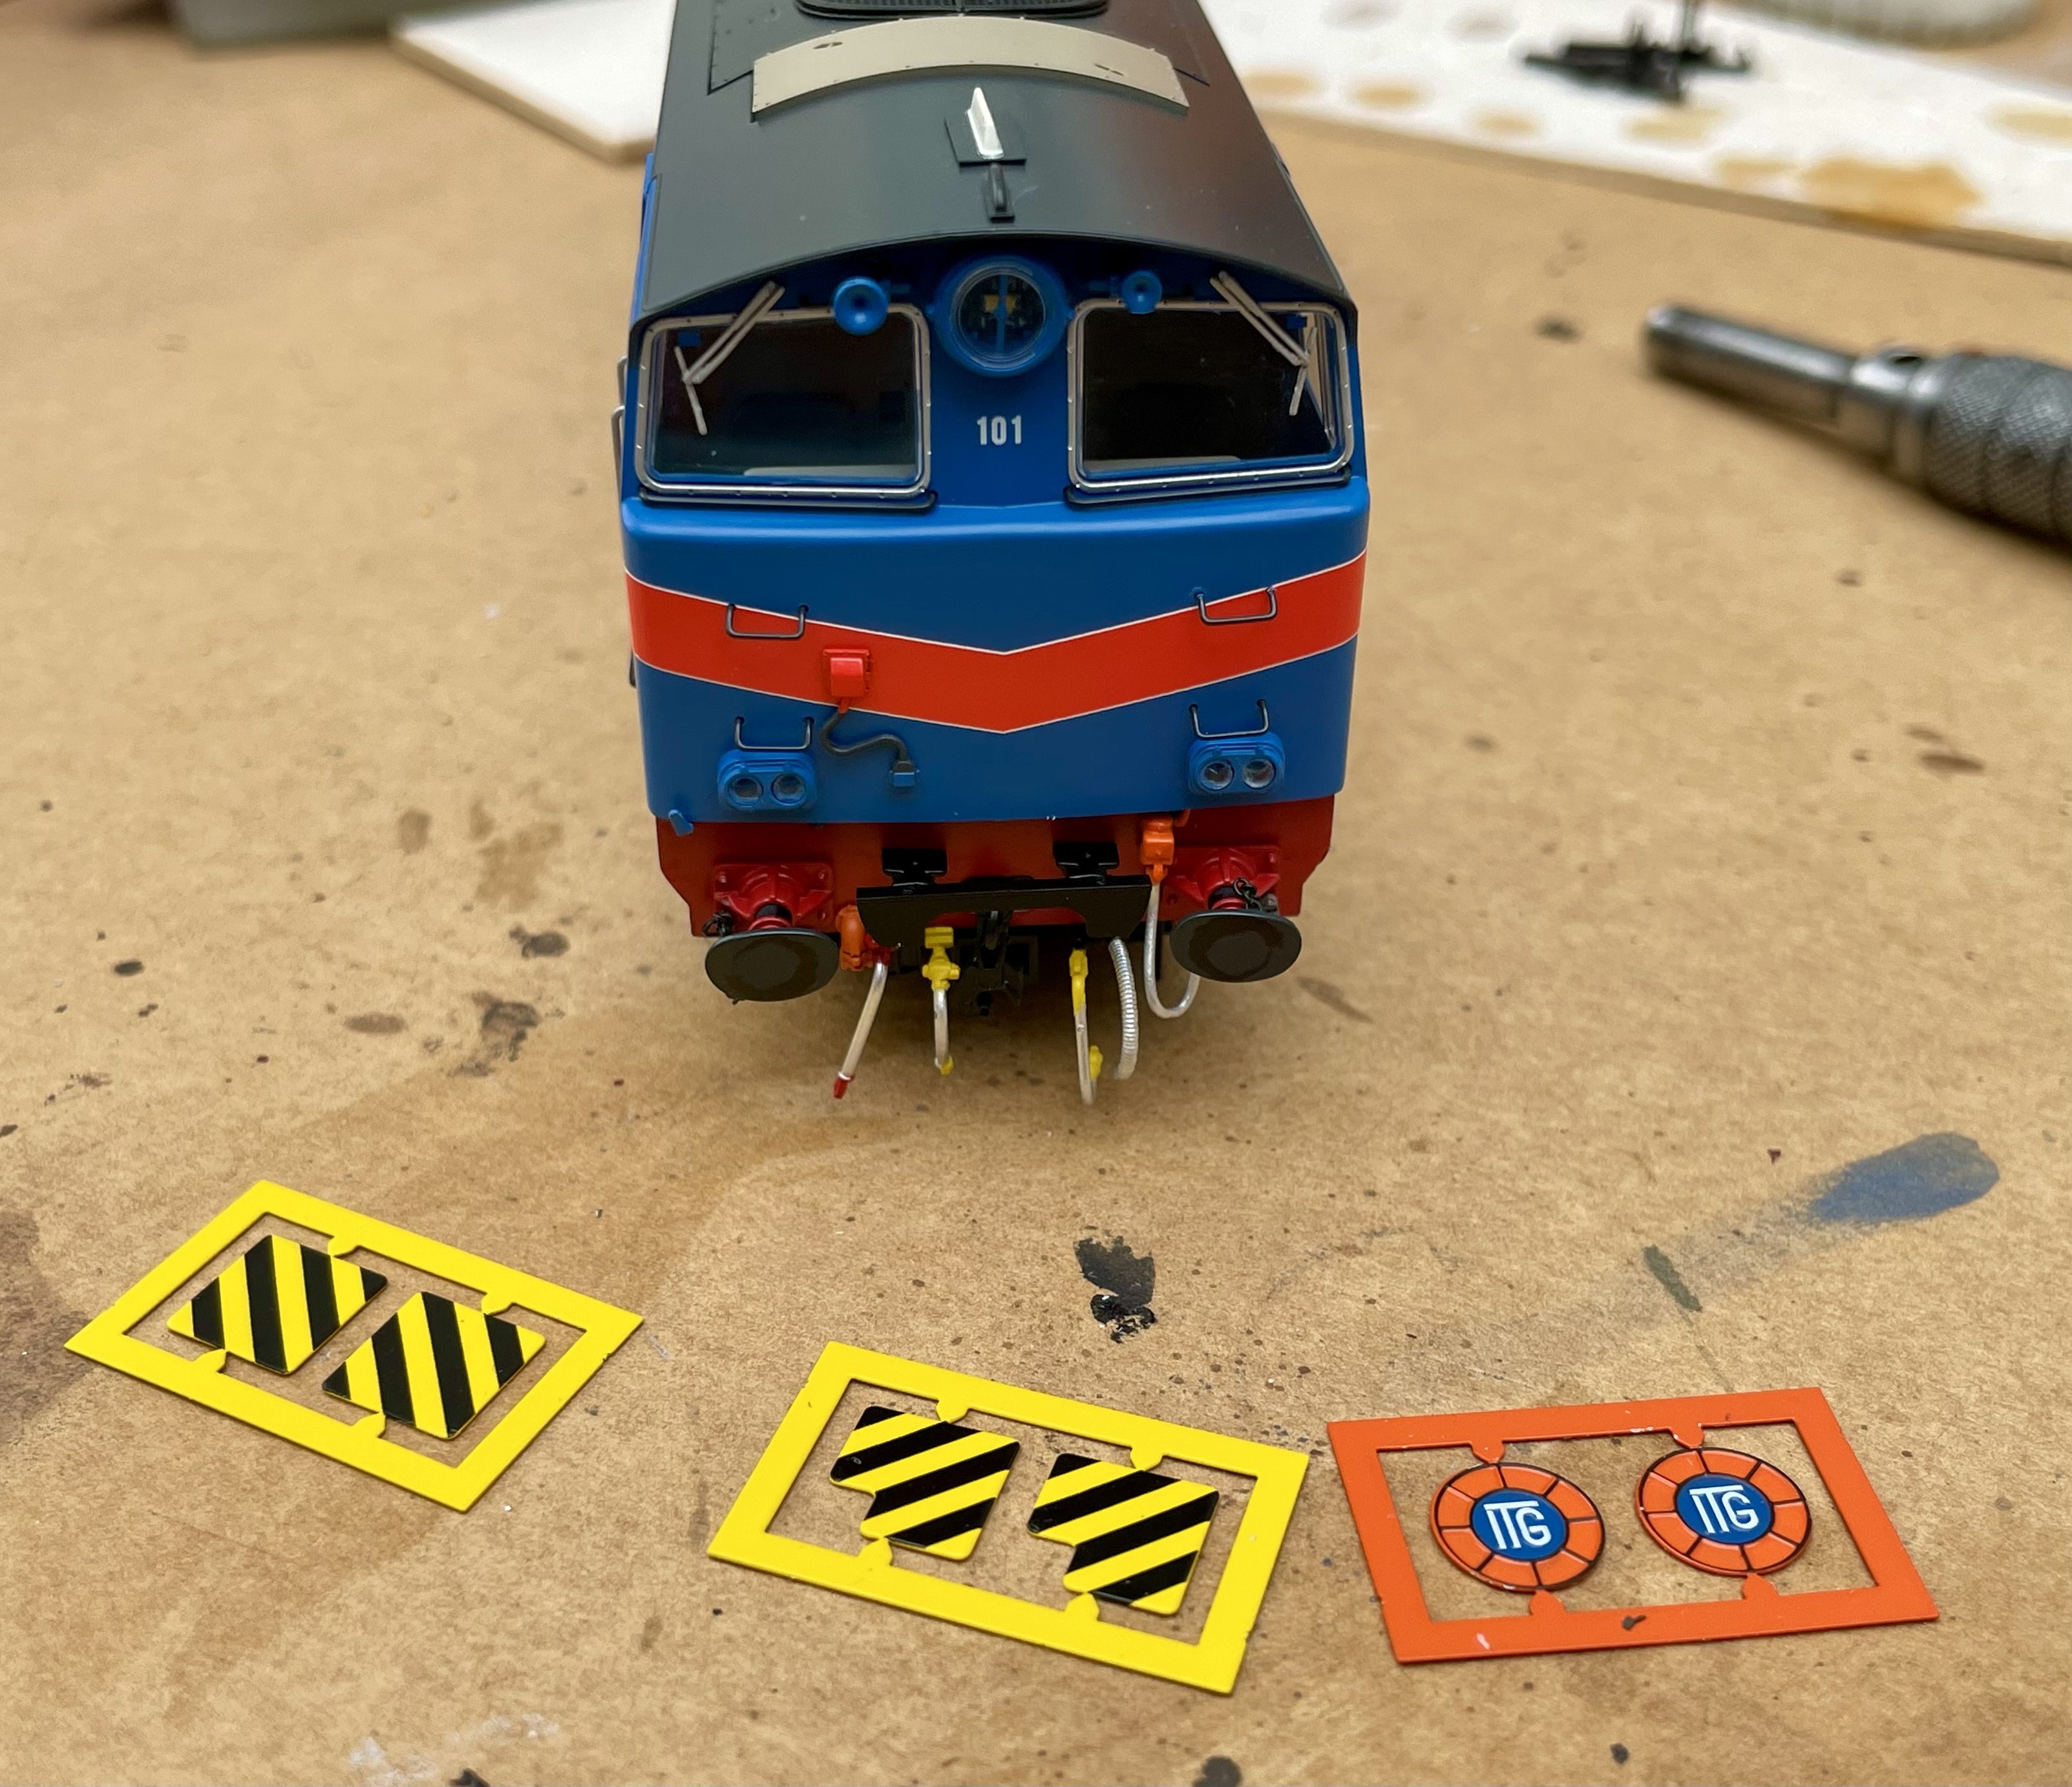
My Hunslet 101 blue with red chevron has arrived with additional etched bits in the detailing bag. I’ve fitted the hosiery etc. but the instructions don’t mentioned the black and yellow etched panels or the ITG roundels. Can anyone provide enlightenment as to what they are and where they go? Cheers Darius
-
KR Models has this morning sent an email to its subscribers that it has gone into liquidation and that those who have monies tied up with them for pre-paid models will need to seek redress with their credit card company (if they used them for payment), otherwise they will be unsecured creditors and most likely receive nothing. I have several of their models: GT3 (great), Fell (works ok, which is apparently an achievement), 4DD (rather nice after some fettling) and Leader (so far all the wheels are still on, which is also apparently an achievement). All in all a sad end. Darius