Aussie Phil
-
Posts
137 -
Joined
-
Last visited
Content Type
Profiles
Forums
Events
Gallery
Blogs
Everything posted by Aussie Phil
-
Thanks heaps for the tip. Will definitely try it out.
-
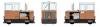
Have been drawing up plans for one the last few days and it was one that I have prep work begun for. Just waiting on a cheap second hand 4 wheel wagon to arrive and will begin. They are brilliant wagons and have seen about 13 different types. Some are as simple as mounting a garden shed on a flat wagon. That one Steven built has a mech in it as well for propelling the tractor. I have a ferguson for building the rail tractor as well but need to source a flee drive to power it as even in o scale the model is small. Cheers for the photo and alway a bit of left over tin for that build.

-
Cheers mate might have to get some for the background.
-
Always left over tin for a good model but can't see your attachment mate. Any chance you can try again or personal message me the photo? Cheers Phil
-
Top class stuff. Big fan of good weathering and this is one of the best examples I've seen. Great layout too. Top class mate
-
Sensational viaduct. Visually appealing. Can't wait to see it finished. How do you find the woodland scenic trees to work with?
-
Thanks again all will post as I go through the processes and the layout is constructed. Not long now. Will post a few more shots as the detail is completed. Thanks again for the kind feedback.
-
Great video of a stunning layout. Thanks for sharing. Superb level of detail.
-
This is my new favourite layout. Inspirational in its complexity but with a simplicity that comes out in the photos. Thanks for sharing mate keep the photos and videos coming. Looked at getting myself a low loader heavy hauler for my layout to recreate the scenes early on of moving locos but in o scale it 2 foot long
-
Always been to scared to make my own track. Respect to you for your work it looks amazing.
-
Cheers mate. Using products that require mainly superglue instead of plastics really speeds things up. The thing I find is that with a building like the Nissen hut you can you mass produce the components and then just fit them together as te project moves along. Paint is generally over stained with powders so it doesn't need as long to dry. That's my last build for a month or so though as starting to pack to move 9000km across the country
-
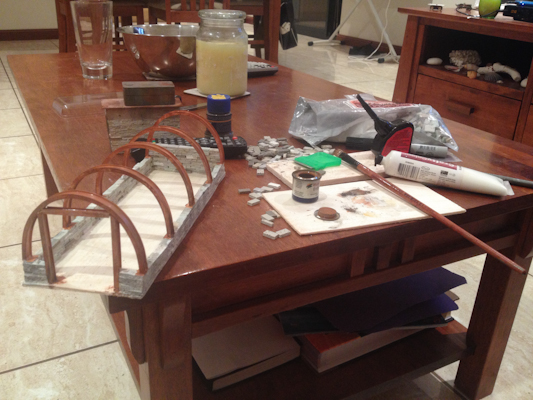
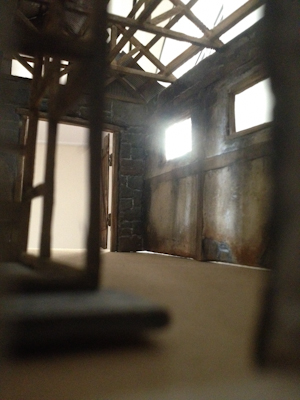
Sorry about the quality of the photos they are all taken quickly on the iPhone as I go along keeping myself out of trouble
-
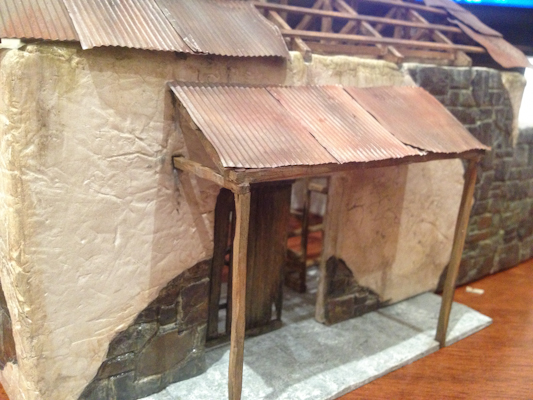
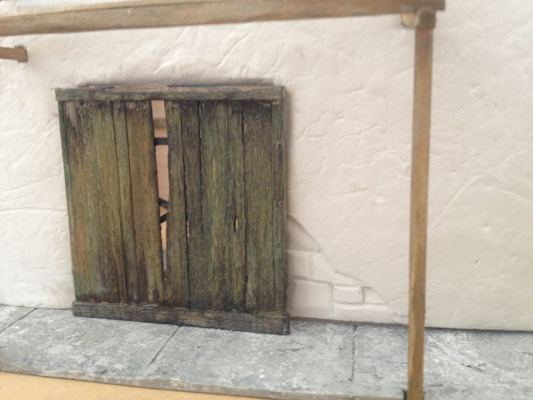
The final details including lighting and some detail parts to store will also be inserted in the next few days
-
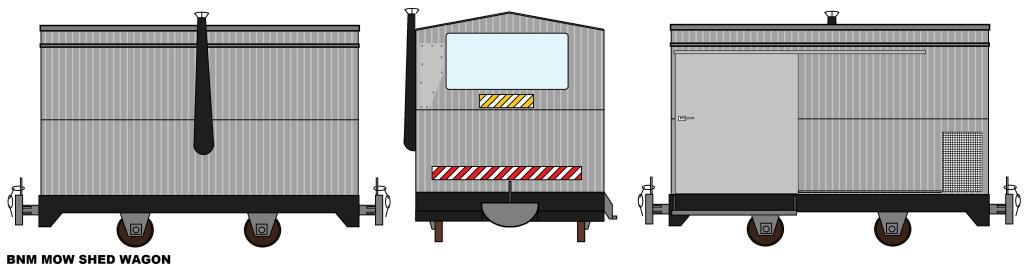
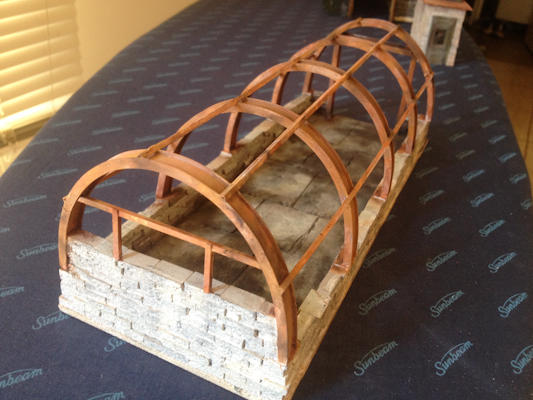
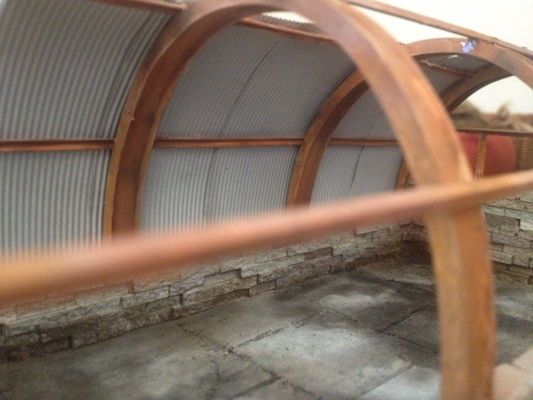
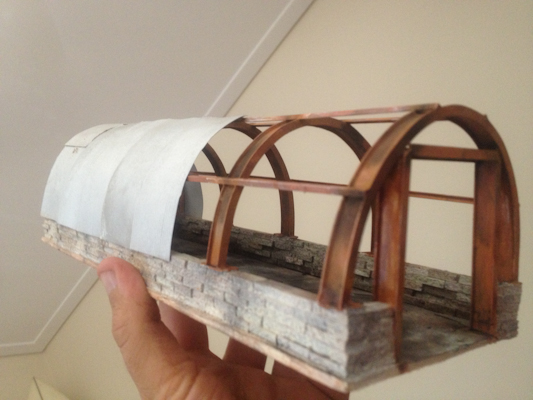
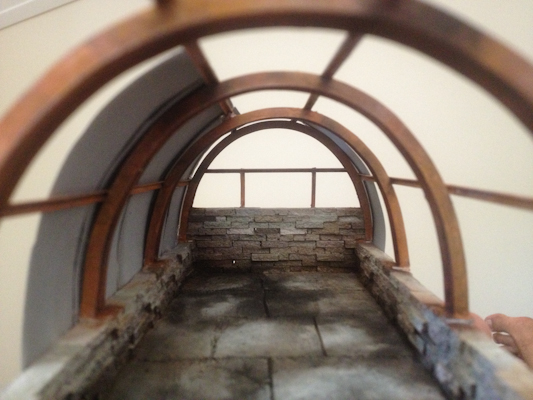
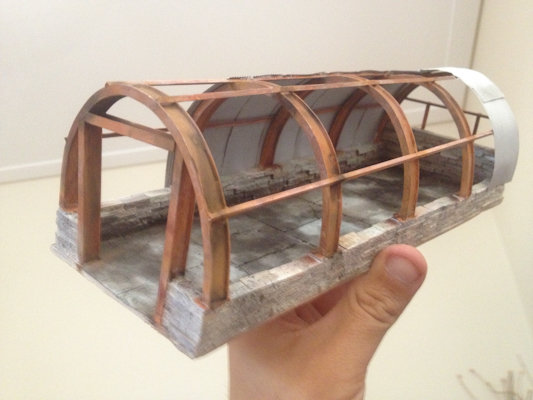
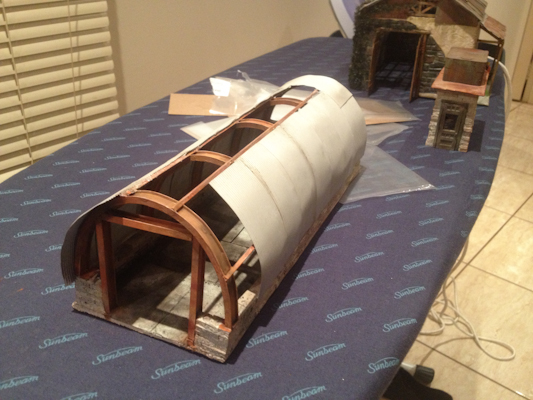
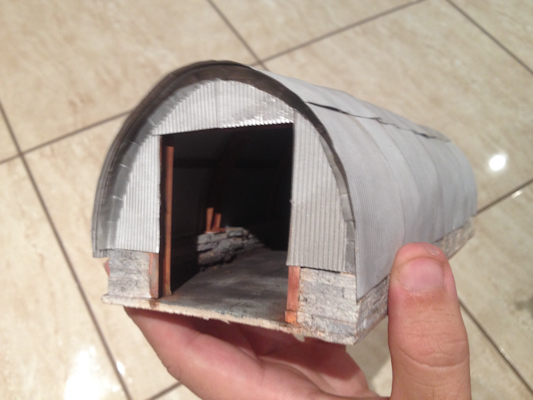
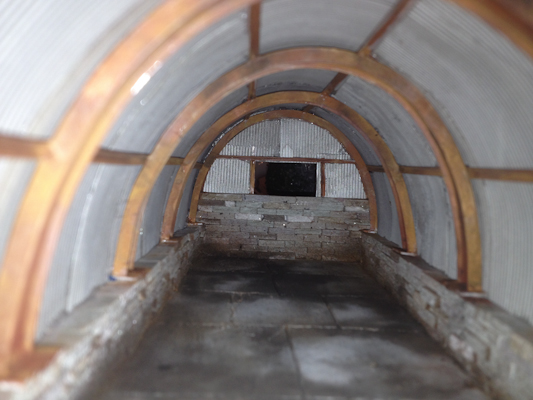
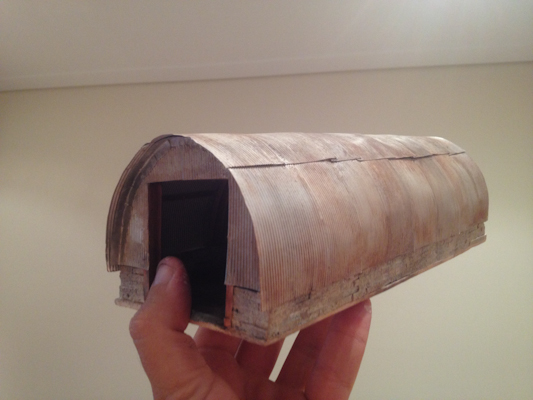
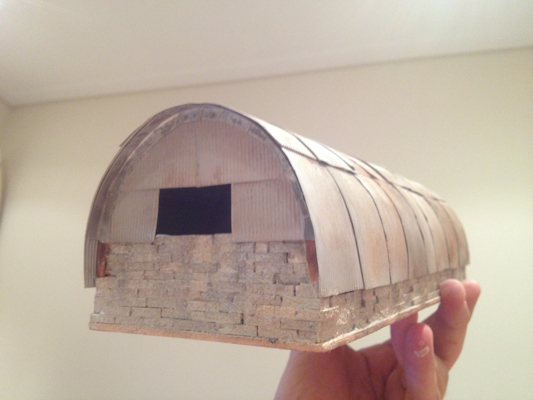
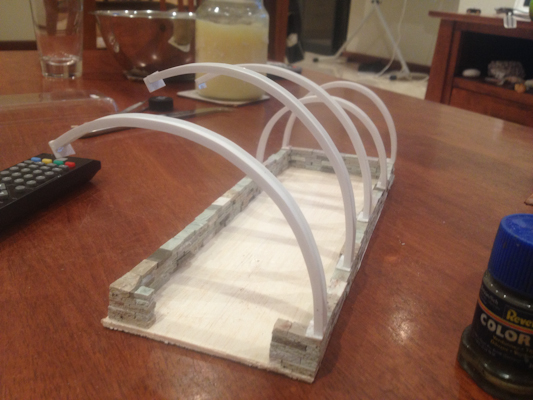
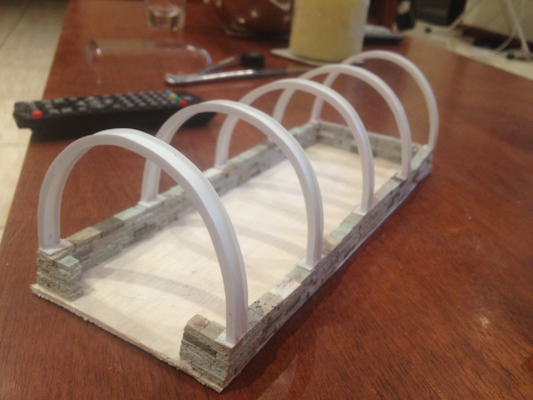
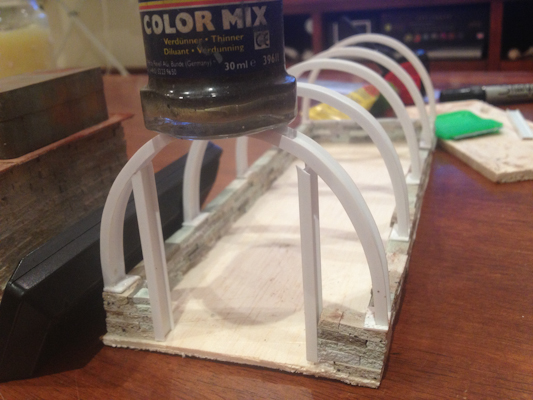
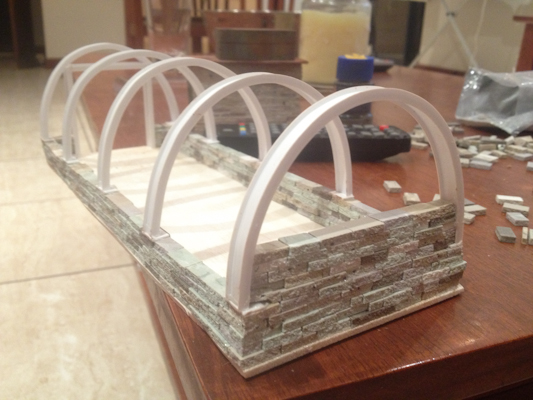
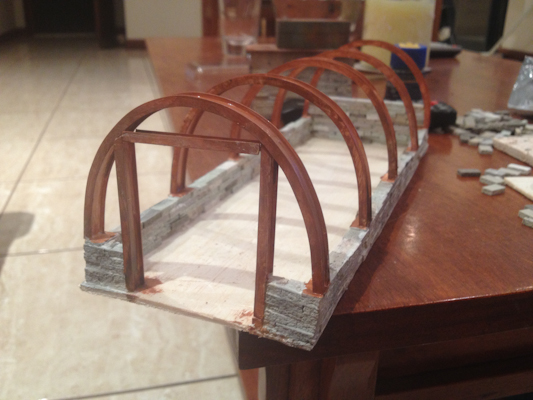
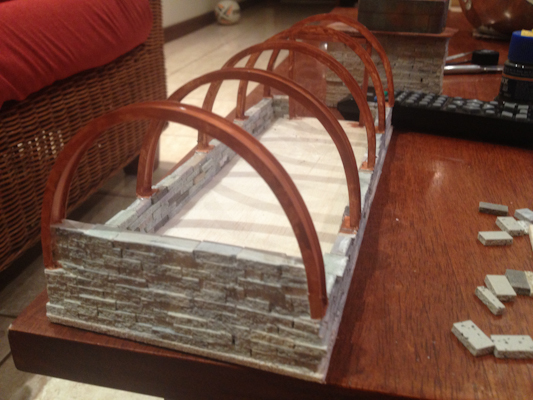
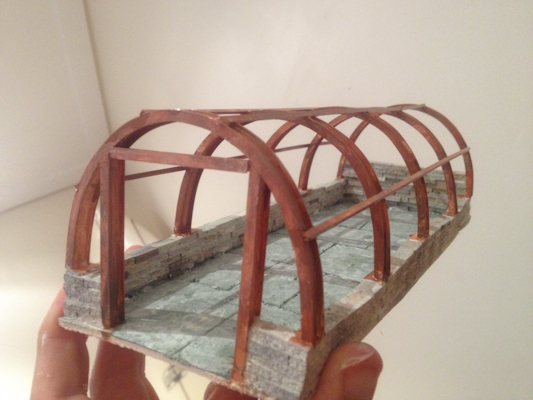
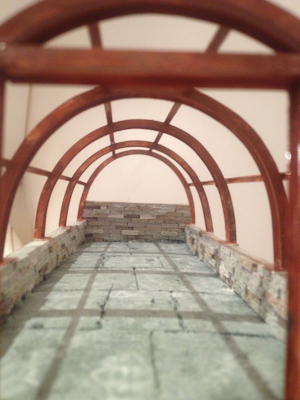
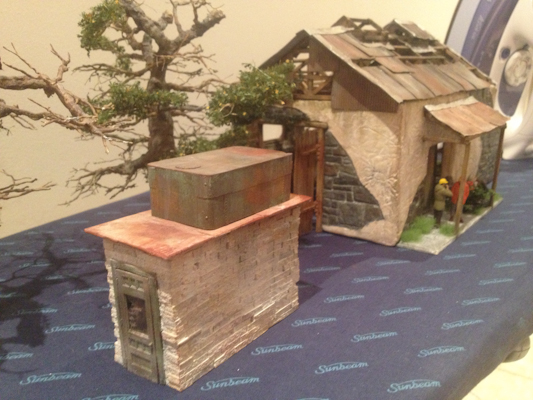
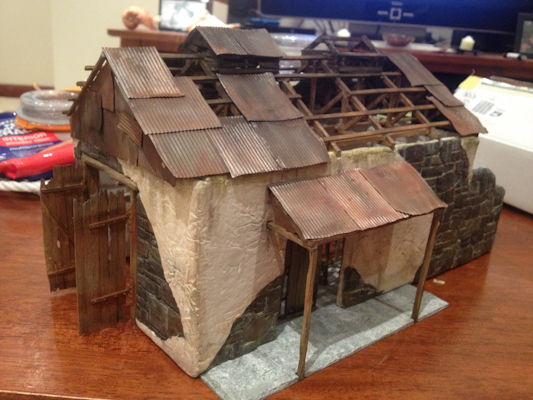
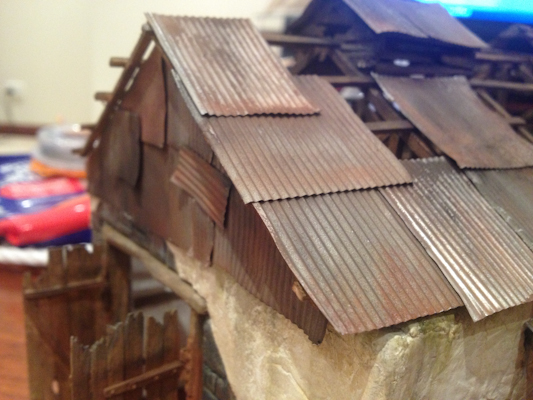
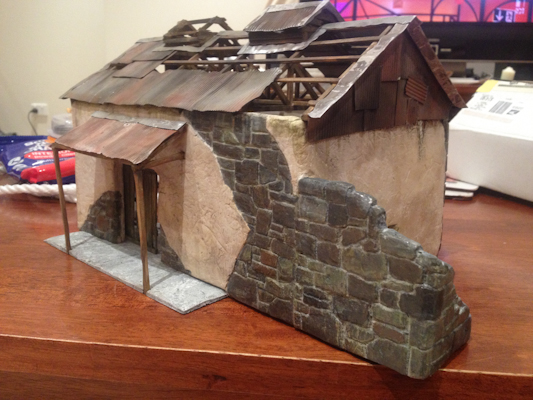
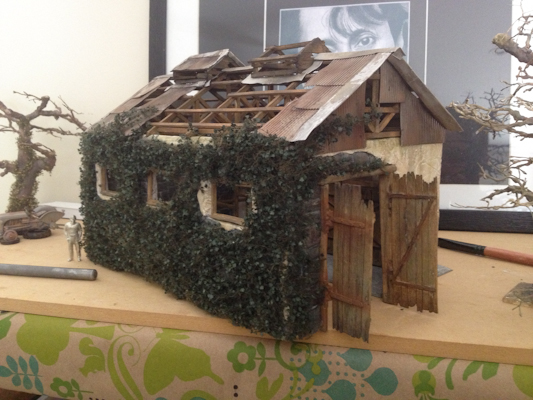
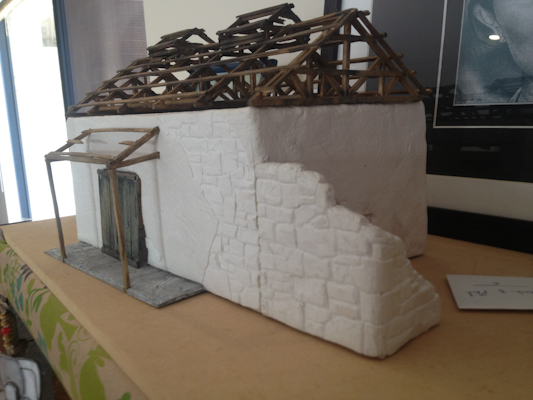
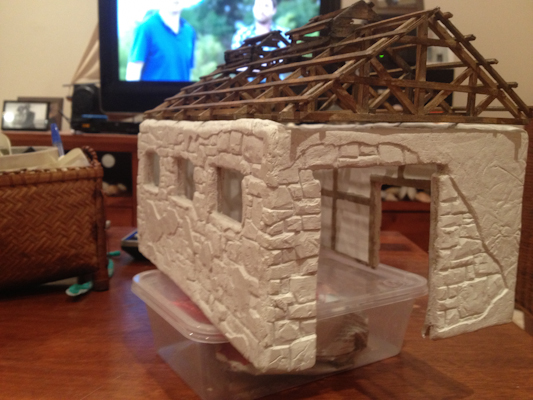
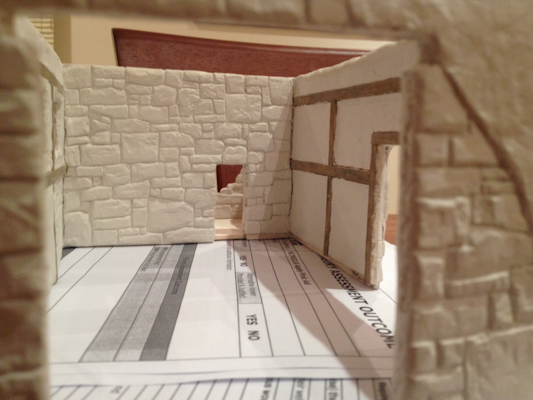
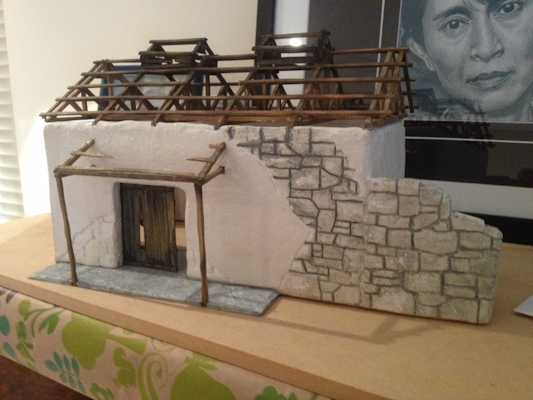
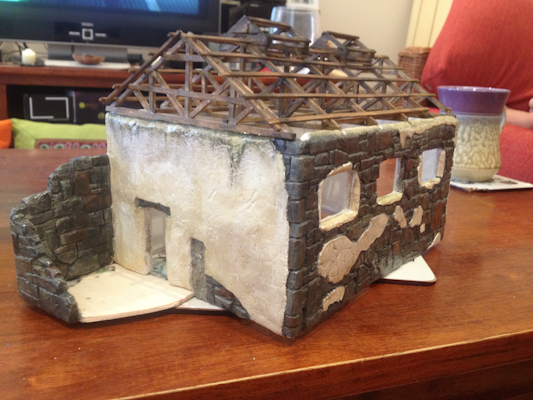
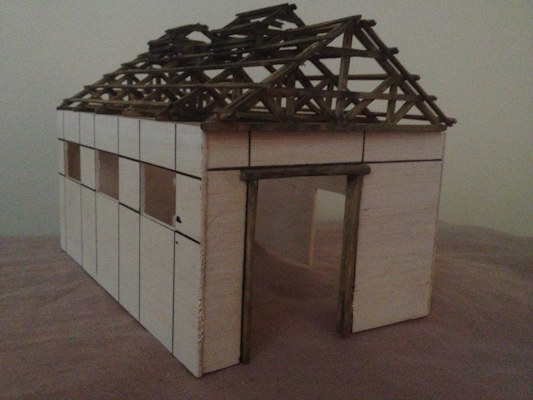
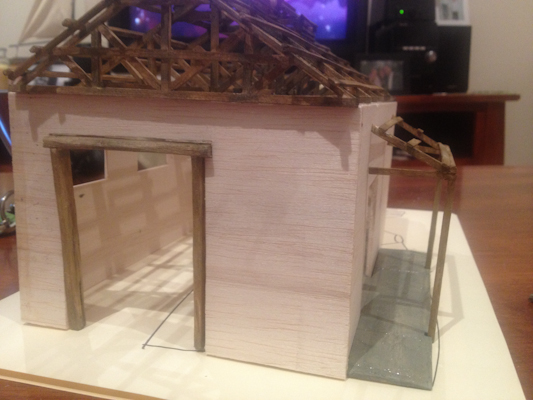
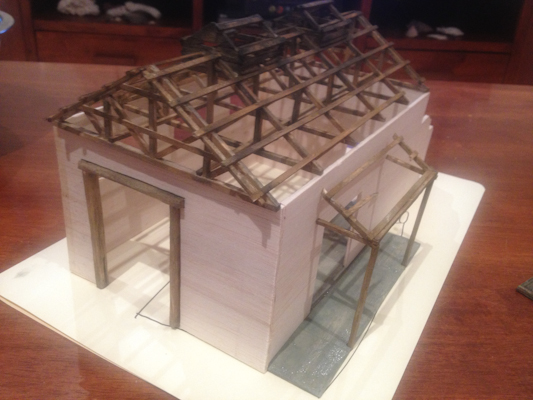
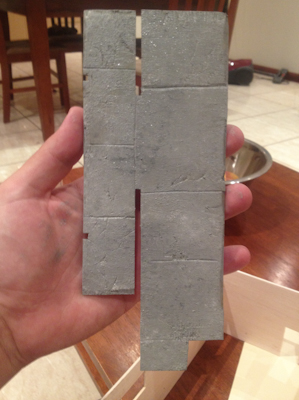
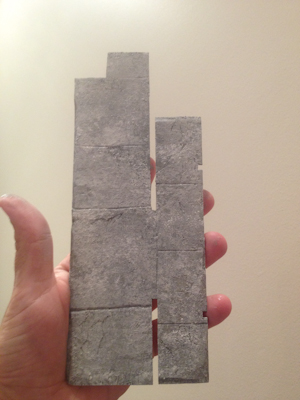
This morning after finishing the tower and with some tie on my hands while my girlfriend slept after night duty, meaning what ever I did it had to be quiet;) I came across a nissen hut in a shot I took in 2012. Looked further and these things popped up in shots at four different locations so decided then and there my goal was to spend the day starting off this building. Base built from same building blocks as tower. Its mounted on balsa to stop the walls spreading when the curved support frame is added. Then curled some left over I beams using hot water to soften and attached mounting pads. The beams were attached under stress and fixed with gel super glue. Cross supports also evergreen L beam which was lying around. The model was painted and then basic weathering done. Sheet corrugated tin was etched with draino (acid) and curved around a drinking glass of the appropriate circumference. Once all tin attached final weathering completed. Still waiting on doors and windows to complete and some minor fine detailing. Will knock them up in a couple of days when I get another day off work.
-
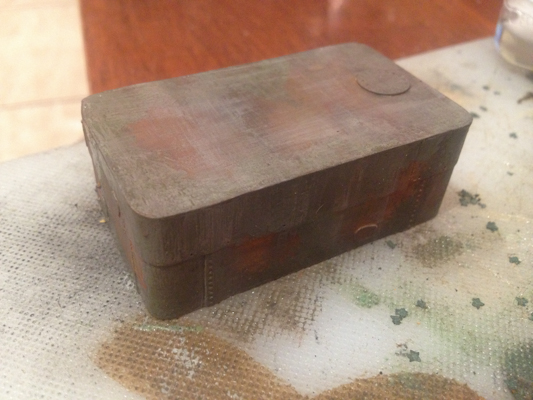
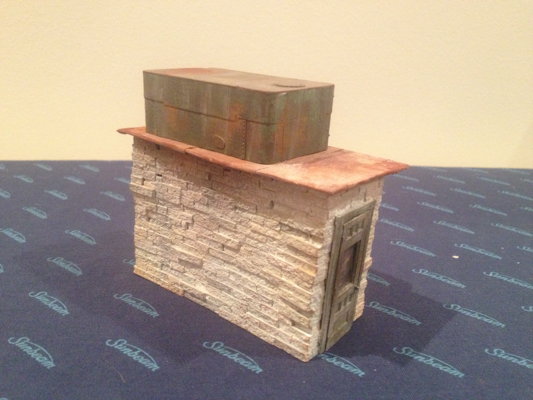
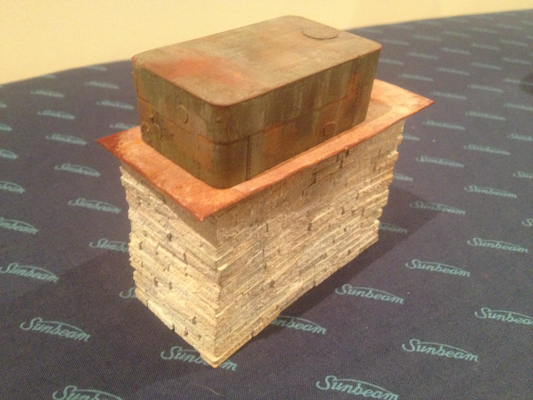
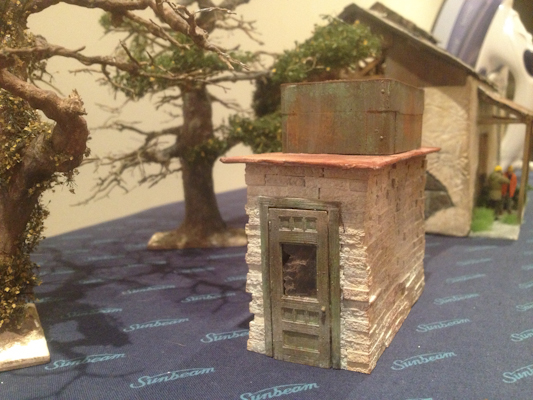
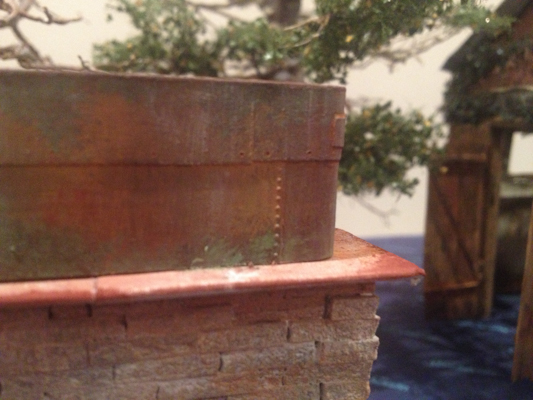
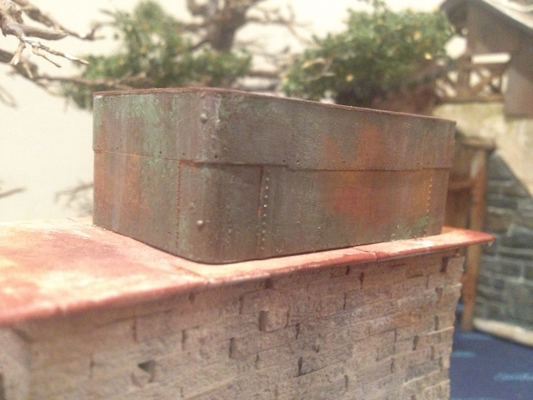
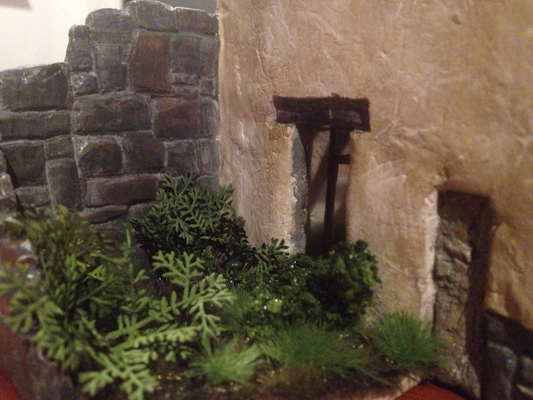
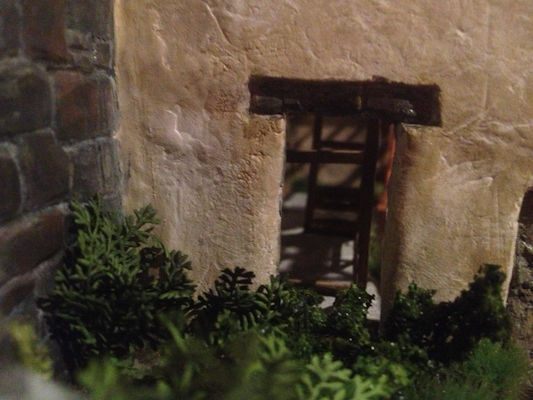
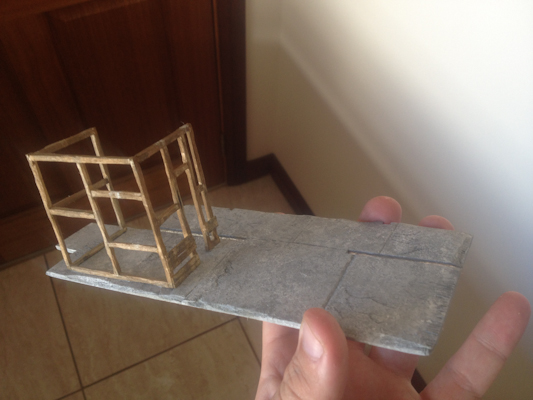
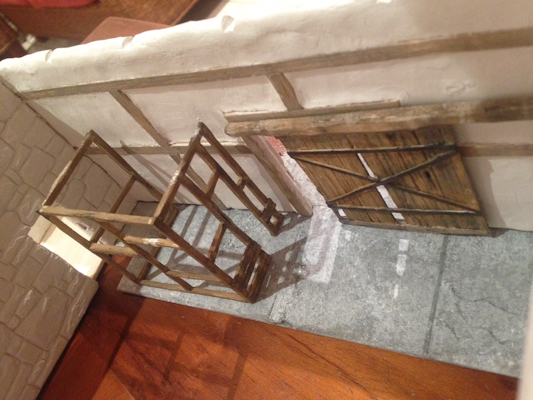
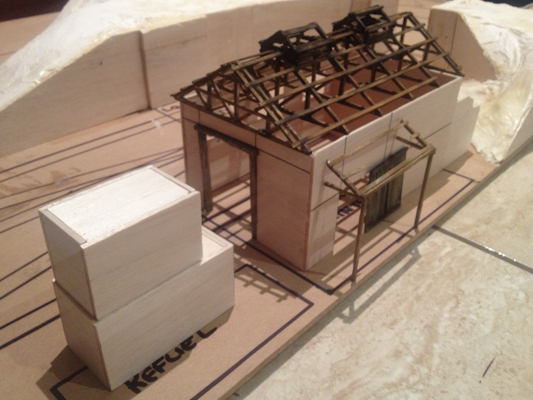
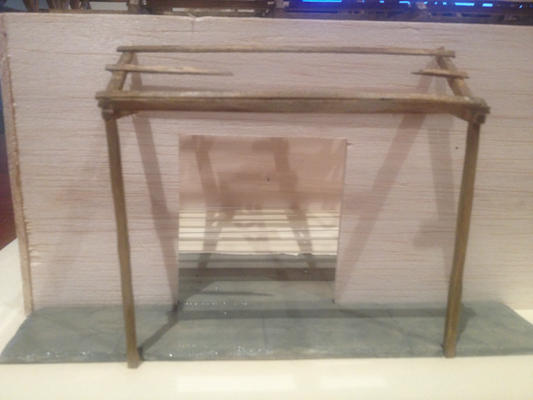
Next up is the old loco fuelling point. I recently got some Uncle Bens products out of the USA and one was scale 2 pound blocks for building. Also was a fuel / water tank and a door. Miffed with what to do until found a photo of a loco refuelling in Stevens Johnsons Bord na Mona locos and railcars book. This little structure is based on that one. Only done the intial work and still have to super detail. Tiny little building but that's one of the things I love about the BnM.
-
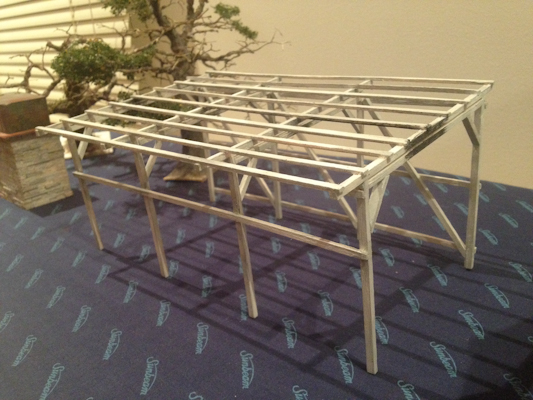
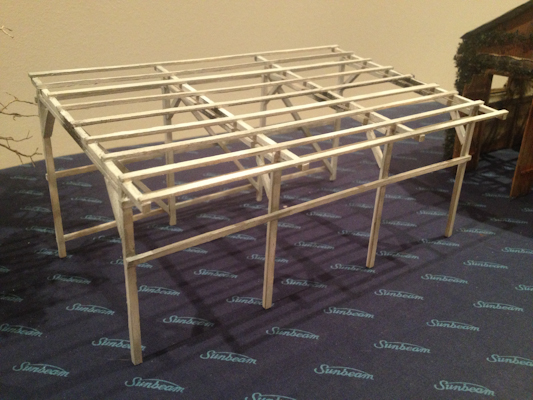
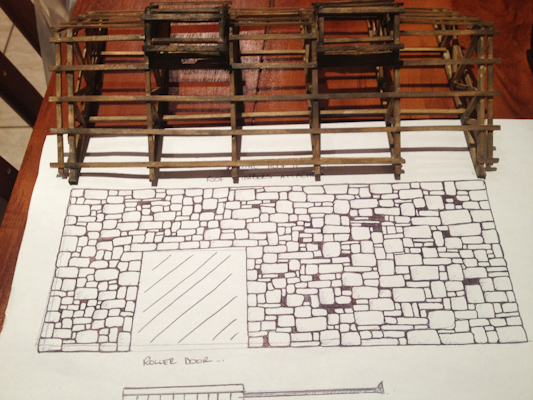
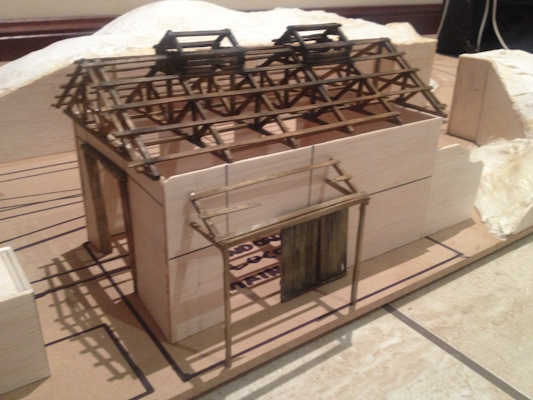
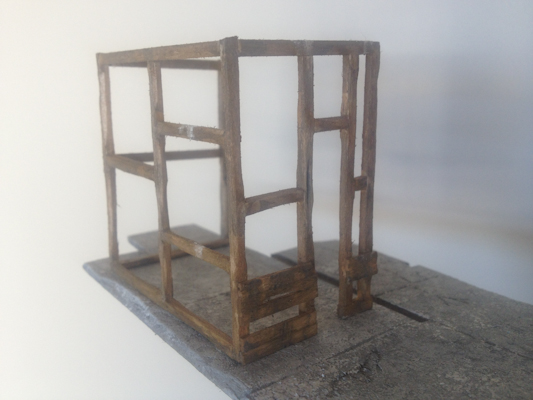
Have finished the frame for the tipping shed last night while watching the NFL. Its a simple balsa construct stained with various paints.
-
Have finished the bulky work on a fuel tank tower and am in the process of scratchbuilding a Nissen hut. The Nissen is harder then first invisaged. Will post photos in te morning. Thanks all for the compliments.
-
Just read the thread and you layout looks amazing. Always blown away by the idea of controlling the layout from a computer. It is a brilliant concept but one I am not tech savy enough to engage with. I'm still only learning basic wiring
-
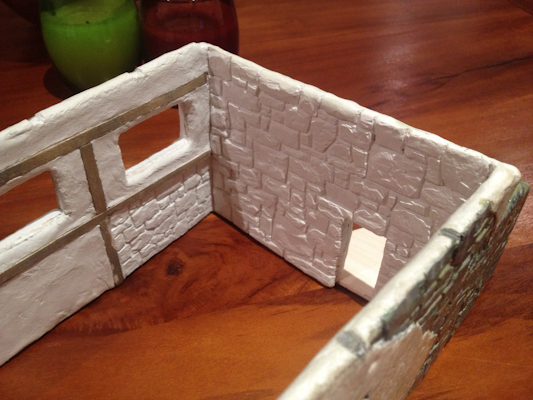
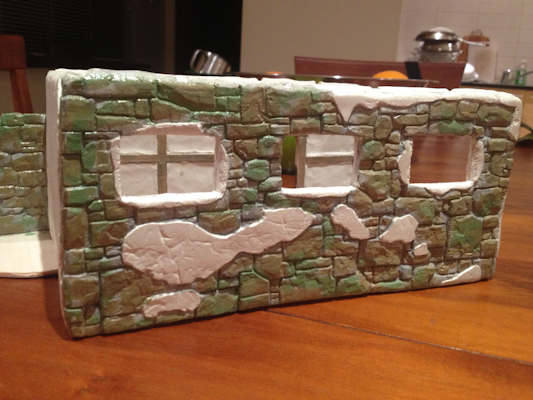
Great tip will steal that next build. Am going to scratch build a farm complex in the up coming months and that tip will definitely come in handy. DAS is surprisingly simple to use. This building was my first time. Actually the first building I had scratchbuilt as well. It is very forgiving and allows you to create something a bit special.
-
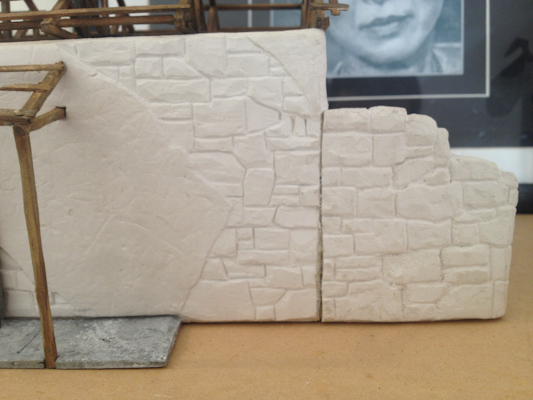
DAS clay was surprisingly easy to use. Just apply a layer of wood glue to the surface you are attaching the clay to. Keep the clay wet while you are working with it and leave it about 48 hours to dry before you start carving. I won't lie and say it was not a repeatative and some time mind numbing task but the results are great. I used chisel blades for scalpels to do the carving. Thanks all for the support. This is only the second layout ill have built so looking forward to the challenge.
-
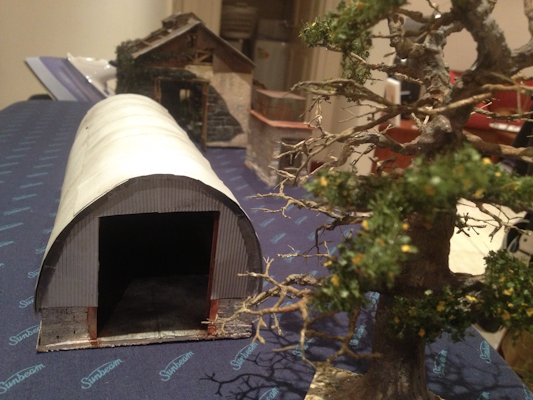
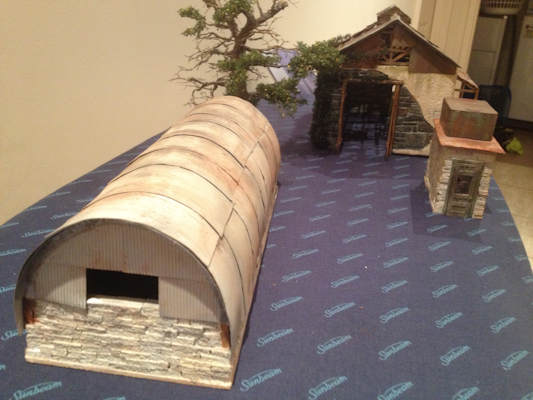
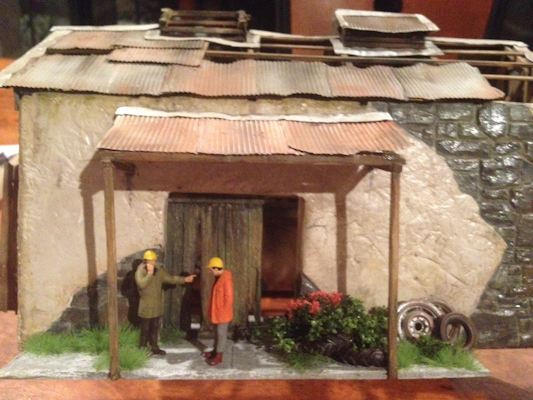
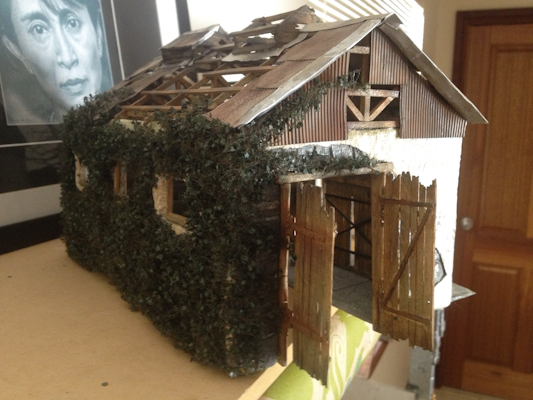
The final plan is to have a few wagons and a small old loco stored in the road. The approach will still be used as a siding with refuelling facilities. Next I have started building a nissen hut style loco shed which will also be abandoned. Its based on a few I have seen and research that the BnM have left from steam days. Building the refuelling tank has begun but I now have to be conscious that I am moving so work has slowed. Will keep the photos coming and hope you enjoyed them. Thanks for taking the time to have a look and any tips or feedback is greatly appreciated. Phil
-
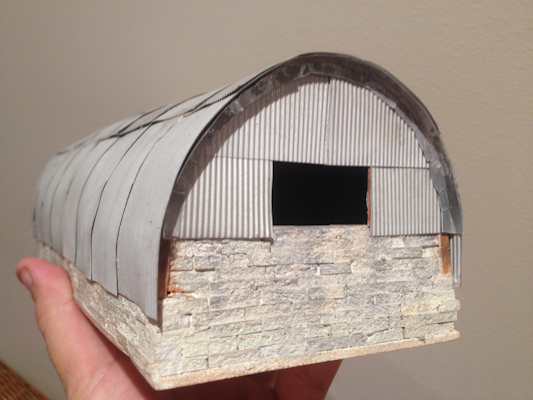
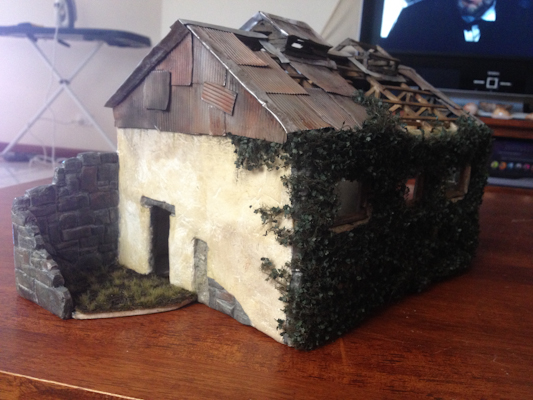
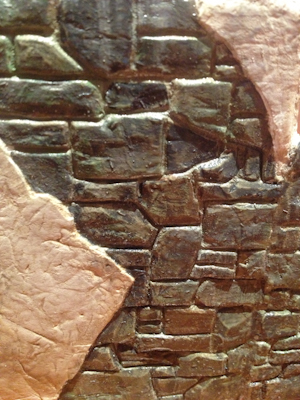
The roof is coloured and rusted using draino acid and rust colour powders. Walls are given a final wash of waterbased matt white and rubbed back.
-
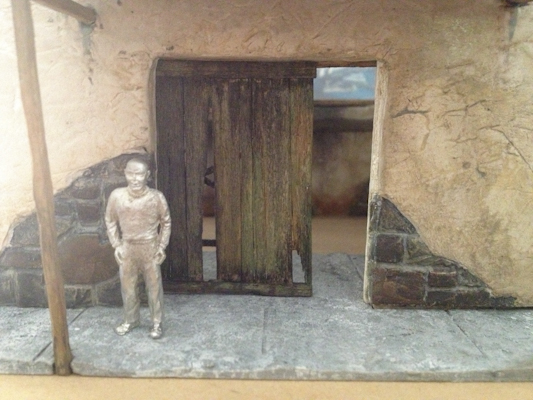
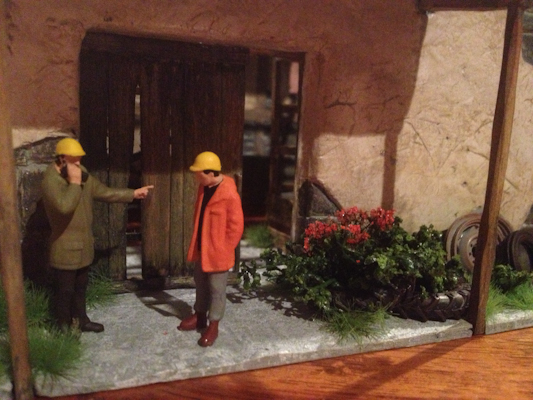
The main walls were made from Balsa wood sheets covered in DAS clay and then sculpted. The roof is hand cut from balsa sheets and glued. The people are faller and the scenery material all from Silflor.
-
Modelling of the abandoned loco compound for the layout. Wont get to start the baseboards until November as moving house. Cant wait to get going properly.
-
Looks great. Is the setup two track main line with through tracks and a goods line or two converging main lines and a freight loop behind the station? Can't wait to see more. The sound in the loco is great too. Cheer mate for sharing.