
JasonB
-
Posts
1,406 -
Joined
-
Last visited
-
Days Won
26
Content Type
Profiles
Forums
Resource Library
Events
Gallery
Blogs
Store
Community Map
Posts posted by JasonB
-
-
Fantastic Noel.Love the first pic of the Mk2 EGV it looks so realistic sitting under the roof.
-
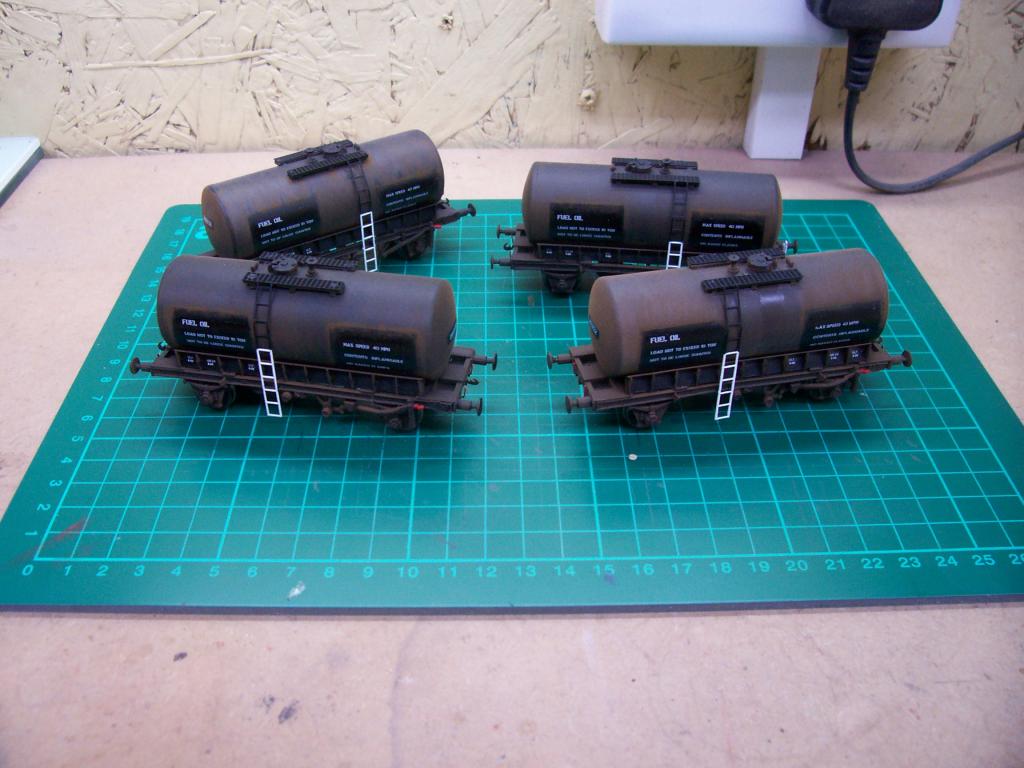
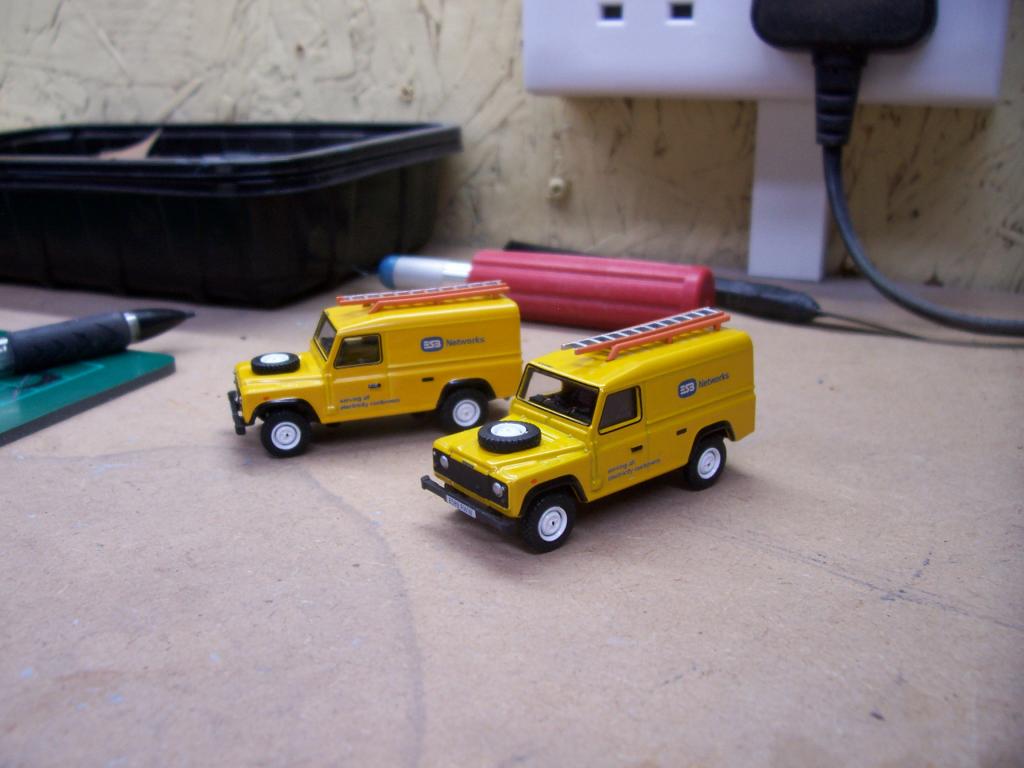
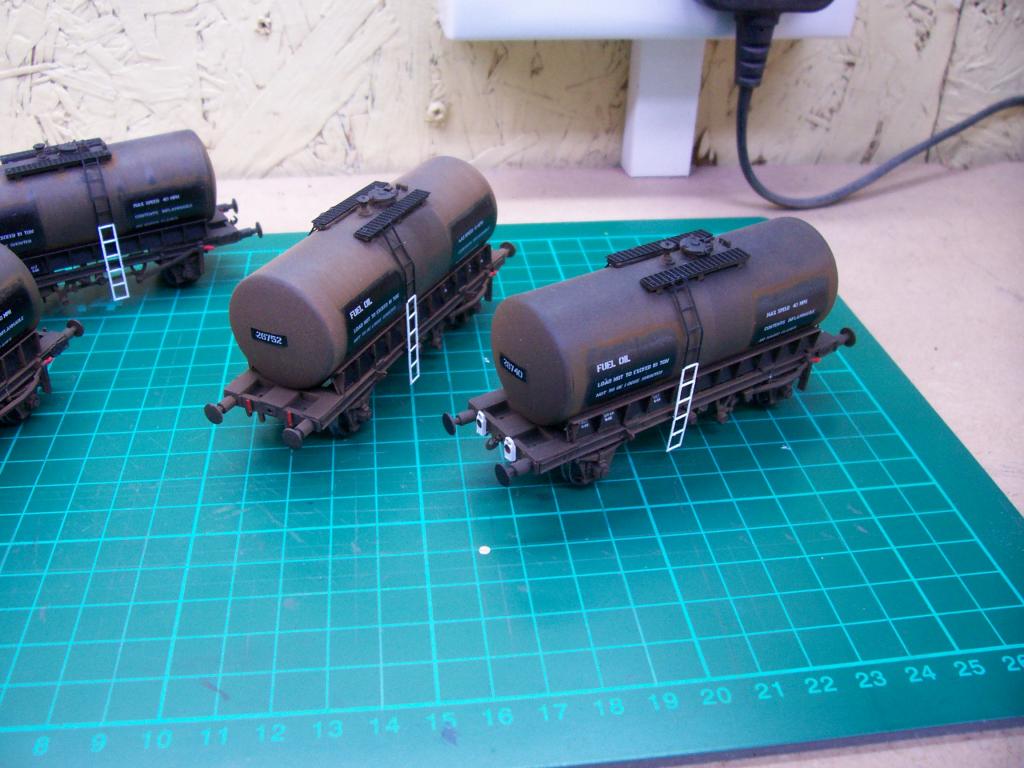
Jason that's some mega work you've nailed there, as for the LR's we've had some of them up our way very recently putting some poles back up!!! But they we'nt anything as clean as yours..... Those oil tanks look mega, mind telling me what are those SSM kits held on with, solder or glue, TIA
BTB
Hi BTB,the SSM kit was constructed and attached using super glue.Cheers for the comments.
-
Thanks for your comments gents

-
Fabulous as always Kieran.Just love this layout.
-
That looks and sounds fantastic Noel.190 pulling away is just class.
-
Jason, those wagons and the paint job are absolutely superb. Hat's off to you. What do you use to seal them after painting.
Noel
Thanks Noel much appreciated.Ive sealed them with Humbrol acrylic matt varnish.Ive also used Revell enamel varnish from the airbrush in the past but personally i just find the aerosol handier,saves cleaning the airbrush afterwards.
-
Do D+M have a site...?
Geoff there is a link to a list of their products on the manufactures section of the forum.
-
I gave these Oxford Diecast Land Rovers a quick makeover by removing the British Telecom signage,adding some ESB decals and painting the ladders.Not a bad result for so little work.
-
 1
1
-
 1
1
-
-
Pity it will be no more.An excellent layout with some fantastic stock.
-
I think you've nailed it with the fine granite Noel,looks great weathered too.Nice job.
-
When you look at photos of the prototype it seems that the doors covered and sat slightly outside the sole bars of the wagon dropping almost to the height of the brake lever when closed. The model seems to have been designed with the correct number of ribs but sits atop the solebar creating an awkward tall aspect to the model. Ideally the solebar would need to be reduced to allow the top to sit over it, which may not be possible. The profile of the wagon is very much improved. Nice modification:tumbsup:
Glenderg posted some shots which demonstrate it fairly well
Cheers Dive.Exactly as you say,when I was comparing the model to photos of the prototype it just looked too tall to me.But it not only looked too tall it was when I had it alongside my curtain side cement wagons which was the reason behind cutting them down.Next job will be to put them back together and add a little weathering and they should look fine.
-
Why are they two different sizes? Are they two different makes?
One has 6 ribs & the other has 7, so you could remove the bottom one.
That's what I have done Popeye.The one on the left hasn't been cut yet its the last one from 7.
-
 1
1
-
-
One left to cut and as you can see I have taken off the bare minimum but I think it makes a big difference to the appearance of the wagon.I'm a lot happier with how it looks now sitting on the chassis.
-
1
-
-
Little touches like this do big things to realism!
Thank you Jhb.
-
Here are some bagged cement wagons that I've started a little work on.I picked these up from Irish Freight Models to run with my 4 wheel curtain sides as I always liked the look of them mixed together in rakes when in service.
-
Very impressive.And always to the highest of standards
-
Love it Kieran.What a great scene, looks so realistic.
-
Love it.Keep them coming in 2017
-
Top class as always.
-
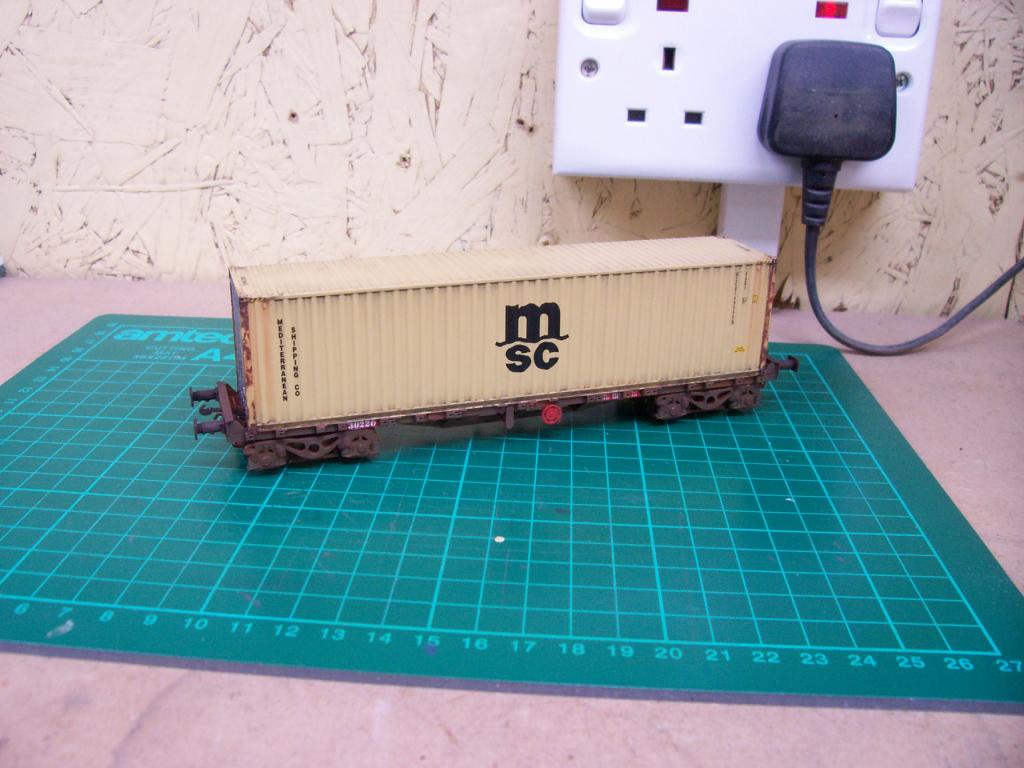
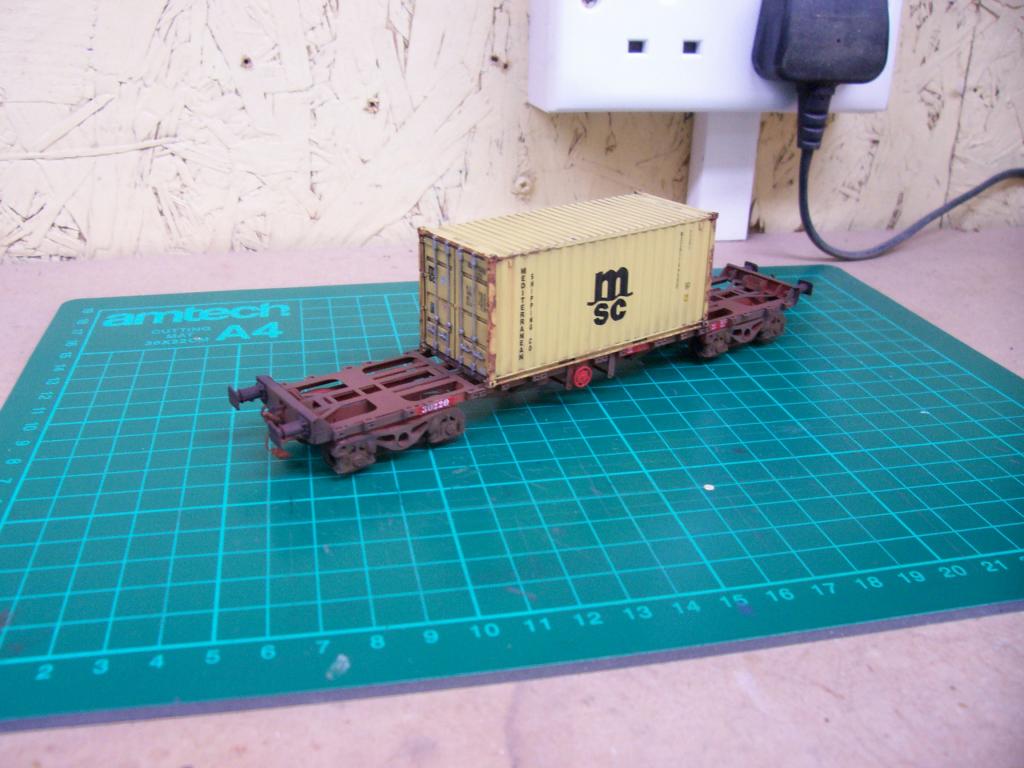
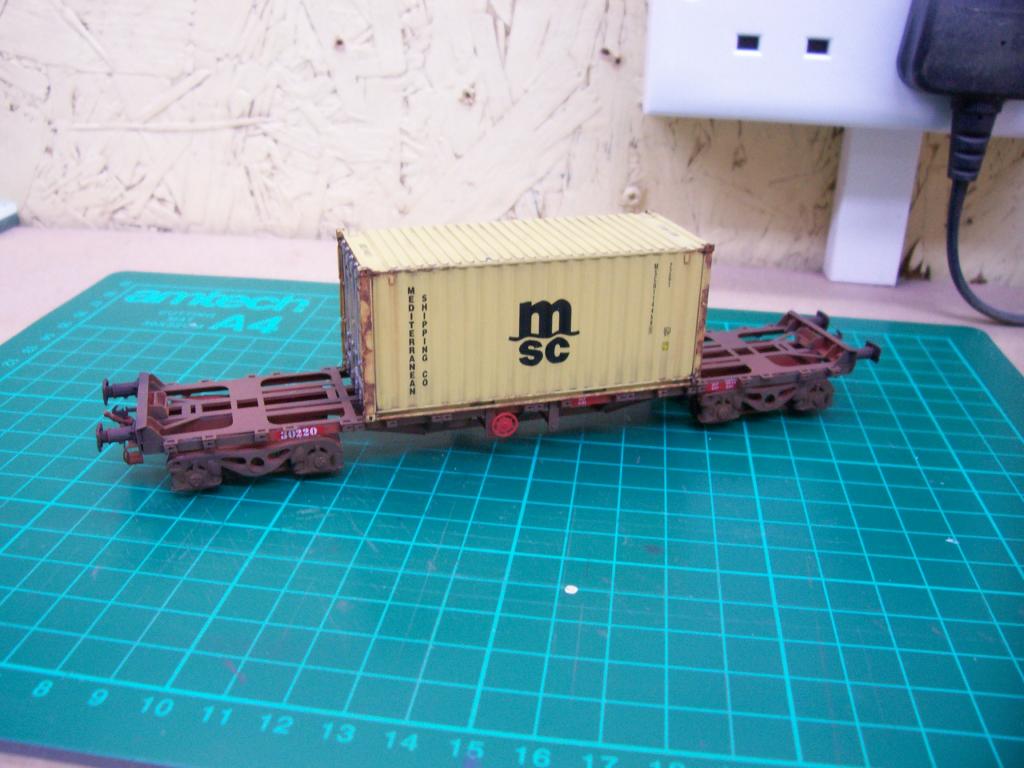
Thanks for the comments guys very much appreciated.Popeye the 40ft sits nice and snug onto the flat and doesn't move at all which is great.The 20ft however is just sitting on it in the photo so once its on the move it will fall off.I do have a couple of ideas in mind how to sort it so it should be an easy fix.Rich the rust is made up from Humbrol weathering powders.I use a mix of Iron oxide Dark earth and Rust.I just brush it all over the area I'm working on and then gradually take it back off until I get the look I'm after.Once that's done just seal with matt varnish.
-
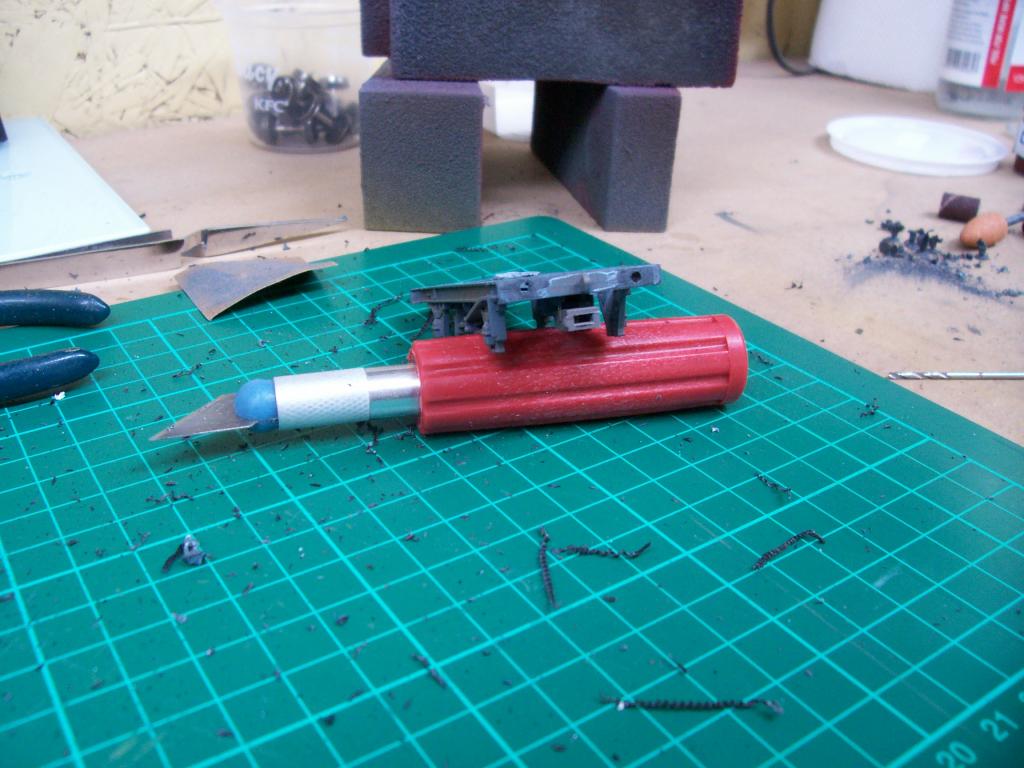
Other than a couple of small errors at the beginning which was down to me not bothering to read the instructions properly,its job done with some weathering to finish it off.
-
1
-
1
-
-
Lovely work on the H van Rich,them pics on the layout definitely capture the atmosphere from the time.
-
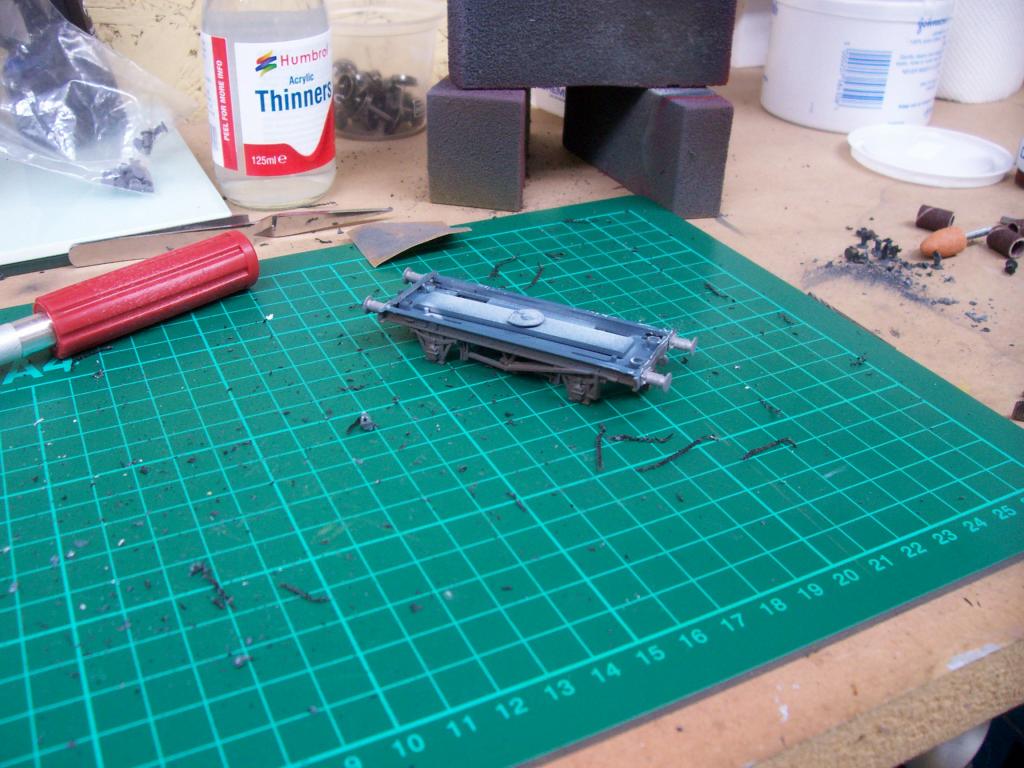
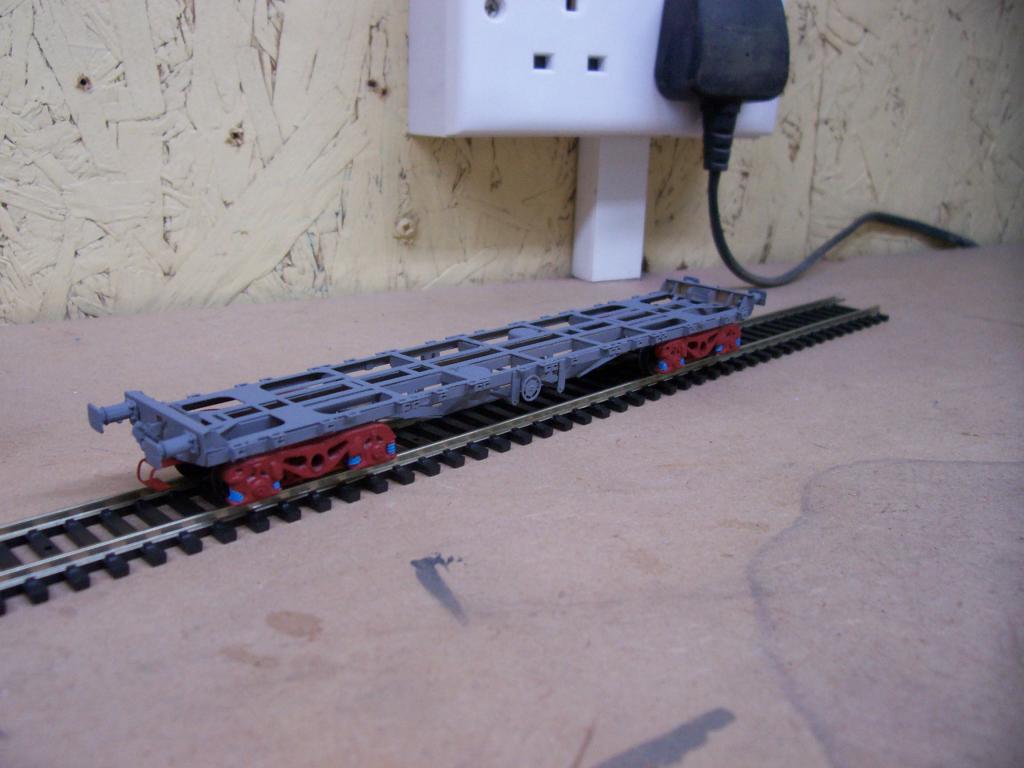
The frame has now been completed and Ive given it a blast of primer.Its also had a good run and is working fine on curves and over points.Last job is to give it a couple of coats of red oxide and add the decals.
-
1
-
-
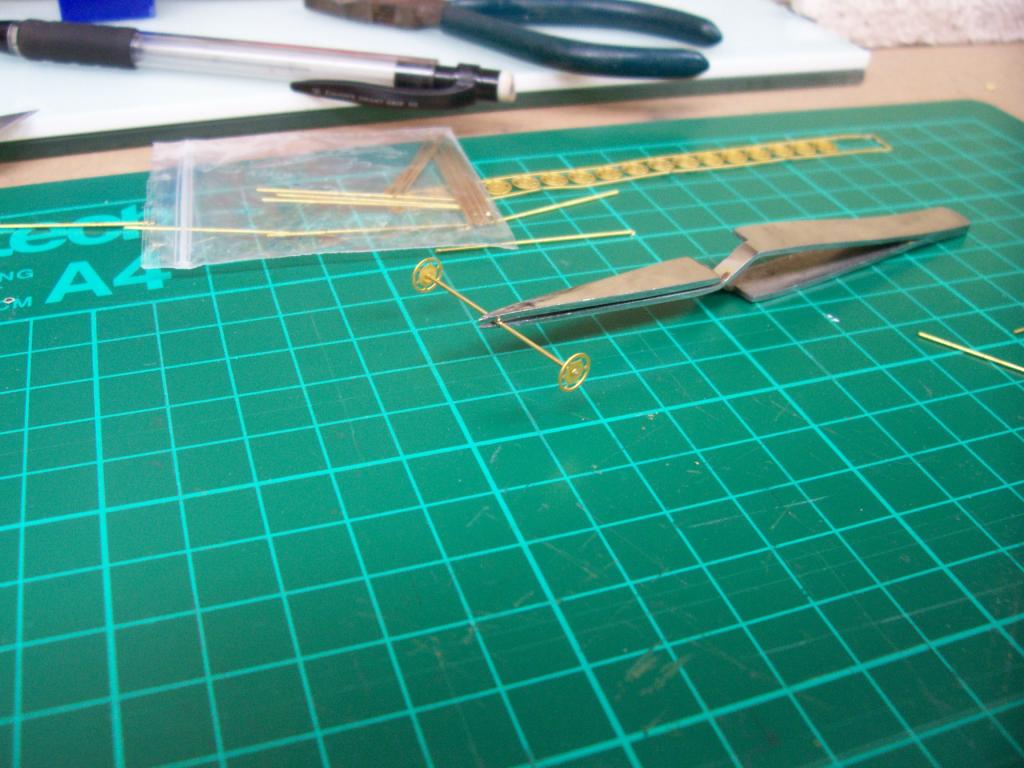
Thanks for looking lads.I must admit Popeye it looked quite daunting when I opened it up first but once I got going it went together really easily.There's alot of cutting bending and filing but its well worth it when it starts taking shape.


.jpg.e620b74f0bc91c141b5187e3c34164e0.jpg)
.jpg.591d913491c8712d7004d9e85b4da71a.jpg)


enniscorthymans workbench
in Workbench
Posted
Looks good.I must try that.