.png.c363cdf5c3fb7955cd92a55eb6dbbae0.png)


Rob R
-
Posts
271 -
Joined
-
Last visited
-
Days Won
3
Content Type
Profiles
Forums
Events
Gallery
Blogs
Everything posted by Rob R
-
Don't thicken it. Put a chamfer on the bottom of the inner tank (inside the tank) so there isn't a sudden change in CSA.
-
A quick squirt of primer. There is a crease in both sides where the cross sectional area changes at the start of the tank inner. Printing at an angle should sort that but may introduce other issues. The rivets are superb. Thank you Maitland

-
Just drippng...
-
My bad. Accelerations are on the FDM set up.... Lift and retract speeds are the beasties. Usually found in the Resin set up page of your chosen slicer. Also not all slicers are equal. The slower they are, the lower the forces on the print. Downside is increase print time. A fine balance.
-
Thanks for posting the latest files. I'll have a play later. R
-
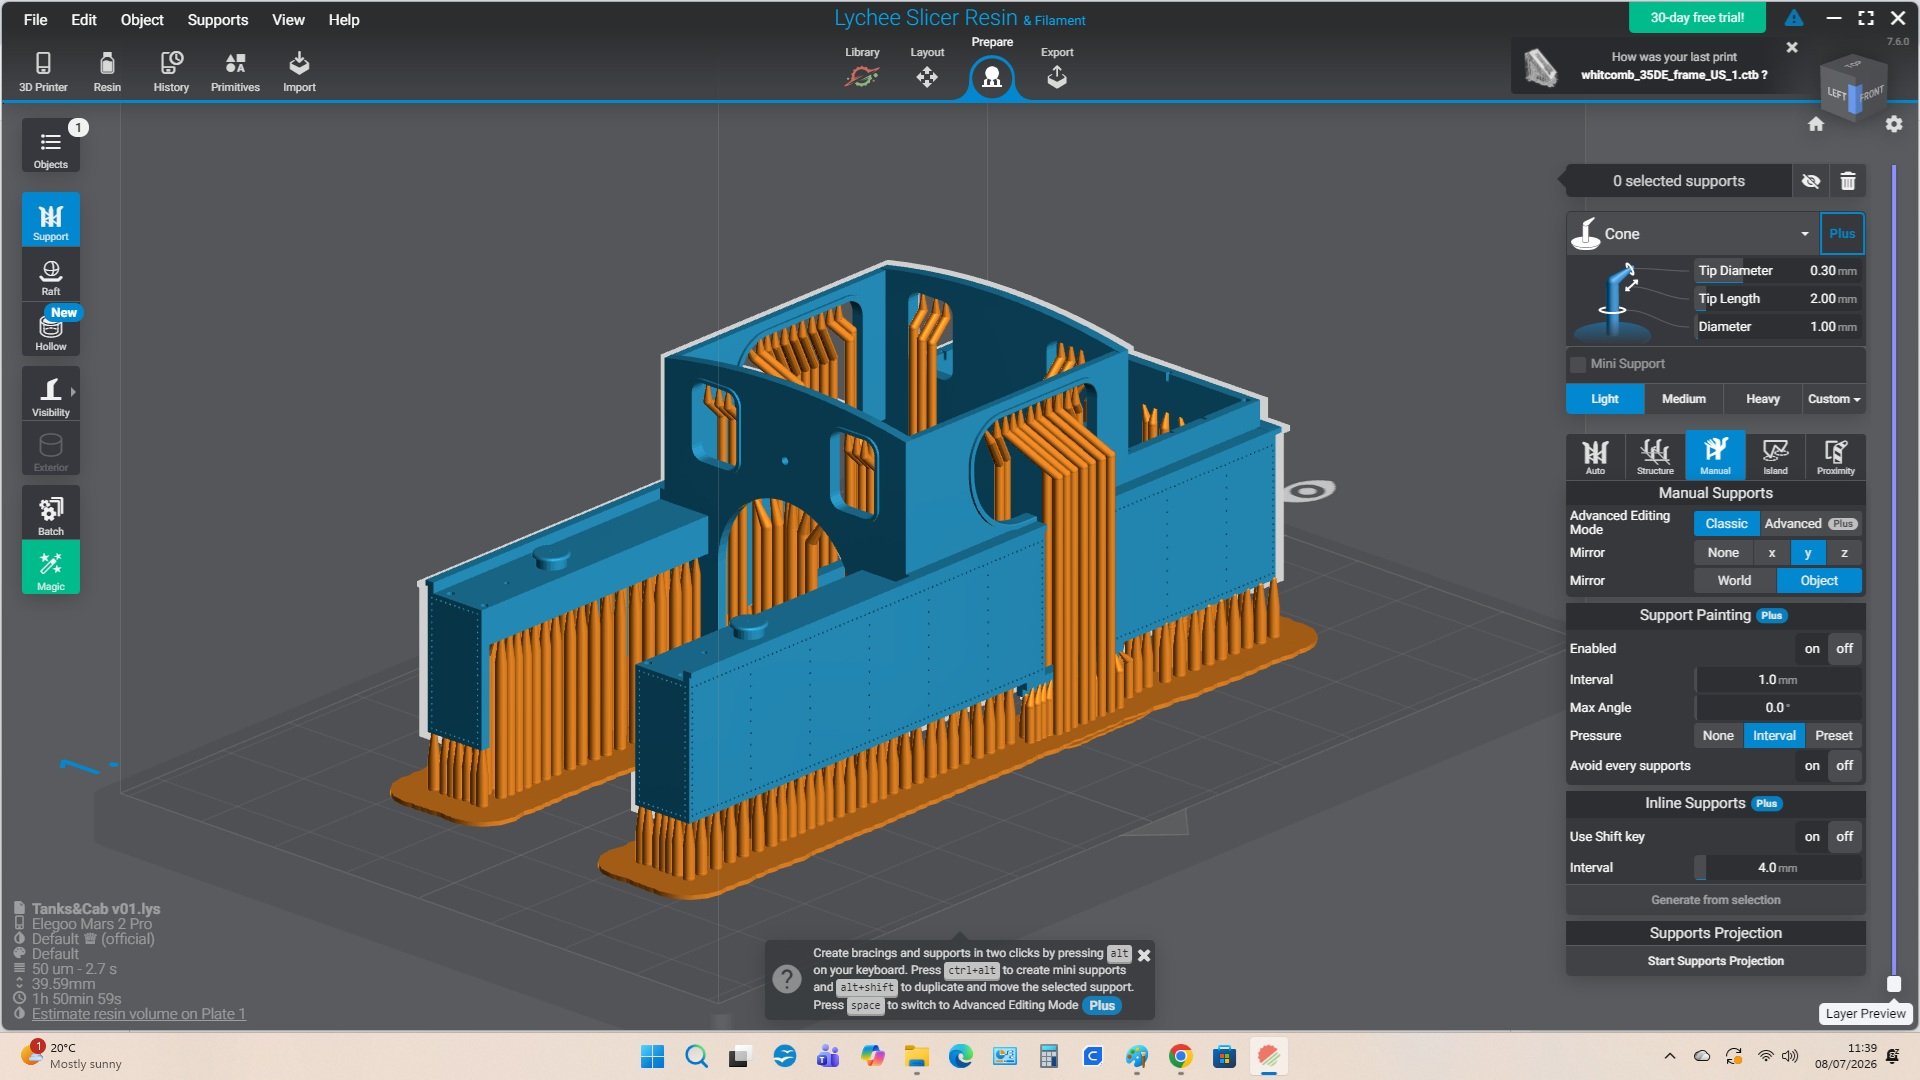
Supports. Think of resin printing more akin to growing crystals (copper sulphate in O level chemistry?). You need somewhere to start growing it from but that some where has to be strong enough to resist all the peeling and suction forces. I usually use a good curtain of medium supports, sometimes with the odd heavy or 2 to beef it up and light supports for the delicate details, bridges etc. As you can see, things the size of rivets are not supported. There are some really good youtubes on supports, explaining it much better that I can and from first principles. Have a browse. R ps.The file in the screenshot 119% bigger than yours....
-
Don't worry about the vertical lines, I suspect they will vanish under the first coat of paint. Too late on the latest version of the Sligo tank, it's now printing but it is only 21p worth of resin....... 3dp can be incredibly frustrating but eventually the stars will align and you will be grinning like a Cheshire Cat. Wash that van print and squirt some primer on it, it is surprising what vanishes and what shows up..
-
Don't rely on the "auto generated "supports being right. For the world of fantasy miniatures they work great. For model railways, full of straight lines, right angles and smooth flat surfaces they are a starting guide at best. Off to play with the Sligo tank now. I was resisting but..........
-
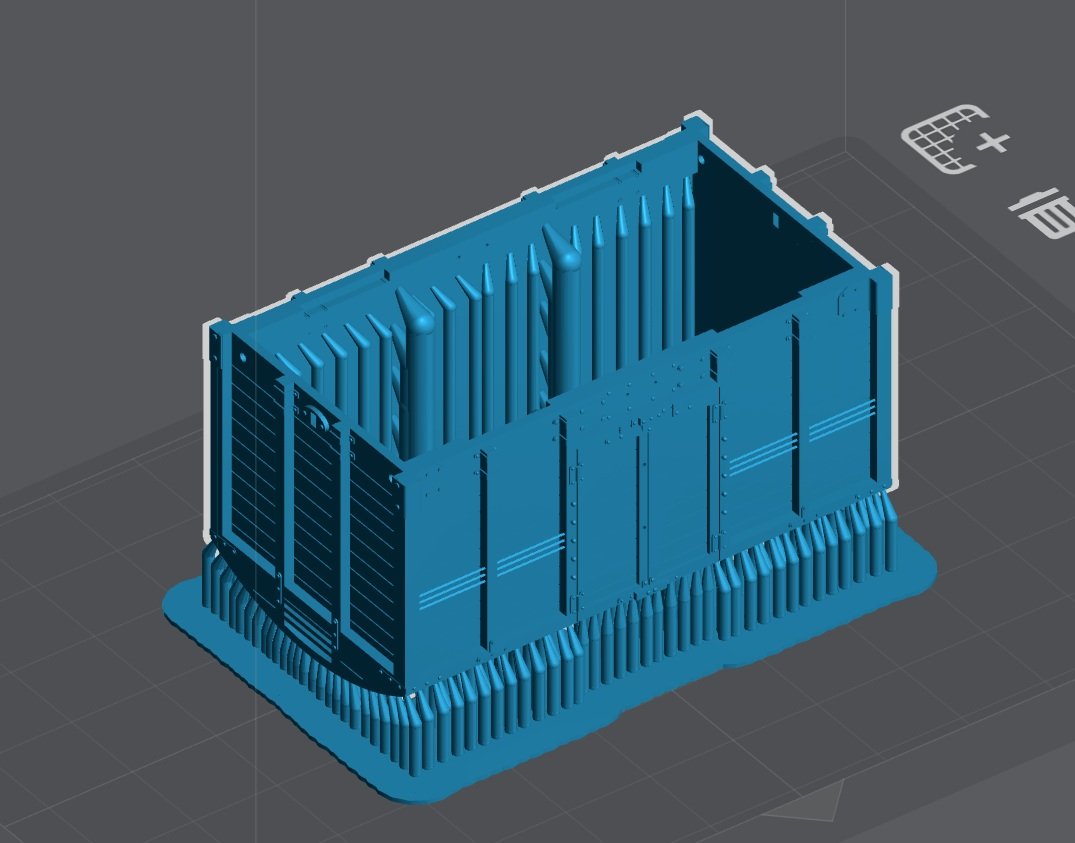
This is how I have supported the 4mm version of the MGWR 7t van for printing on my Elegoo Mars 2pro and hopefully the supported .stl is attached as well. 4 MGWR 7 ton van body V0.5 supported.stl
-
Hmm.... I don't know your machine but for the van I would increase the initial layer exposure time, making sure the build plate is extra clean. My build plate is quite rough (but level) now after 3 years or so of use. You can also tweak the retraction speeds and acceleration, slow them down a bit. For the loco, try putting it at an angle (front at about 25 degrees up for starters). The photo doesn't show the layering 'cos it's a bit dark but a vertical face like the tank sides shouldn't really show any layering at all. Are they medium supports on the loco? If they are try adding some heavy supports to keep it in place. I have not tried using a ptfe spray so I can offer no help there. I am also (usually) using a Transclucent water washable resin which is runnier than the grey stuff and not far off the 16k resin which is almost like water, to me the various standard grey resins all seem a bit gloopy. I suspect the "grey" is just an inert filler - slate dust? Keep plodding on. Try printing some of the standard Test Pieces to fine tune the settings a bit, small changes can make a big difference. Rob
-
A lot of Irish wagons had just one wheel braked right up to the end, like wise others were rebuild to be slightly more up to date. HMRS drawing of a similar MGWR van with just one wheel braked.
-
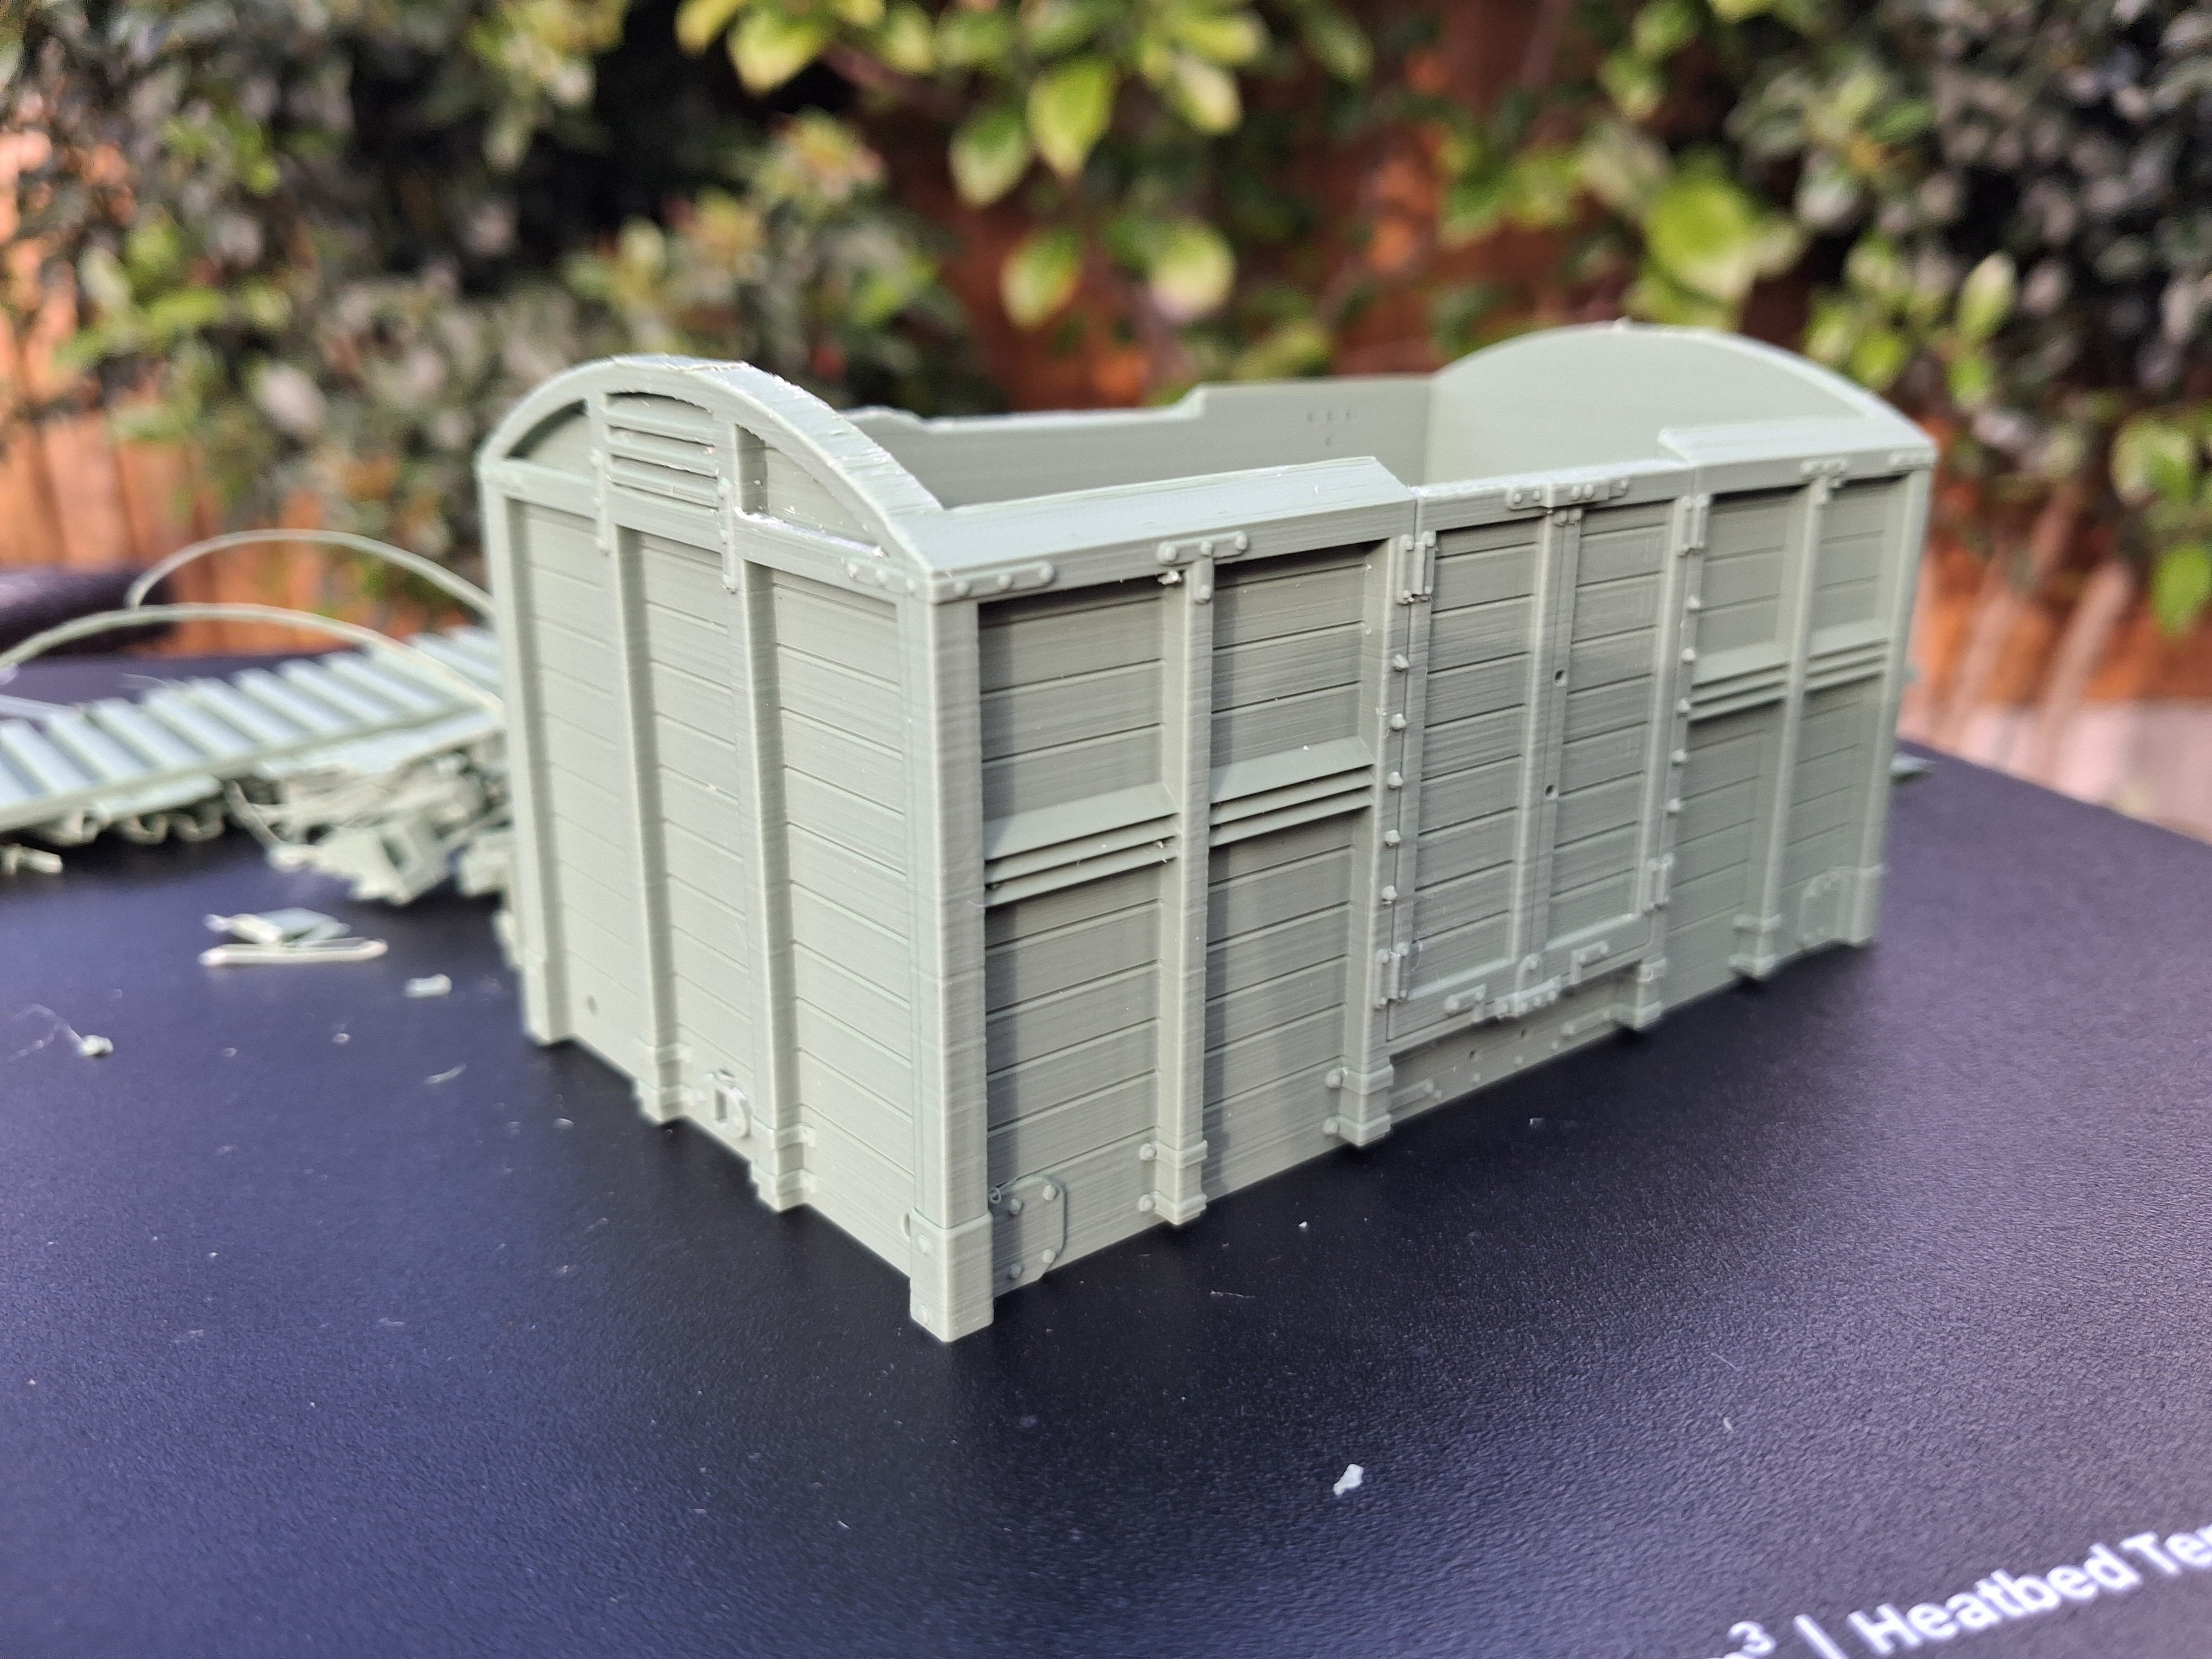
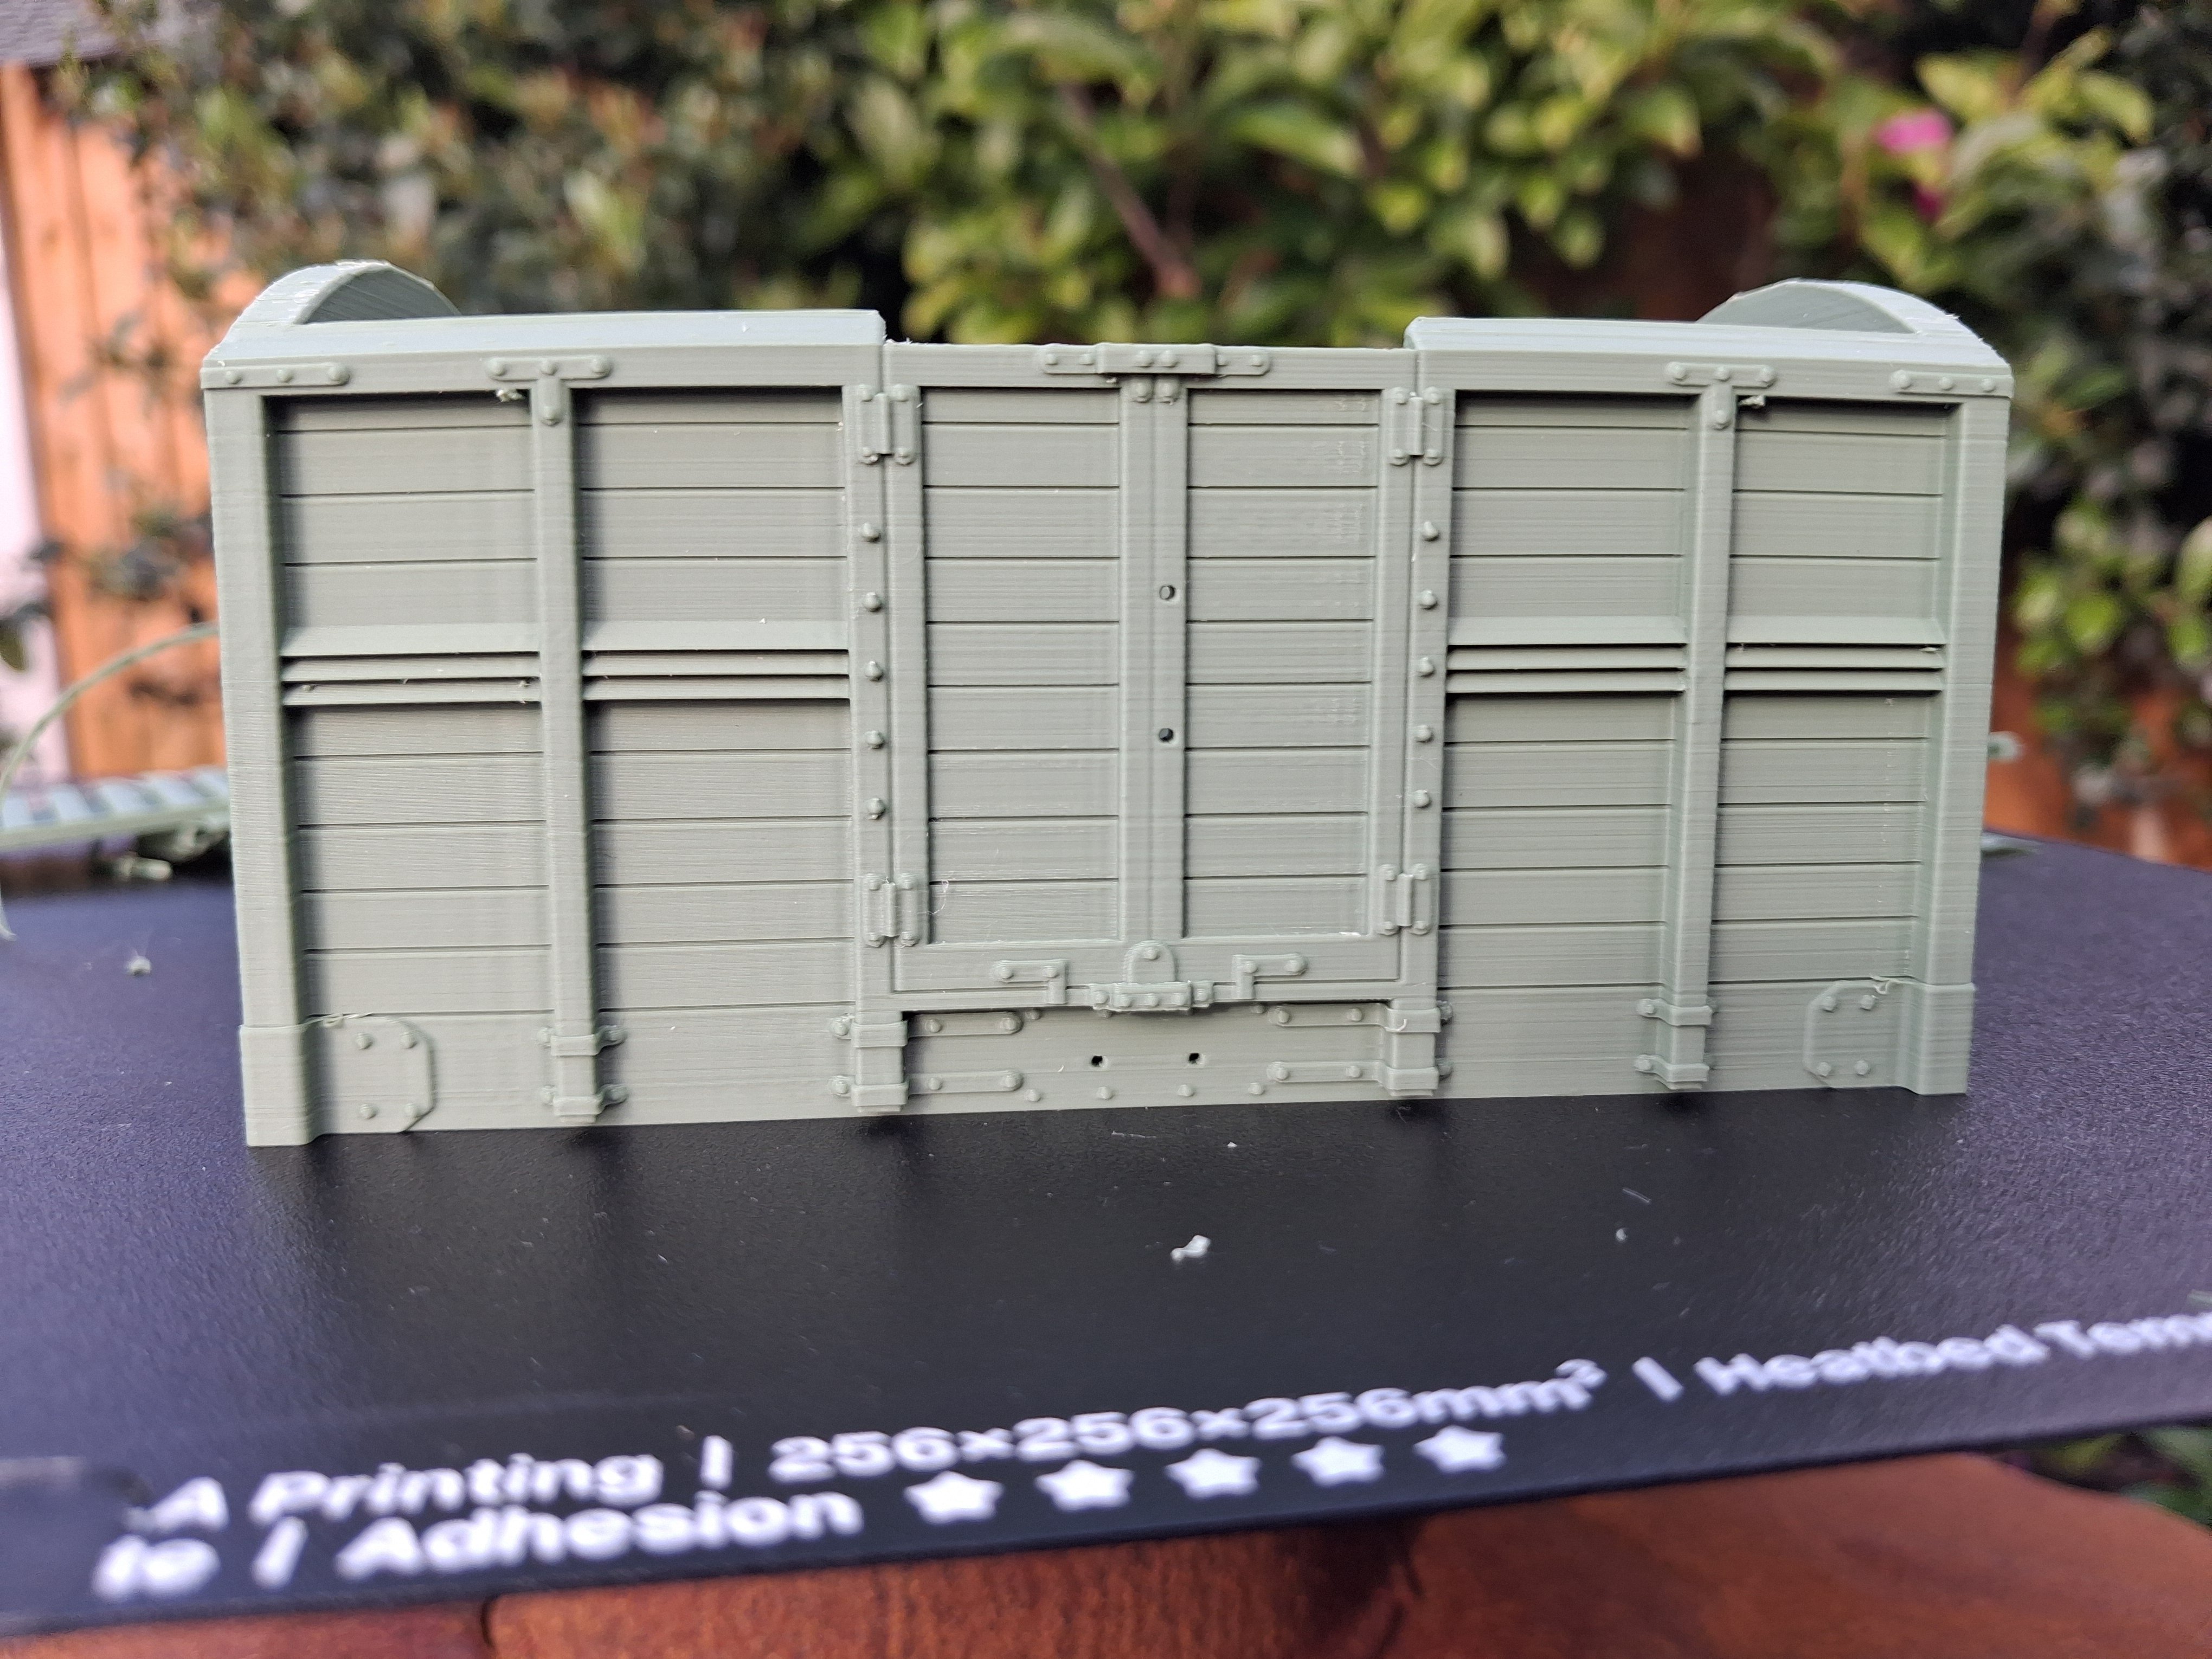
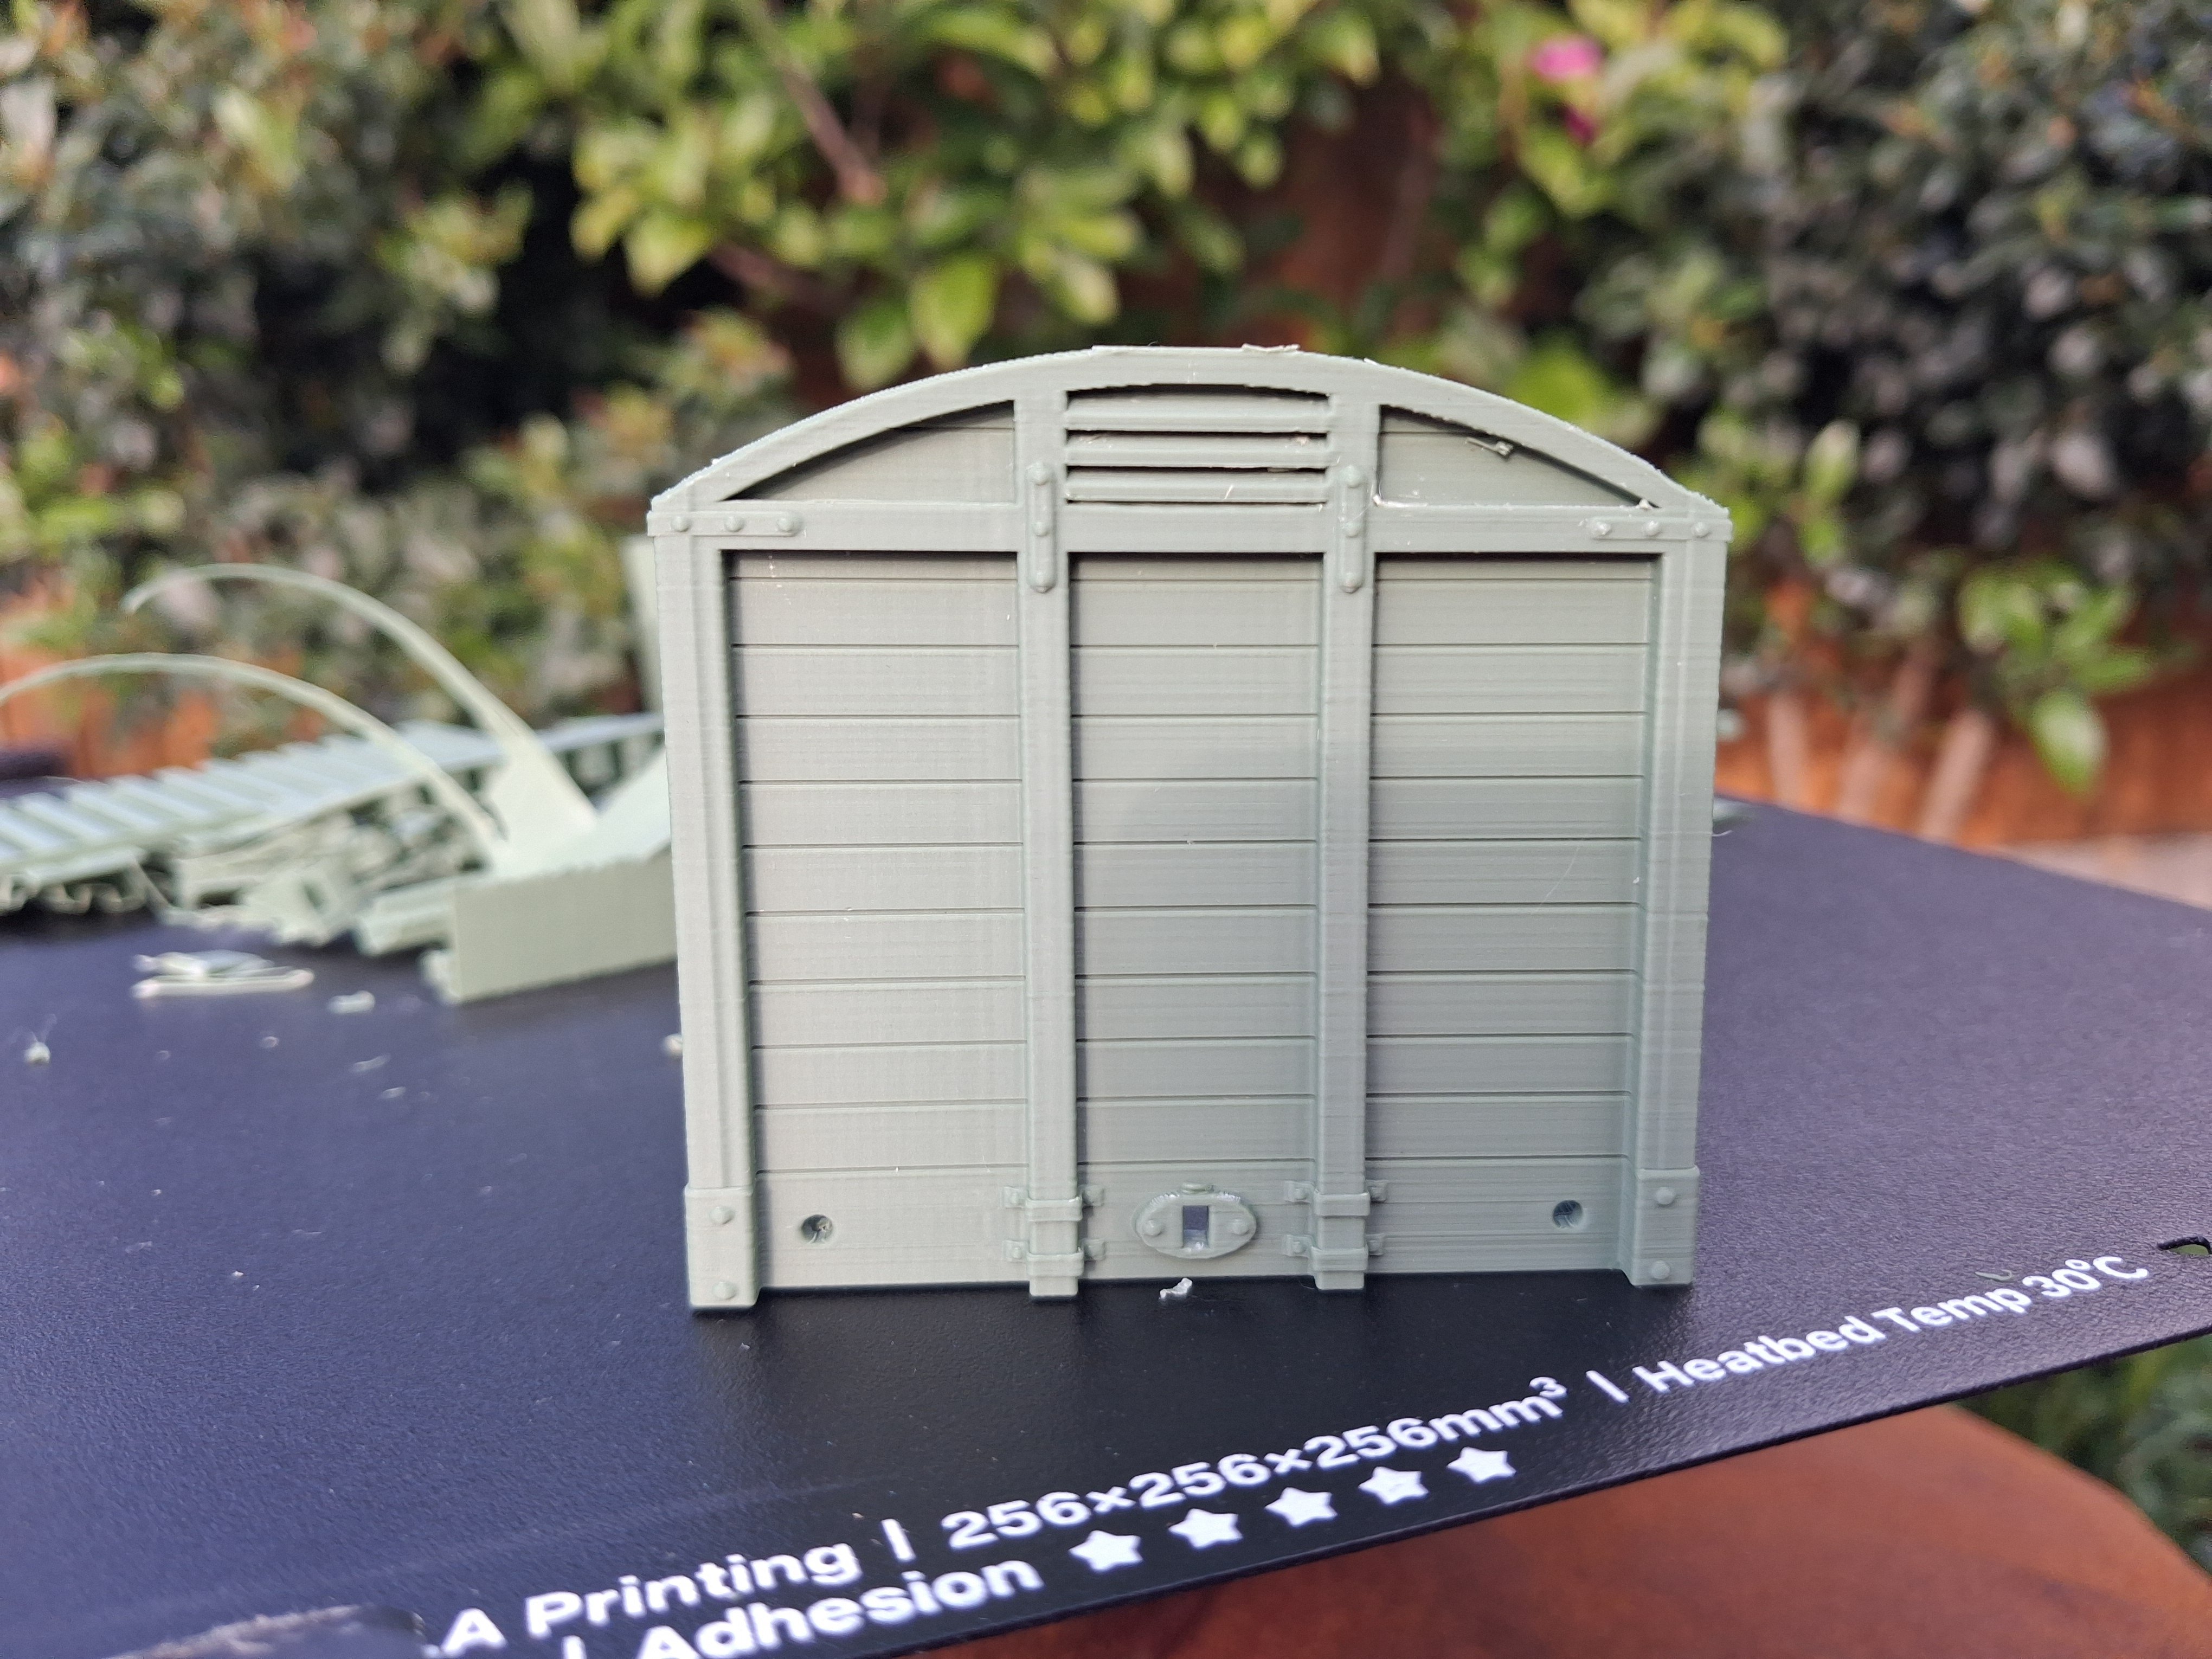
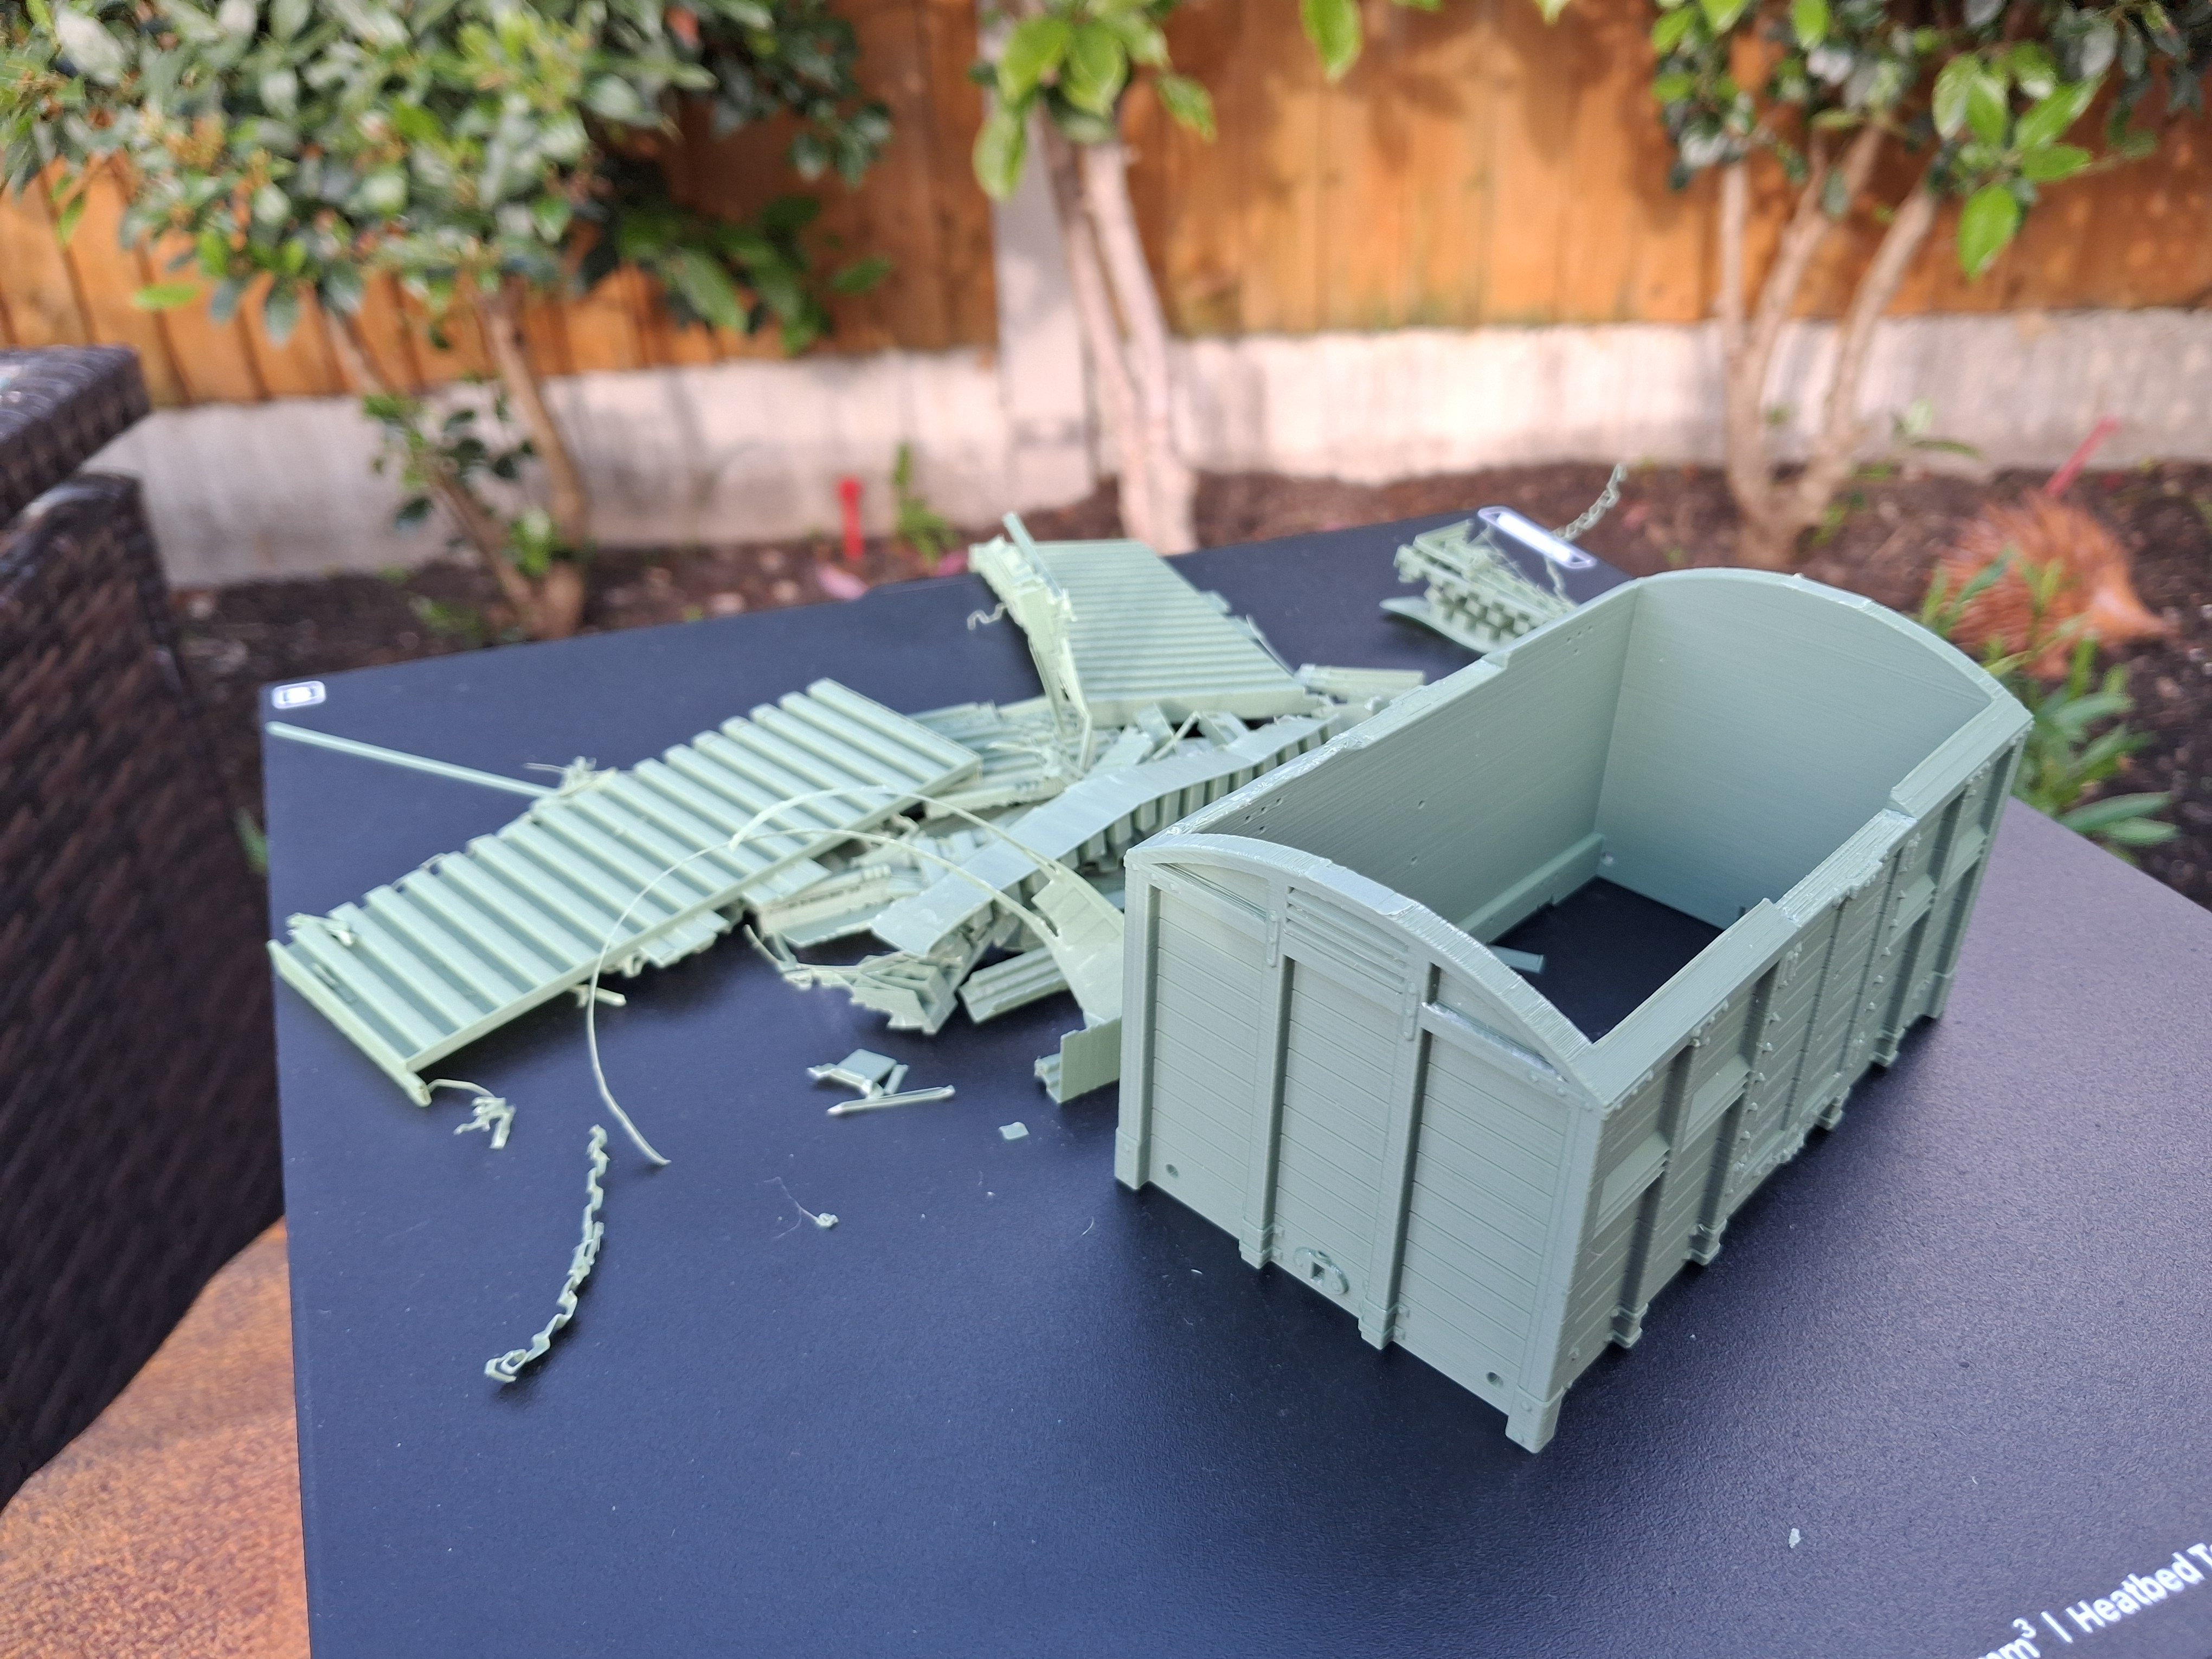
Not very long at all. It took about 20 minutes to add the supports/drink tea etc, then it was a 1hr 50min ish print. Your slicer/printer will have default settings and you won't have to move too far from them to get a decent print. Please invest in a bigger bin for the print room, you will use it all eventually The sides of my print have bowed in slightly, hopefully fixed on the next one with a few extra supports but it might nèed a brace or two across the width as part of the file. It's the little tweaks (nearly there but note quite) that fill that bin........ Have fun Rob
-
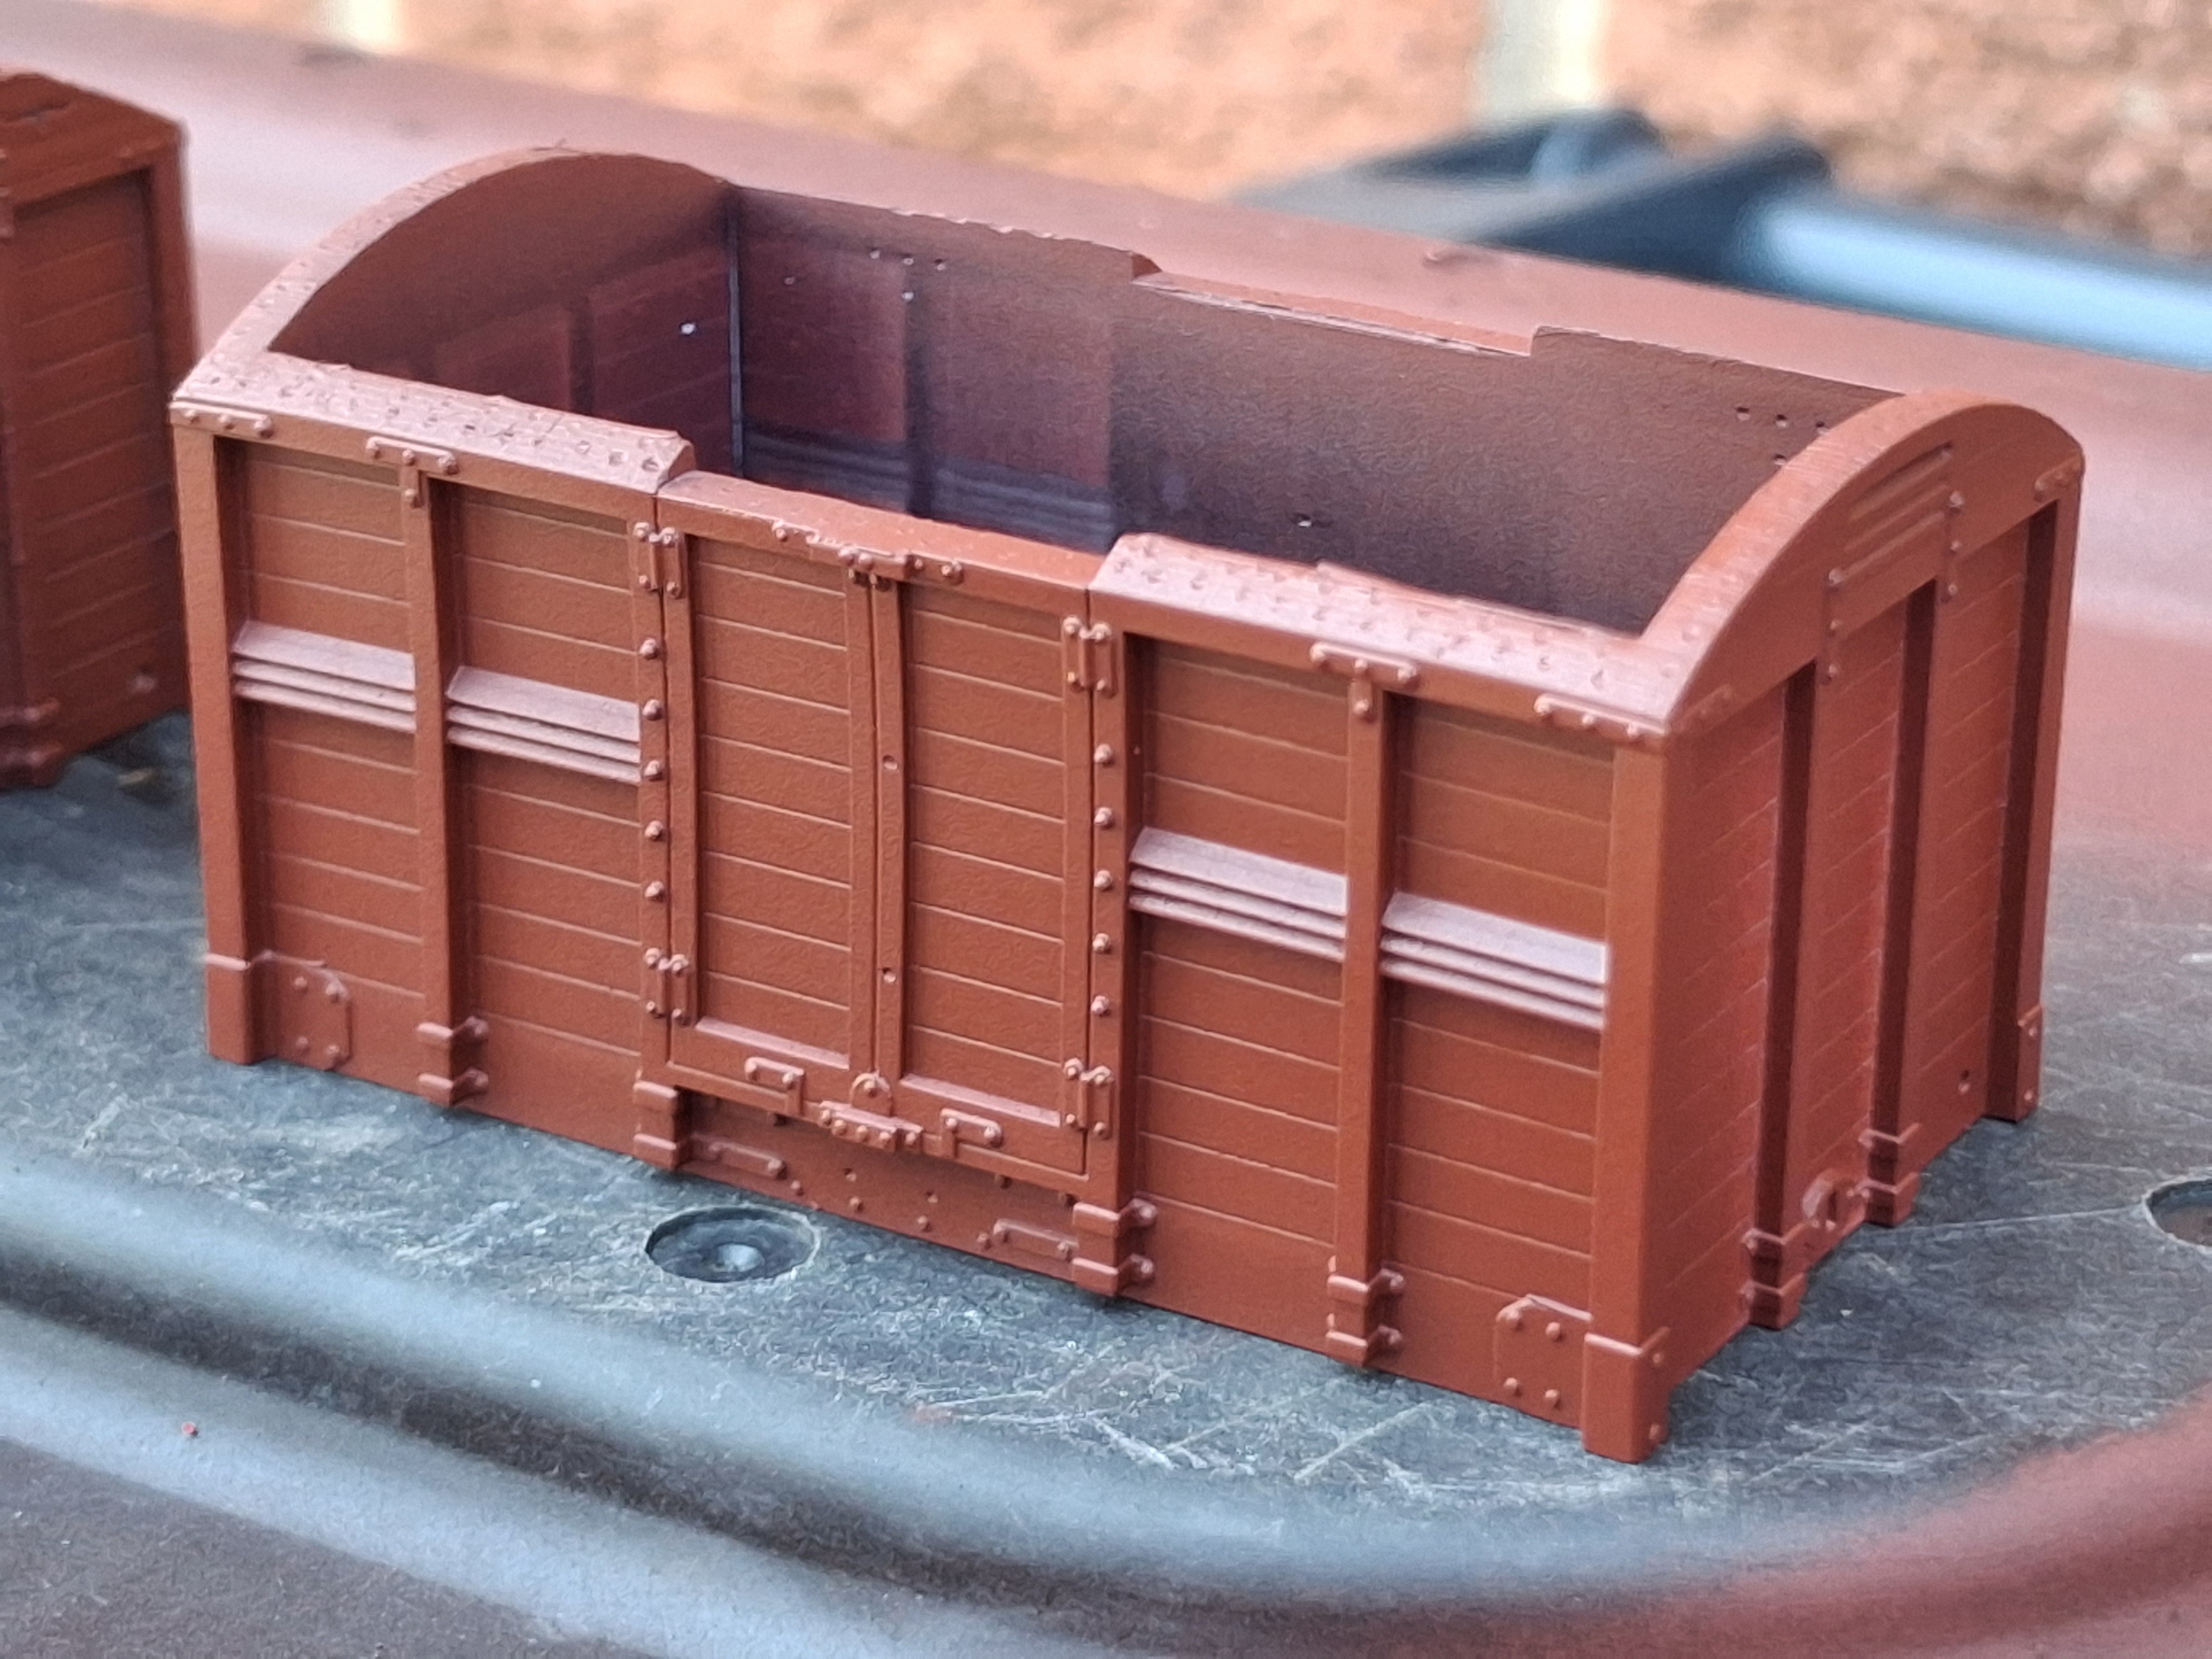
First 4mm MGWR resin print. Elegoo Mars 2 pro using Elegoo water washable transclucent grey resin with a quick squirt if red primer.
- 138 replies
-
- 13
-

-

-

-
Don't bother with the 45 deg lark. Flat to the build plate, probably upside down so you don't need supports on the louvres. A ring of medium supports to the deck with a smattering of heavy supports to make sure it stays put and then light supports on anything overhanging although most of it should be ok without. I'll let you know how I get on at my end. Have fun. Rob Edit. I am resisting the Sligo Tank (for now......)
-
Your file is capable of a much sharper print. I will fire up my resin printer tomorrow and have a go and do one on the FDM printer at 0.04mm layer height to get a comparison. Don't get me wrong, your print is "OK" but I would have expected better from a commercial printer. Rob
-
A bit more percieved wisdom picked up from various sources. Print a groove around the outside of the rim and fit into the rim with a smear of epoxy. Apparently some loctites can react to the 3dp plus shrinkage issues.
-
Your plan sounds good. From experience within the uk S scale community, centres need glueing into the rims,no matter how good a fit the print is, it will eventually shrink a little and become loose. Same with the axles, a drop of loctite works wonders and don't make it too tight a fit, too much stress and the centre will crack at the hub. Rob
-
Would you model in 21mm if RTR track and models were readily available?
Rob R replied to BosKonay's topic in Irish Models
Fair enufski but I would say the hall was more tropical than sub....... -
Would you model in 21mm if RTR track and models were readily available?
Rob R replied to BosKonay's topic in Irish Models
You could have said hello....... -
Not clever. Just another one of the Dark Arts.....
-
David, This probably belongs on the other 3d thread but here will do. Once you have drawn the CAD and saved it, usually as an .stl file but others are available, you have to run it through a "slicer" program. This does what it says on the tin and slices your .stl into the individual layers and writes that in G -code, a fairly universal machine control code, so that the printer knows what to do and where. This is the same for resin printing as well as FDM . It is the Slicer that lets us, the human bit, have control of the process. You can set (or tweek the pre-set) the thousand and one parameters that can make or break the final print, speed, temperature, line width etc and part of that is the generation of supports, either auto or manual. Why do we need supports? You can't print in thin air so any overhangs, etc will need a sacrificial support structure printing as part of the process. Pictured below is a screen shot of the sliced file for the 7mm MGWR open that is printing right now. The green is the support, here mostly for the projecting ironwork, the S scale version doesn't need as many supports. All good fun.
-
After 12 hours you end up with a square lump. and after removing the supports (a bit like shelling a prawn) we have a 7mm 7 ton van. This was done at 0.08mm layer, anything finer would have taken far to long.
- 59 replies
-
- 17
-
-
-
Probably not. A lot of the CAD is "copy and paste", it is the compromise between drawing it dead scale and reliably printable that takes the time, that and getting the prototype info in the first place. Ideally flat sides need doing in a material that can be glued with MEK or similar (PETG), easly done but just another stretch on the learning curve.
-
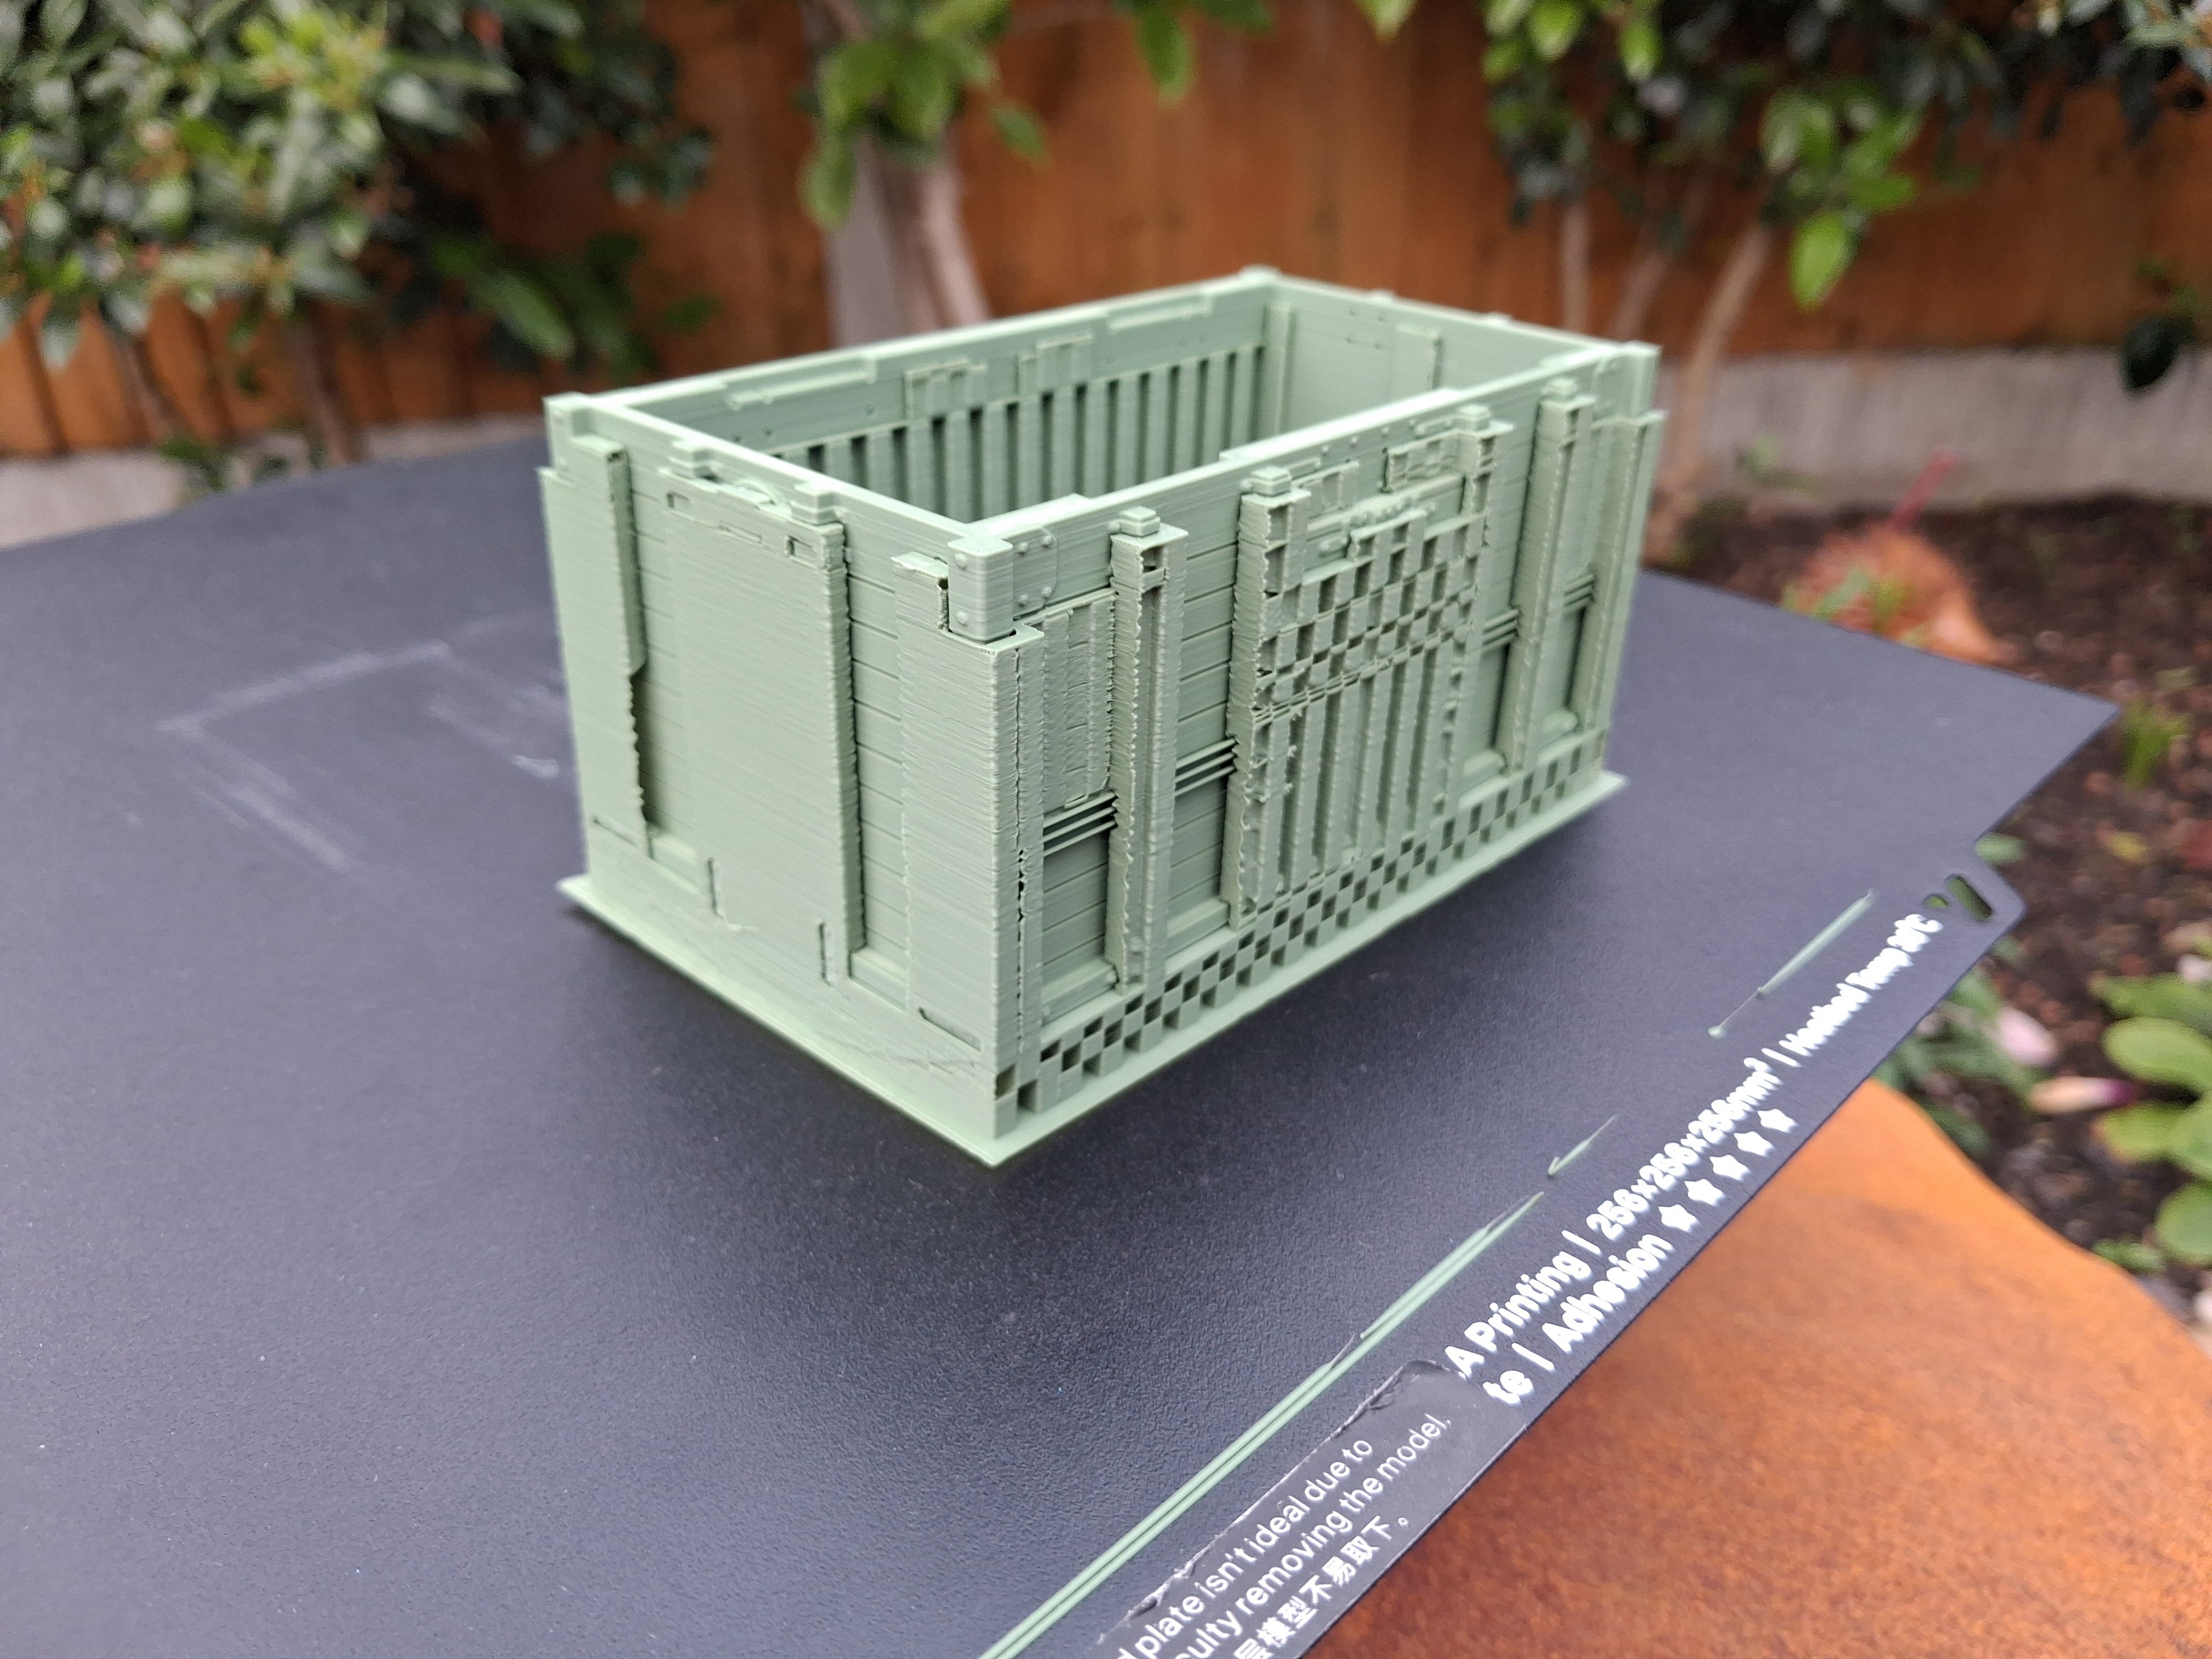
Printing flat with FDM printing (the hot glue gun type) doesn't always make it quicker for the whole "kit" as the volume of filament to be extruded is very much the same. It is possible to get a better quality print but as the face sat on the build plate will not have any detail it is best suited for vans and coaches. My current fiddlings are to see if the technique can produce consistent prints of suitable quality for open wagons, I know I can with resin printing but there are potential issues with H&S side of things and the smell isn't always domestically acceptable. It is a "hobby within a hobby" and I appreciate it is not every ones cup of tea but it has the potential to allow more modelers to wander off the beaten rtr track and explore new projects including just about everything steam era in Ireland.
-
Good Luck