.png.c363cdf5c3fb7955cd92a55eb6dbbae0.png)


Rob R
-
Posts
271 -
Joined
-
Last visited
-
Days Won
3
Content Type
Profiles
Forums
Events
Gallery
Blogs
Everything posted by Rob R
-
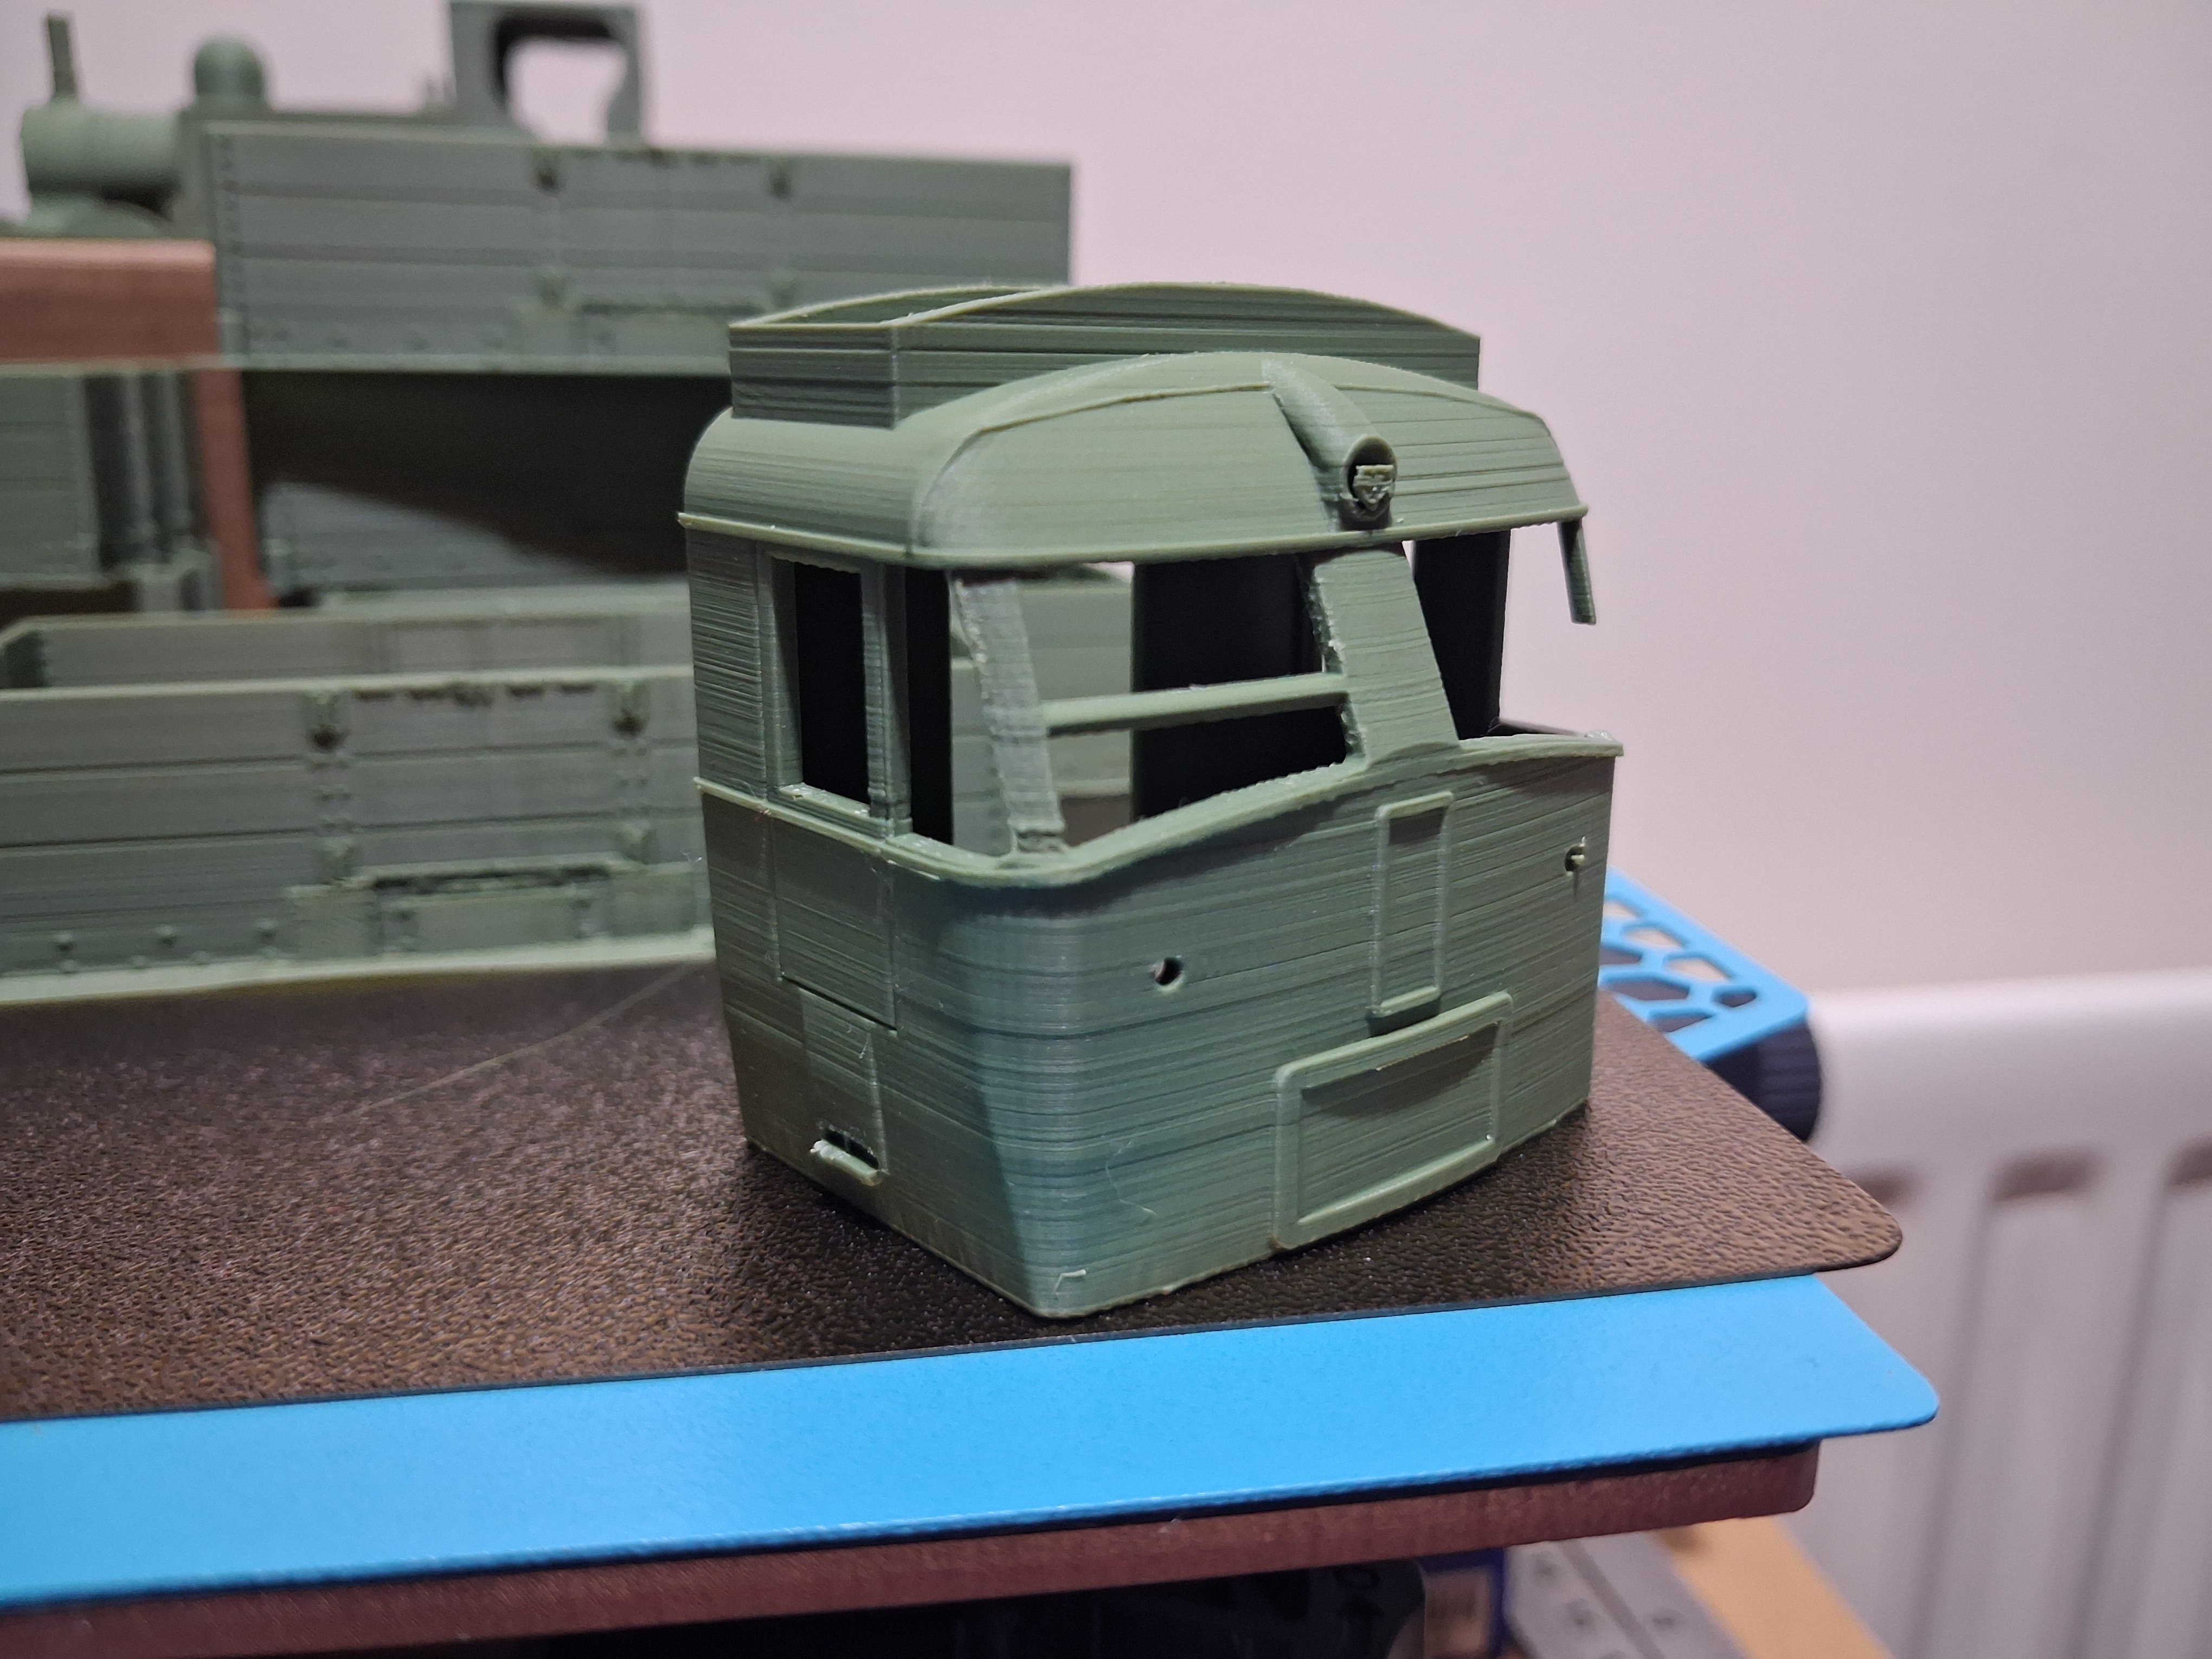
I should be printing stuff for the SSMRS stand at Railex but I have been distracted again. Broken window pillar was ham fisted me getting the supports of. Never mind, it was only a quick trial print. SLNCR Railcar B if you were wondering..... The test print, from a Recreation 21 file, has done it's job. Looks nothing like the real thing so I won't bother with the 18 hour print for the rest of it.

-
I know, but that is how the file came and it is too big to stick into my usual cad program to chop it up. Was only playing to test the limits of the machine anyway. Would also really need to print things in PETG 'cos you can stick that with MEK.
-
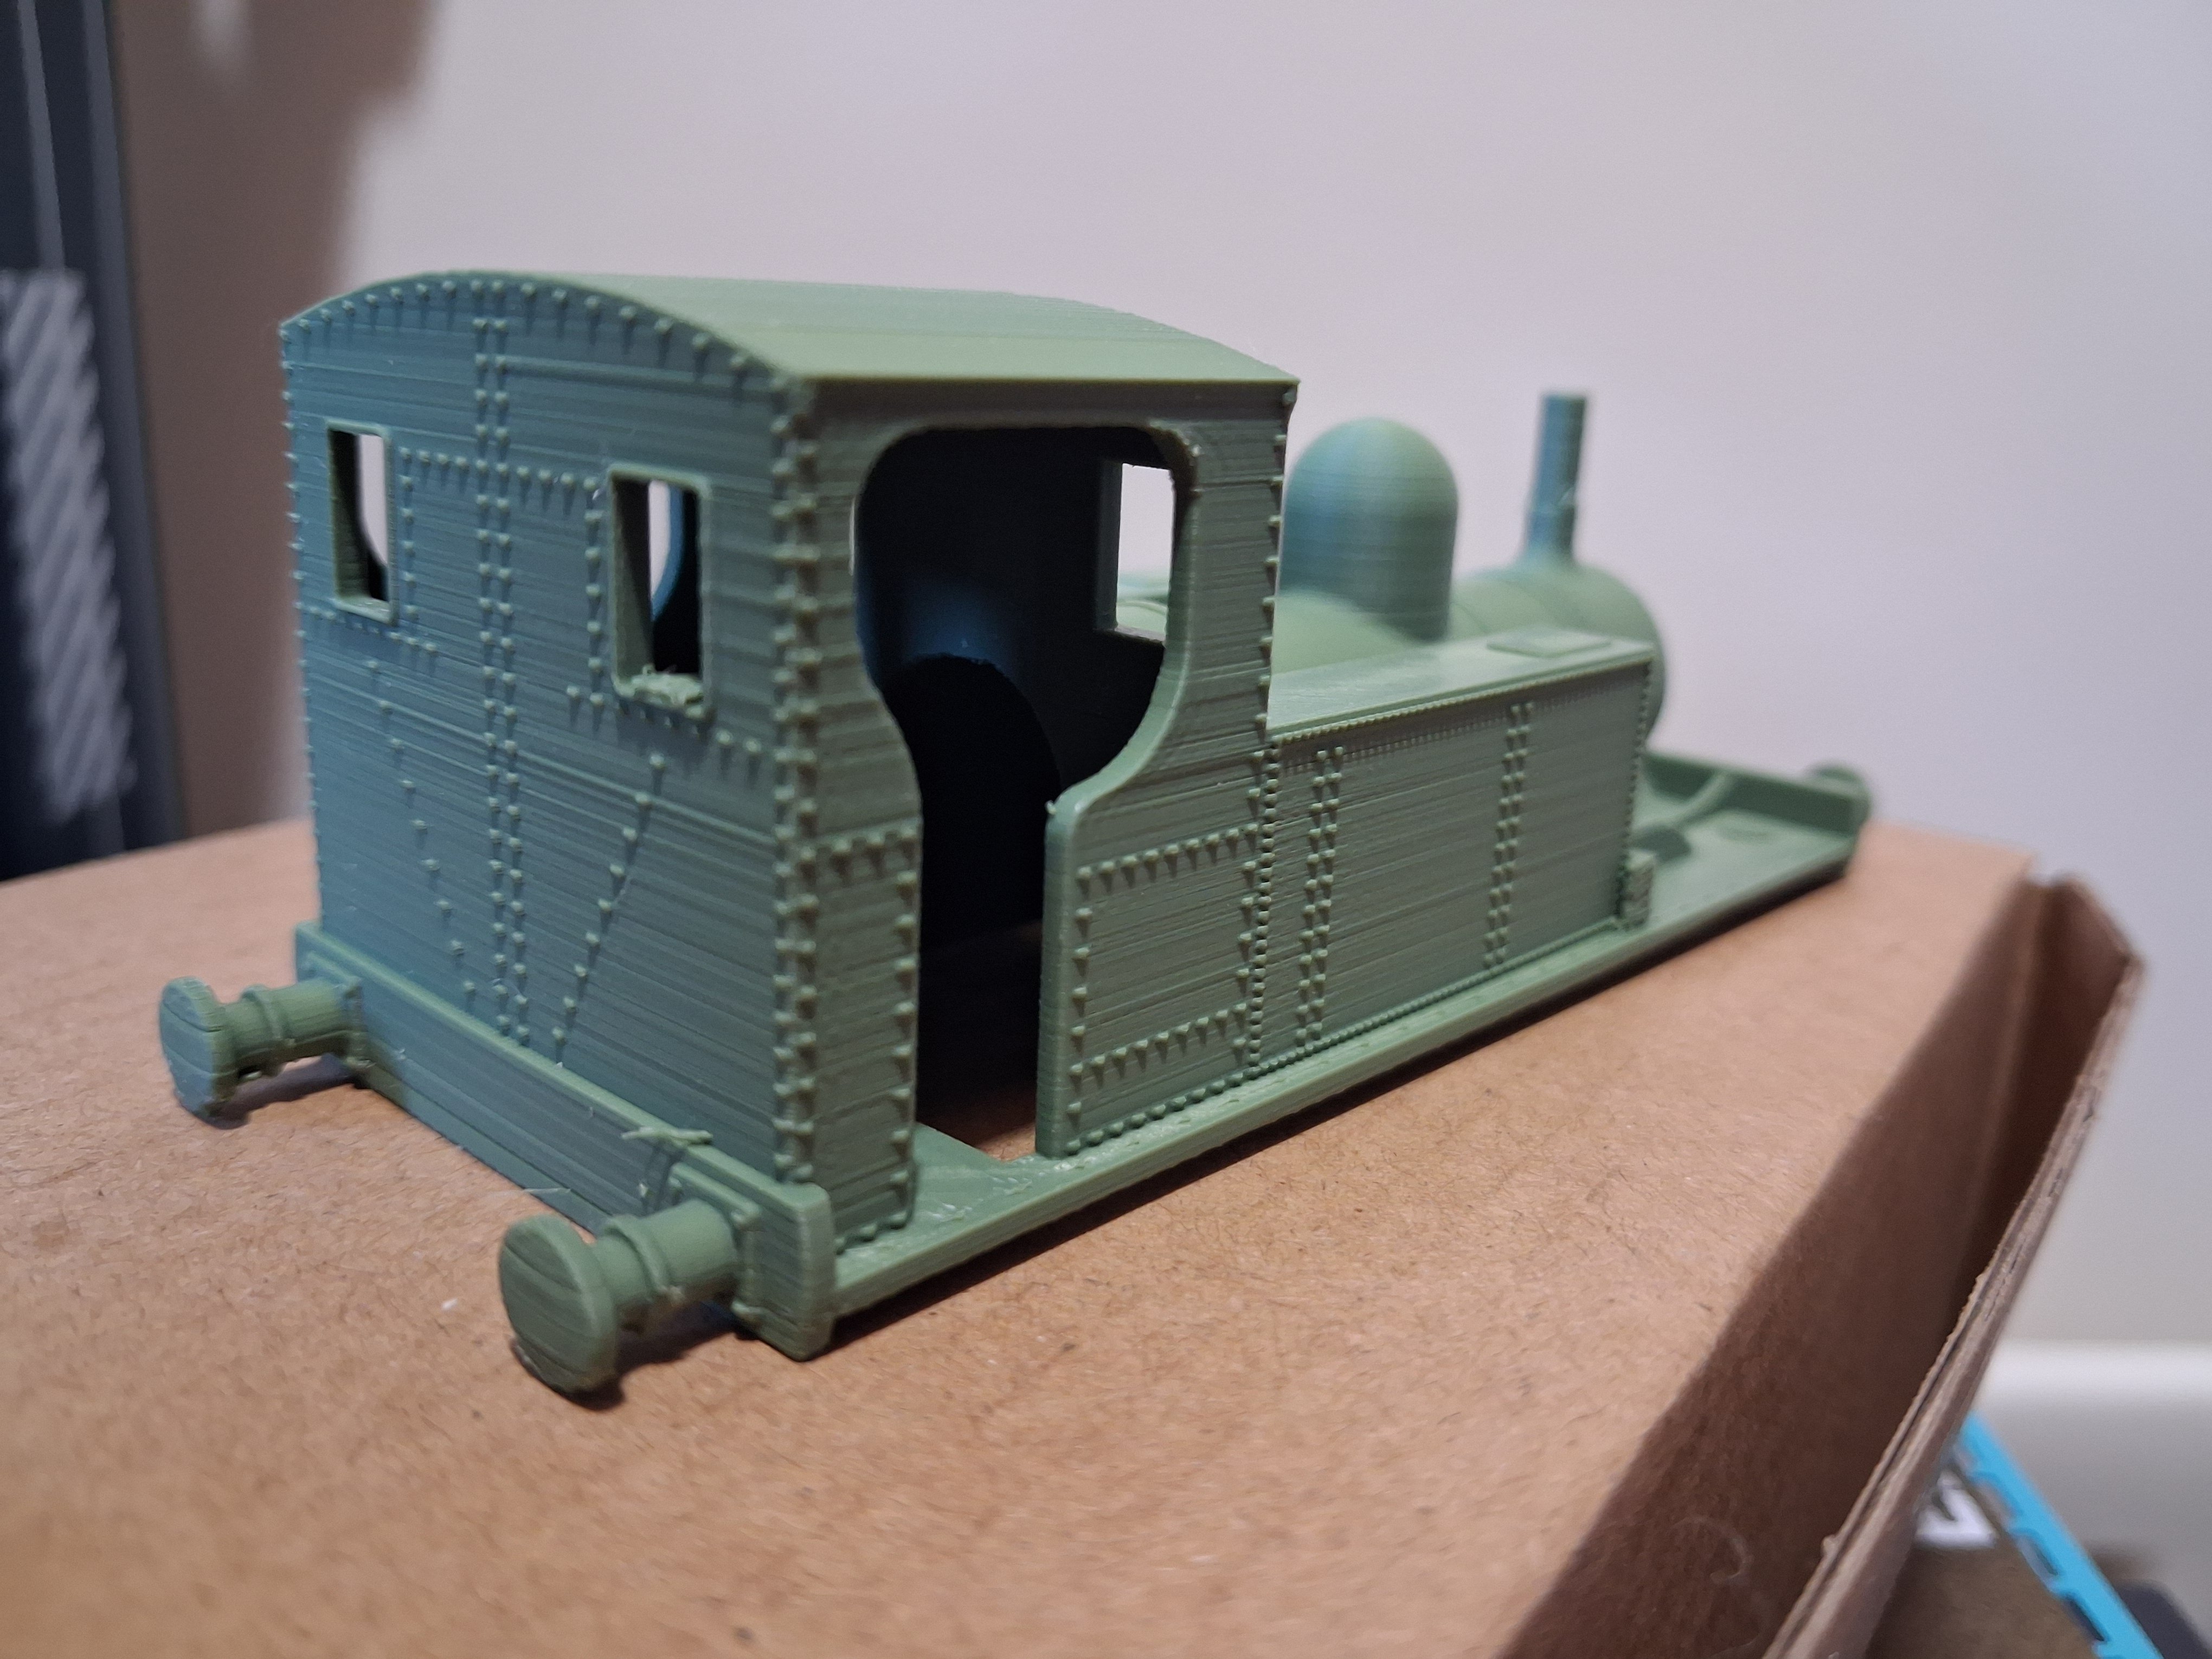
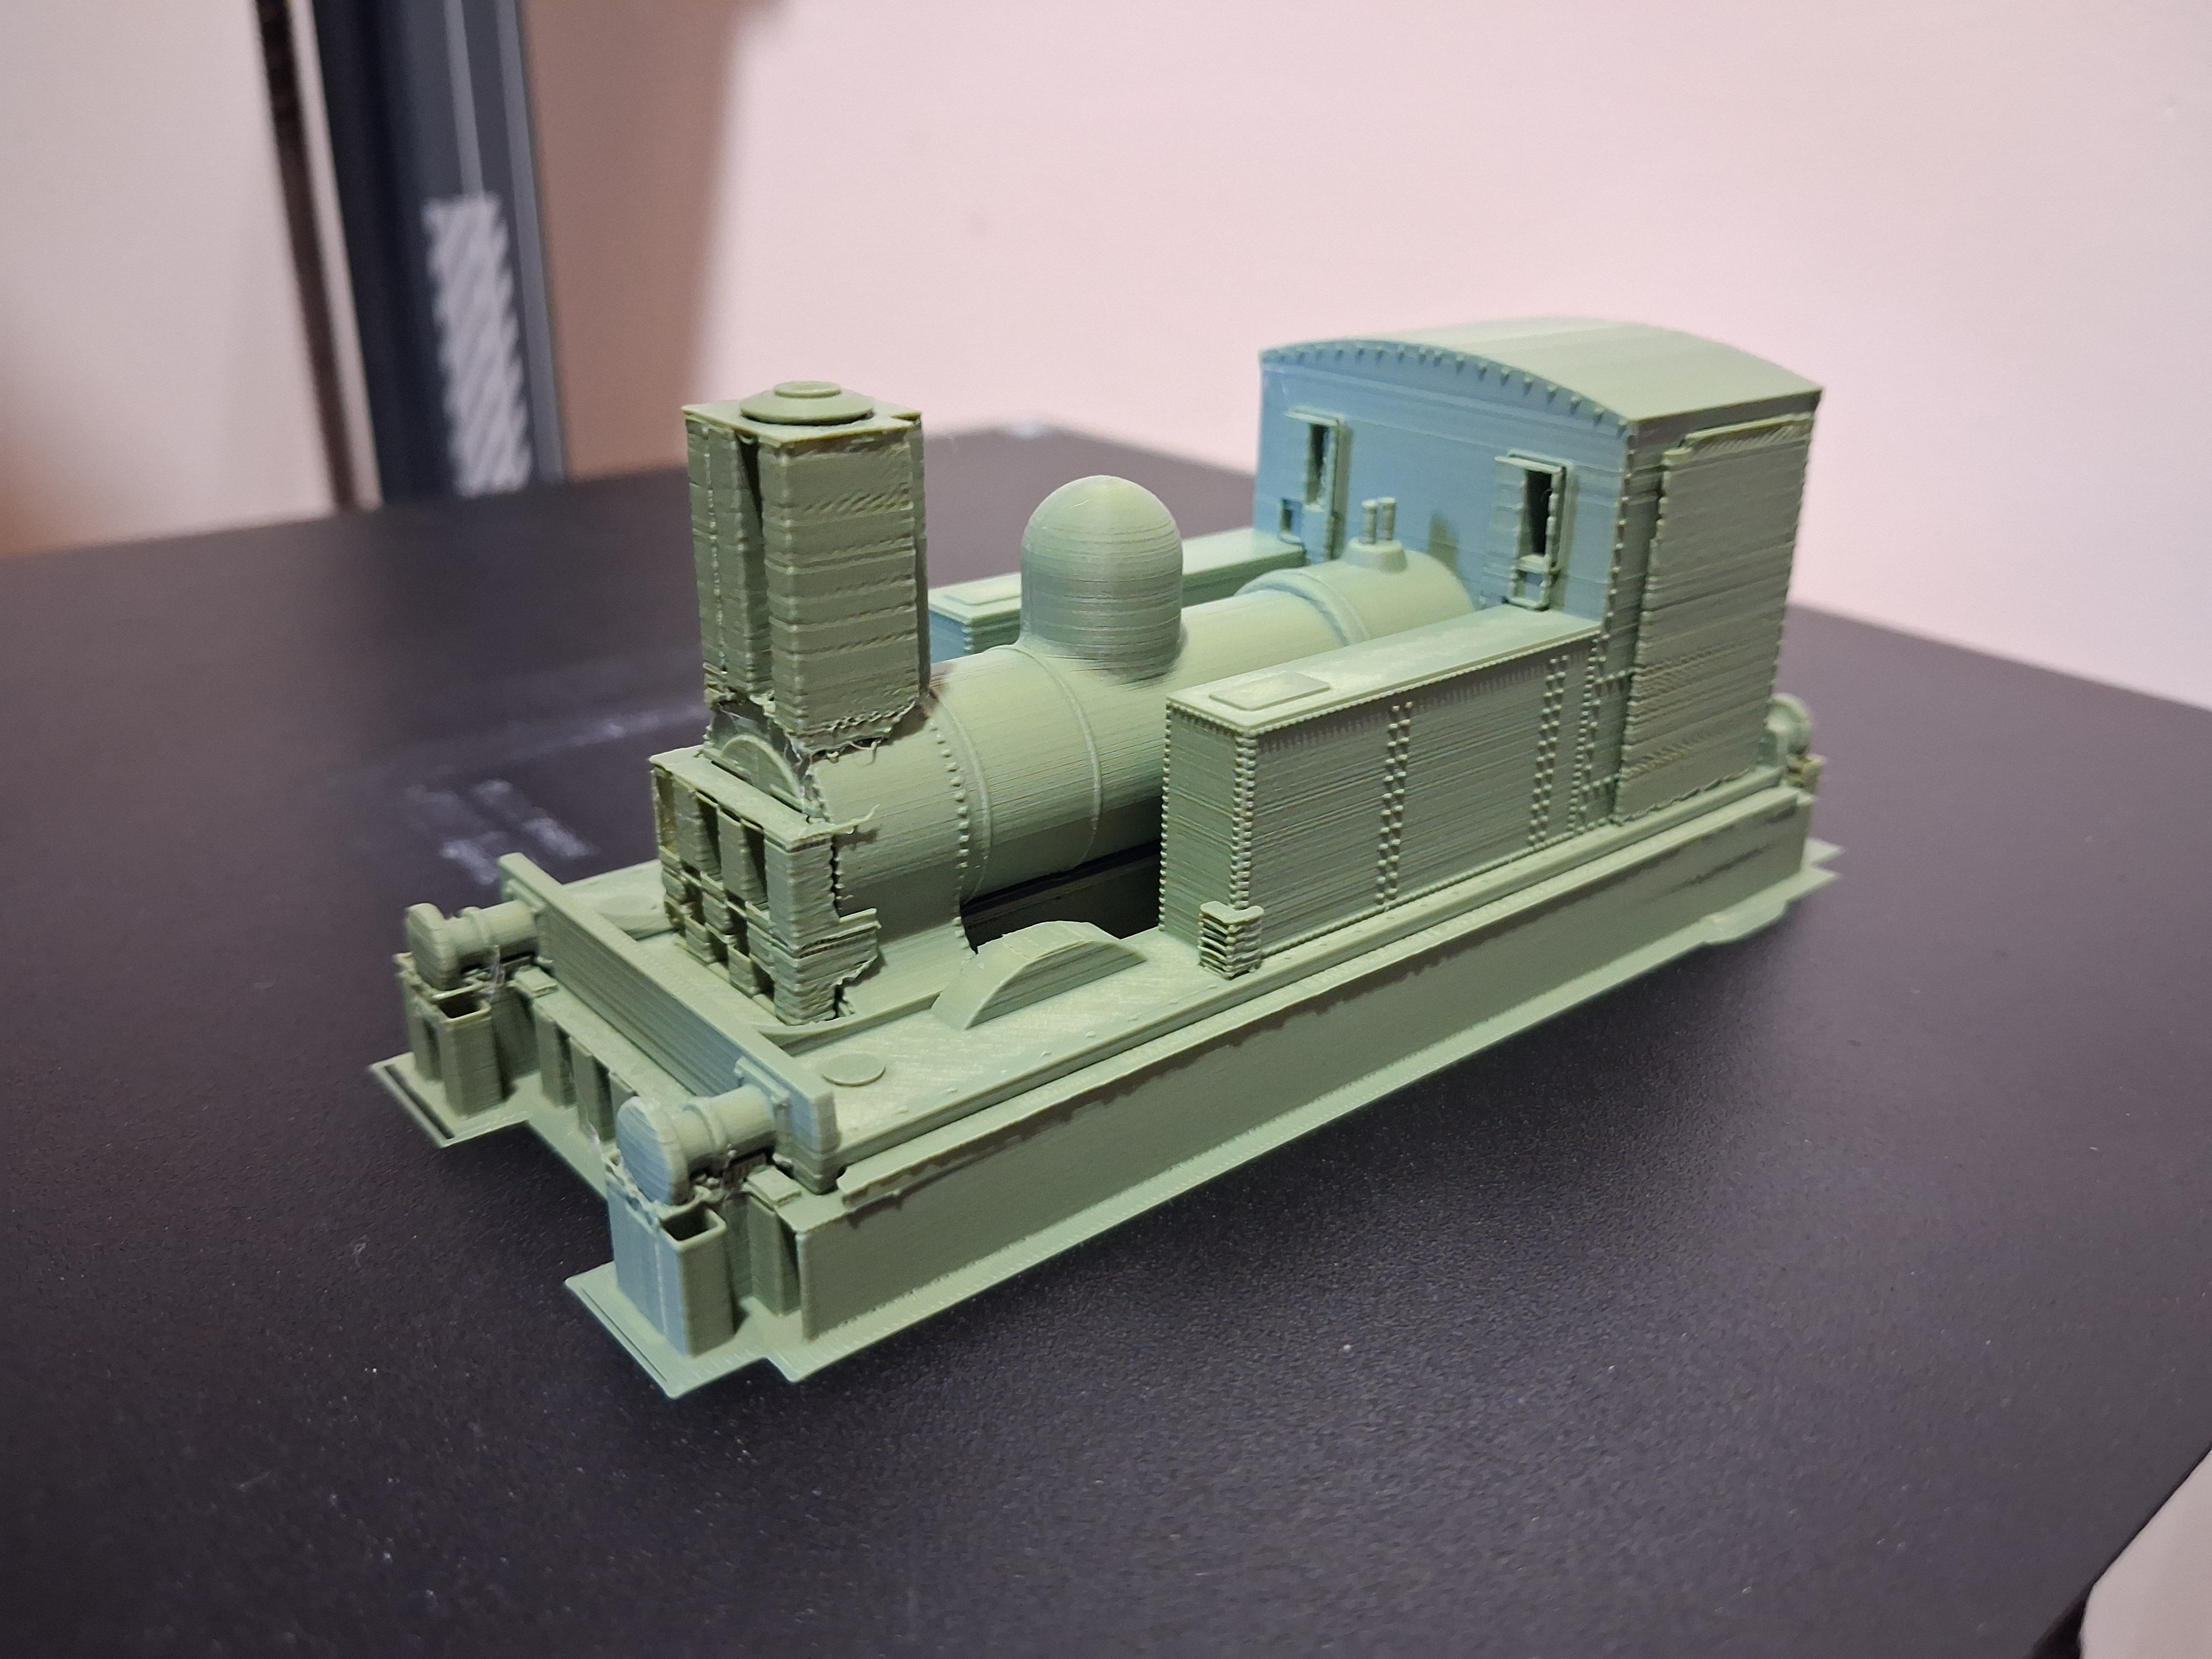
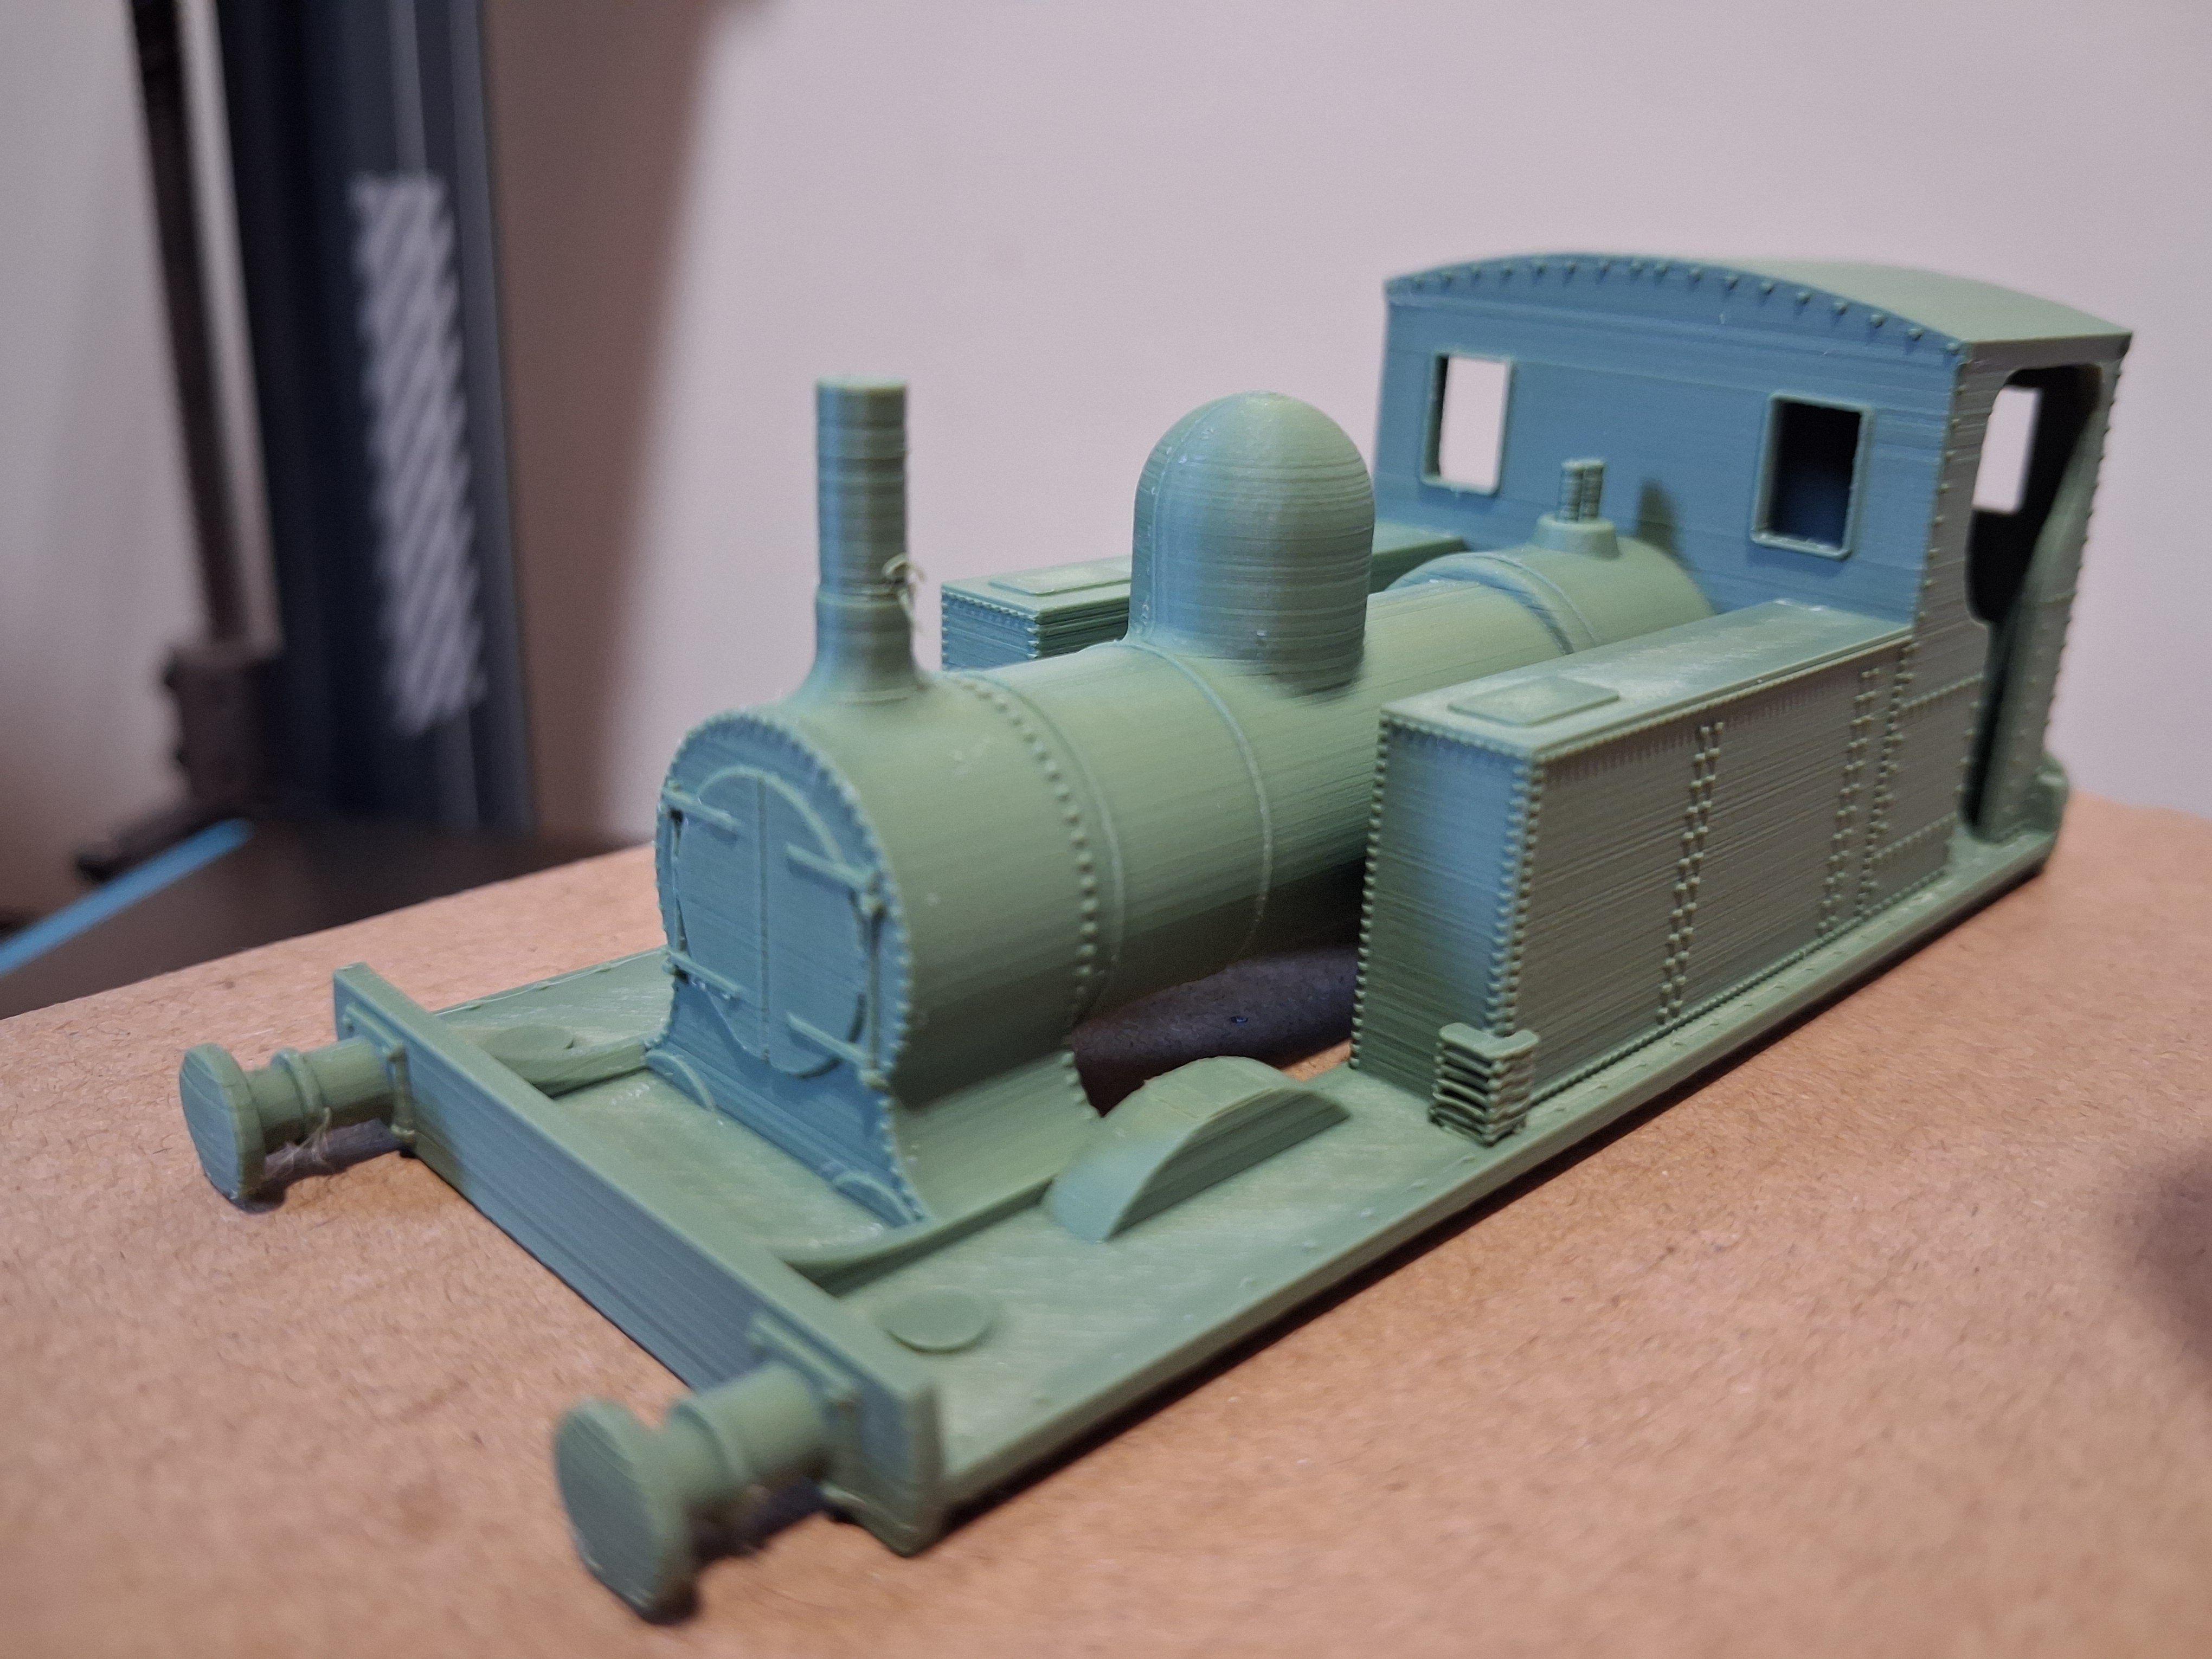
8 and a half hours later. The eagle eyed amongst you wiĺl have noted that I broke the chimney and the cab steps while getting the supports off. No great loss as they were going anyway along with the splashers - far too close together. Ok for a first attempt, might have another go at 0.4 layer height but this was just a "quick" test because I really wanted one of the railmotor versions. Probably heading for 15 hours with the smaller layer height. Not sure what is going on with the cab side and end either. More playing needed. Good fun.
-
Got bored playing with wagons From a Recreation 21 file to be found on Cults 3d. It's not the best but useful as a test to see what can, and cannot, be done.
-
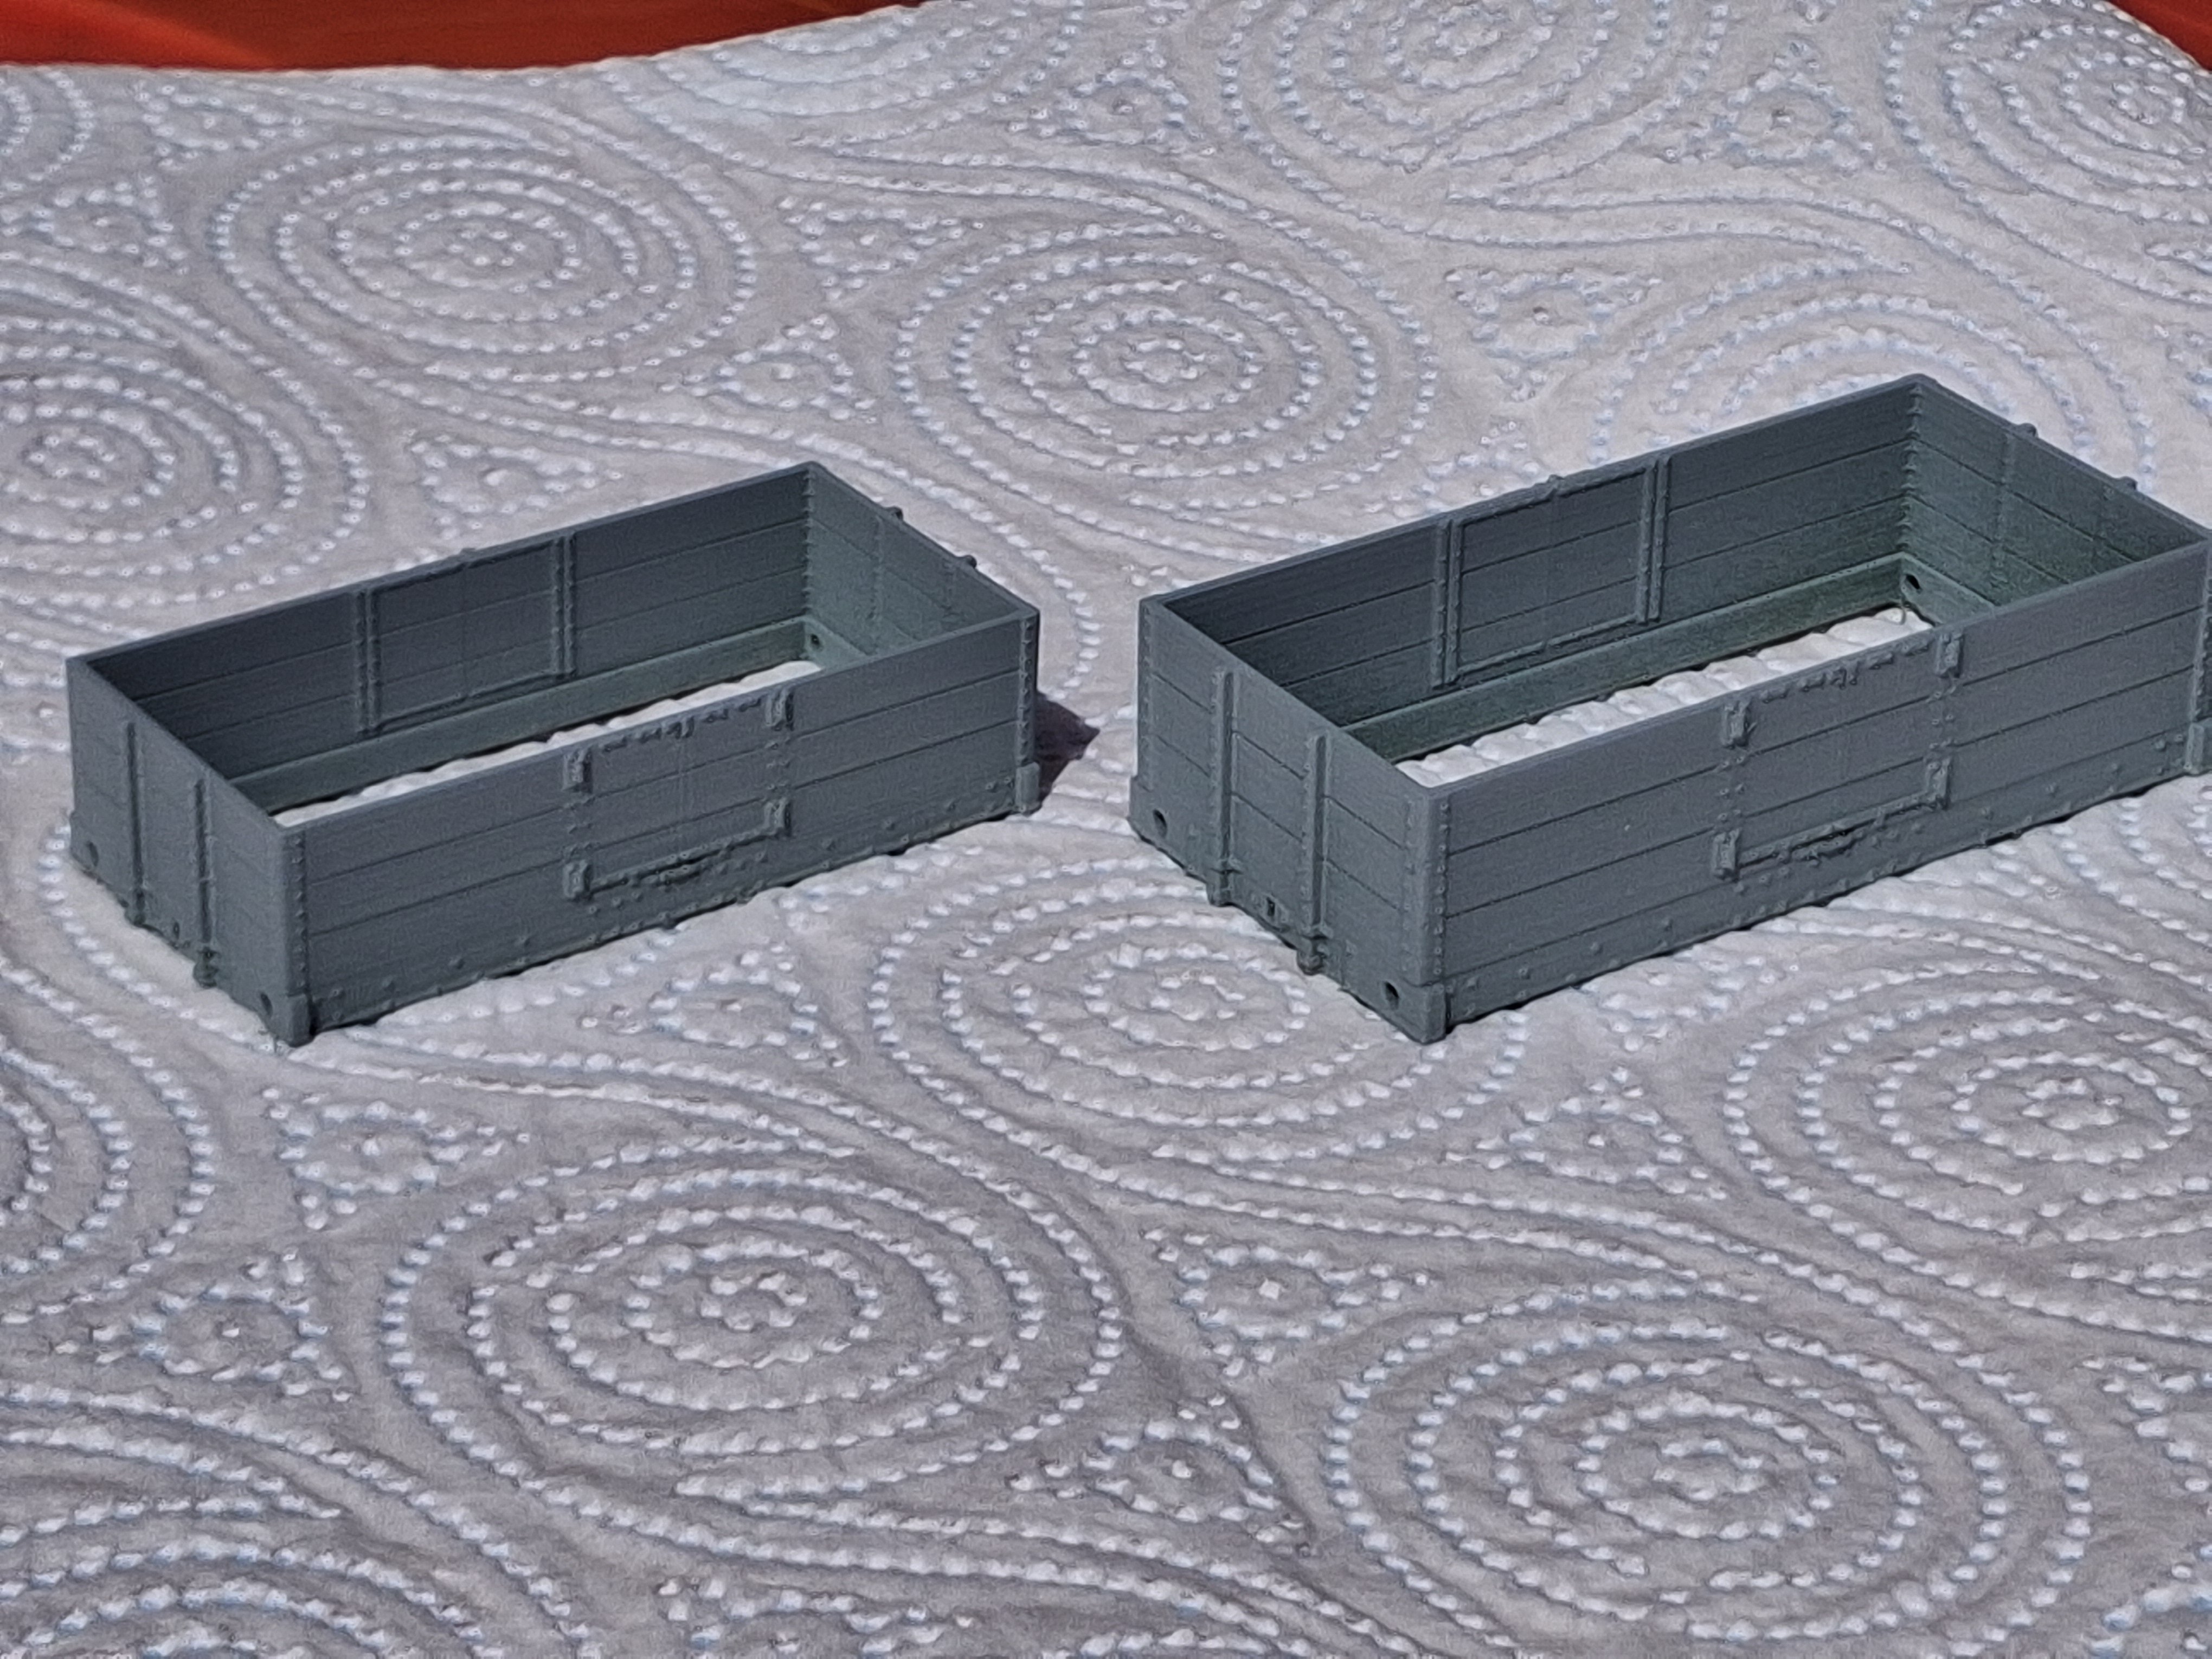
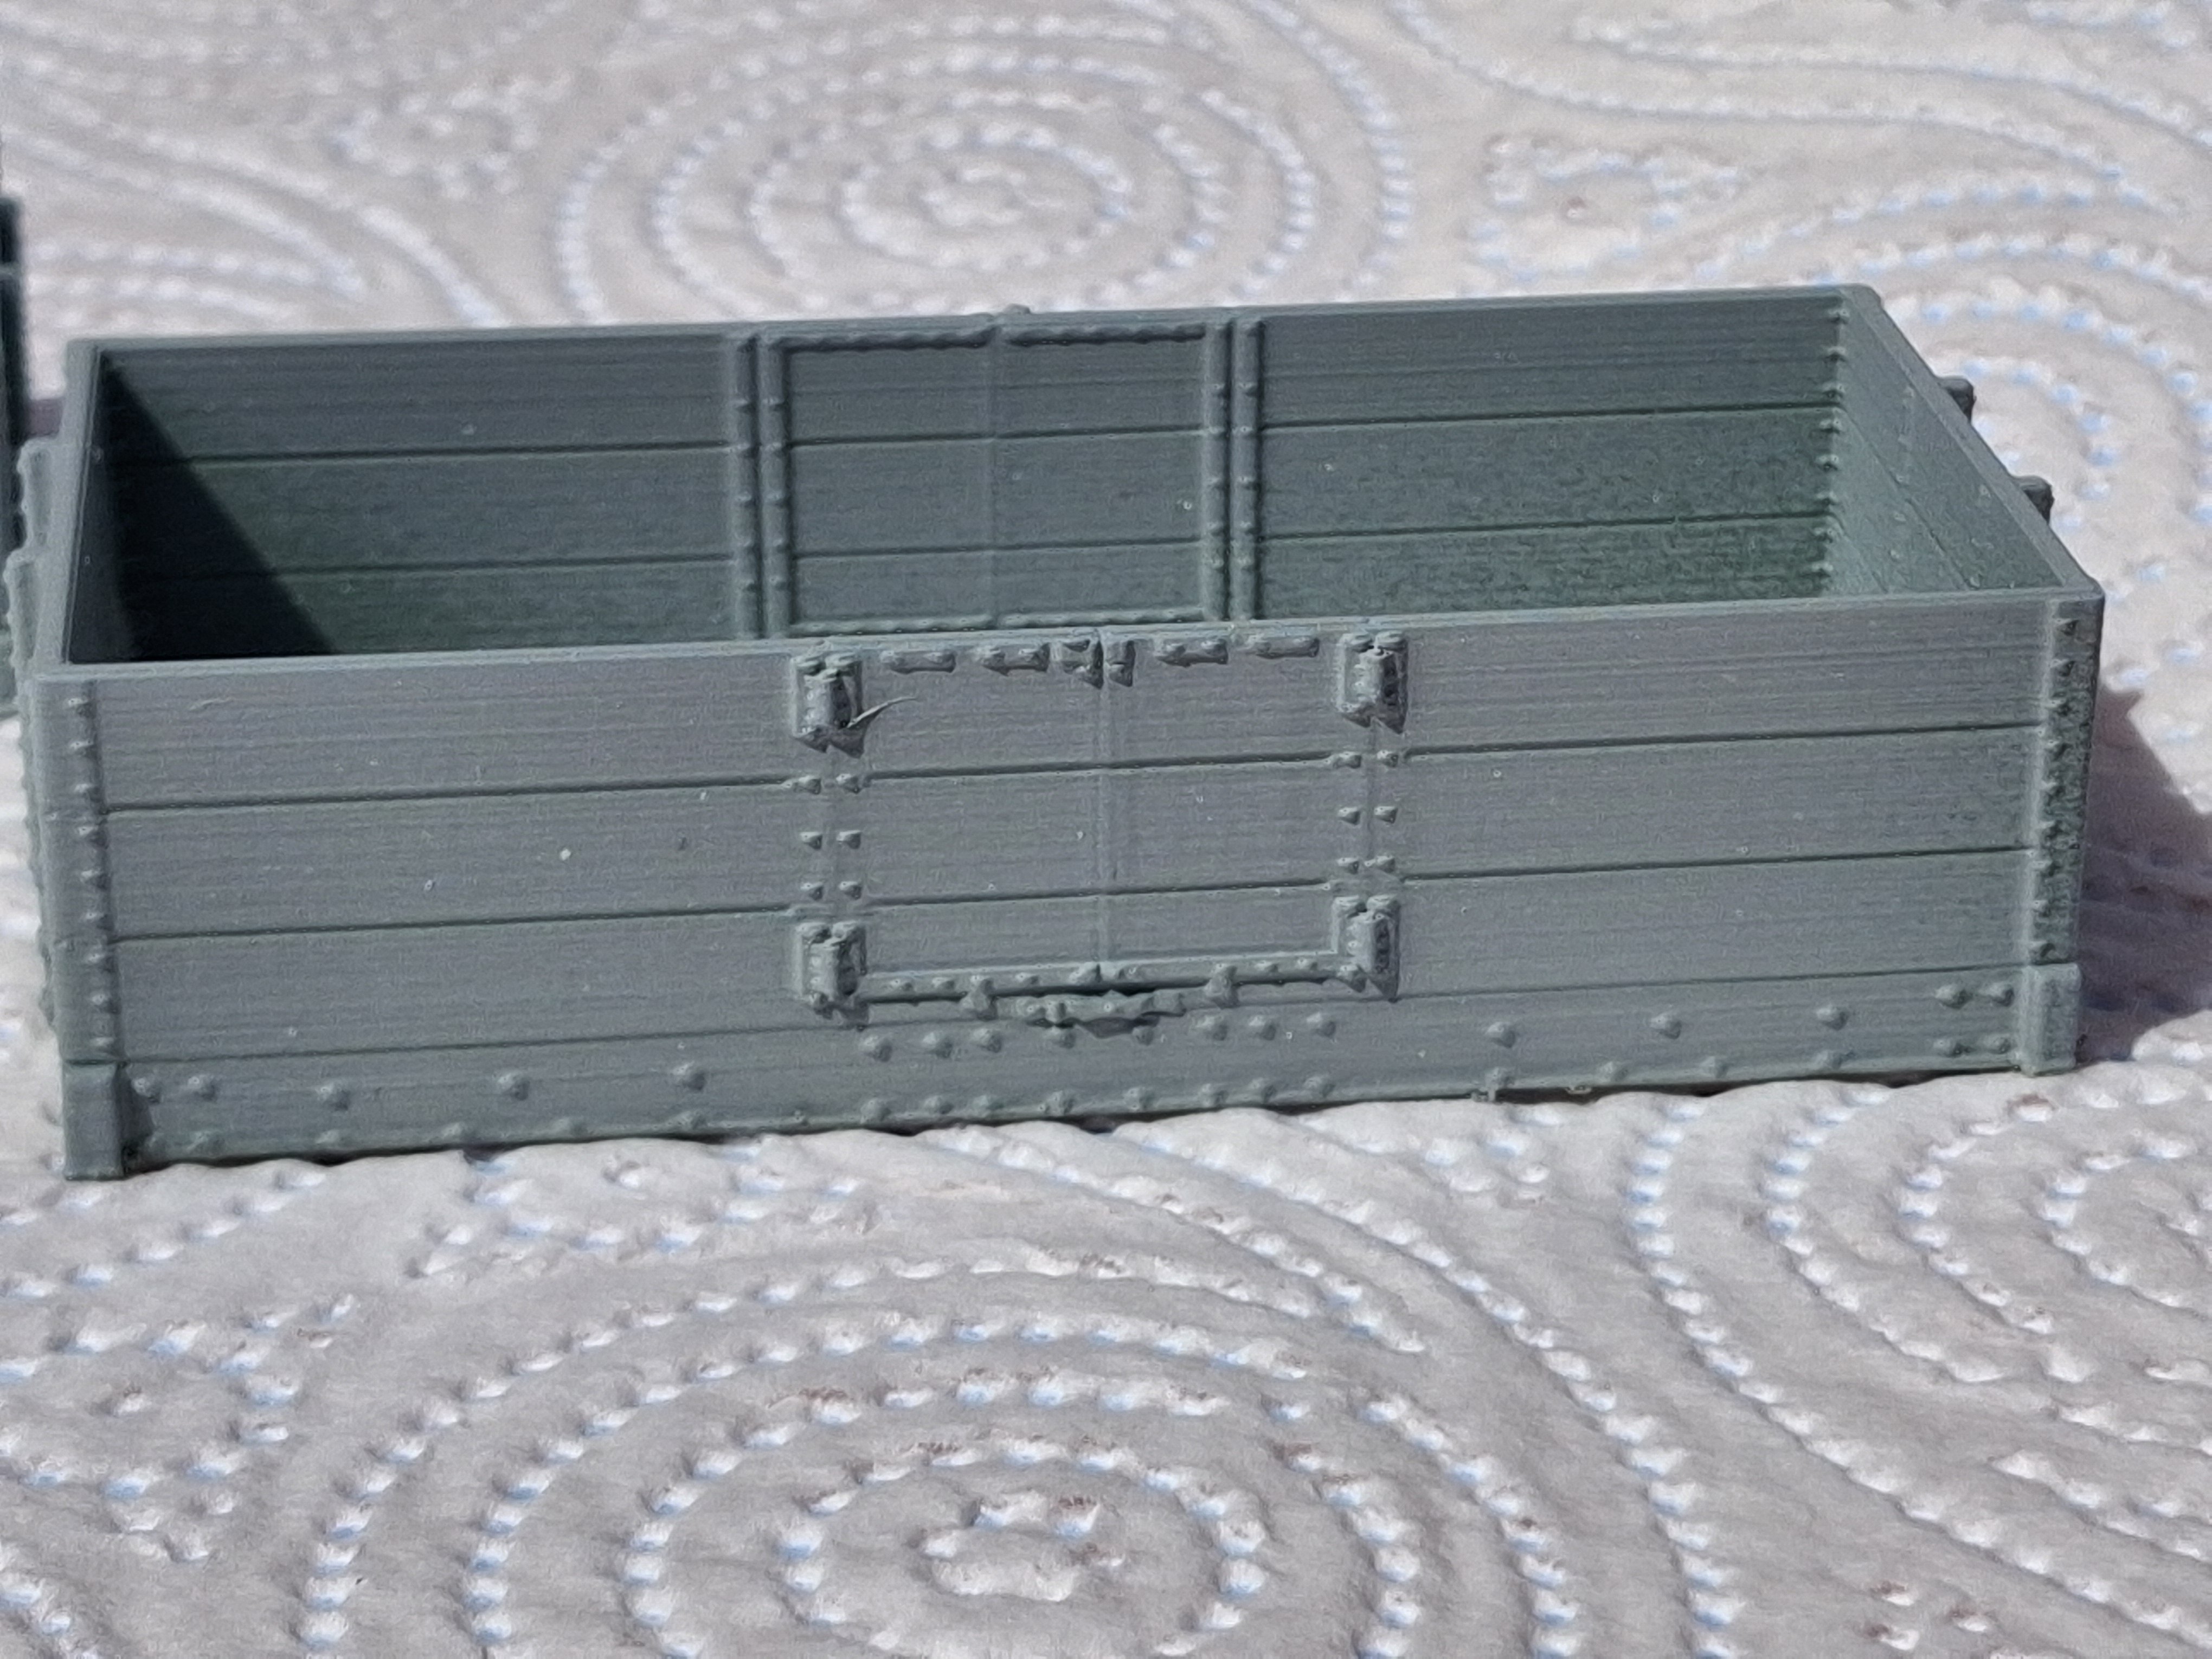
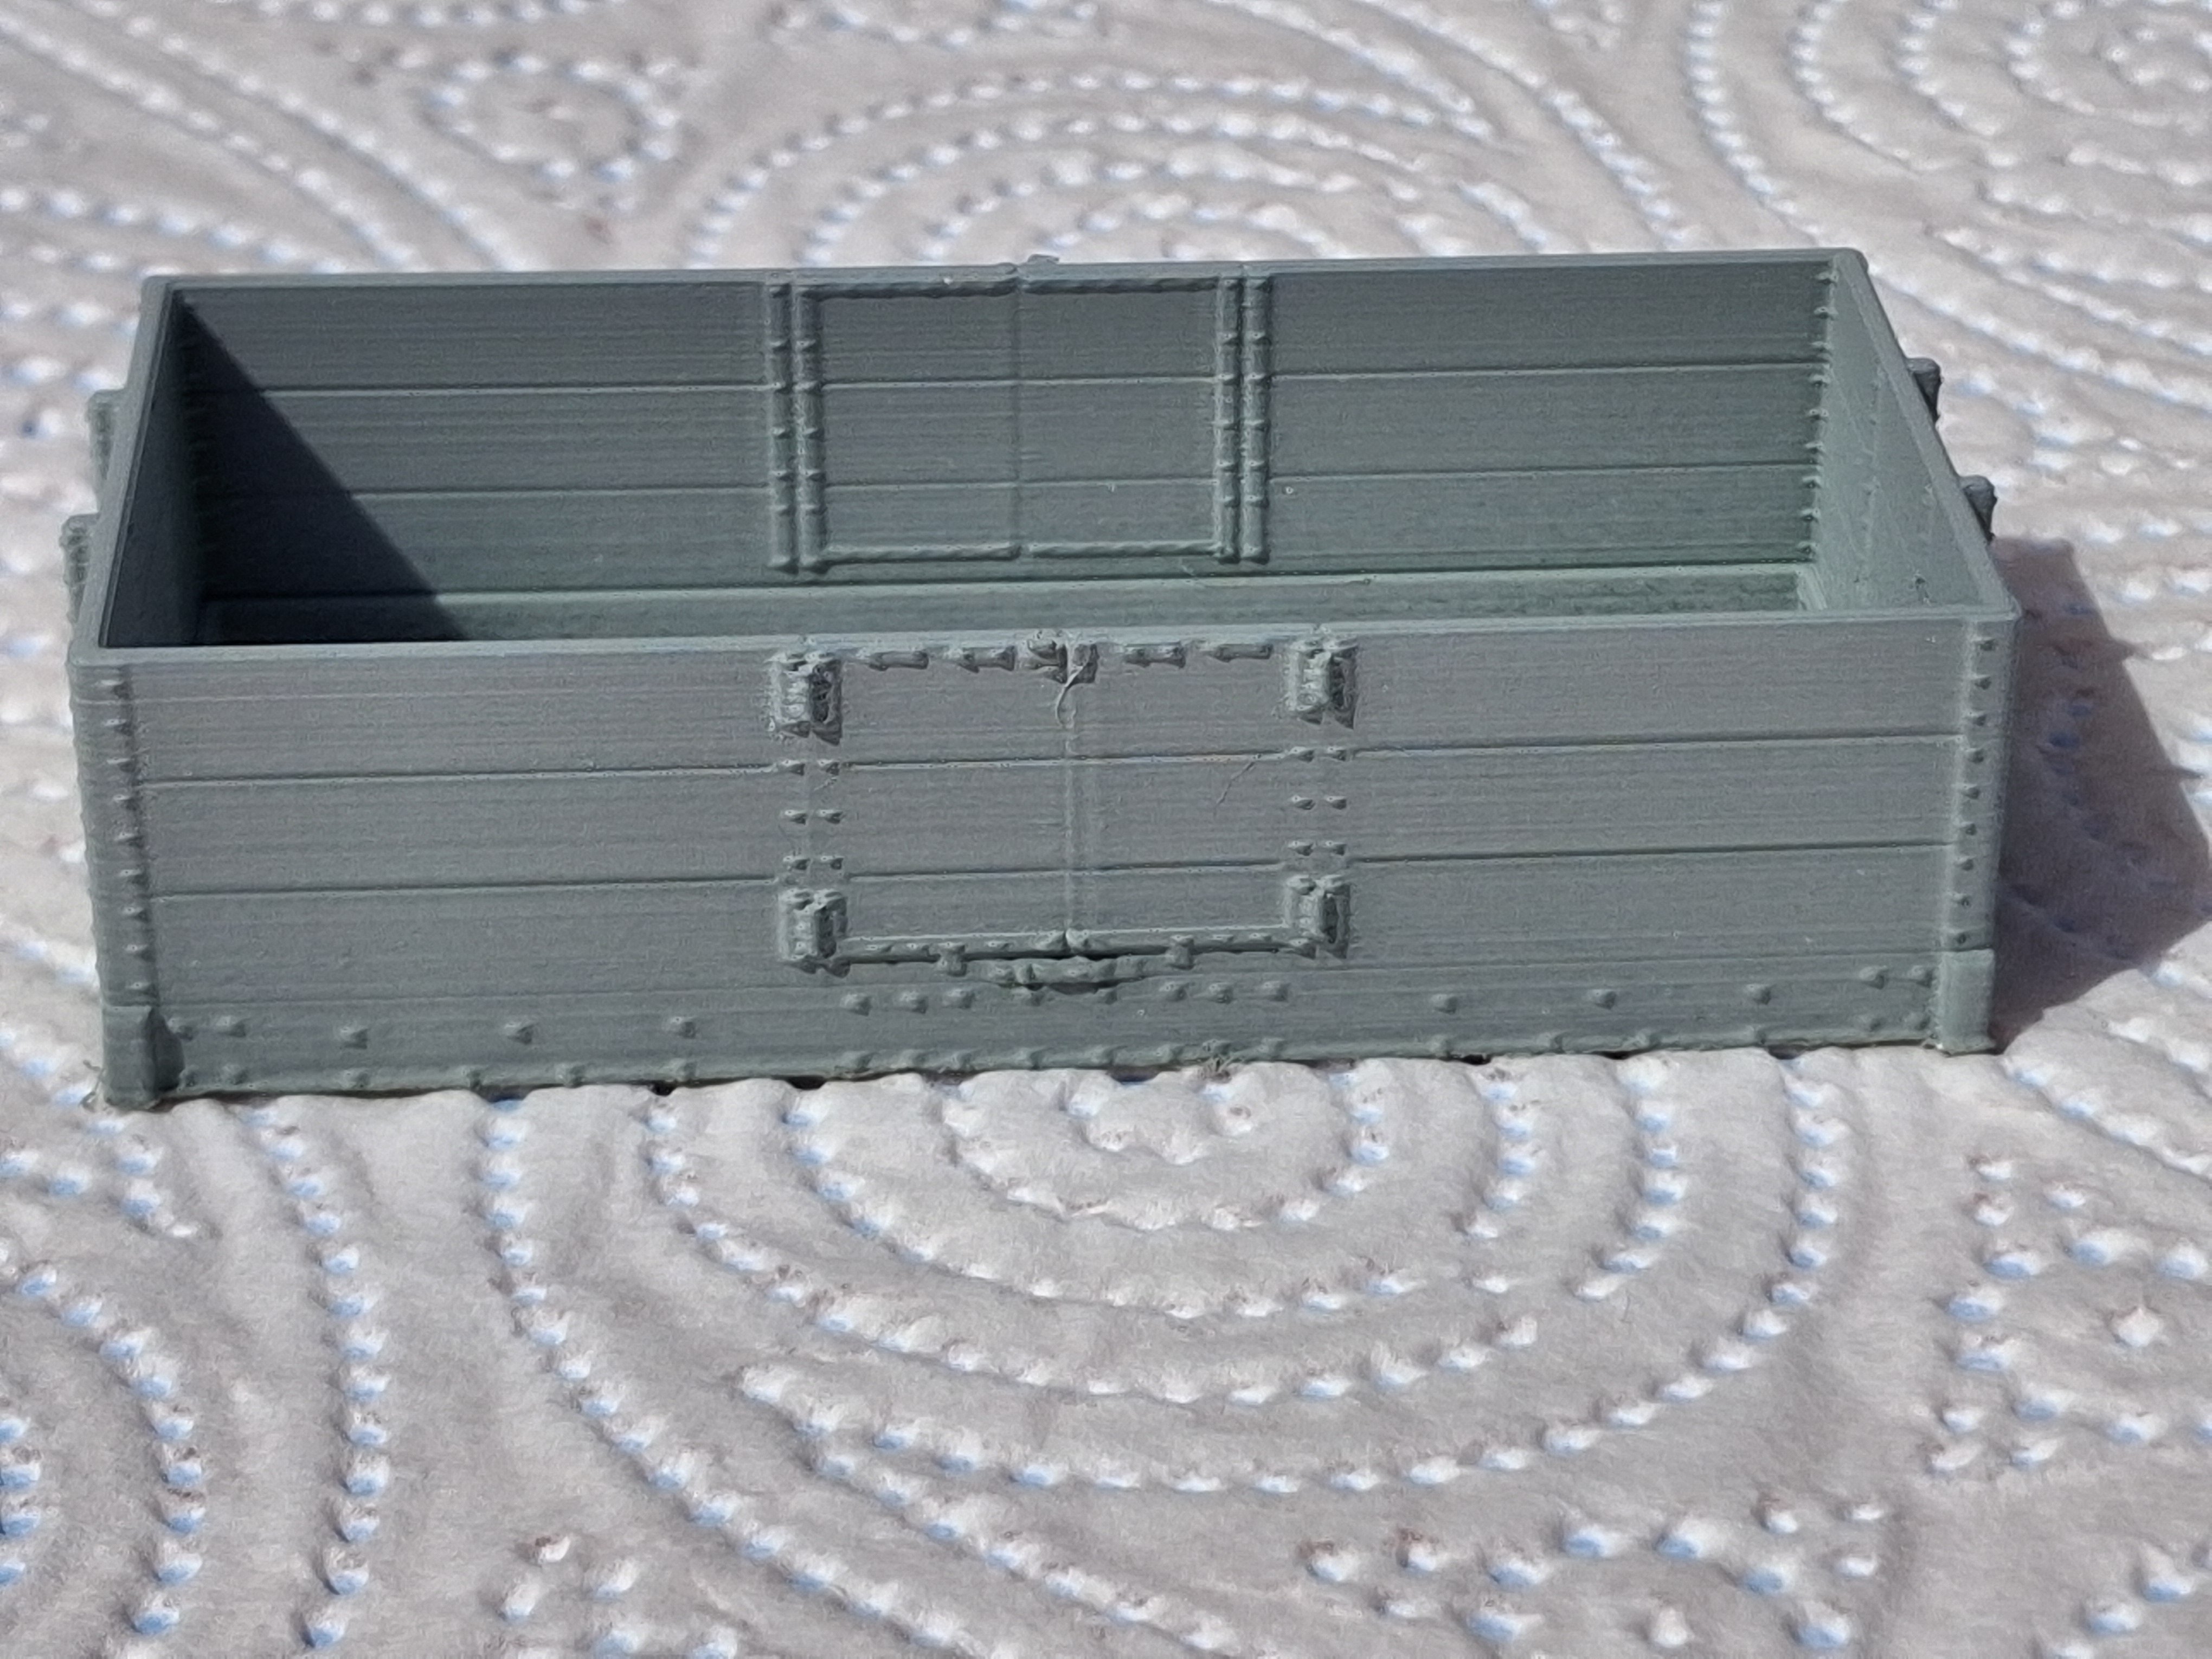
I am starting this thread to act as a repository for 3dp questions, answers, project updates etc. that are Irish Railway related. Open to all, not just for me. First off, with the 7 ton MGWR update elsewhere, a couple of photos of the latest FDM printed MGWR open wagon. 4mm and S scale. A bit more work needed yet but we are not too far off.
- 138 replies
-
- 10
-

-
After a quick squirt of primer. I am starting a new thread "Irish Railways 3d printing" so we don't clutter up this thread with other stuff. 7 ton van on hold until the file gains some buffer holes.
- 59 replies
-
- 11
-

-
-
The first stage is drawing the CAD. Well, not just drawing, it needs designing to suit the production process. It is time consuming but satisfying and can be done by anyone with a half decent pc or laptop. Accurate prototype information helps a lot, there are loads of cad files out there, not always the freebies, that look nothing like the real thing. Having done the CAD you can always contract out the printing - there will always be a club or forum member willing to test it out for you. As for a bigger manufacturer pushing in, it is likely that the home produced 3d print will have already saturated the market and just how many Cork and Macroom cattle trucks do we need anyway?
-
Doh! I didn't spot that!
-
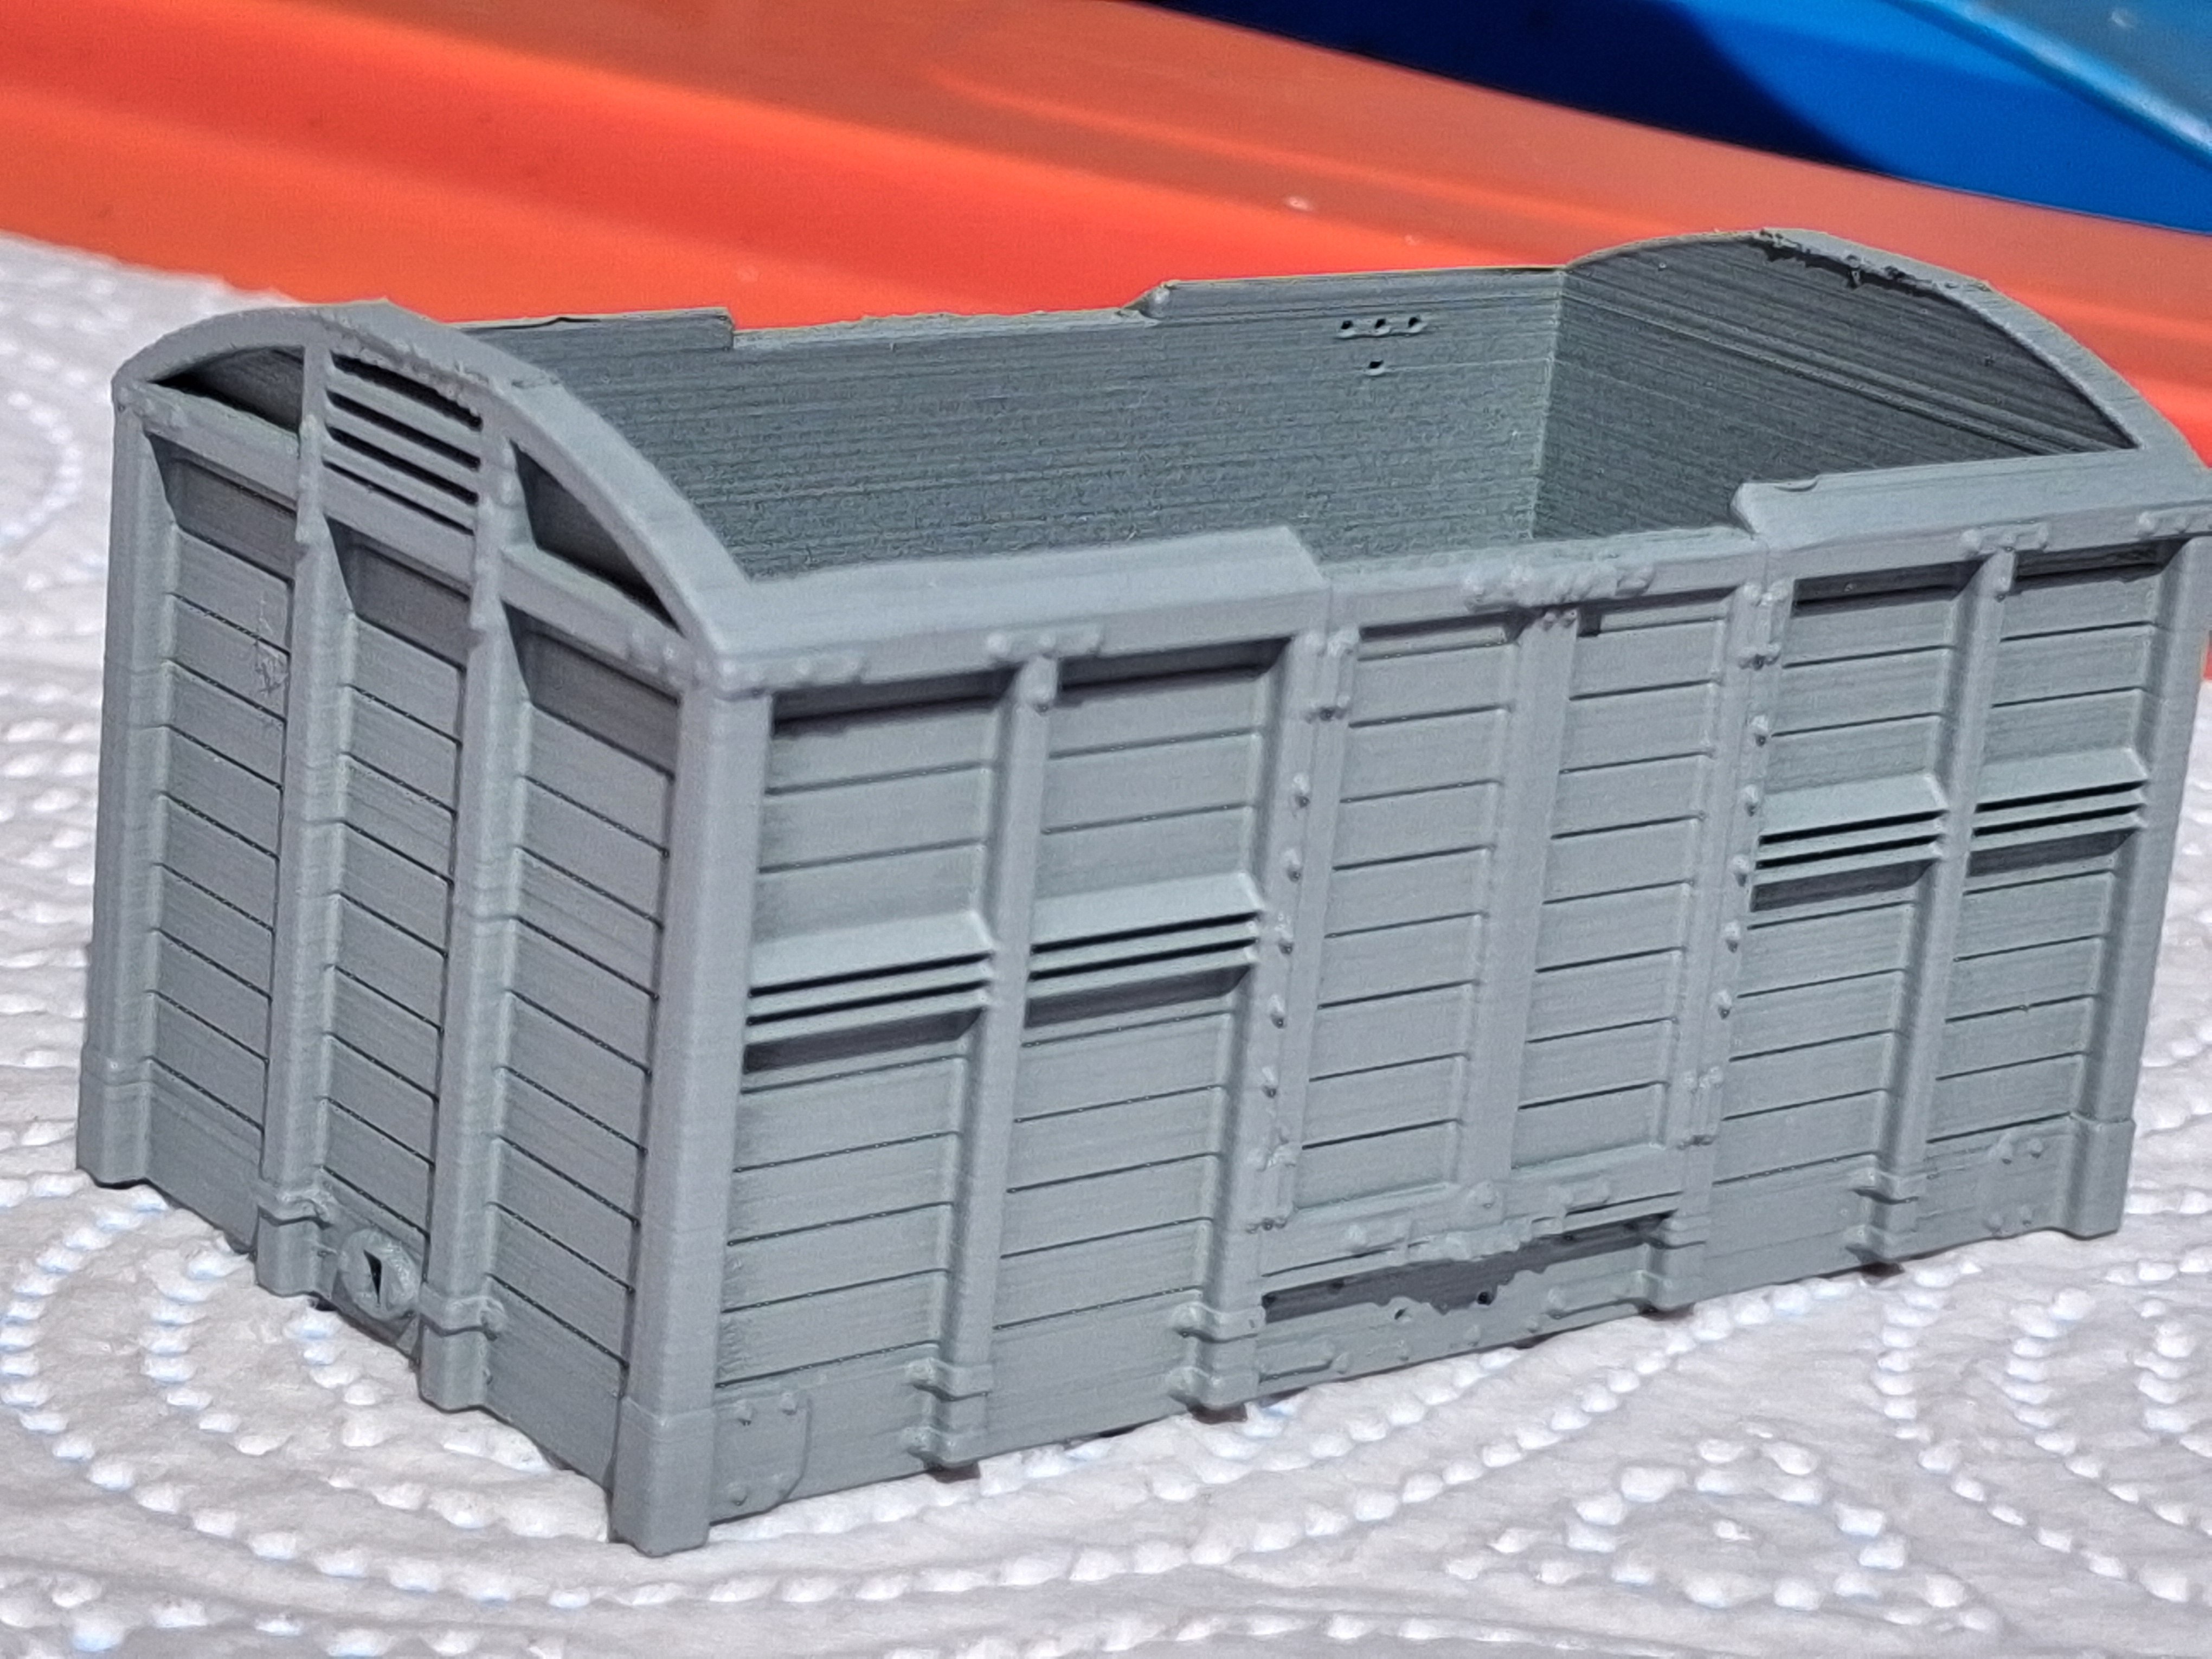
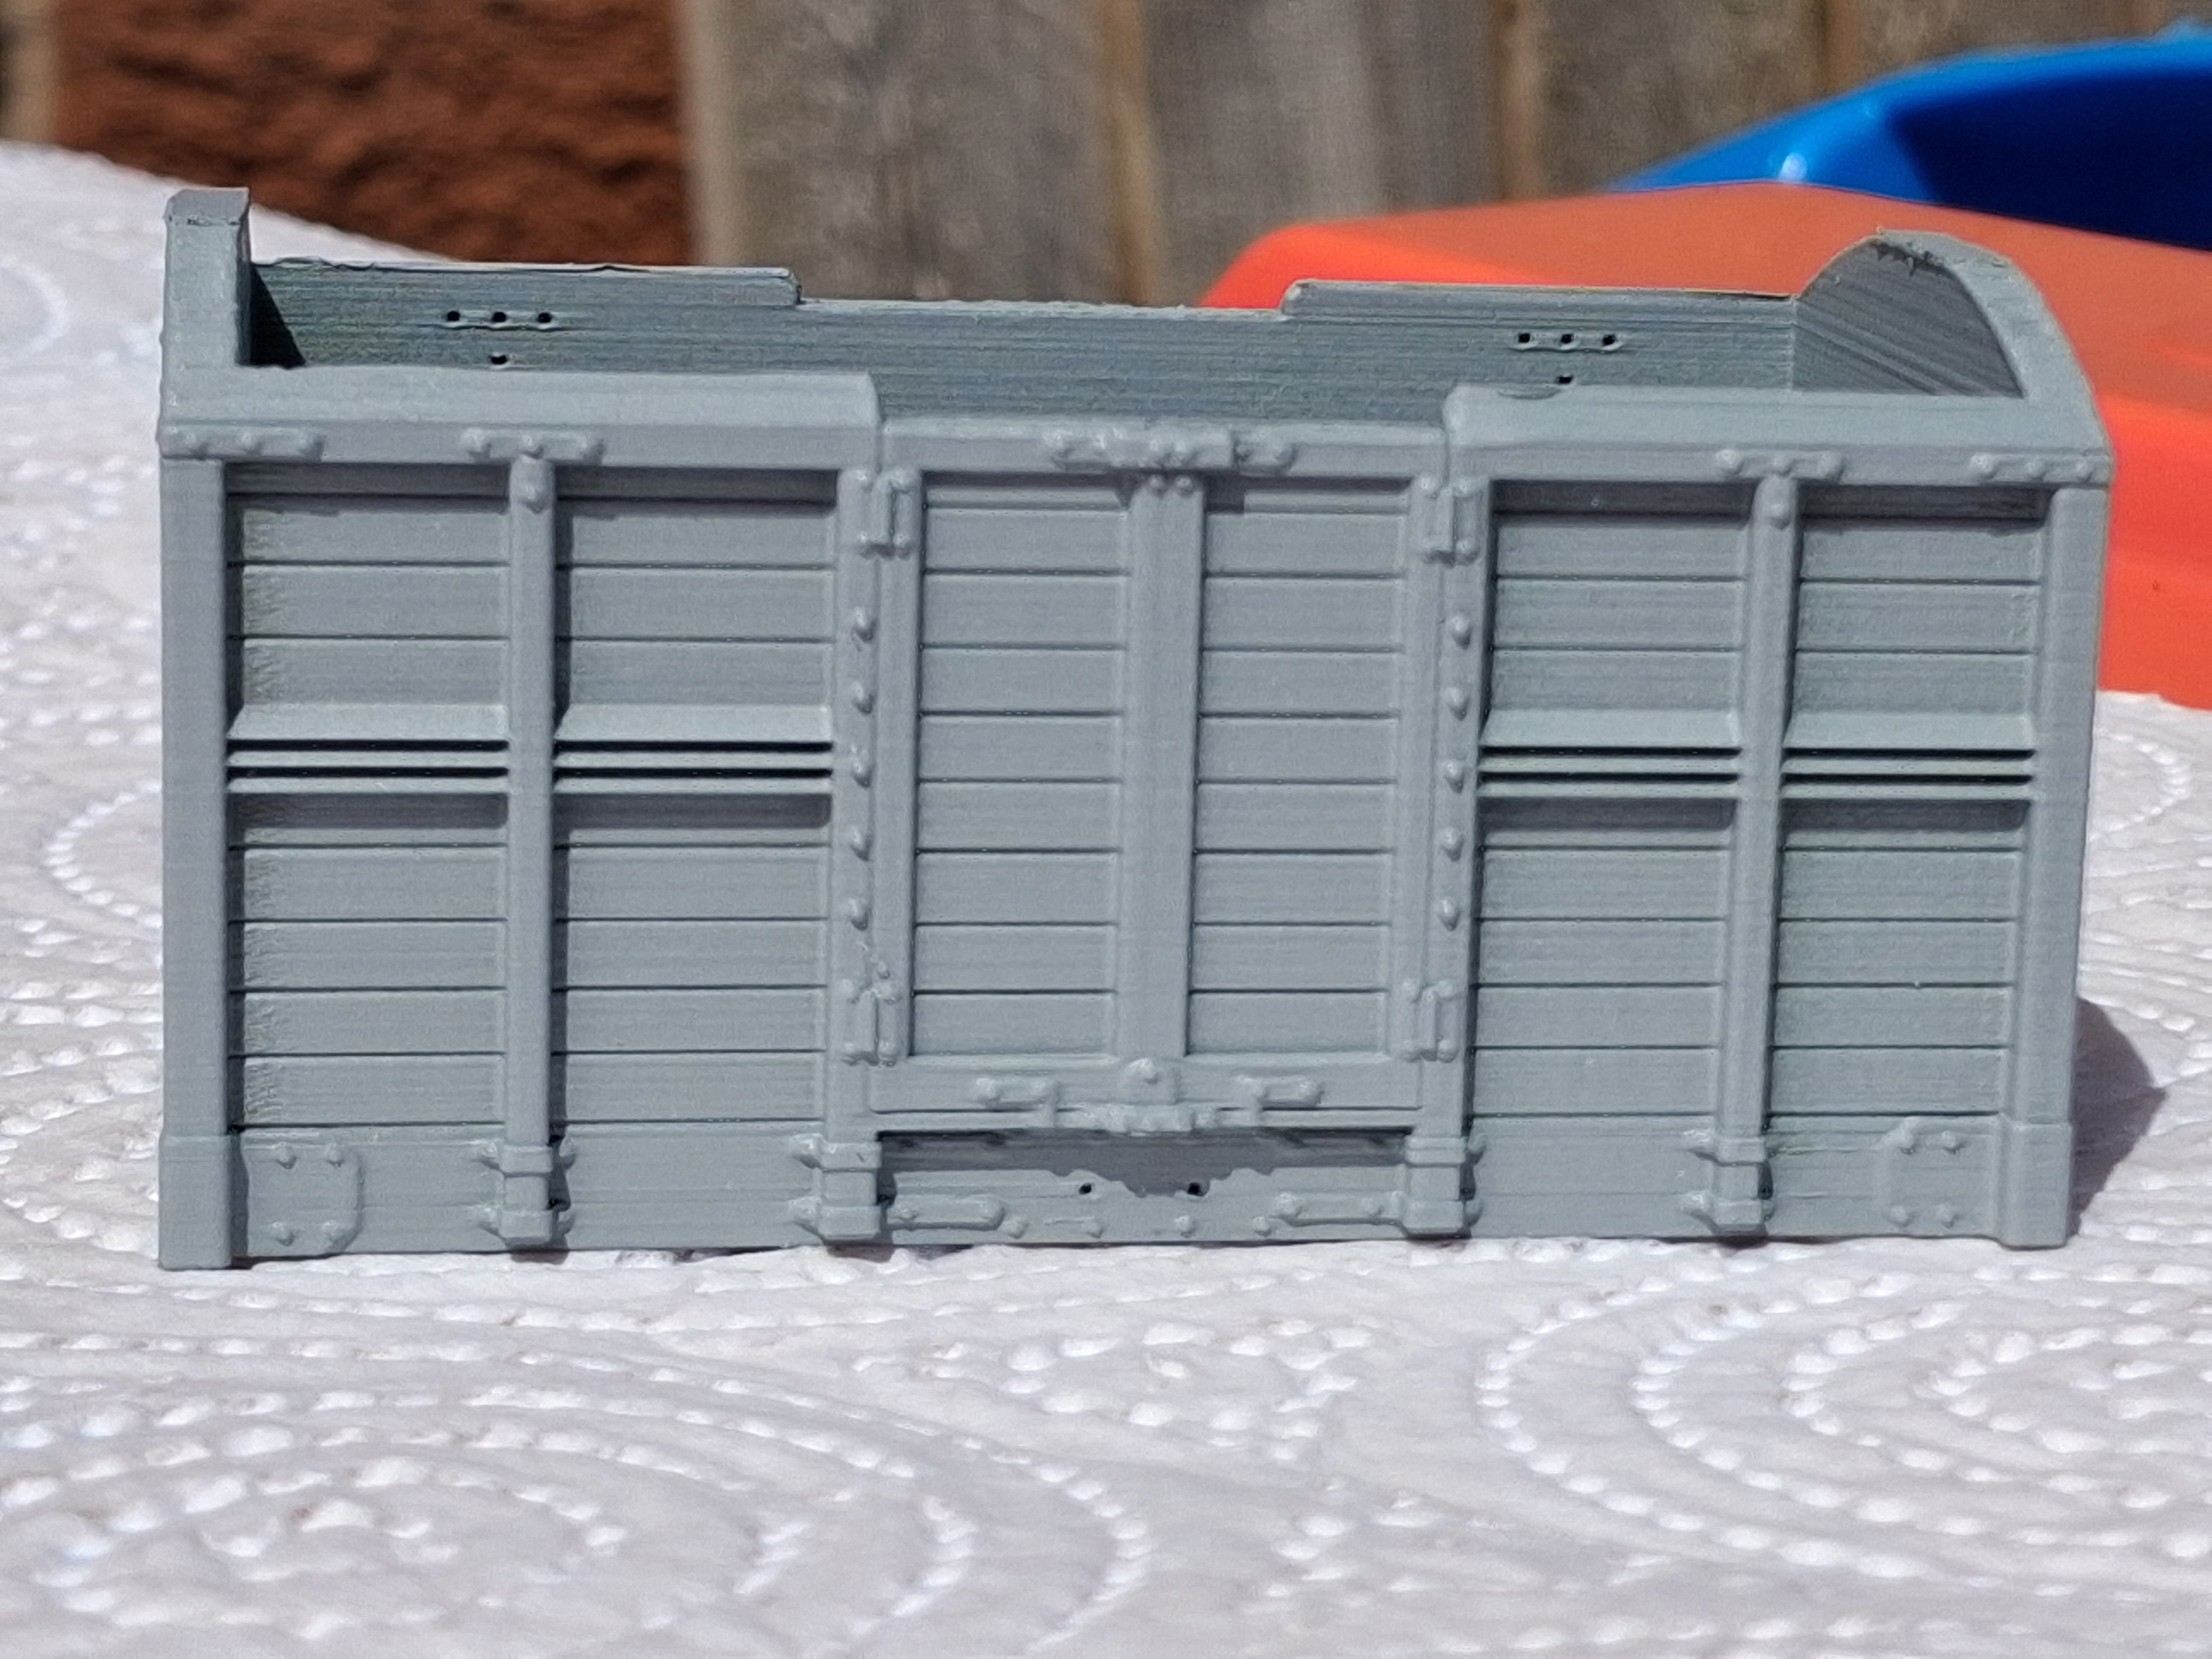
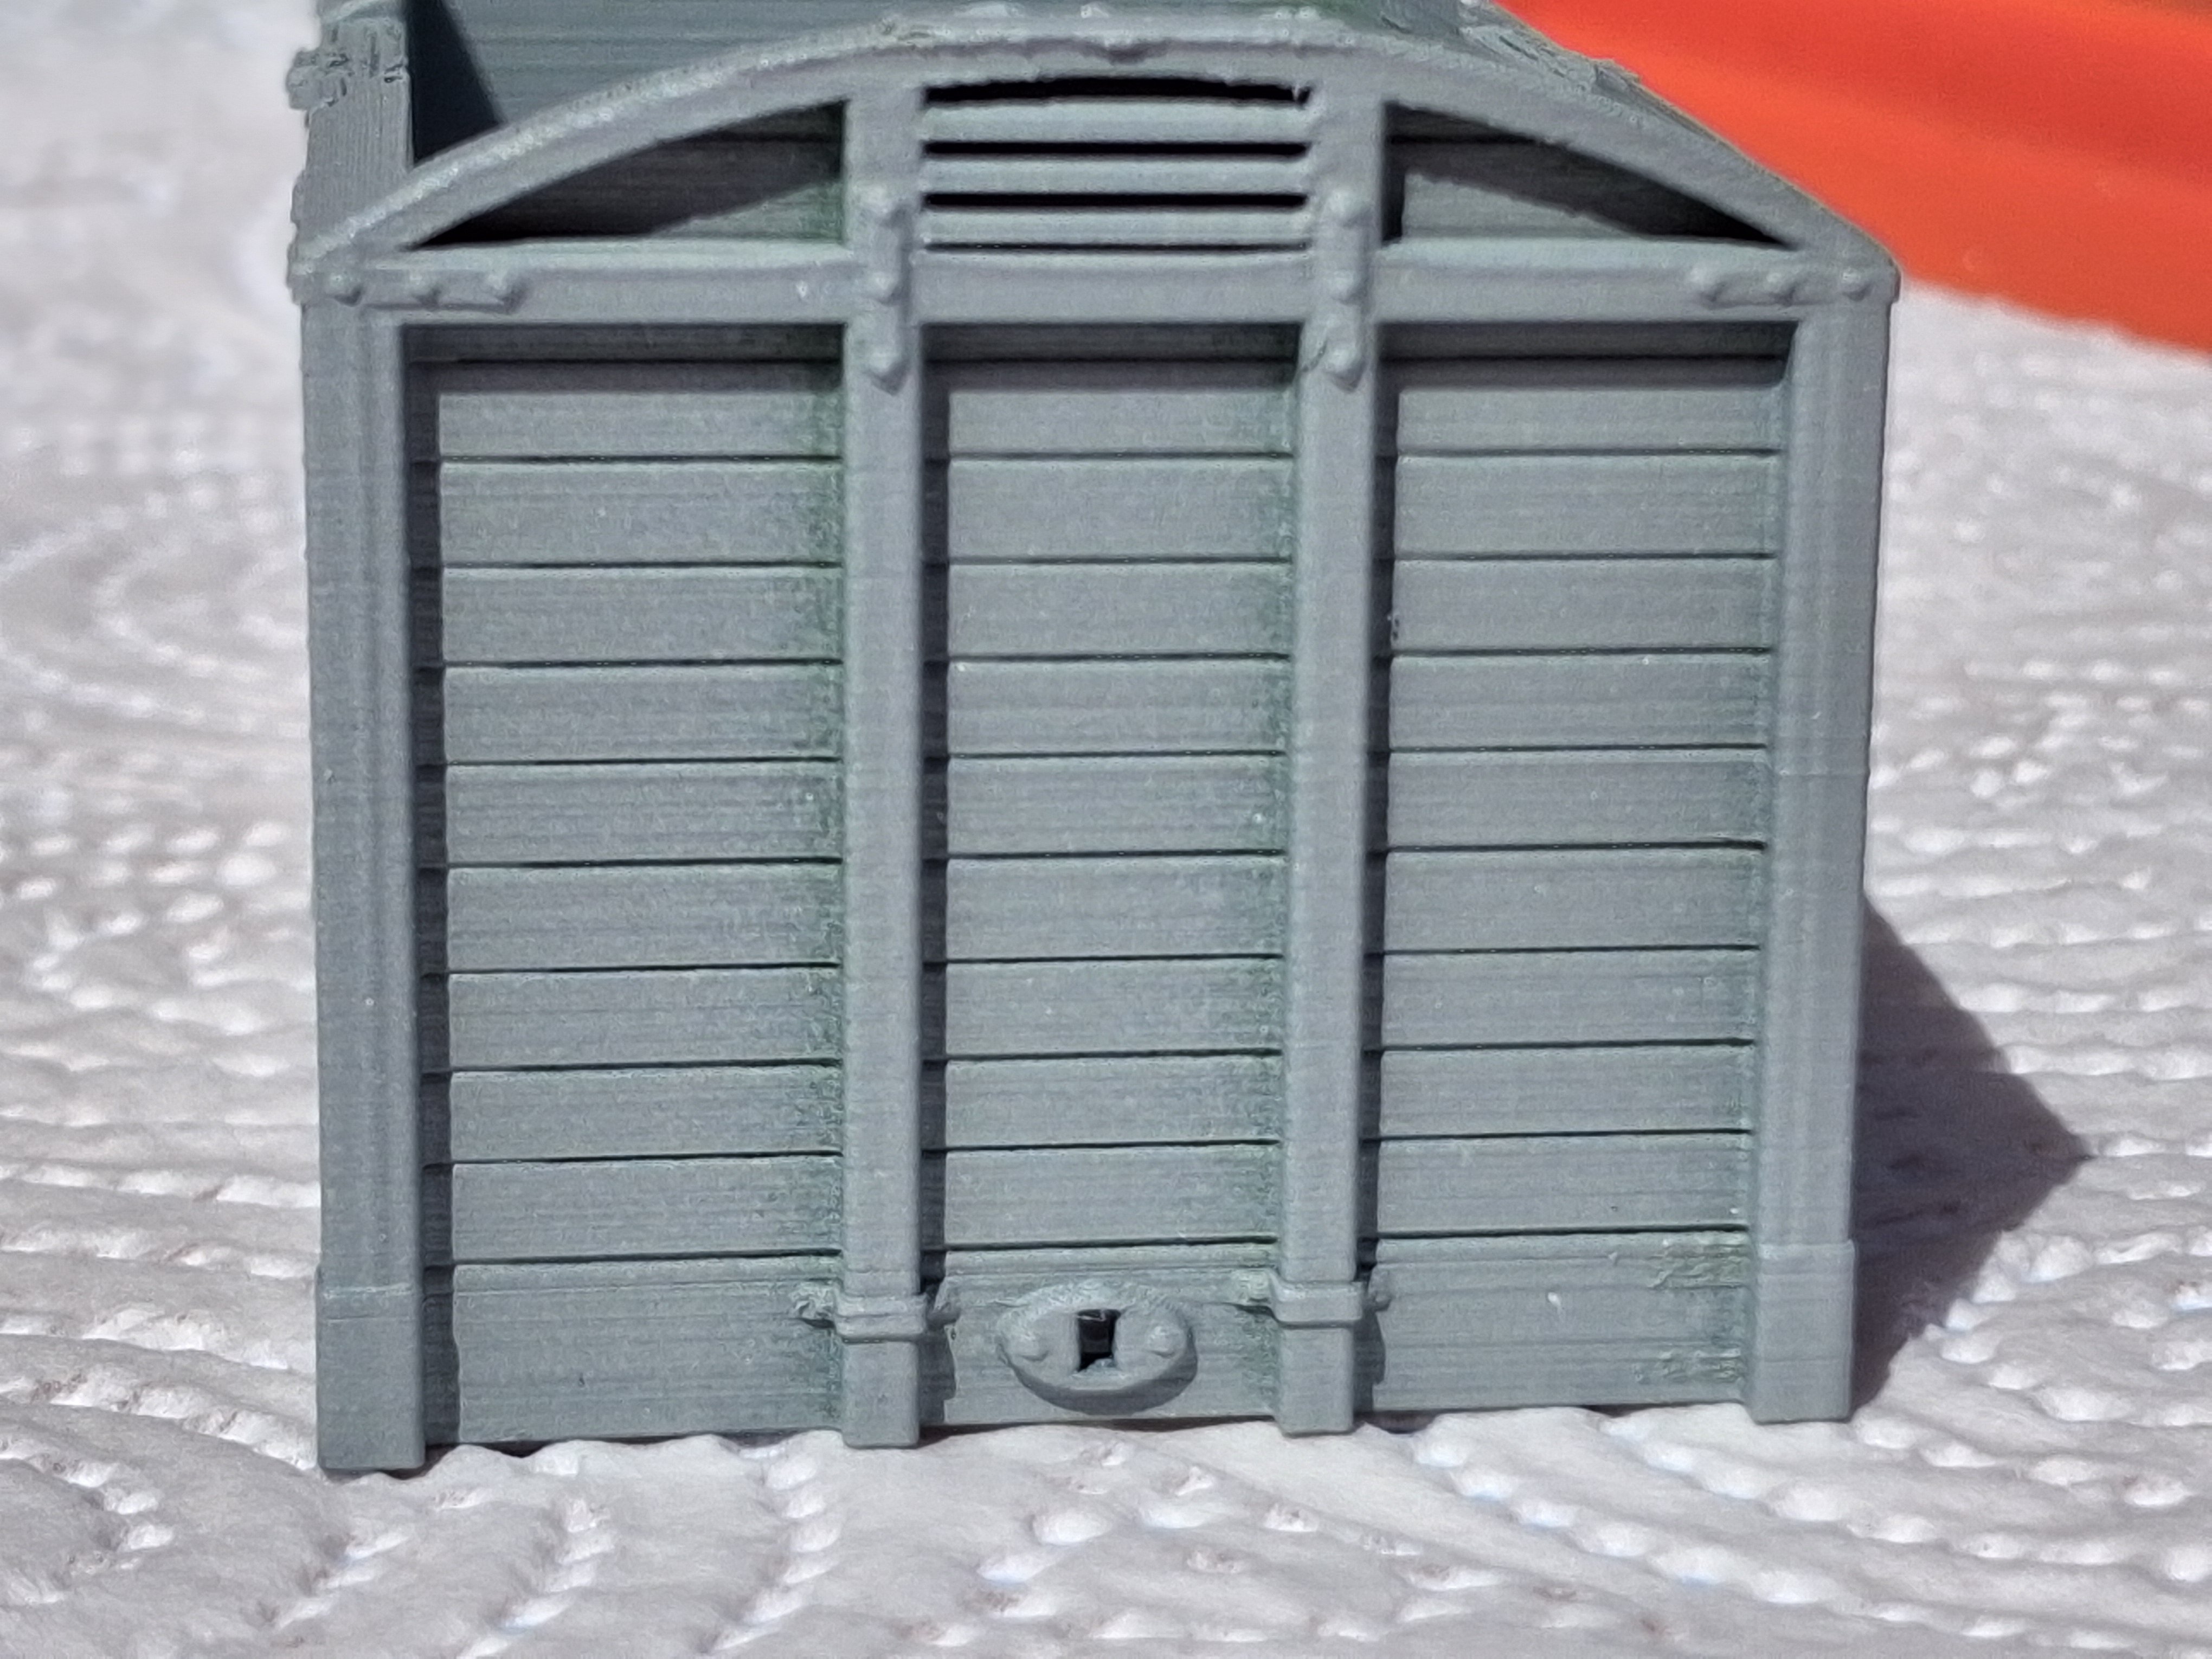
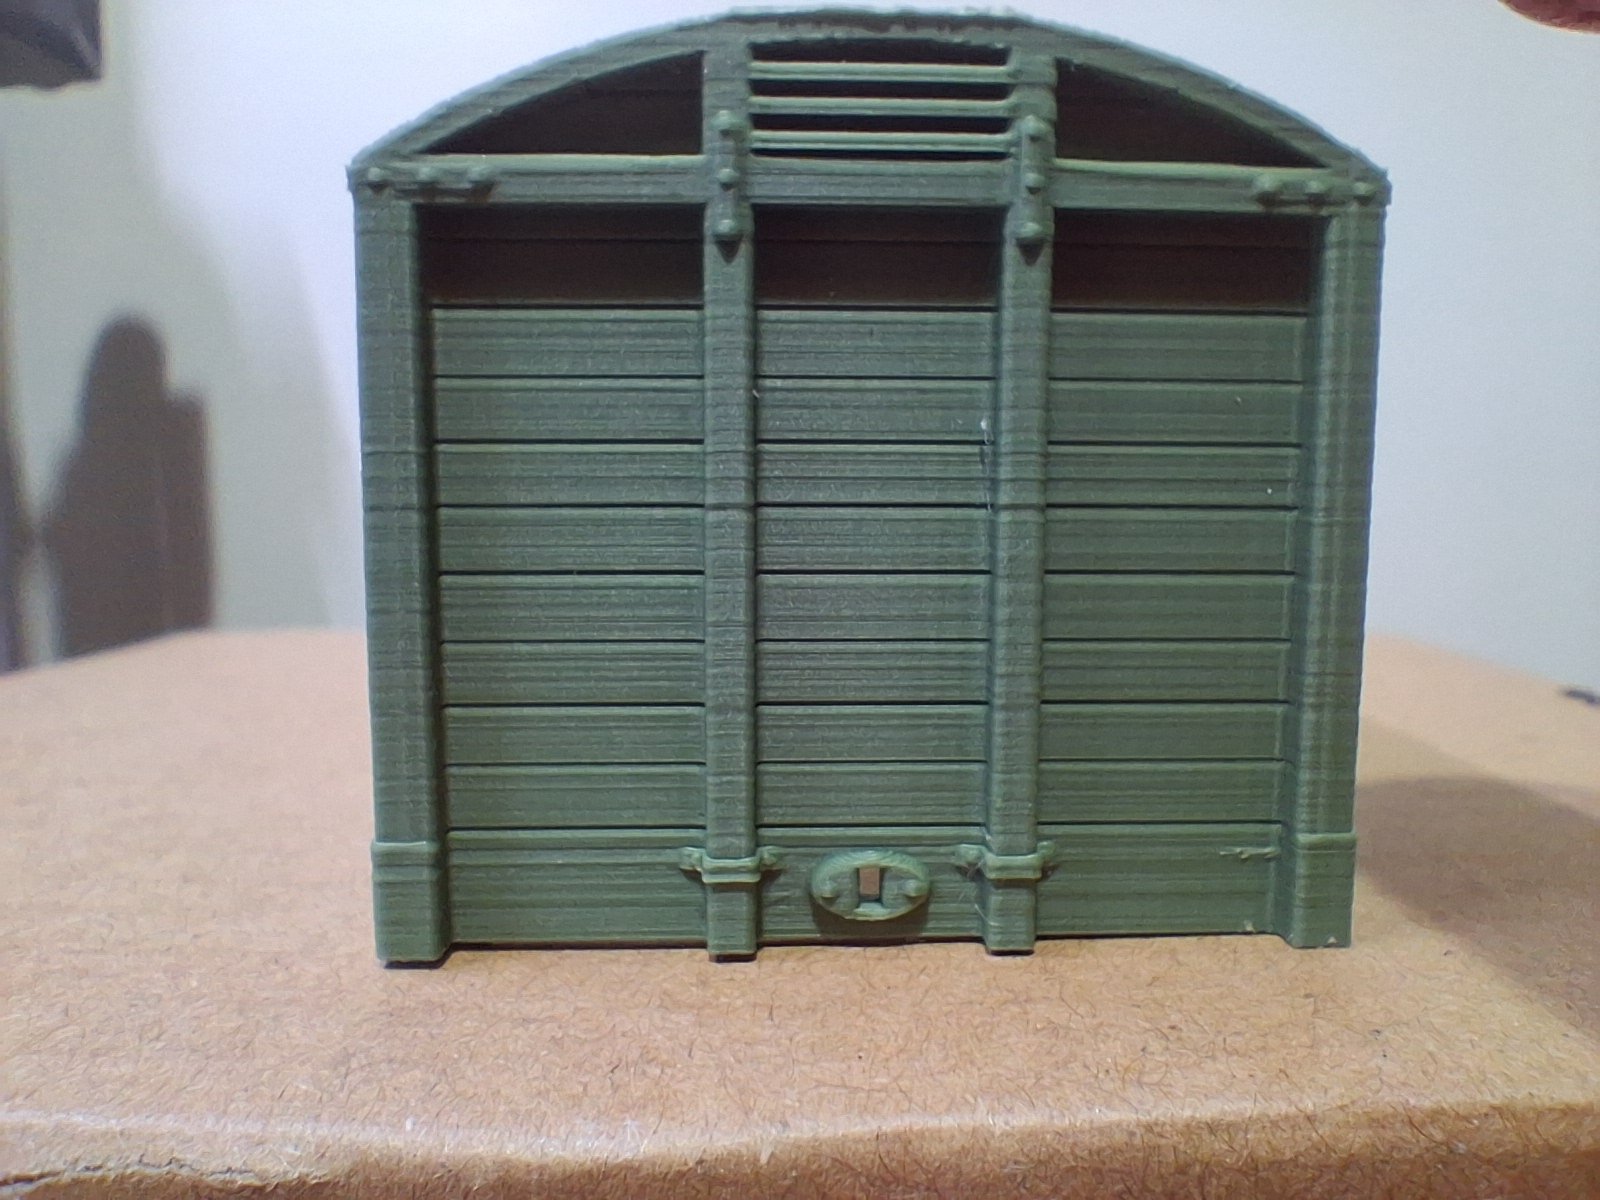
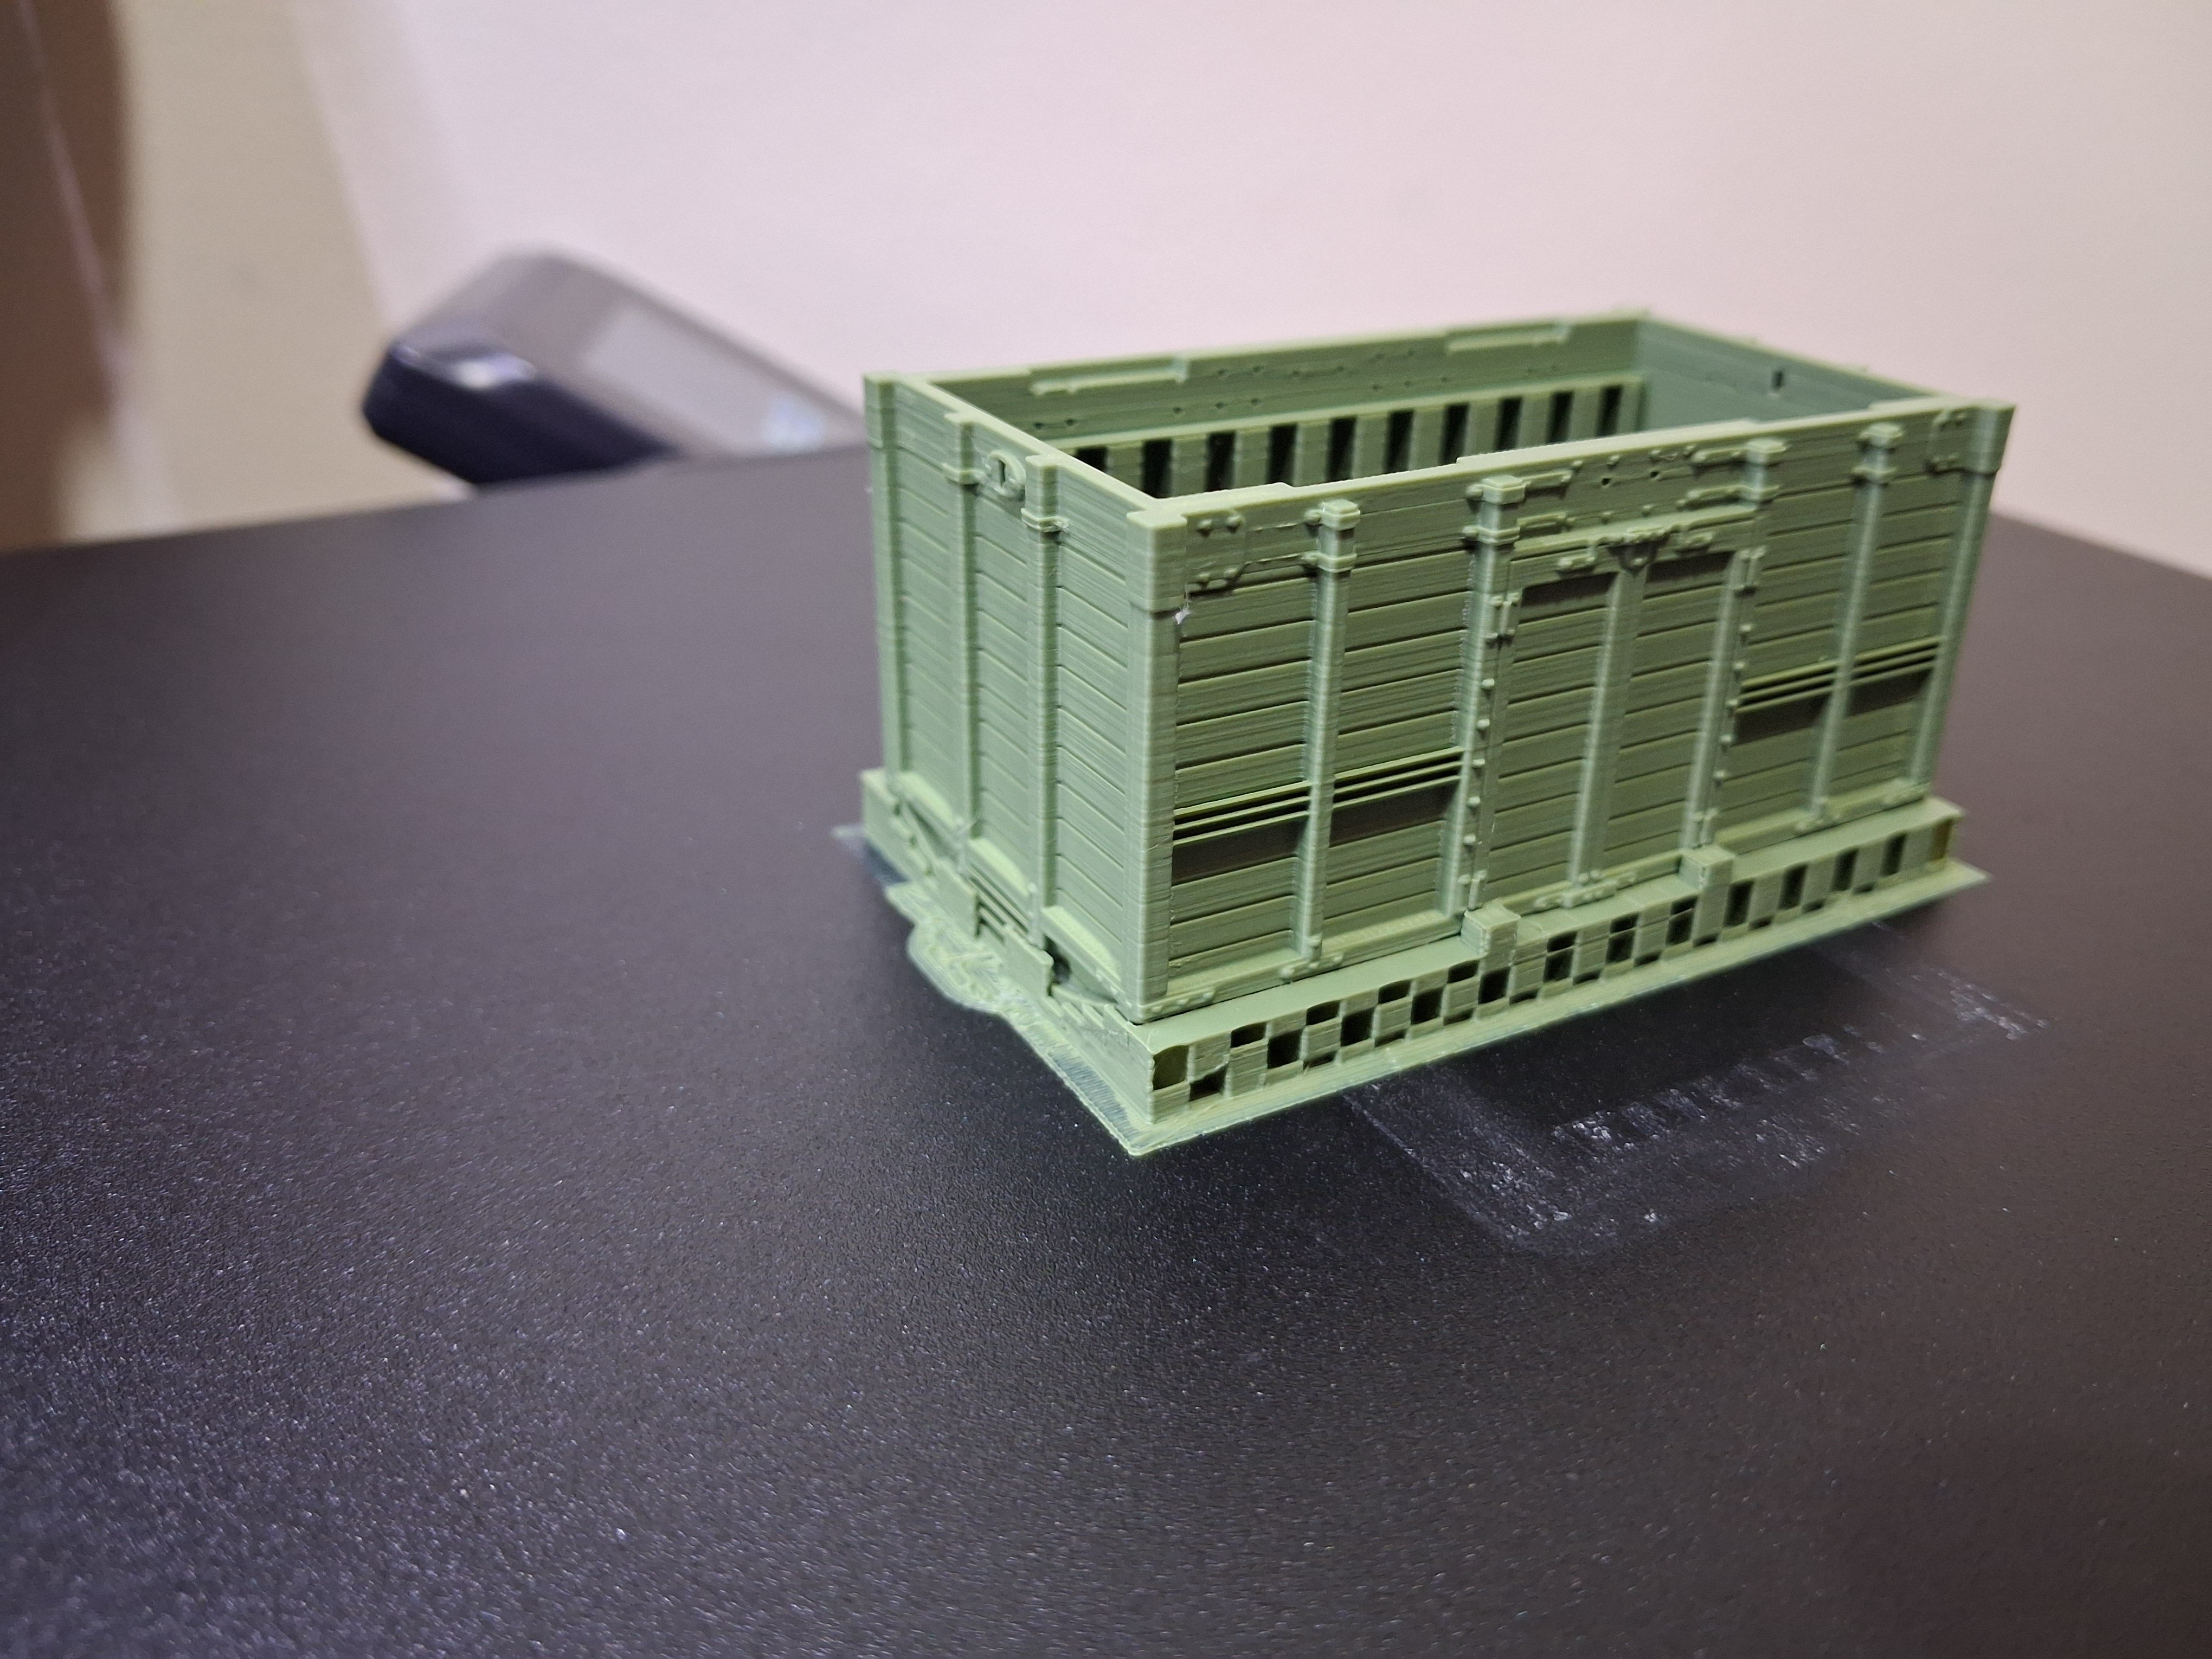
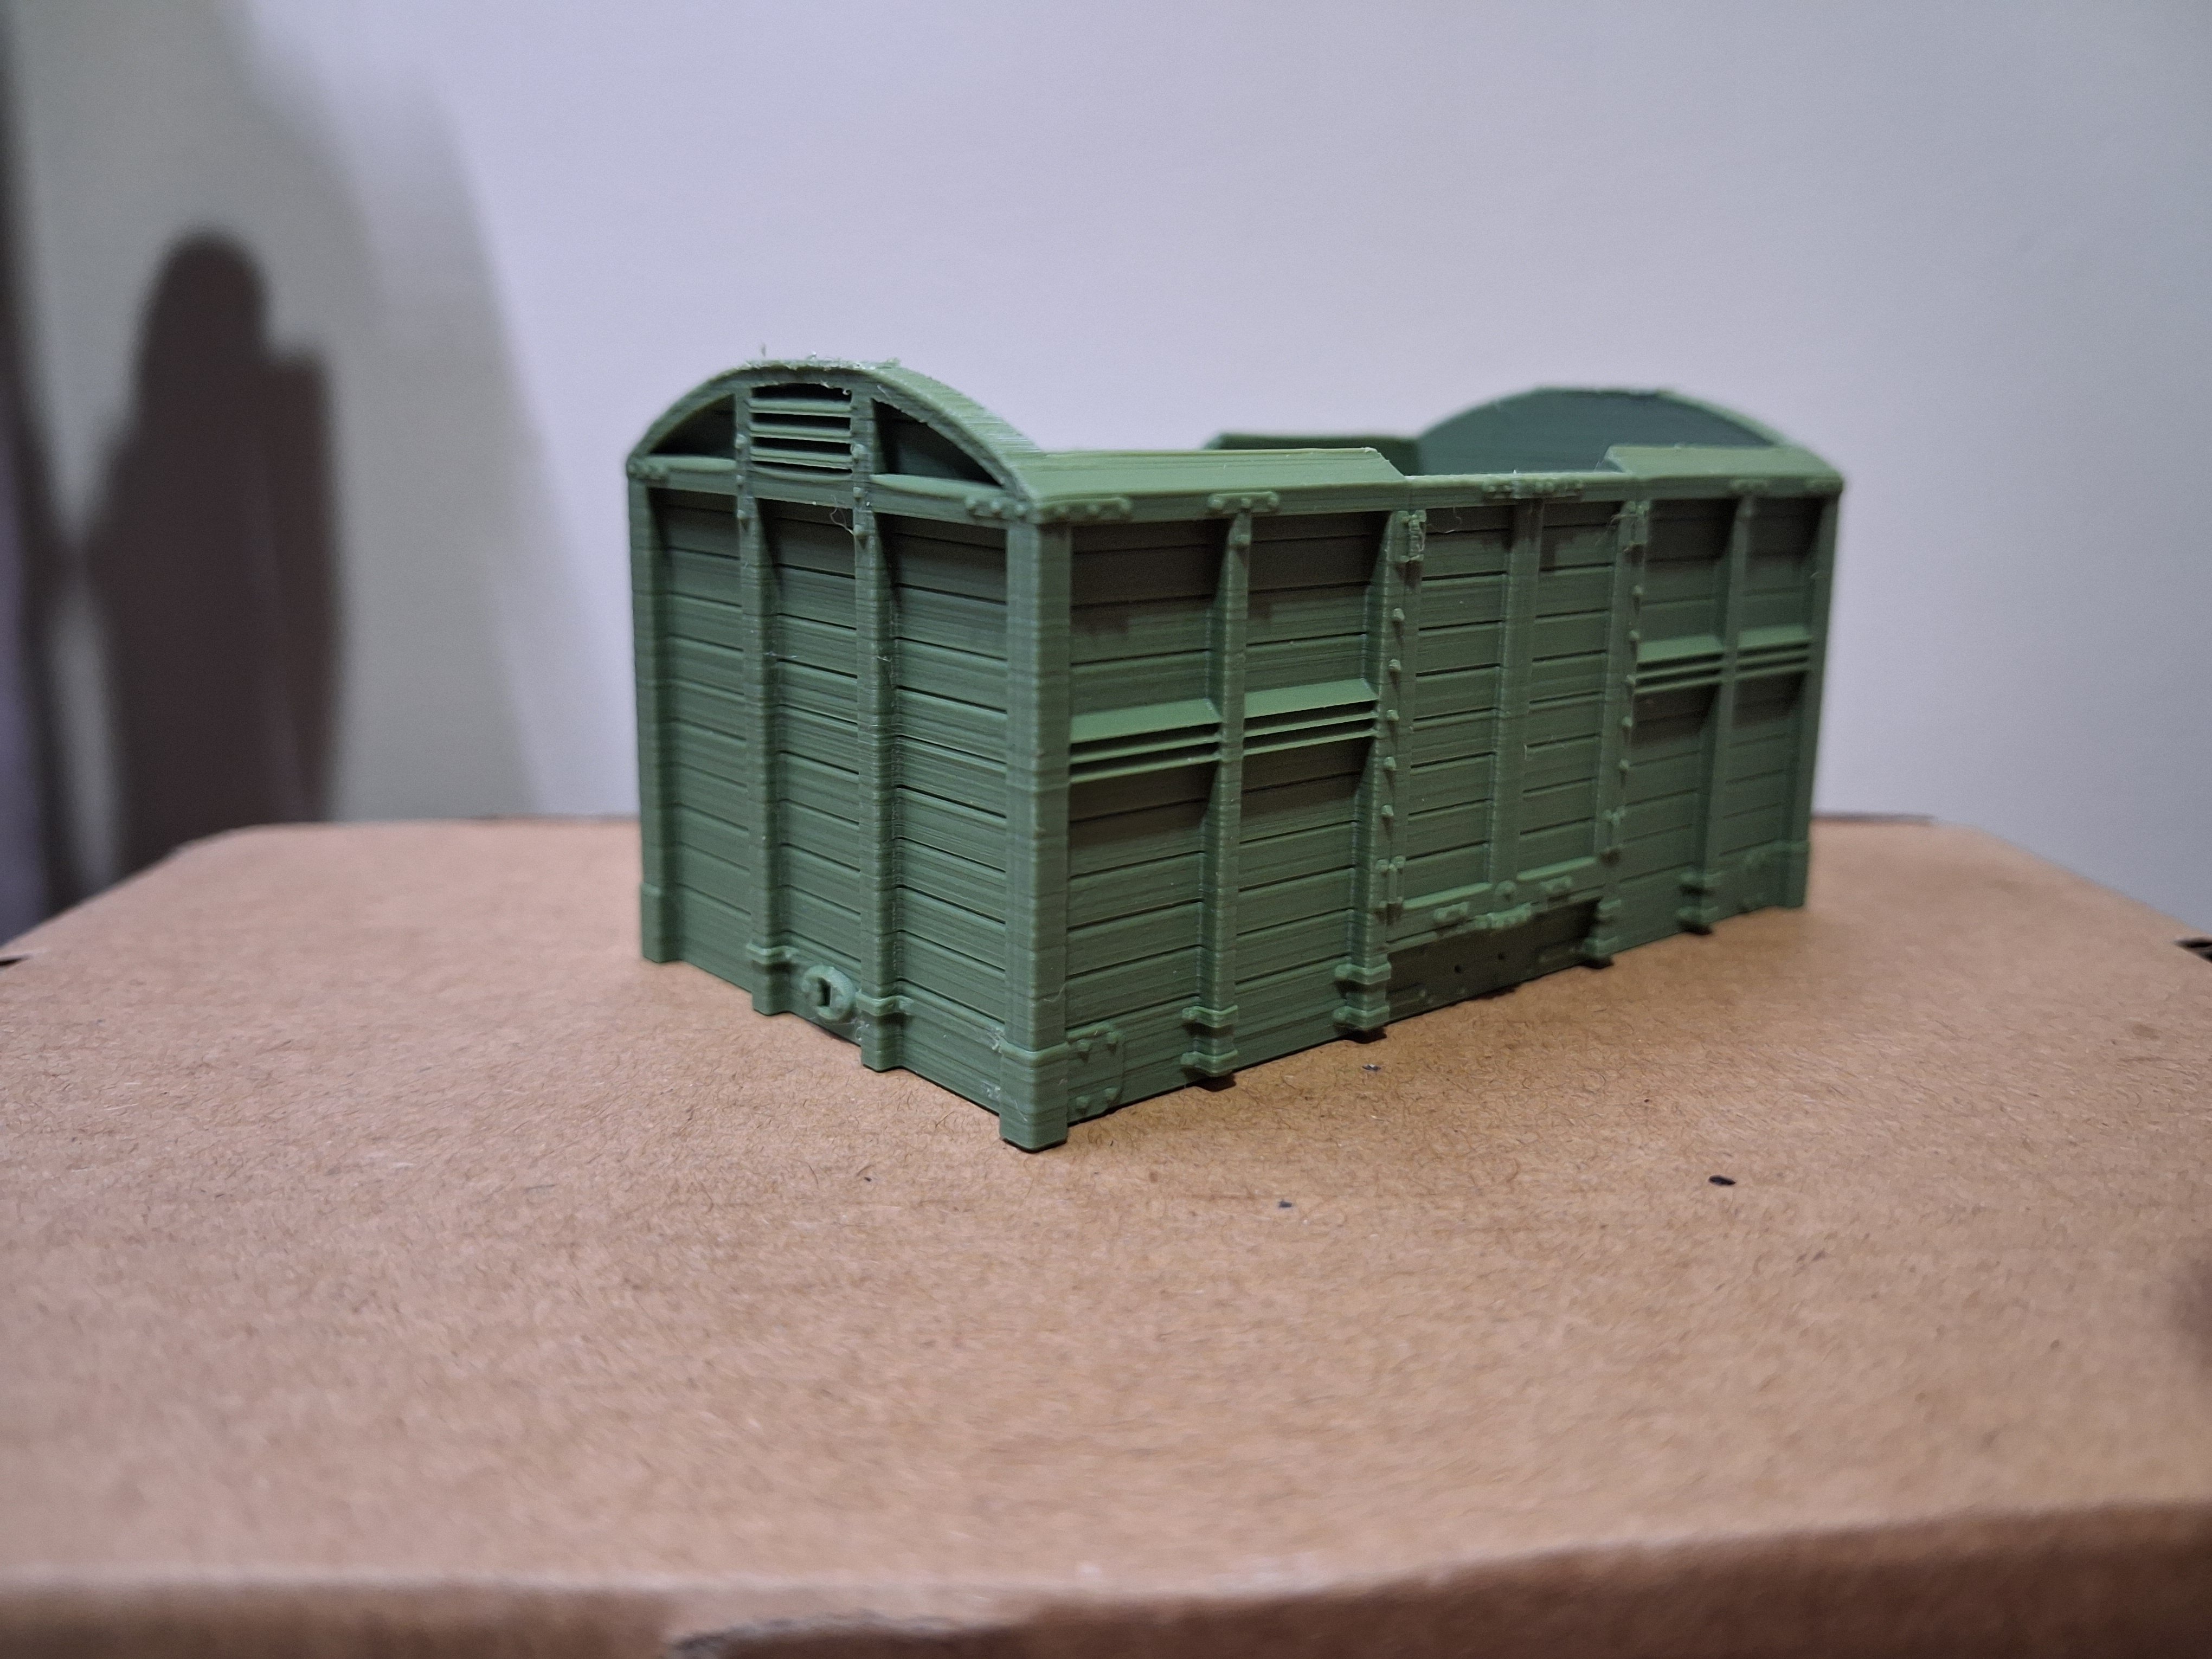
Beware, there are a million and one more variables to play with in FDM printing than resin - you still need a bigger bin..... Unpainted, you can't see the layer lines in the flesh. Lets see what it looks like with a coat of paint. Might print a 4mm one tomorrow.
-
I can't see the layer lines in the flesh but the camera picks out every single one. I'll give it a squirt of primer tomorrow.
-
Thank you. As the old adage goes, the quickest way to make a small fortune with model railways is to start with a large one......
-
I will of course need to run it past Maitland, it is his file after all.
-
Oohh goody. Does that mean we have converted you to S?
-
At approx 3 times the volume, I am guessing a 14 hour print unless a 0.4 nozzle can do the detail in 7mm, in which case probably about 8 hours. Not impossible, let me think about it.
-
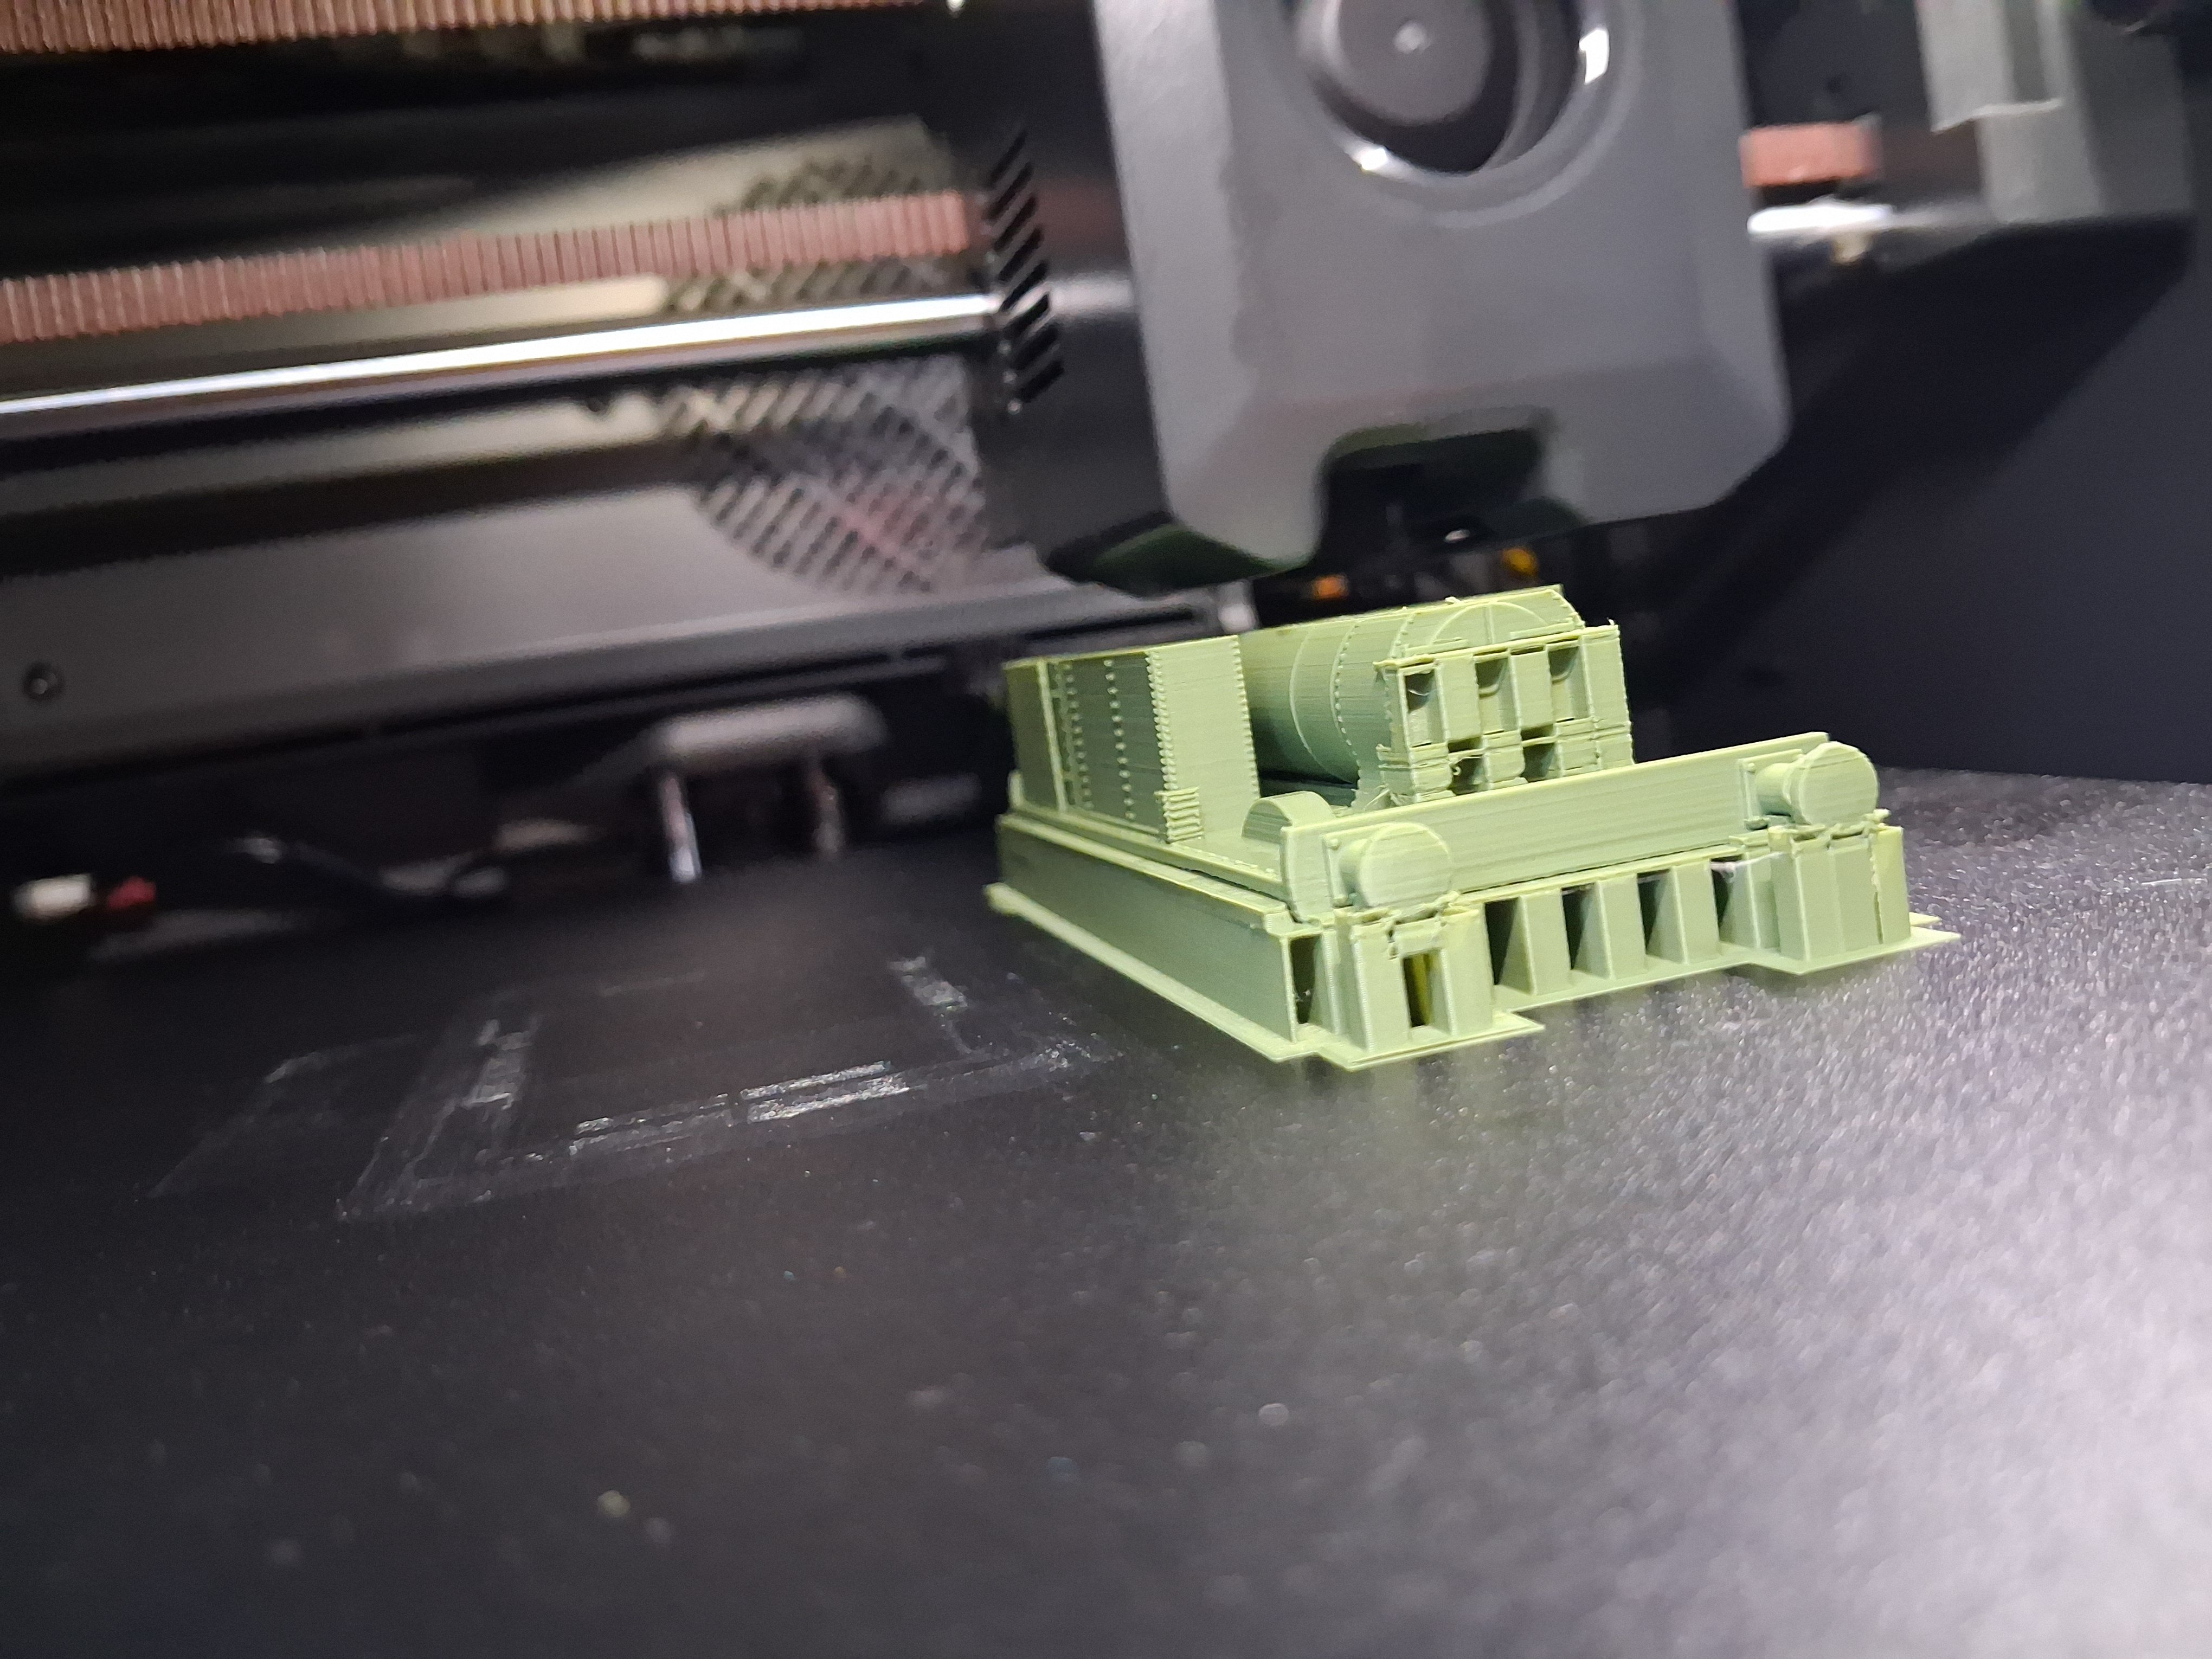
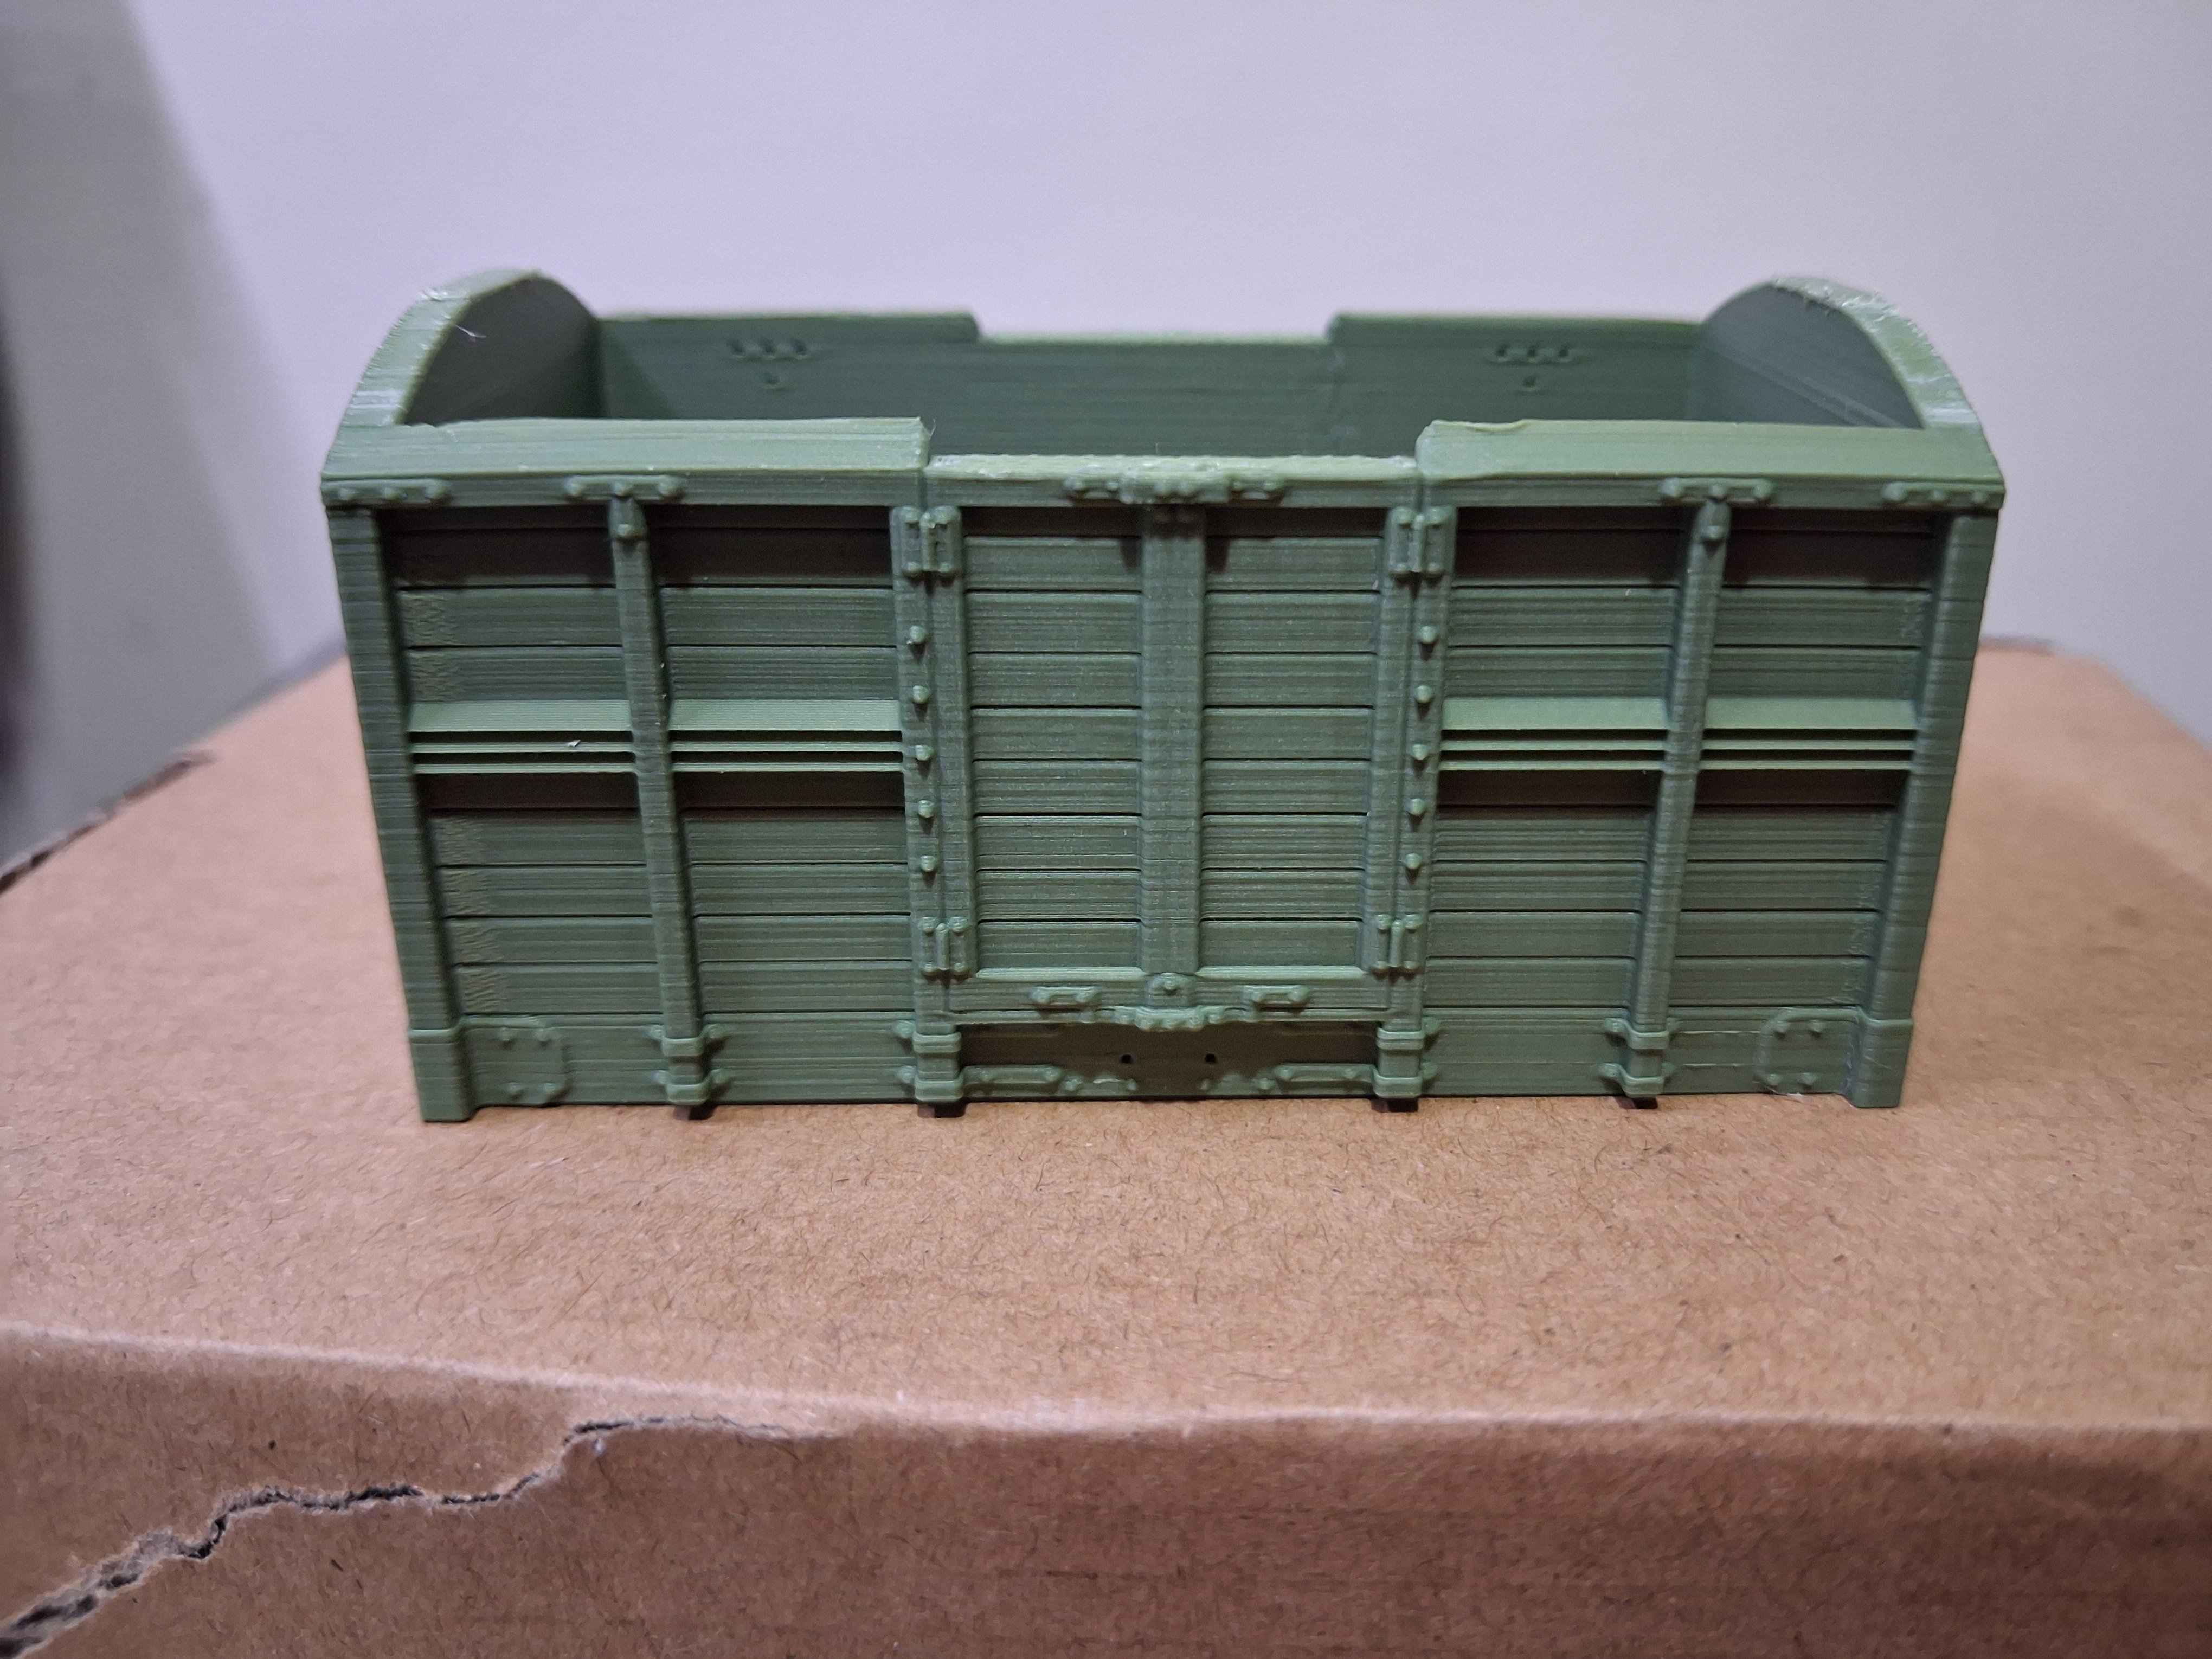
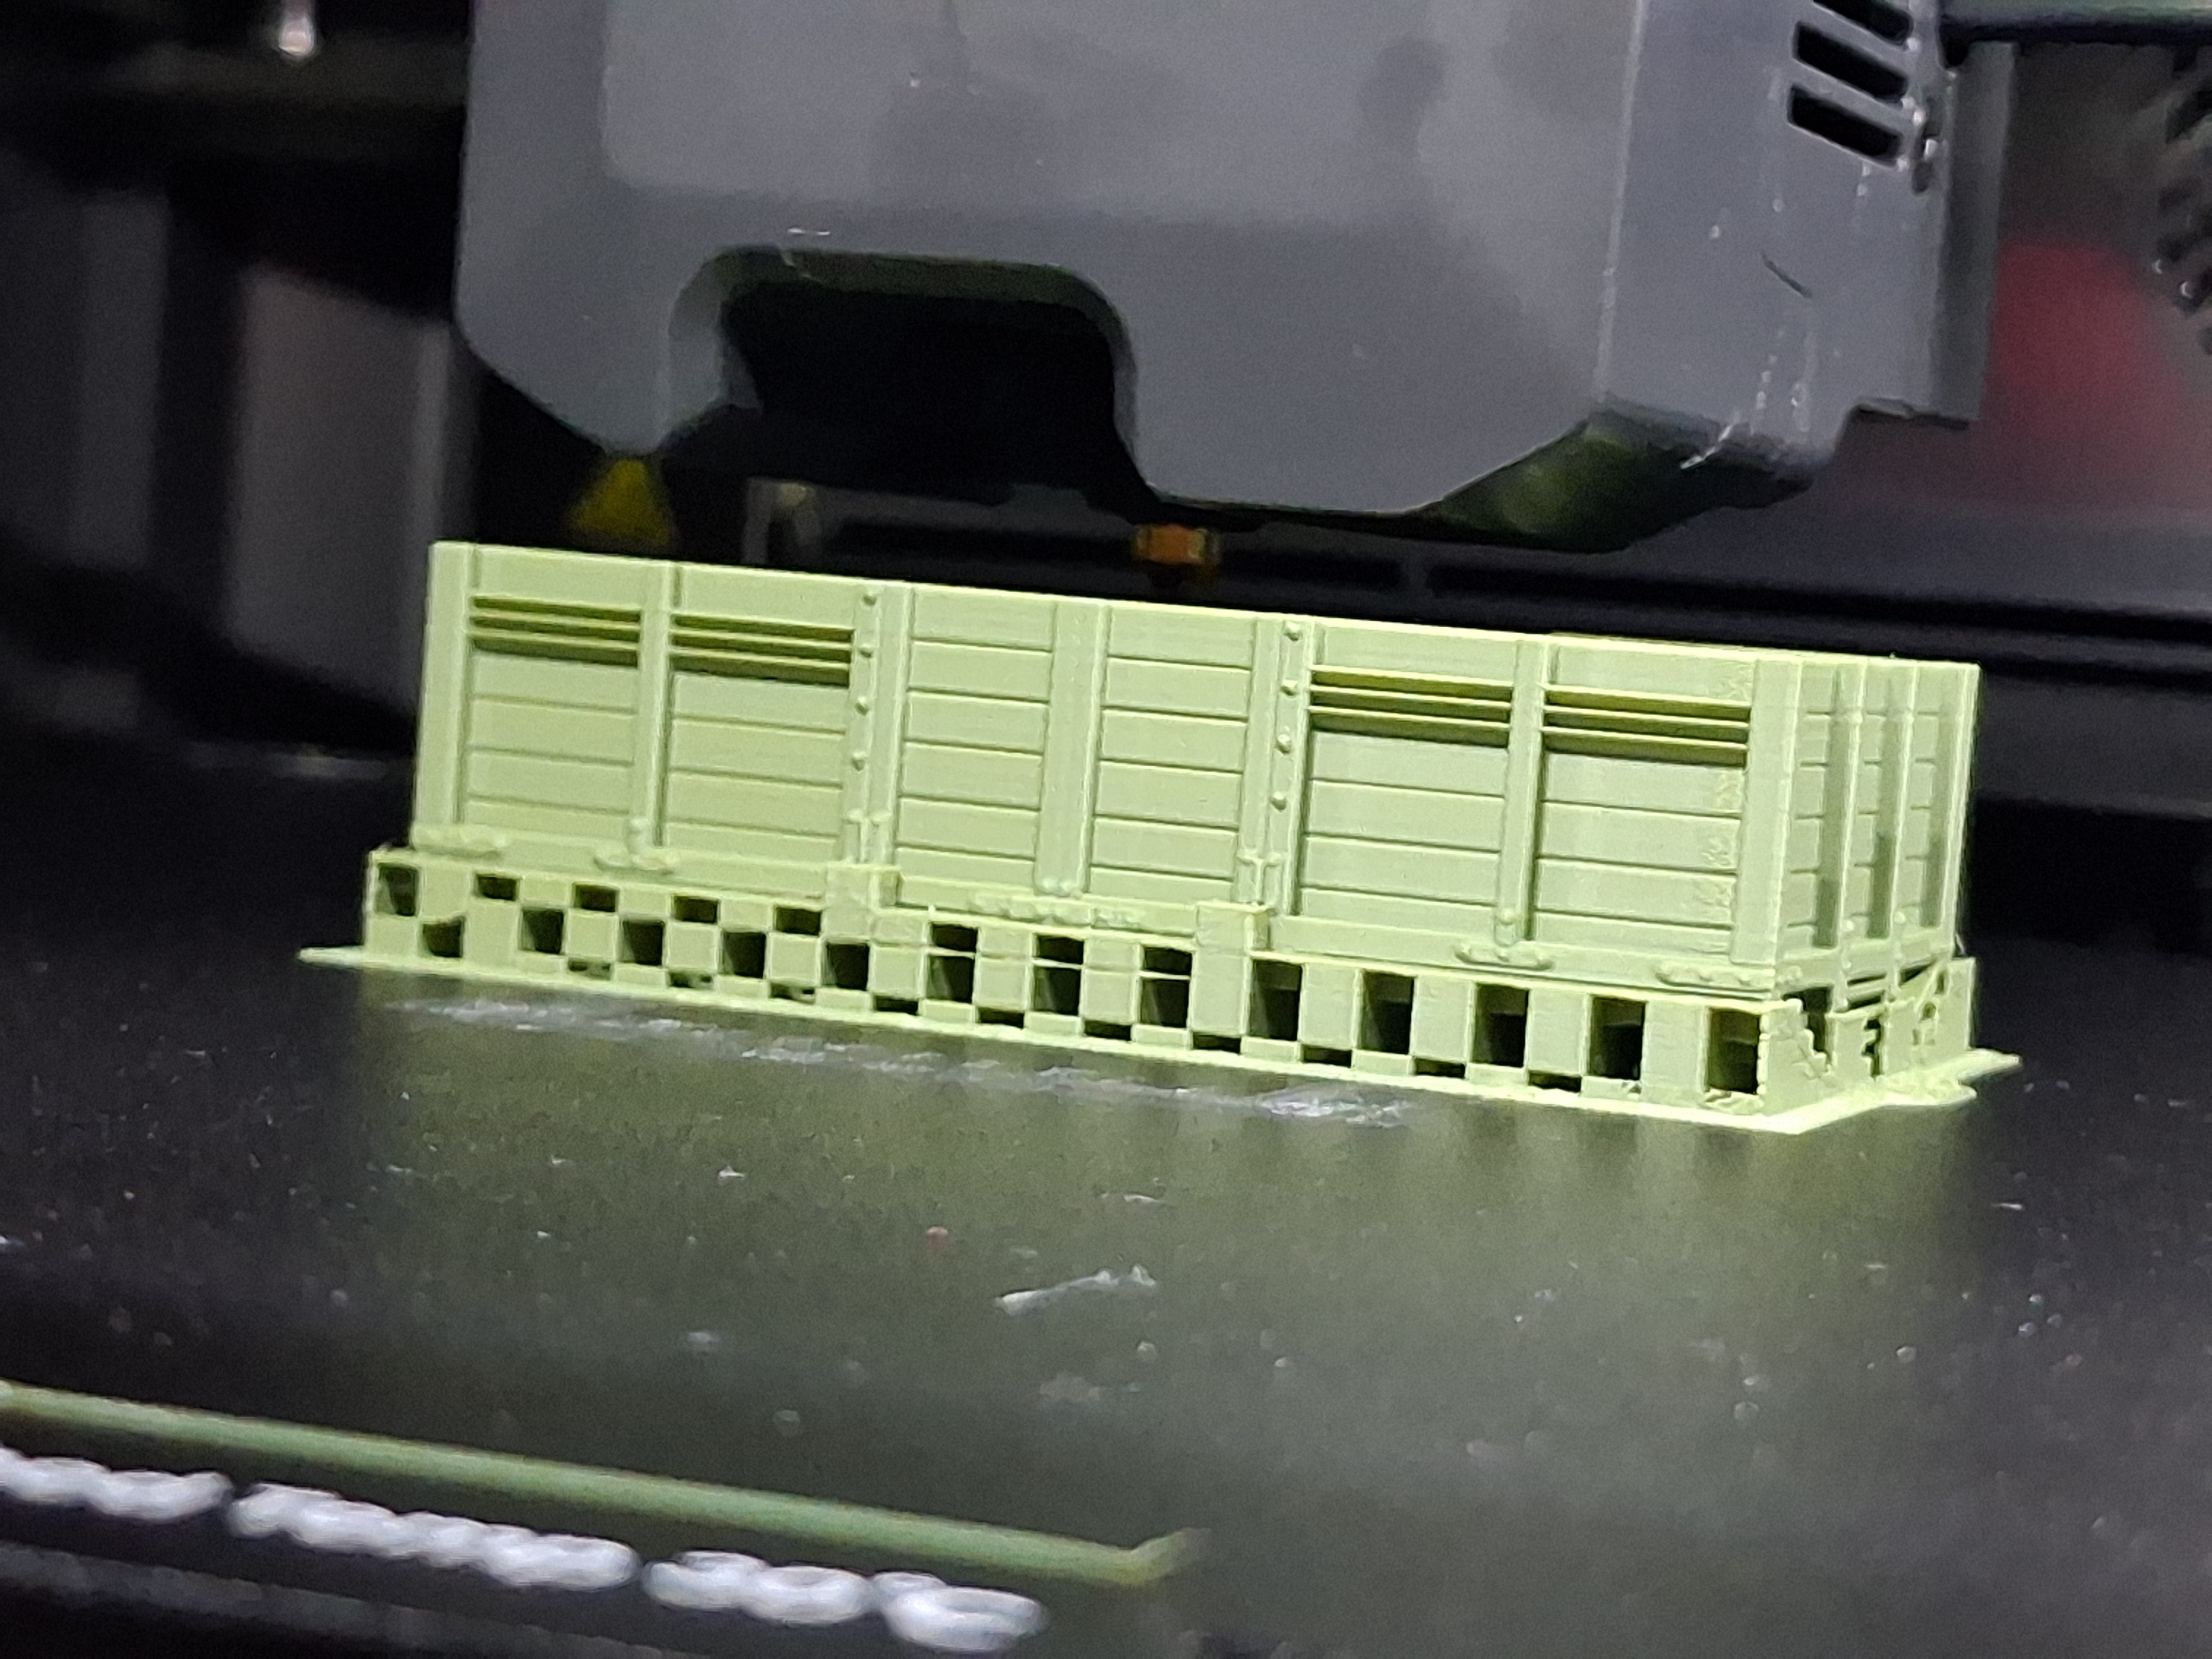
First print on the go. Enlarged 119% for S scale Elegoo Centauri Carbon, 0.2 nozzle, Sunlu PLA 2.0 filament in a fetching olive green. 4 1/2 hour print (ish) Will post another photo later when it's done.
-
I appreciate that they usually have to be made to fit but that one doesn't seem to fit very well...
-
It does seem to have an "I bodge it and run" quality to it. Was the saddle tank just lying around the works , off a long scrapped loco?
-
For those of you in the UK and going to RAILEX Aylesbury on the 23rd/24th May you will have the unique opportunity to see both of the late Trevor Nunn's layouts together. As part of the S Scale Model Railway Society's 80th Birthday celebrations, the Risbourough and District MRC have very generously allowed us to have 4 (yes 4!) S scale layouts with a display and demo stand. The layouts are East Lynn and Nunstanton, Trowland, Blakey Rigg, Arcadia. If you are visiting Railex please feel free to introduce yourself - if I am feeling really bored on Trowland you might get a controller thrust into your hand Regards Rob Rayner Hon Sec
-
Fingers crossed it all comes to fruition.
-
Just had a look at the .stl For a first attempt I think I will print it upside down, should get away with supports only on the top where they can be smoothed off and the louvres should print out from the body unsupported. There is a bit of framing across the bottom of the doors that may need supporting Only one way to find out but it won't be soon 'cos the Mars is mothballed while I try to dial in my FDM printers.
-
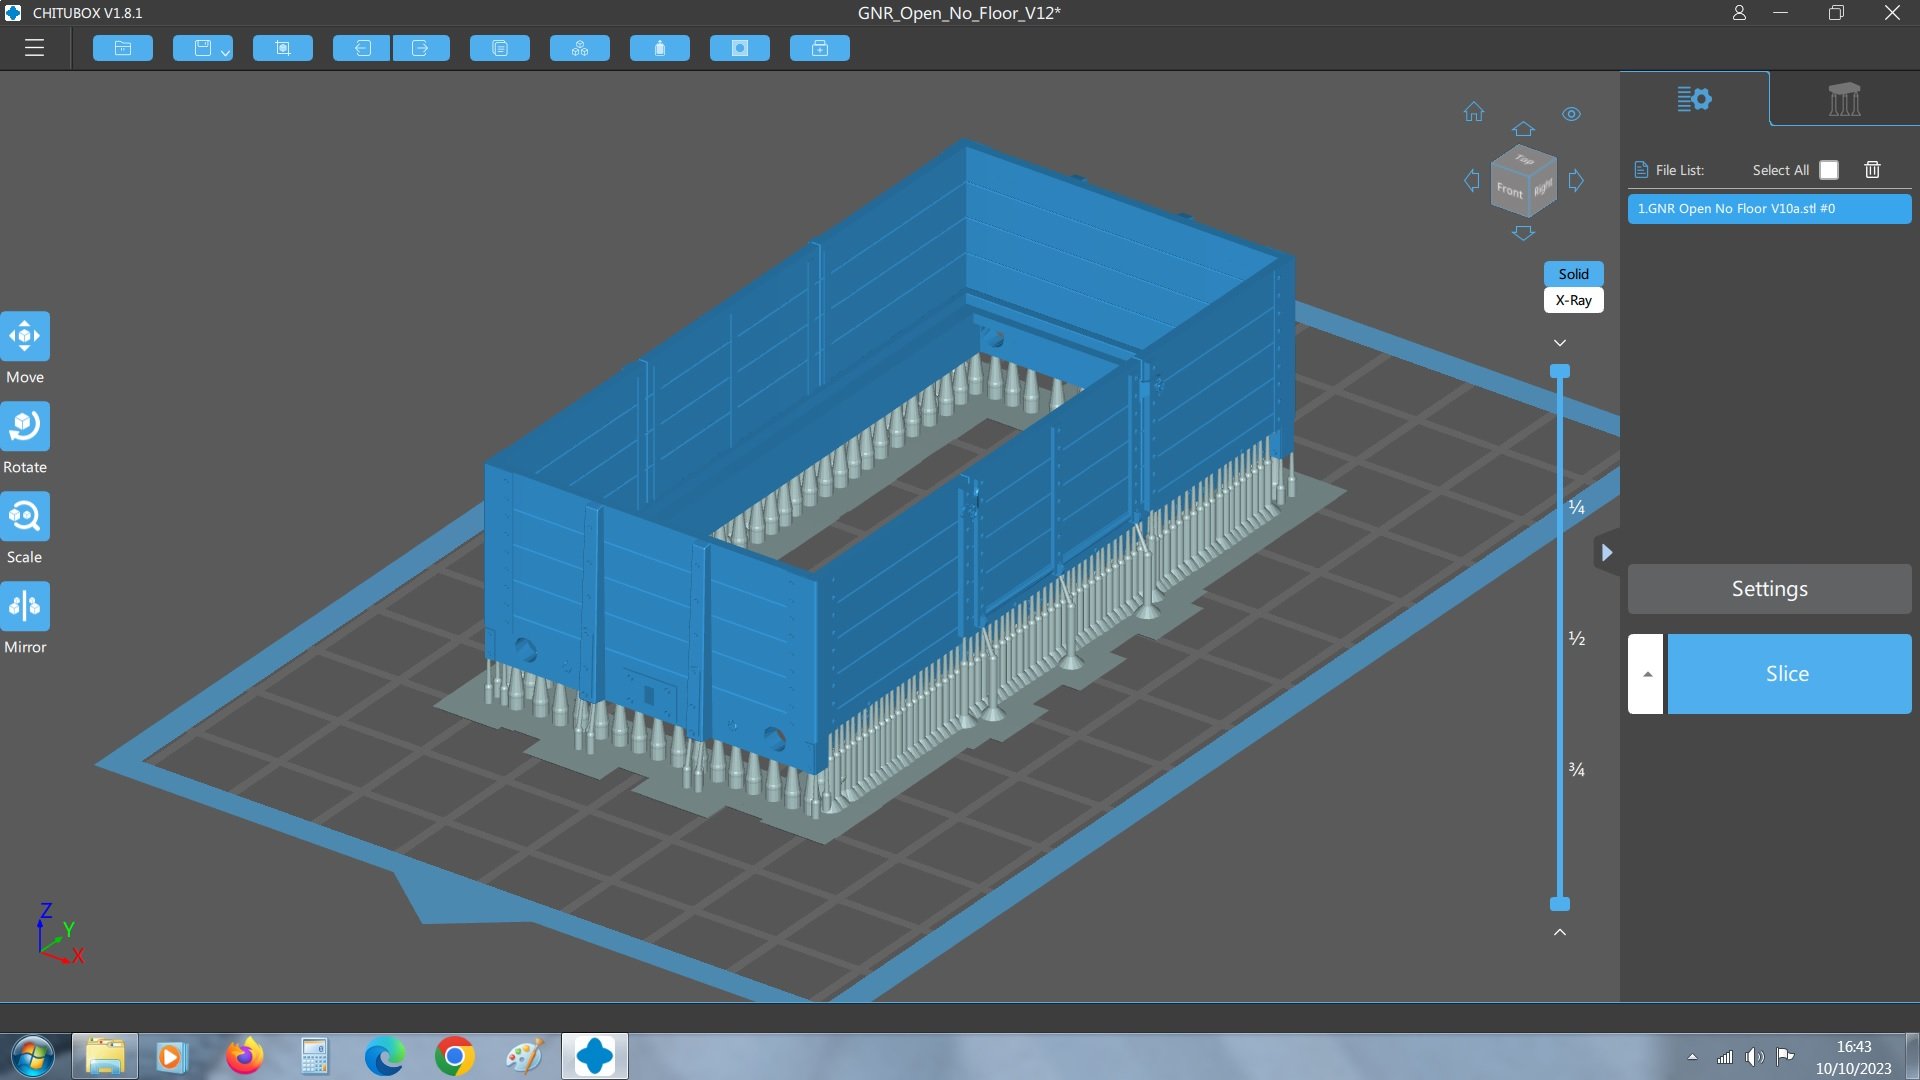
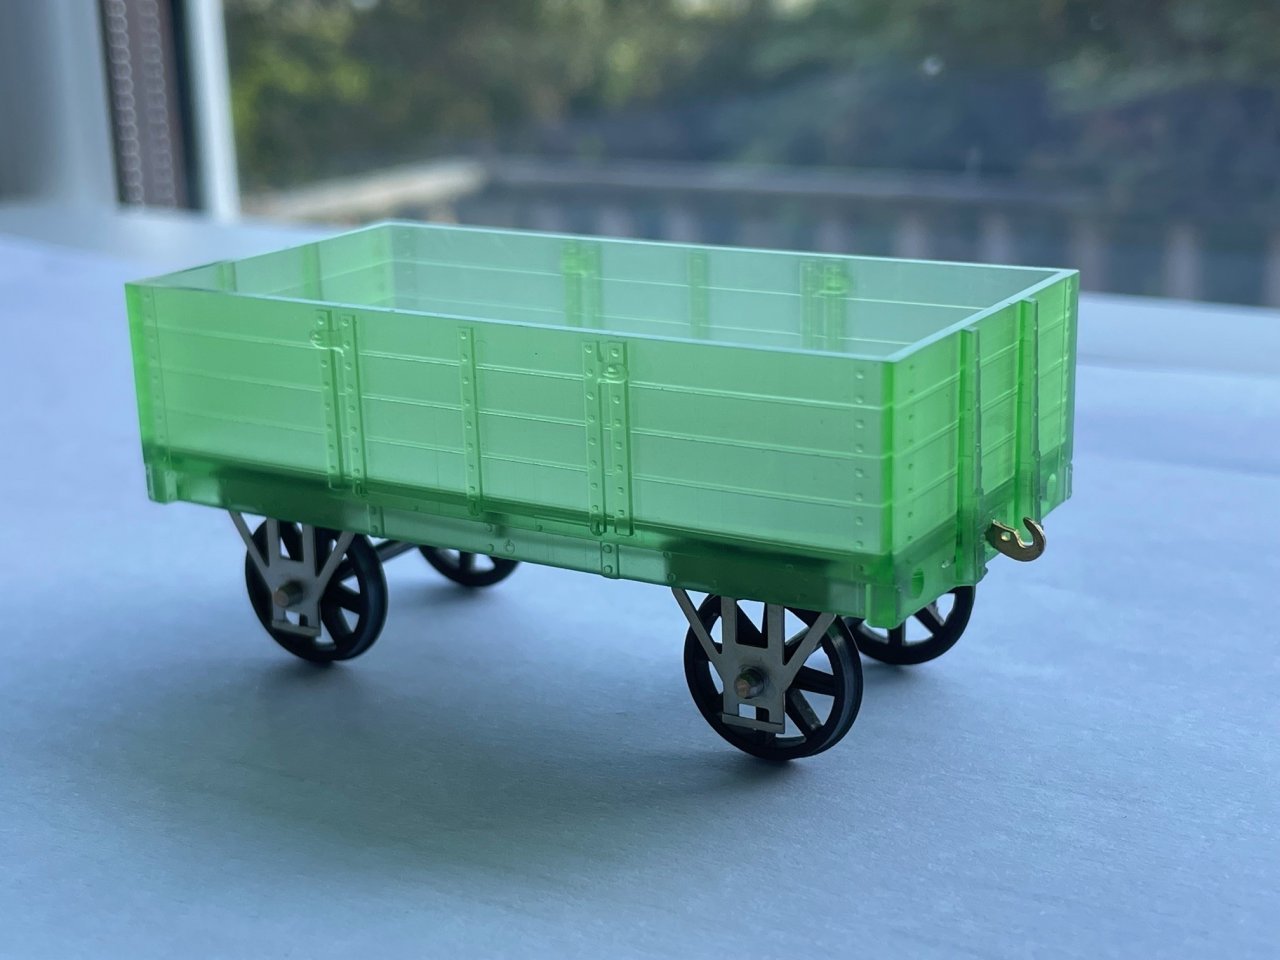
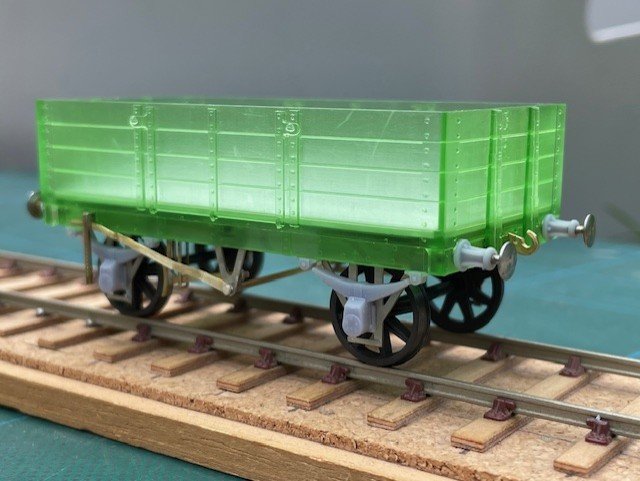
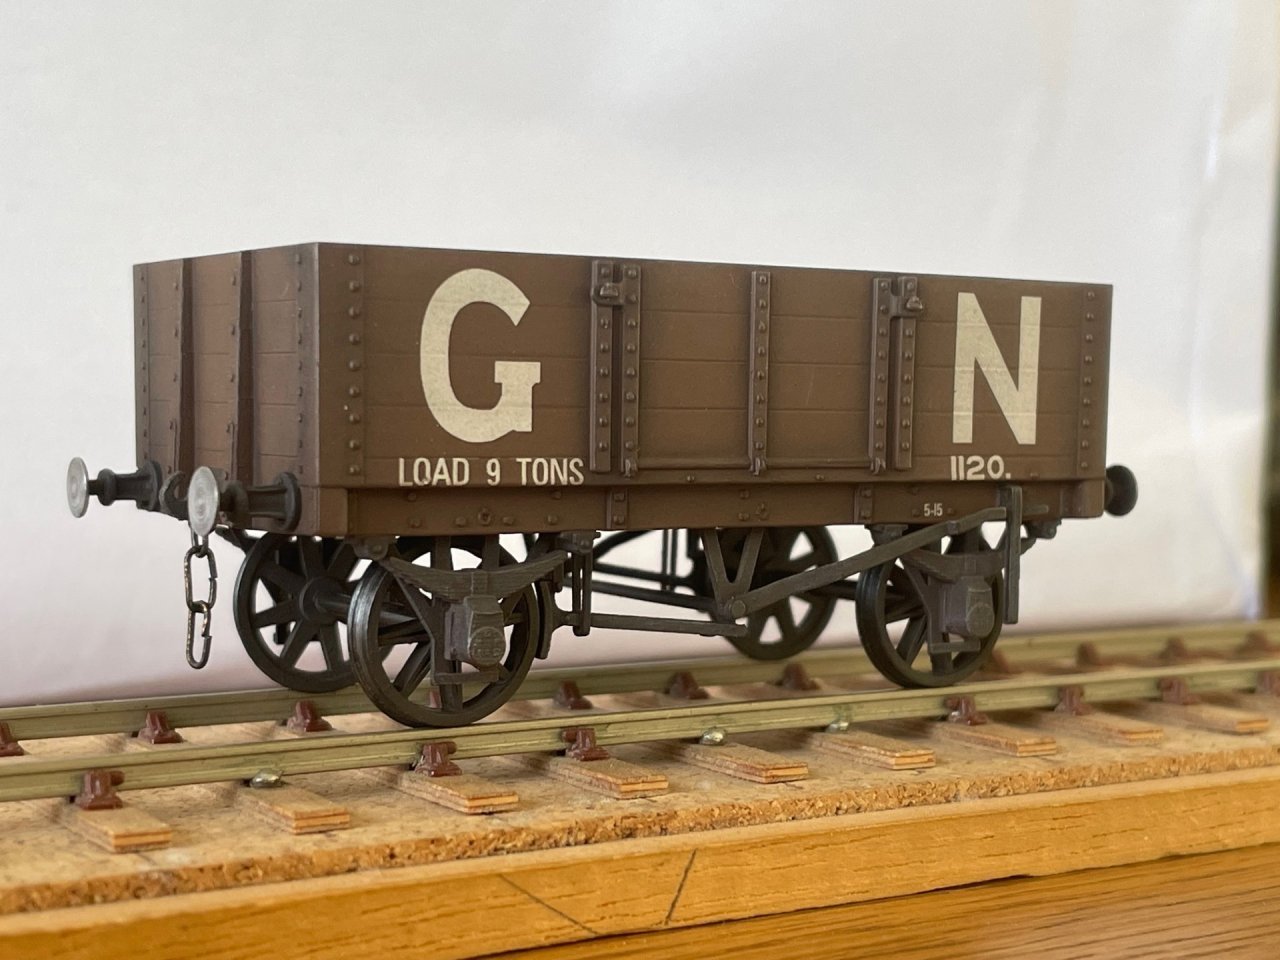
I would print it "as is". My resin printer is an Elegoo Mars 2 pro, about three generations old in printer terms and my go to resin is Elegoo water washable transclucent - usually green but other colours are available. For the S scale open wagon pictured below (GNR of england 4 plank) I went through a ton of prints trying to get it to print with a floor and in the end decided that for the sake of a bit of plasticard it was easier to do it floorless. As a bonus, it also sits horizontal to the build plate and reduces the print time. Screen shot of supported model a couple of views of one of my prints being turned into a work of art by Scott Willis And the finished article For your van in 4mm scale I would do the roof seperately, in 3 pieces, 2 end sections and the centre beam, not sure about the best way of doing the canvas roof doors. Axle boxes and springs easy enough to draw and print. Buffers print with steel heads (Gibson? Wizard Models?), W irons - use standard gauge etches but put a set in the W part, angle it out and then bend it staight down at the level of the bottom of the solebar (sorry that would be so much easier with a picture), it is only a mm each side. Brake gear, mixture of printed and commercially available etches. I am looking forward to printing your van in S, Paul Greene will need a dozen or so for Broombridge. Are you UK based? Are you coming to Railex in Aylesbury at the end of the month? If so please come to Trowland and we can have a chat. Cheers Rob
-
Blessington No. 10?
-
"Voiding the Warranty" - Mol's experiments in 21mm gauge
Rob R replied to Mol_PMB's topic in Irish Models
Somewhere up in the loft I have a selection of Rumfit "OO and EM" axles if you need any more. If you are really desperate I also have some S scale axles which will need shortening............ R -
"You want wheels on that loco? That will be an extra £20 per wheel sir. A motor as well? Another £50 sir"