lucas
-
Posts
50 -
Joined
-
Last visited
-
Days Won
1
Recent Profile Visitors
460 profile views


lucas's Achievements
")


-
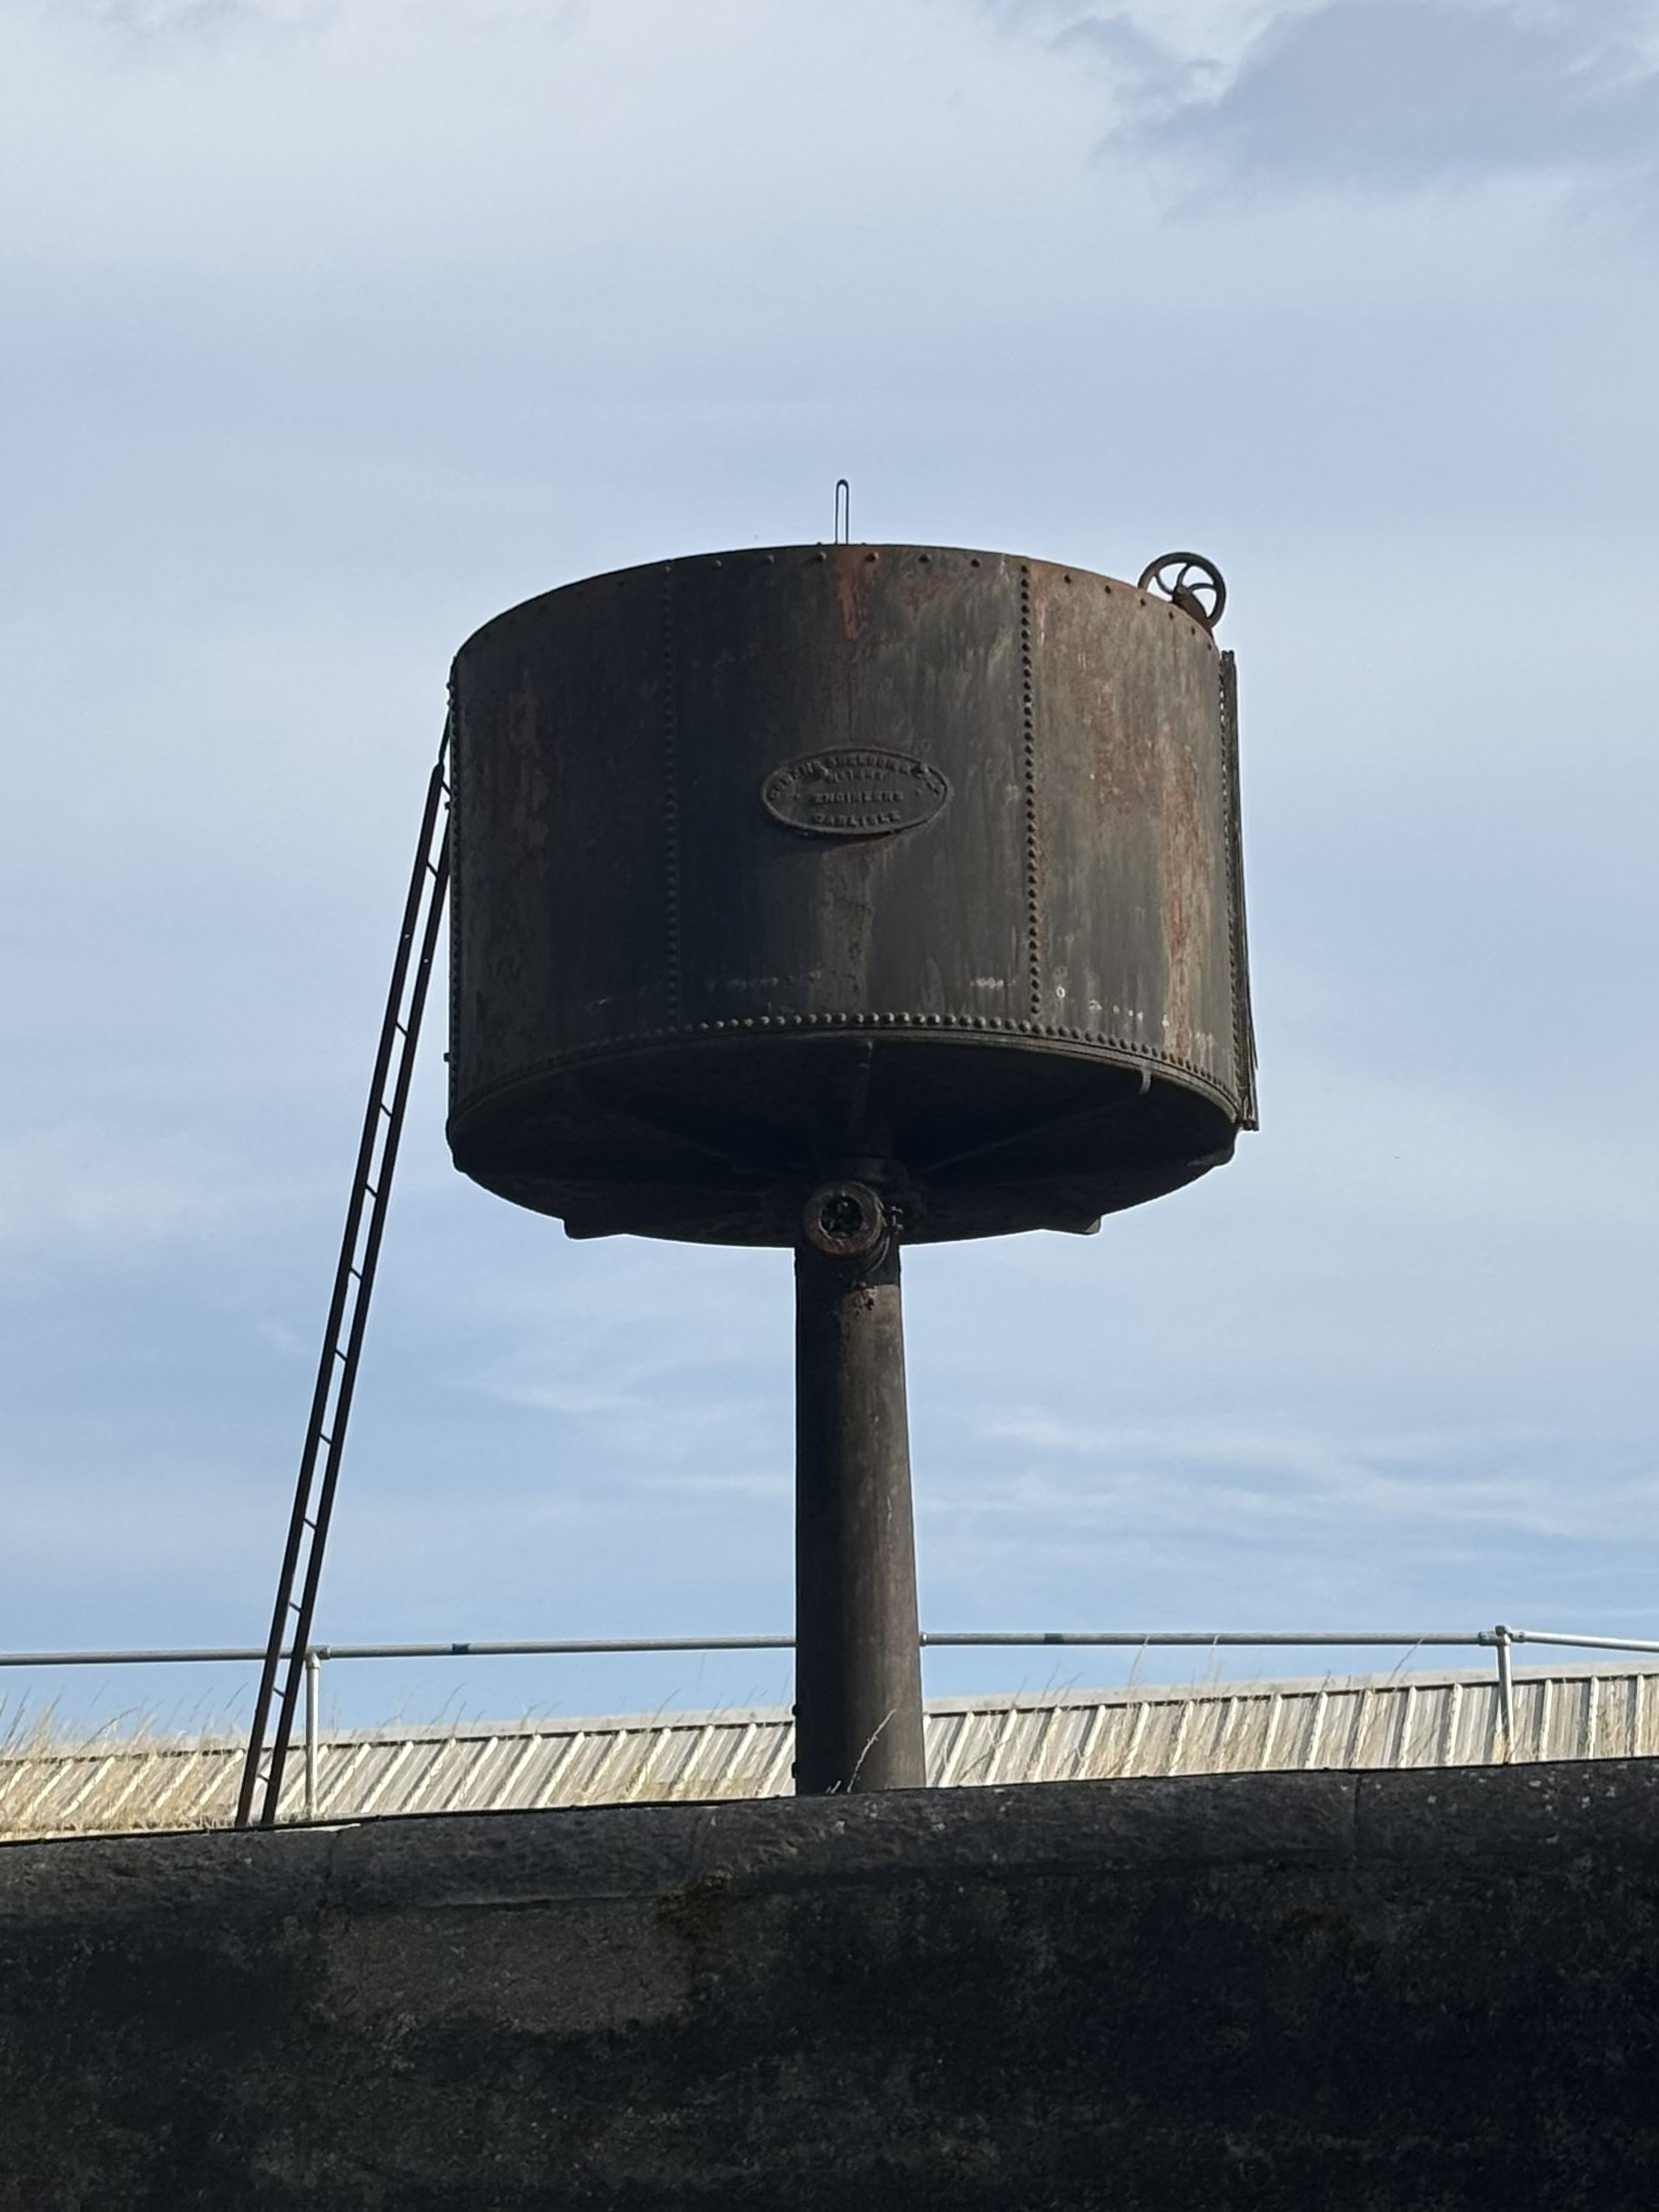
 There's one still standing in the far corner of Kent station in Cork. Picture taken from the Lower Glanmire Road earlier today. Had I been 30 seconds earlier with the camera you would've seen 2601/02 pass by in the background.
-
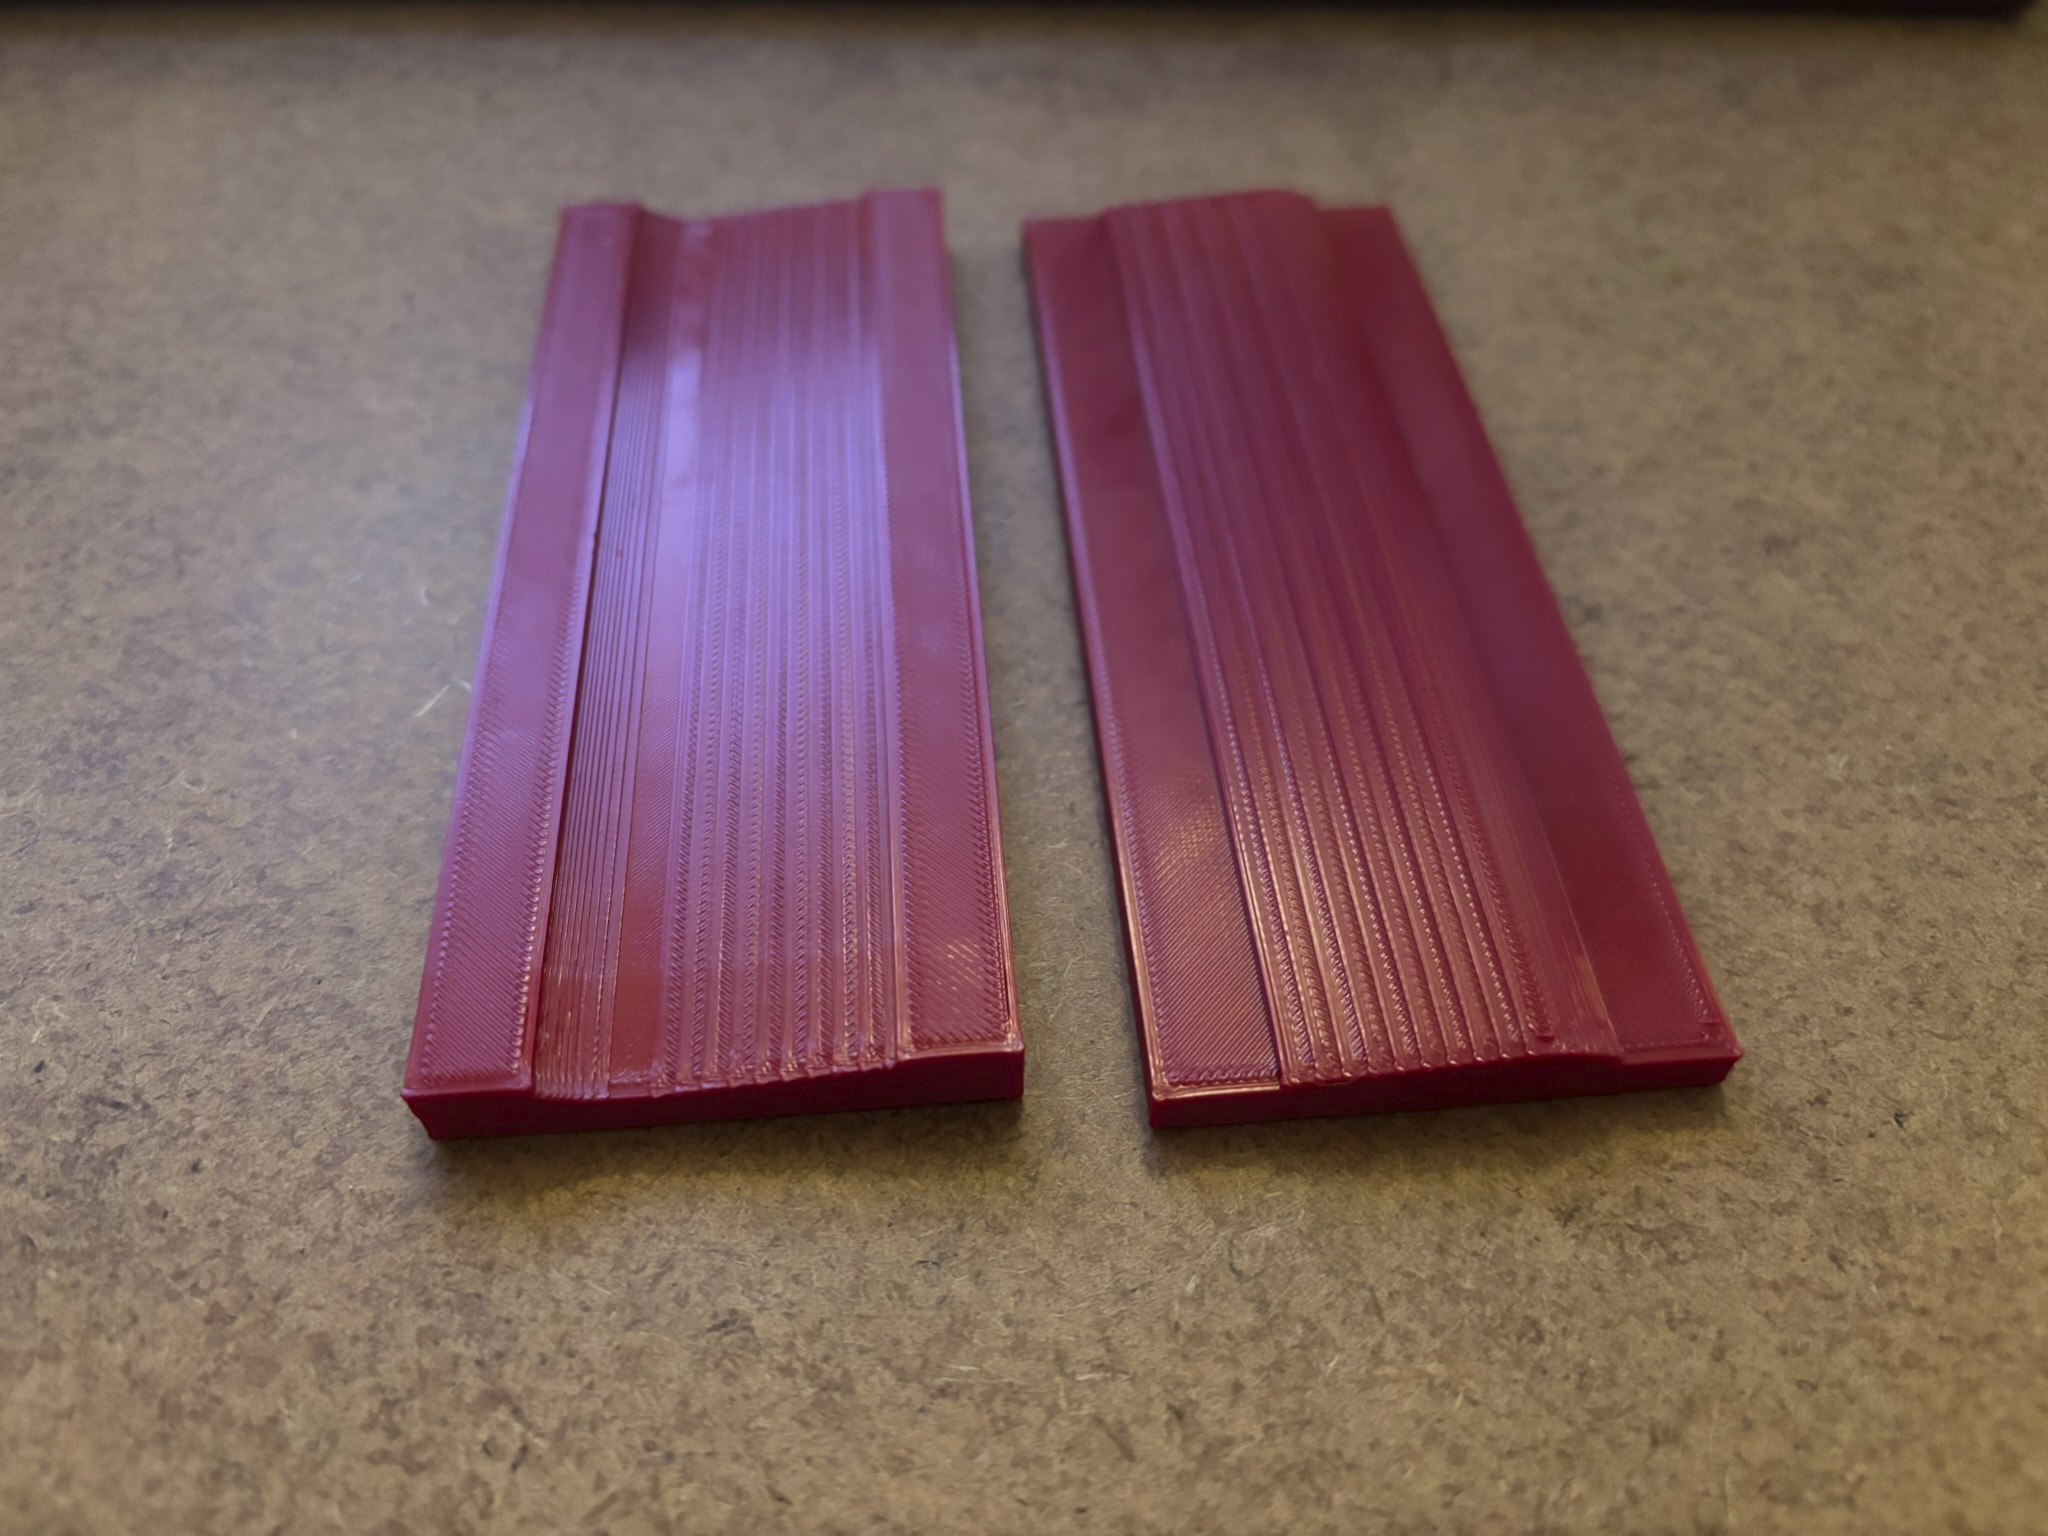
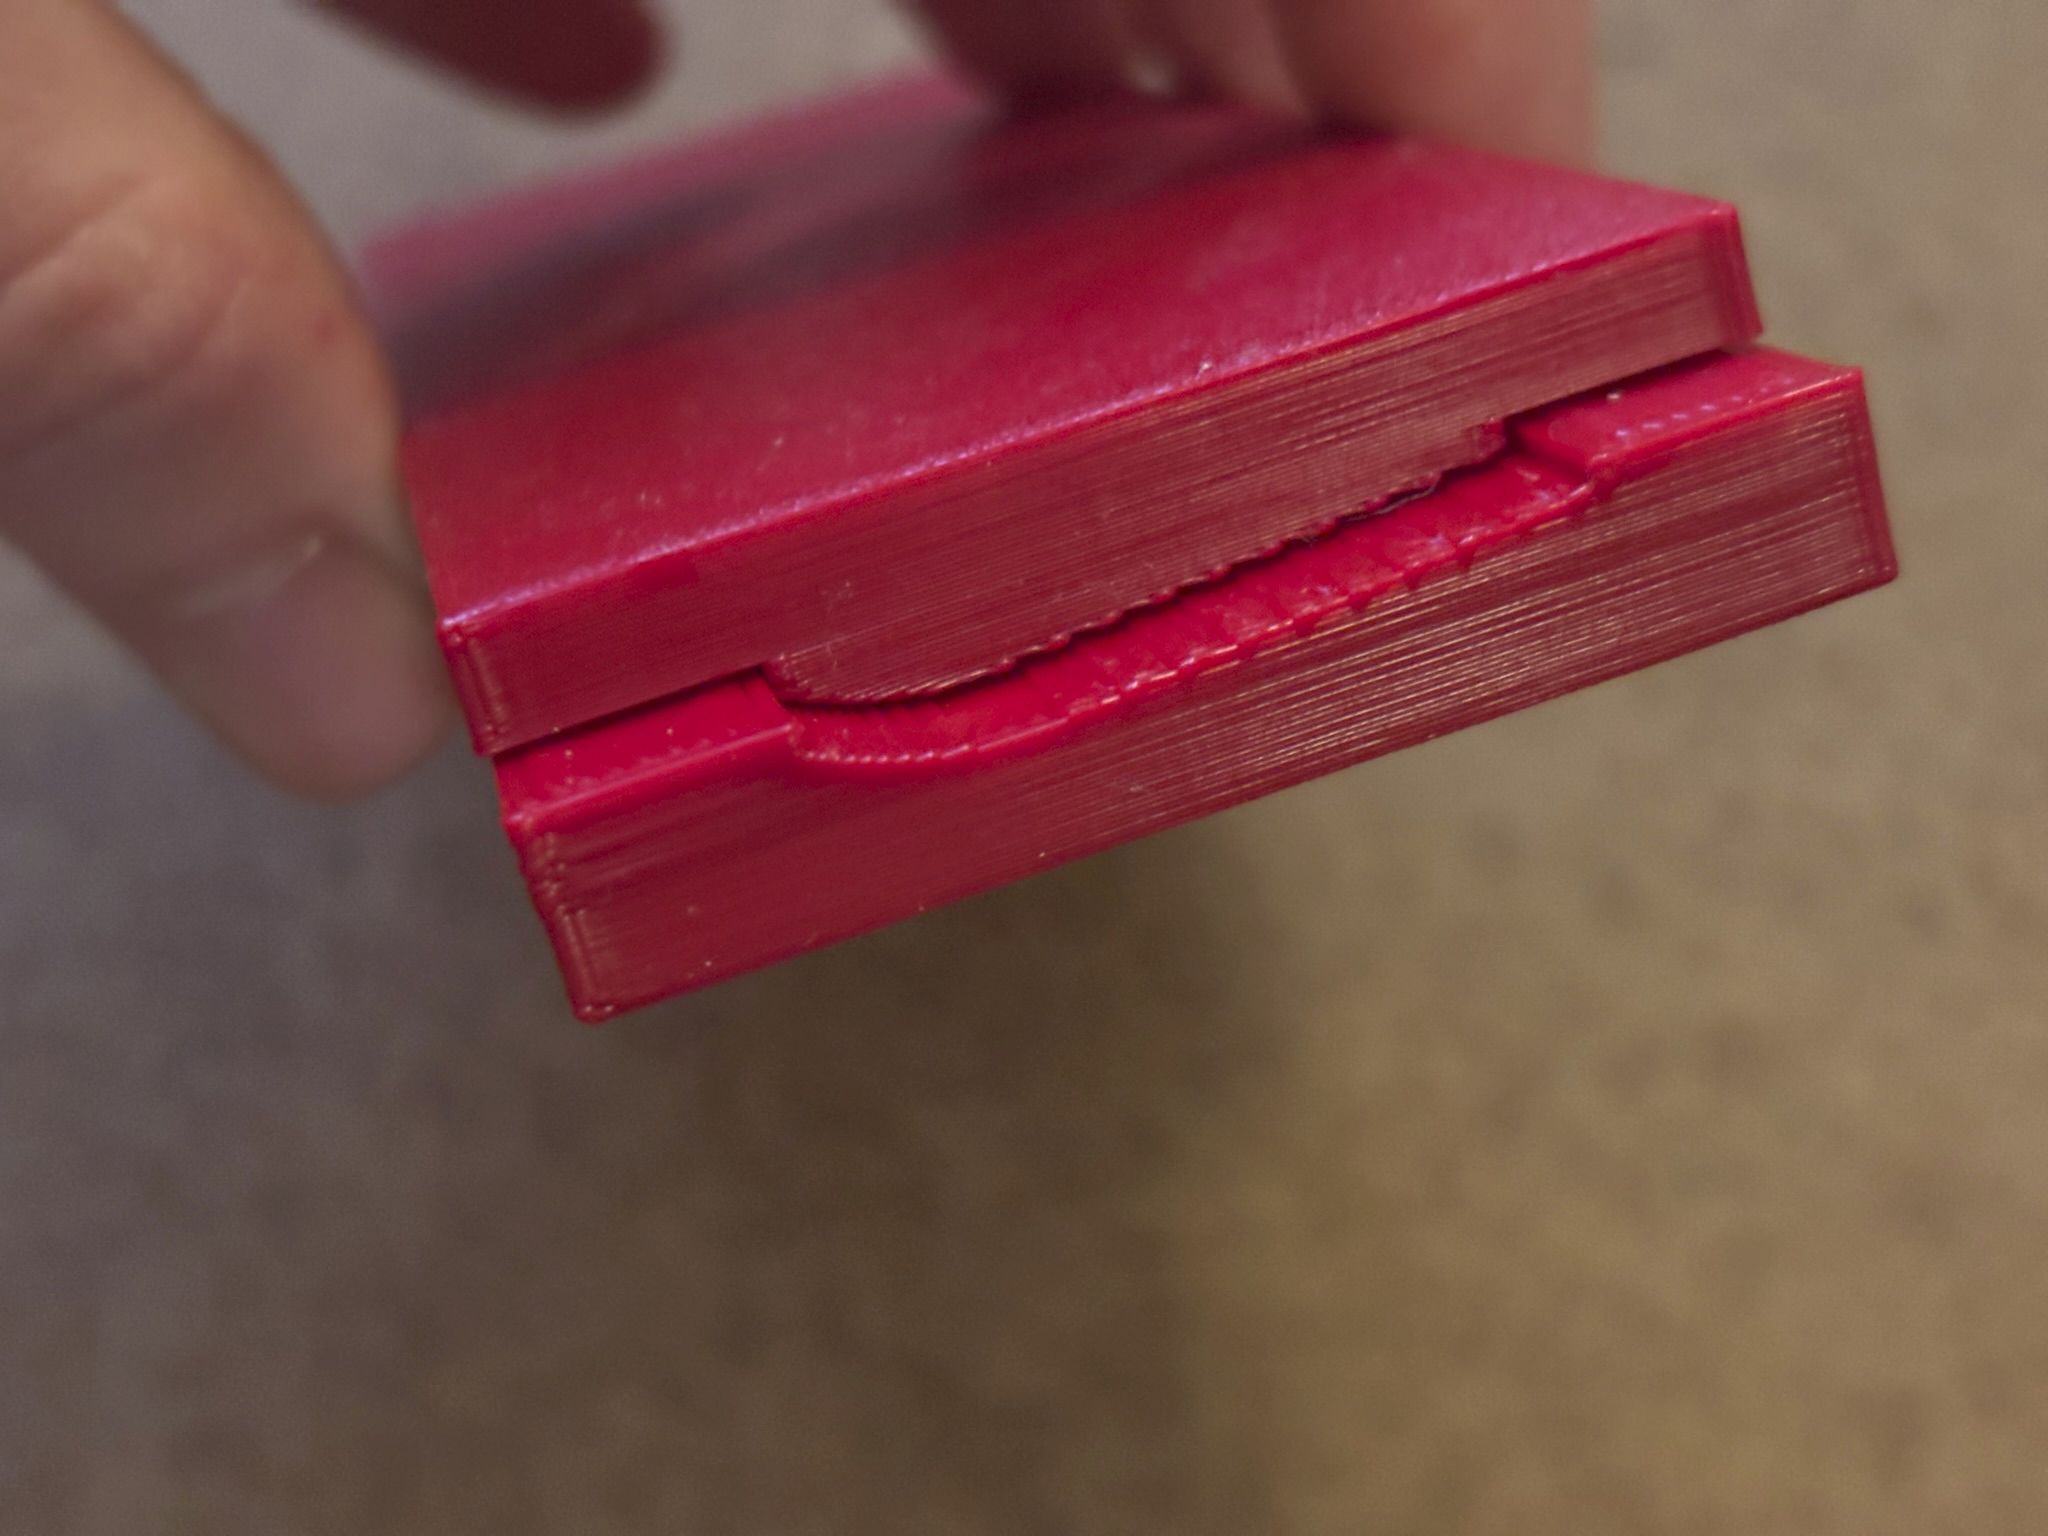
I have used 3D printed dies in the past to get the curve in coach body sides consistent. These are printed on a very coarse setting on my printer since the surface doesn't matter anyway. The brass etch is sandwiched in between and pressed tight in the vise. It takes a little bit of trial and error to get the die right since brass tends to 'spring back' a little bit, so the die is designed to have a slightly tighter curve than what's actually needed. I'm sure something similar could be adapted for those curves.
-
21mm gauge wheel sets for IRM Park Royals and Mark IIs
lucas replied to lucas's topic in Irish Models
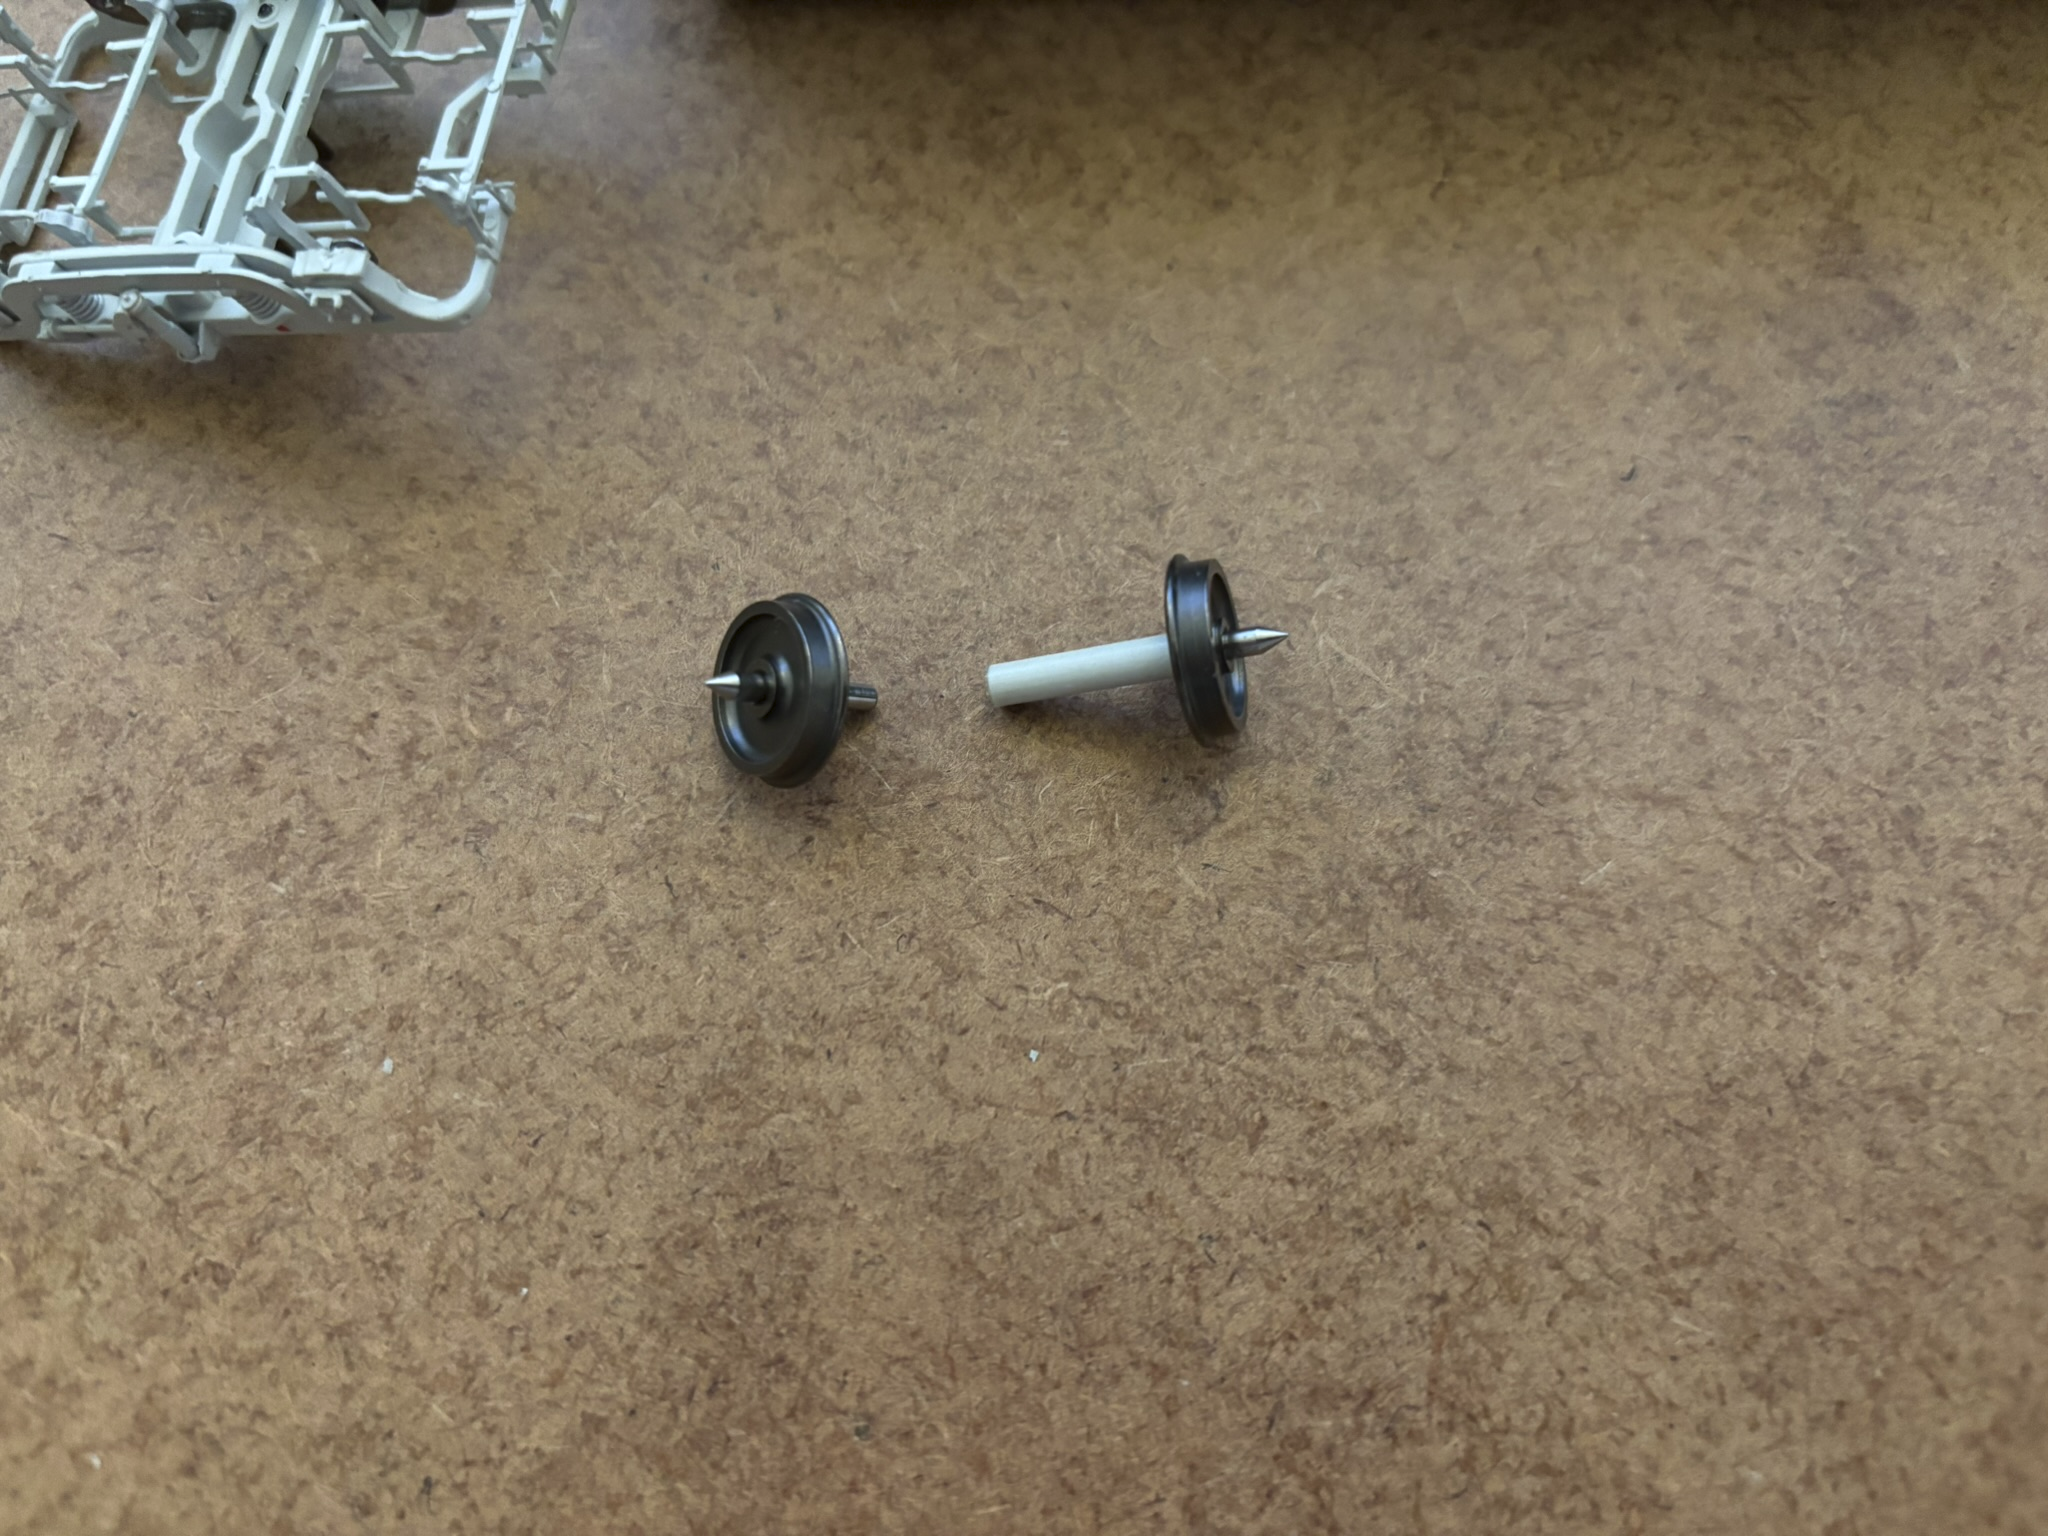
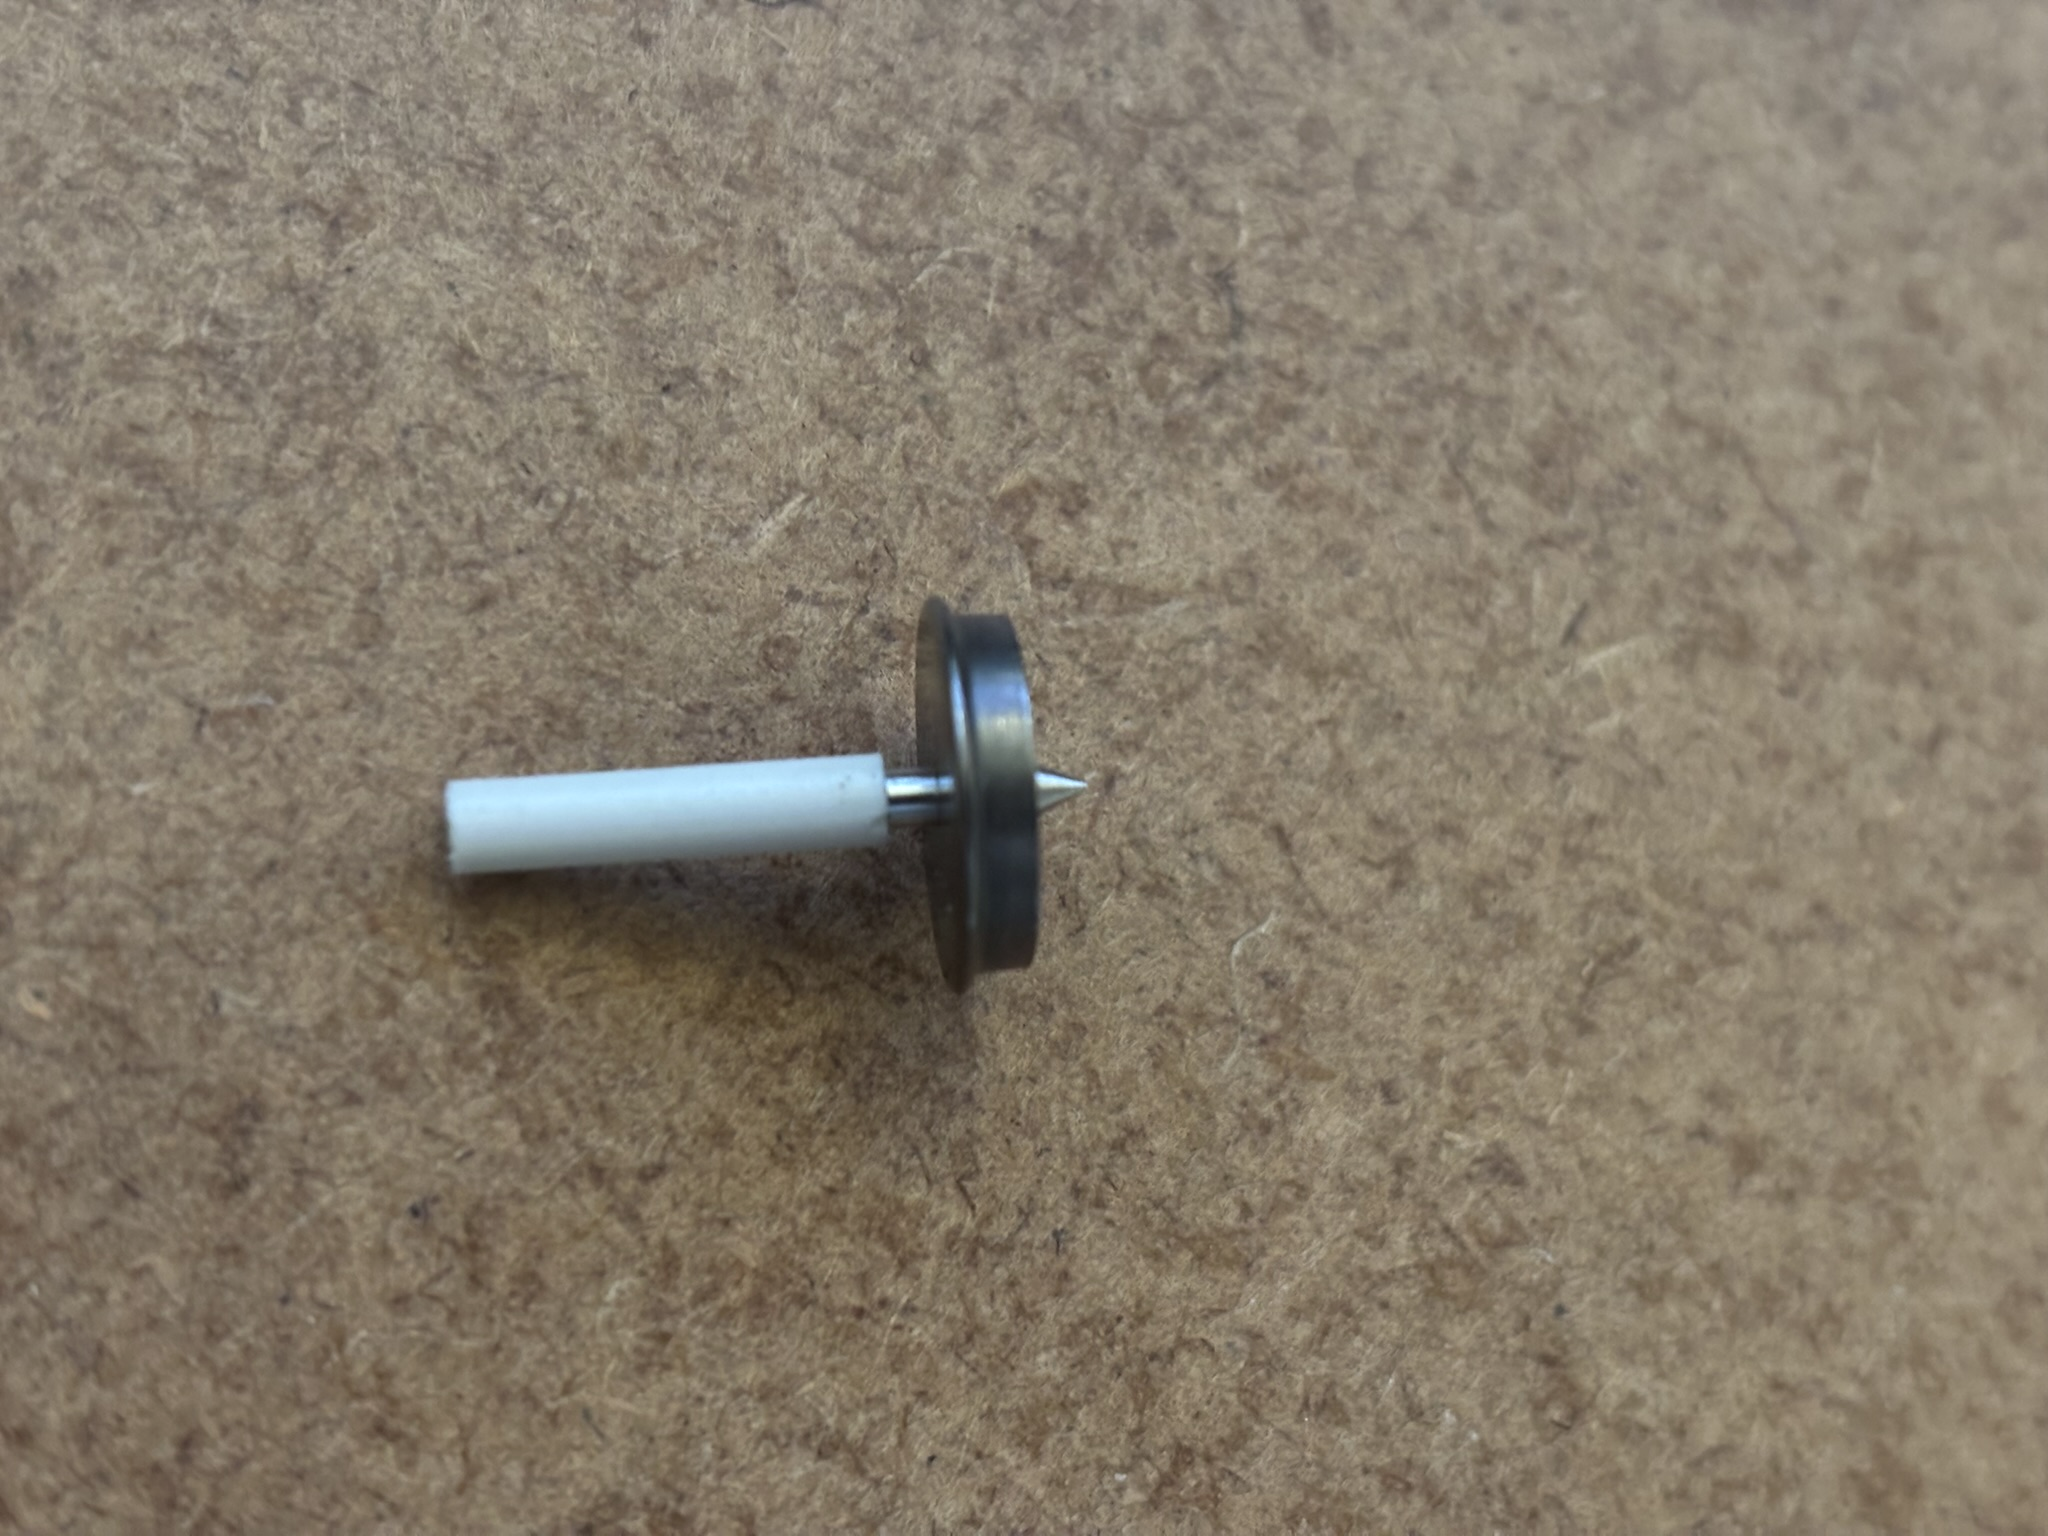
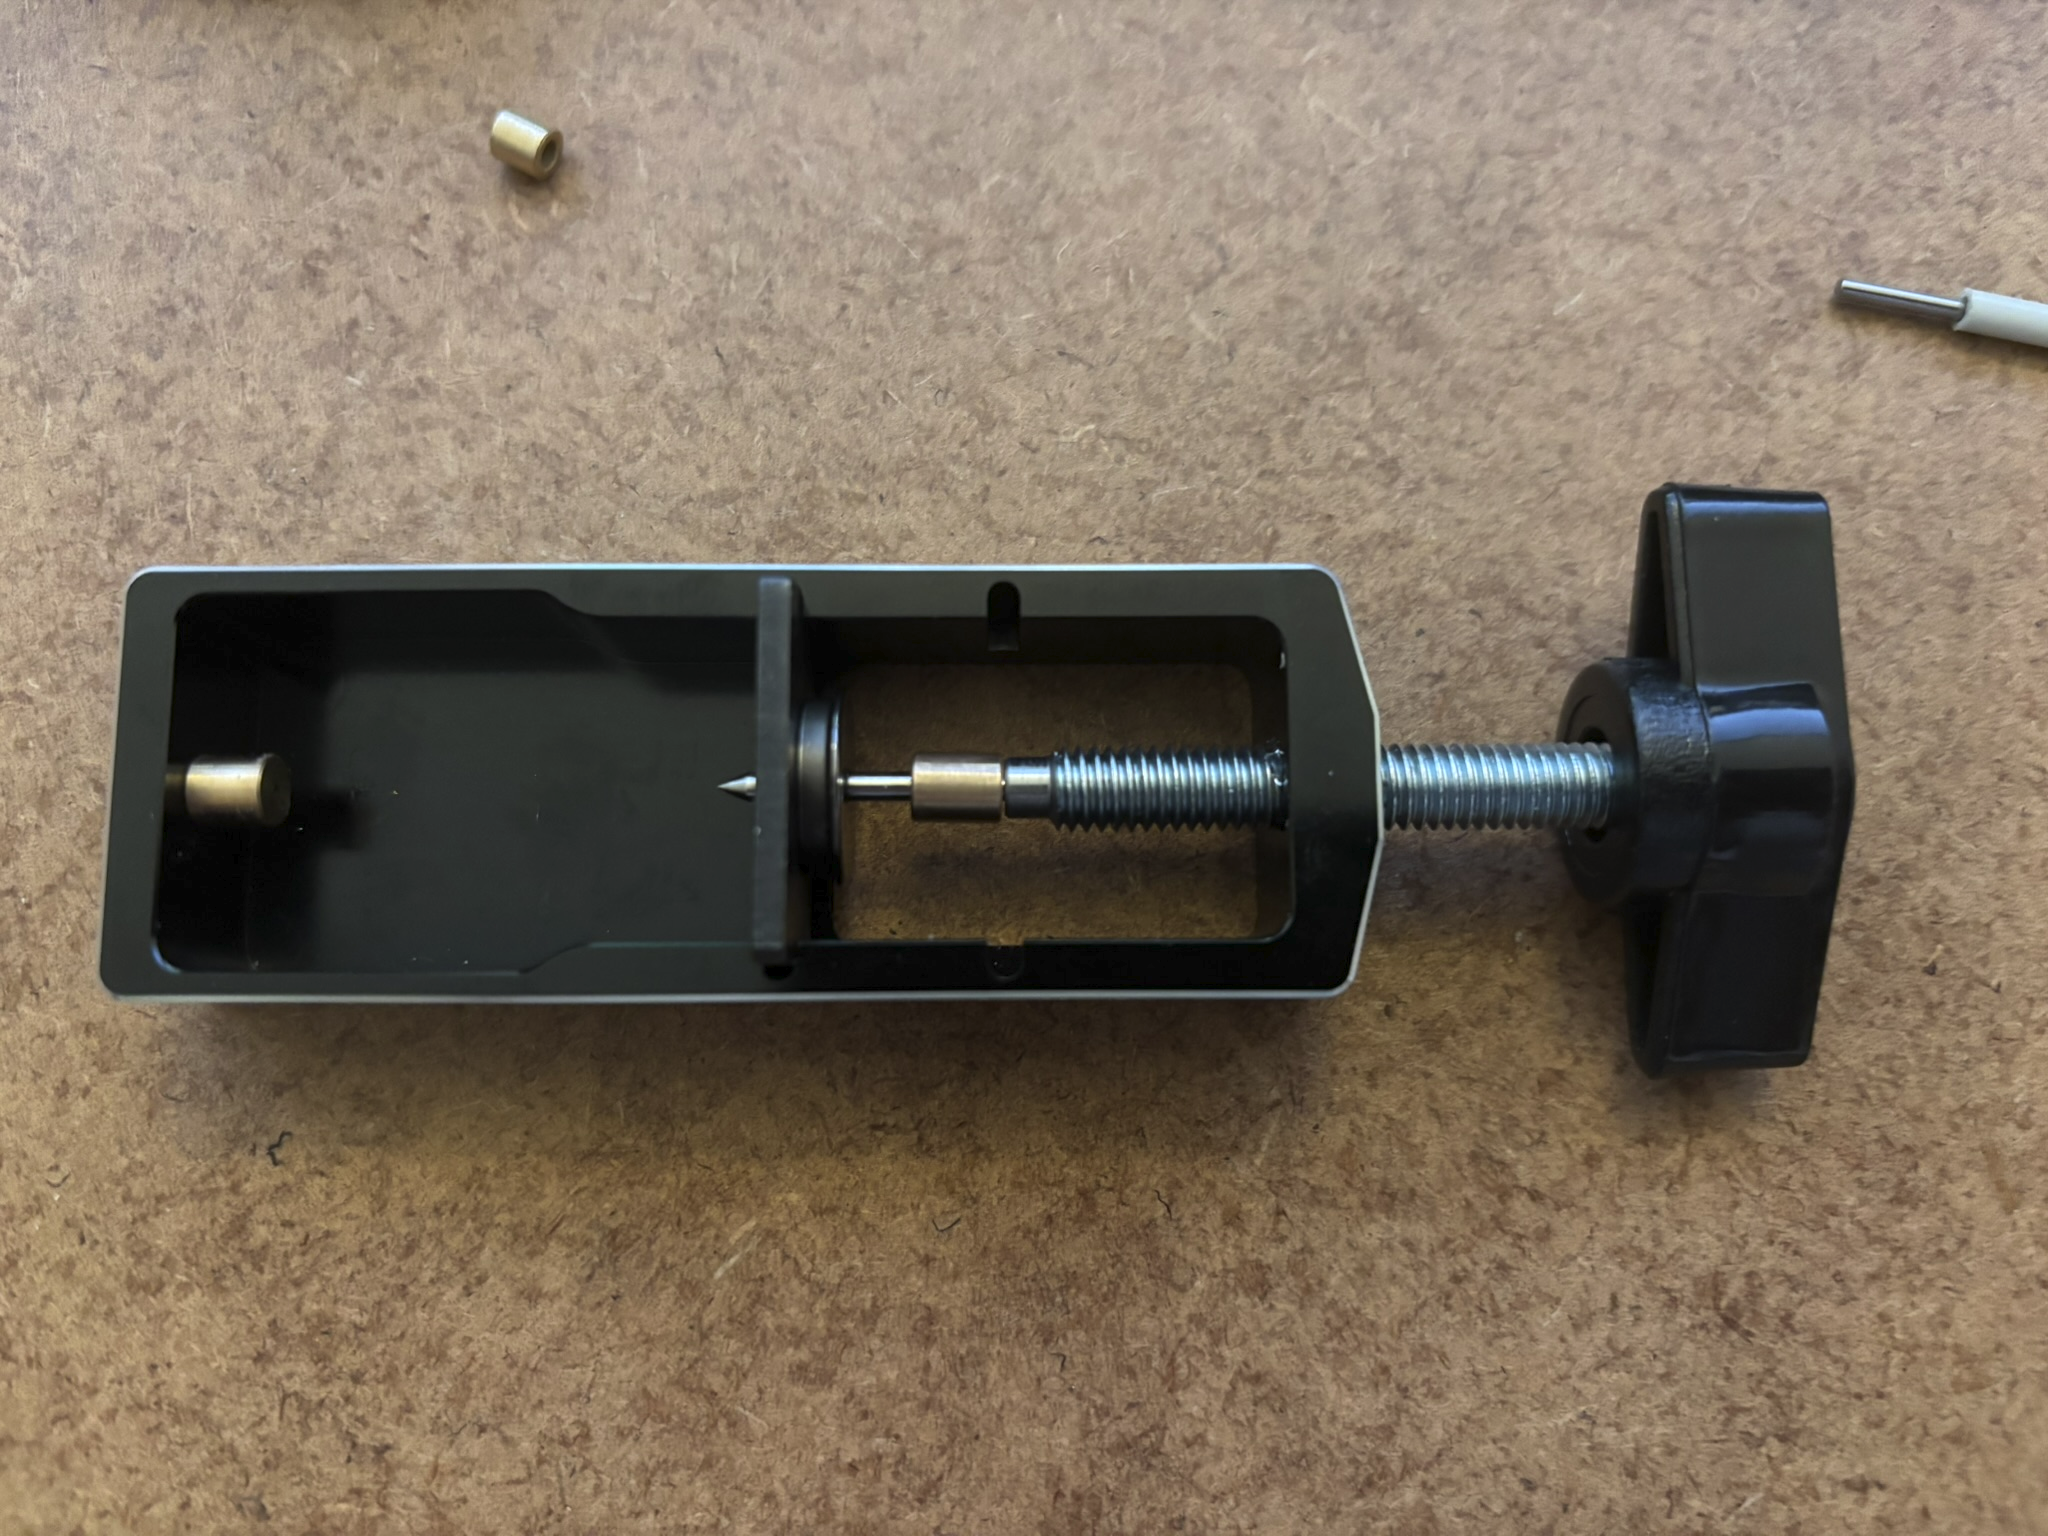
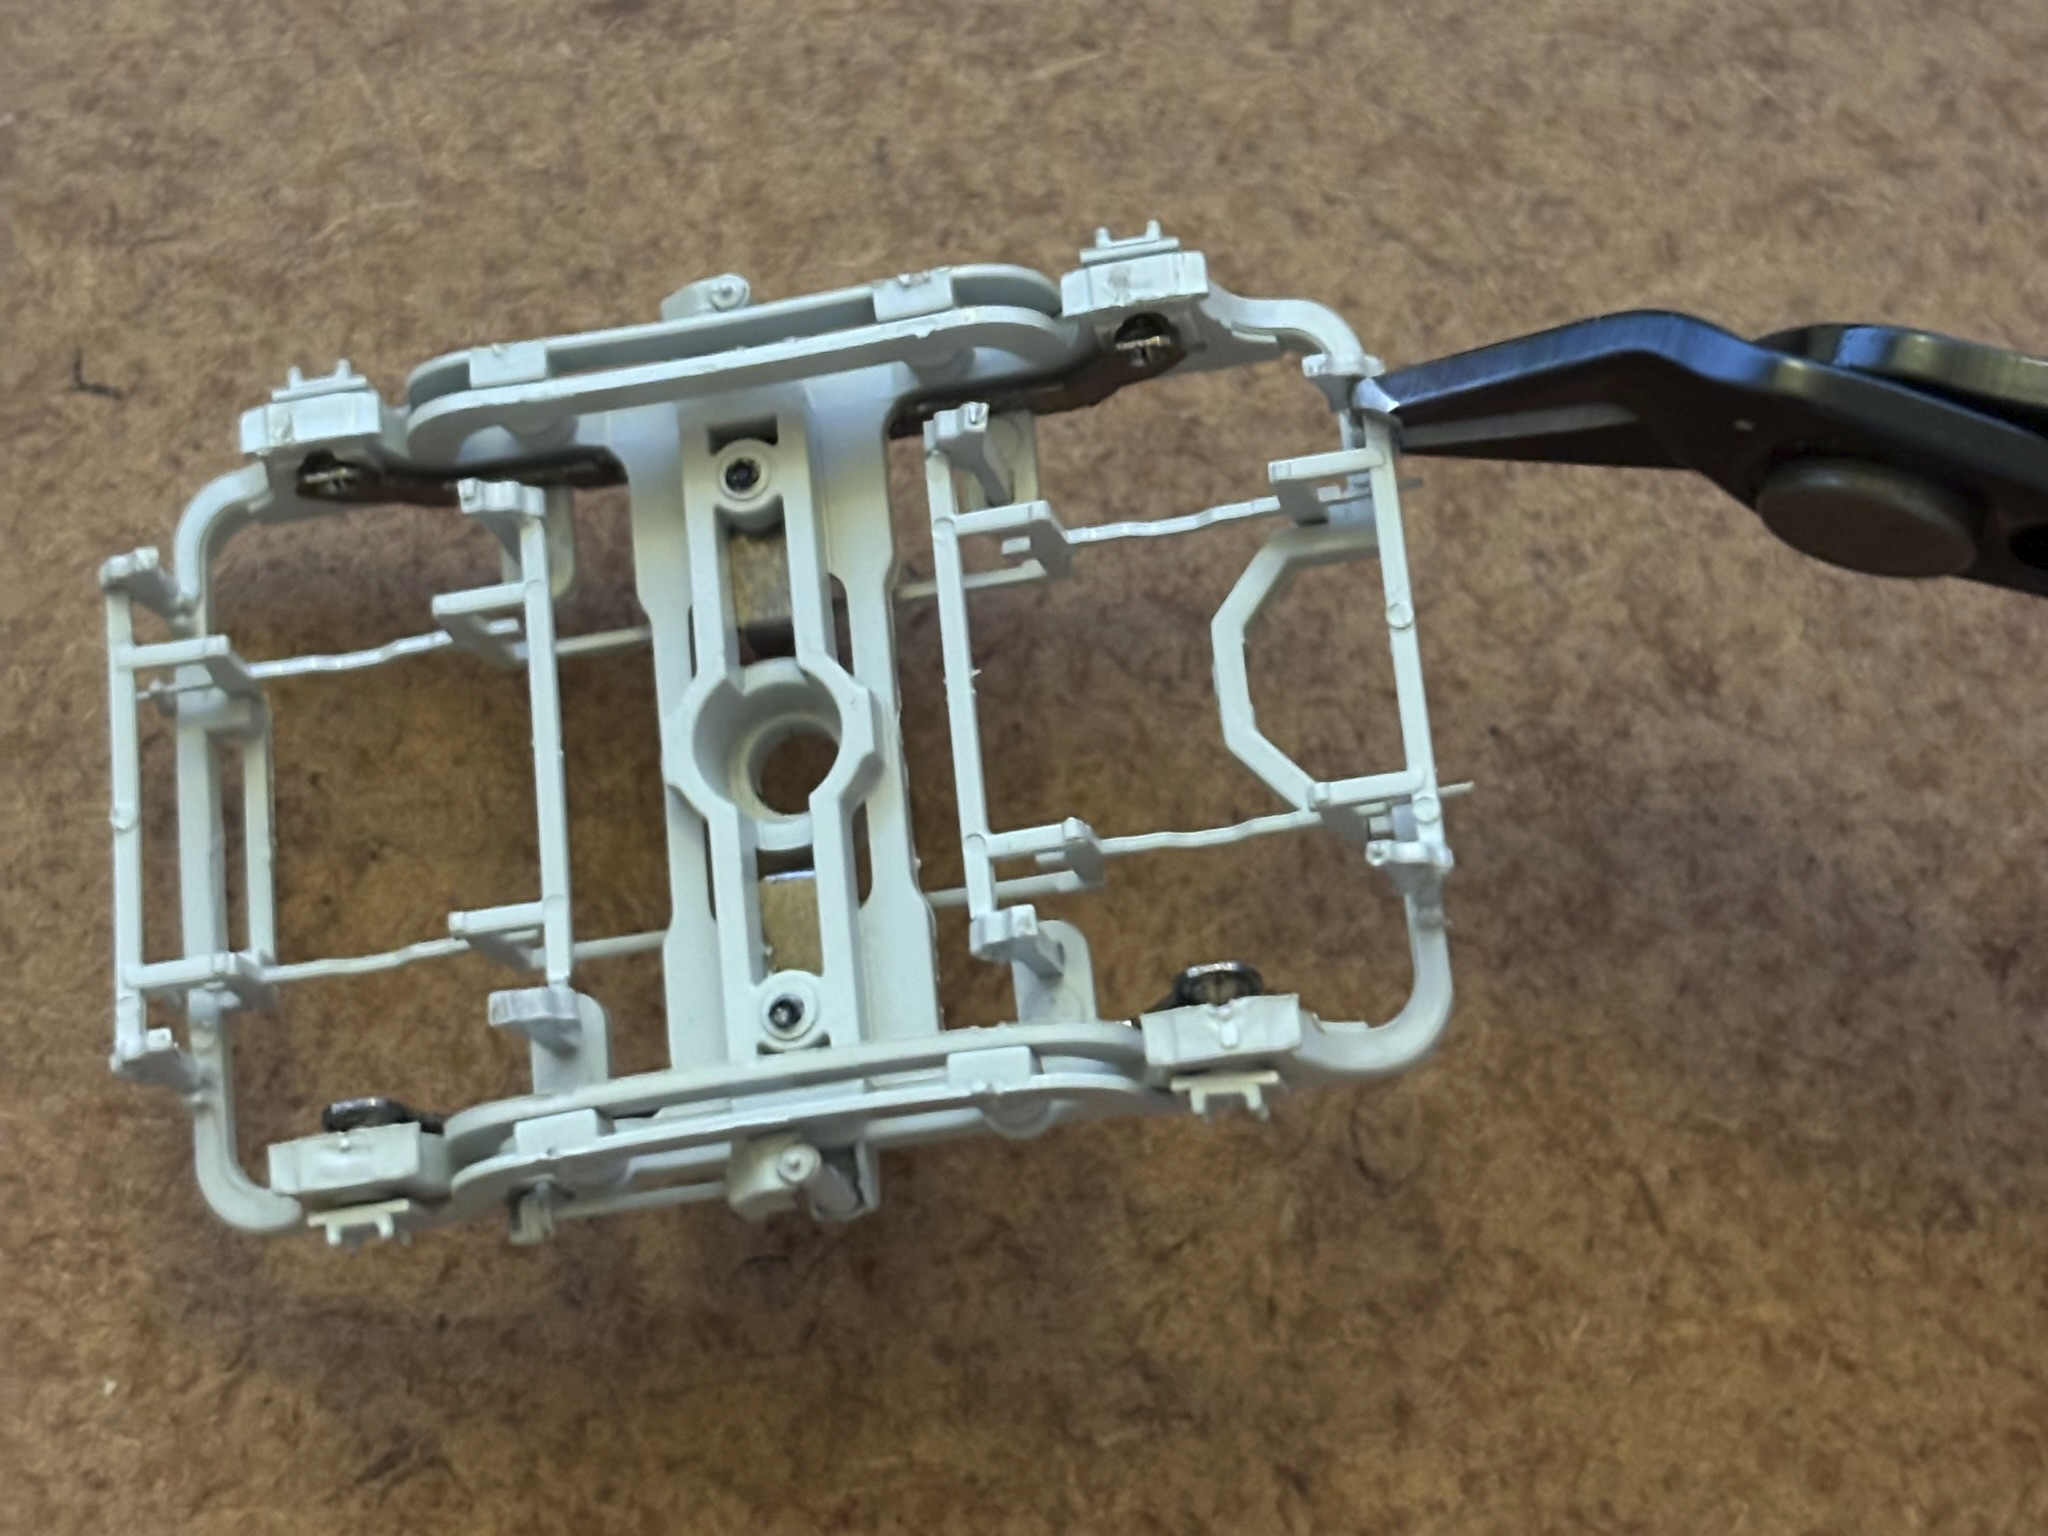
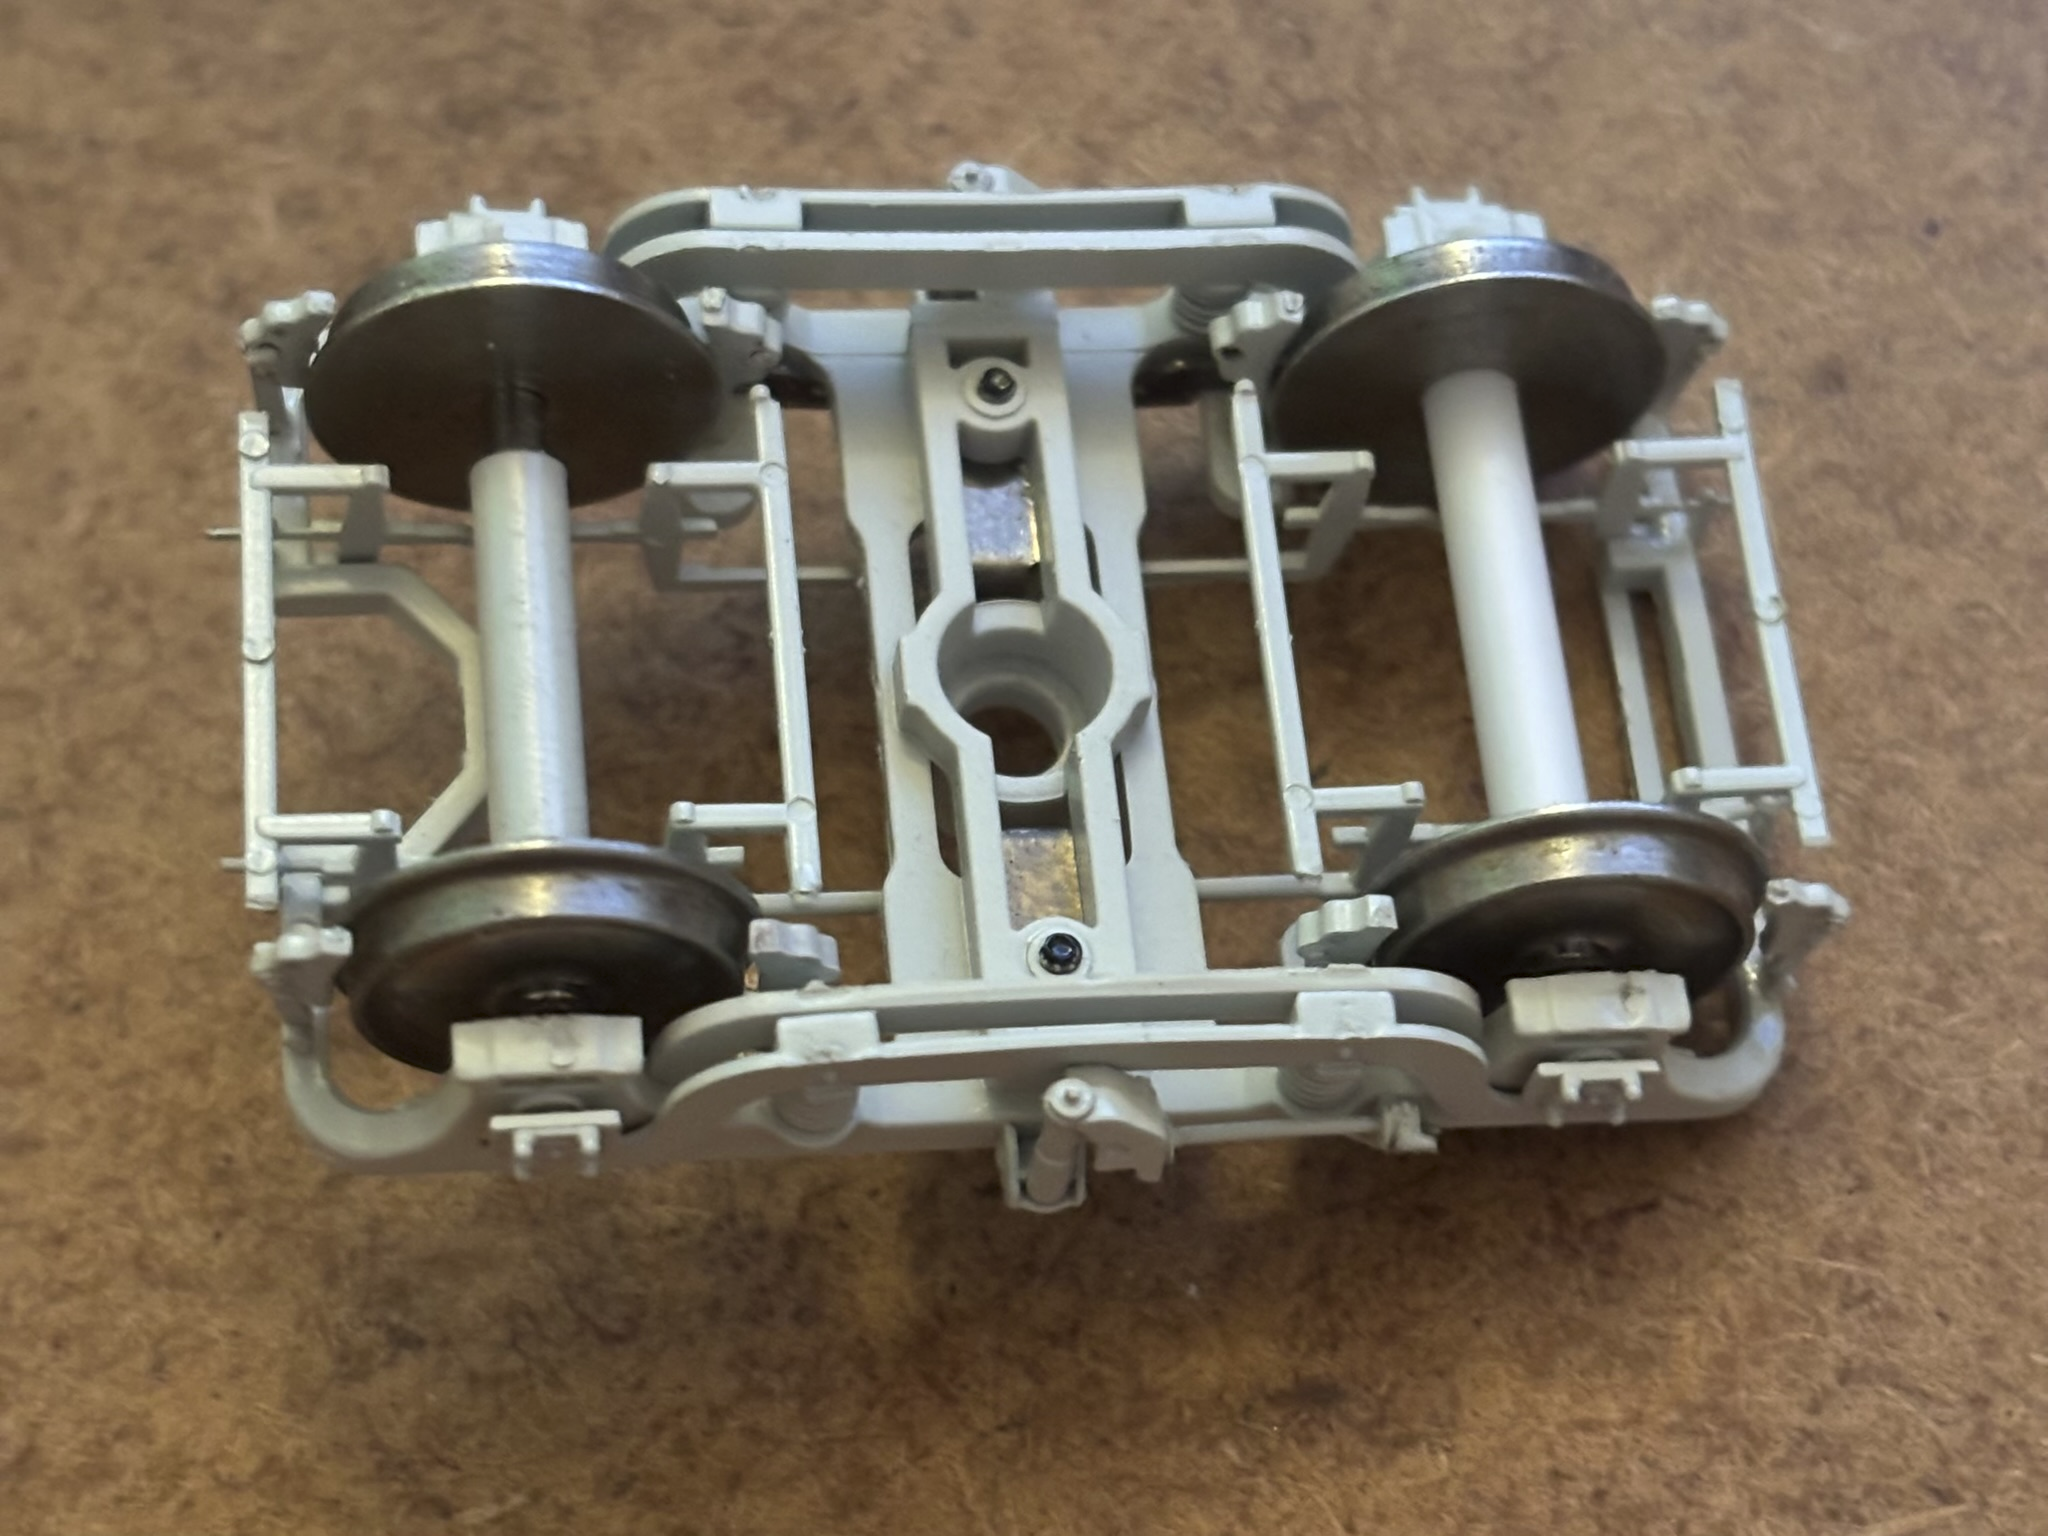
I finally got around to properly regauging my Park Royals. I used Alan Gibson conductive EM wheels since I personally don't like the look of NMRA code 110 wheels, and the process should be the same if you're using P4 wheels. Anyone who wants to regauge the factory wheels can follow Mol's post above as a guide instead. To start disassembly of the factory wheelset I gently pulled the two halves apart with my hands. This is enough to pull one of the two half-axles out of the insulating sleeve. To pull the other half axle out it is actually a bit more difficult. DO NOT just grab the sleeve with your pliers and pull, see my previous post for the consequences. First I pulled out the wheel a bit to create a gap between the back of the wheel and the sleeve. The throat of my puller is not wide enough to fit the sleeve, but I've come across this problem before so I have a short length of aluminium tube that I use for this purpose. Once there is a bit of a gap I put that in my puller and used a small length of 1.5mm diameter rod to push the remaining half axle through the sleeve. Once the two half are out of the sleeve they can simply be pressed out through the wheel to get a completely disassembled wheelset. I pressed two nice shiny AGW wheels onto the half axles. These are not quite as tight a fit as the factory wheels, so take care when pressing that the wheels go onto the axles straight. I pressed them in a little further than necessary; it is very easy to pull them back out once the wheelset is reassembled, but nearly impossible to press them further in. (Apologies about the out-of-focus photo for this one.) Then I gently pushed the two half-axles back into the insulating sleeve bit by bit, measuring the total length of the axle as I went. I made sure the sleeve was approximately centred so both half-axles are firmly held in position. The overall axle should be 28 mm; 2x 13.5 mm half-axles with a 1 mm air gap inside the sleeve. Once the axle length was correctly set, I pulled out the two wheels to the correct back-to-back, 19.3 mm for EM in my case. Take care not to put any pressure on the pinpoint as you could easily mess up your axle this way. I use a 1 mm inner diameter brass bushing which I have given a suitable chamfer on the inside. To replace the sleeve I broke I cut a small length of polystyrene tube. This is nominally 1/8" outer diameter with unspecified inner diameter, but snugly fits the half-axles. This doesn't grip the axles as well as the proper sleeves, so I cut it to the same length as the back-to-back to prevent the axles from creeping in any further. The slightly sprung bearings on the bogie should prevent the axles from moving any further outward, so this should be sufficient. I am nothing if not consistent at being 0.01 mm over on all my measurements Before installing the freshly regauged wheelsets, I modified the brakes as these foul on the flanges of the 'correct' gauge wheels. First step was to snip the linkage from the outside brake shoes. In my Park Royals the linkages are not sufficiently glued to the inside brake shoes, so they can be gently pulled apart. Once it is loose the linkage piece can be 'unhooked' from the frame on both ends, gently manoeuvred back and forth, and eventually lifted out from the top side of the bogie. Then I gently snipped off the 8 brake shoes. For the outside ones I tried to cut the brakes along with the pivots to keep them as one piece. This worked for some but not for others; for some the glue bonding them together was not enough to prevent the tiny pivot piece from flying away. To prevent the regauged wheelset fouling the inner brake mounting pieces I had to file a small chamfer on the outside edges which you might be able to make out in the photo below. This is definitely necessary if you're using RTR or EM wheels, but you might be able to skip this if you're using P4 wheels. Then the final step is to install the wheelsets and carefully glue the brakes back in place. Mol's technique of using fine wire above is probably stronger, but I was lazy so I just used Superglue and glued the brakes into position. I haven't tried bisecting the linkage and gluing it to the brakes yet, it's something that won't be visible unless you have one heck of a derailment anyway, but I will probably end up doing that similar to what Mol showed above. And here is the end result installed under the coach:
- 26 replies
-
- 10
-

-

-
This one sold recently for £580/€675: https://www.ebay.ie/itm/147282572613 It's a seller's market for 071s at the moment.
-
There is also an EU-based etcher I have in the past, Hauler Ltd in the Czech Republic (https://www.etchworks.eu). Their standard sizes and artwork requirements are a bit different from PPD but it's not too difficult to convert. I've always used the old Hollywood Foundry guides to creating artwork. They don't seem to be available online anymore but I'll upload my copies to the resources section later this afternoon. Of all the etched kits out there, I reckon only a small portion of those have been digitised, while I doubt any etching place will accept any new artwork in anything other than a digital format these days. So any slight tweak or alteration, or moving to a new etcher, or whatever else would probably require digitising the whole thing. I reckon this might well be one of the reasons we're seeing some etched kits disappearing. Many of the people who were skilled in designing hand drawn etched kits in the past may not be familiar with the digital methods used today. I think we could well see an uptick eventually as the amount of digital artwork starts to fill the gaps left by the shrinking number of hand drawn kits. Of course there are many other reasons such as the rapid improvements in 3D-printing, the increasing number and detail of RTR models, etc. Personally I'd love to have a go at making some etched kits at some point, although I have too many other projects going on right now.
-
I had hoped to have the chassis finished by this weekend, unfortunately things didn't go quite my way. I could tell the supposedly 'press fit' worms were tight on the motor shaft, but I figured it would be grand It was not grand... To make matters worse I managed to damage the worms trying to get them back off the motor shaft. And while I do have spare motors, I do not have any spare worms. Oh well, lesson learnt, I'll give them a pass with the reamer next time. Unfortunately this does mean I'll have to wait for some new worm wheels to arrive
-
The 16.5mm gauge OO track most people use is slightly under scale for standard gauge. It's actually really HO scale track that we use in OO. Some modellers in the UK use EM and/or P4 track and wheels which are more accurate to scale. In Ireland the 'problem' is doubly bad since we use broad gauge track, so the scale accurate track gauge should be 21mm instead of 16.5mm. So some modellers (like me) who care too much about accuracy or just like the extra challenge will regauge stock to run on 21mm gauge track. I'm sure you can find a few videos around the place on EM/P4 conversions (especially from UK modellers). It usually involves pulling the wheels out to the correct gauge, but depending on the model can require some more significant modifications. There are quite a few posts on this forum about people converting their stock too.
-
21mm gauge wheel sets for IRM Park Royals and Mark IIs
lucas replied to lucas's topic in Irish Models
First attempt at regauging hasn't gone so well... Looks like the sleeve just keeps the axles insulated from each other using a friction fit on the axles. There is no internal spacer keeping the axles apart. Even when set to 16.5mm there is a small gap between the sleeves and the back of the wheels, so moving the wheels out shouldn't make the axles any more likely to move within the sleeves. We just need to be careful not move the axles within the sleeves during the regauging process. I will be trying to get some conductive EM wheels to replace the code 110 factory ones. Although EM track is very tolerant of coarser wheels they are pretty massive and unsightly in my opinion. It's going to be pretty difficult to fit new wheels without removing the axles from the sleeves, so now I just need to find a reliable way of getting the axles out without the sleeves exploding on me.
-
I received my Park Royals this morning. They look amazing, but I think I can see what's been causing derailments for others. One of the brake lines on one end droops down and fouls the flange of one of the wheels: IMG_3119.mp4 This is a lot easier to see on the green coaches with the grey brake lines. The video shows the worst affected of my PRs, but all of them seem to have some level of contact with the wheel. This only happens at the end where the two lines cross over, the other end has enough clearance. I have not actually experienced any derailments, but I could see this causing problems especially in combination with some iffy track. I will be regauging mine so the wheels will be moved out, well away of these lines. But otherwise I reckon a drop of glue to stick the brake line to the underside of the floor might be the best solution.
- 728 replies
-
- 17
-
-
-

-
"Voiding the Warranty" - Mol's experiments in 21mm gauge
lucas replied to Mol_PMB's topic in Irish Models
Too late... Just finished respraying mine in pink -
Yes, the frames are spaced with 25mm between
-
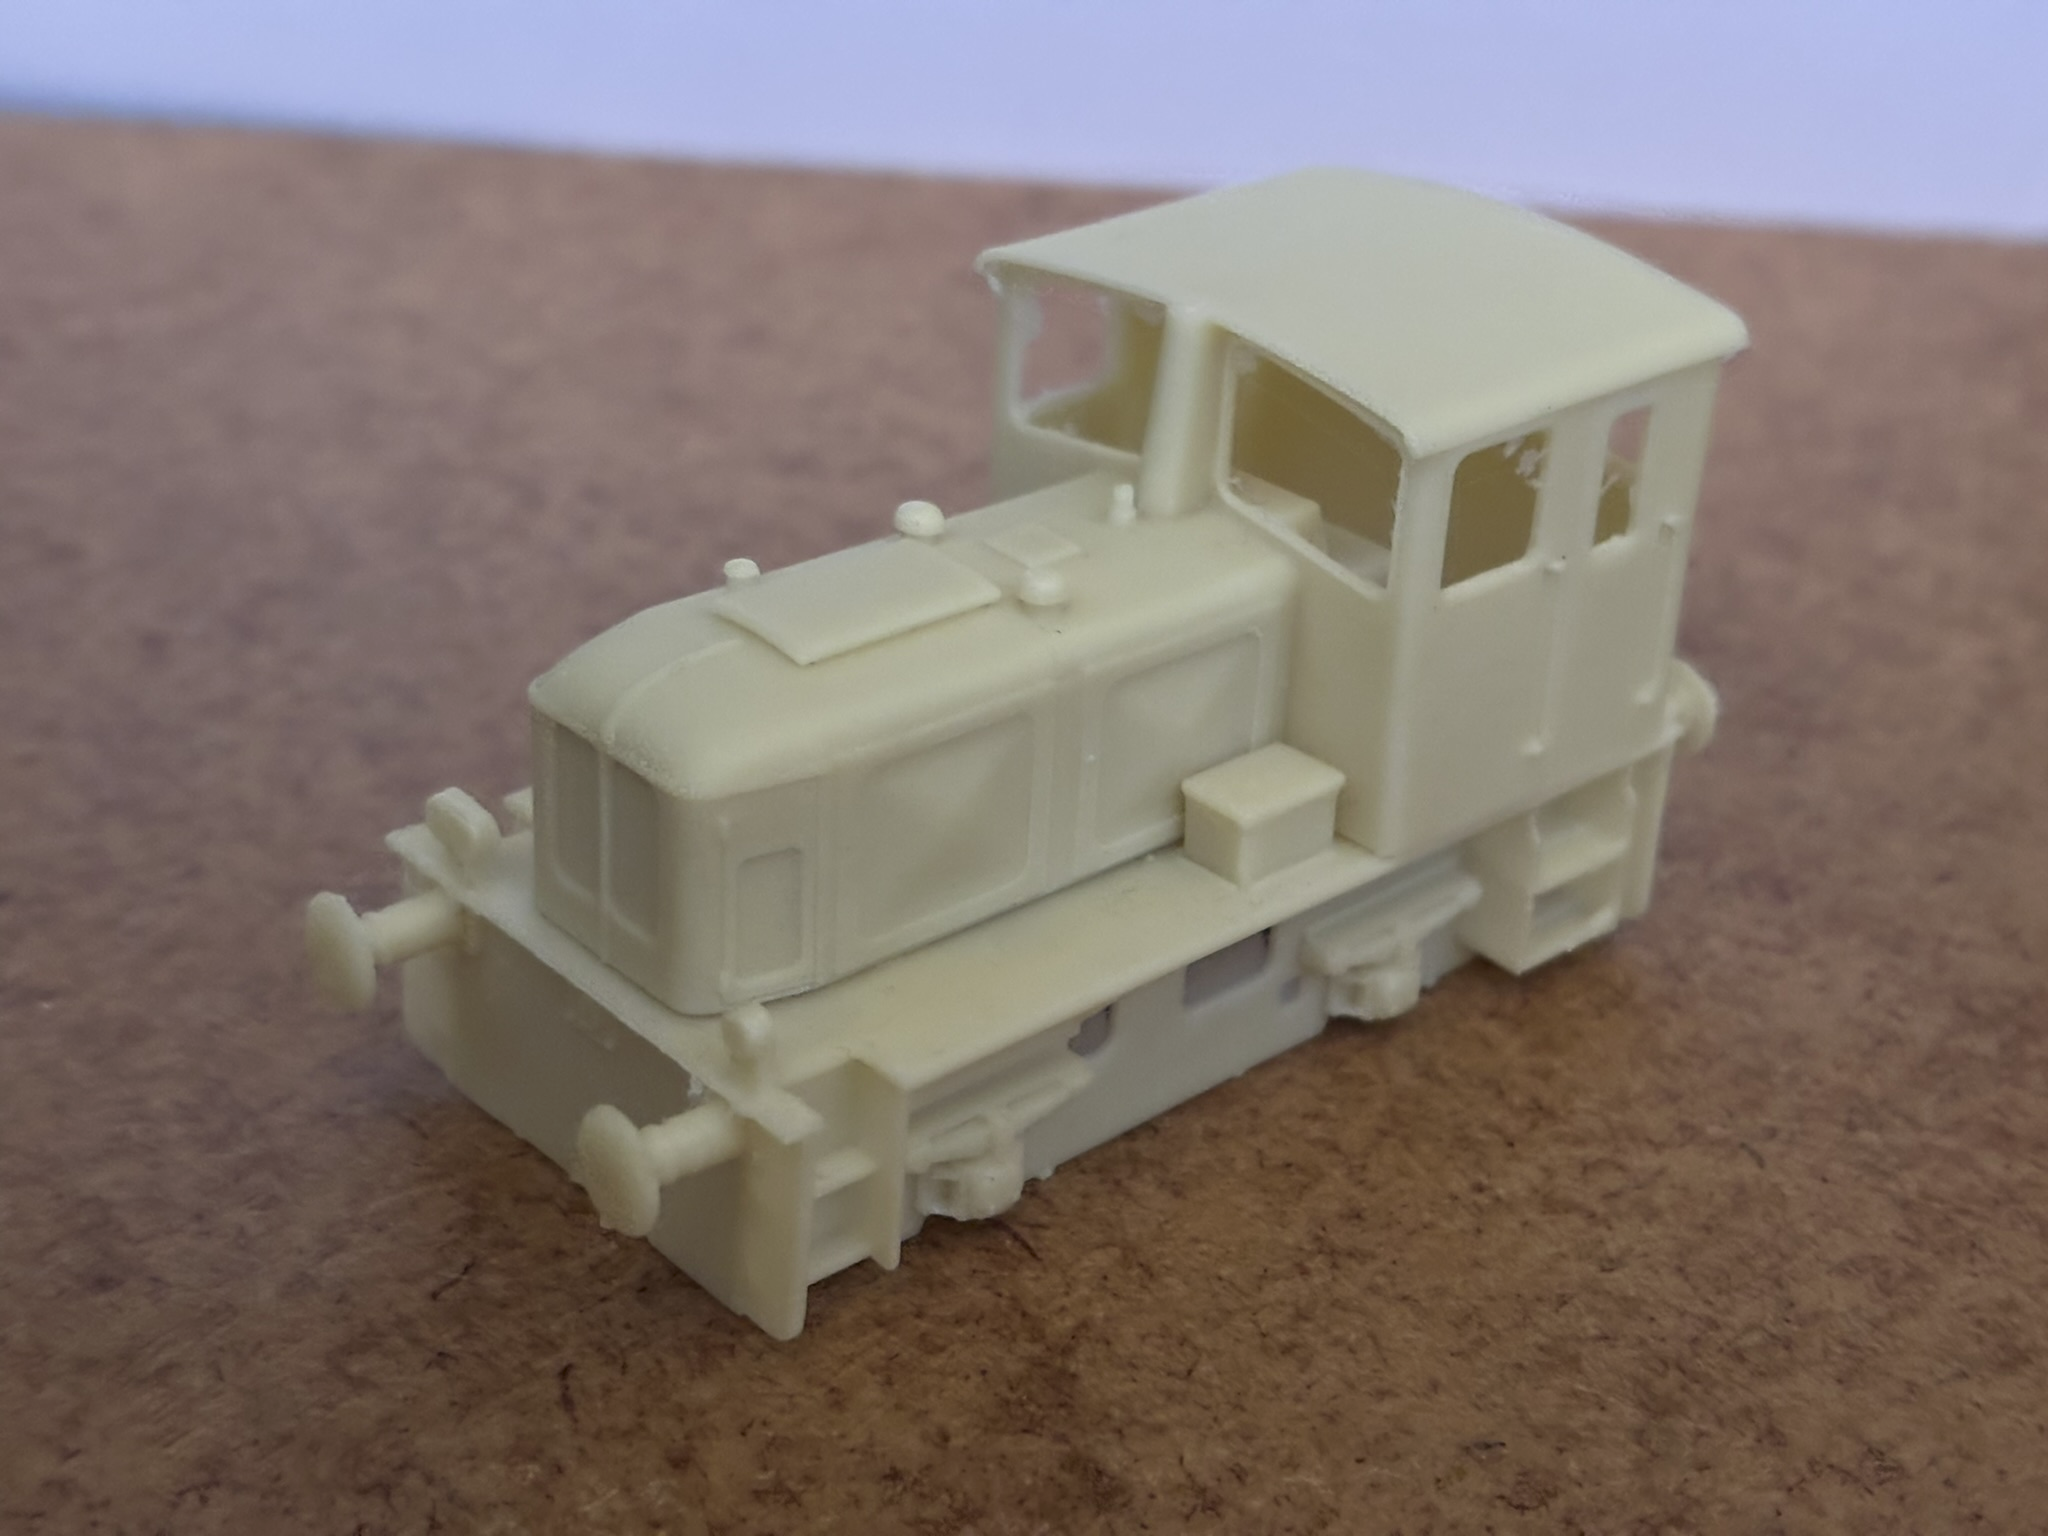
I found it lying around in the bottom of my stash. It does have lights and recessed cab handrails (or at least the recesses, the handrails themselves aren't included). No chassis of course; it has mounting for a Black Beetle/Tenshodo motor bogie, but that's not the most suitable chassis for a slow running shunter. I don't have the drawings so I can't speak on the accuracy, not sure if they're available somewhere? I have had some vague plans of building one in 7mm scale at some point and have mostly just been keeping this little guy around as a reference/reminder.
-
There is the DC Kits resin one, which I believe Mike Edge created the masters for (possibly from the Worsley Works kit). It's a G611 just like the WW kit, while Silver Fox is a G601. Not sure if they're still sold though. I have an unbuilt one lying around somewhere here...
-
21mm gauge wheel sets for IRM Park Royals and Mark IIs
lucas replied to lucas's topic in Irish Models
Interesting that they have 2mm axles unlike the Mark 2s. They might not be so difficult to regauge after all so. Is there anything inside the sleeves preventing the axle ends from moving further in? One thing I worry about is that the axles will slowly work their way further into the sleeves over time, changing the BTB and overall axle length, but also running the risk of shorting out internally. I'm still patiently awaiting my order, but looking forward to doing some experimentation when they arrive. -
Yes that is the most obvious difference, but there are a few others. I have come across at least 3 different variants of the bogie frame. There doesn't seem to be any clear pattern for which appeared on which loco, with two different variants often appearing on the same loco. In fact they seem to have gotten swapped around over the years, presumably when multiple locos were in Inchicore at the same time they ended up with each other’s bogies. I have a spreadsheet of which loco had which bogie type(s) throughout the years, but it's still a work in progress. I'll share more details when I have a better picture myself. All I'm saying for now is IRM better have their eyes on the ball