Glenderg
-
Posts
3,490 -
Joined
-
Last visited
-
Days Won
11
Content Type
Profiles
Forums
Events
Gallery
Blogs
Posts posted by Glenderg
-
-
I'm nearly sure there's a Feldgrau shade that will tickle Shem and Nelson's elbow, exactly to that in the Vallejo range. Will dig it out once I get back to feld HQ....
-
 1
1
-
 1
1
-
-
I'd be interested in the answer too... 😆
-
 1
1
-
-
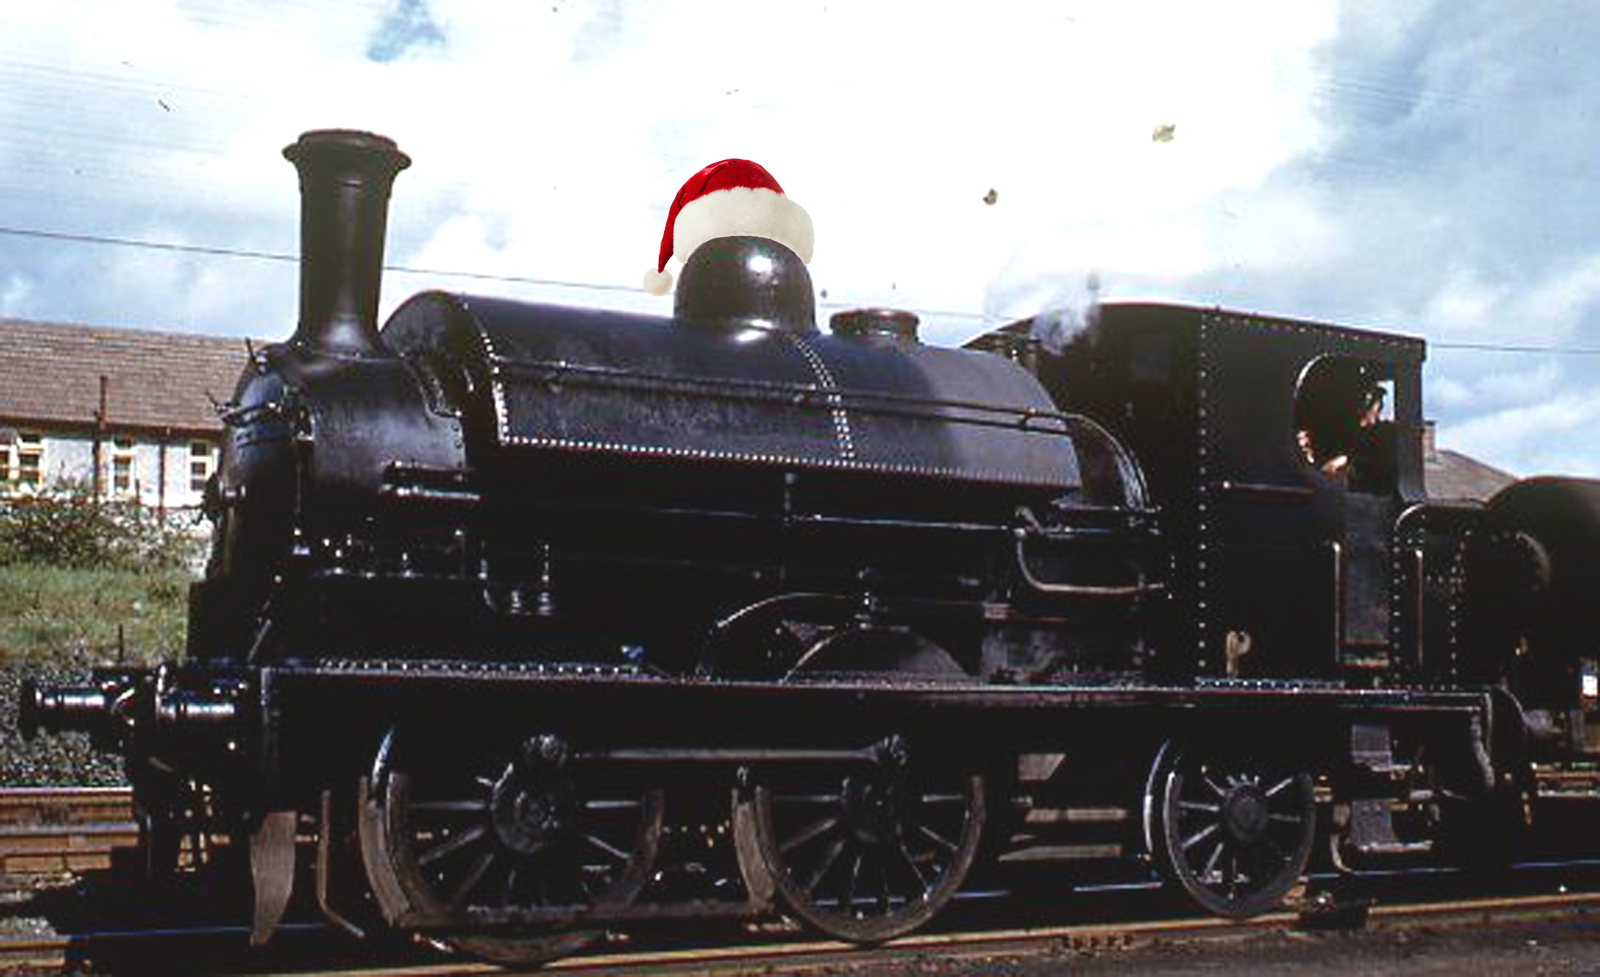
Best of the Season to you all, and your loved ones.
* and no JHB, the red is correct on that style of Santy hat, so don't start

-
5
-
-
-
With respect Ed, the sleeper spacing argument is the greatest load of nonsense I've heard since my daughter chucked her plate of food on the floor and then declared dinner complete with "Gone, Gone".
Unless yer a crow, or a drone, or an actual per way engineer, who looks straight down at track, it's completely irrelevant. We look at 12" to the foot track from an oblique perspective, usually on platforms, and see the ripple of the stone and concrete and then view it on our layouts from a Bird's Eye perspective. Never the twain shall meet.
Code 75 is another nonsense argument. Code 82 is the closest prototypical rail section to the RP54 that Irish Rail use, but shur what's 7th thousand of an inch between friends?
-
1
-
-
Tony,
Before you lose the plot and revert to the sherry cabinet, I'd do a simple exercise. Print off what you have as of now and if you've some track, even a few points or a bit of flexi, put it in by eyeballing it. If you've only one or two points, get out the stubby carpentry pencil and draw the outline on the boards.
Even better, print of a few of these and use the scissors. https://www.peco-uk.com/page.asp?id=tempc100 - shift them around get it look like you "think" it should, just allow for all the signal cabins and such that your memory remembers. Use a pot plant for the turntable, a biscuit tin for the shed, but push and pull the thing over the Christmas. "Rule 1" applies here - it's your world, you don't have to justify the design to anyone, run what you like. Call it "Skillenennis" if you must, but do not, ever, ever, depend on software to replace the job of a pencil and paper. A colleague once had a thing over his desk that said something to the effect that "Trying to design in CAD is akin to trying to win a Michelin Star with a microwave".
Use what you have as a jumping off point, not a finished article, and all will be well in the New Year.
After all, you've the baseboards done and dusted, which puts you a million miles ahead of most.
Positive waves, moriarity...
R.
-
 3
3
-
-
Any man who separately applies each roof tile is deserving of some form of medal. Am thinking "Knights Cross with Bangor Blues"
Richie.
-
Tony,
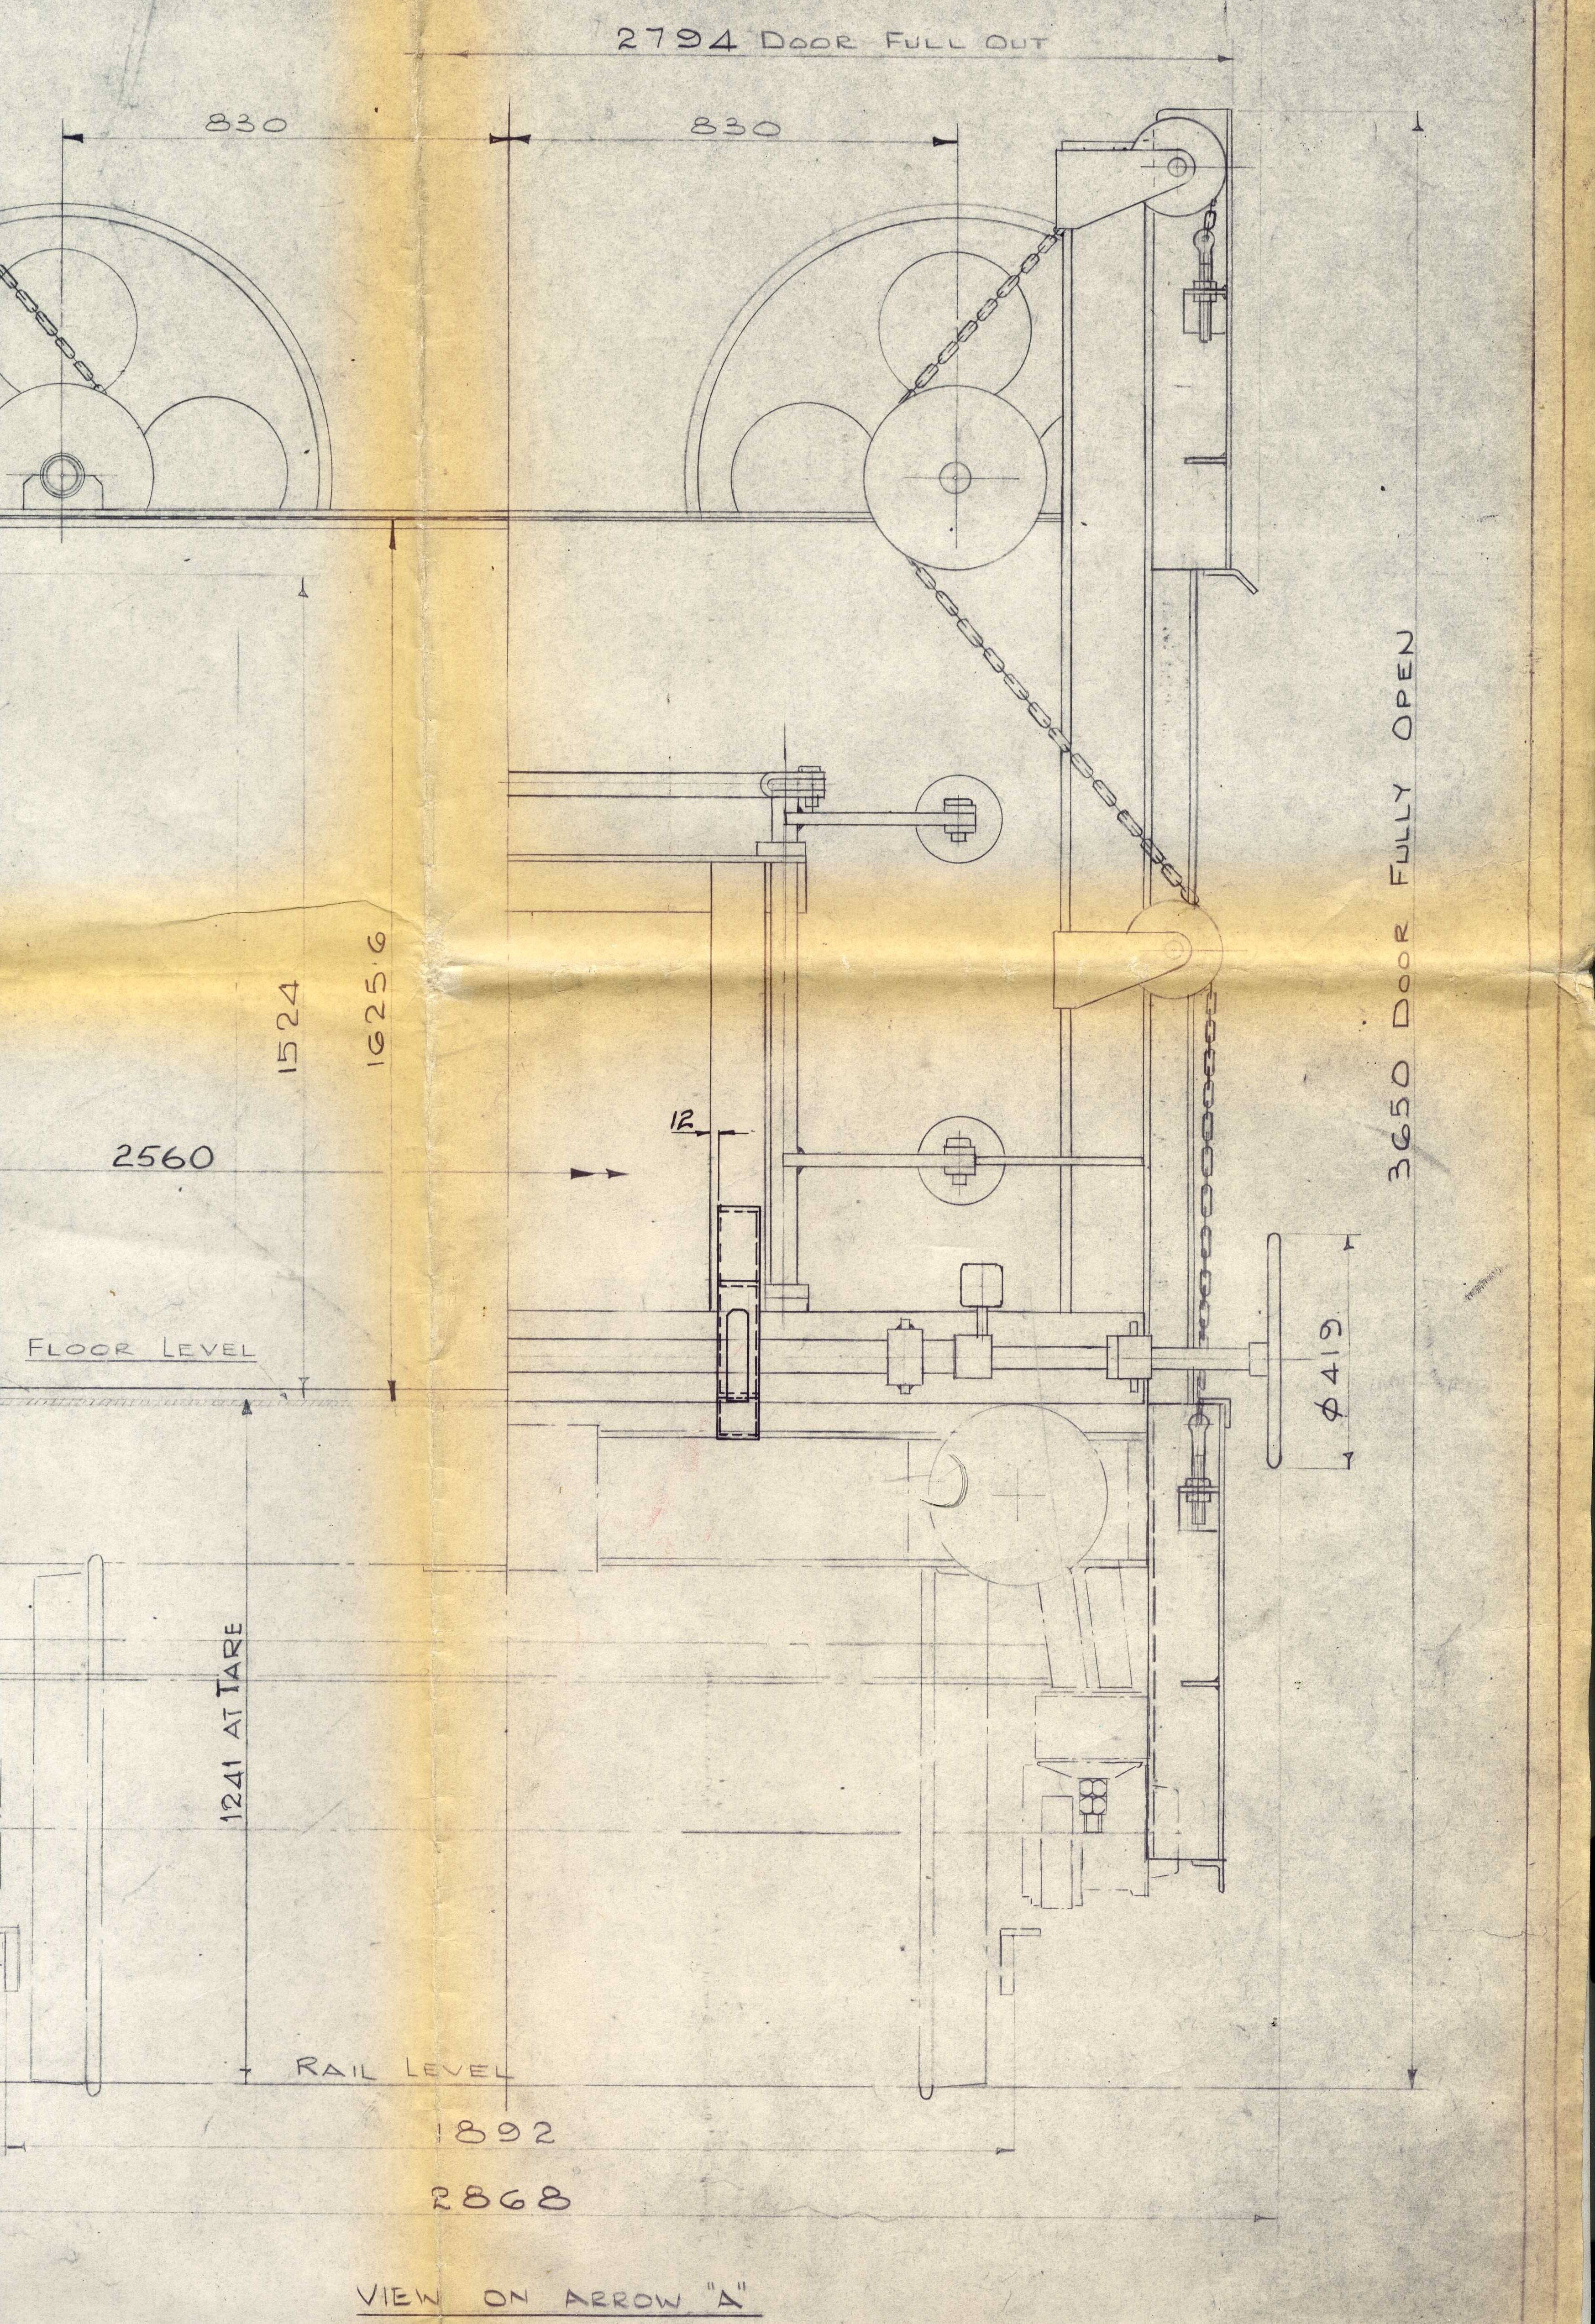
On the loop on the far left there are two crossovers going from the outer track to the inner. Is this intentional as a weird holding loop, or can they be condensed into on, save a few bob?
Other than that, it looks superb, and the joinery is tidy beyond belief. R.
-
On 12/18/2017 at 11:01 AM, Junctionmad said:
which will then allow rp25/100 wheels to be used
Current wheelsets on our wagons are RP25-110's, Finescale are RP25-88's, just for anyone buying them. R
-
Get a tinlet of phoenix precision Golden Tan, or whatever it's called, (enamel) spray or brush a square inch onto a piece of plastic. Then mix up your tan in acrylic, and spray or brush it on beside. The two dried alongside should help in terms of mixing to suit. A hairdryer is invaluable, as is one of those sample jars at the doctors' for large batches. Do it once, do it right. About 150ml should see you through until 2019.
-
The actual process is very stressful. We've RAL and Pantone colour cards (damned expensive too) that we have to eyeball and colour match to what's in a photograph. But we go a step further and get out thaul paint and airbrushes*. As happened on the orange, I made up a batch of paint that I thought matched a colour, put it on wagon, and after 3 days decided it wasn't right, and started all over again. Once you commit, it gets converted to another system in Asia - Colour Matching System, so any slight error can be the difference between Maunsell Green, and Aer Lingus Green. I've seen it happen to another manufacturer recently where they had to bin a run of loco shells (this is public info btw) where even though they specified the same RAL colour, two different factories provided different shades.
Richie.
*There's no we, it's just me
-
1
-
1
-
-
4 minutes ago, Junctionmad said:
I think the issue here is that in practice and for anyone like Noel or me for that matter, who remembers the orange bubbles, I never saw the chassis in that colour grey, it was always quite dark , so I suspect the issue is between a factory finish colour ( CIE factory finish) and ones memory of the real thing . I cant comment on the grey cause I have no memory of ever seeing that colour, but thats not to say thats what came out of the factory
The only one Ive seen of new orange bubbles is this one and its B&W
That's not orange you're looking at. That's the grey/gunsmoke livery. The CIE roundels are orange, the text white, the bubble itself in grey. Were it Orange, the CIE roundel, inside text, and bulk cement, would have all have been black.
The other thing is that when I was in Architect School a million years ago, a wise lecturer said that "the worst sketch is better than the best memory", and that applies here. I had never seen them in that grey either, but we got access to superb colour slides which show what the colour was, literally, as it came out of the workshop. Beside it is a wagon that has done some work, and the grey is suitably toned down with track dust, but the W-Irons are also rusted and oiled and there's a skidmark of track filth all the way up along the bubble where the vac cylinder cover came off.
If you desire to tone your wagons to match the nostalgia, go for it, they are a foundation for exactly that. But they are pristine, as per the prototype, and I'd stand in front of a man in a curly wig over it.
R.
-
1
-
-
Thanks lads, making the transition from youth to aul fella has been made so much easier by this madhouse!
-
2
-
1
-
-
Weathered decals? Wut?
The solution might be an etched nickel silver plate, so one could lightly sponge on the desired amount and tone of paint.
Existing decals can be distressed prior to use by rubbing them in your hands prior to soaking, but this can be hit and miss.
-
Personally, I'm not convinced that there was ever such a thing as 4.5" stripe. I've seen 3" and 6", but never seen a half measure. I've been digging in to it with drawings and photos, and it would not surprise me one jot if such a thing existed, CIE being the oddballs we all love. Just finding photo evidence that can be quantified (camera matching etc) would be great. It's one of those "turf burner frames were used as a bridge on a golf course" things that grow legs, and tales
R
-
On 12/6/2017 at 10:53 AM, Weshty said:
Why is there a great big wine rack at the front of that loco??
artillery round storage racks , I was going for. Turns out I've much schooling to do...:p
-
1
-
-
The "black" that I tend to use on roofs is generally diluted with a bit of white to make it more charcoal, especially on the steam vans. The heat from the vents, boilers, flux capacitors and other gizmos they tended to use meant the paint on the roof took a greater hammering than that on the sides, and appeared to be less well maintained.
Just out of curiousity - "The white band (4.5") during CIE Black'n'tan era was not as wide as on the laminates, cravens, etc (6")." this is a new one on me, care to expand on your research?
Great work thus far! R
-
1
-
-
Eoin would make a tidy job of that, shame to have it sat on a shelf
-
The choice of orange shade appears decidedly orange, rather than "tan", but I blame age and eyesight...
-
No stress, I'm the Technical Director, I know exactly where the Sambo file is
(on me bloody hard drive!)
-
2
-
-
George,
From my research, the cement bubbles never got a black chassis at the start, they were primer grey initially, and as they developed in traffic, they just got muckier as they went about their business, to the point where they appeared black. As to when a formal decision came about to actually paint them black, I'd be guesstimating mid 80's.
I've yet to find evidence of a black chassis on a 22' flat. Having been "up and under" one a few years ago (oh Matron!) , there's no evidence of actual paint. it's not bauxite, it's just rust/oxide.
But, I'll say this, I haven't put extensive time into researching this, just in case anyone gets excited, this is just a personal, (and not an IRM) observation, and I could be wildly off the mark, and welcome to be corrected.
R
-
 1
1
-
-
John
As you'll appreciate, there's an enormous amount to a commercial decision to invest the time and energy into any particular project. I've been on at the lads for the case for Sambo, which no doubt will sell in the millions. It's "on file, in a filing cabinet" which makes me hopeful too
R.
-
1
-
-
They look smashin' on that wee layout!
-
1
-
-
Built by Hugh Phillips Engineering Ltd., it was the name of the Chief Executive's daughter. HPE folded in 1996. R.
Please vote for IRM!!
in News
Posted
We can buy rakes of pints or put it toward tooling something wonderful. Personally, I'm "idir eathara*".... Thanks for all the votes so far lads, as JB says, be nice to put the narrow gauge lads on notice.
Richie.
*Between worlds