
Darius43
-
Posts
1,288 -
Joined
-
Last visited
-
Days Won
98
Content Type
Profiles
Forums
Events
Gallery
Blogs
Community Map
Everything posted by Darius43
-
My blue/grey NIR Mk2s arrived today and mighty magnificent they are too. So much so that I have ordered the RPSI and bumblebee sets. Cheers Darius
-
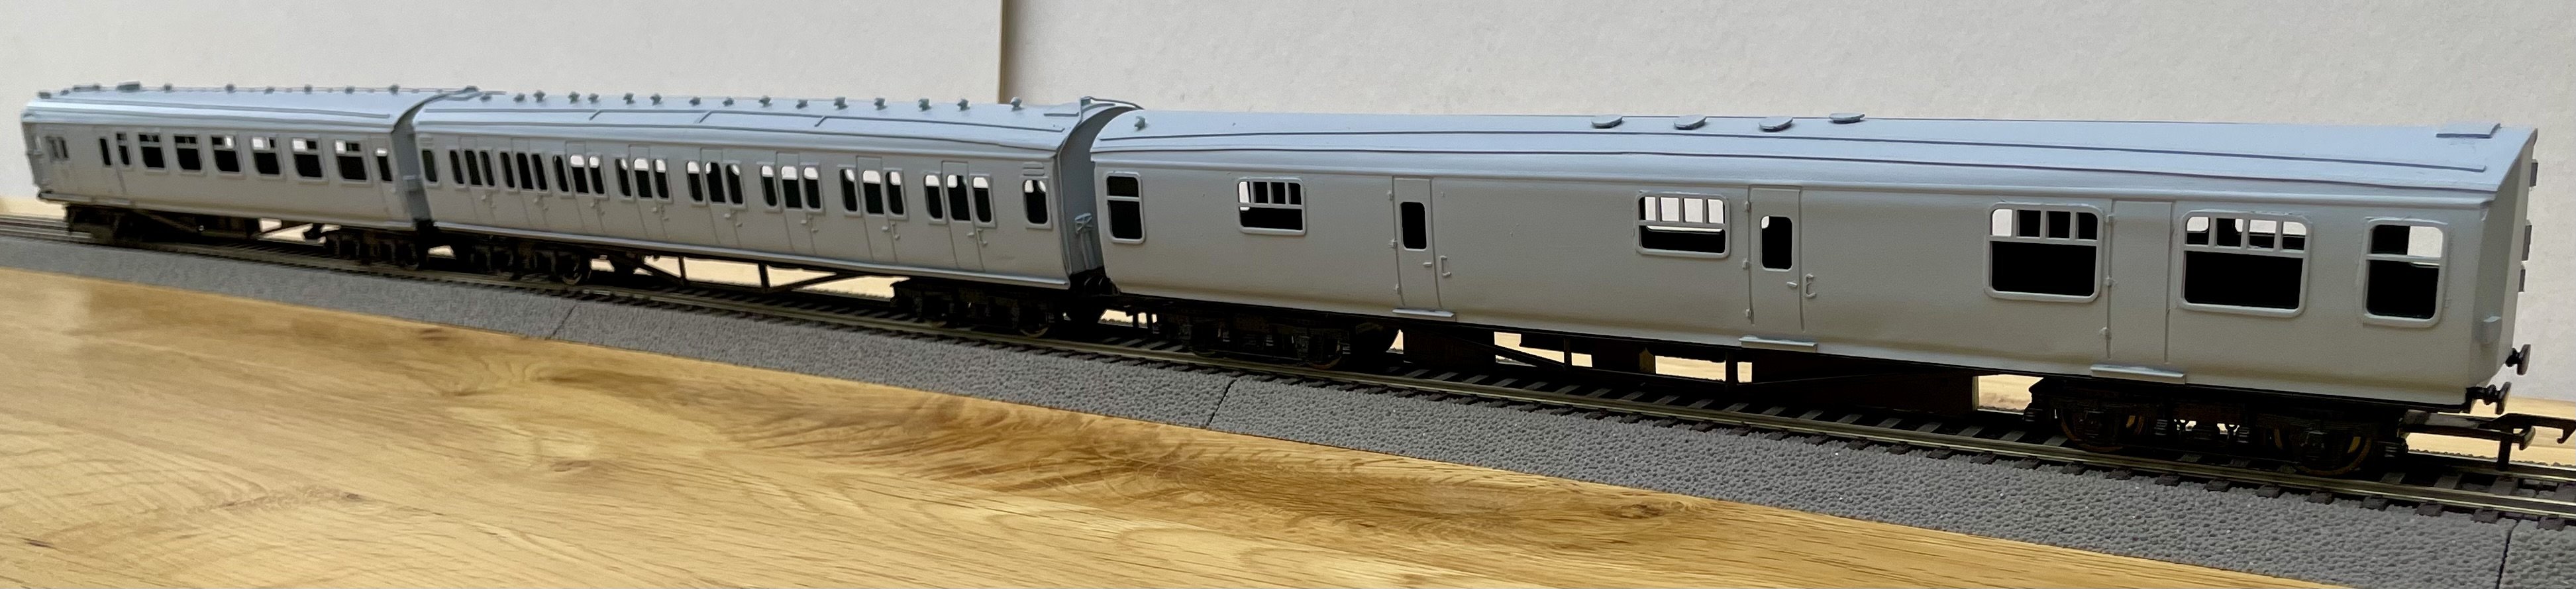
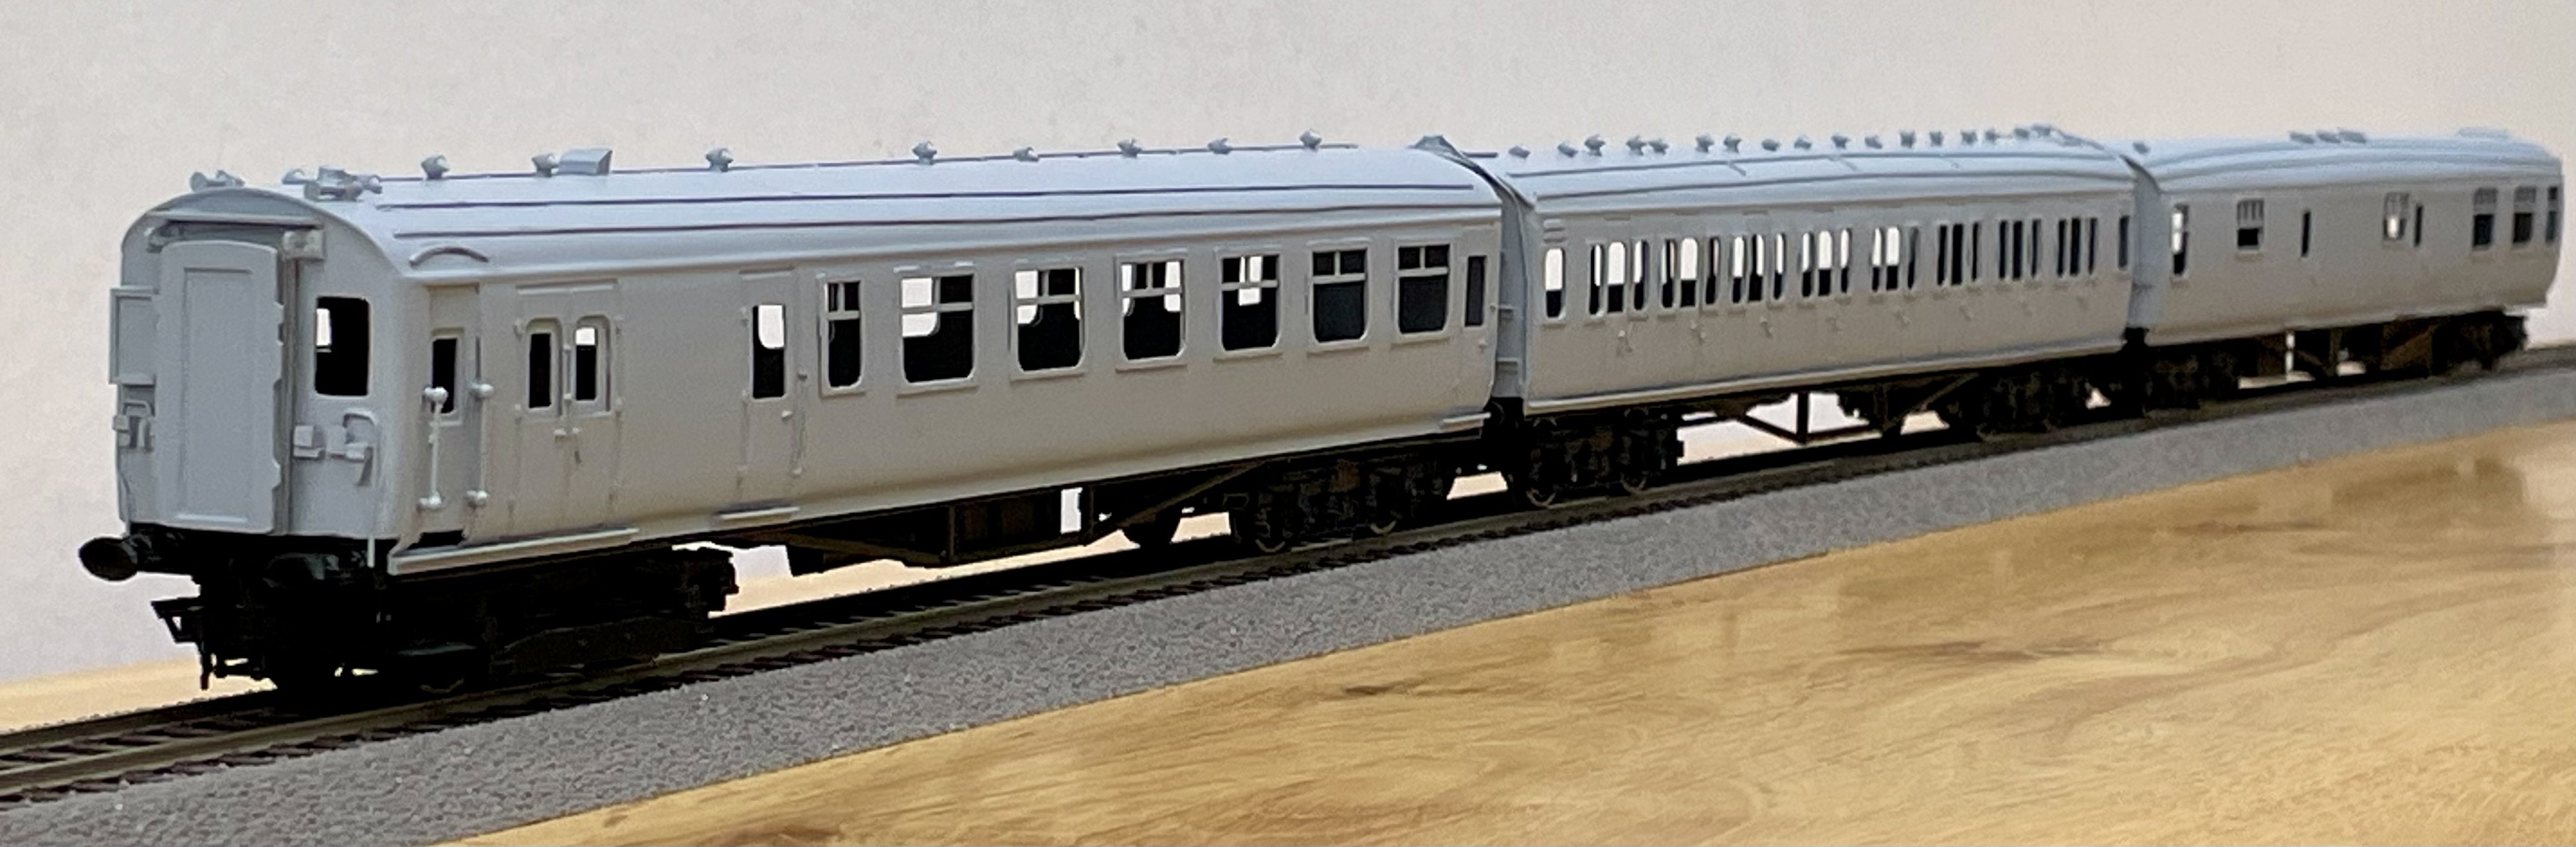
Another MTK product taking shape - a 4-GRI EMU (Buffet/Griddleversion of the 4-COR EMU. Started with this just over a week ago. Now at this stage. One more driving coach to complete before final painting and interior detailing. Cheers Darius

-
The layout has now been dismantled in preparation for my friend’s (and shed owner) house move in March. A brand new shed is to be erected at the new house and the layout will be reinstalled in the new shed. Dismantling was undertaken with minimal damage to the “scenic” part of the layout. The new shed will allow us to iron out the bugs that were popping up with the original layout concept. Watch this space… Cheers Darius
-
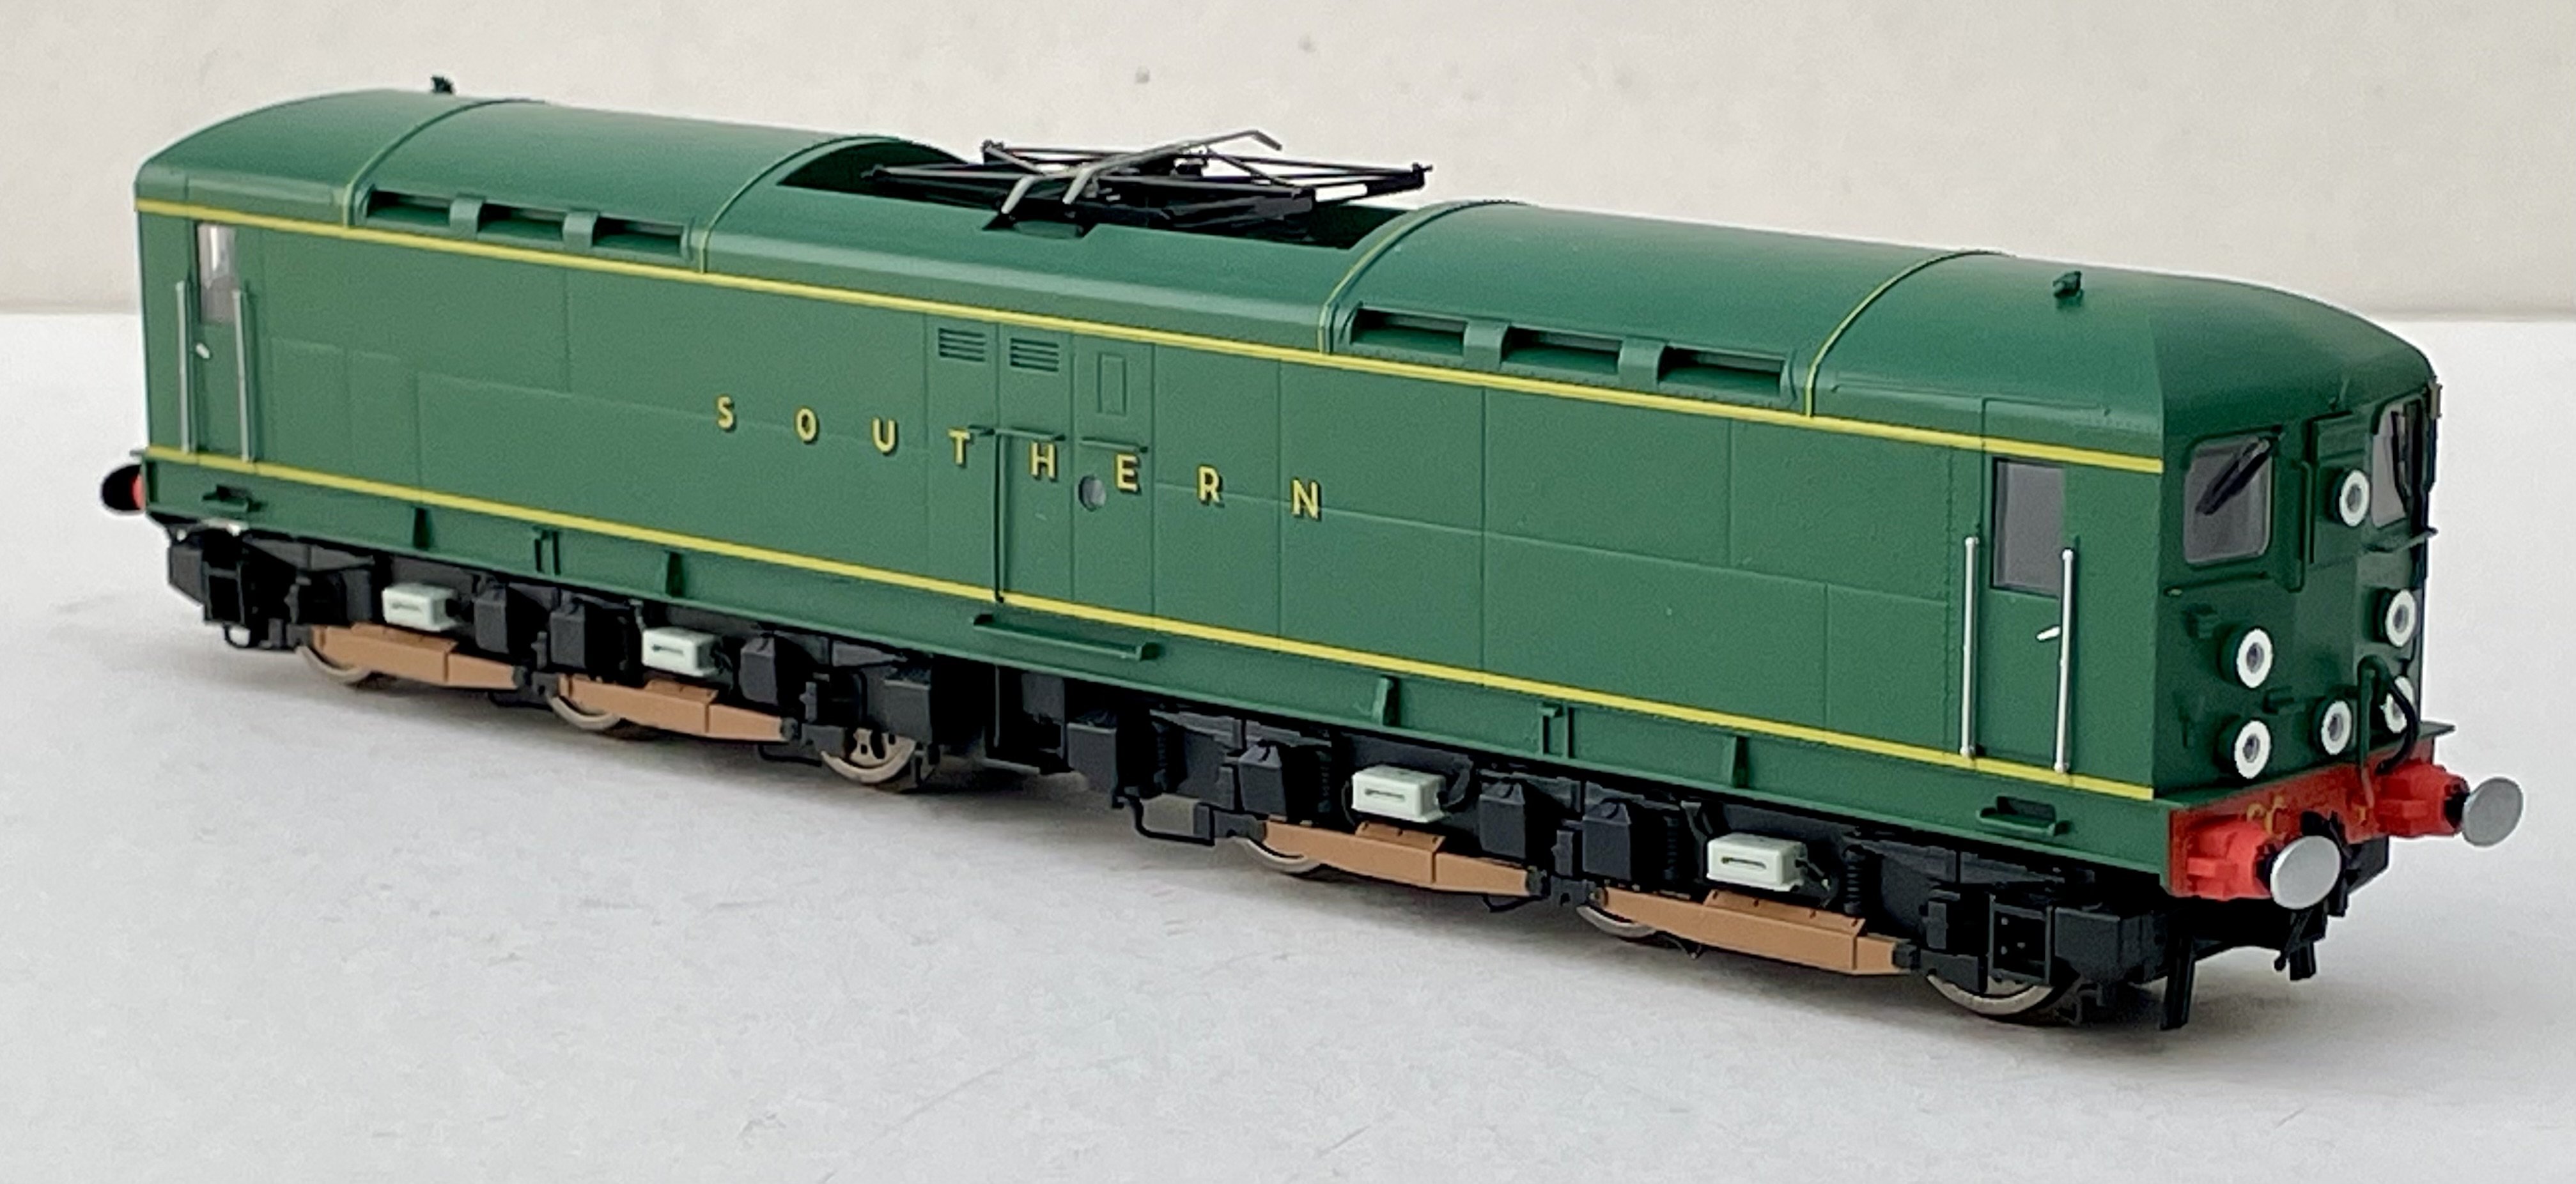
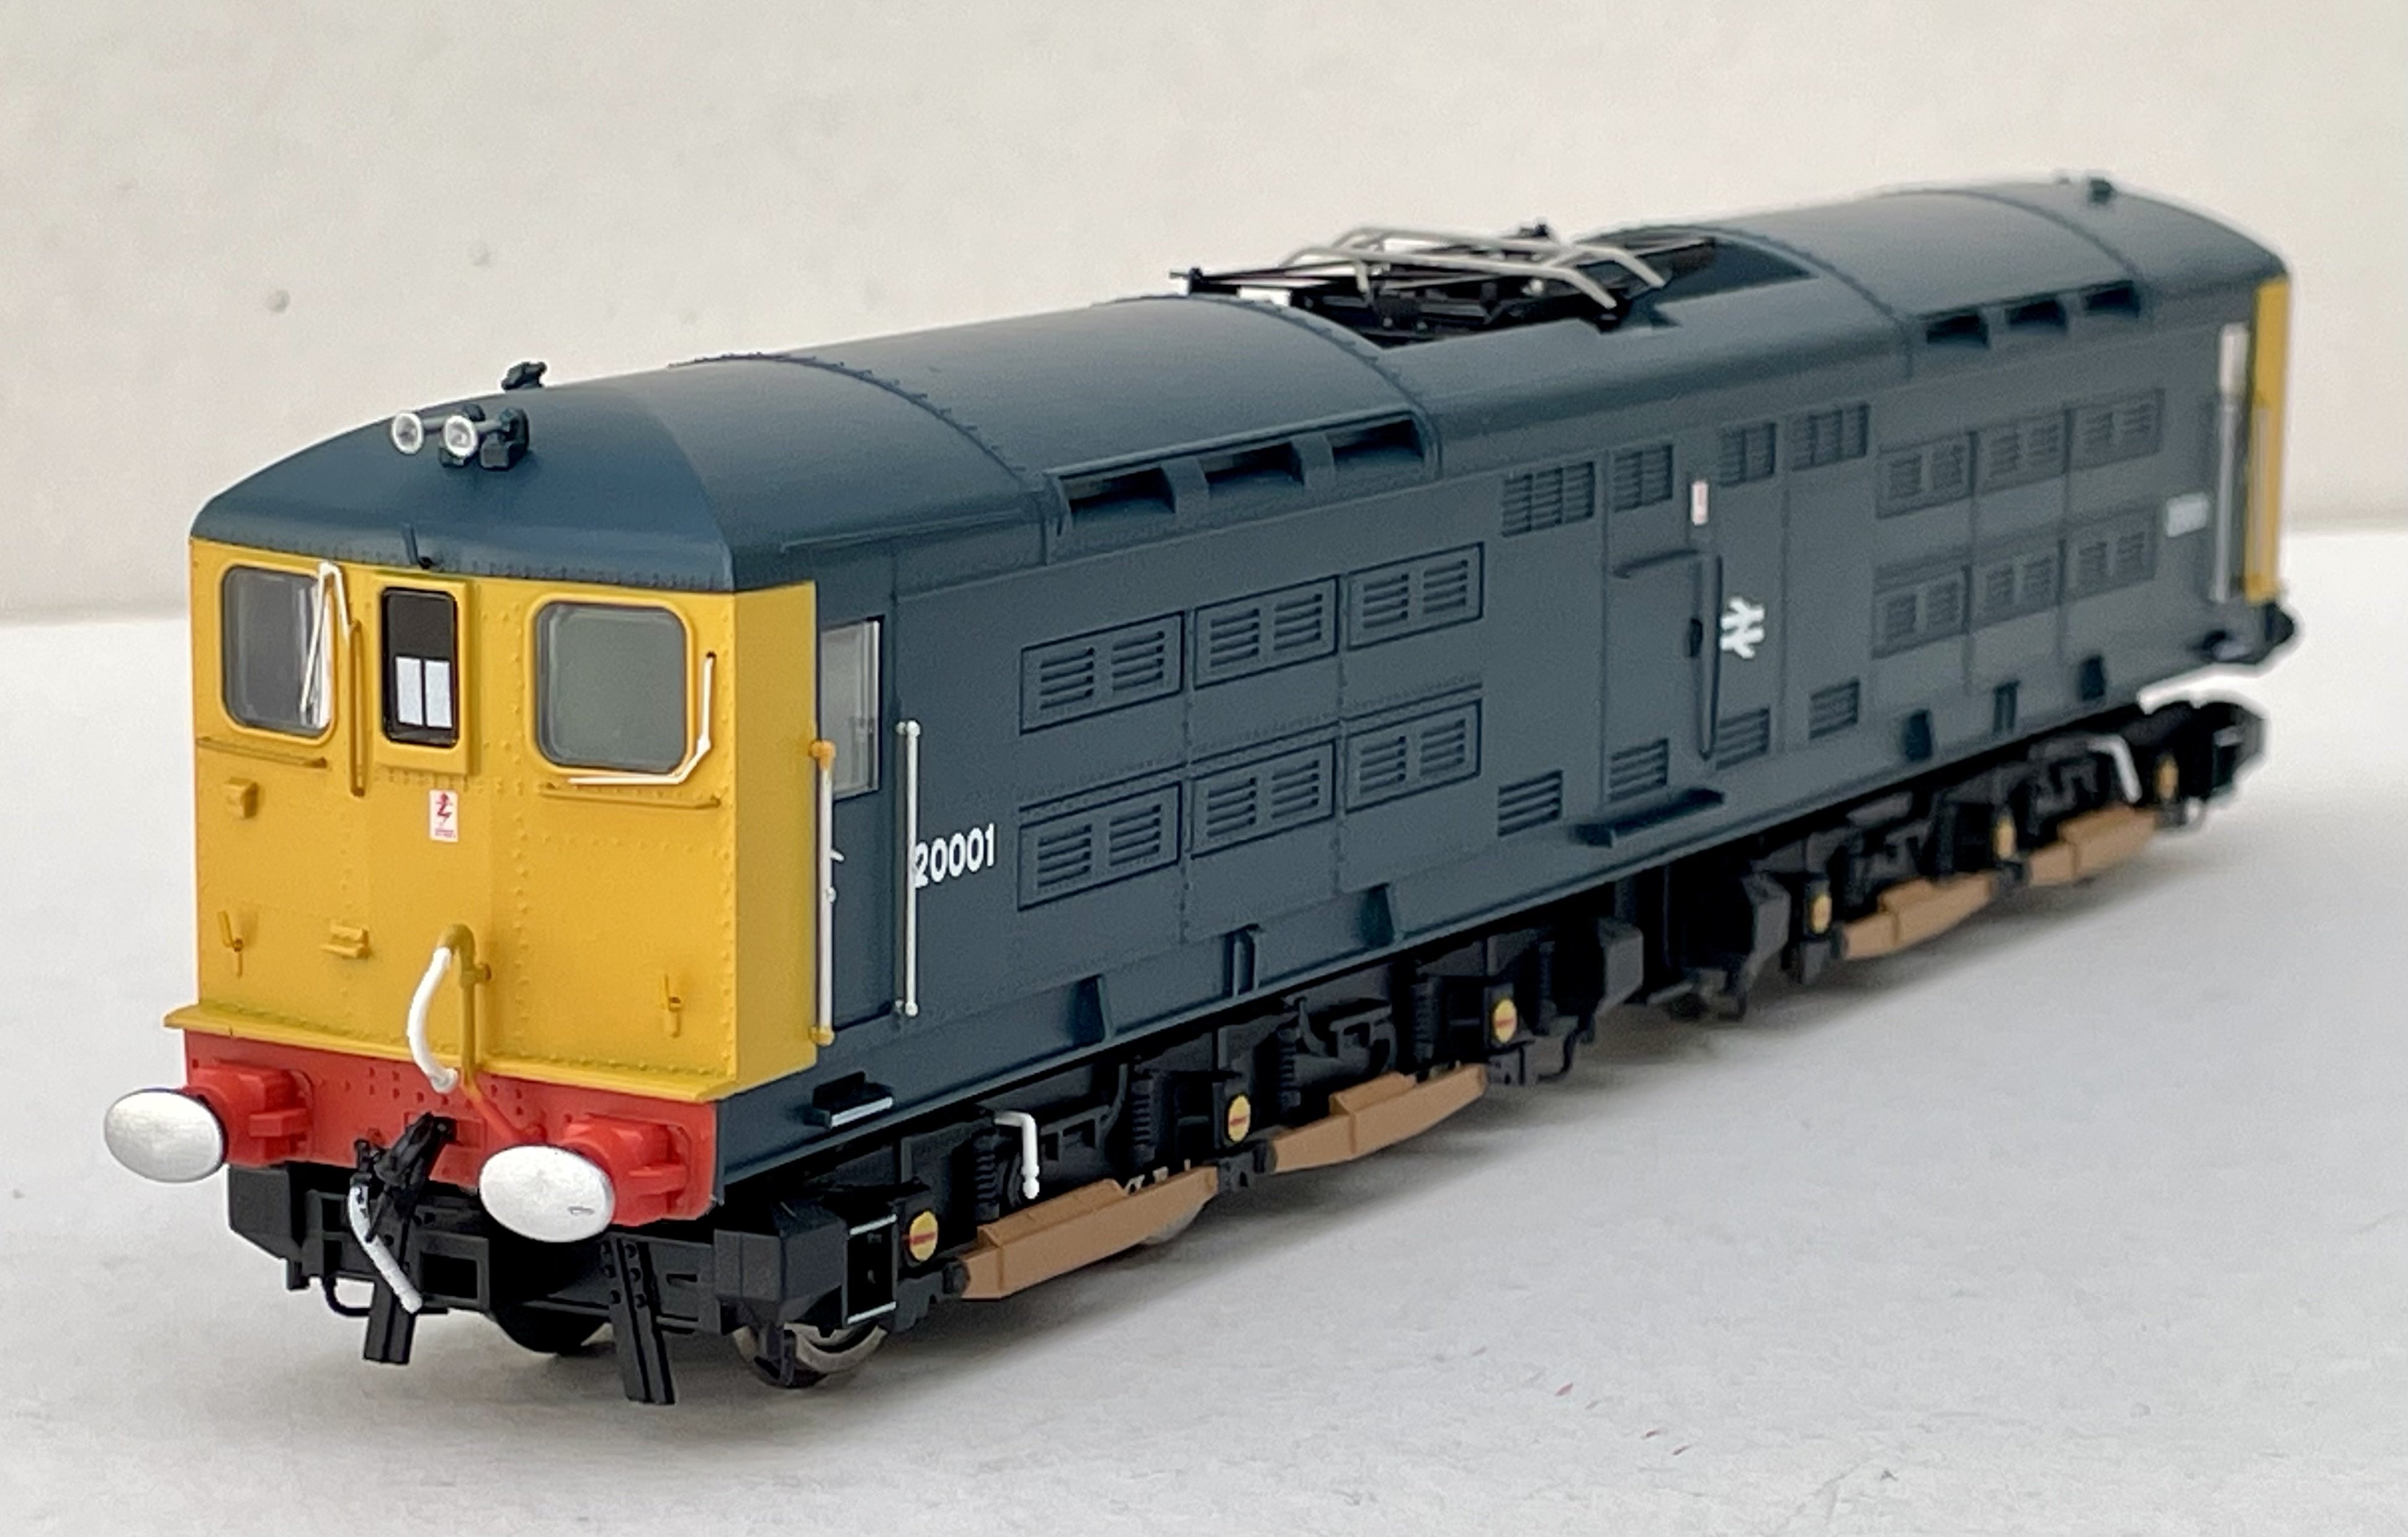
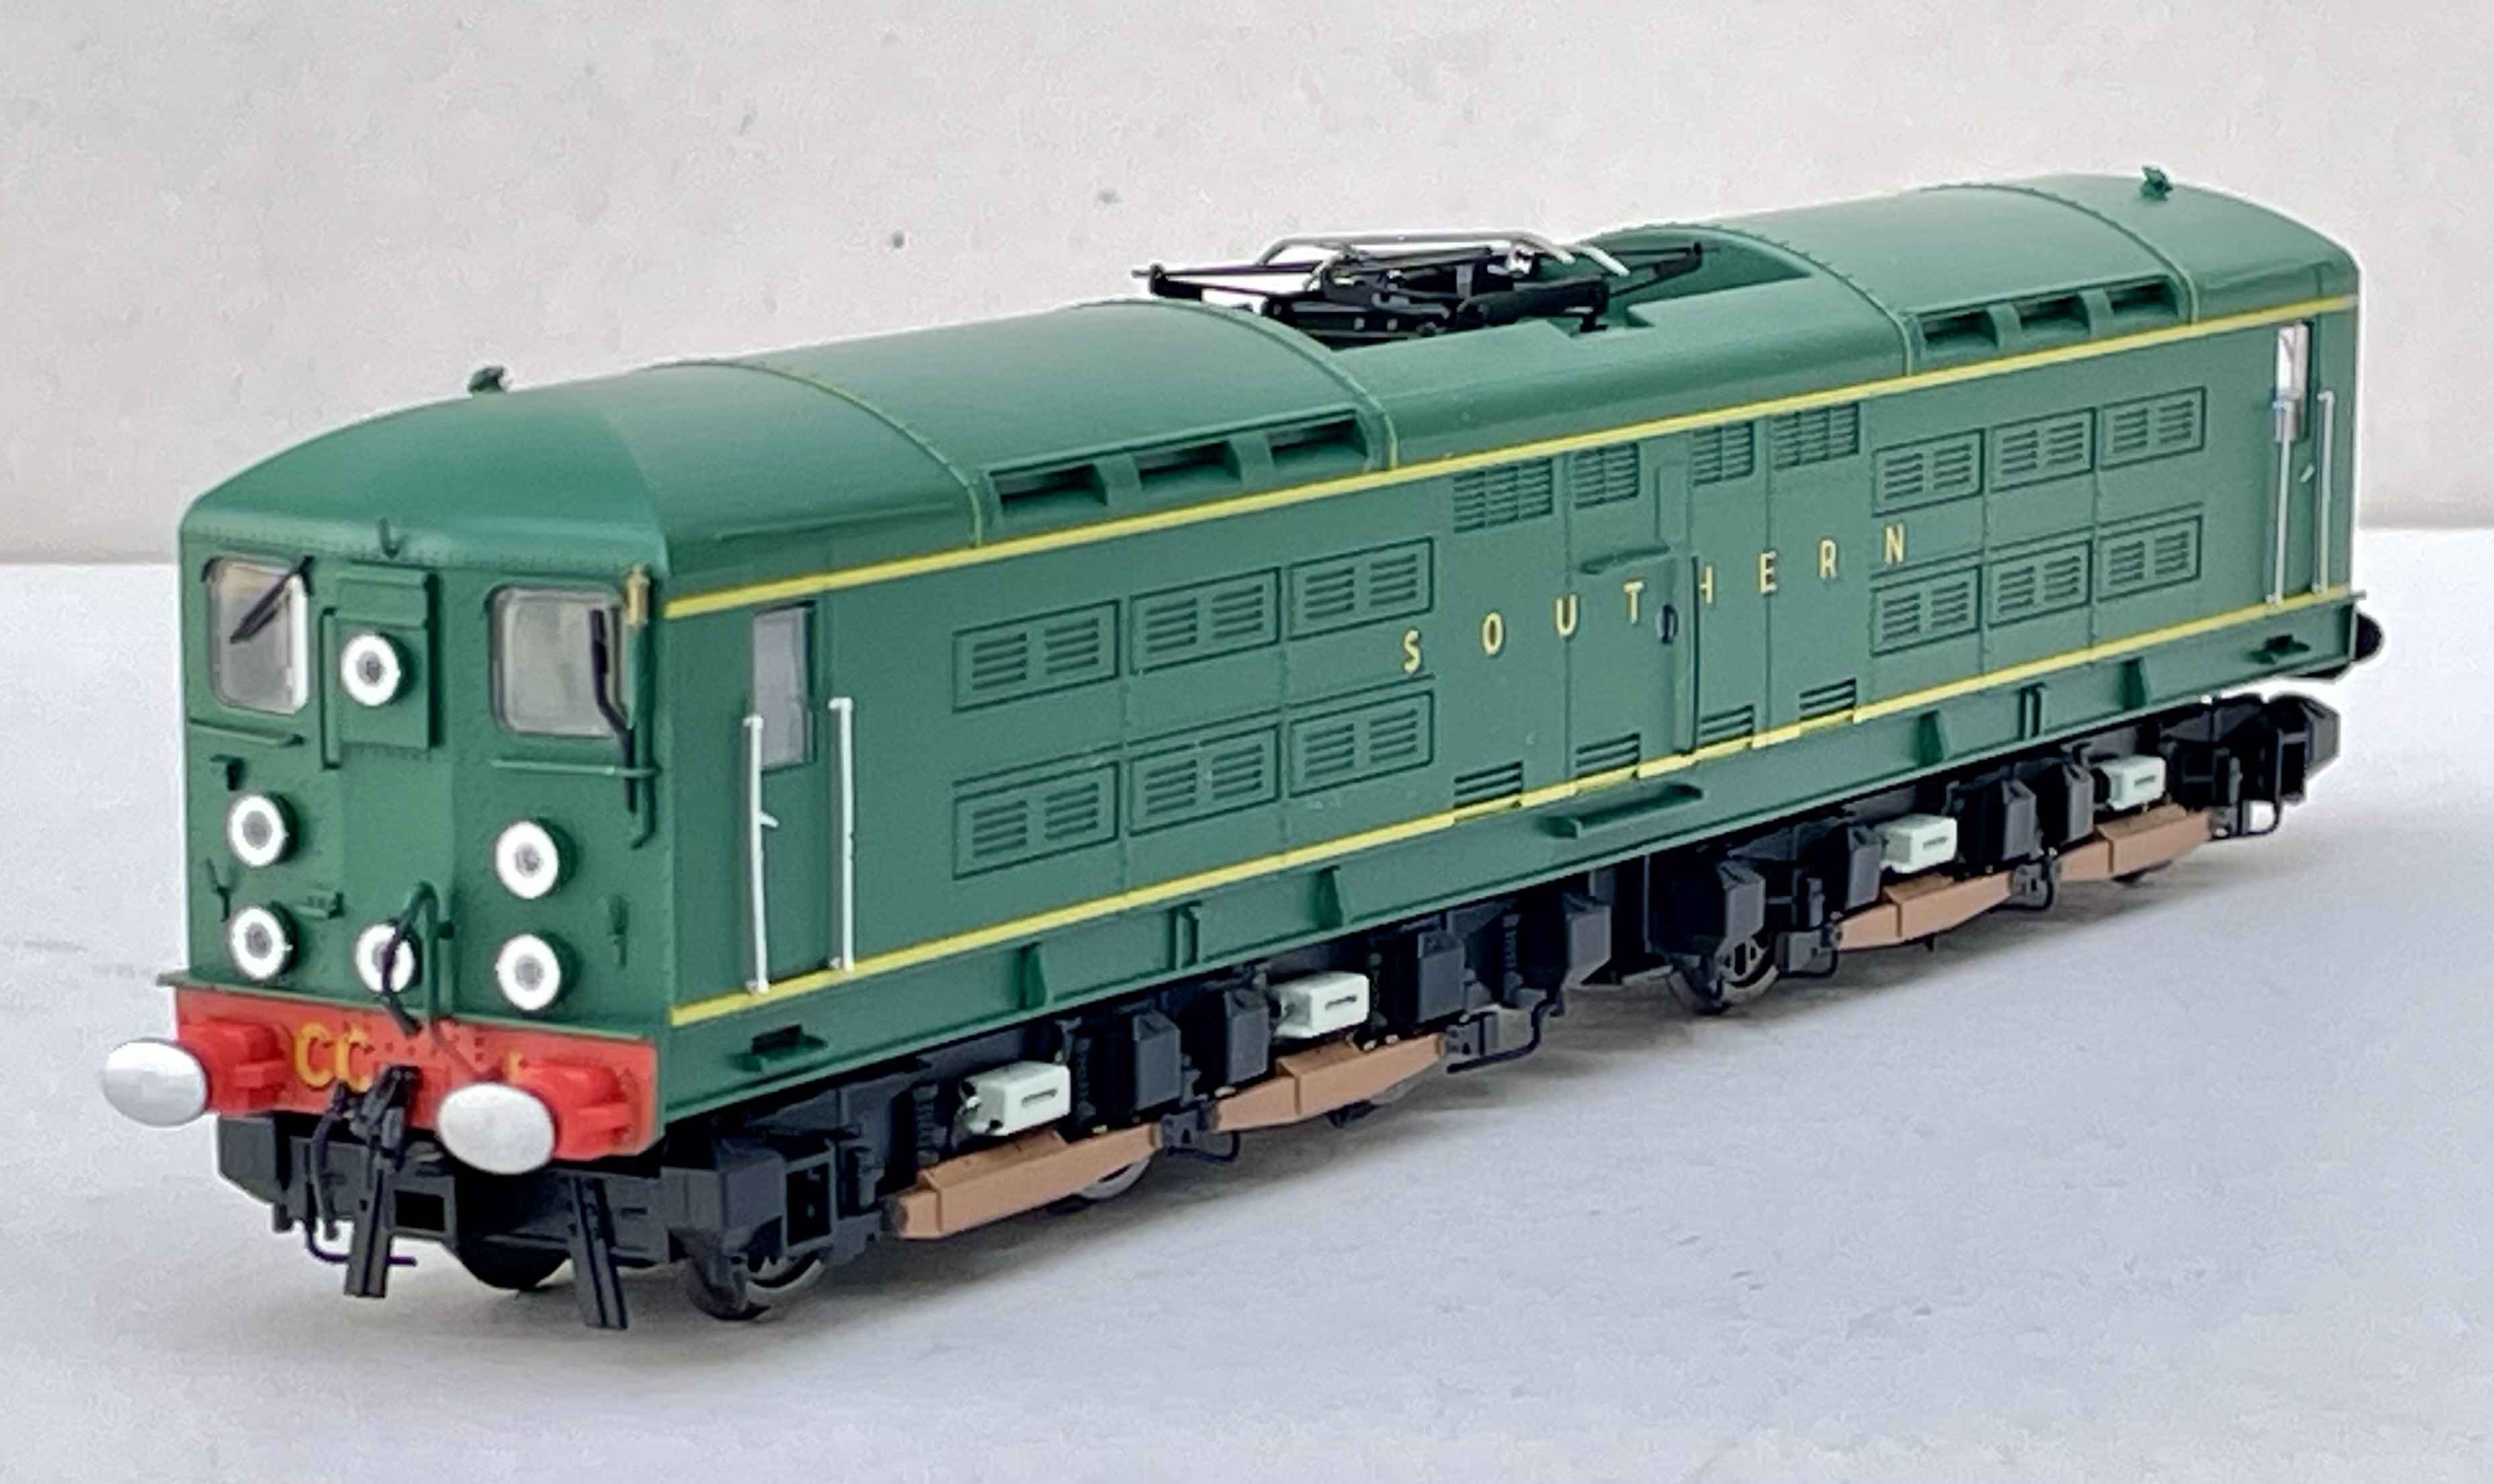
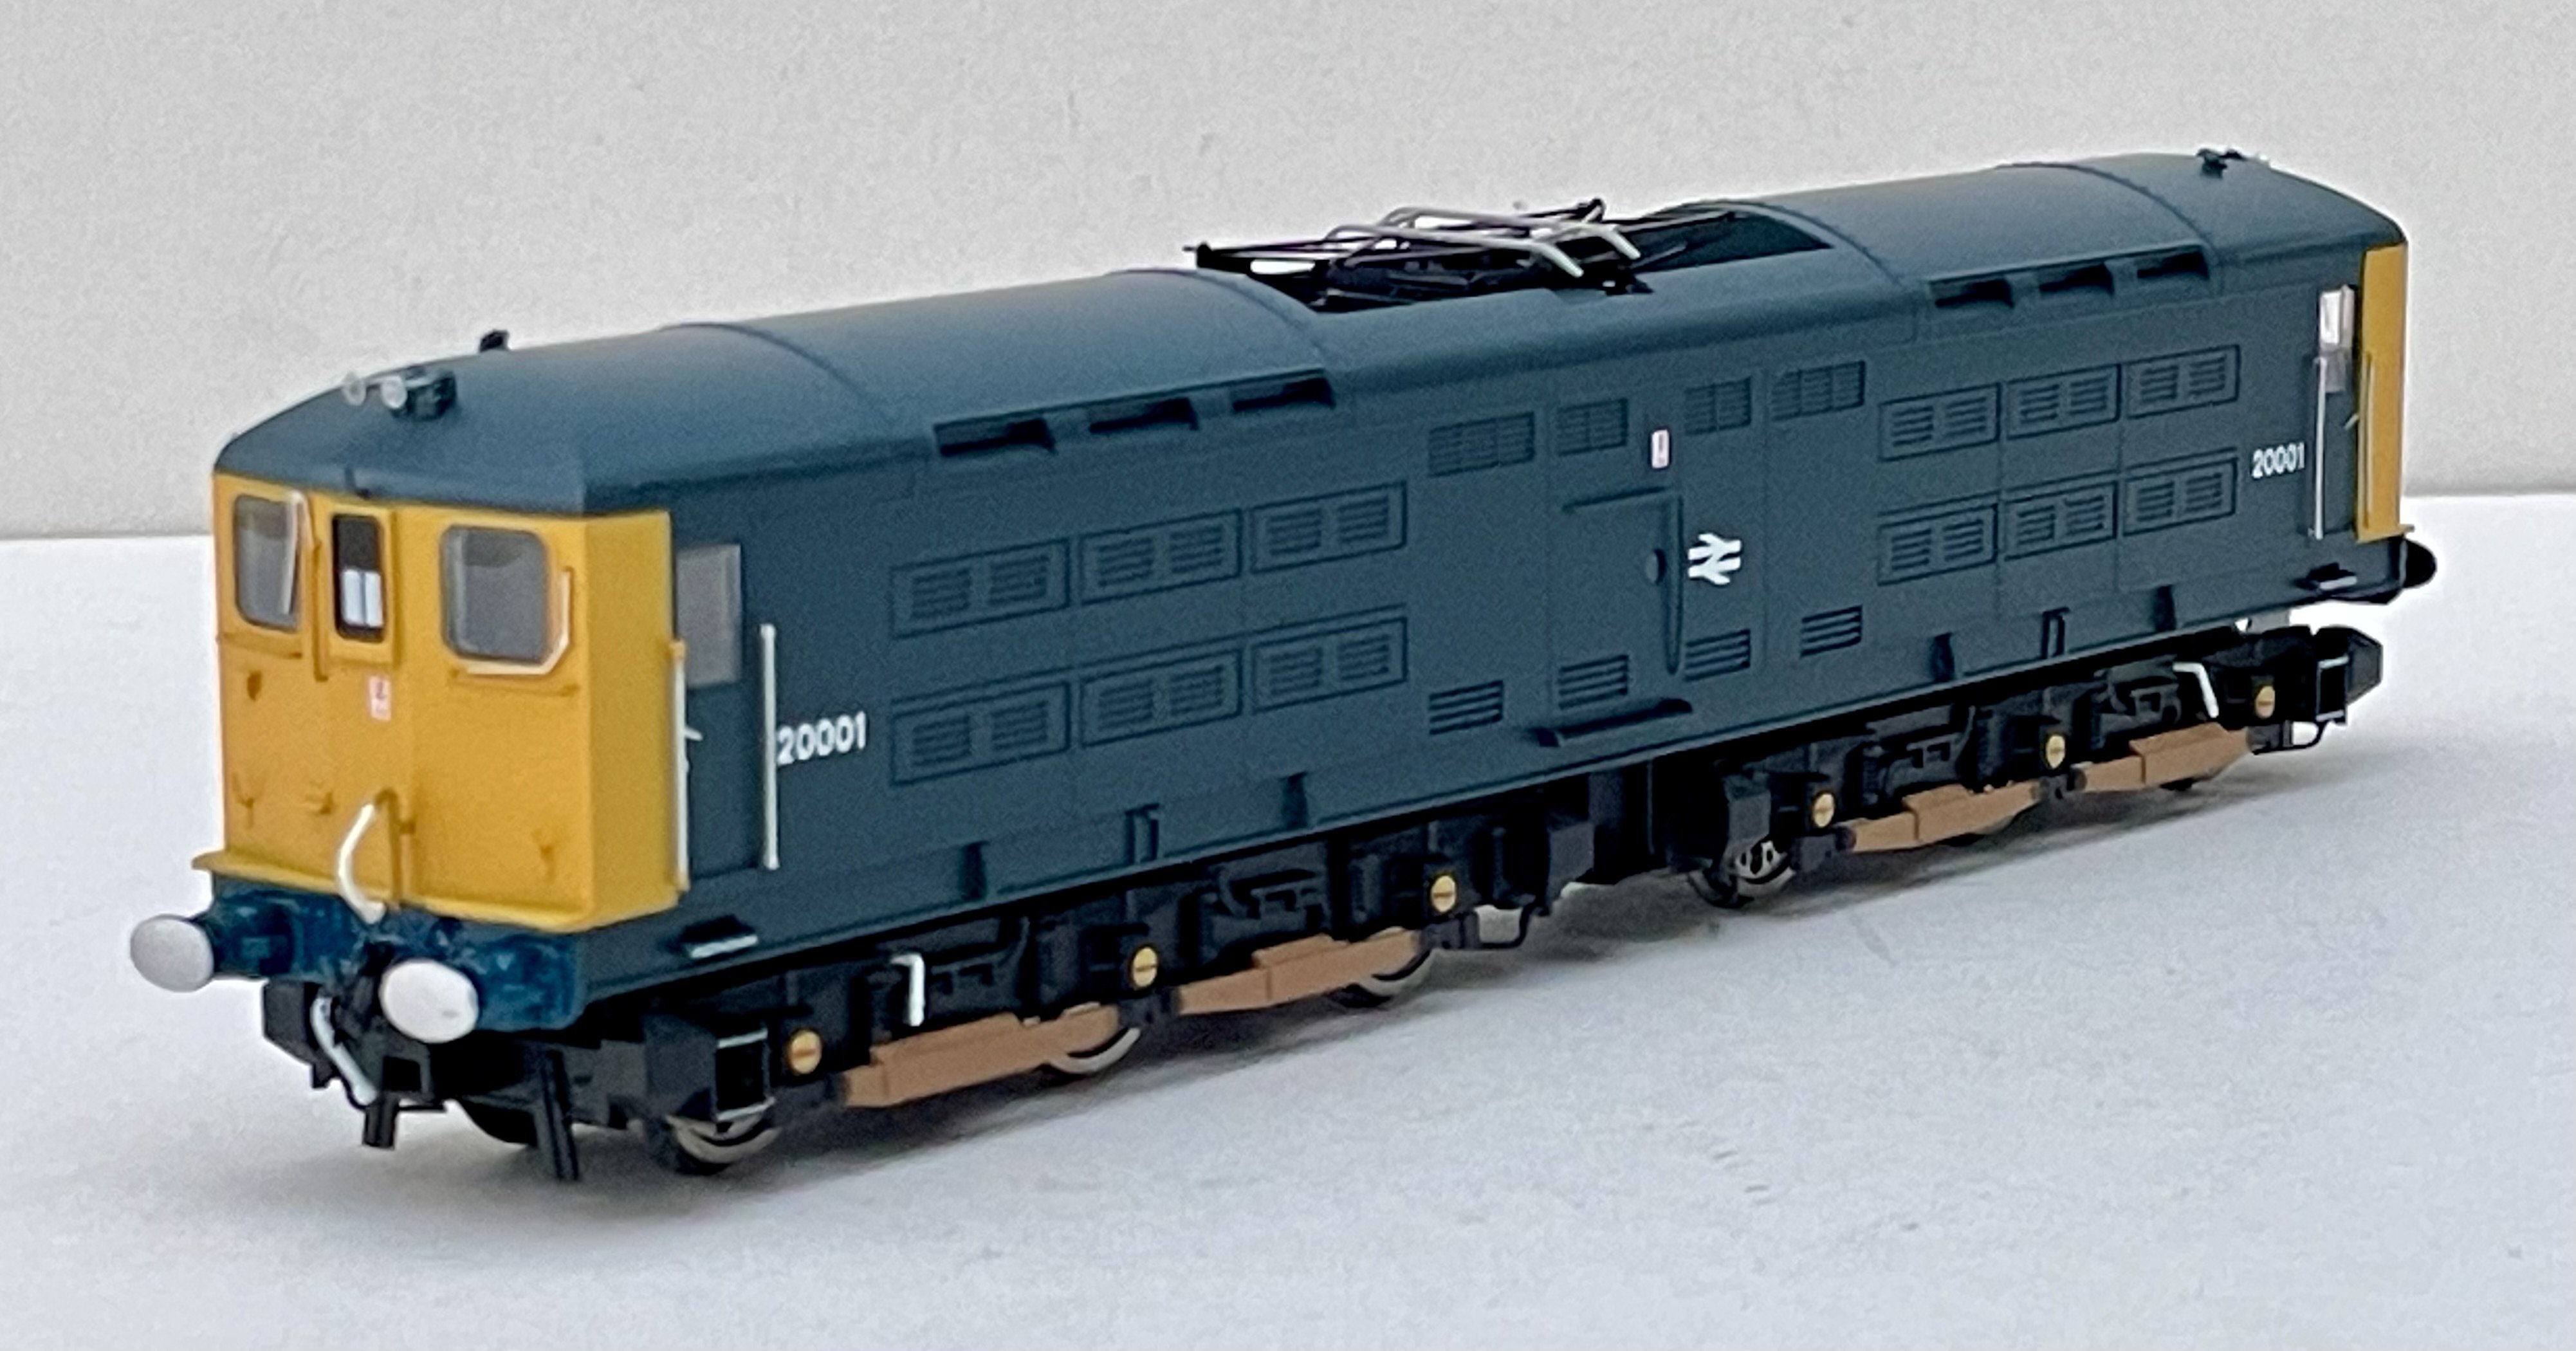
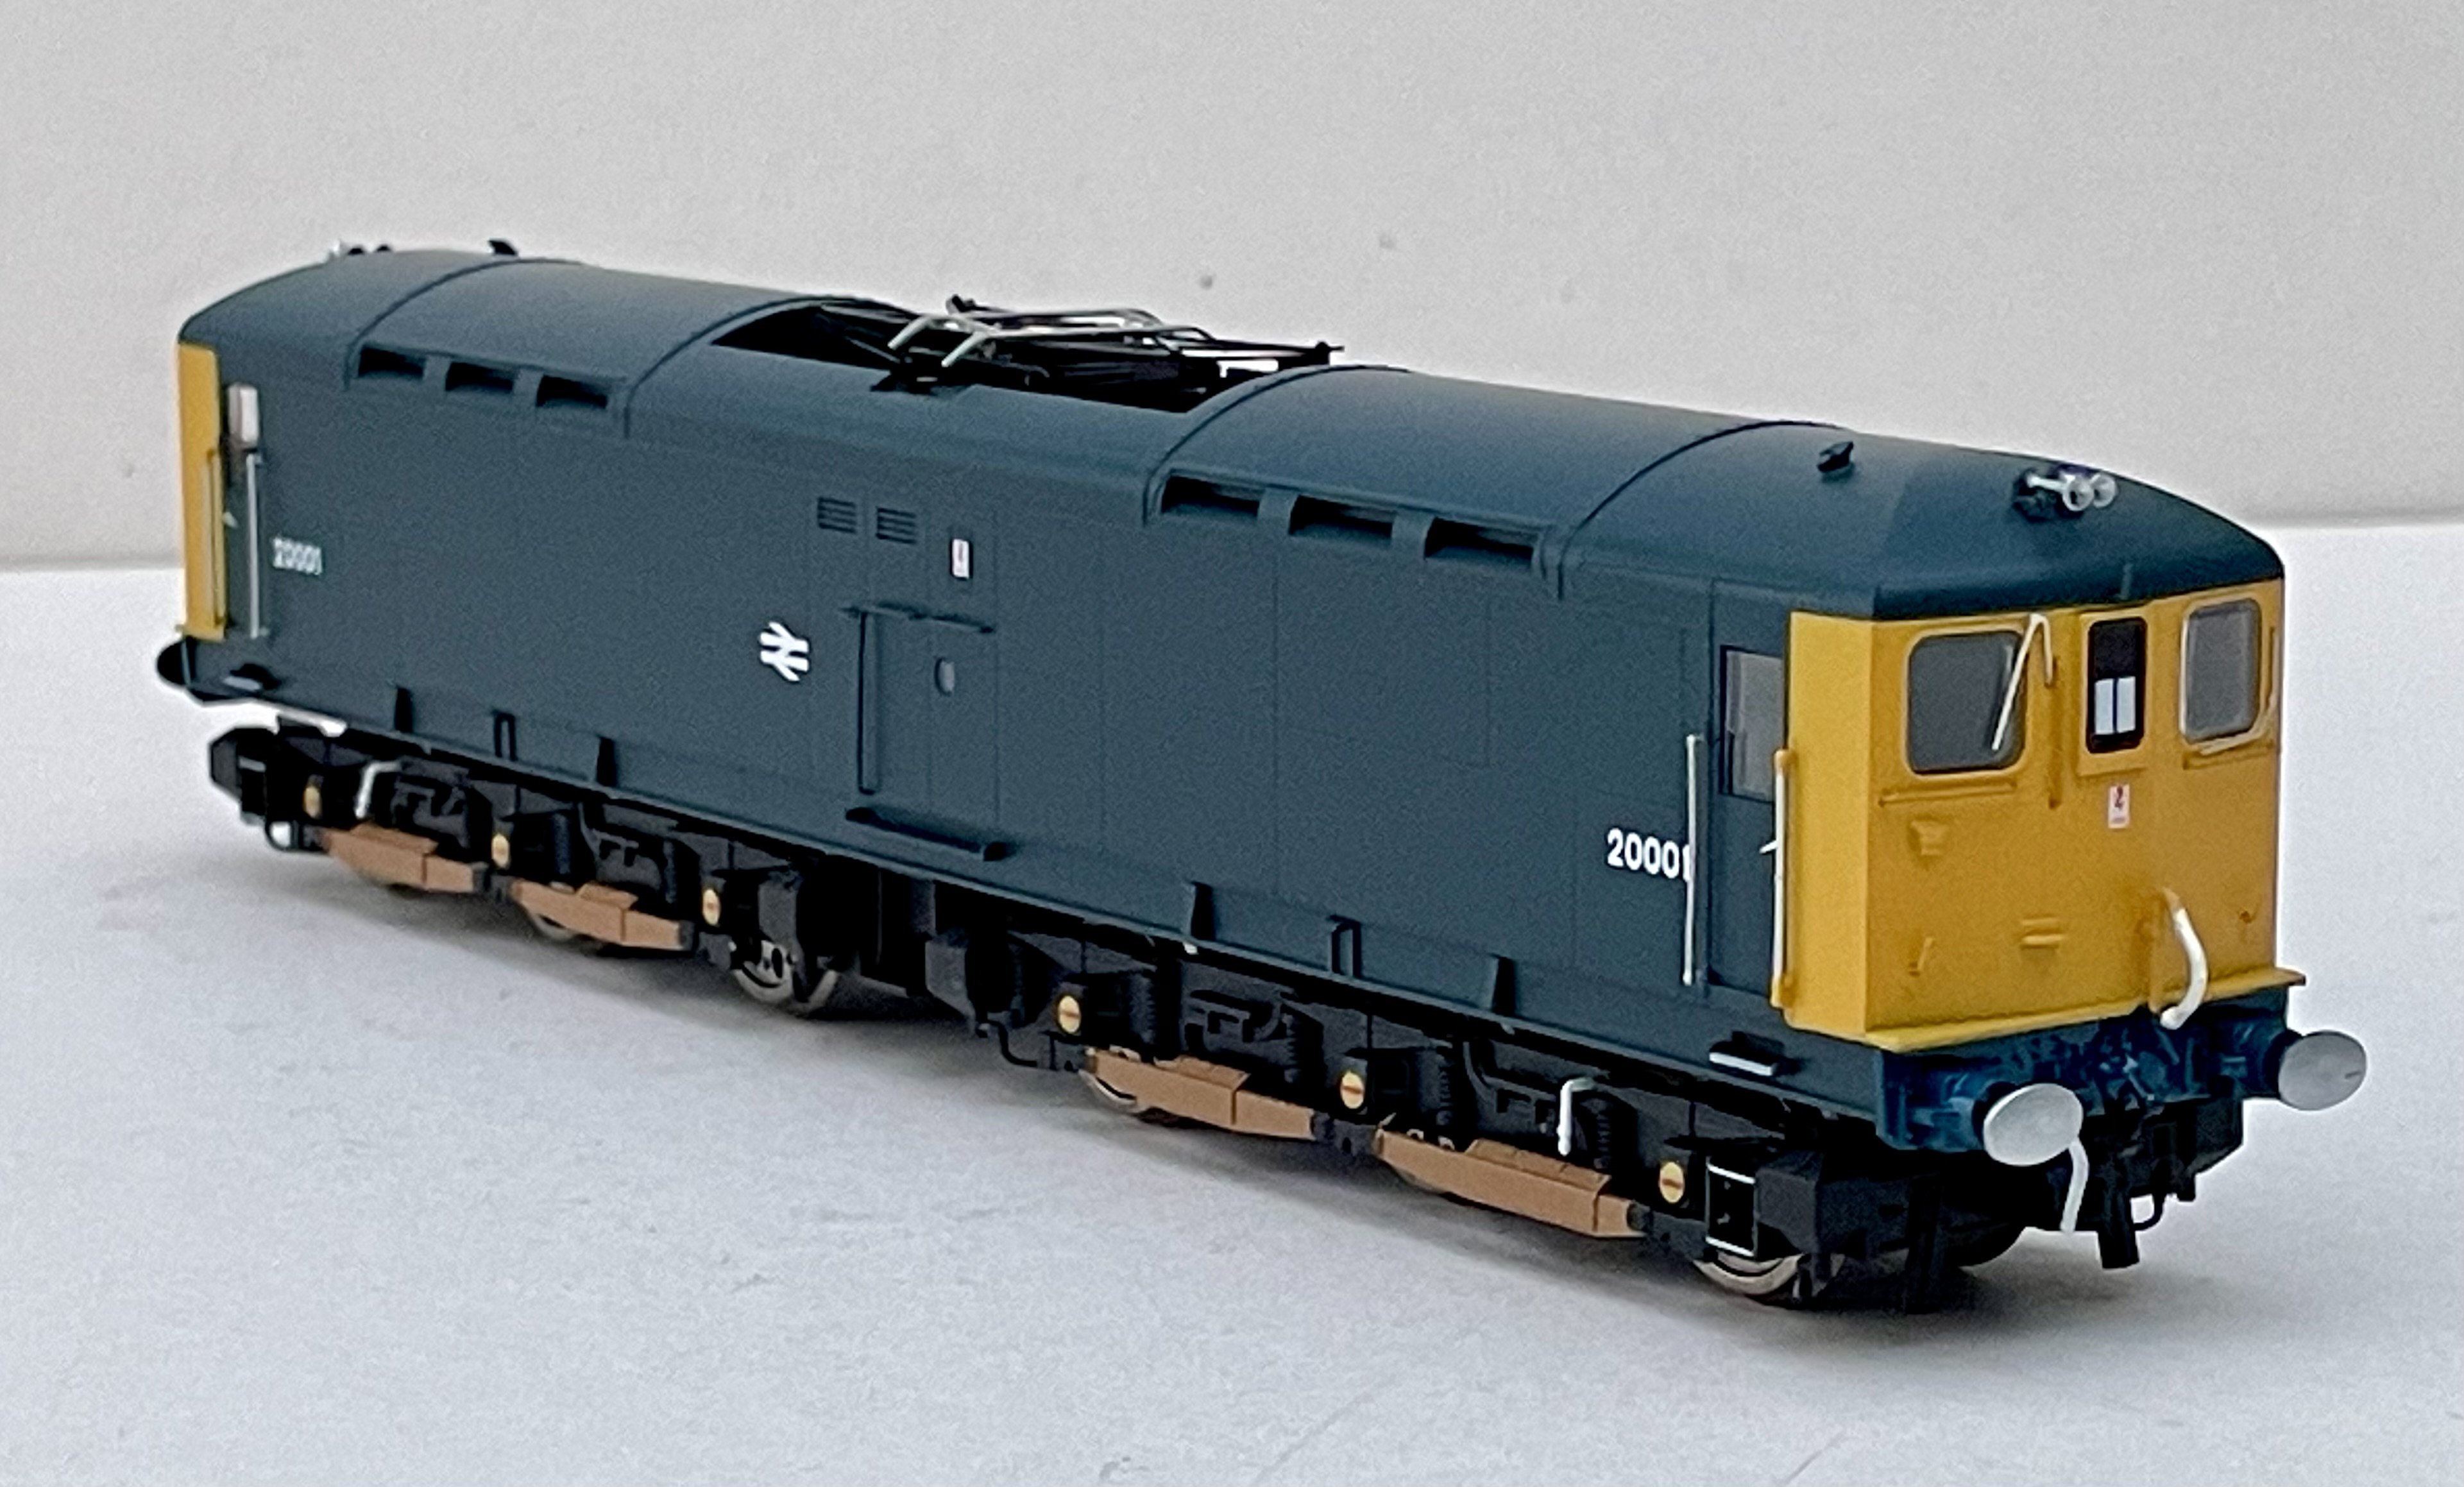
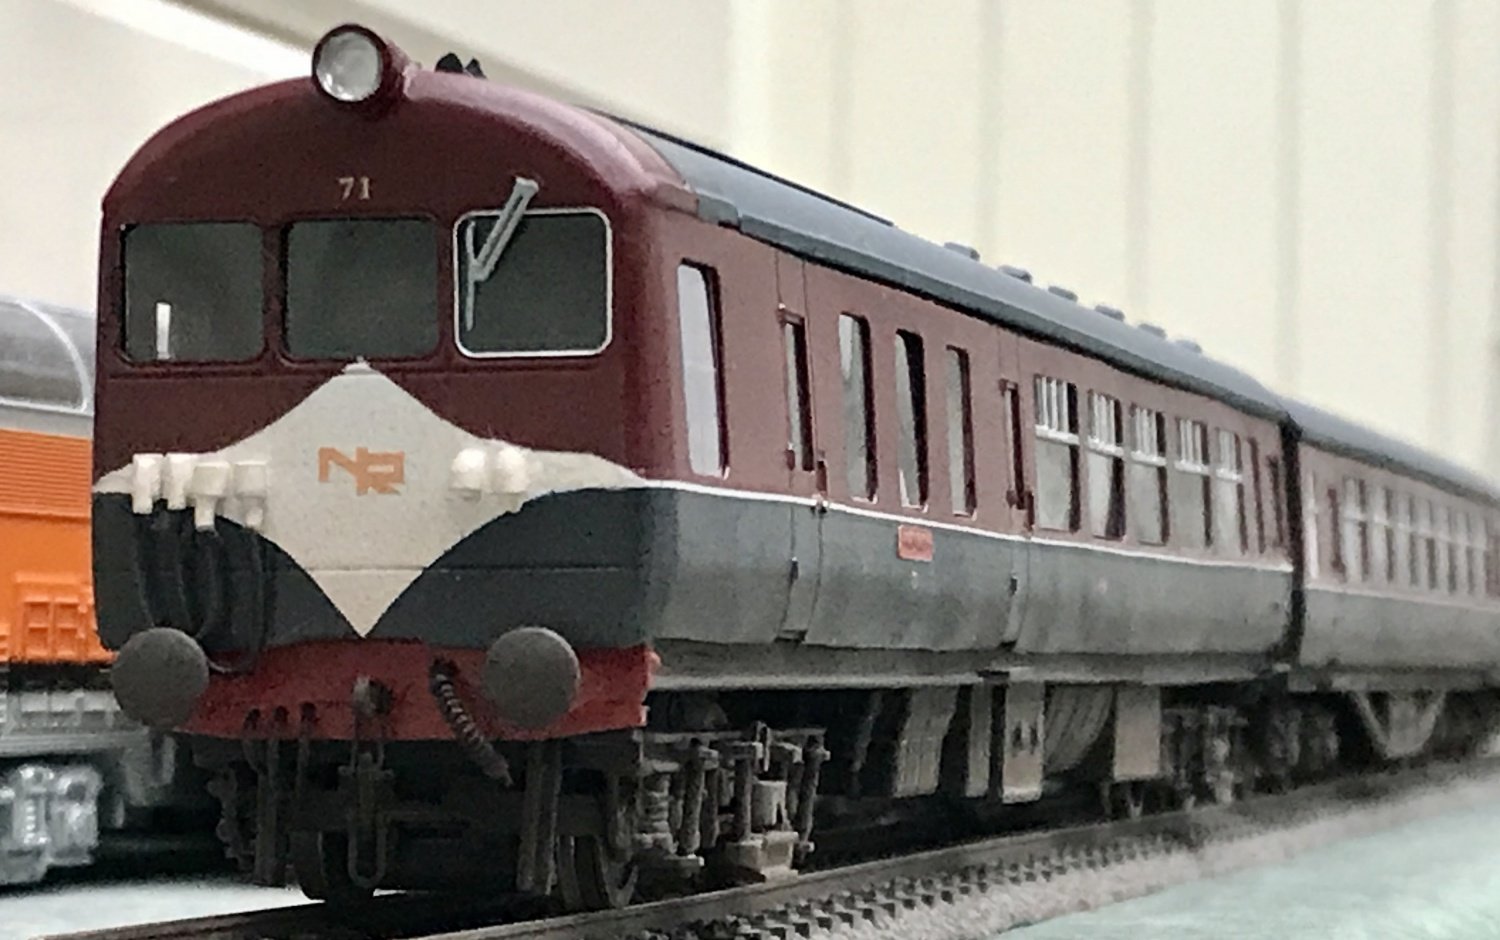
Started on Jan 3rd… Plan is to finish it in this livery. Finishing touches today - jumpers, peops and chassis weathering. Cheers Darius
-
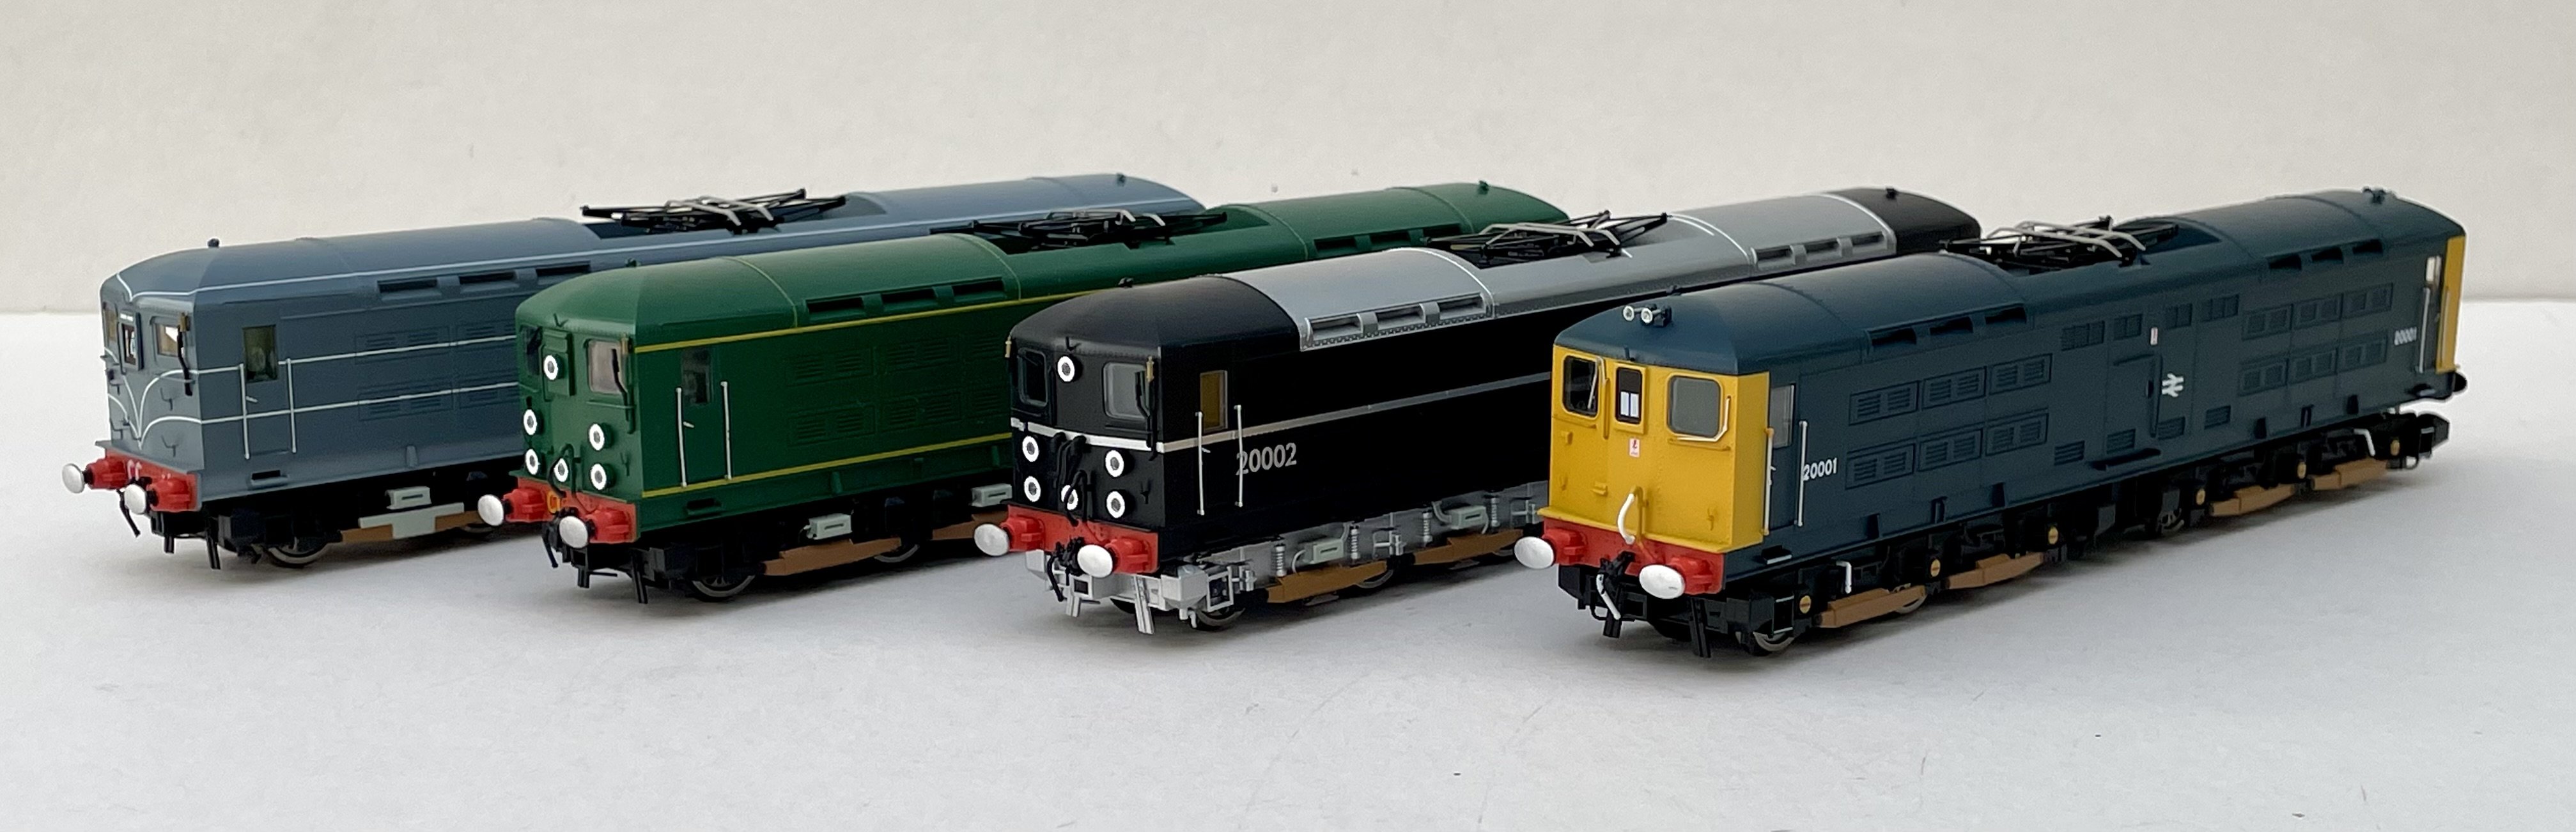
They are rather nice models The buffer beams on the BR blue version do need to be painted blue, however. Cheers Darius
-
15 inch. Cheers Darius
-
The first wagon is a Midland Railway wagon from around WW1. The second “well wagon” version is an LNER variant from the inter-war period. Cheers Darius
-
Built from the Niu Models 3D printed resin kit. Minor Niggles:- Some of the chassis parts were slightly “banana-shaped”. Hot and cold water immersion resolved that issue. The decals need to be individually cut from the sheet as the carrier film covers the whole sheet. The bogie axle boxes clash with the vertical legs of the brake levers, which may inhibit cornering. Some fettling required I shortened the drawbar between the well wagon and the flat wagon that supports the outer end of the gun barrel by about 10mm. As provided it places the wagons too far apart compared to the prototype photo on the Niu Models thread. Cheers Darius
-
Built today from the Niu Models 3D printed kit. A very well designed kit that was a pleasure to build. Cheers Darius
-
Final details applied, interiors fitted, and peops added. Chassis weathering to complete. Looking at the box containing the Class 505 kit now… Wishing everyone here on IRM a very happy Christmas and a prosperous New Year. Cheers Darius
-
Interiors constructed using plasticard and plastic seats from a job lot obtained from eBay some years ago. I ran out of the eBay seats part way through the second coach so I made the remainder from plasticard. Cheers Darius
-
Cab front and buffer gubbins fitted to the driving coaches. Cheers Darius
-
Driving Motor and Centre coaches glazed and decals applied. Cheers Darius
-
Driving motor coach and centre coach painted. Cheers Darius
-
Pantograph and insulator gubbins fitted to driving motor cab roof. I used a spare Marklin HO pantograph from a Swiss “Crocodile”. Cheers Darius
-
Hi Robert, The Lima DMU bogies, wheels and MTK motor bogie have already been assigned a new home through RMWeb. Cheers Darius
-
Close cousin of the Class 306, the Class 506 is now on the workbench. The Lima DMU bogies and pizza cutter wheels that came in the box won't be being used - and neither will the truly awful MTK motor bogie. Made a start on the DMBSO coach body today. Aluminium body roof cut away and replaced with a scratch built plasticard roof. The cars driver and guard compartment doors were a bit coarse so I replaced them with scratch built laminated plasticard doors. This also gave something other than aluminium for the white metal cab front to be bonded to. Cheers Darius
-
The Anglias are recognisable from their distinctive radiator grilles (my Dad had one in the late ‘60s). The others are Populars/Prefects and the larger 4-door Consuls. I didn’t realise that the Cork factory was the first one that Ford opened outside the US. Cheers Darius
-
Added peops and a driver. Cheers Darius
-
I couldn’t possibly say… Cheers Darius
-
Coach numbers and other decals added. Chassis weathering to finish. Cheers Darius
-
Interiors fitted and buffer beam details added. Cheers Darius
-
Driving motor coach interior completed - somewhat truncated due to the motor bogie being in this coach. I did consider putting the motor bogie in the guard’s compartment in the centre coach but space was too constricted due to the white metal castings for the guard’s doors. Cheers Darius
-
Hi Michael, The seats come from a bag of assorted model coach seats that I obtained from eBay a few years ago. The seats are about 24mm long so I cut them into smaller length seats as required or glue on new sections to make them longer. Cheers Darius
-
Centre coach interior completed. Cheers Darius