Darius43
-
Posts
1,278 -
Joined
-
Last visited
-
Days Won
97
Content Type
Profiles
Forums
Events
Gallery
Everything posted by Darius43
-
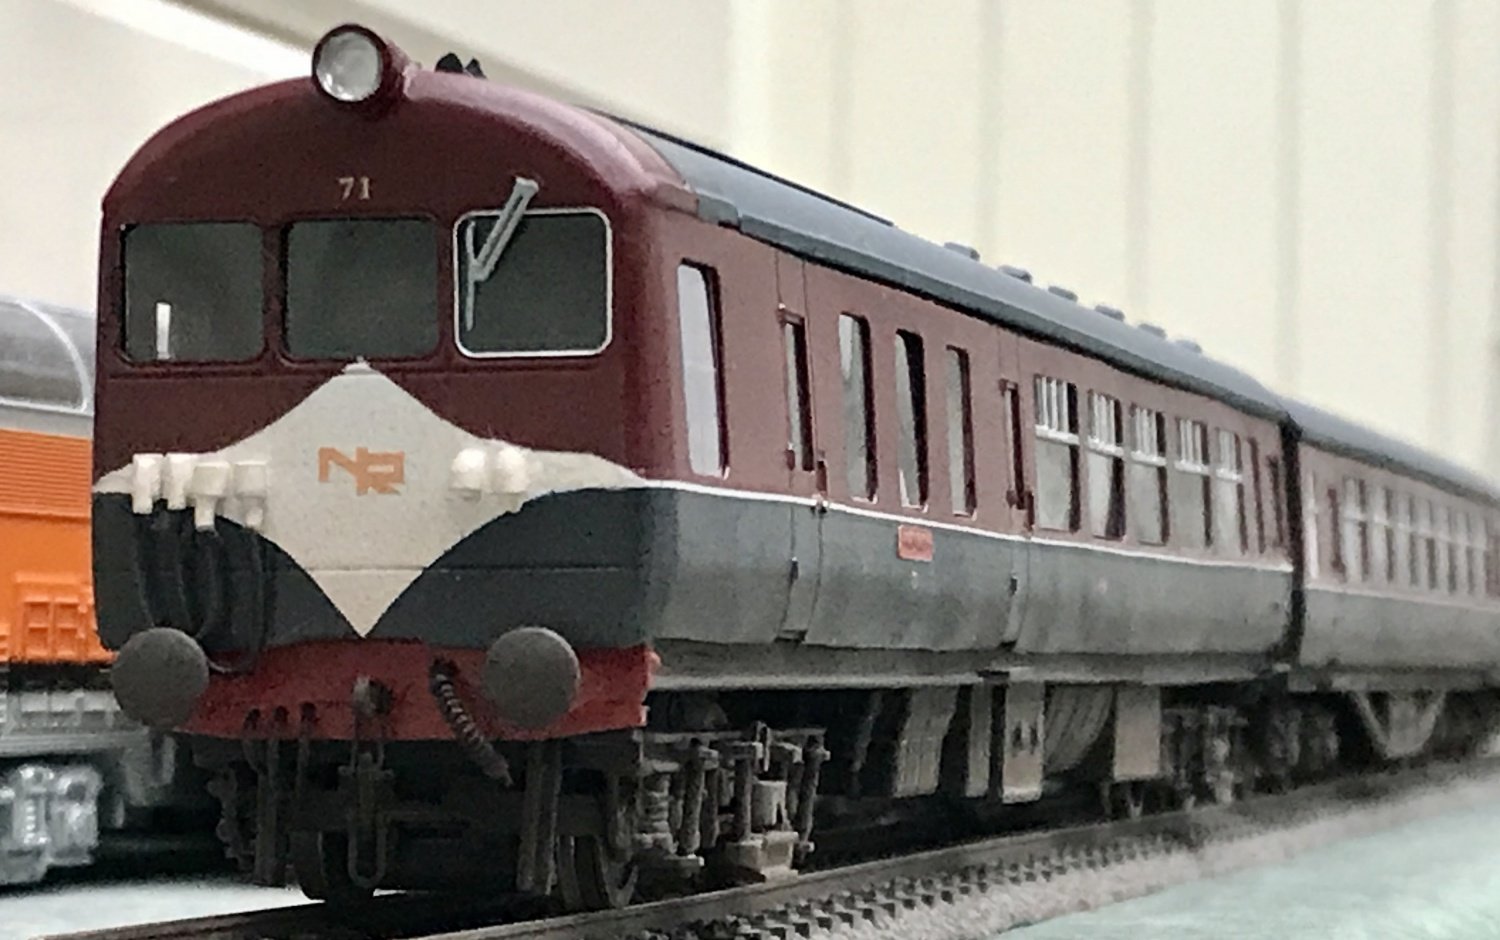
Tail lights added courtesy of West Hill Wagon Works. Cheers Darius
-
Some running this morning Cheers Darius
-
Terraced houses now in place on the layout. Cheers Darius
-
As far as I am aware there are no RTR models of Indian Railway locomotives or stock. There are 3D printed models on Shapeways and Langley did produce a white metal kit of a Darjeeling Himalayan narrow gauge steam tank loco. If you want a model of IR broad gauge stock, a combination of modifying non-Indian rtr models and scratch building is the “easiest” option in my view. These are the coaches (or “bogies”) that I am modelling. The full train is going to take some time… Cheers Darius
-
Doors added. Cheers Darius
-
Very sorry to hear this news. Darius
-
Window cutting out commenced… Shortened the bogie centre dimension. One side done… Cheers Darius
-
Made a start on an ICF coach for the Deccan Queen using plasticard sheets to build up the lower coach body. It is designed to fit on a cut down Triang Mk1 coach chassis. The coach sides will be thin plasticard with the windows cut out - similar to the Bombay Local. An internal framework of plasticard provides strength and something for the coach sides to fix to. The Triang coach roof is modified to fit. The scale is approximately 1:87 HO to match the WCM1 loco recently converted from an Electrotren HO model. I adjusted the coach sides slightly to match the Triang coach length. I now have rather a lot of windows to cut out… Cheers Darius
-
Thanks David. Having completed the Loco conversion I suppose I have to build the 20+ coaches that form the Deccan Queen. Going to need a load more Triang Mk1s and plasticard. Cheers Darius

-
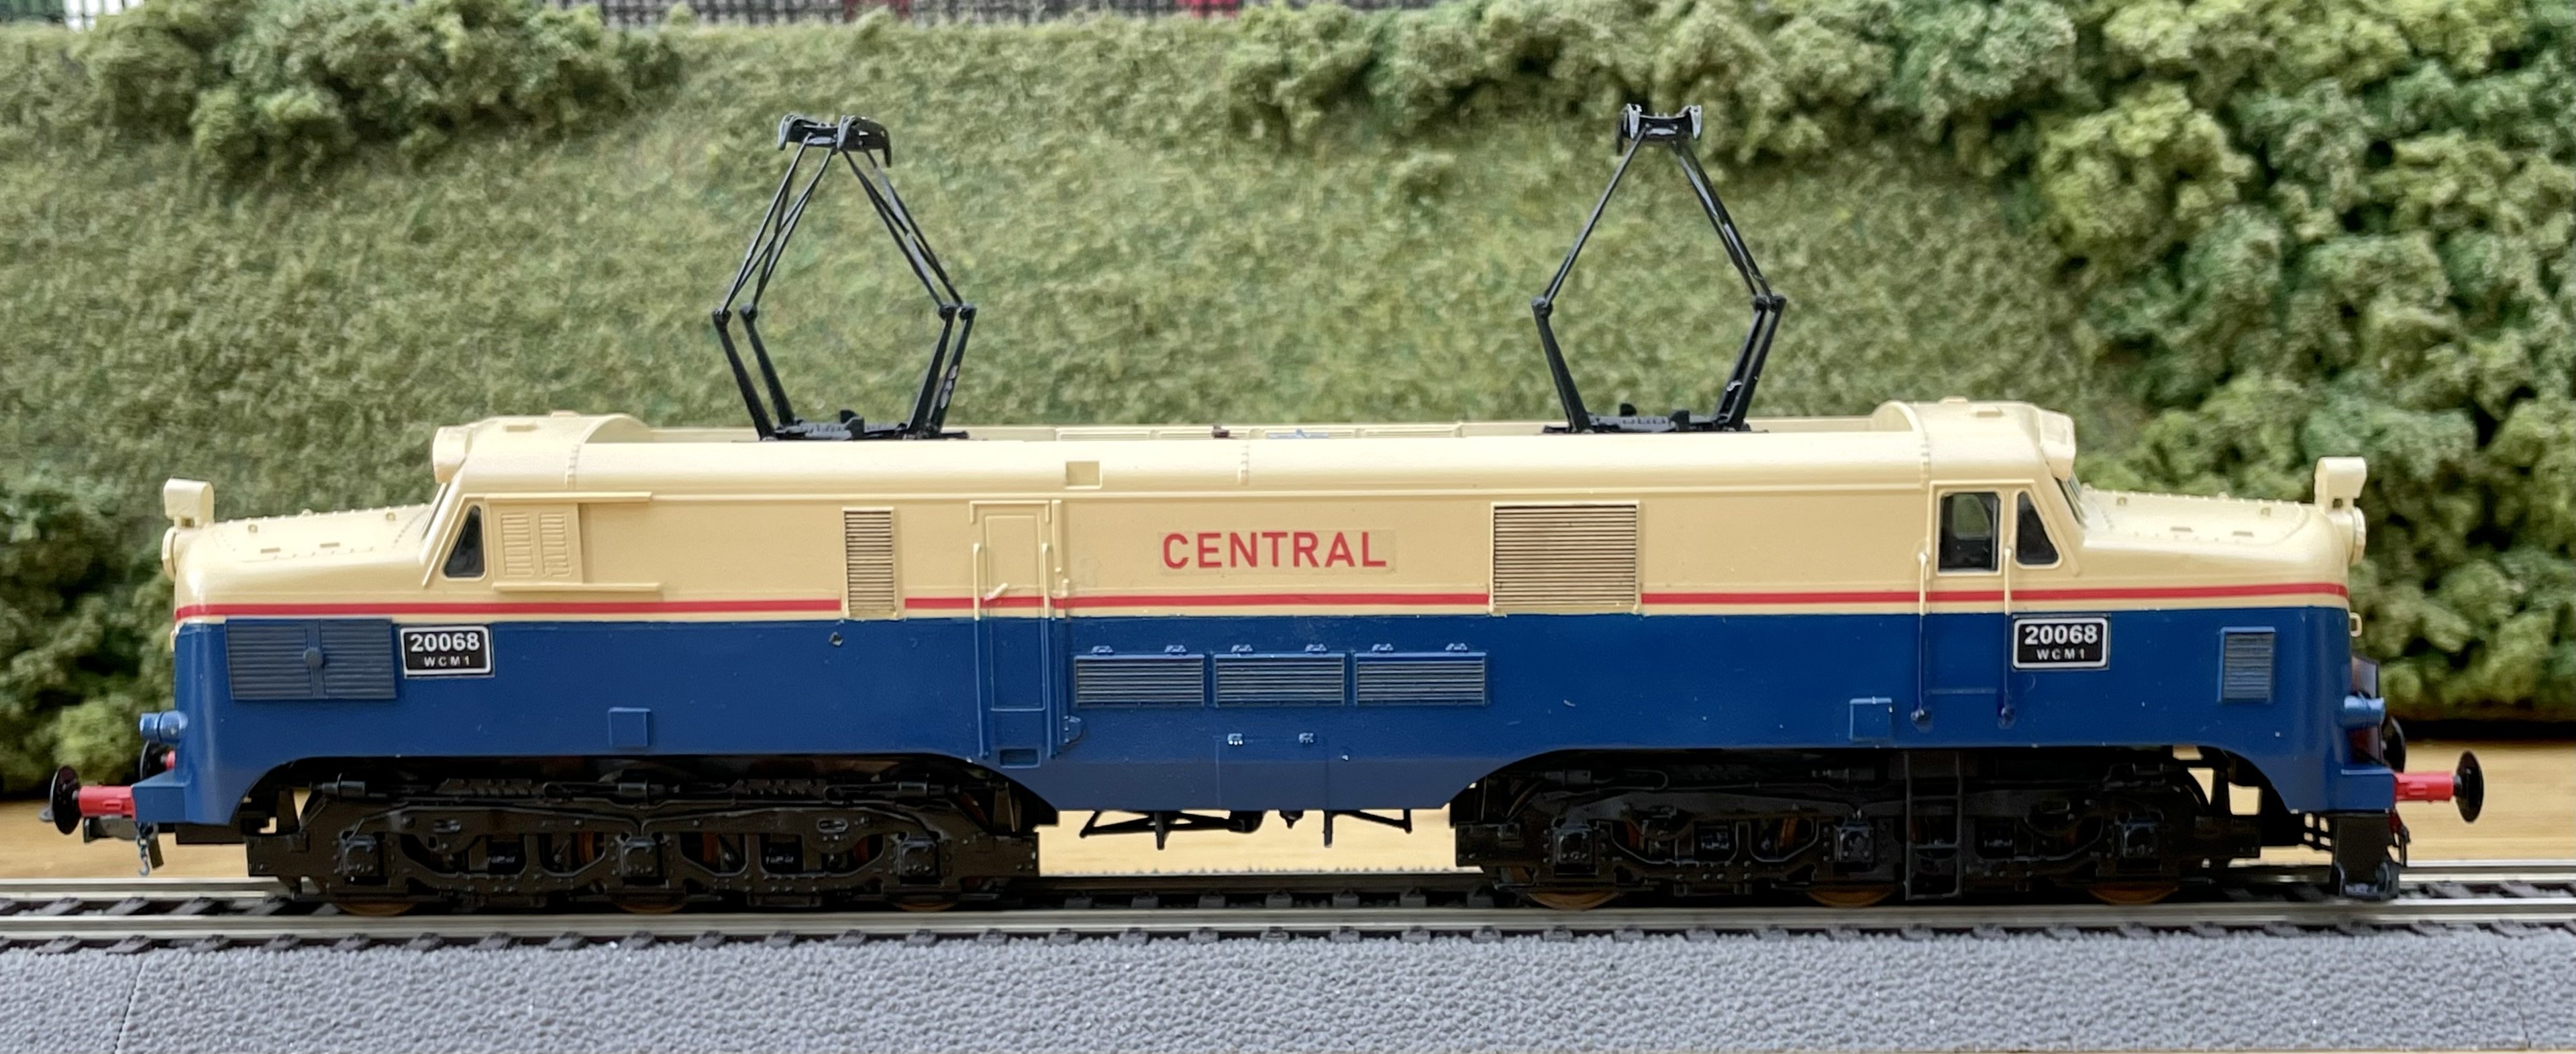
Calling this finished now - added buffer beam steps the the coupling end, bogie speedometers and light weathering to the chassis. Cheers Darius
-
Tail lights fabricated from plasticard and mounted atop the main headlights. Cheers Darius
-
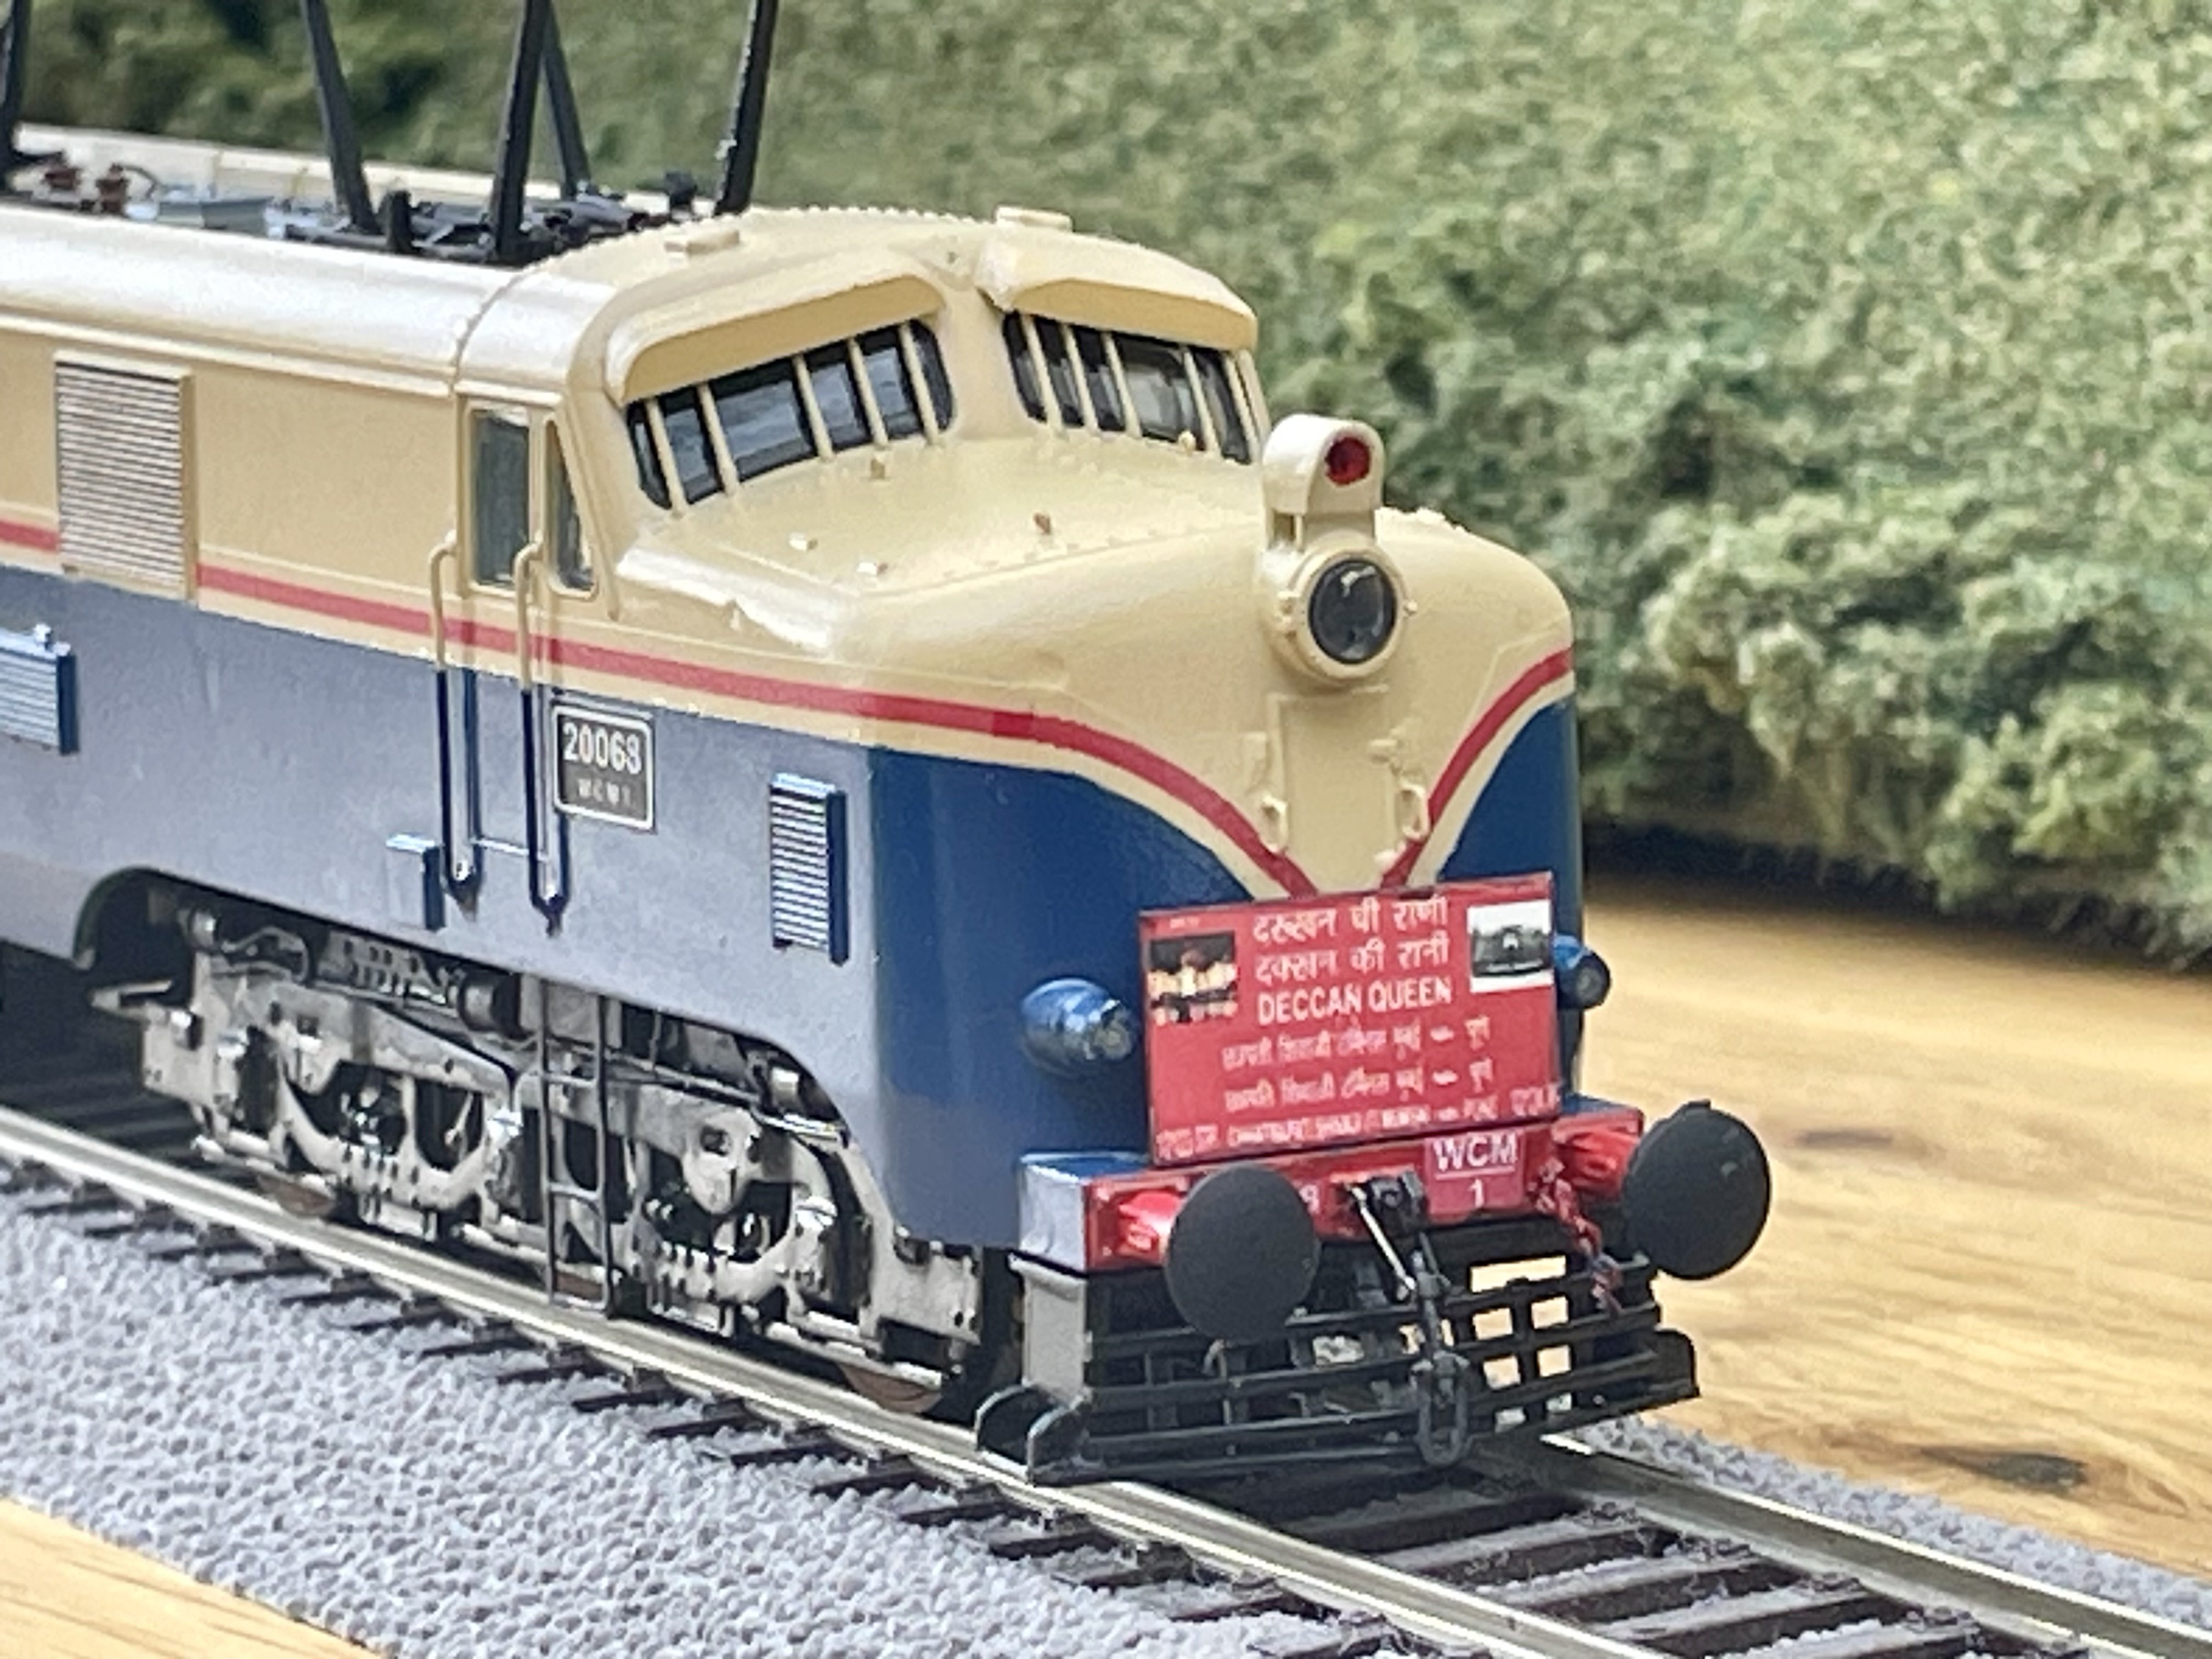
Cow catcher made from plasticard and fixed to the removable front valence that came with the model locomotive. It’s almost brushing the tops of the rails so further modifications will be required. I have a cunning plan… Modified cow catcher fitted. Cheers Darius
-
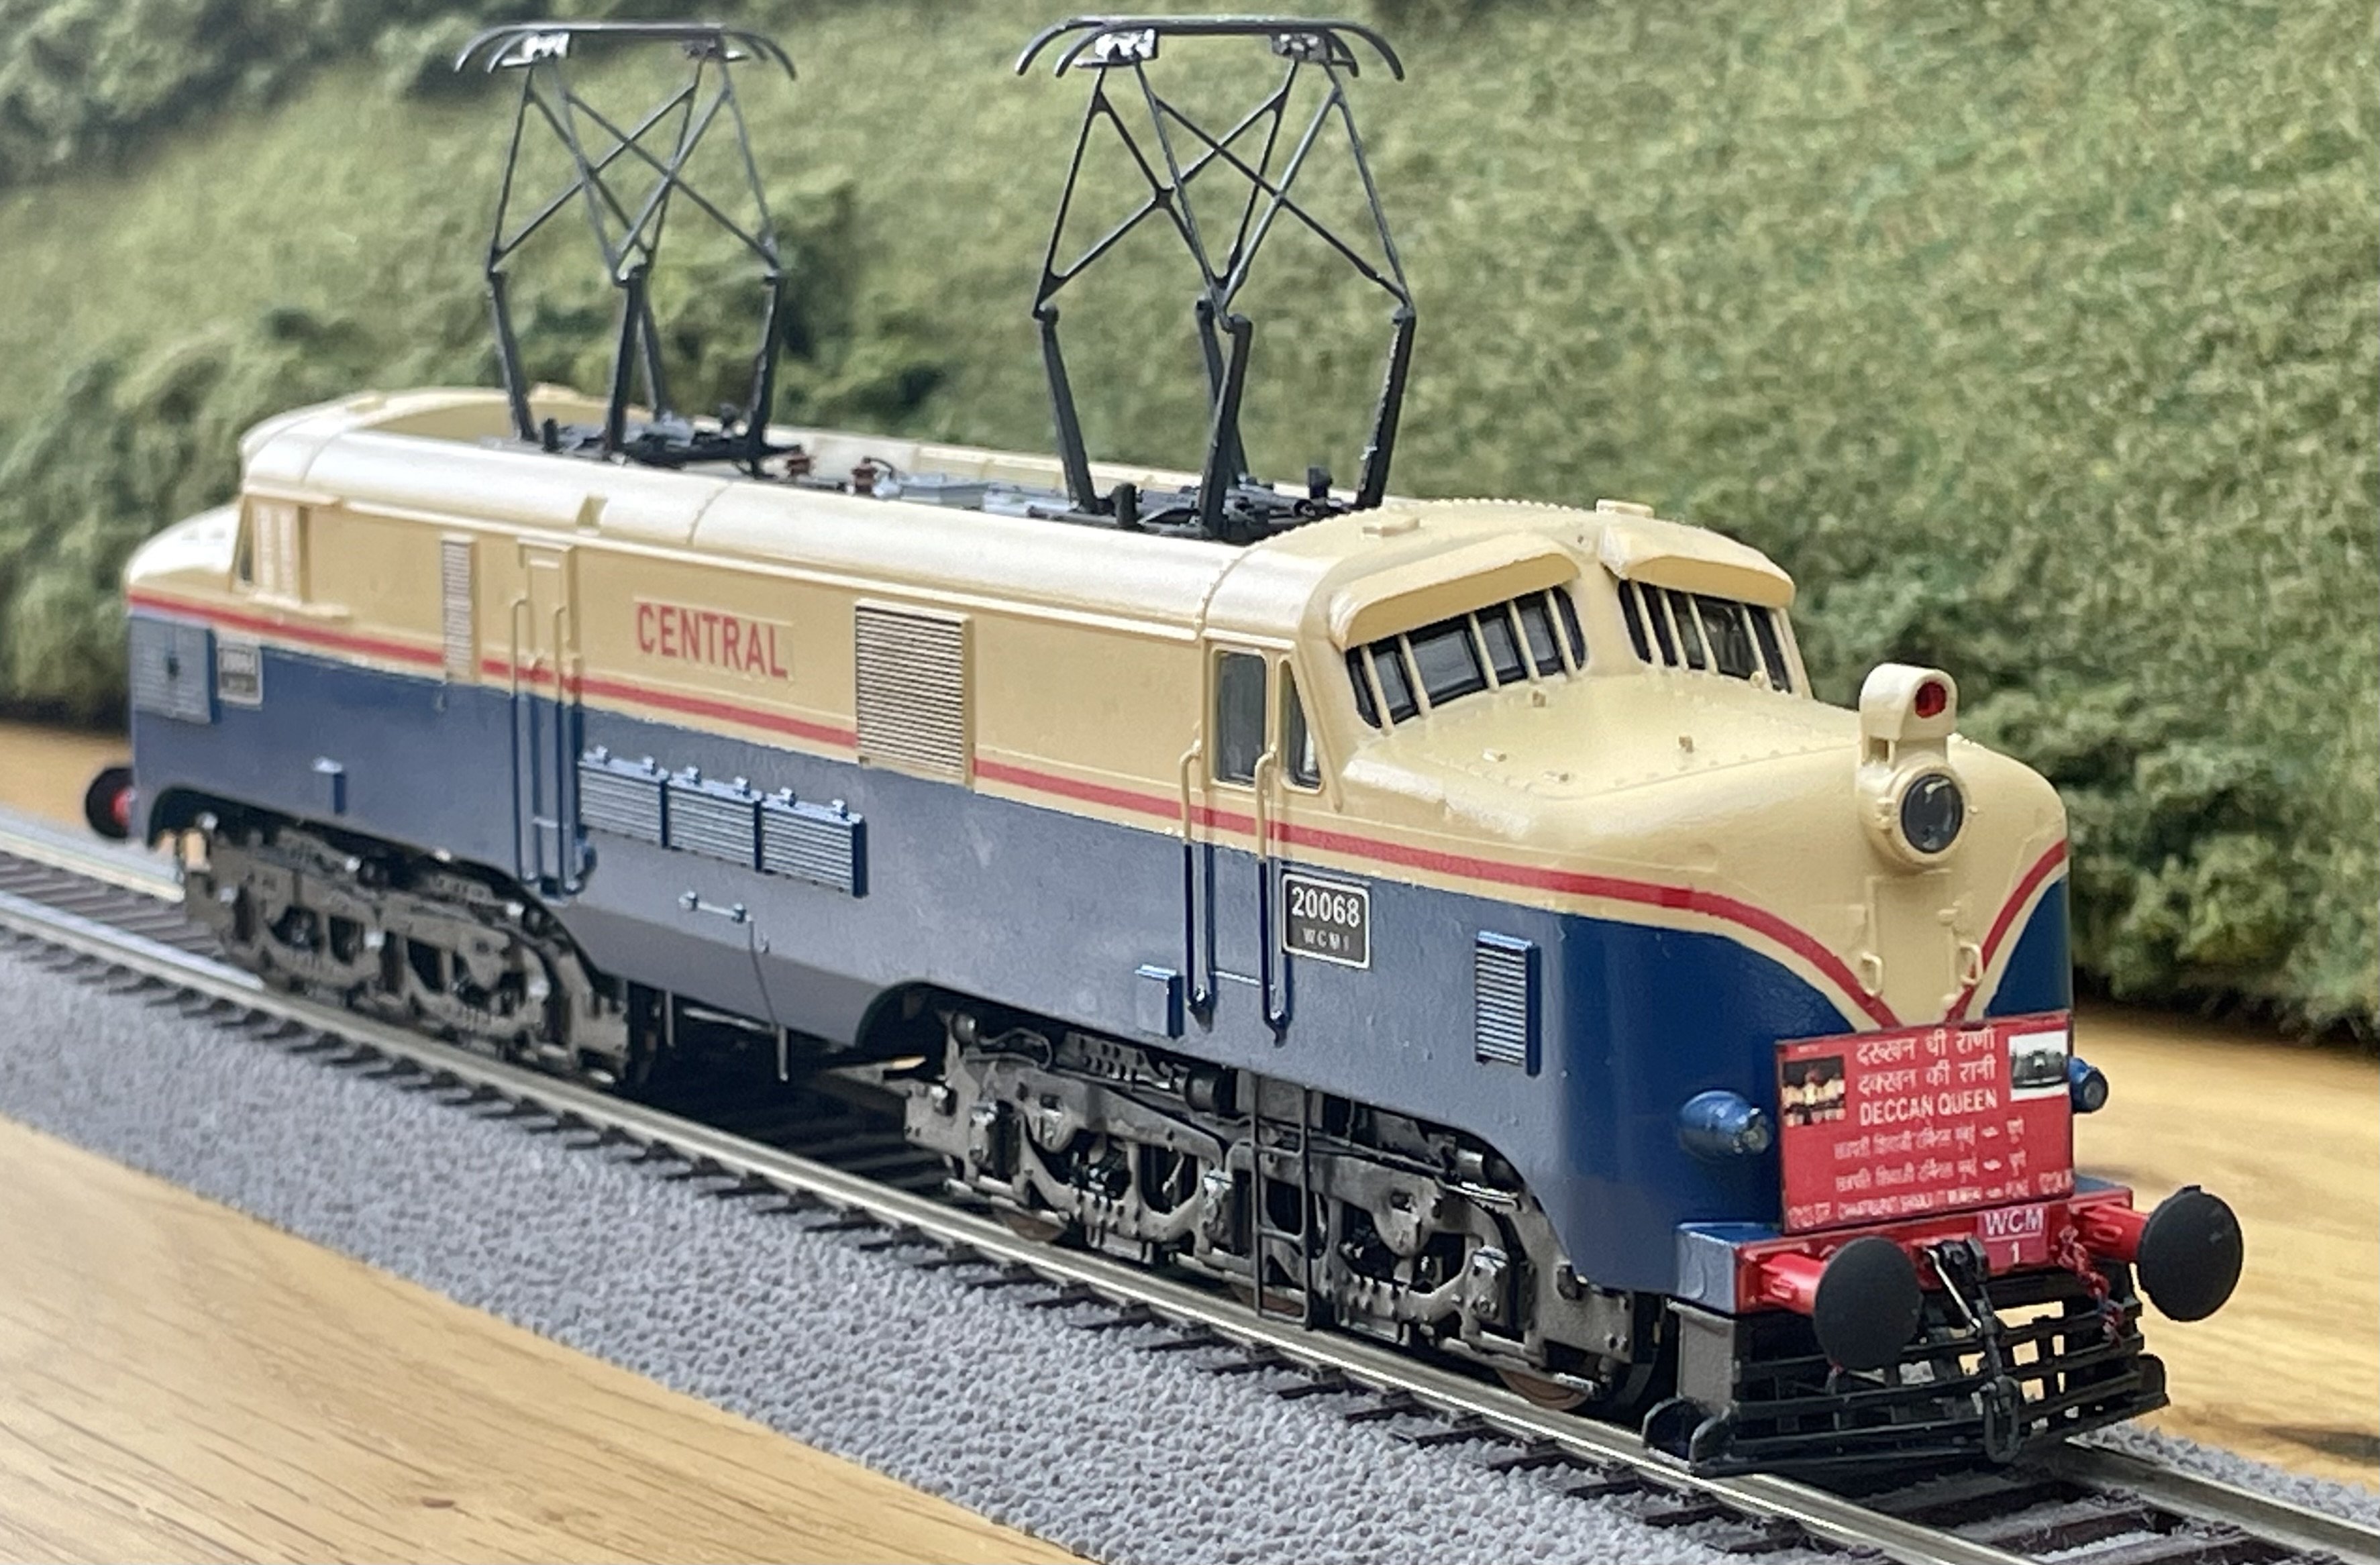
Cab door handrails and train headboard added. Cheers Darius
-
Home made decals applied. Cheers Darius
-
Bogie frames painted black and re fitted. Cab glazing and headlight glazing re-fitted. New round buffers fitted. Body re-attached to chassis. Awaiting decals and additional details. Cheers Darius
-
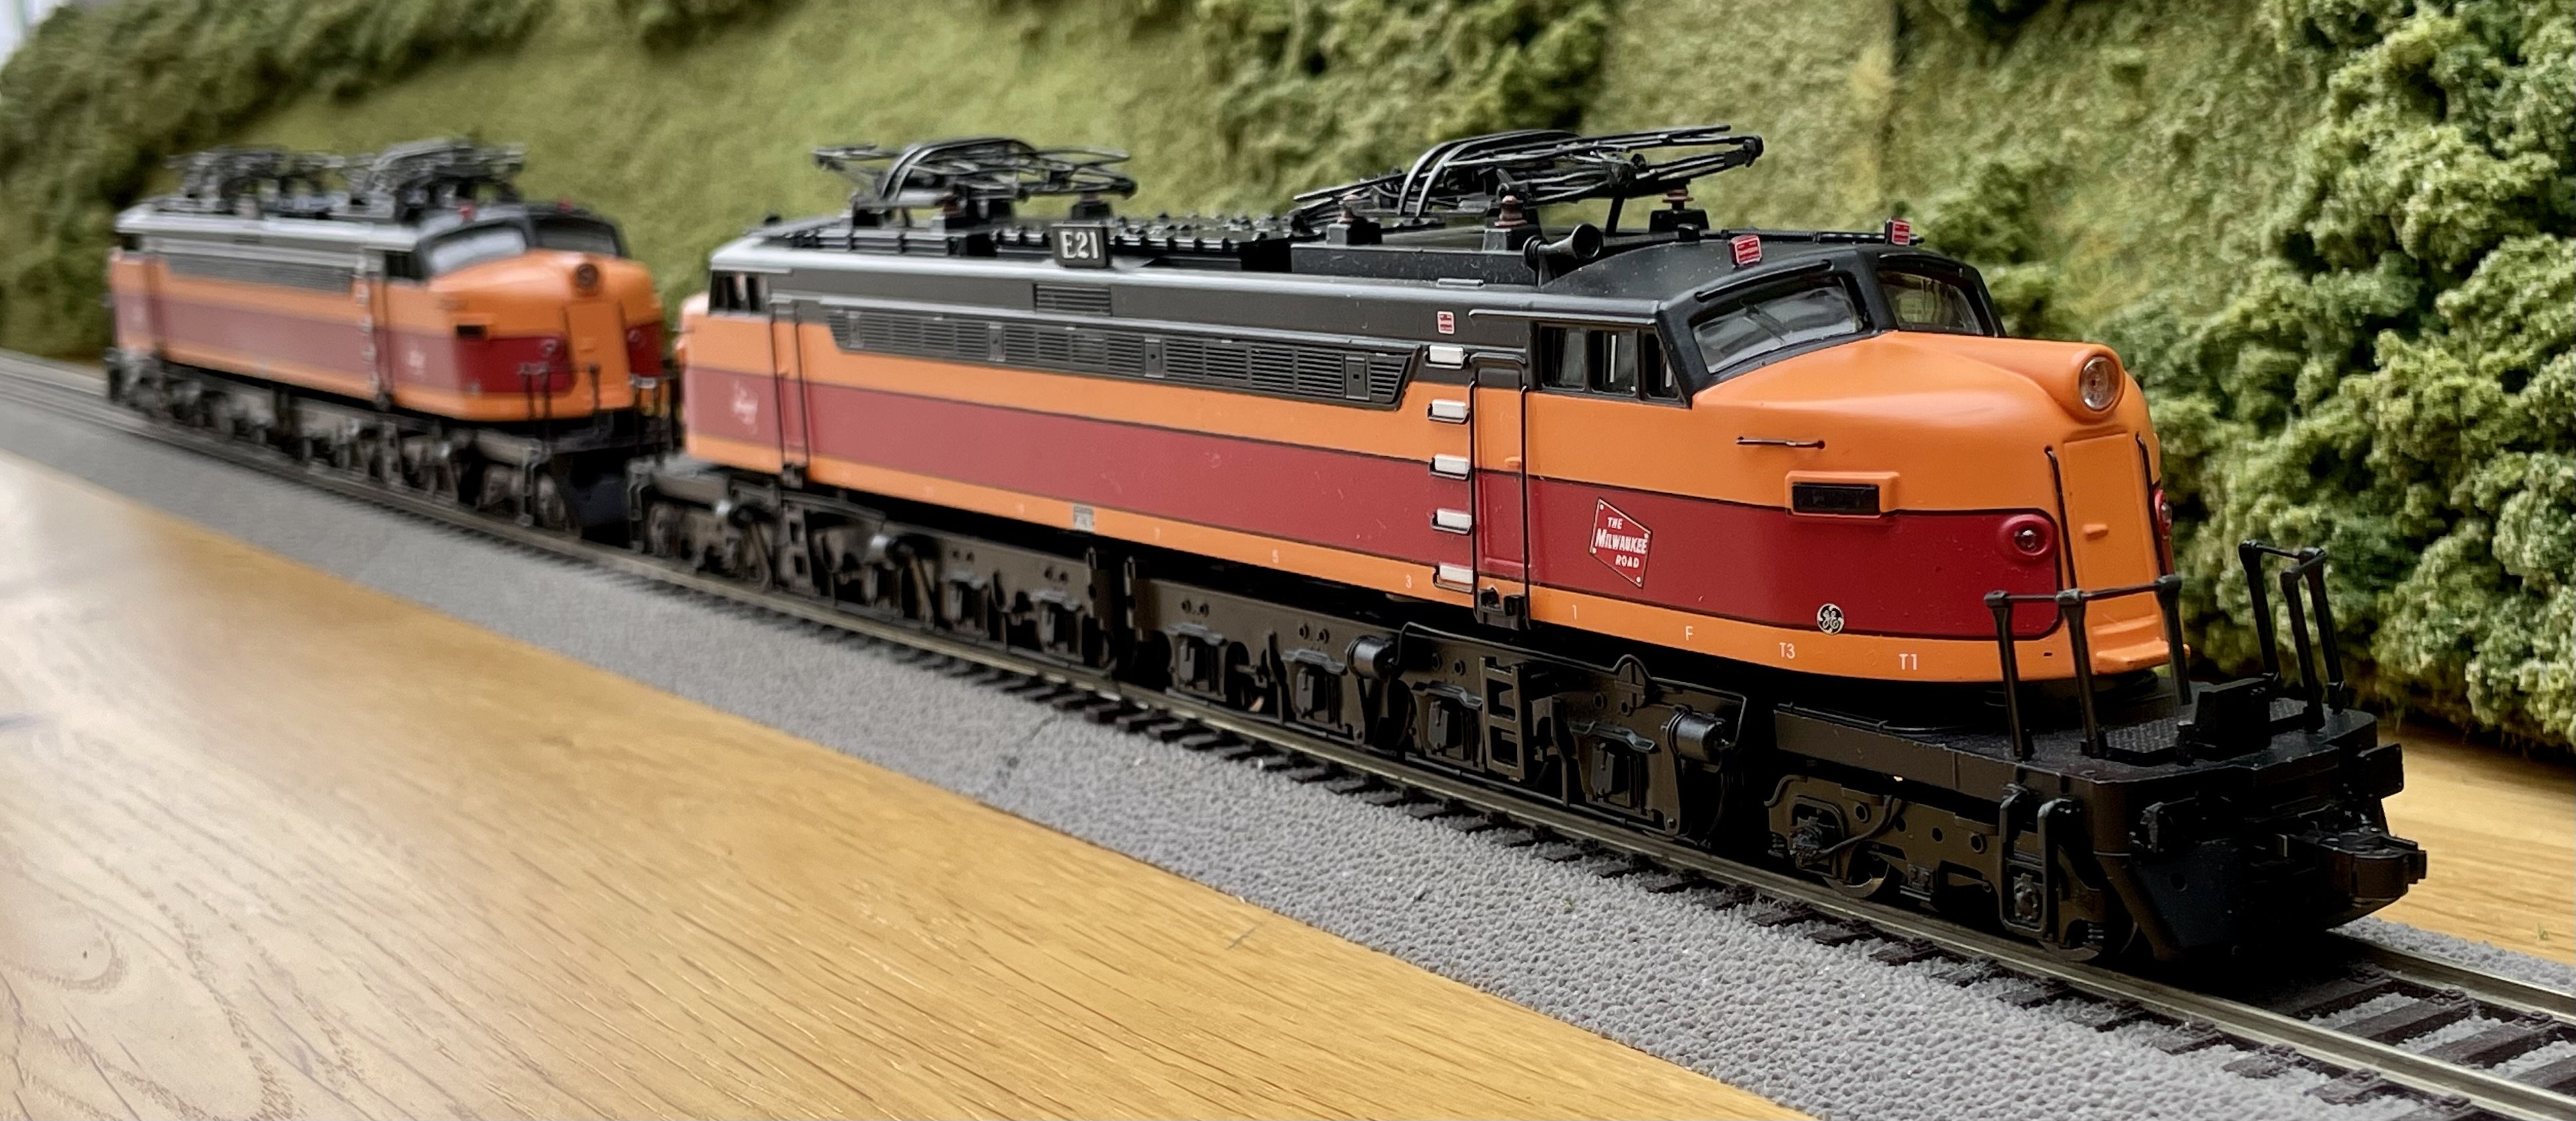
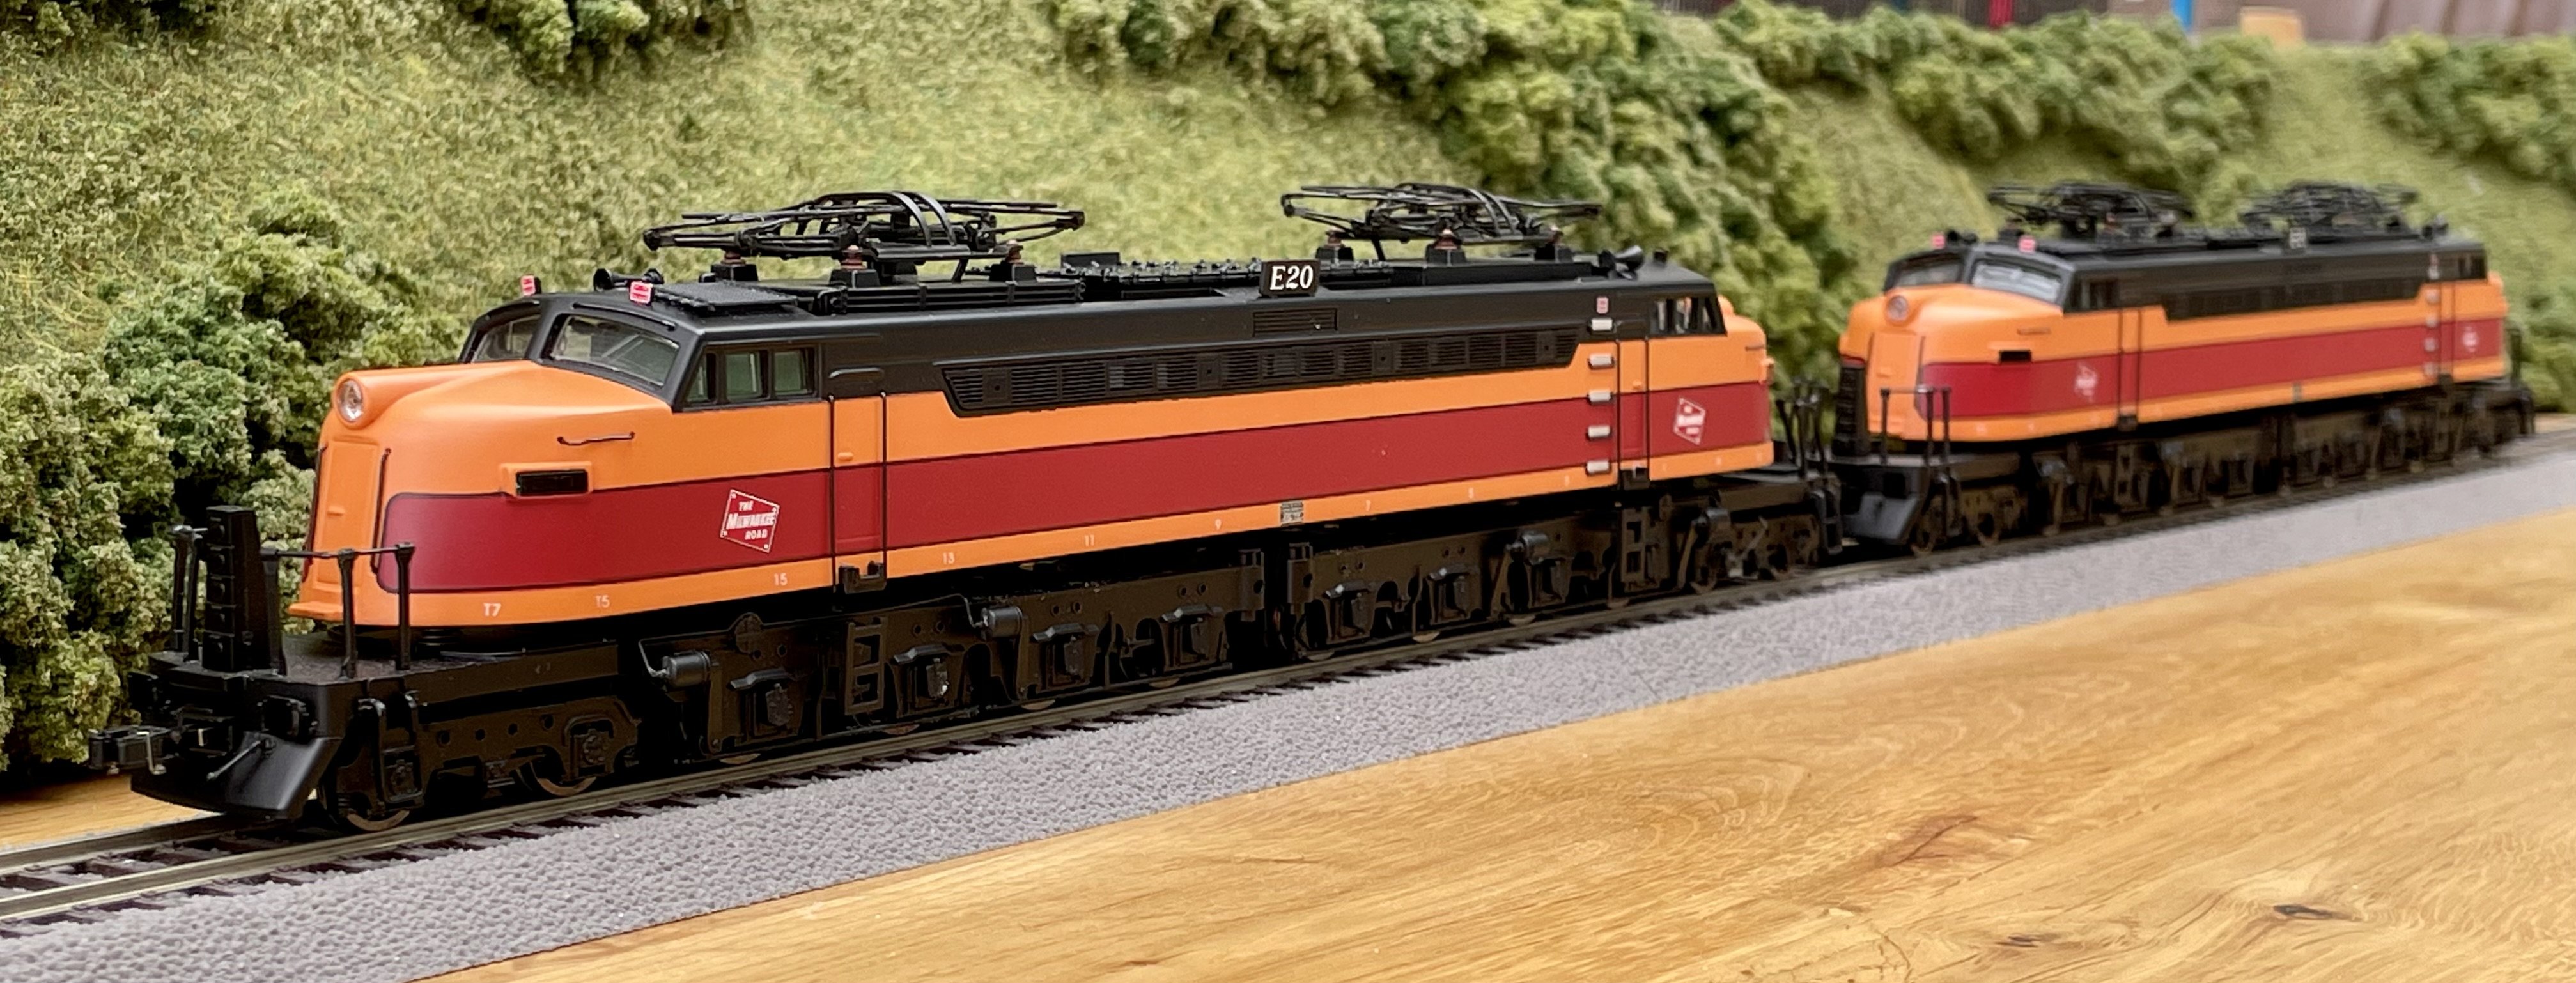
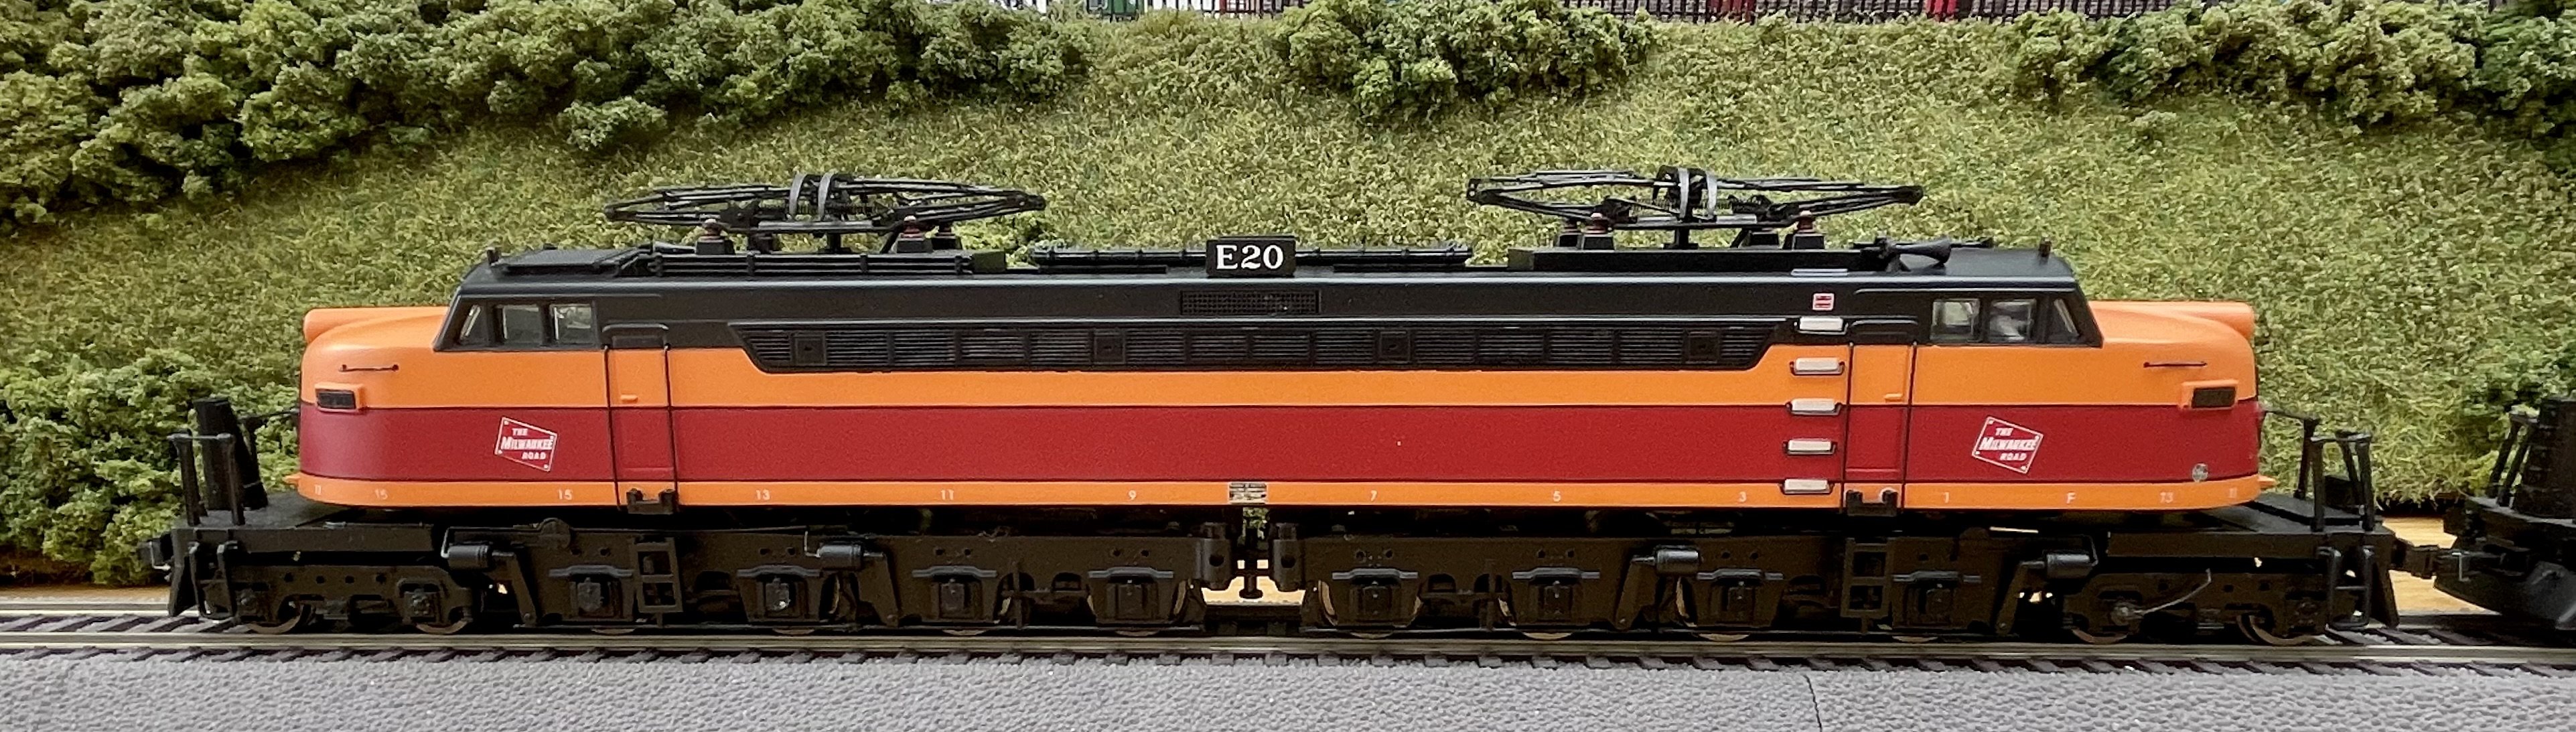
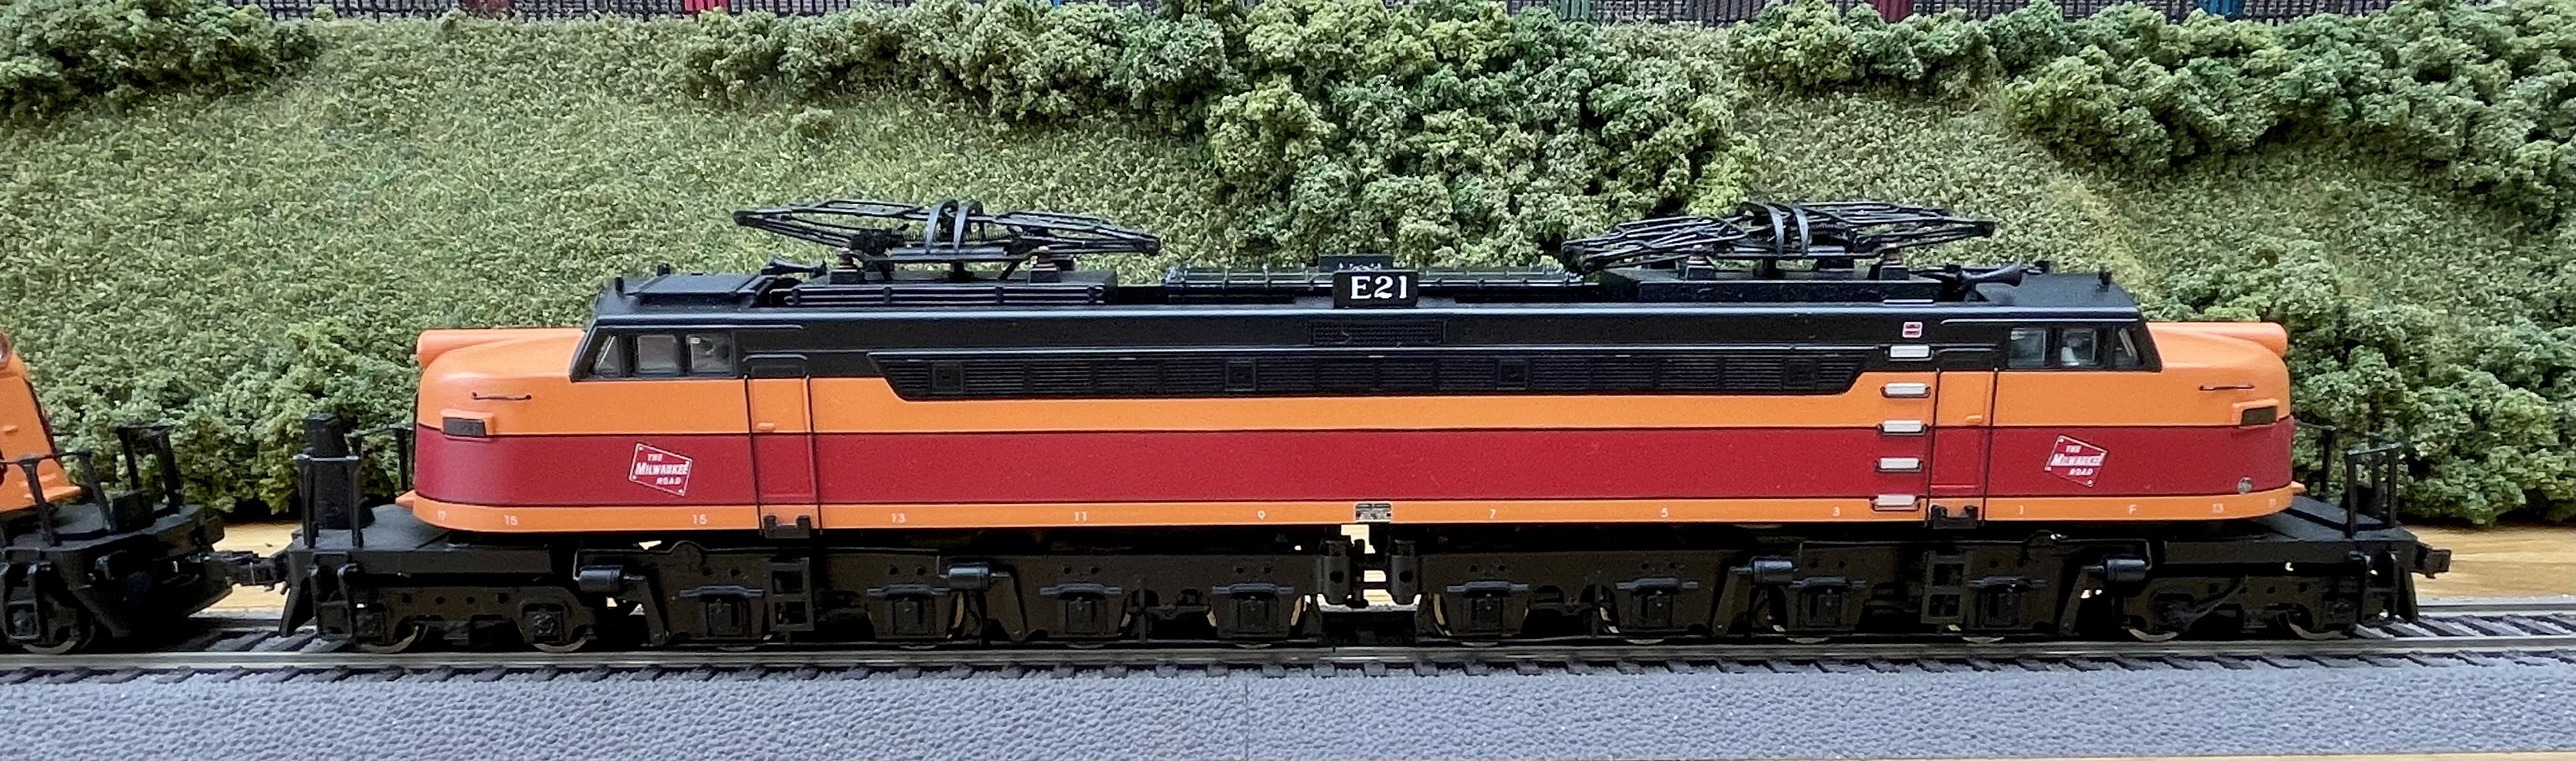
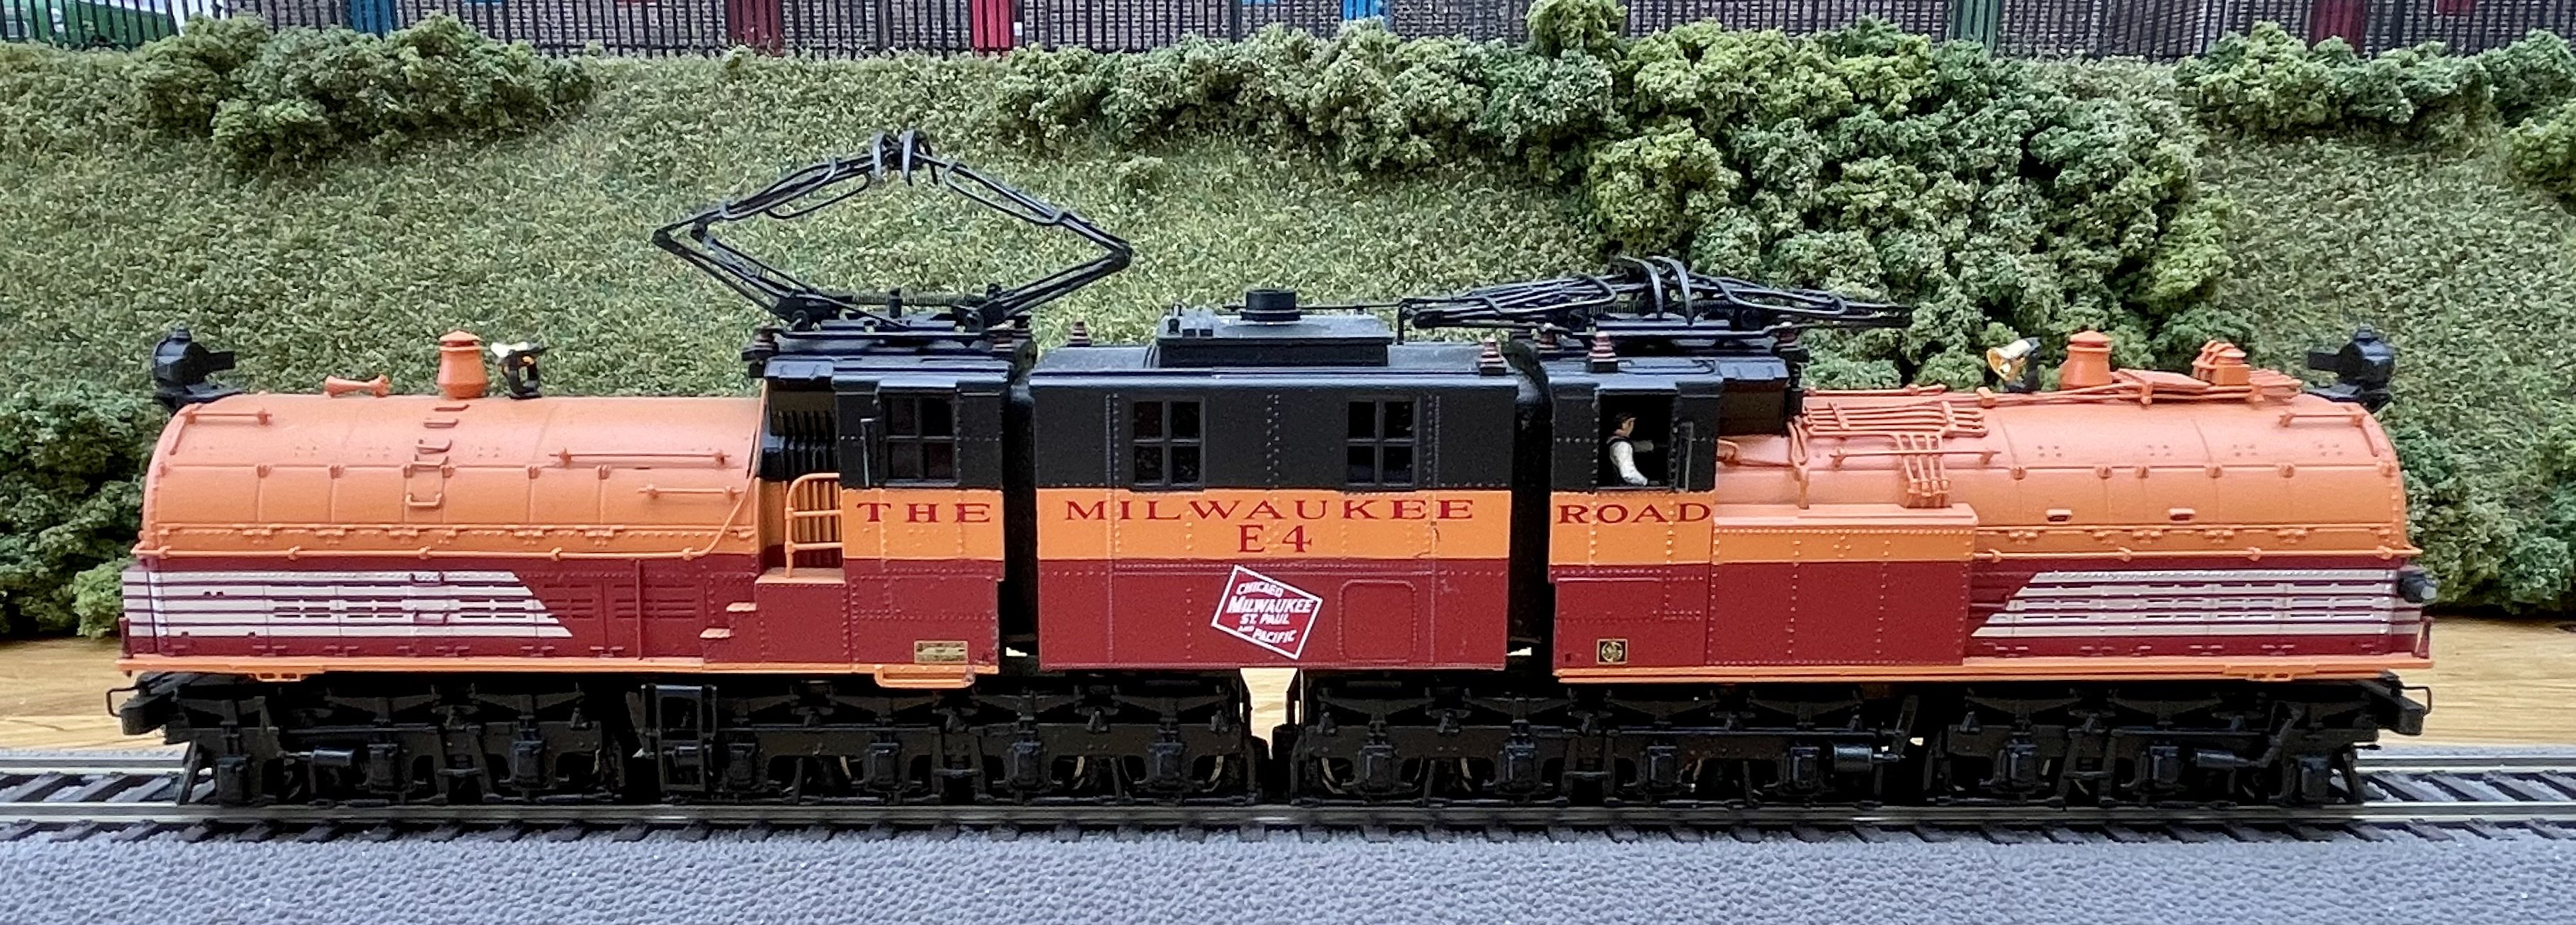
Hence their nickname “Little Joe”. Cheers Darius
-
Initial painting completed. Cheers Darius
-
I have travelled by train several times between Mumbai and Pune and back on the Deccan Queen express. The train used to be hauled by WCM1 electric locomotives that were built in the UK at the Vulcan Foundry and exported to India. It would appear that similar locomotives were exported to Spain as witness this HO gauge model by Electrotren. So hatched my plan to modify the Electrotren model to represent, as far as possible an Indian Railways WCM1. After removing the glazing etc. the redundant nose lights and jumper sockets were removed and filled. Brass wire bars and shades were added to the cab windows and cab doors carefully scribed. Primer on. Cheers Darius
-
Running session yesterday… Cheers Darius
-
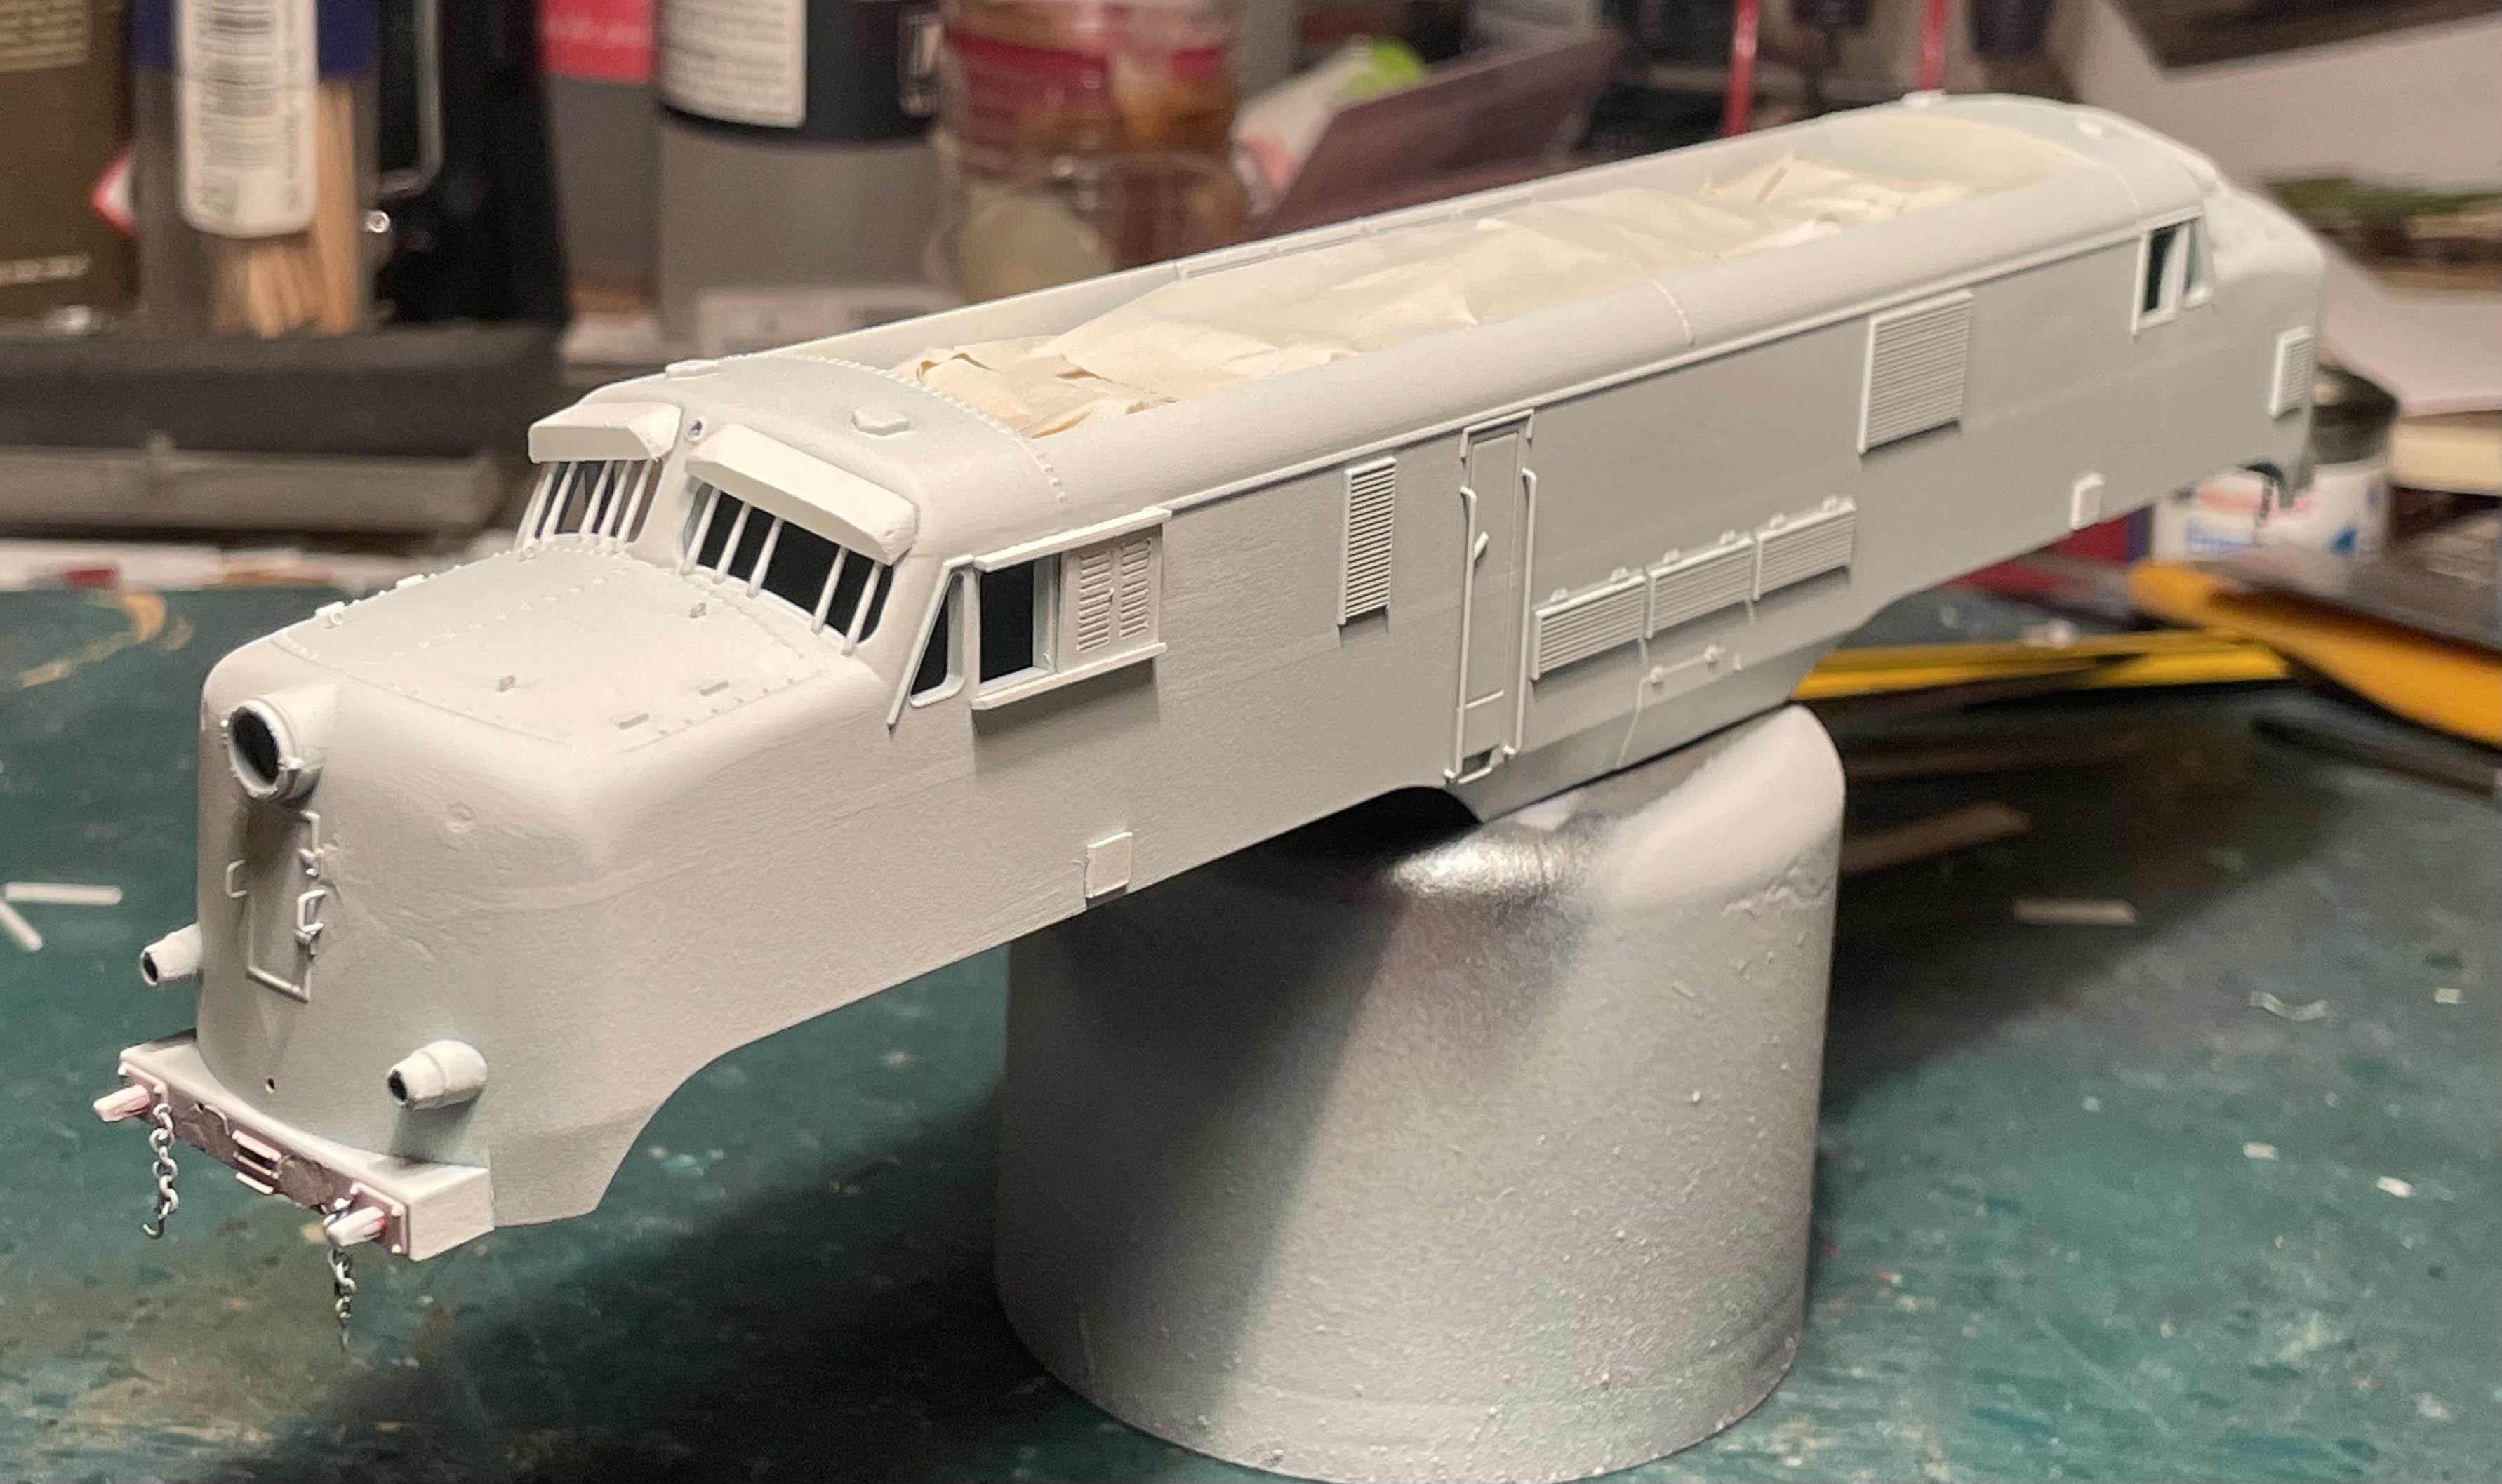
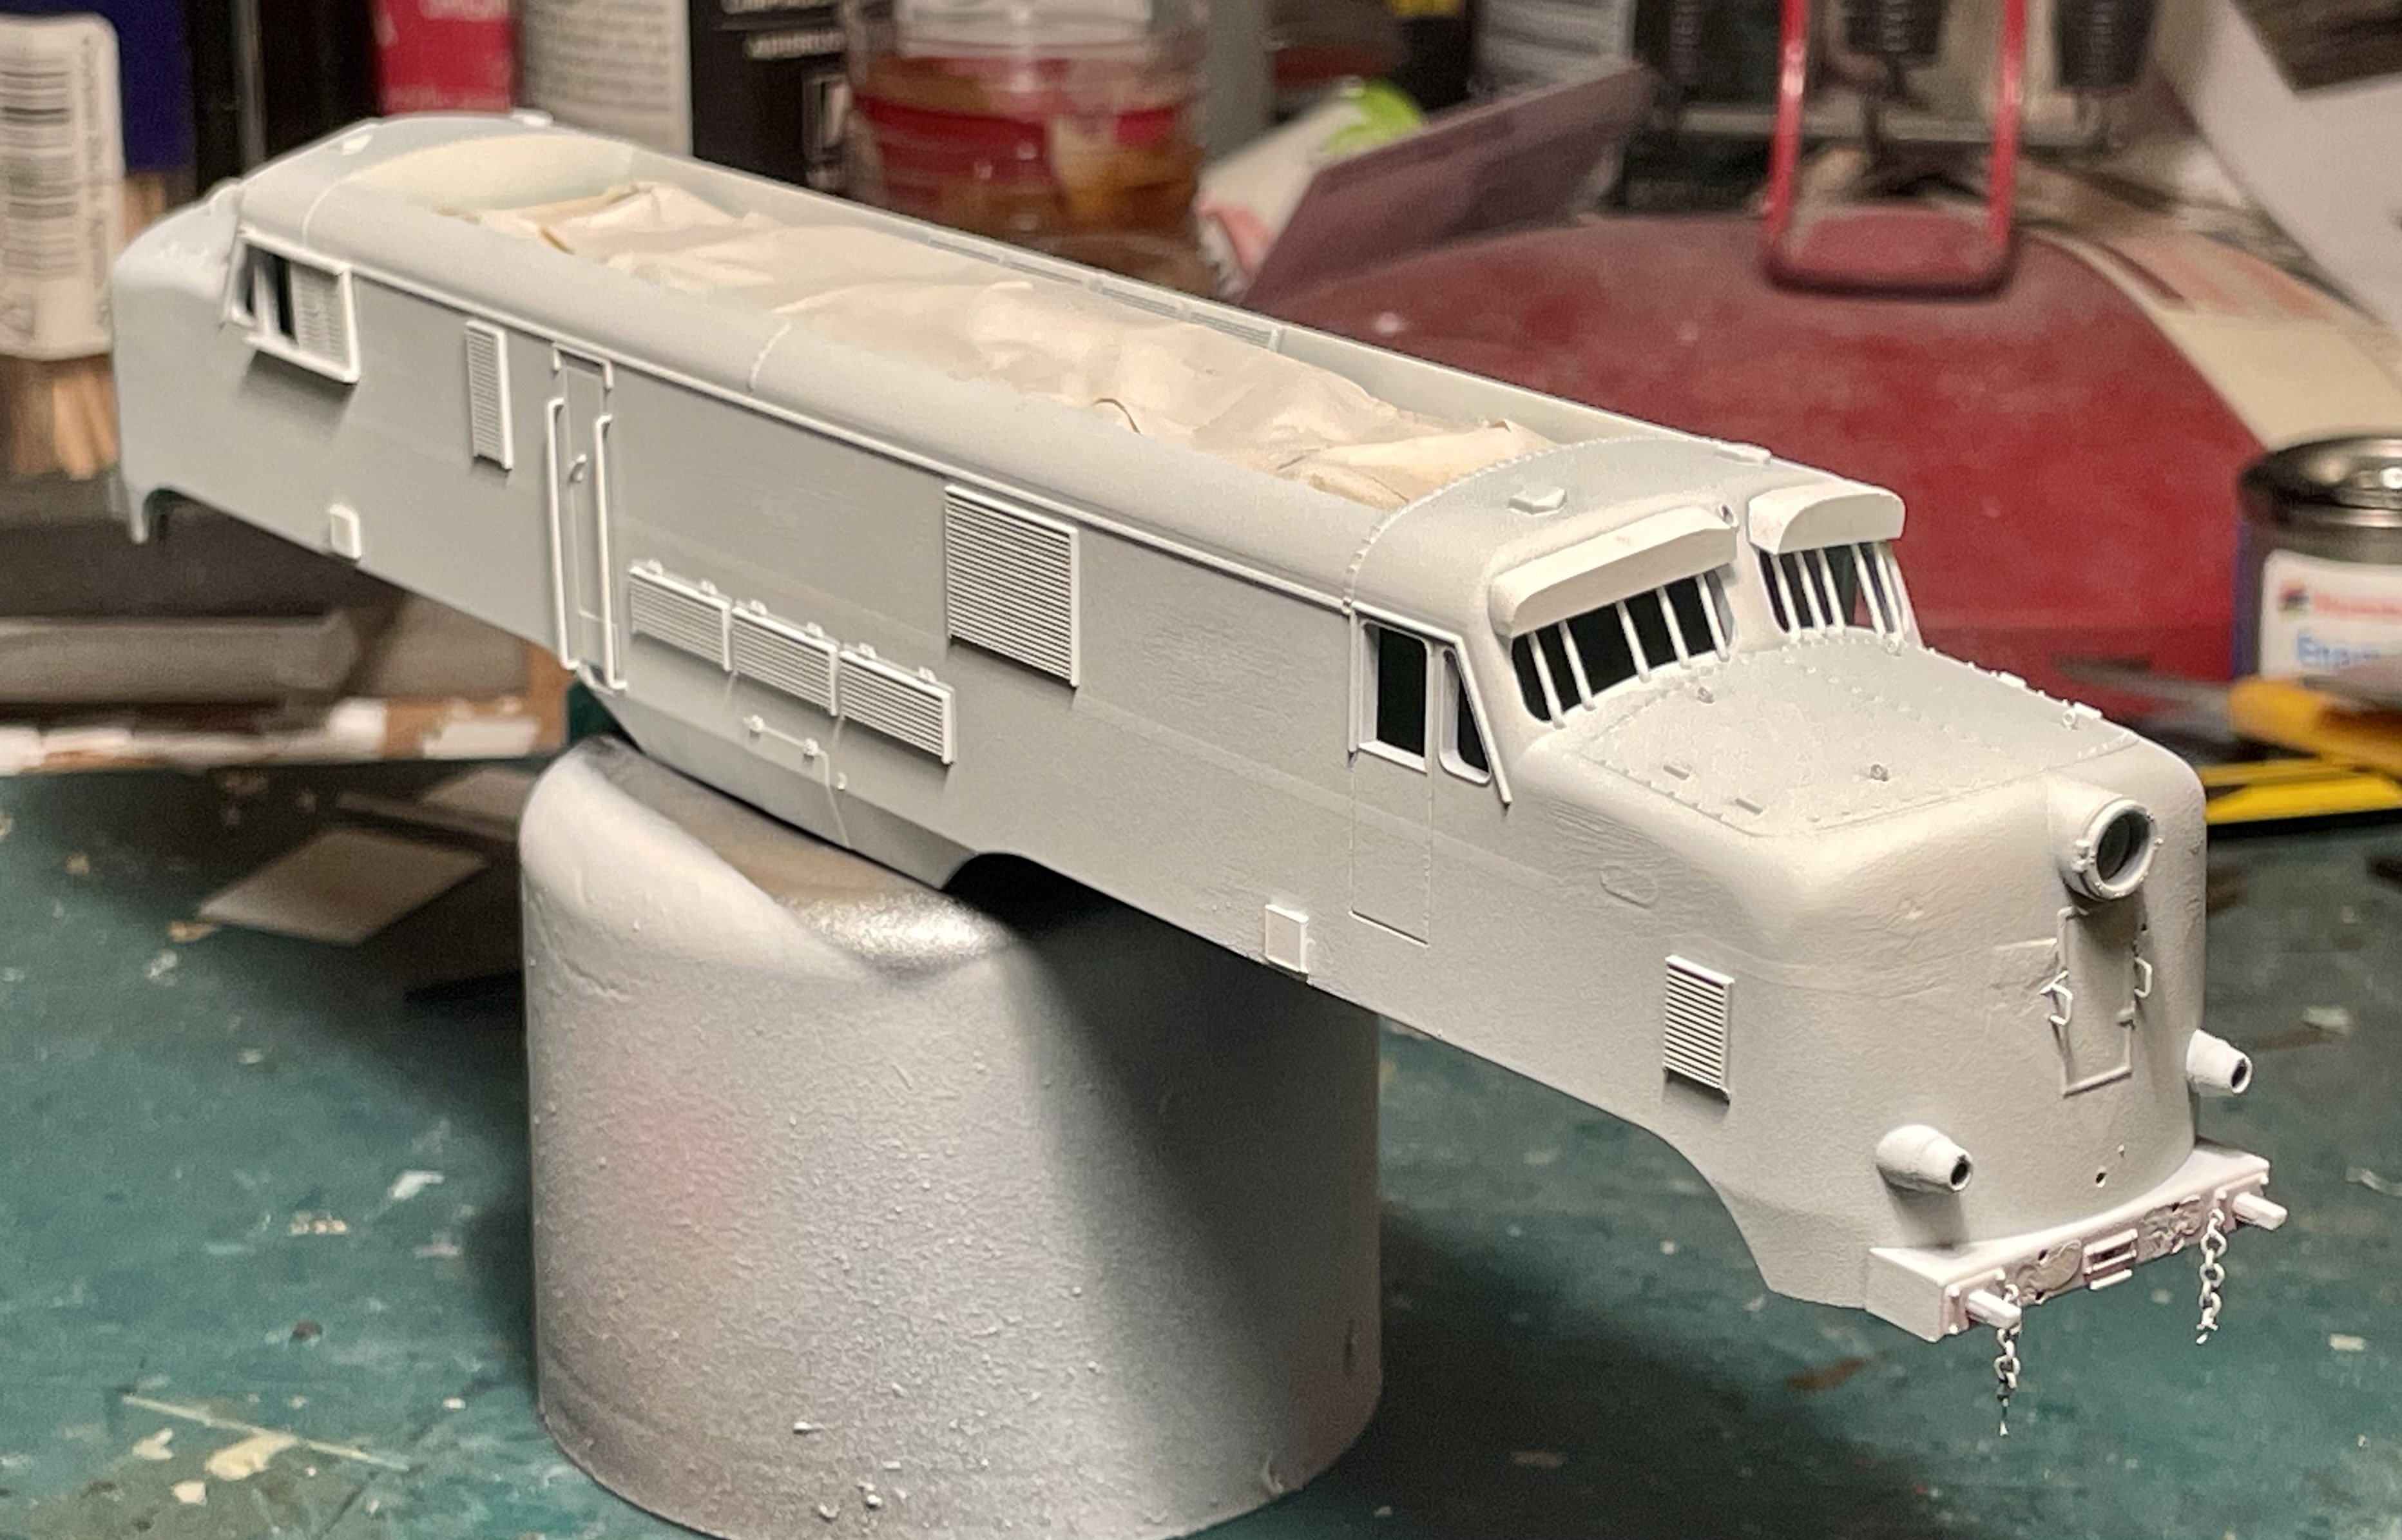
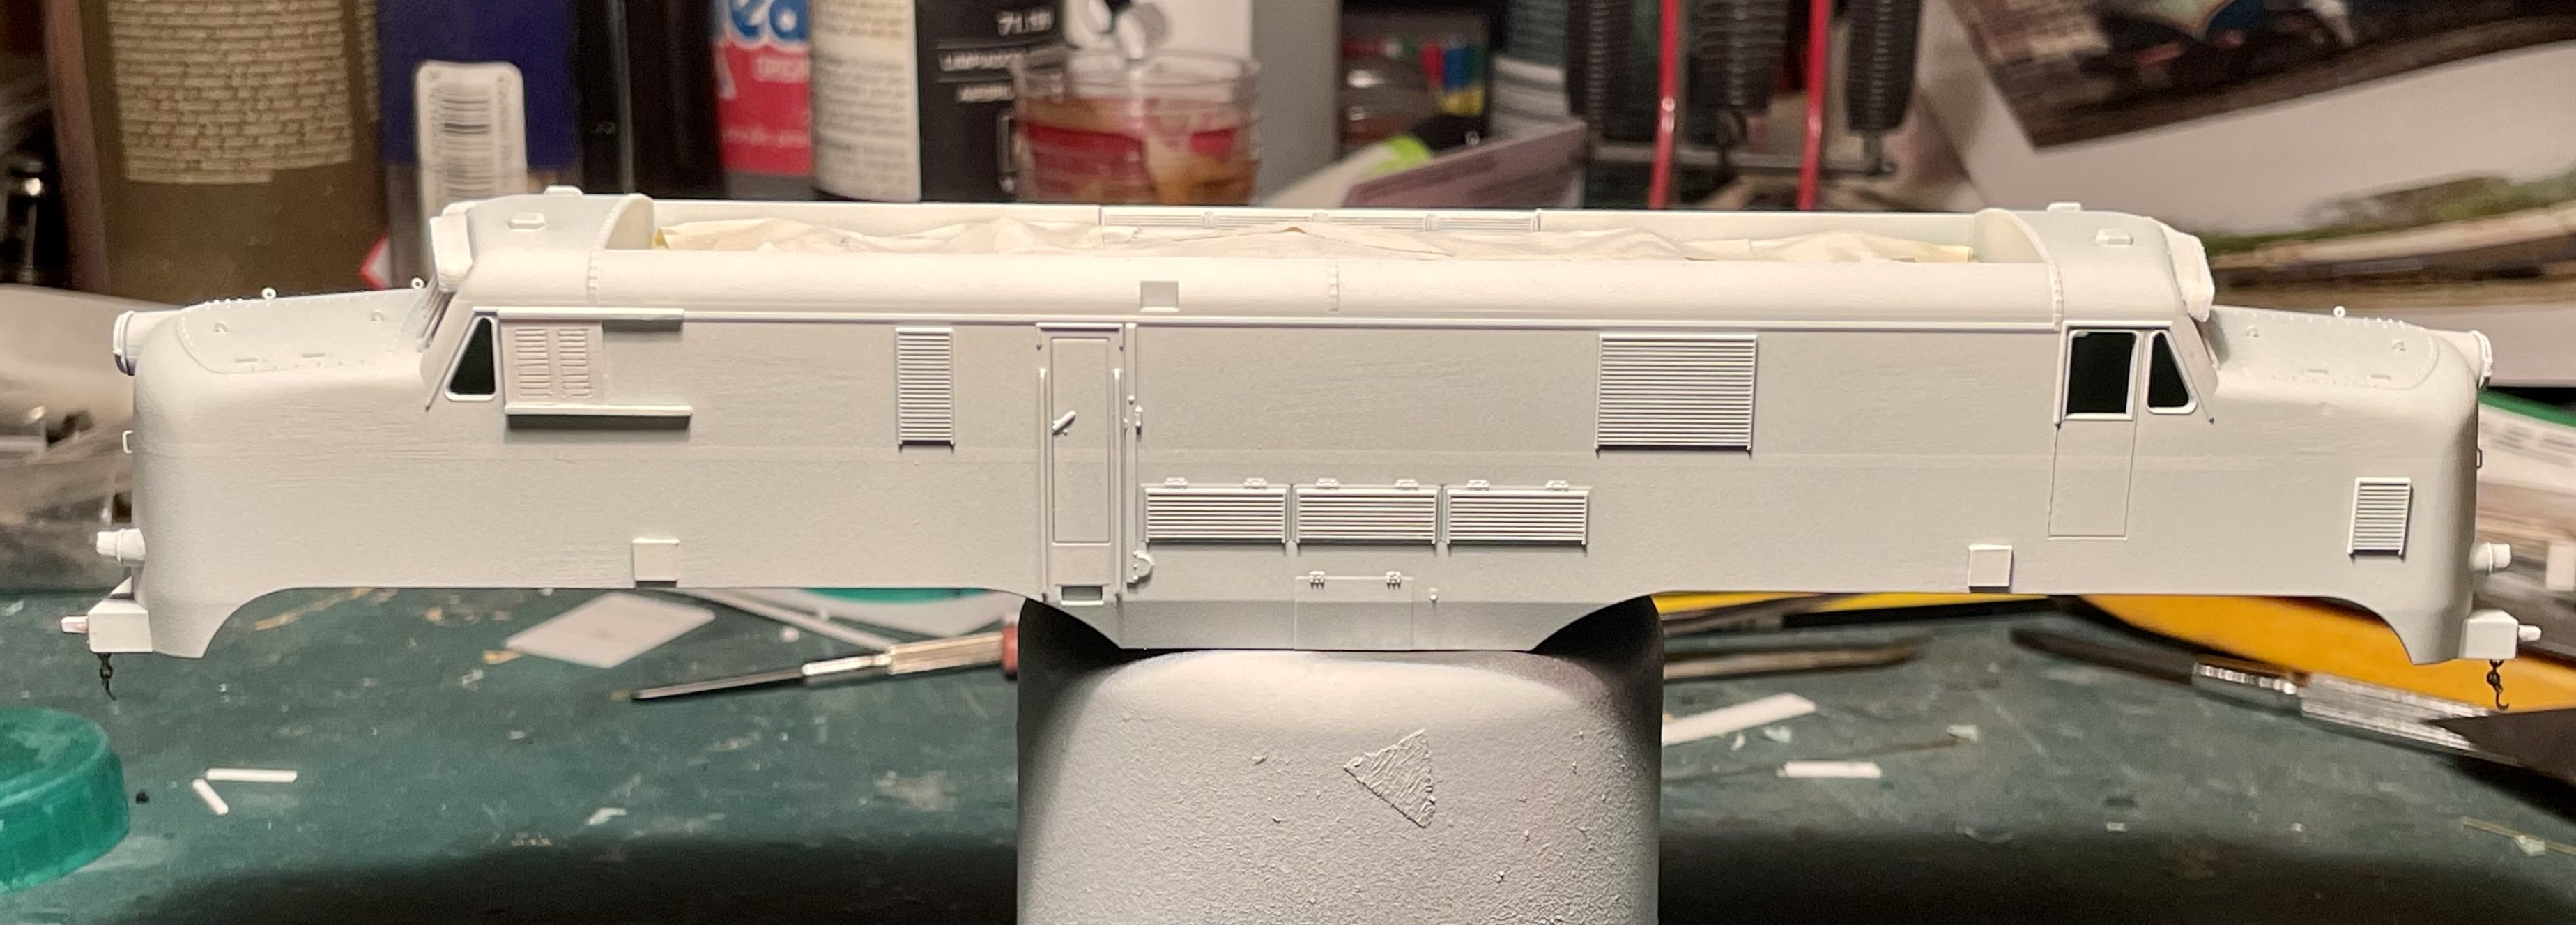
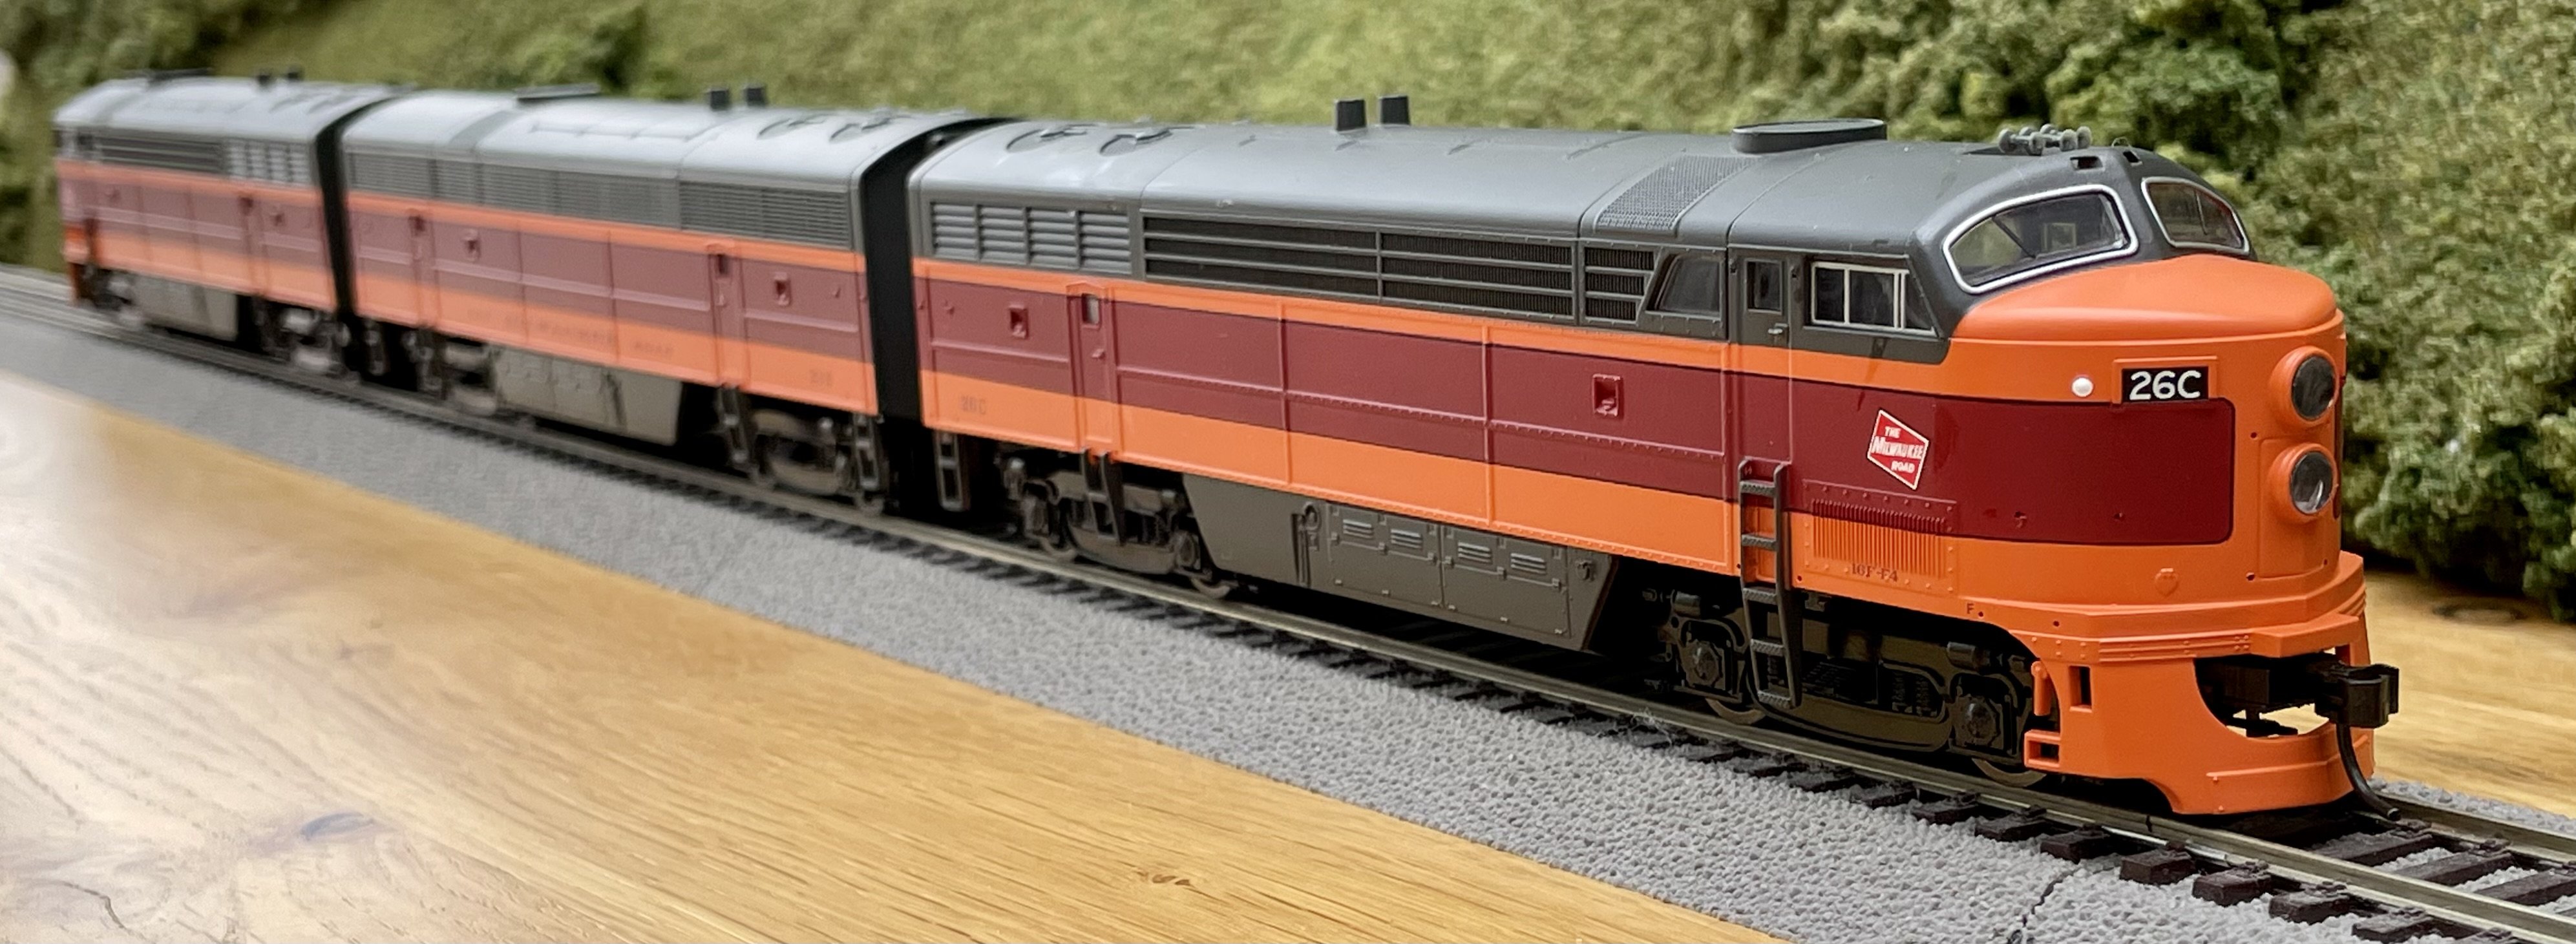
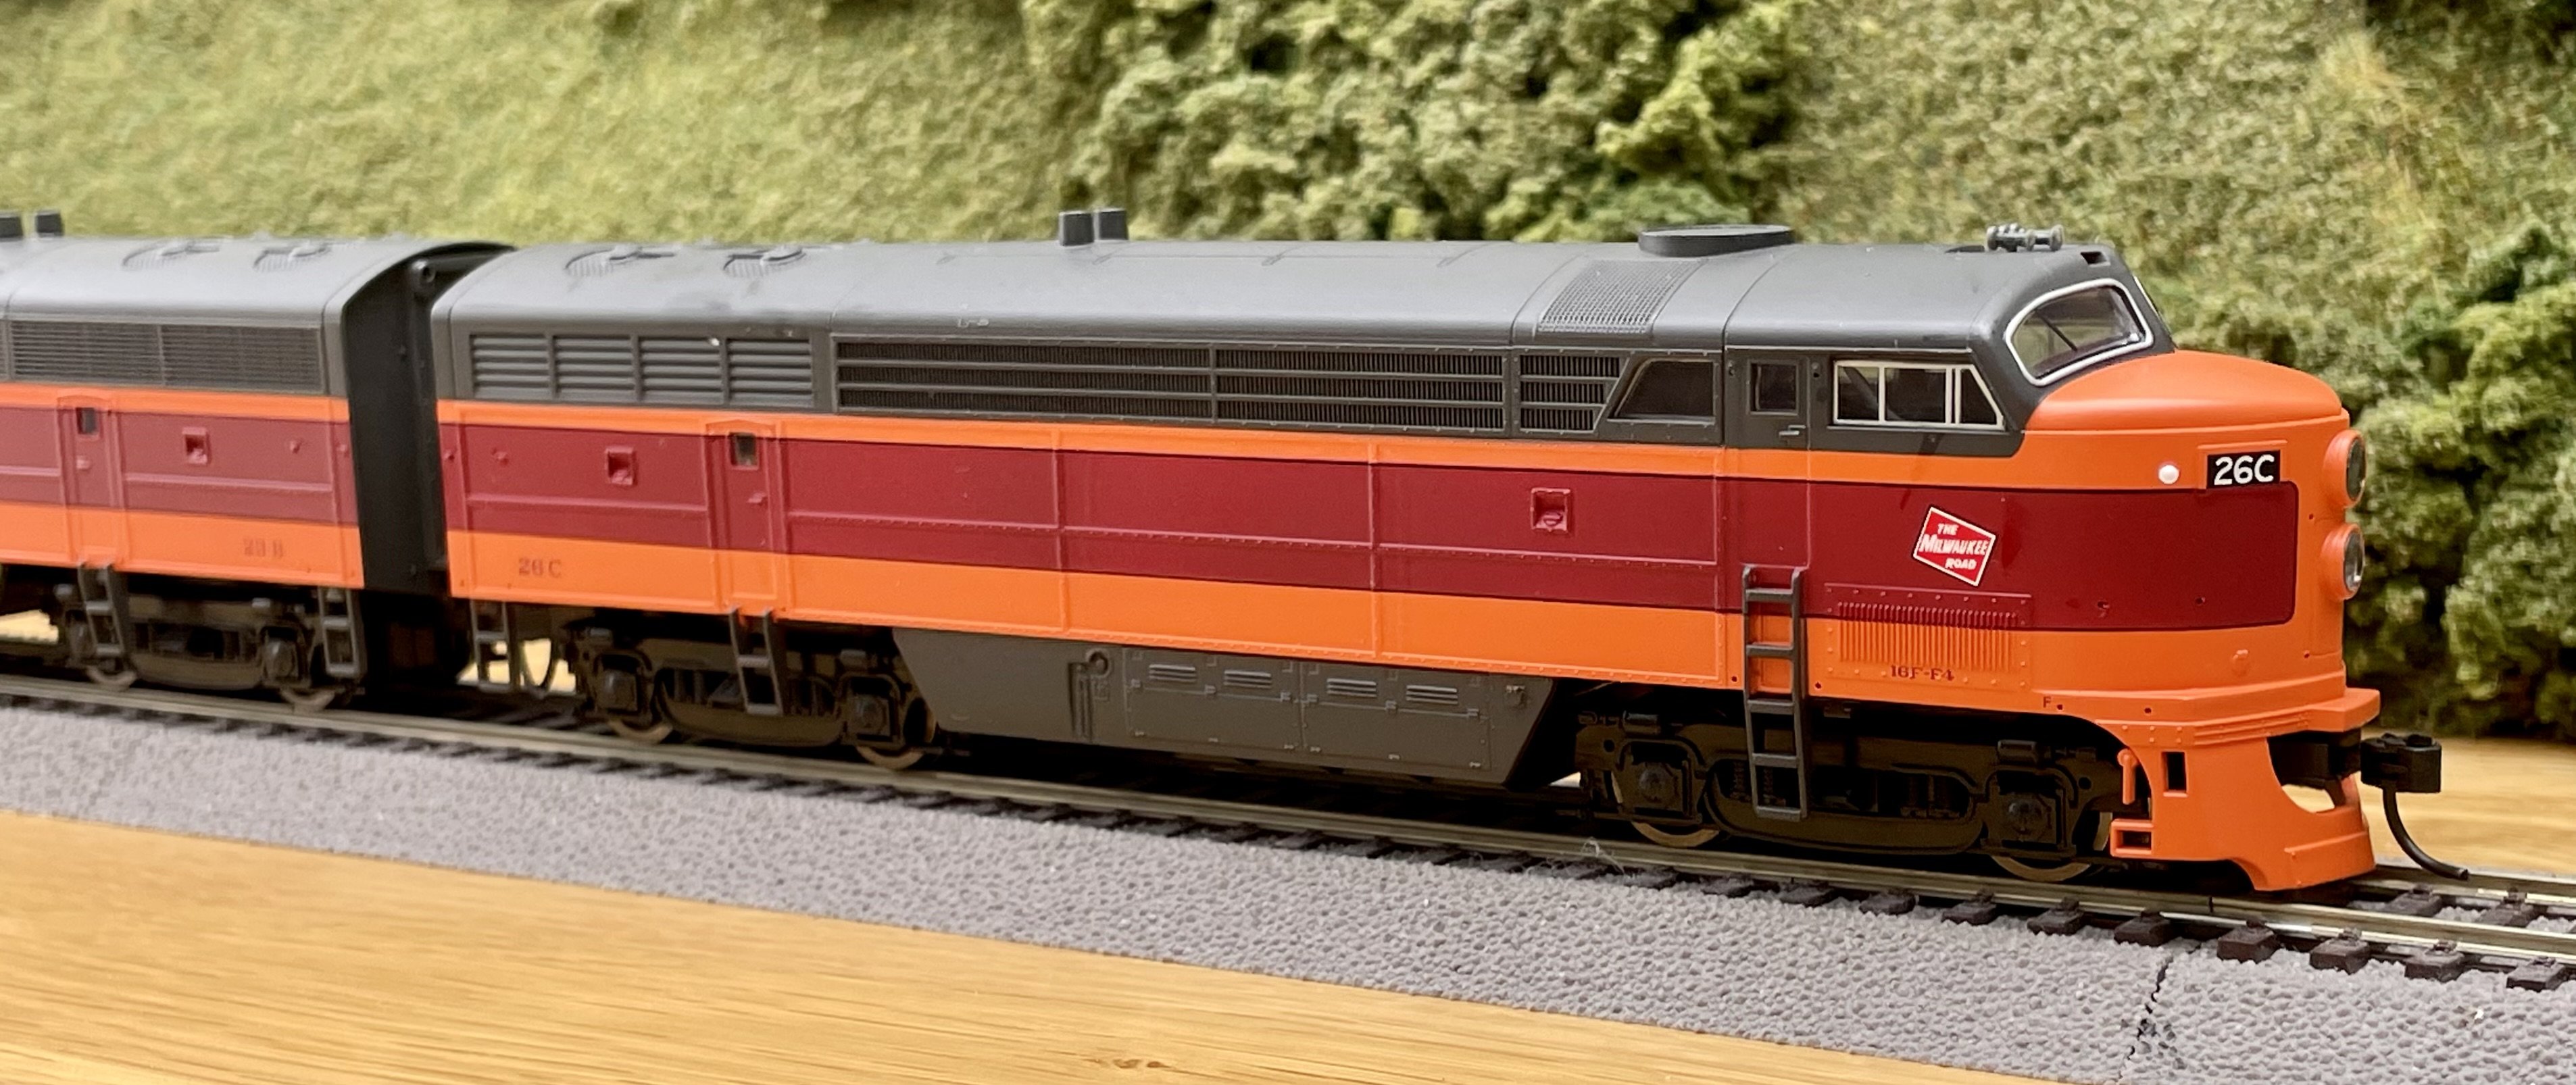
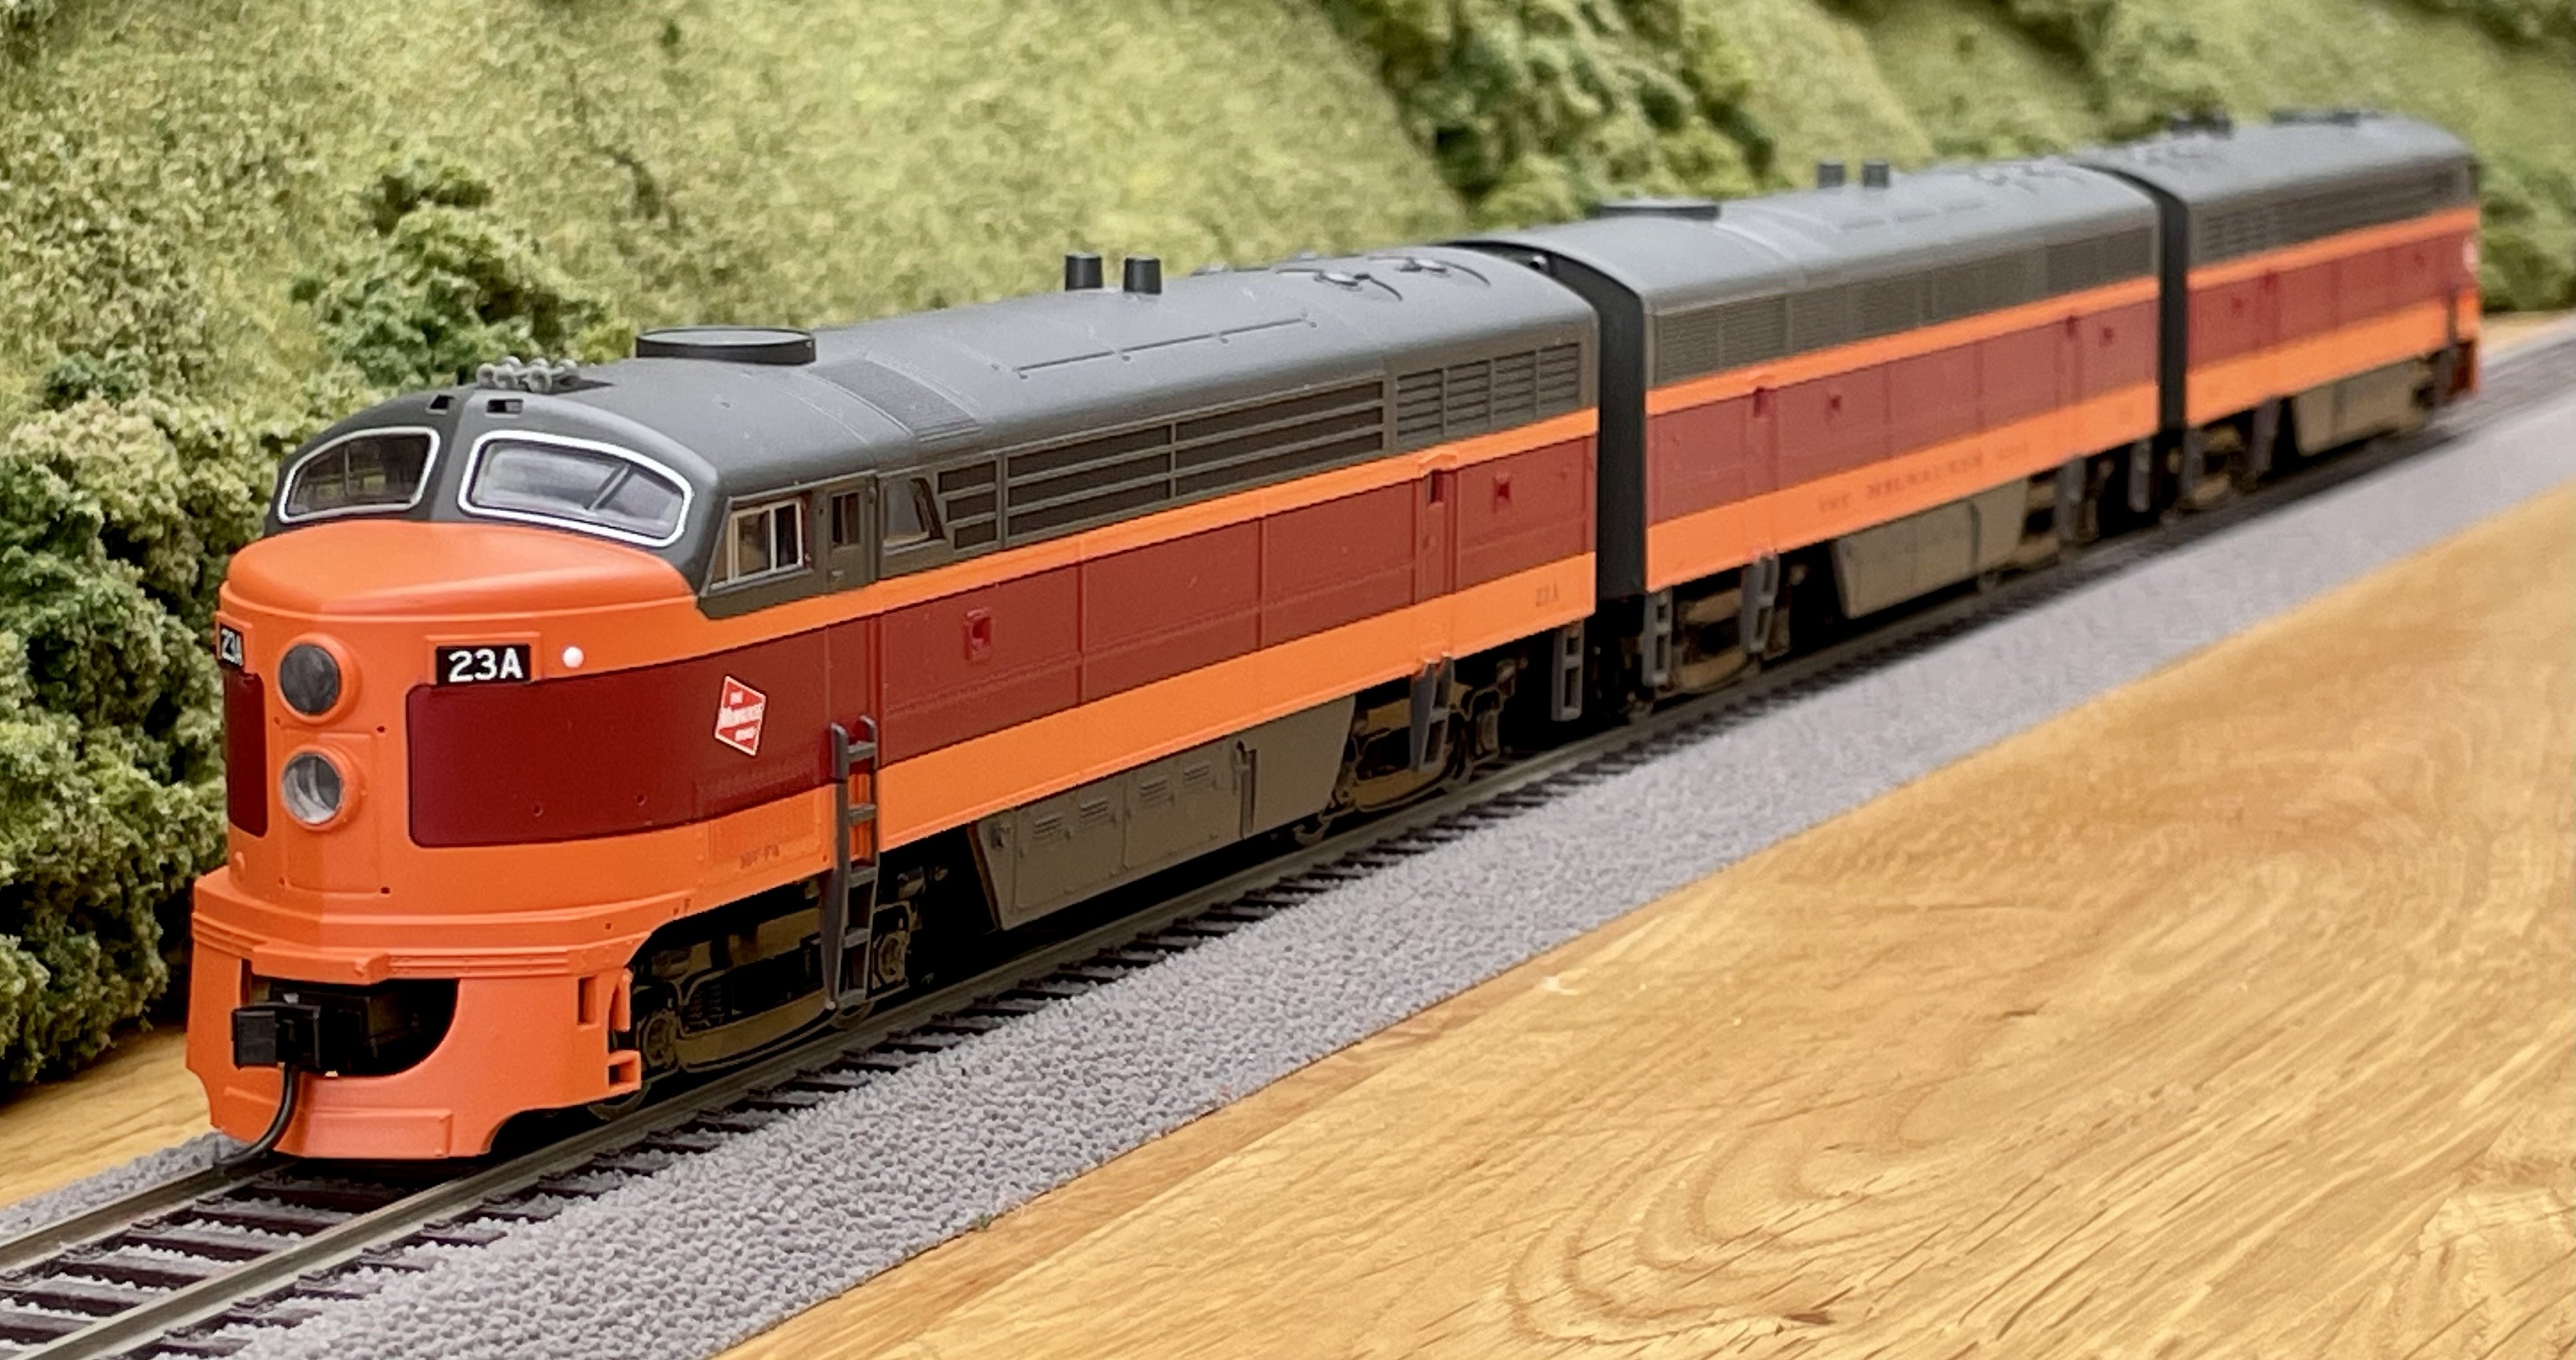
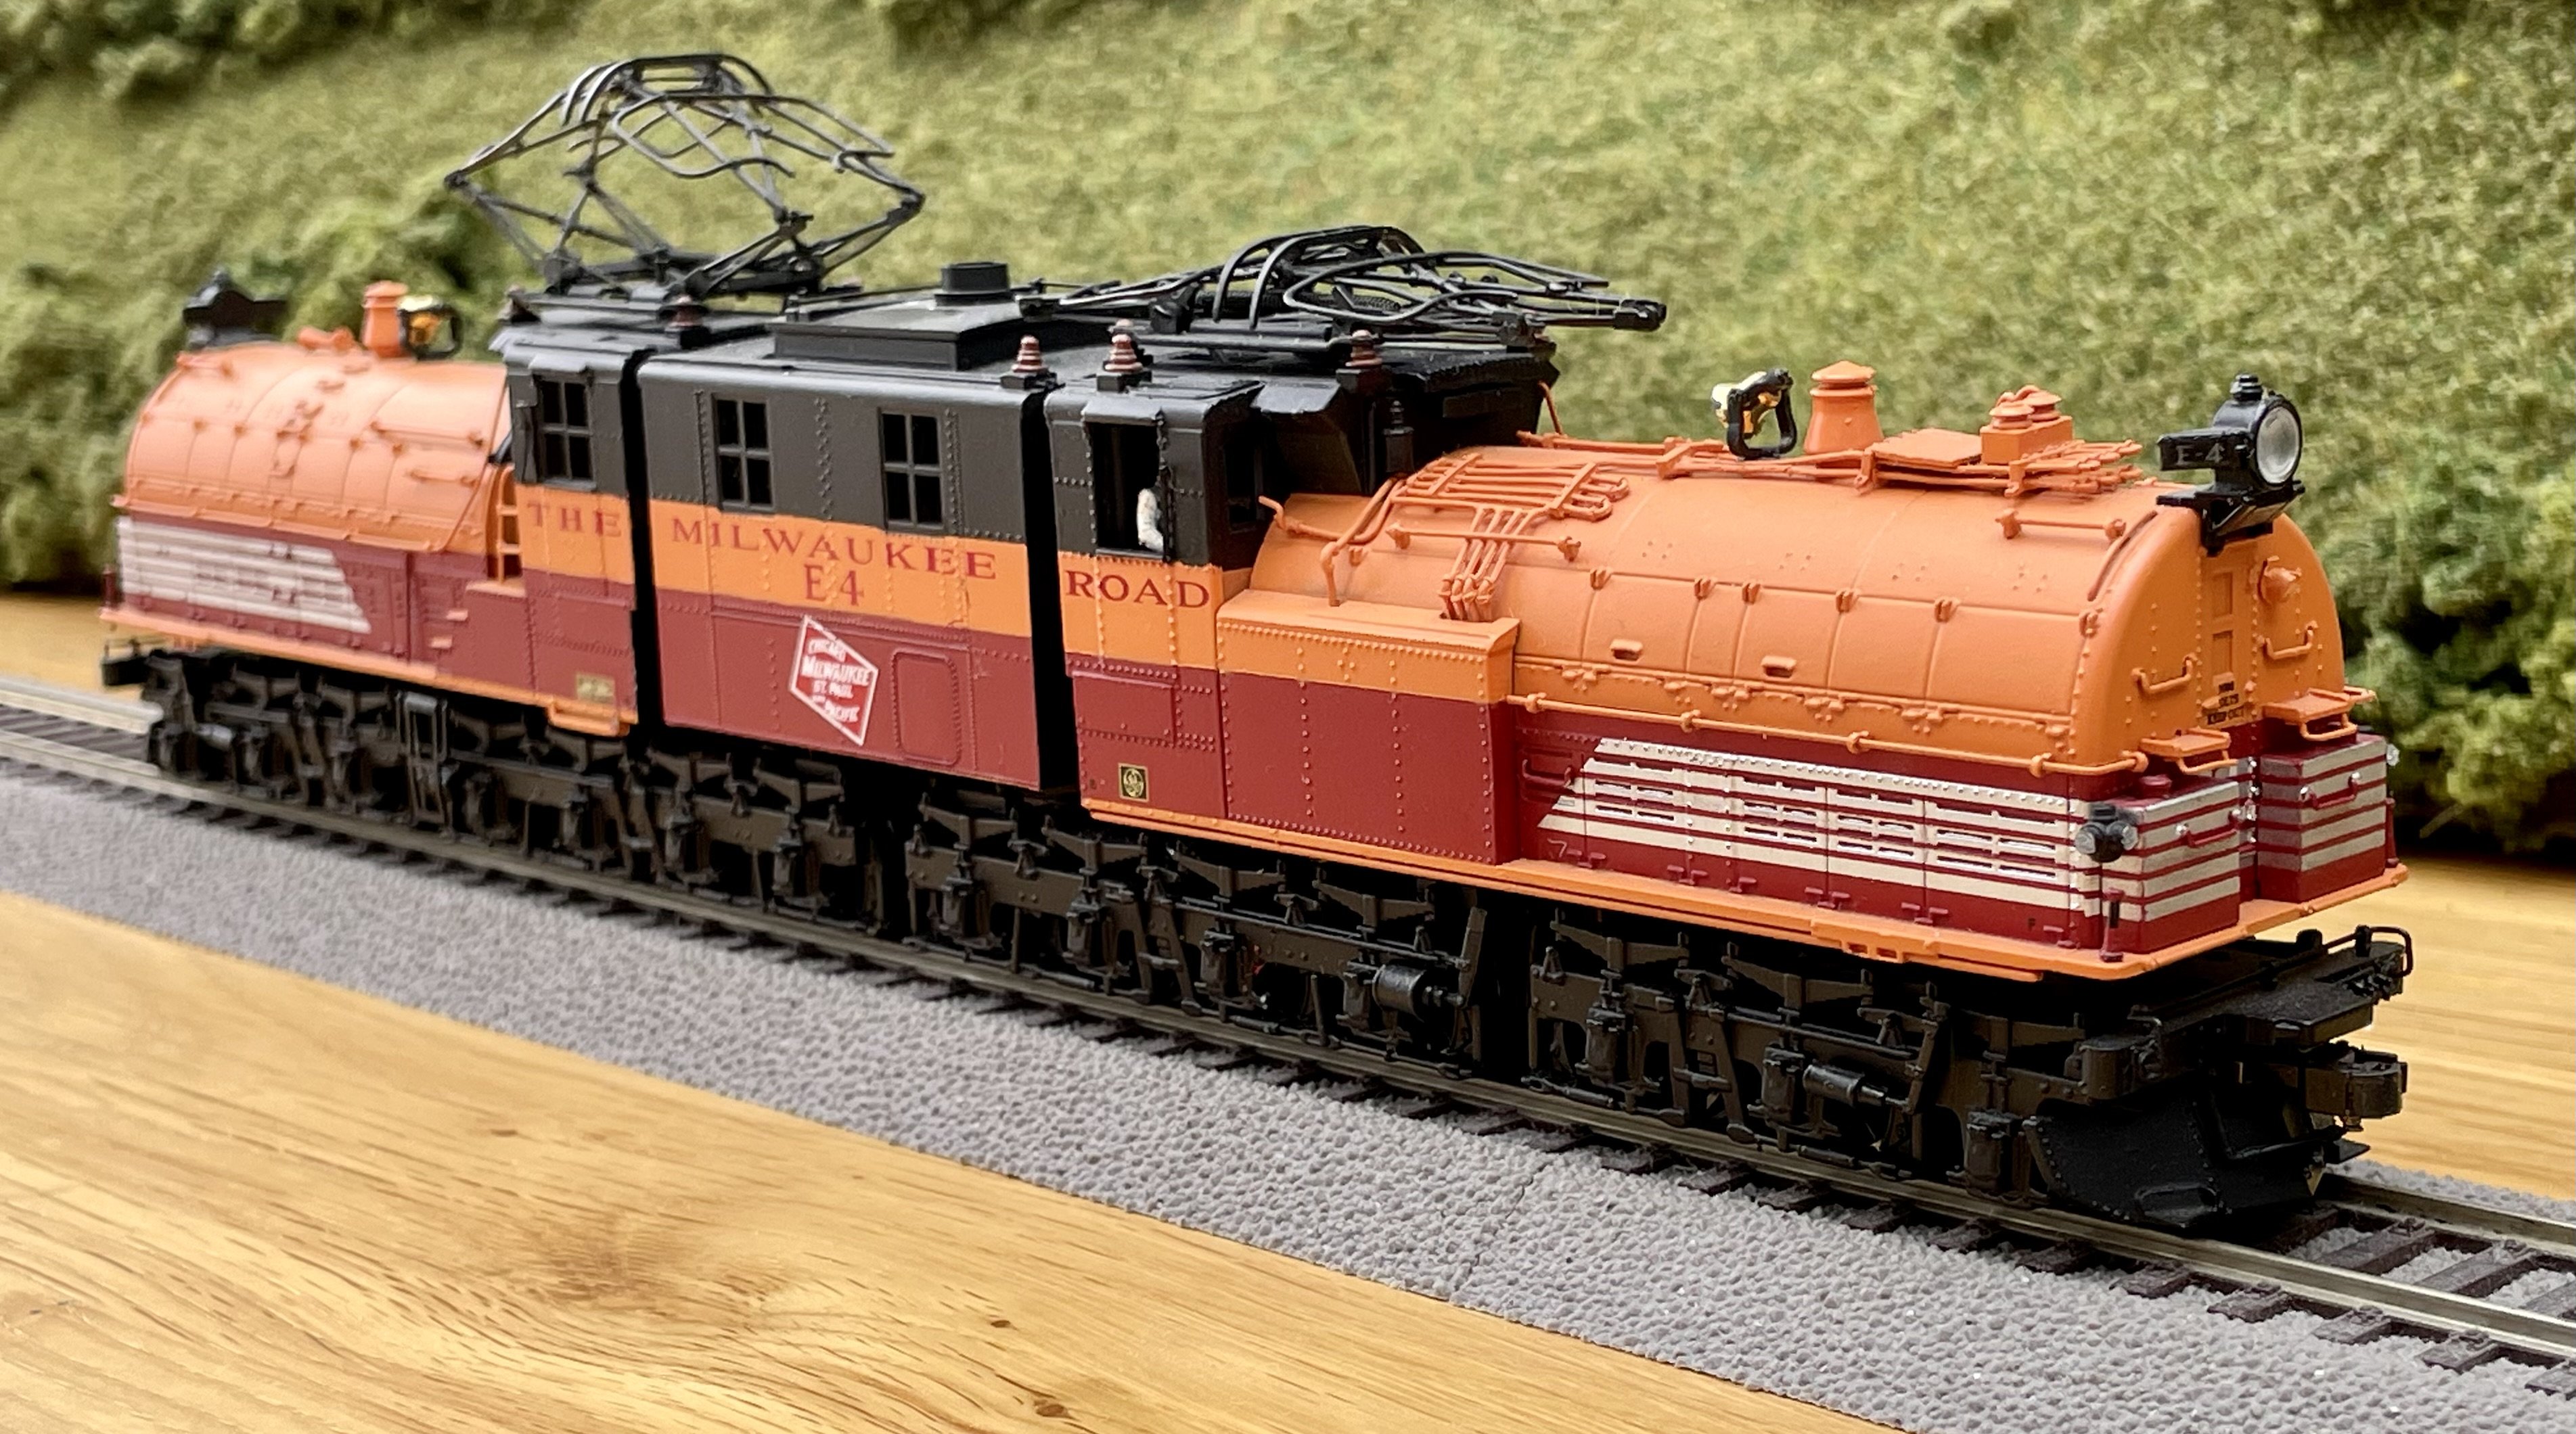
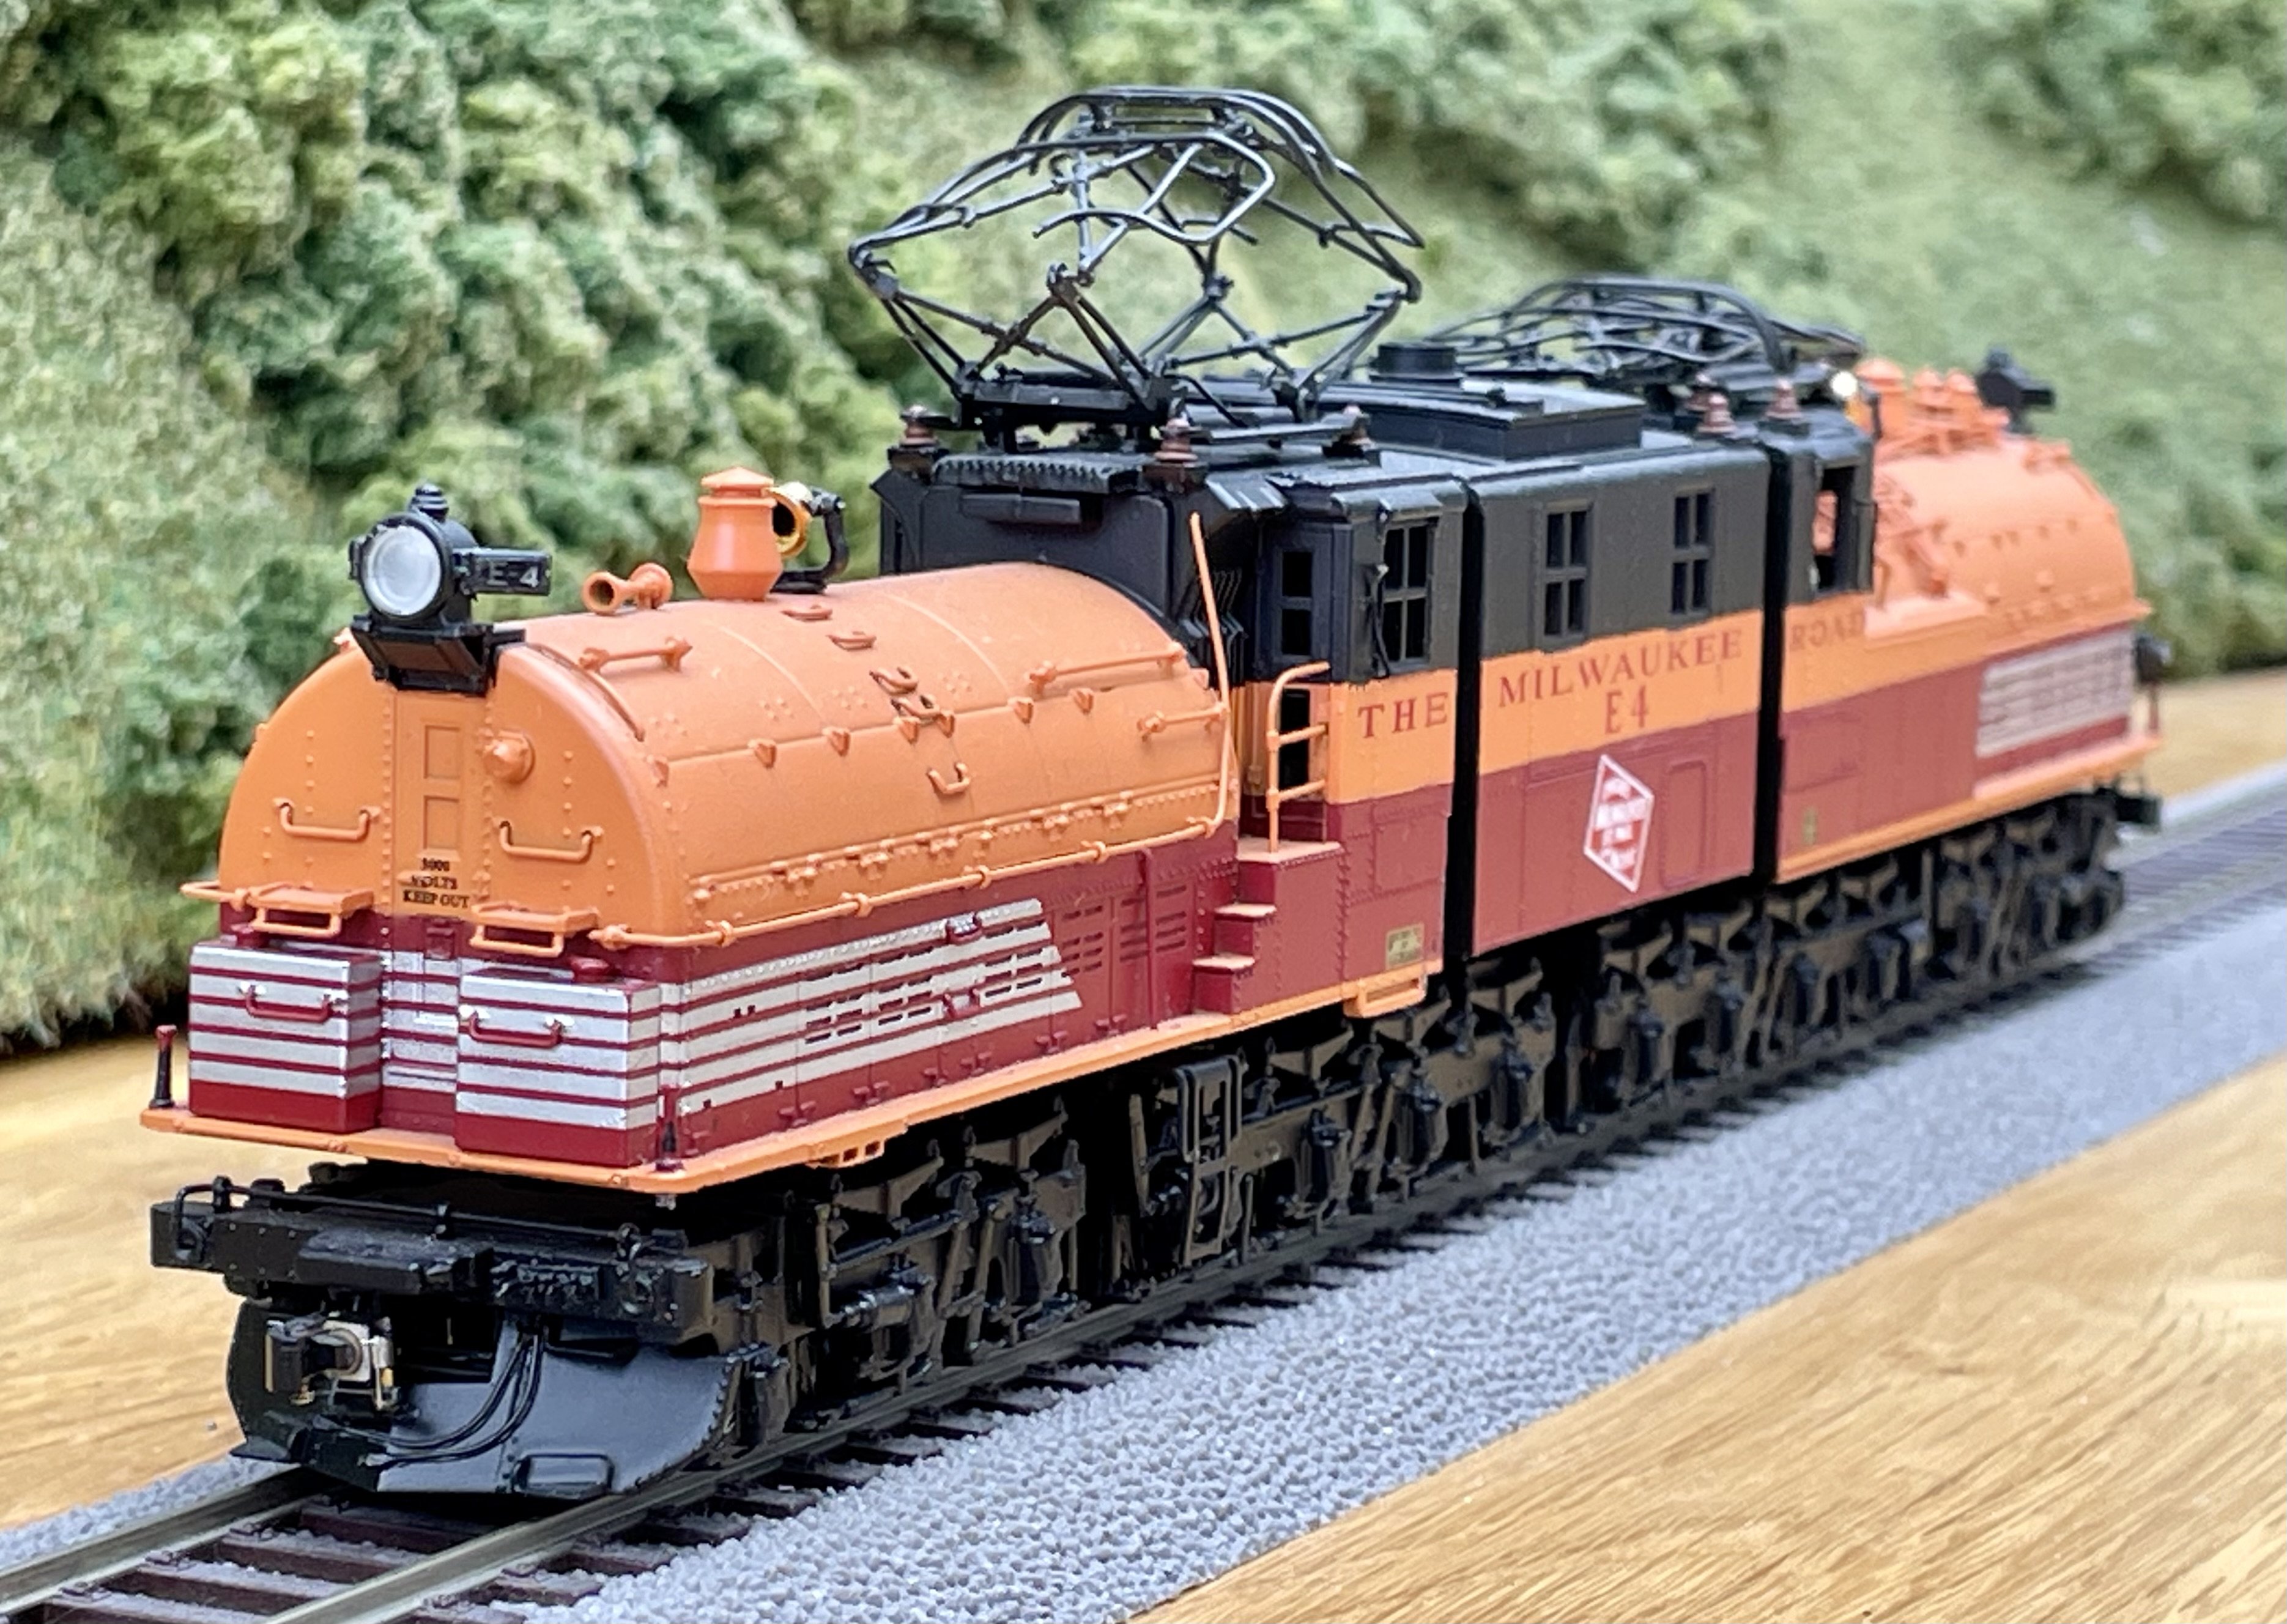
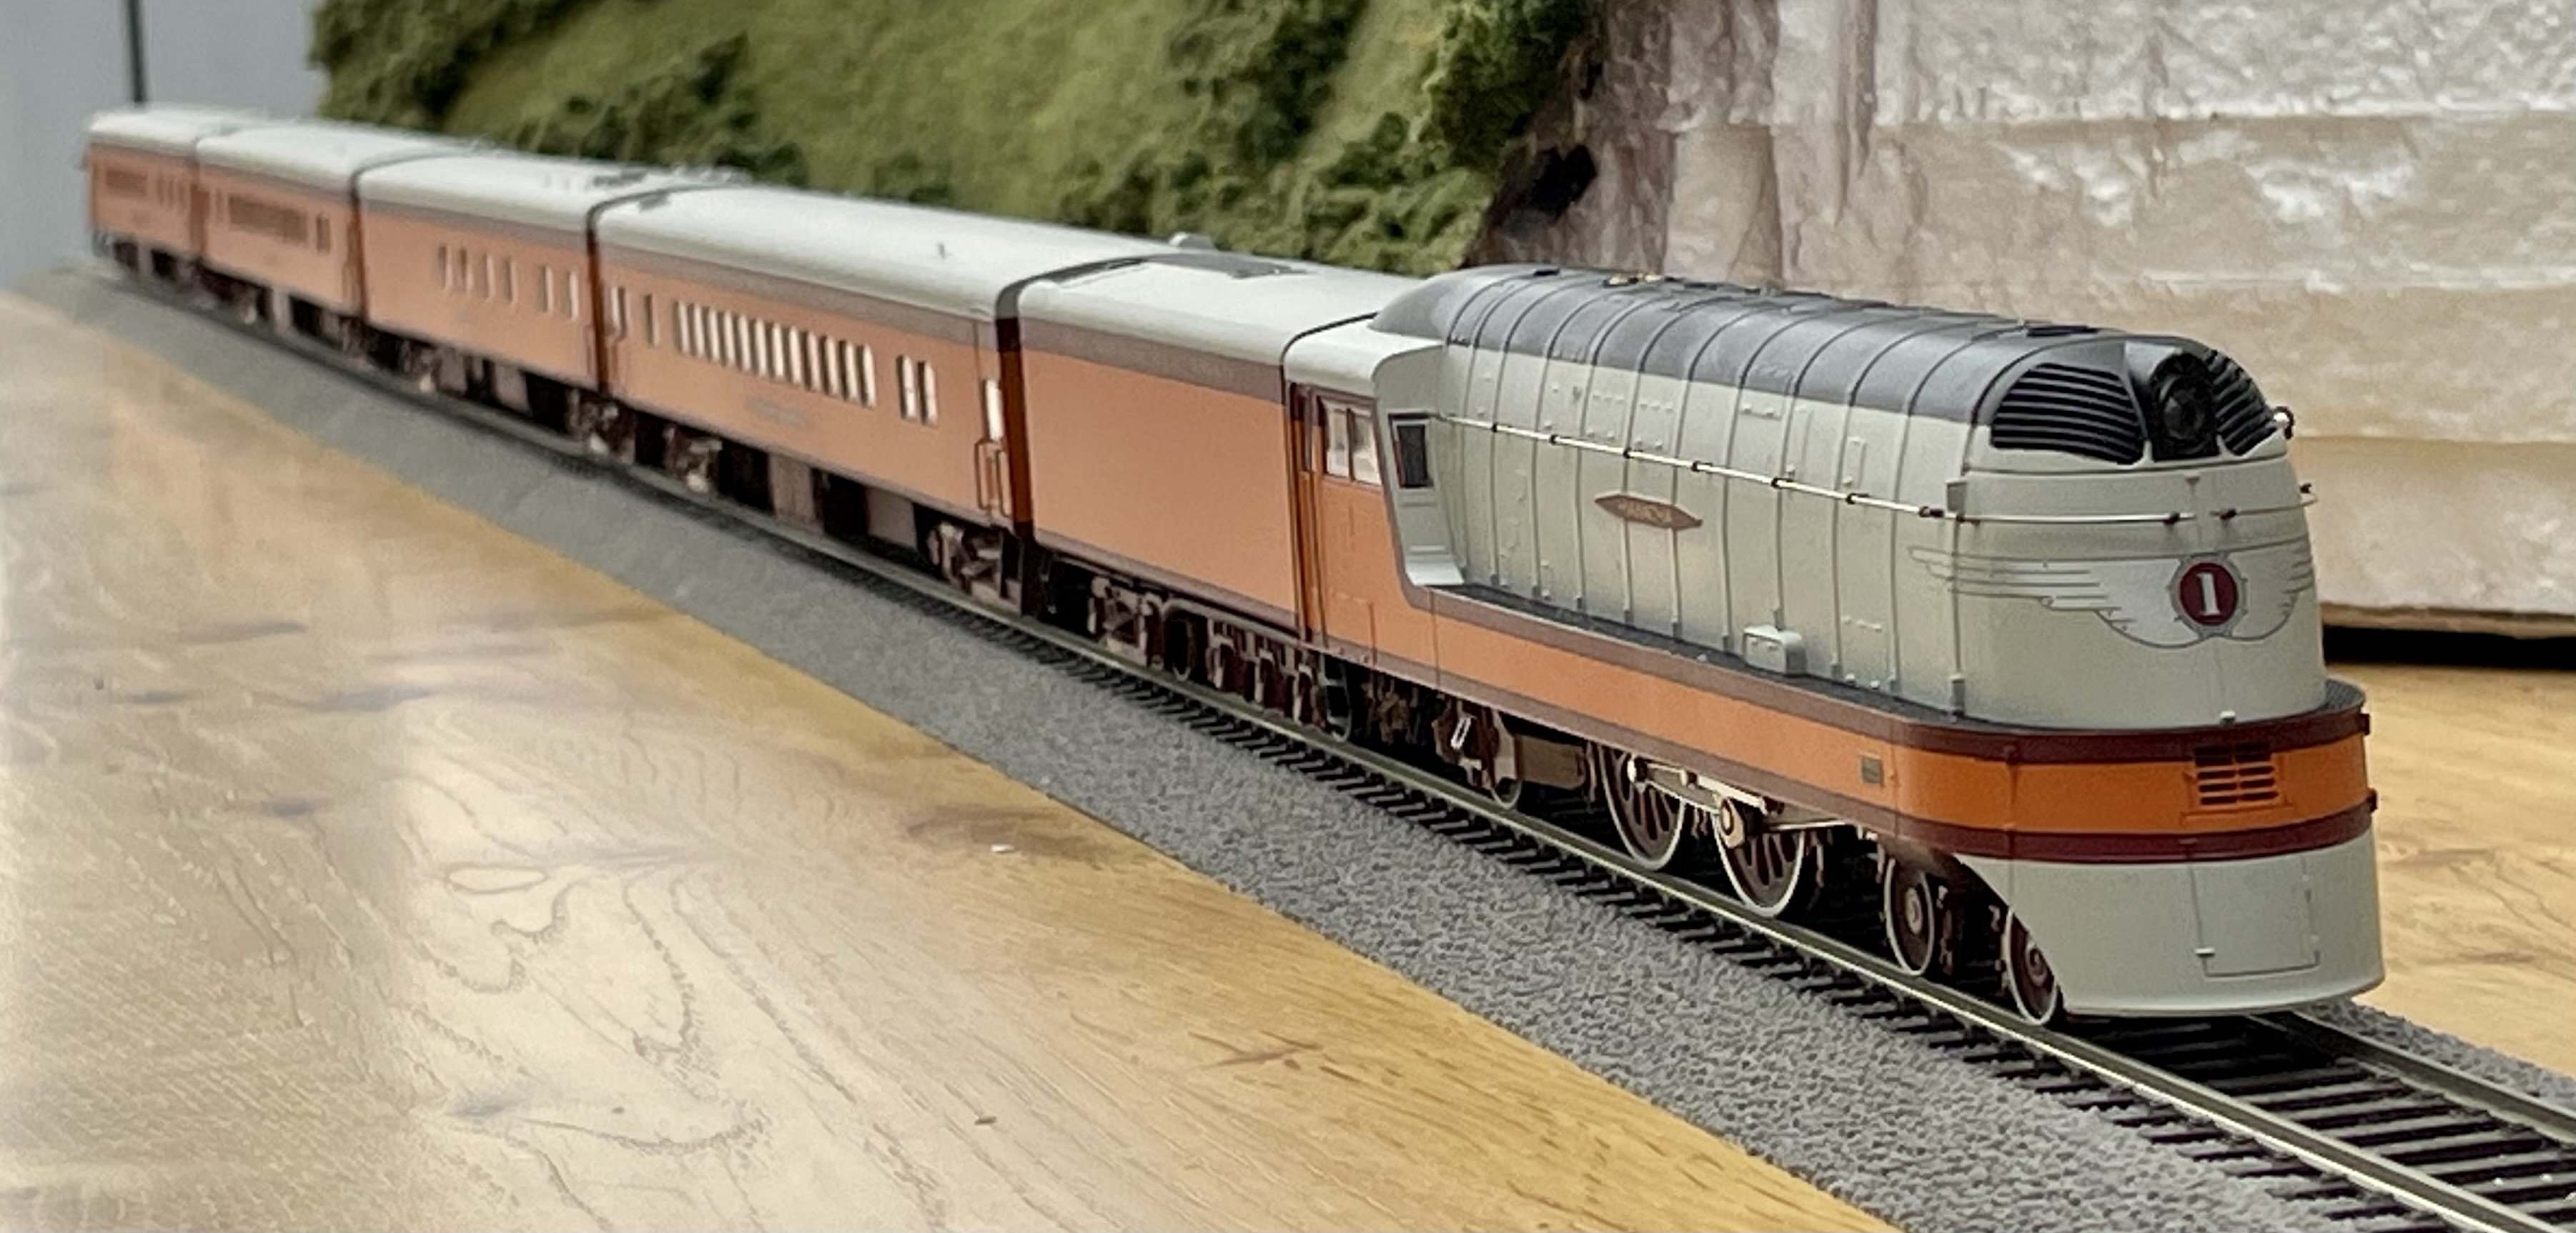
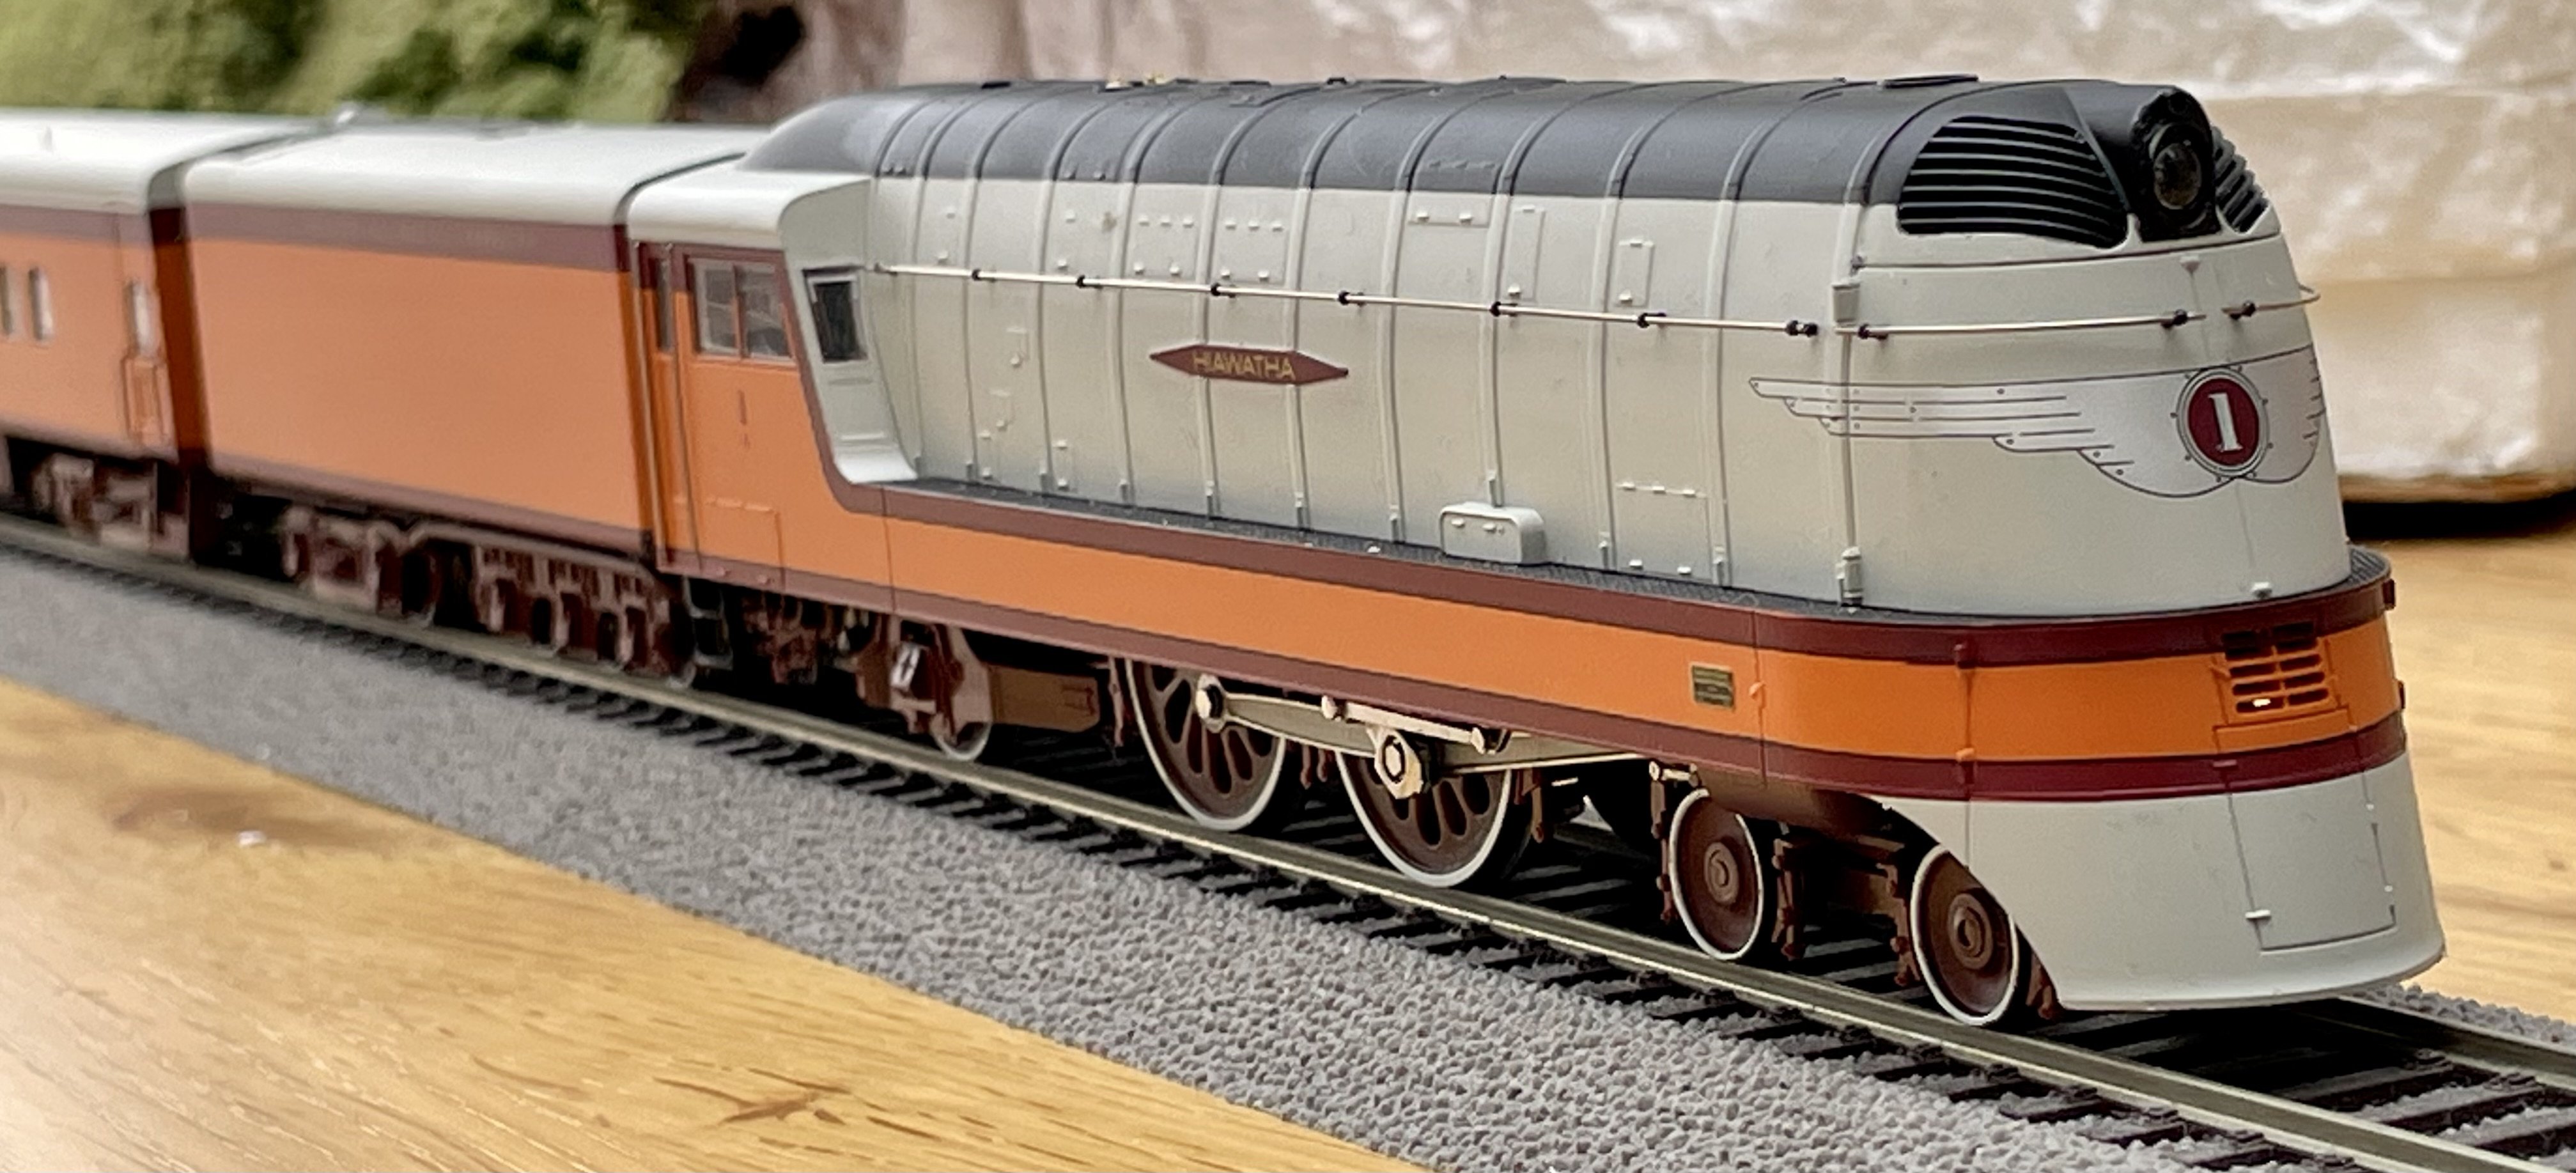
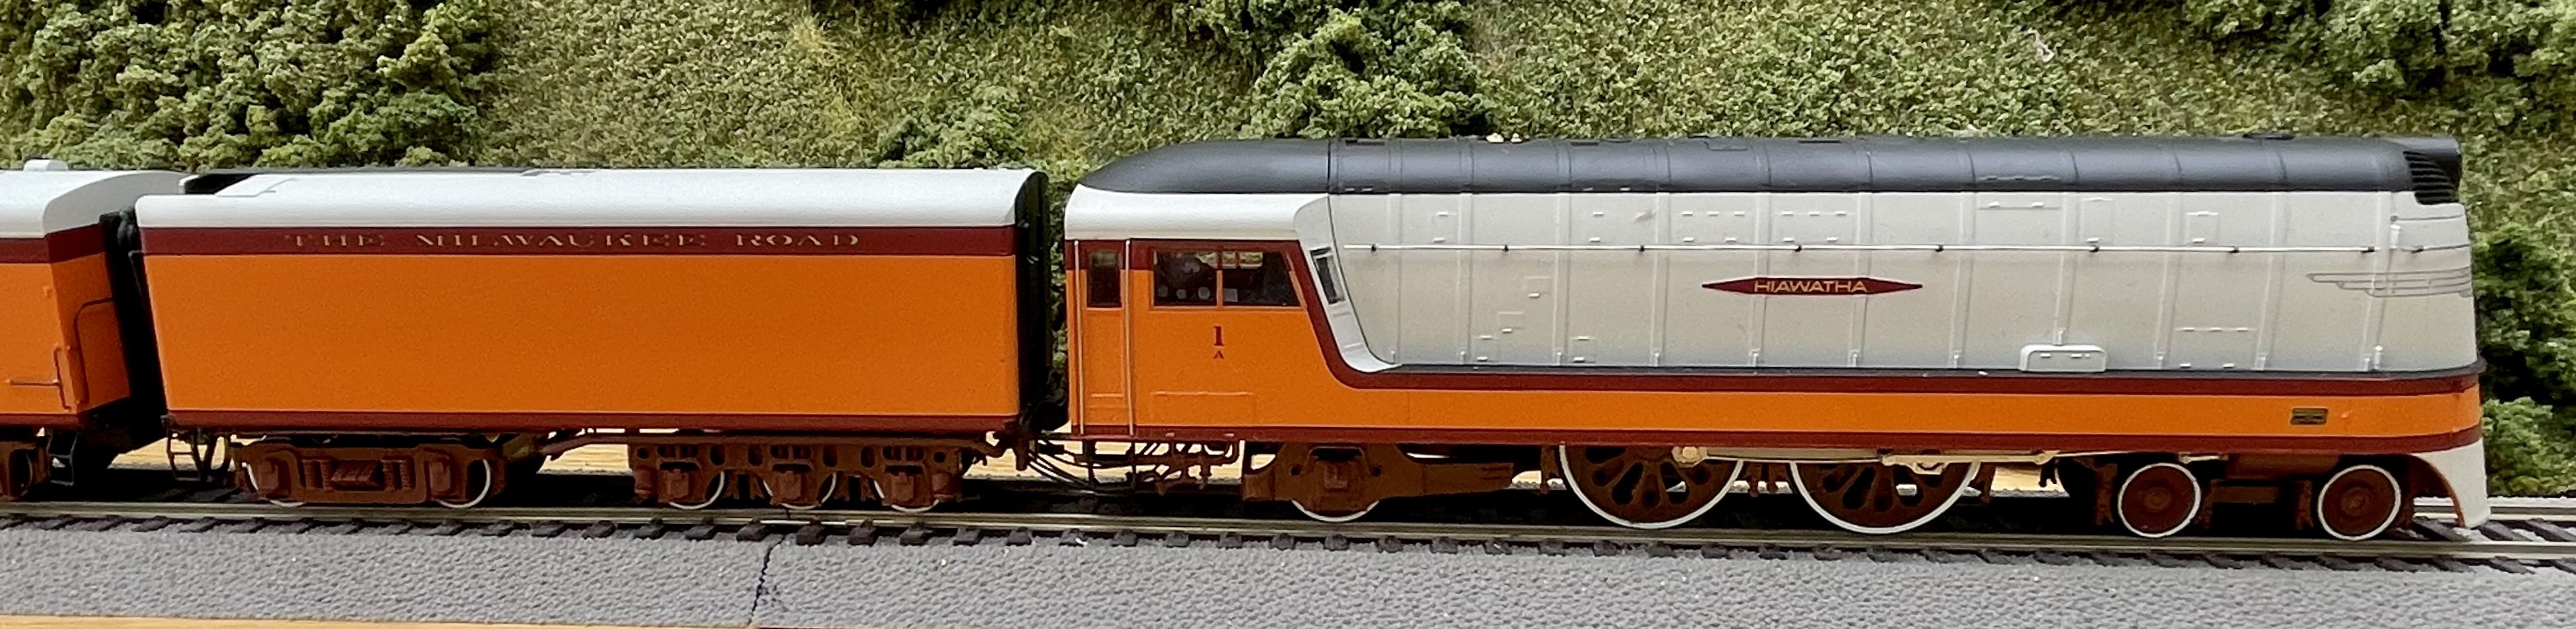
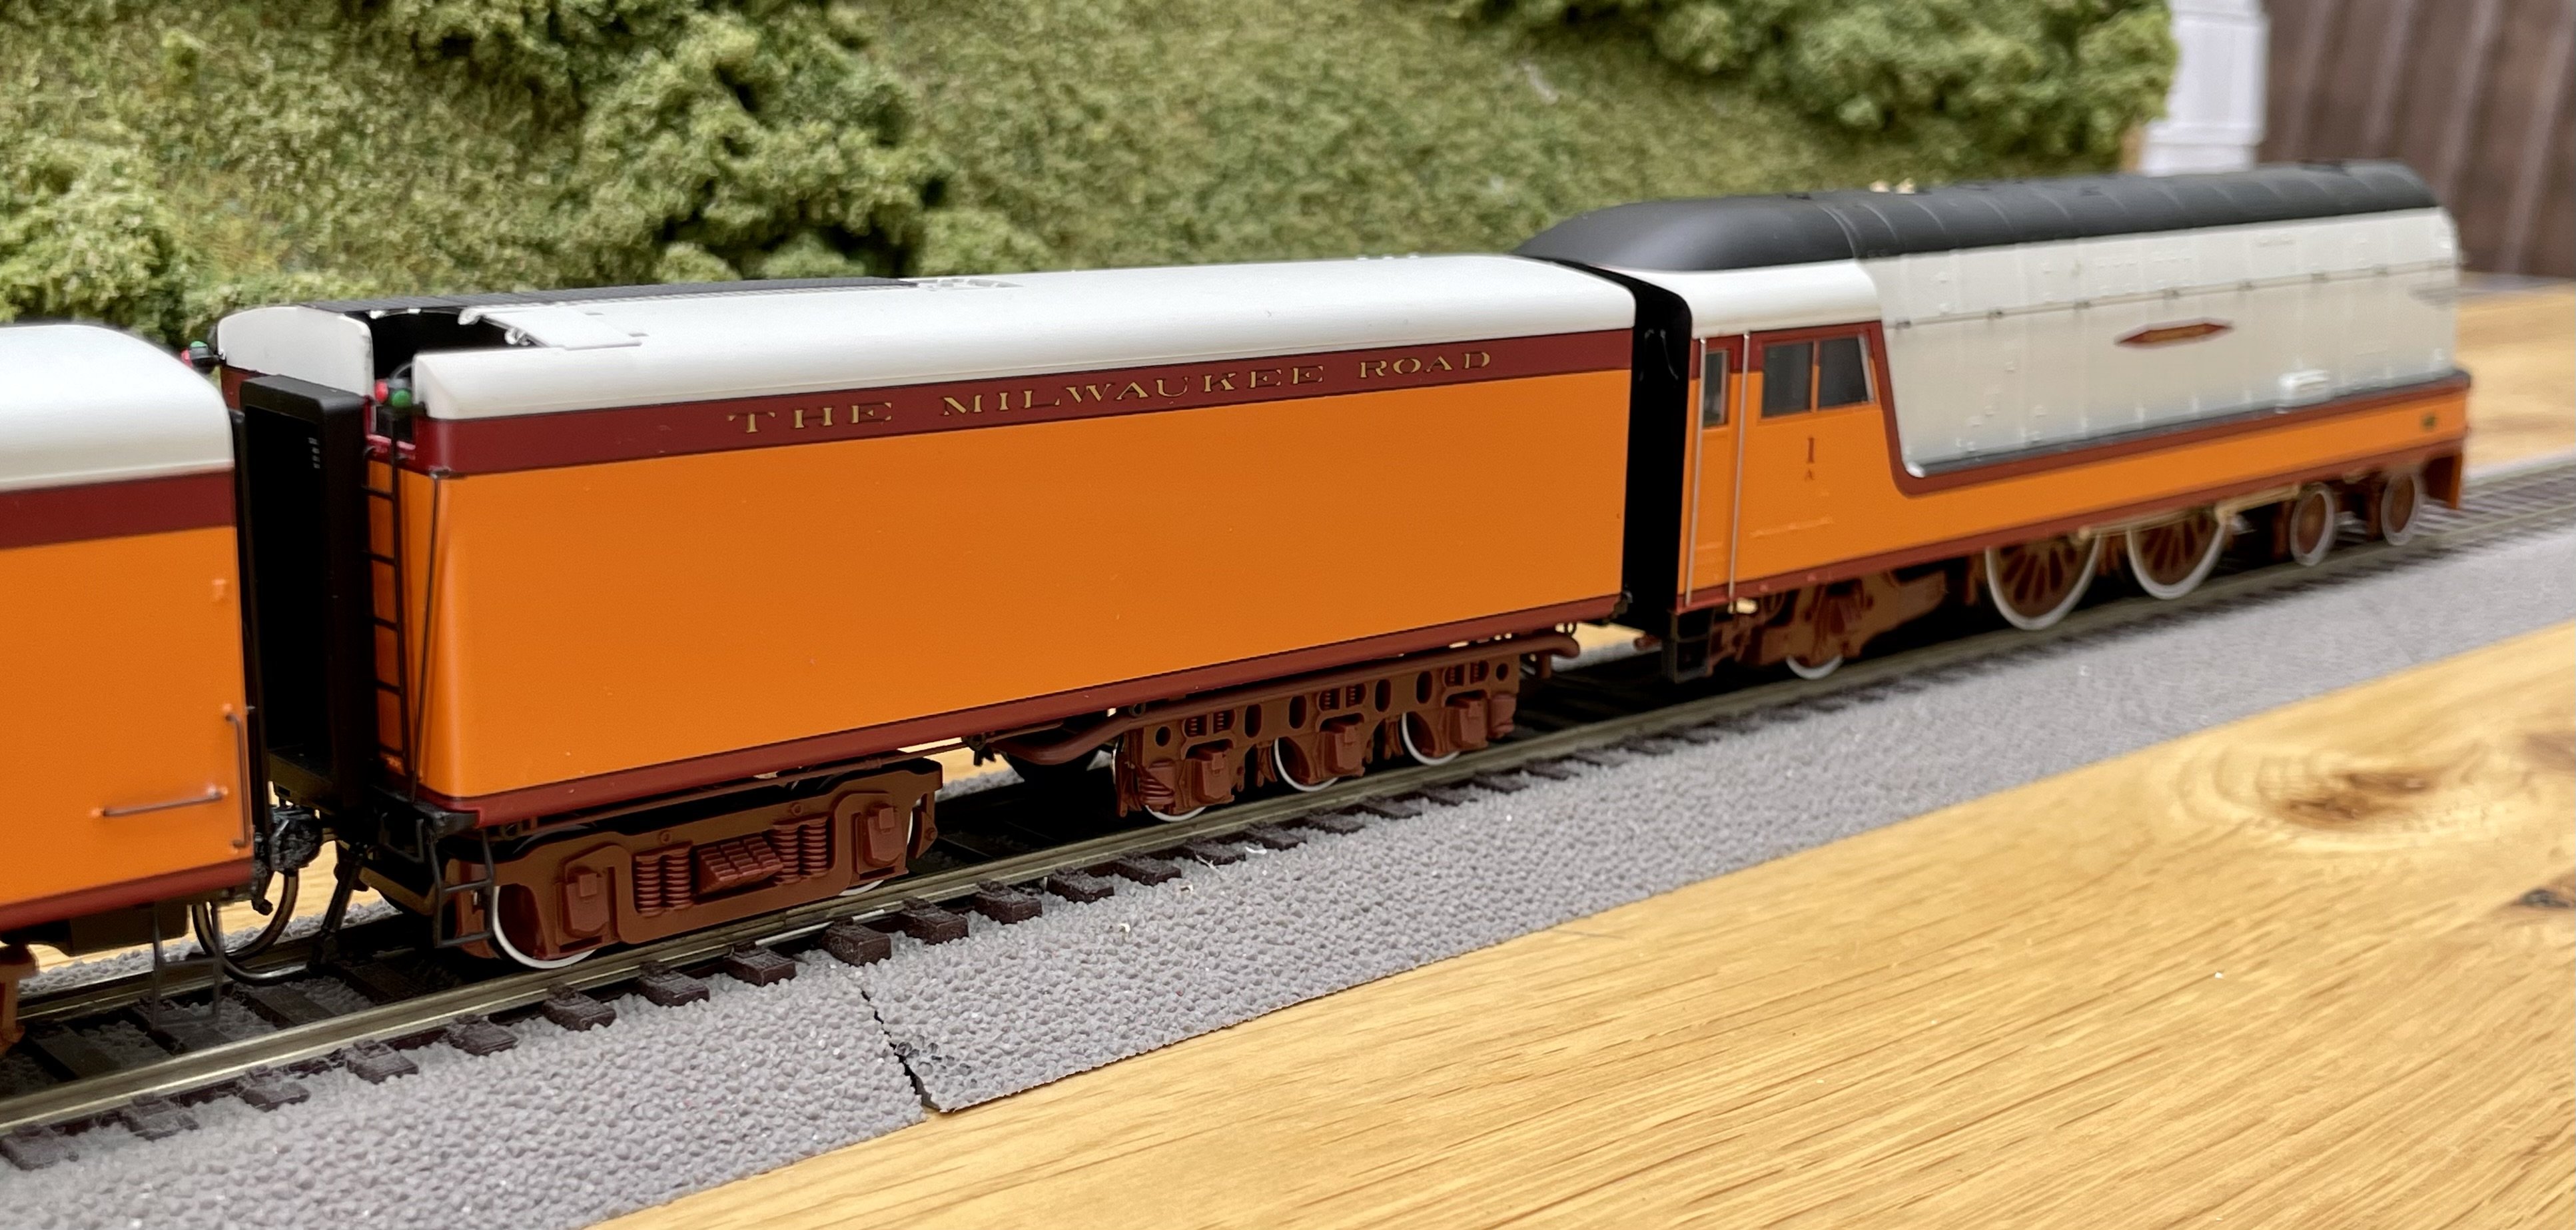
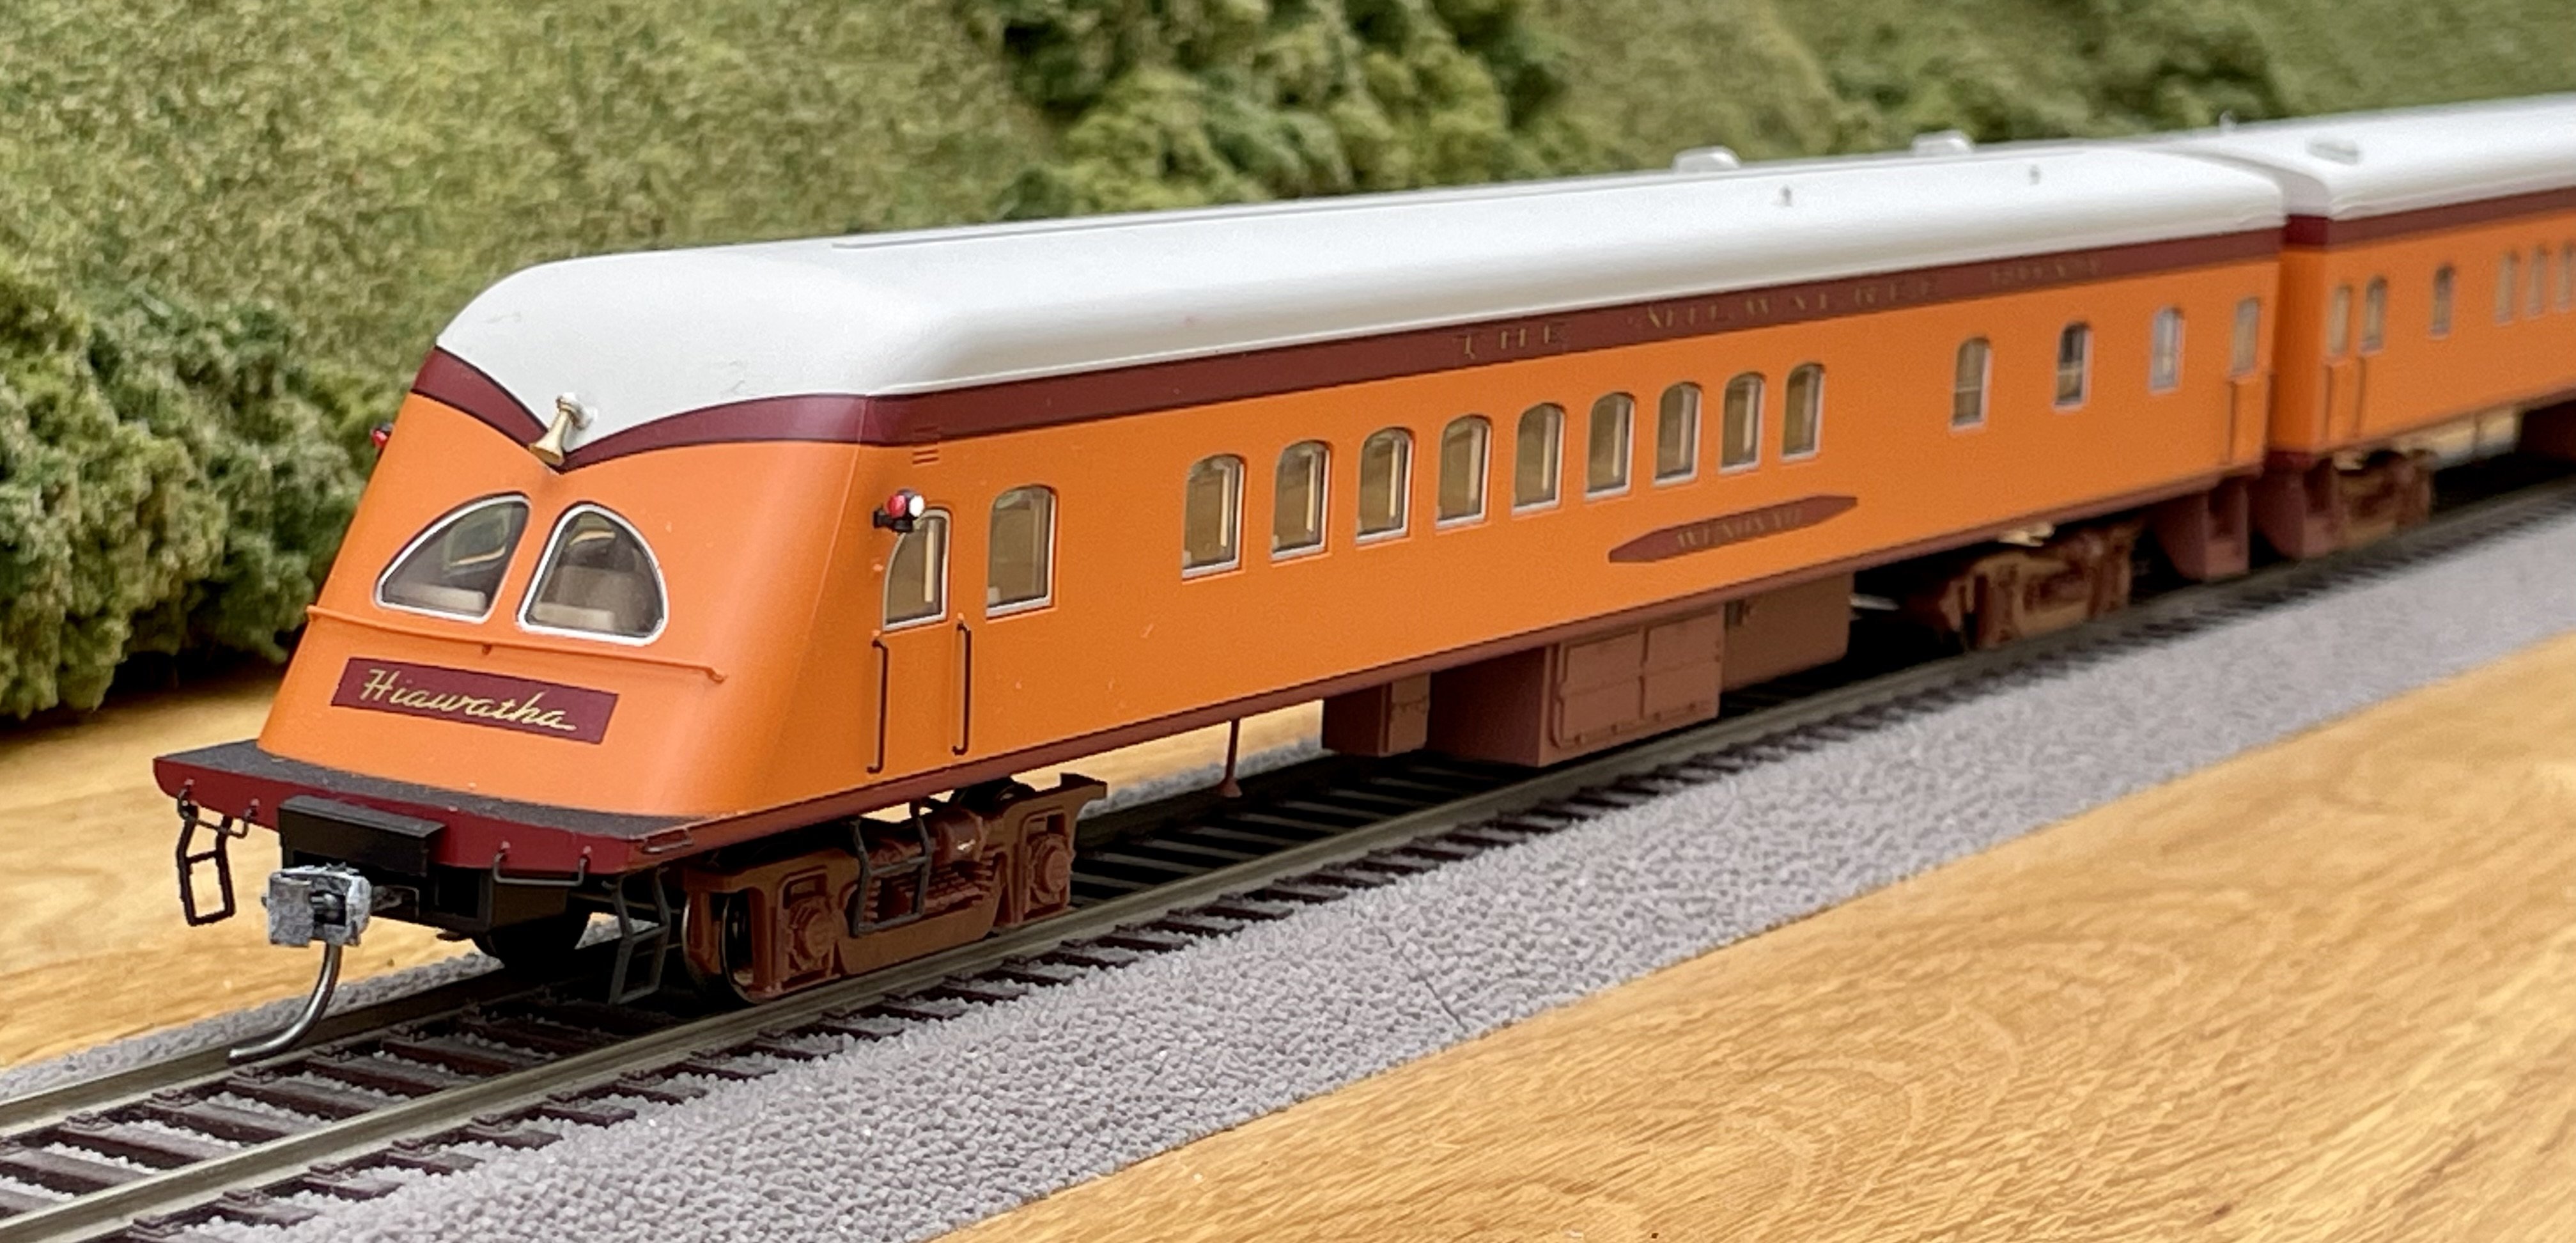
Hi Leslie. You mentioned the Milwaukee Road… Cheers Darius
-
I was going to frame a reply using a reference to Methody, but thought better of it just in case there are some Methody alumni around… Cheers Darius
-
Next project… Cheers Darius
-
In action on the layout this morning Cheers Darius
-
6th and final coach completed Cheers Darius
-
Latest progress. No prizes for spotting the part from a old felt-tipped pen… Cheers Darius