
Darius43
-
Posts
1,393 -
Joined
-
Last visited
-
Days Won
108
Content Type
Profiles
Forums
Events
Gallery
Blogs
Everything posted by Darius43
-
1:48 Seafire XV - Hobbycraft kit. 1:48 Seafire 17 - Aeroclub fuselage with Airfix wings. 1:48 Seafire FR46 - Airfix kit. 1:48 Seafire FR47 - Airfix kit. 1:48 Spitfire F22 - Airfix kit. Cheers Darius
-
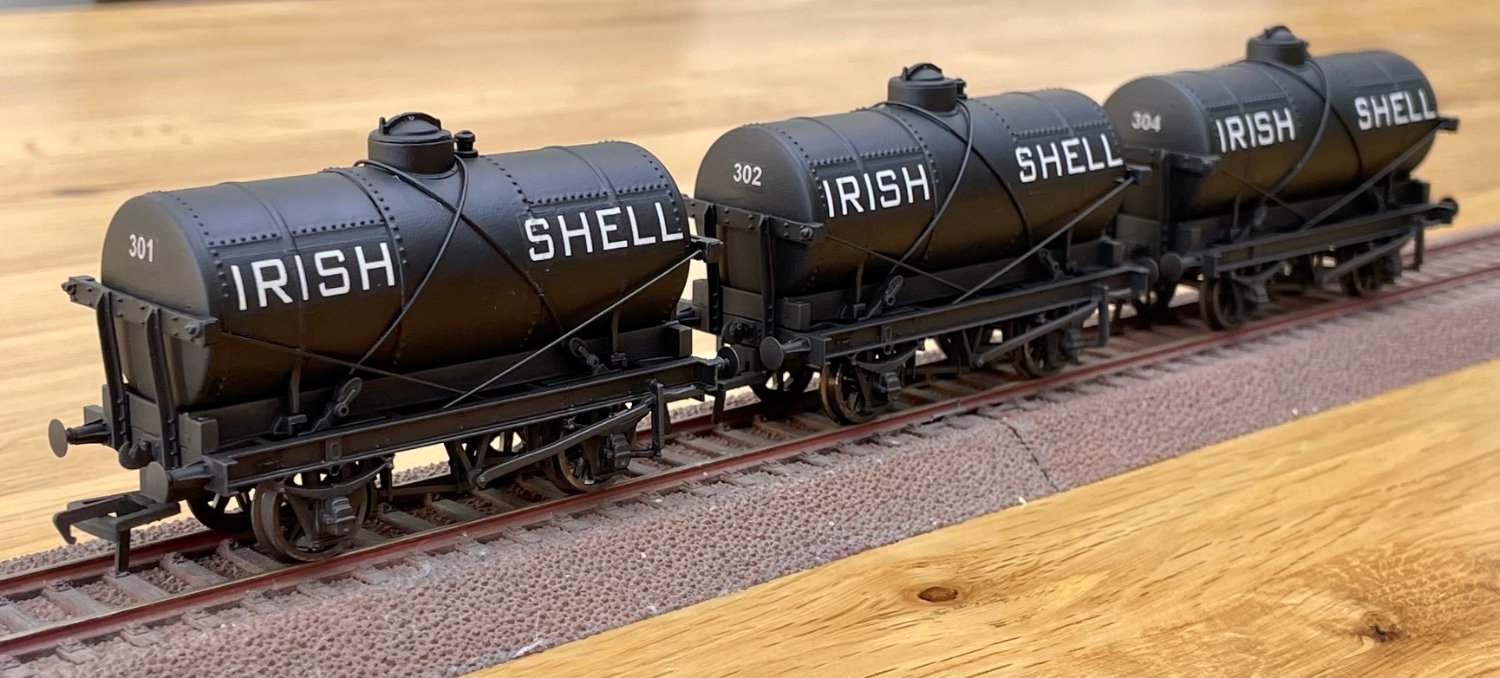
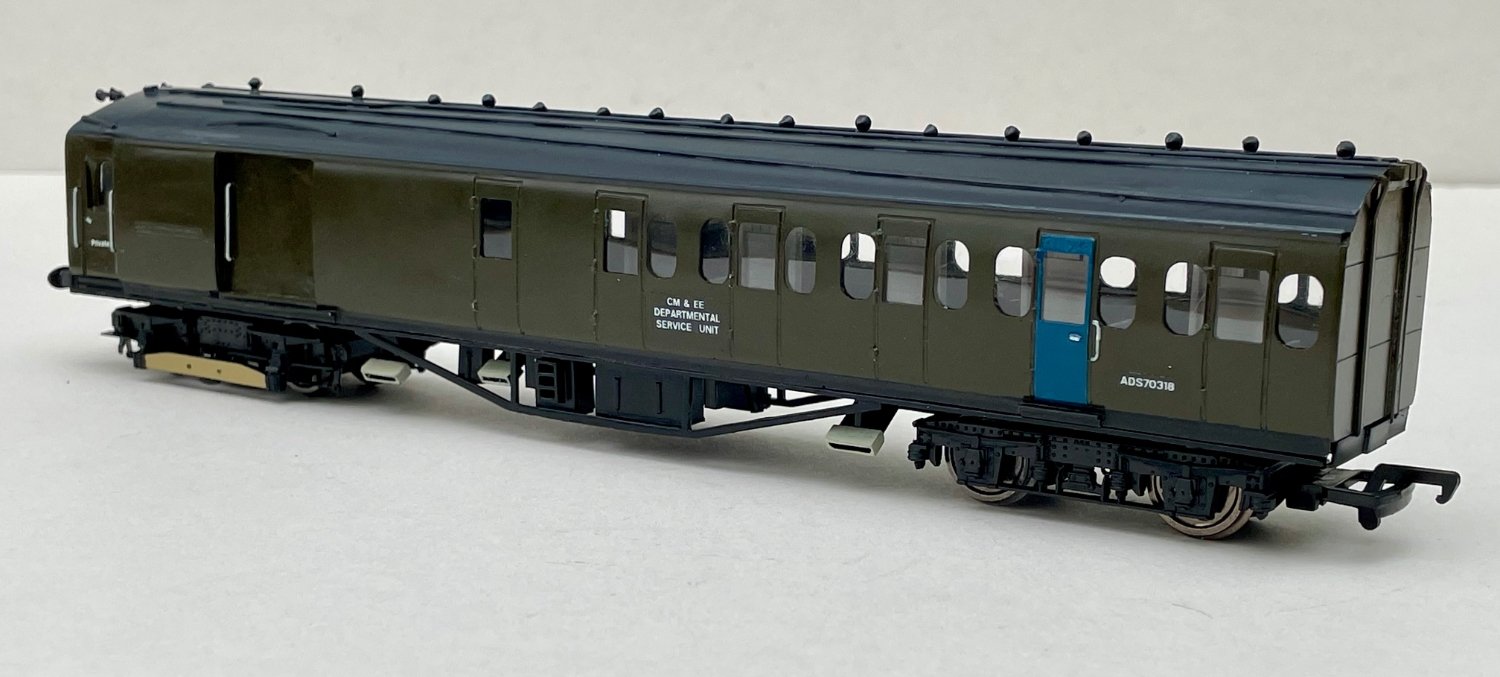
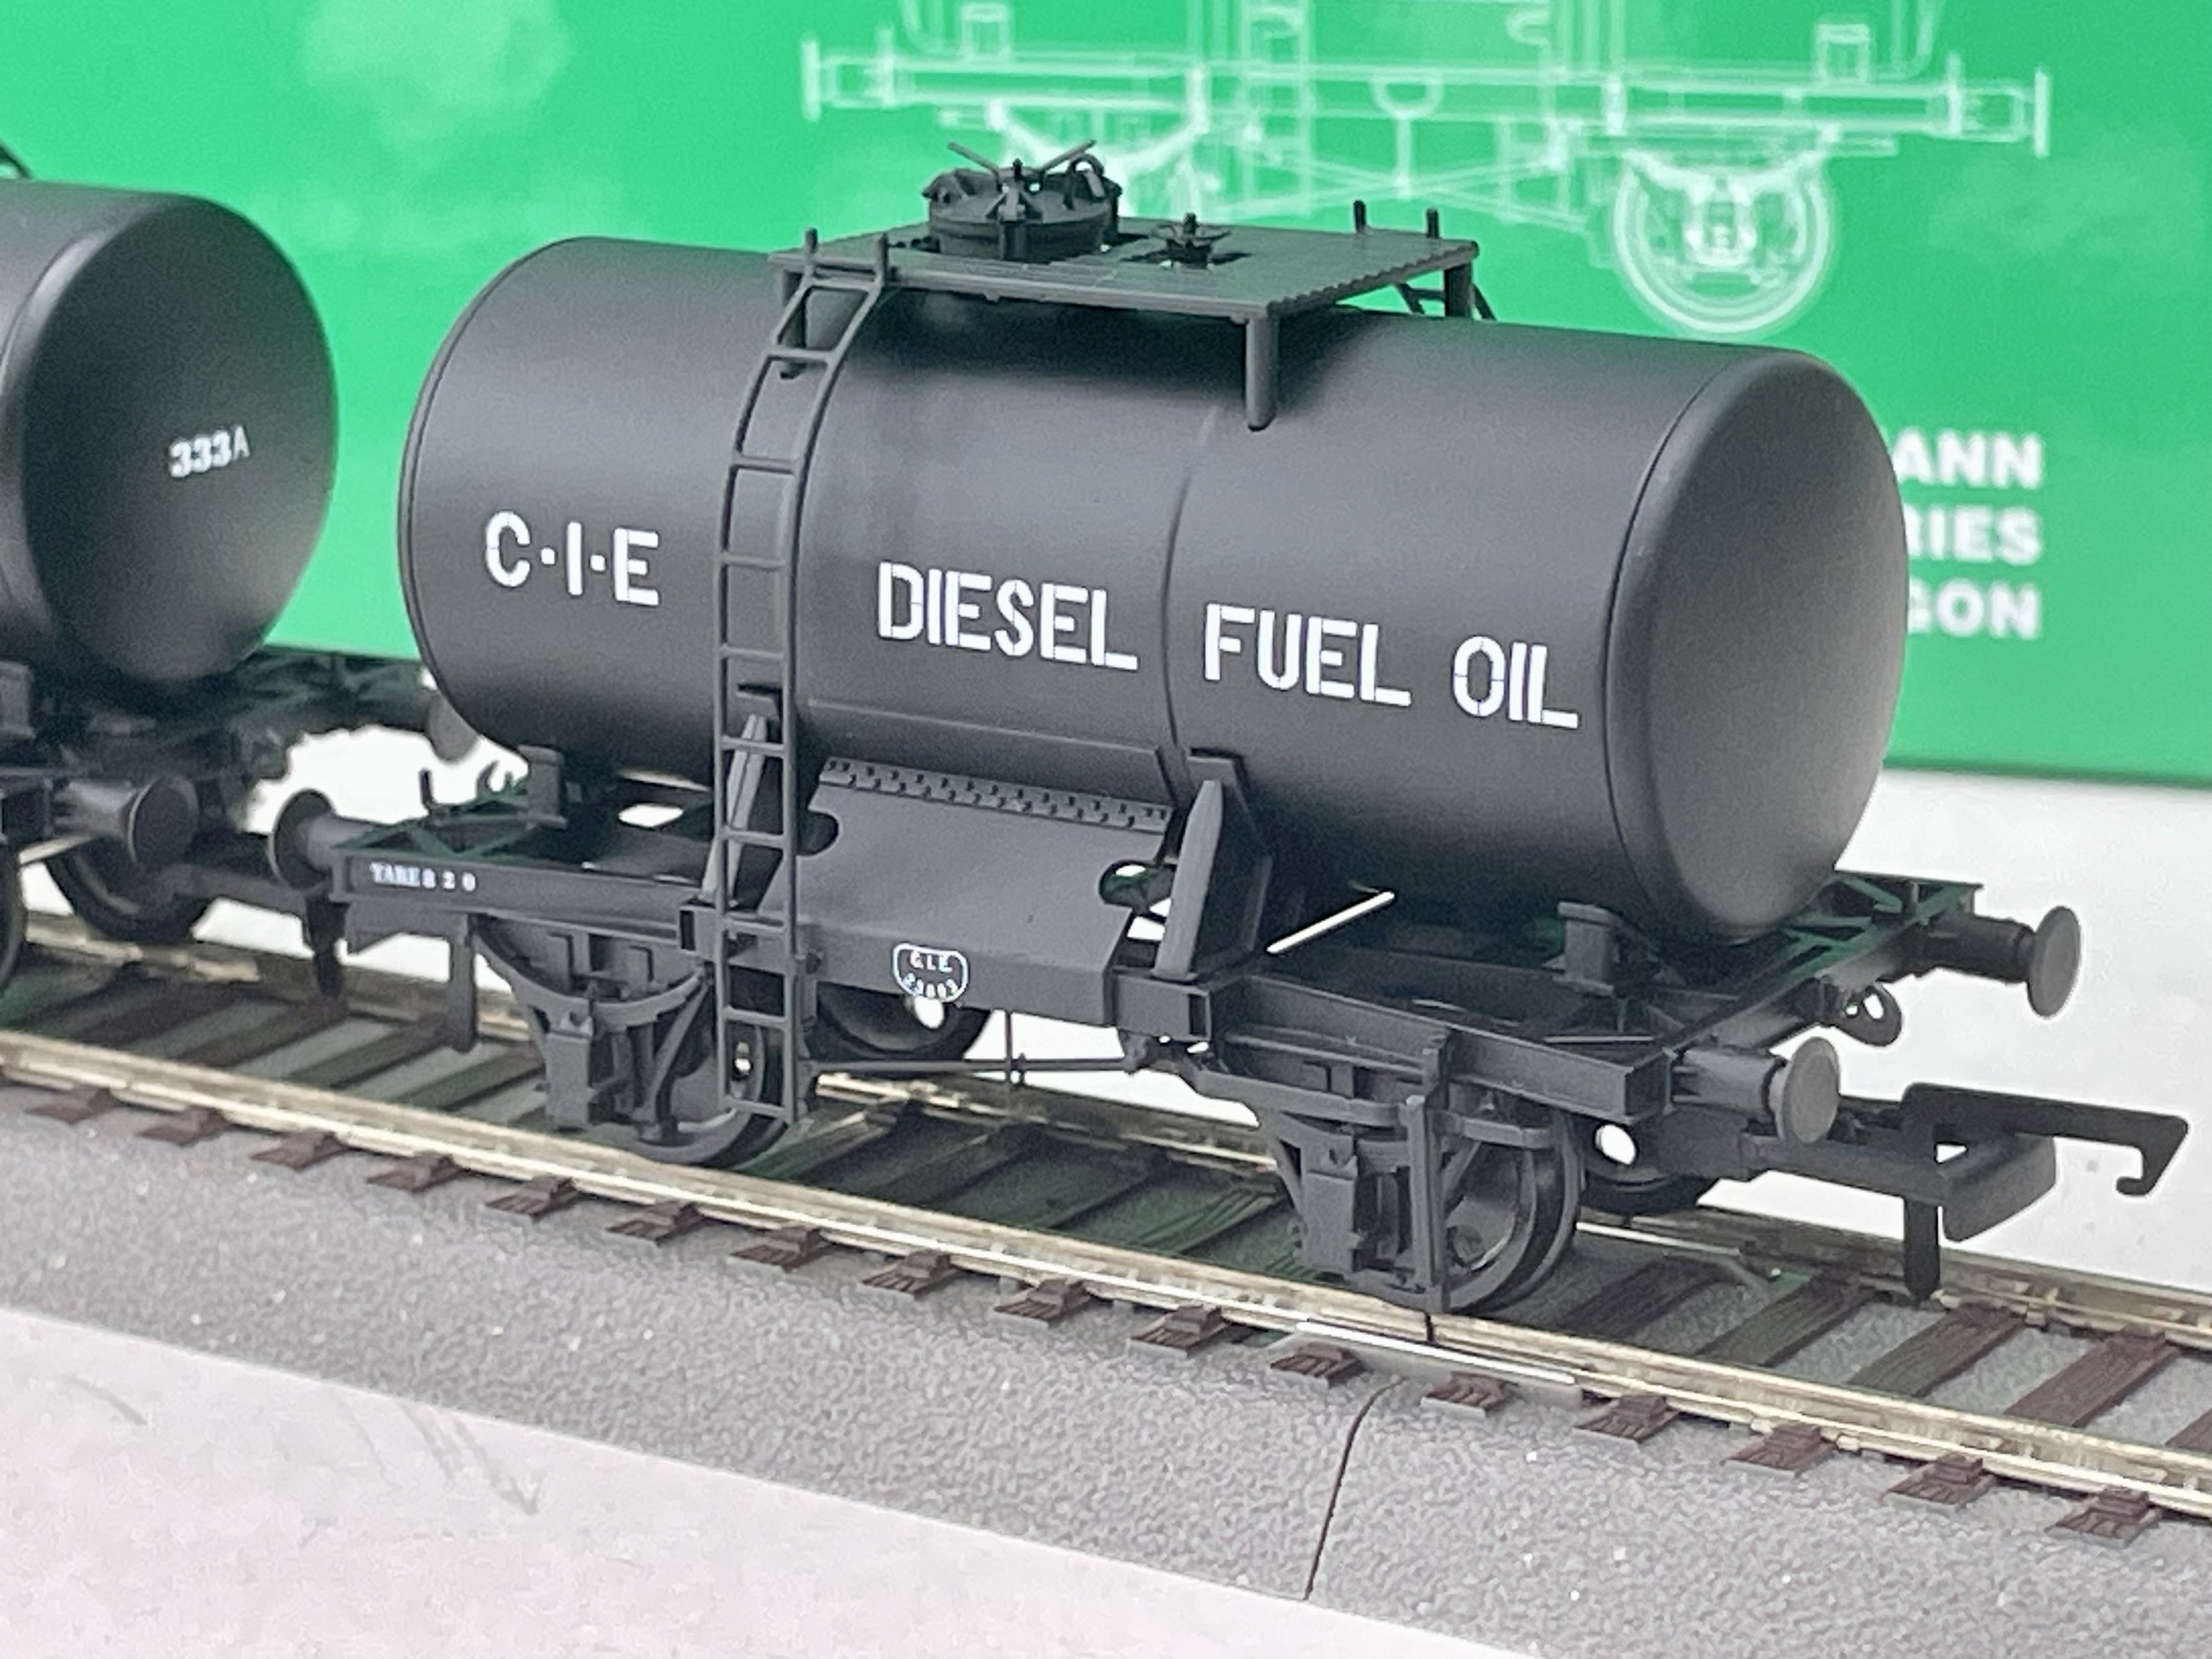
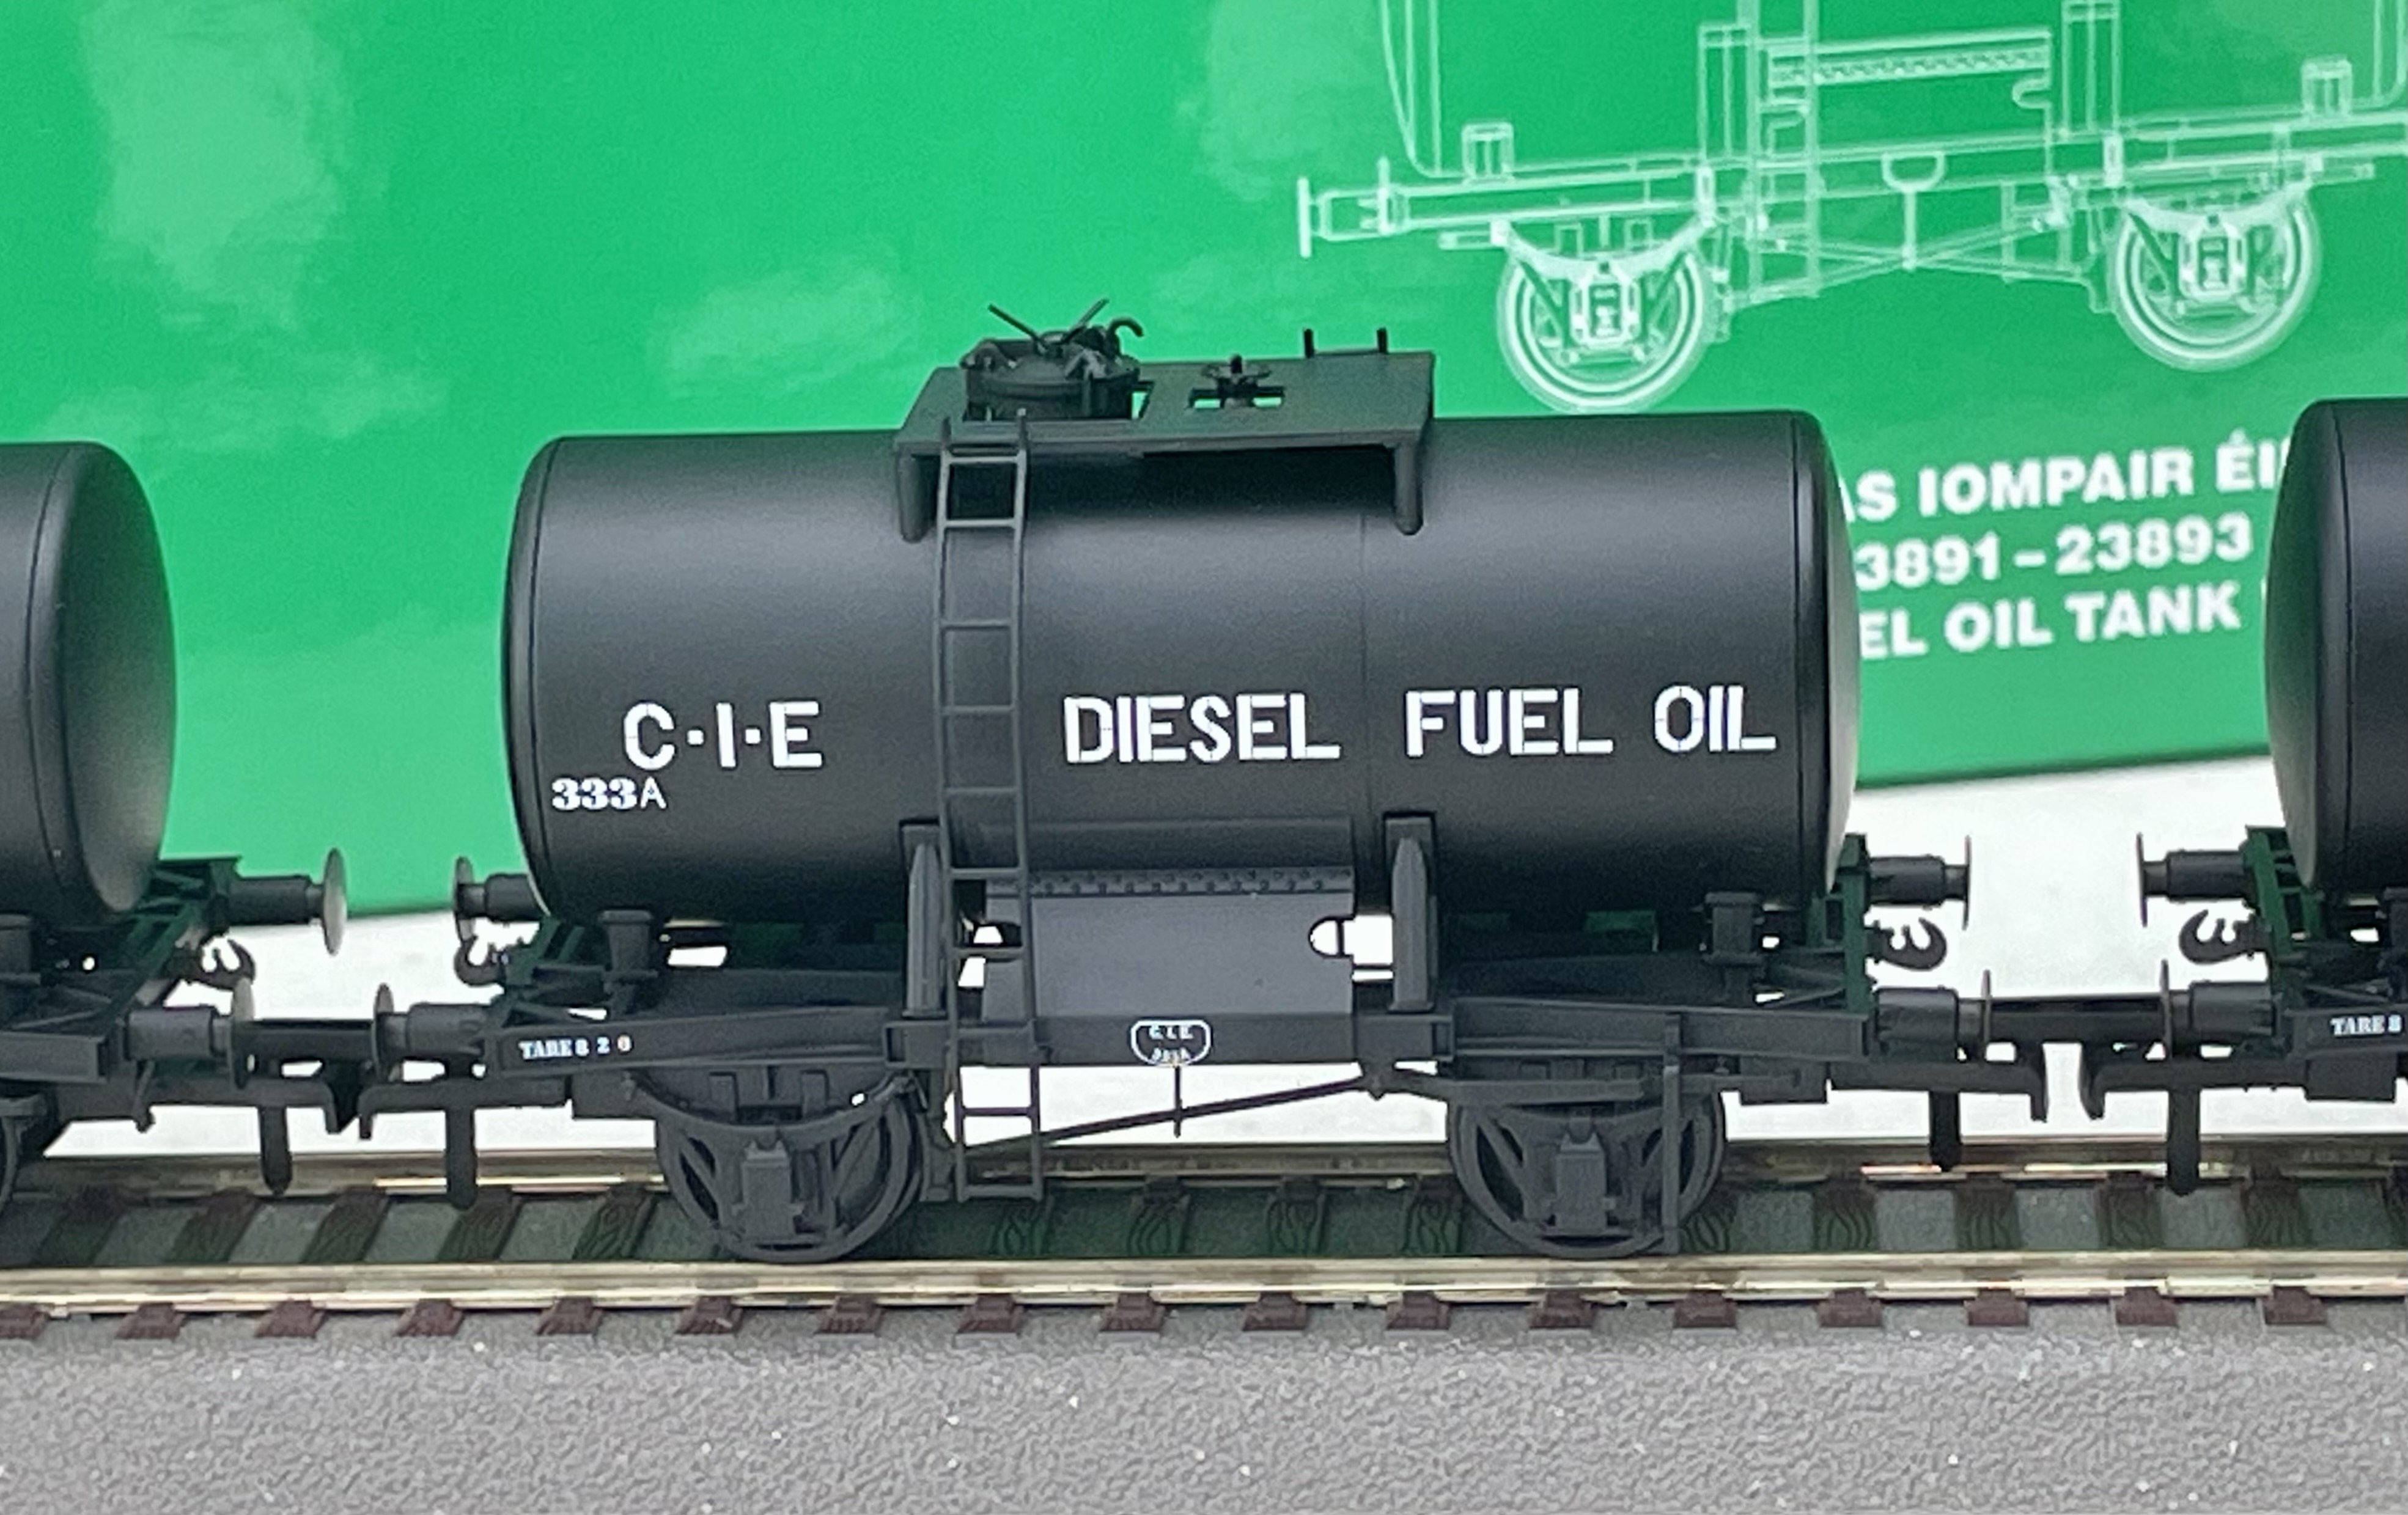
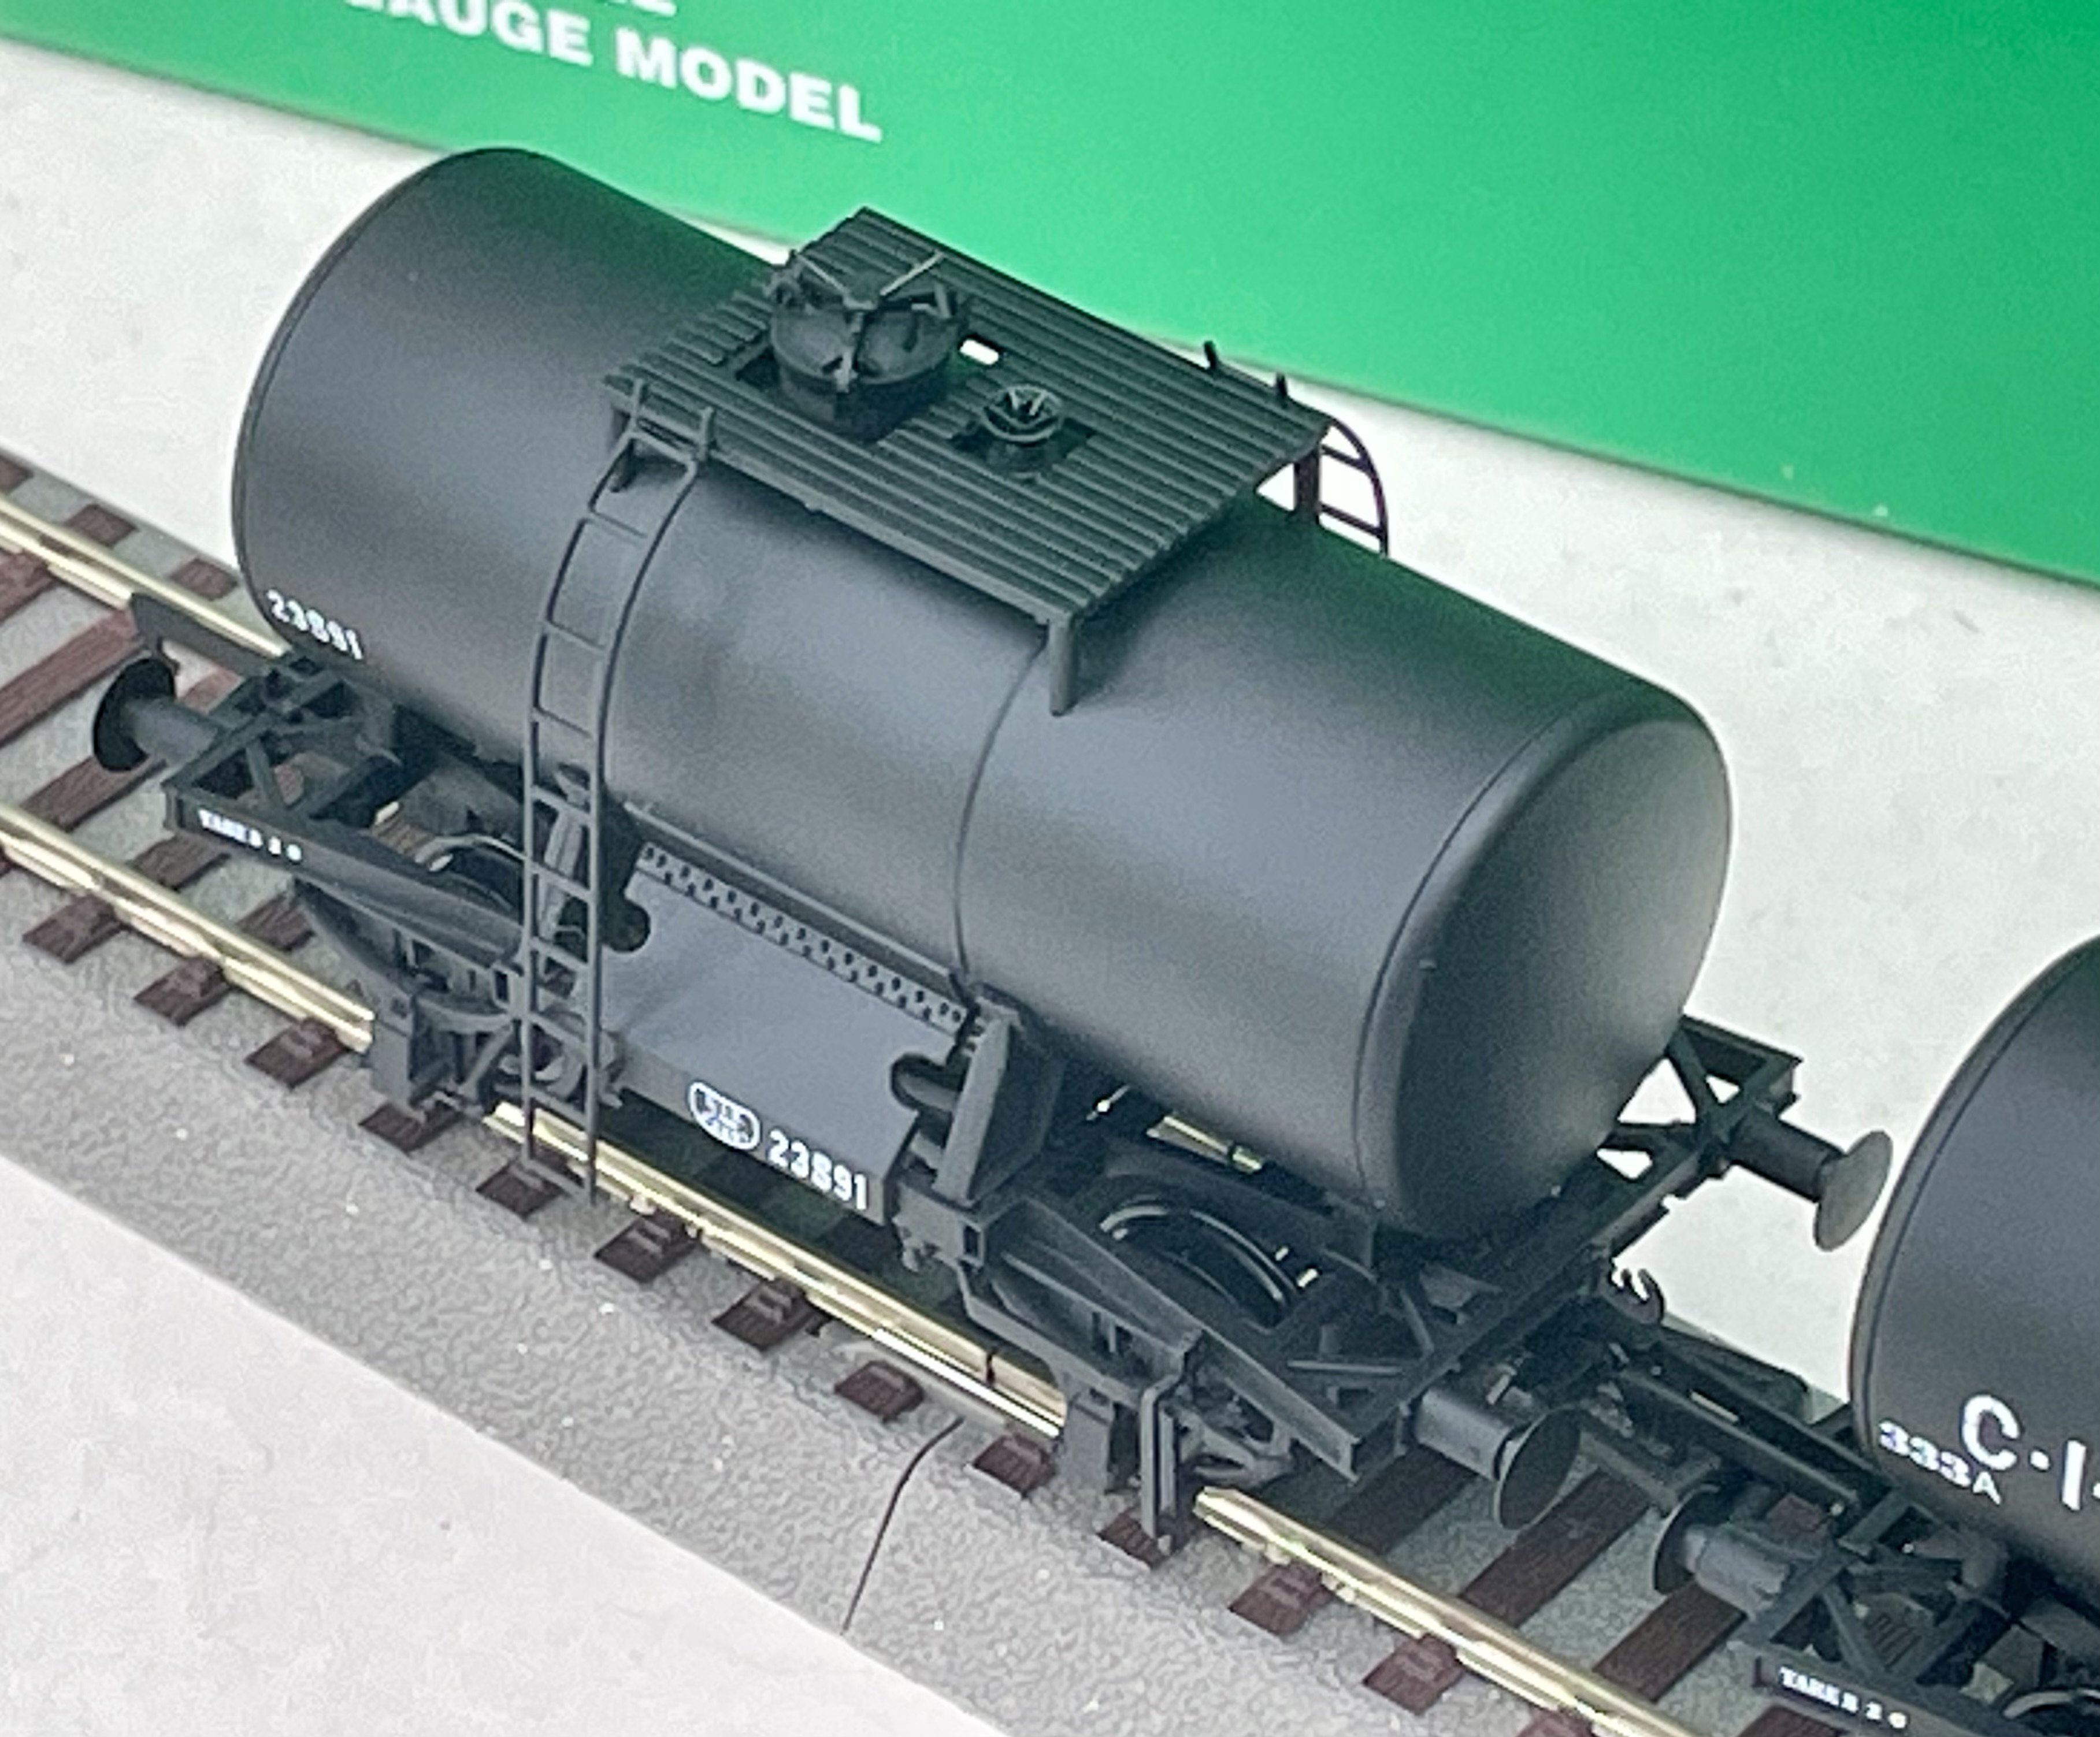
I’ve printed white decals with a coloured surround using a laser printer and white decal sheet. These “Irish Shell” tank wagon decals were printed using a black surround, which is pretty easily to blend in on a black painted model. With white decal paper there is a visible white line where you cut the decal. This shows up on the model once the decal is in place and needs to be painted over to hide it. With other model base colours, blending the decal surround is harder as an exact colour match isn’t easy. For the MTK 2-HAL model below I printed the decal in varying lighter and darker shades of the olive drab finish and selected the decal that best matched the model colour once printed. As with the black surround decal the edges of the decal need to be painted over to hide the white line. Cheers Darius

-
Been painting a full size door today so no tiling. In the meantime I’ll let the cat out of the bag, so to speak. Gibbo was on the right track but it is a film rather than TV Cheers Darius
-
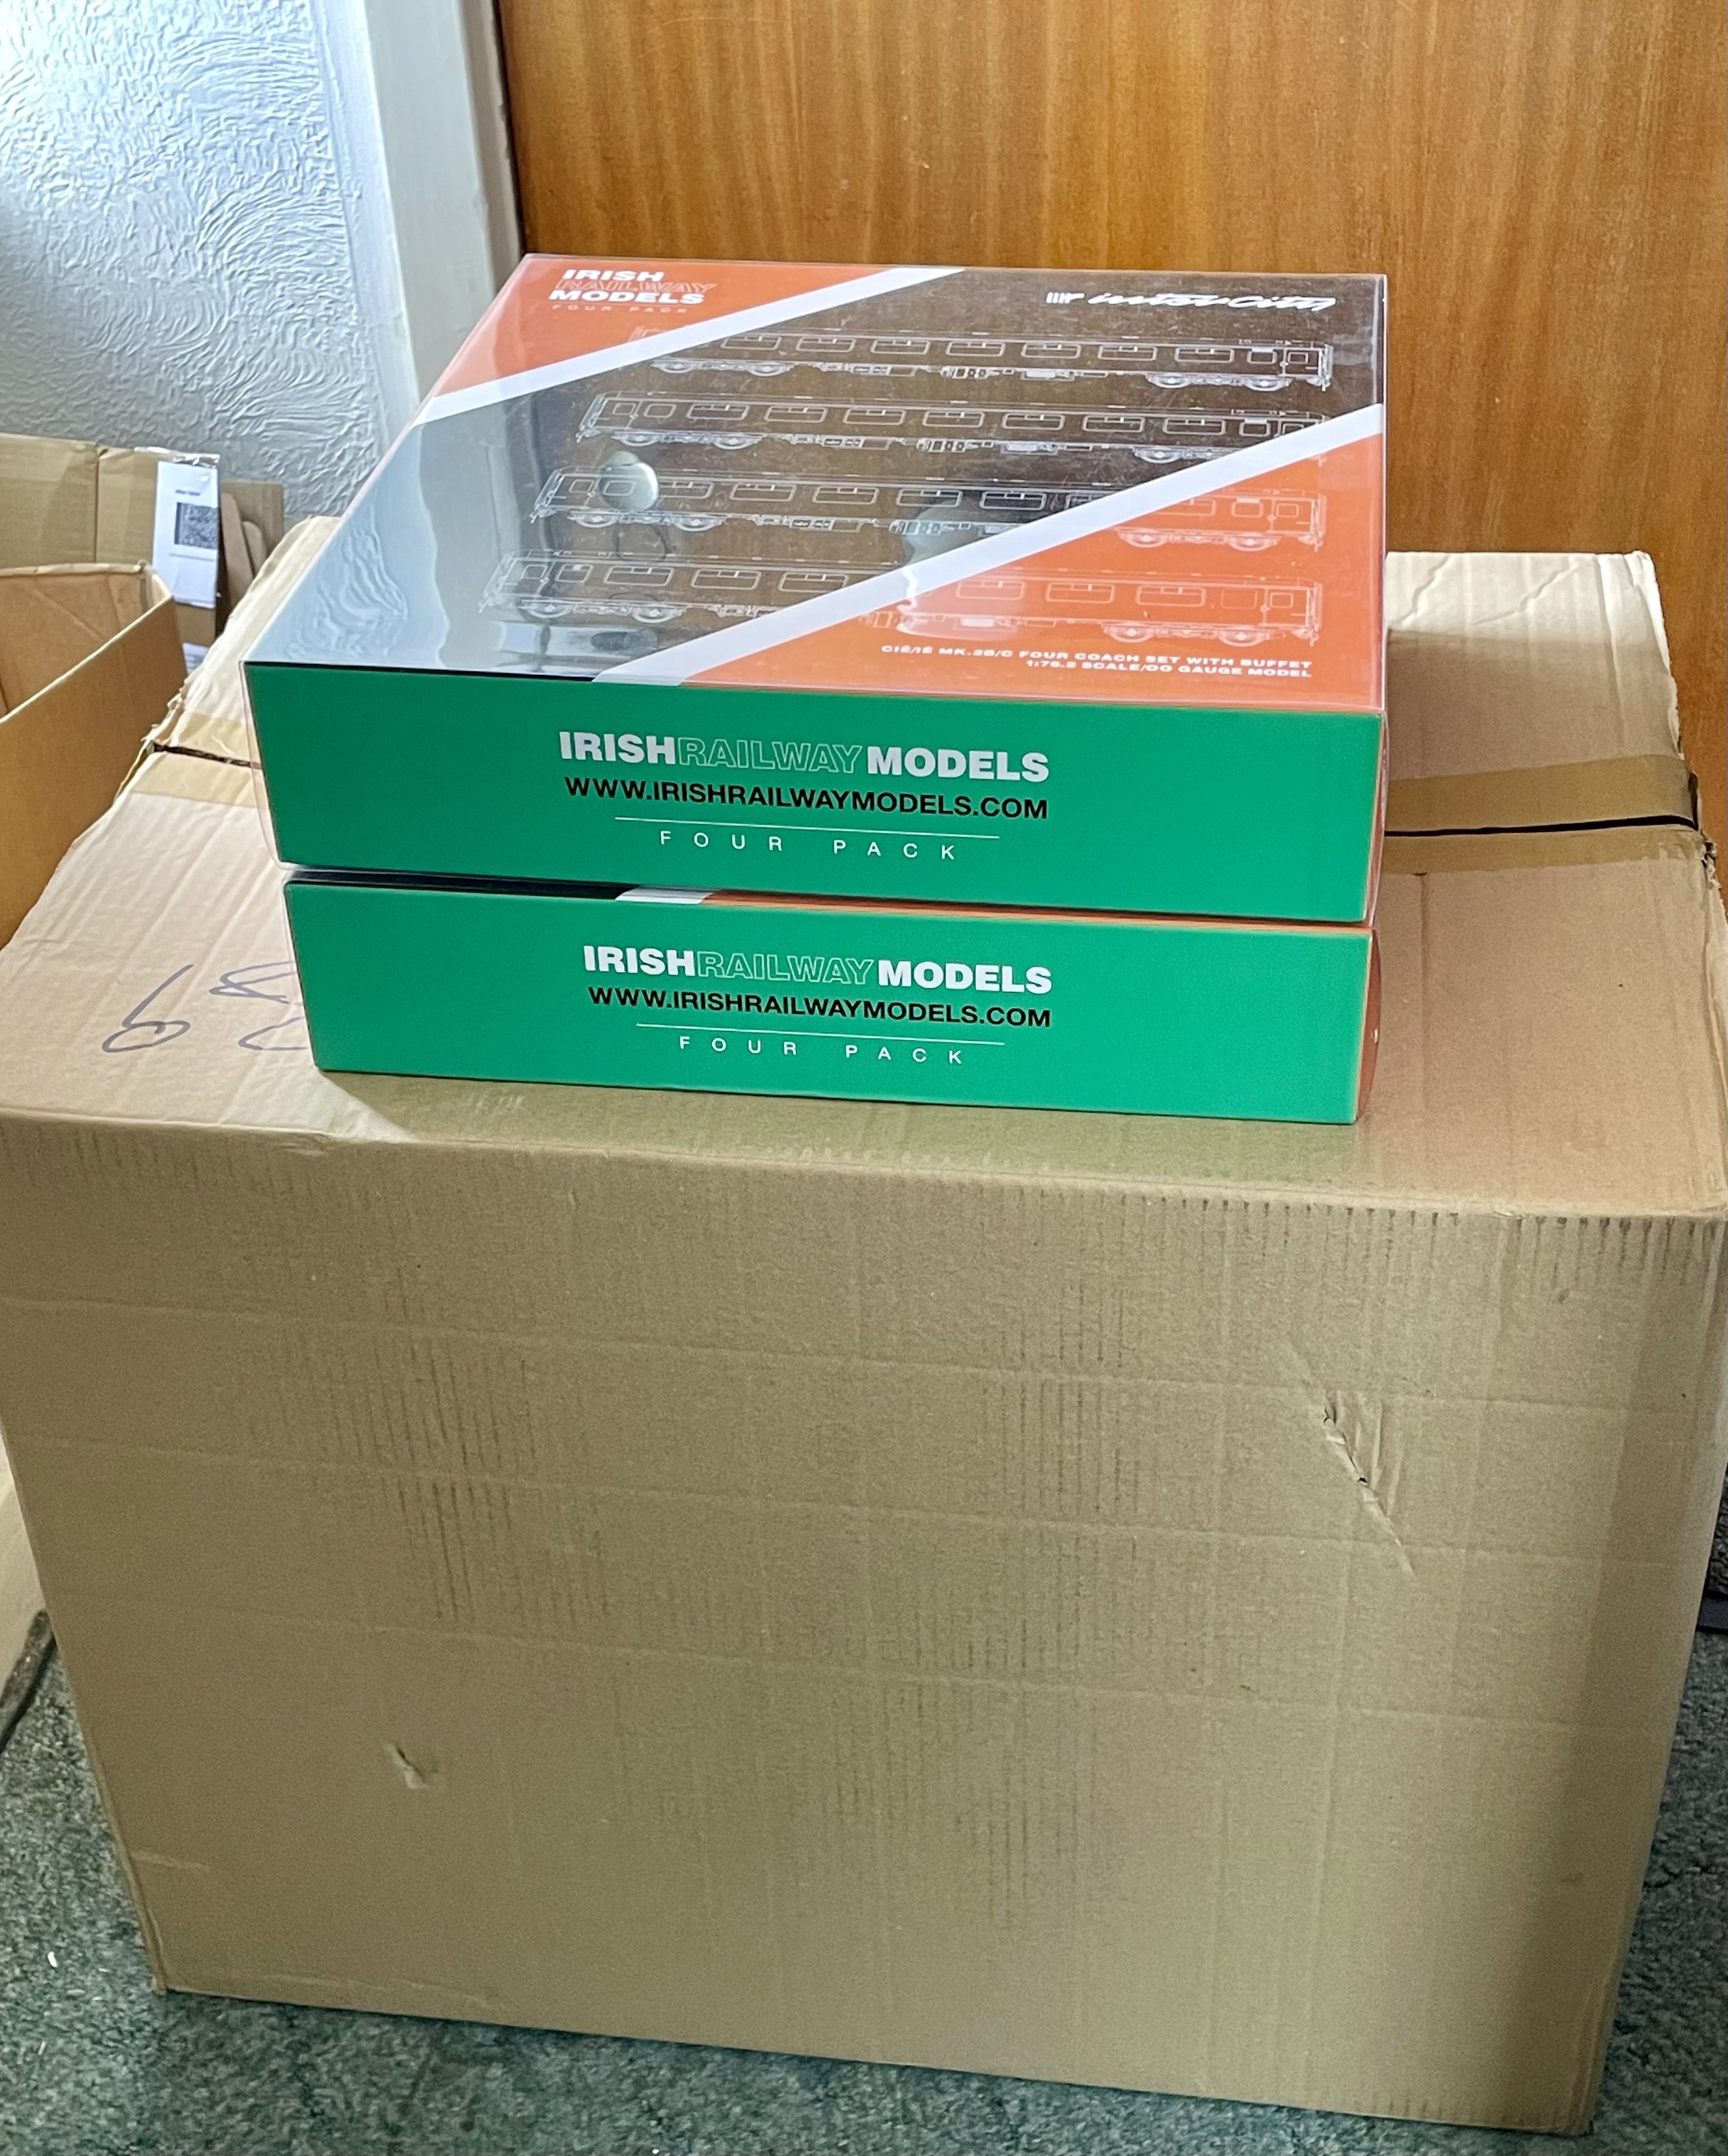
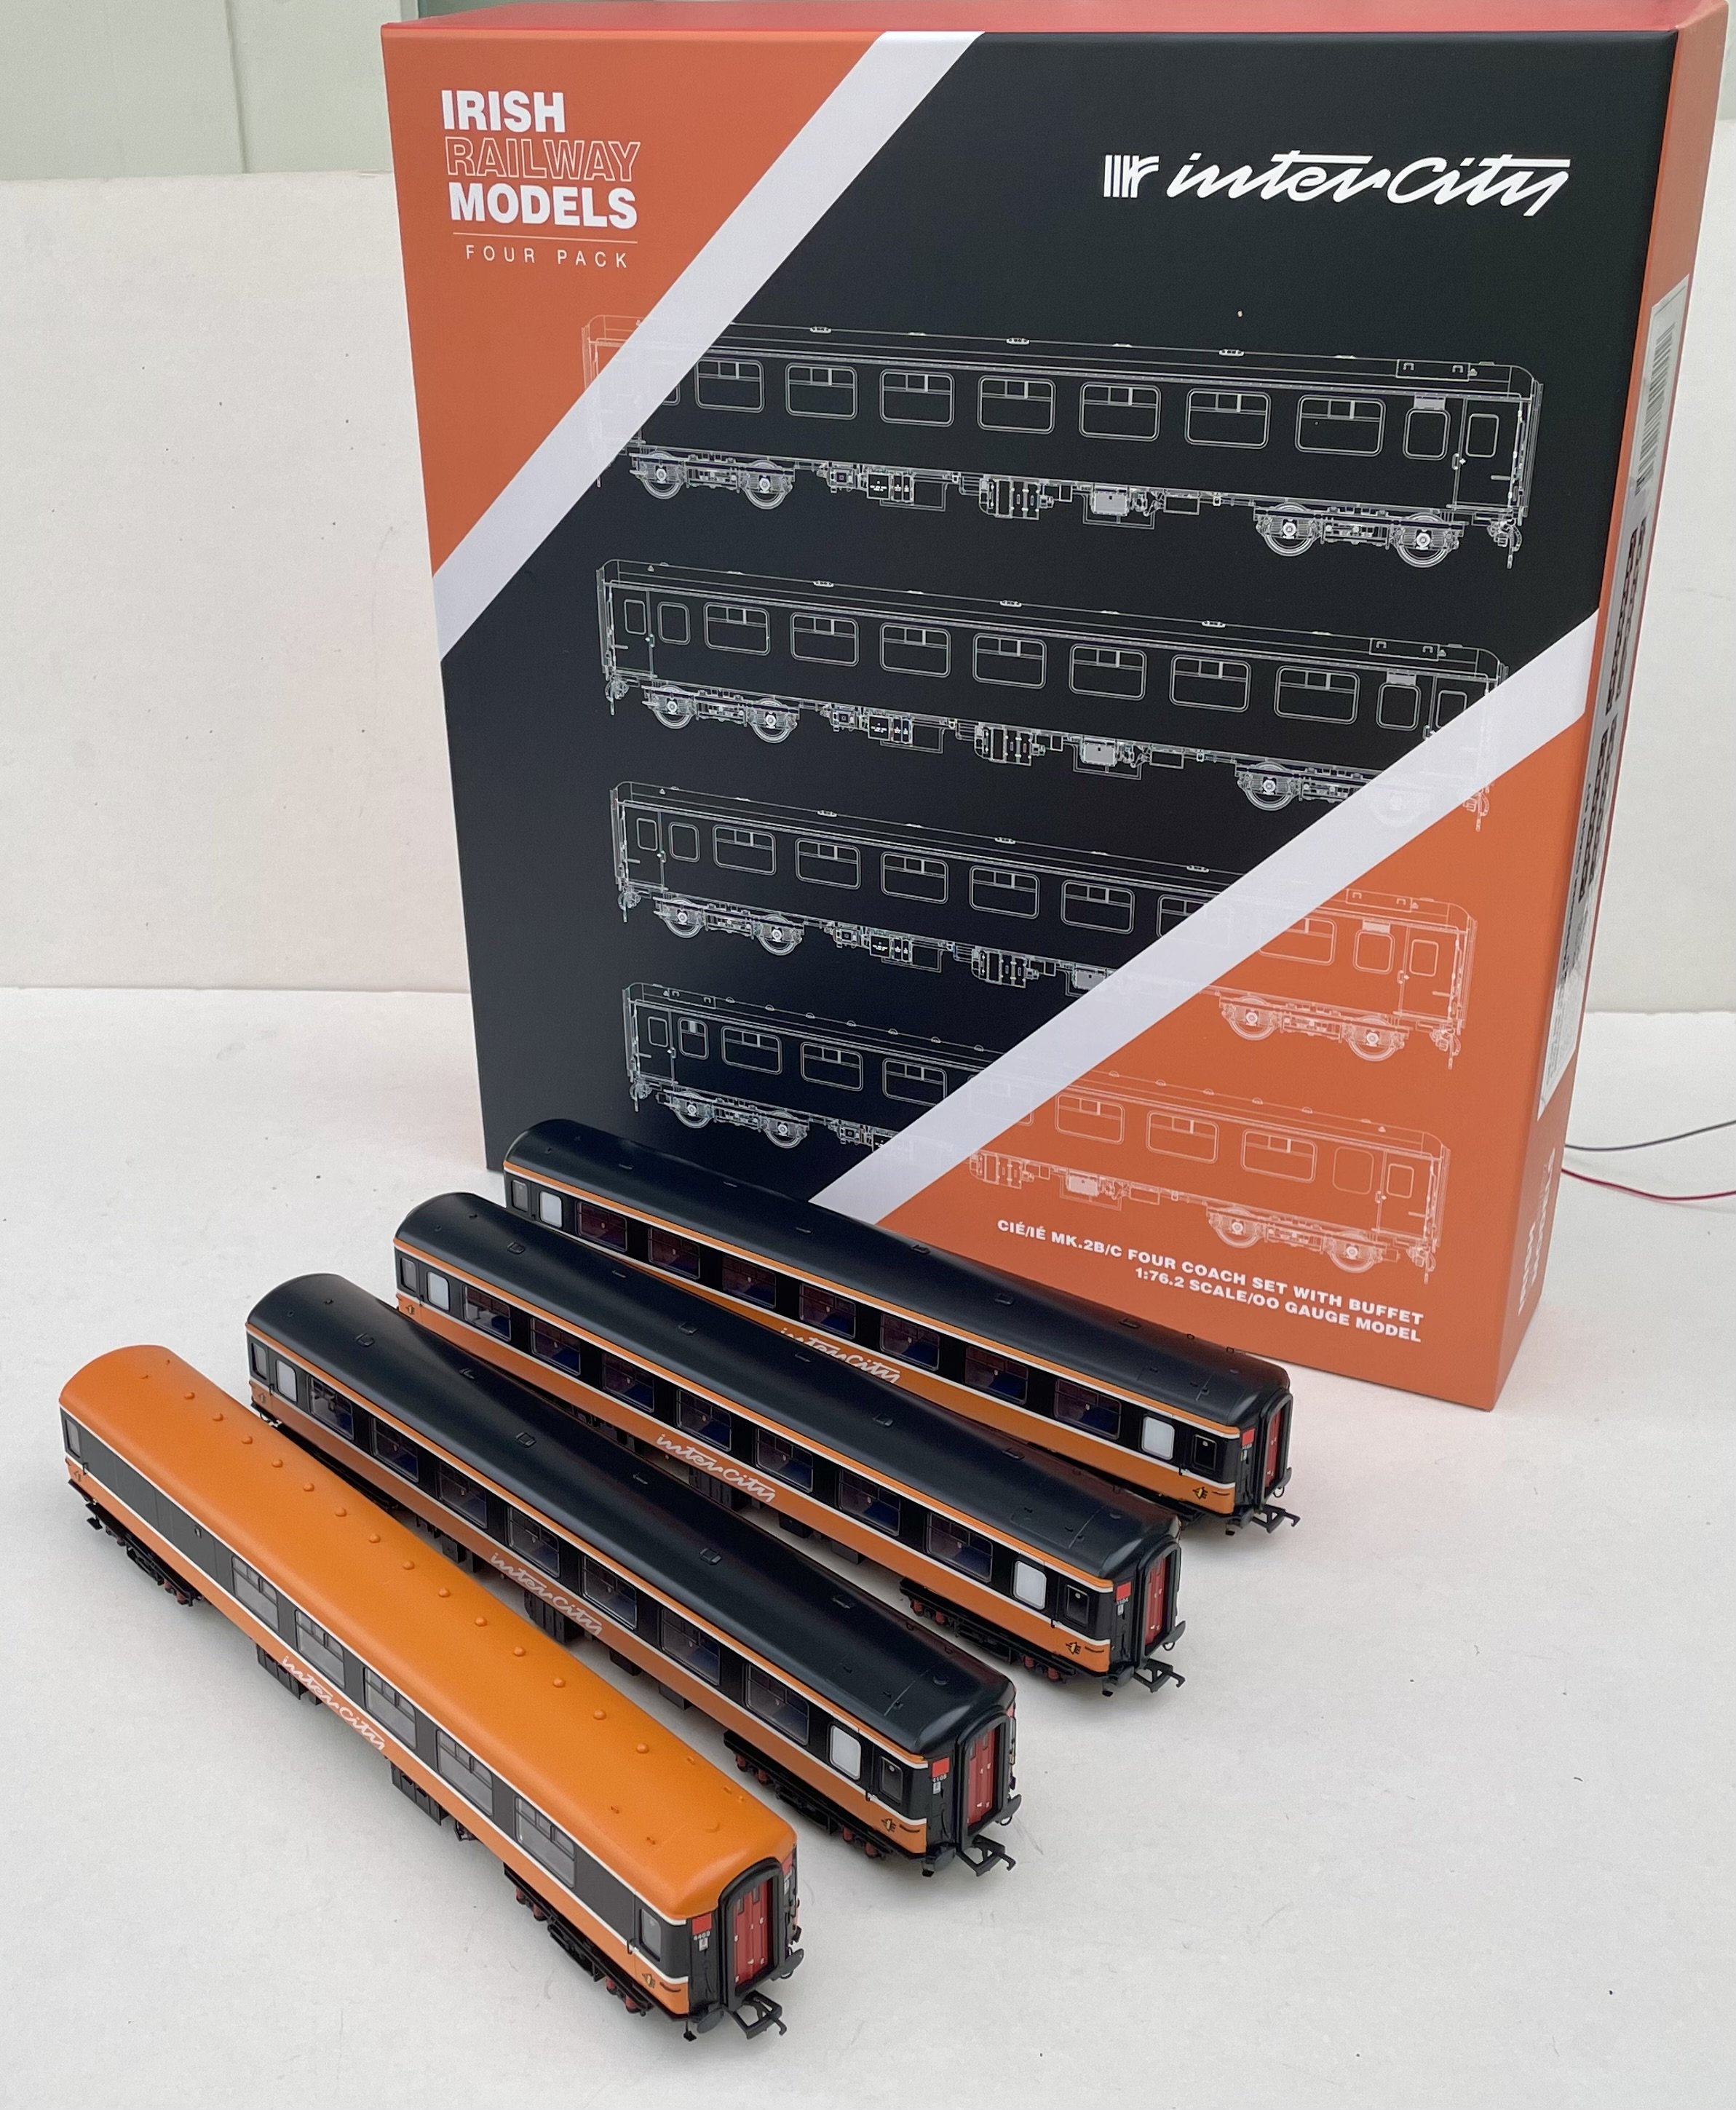
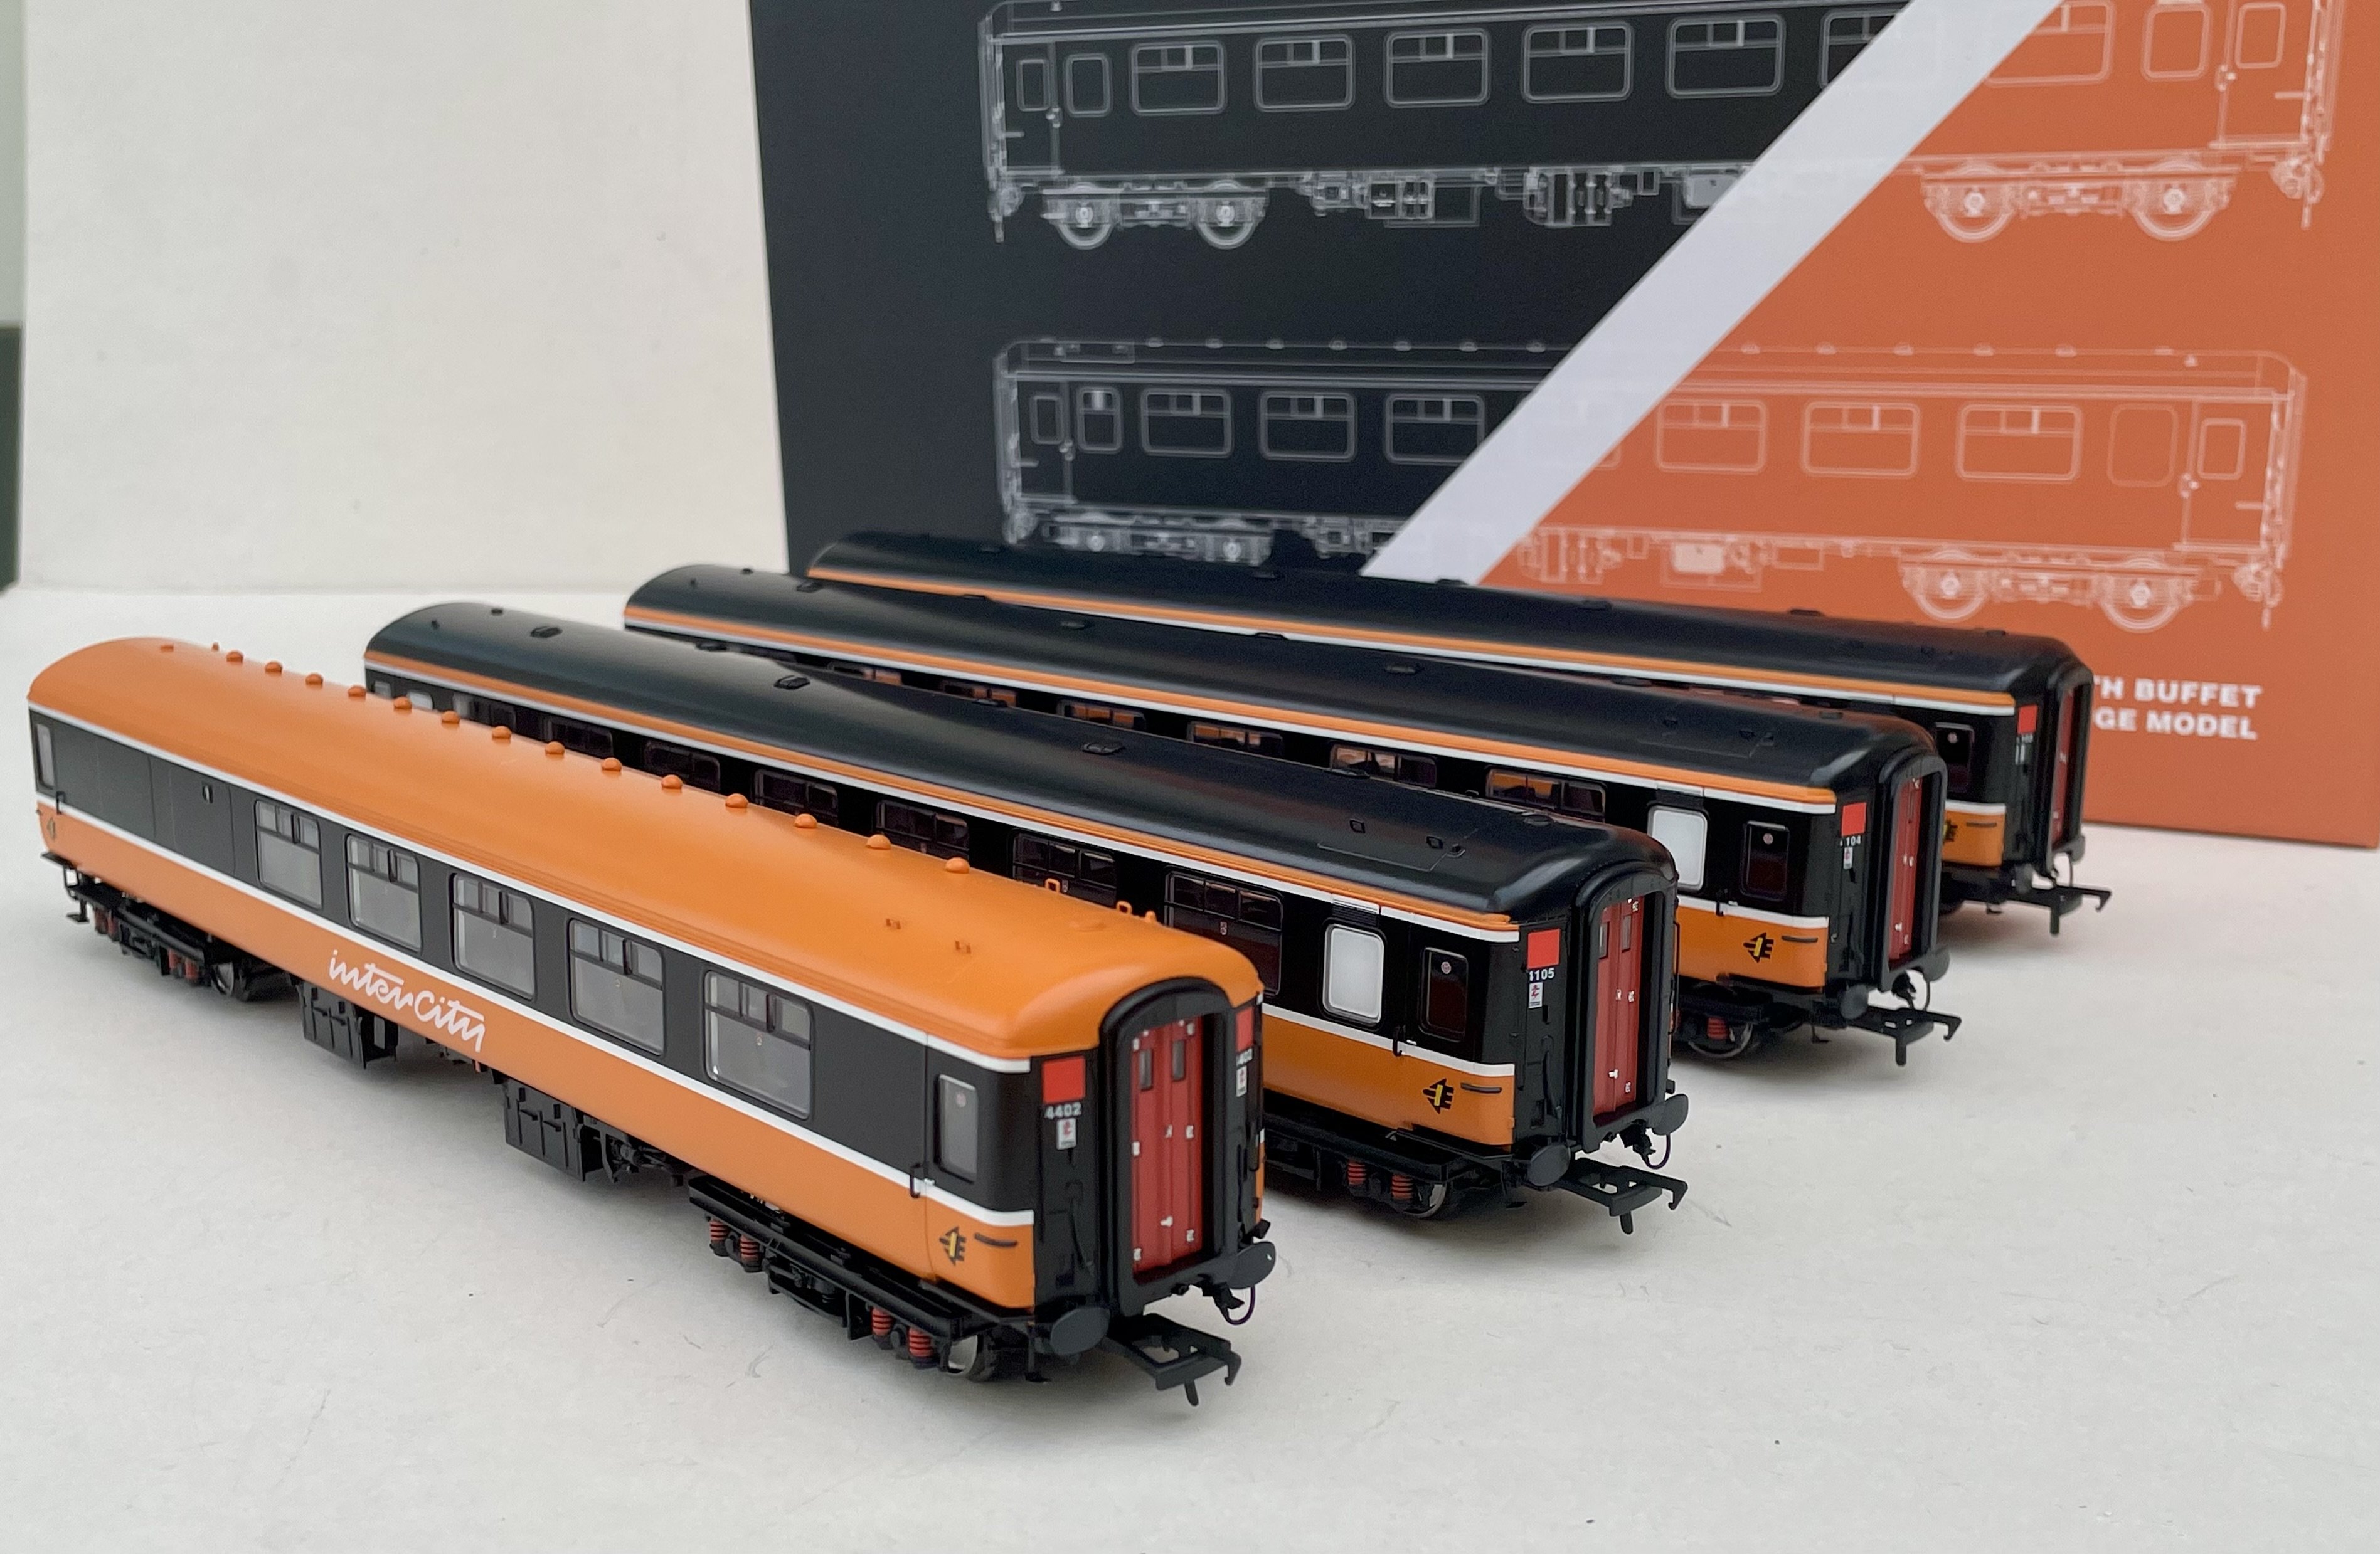
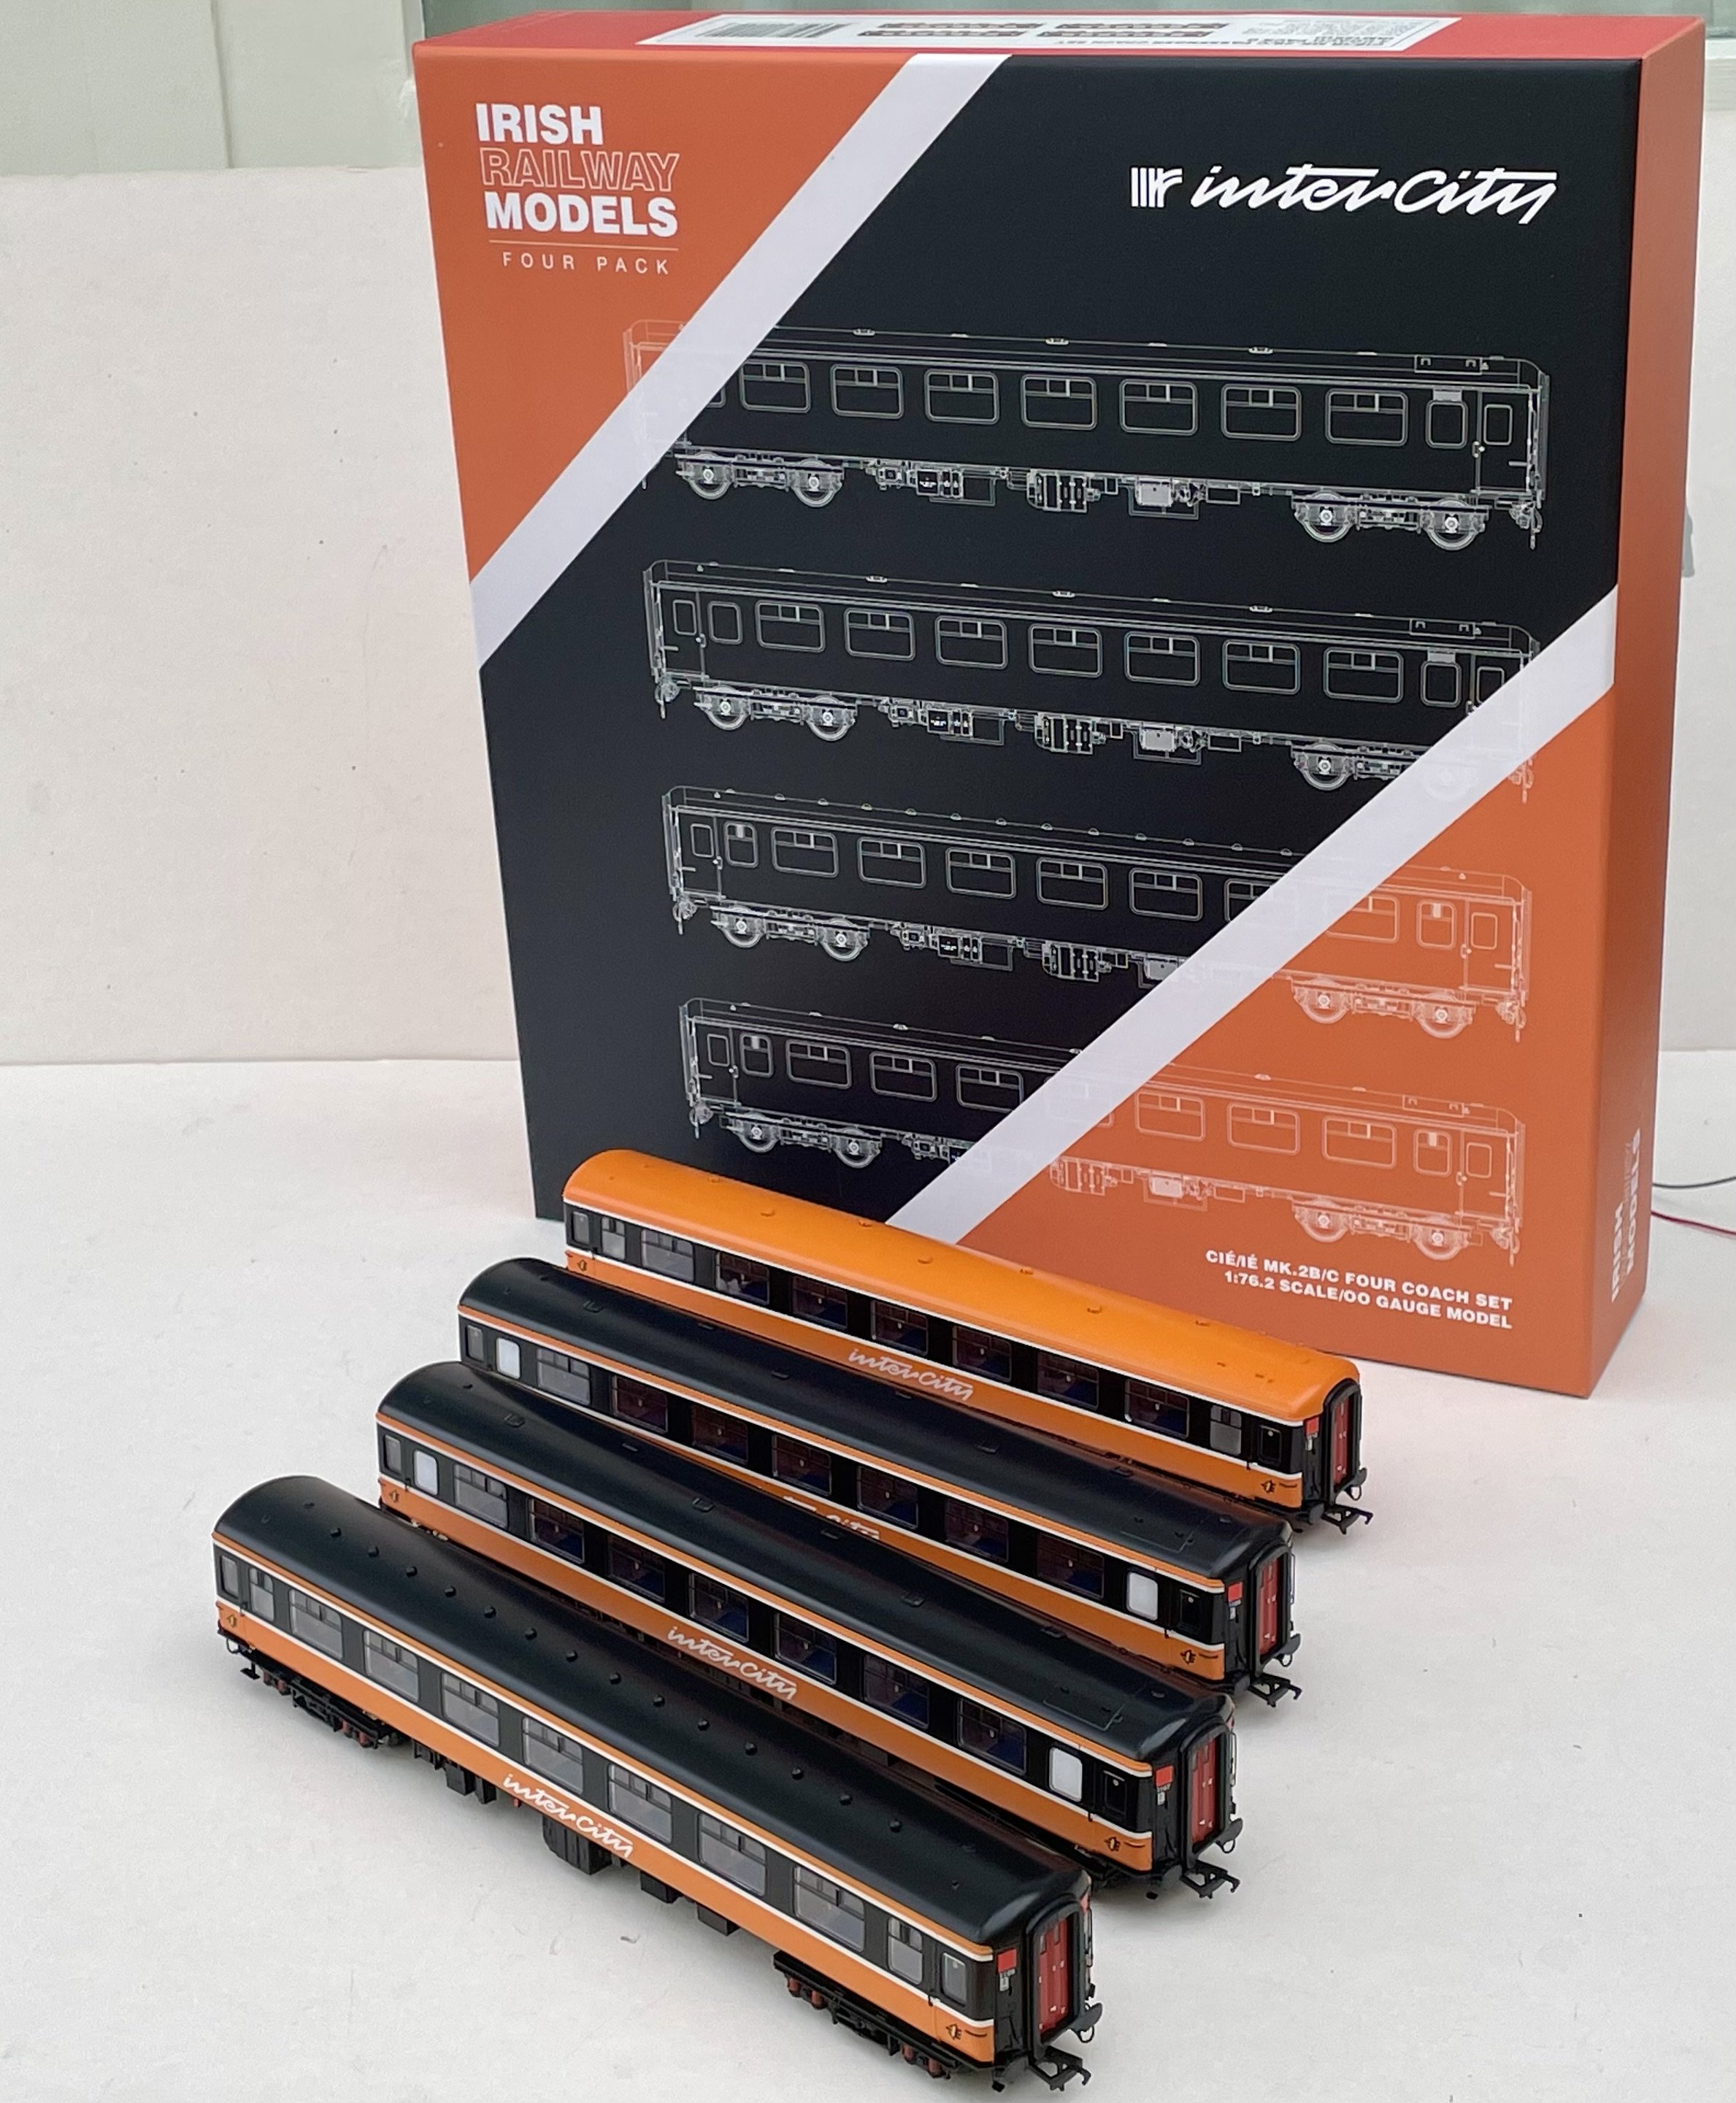
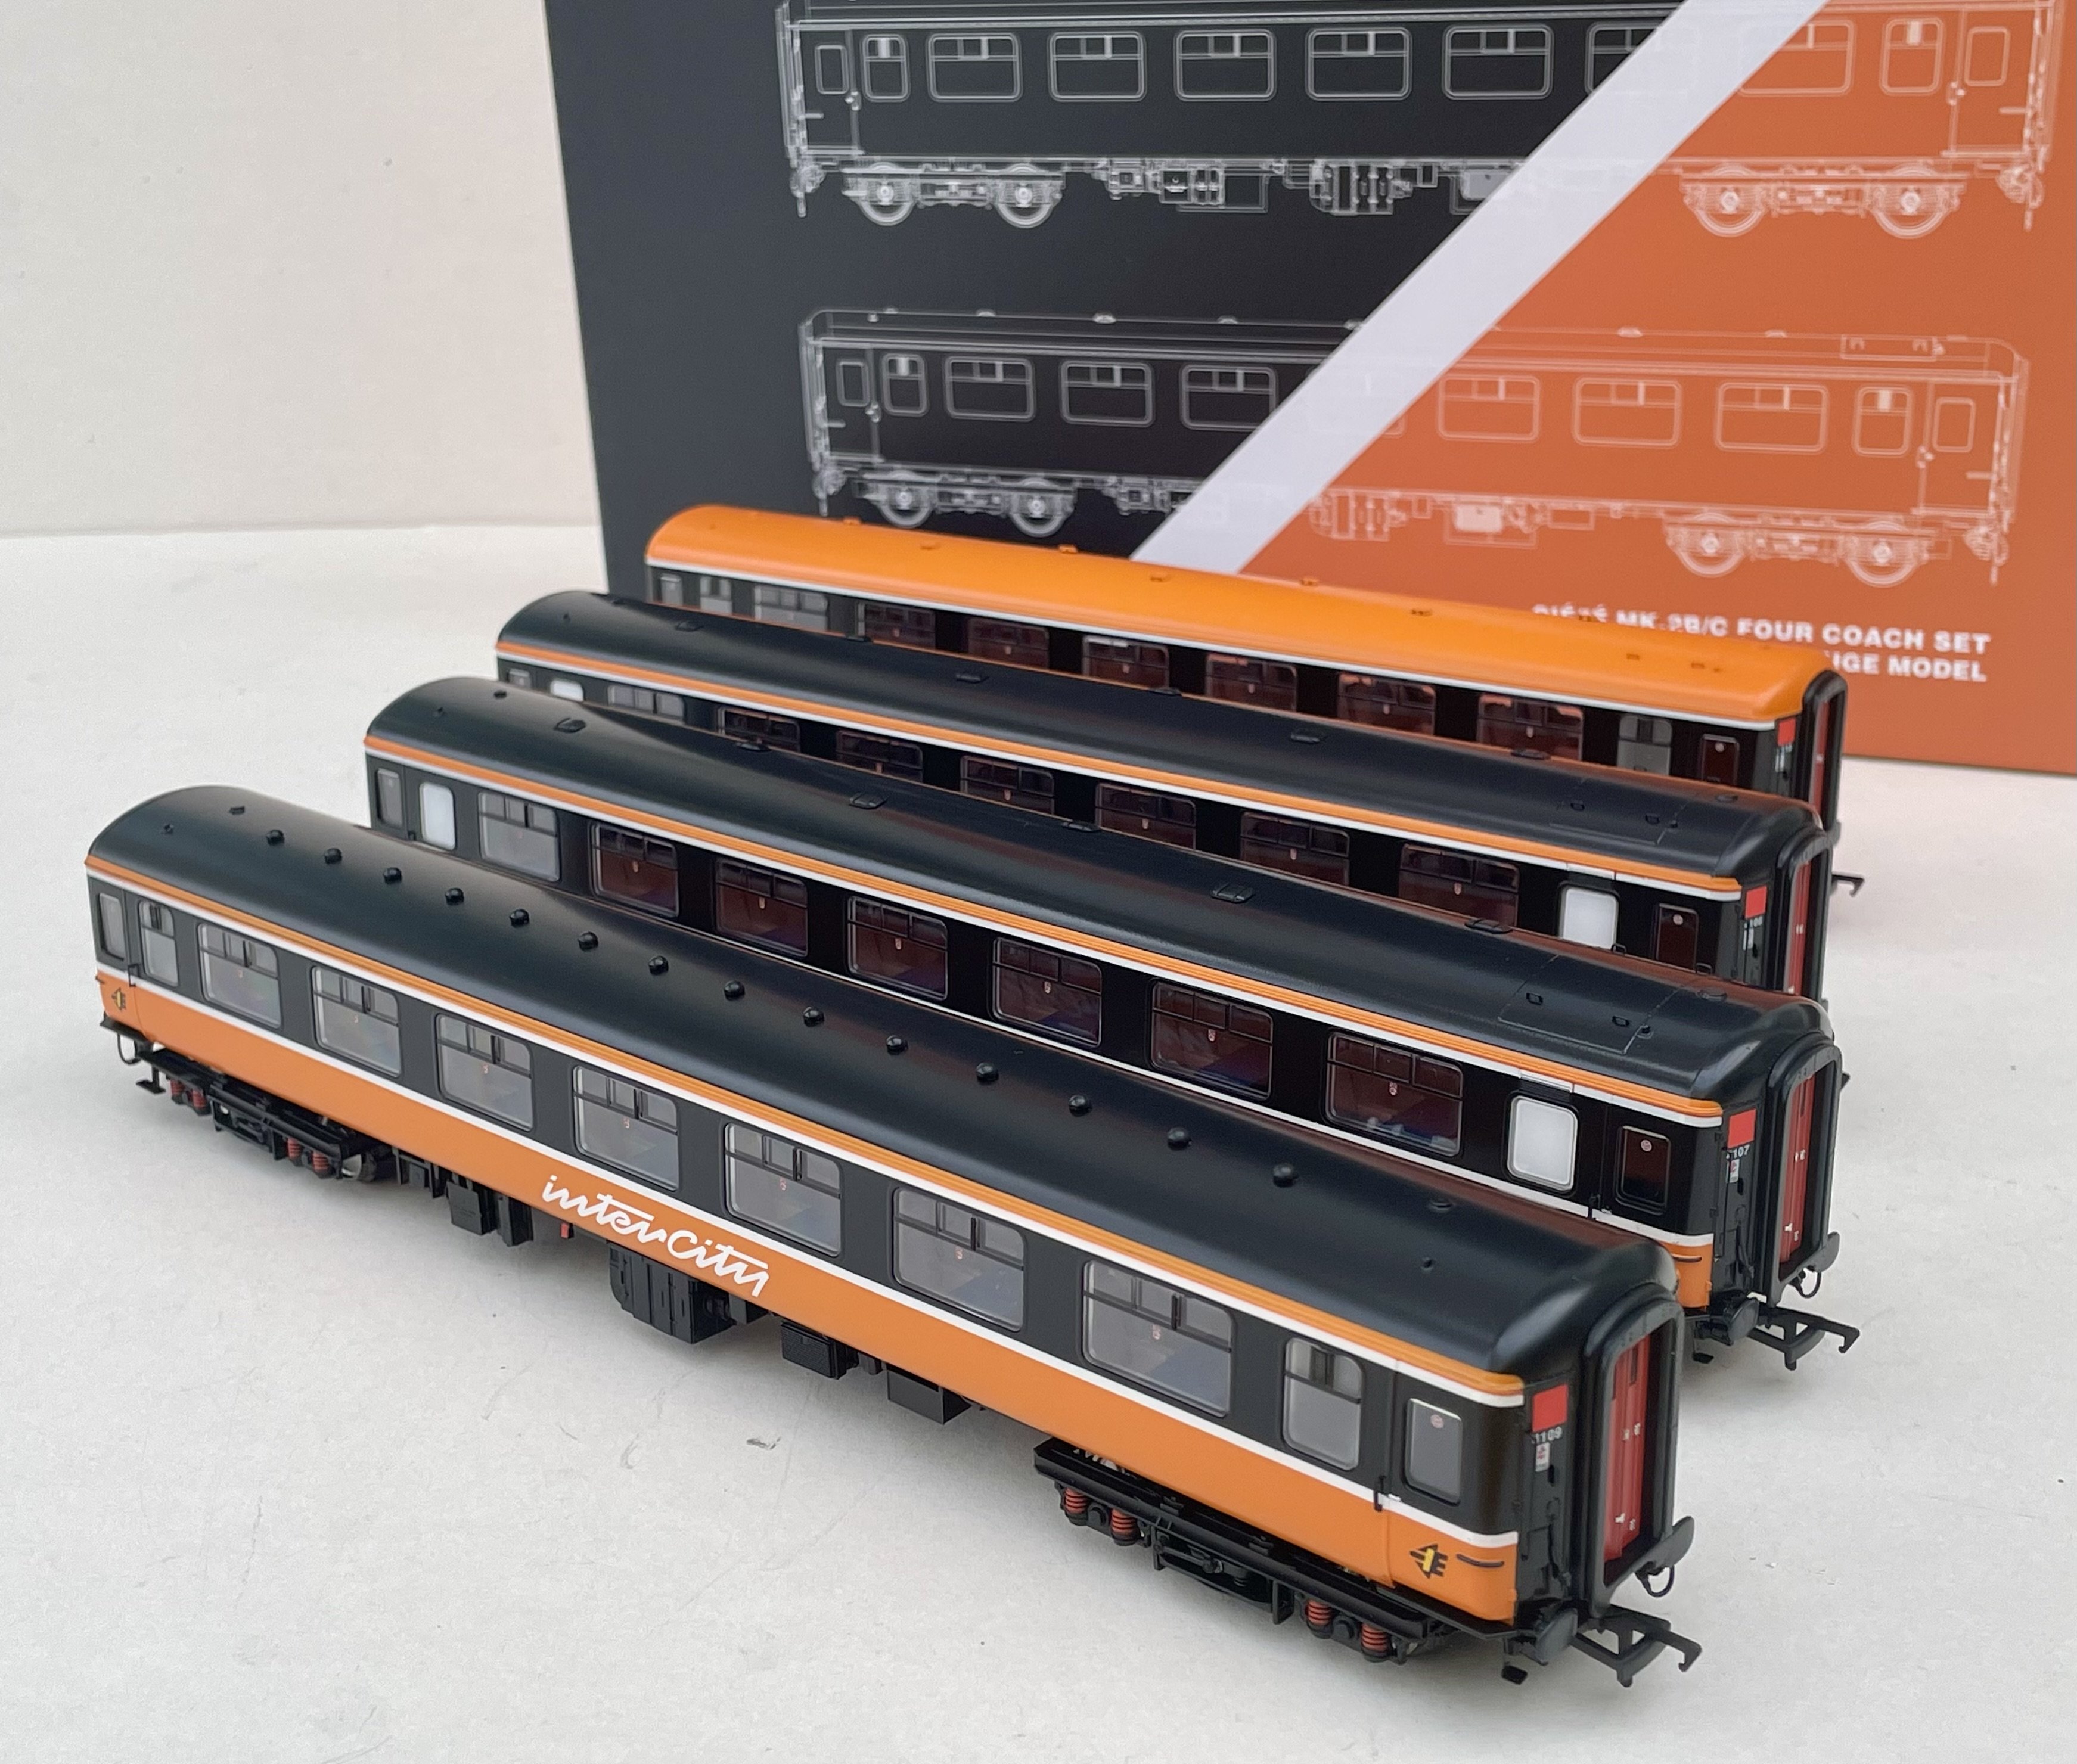
Arrived today Do you think the packing box was big enough..? Seriously though, the coach packs were well packaged and arrived in pristine condition. Cheers Darius
-
One slope finished - plus two little ones. Cheers Darius
-
Cheers Darius
-
Getting there… Cheers Darius
-
Now that is anything but Zen-like… Cheers Darius
-
Arrived today - photos tomorrow Cheers Darius
-
This is actually quite therapeutic - almost Zen-like… Cheers Darius
-
Tiling commenced… Cheers Darius
-
Roof surfaces affixed. Roof tiling next - that’s going to be fun… Cheers Darius
-
Walls clad and painted. Cheers Darius
-
Barn construction commenced using 2mm thick card. Cheers Darius
-
Dunpaintin. Cheers Darius
-
Scratch built structure for the diorama. Cheers Darius
-
Hi Gibbo, Alas no cigar. Cheers Darius
-
Built today - modified Buggleskelly Station 3D printed windmill. This will form part of a yet-to-be-constructed diorama. Cheers Darius
-
1:48 Hawker Hurricane MkI - Pegasus kit. 1:48 Corsair IV - Hobbycraft kit. 1:48 Avro Anson 19 - Sanger vac form kit. Cheers Darius
-
1:48 Vought F4U-4 Corsair - Hasegawa kit. 1:48 F4U-5N Corsair - 1:48 Minicraft kit. 1:48 Mustang Mk III - Tamiya kit. 1:48 Grumman F7F-3 Tigercat - AMT kit. 1:48 Dh Mosquito FB-IV - Tamiya kit. 1:48 Bristol Beaufighter MkVI - Tamiya kit. Cheers Darius
-
1:48 Hawker Typhoon - modified Monogram kit. 1:48 Hawker Tempest V - Eduard kit. 1:48 Bristol Blenheim - Classic Airframes kit. 1:48 Westland Whirlwind - Classic Airframes. 1:48 Curtis P40 Warhawk - Hobbycraft kit. Cheers Darius
-
ICM 1:48 Spitfire Mk VII 1:48 Hasegawa Thunderbolt MkII. 1:48 Accurate Miniatures Mustang 1A 1:48 Hasegawa Hurricane MkII 48 Spitfire PR19 - Academy kit with Aeroclub conversion kit. 1:48 Spitfire IX - can’t remember the kit manufacturer but it wasn’t mainstream. 1:48 F-51 Mustang - Tamiya kit. Cheers Darius
-
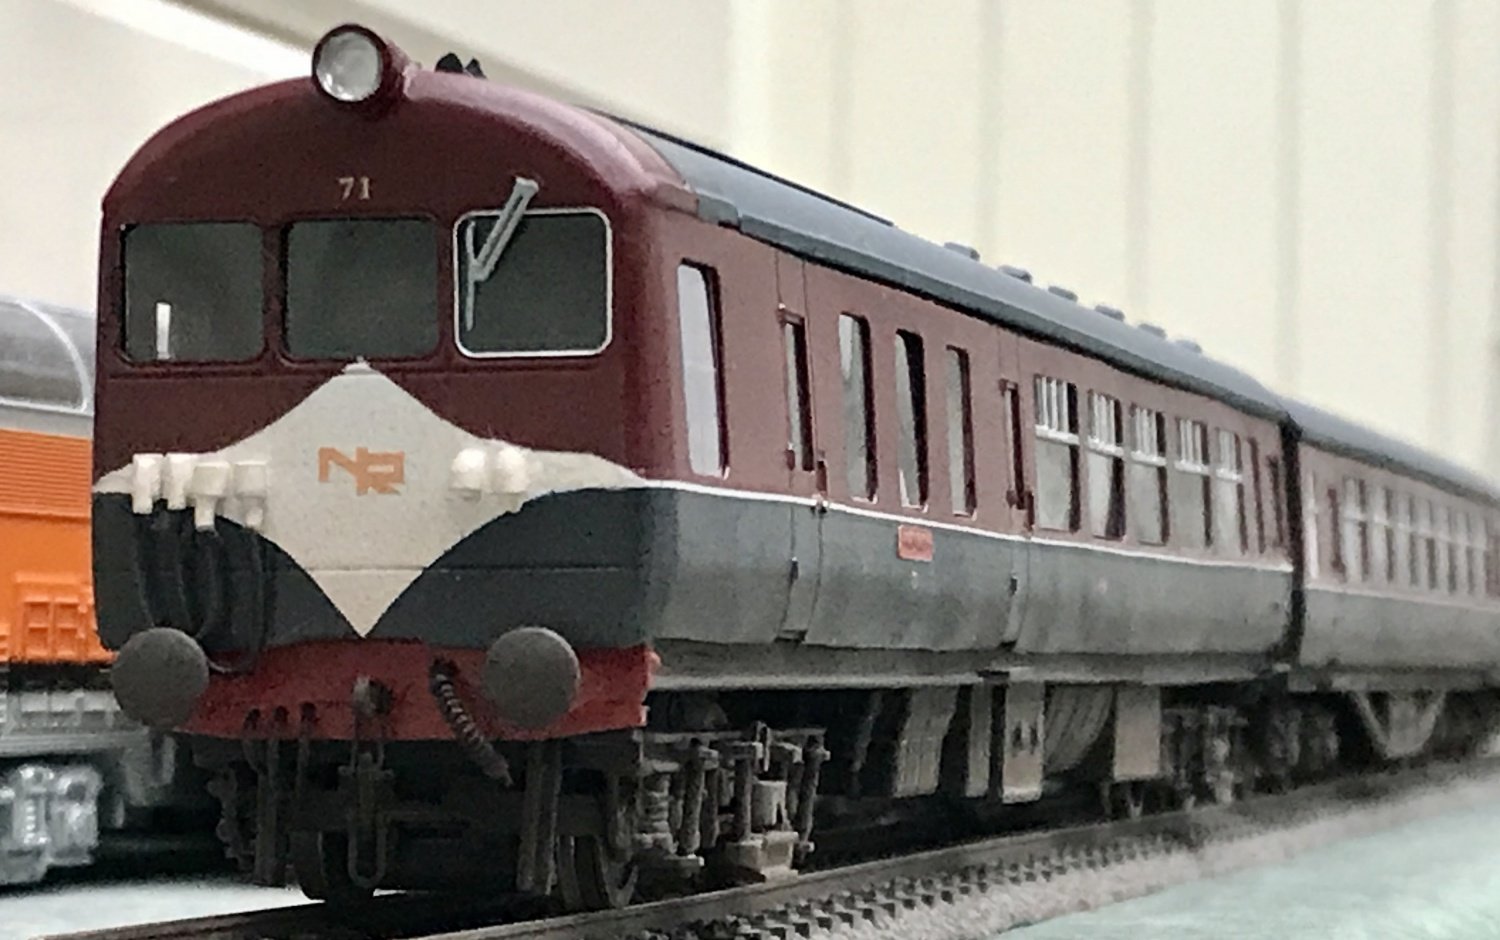
Trailer coach doors scribed, roof details added and chassis painted. Door ironmongery and end details added. Primer coat applied. Cheers Darius
-
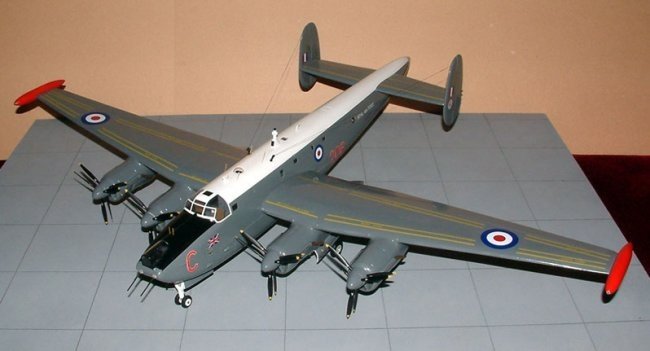
Got a Shackleton in my model aircraft collection - 1:48 scale MR3 built from the Sanger vac form kit. Perhaps a diorama with a runway level crossing is in order - would need to be in O gauge though… Cheers Darius