Darius43
-
Posts
1,393 -
Joined
-
Last visited
-
Days Won
108
Content Type
Profiles
Forums
Events
Gallery
Blogs
Everything posted by Darius43
-
Calling this finished. Cheers Darius
-
Glazing fitted to other cab and decals applied. Still some more details to add and need to paint door handrails. Cheers Darius
-
Dunglazin - at one end at least… Cheers Darius
-
Further details added to front ends and buffer beam. Cheers Darius
-
Buffer beams and cab rear walls fitted. painting done. Cheers Darius
-
Primary painting completed - sorry no large logo… Cheers Darius
-
Dunmorfettlin… Cheers Darius
-
Dunfetlin… I have temporarily fitted the MTK buffer beams to the bogie fronts. There are some 3D printed versions on there way from eBay… Cheers Darius
-
And watch the smoke from the motor burning itself out as the loco moves not. Cheers Darius
-
Primer on. Test fit to chassis. Body lowered to final position. Further fettling required at the roof to bodyside joint. Cheers Darius
-
Acquired recently in a part assembled state - an MTK Class 45 kit. The body side parts were carefully separated and the original adhesive (looks like Evo Stick) removed. The bodyshell was then reassembled. Gaps and joints were filled and left to harden. Plan is to mate the shell with a Mainline chassis. The original chassis weights are probably not required… Cheers Darius
-
Thanks Gibbo - I had a set of the MPD drawings on my old laptop but it has since died with them still on board. Cheers Darius
-
Cab front and door handrails fitted. I used 0.45mm dia. brass wire for the door rails and 0.7mm dia. nickel silver wire for the cab front rails. Cheers Darius
-
Buffer beam details fitted. Cheers Darius
-
I replaced the rather crude mesh grilles provided with the kit with etched brass grilles from A1 Models. Did the same for the Class 27. Cheers Darius
-
Secondary painting completed. Cheers Darius
-
Initial painting completed. Cheers Darius
-
I was aware of the fuel tank differences between the 33 and 27 but chose not to hack about the chassis too much at this stage. I’ve been collecting MTK for some time now and am building them for fun and to show that they can be built to a reasonable standard compared to the rtr Heljan examples - of which I have quite a few. At the end of the day I really enjoy building kits. Cheers Darius
-
Hot on the heels of the Class 27 comes this very similar kit. Cheers Darius
-
Fantastic!!!!! Pre-orders in. Cheers Darius
-
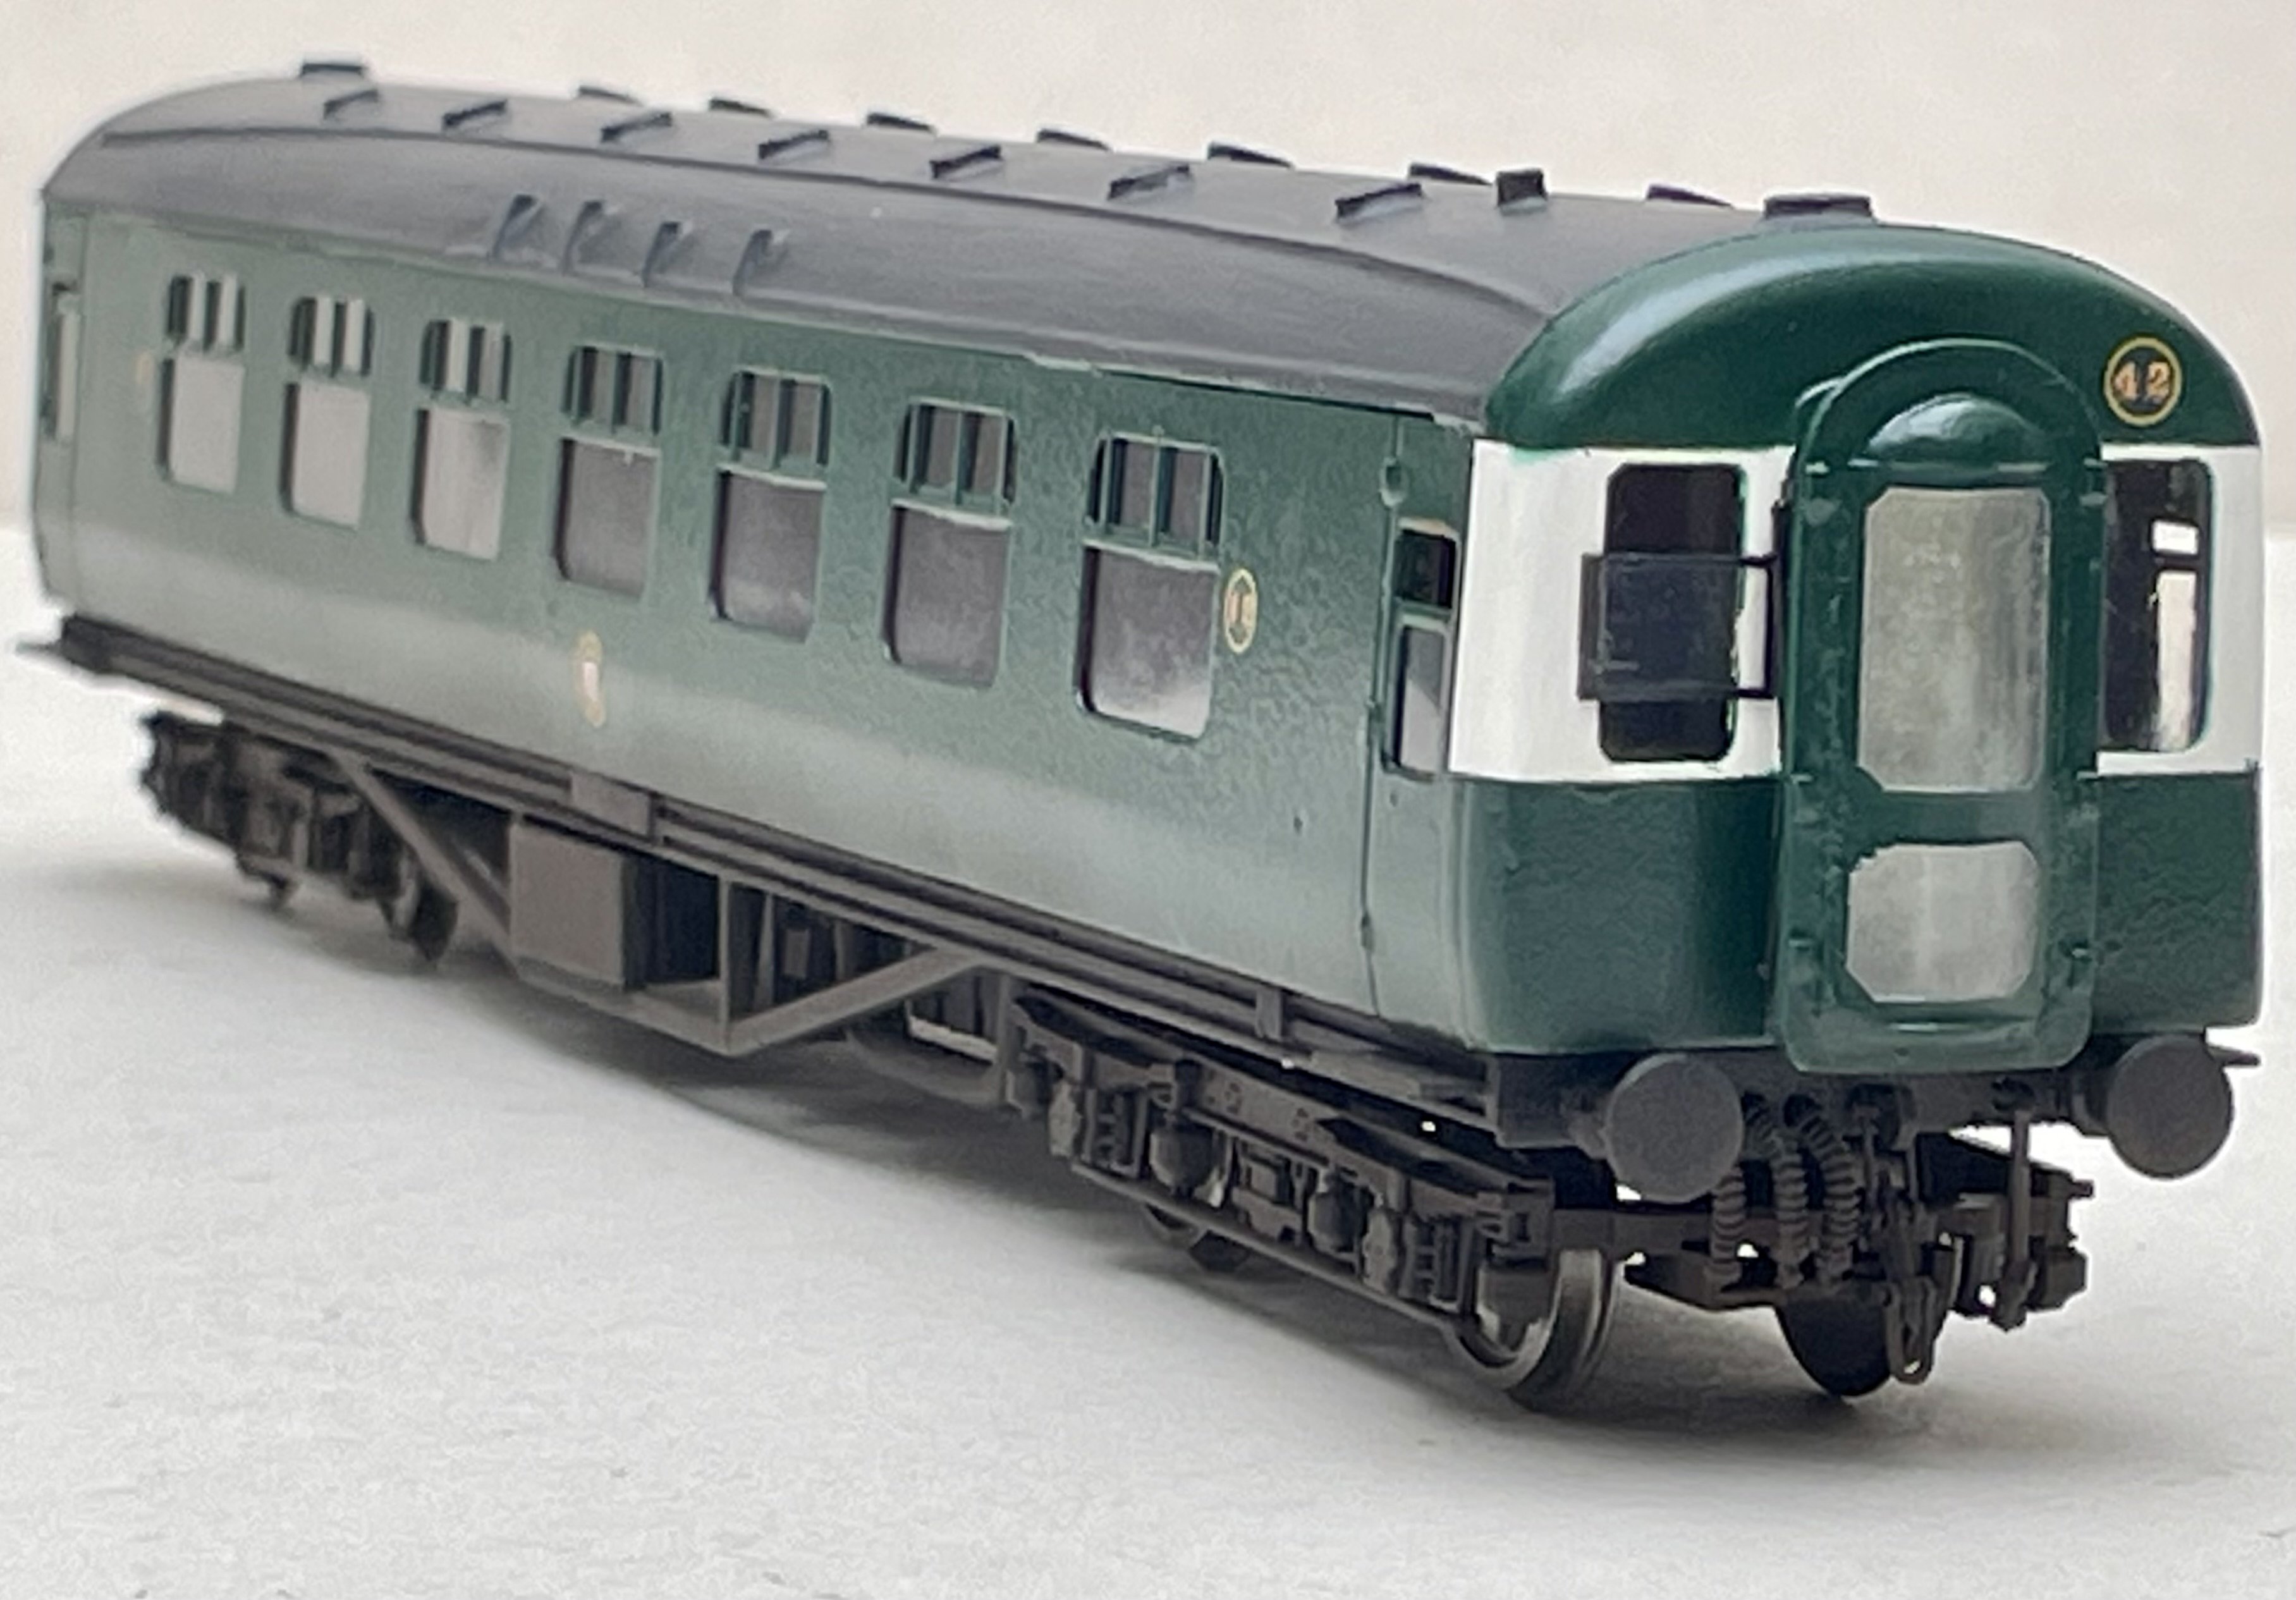
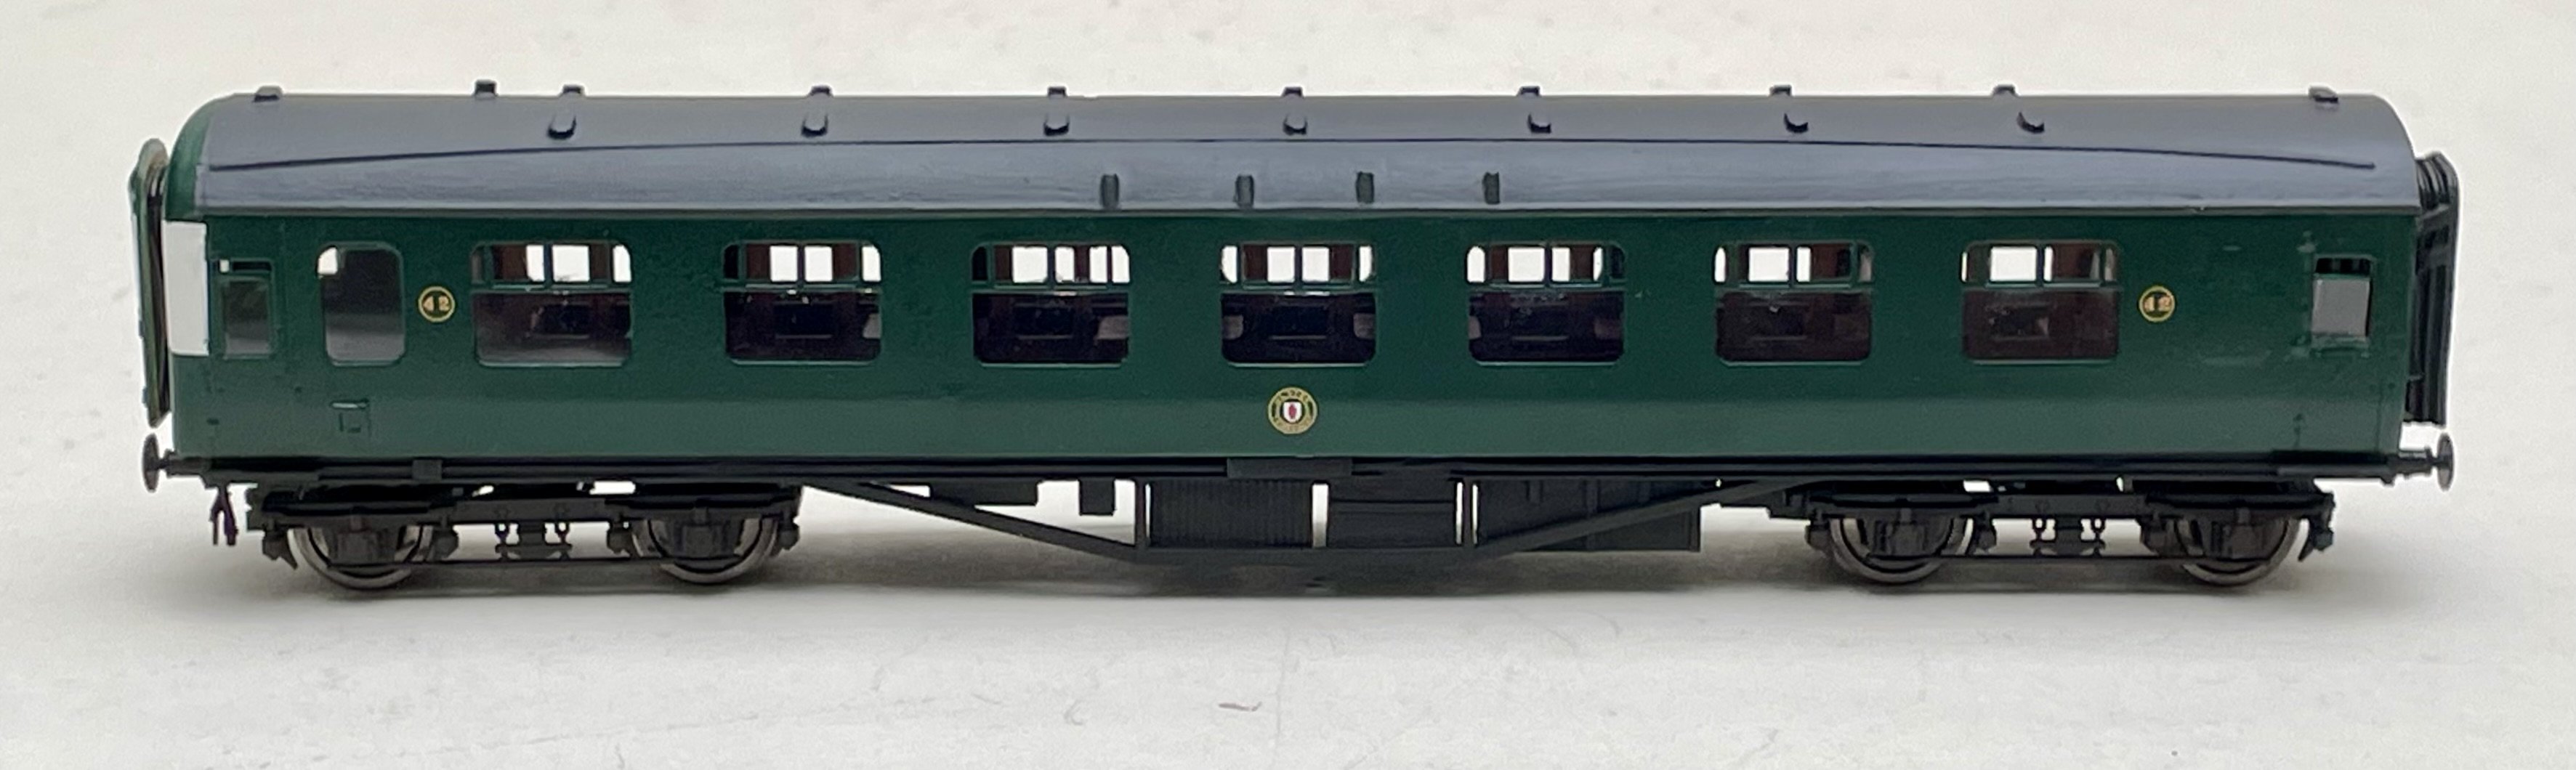
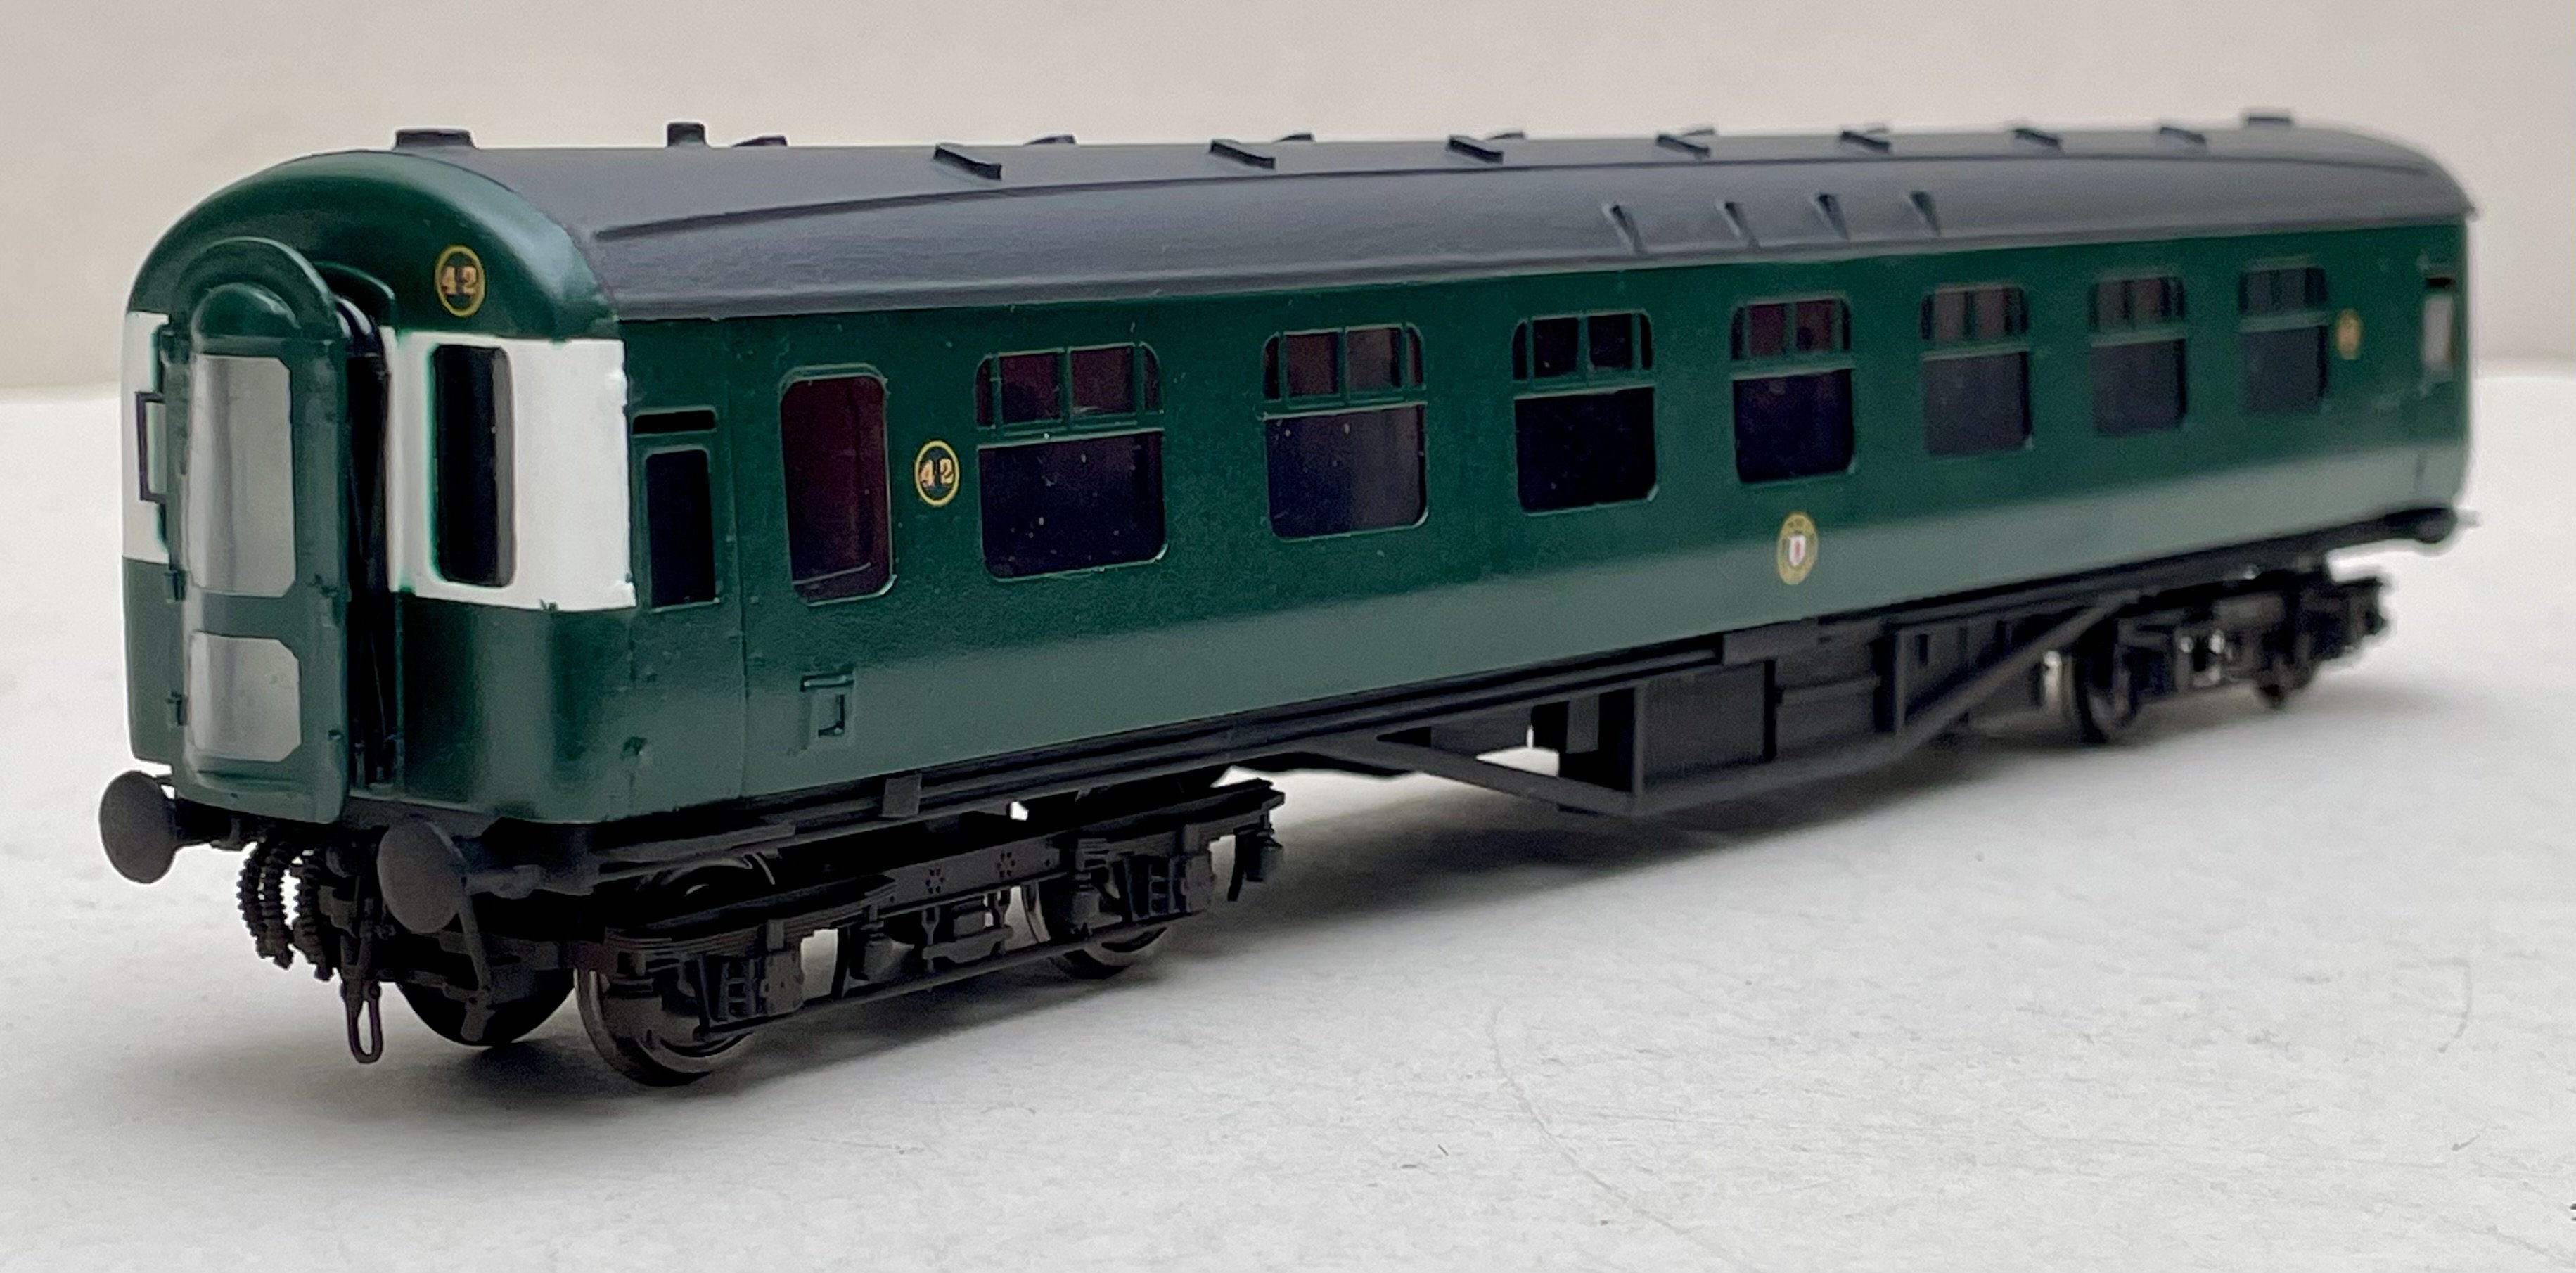
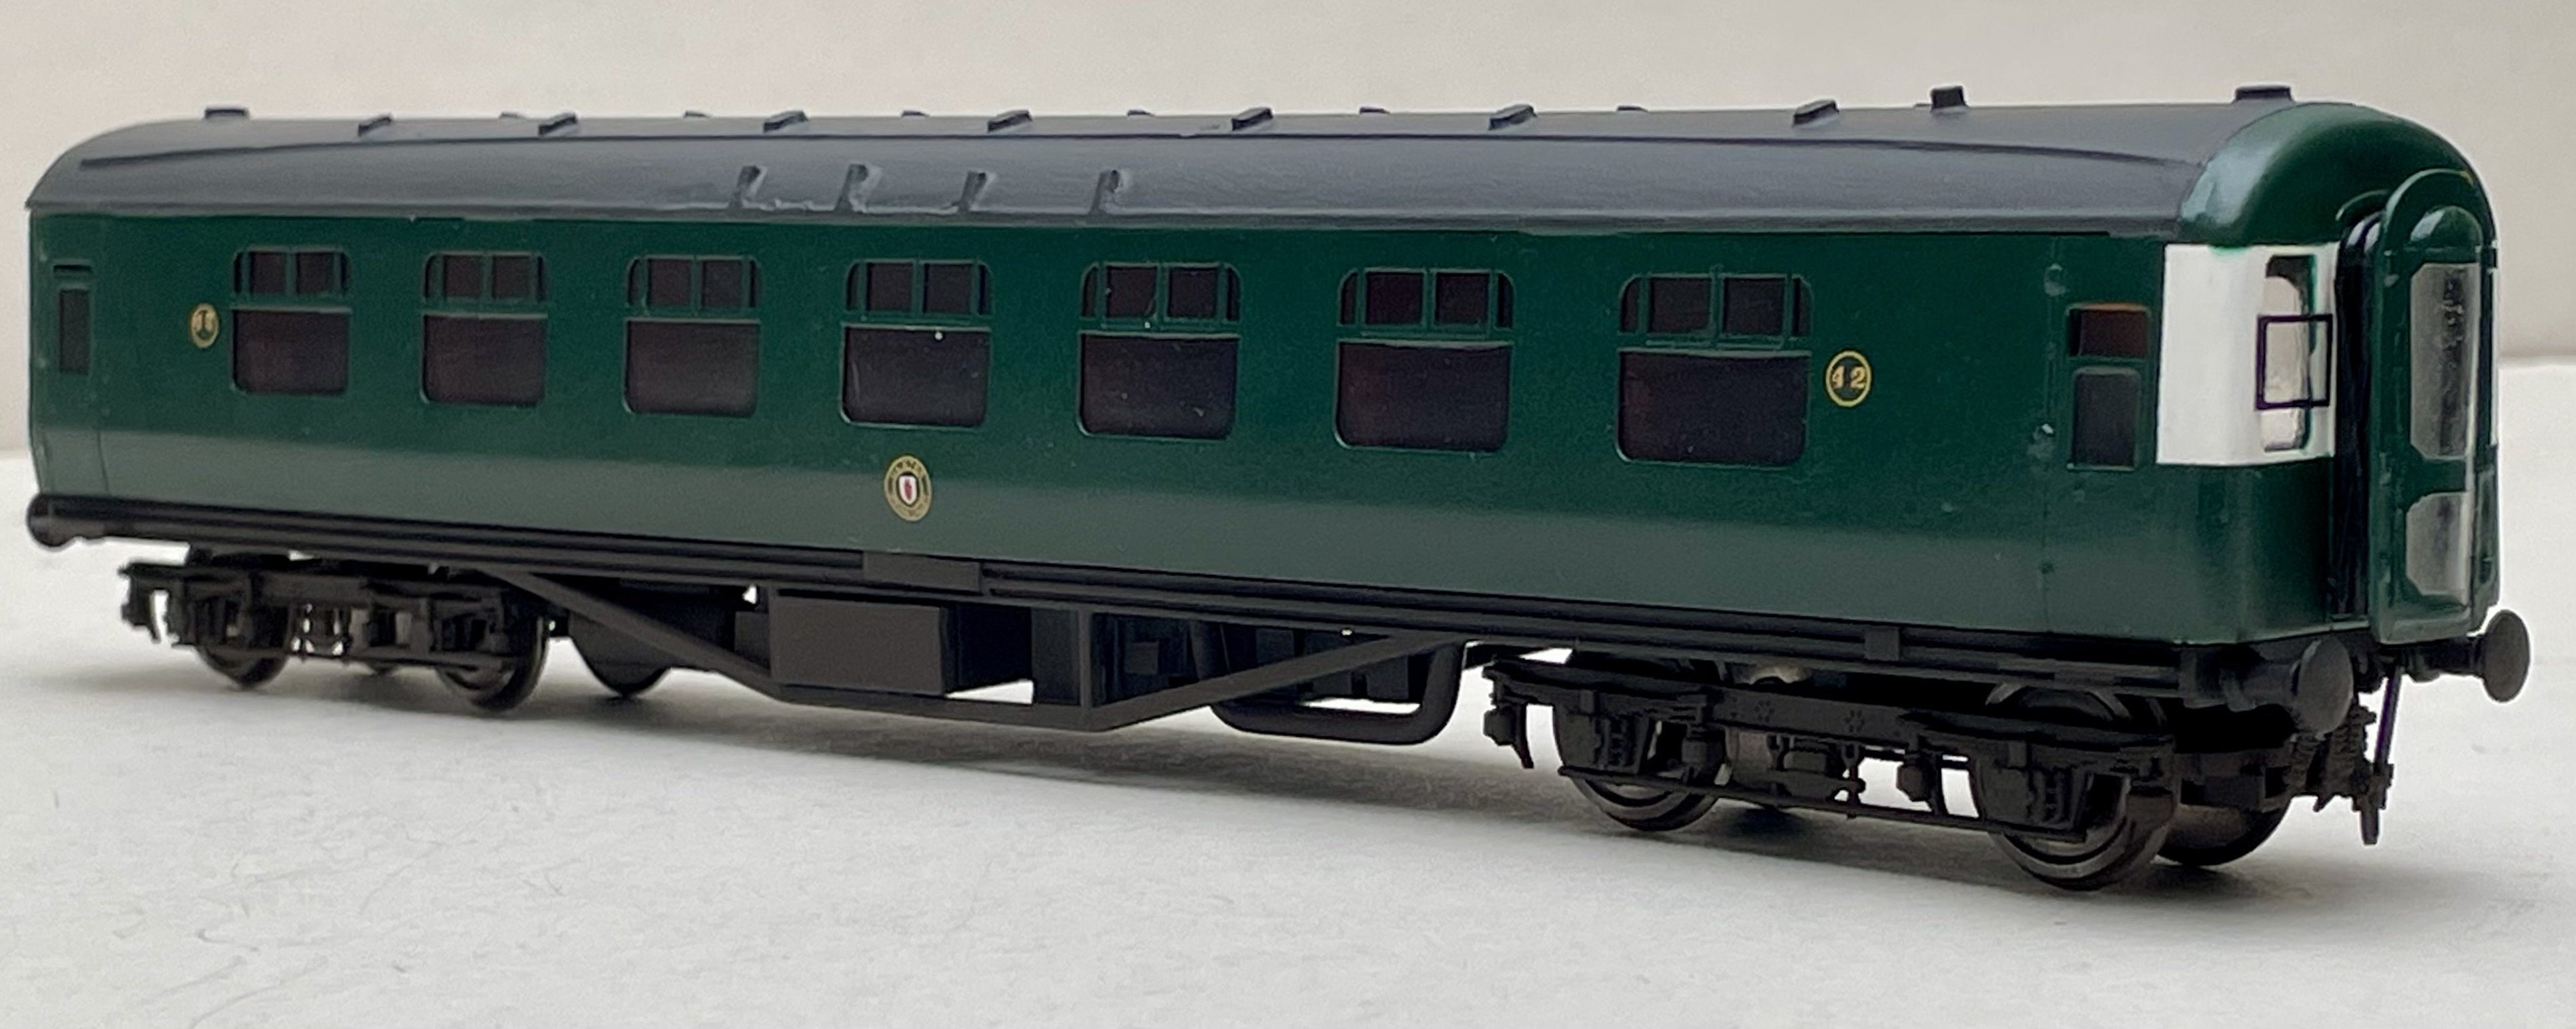
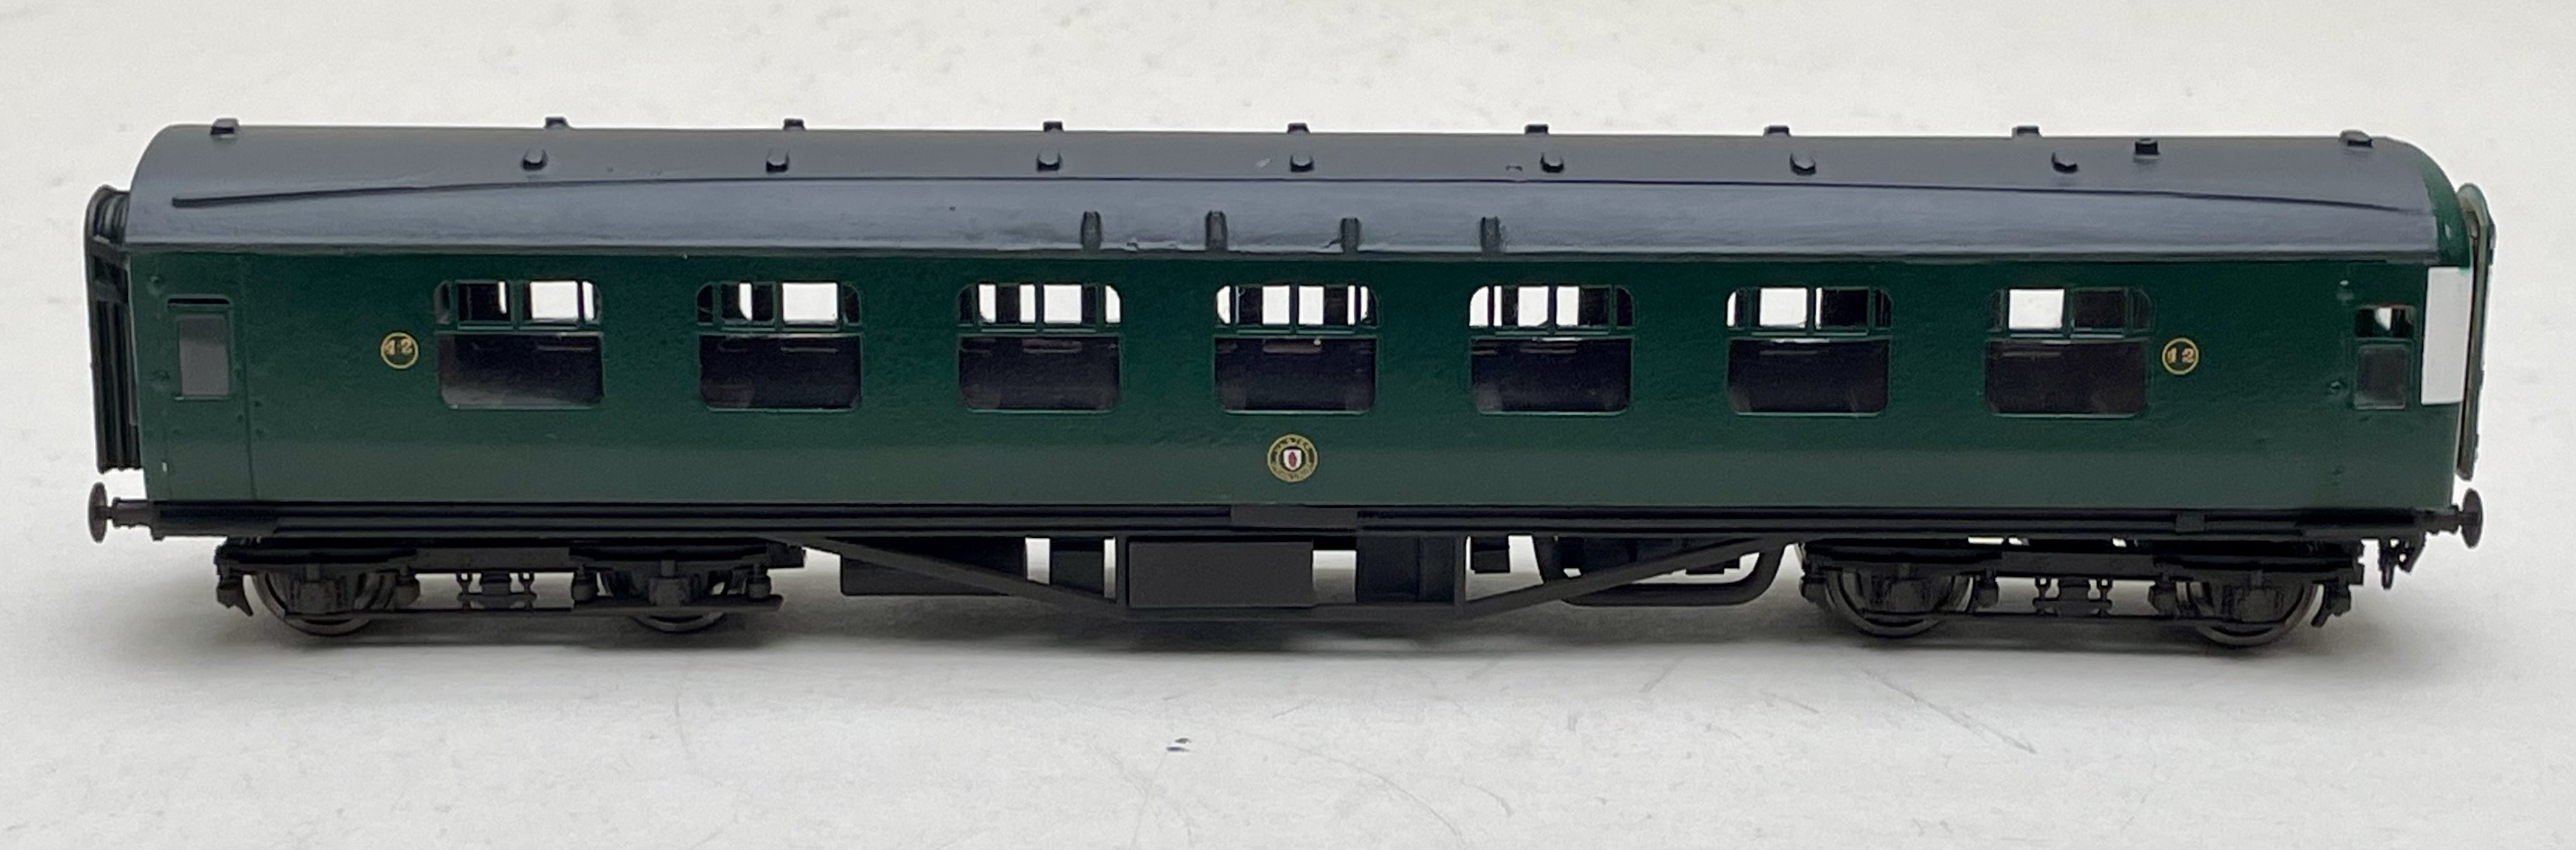
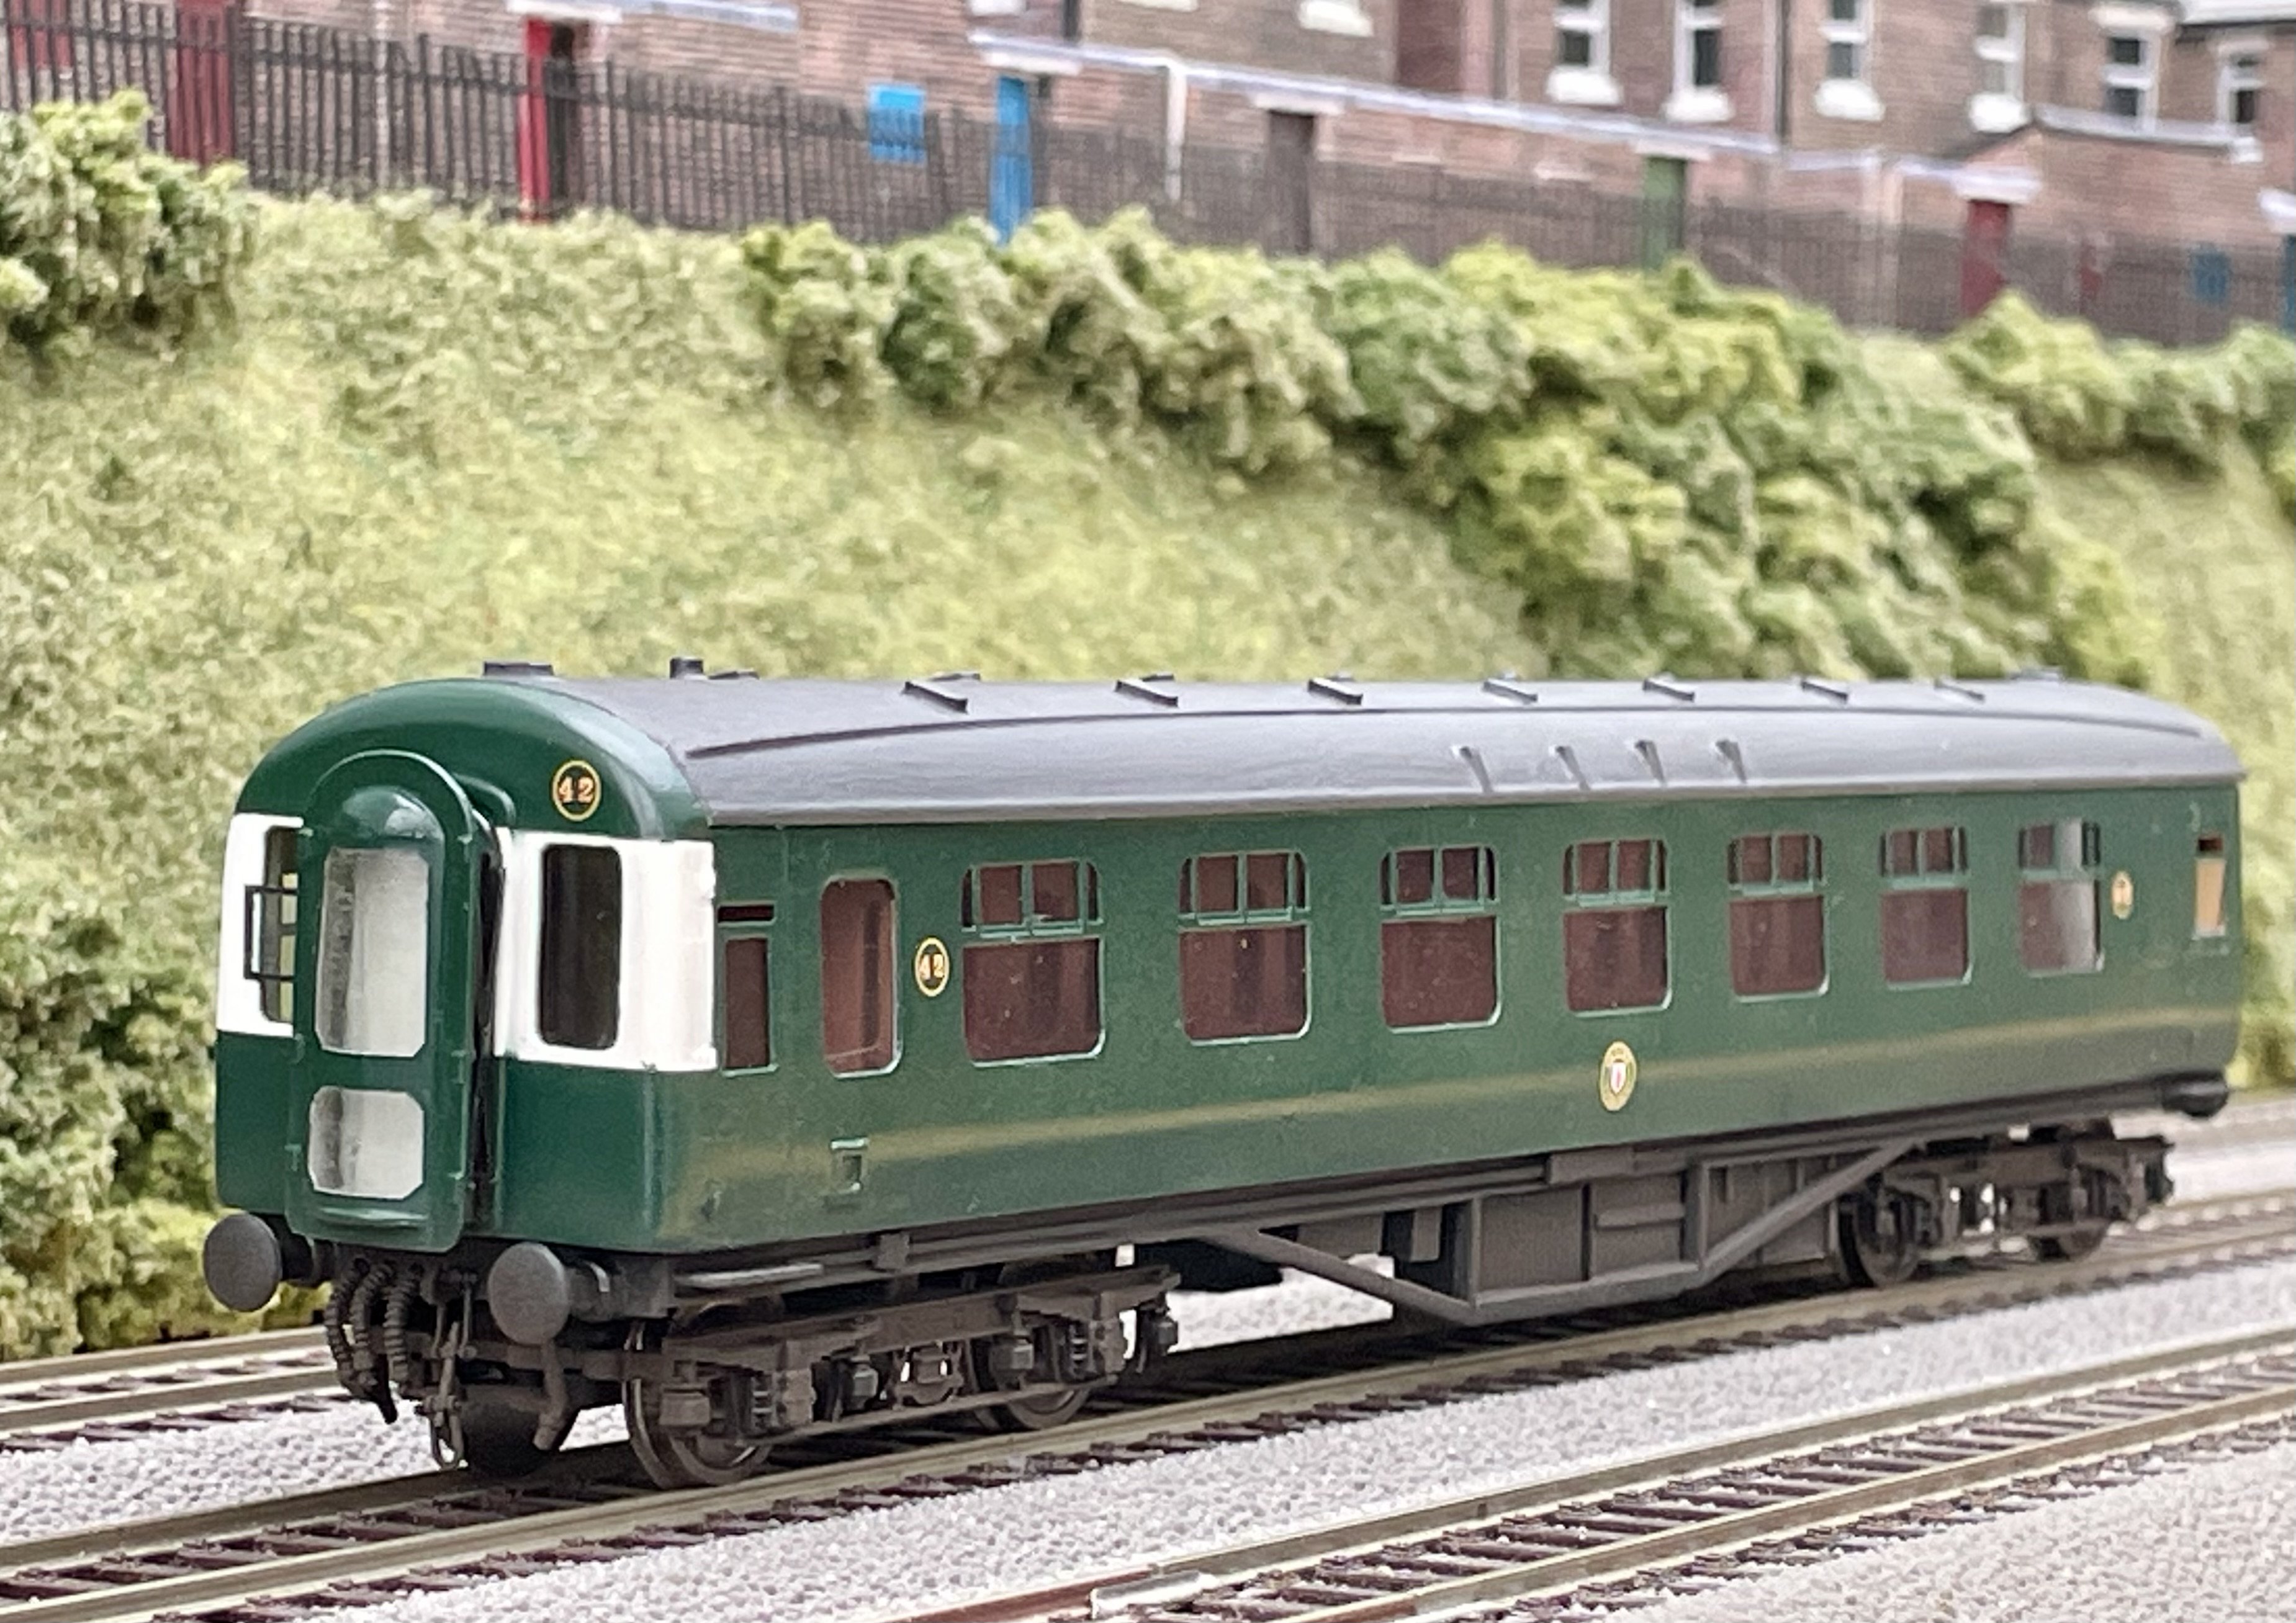
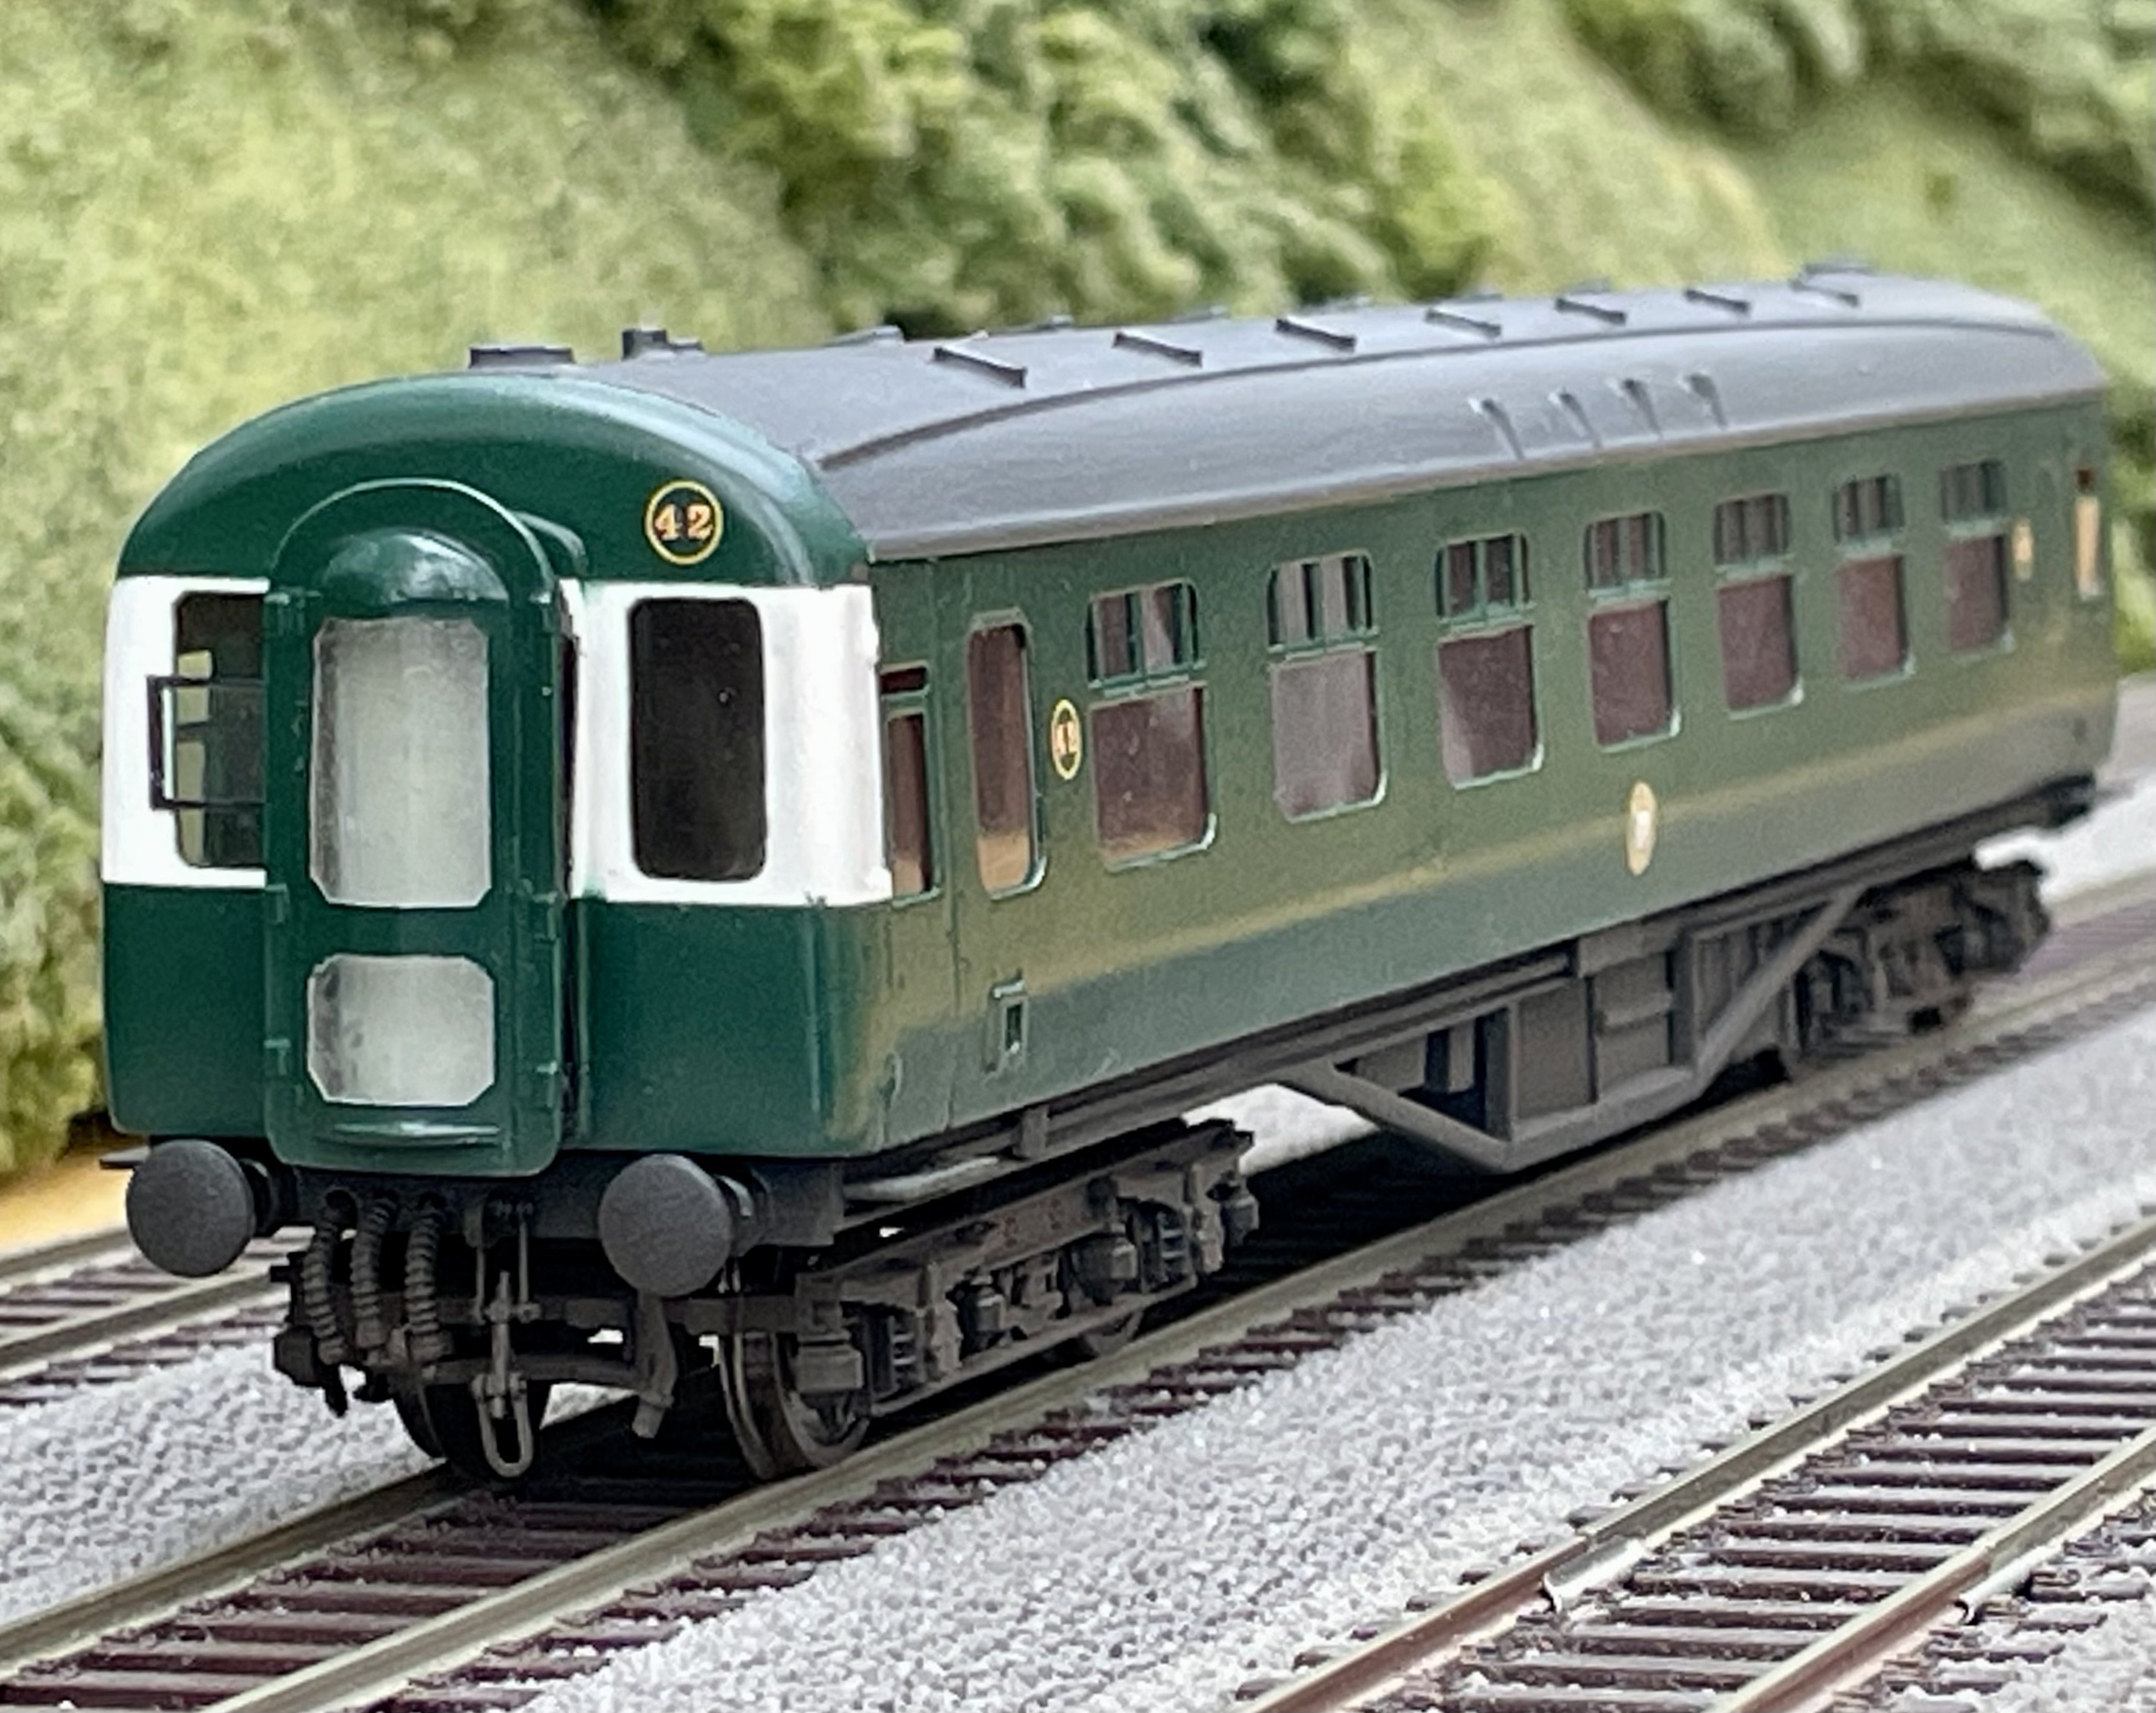
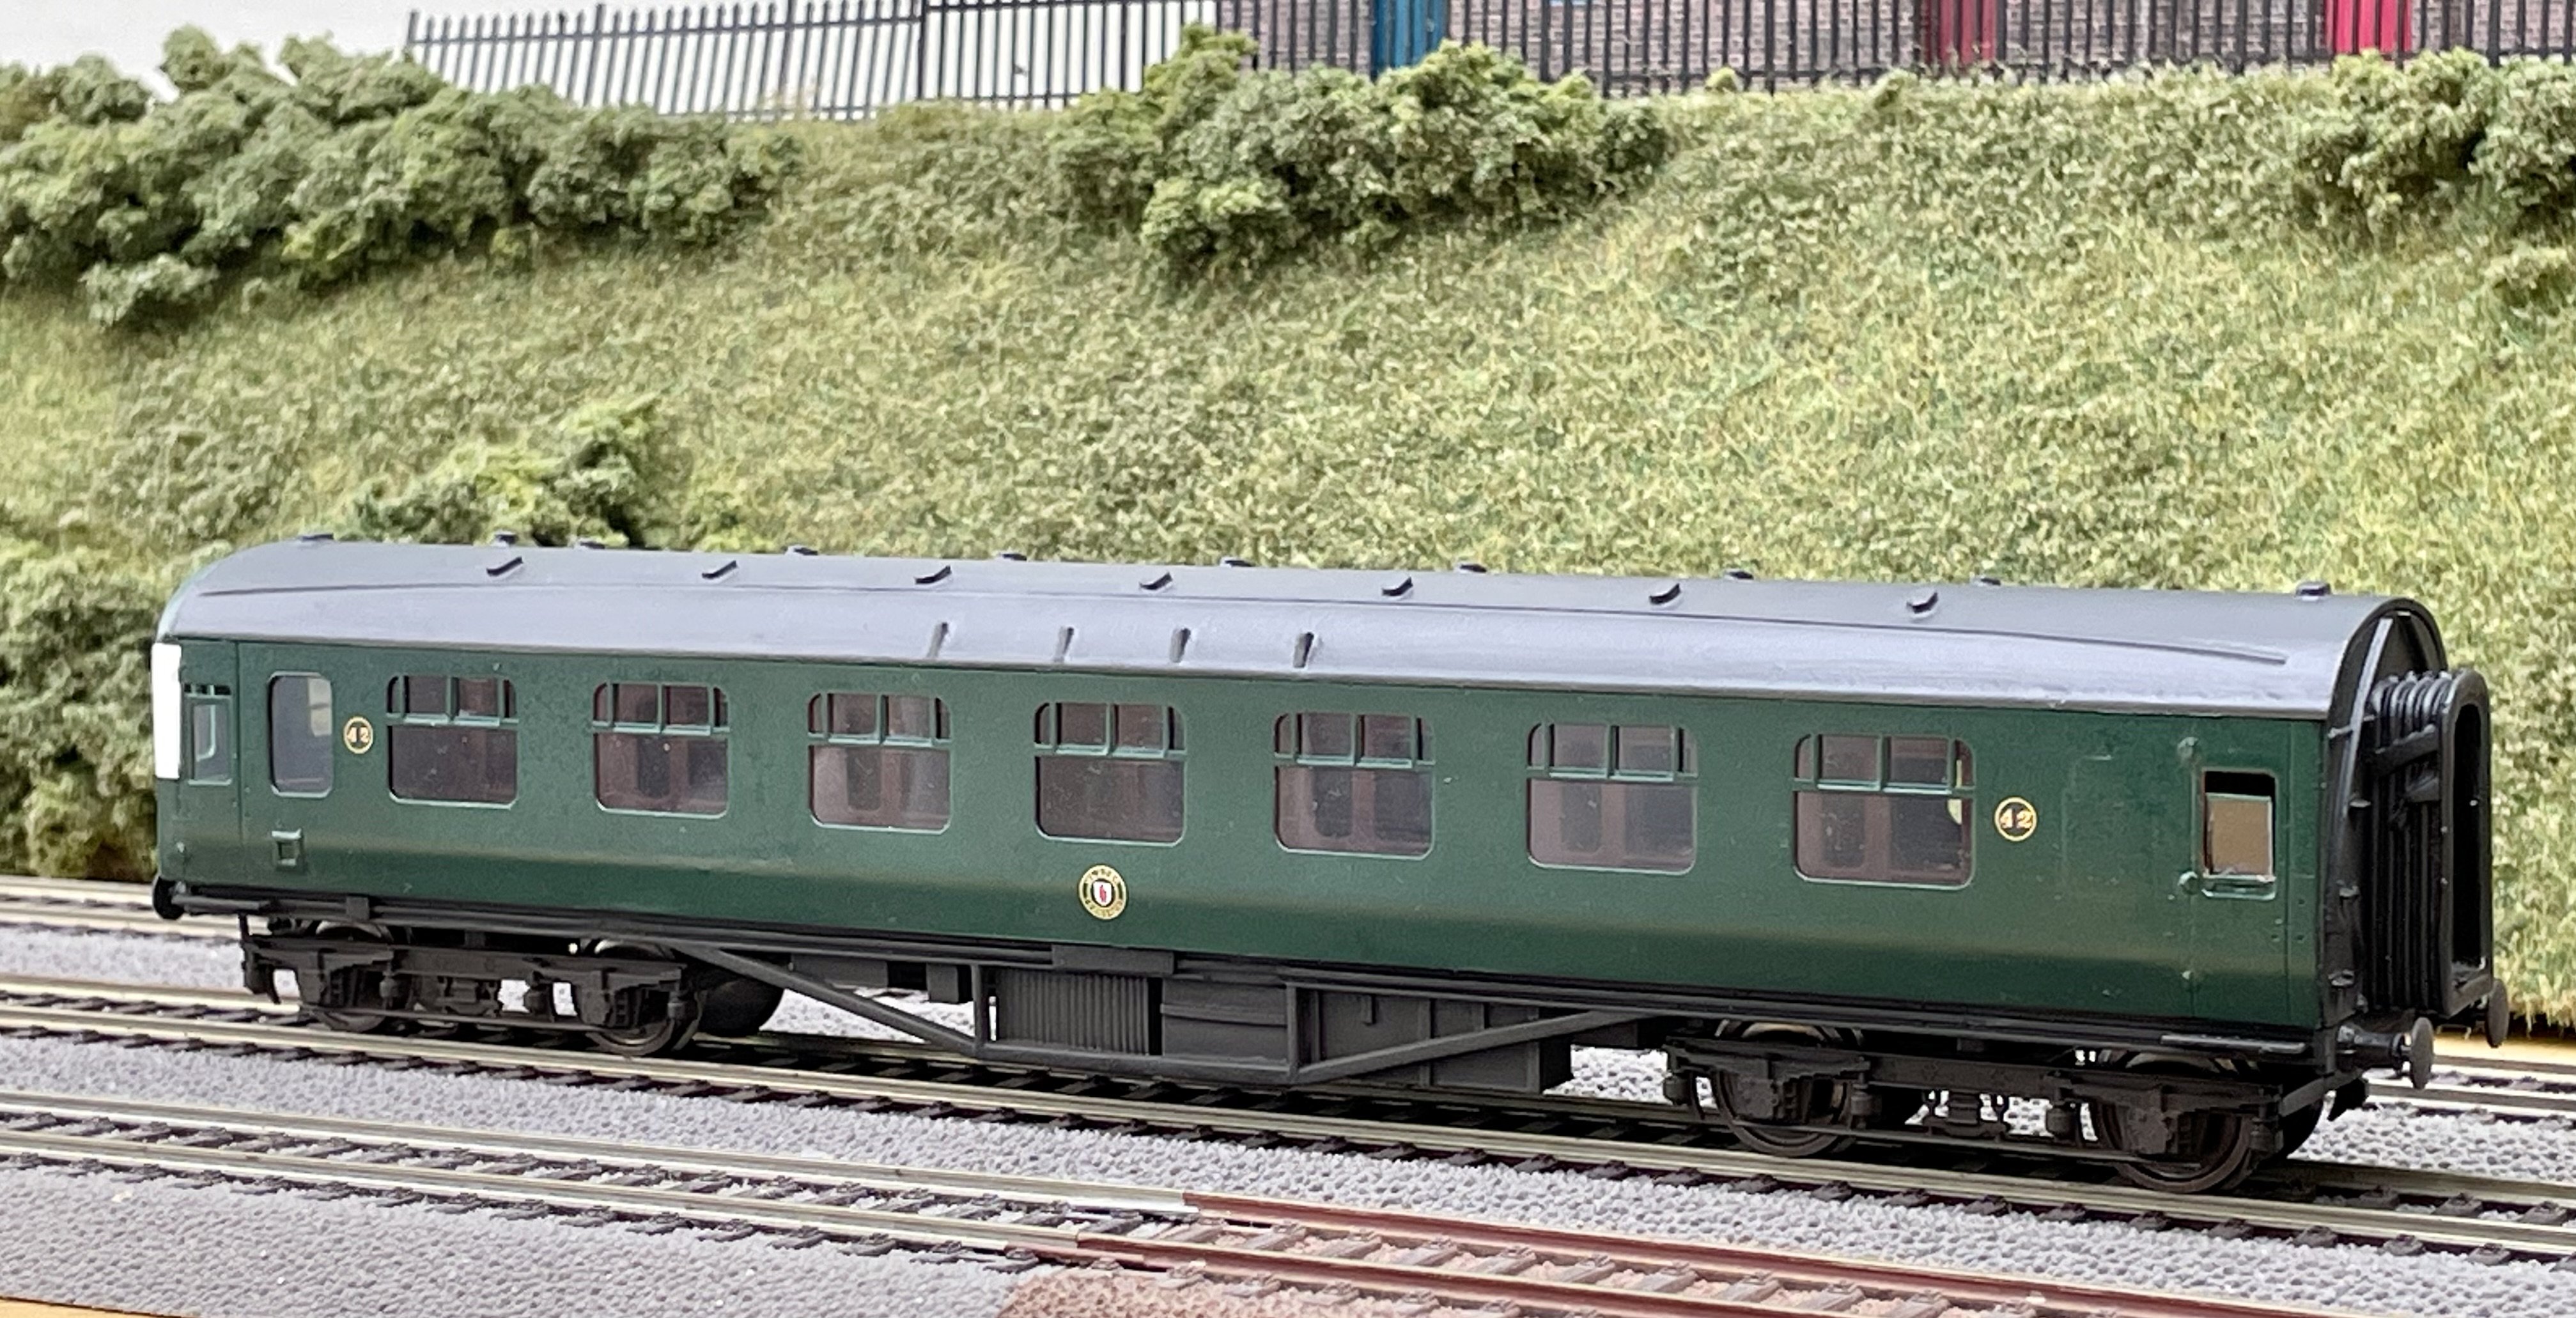
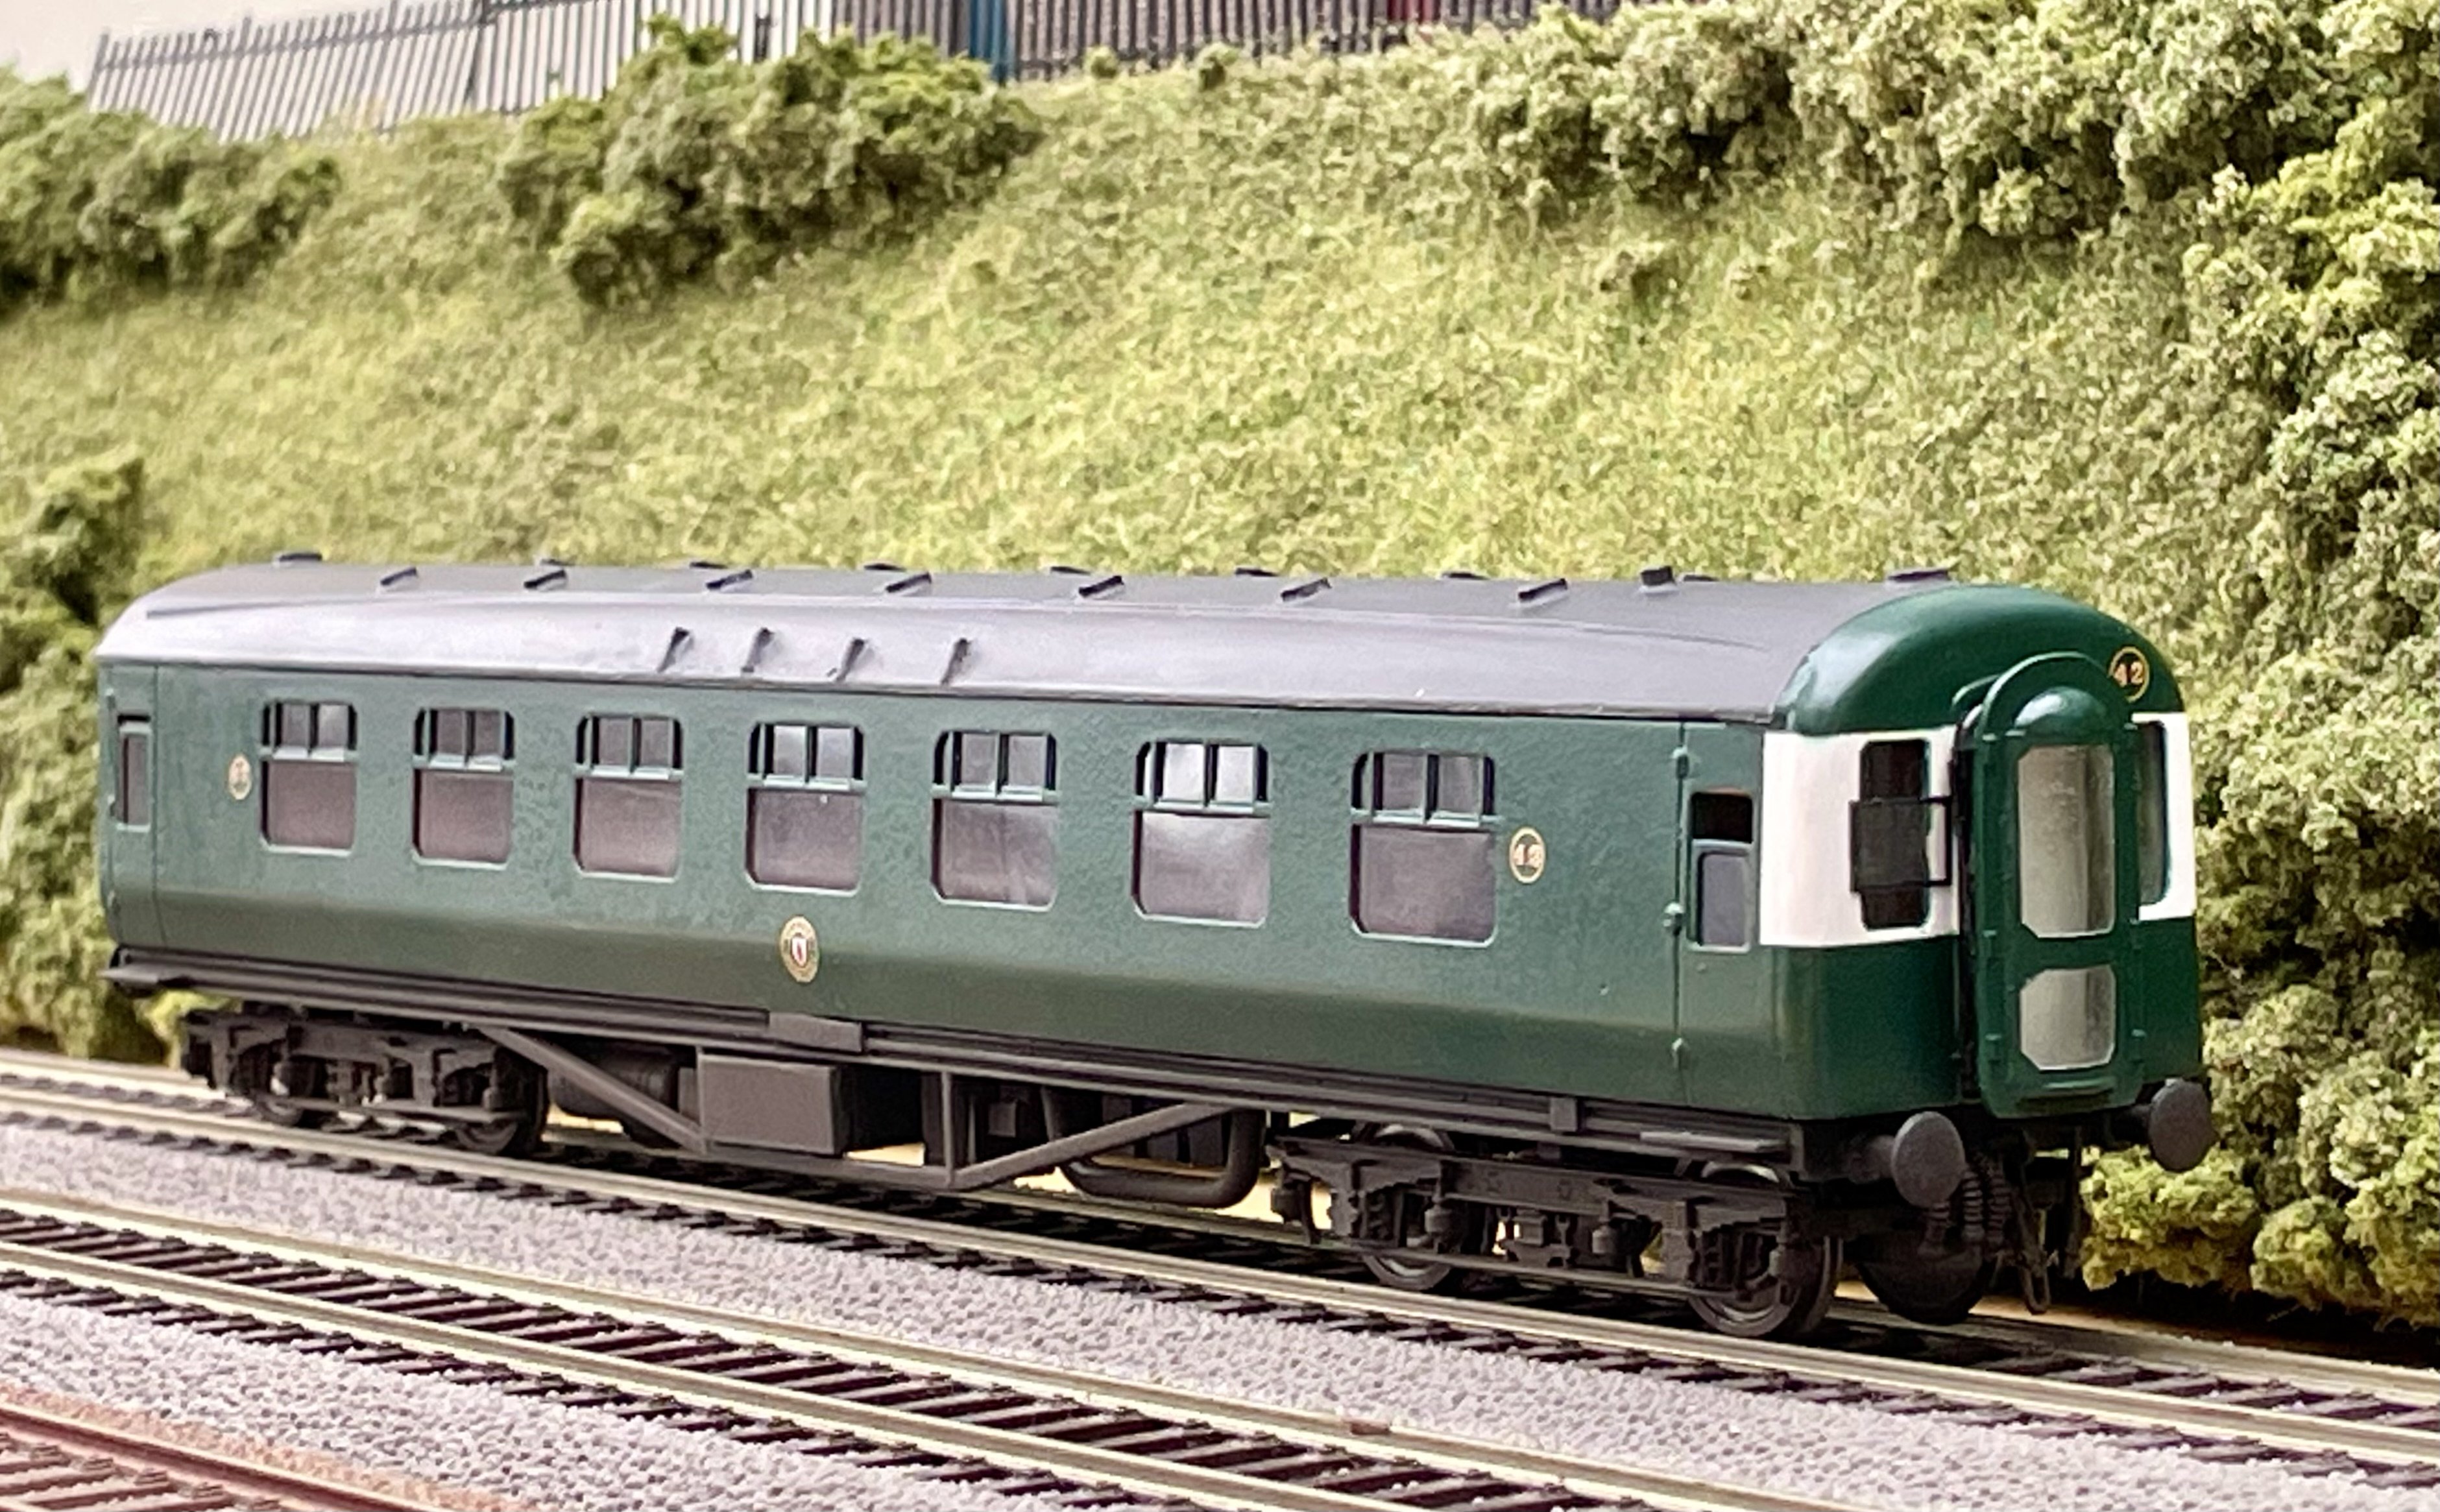
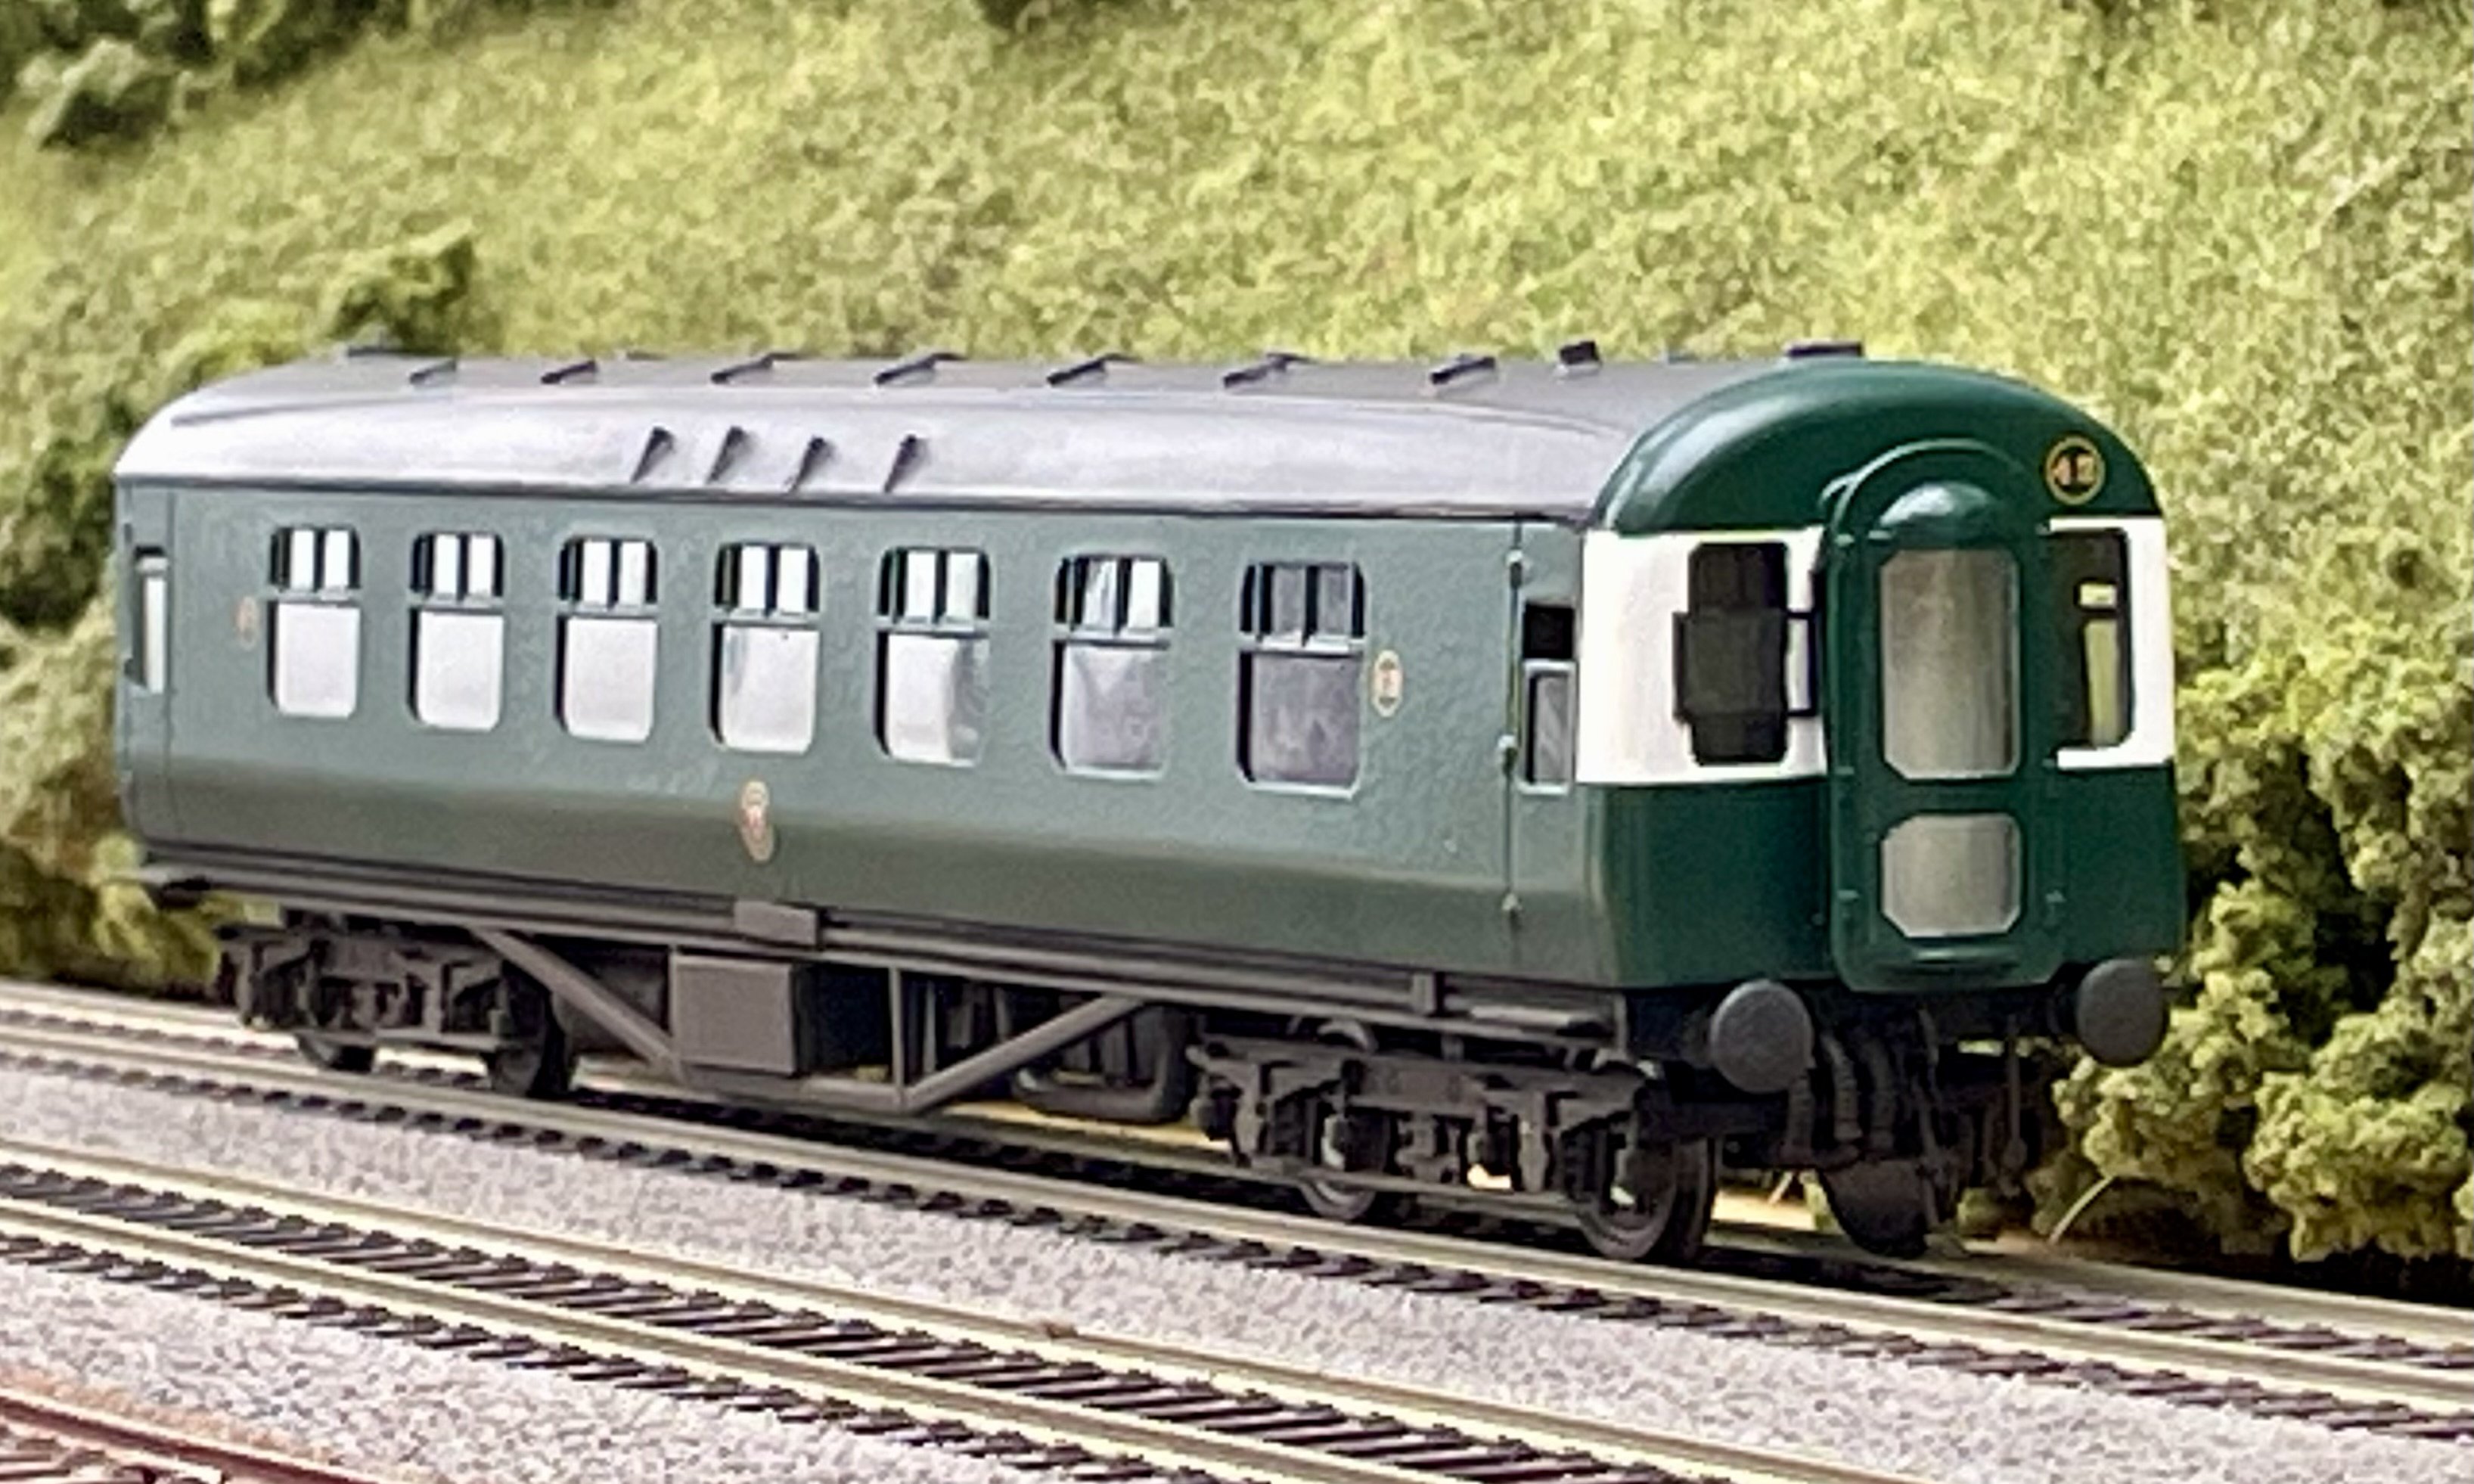
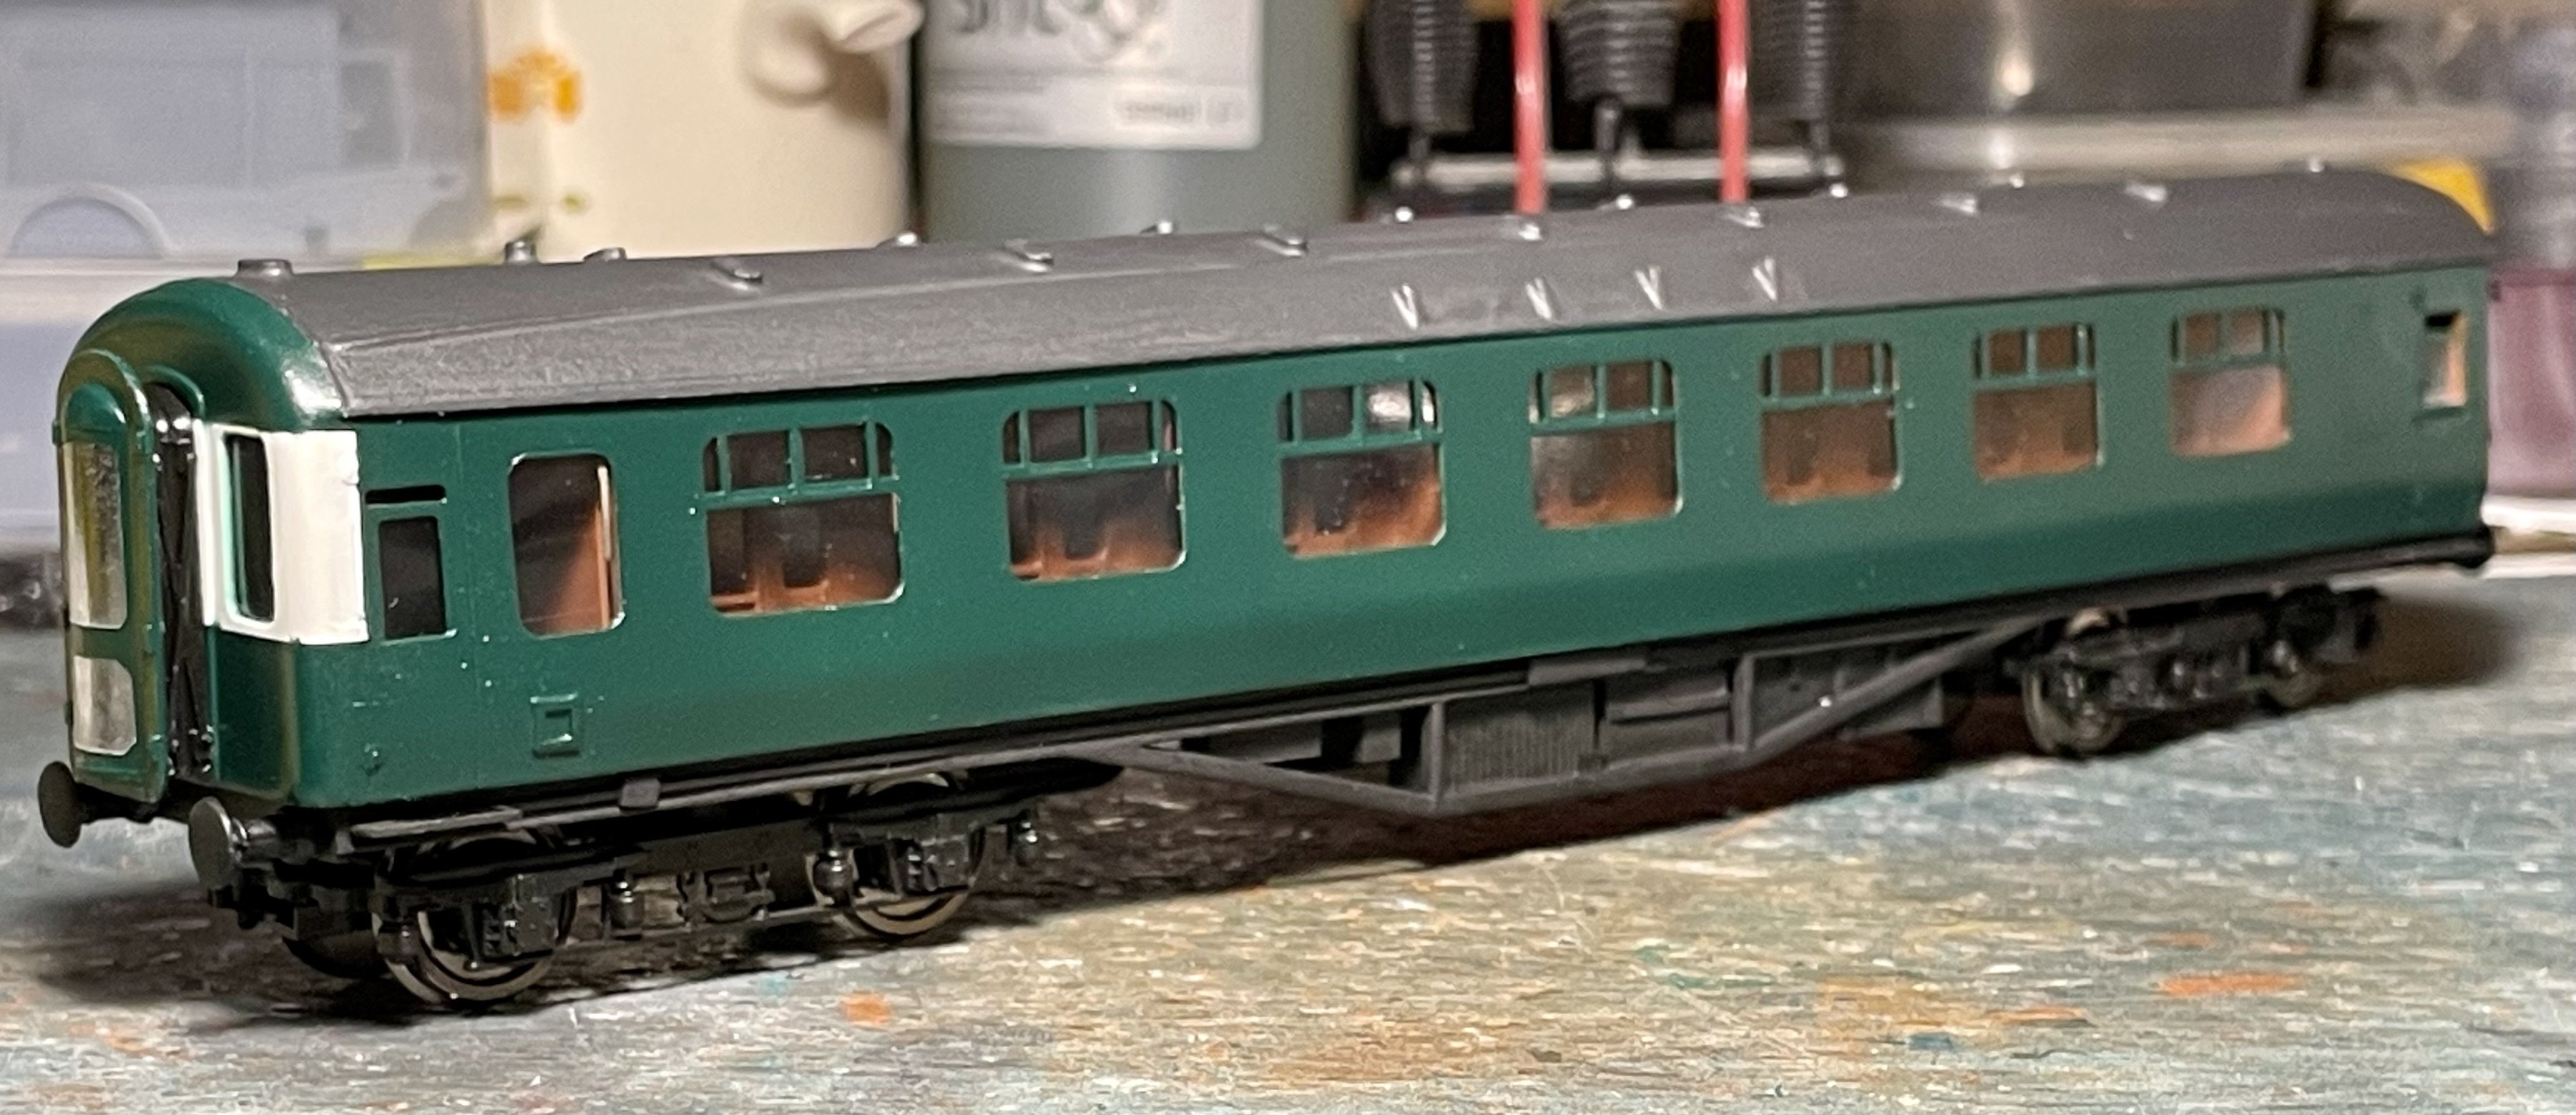
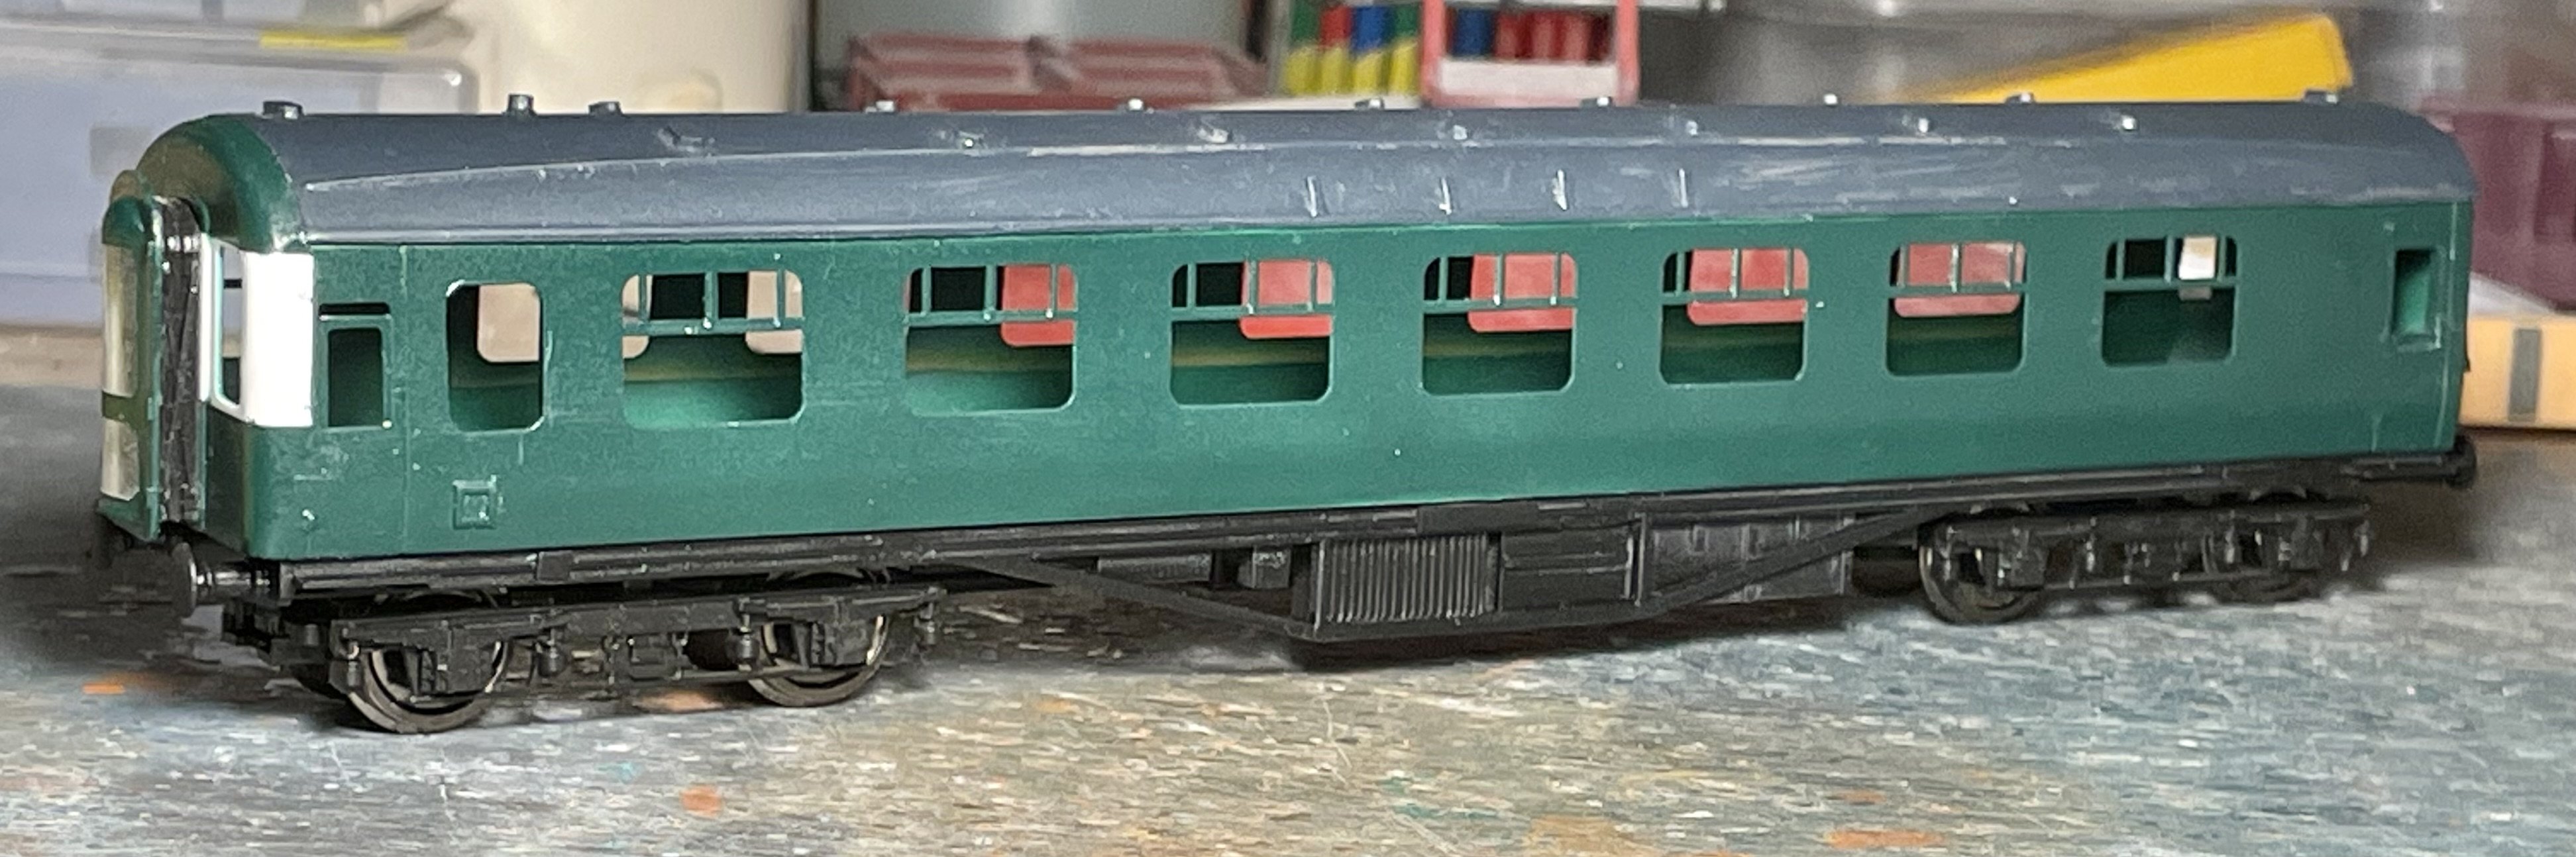
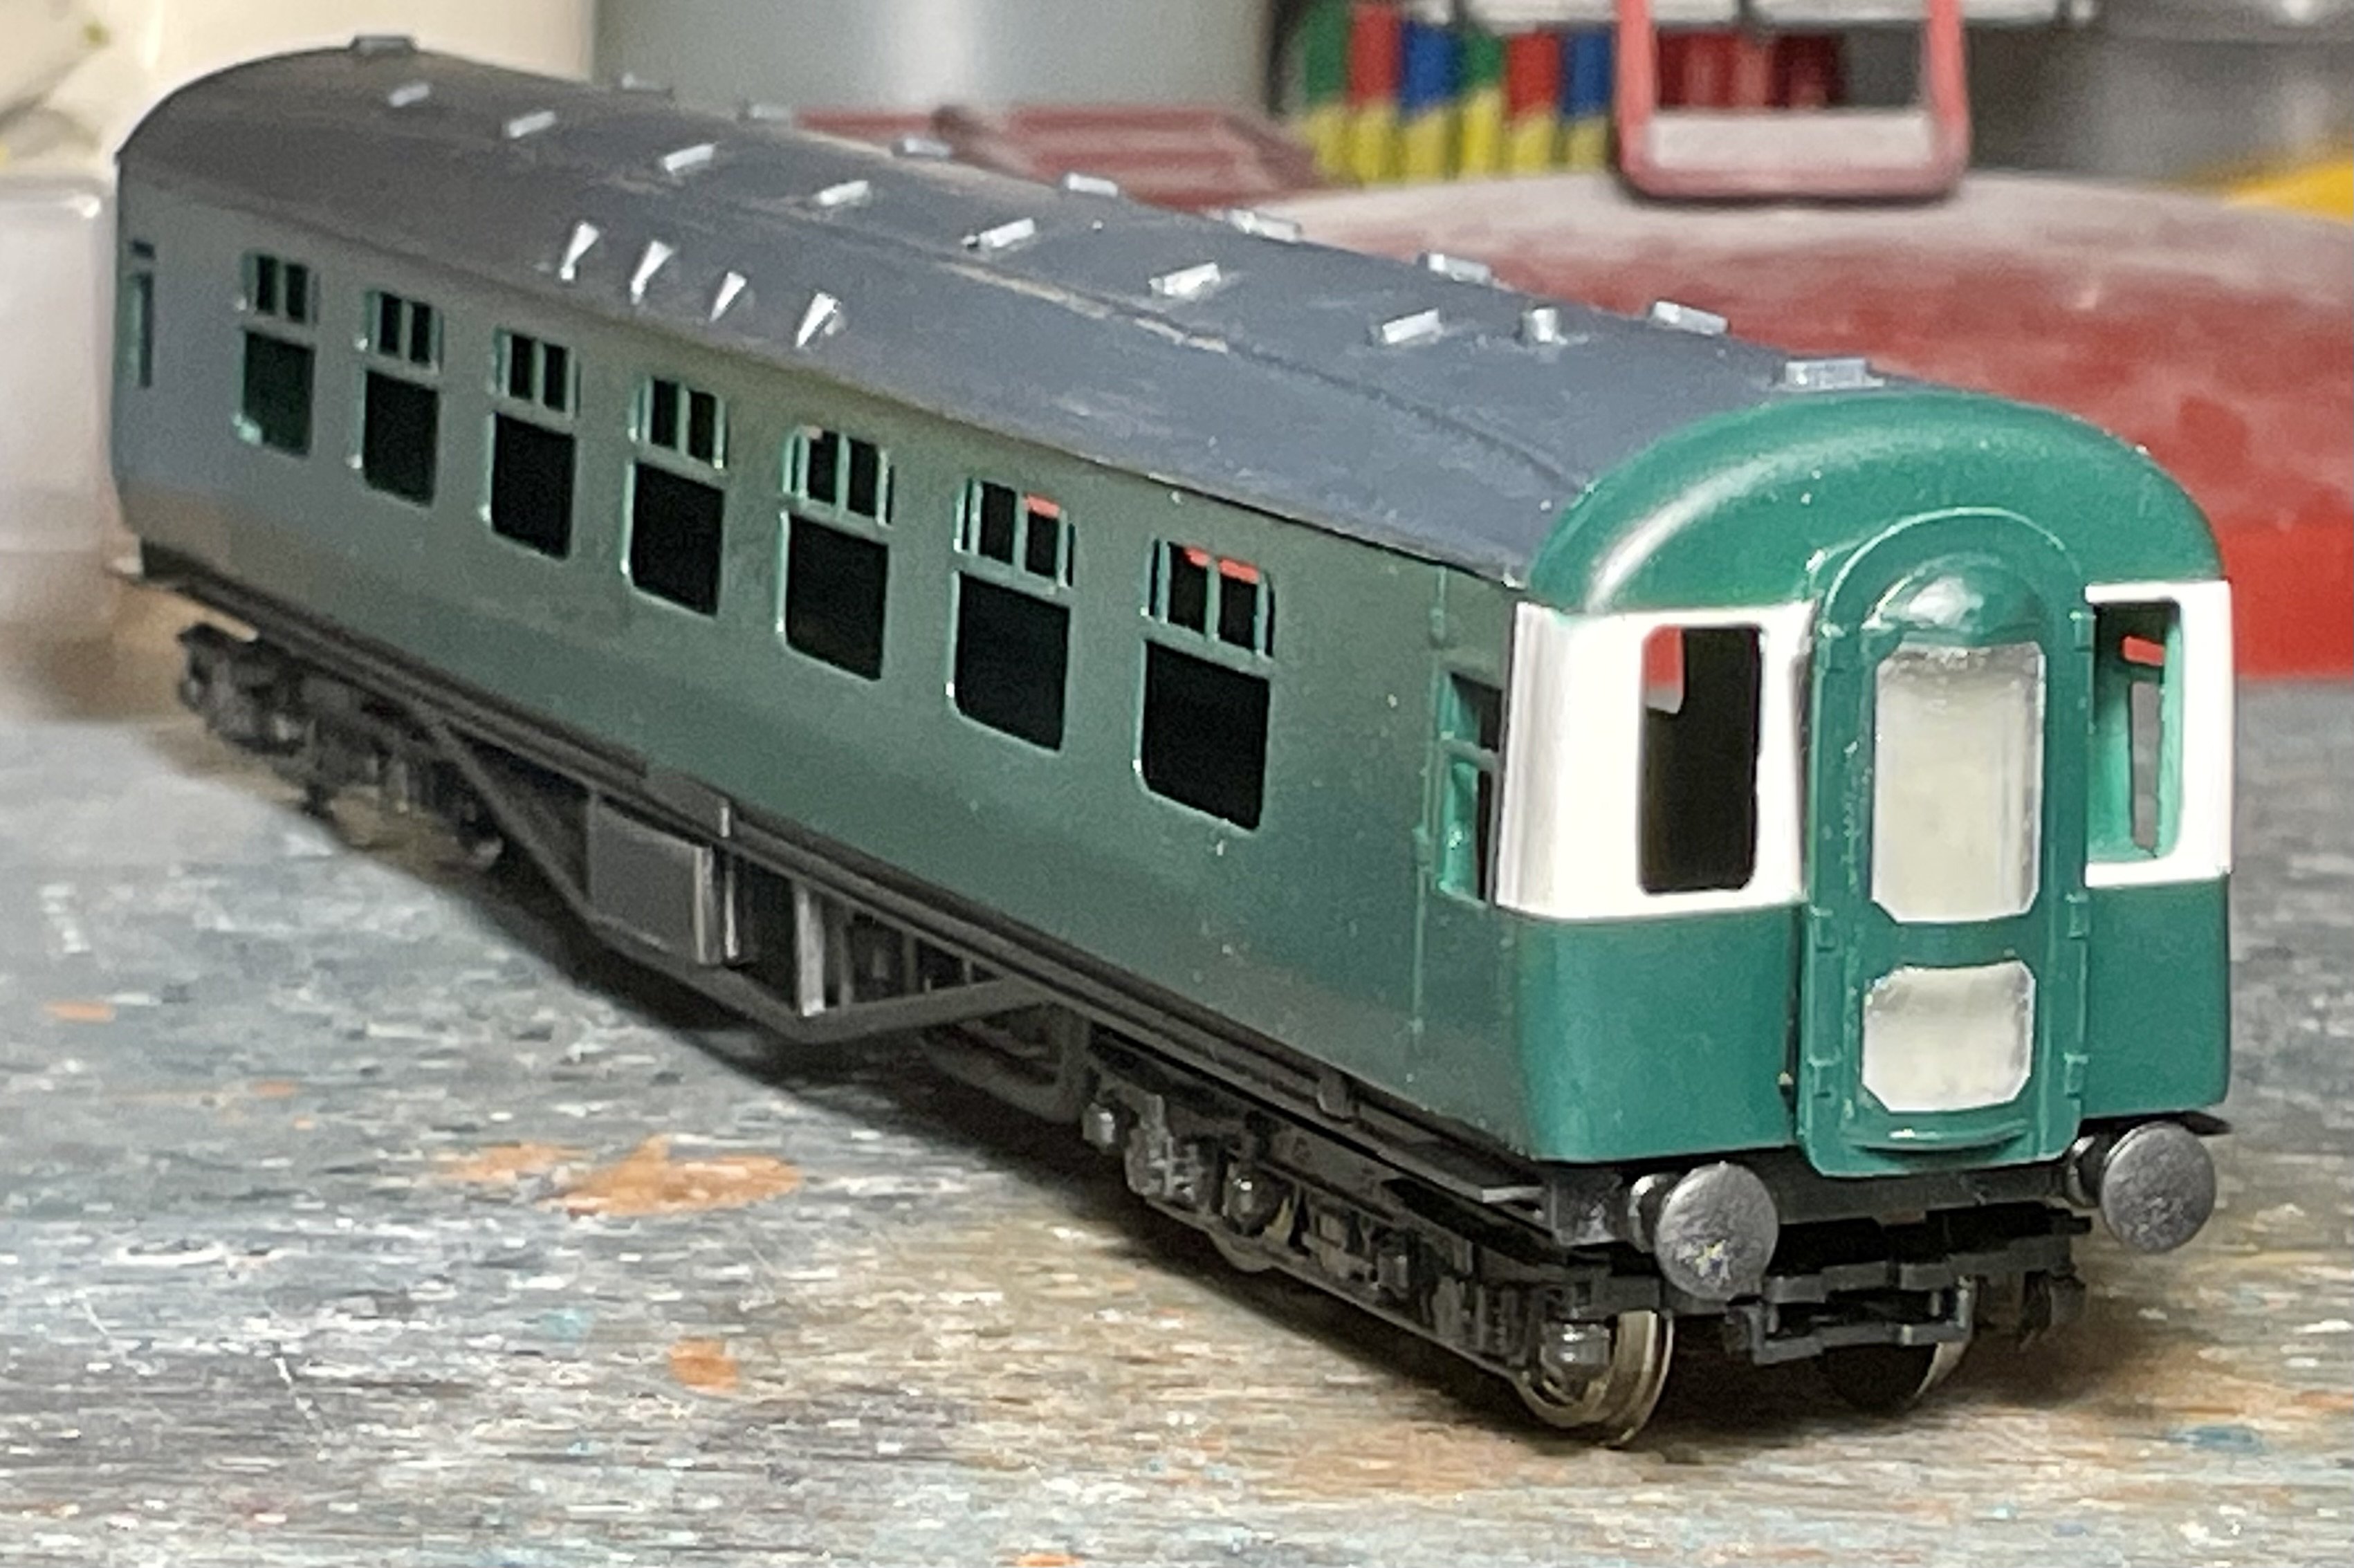
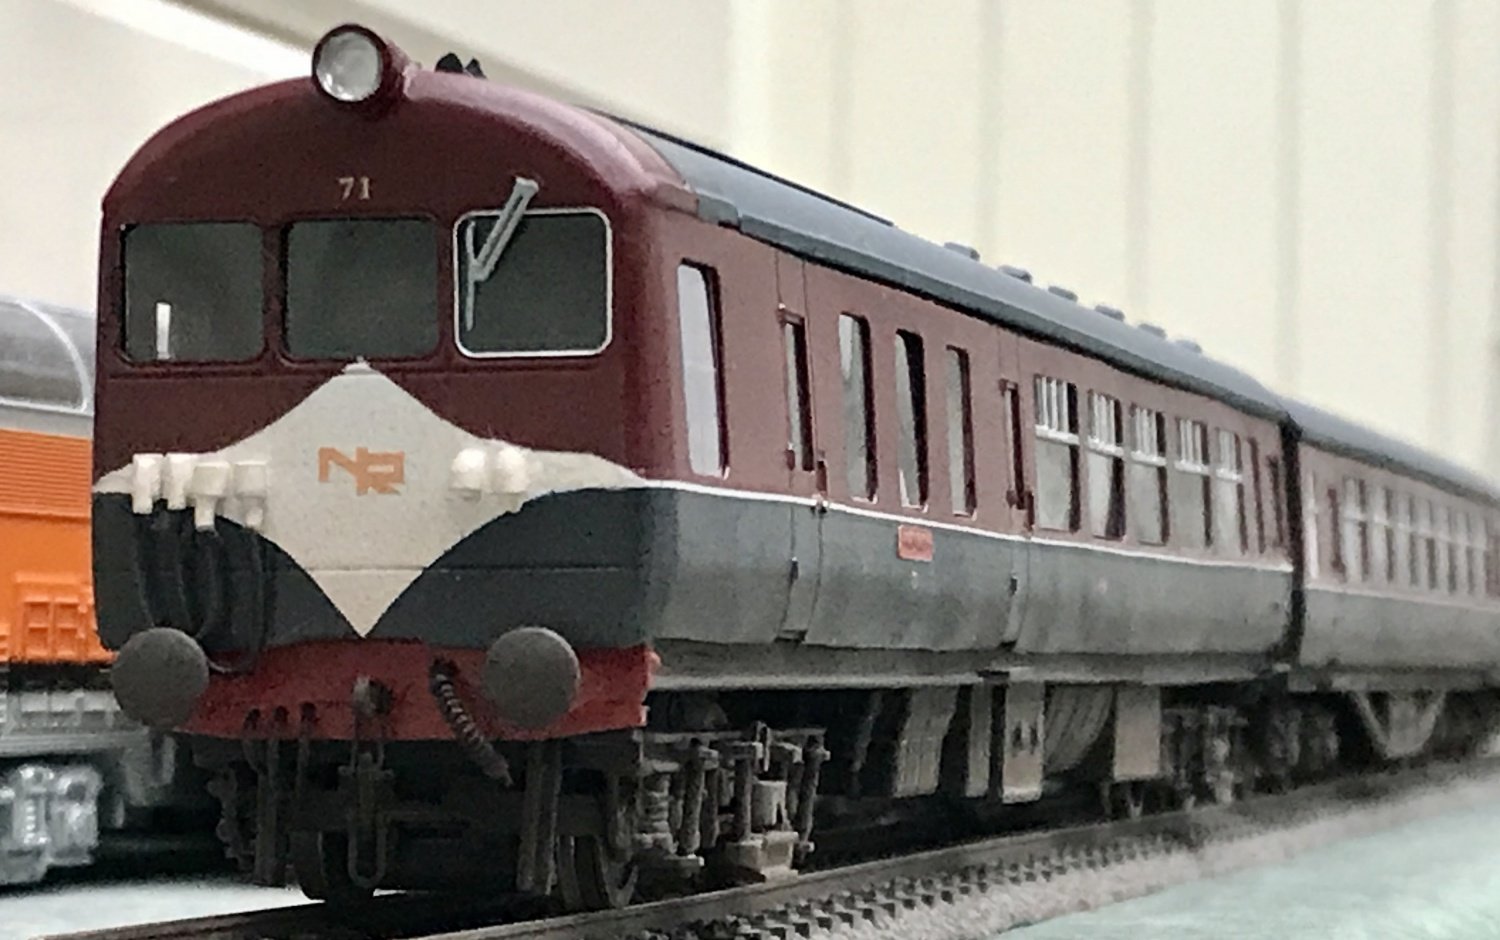
UTA “Sputnik” MPD No.42 - Dapol coach with Comet sides and scratch built undergibbons. Decals are by Railtec. Cheers Darius

-
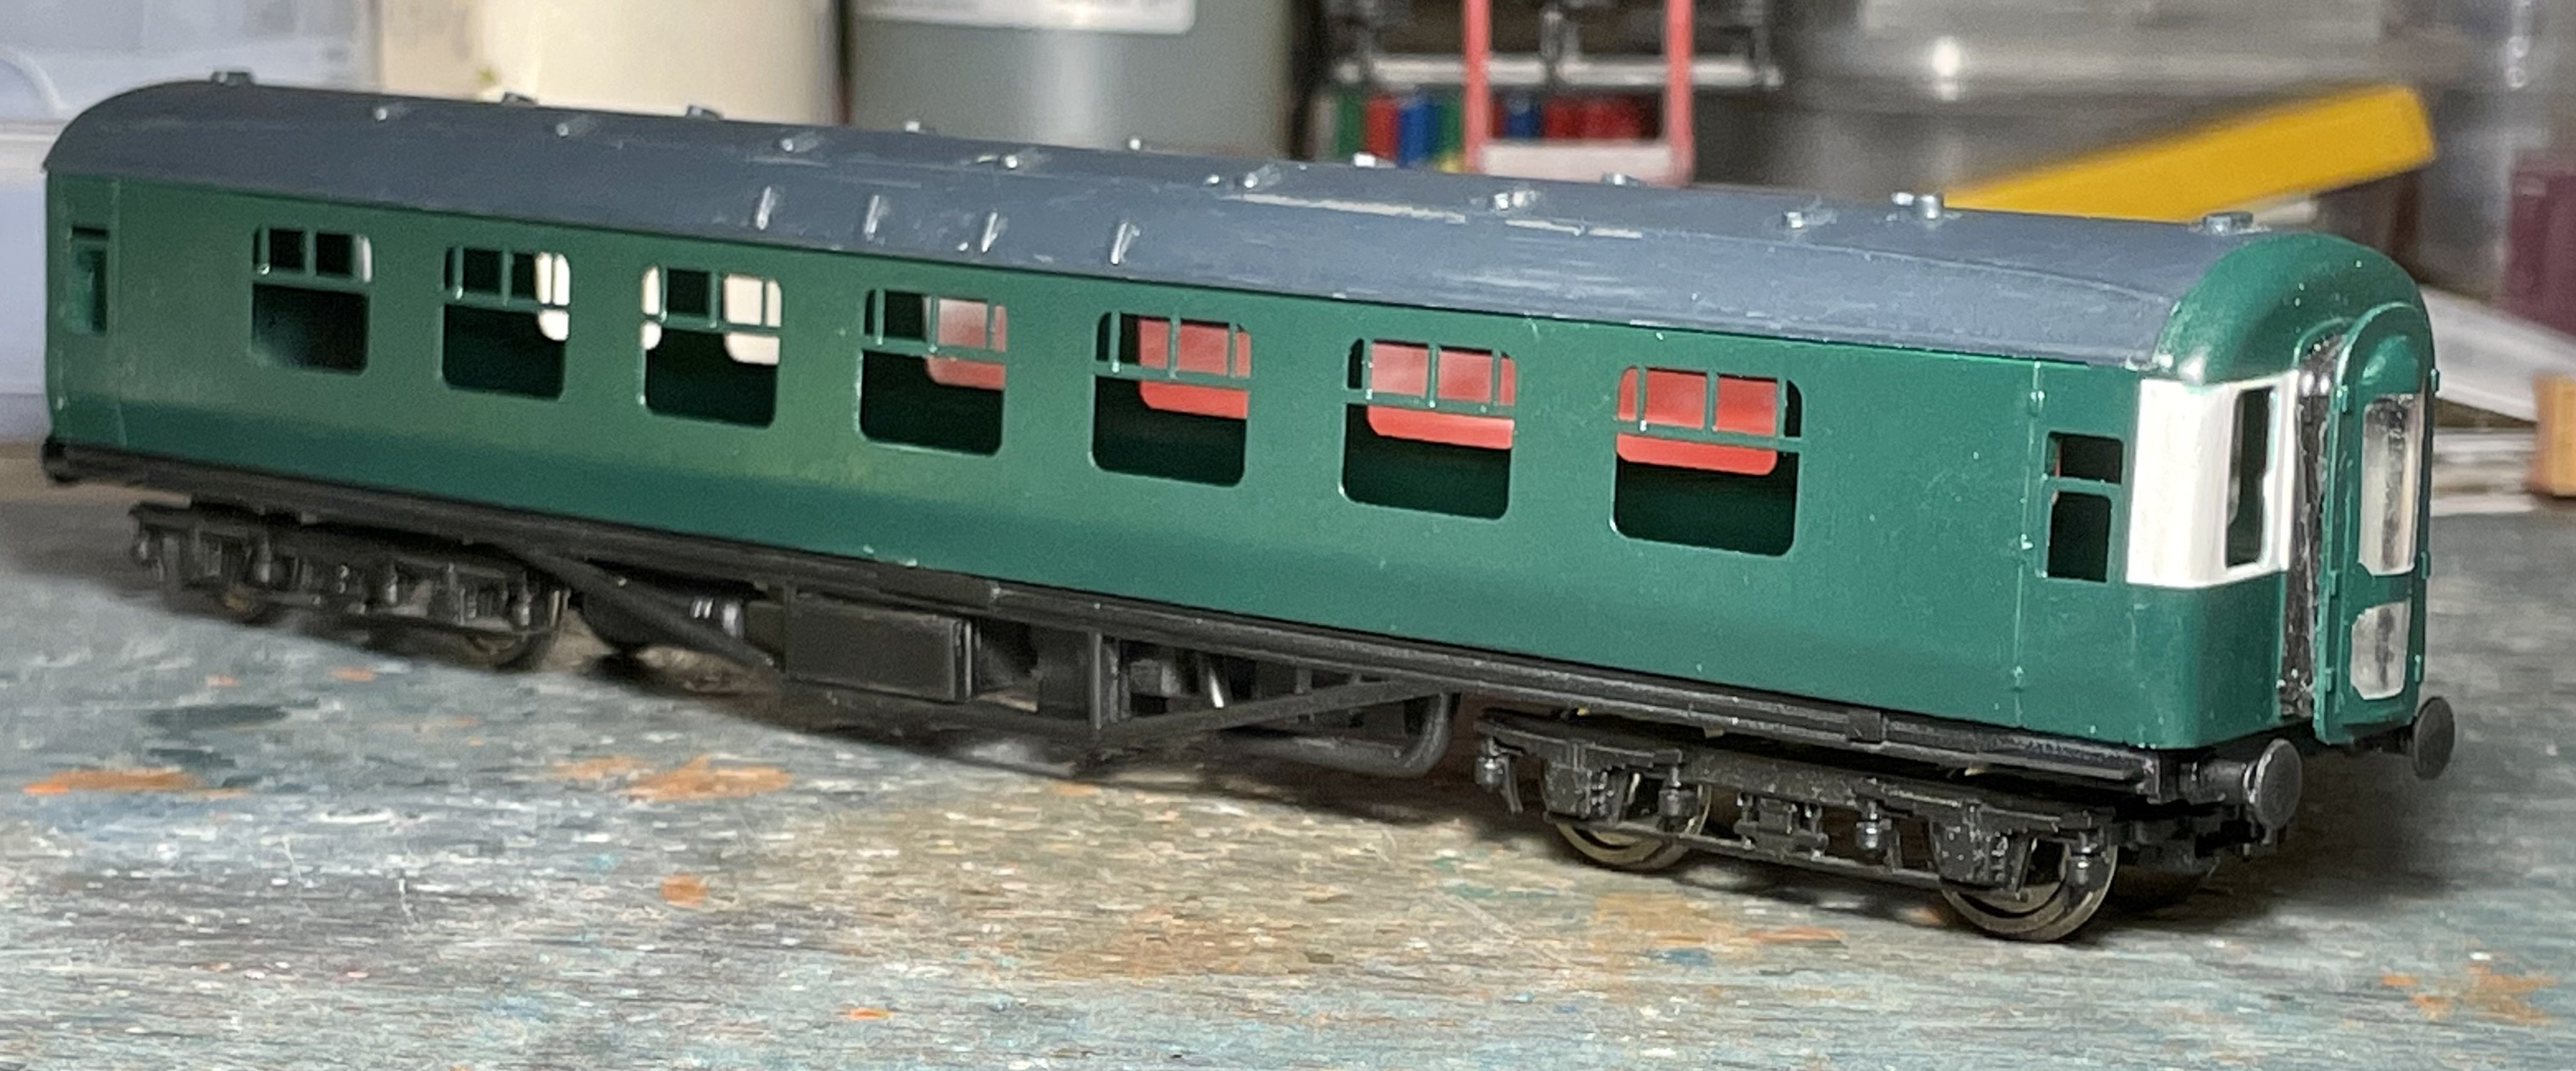
Decals and light weathering to finish. Cheers Darius
-
Hence their “Sputnik” nickname. Cheers Darius
-
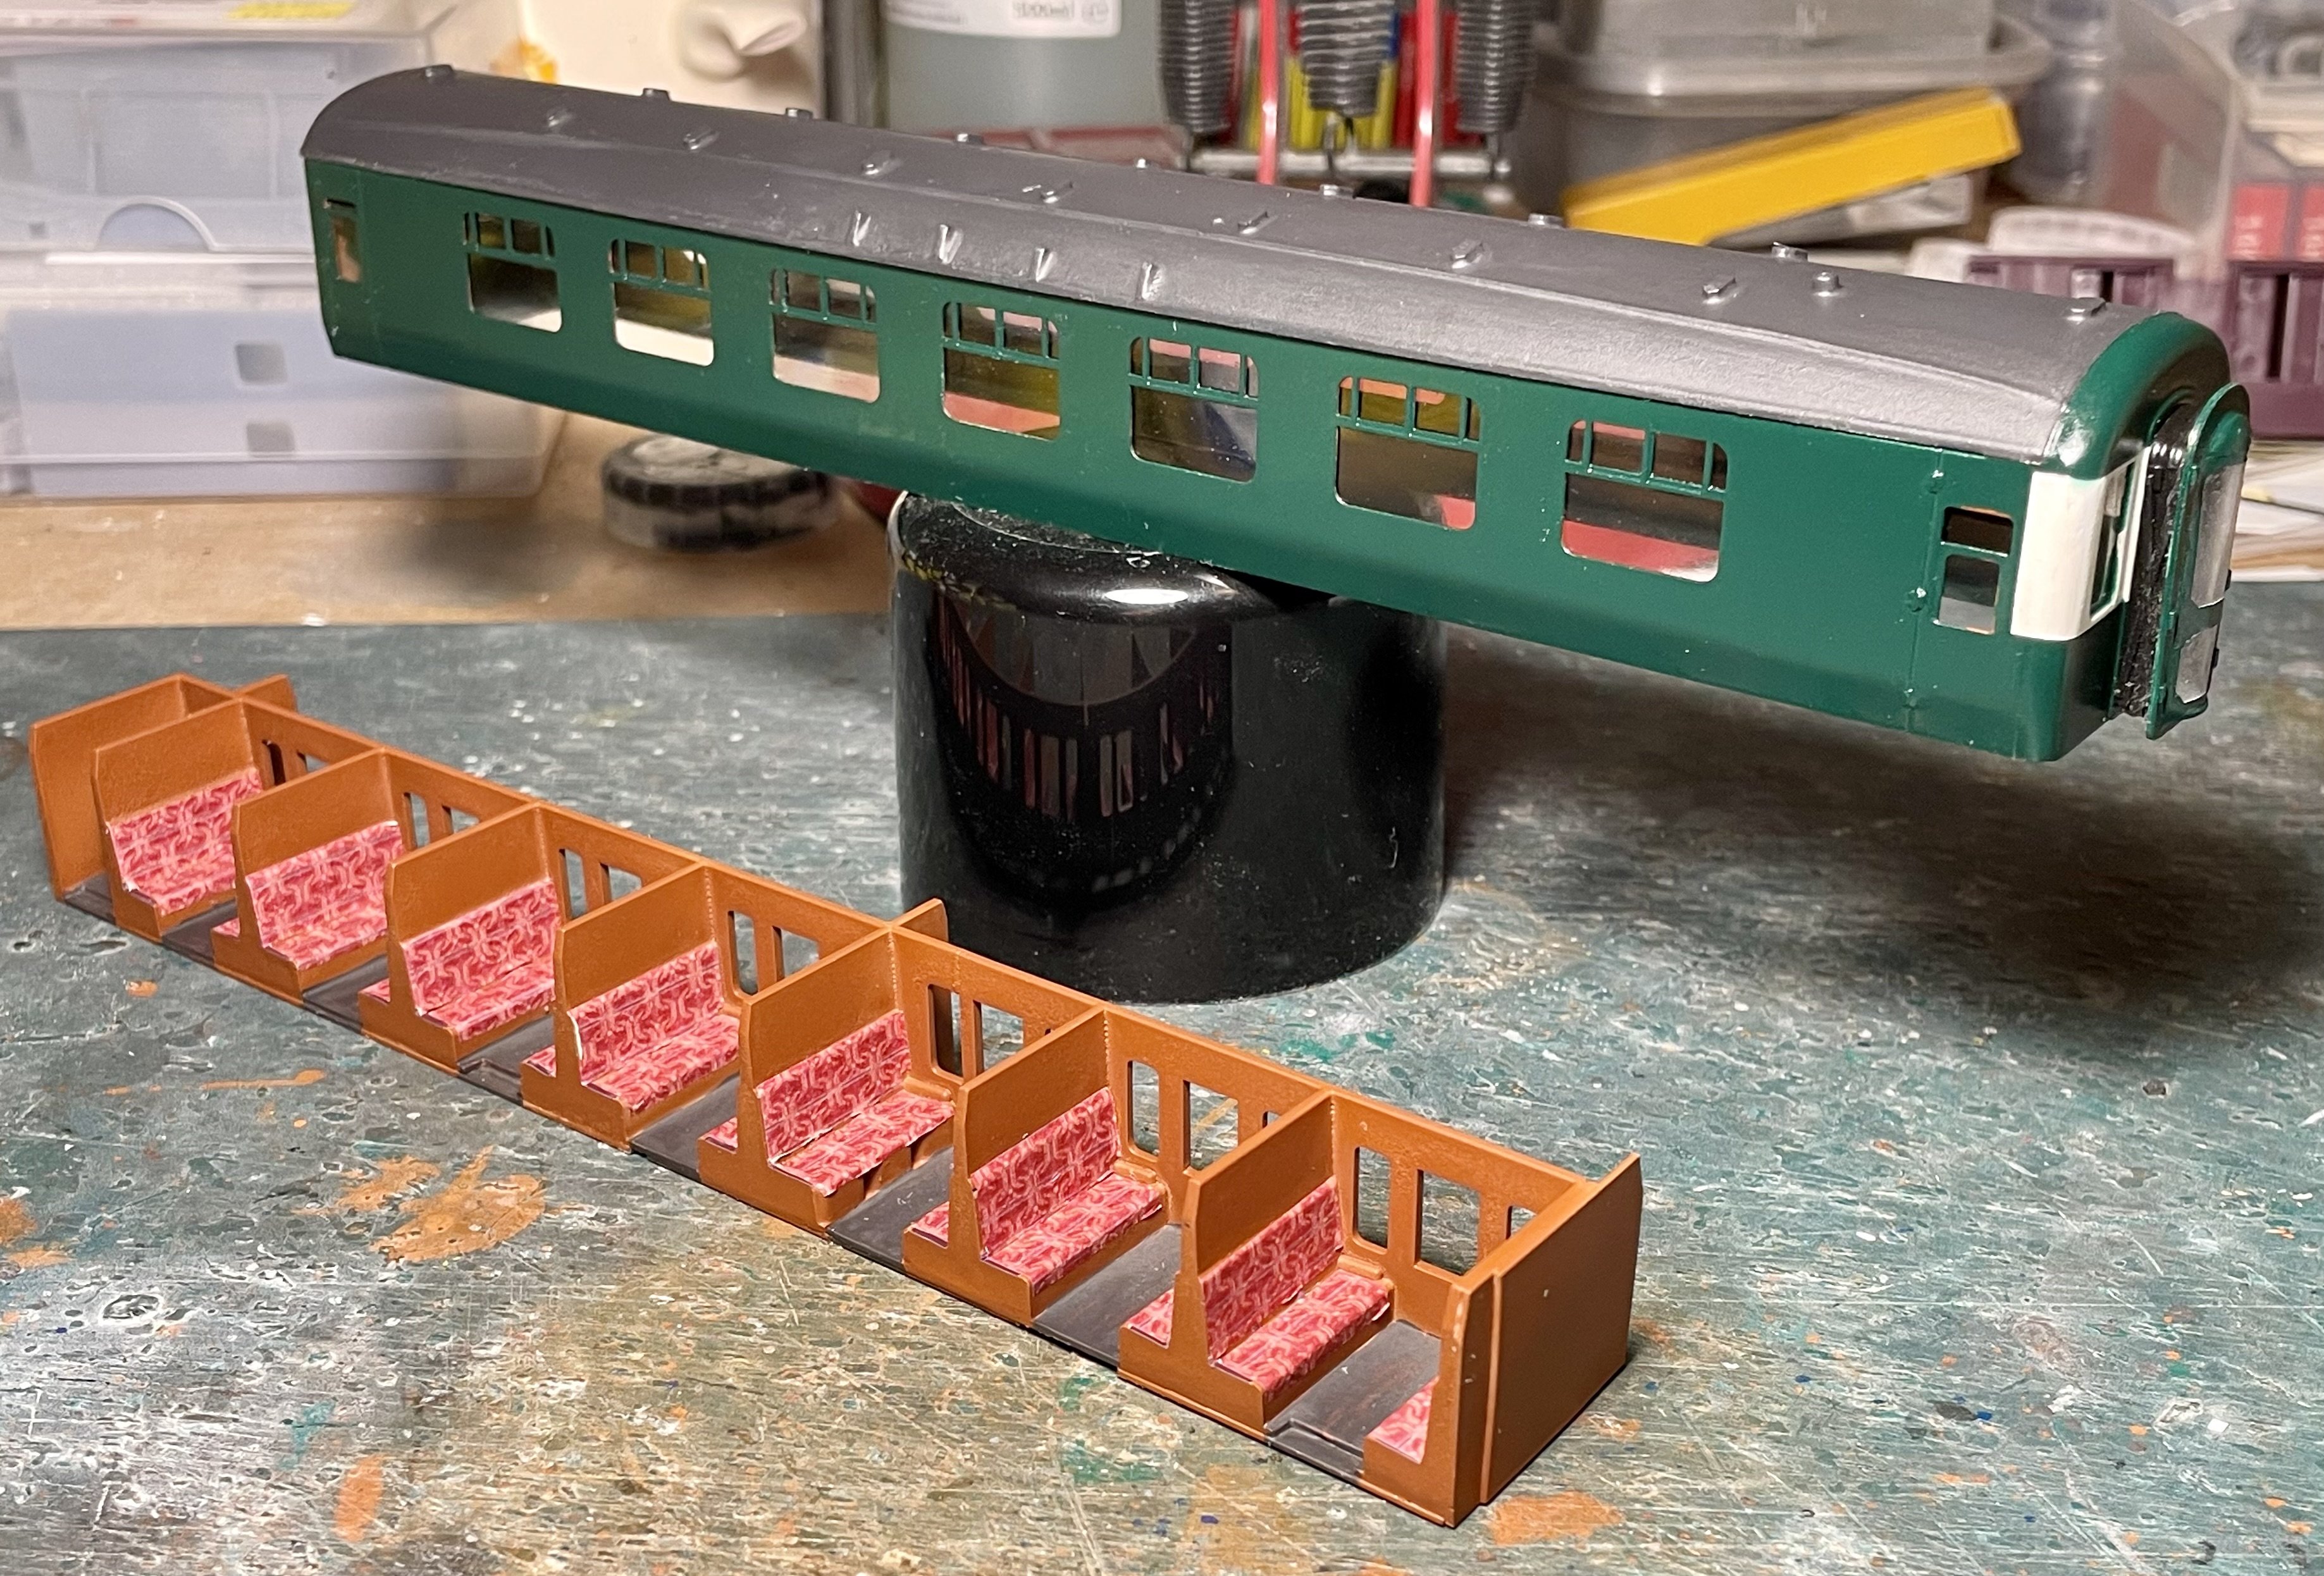
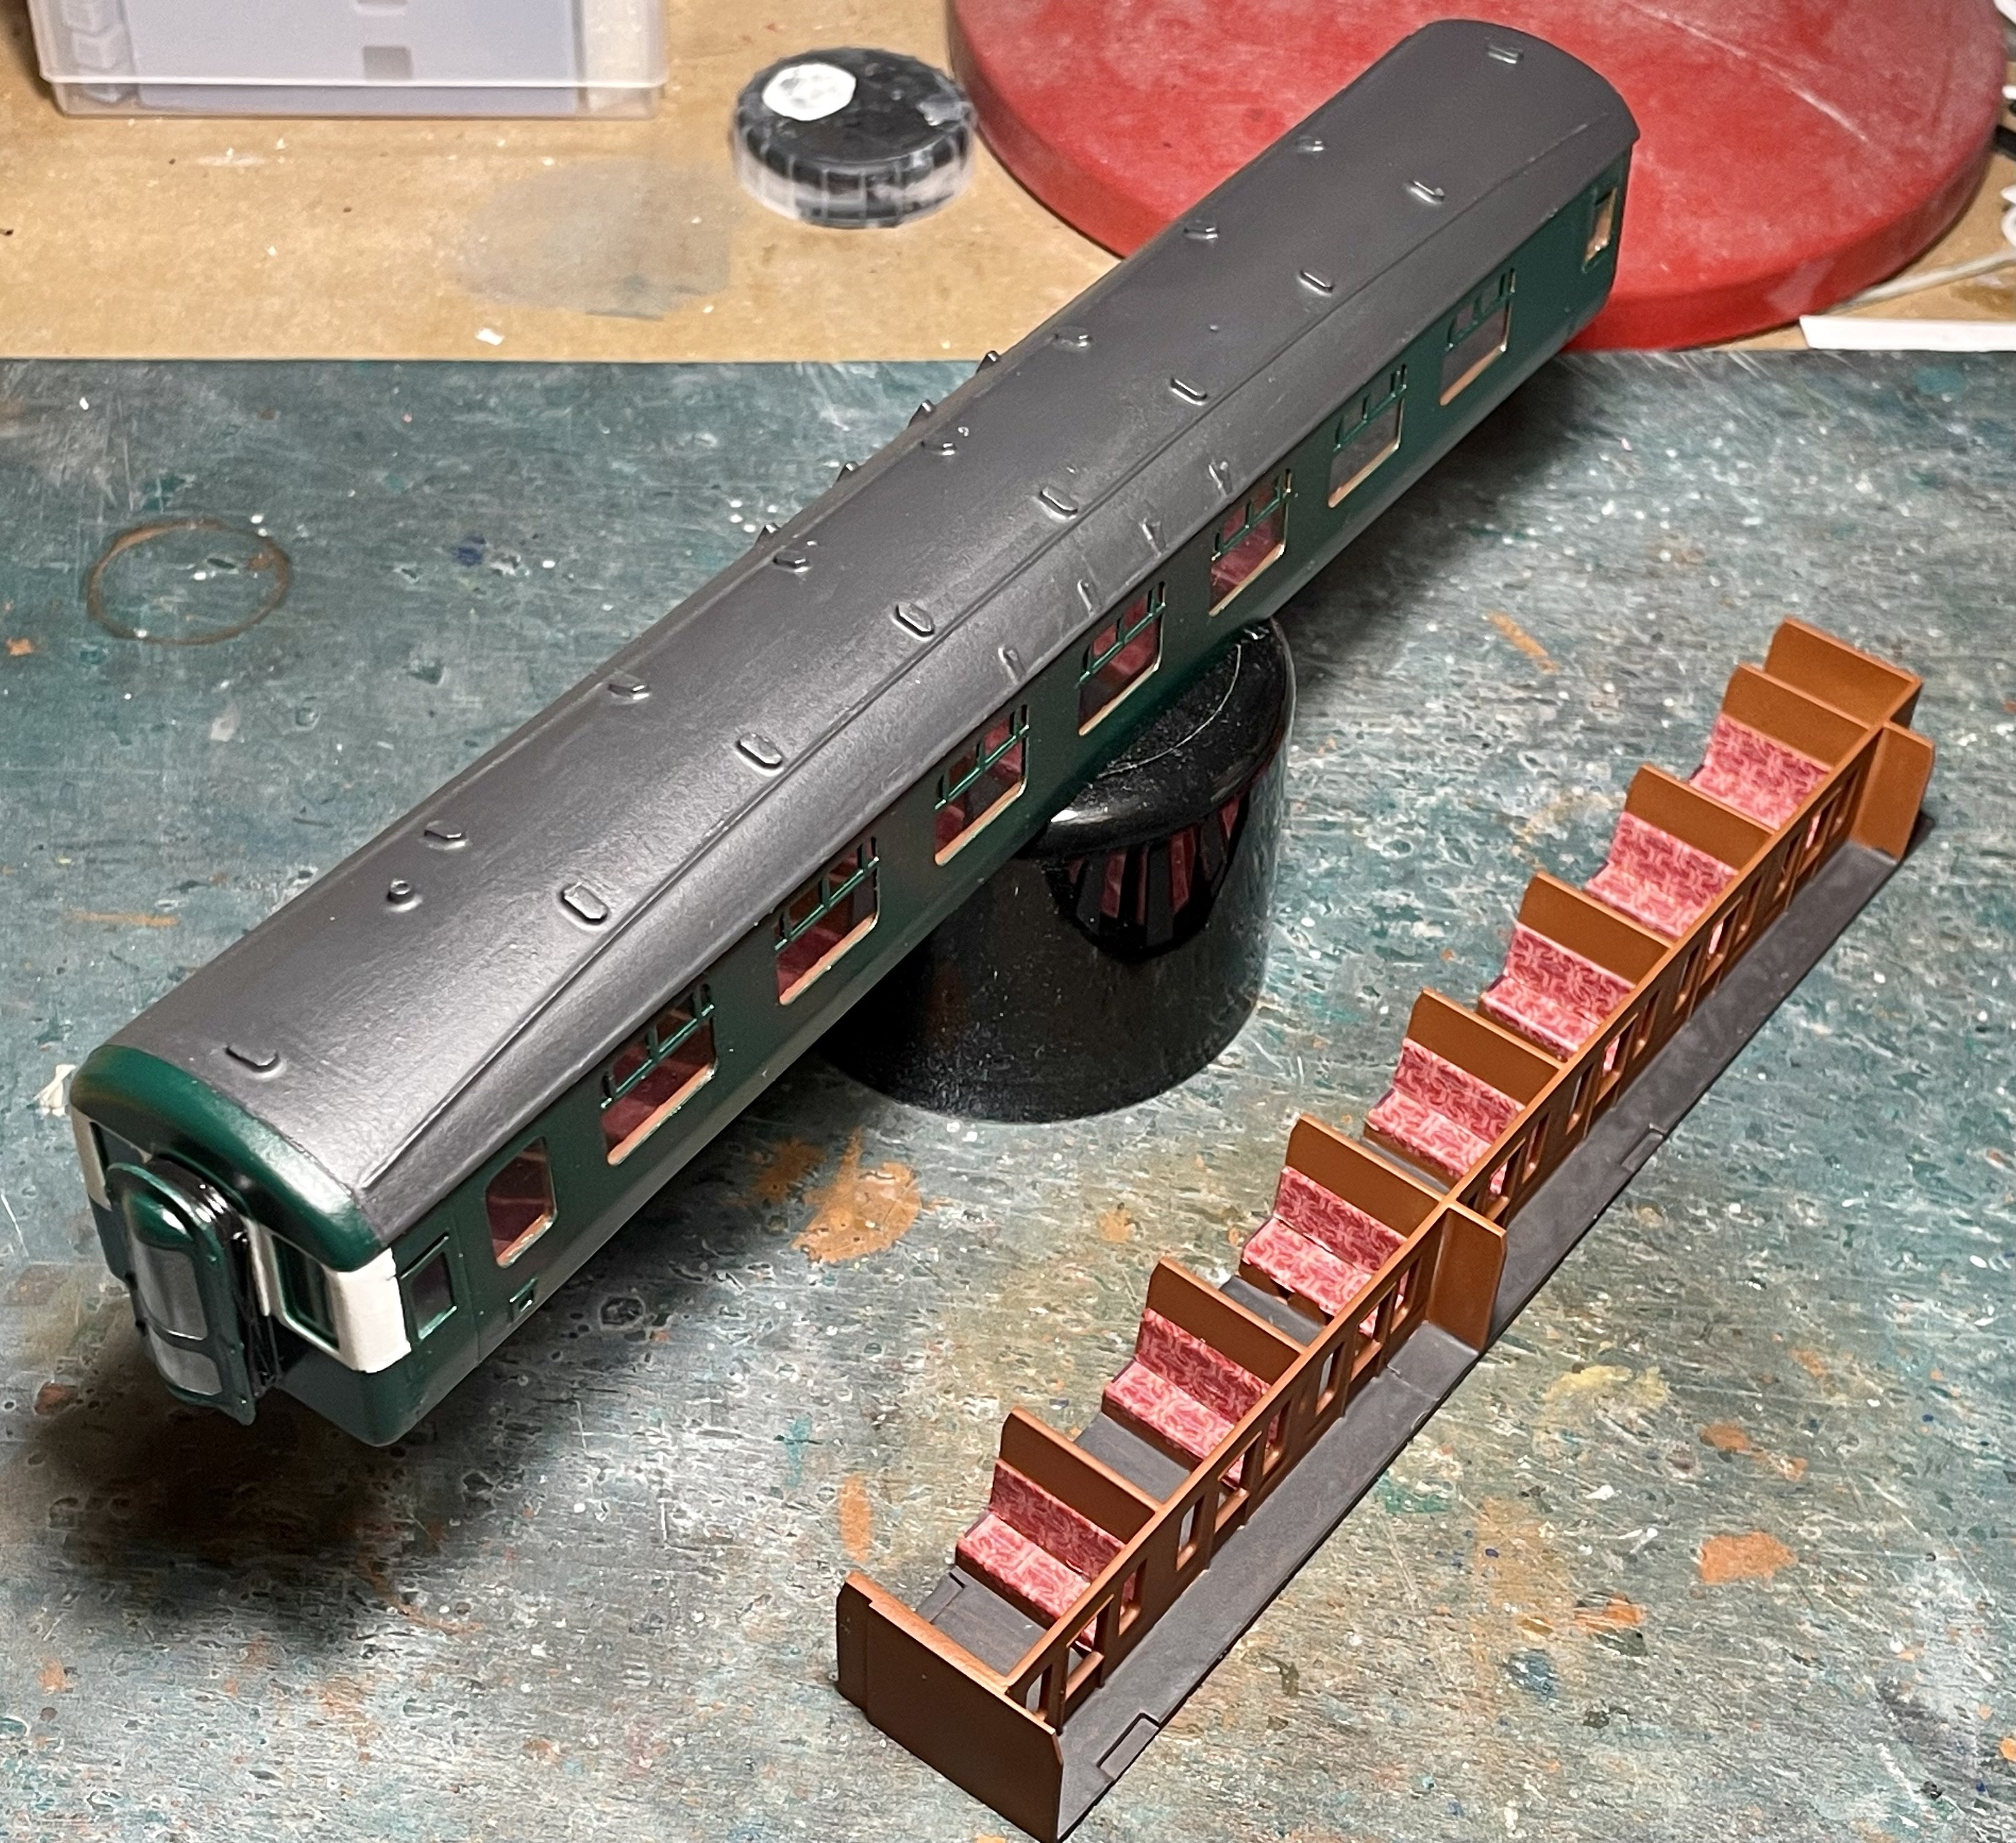
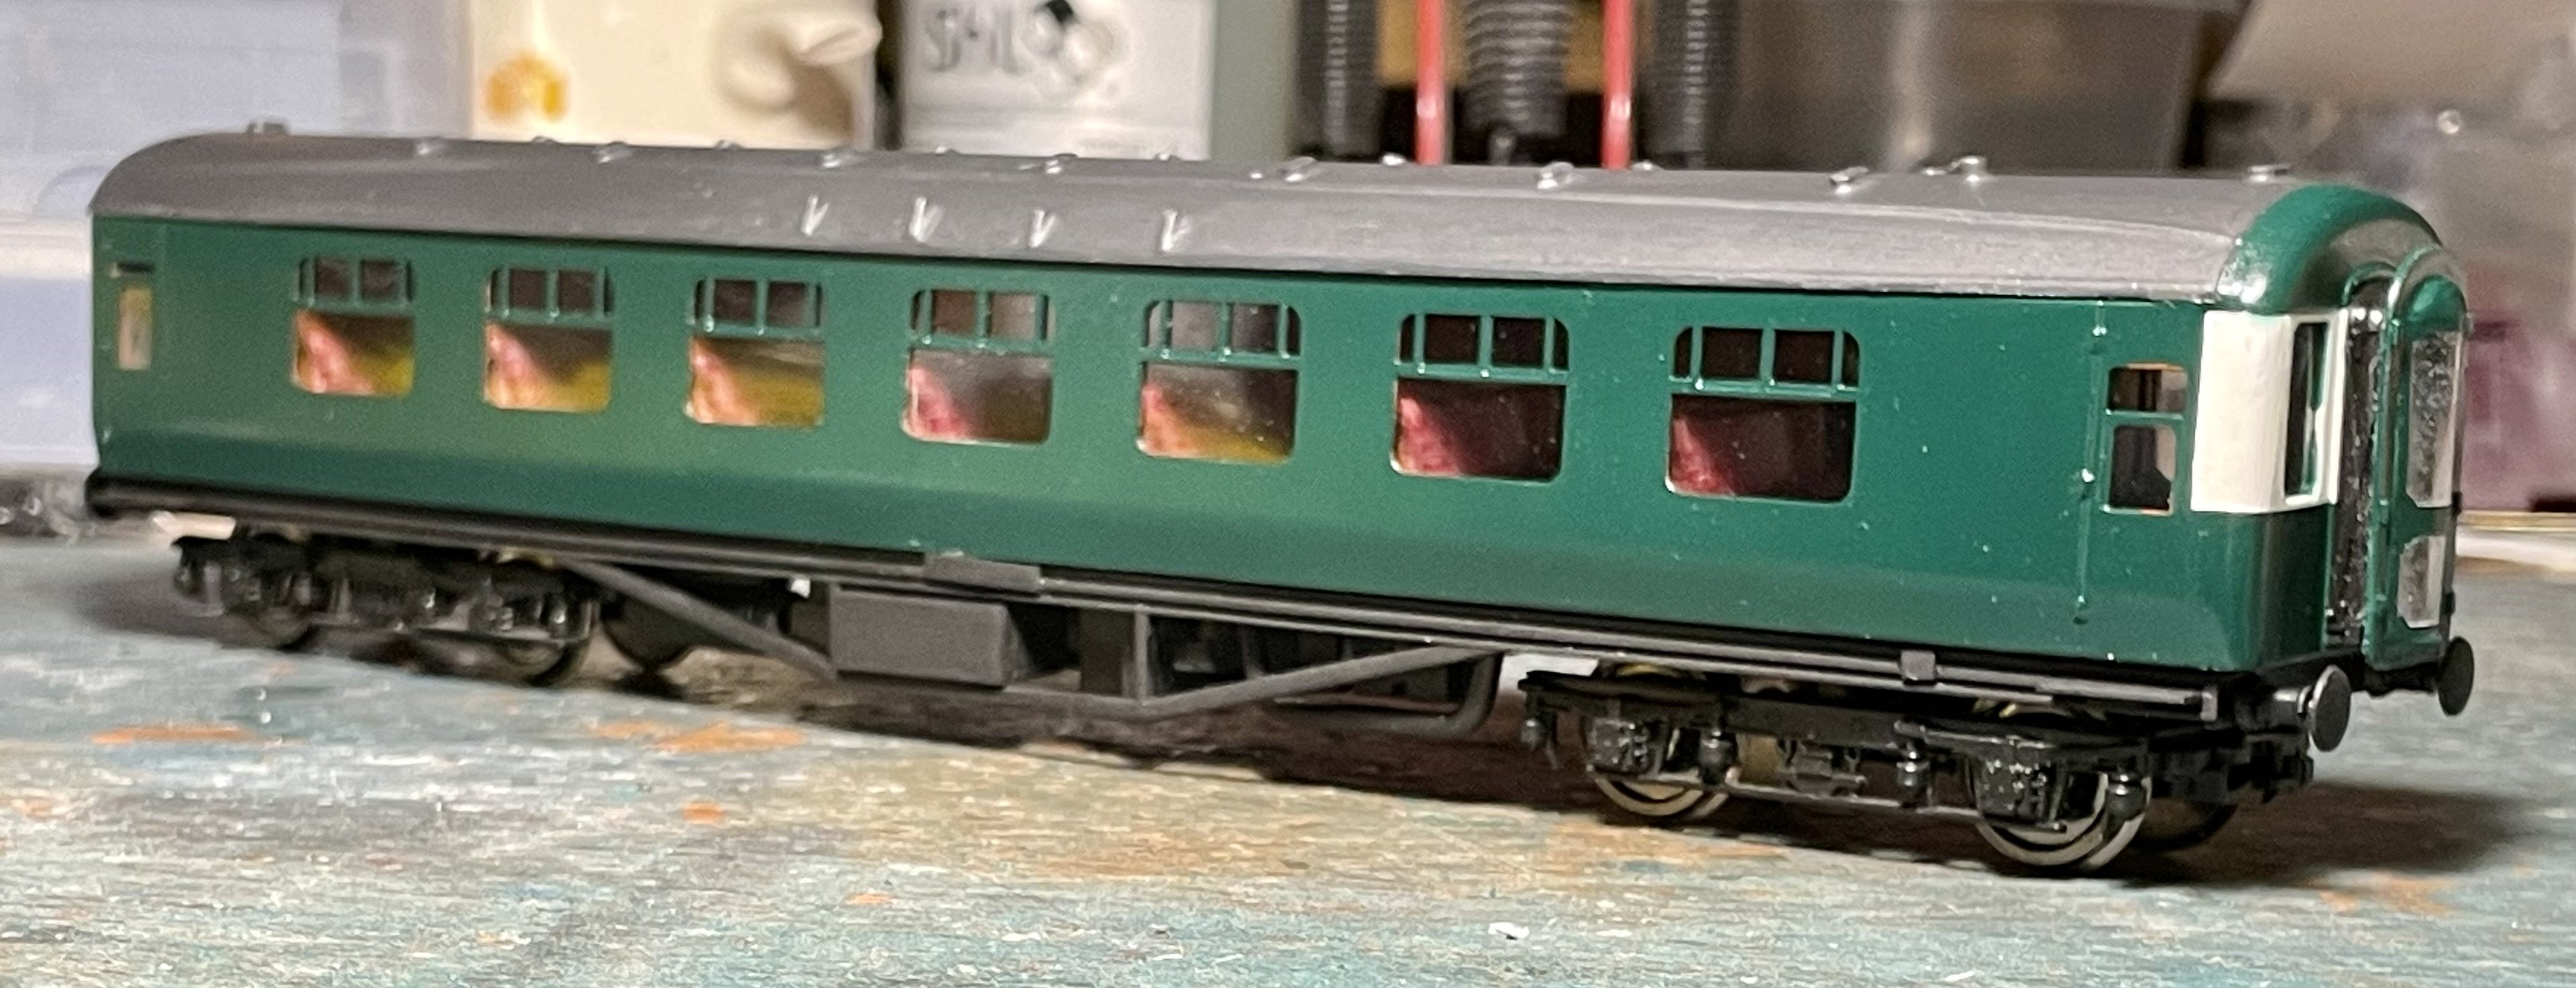
Glazing fitted and interior cut and shut from spares box coach interiors. Decals and other details next. Cheers Darius
-
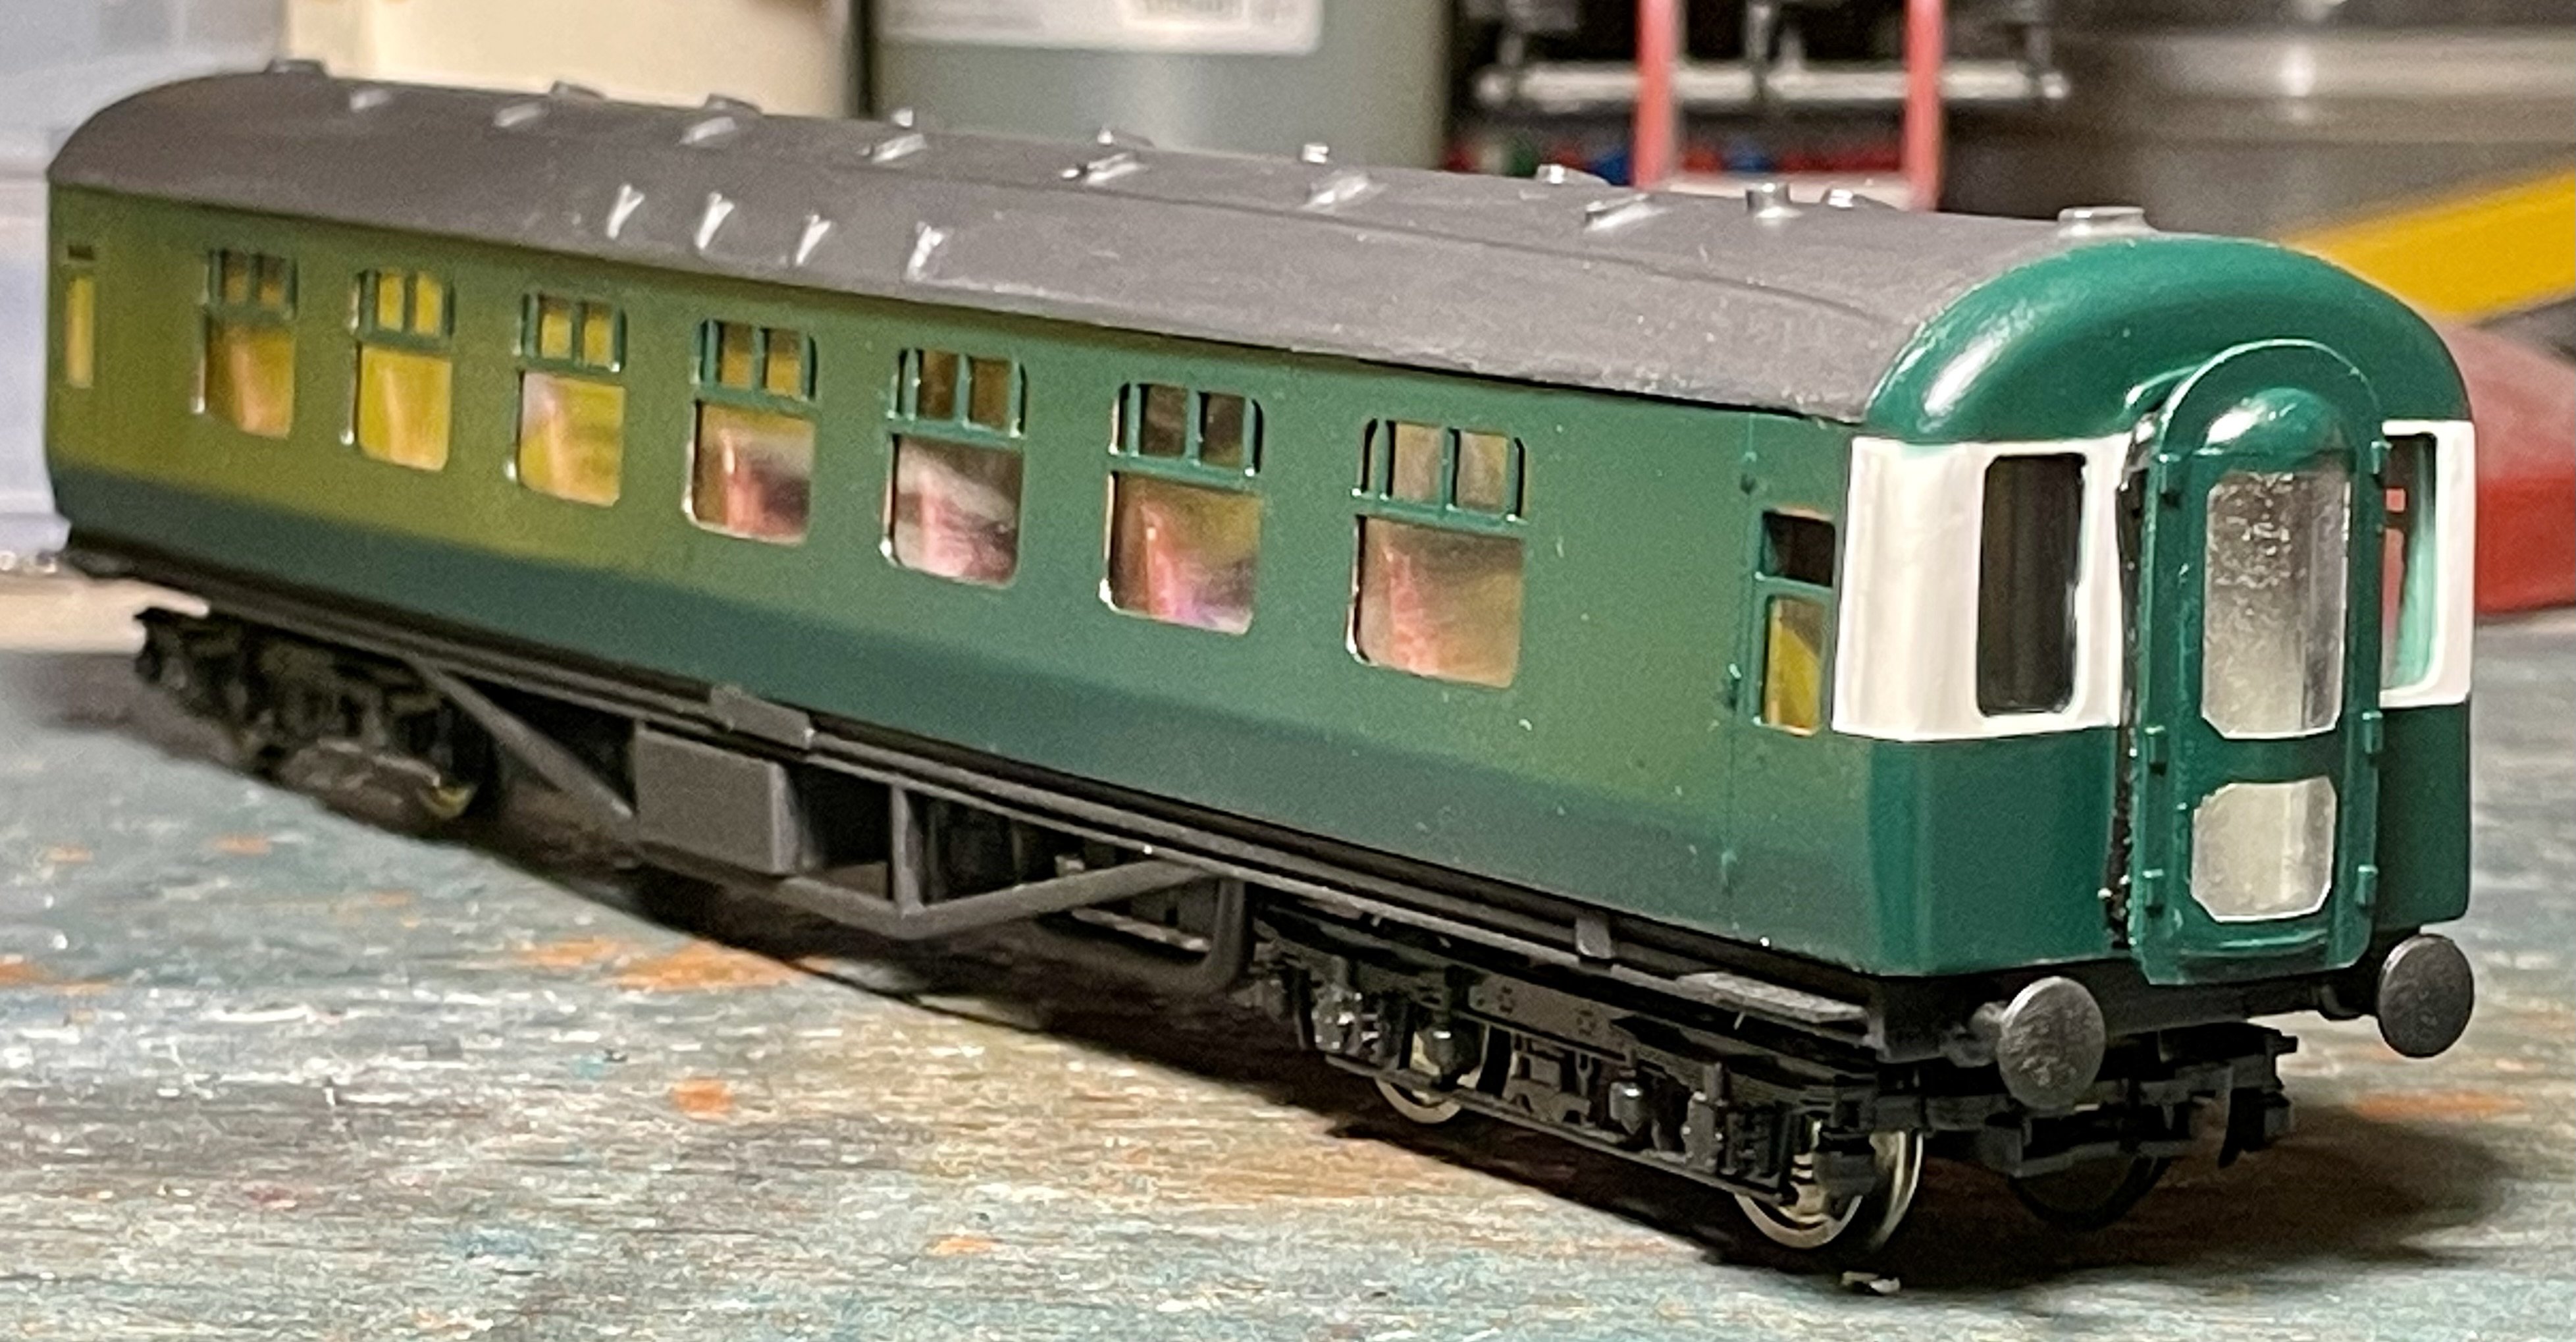
Undergibbons painted. Cheers Darius