
Darius43
-
Posts
1,393 -
Joined
-
Last visited
-
Days Won
108
Content Type
Profiles
Forums
Events
Gallery
Blogs
Everything posted by Darius43
-
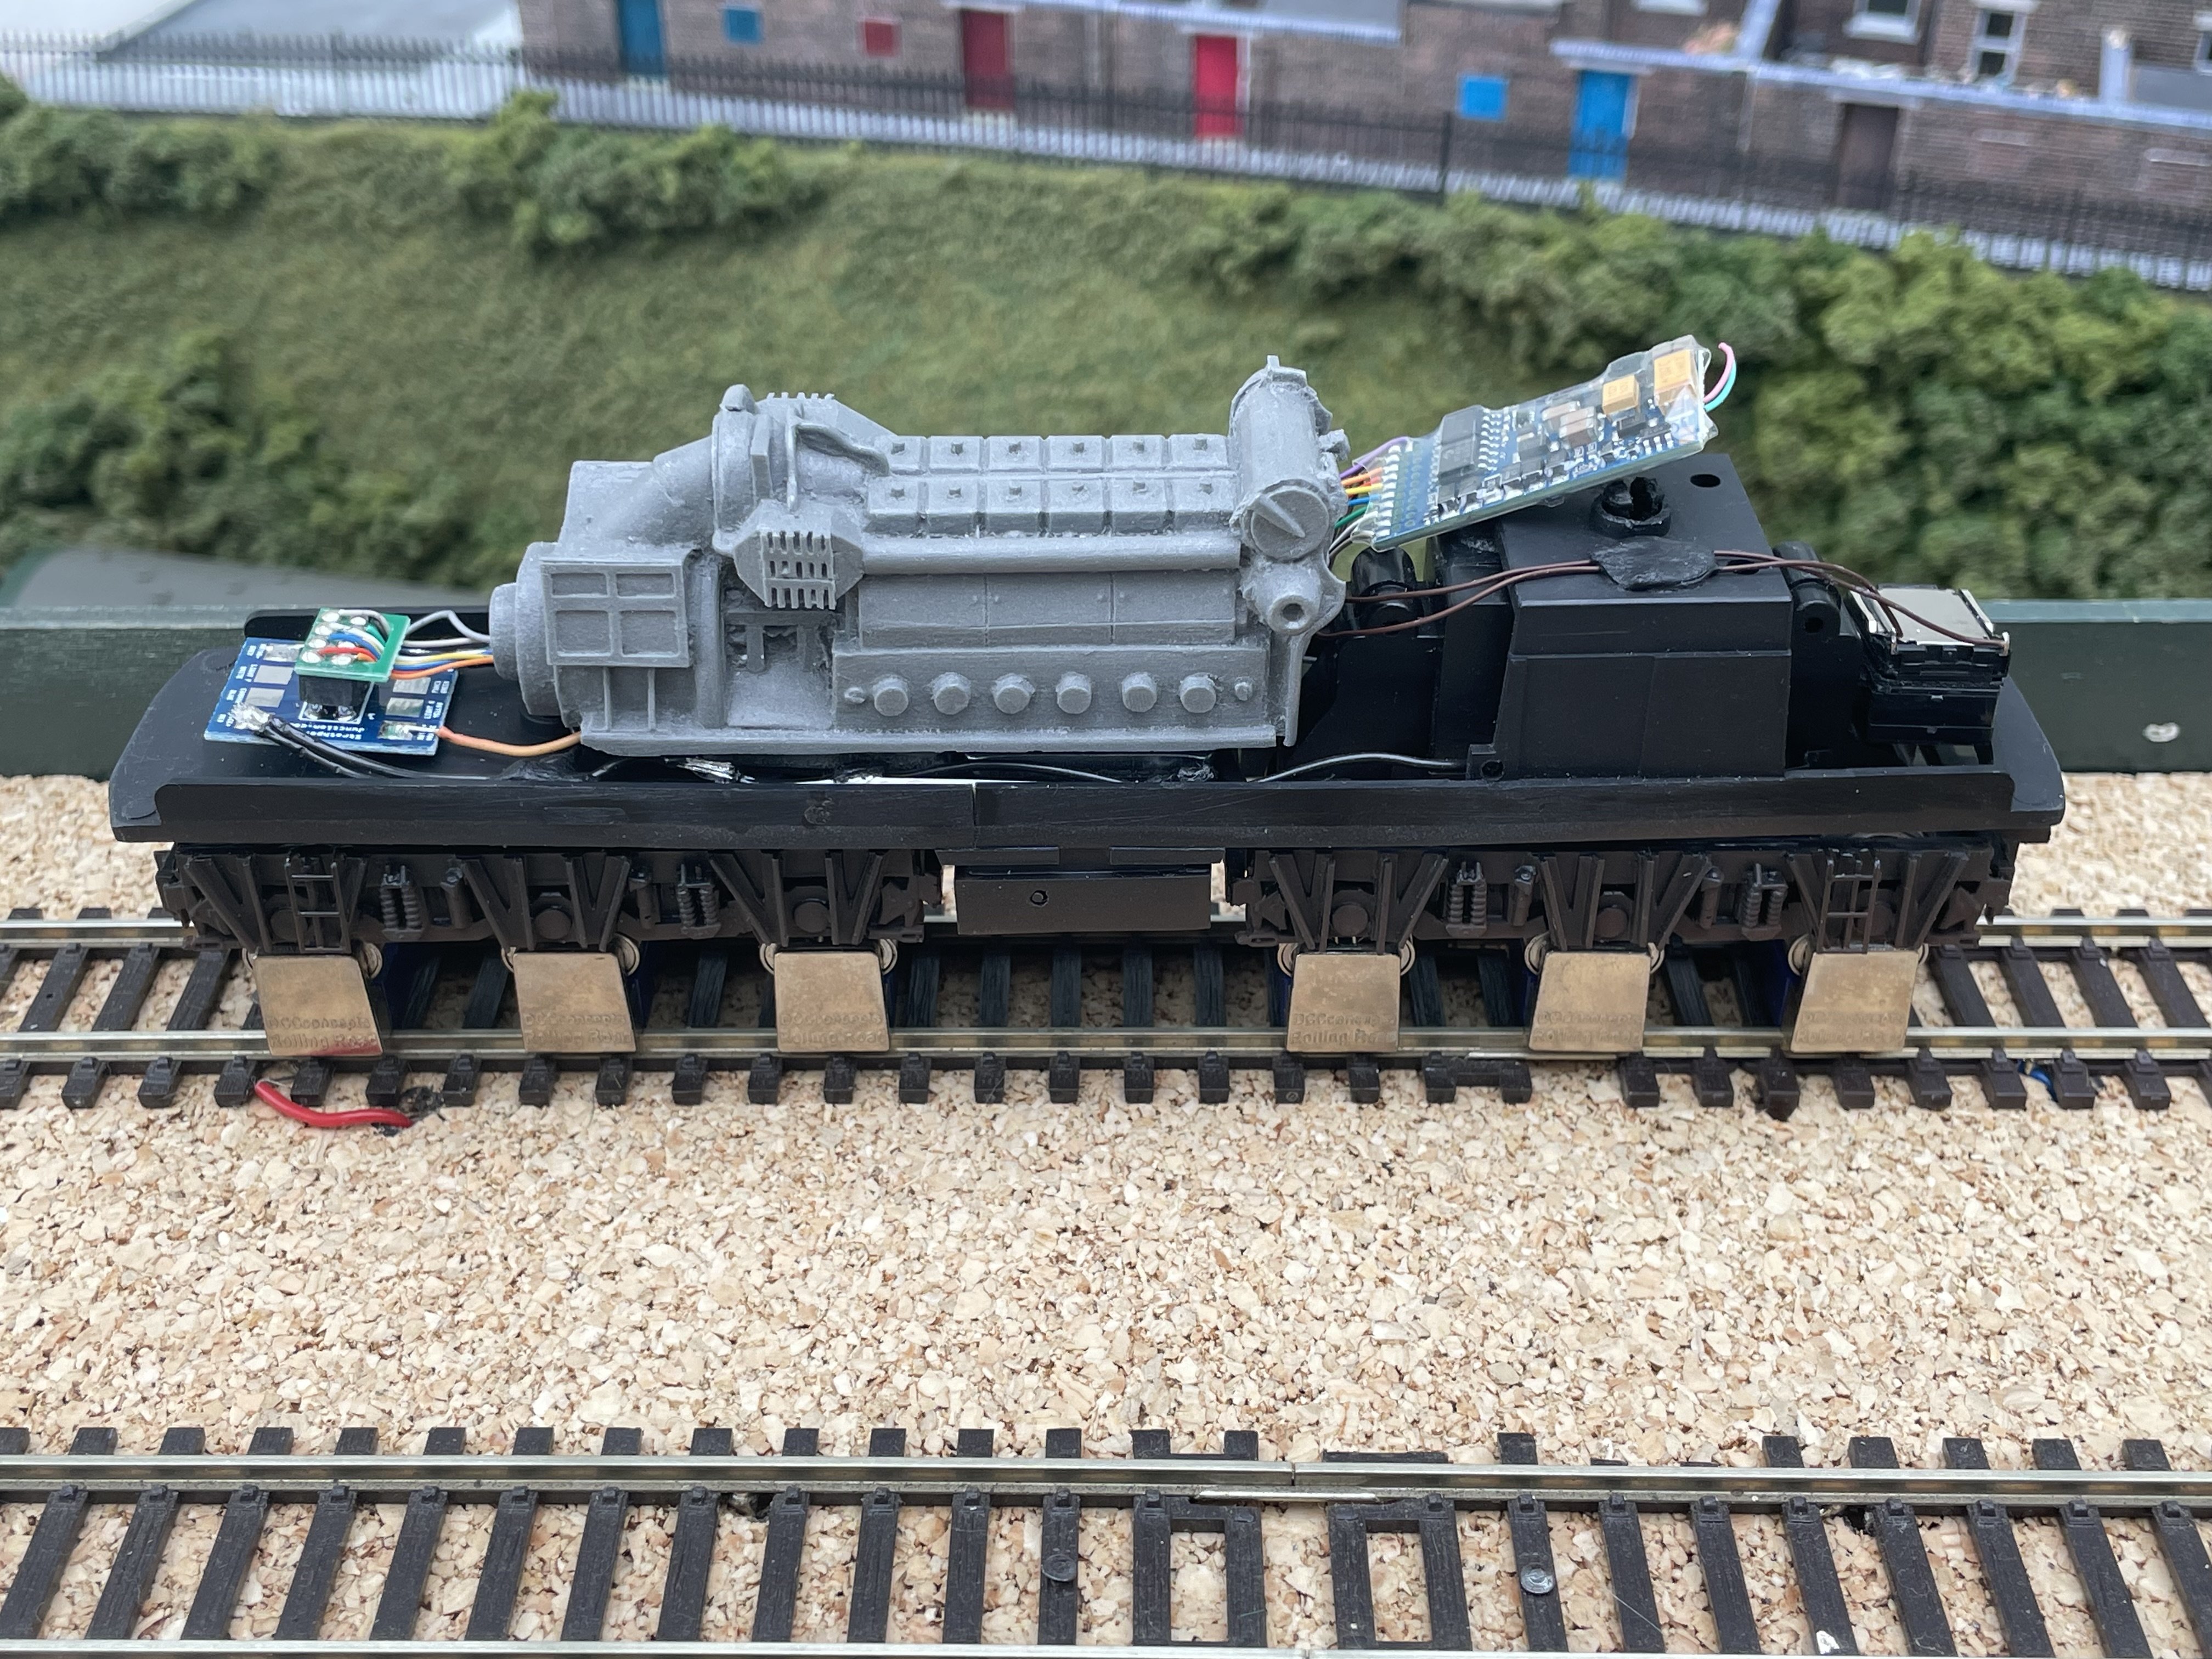
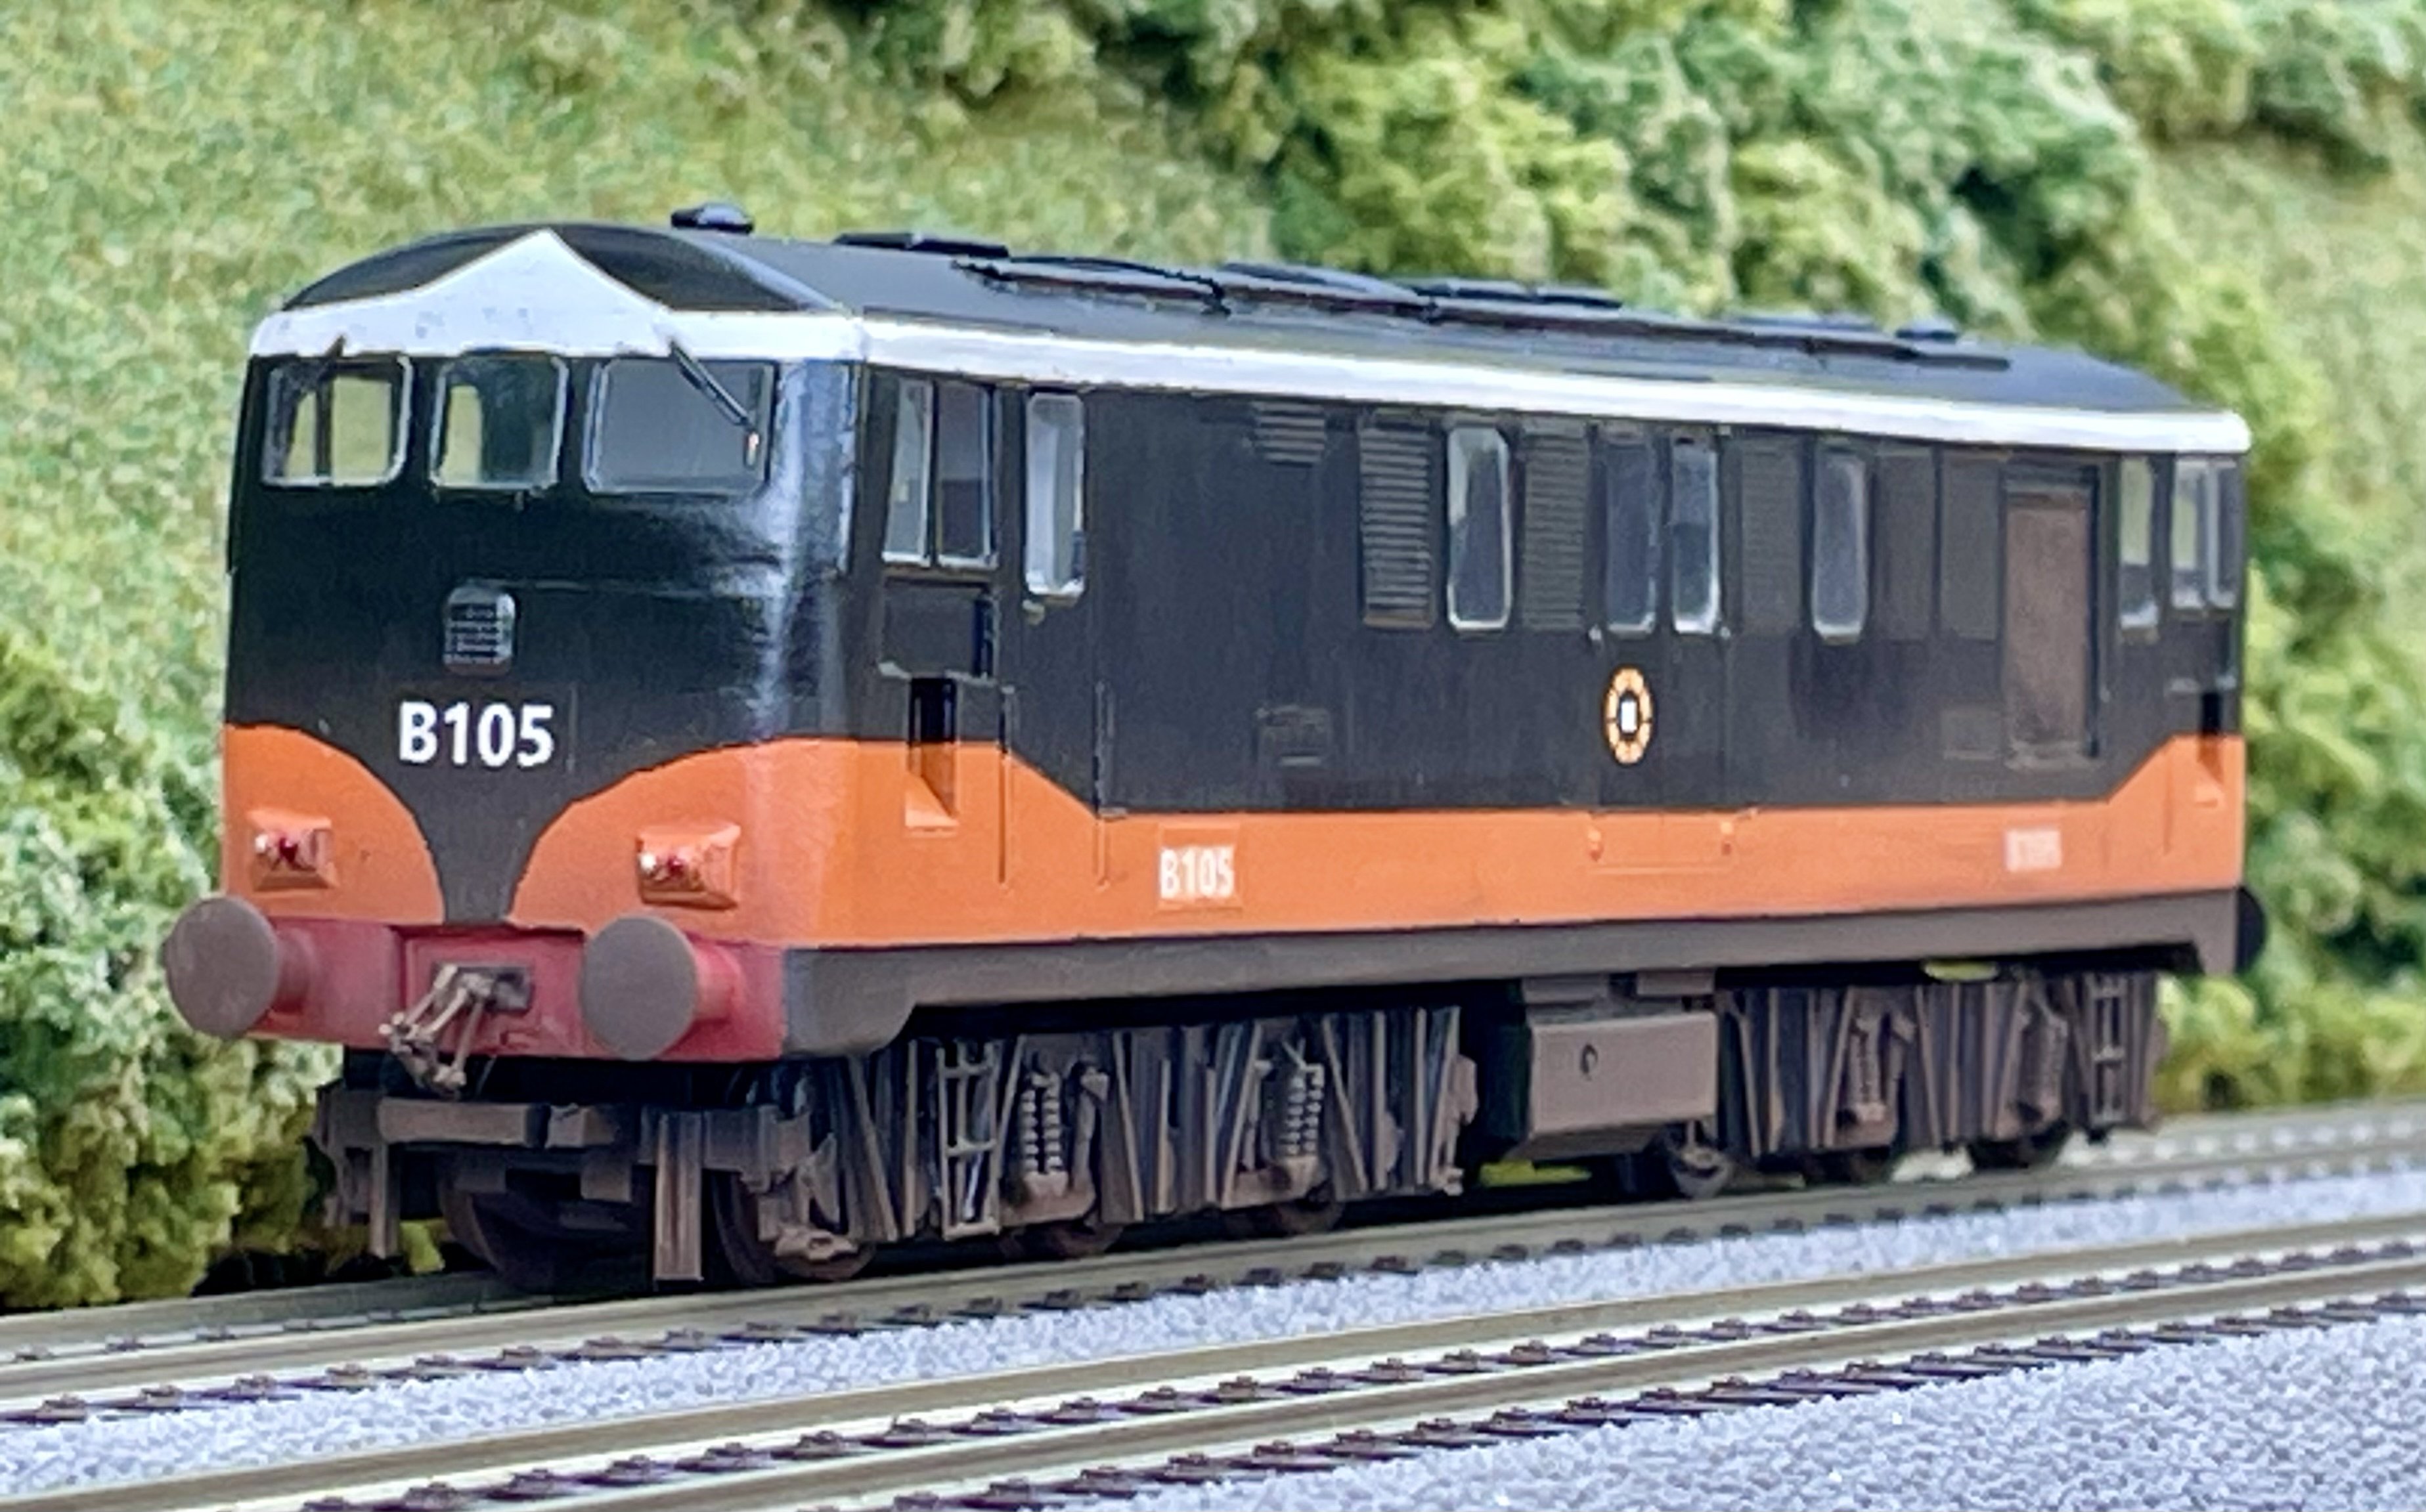
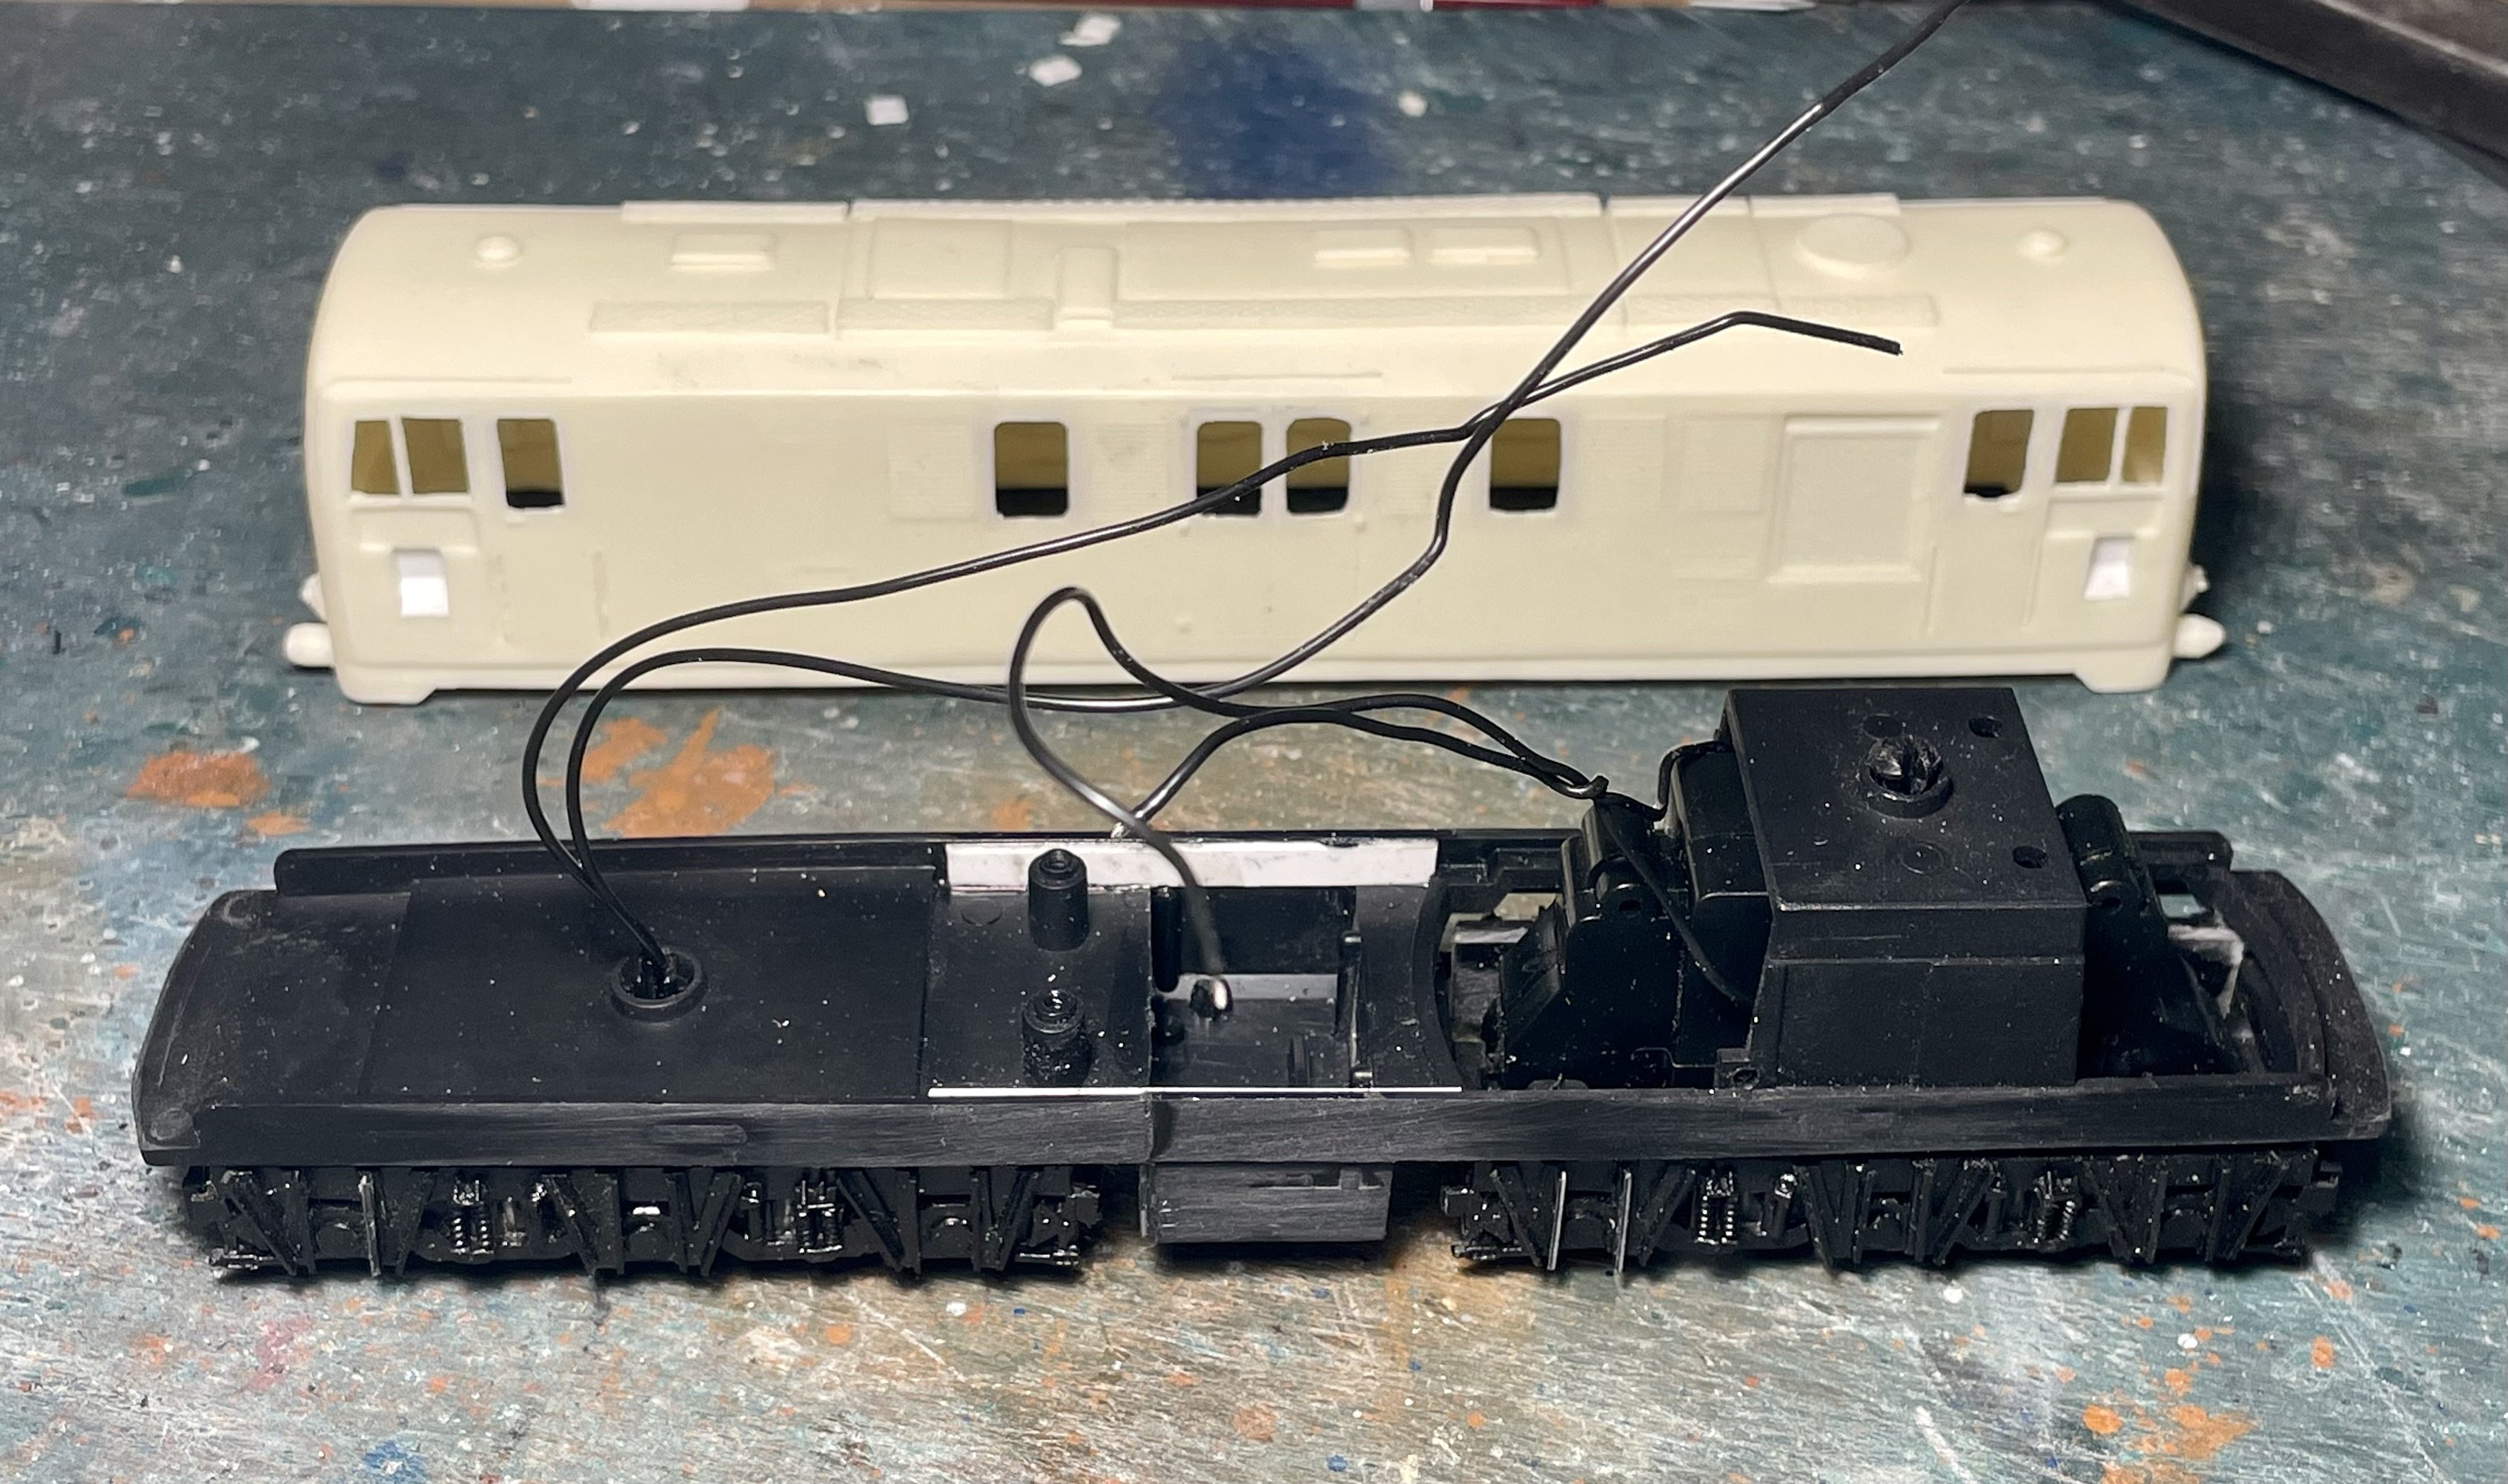
Back to the B Class locomotive. I fitted a resin Sulzer powerplant to remove the see through effect and squeezed in DCC sound courtesy of Roads and Rails. Cheers Darius

-
Centre coach given the same treatment. Cheers Darius
-
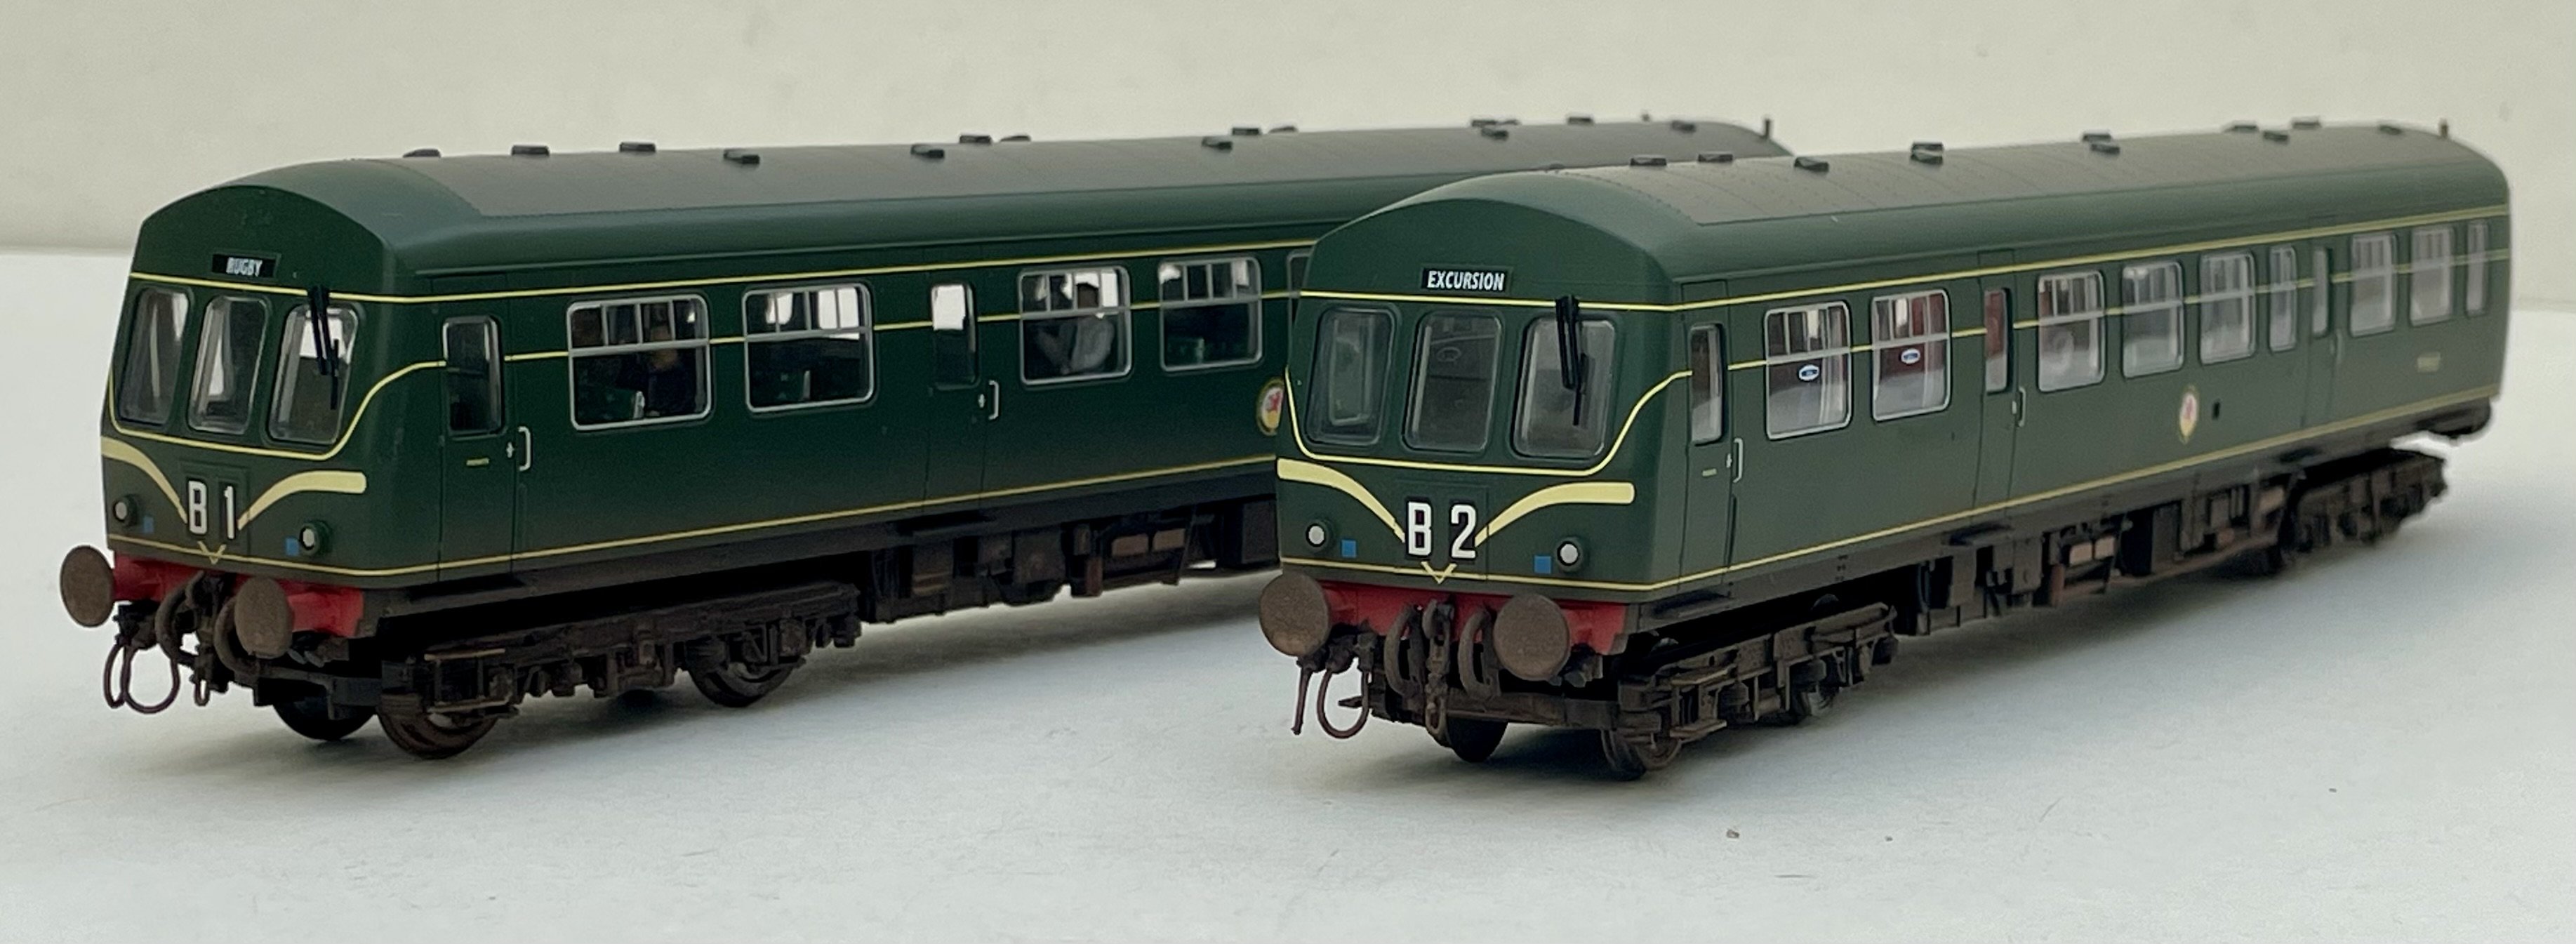
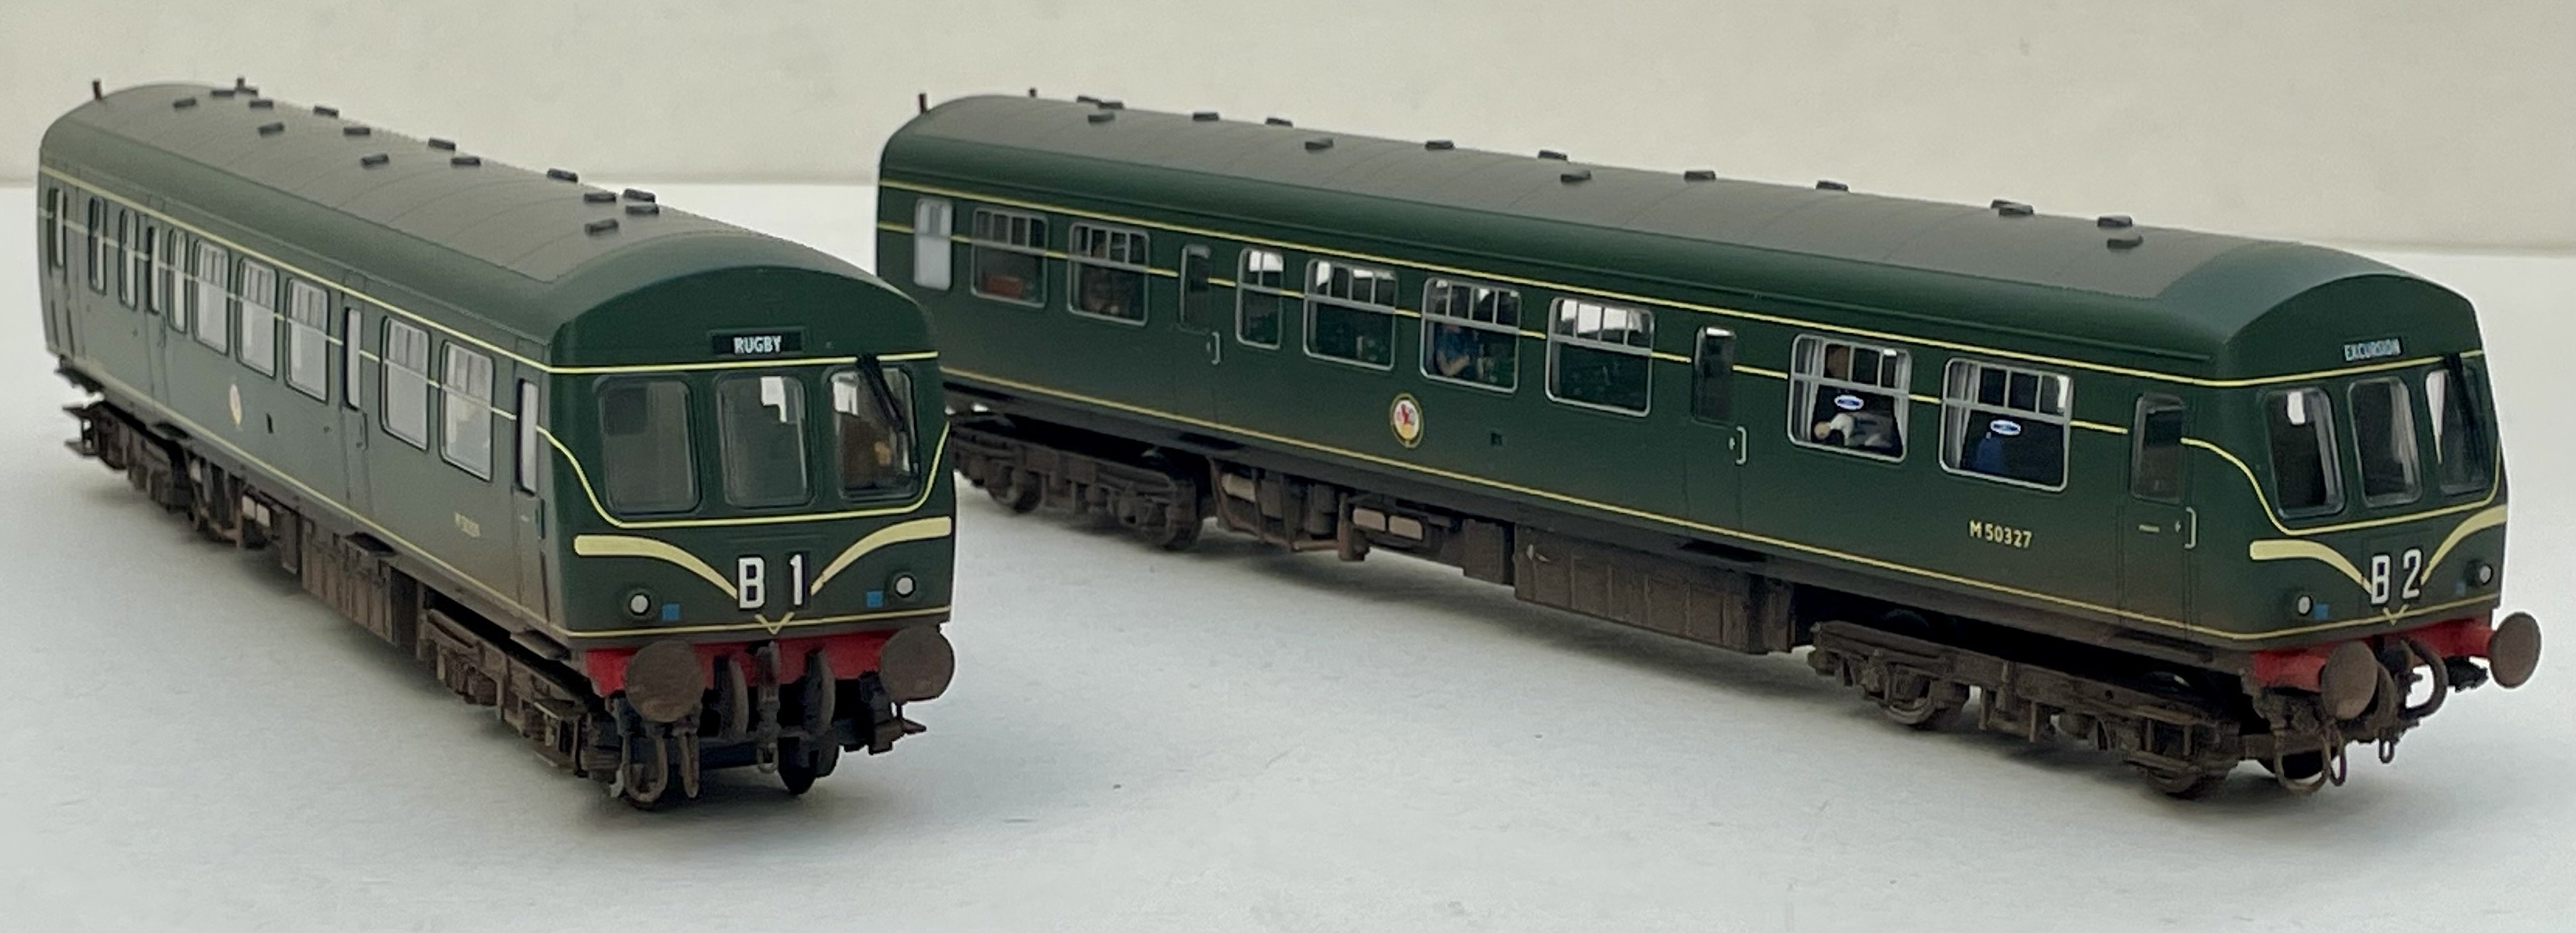
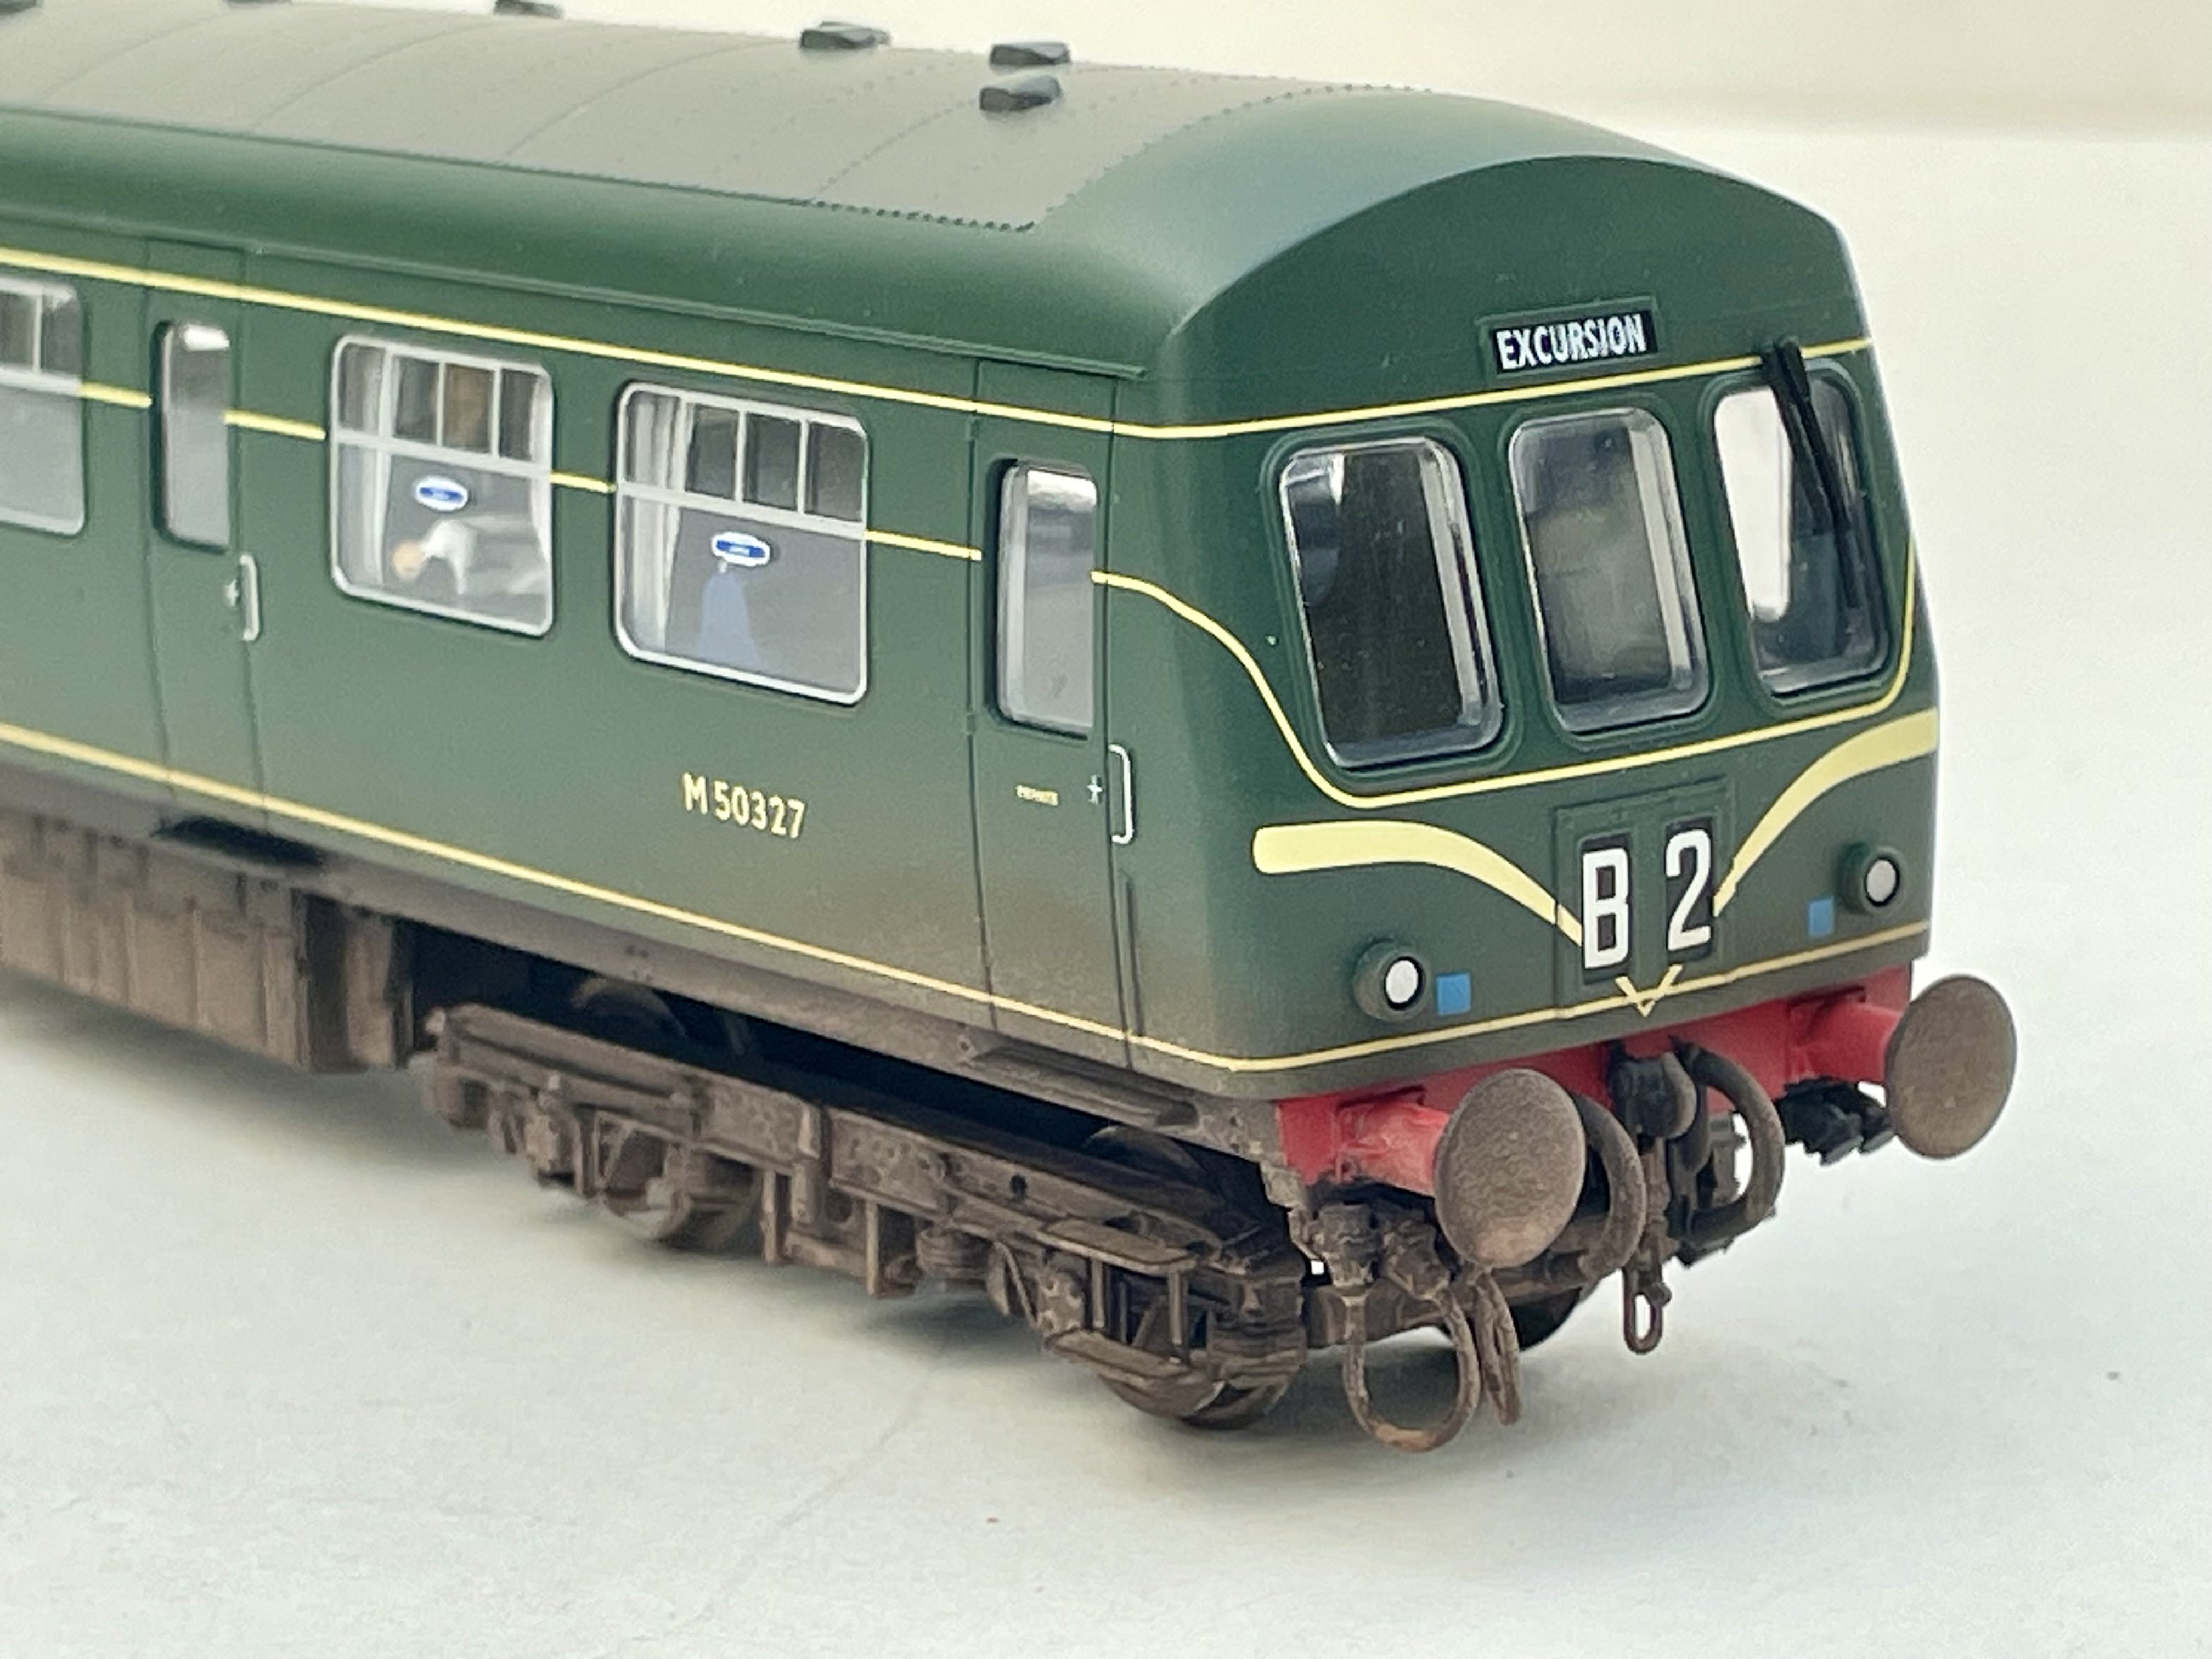
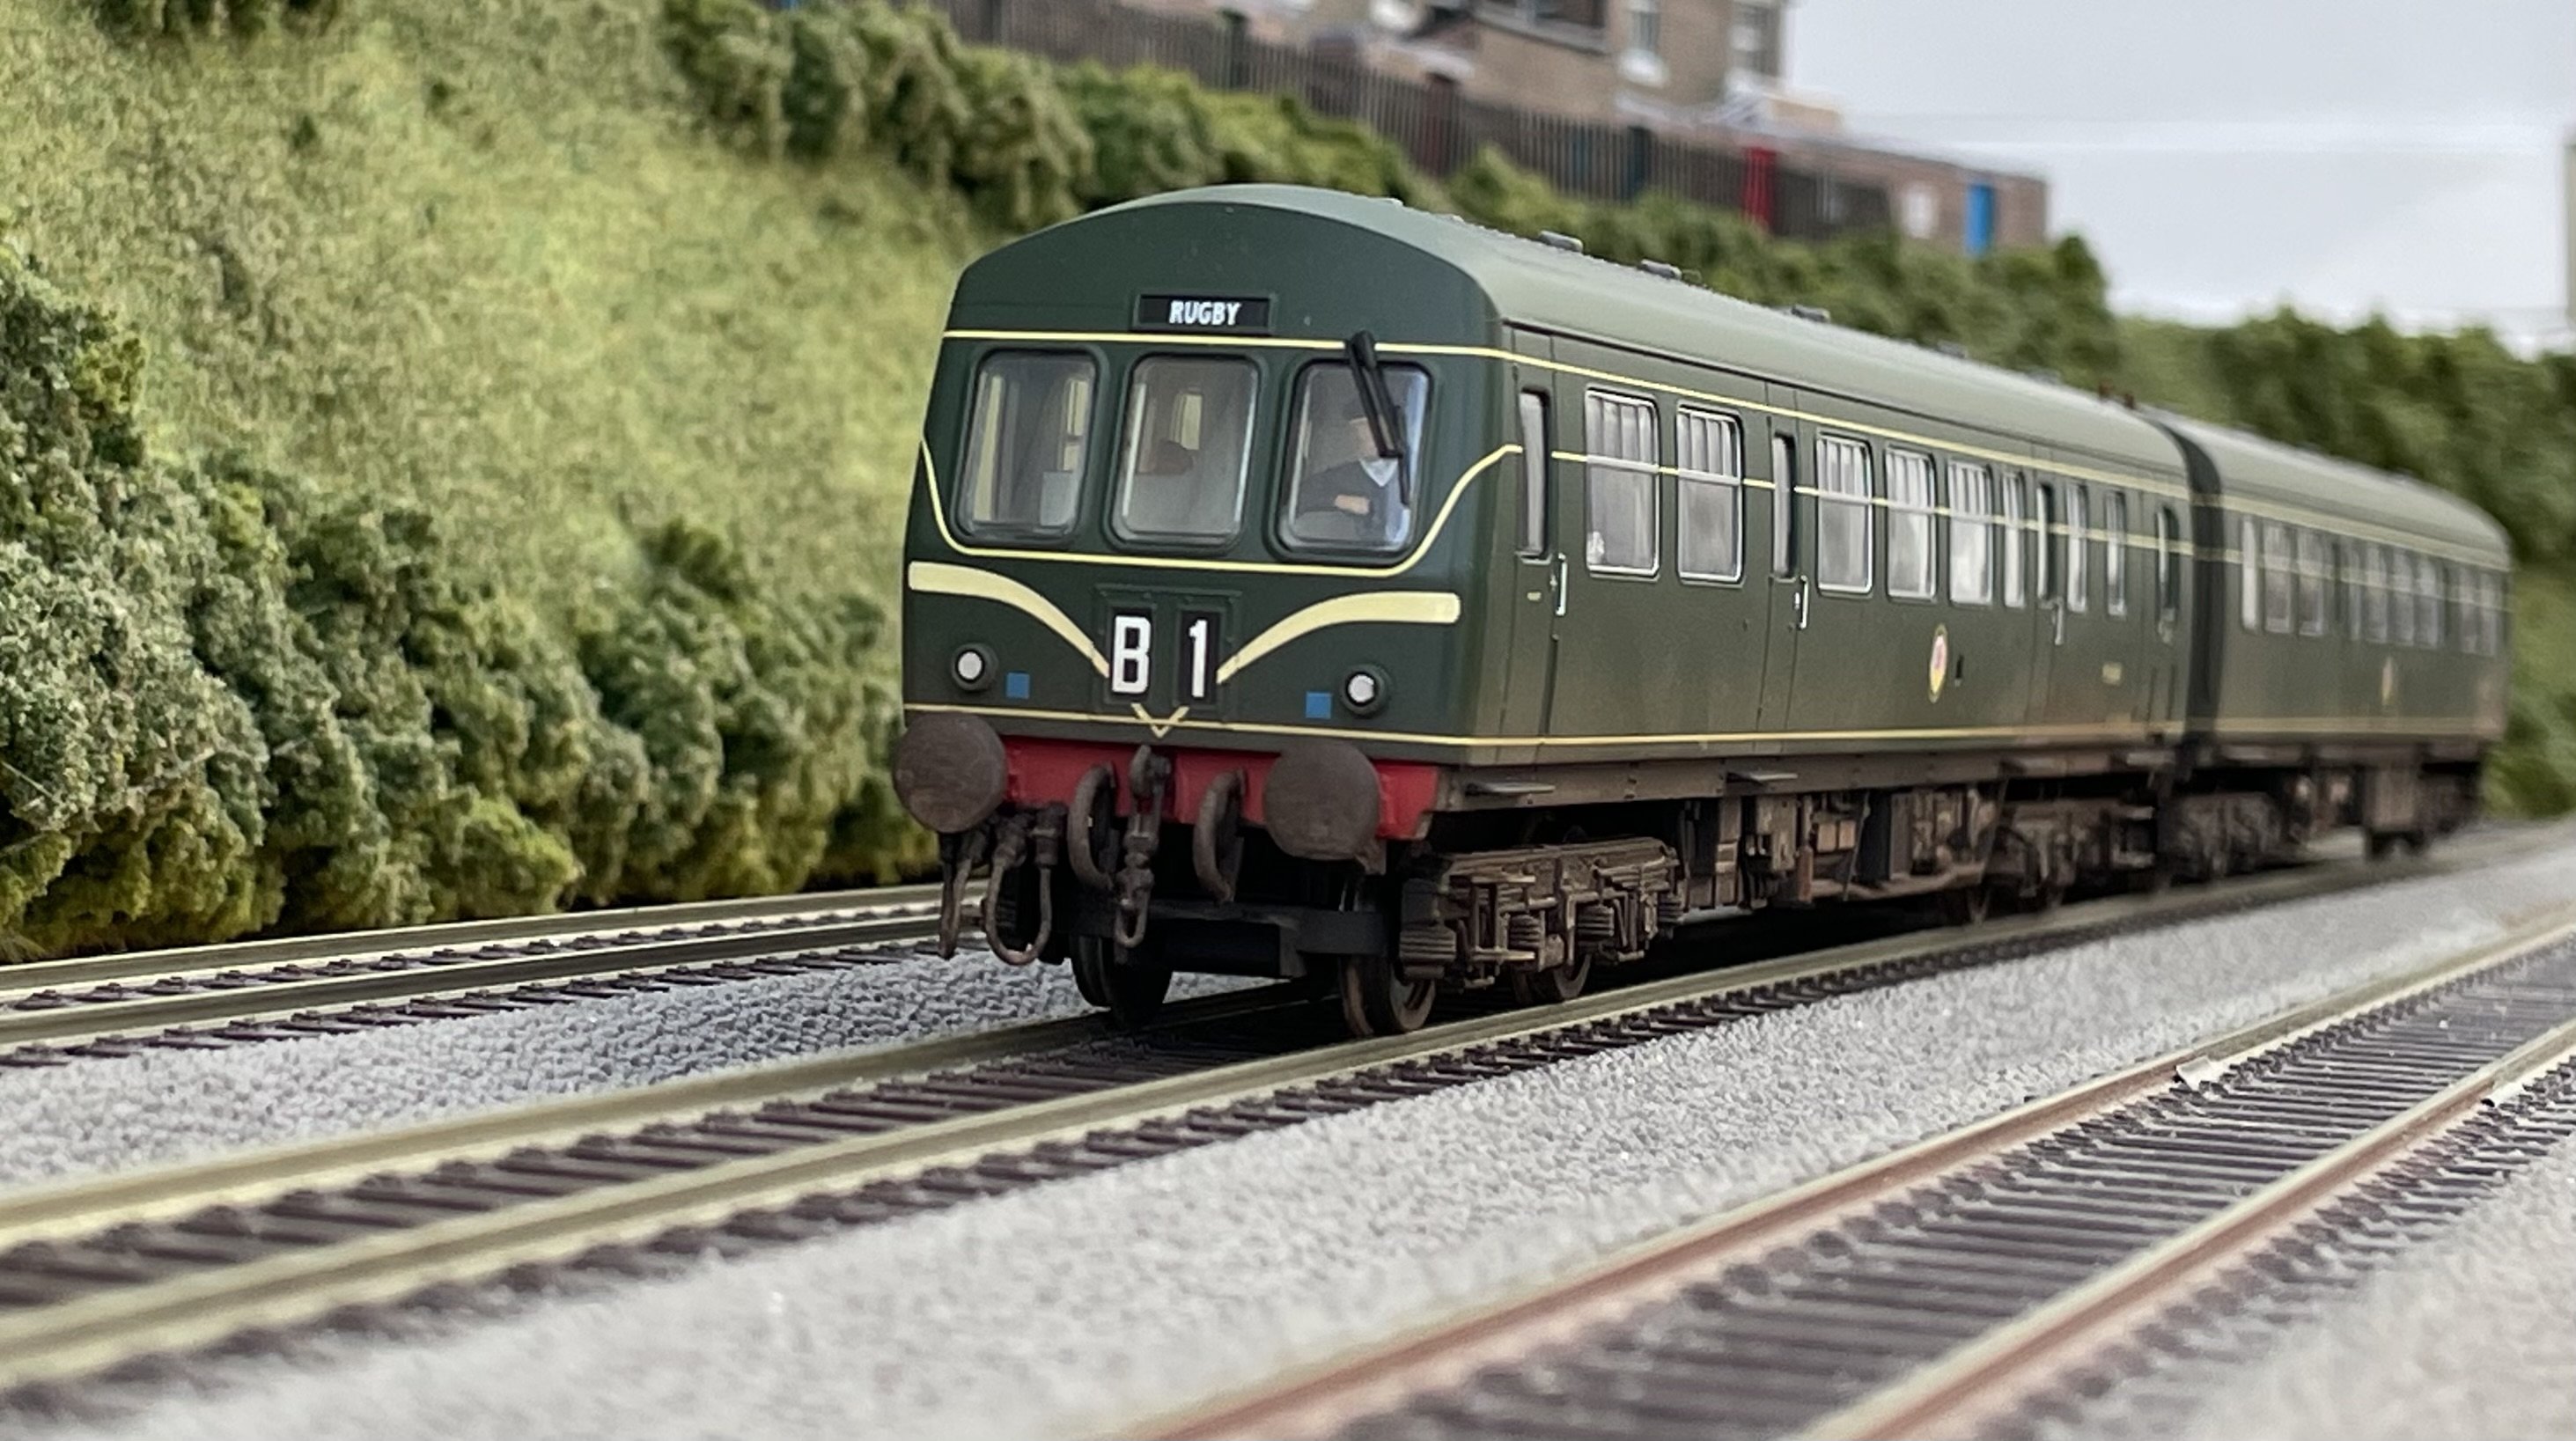
Improved another Limby Class 101 DMU… Cheers Darius
-
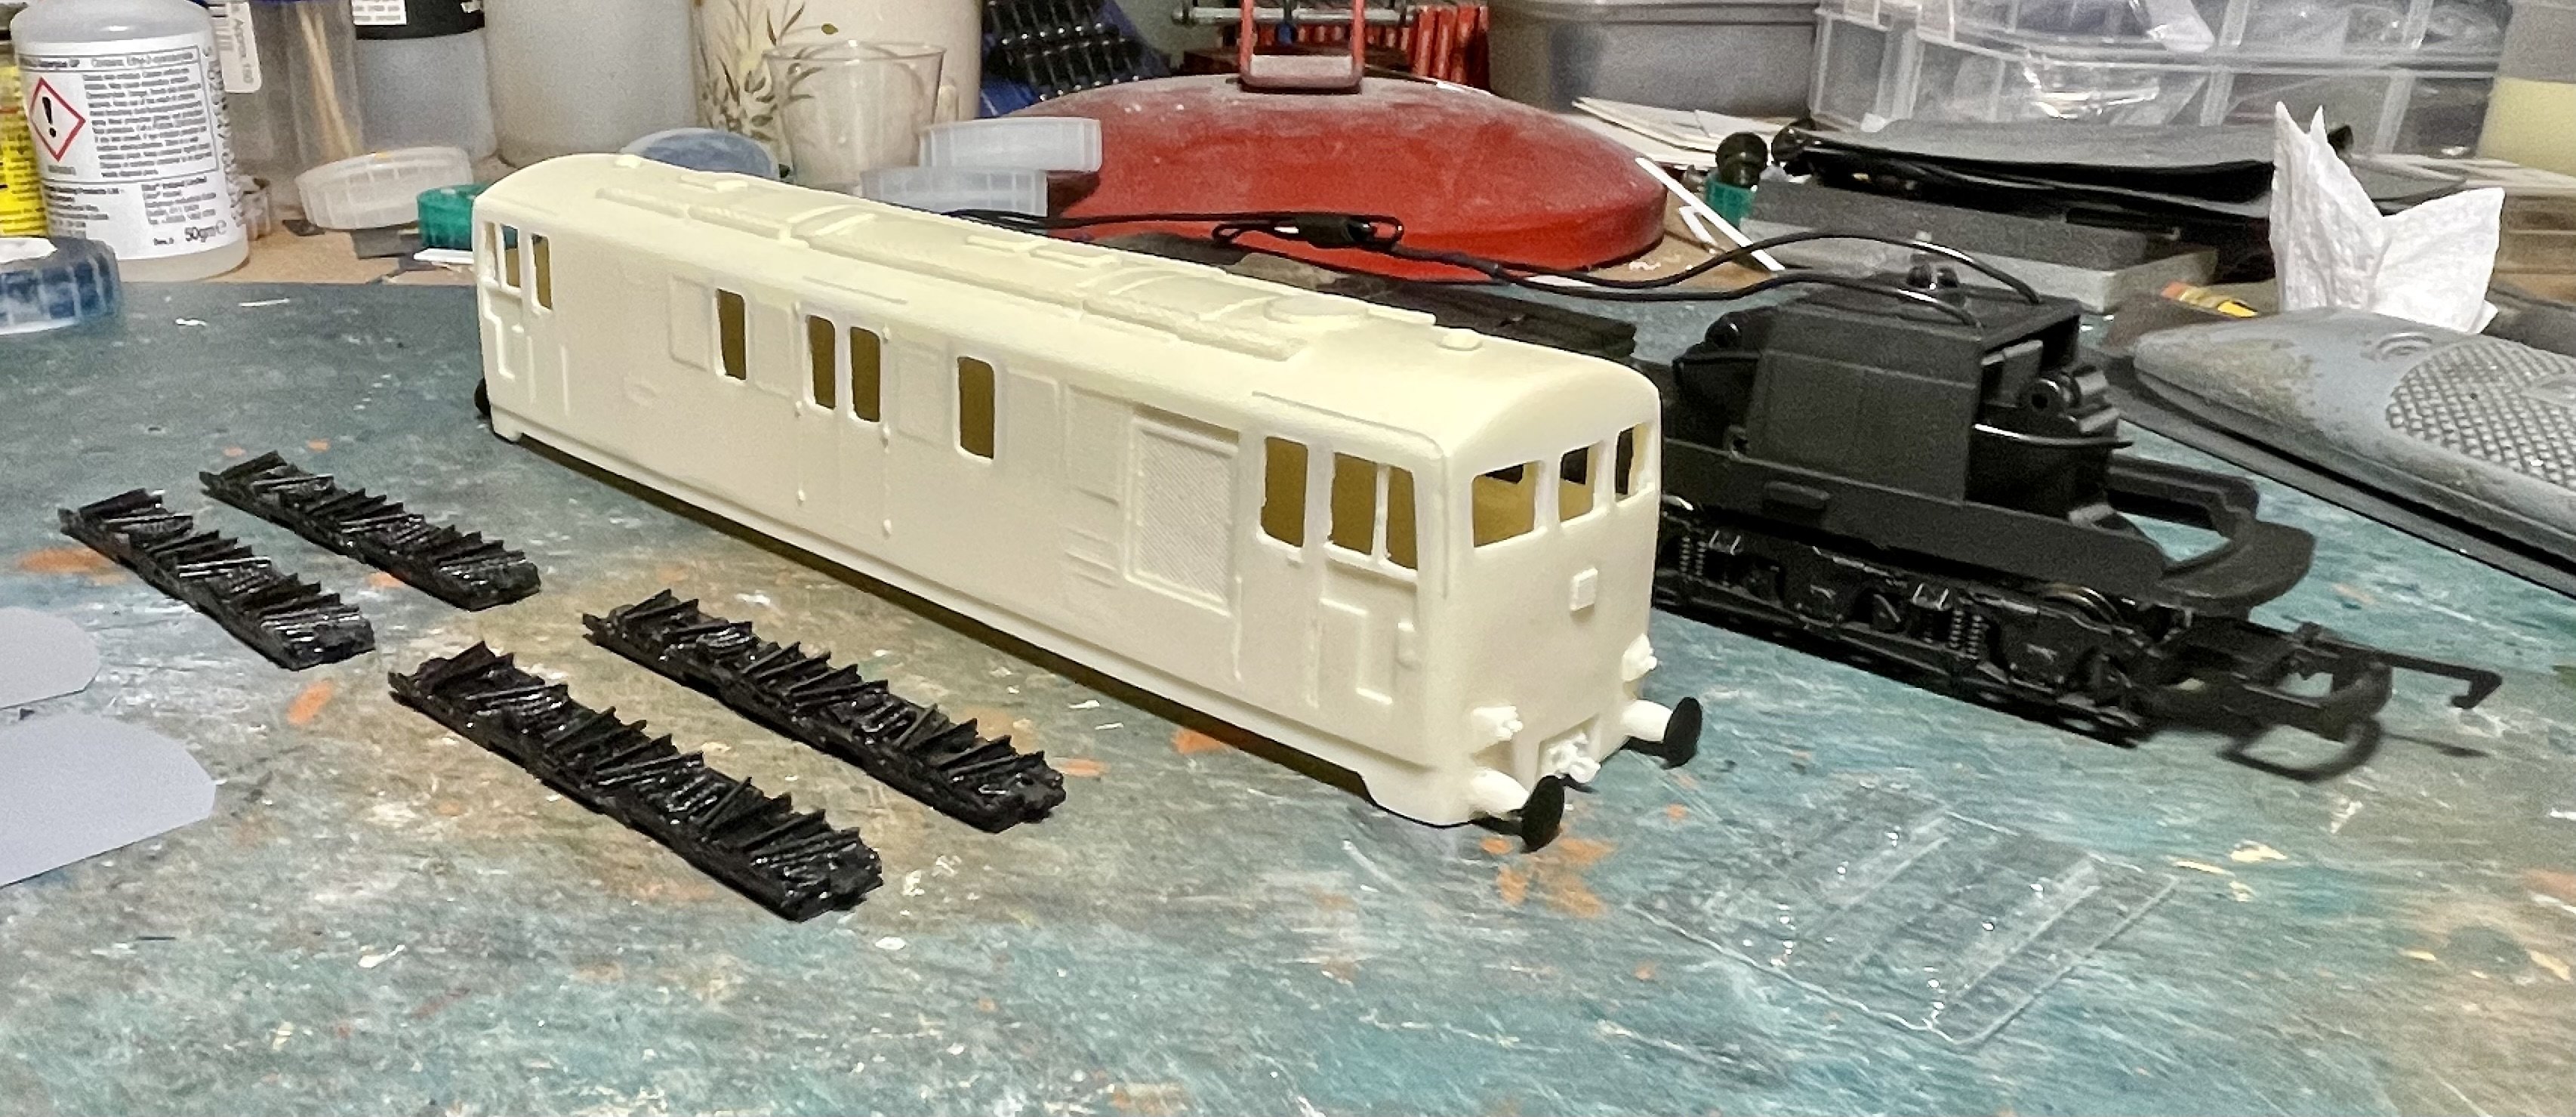
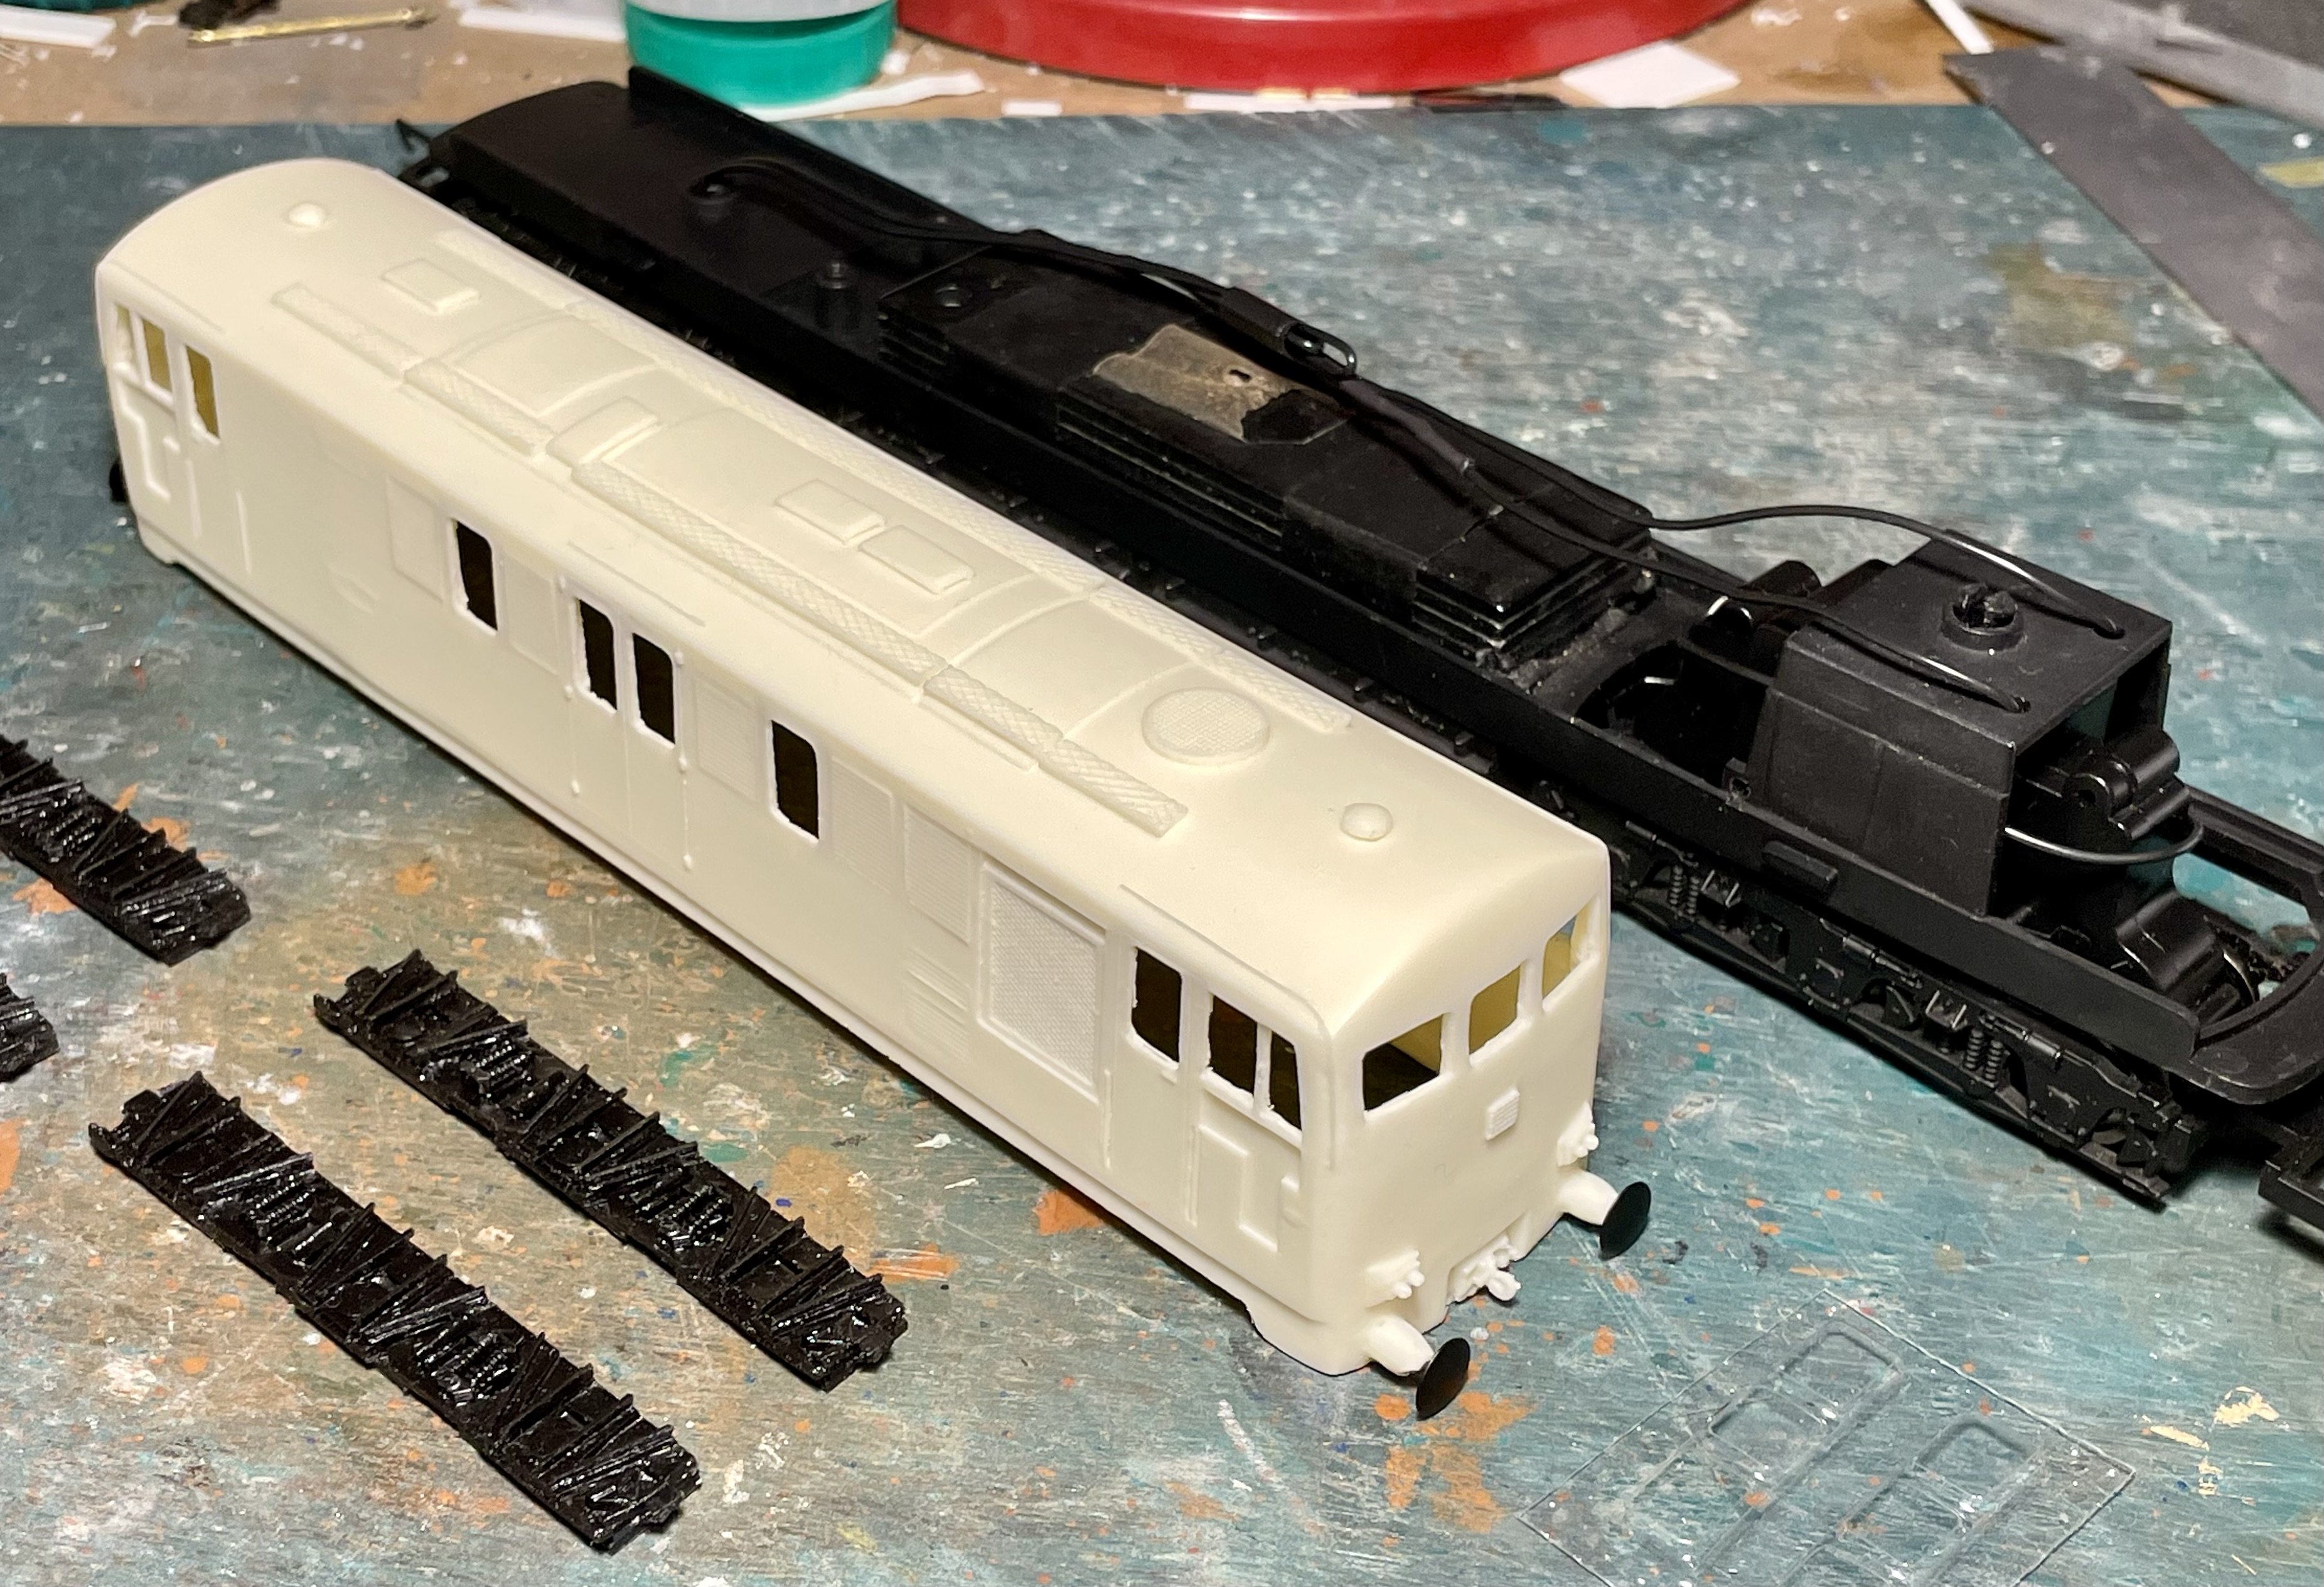
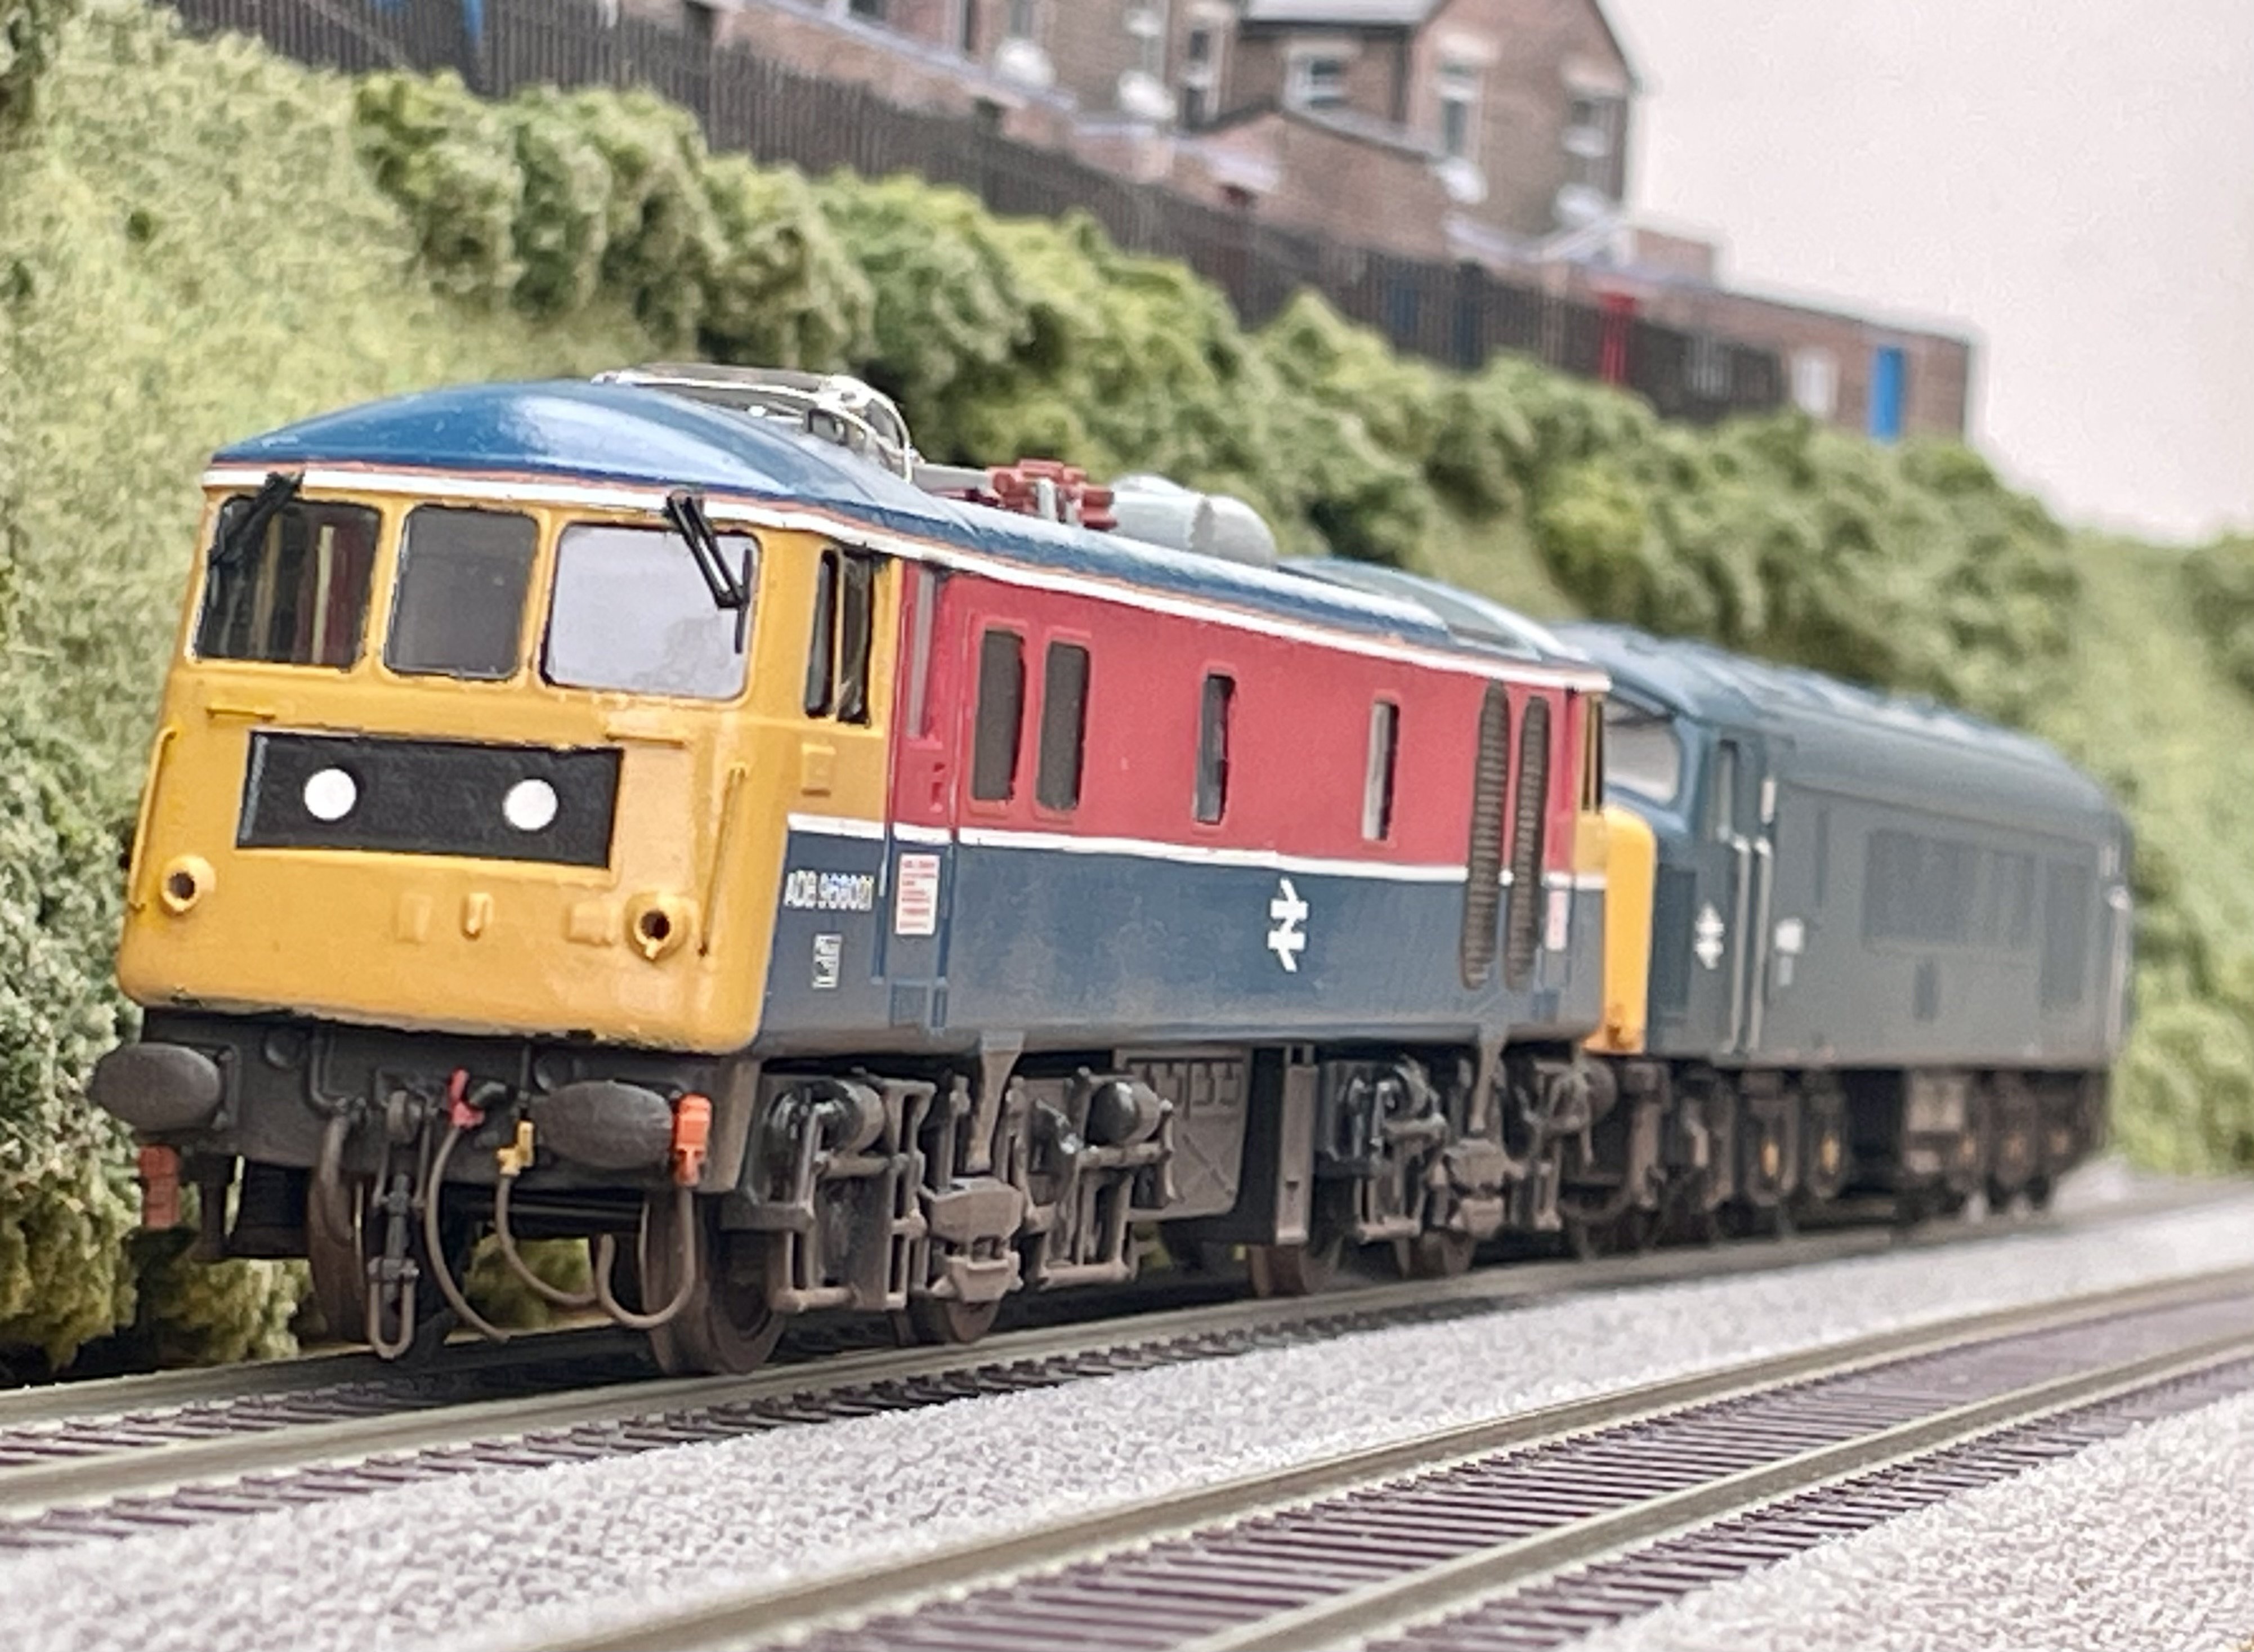
Built over the past few days using the Silver Fox resin body and a cut down Hornby Railroad Class 55 chassis. Cheers Darius
- 3 replies
-
- 11
-

-

-
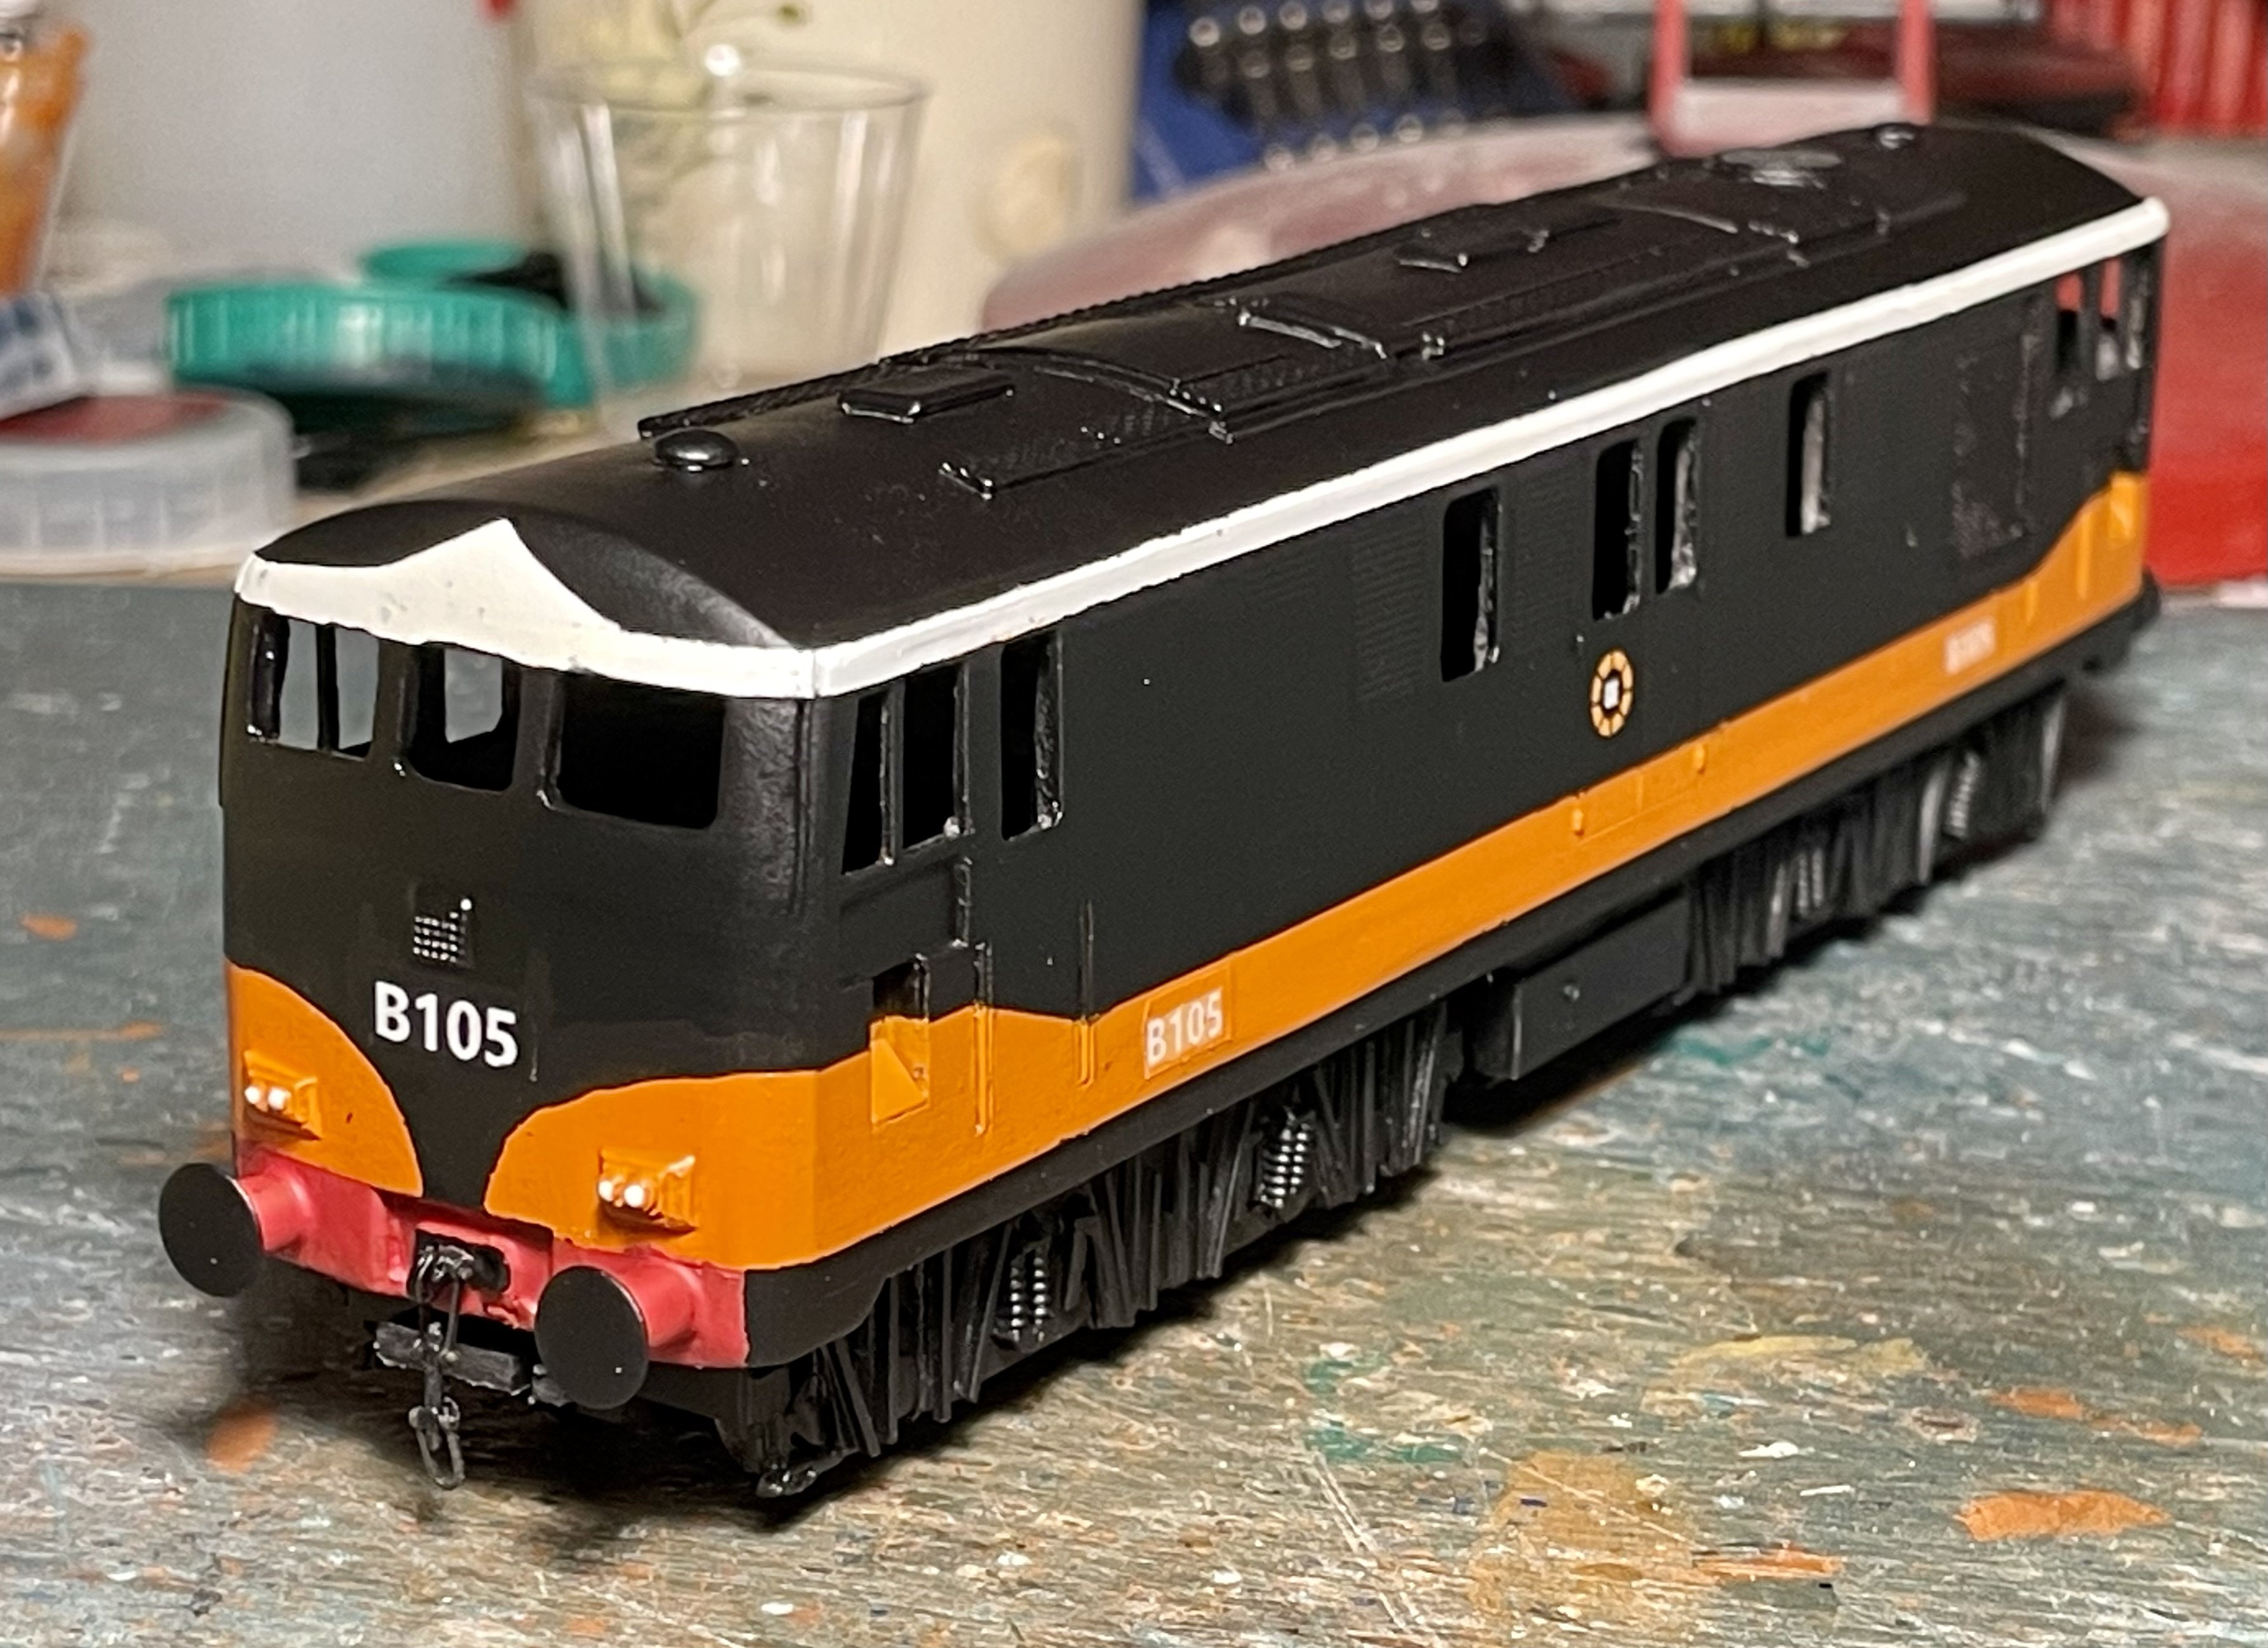
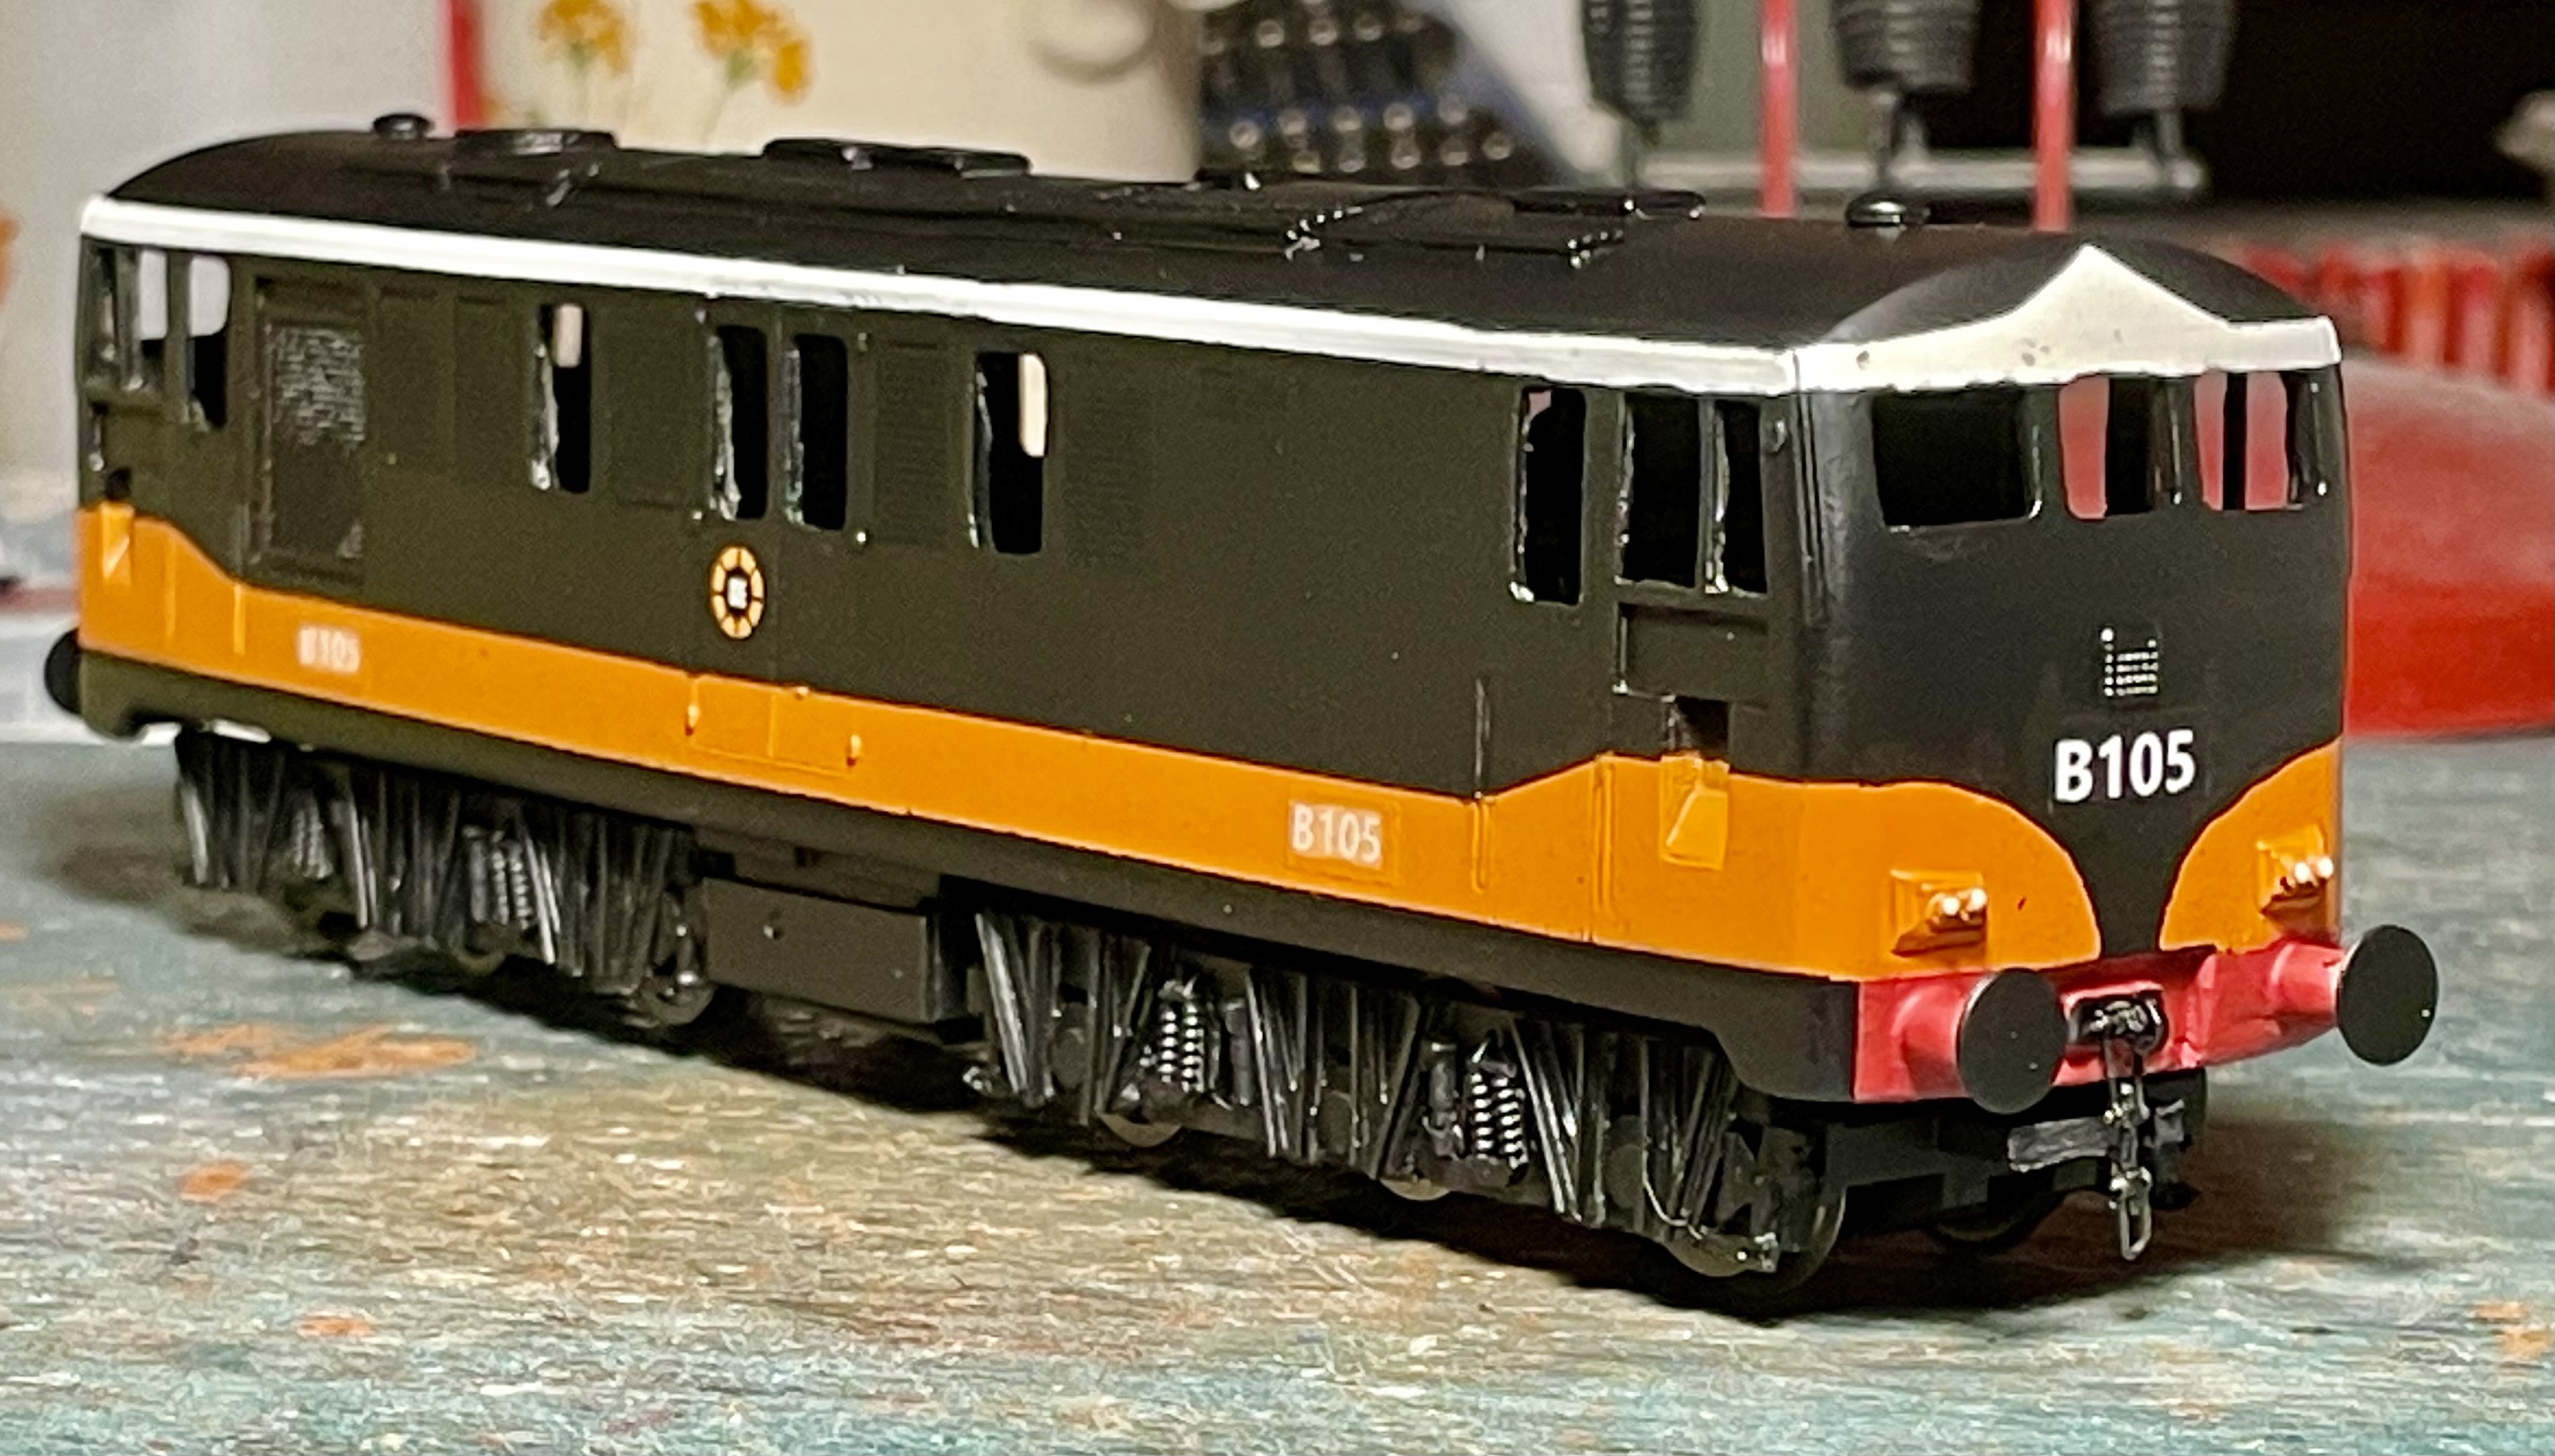
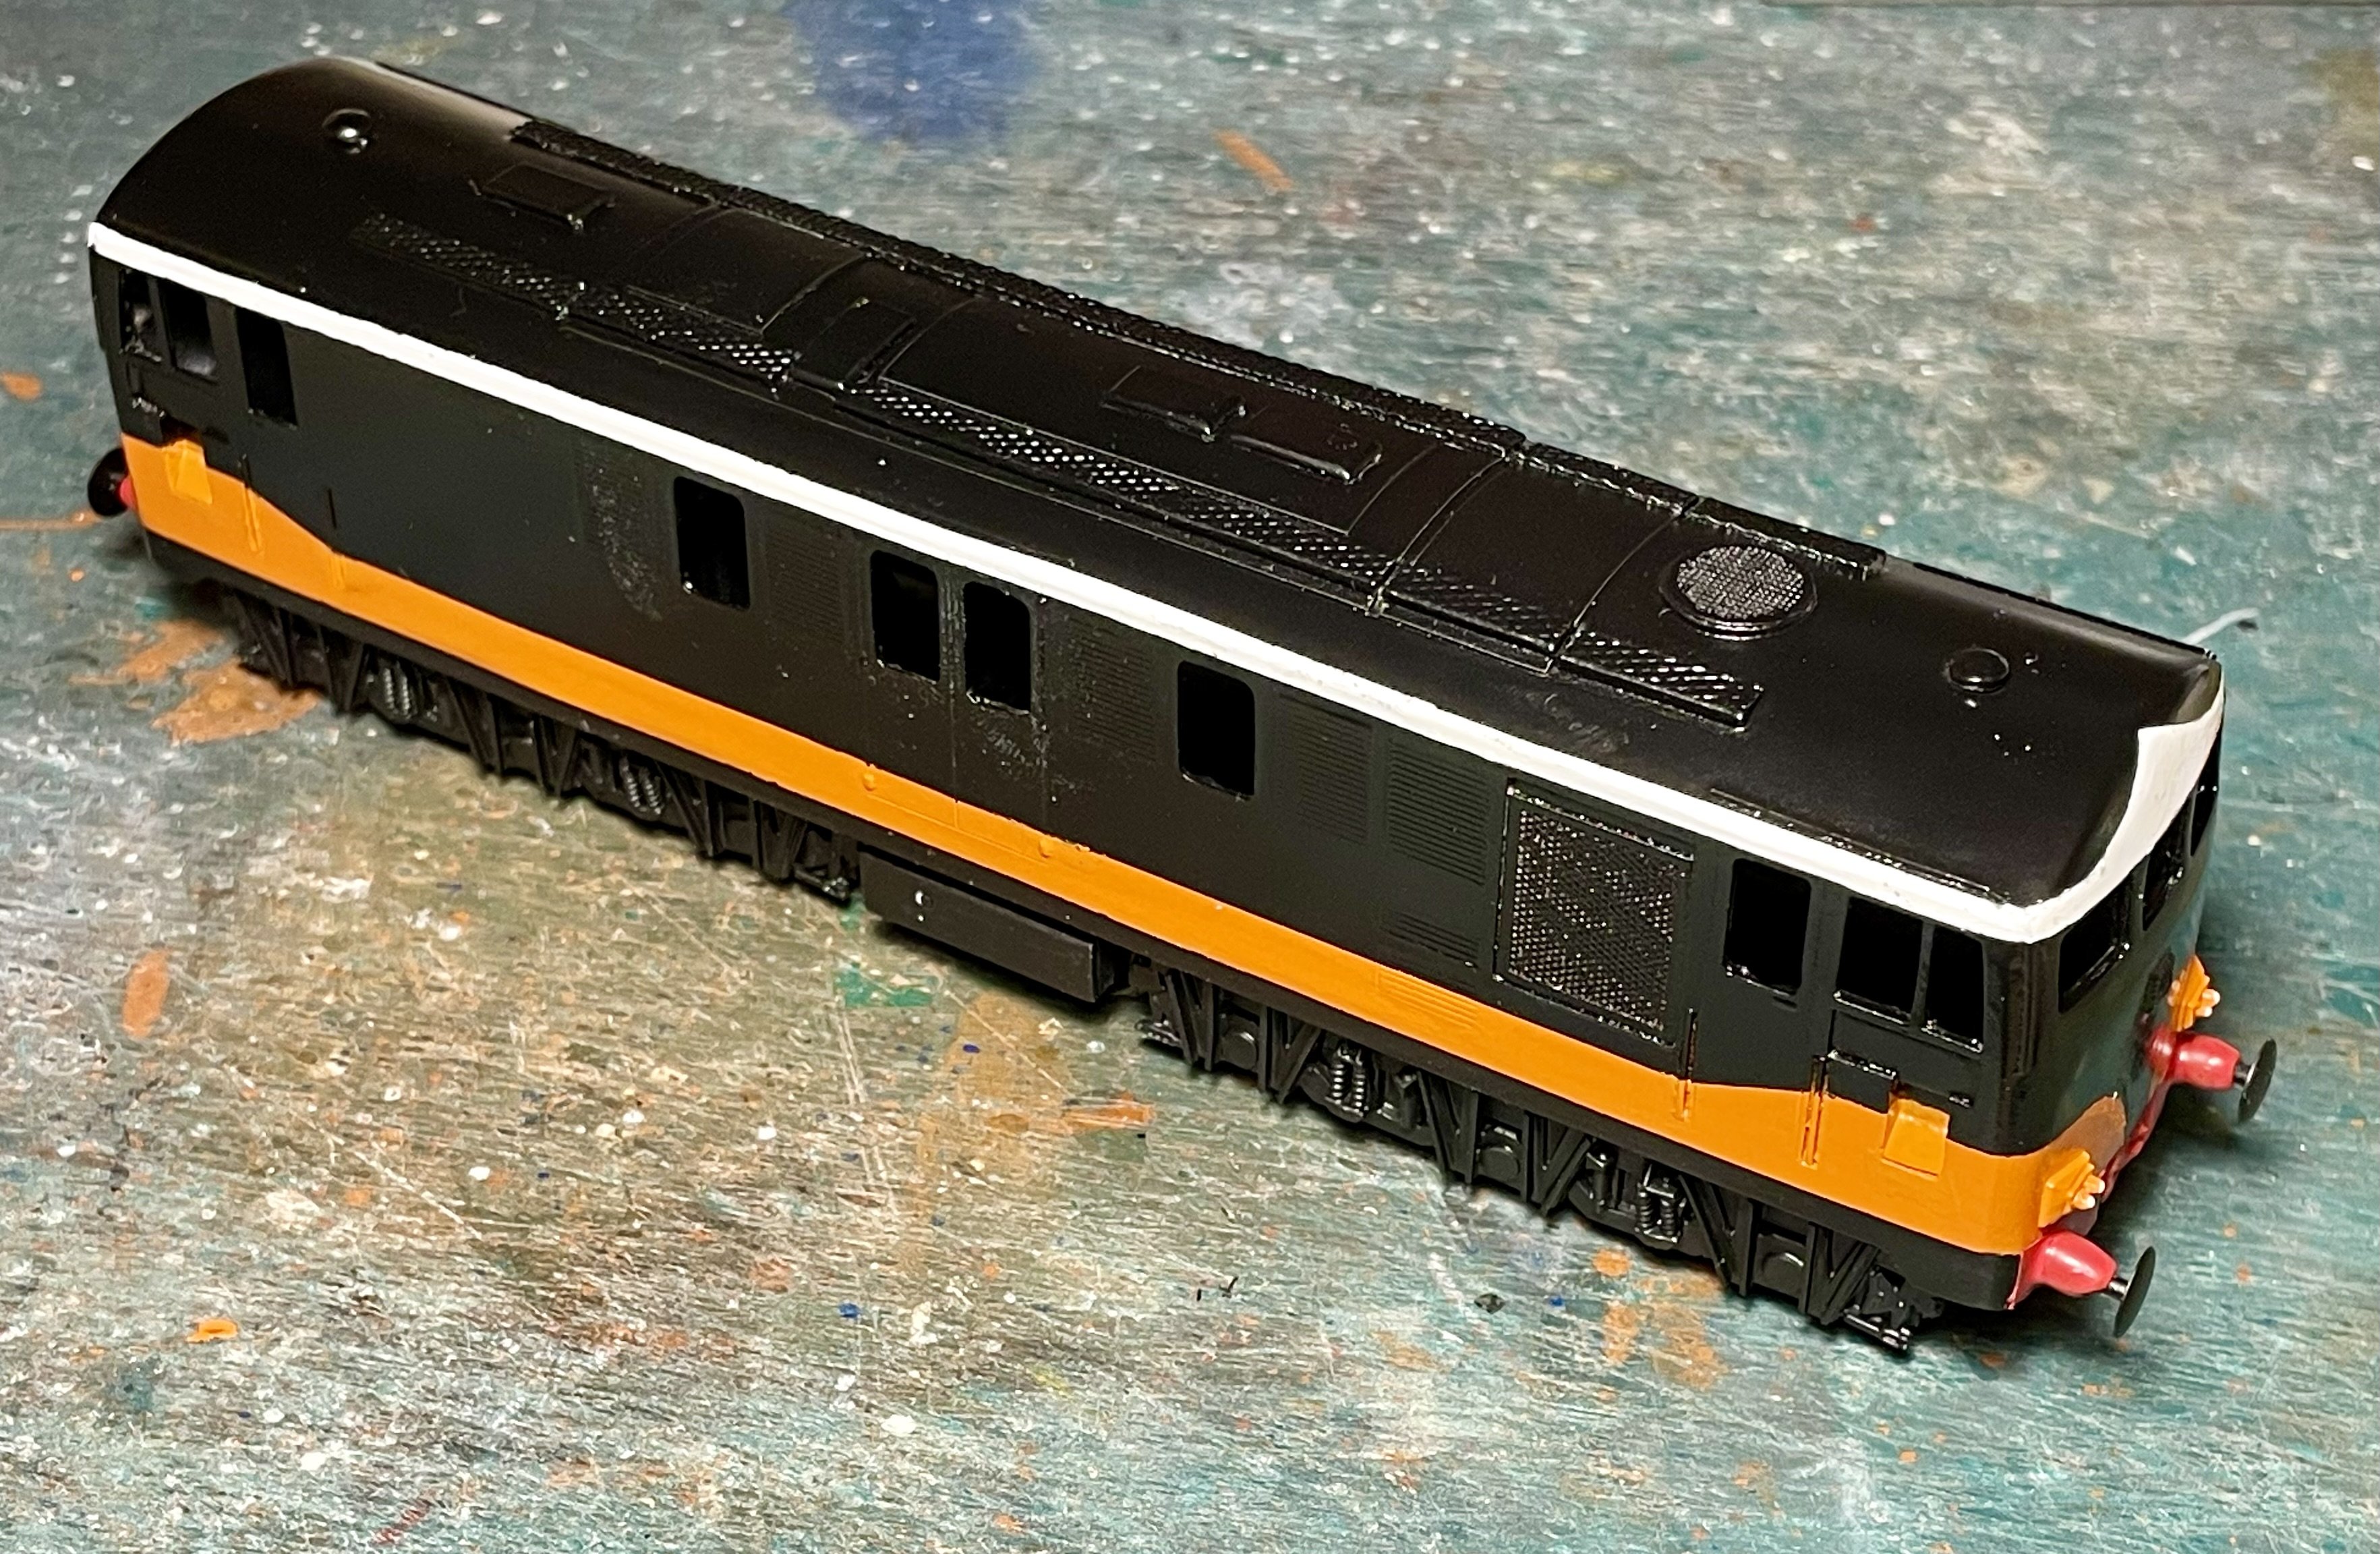
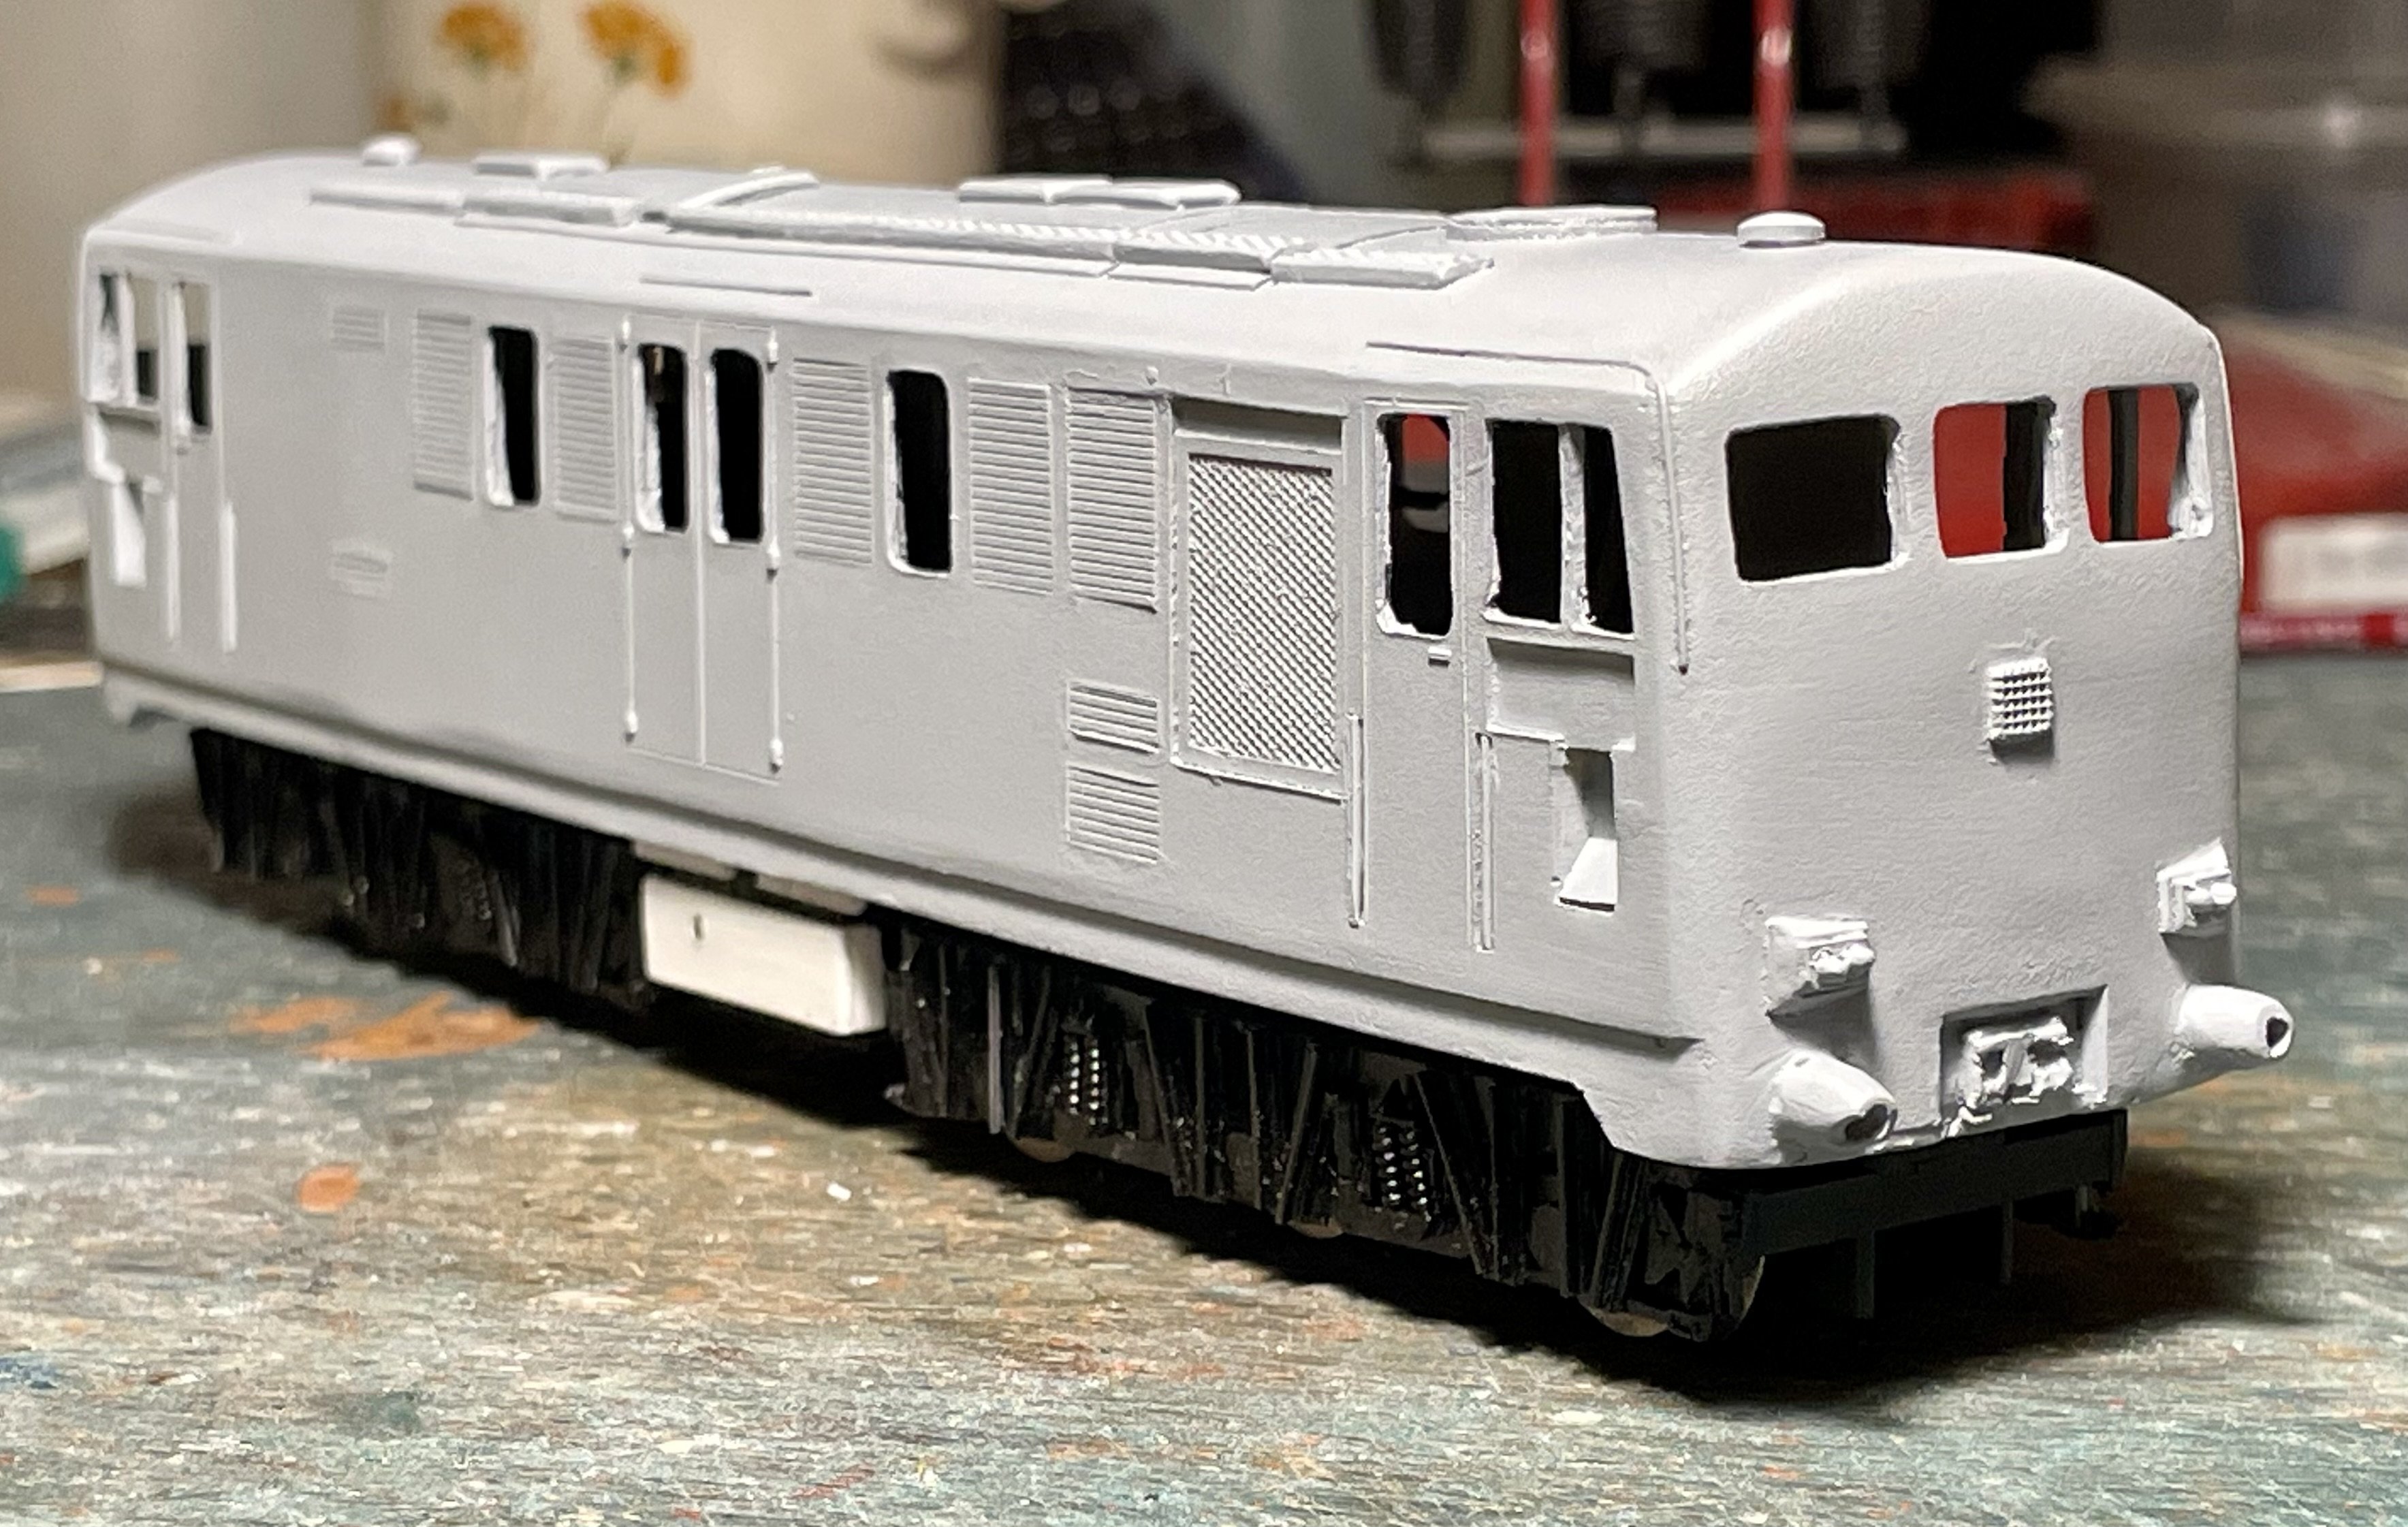
Wipers, cab ladders and light weathering to chassis. Cheers Darius
-
I pre cut the curves on pieces of Tamiya masking tape and apply them to suit. Cheers Darius
-
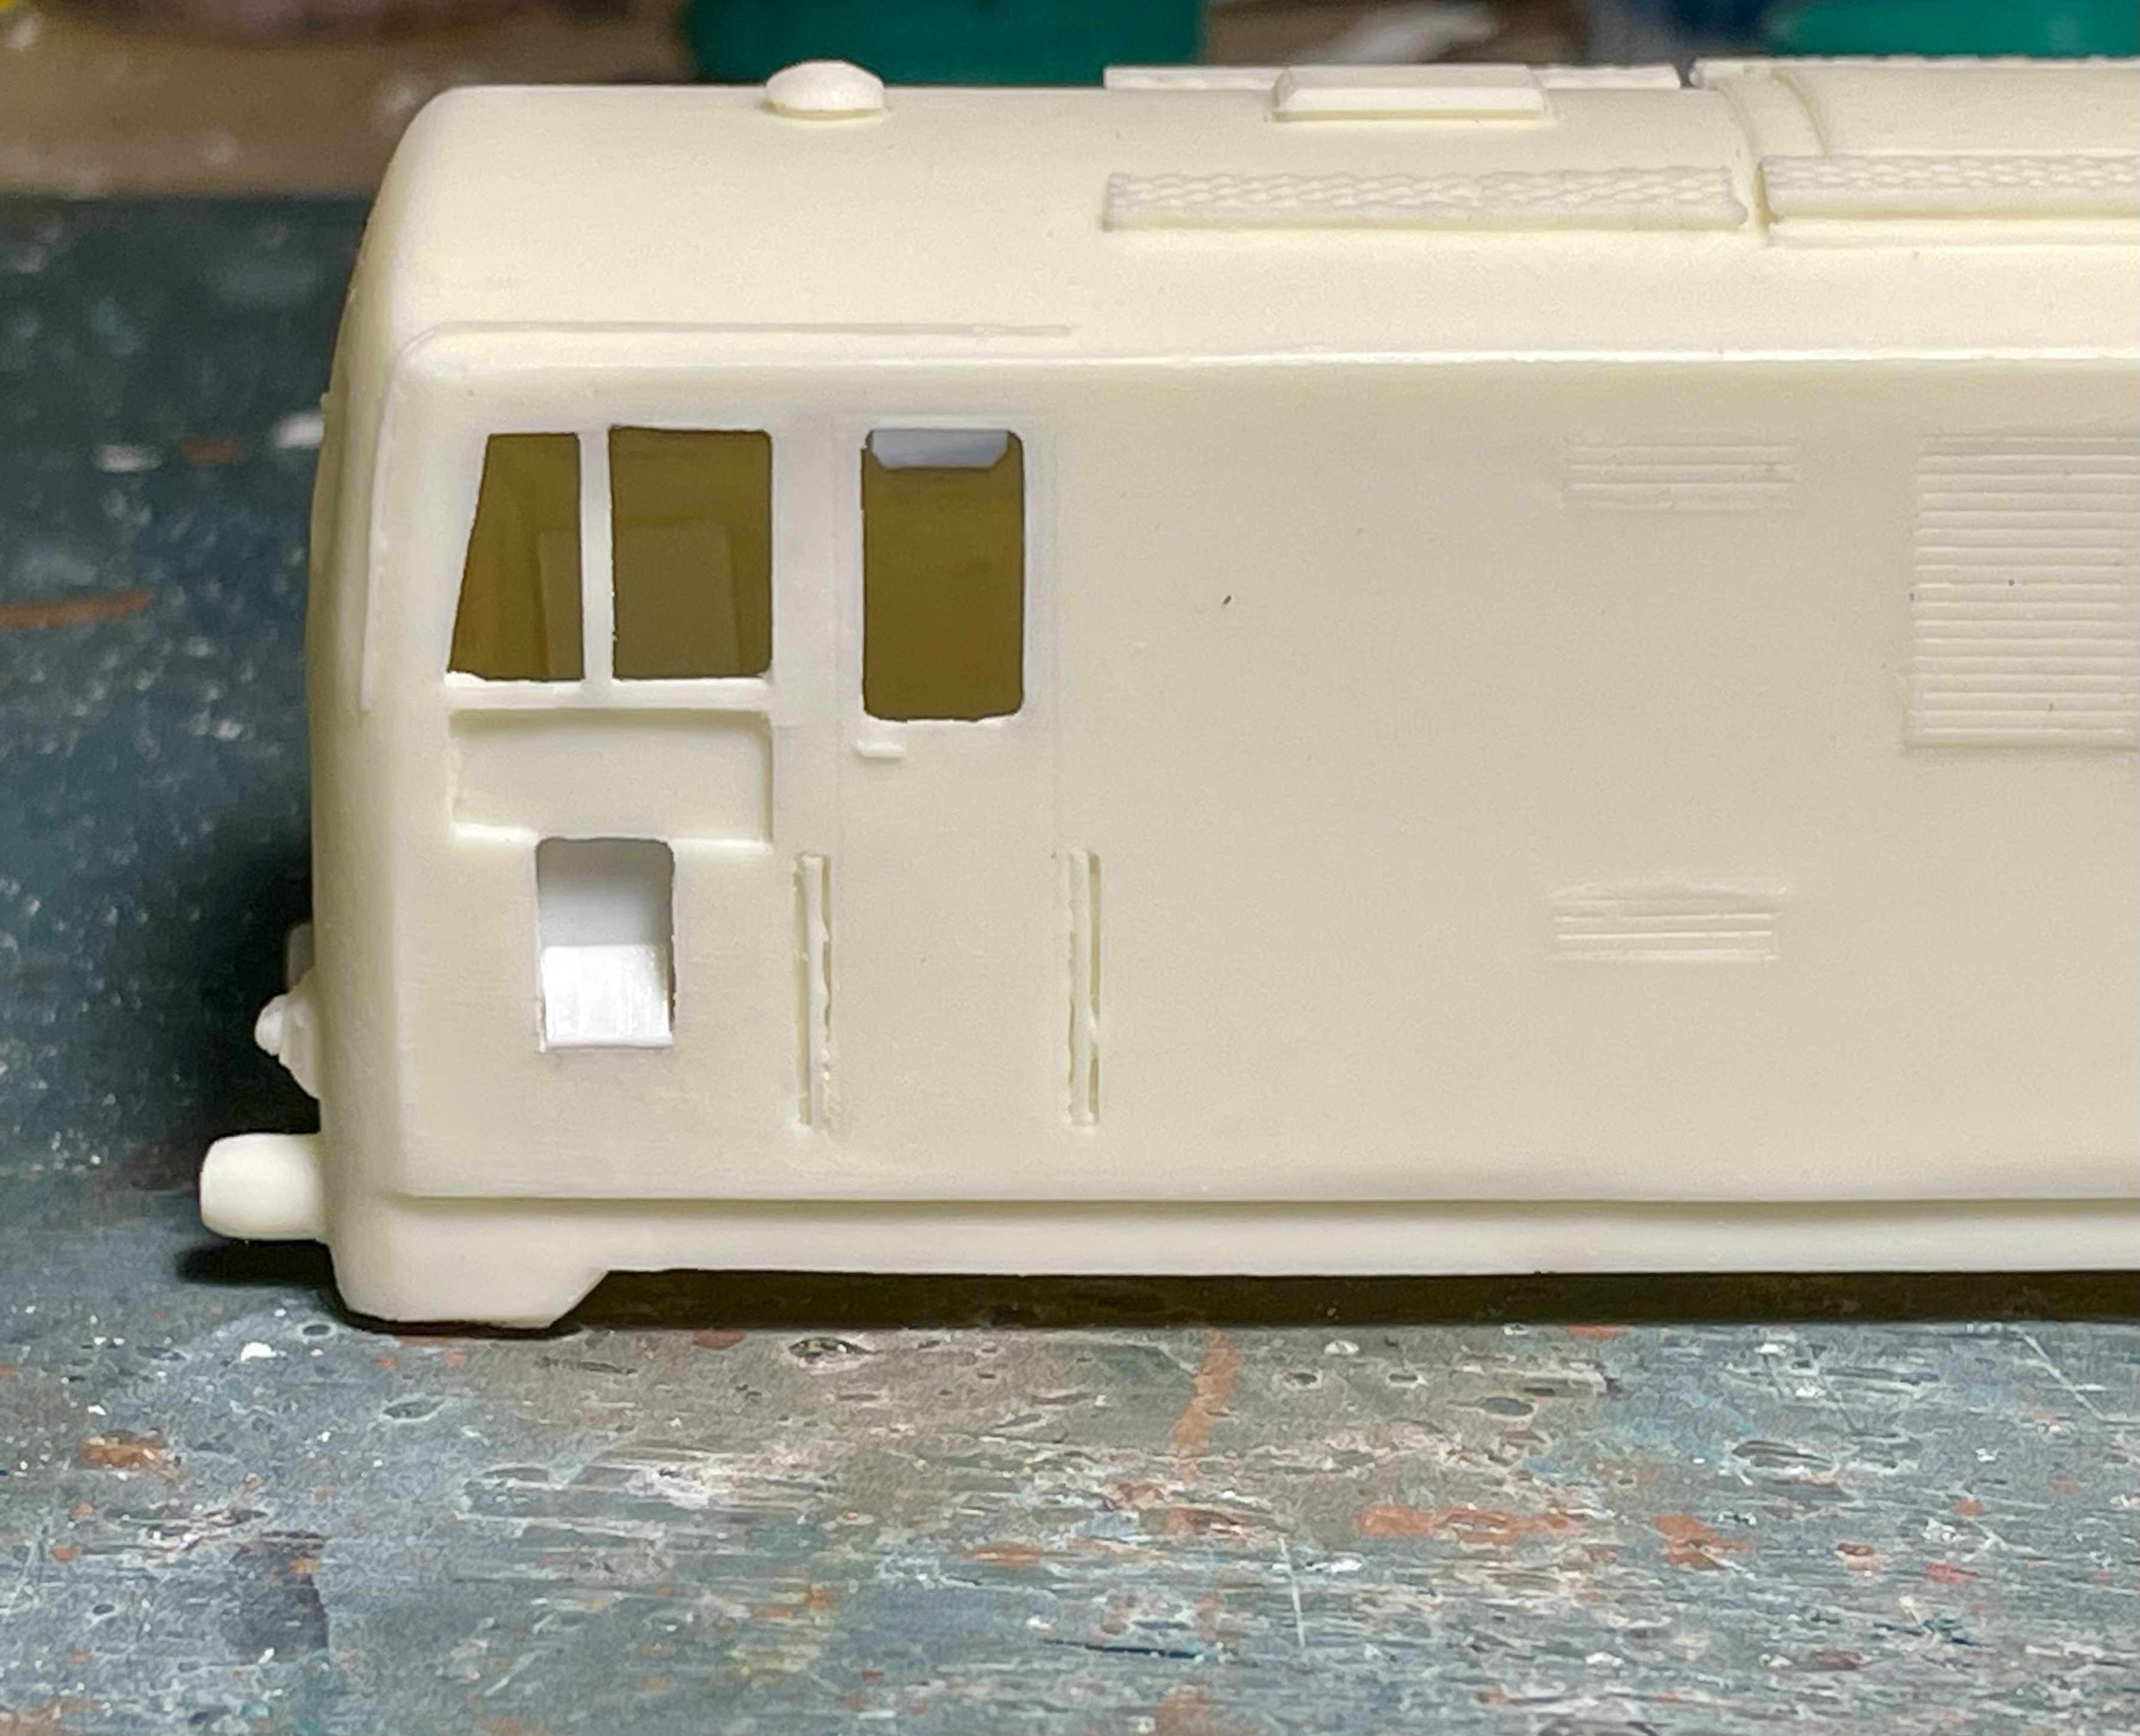
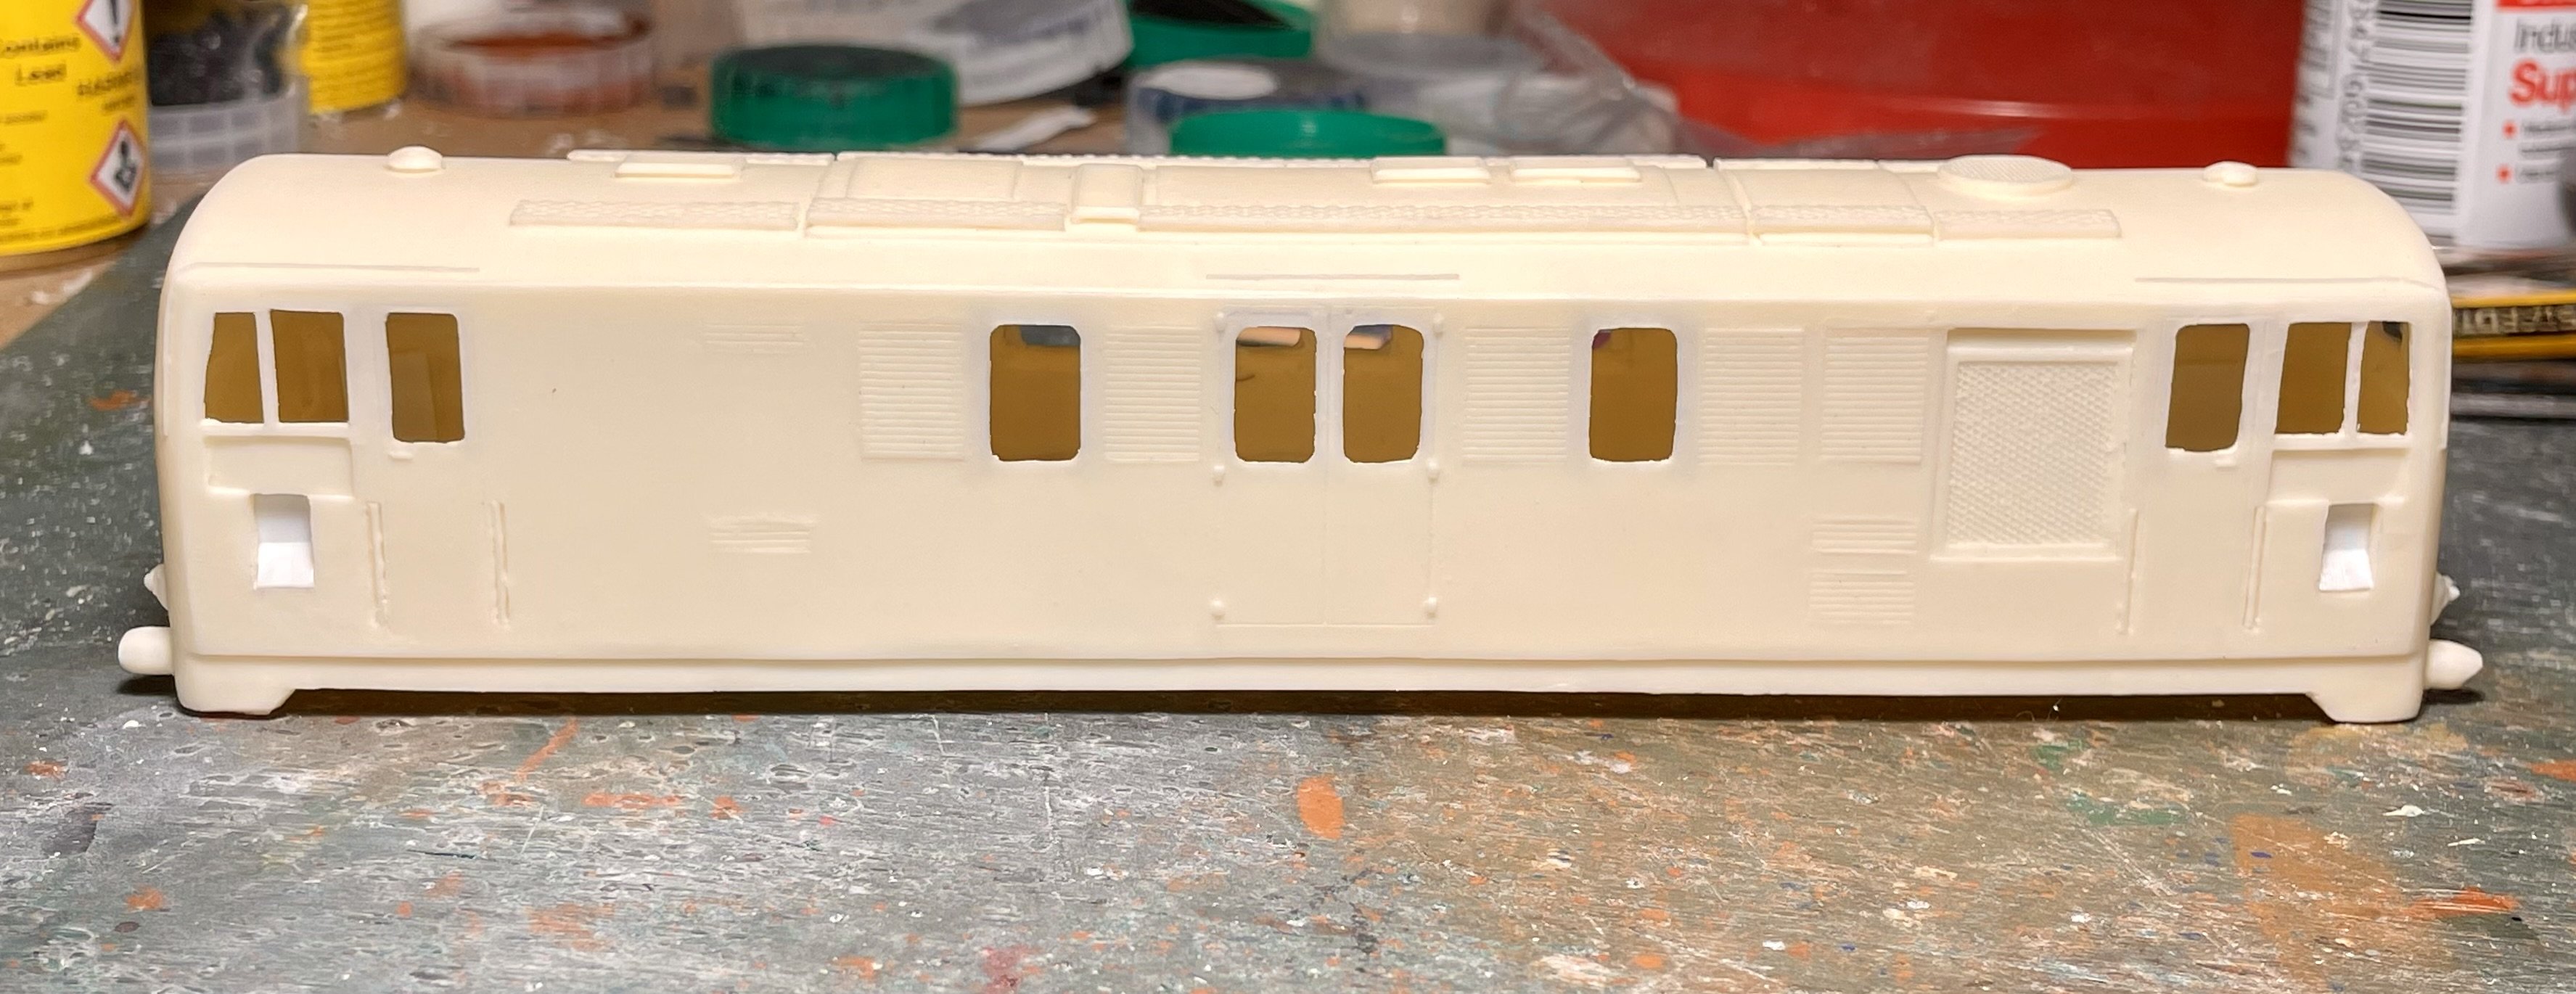
Window glazing fitted. All those side windows make the inside look rather empty so I have ordered a resin engine to fill the space. Cheers Darius
-
I guess paint dries quicker down here on the south coast. Cheers Darius
-
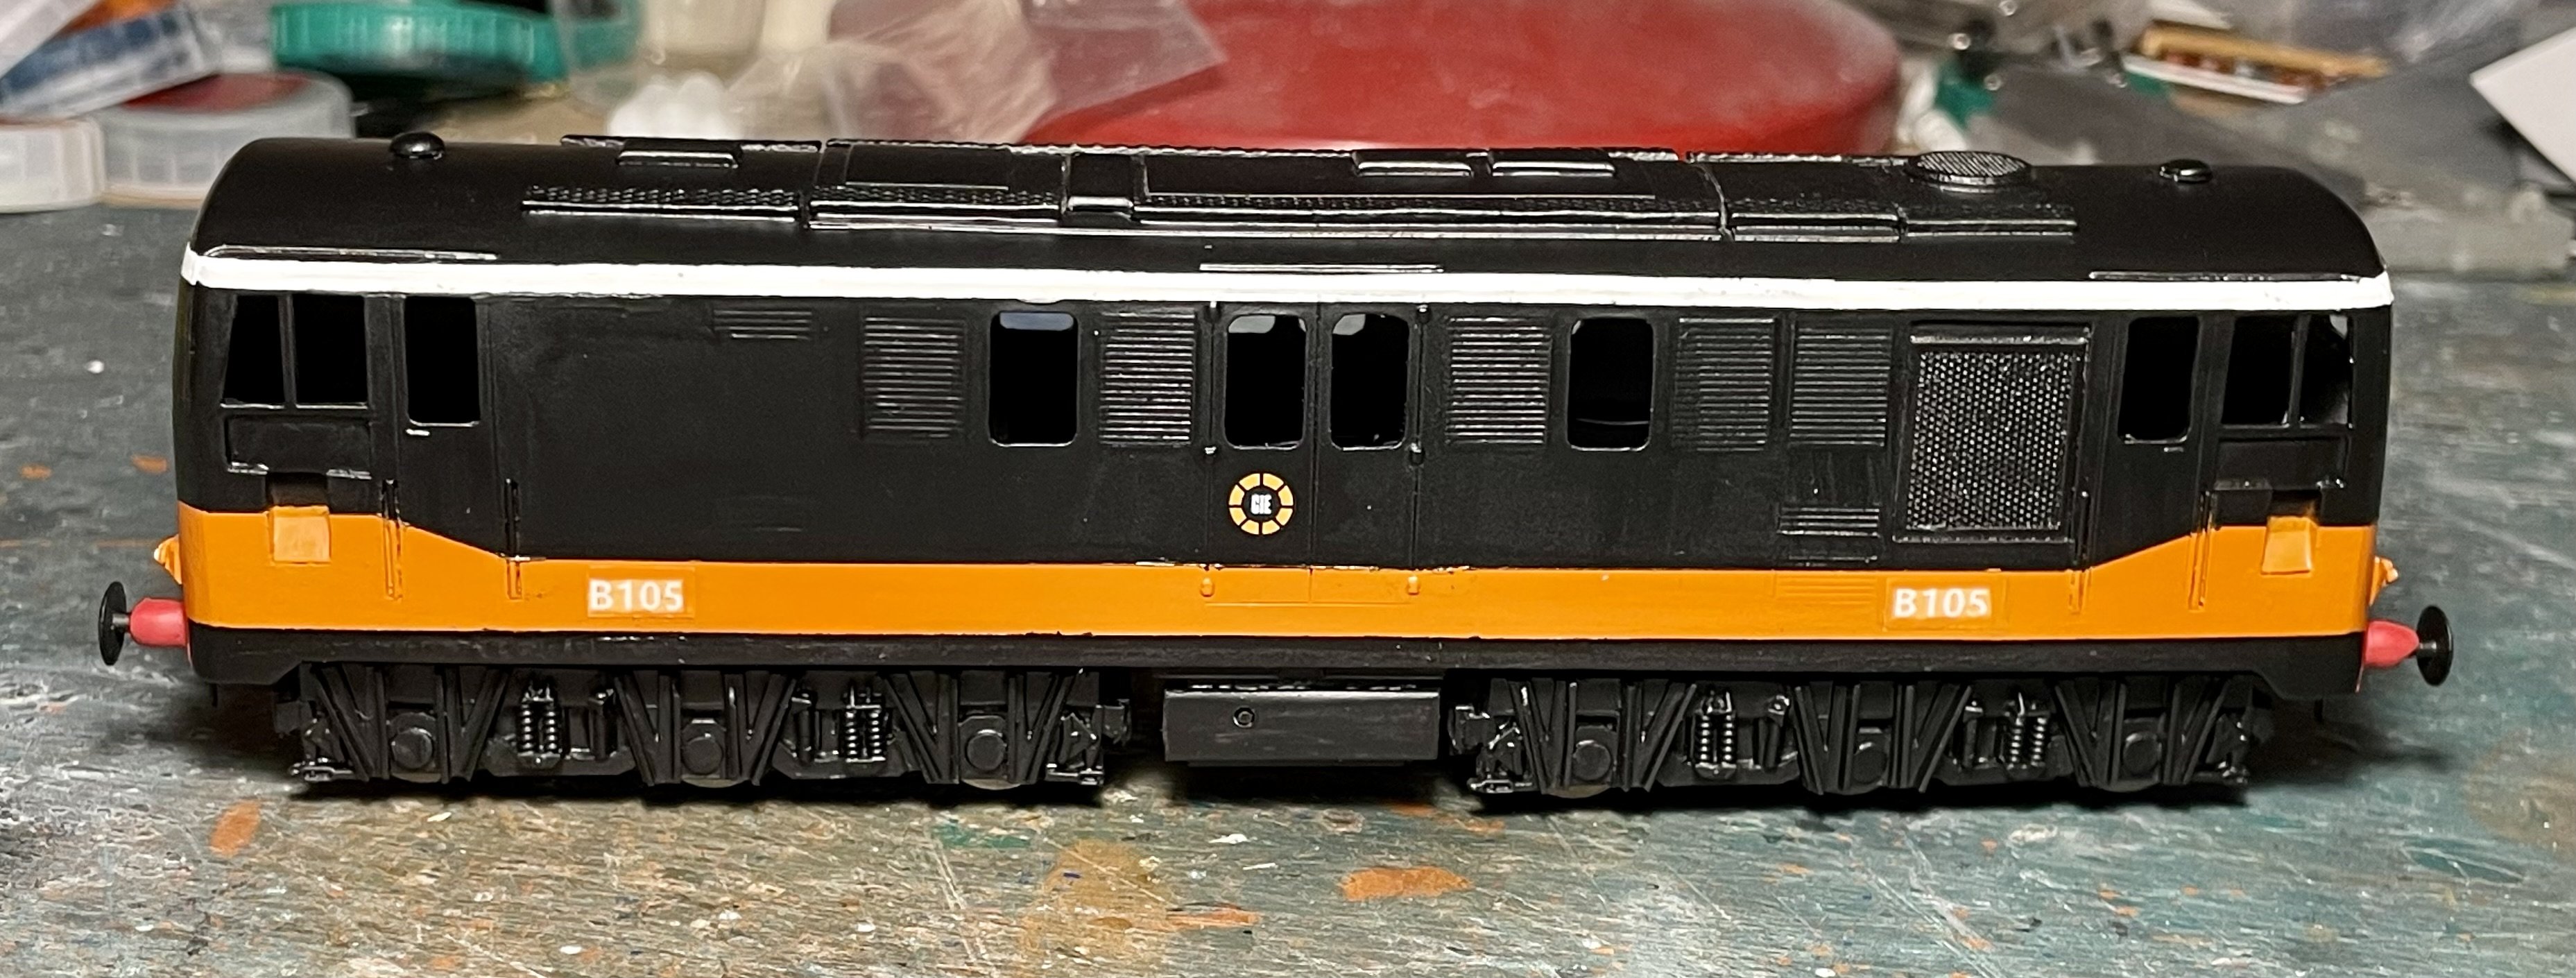
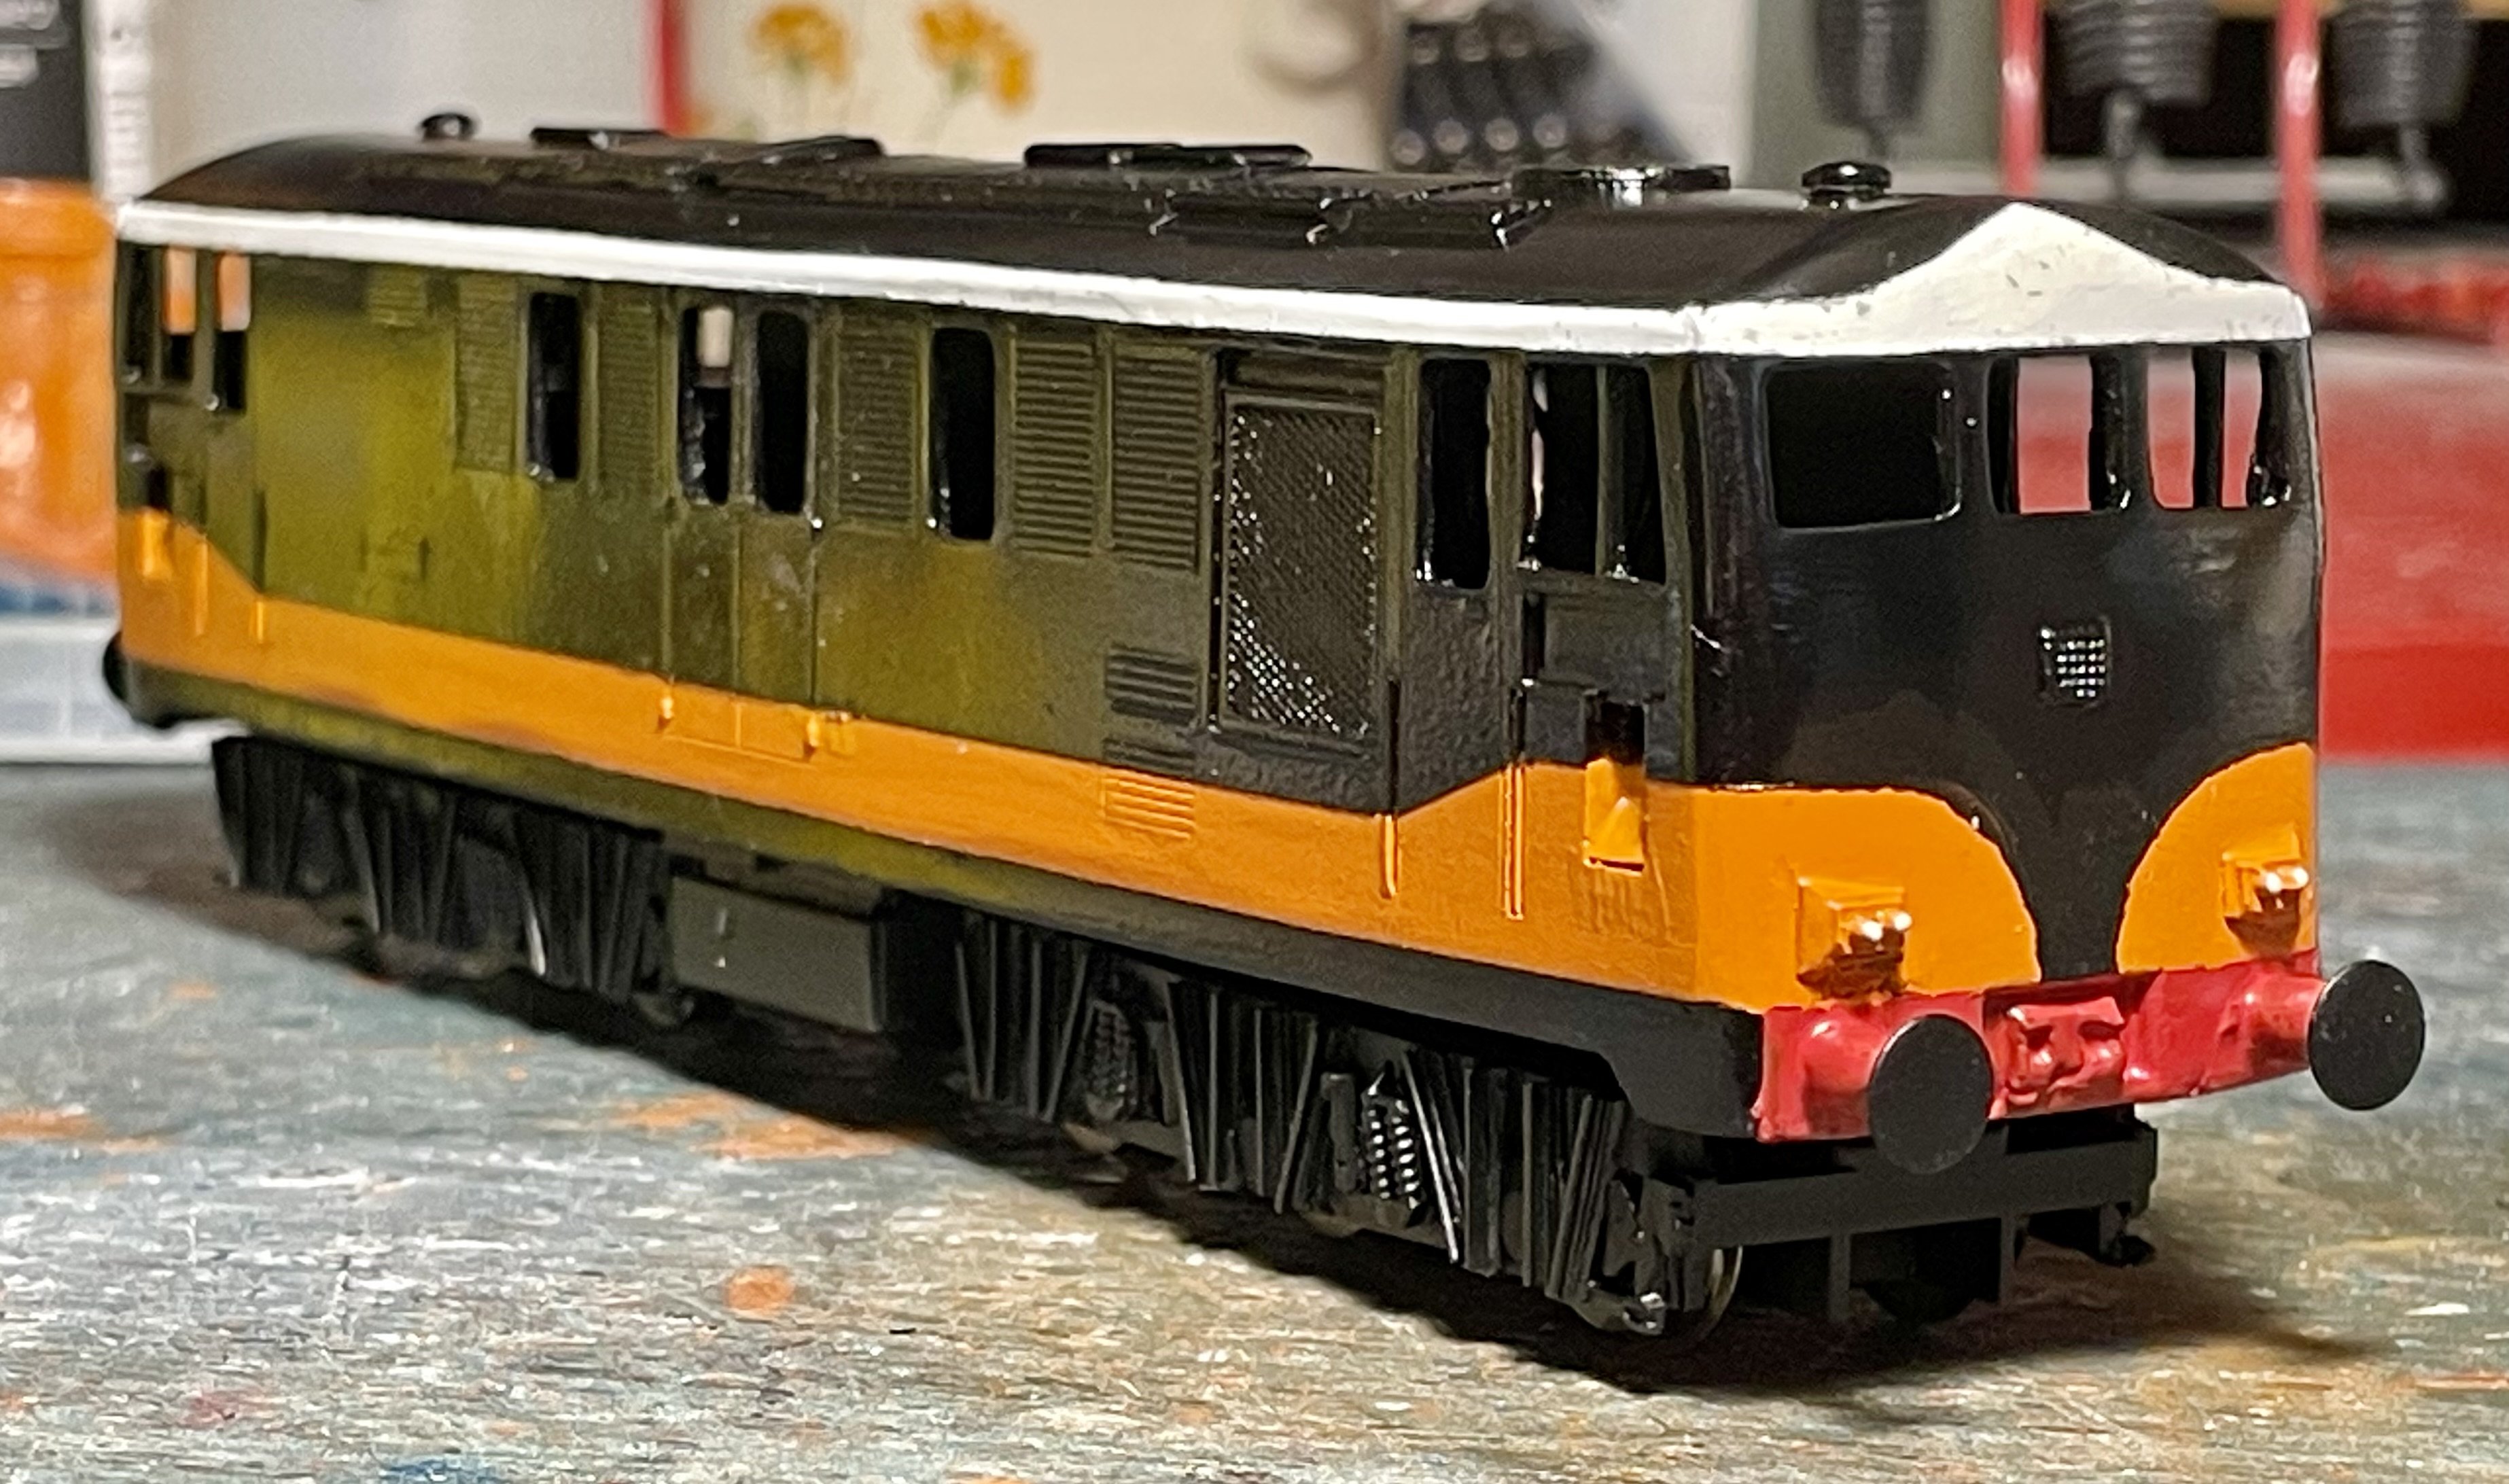
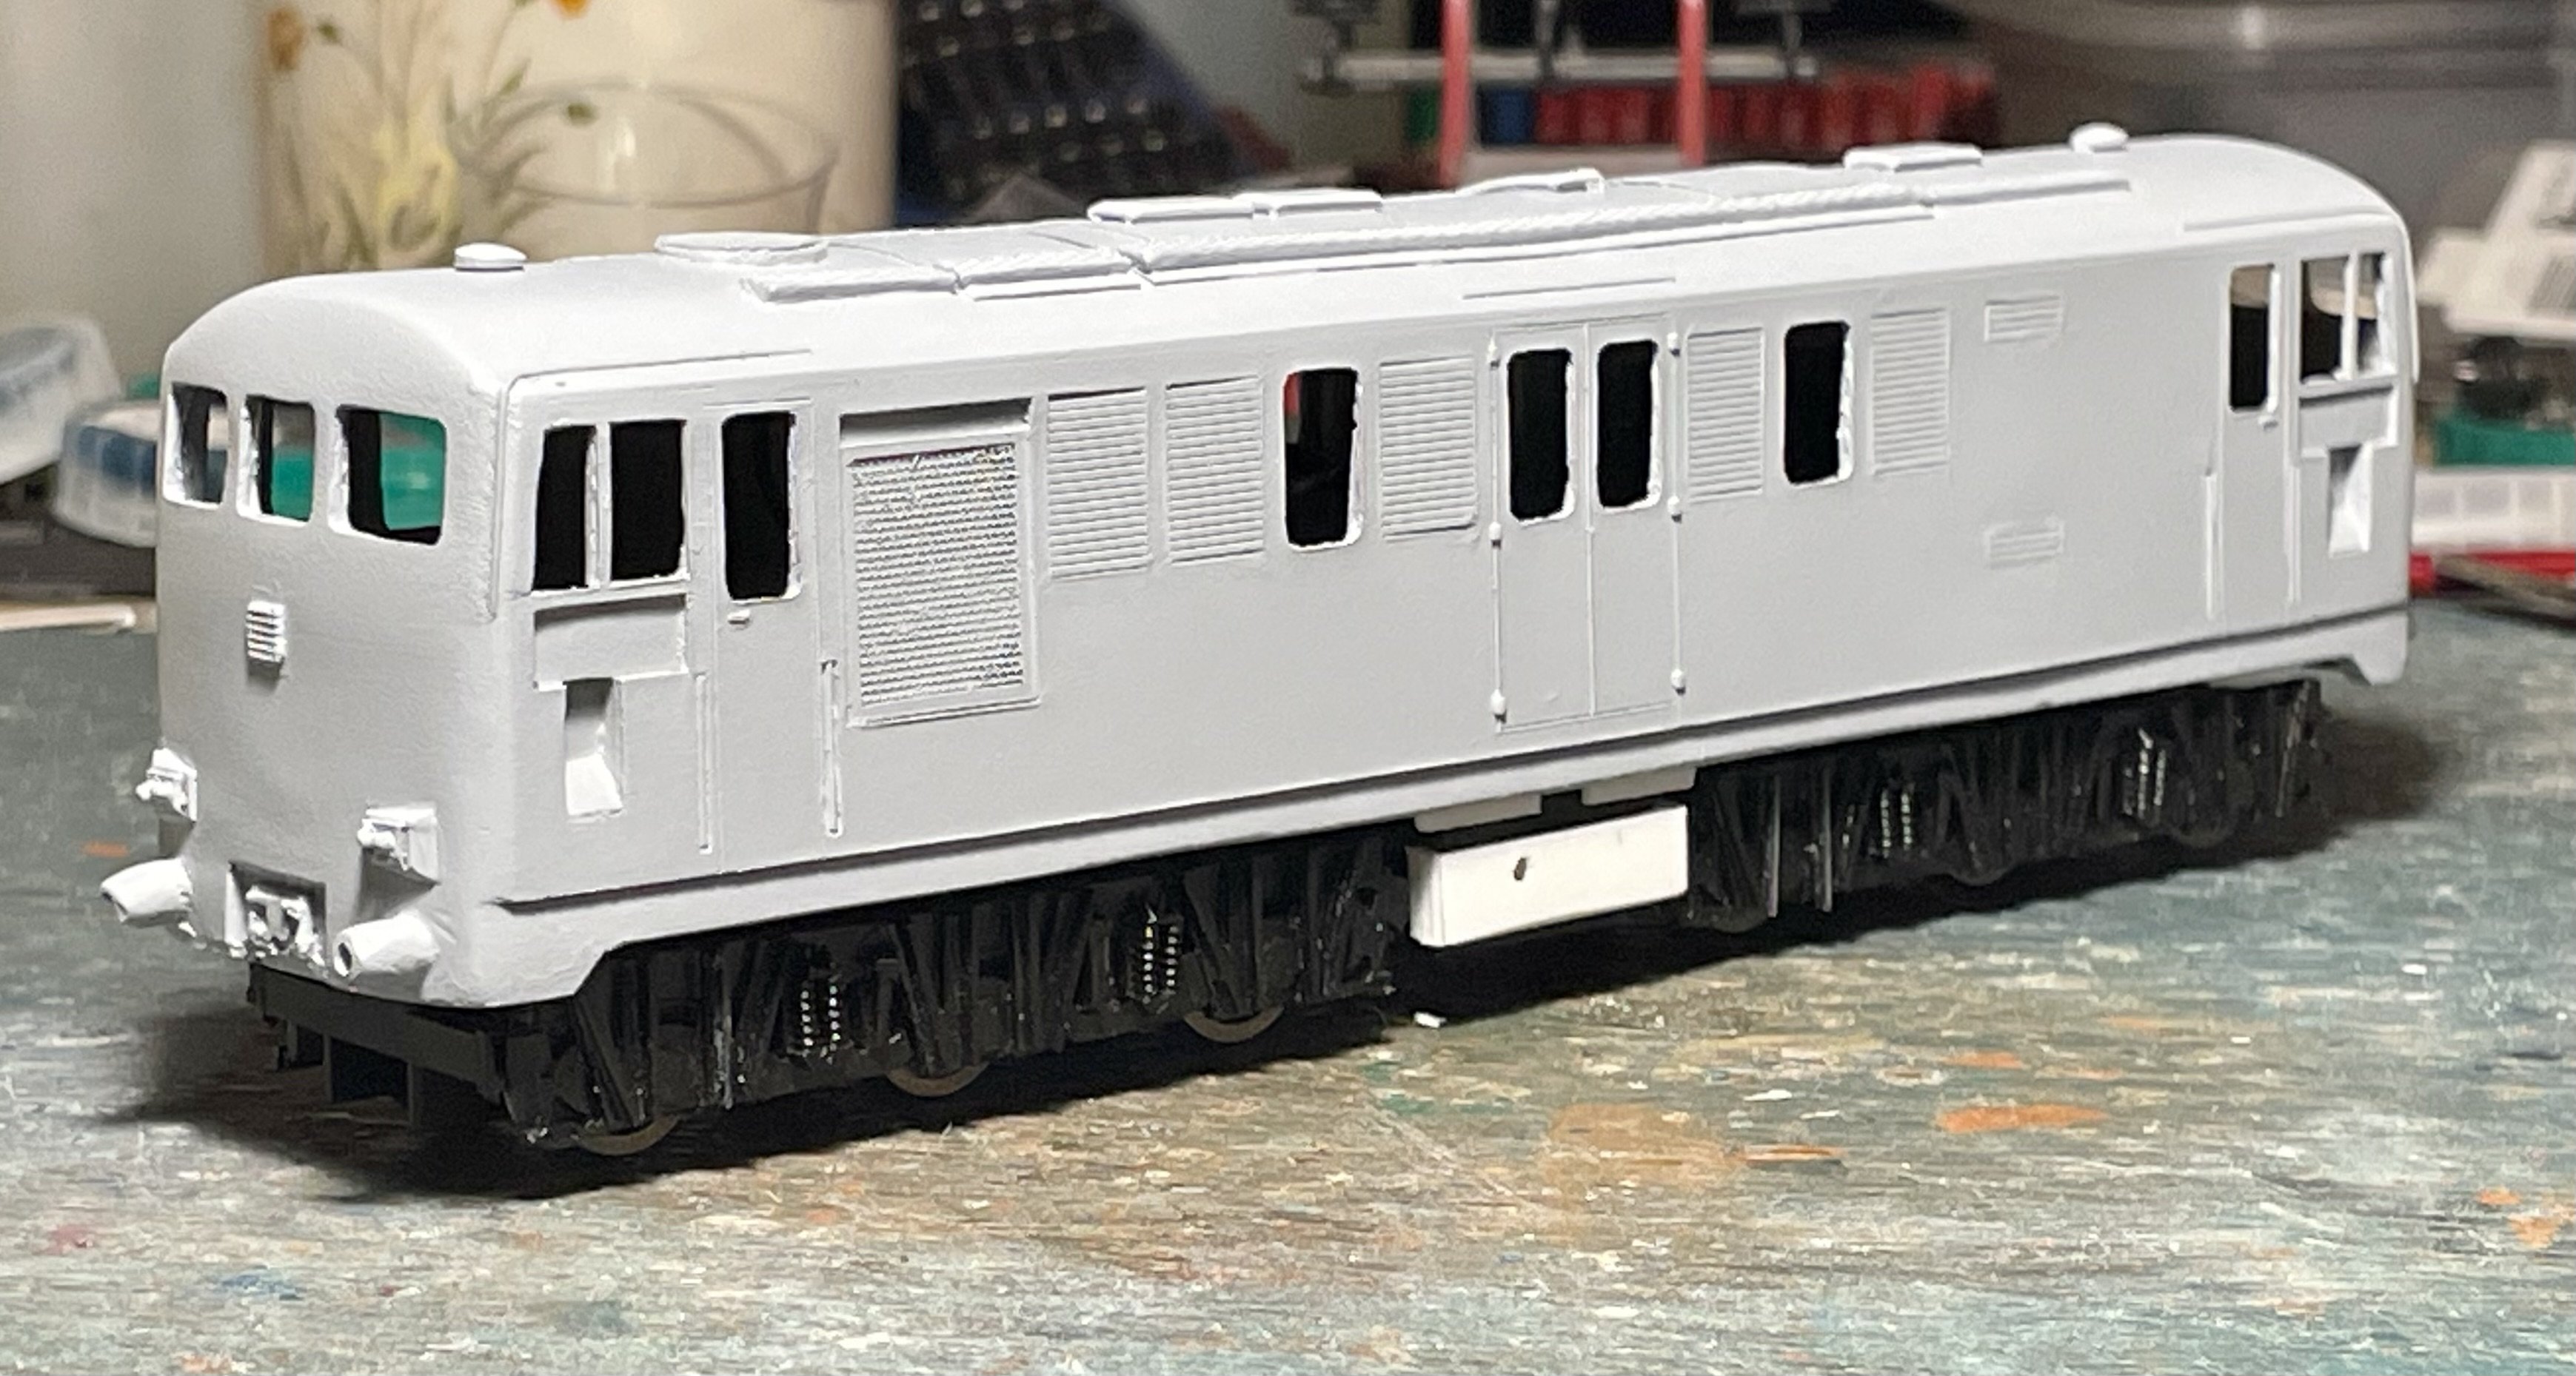
Decals applied and an overall Matt varnish coat sprayed on. Cheers Darius
-
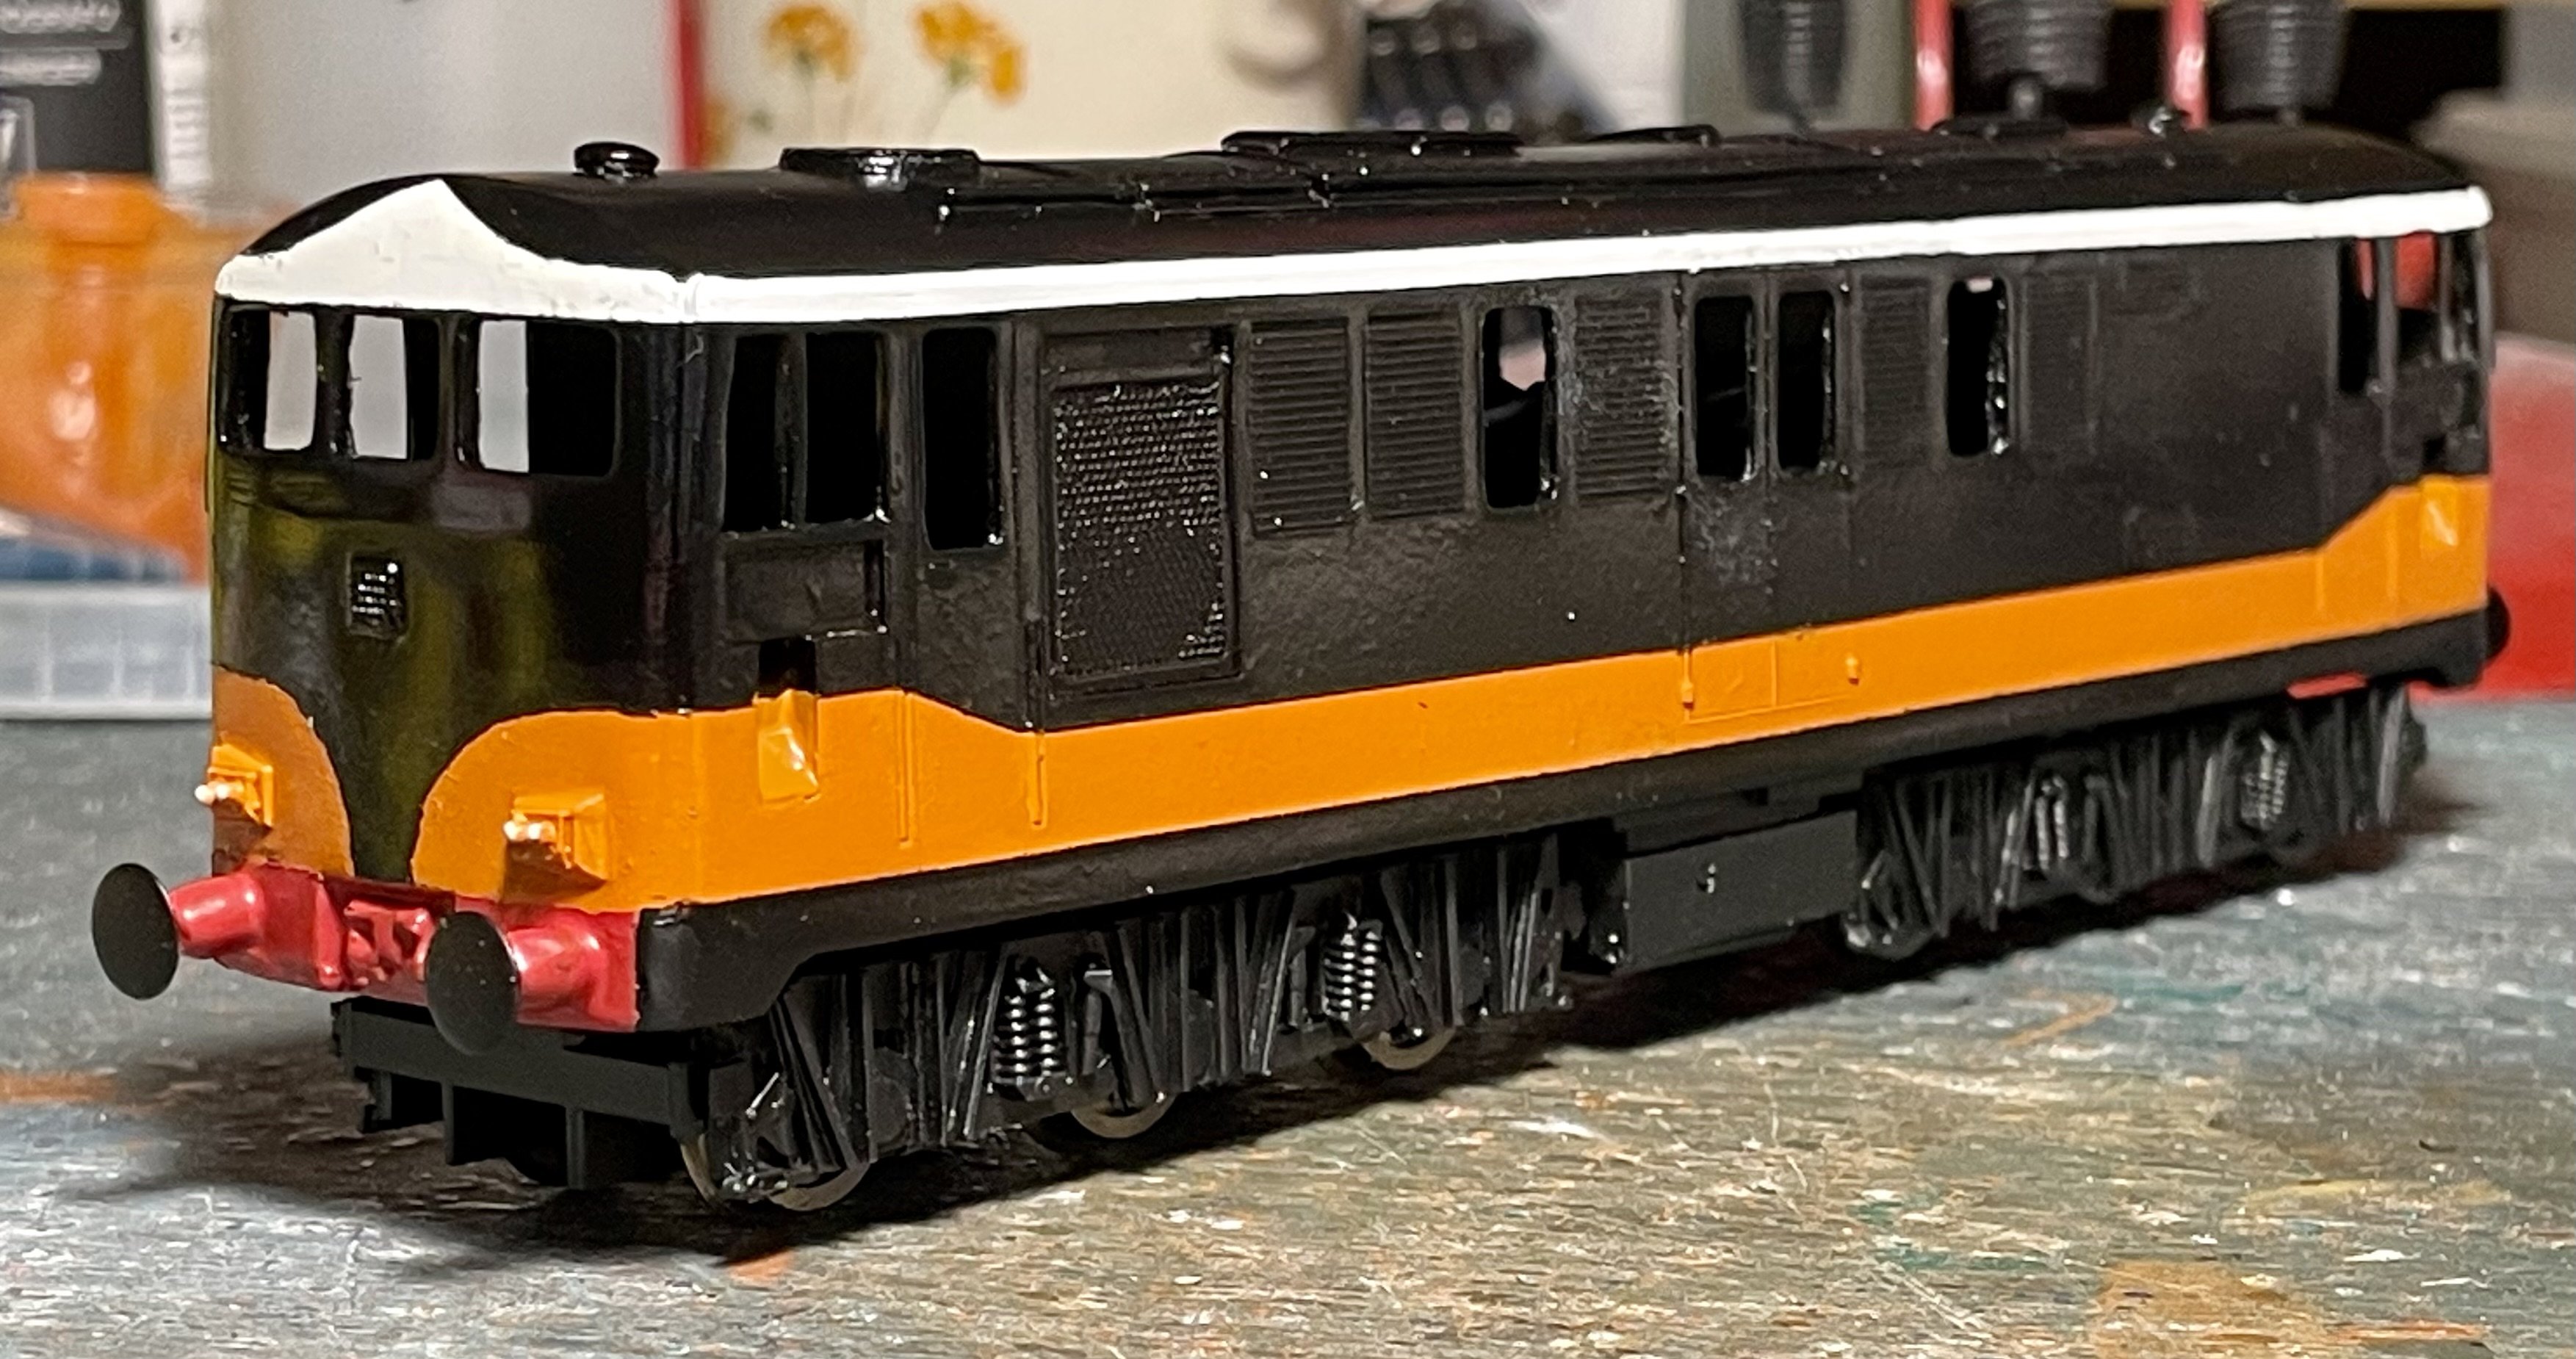
Primary painting completed. Cheers Darius
-
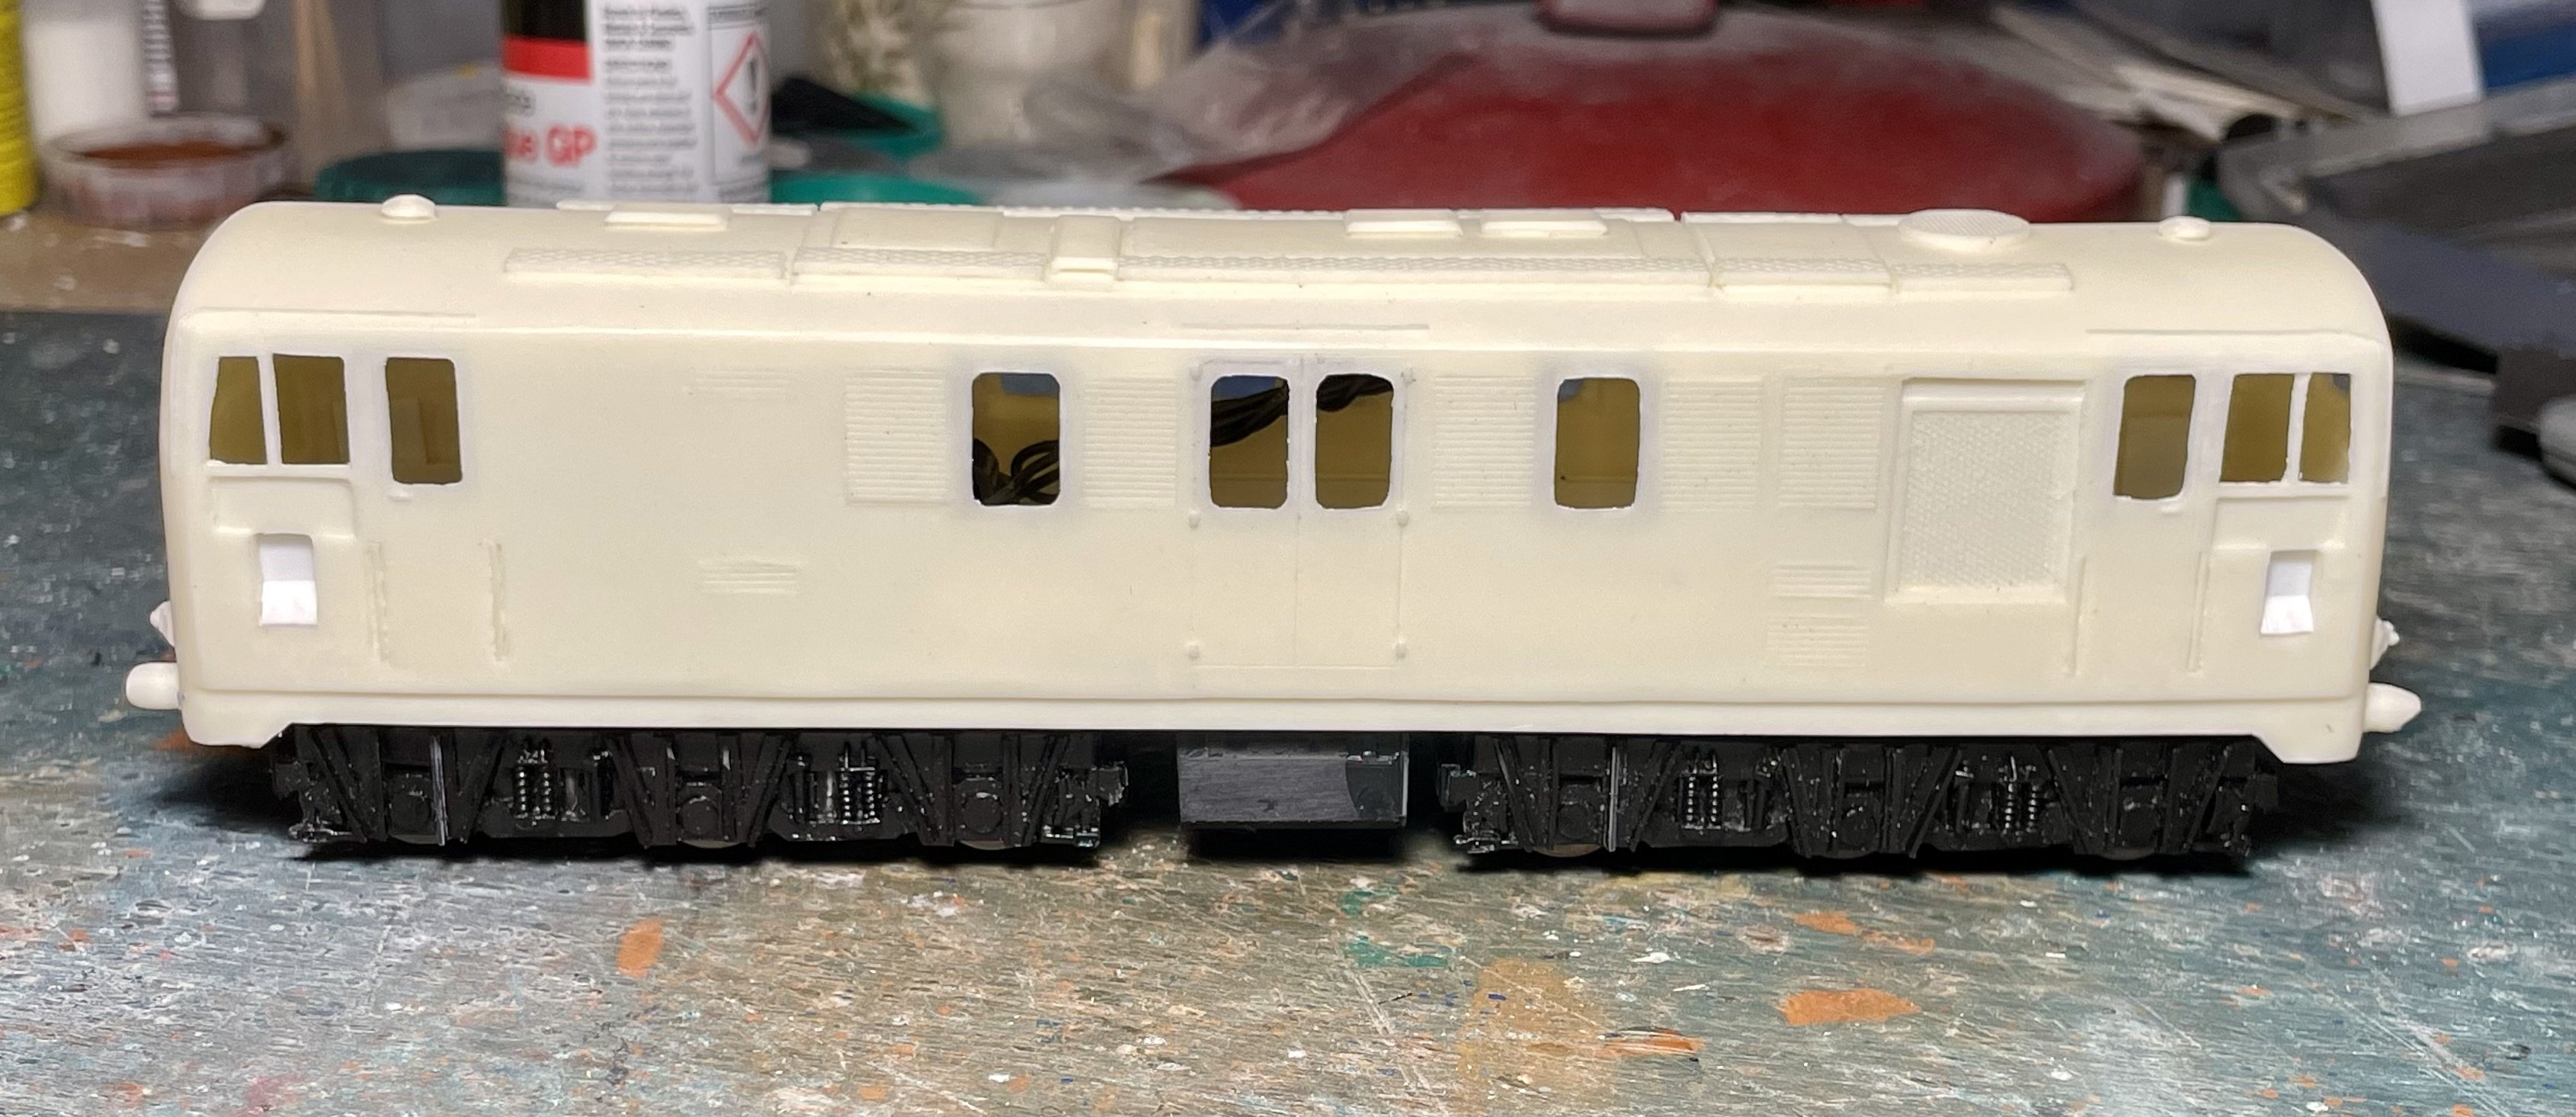
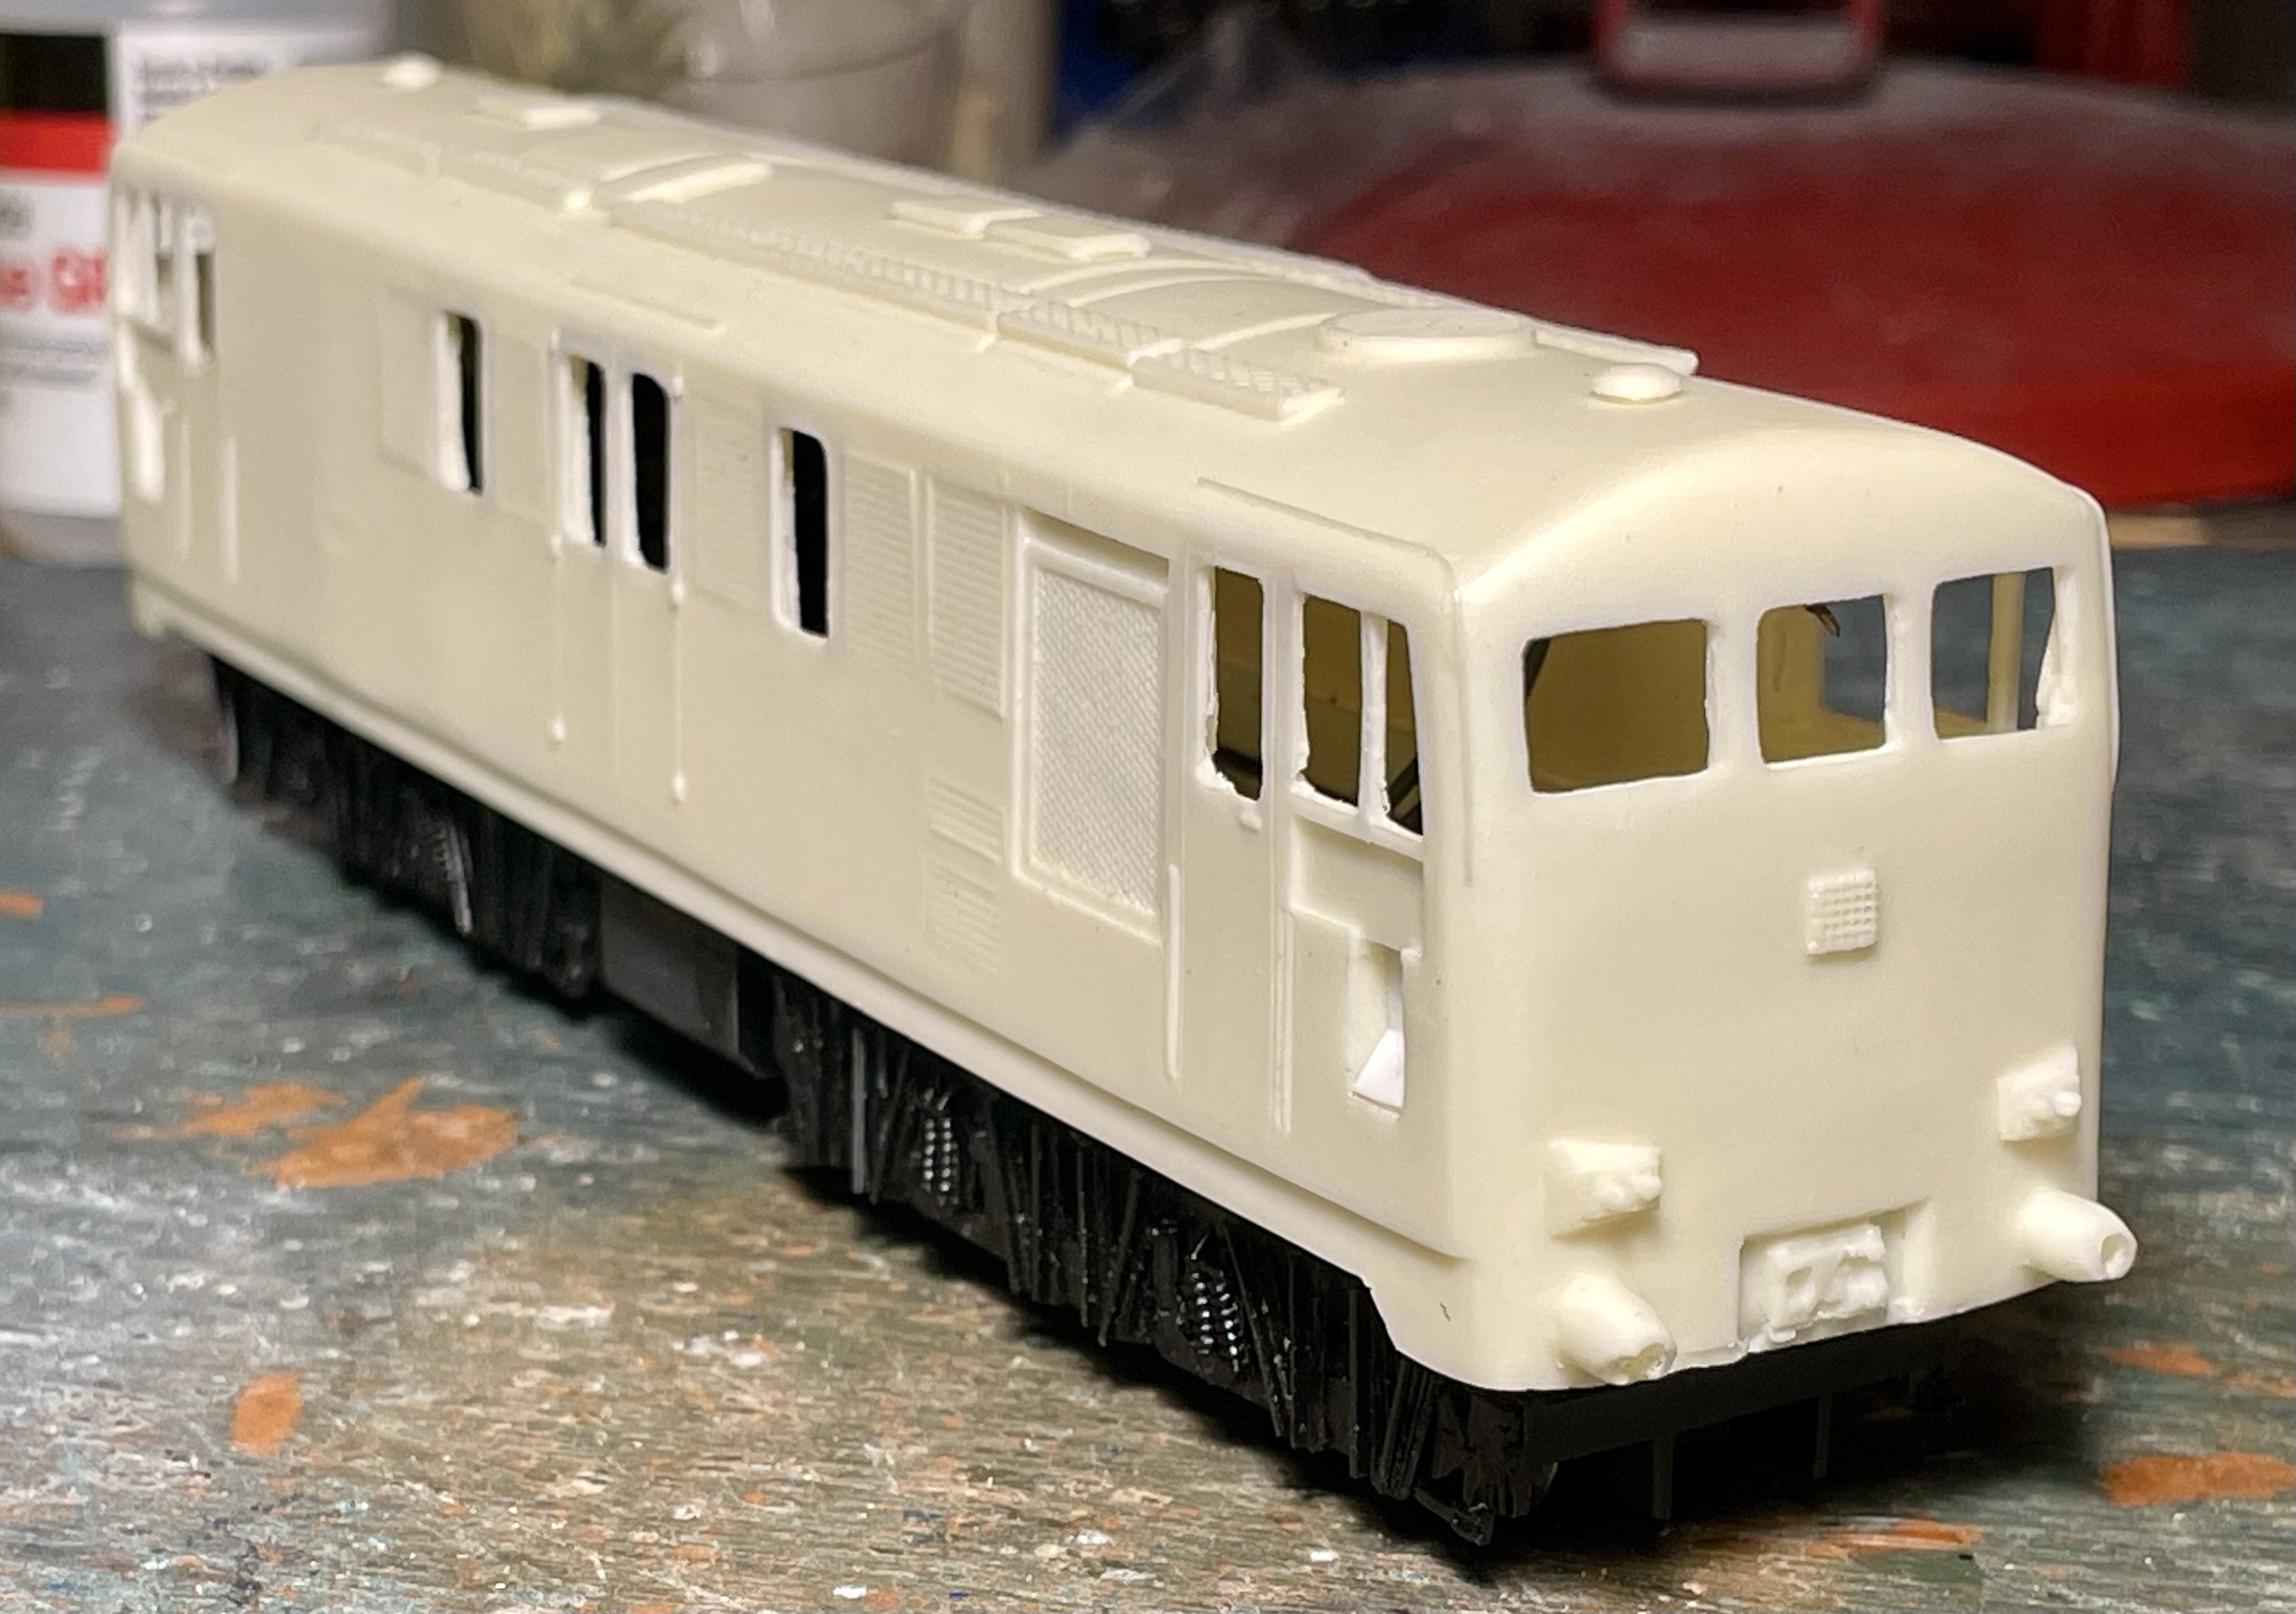
Primer coat on body and tanks installed using plasticard. Cheers Darius
-
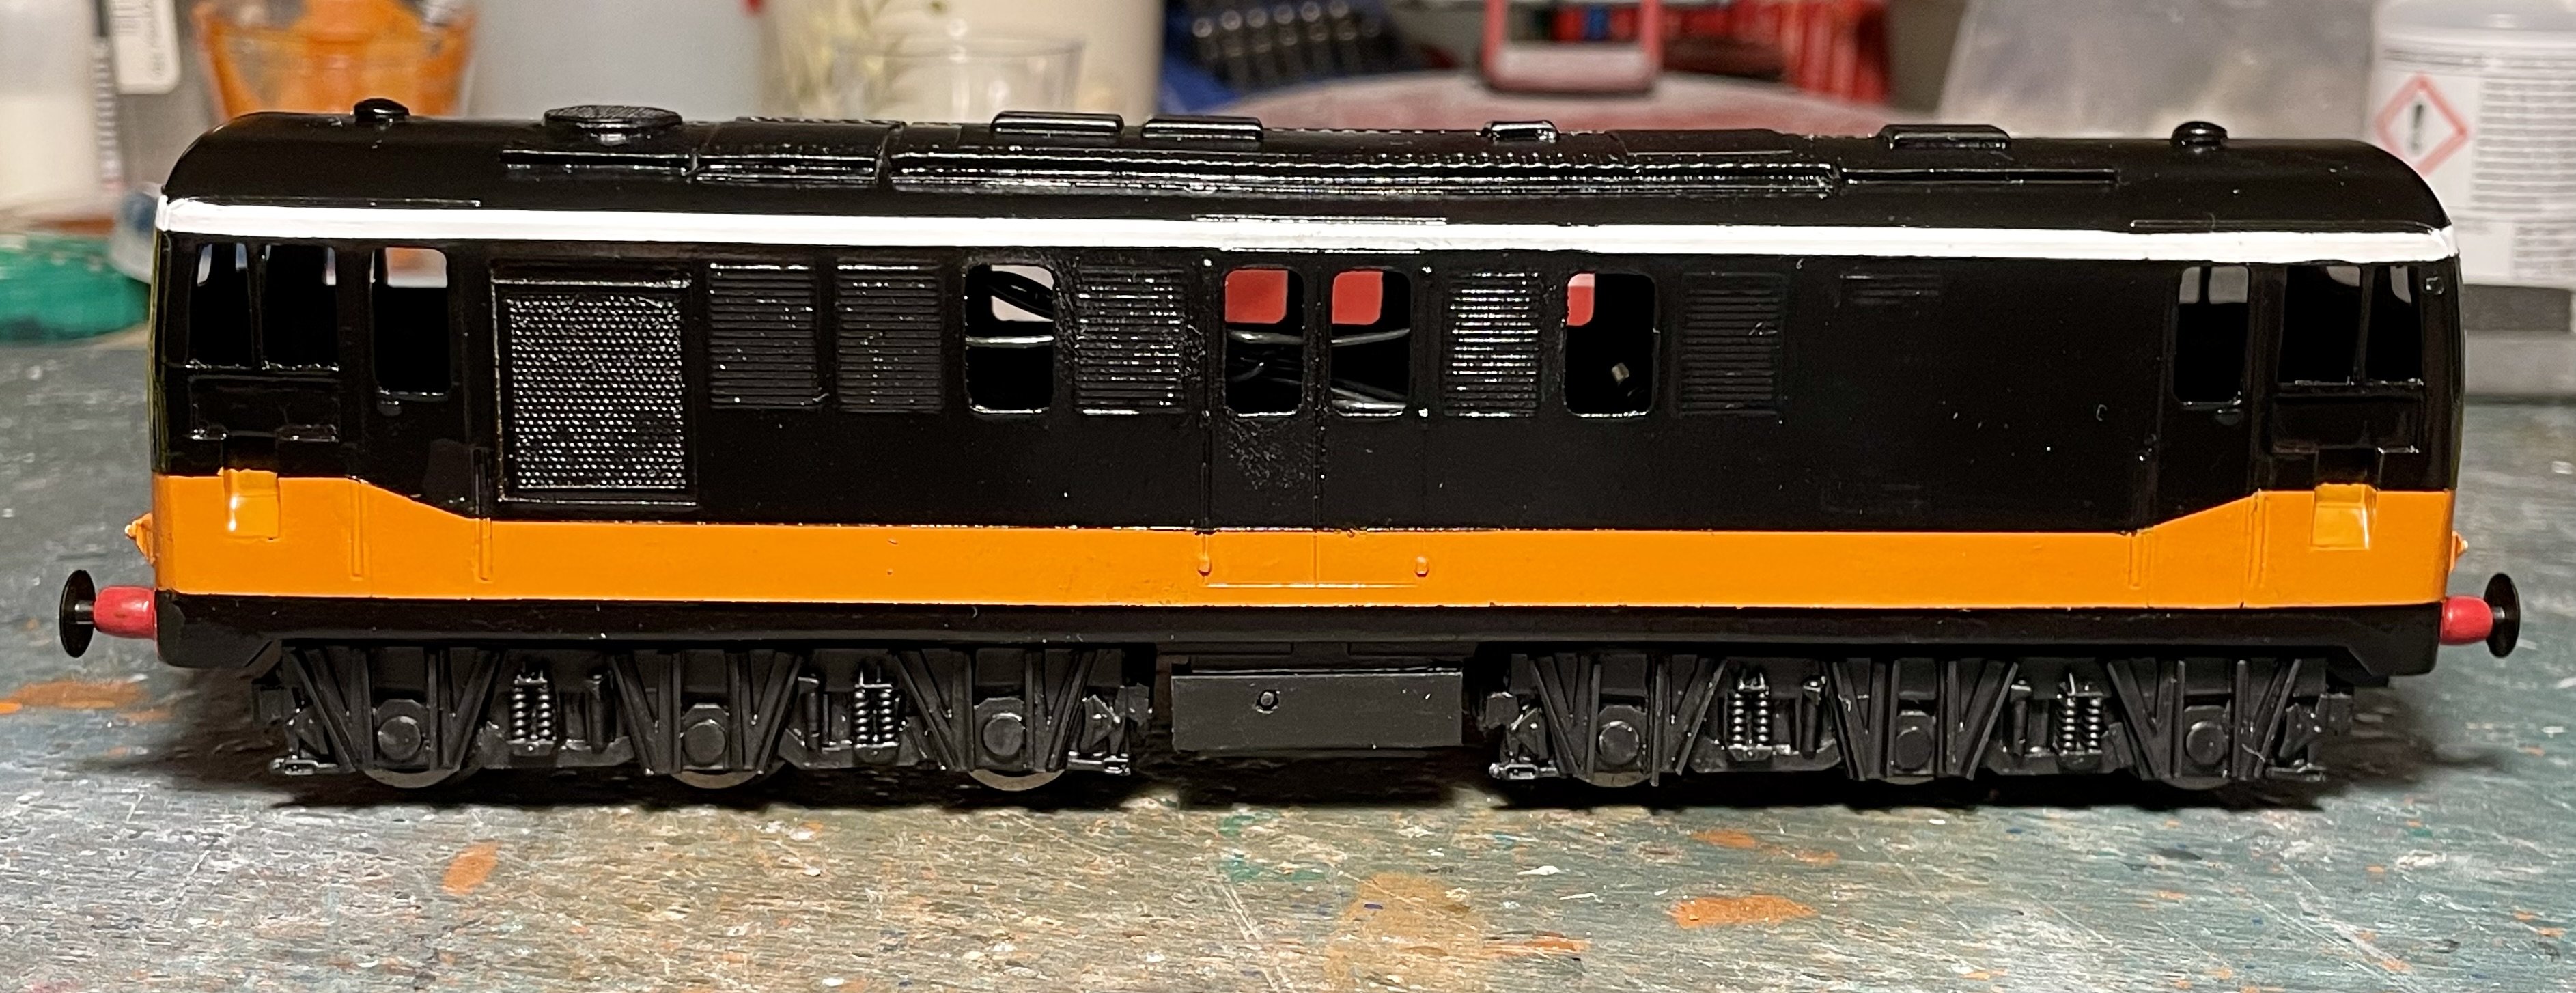
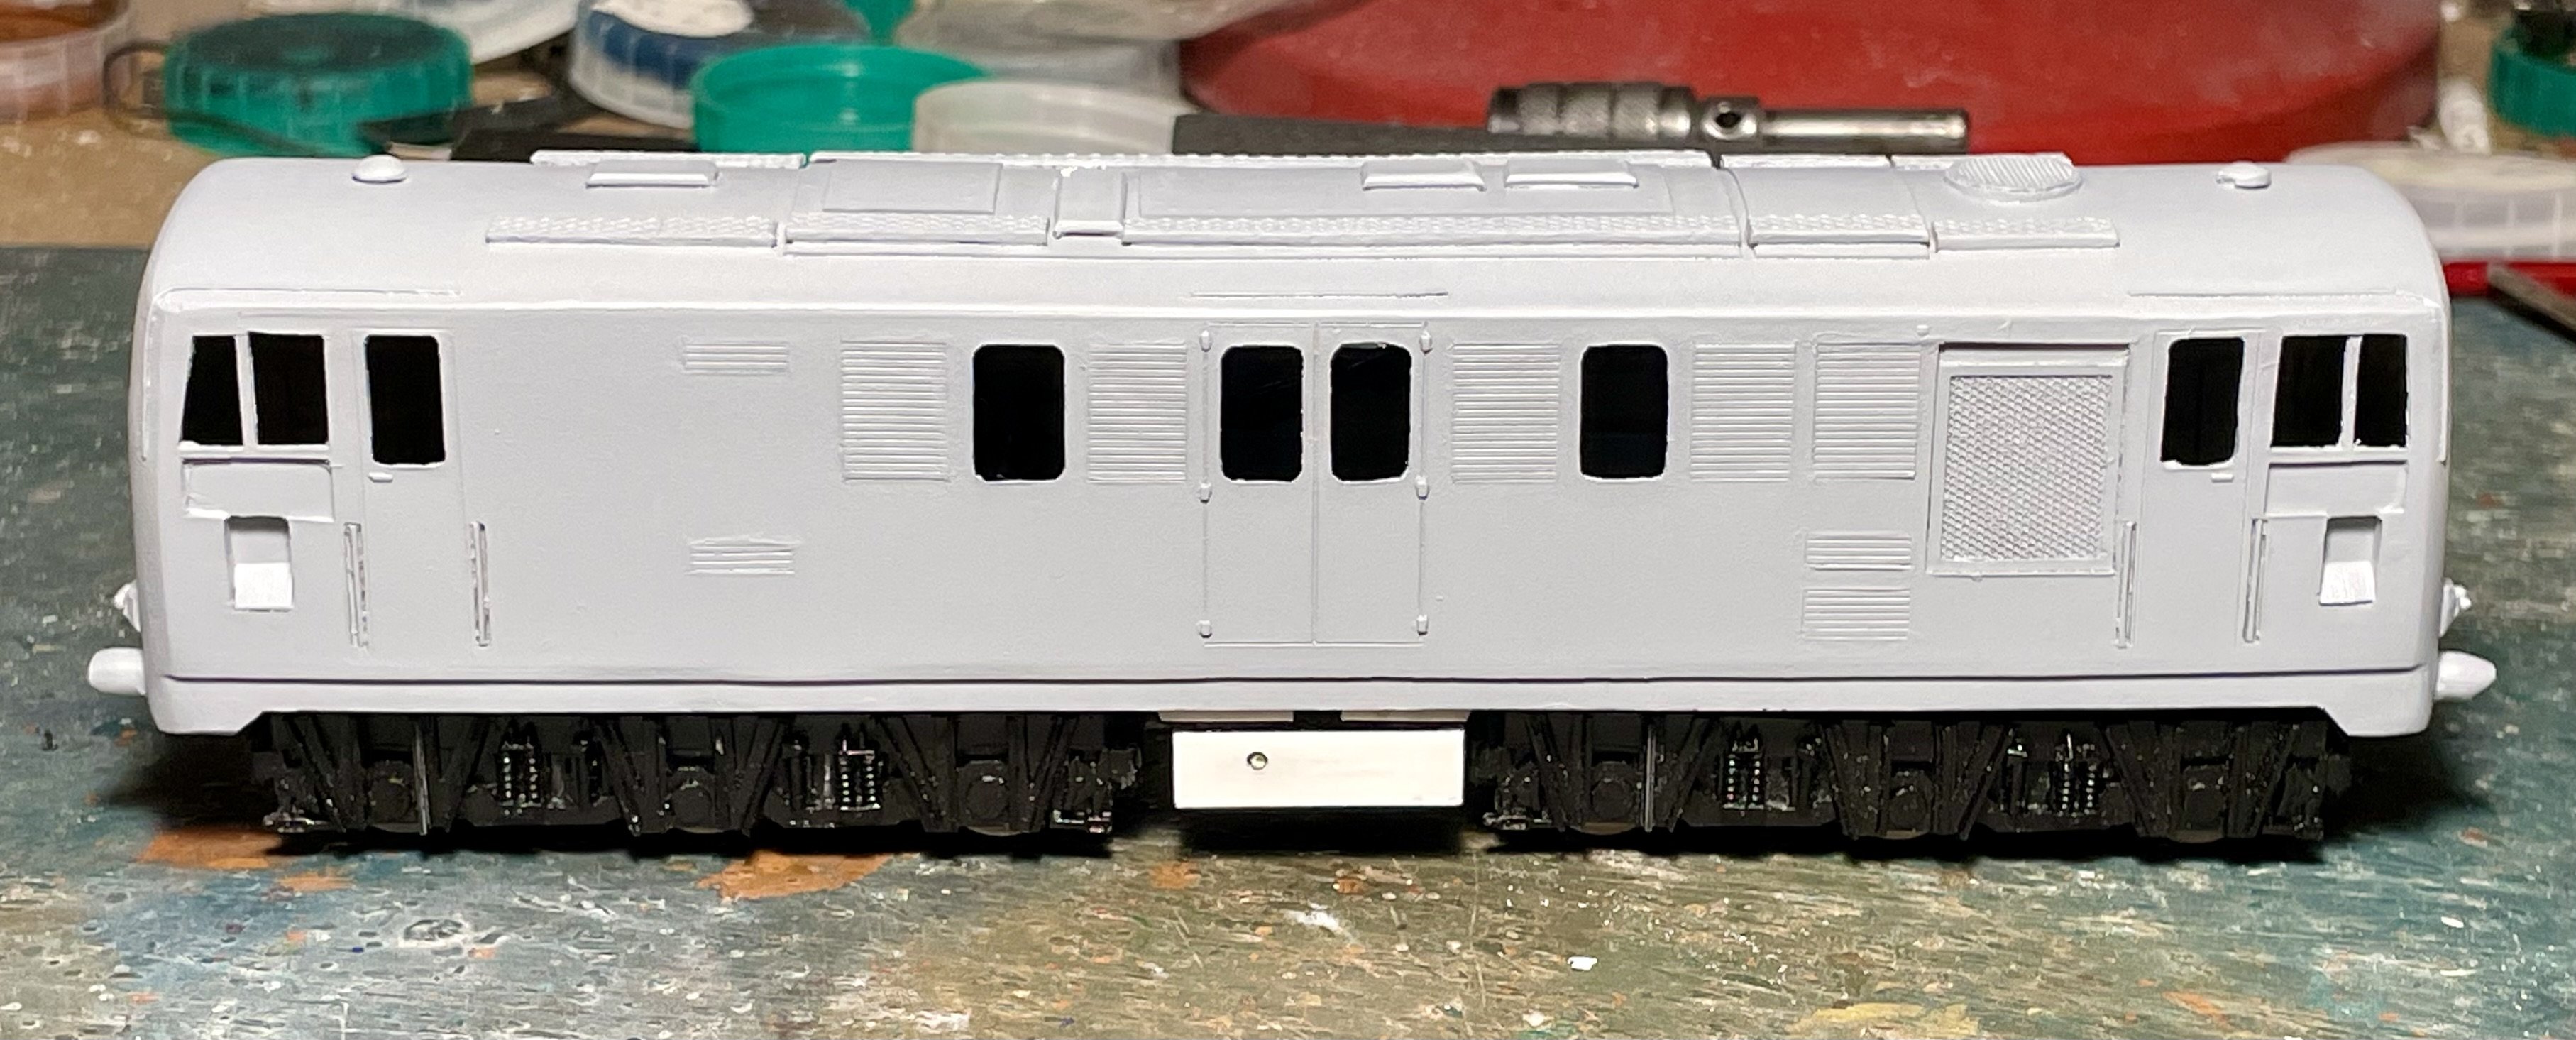
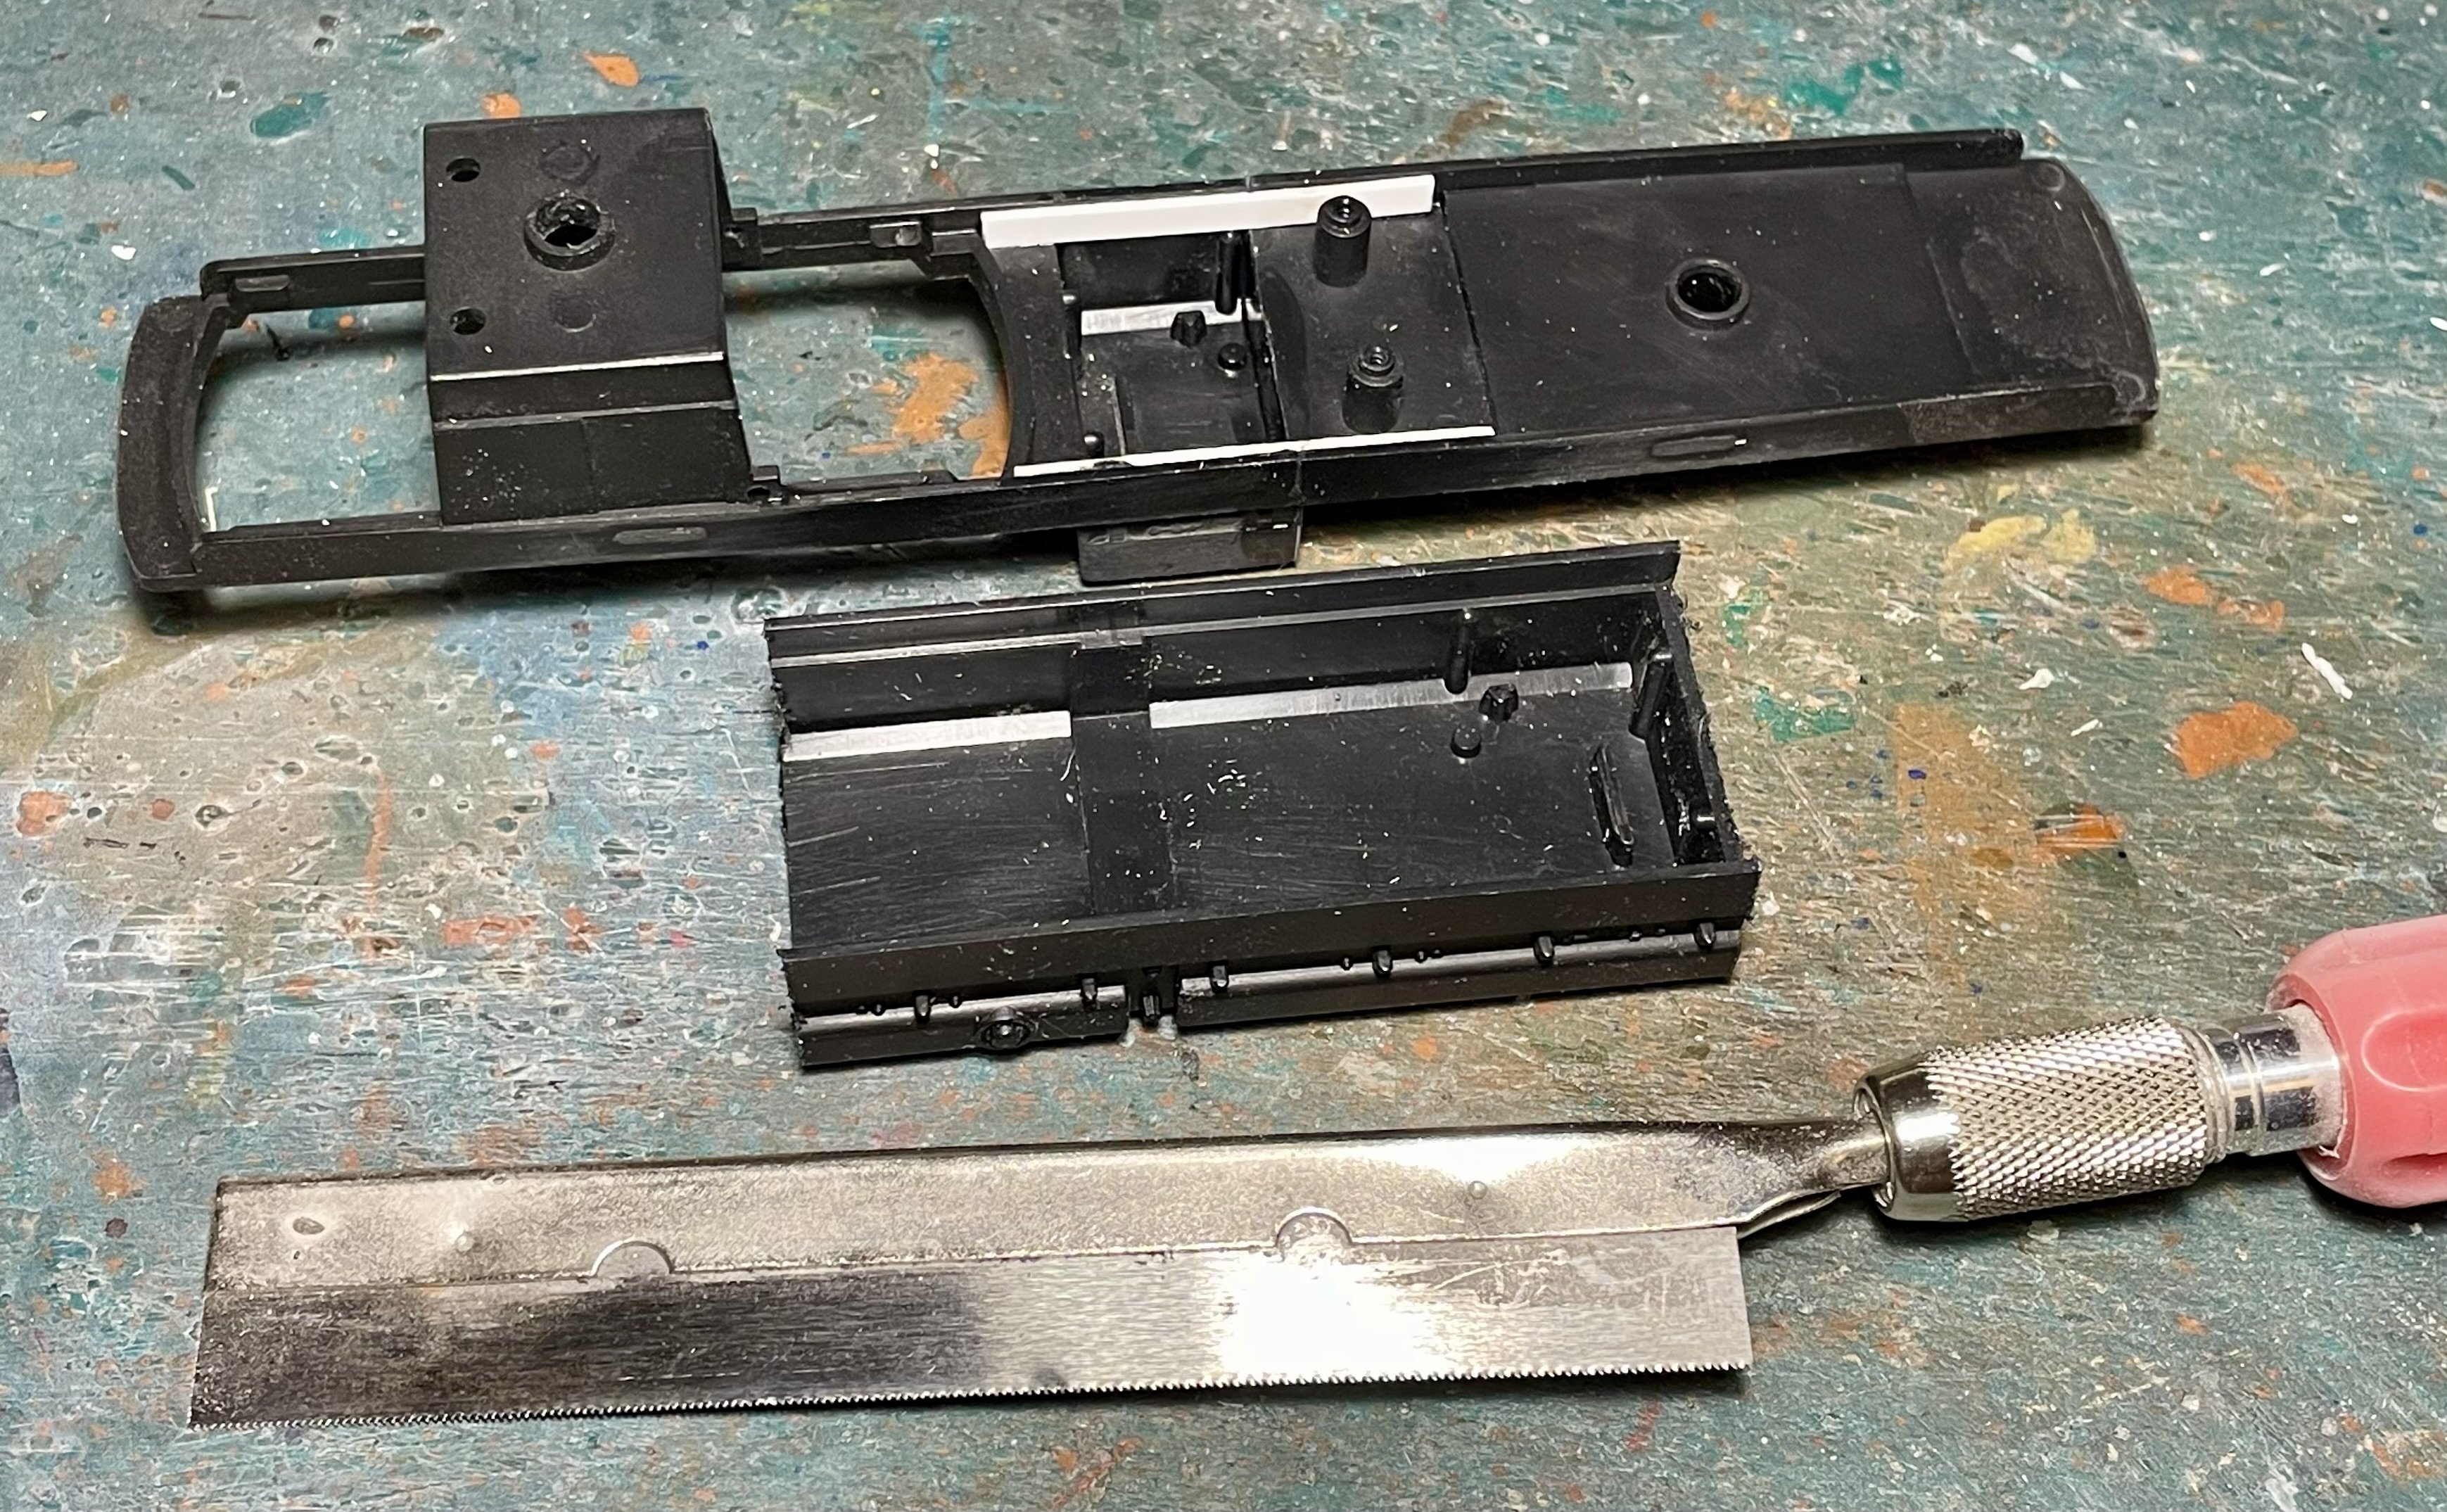
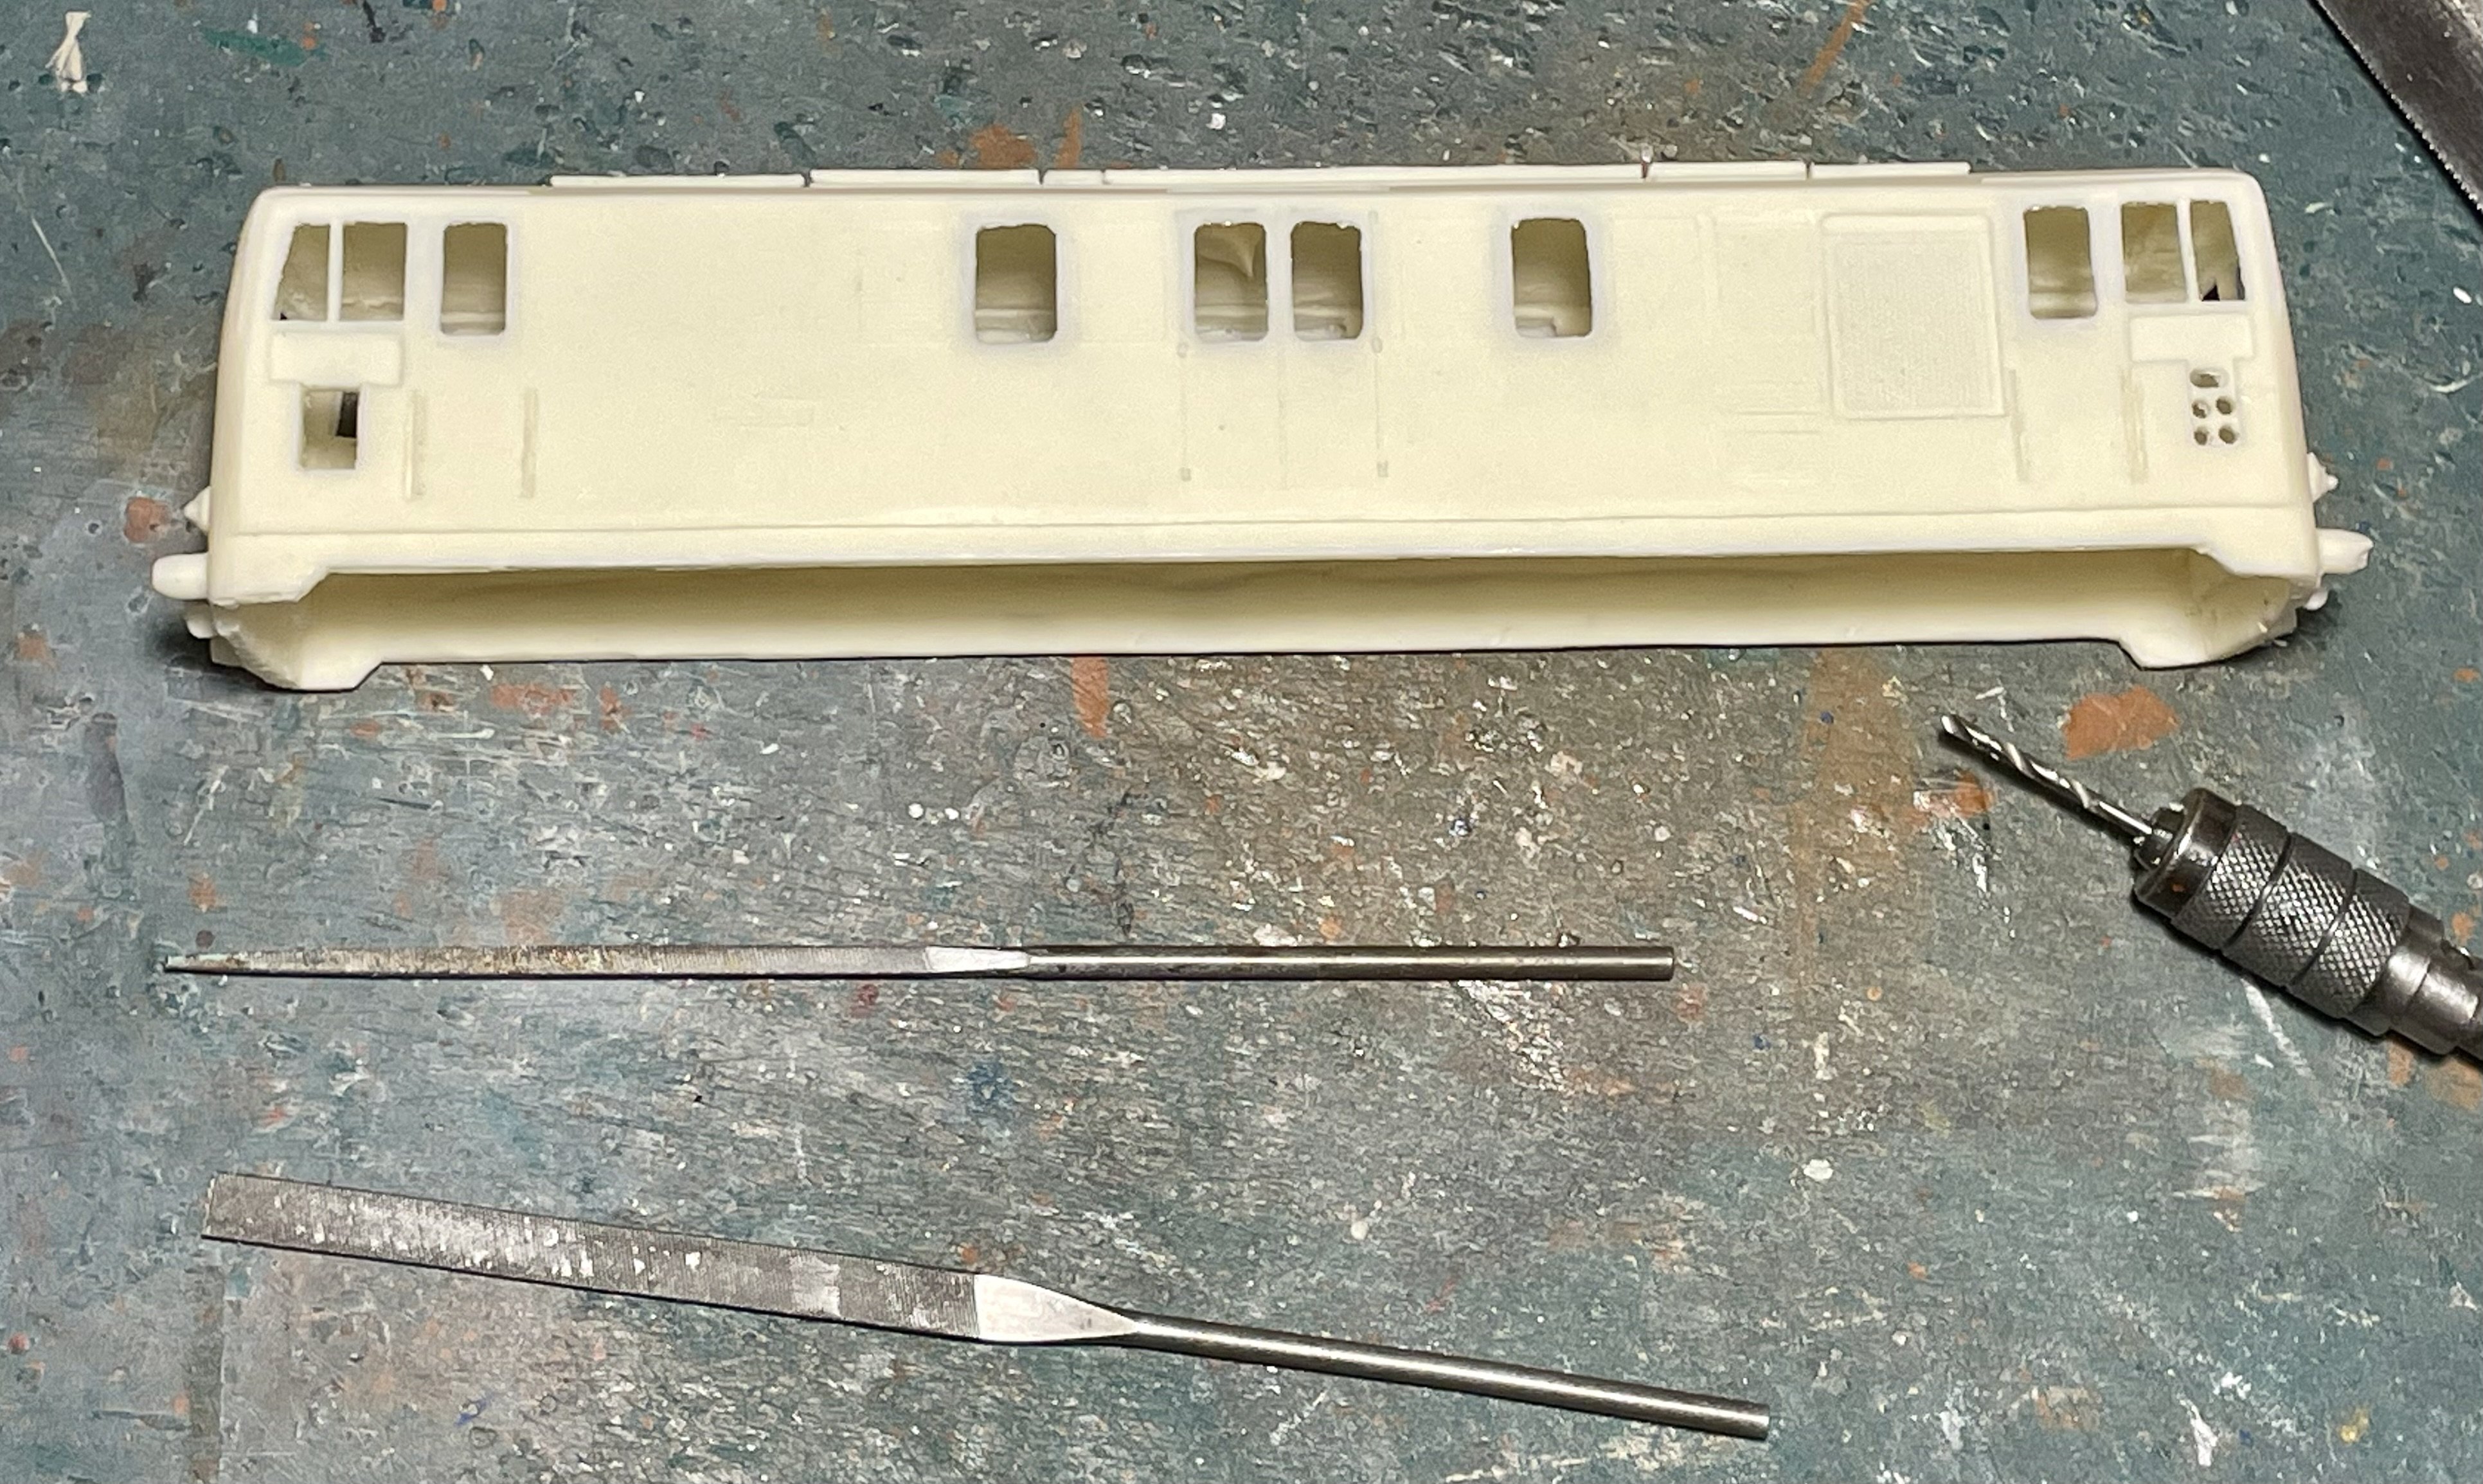
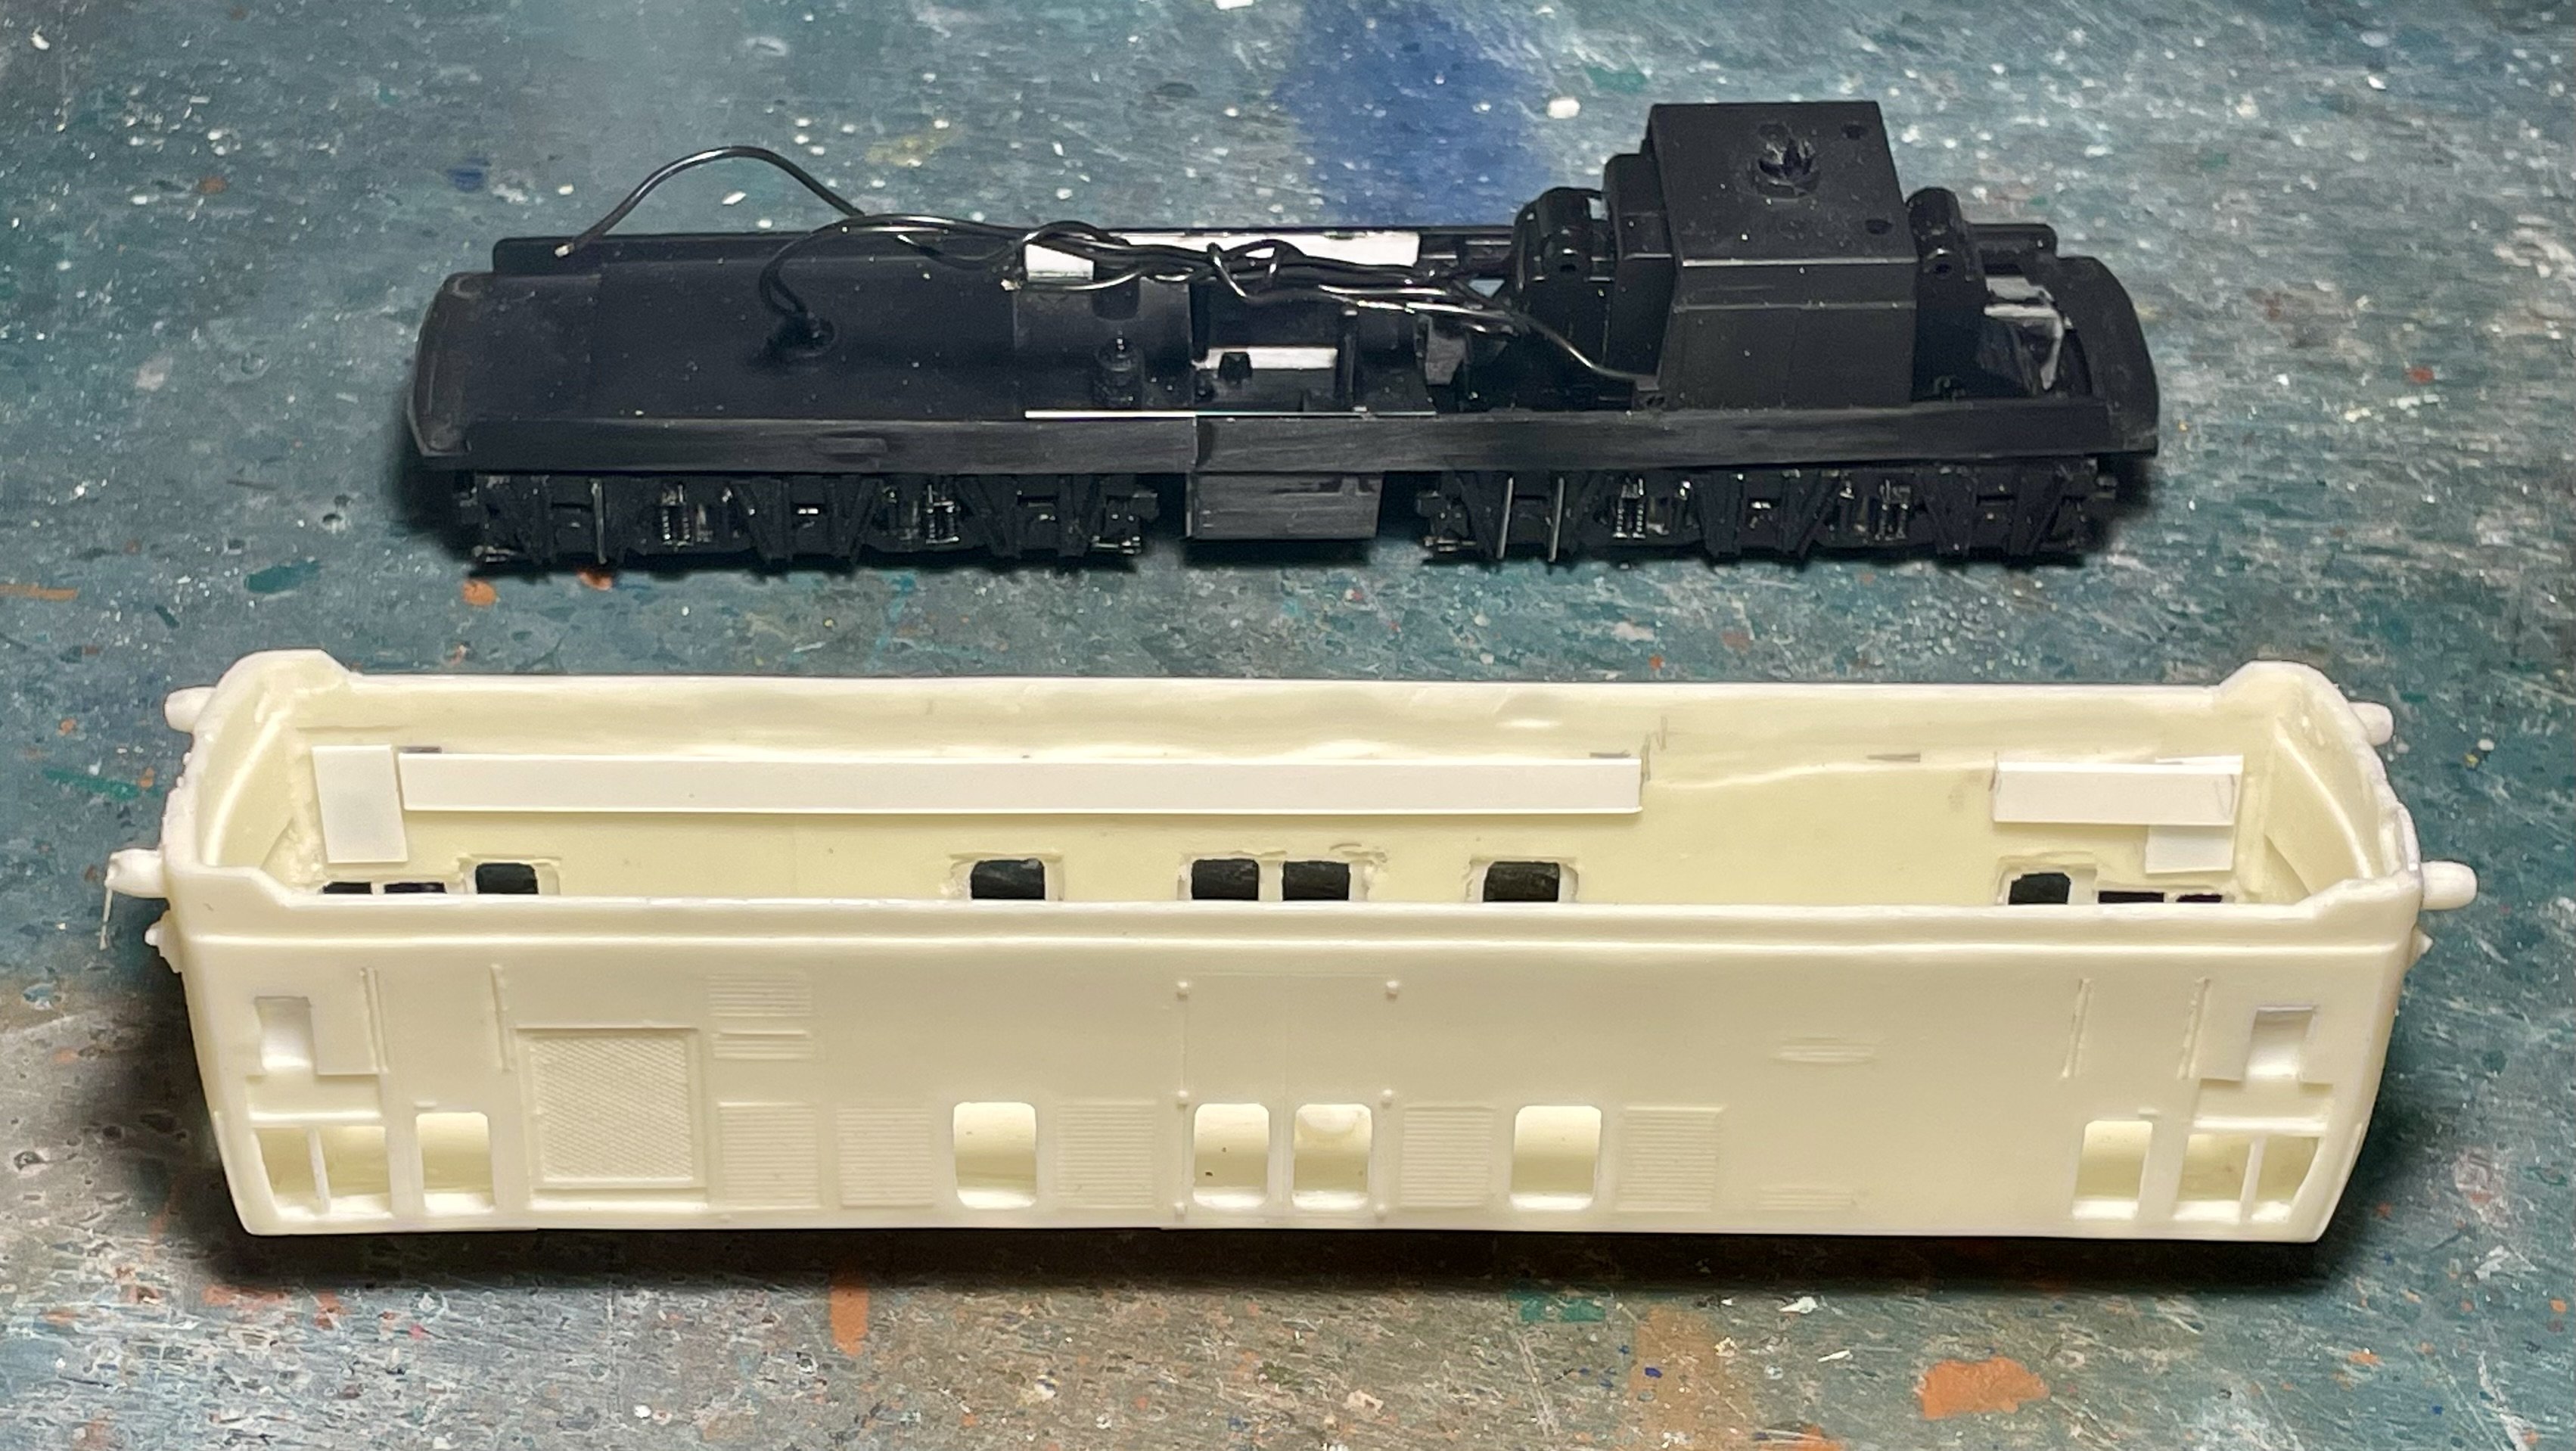
Silver Fox models B Class started. Hornby Railroad Class 55 chassis (as recommended by Silver Fox) modified to fit. I had to thin* the inside faces of the Silver Fix resin body with a Dremel so that the chassis would actually fit. The tablet catcher recesses below the cabside windows were a bit shallow so I drilled out the lower parts and re-made them using plasticard sheet. I cut away the Deltic bogie sides and glued in place the Silver Fox replacements. I sanded* the rear faces of the replacement sides to provide a decent surface for glueing. I glued strips of plasticard to the inside faces of the resin body to act as chassis supports. Body fitted to chassis - it’s an interference fit at the moment. Next tasks are further cleaning of the body and scratch building the tanks that sit between the bogies - the Silver fox ones aren’t that good. Cheers Darius * I always wear a respirator when sanding resin and keep it on until all the resin dust has been cleaned up.
-
Do the on train announcements say that “we are now arriving into” whatever the station is rather than “arriving at” the station. The former suggests to me that the train will be hitting part of the station. Cheers Darius
-
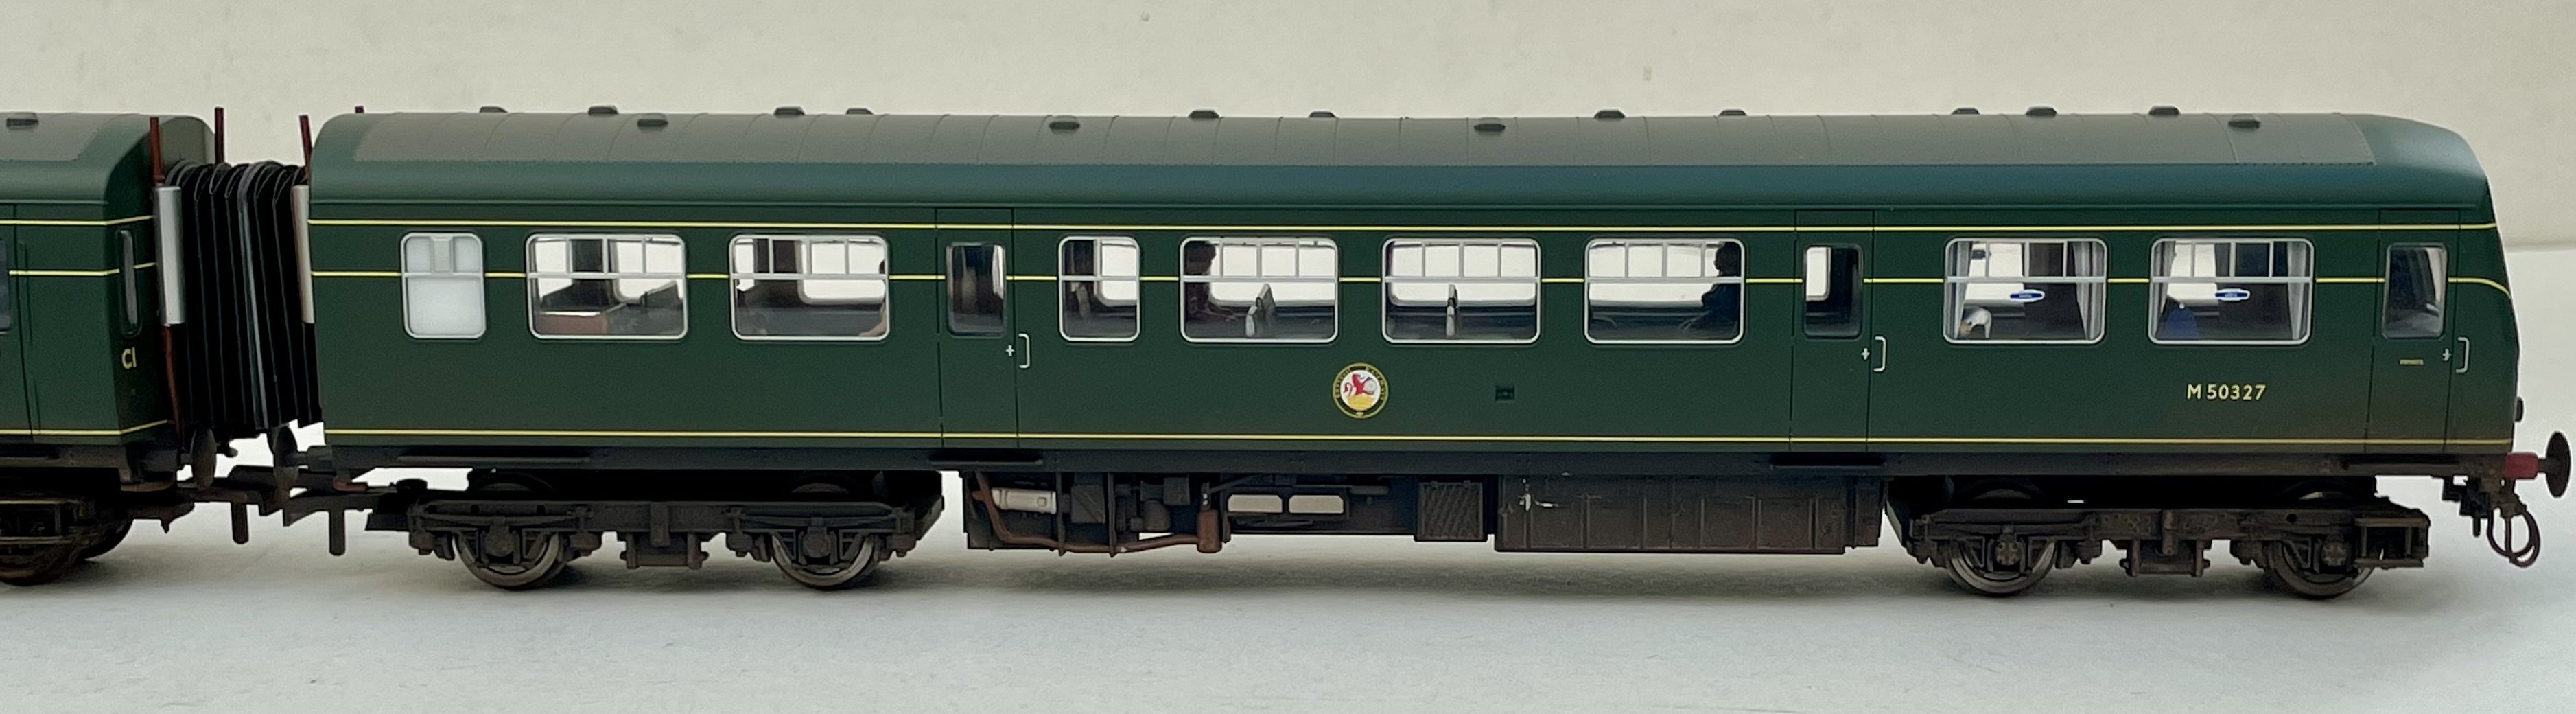
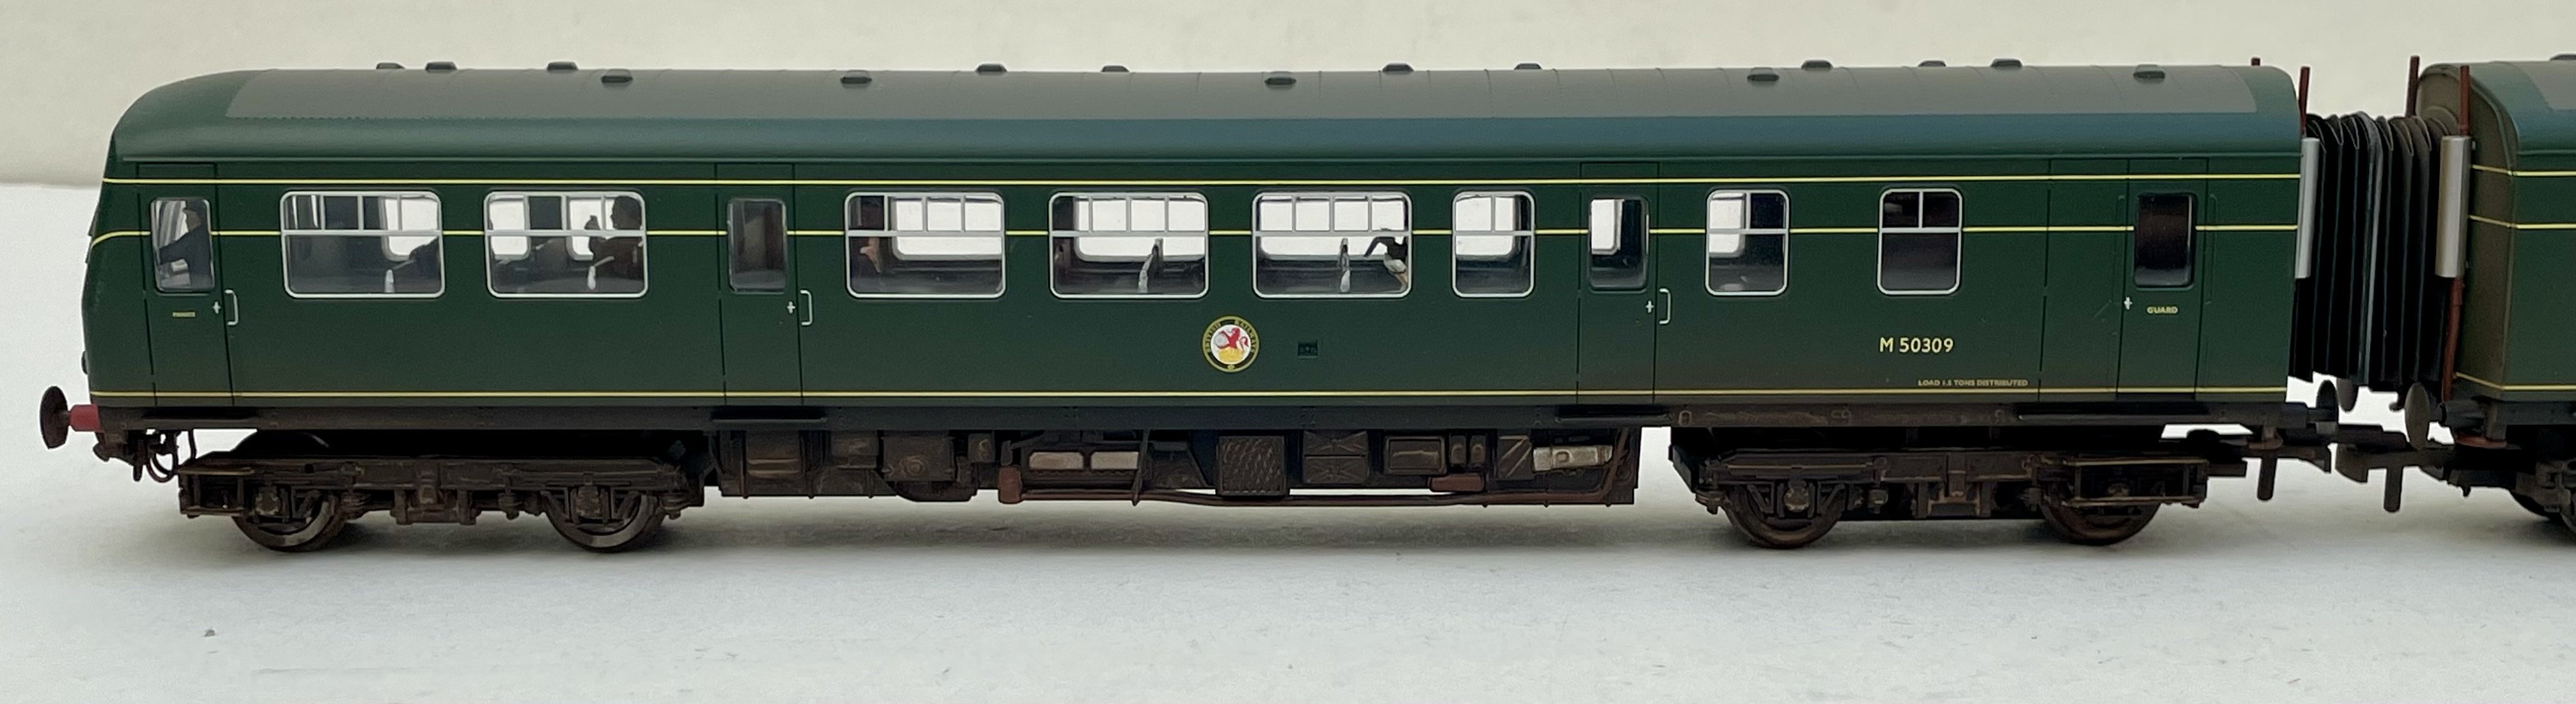
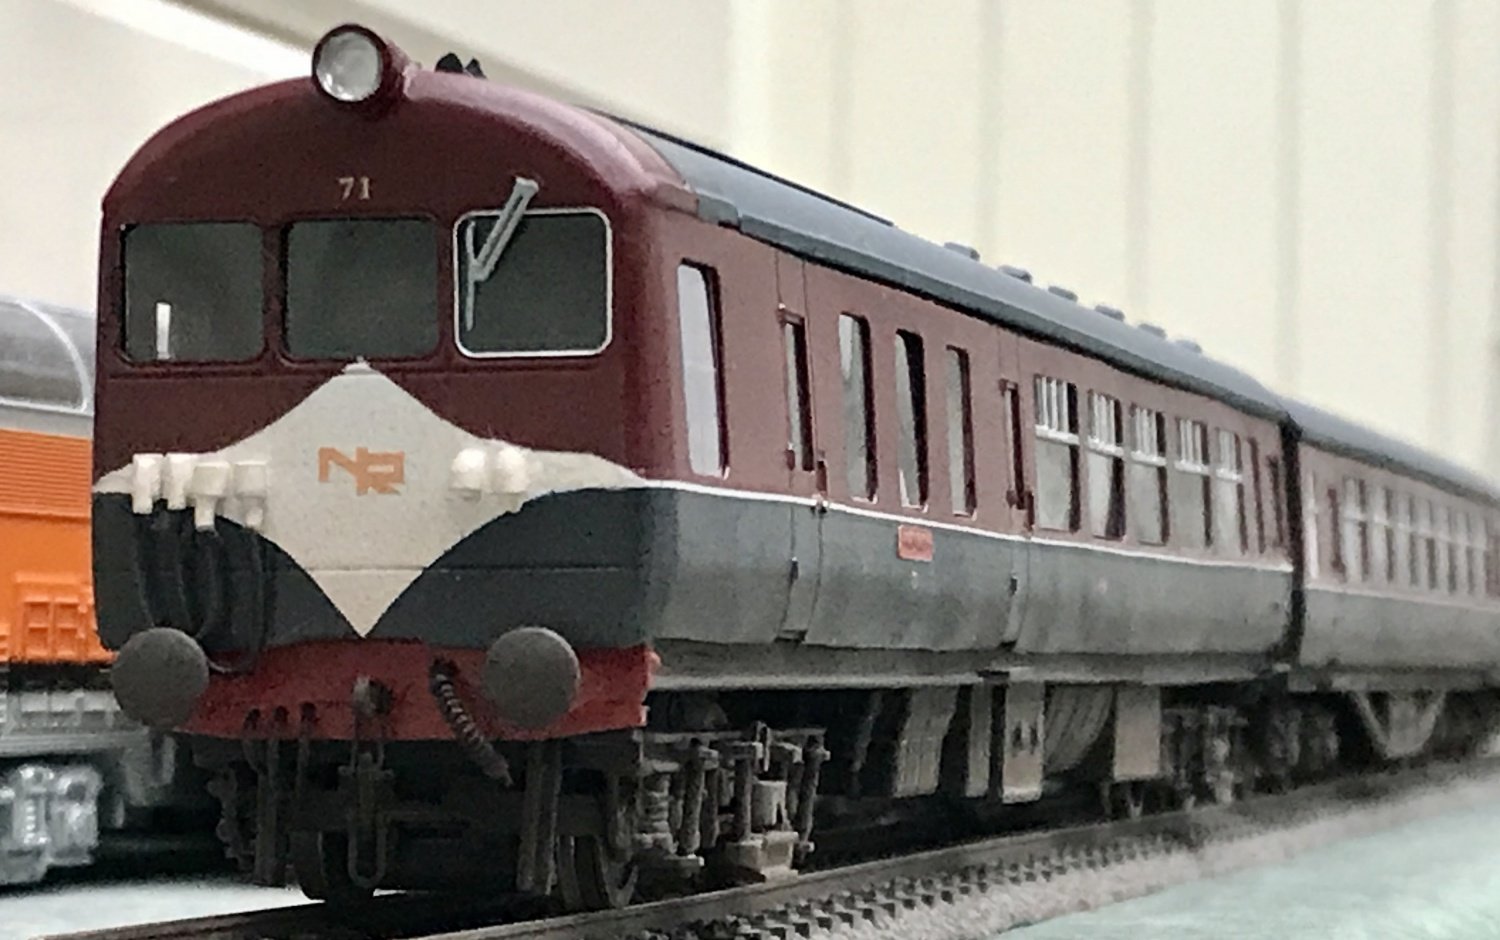
Obtained an unboxed Hornby Class 101 centre coach from eBay in blue/grey livery. I detached the coach body from the chassis and removed the interior. The window glazing was carefully removed and the body masked for painting into Regional Railways livery. The first class logos were removed from the window glazing using the end of a cocktail stick dipped in white spirit. The wooden cocktail stick is abrasive enough to remove the painted on sign but soft enough not to scratch the clear plastic. Fox Transfers lining decals applied and glazing re-fitted. Coach interior upholstered and gangways fitted. Light weathering of chassis to finish. Cheers Darius
-
Buffer beam hosiery and light weathering to finish. Cheers Darius
-
Funky Cheers Darius
-
Pantograph and bus bar gibbons fitted to the roof. Cheers Darius
-
Brass wire cab handrails installed. Cab and bodyside glazing fitted. I had wondered if the SE Finecast glazing panels for the Triang or Trix Class 81 or the Hornby Class 86 would fit but alas they don’t - apart from the Class 86 triangular quarterlights. Glazing panels were thus cut from clear acetate sheet, trimmed to fit and fixed in with a very small amount of superglue. The windscreen wipers are Bachmann Class 85 spares from Rainbow Railways. Cheers Darius
-
Class 84 load bank lining and other decals applied - courtesy of Railtec. The orange cantrail lining will be applied tomorrow after these decals have set under the coat of Klear varnish. Cheers Darius
-
The replacement “modern” Hornby motor coach chassis arrived today and the interior, motor and trailing bogies were fitted to it. I added 3D printed buffer hosiery from West Hill Wagon Works. Light weathering of the new chassis to finish. Cheers Darius
-
The CMAC bogies and chassis were painted black and brass top hat bearings fitted to the bogies. I used wheels from old Hornby Class 86 bogies, removing them from their original axles and fitting them to new axles (from spare wagon wheelsets) that have pinpoint ends. Initial painting completed. Cheers Darius
-
Spotted on and obtained from eBay - 3D printed resin model from CMAC. The parts are nicely moulded but small print support “trees” need to be trimmed away and the parts cleaned up with a light sanding - especially around the buffers. I sanded off the moulded BR arrows and removed the cab front handrails. I will add brass wire handrails after painting. The undergibbons part is a loose fit to the body with no support points so I added those using strips of 1mm thick plasticard fixed with superglue. Alas a trio of air tanks are located where the pantograph should sit and these are impossible to cut away. I therefore stitch drilled around them and carefully cut between the drilled holes to remove them. The resultant hole was cleaned up and filled with plasticard. Hopefully CMAC can delete these air tanks from future prints… A bonus with this loco is that it doesn’t need to be motorised, which simplifies the construction considerably. Priming next. Cheers Darius
-
Motor coach interior completed. Replacement motor and trailing bogies located. I have ordered the newer Hornby 101 chassis part from Peter’s Spares as it will be easier to fit the newer bogies to it. The old Lima bogies will be added to the spares box. Cheers Darius