
Darius43
-
Posts
767 -
Joined
-
Last visited
-
Days Won
50
Content Type
Profiles
Forums
Resource Library
Events
Gallery
Blogs
Store
Community Map
Everything posted by Darius43
-
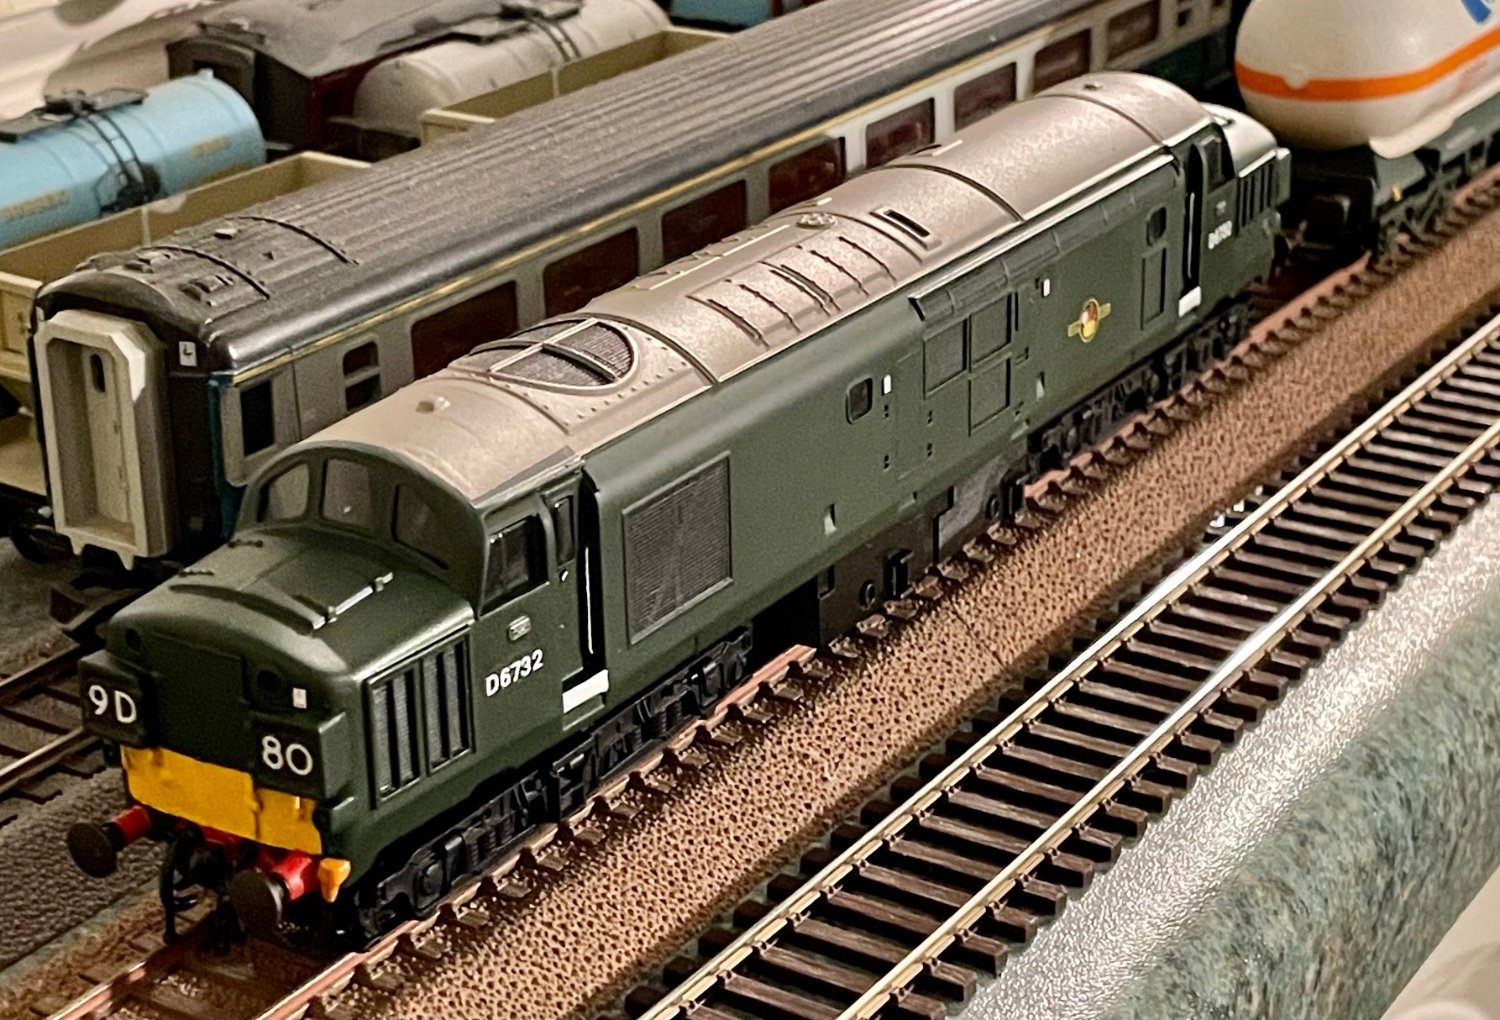
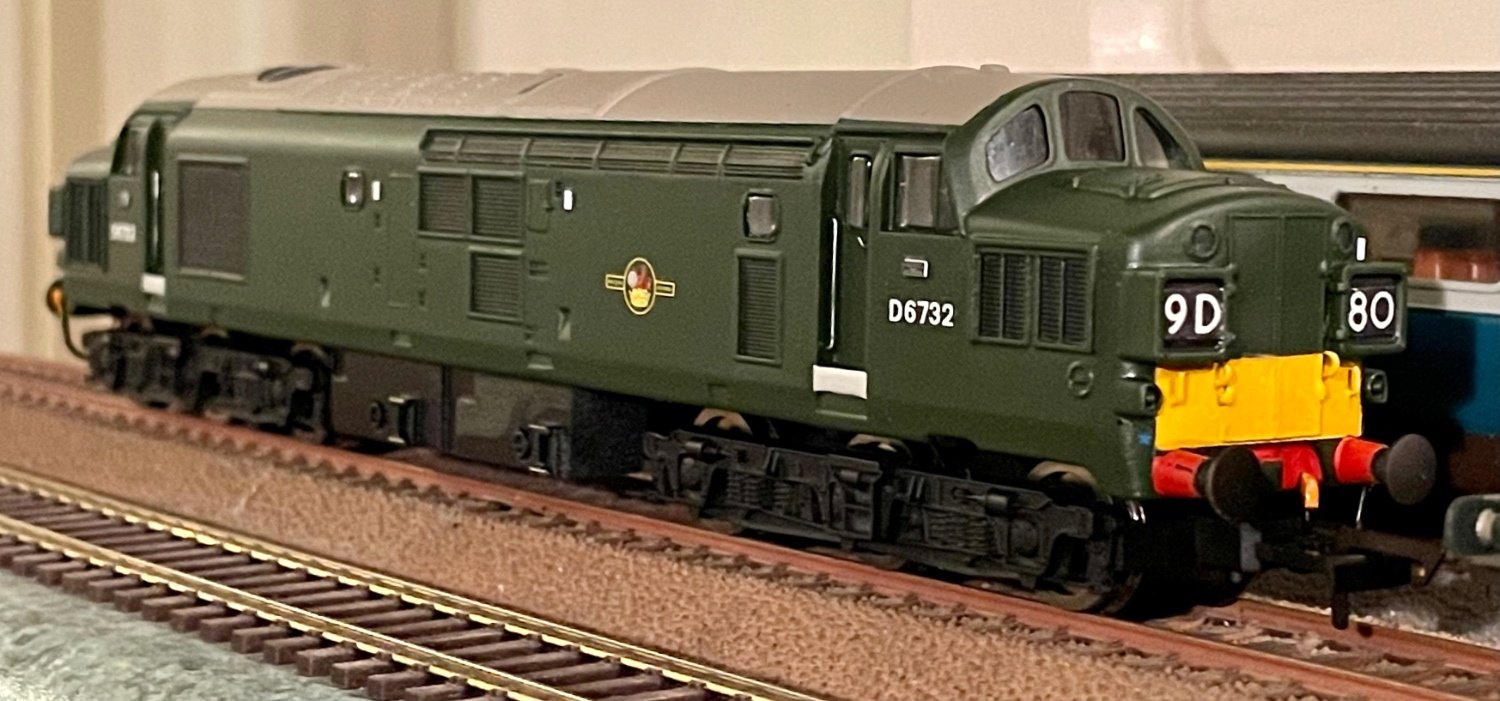
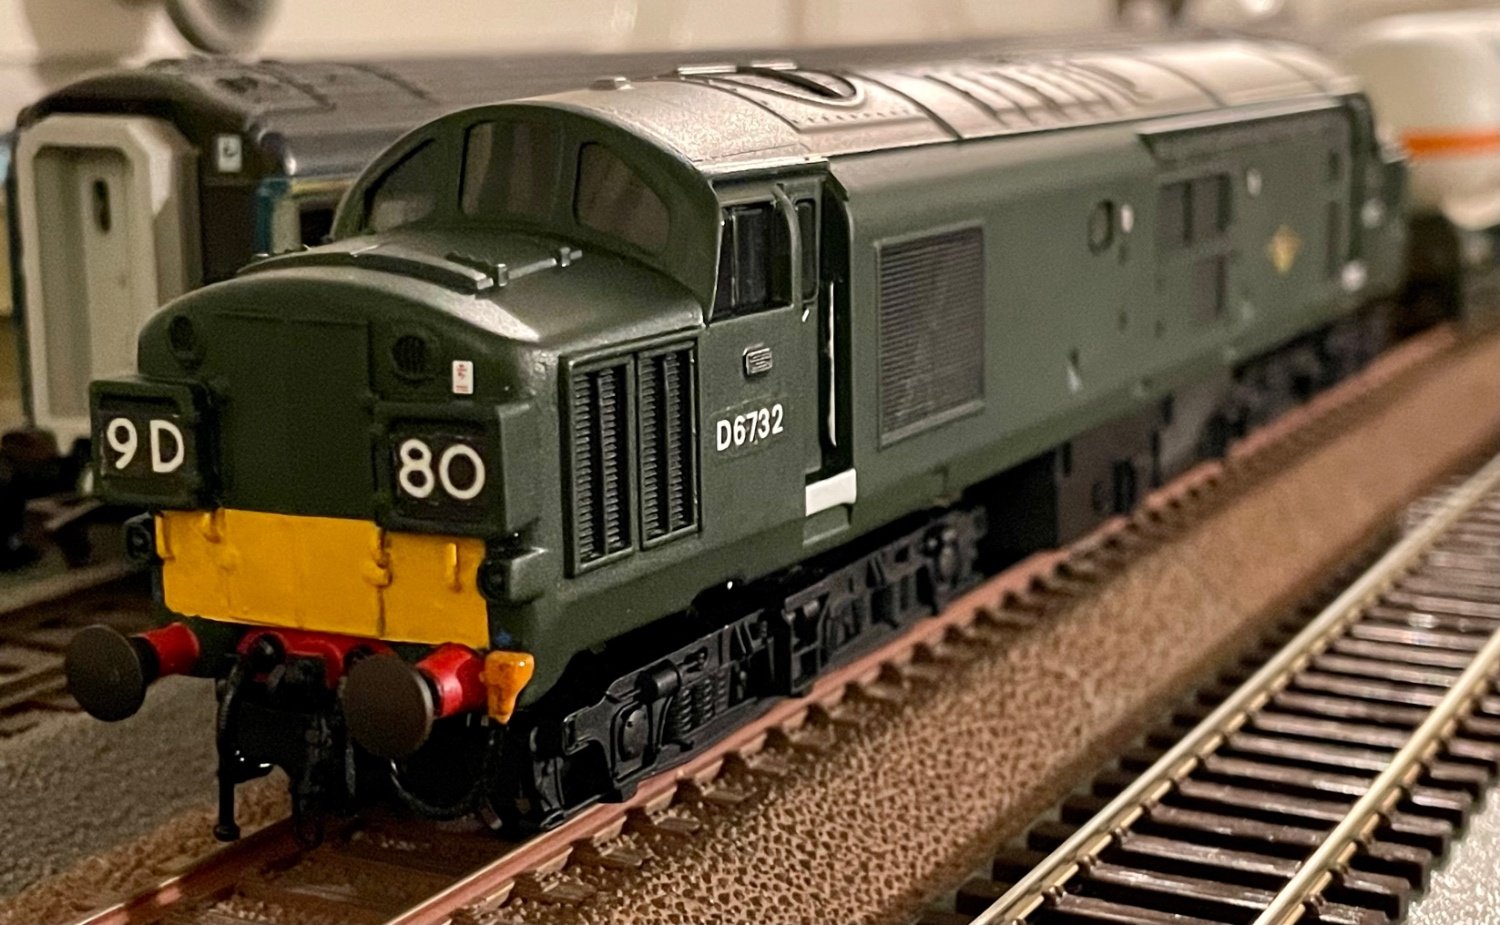
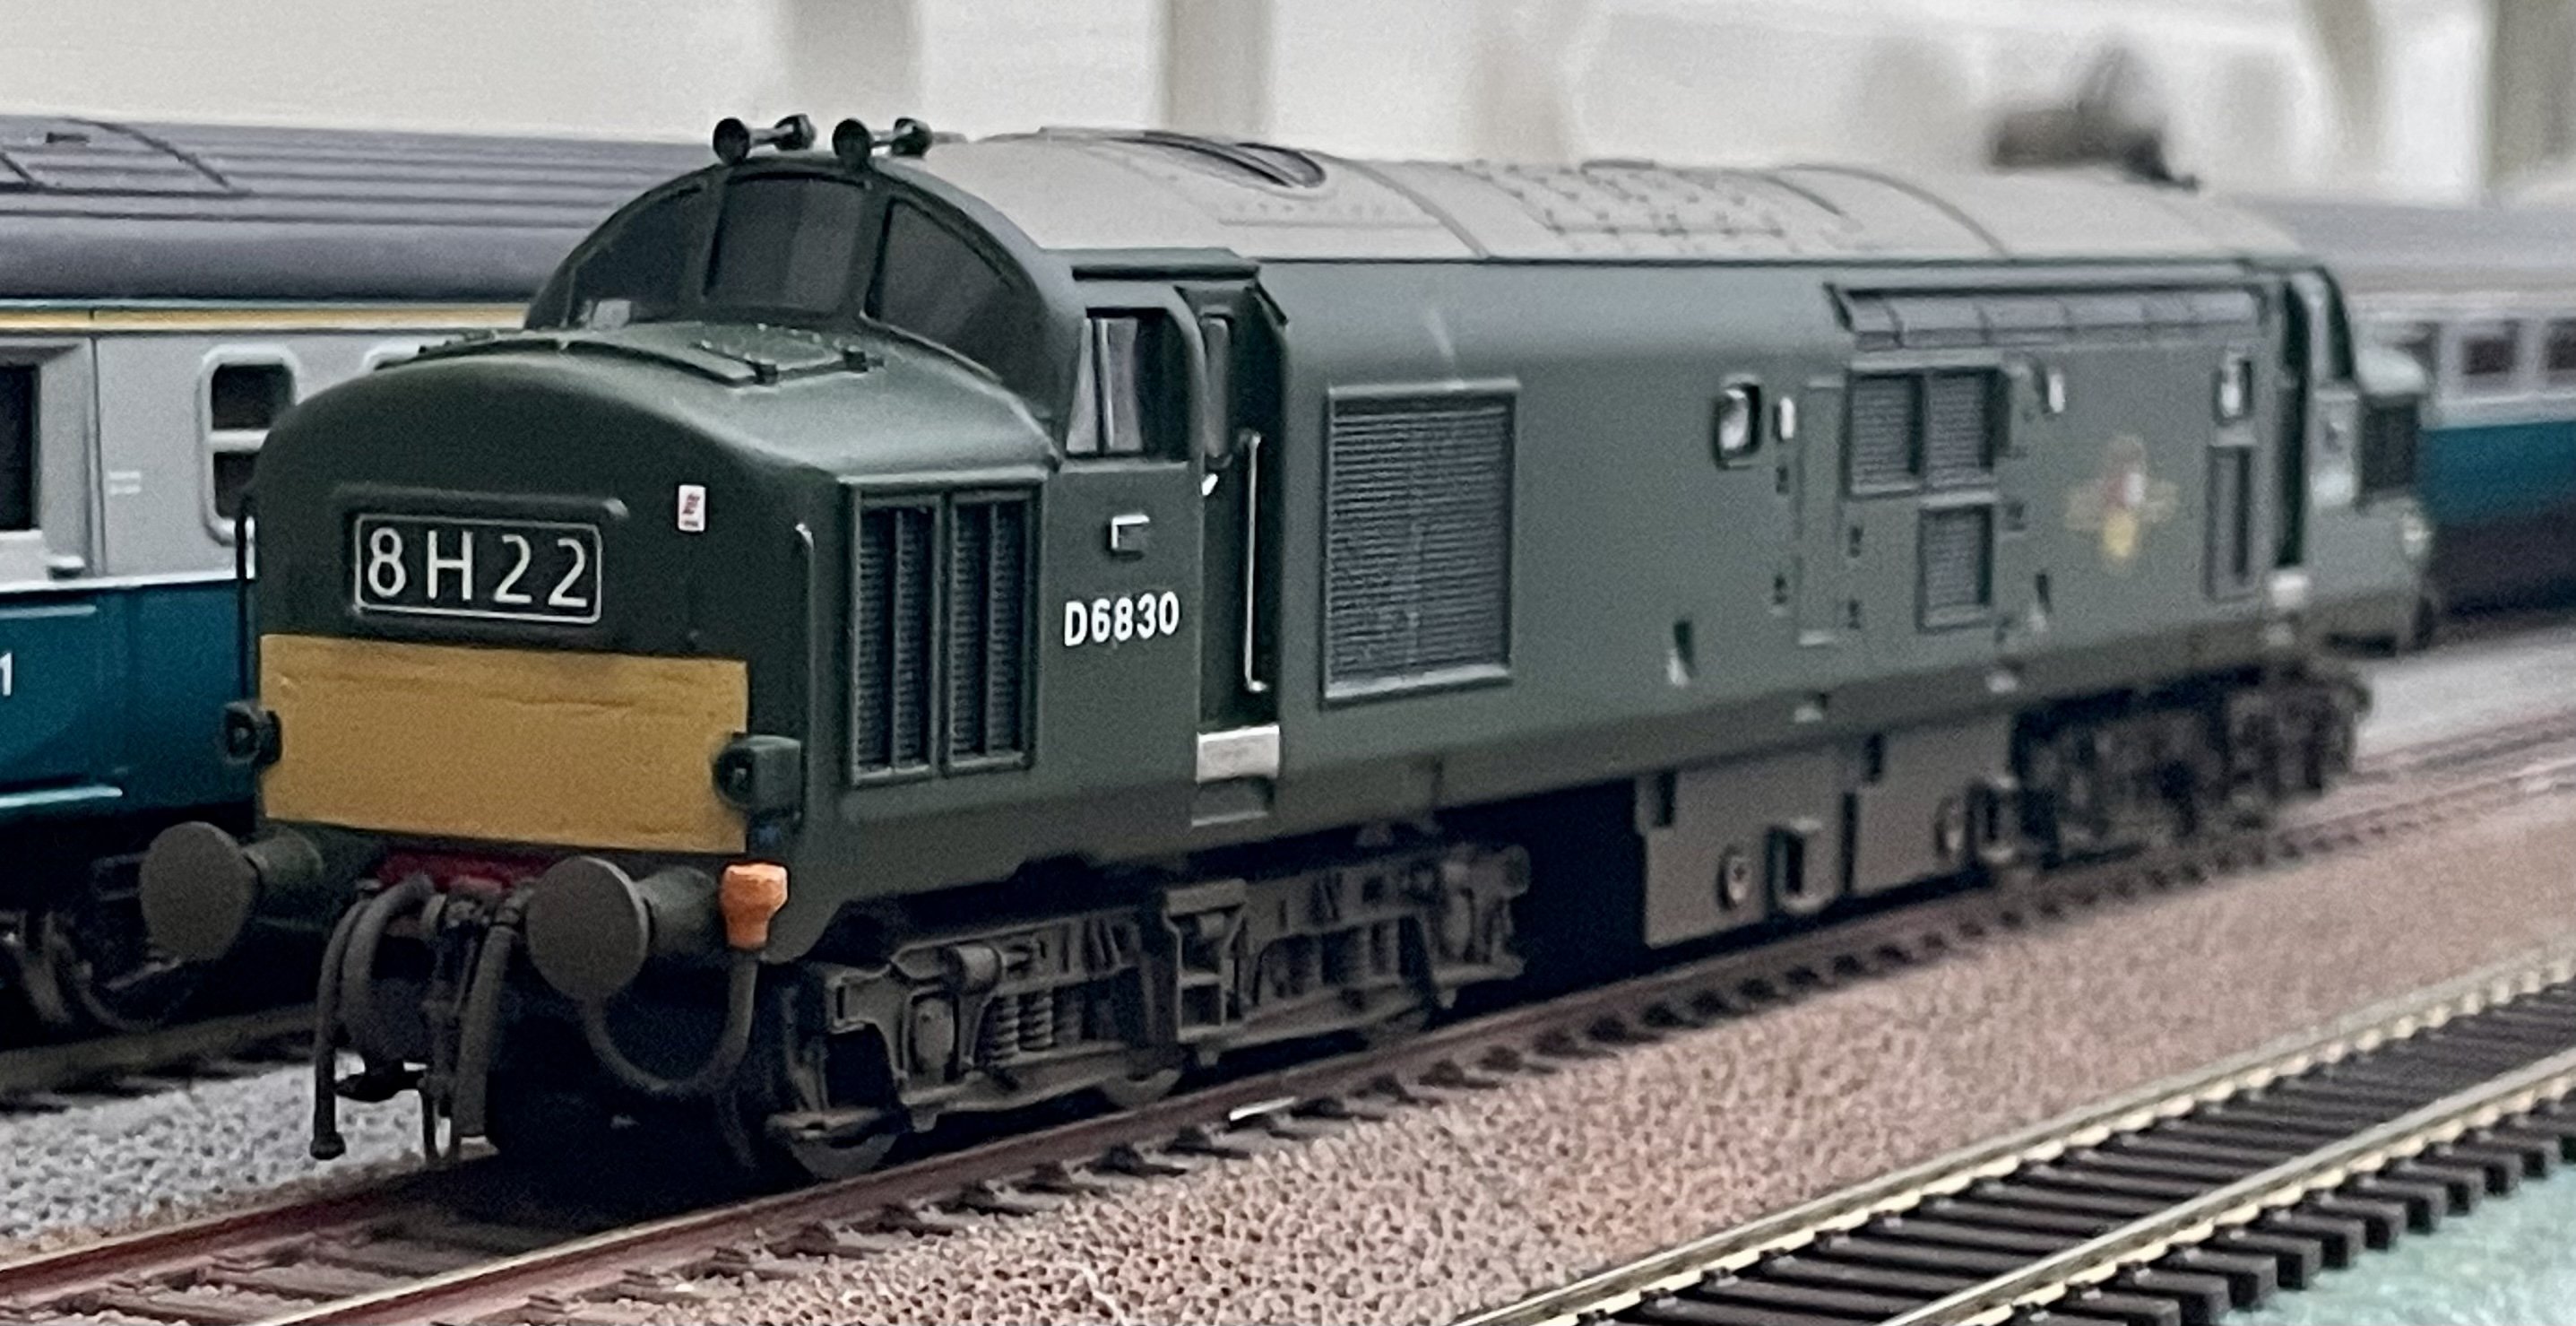
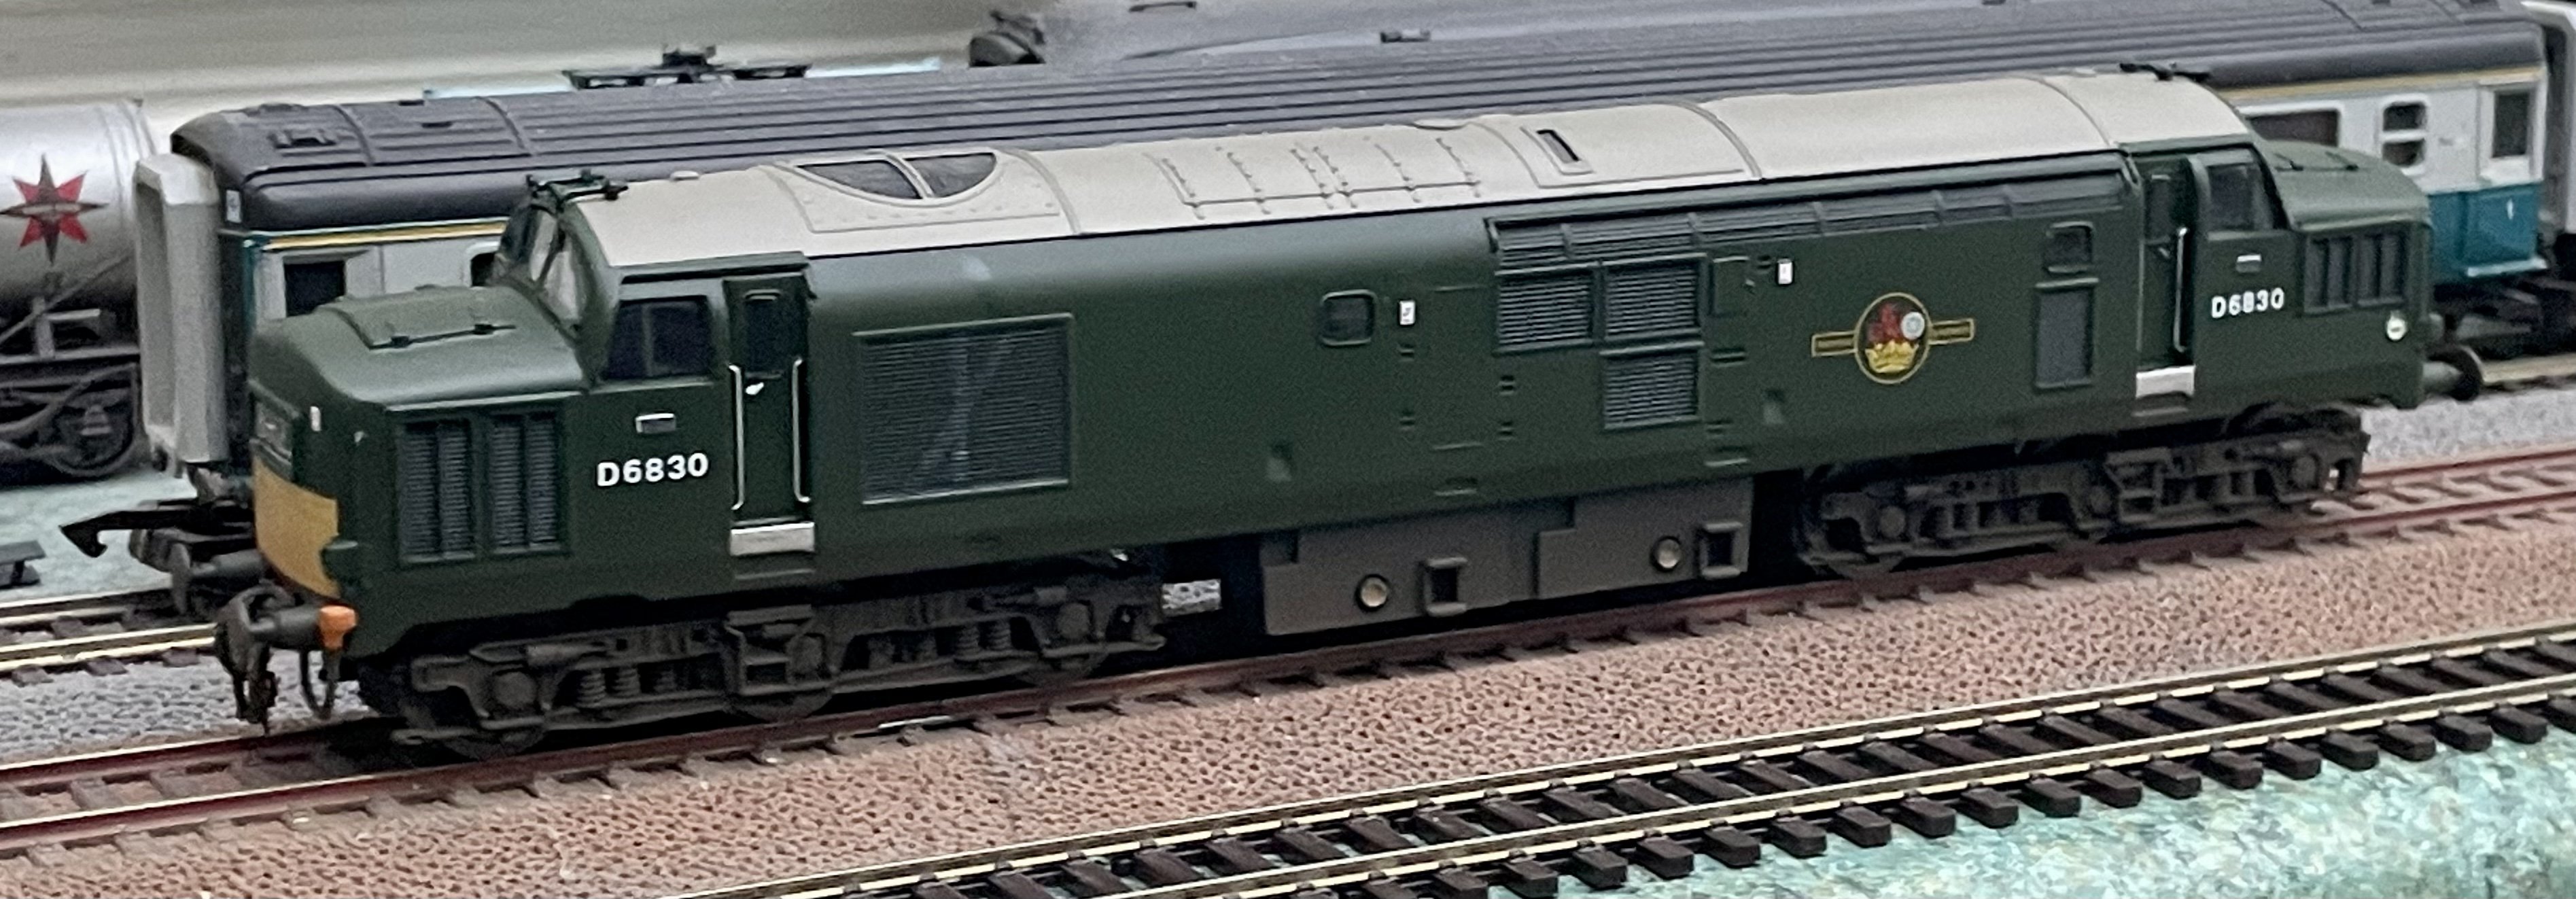
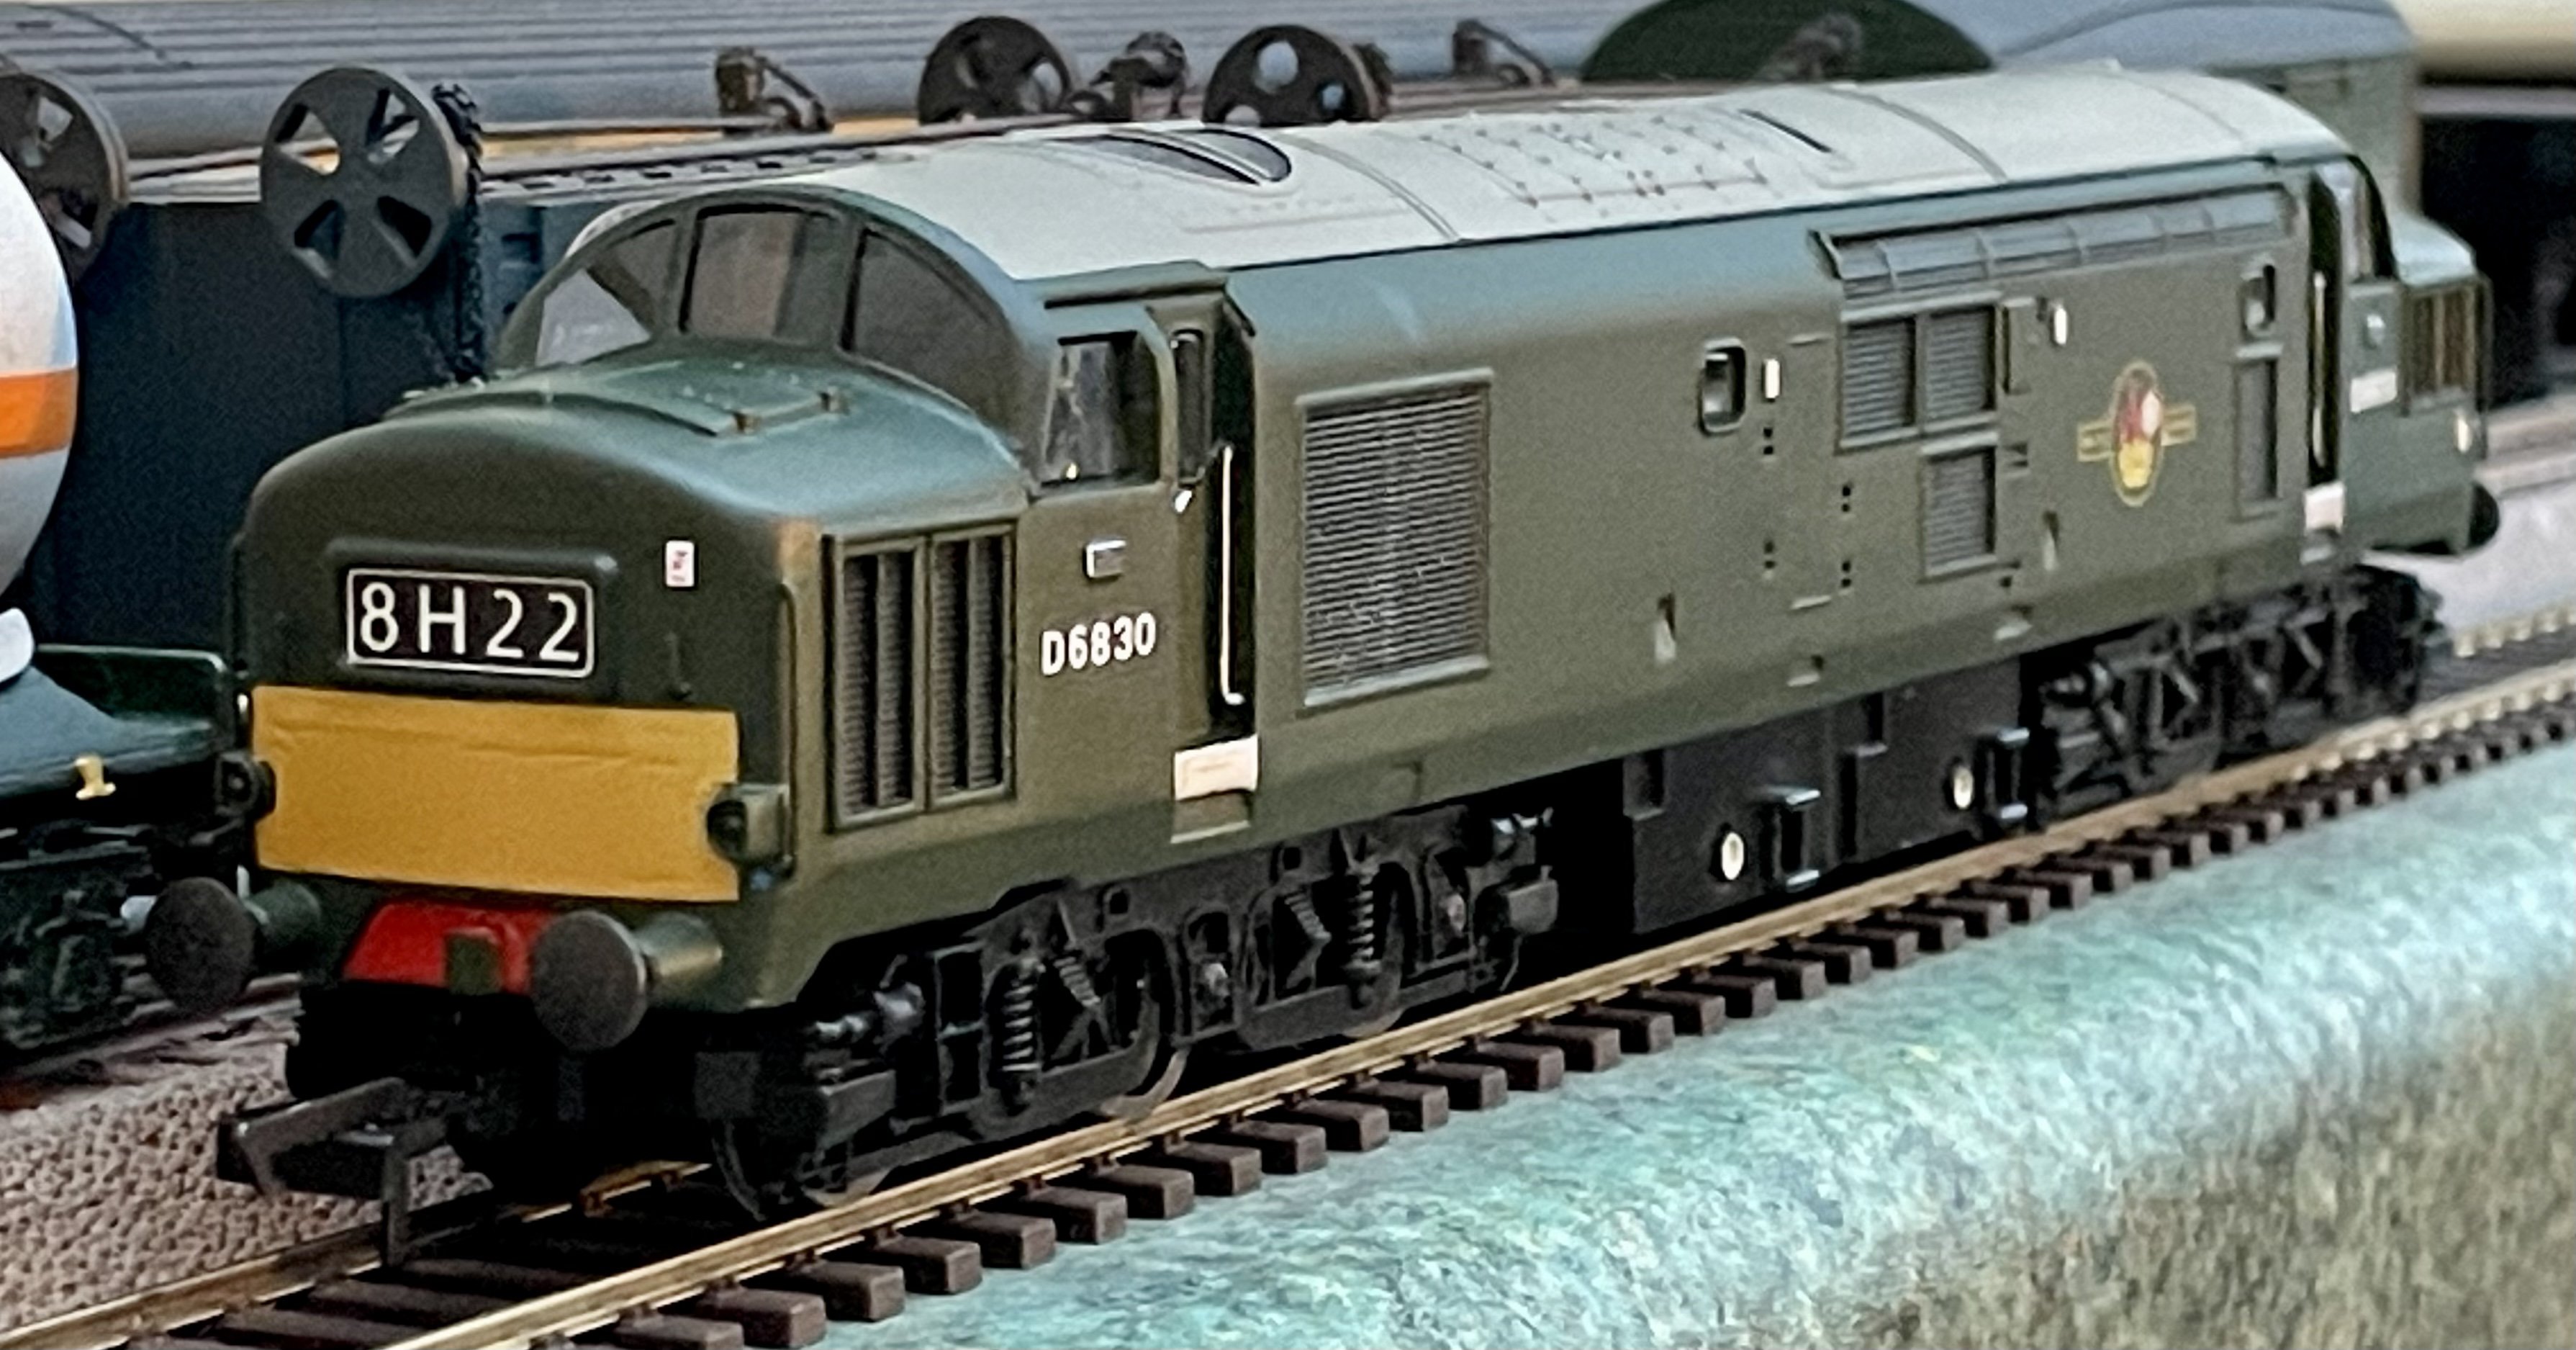
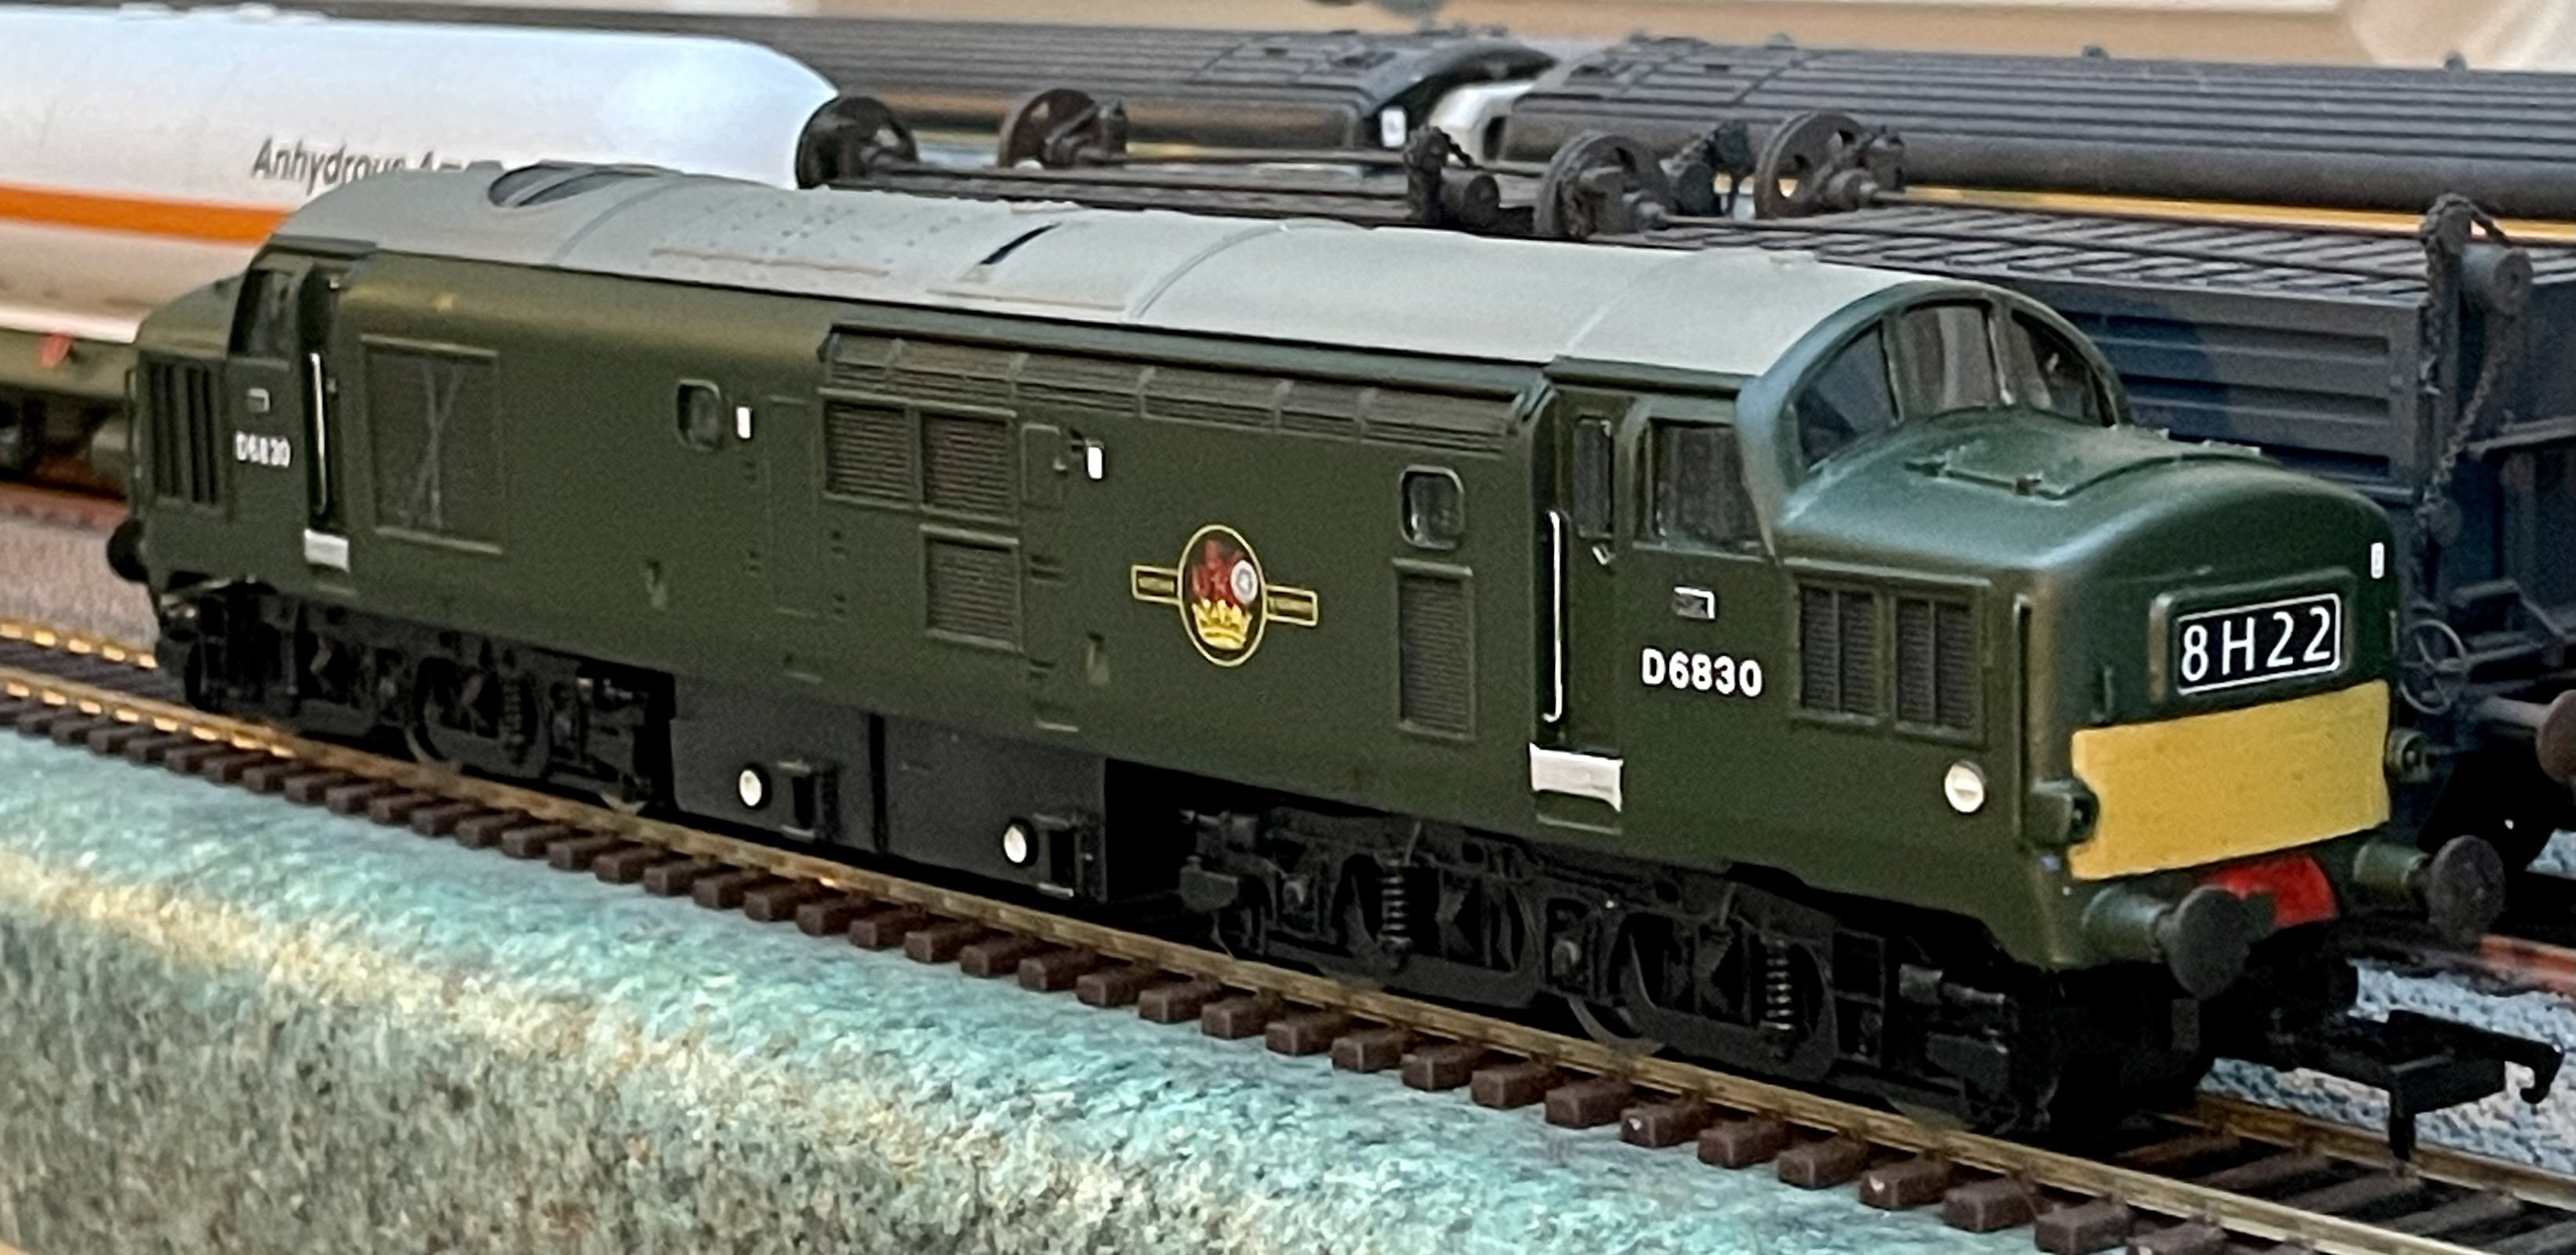
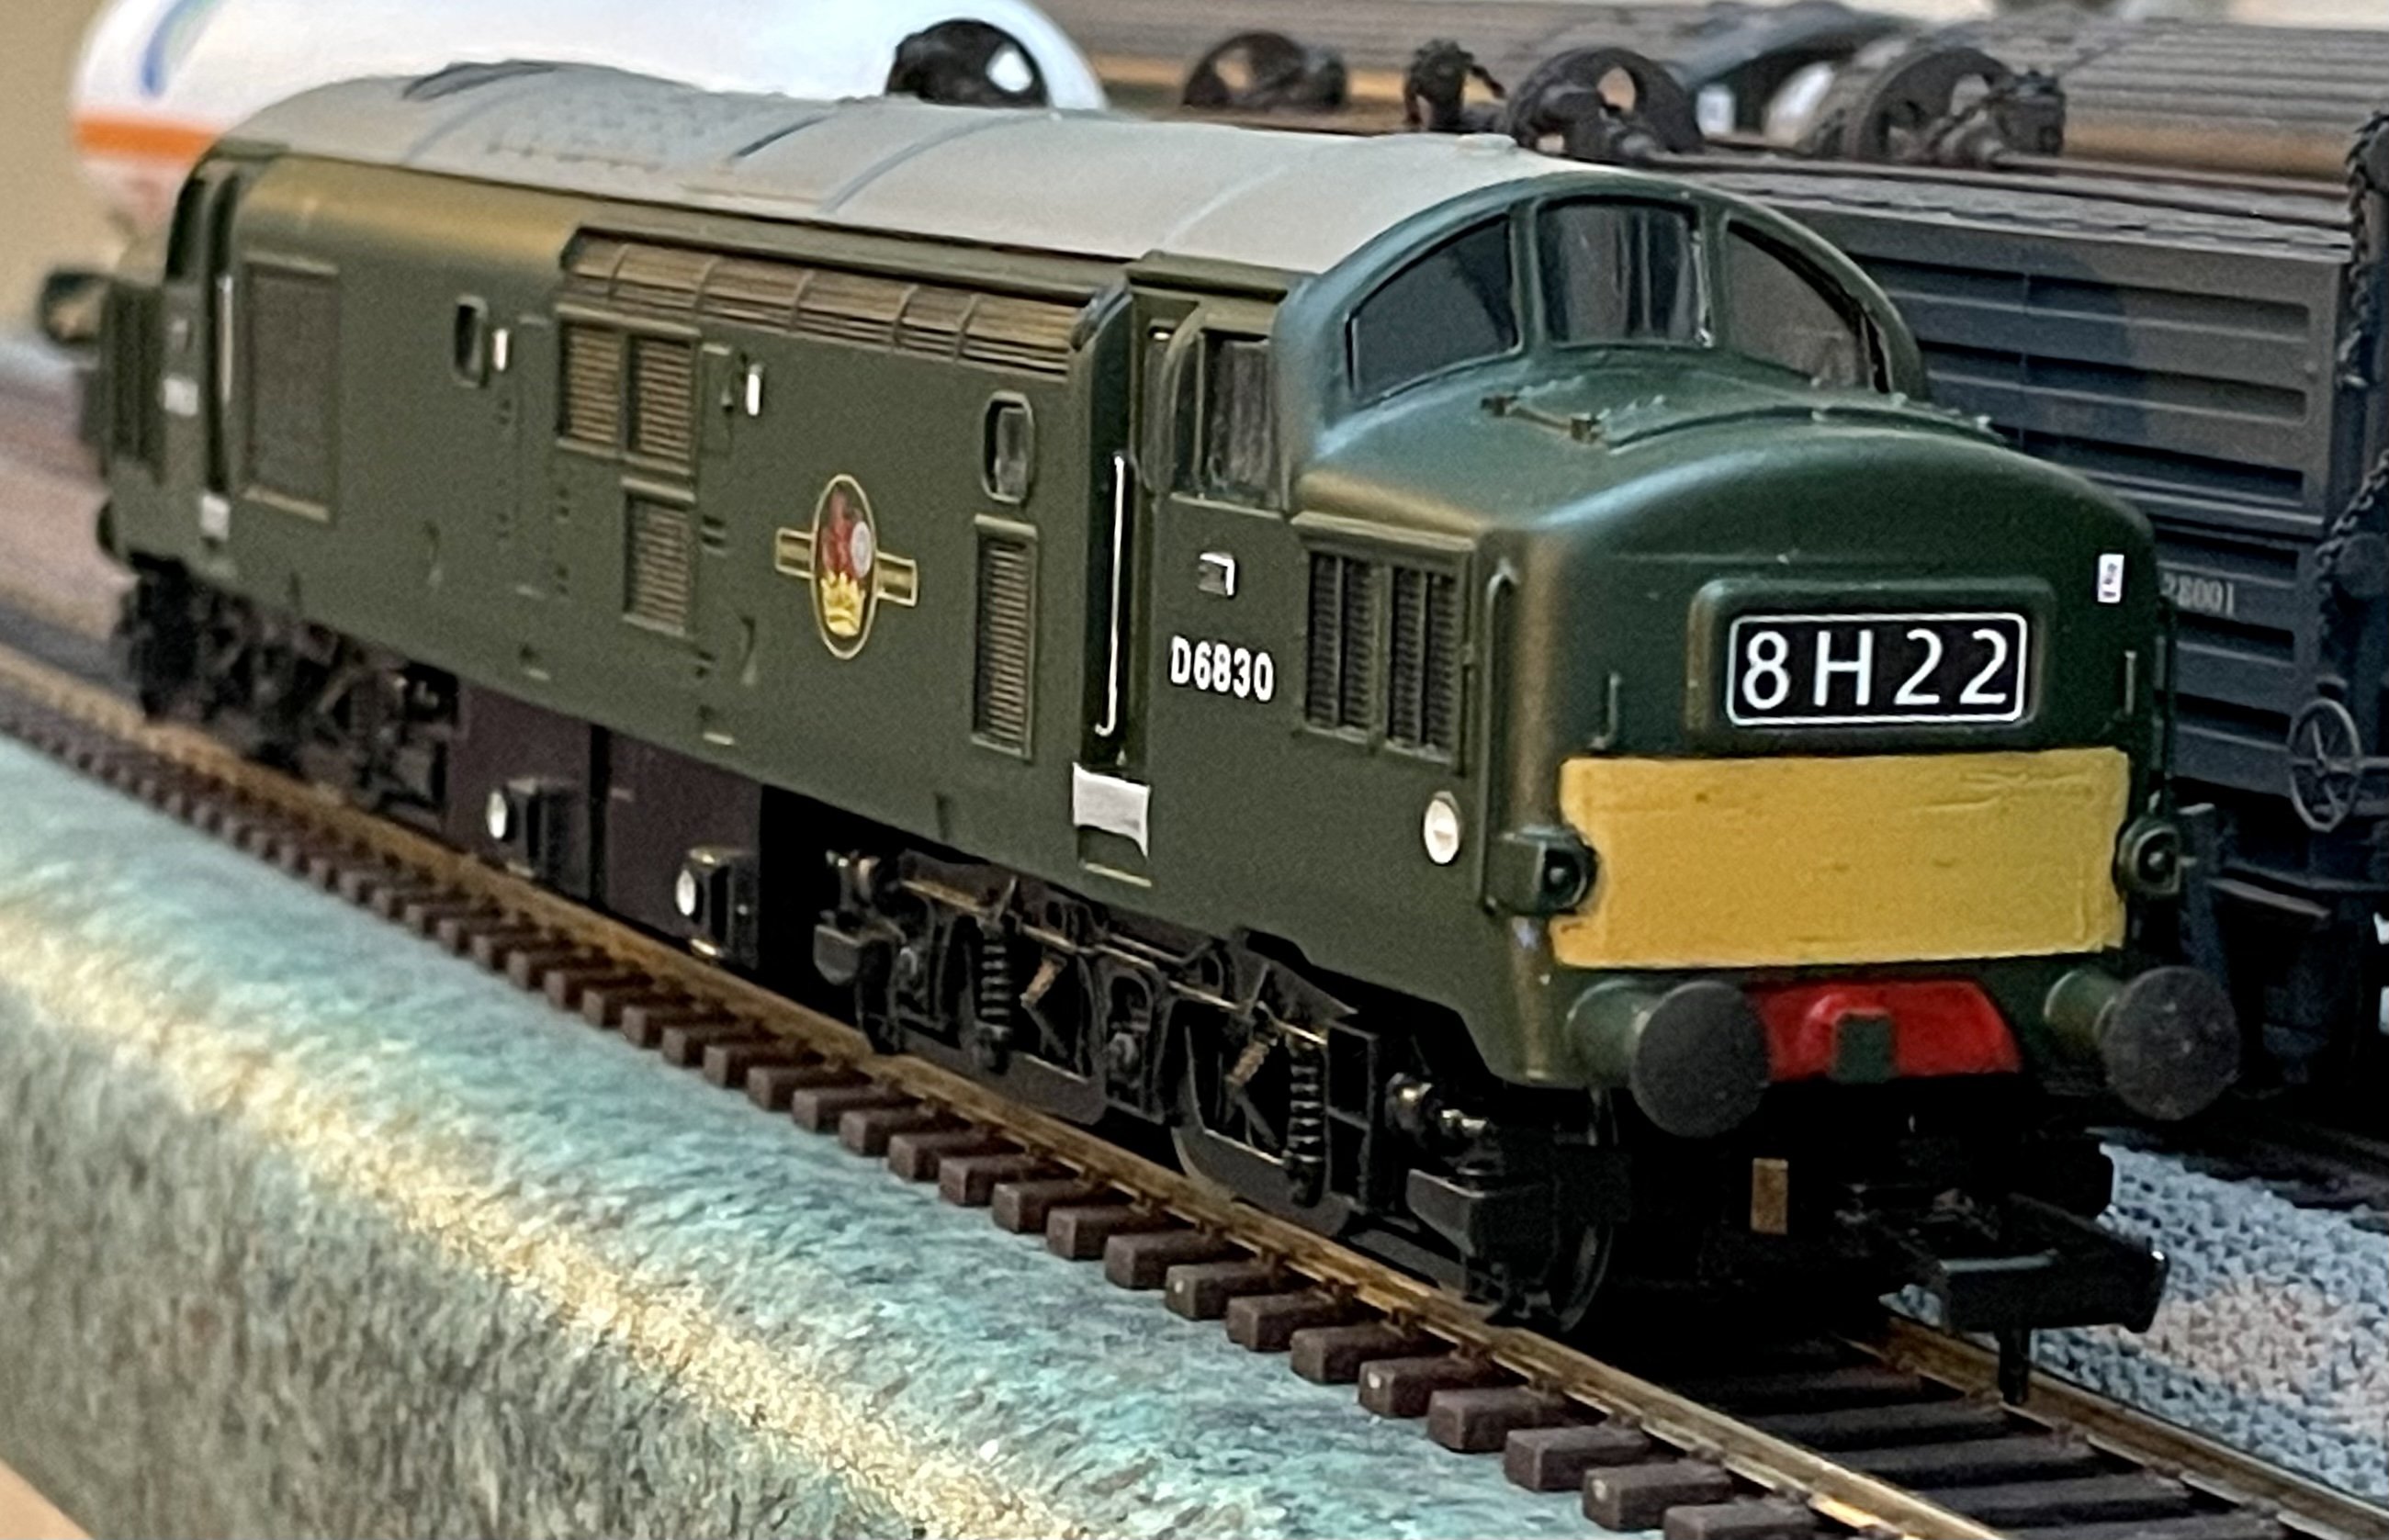
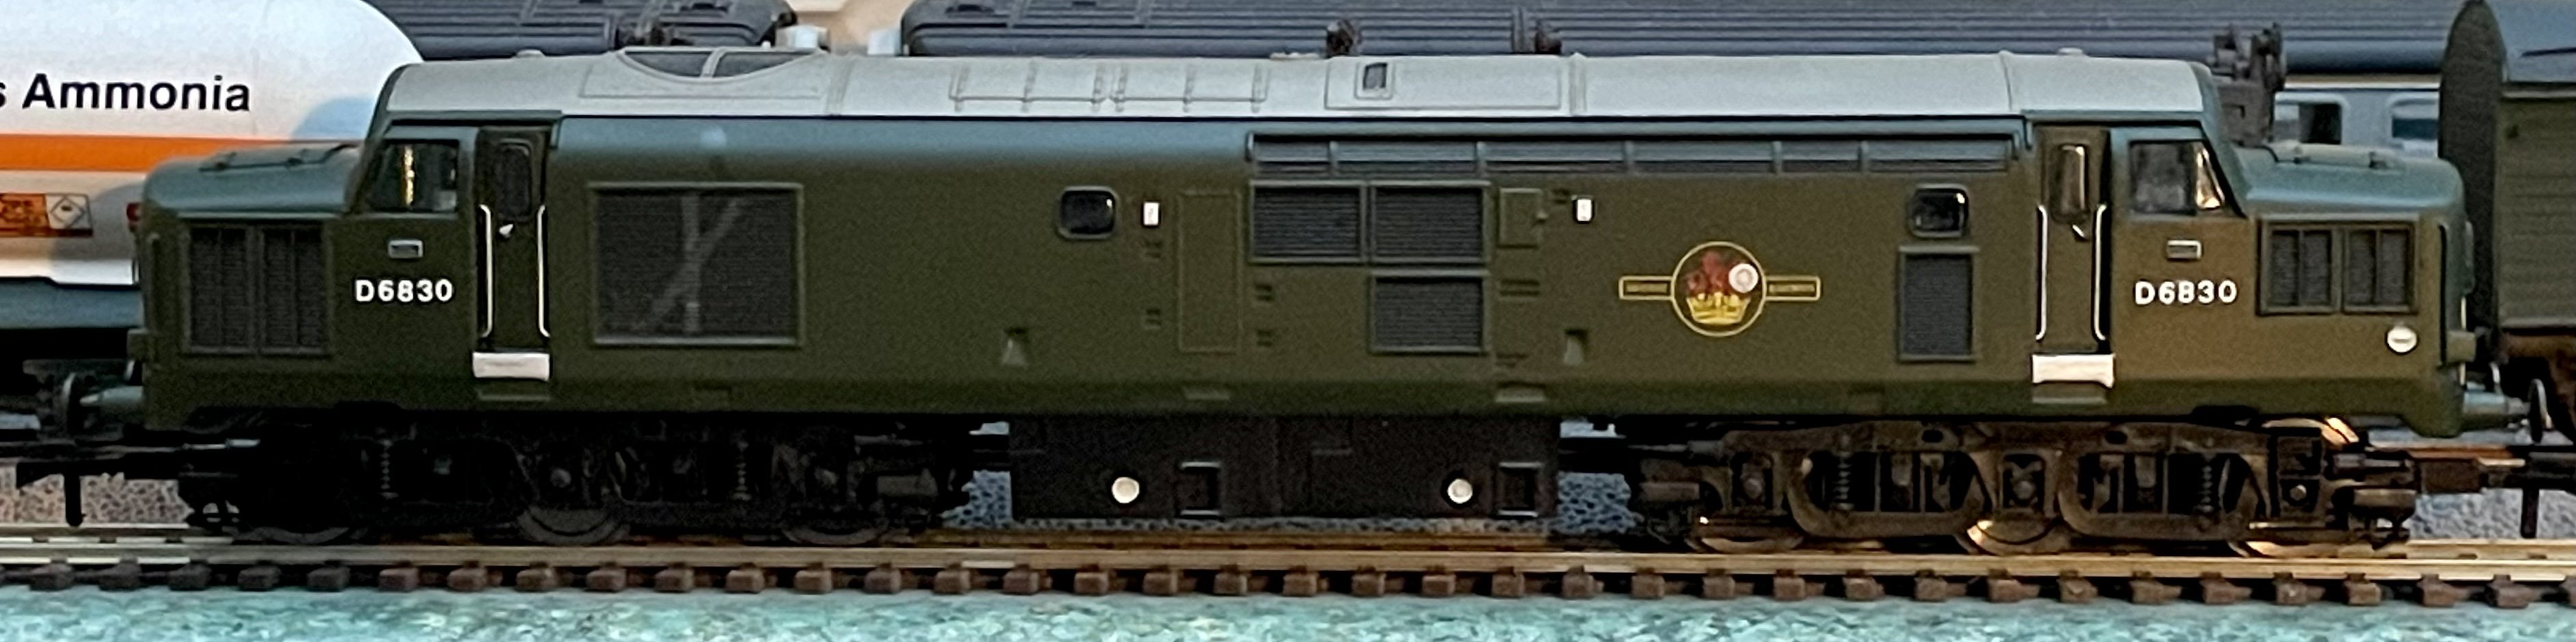
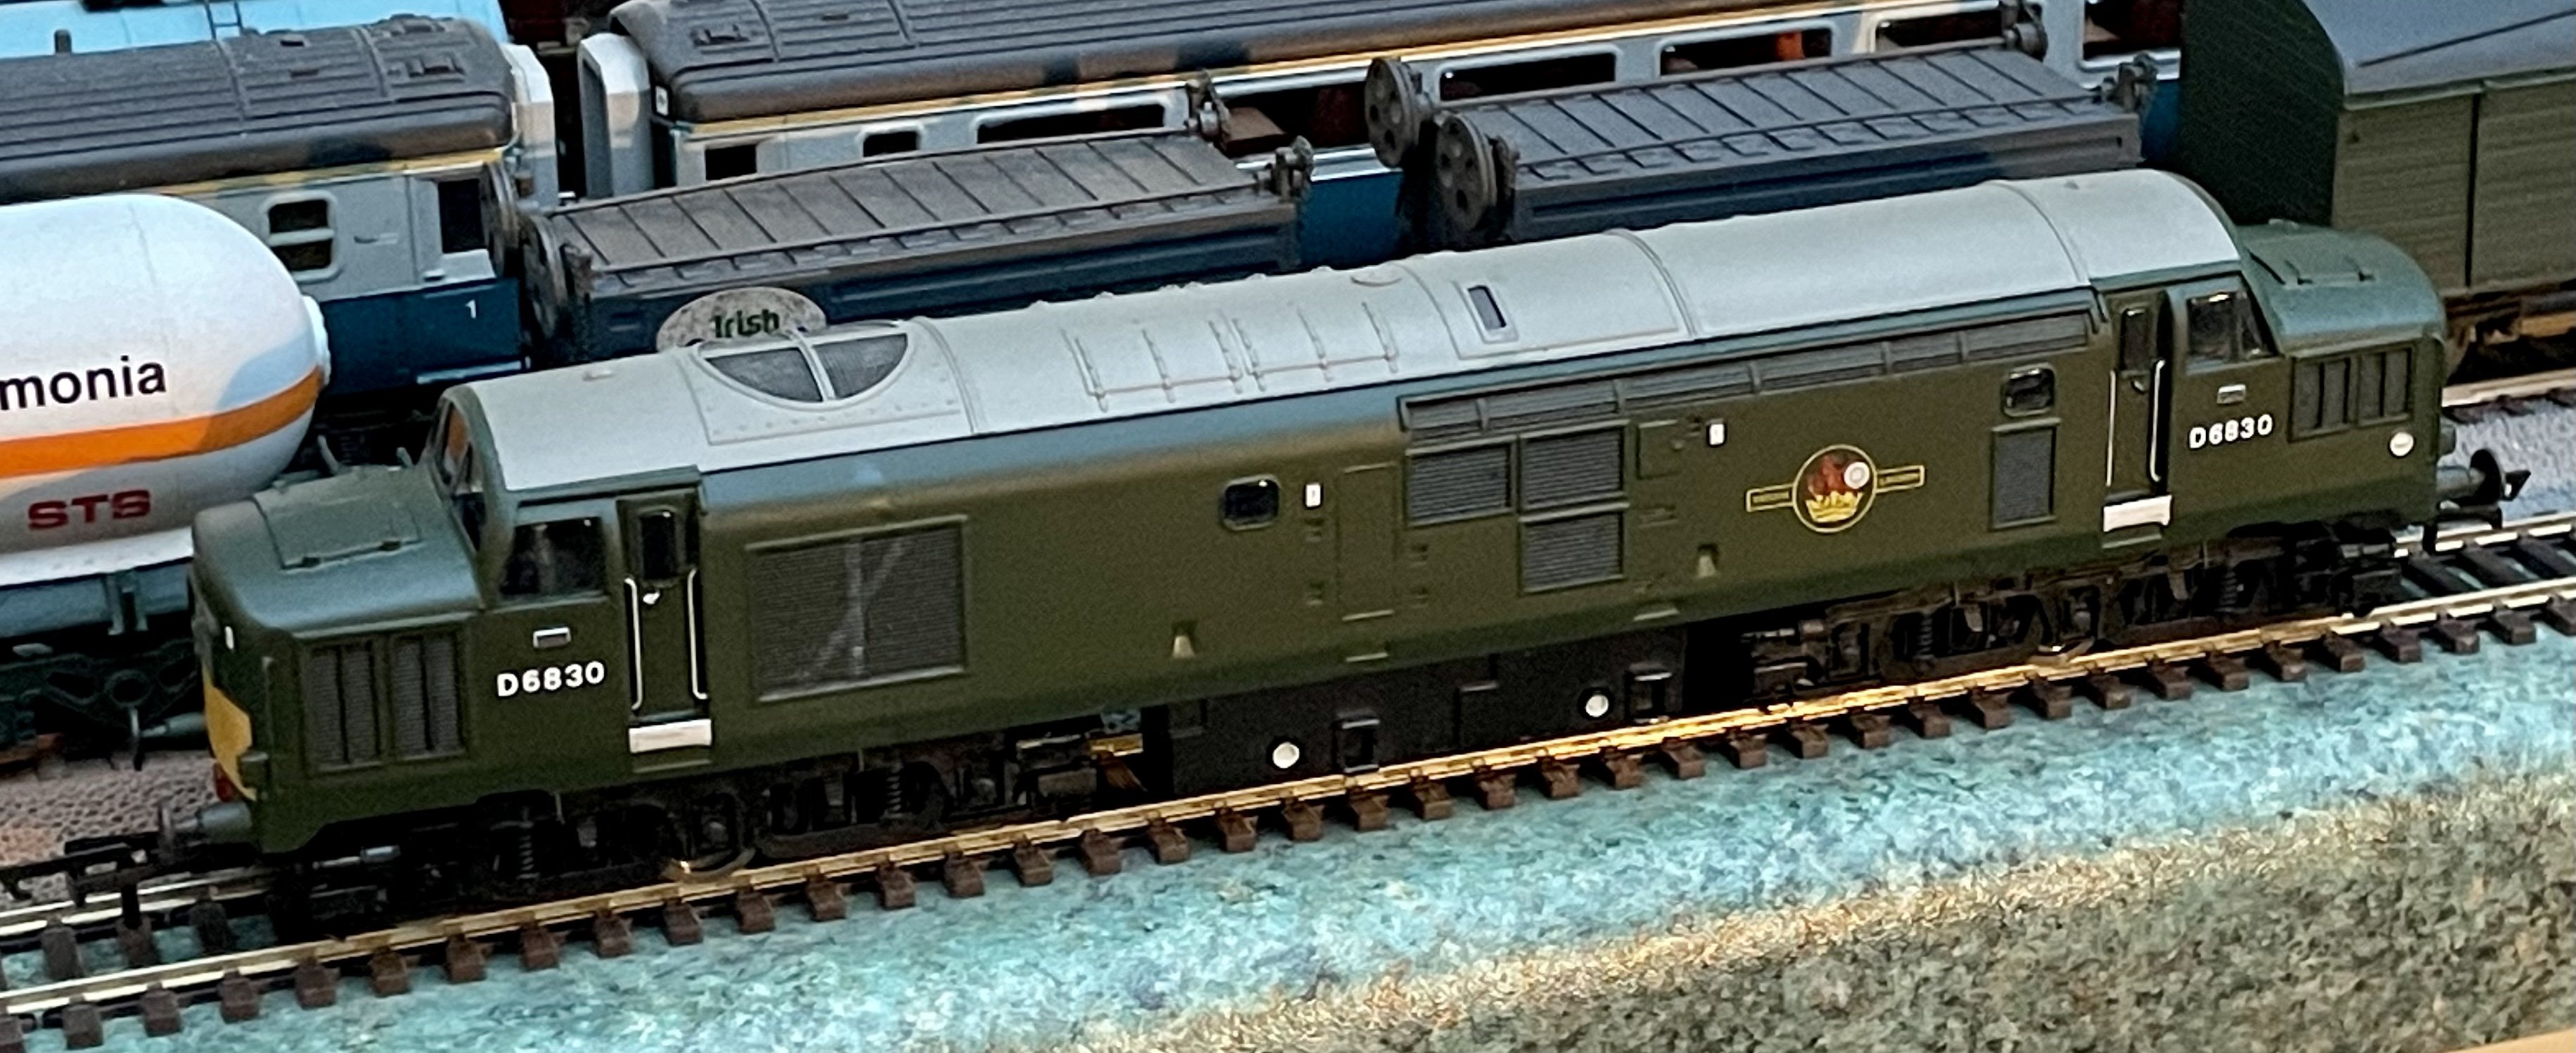
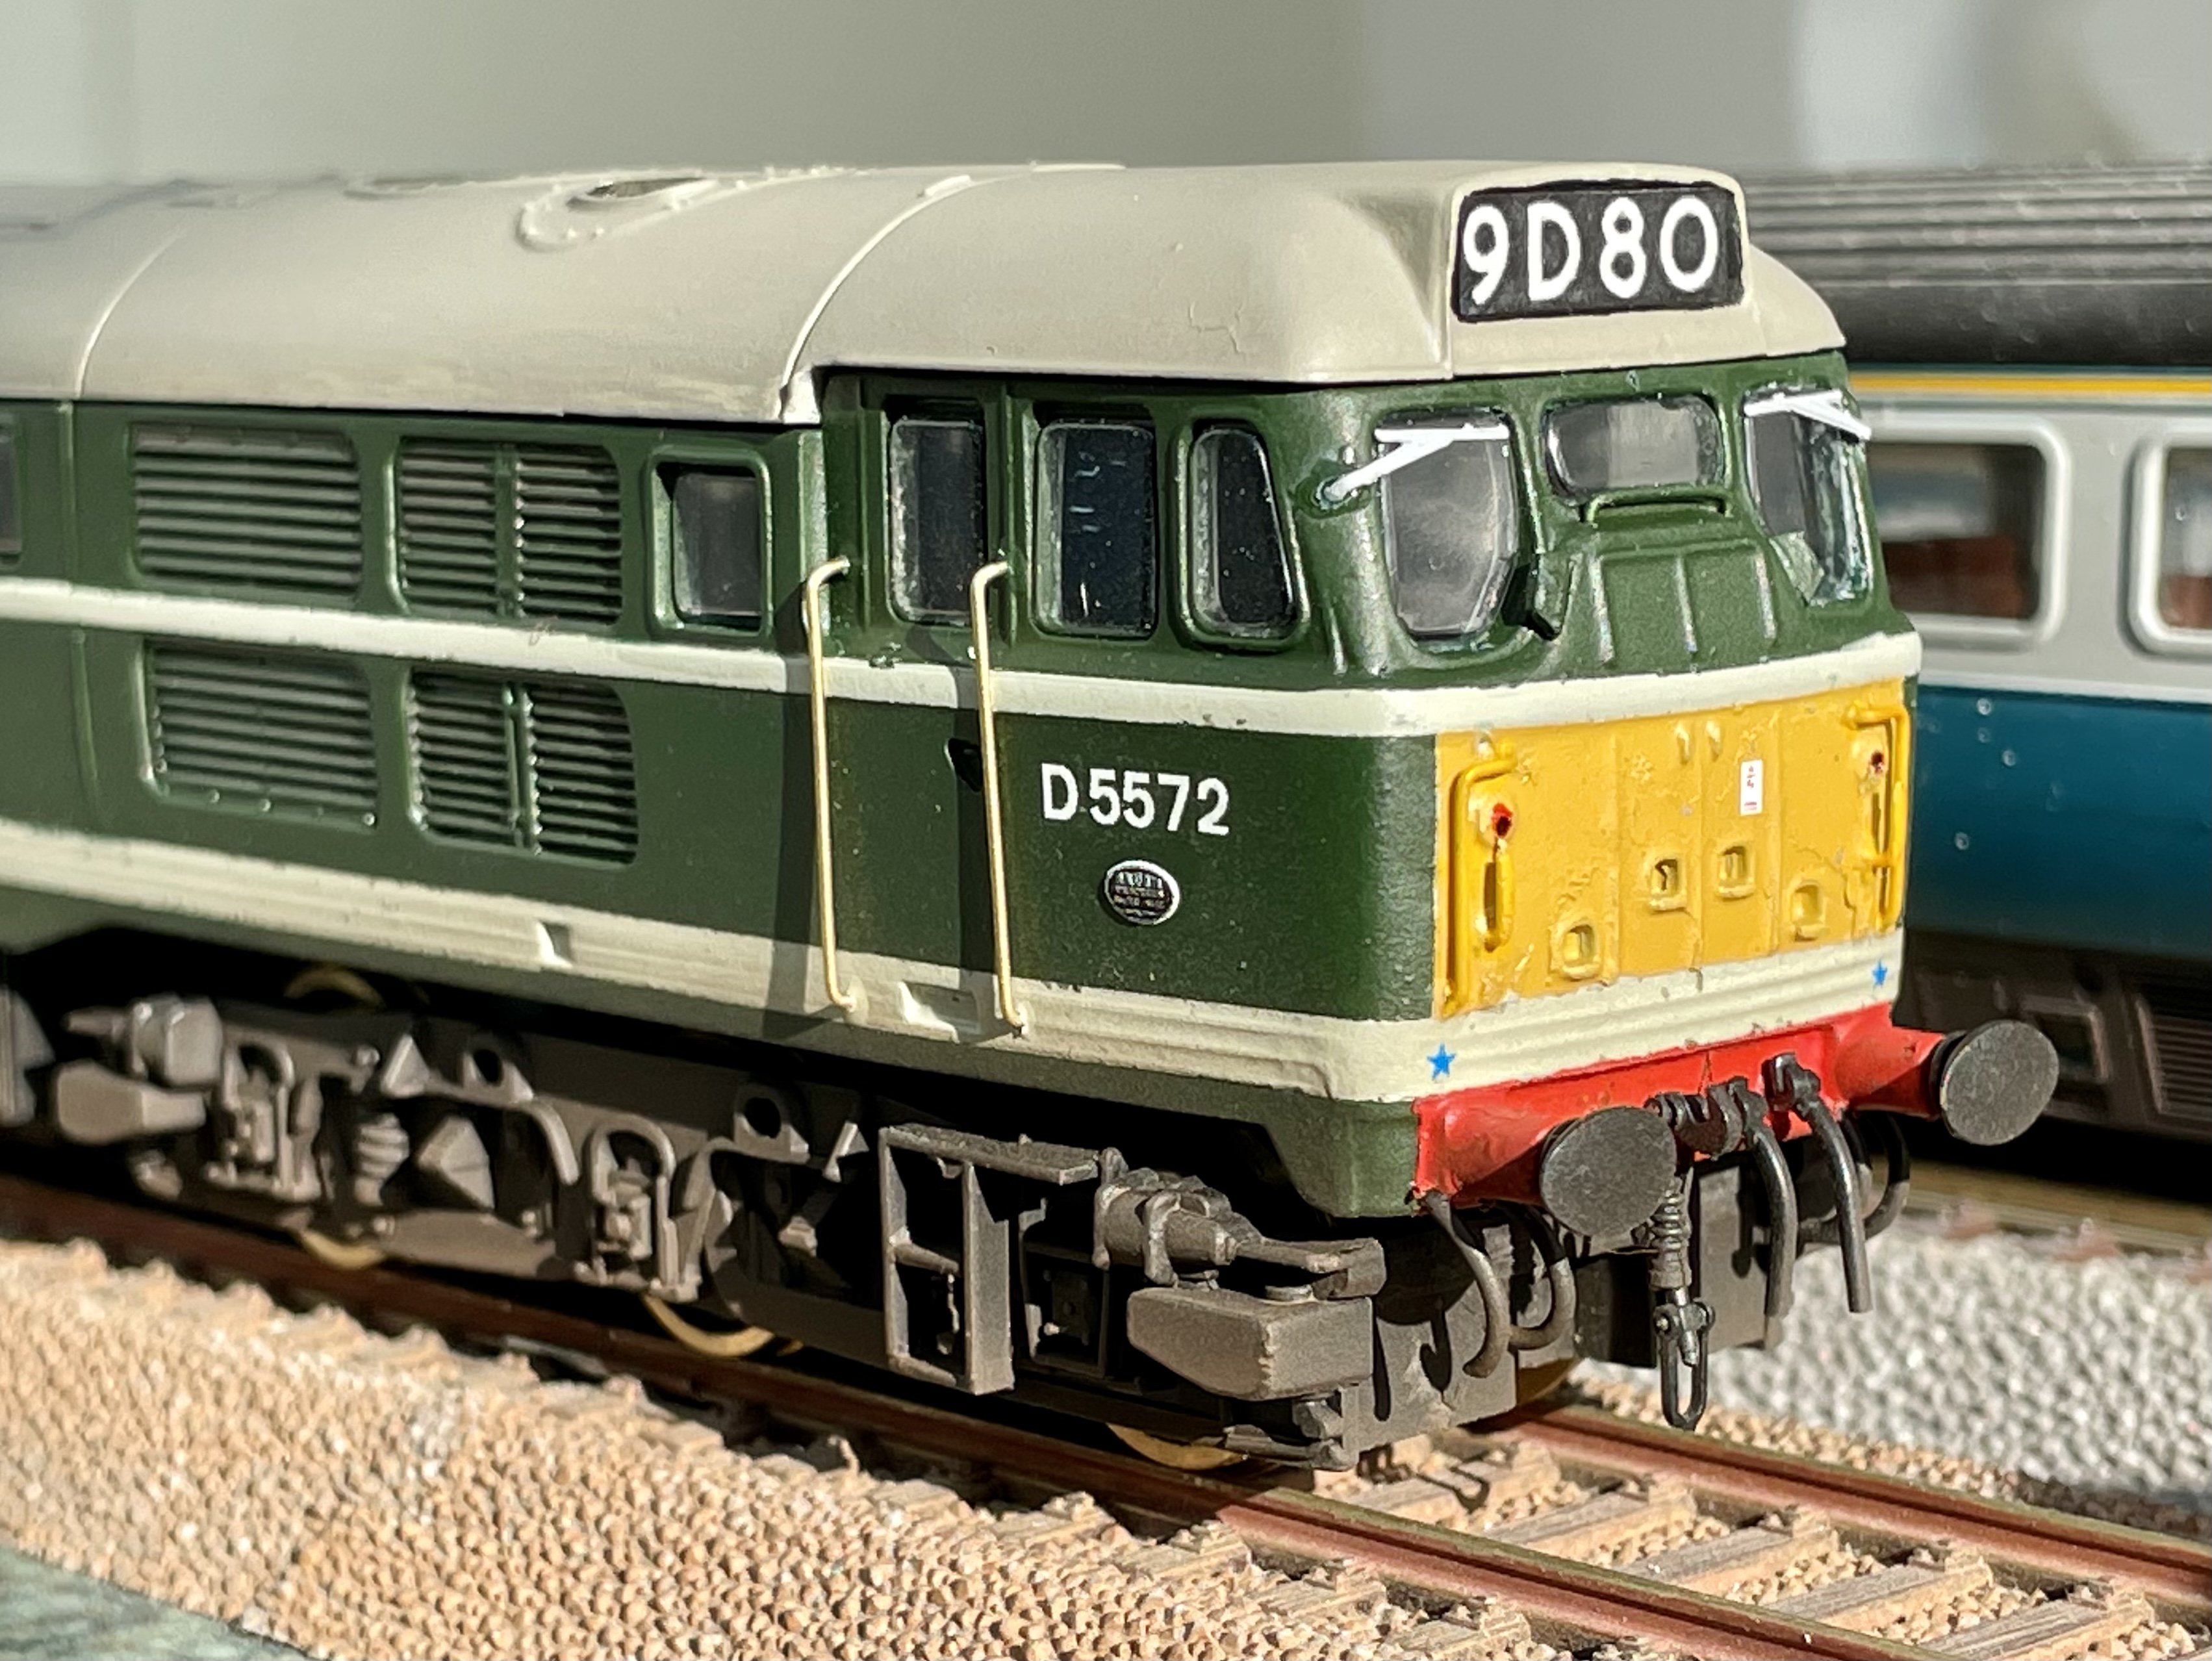
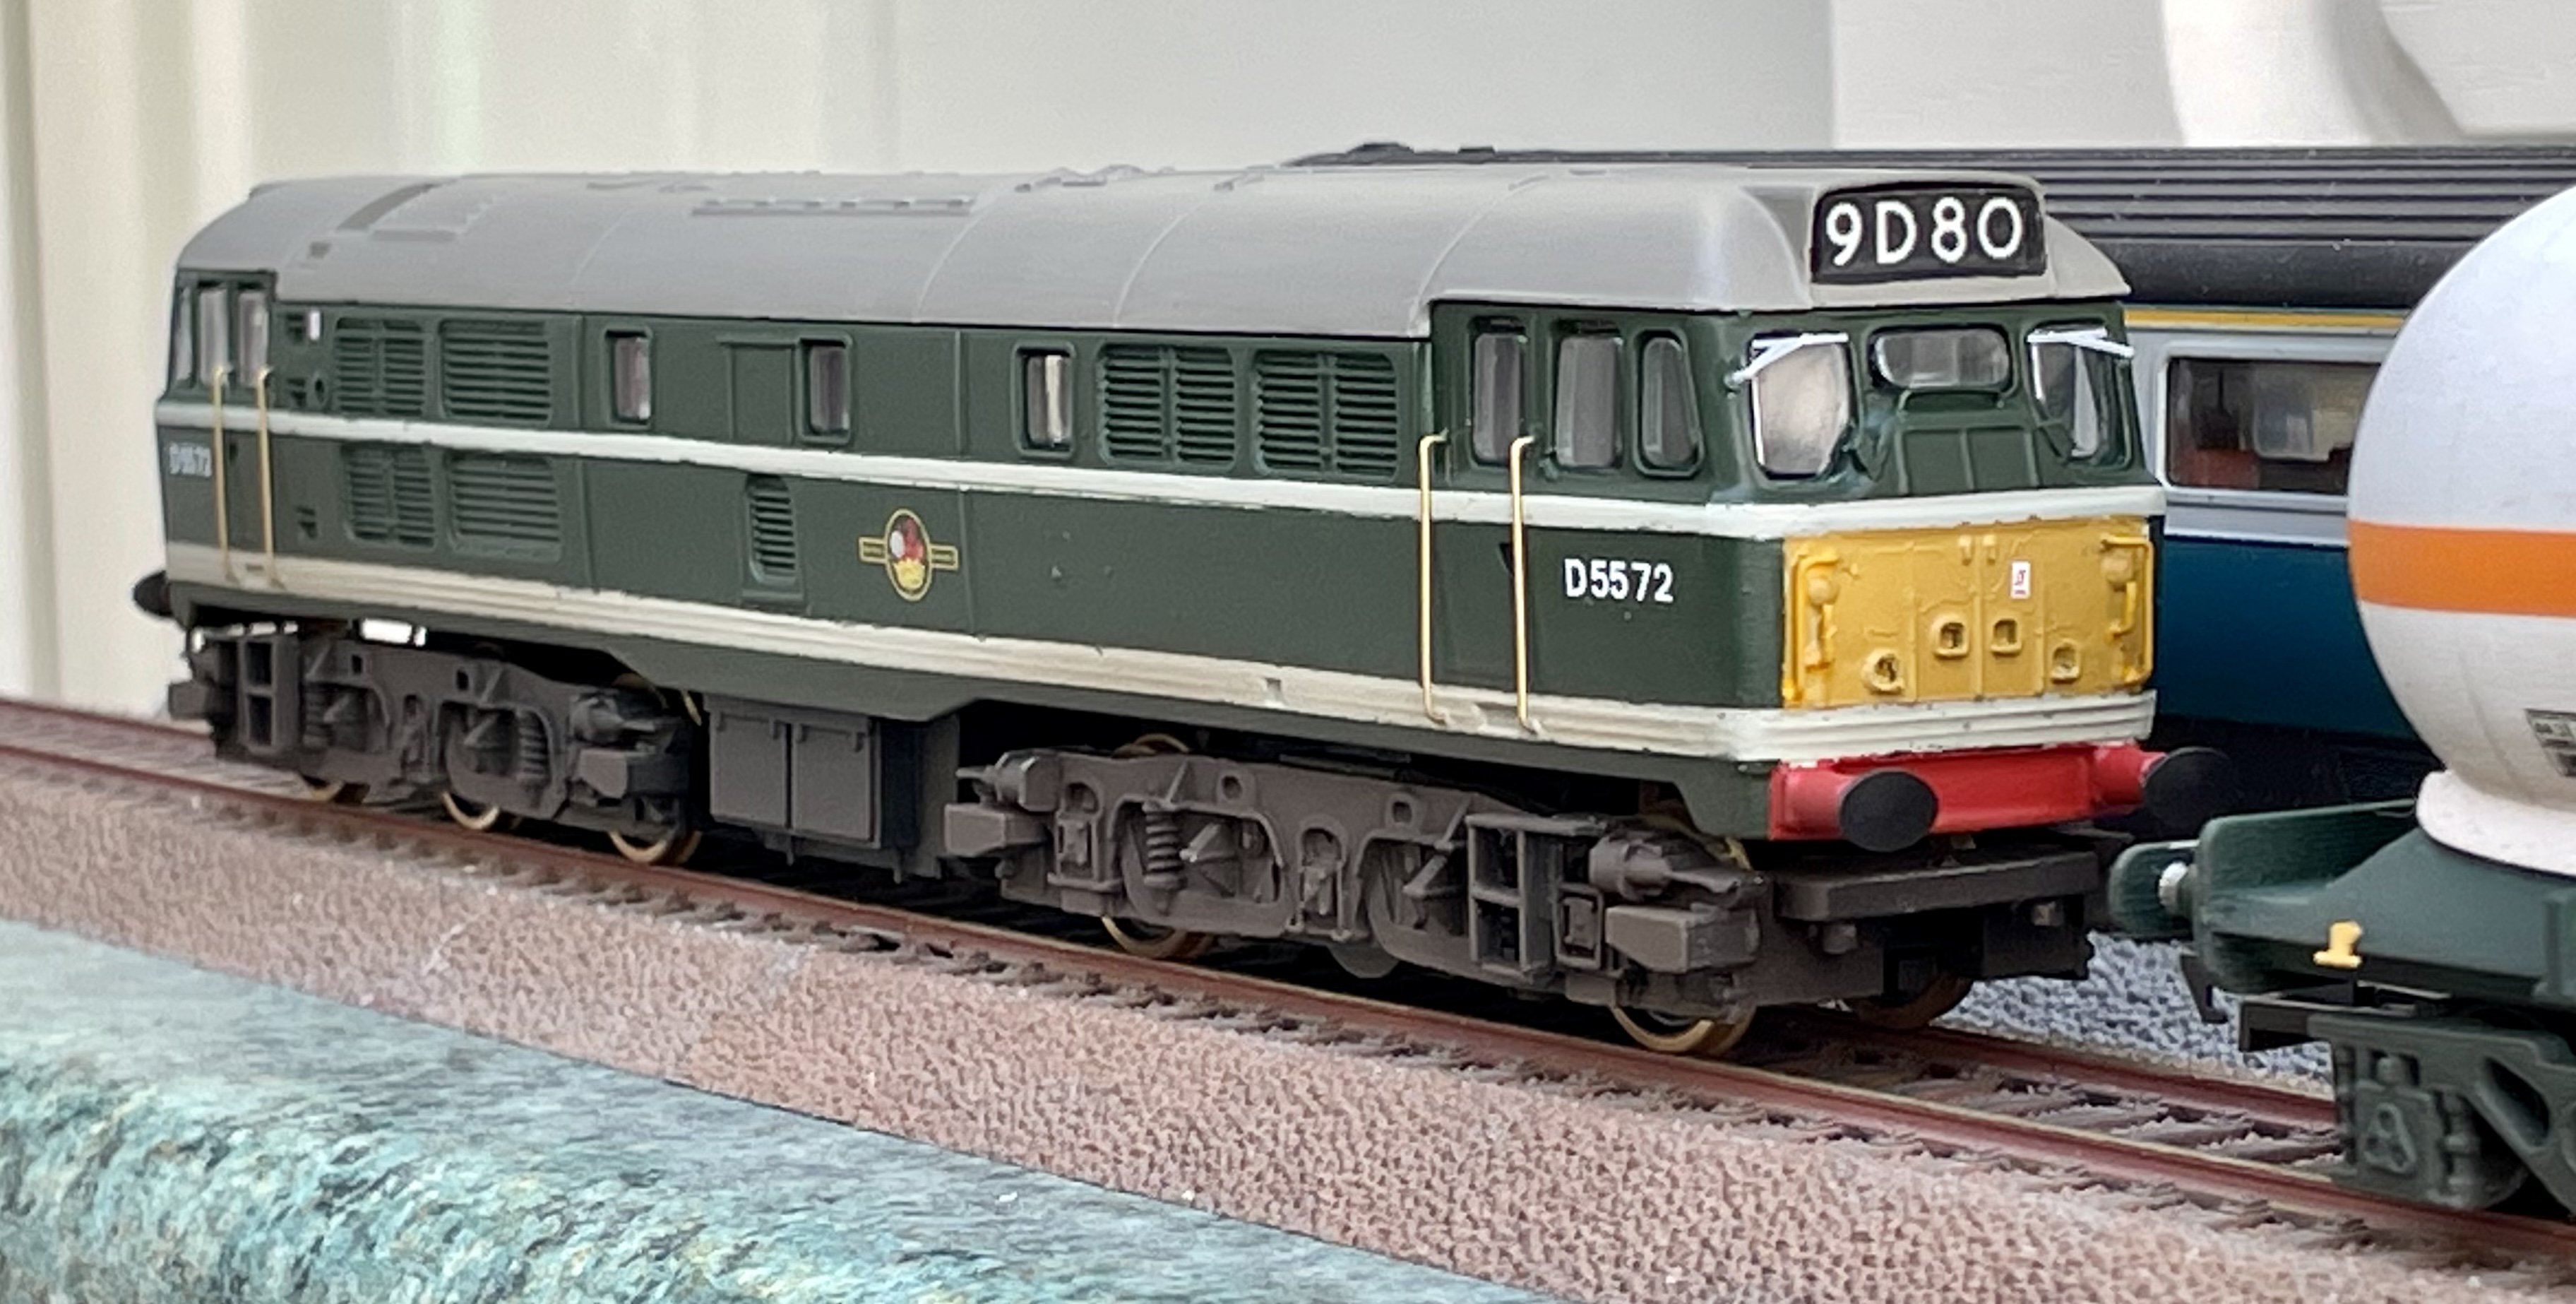
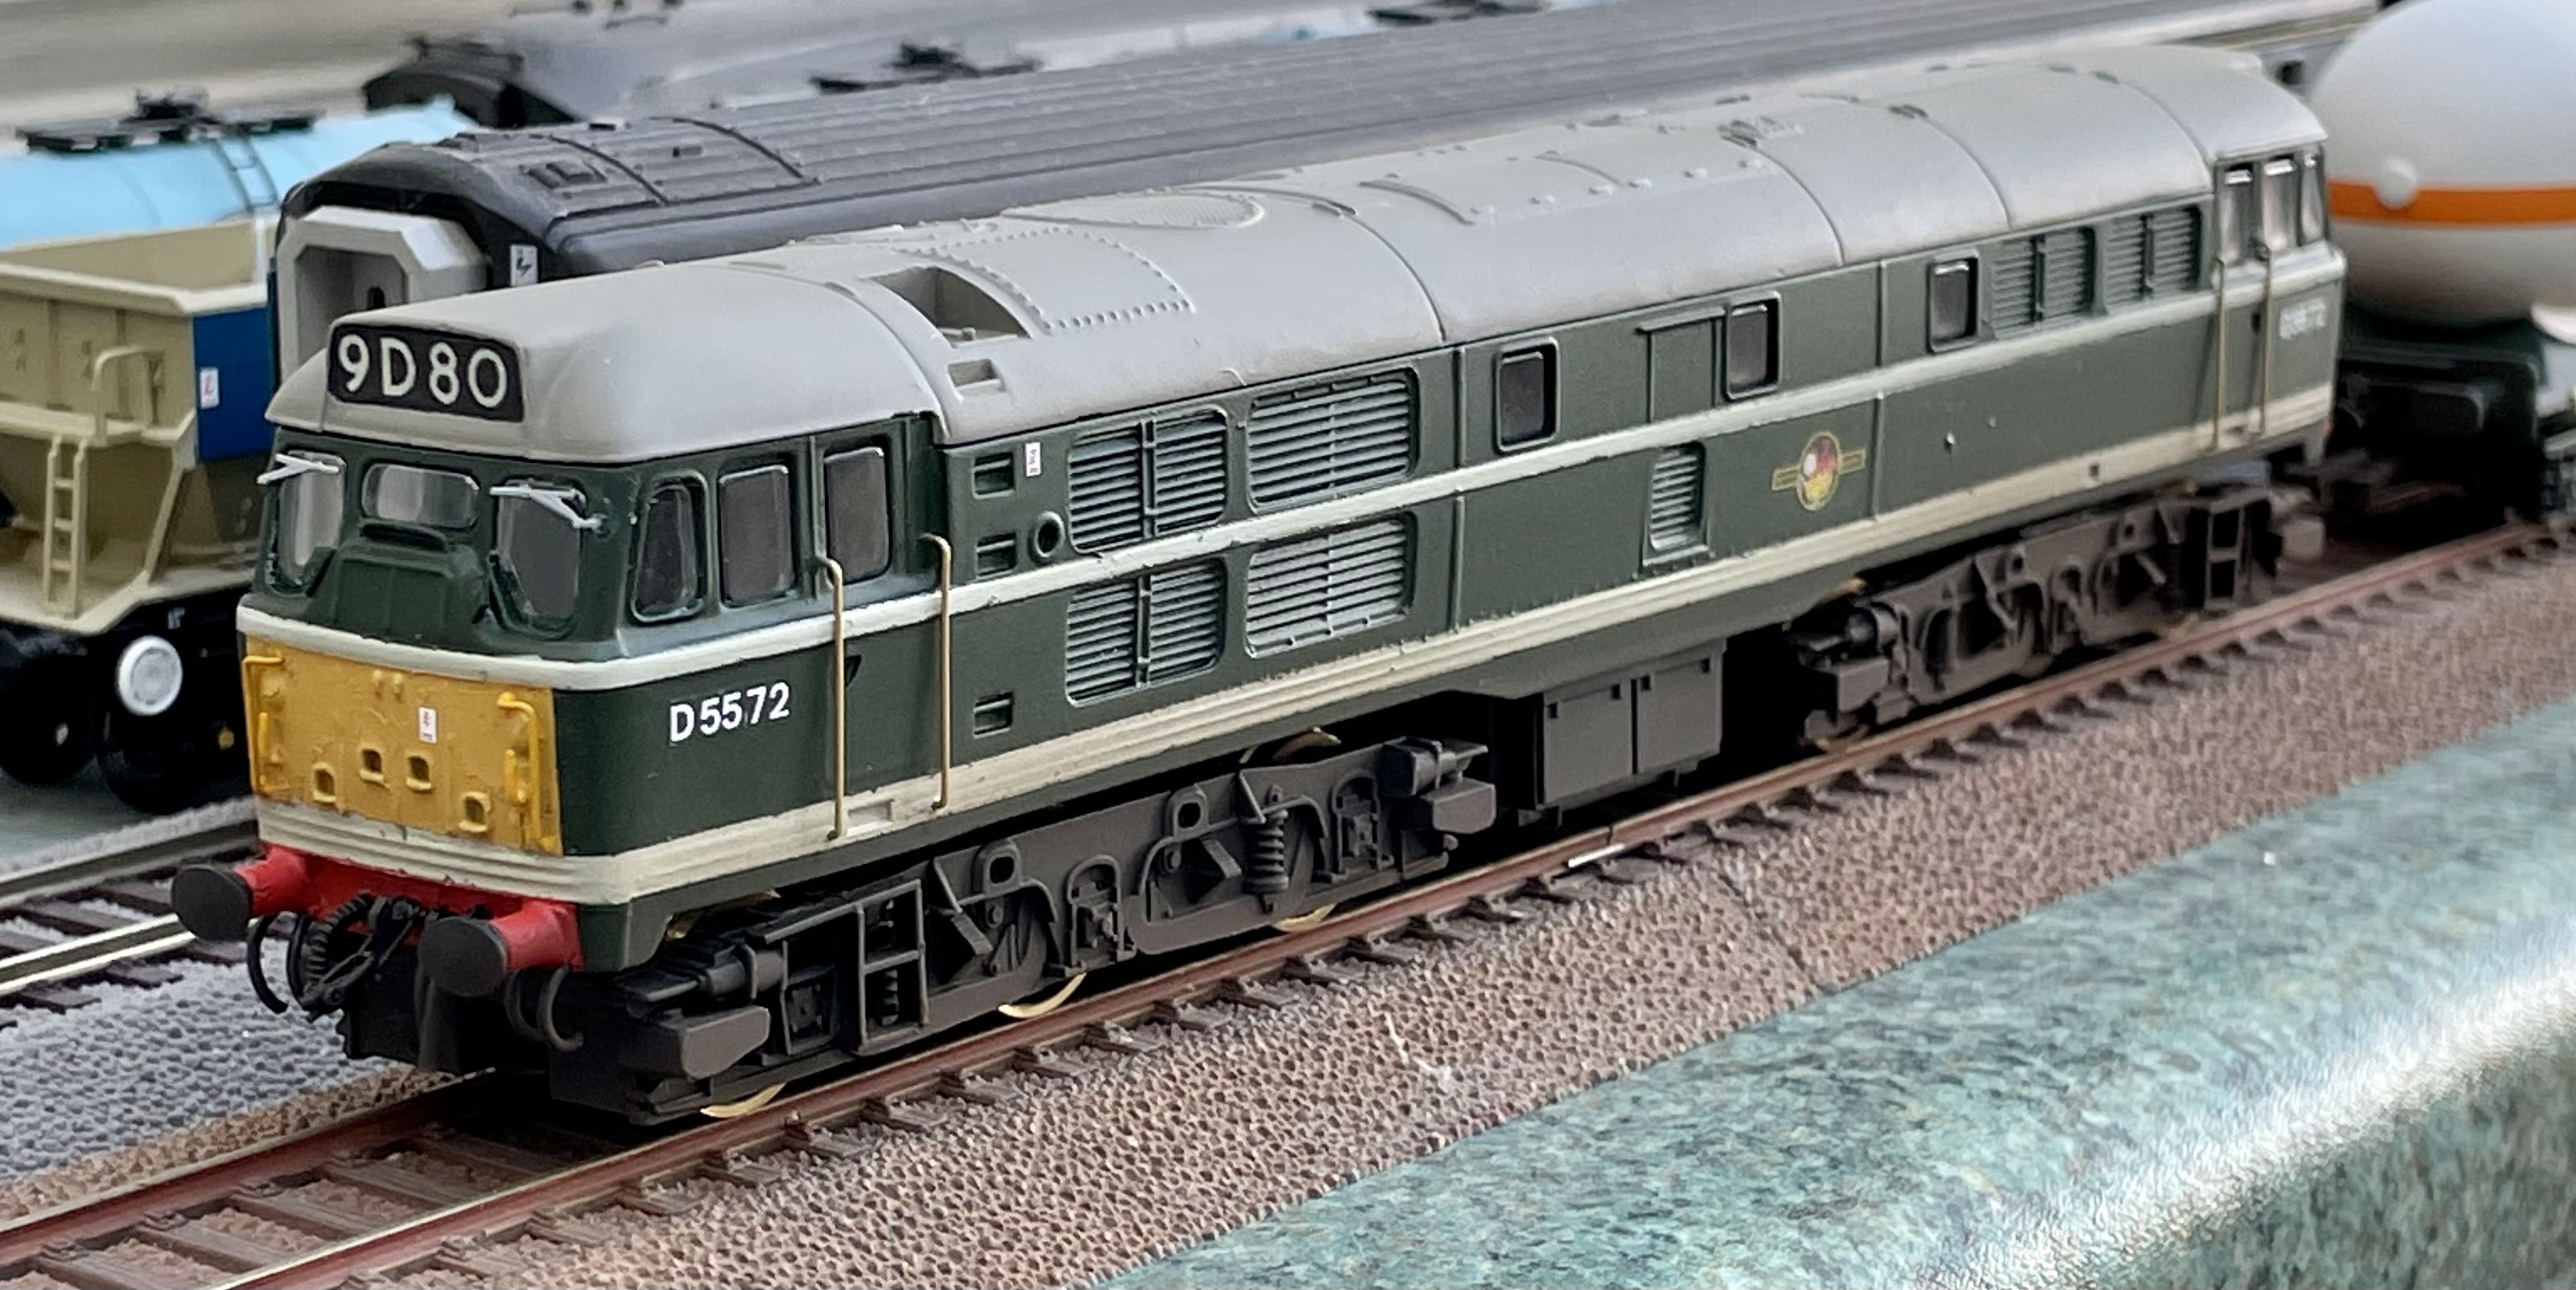
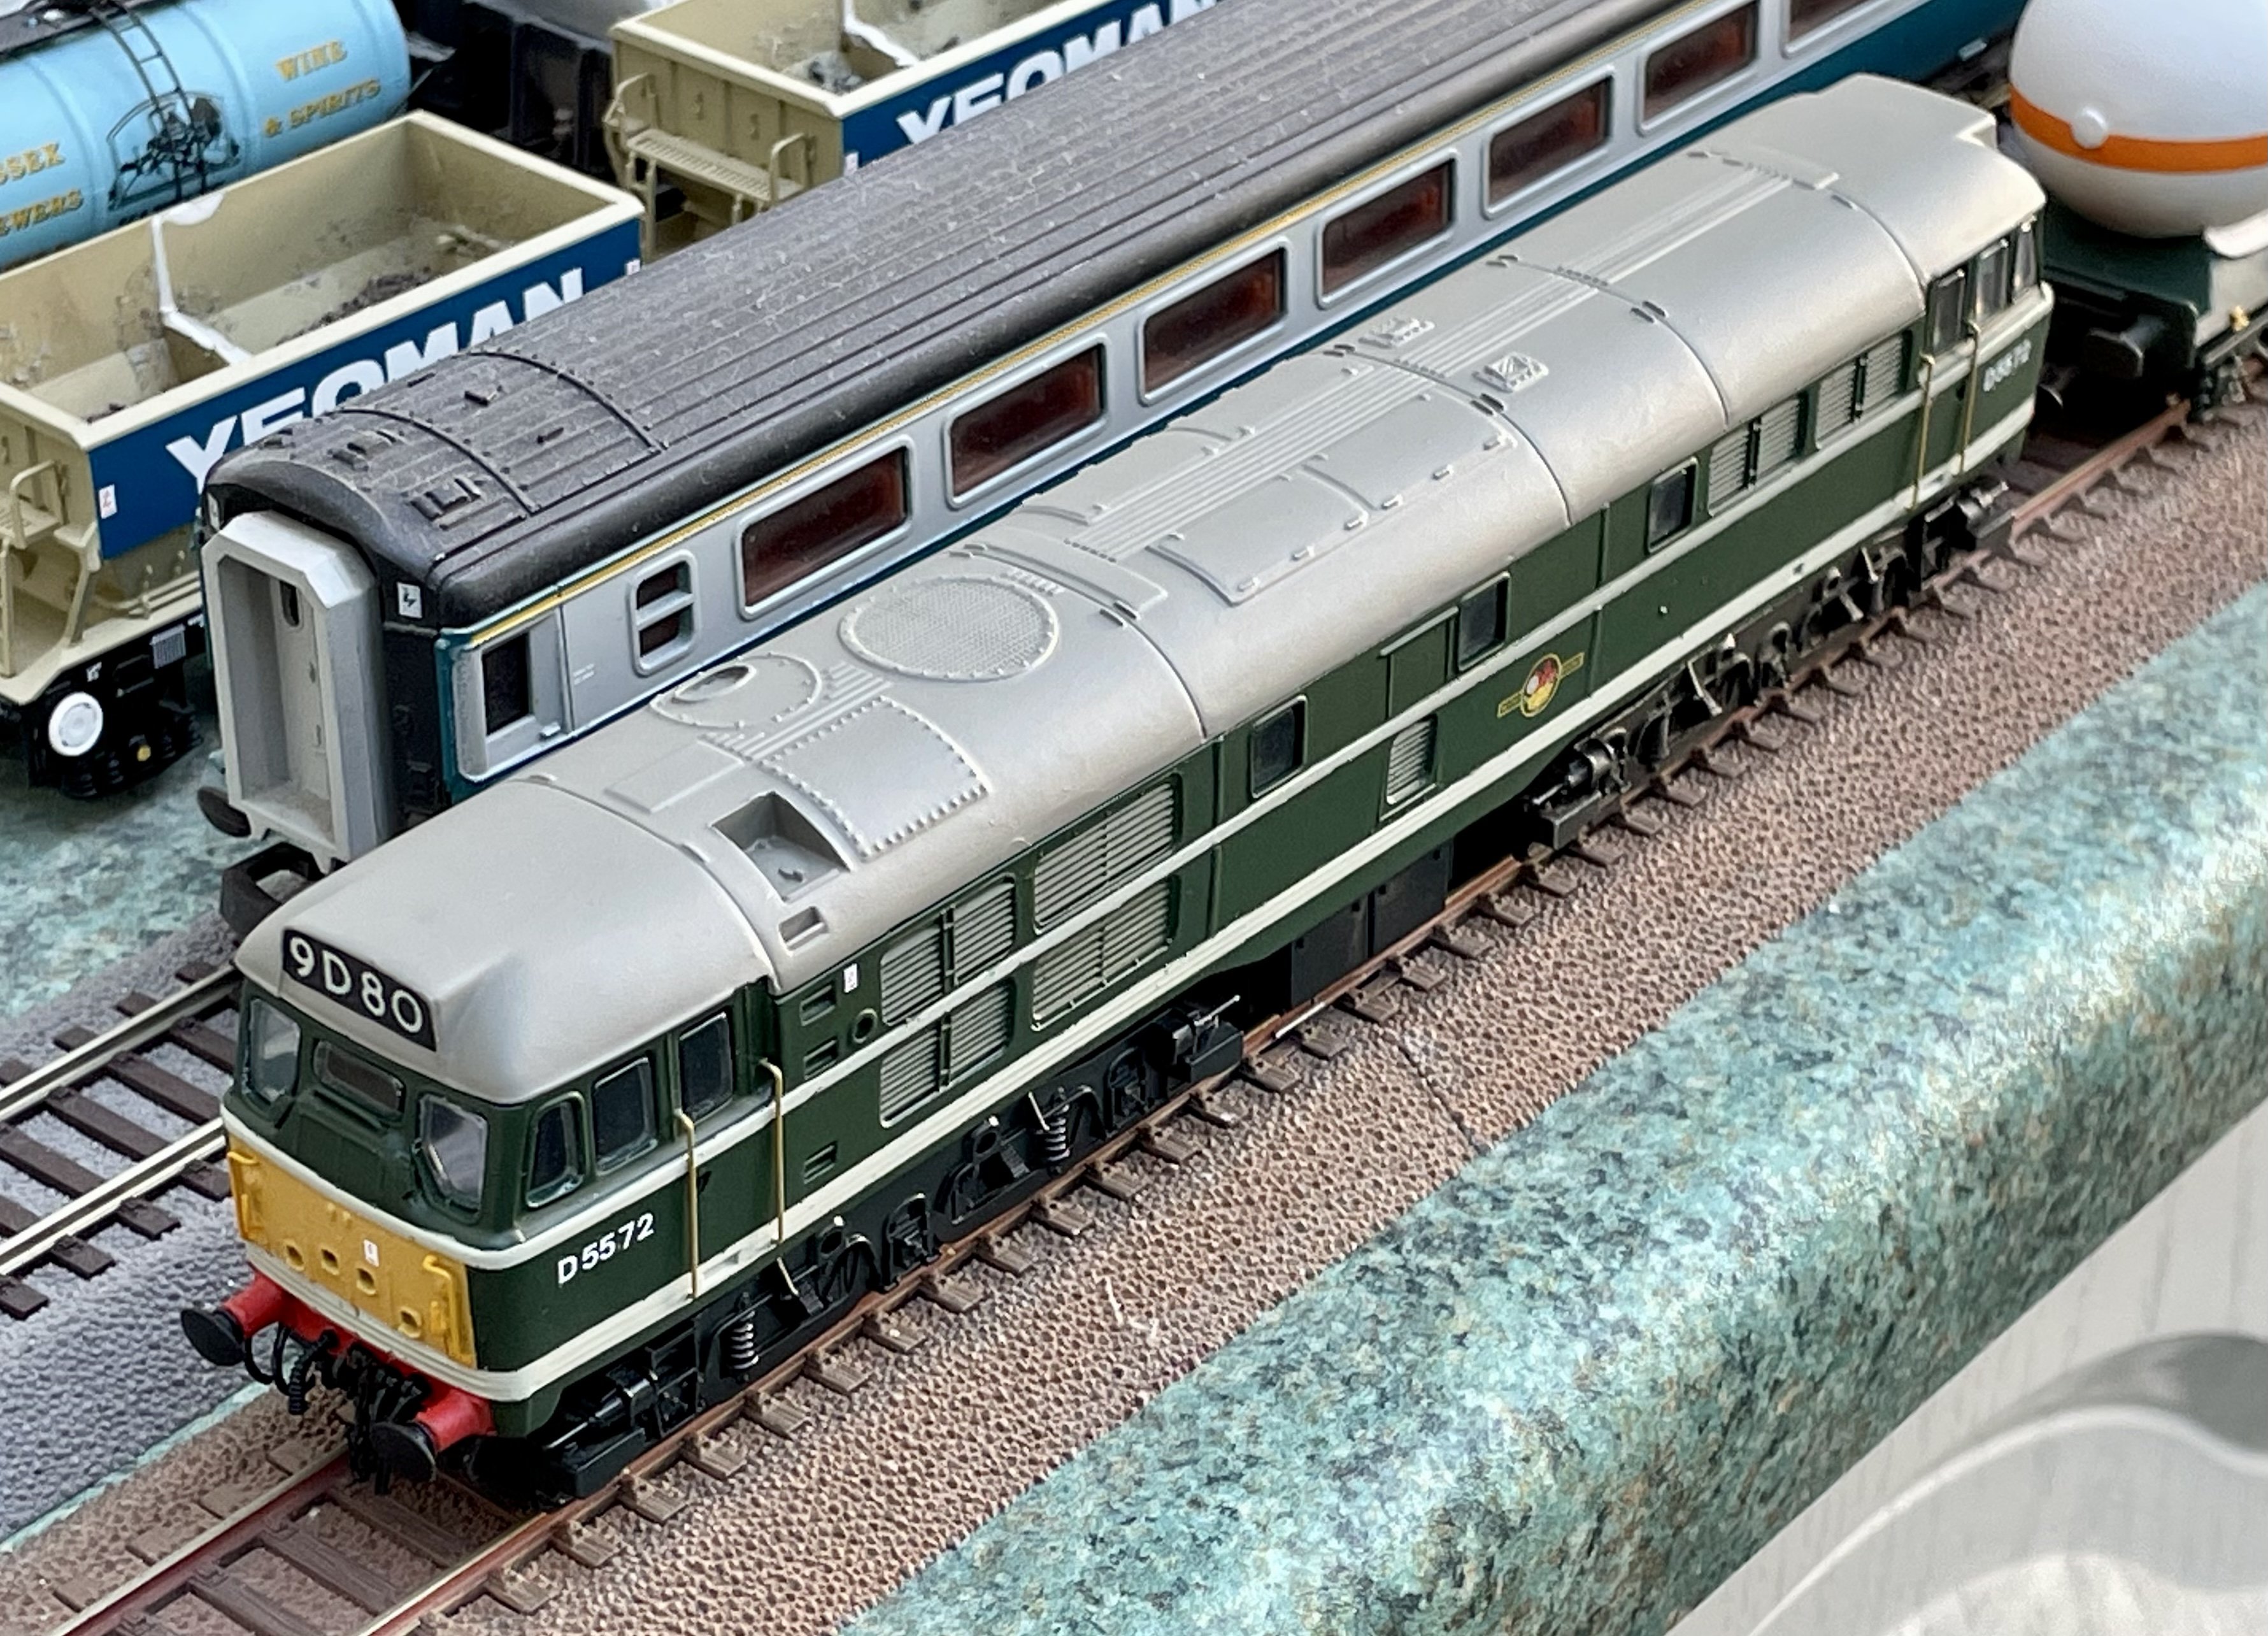
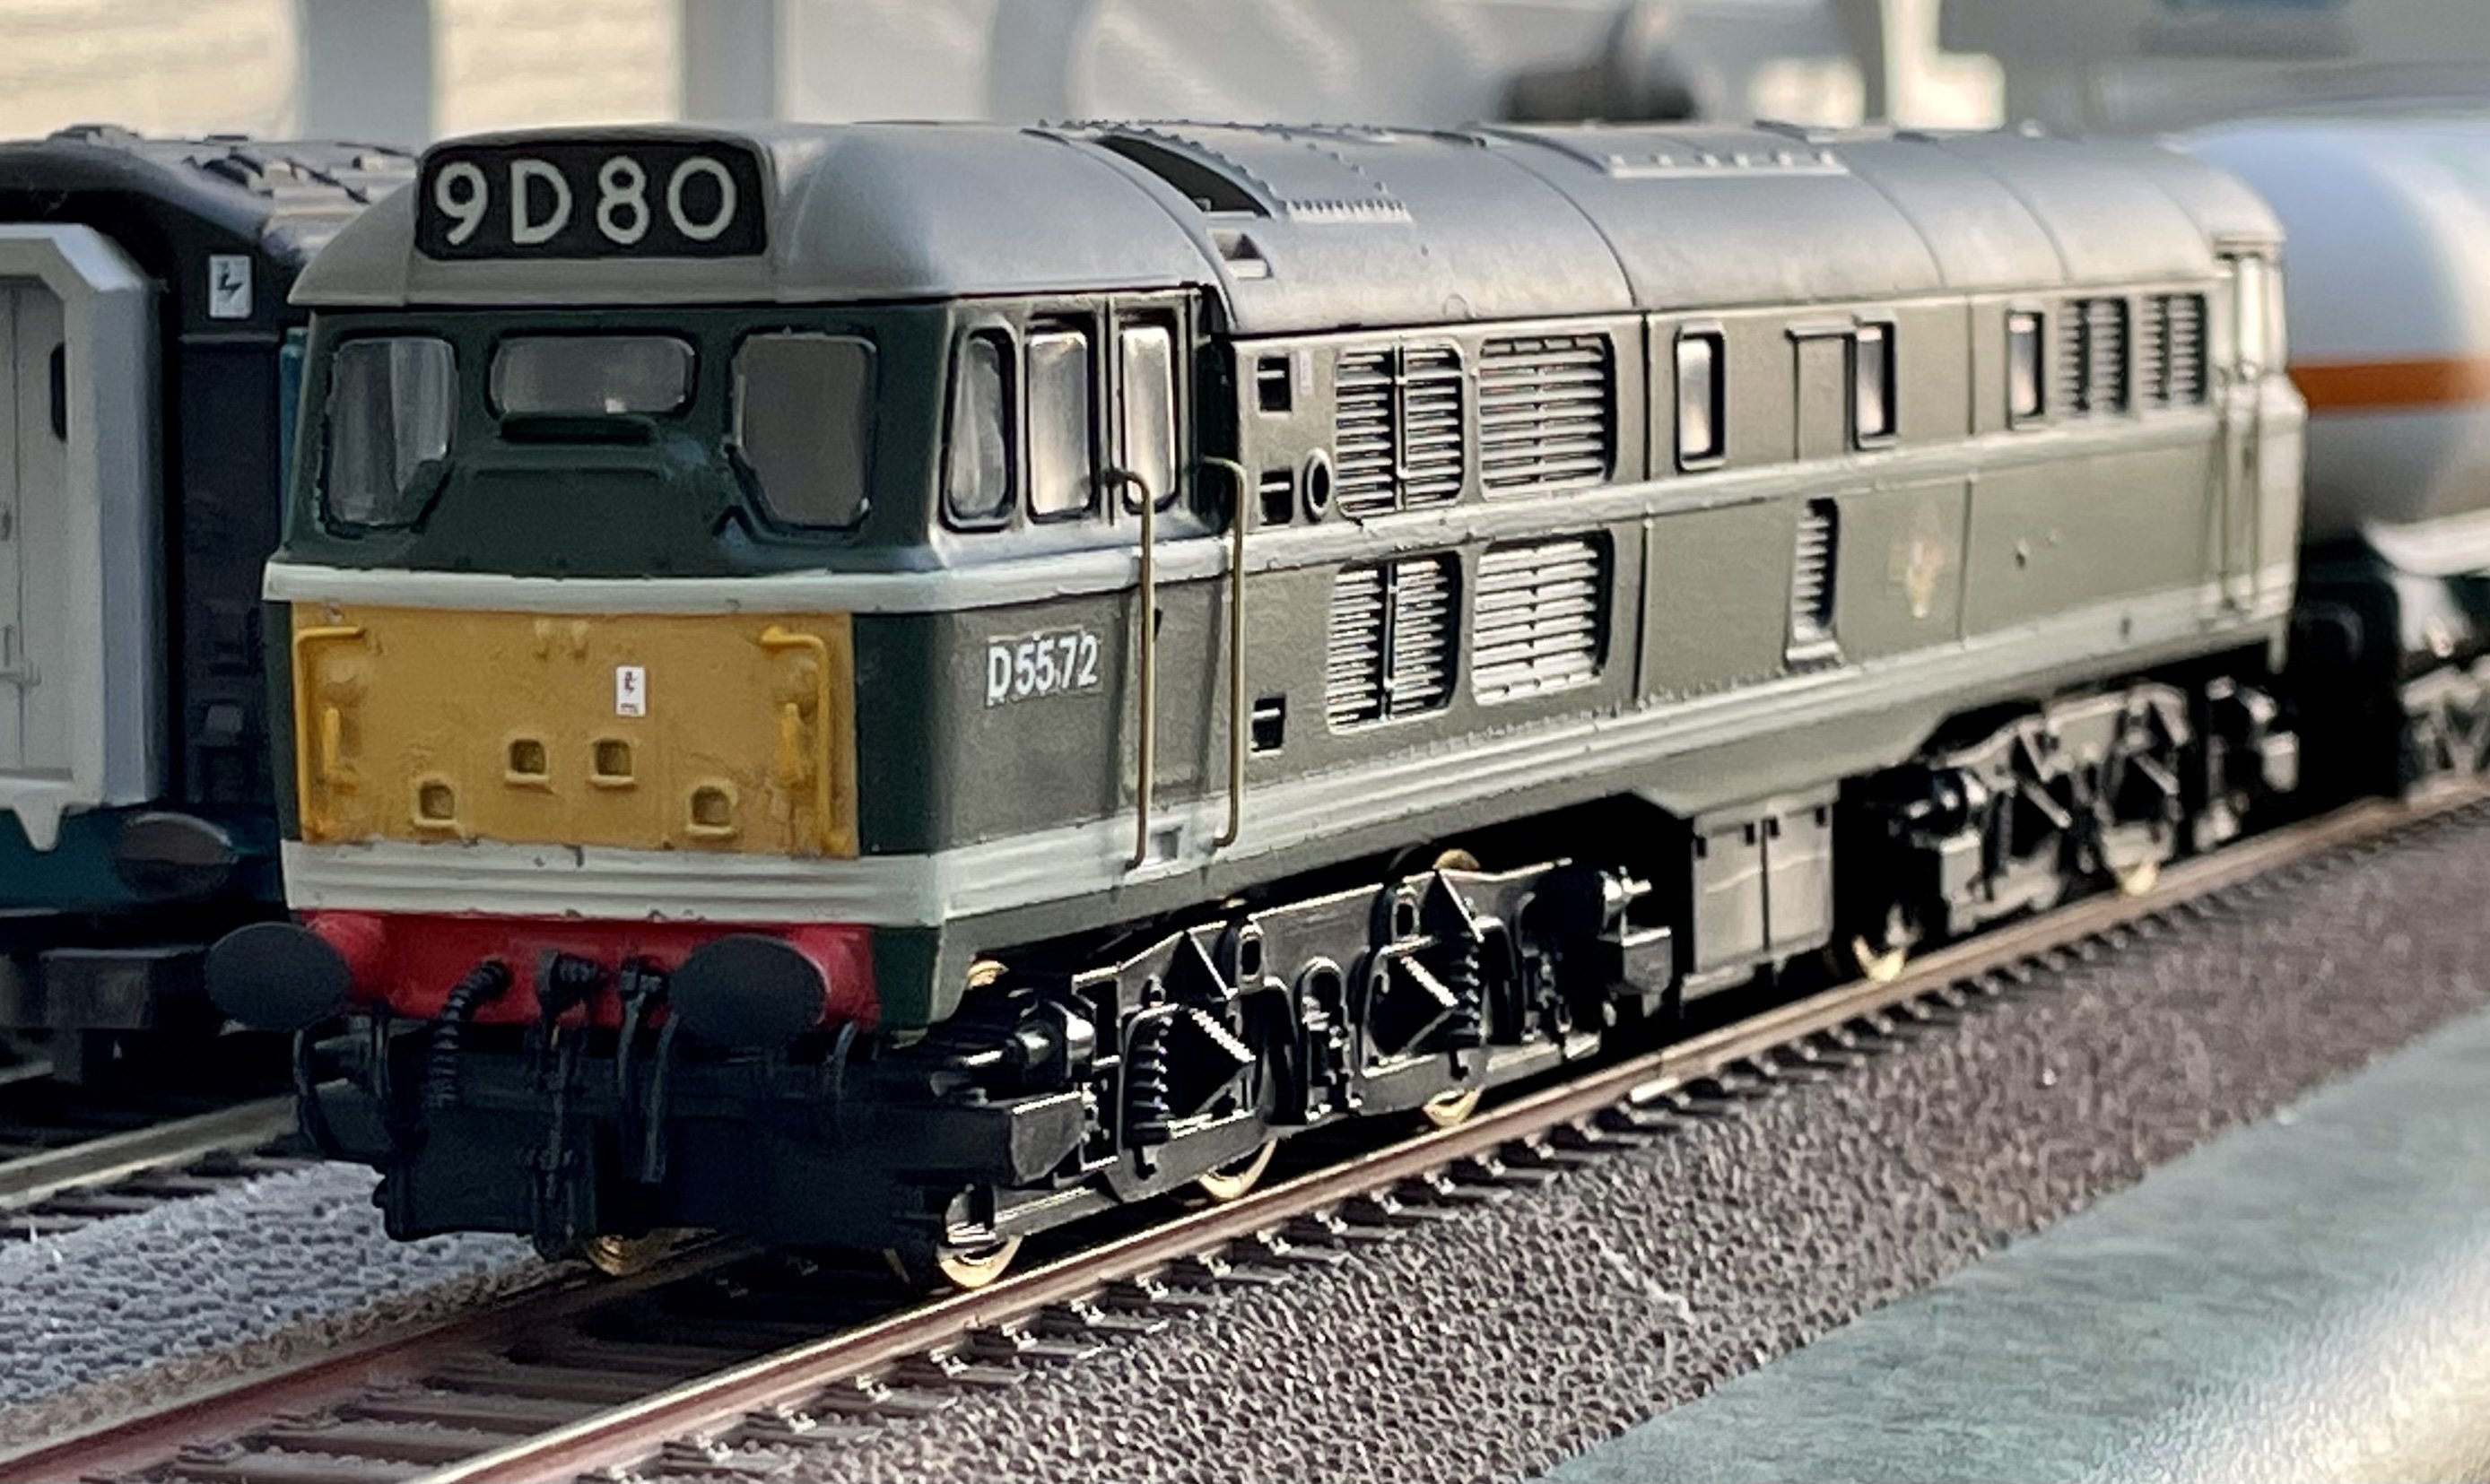
Decals, glazing and buffer beam details added. Cheers Darius

-
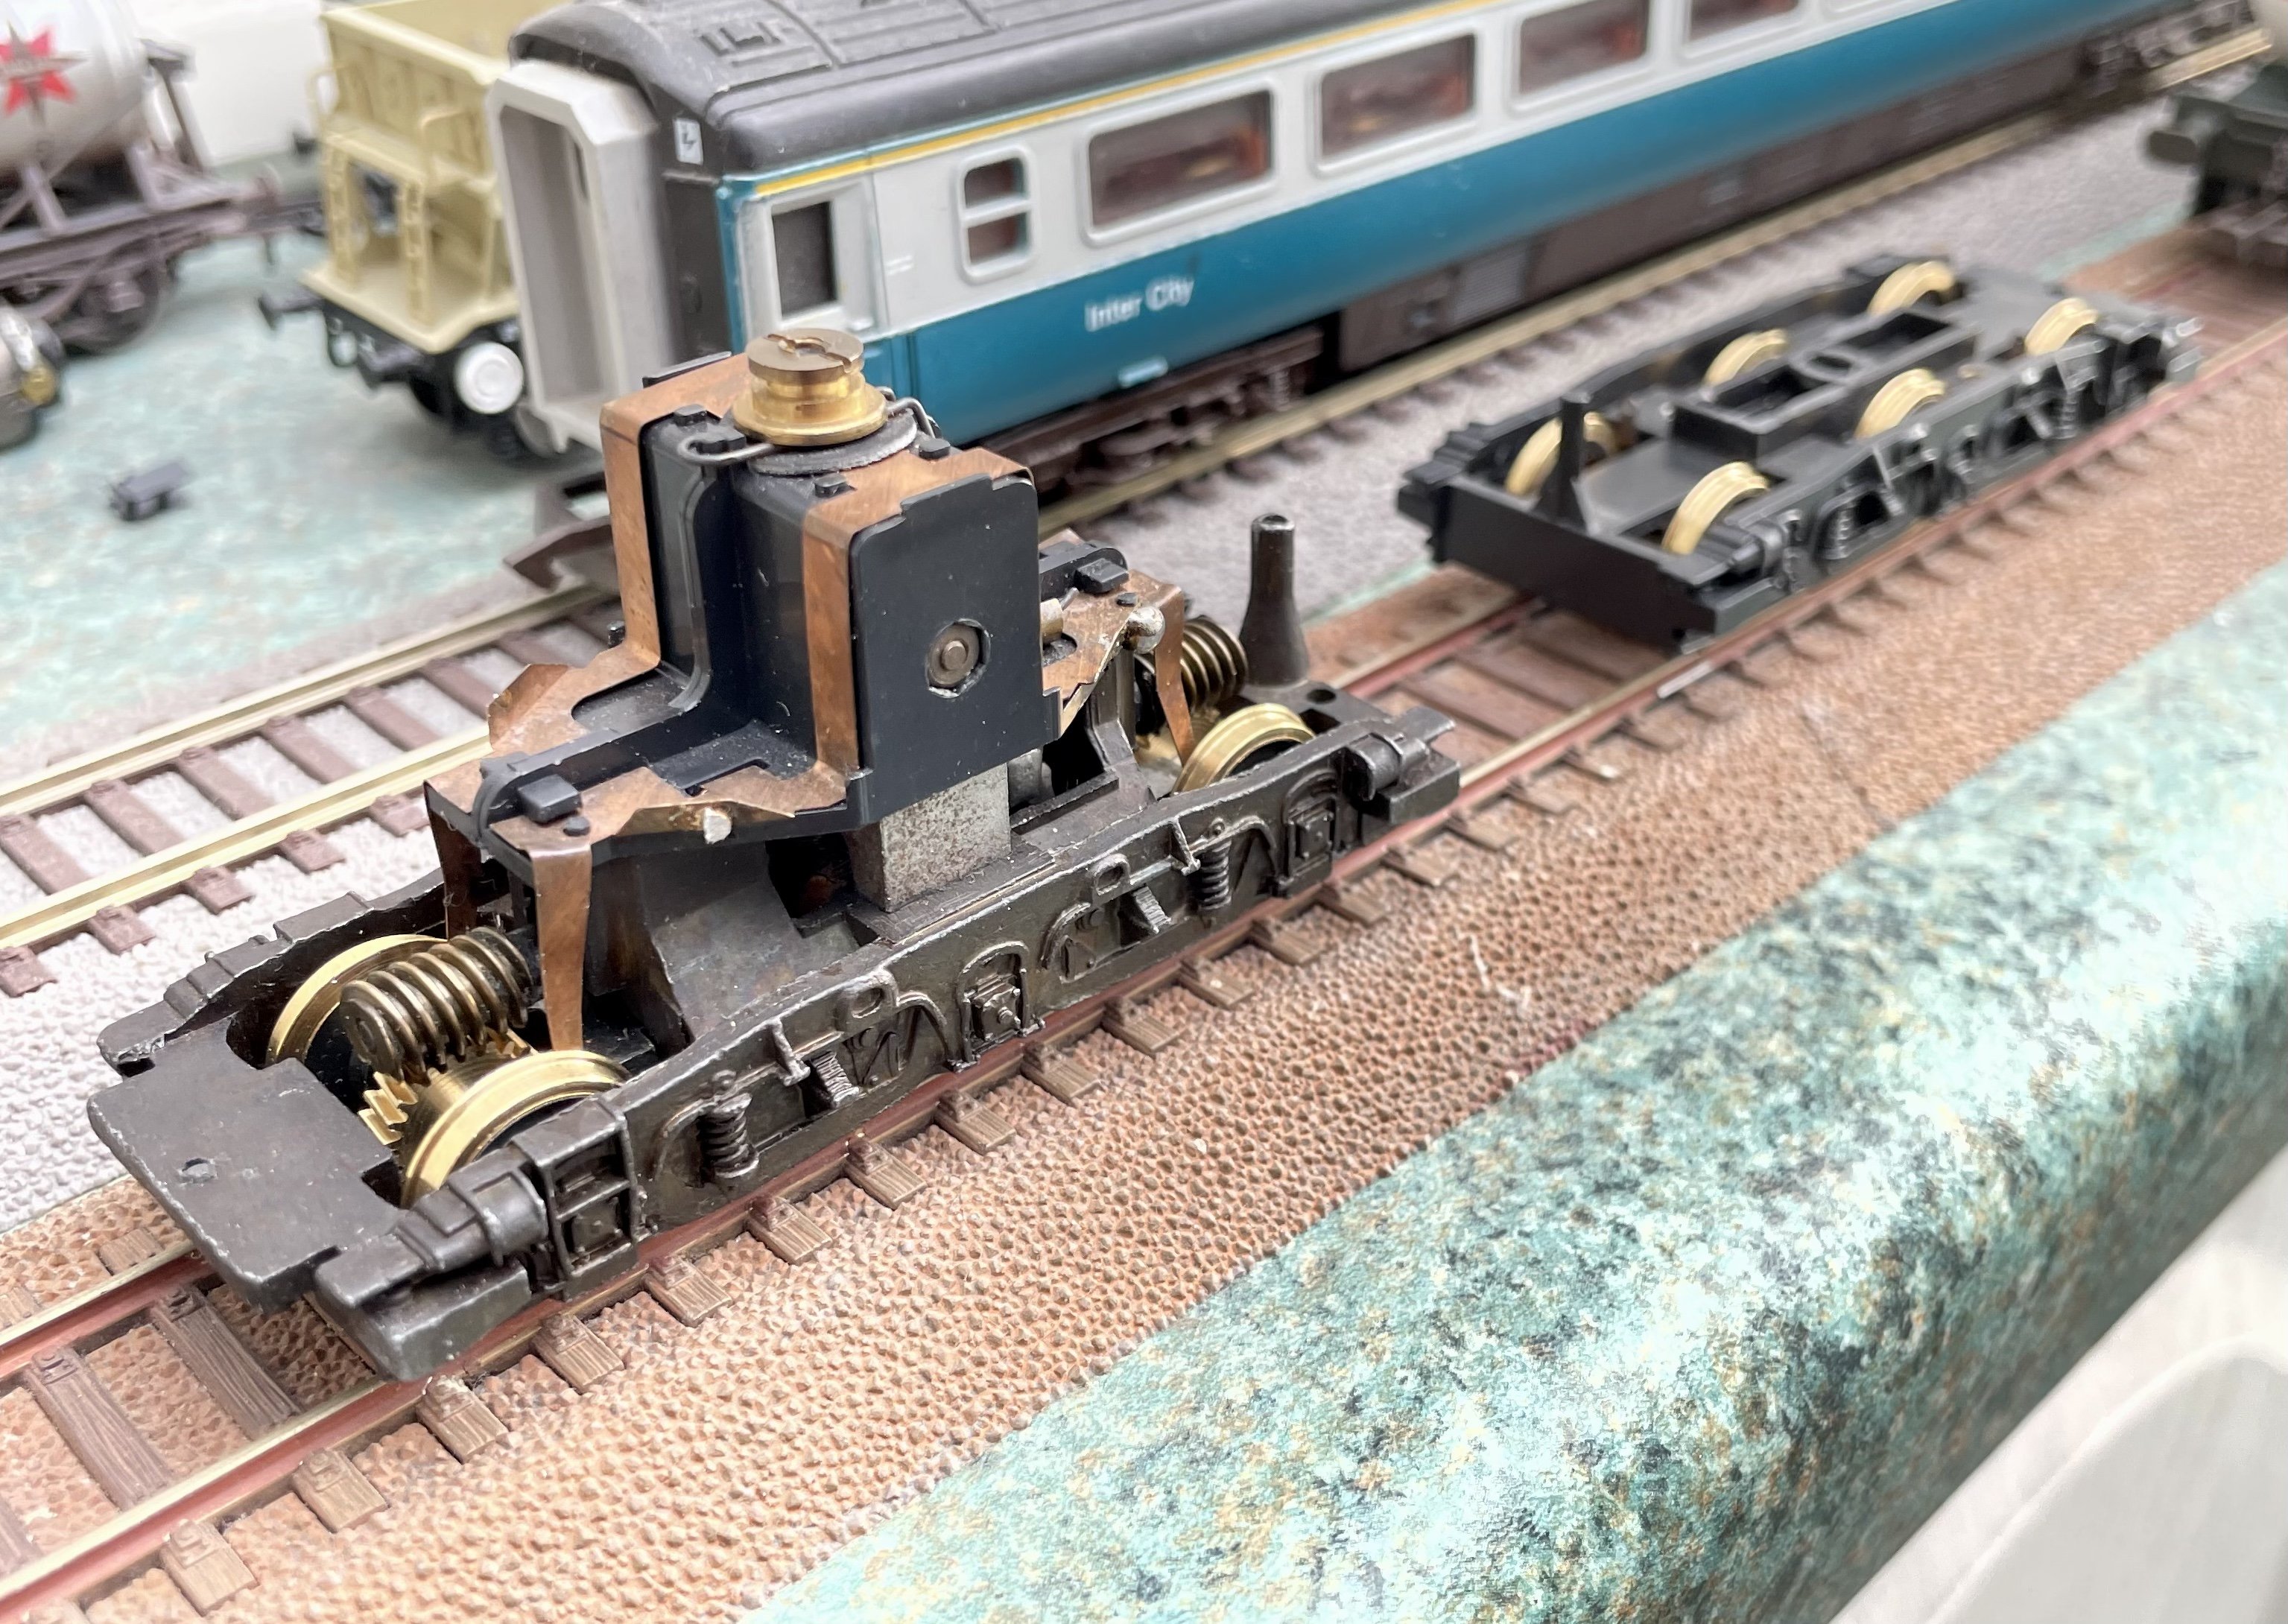
Power twin. Cheers Darius
-
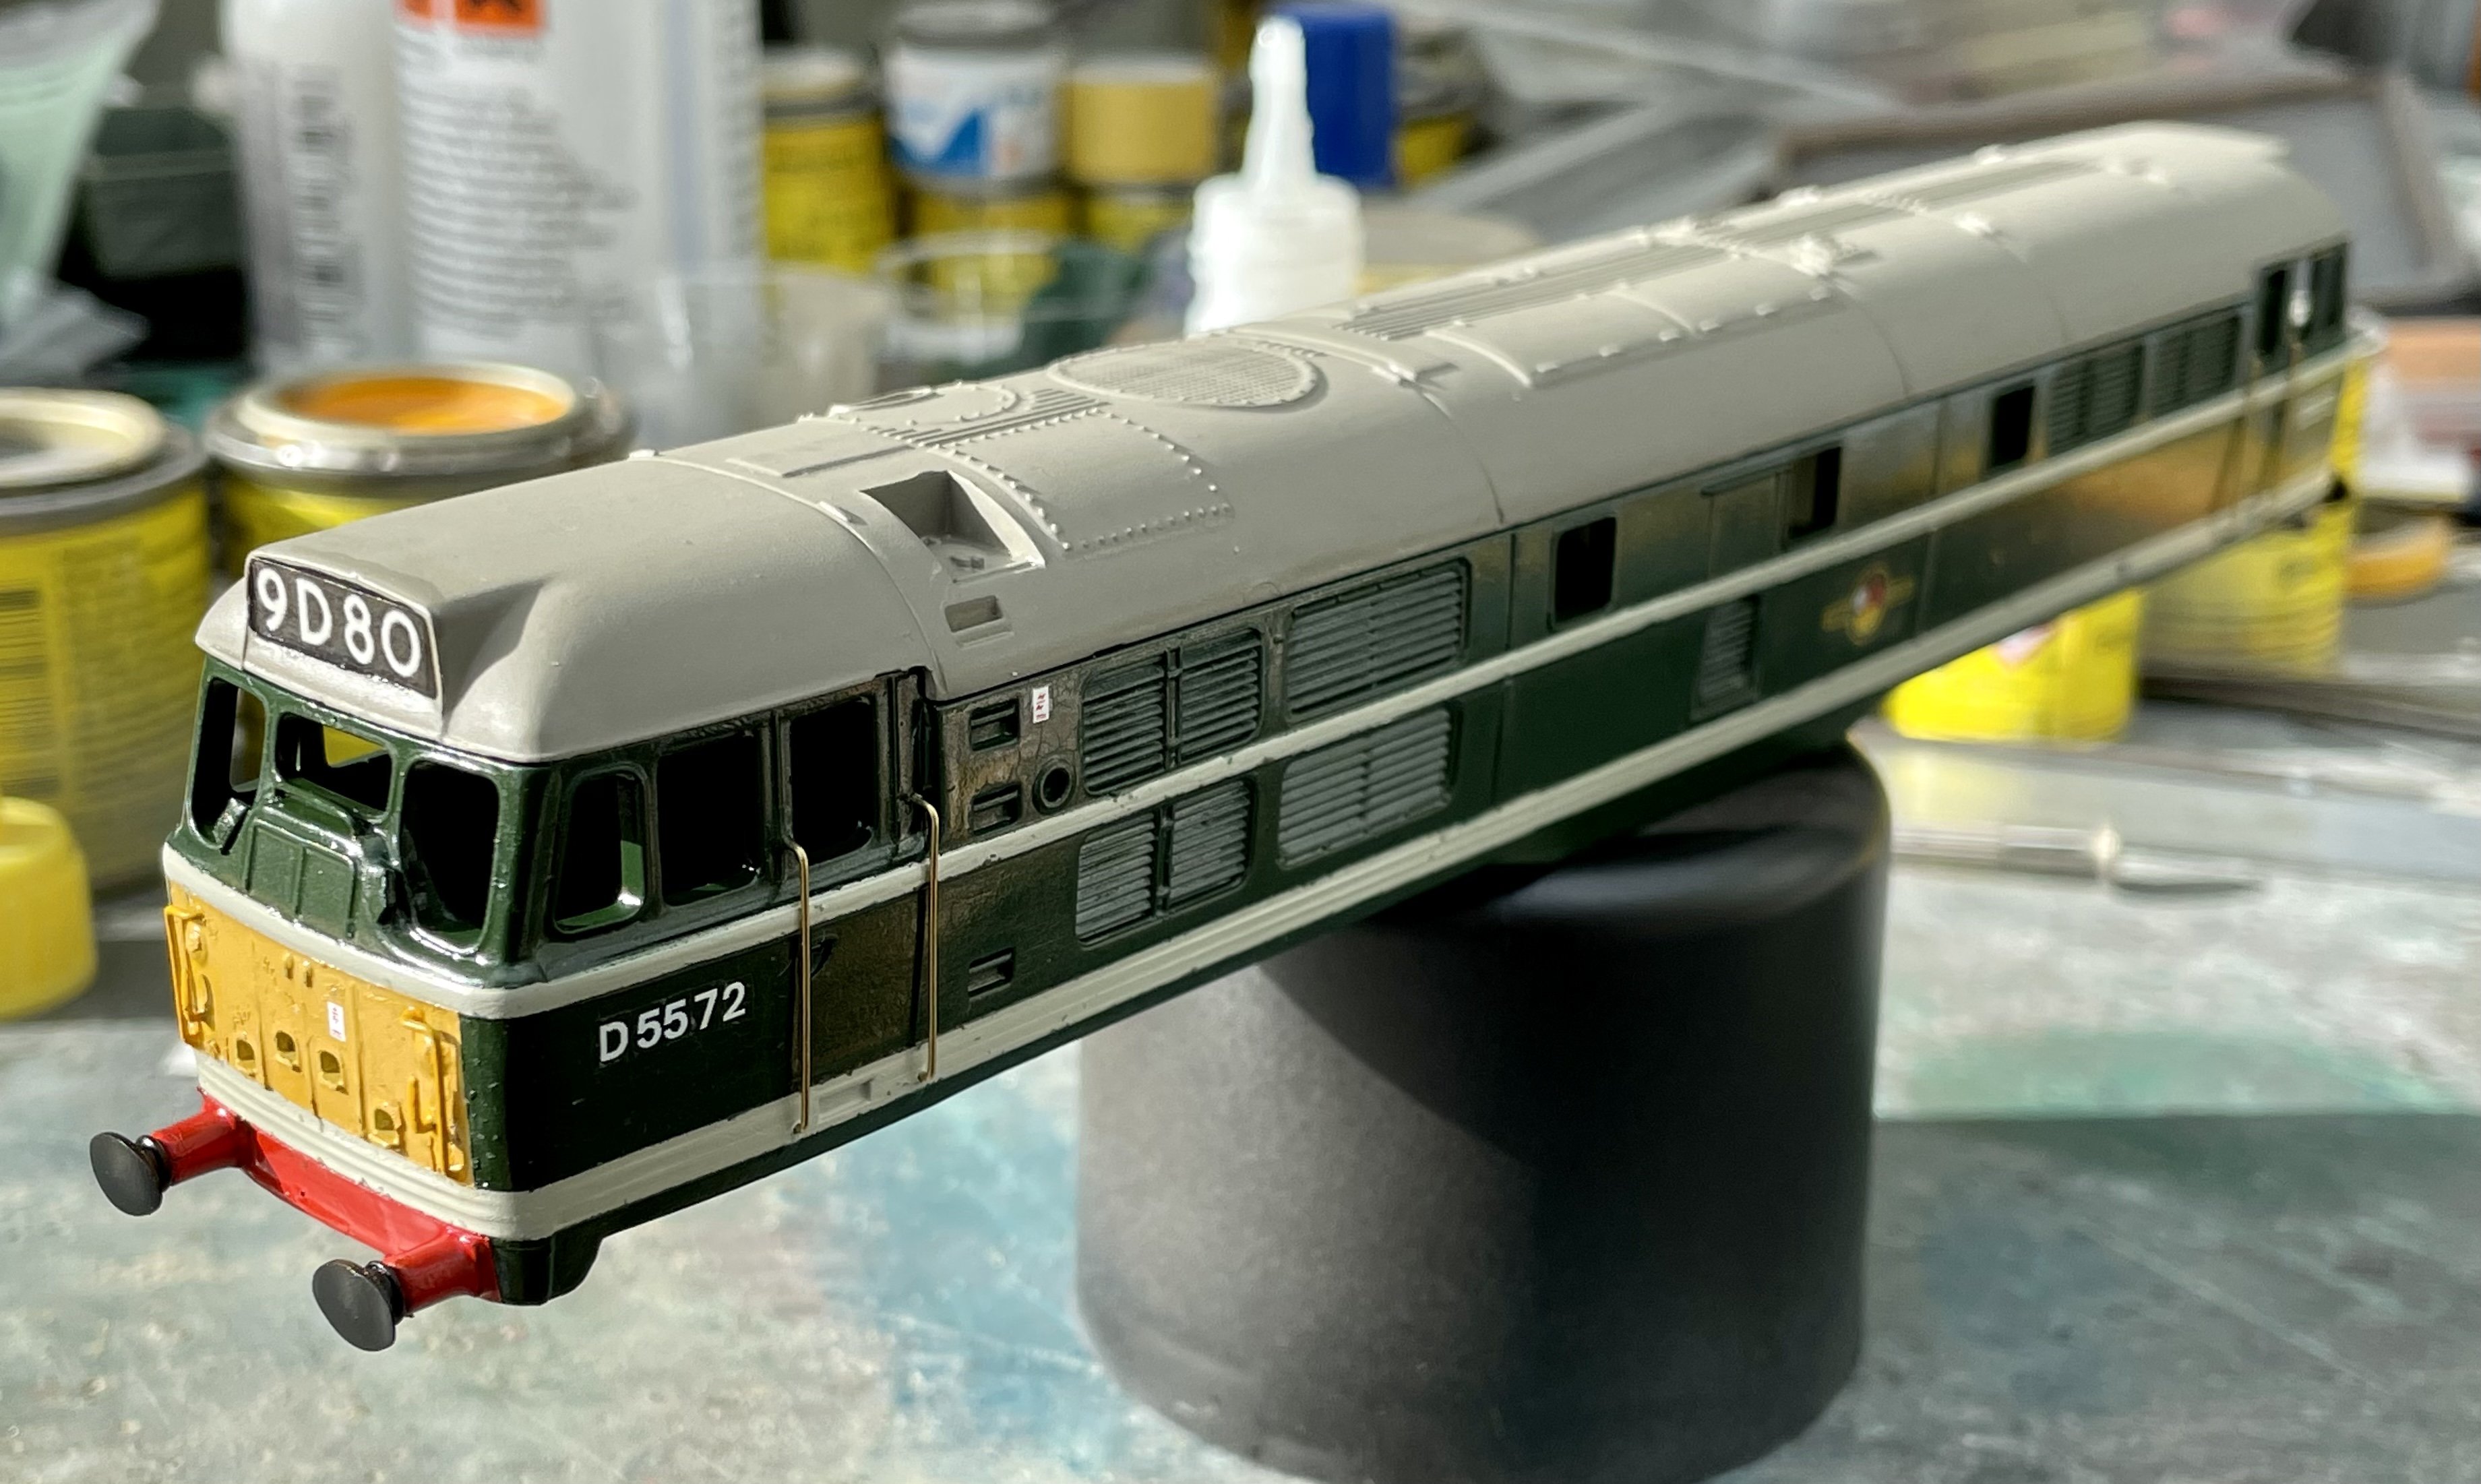
Dunpaintin. Cheers Darius
-
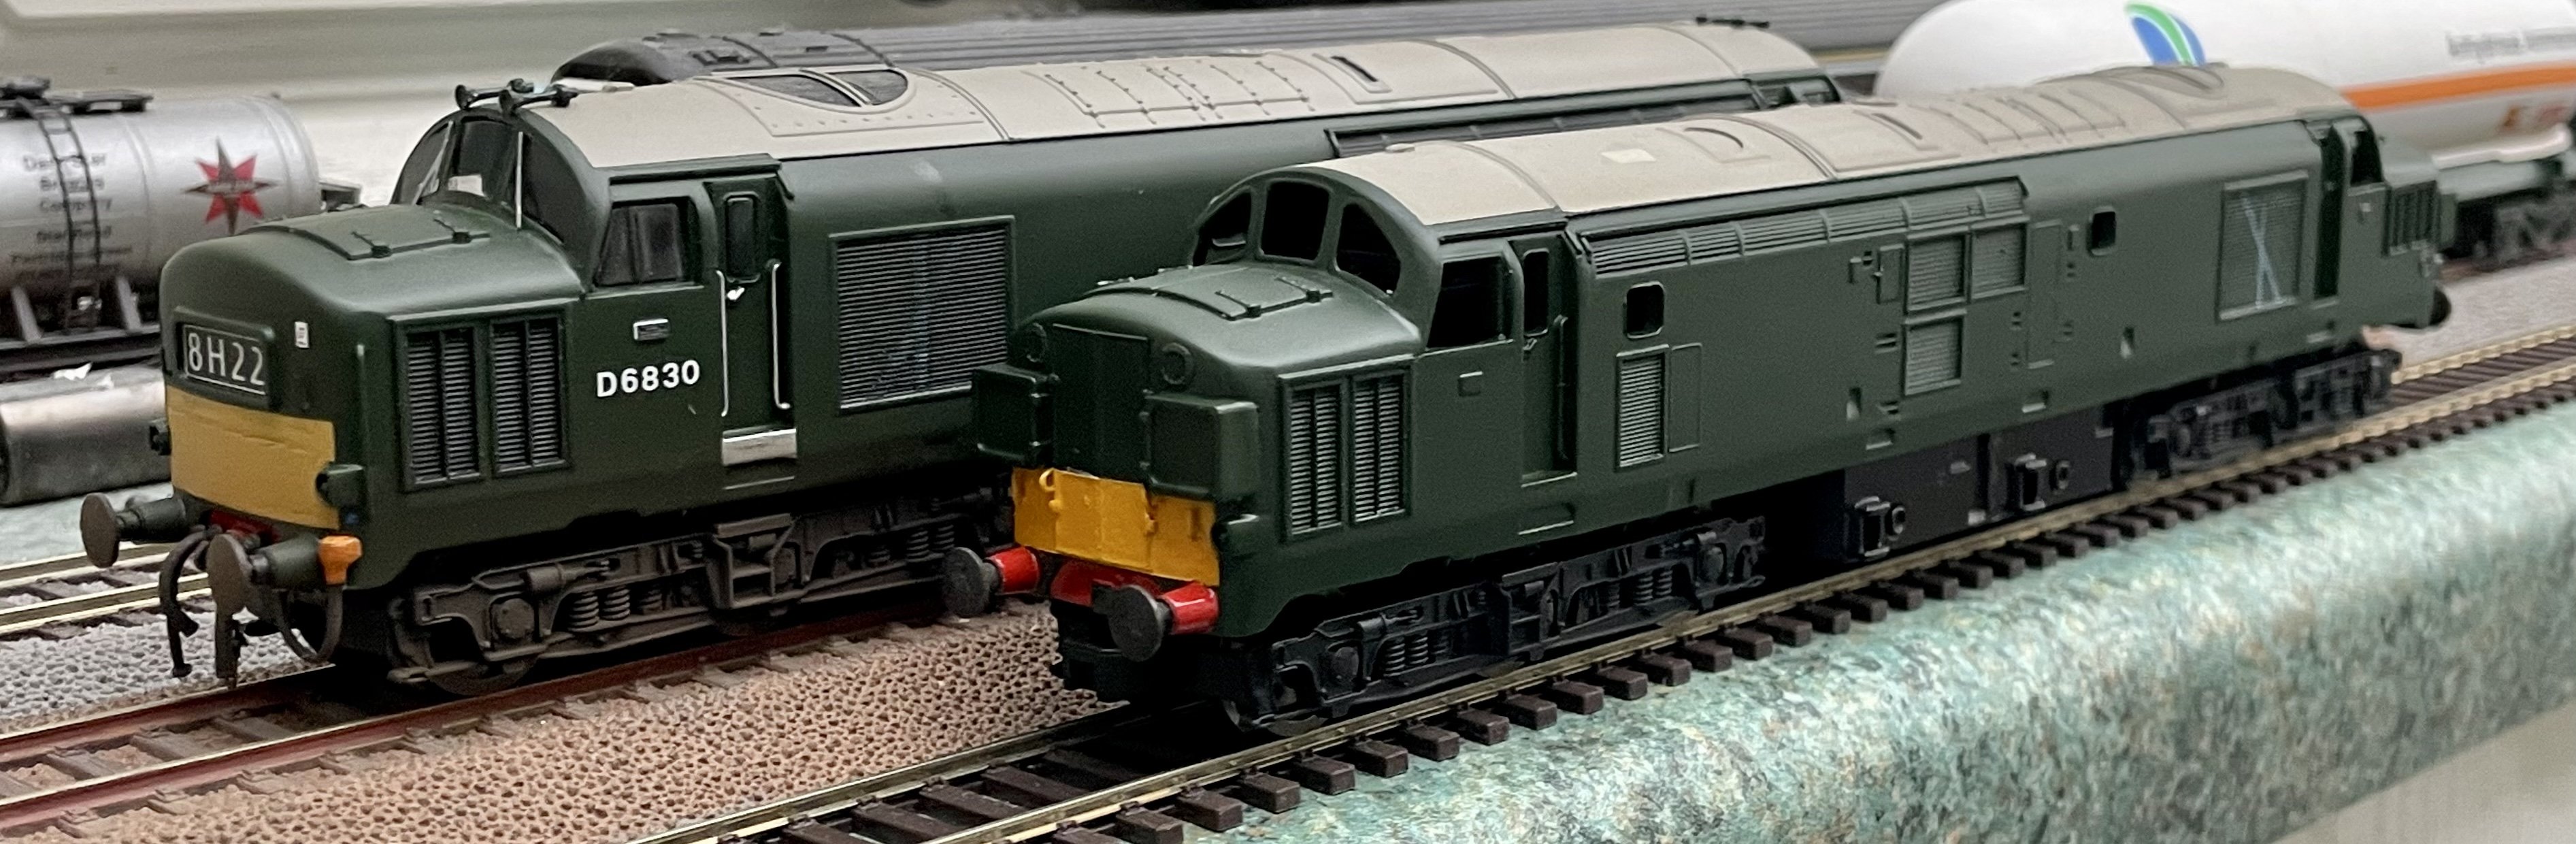
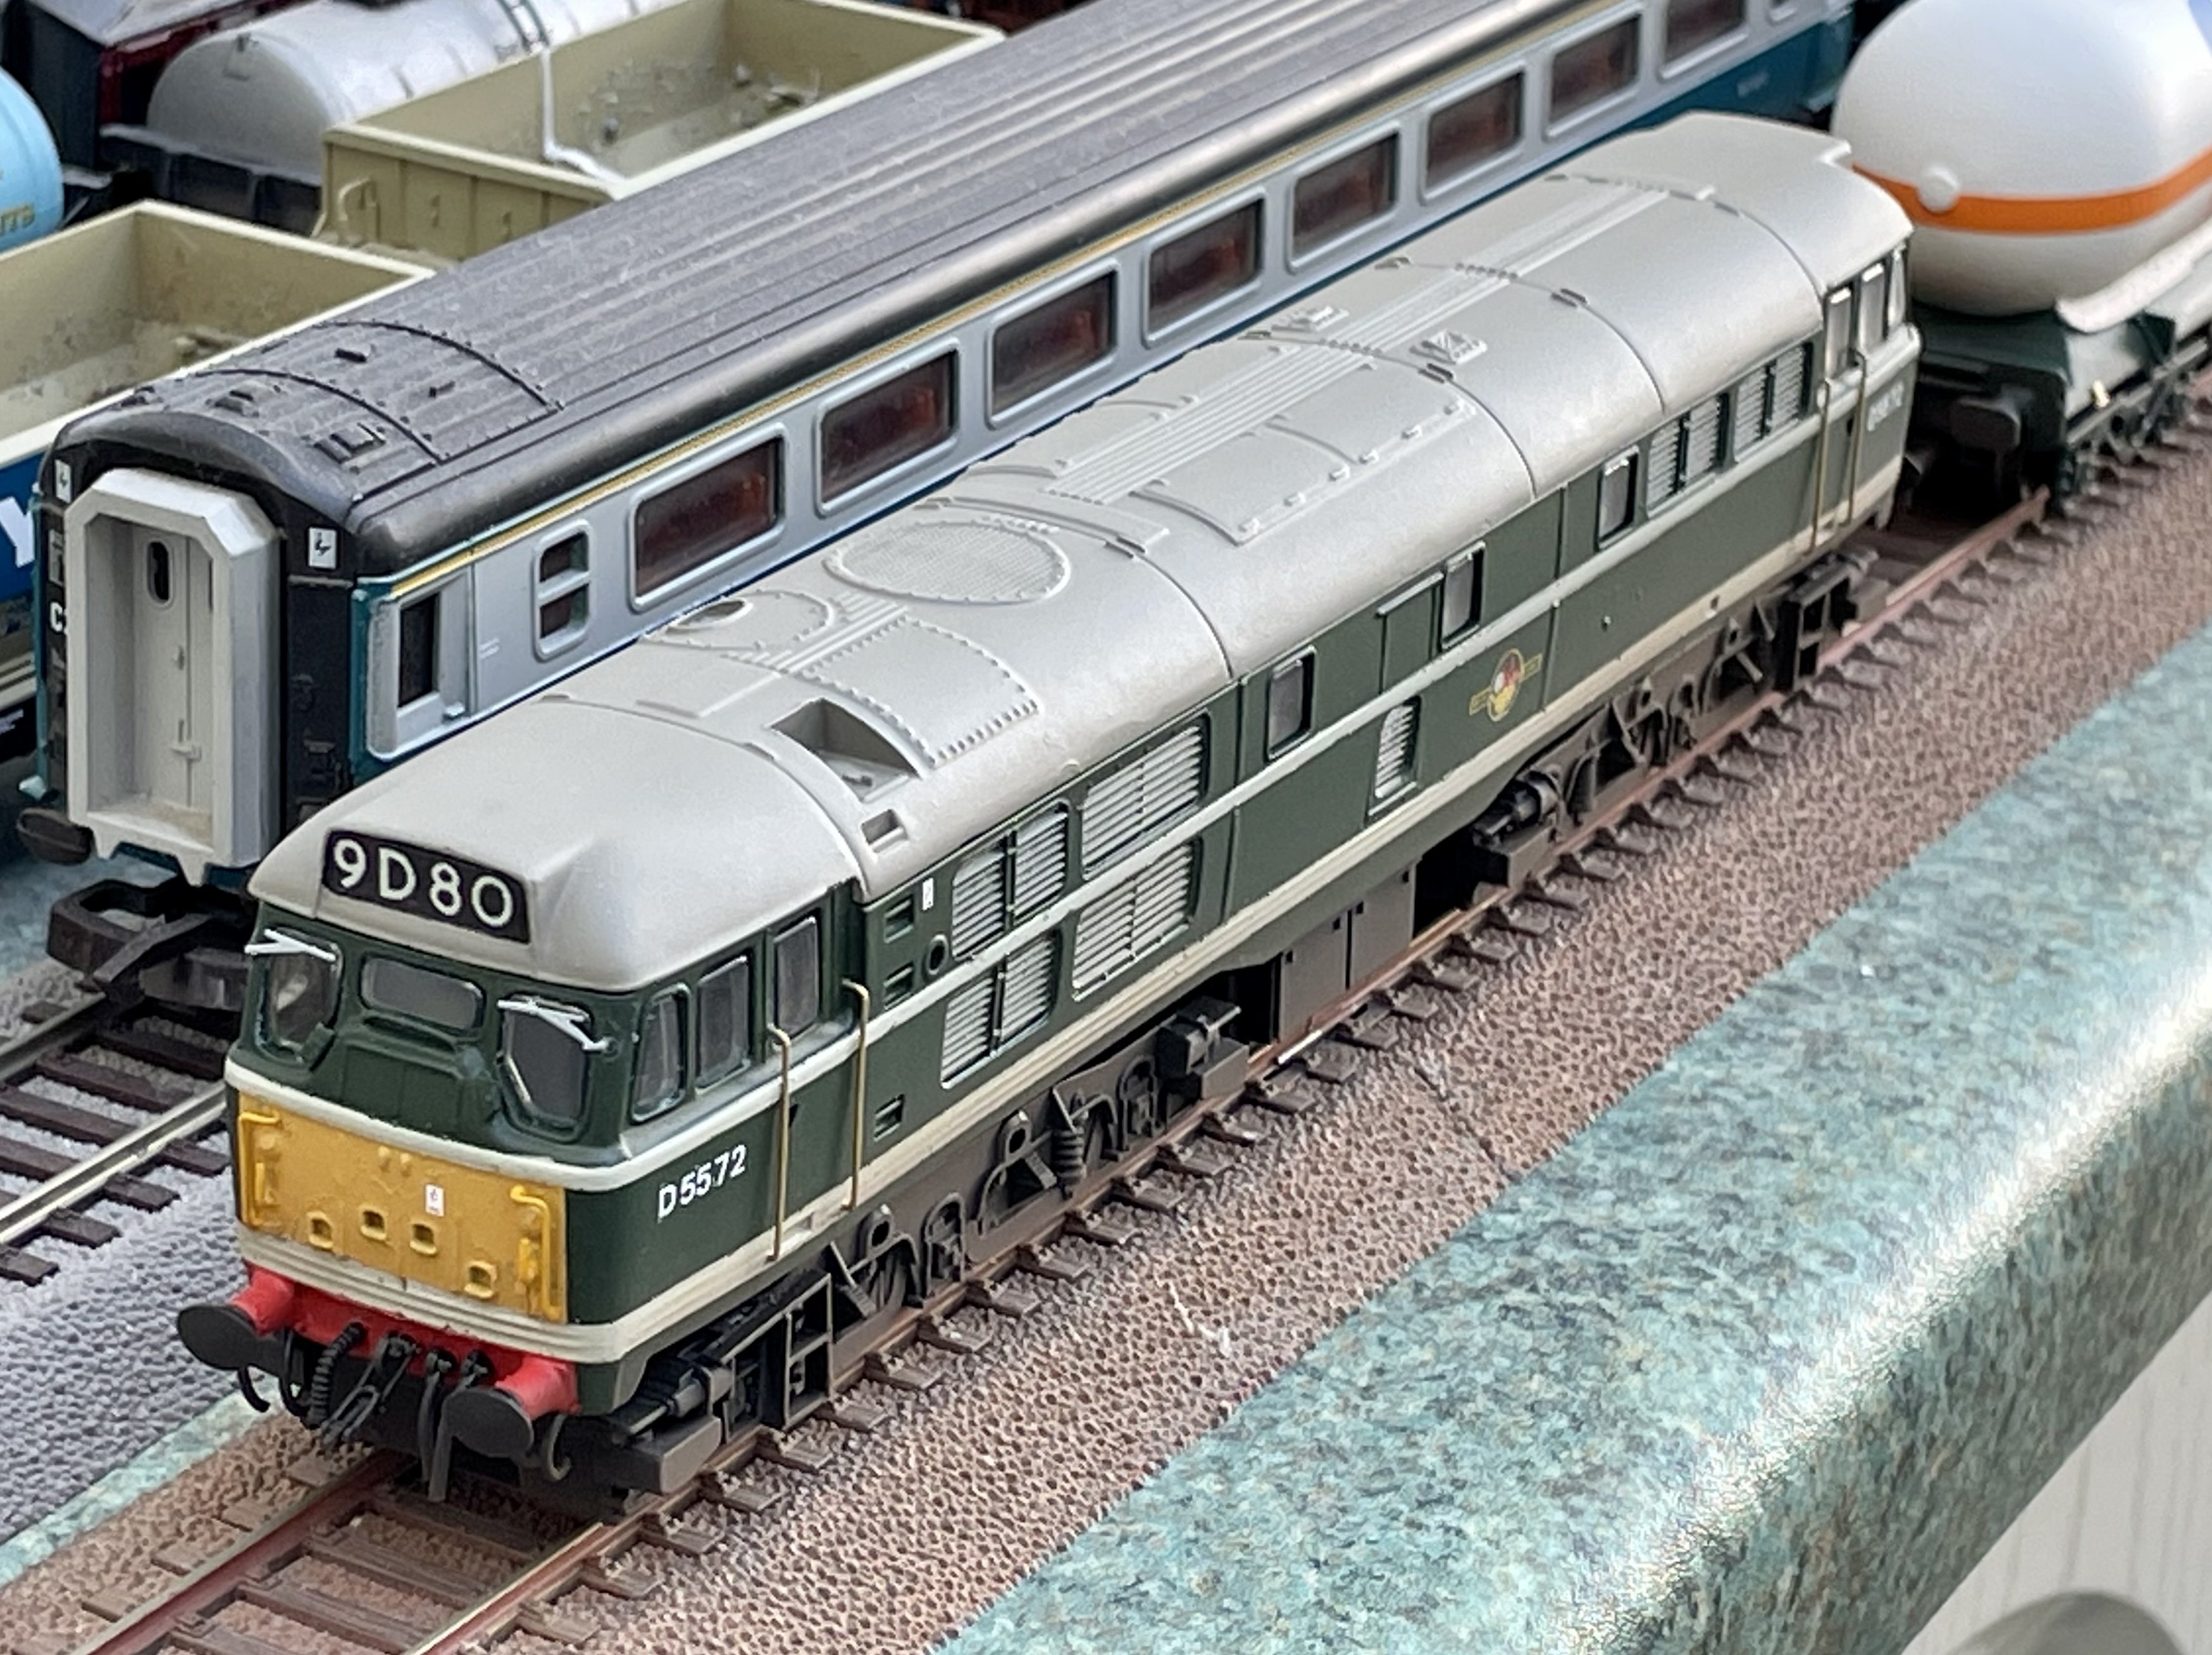
Original Triang EE Type 3 fitted with Hornby Railroad bogies. Buffer beam details and a light weathering applied. Cheers Darius
-
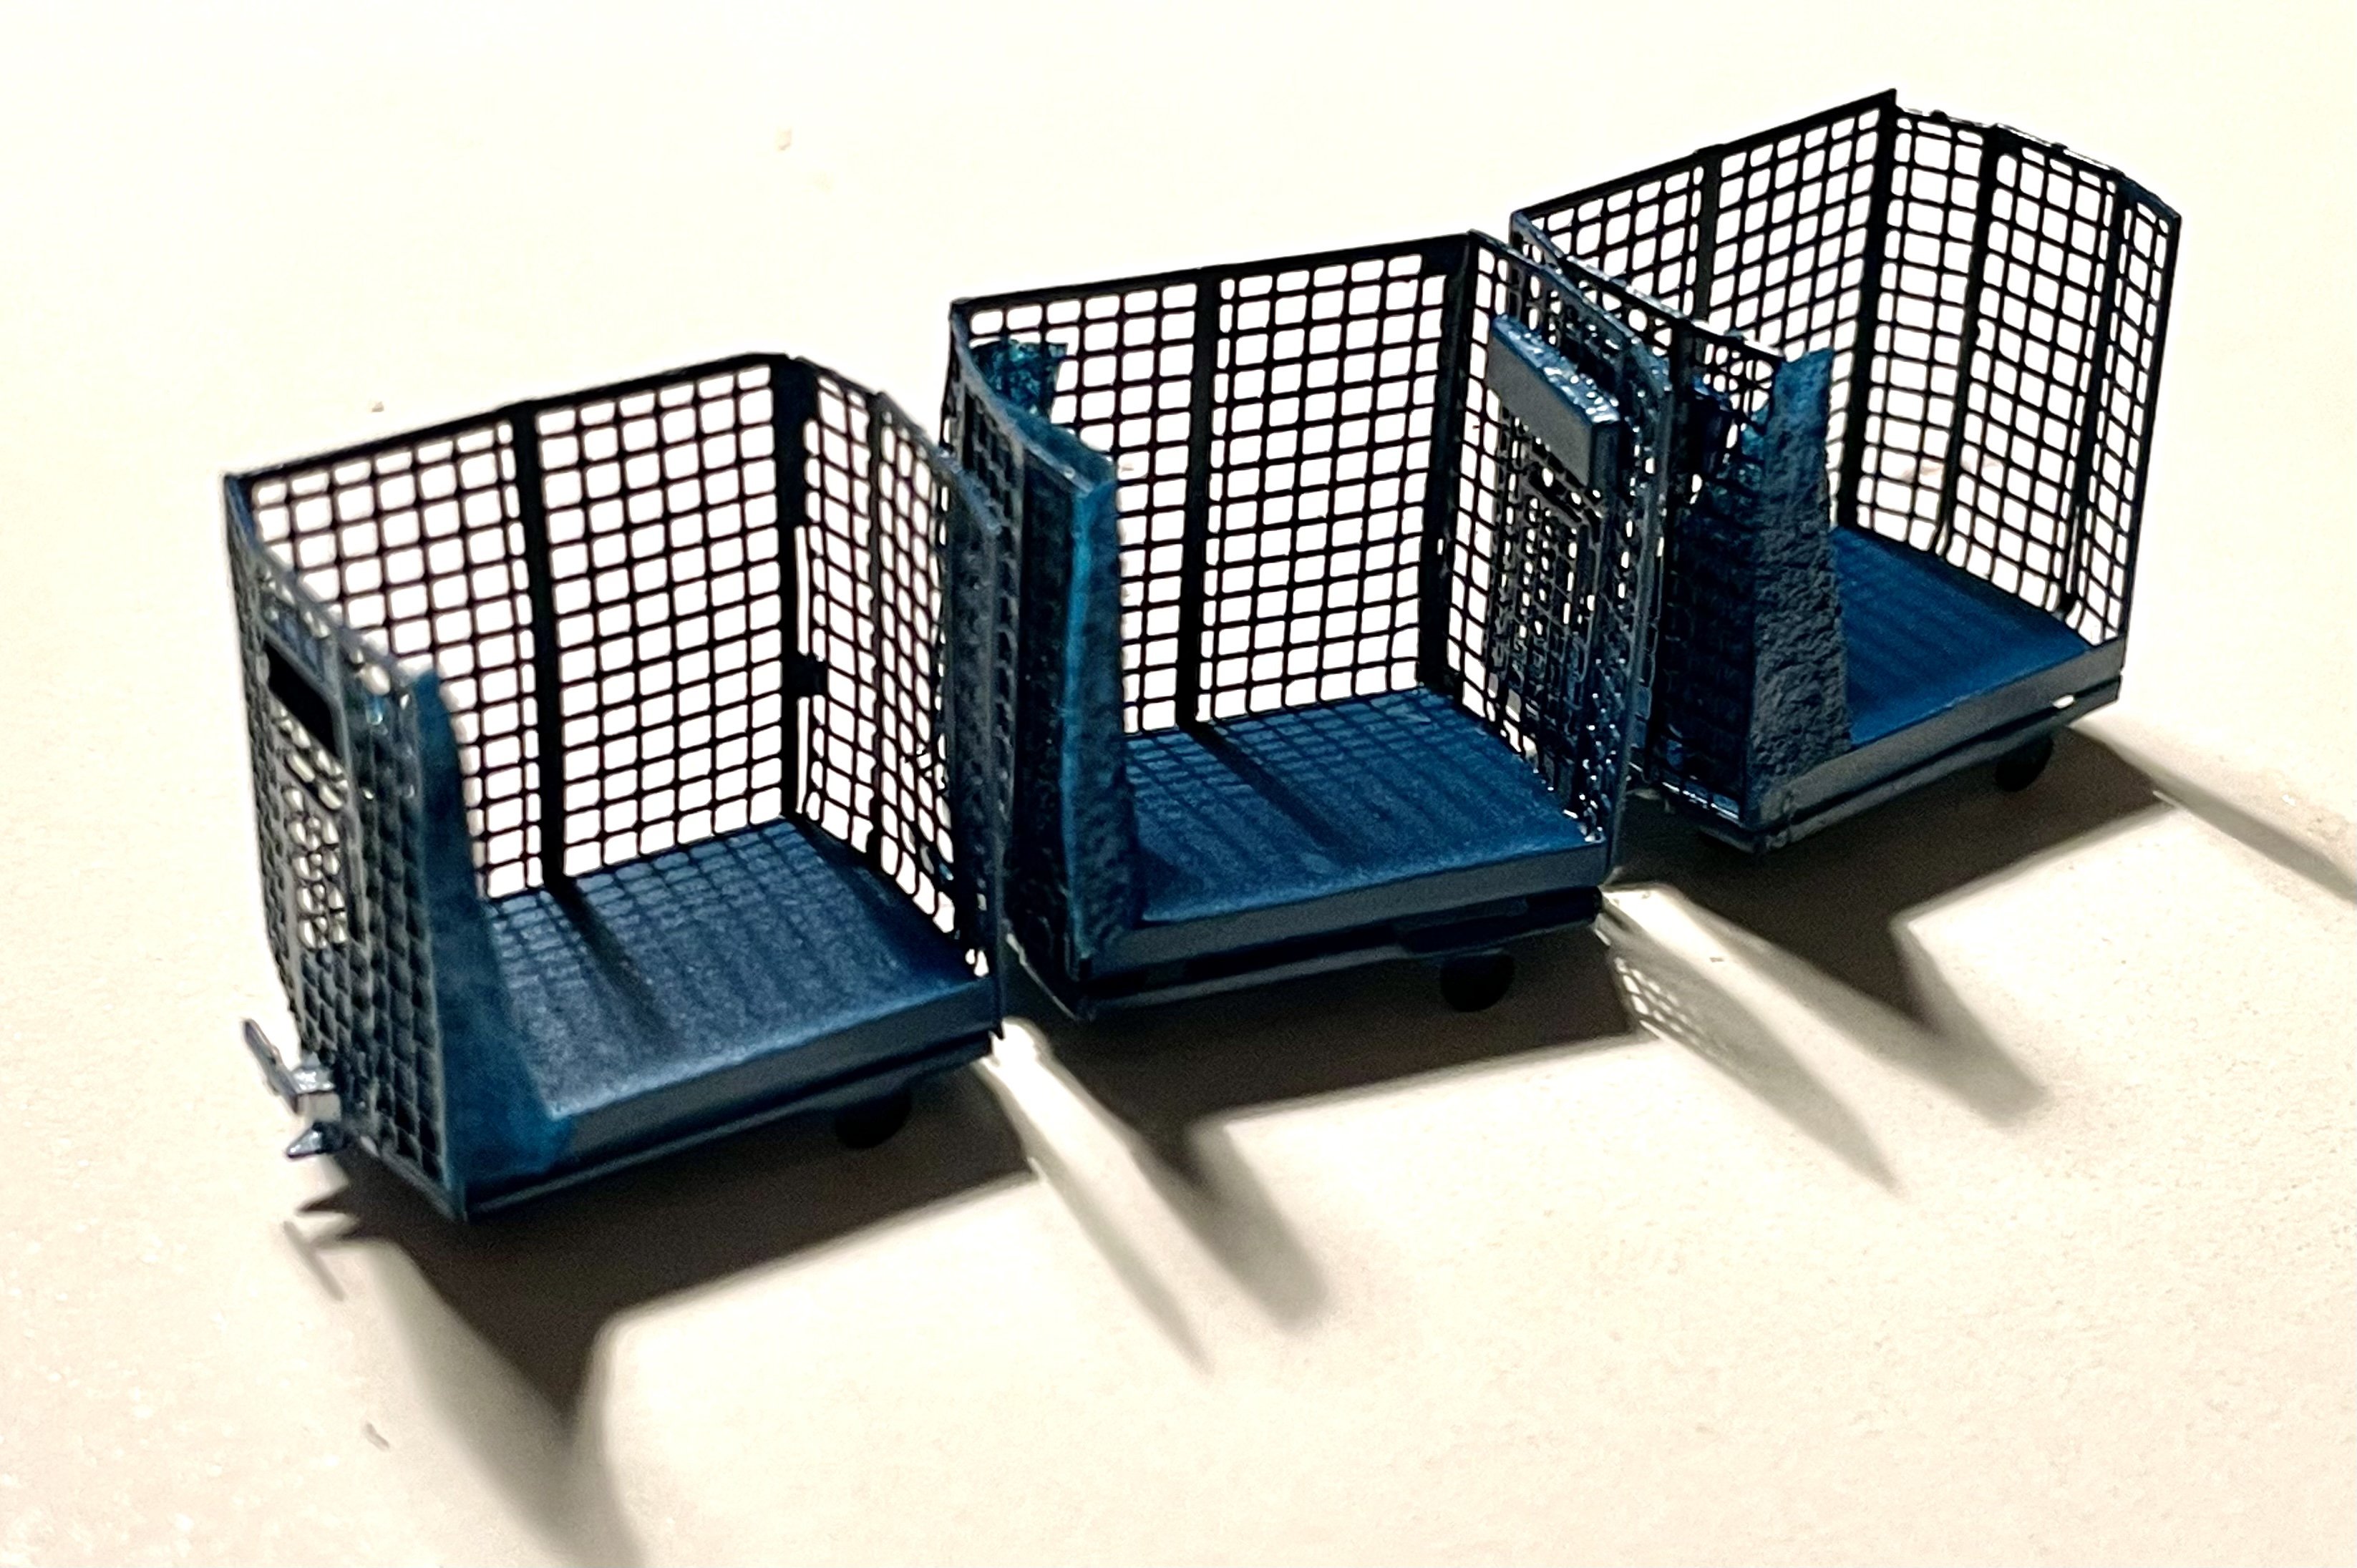
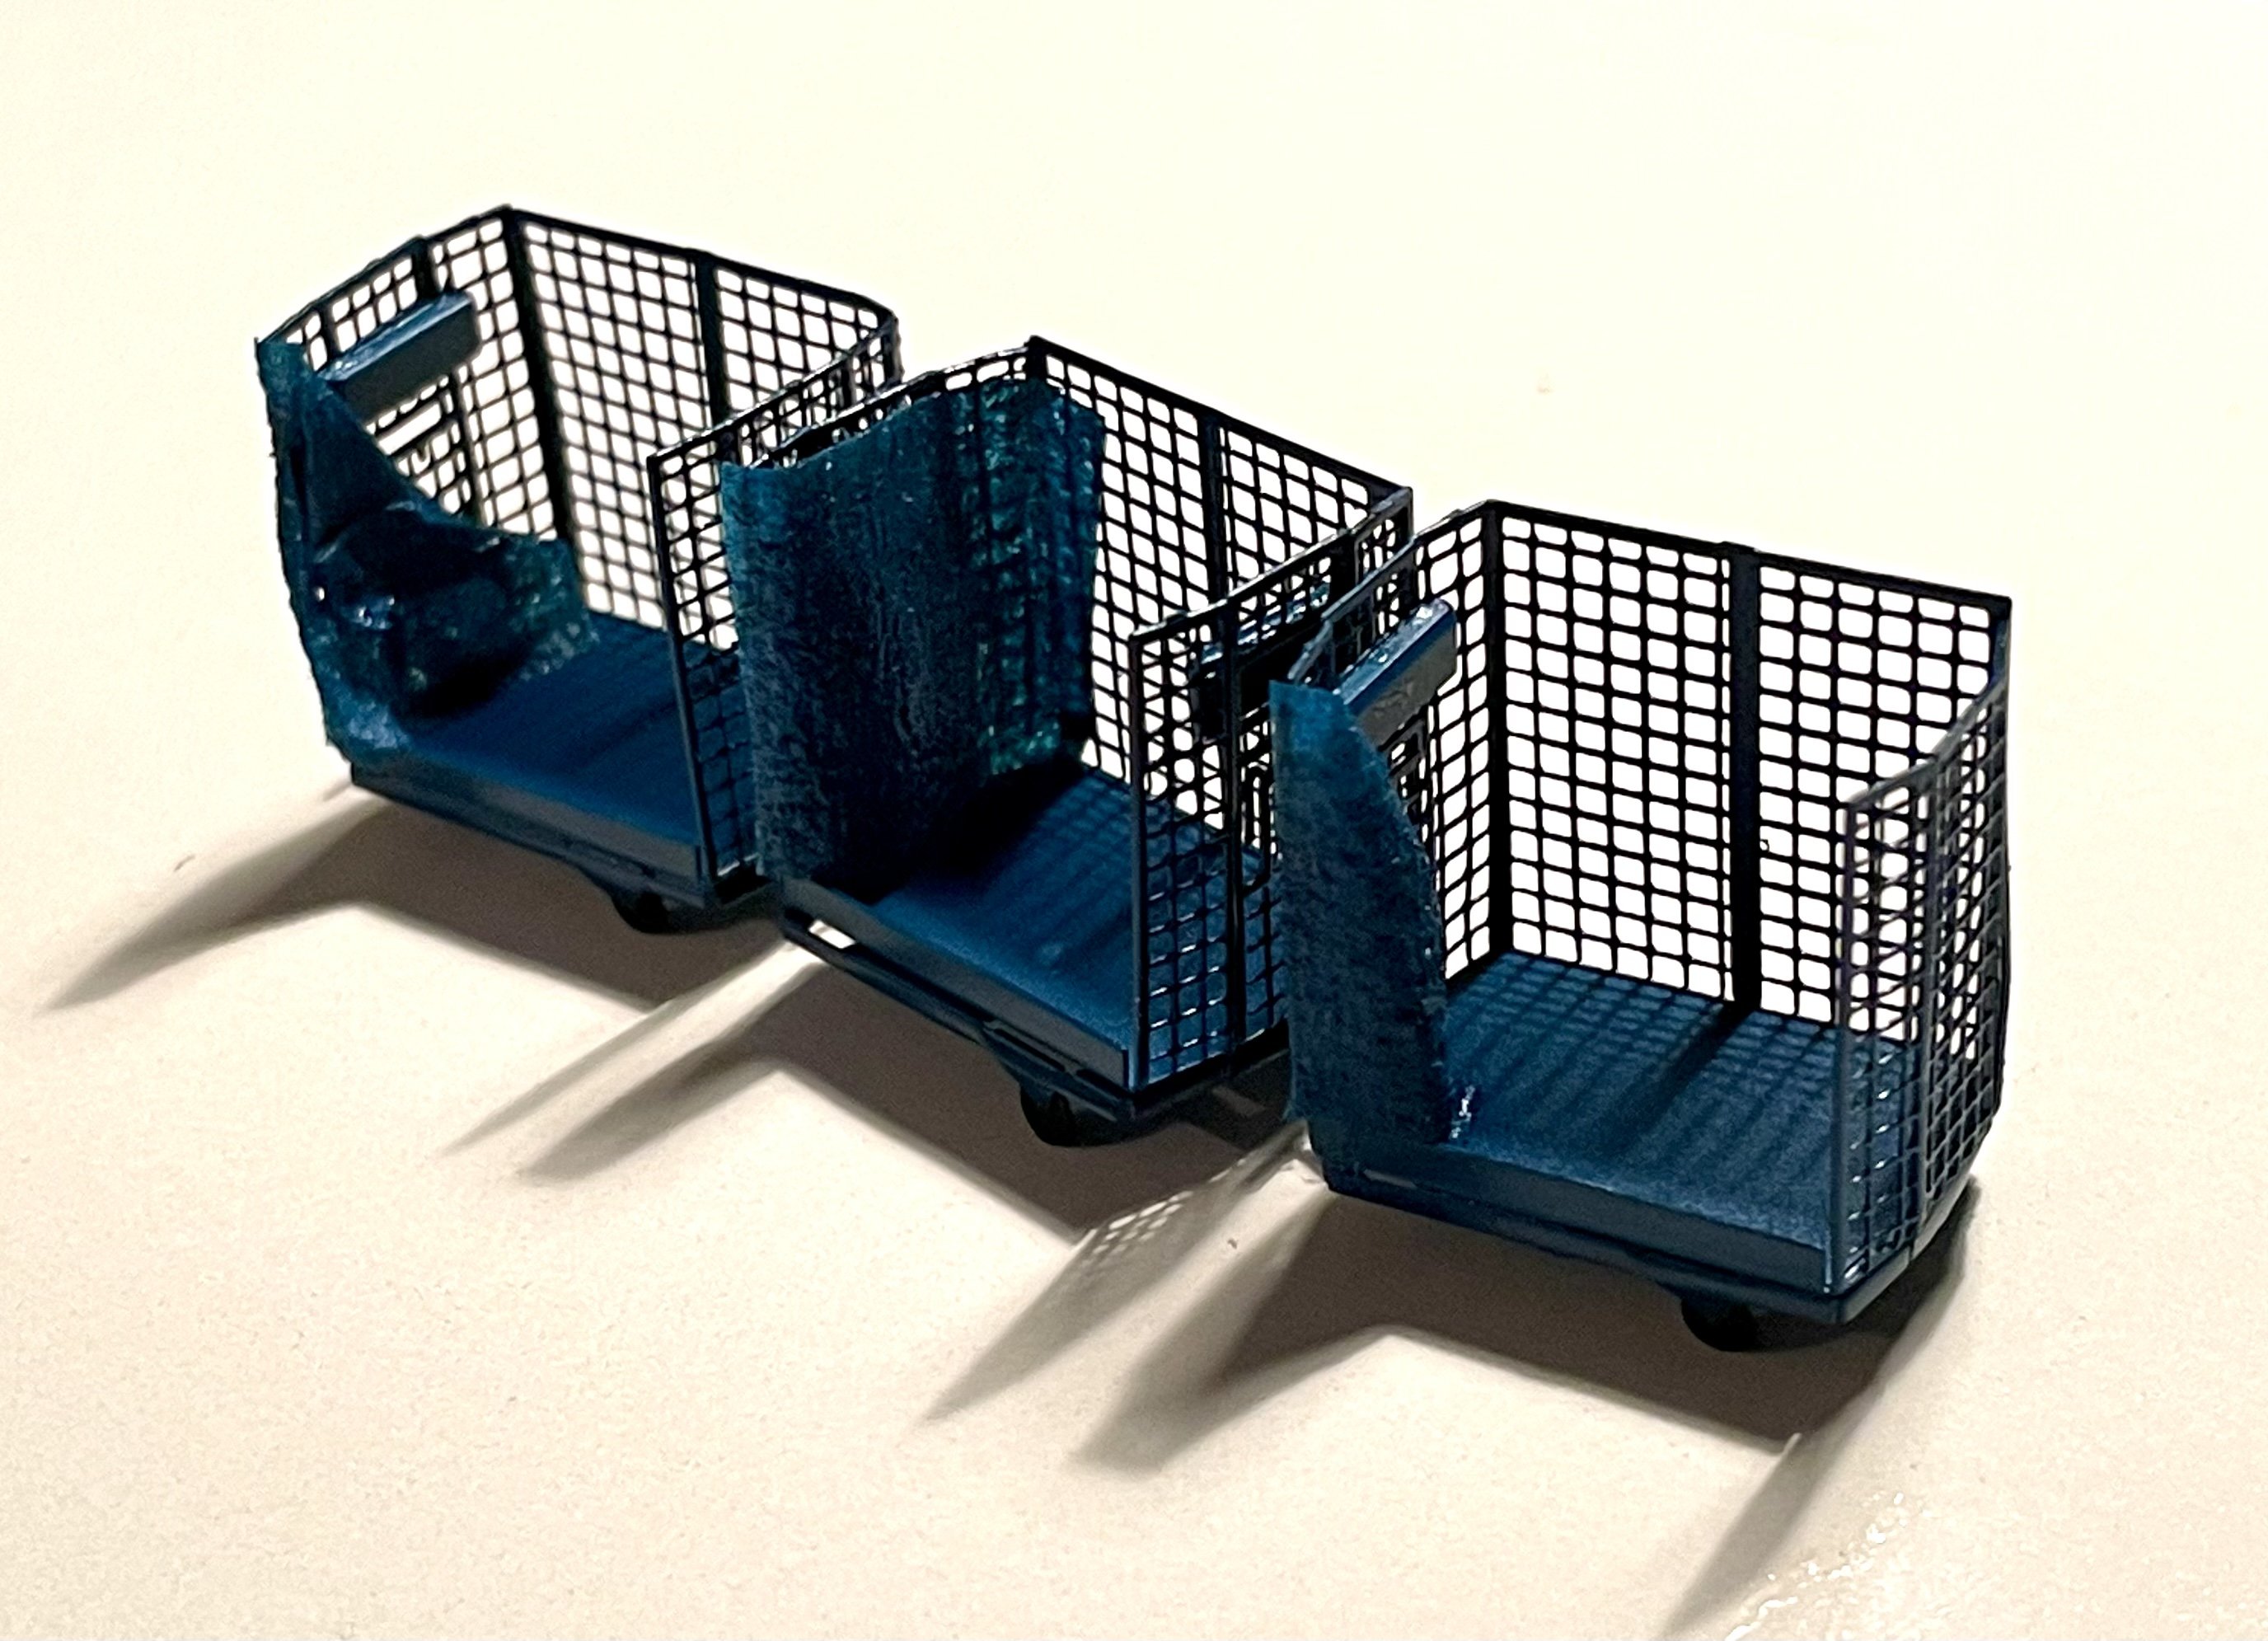
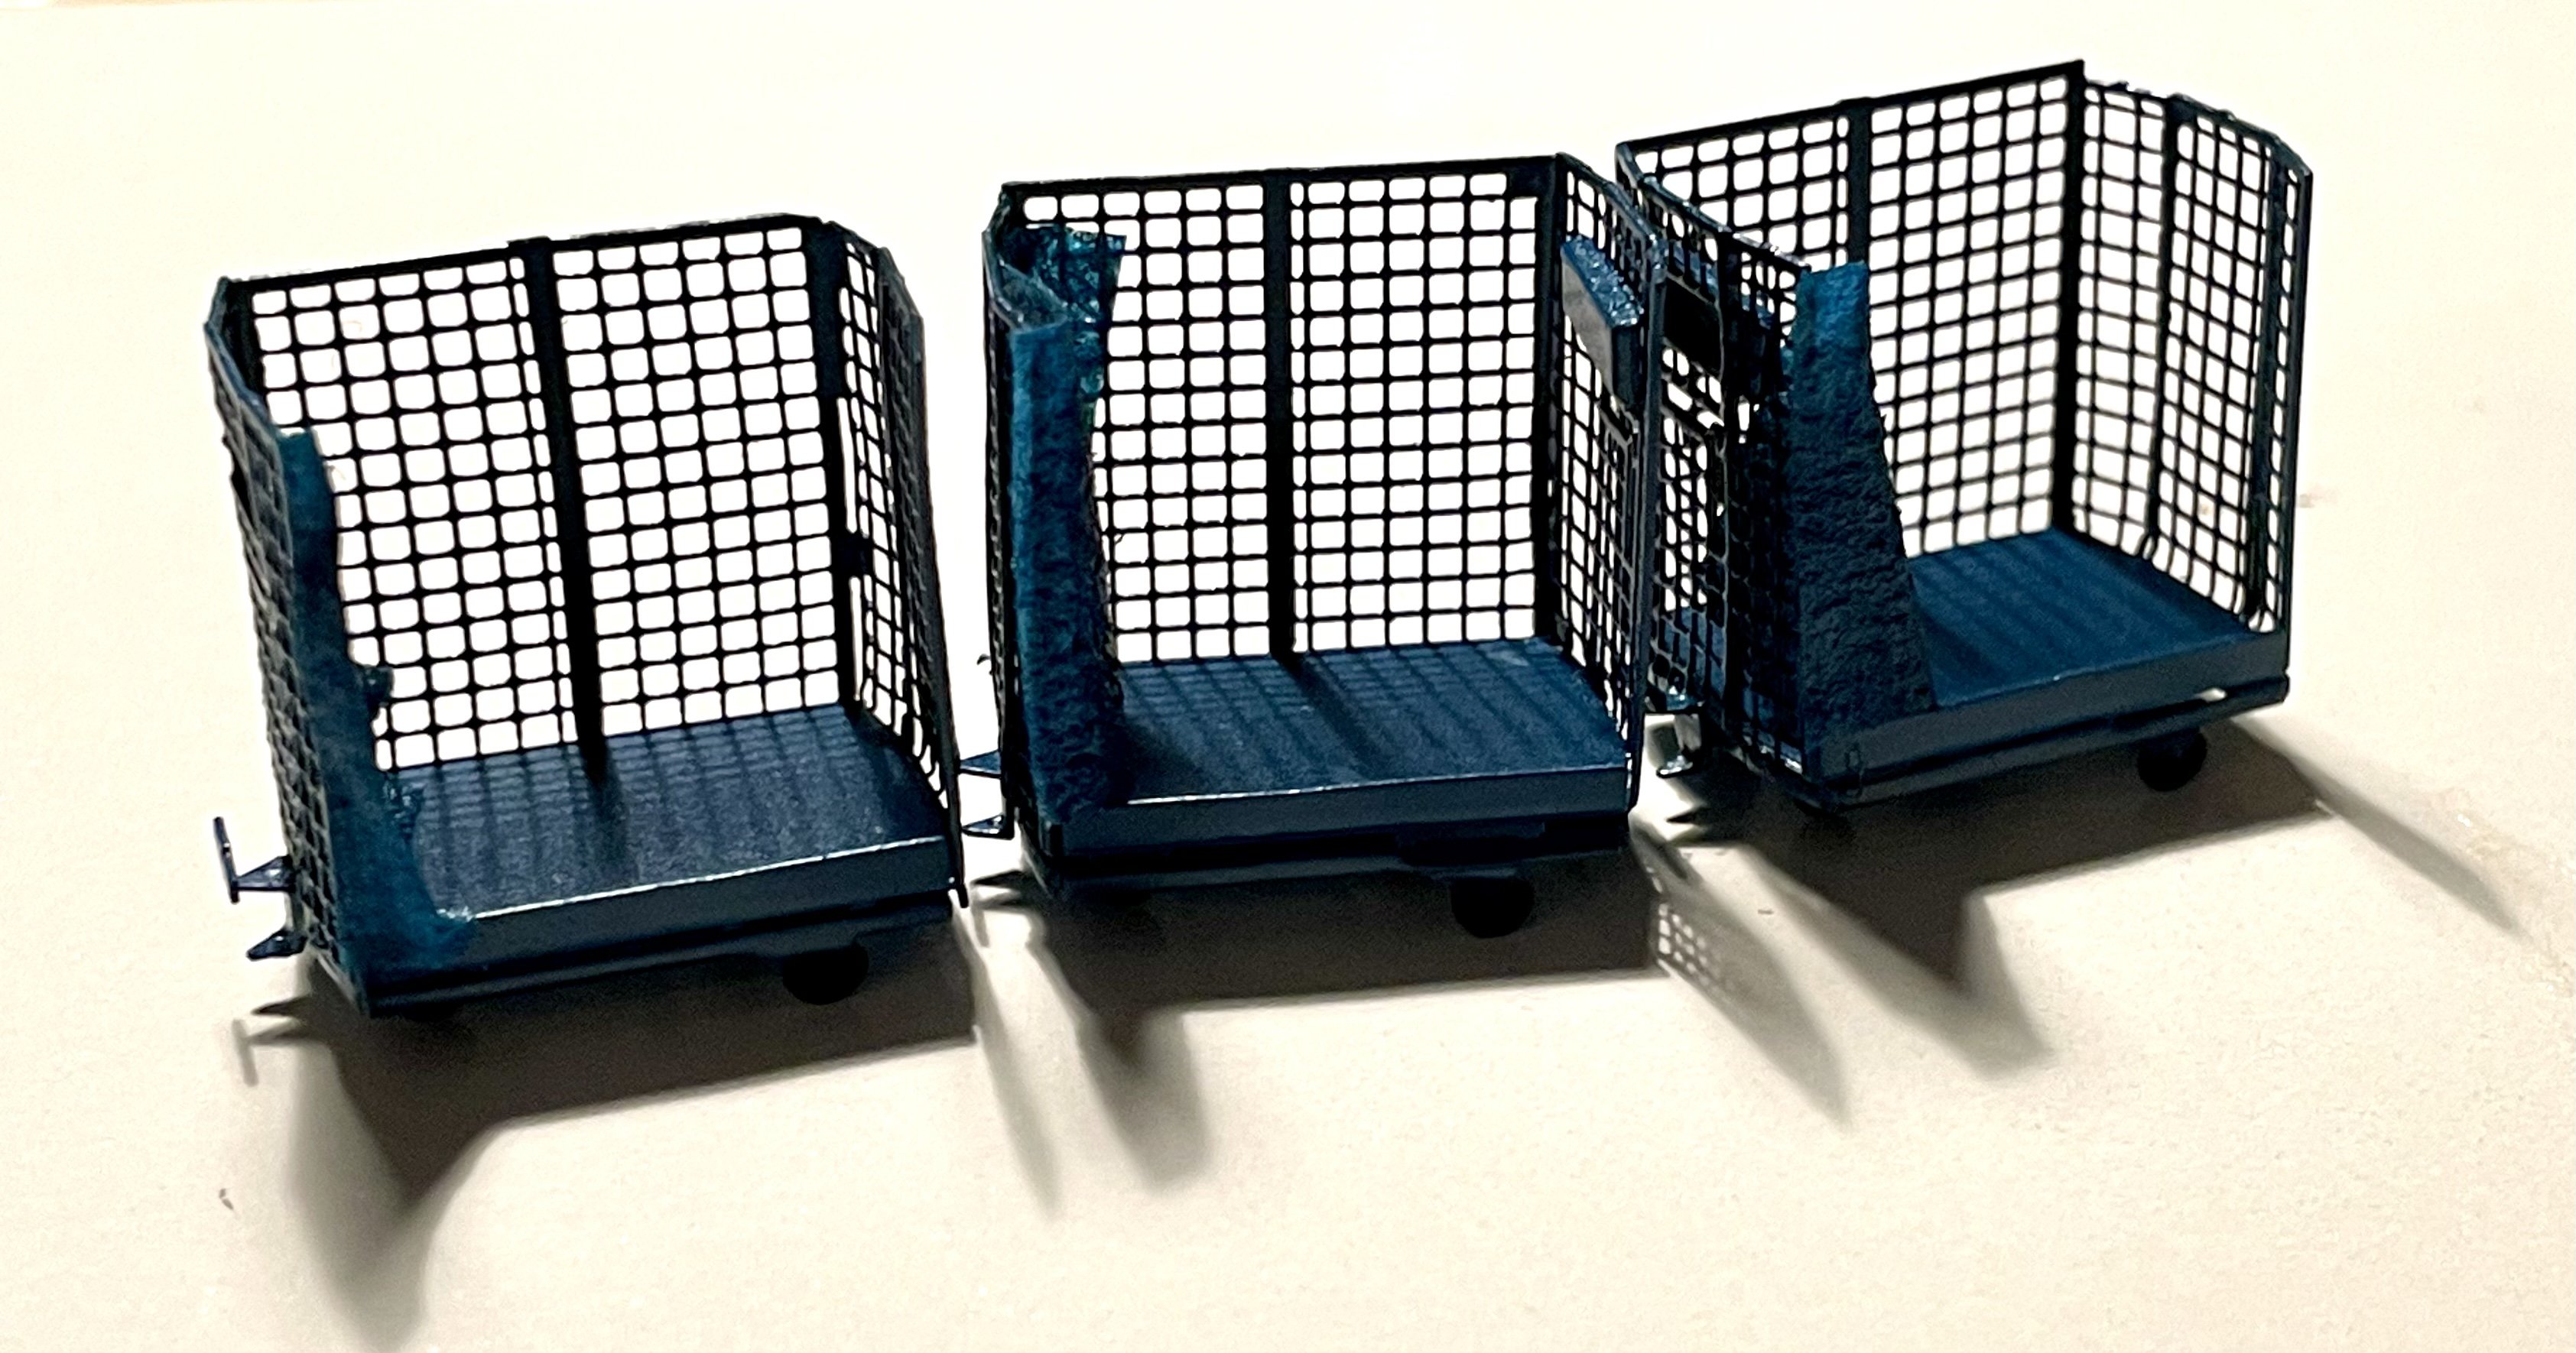
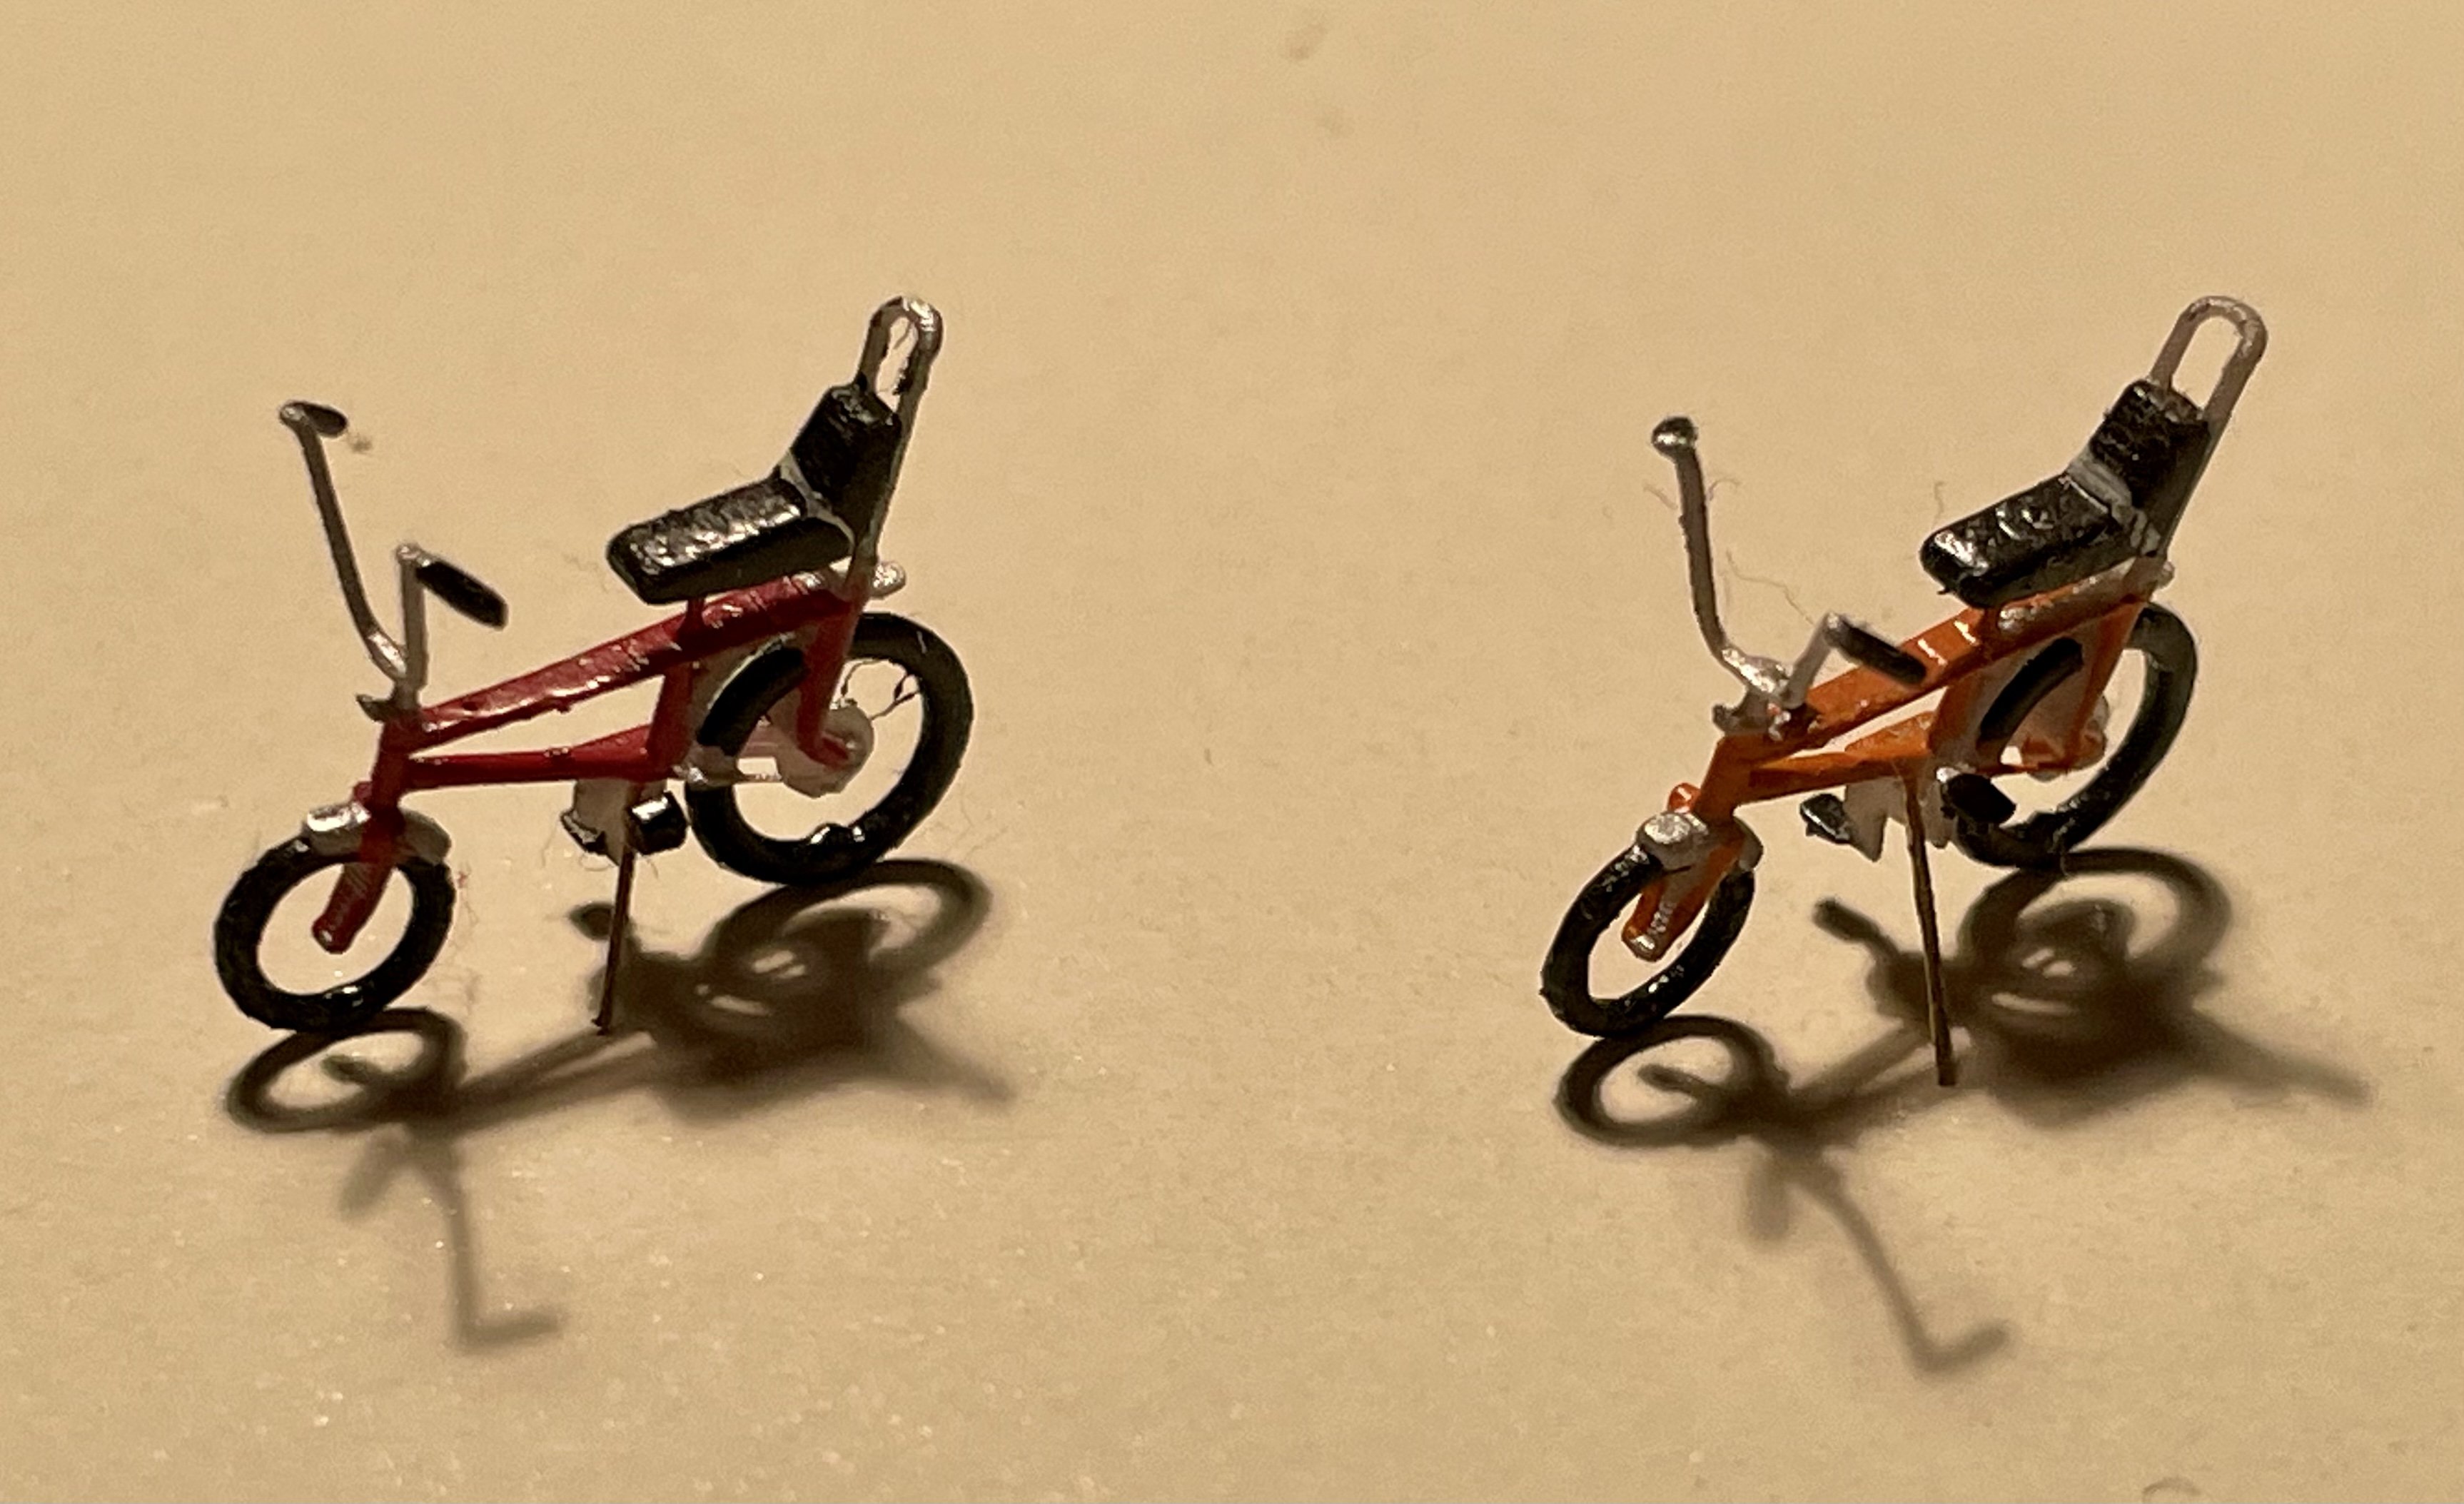
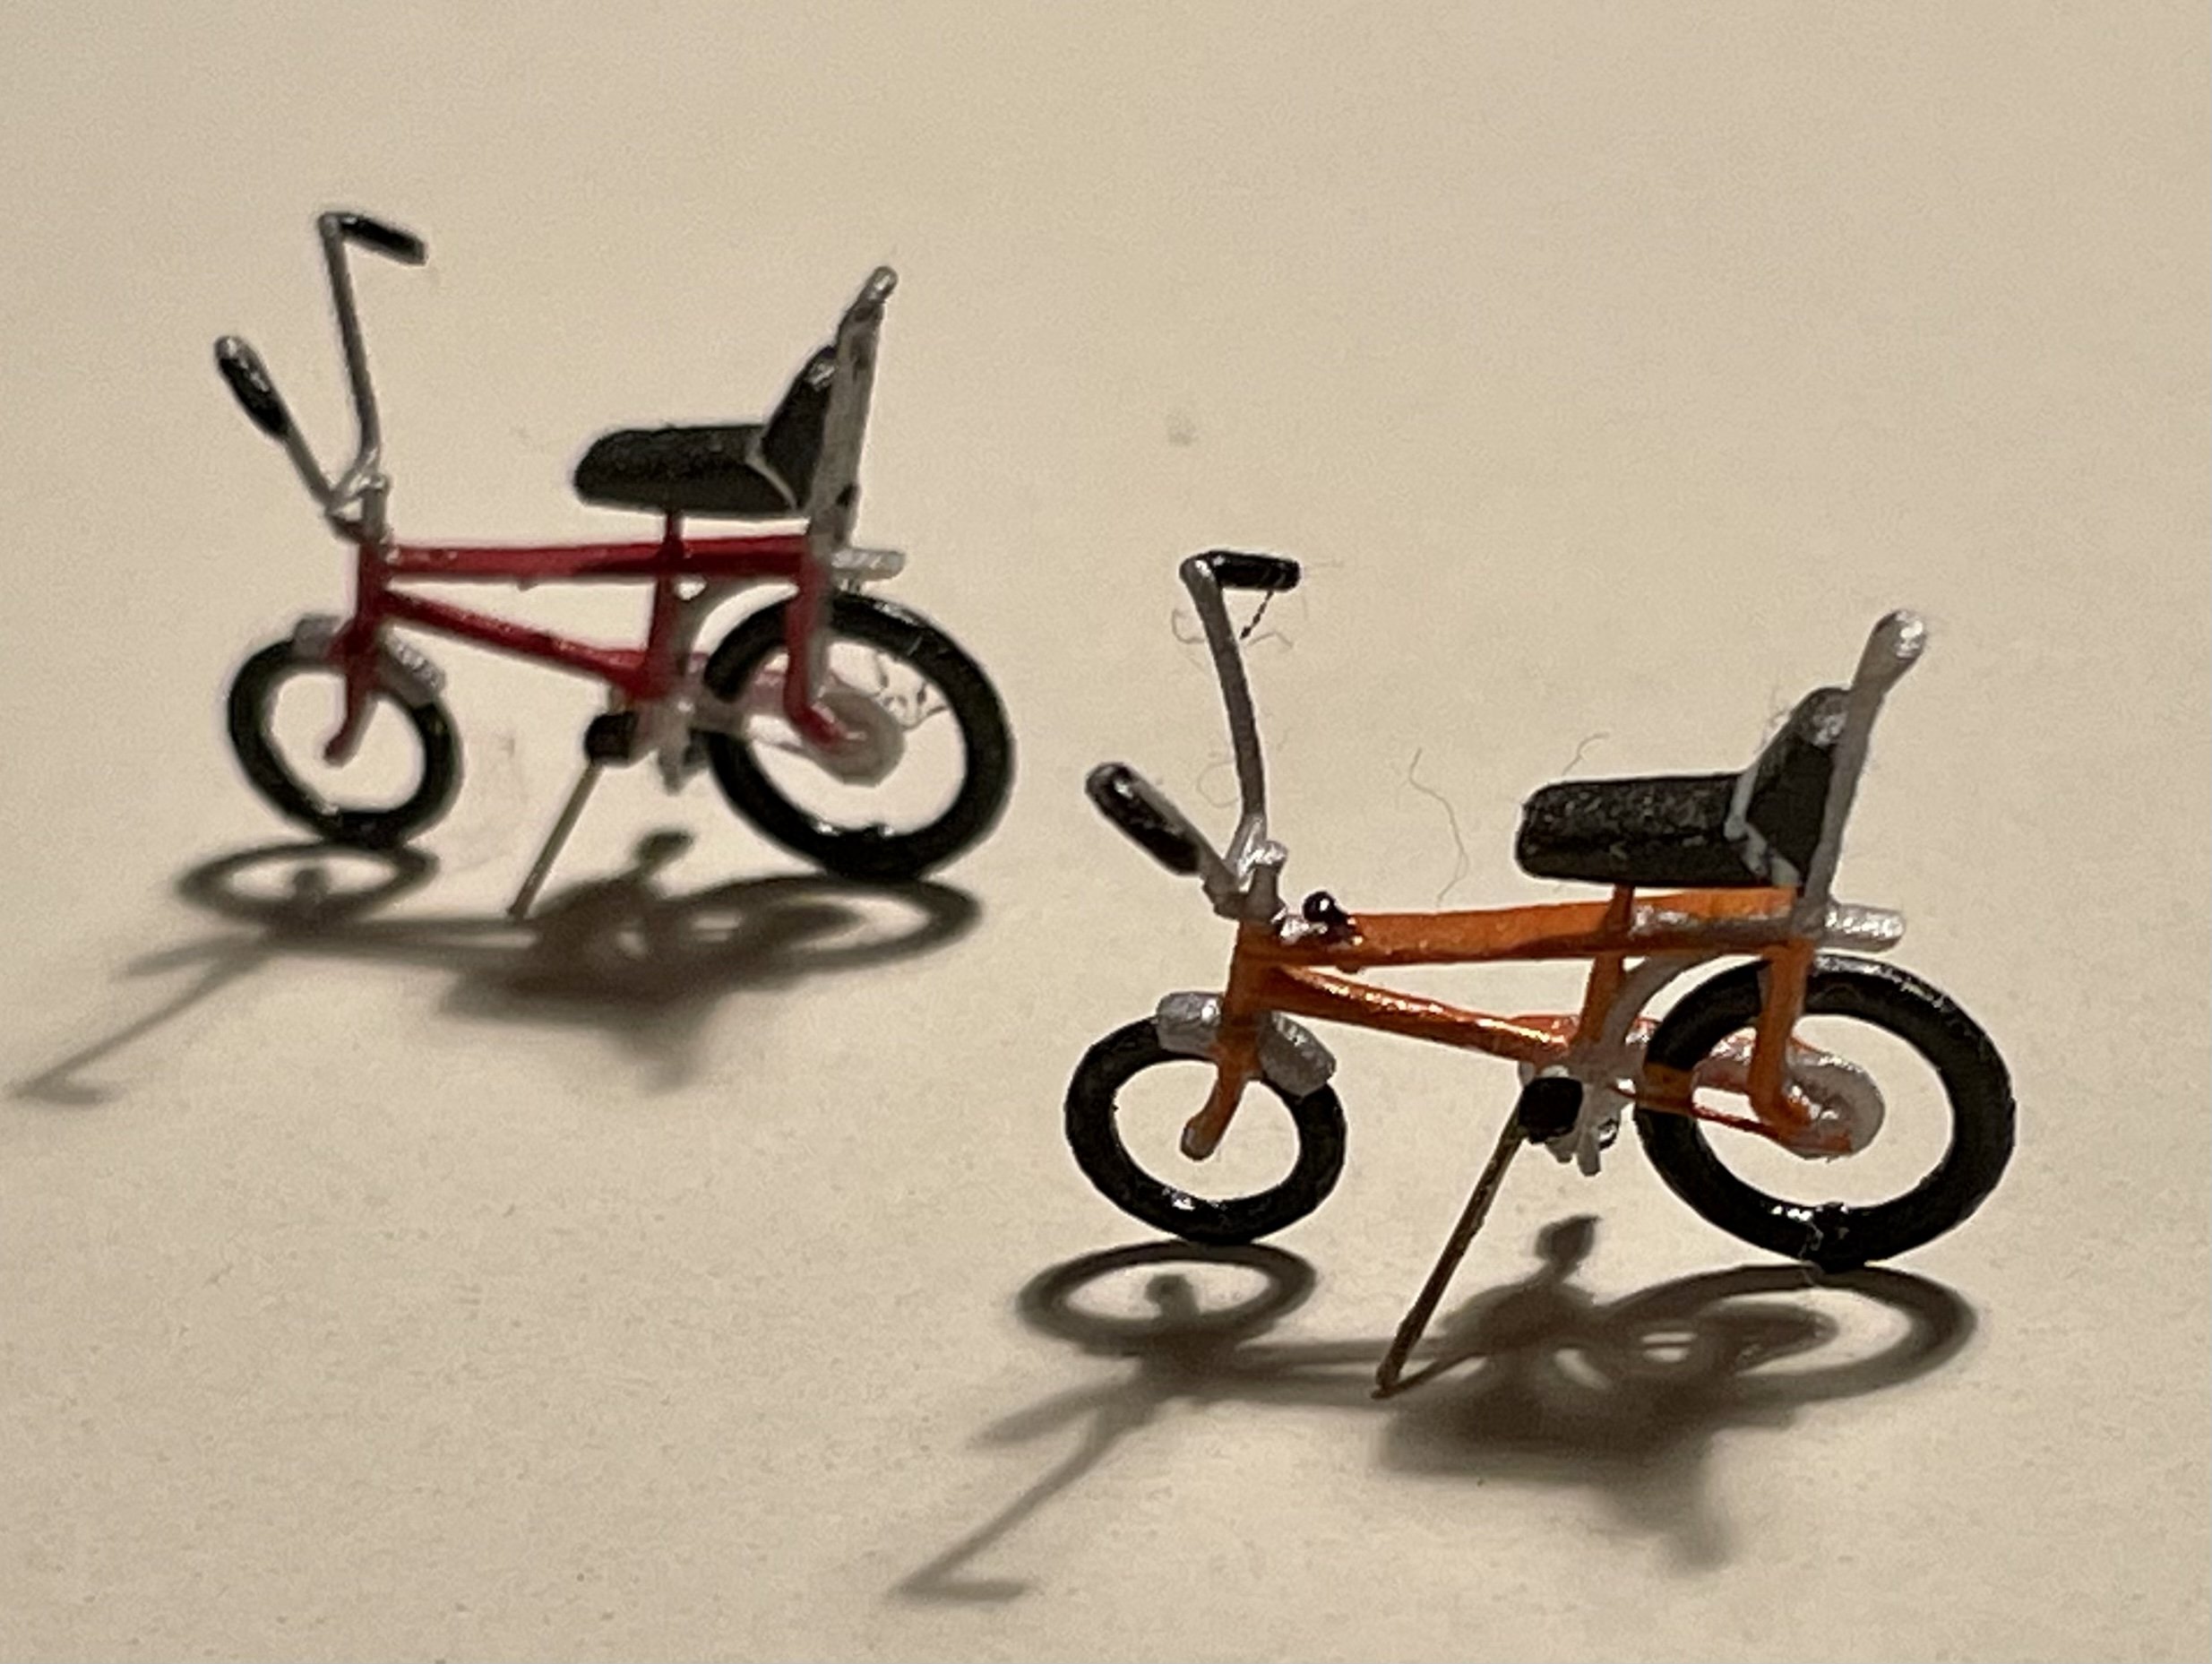
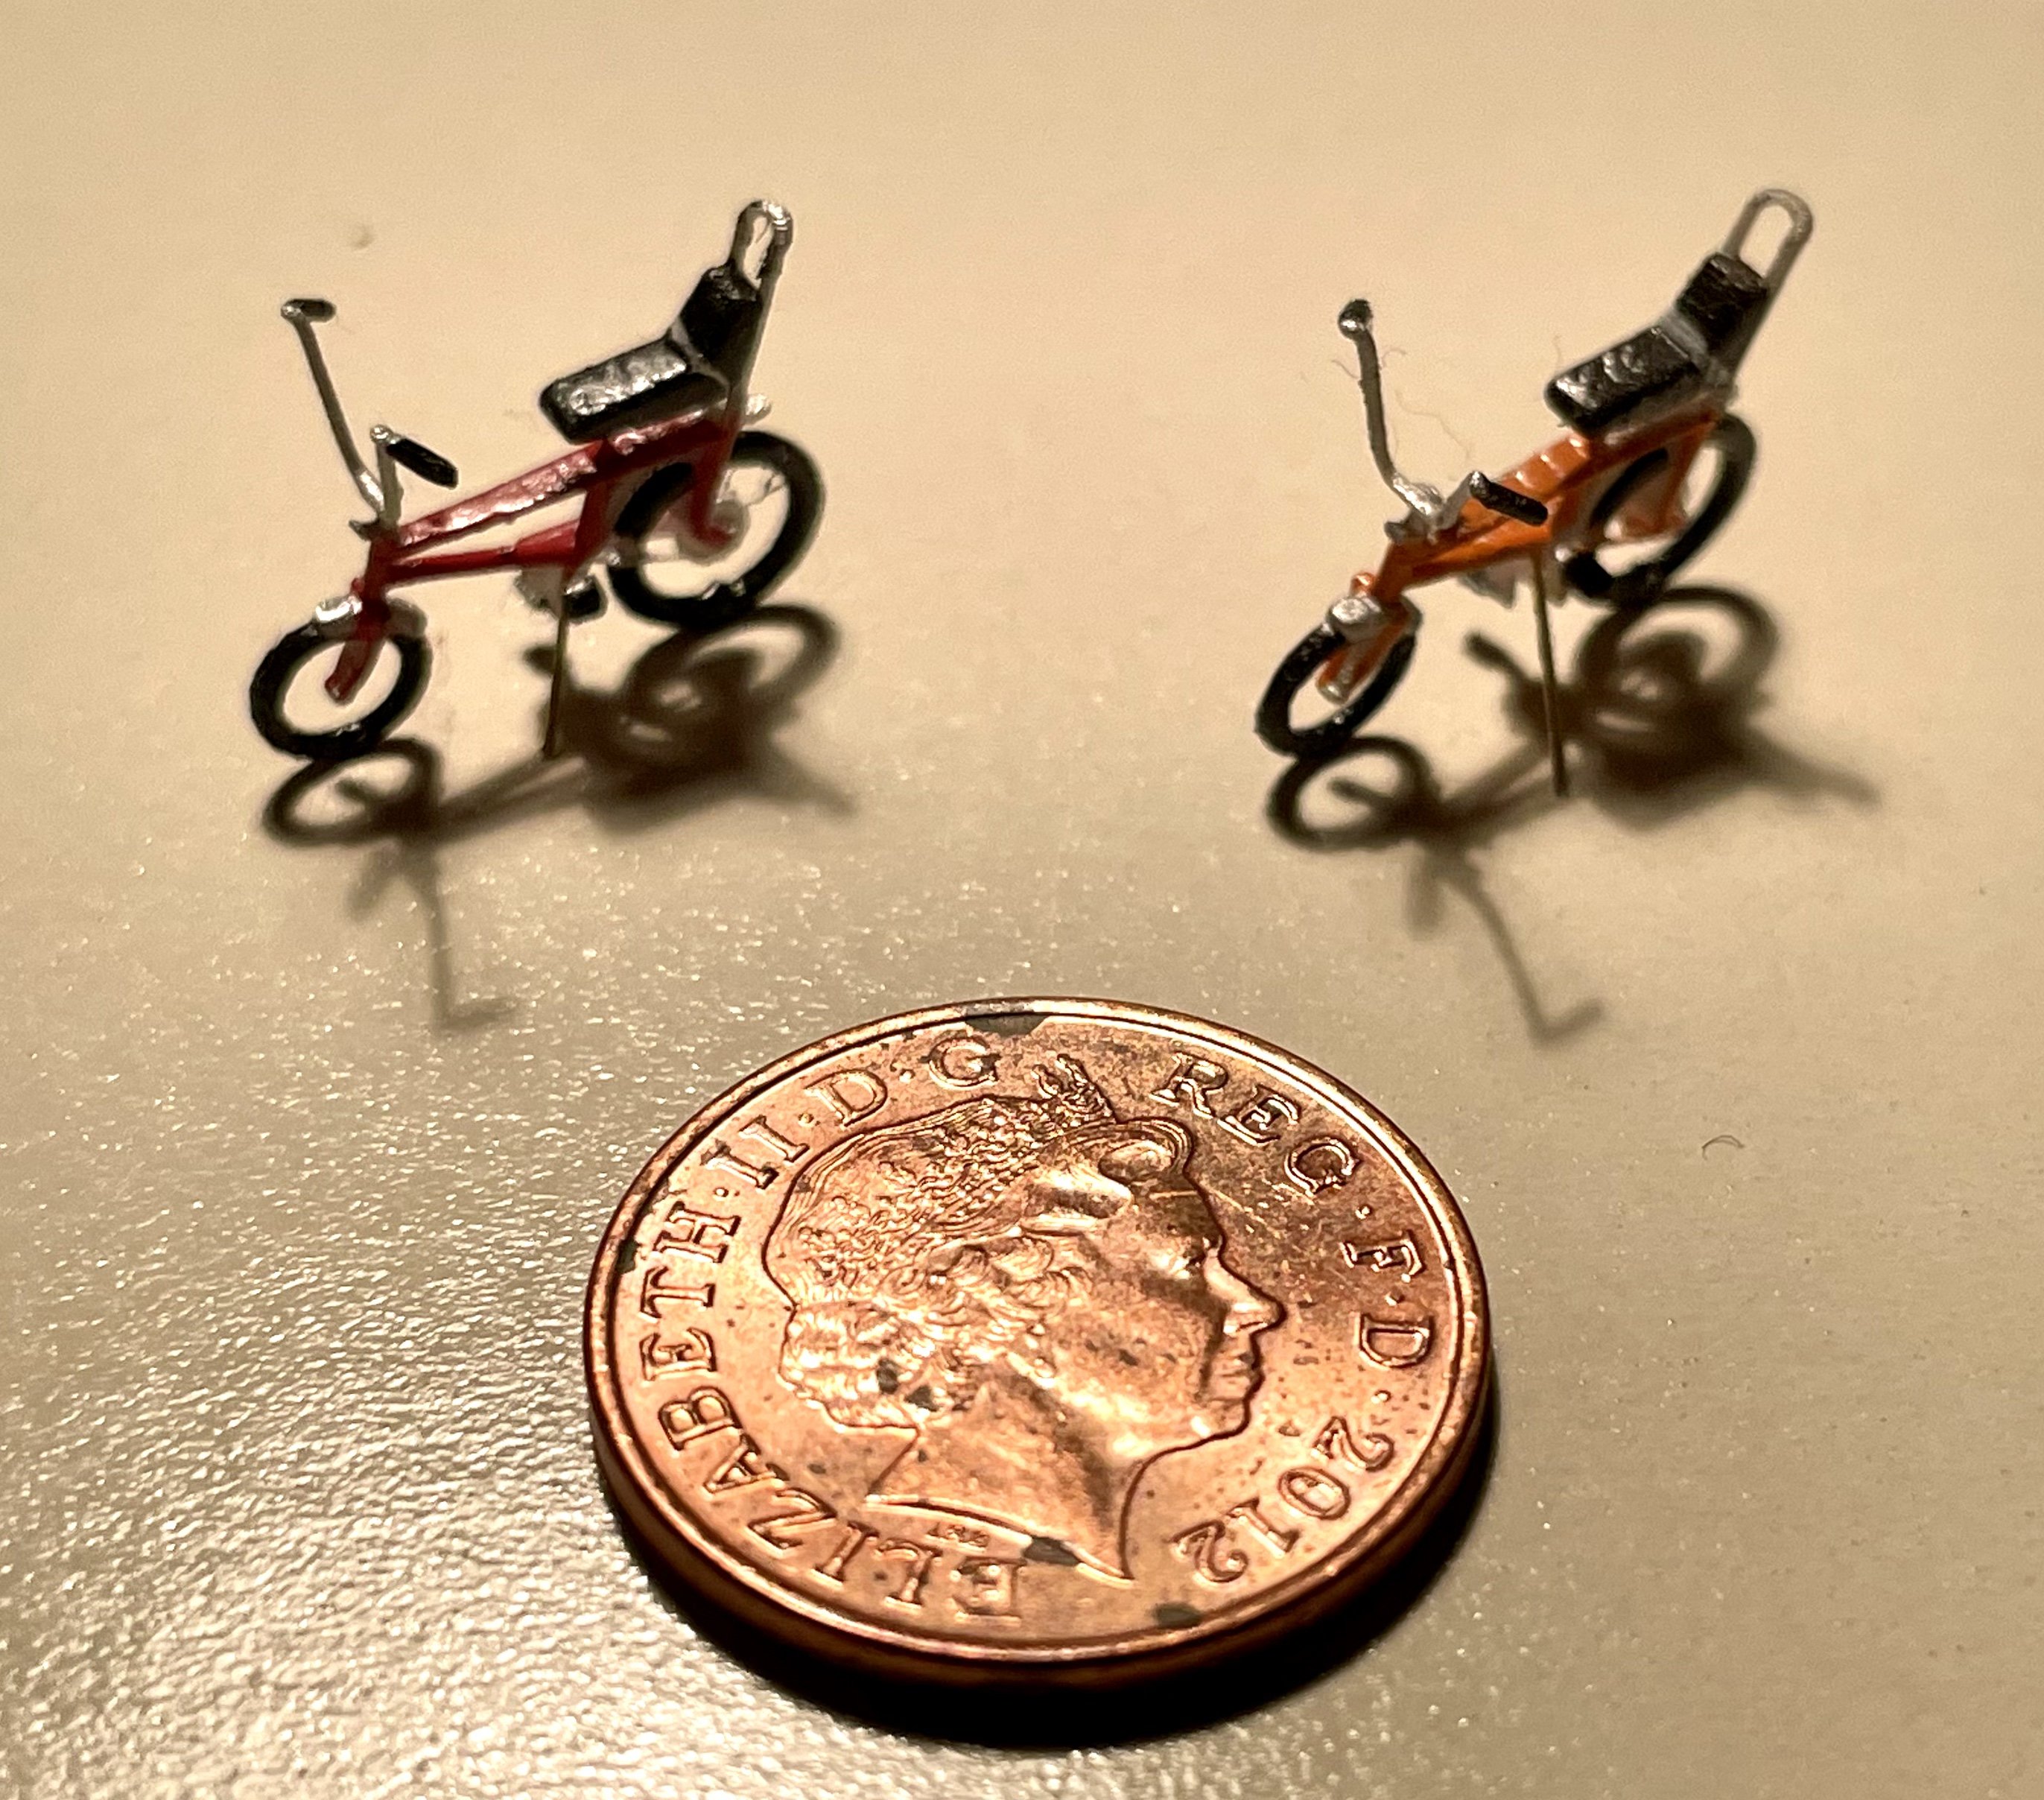
Hi David, The Chopper bikes are by Smartmodels The Brute trolleys are by Shire Scenes Cheers Darius
-
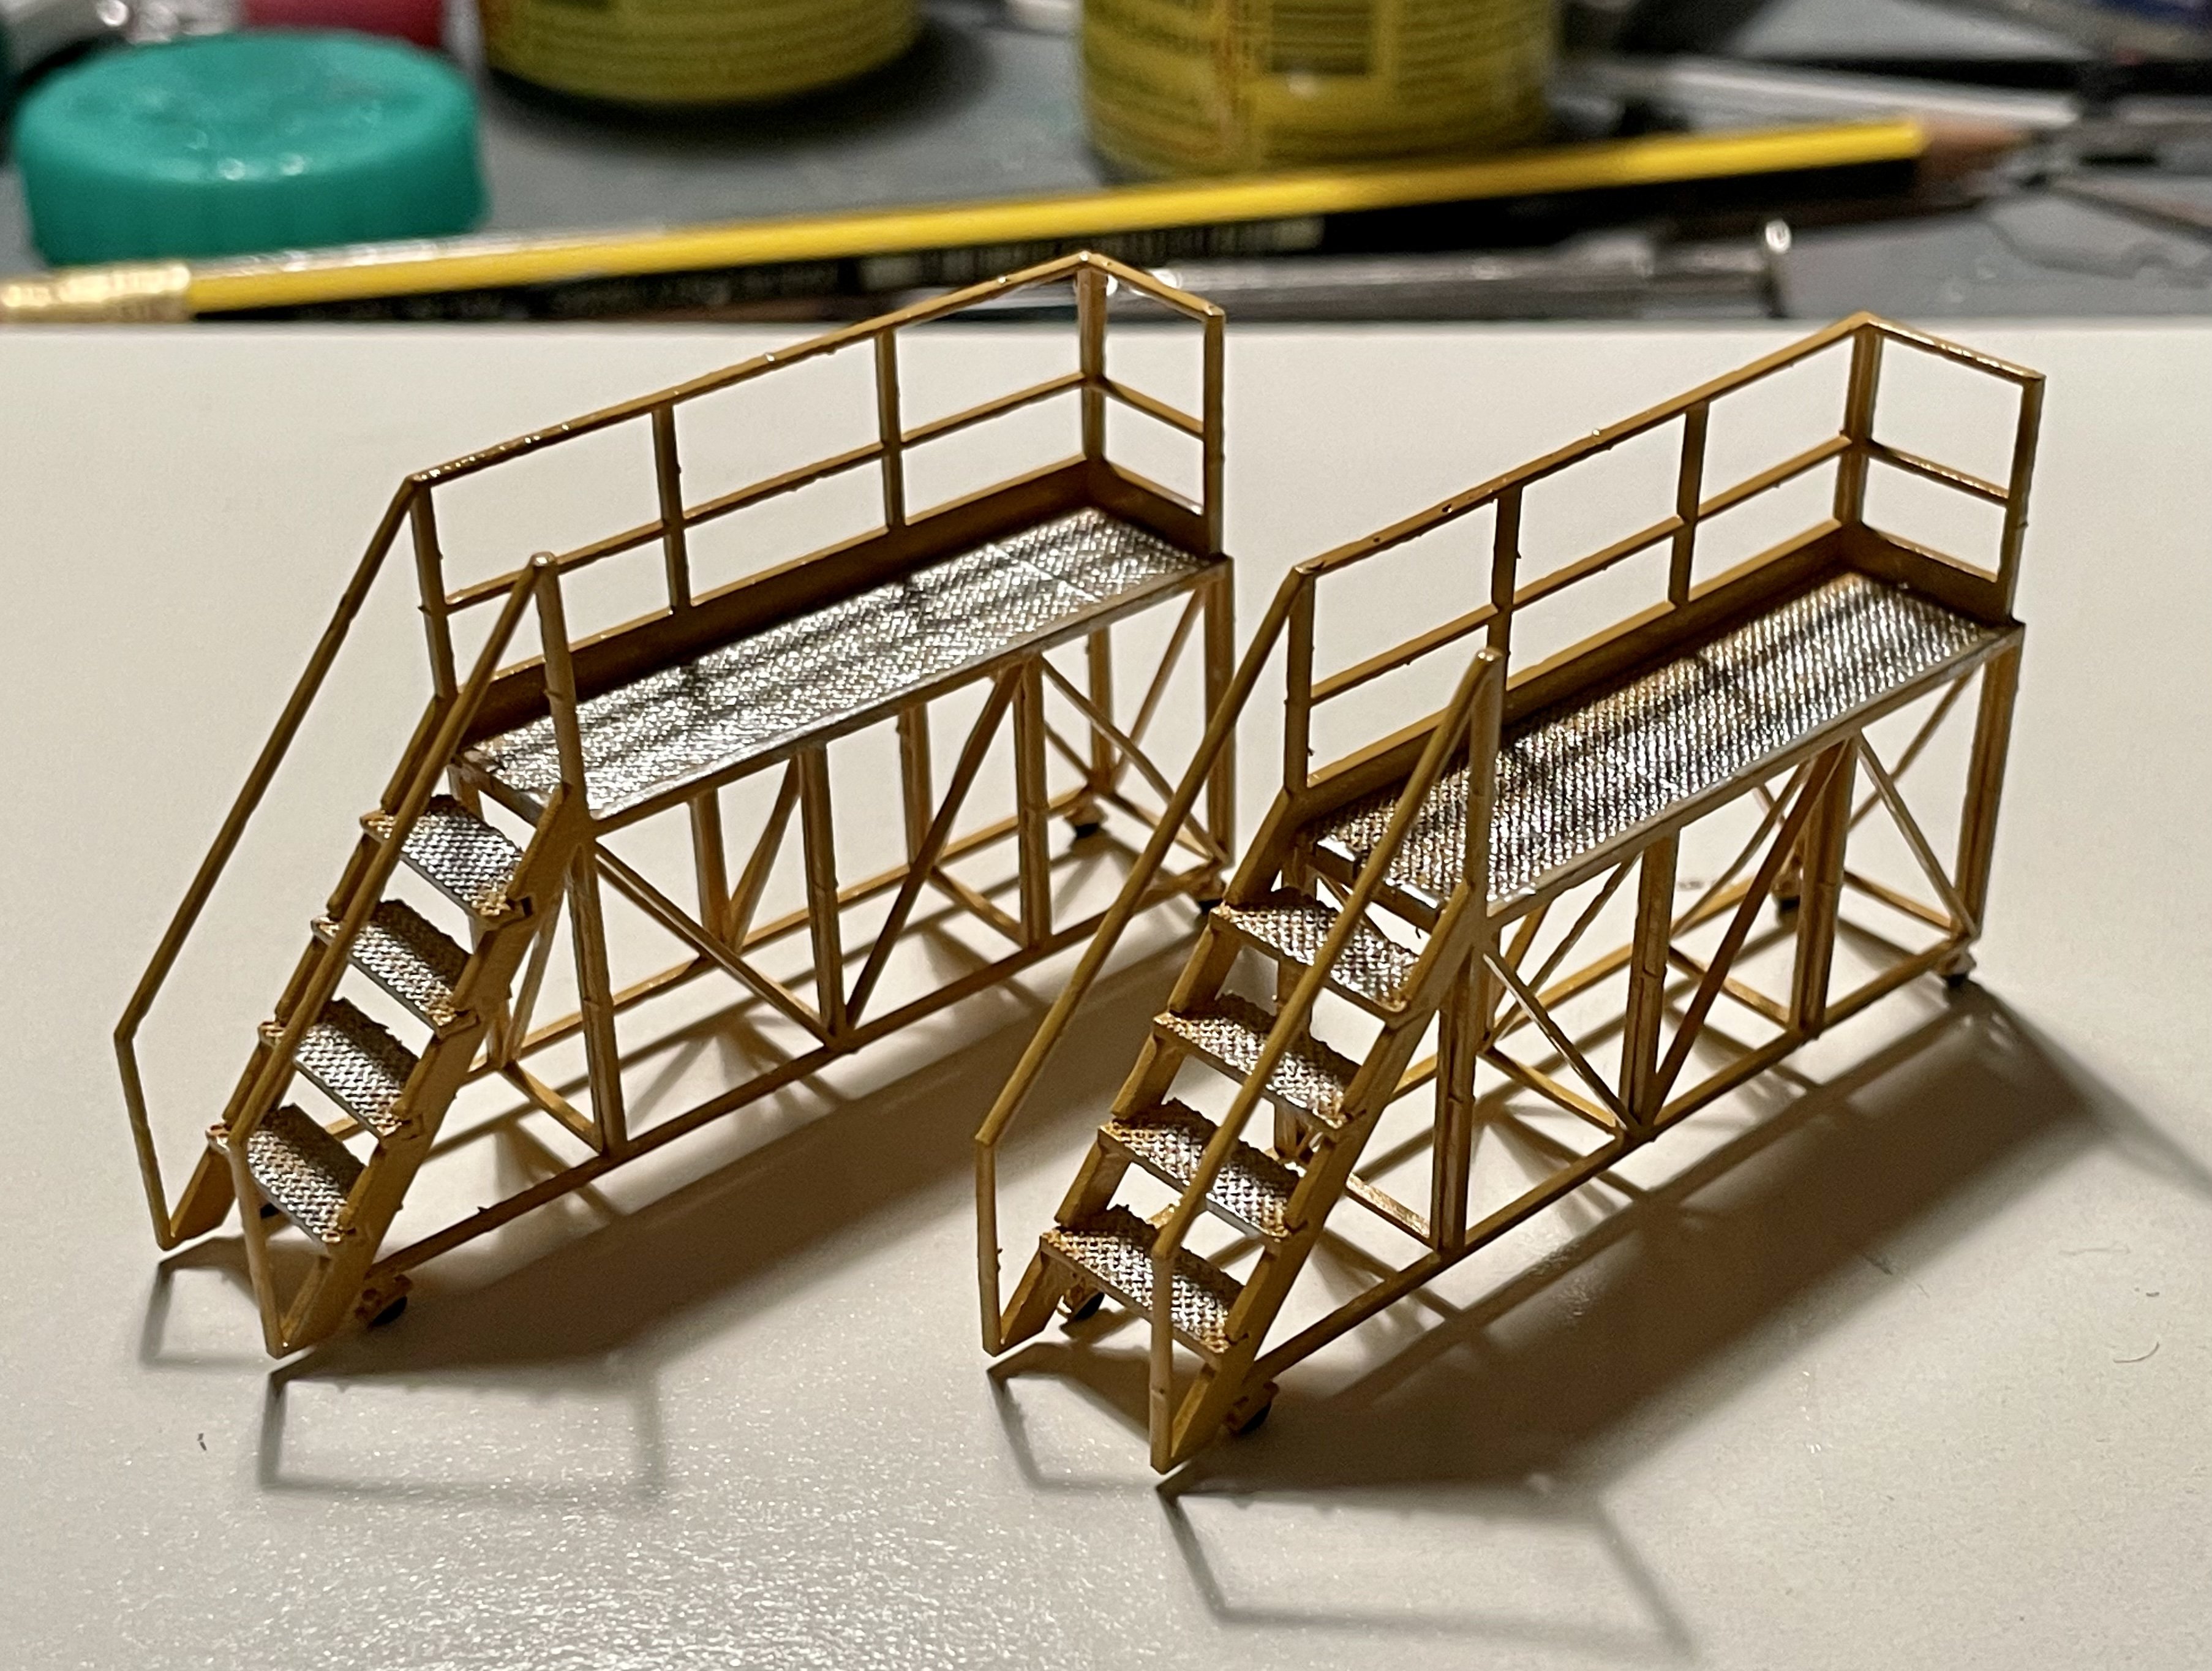
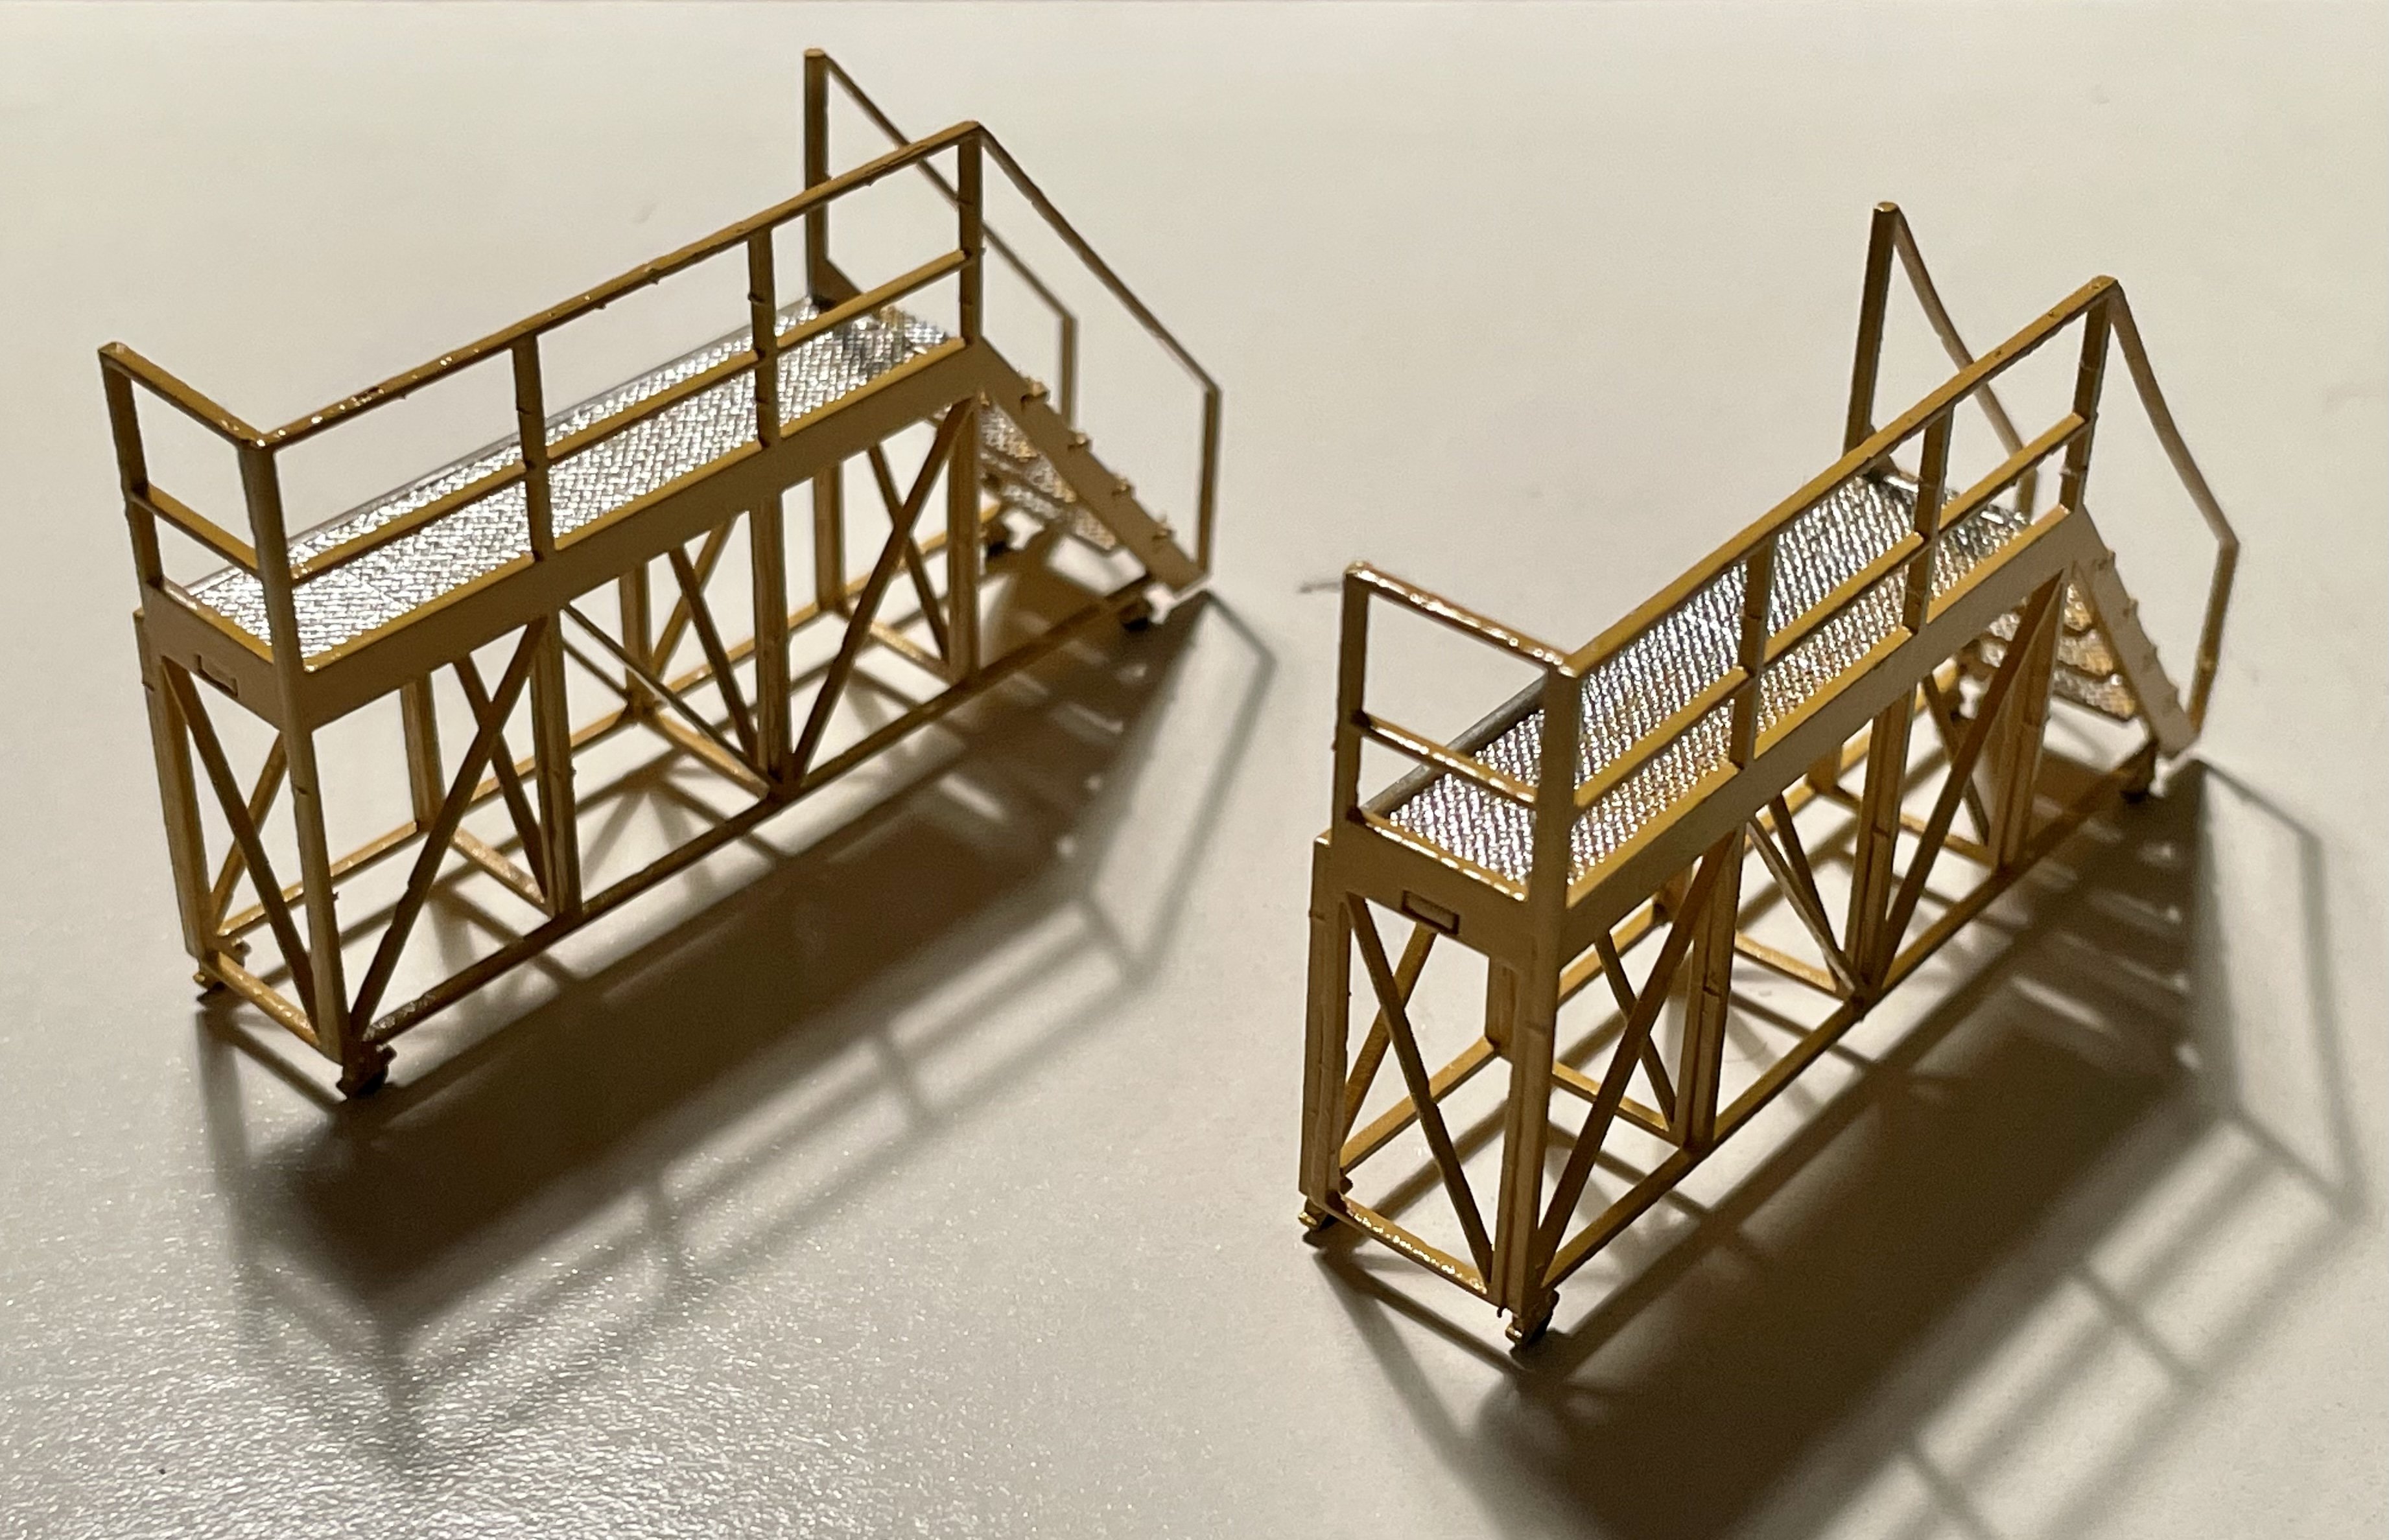
Building some little things today. Bought these 3D printed marvels and painted them a few weeks ago. Cheers Darius
-
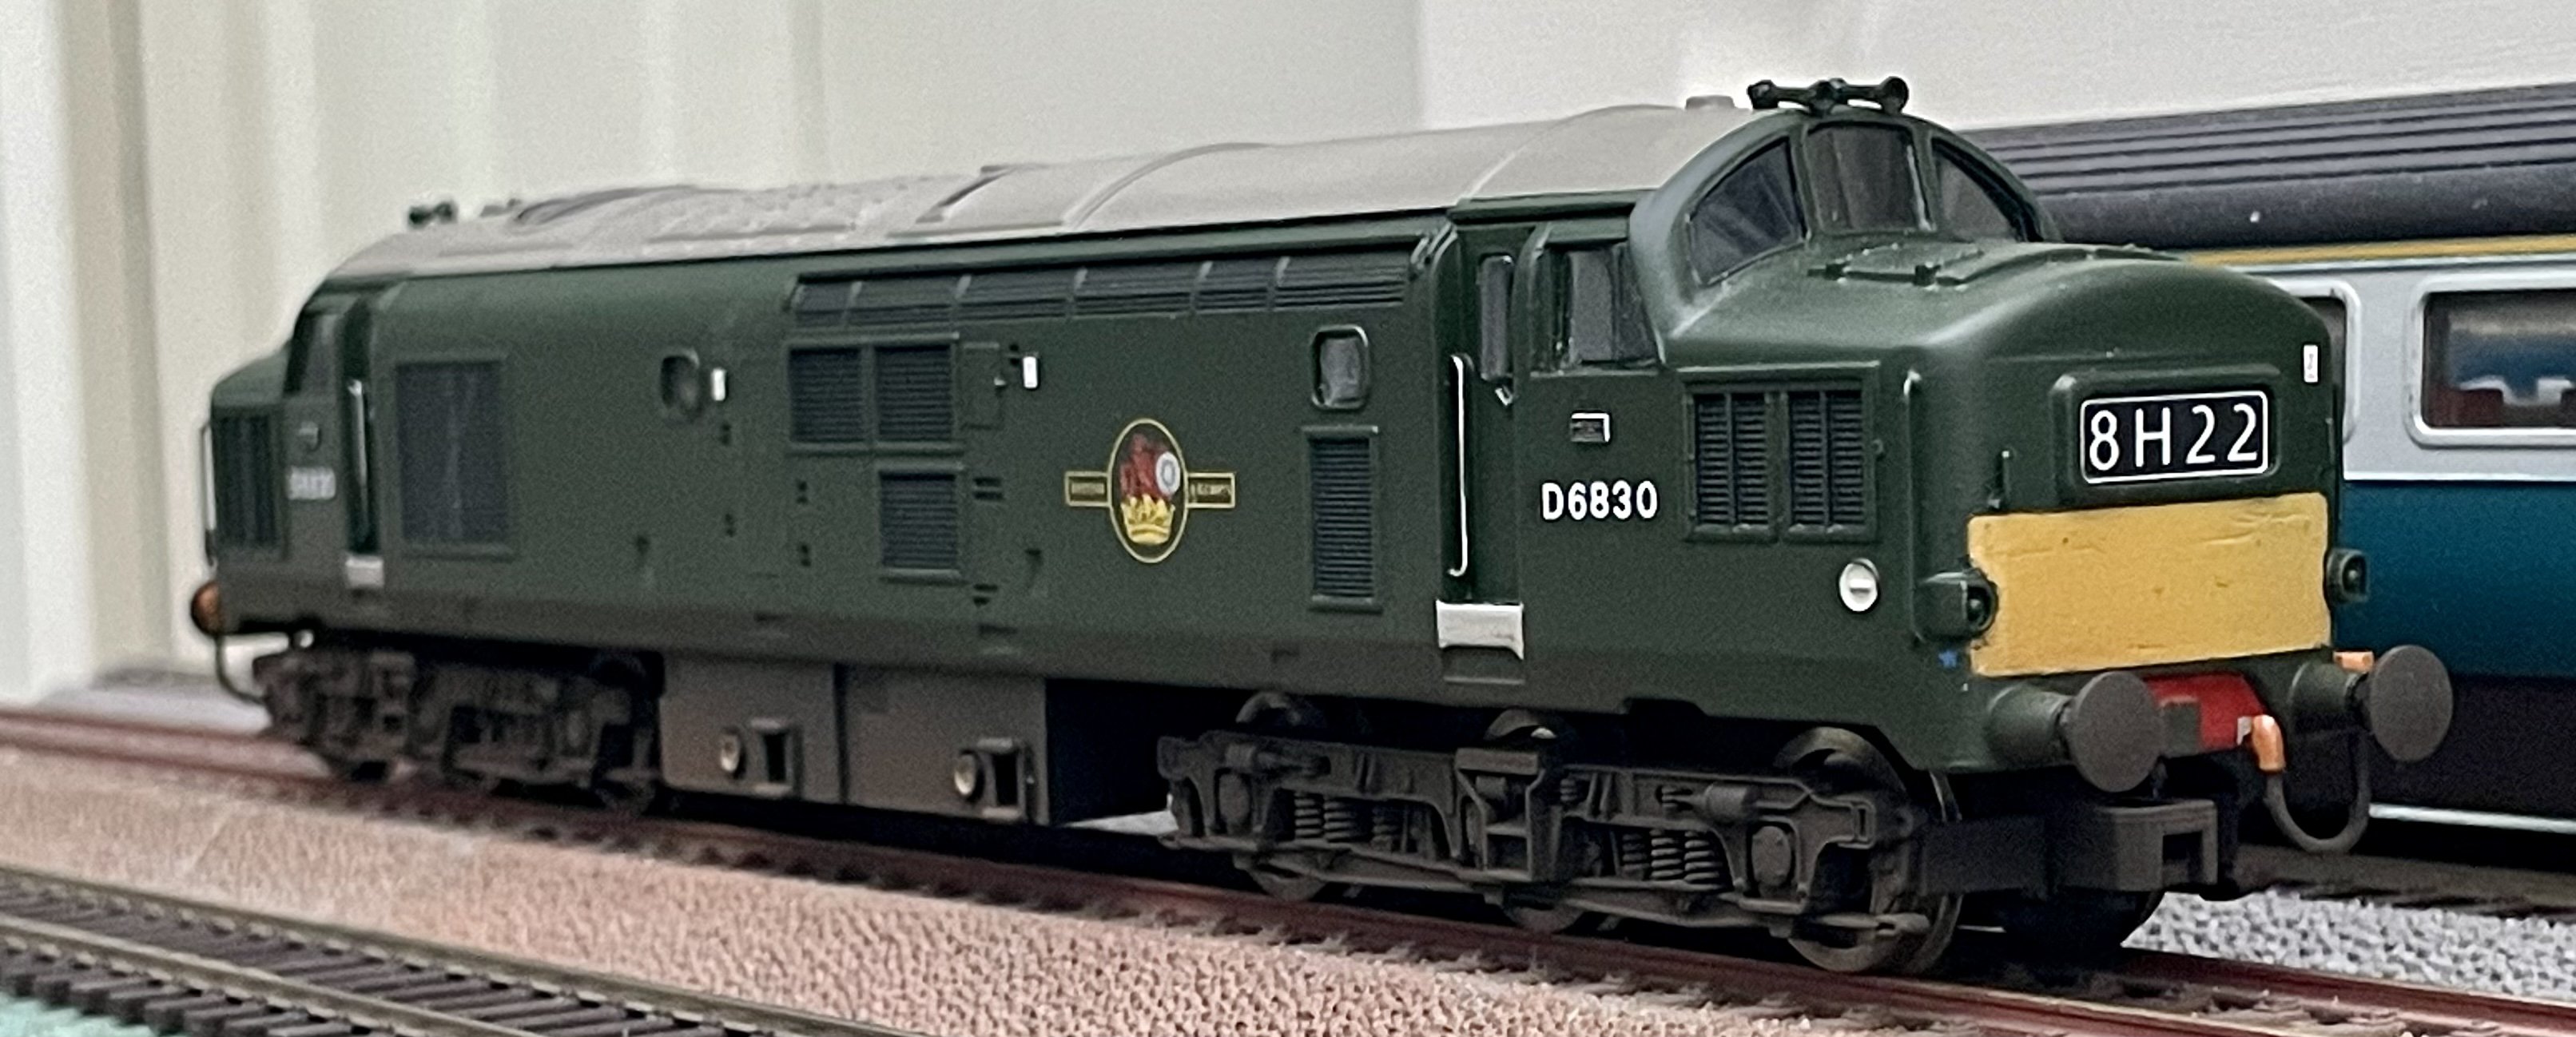
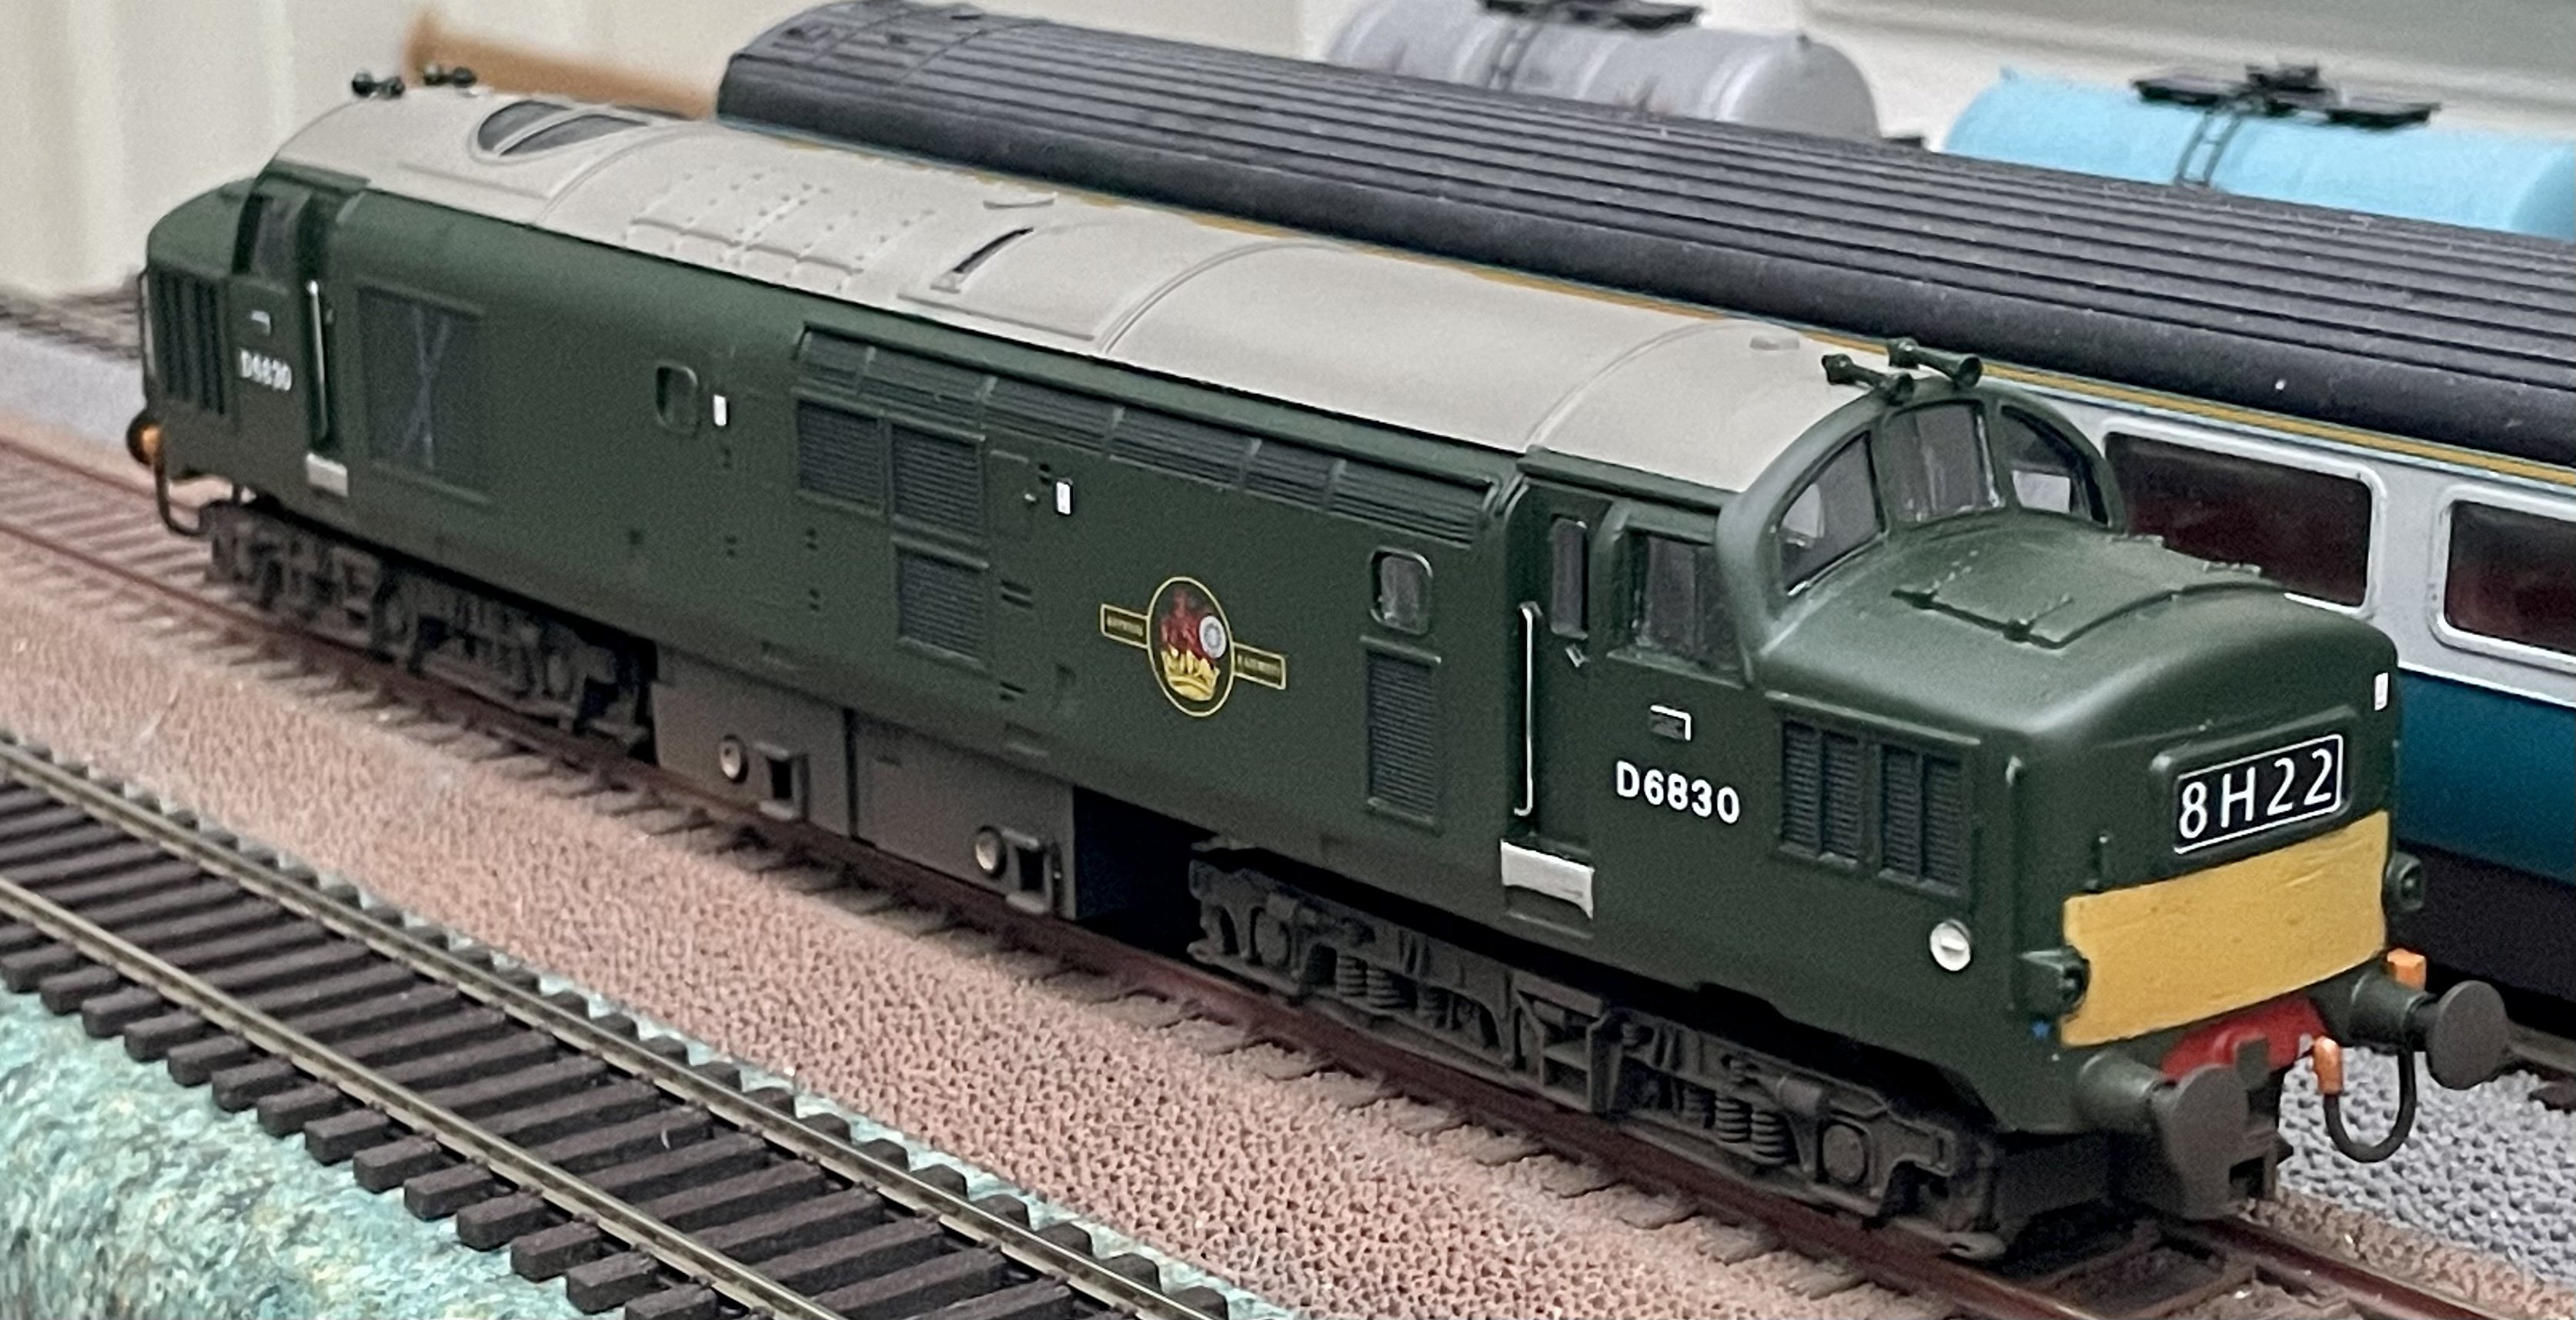
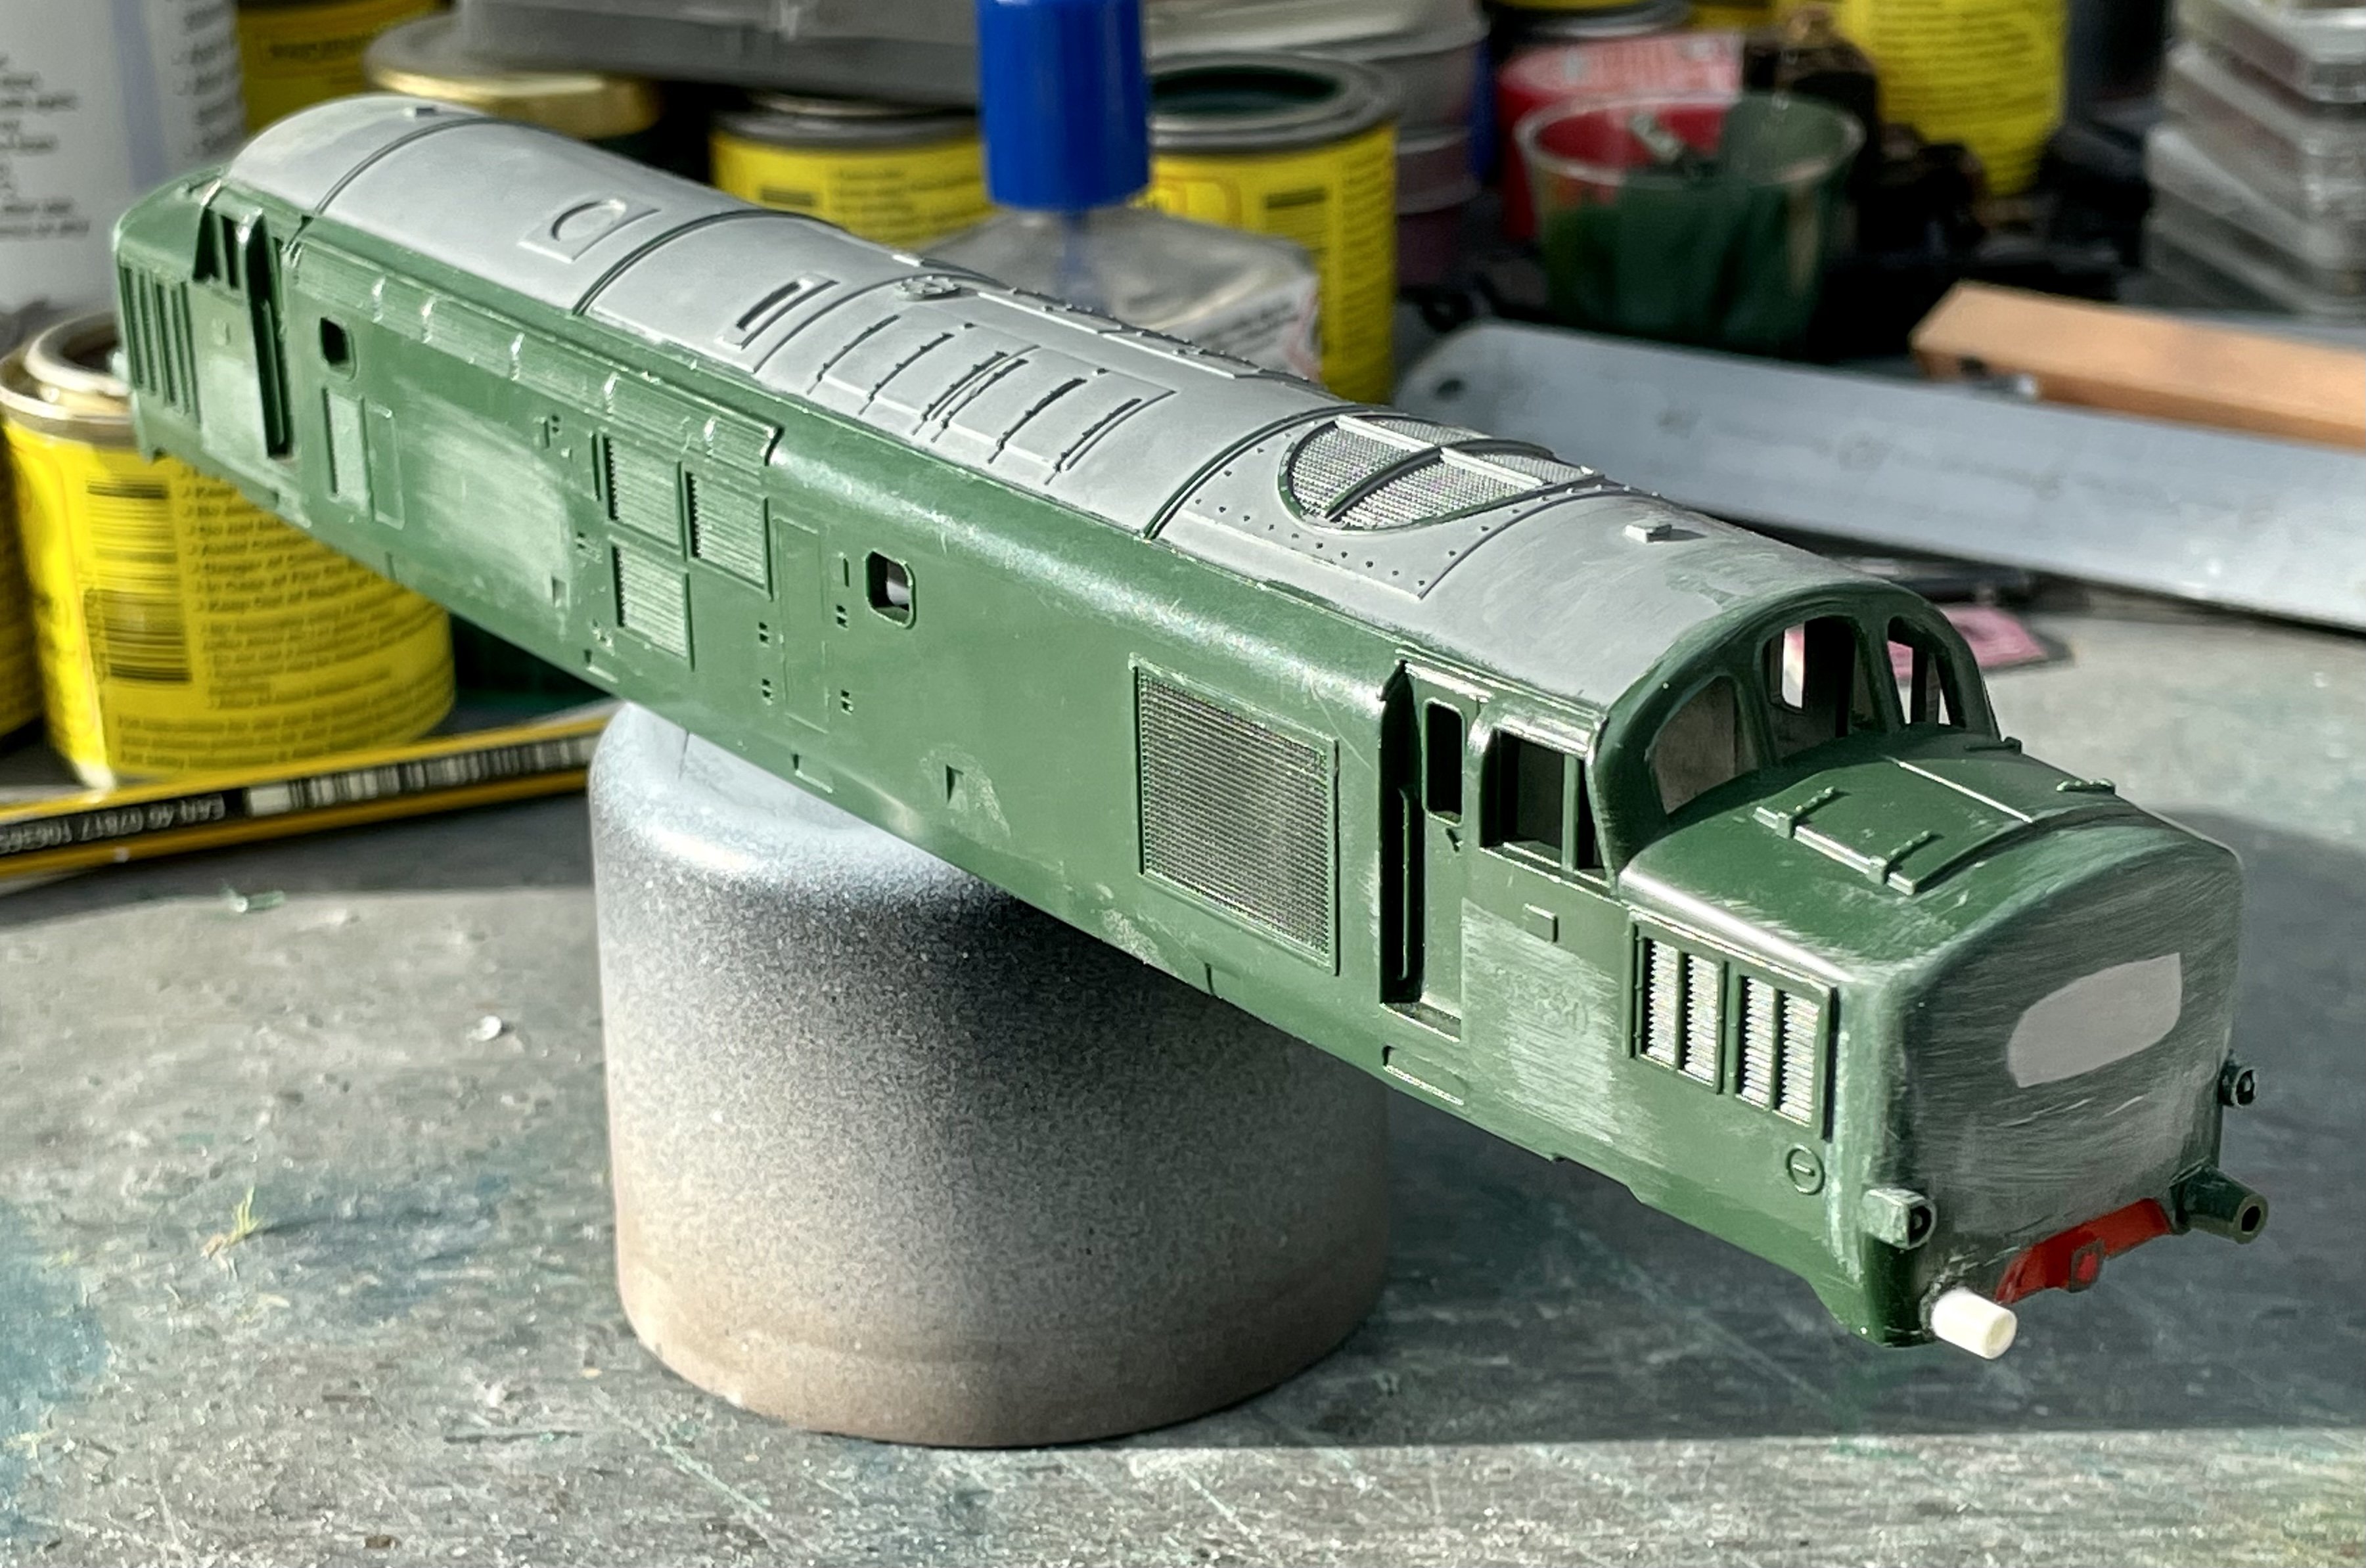
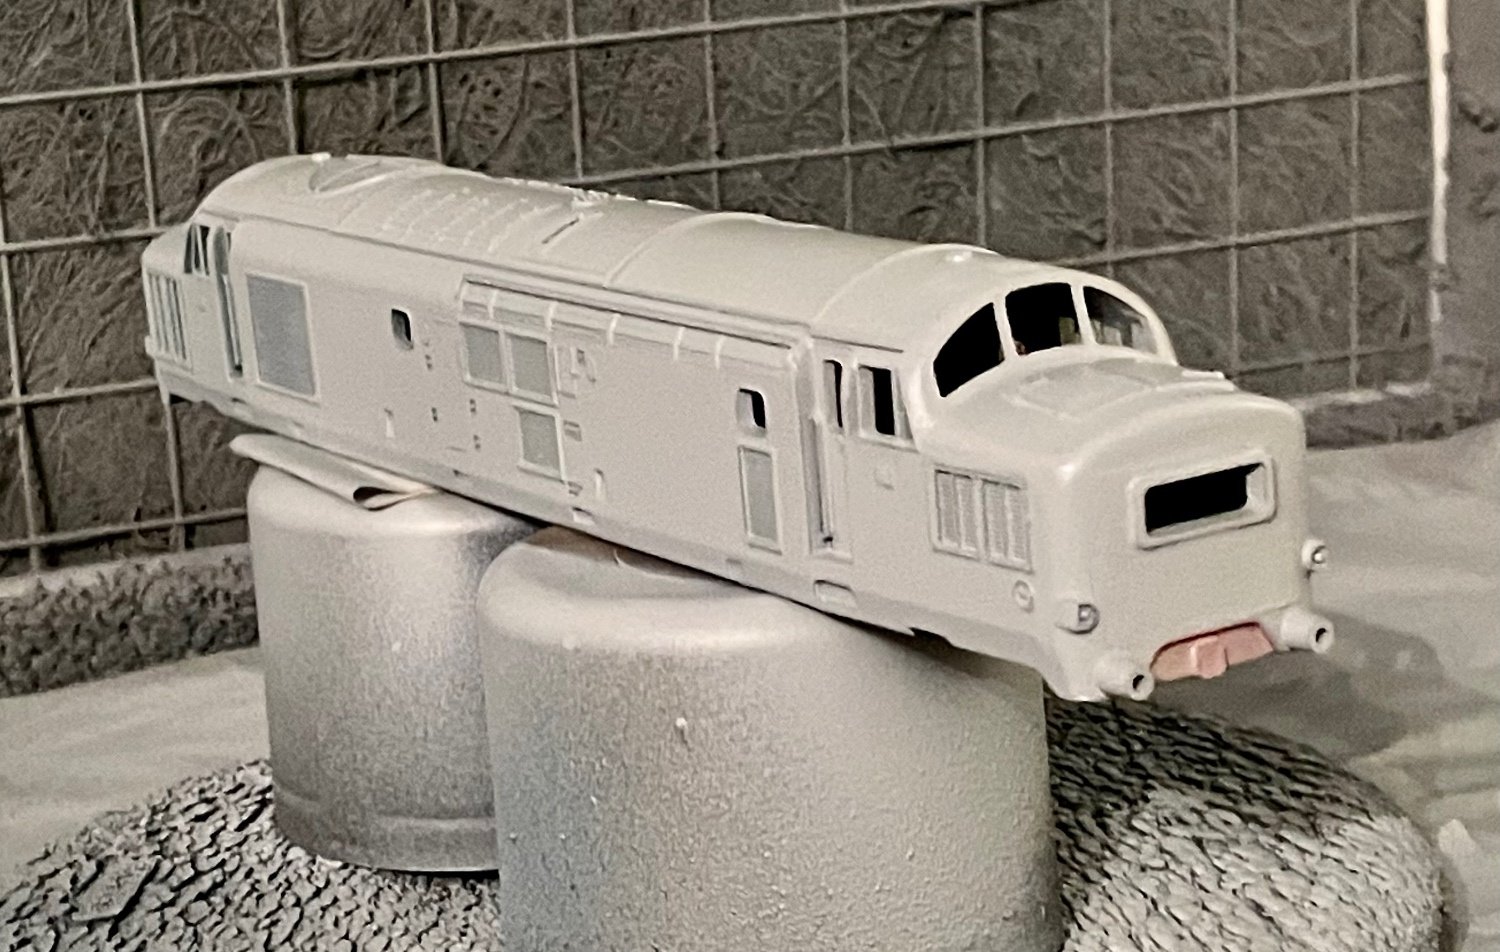
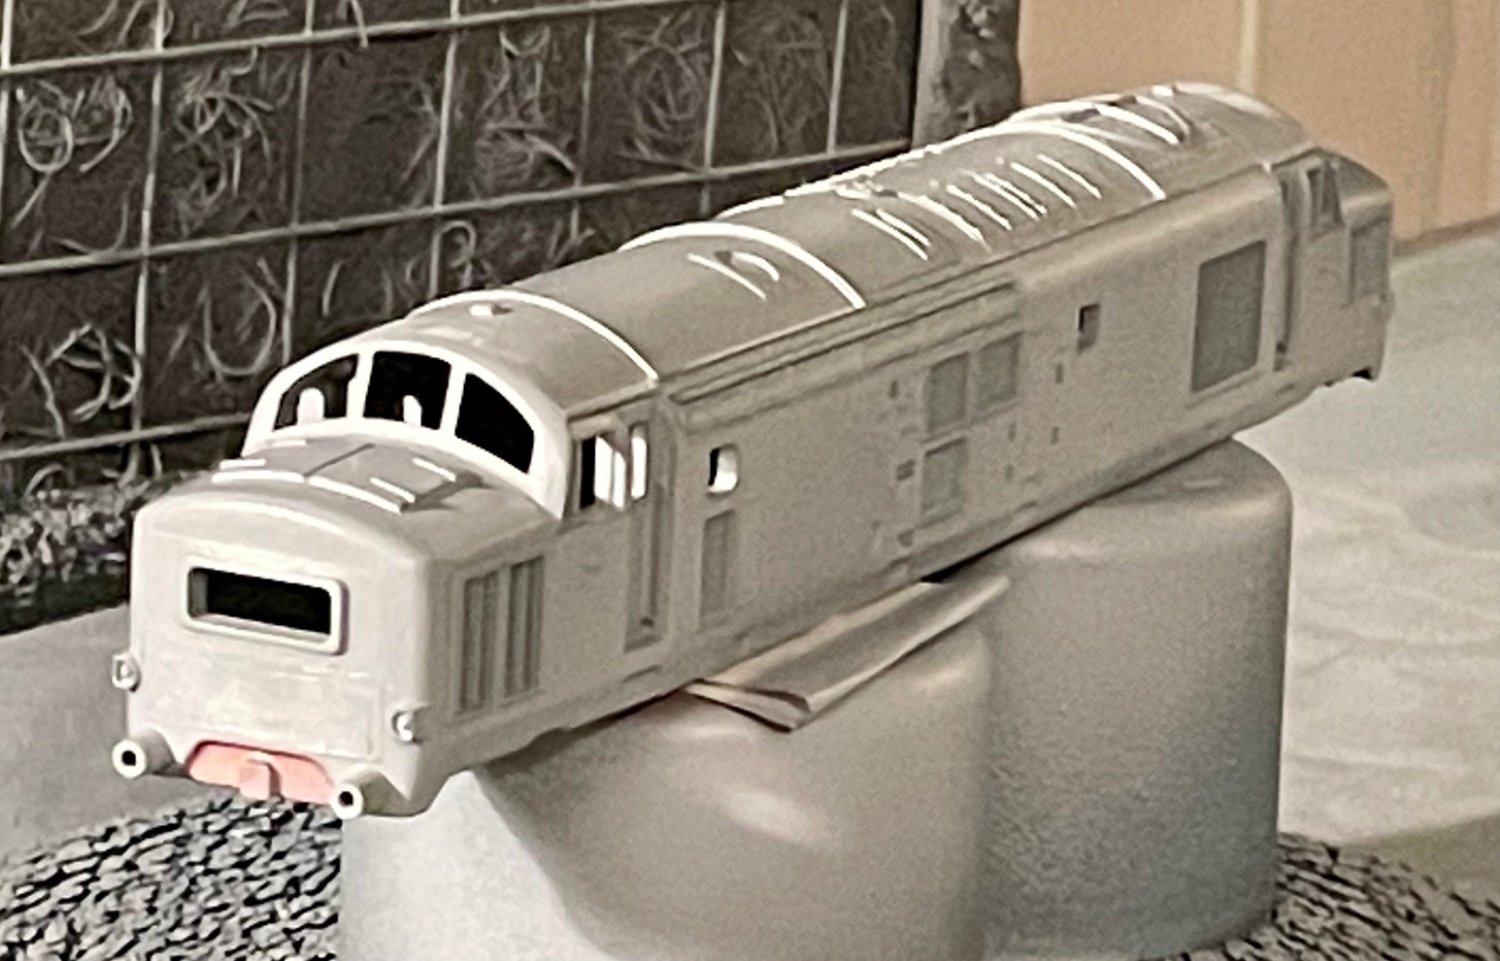
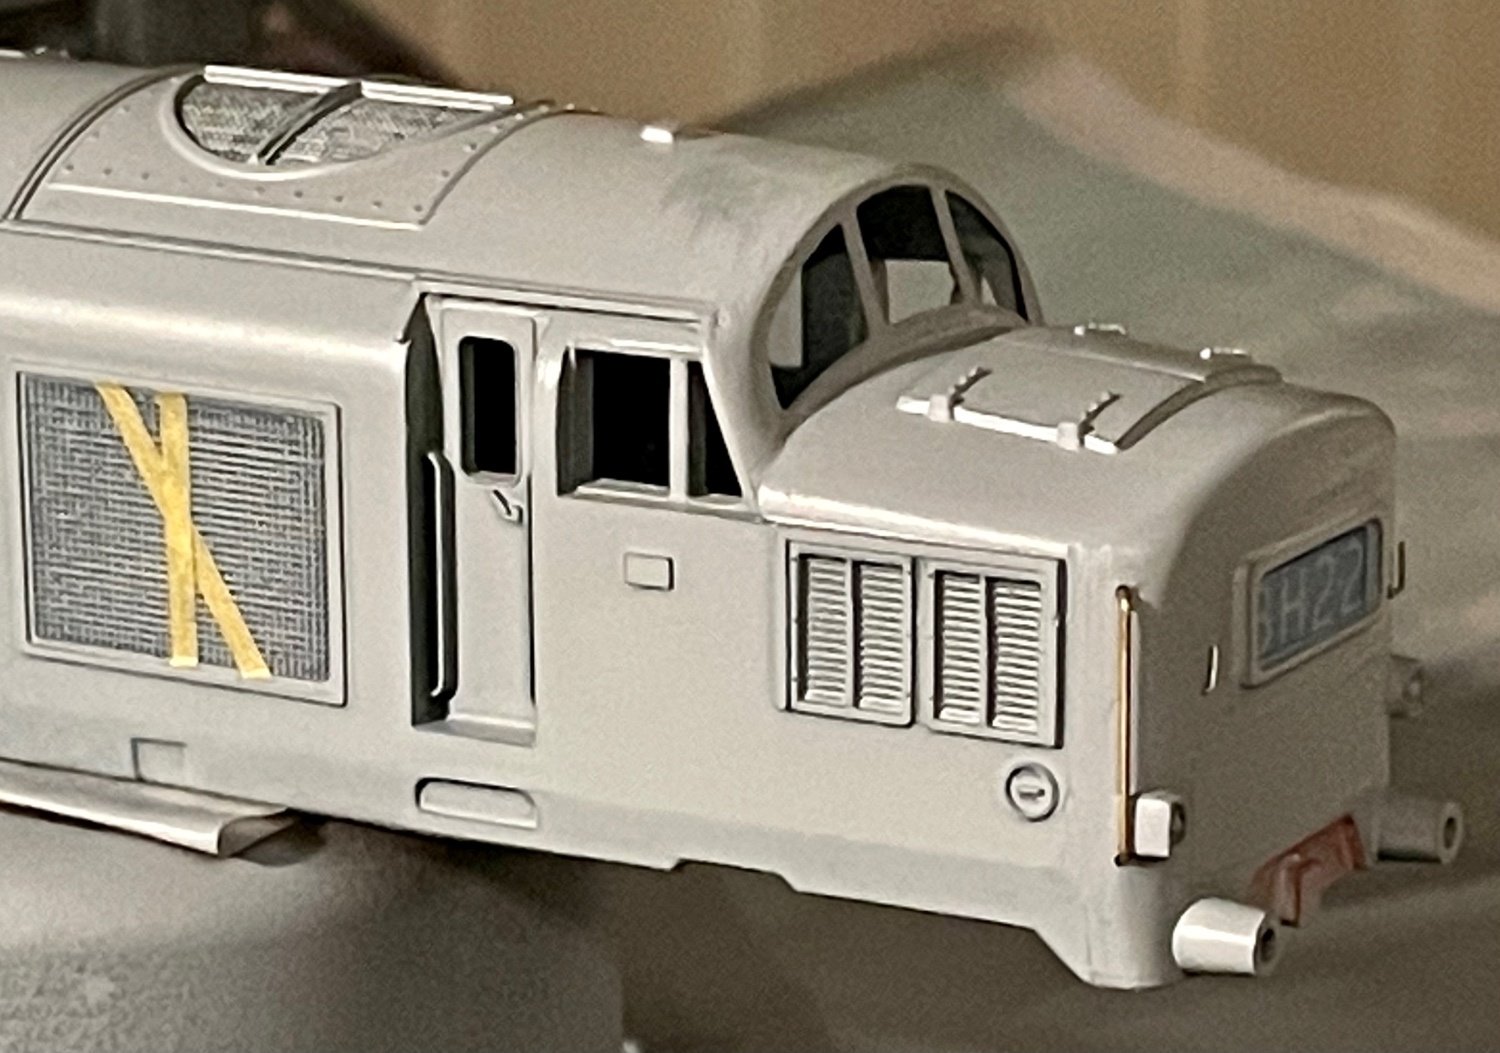
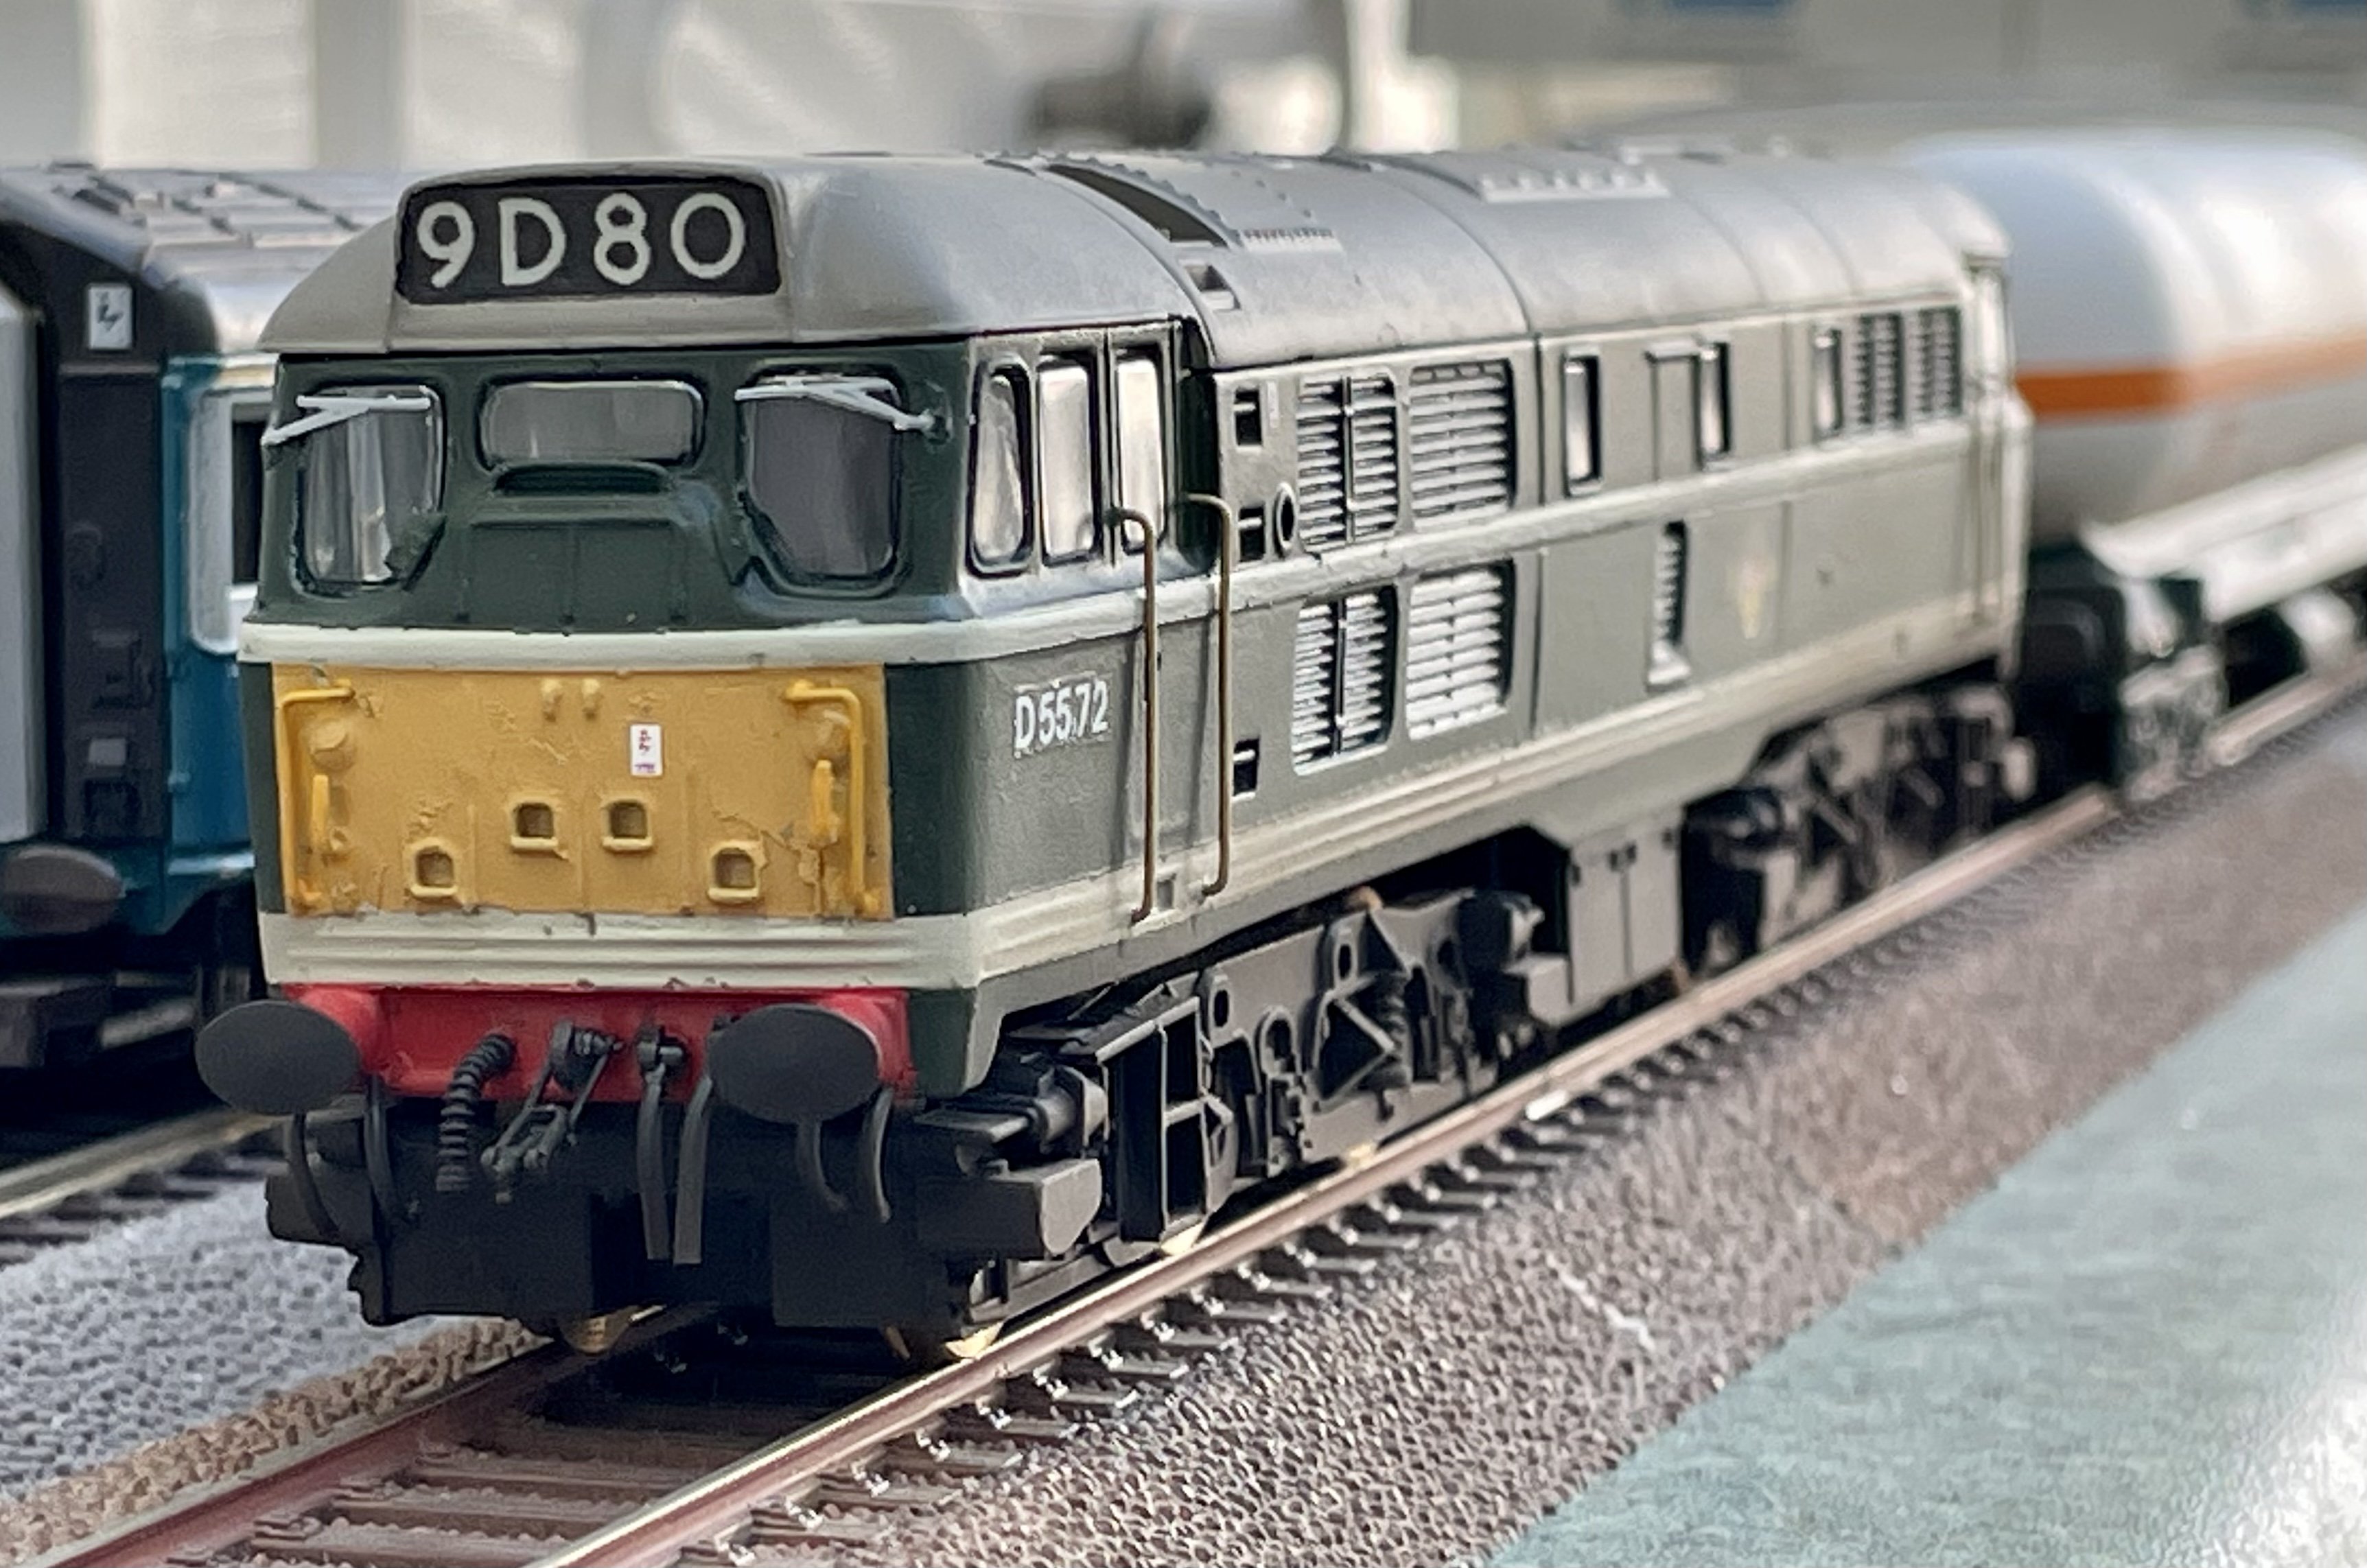
Second Triang EE Type 3 on the bench. This one will be a split headcode version using some Westward etched bits that I picked up on eBay a couple of years ago and some 3D printed headcode boxes that I just ordered. I will be using replacement Hornby Railroad Class 37 bogies fitted to a modified Triang chassis. Cheers Darius
-
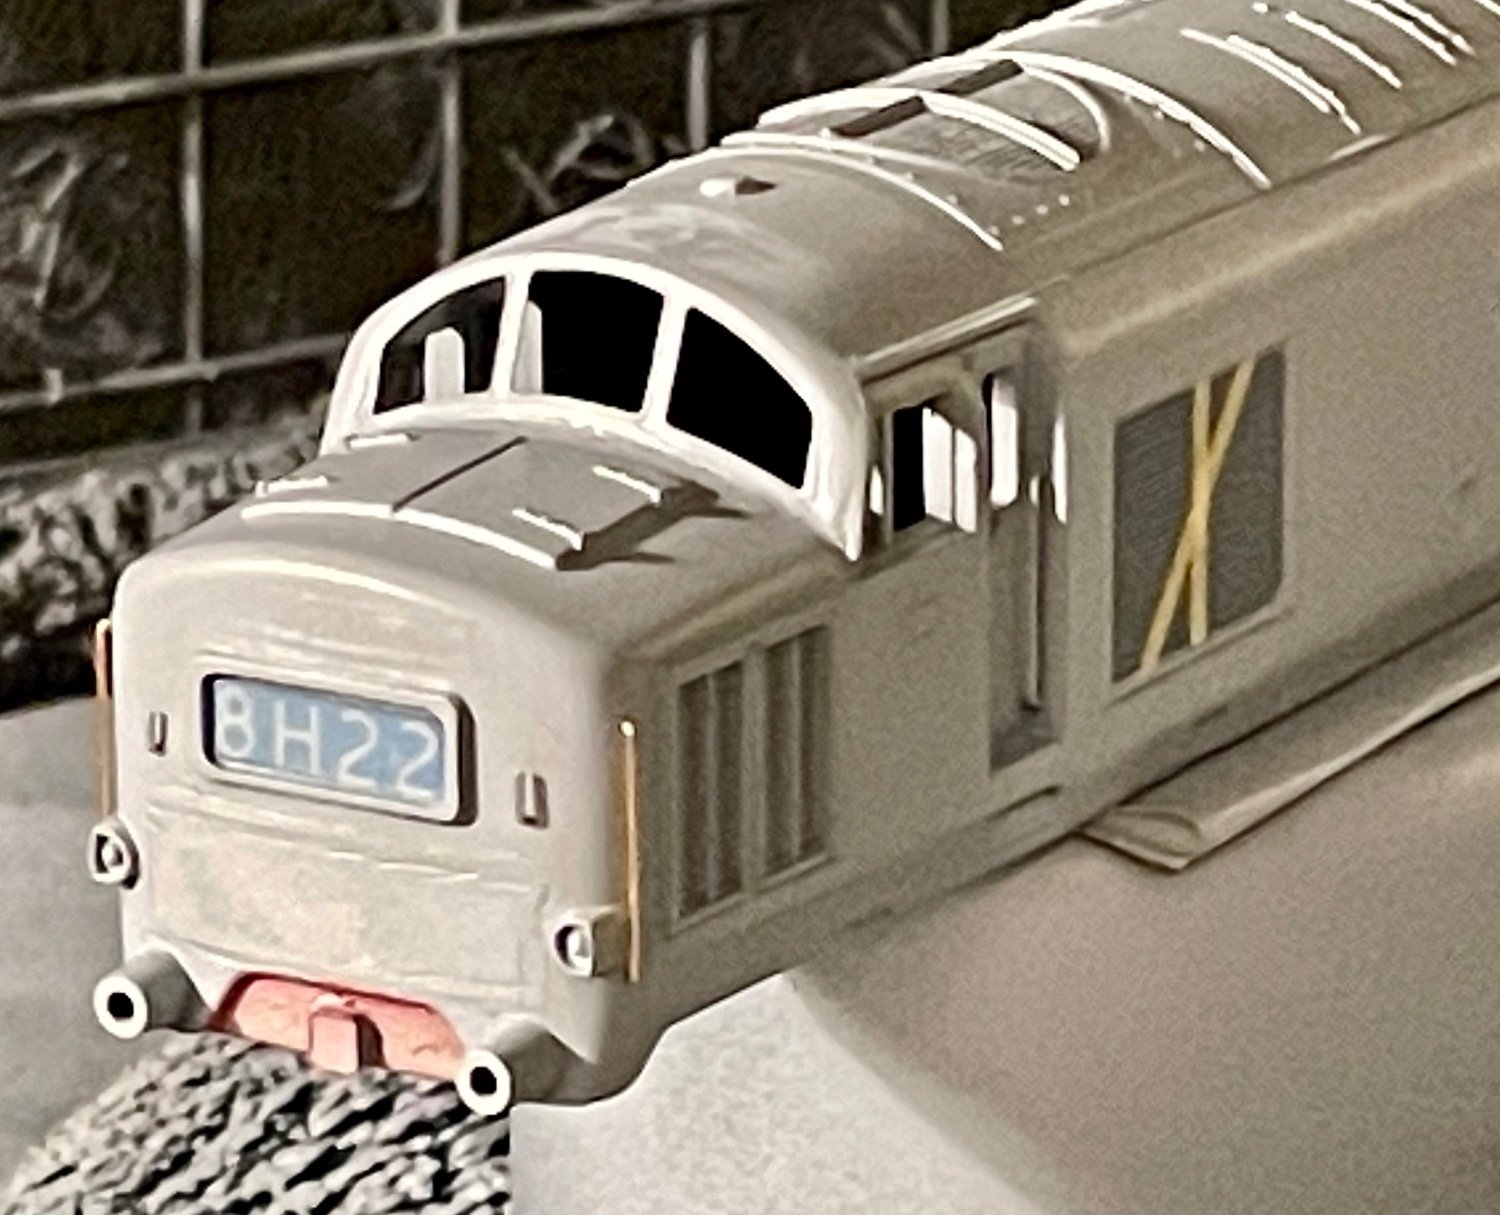
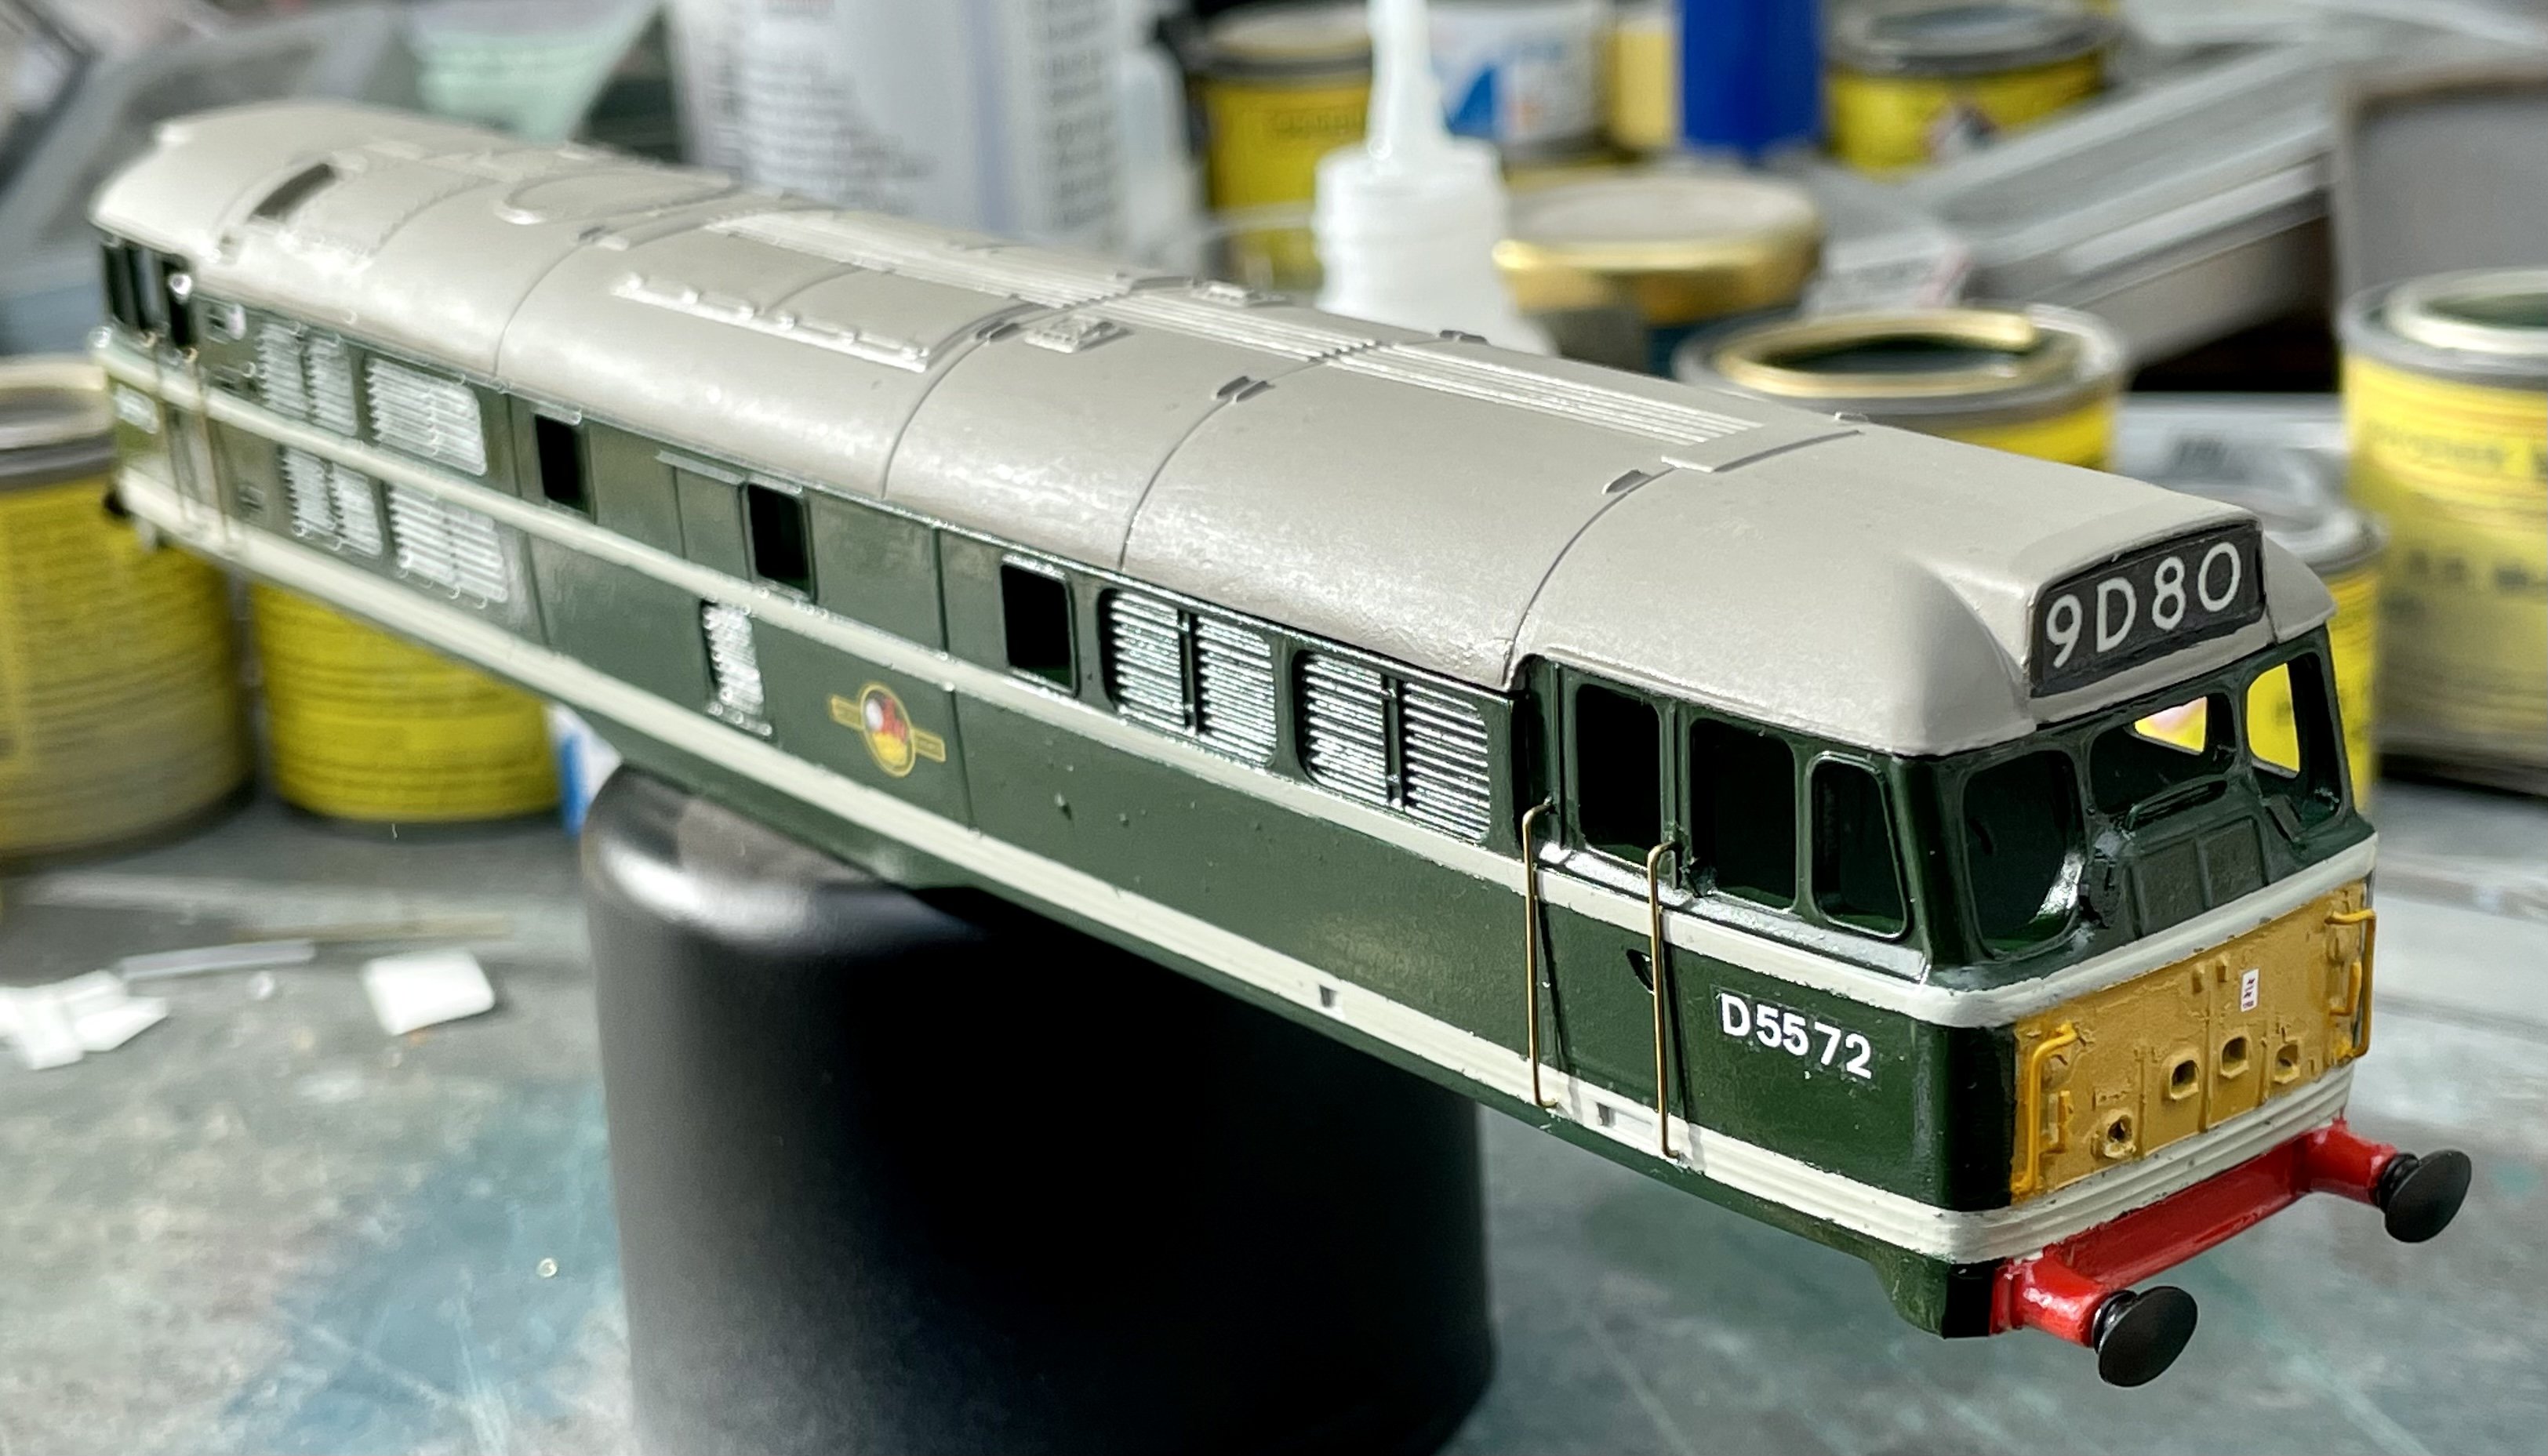
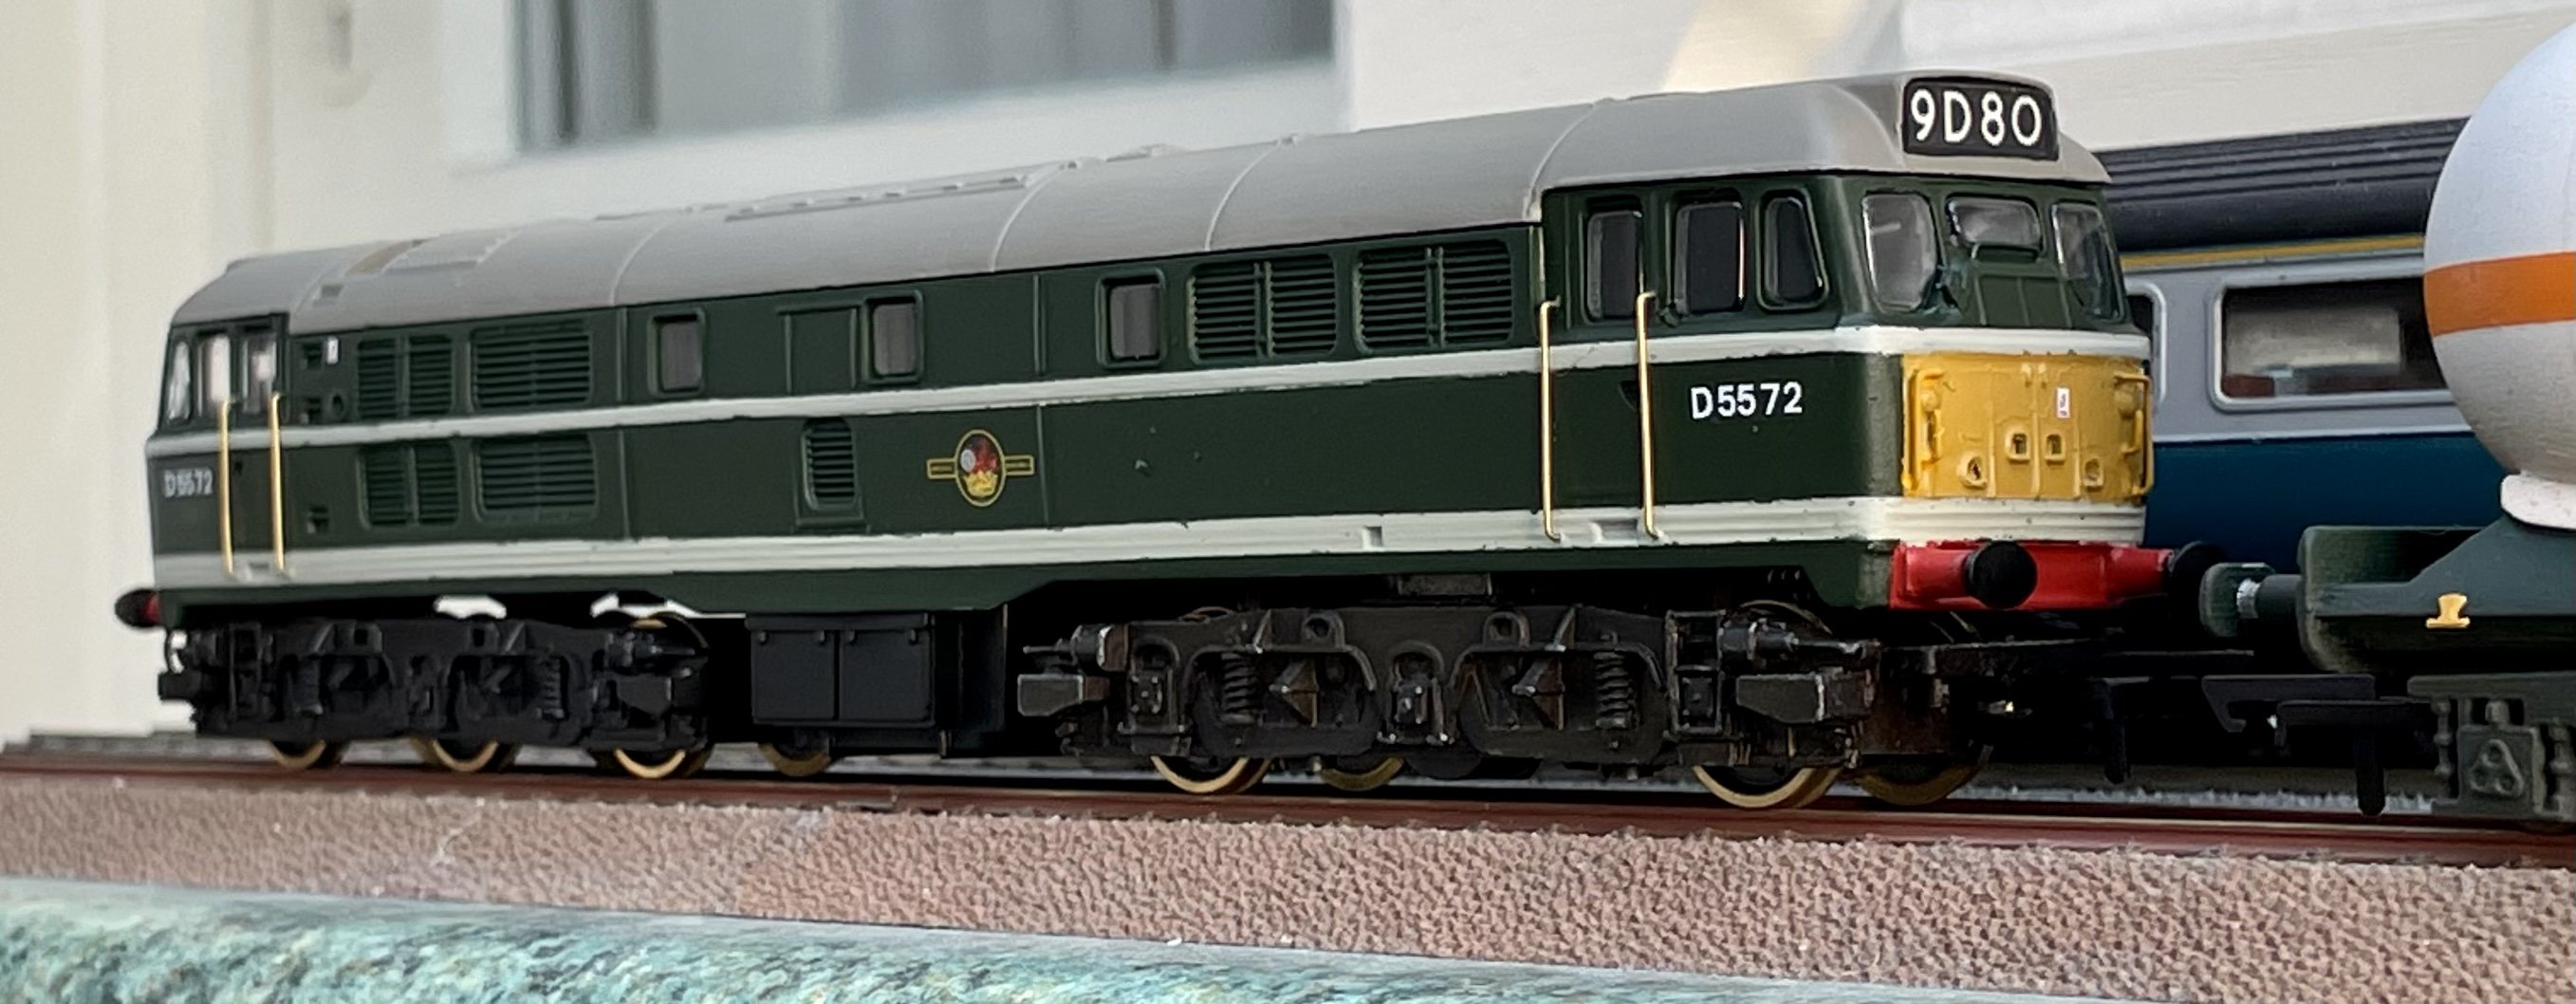
Decals and glazing added. Next will be bogie cab steps and buffer beam details etc. Cheers Darius
-
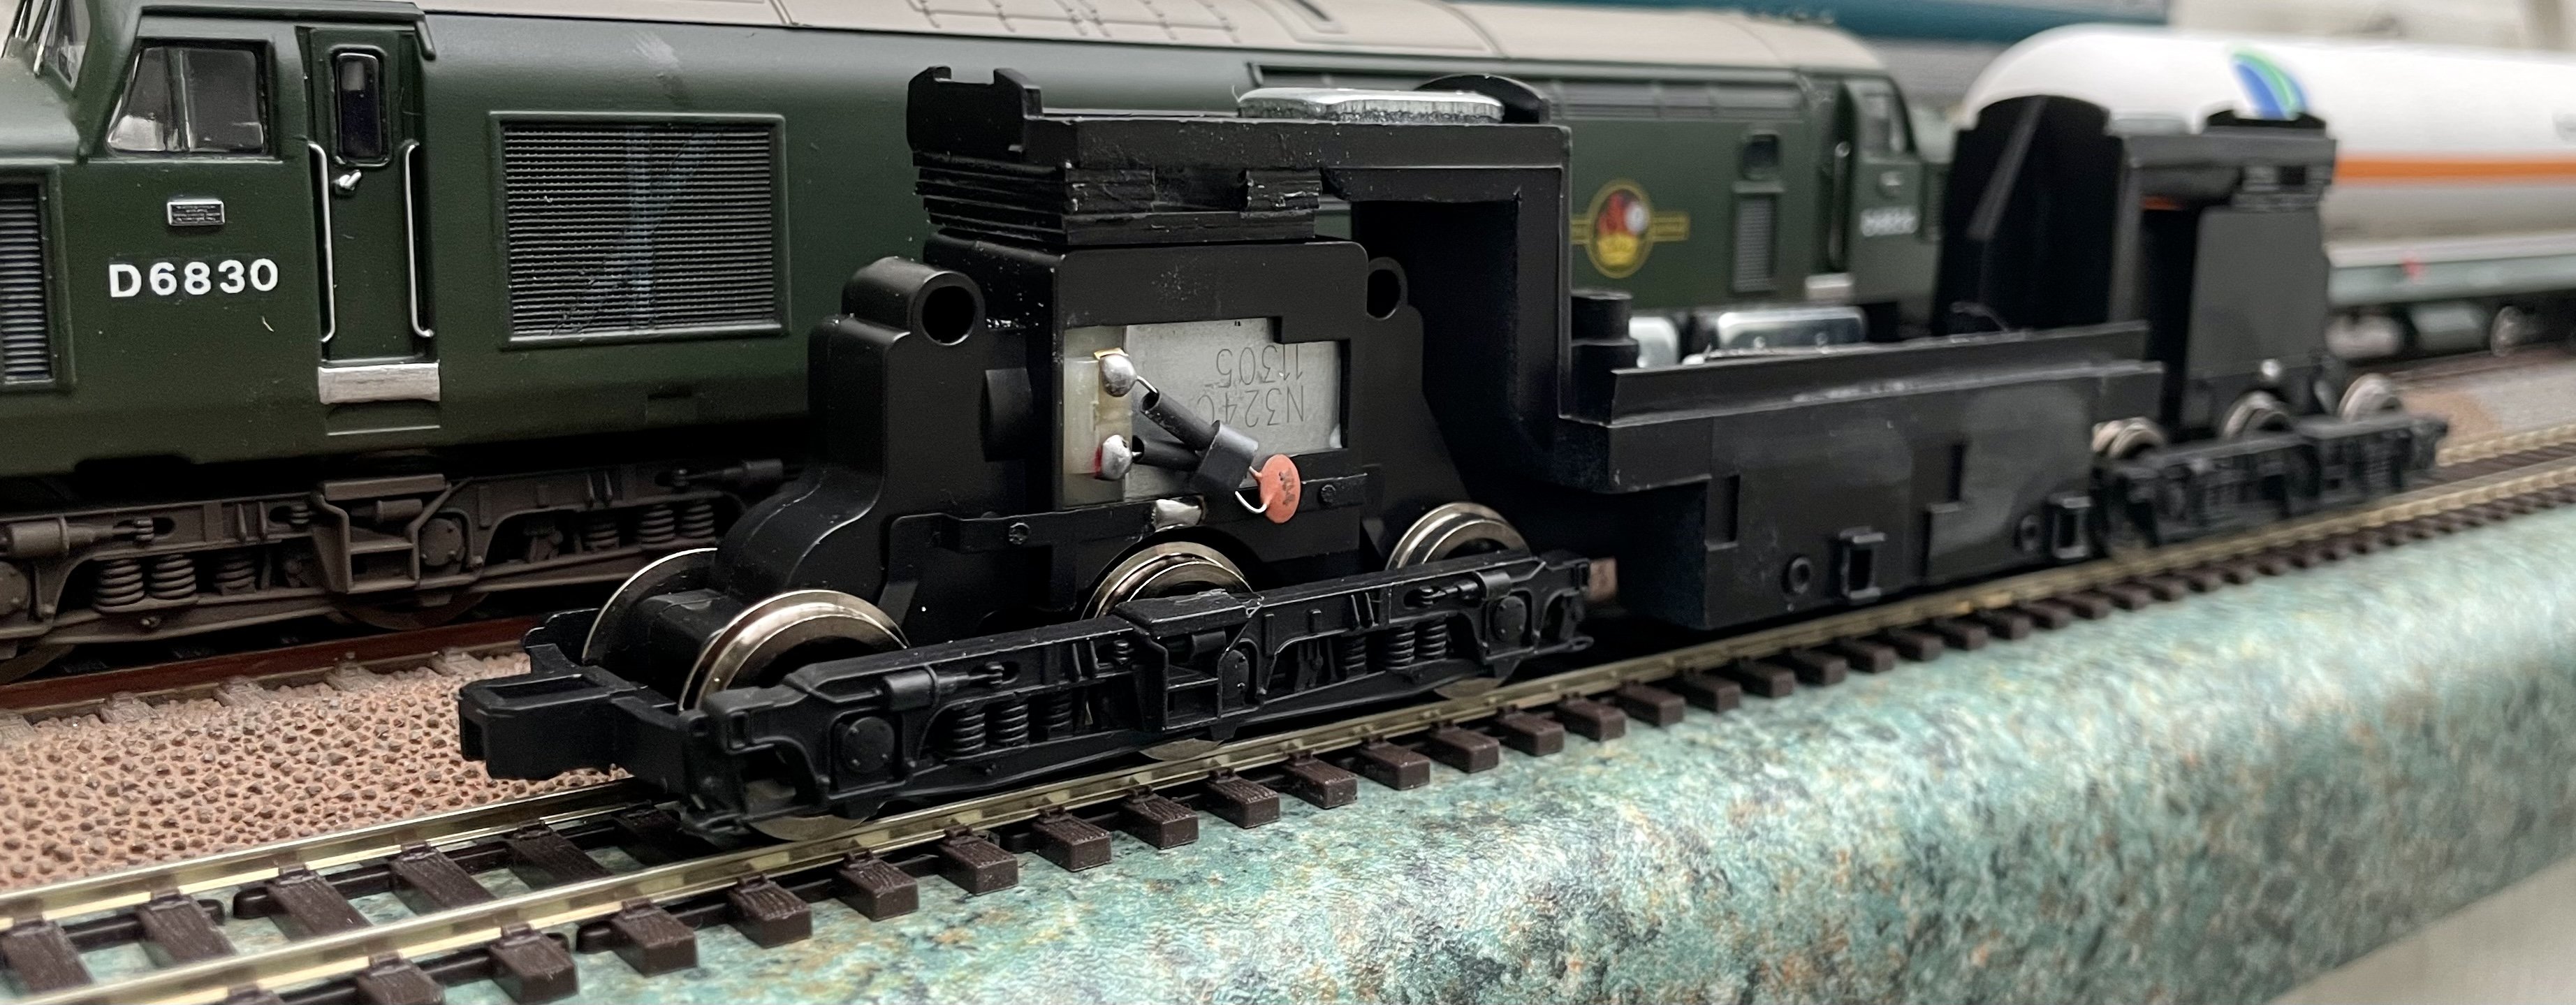
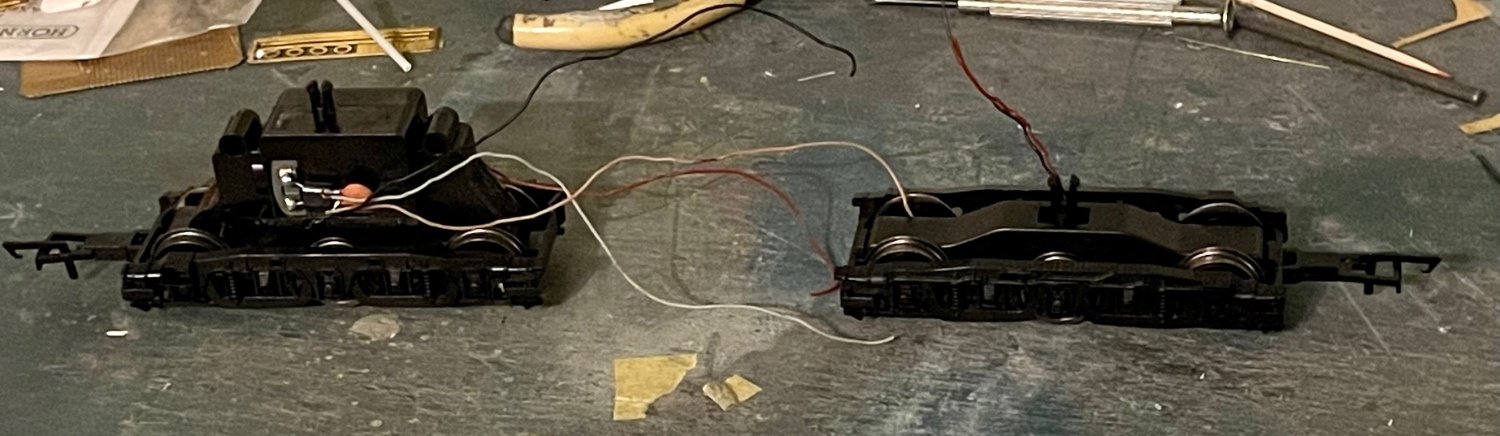
Bogies wired into an 8 pin socket and decoder fitted. Body attached and running in commenced. Cheers Darius
-
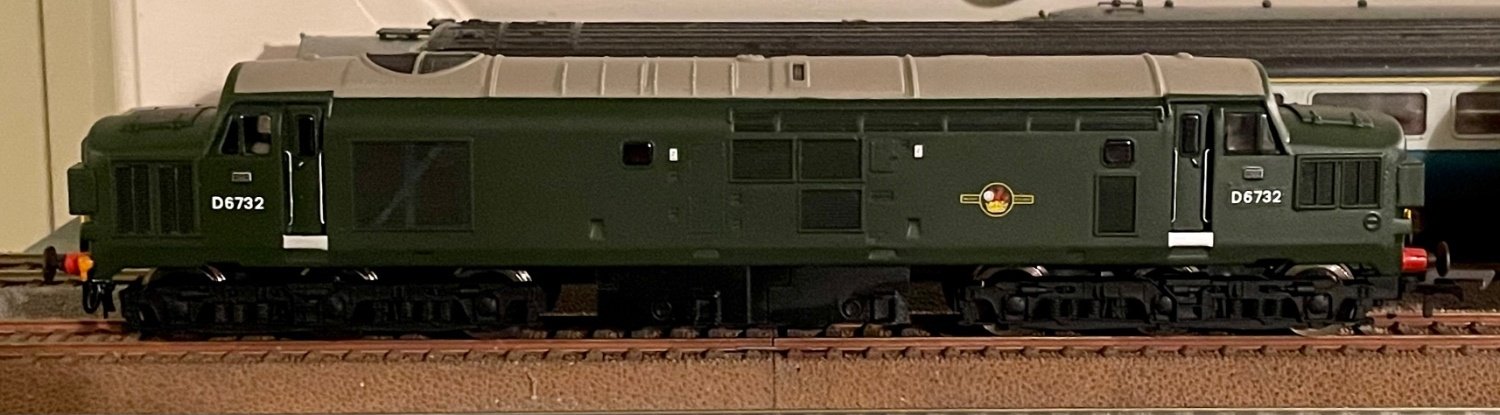
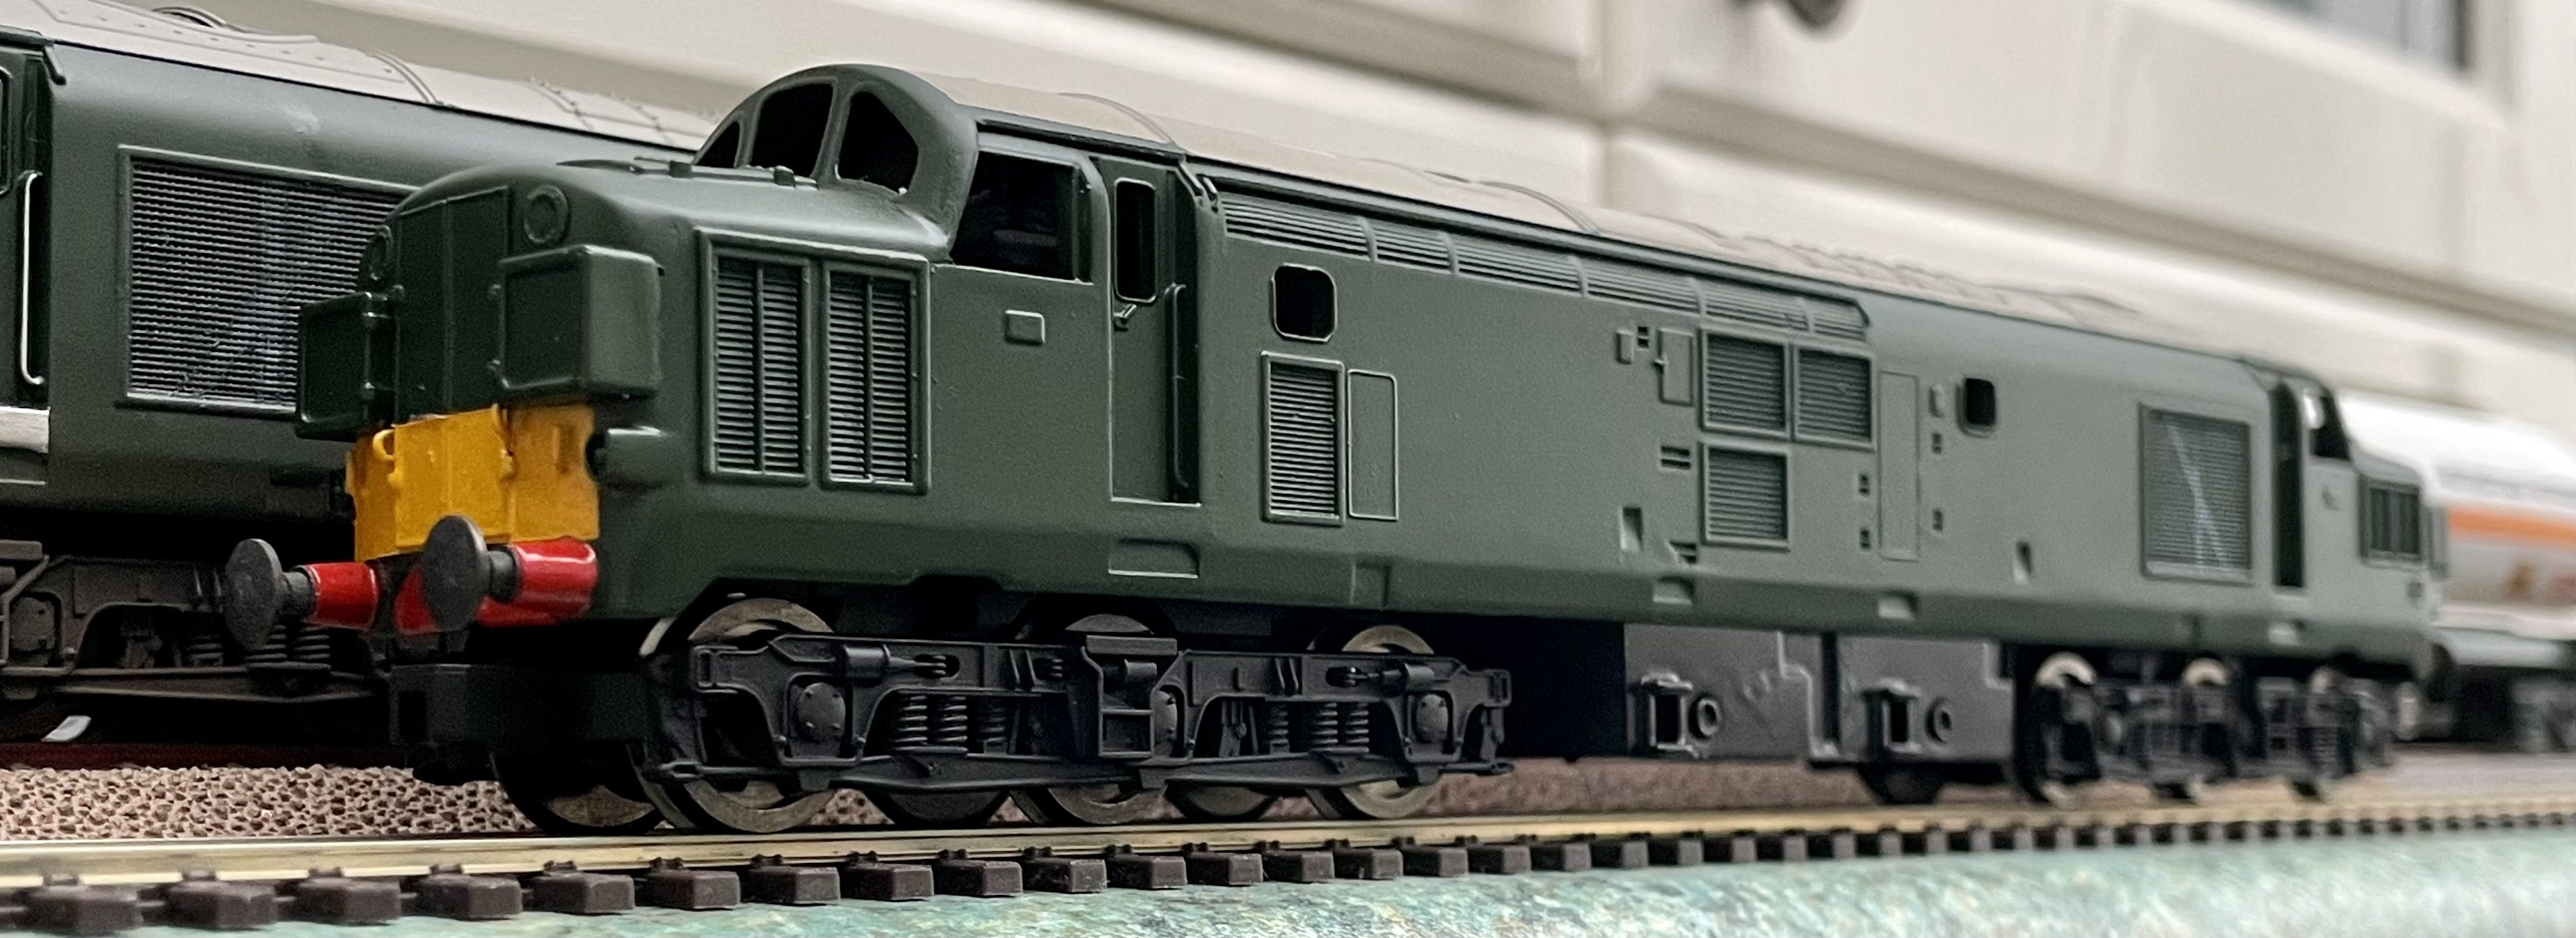
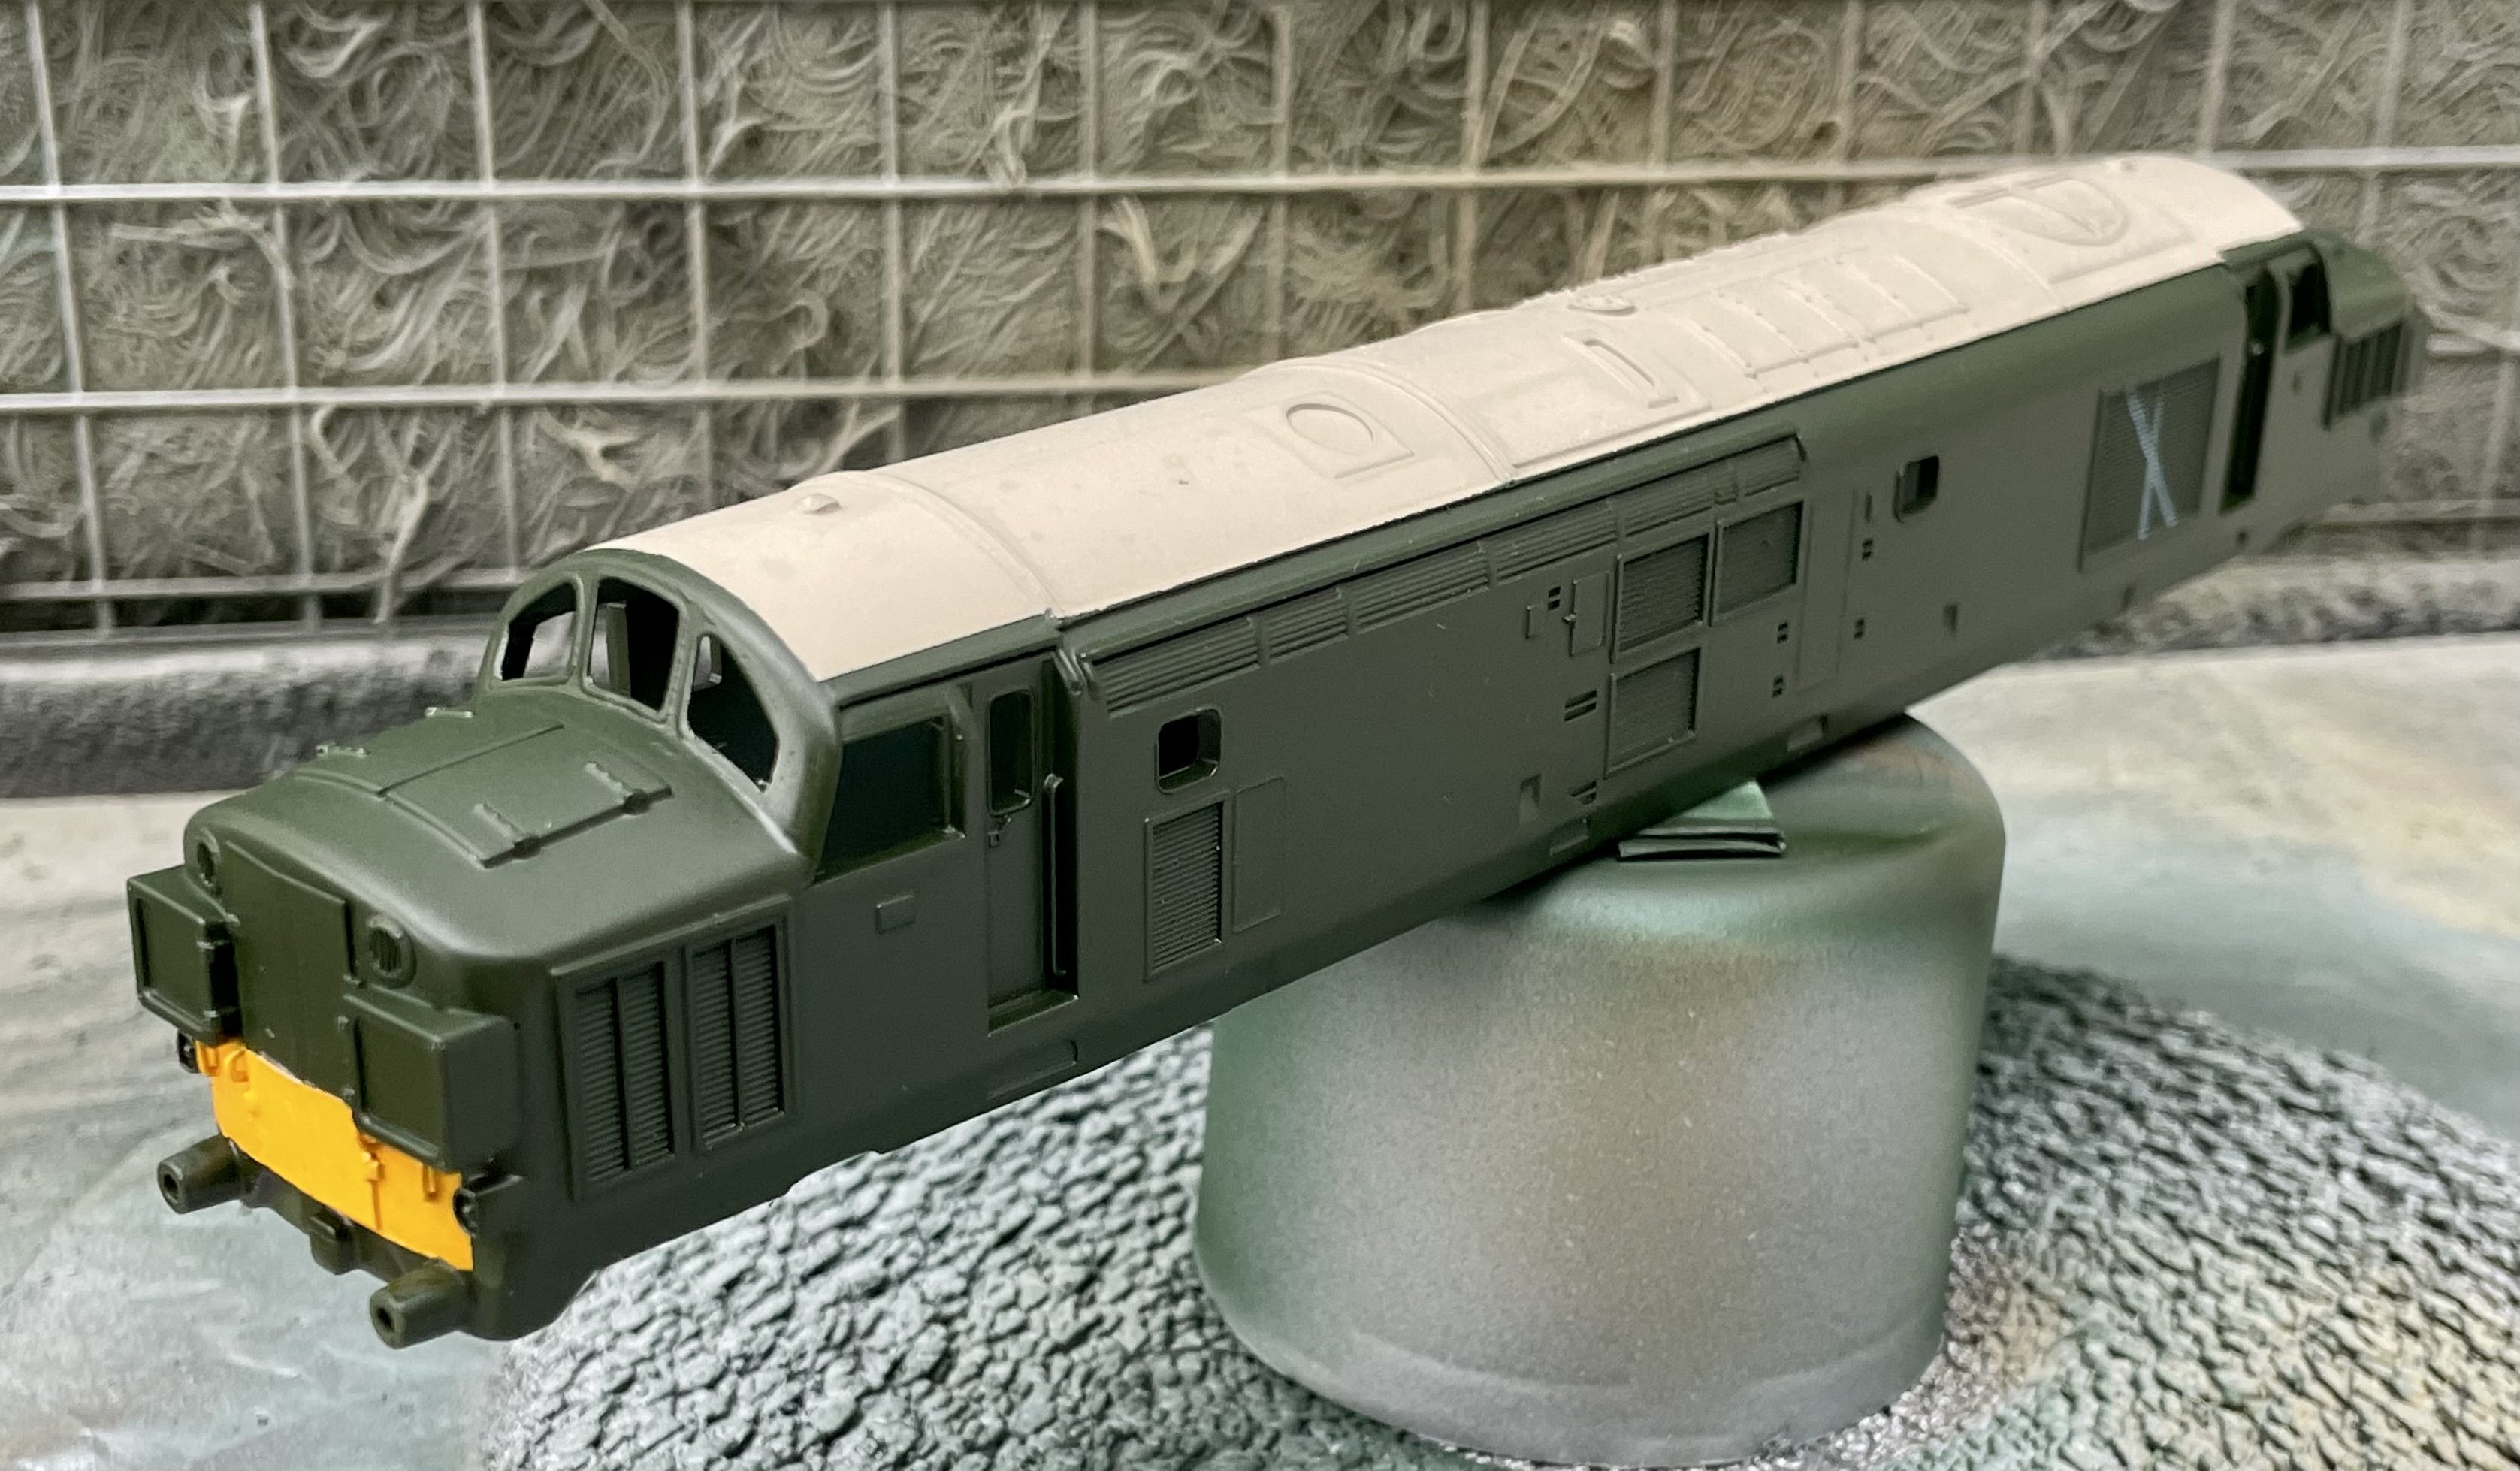
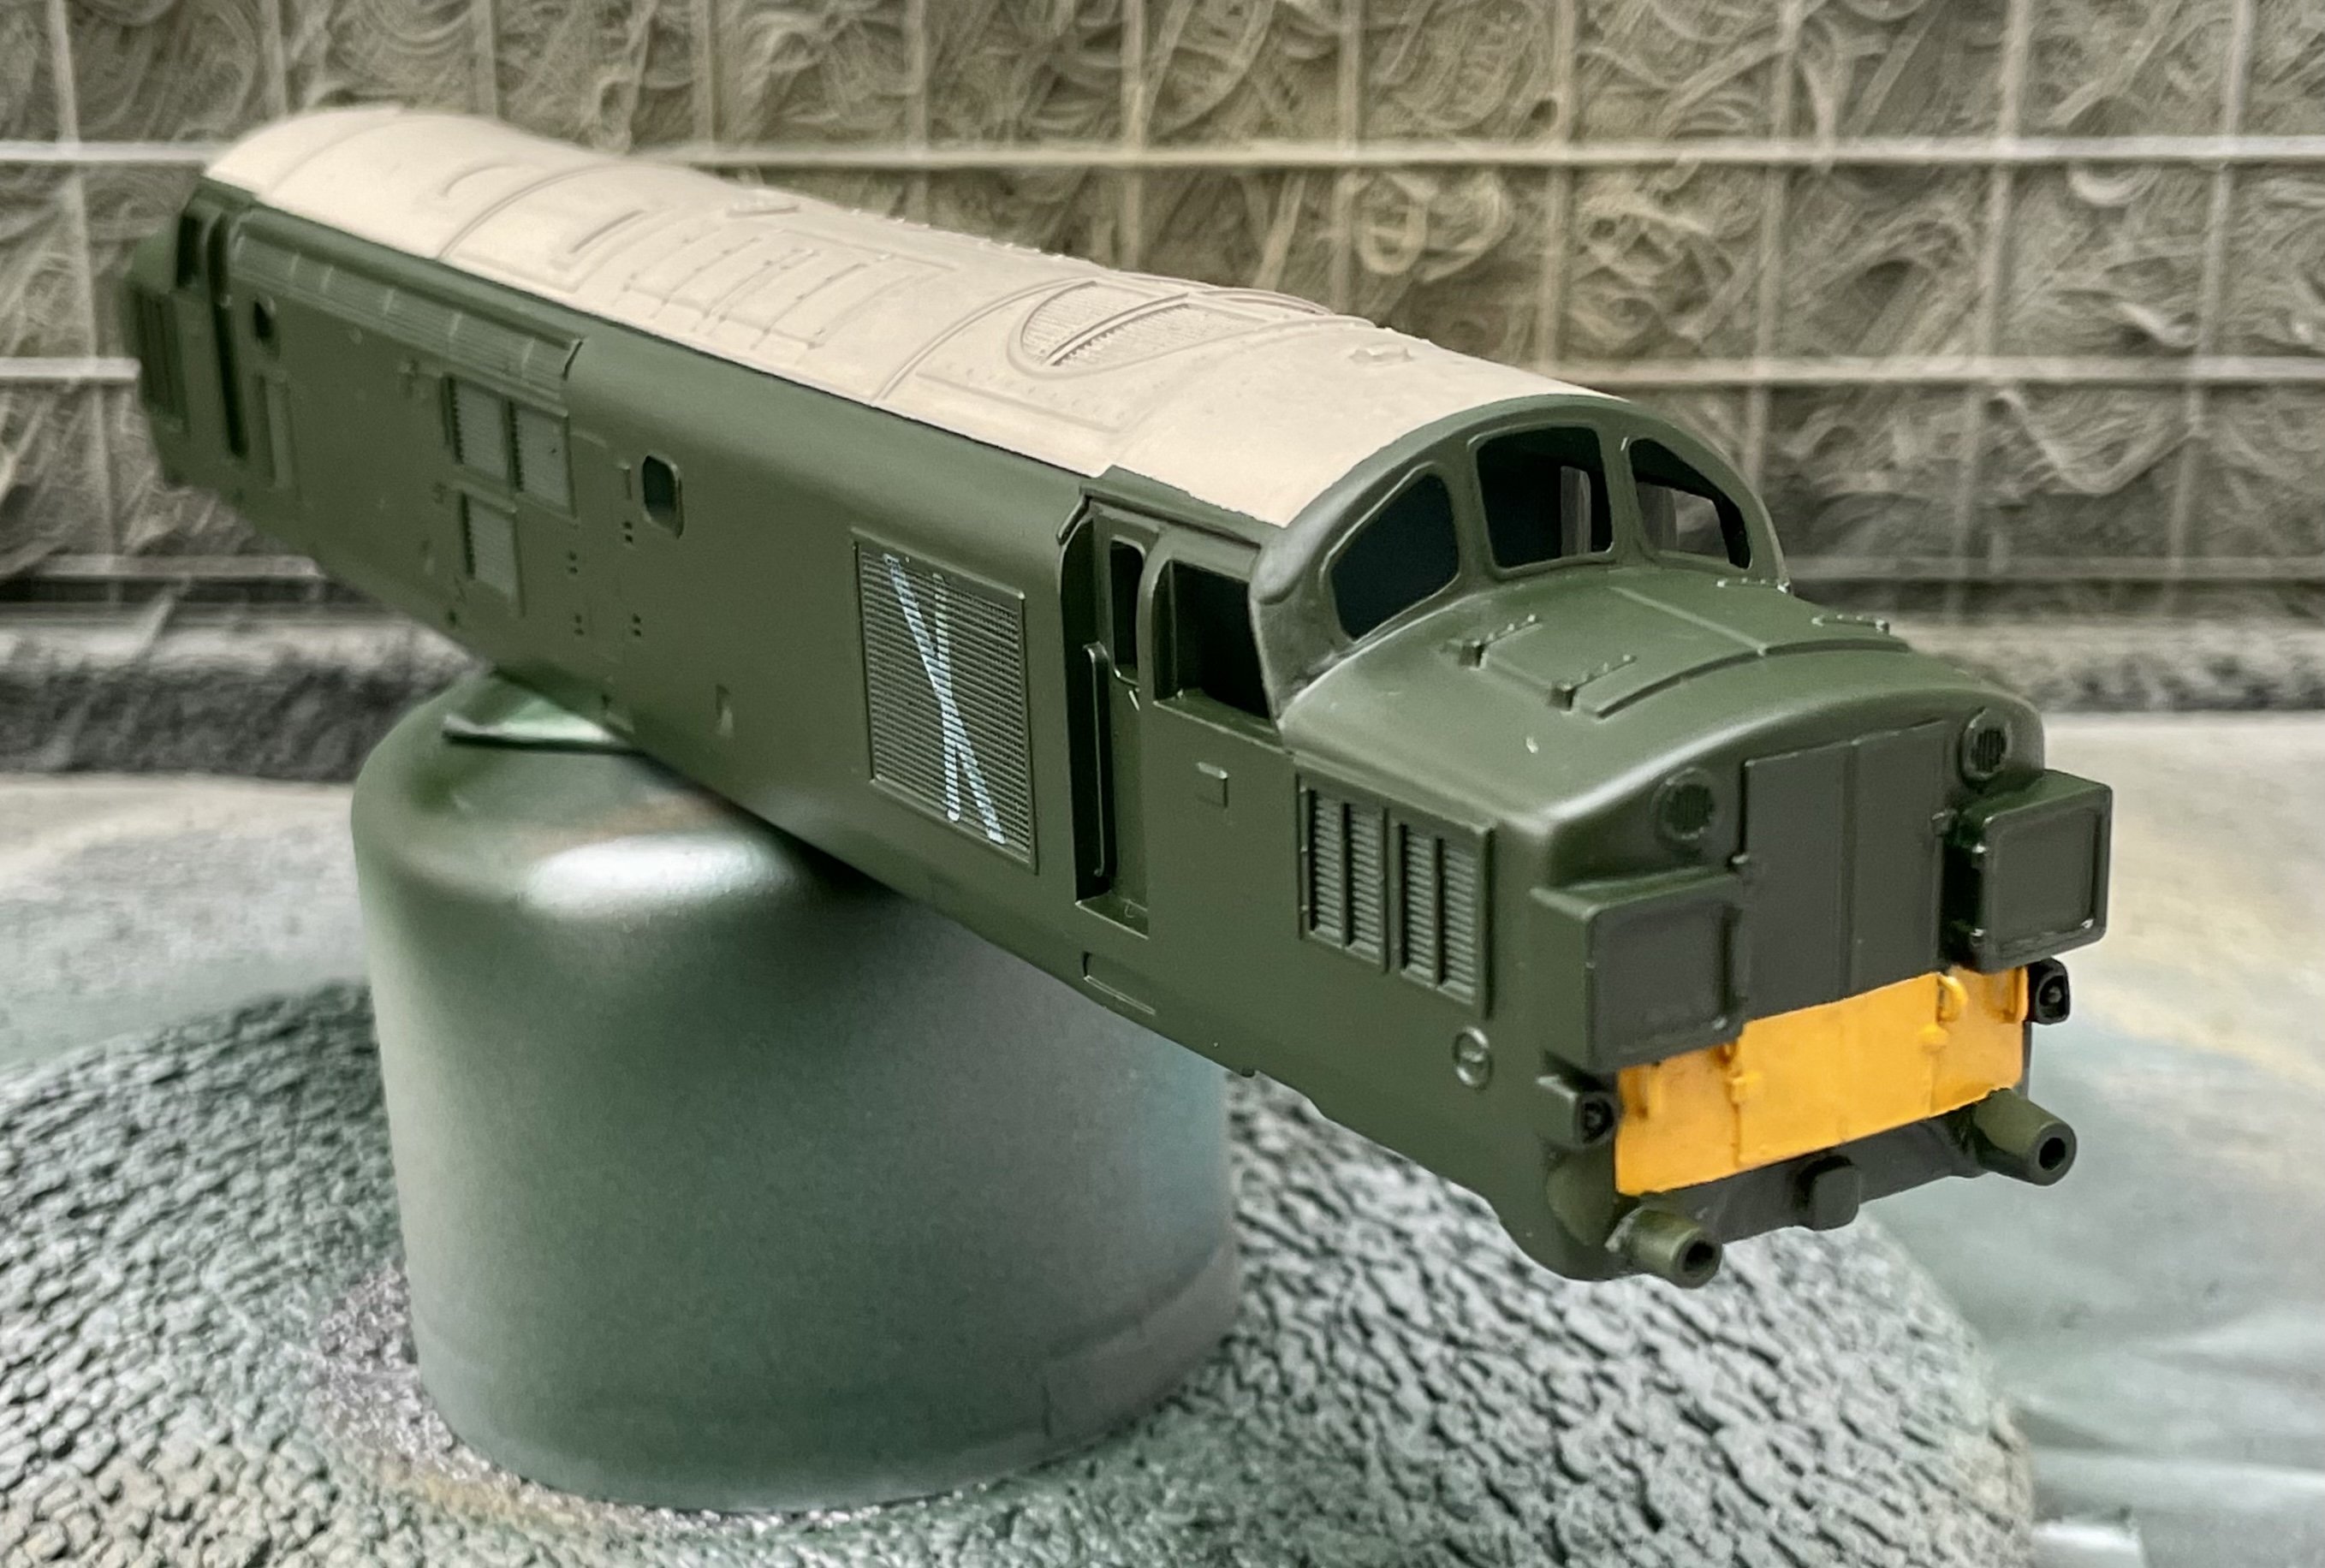
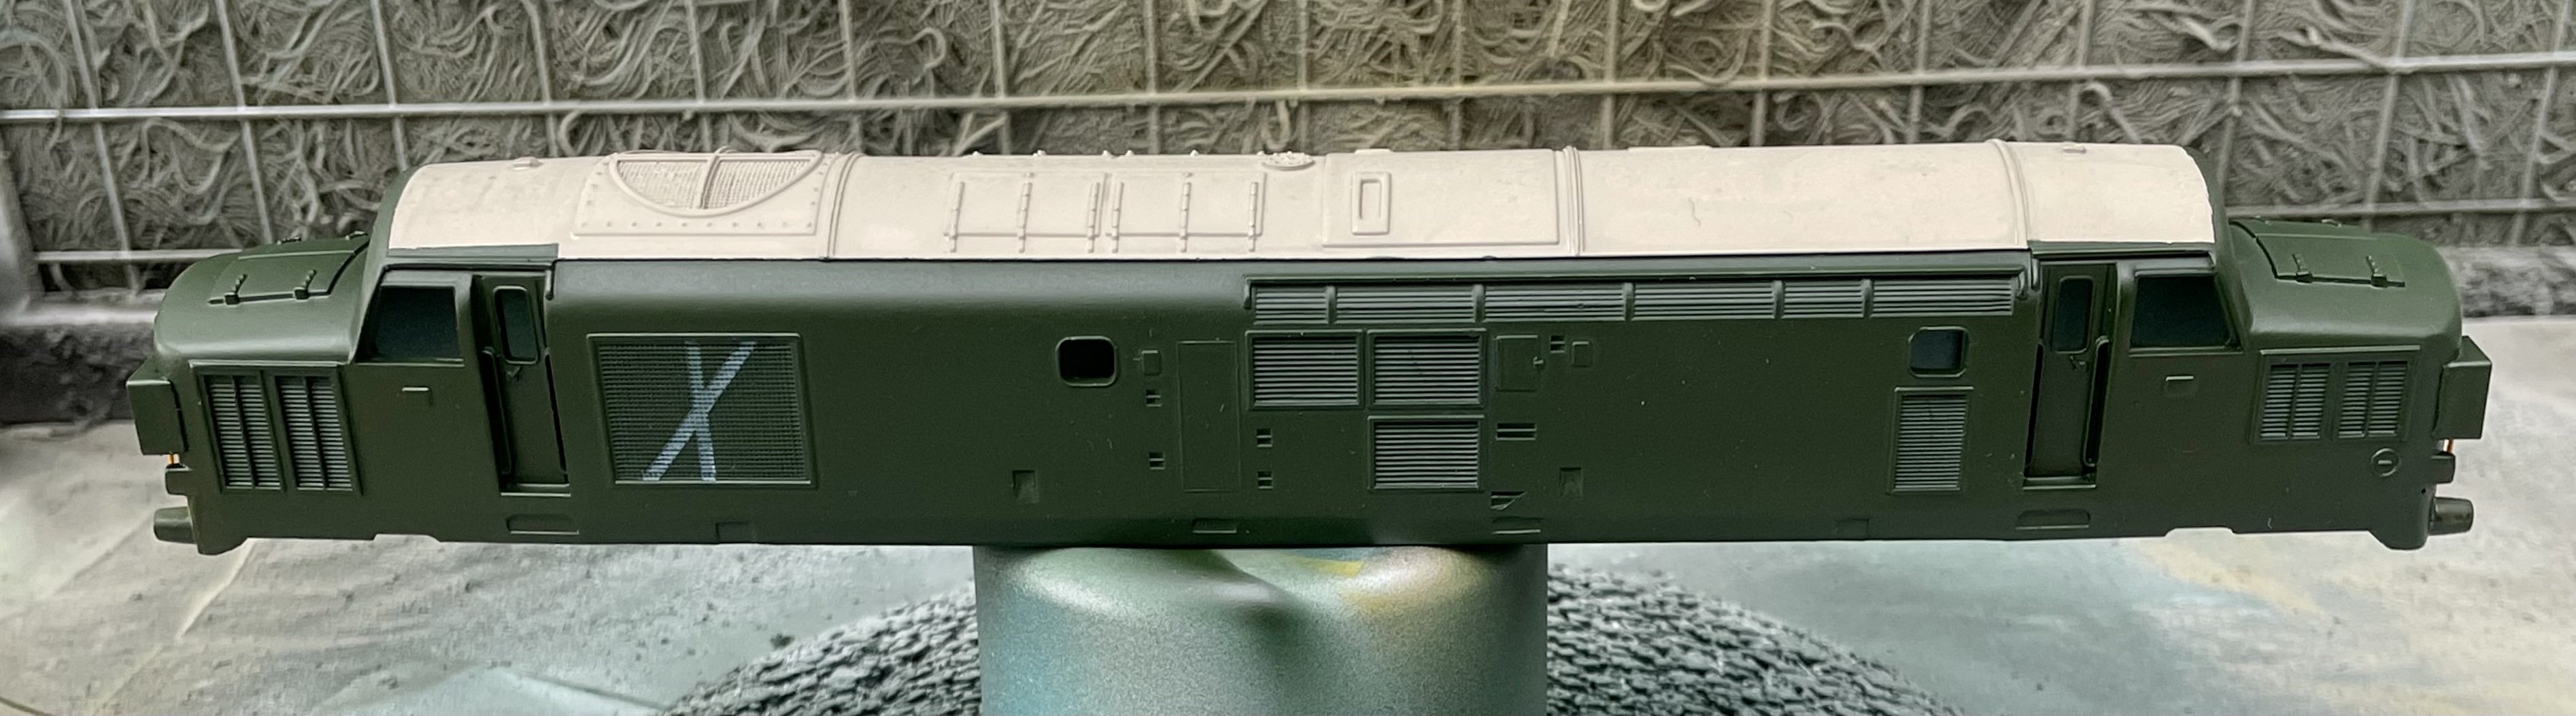
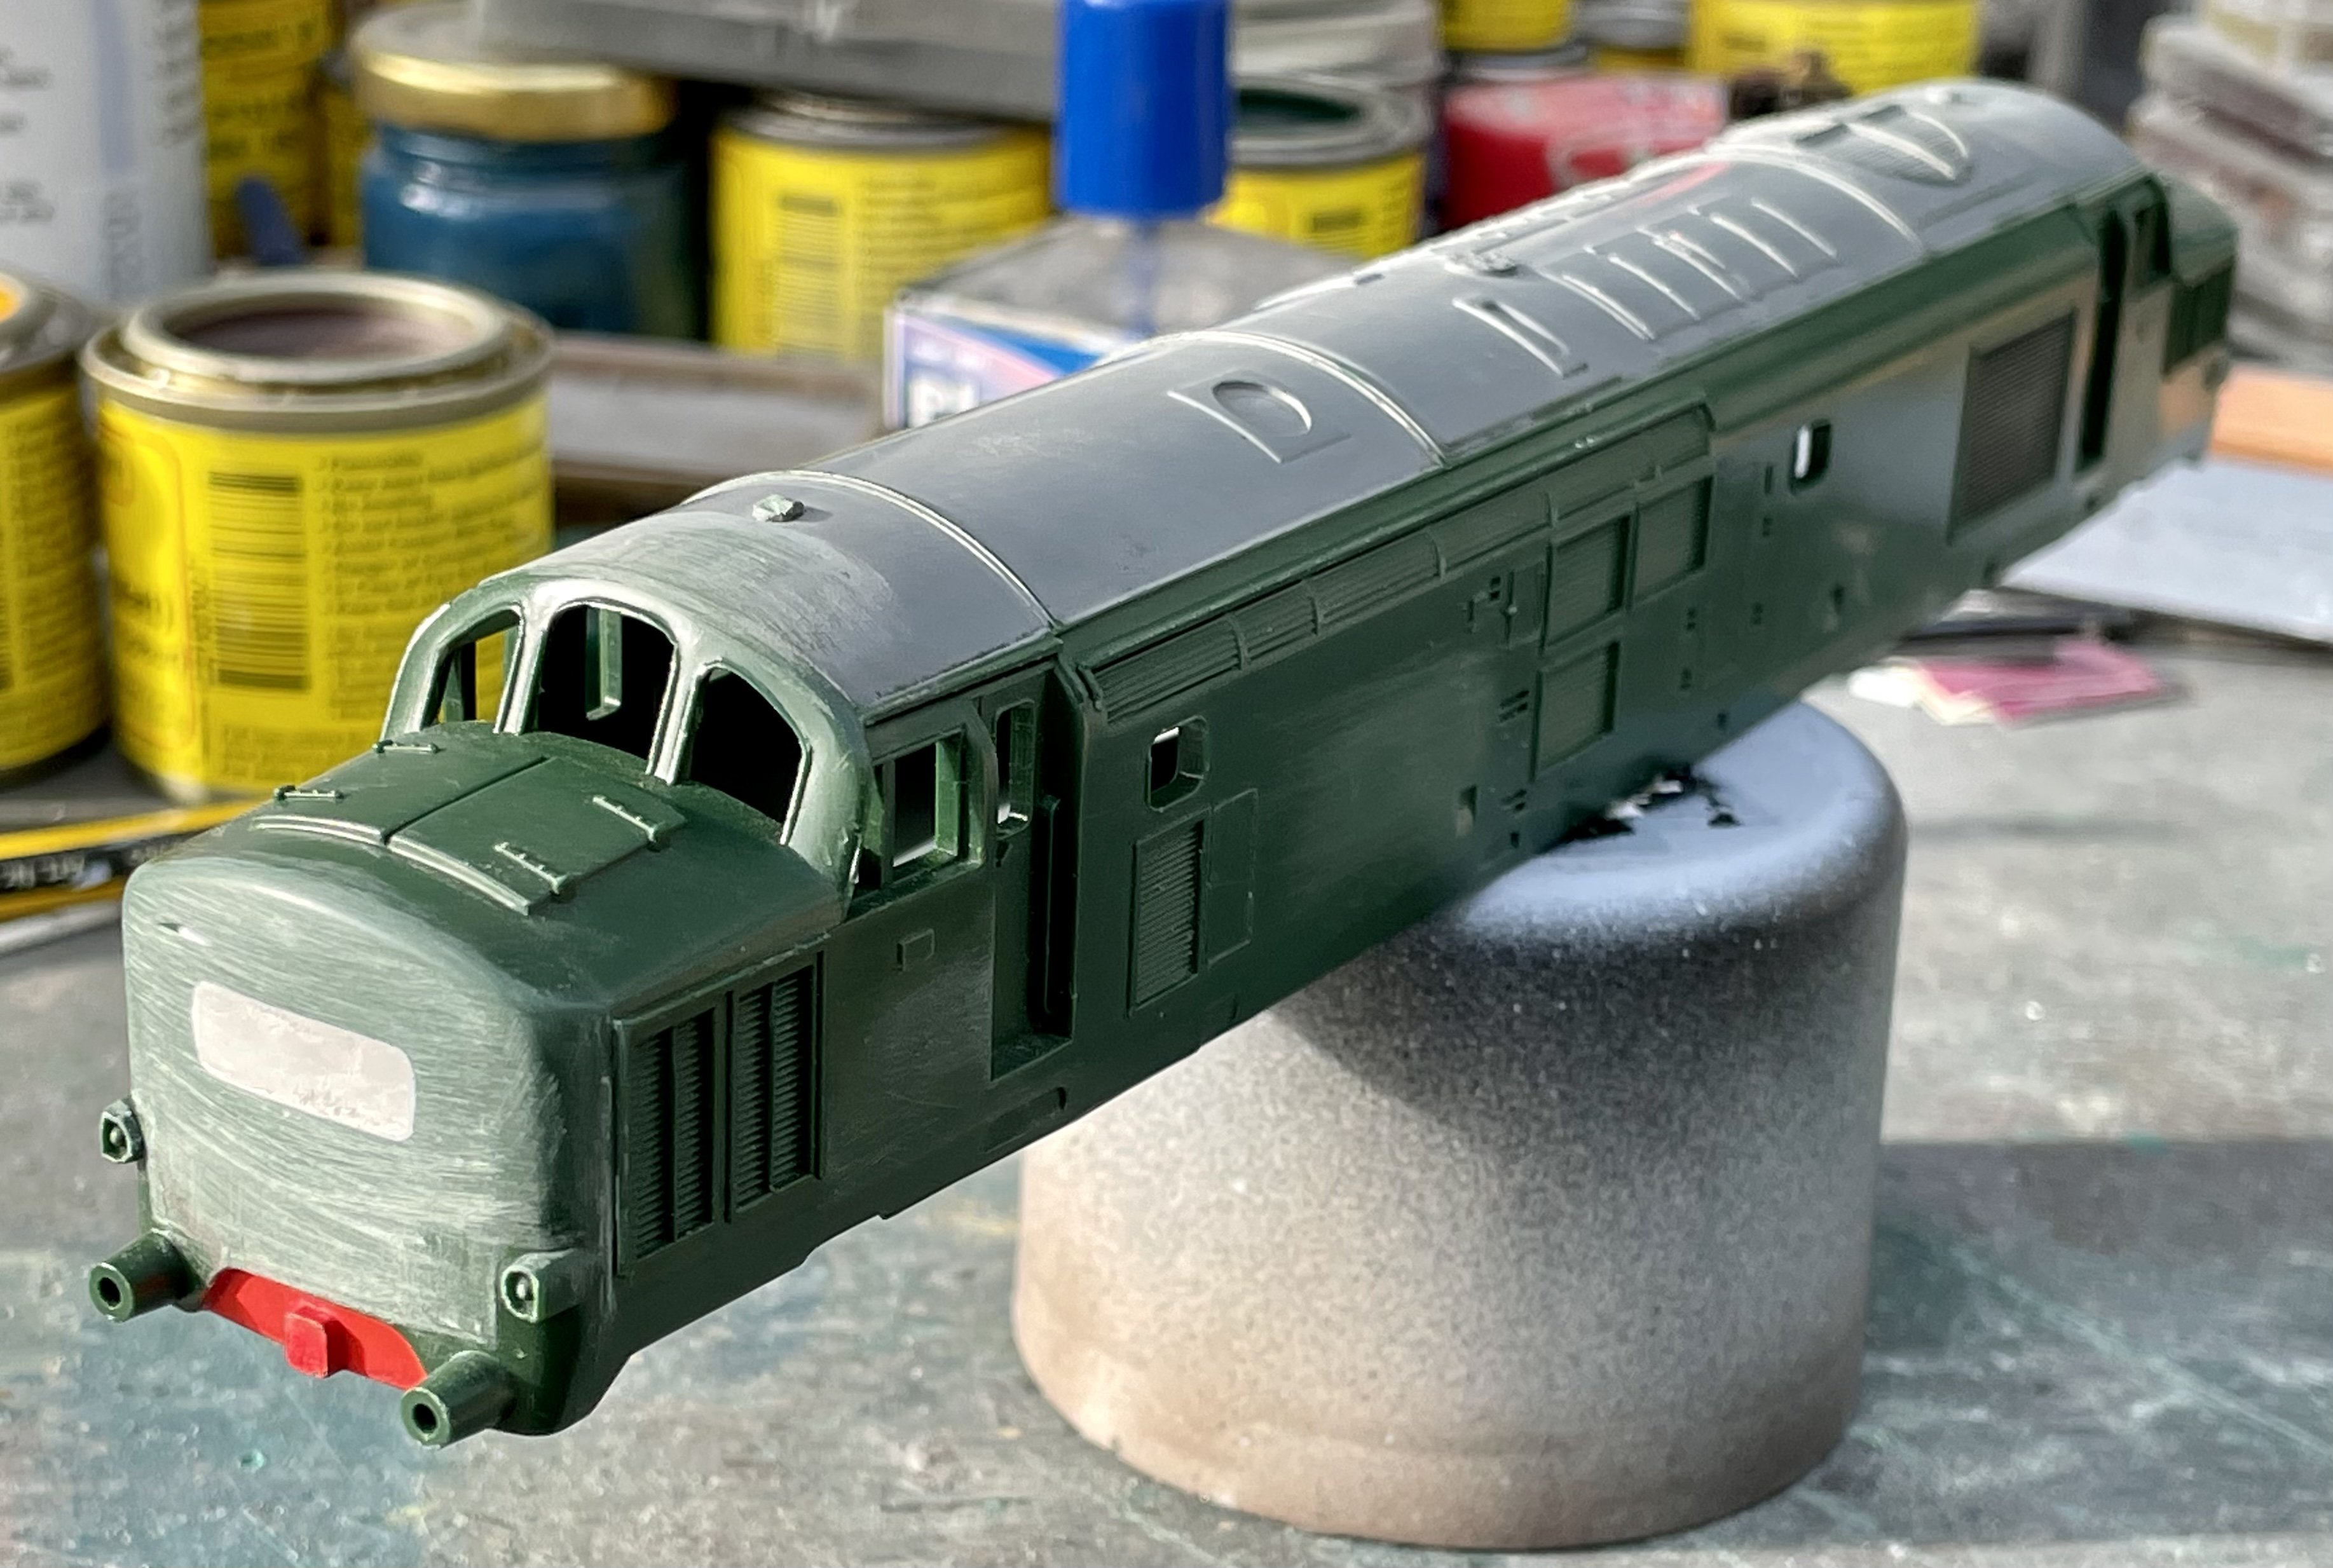
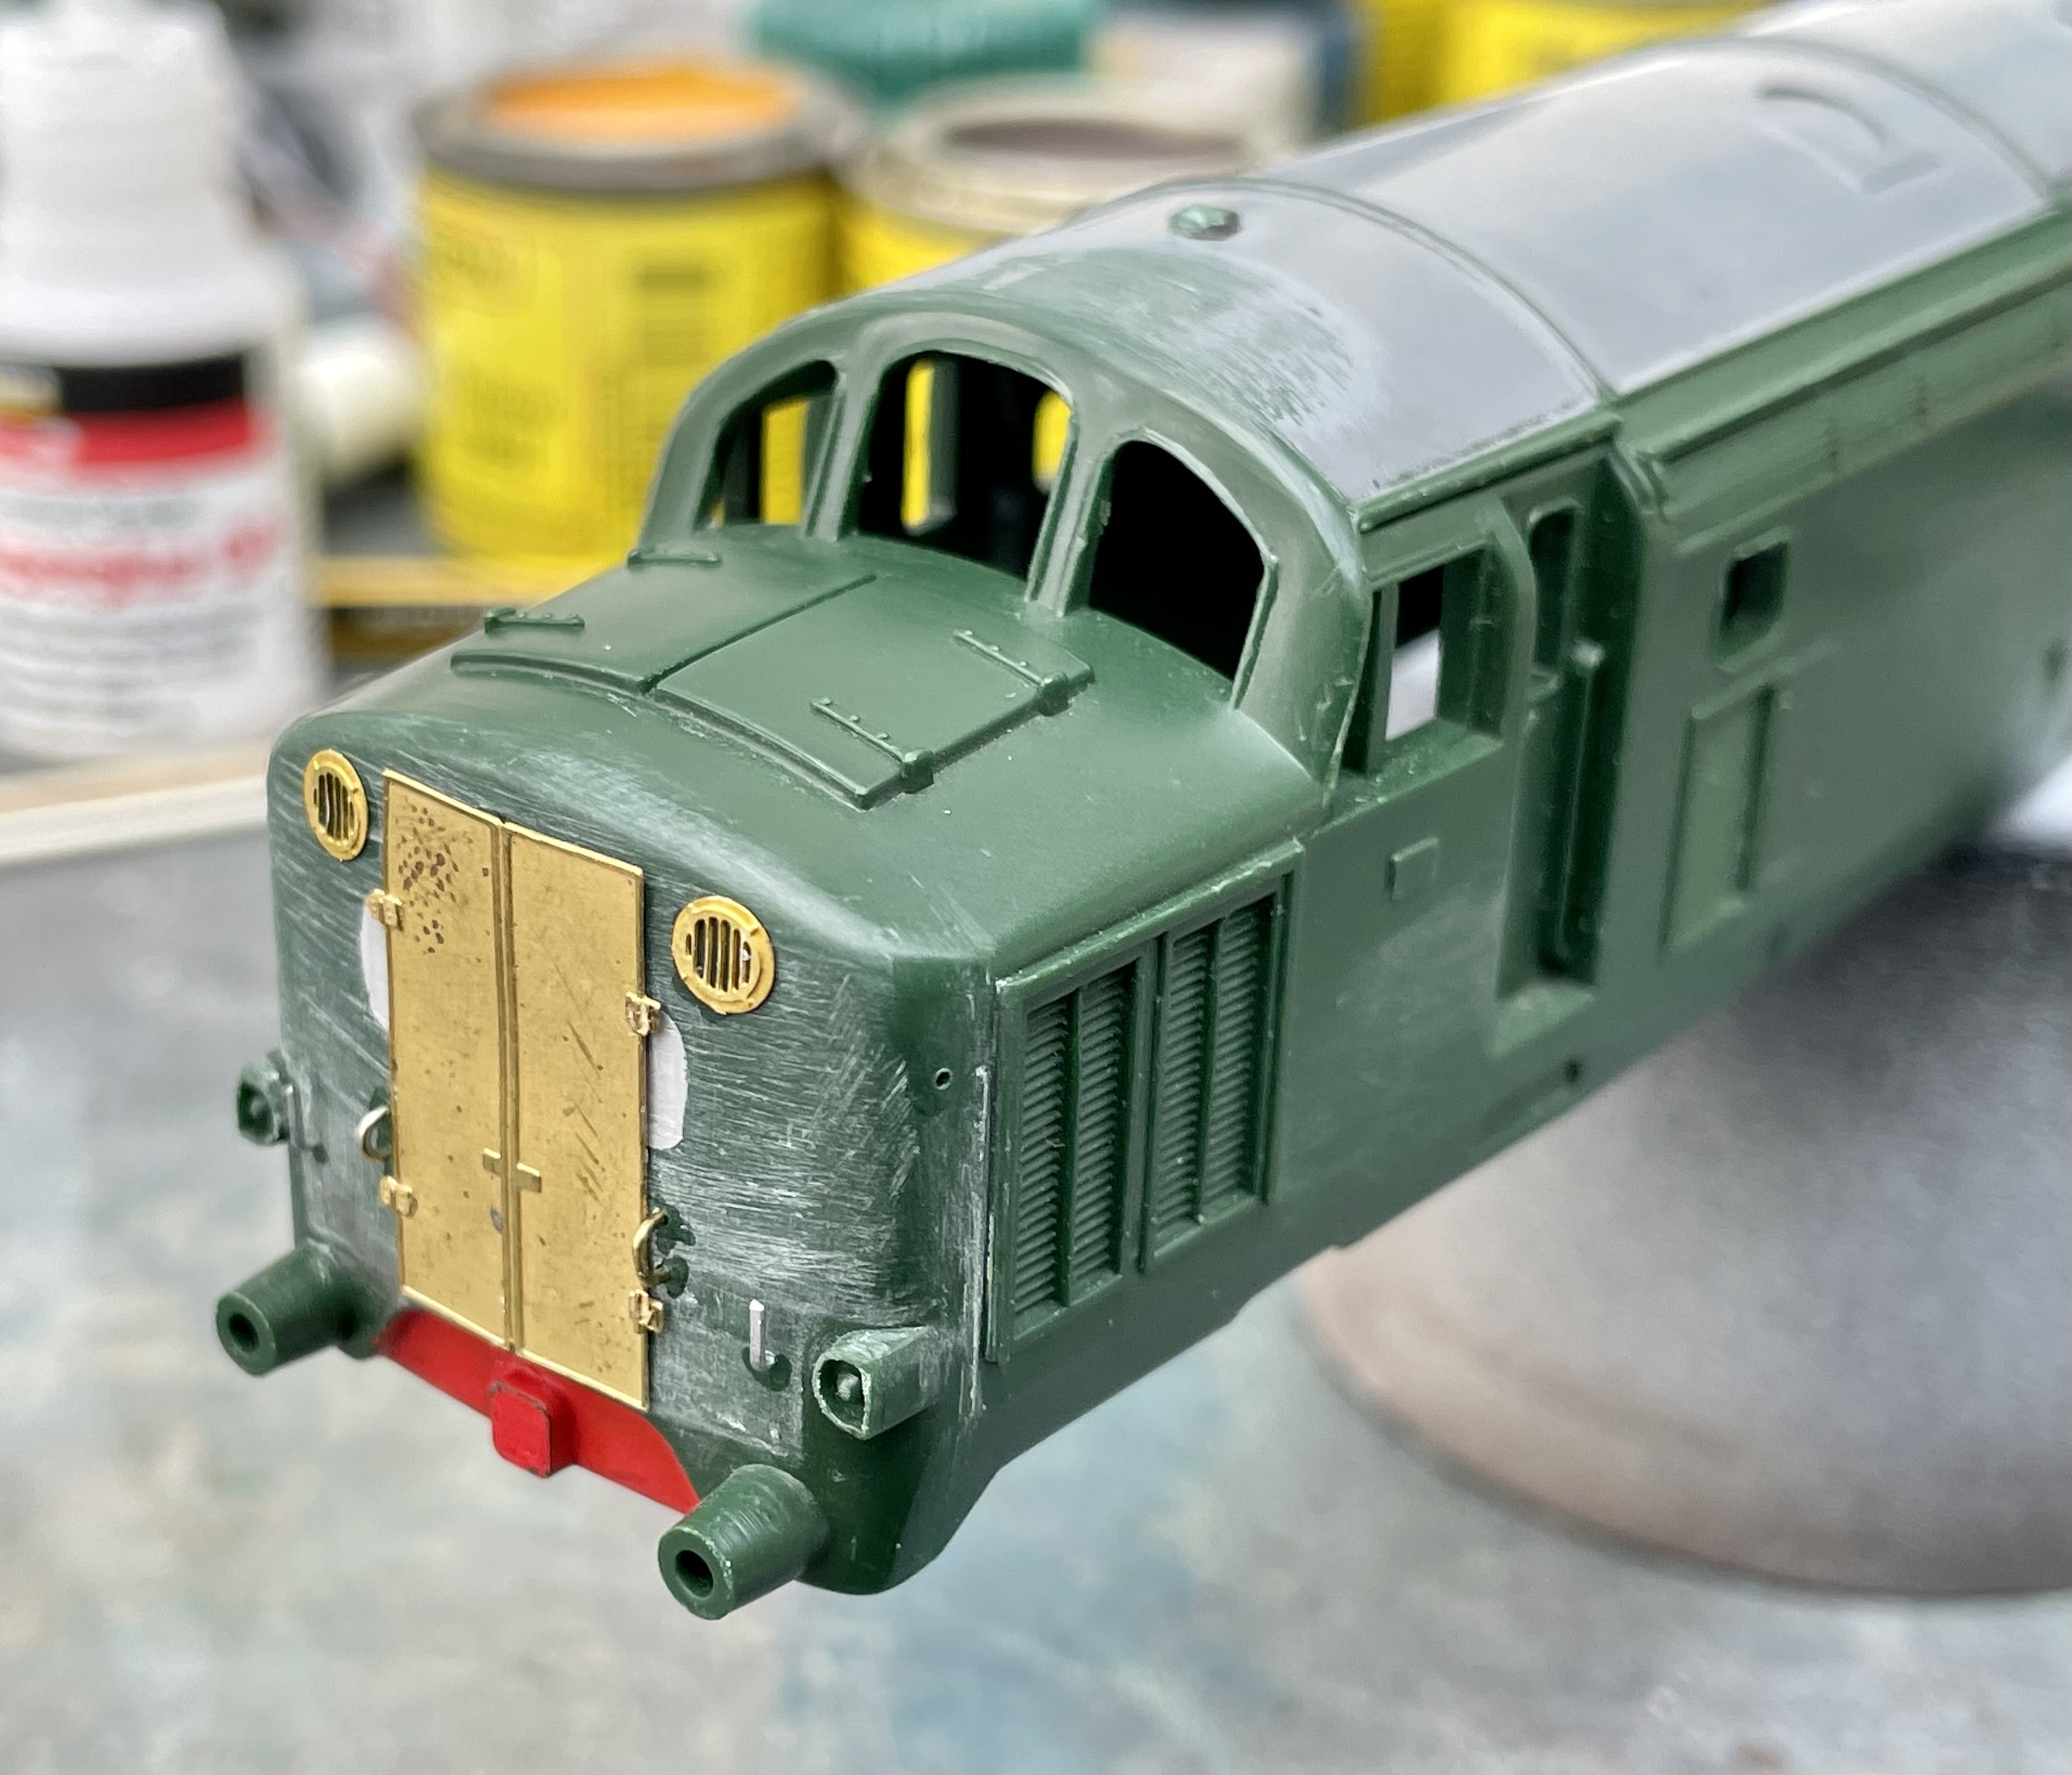
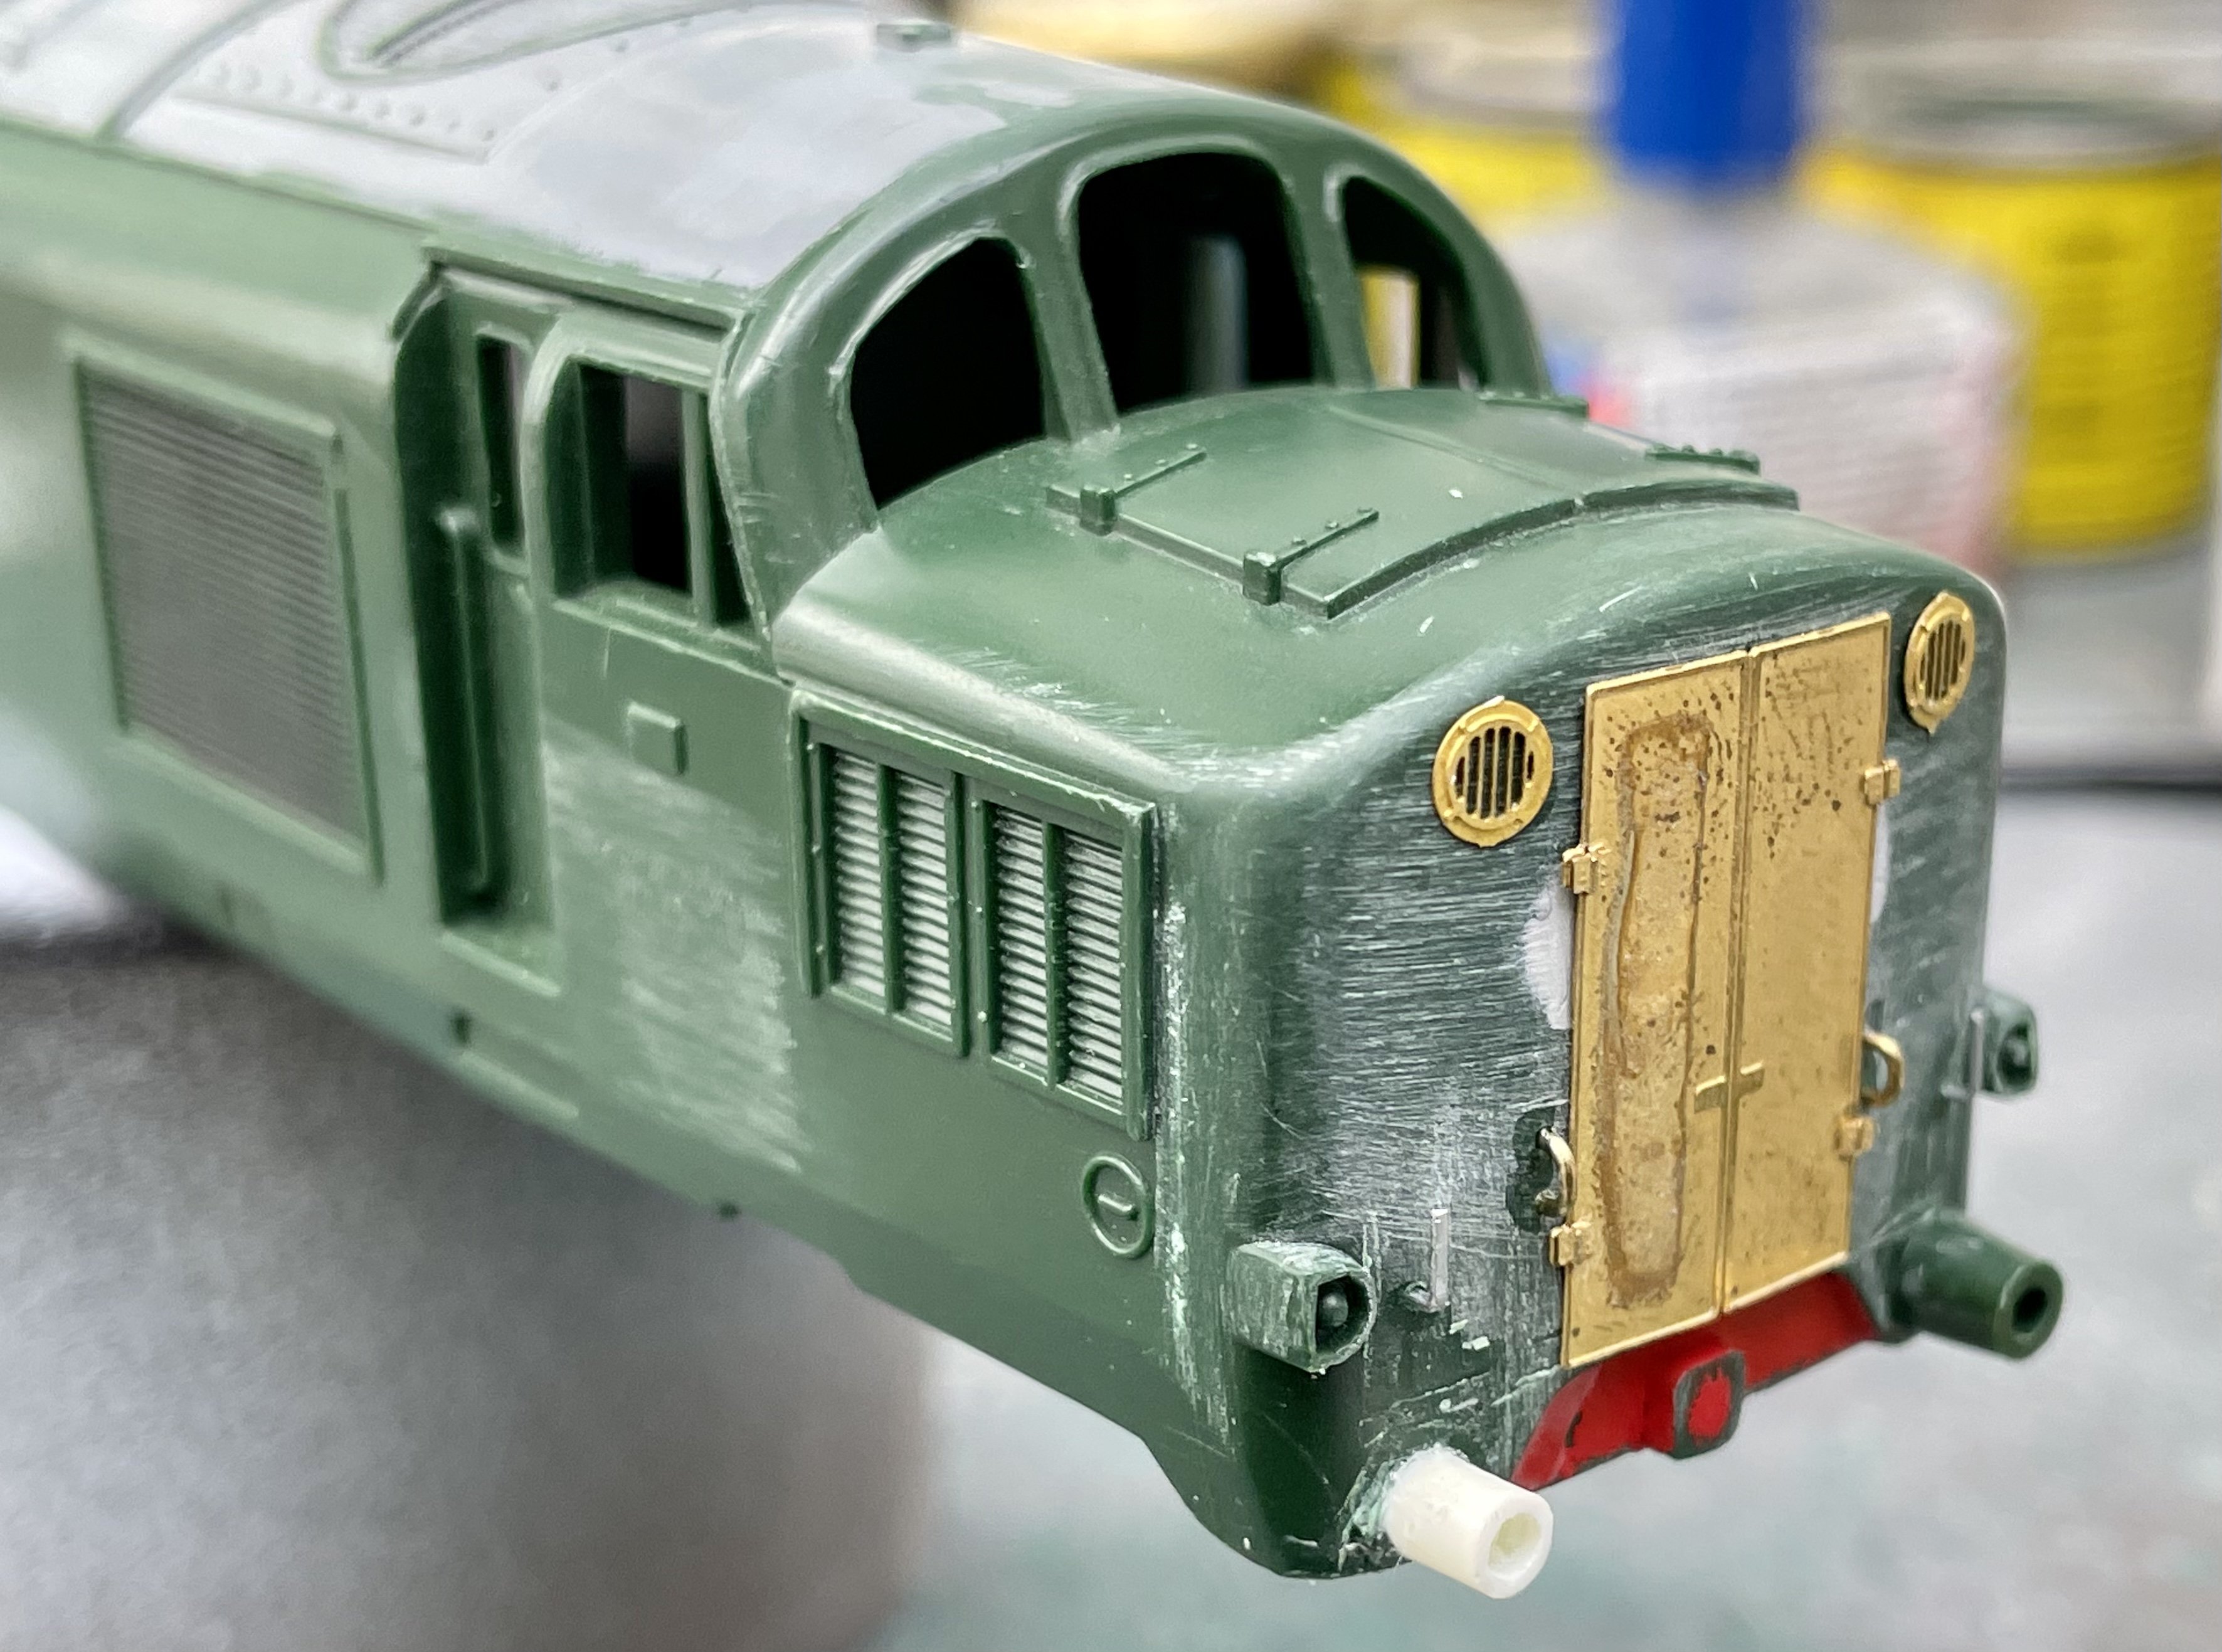
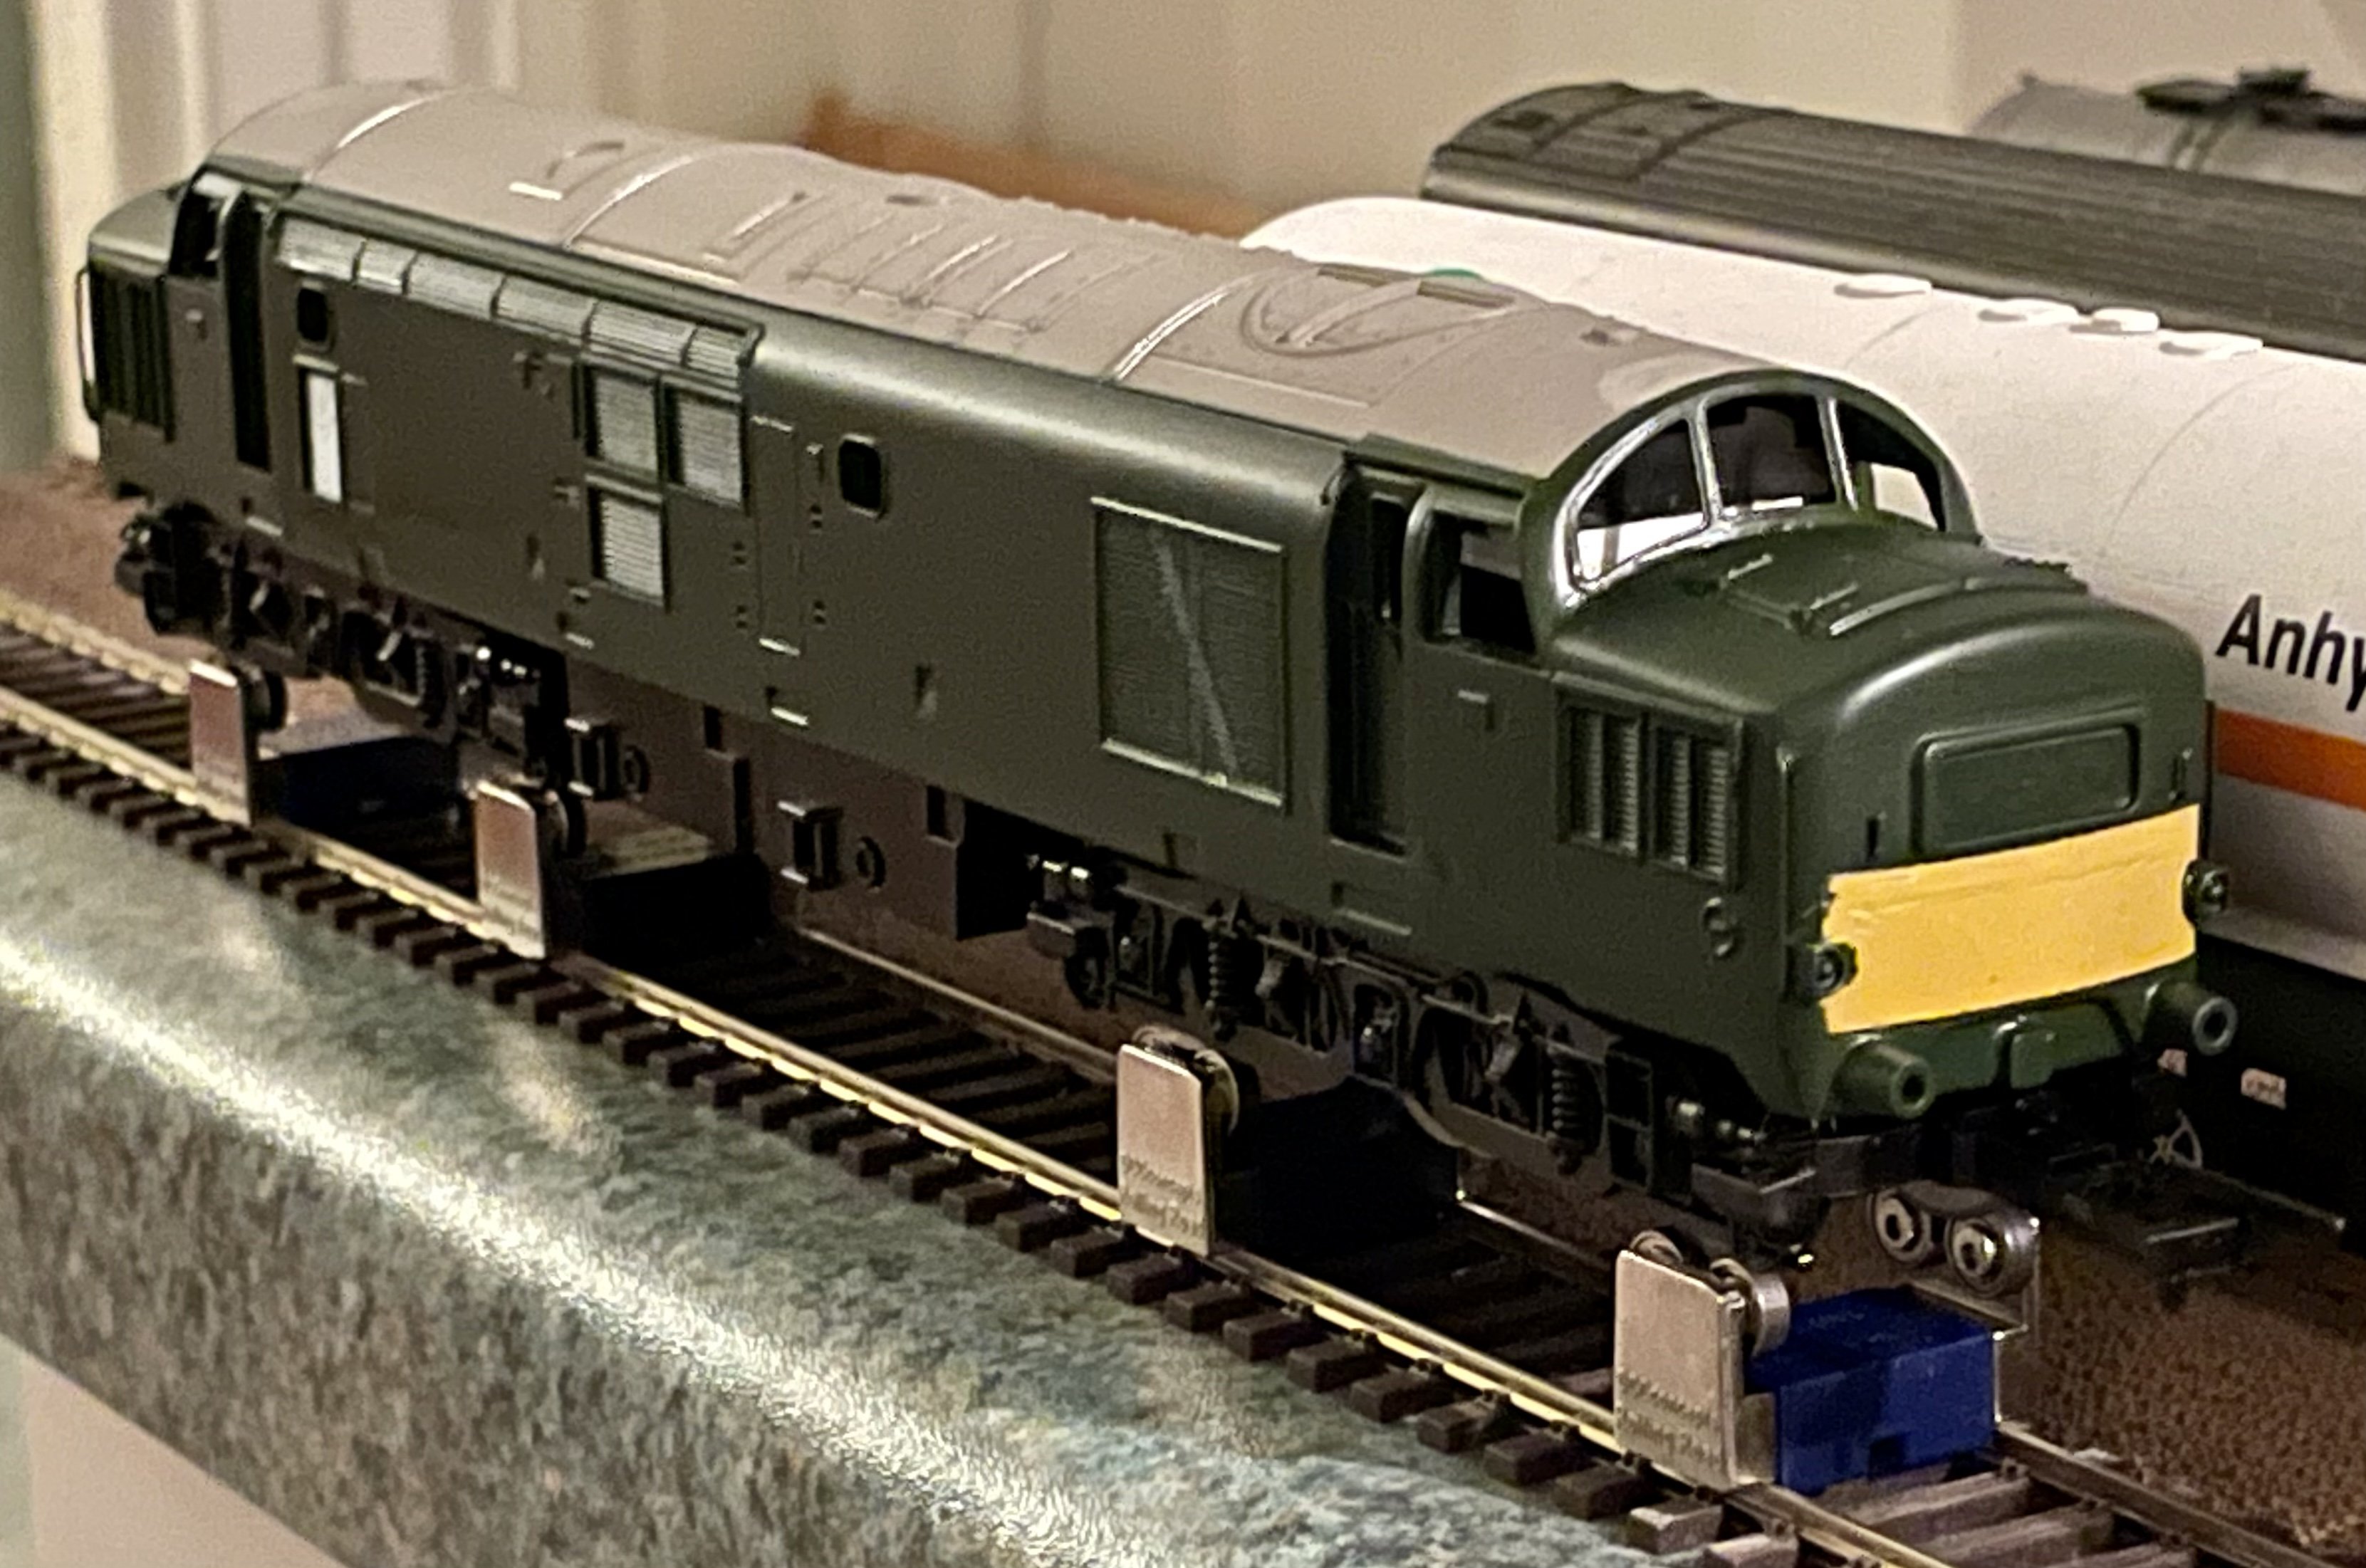
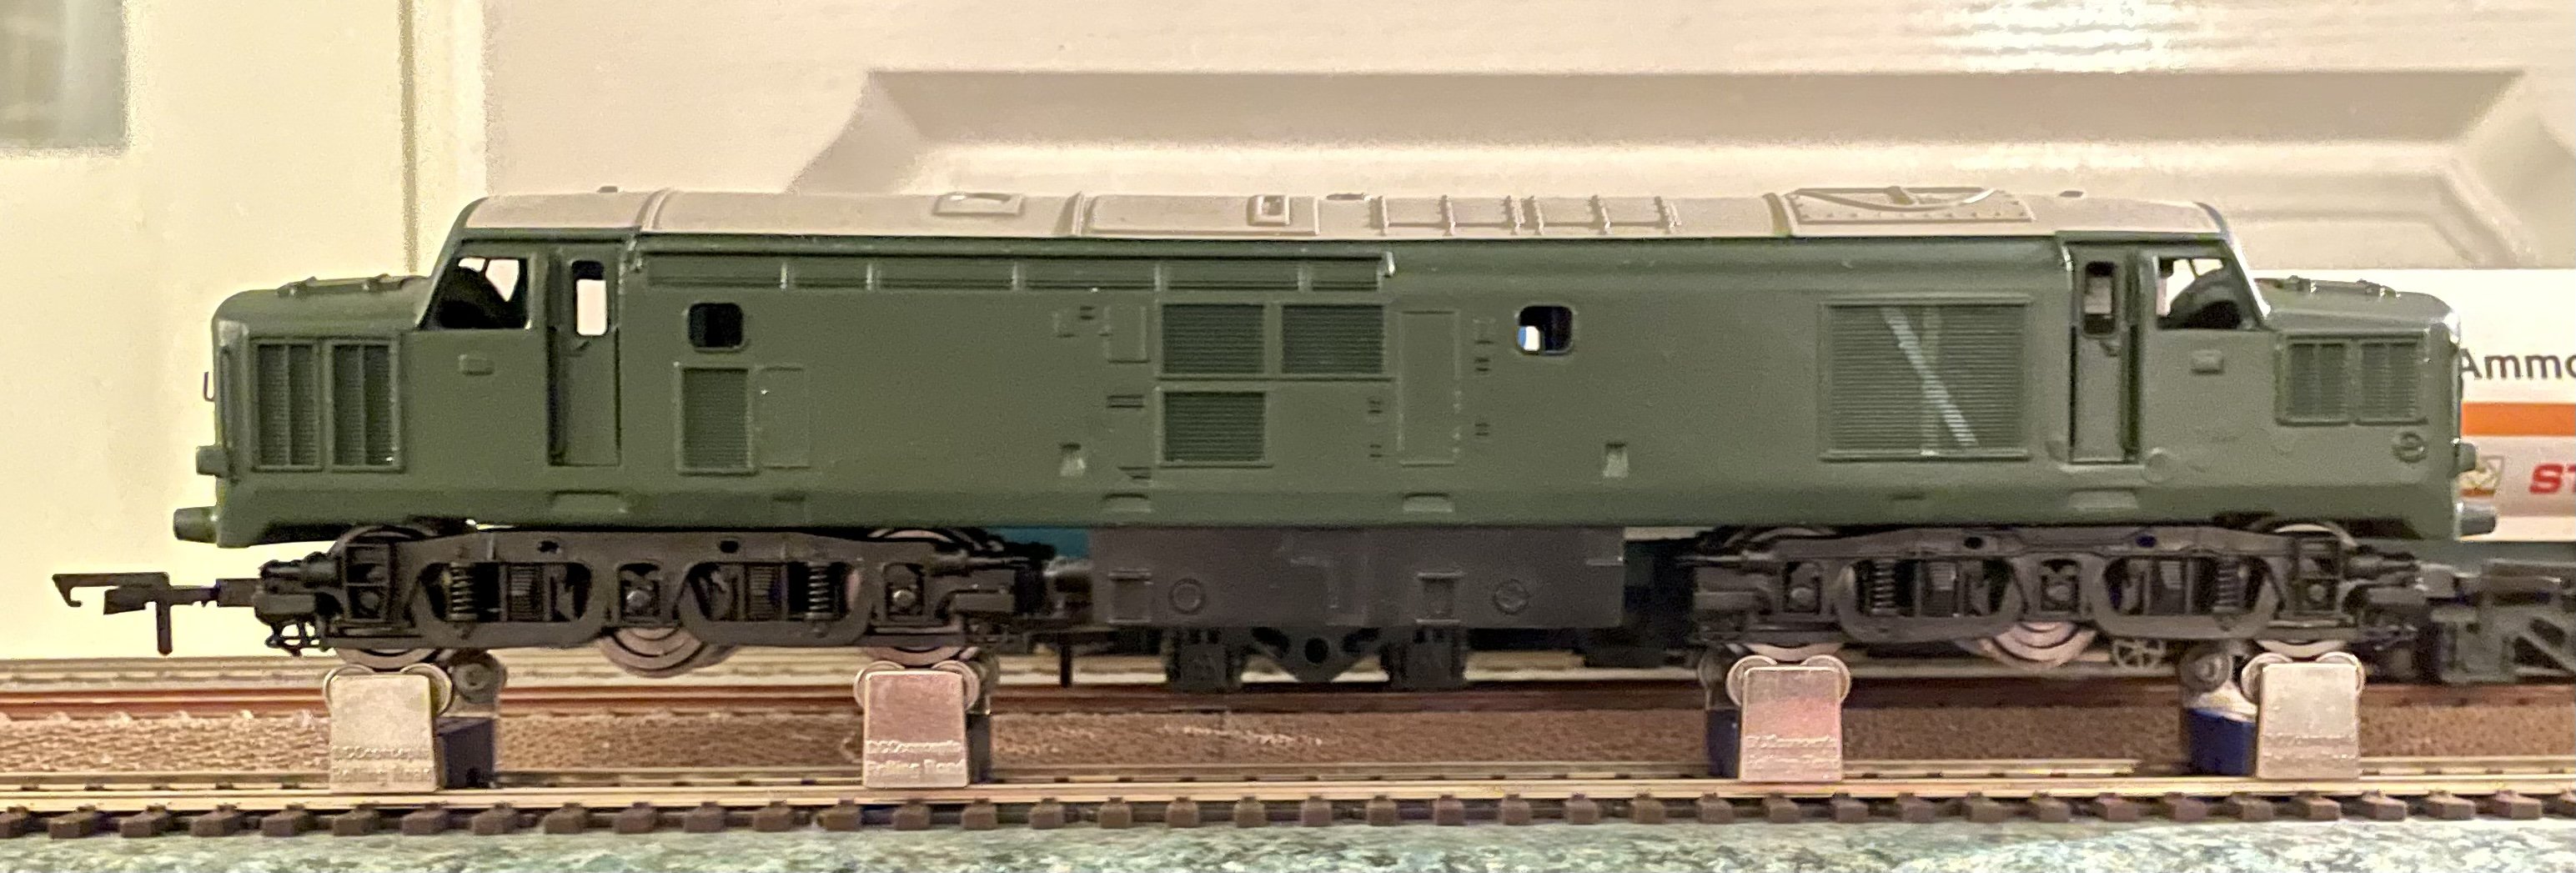
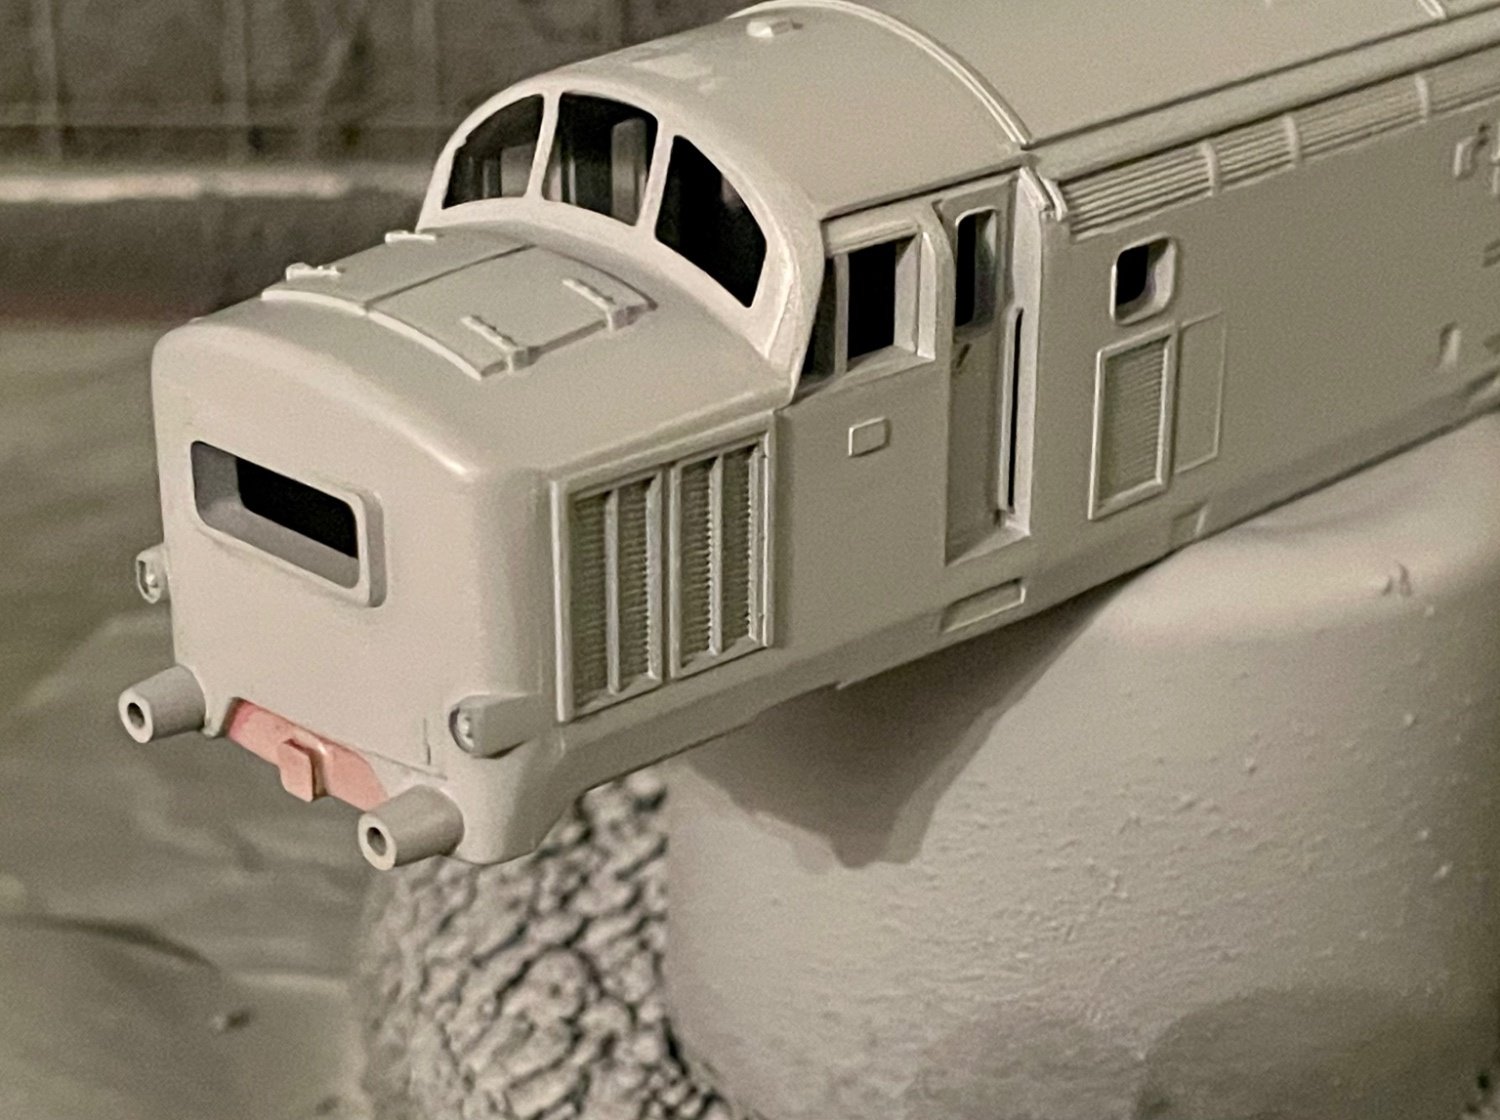
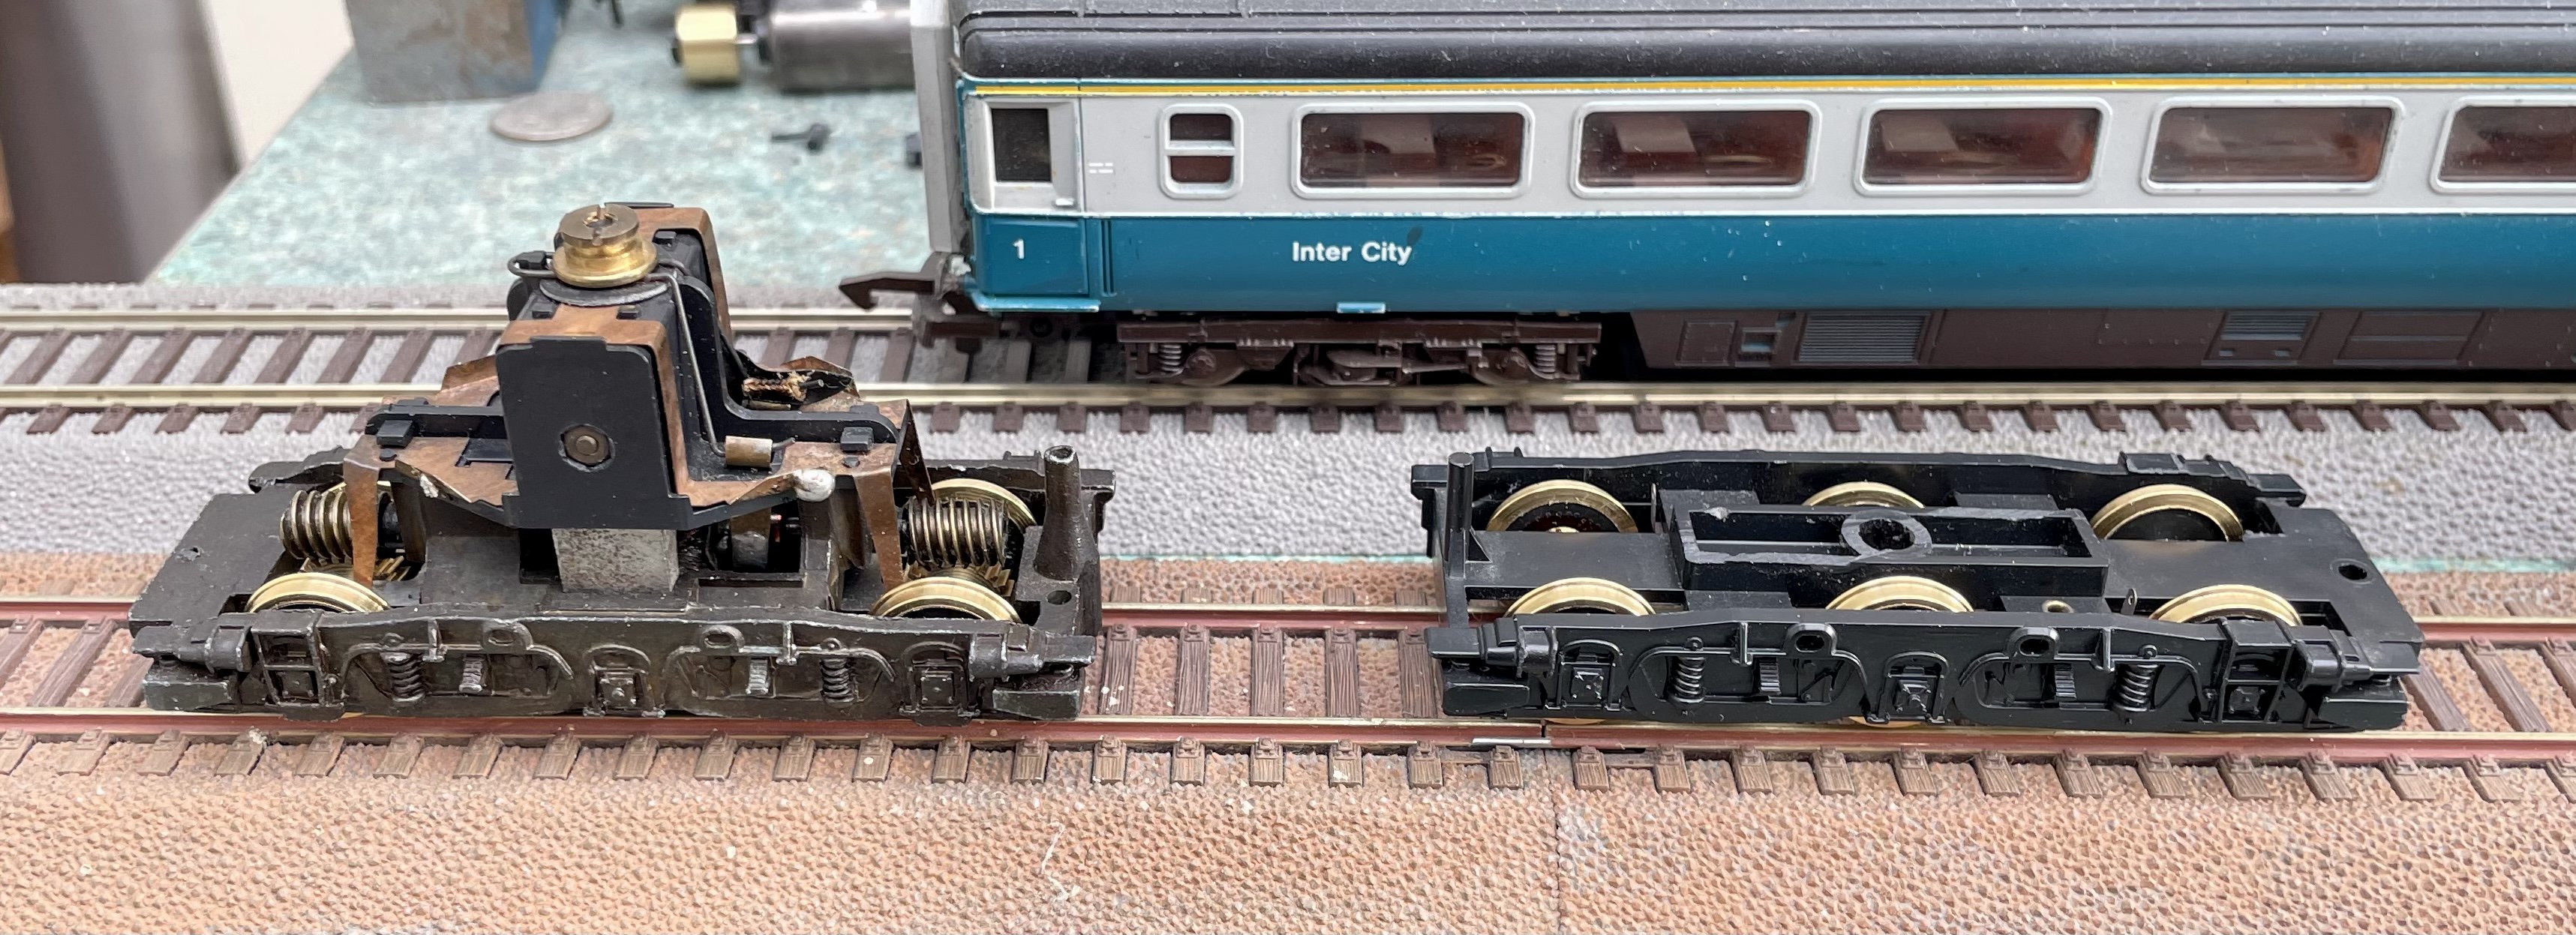
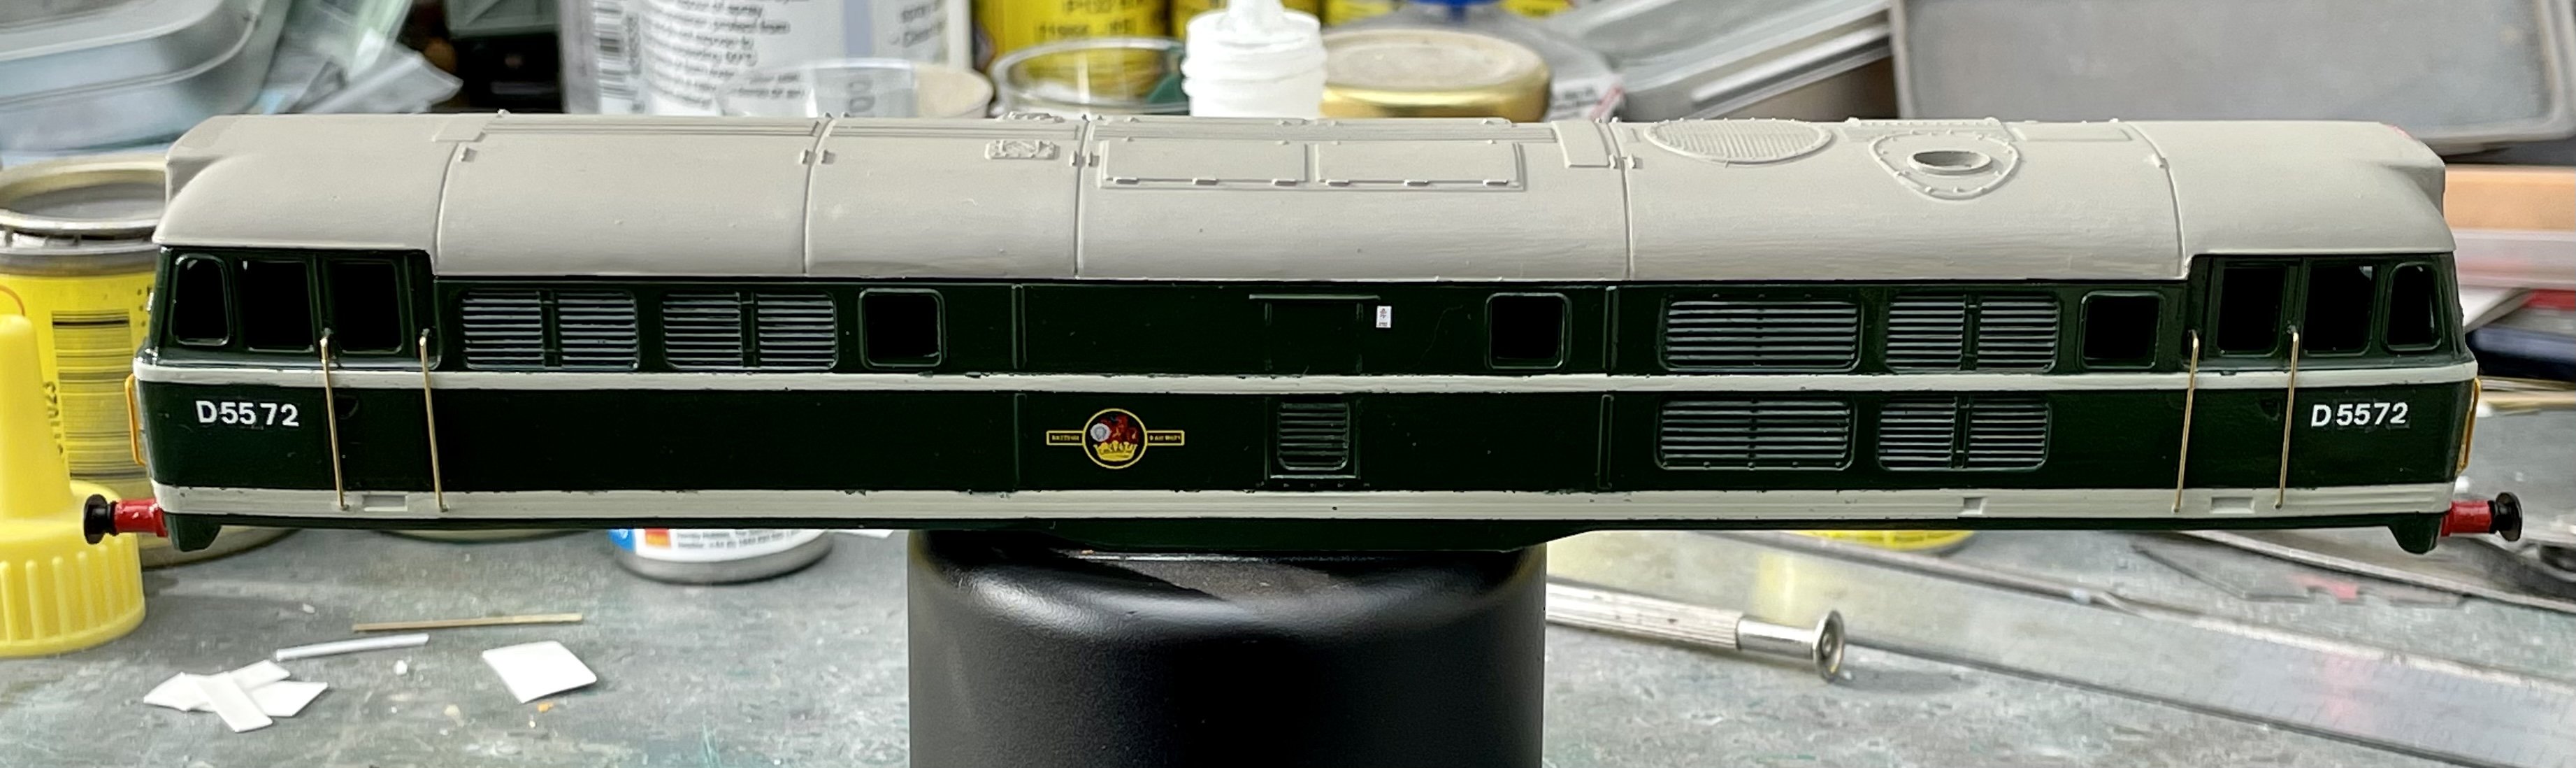
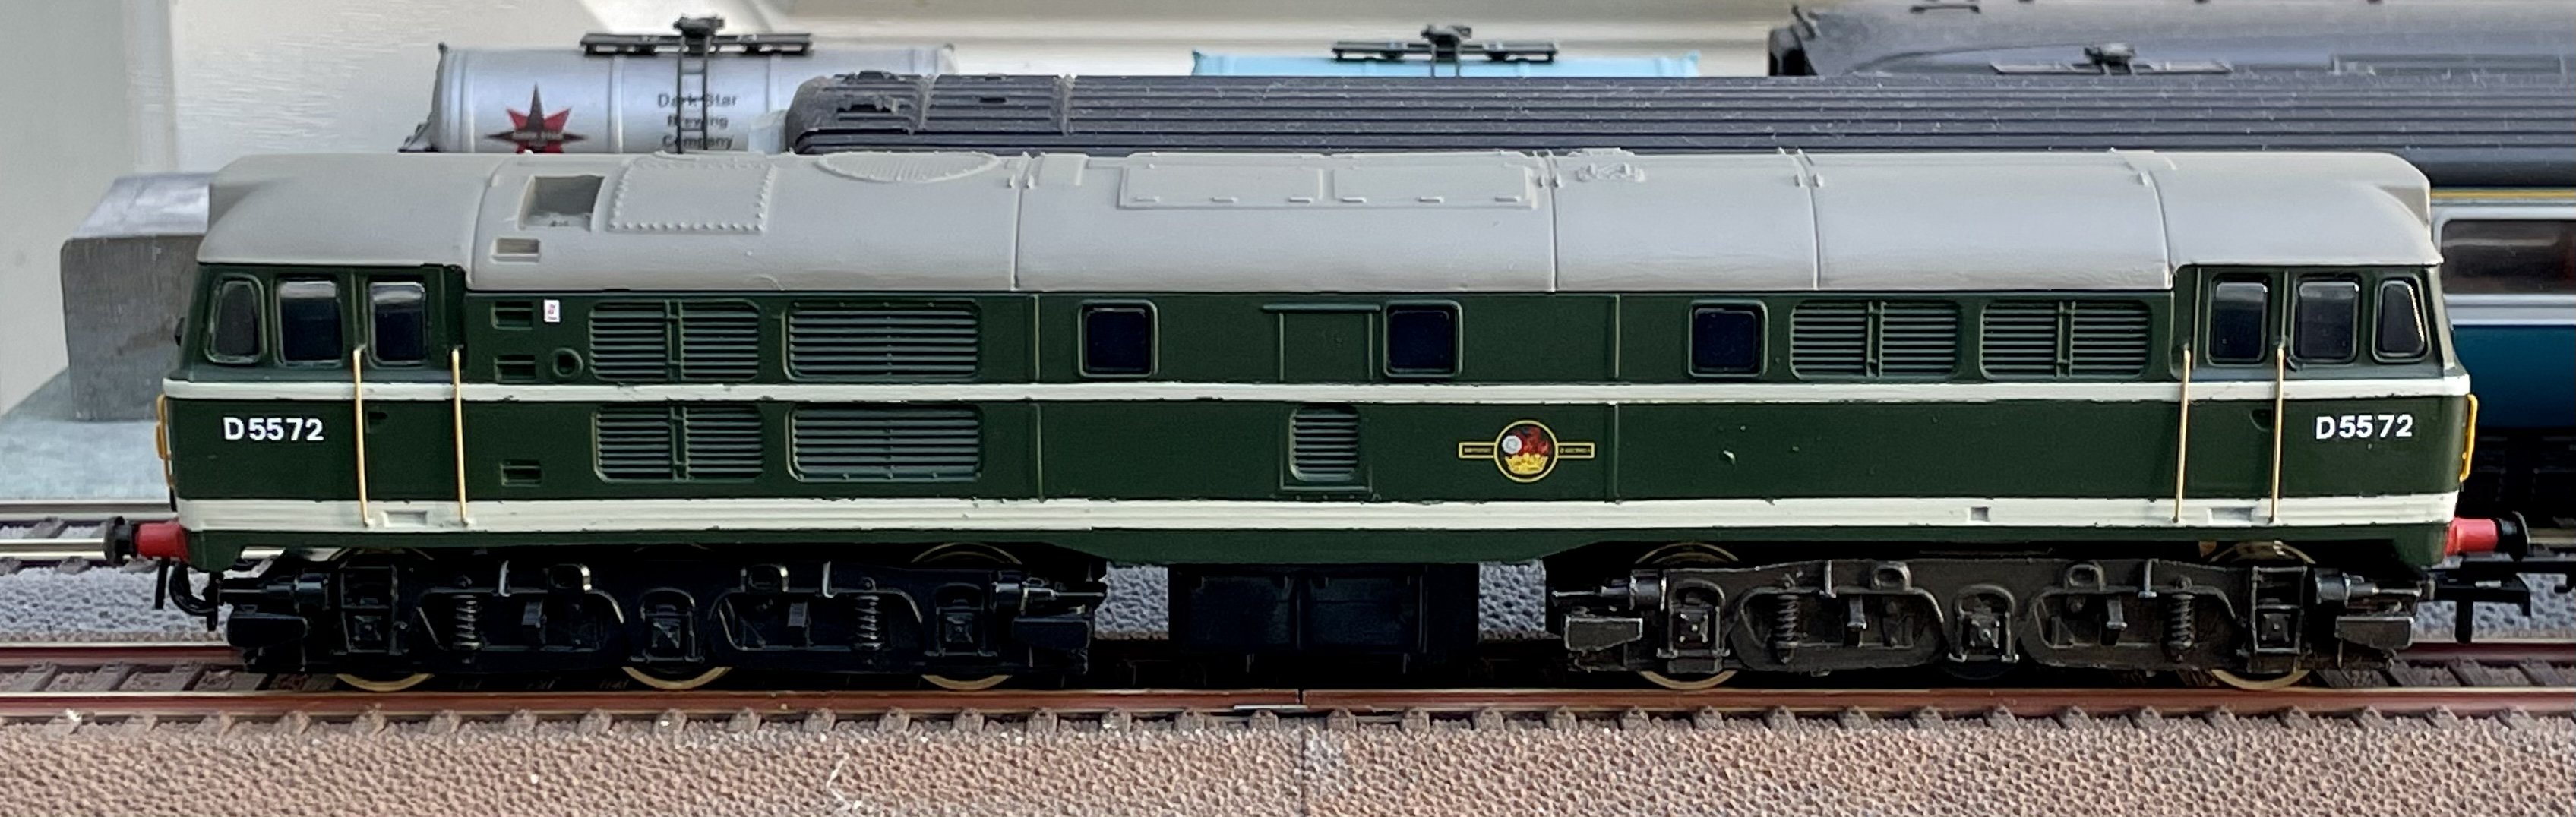
Next project on the bench - a Triang EE Type 3. Replacement power and trailing bogies found on eBay. Like the recently completed Brush Type 2, this is a friend of mine’s model that I am upgrading. He wants the retro look retained to a certain extent but one of the main requirements is for the loco to run on code 75 track so new wheels are essential - these new bogies fit the bill. They will also, hopefully, sound less like a bucket of bolts than the modified Triang motor bogie when running. Lamp irons and handrails fitted to the noses. The taped “bracing” on the main grilles is to create an impression of the real thing. They will be removed after the next primer coat. Cheers Darius
-
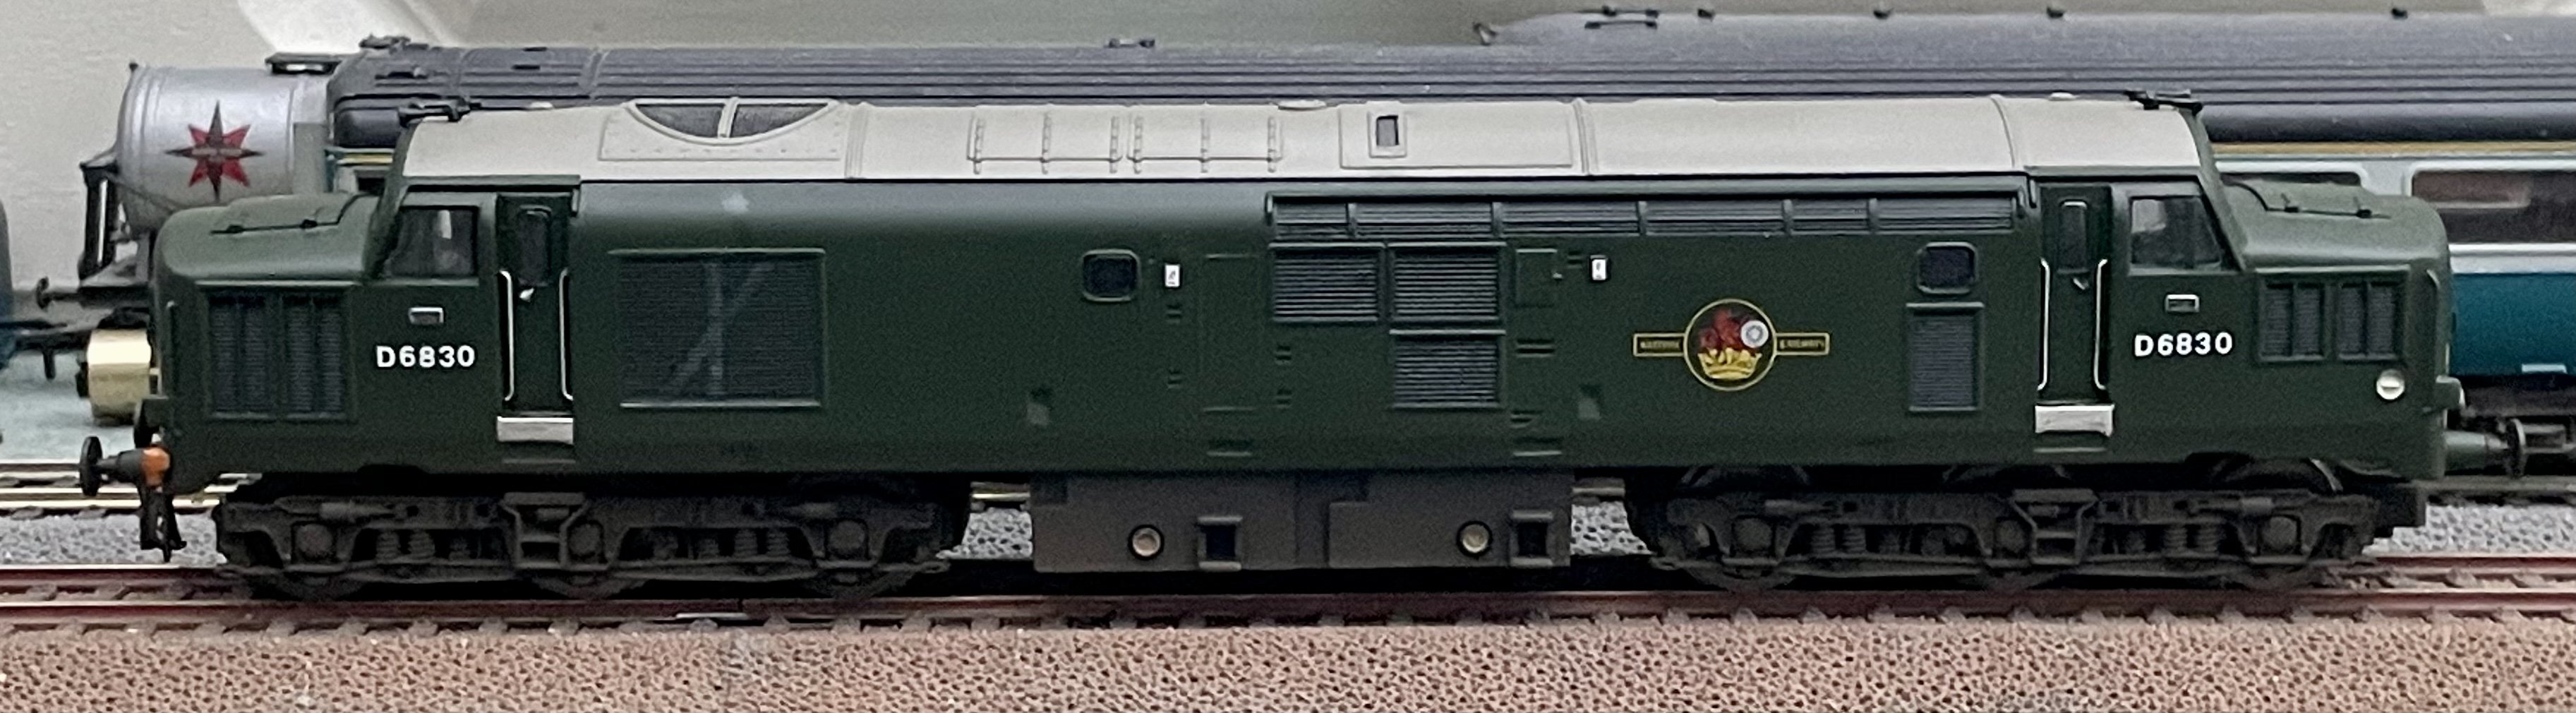
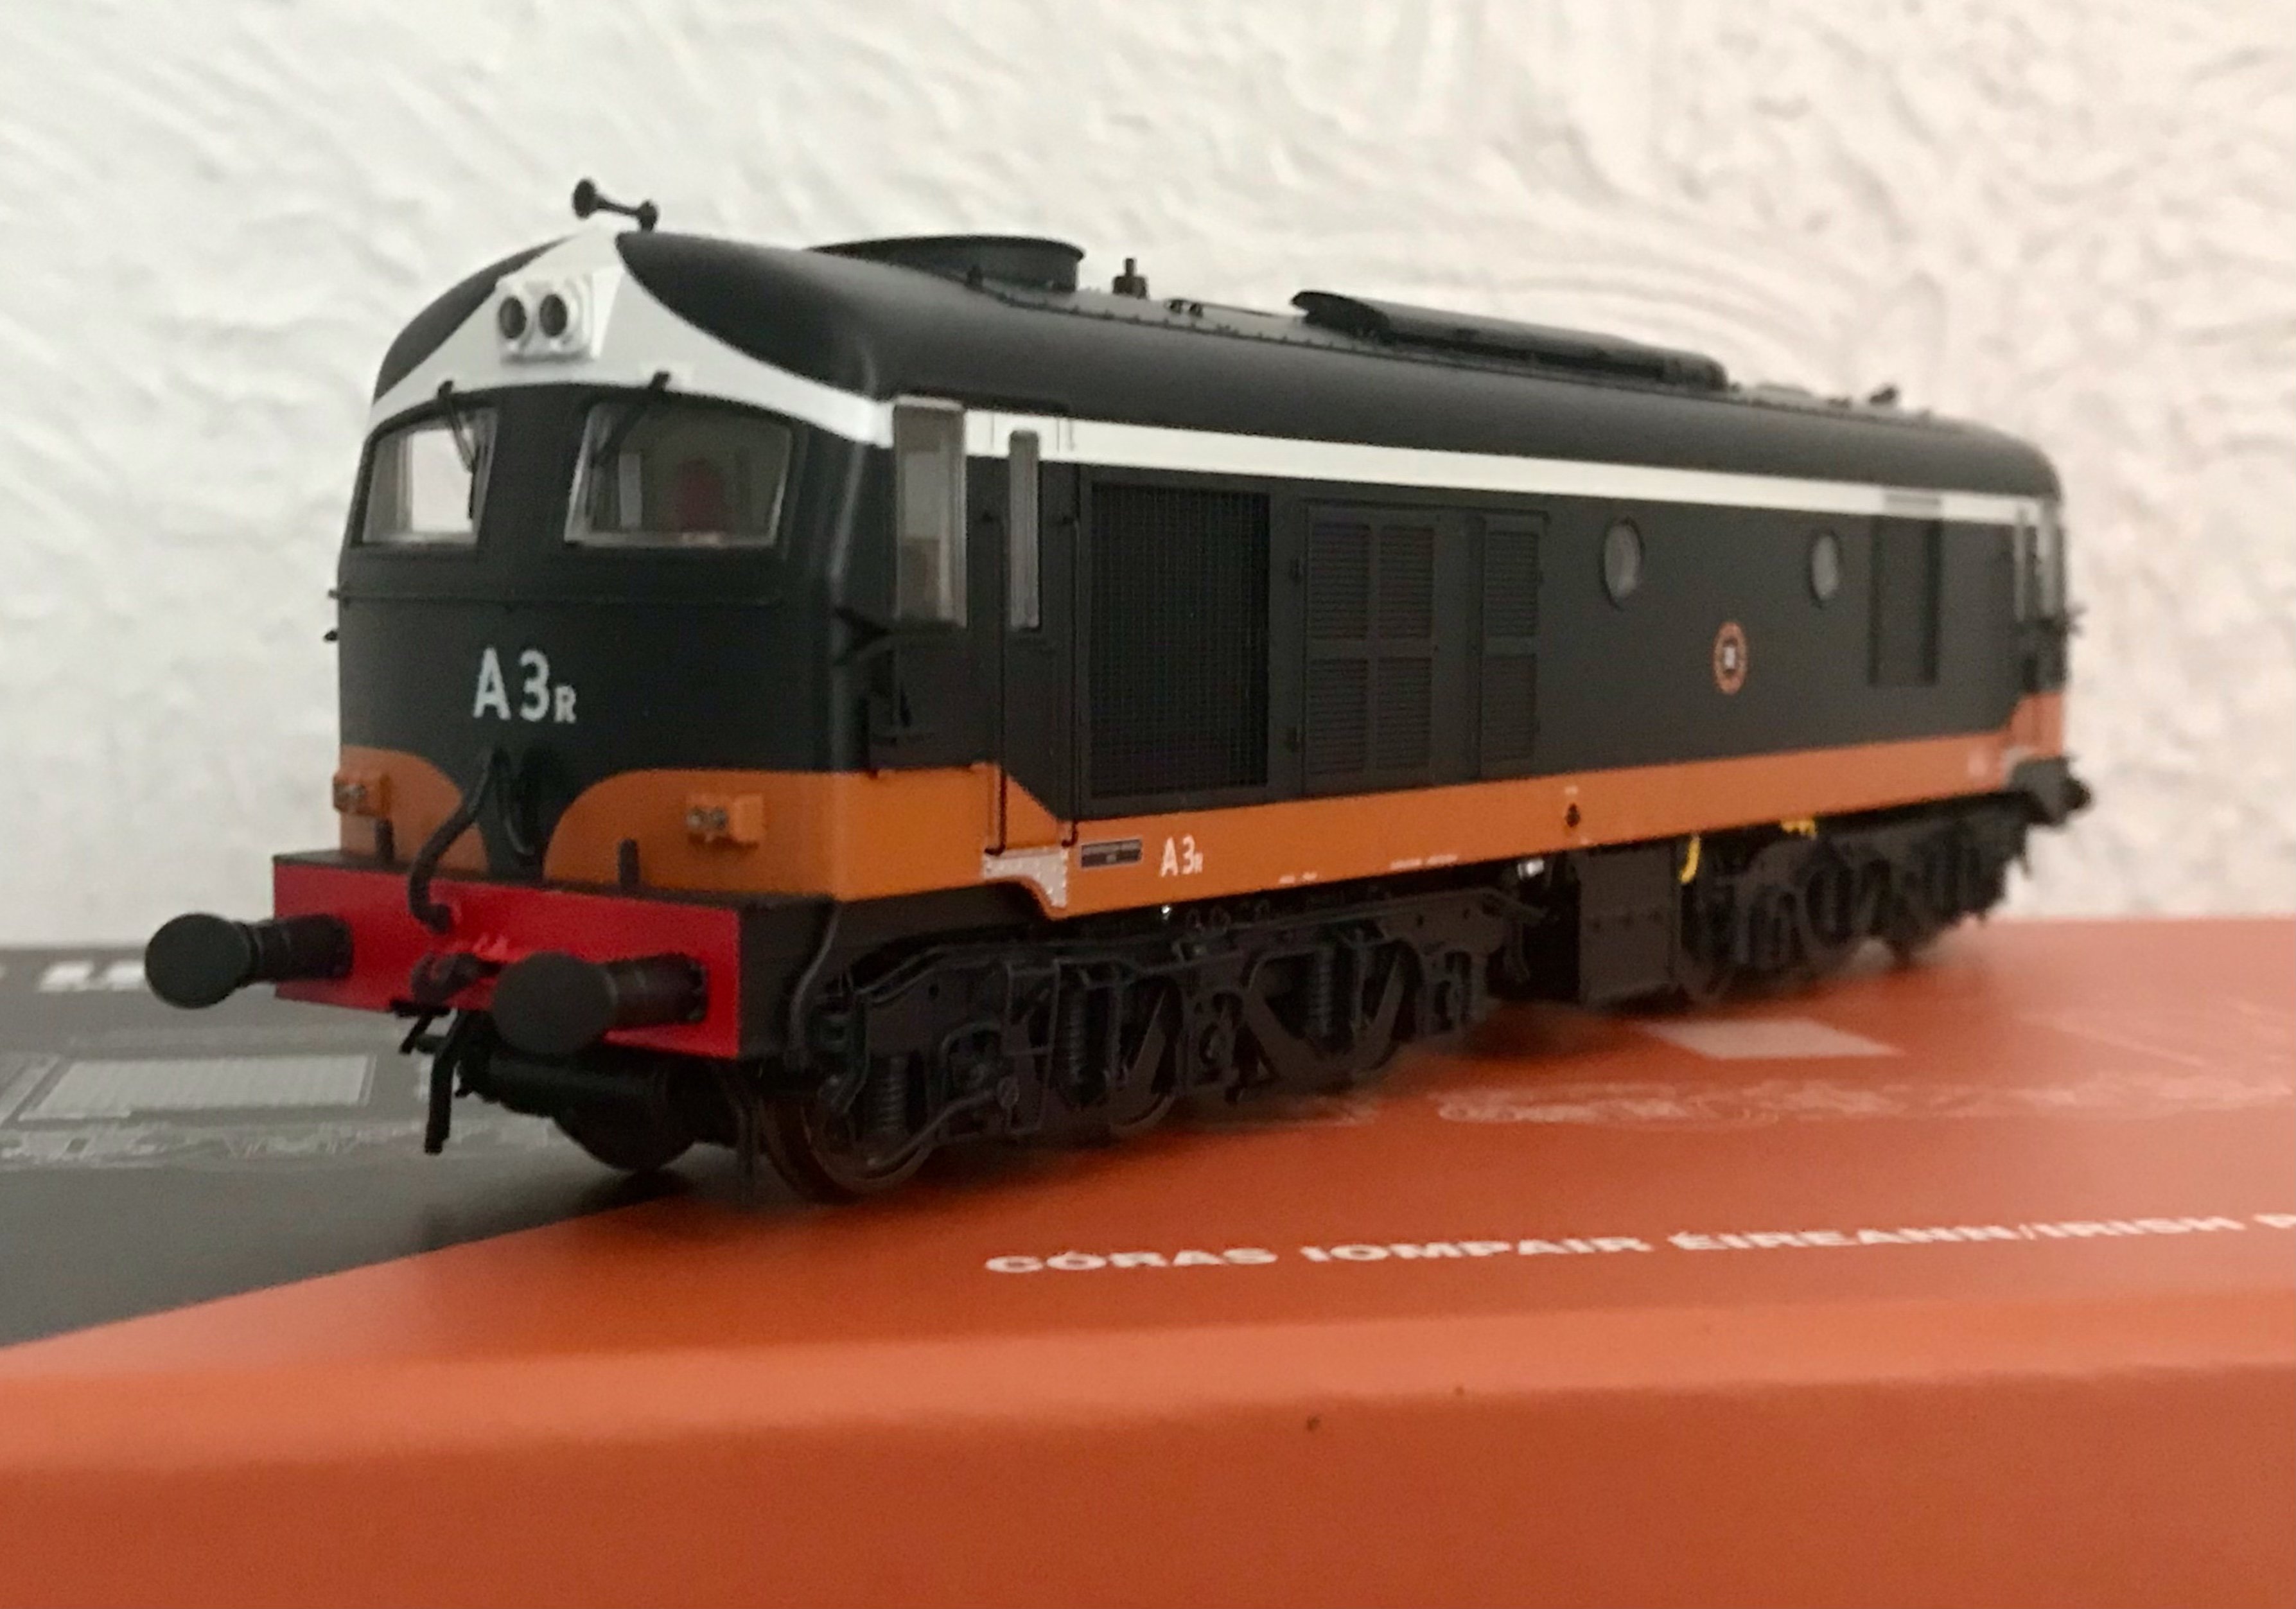
Blue stars and Brush works plates added courtesy of Railtec Decals. Cheers Darius
-
 Cheers Darius
-
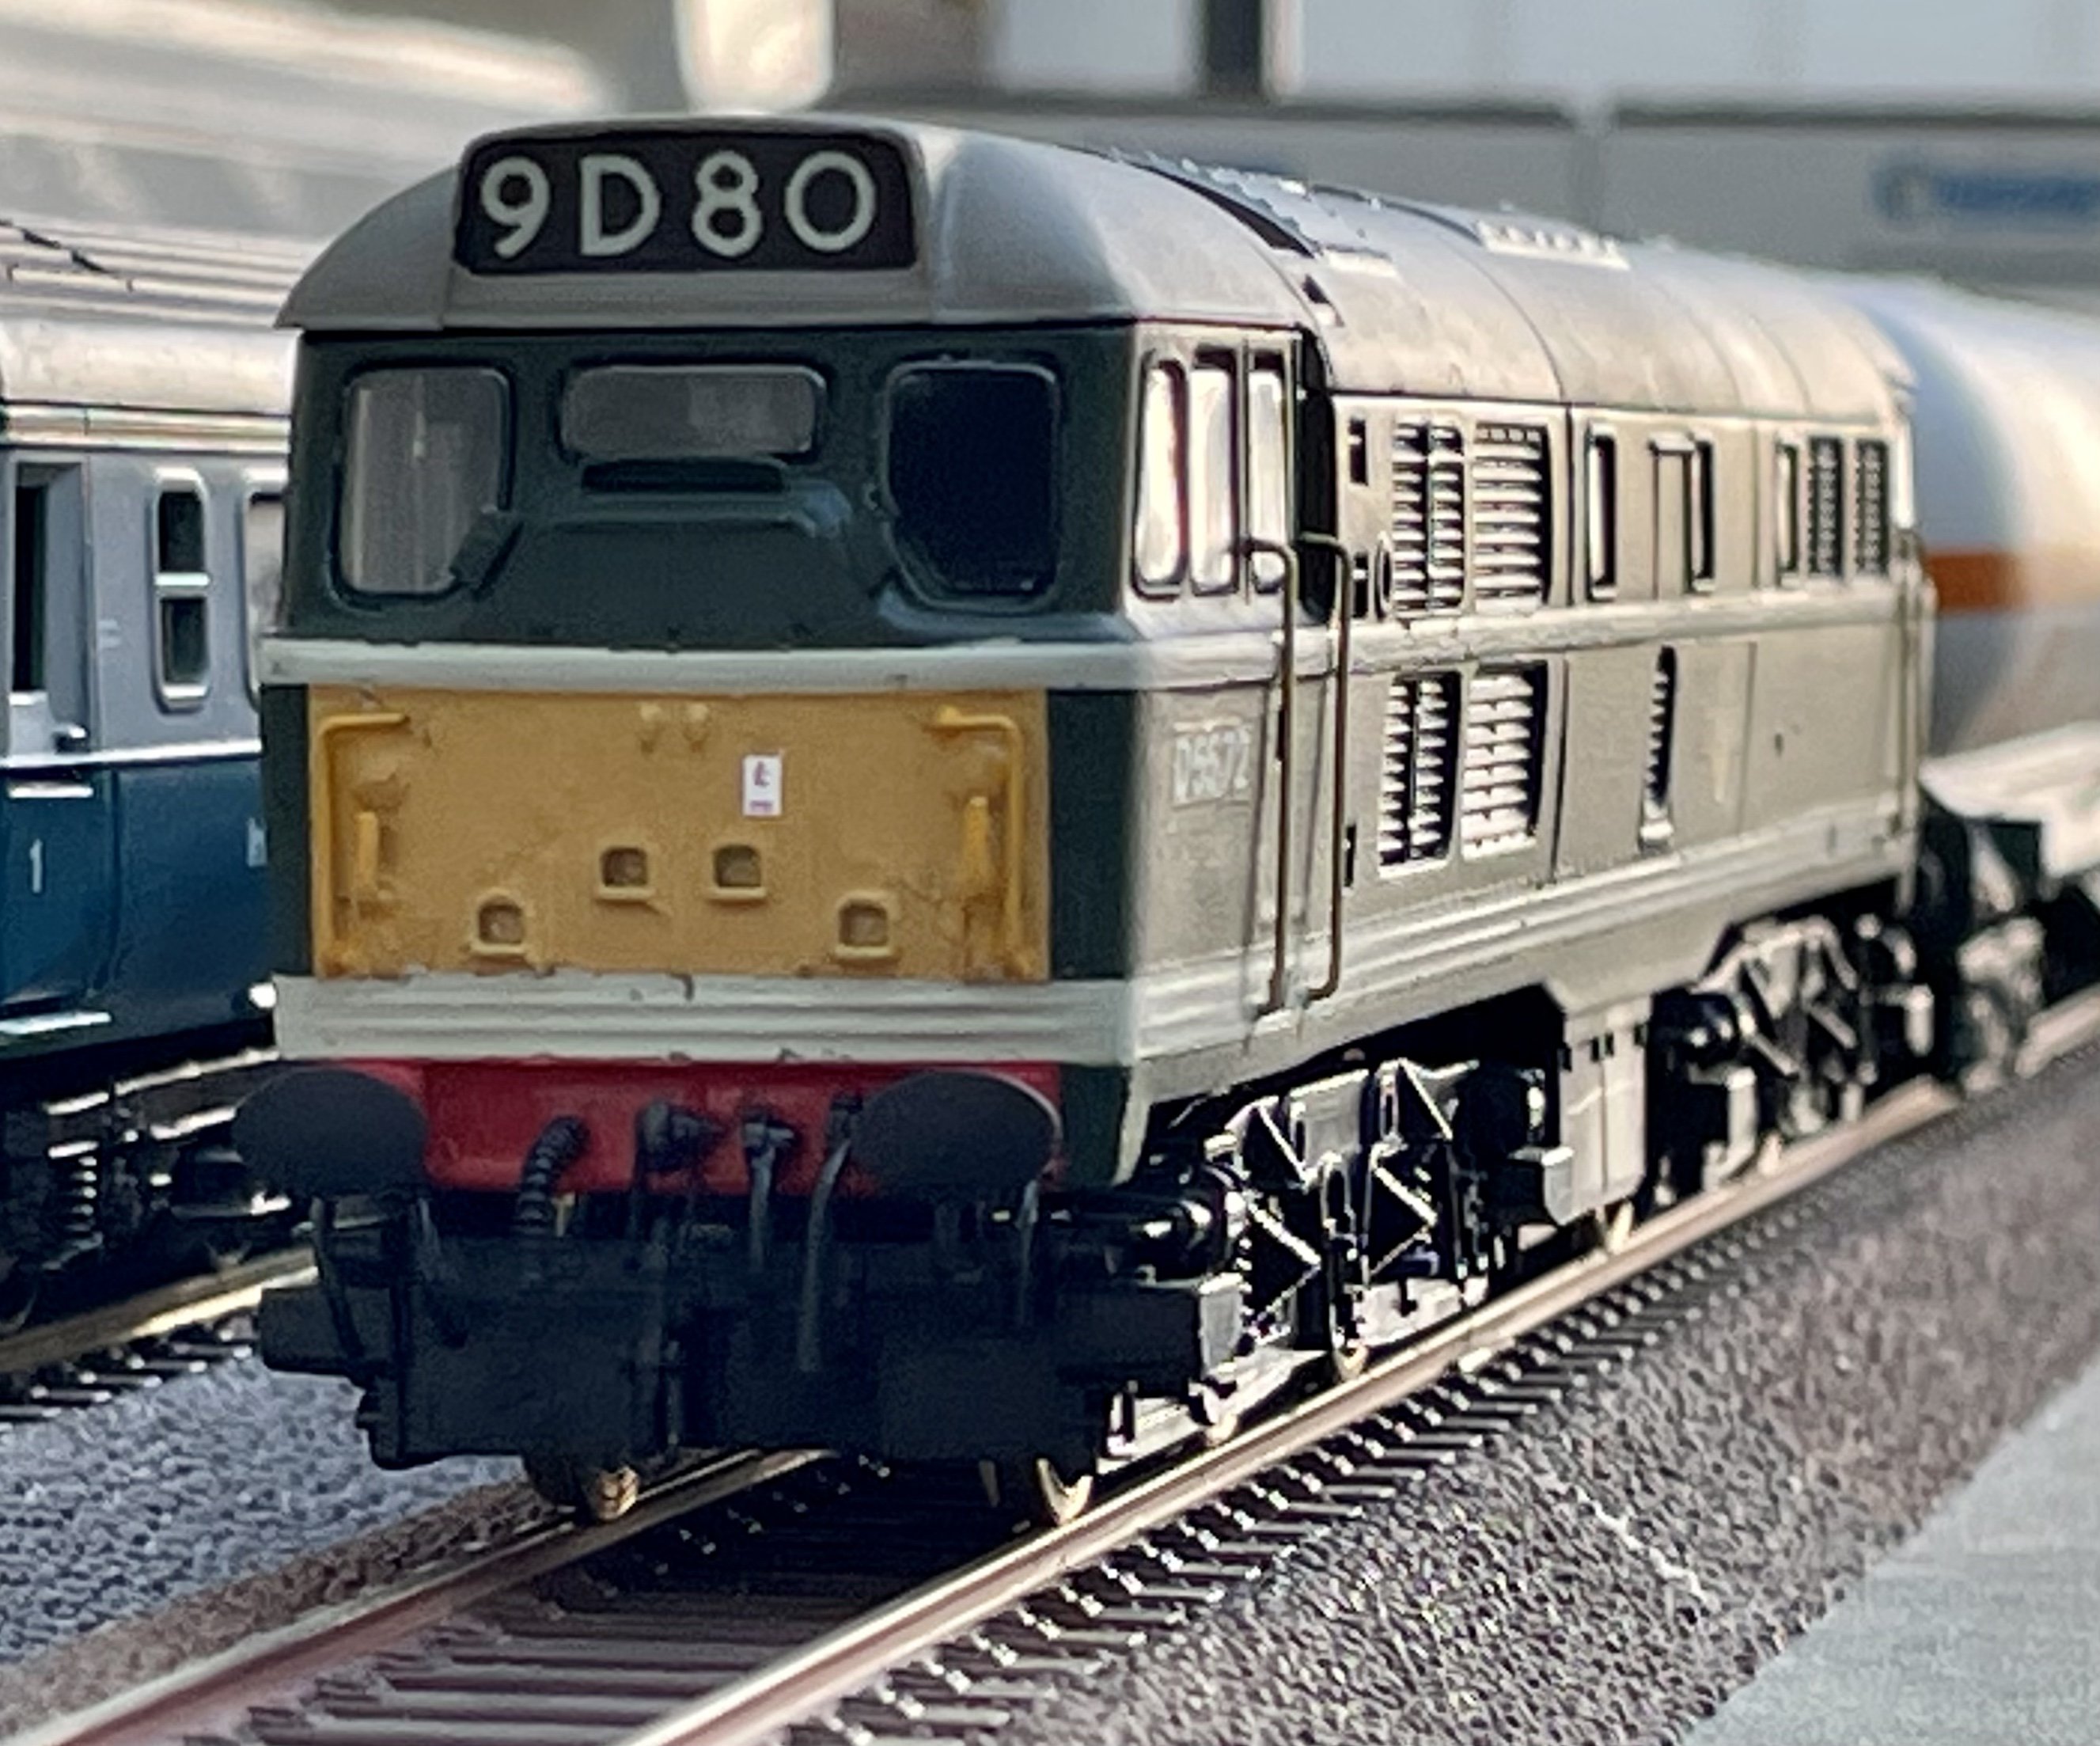
Cab steps made from plasticard strip attached to bogies and etched windscreen wipers fitted. Undergibbons given a light weathering. Cheers Darius
- 5 replies
-
- 10
-

-

-
Hopefully he will be - but still a work in progress. Plan is to convert it to DCC with a high current capacity decoder. Cheers Darius
-
Refurbishing this model for a friend - it was part of his childhood train set. Essentially a repaint with new wire handrails and lamp irons. The original Triang wheel sets have been replaced with Ultrascale’s. SEF flush glazing fitted and test fit to the bogies. Cheers Darius
-
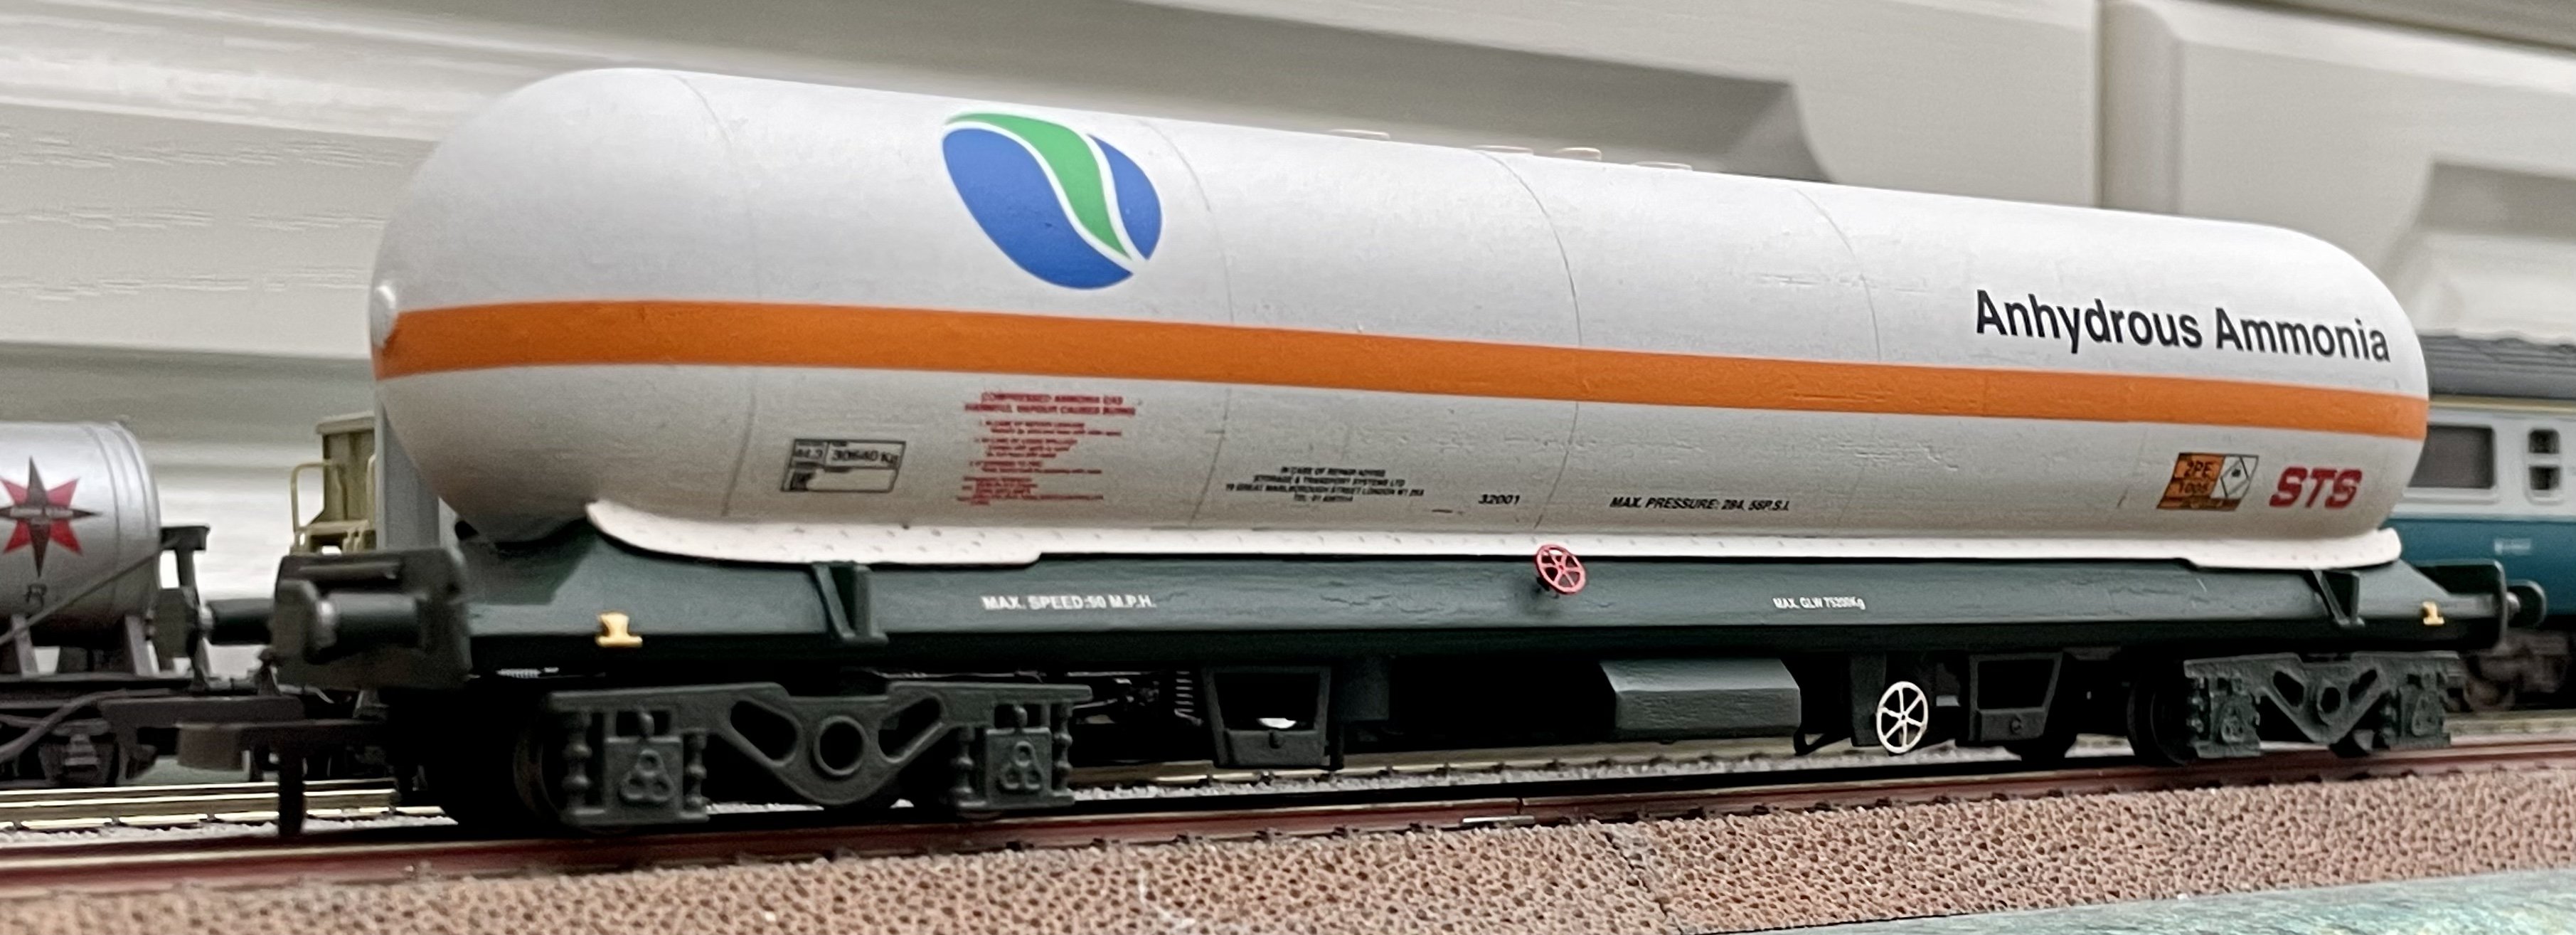
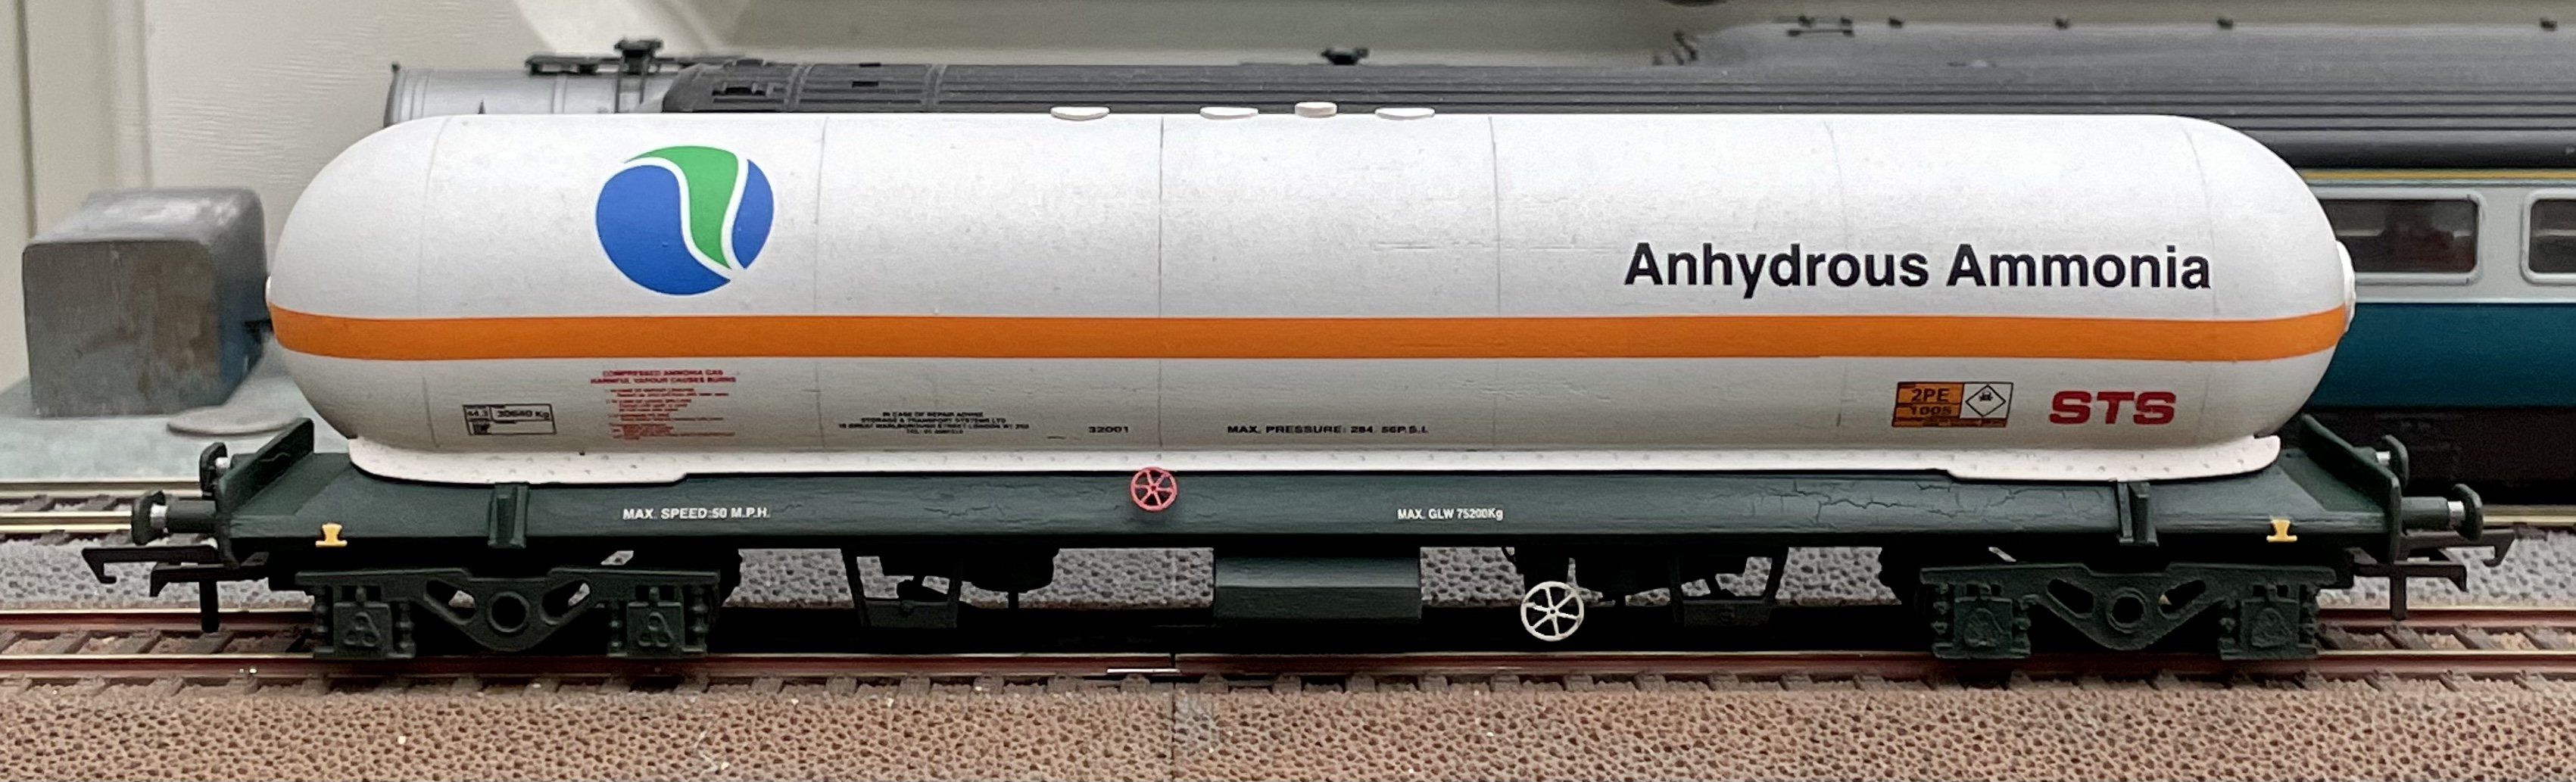
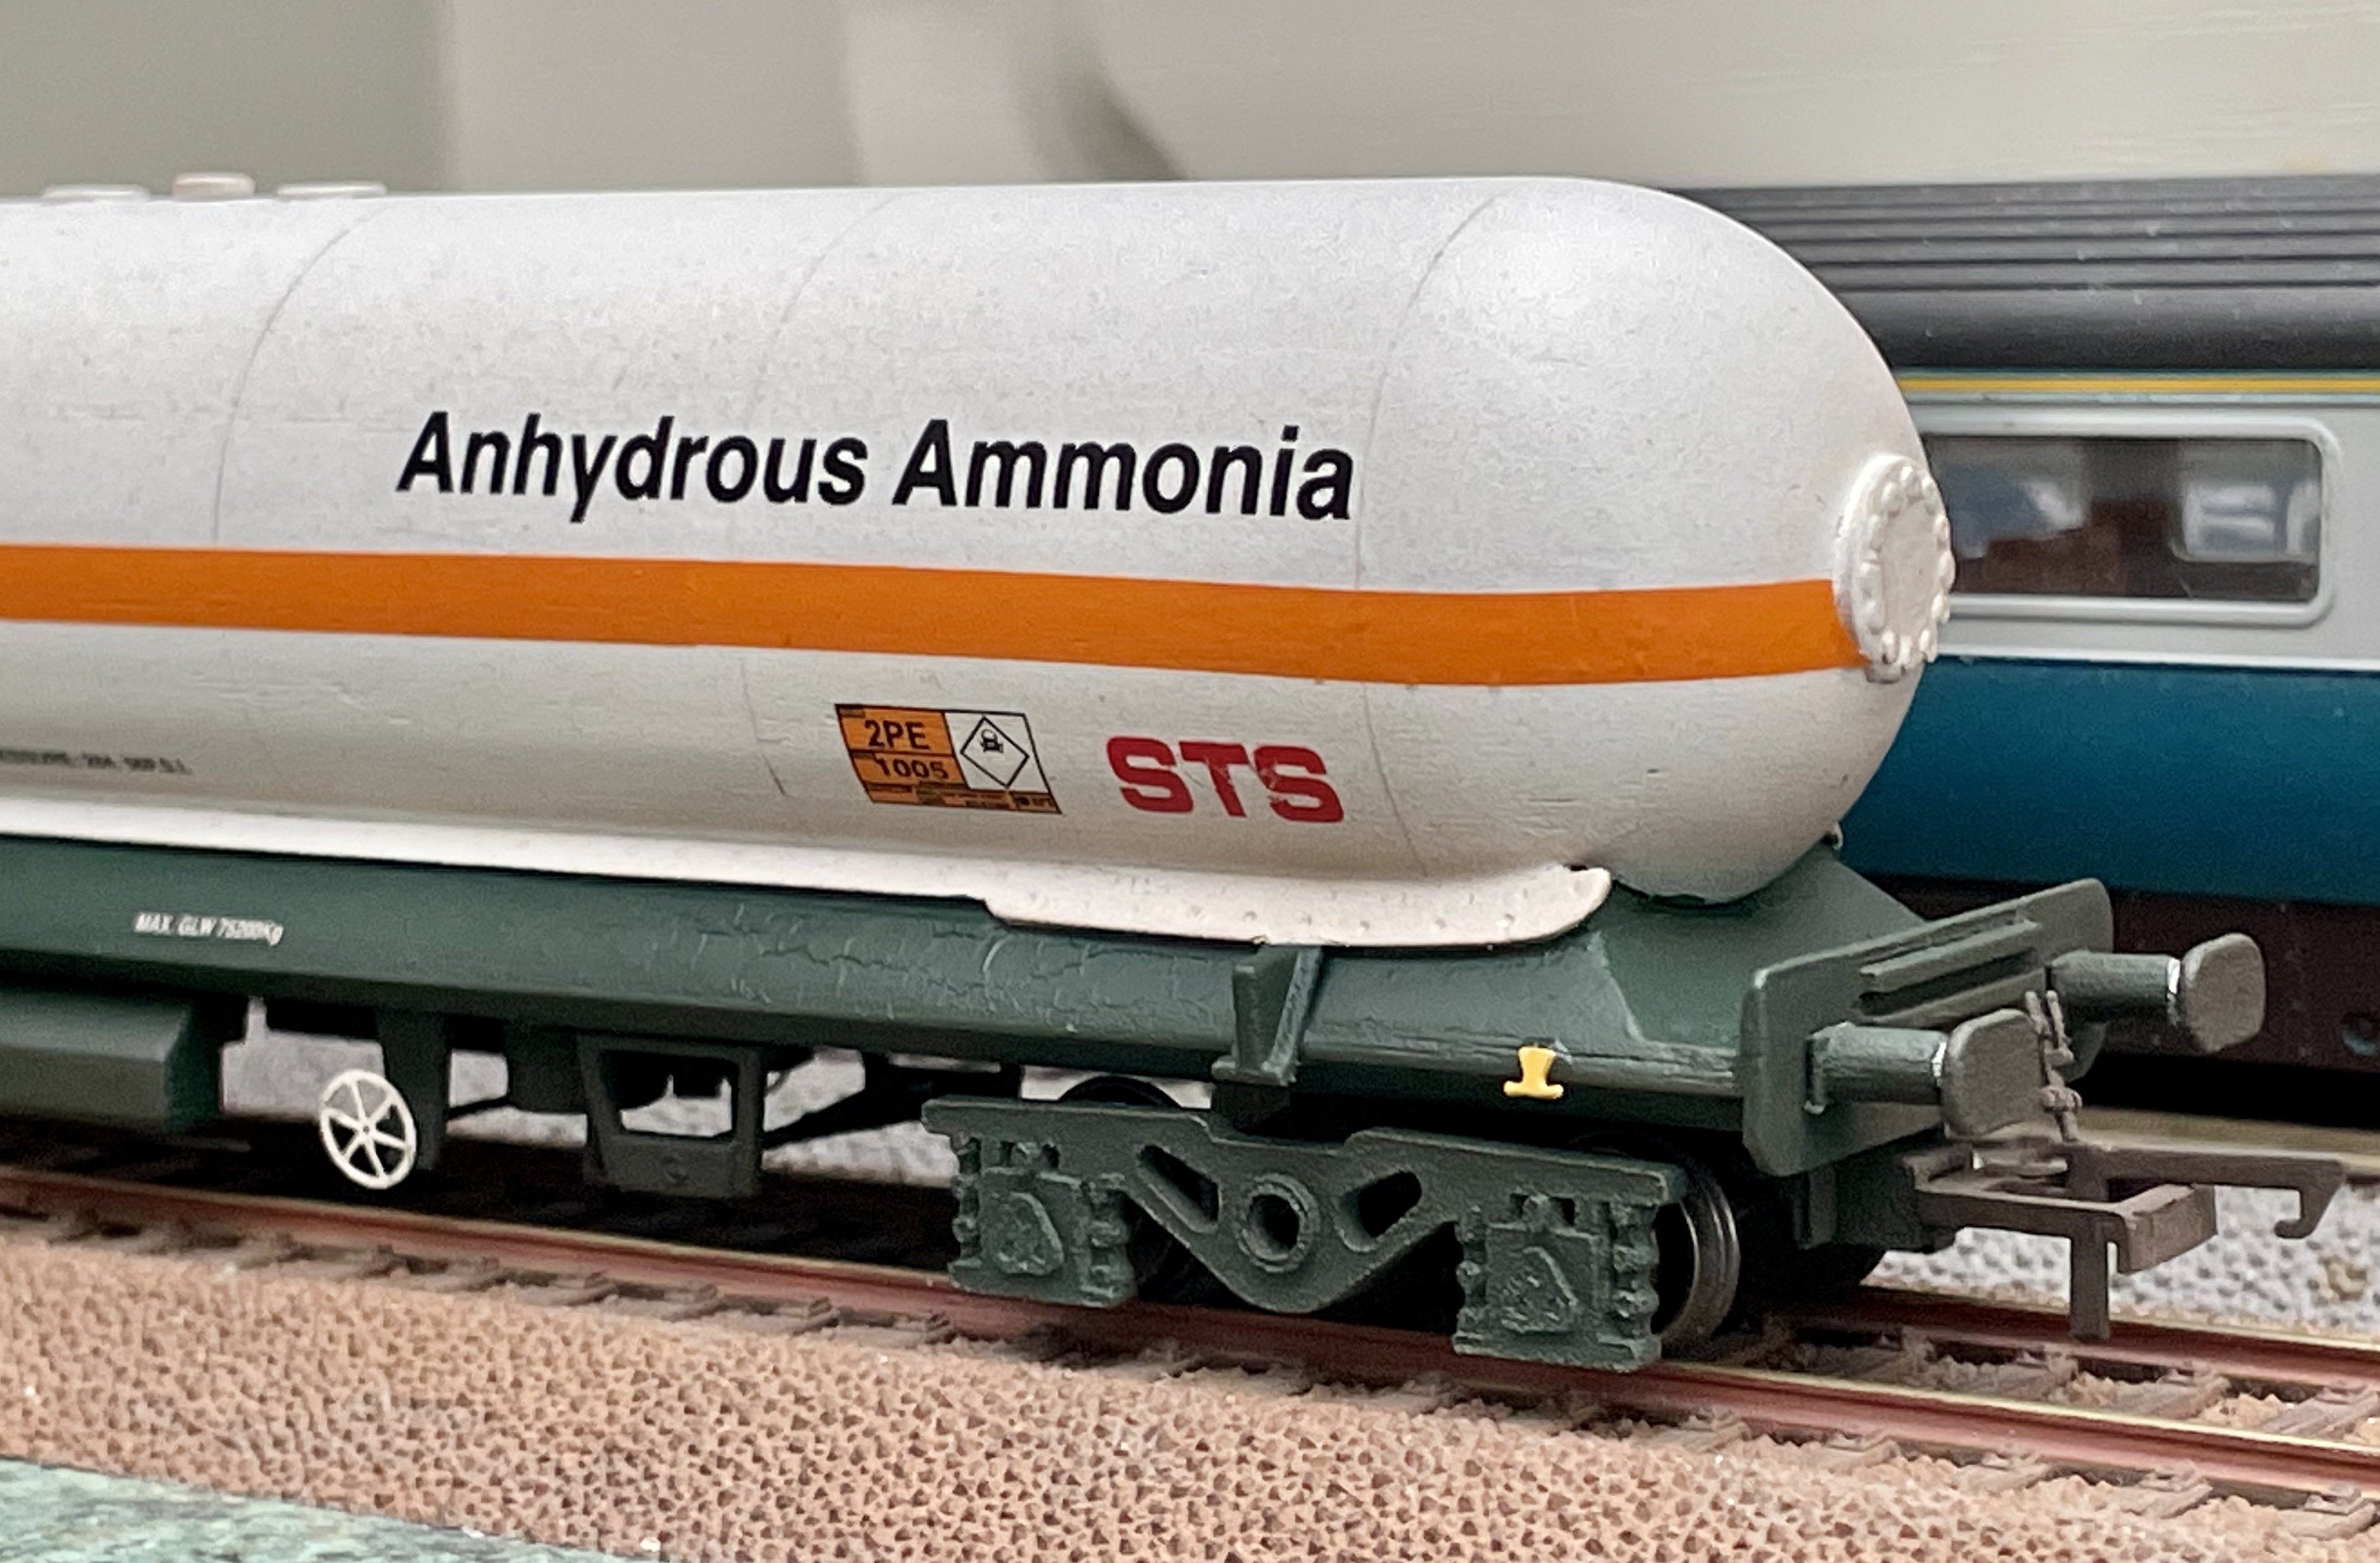
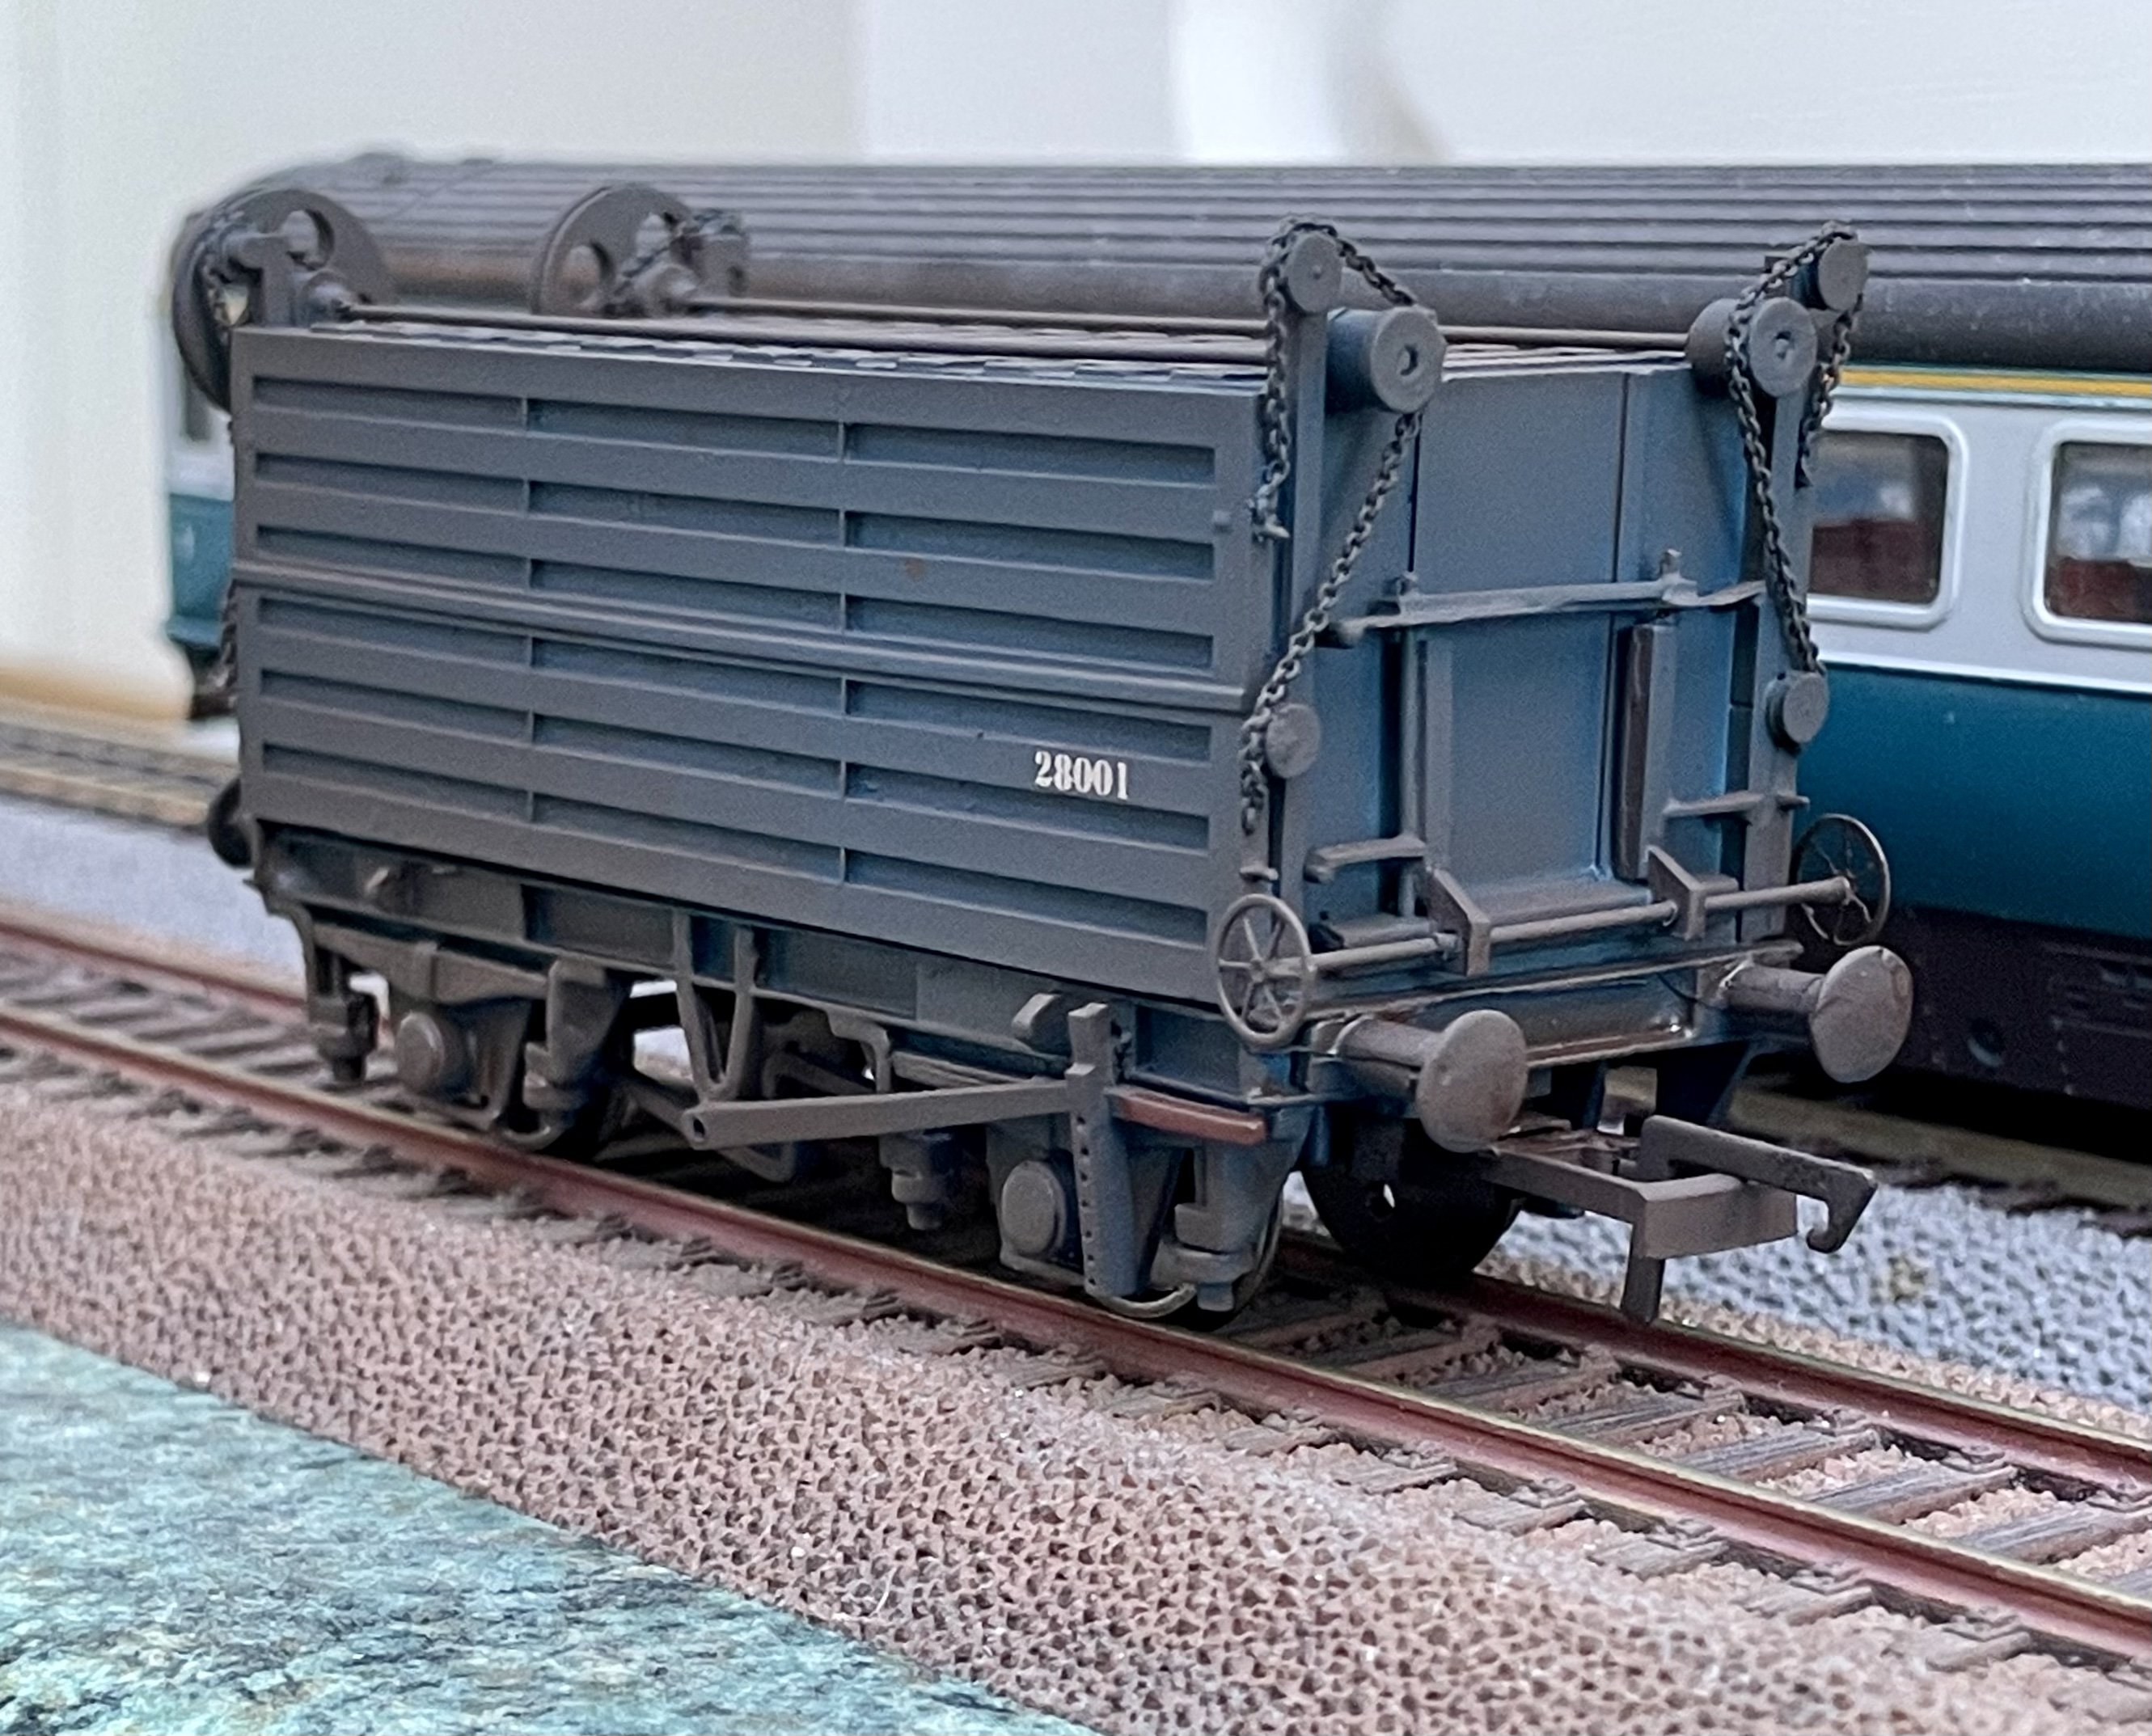
Etched ferry tie downs (courtesy of Wizard Models) added to the ammonia tanker. Cheers Darius
-
I think it is jeweler’s chain - it was supplied with the kits by MIR. Cheers Darius
-
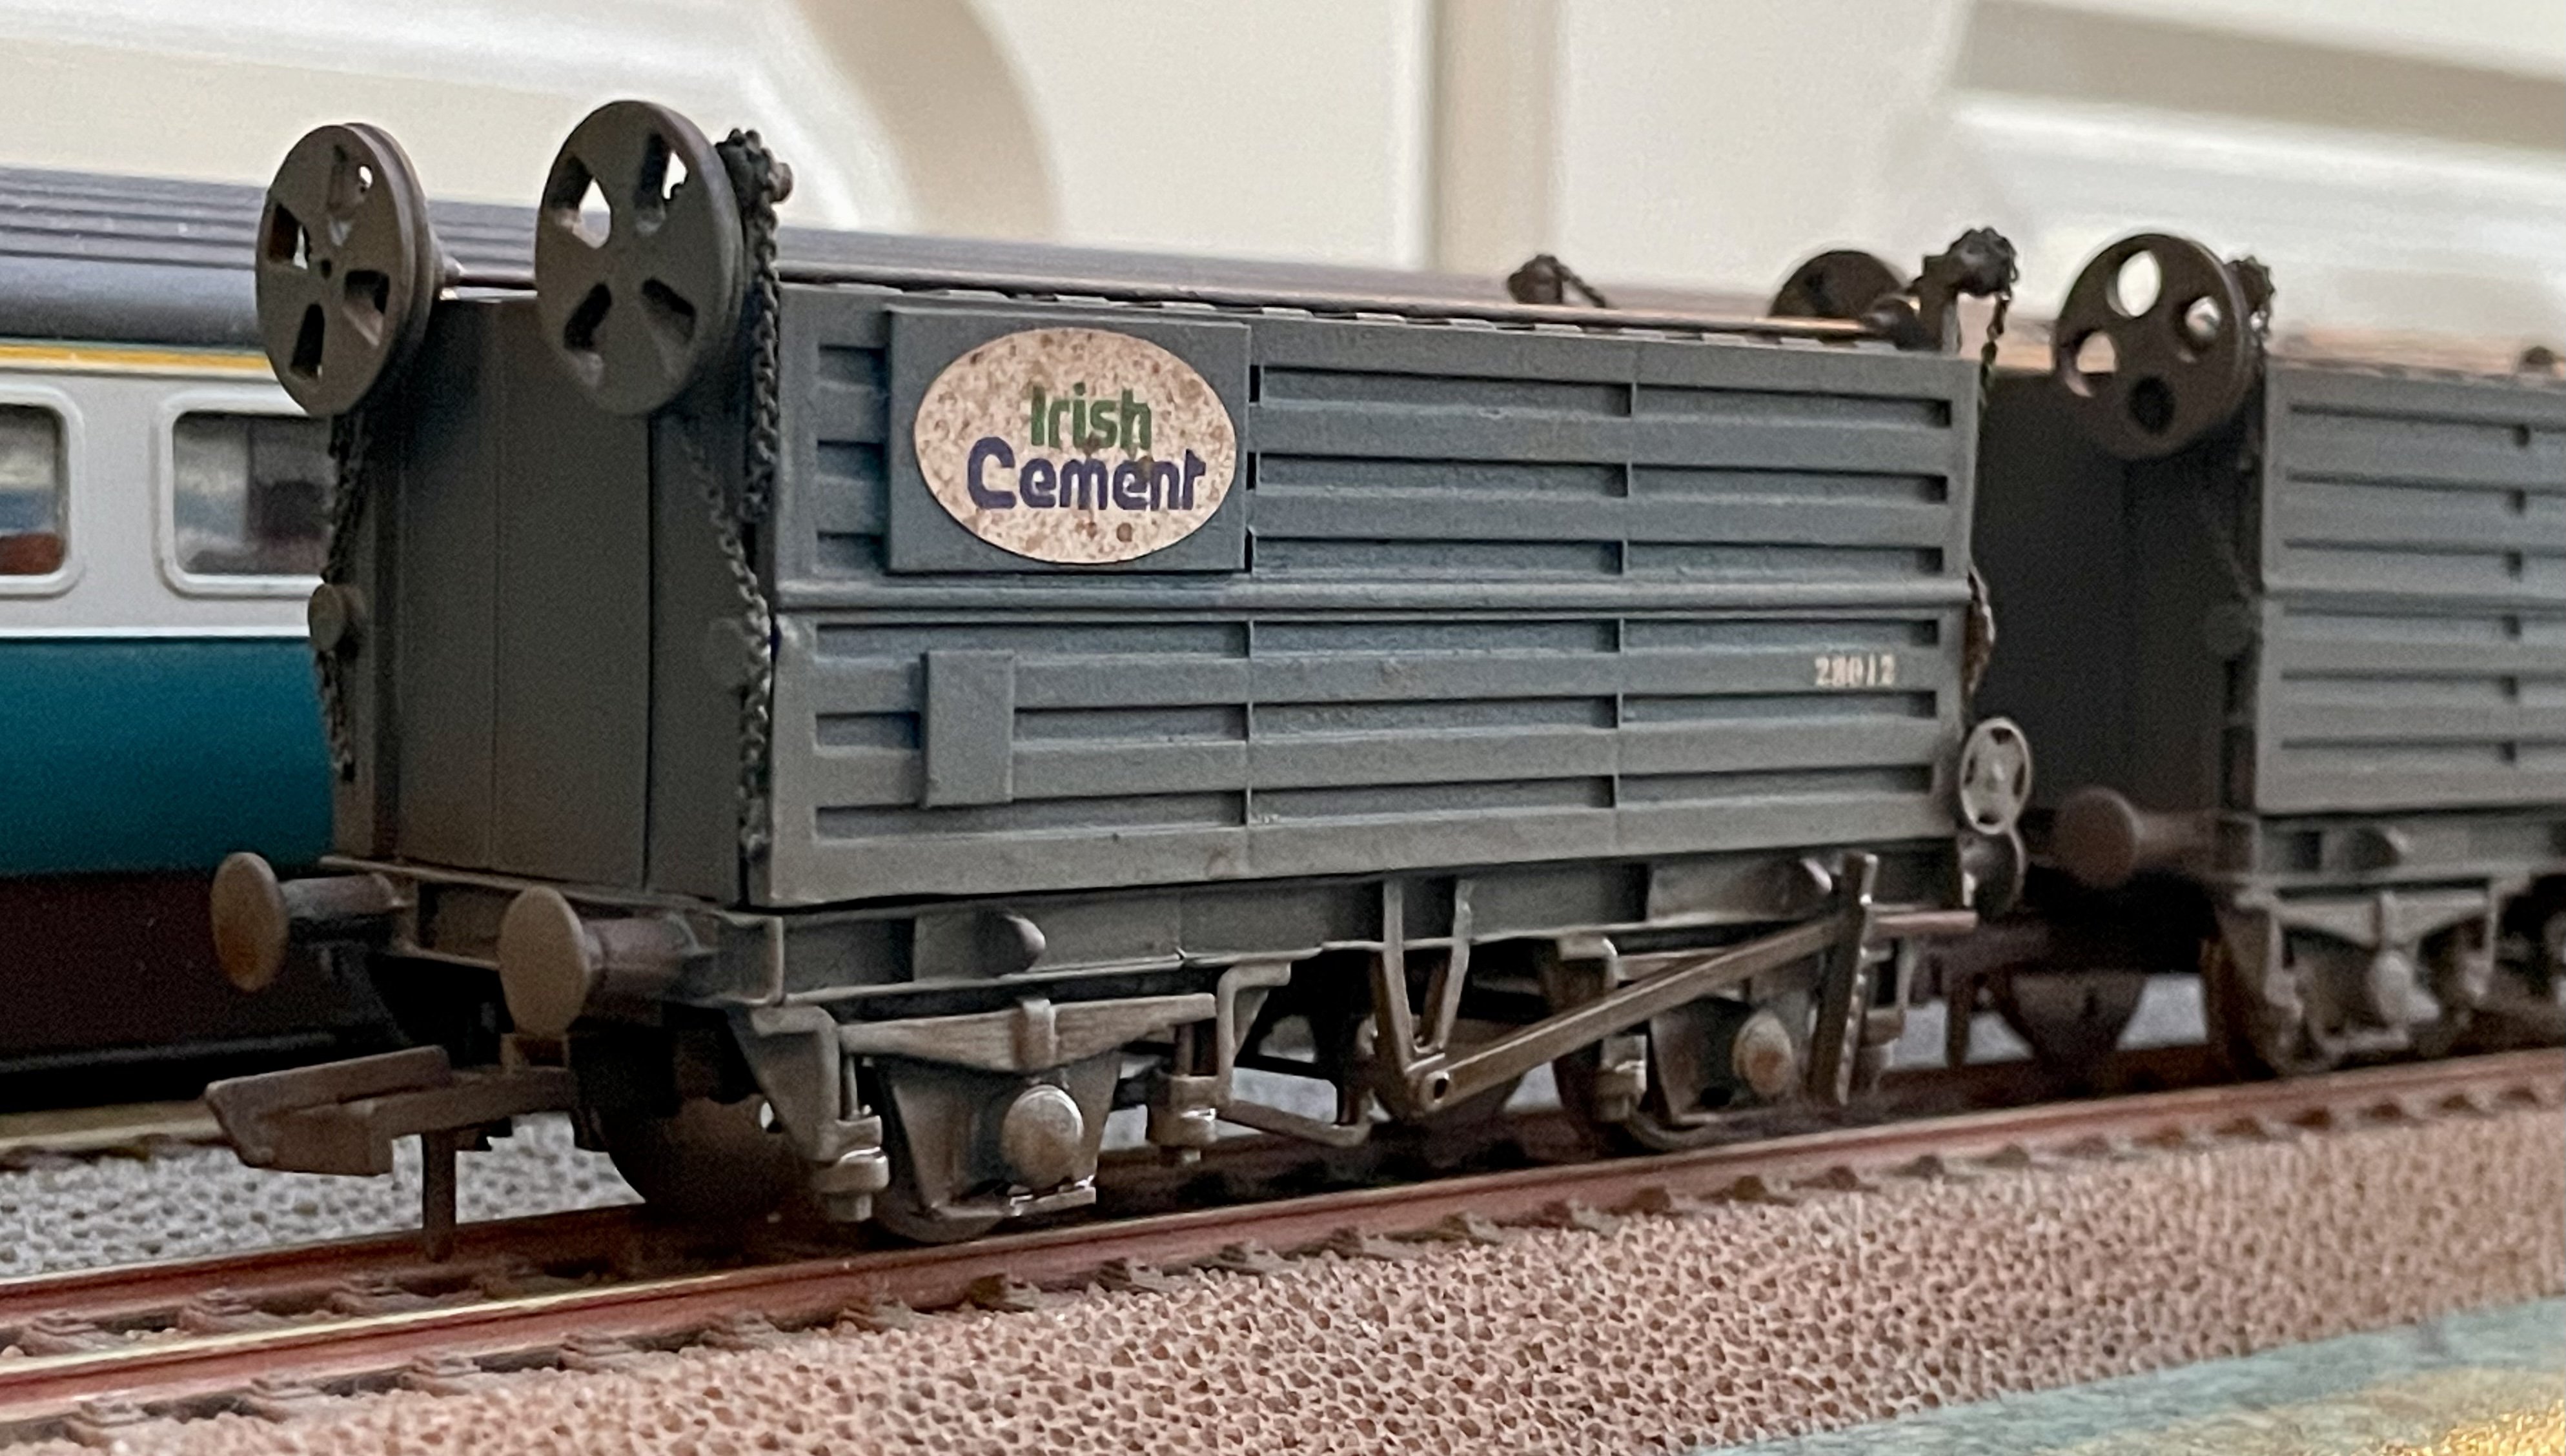
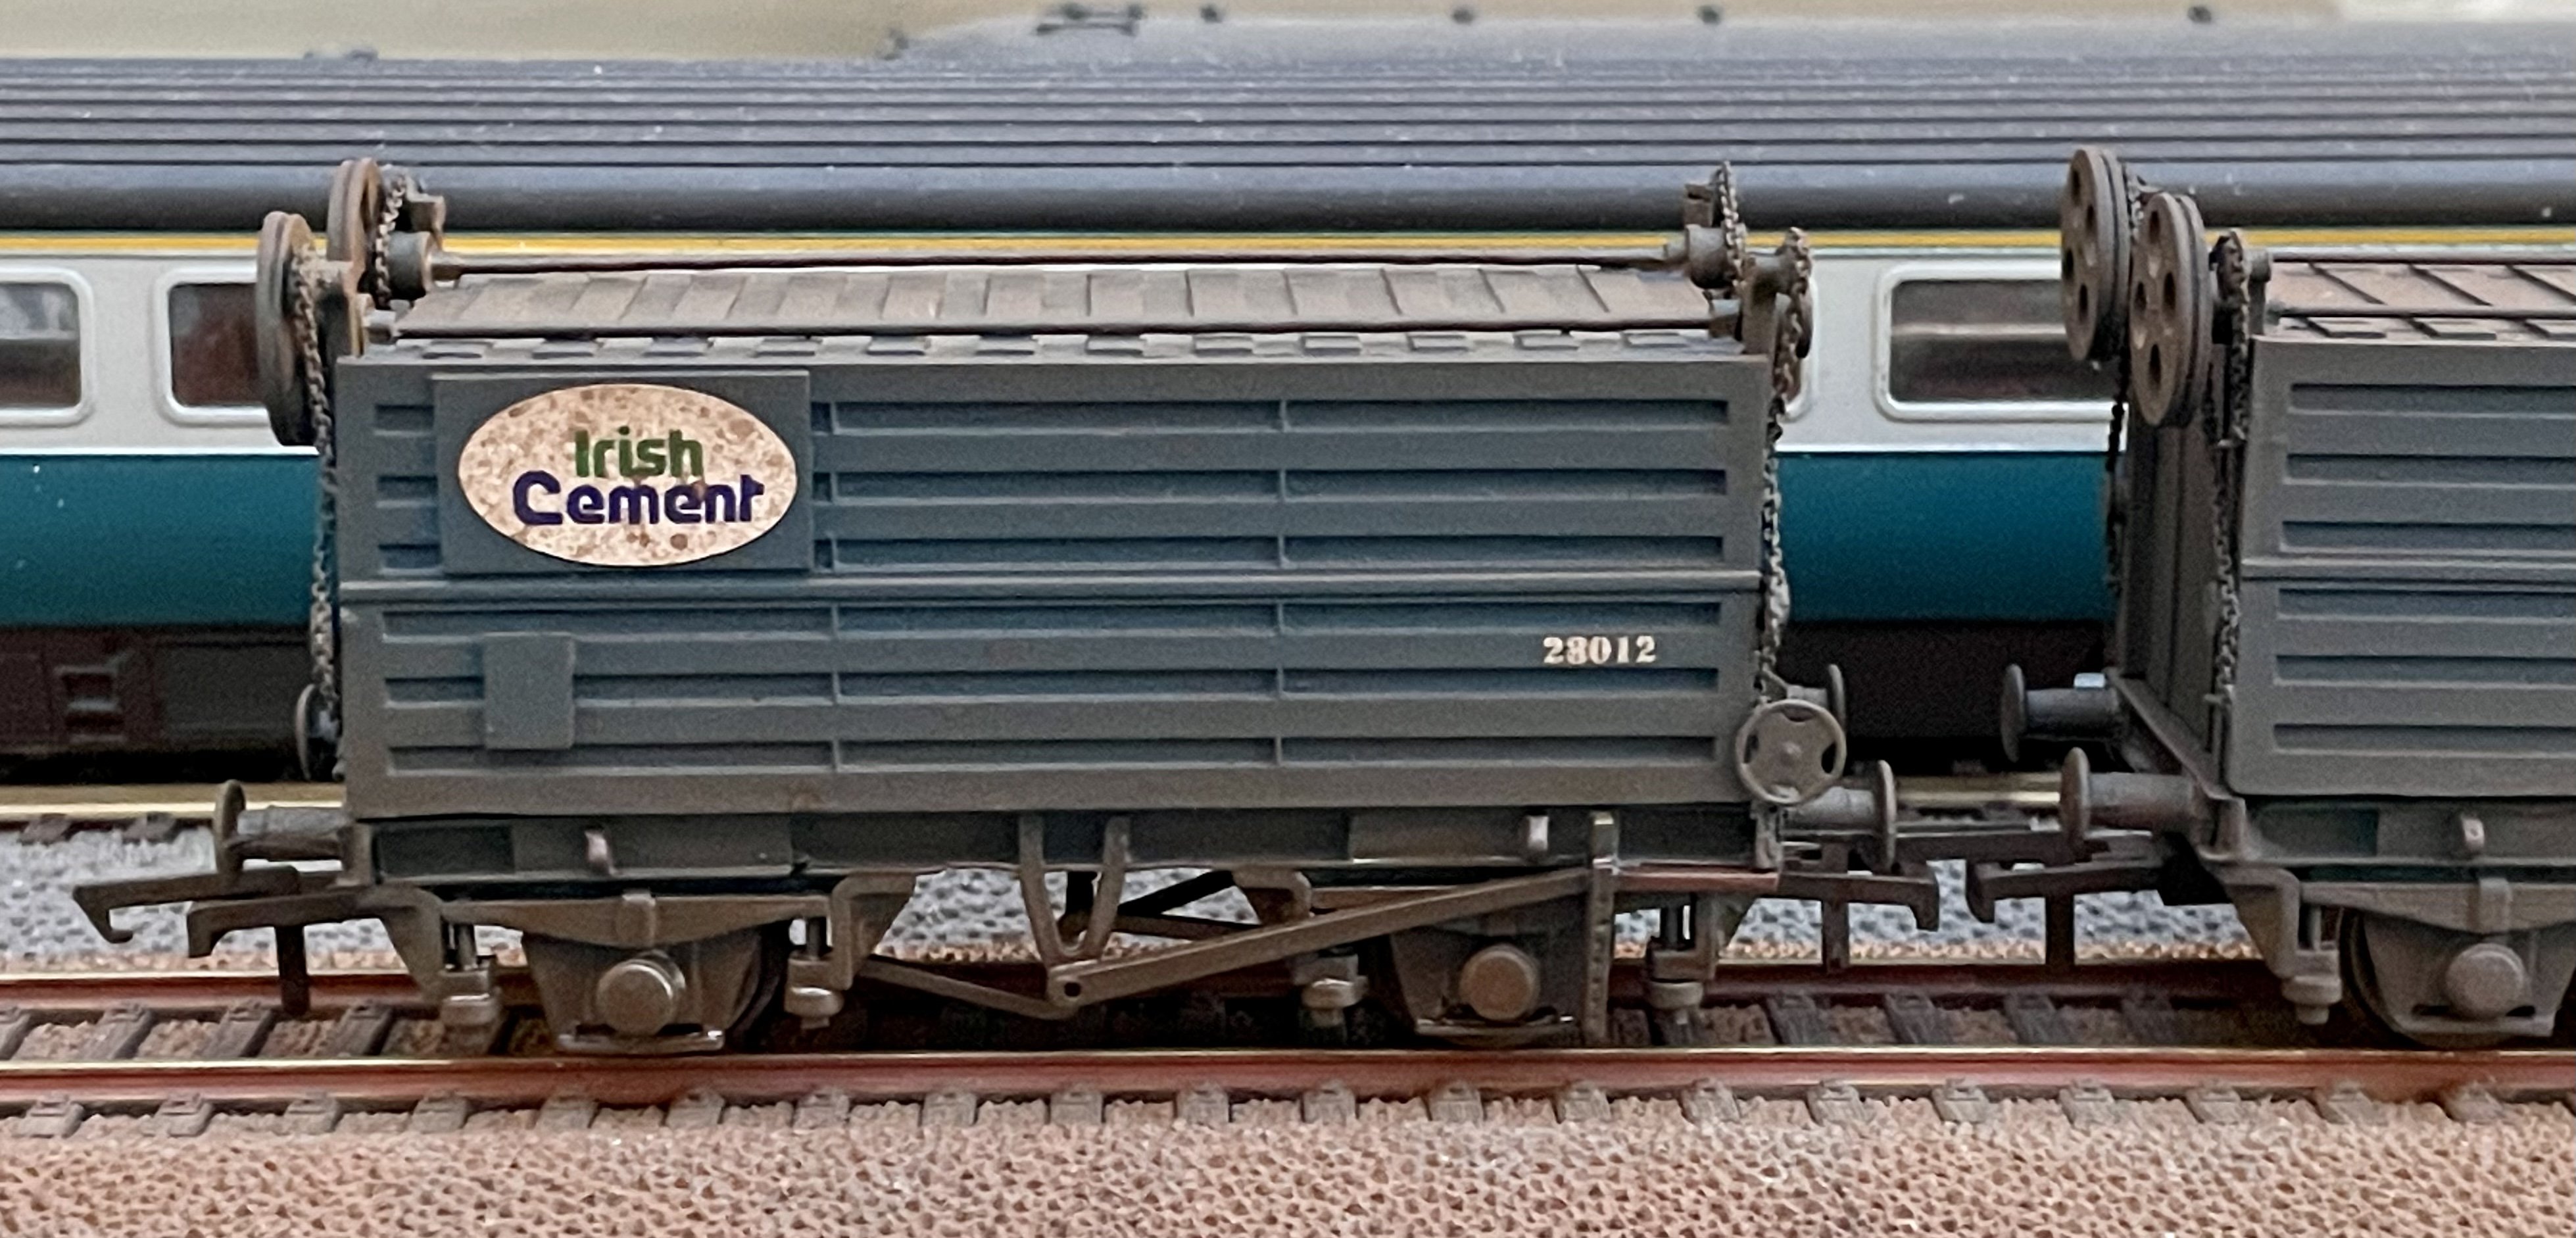
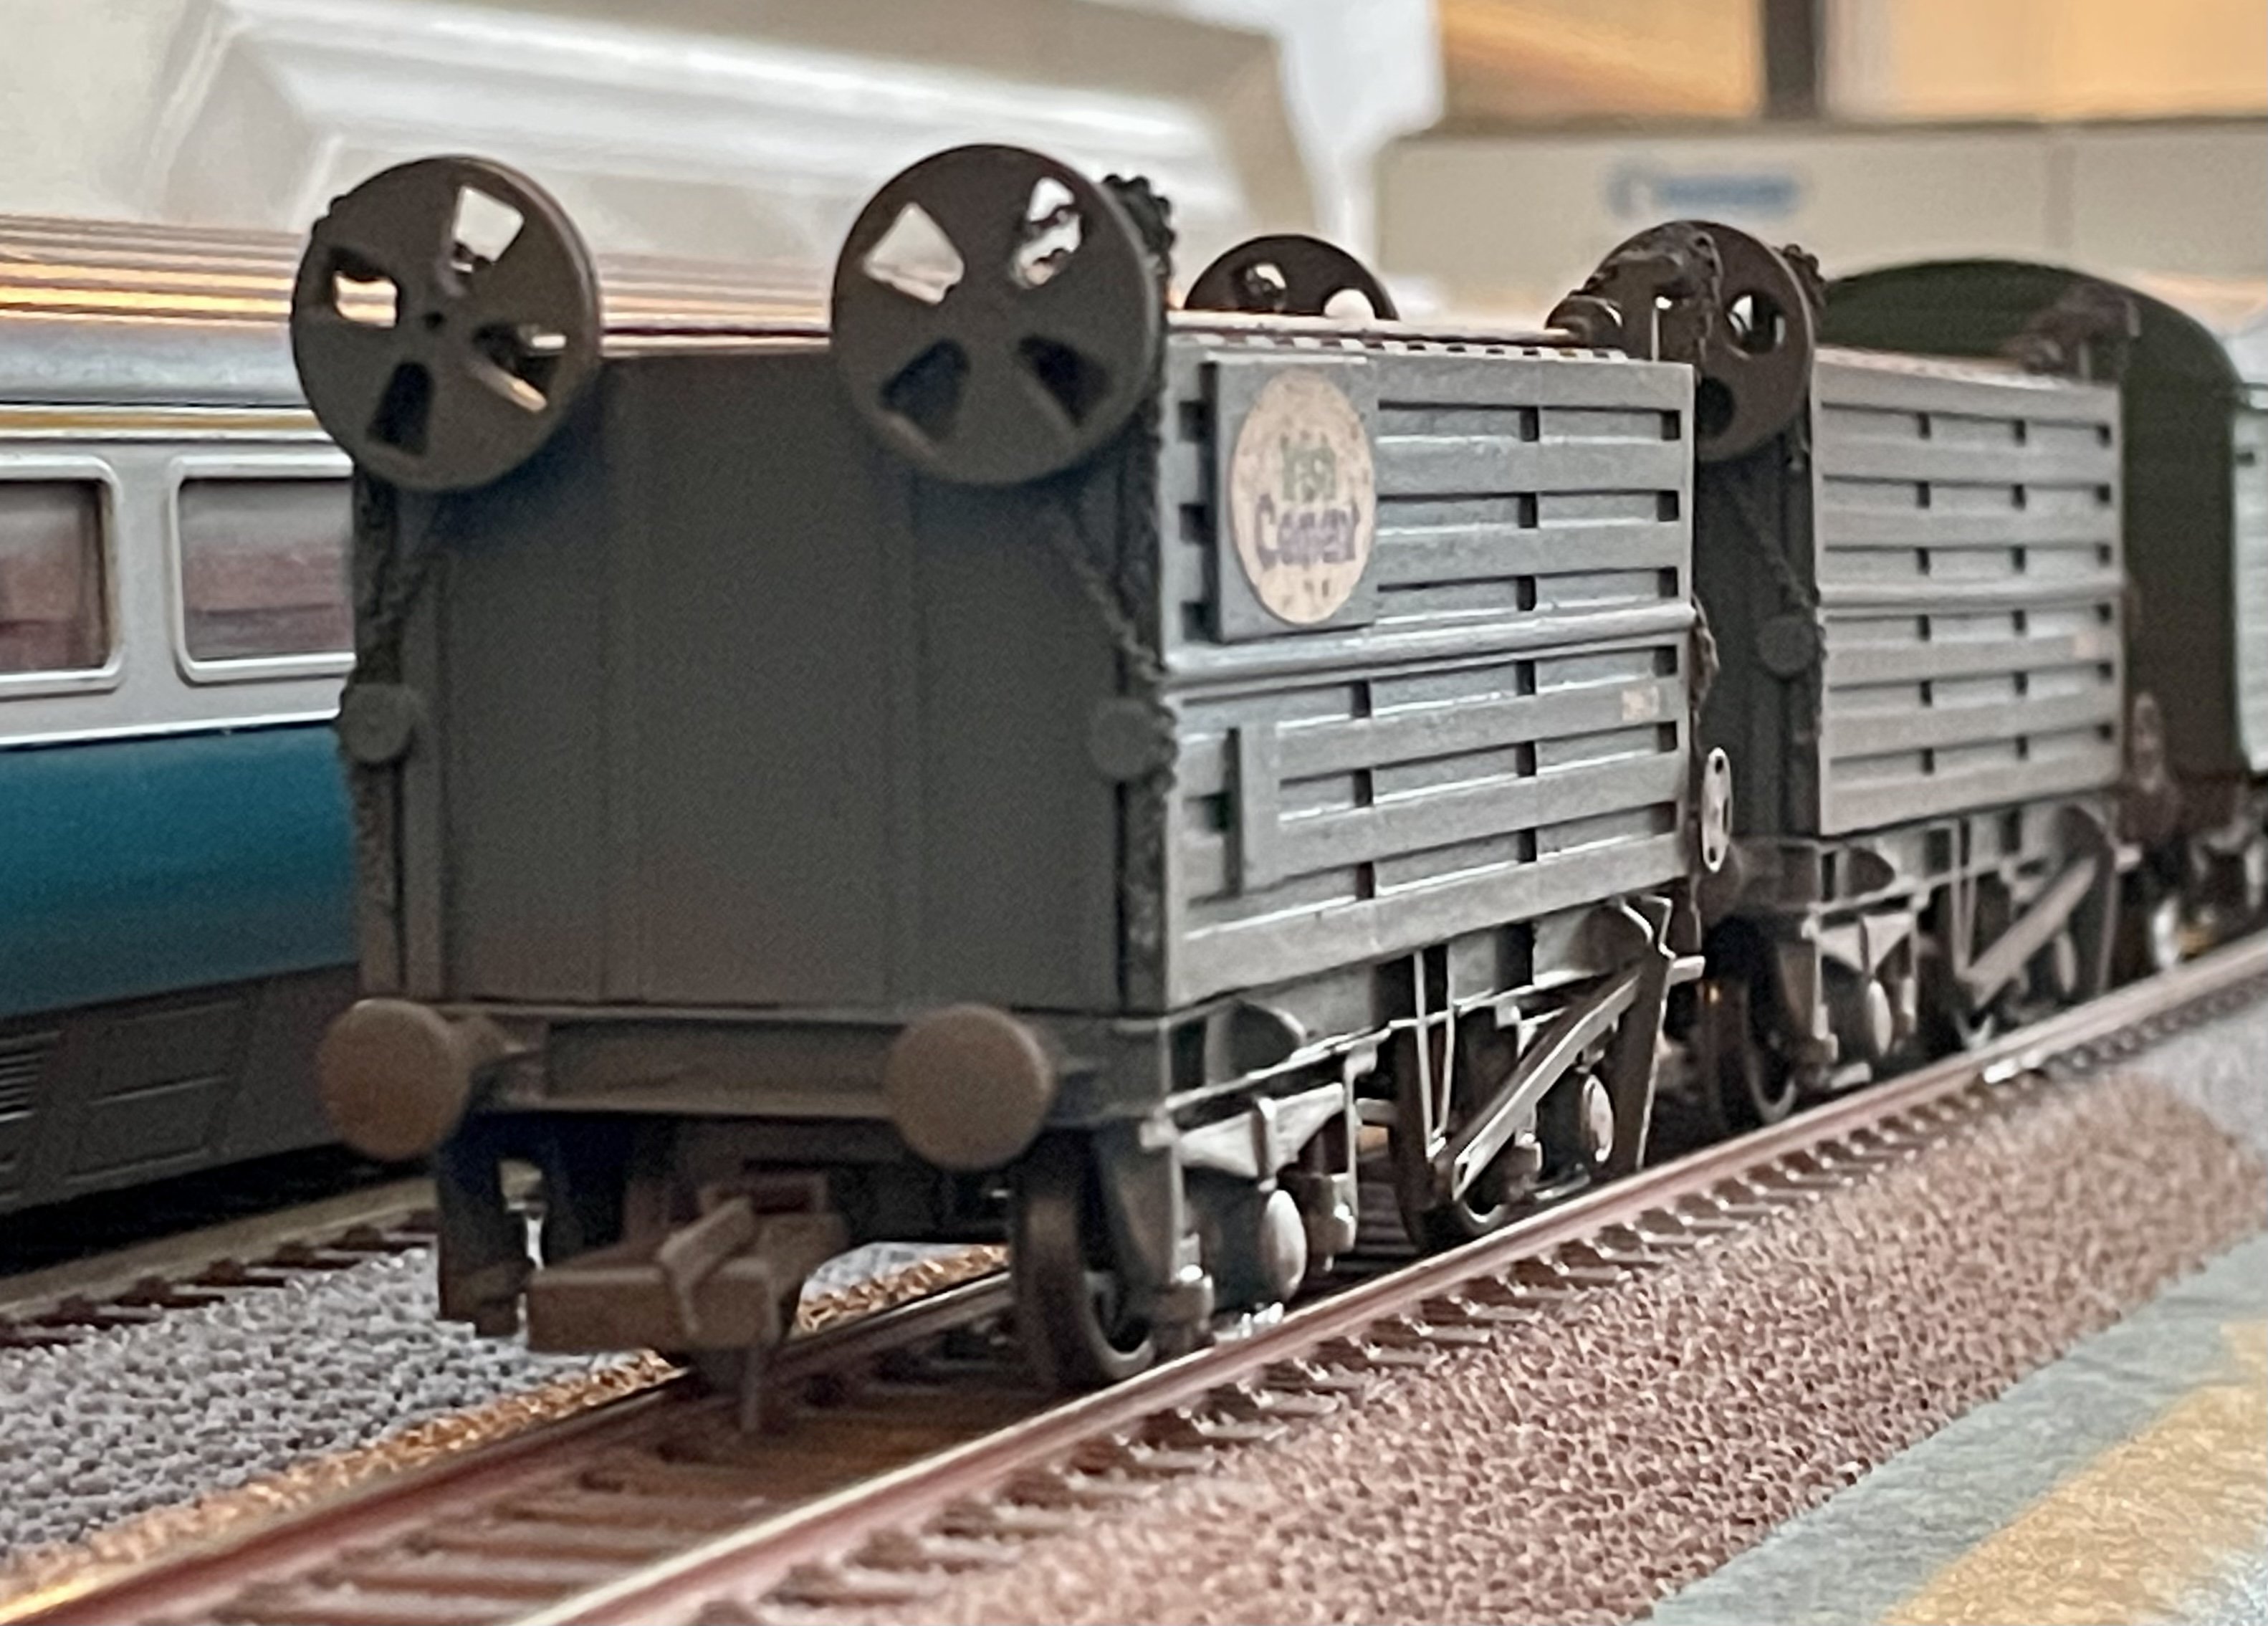
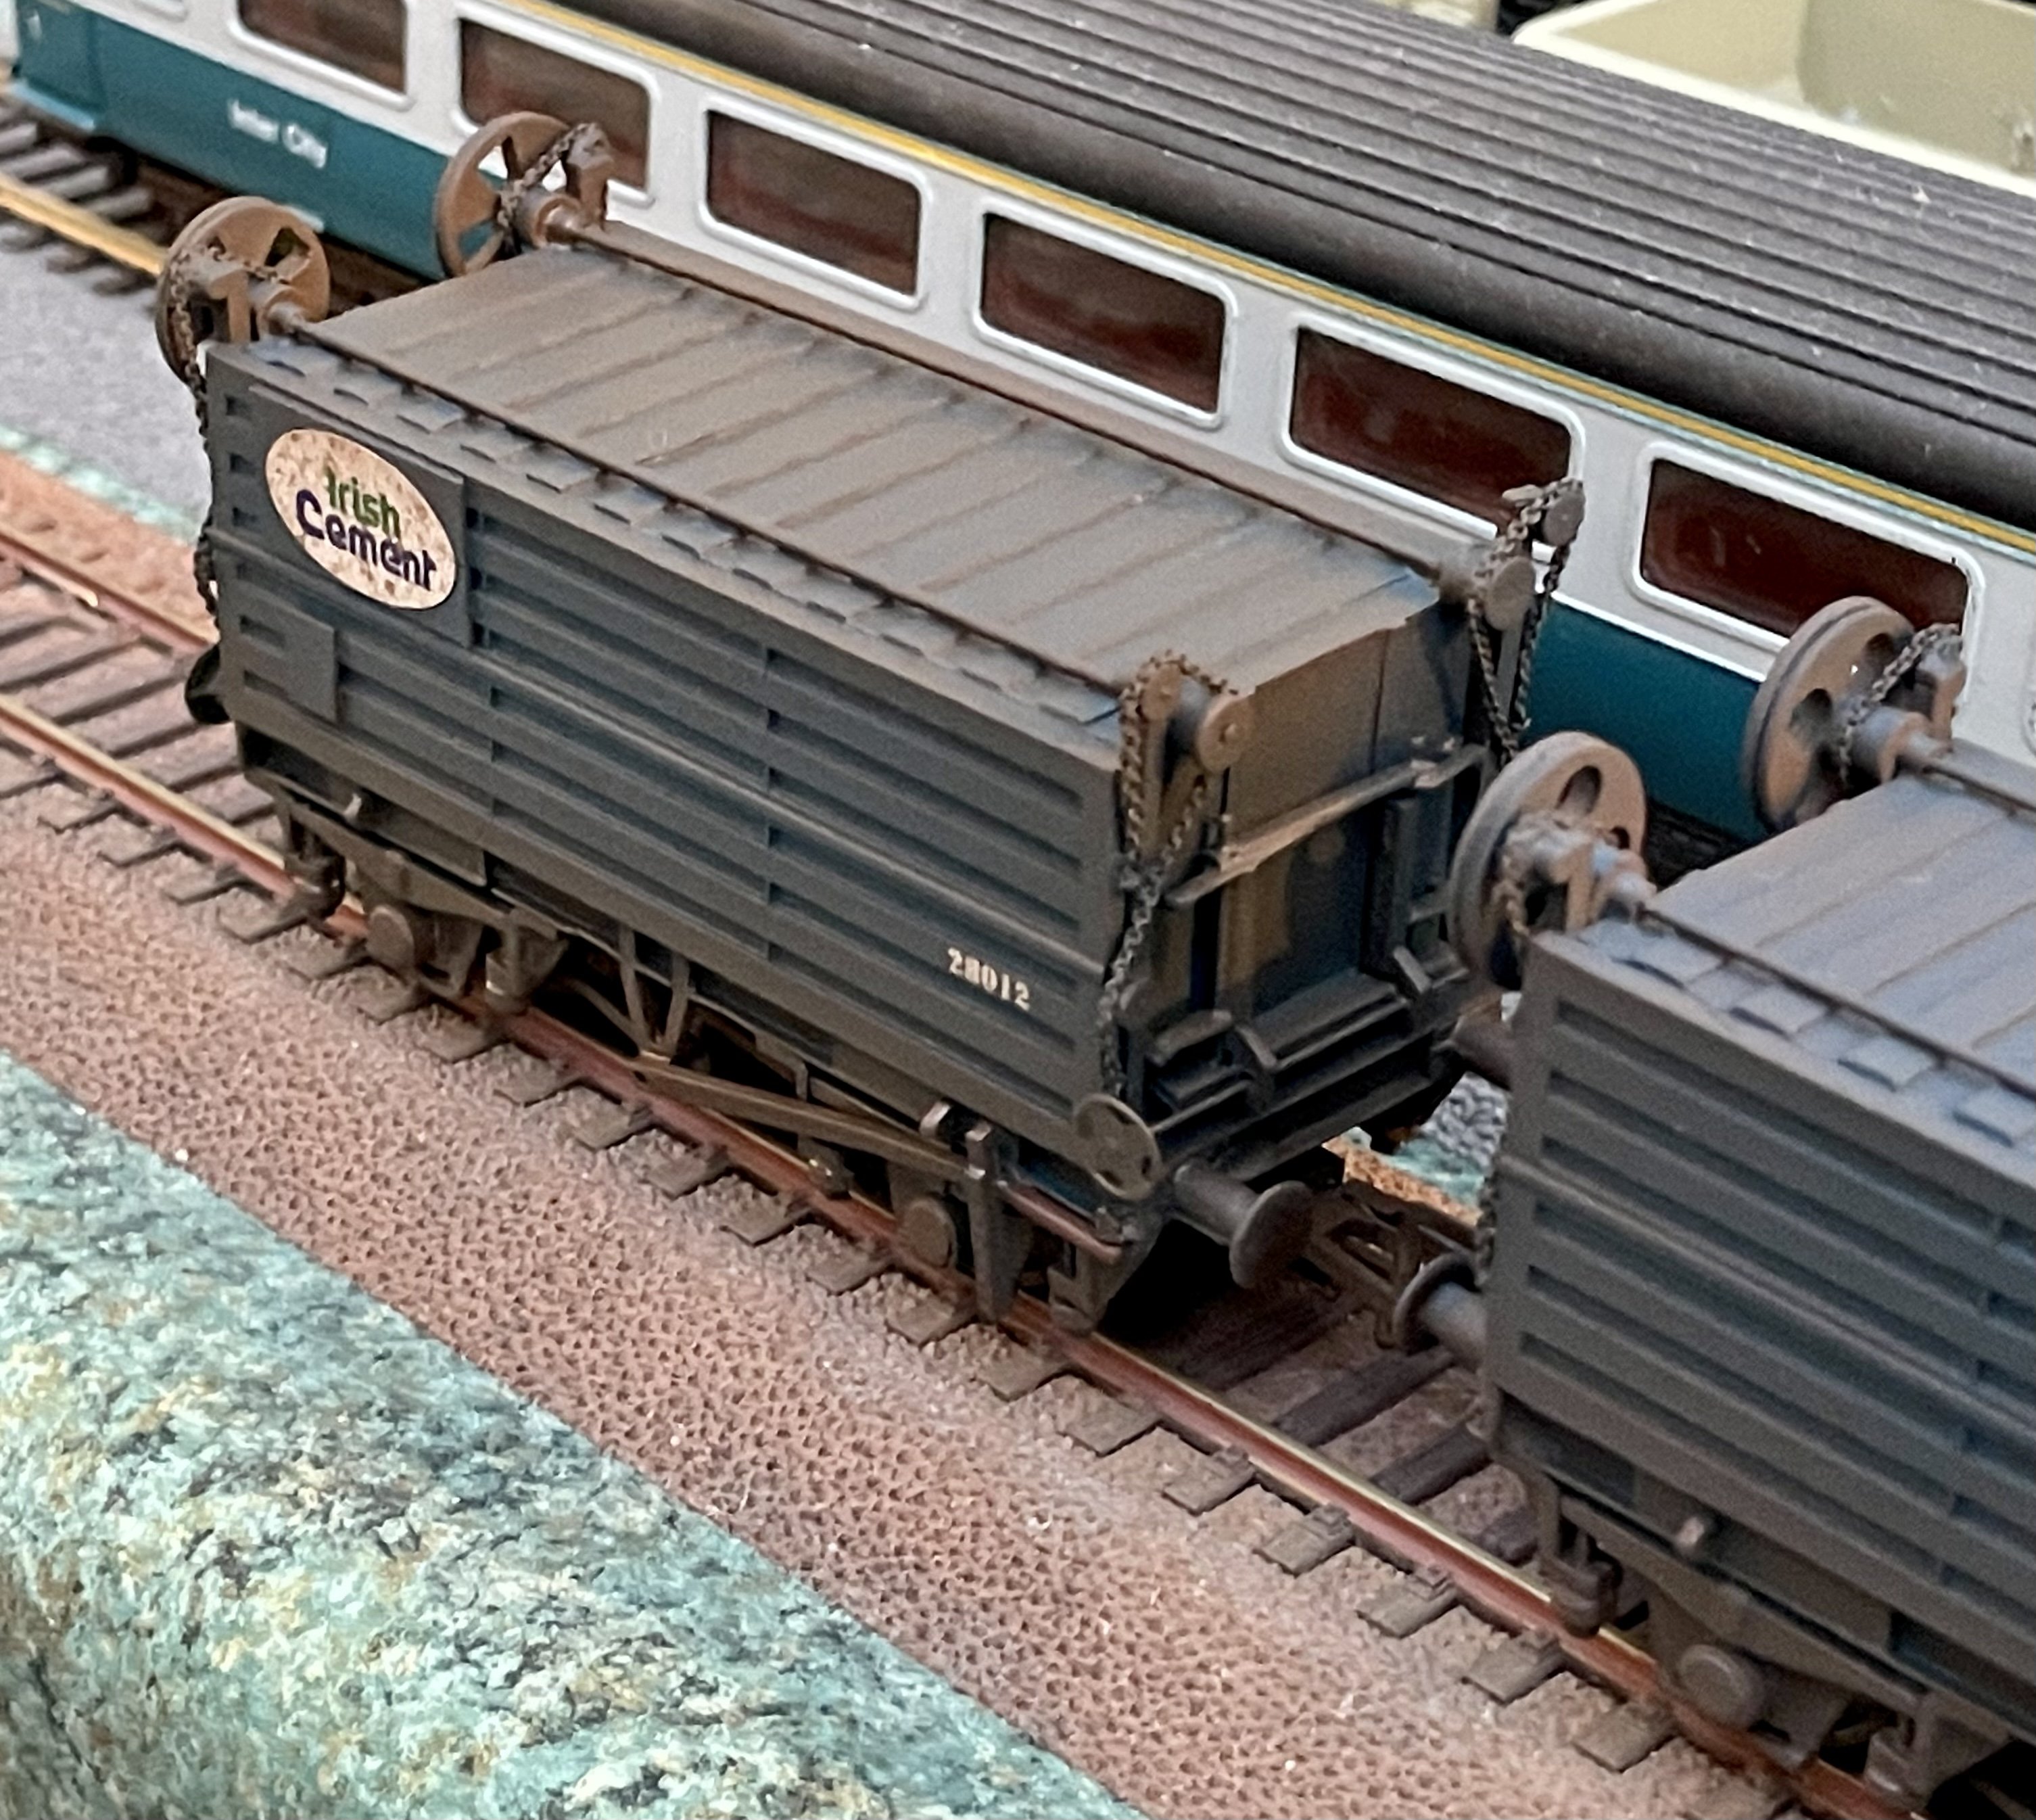
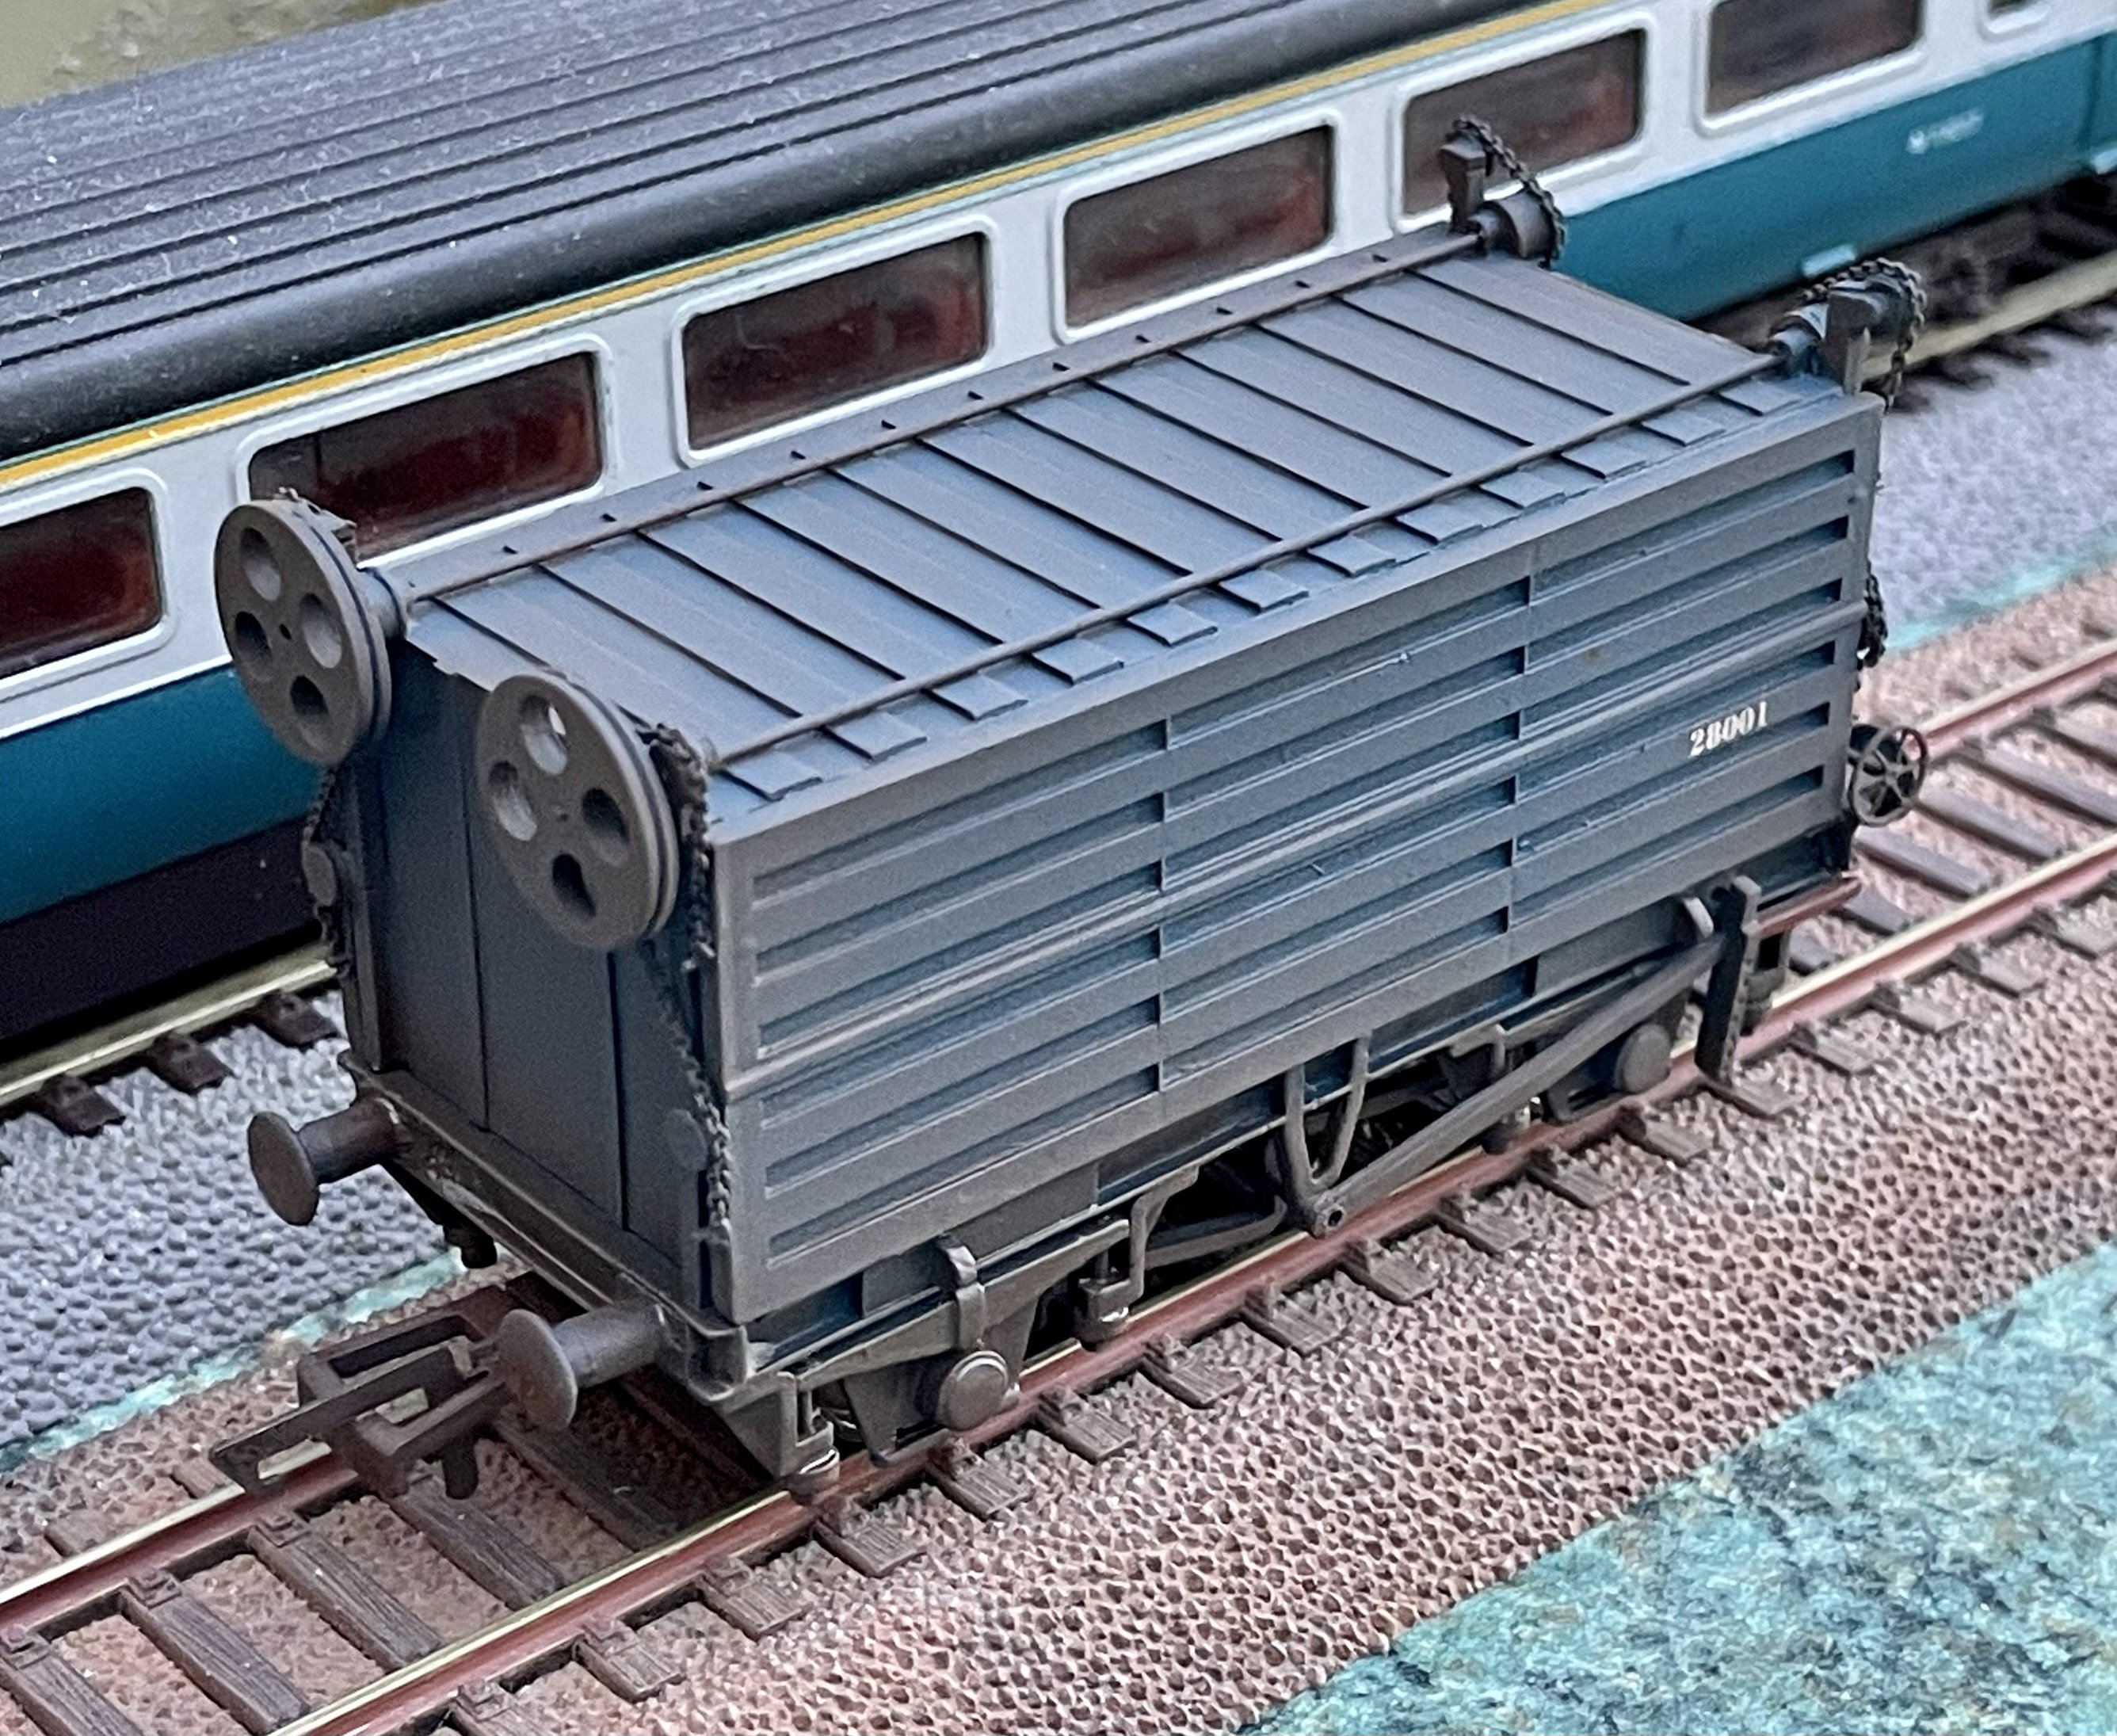
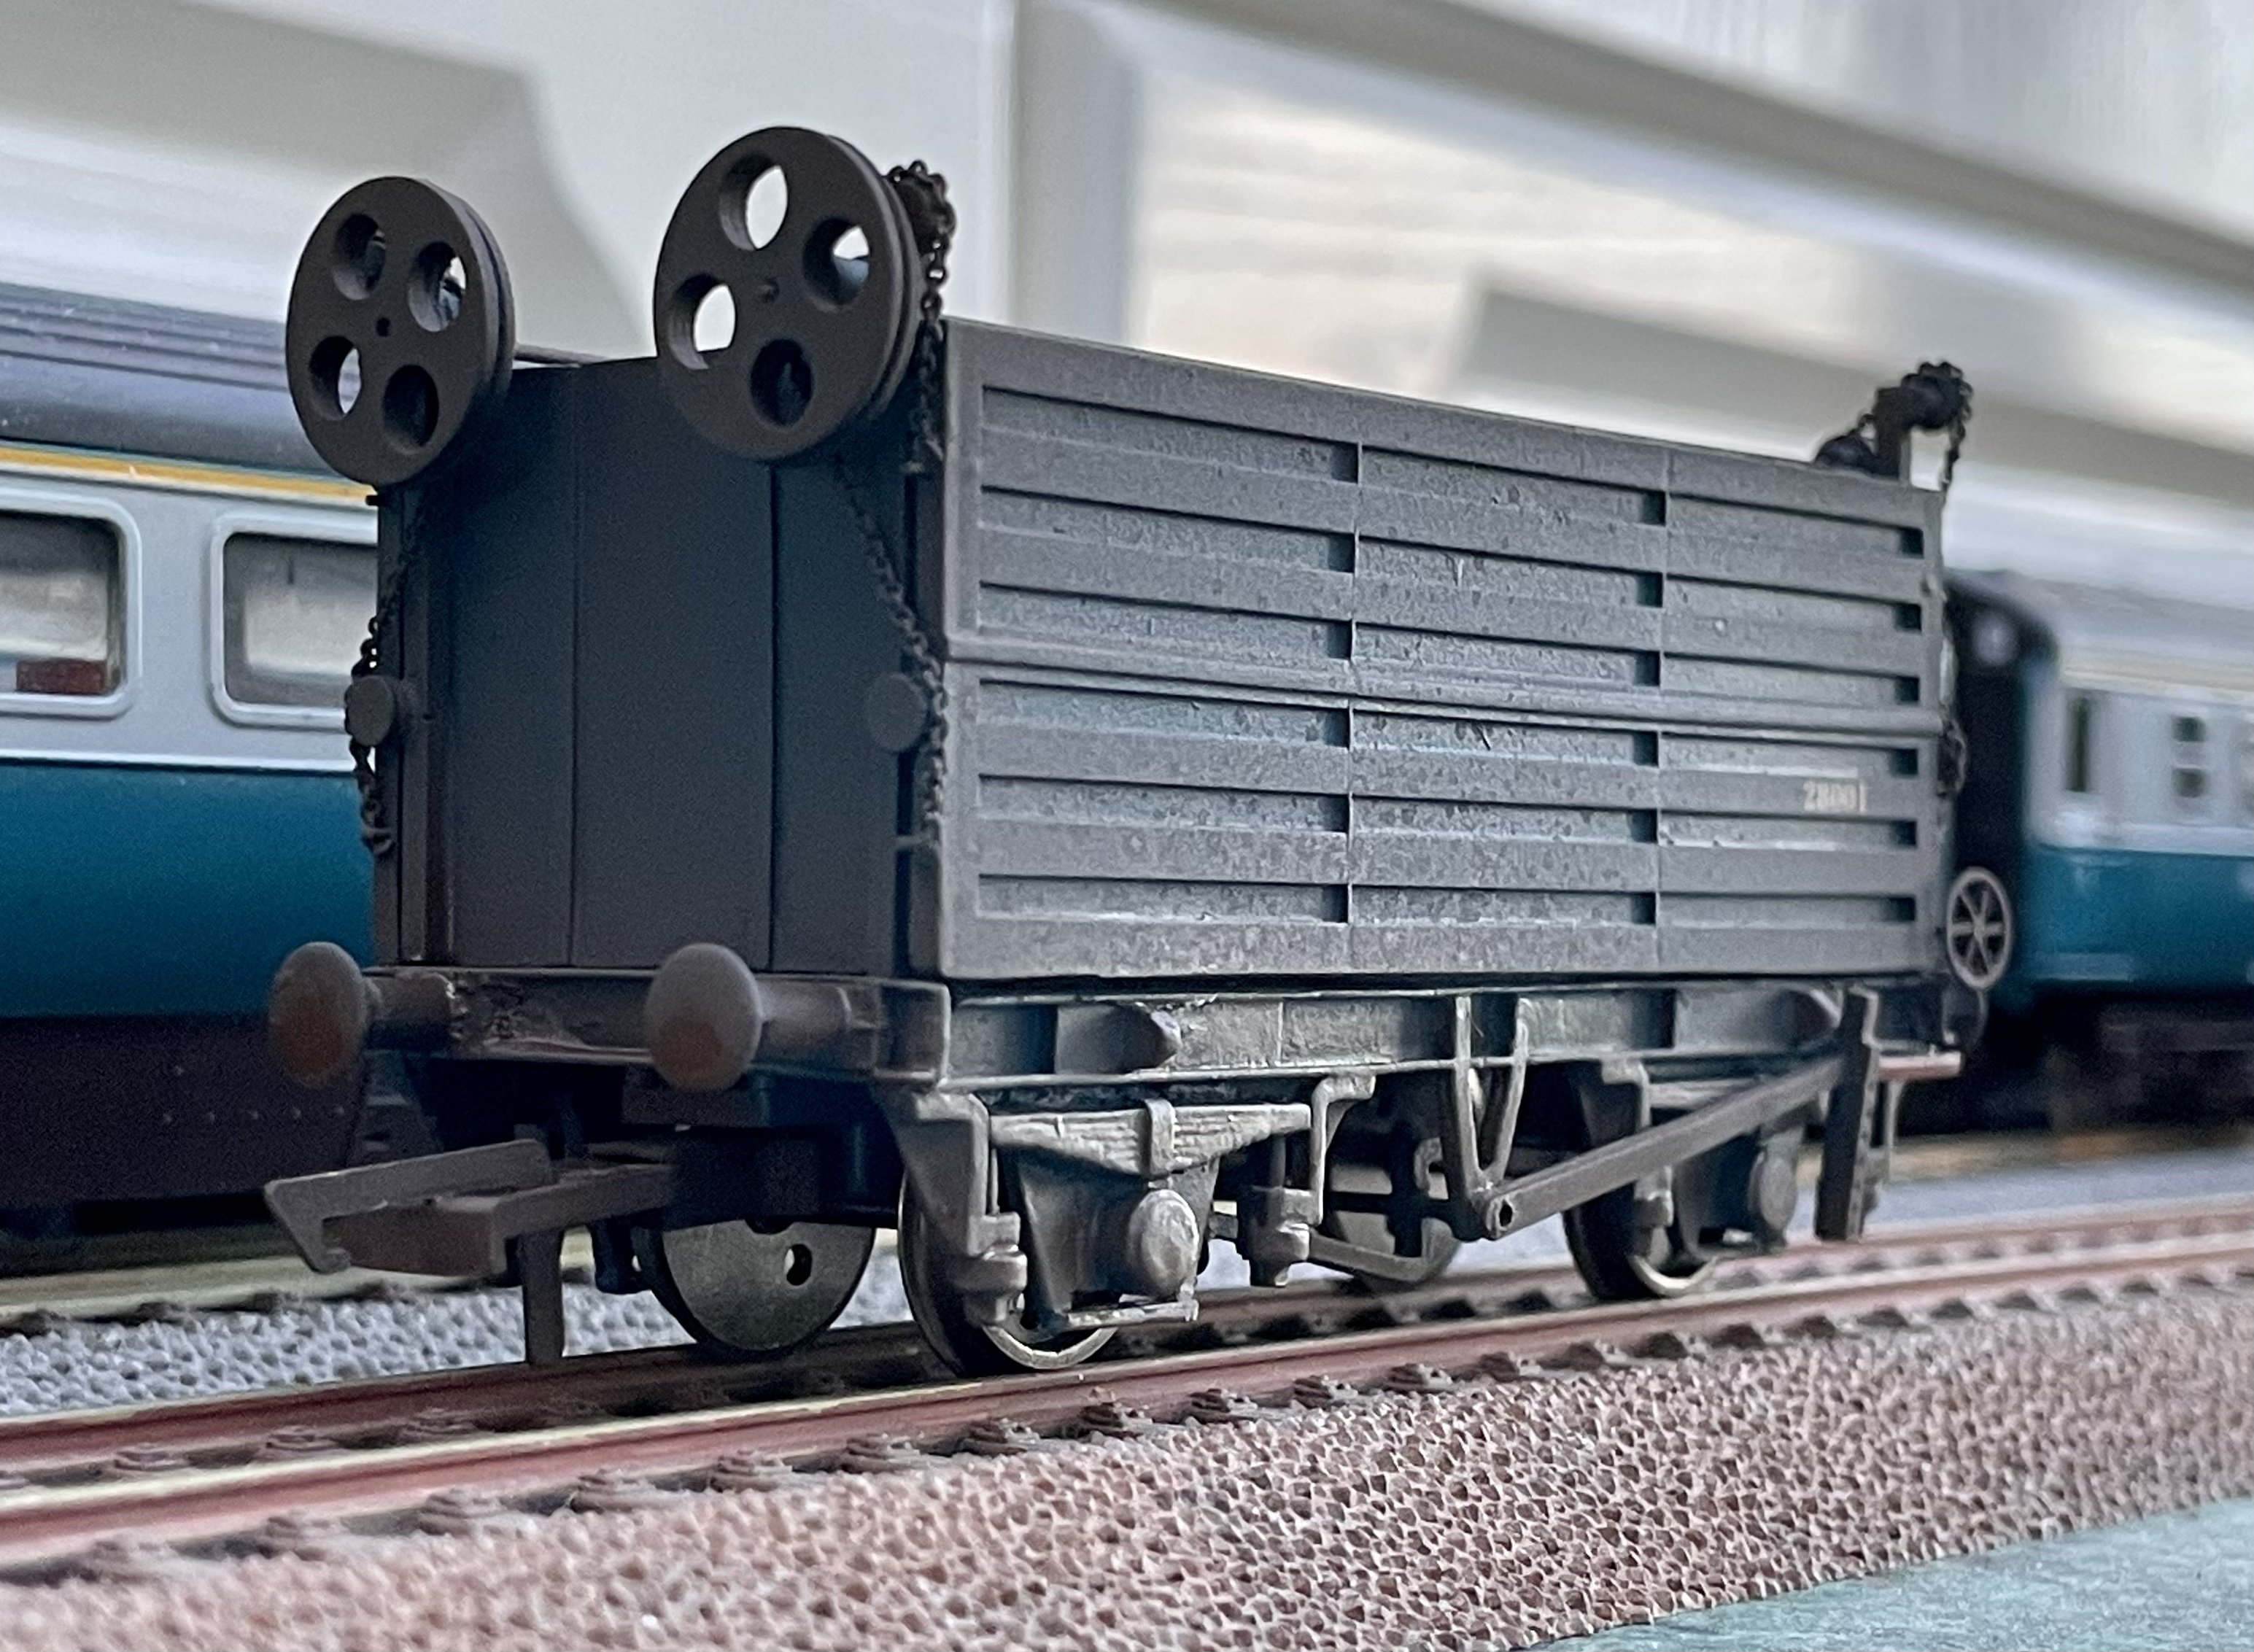
Second cement dropside painted and weathered. Cheers Darius
-
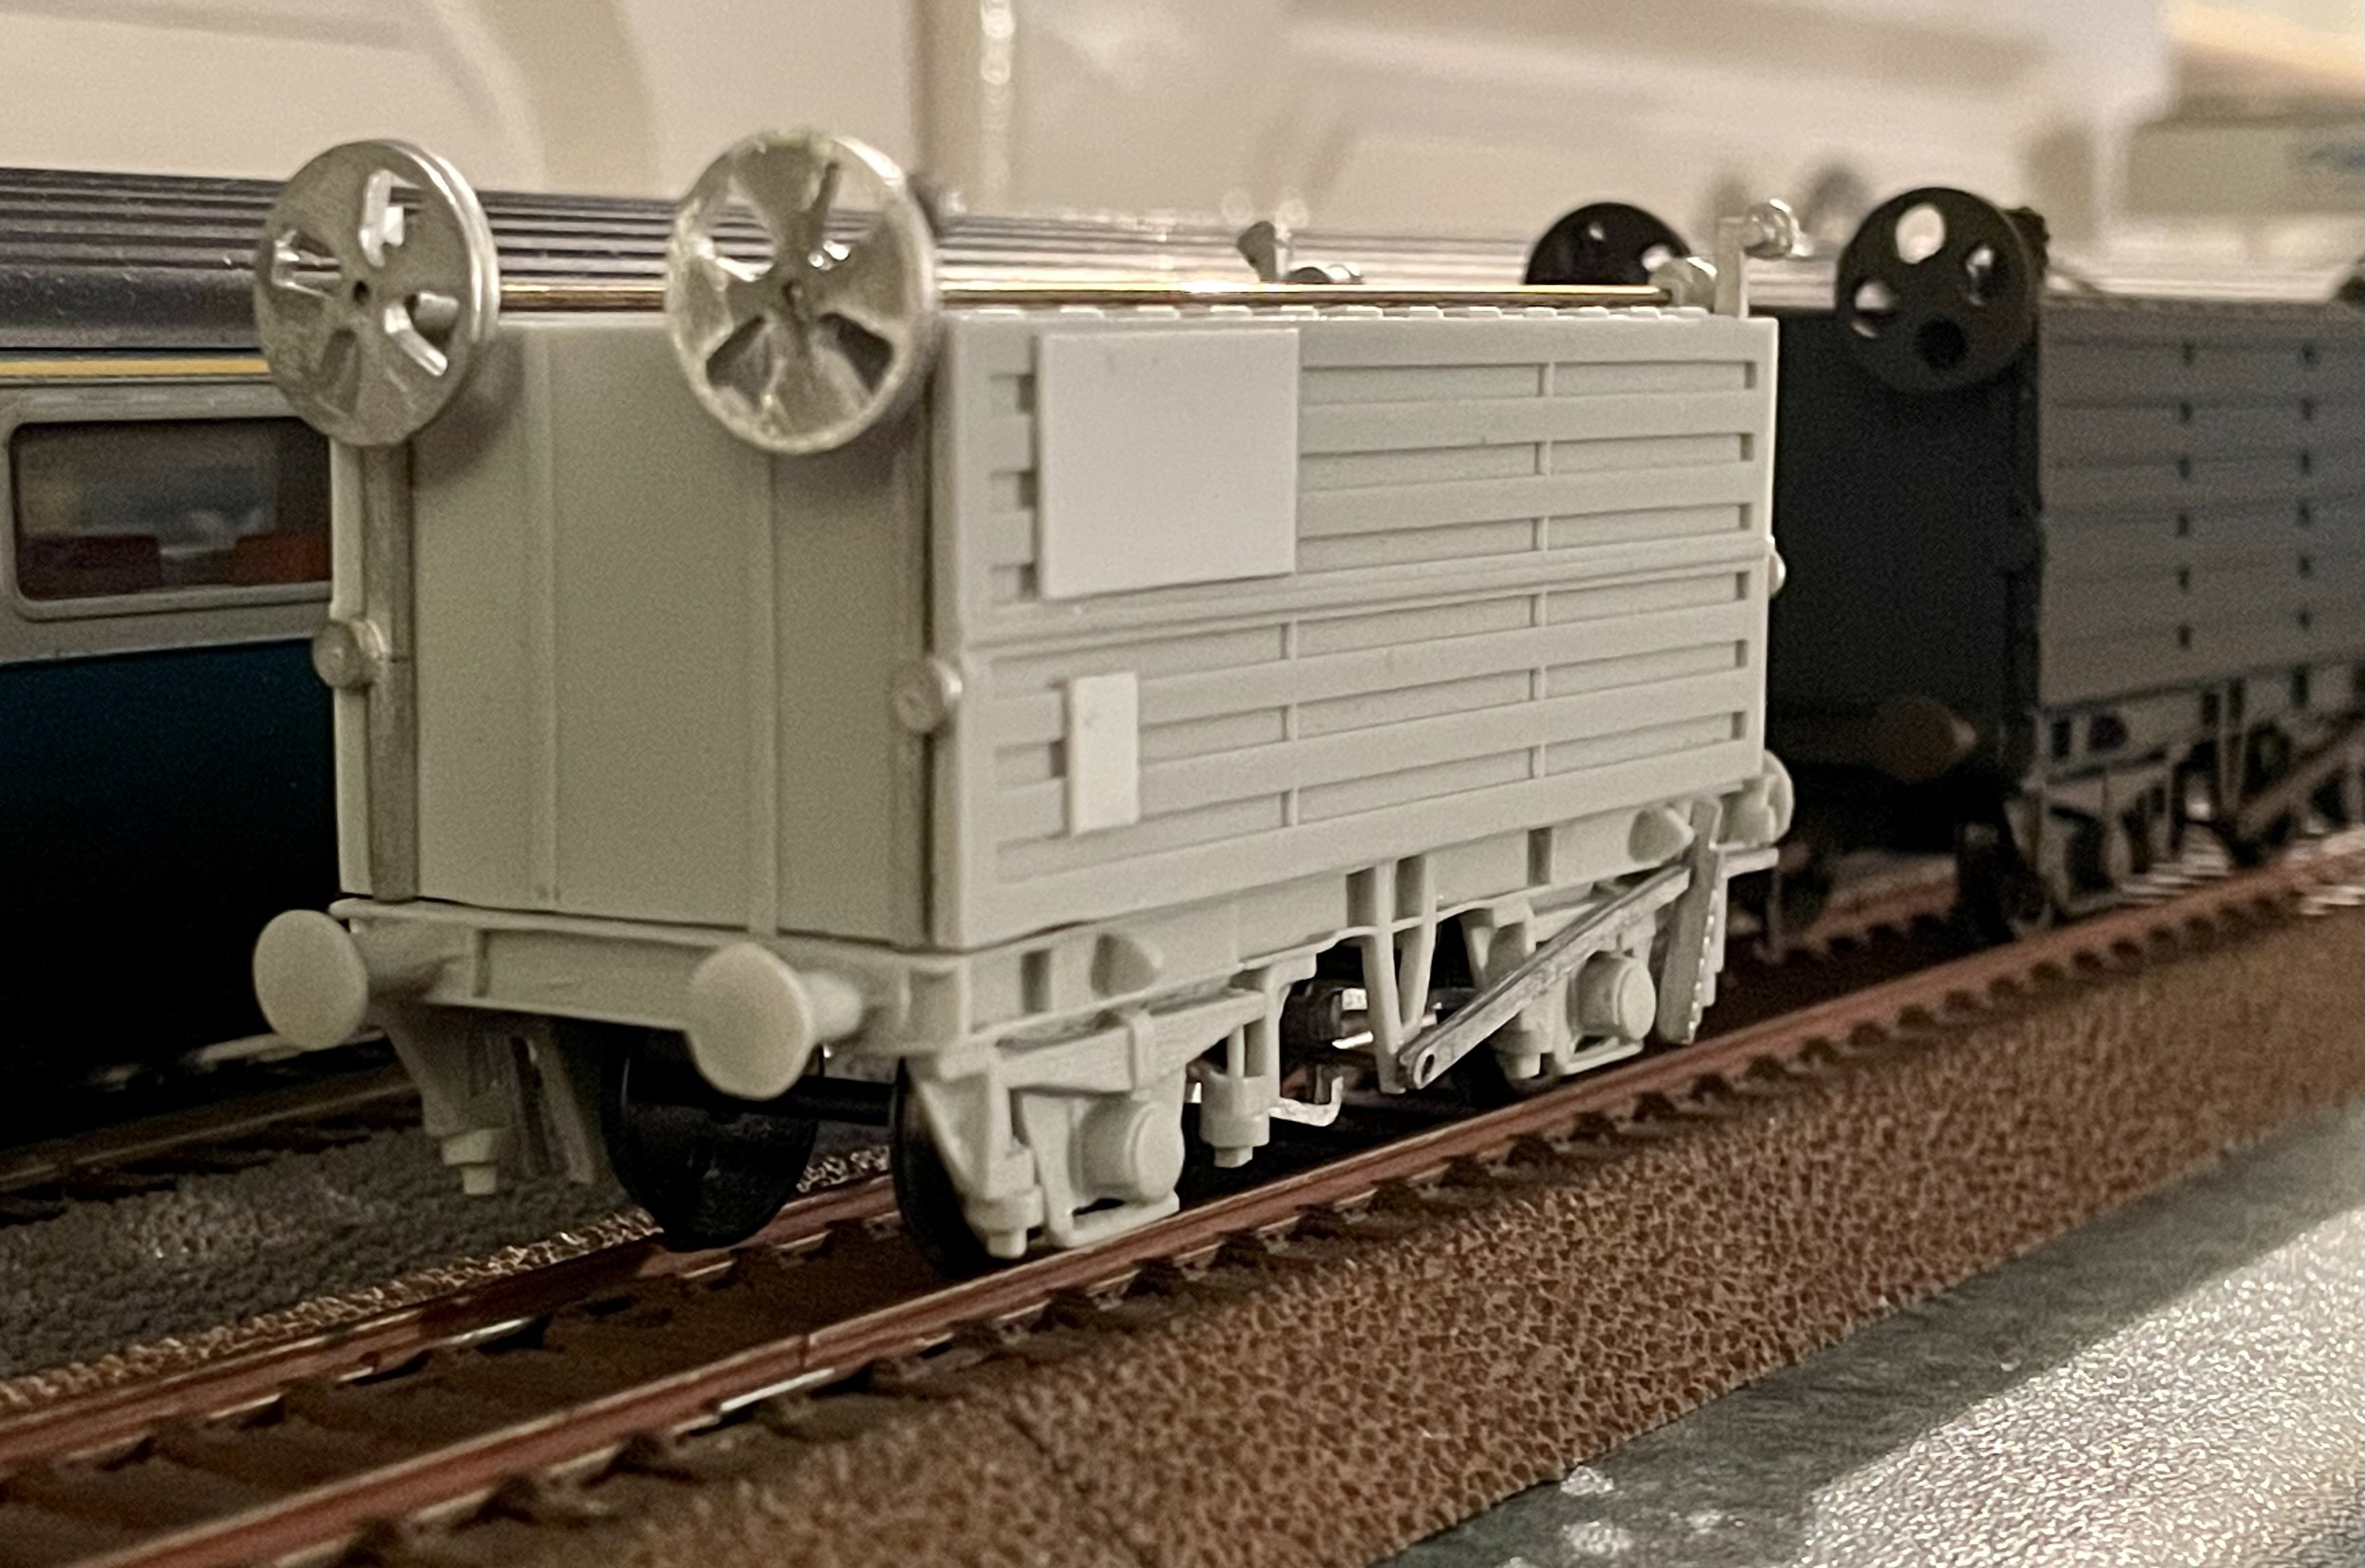
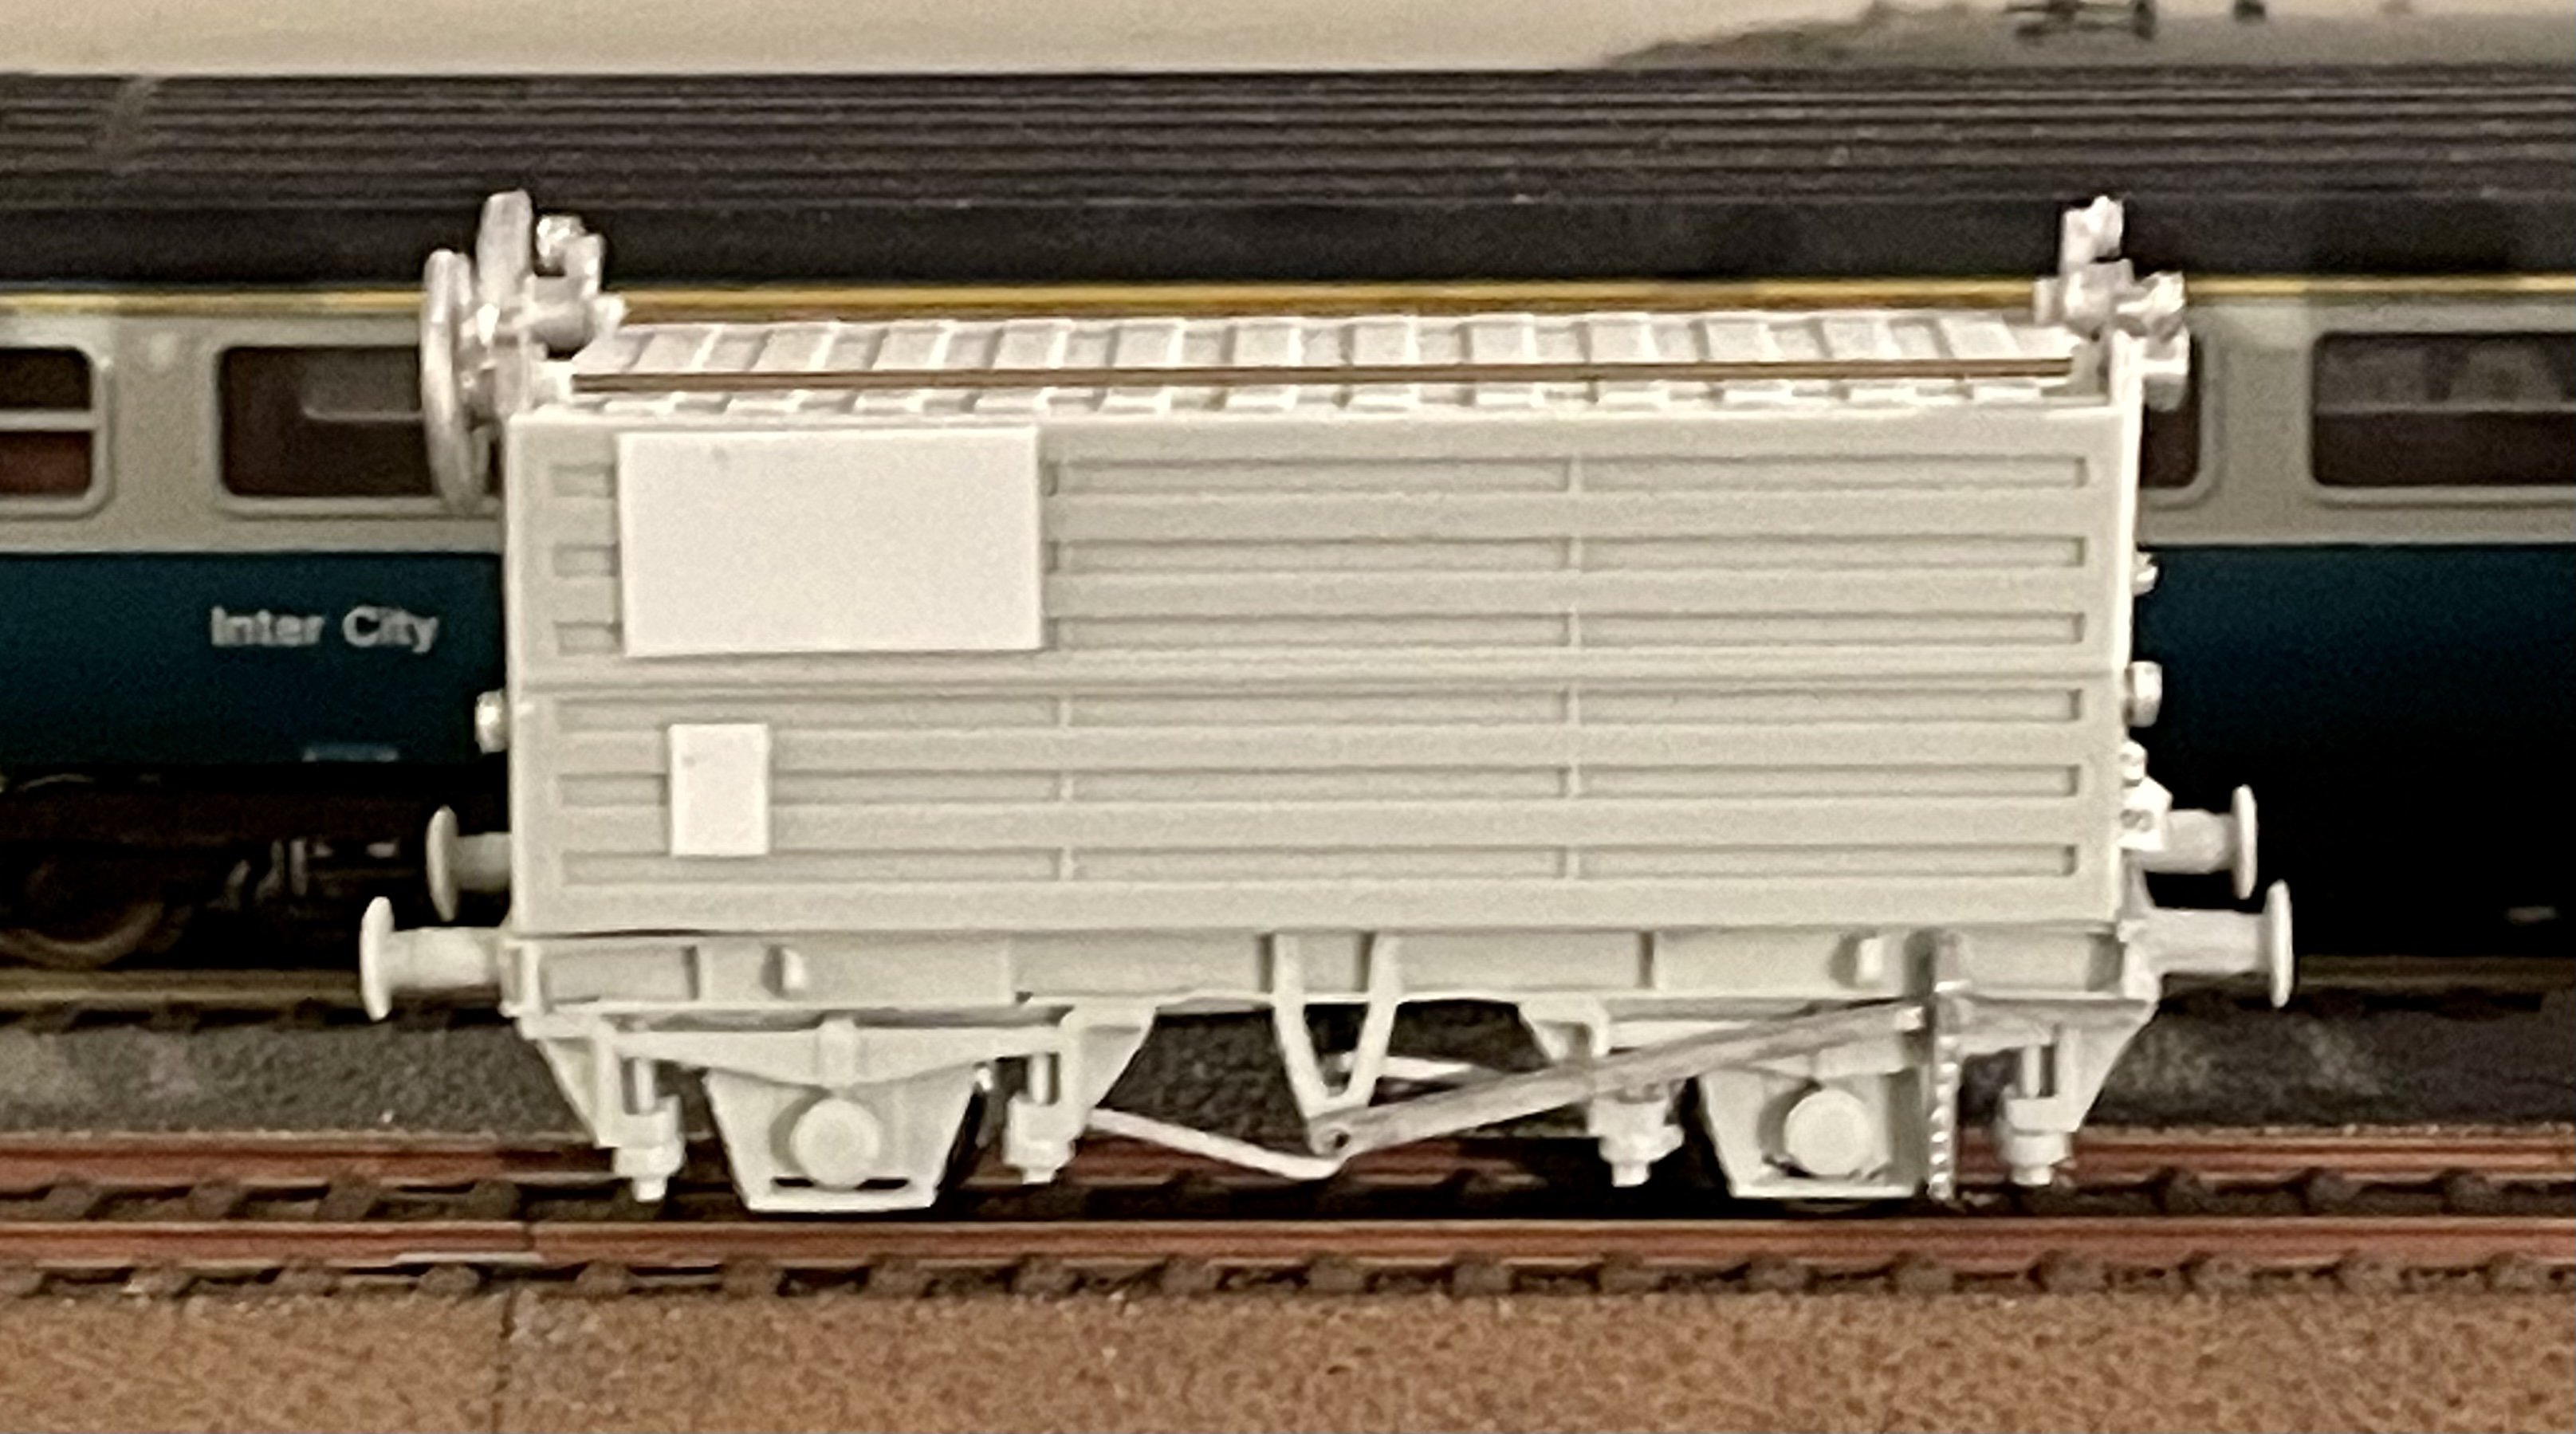
Another dropside assembled. Cheers Darius
-
…and weathered. Cheers Darius
-
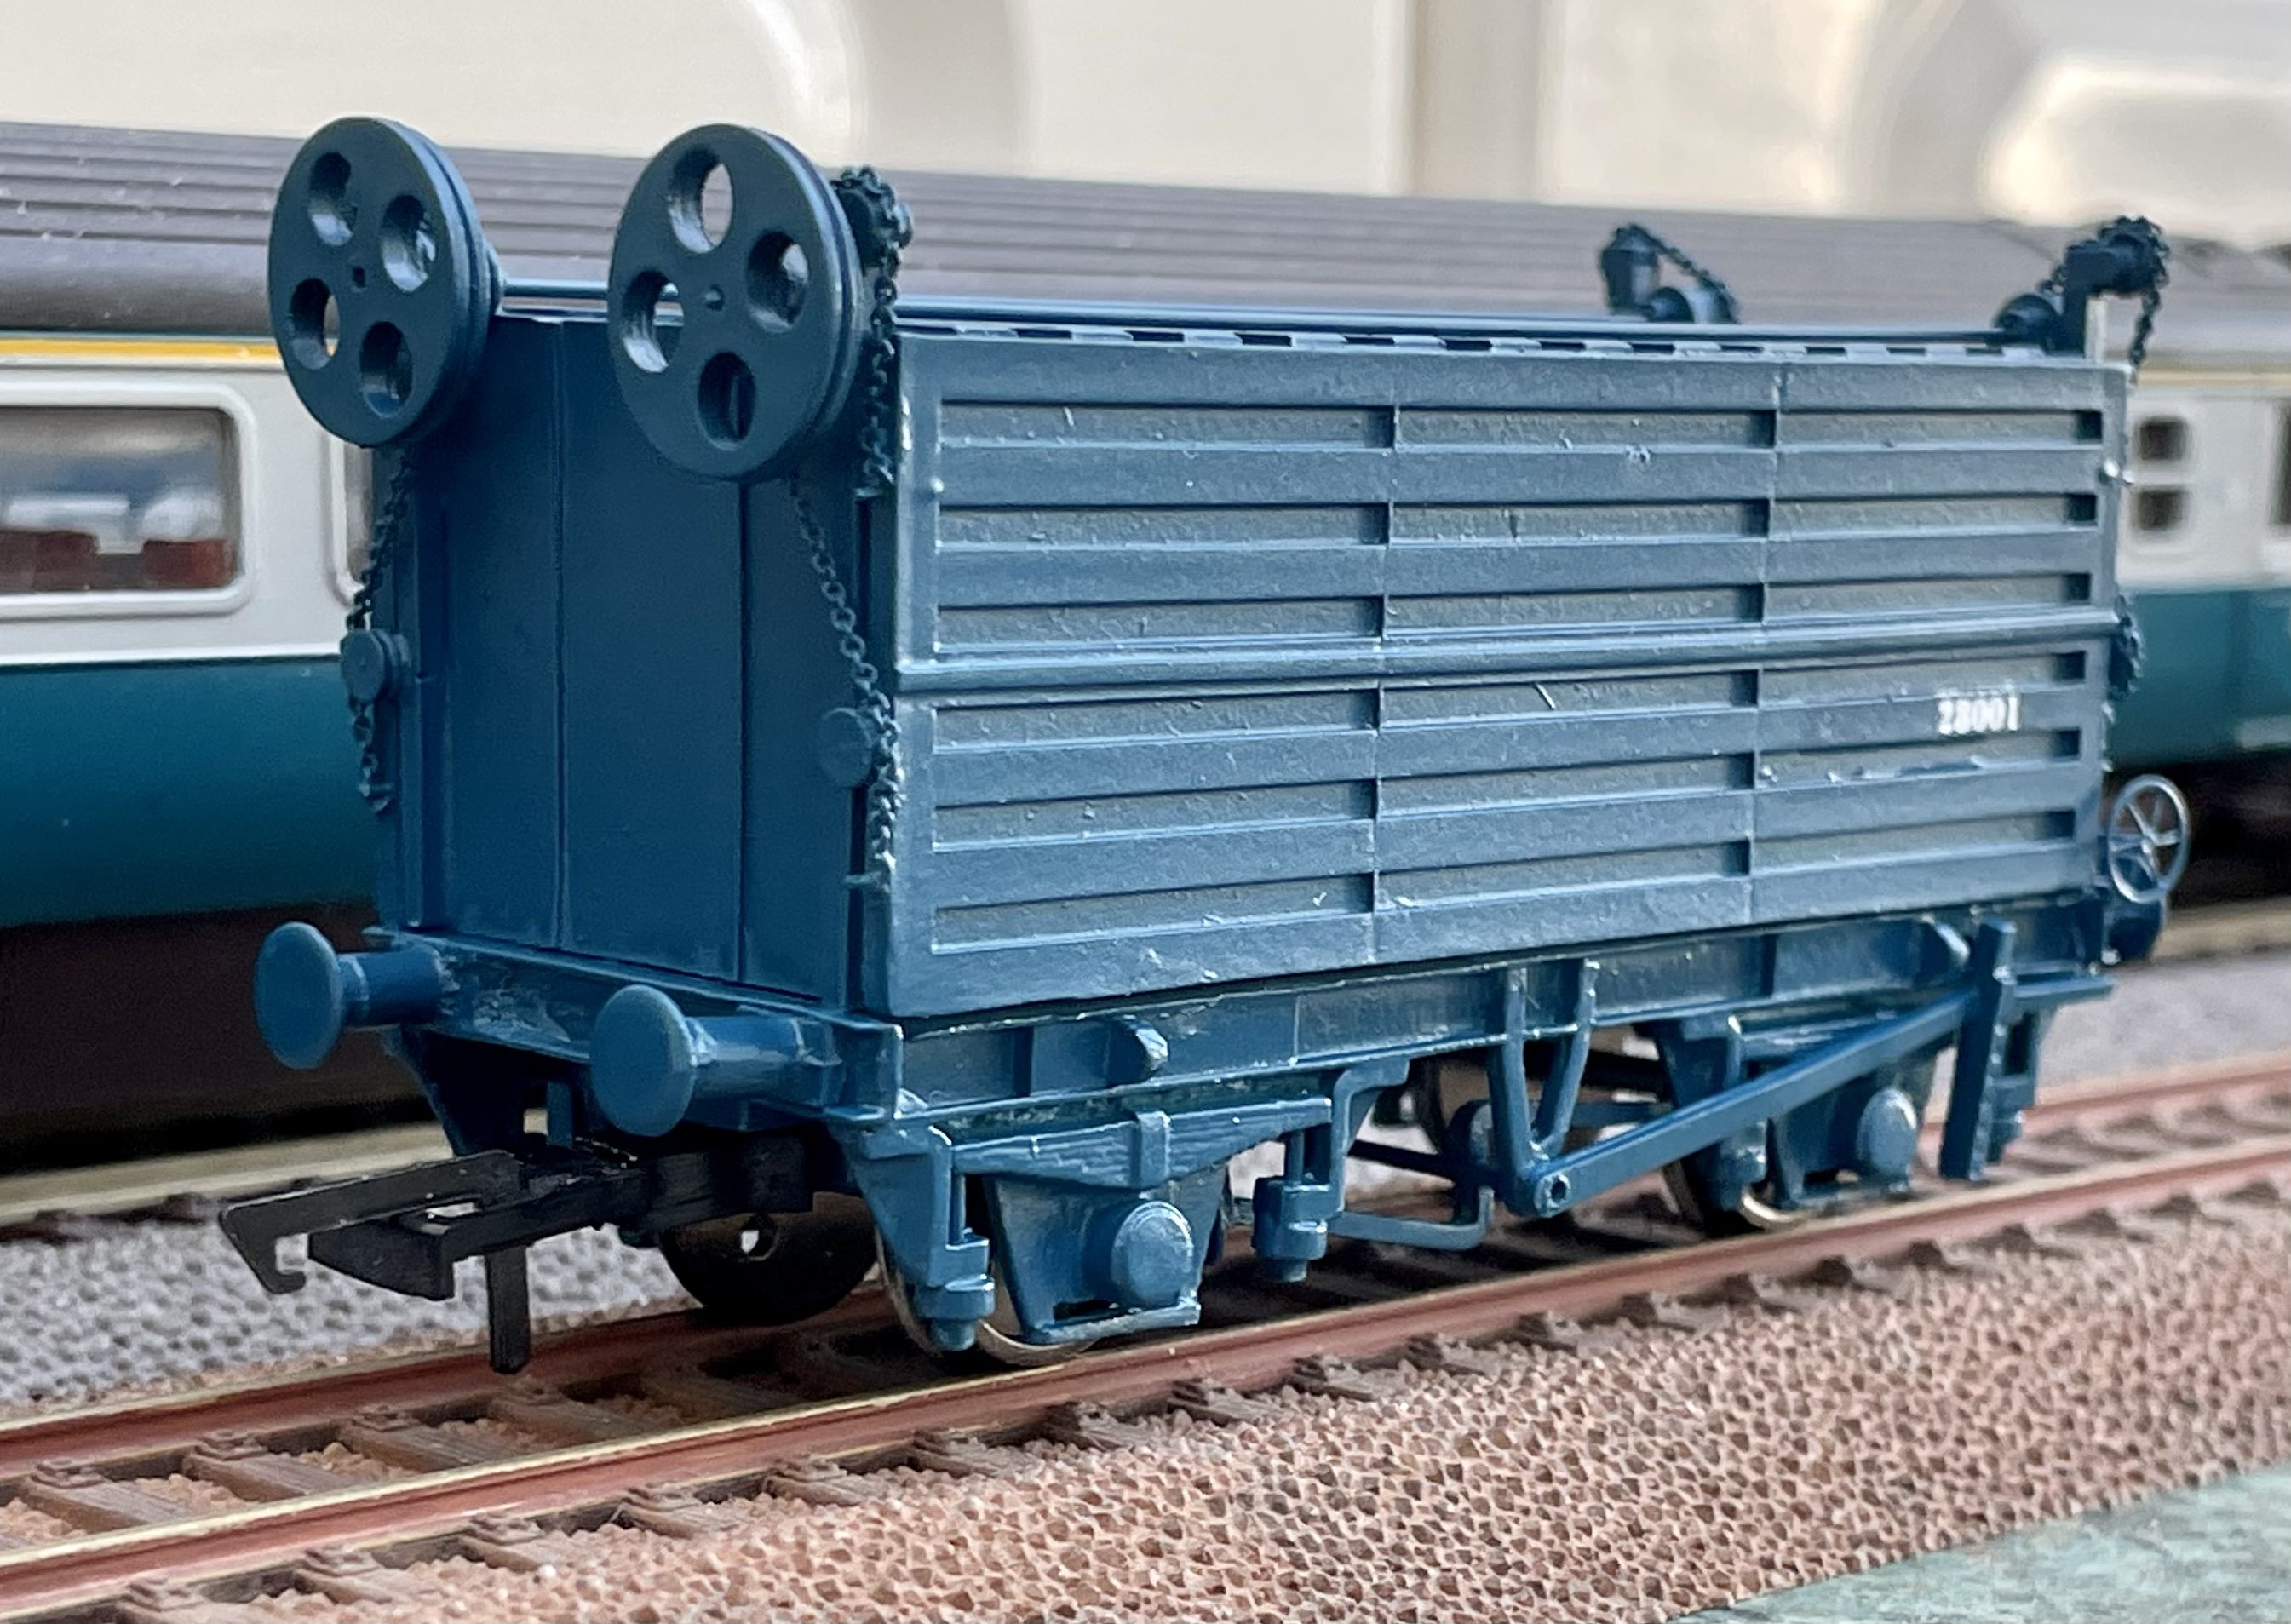
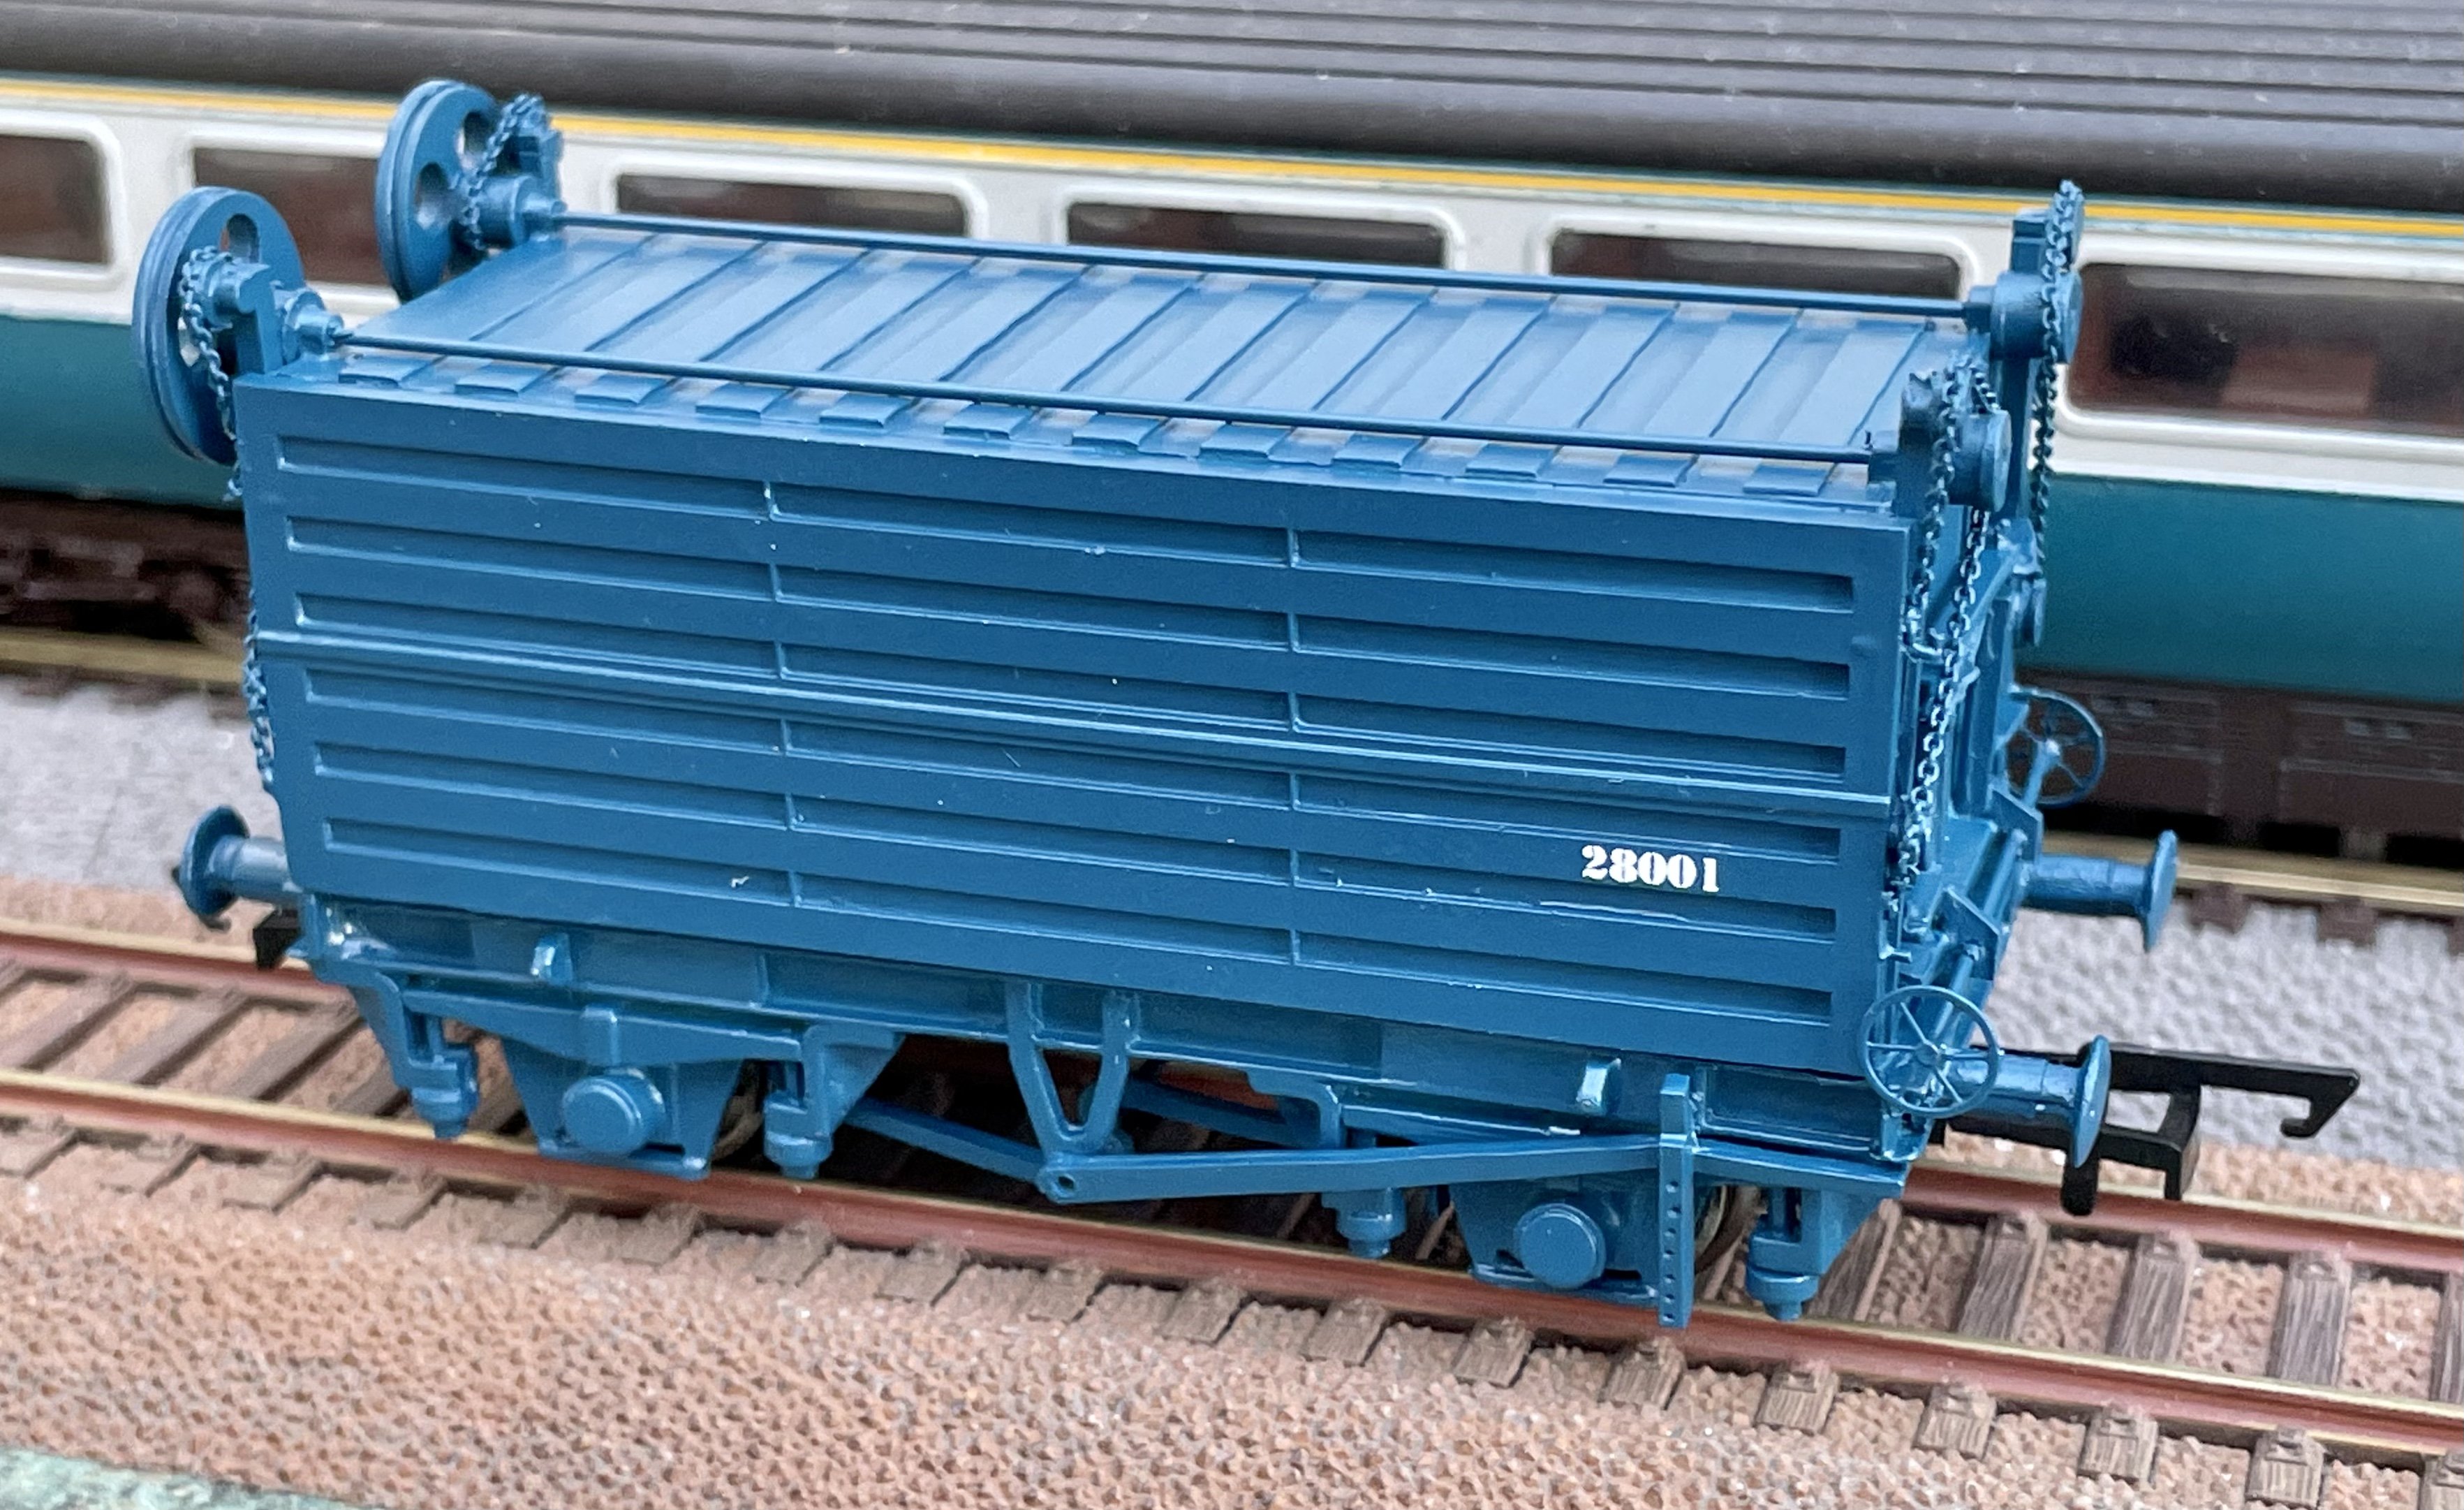
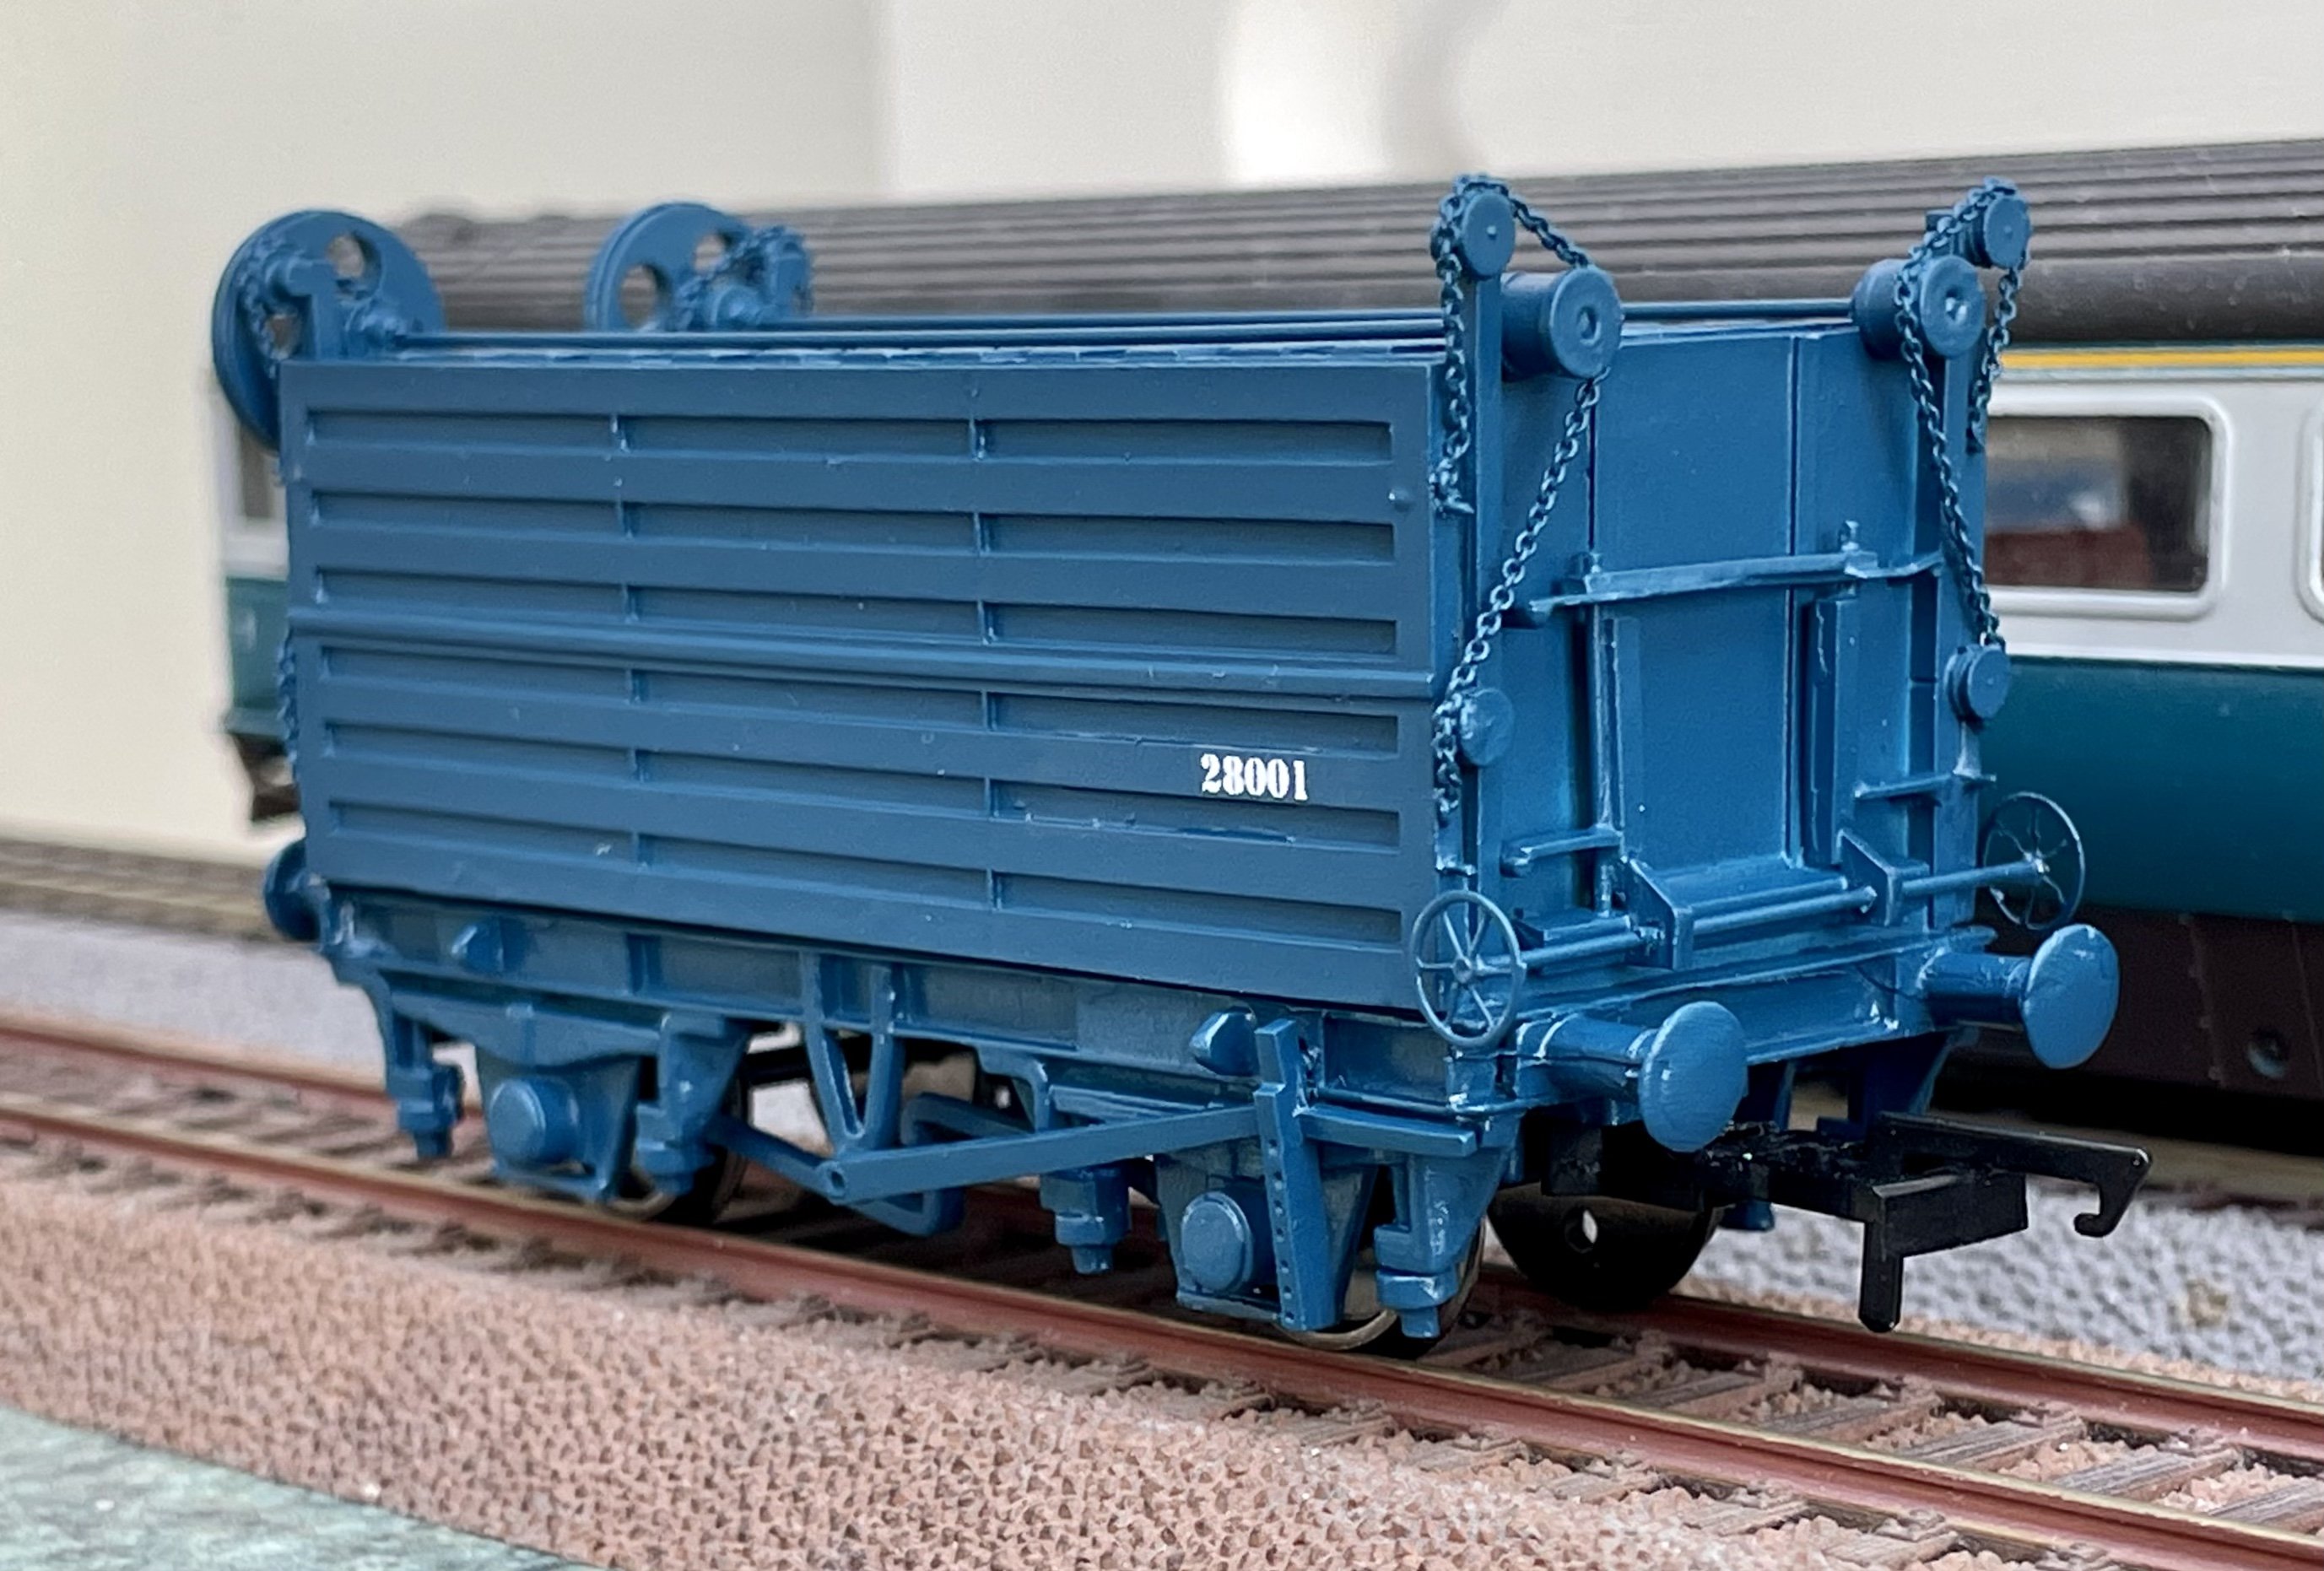
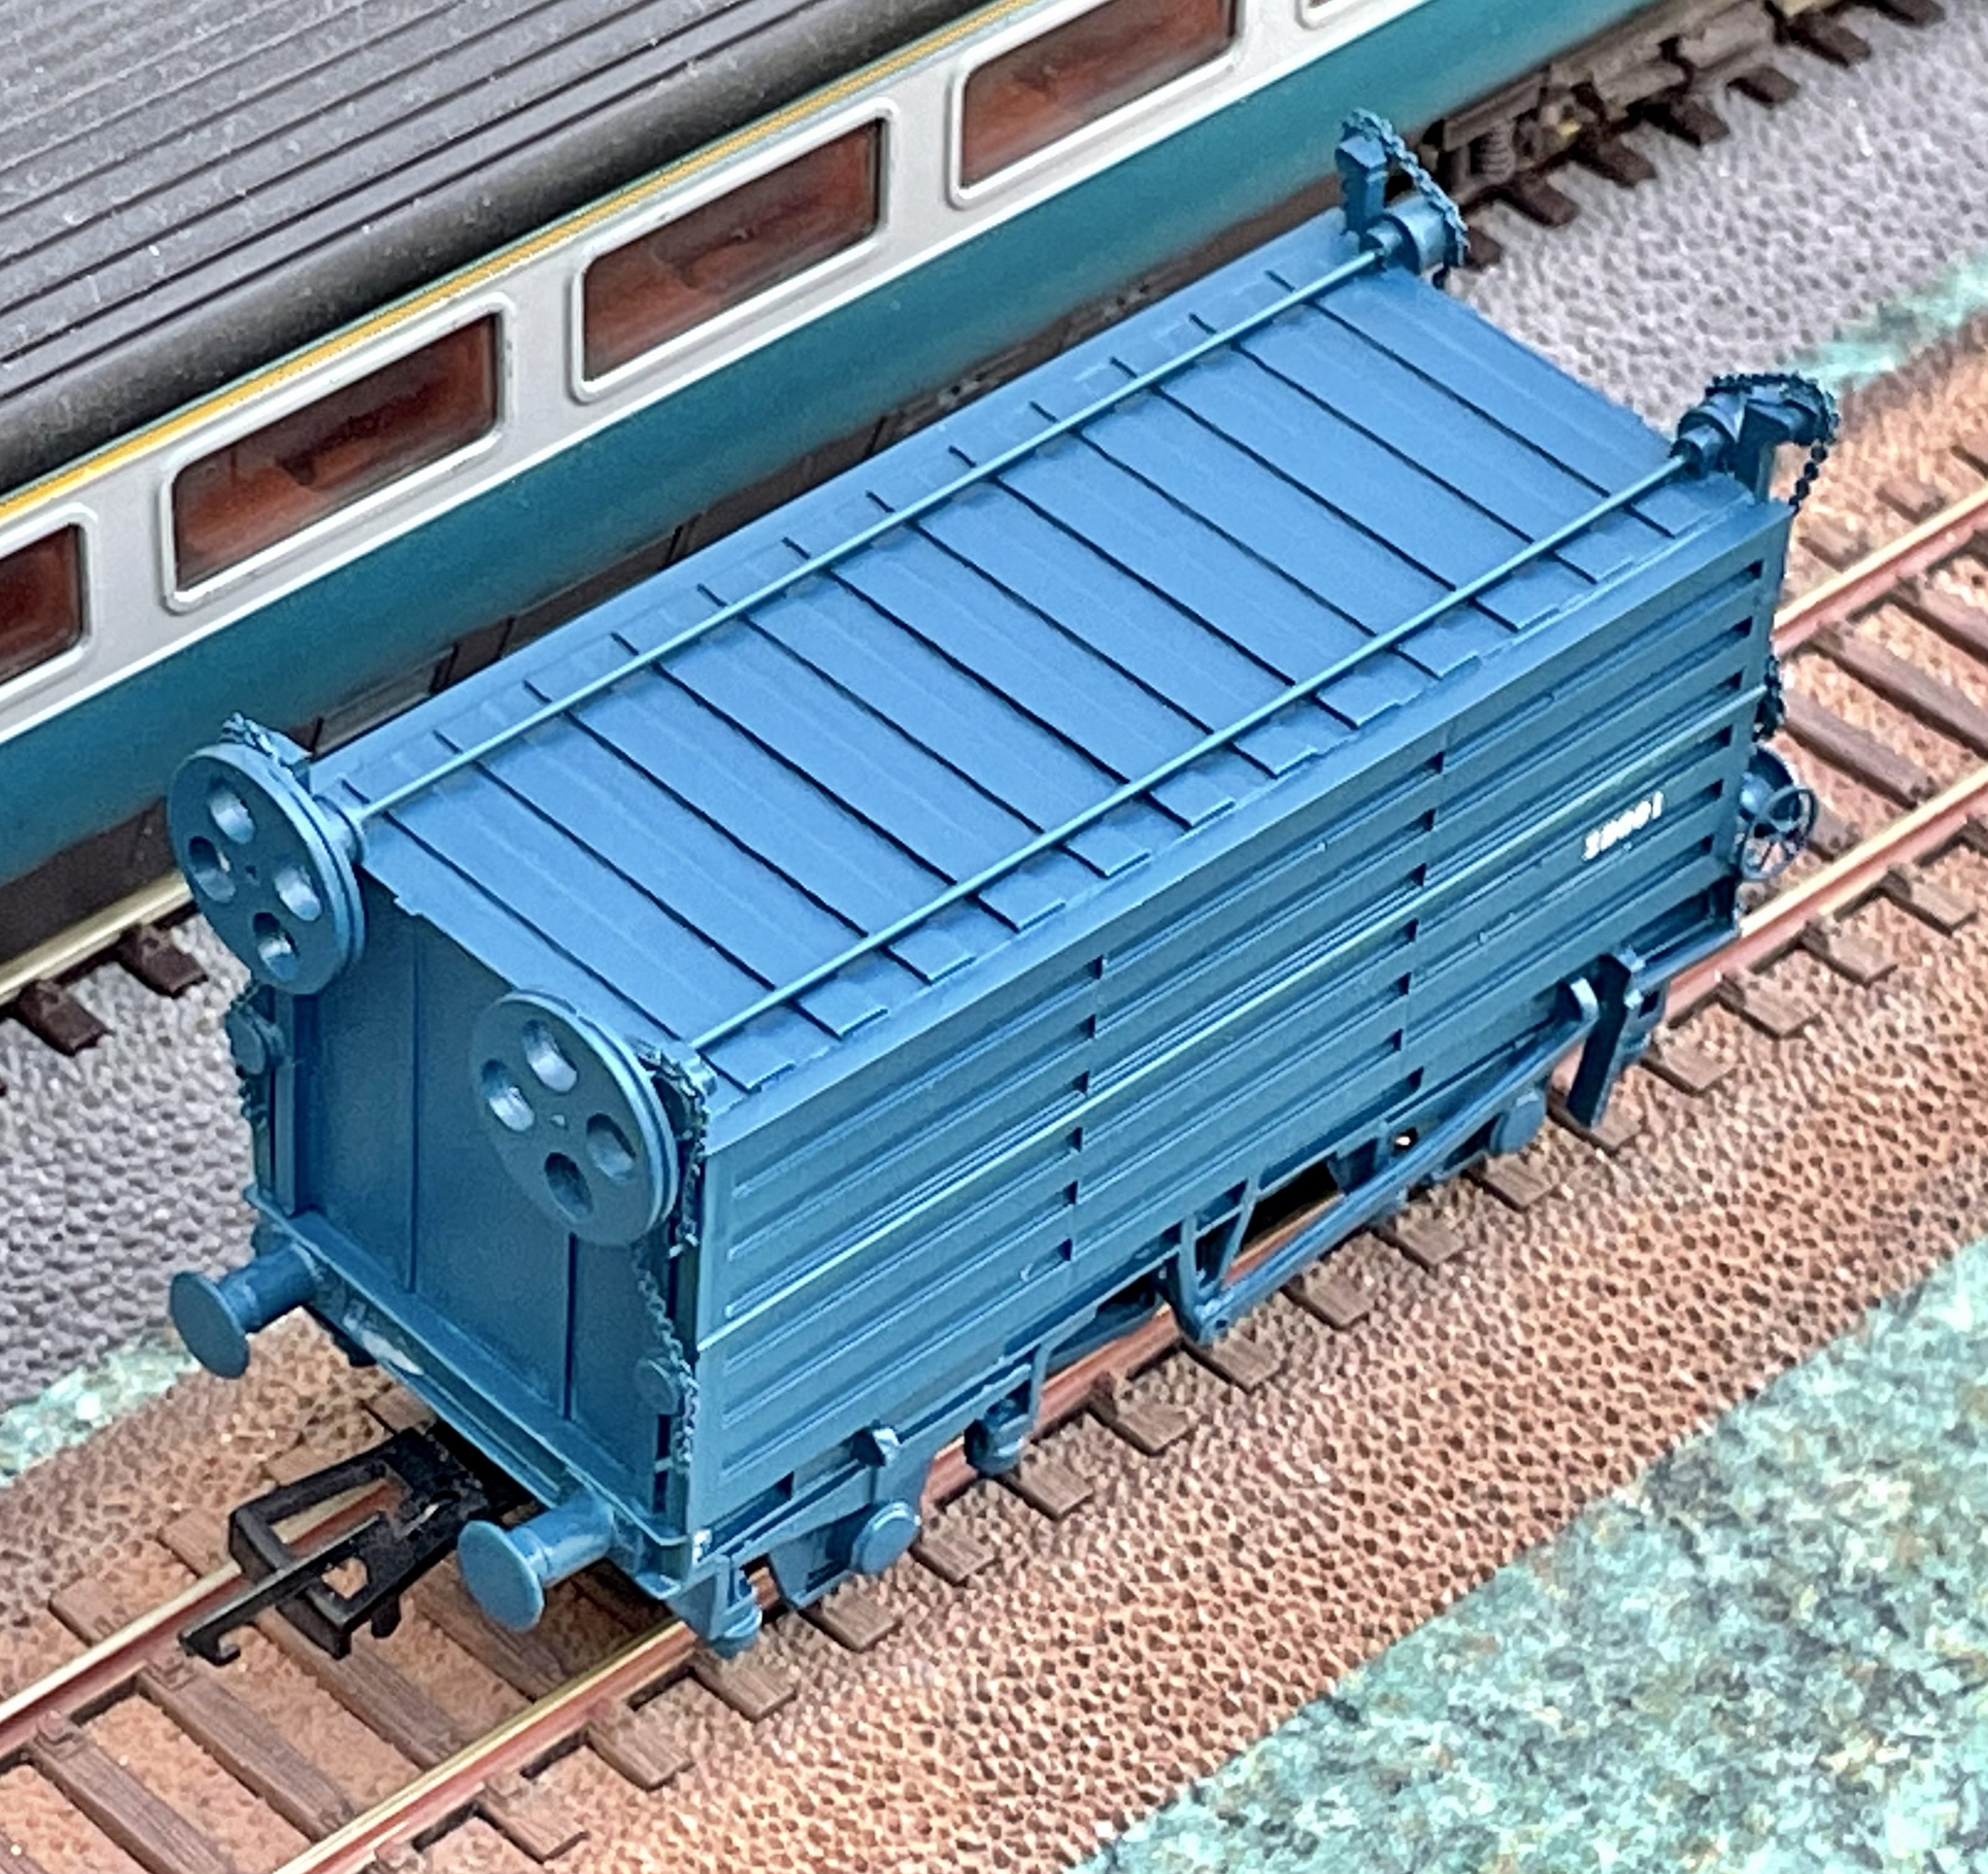
Cement wagon primed and painted. There was enough chain to finish the model - phew. Cheers Darius
-
Dunweatherin… Drop side wagon assembled. Cheers Darius
-
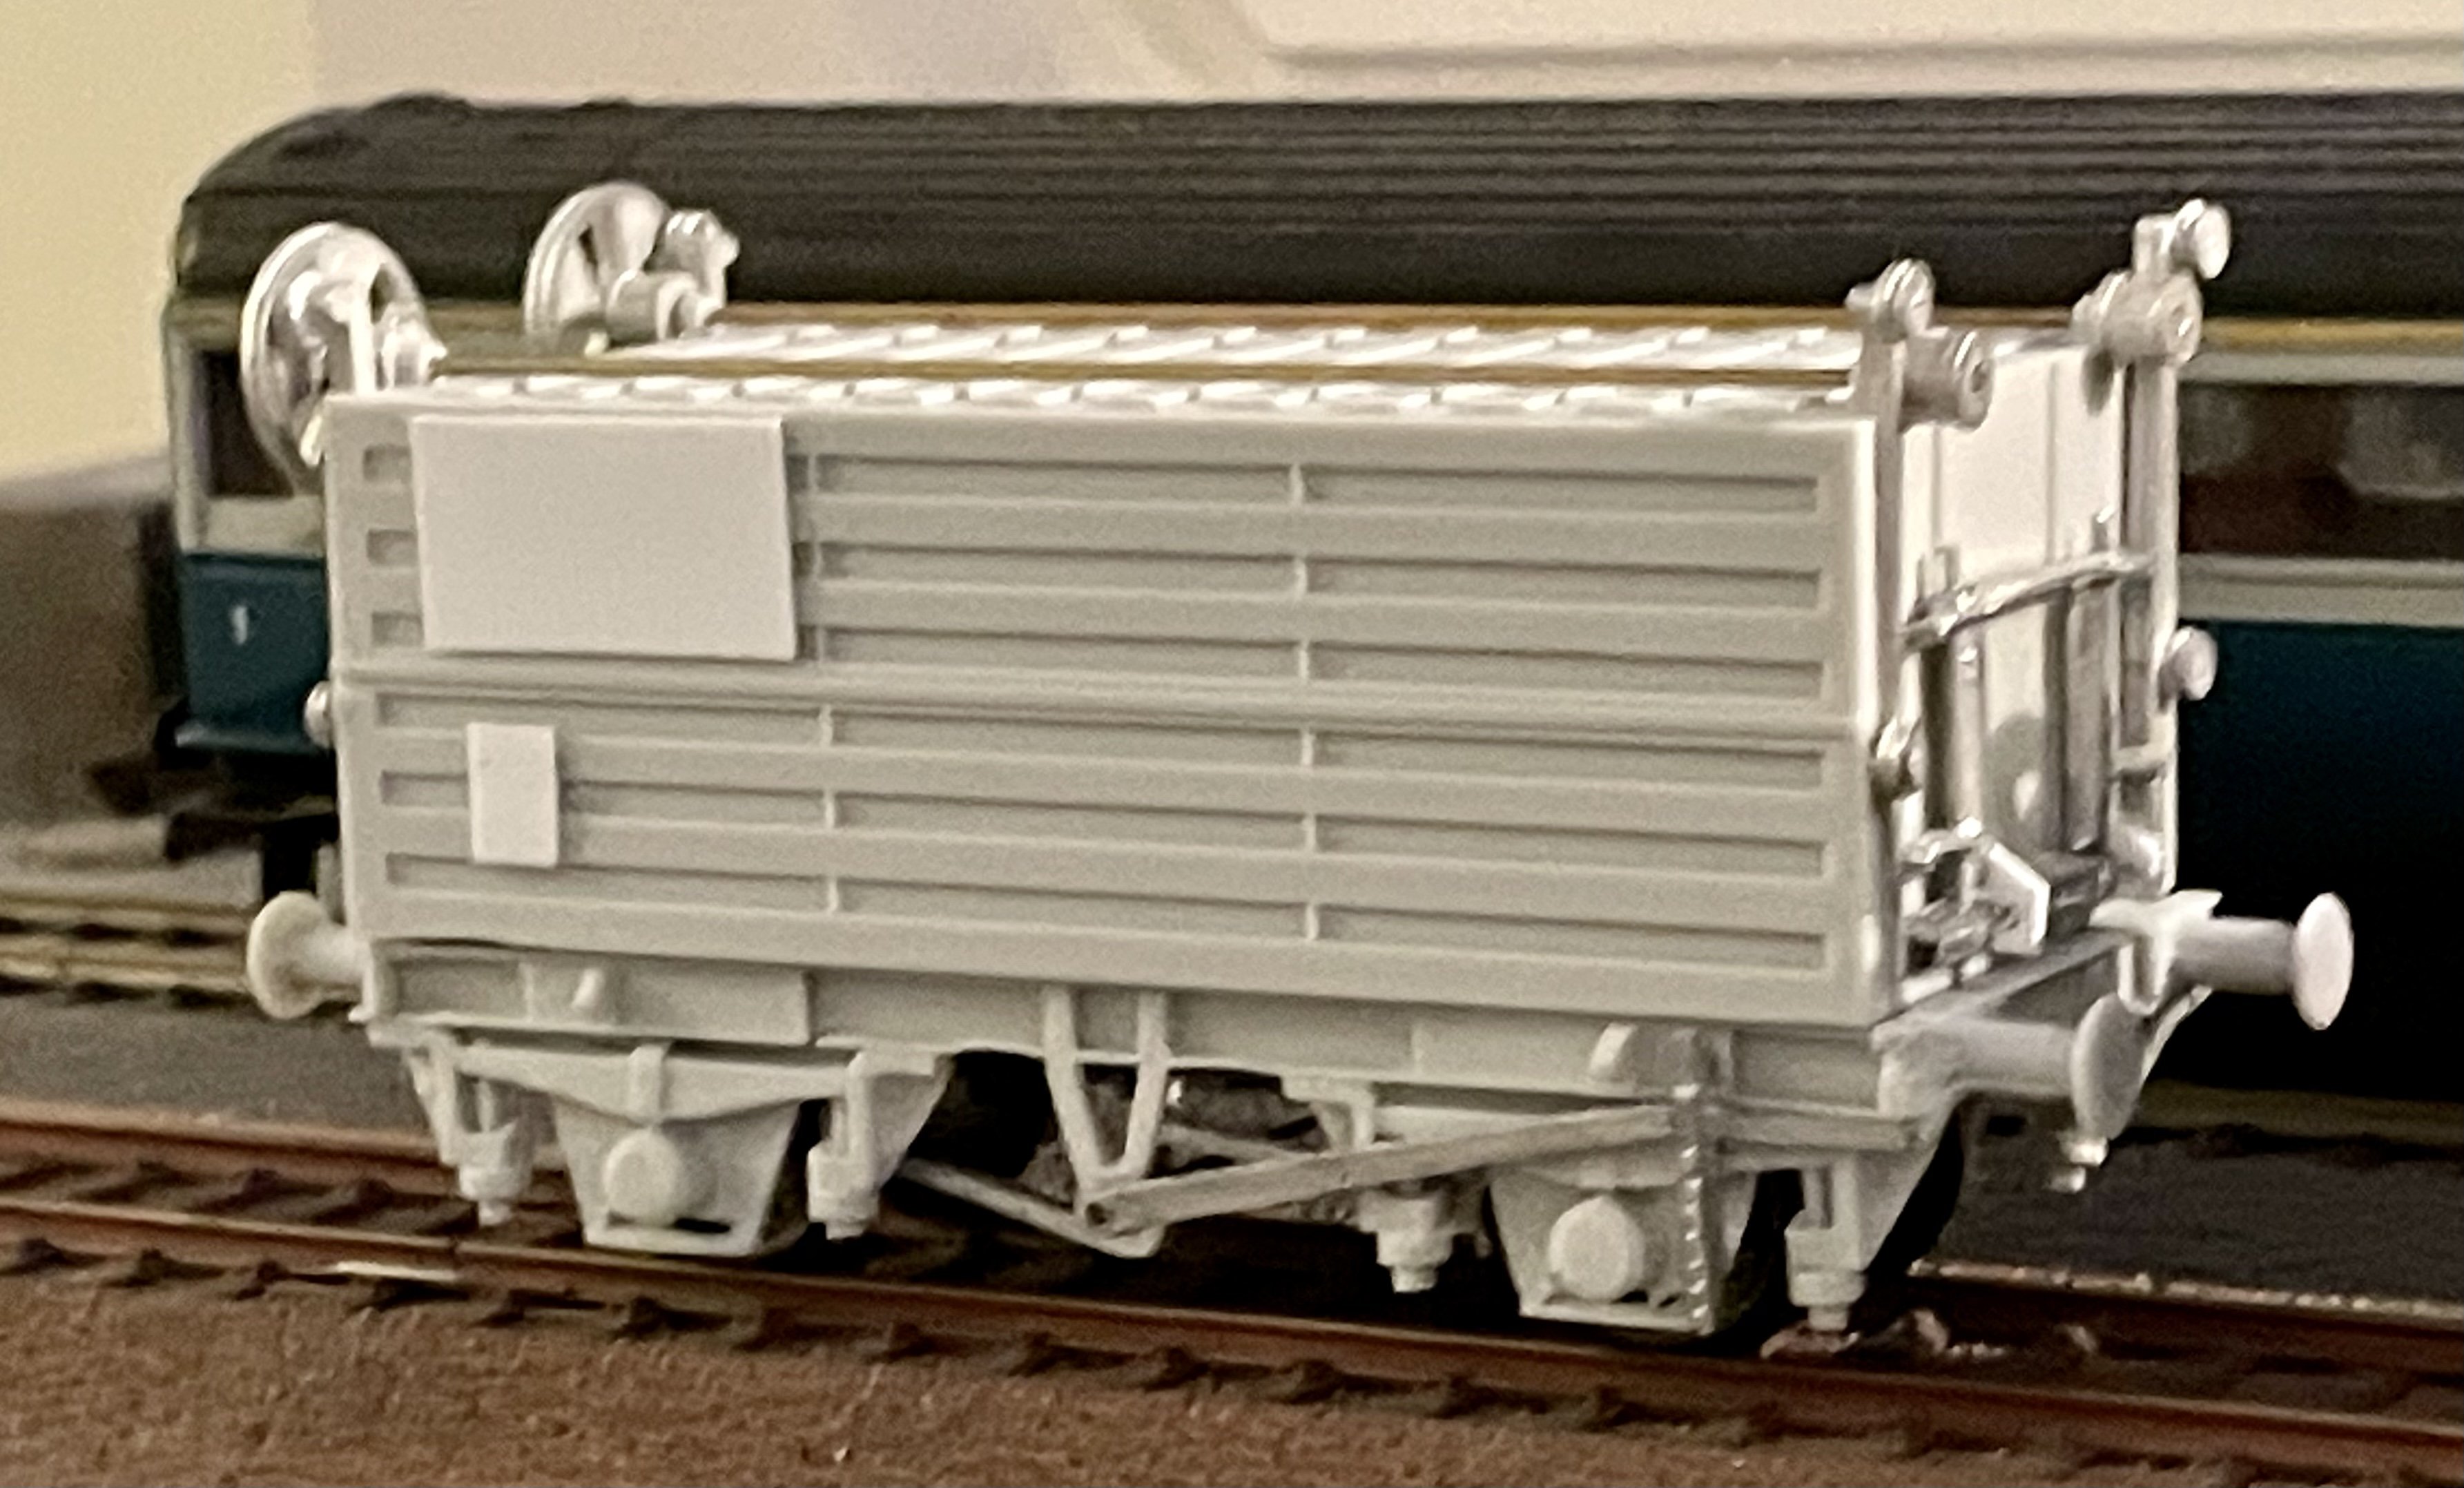
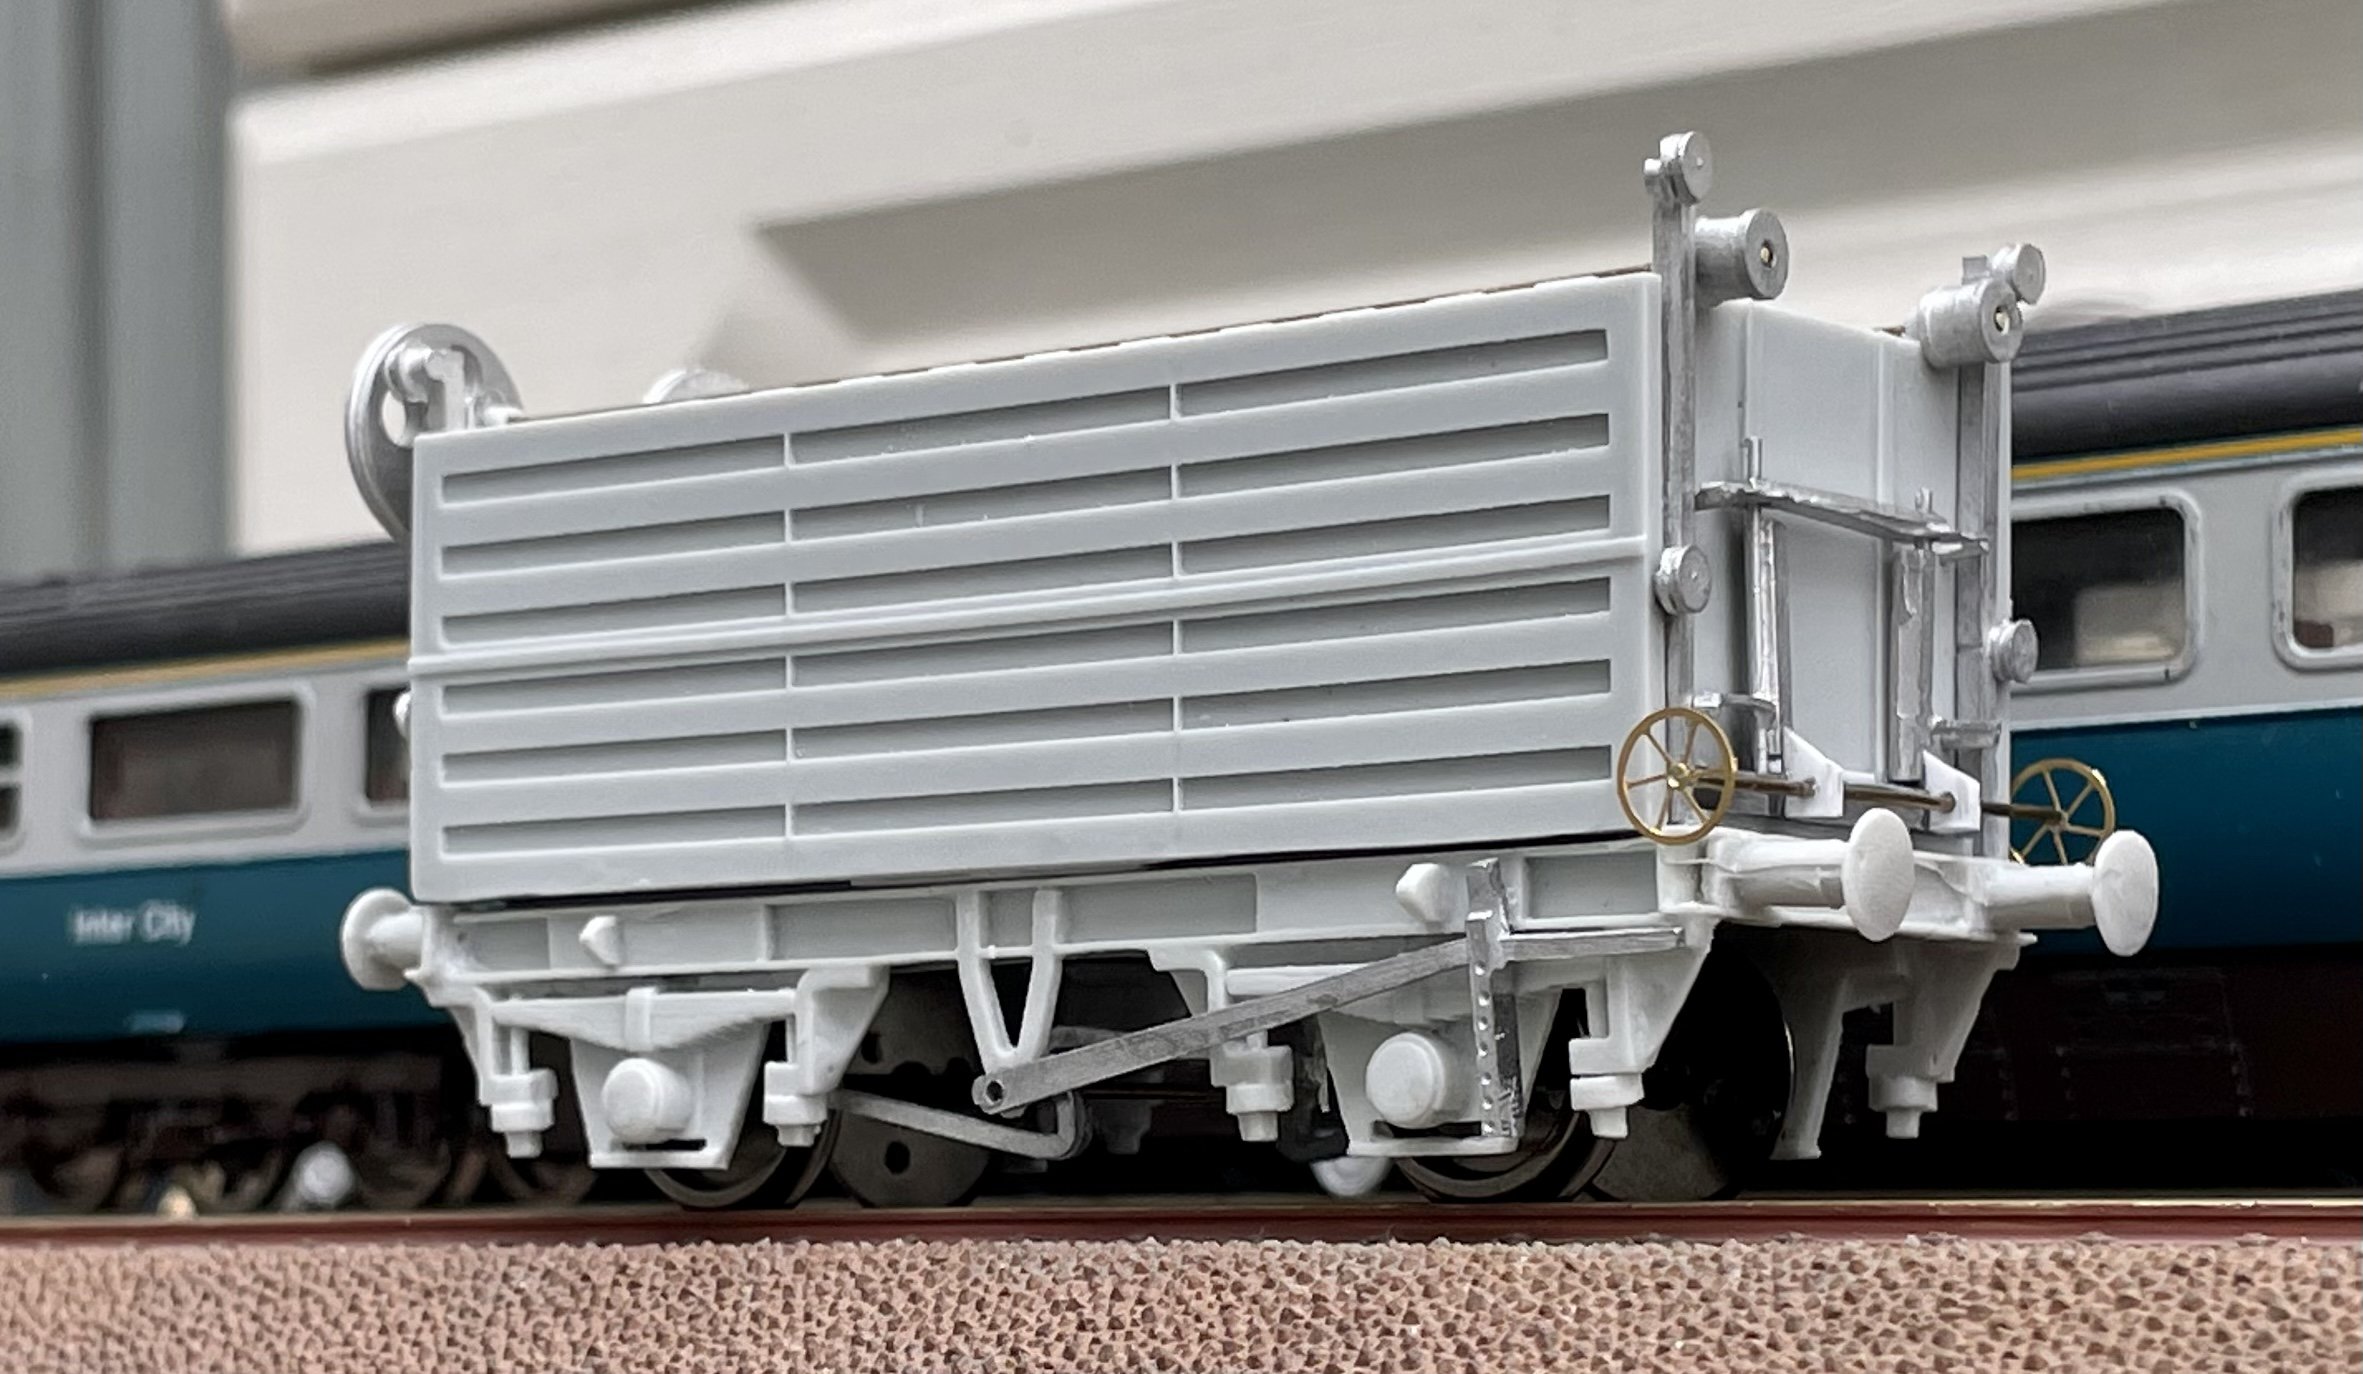
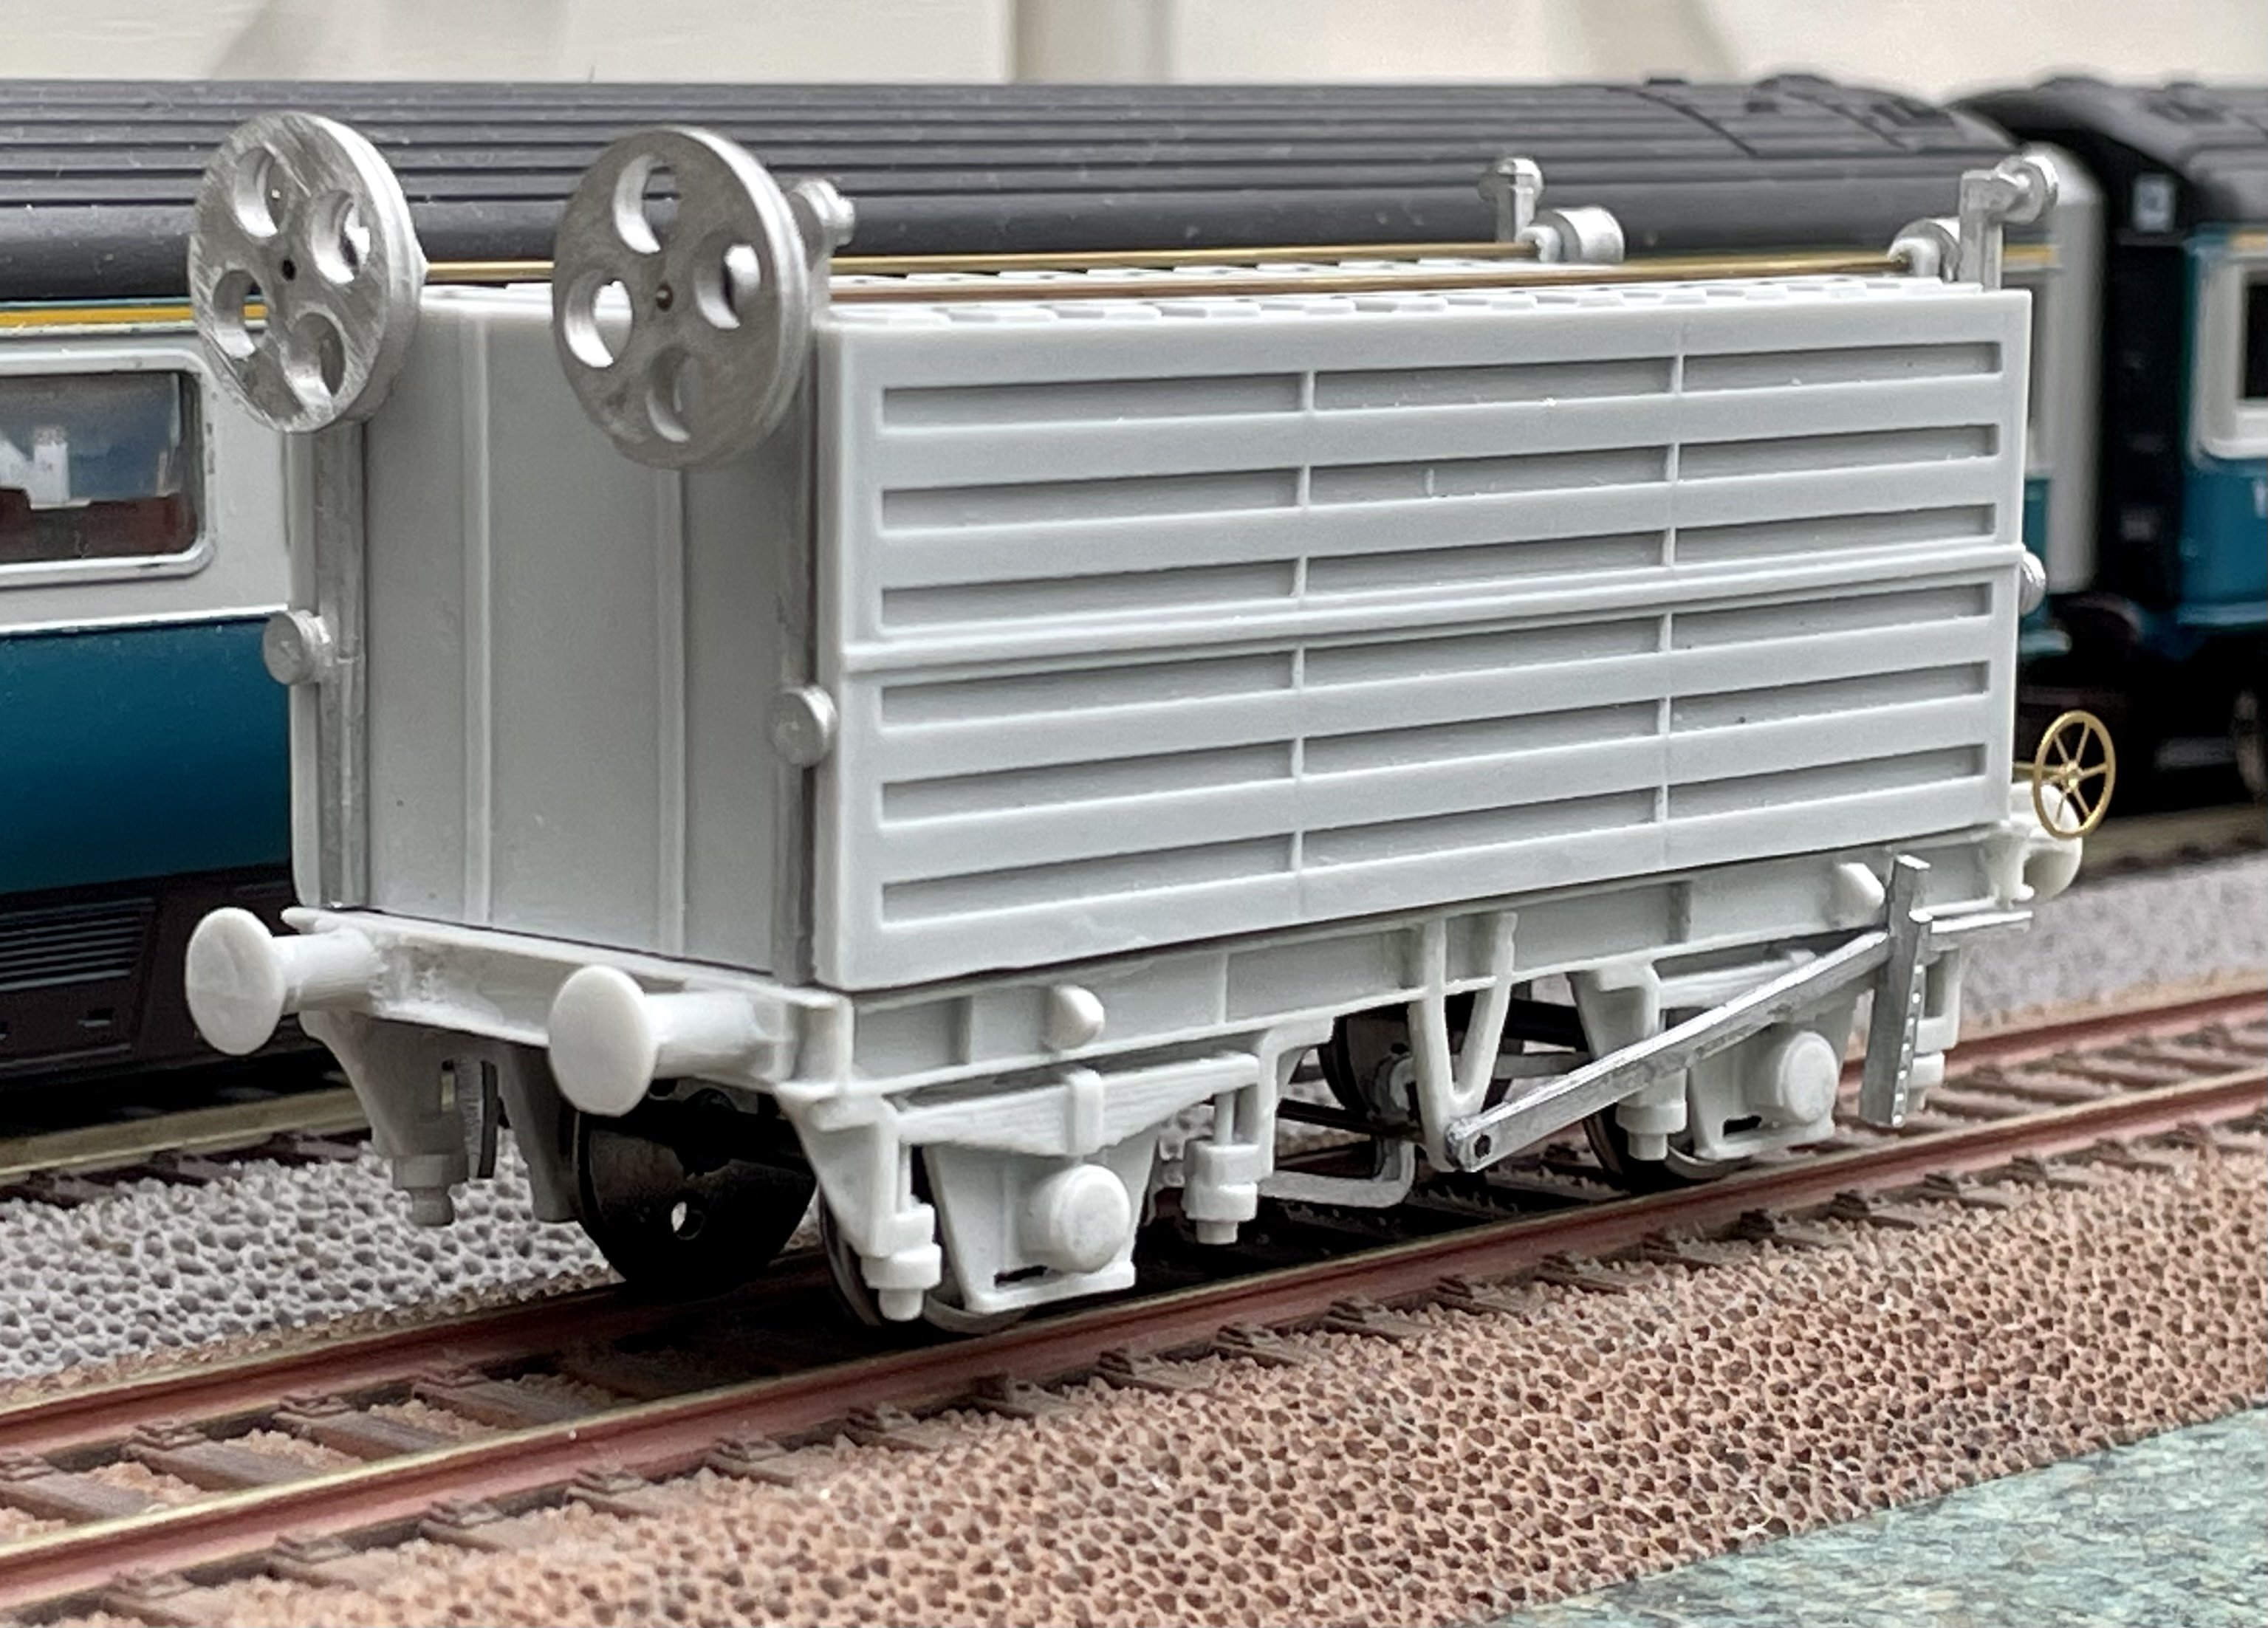
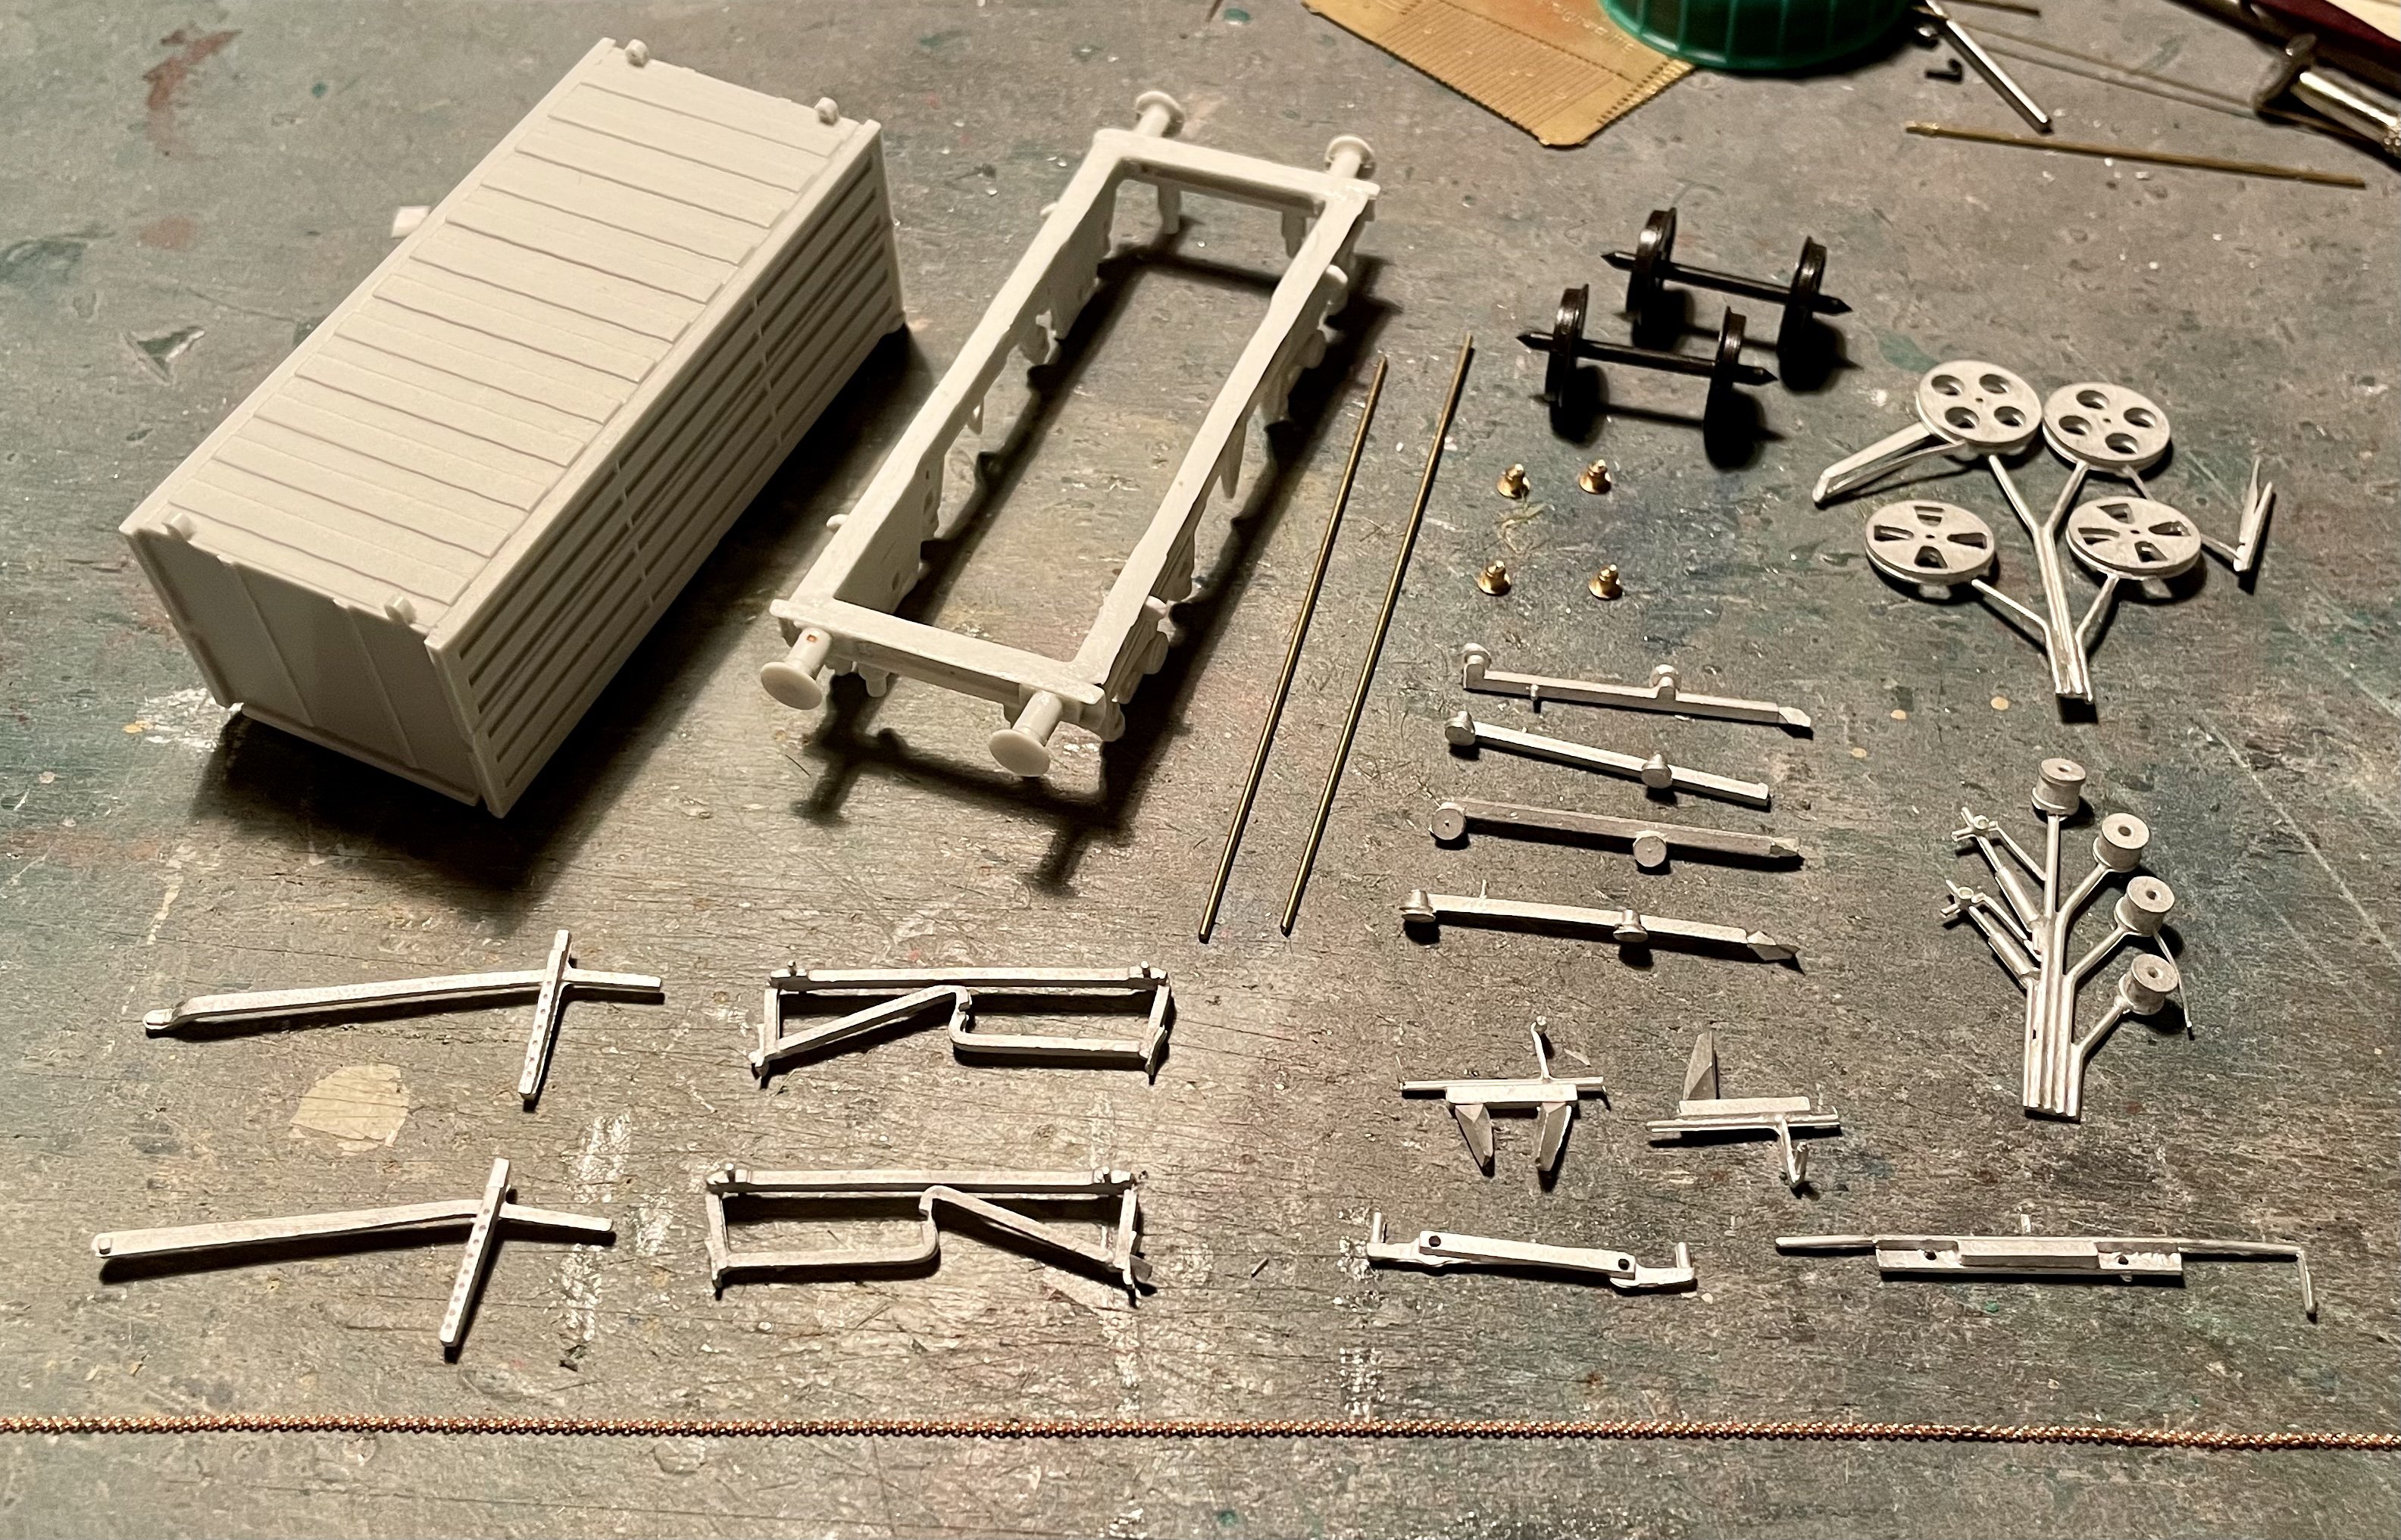
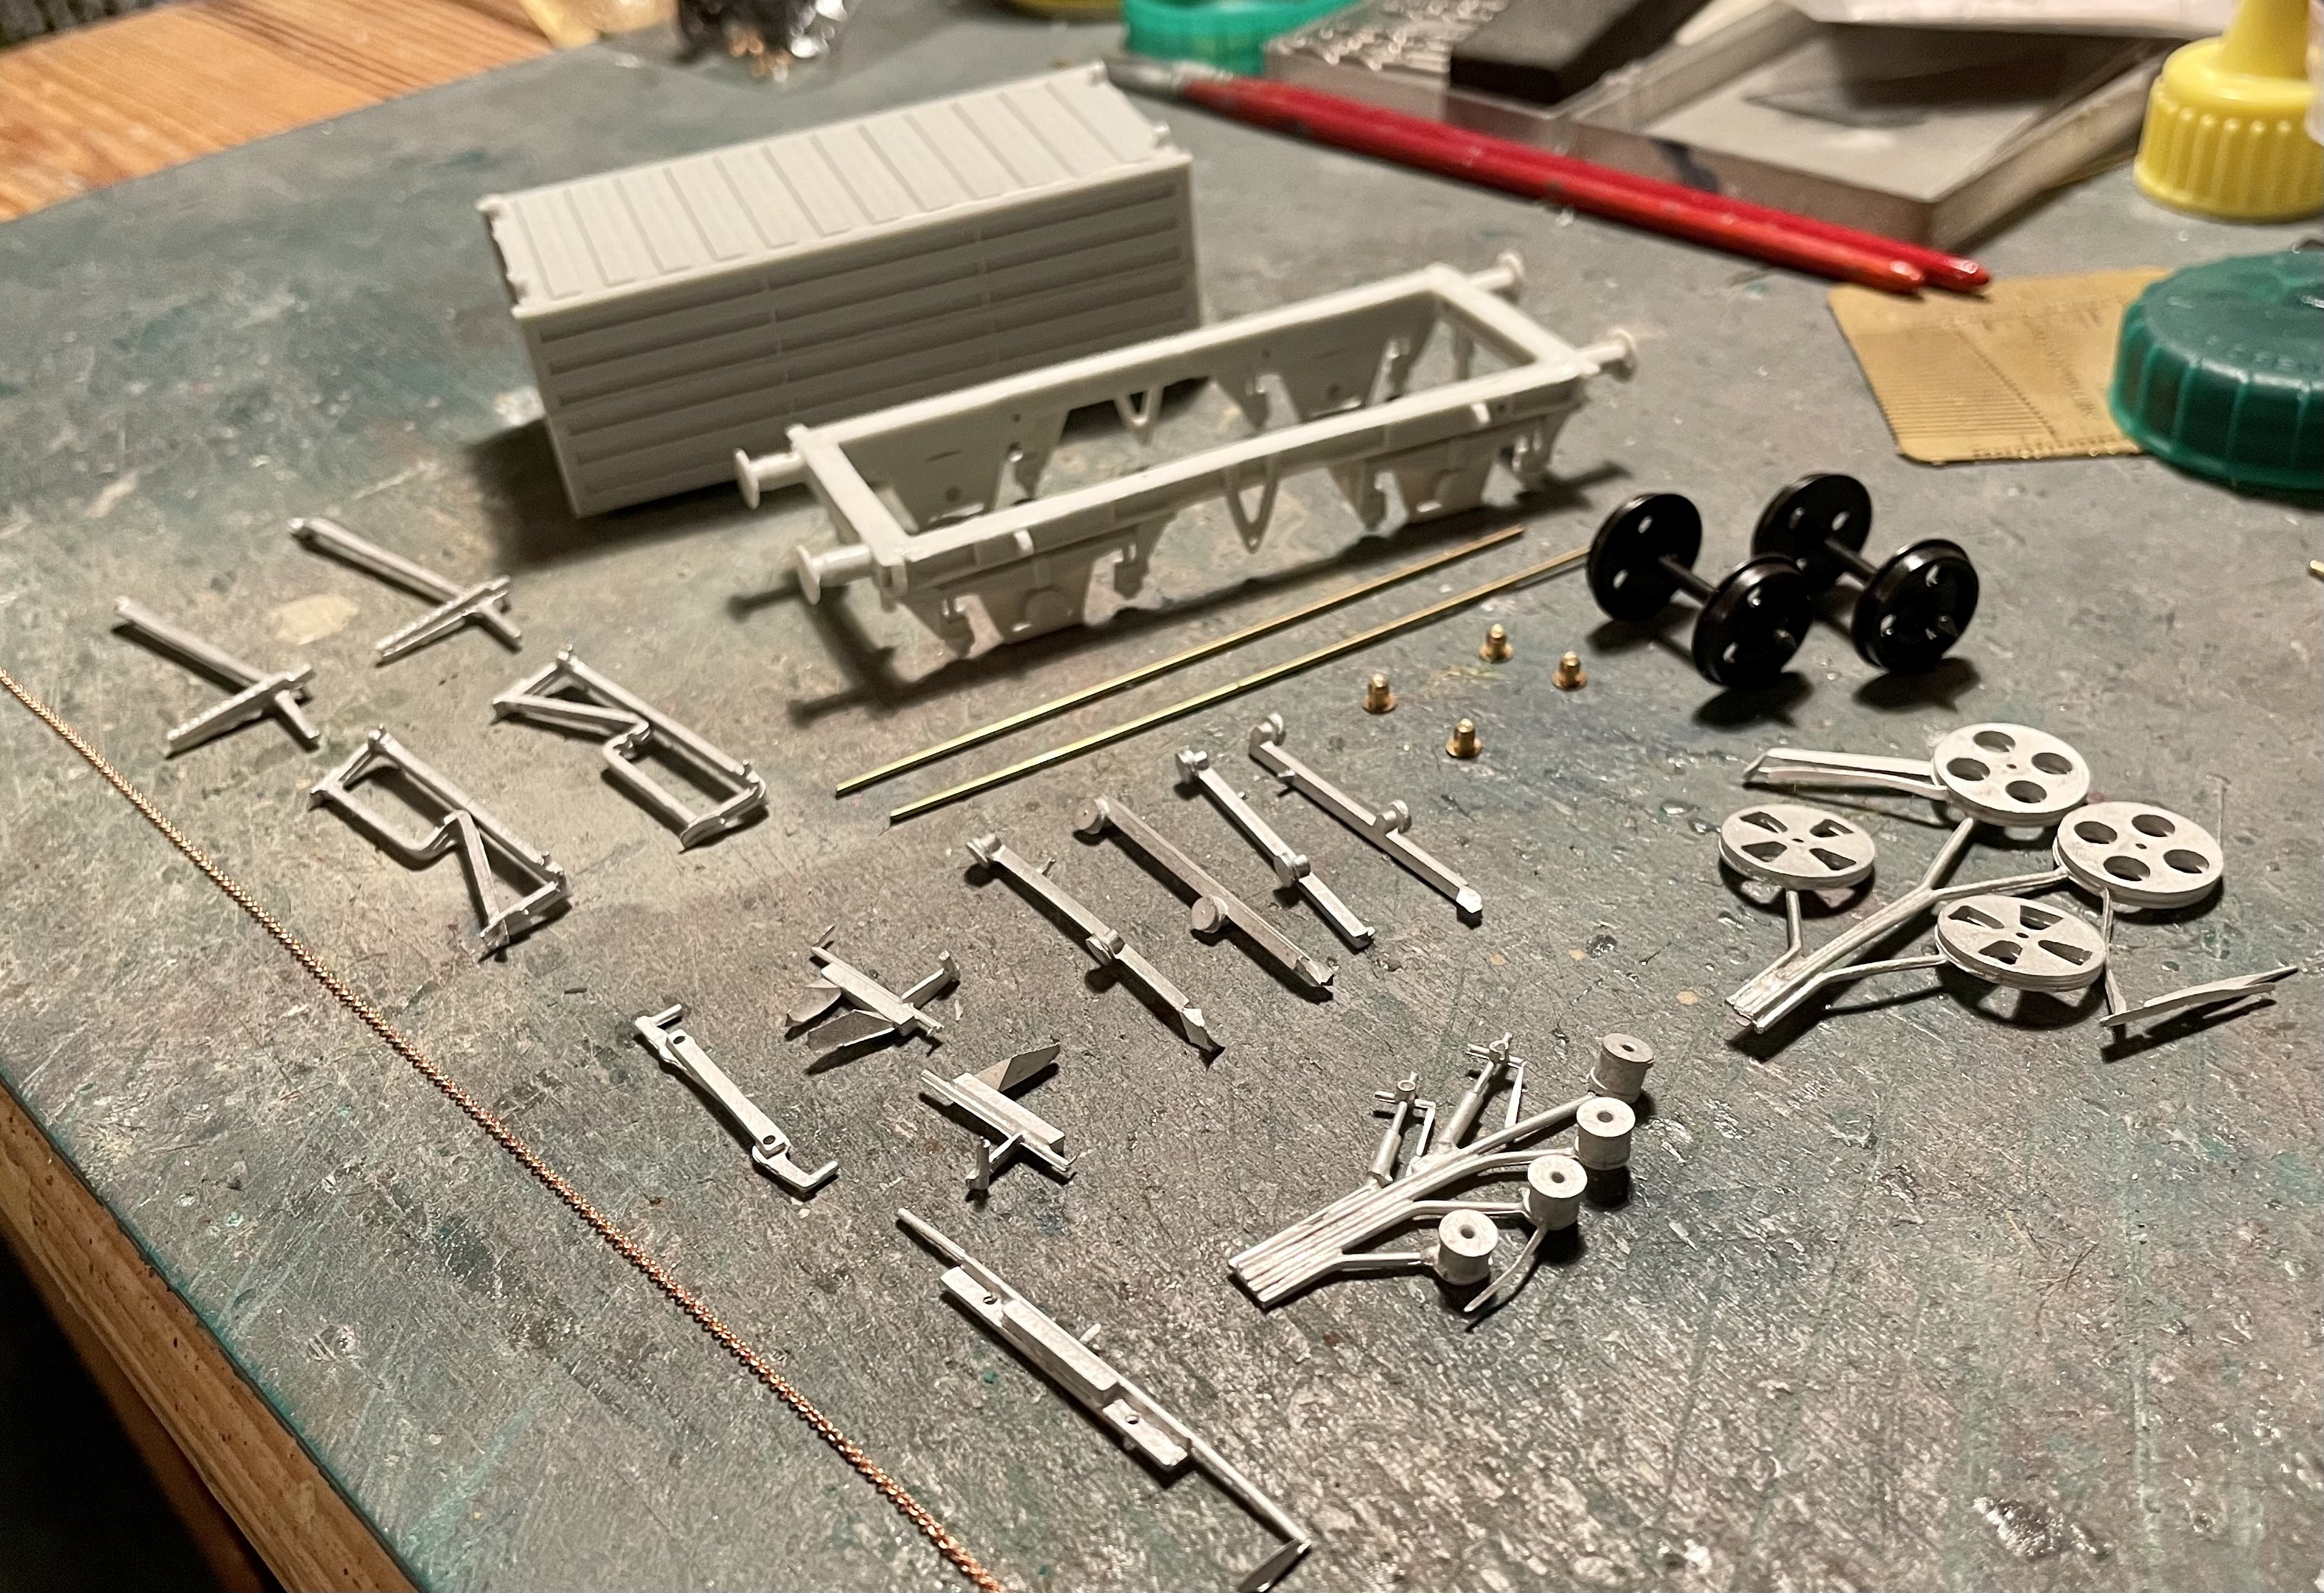
Next project:- MIR drop side cement pallet wagon - first of six. A very nice kit with everything you need including wheels, brass bearings and some very fine chain. Cheers Darius PS I have kept these kits wrapped up in the box since Ian sent them to me several years ago. On unpacking them yesterday I found that Ian had enclosed a cash refund for the combined postage saving. So a belated thank-you to Ian for the refund.
-
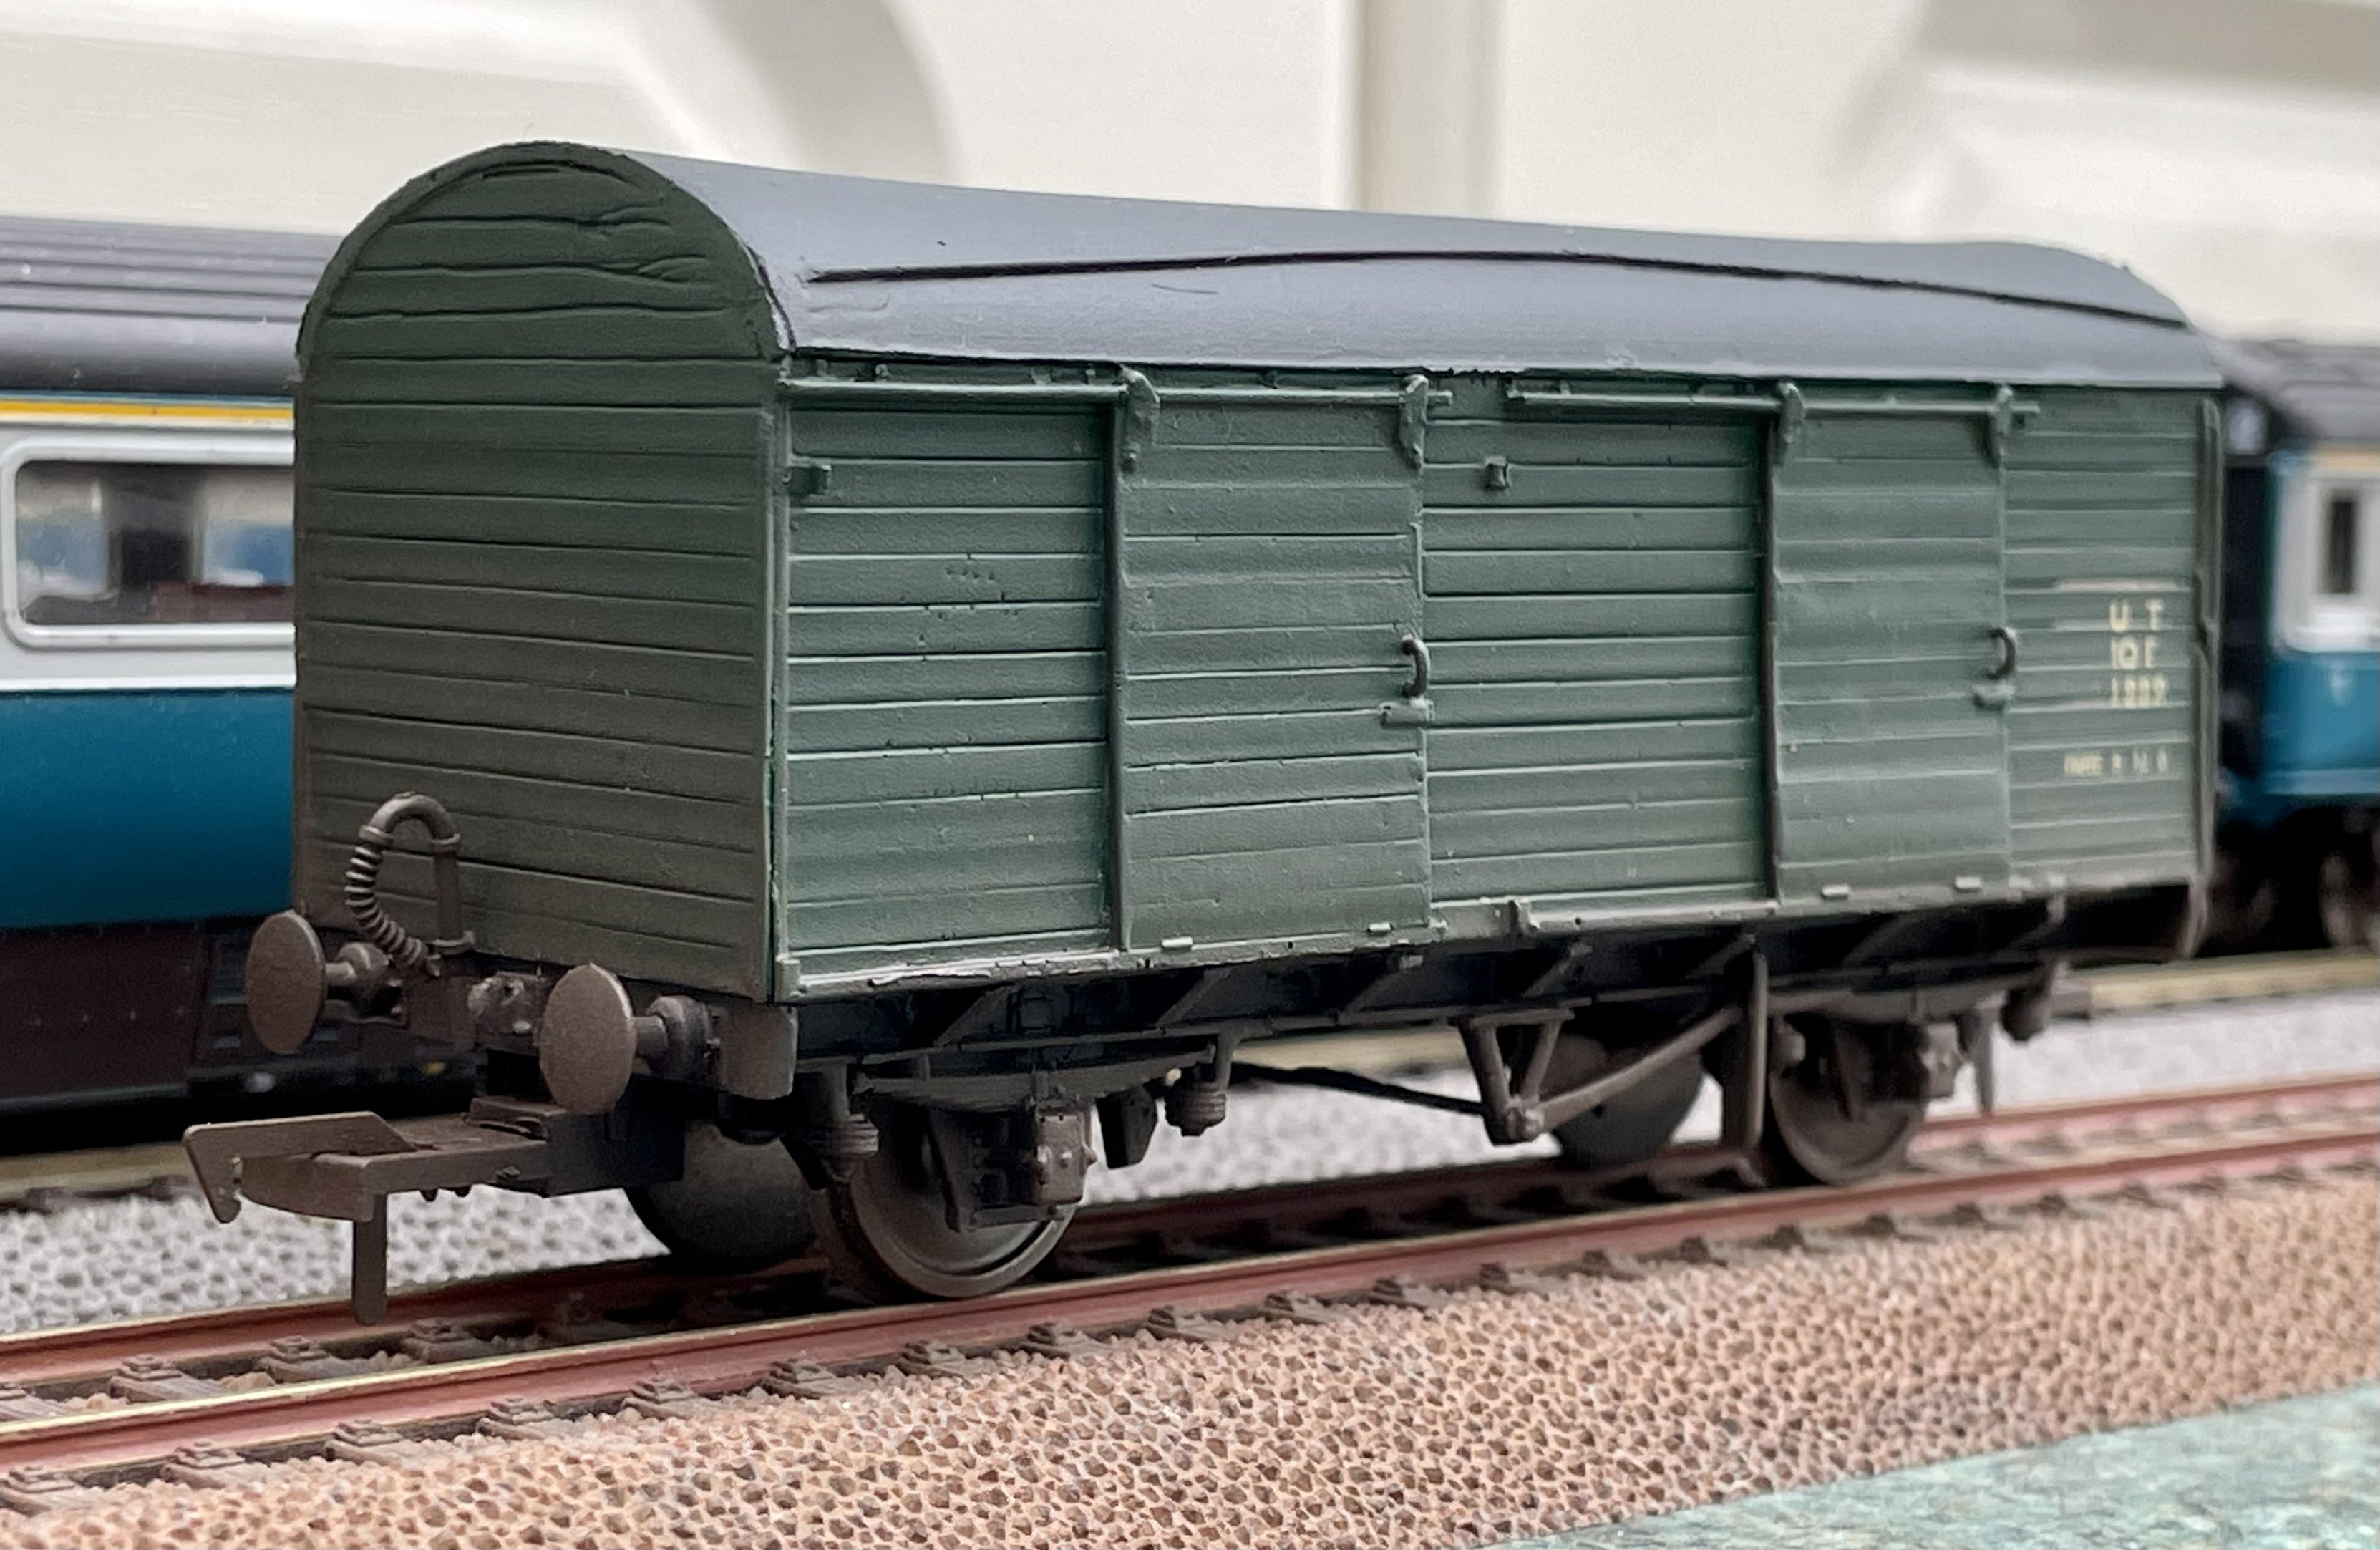
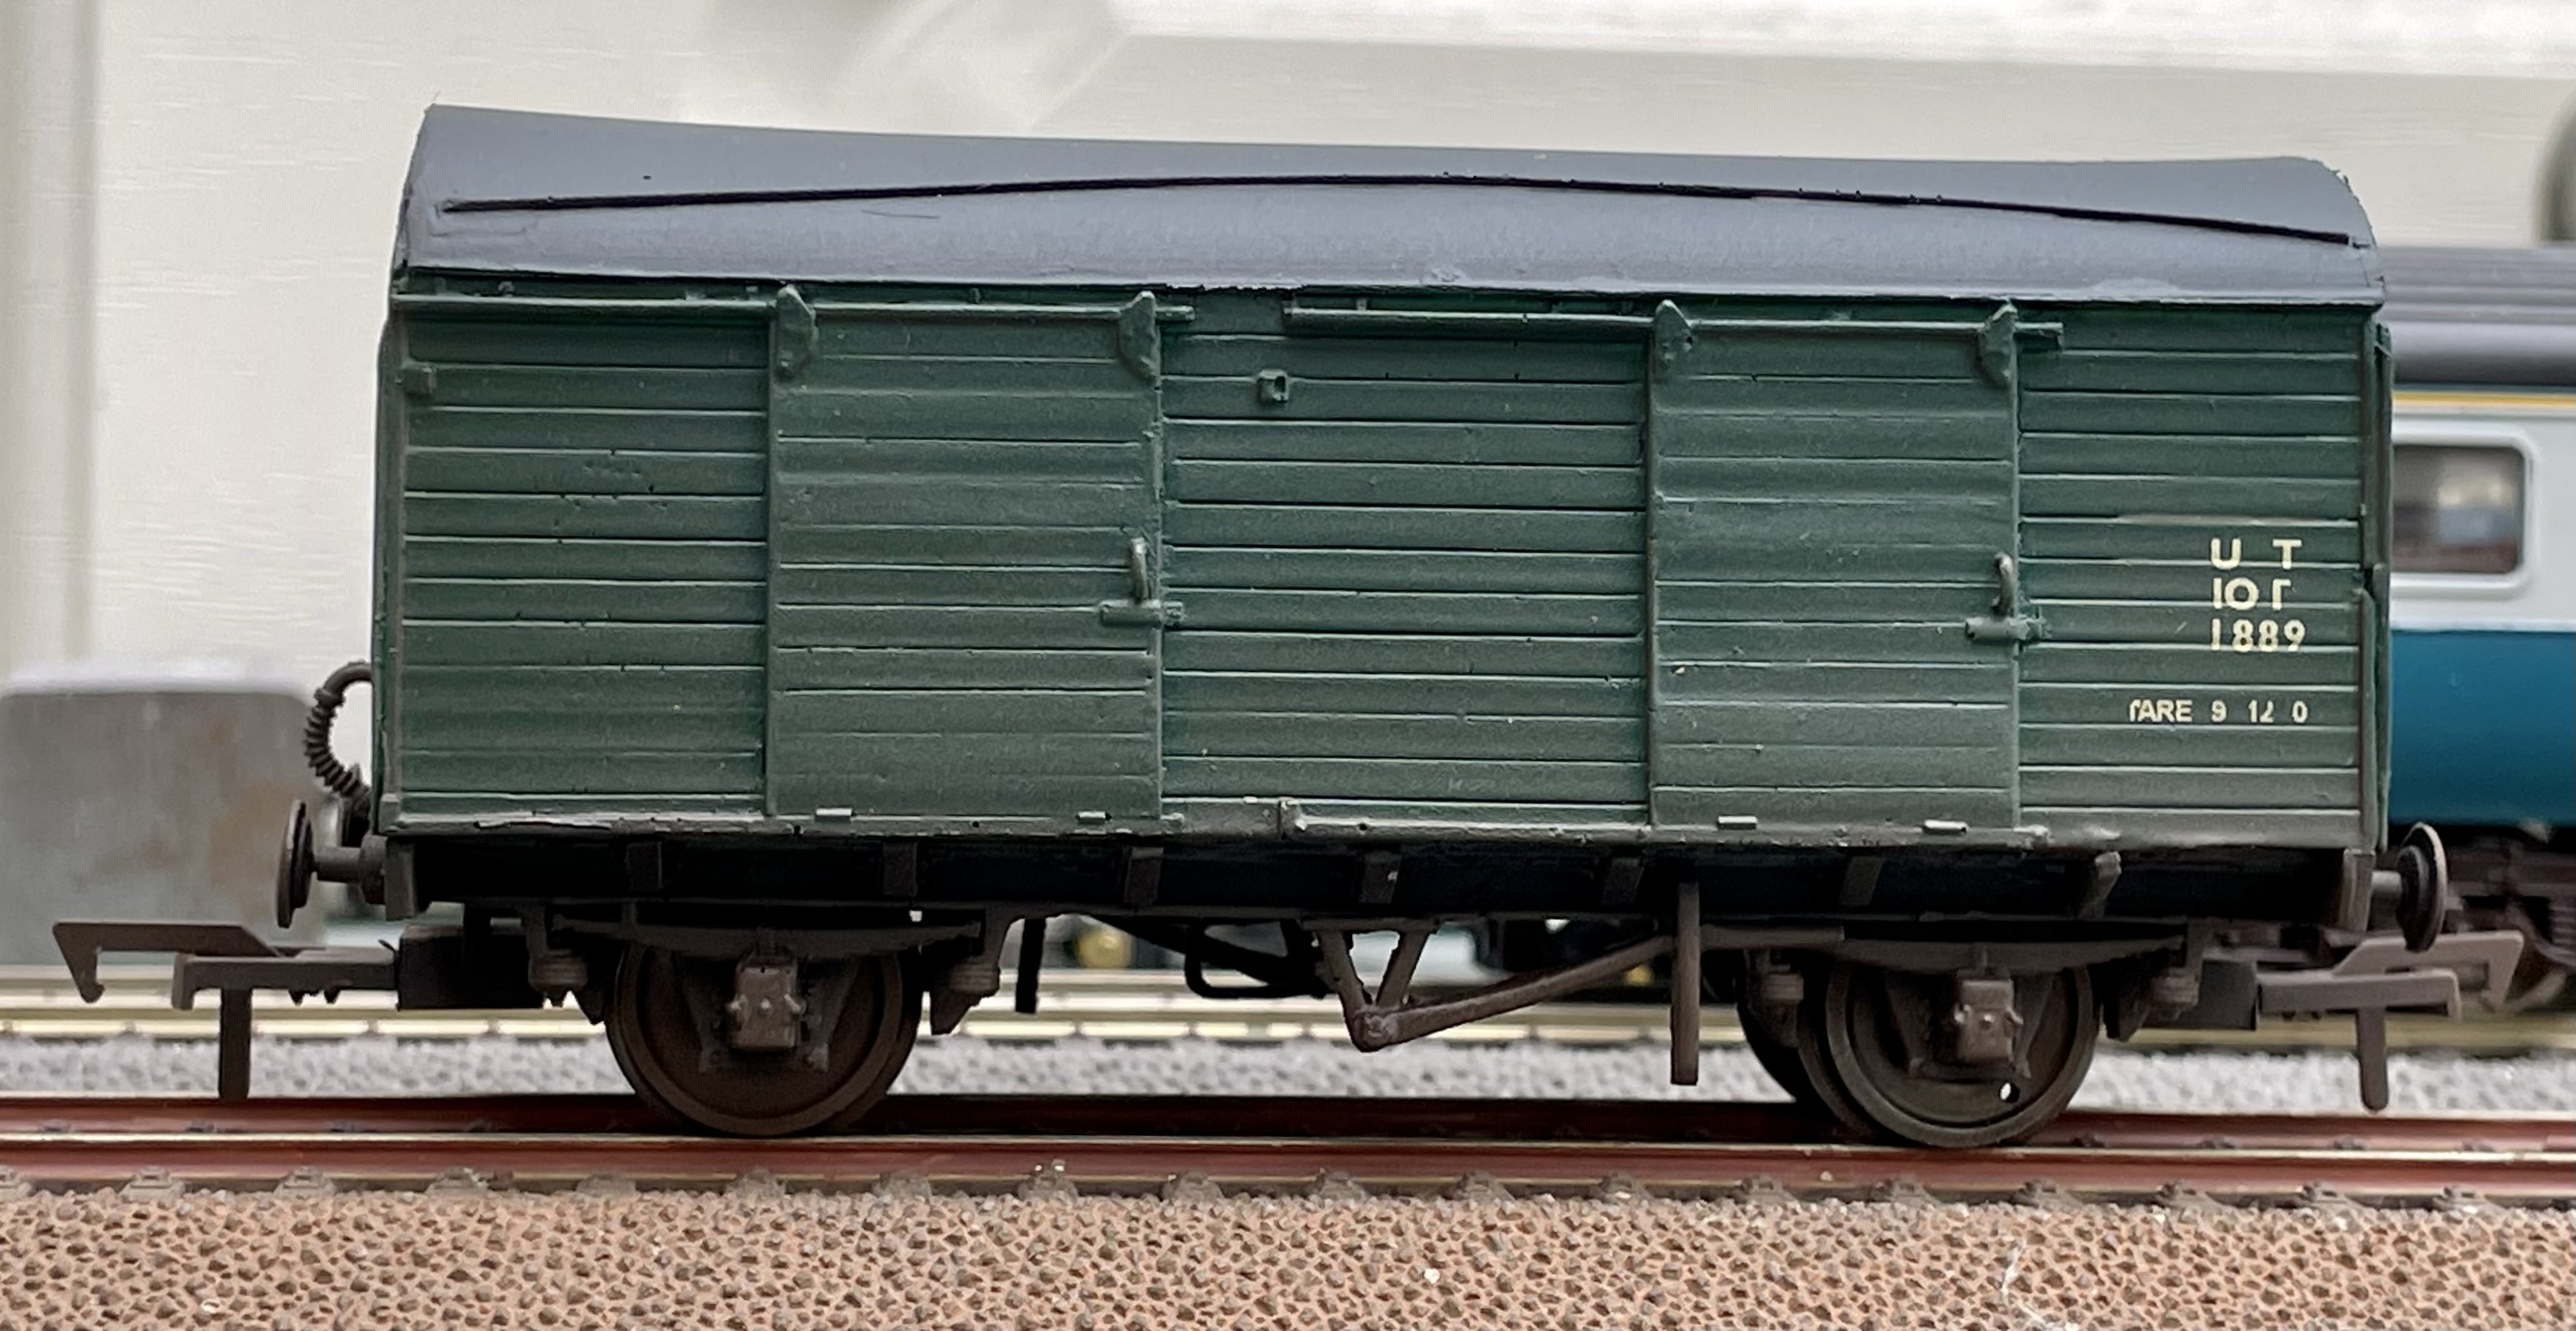
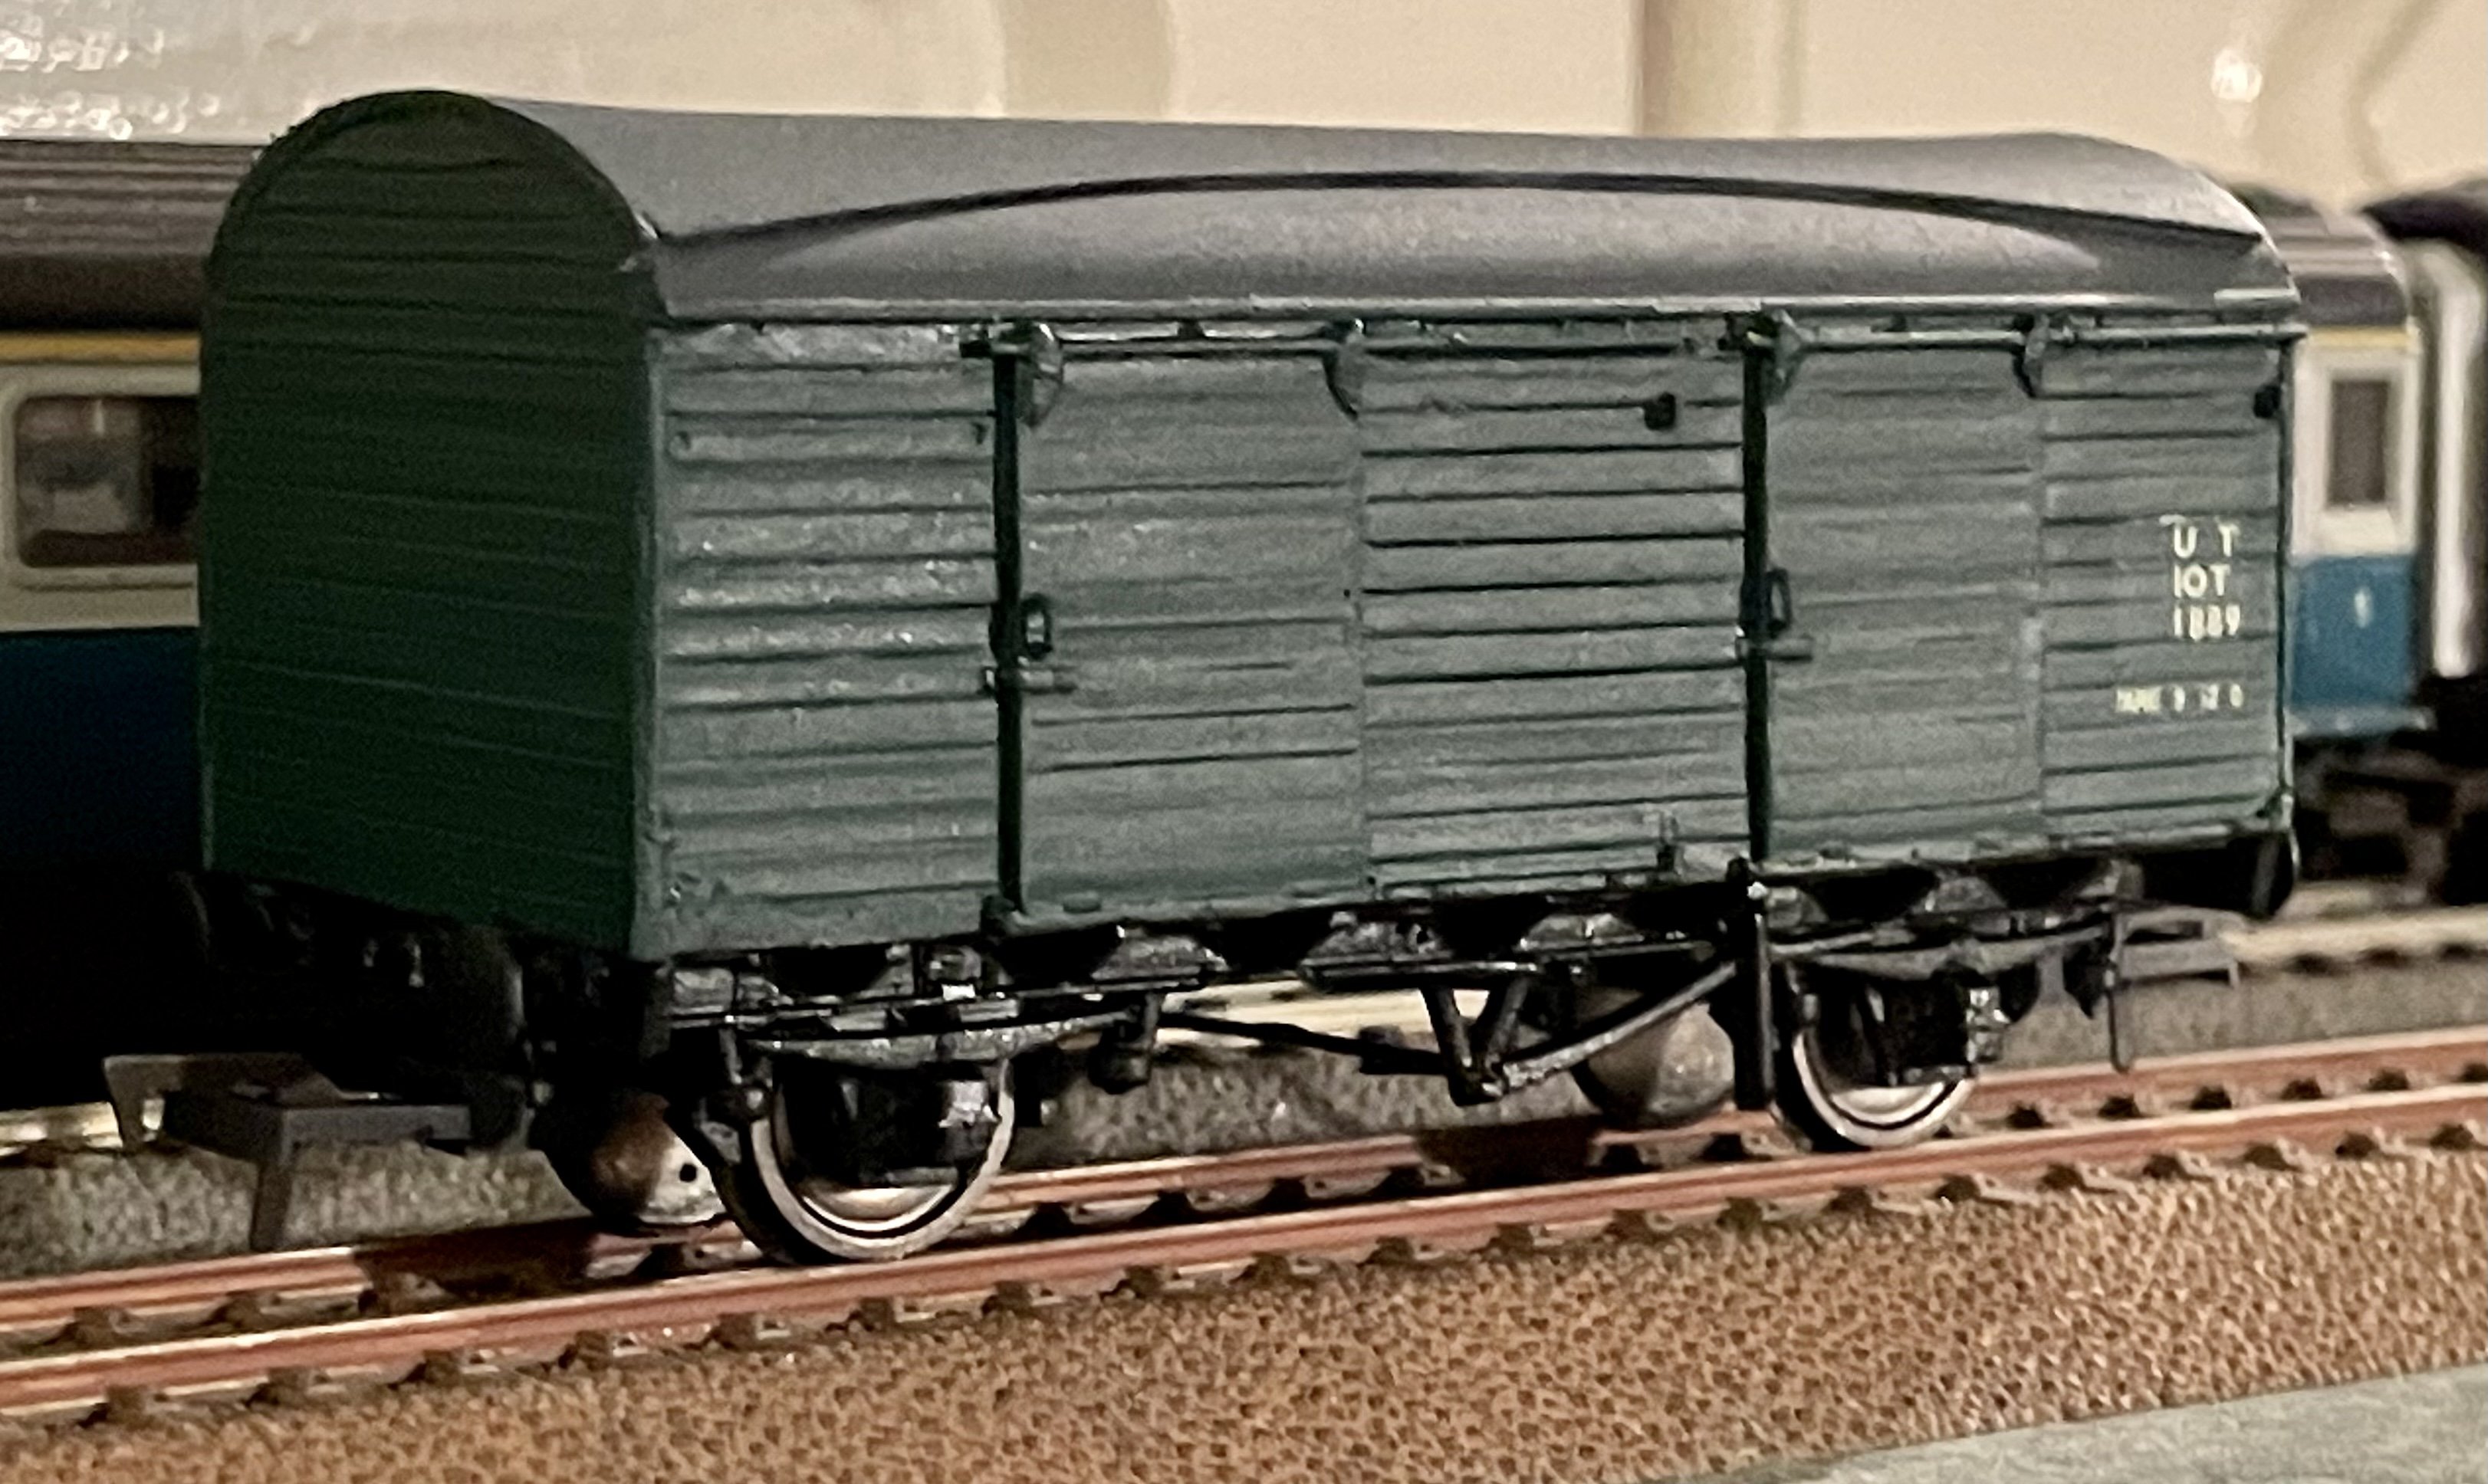
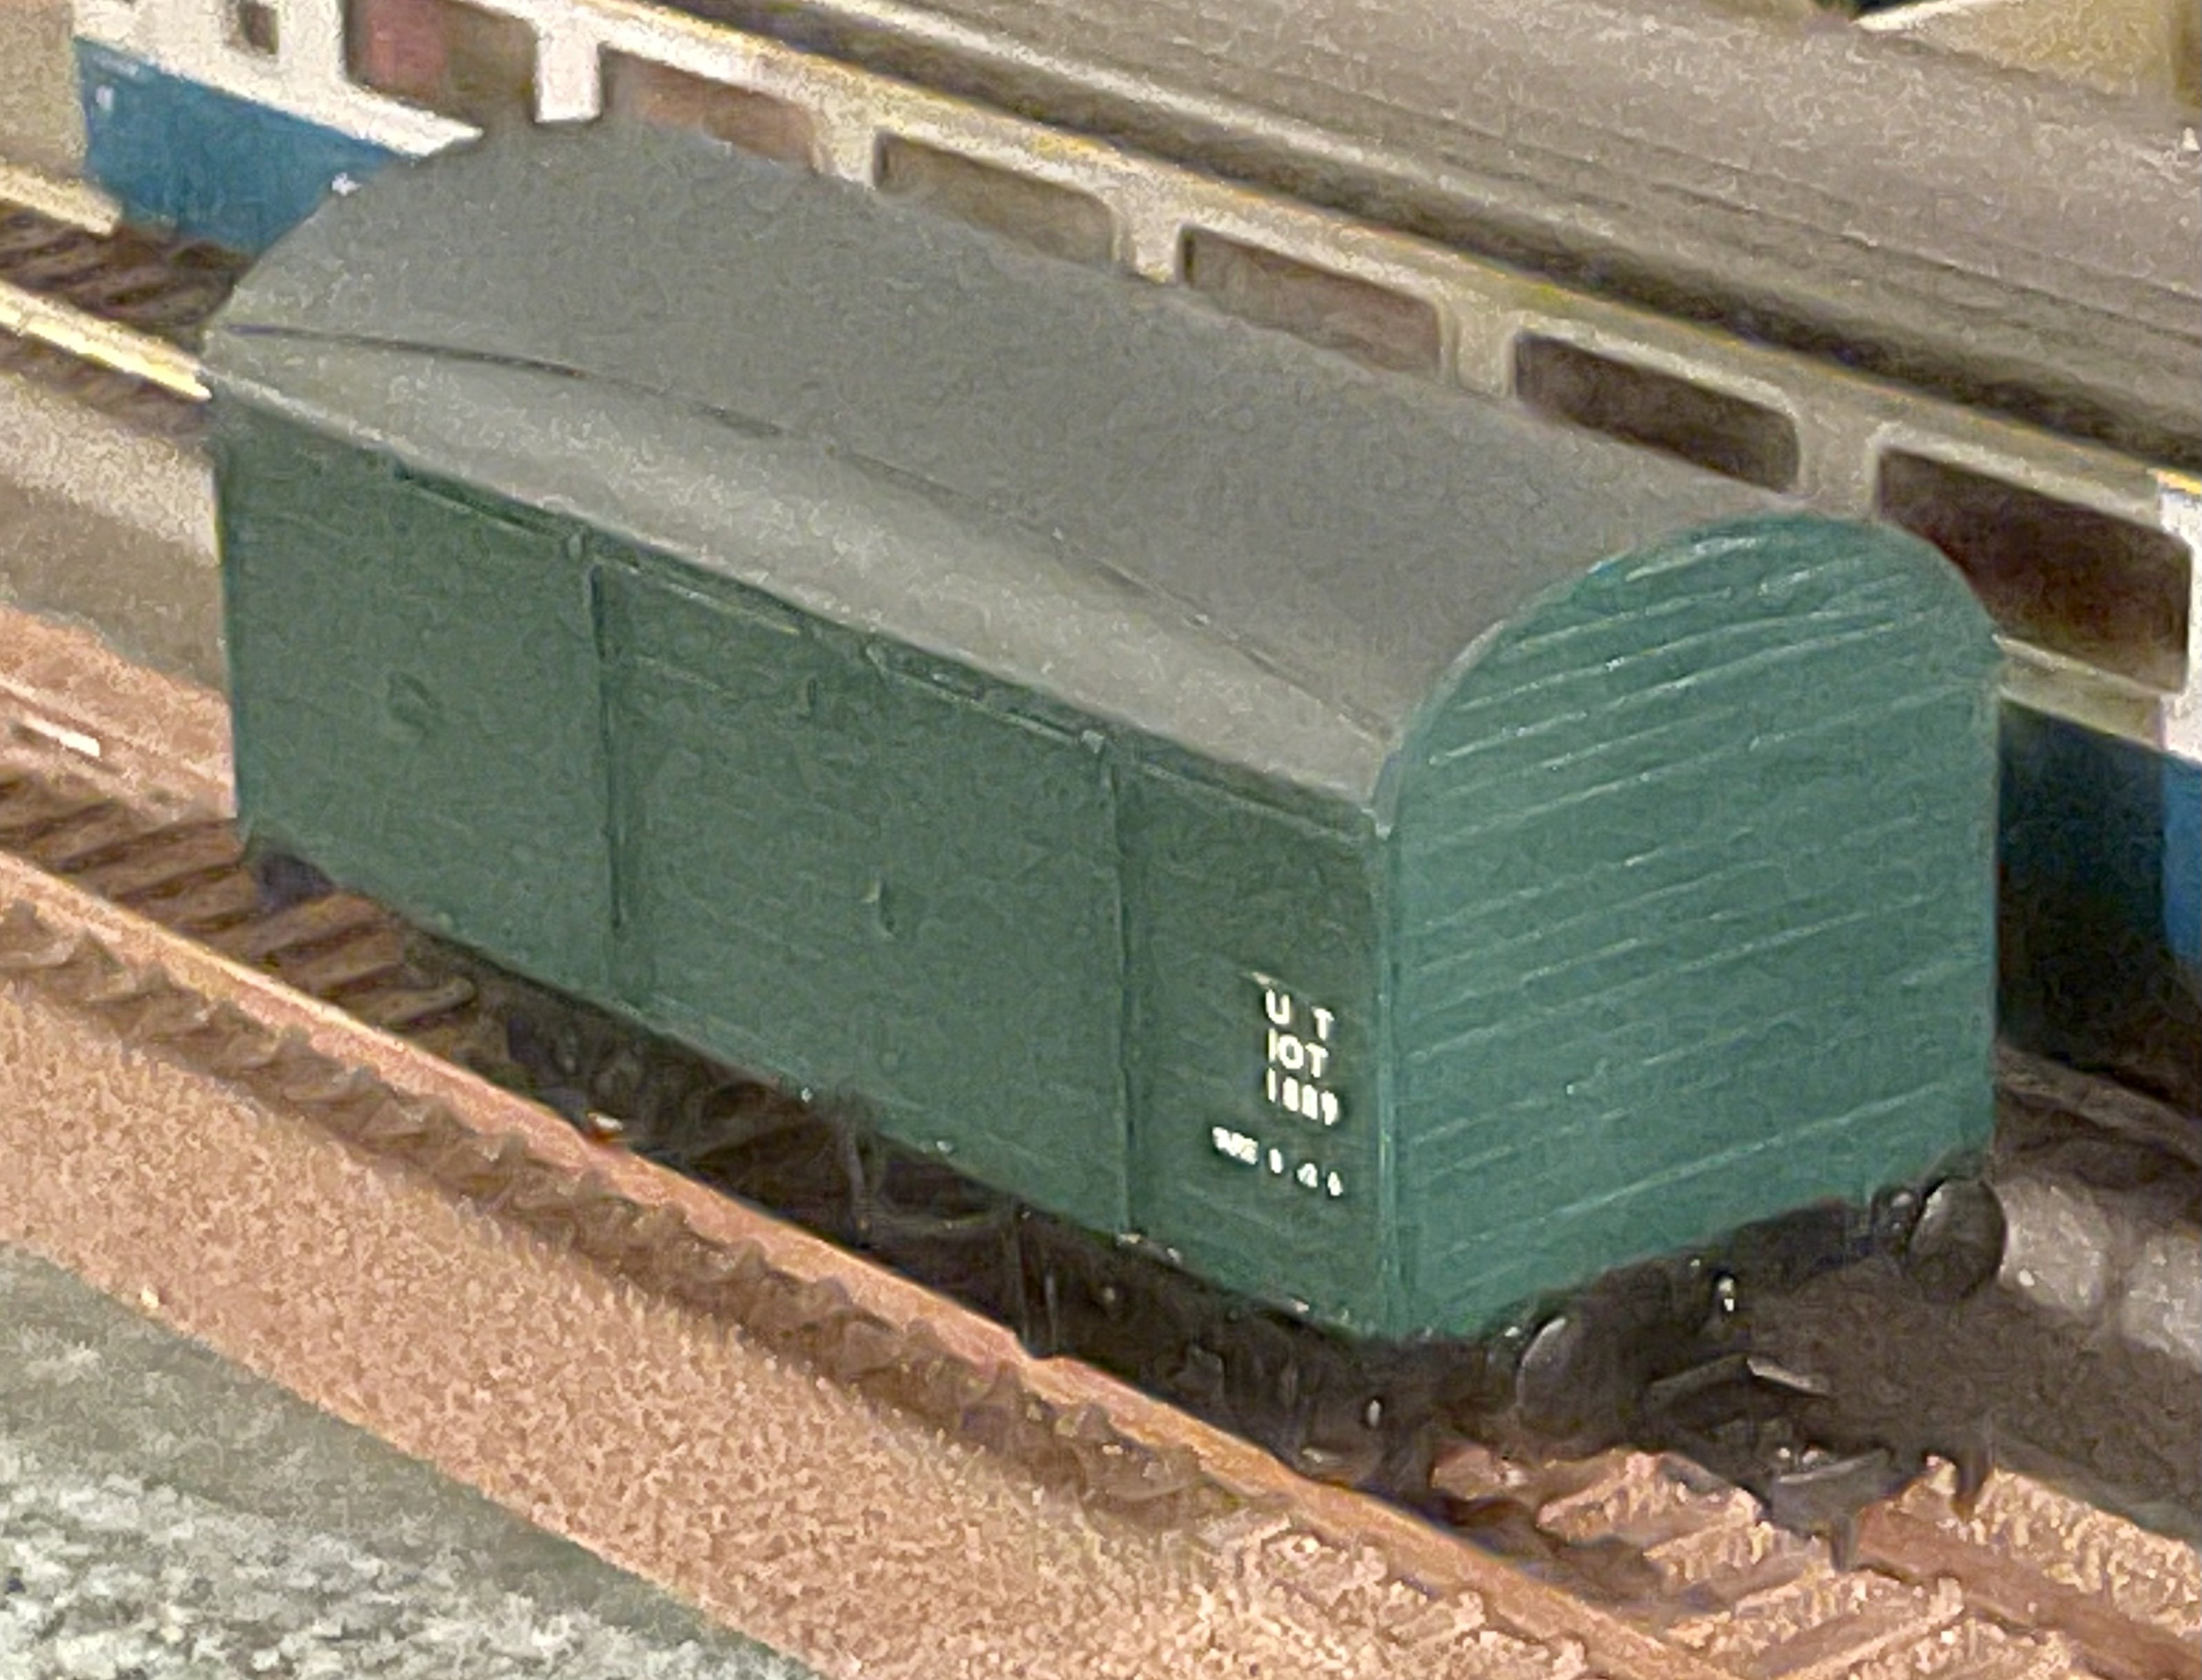
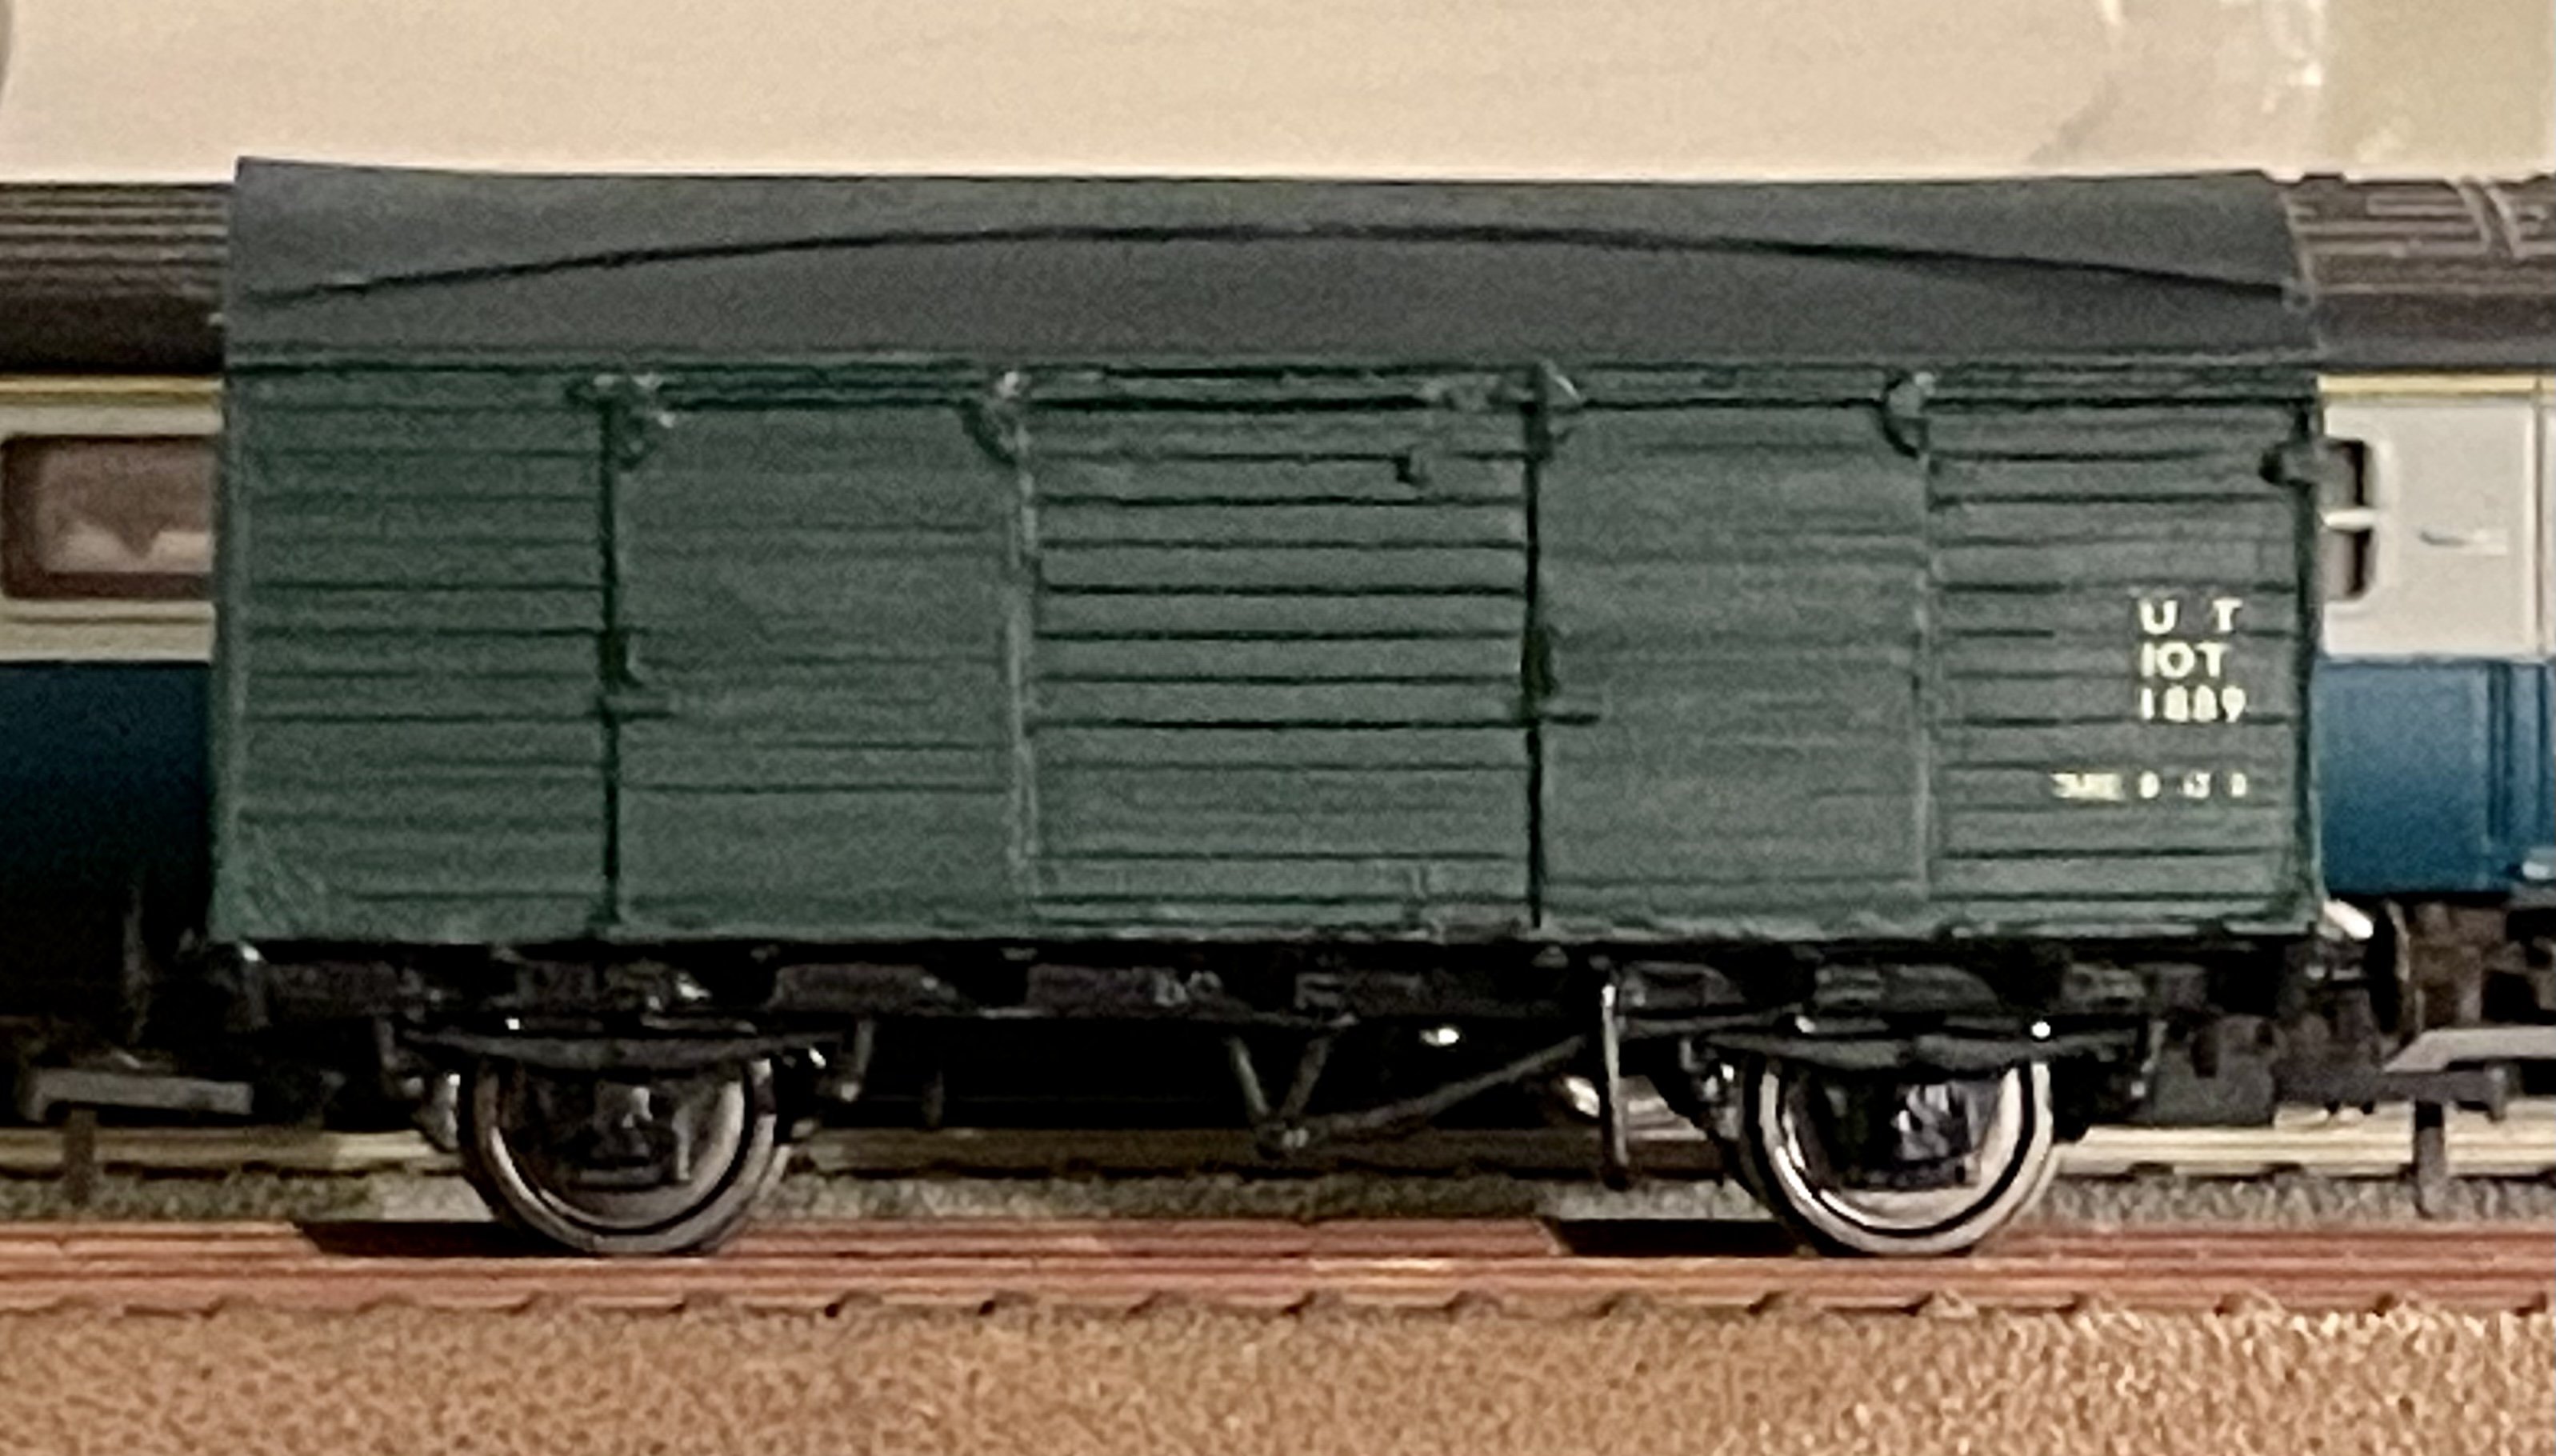
…and painted. It’s a green “Brown Van”. Painted UTA green - not sure if this is prototypically correct but it makes a change from brown “Brown Vans”. it will get browner after a spot of weathering. Cheers Darius
-
They are on my radar. I have asked Allen at Worsley Works to etch some sides for me but there may be a bit of a wait before that happens. Cheers Darius