Darius43
-
Posts
1,255 -
Joined
-
Last visited
-
Days Won
92
Content Type
Profiles
Forums
Events
Gallery
Blogs
Store
Community Map
Everything posted by Darius43
-
Thanks. It was actually masked/painted a bit too wide so I “opened it”. Cheers Darius
-
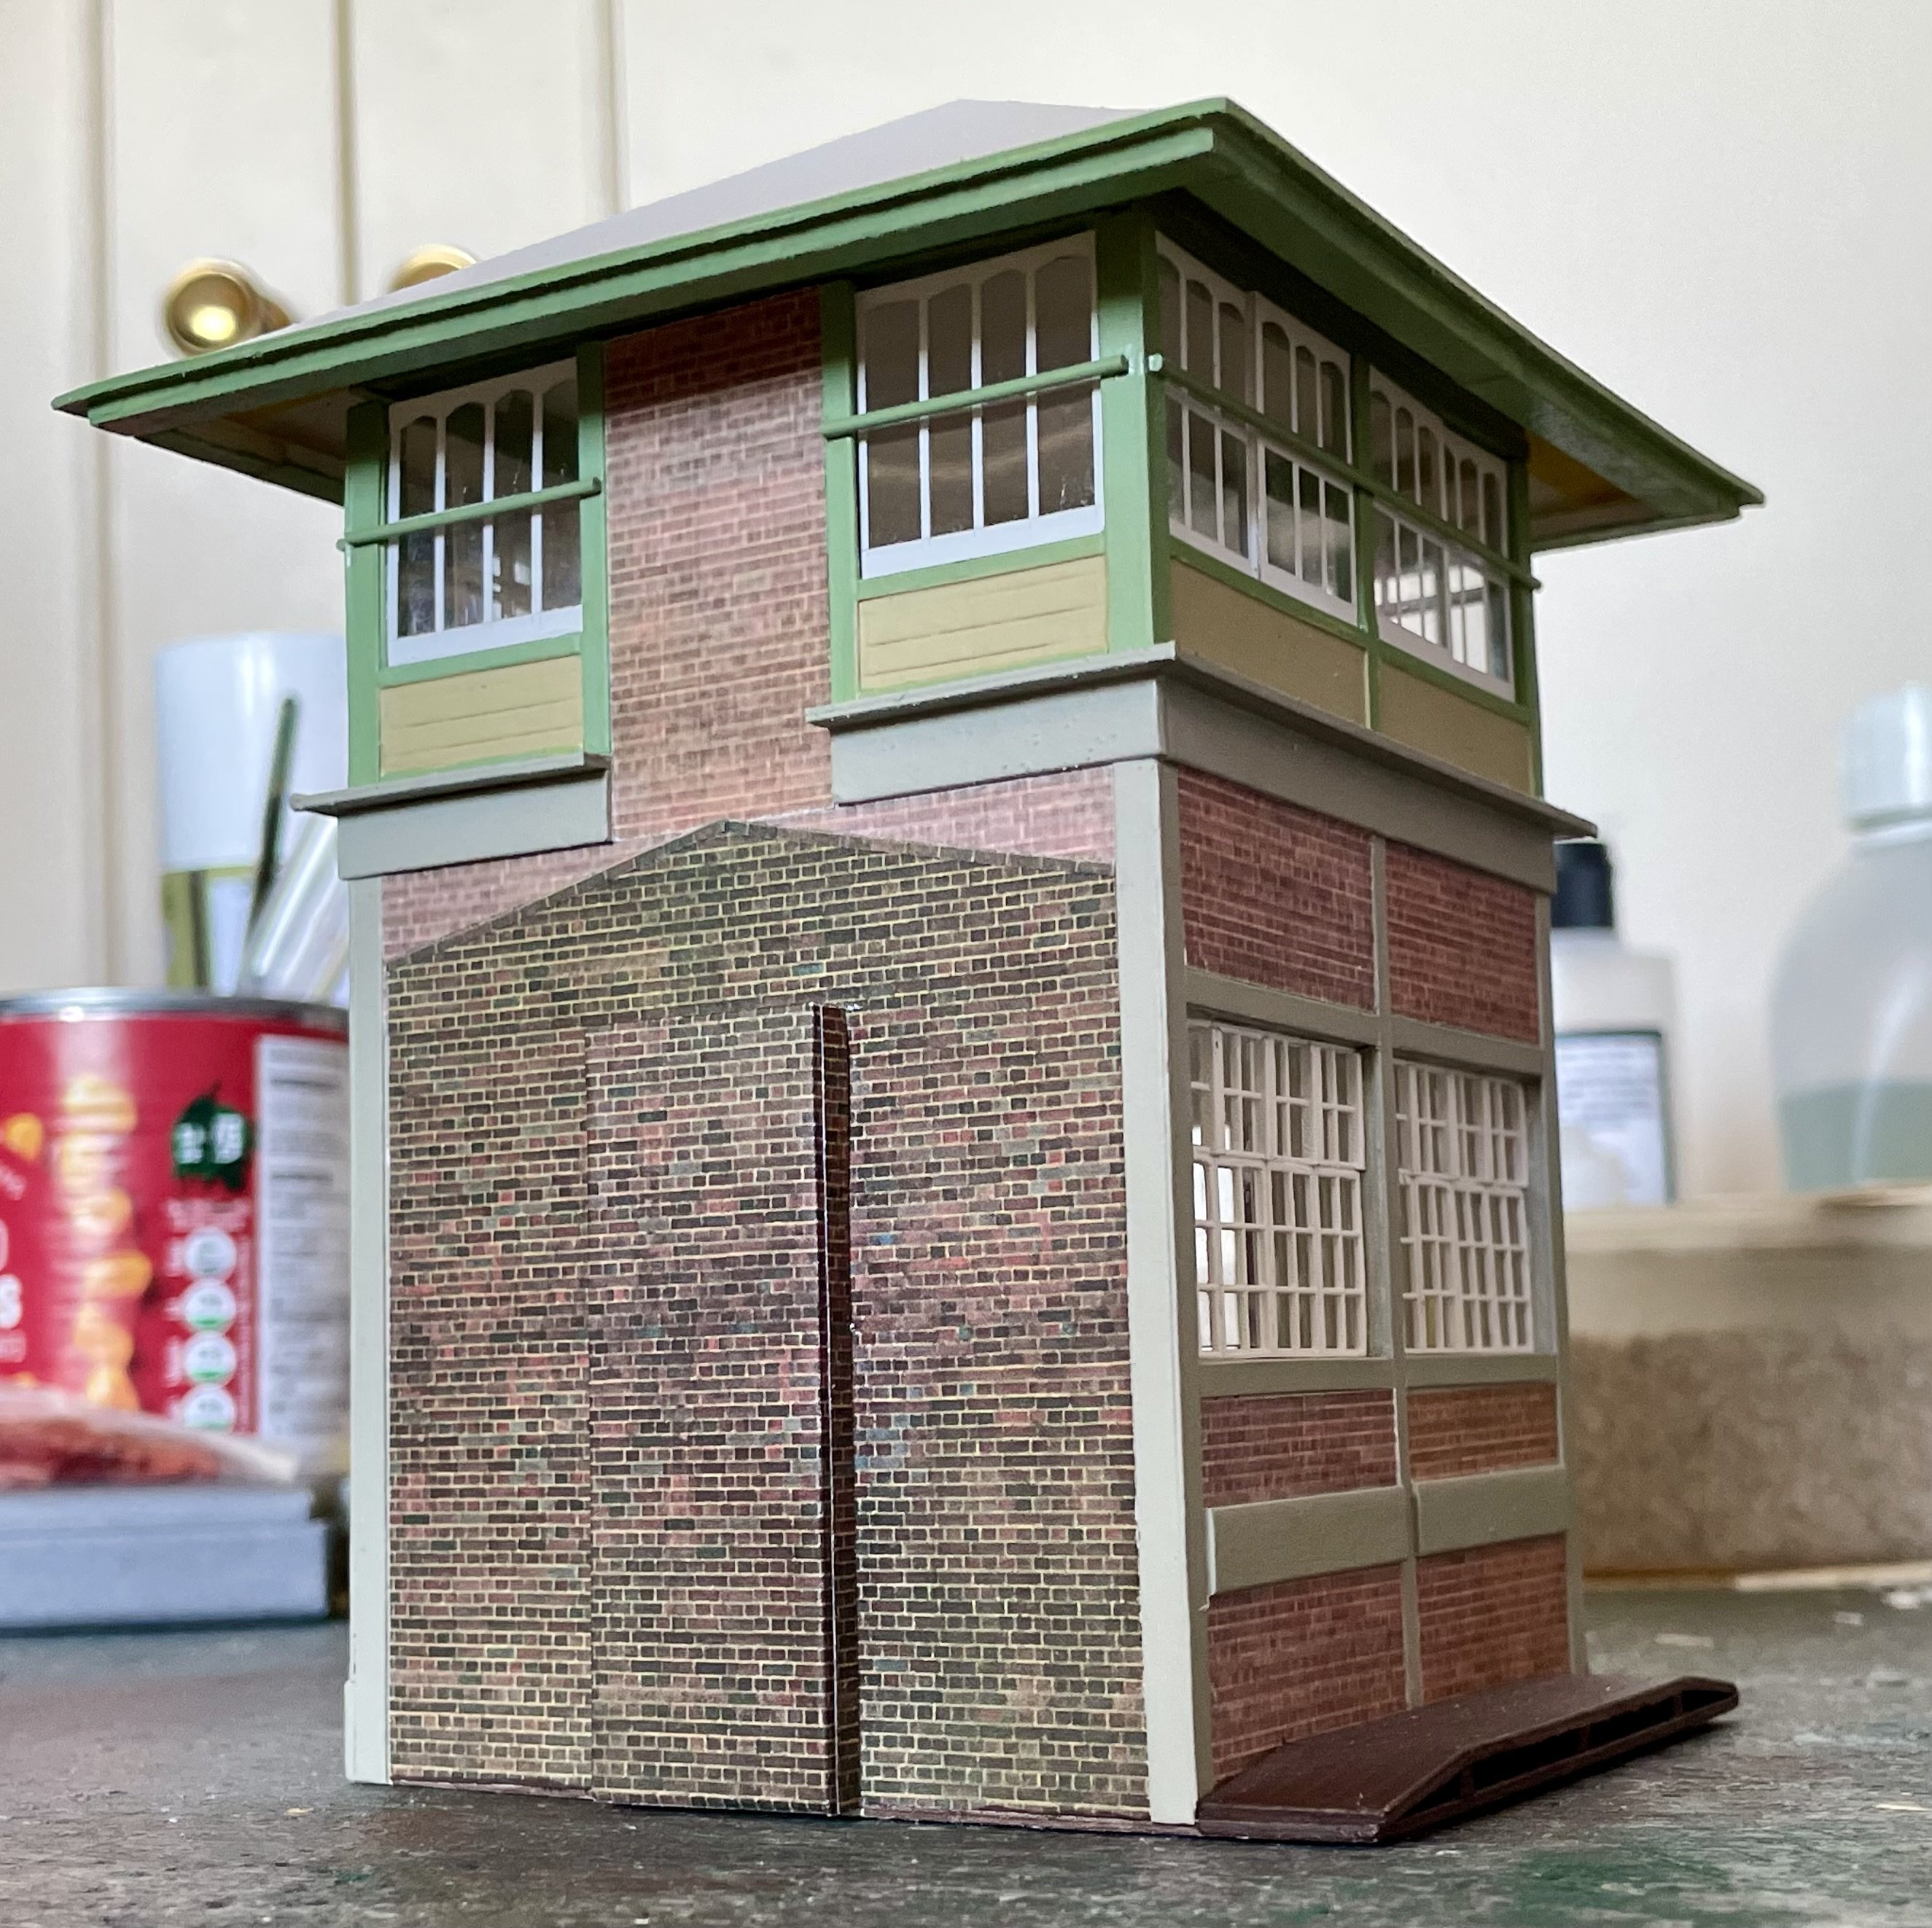
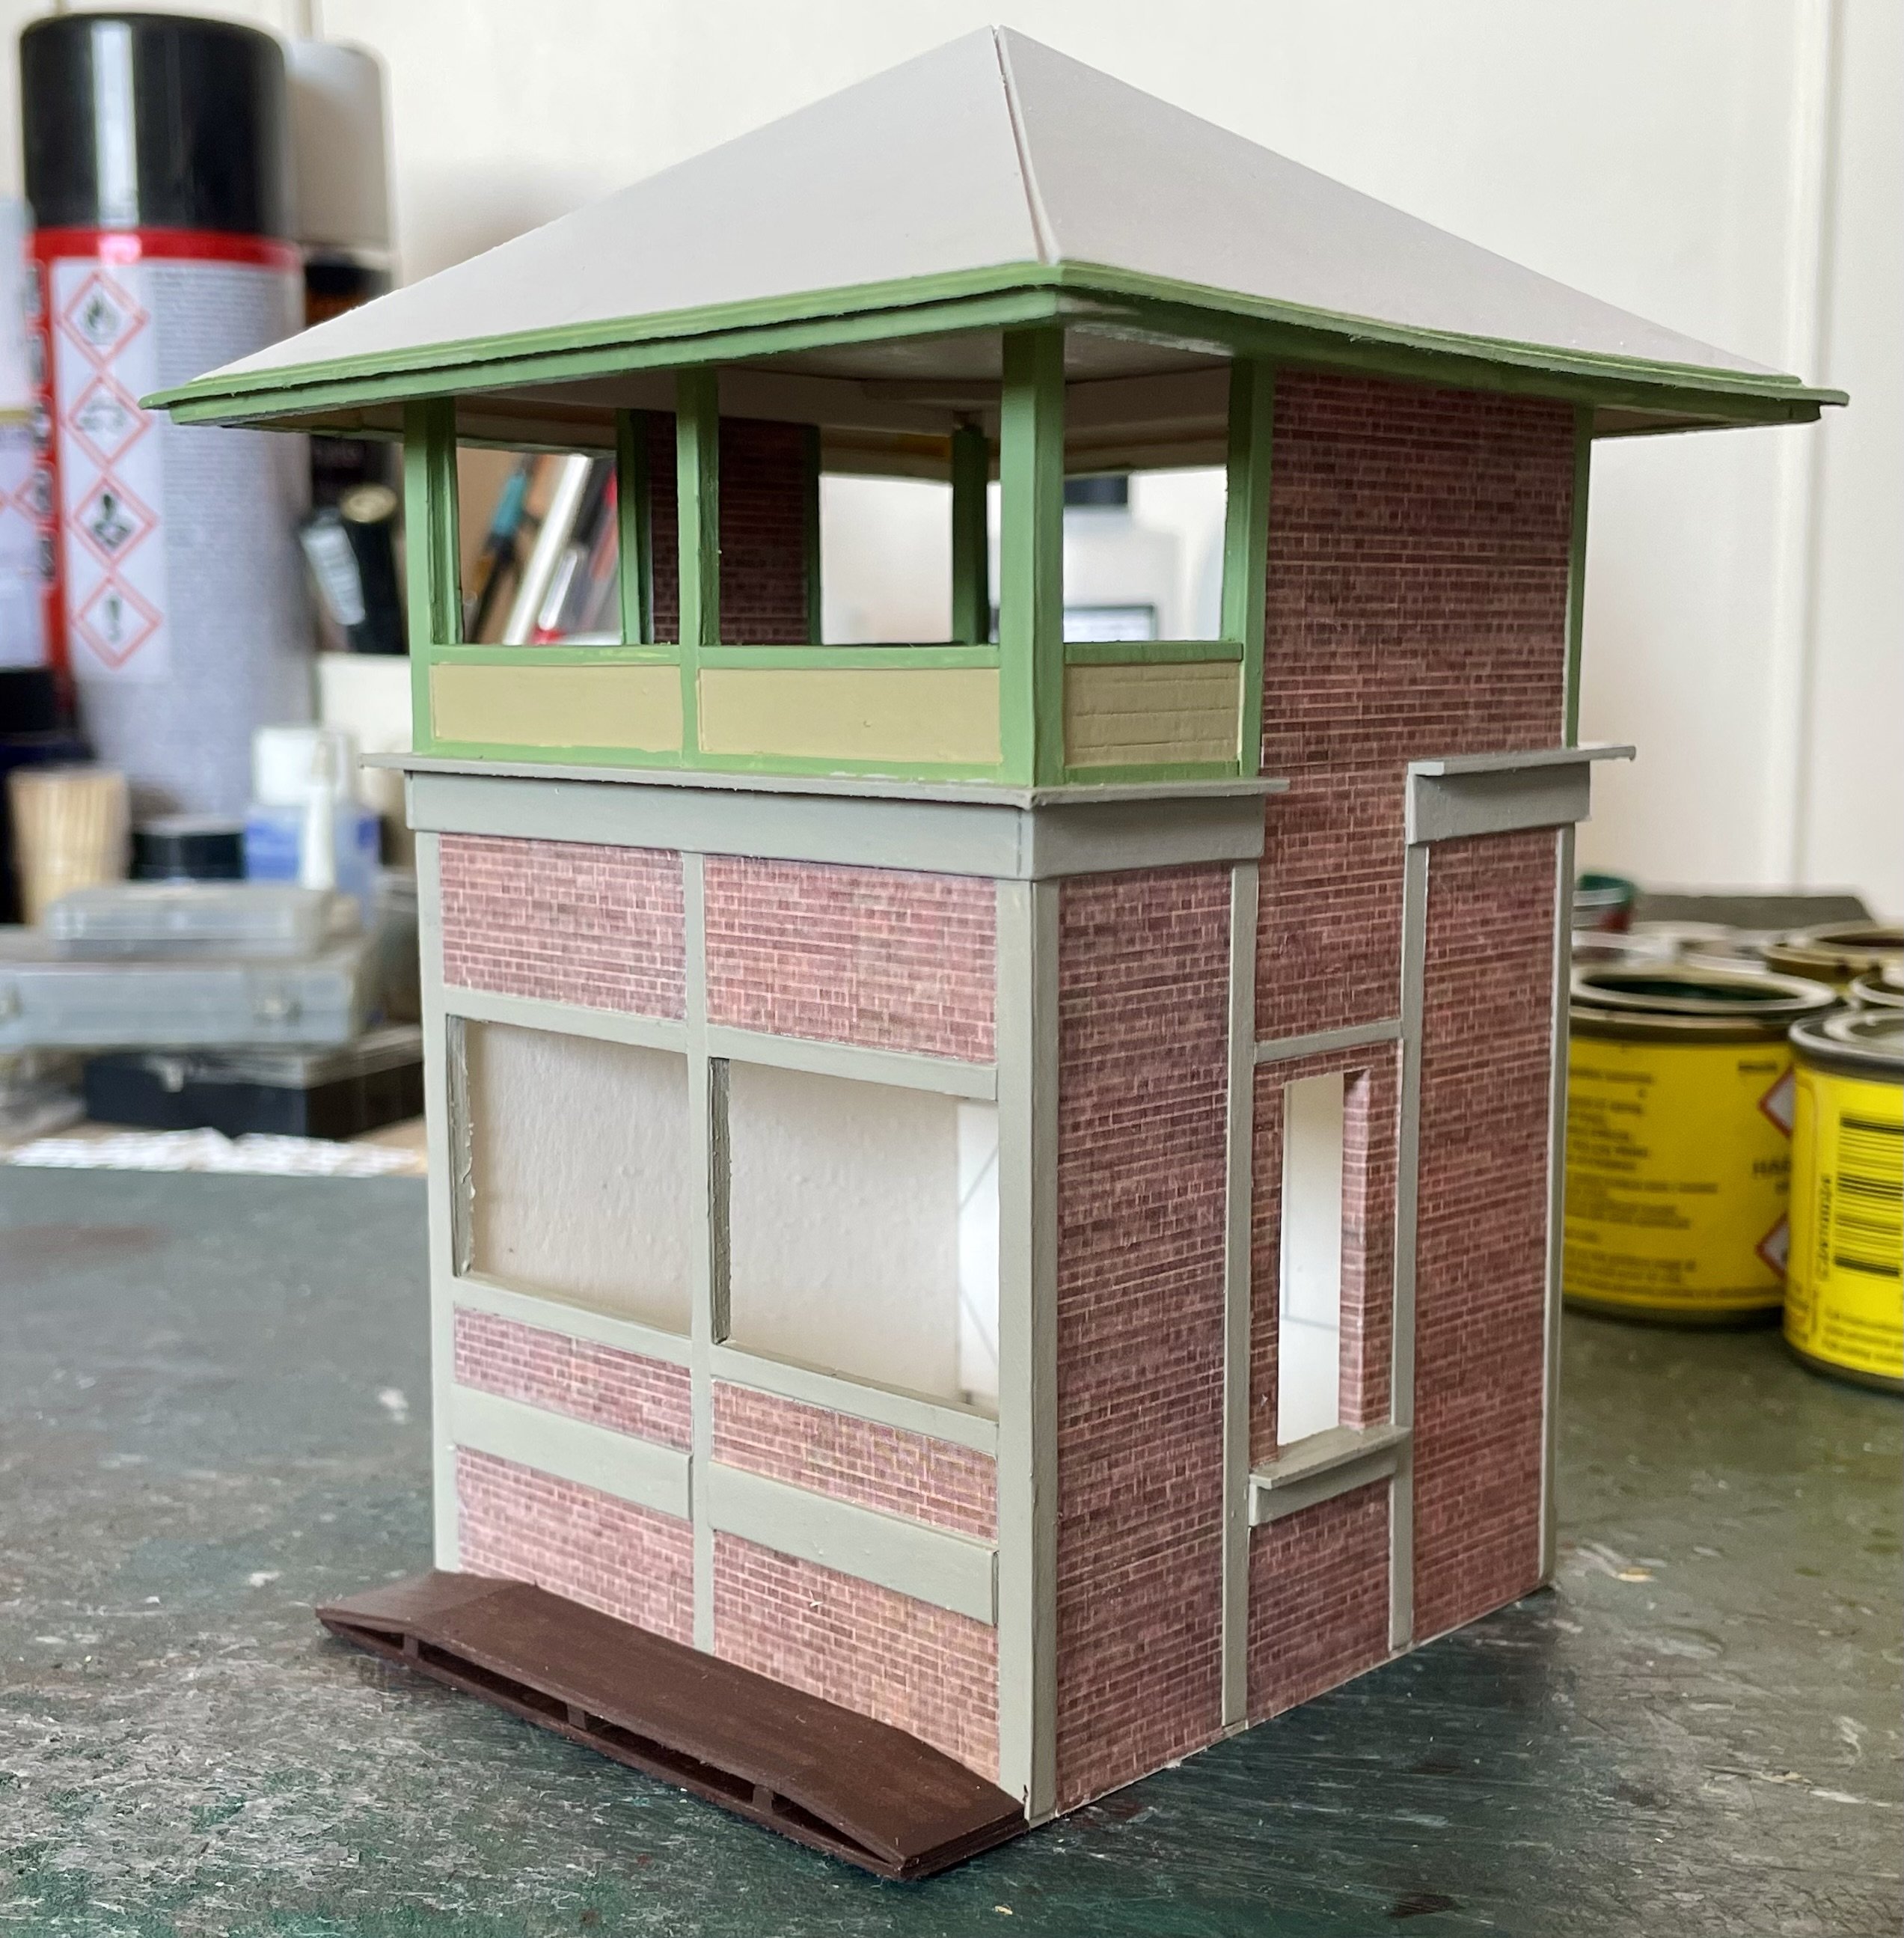
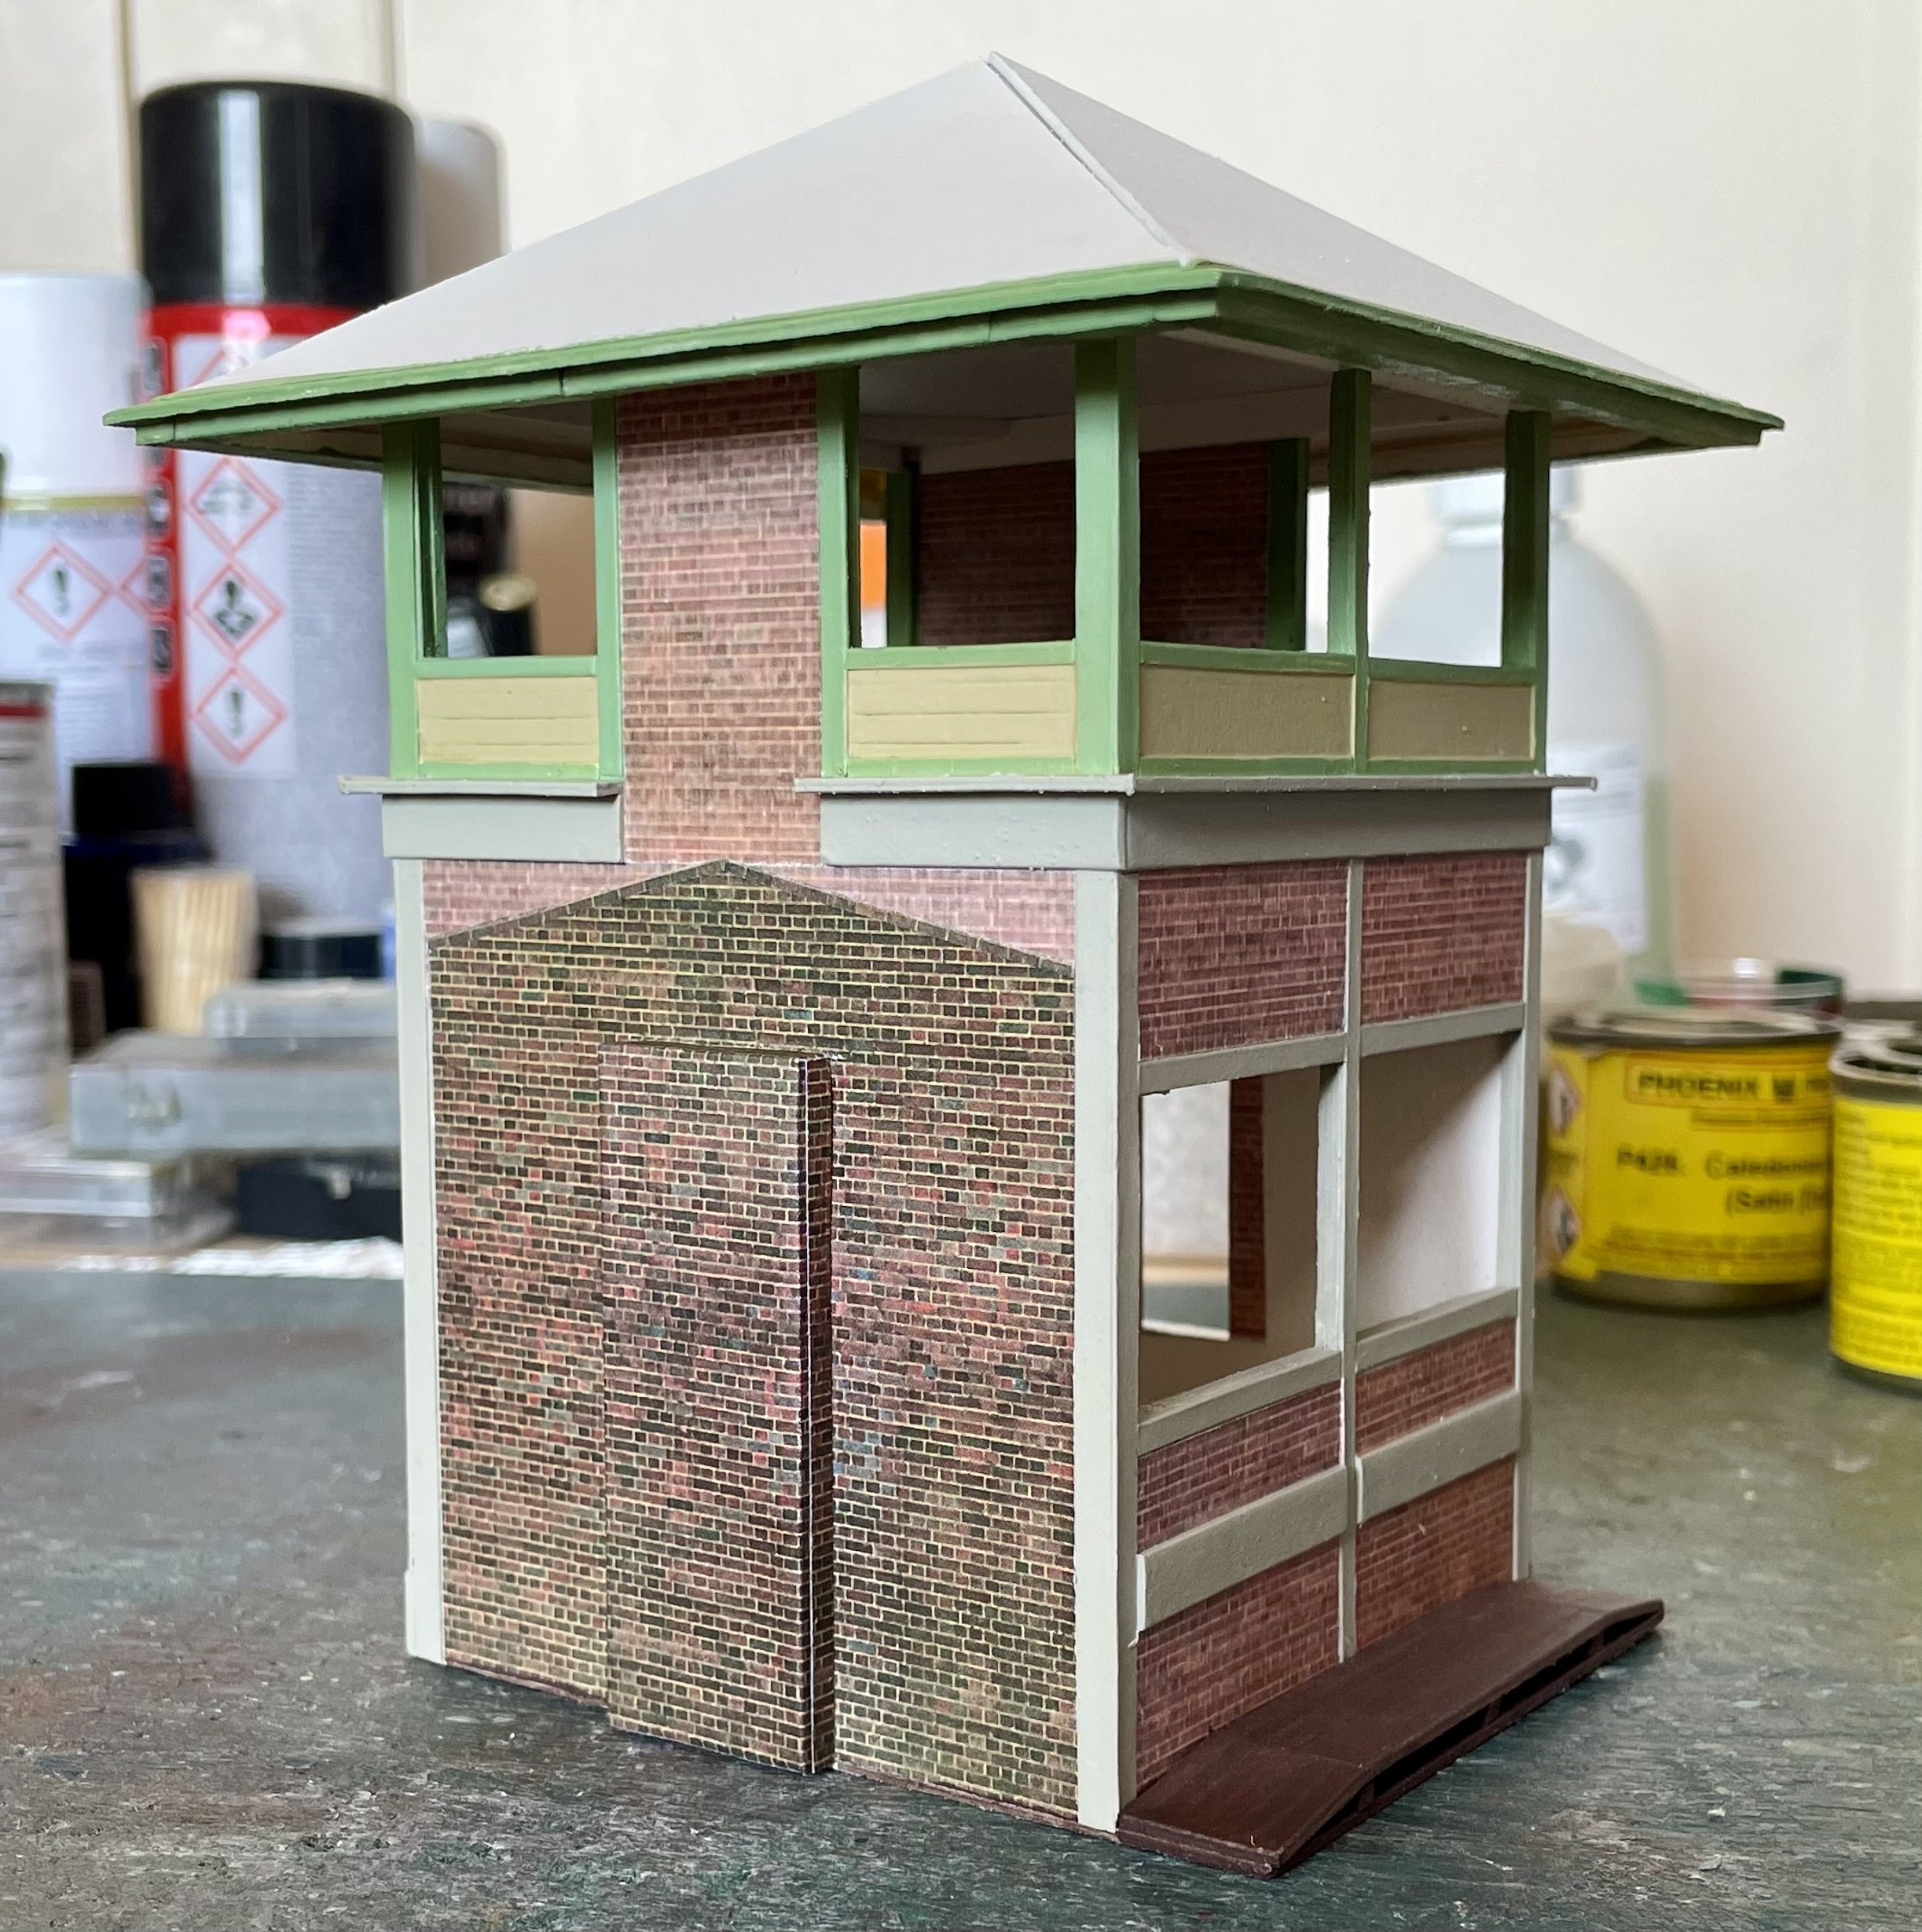
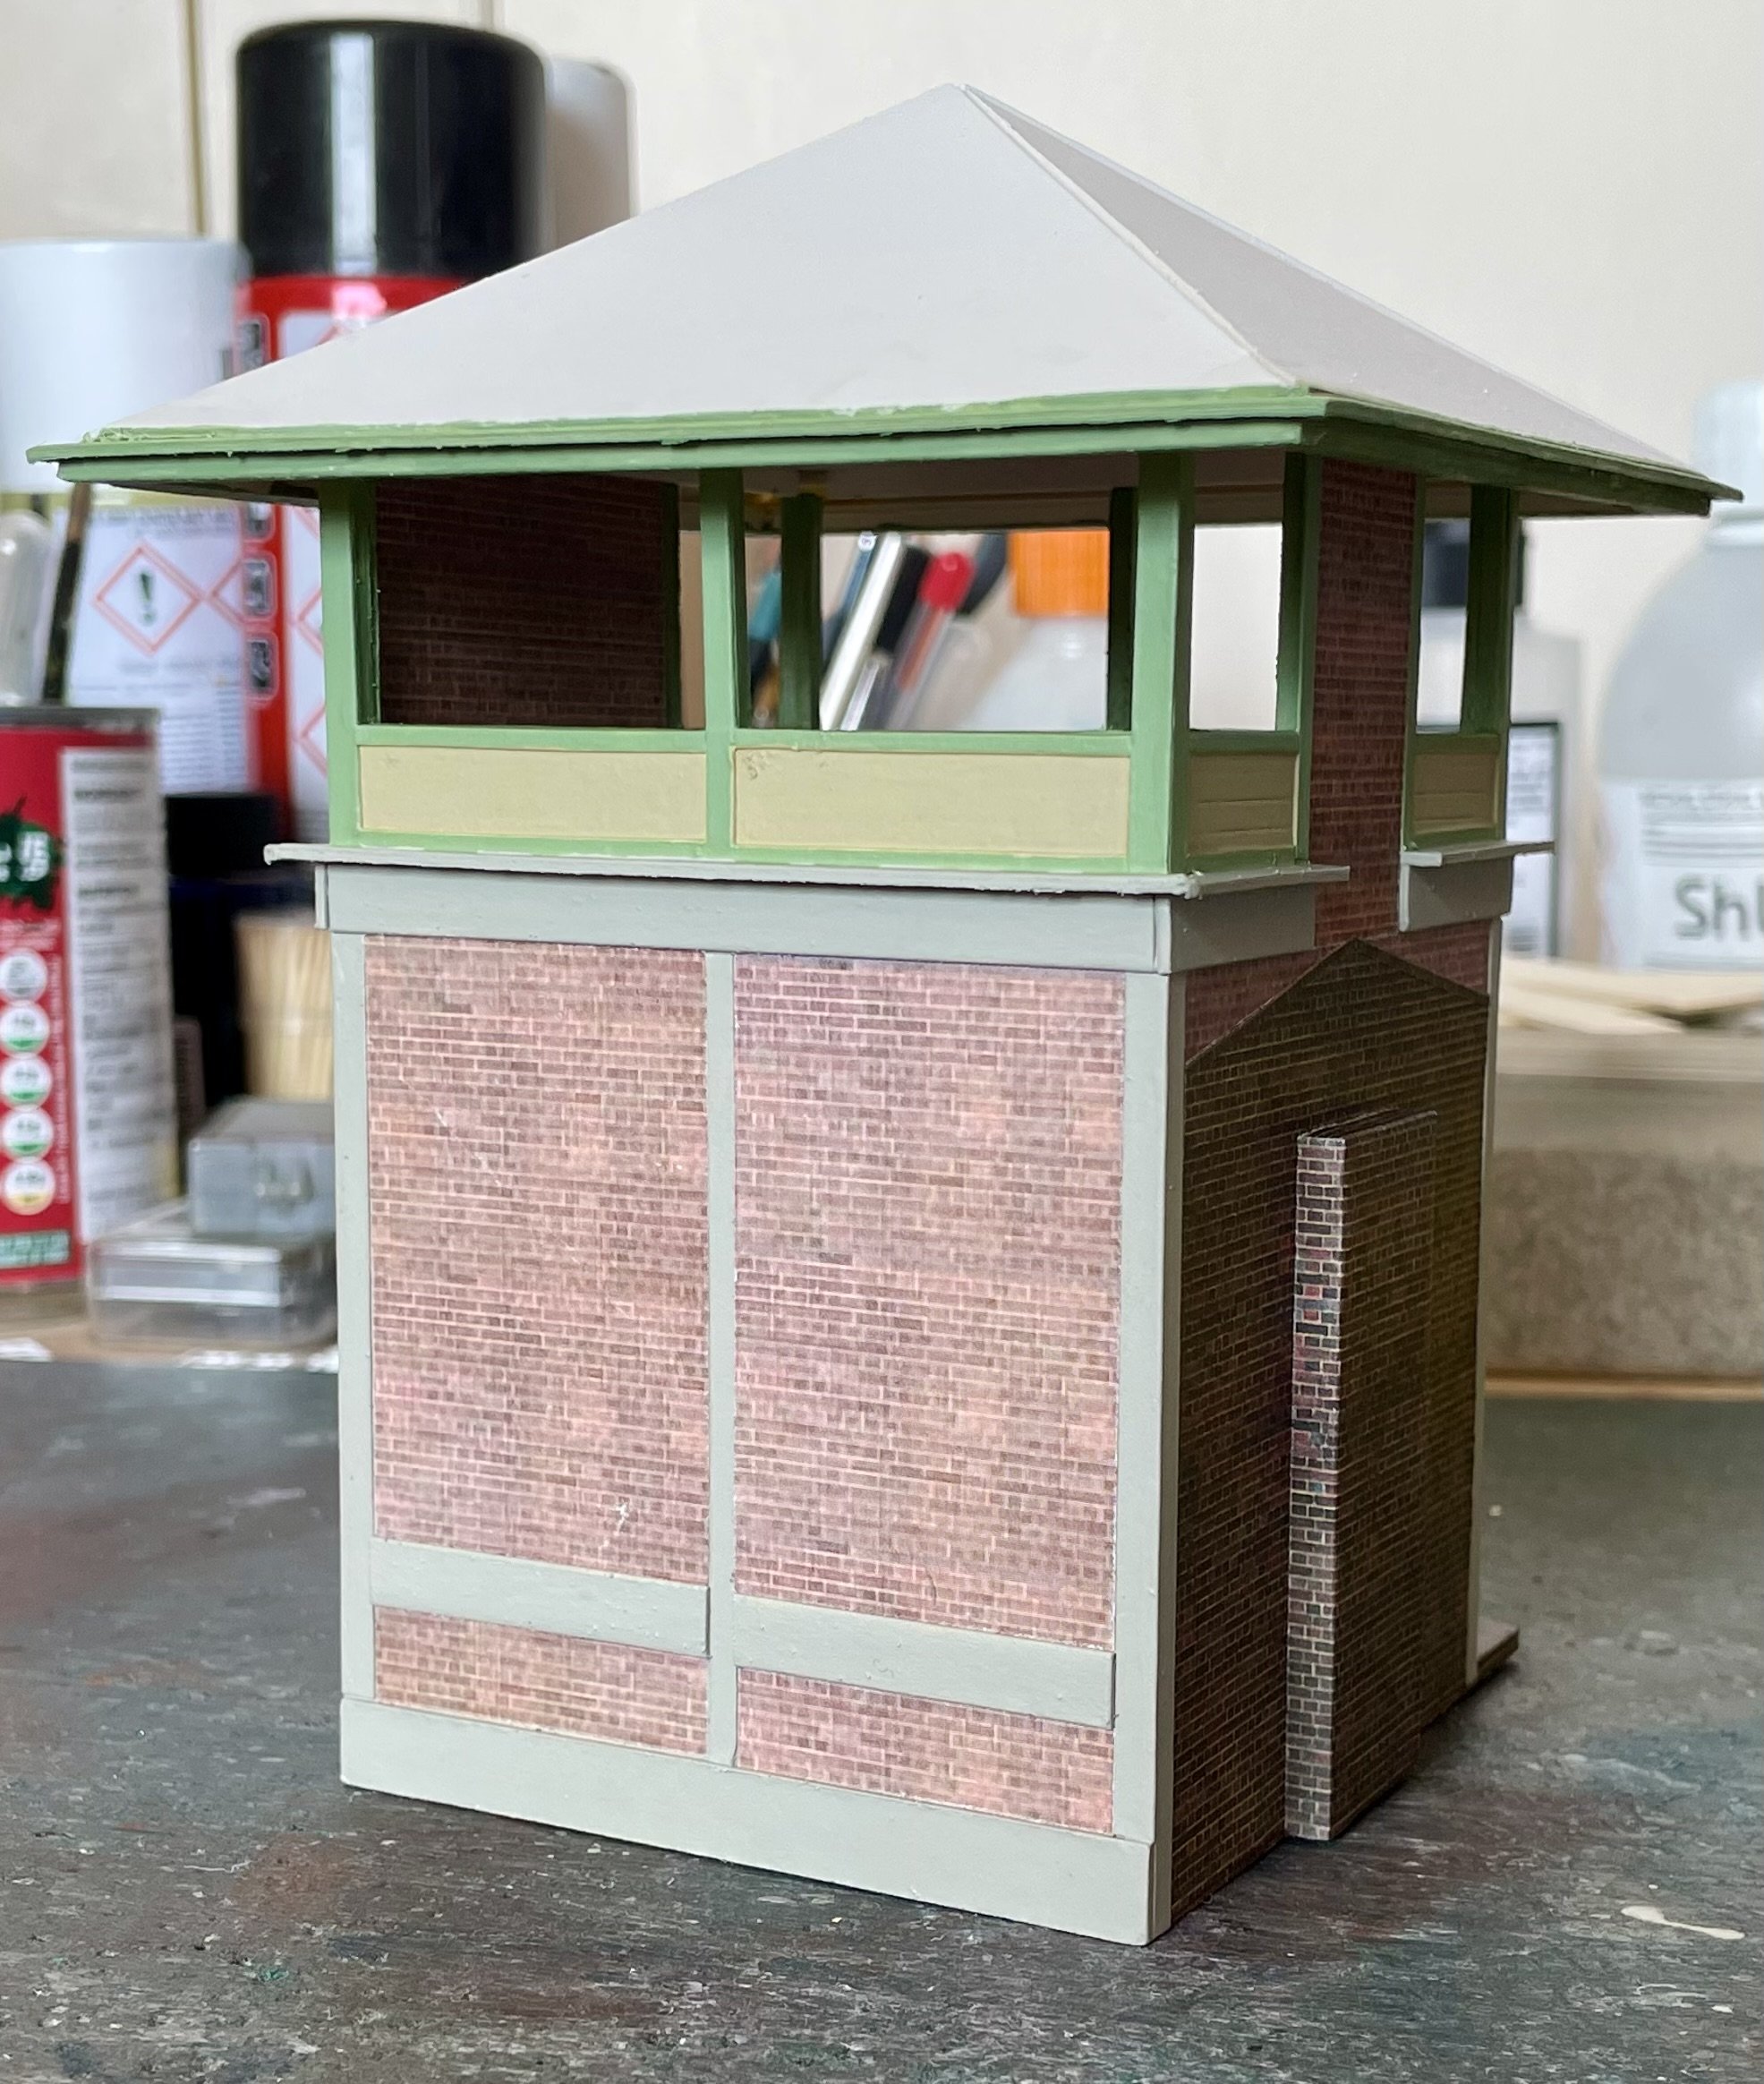
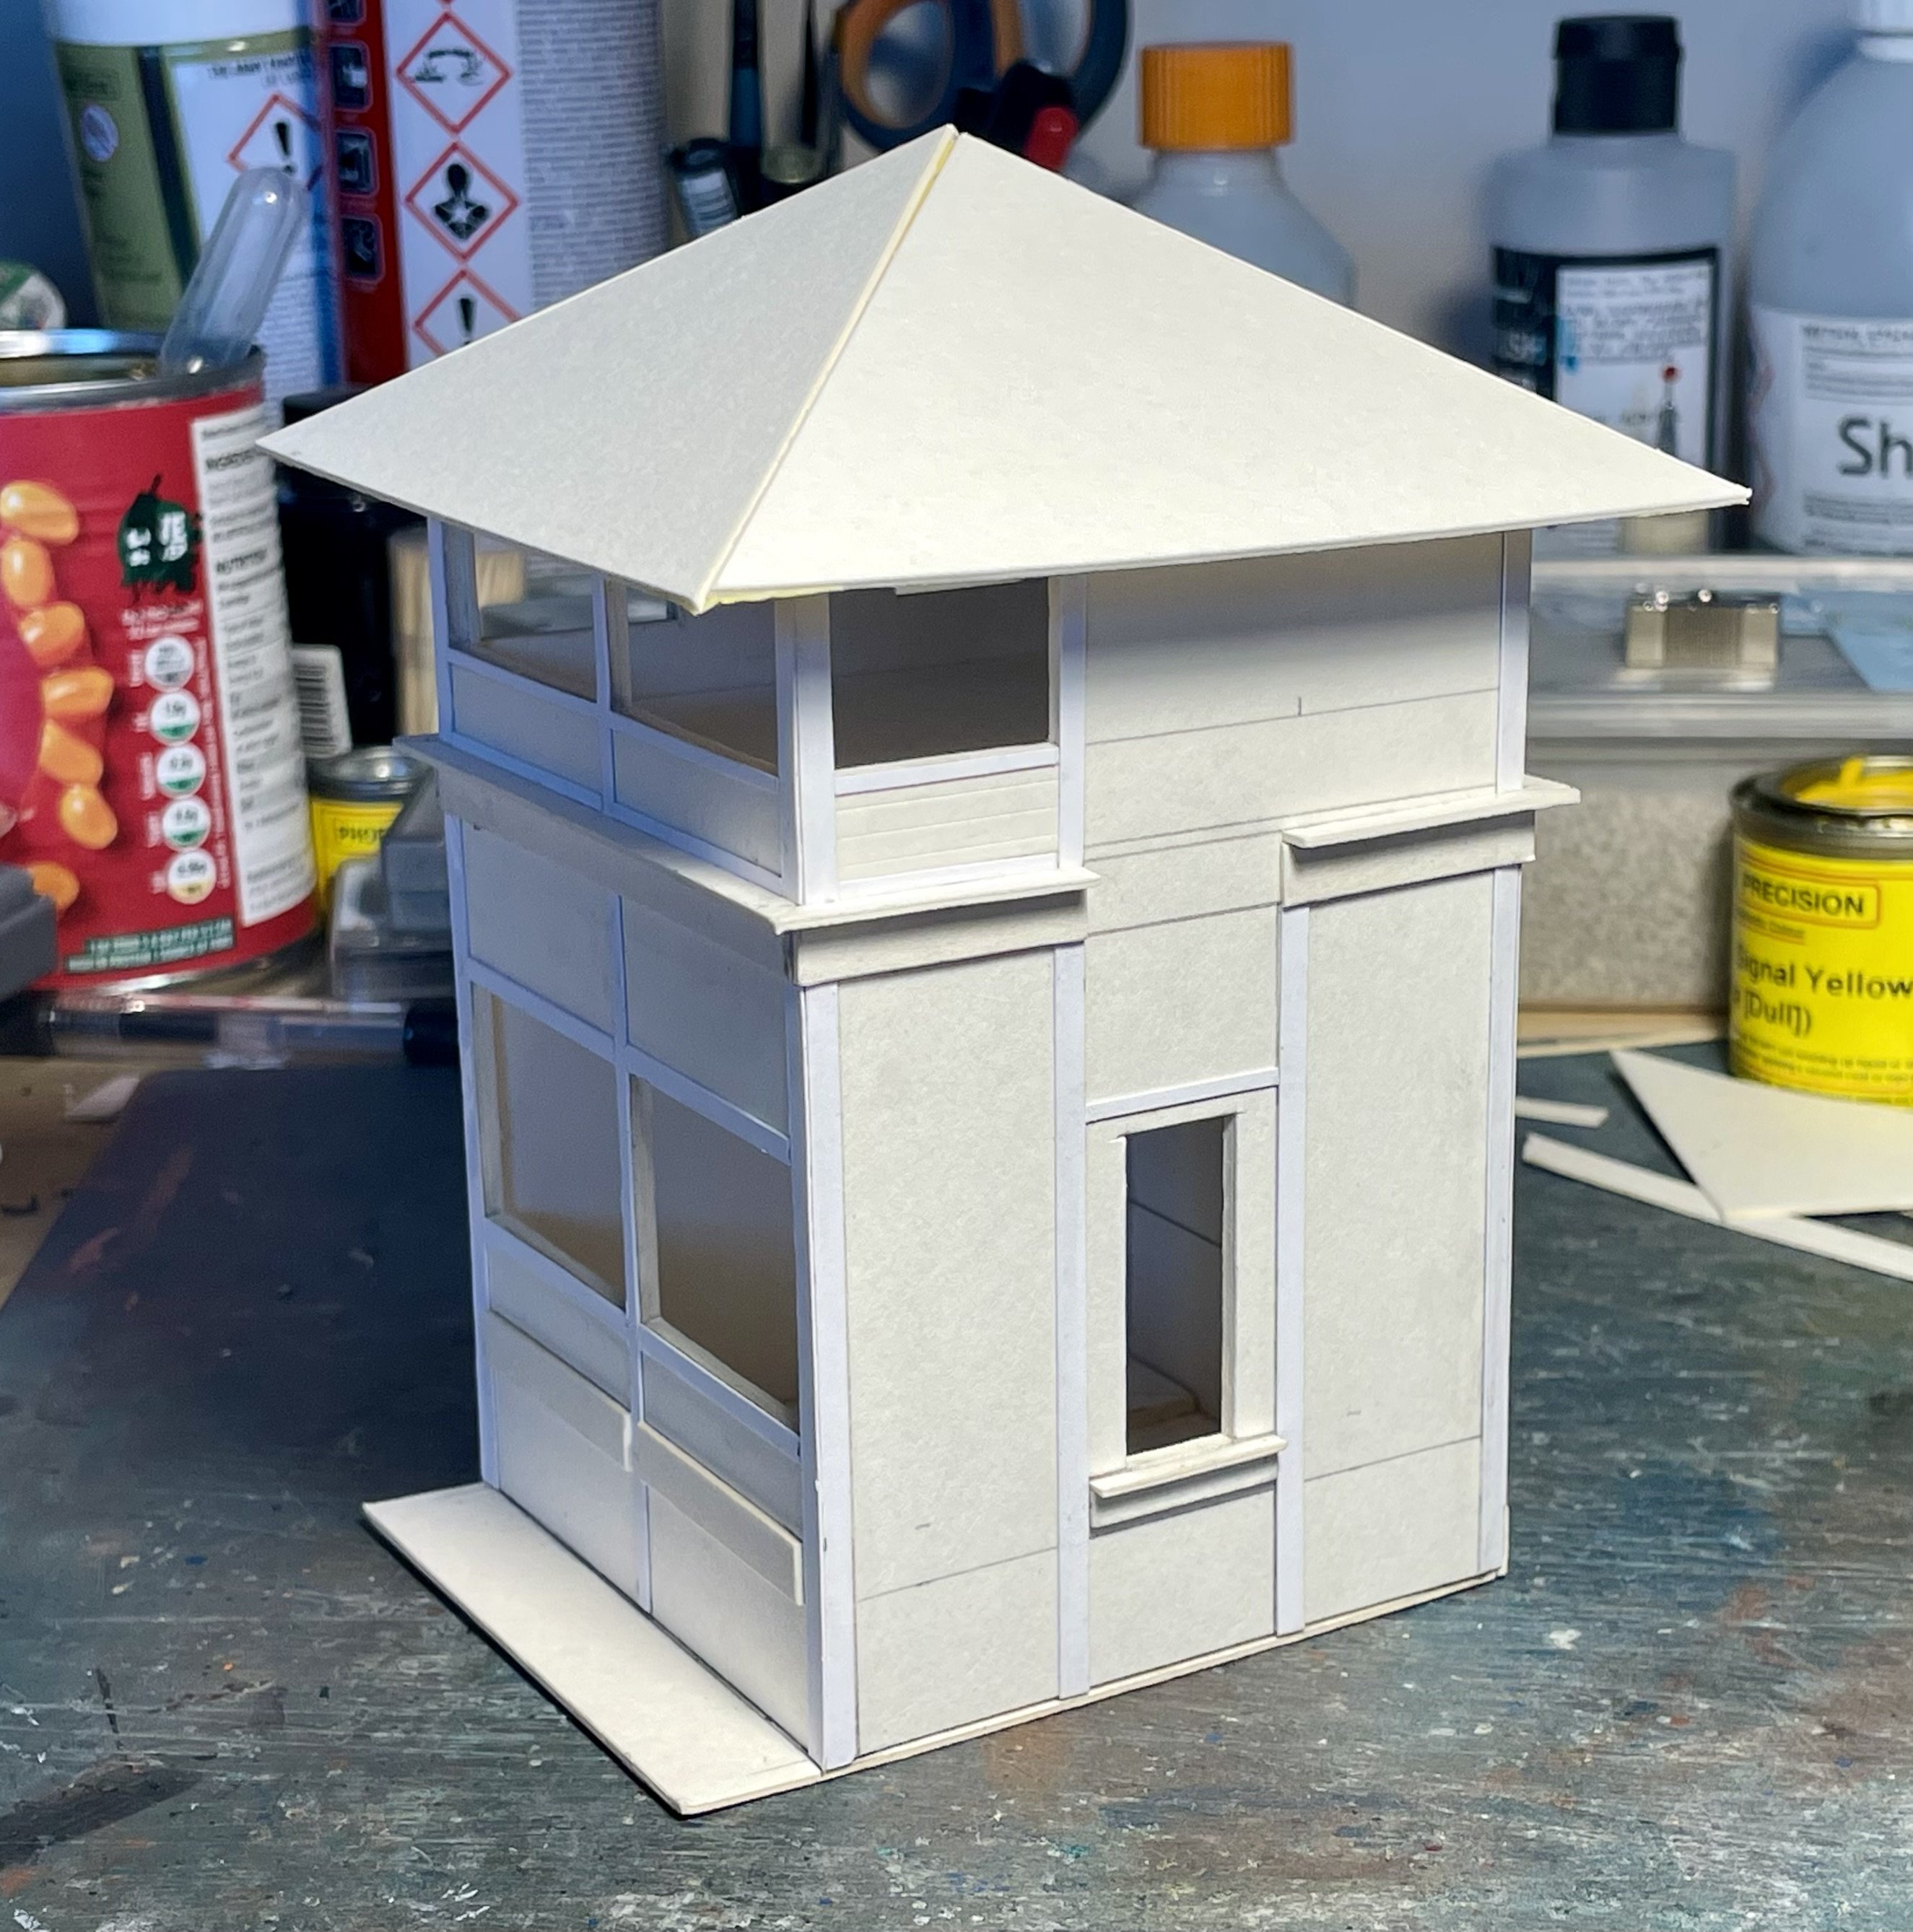
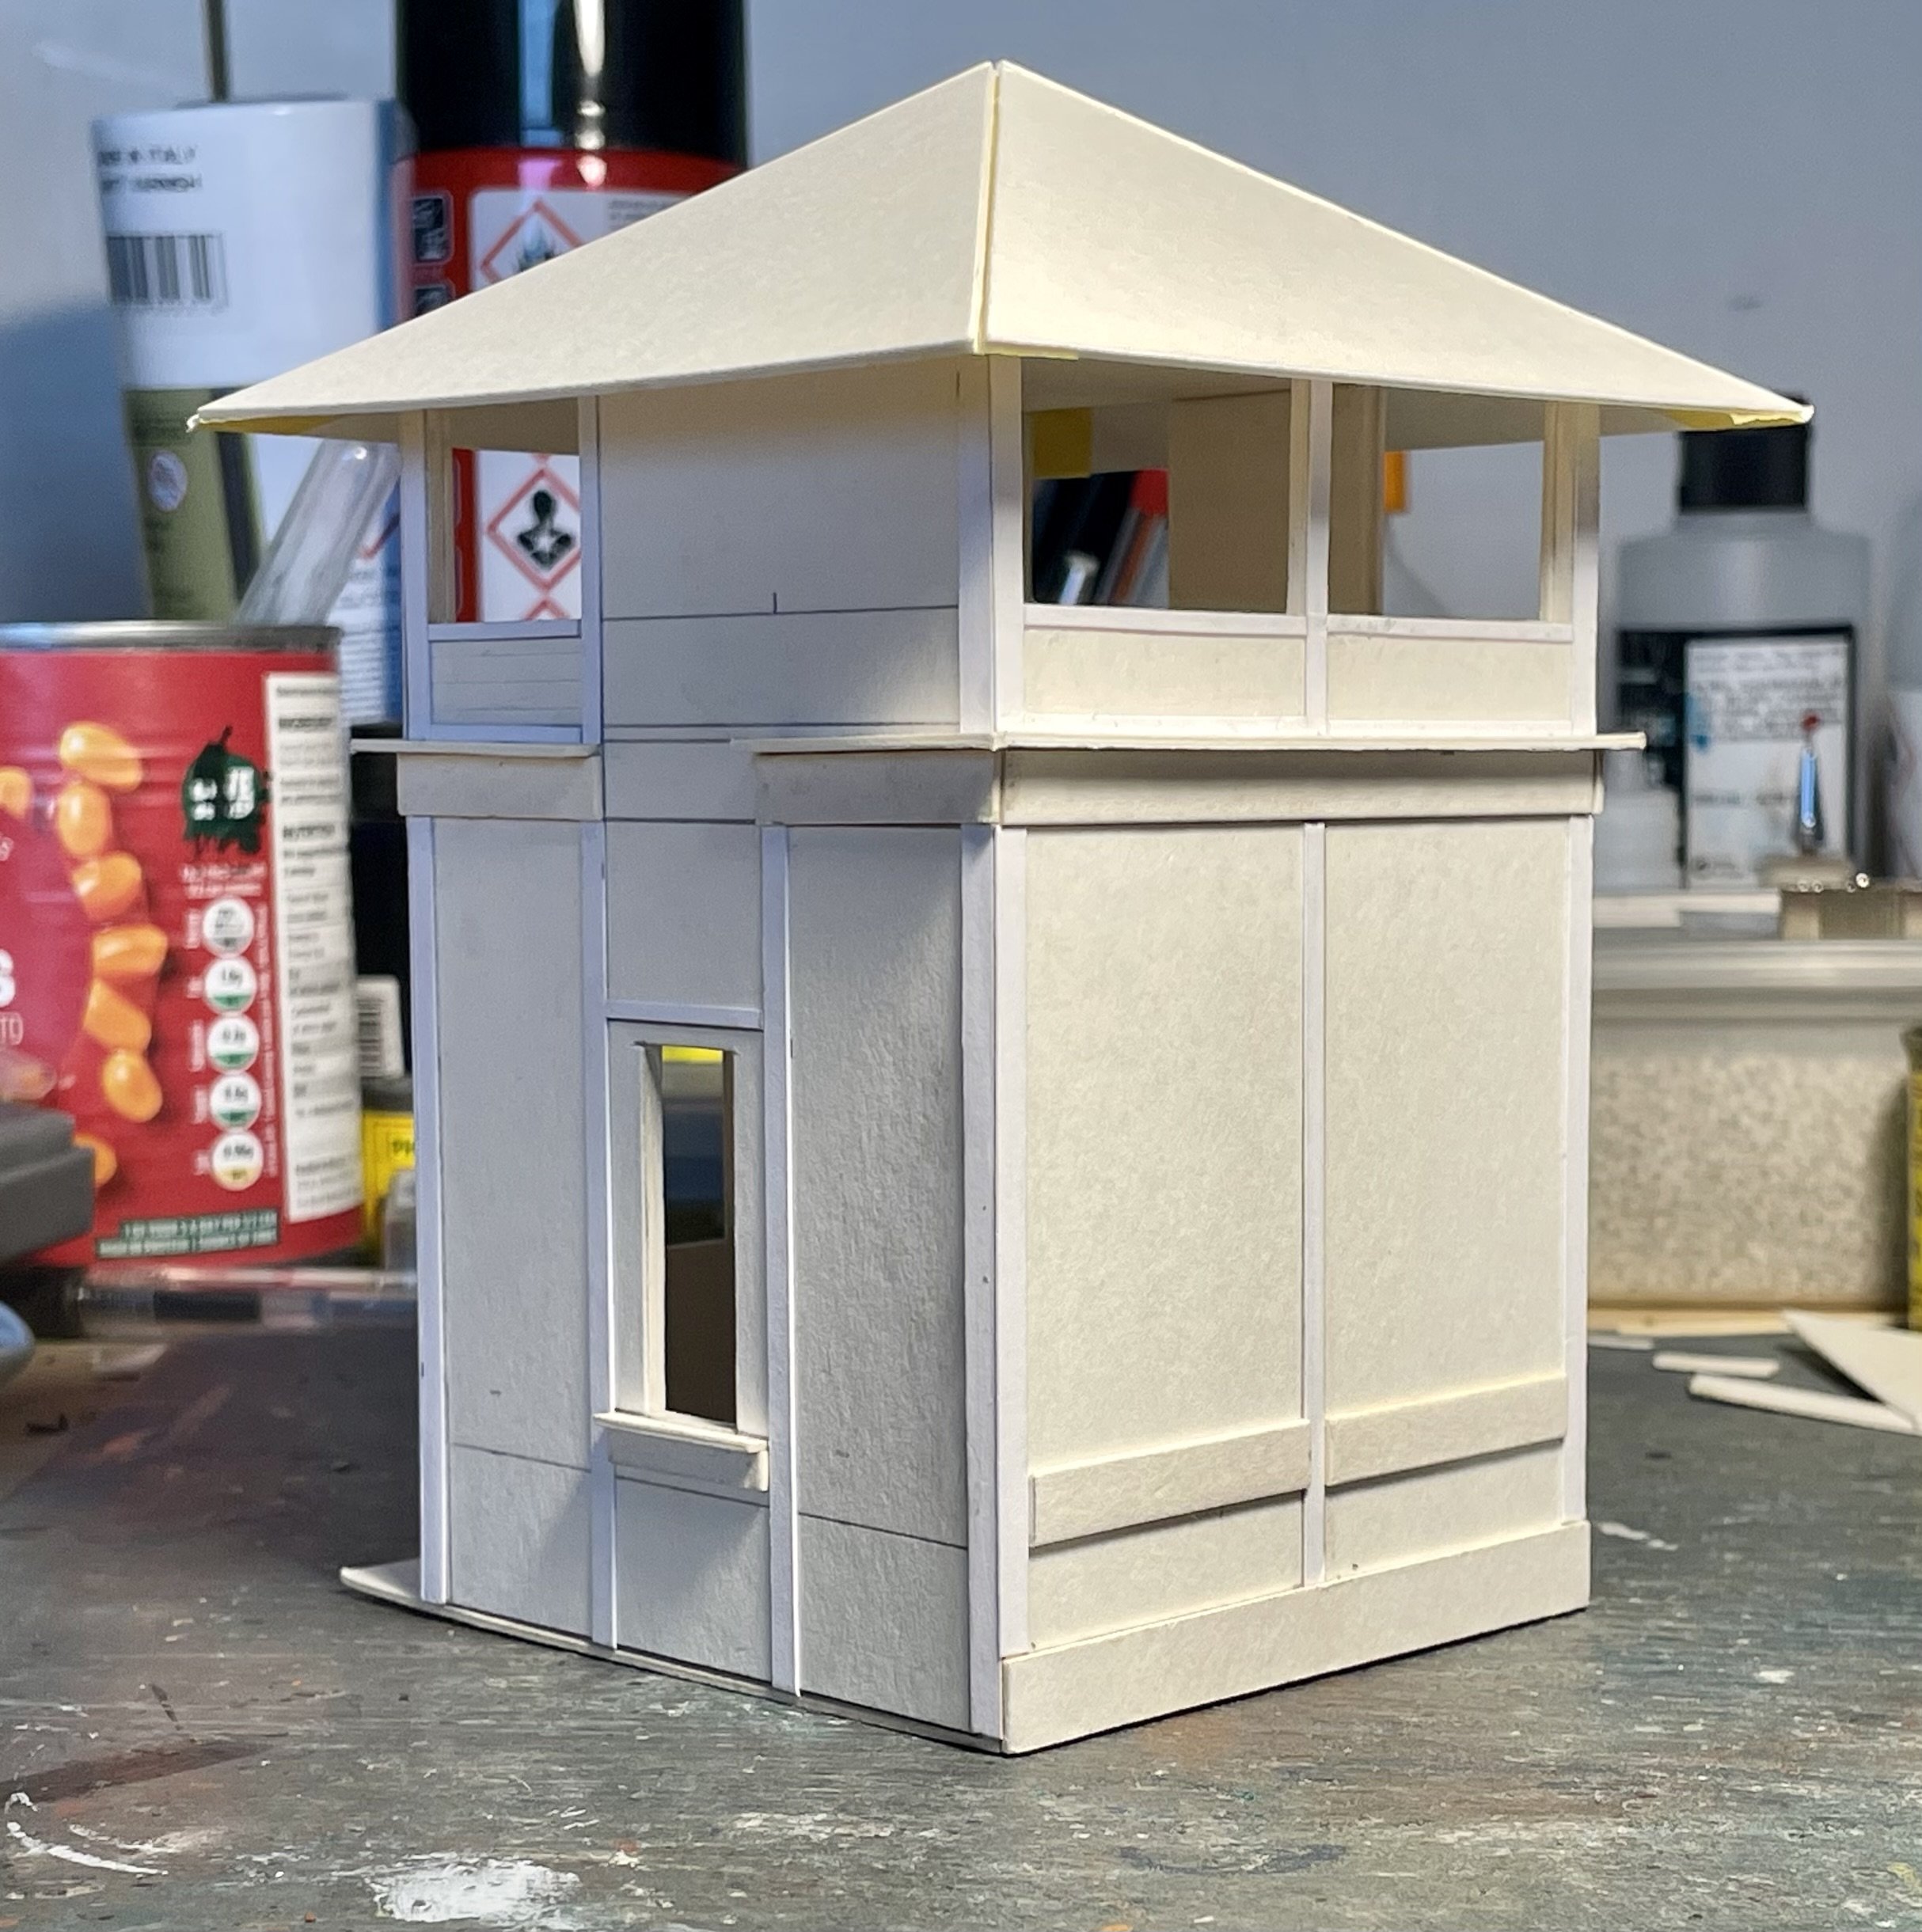
Cabin glazing completed. Cheers Darius

- 292 replies
-
- 19
-

-

-
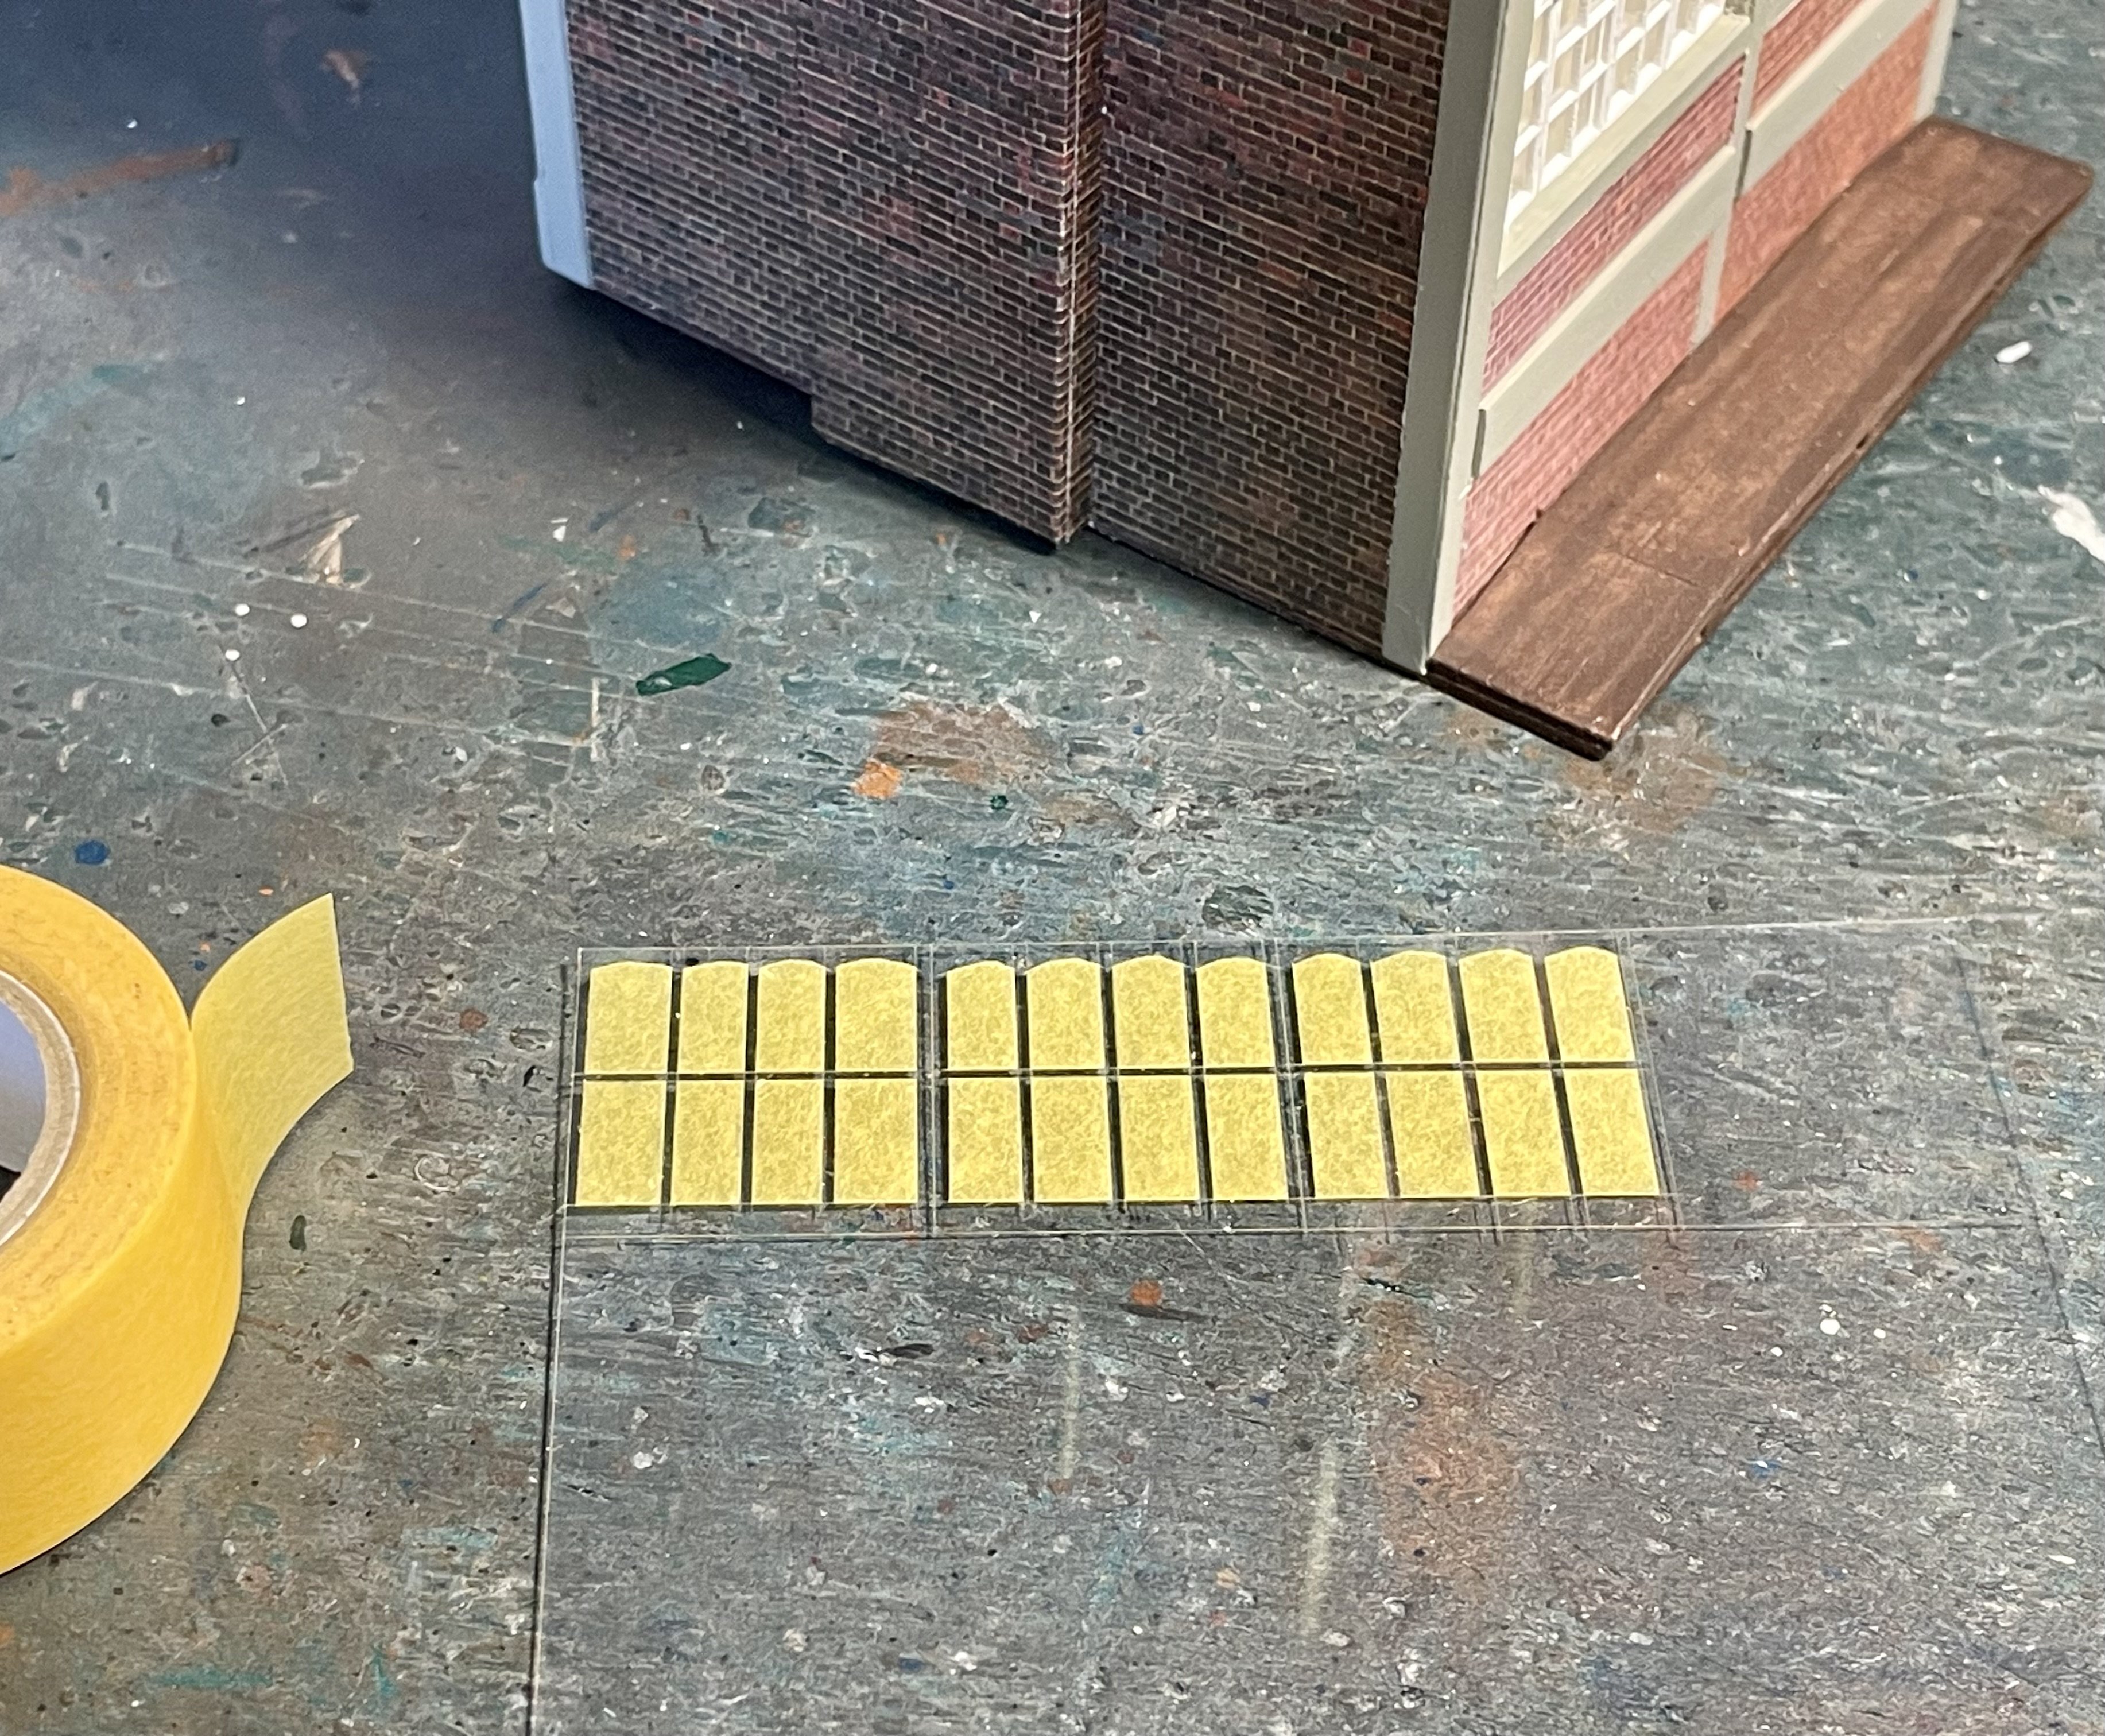
Hi Patrick, I stick a large piece of tape on the clear sheet and cut the glazing bars out with a sharp knife, leaving the tape masks over each pane behind. Cheers Darius
-
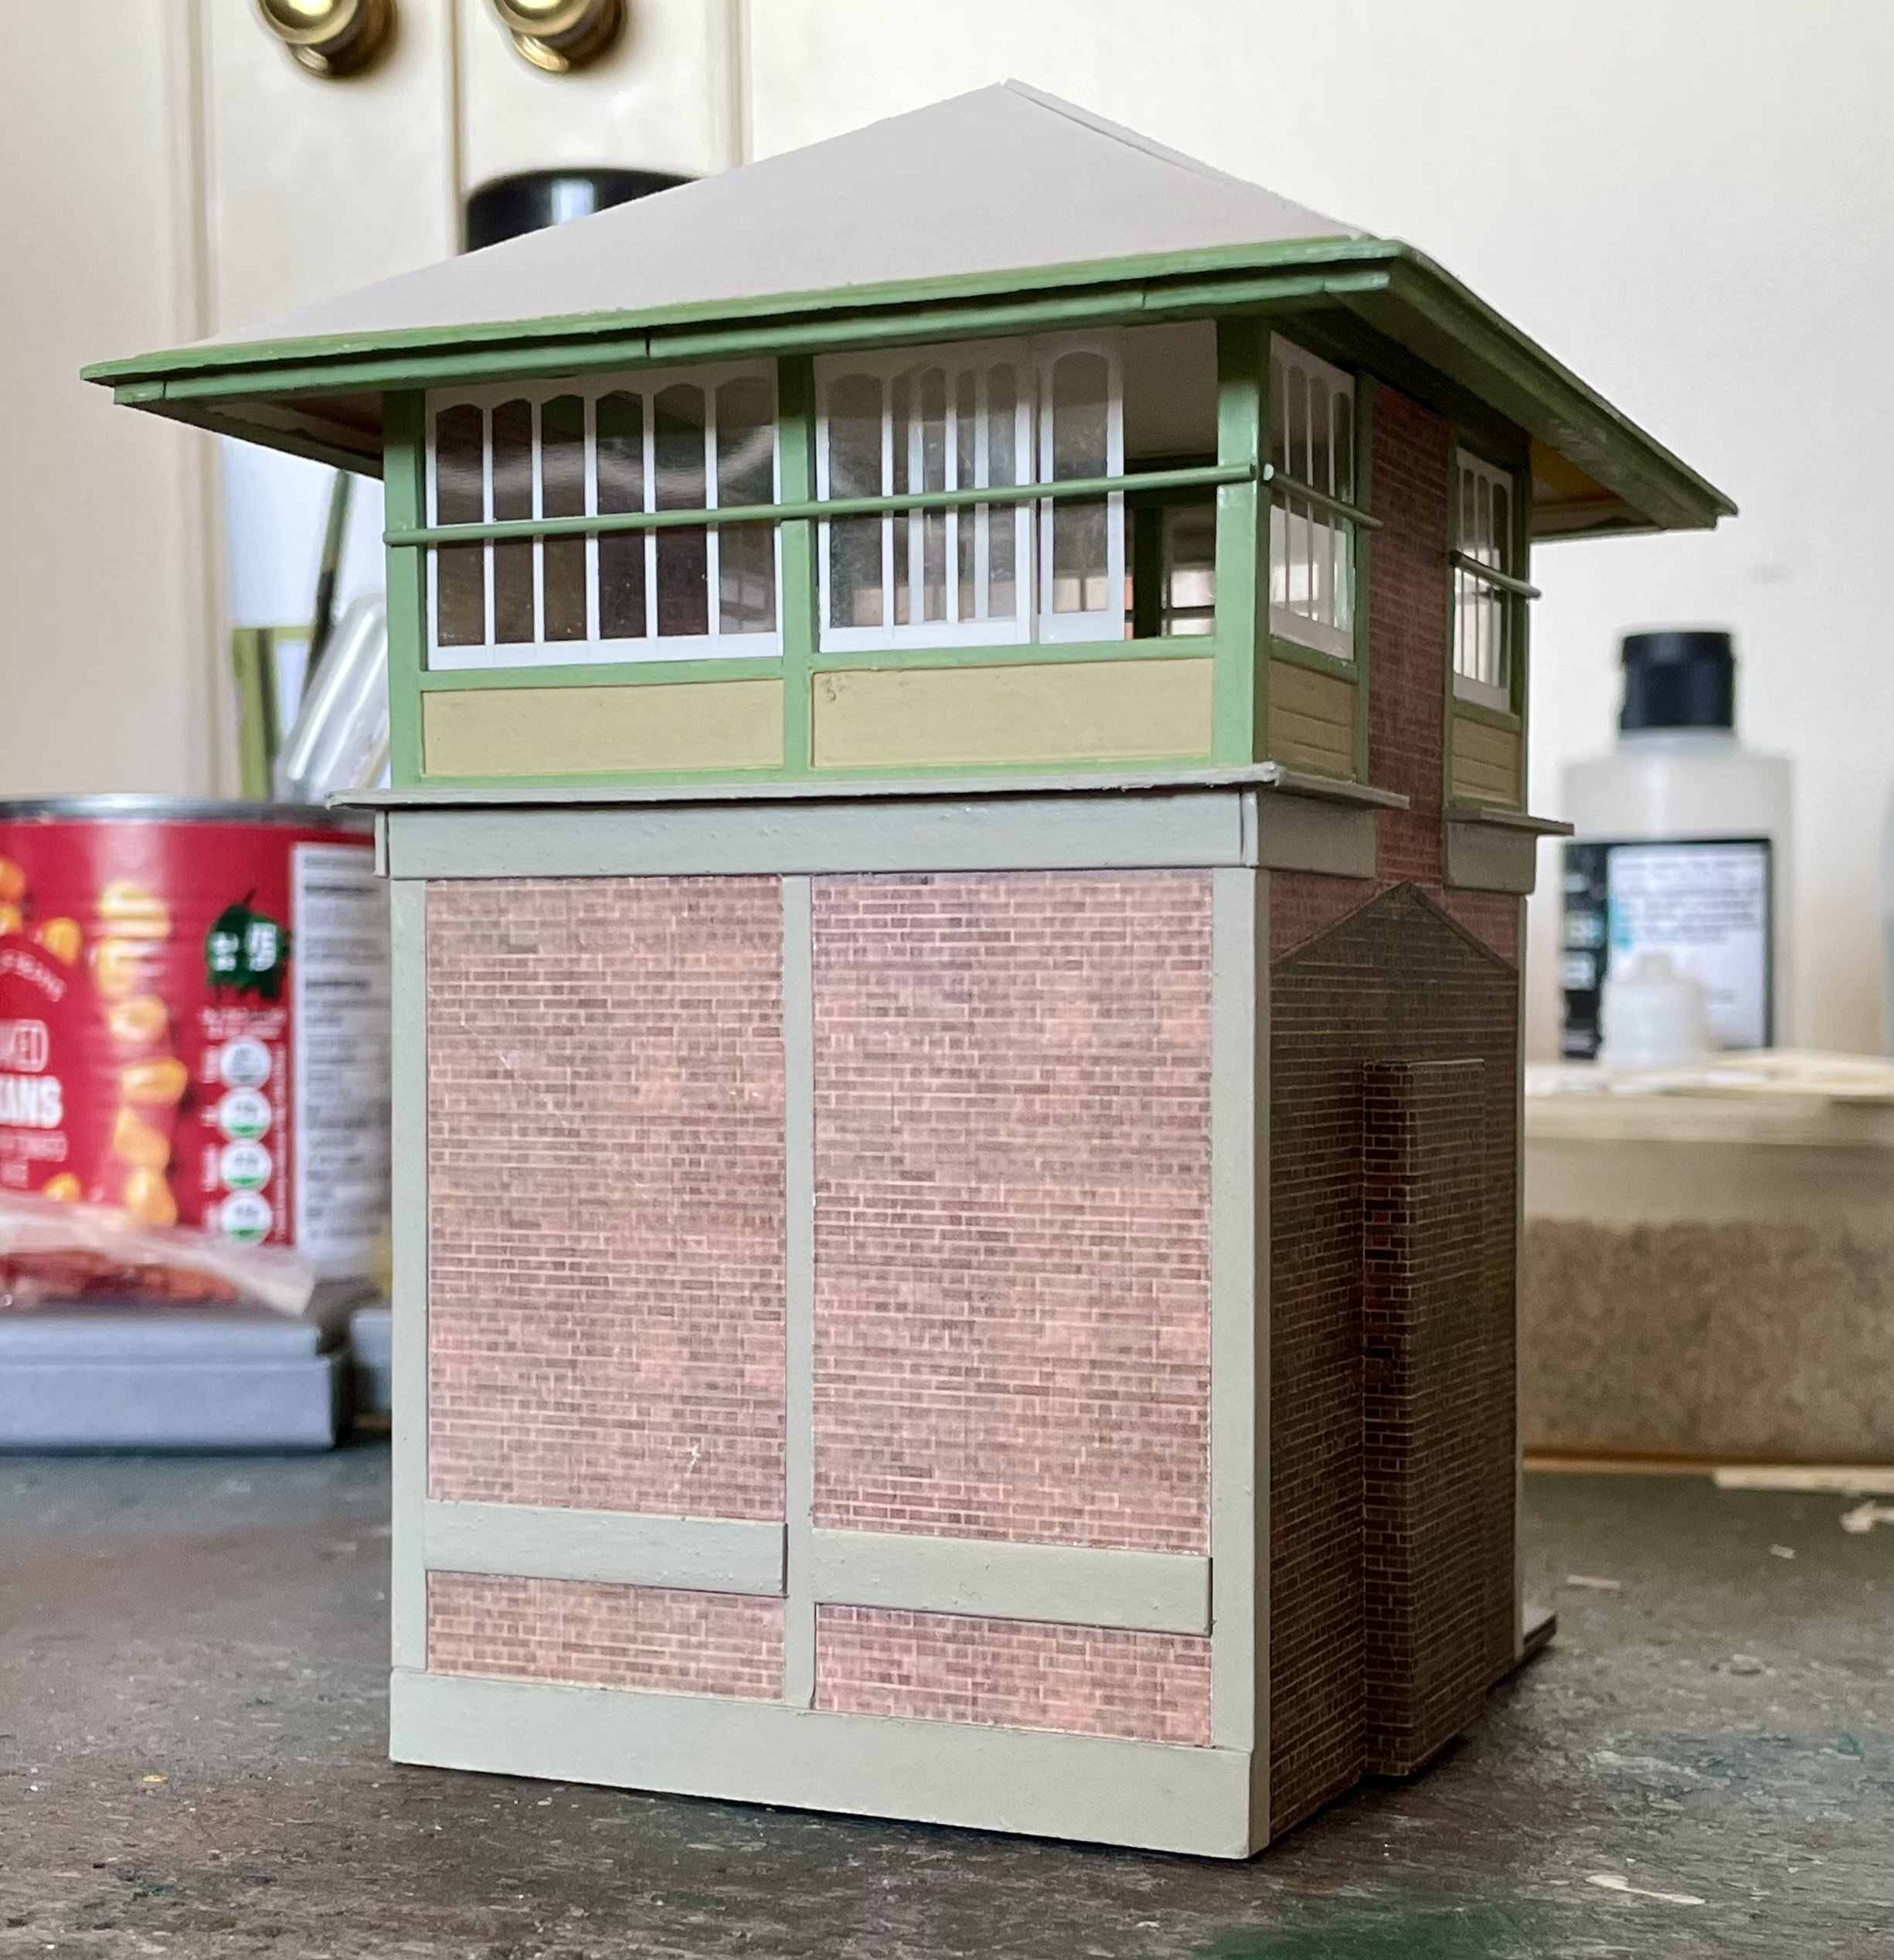
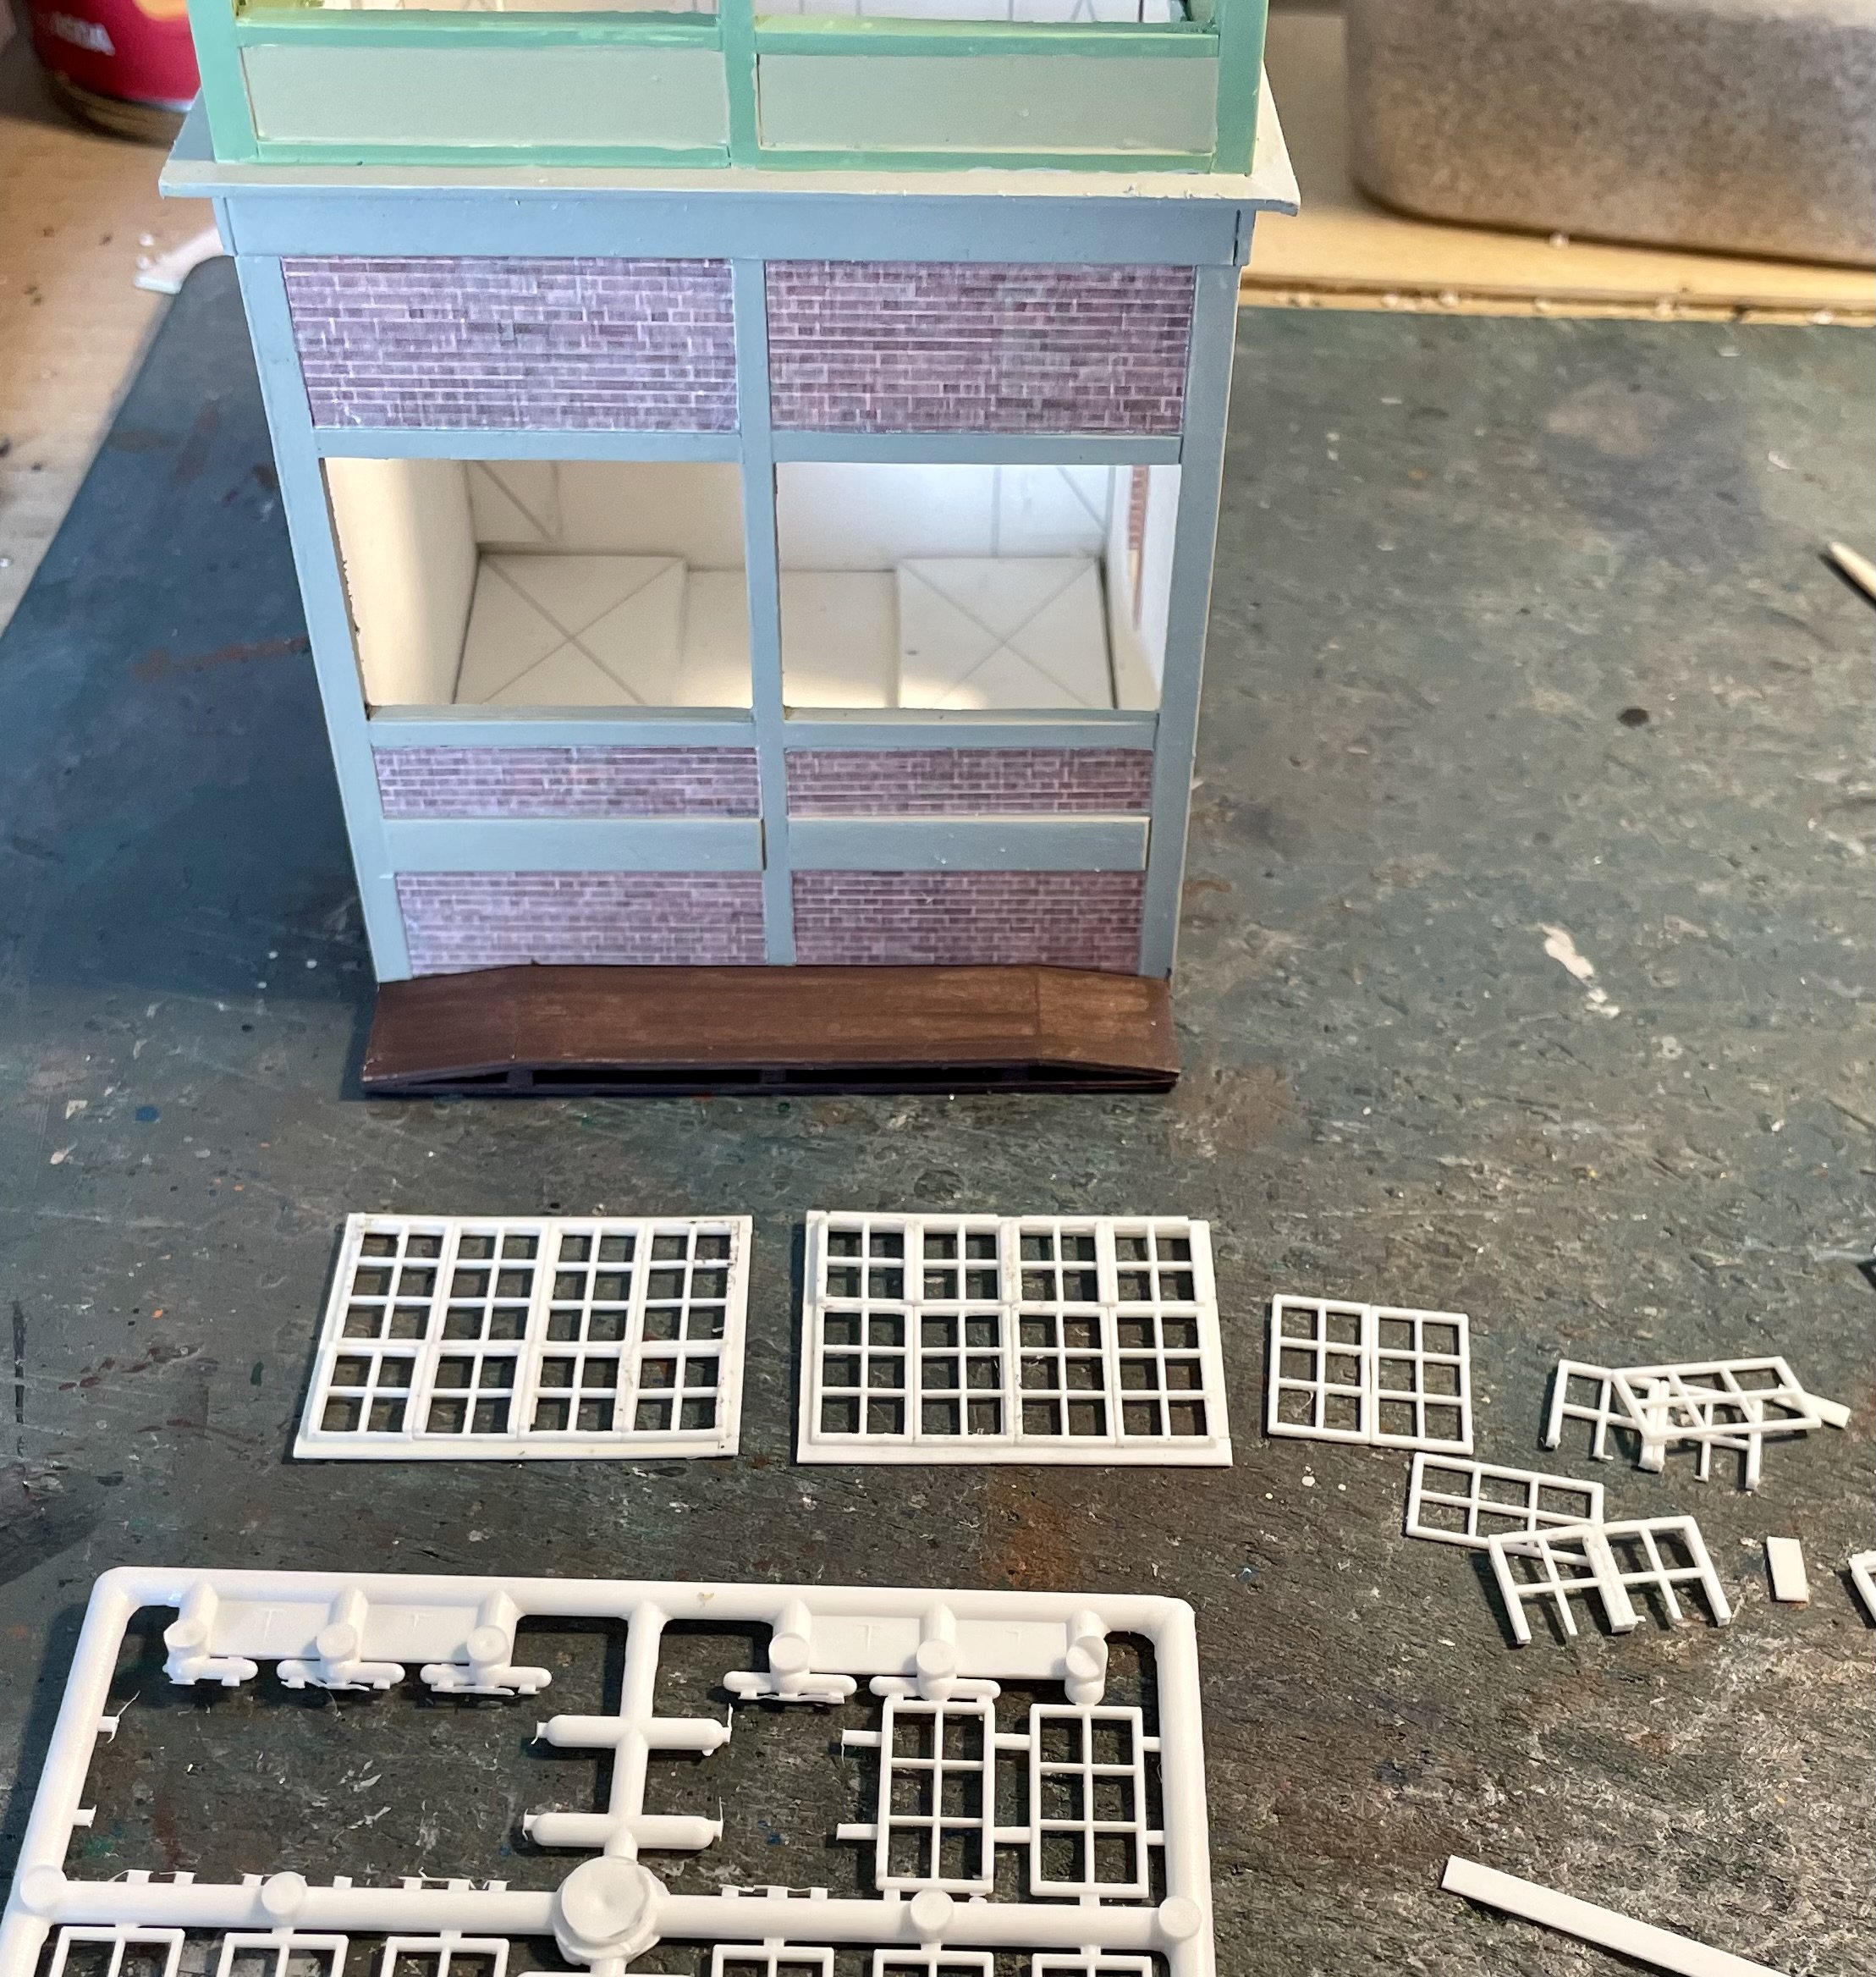
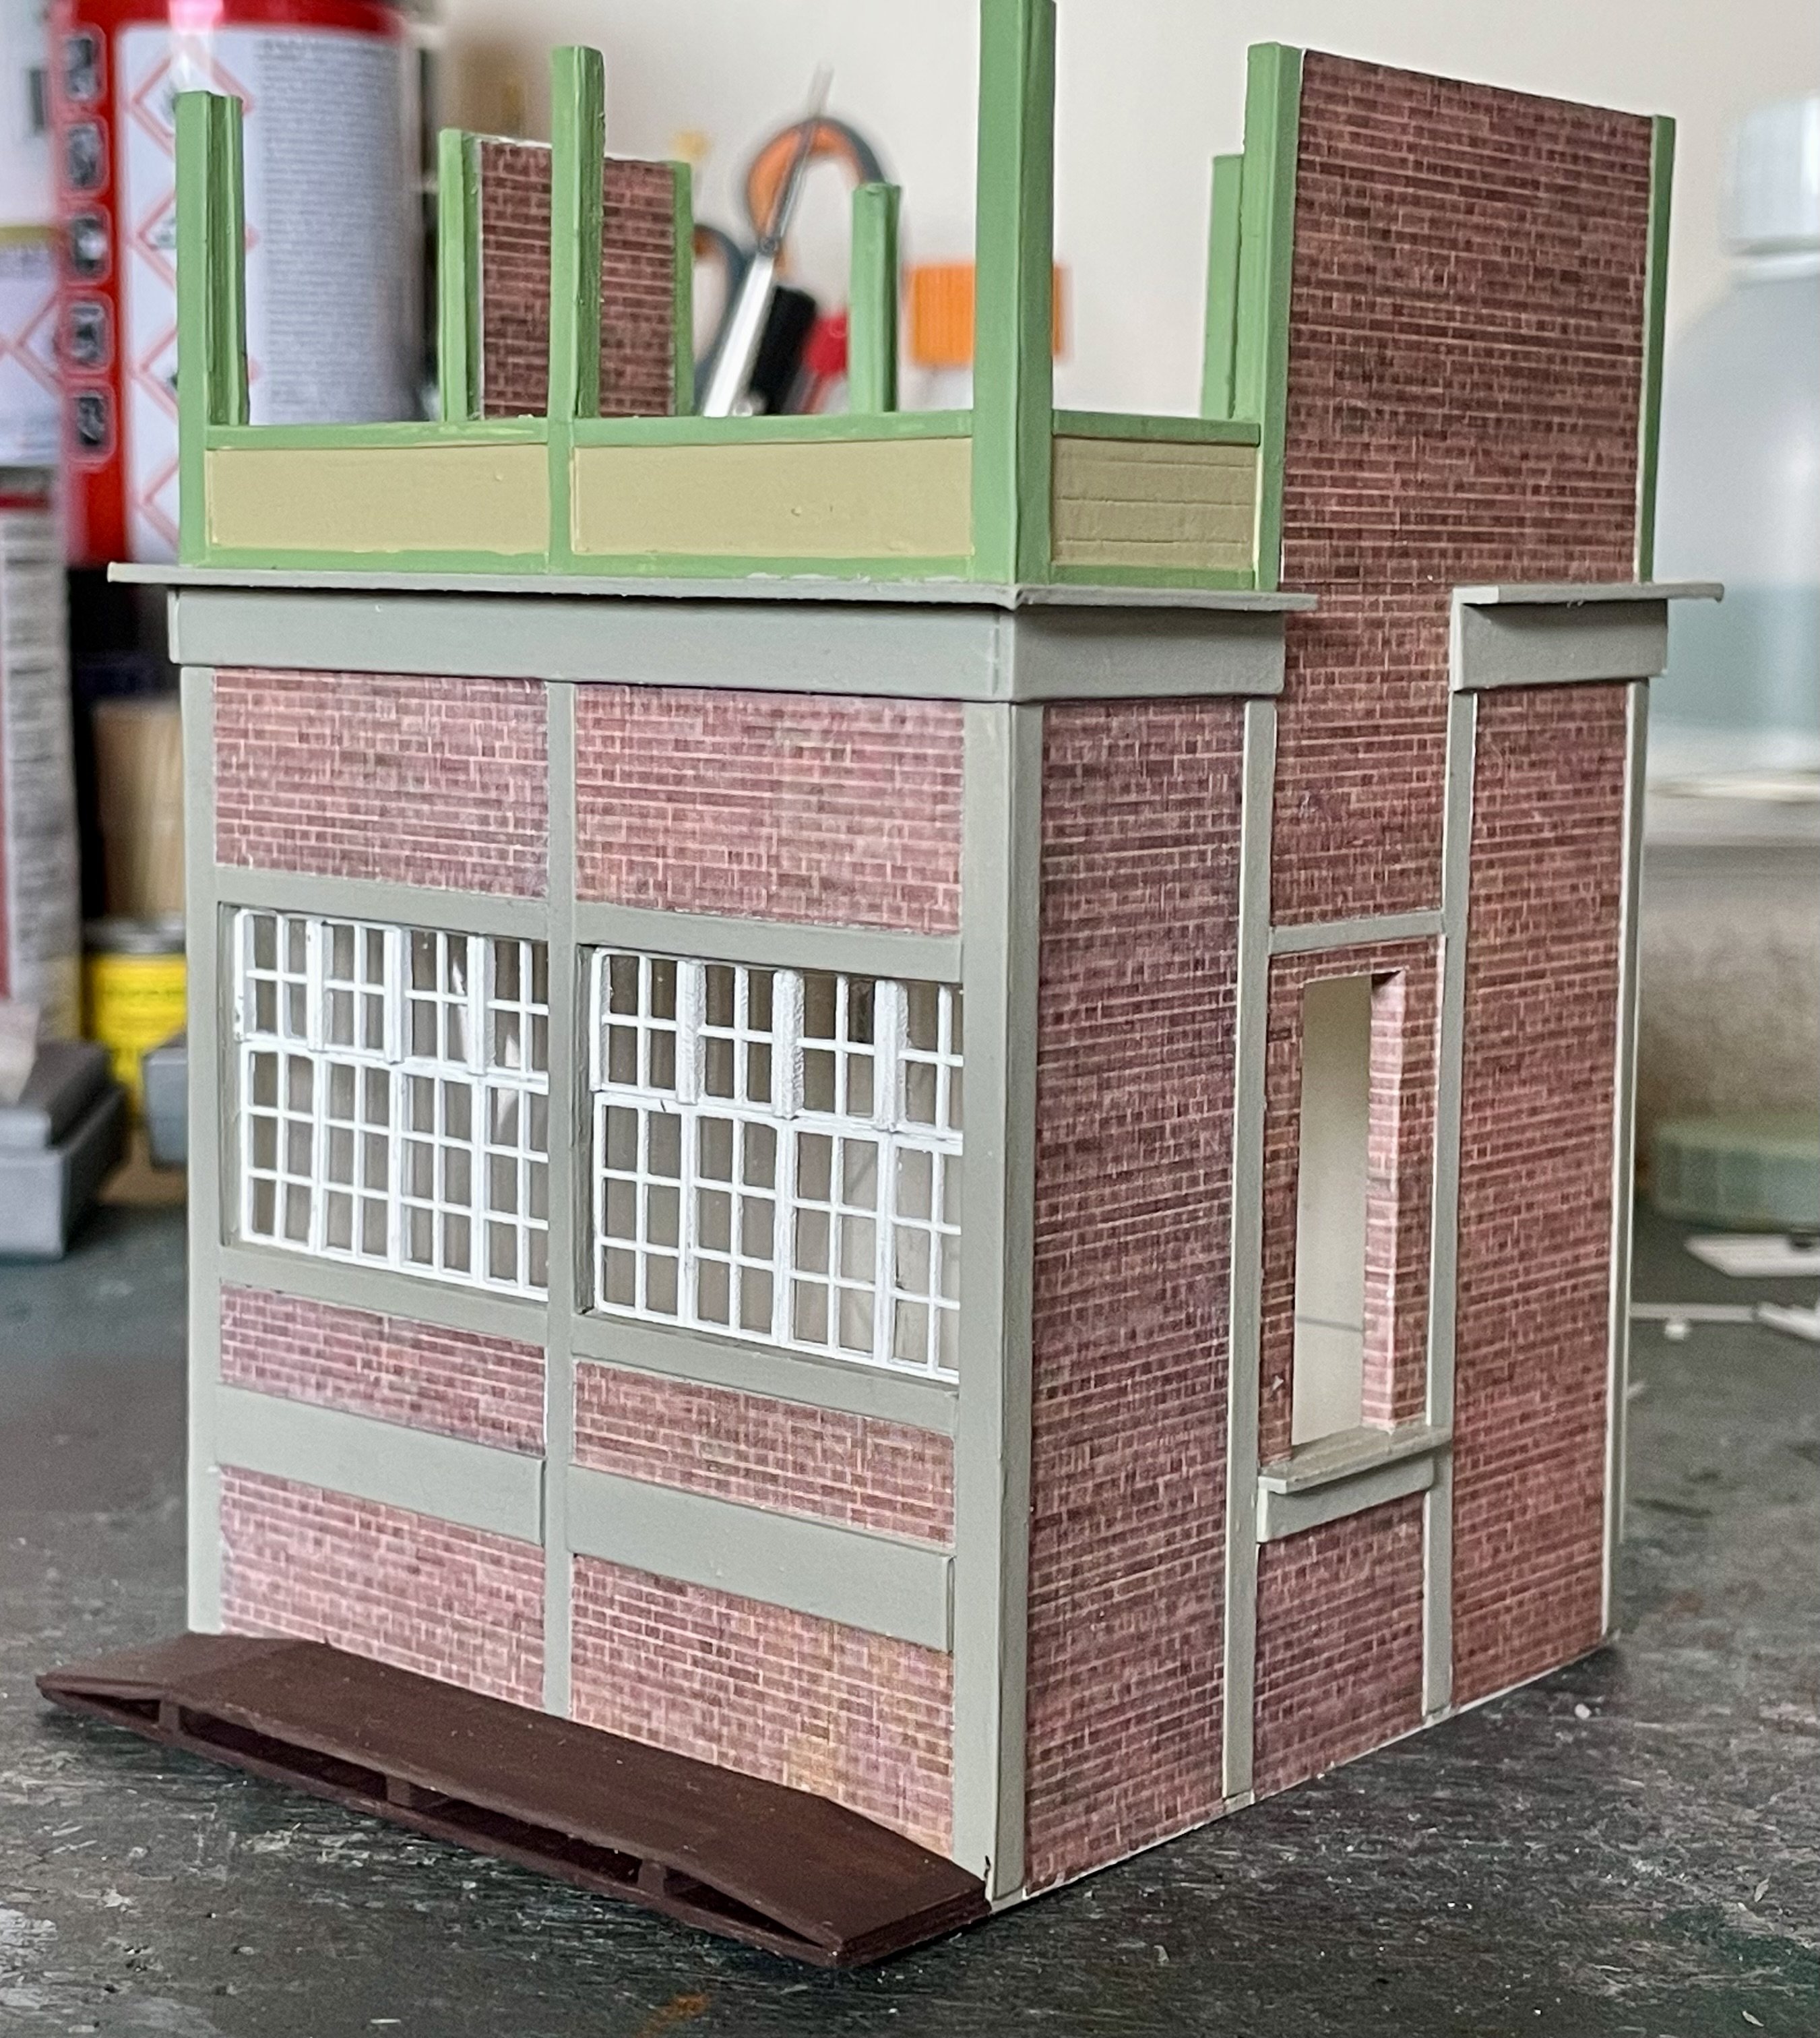
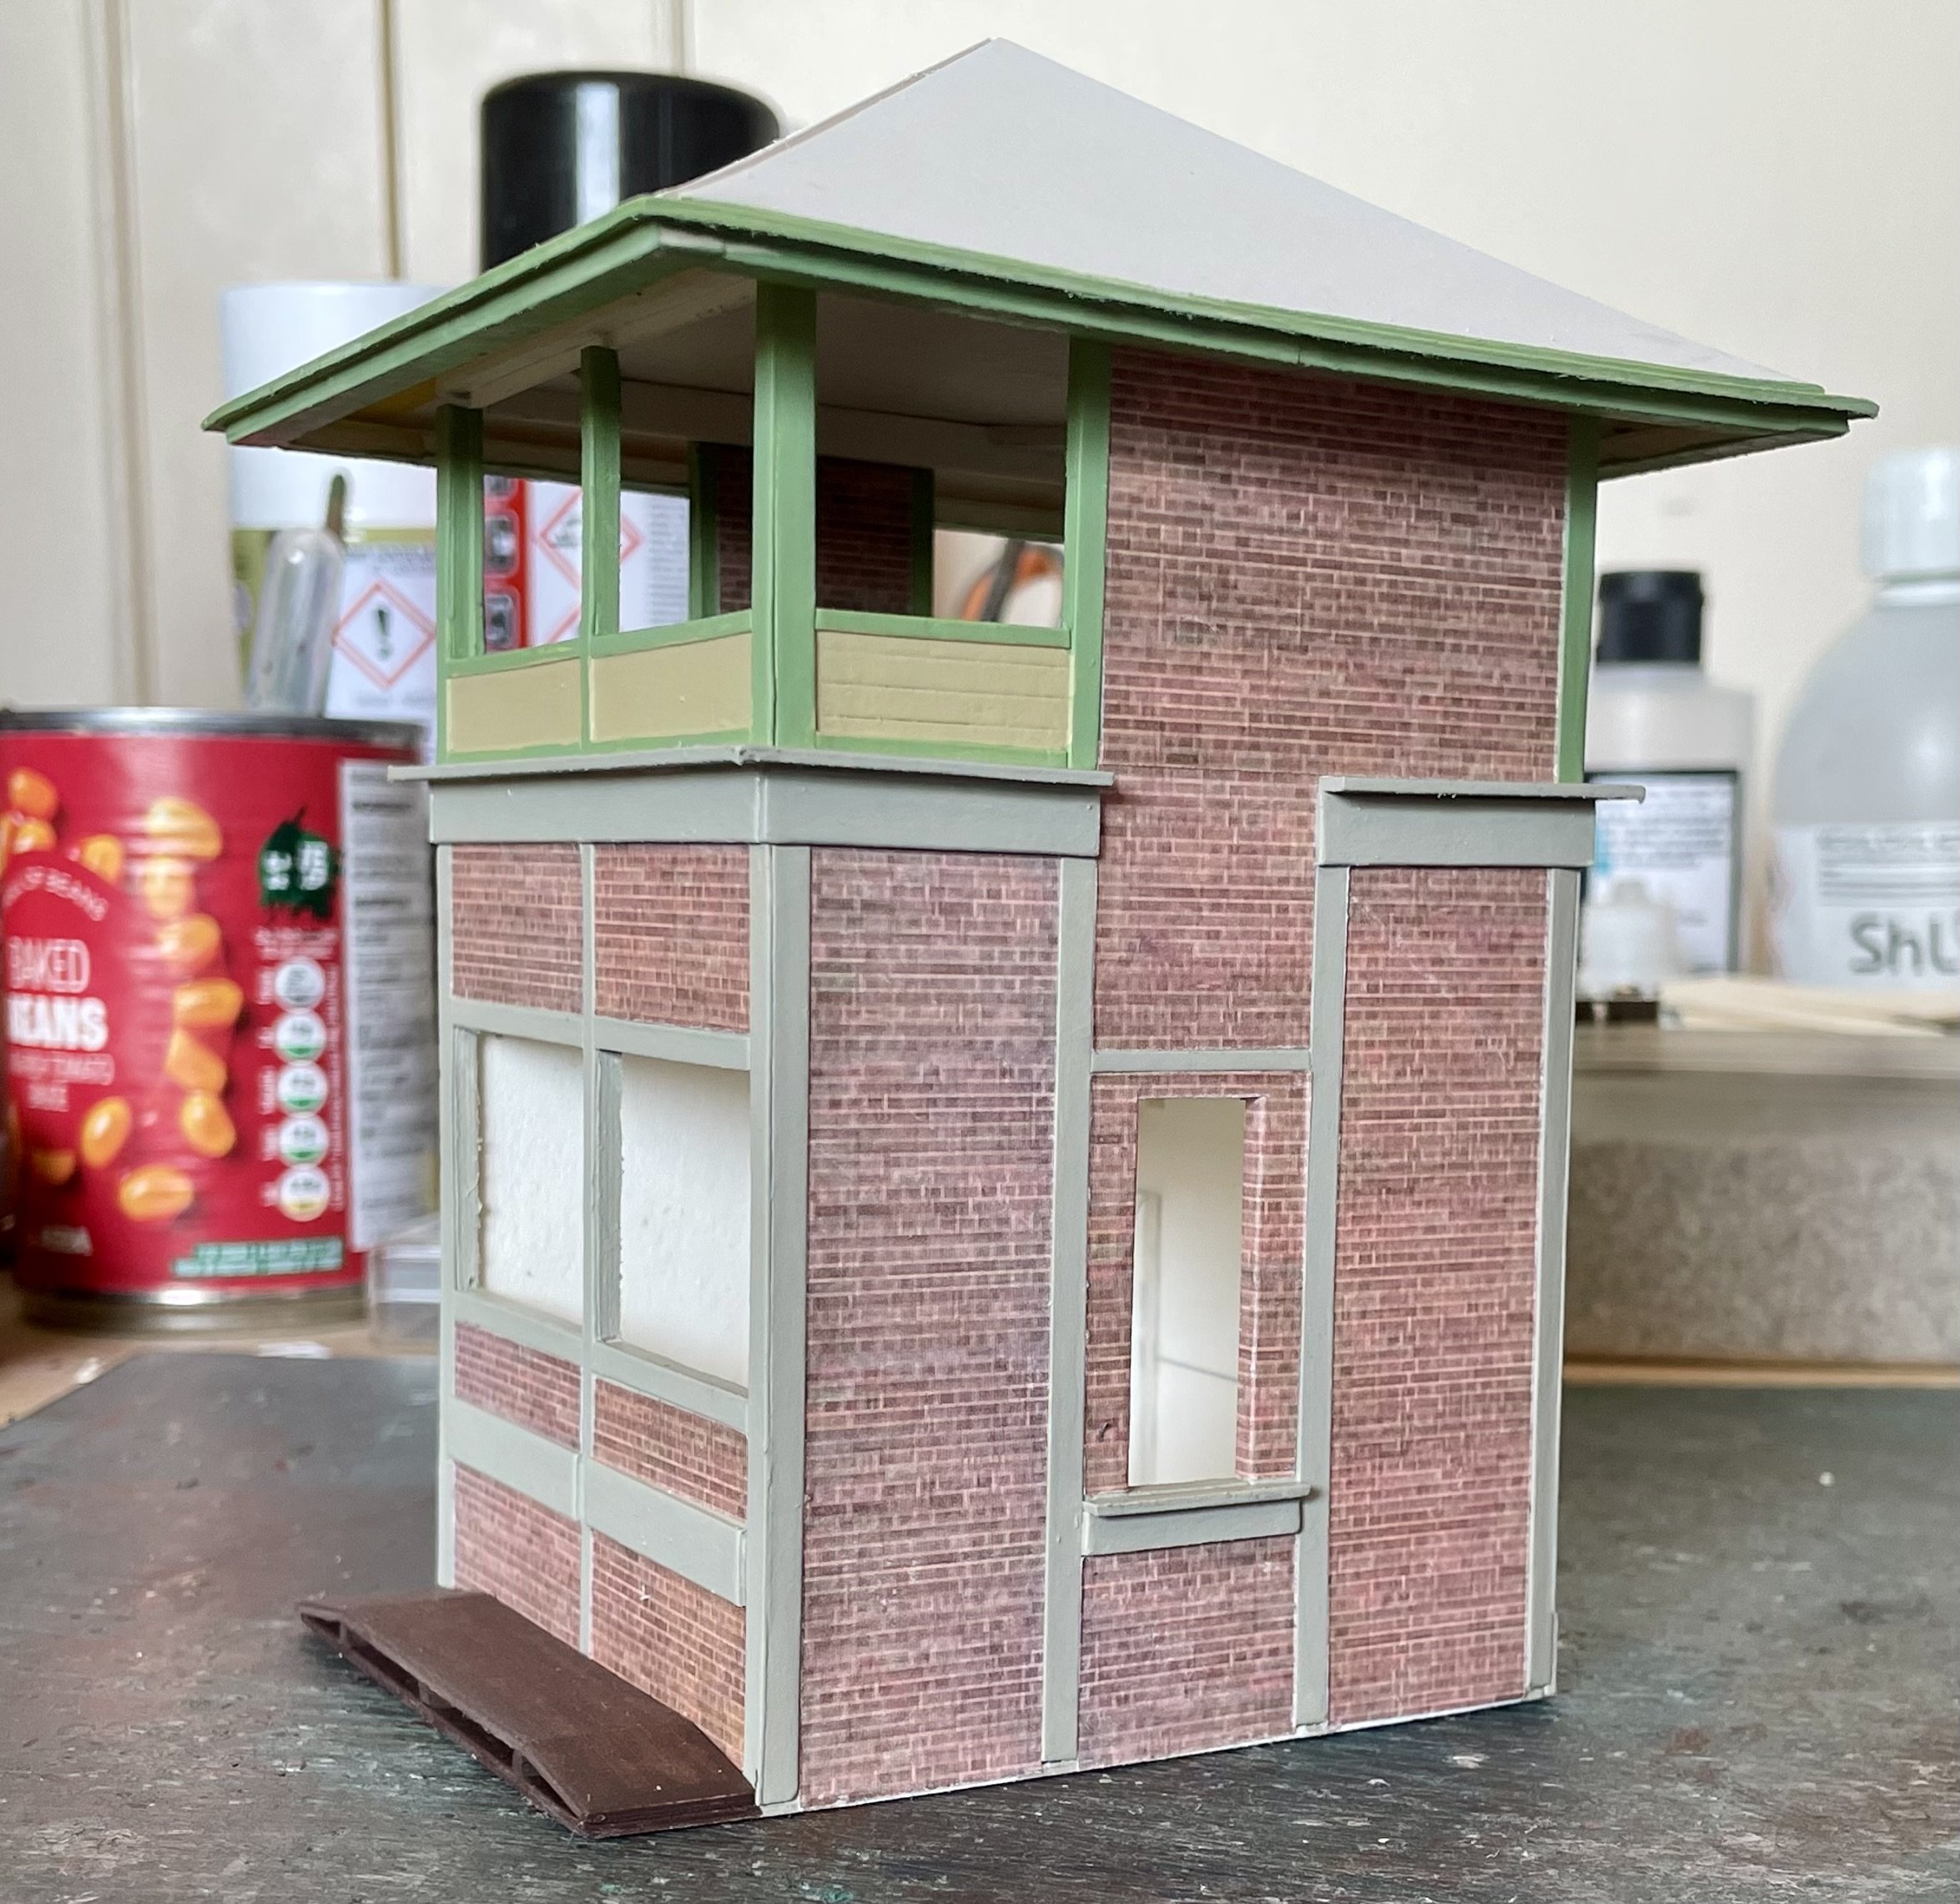
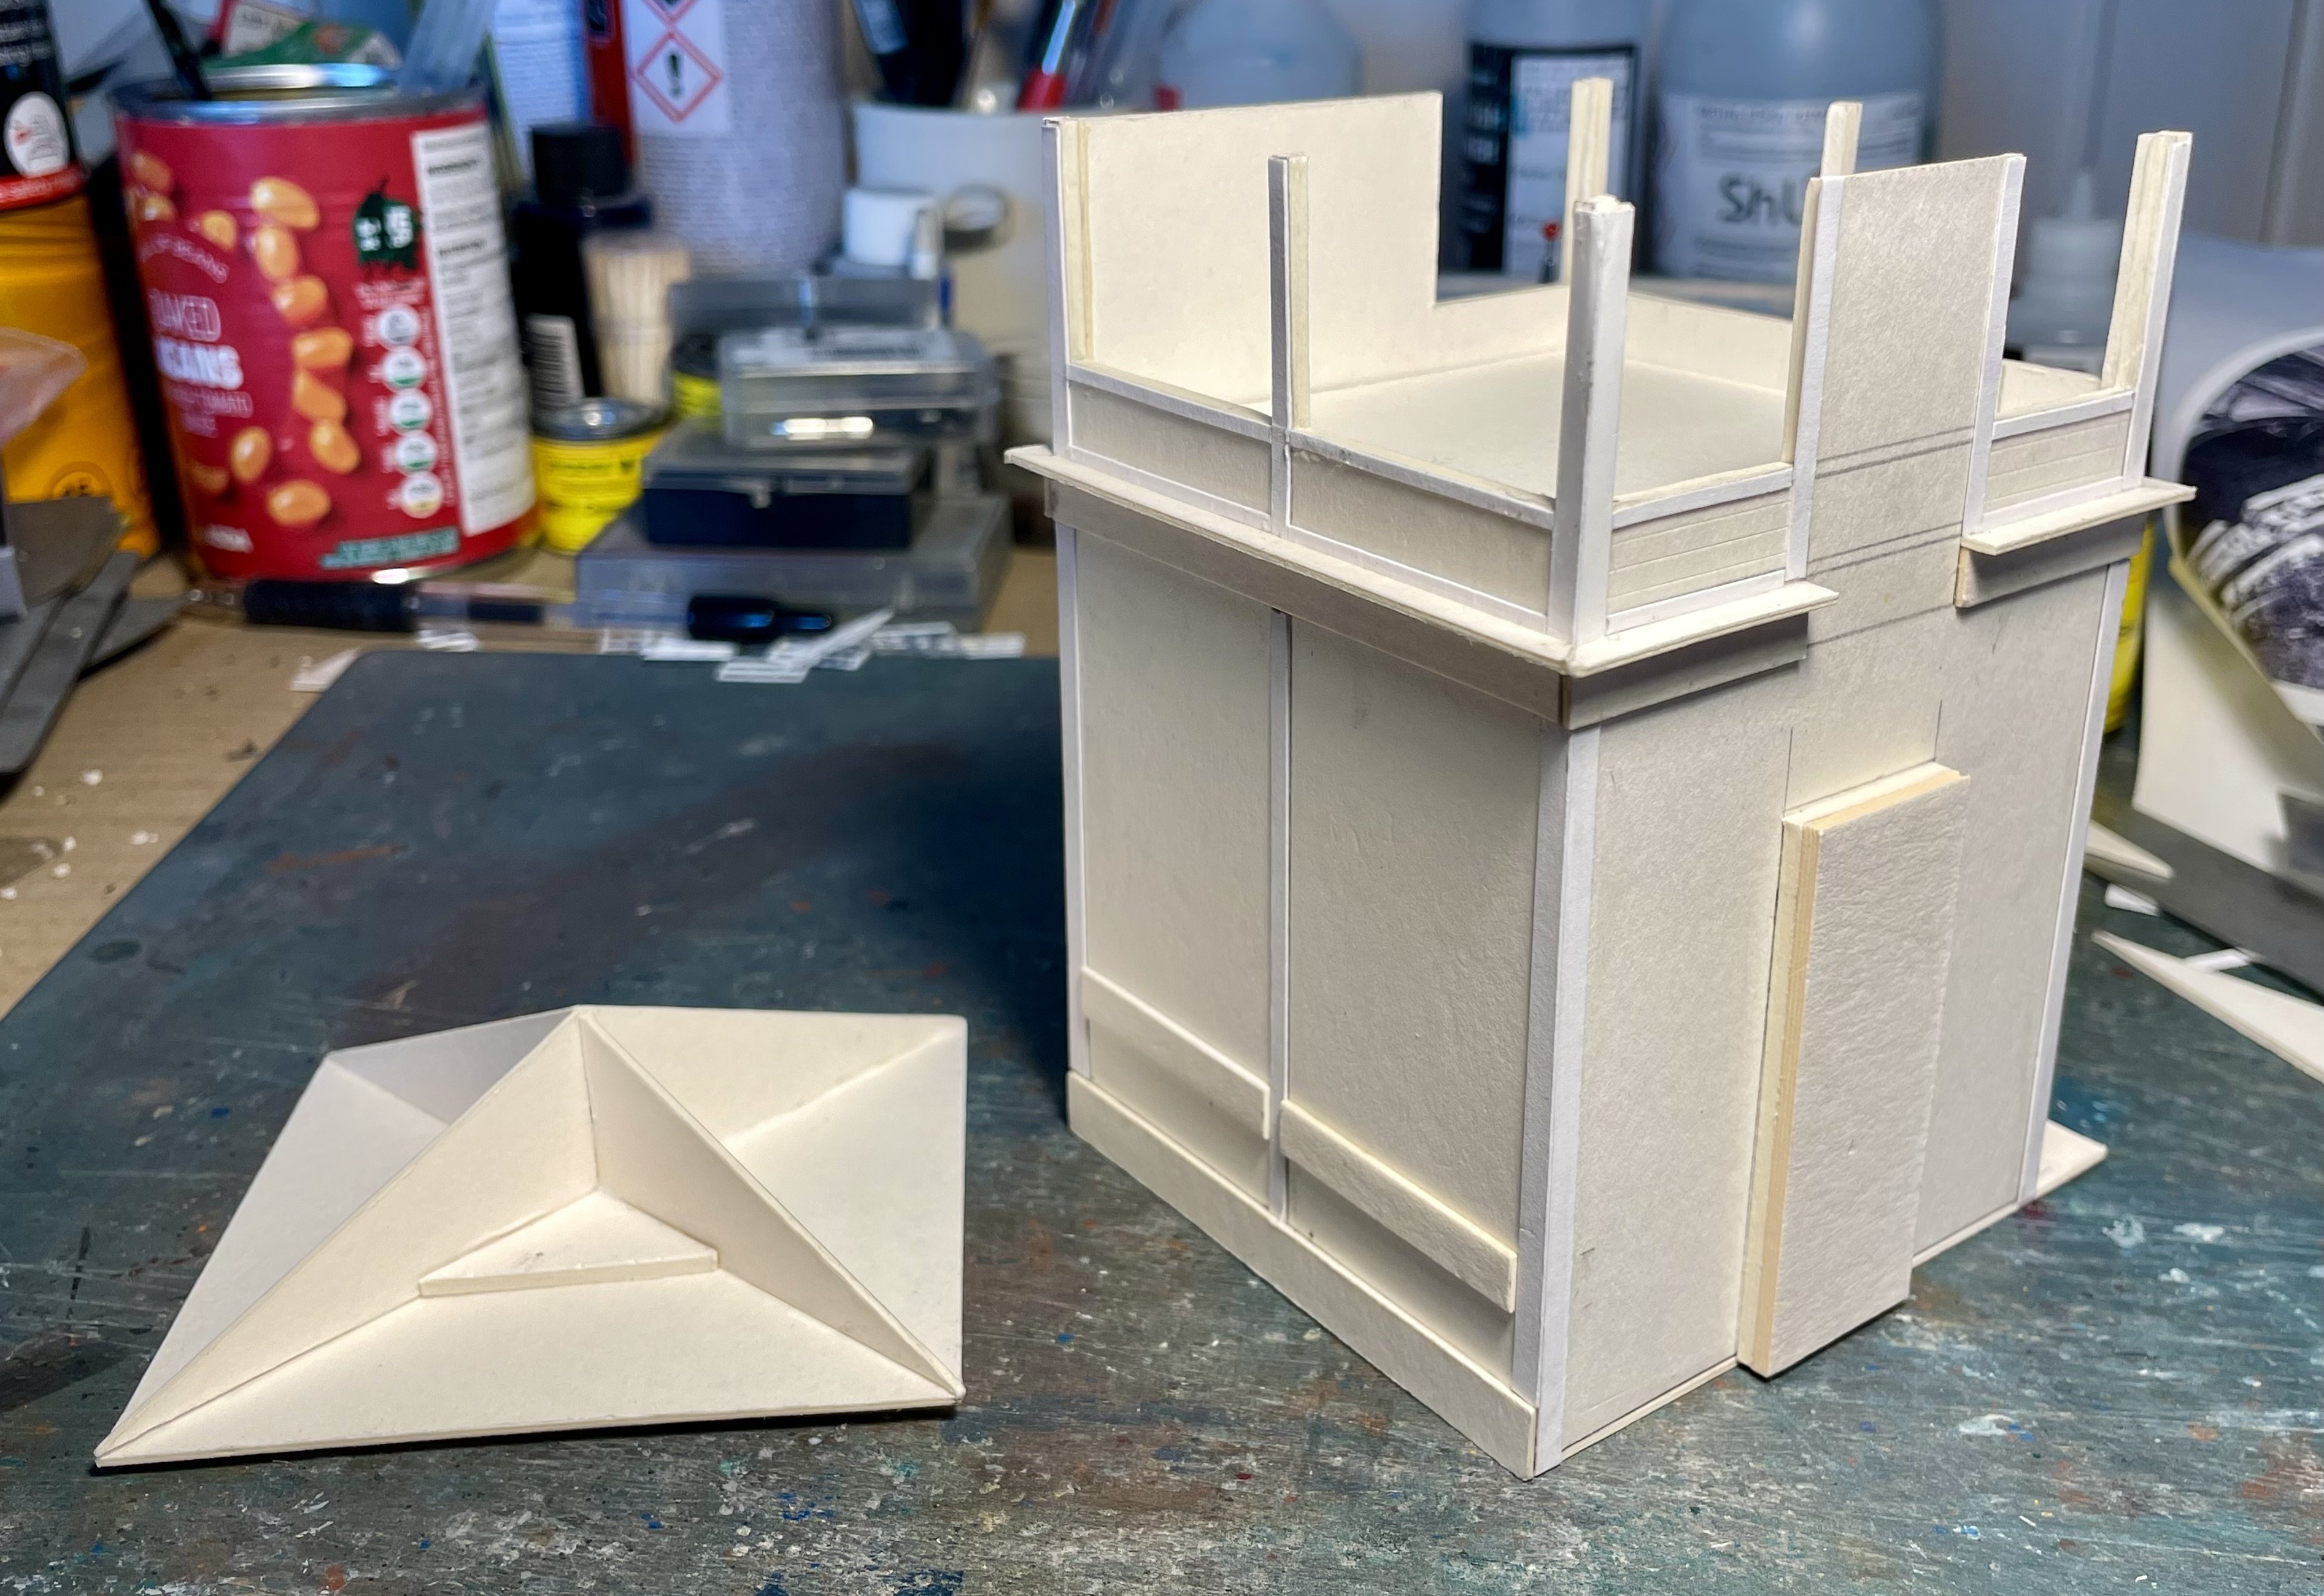
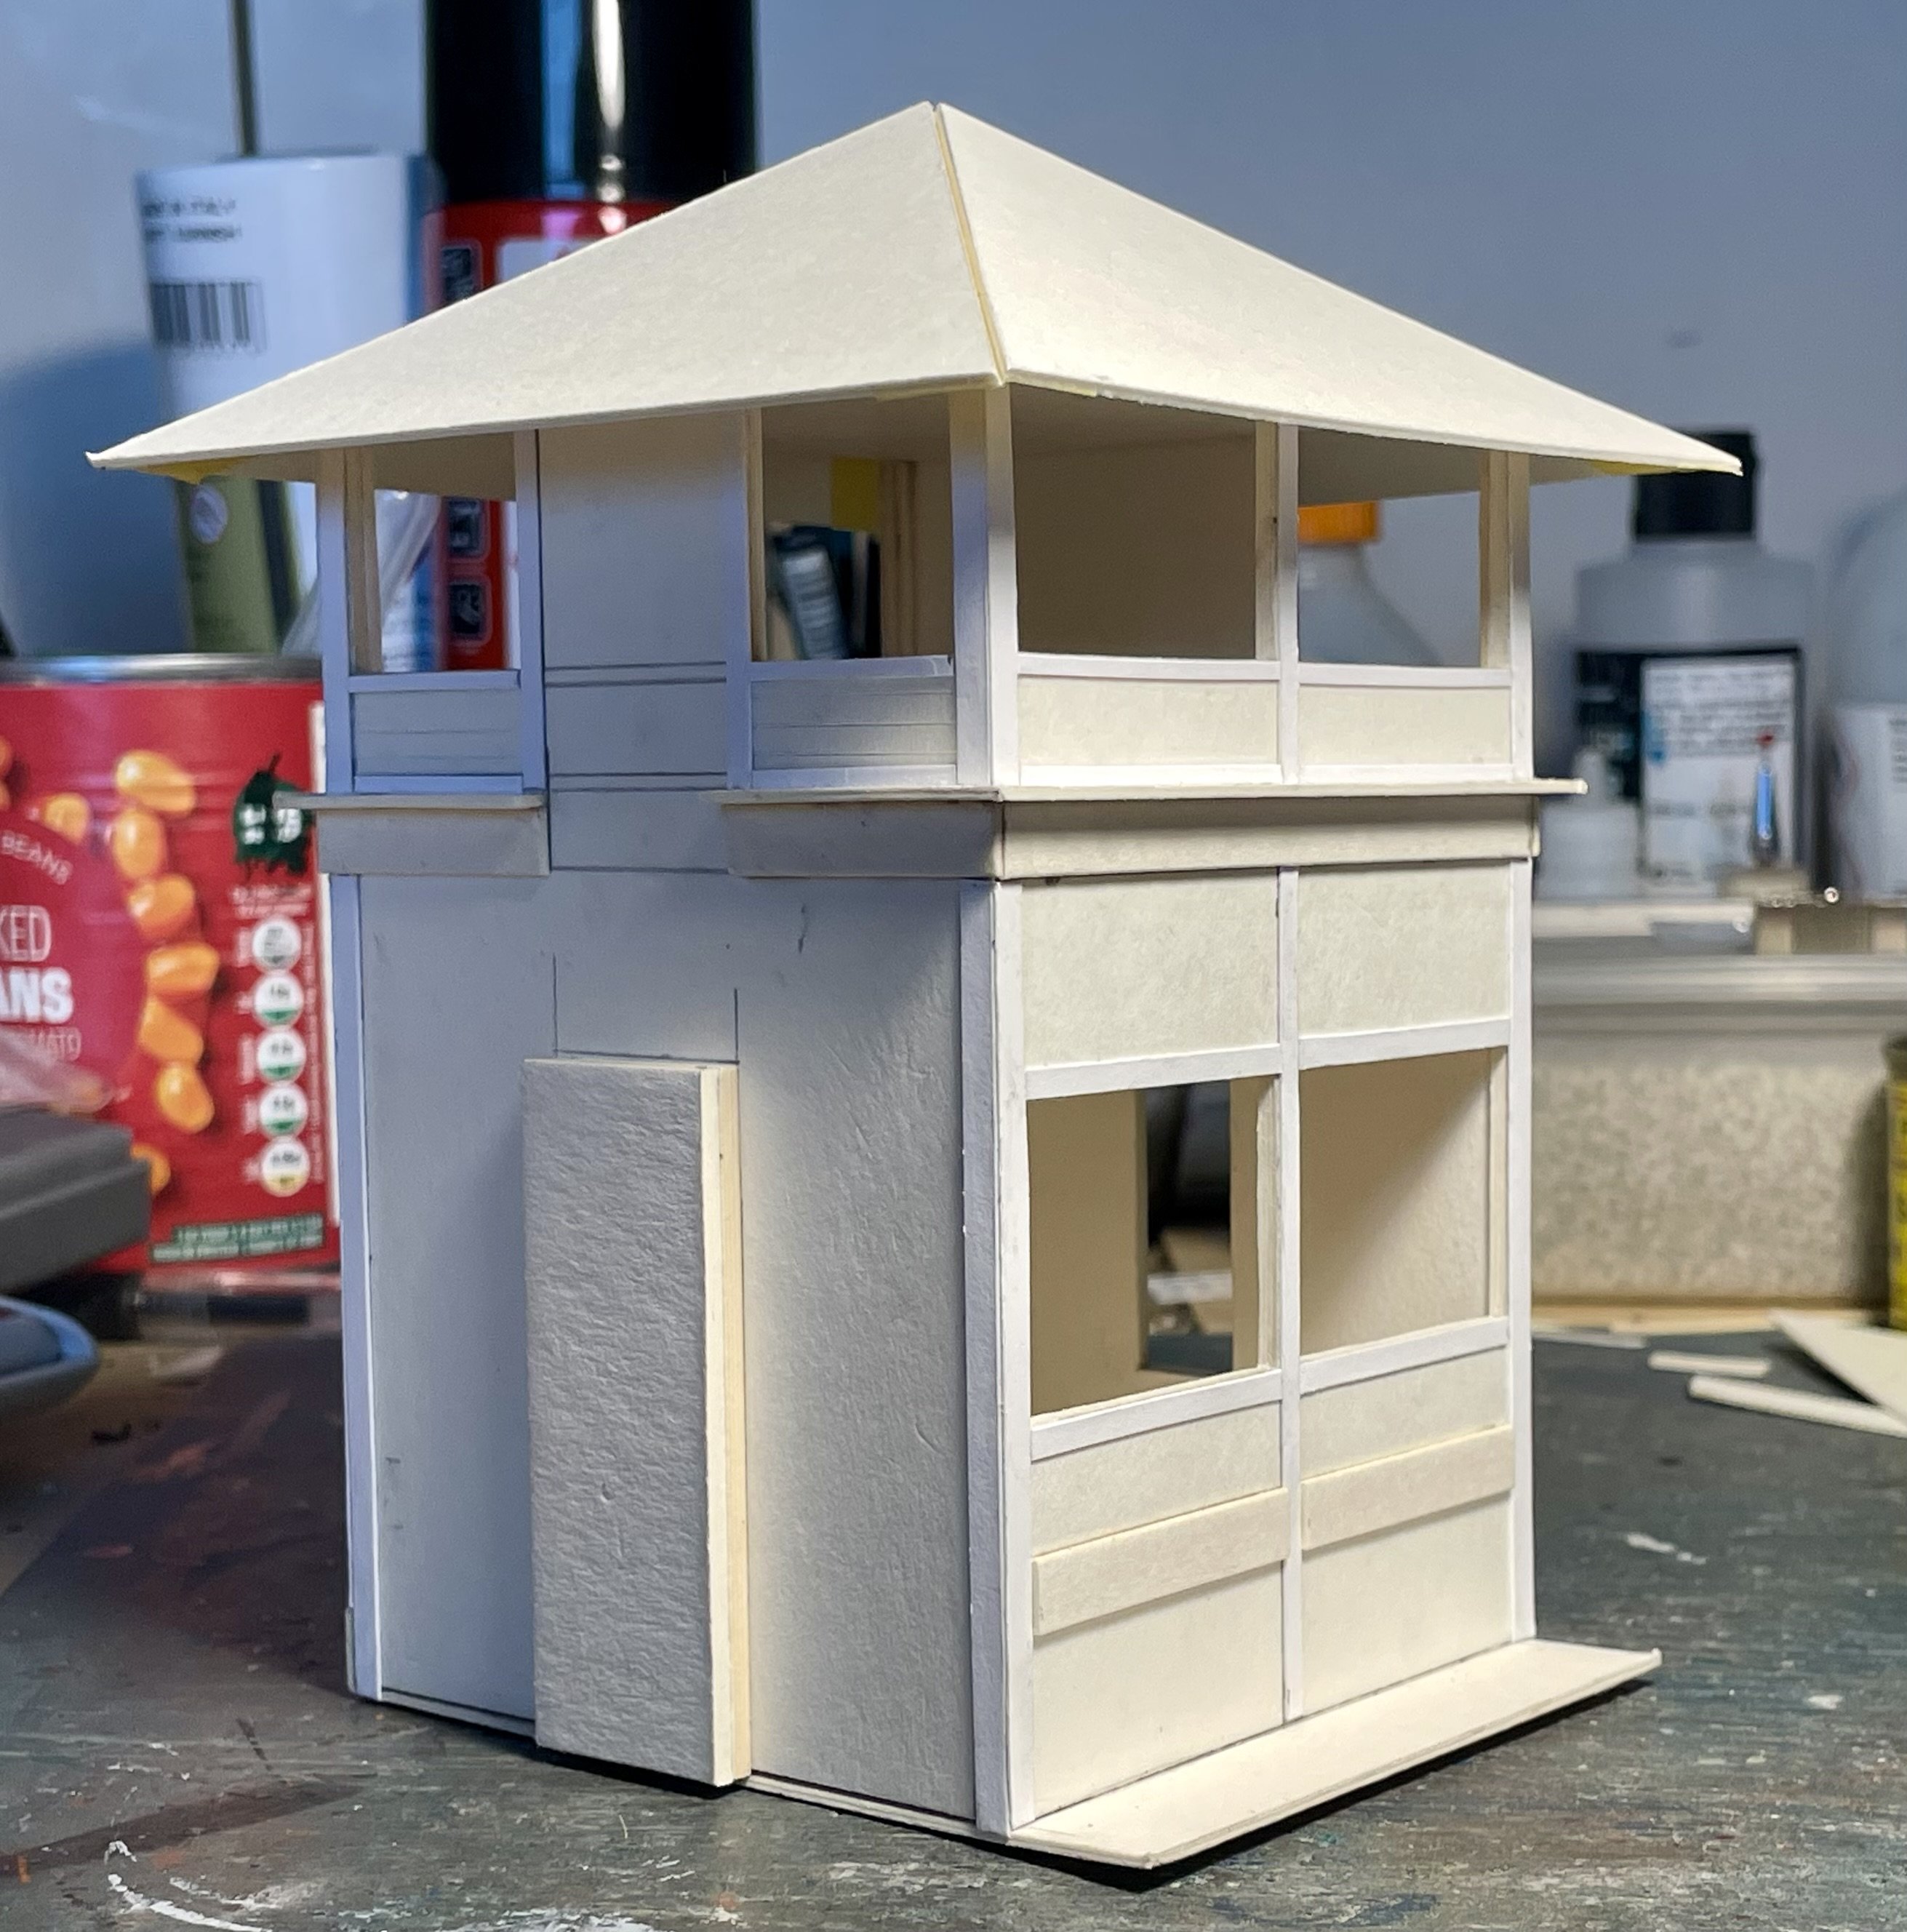
Fenestration commenced. Cheers Darius
- 292 replies
-
- 15
-
-
-
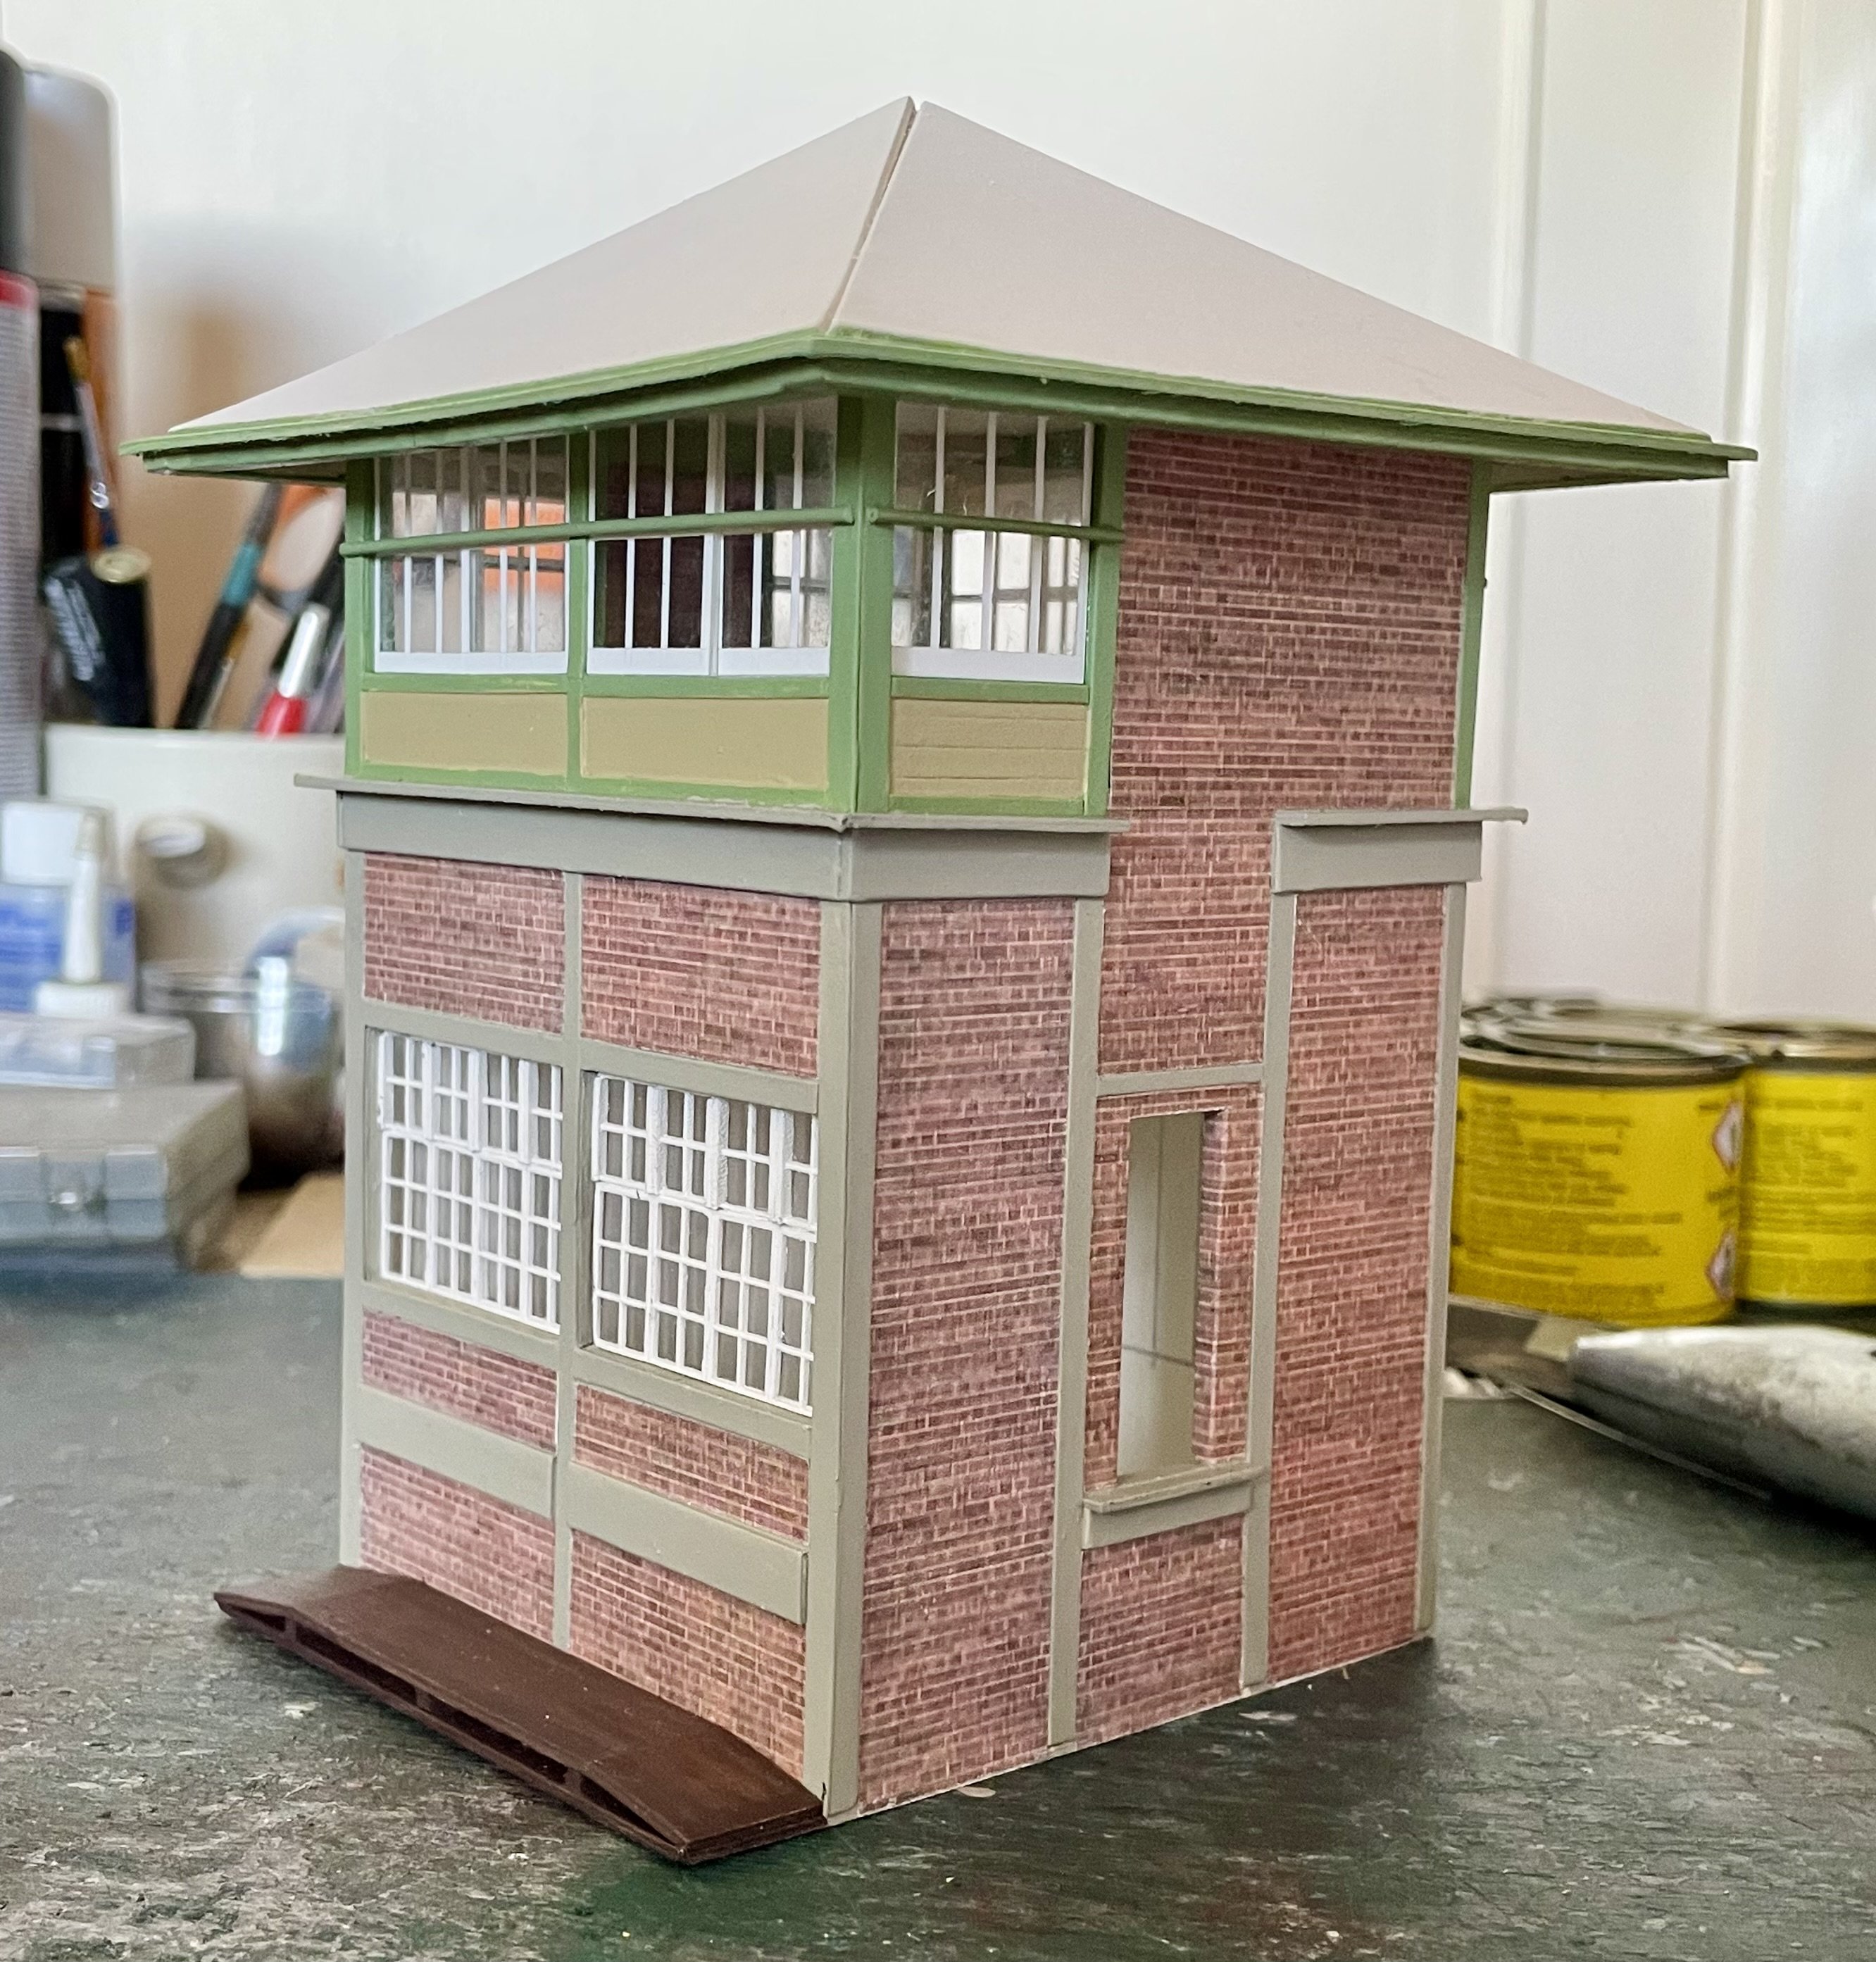
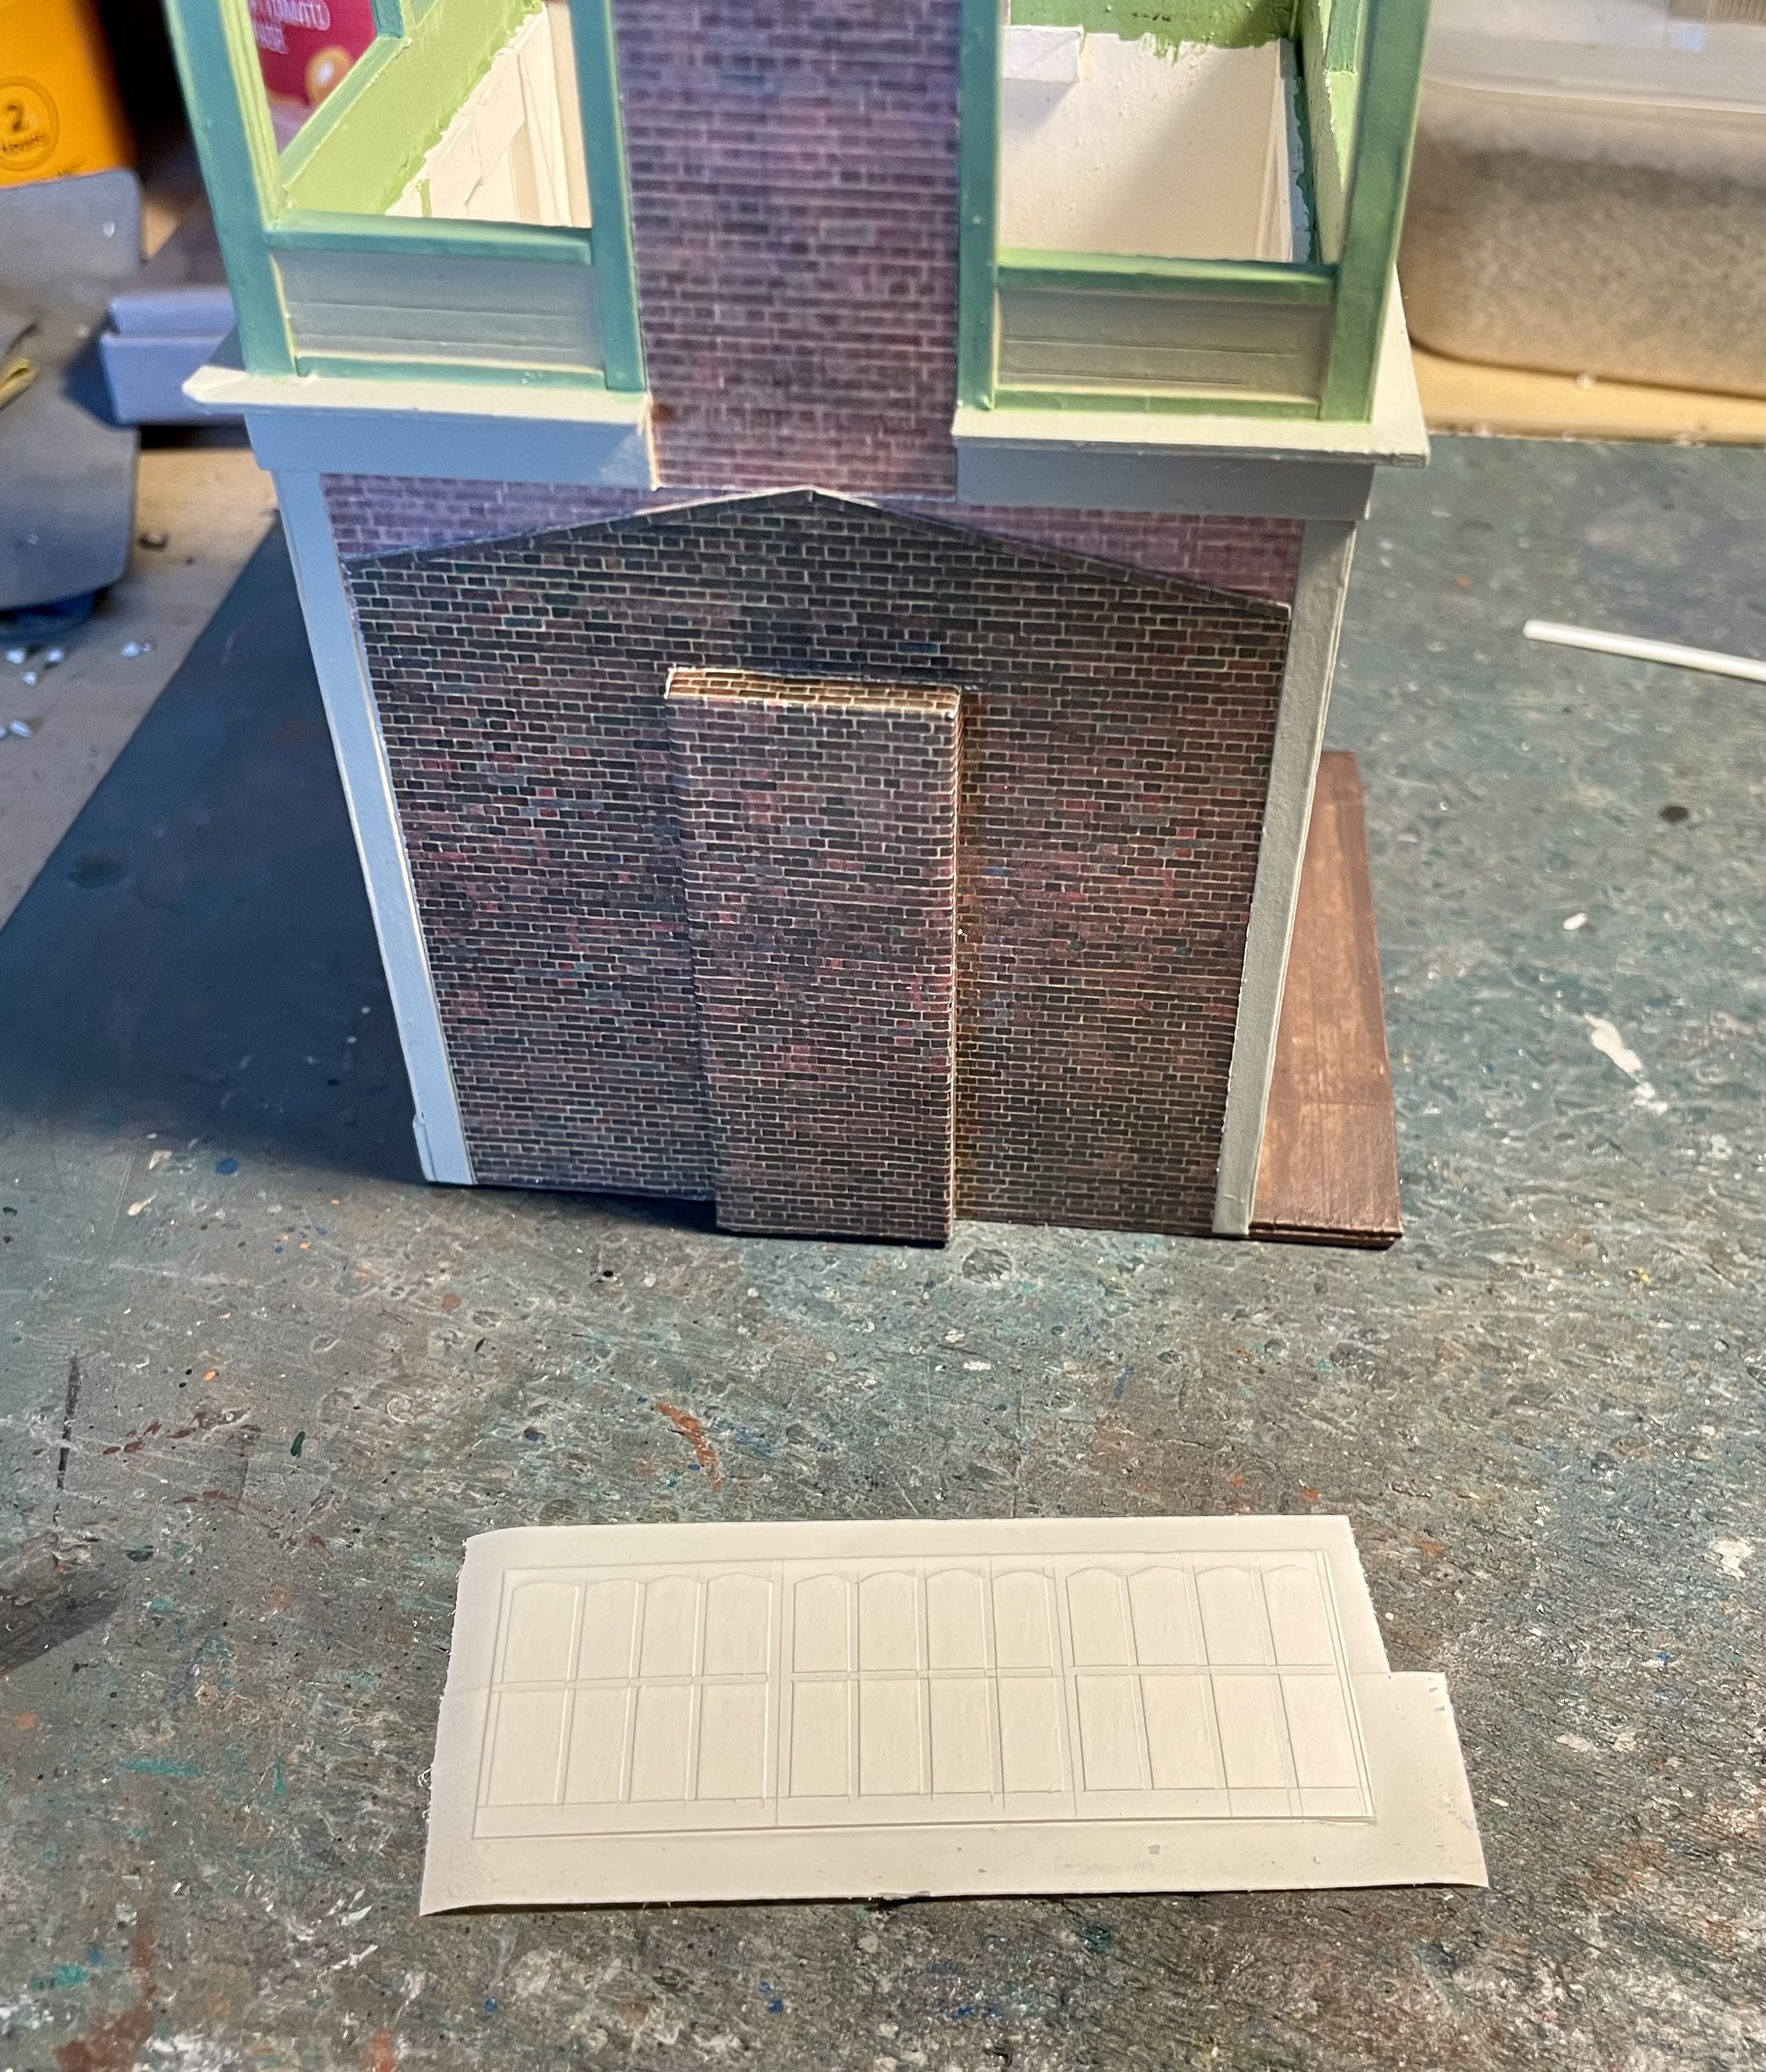
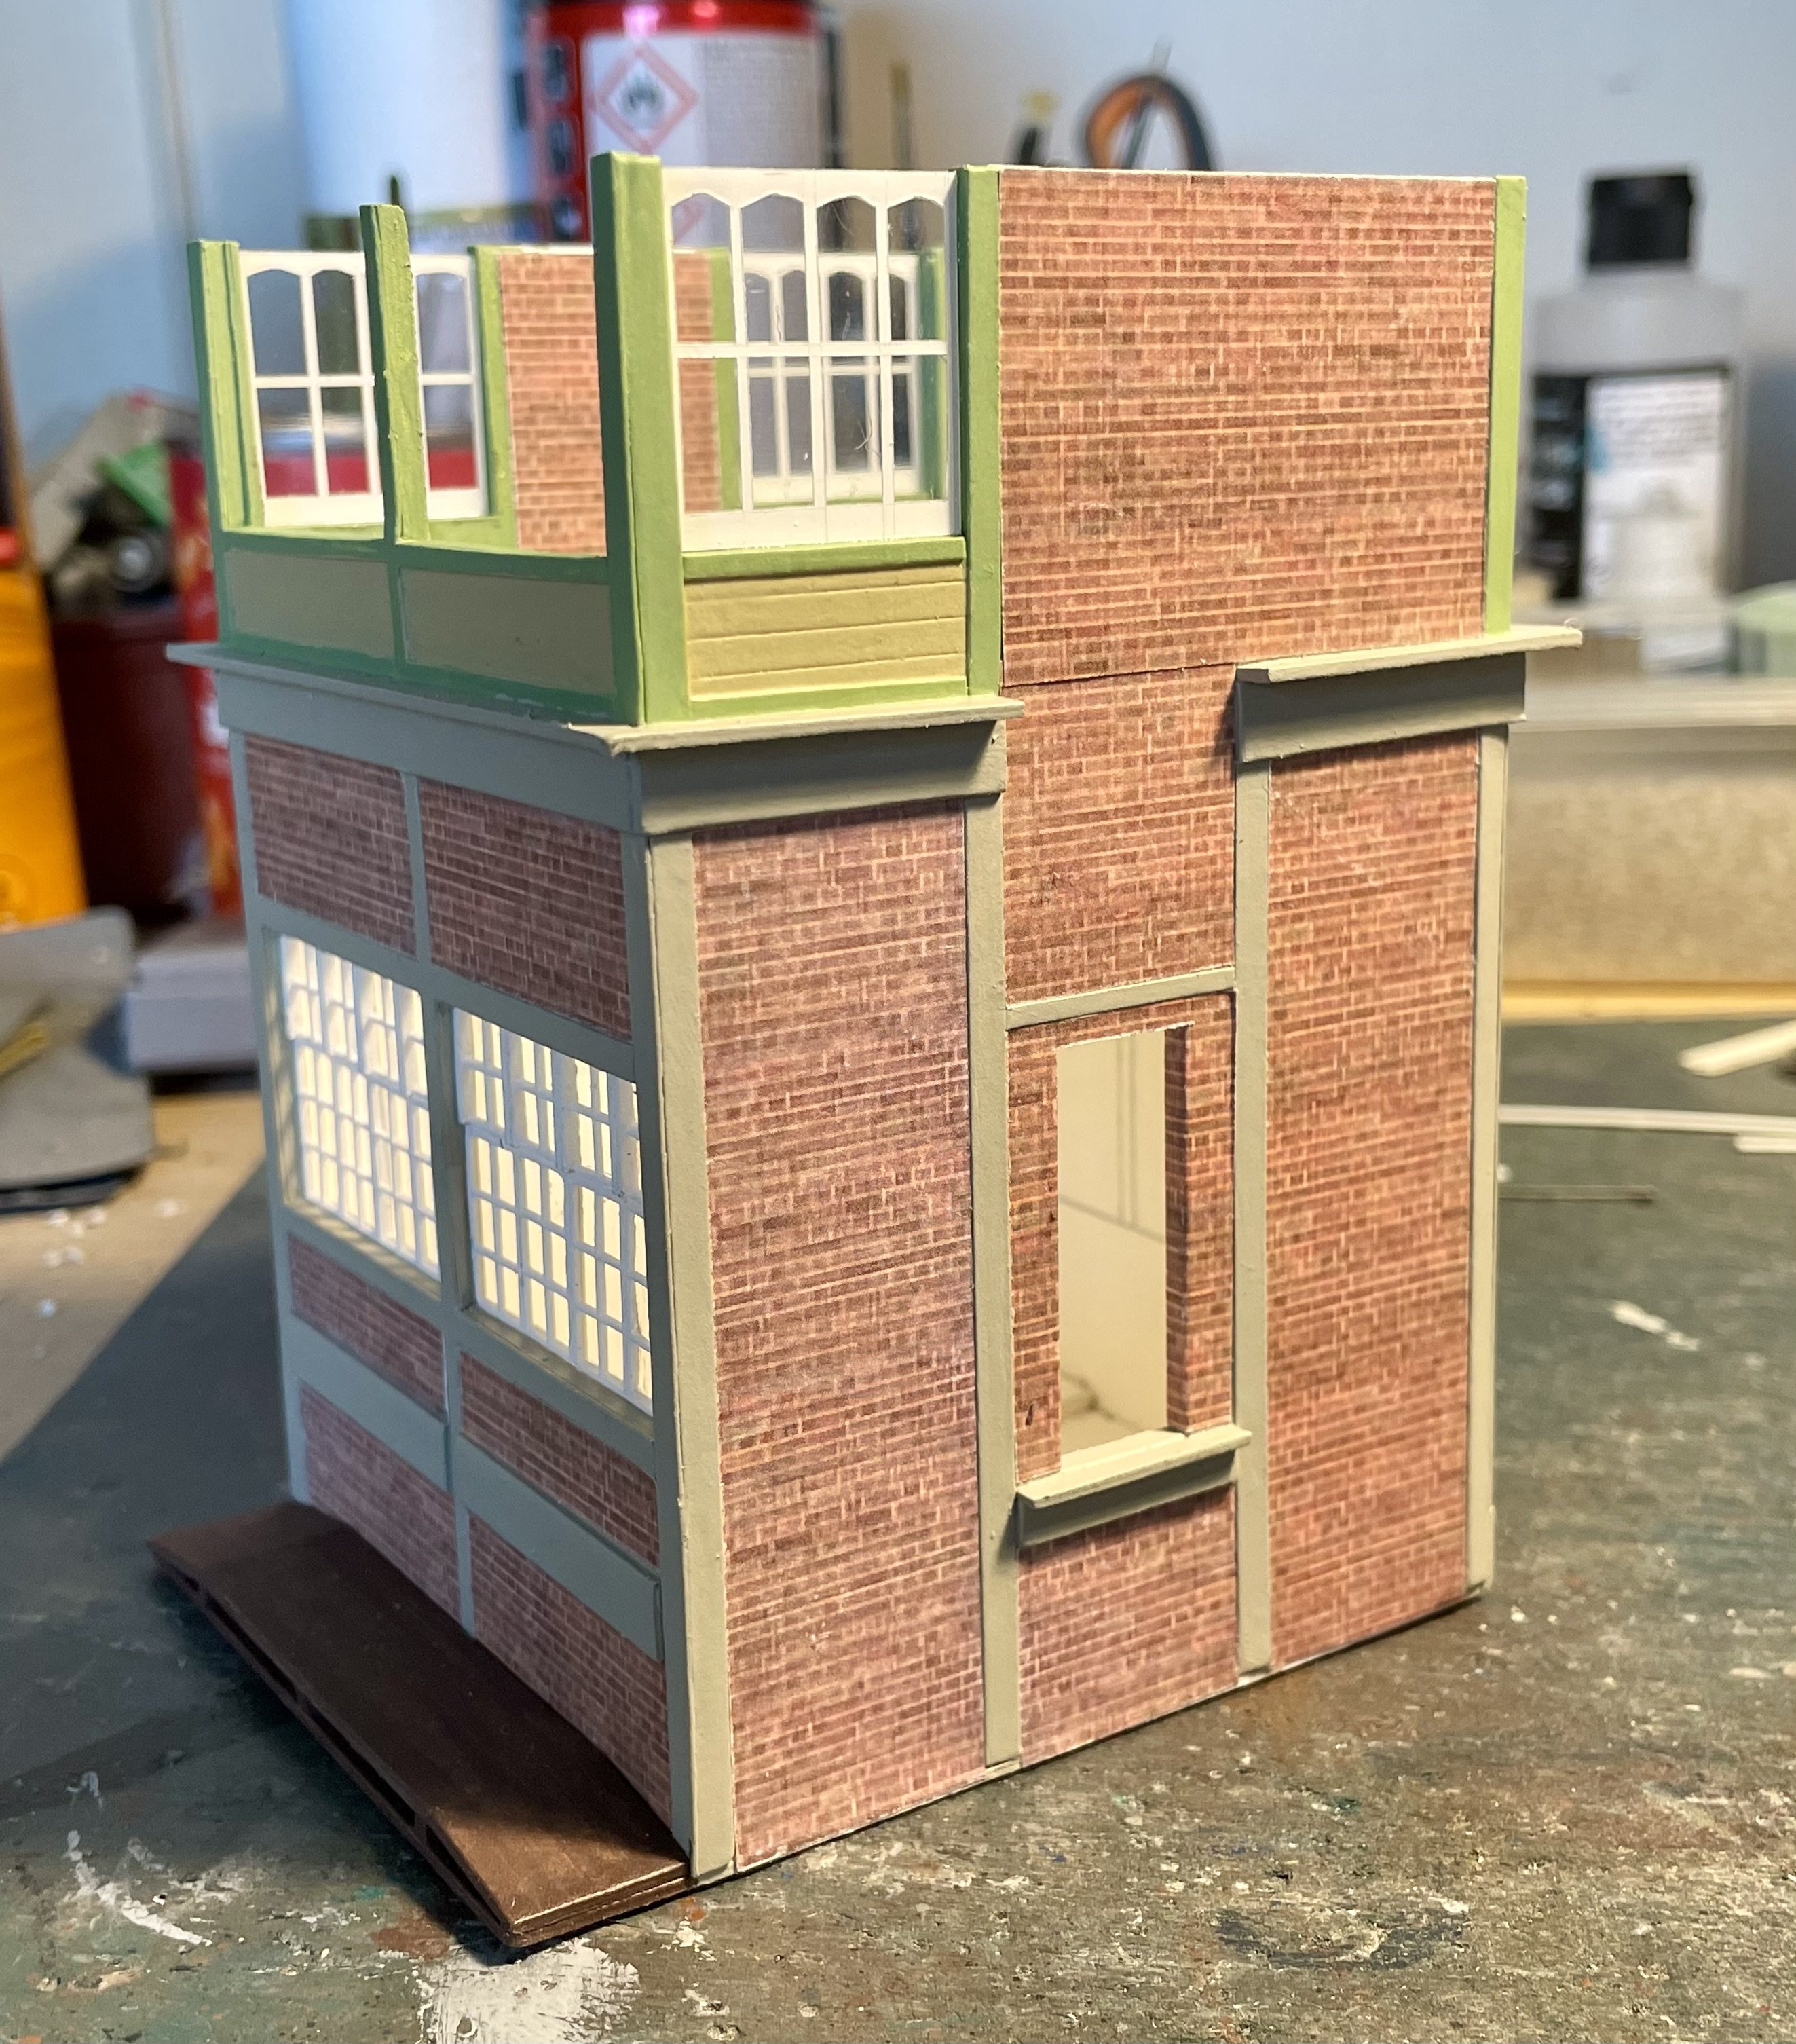
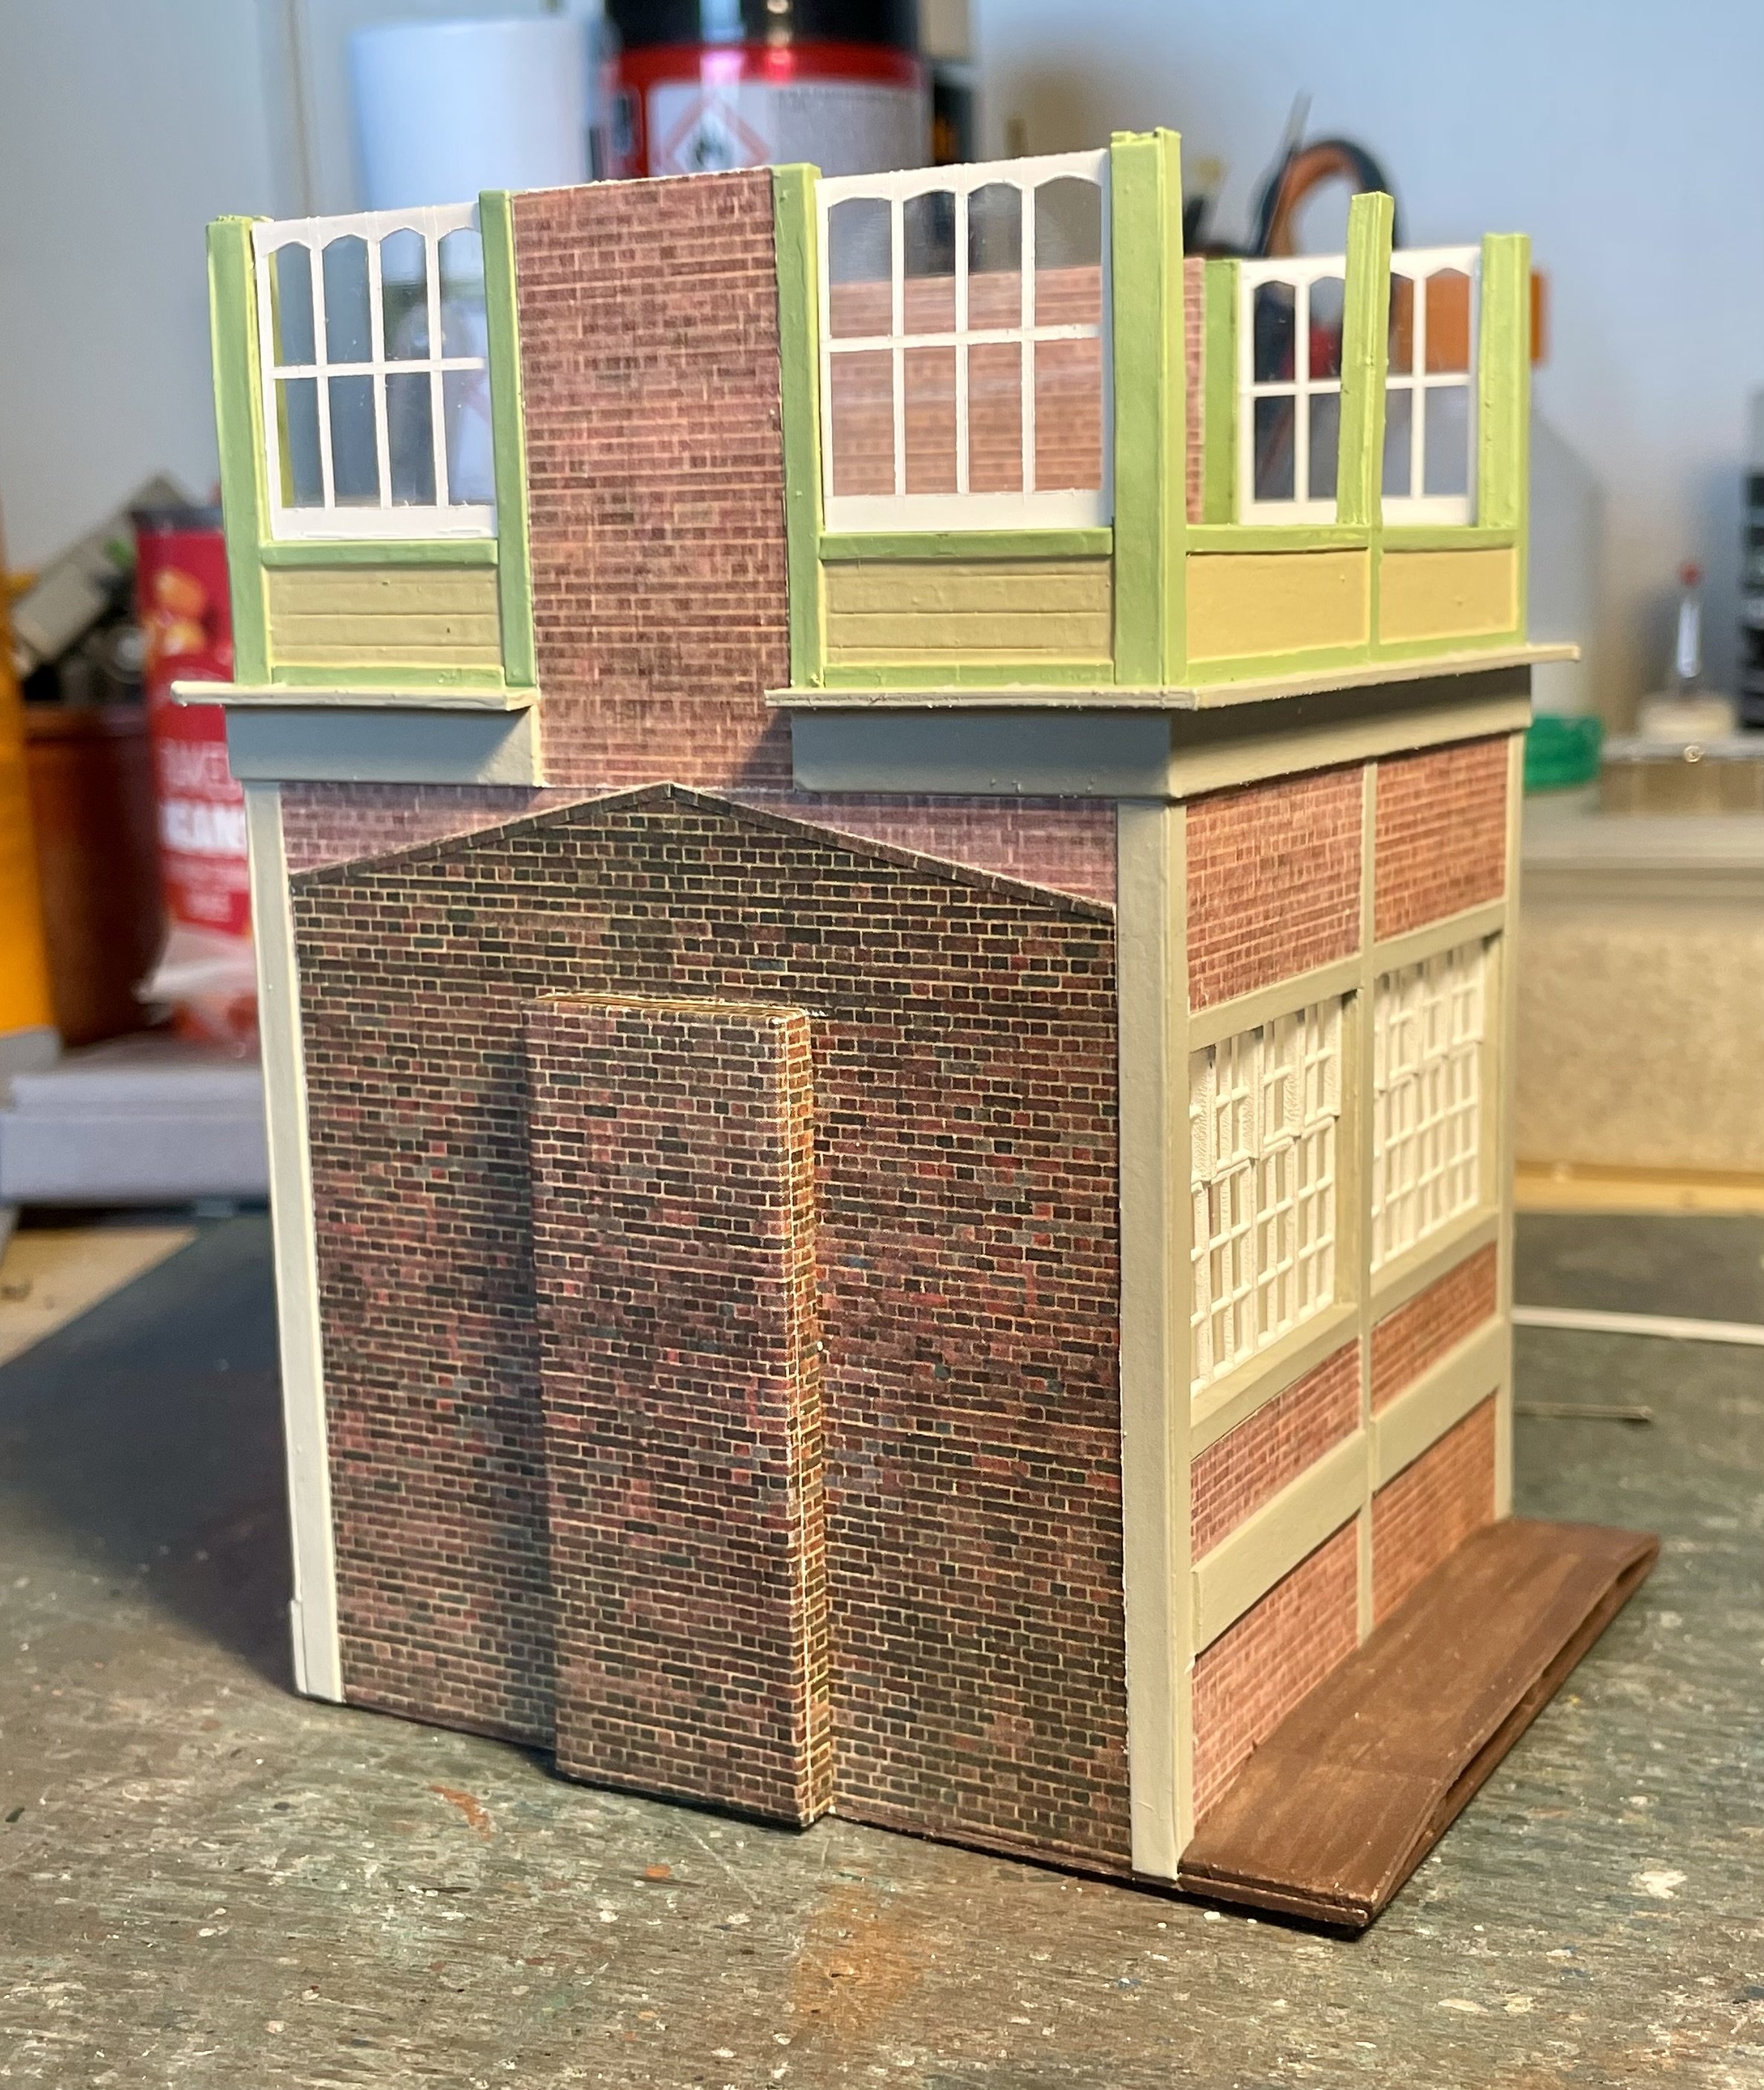
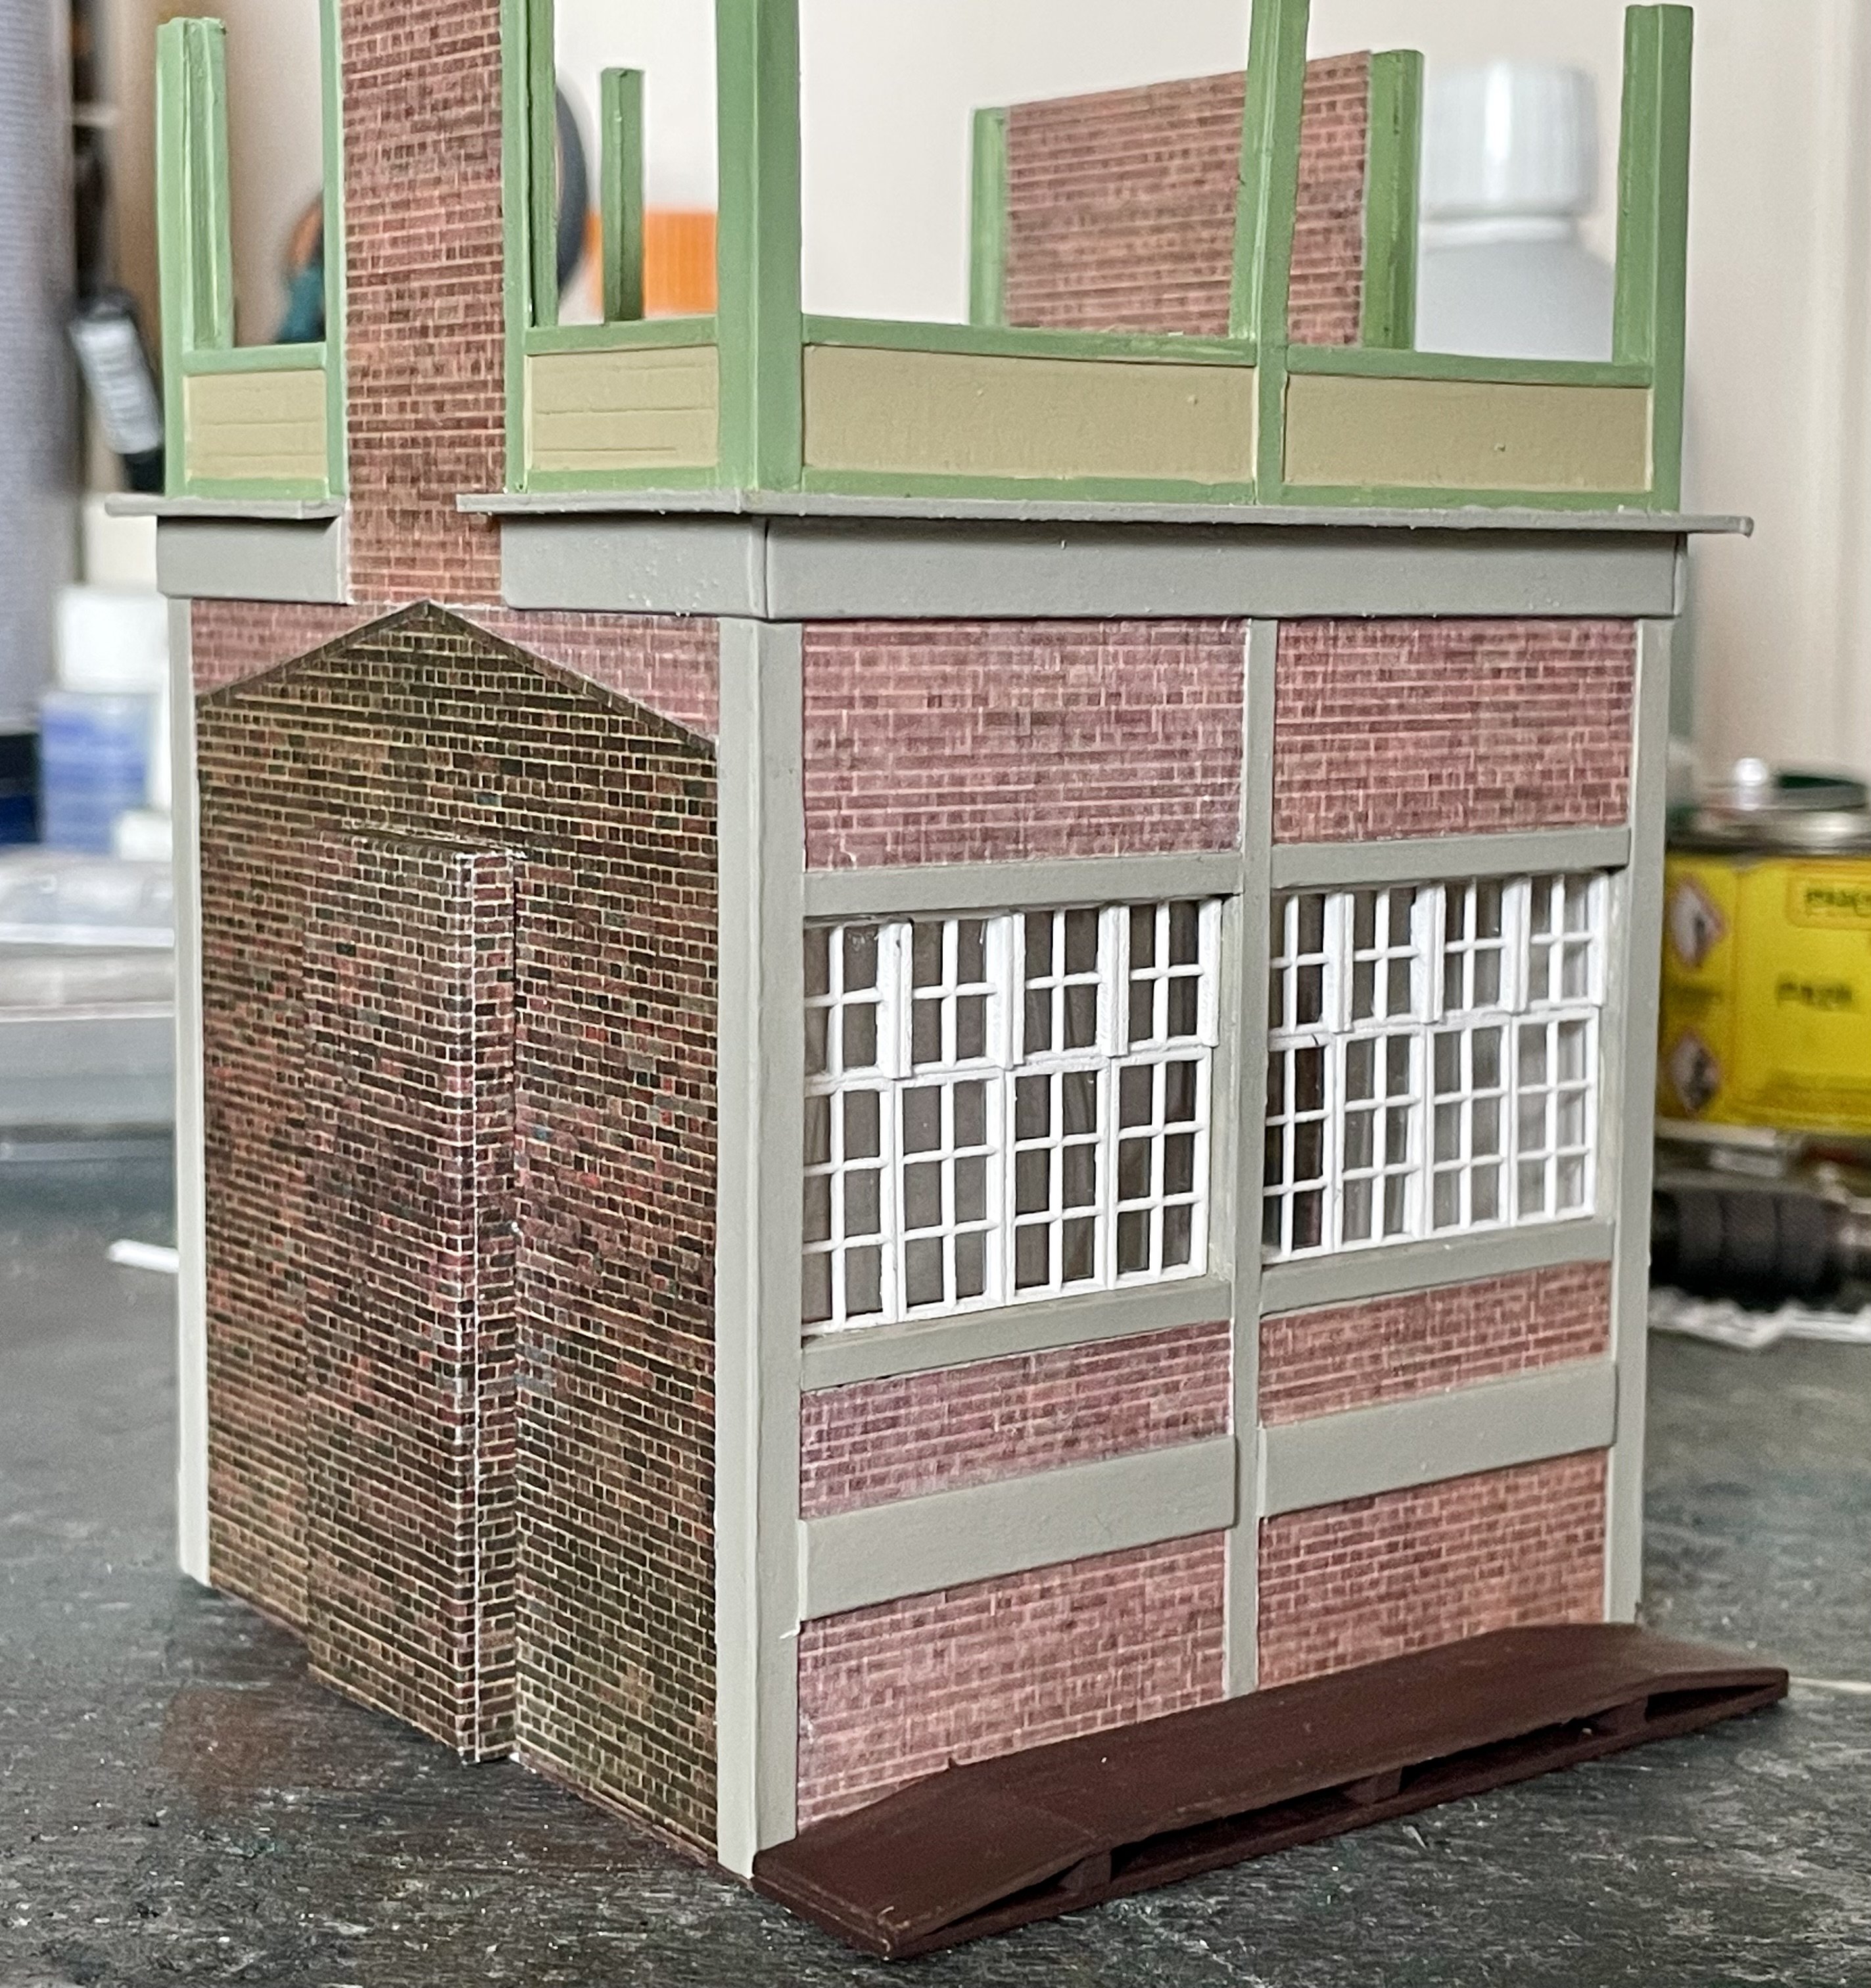
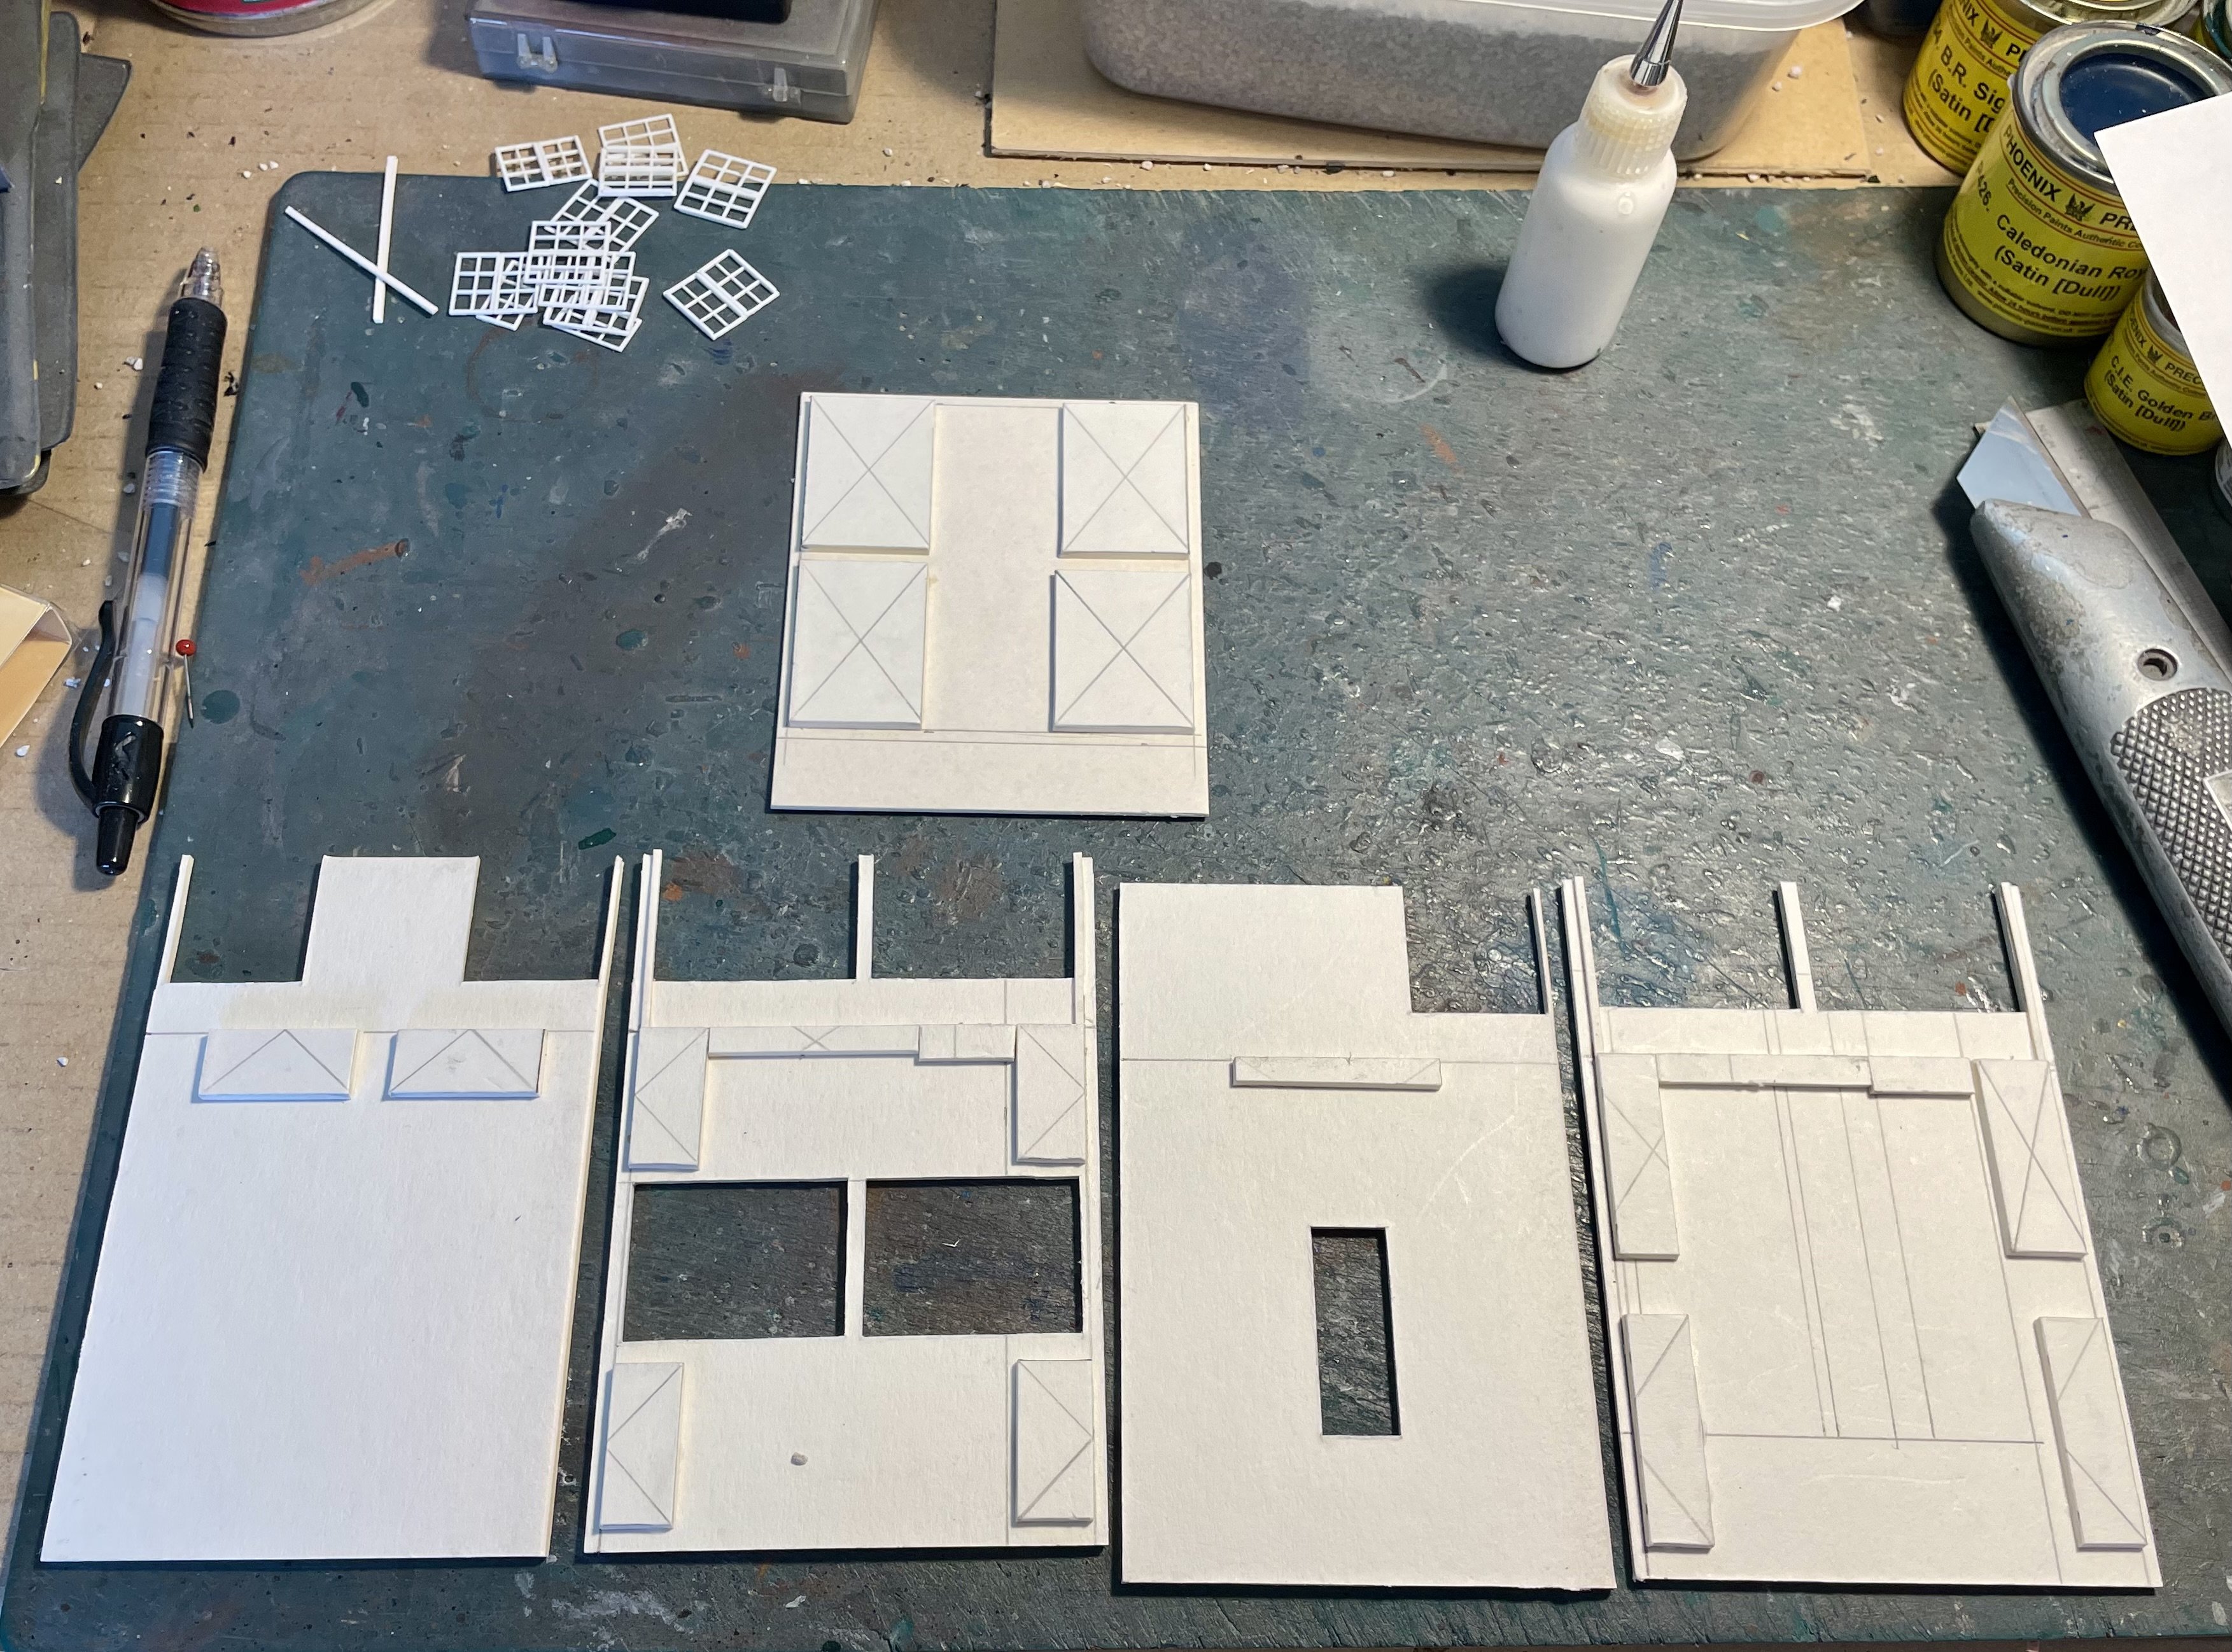
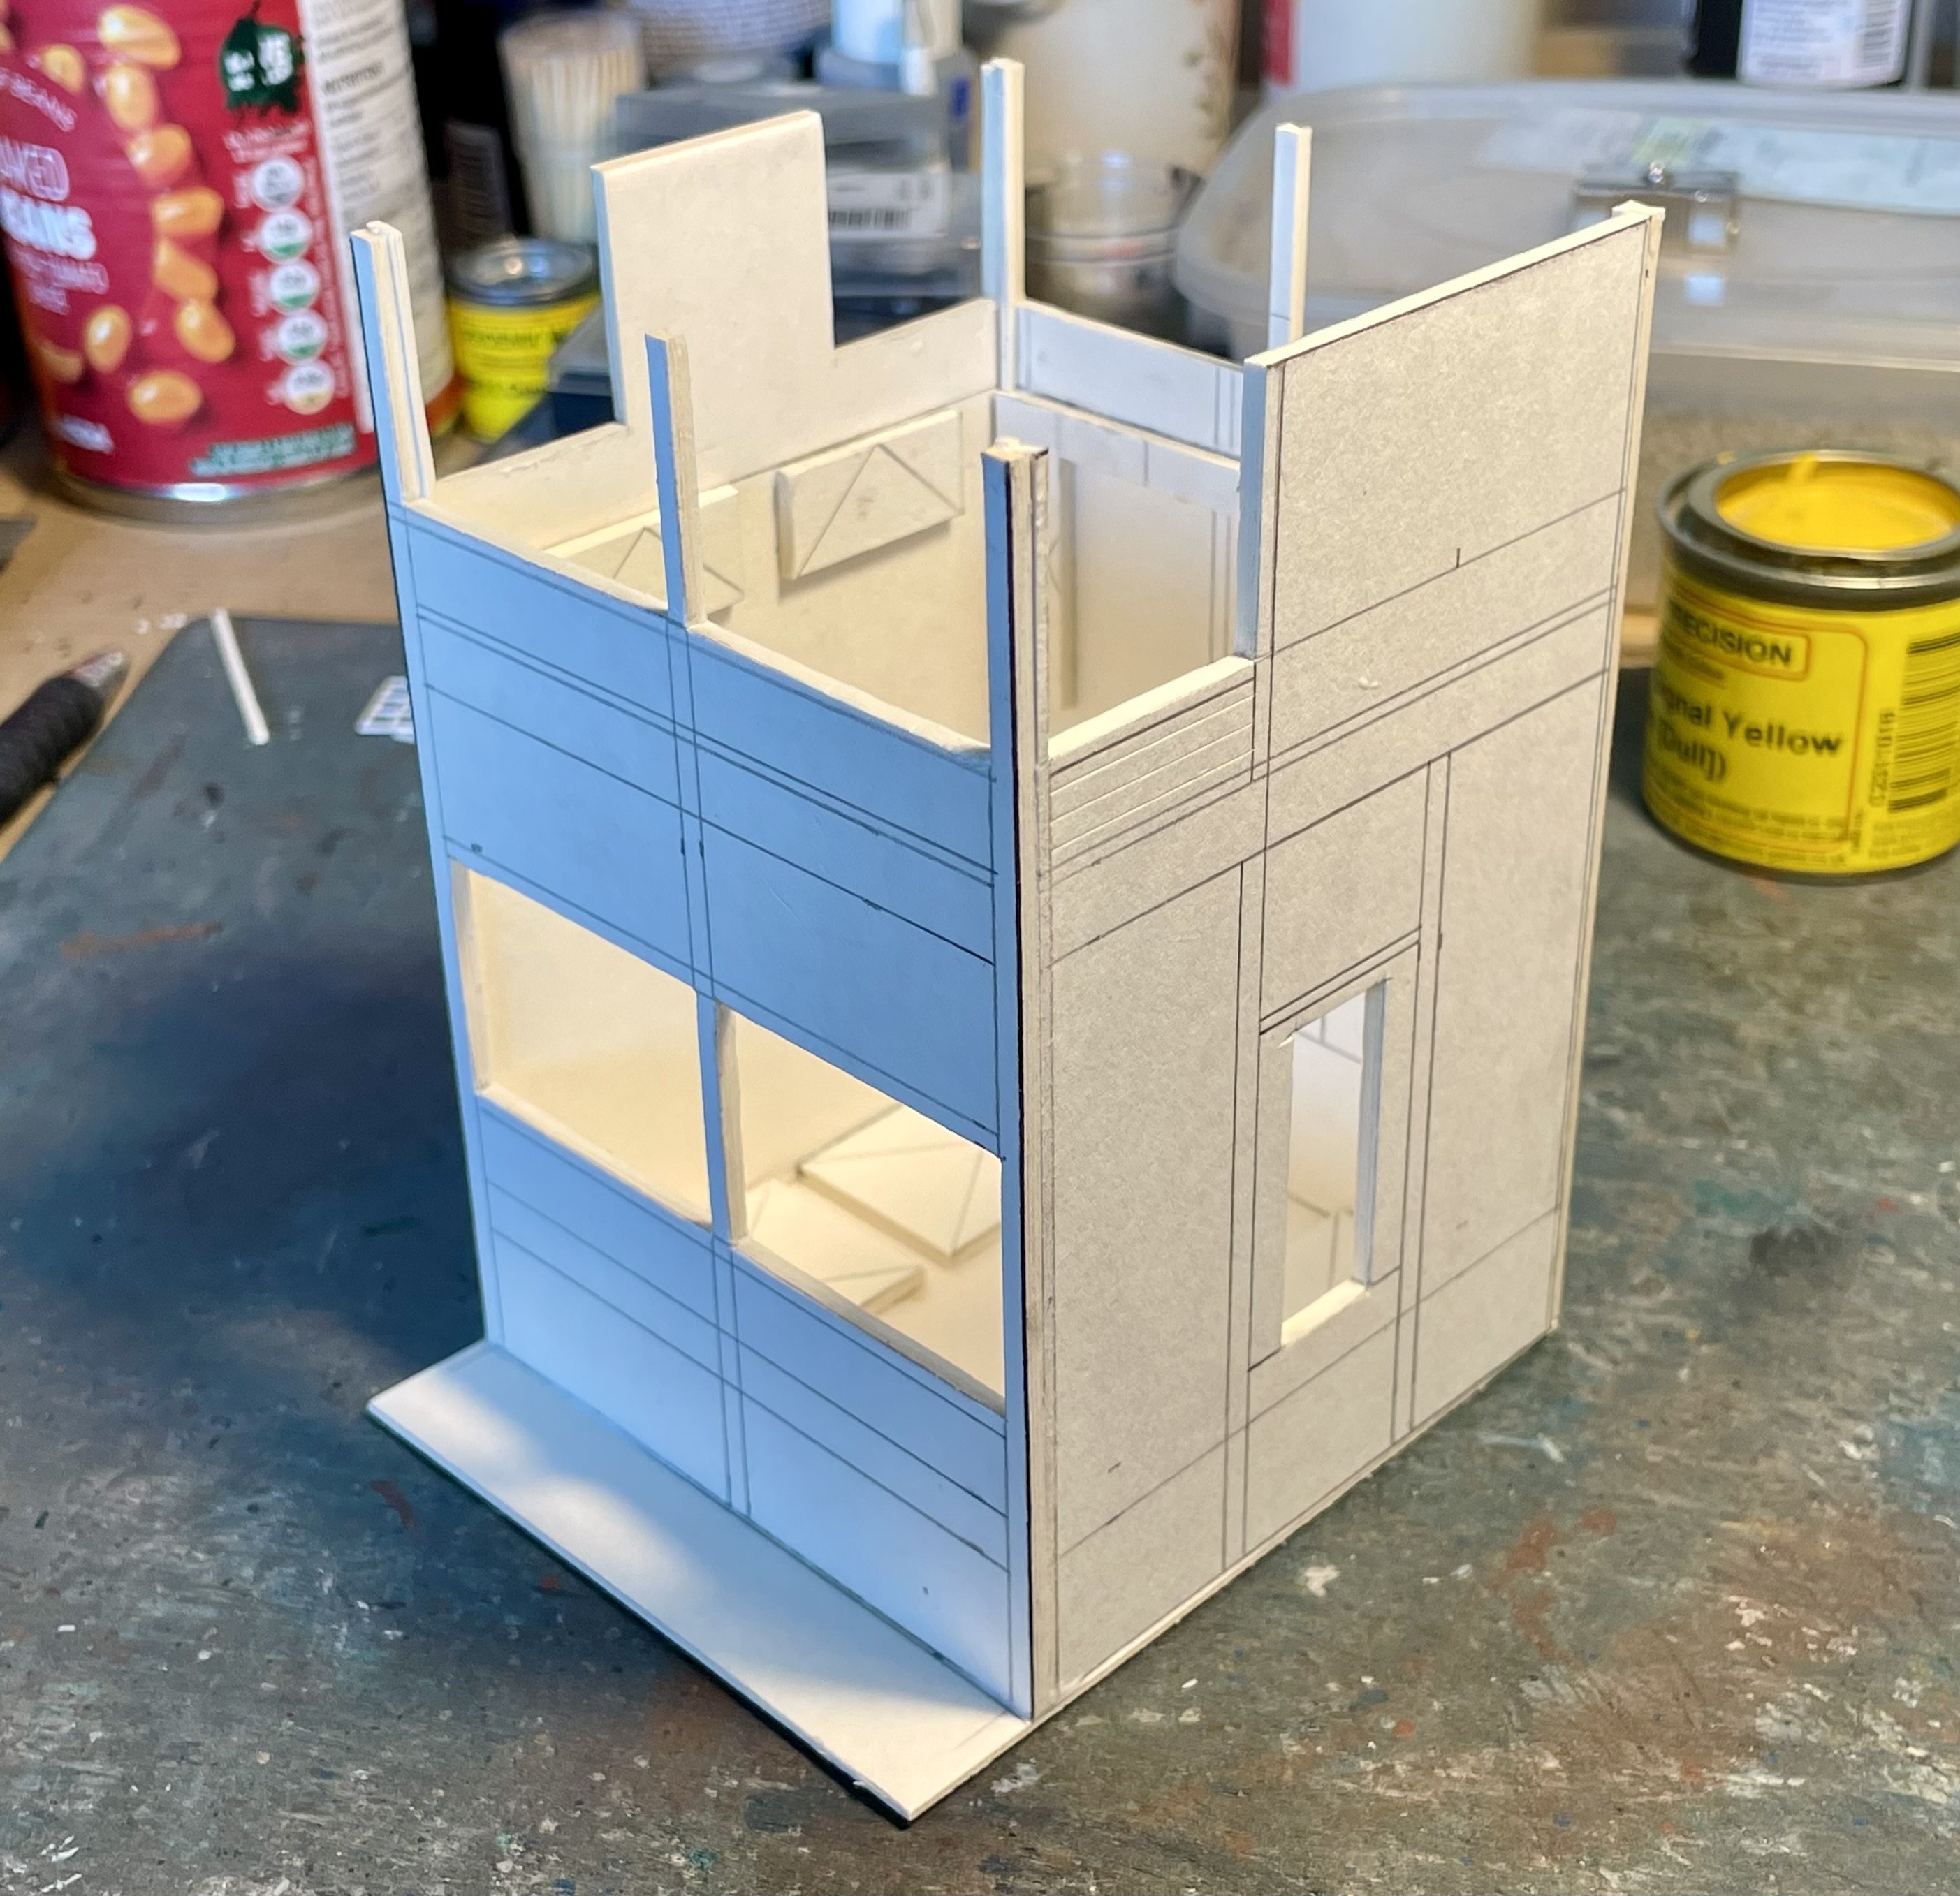
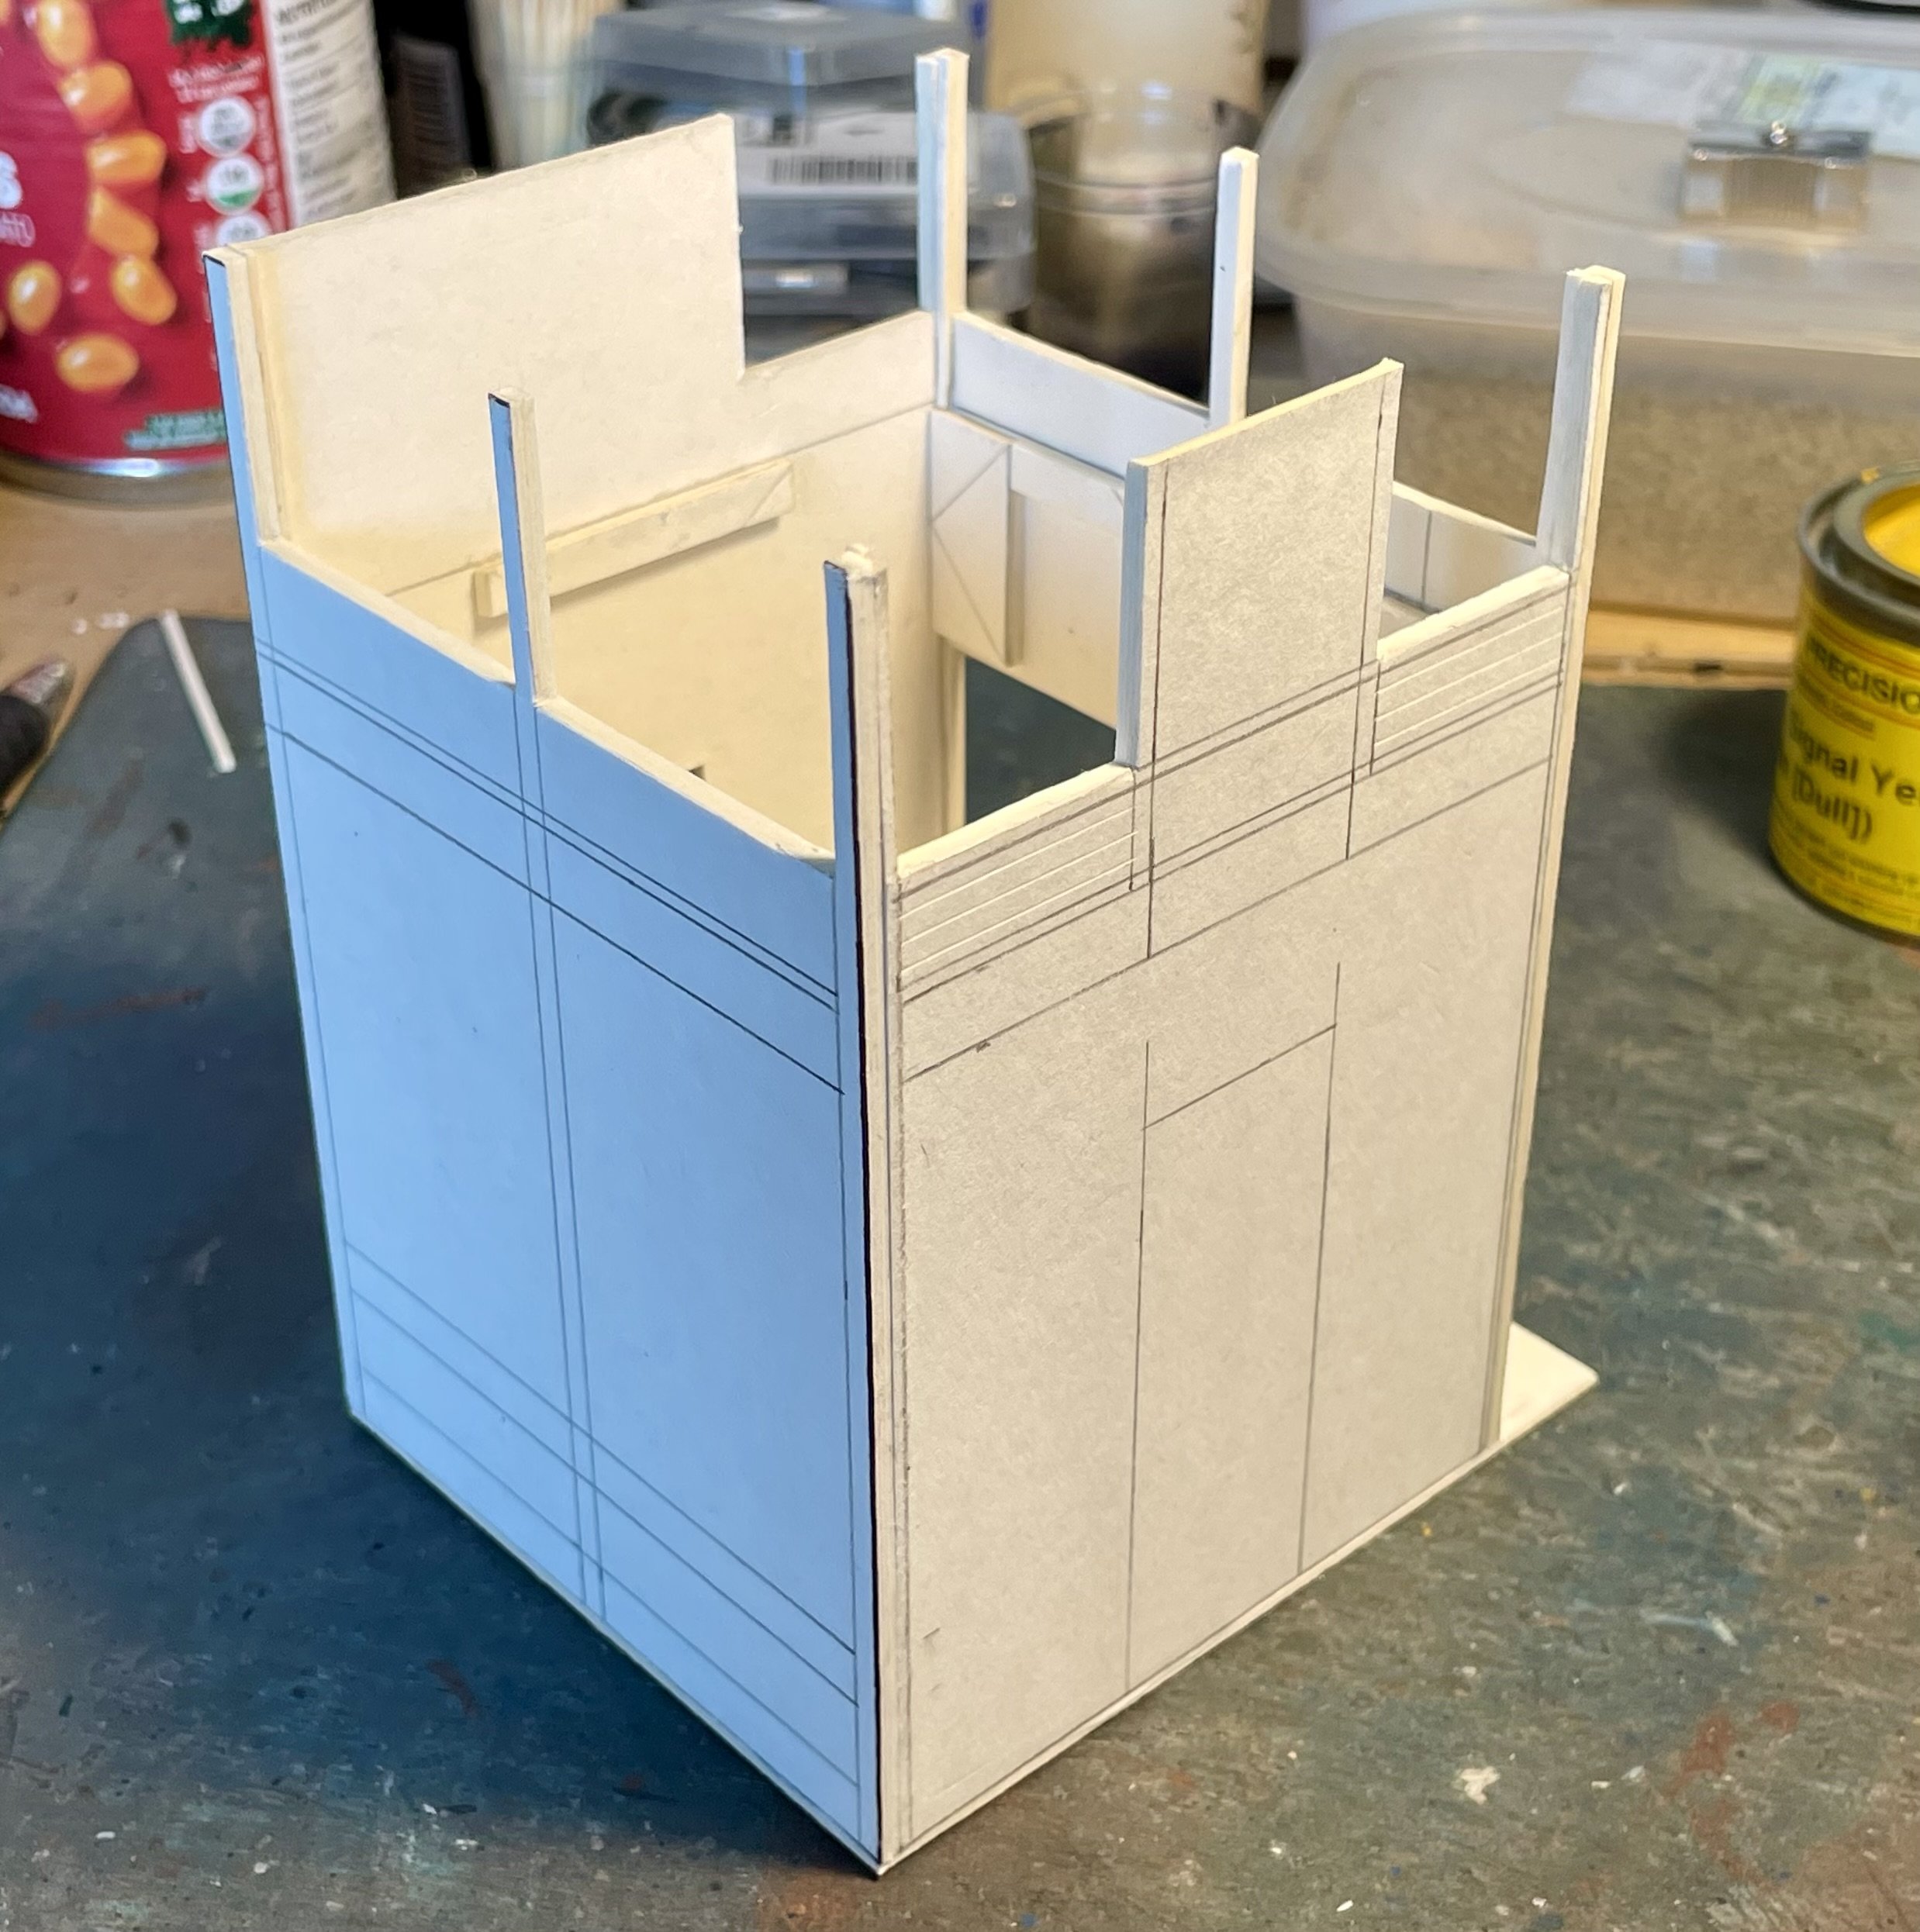
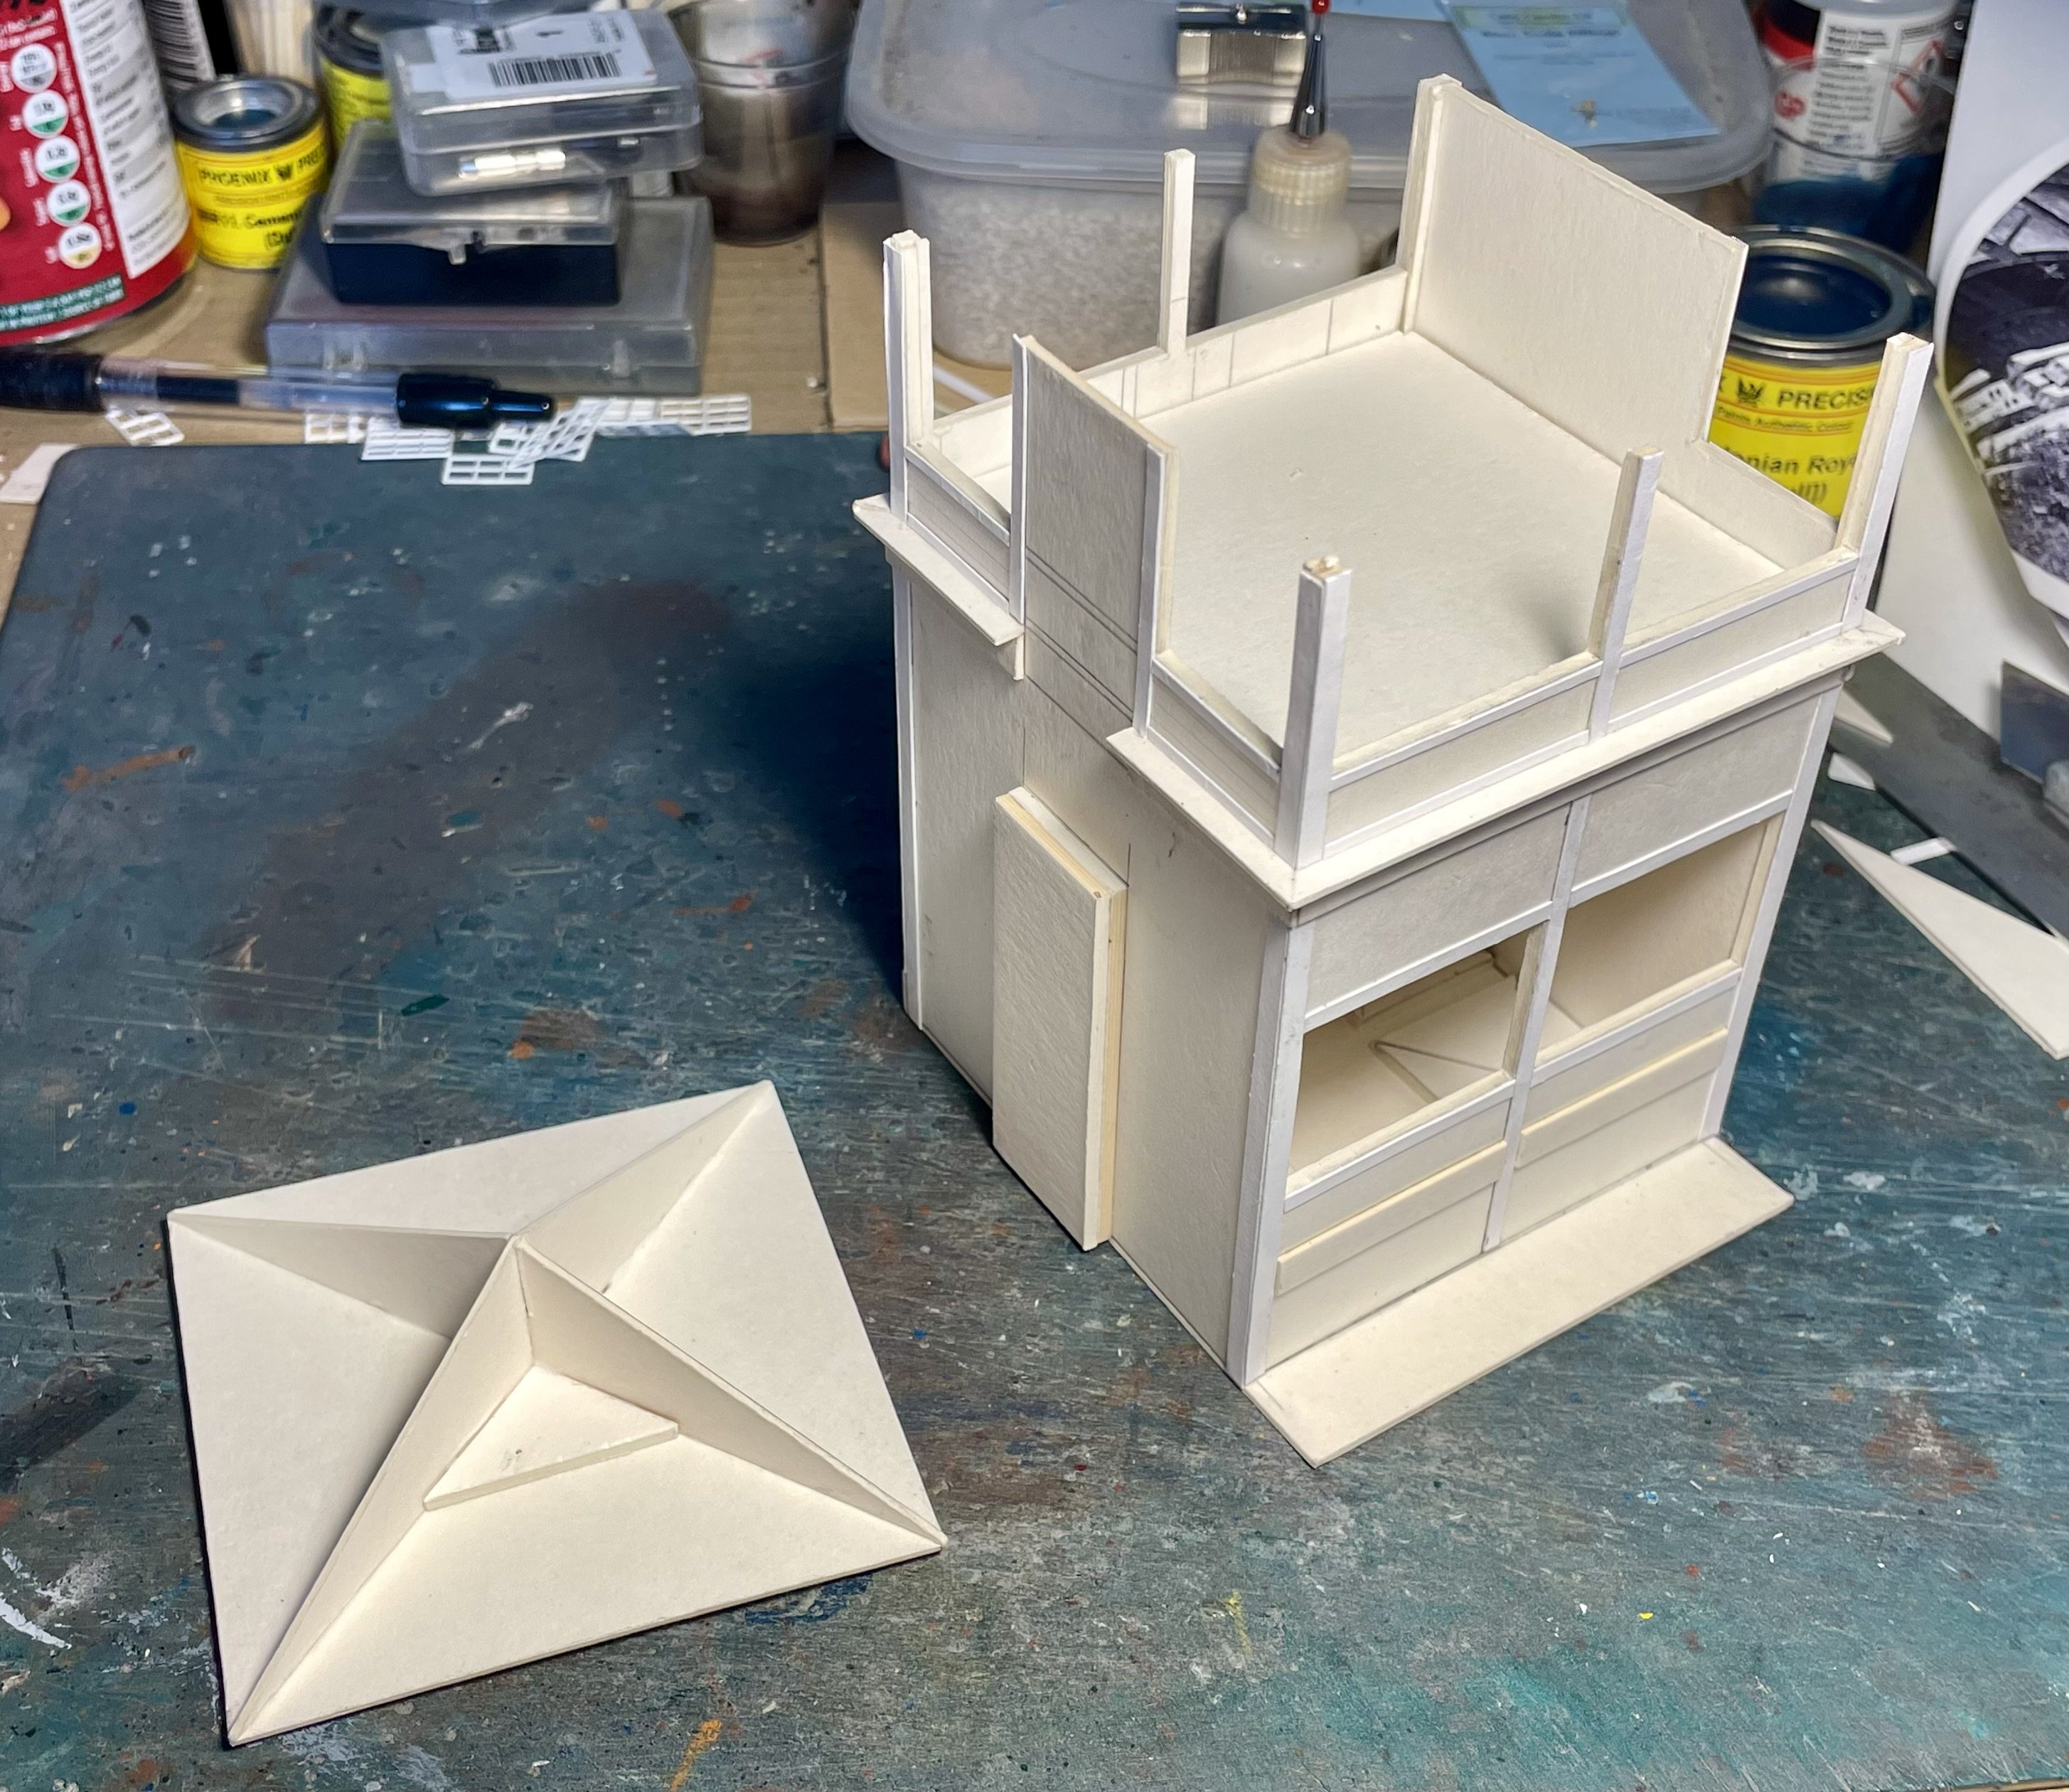
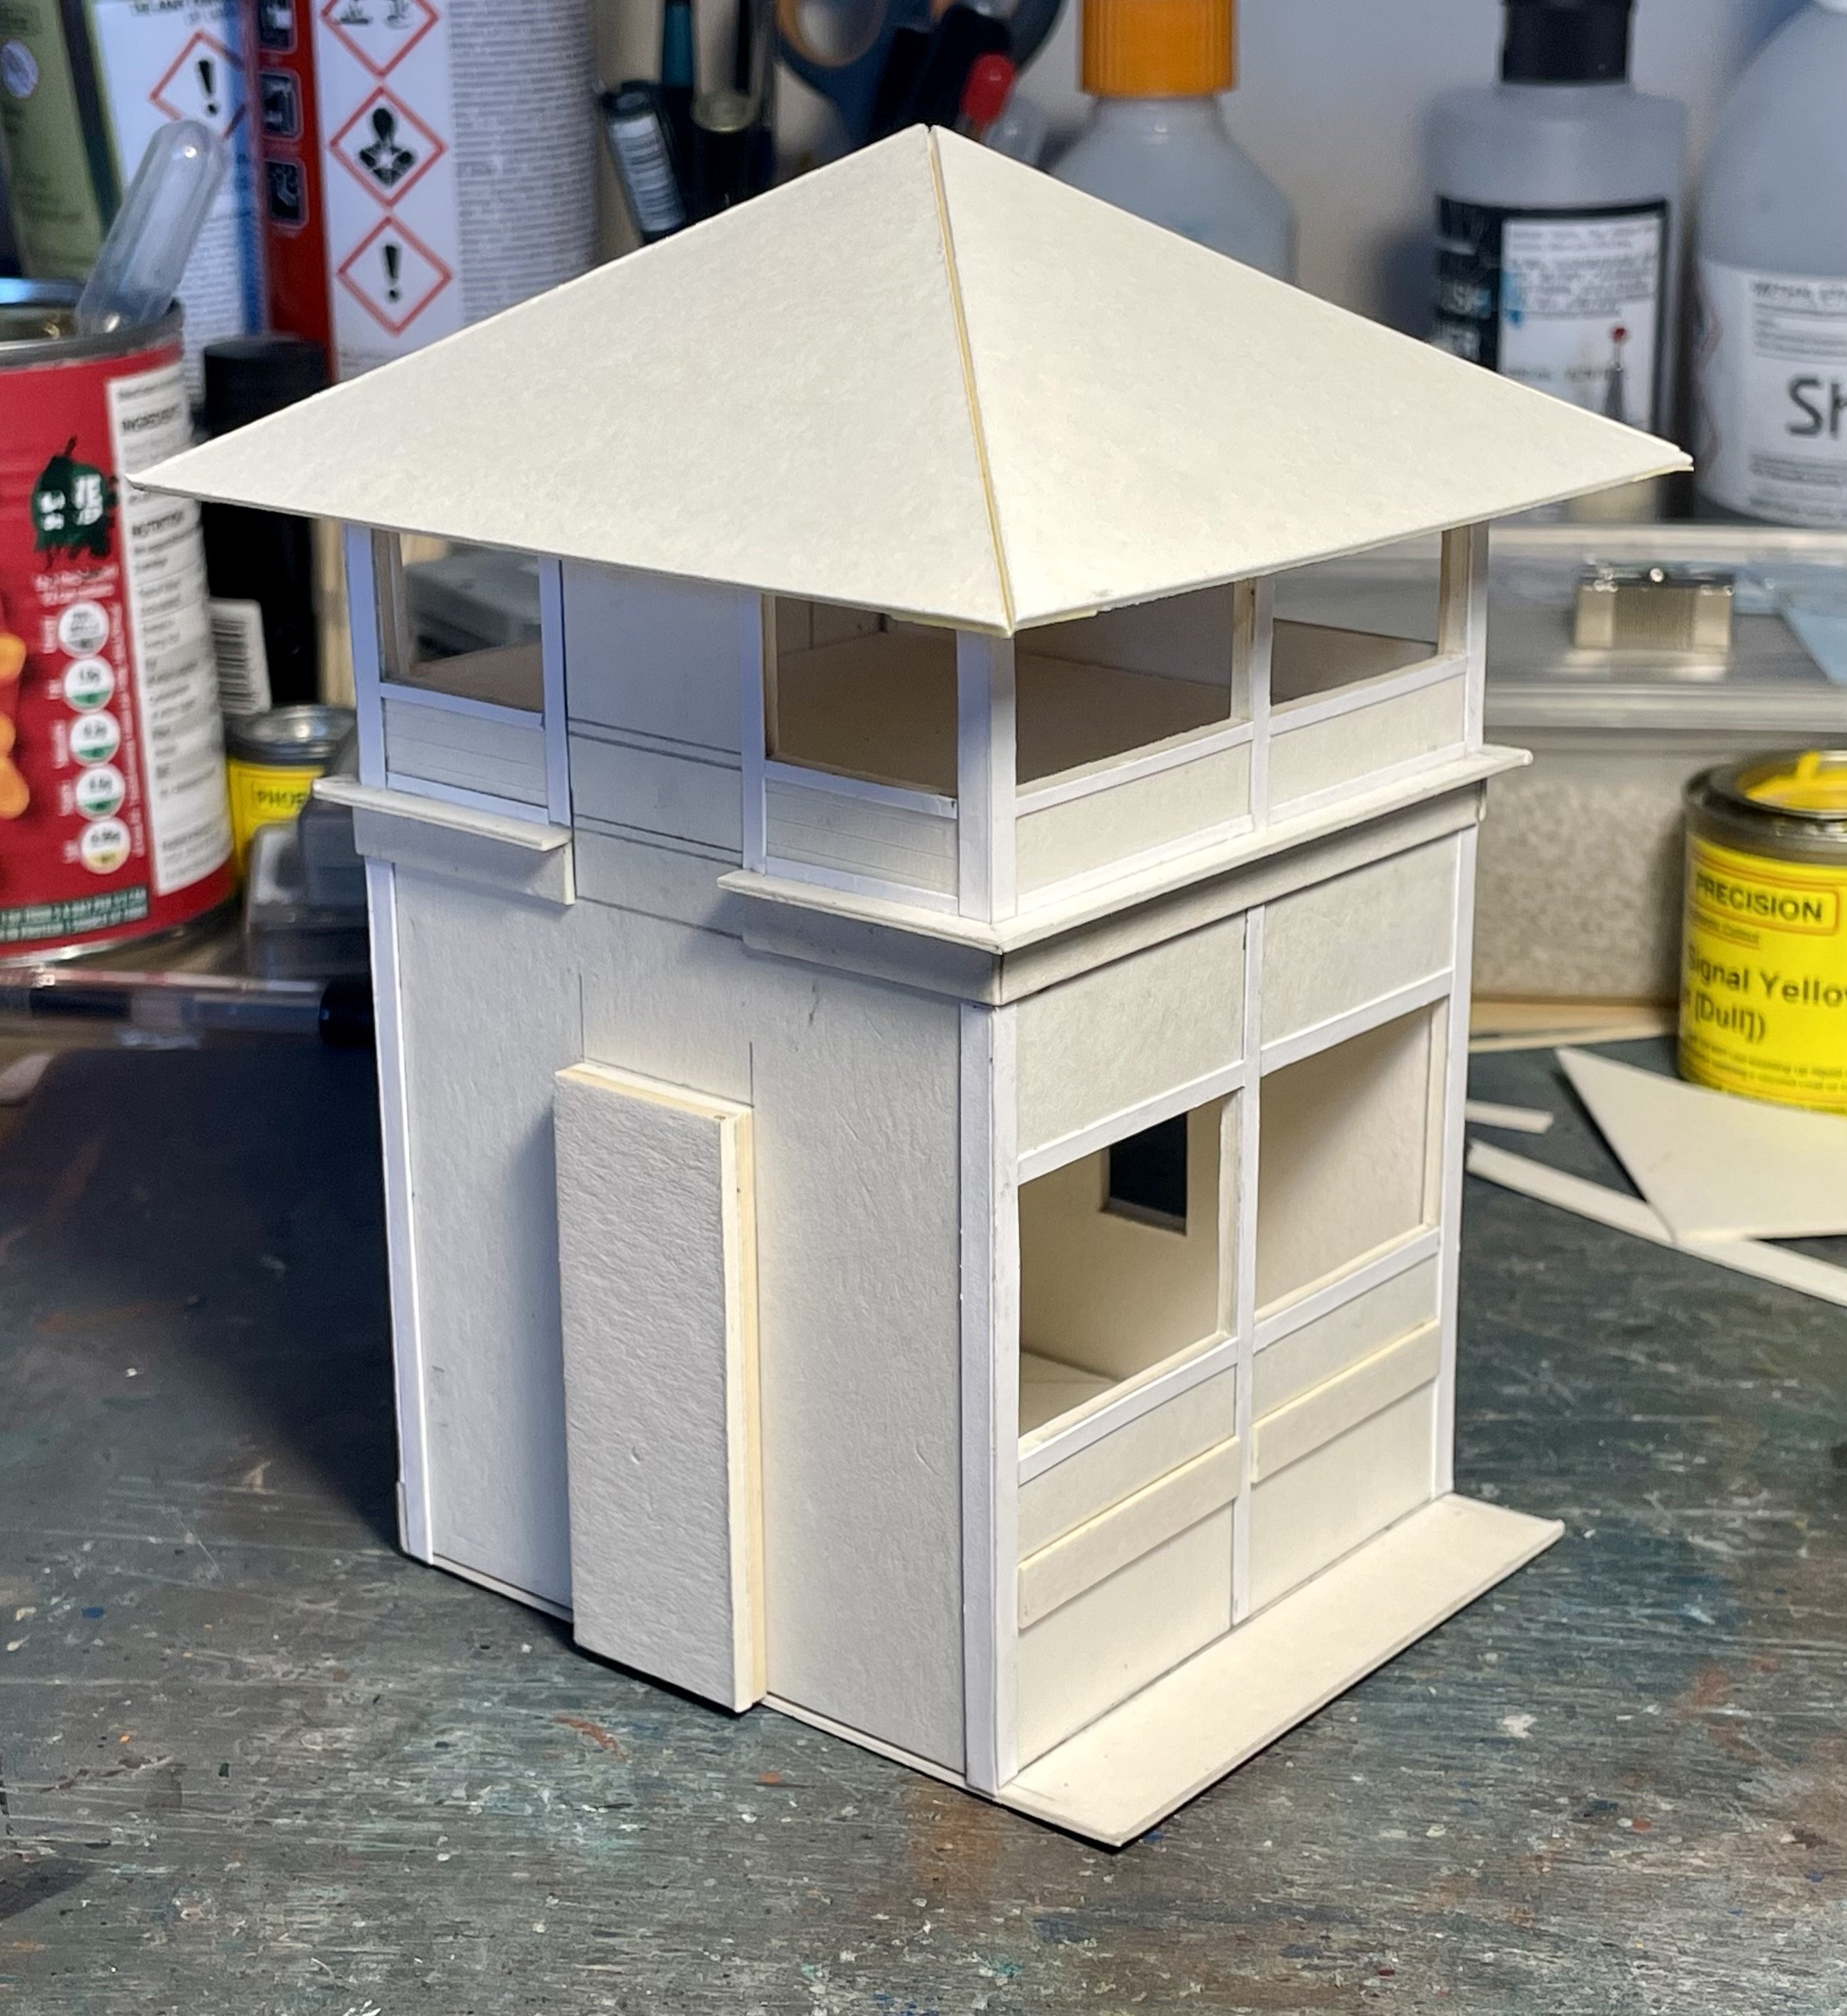
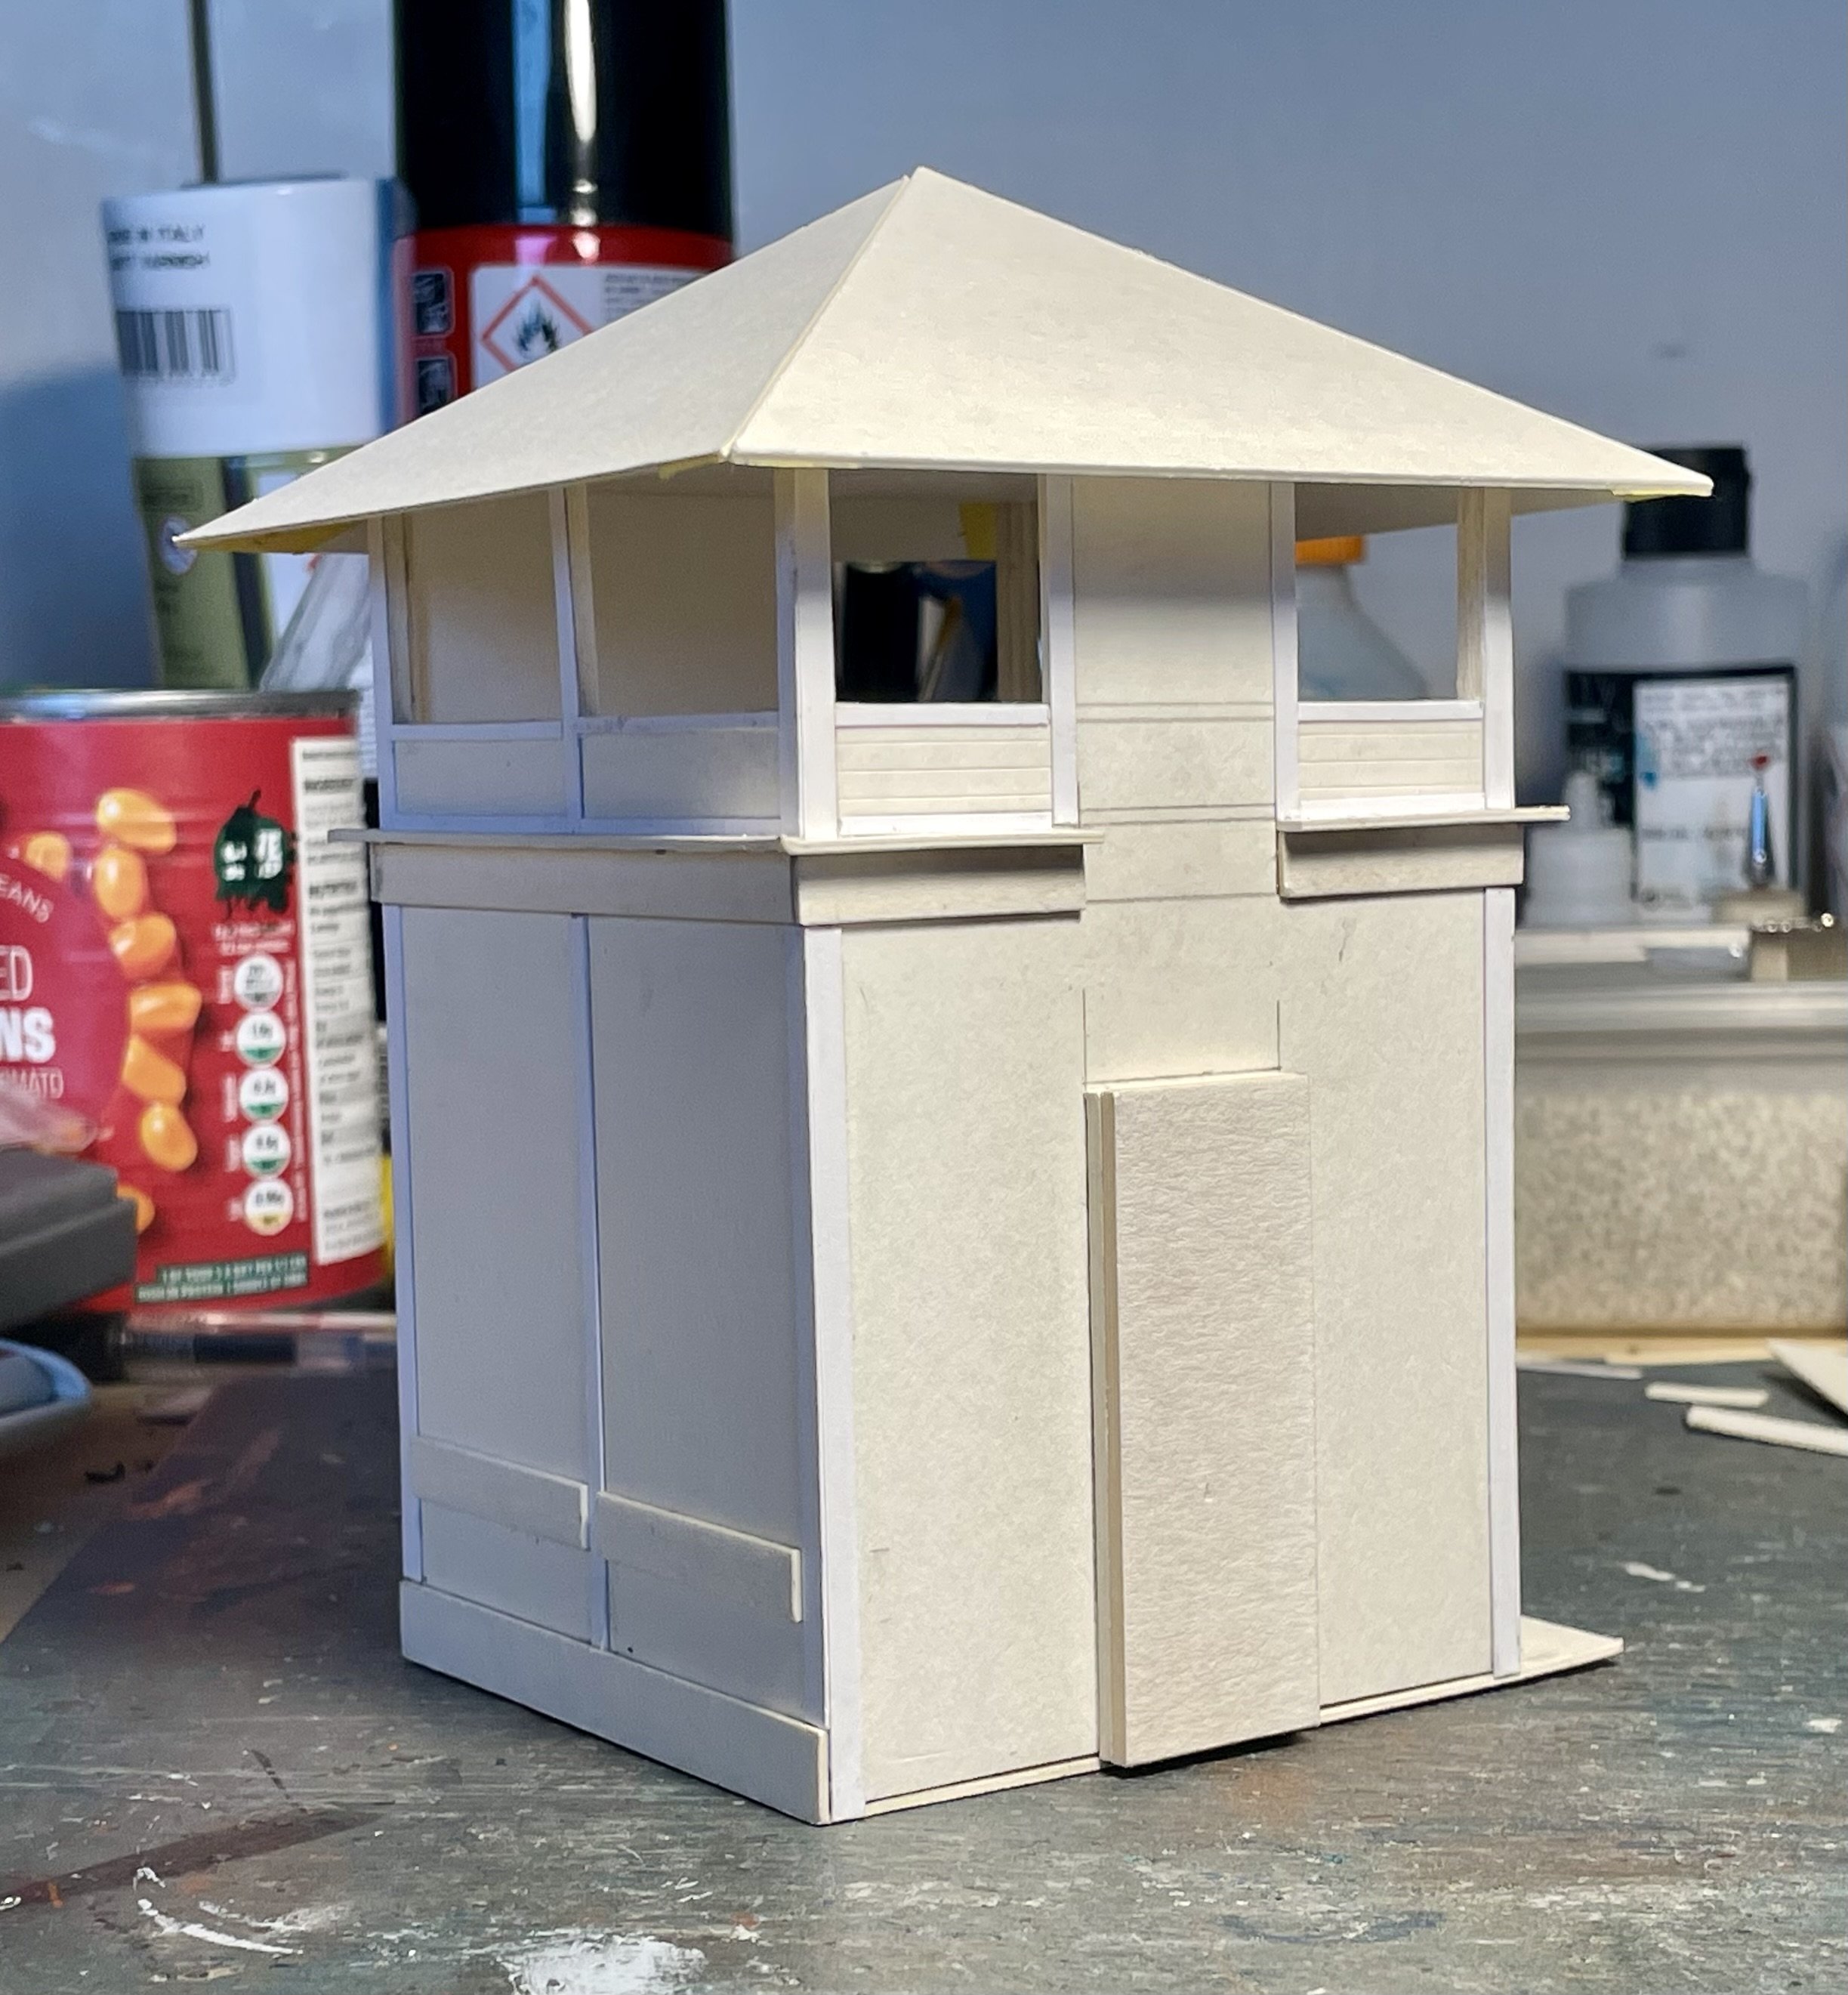
Exterior painted and brickwork panels applied (Scalescenes). Cheers Darius
- 292 replies
-
- 12
-
-
-
Pretty sure that you could use 2mm thick card, scored and cut into strips then painted grey. Cheers Darius
-
I remember a time during the Hunger Strikes when the busses stopped running and my friend and I had to walk home. We took a tortuous route north in the general direction of the Antrim Road to avoid rival schools. Cheers Darius
-
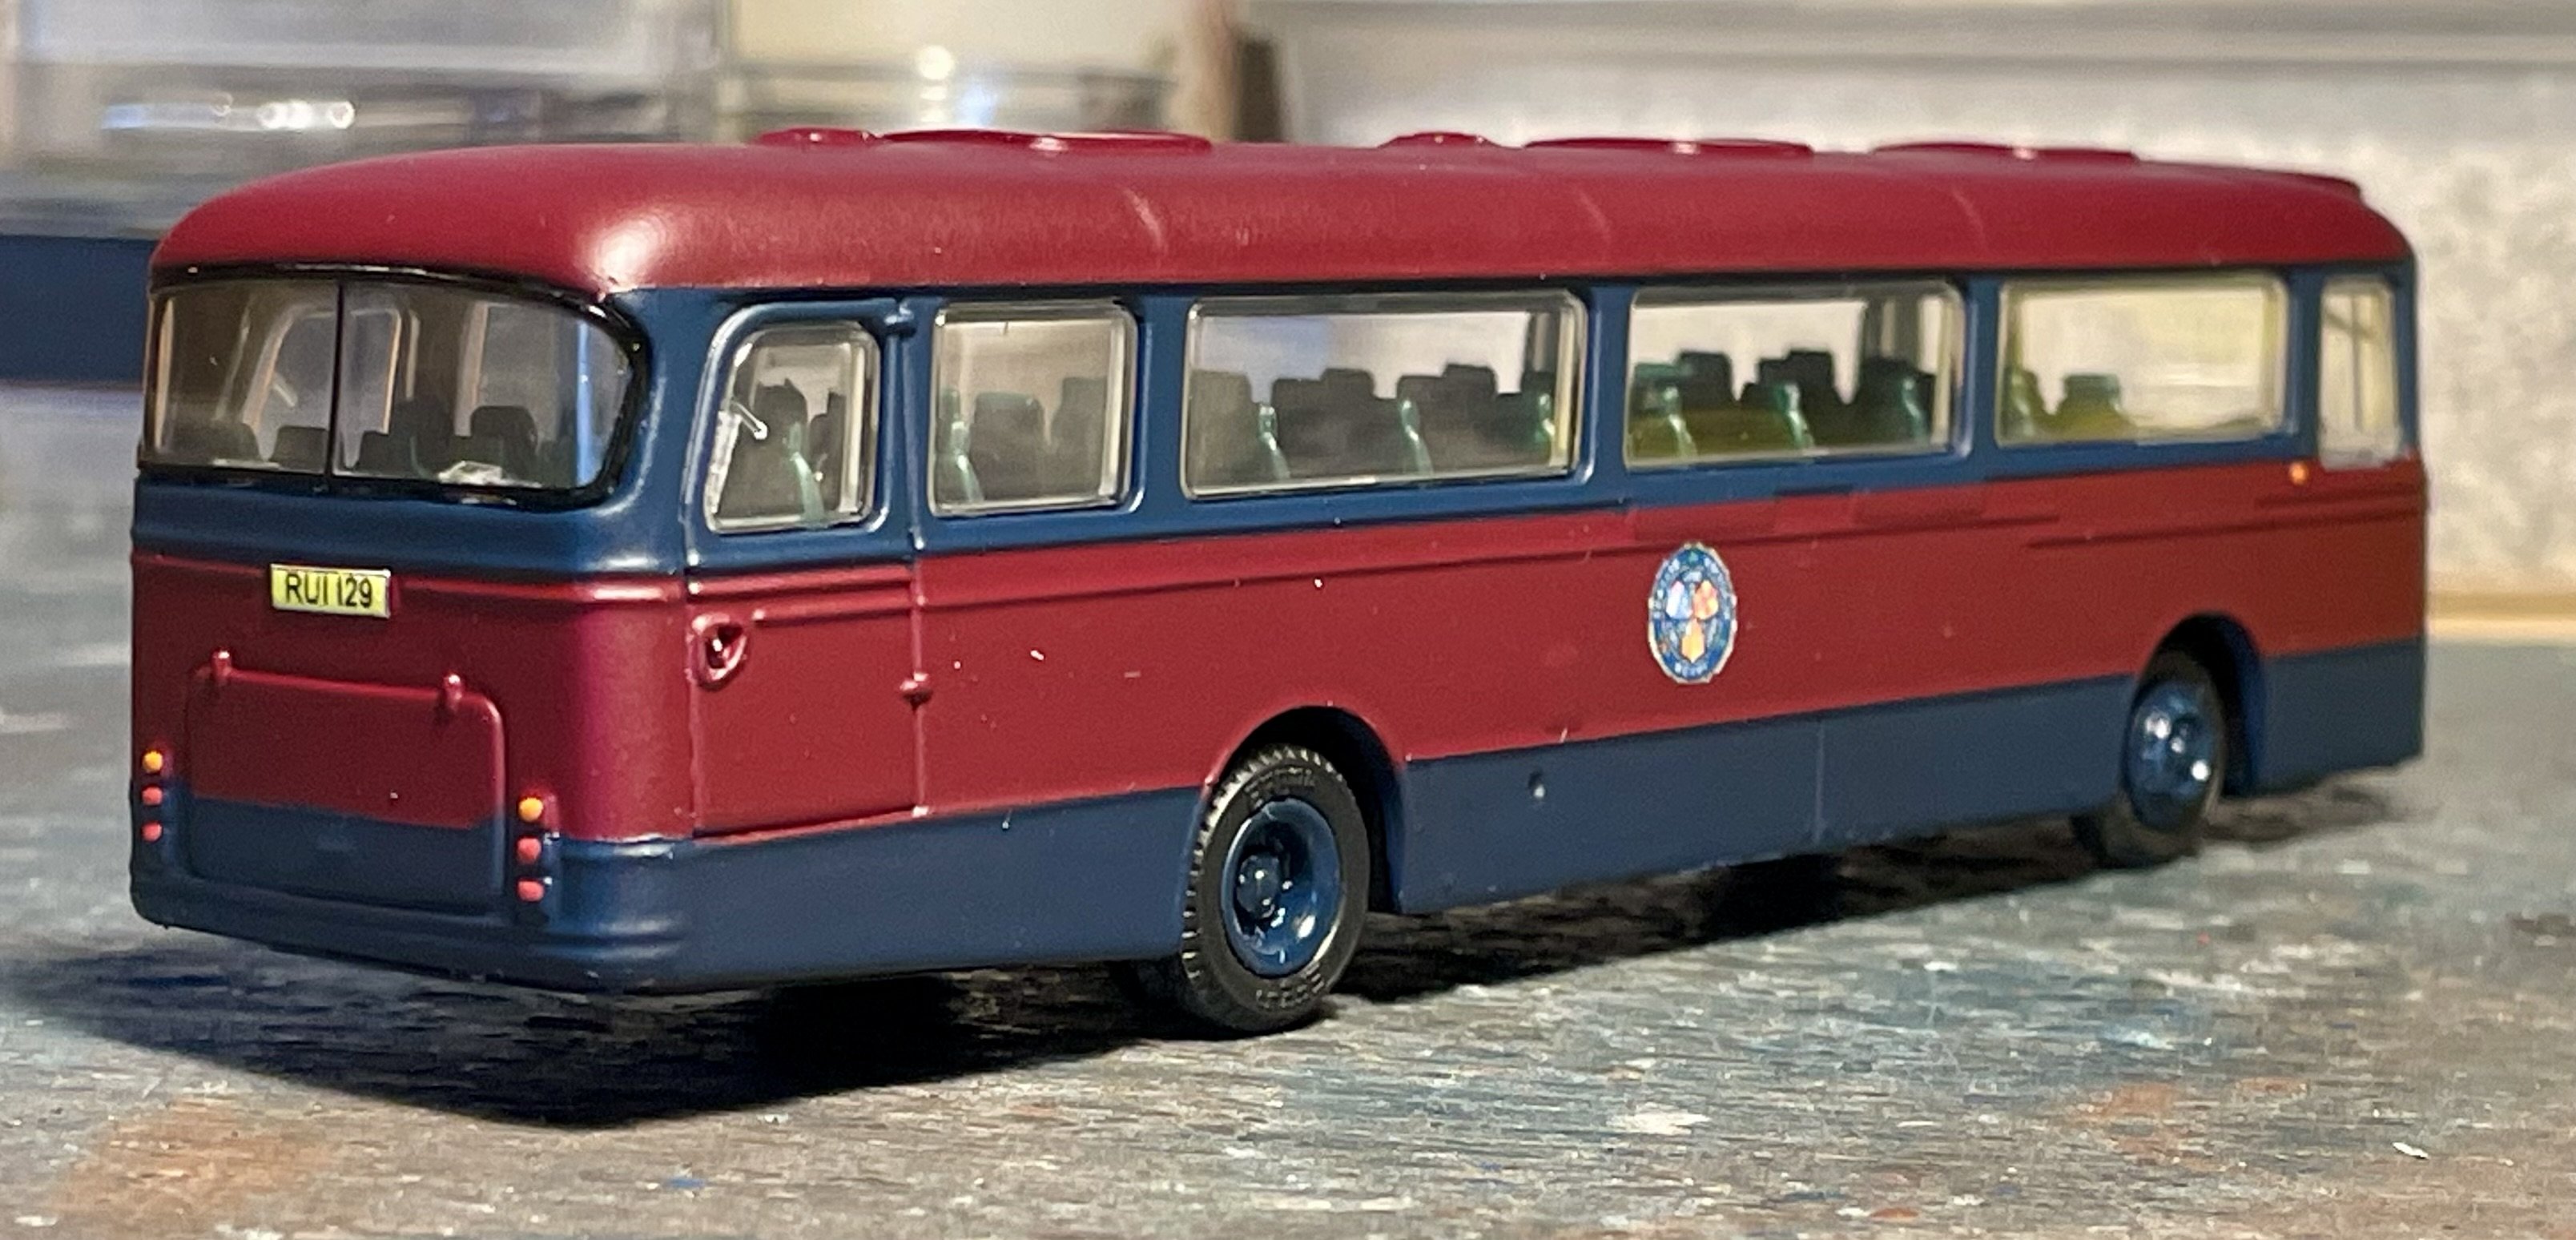
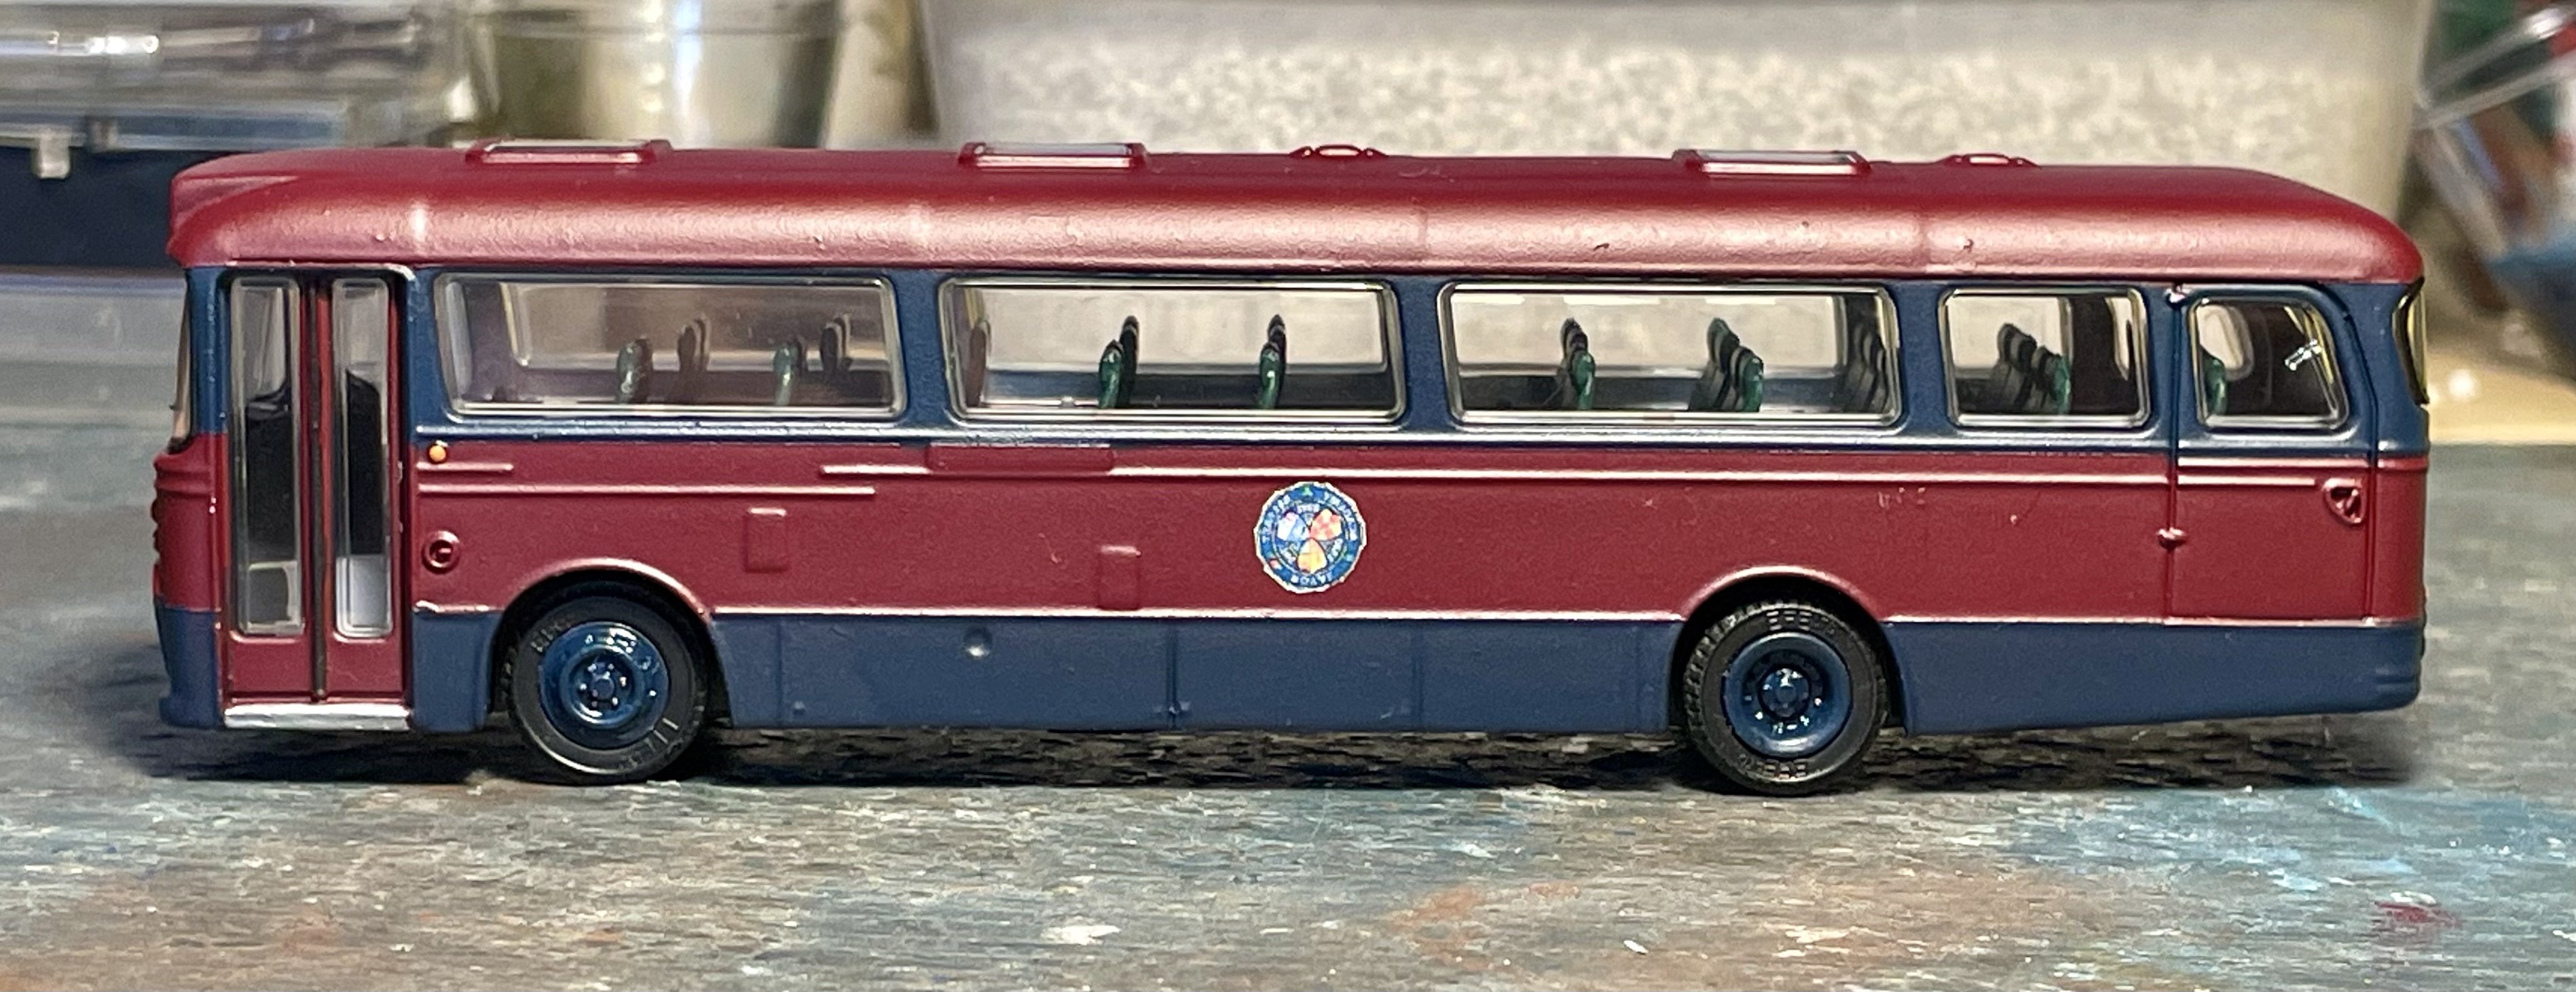
Yes, I remember the double decker from my time at BRA from 1978 to 1983. The single decker came along in the early ‘80s I think. Cheers Darius
-
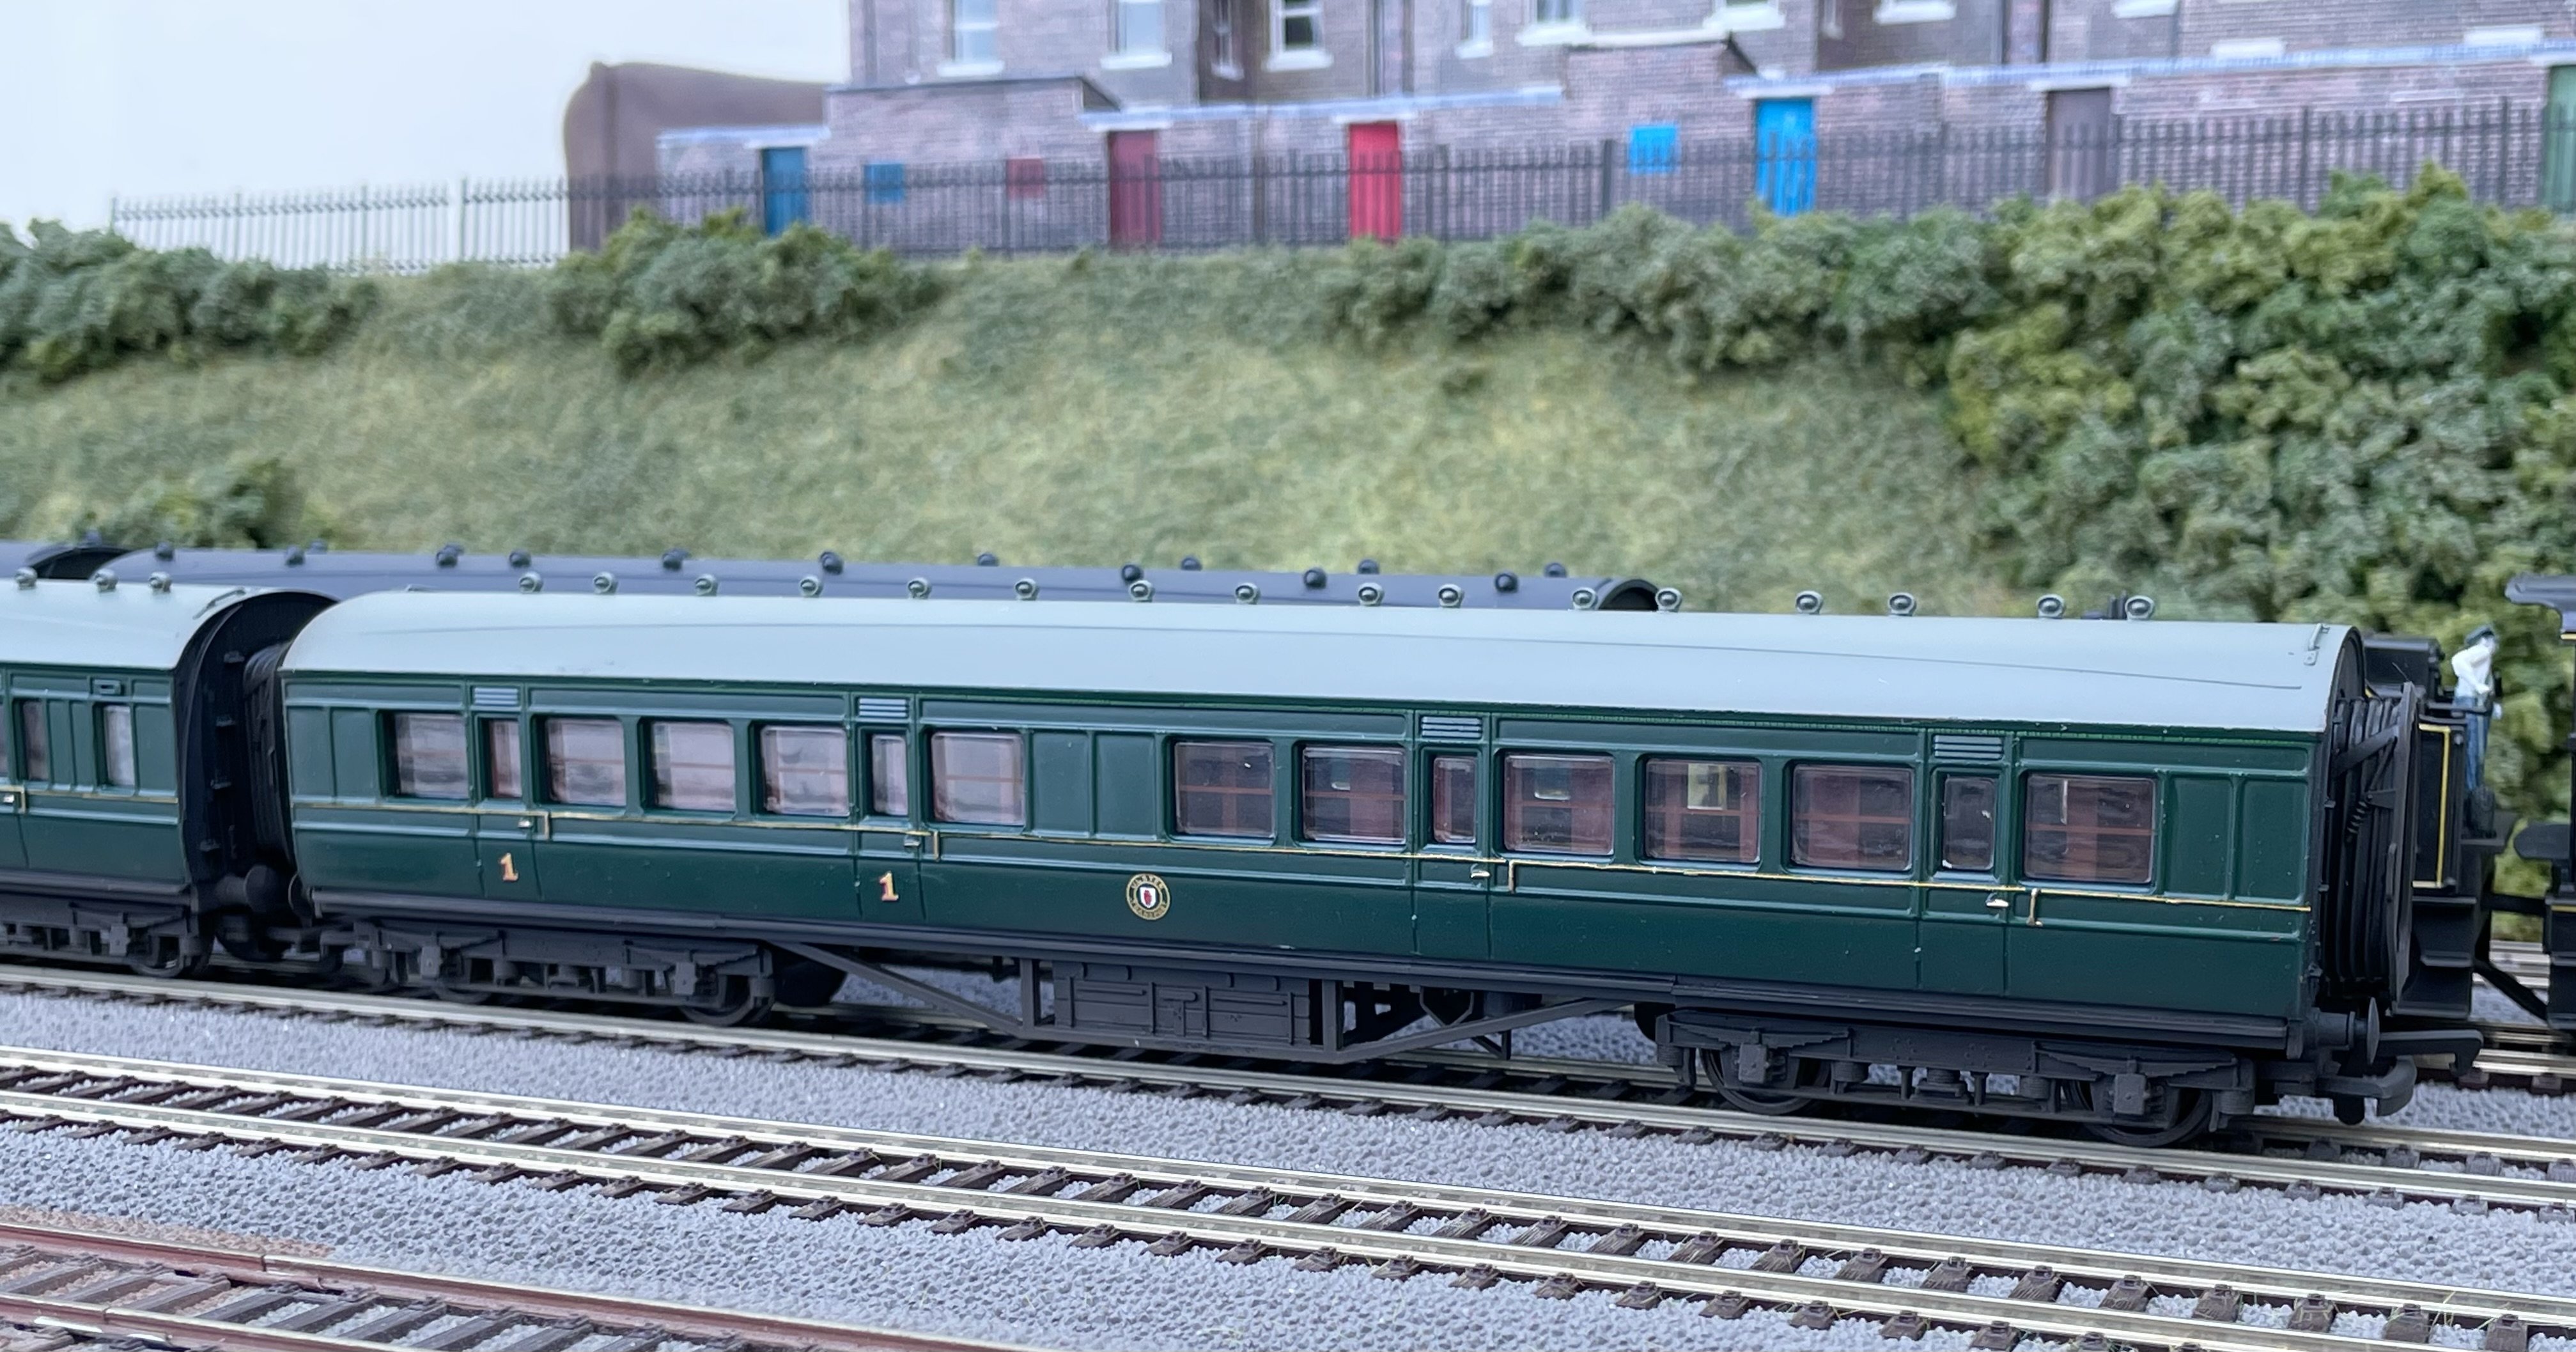
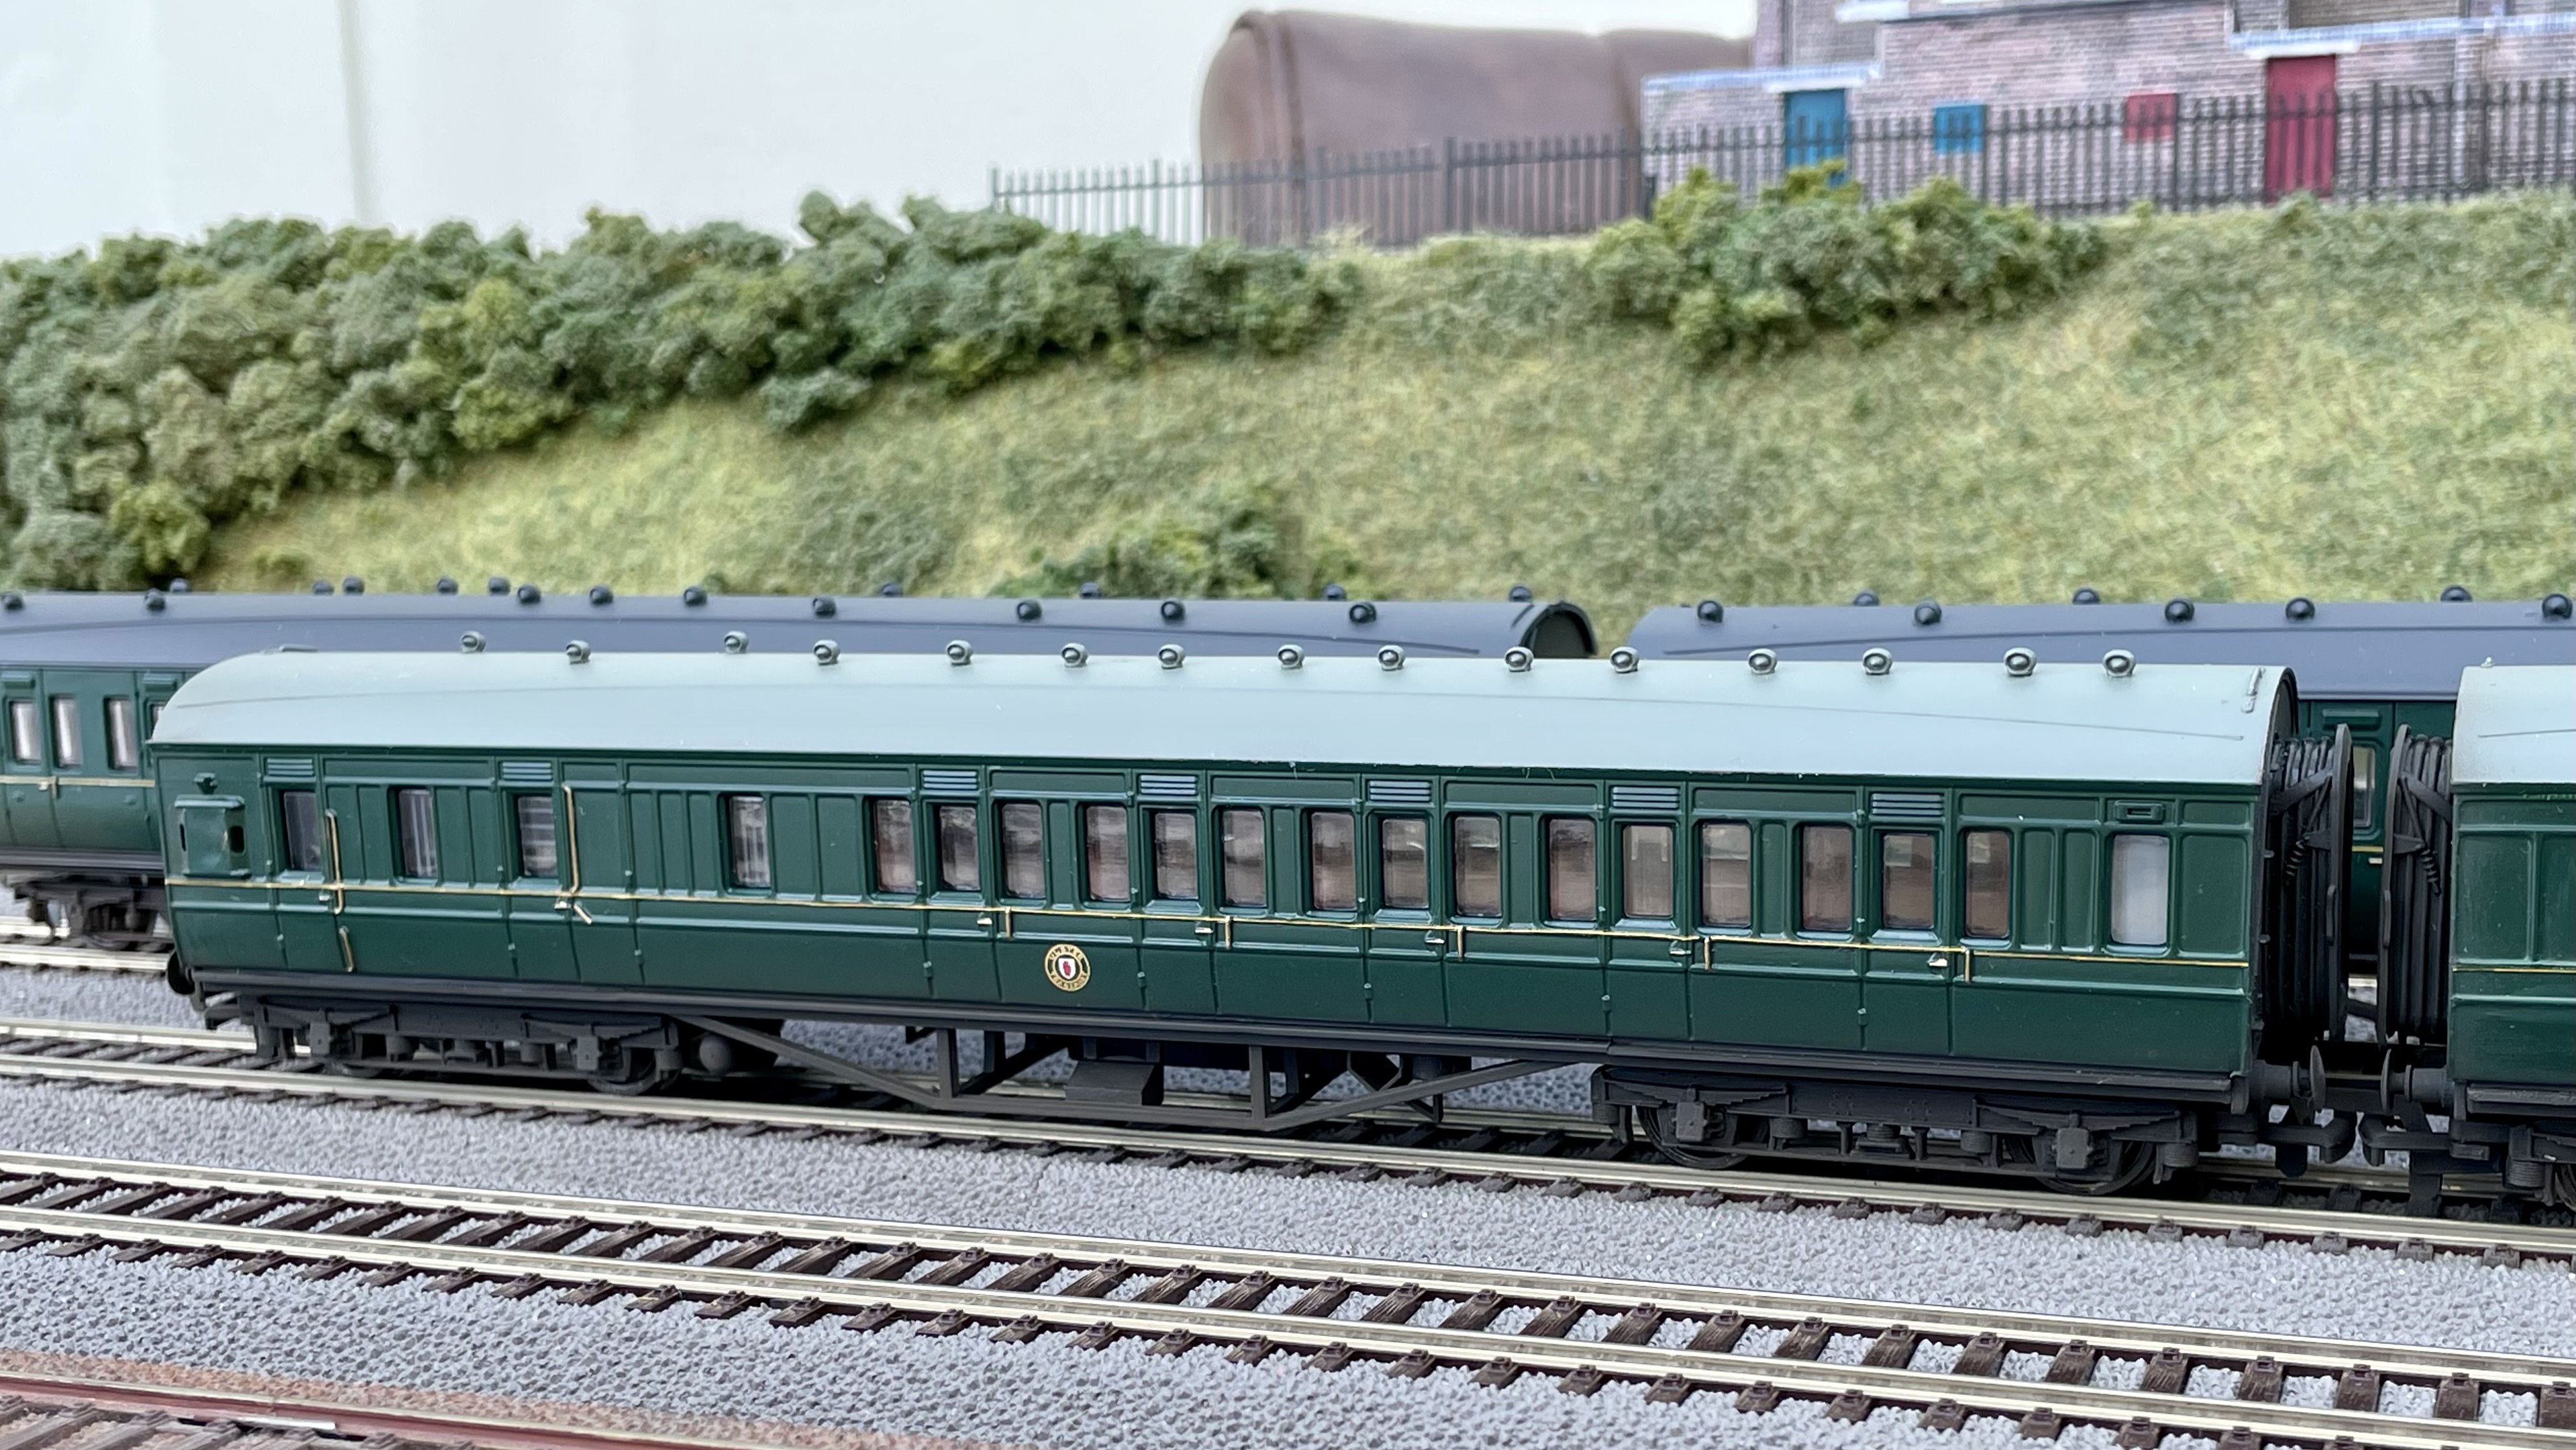
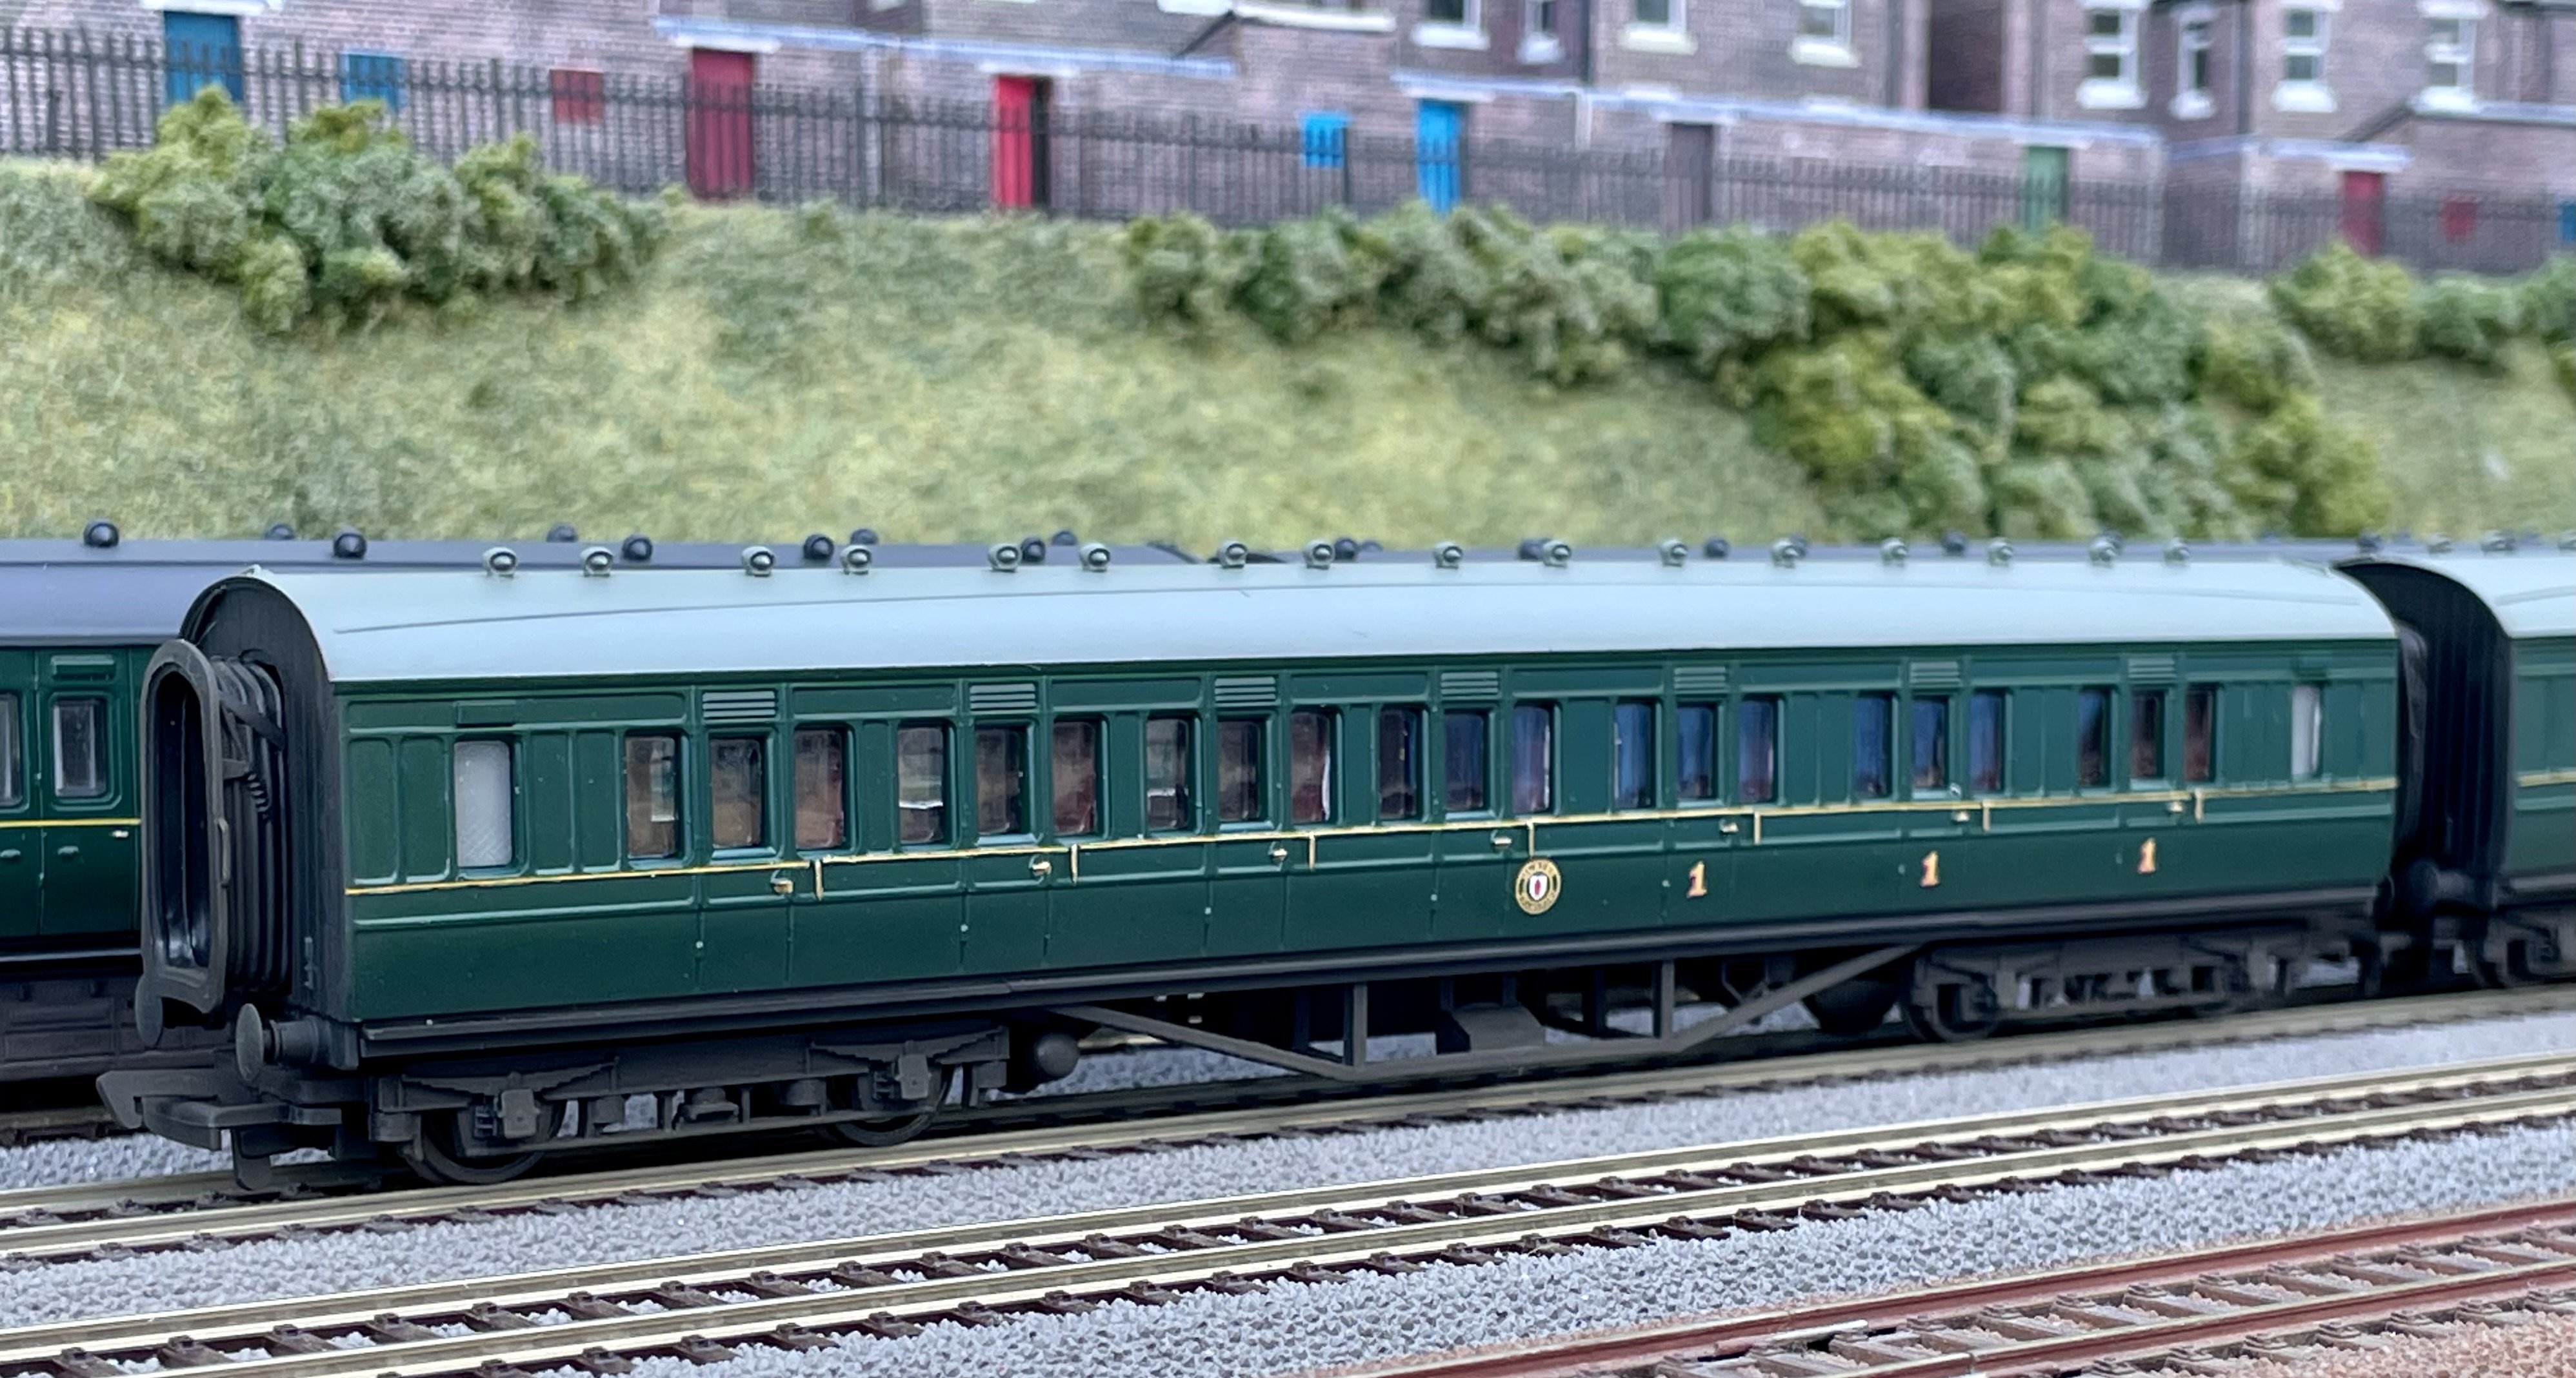
Two more Bachmann LMS coaches repainted and decalled. Cheers Darius
-
I used Railtec light yellow lining decals. The number and nameplates are also by Railtec - from their “3D Decal” range. Cheers Darius
-
UTA U2 No.74 “Dunluce Castle” leaves Belfast with a boat train for Larne Harbour. Cheers Darius
-
Nameplates fitted and light weathering “tone down” coat applied. Cheers Darius
-
Lining to locomotive body completed. Nameplates next. Cheers Darius
-
Tender lining and UTA crests applied. Cheers Darius
-
There’s an idea - I tried to find photos of that bus and the double decker but couldn’t find any. The Whiterock School I built for BRM is a primary school so I suspect the BRA team might have an advantage. Cheers Darius
-
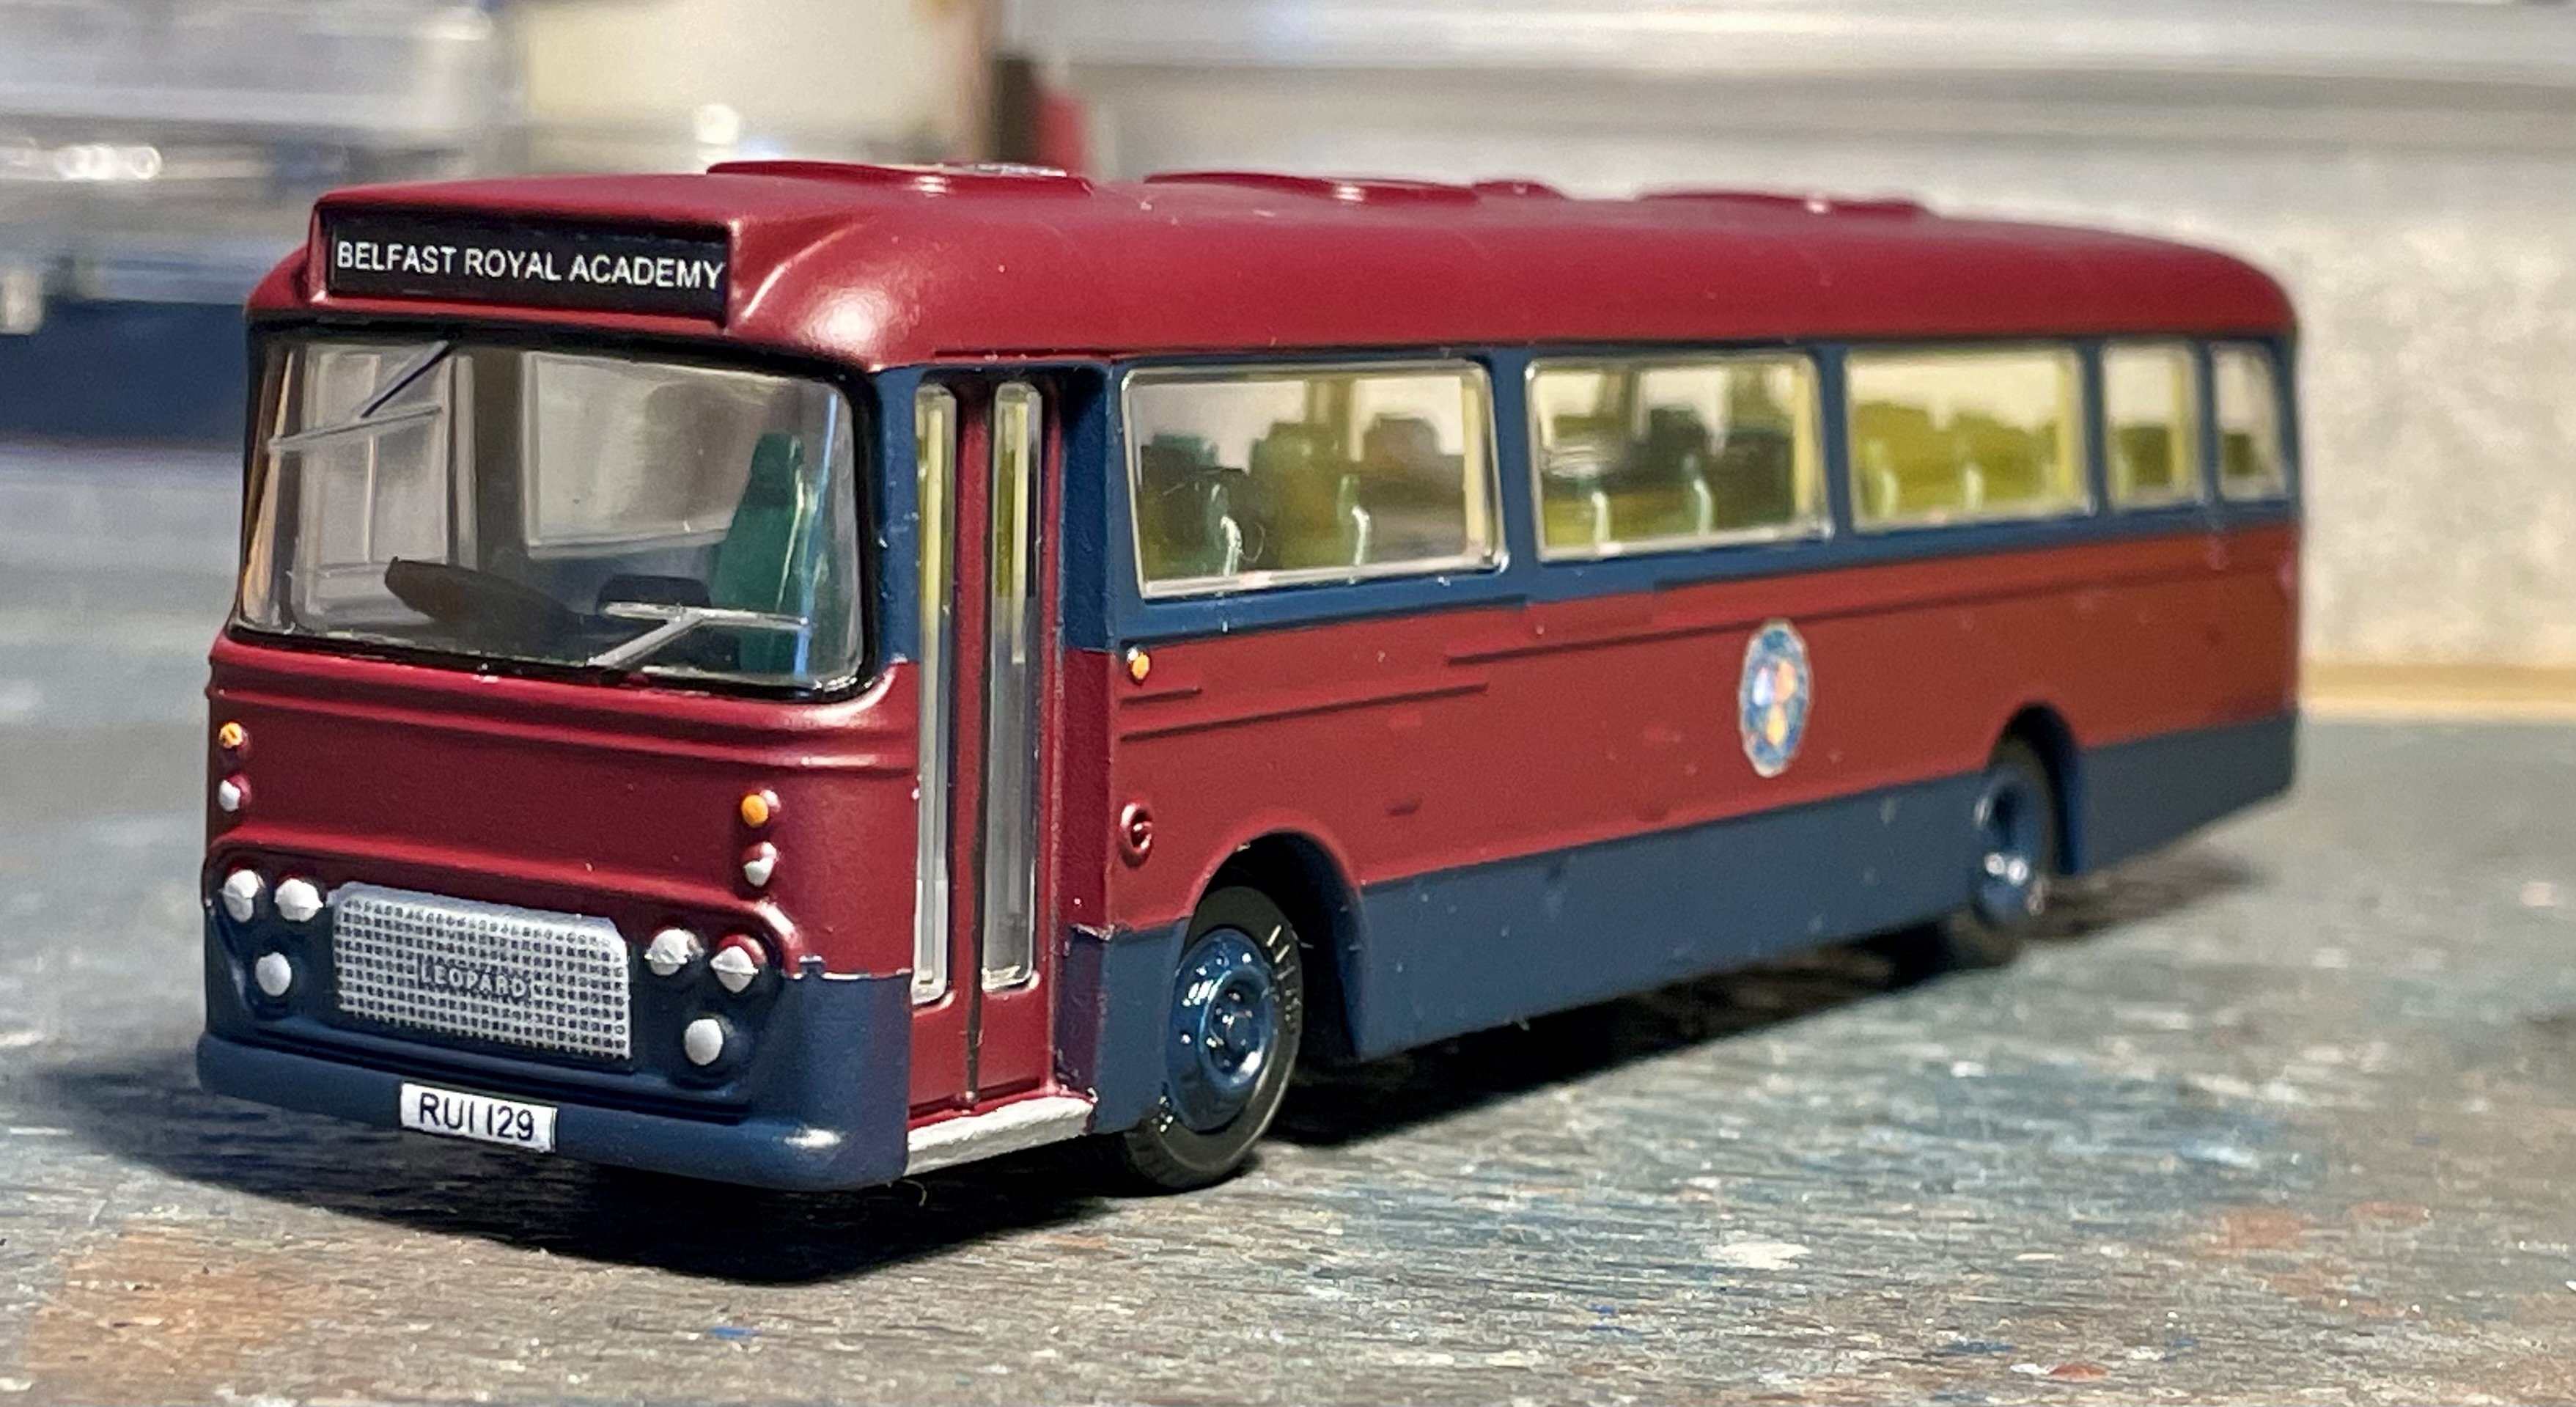
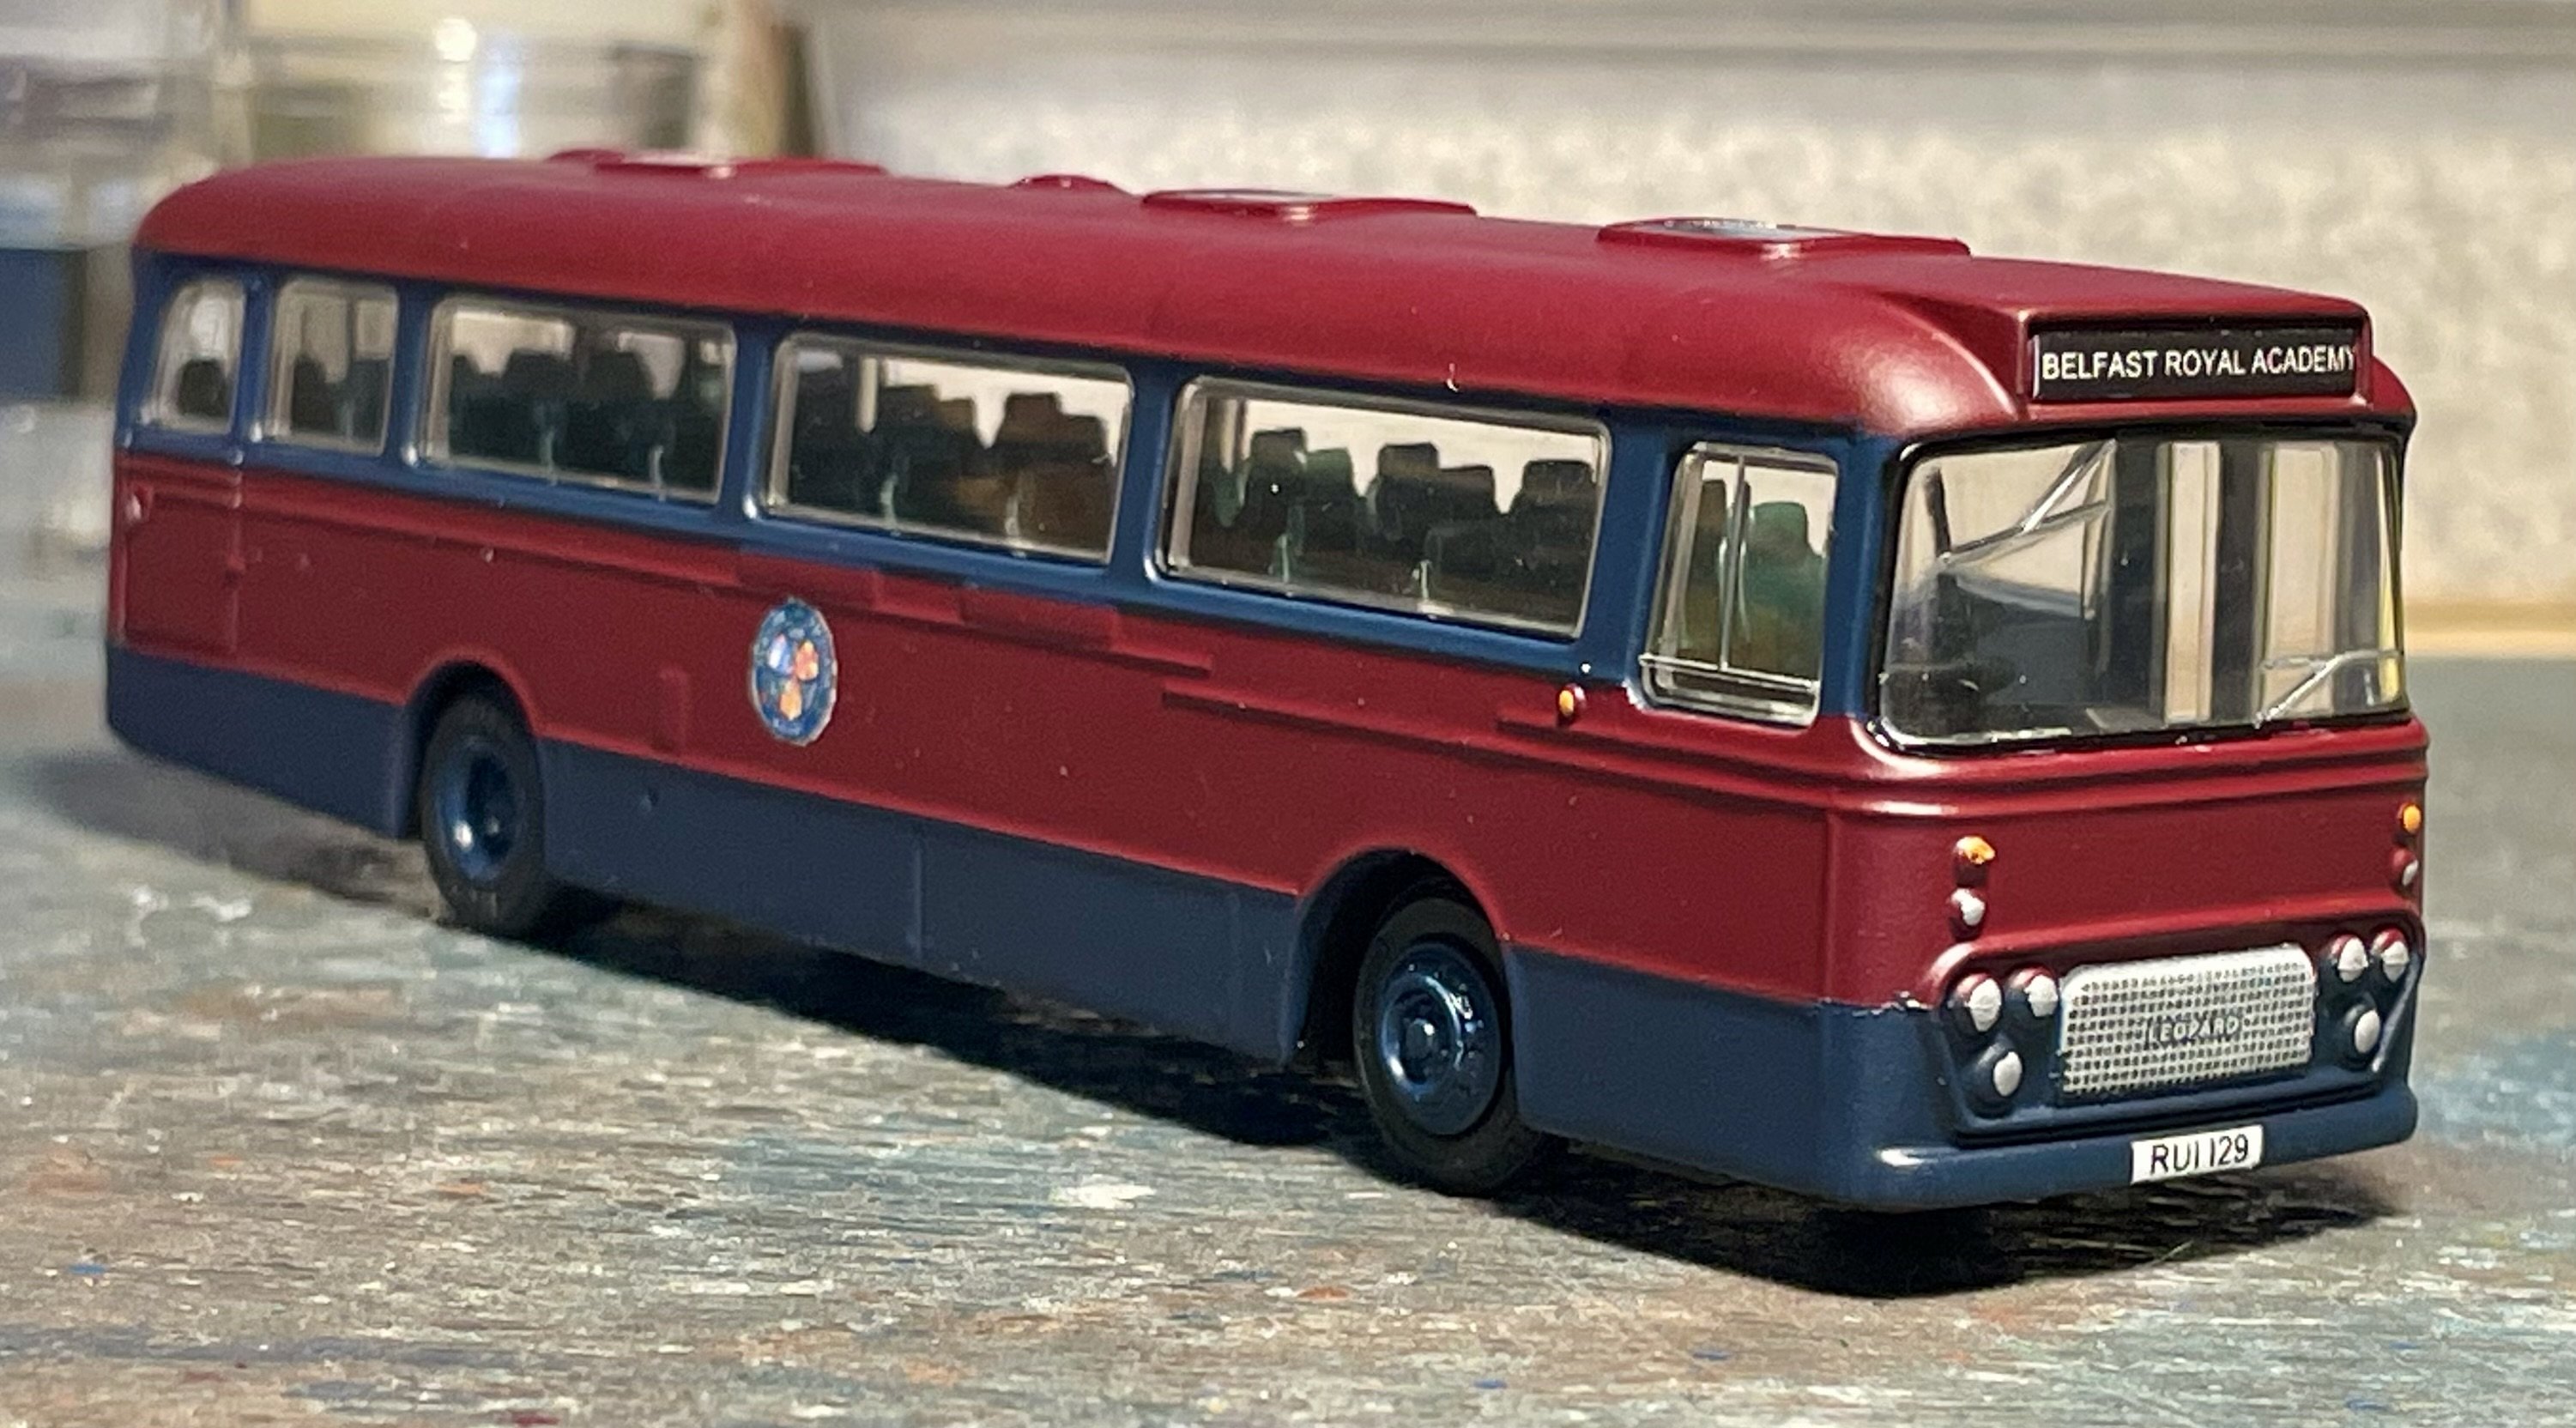
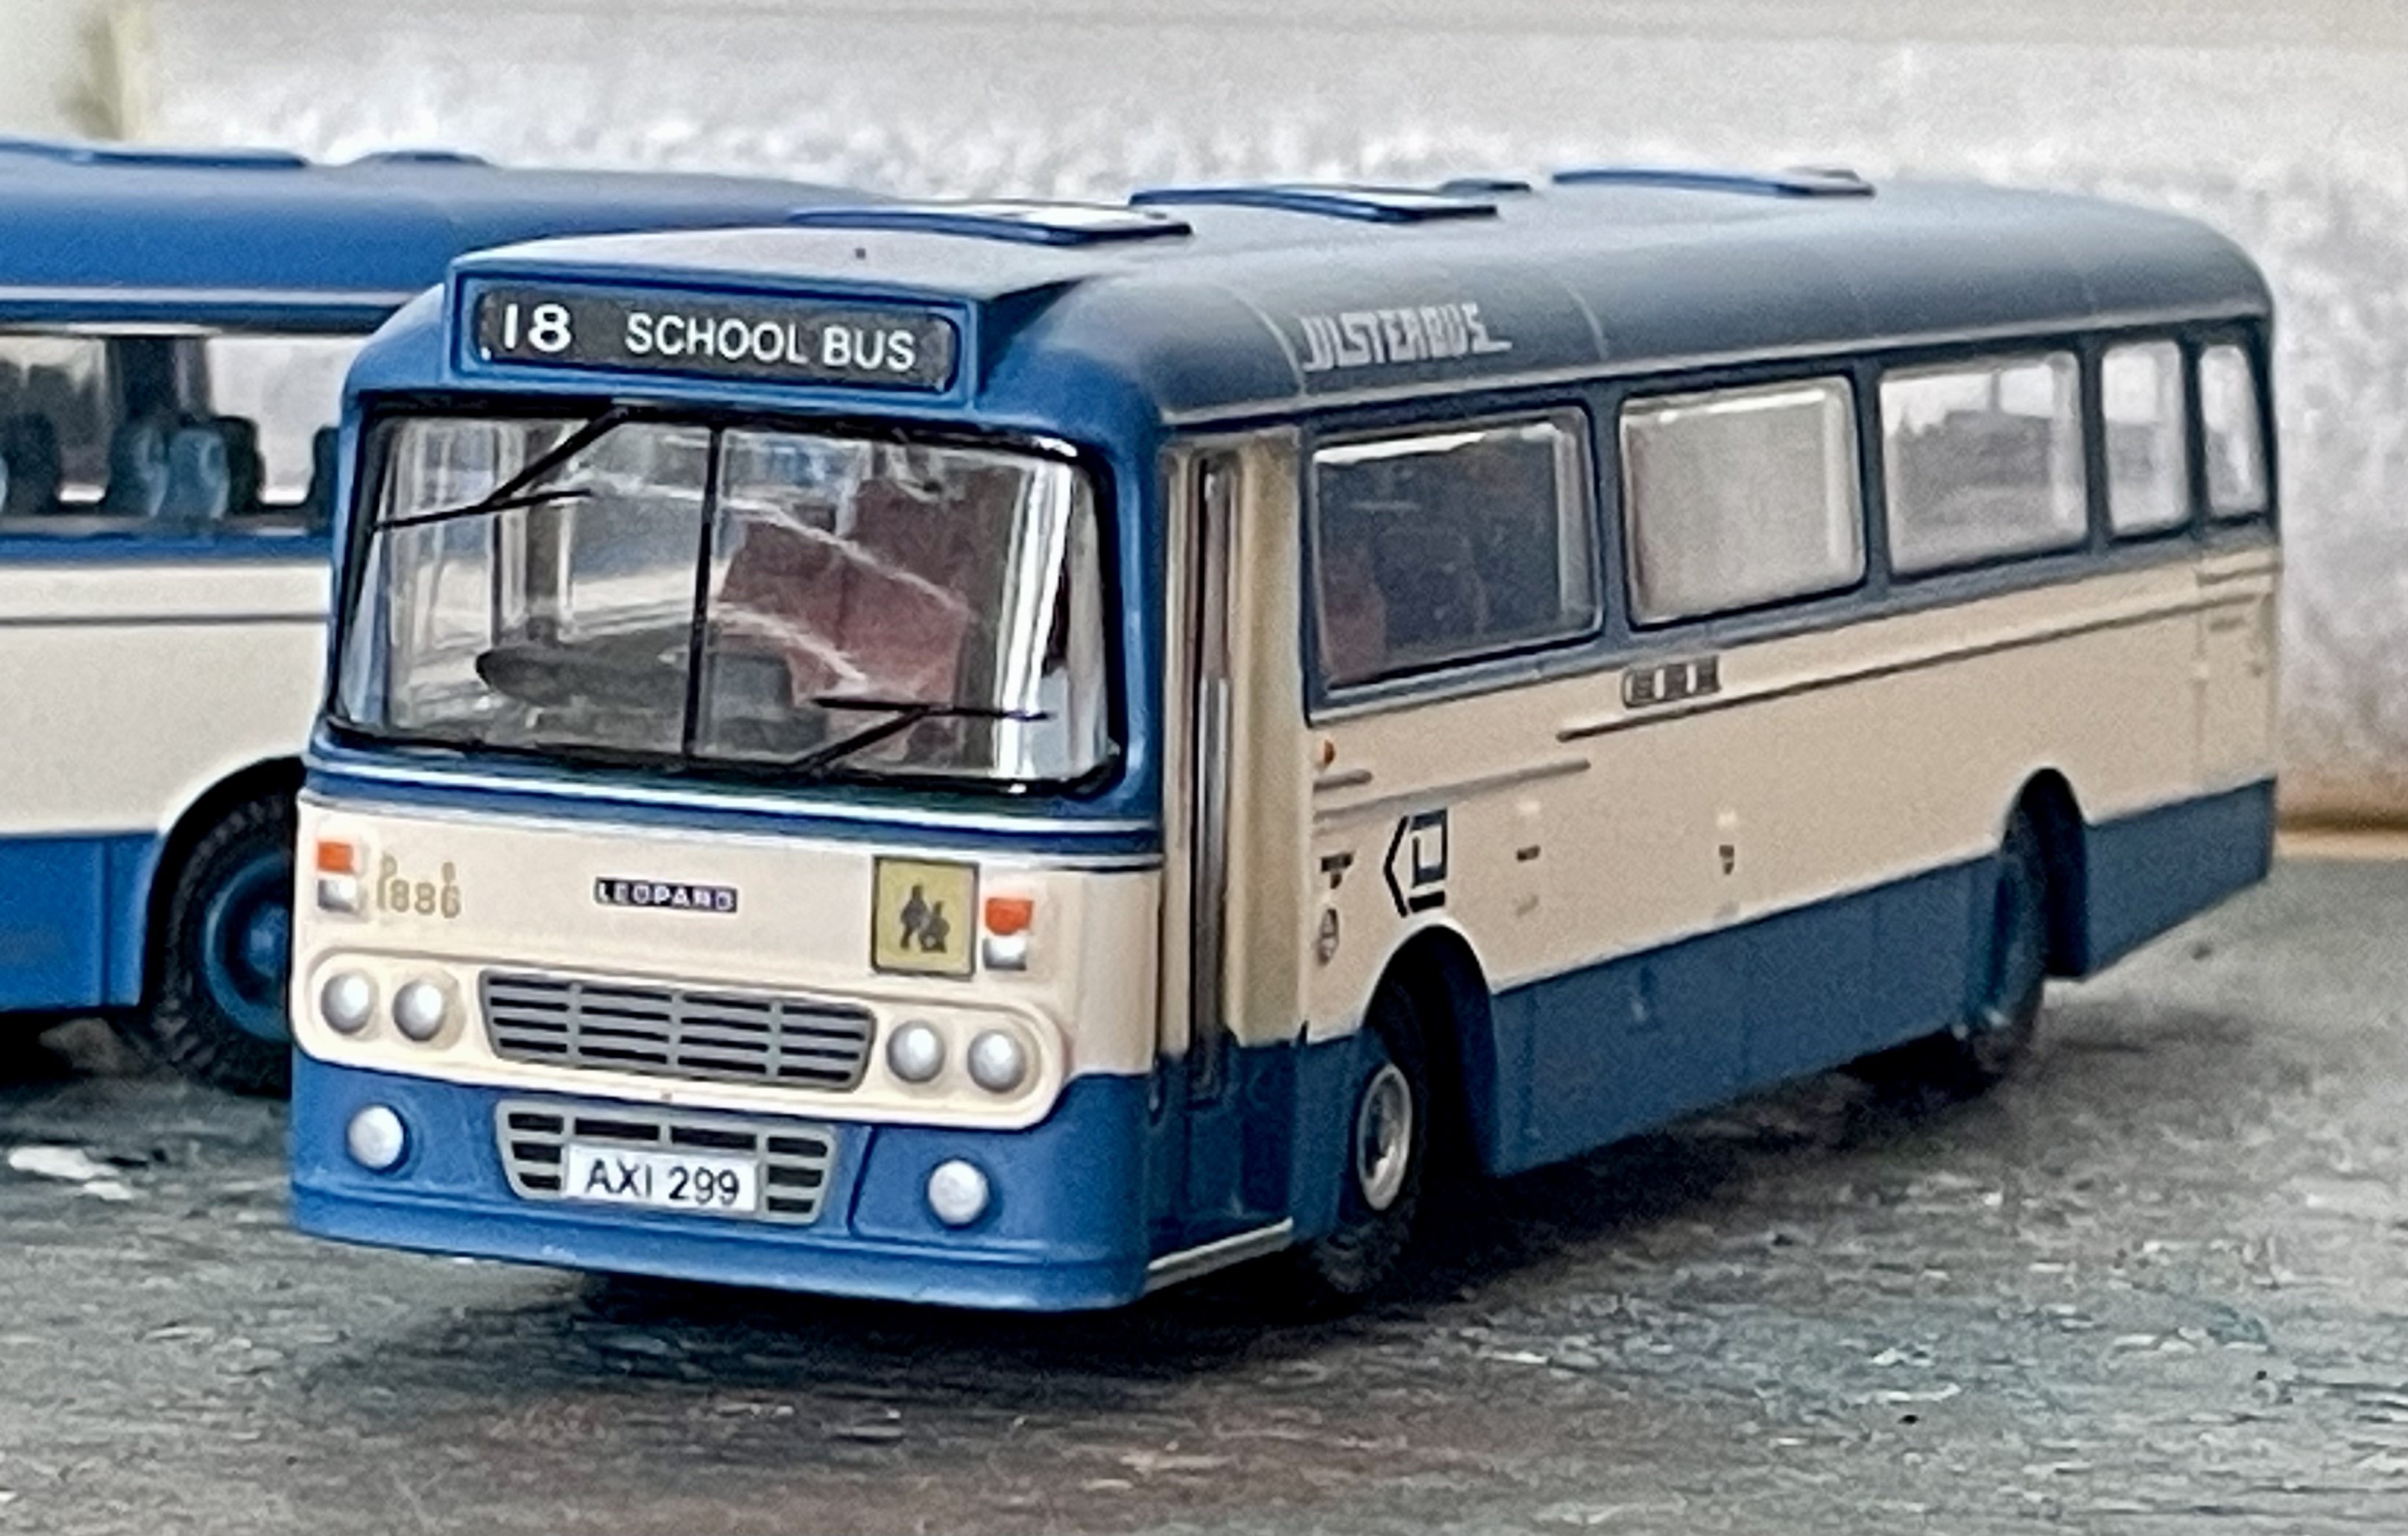
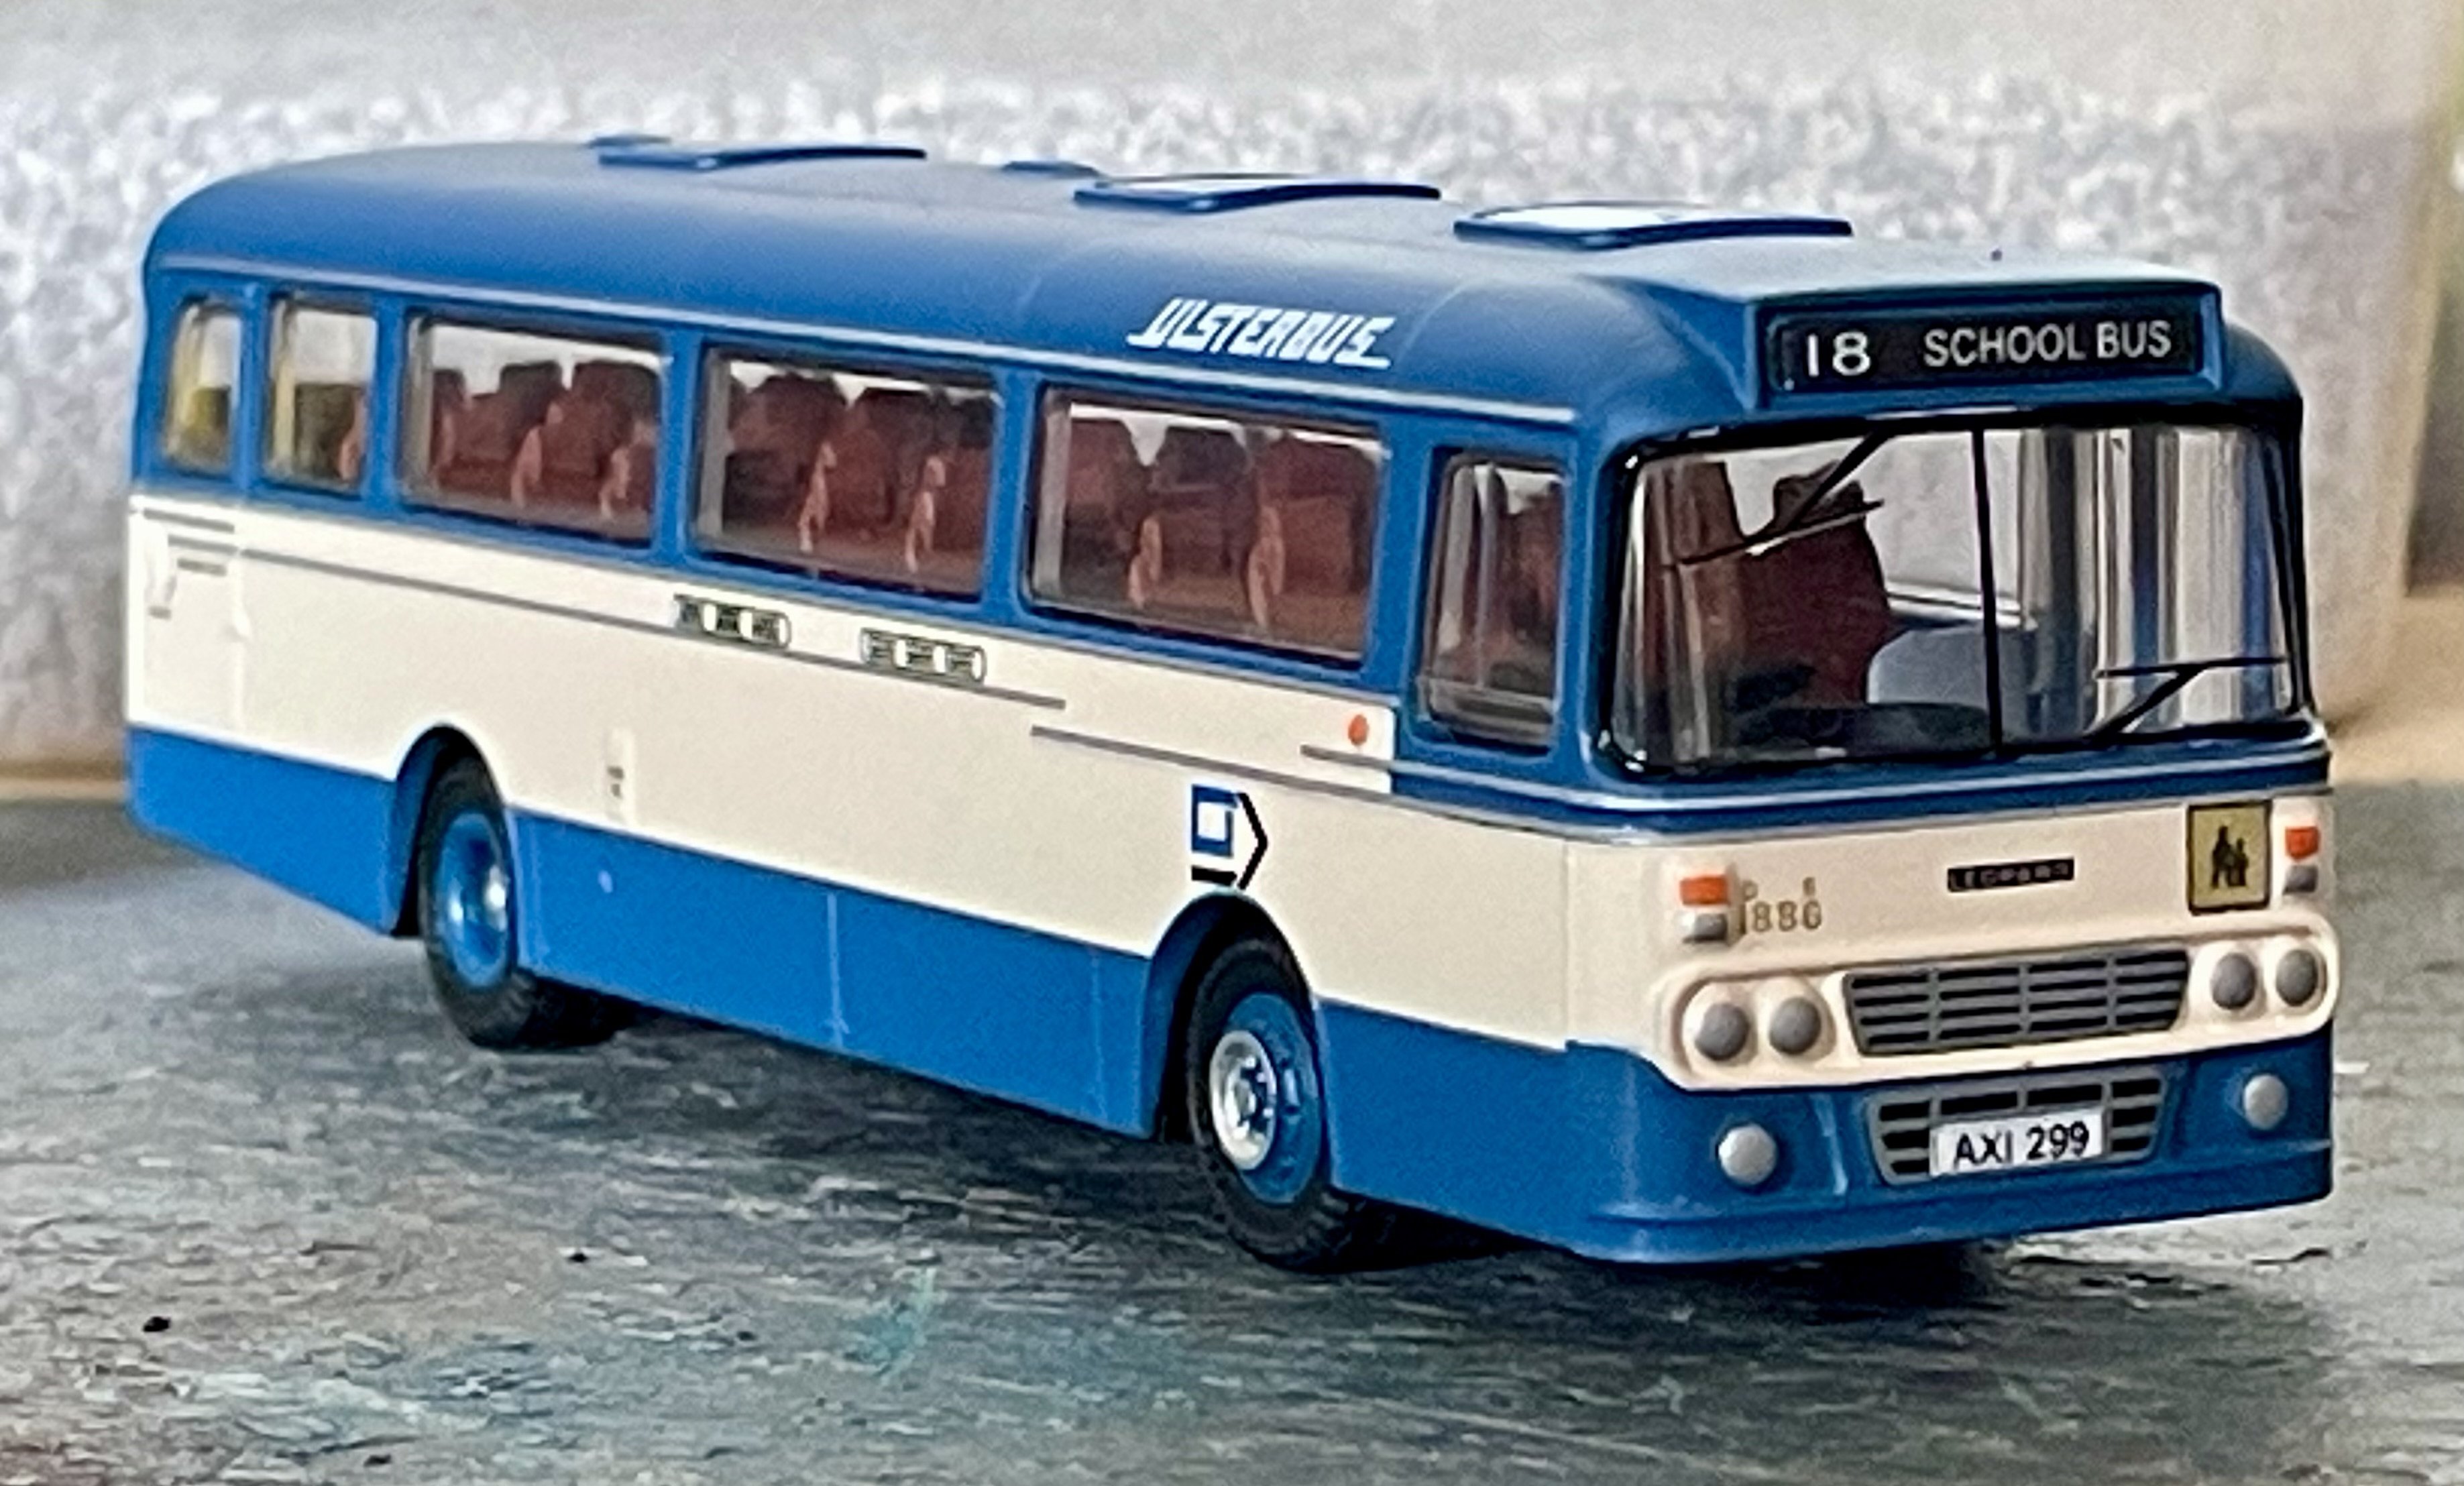
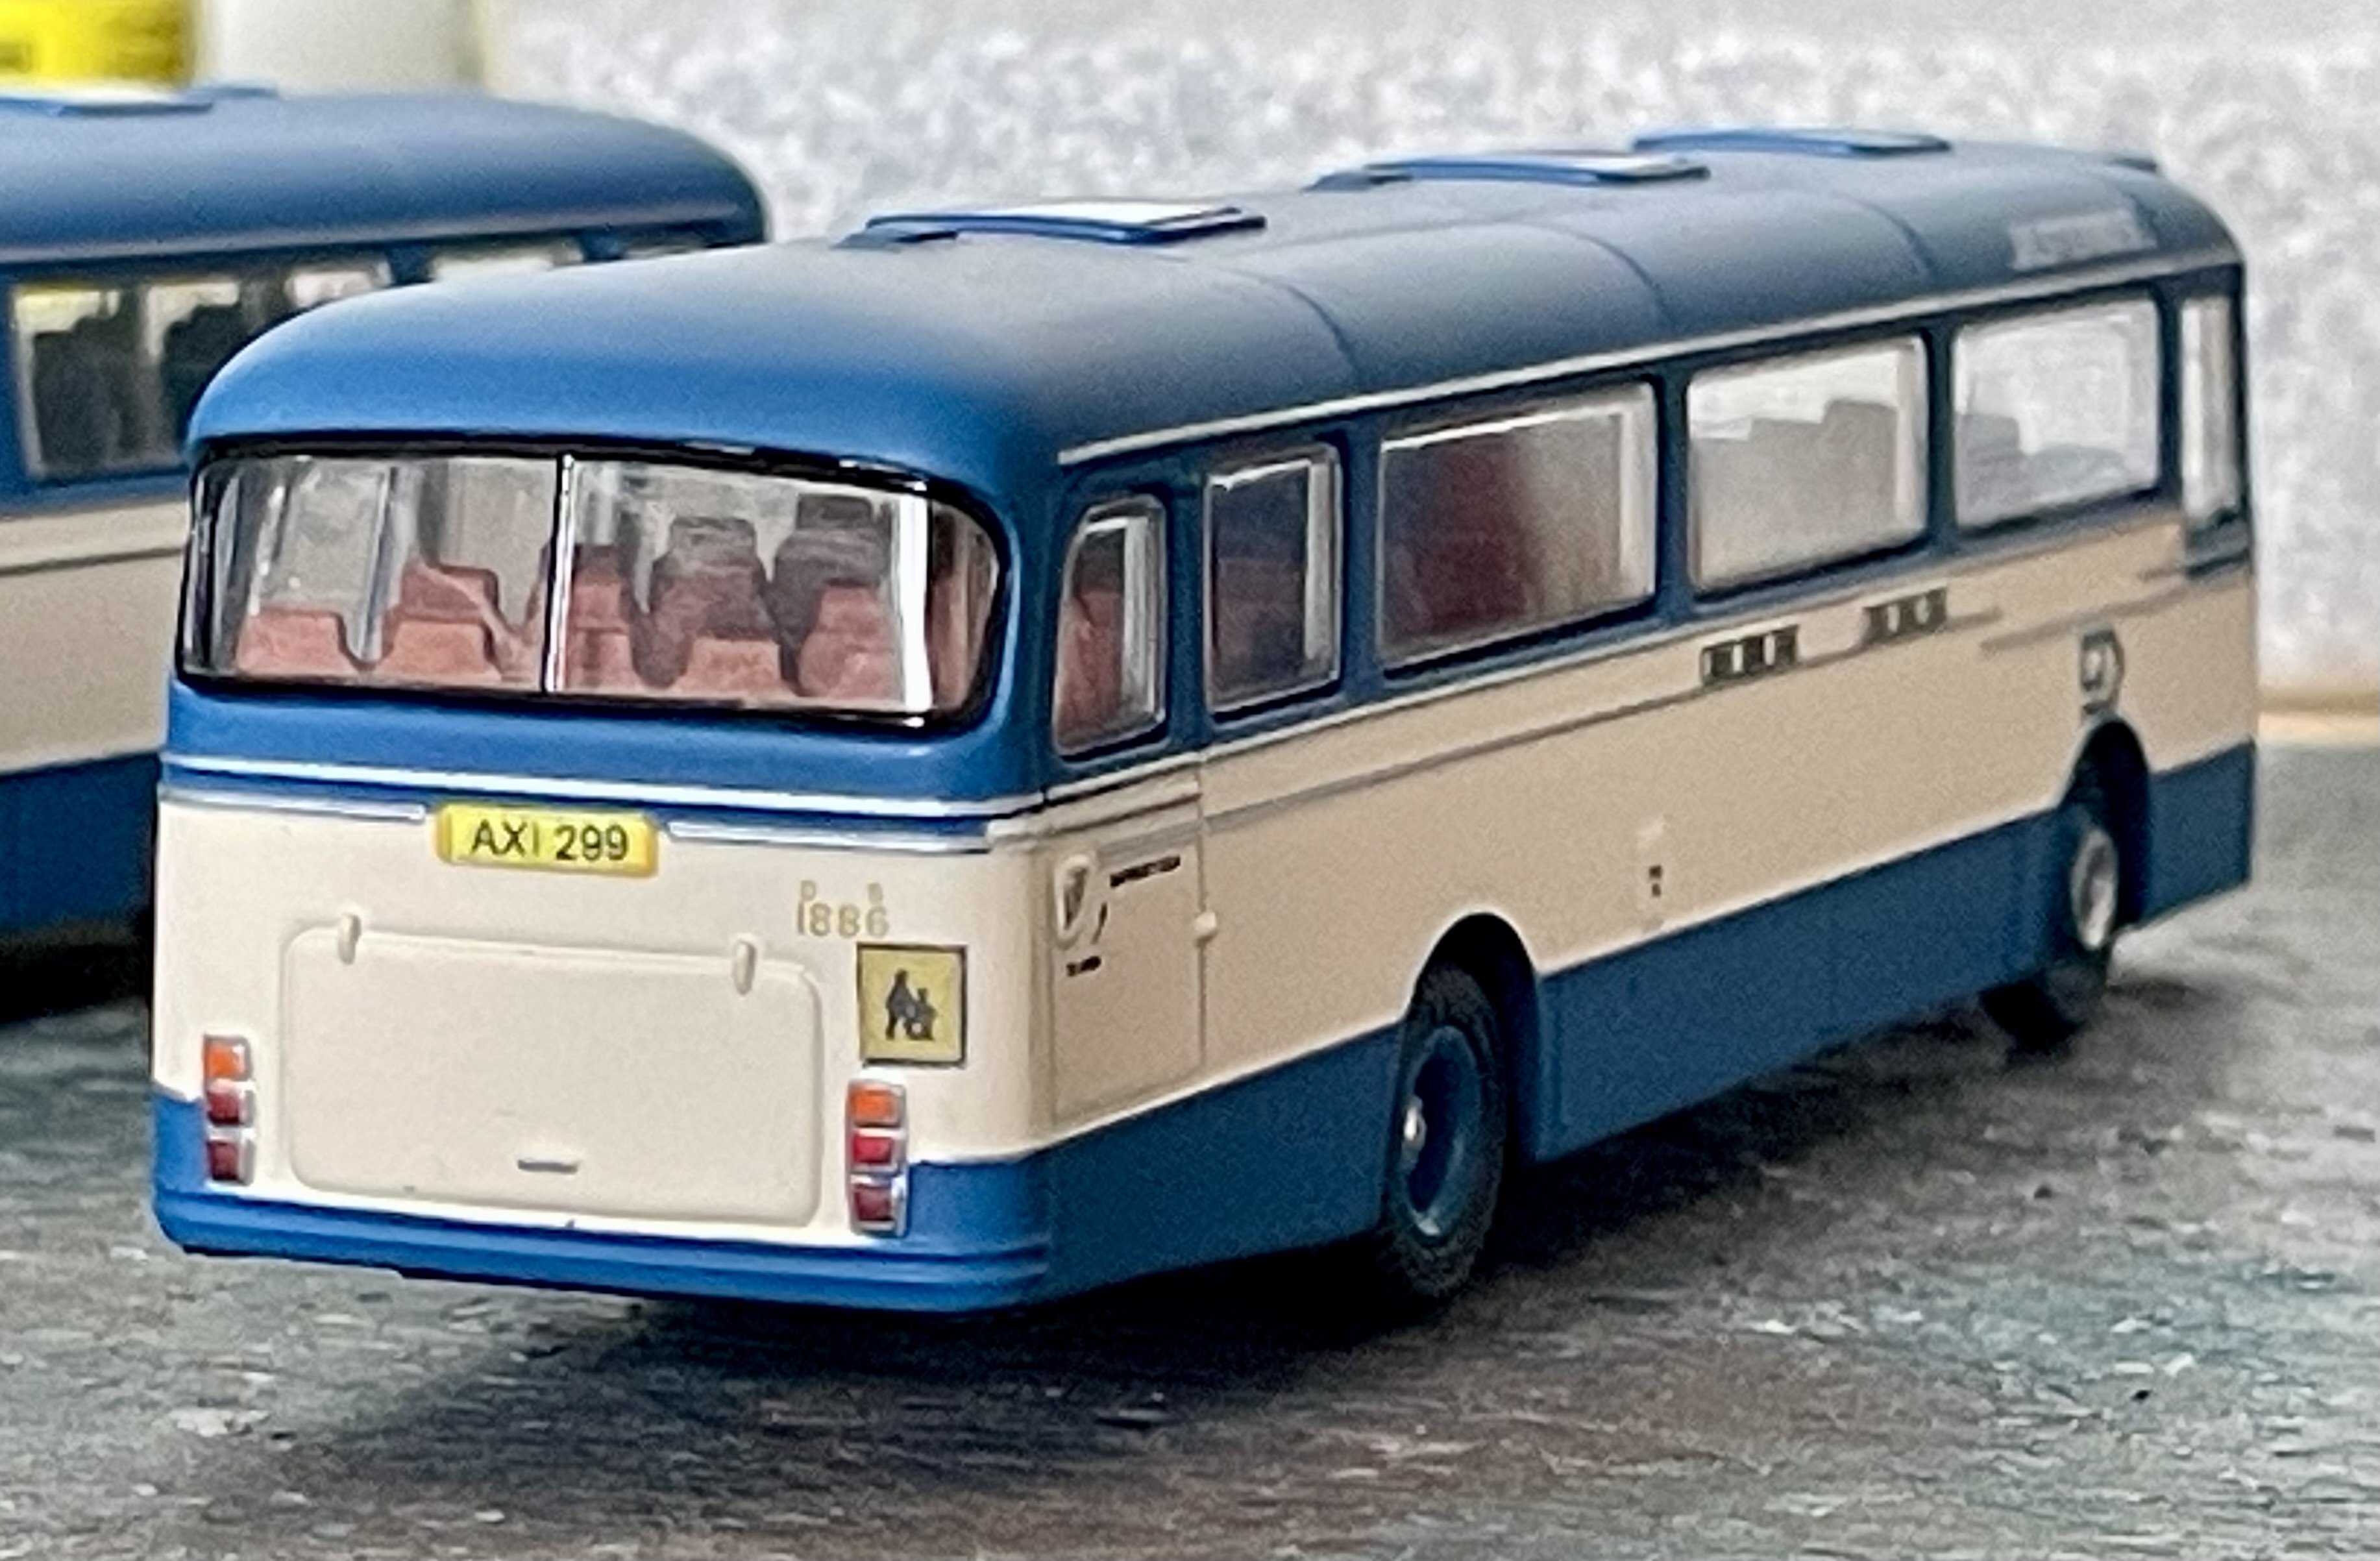
Steering the thread back to modelling, the school bus model is like the one that used to take us to Saturday hockey matches against Wallace High School in Lisburn and, on one occasion, Coleraine Inst. Cheers Darius
-
Leyland Tiger - I left Belfast for university and then work in 1983 so the Leopards are the busses I remember. Cheers Darius
-
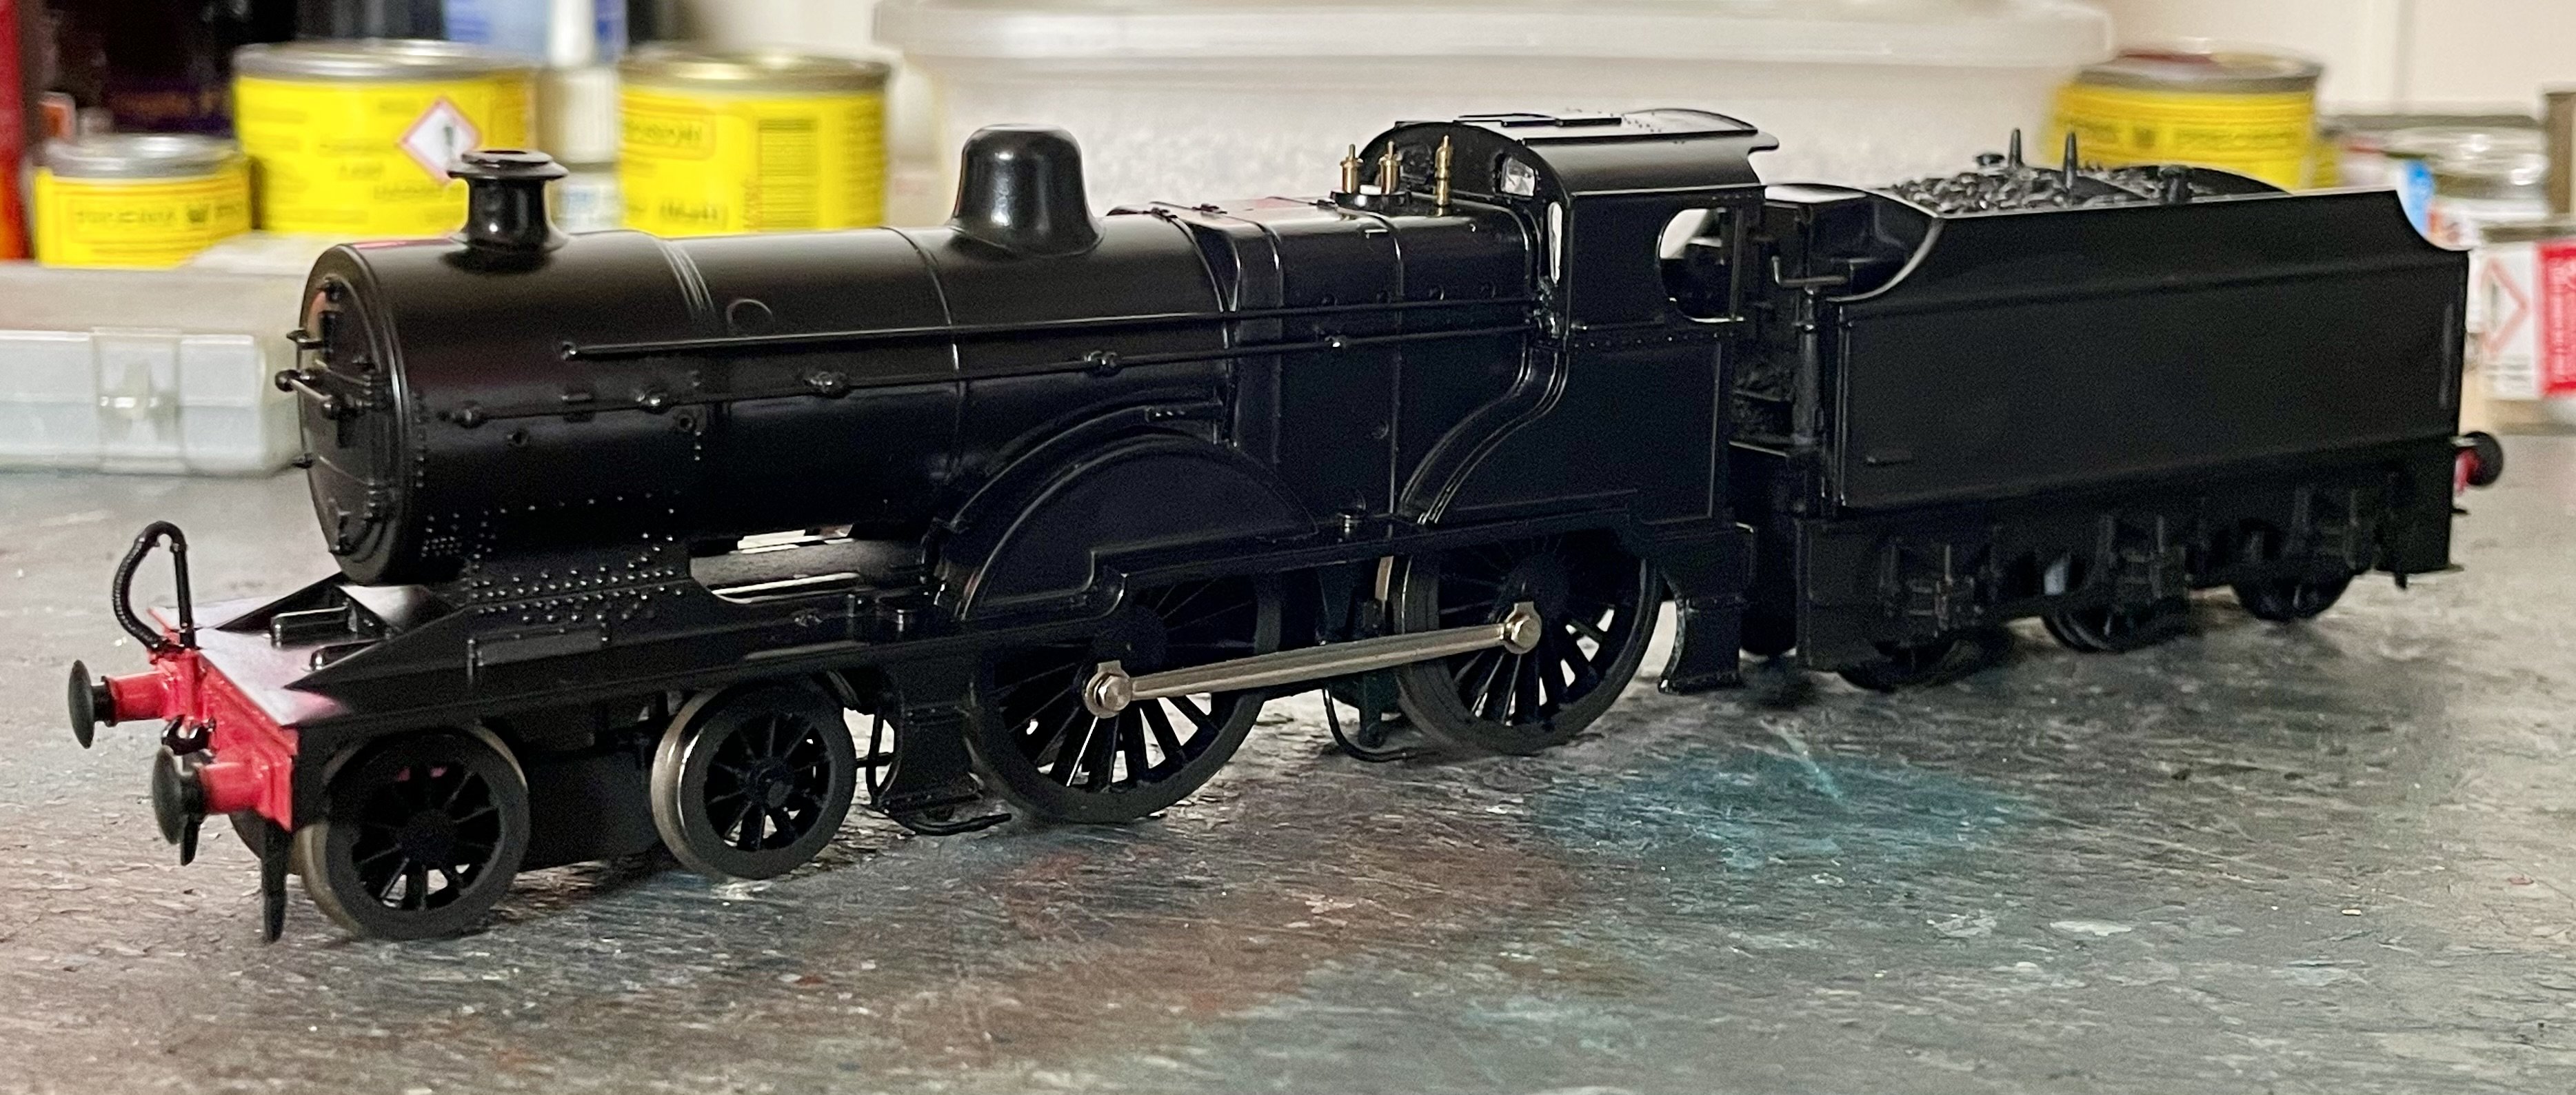
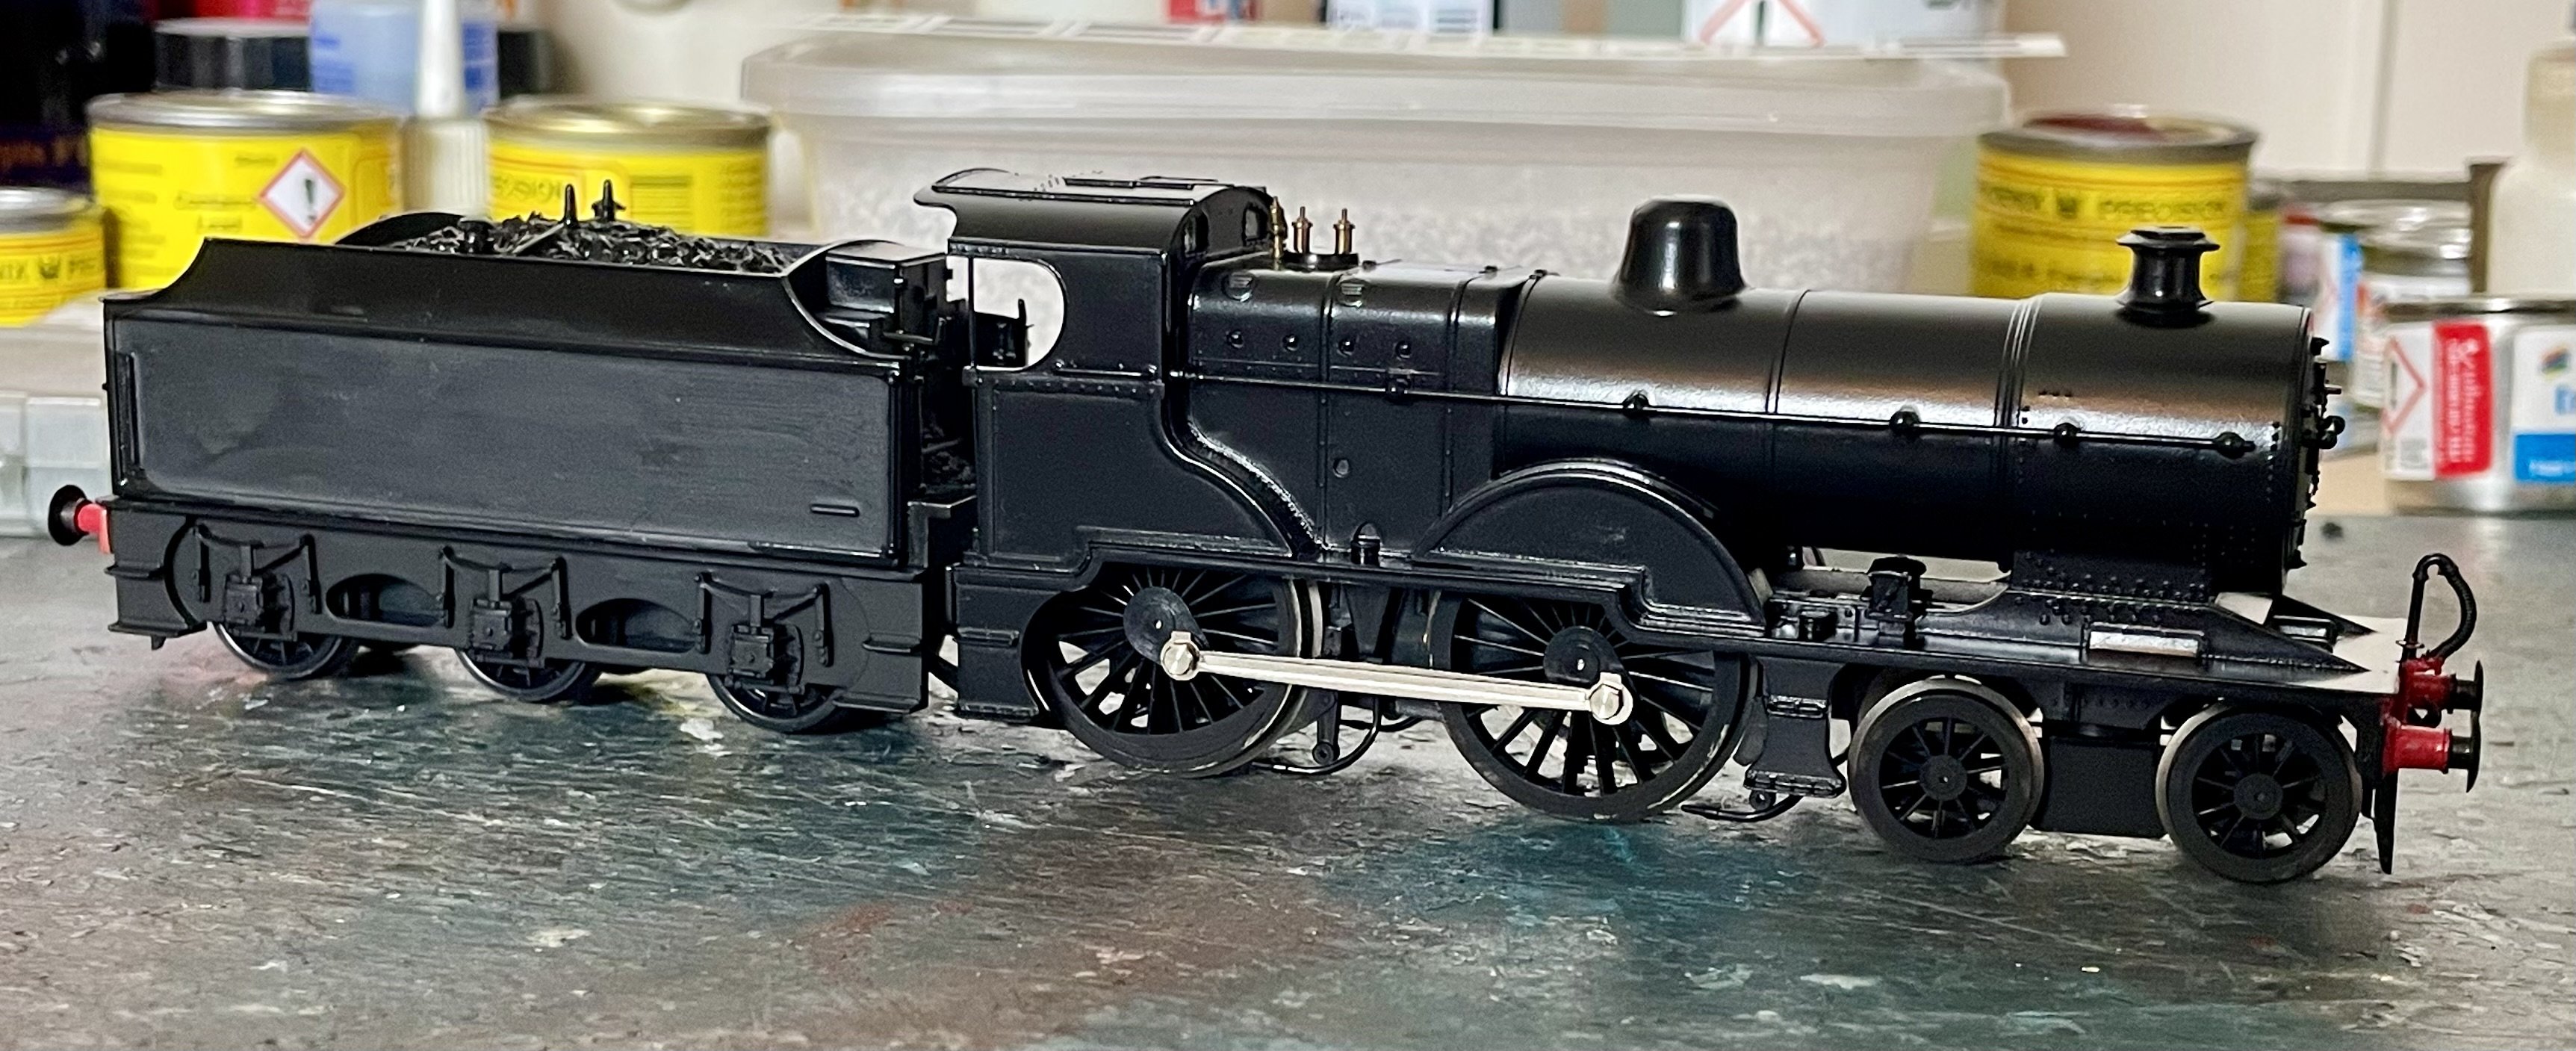
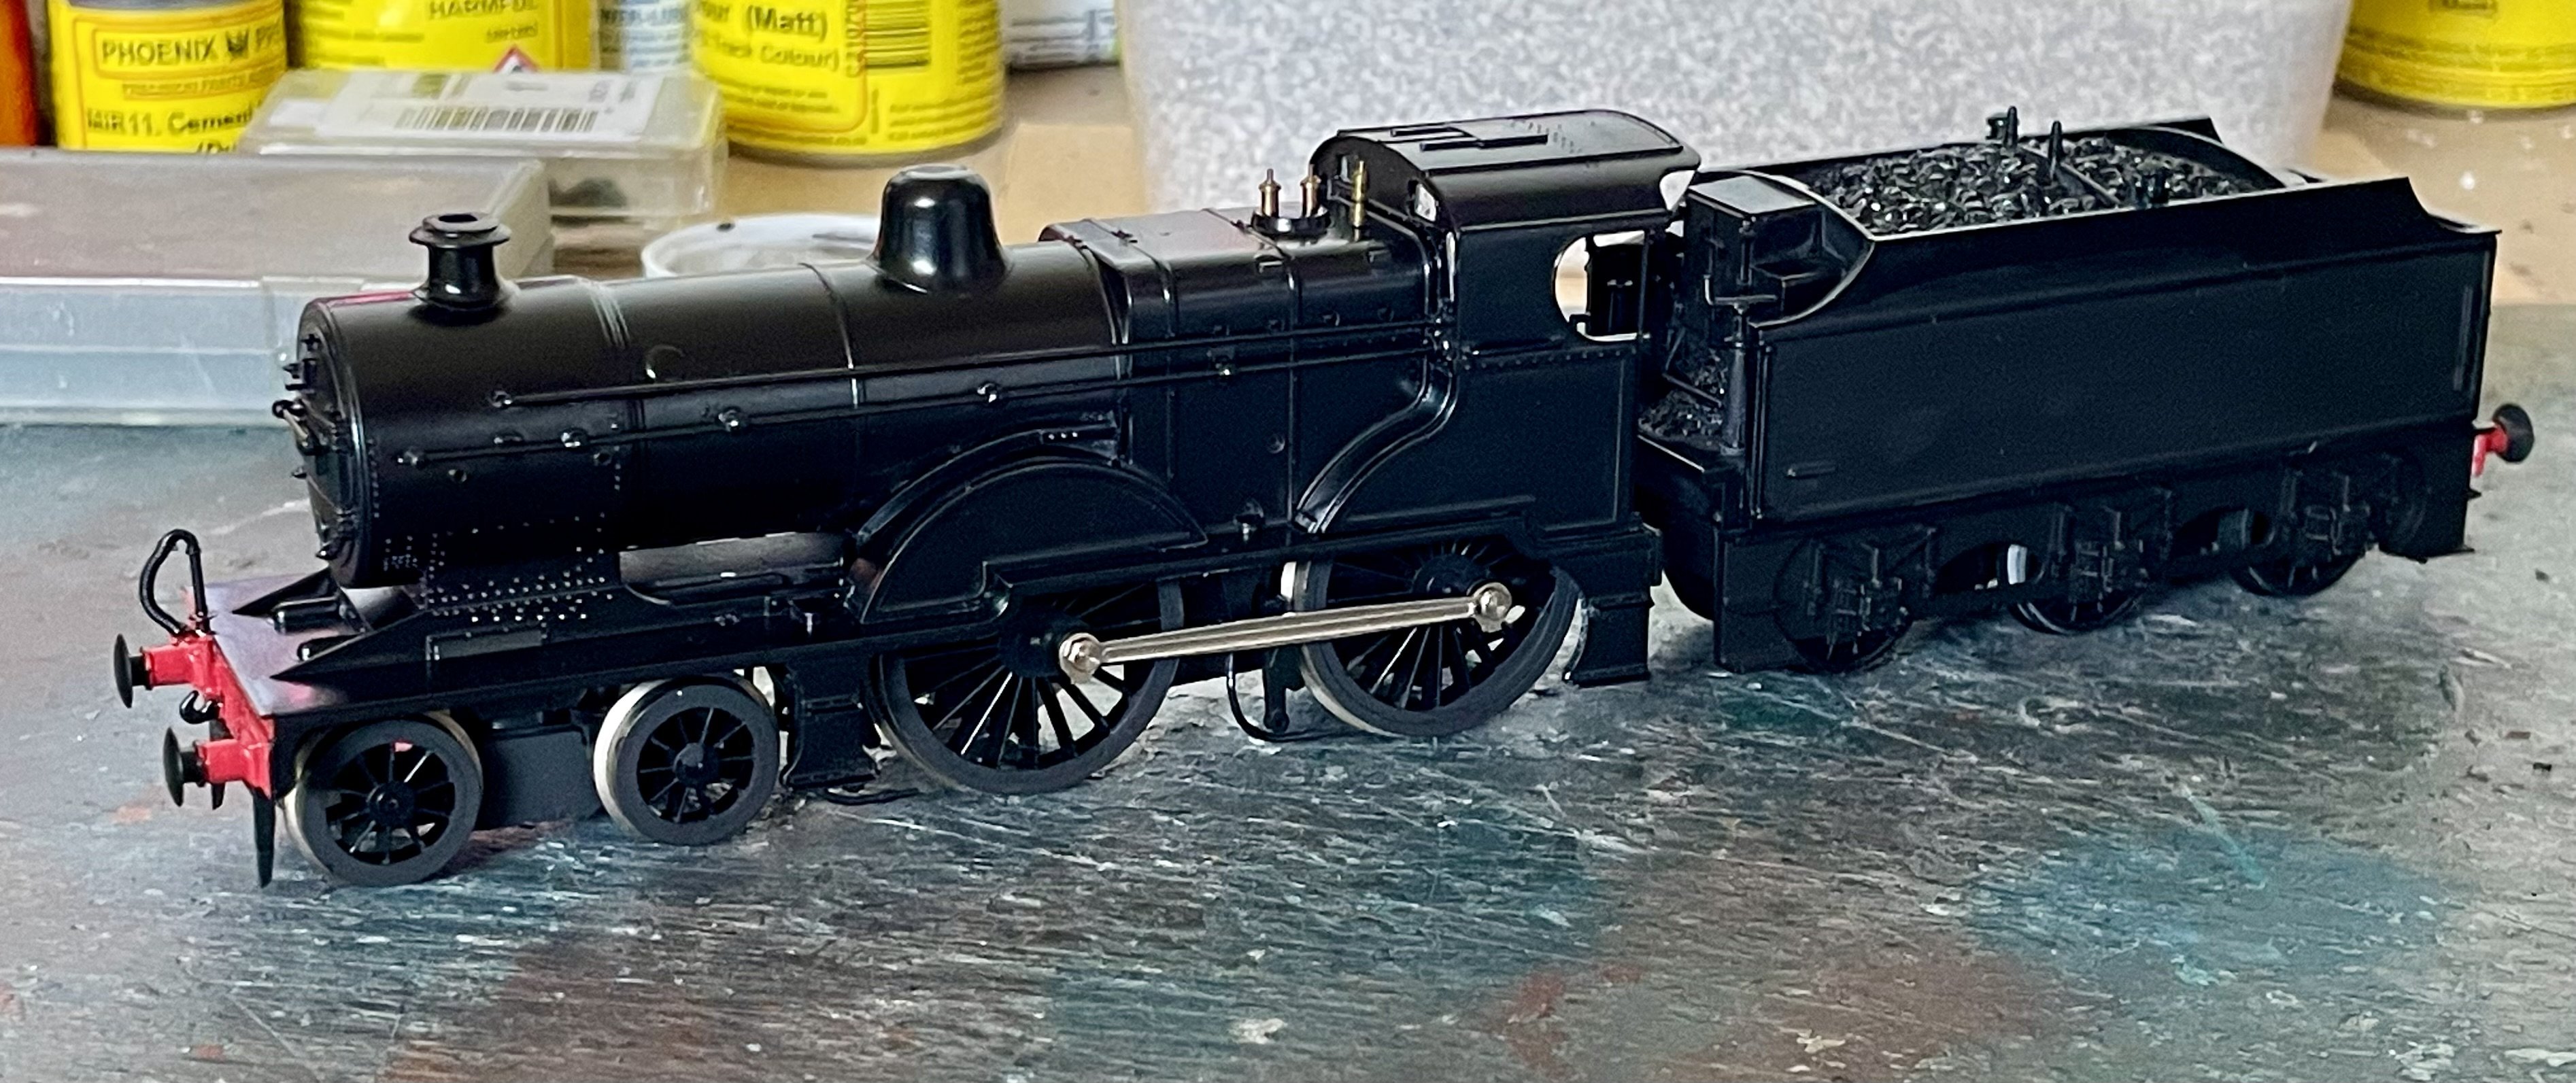
- Disassembled loco. - Removed whistles and cab glazing. - Removed LMS lettering and numbers. - Removed some bodyside equipment. - Removed pony truck brake shoes. - Refitted LHS boiler handrails. - Added boiler pipework. - Primed and repainted body and tender satin black. - Painted edges of driving and pony truck wheels black. - Refitted driving wheels - at least four times. - Reassembled loco. Cheers DariuS
-
Alas that’s the way Dapol made it. Cheers Darius
-
Oops - sorted. Cheers Darius
-
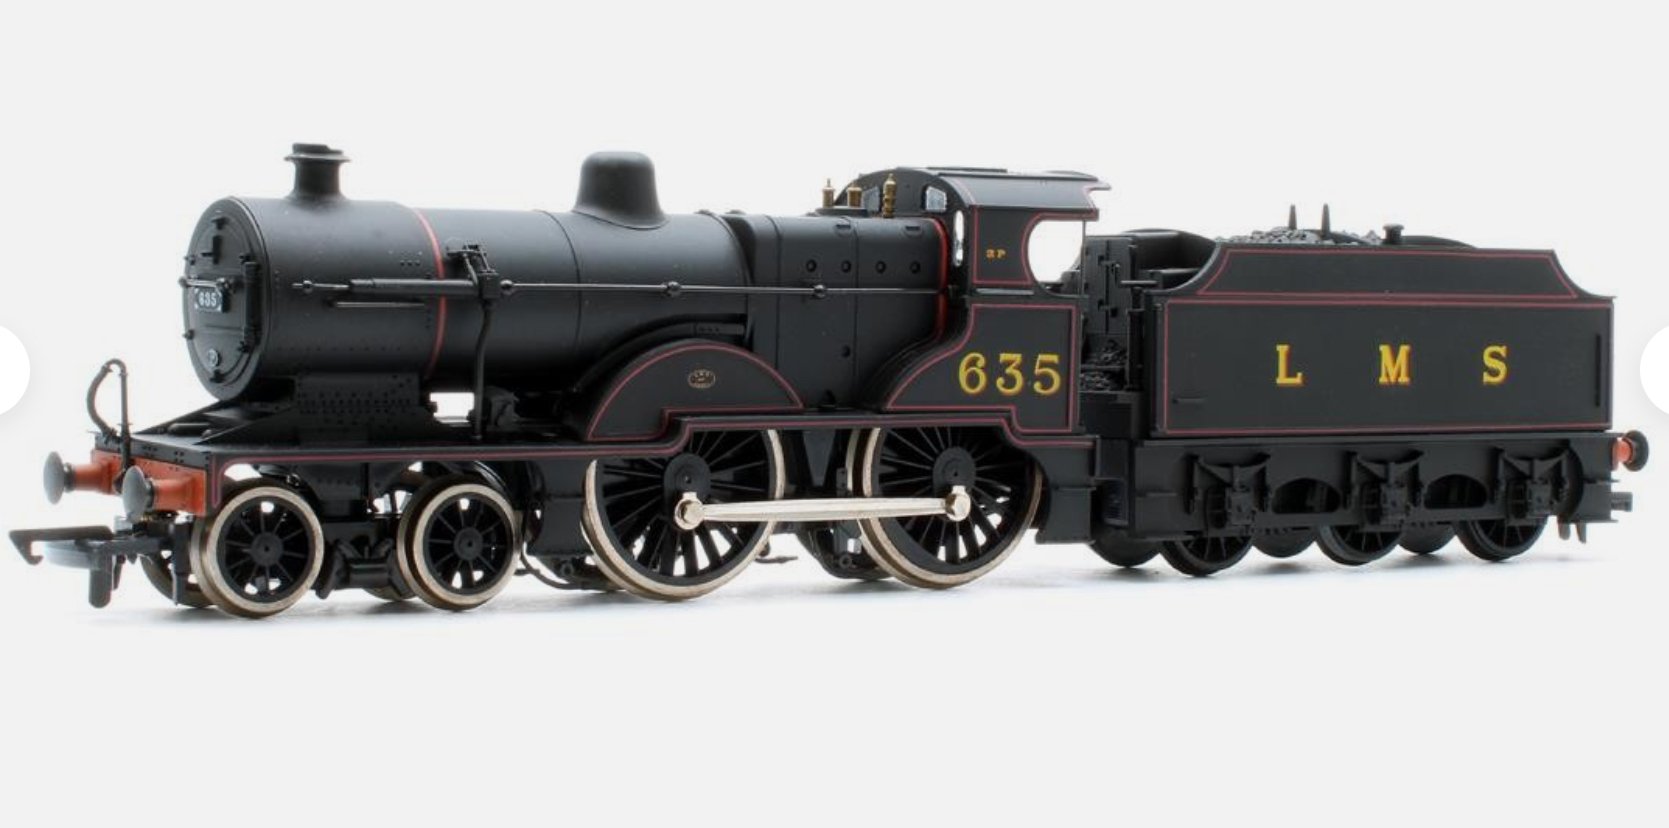
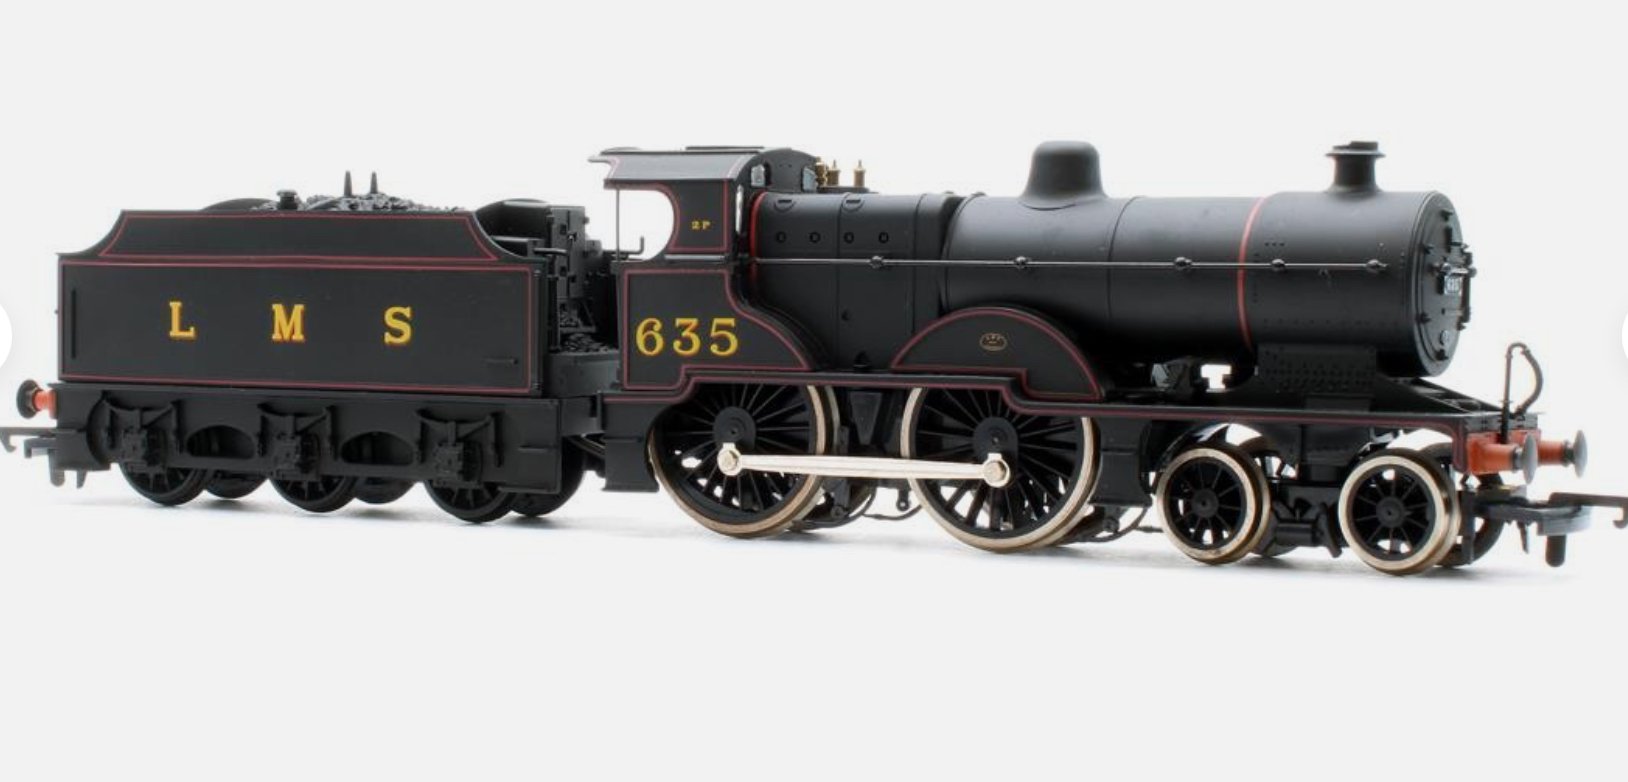
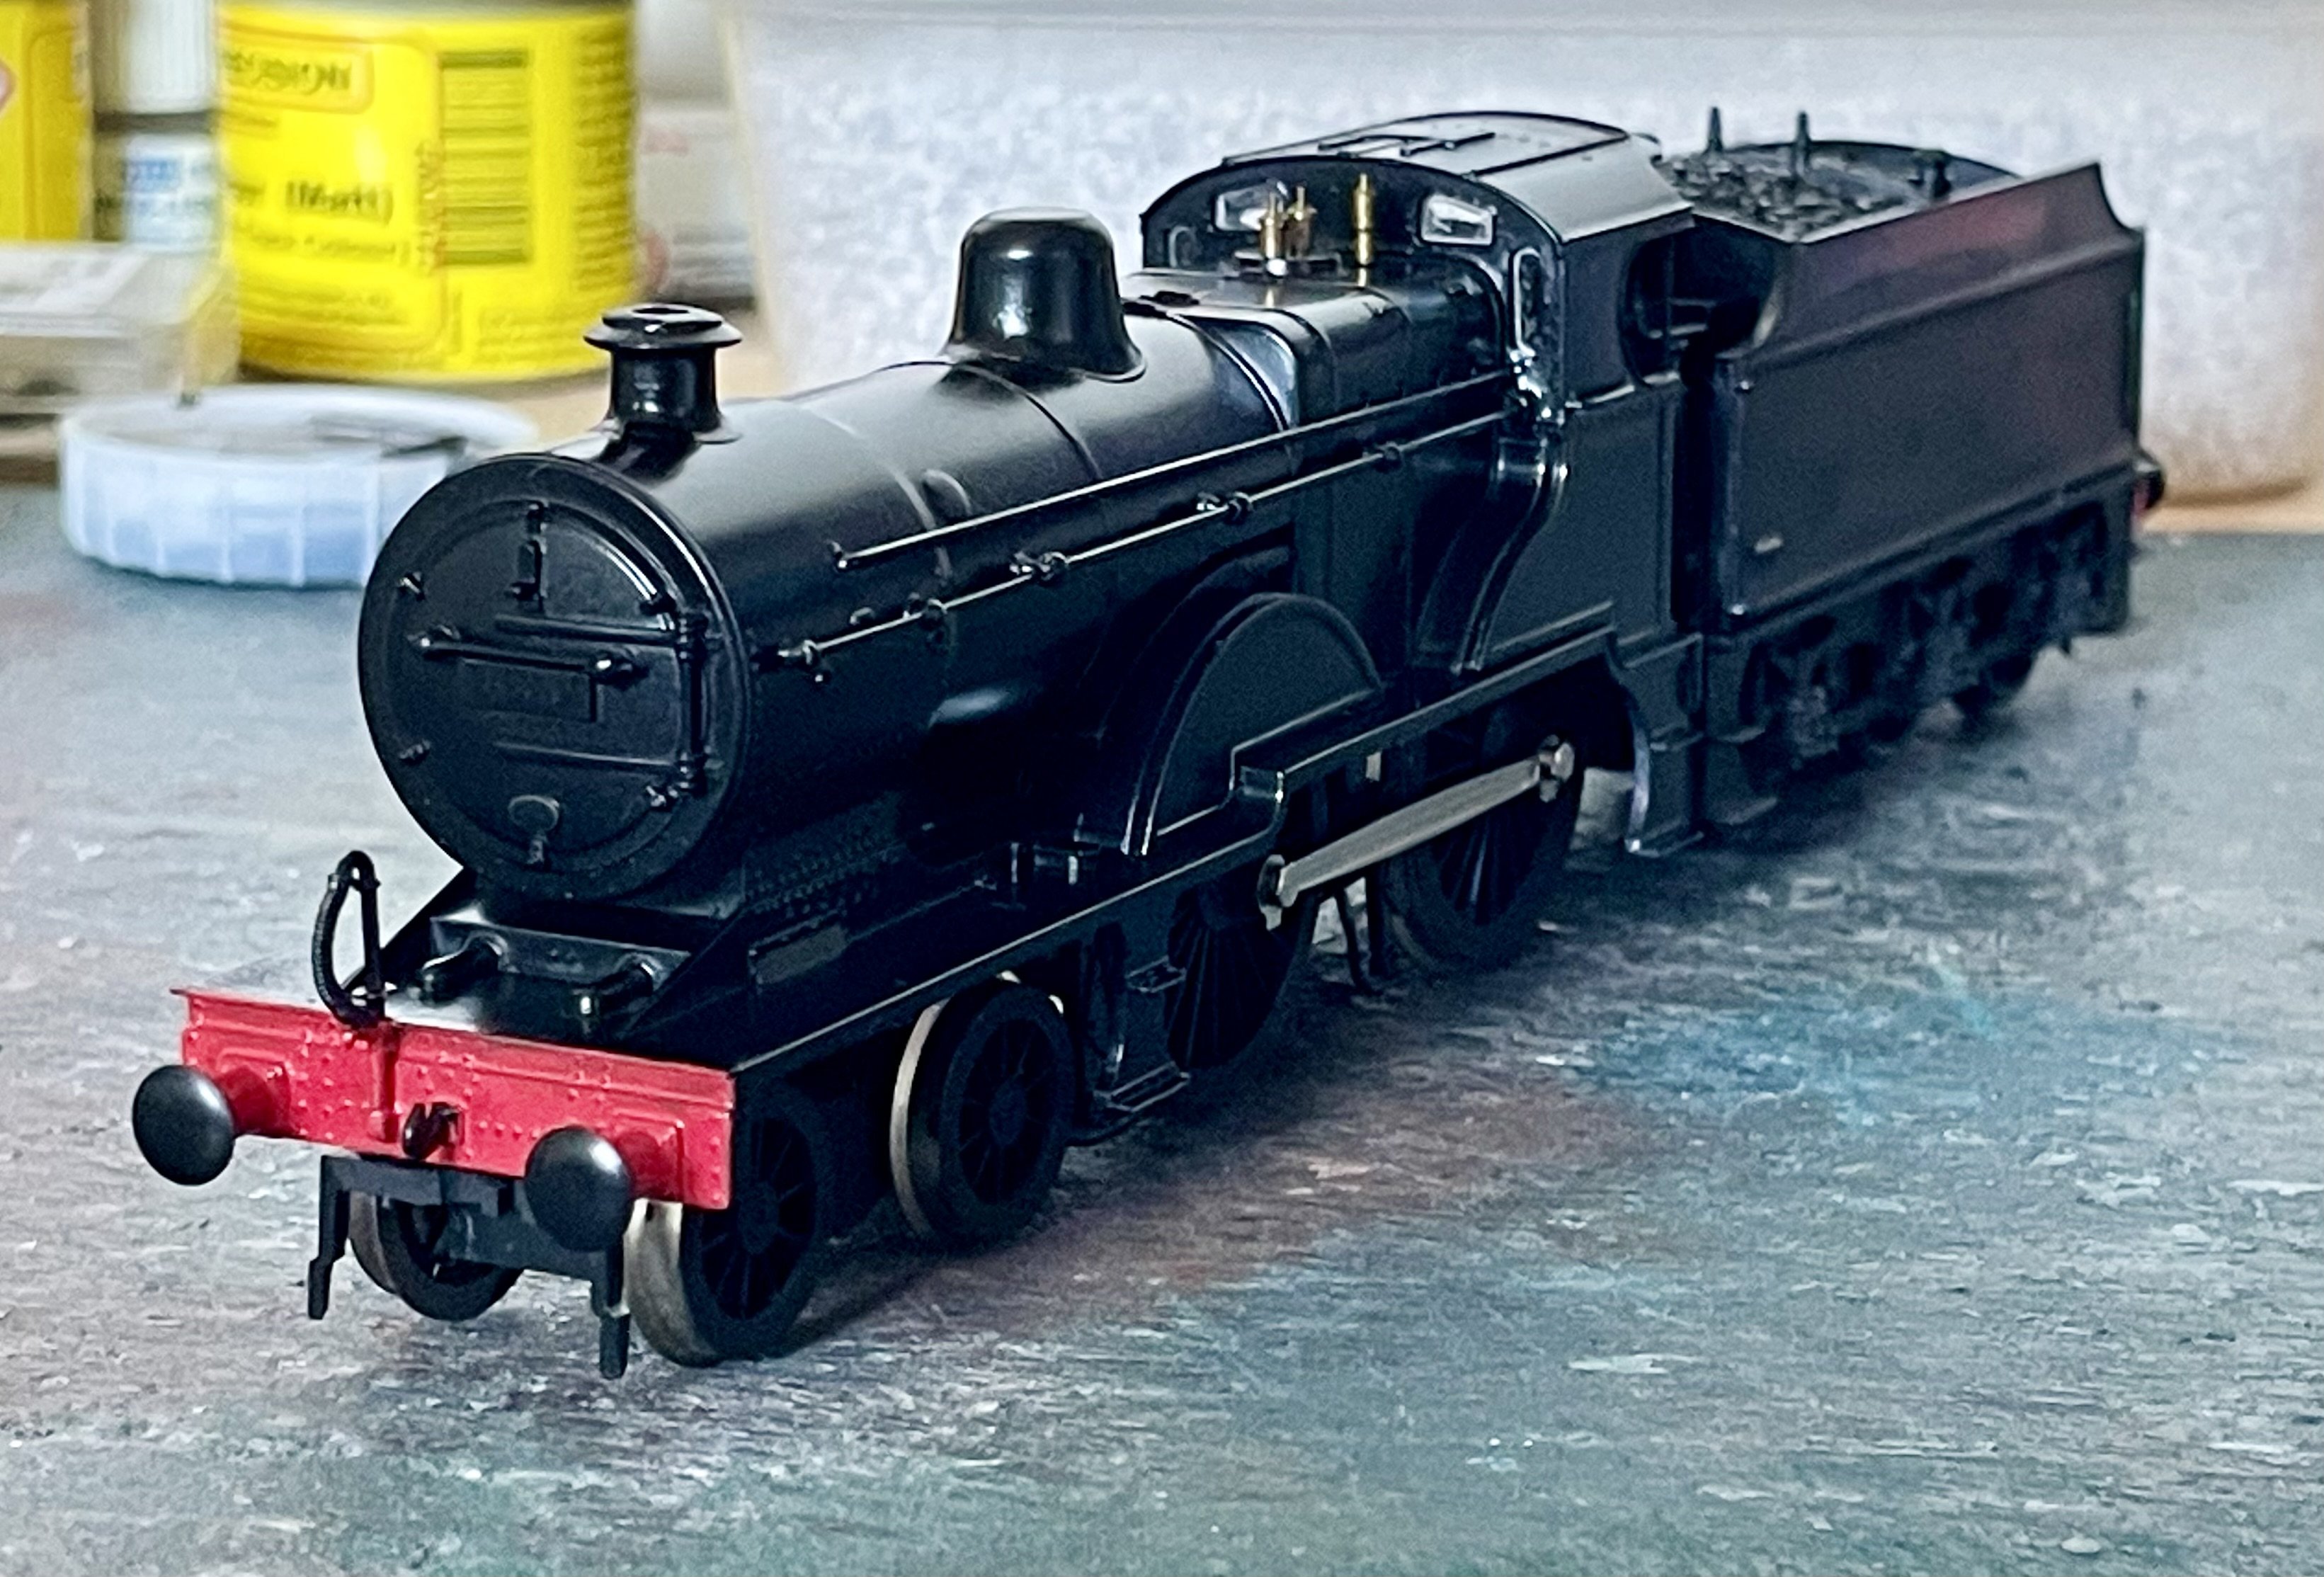
Modified Dapol LMS 2P in progress. Cheers Darius
-
And another makes three. Cheers Darius