

irishthump
-
Posts
1,840 -
Joined
-
Last visited
-
Days Won
7
Content Type
Profiles
Forums
Resource Library
Events
Gallery
Blogs
Store
Community Map
Posts posted by irishthump
-
-
Rich.... (Glenderg not the Red one!)
Could you make any recommendations as far as print settings, print media and even printers if necessary(!) for the reproduction of your gifts to us. Having seen the absolutely exquisite quality of the colour fidelity of your work, I wondered if you had any tips to impart? Please!
 <- winning smile!
-Rob
A good point Rob!
Rich, what printer would you recommend for this? I have access to a laser printer at work which I find produced better results for the brick pattern I have been using.
-
Plenty of 141's and 171's on view and sone nice footage of the locos running around their trains.
Particularly enjoyed the Ballina shuttle thundering through that level crossing... Watch for trains is right!
-
I used some of the older Hornby MK3's and you can see how they turned out on my workbench pagehttp://irishrailwaymodeller.com/showthread.php/77-Graham-s-Workbench/page2
I used these as I had picked then up very cheap on Ebay and while I'm very pleased with the result they were difficult to repaint because of the glazing not being seperate. You can see in the pics that a lot of tedious masking was needed. The coaches are also shorter than the prototype.
-
Now that one really made me laugh!
-
Glad to hear you're ok man, some "weathering therapy" would be just the ticket I reckon!
-
In my case I've pretty much standardised on the Bachmann small coupling, it's 'wrong' but I think a kadee is just as 'wrong' - Just my opinion, and I completely respect and admire those that use and persevere with kadees.
-Rob
Well my use of Kadees is purely for the convenience of uncoupling and the ability to shunt stock to anywhere on the layout and just leave it there! The prototypical arguement does'nt even come into it... And you're right, the Kadees take a bit of perseverance to get them working consistantly.
Have you tried the Brian Kirby modification to the Bachy couplers? Before switching to Kadees I was experimenting with that method, and it works very well. Although you can't
shunt after uncoupling, it works beautifully.
-
Just a few thoughts on the neodynium magnets for uncoupling...
I tried this myself when I started using the Kadees with magnets of various shapes sizes. The main problem I found
was that they were a bit too powerful, the problems arose when using the draft coupler box Kadees. The magnets
uncoupled fine but they pushed the couplers so far to the side that when you tried to push the wagon/coach you had
just uncoupled the Kadees missed each other and you ended up contacting buffer-to-buffer. This might be ok on straight lengths
of track but even slight curves caused buffer lock. It does'nt really happen with the NEM Kadees as the side to side
movement of the coupler head is far more restricted.
Another thing was that the effective uncoupling area was tiny and you had to position the couplers very precisely
over the magnets to get them to work. You have much more room for error with the Kadee magnets. Although I
agree that the over-track magnet looks a little odd!
Have you guys experineced any similar problems?
-
Patrick, that is a truly wonderful layout. I can't wait to see more on it!
-
Just came across this one today, apologies if it's already been posted.
-
Oh that has just made my heart glad. Scratchbuilding at it's finest, well done sir.
I dare ya make em sprung!
Richie.
Now that you mention it....
-
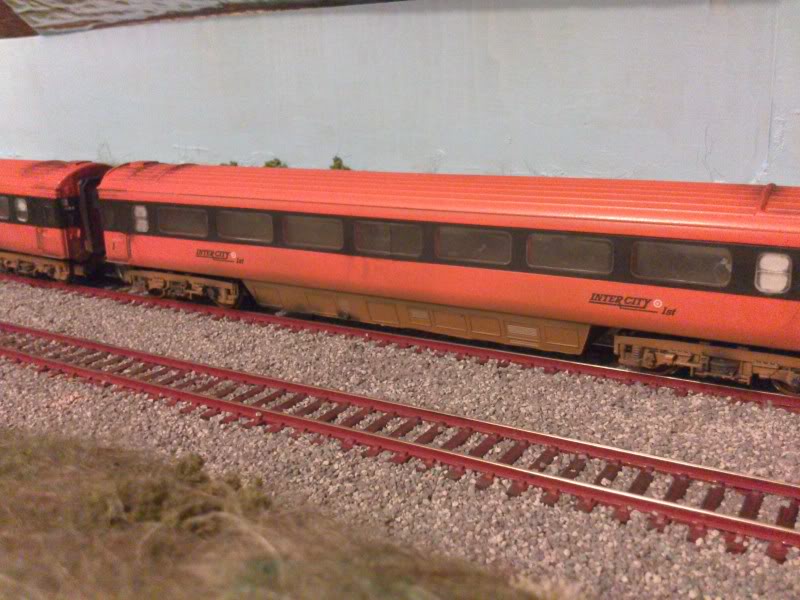
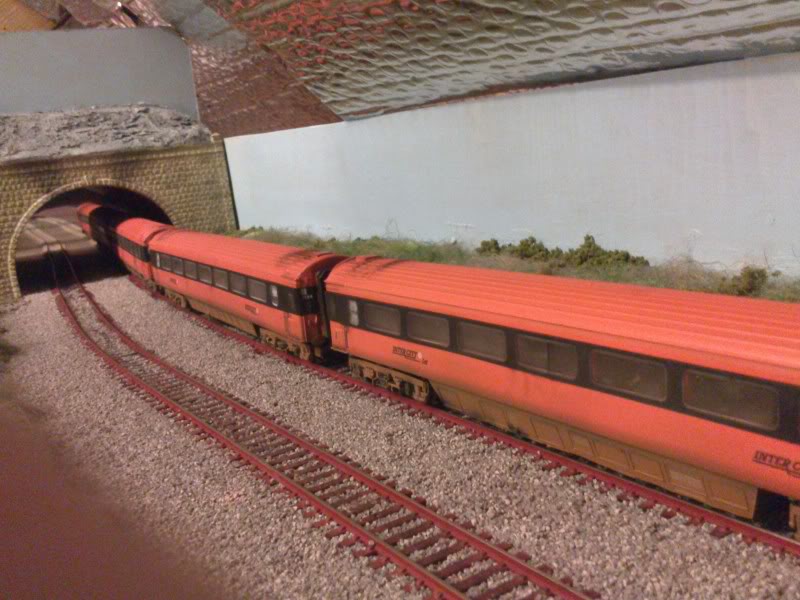
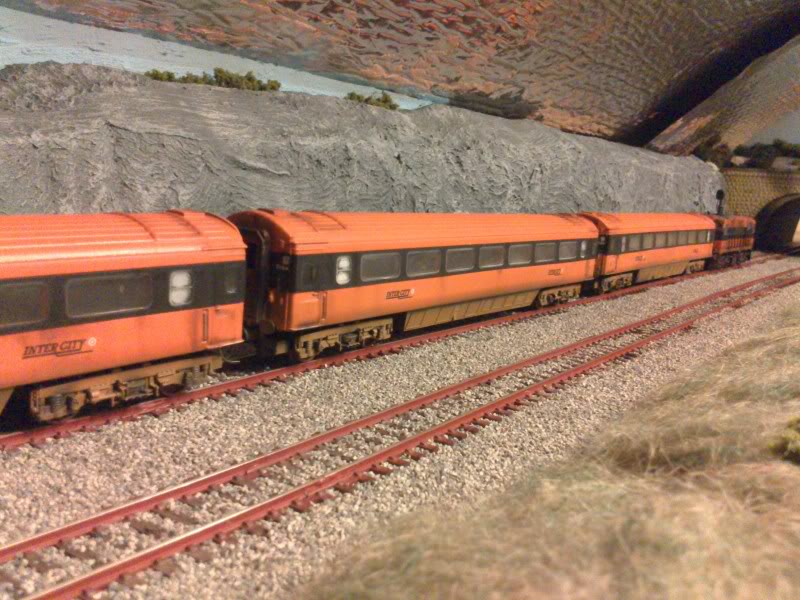
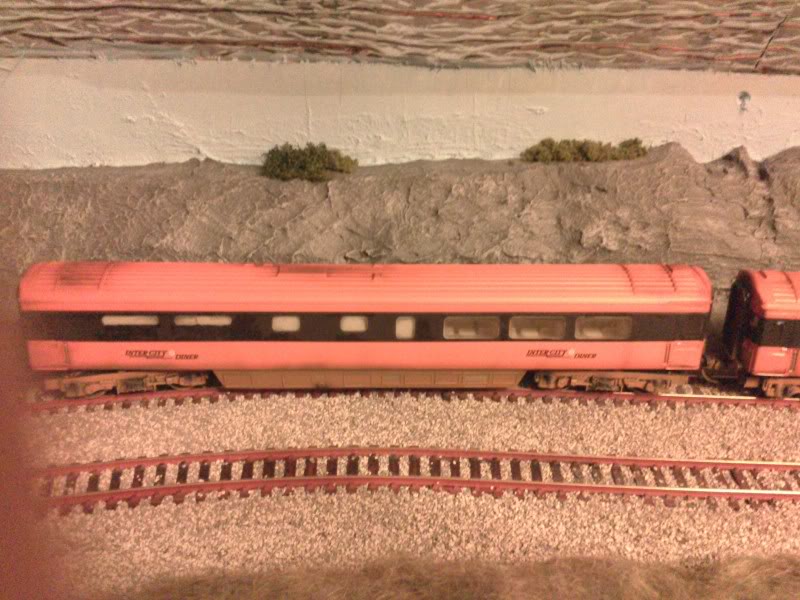
More work on my MK3's...
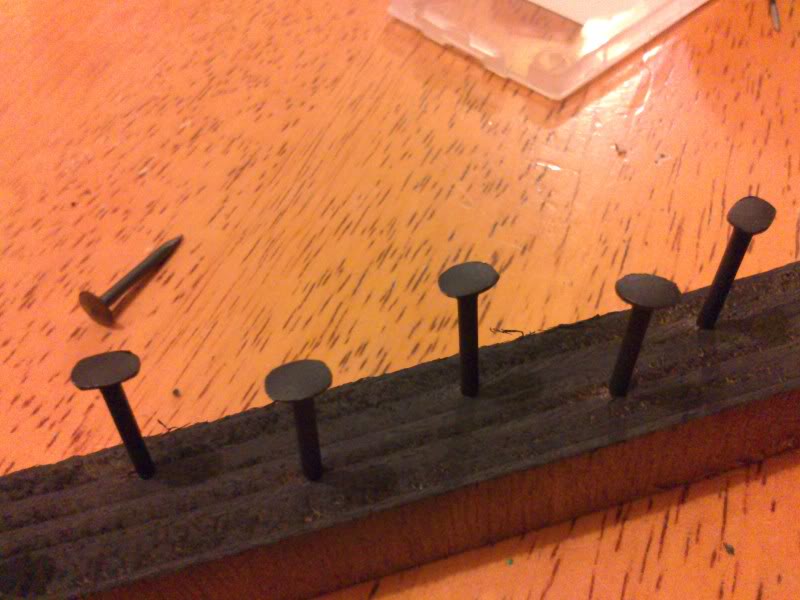
4 out 5 of my these coaches were missing their buffers. I was finding them hard to find on Ebay (as well as being bloody expensive!) so a solution had to be found. A quick search produced a box of these...
I took a file to the edges to give them the correct oval shape, then a coat of black primer...
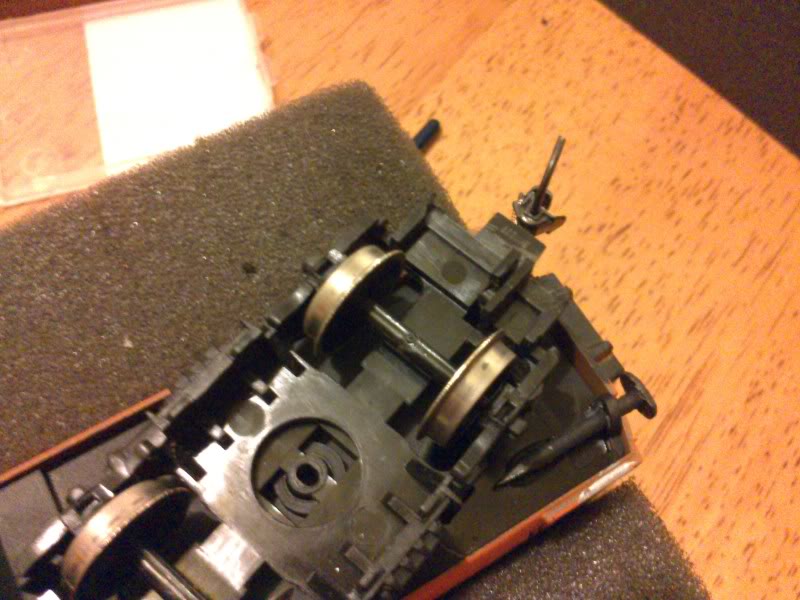
Then fix them in place with a dab of superglue...
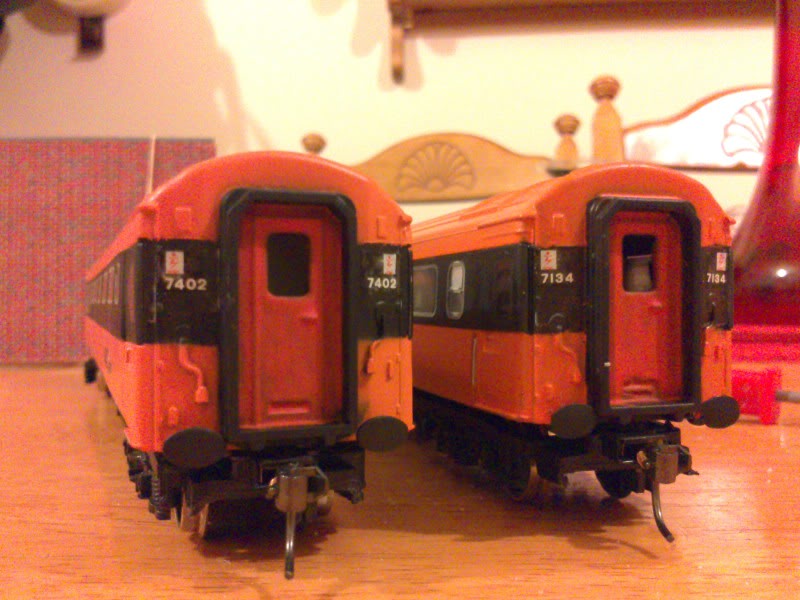
Here's one next to the only MK3 that had it's original buffers. Pretty hard to spot the difference even if I do say so myself...
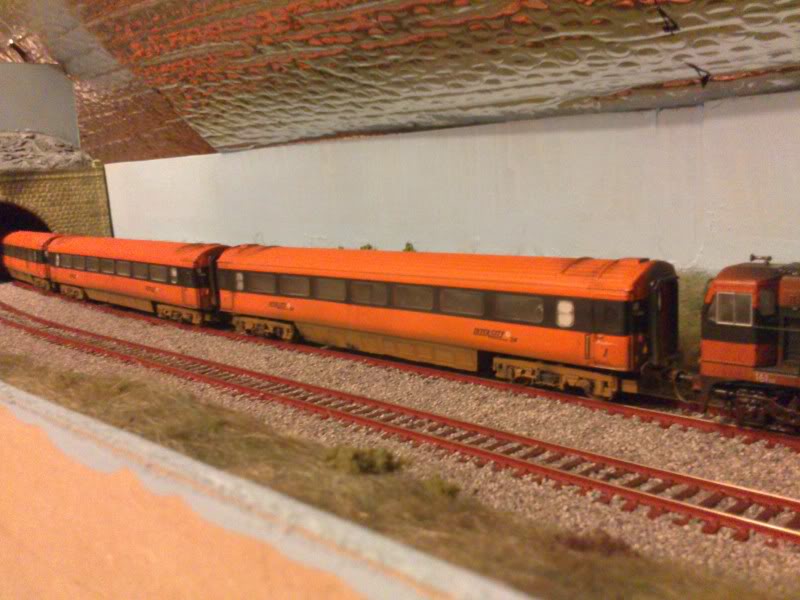
So then I could finally move on to the weathering. Here's a few shots of them on the layout...
-
Just watched the video, sounds absolutely stunning and all the functions operating!
-
That is certainly an option - I havent decided if I'm going to try and built the baseboard myself or not so I was trying to keep it relatively simple but I guess having a lift out corner piece is no more difficult than a straight piece...
Personally I would build a lift-out curved section for that corner so as to squeeze every last inch out of it!
At 9'x8' you will have a fair sized running loop.
-
Black & Tan lasted into the late 1970s (around '78 or so). The first Supertrain Mk3s appeared in 1984.
Well I guess that changes my layout to a "what if"!
-
Sorry to hijack...
For how long after the introduction of the supertrain livery did you still have the black and tan livery on locos?
And when did the first Supertrain MK3's appear?
-
The thing is don't try and cram everything into it. Your room is 9'x8.5' what you could do is run a 2' wide base board around the room with a lift up trap door like I have in Ballykay http://www.irishrailwaymodeller.com/showthread.php/1003-Another-little-corner-of-Ballykay
I knew I had seen a trap door section somewhere on this forum!
I would have to agree with Anto about keeping to a simple 2 track mainline.
-
That sounds great, Glenderg. That's basically the essence of what I was trying describe but you fleshed it out a lot better!
-
The room will be dedicated to the layout so that least that is one good point!
Dont think it will be possible to change to the door to open out just based on the current layout of the landing, I did think about having a removable section of track but again not sure how easy that will be be and it complicated by the fact that the door is pretty much in the corner of the room so it would have to be a removable corner of track for it to work....nothing is ever simple :-)
Ah, sorry! I assumed the door would be in the middle of the wall, my mistake! It's still not as hard as you might think to build a removable section in the corner.
-
Have agree with Robert on this one, that second plan looks very "train-set!"
My priority would be to make the double loop as long as possible. So providing the room is just for your layout, I would build the loop around the outside of walls. If you did this you could make each basboard up to 2 feet wide if you wanted to and still have a large operating well in the middle. You can build in a lift-up or removable section for the door to open, or alter the door to open outwards.If you can get away with it you could even remove the door altogether! (don't laugh)
-
Looks super effective!
Any particular card type?
Just normal mounting card from my local Art and Hobby shop, the kind with the smooth, hot pressed finish. Not sure which thickness. I just got as near as I could to the thickness of the sleepers, layed one layer level with the sleepers between the track then layed the second layer right up against the track edge.
-
Looking amazing!
Did you use card for the hard standing ?
Yeah its card, and to give it some texture I mixed plaster with grey emulsion from a woodies tester pot.
-
A few shots of some motive power loitering around the engine shed...
-
Well that loco is frigged and no mistake!
Looking at the slow-mo, it seems that the cable just gave way...
-
Here's mine but its very early days and looks rubbish compared to what yee guys have. If only the budget would grow!!!
Rubbish?!! Have you looked at your own photos?!!
Seriously, it looks great. It's complete and sets a wonderful little scene, more pics I say!


Cilldargan
in Irish Model Layouts
Posted
Fabulous work, Frank.
What make is the container crane?