
Georgeconna
-
Posts
2,330 -
Joined
-
Last visited
-
Days Won
26
Content Type
Profiles
Forums
Resource Library
Events
Gallery
Blogs
Store
Community Map
Posts posted by Georgeconna
-
-
not glued on yet! Note taken for later though!
-
 1
1
-
-
Small bit more on the Weedy.
could see some gubbins inside to coach in Brians pictures, Some control panel, a Tank and some piping jsut about seen so said what the heck After all I am up against the super weed spray pack.
Gotta put that little Exhaust pipe in too
Started some weathering too with the frames and bogies done, Not gonna over do it too much.


-
5
-
 1
1
-
-
Very nice, Wonder would whesty do Stainless etches for this Logos, It would really set that off for you. Painting is faultless too! Wonderful!
-
Keep Beeting the drum K801.
-
2
-
-
Dodged another bullet there, Too Far North west for me.
Nice to see a Steamer coming out... (Can I say that these days?)
-
1
-
-
You have to laugh, A top class effort protected by shabby Traffic cone and the sats if the poor siding on the left not too mind the Detritus left about.
Looking forward to seeing the end result.
-
 1
1
-
-
Bit in the Irish Times featuring Hattons!
-
Not quite hitting the quite yet, Still waiting to stick the decks down as I am waiting for the sound unit for the past 3 months
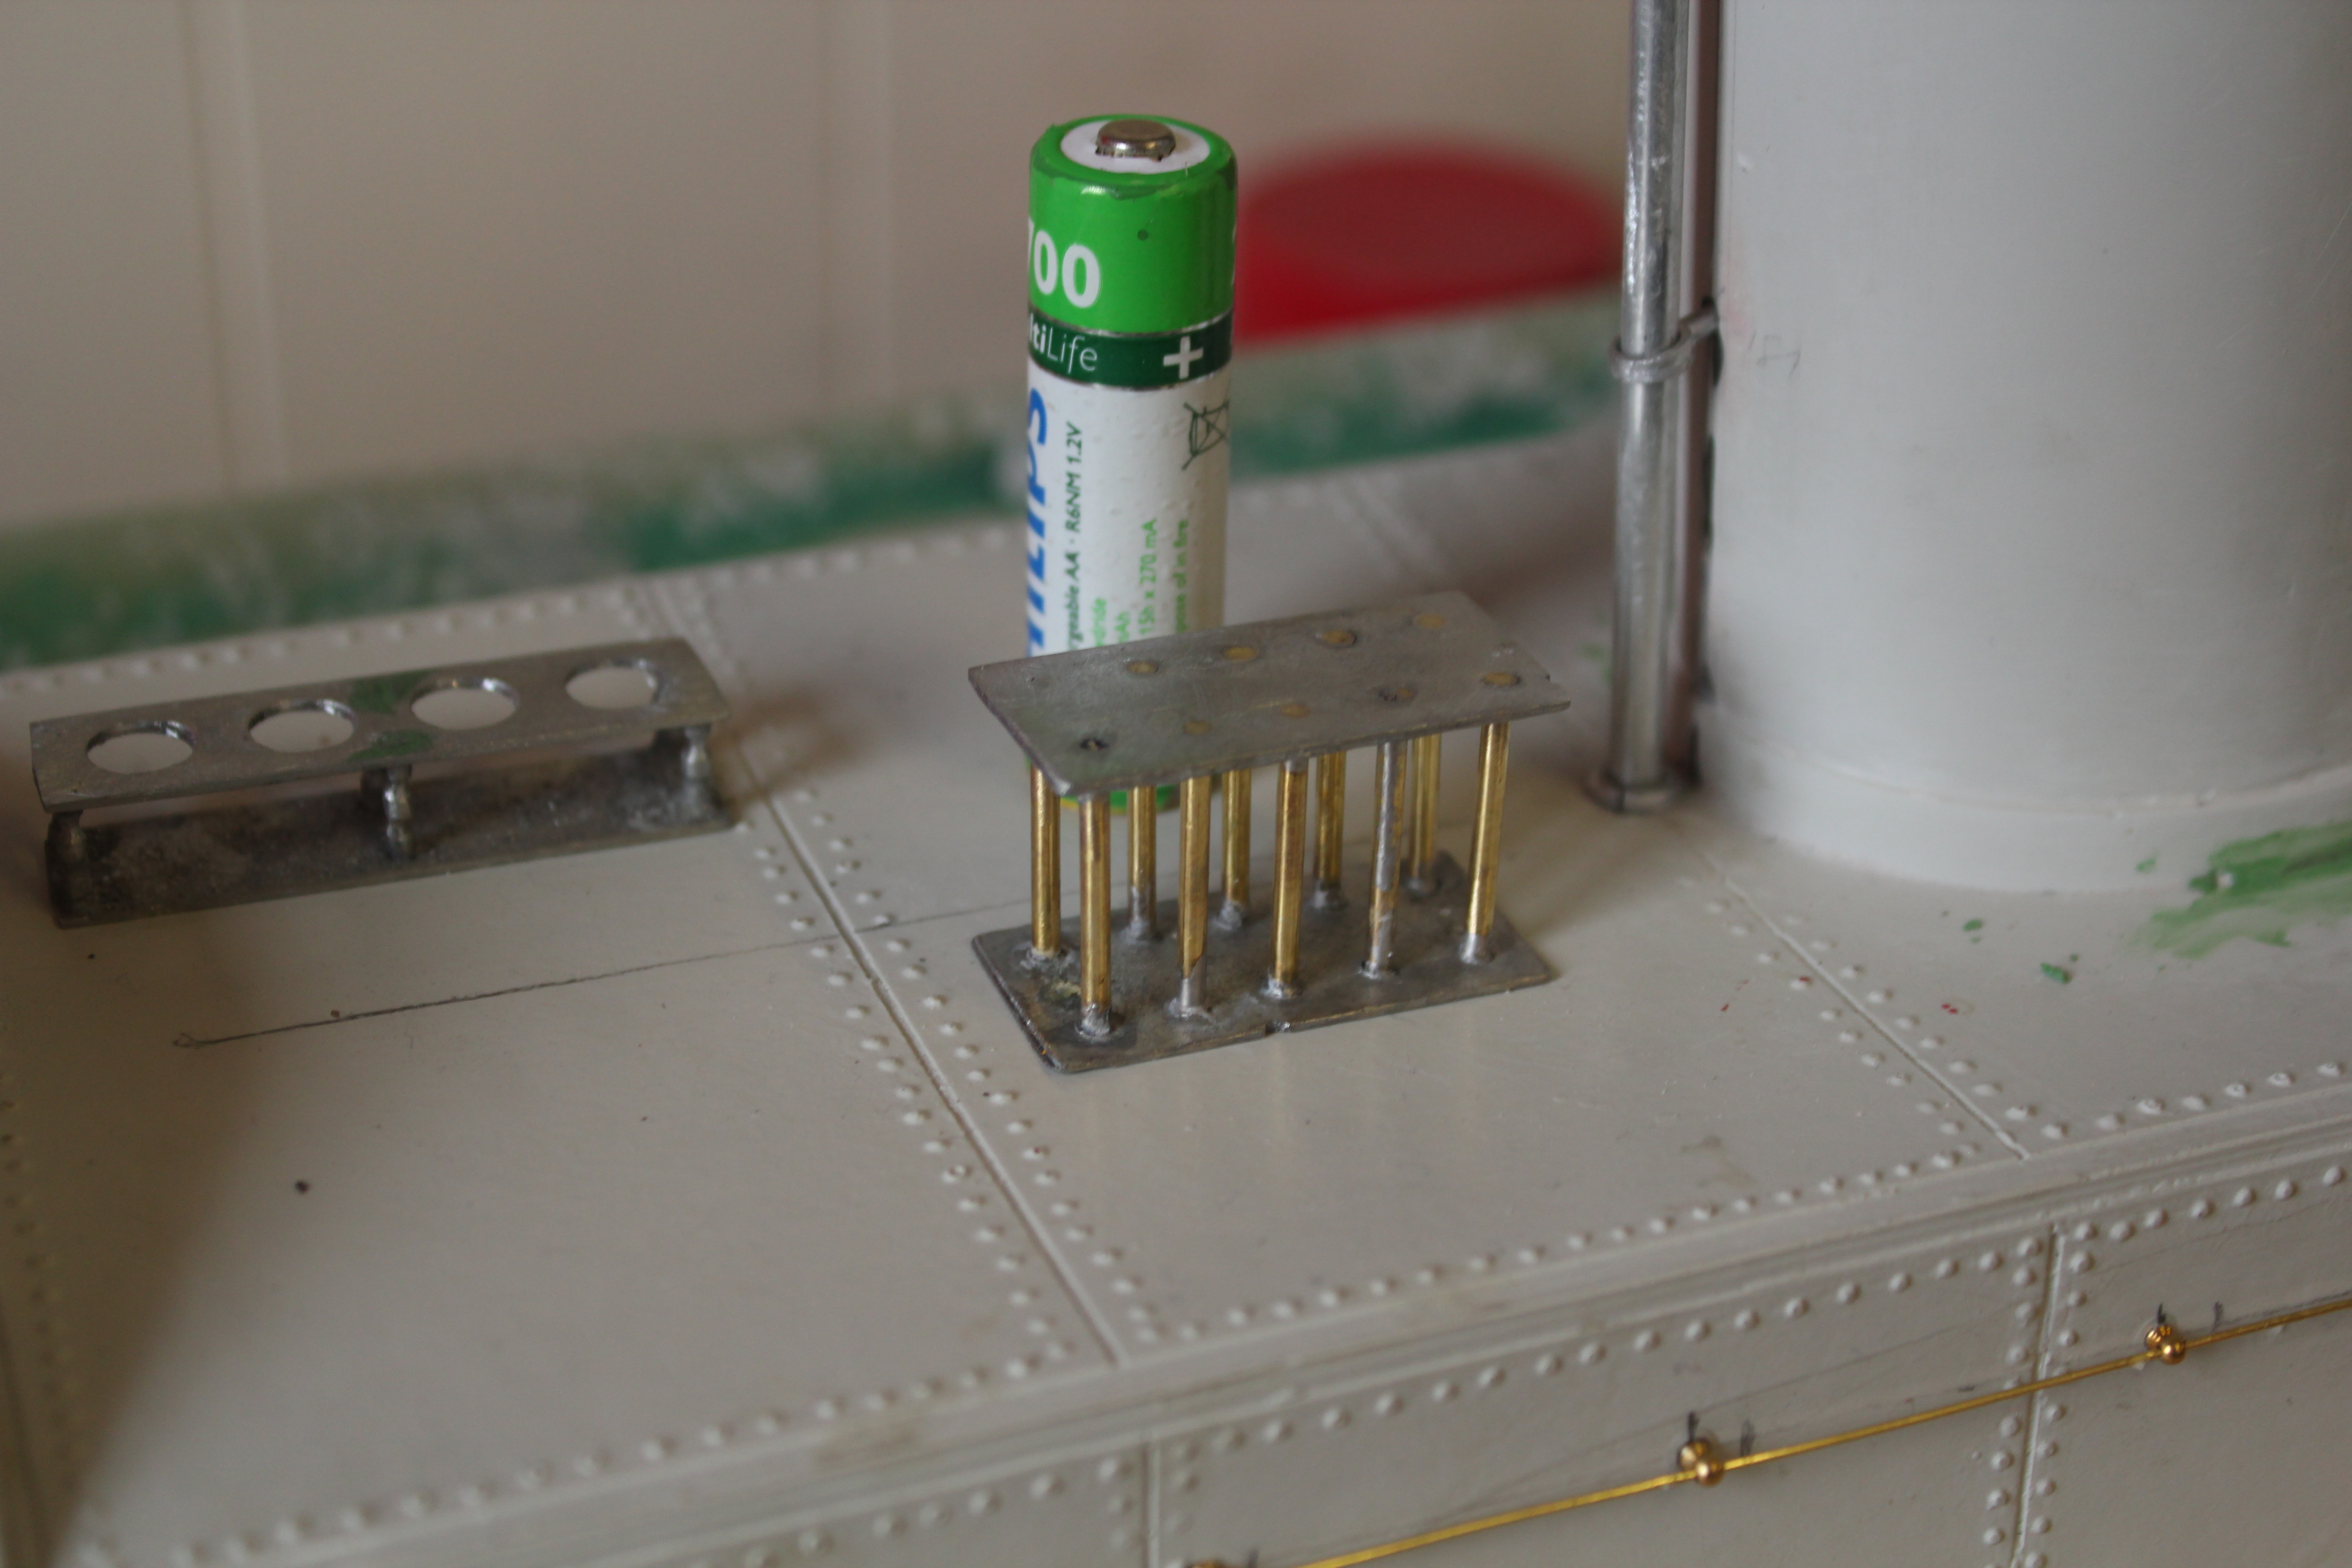
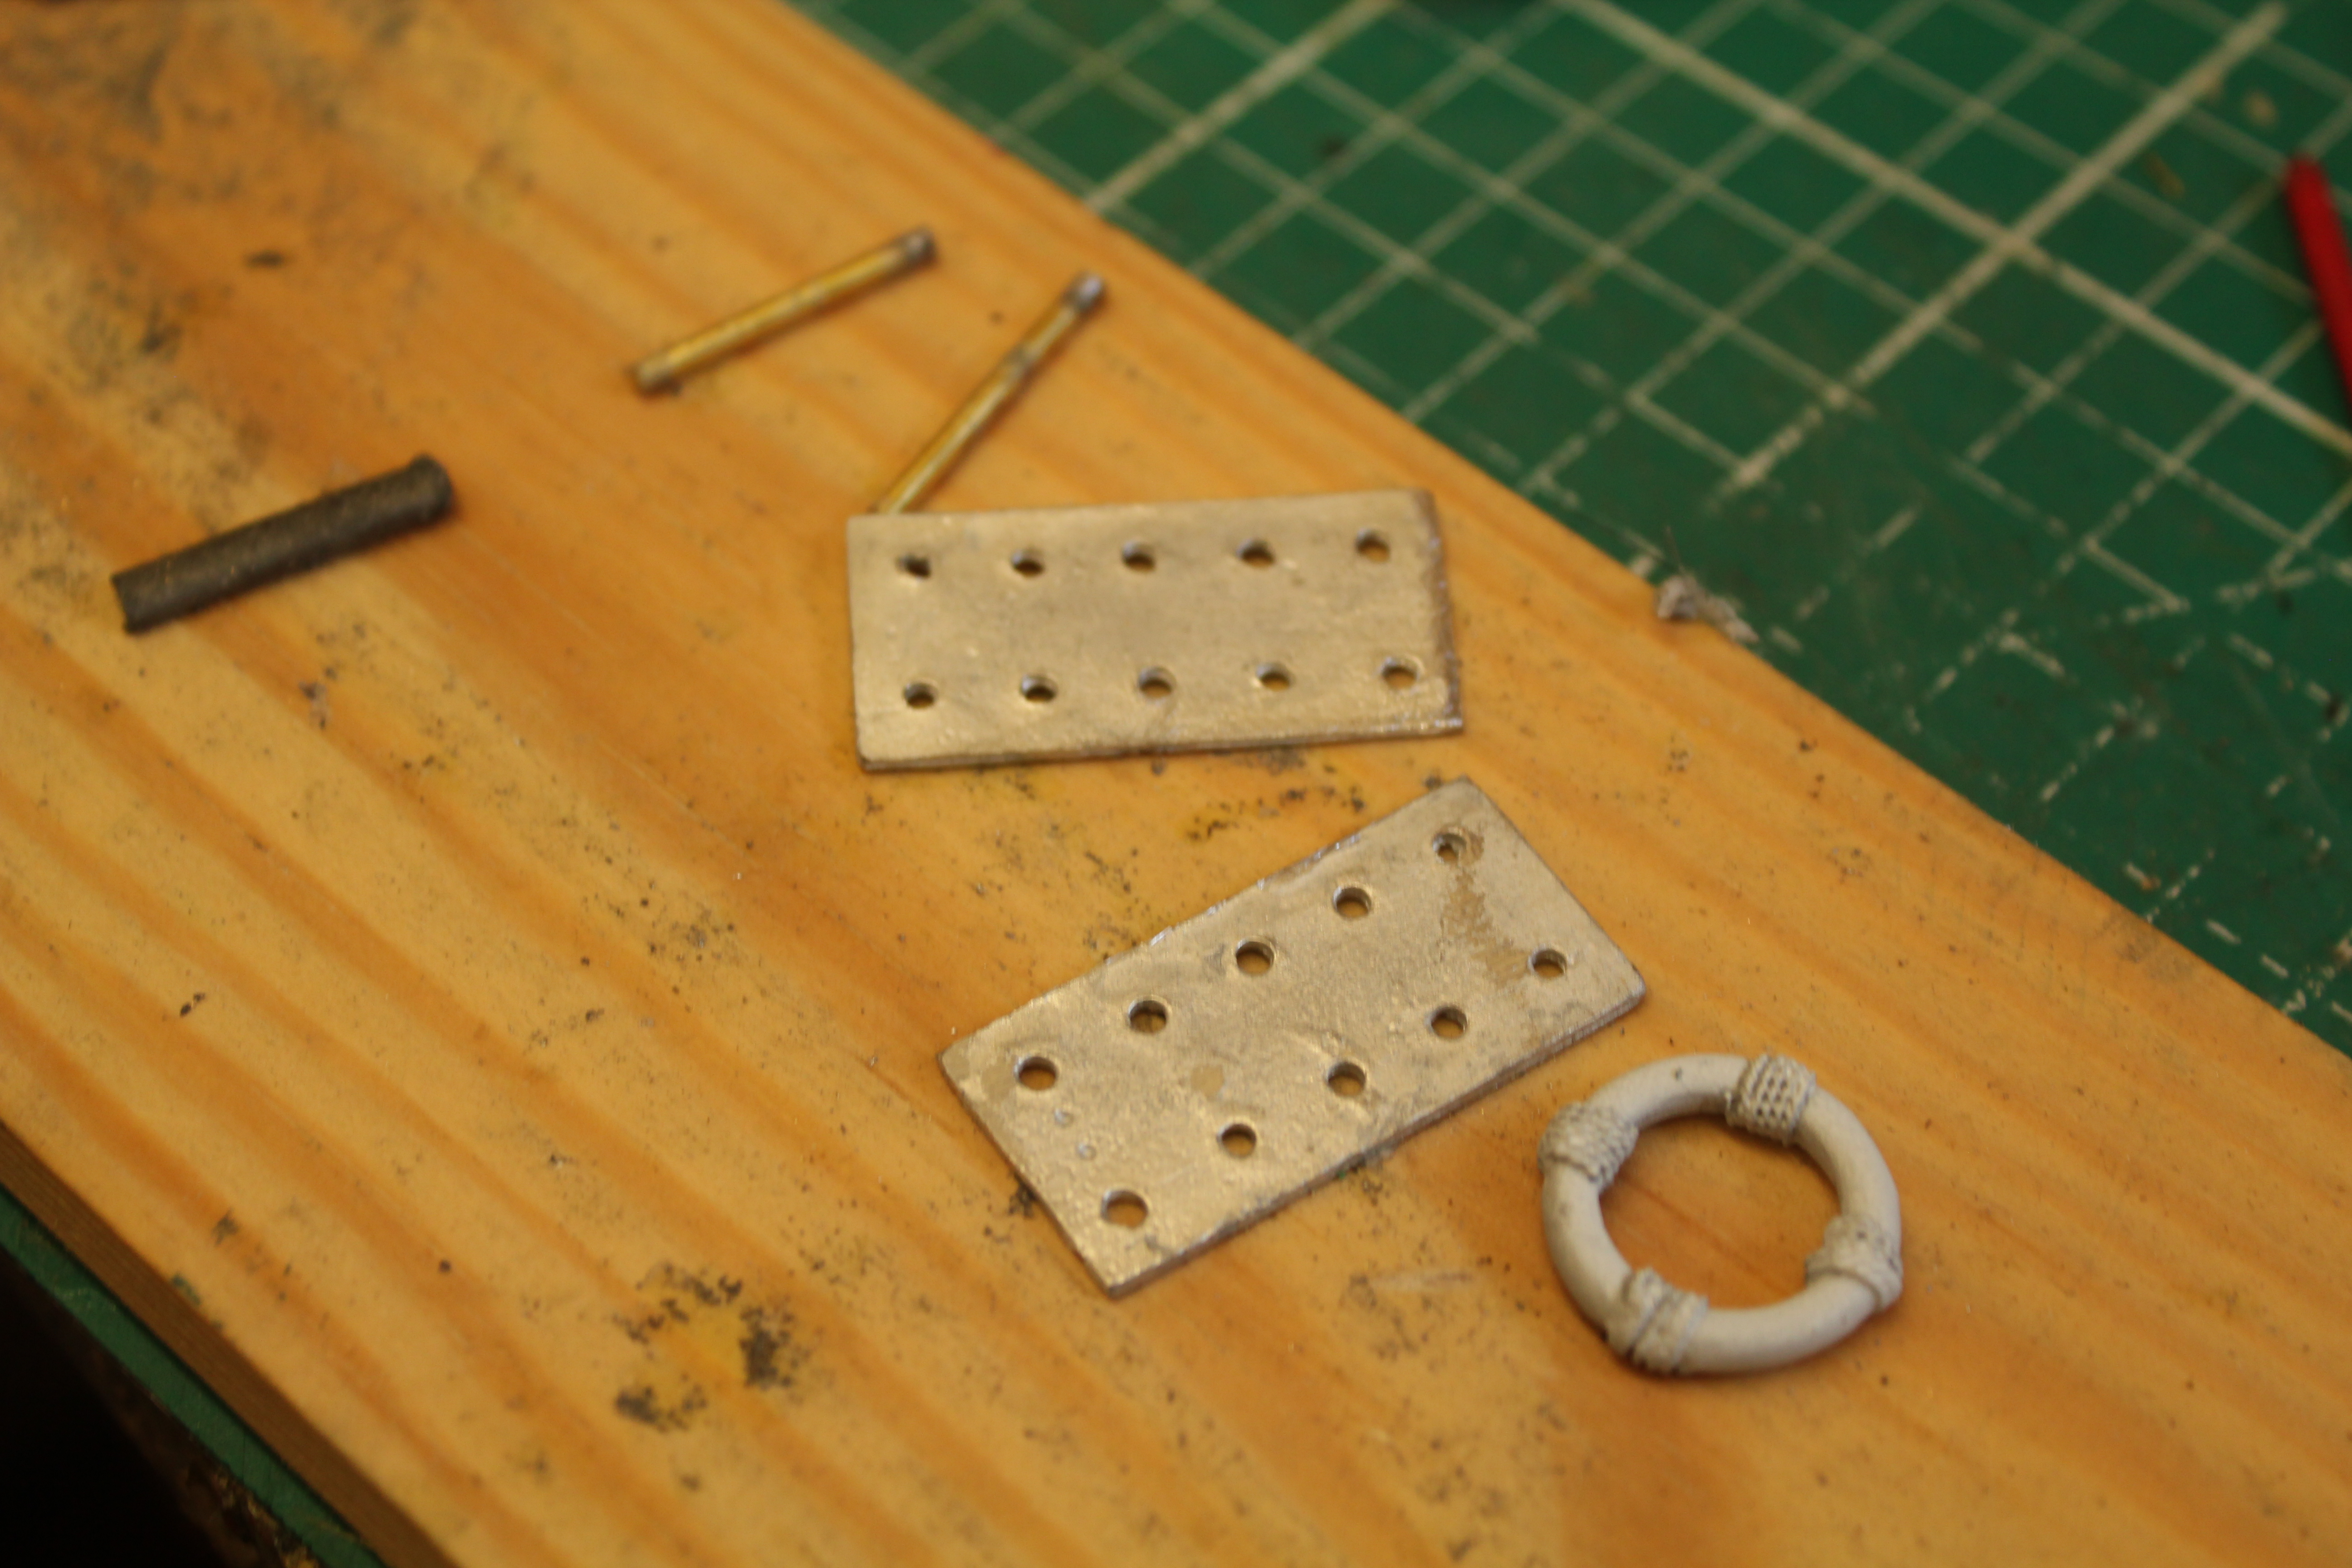
Also it been flipping Baltic in the shed these past weeks so not even venturing out much. Bit Mild last night so managed to escape and spent 1.5 hours soldering up the 1 life belt rack, Brass rod cut up to 25mm lengths and white metal top and base. Wooden top to be cut next. The Lifebelts go in between the brass rods.
-
7
-
-
The IR 121 has really popped with the weathering there Noel.
-
Hi Noel.
Looking to be one of the hot layout topics on the forum, Looking good and I like tuning in to see the progress.
-
Wow those Signal Gantries are just lovely plus the Track road insets are very well done too. Cracking layout
-
2
-
-
Grand to have them so Dave , get a few quid in the hand!
-
1
-
-
11 hours ago, warb said:
10 Packs already waiting to go
warb
They Fine but even with the coat of paint around the window frames you end up filing off the paint to squeeze this in. Took me ages to the ones I stuck in.
-
13 hours ago, WRENNEIRE said:
Jouef HDI just sold in France
Check out your lofts people
https://www.ebay.fr/itm/303834467131Is that a bid for 751 notes on that yoke. Man Alive.
-
Mm thats an idea for some enterprising individual,
Laser cut house with Sound effects of Mrs Doyle and Fr Jack coming out of the gaf every so often The bishop then on a Faller road system chasing Ted.
Noch do some sound modules Ever a saucy one in barn!
-
1
-
-
Yeah, easy enough but not great if you buy it RTR.
Laser cut plastic sides is it?
-
1
-
-
I only got this just after xmas, Surely it is the new one with recessed Water Tank Fillers, Hinges etc.?
-
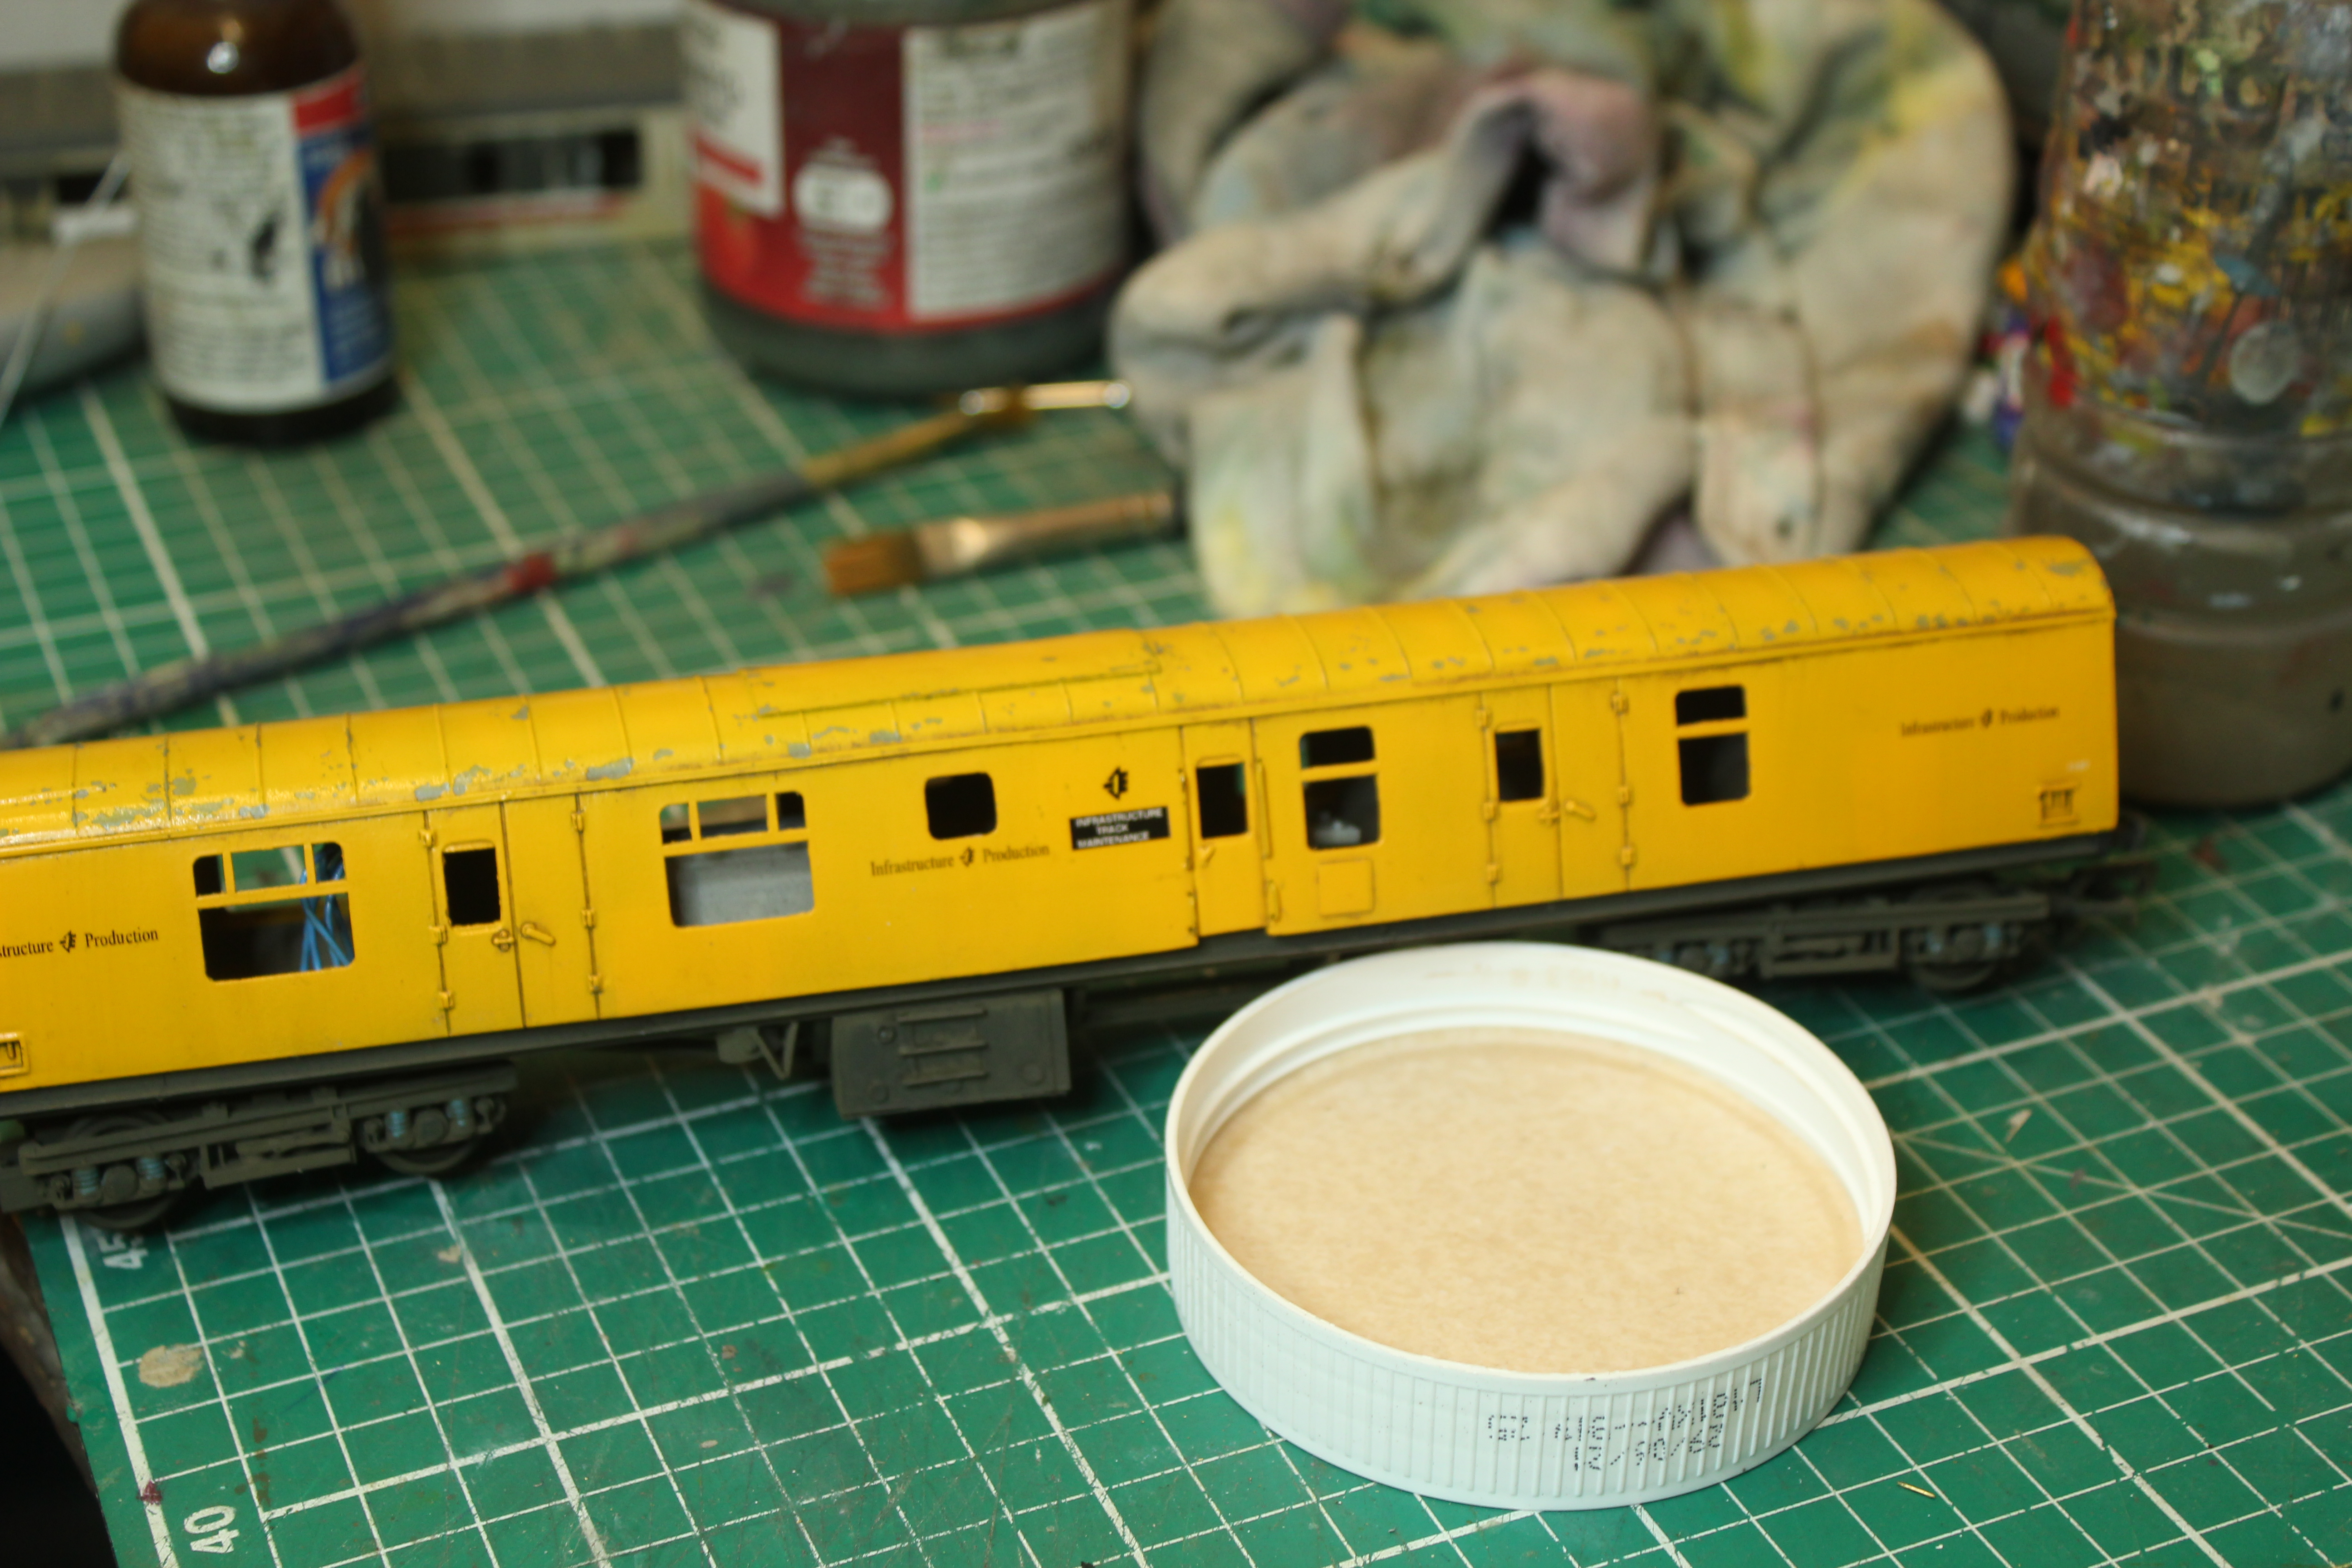
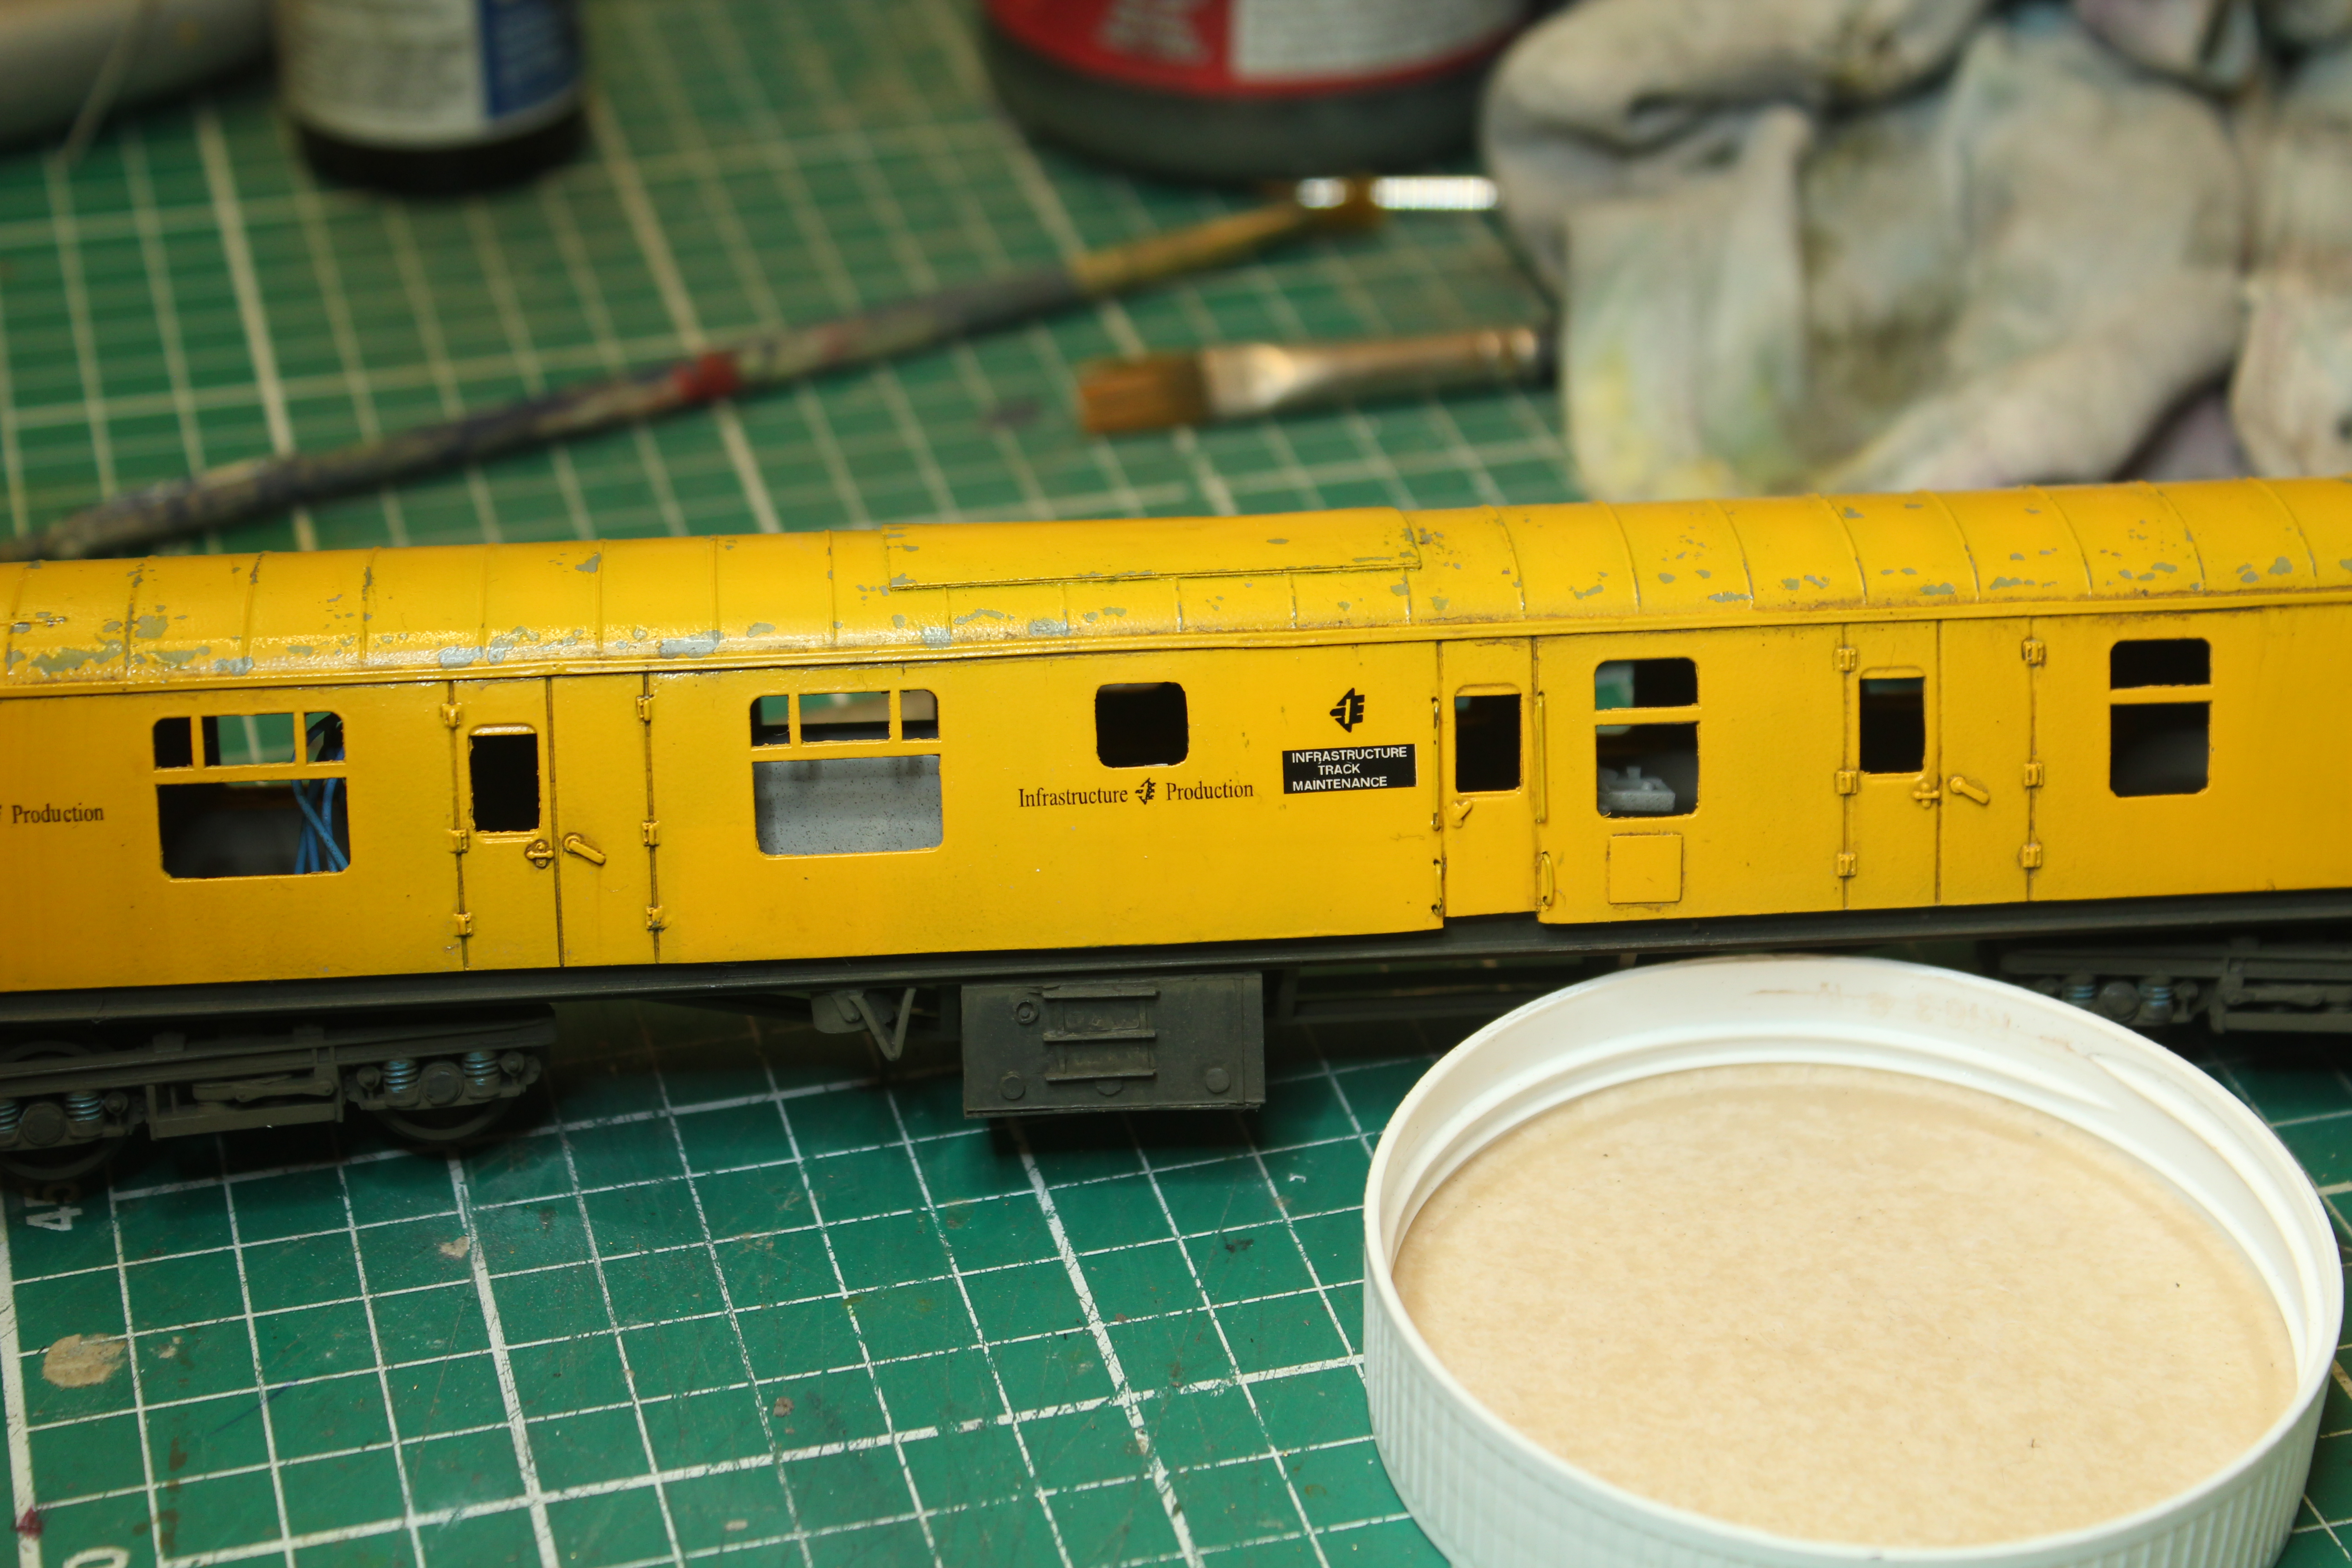
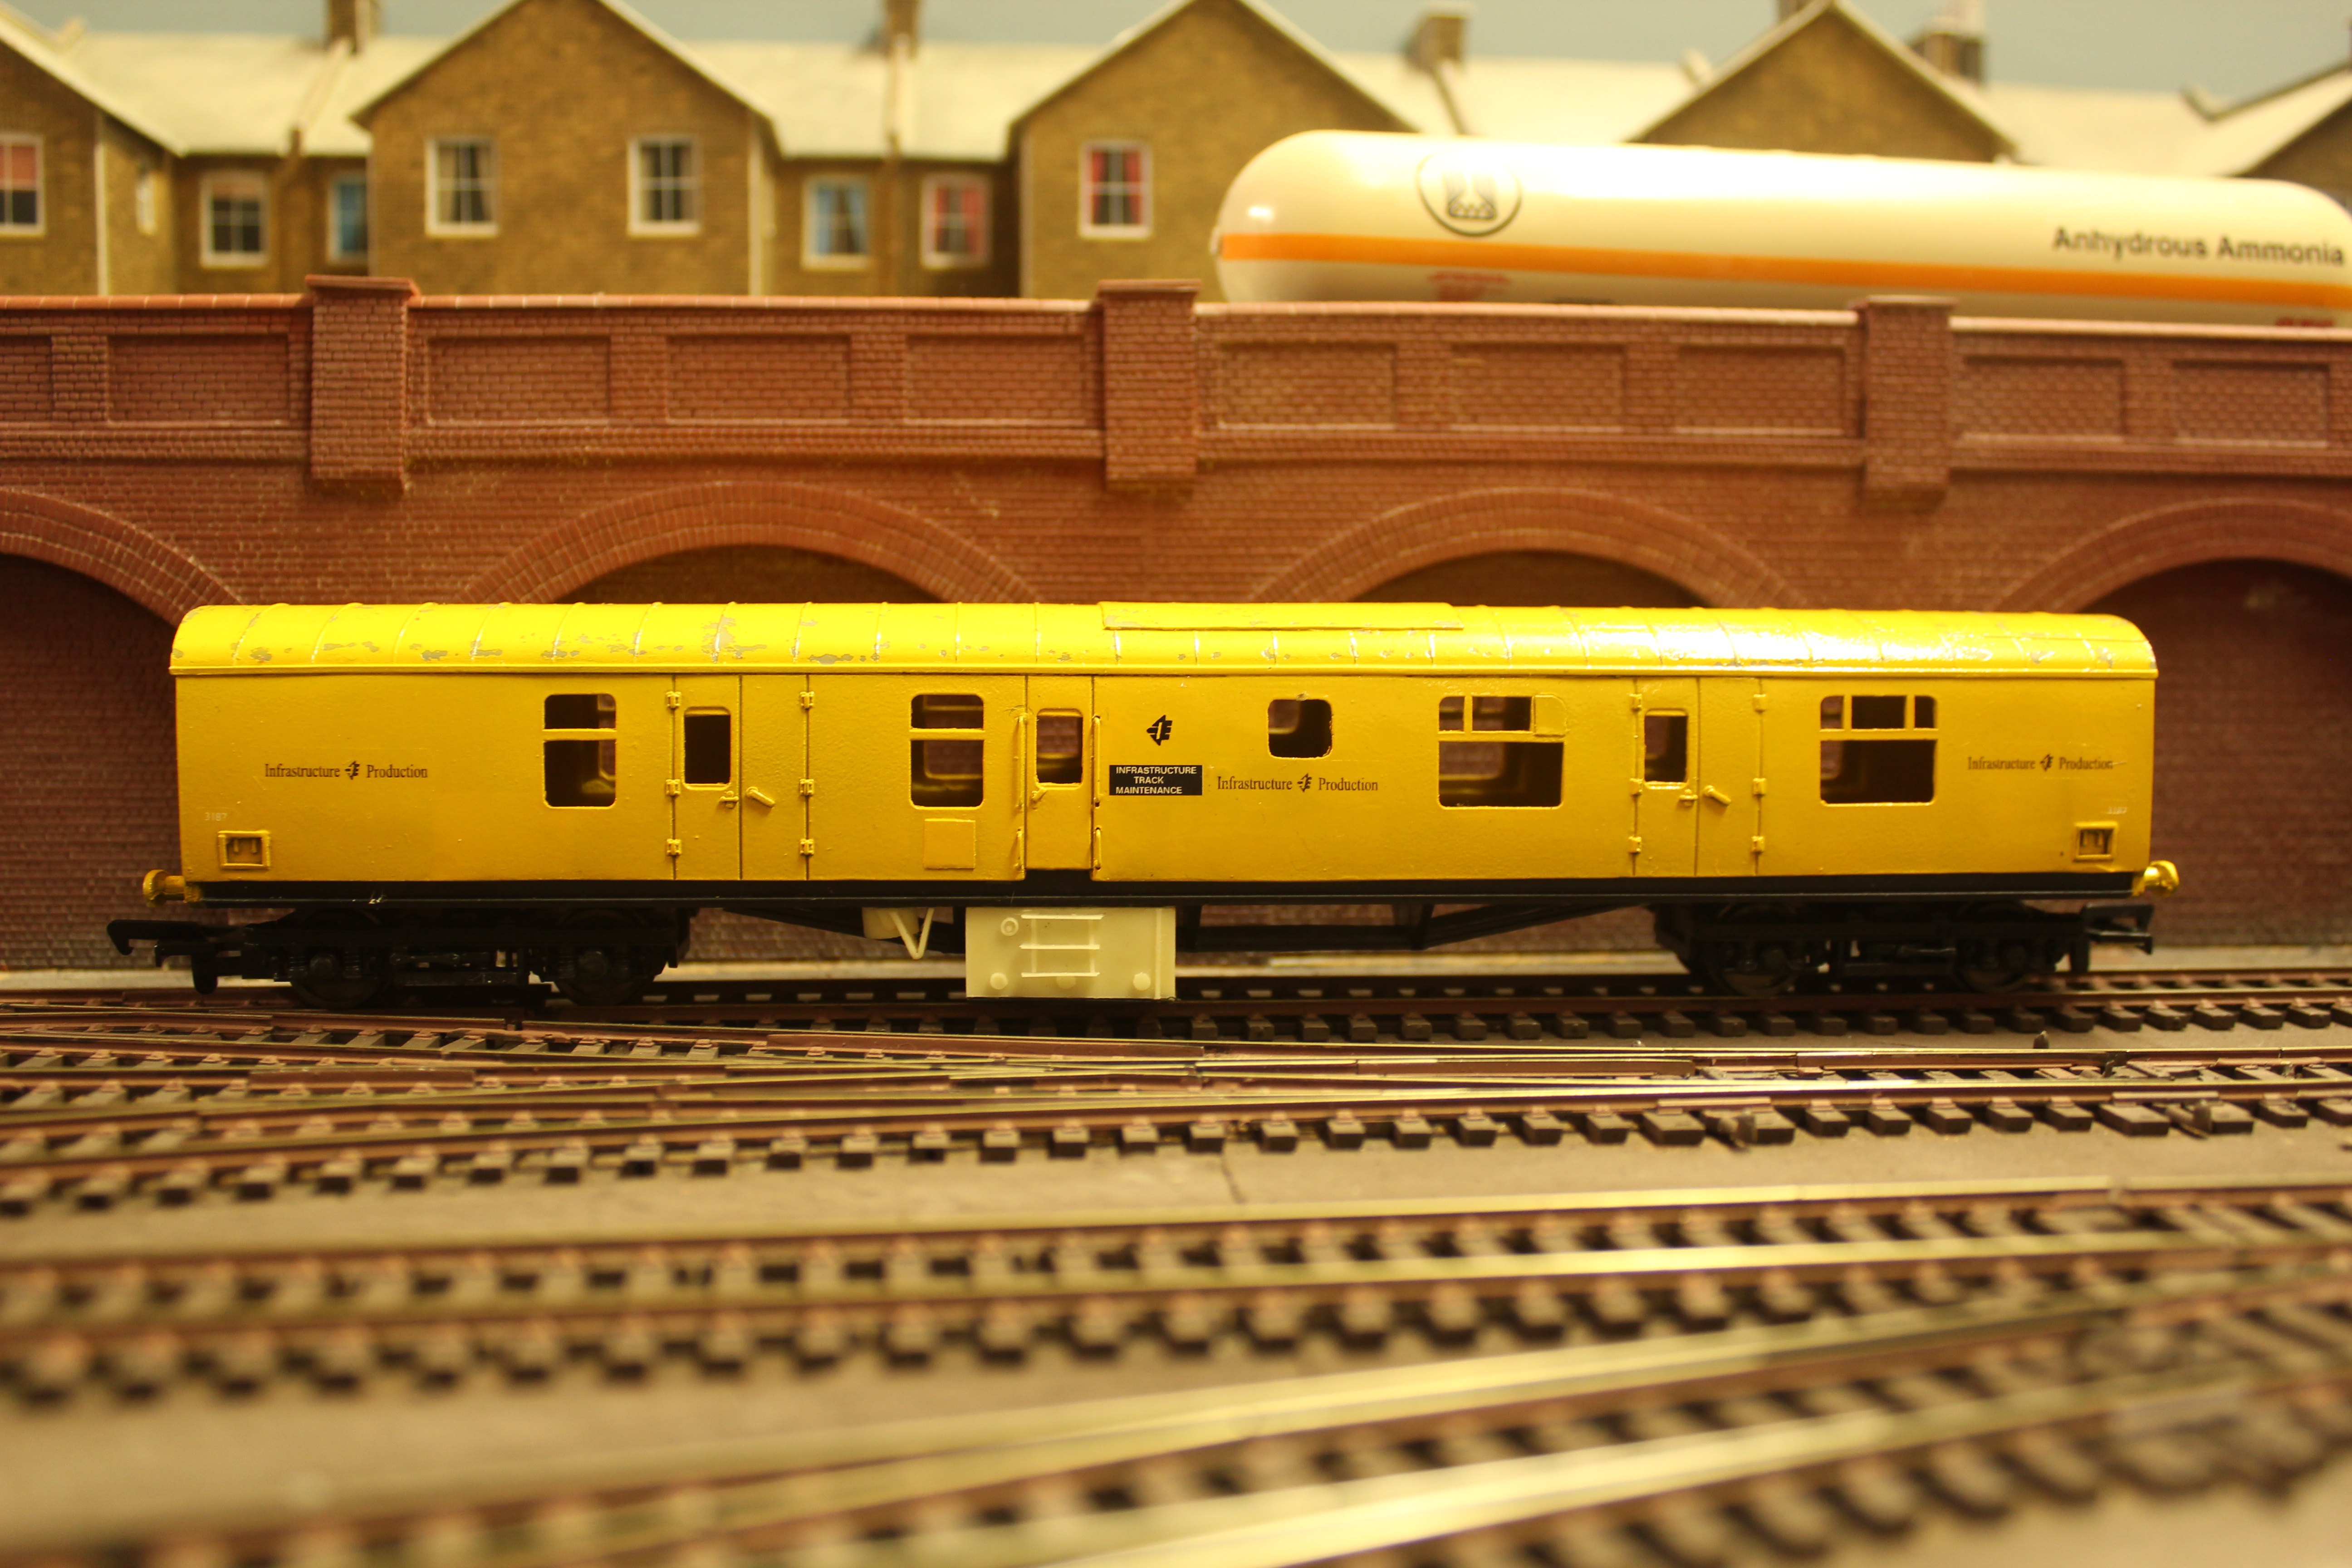
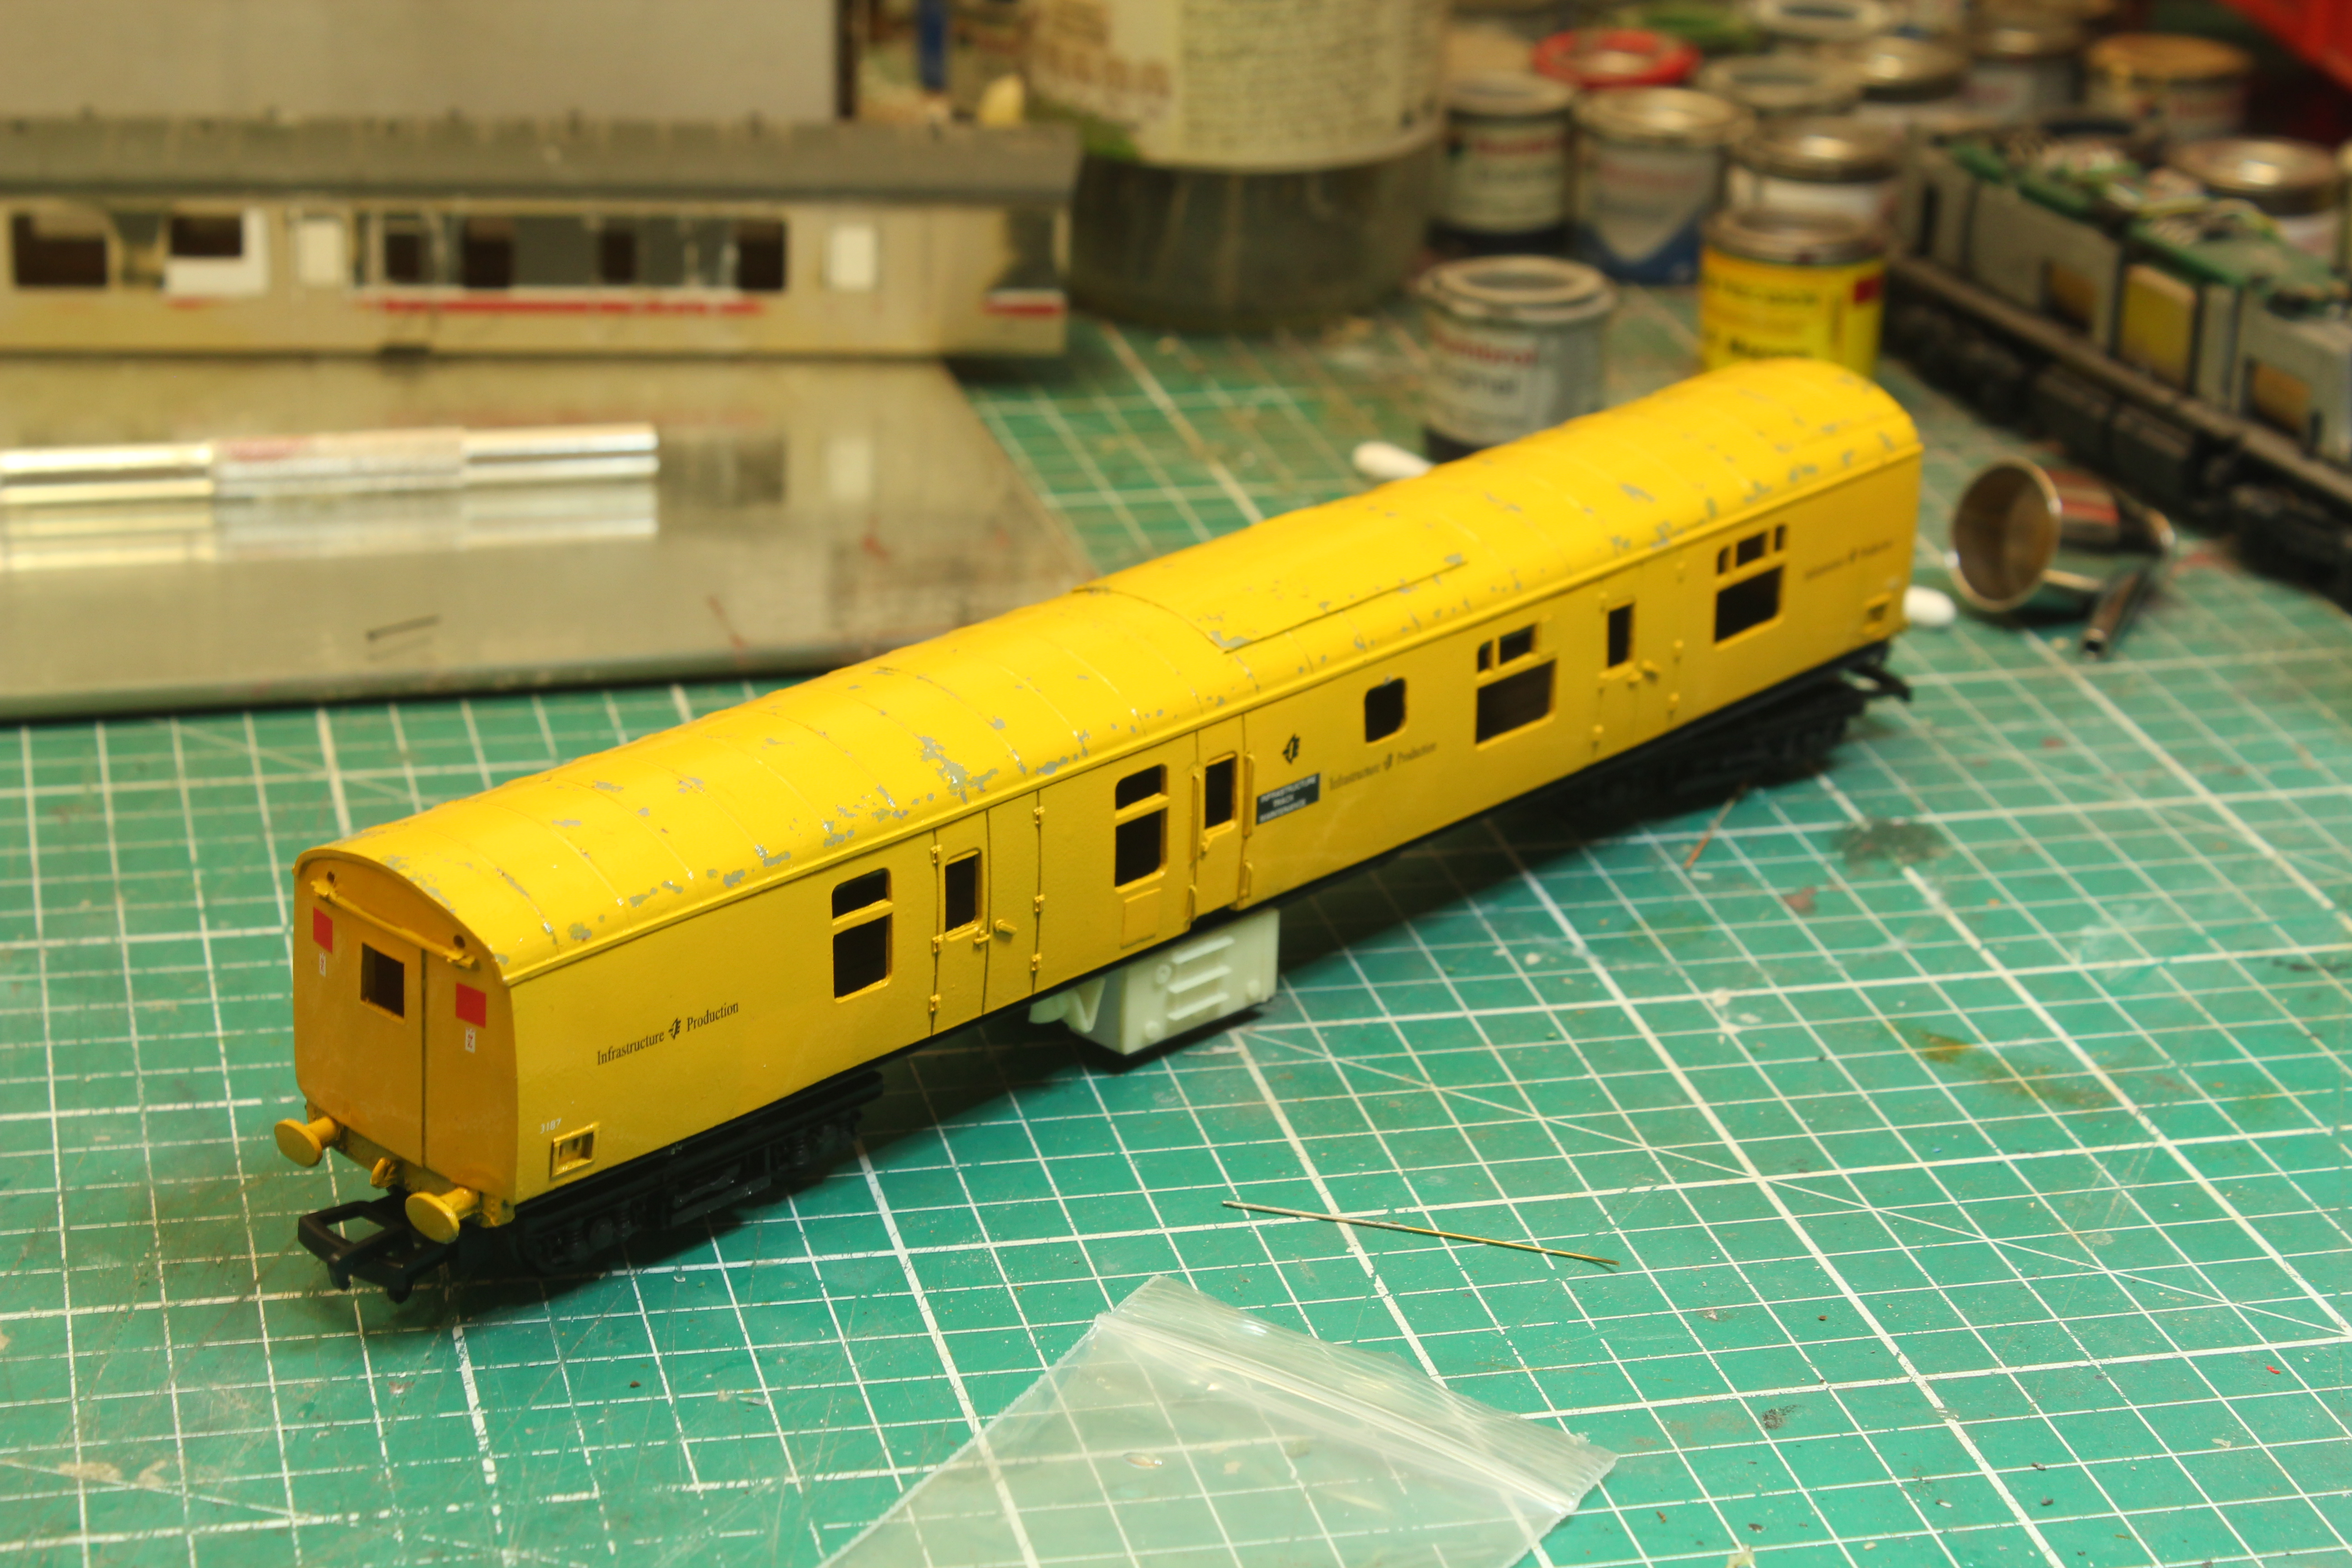
2nd Coat of Varnish on and the Decals went on with no issues and bedded down nicely, They a Fragile though and some have the carrier film across the logo so need slitting with a sharp scalpel, I used a Point logo from a spare sheet I had as the S/Fox on was just solid plain black with no yellow.
Just notice now the door Hand rails should be one piece and not 2 as depicted on the Resin Casting. Balls.
Need to seal the de
al next, Leave to dry for a few days and a tad of weathering.
-
6
-
2
-
-
I'd say that would pull the skin of quite a few rice puddings John, Fine effort.
-
Humbrol mate, Sprayed a coat @ 7pm this evening Placed the coach over a heater on low (dont want the yoke to warp) and it cured by 2200hrs. Second coat went on an hour ago.
I heated the paint beforehand though.
Decals tomorrow if I can get time as we are all called in to clear customs backlogs over the weekend and for the next 2 weeks for so. Tis nuts but look on the bright side those A are a coming!
-
1
-
-
Cool, I hope the dude doing them took off the previous markings, Some did not and it took the gloss of em.
I have to get around to one sometime.
-
1
-
-
3 hours ago, Noel said:
One of the transfers lifted on an RTR SF weed van when I was applying water based powder wash, luckily I was able to get it back on and in position. I don't think the RTR versions were sealed with varnish.
One of the Reasons I got the kick Noel, tis the IRM printed Transfers I noticed came off with another chaps efforts , I normally used Enamels for the Weathering, Thats what I am used to so Reluctant to go off Piste using some other stuff.
-
 1
1
-
-
Nice one on the Grey ones, the only ones I did not get, Kinda kicking myself now as handy with the newish Rolling Stock. Mind you I would probably do re paint on a suitable LED headlight jobbie and have the Handrails out.
good ol Catches there kid.
-
1
-
-
Double plus
No Vat on the Export invoice and not caught upon arrival, <20 notes a motor. Happy Days
They could come looking for it still though.
-
2
-


accurascale steam
in General Chat
Posted
90 would be a lovely one to kick of, All those Courtmac layouts just waiting to be built!
I do prefer the ol steam to the mobile sheds.