-
Posts
983 -
Joined
-
Last visited
-
Days Won
56
Content Type
Profiles
Forums
Events
Gallery
Blogs
Community Map
Everything posted by Tullygrainey
-
Yes, me too It's a shame one of this pair didn't make it to Witham Street.
-
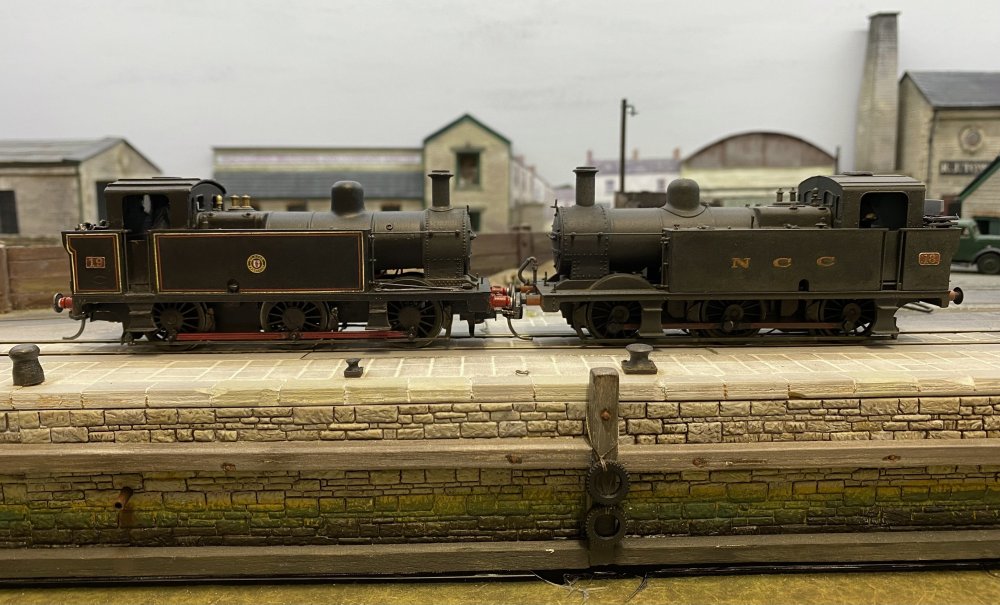
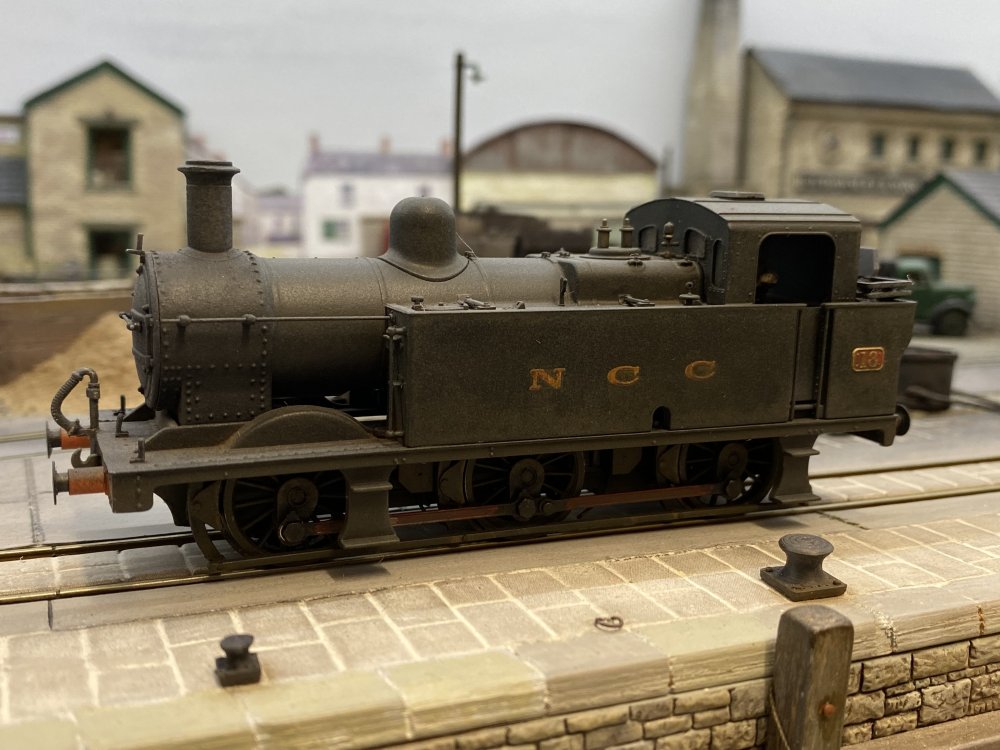
Another Jinty. This one required a good deal less work as it's a bog standard Bachmann Fowler 3F which started out in BR livery and is now masquerading as NCC Y Class no 18. Railtec supplied the livery and Humbrol the grime. I have a photo of the prototype looking even grubbier than this. Before... .. and after. Don't suppose they ever appeared together like this. I assume they both got the livery change at the same time.
-
Imagination and ingenuity - the best tools any modeller can have!
-
Clogherhead - A GNR(I) Seaside Terminus
Tullygrainey replied to Patrick Davey's topic in Irish Model Layouts
What a bright idea. Brilliant! Seriously though, Patrick it looks terrific. Very atmospheric. -

Brookhall Mill - A GNR(I) Micro Layout
Tullygrainey replied to Patrick Davey's topic in Irish Model Layouts
Any more news on the Sherman, Patrick? We seem to have lost track of it. Has it tanked? -
Well spotted! You may have noticed I moved the sweetie shop. No point tempting impressionable engine drivers to spend all their pocket money on clove rock or chocolate toffee rolls.
-
I wouldn’t be surprised
-
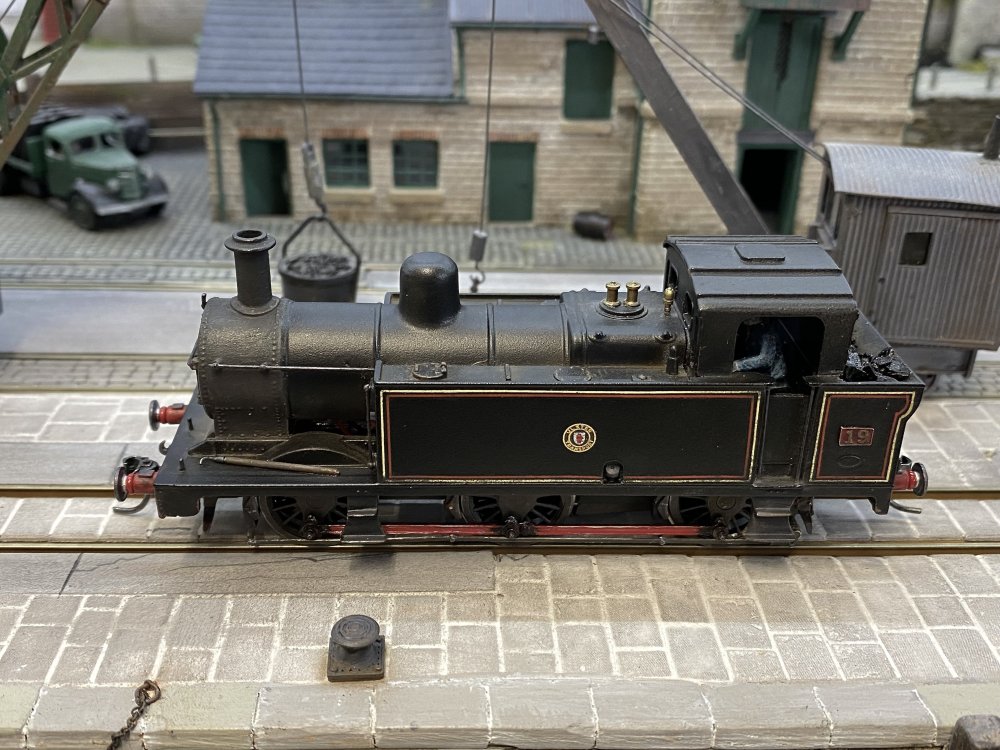
UTA 0-6-0T no19, ex NCC Y Class, getting a bit of exercise. Let's just pretend that Loughan Quay is an obscure corner of York Road yard. Jinty at Loughan Quay.MOV
-

Industrial sites in Ireland with their own locomotives
Tullygrainey replied to jhb171achill's topic in General Chat
-

Industrial sites in Ireland with their own locomotives
Tullygrainey replied to jhb171achill's topic in General Chat
That’s an appealing idea. I think you should. It seems to be a theme largely neglected by modellers of Irish railways, probably for the reasons you mention - there weren’t many independent industrial systems. There’s also the additional incentive that those Hornby Pecketts are lovely little models and fine runners! I have two currently languishing in a drawer so I’ll follow developments with interest. -
That Barclay has real presence David. I have to say it looks very comfortable on Fintonagh. I always enjoy following your rolling stock builds. Having seen some of your creations in the flesh (at Cultra on at least 2 occasions), the end products are very fine indeed. Using card kits as blueprints/drawings is a great idea which I hope to try. I bought some 4mm Alphagraphix wagon card kits a while back but found them difficult to build in that scale - the smaller pieces were nearly impossible to cut out neatly. Some good solutions to coupling problems. The modified tension lock couplers look like a viable proposition. Keep us posted!
-
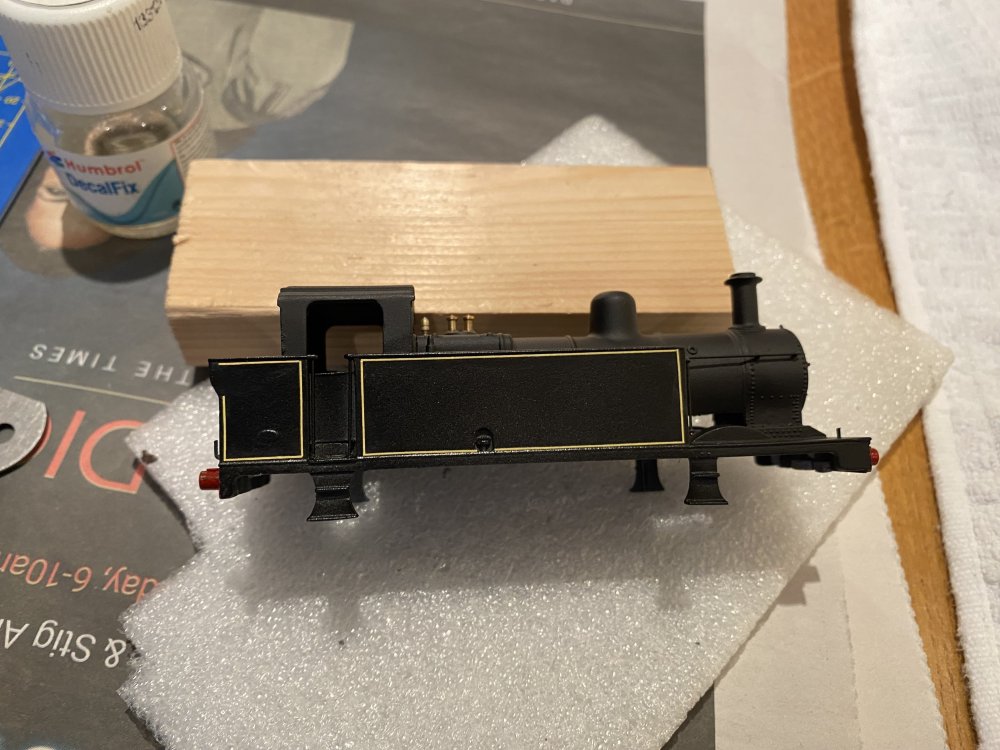
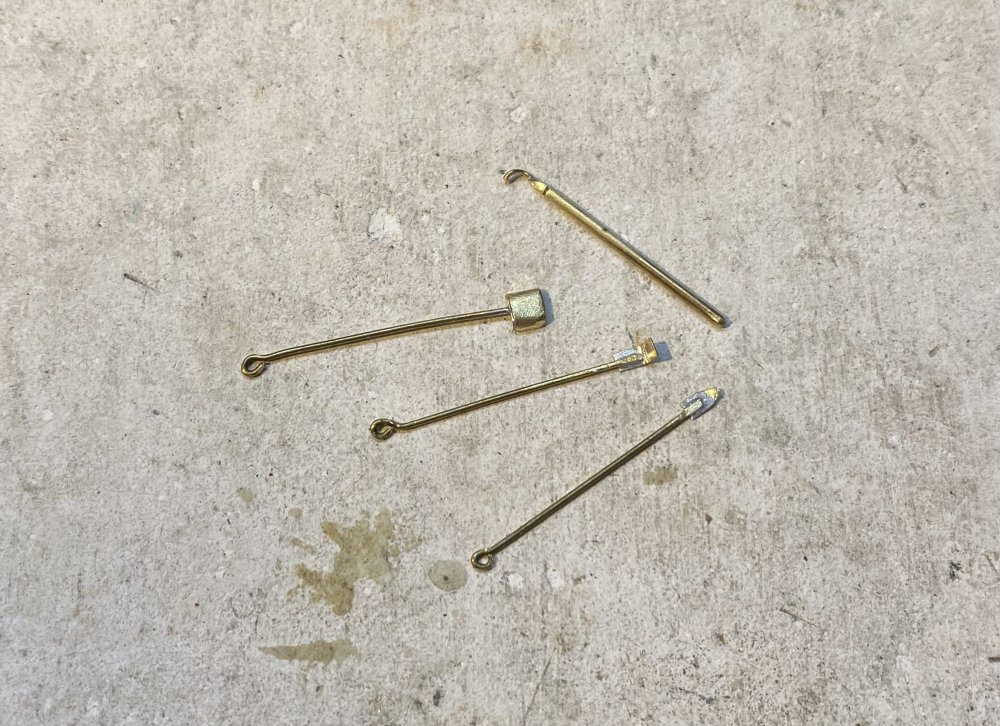
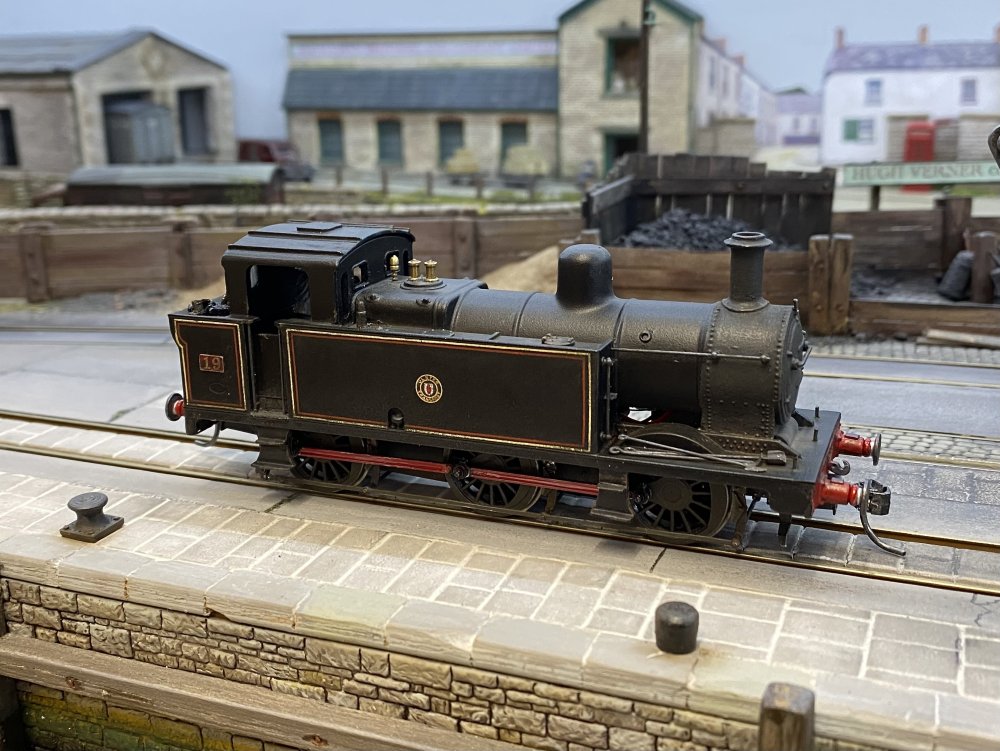
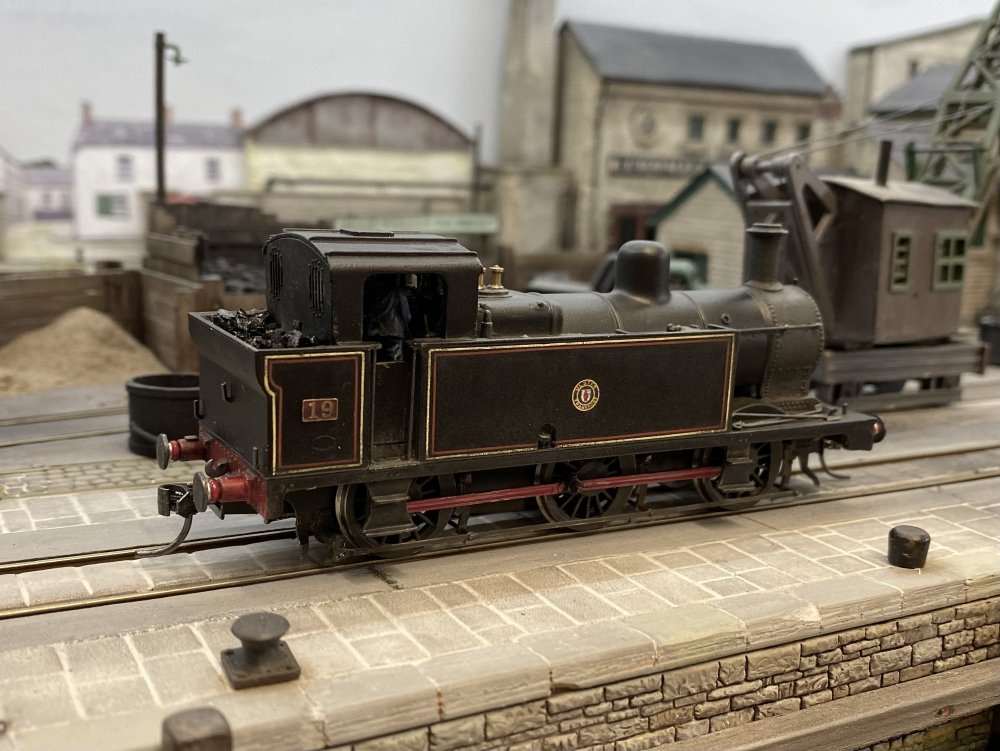
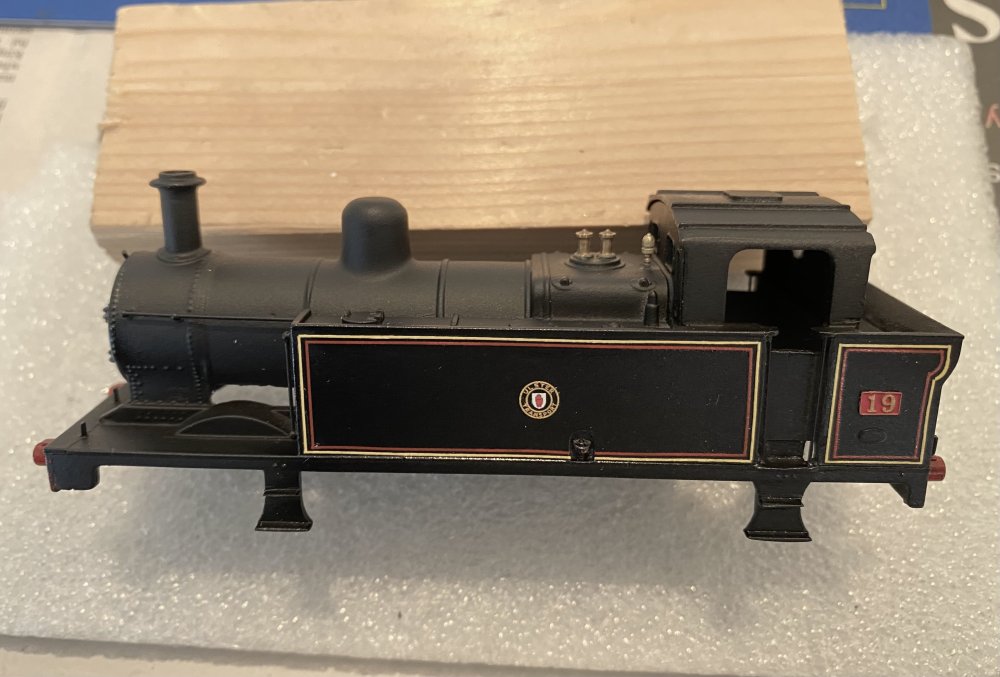
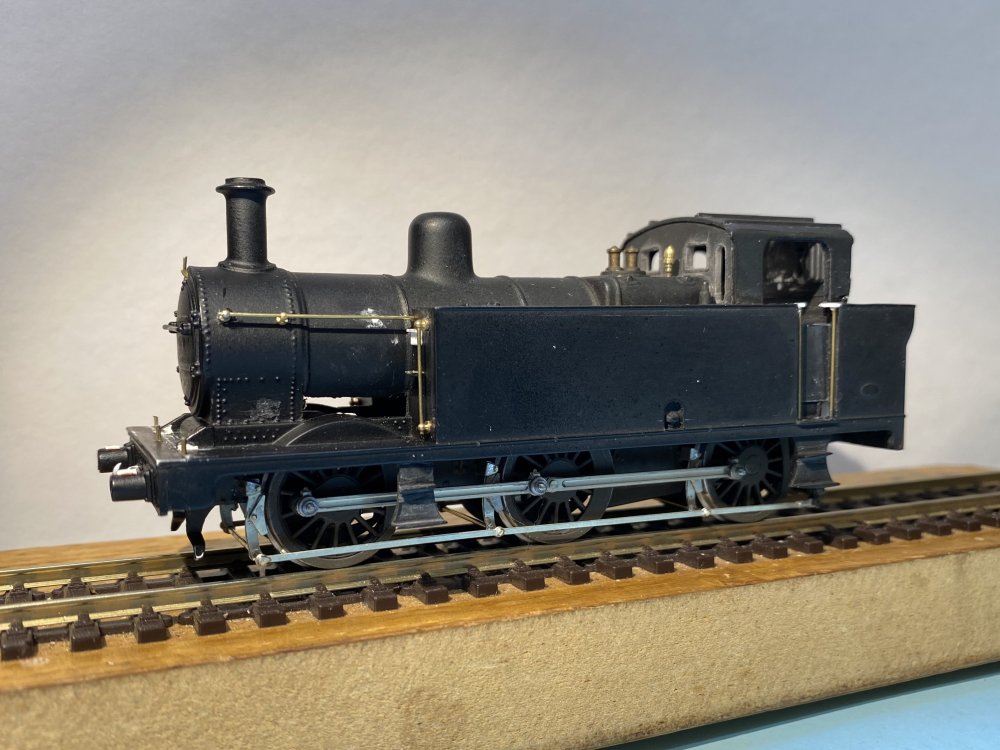
UTA Jinty no19 is just about finished. Lining out was the usual challenge to regular breathing and took a number of days. Fox provided the lines, Railtec the UTA crest. The number plate was bought a while back from Narrow Planet (now Light Railway Stores). While waiting for transfers to dry, I made up some fire irons and a shunter's pole from scrap etch and wire. These will find a place on the running plate. No 19 now has a Hatton's DCC chip, probably the last thing I will ever buy from them now. It took a whole afternoon of fettling to get the little brute running tolerably well. In my experience DCC is much less tolerant of faults than DC and small ones that wouldn't trouble a DC loco cause a chipped one to stutter and sulk. As this one did. A few tweaks to the pickup wires improved things but then the chassis started locking up solid. It turned out to be caused by one brake shoe making contact with the back of the coupling rod and jamming the centre axle, one wheel up, one down. Took a while to spot that one but a little bit of filing sorted it. Mounting the chassis in the body added more woe with running becoming erratic again. At rest, one wheel on the centre axle was sitting just clear of the rail. Eh? This shouldn't happen with hornblocks and a compensated chassis. That's the whole point of that malarkey - to keep all the wheels in contact with the track. Turned out the pickups on the front wheels were fouling the inside of the splashers and pushing on the wheels, stopping the compensation working properly. That took a while to find too. Shortening the pickup wire and grinding a bit out of the insides of the splashers wasn't enough to fix it - another hour gone. Eventually, raising the bodywork fractionally with plasticard packing on the chassis mounts cured it. A bit of weathering helped to tone down the lining and move the model closer to how the prototype looked circa 1962.
- 659 replies
-
- 13
-

-

-
The strays waifs and orphans of the Shuttle Plank. The Shuttleplank.MOV
-

Brookhall Mill - A GNR(I) Micro Layout
Tullygrainey replied to Patrick Davey's topic in Irish Model Layouts
Nice one Patrick. What else have you got in your sights? -
Thank you David. The layout is a little four-footer built on an old Ikea shelf. It has two independent shuttle arrangements (from Heathcote Electronics) which allow 4 locos to shuttle back and forward all day. Gives me something to watch whilst I shout at the latest build project.
-
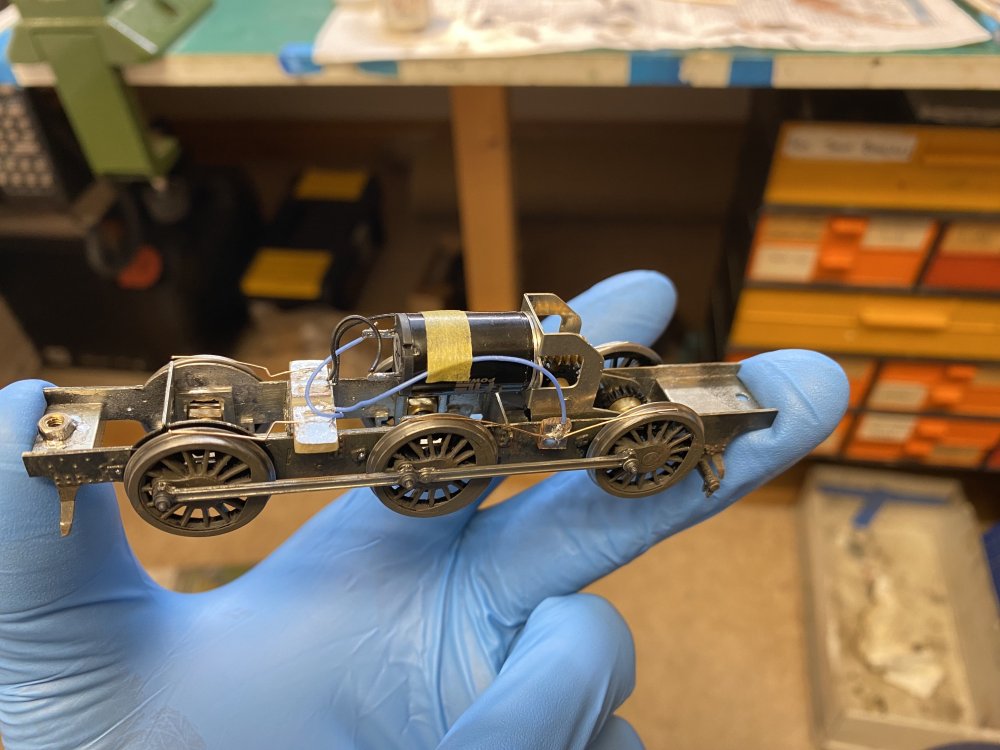
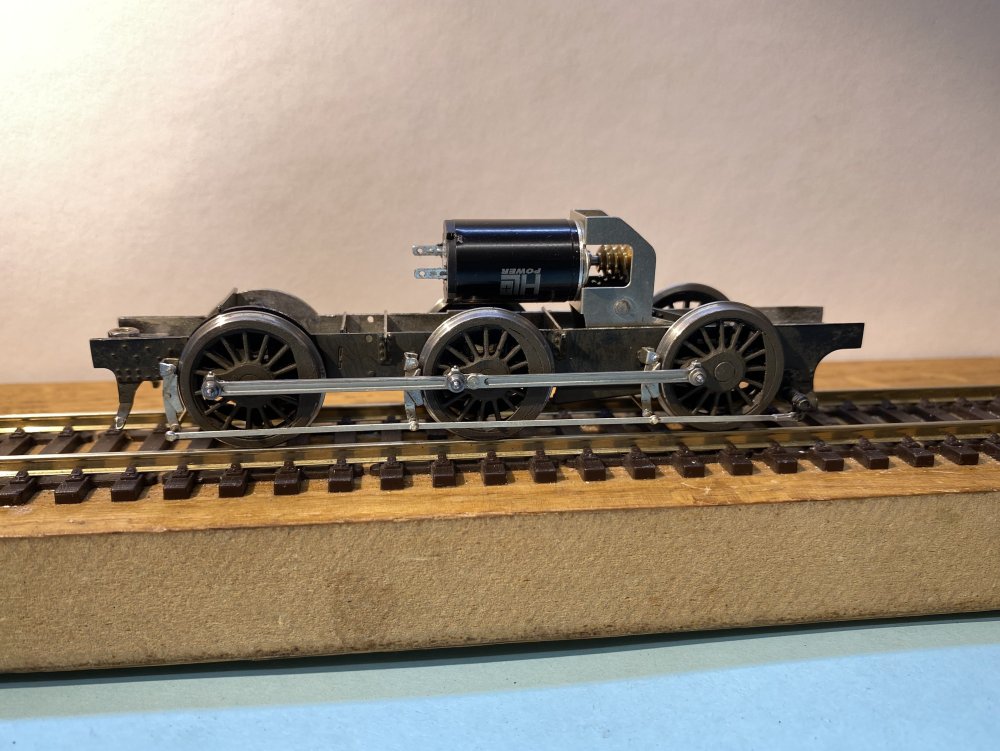
Jinty chassis fitted with pickups - 31swg phosphor bronze wire soldered to bits of printed circuit board... ...and first trial run under its own steam. It's actually a quiet runner. The noise is coming from that green Thomas Hill diesel in the background. Jinty.mov Halfords livery. Painting has progressed a bit further since this. More pics soon.
- 659 replies
-
- 13
-

-

-
Wonderful!
-
That's looking really authentic. You did well with the bow pen David. I never really cracked using mine and I think I must've thrown it away in frustration because I can't find it now!
-

Clogherhead - A GNR(I) Seaside Terminus
Tullygrainey replied to Patrick Davey's topic in Irish Model Layouts
And don't forget the bloke who runs the hire service on the beach - Rowan Boat -

Clogherhead - A GNR(I) Seaside Terminus
Tullygrainey replied to Patrick Davey's topic in Irish Model Layouts
Dead good! A monumental achievement Patrick. -
Thanks for this David. Badly needed cheer at this time of closures, apparent declining interest in the hobby and general gloom. Very encouraging. More power to the Chatham Club and best wishes for the July show.
-
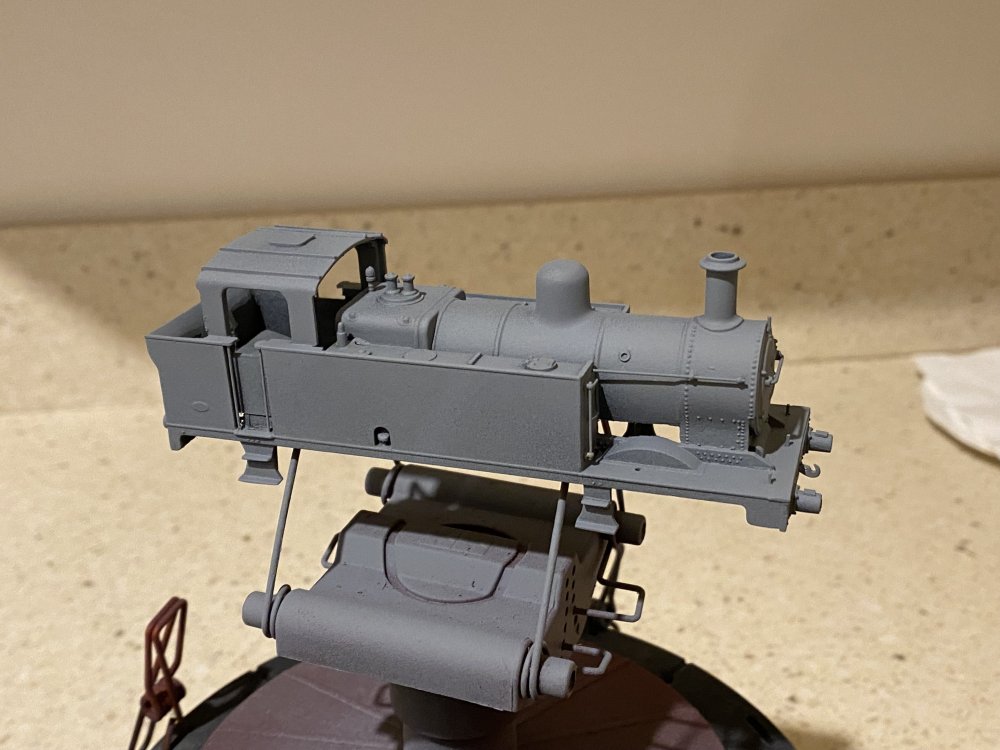
As usual, a chassis that ran smoothly when the rods were held on with temporary bits of wire insulation proceeded to develop tight spots as soon as the crankpin nuts went on. All it takes is a wheel not quite square on the axle or a crankpin not quite straight in the wheel - or both. An afternoon of fettling (and swearing) bred them out, more or less, mainly by gently reaming out the holes in the rods. A squeak also developed which I couldn't track down for ages. It turned out to be coming from the rolling road. One of the rollers had seized! It looked at one point as if the rods would clash with the brake rigging but they clear each other by a smidgen of a fraction of a millimetre. Still need to contrive pickups - probably phosphor bronze wire bearing onto the wheel treads. Tomorrow. All the body detailing is just about done. Almost ready for paint. In the end I didn't order the Brassmasters detailing pack. Elements like coupling rods, brake rigging and chassis detail are already provided in the High Level chassis kit, I don't need coal rails or vacuum pipes for this one and I was able to slim down the plastic steps to an acceptable level with a file. That really only left the chimney and the plastic Hornby one looks ok to my eye.
- 659 replies
-
- 10
-

-

-

N Scale Ballywillan, Co Longford.
Tullygrainey replied to Kevin Sweeney's topic in Irish Model Layouts
Beautiful, painstaking work Kevin. The slate work is exceptional. I have to keep reminding myself this is 2mm stuff. -
Hobby Holidays has a good selection of brass and nickel silver sheet including the thin stuff recommended by Galteemore. https://www.hobbyholidays.co.uk/products.php?cat=19 A 30W iron will handle most small jobs such as those you'd encounter in a 4mm/ft wagon kit. As you practise on scrap bits, you'll start to get a feel for what the iron is capable of.
-
That’s a real charmer! Beautifully finished too, brakes notwithstanding
.png.c363cdf5c3fb7955cd92a55eb6dbbae0.png)
