Jump to content

Darius43

Members
  • Posts

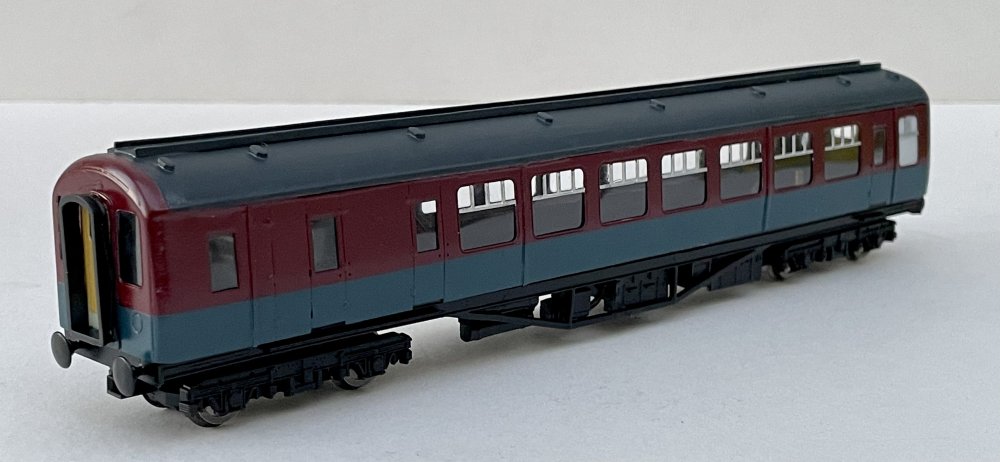
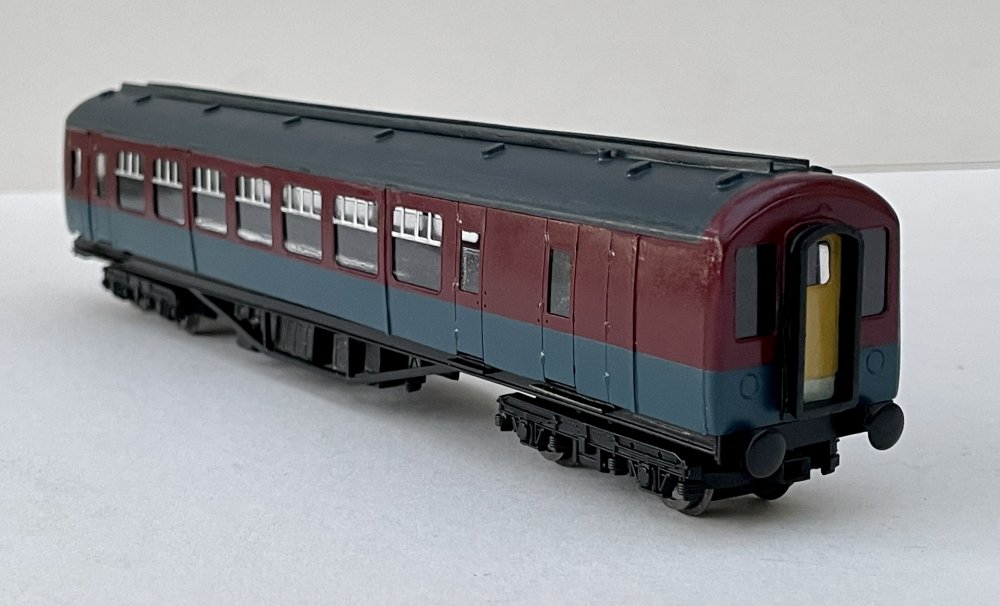
    962
  • Joined

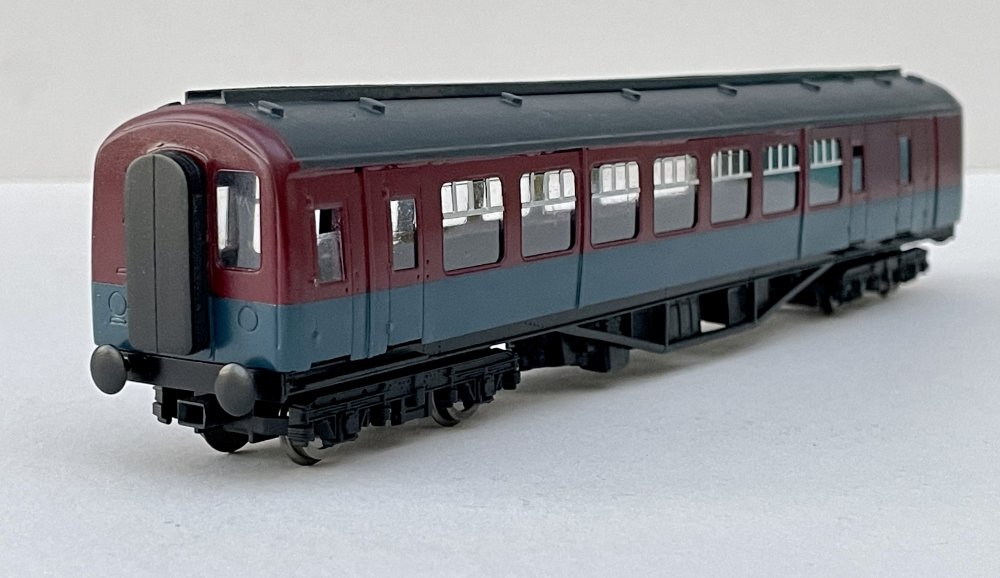
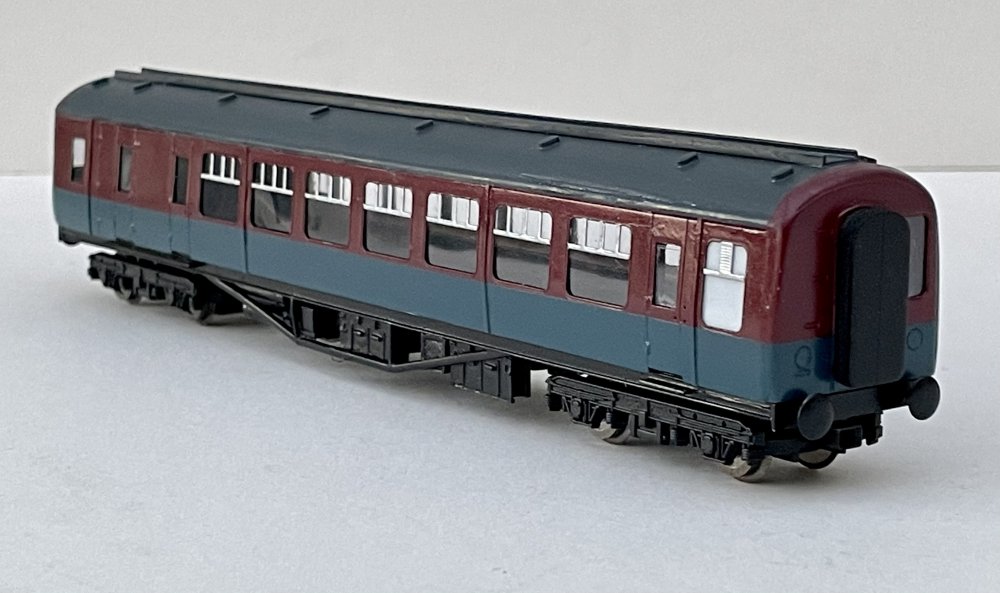
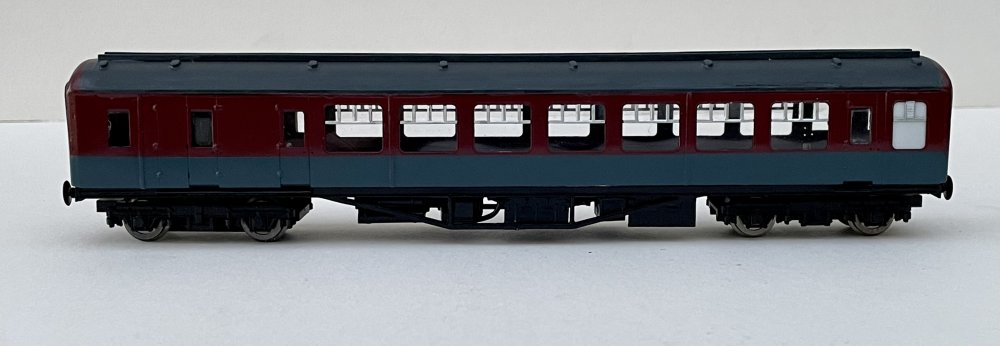
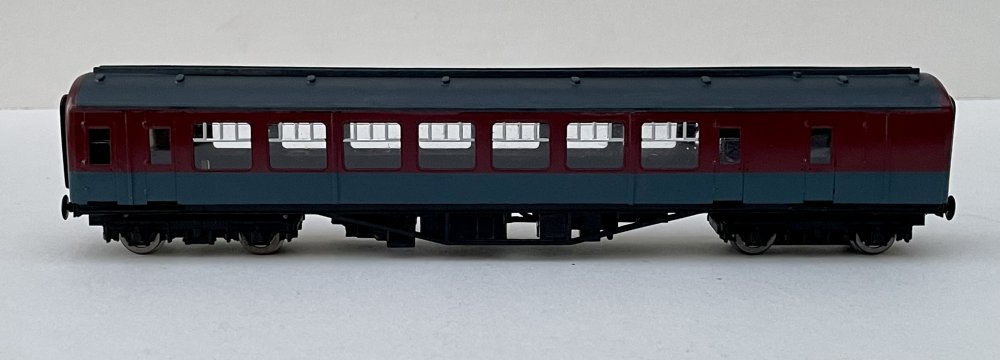
  • Last visited

  • Days Won

    63

Everything posted by Darius43

  1. B-47 Stratojet built from the 1:48 scale Sanger vacform kit. Cheers Darius Saturn V built for a friend of mine from the 1:48 scale Revell kit. Cheers Darius
  2. Keeping with the Avro theme… Whilst surfing the 1:48 model kits on eBay one weekend I spotted an incomplete Tamiya Avro Lancaster for sale - just the wings, engines, props and tailplane - no fuselage or transparencies. The possibility of making an Avro York sprung to mind - all I needed to do was scratch build a York fuselage; how difficult could that be? I bid for the parts and won the auction. The easy part was over. My plan was as follows:- 1. Carve a fuselage in balsa wood. 2. Skin this with plastic card and filler. 3. Cut off the front end just before the cockpit and use the balsa masters to vac-form two halves in clear plastic. 4. Cut off the tail cone and use it to vac-form a plastic tailcone. 5. Scratch build a cockpit interior. 6. Graft the vac-formed bits onto the fuselage. 7. Use clear plastic to skin the glazed part of the fuselage (surface painted black beneath). 8. Scribe fuselage panel lines. 9. Use those self adhesive circles that you get in stationary stores to mask the fuselage windows. 10. Make the wings etc. using the Tamiya parts. 11. Connect the wings etc. to the fuselage. 12. Mask and paint as per a normal kit (I will probably paint the wings and fuselage separately). 13. Vac-form the central tail using another balsa master. 14. Make some home-made decals for the Dan Air York G-ANTK. 15. Apply the decals and finish off. 16. Make myself a really a long drink and relax for a while. Step 1 was completed using a surform to profile the solid balsa fuselage. I used enlarged plans from the Profile Publications Avro York booklet as a guide to mark the fuselage profiles on the balsa. It took a day to get the balsa to shape and to "tweak" it in a few areas but using the surform and a sanding block made "relatively" light work of it - although my upper arms ached for about a day afterwards!!! I then jumped ahead to step 15 and made the decals using my inkjet printer. Steps 3 and 4 were completed by cutting off the front end just behind the cockpit area using a razor saw and spit it horizontally in order to vac-form the top in clear plastic and the bottom in plain white. Before the vac-forming process I glued pieces of 2mm thick cardboard to the balsa masters to provide some oversail. This gave me a margin to trim the parts to fit. I had considered splitting the cockpit vertically but the main windscreen does not have a central pillar so it had to be a horizontal split. I use a Mattell vac-forming machine to do the necessary and it worked reasonably well. The tailcone was vac-formed in one go. I made progress in the cockpit using photos and drawings provided by fellow modellers Edgar and Miduppergunner. I scratch built the seats and yokes and used the balsa vac-form masters for the floor and front console as they strengthen the rather thin vac-formed outer skins. I was going to cheat and use an Eduard zoom Lancaster instrument panel but the York is much different - having both a pilot and copilot. I therefore scratch built the panel in the same fashion as I did for the Sanger Shackleton. Mike Grant's instrument decals made this a much less daunting prospect. The balsa fuselage was "skinned" with plastic card, the cockpit area was attached and the skinning joints filled. The central fin was carved from balsa and then port and starboard halves vac-formed. Plastic card was also used to form the main wing and tailplane to fuselage attachment points. The main cabin windows were fabricated from a strip of clear acetate with circular self-adhesive labels of the correct diameter used to mask each "porthole". The vac-formed cockpit glazing was attached with cyano glue and the joints filled. sanded, re-filled, re-sanded etc. until I was happy with the joint. There was a newar disaster when the circular labels didn't want to come off. Fortunately applying whte spirit broke down the adhesive without affecting the clear acetate beneath and so the windows survived!! I surrendered to the aftermarket and applied the Eduard Lancaster Flaps set to the Tamiya wings. These were finally installed after much swearing and attaching of etched parts to fingers with cyano glue. The red cheat line was masked and brush painted with Humbrol enamel and the black borders were added courtesy of Xtradecal's black decal stripes. I made the cockpit sliding side windows with angle frames fabricated from plastic card and the sliding light from clear acetate sheet. This was then glued to the cockpit side. I also added the astrodome (spare vac-formed part from the Sanger Shackleton kit) and the starboard side clear blister (from the Tamiya kit). The wings were painted and then the home-made decals applied to complete the kit. Piece of cake...
  3. Before I got back into railway modelling I was an avid builder of model aircraft kits - all in the scale of 1:48. This rapidly led to a problem of where to put the finished models, but that is another story. Many of these kits are vac-forms from the likes of Aeroclub, Sanger and ID Models - such as this 1:48 Sanger Avro Shackleton MR3. Sanger are the company that produces 1:48 kits of RAF two and four-engined aircraft that other companies have so far avoided. Unfortunately they are vac-formed kits of the "old school" requiring serious plastic cutting, sanding, scratch building and a big hit to the spares box. In short they are great fun but not for the faint of heart (or sane). I got my MR3 kit from Hannants. It is packed in an insubstantial plastic bag with large vac-formed white styrene sheets containing the fuselage, wings. tailplanes, engine nacelles, part of the nosegear leg (unuseable) and mainwheels (also unuseable). The cockpit, nose and tailcone transparencies are supplied in thick but well-formed clear plastic - you only get one set so care is needed when cutting. The nosewheels (wrong tyre tread), maingear legs, engine exhausts, propeller blades, control yokes and cockpit seats (unuseable) are in white metal. A large decal sheet provides codes that appear to be for an MR1 but does supply appropriate yellow wing walk markings. The vac parts were cut from the backing sheets and sanded down in the usual fashion - sandpaper laid flat on a sheet of glass (an old refrigerator shelf). The engines are supplied as left and right halves and require intake flaps to be cut in the sidewalls. Based on photographs I sketched sideviews of the inboard and outer nacelles and marked where they were on each nacelle half. They were then cut away to form the openings. Pre-curved sheet was laminated and re-attached to fill the rear half of each opening and a thinner "flap" was attached to the forward half to match the photo images. The vac-formed engine fronts were scored with a P-cutter and cemented just inside the front of each nacelle. Offcuts from the vac backing sheet were fashioned to make the "dividers" in the engine fronts. The outboard nacelle "tubes" are moulded parallel but the MR3 outboard nacelles have a bulged underside that is quite distinctive. This was created by cementing curved formers to the nacelle underside and filling the gaps with offcut vac backing bits and finally Humbrol plastic filler. Once hardened these were sanded smooth to form the bulged nacelle undersides. The nacelles were then grafted onto the wings using super glue (cyano) and lots more filler. Once I had removed much of this from my fingers it was ready to sand. The tailpalnes are moulded with quite a bulbous thickness to them so these were ruthlessley sanded down to produce a more scale thickness. The rudders were also separated to give a better effect. Steel pins super glued into holes drilled using a pin vice secured the tail assembiles together. The fusleage halves have door and window locations indicated by embossed perimeters. Unfortunately these are in the wrong positions and so they had to be filled and the windows marked, drilled and cut out in the correct locations - photo references helped a lot with this task. The starboard rear door was re-scribed in the proper position. The joint between the fuselage halves was reinforced with plastic strips (more vac backing offcuts) and sprue lengths from an old injection moulded kit were used to ensure the correct vertical separation - this prevents the vac fuselage halves from "squashing". There is no kit cockpit and so this has to be scratch built (using more vac backing sheet offcuts and plastic card stock) - a google image search helped with this. The main cockpit console was scratch built using laminated plastic card sheets but the kit-supplied yokes were used (hurrah!). The seats were scratch built using thick plastic card and spare photo-etched bits. The kit-supplied engine exhausts do not look like the ones on an MR3 so the exhaust bodies were scratch built and the white metal pipes were grafted onto these - only had to do this eight times!!! Once the cockpit was cemented into one fusleage half, the other half was attached superglued, taped and left overnight. The joint was then smeared with humbrol filler and then left for another day. After sanding - no joint line (phew). Slots were cut in the fuleage sides for two thick plastic main wing spars (not a kit instruction requirement but vital in a model of this size). The cockpit and tailcone transparencies were dipped in Johnson's Clear and once dry super glued to the kit (the Clear does prevent white misting) - although the super glue is applied to the joint using a pin point with the part taped in position. Once the glue had set the clear part is masked and the joint filled with humbrol filler. The filler having set, the joint is sanded (with the masking still in place) to result in a smooth joint - the masking protects the clear part from scratching during sanding. The masking was replaced and the whole model primed with Halfords grey spray primer. The top of the fuselage was painted with Halfords white spray primer and sealed with a couple of coats of Clear. Xtracolour dark sea grey was then brush applied to the rest of the kit. I used spitfire mainwheels for the nosewheels and true details 1:72 B52 wheels for the mains - with scratch built hub inserts. Xtradecal roundels and Carpena white letter codes were used along with home-made decals for the red serial and code inlays to the white decals (to give a red code with a white outline). The octopus motif on the fins was scanned in and transferred to clear decal film. The finished model depicts a Shackleton MR Mk 3 Phase 2 of 206 Squadron RAF based at St Mawgan in Cornwall circa February 1965 - the month of my birth!!! Cheers Darius
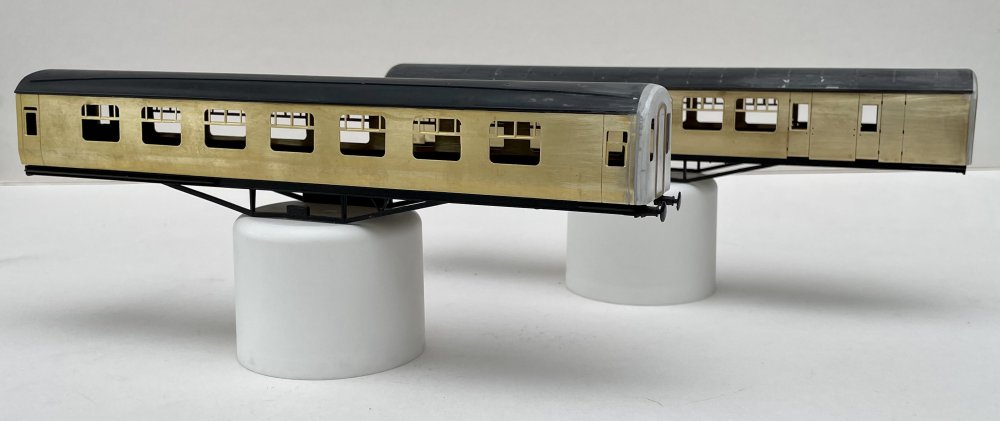
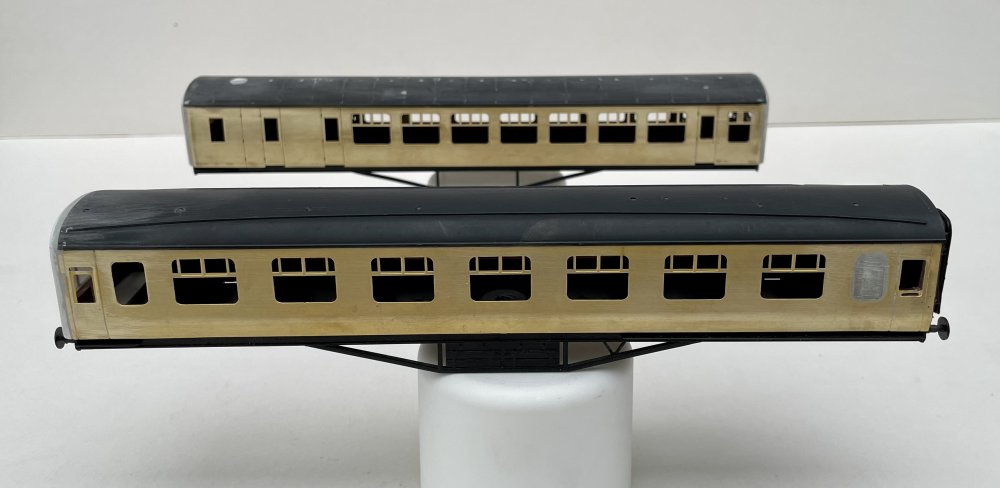
  4. Lining to one side completed and sealed in with Klear varnish. The lining overruns onto the black painted beading will be corrected using black enamel paint applied with the end of a cocktail stick - as will the door hinges - once the decals have set. Cheers Darius
  5. No regional or national stereotyping here then… I was born in London, grew up in the Midlands in the 70s (near Stoke) and Belfast (late 70s early 80s) and now live on the south coast of England. Plenty of regional differences, however if a person is rude and is unhelpful I put it down to the nature of that person and don’t give them the excuse of it being a regional or national characteristic. There are always some that will try to defend bad behaviour - just take a look at this week’s British newspaper front pages… Darius
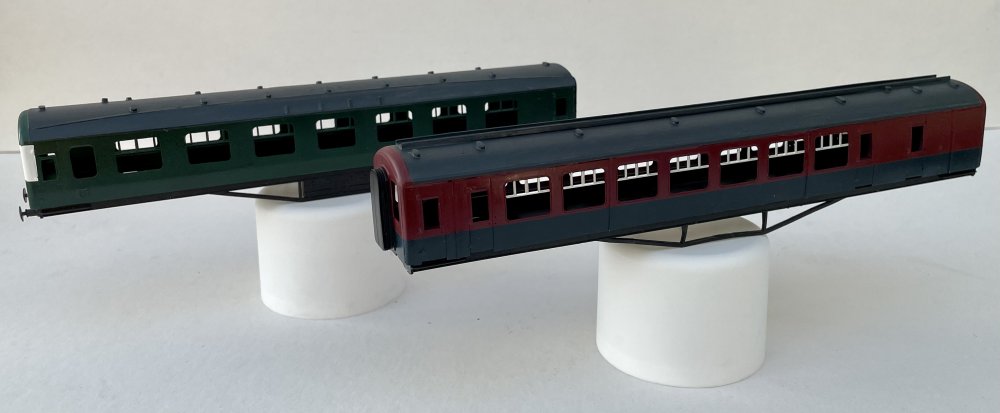
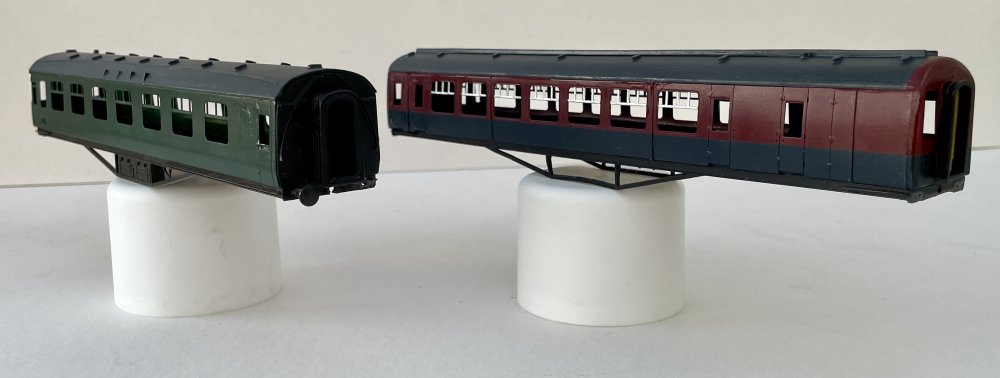
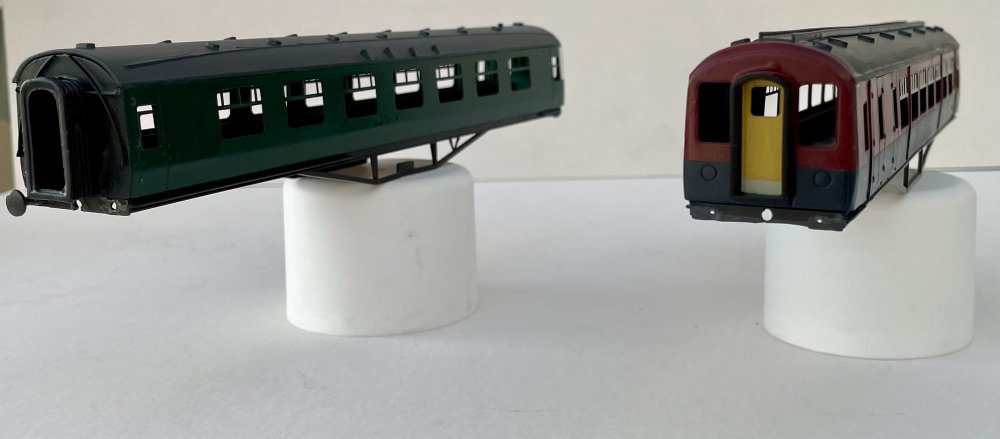
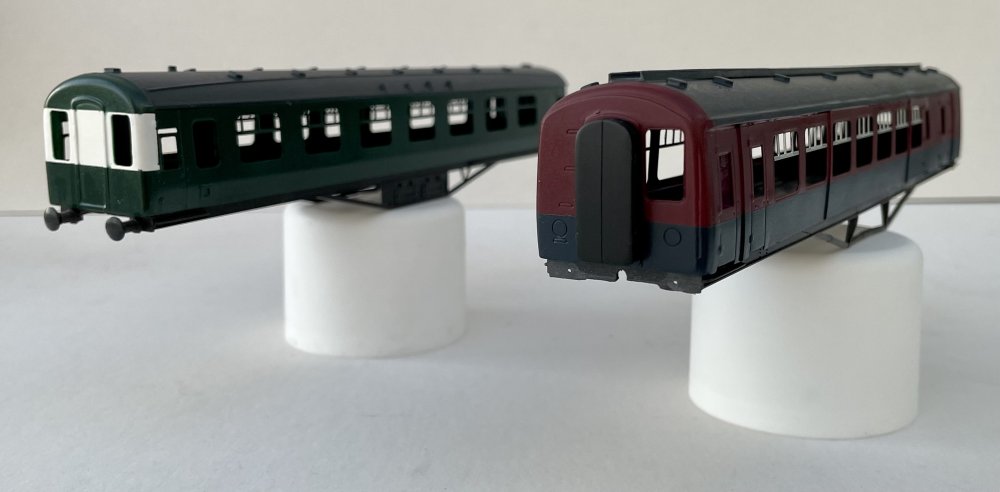
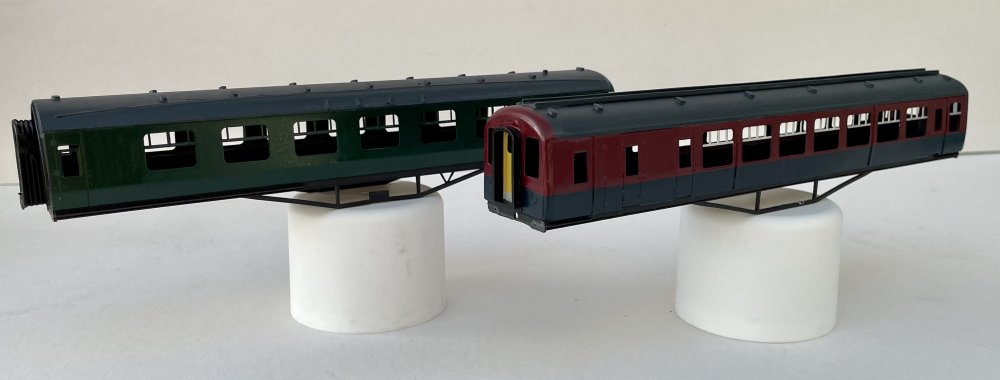
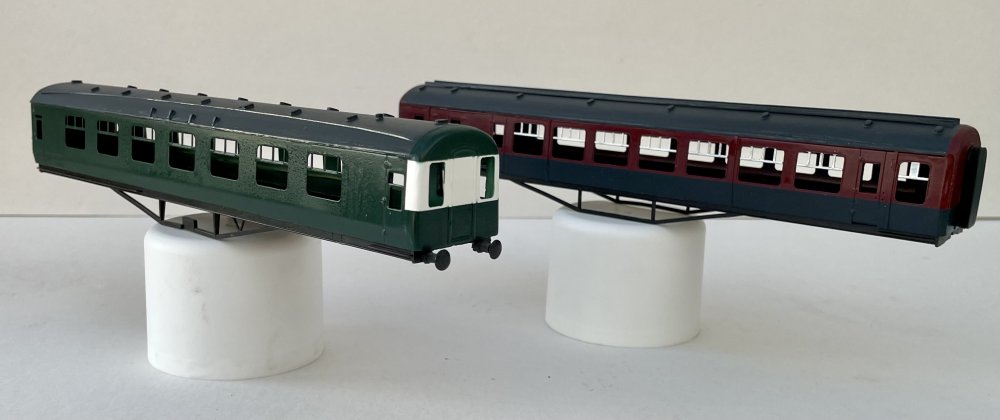
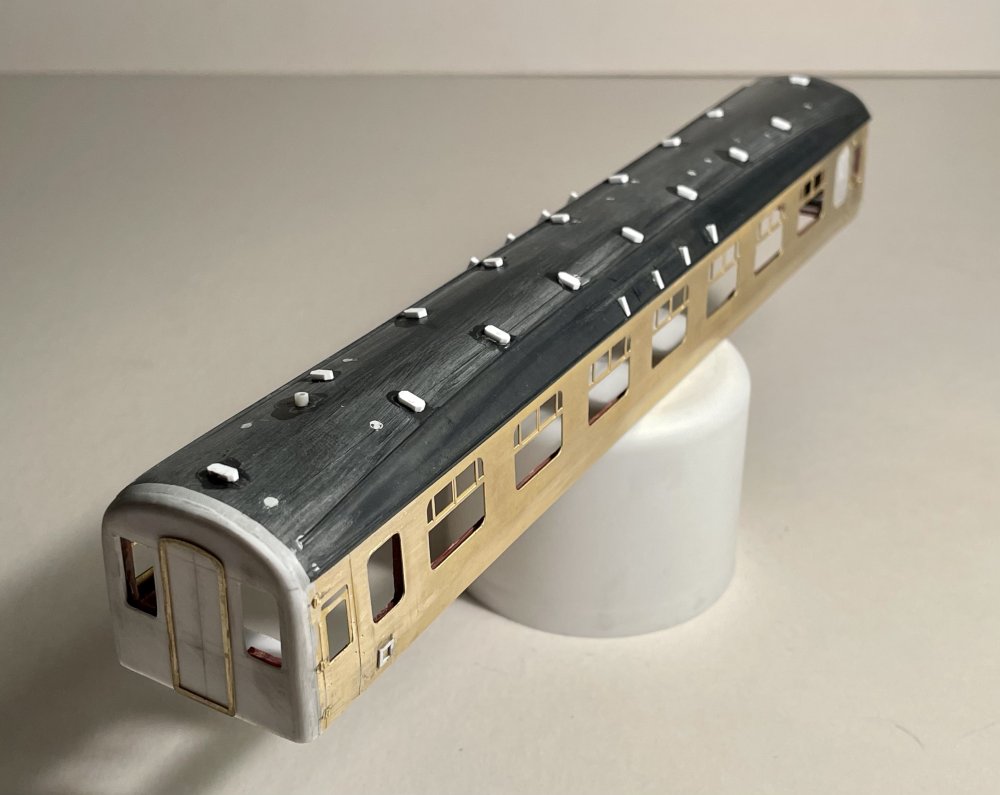
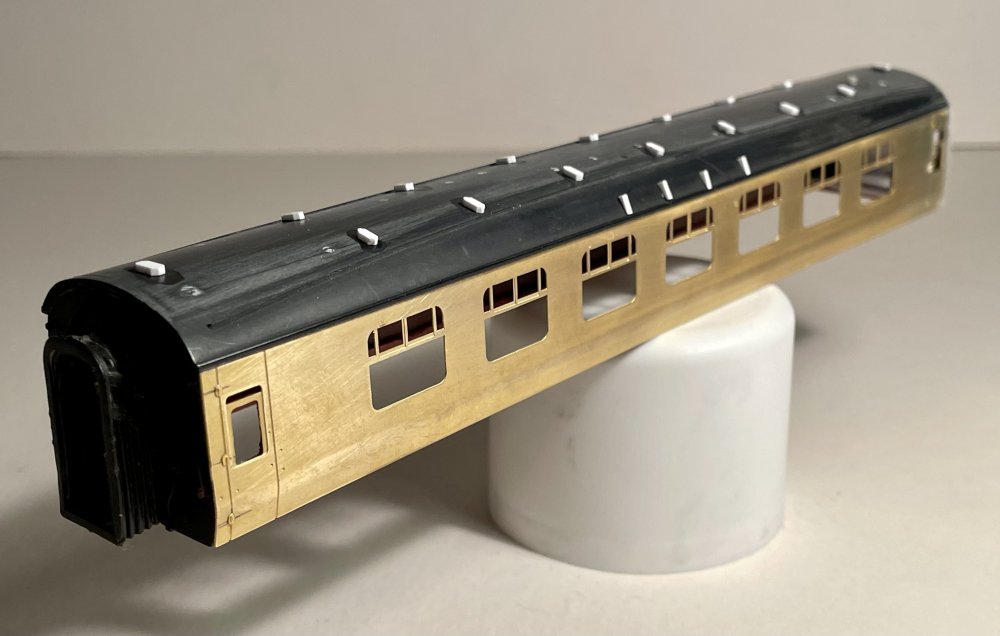
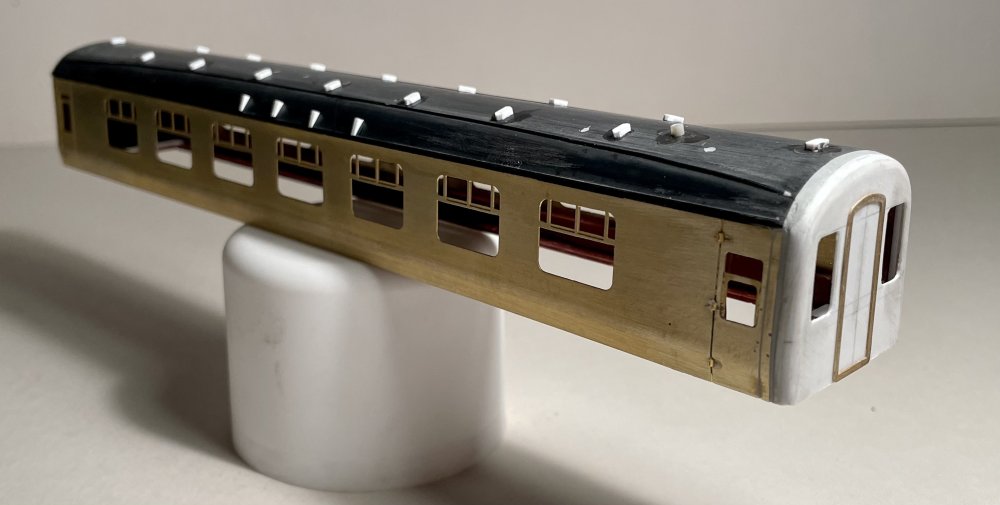
  6. Composite coach lining commenced. Cheers Darius
  7. Composite coach interior made from Ratio coach seating cut to length and bits of plasticard. And painted. Cheers Darius
  8. I regularly buy online from Railtec and Fox Transfers - both one man bands as far as I am aware - and have had prompt, trouble free and courteous service for many years. I have in the past bought several items from DC Kits including Legoman decoders. I have not had any problems with the decoders but purchasing kits is another story. Some time back (before the Bachmann model came out), I purchased a Class 85 loco kit. Months followed with no sign of the kit so I started chasing and got the aforementioned gruff responses to the effect that how dare I chase him for the kit. It eventually arrived just before the Bachmann example. I don’t buy the ‘from Yorkshire’ excuse. TMC and Rails of Sheffield are also from that neck of the woods and have always been pleasant to deal with and reliable. Cheers Darius
  9. After airbrushing the coach bodies in Crimson Lake and applying a couple of coats of Klear varnish, I hand painted the black edge beading using Humbrol 33. I then applied strips of Fox Transfers LMS coach lining - black/yellow to the outside edges of the coach sides and yellow/black/yellow to the inner beading. The decal lining strips were cut to length to fit between the door hinges and handles etc. and applied individually, using a cocktail stick to adjust/correct their alignment. Every so often a coat of Klear varnish was used to seal in the lining before proceeding to add more. Cheers Darius
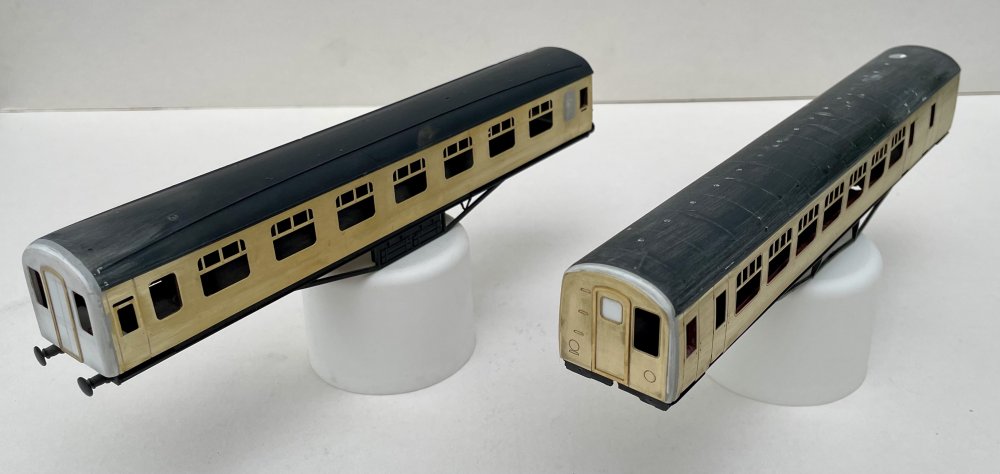
  10. Building these kept me busy over the Christmas break and has continued into the new year. I used FOX Transfers lining and HMRS pressfix decals. The Ratio kit plastic wheels were replaced with Hornby metal wheels in brass bearings. Cheers Darius
  11. They are in business but getting stuff from them is a bit of a lottery. After paying for goods not received I will never do business with the owner again - despite his celebrity status on RMWeb. Darius
  12. Cheers Darius
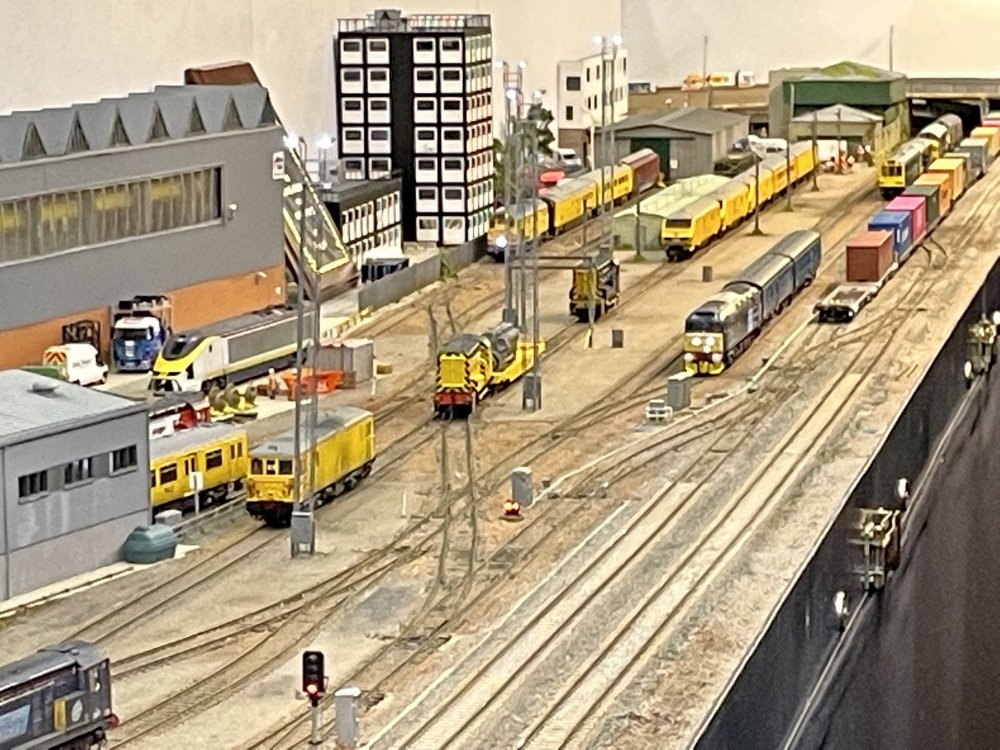
  13. C Rail containers and Oxford Diecast Ford Cargo repainted with MIR “Merlinir” decals applied. Cheers Darius
  14. 37037 completed. Cheers Darius
  15. Number three in progress… Cheers Darius
  16. Dunweatherin again. Cheers Darius
  17. With the southern end of Cave Hill in the background I would think so. Brings back fond memories of the annual BRA school sponsored walks up over and around Cave Hill in the late ‘70s and early 80’s. Happy days. Cheers Darius
  18. Decals, glazing and buffer beam details added. Cheers Darius
  19. Power twin. Cheers Darius
  20. Dunpaintin. Cheers Darius
  21. Original Triang EE Type 3 fitted with Hornby Railroad bogies. Buffer beam details and a light weathering applied. Cheers Darius
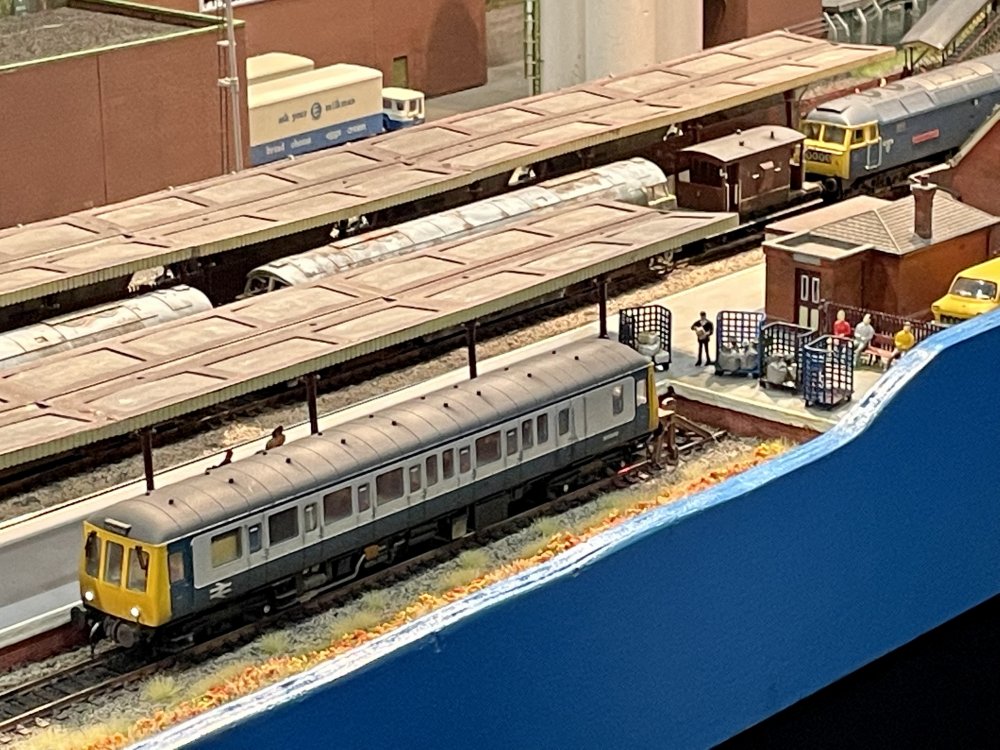
  22. Hi David, The Chopper bikes are by Smartmodels The Brute trolleys are by Shire Scenes Cheers Darius
  23. Building some little things today. Bought these 3D printed marvels and painted them a few weeks ago. Cheers Darius
  24. Second Triang EE Type 3 on the bench. This one will be a split headcode version using some Westward etched bits that I picked up on eBay a couple of years ago and some 3D printed headcode boxes that I just ordered. I will be using replacement Hornby Railroad Class 37 bogies fitted to a modified Triang chassis. Cheers Darius
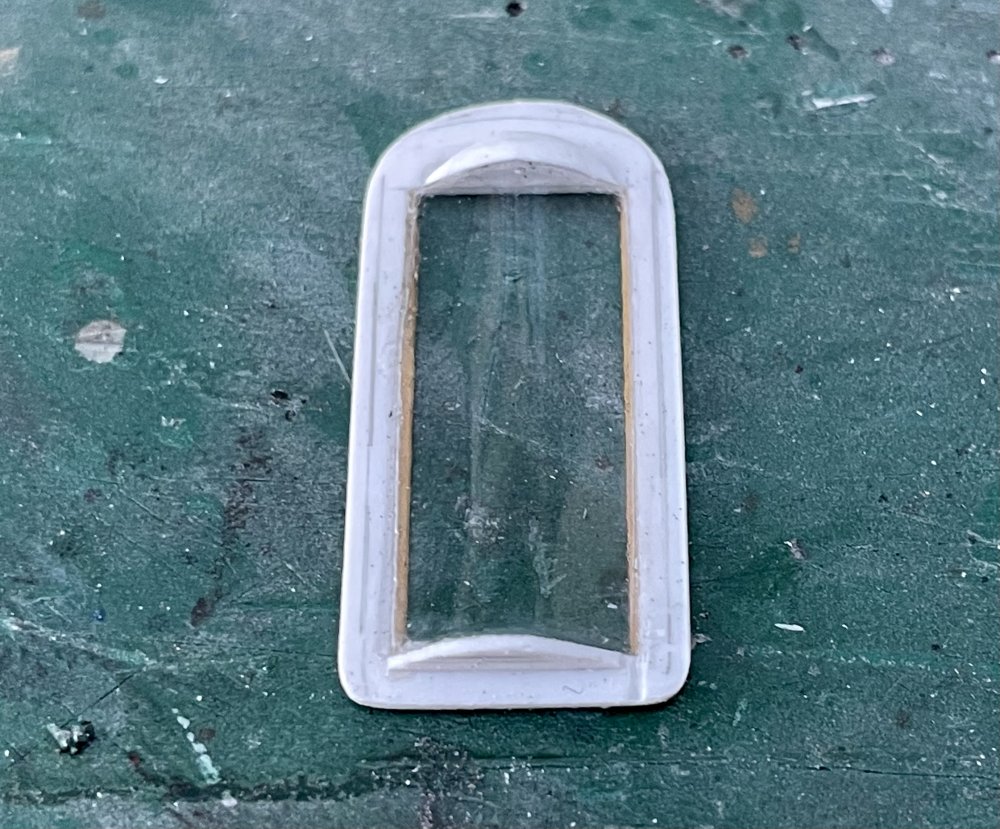
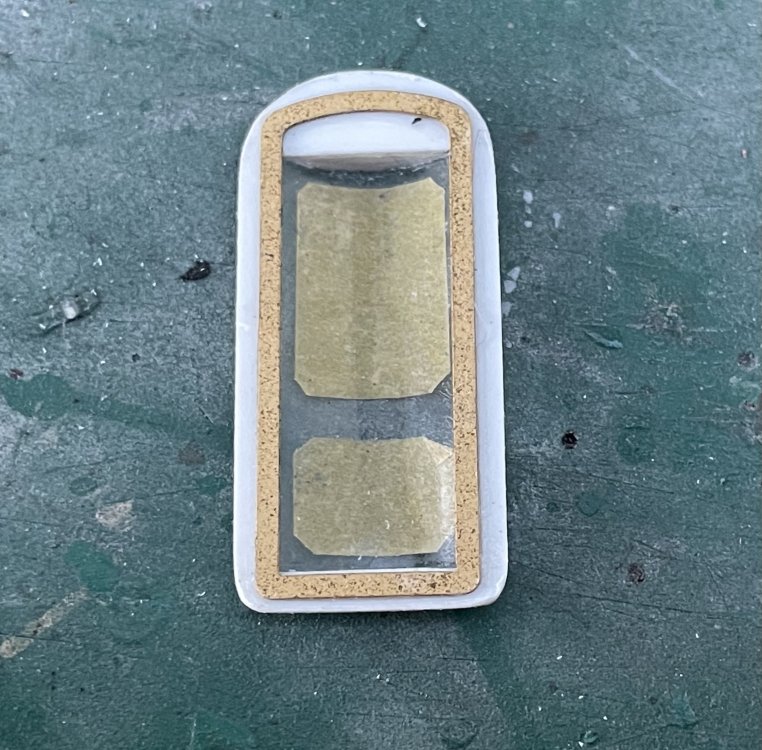
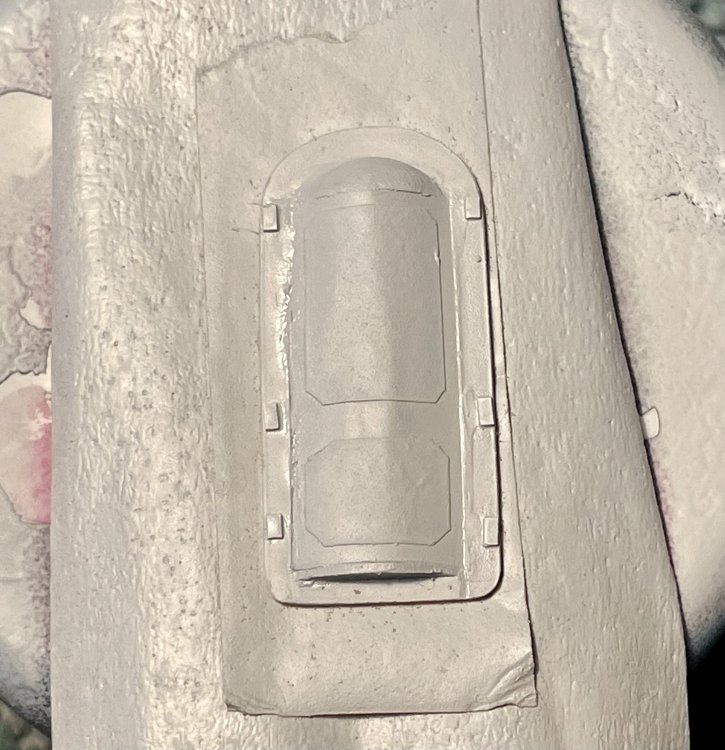
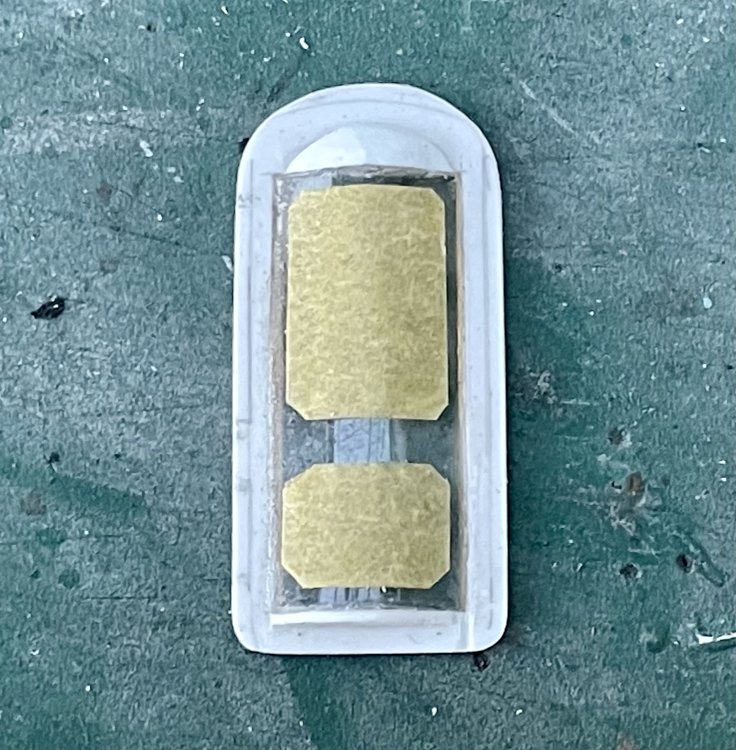
  25. Decals and glazing added. Next will be bogie cab steps and buffer beam details etc. Cheers Darius
×
×
  • Create New...

Important Information

Terms of Use