KMCE
-
Posts
540 -
Joined
-
Last visited
-
Days Won
29
Content Type
Profiles
Forums
Events
Gallery
Blogs
Everything posted by KMCE
-
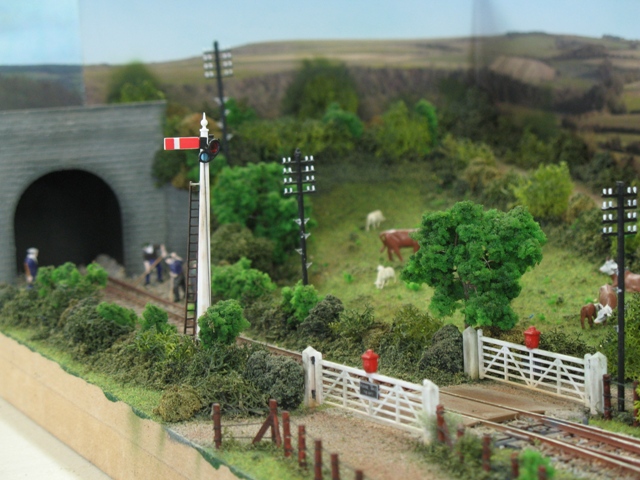
Still a way to go, but getting there. More detailing, roofs & weathering to mute the whole lot down. Some form of road would be useful - perhaps cobbles with a basic footpath...... Getting there! Ken

-
Really nice layout there - I rather like the catch point detail on the sidings; nice touch. ken
-
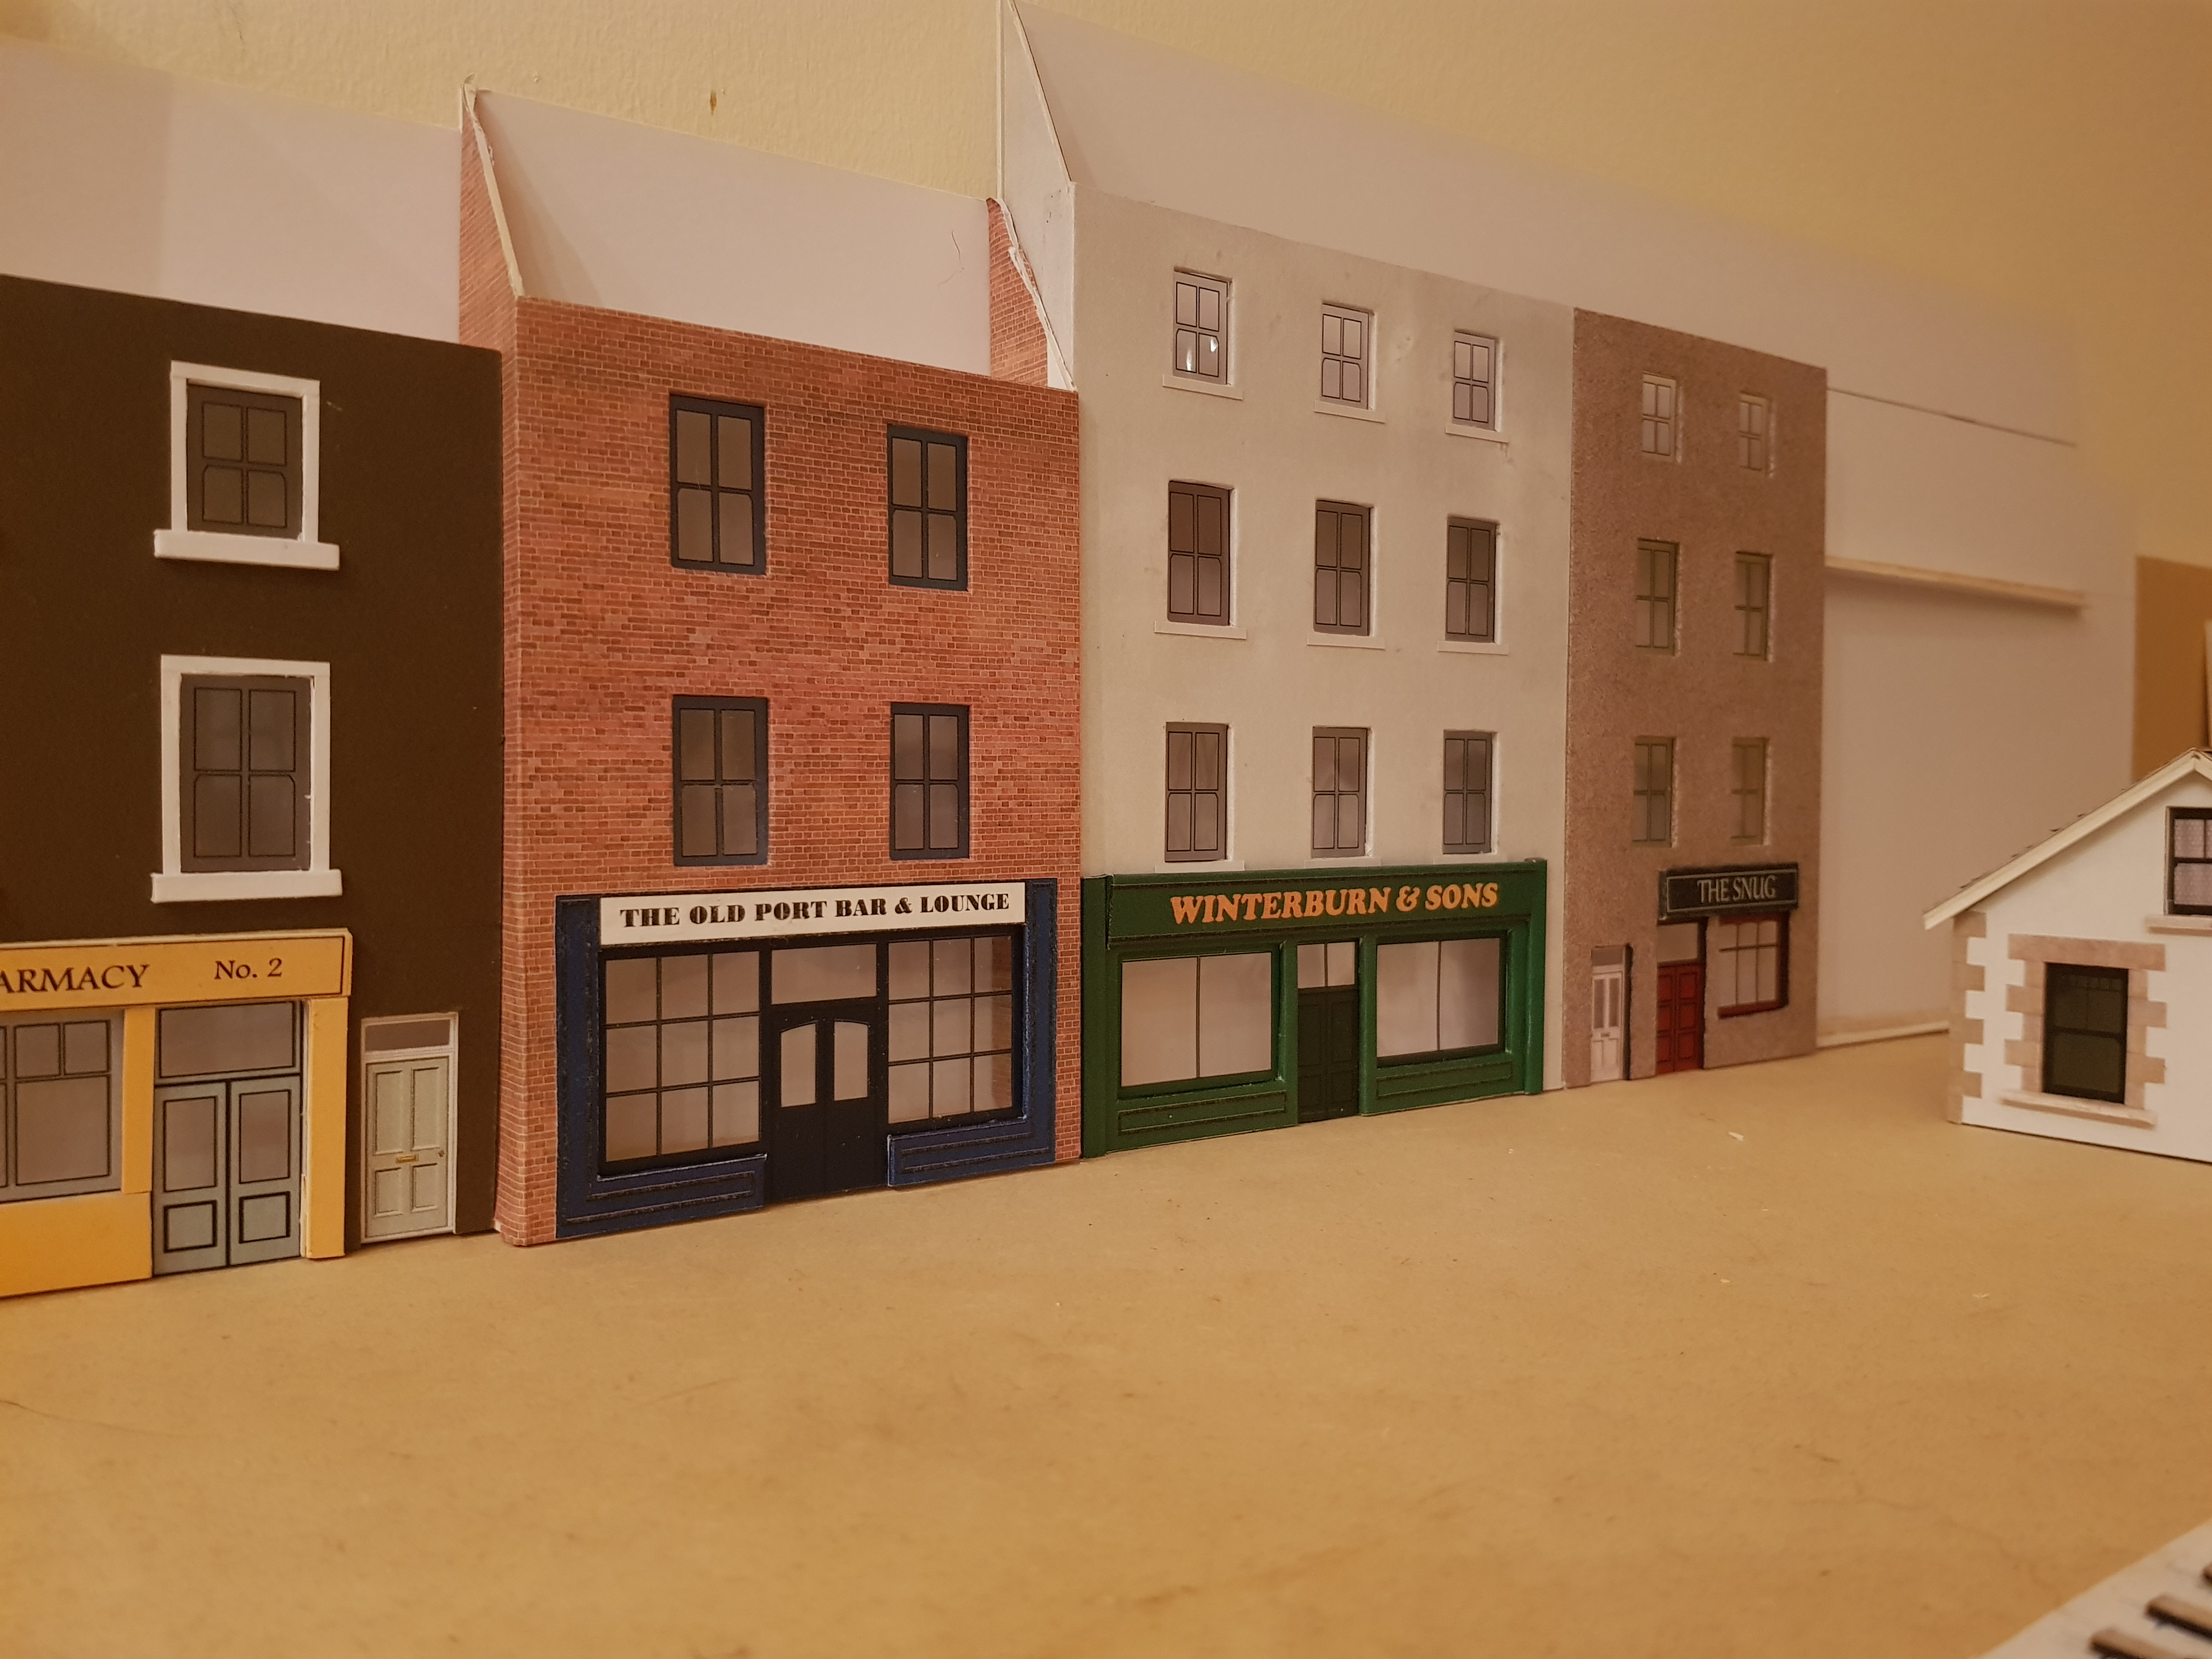
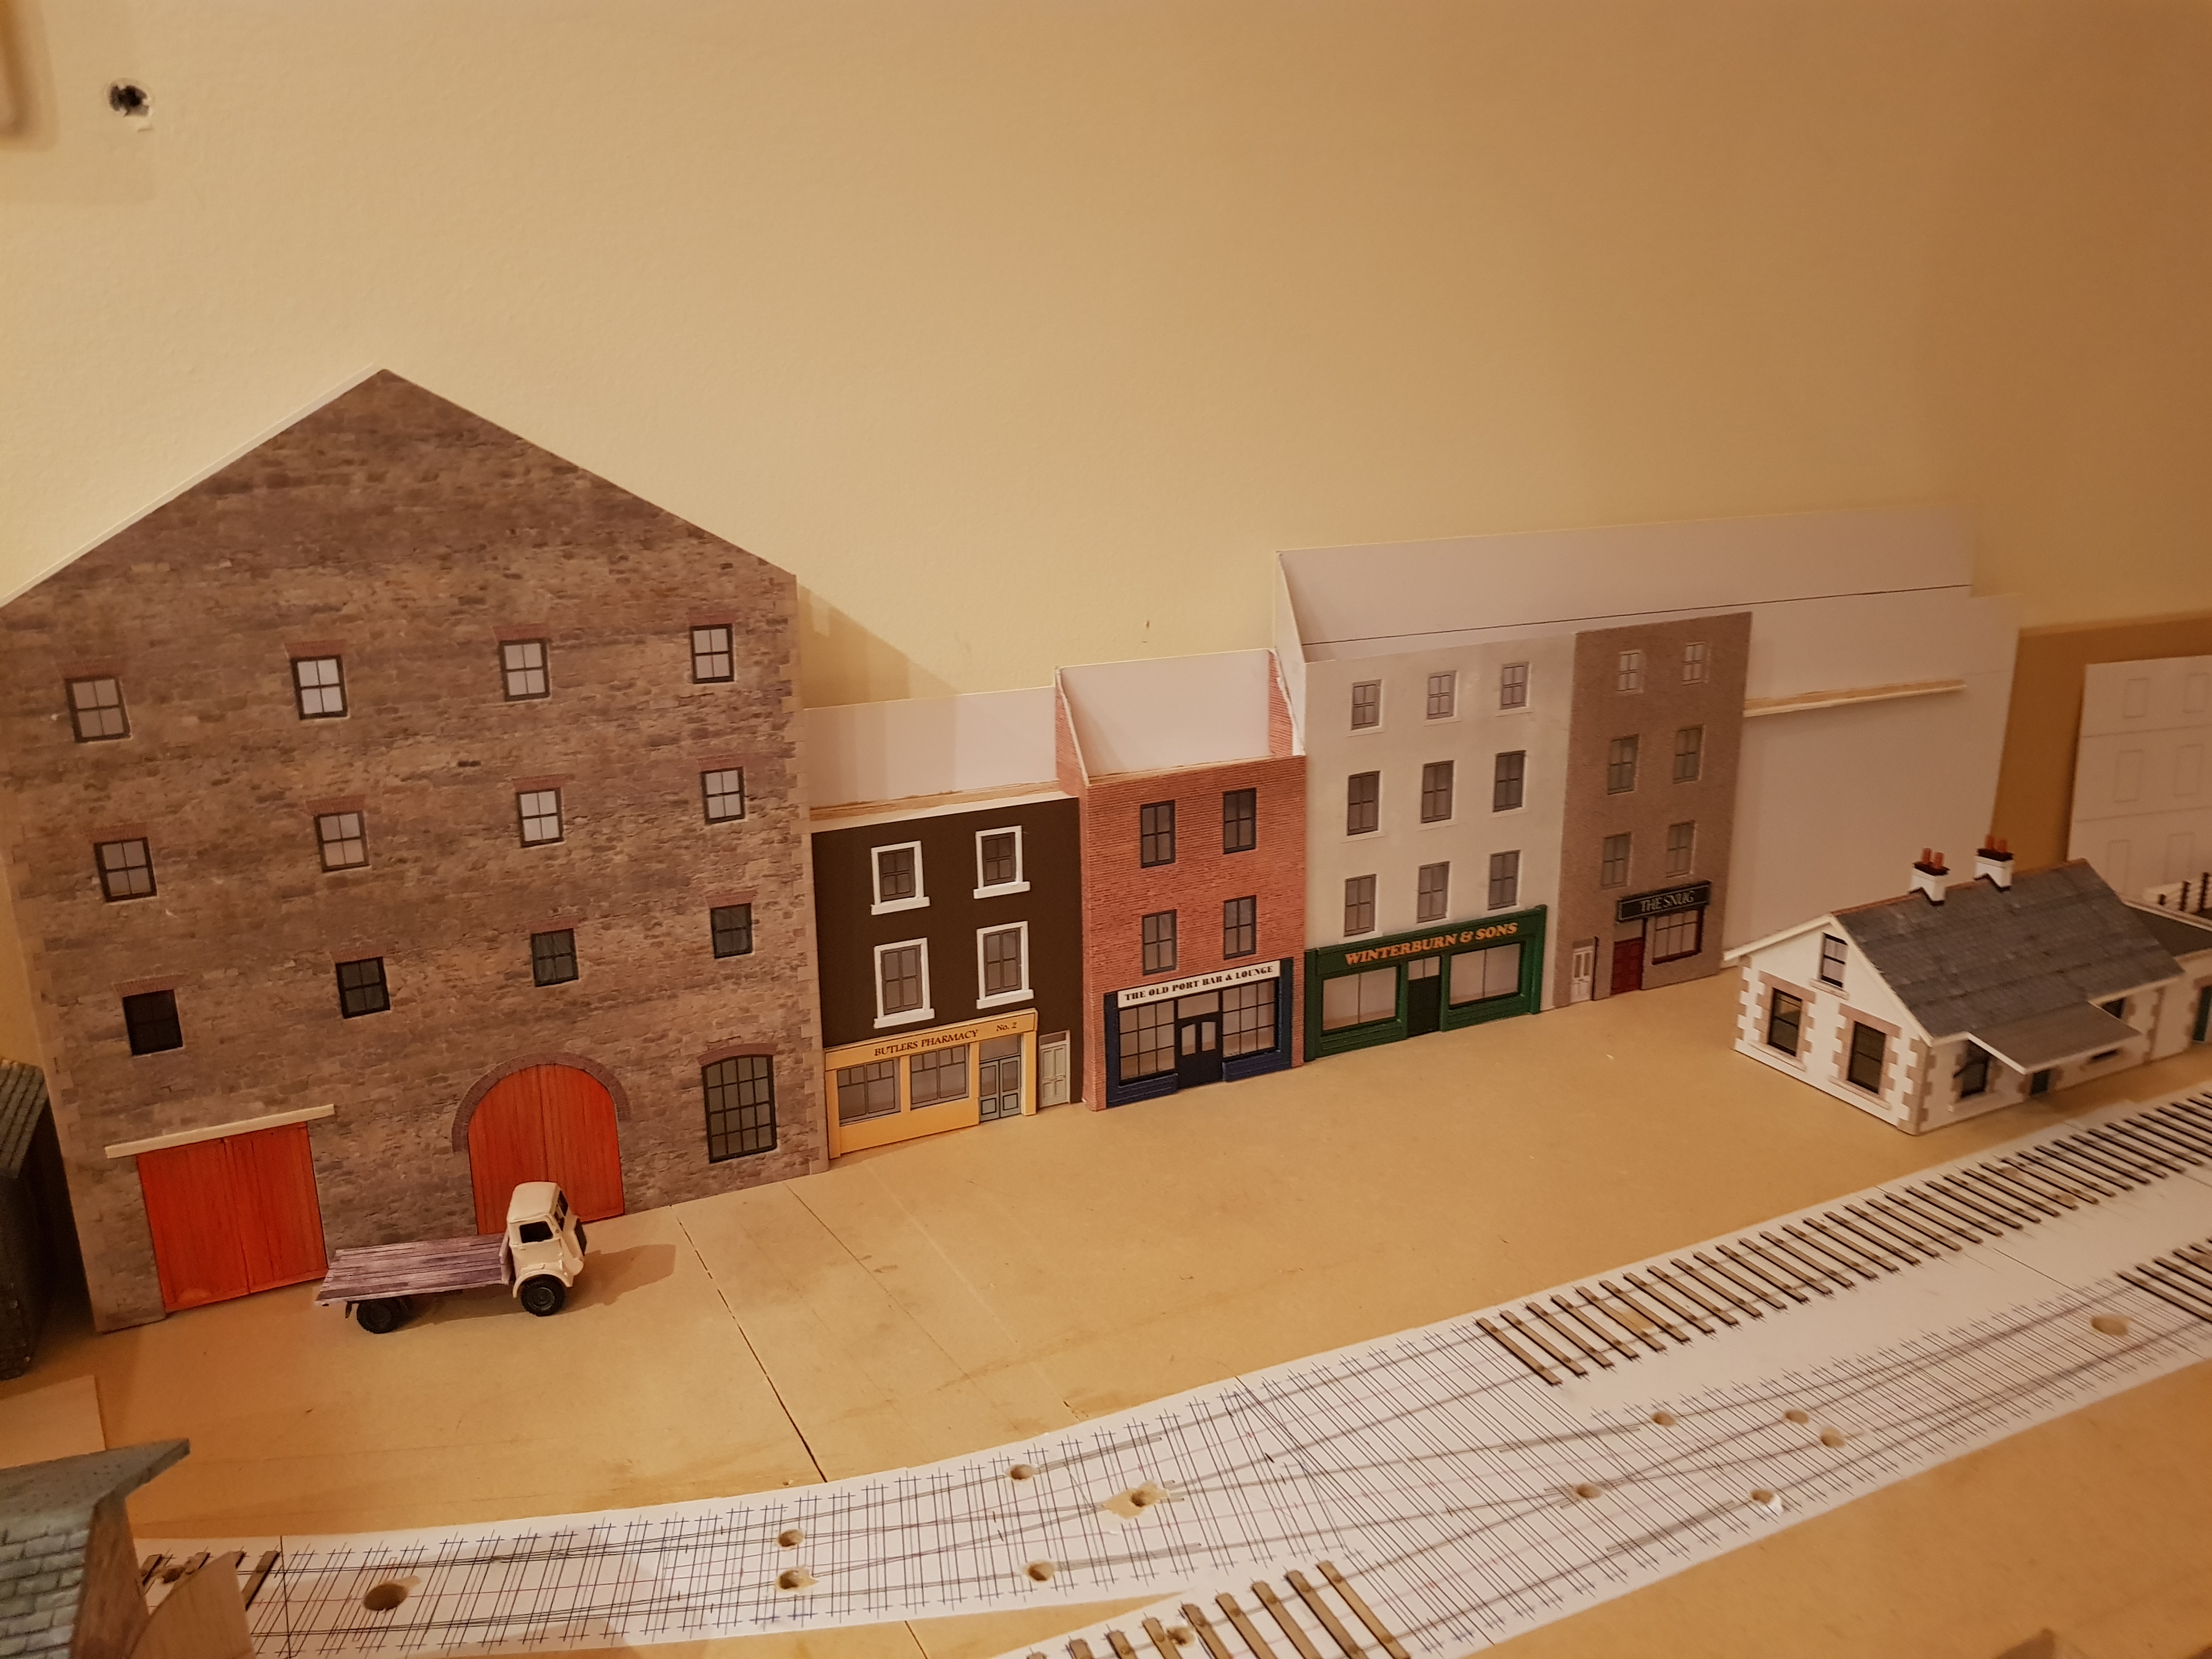
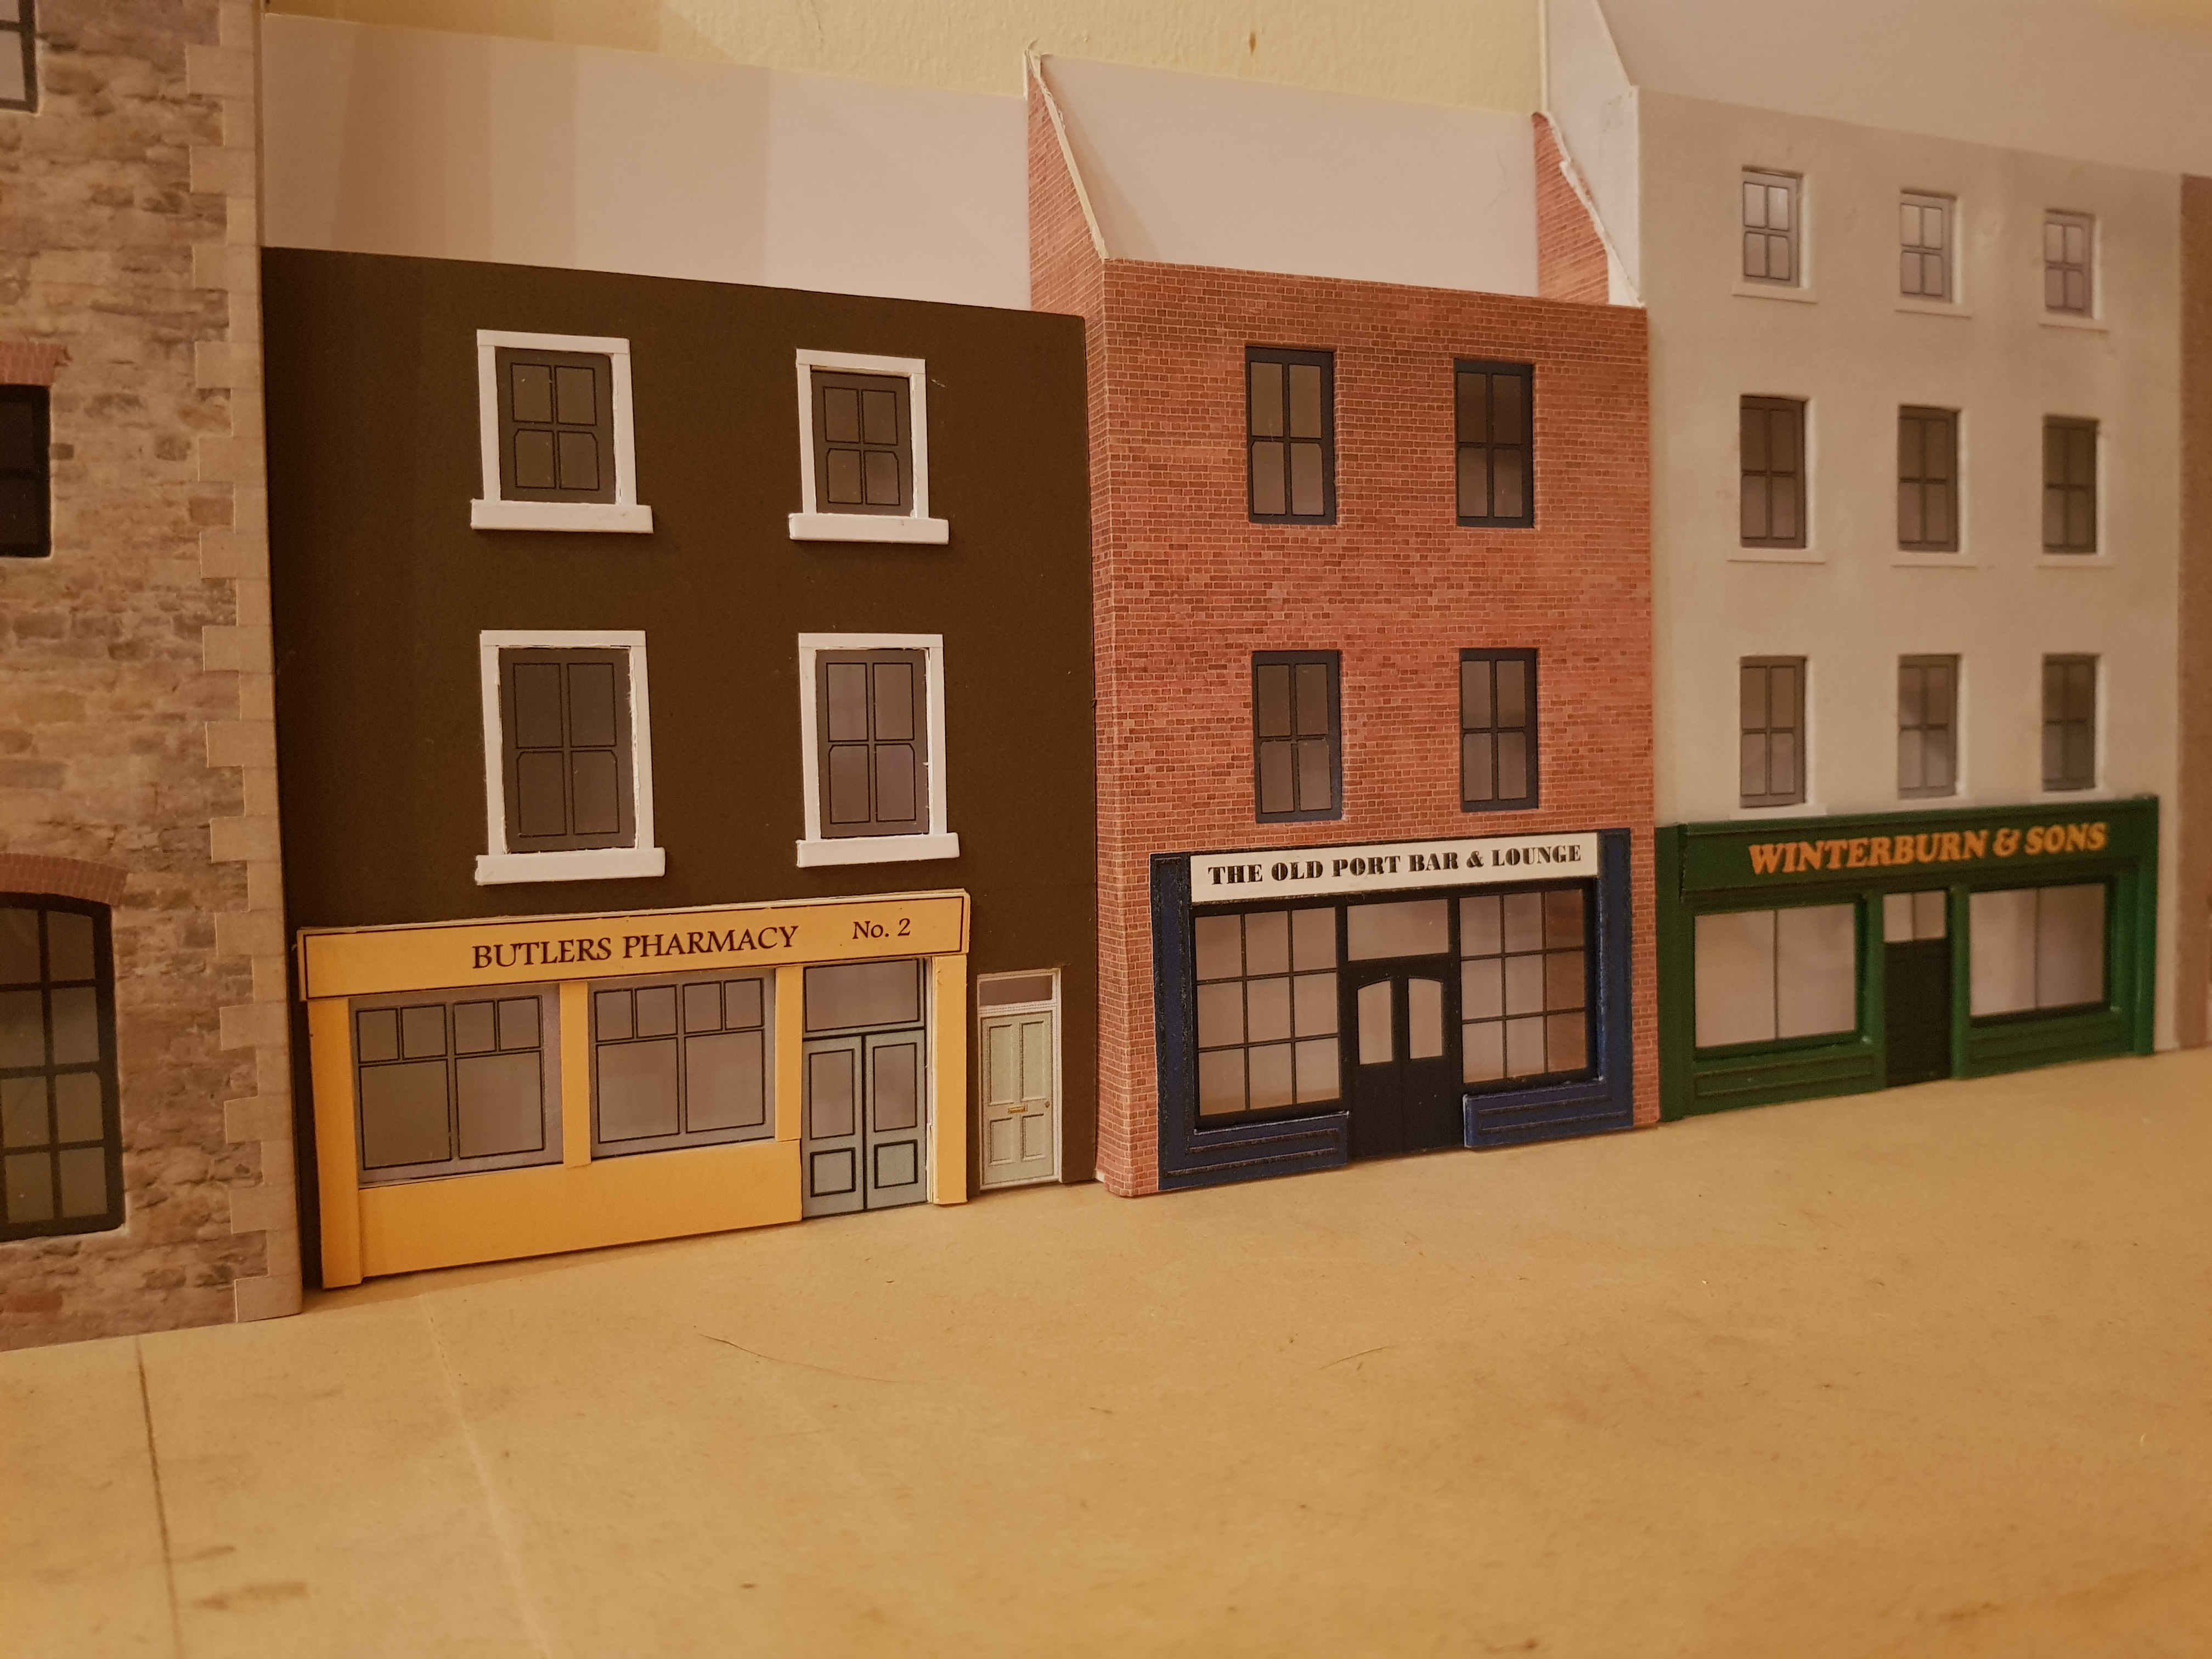
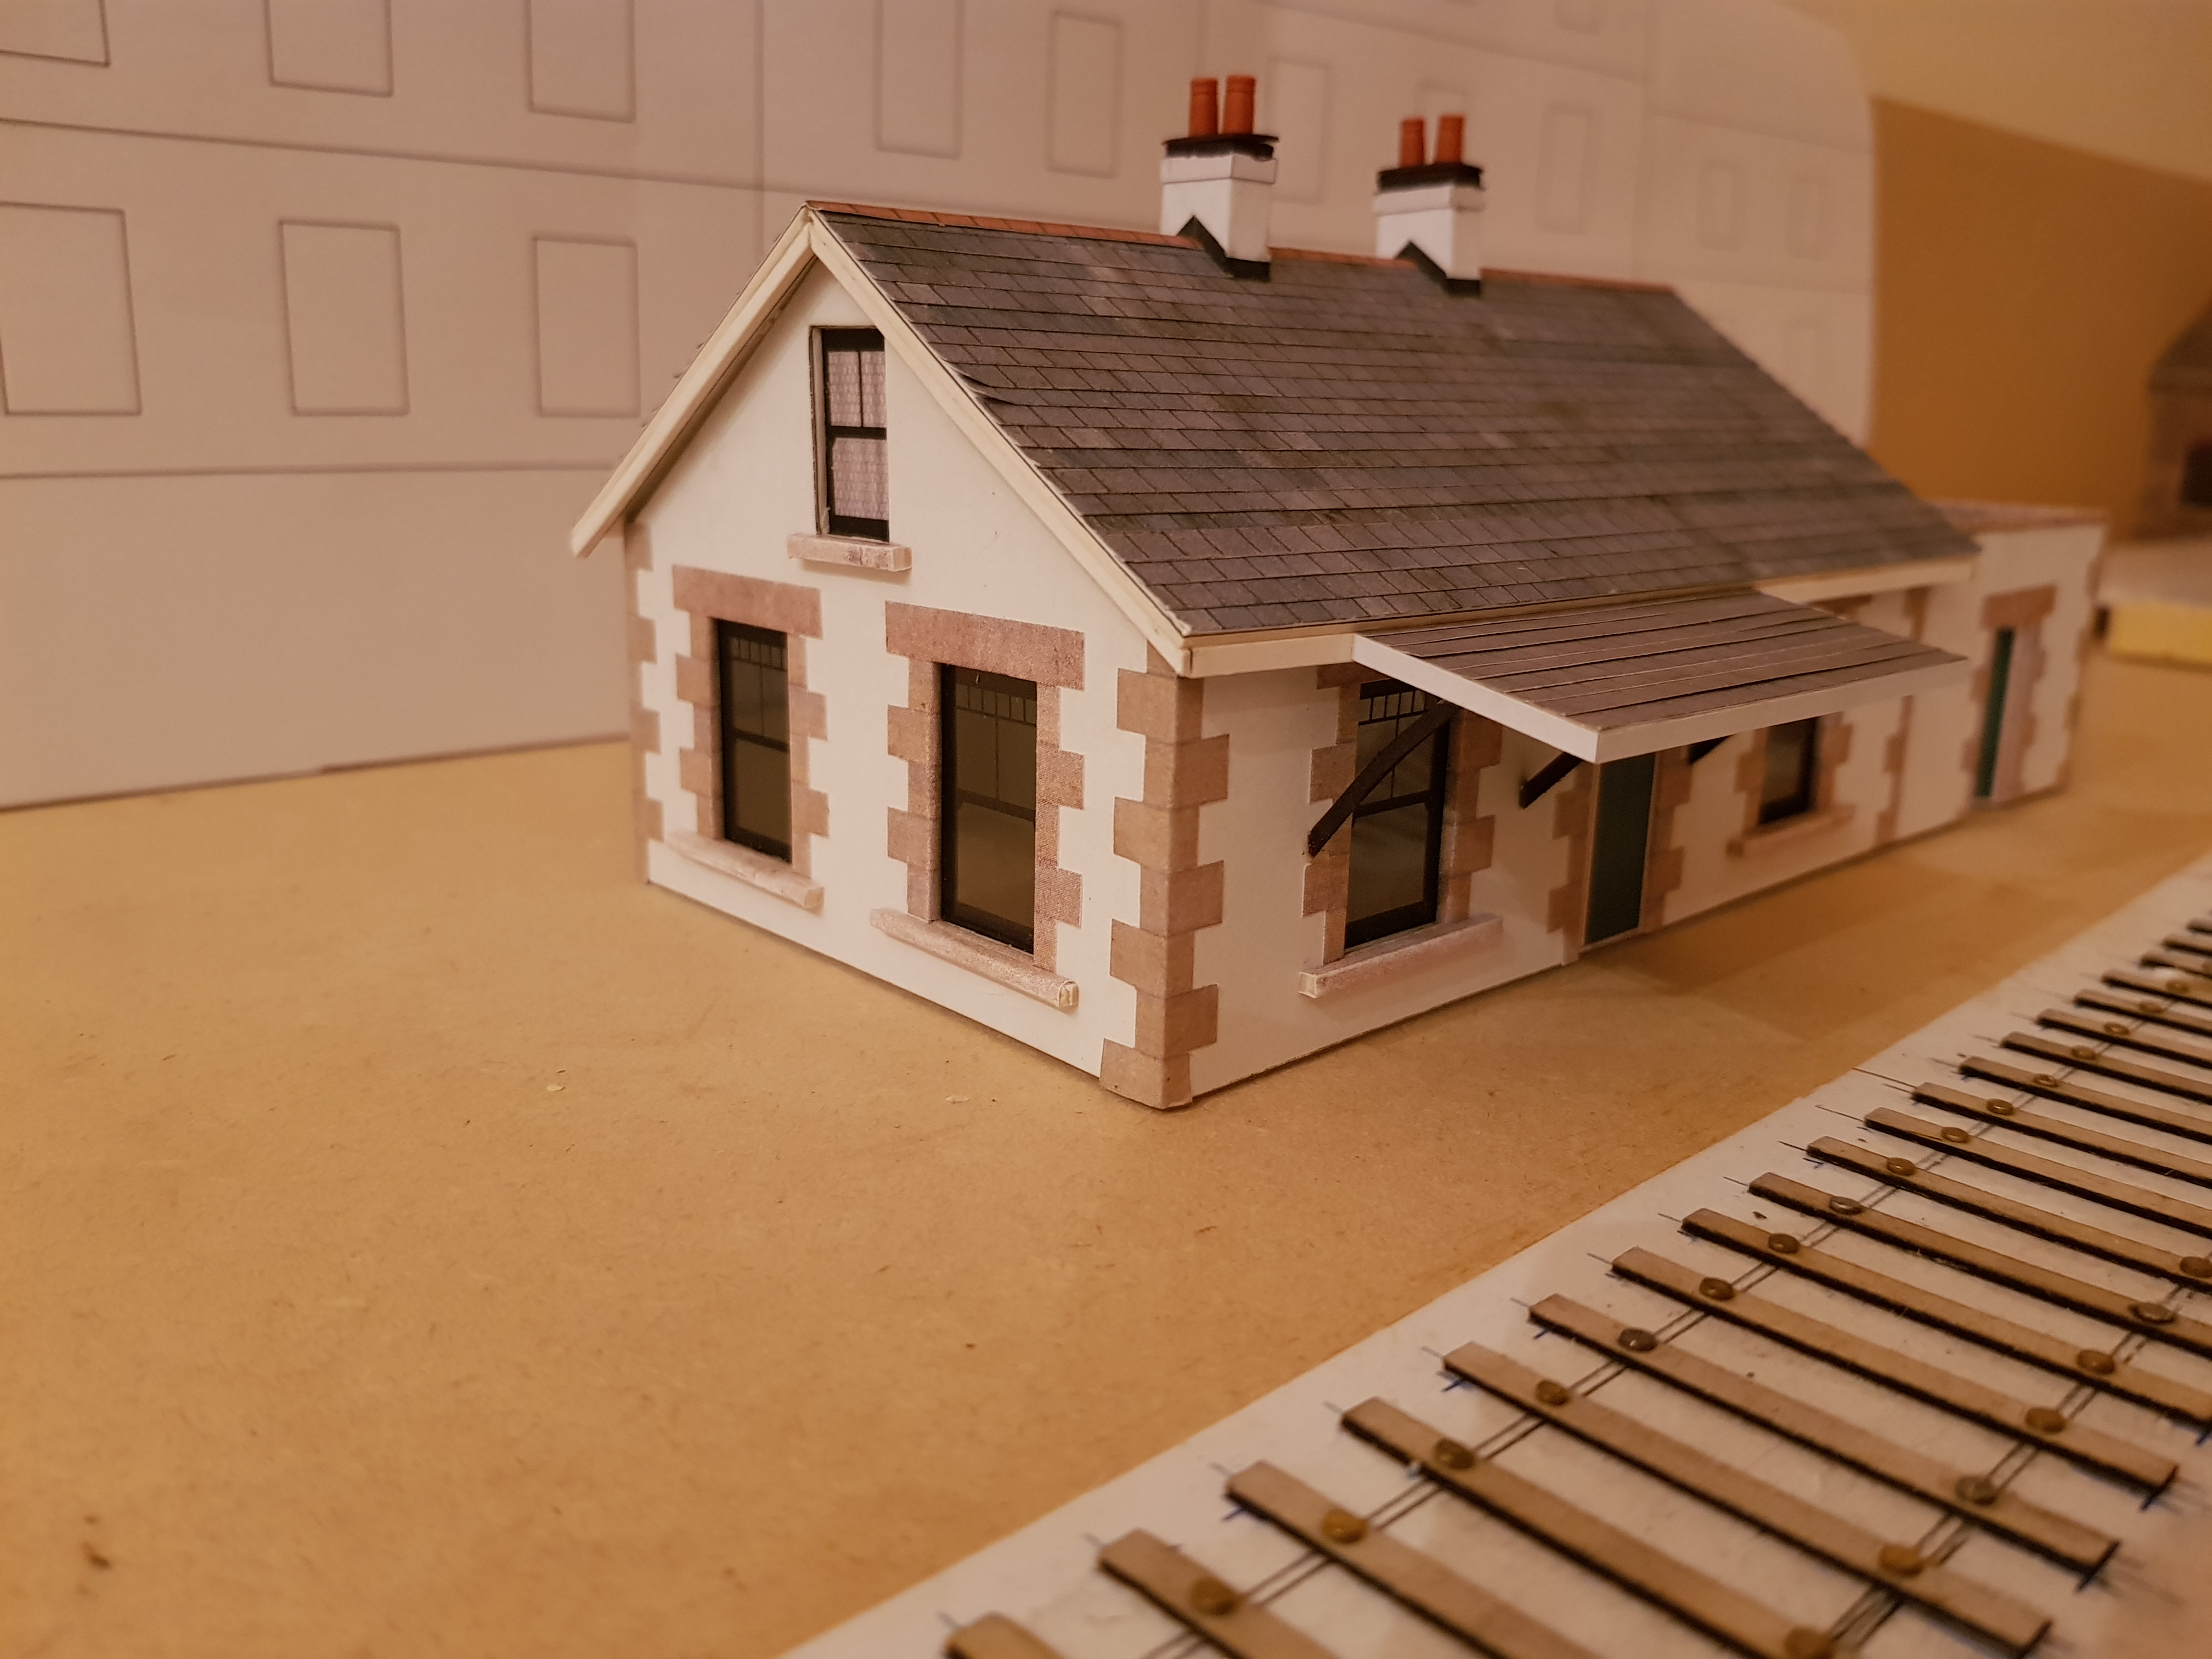
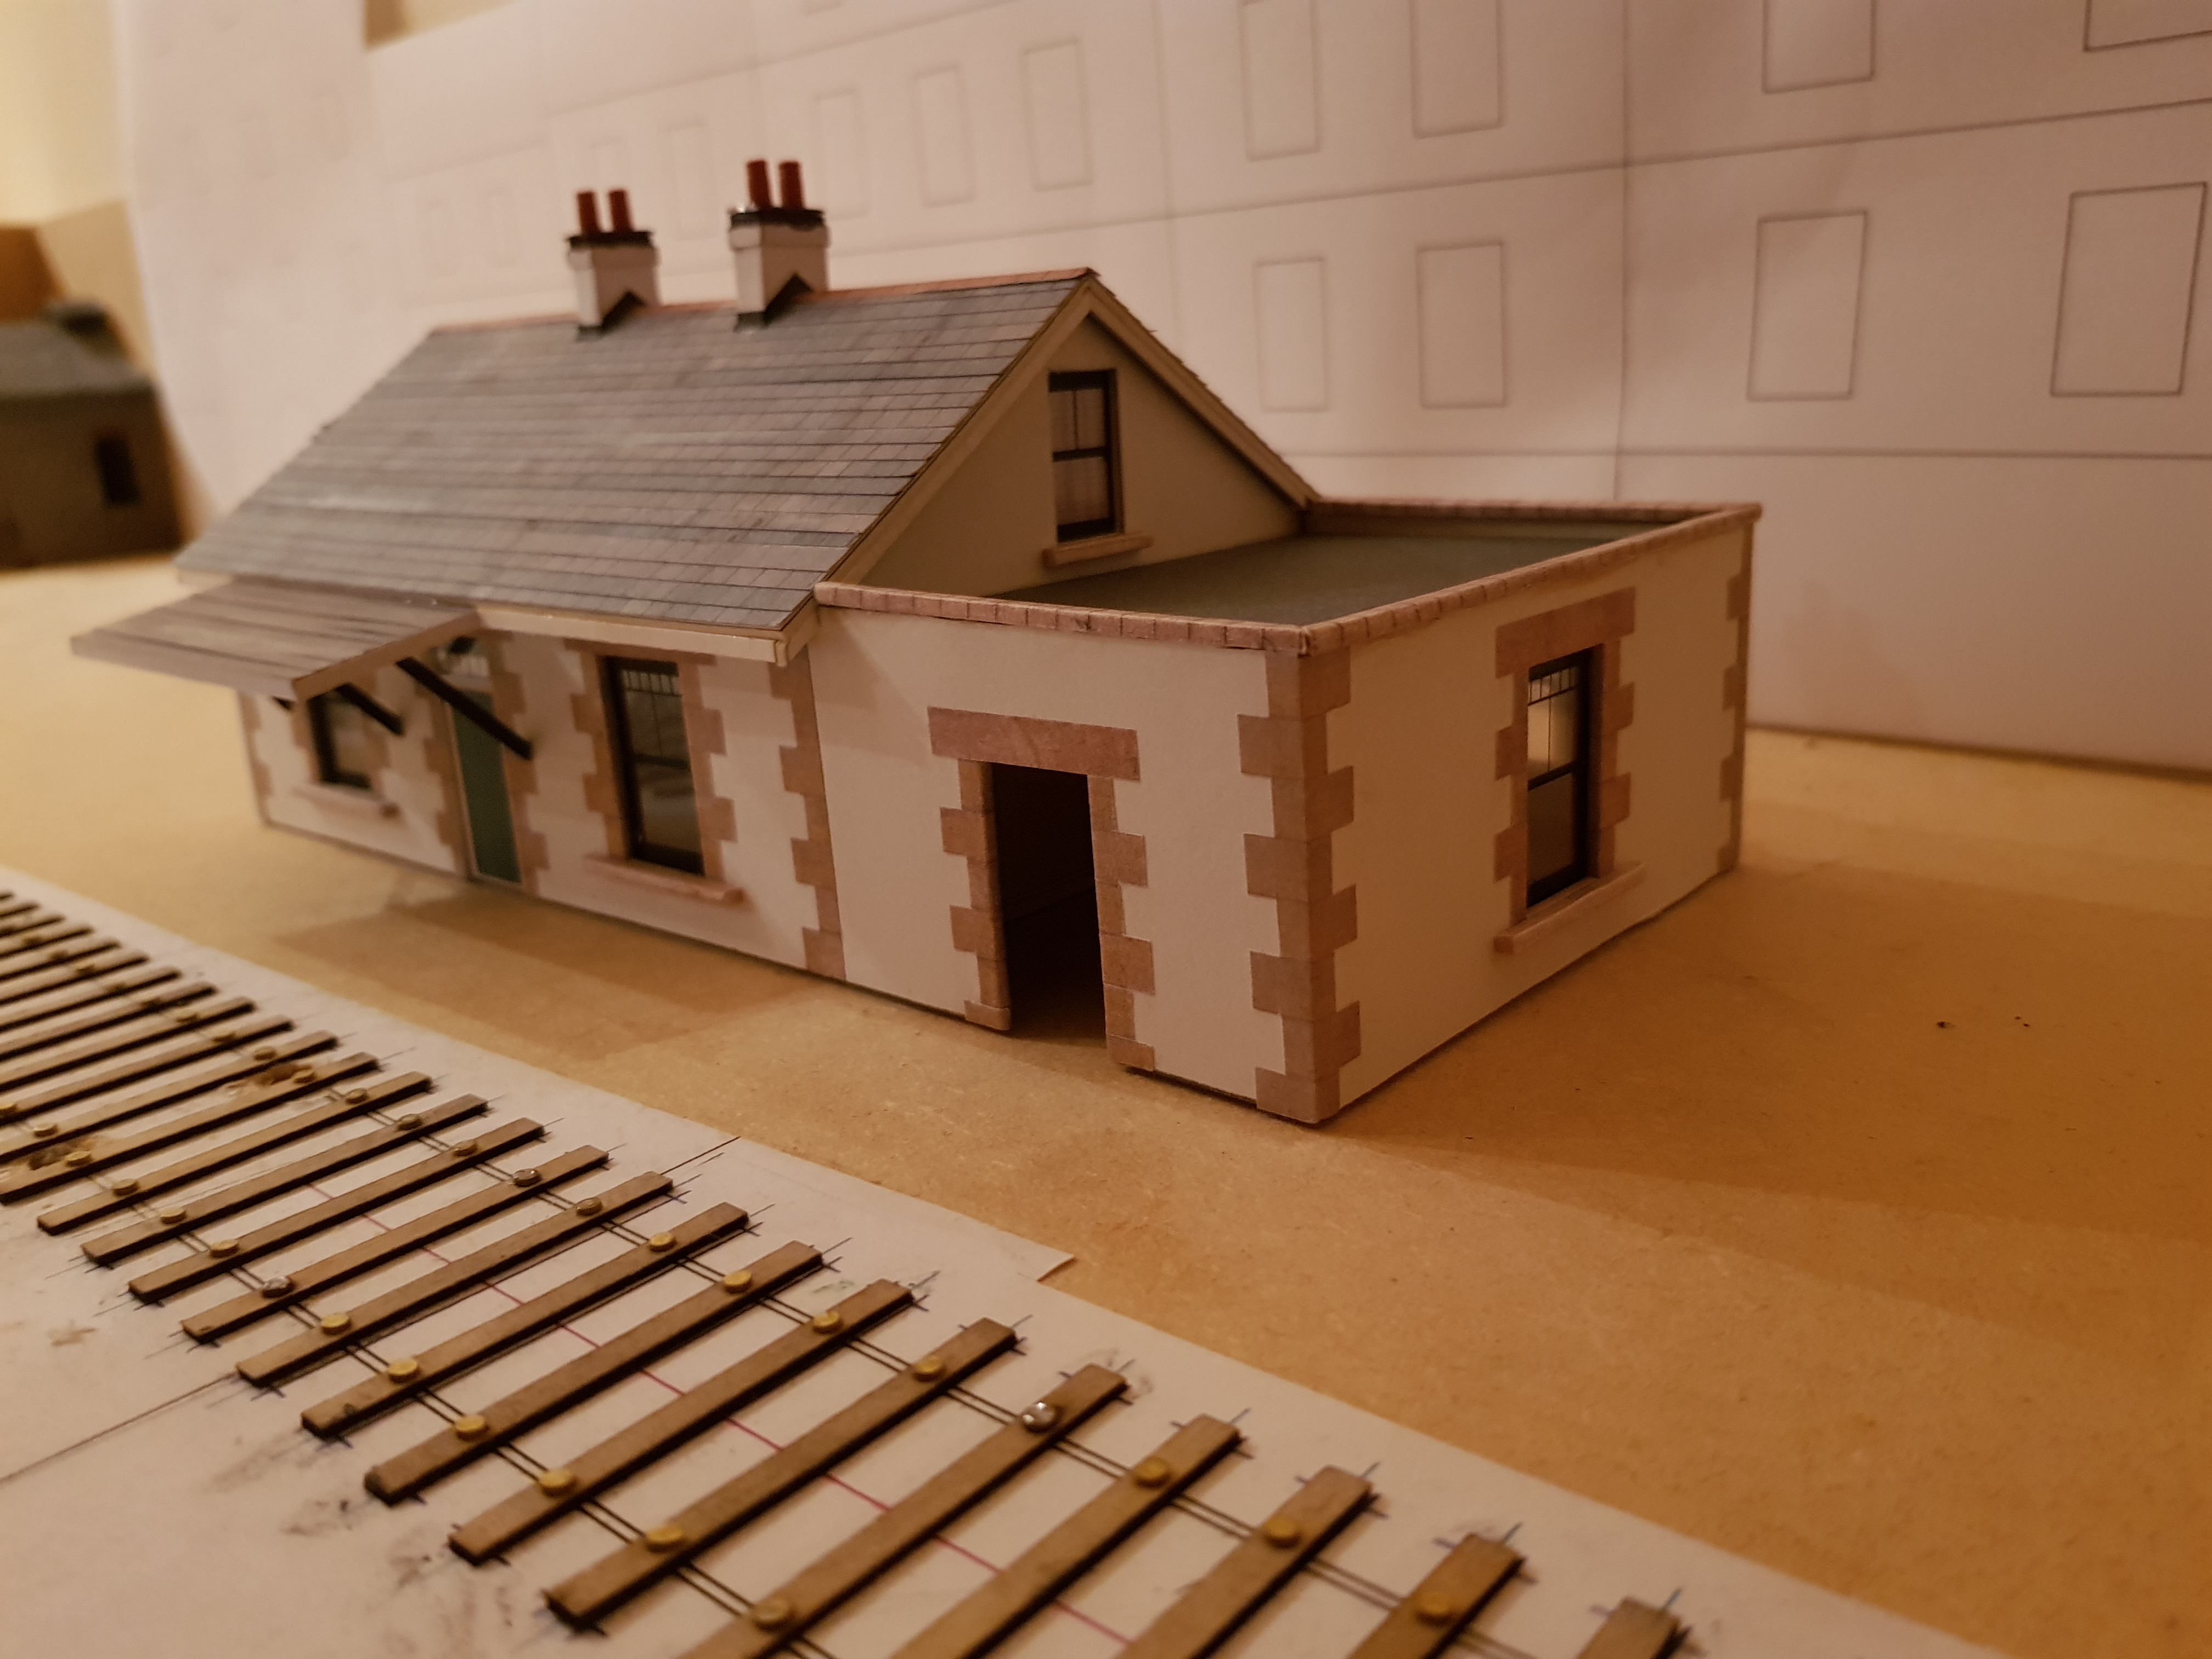
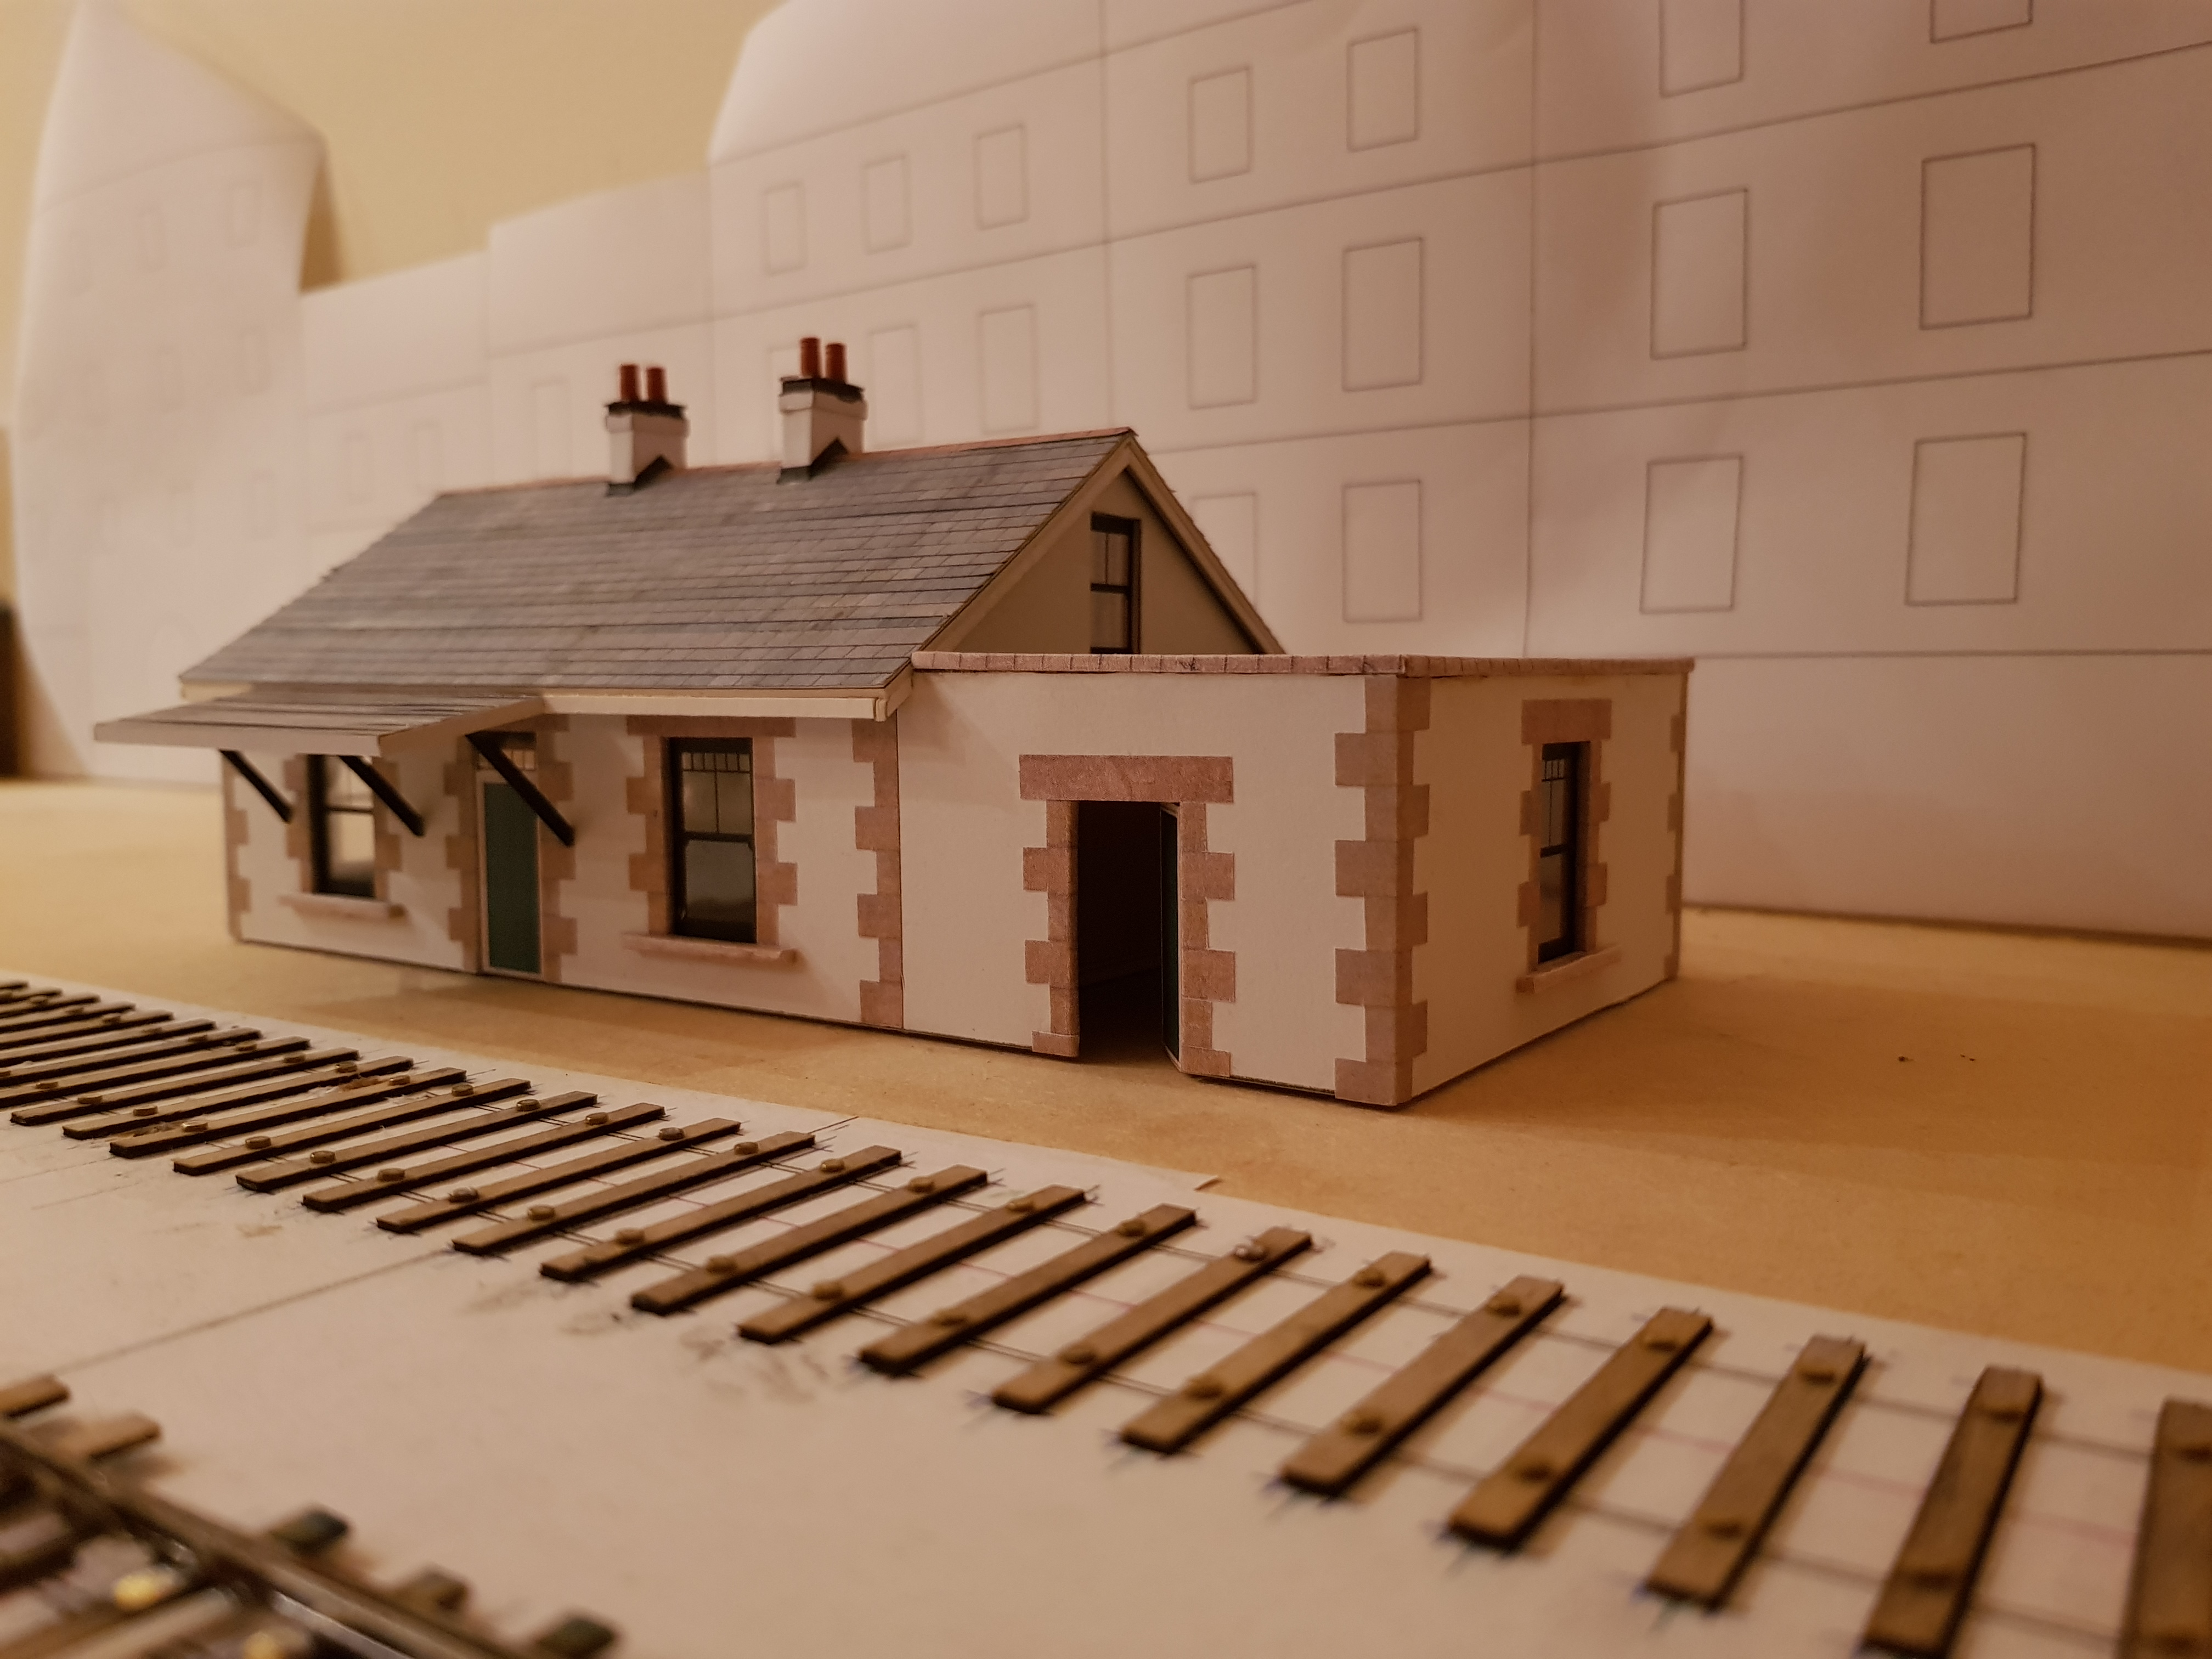
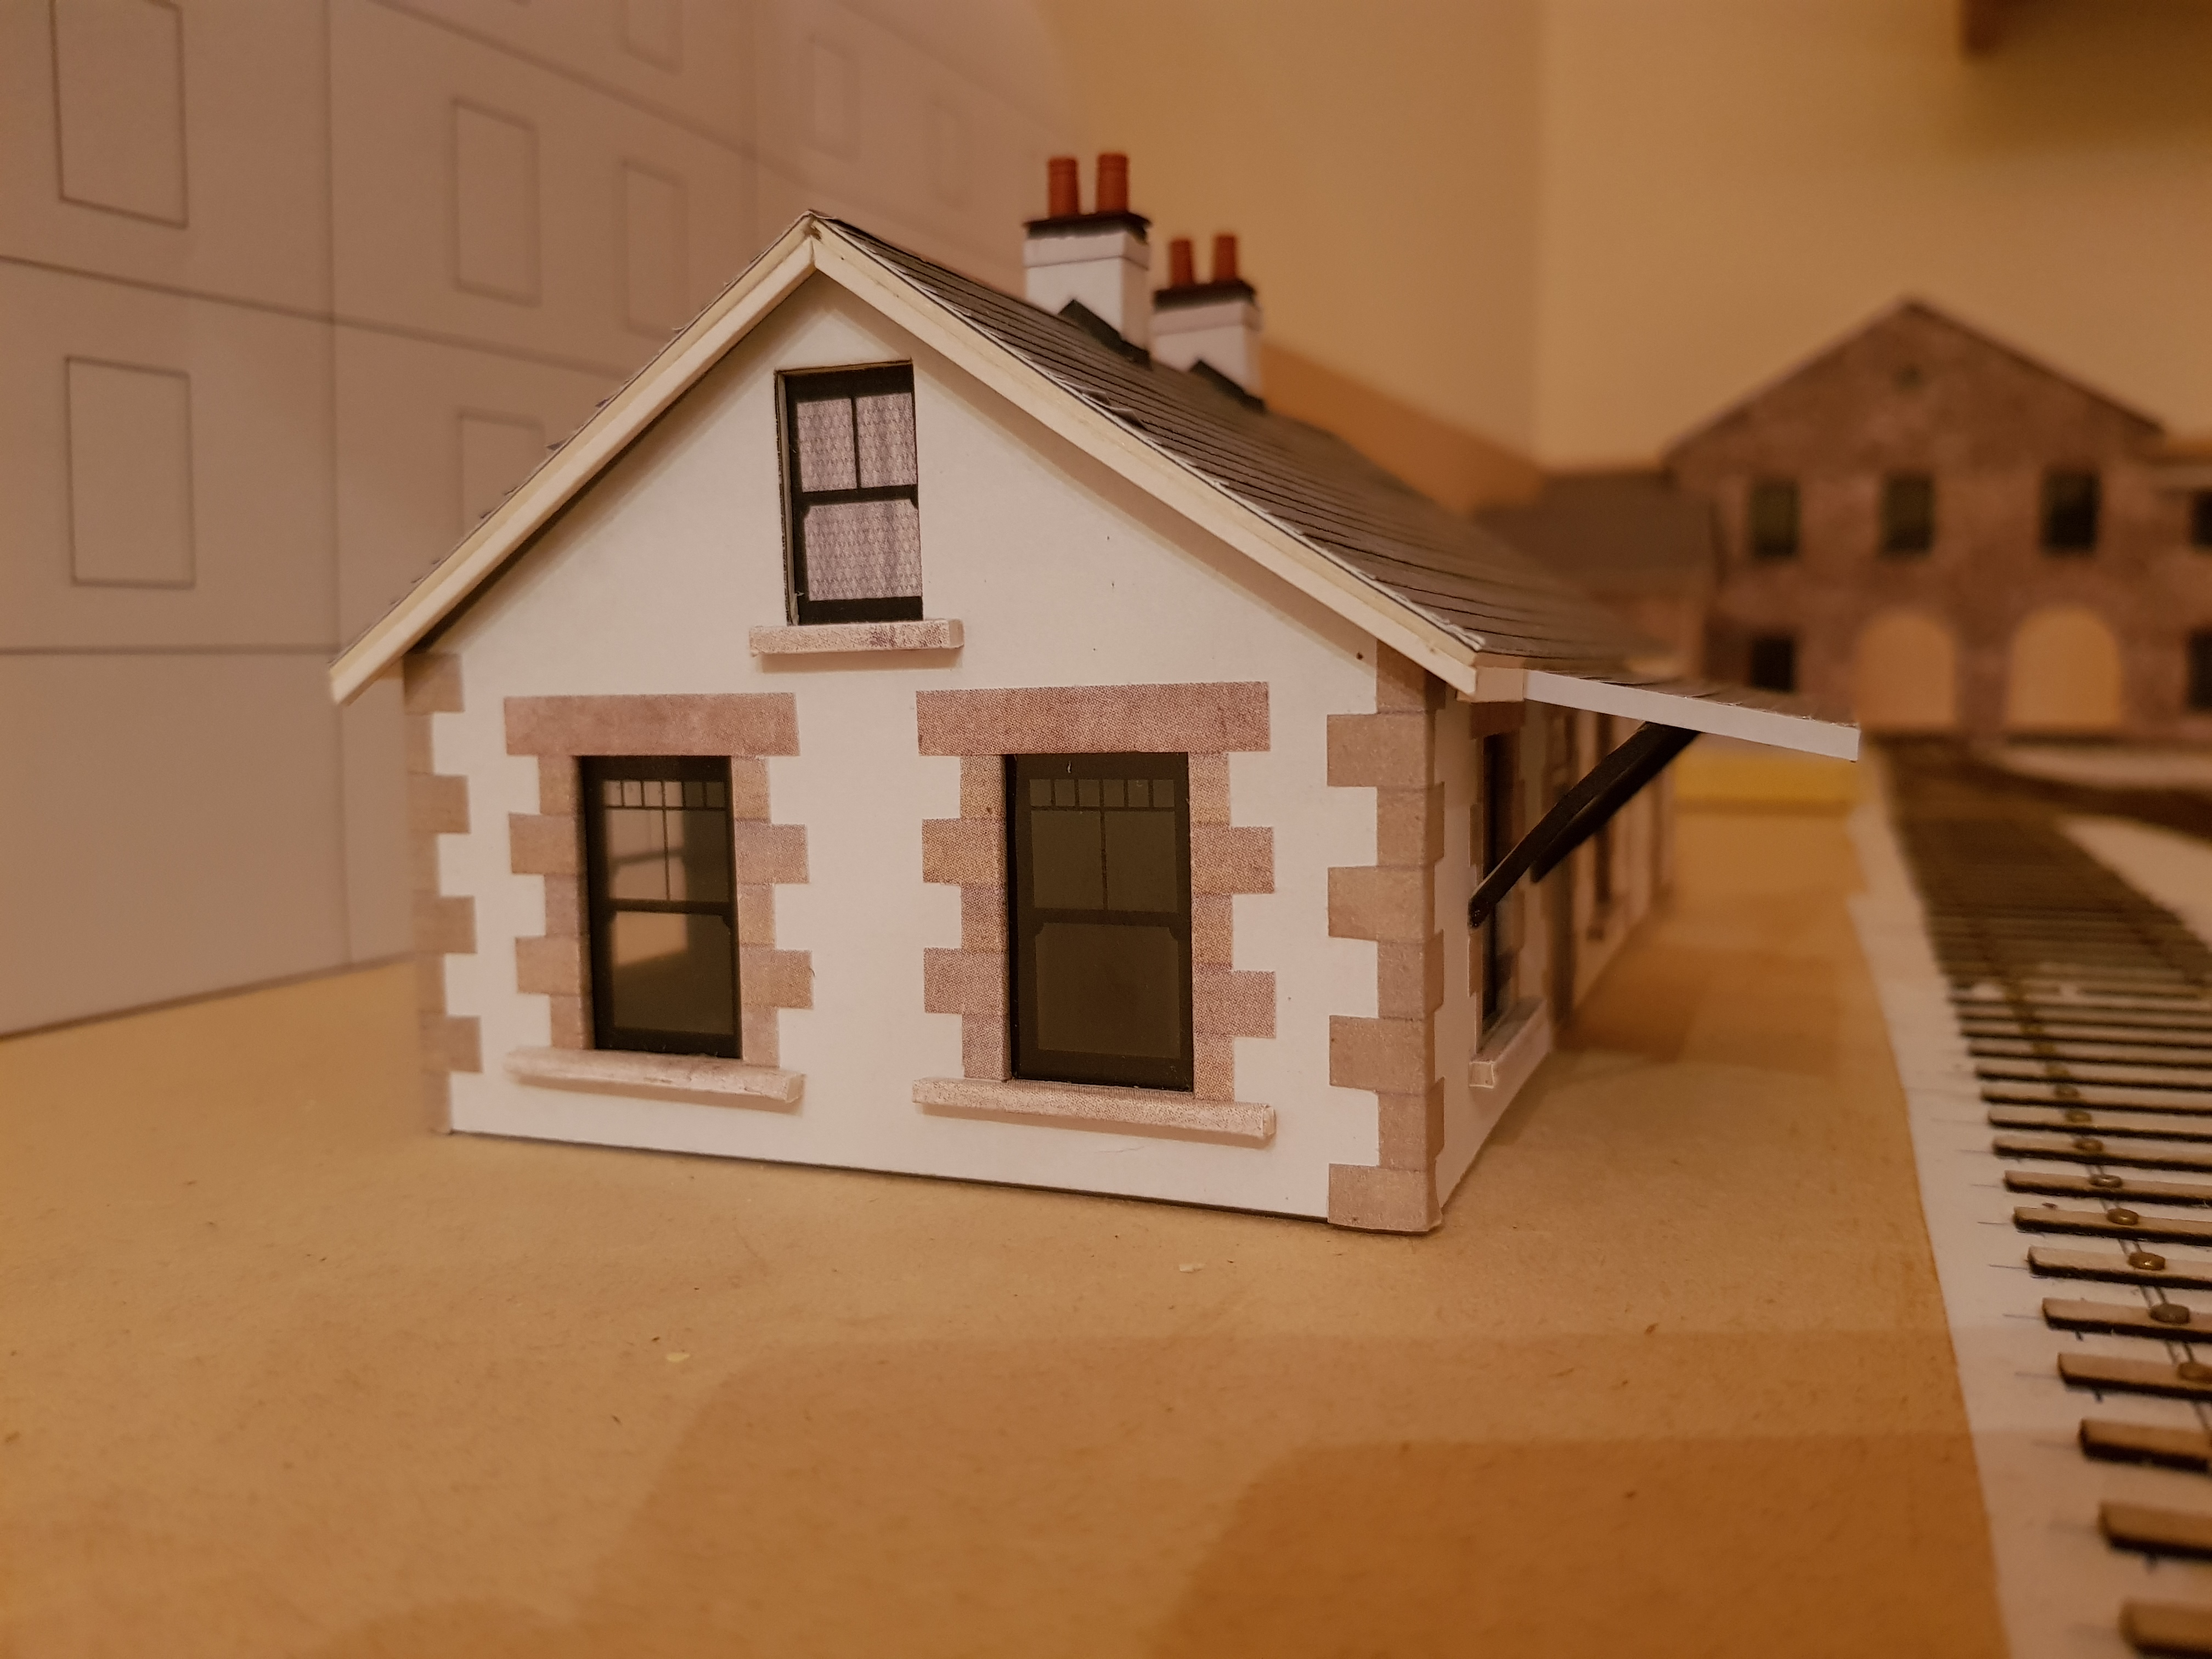
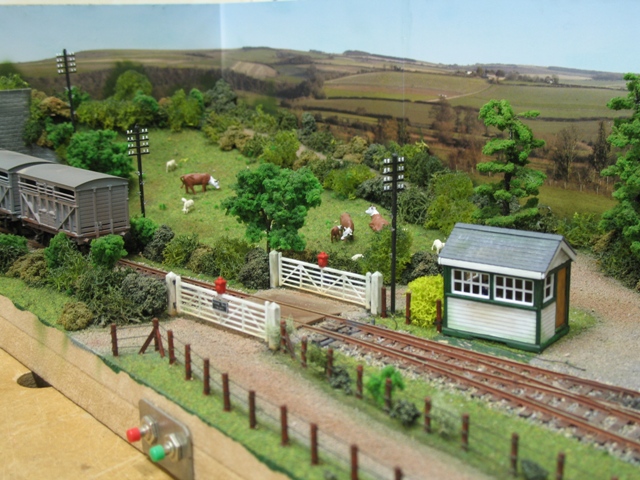
Needed to build a small station house for the layout and looked at a few options but settled on the rather nice building in Florencecourt. It has a pleasant mix of whitewashed plaster and stone cornices with clear add-on waiting room. Best of all it's small and allows me a little more room for the backdrop & street scene. Still working on gutters, down pipes, and signage. Weathering will be done prior to fixing in place to reduce the finger marks. On a roll with building, so will probably continue and work on the backscene - you get a general gist from the printout behind the station house. Need to tidy up some details but it's coming together rather nicely. Cheers, Ken
-
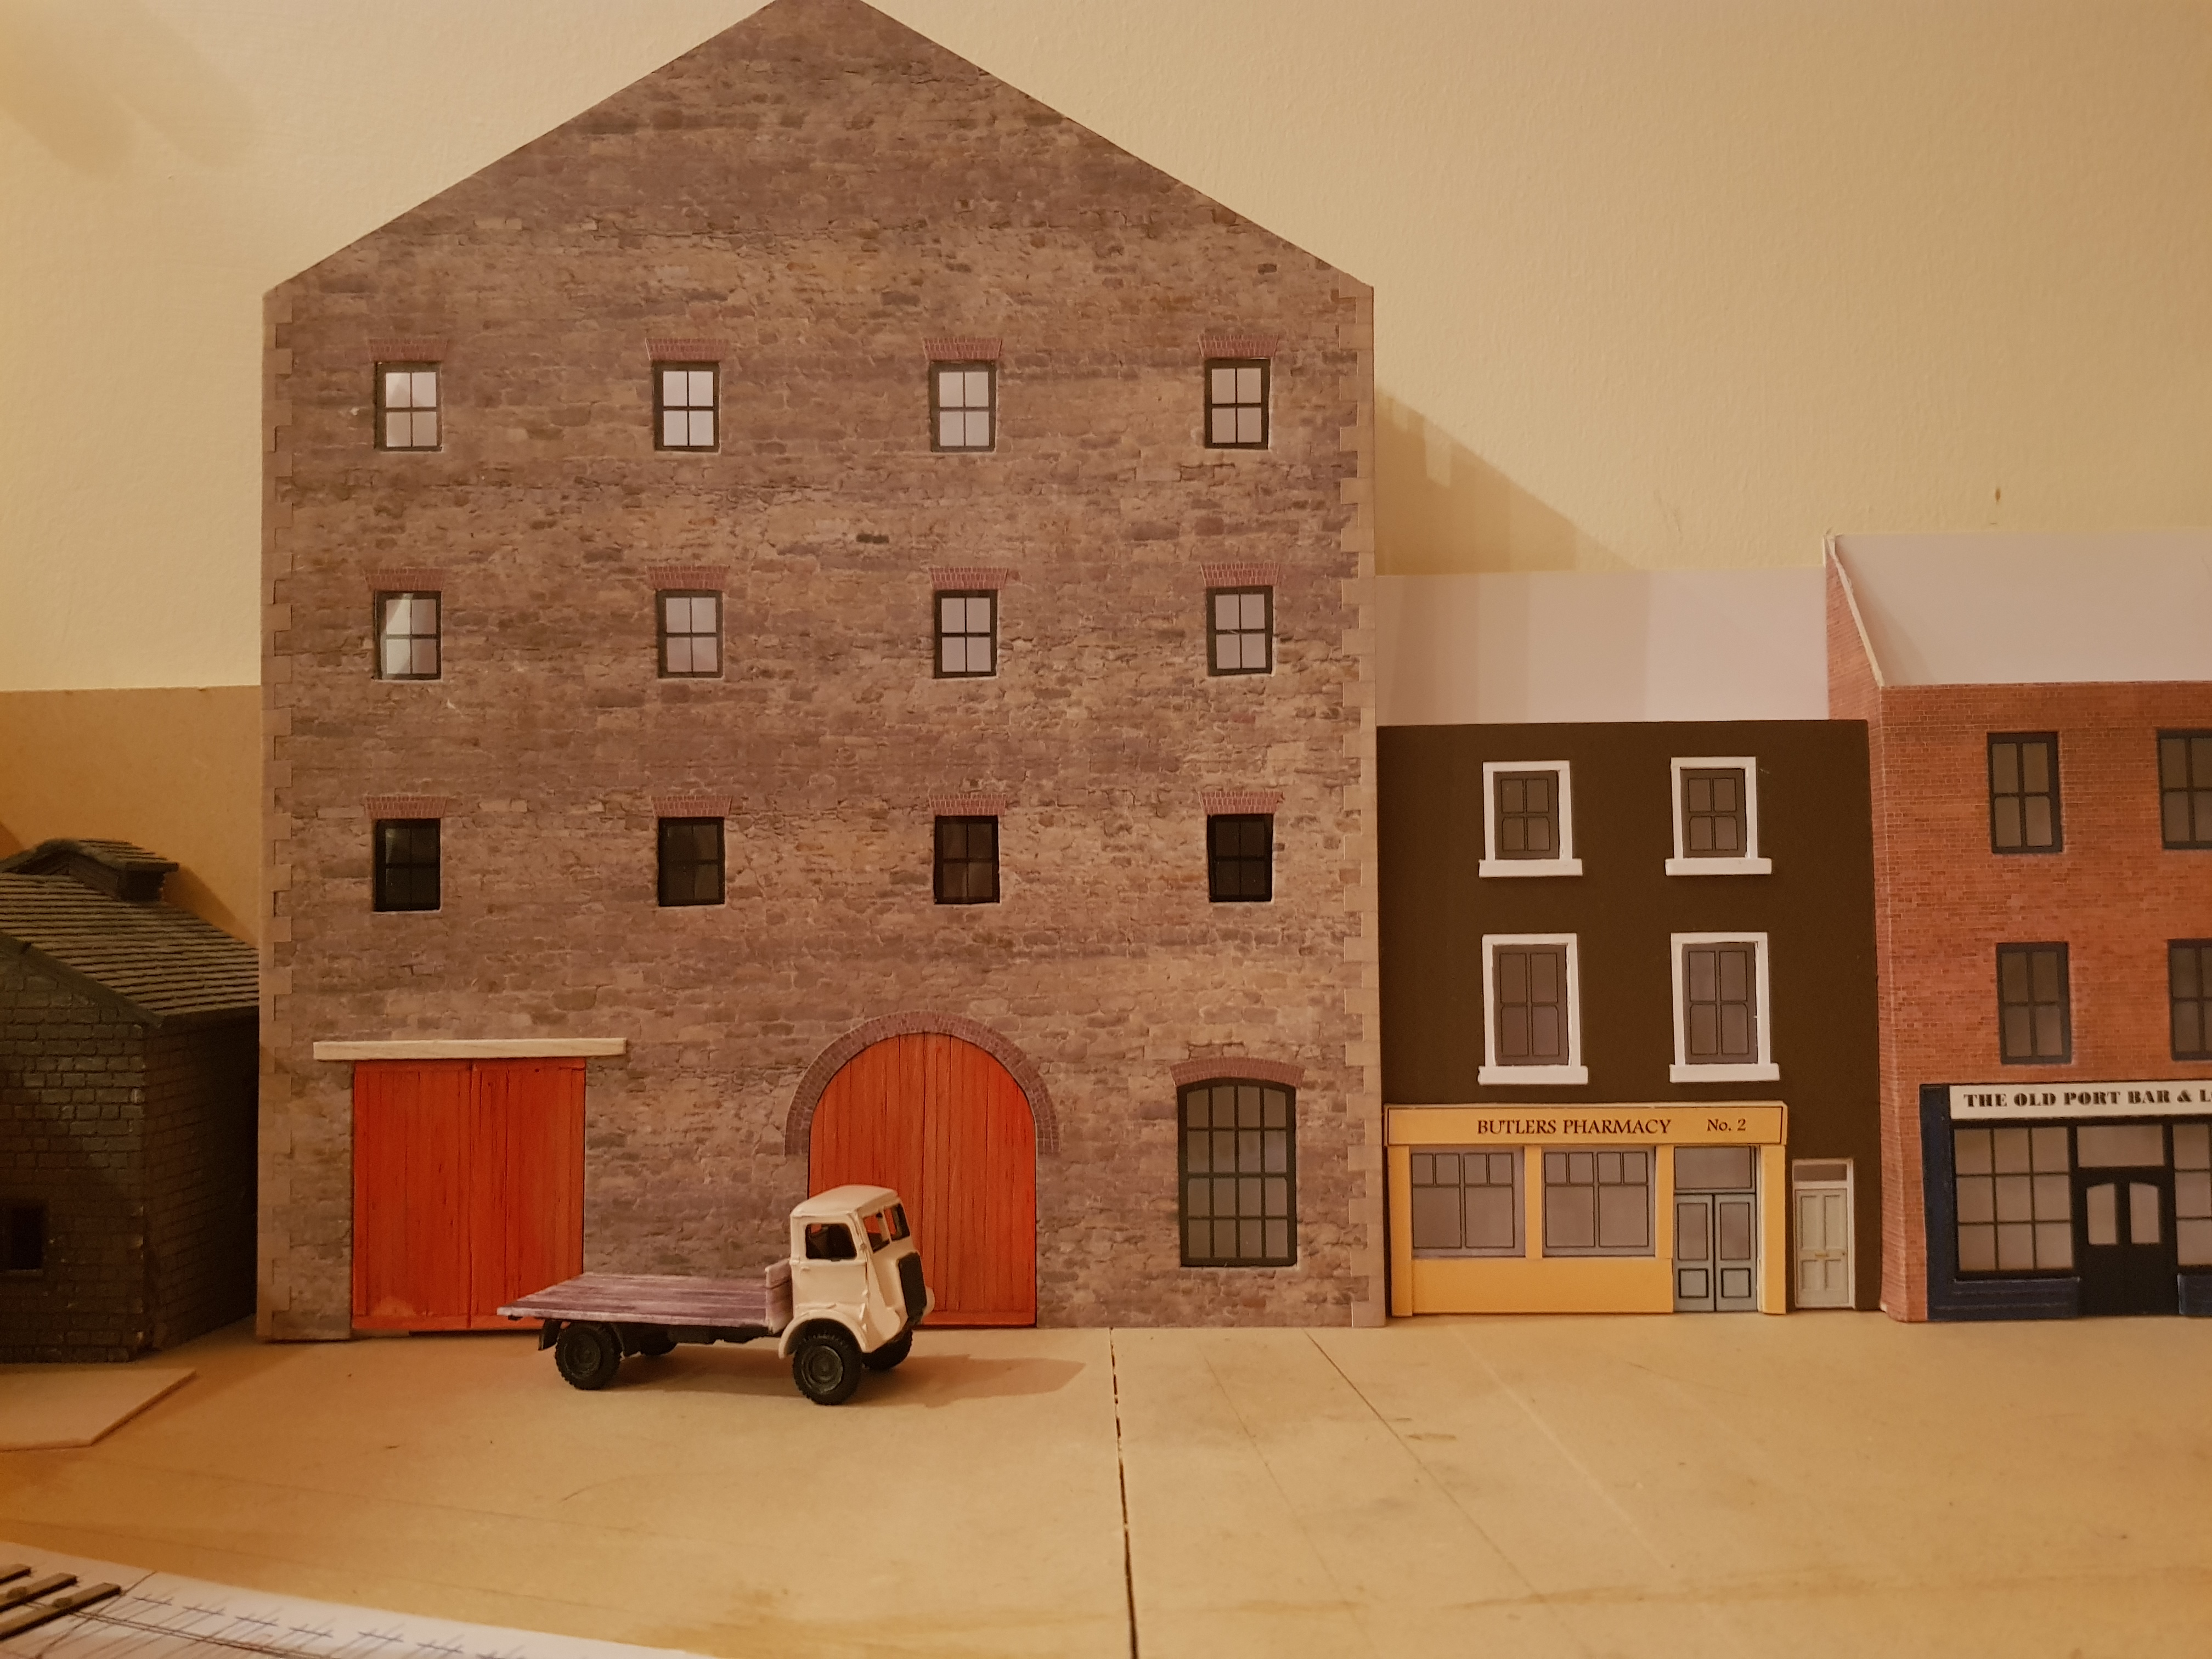
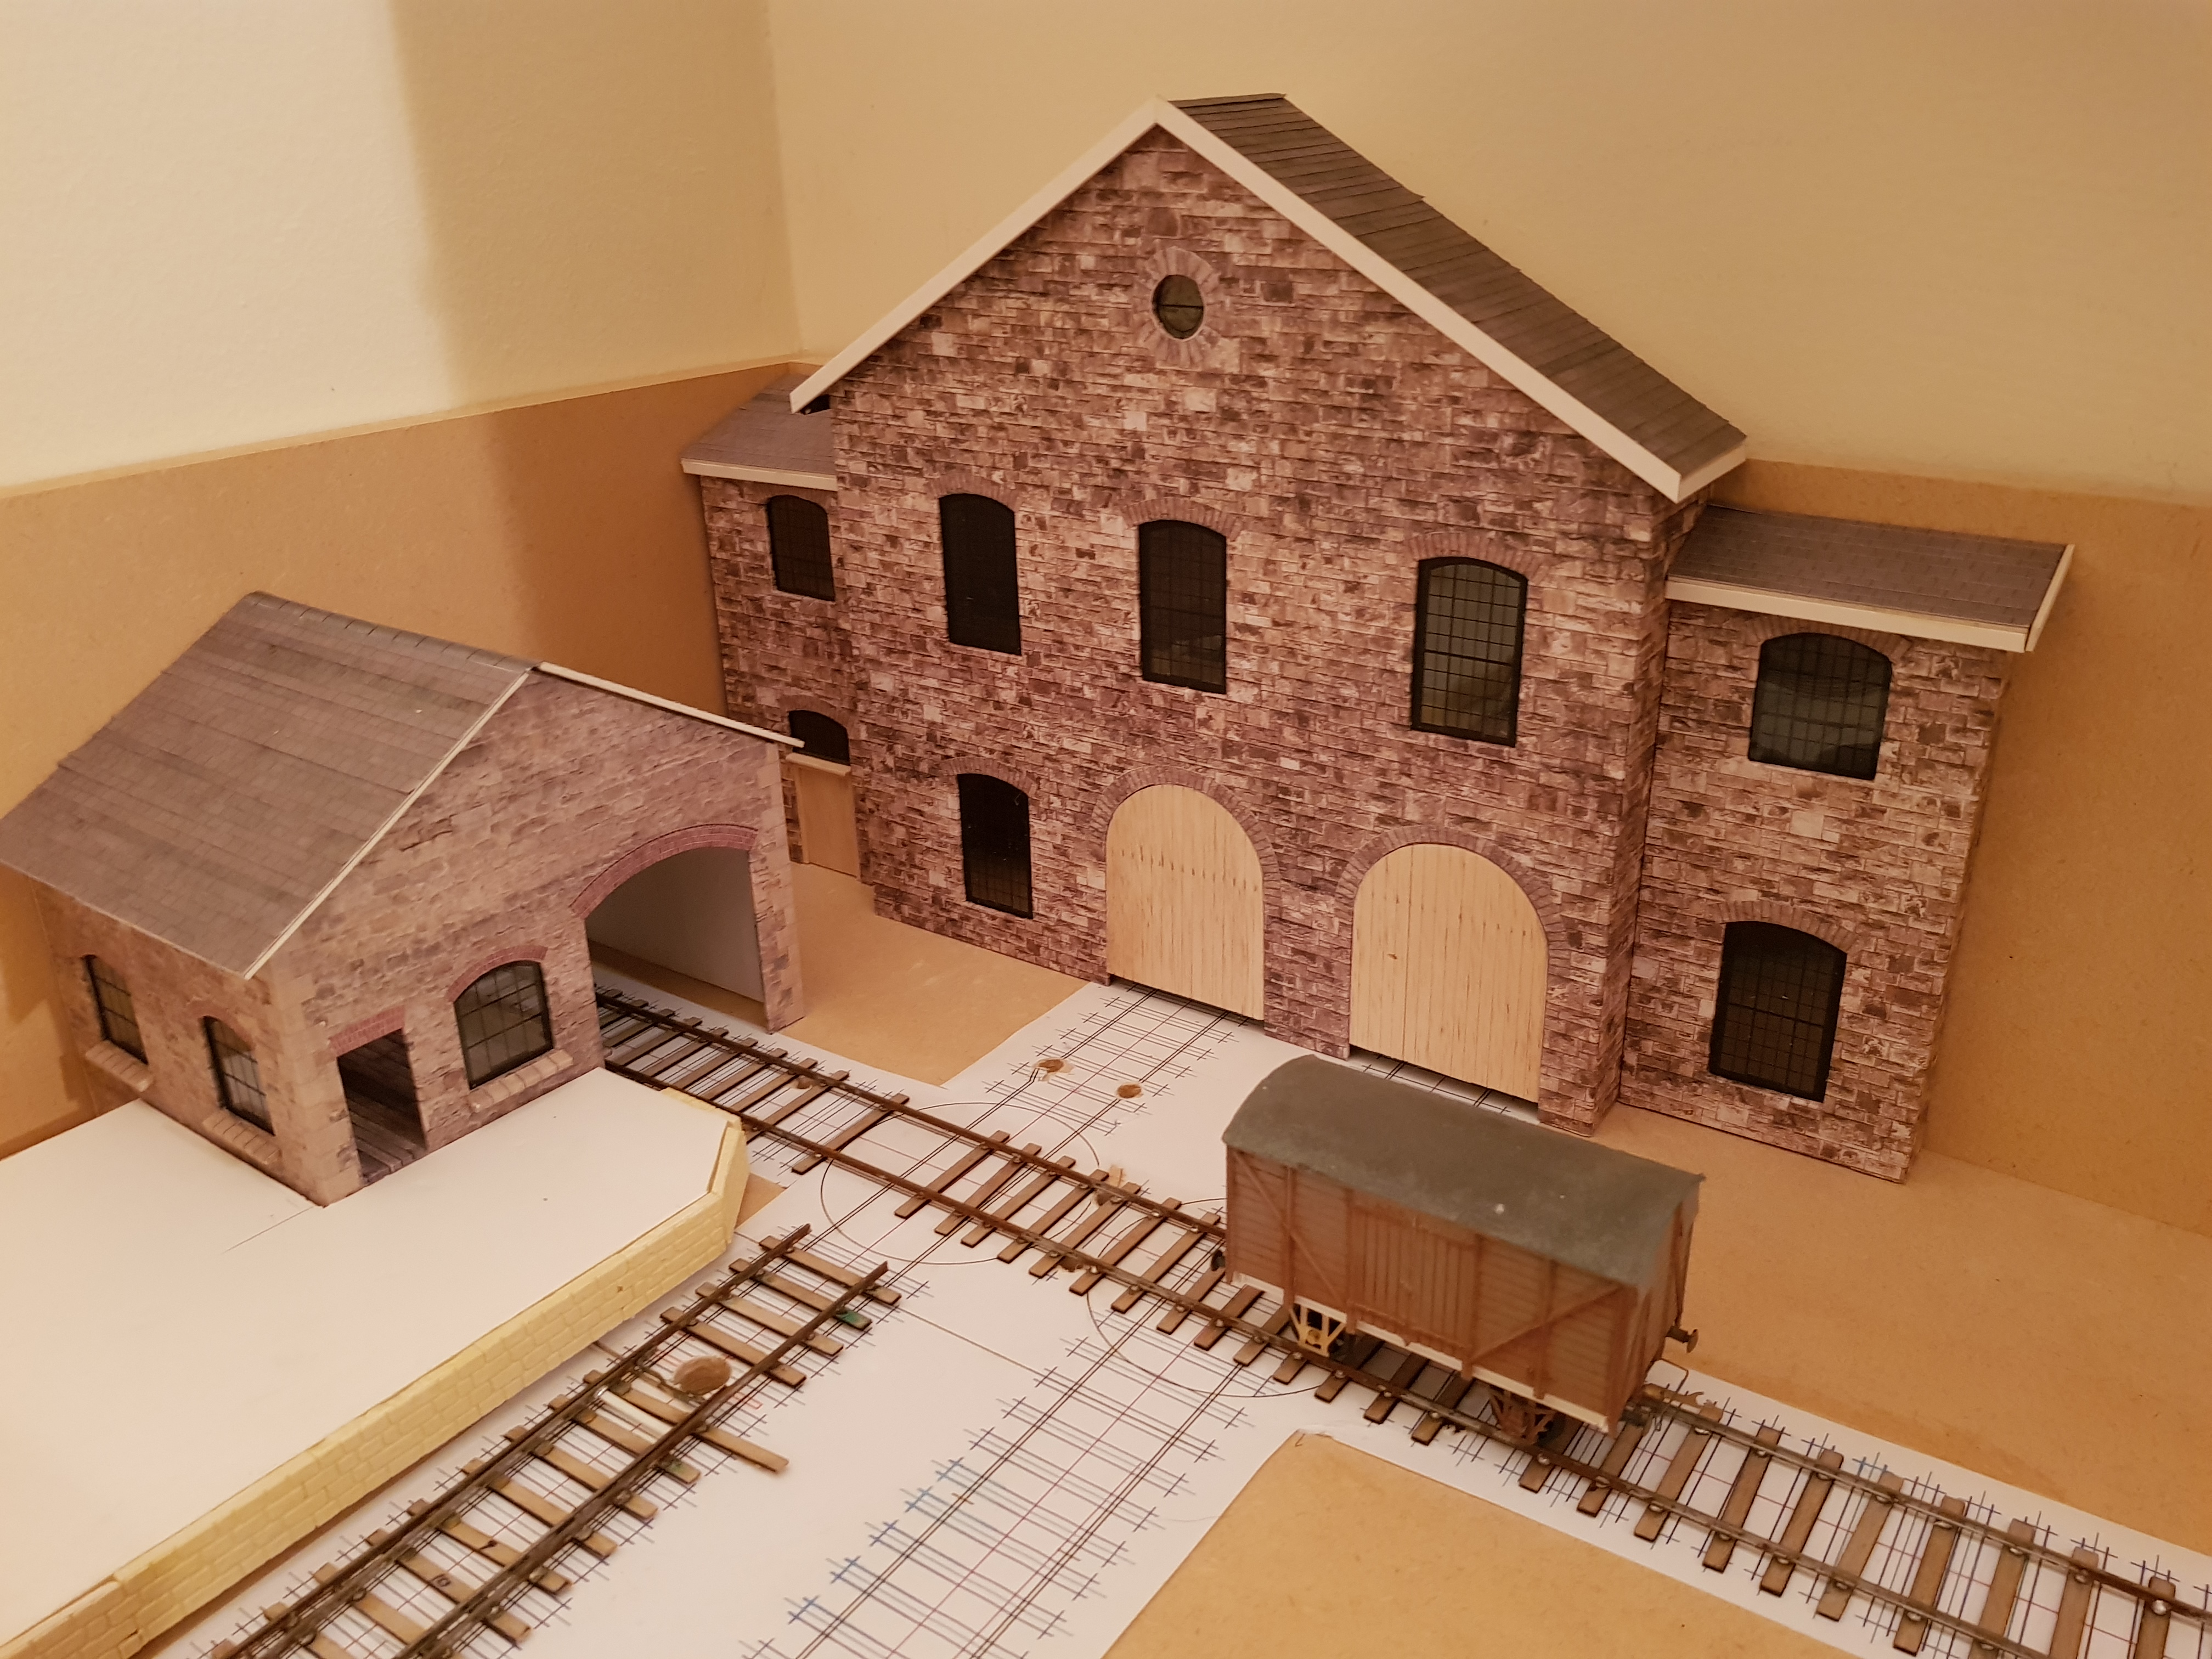
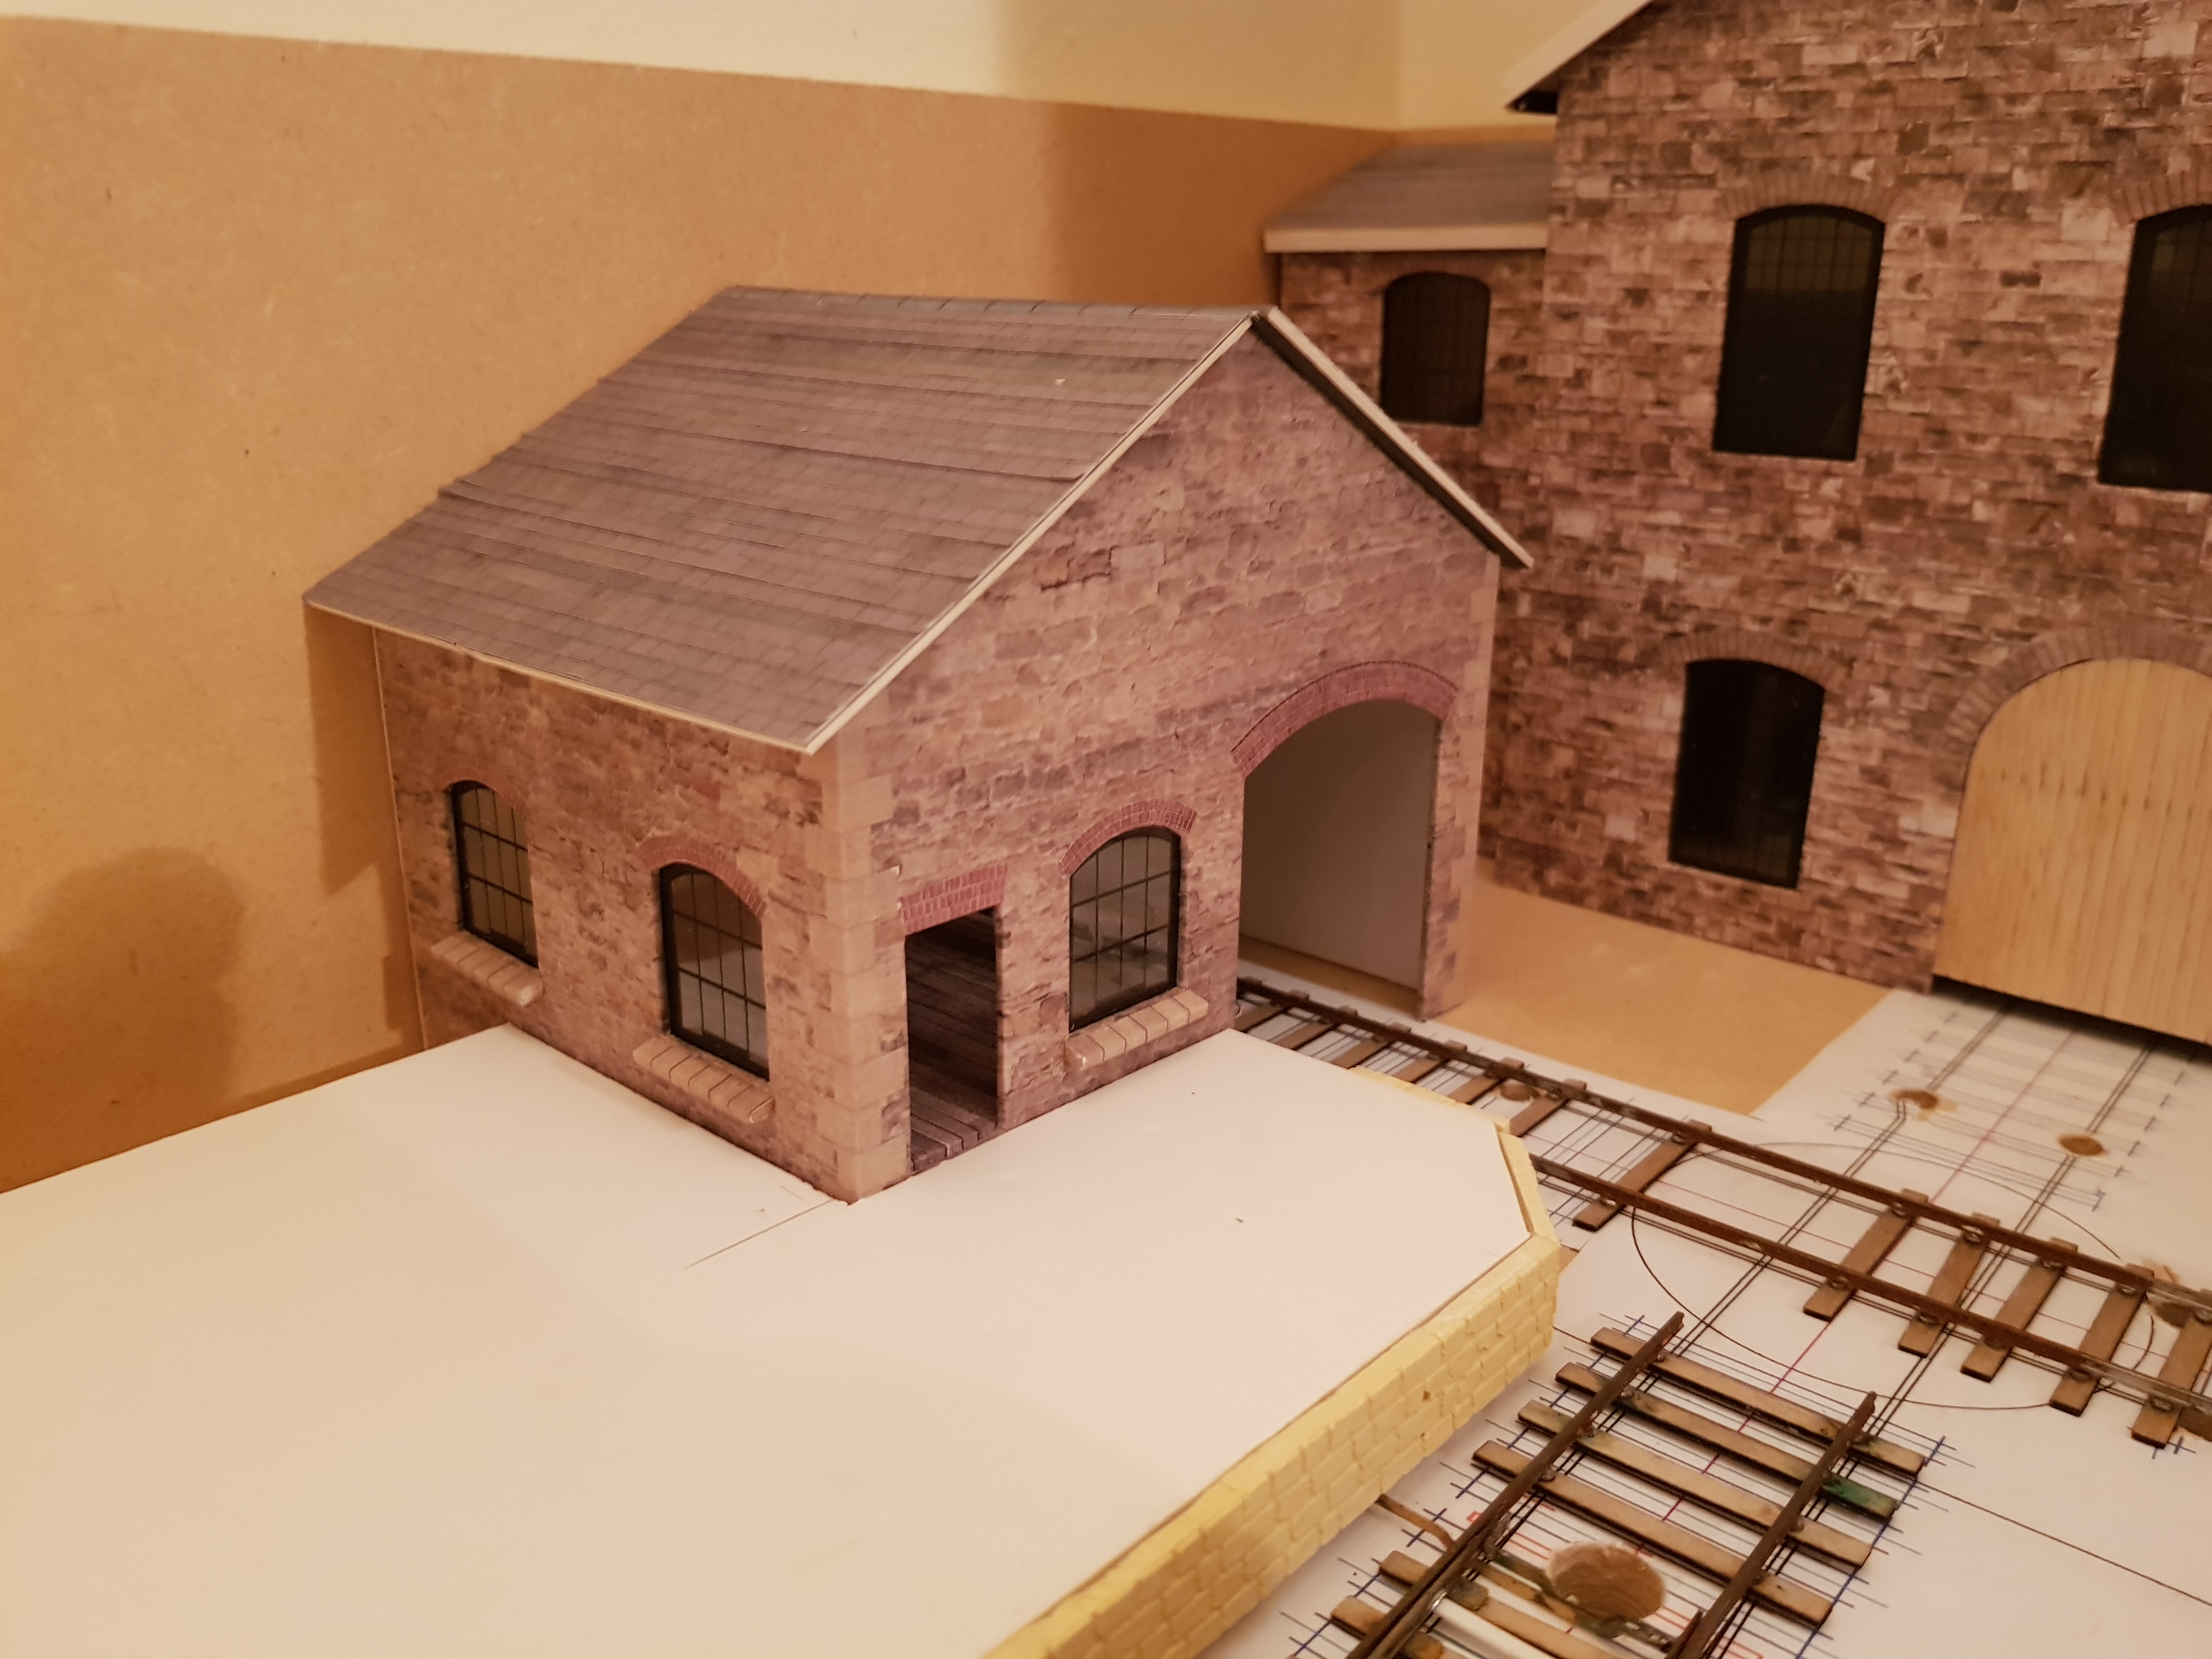
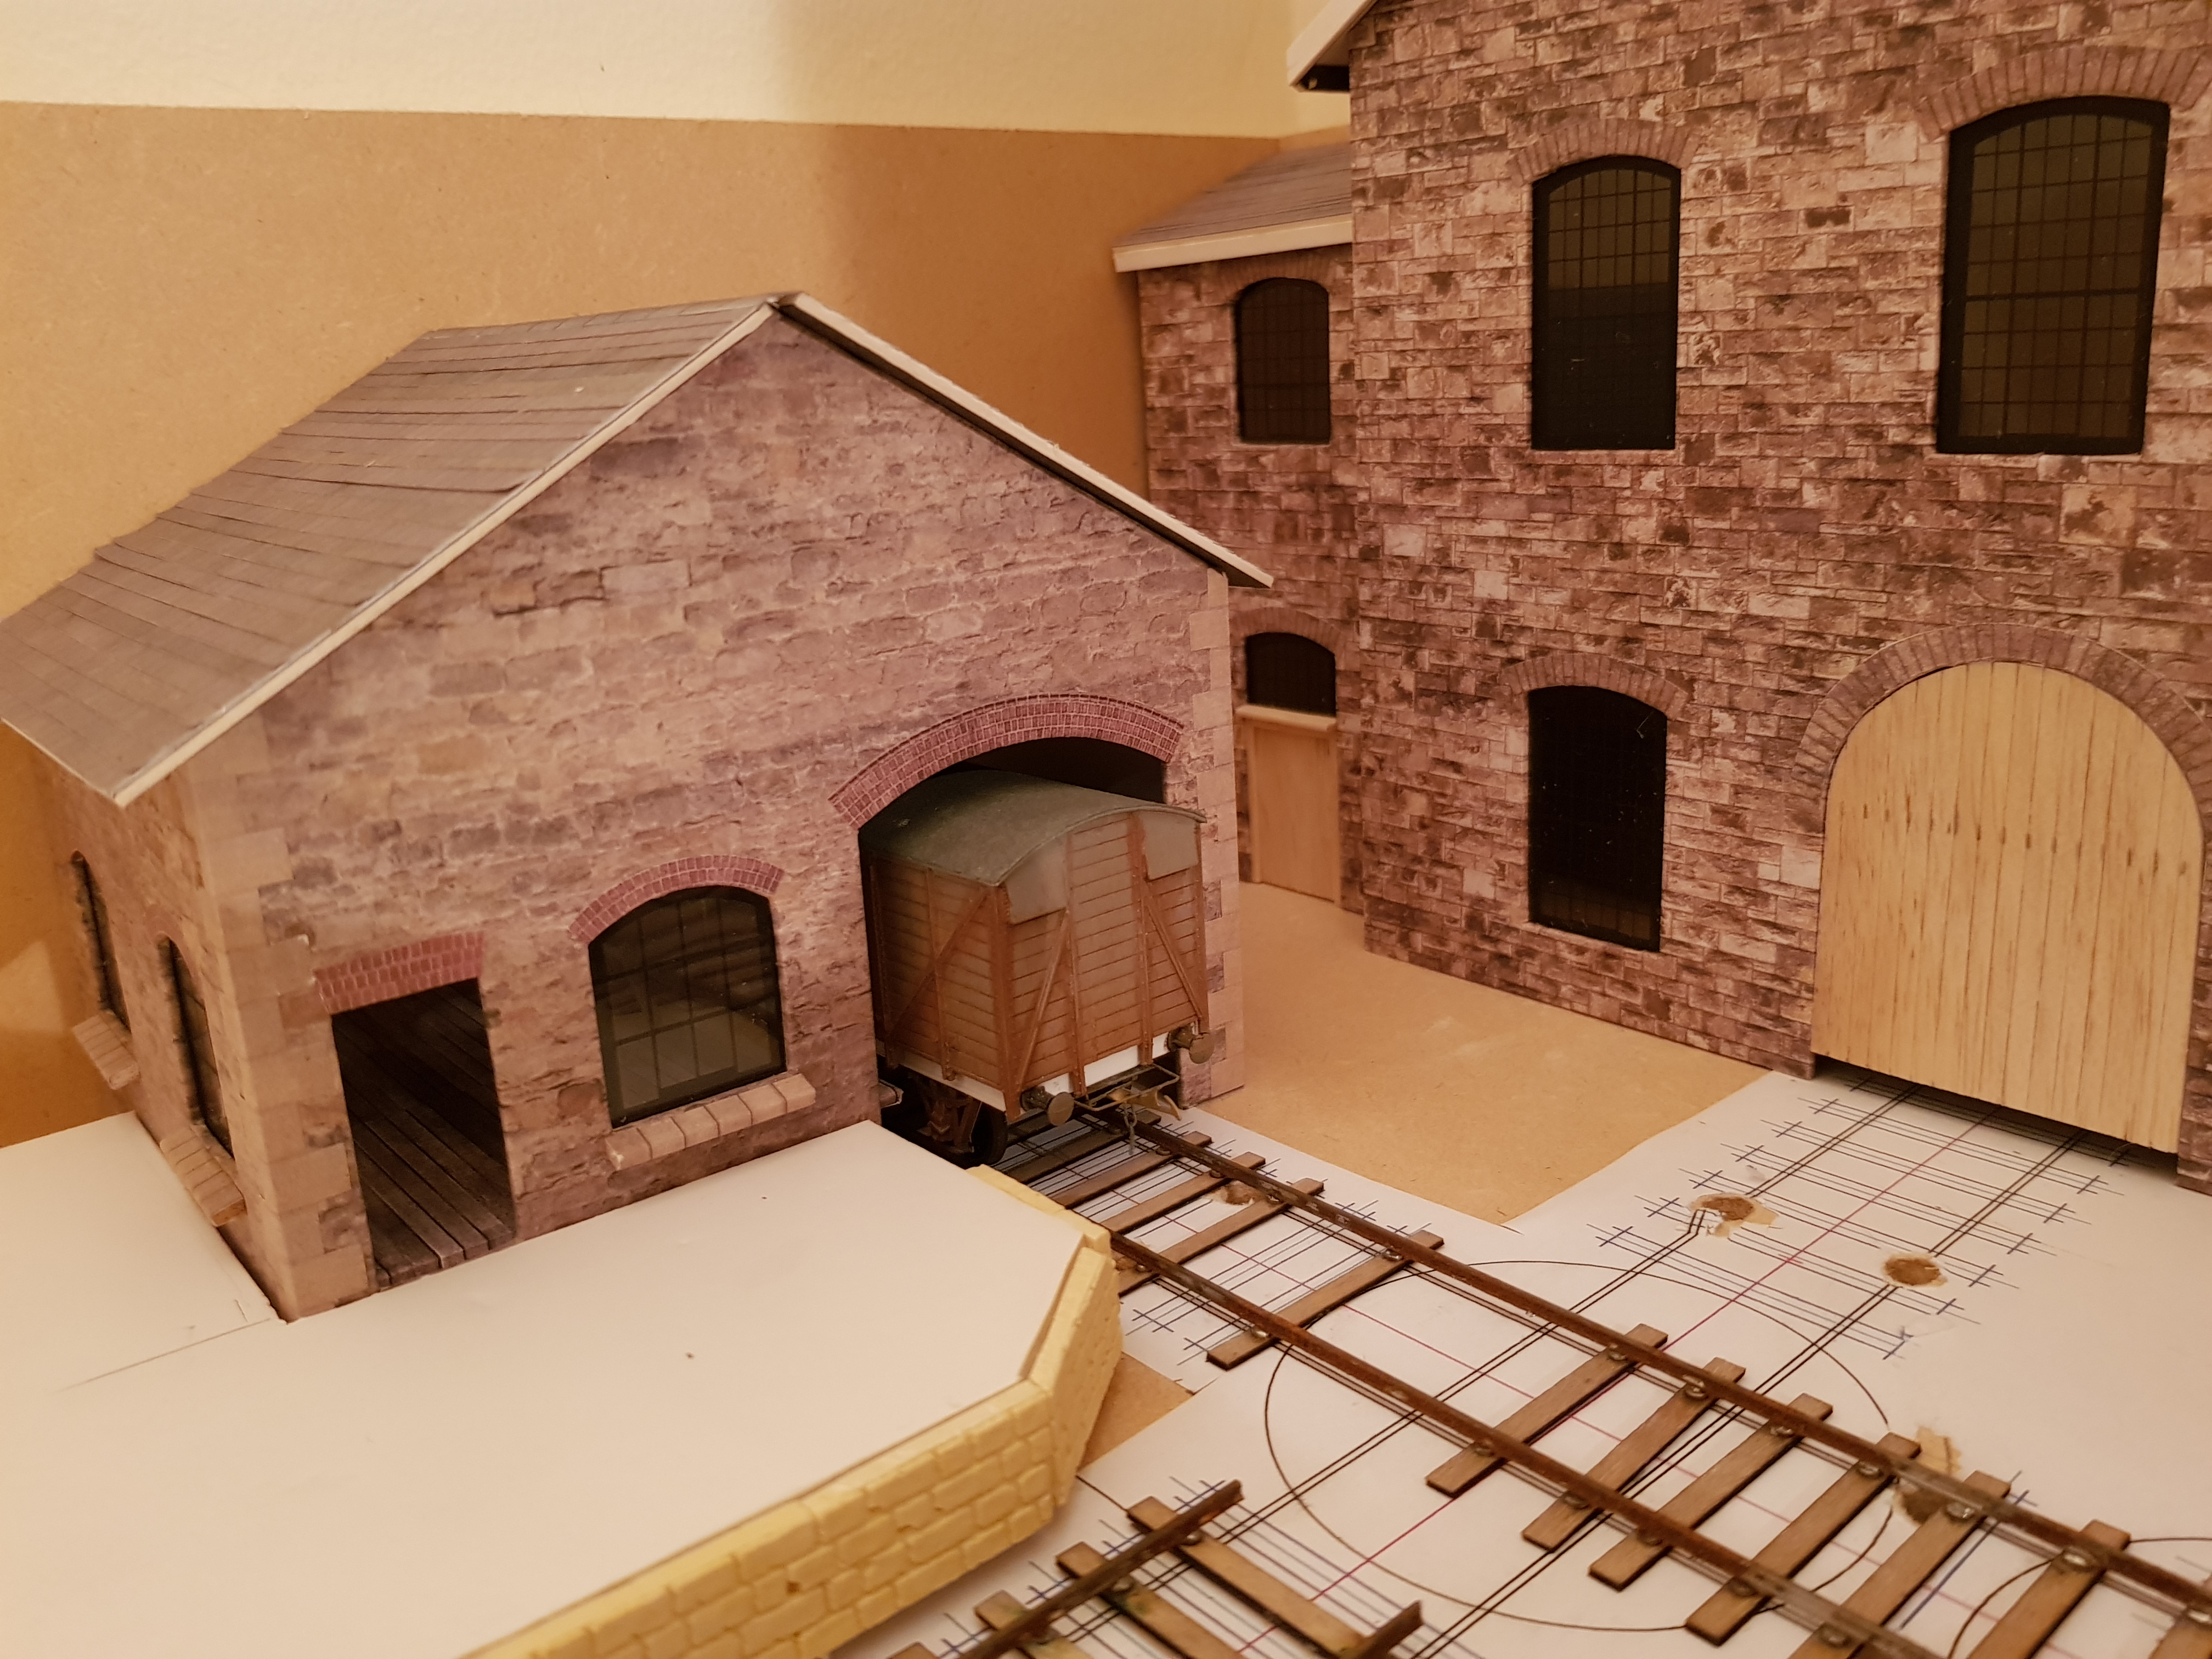
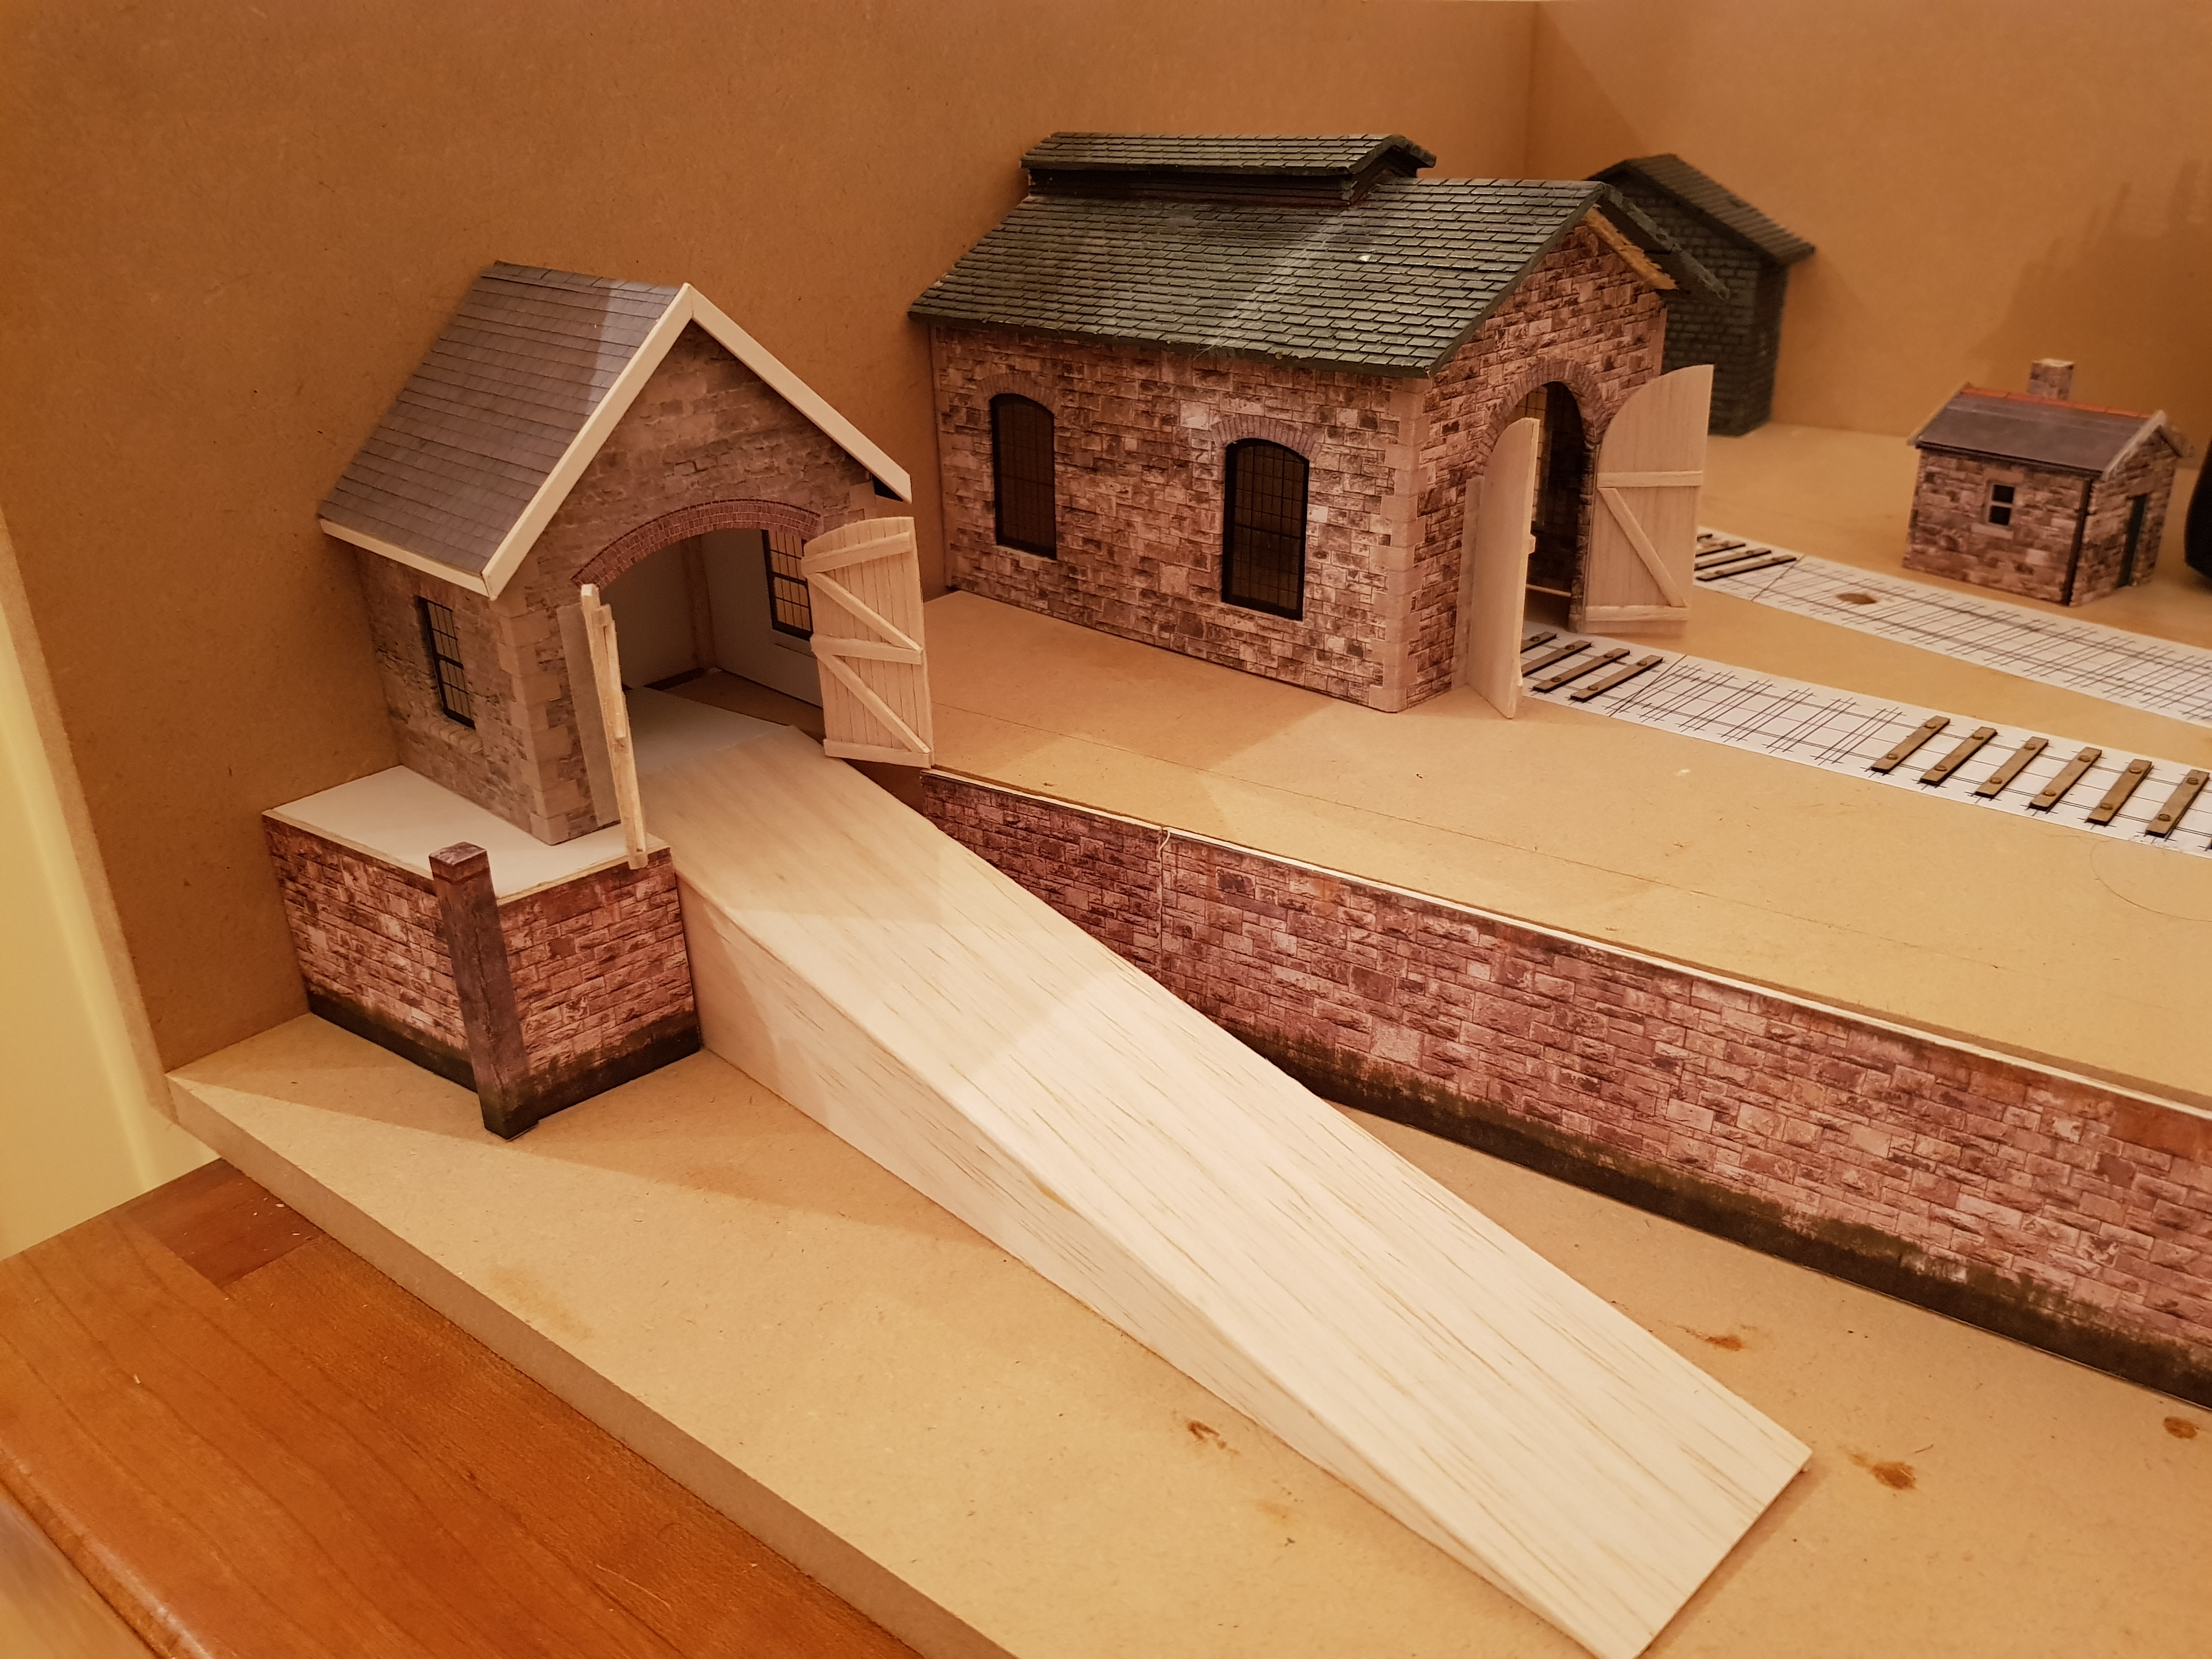
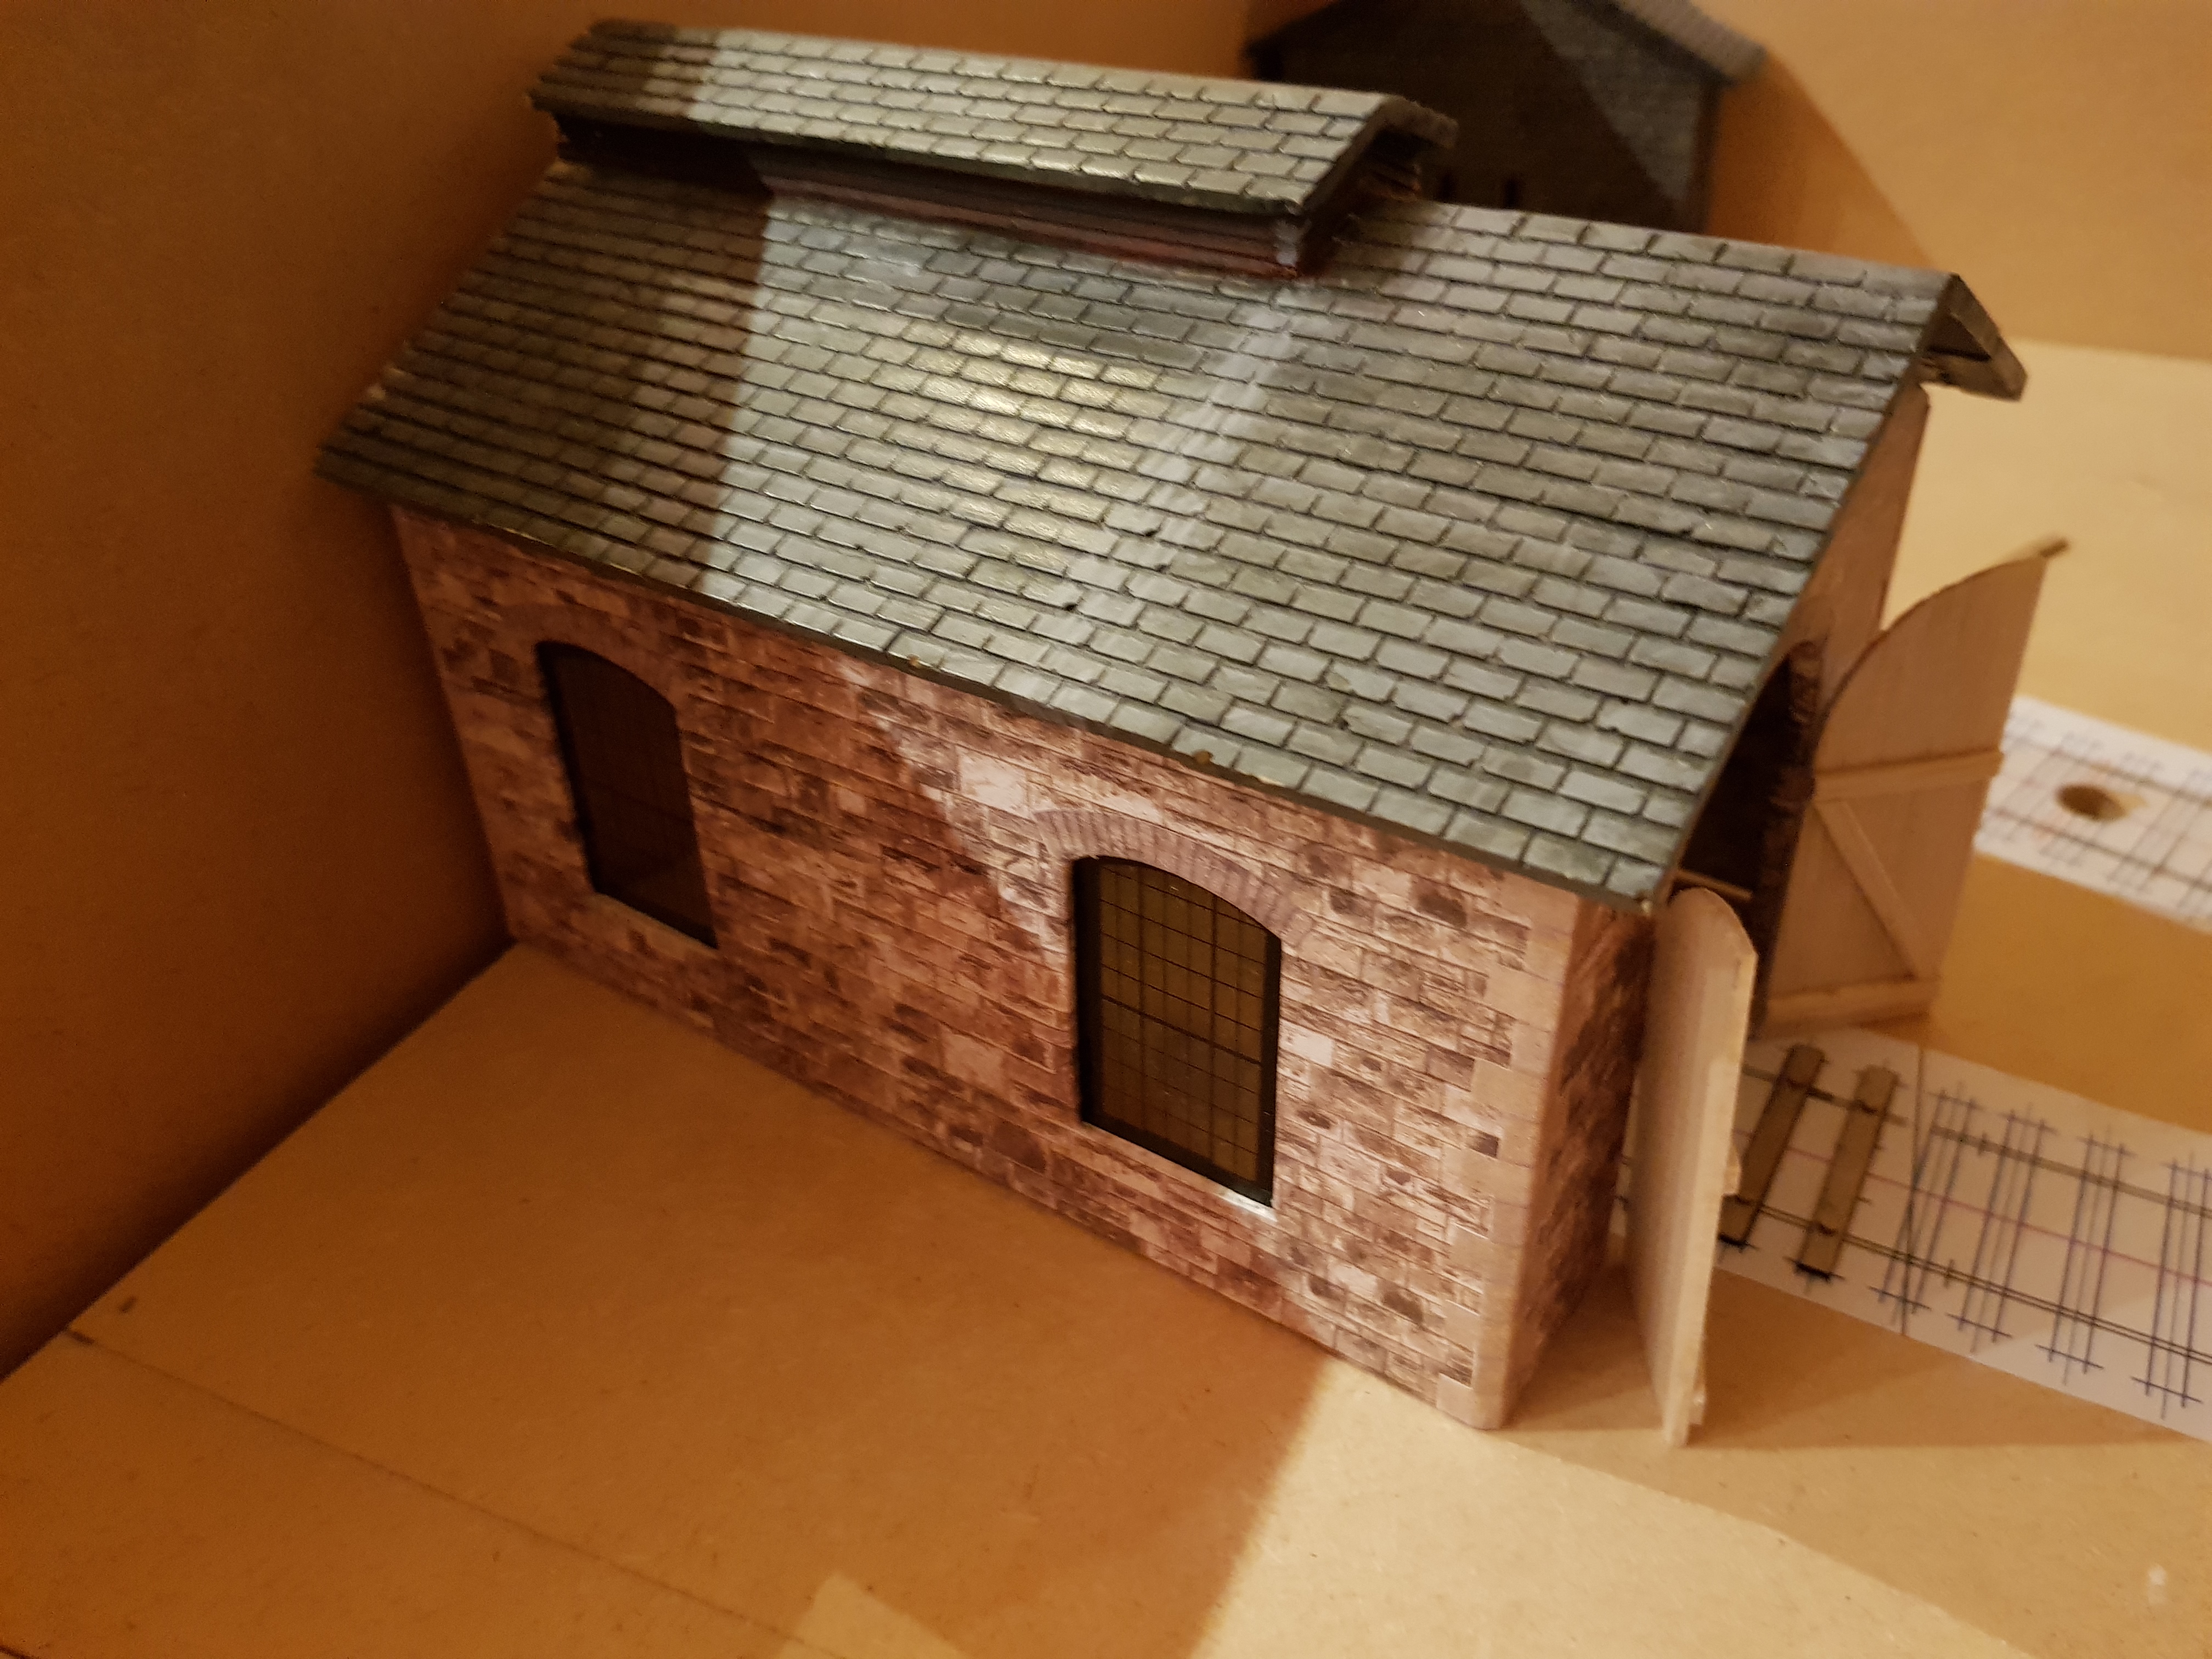
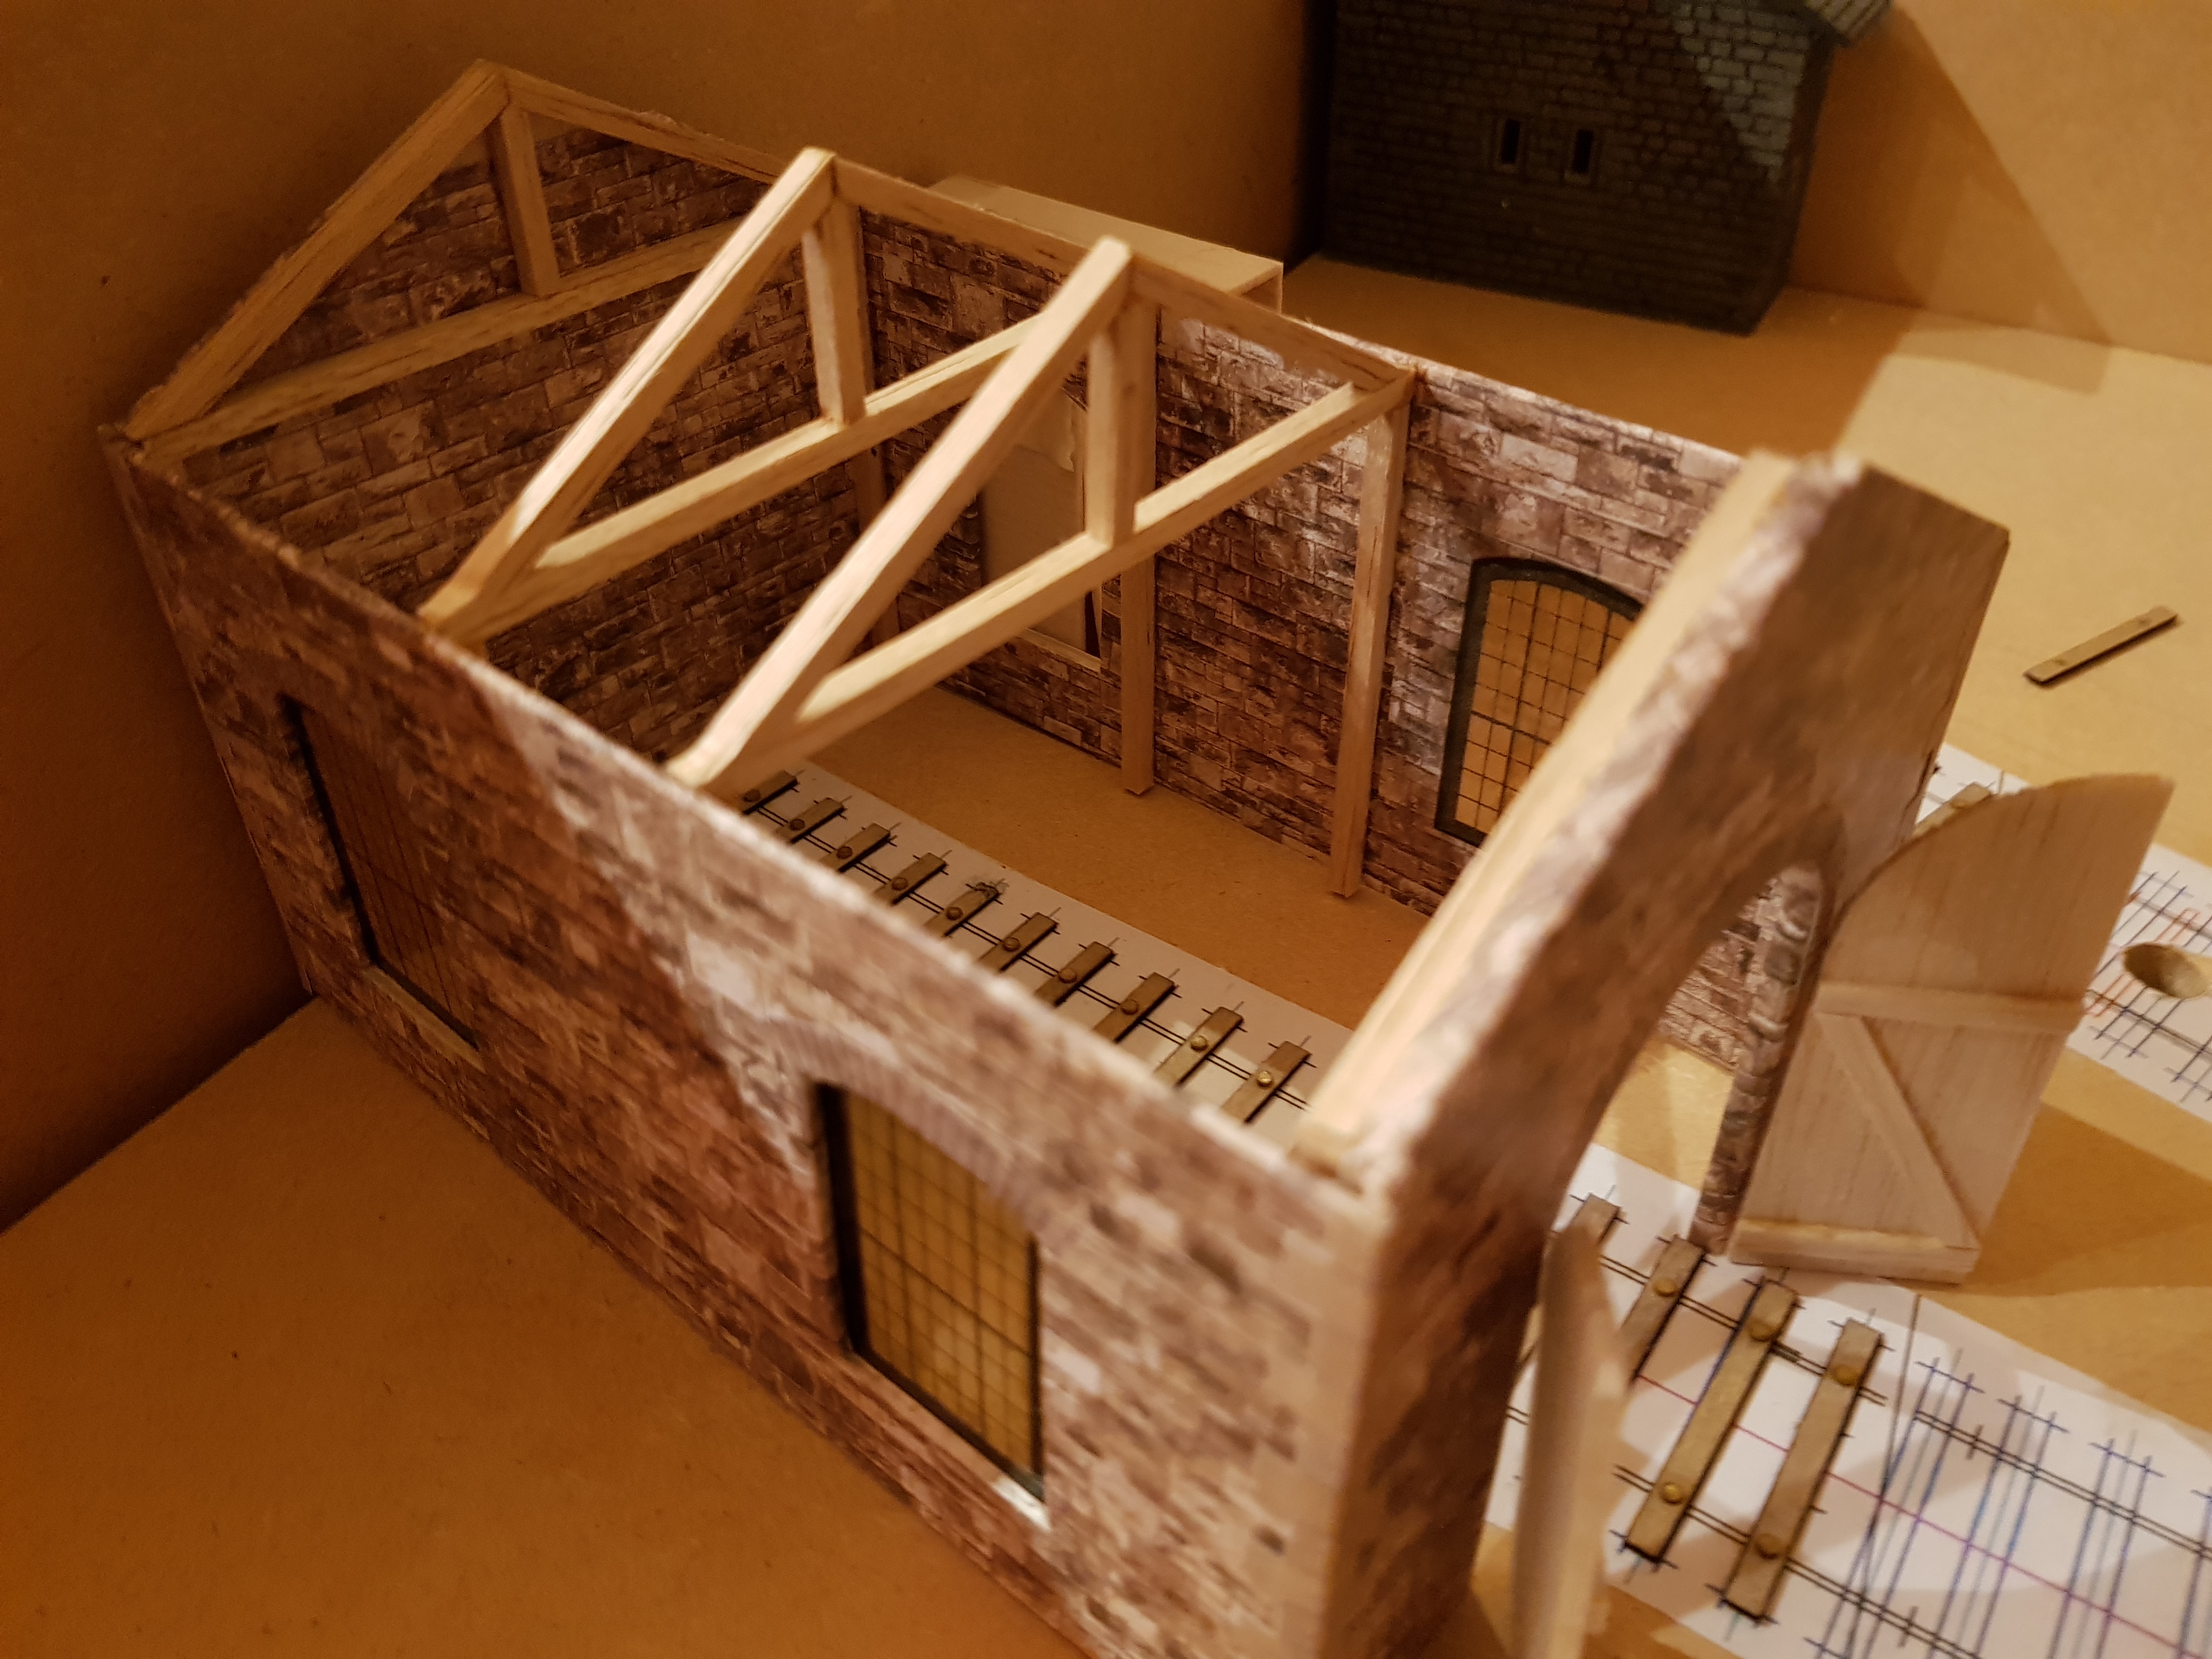
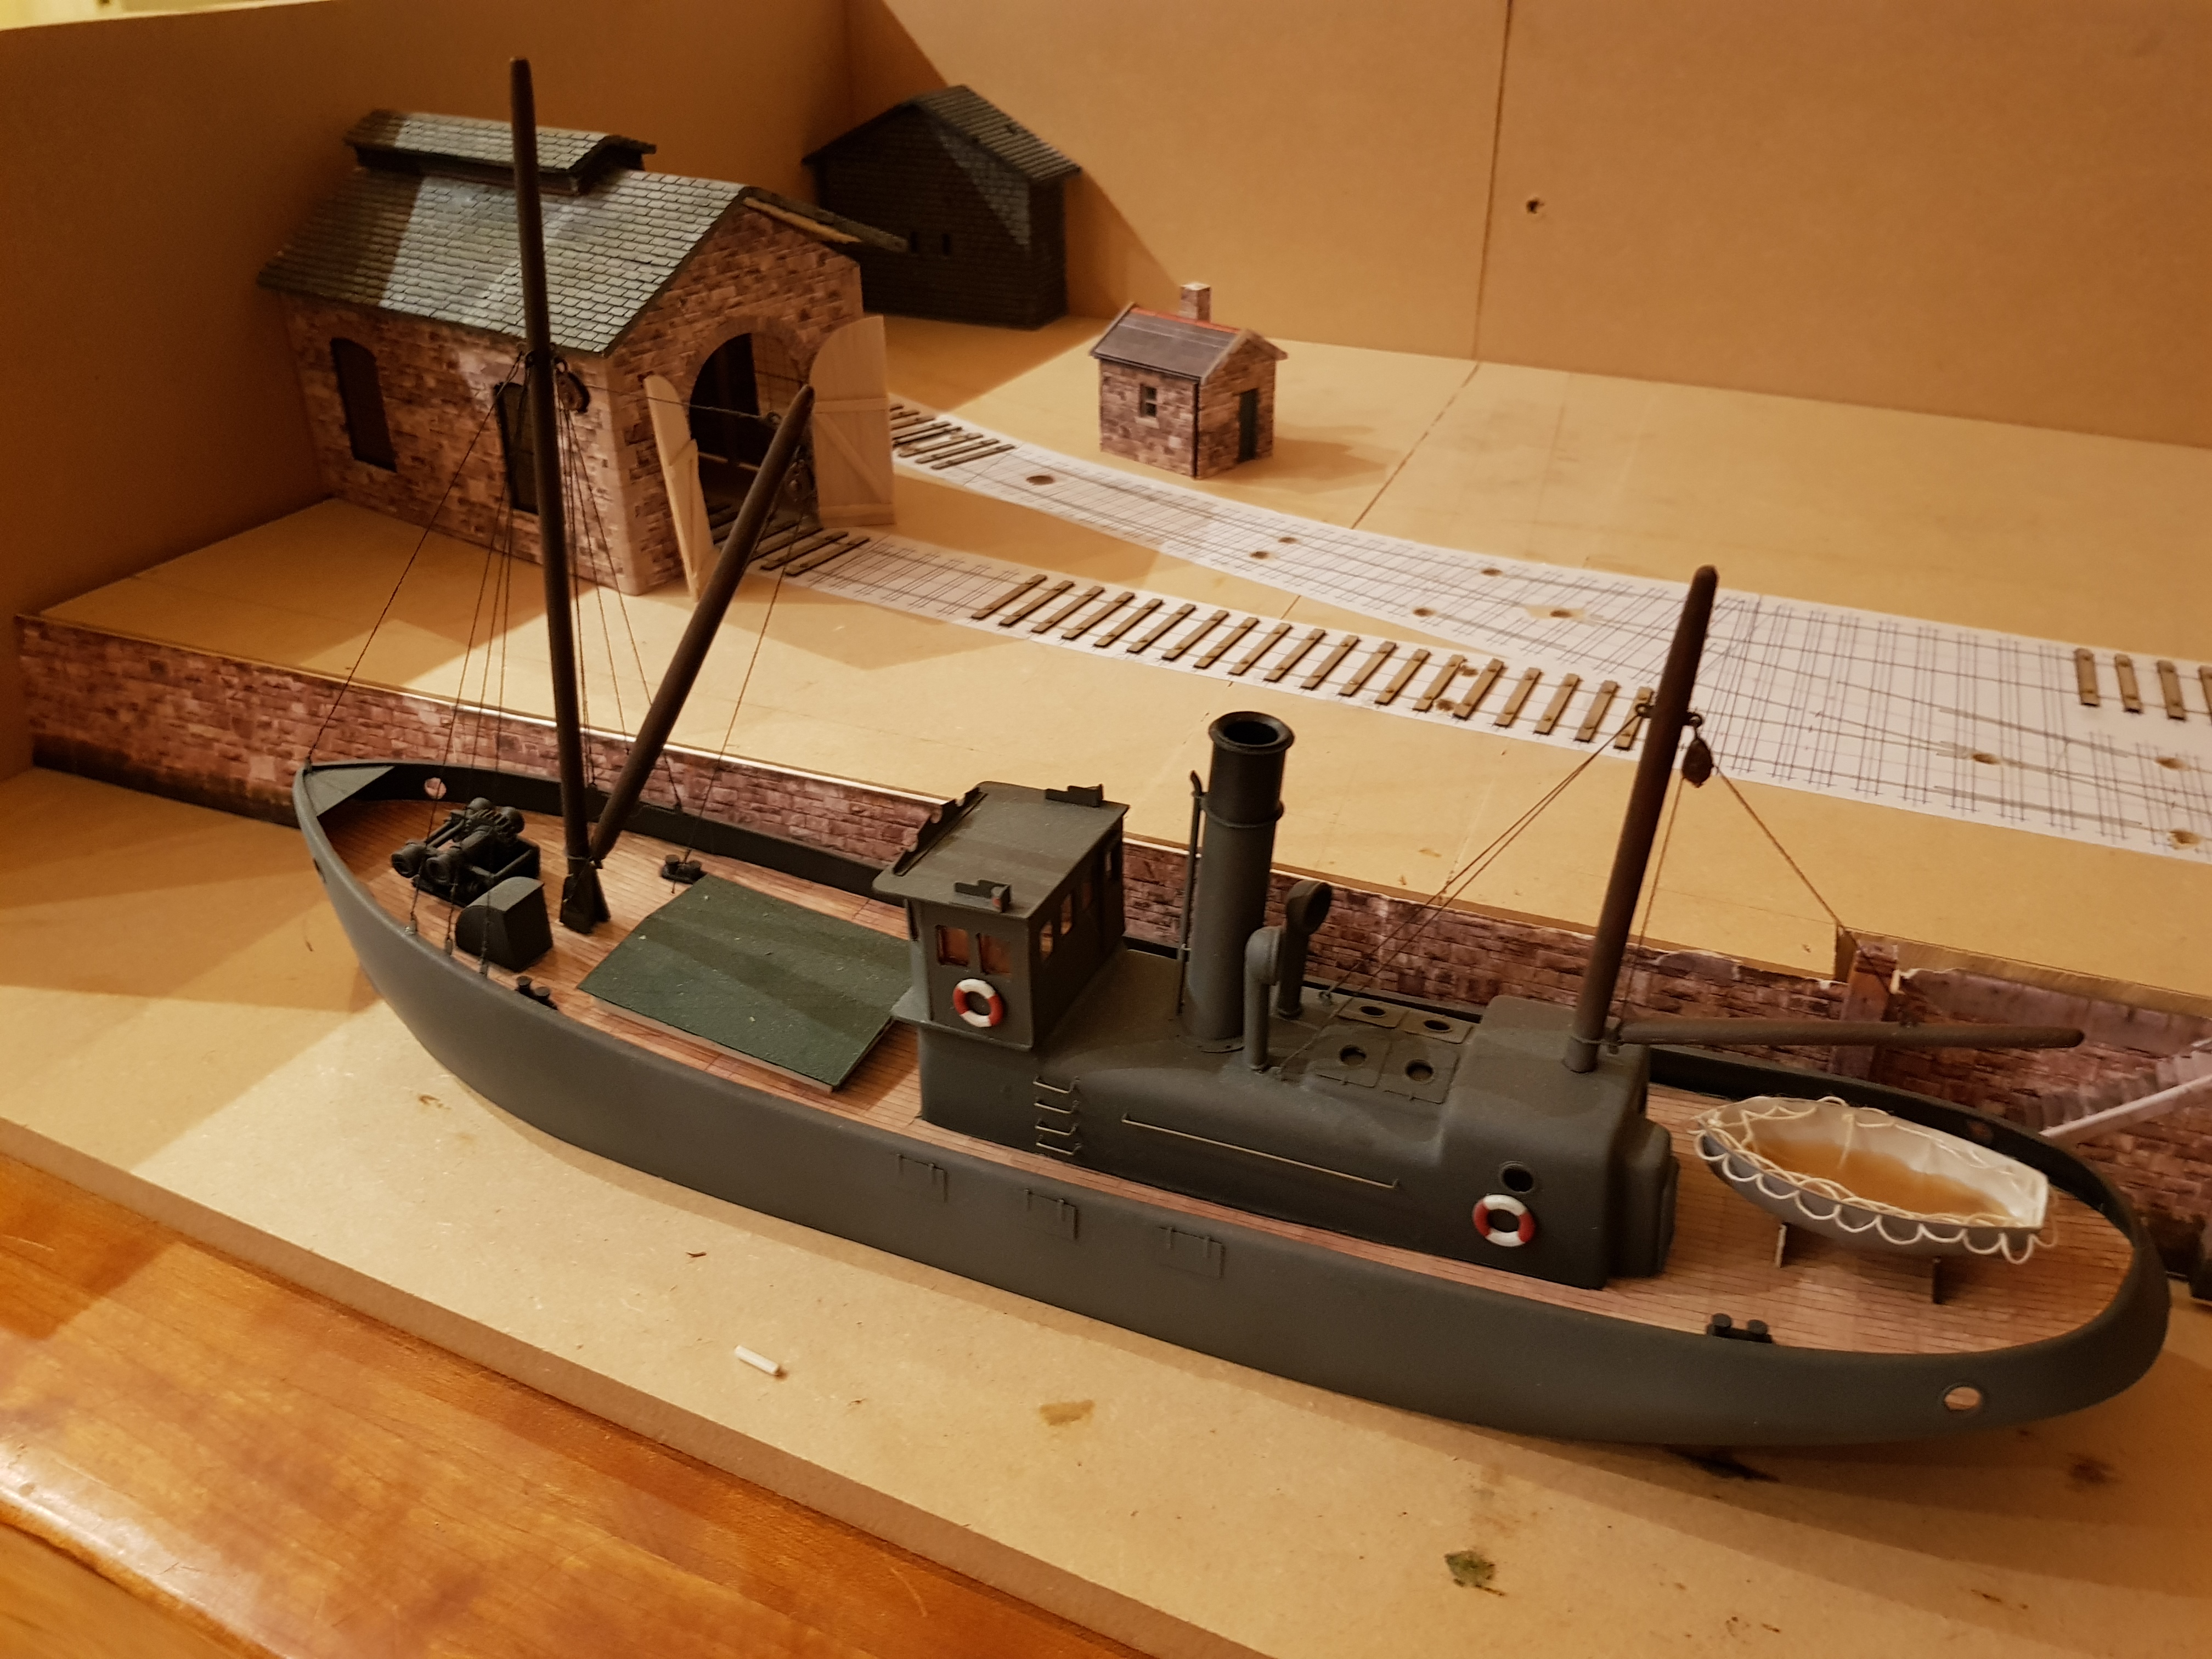
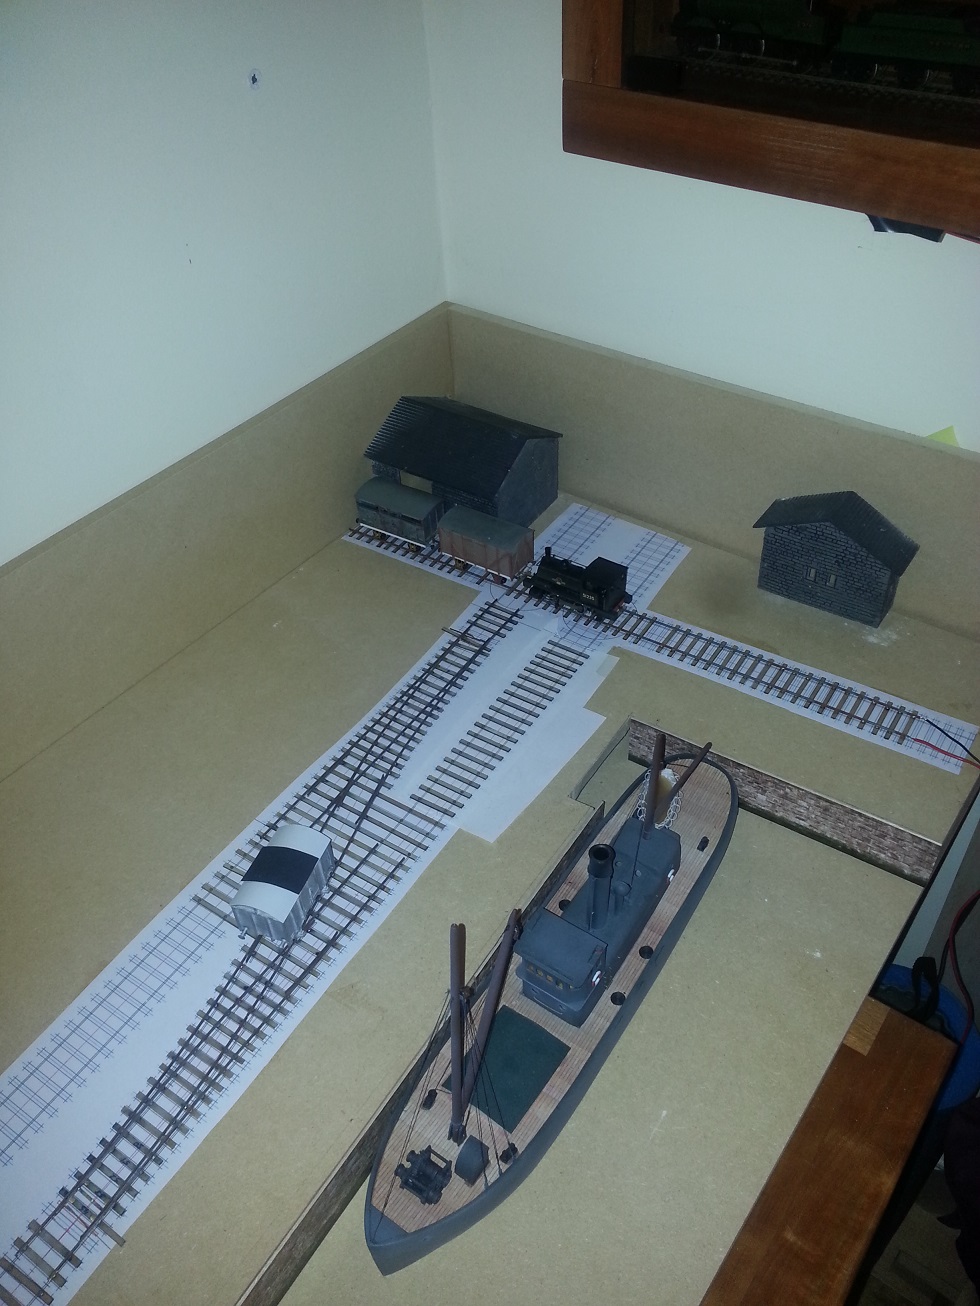
Hello Folks, Many thanks for all the comments, they're much appreciated. Being doing some work over the weekend. The main factory / warehouse got a little more work & I started on the goods shed. Shortened goods shed, as there is not much space between the backboard and the wagon turntable - still plenty of work needed to compete. The platform is an old one I put in place for context. Really need to put some window sill on that factory!! And what every good port should have - A lifeboat station. A lot of detailing required on the slip and to tie the boathouse in. Obviously a lifeboat just poking out of the boat house will set it off nicely. Masking tape hinges until I can make up a few suitable hinges!! Cheers - till the next one.... Ken
-
Hello Leslie / Joe, I am a member of Scalefour Society and it has been a big help in getting going - the point building tutorial from Keith (Grovenor Sidings - http://www.norgrove.me.uk/points.html ) was particularly helpful, however he did stop short of setting up the stretchers. I started by using the Turnout ground connection kit (locking/stretcher bars & rods) from the Scalefour Stores, however this was quite elaborate & I found it very difficult to get the electrical separation needed to use the electro frog solution for power. A much simpler solution appears to be the strip of copper clad with wire / brass connections to the switch rails. Joe, many thanks for the offer of the PCB (I'm in Wicklow Town BTW), however, I have a sheet on order which hopefully will delivered shortly. Once I get this sorted, I should be able to fix the points down and complete the rest of the track. Regards, Ken
-
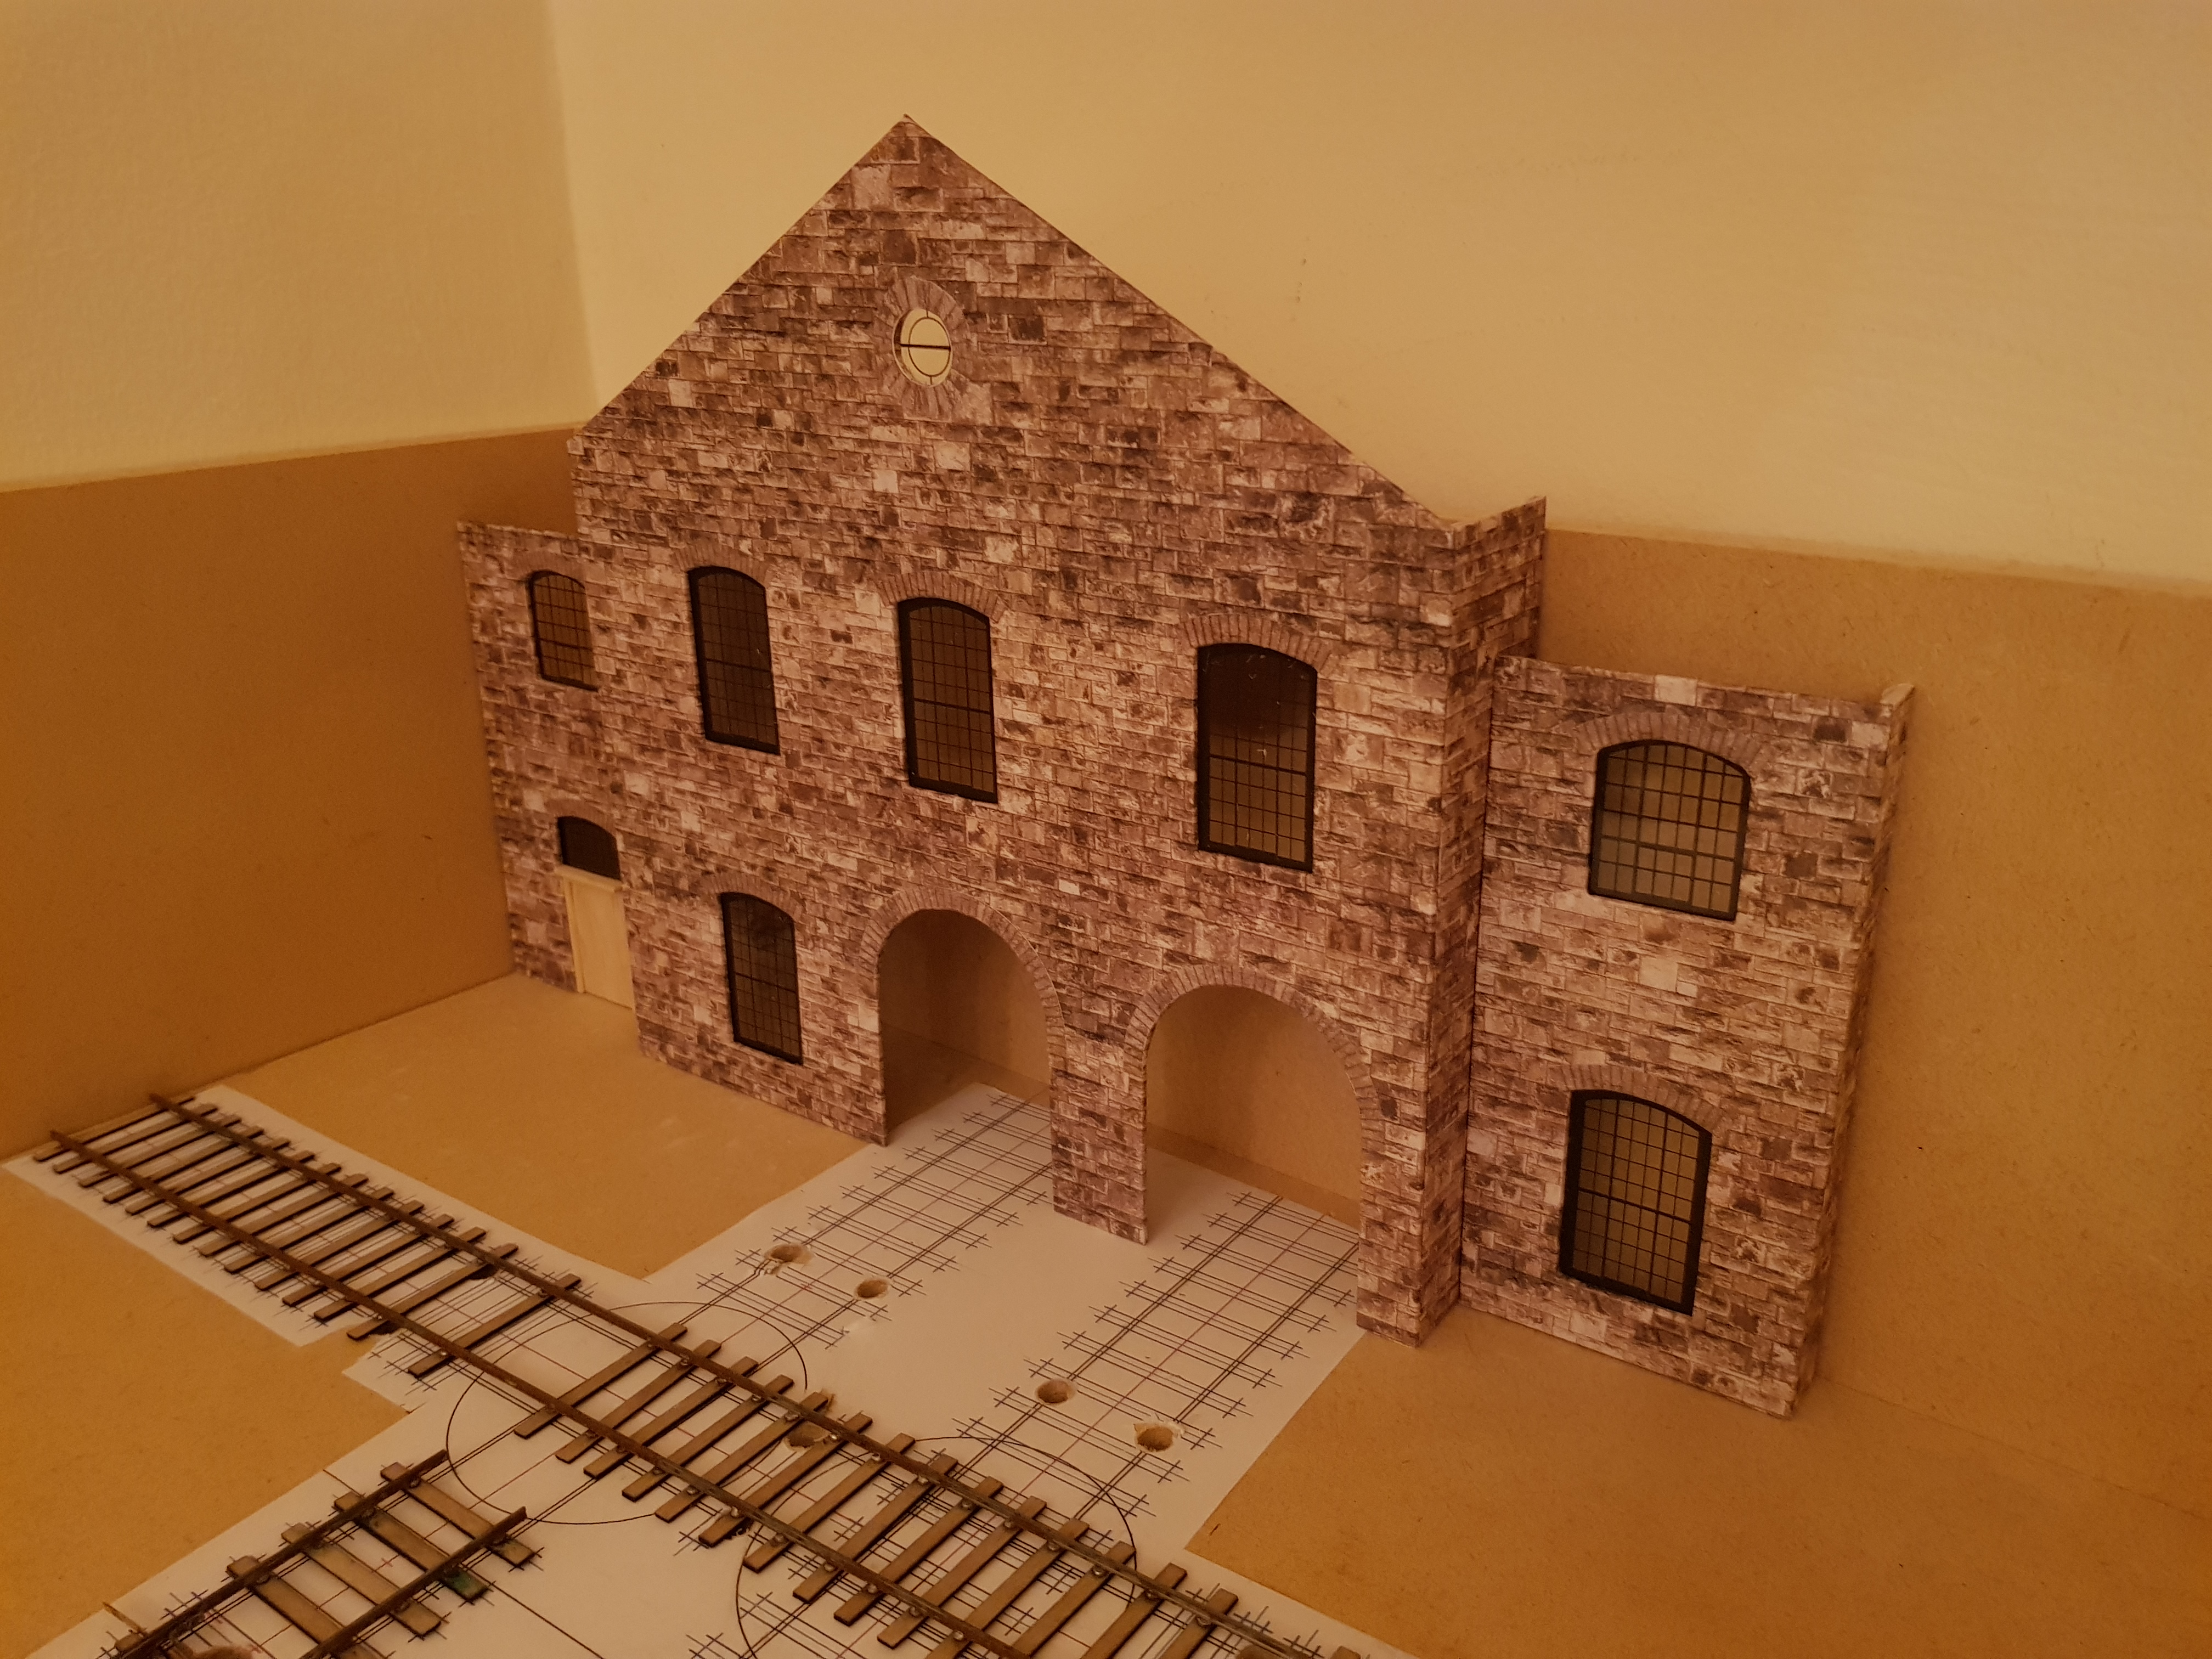
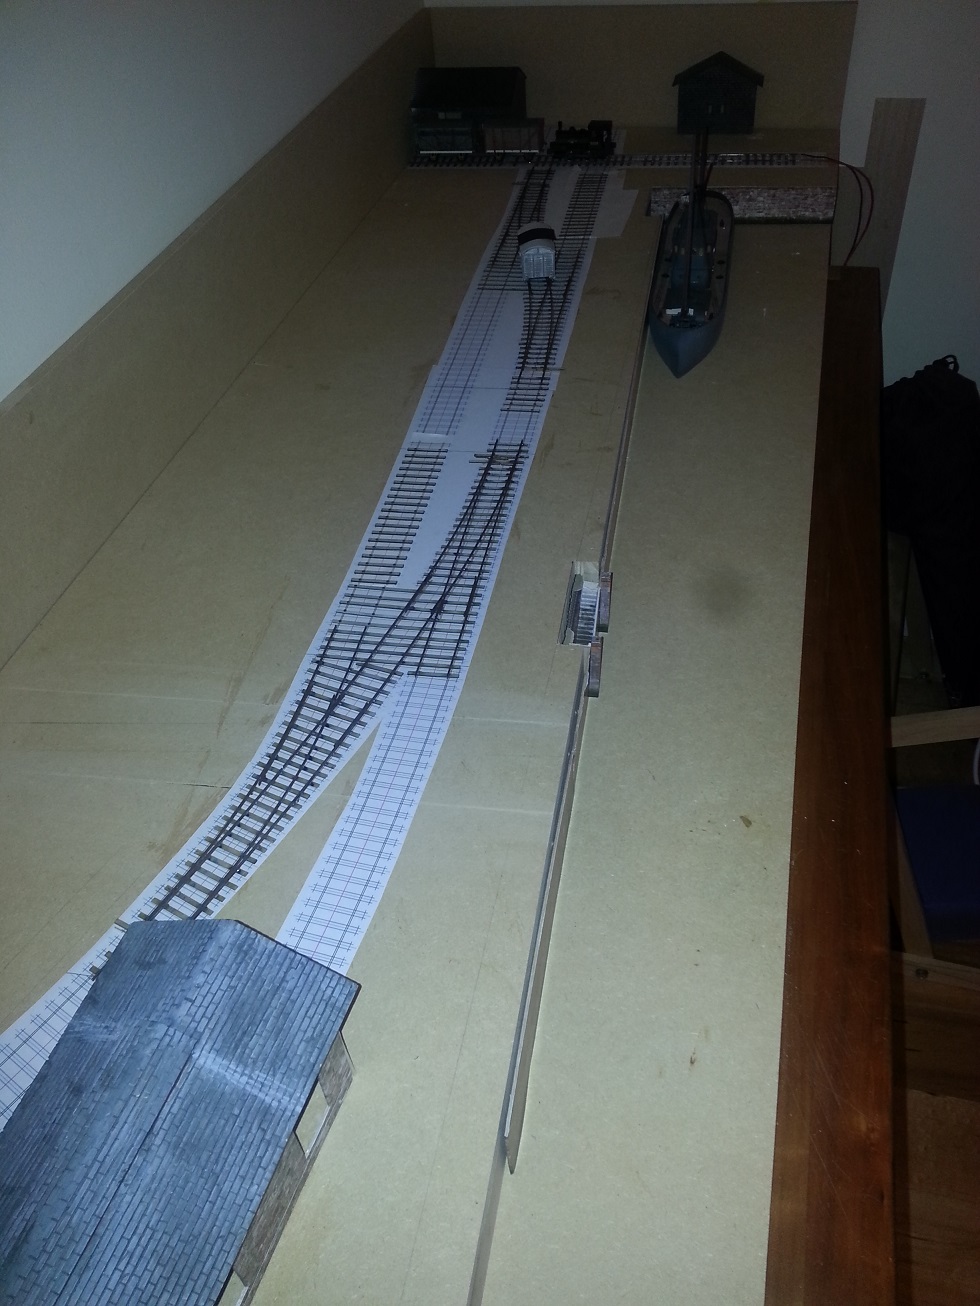
Hello All, Decided to start a new layout & also dabble in the dark art of P4 21mm. Quite a bit of work, but not a daunting as I thought it would be; building points is quite rewarding and there are plenty of resources out there to help you. The bit of info which is a little more difficult to sort out are the stretchers and tie-bars. Finally settled on using strips of copper clad PCB (on order at the moment) as the other attempts were not really working for me. In the interim, I decided to get started on some buildings. The idea is a fictitious Irish Port terminal – goods mainly but some passenger traffic from a small station. The plan is get some experience in building track and re-gauging locomotives & rolling stock. A little bit of scenery will help to set the track in its environs. Humble beginnings: Simple track-work with two sets of points & hopefully two wagon turntables at the end to pick up the track running at 90 deg to the mainline. Small engine shed - much more work needed! Factory / Warehouse to close out the ends of the track in a slightly more interesting way (?) . Plan would be to have the doors closed. I'm thinking only one wagon turntable would be active, as there would be a huge amount of work would be replicated for no real benefit. Long way to go, but this is to give a general feel as to where it is going - hopefully!! Enjoy, Ken
- 47 replies
-
- 11
-

-

-
Hello All, Just thought I would add to this thread. I am in the process of developing a 4mm P4 layout; small table top, terminus layout to try out track an rolling stock conversions. So far points are built and will be fixed down shortly allowing completion of the remaining track. Some rolling stock and a Pug loco converted to test out the track & get the hang of compensated chassis. Early start, and a long way to go, but hopefully you can get some idea of the plan. Cheers, Ken
-
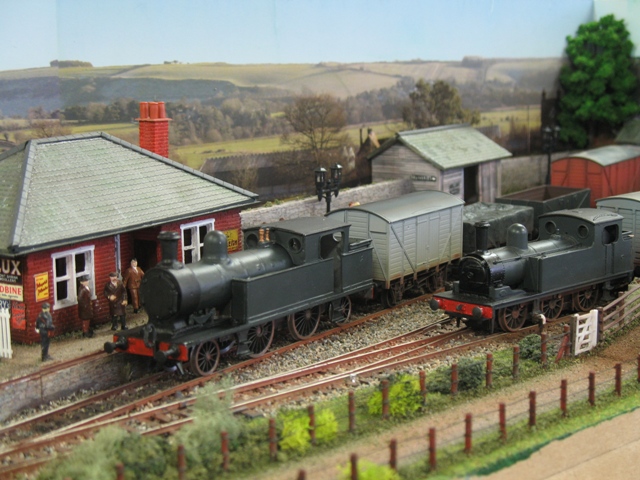
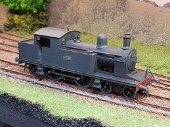
Many thanks for the replies folks - much appreciated. Achill, The locos are: GEM Webb 2-4-2T kit lightly modified to match GSR Class 434 Mainline J72 Badly masquerading as a GSR Class 551 I need to see where I can get number plates to put on the sides of locos - anyone here can do them in brass or similar? Ken
-
Wren, I'm having the same problem - base page loads, but all subsequent pages are html script. Ken
-
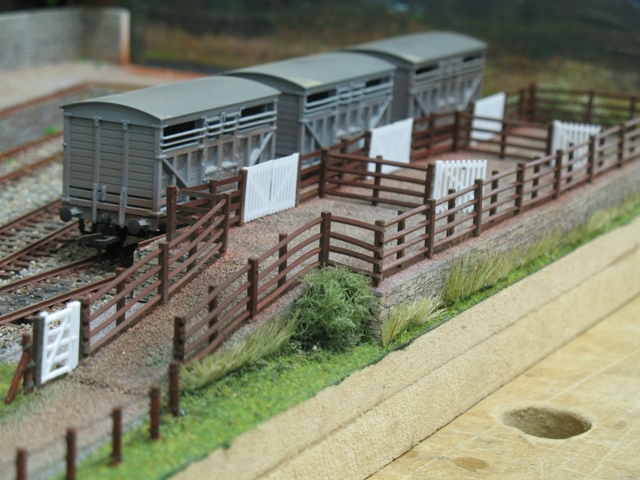
*Edited to refresh pictures Couple of photos of my small shelf layout (1200mm x 330mm). Model built as a shunting puzzle alá Inklenook sidings. Hope you like. Ken
-
My choice like a few before me would be for steam A Class 101 (J15) would be nice or, A Class 461 as note above Or what would be very nice - a Class 800! The trend does appear to be favouring diesel units and if it takes that route my preference would be a 121 Ken