-
Posts
3,490 -
Joined
-
Last visited
-
Days Won
11
Content Type
Profiles
Forums
Events
Gallery
Everything posted by Glenderg
-

Belmond Hibernian - Luxury Touring Train
Glenderg replied to Broithe's topic in What's happening on the network?
Since it will be operated rail side from IE - contractual obligation to clean them perhaps, thats about it. It sounds like this would be run at most on a monthly basis, would it be practical to have a one off (maybe with a spare) rolling around with a funky livery? Looking forward to something unique for the MK III's livery wise. I for one, welcome our new cash collecting mk3 buying overlords. -

Belmond Hibernian - Luxury Touring Train
Glenderg replied to Broithe's topic in What's happening on the network?
This was mooted months ago here.... http://irishrailwaymodeller.com/showthread.php/2093-MK3-Scrapping?p=45735&viewfull=1#post45735 -
There are FIVE threads on this forum titled "NIR Ballast Wagon" or variants where you'll find the answer. "Search" and ye shall find Liver
-

Belmond Hibernian - Luxury Touring Train
Glenderg replied to Broithe's topic in What's happening on the network?
Rich brunswick green and cream exterior, gold lettering, could look stunning. That's just a guess.... -

IE Mark III Restaurant Coach Roof Details
Glenderg replied to Irishrailwayman's question in Questions & Answers
When CIE took over the amalgamation of the railways, they were left with a veritable jumble sale of wooden bodied stock of all eras, and as has been mentioned here before by such luminaries as JHB Achill, the green livery to that point was hit and miss throughout the country, so there was no standards to the livery. The intention was that a new livery would be sought, so that it would be easy to apply, cheap, and give a new corporate identity to the young CIE. A panel selected noted architects, artists, and interested people and from that Patrick's Scott submission won. His argument was that the white stripe at cantrail would add some uniformity to the coaches in a rake, even if all of odd heritage, and the black would visually break the rhythm of different side pannelling, and the brown/orange to the lower quarters happened to be the colour of his cat, and if you look at his artwork, gold, yellow and red were his palette. It could have been purple, green, or bright red, except that every other prior railway company in Ireland had used every other primary colour at one stage, and that's what was left. A new brush sweeps clean. The mad thing is that when supertrain was converting to tippex livery, Inchicore had enough supply to paint the island tan colour, so they simply added white to it. Red was added to give it that more vibrant colour. Waste not want not and all. As for the supertrain livery not to your liking, I seem to be aware of what you dislike, rather than like, on this and many other threads. Try and stay on the positive side please, and as far as supertrain goes, I present evidence to suggest it was quite the looker, whilst still remaining on topic. R. -

IE Mark III Restaurant Coach Roof Details
Glenderg replied to Irishrailwayman's question in Questions & Answers
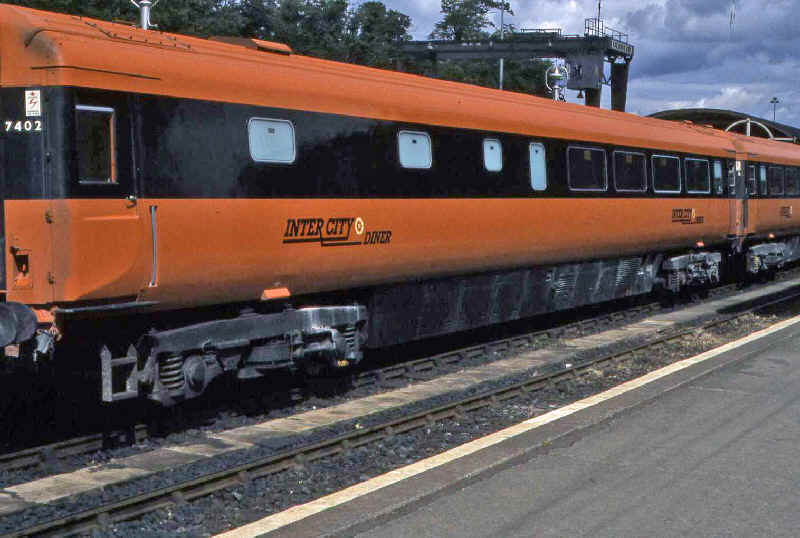
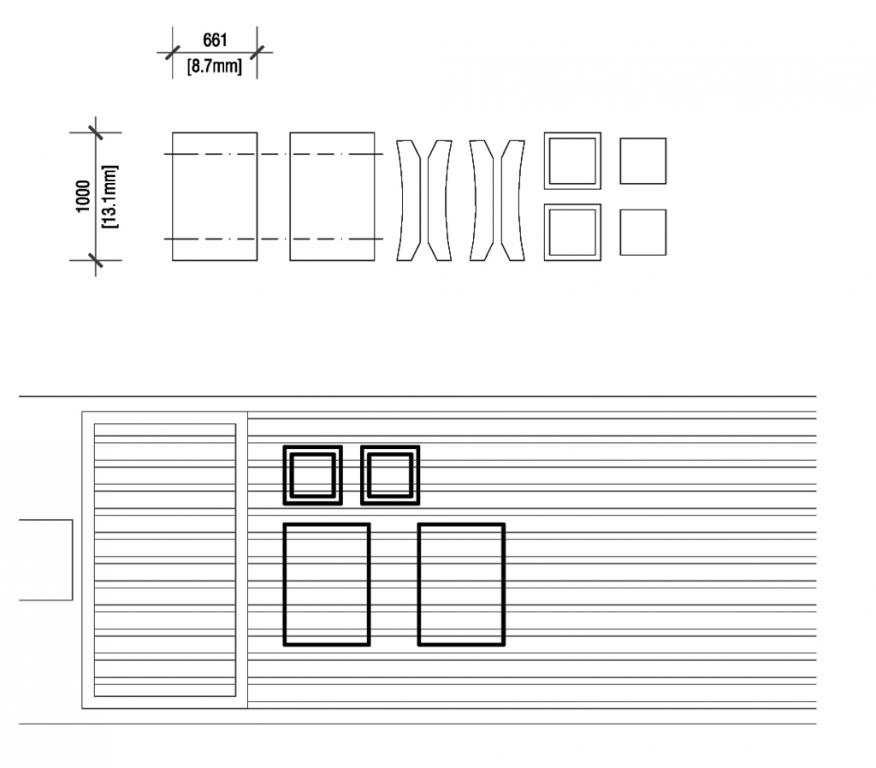
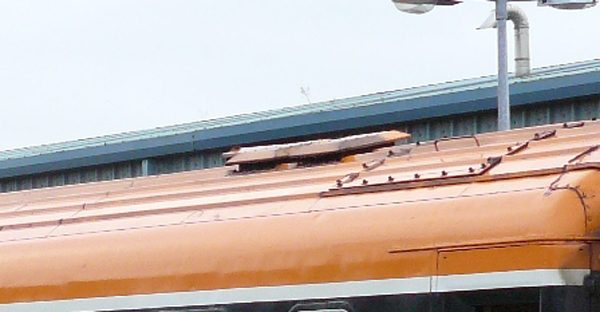
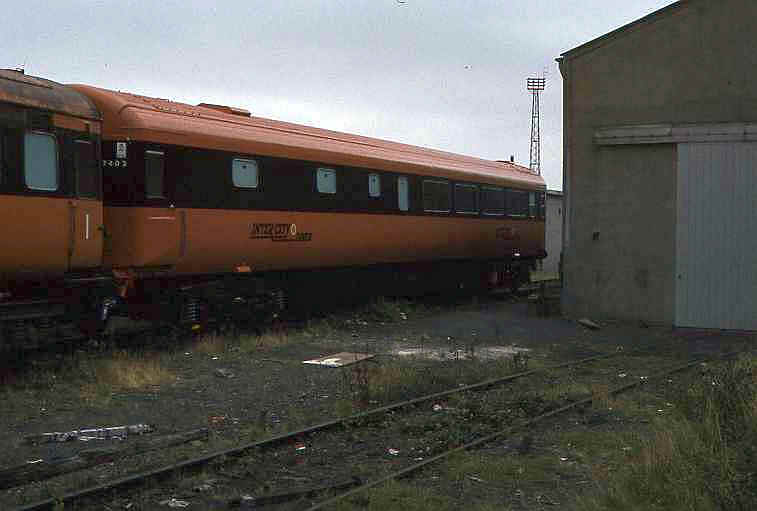
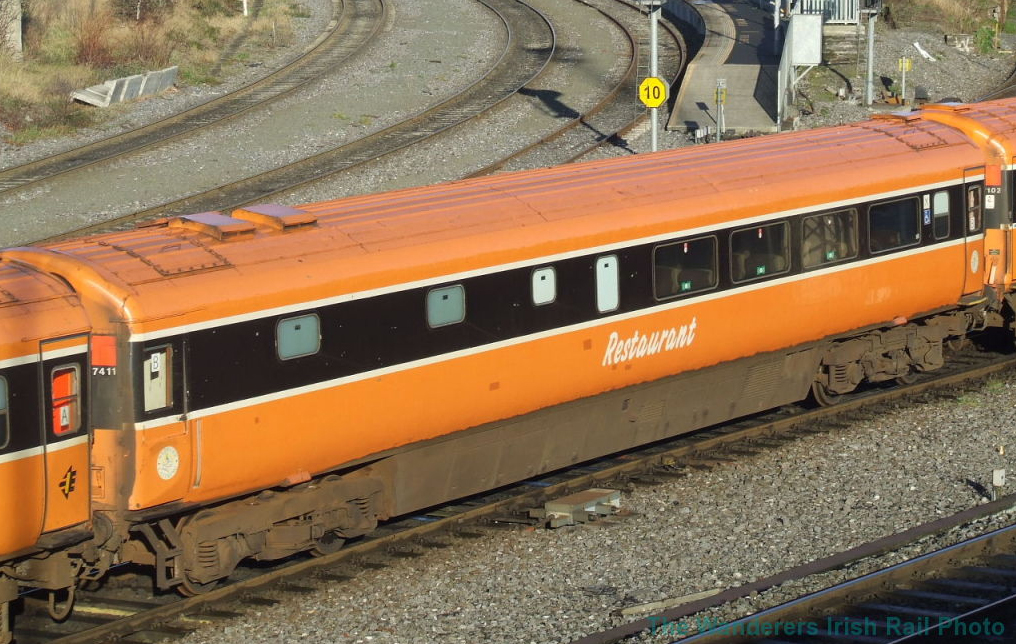
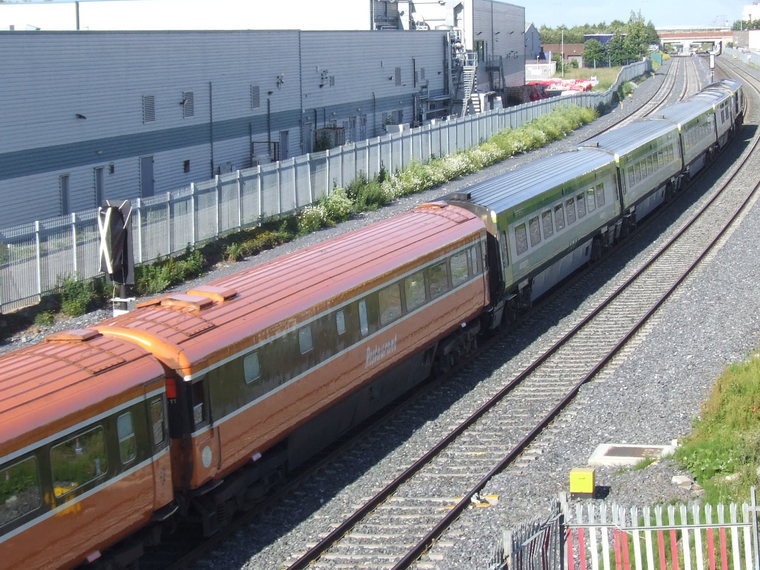
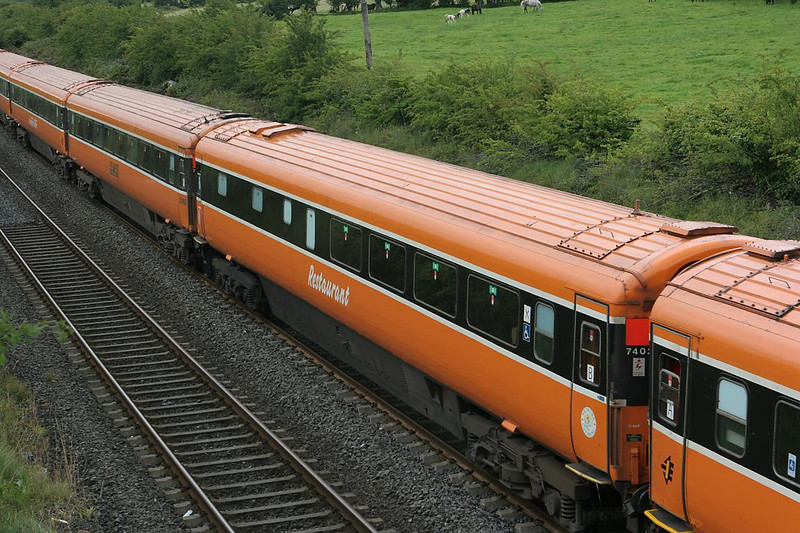
There are four vents, not three. It would appear that Supertrain/Early MKIII restaurants had either two large and one small or vice versa, as shown here The later version had four. Two small ones and two large. A bit of 0.25mm styrene to match the profiles shown below, with a roof plan showing their relative location on a MKIII roof. The dotted line indicates a scoring line, so you can bend the front flap of the vent down to match the side profile. Hope that helps. Richie. -

IE Mark III Restaurant Coach Roof Details
Glenderg replied to Irishrailwayman's question in Questions & Answers
You're nearly better off using a standard open, and blocking up the galley section windows, as the roof vents on the BR MKIII restaurant are completely different from the IE version. Photos previously posted here by Bosko and Riversuir. I can't locate the thread just now, but this question has been tackled previously. -
You sir, have won quote of the year, and a reason for me never to darken those stanky halls.
-
-
*furiously bursts through Eiretrains using nothing but his architectural powers*
-
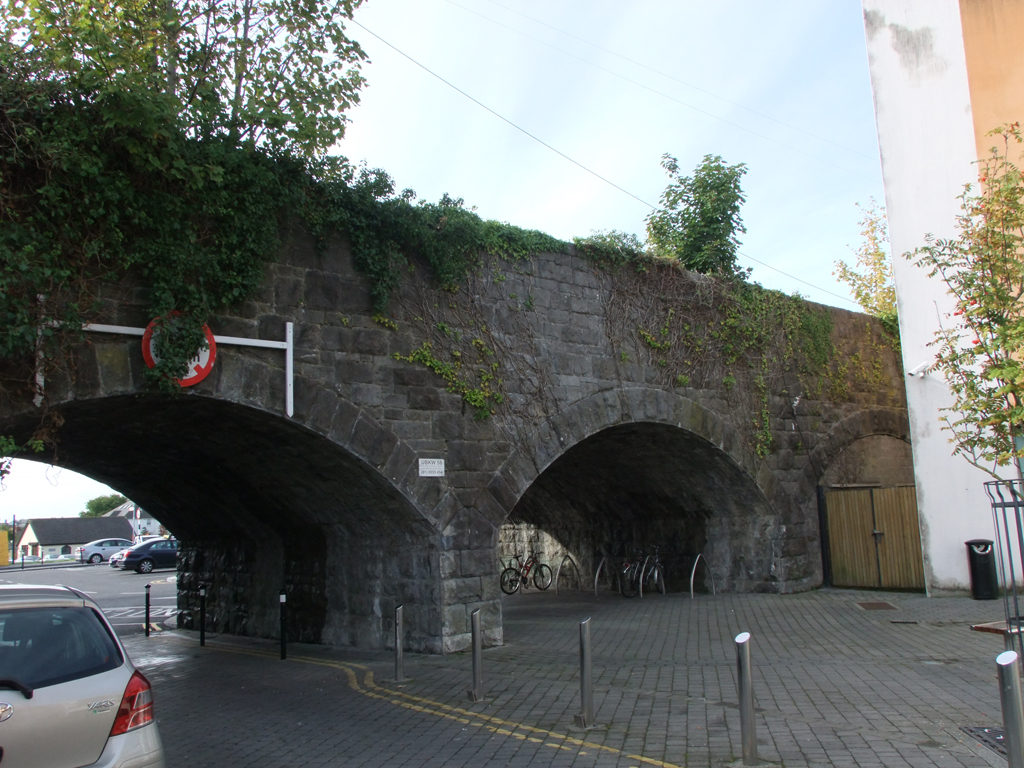
Franno, put me out of my misery please - within 100 miles of Dublin is my only comment, the style of the cast iron is so fancy it can't be MGWR, stonework's not GNR(I), but the arched bricks are. Going into self combust mode....LNWRmy last guess before I need a reboot.
-
-
Quite correct Dhu - I believe it's actually an additional plating over that portion of the coach. I've used these photos taken by the most excellent wanderer produce a drawing of 8911 - This is my effort, and I reckon the dims of the "offside" vents are 1241 x 673mm in total, or 2 feet by 4 feet for the opening, and a frame around it. Smashing drawing incidentally! Richie.
-
Kieran, I have an airfix (114926) 20 ton br toad brake van here that is 24' long, which would make an ideal donor for the body once plated over with styrene. Wheelbase is unfortunately 16' and there is a long step running through. If you were going for the outside angle irons etc. from dartcastings or whomever, you could lob off the axelboxes/leafsprings and add your own? A reference sheet of wheelbases and wagon lengths for BR stock would be mighty useful.......
-

Which DCC sound chip for MM 141/181
Glenderg replied to Noel's question in DCC, Electrics and Electronics
http://irishrailwaymodeller.com/showthread.php/2859-MM-Class-141-with-DCC-sound?highlight=dcc+sound -
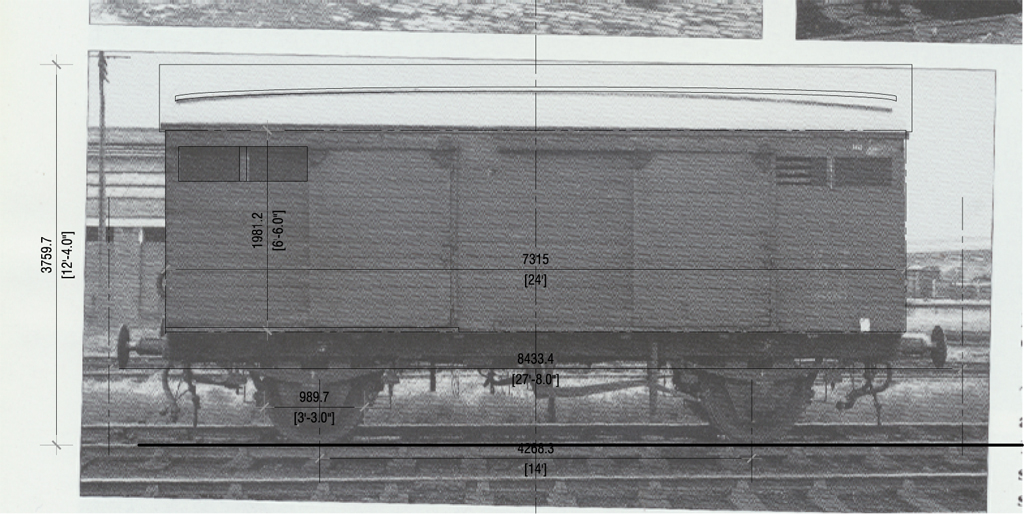
Nice work Nelson - I've added the dimensions to this photo. Could the wheelbase be a bit wider - 14'6"?
-
"The well known "brown vans", four wheeled with high roofs were built at intervals fro 1924 onwards and were numbered in the 1800 series. *snip* their bodies were 24 ft long." - page 76 of des coackhams "irish broad gauge carriages" It looks like an 18' wheelbase and they look really wide probably 9', but will check that later.
-

Red bull livery, best paints to use
Glenderg replied to Liverbird81's question in Questions & Answers
It looks like revell 52 would suit the caf 4000 series, not sure if you can get a metallic version to get the right look. For acrylics, games workshops "caledor sky" can be mixed with vallejo's metal medium to give it a metallic shine. For the red bull livery, humbrol 14 or revell 56 matches for the darker blue. Richie. -

Red bull livery, best paints to use
Glenderg replied to Liverbird81's question in Questions & Answers
Can you post a photo of what you're looking for dude, never heard of the "red bull livery" and a google search brings me back here. -
Loving it rich - smashing job on the signal box, and the cottage? Aside from the georgian portico over the outdoor loo, it's just cushty. Poshest loo this side of the Shannon?
-
I'm no brass expert either Rich!
-
€64 rtr......
-
Do please, orange is the new tan, after all.
-
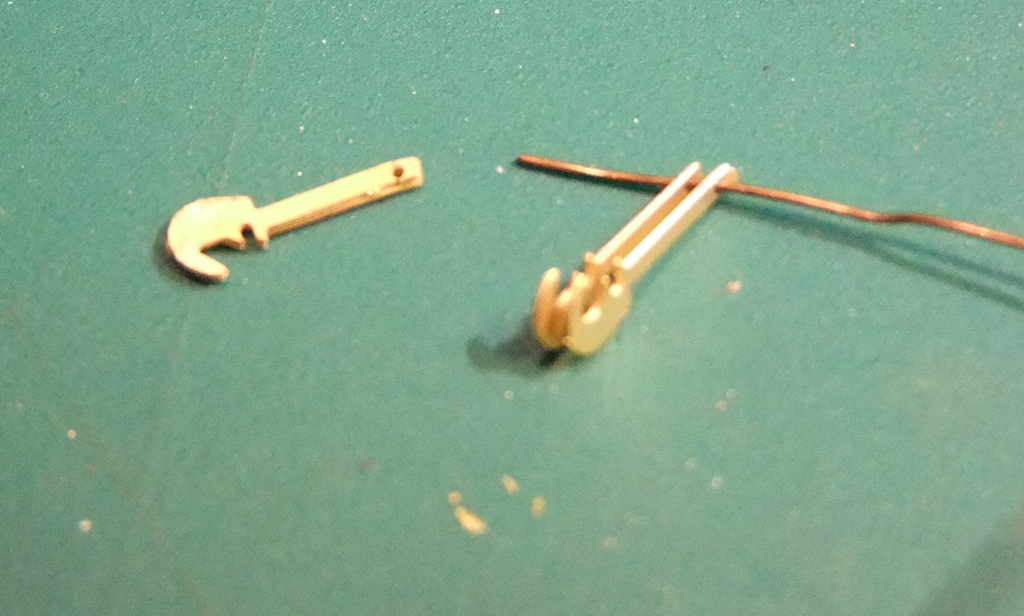
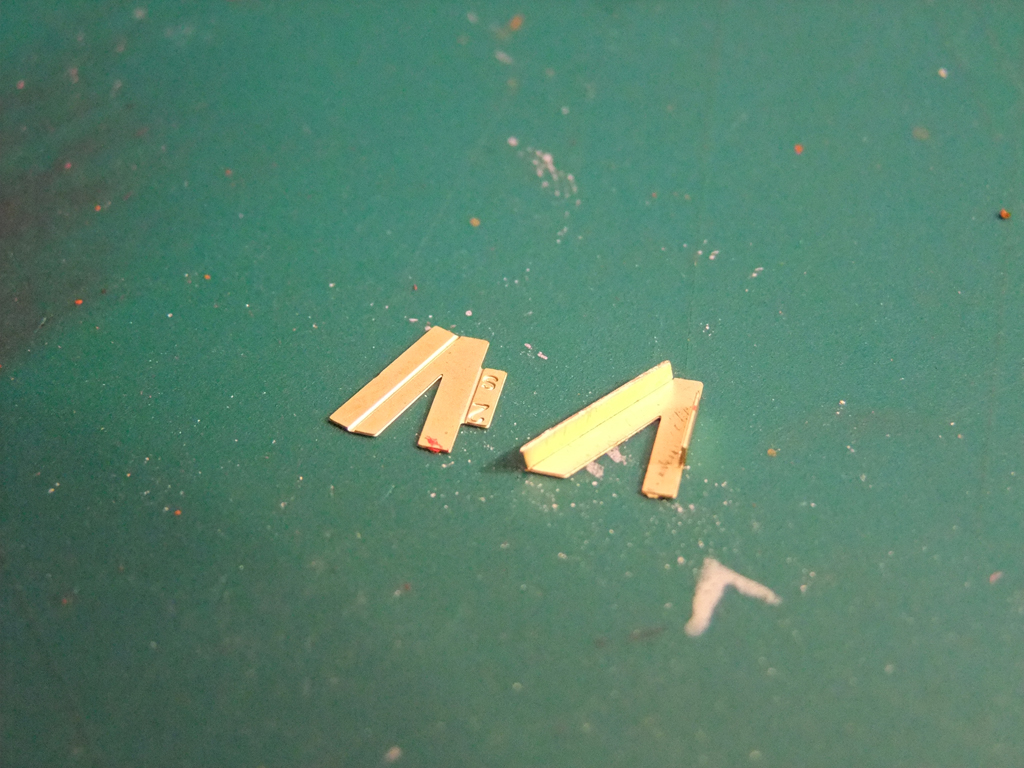
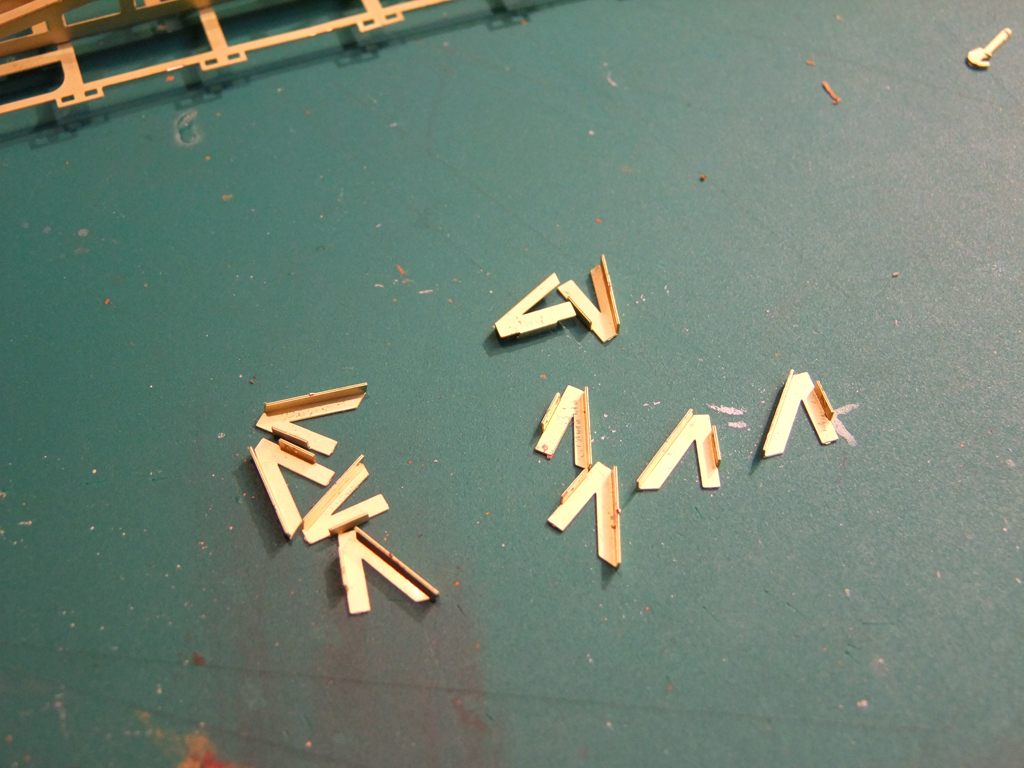
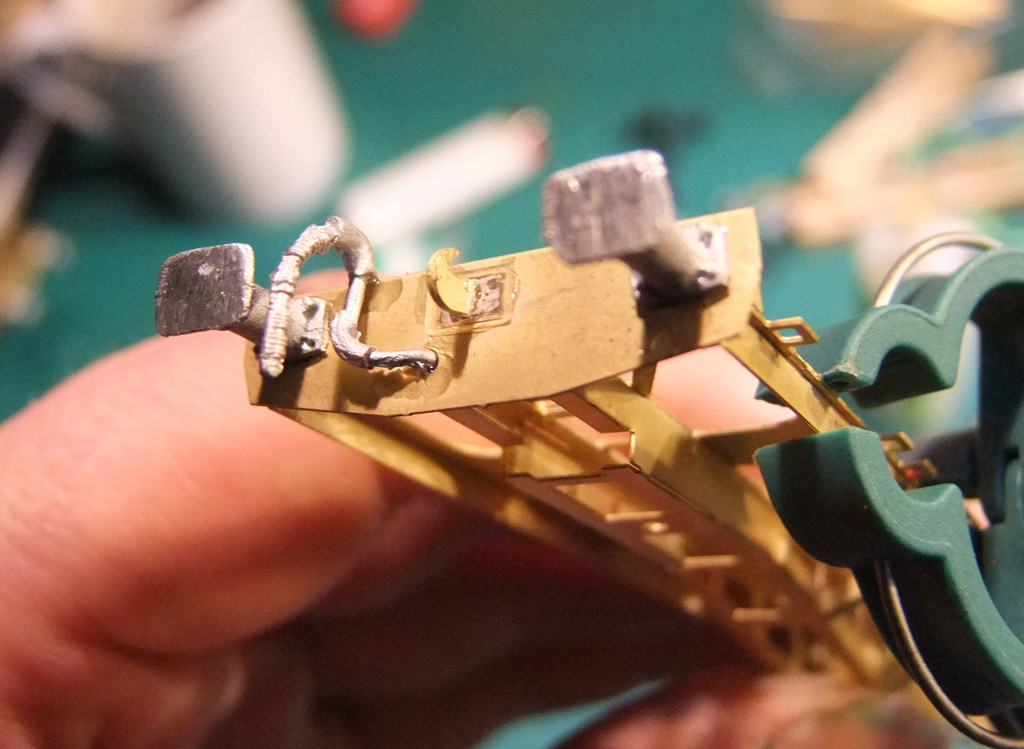
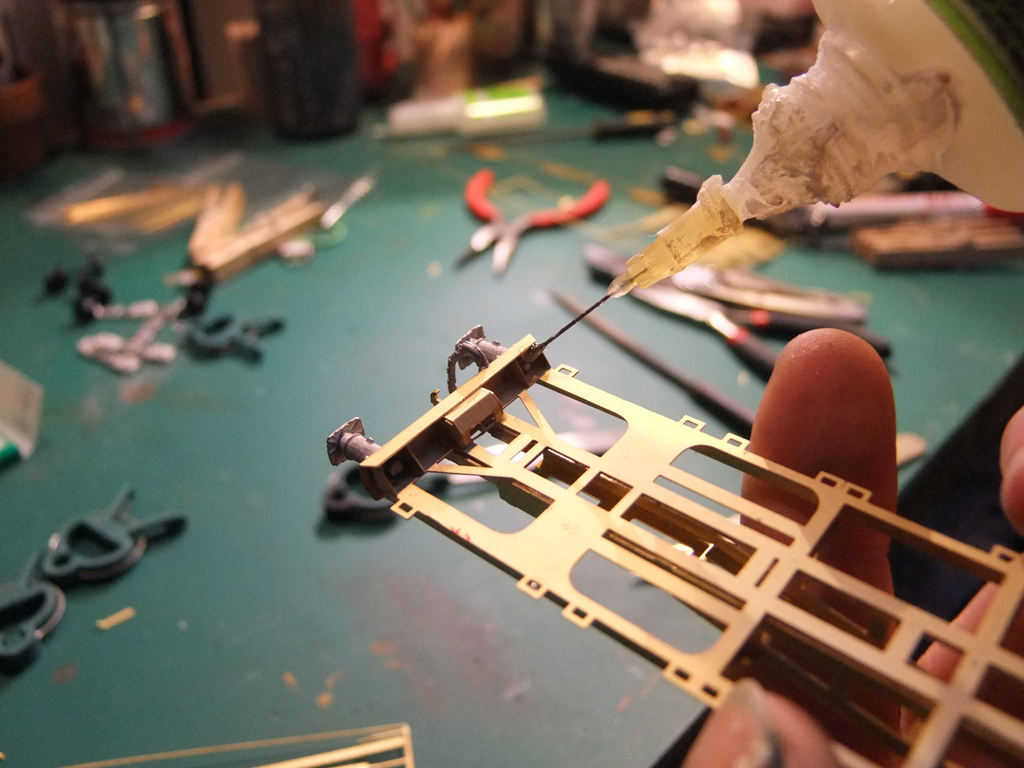
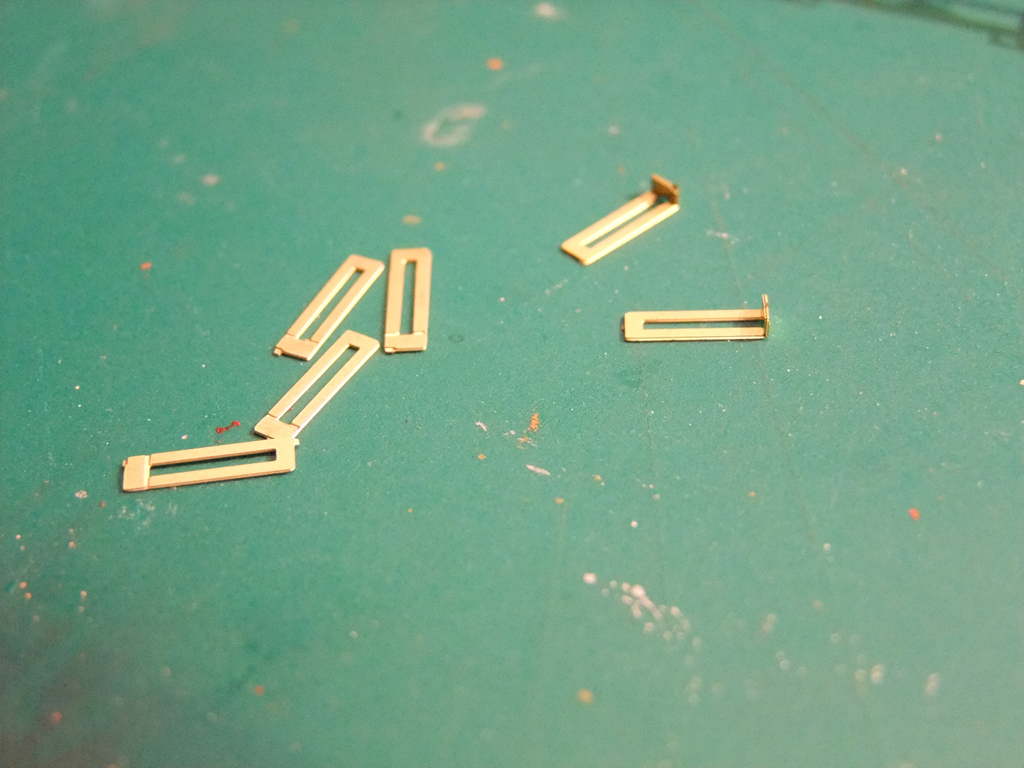
As Airfix would have you know, the worst is over. It's a run in from here. Find the cosmetic coupling hooks, and insert a piece of wire between two. Glue or Solder to laminate the two. Leave a few mm of wire either side - I'll explain later. I've made a load of red marks to indicate the cut points on the remainder of the etch. Unneccesary methinks. Cut out those parts and trim off the burz. There's a specific way of folding them. with a flat pliers, hold the main middle V and bend the outer piece inward. Once done, bend the smally bit in. Repeat 9 times. Apparently there is a methodology to these which still escapes me. Prototype says the first two are facing away from the buffer, and the central one is a mixed bag. Do whatever you want here, I'm blue in the face from trying to figure it out - you won't ever see it on a layout. Slot them in like this, making sure the burzz are gone. I've red marked the splasher solebar on the etch as shown. I've tried and failed to make this a few times, so for this build I've gone for the upper solebar - the azy one. This is the pair of the clipped out and the ends turned. Attach them to the centre of the underframe first and work outward, glueing/soldering as you go. At this point leave the chassis overnight if glueing with ZAP. Take your previously worked buffers and insert them into the opes - there may be some work required to trim off excess whitemetal. Again, licking the stuff is not recommended. it's not crystal meth. The vac pipes are really delicate - like a meth addict - don't try and force them any which way, just pop them in the opening and glue them home. Once the buffers are on proper, lash plenty glue in under the bufferbeam - it'll never be seen, and this is the one part of the model likely for things to fall off. Cut out the "container lug support trays" and fold them upward. Then take a break, 'cos that's what I'm doing, and I've ingested far too much *whitemetal dust than is possibly good for me. *whitemetal dust = guinness Richie.
-
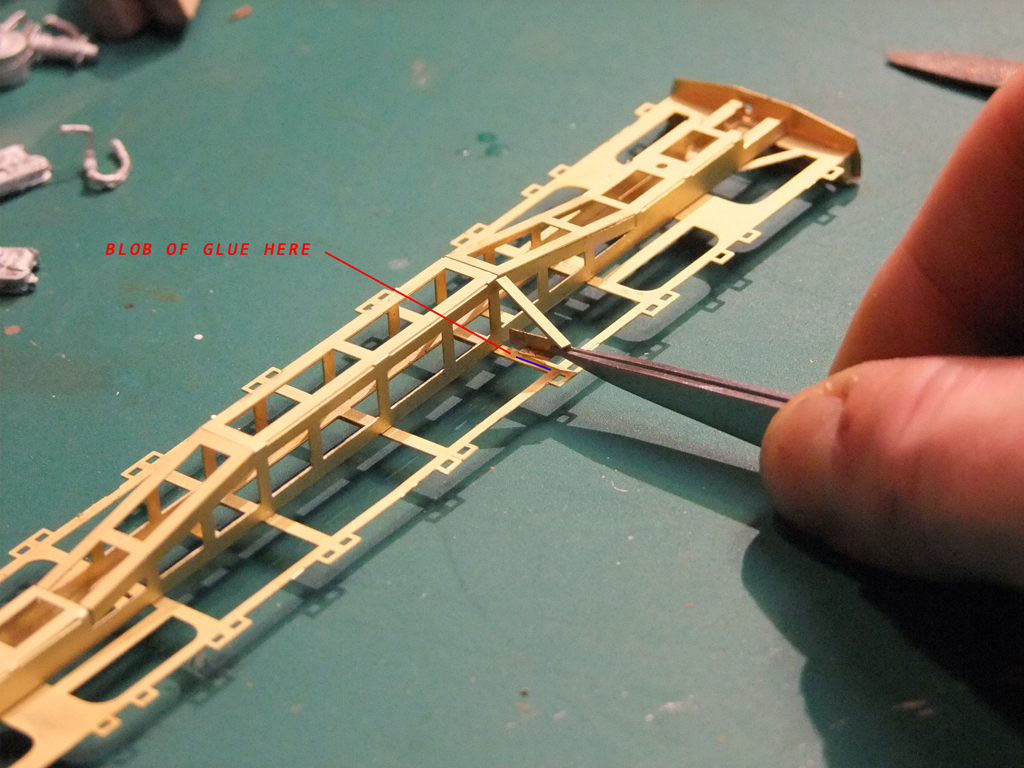
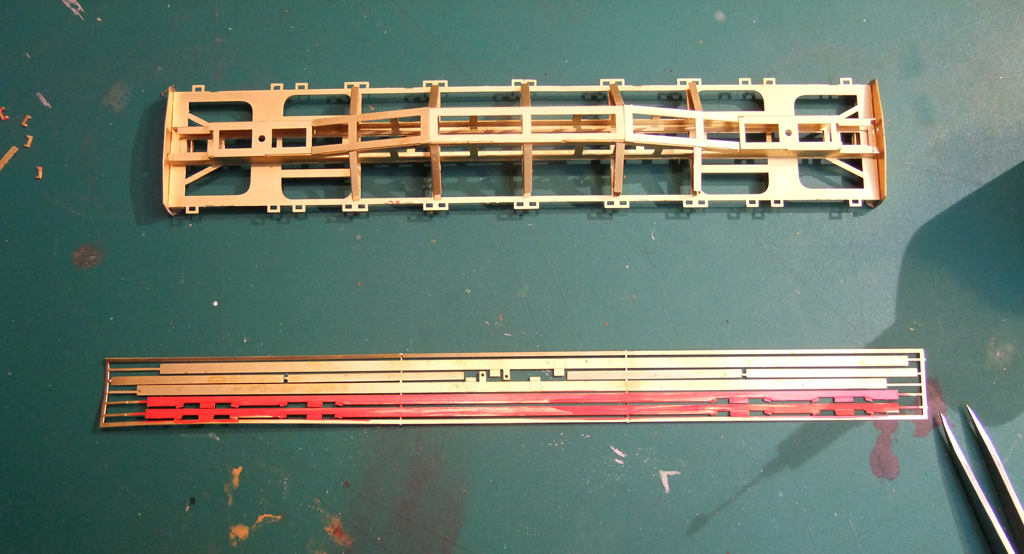
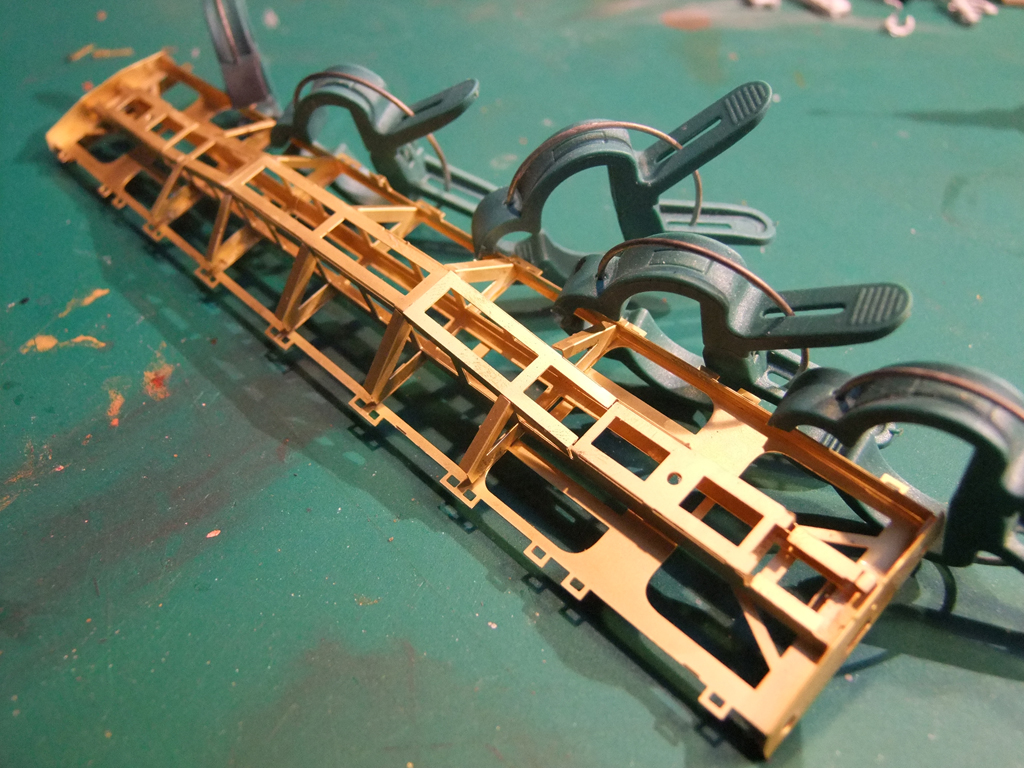
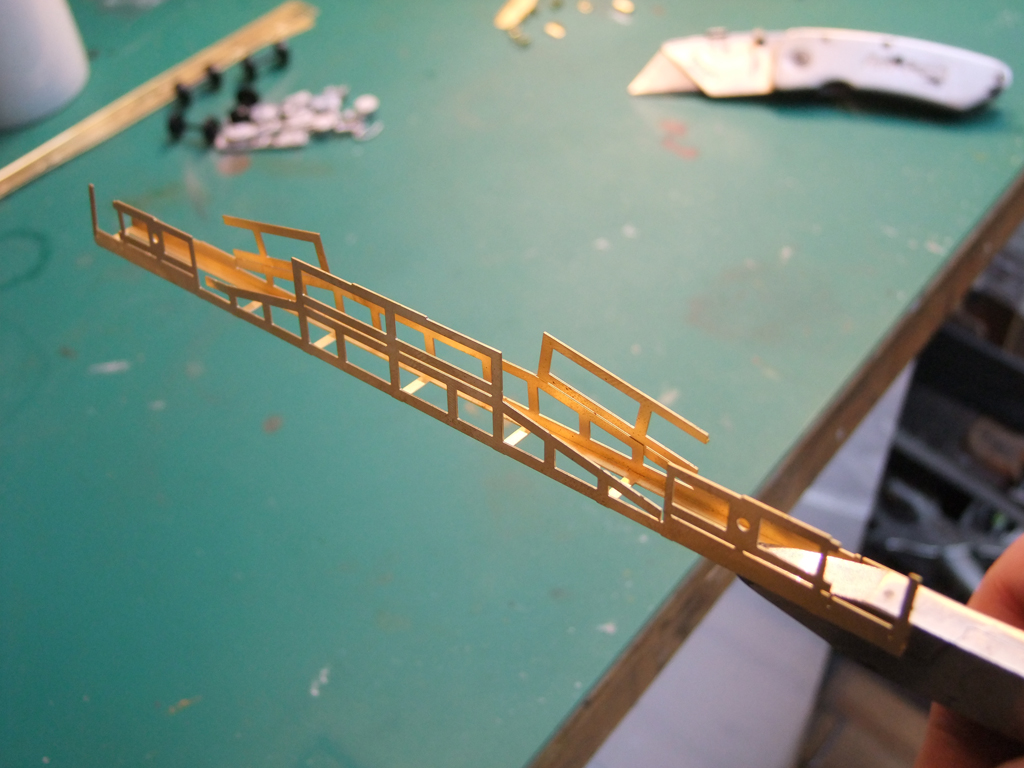
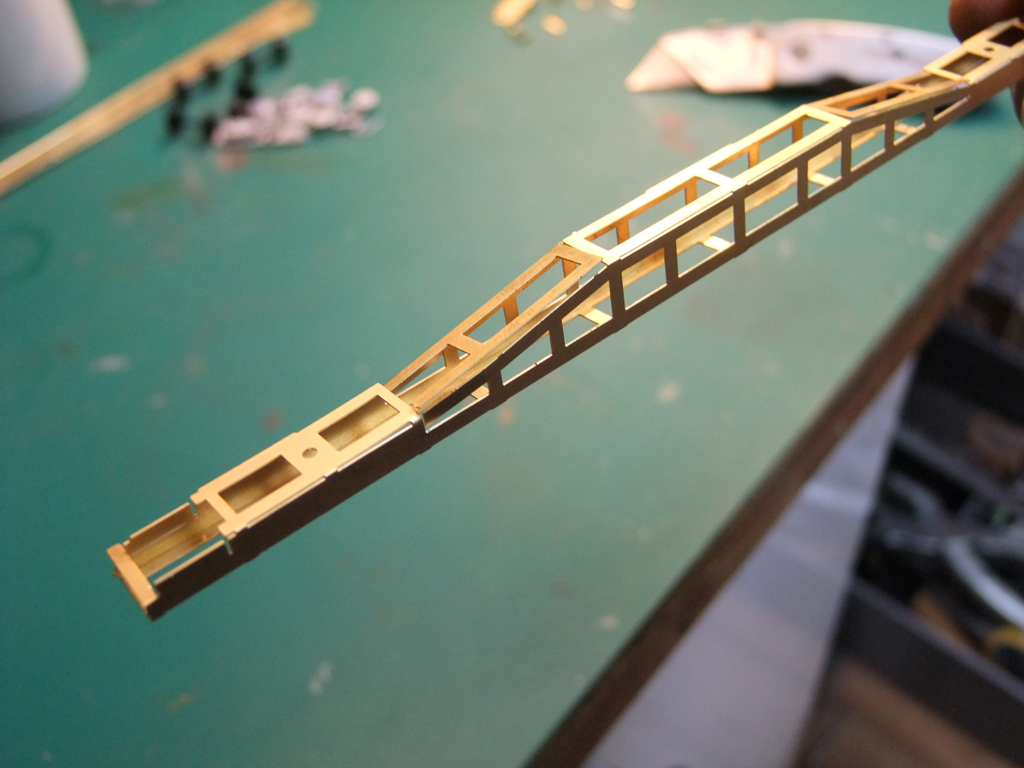
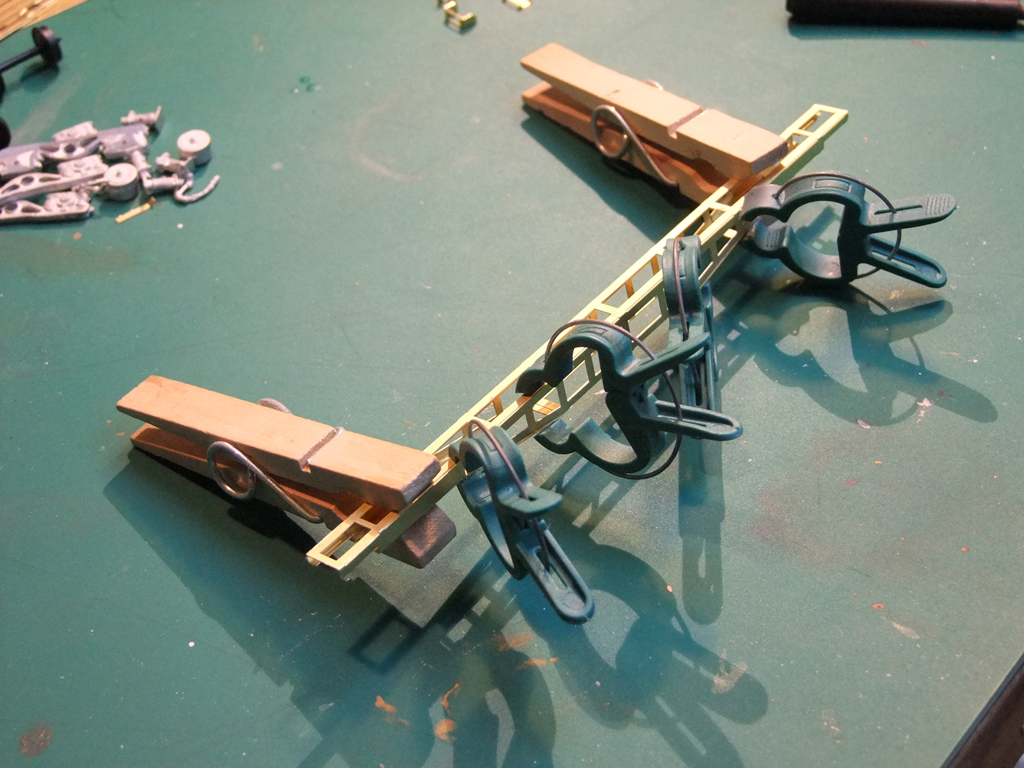
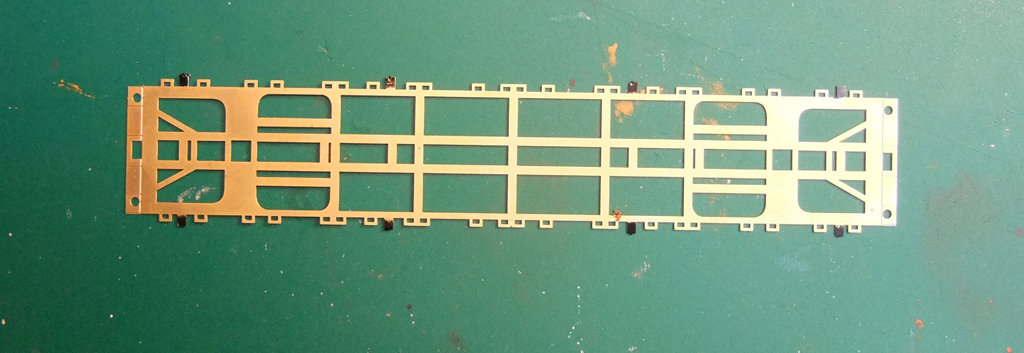
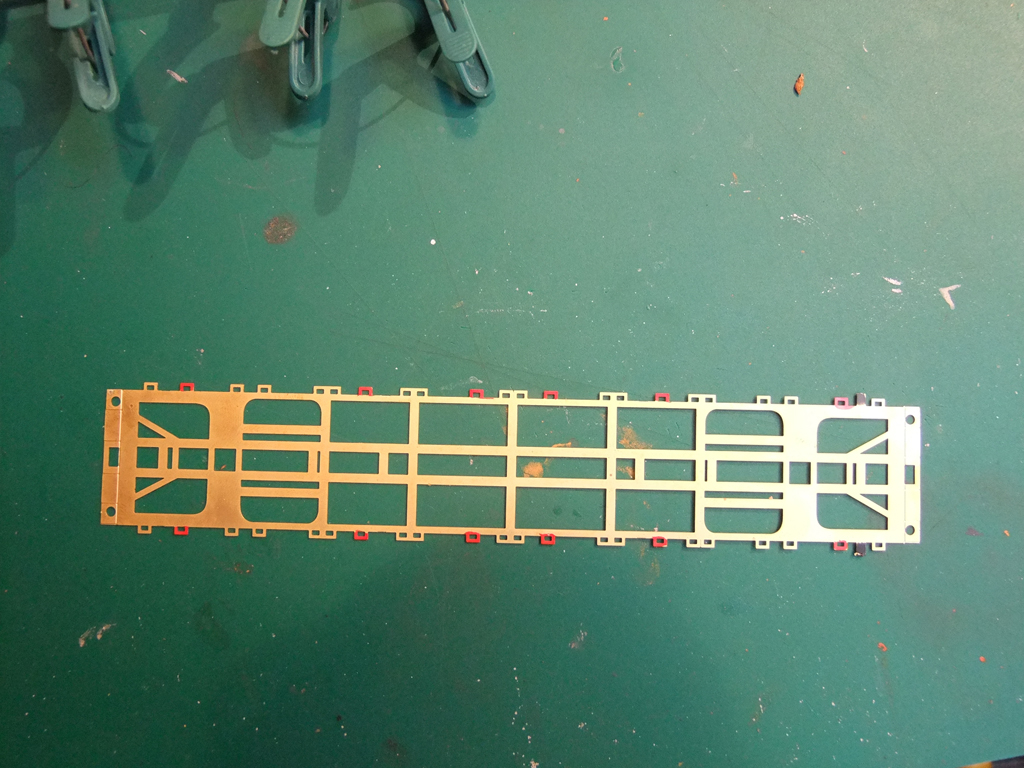
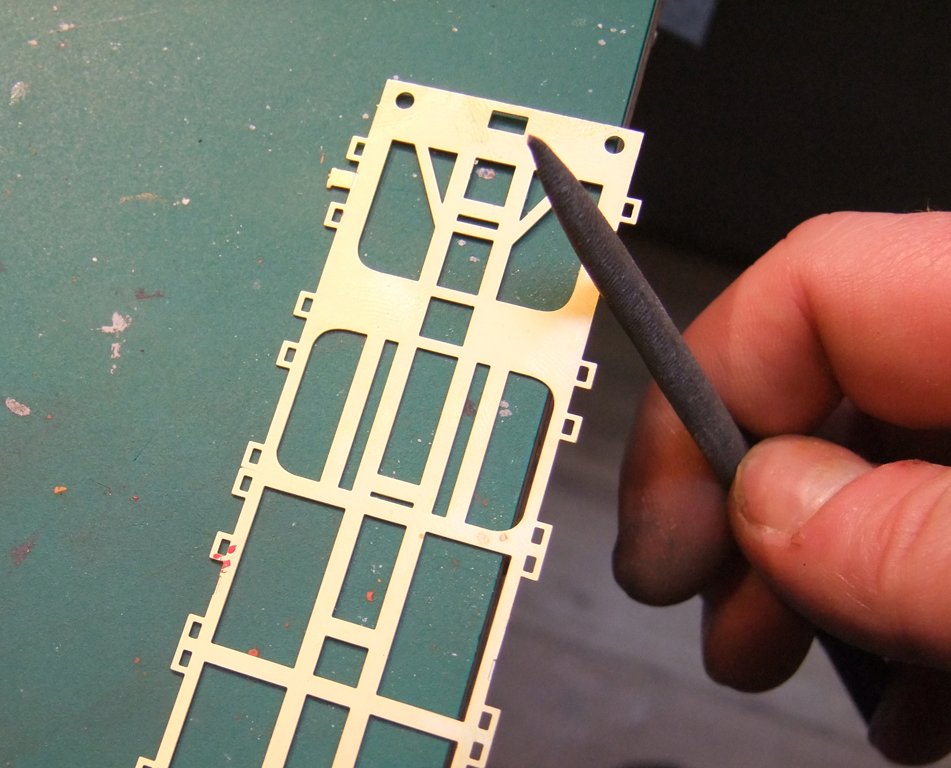
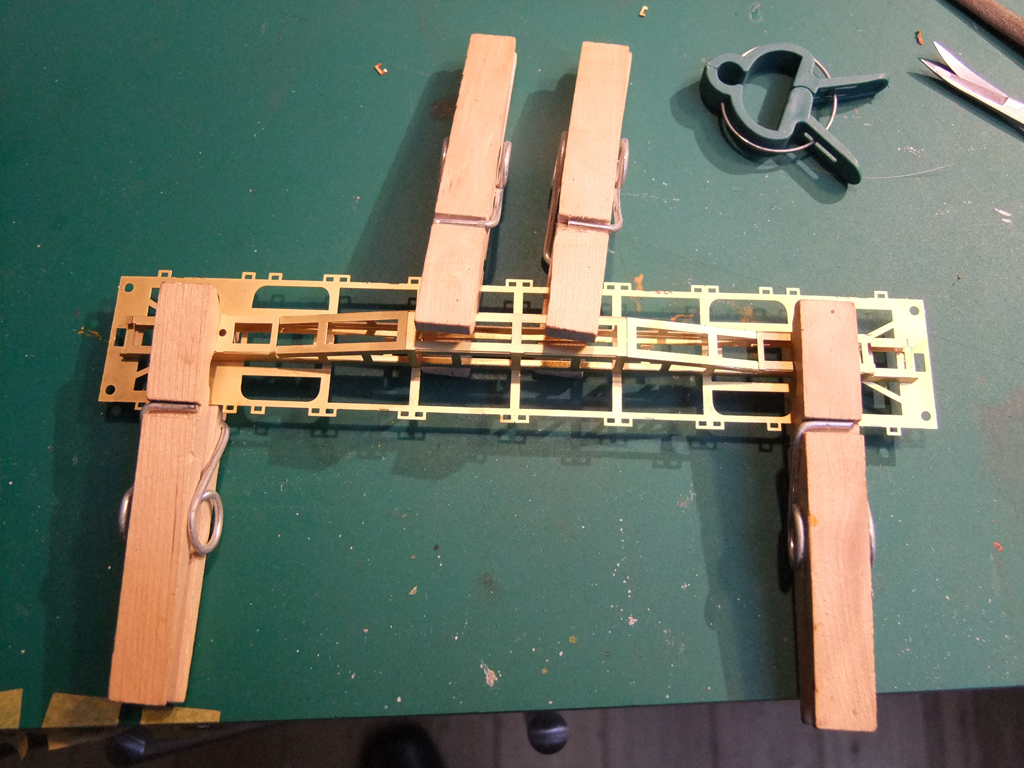
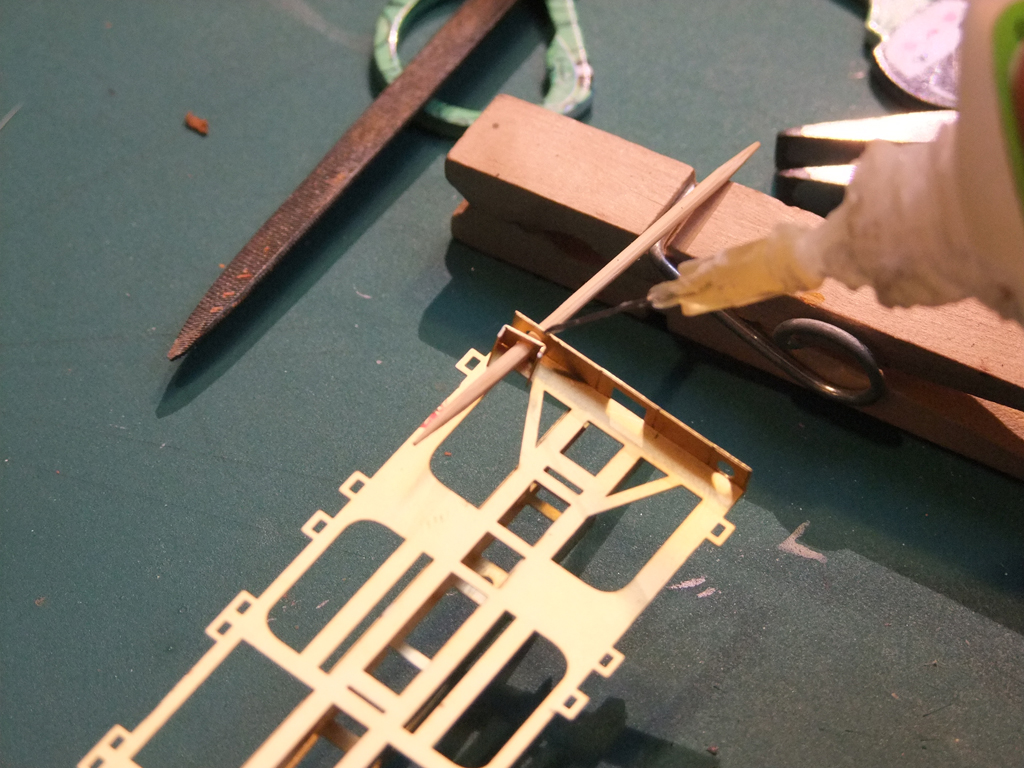
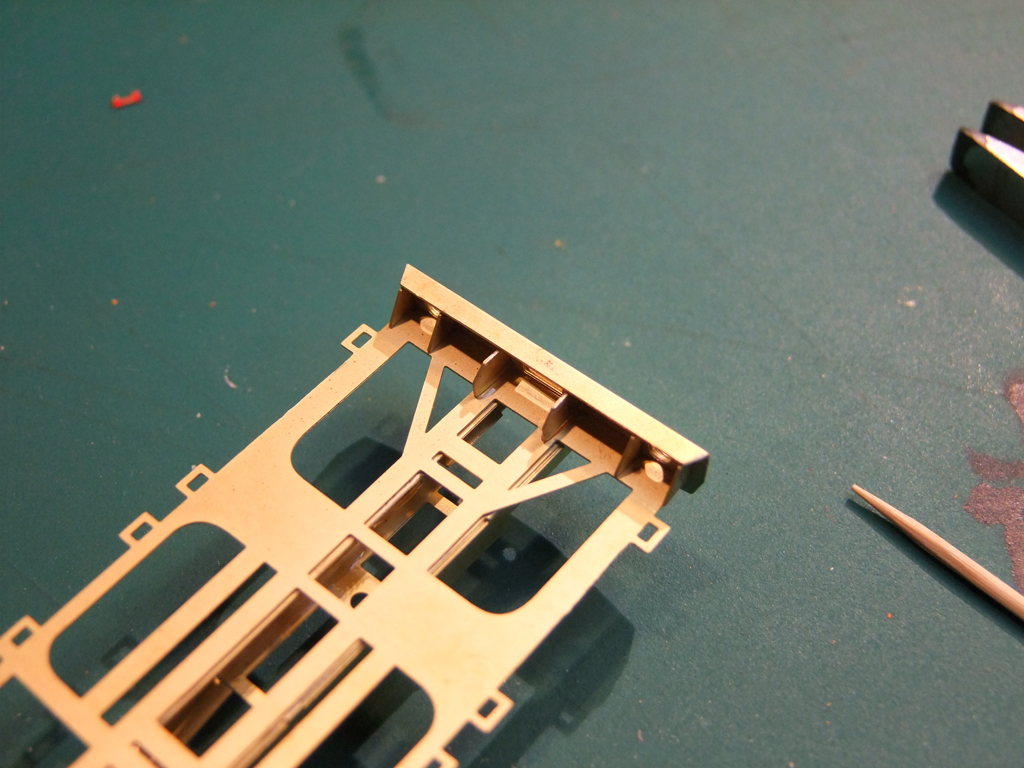
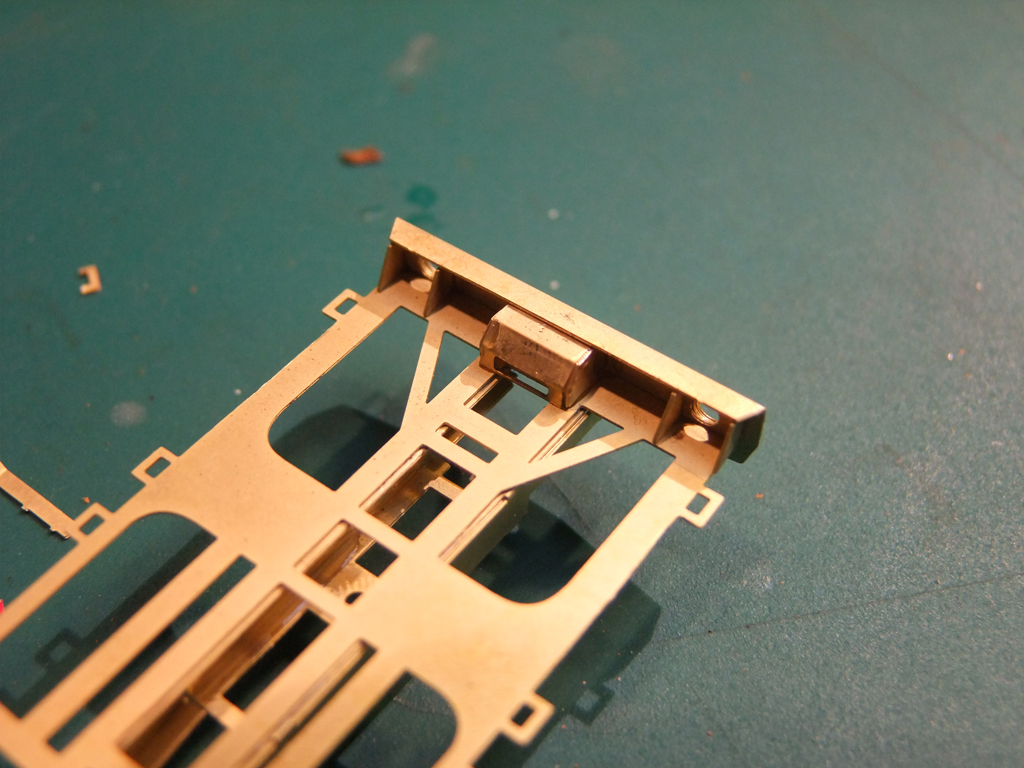
Bend in the upper part of the cage.. And bend in the top piece When done it should be pretty tight - there are teeth on each side of the etch so it should marry pretty nicely. Glue each seam and hold in place with clothes pegs or garden clamps. While that's drying, locate the main frame on the etch. There are four fold down tabs designed to assist in the placement of the solebars. Push them forward, then back, and repeat until they snap off. They are of no use whatsoever. (sorry des) Shown here in black. Then there are the container lugs themselves - Some flats had many, some had few. I've chosen the prototype for the weedspray, so I've marked out the ones I don't need and lobbed them off. Hold the "still flat" etch against the side of the bench and run a file in a downward motion only until you remove the burrs. Once you are happy with the prototype deck, run a rib of superglue along the top of the cage sides and attach as shown above. Take your goddamned time with this, as its placement affects everything. Once glued, grab the bufferbeam upstand tab like so and holding with thumb and forefinger, bend it to shape. Repeat with the other end. Grab a cocktail stick and insert it through the bufferbeam openings. The folded plates you did earlier are handed left and right, so slot them on to the cocktail stick ensuring the etches are sat with their edges sitting to the very outer edge. Repeat with the opposite edge and get the bufferbeam to hand. Glue the turned bufferbeam to the end panel, ensuring that the buffer openings are true. Once complete, and this might require some trimming with the file, insert the coupling housing cover as shown. At this point in the build it would be advantageous to "dry" fit a 40' container or similar, and to file off any excess brass that may obstruct placement of the container.
.png.c363cdf5c3fb7955cd92a55eb6dbbae0.png)
