.png.c363cdf5c3fb7955cd92a55eb6dbbae0.png)


MikeO
-
Posts
267 -
Joined
-
Last visited
-
Days Won
1
Content Type
Profiles
Forums
Events
Gallery
Blogs
Everything posted by MikeO
-
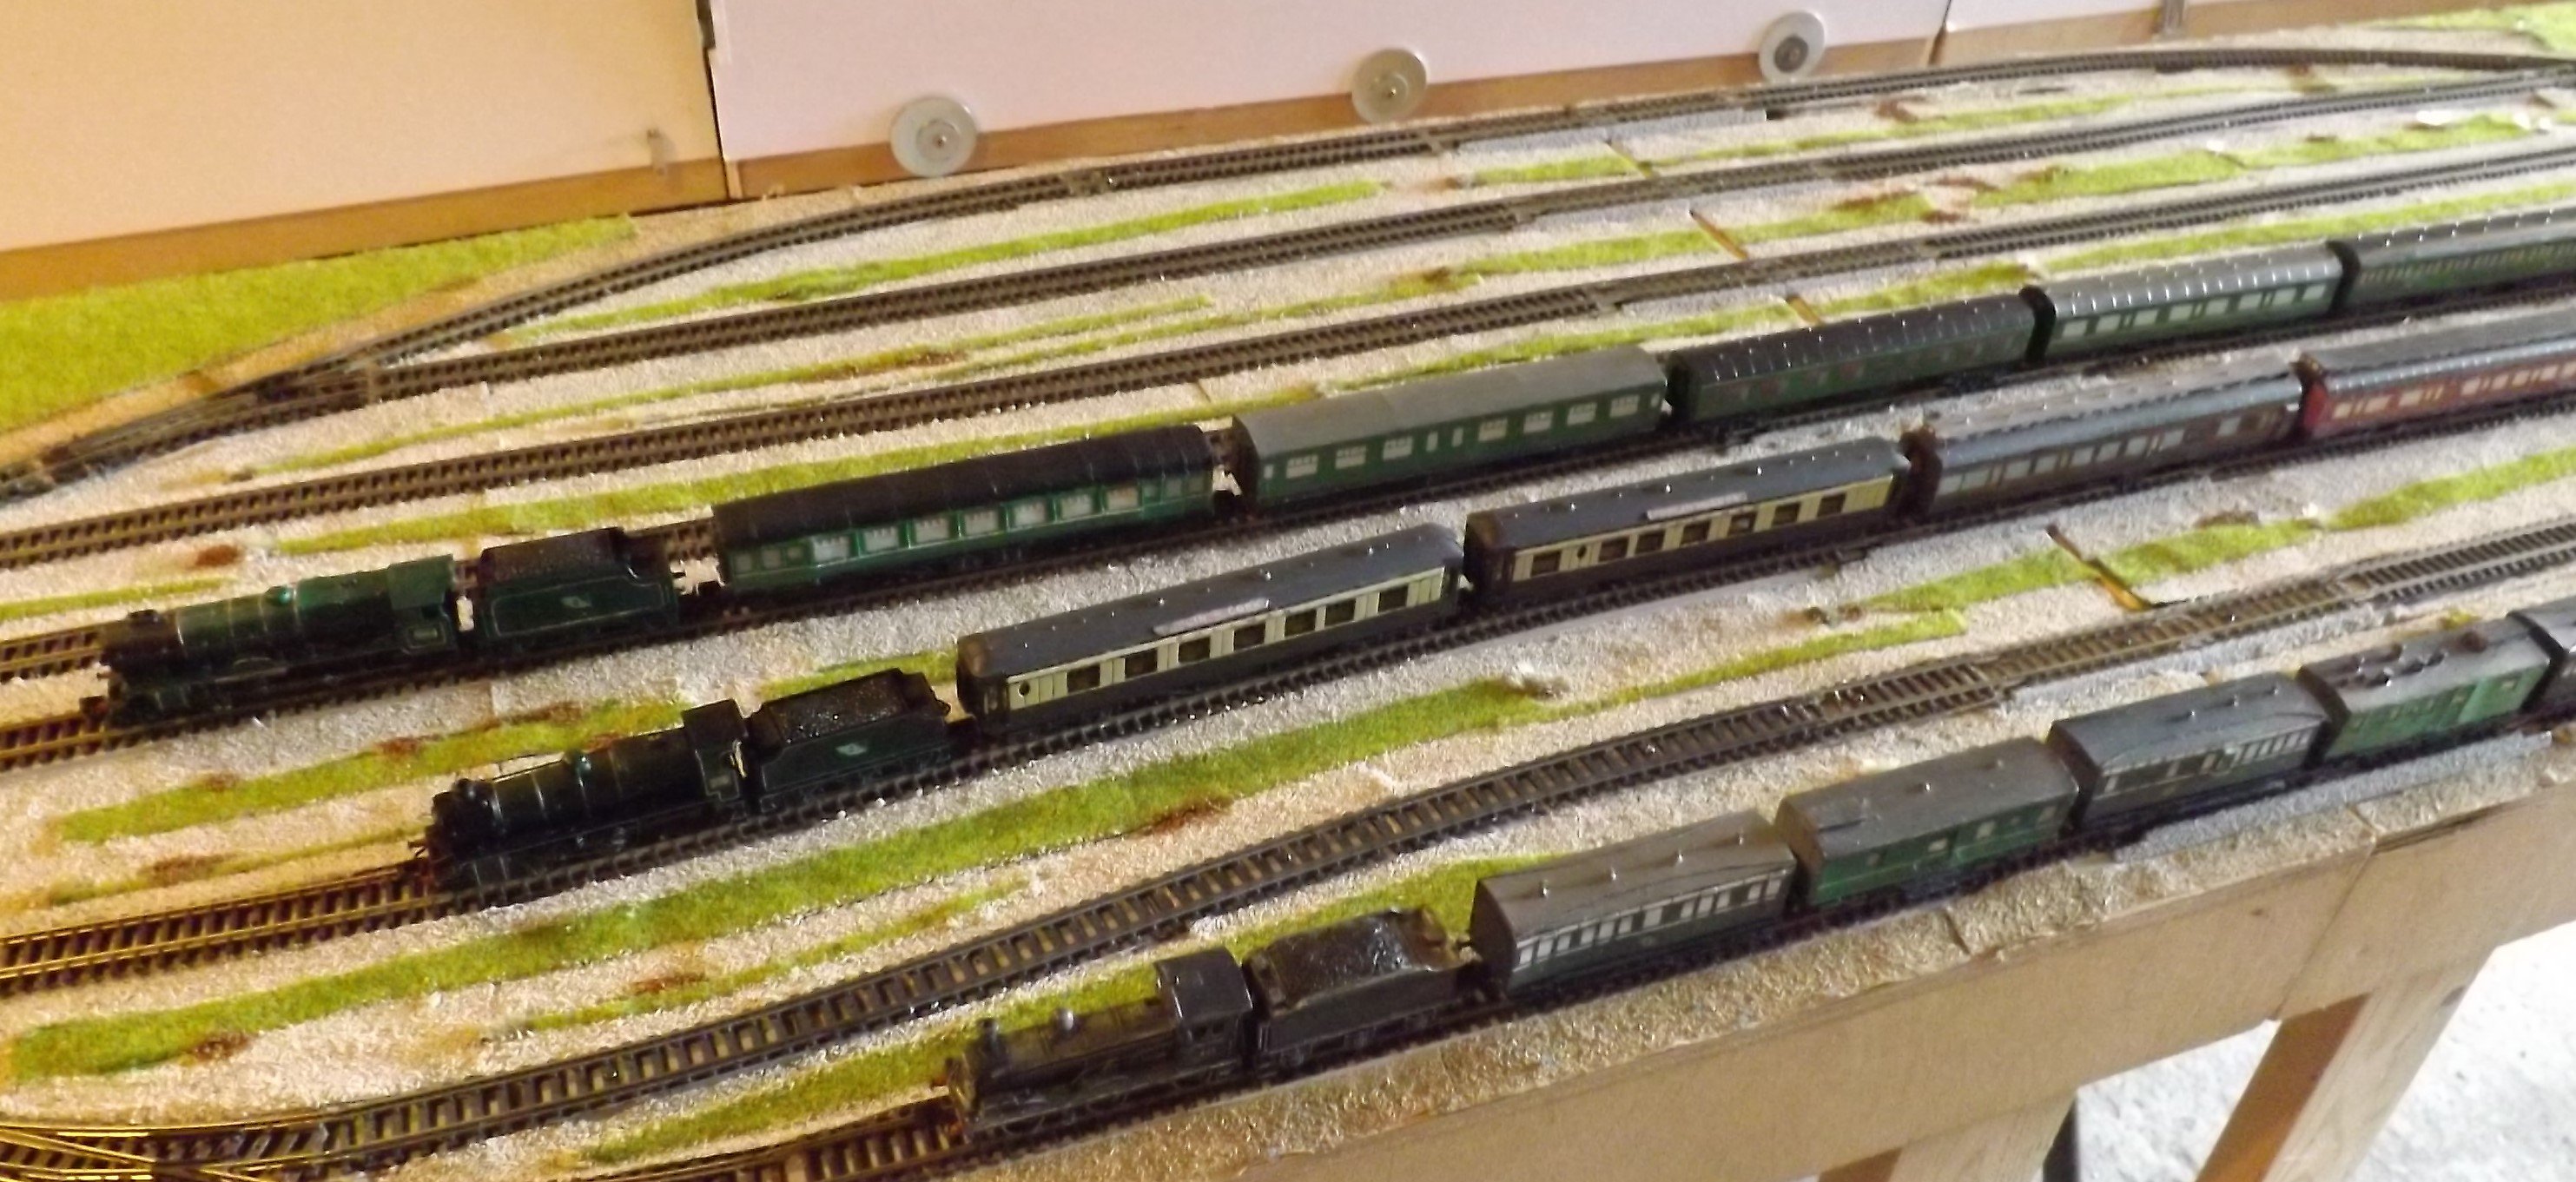
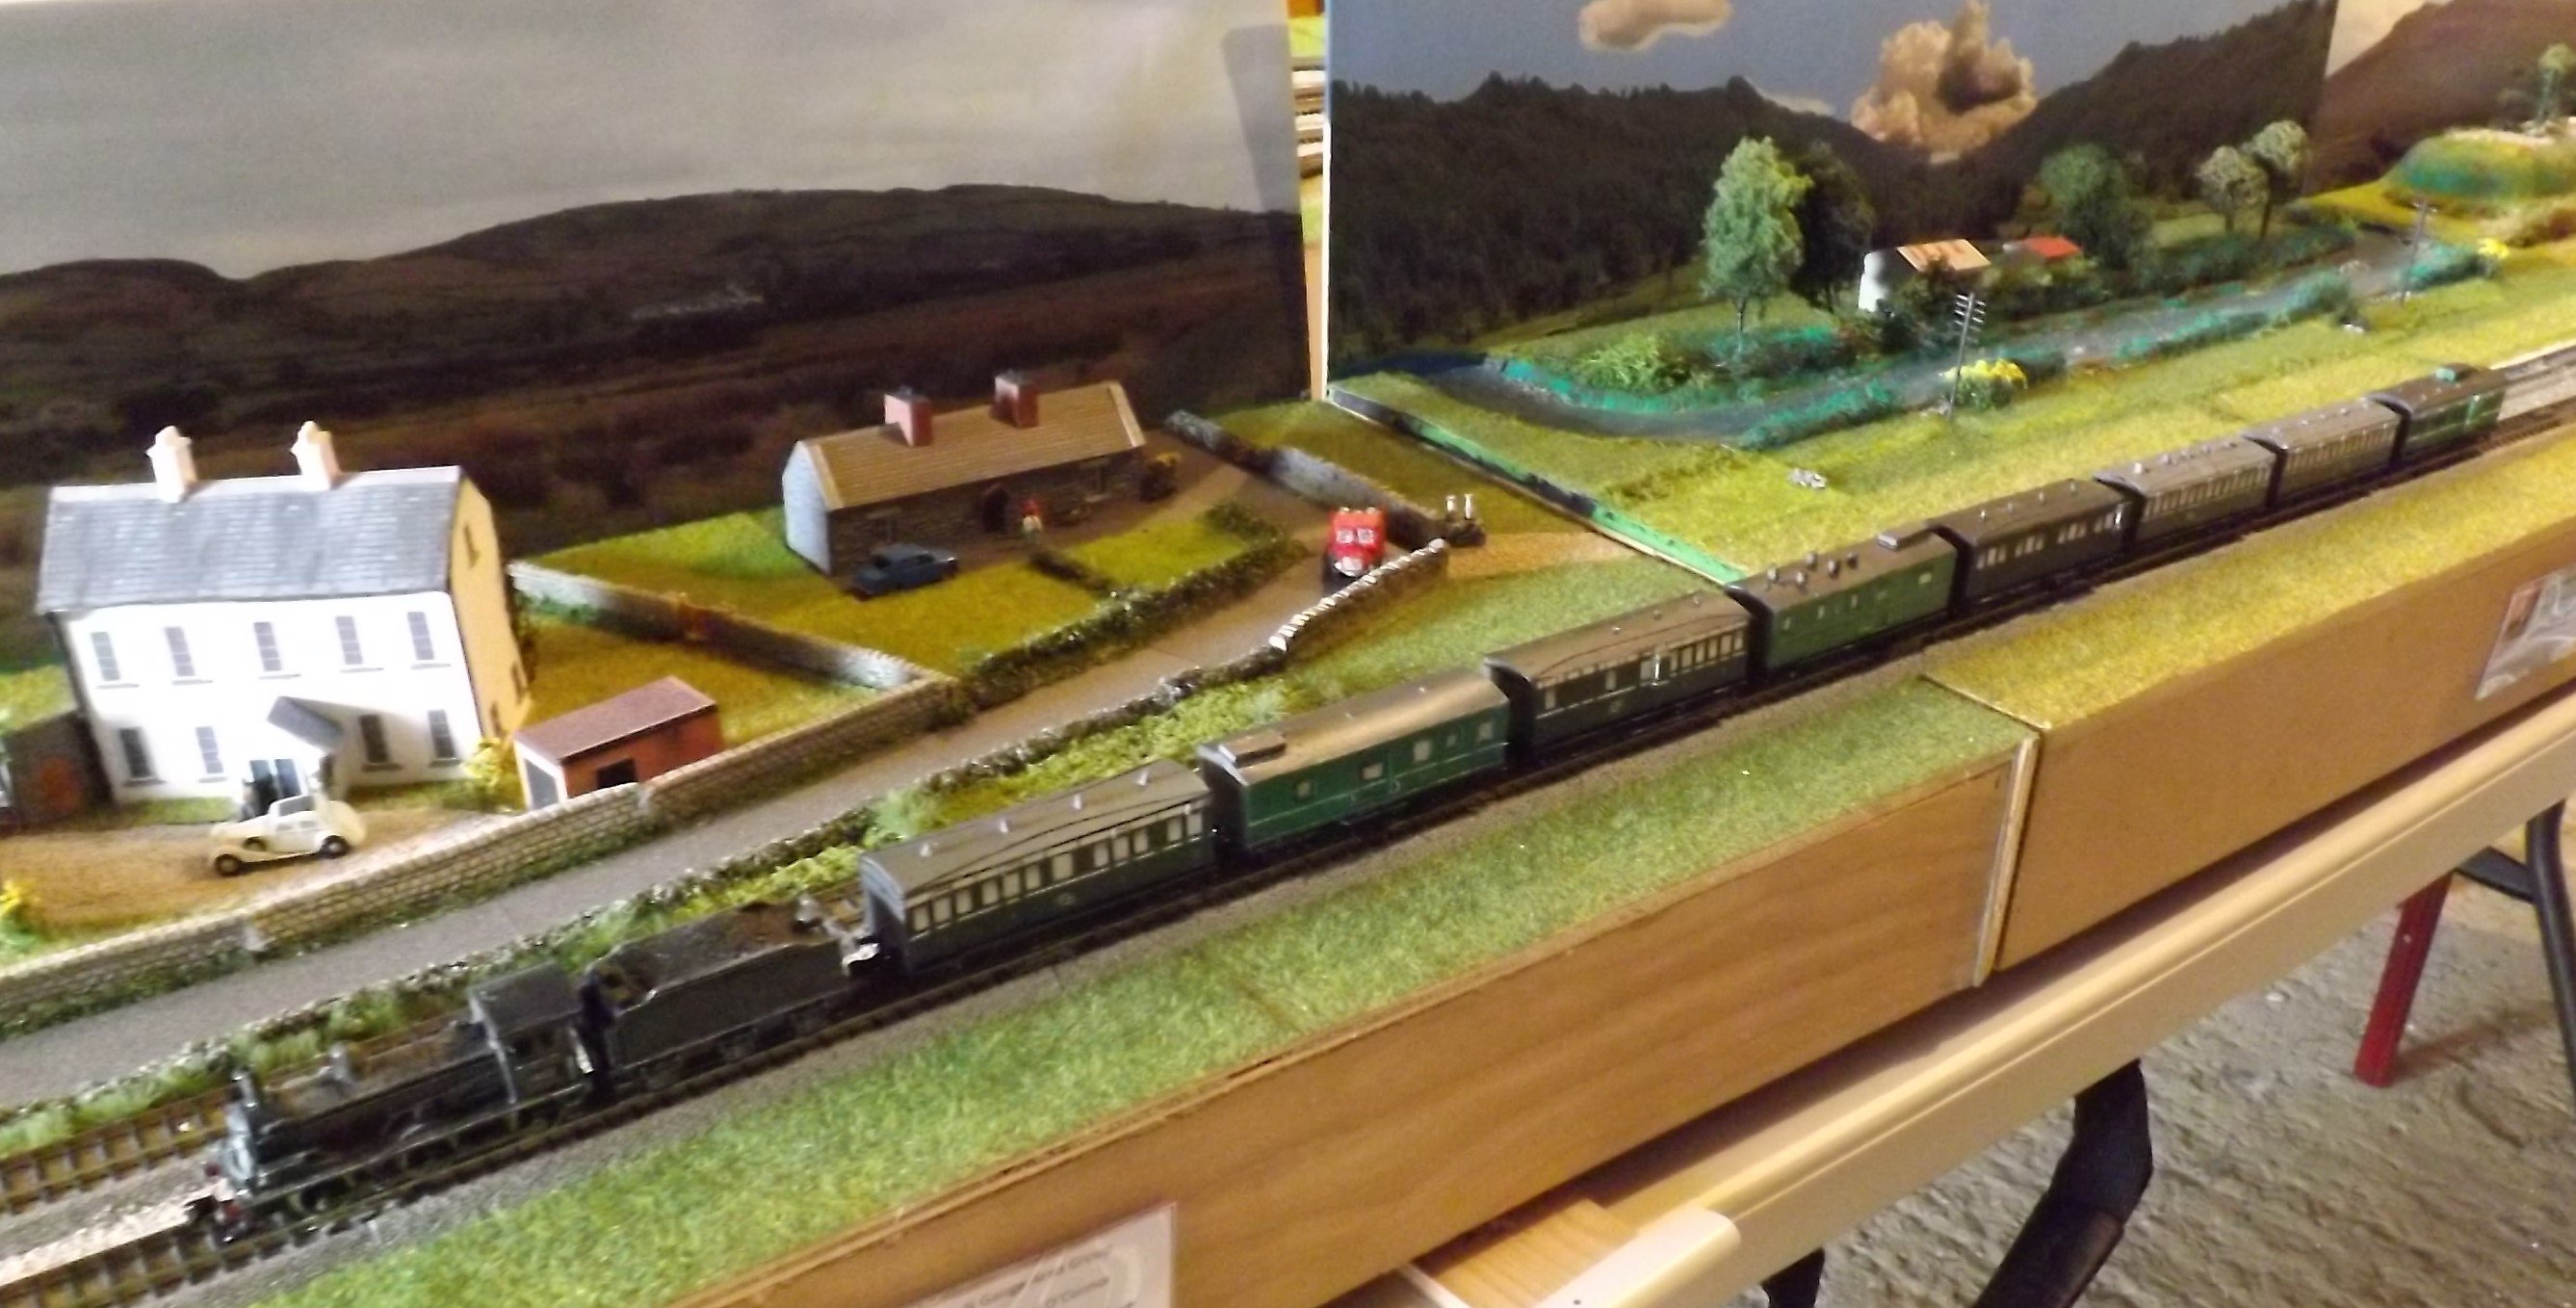
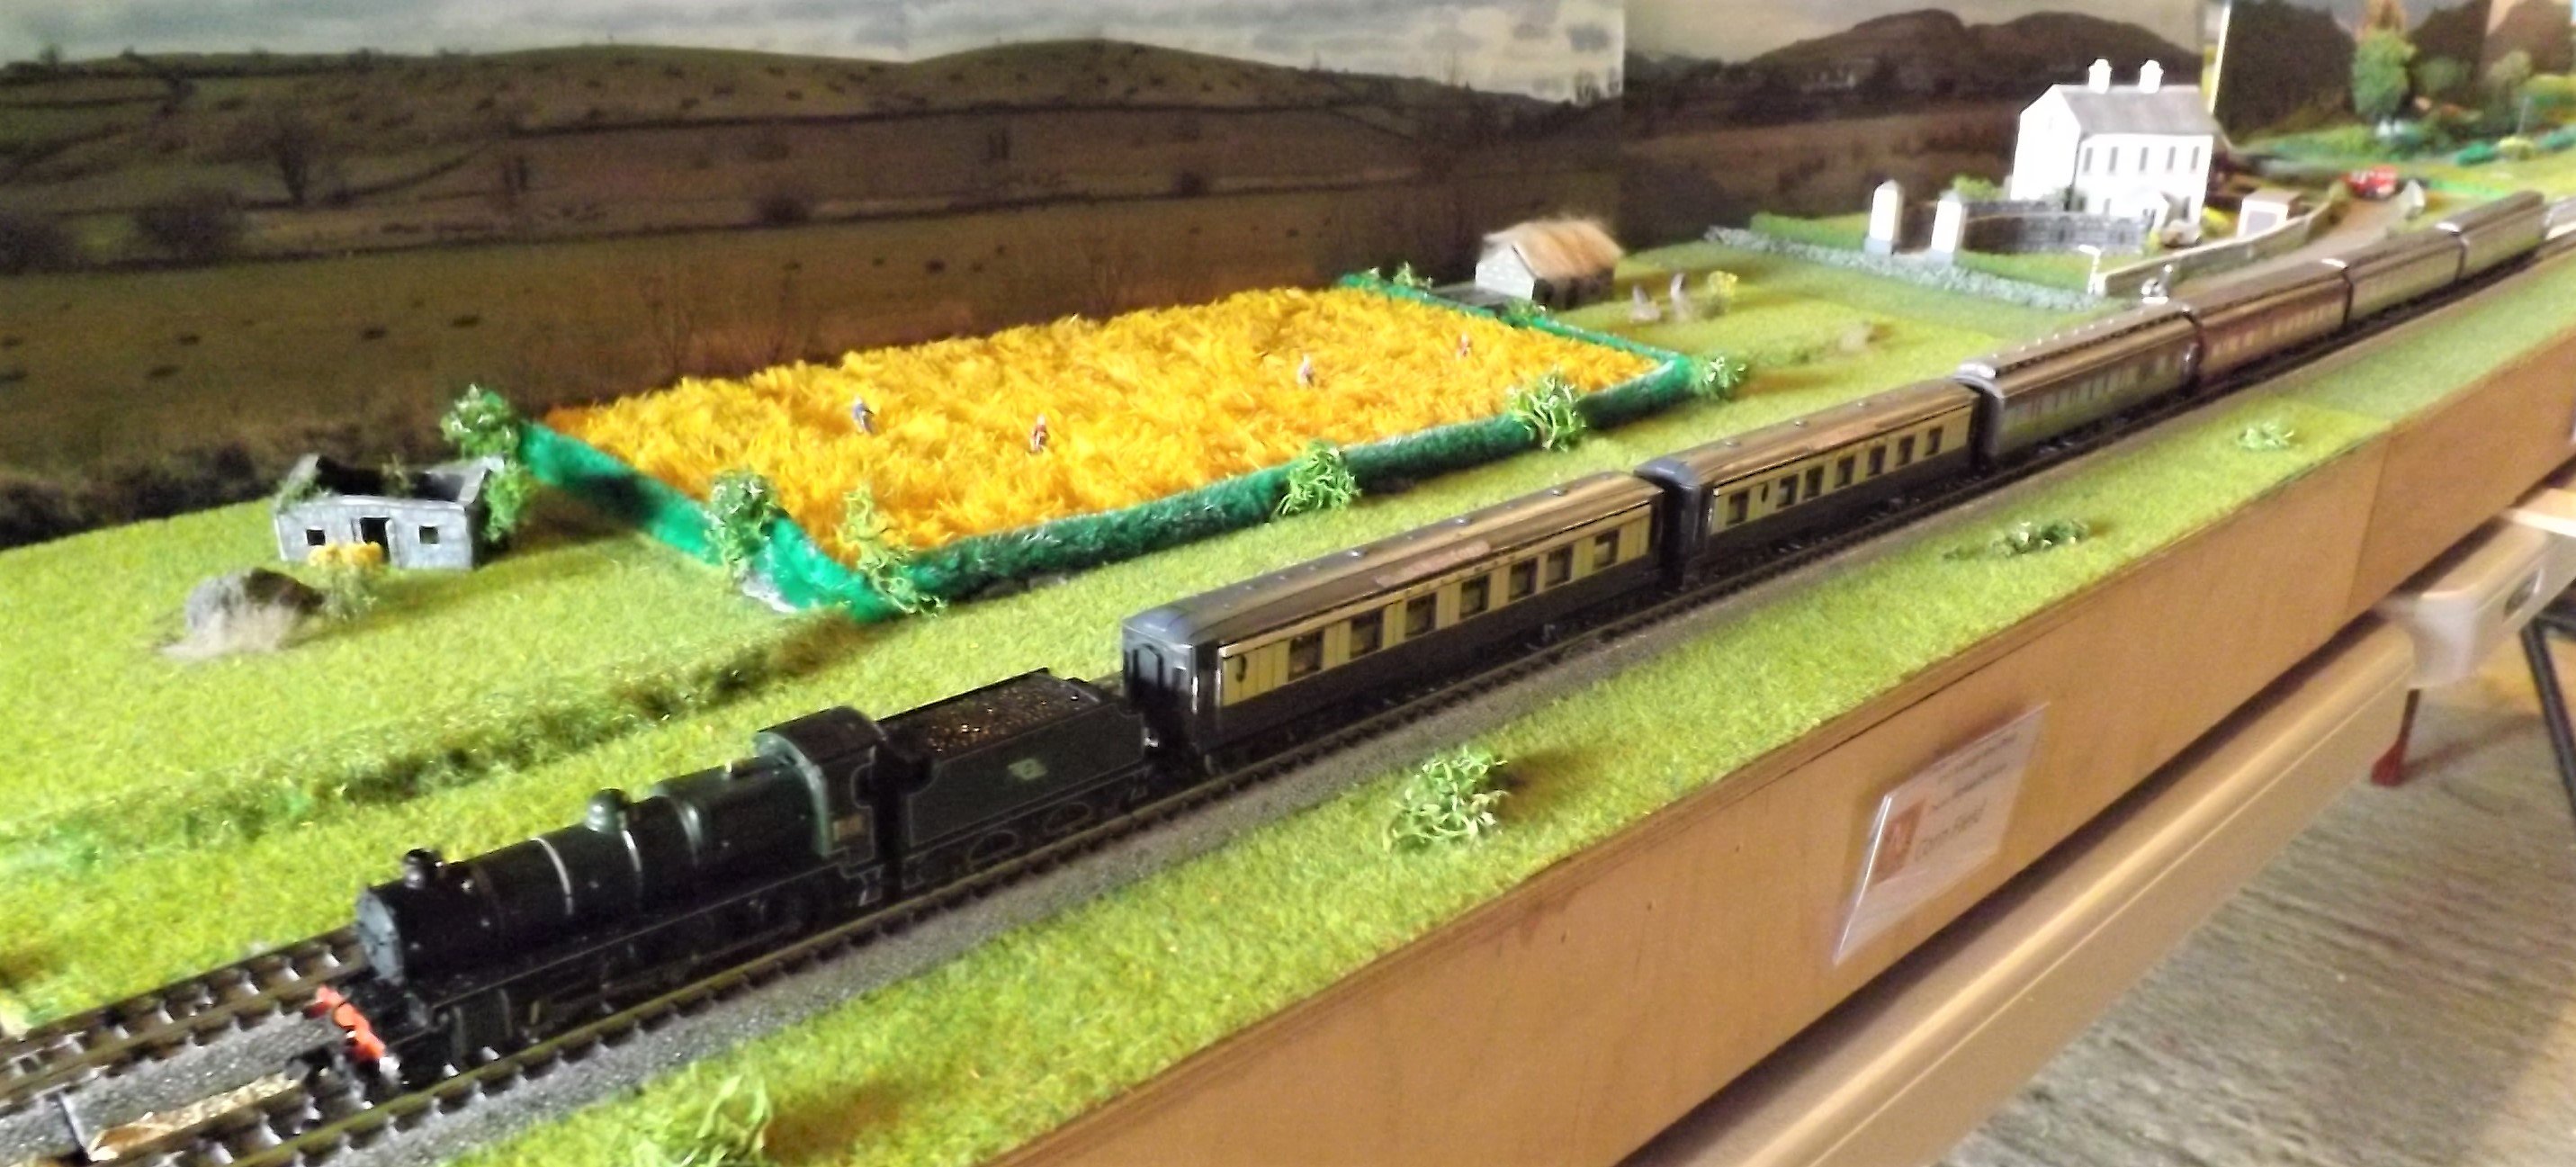
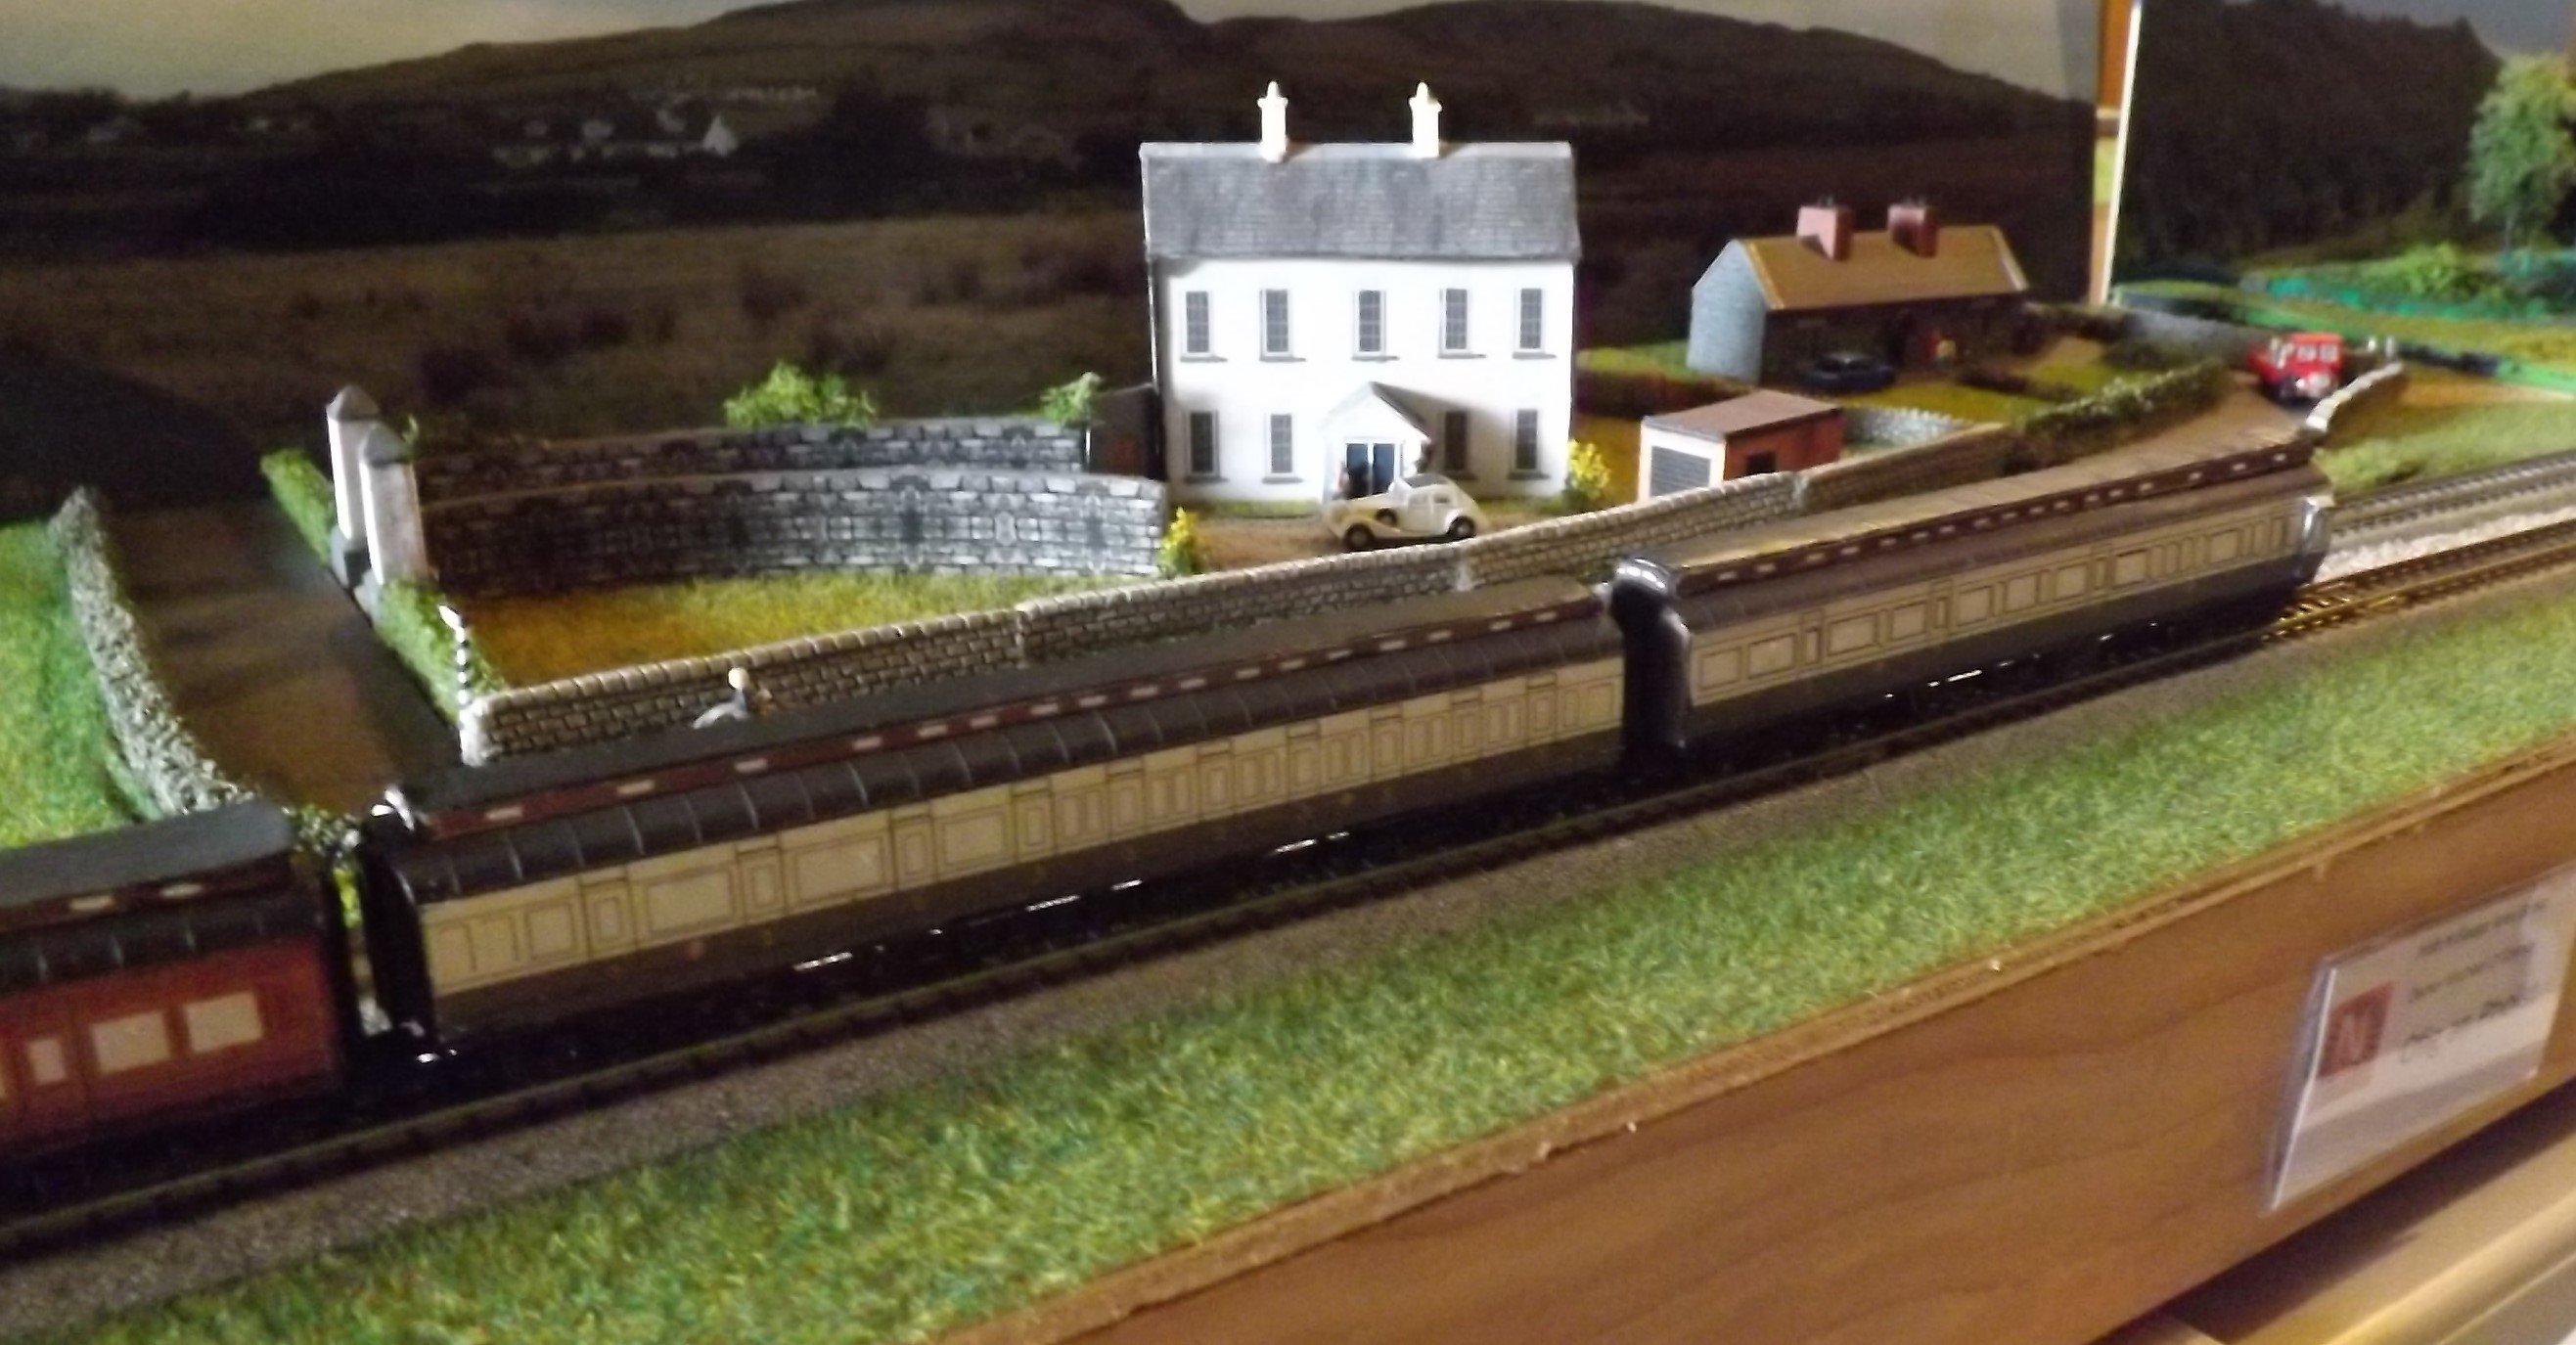
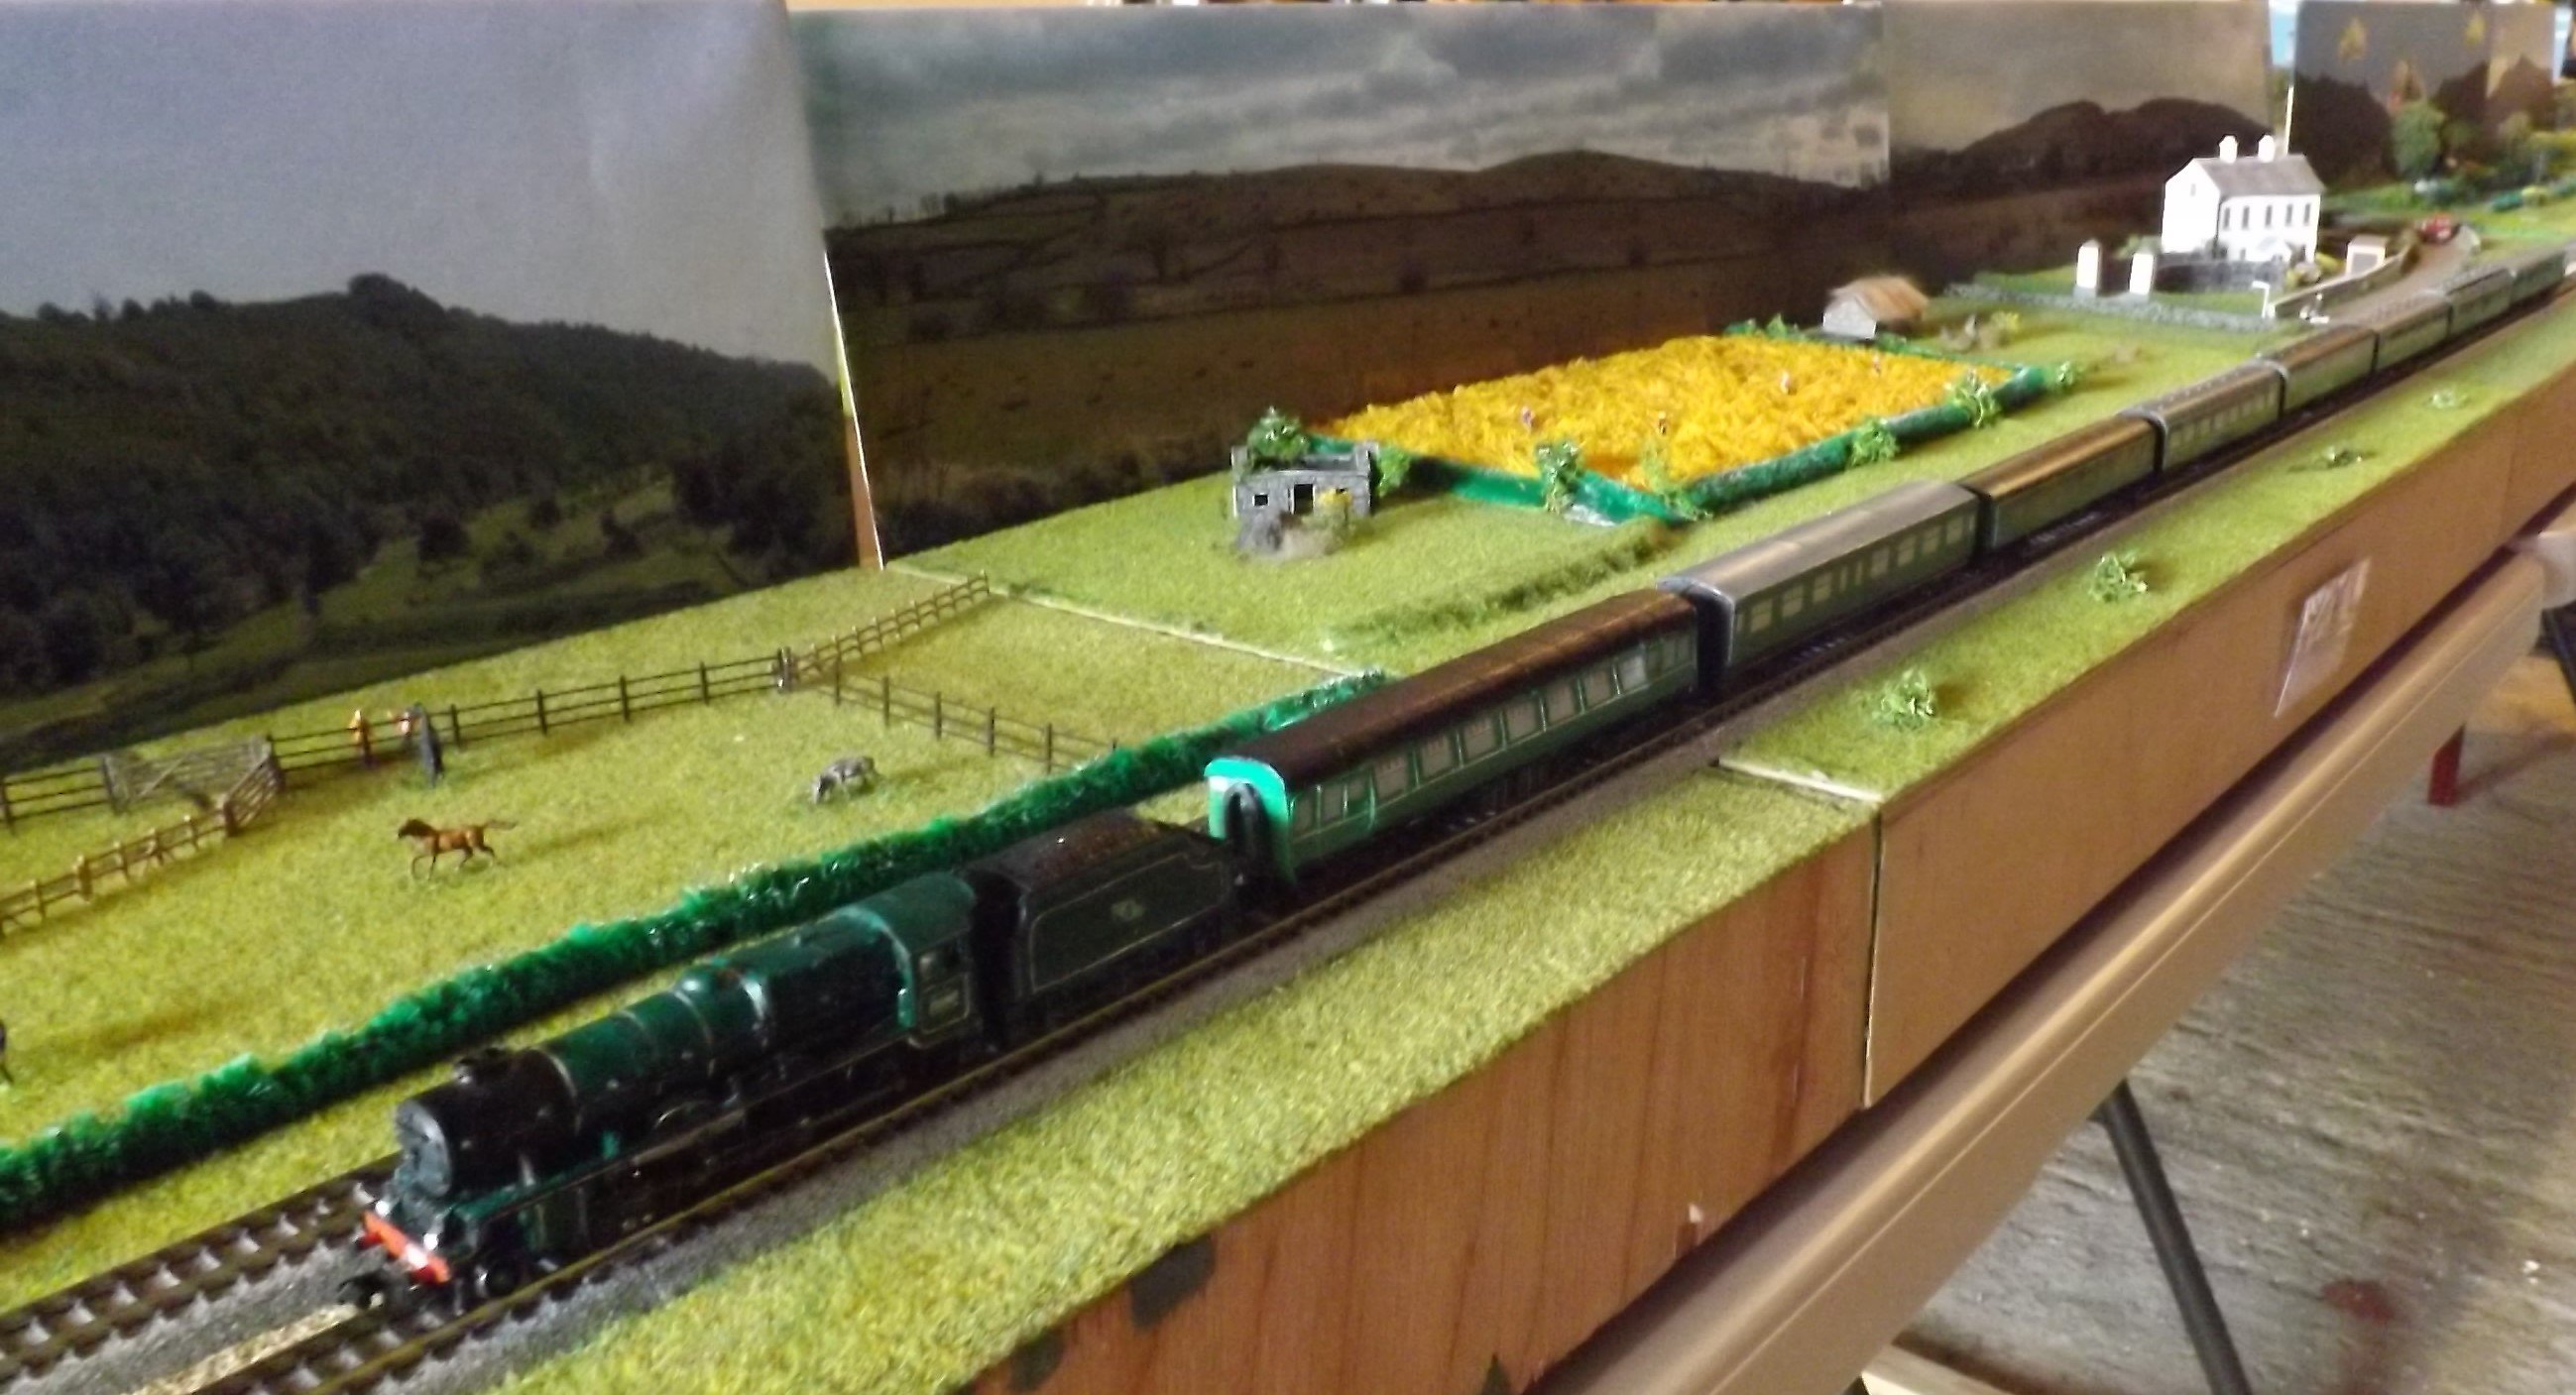
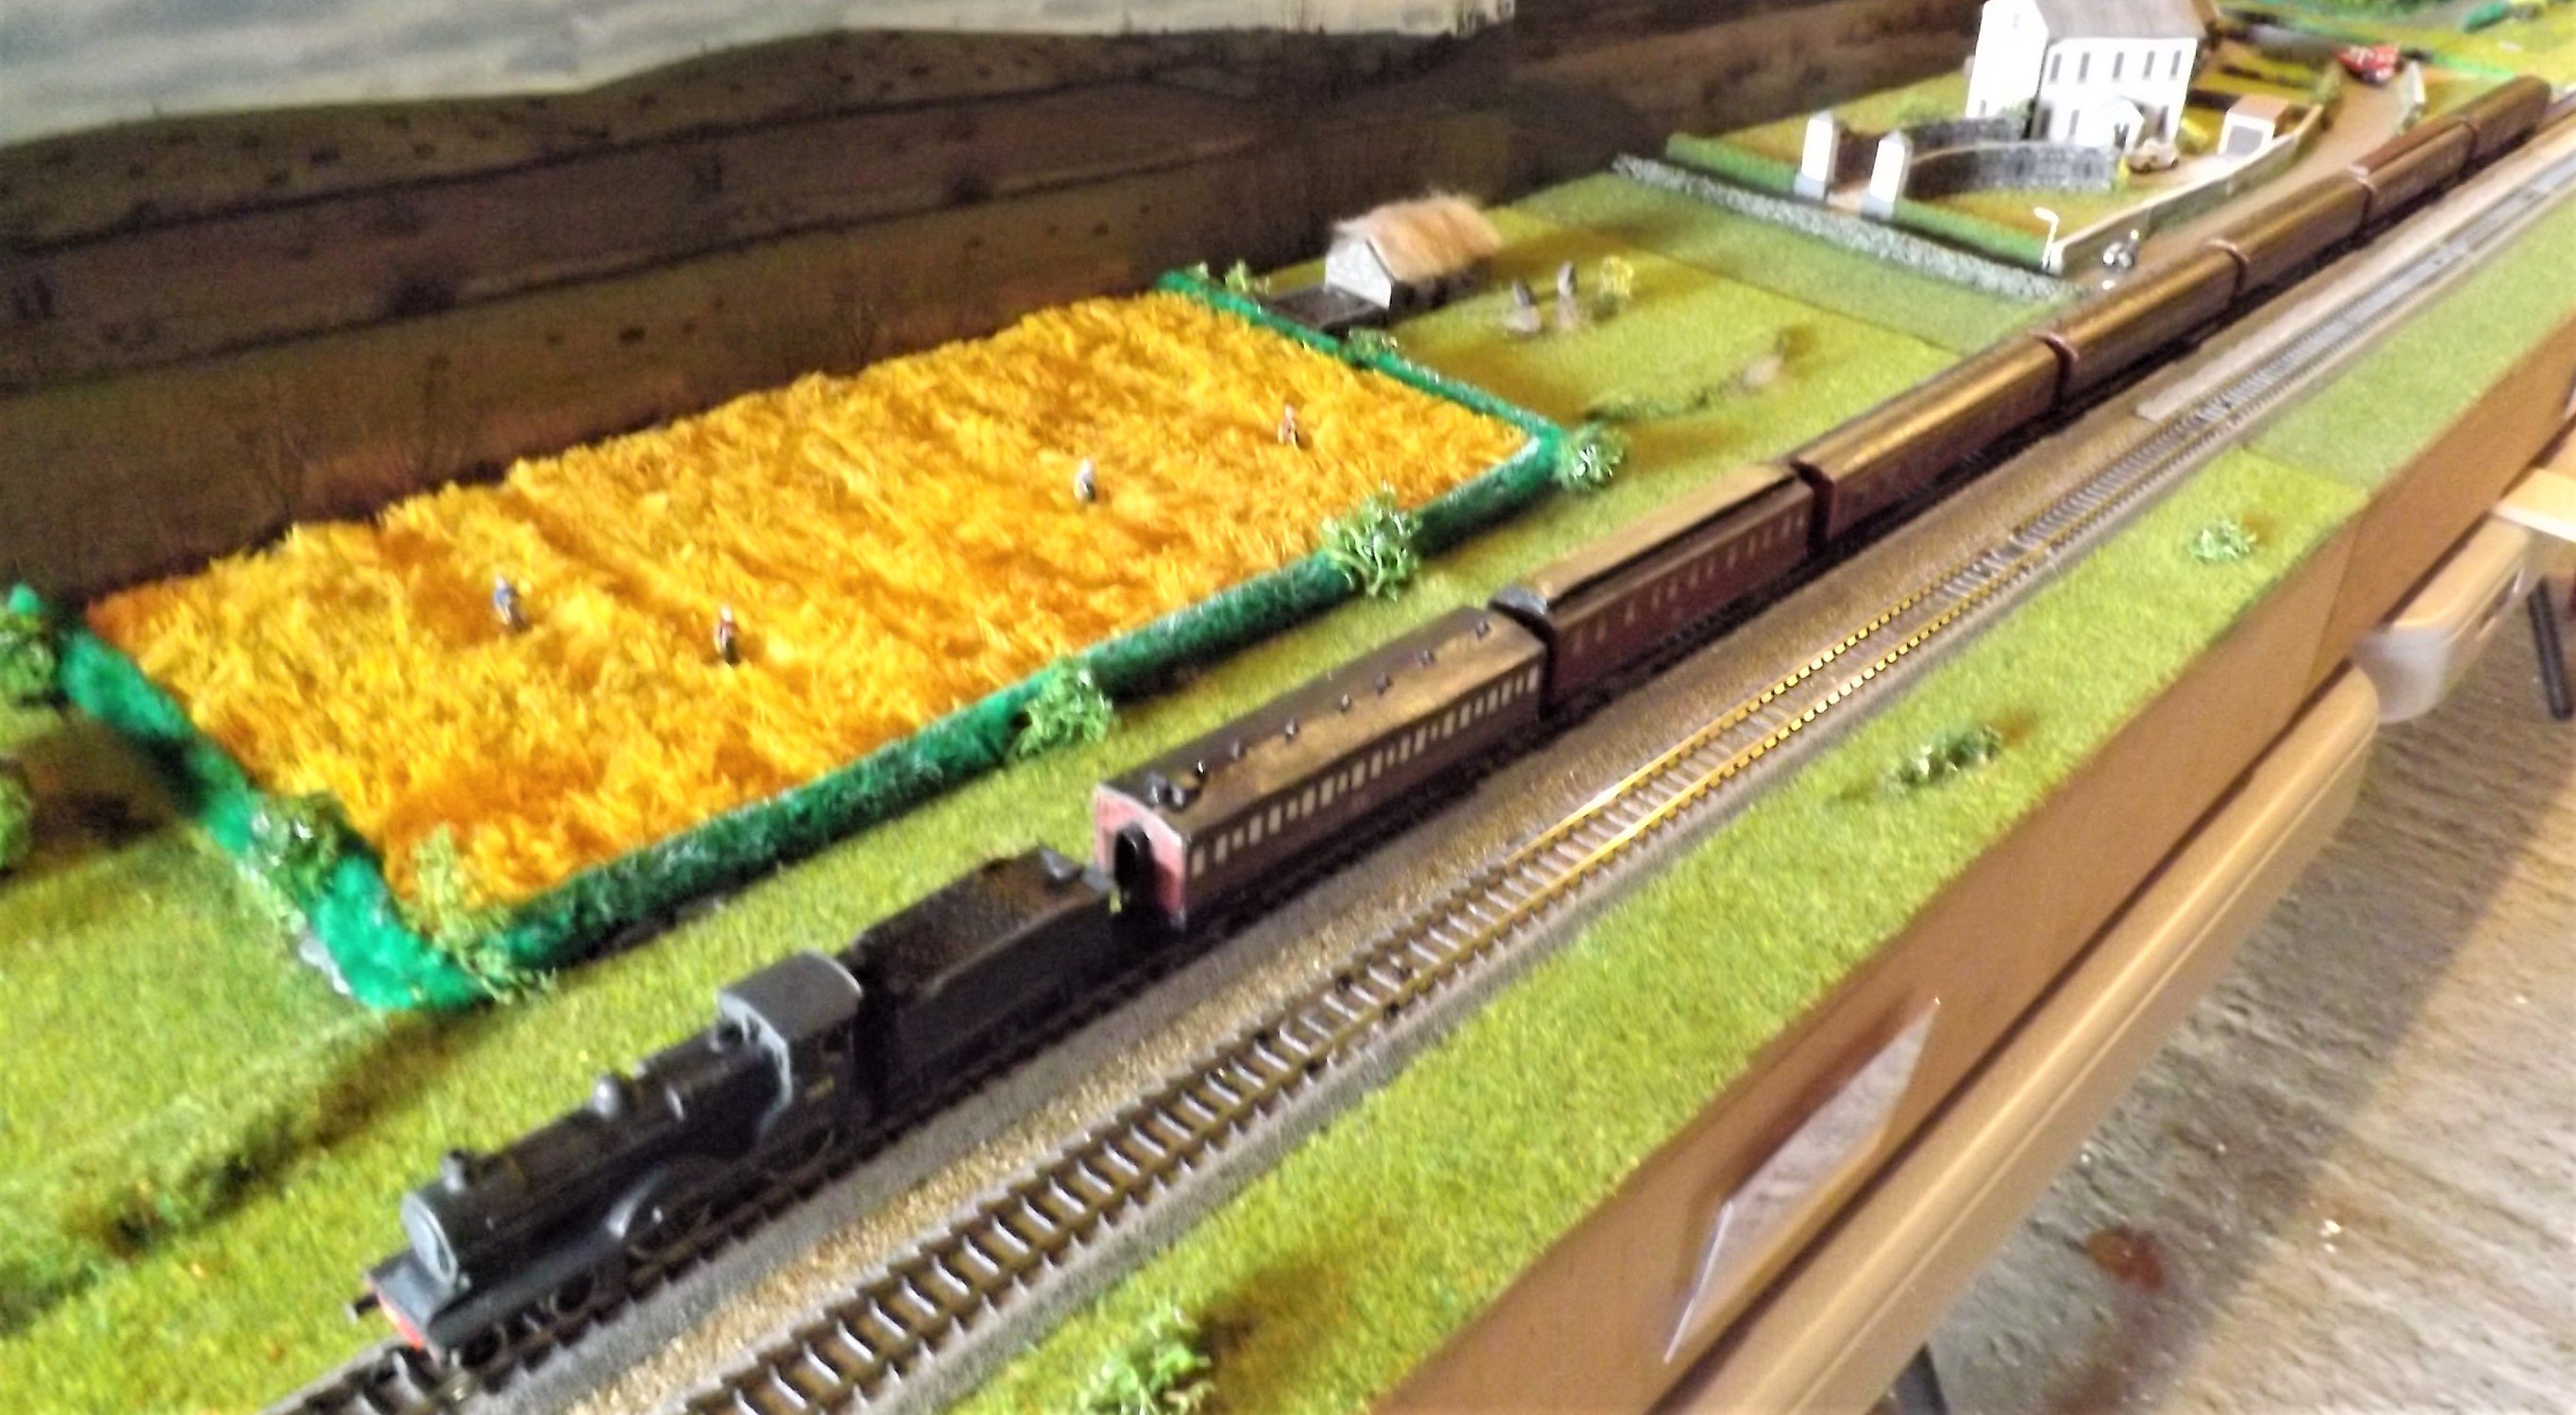
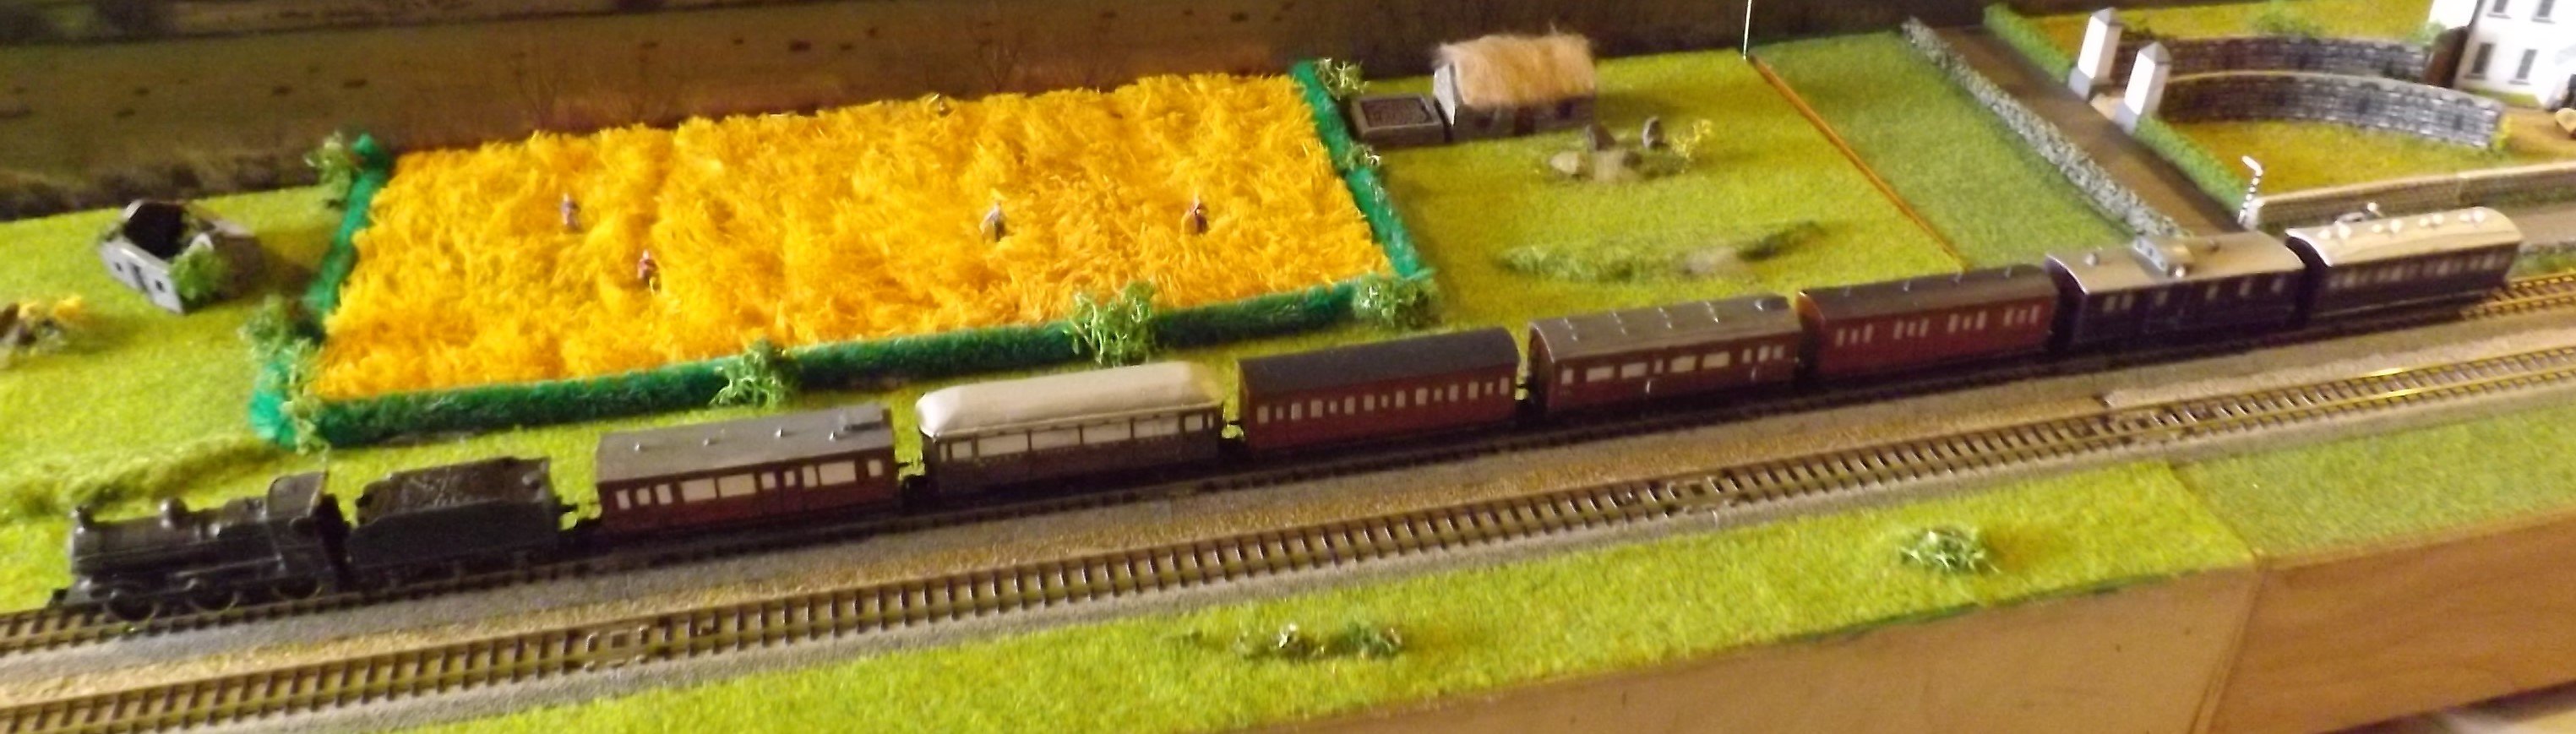
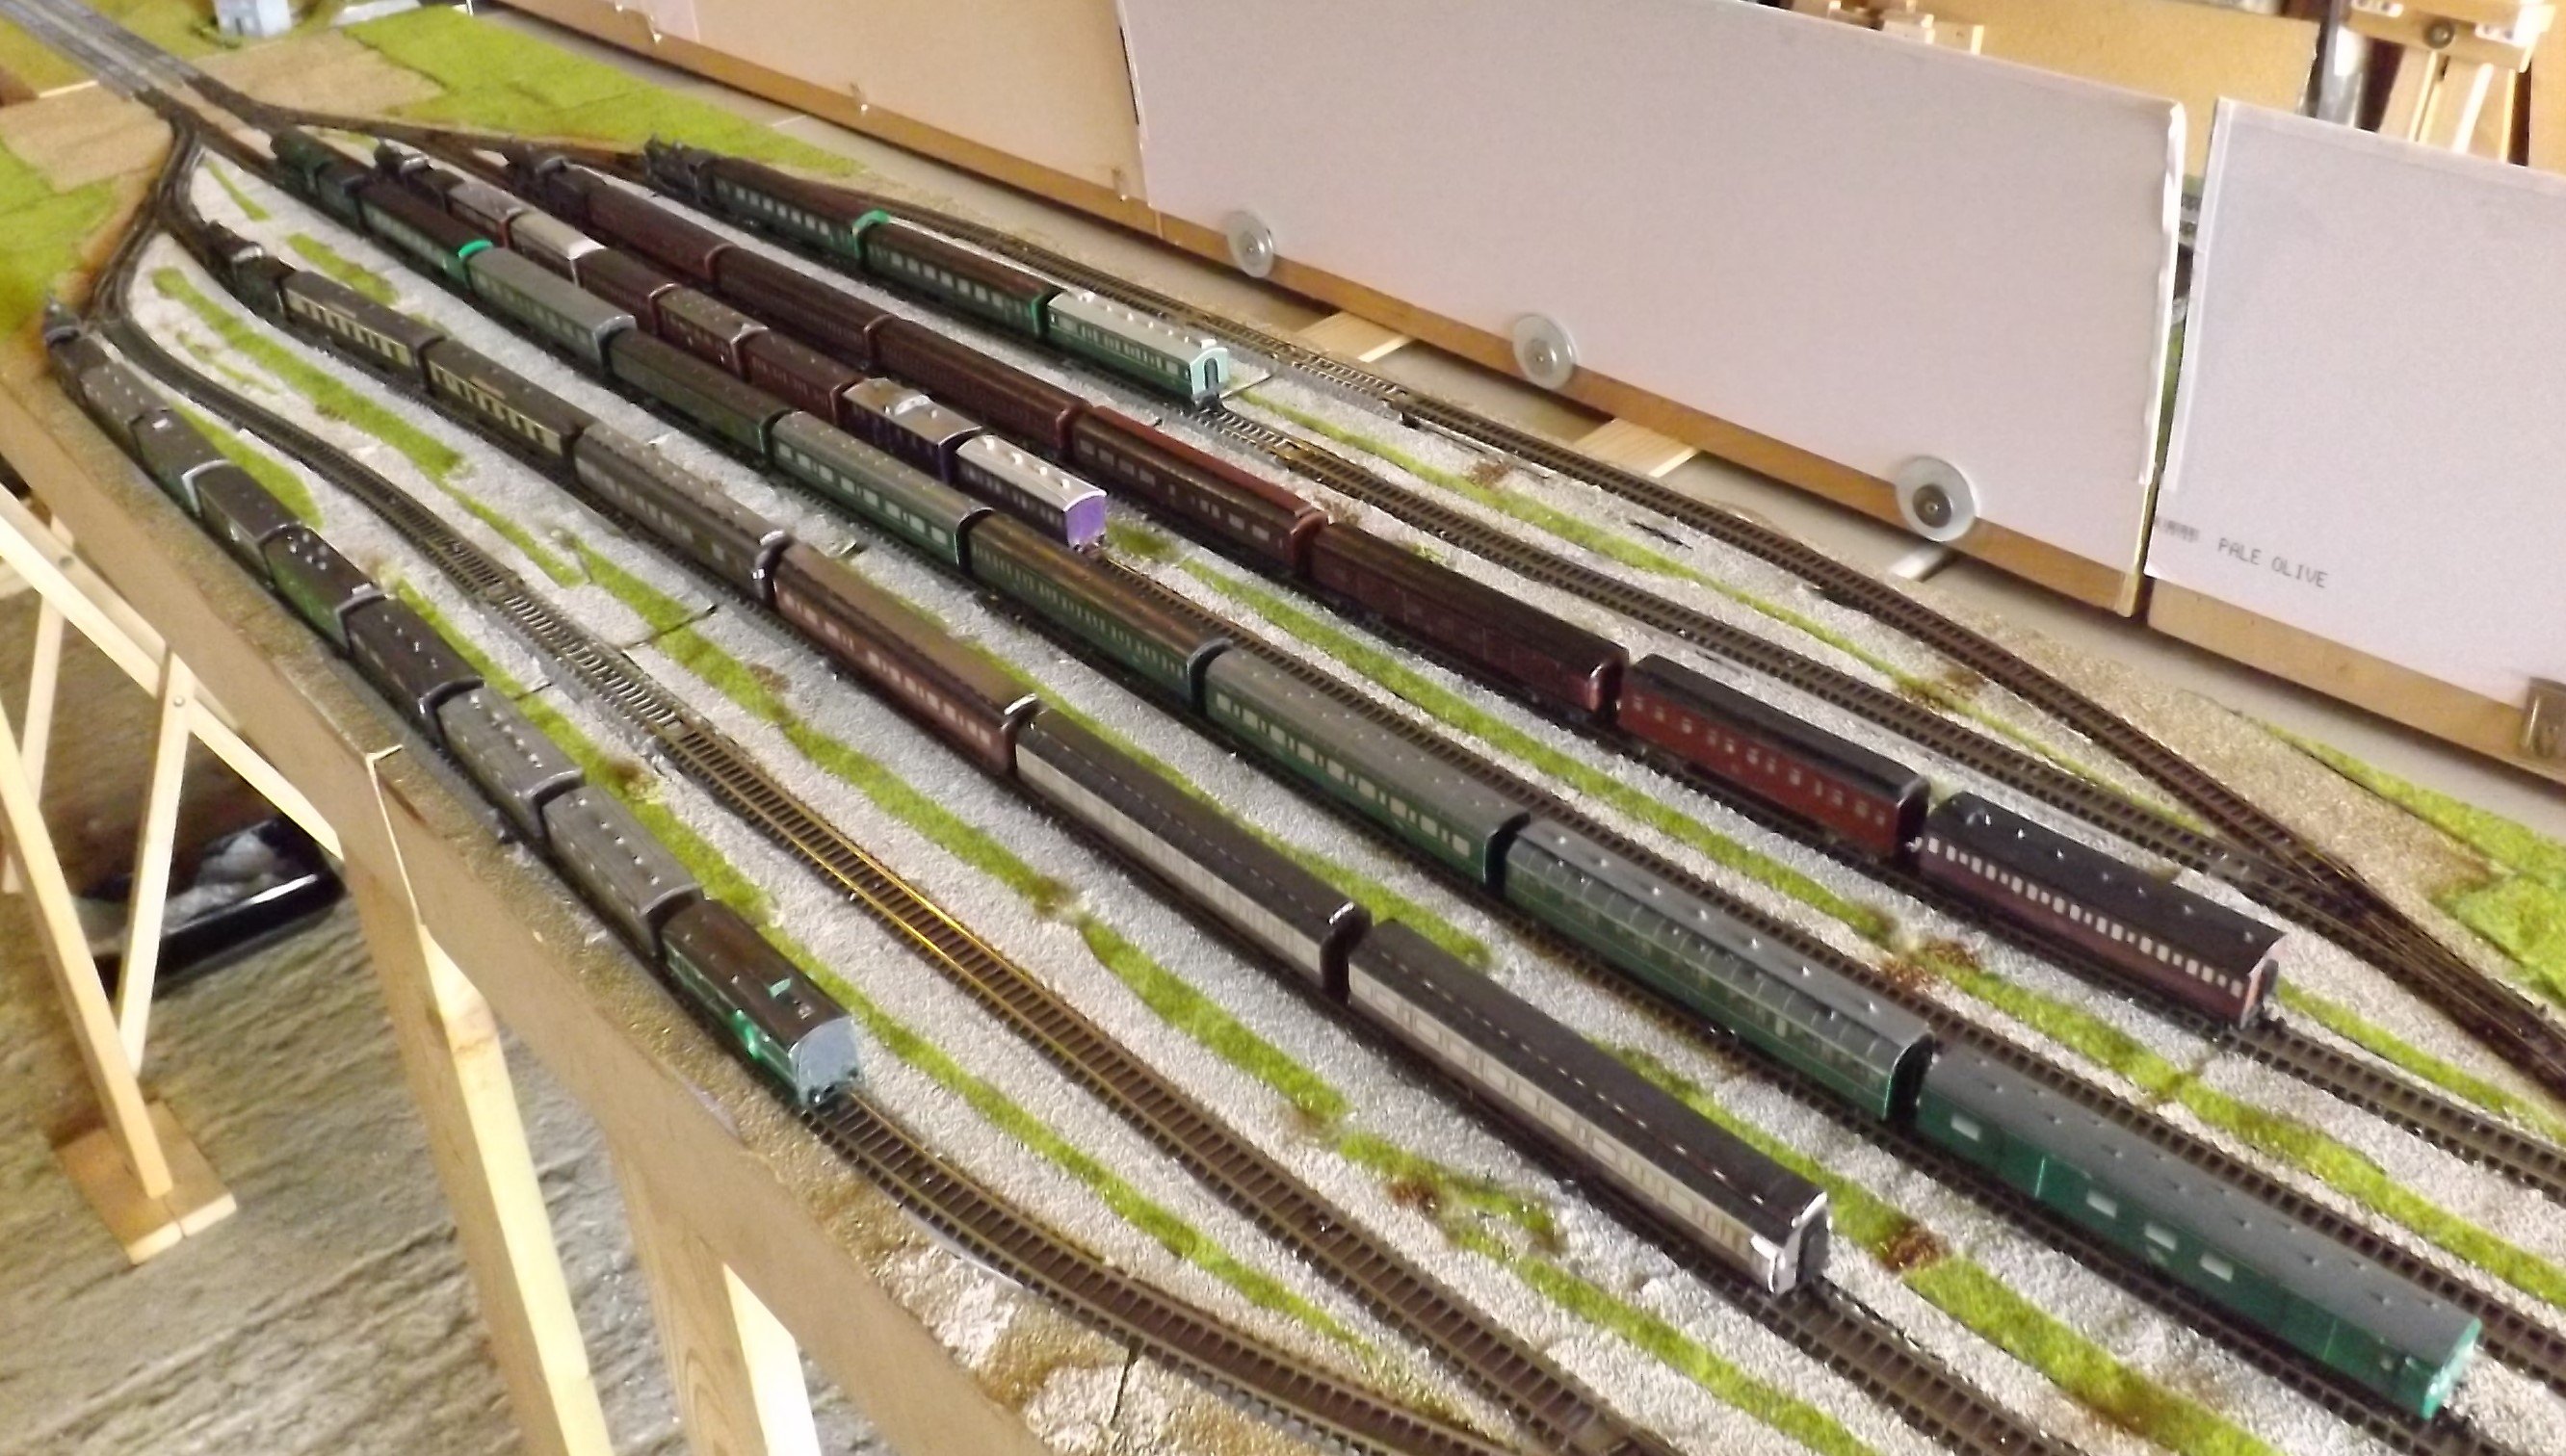
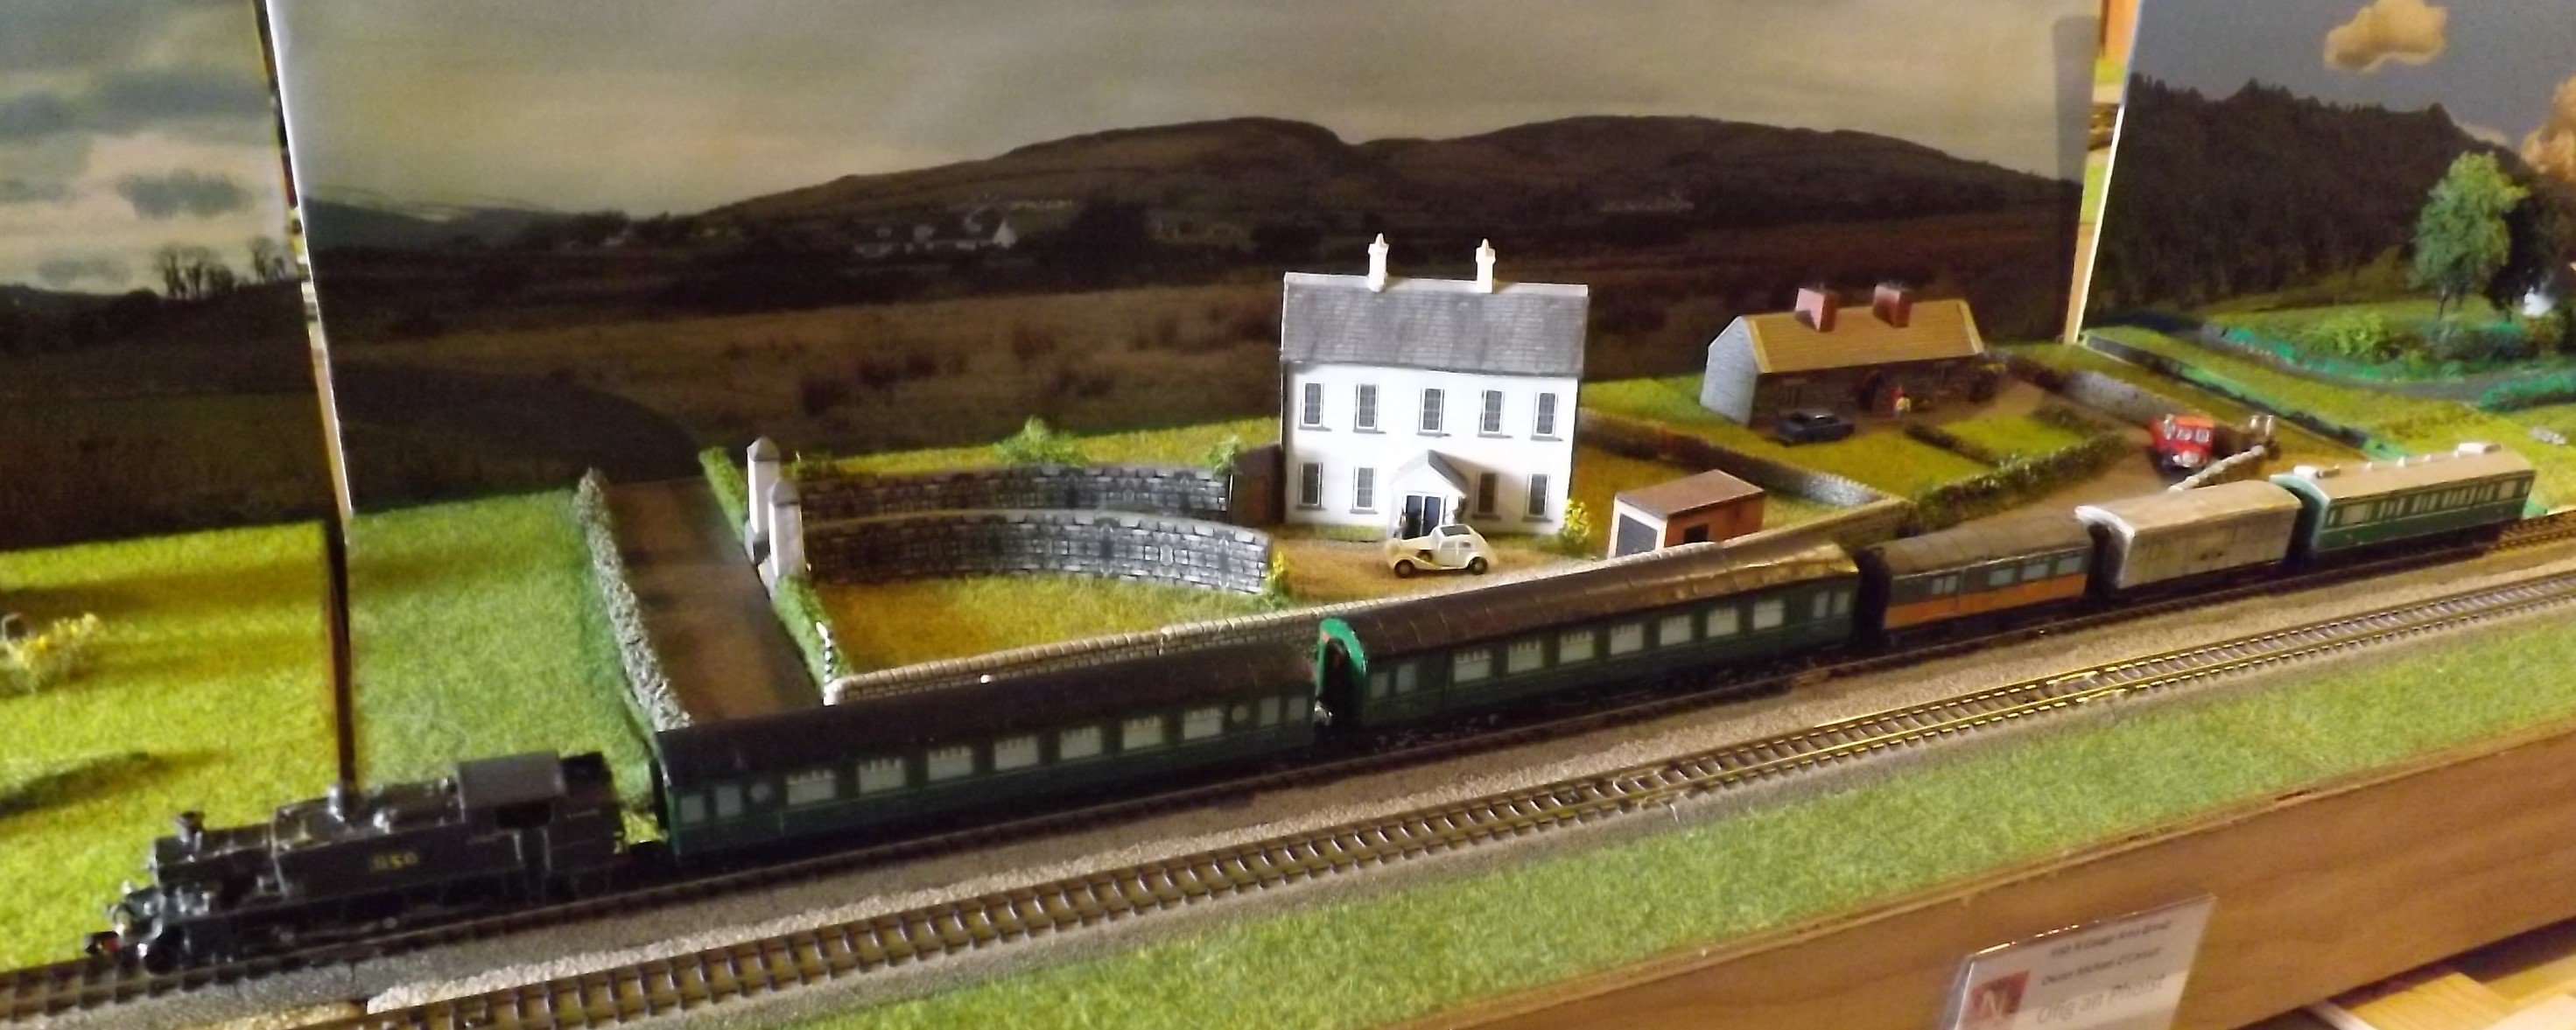
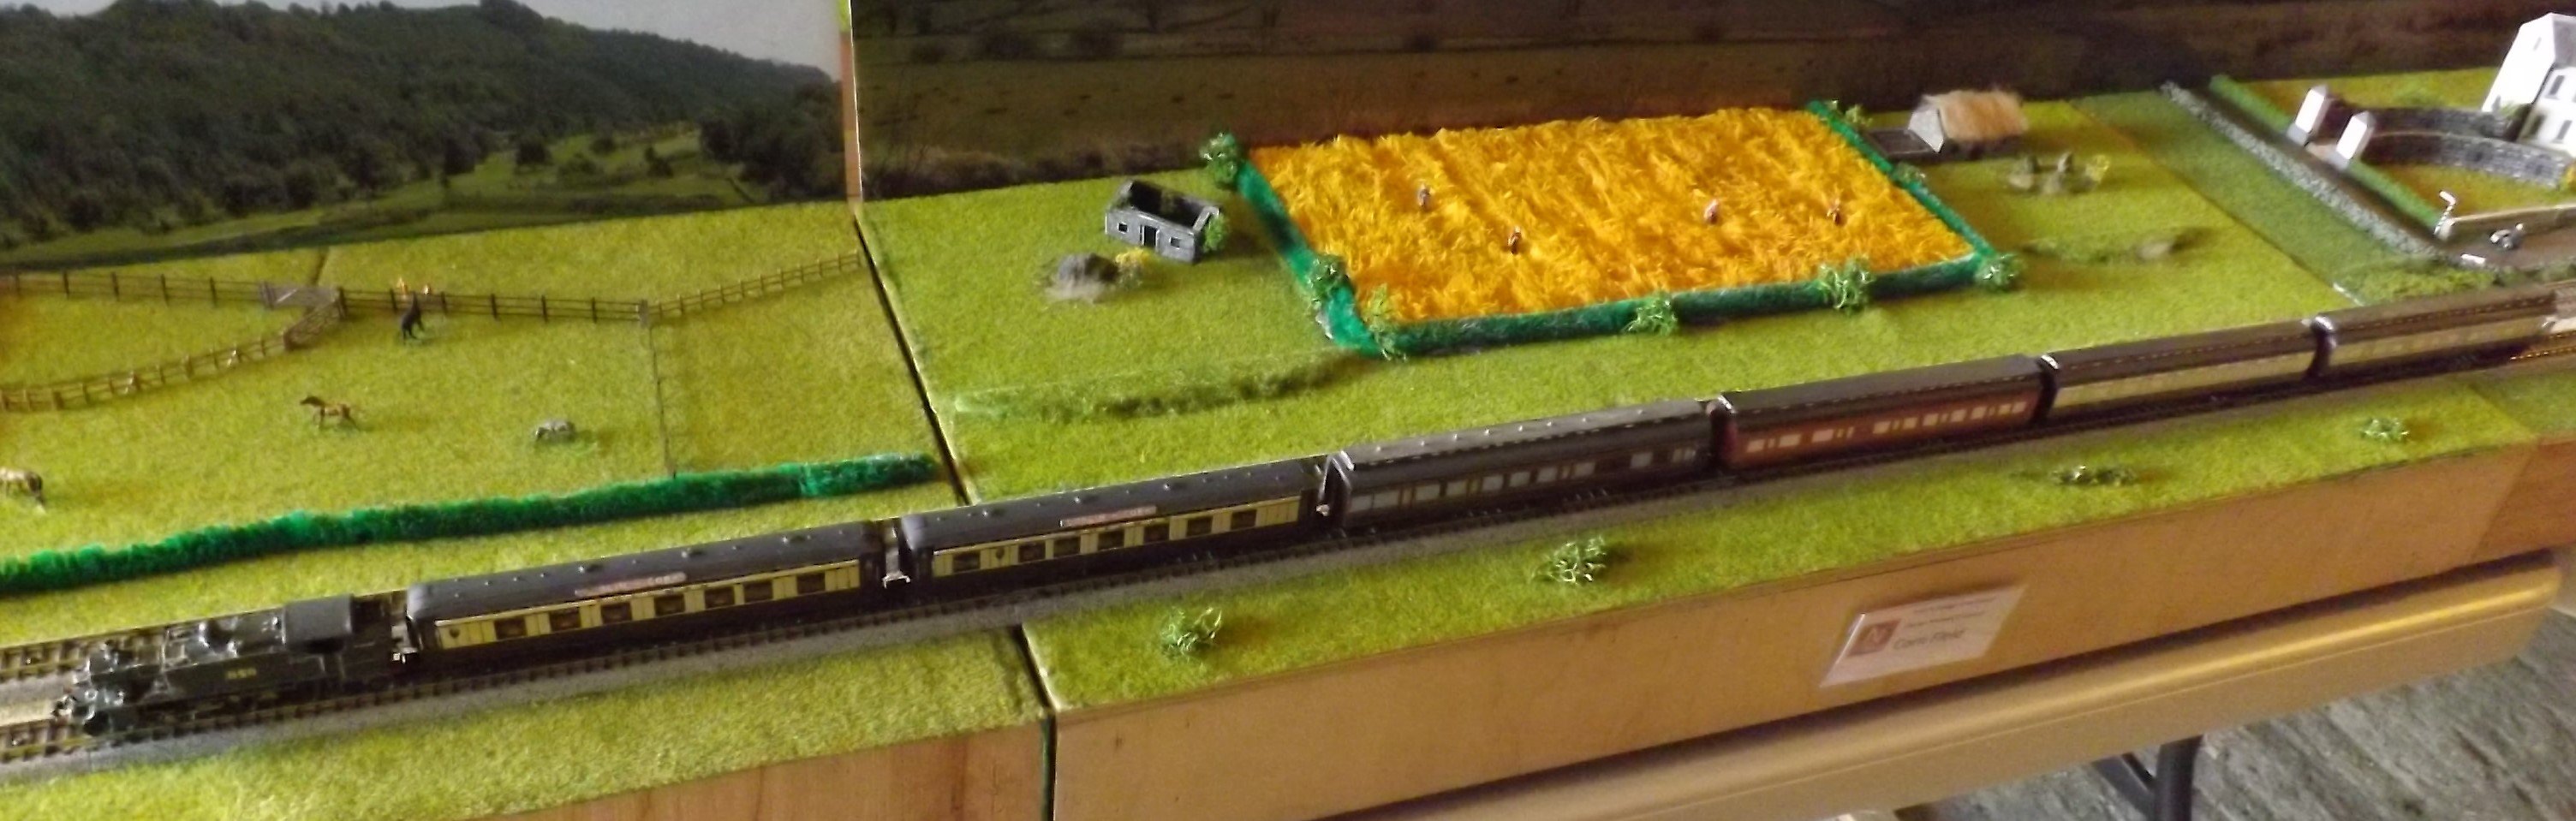
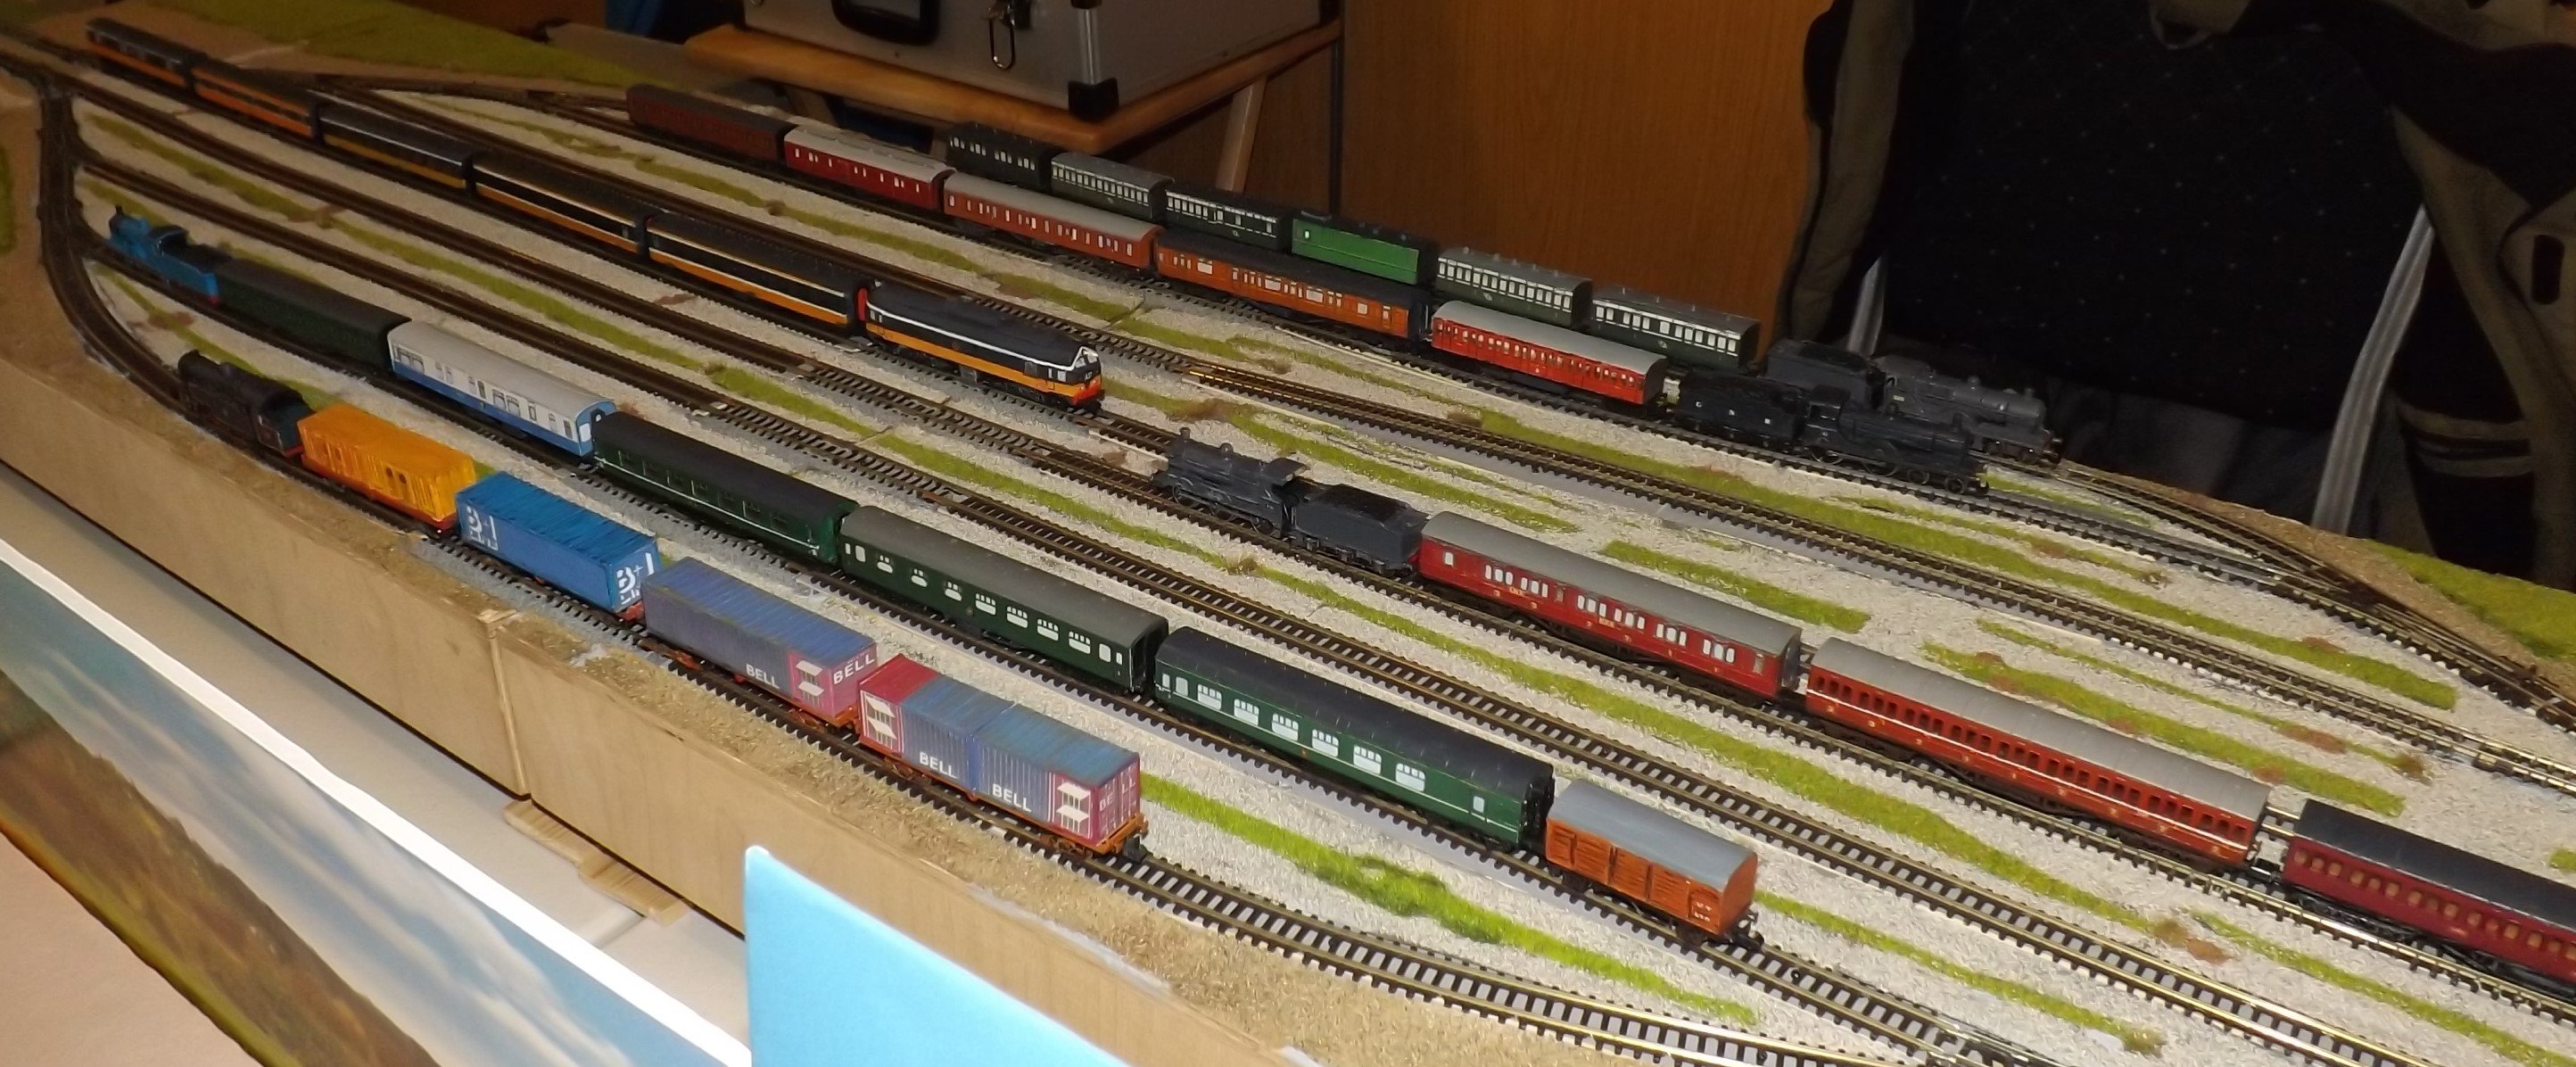
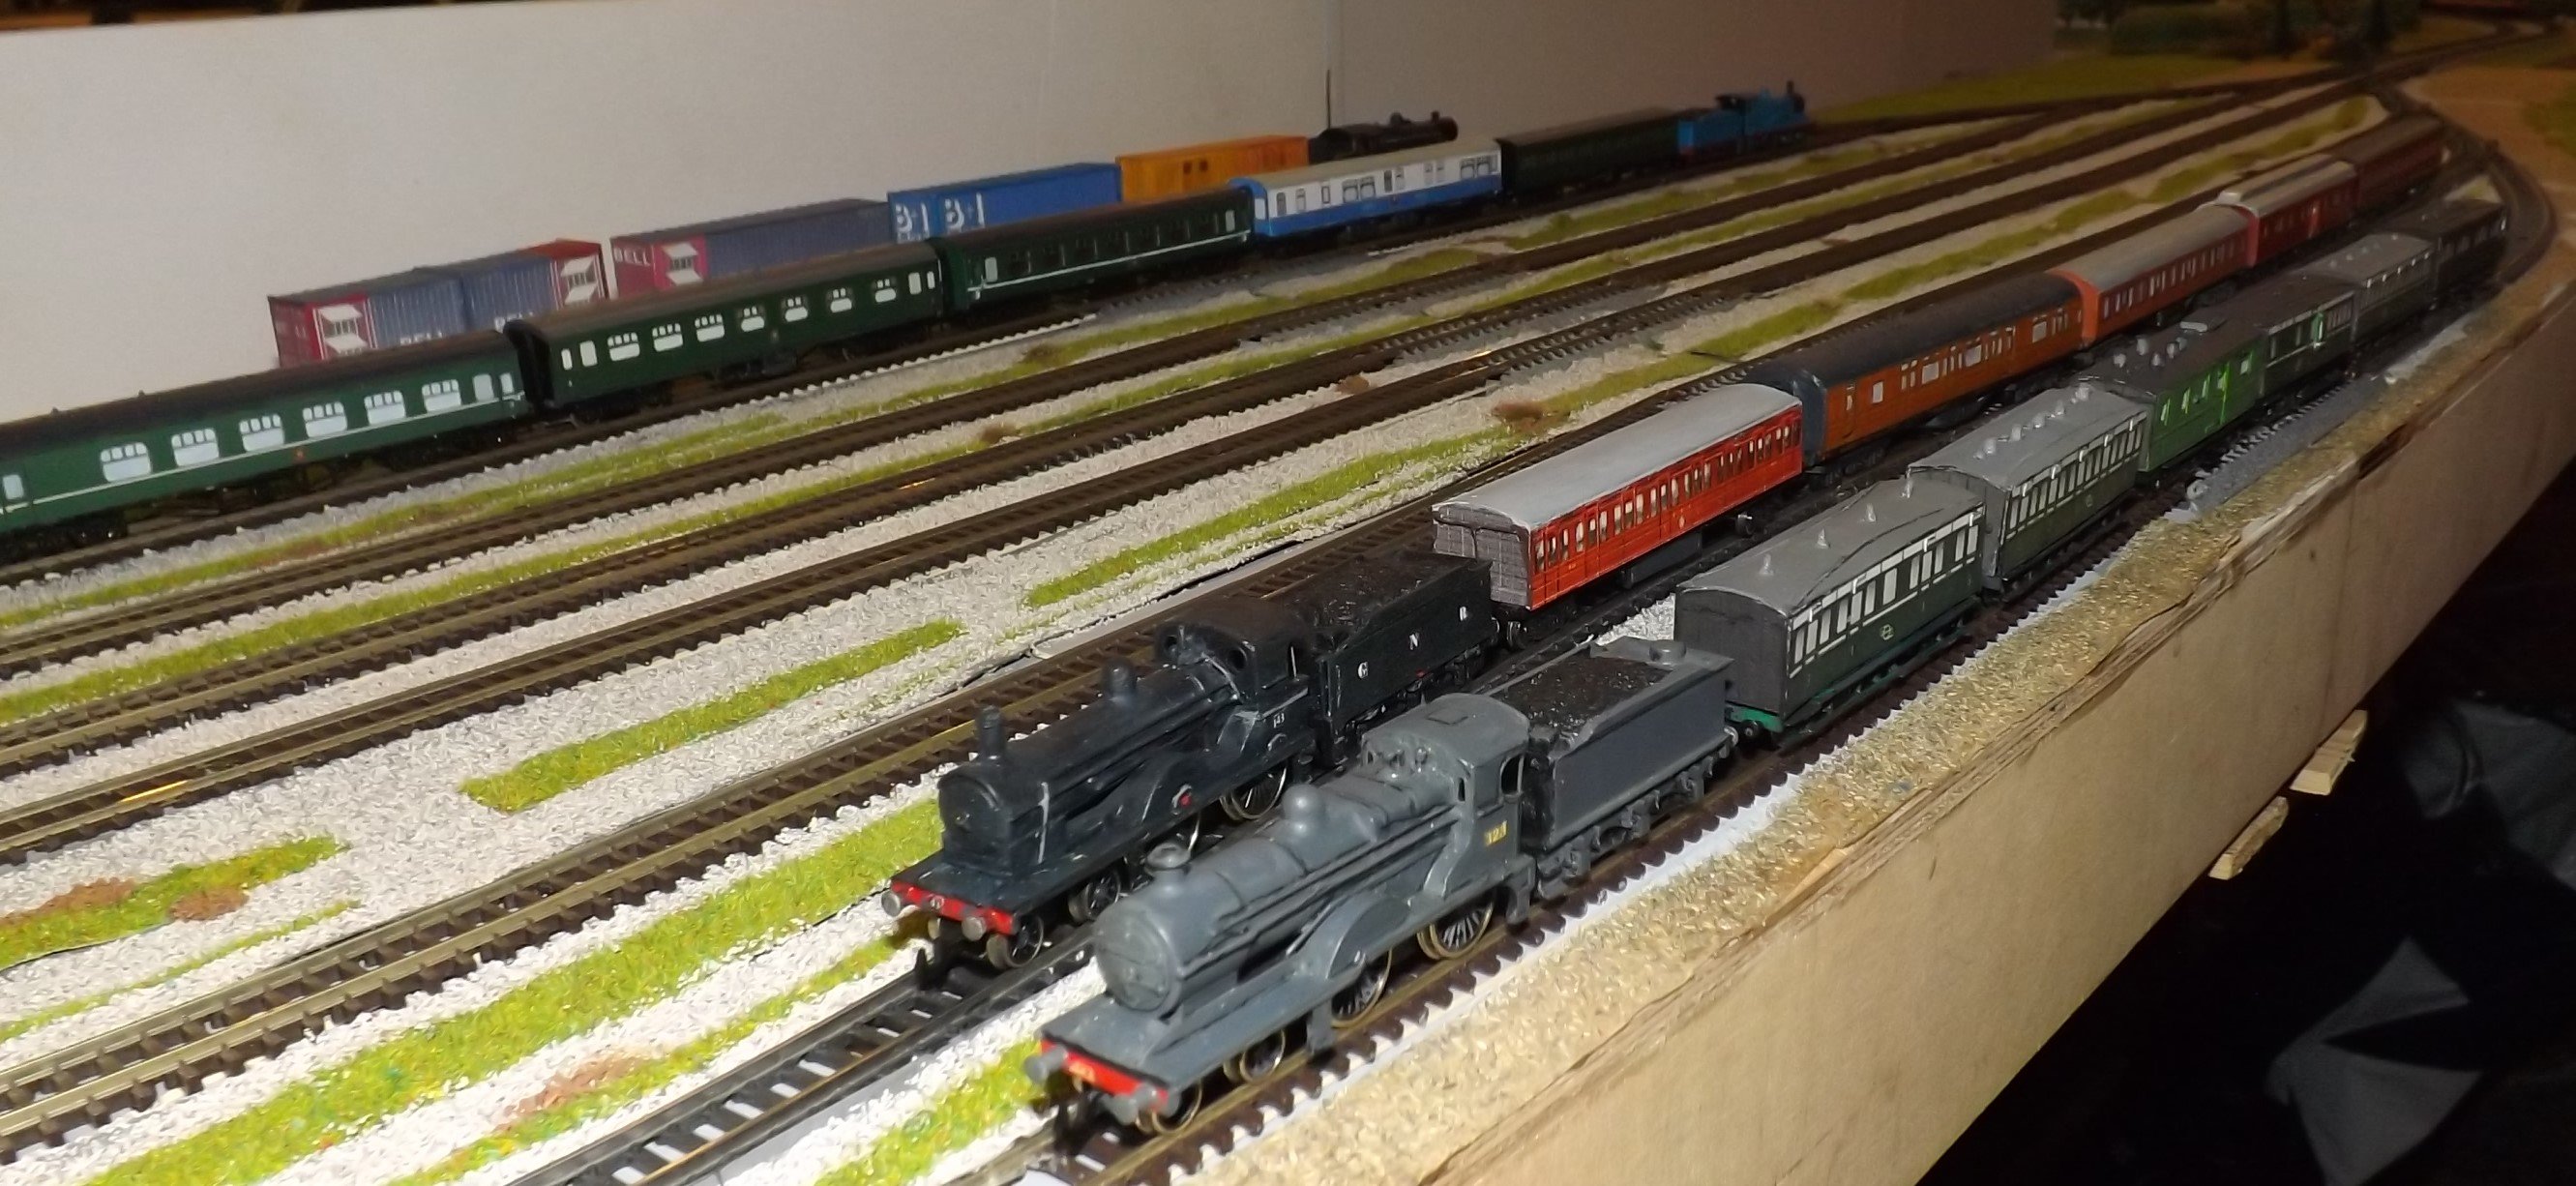
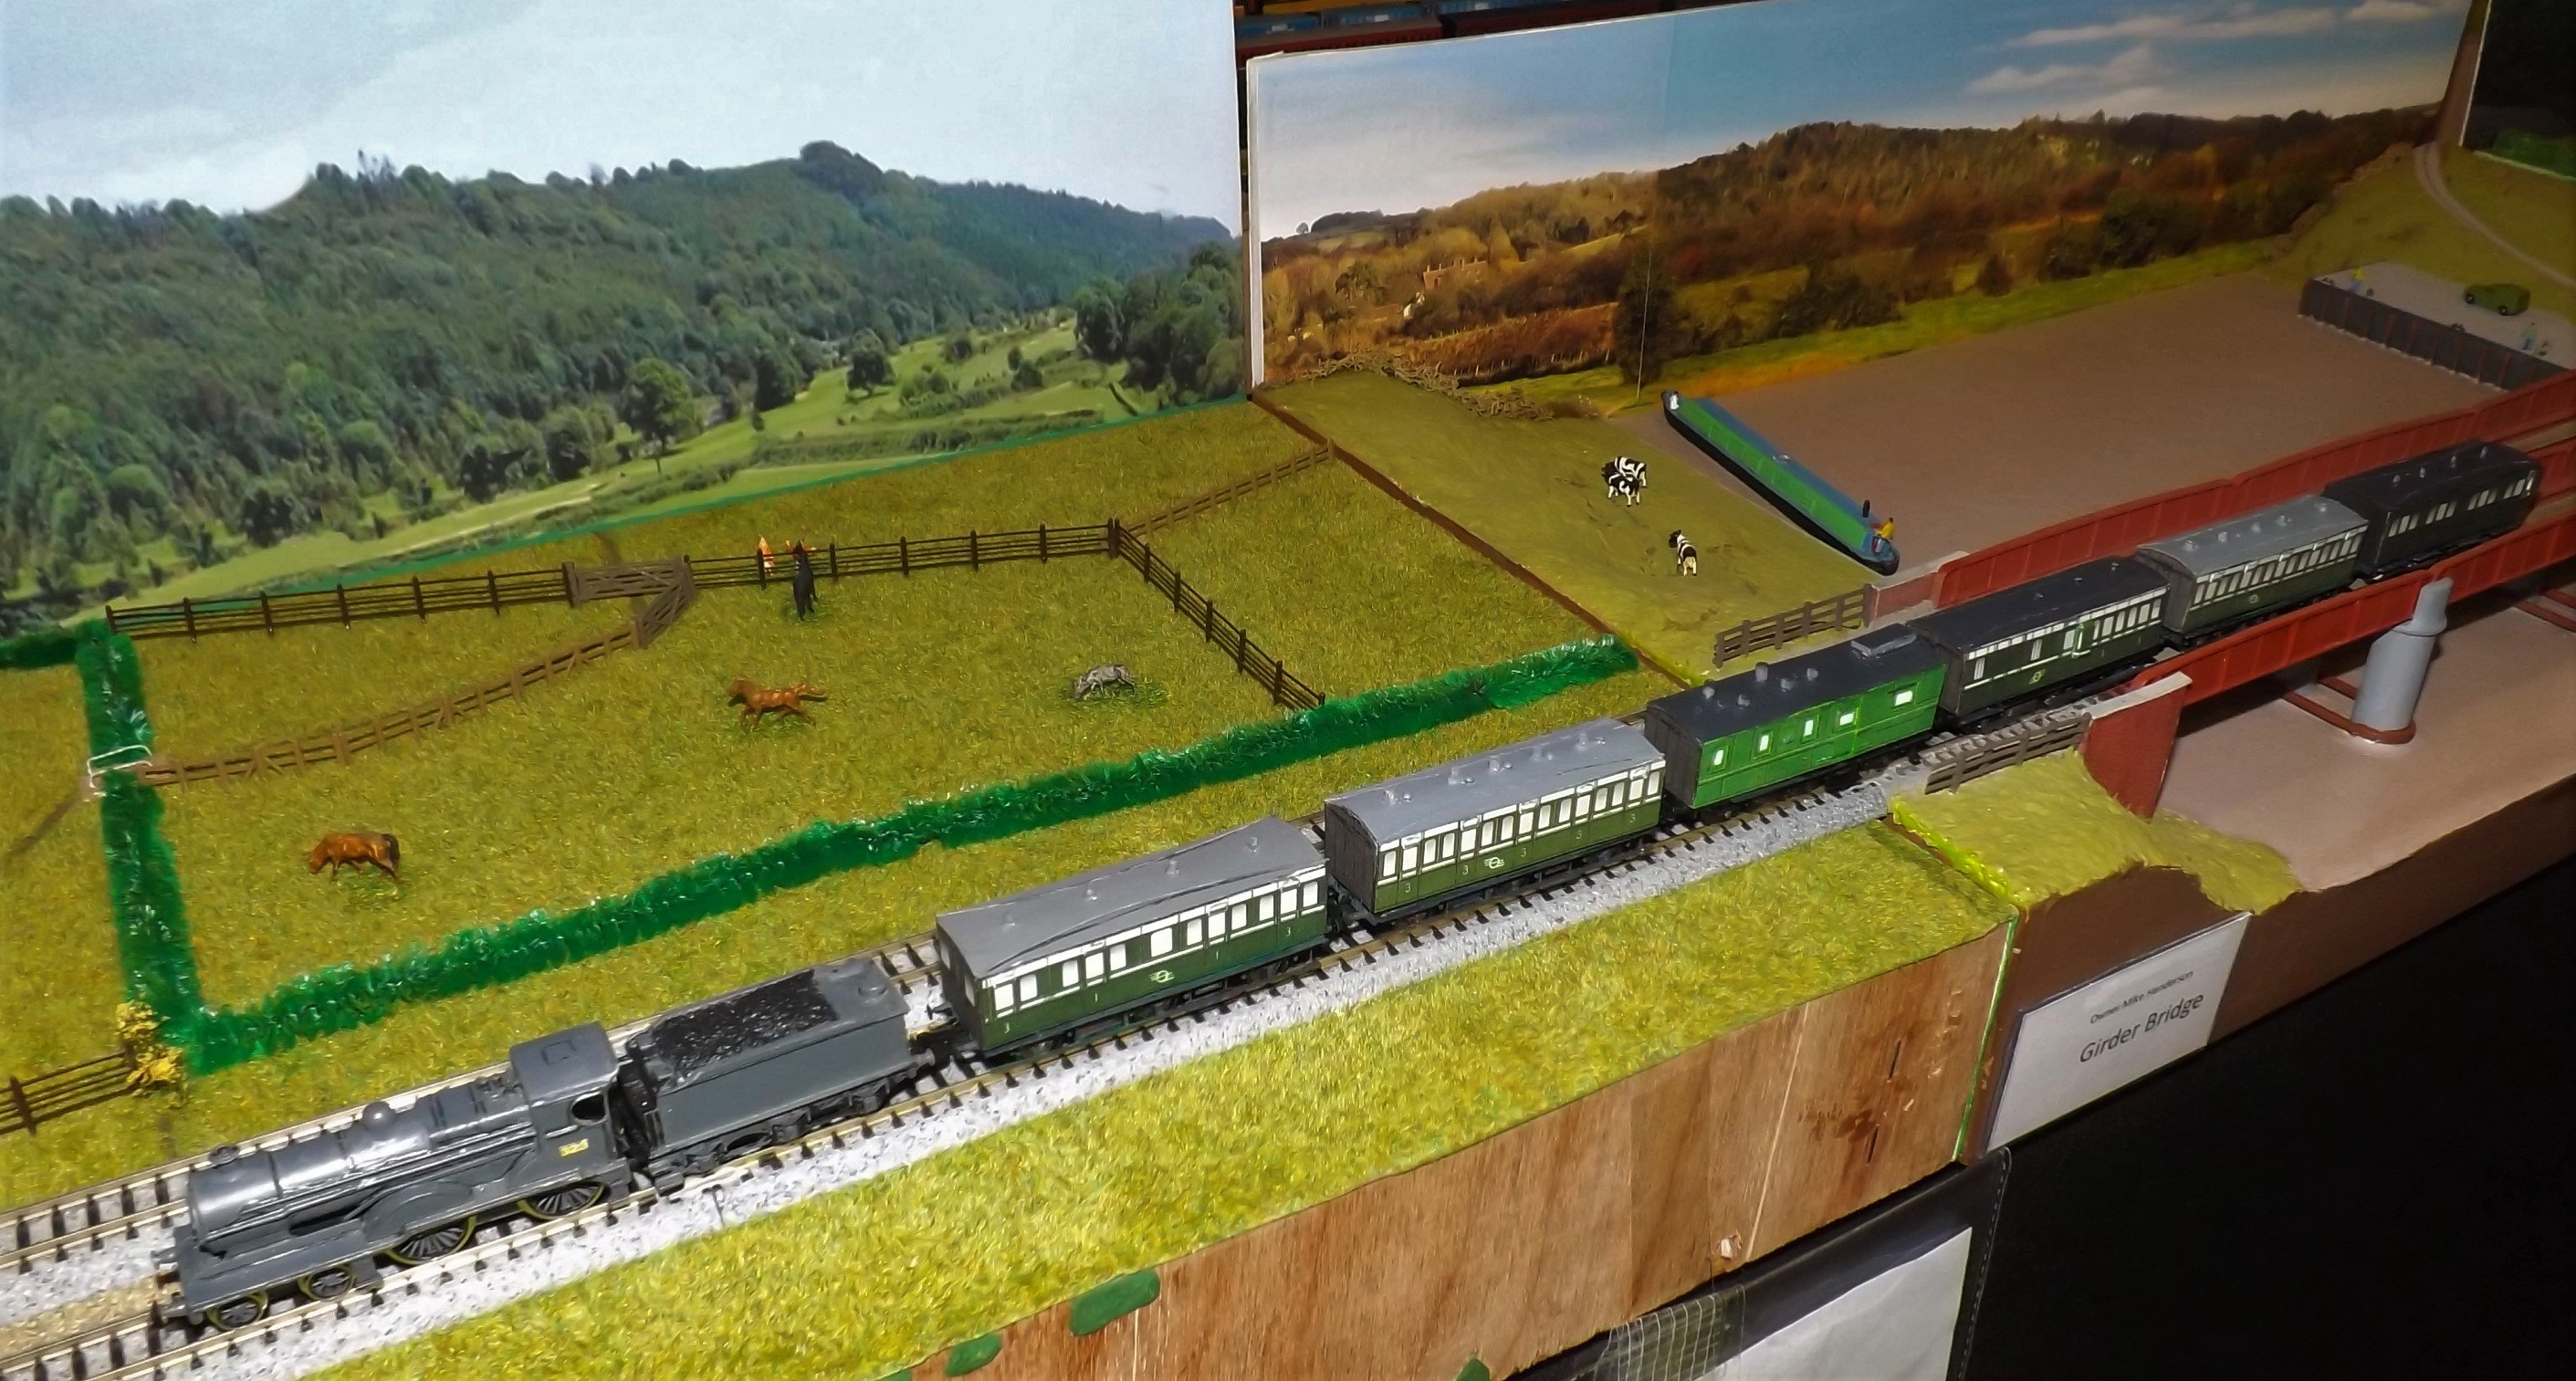
Moving a little further back in time to the GSR/CIE steam period the next set of photos show a variety of passenger stock.. For the GSR the liveries including the Purple Lake, Maroon and the Cream/Brown. The CIE period covers mostly the lighter green era as well as a "tin" van and a B&T TPO omitted from the first set of photos. Again starting with a few overviews The first overview shows the CIE Green coaches The GSR stock has been added plus a couple of other CIE Coaches J8 no 443 heads a rake of mostly ex MGWR 6 wheel coaches in CIE Livery. No 443 was the only member of its class to have double side cab windows Next we have K1a no 323 with a variety of coaches making up the boat train A close up of the two Brown and Cream coaches Class 800 leads a long train made up of the following coaches: a park royal, 2114, 1349,1143,1306,1290, Celestory 12D and Brakevan 2540 Class D17 no 18 is in charge of coaches; 345, 561, a Bredin, 897, 220D, 353(only 4 wheels per bogie not 6) and brake van 2540 this time in GSR Maroon J15 no 106 pulls a mix of 4 and 6 wheel coaches of various vintages: nos 900(1924 version), 47 Dargan (in MGWR Brown), 949, 900(1953 version)308, 15A (Bird cage brake) and 7b. The last two in Purple Lake. P1 class no 850 has in tow 2 park royals(One with the port hole window and one without), a 4 wheel TPO, a 4 wheel tin heating van and no 471 P1 class 850 is now in charge of the boat train. MikeO

-
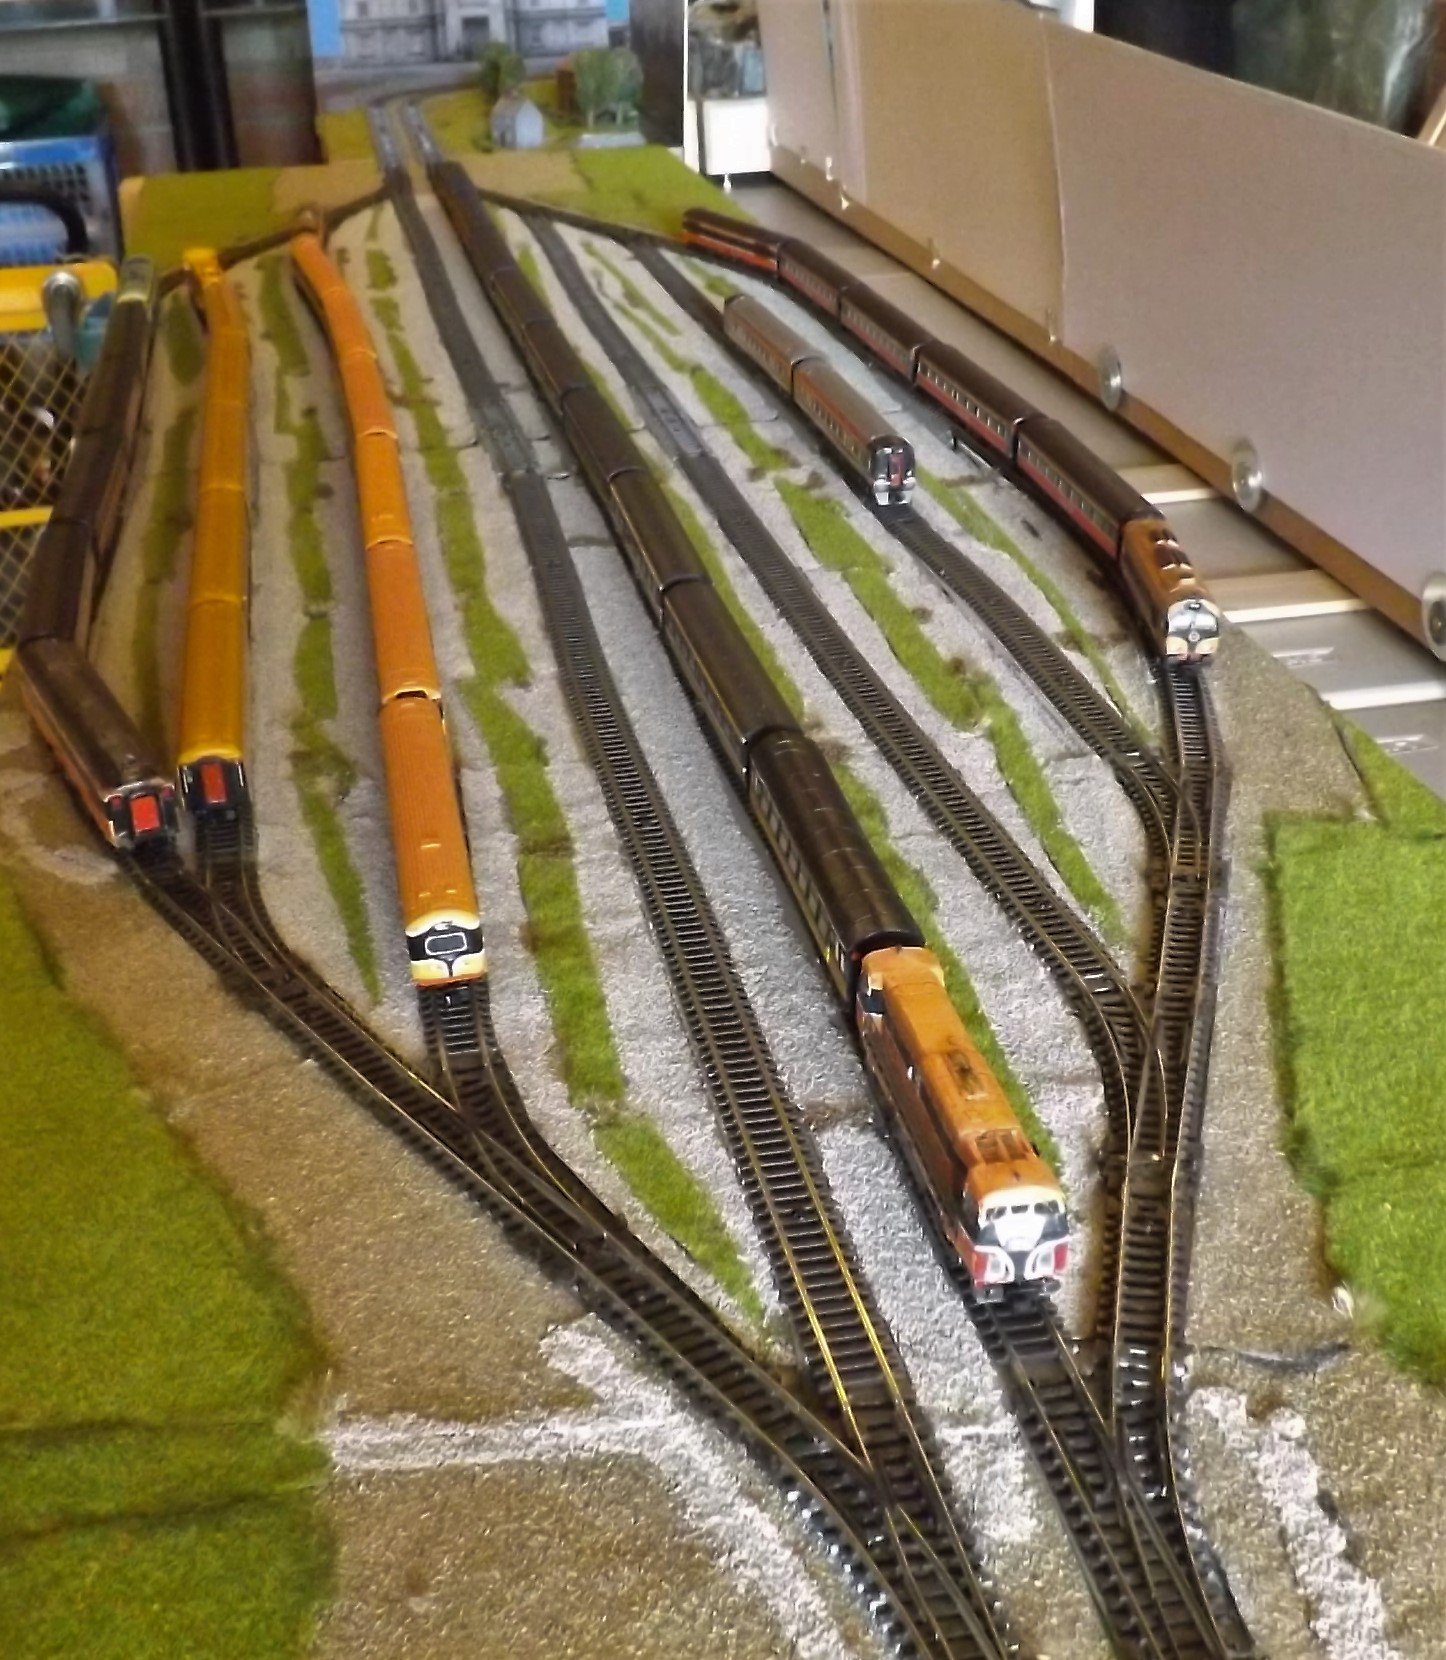
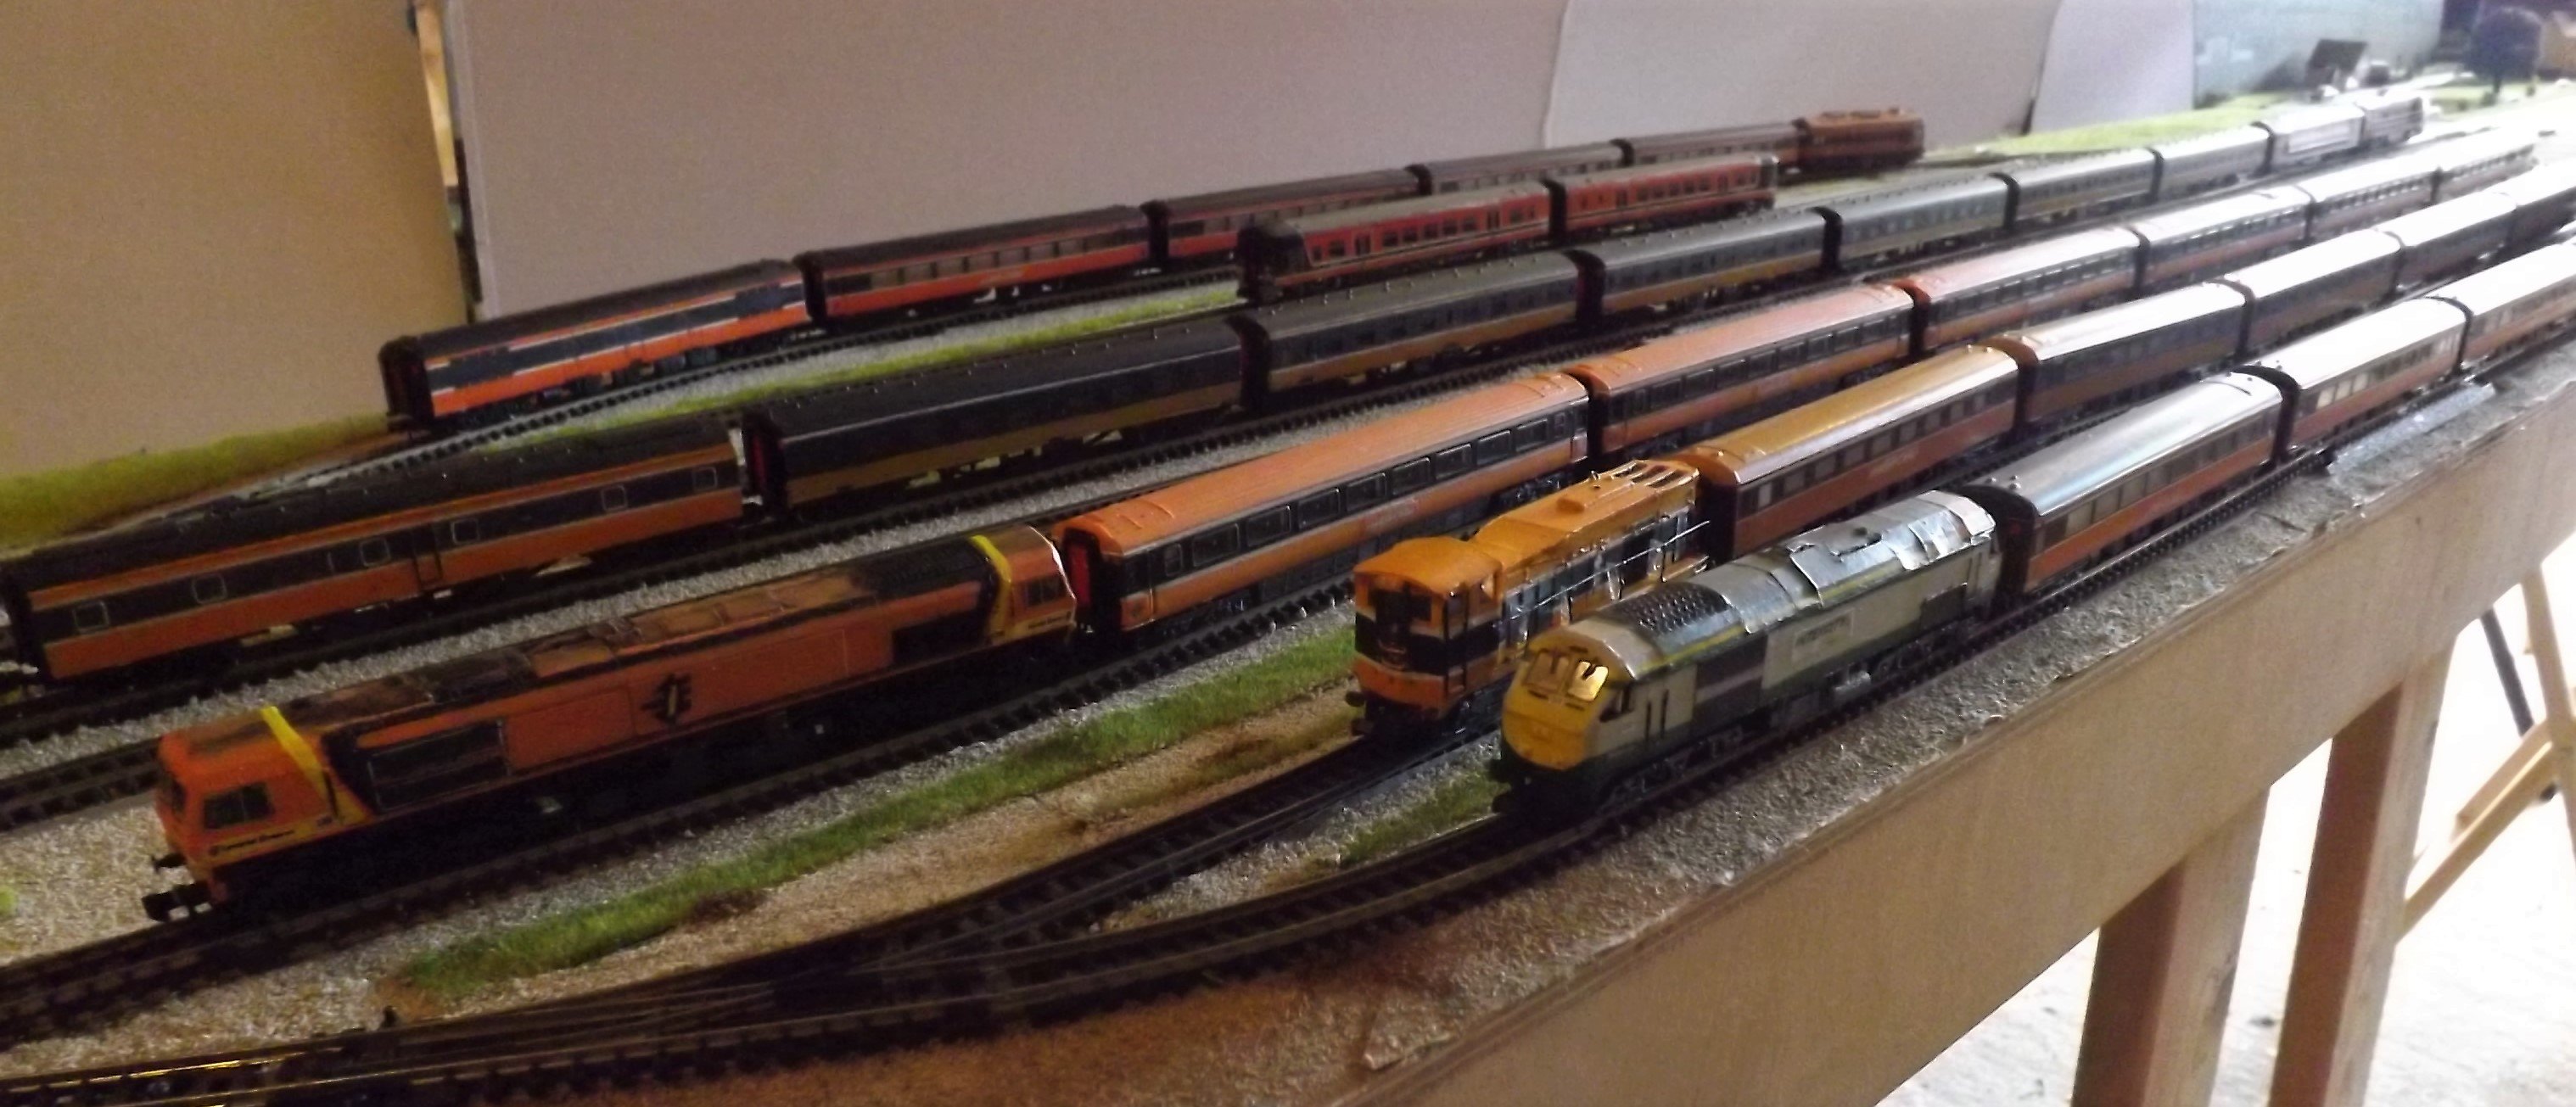
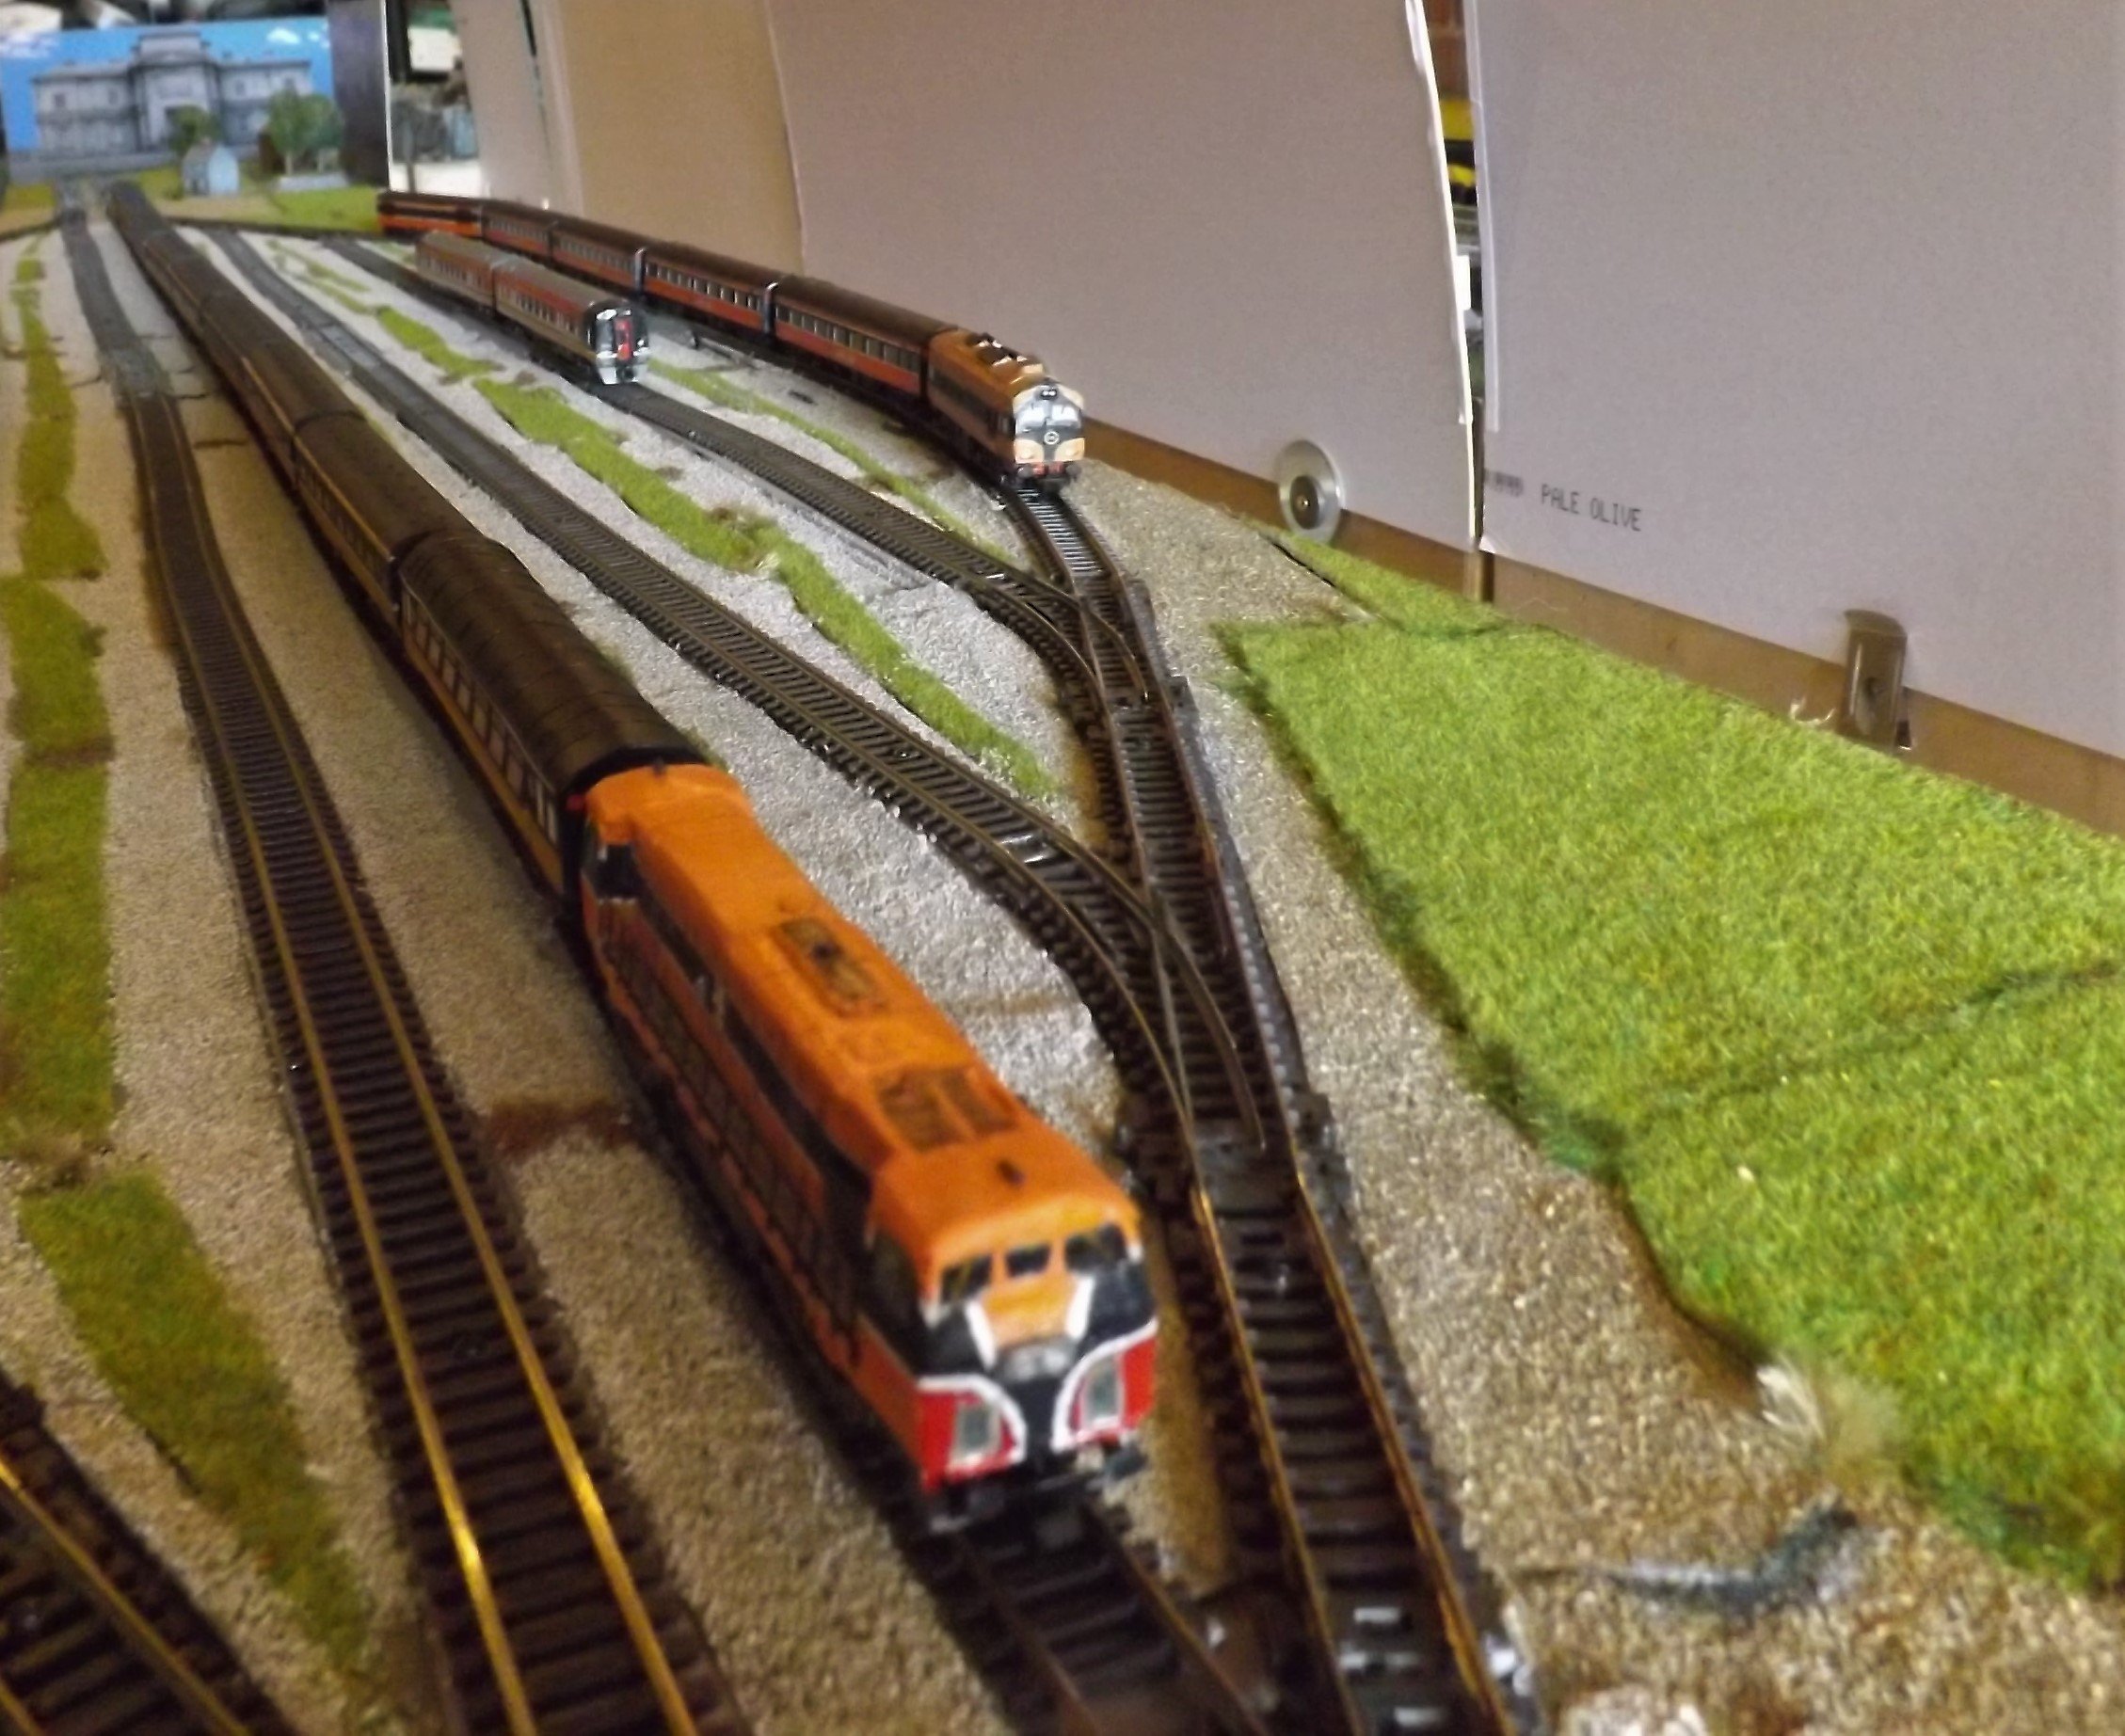
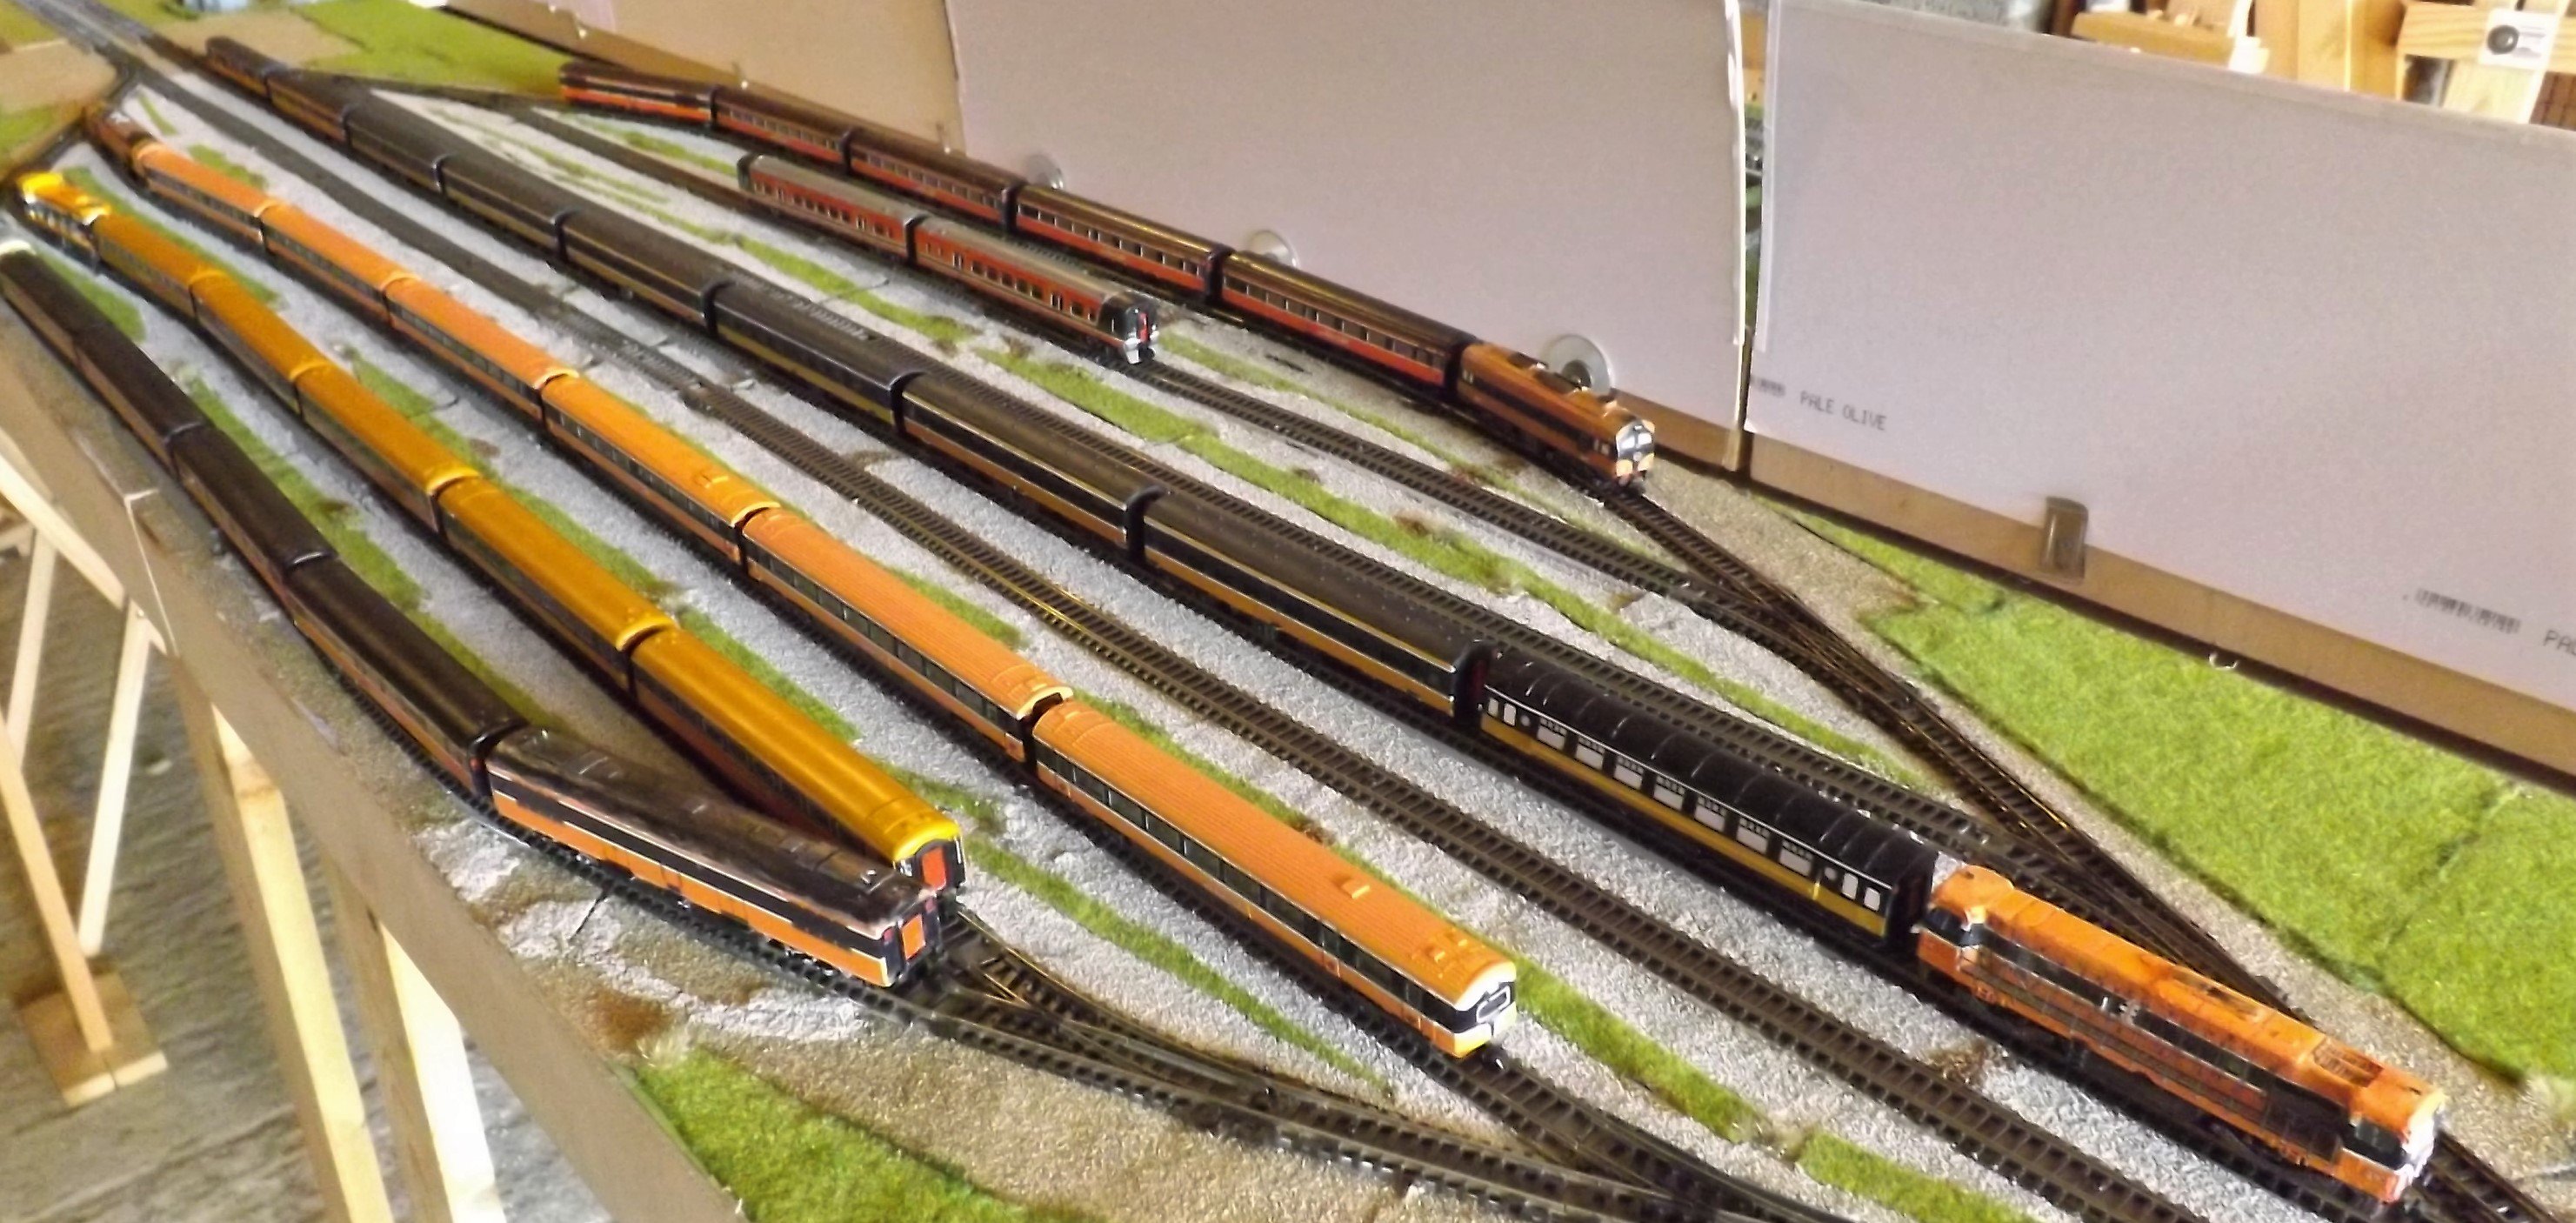
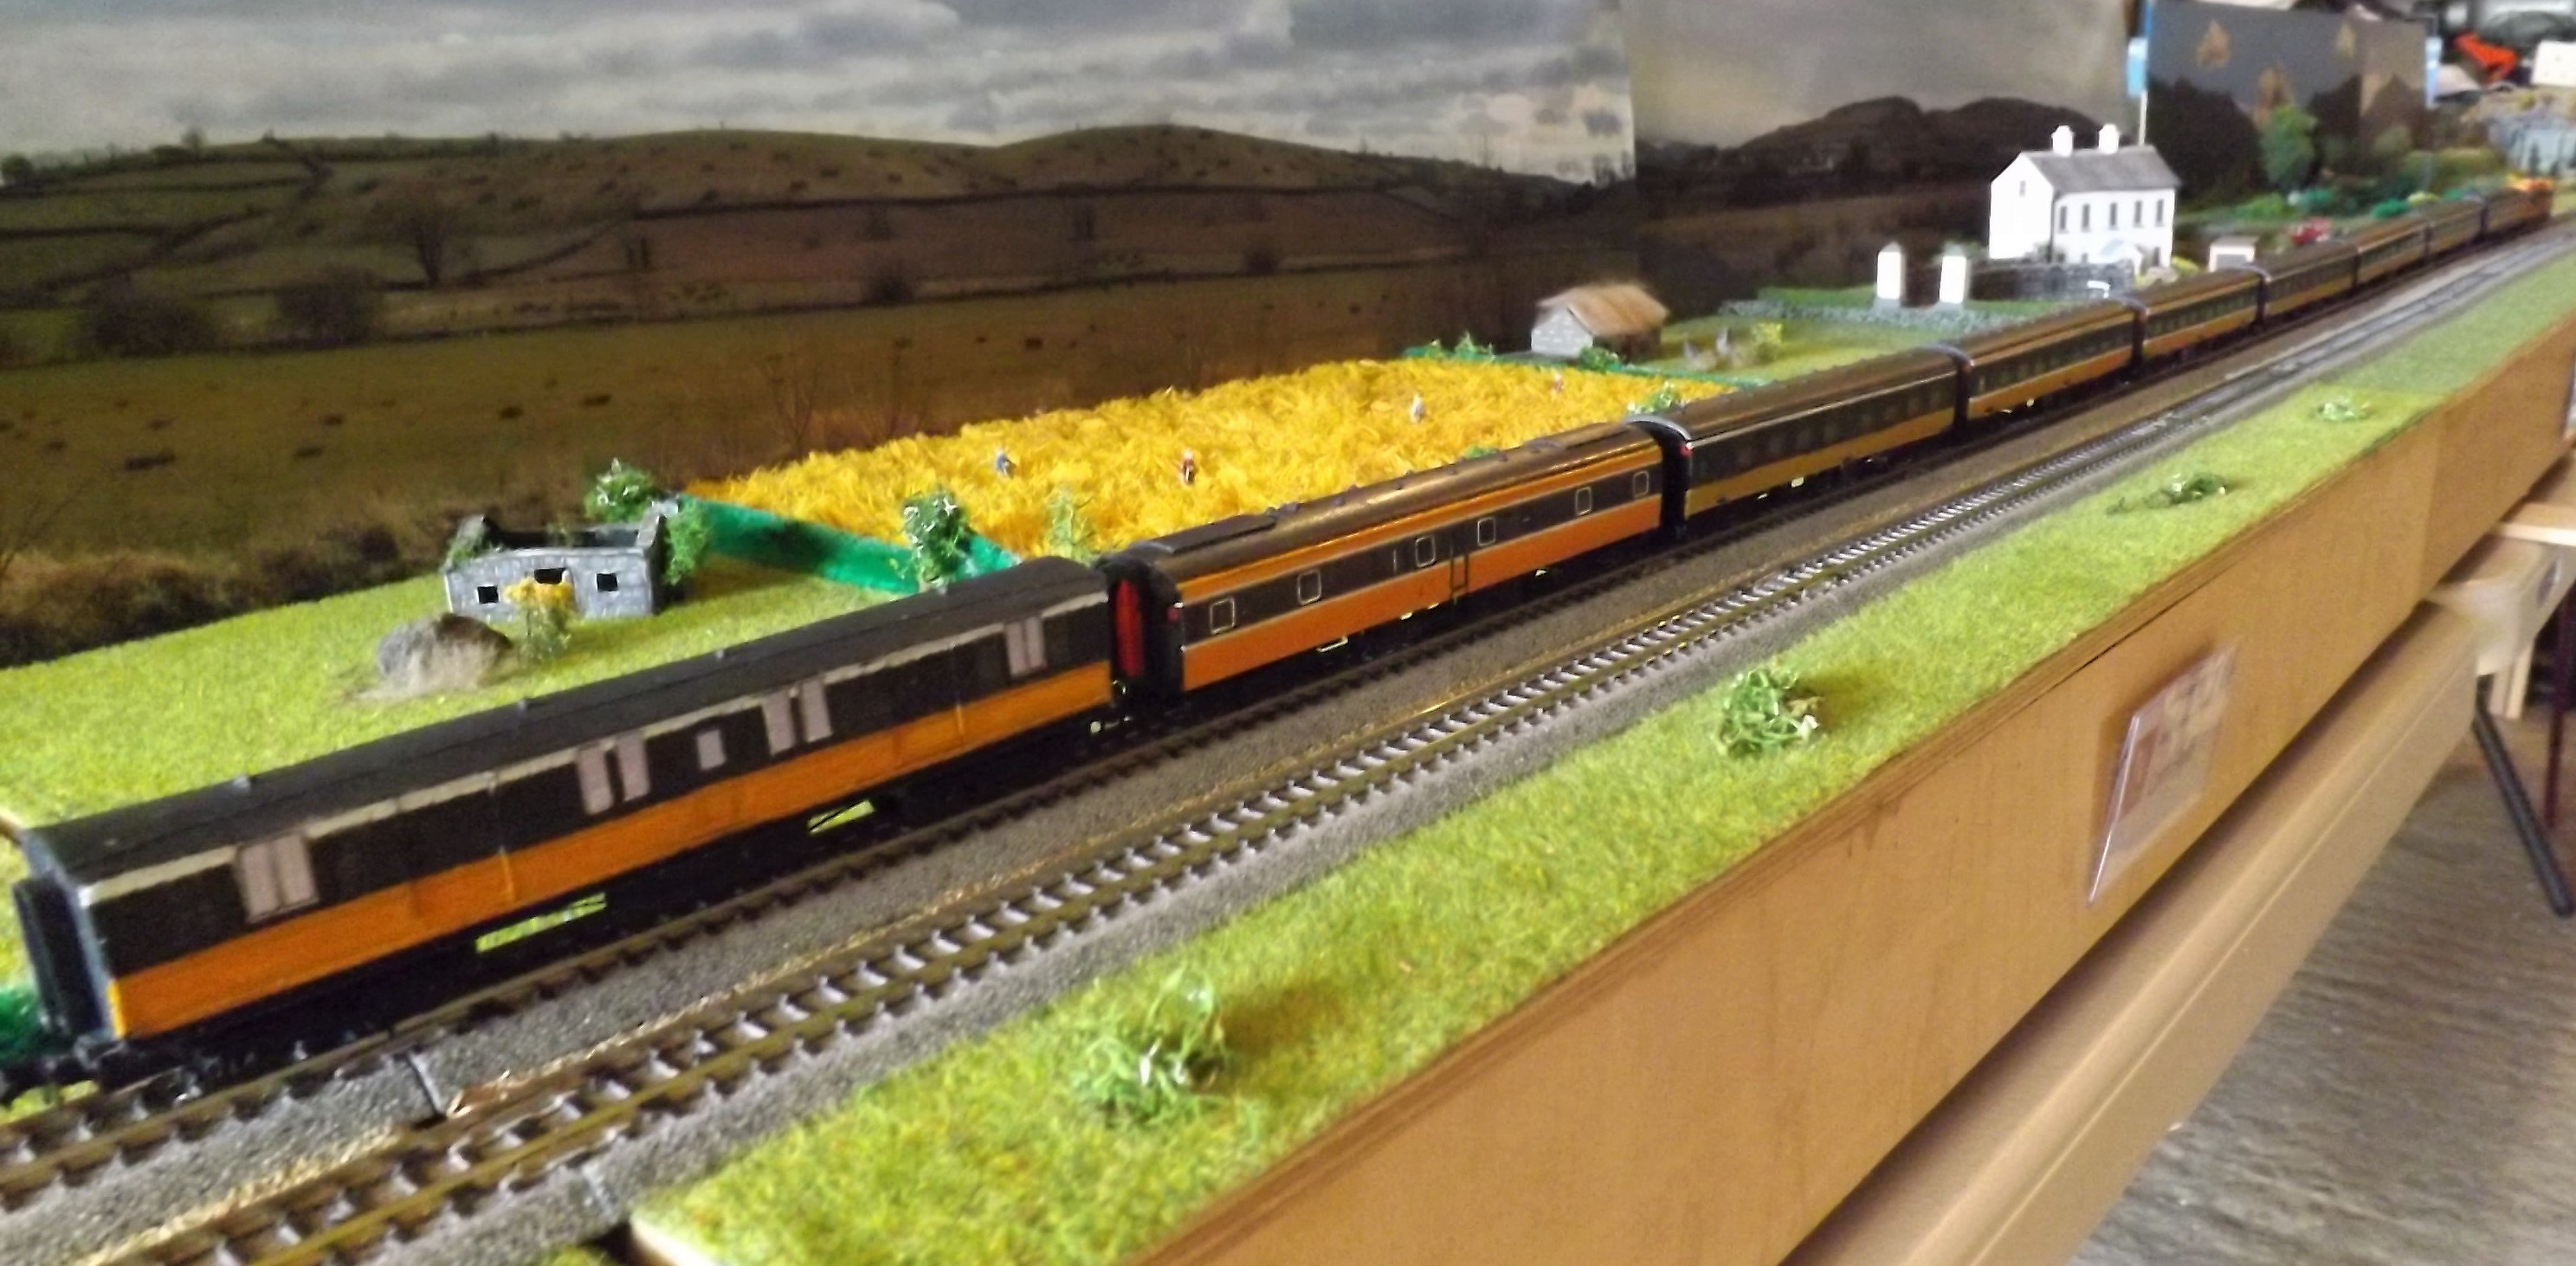
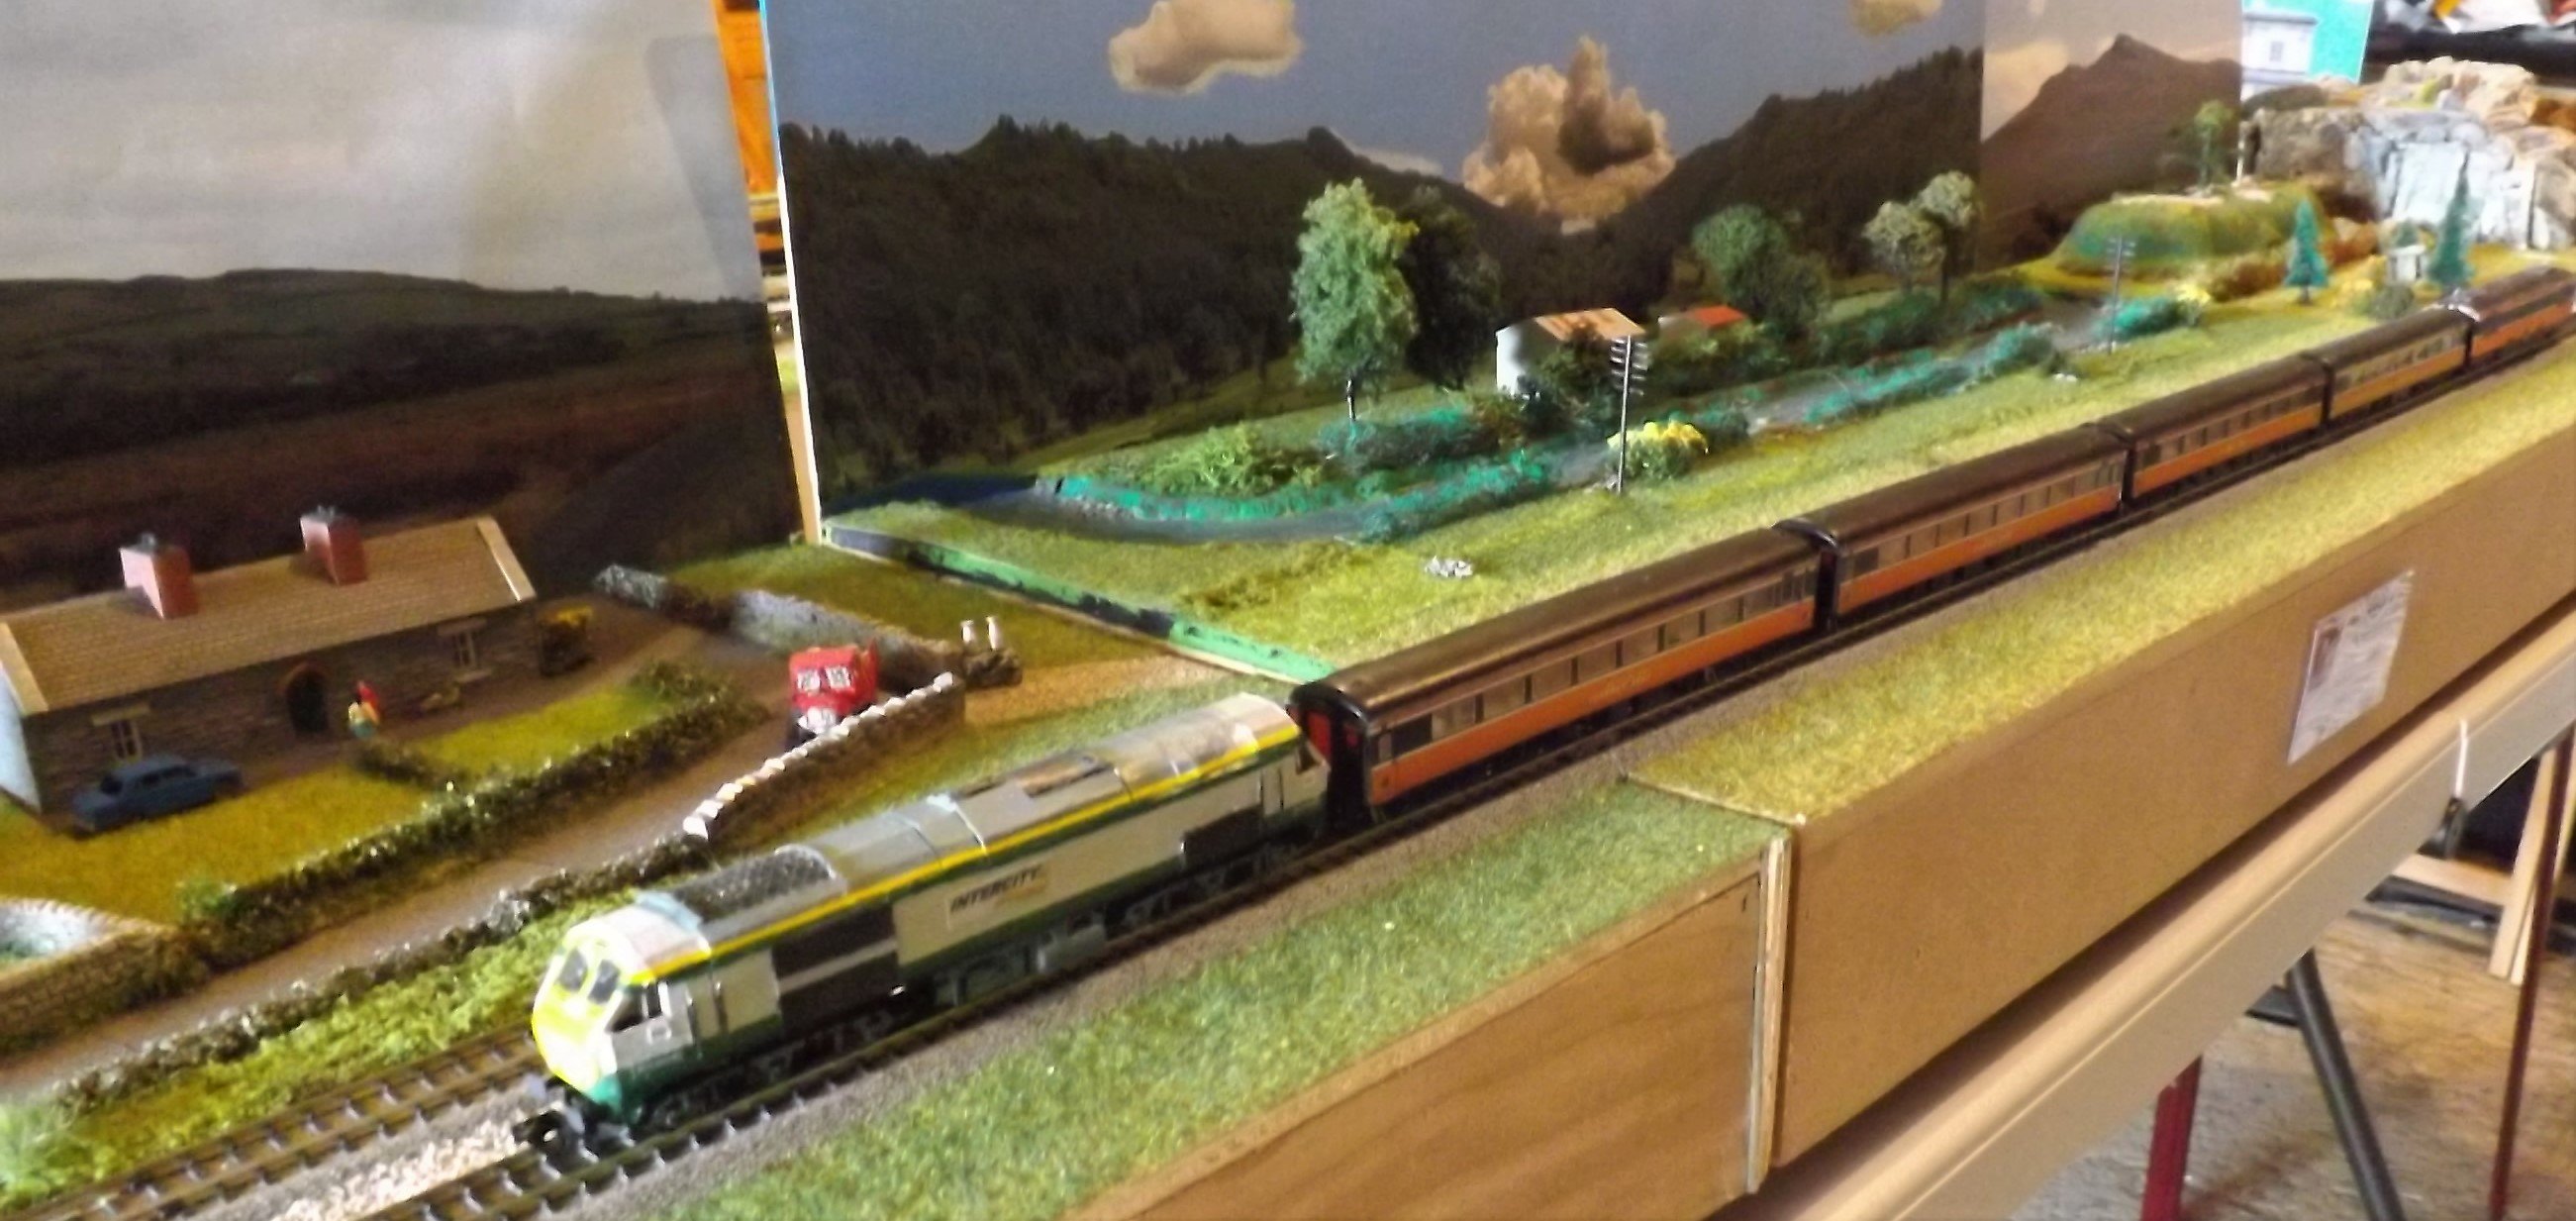
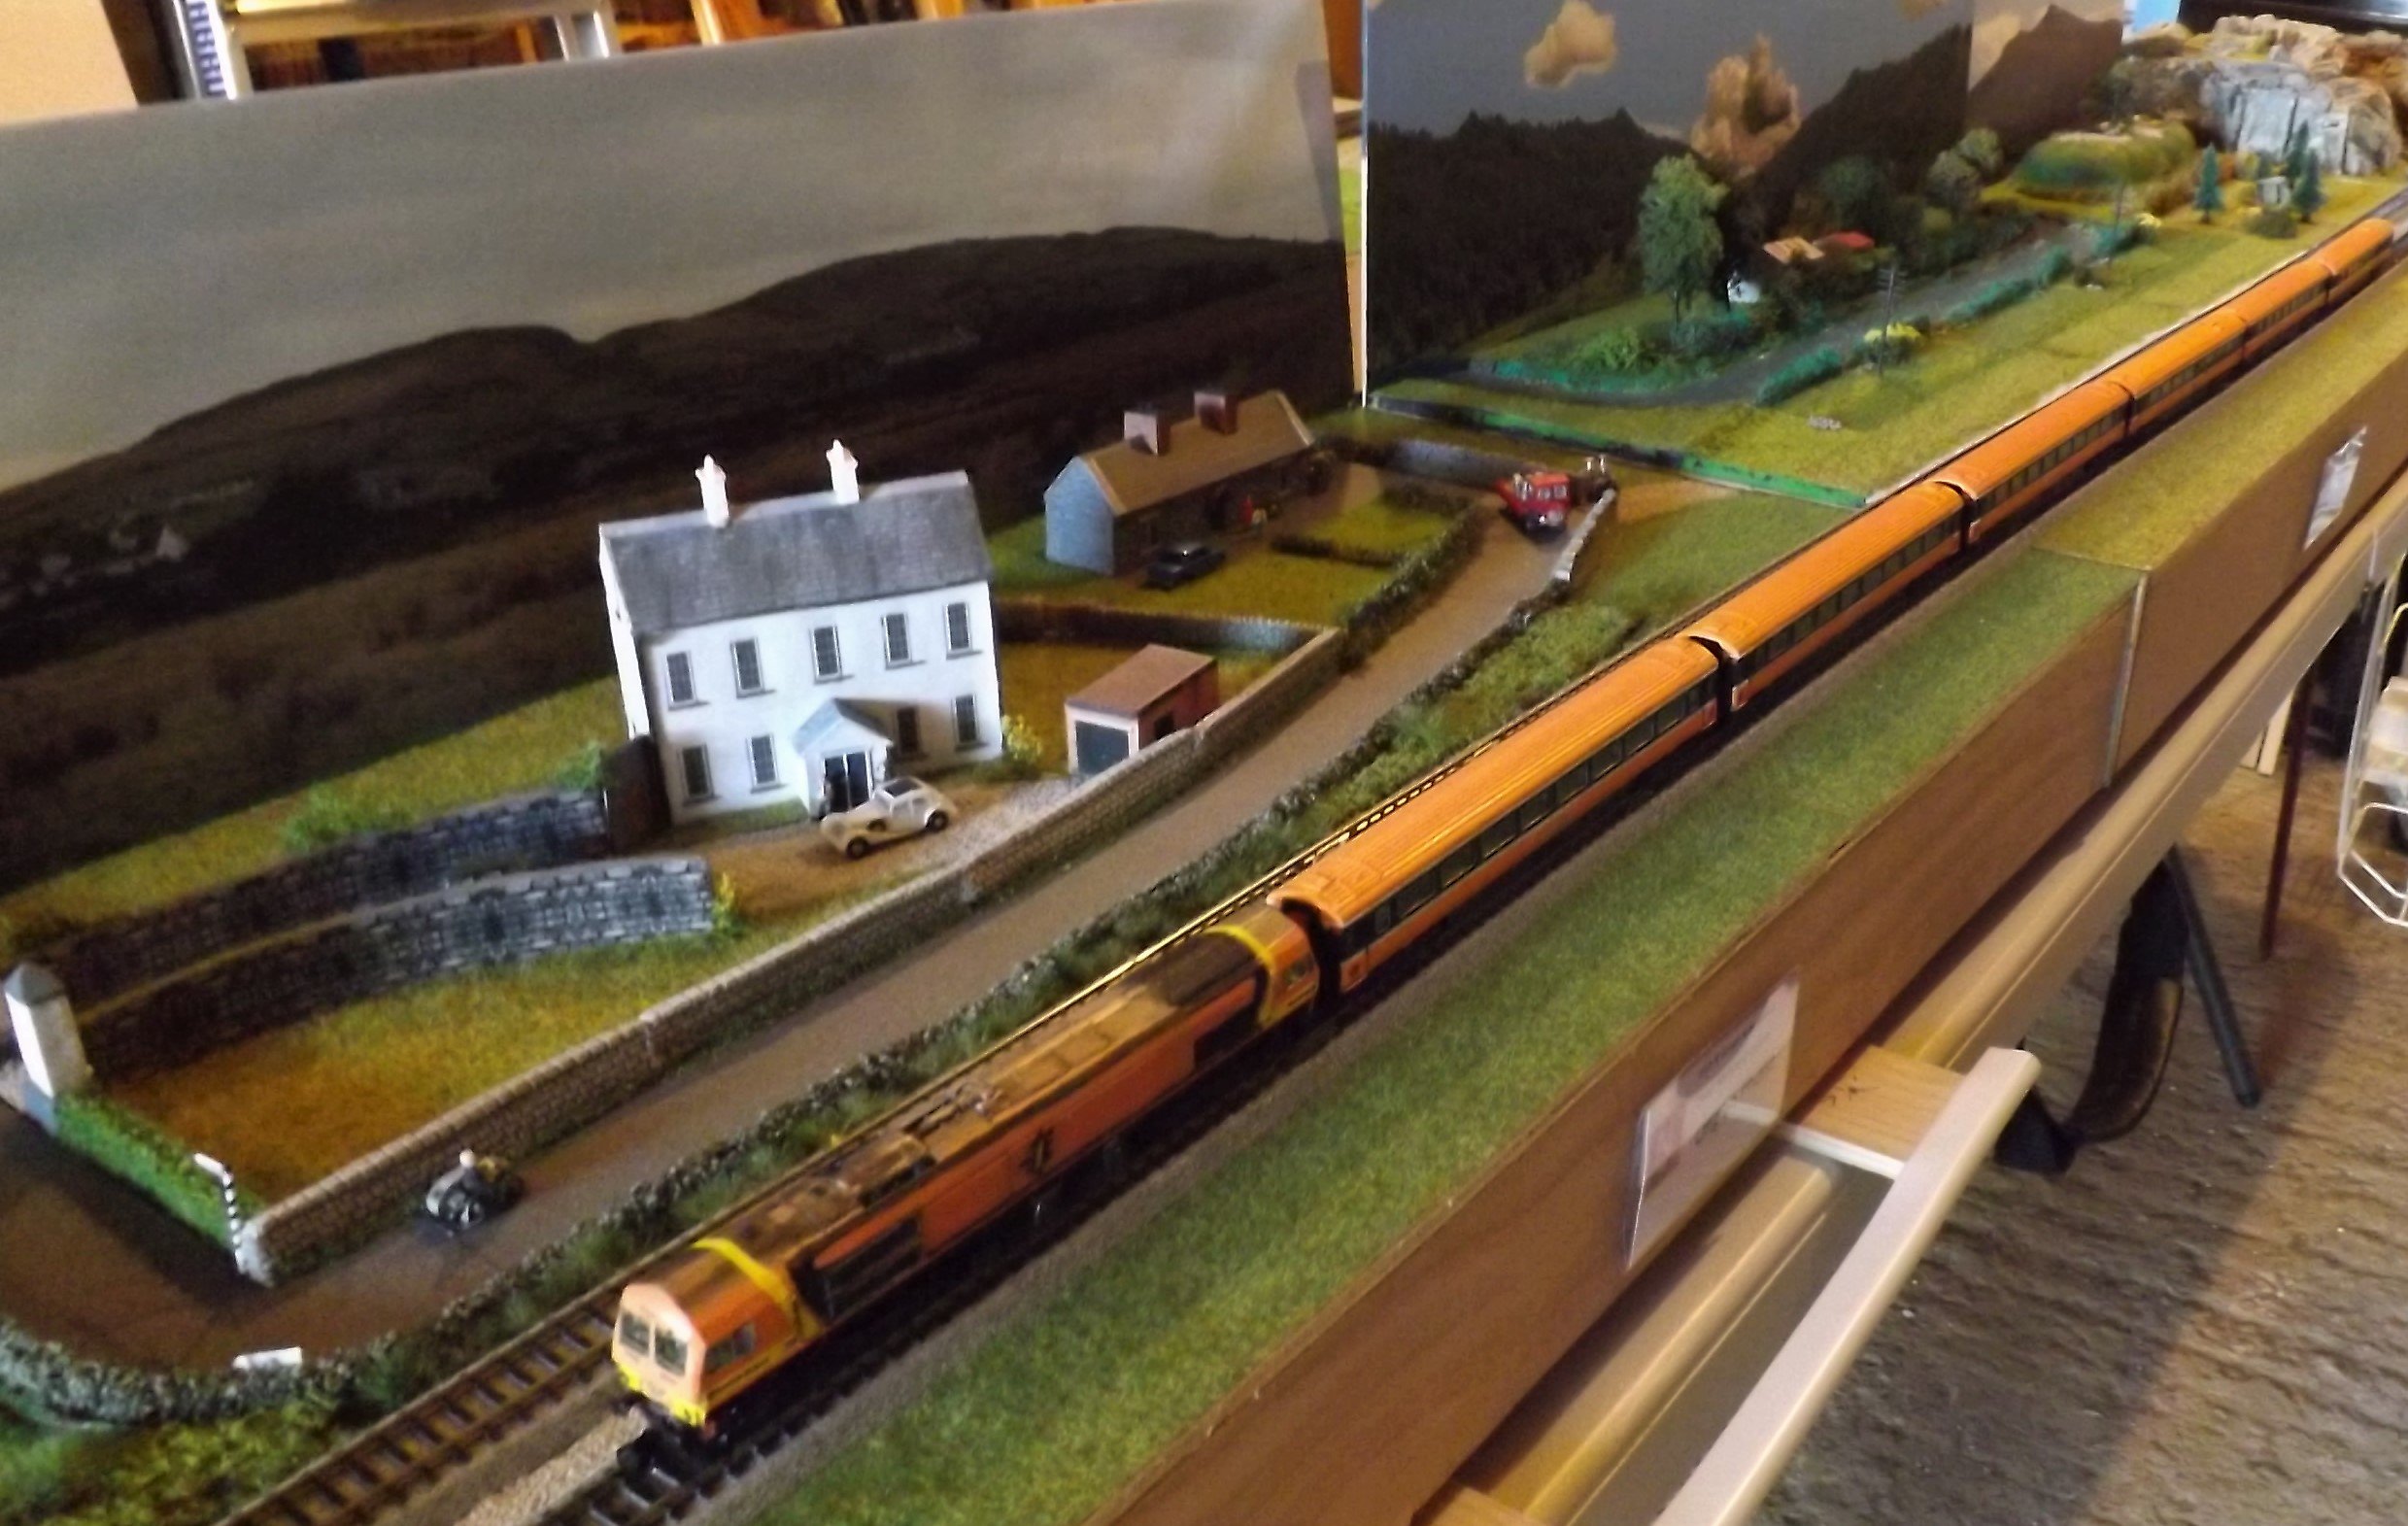
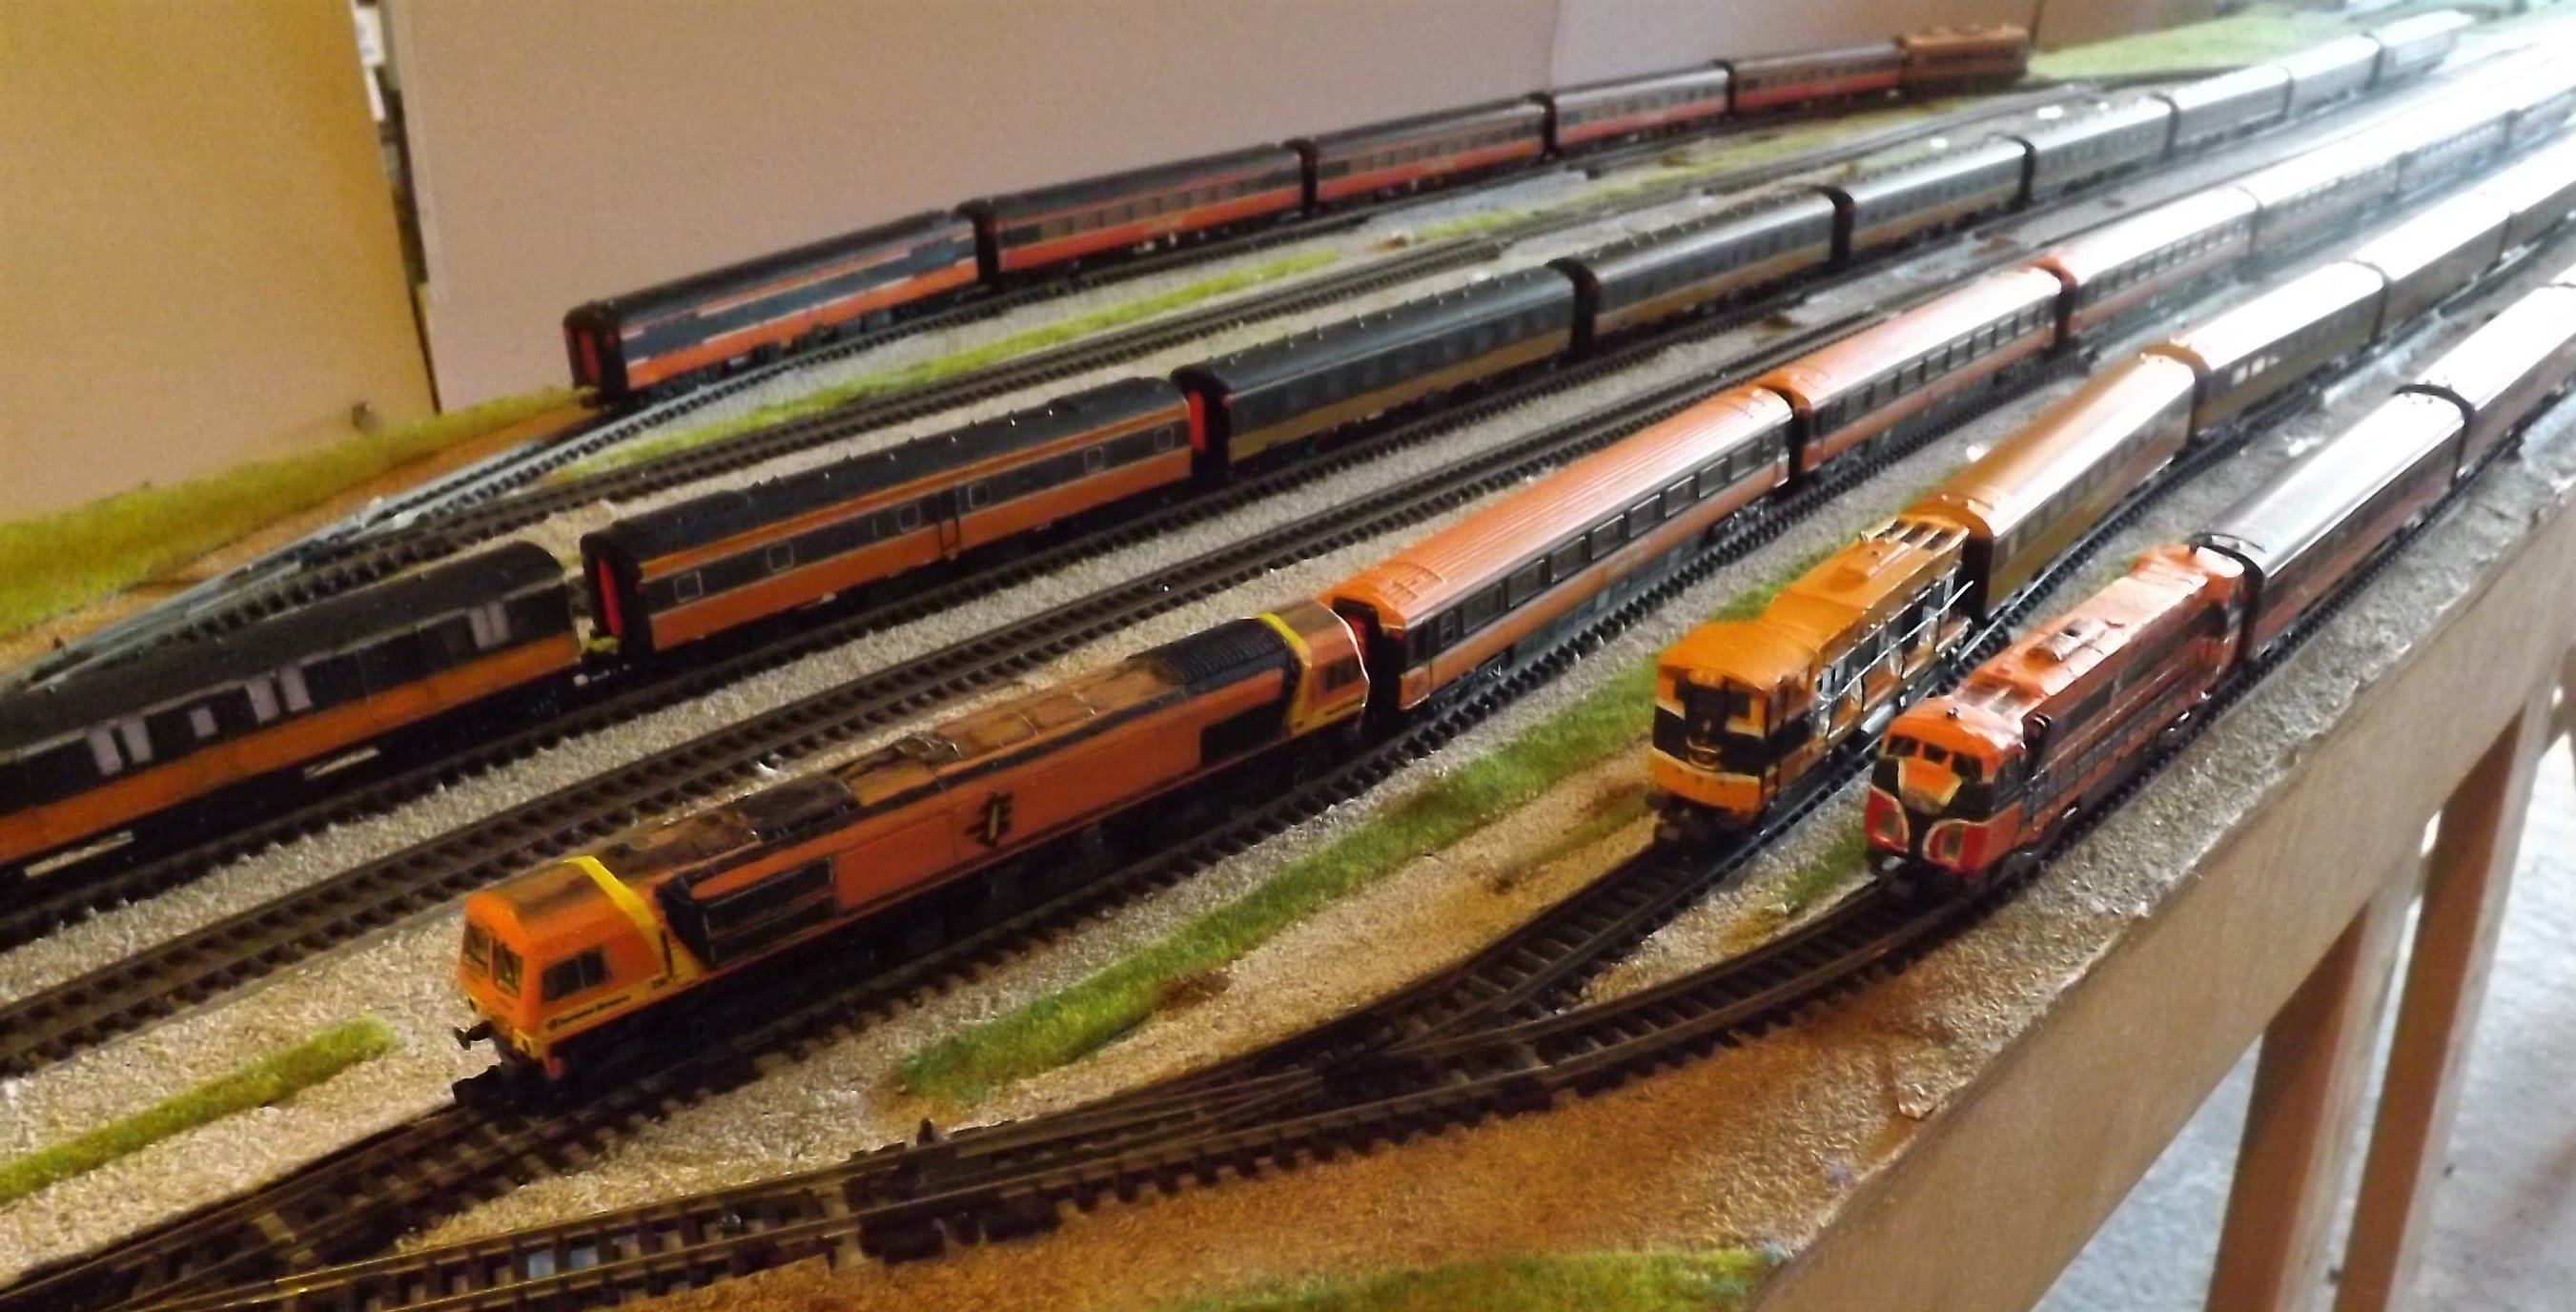
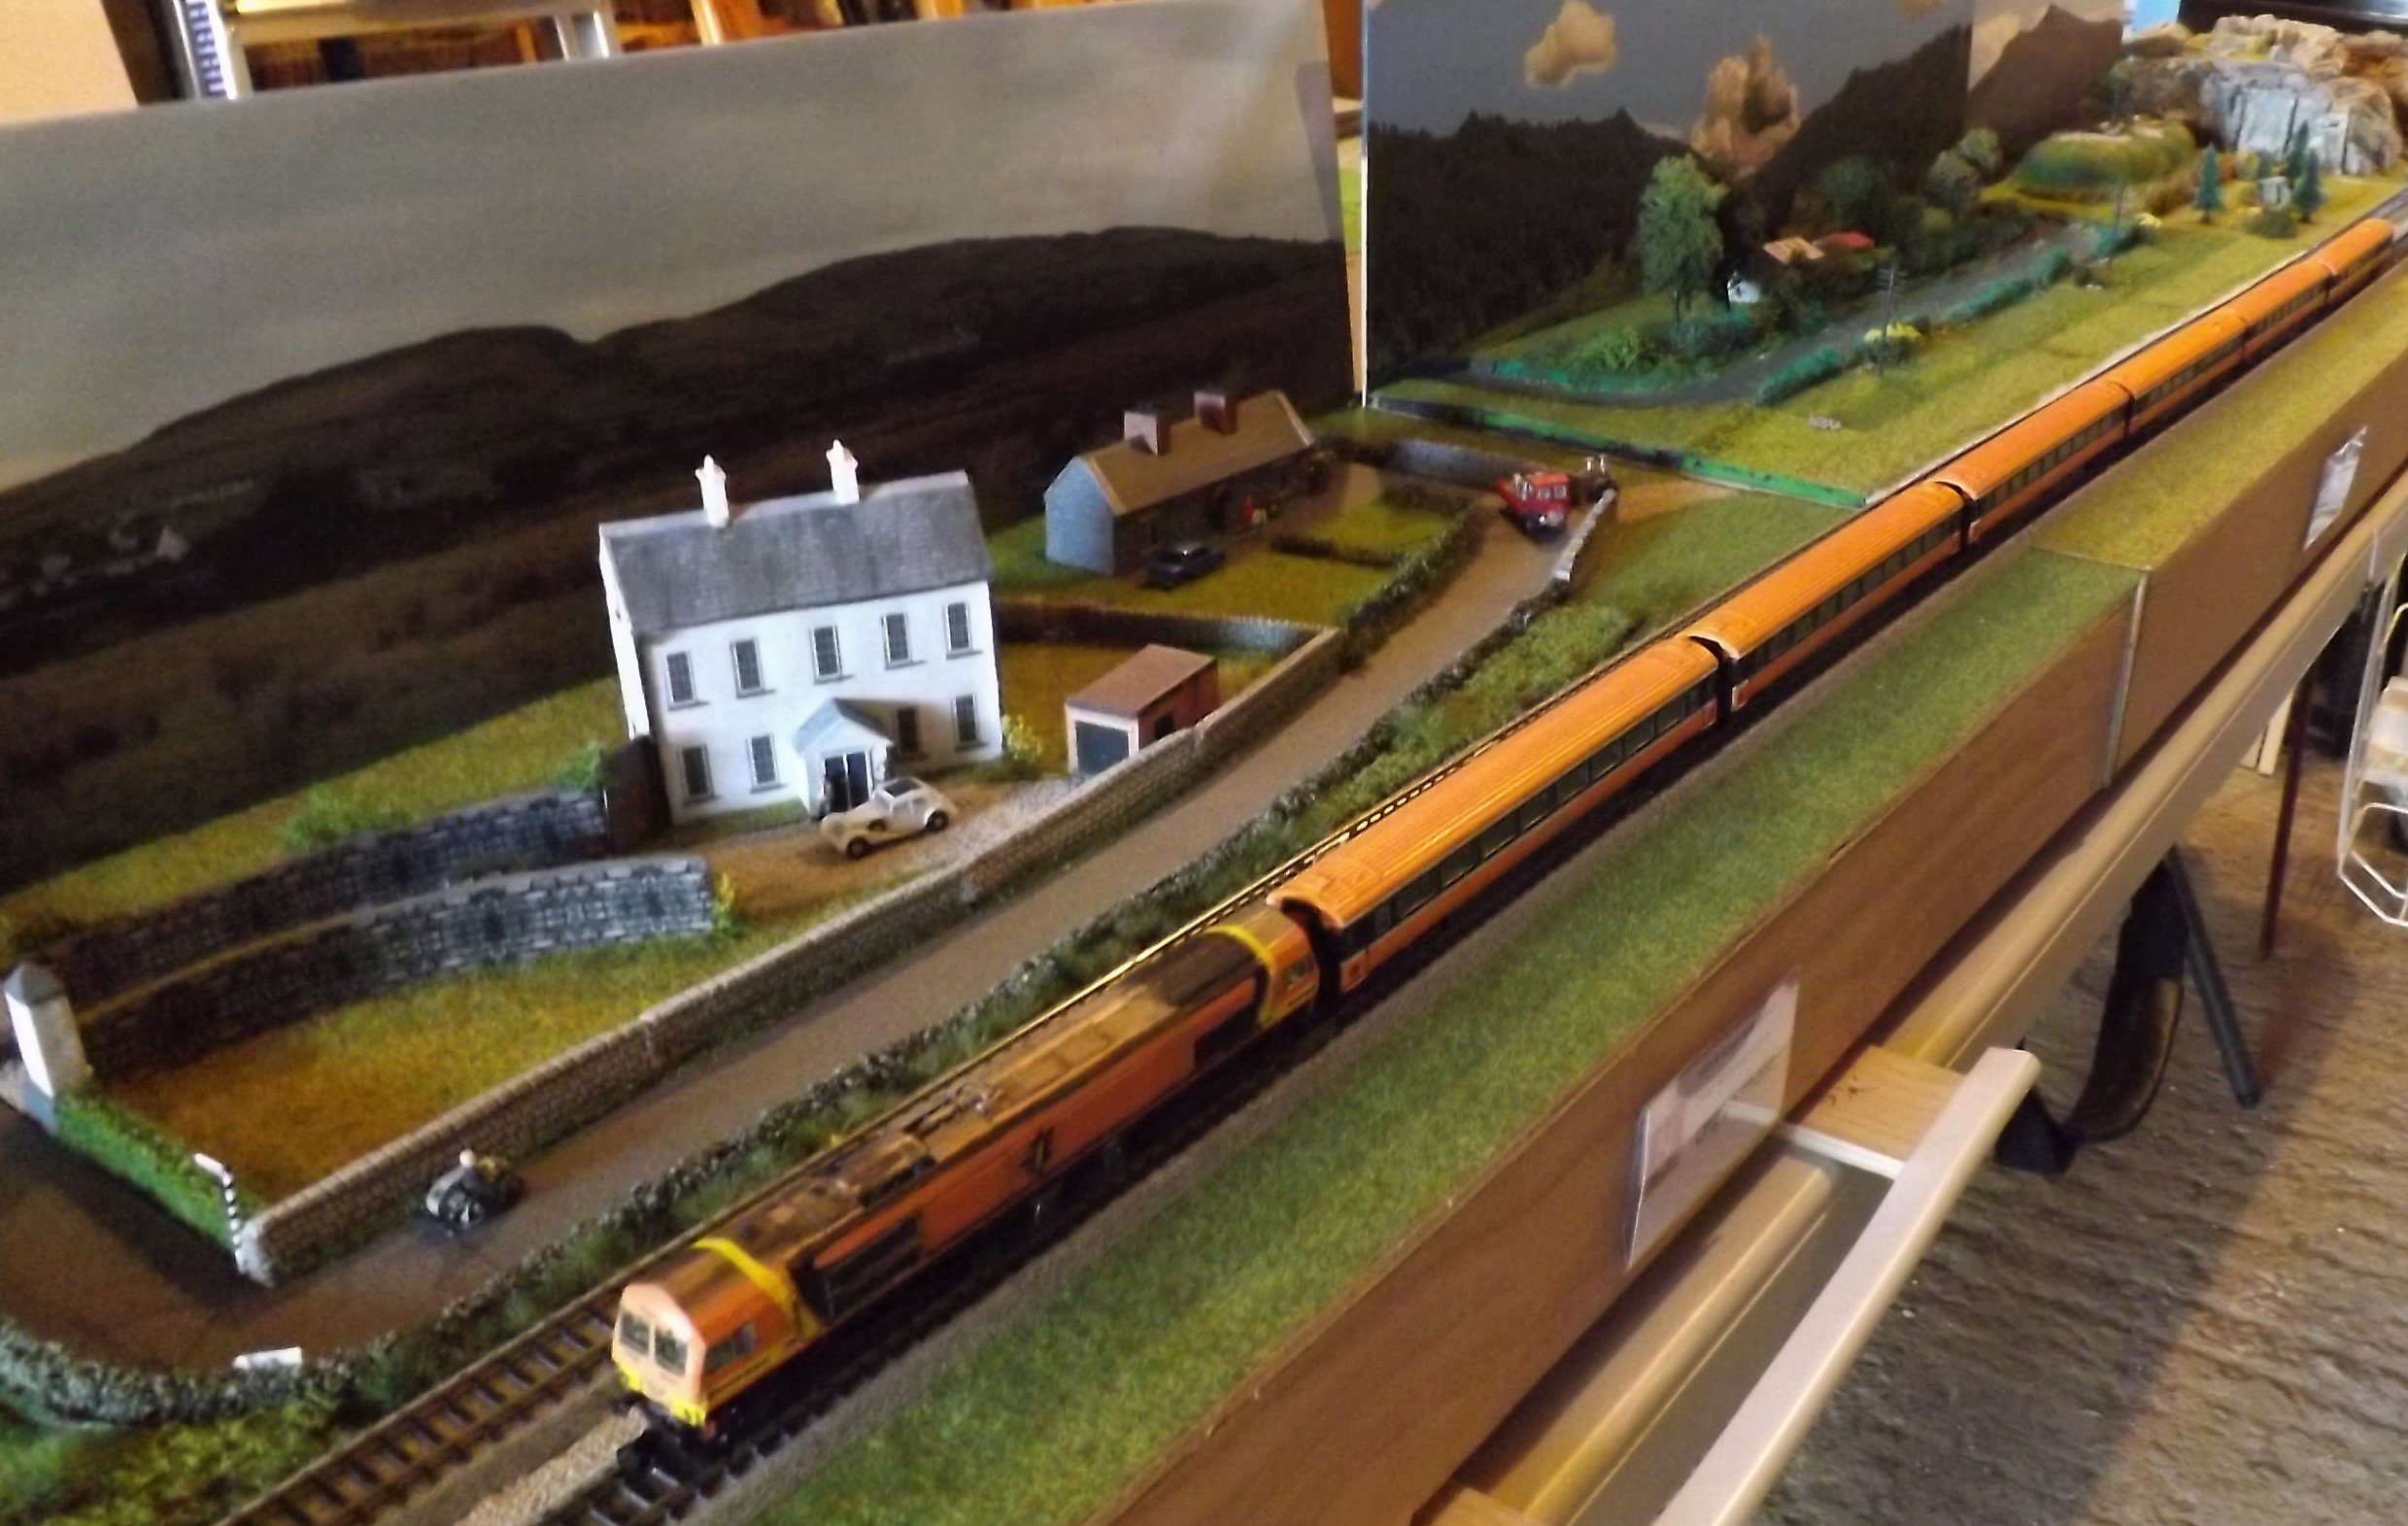
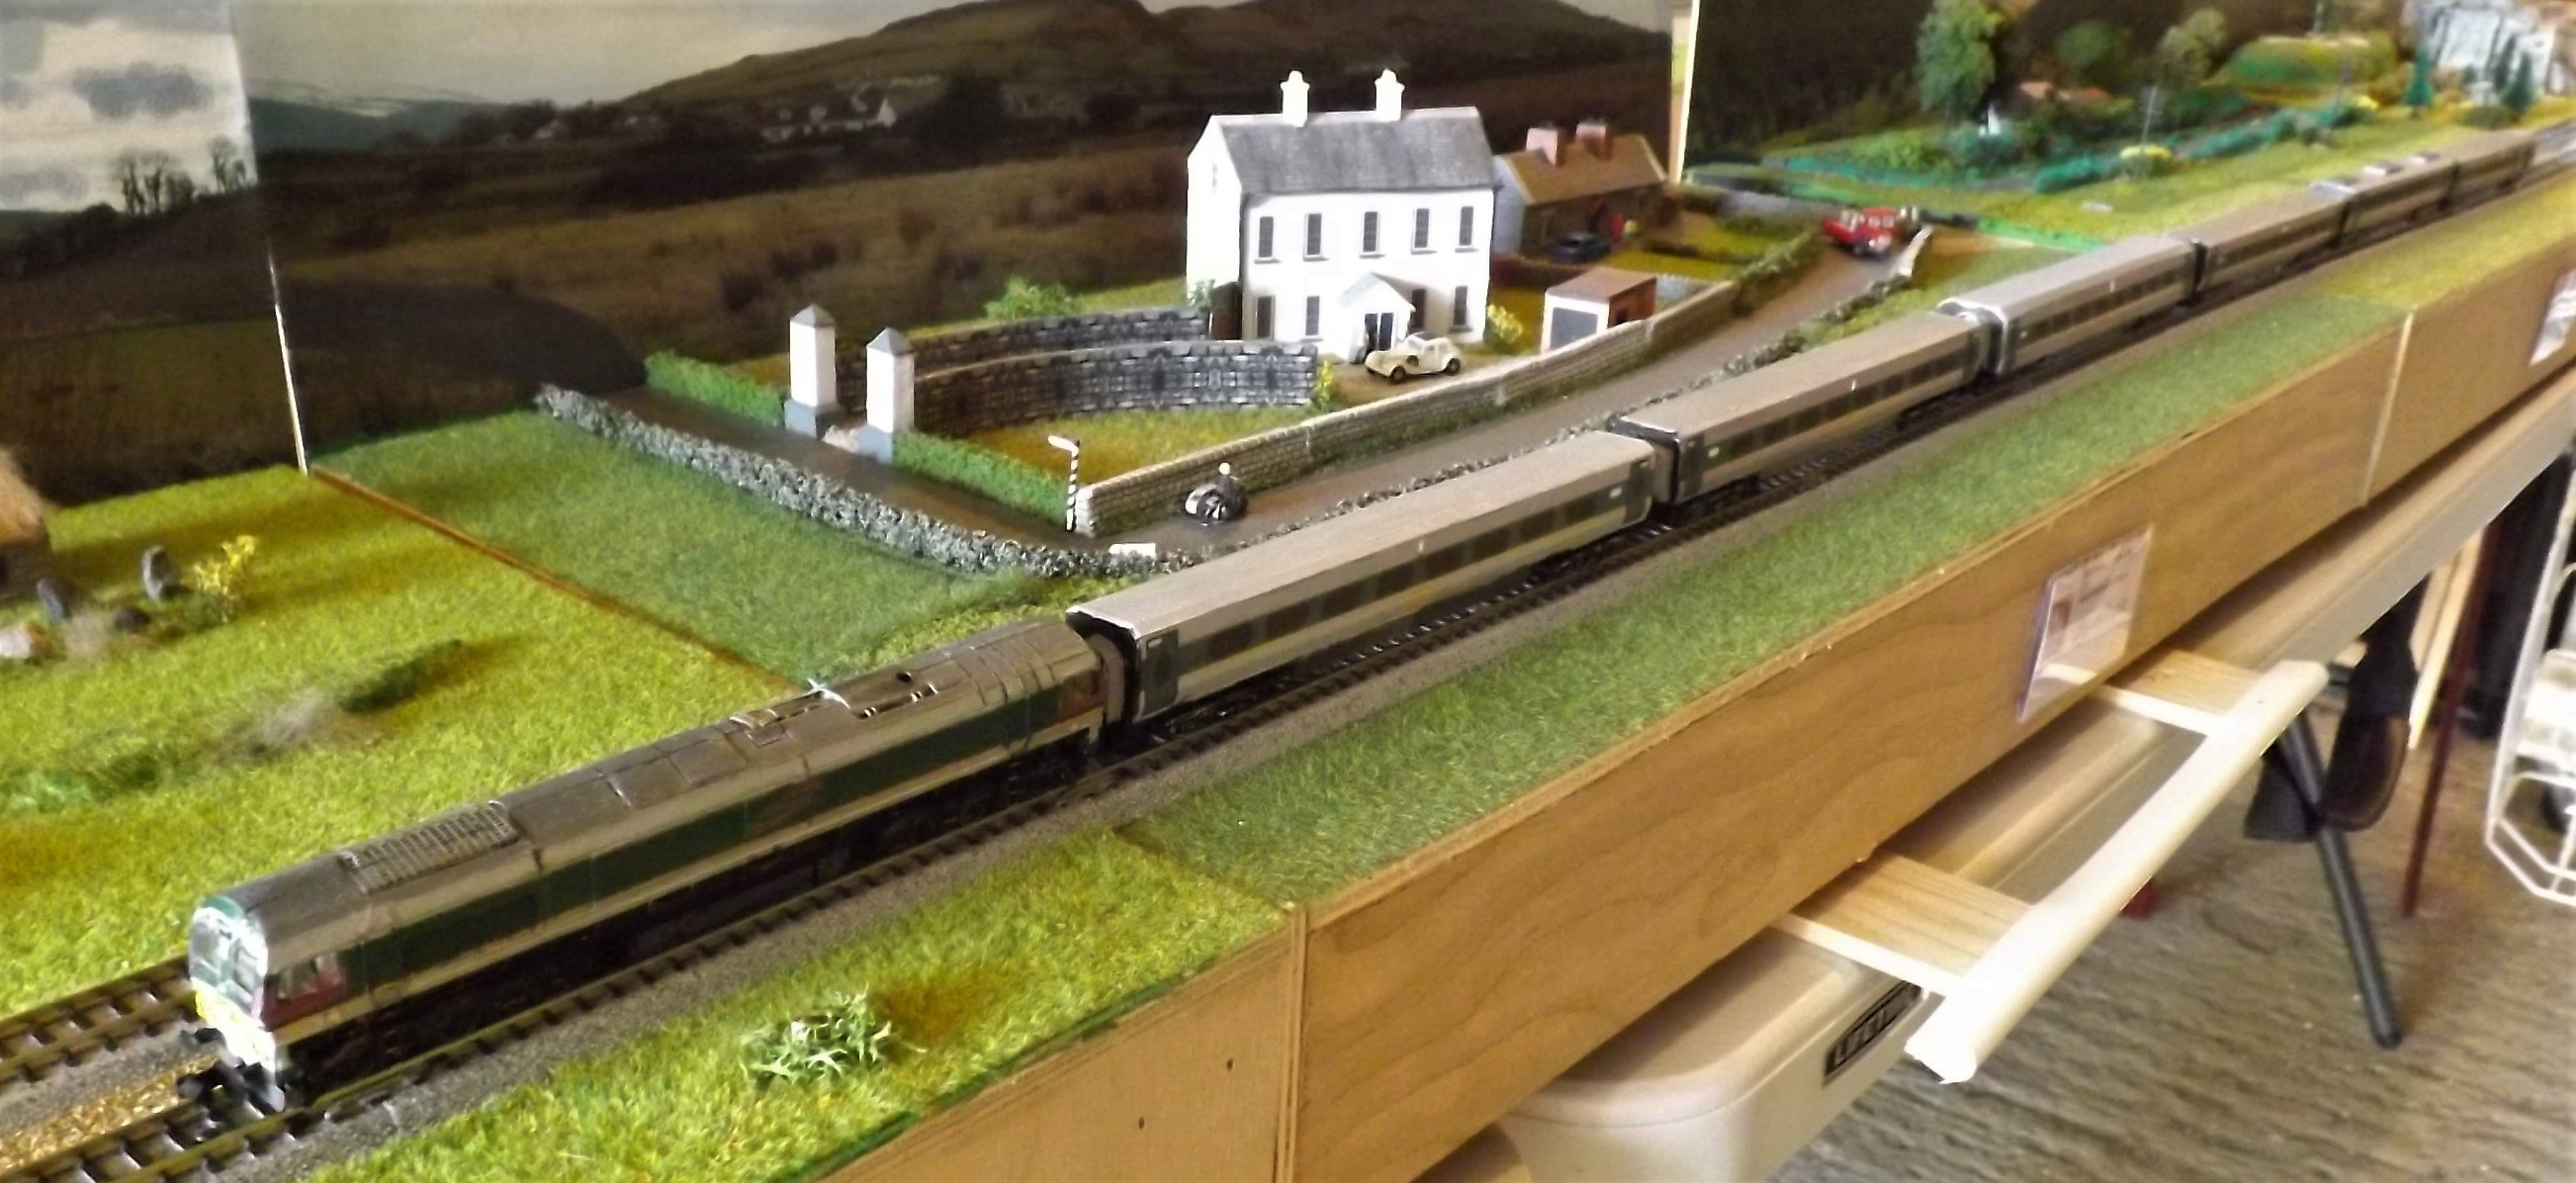
With all the Exhibitions since March cancelled, I temporarily set up a T-Trak layout in my garage. I am taking the opportunity to give all my Irish collection a run and in many cases to combine stock that would perhaps not be seen on the layout at the same time. The following photos show mostly orange and B and T liveried stock with a few more modern items at the end. The rest of the collection will appear over the coming weeks. Much of the stock will have been seen at various times in this thread but some will be new. The first 2 photos as usual show an overview. The"Tippex" coaches, pulled by the class 181, are shown for the first time in a single consist Here is a view of the luggage van and the EGV at the end the long consist The Grey intercity loco has been replaced by the class 181 This is the first of the new stock. The Enterprise liveried loco has been seen before but the coaches are all new. For along time I had been looking to acquire stock to run with it. However it was just this year that I found the inspiration to be able to do so. All of the coaches are made from a mix of plastic and card. The only commercial items are the wheels and bogies. This is the DVT at the rear of the train MikeO
-
A good start. The main thing is that you are happy with them. None of my Irish stock is totally authentic but I am happy with them. MikeO
-
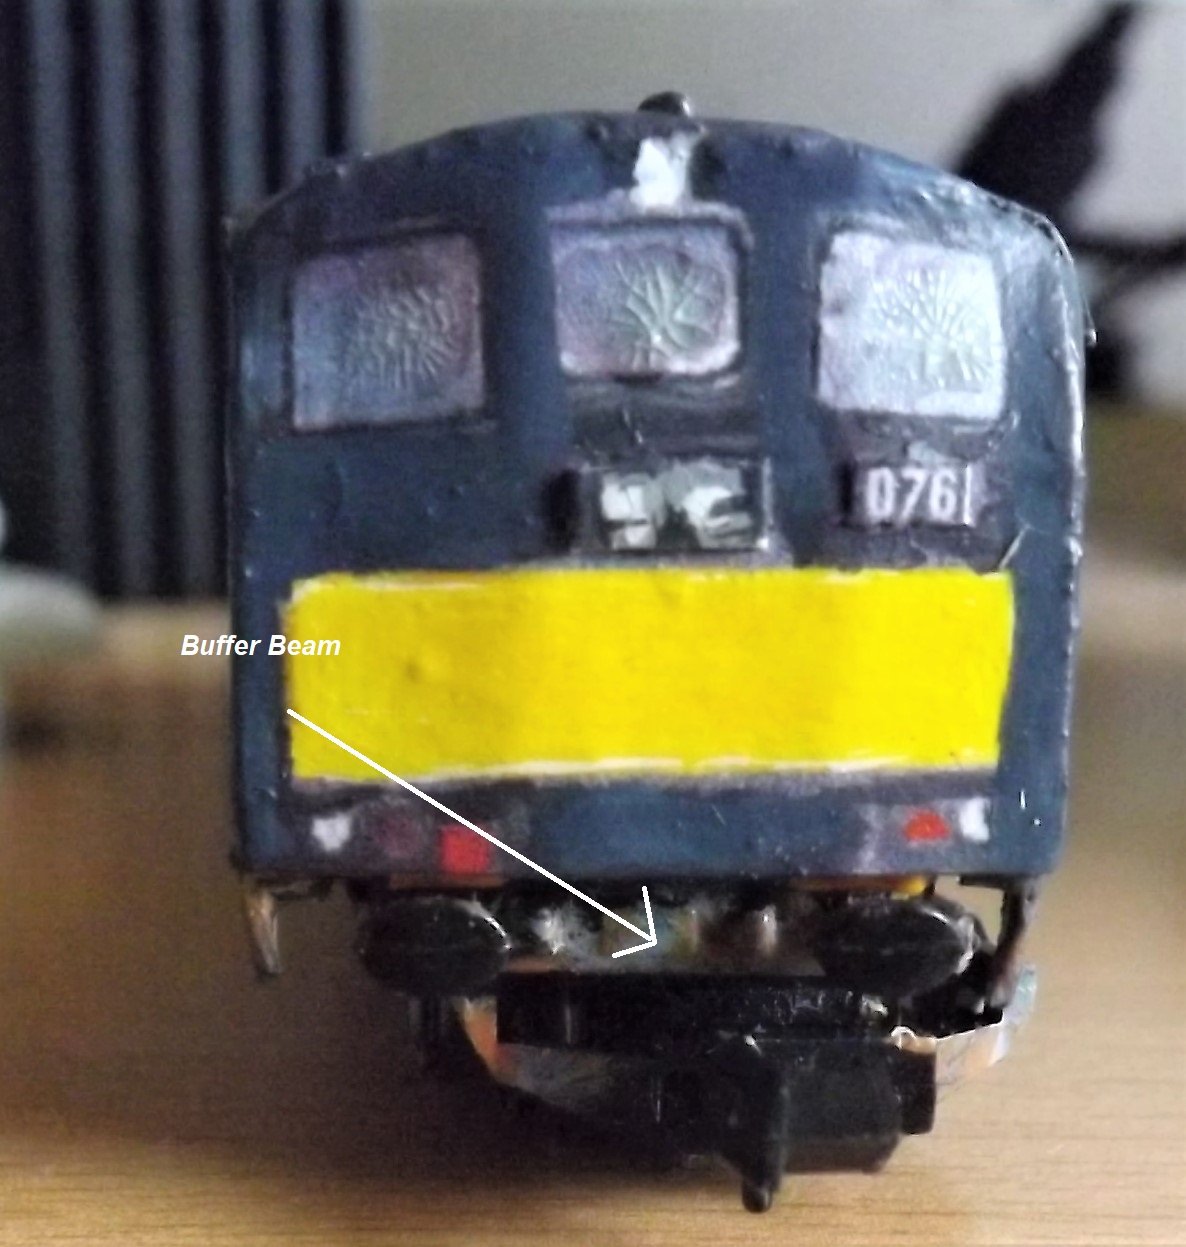
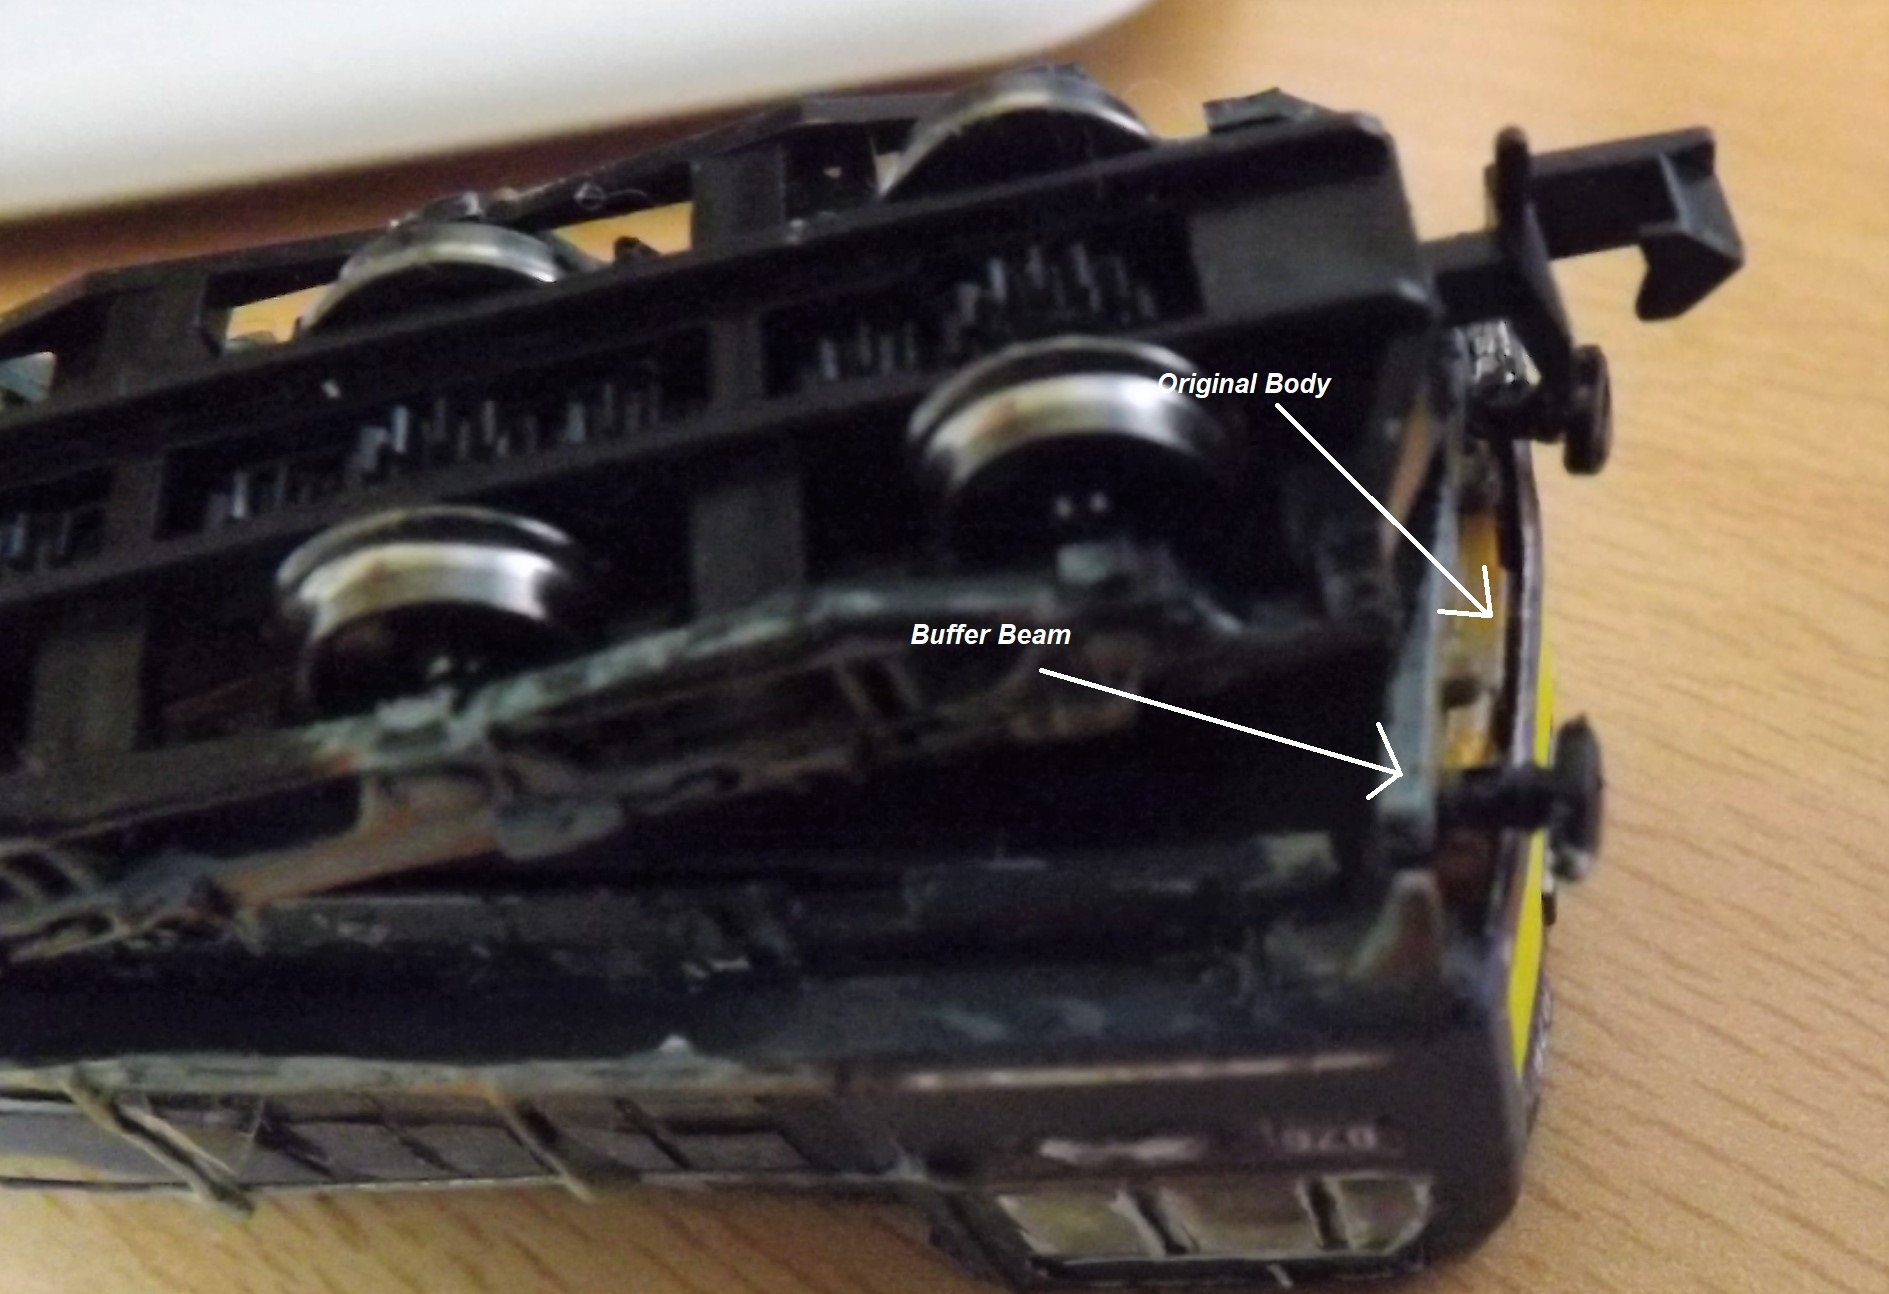
Peter The buffer beams are attached to each end of the chassis and the buffers are attached to the beams. My measurements include the buffer beams but not the buffers themselves. In respect of the class 37 the attached photos show 1 the buffer beam as seen from the front of the loco 2 the buffer beam and the position of original body as seen from underneath. I hope this helps Given your measurements of the Shapeways bodies neither the class 20 nor the class 37 chassis will suit. MikeO
-
Peter Did you buy SW9s for the 121. If so were there any issuing in fitting them to the Shapeways bodiy? The Class 20 chassis measures 91mm in length from buffer beam to buffer beam and 15mm in width. With regard to the 071, the length of the class 37 chassis is 121mm in length from buffer beam to buffer beam and 16mm in with. If you have an 071 Shapeways body does this help? MikeO
-
Peter I had looked at the Shapeways bodies when I first considered modelling a class 121 but could not find the specified chassis donor which was an American switcher SW9. To me the drawback to the Shapeways bodies is that the designers either had in mind a specific chassis or the left it to the buyer to come up with something. This is very hit or miss. While the dimensions are quoted, usually external, there can be issues with internal dimensions. A friend showed me bodies he bought for the class141/181. The internal cavity appeared to be too small to take any standard motor. The other issues is the length of the chassis need for each body type. Looking at any commercially available chassis it was always hard to know which might fit the body. even comparing real life dimensions of the potential donor loco with those of the real life body prototype I could not find any that match exactly. Making changes to the chassis was not something I felt comfortable with doing. If you find any chassis that fit I would be interested to know. MikeO
-
Peter In both cases I used the whole model. For the 071 the donor was a Class 37 diesel and for the 121 it was a class 20. The choice of these models was influenced by the fact that they were about the right length and had the correct wheel arrangement. I thought it would be simpler building up the body to the appropriate shape. I am content that it looks the part but may not be strictly accurate. Hope this helps.
-
The Mark 4 coaches look well how do you intend coupling them? I also like the container wagon chassis. Is this your own design? MikeO
-
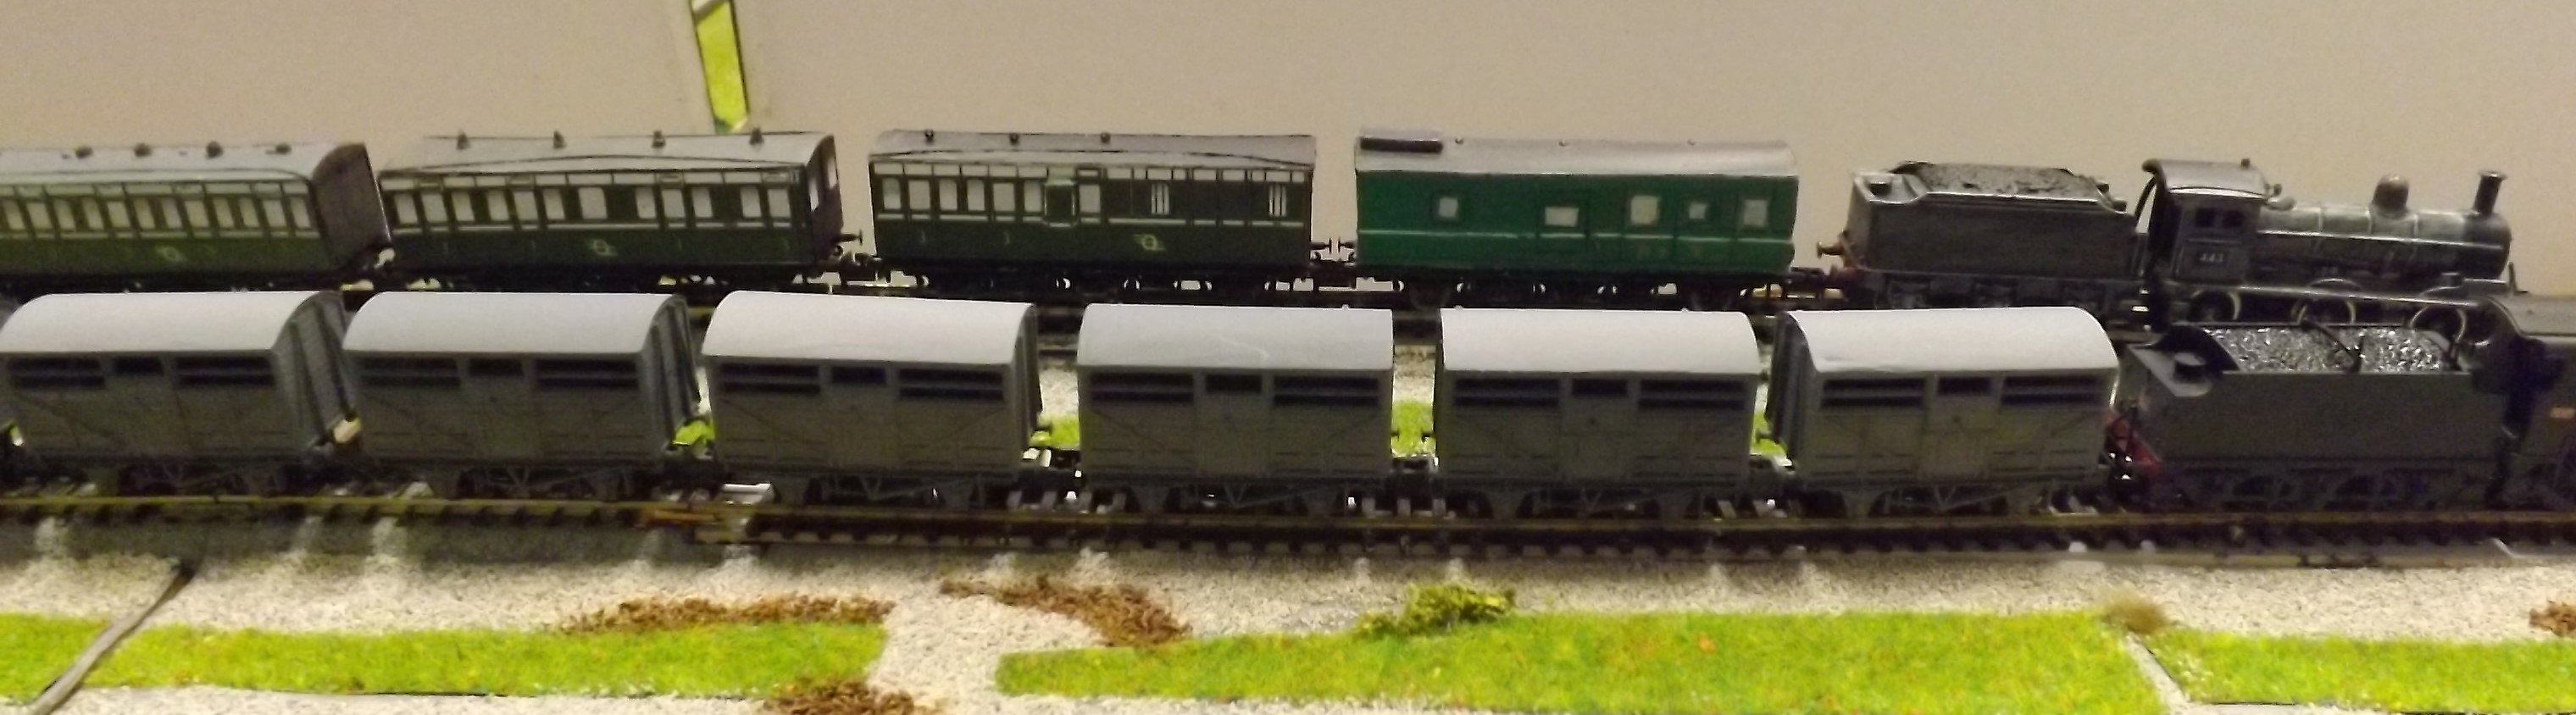
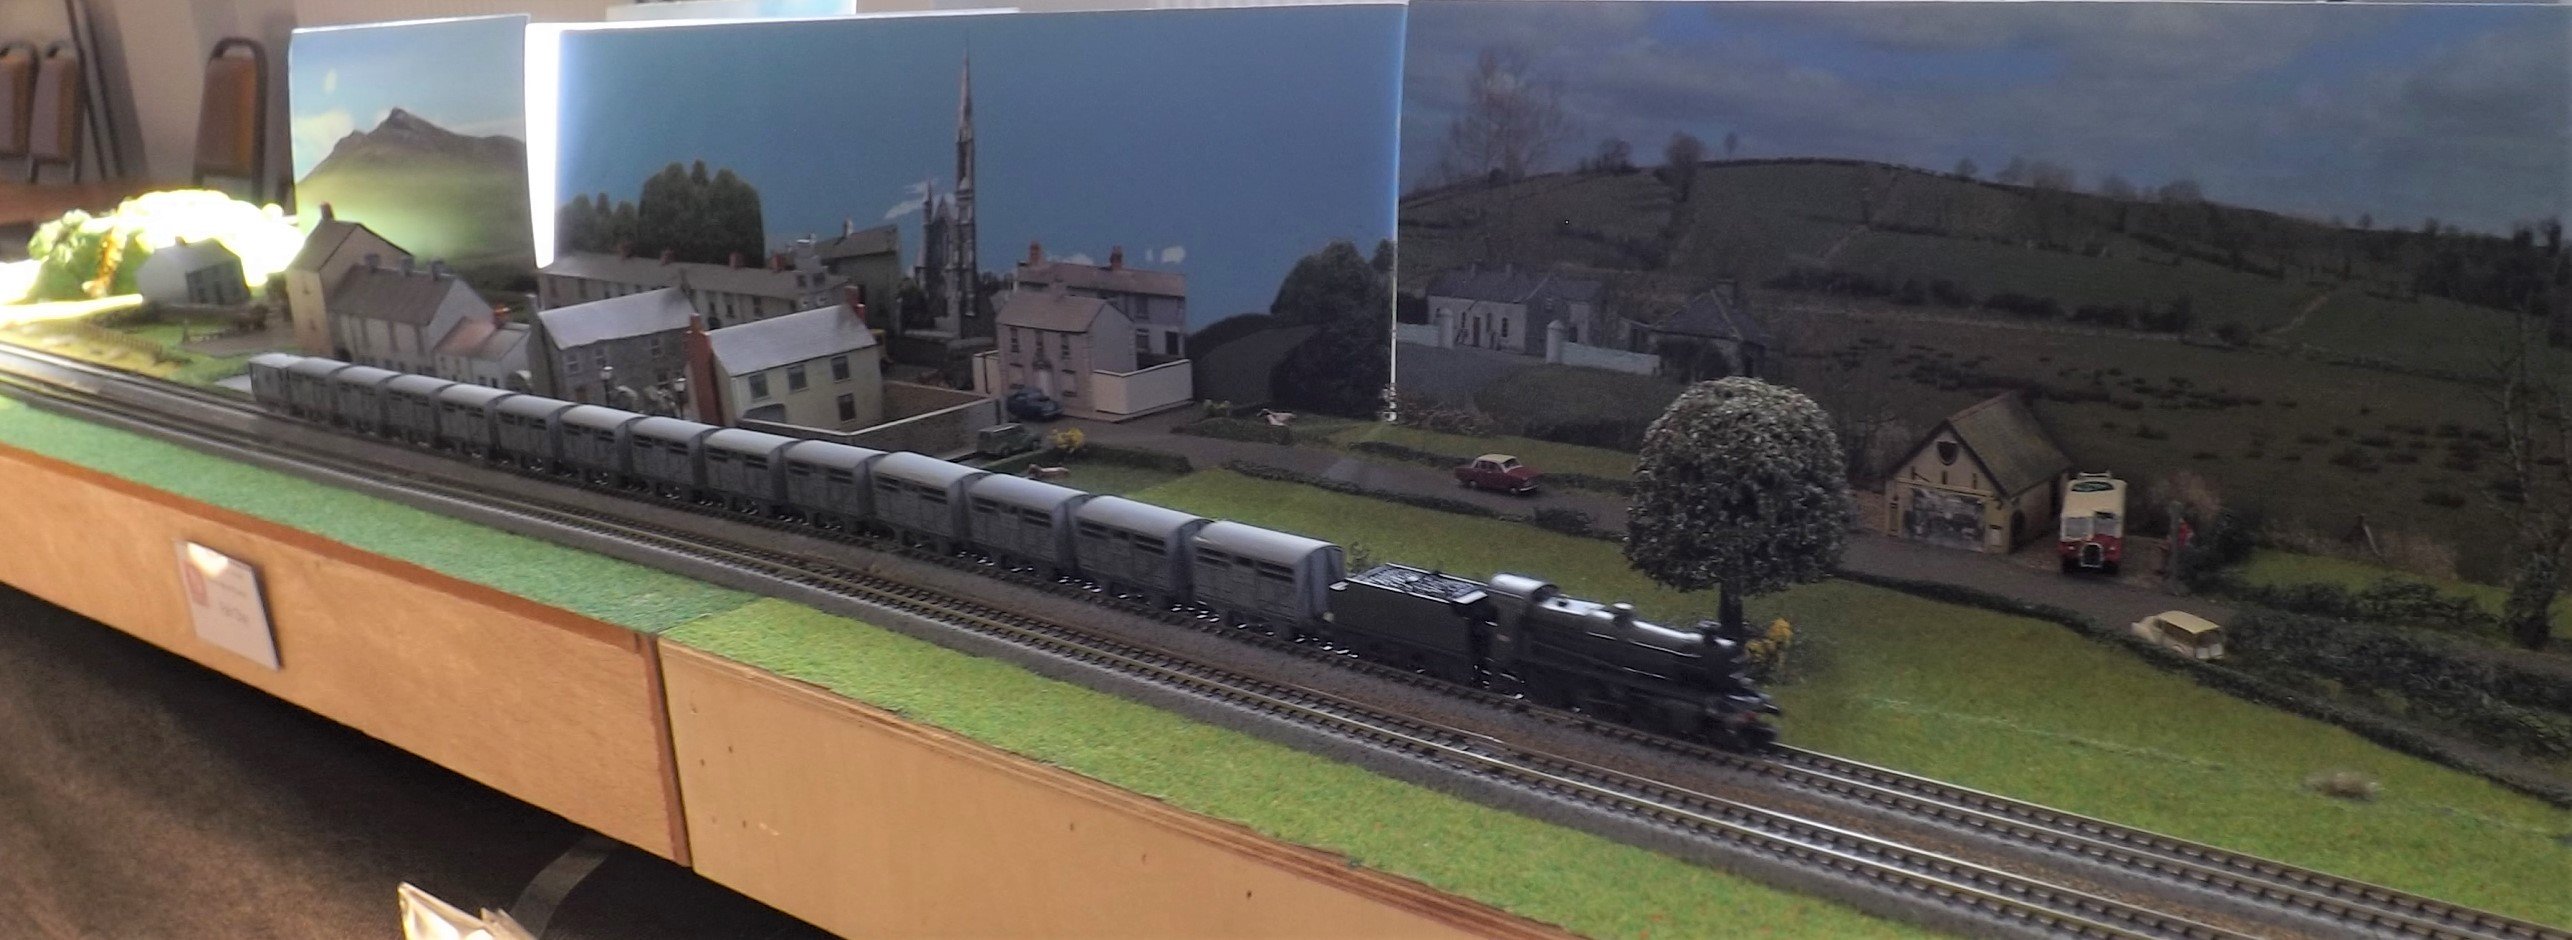
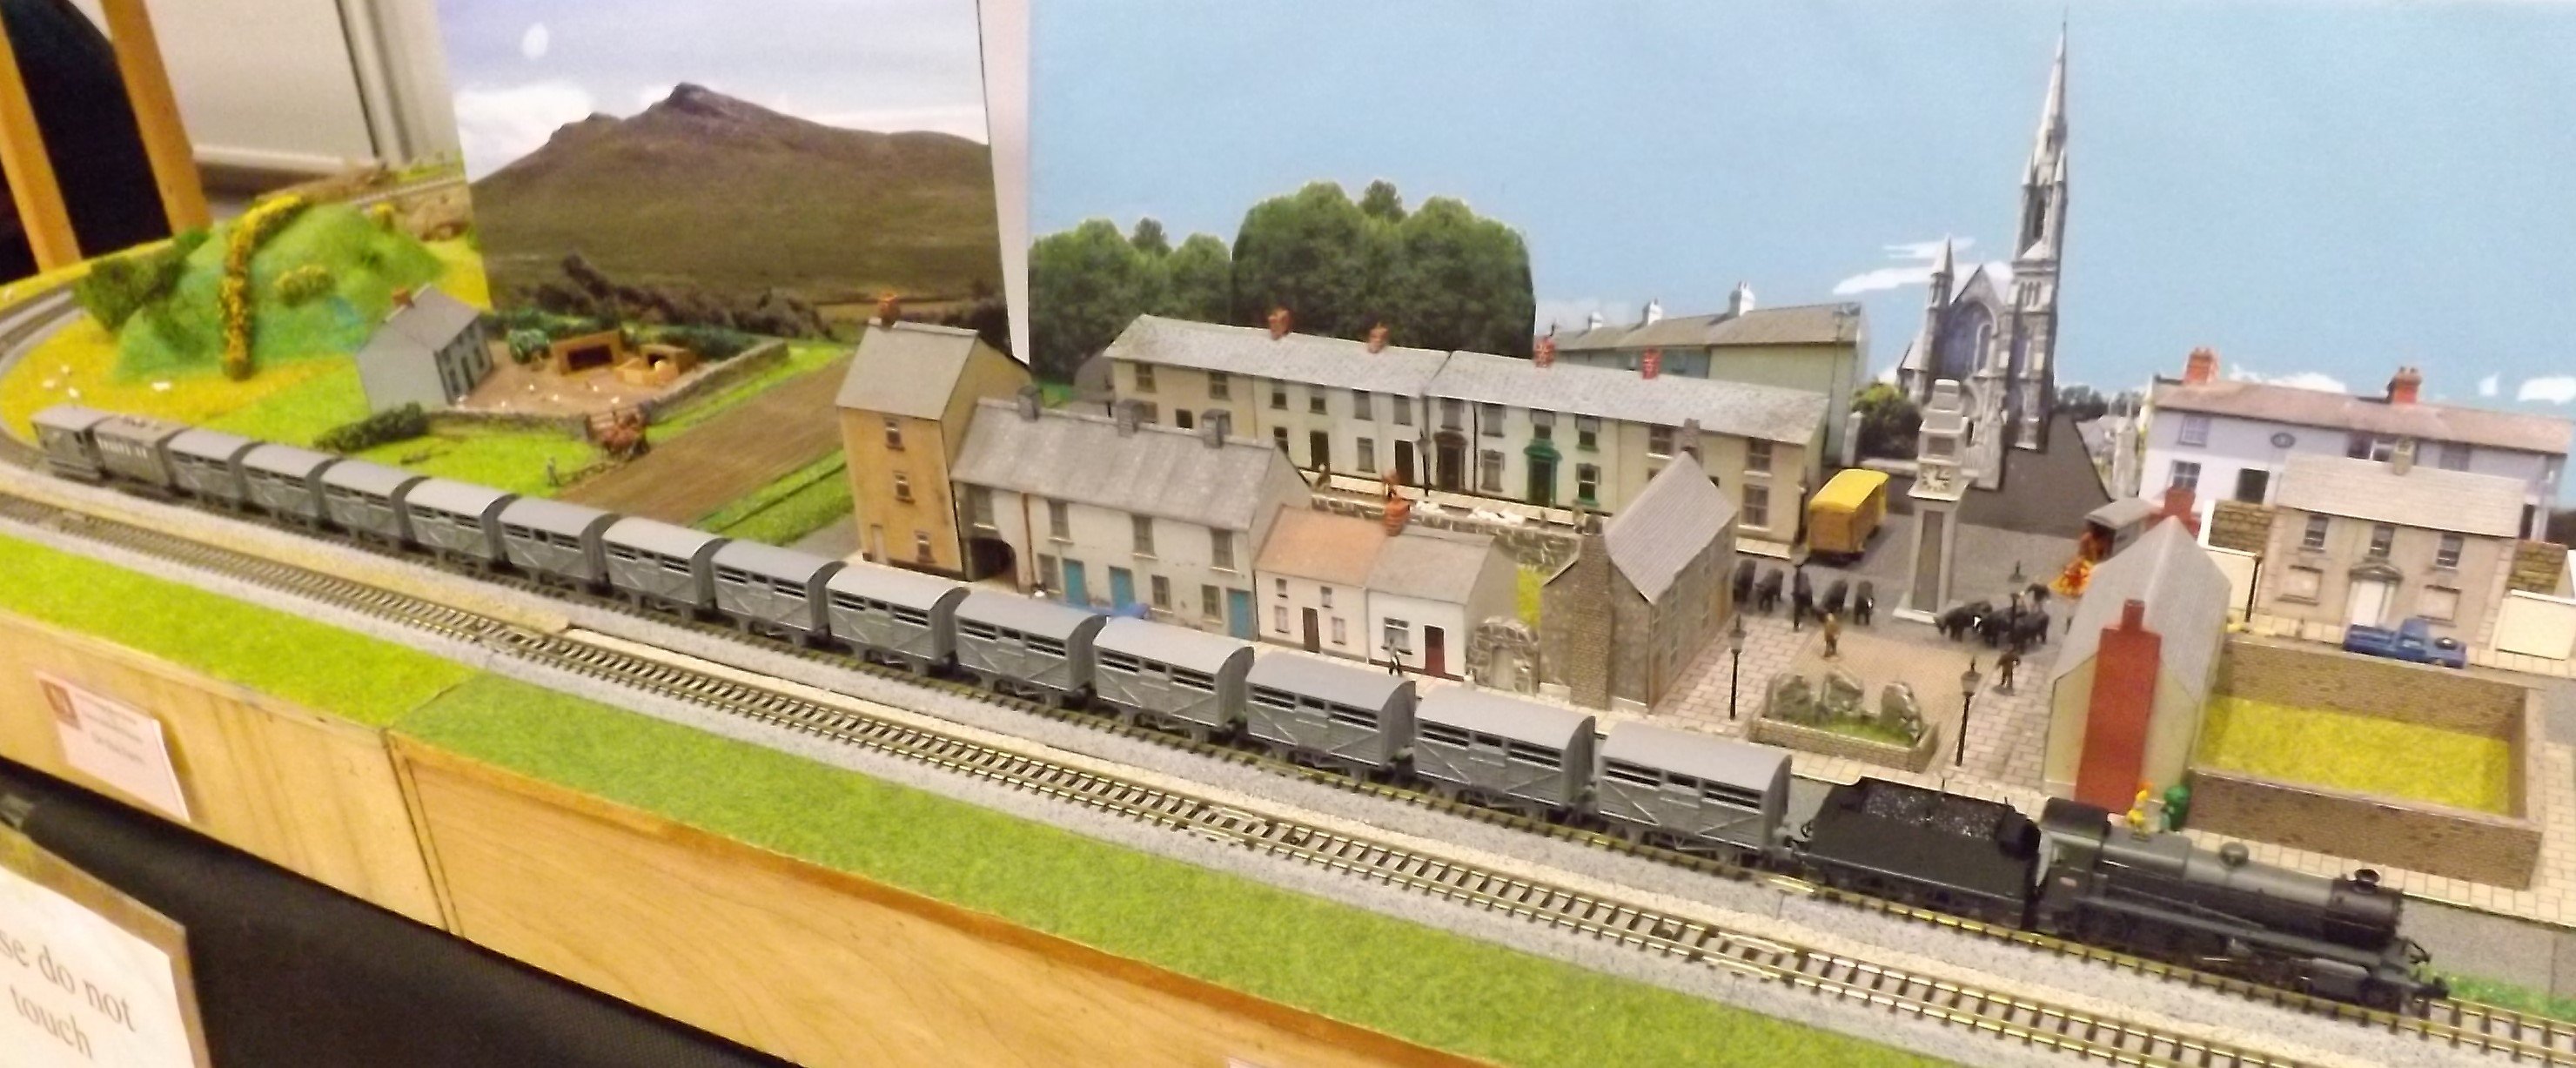
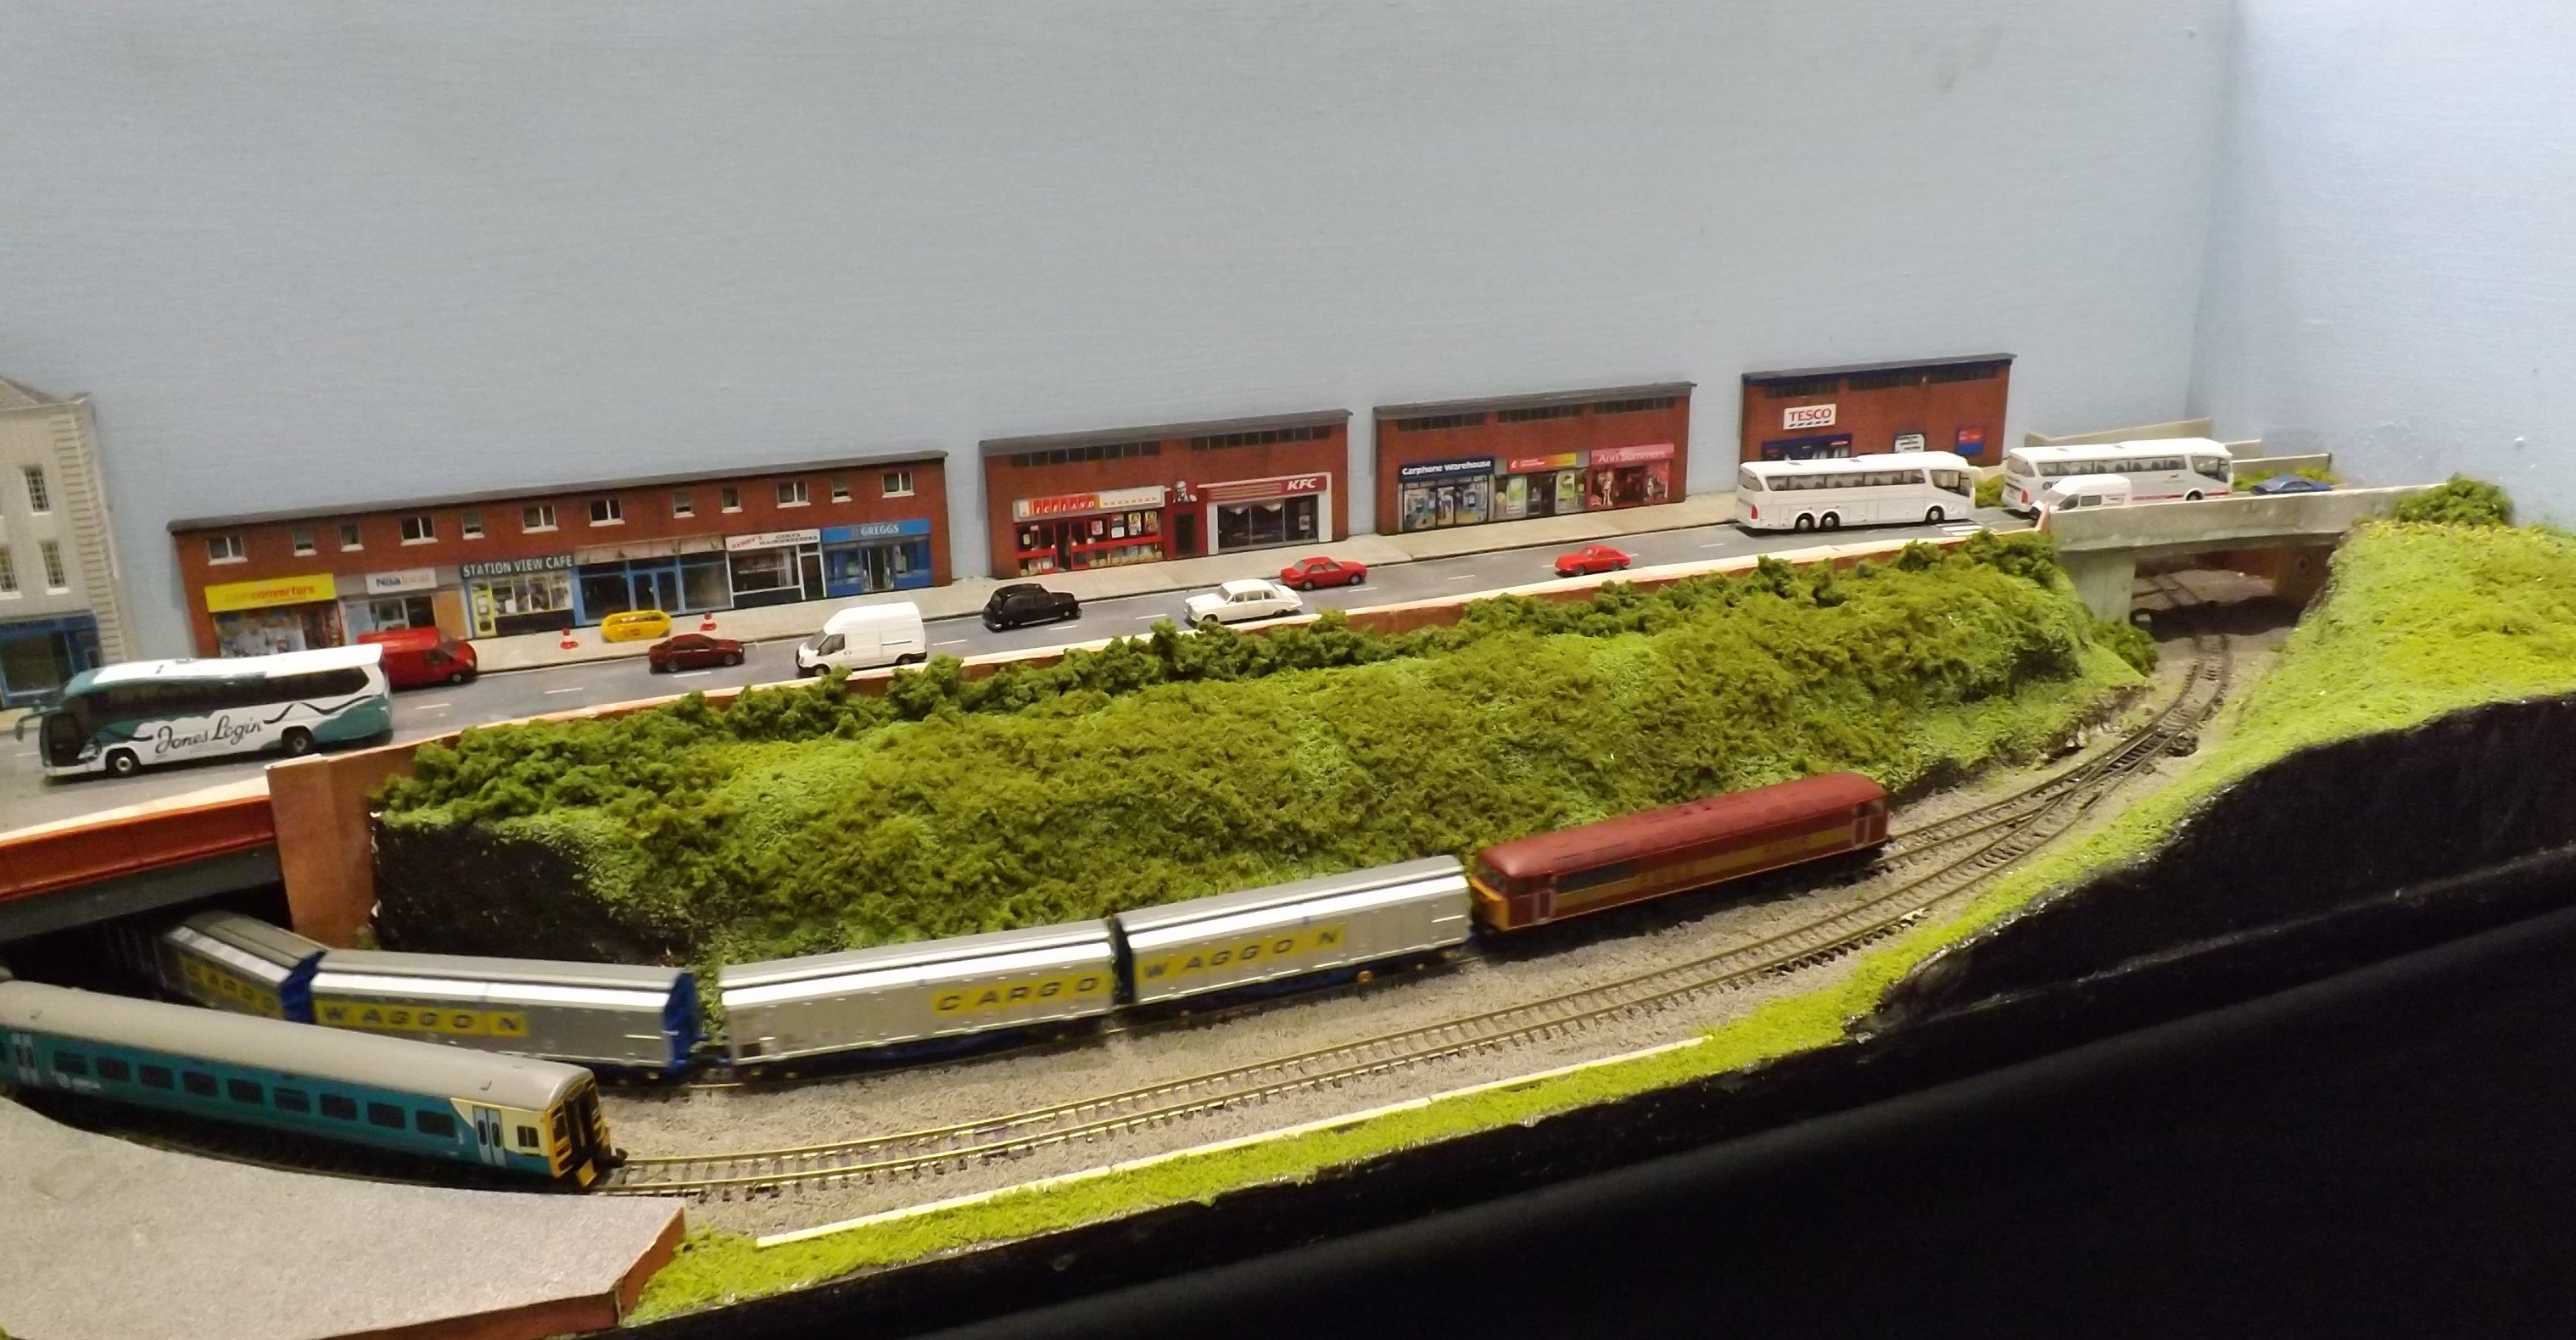
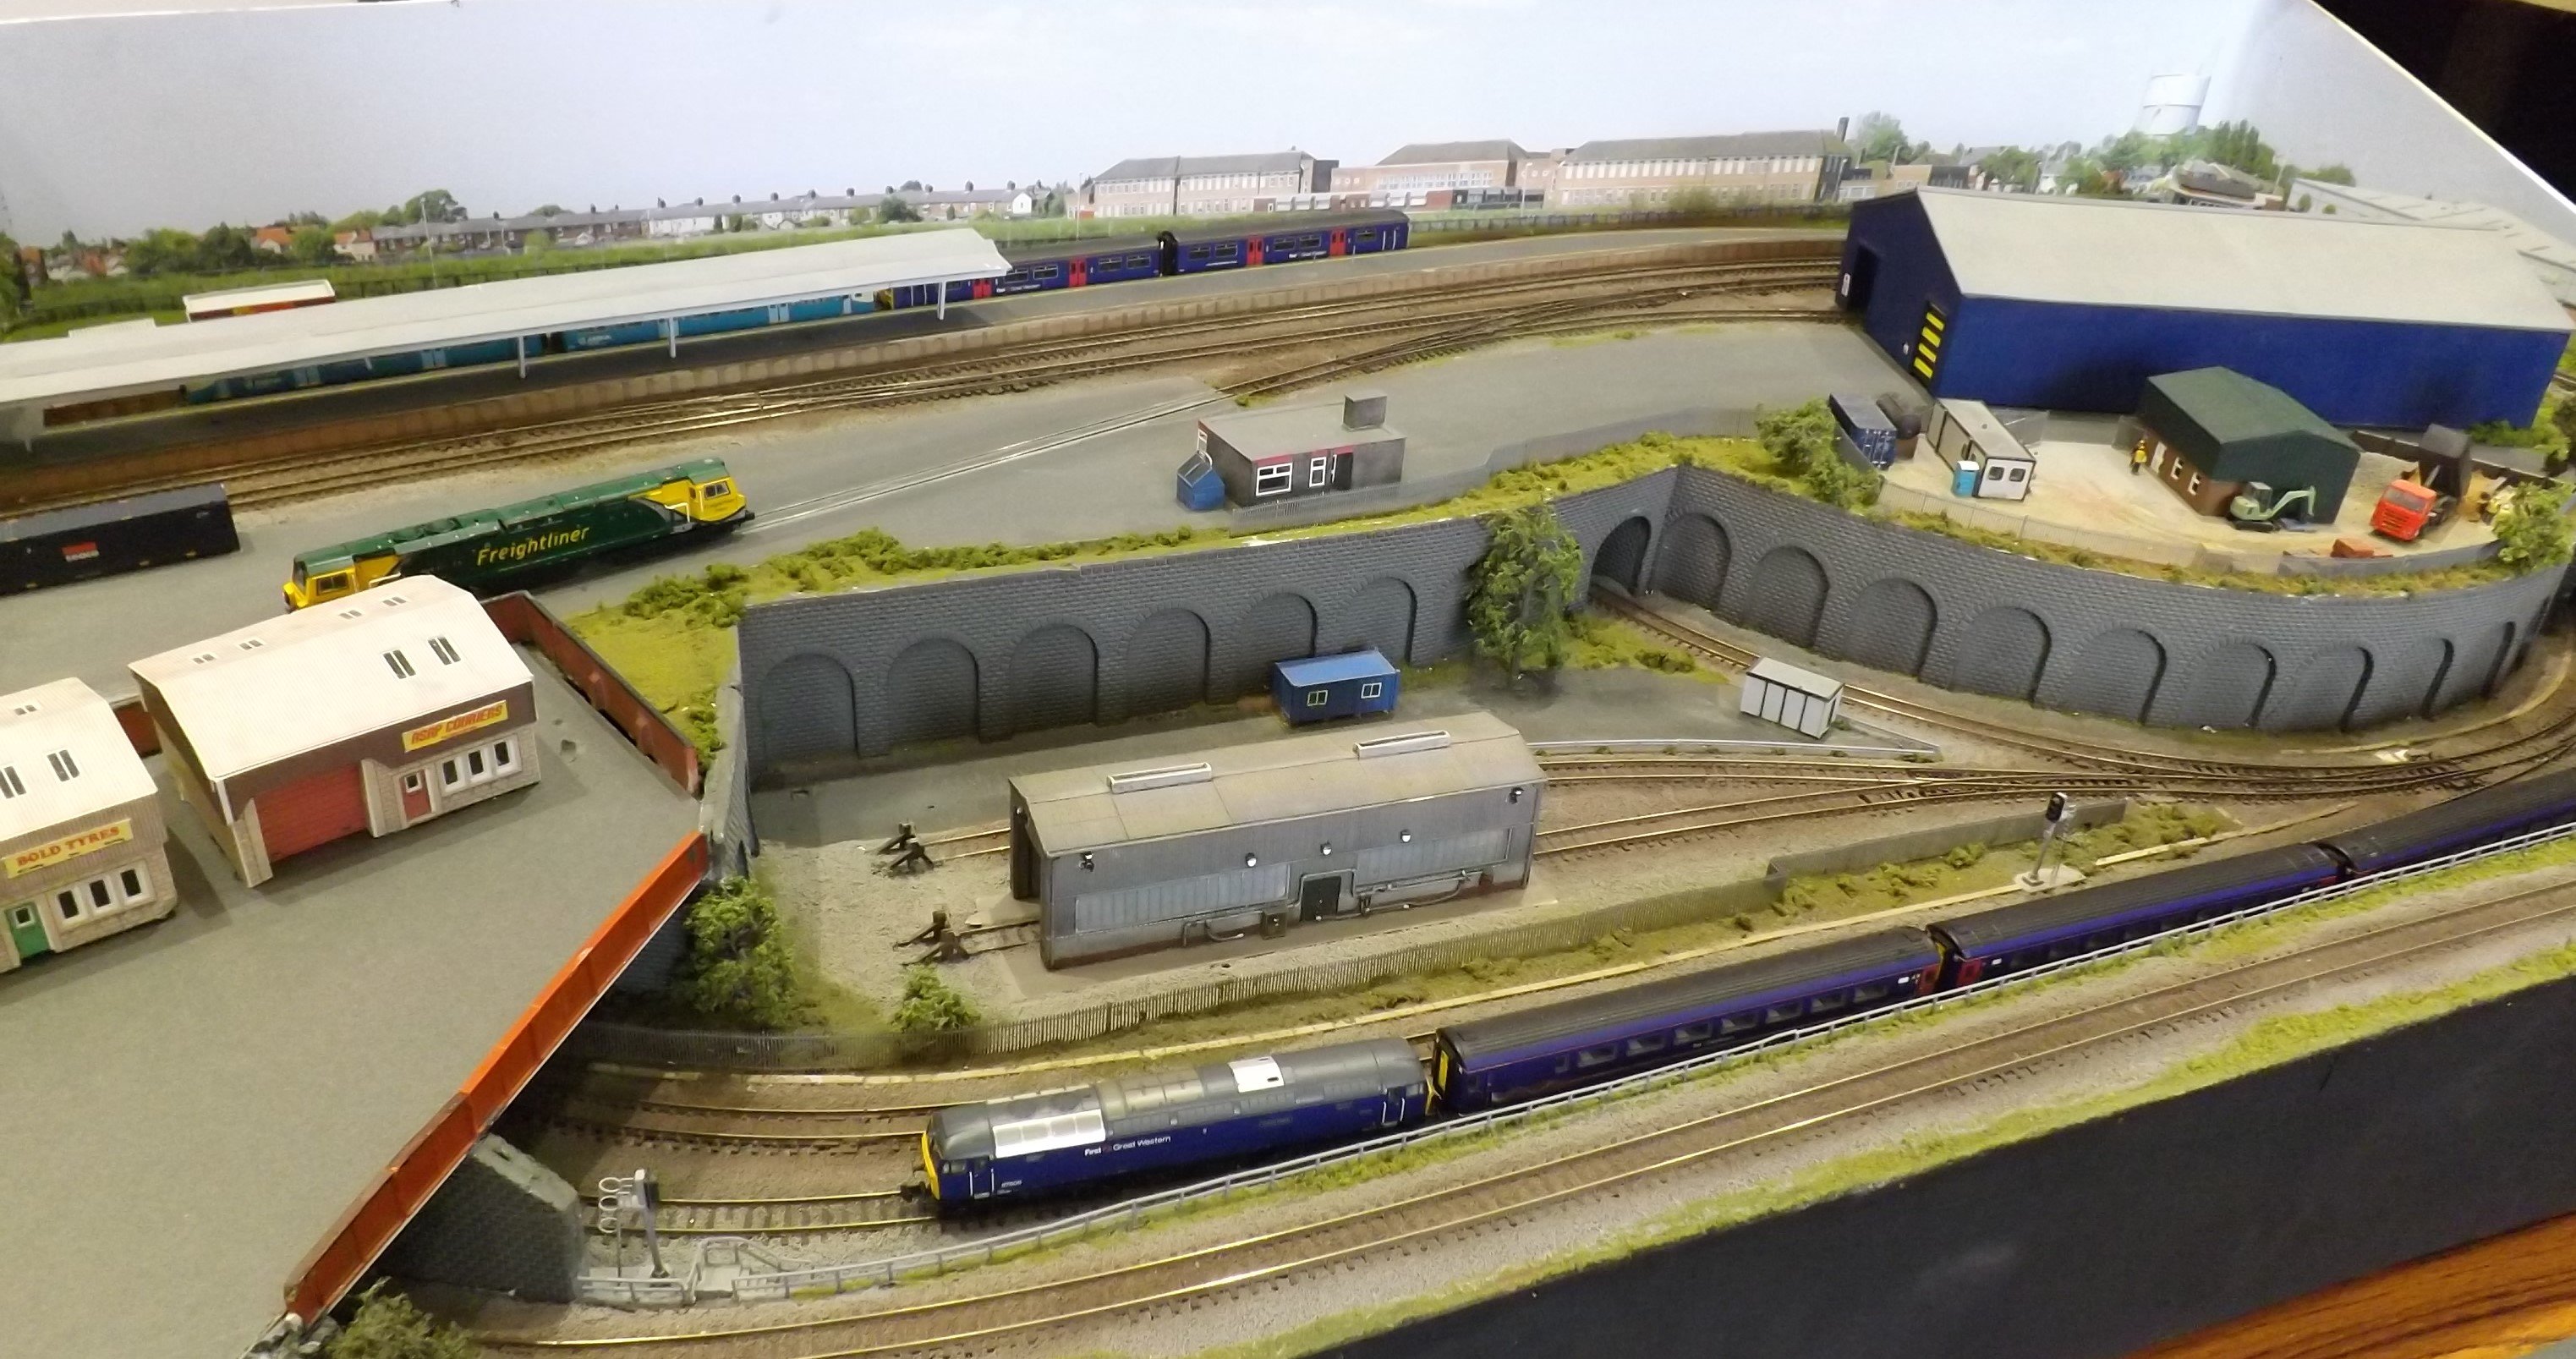
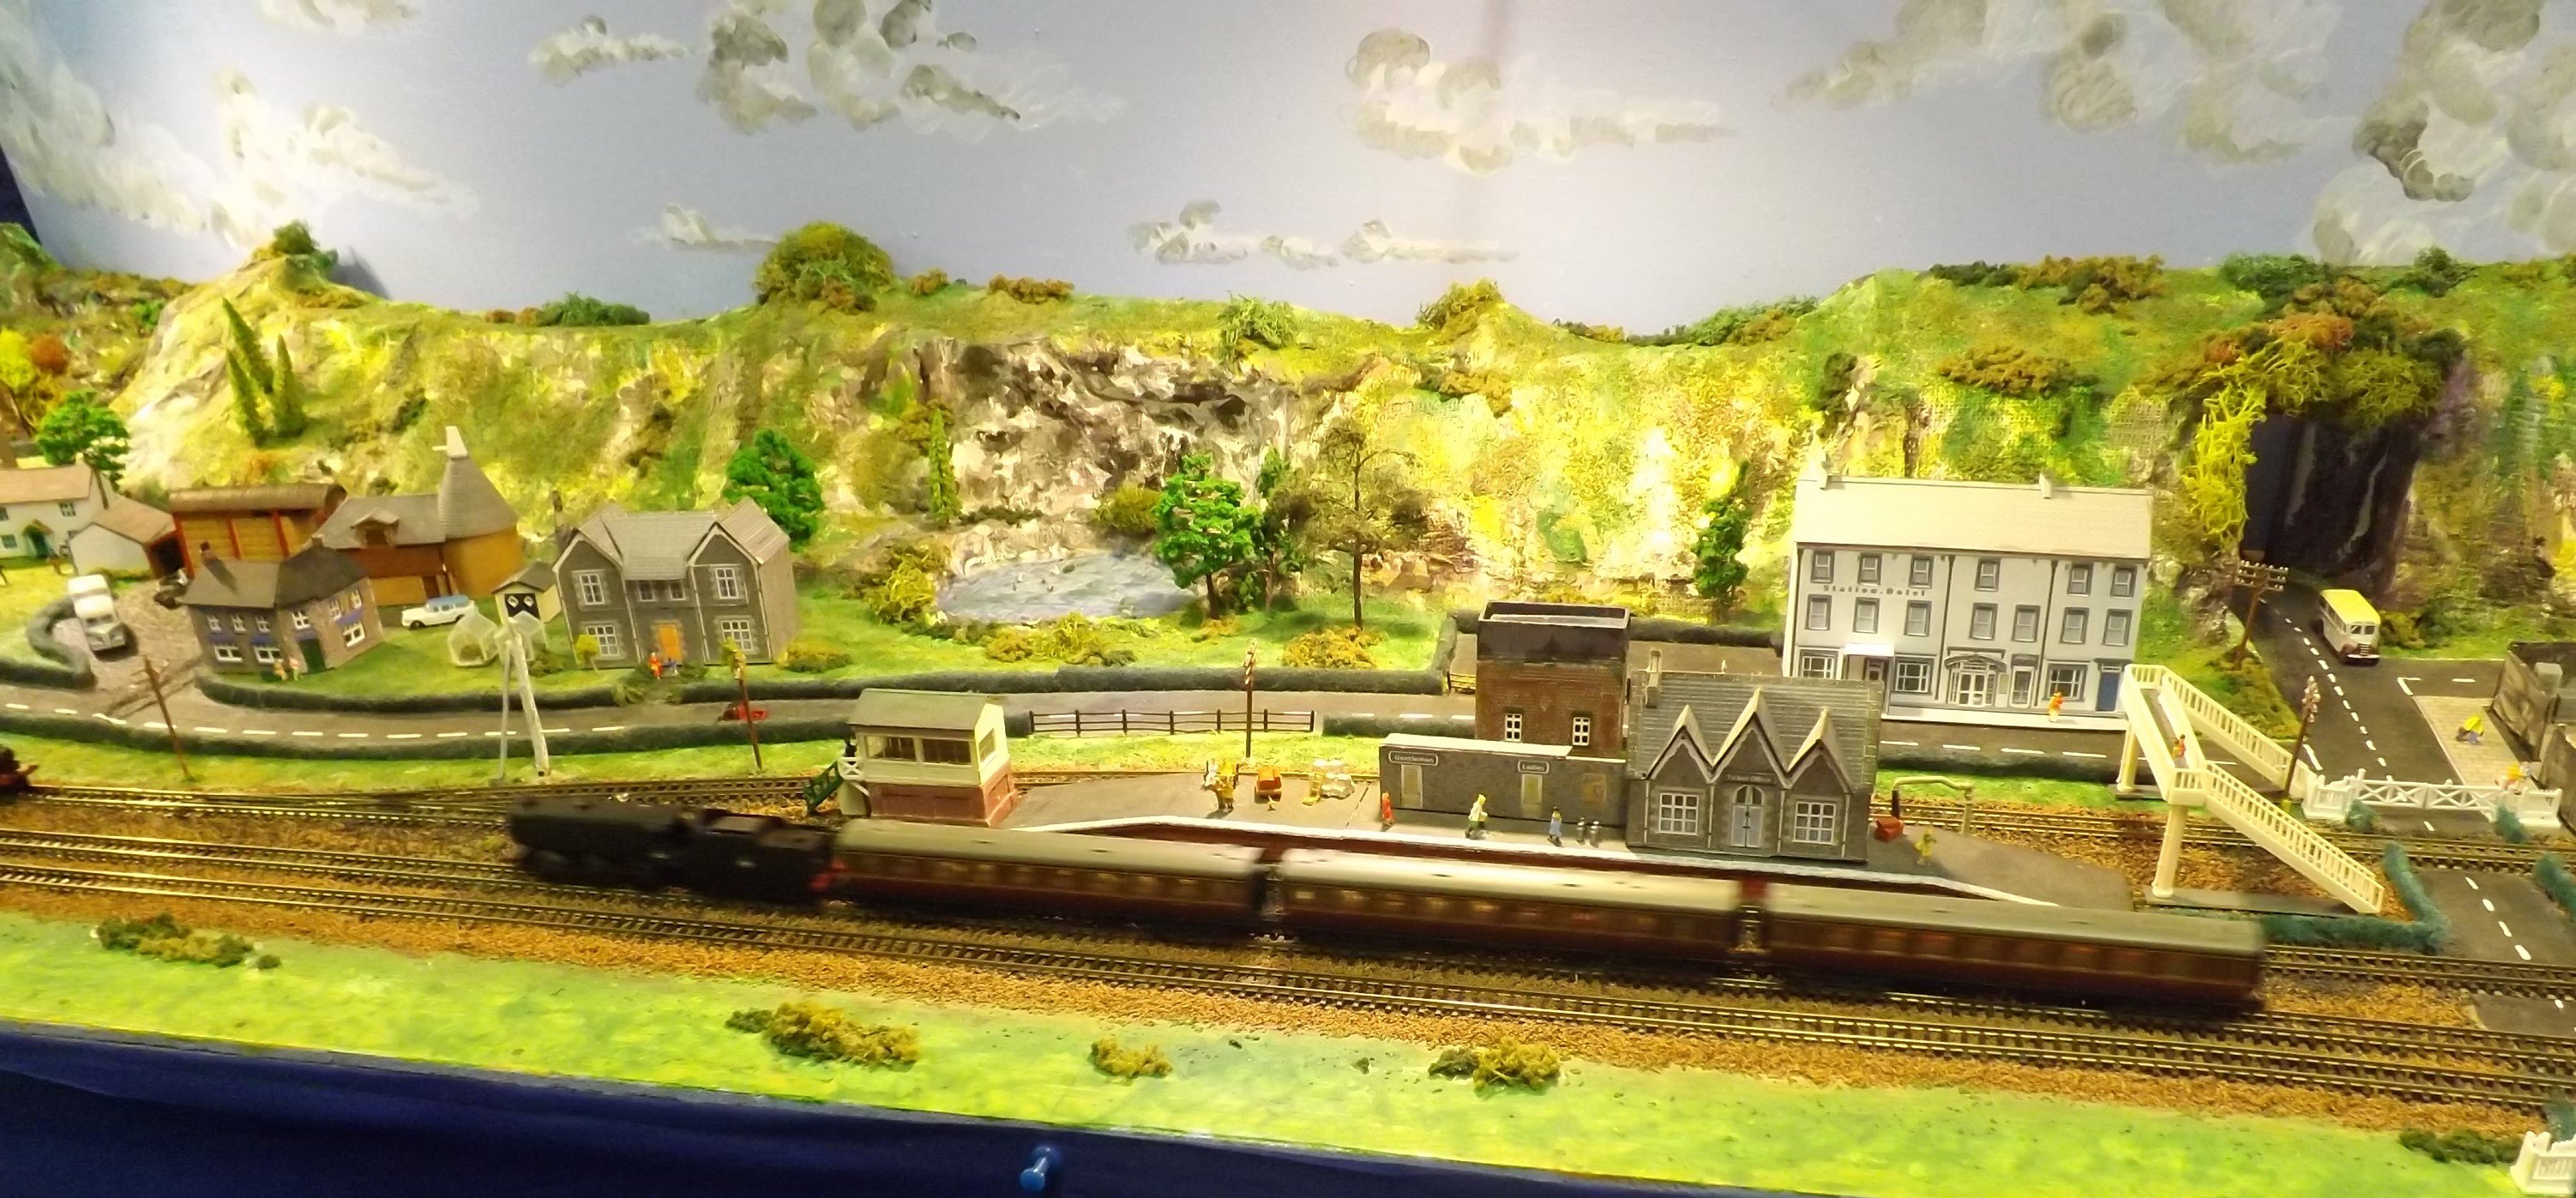
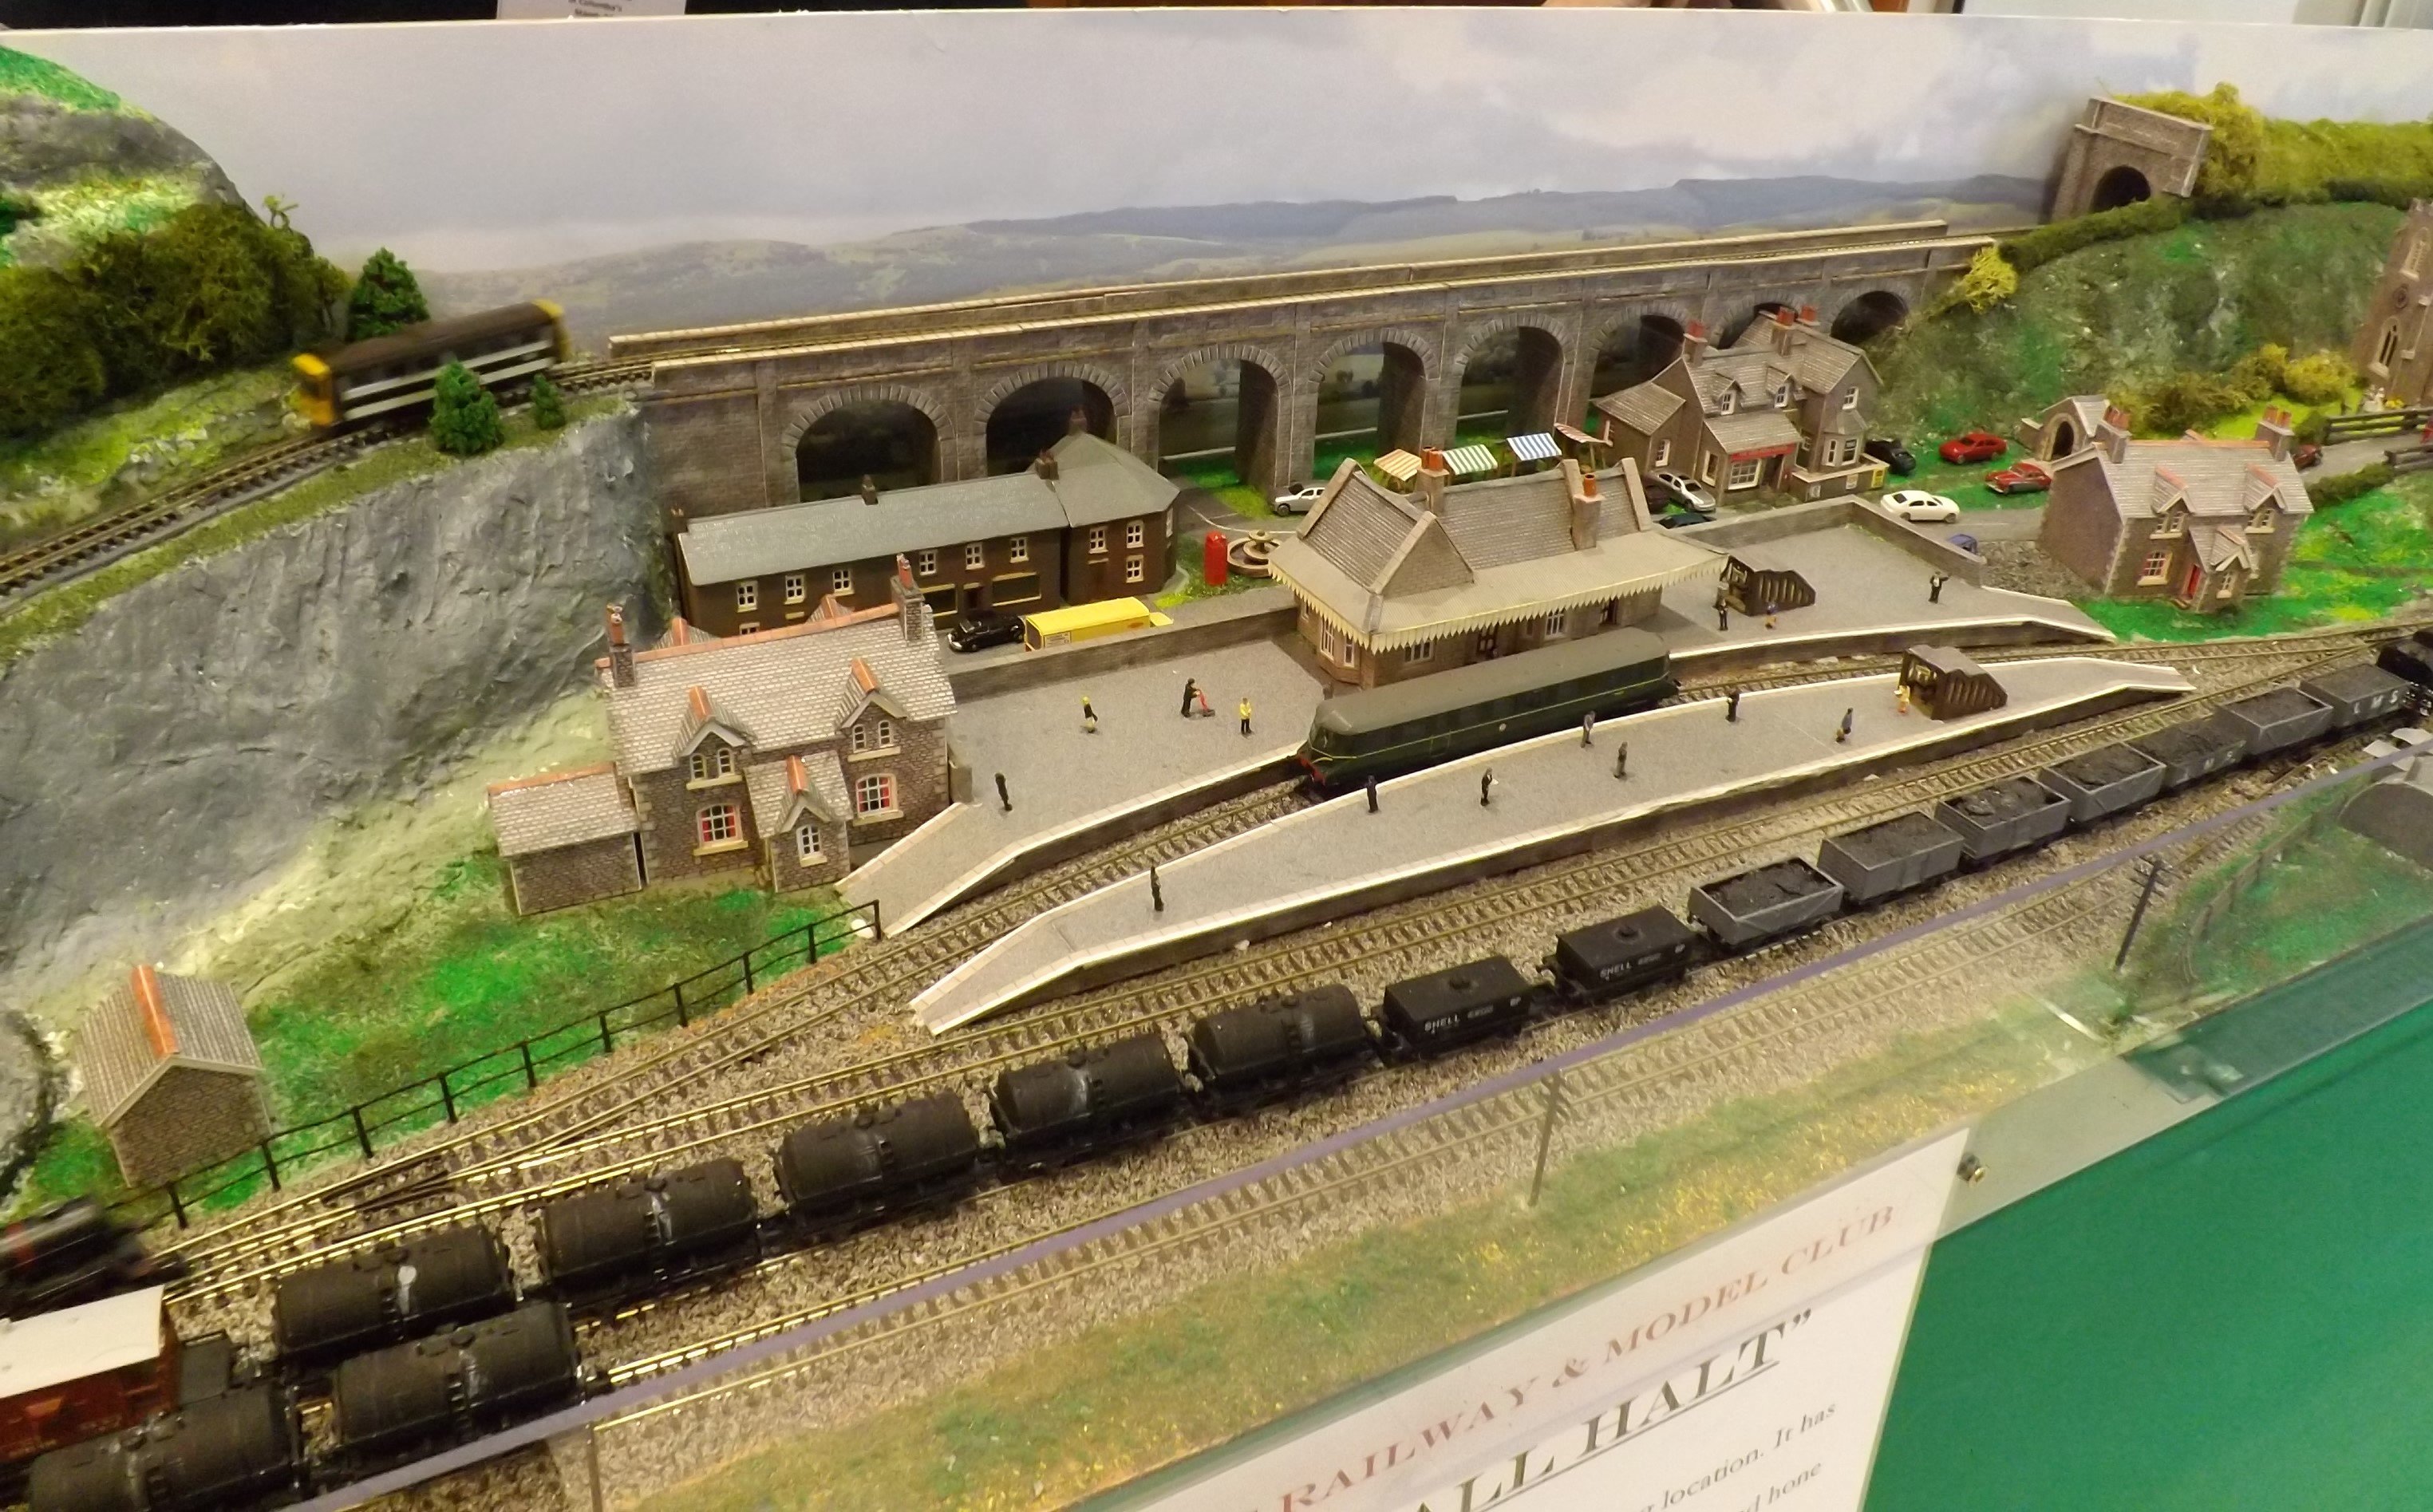
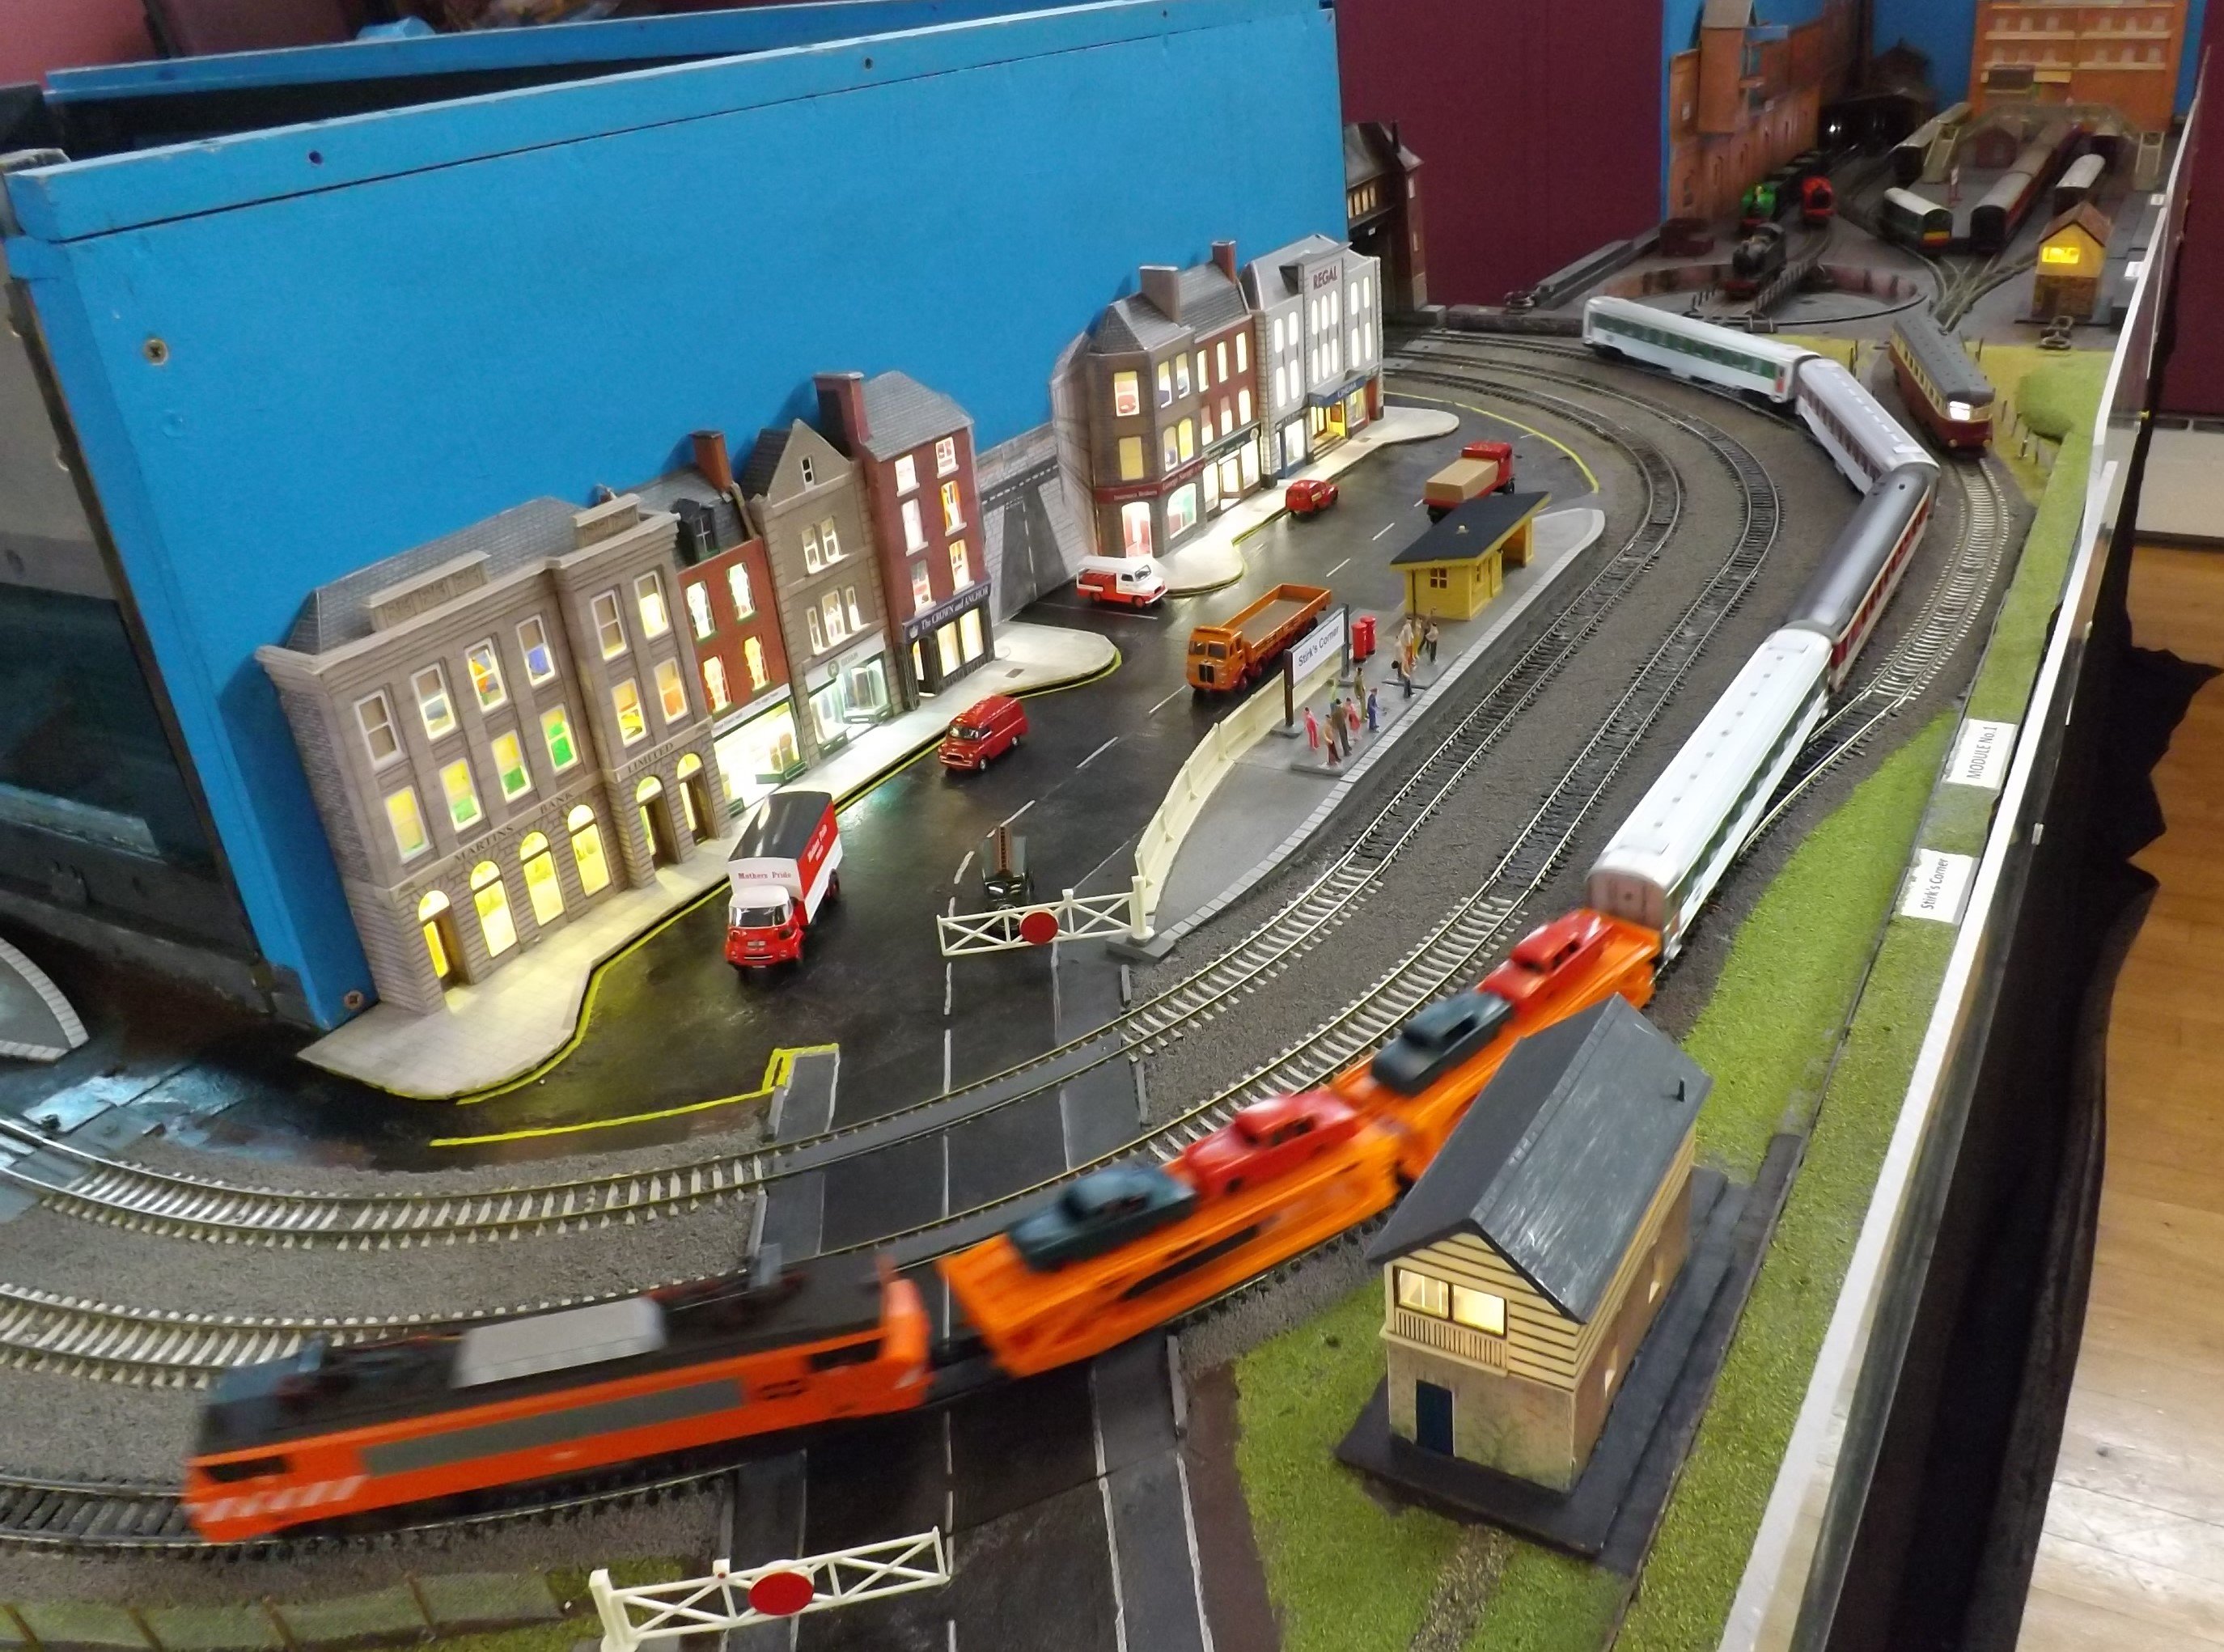
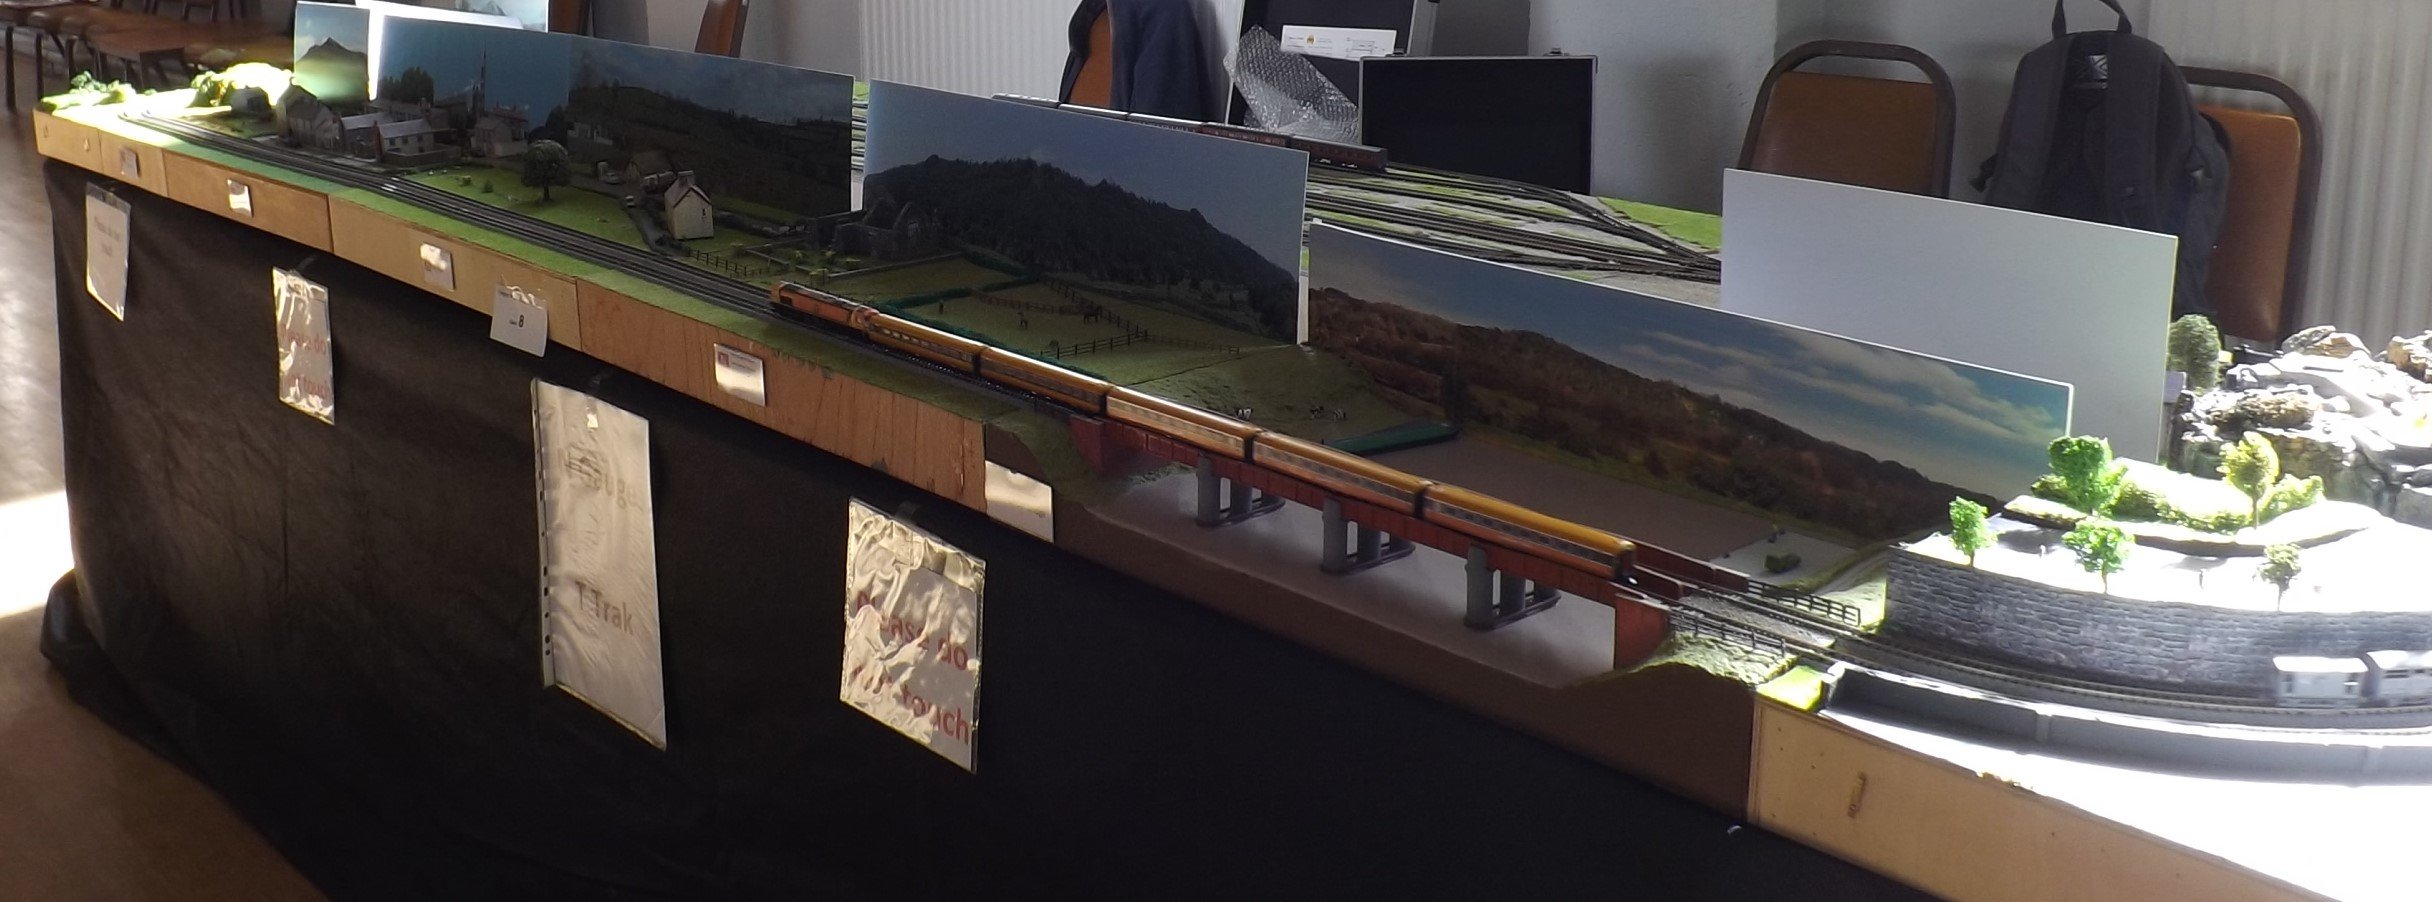
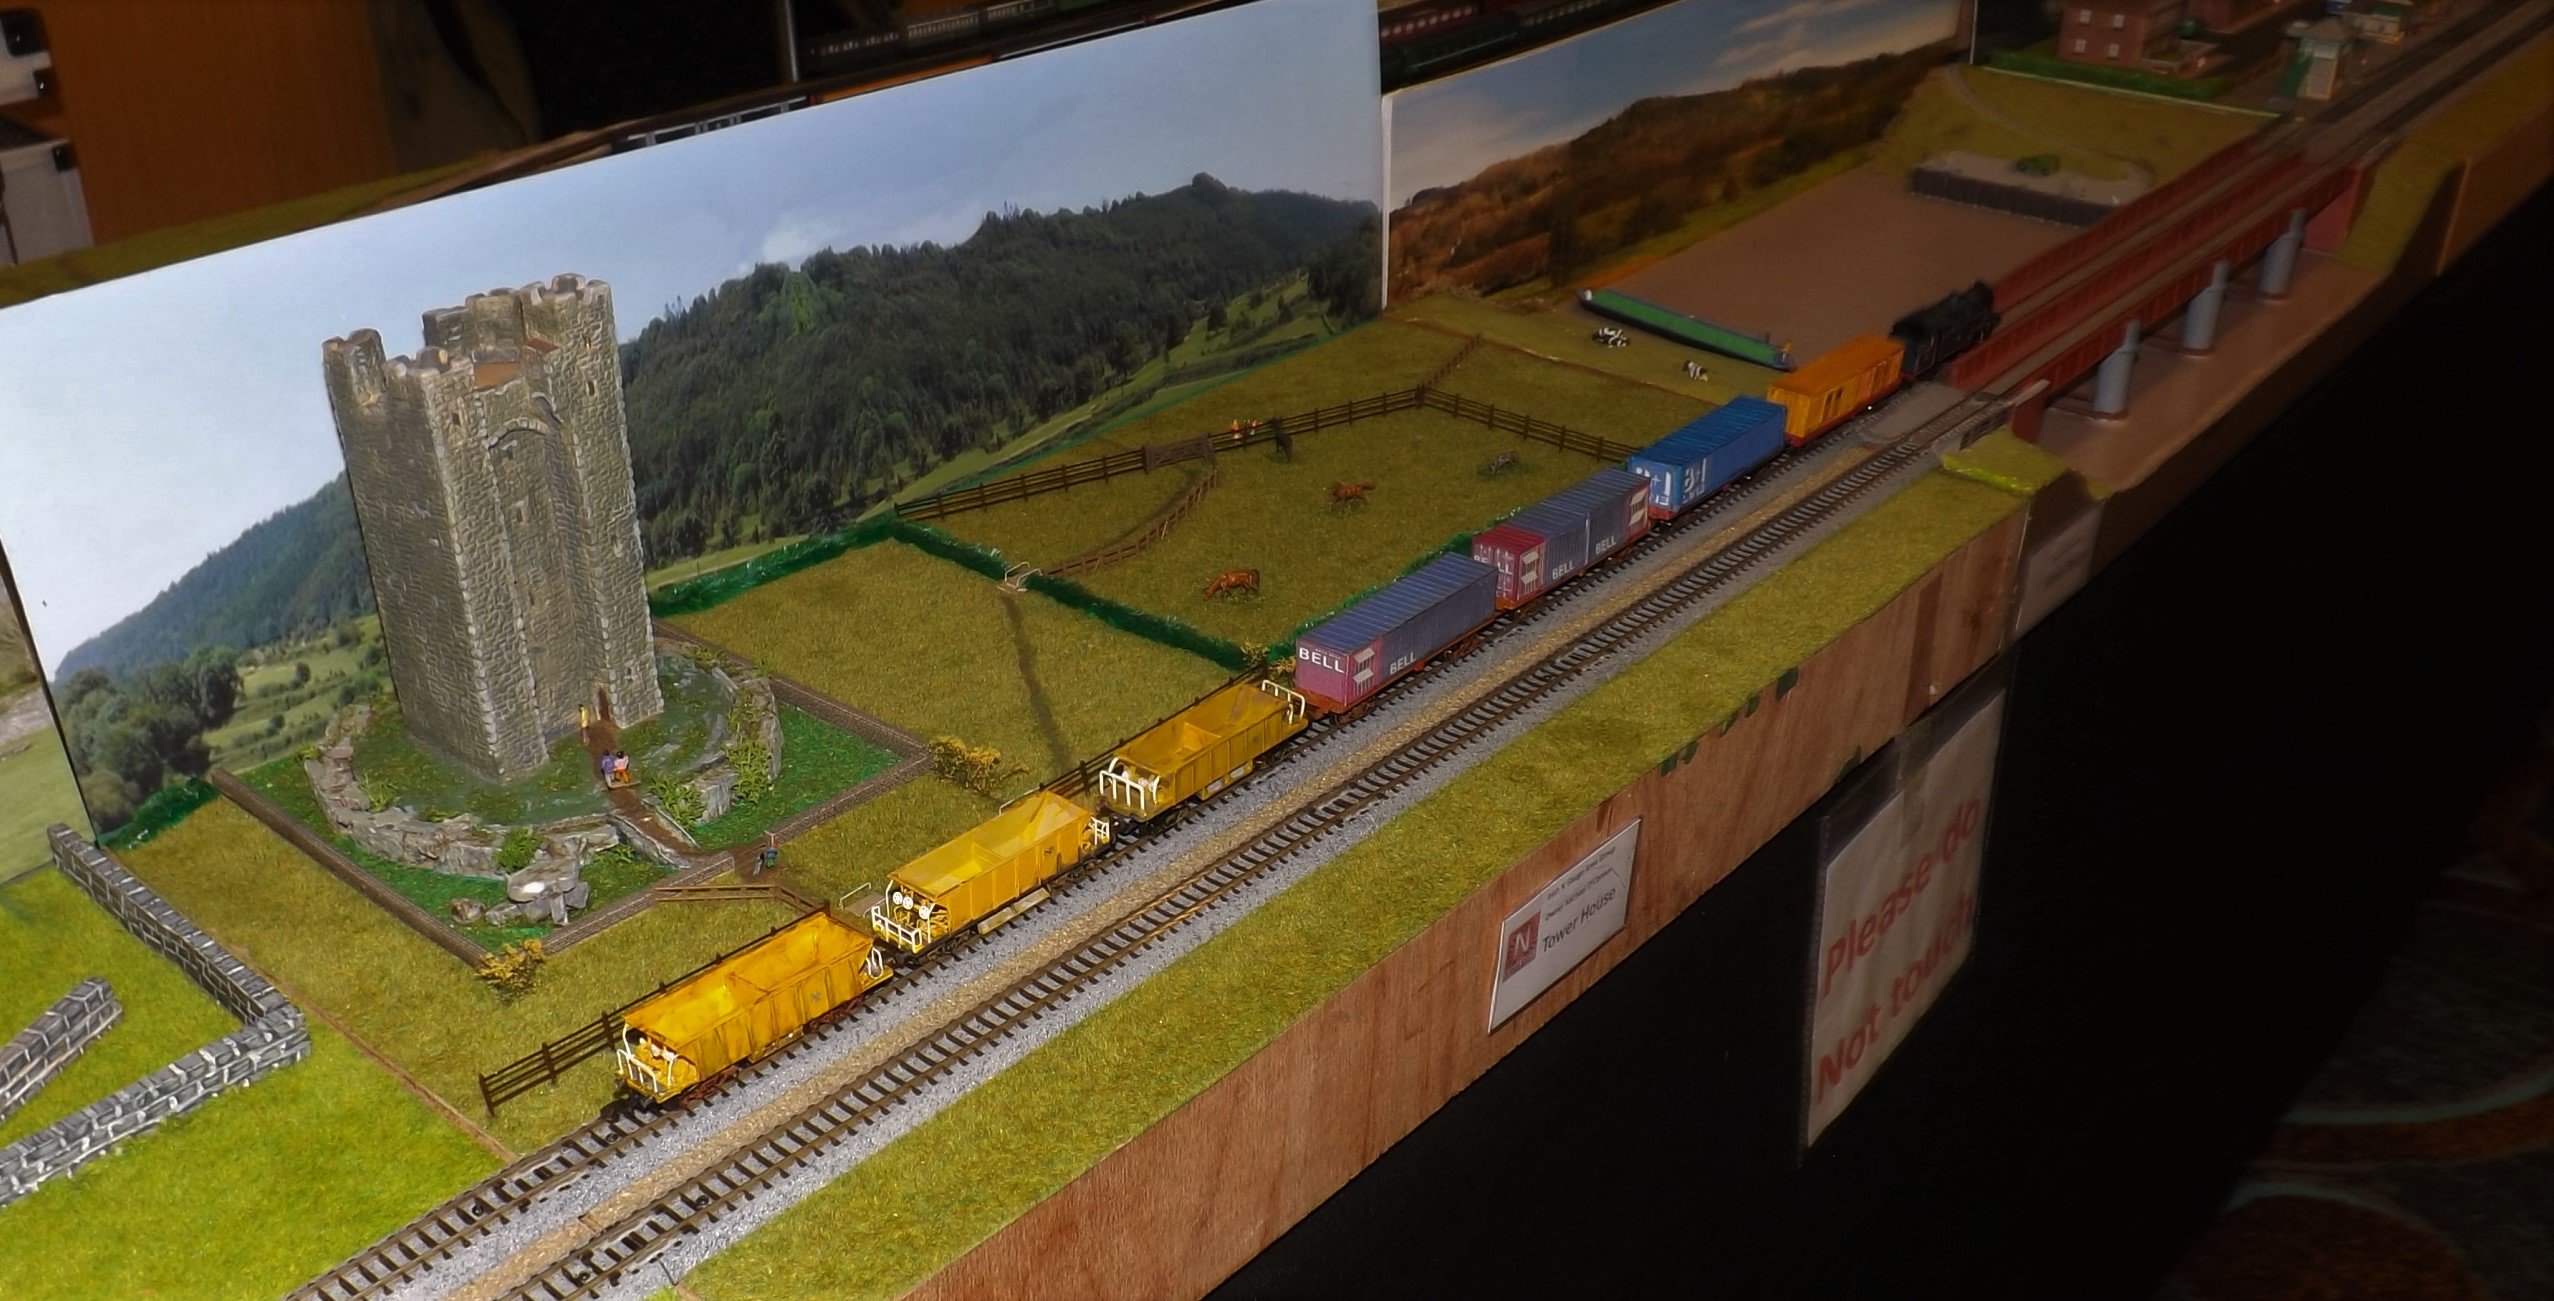
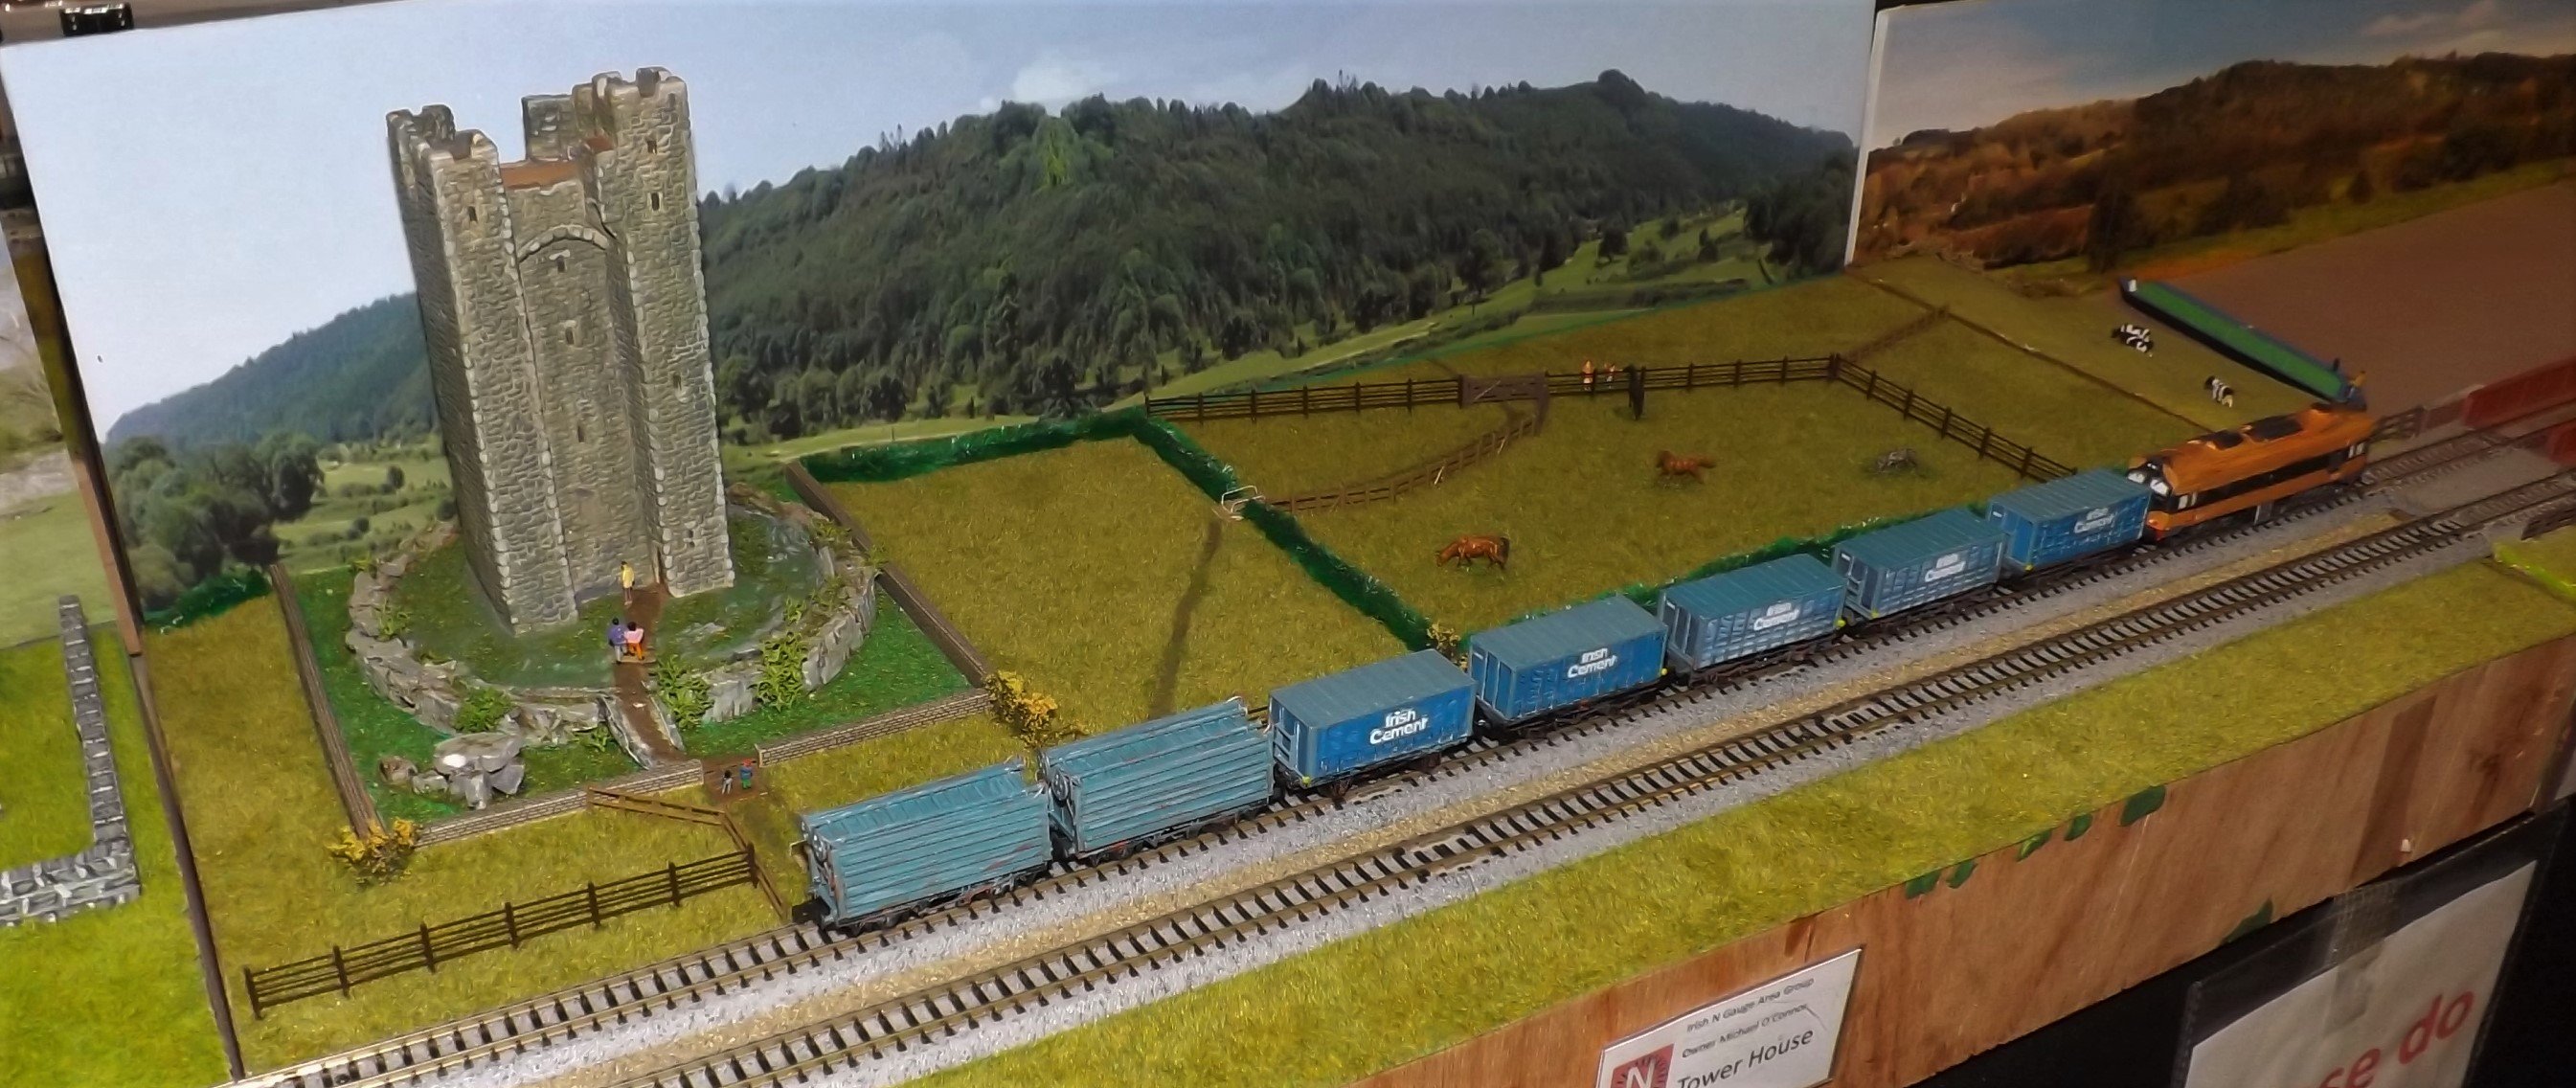
The Cregagh show went very well considering the prevailing conditions. A number of exhibitors decided against attending and numbers of the public were not great but I believe the organisers were pleased with turnout. For a small show there was a good range of food available for the public in a dedicated eating area designated "The Buffet Car" Below is a selection of photos covering most of the layouts present. T Trak overview Two shots of a cattle train on T Trak Also a photo showing some card 6 wheels, scaled down Alphagraphix 00 gauge kits. the 3 coaches on the left. Killagan St Columbas Club from Belfast a new one to me Stirks Corner an 00 Gauge layout Several other N Gauge layouts. I did not record their names. MikeO
-
Kieran Very impressive captures the look of the real thing. The extra detail should make it even better. The 2nd photo in the sequence reminds me of a Shapeways N Gauge Generator van I was given. There was a lot of stratification which I found very difficult to make smooth. Even though it seemed smooth enough to paint, once done the lines were still visible. on the track it looks fine but closer up not as good as would have liked it to have been. I hope you will be able to get a good fonish on the final print. MikeO
-
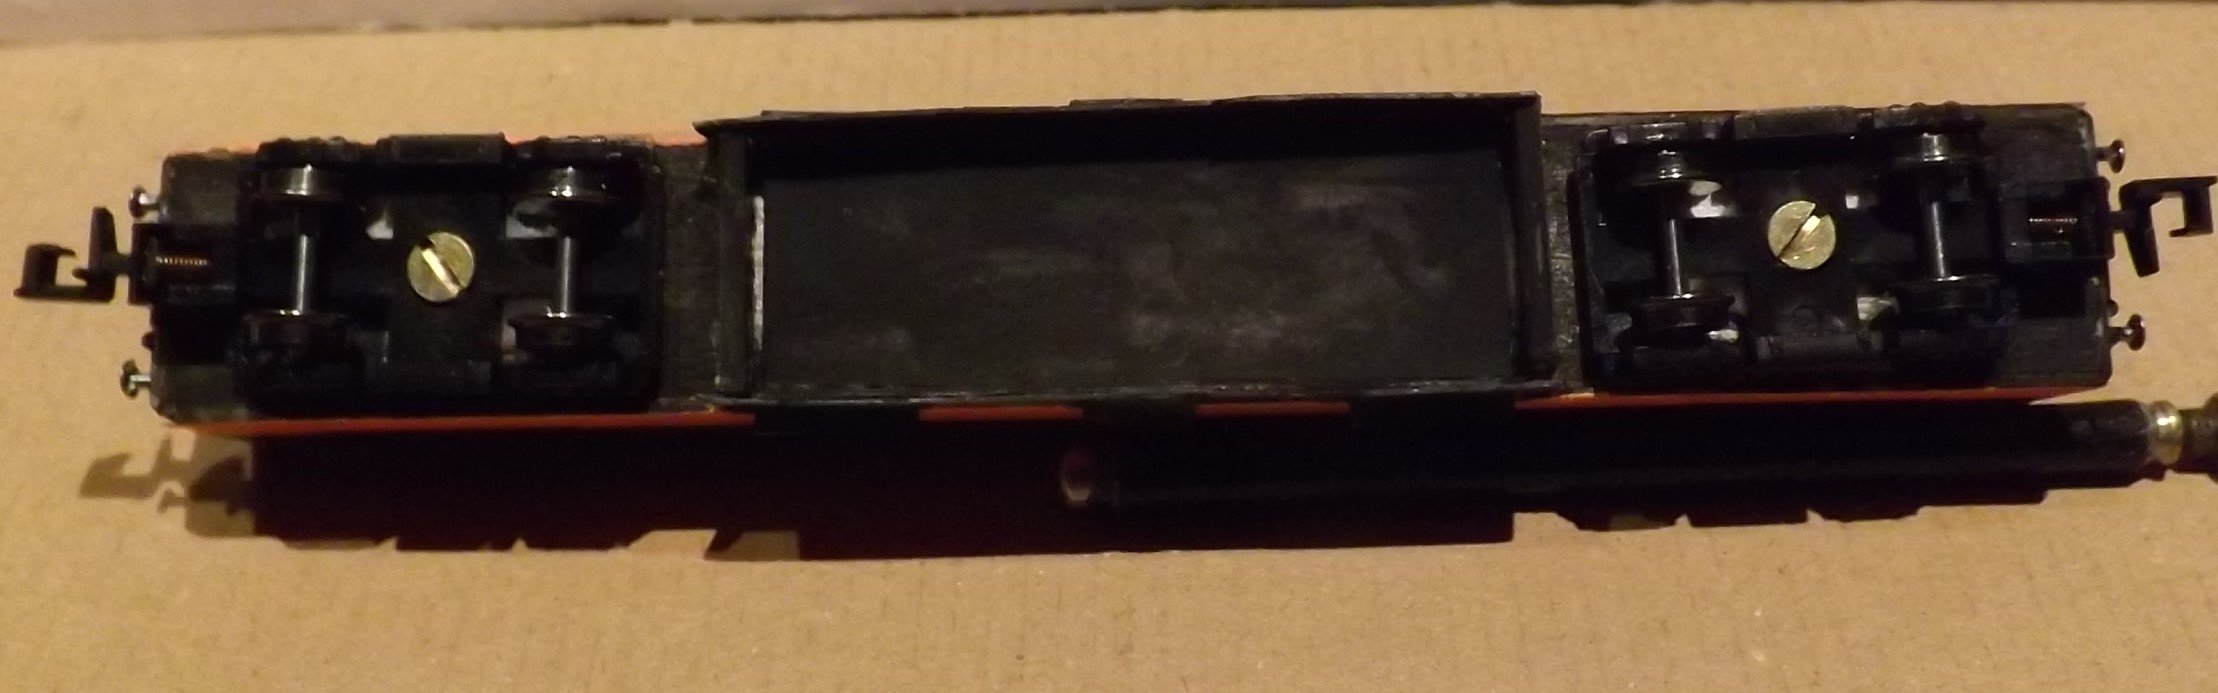
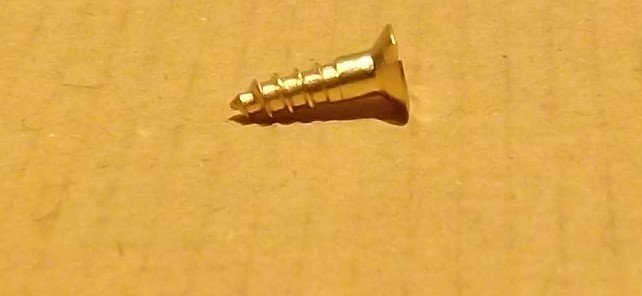
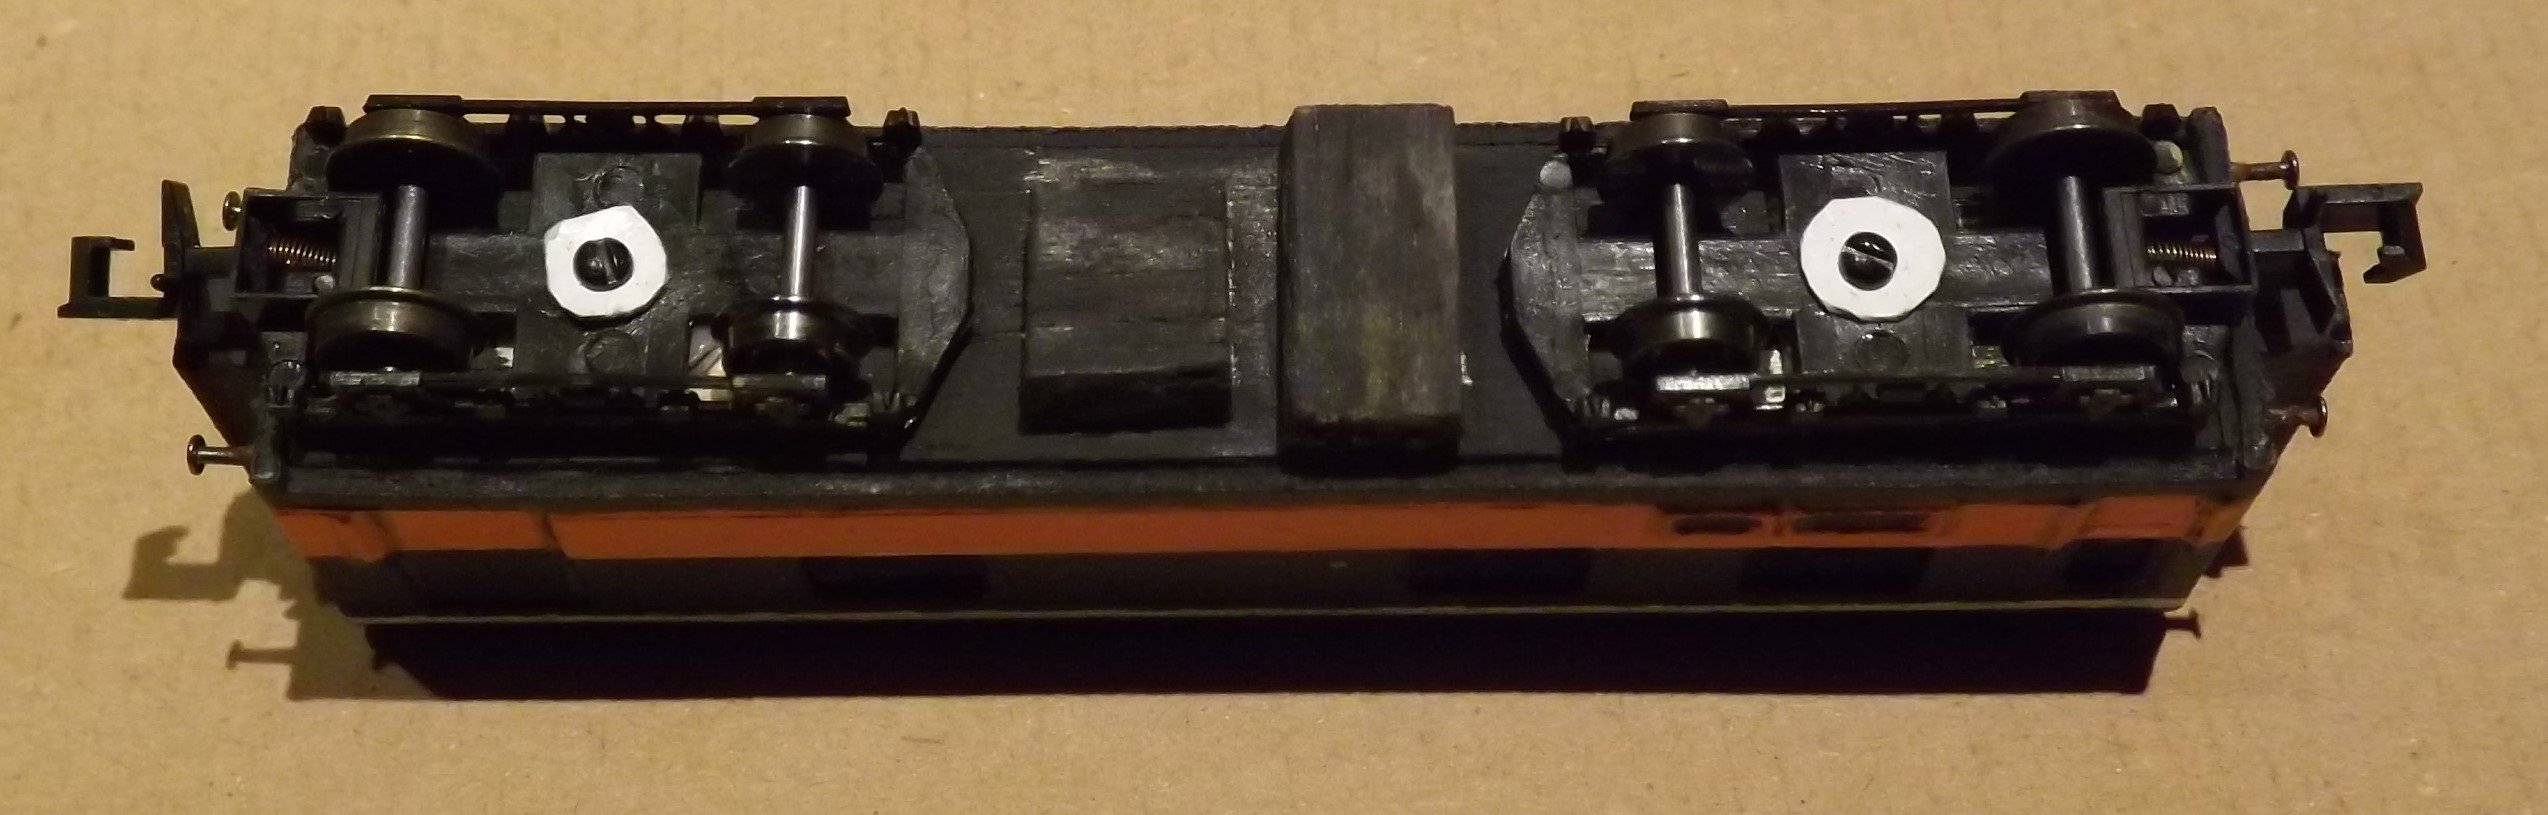
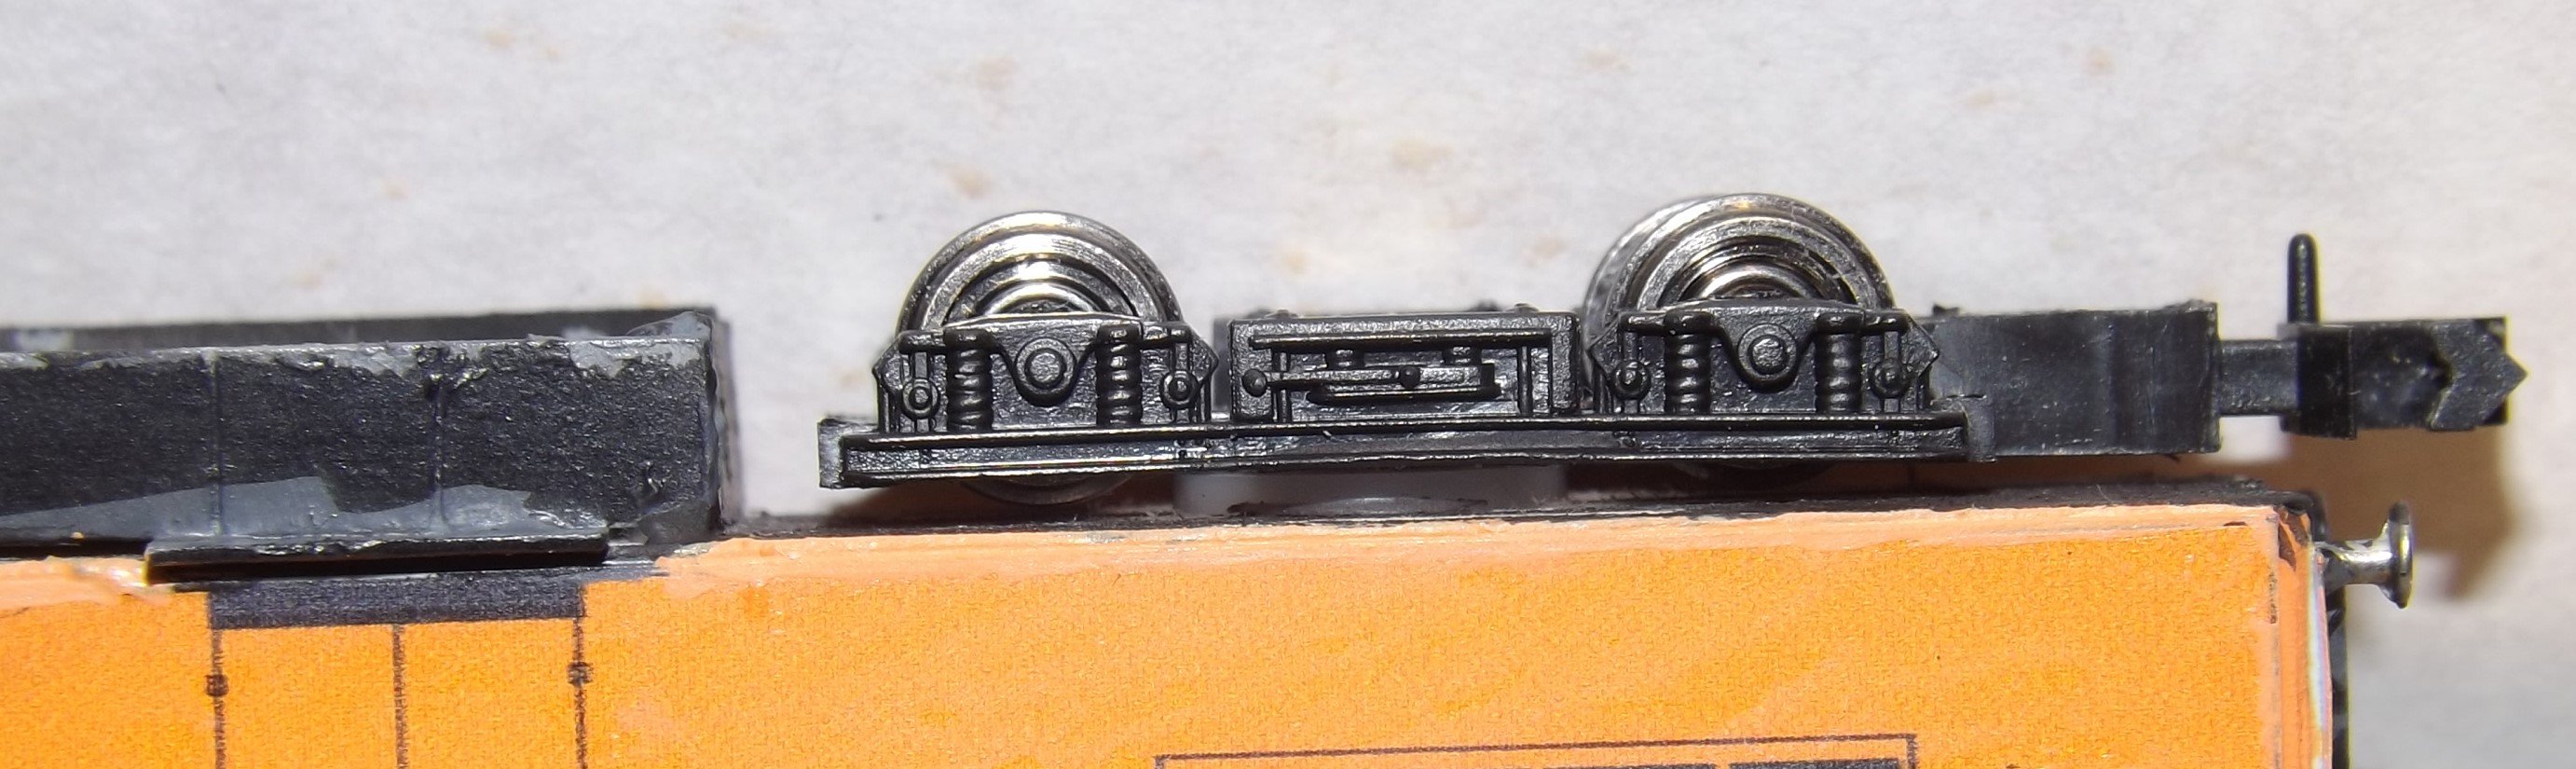
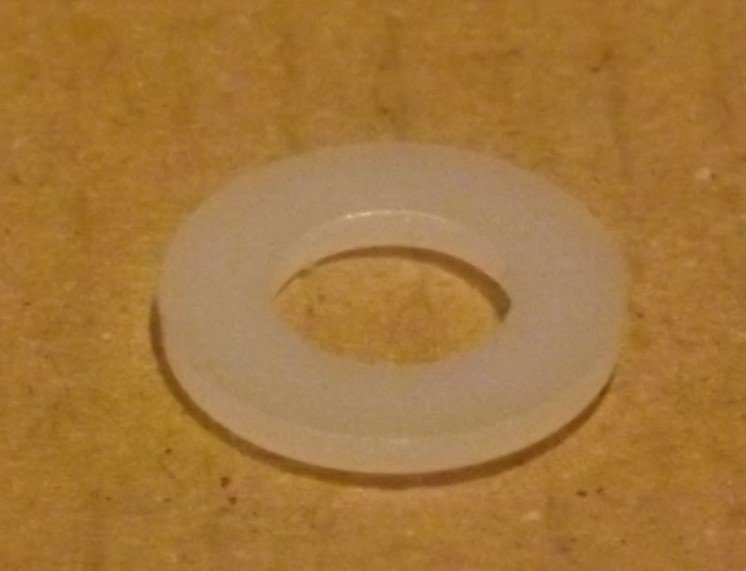
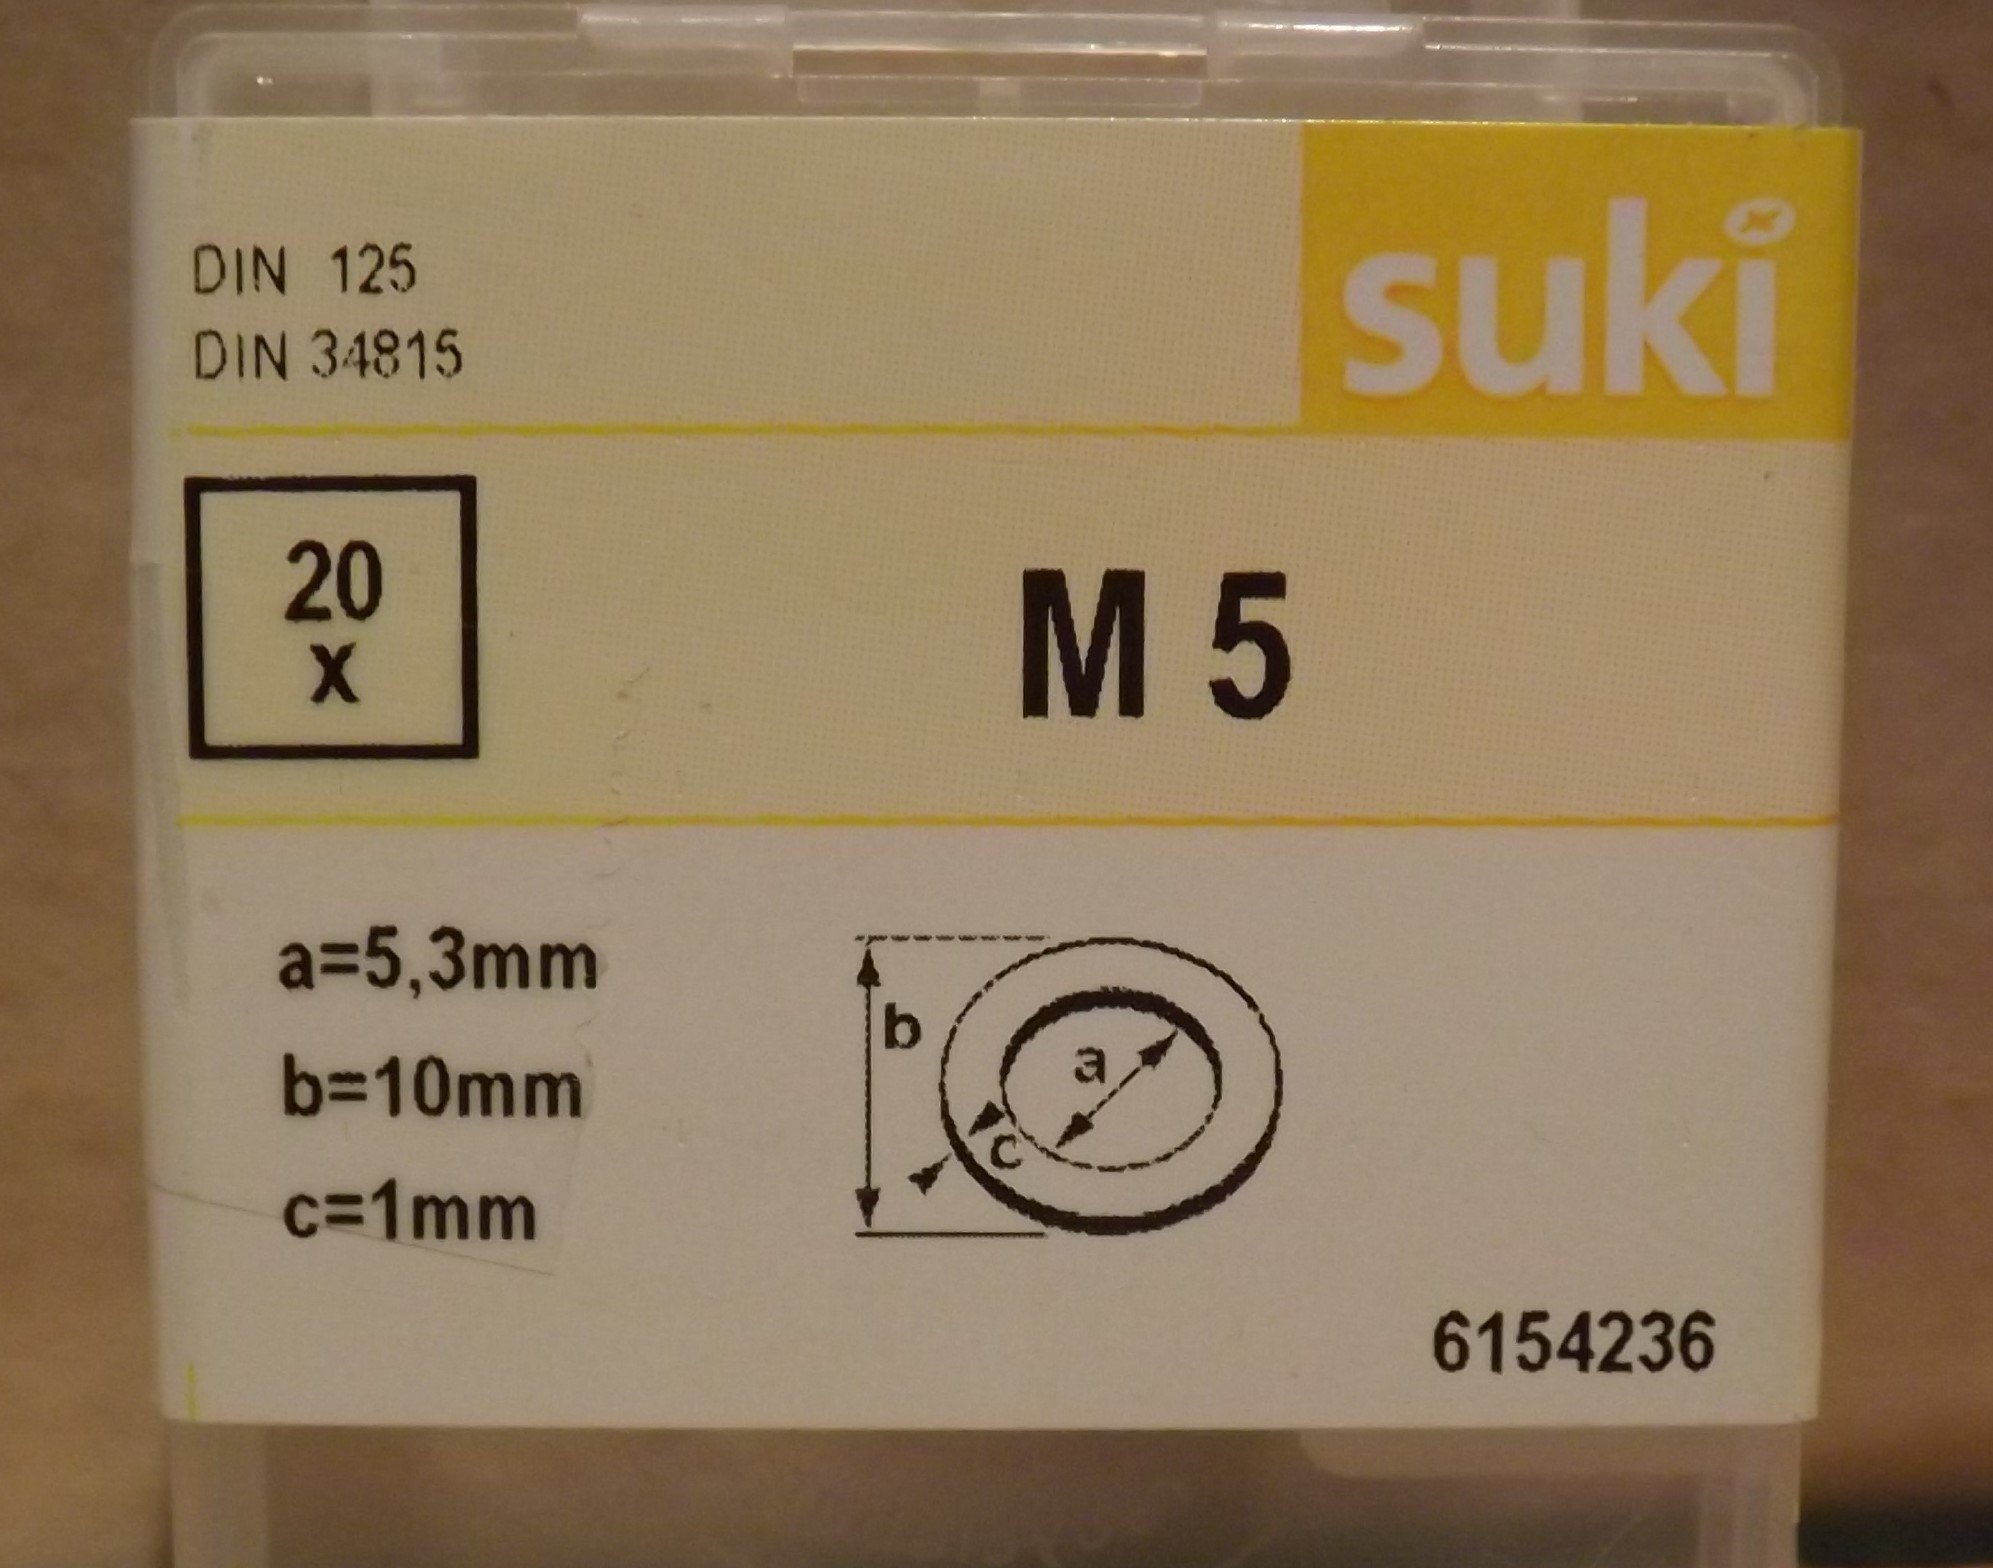
The coach looks good. For cutting thin card ie upto about 300gsm I use Scalpel blades with an appropriate handle. The blades are very sharp and need care when handling but when new make cutting windows etc much easier. For cutting mounting board etc I use a new blade in a rigid utility type knife. Those with snap off blades are too thin to make good cuts in mounting board. As with all cutting patience and plenty of practice are essential. For attaching bogies I use two different methods Fleischmann track screws which are expensive and small brass screws about 8mm long a pack of about 10 cost around £2. I got mine in a local craft shop but it closed a few weeks ago. Attached are a few photos showing each method. Using the brass screws is easiest as the head fits neatly into the hole in the bogie and is my preferred method. The first photo shows the brass screw method. The second photo shows the screw which is a size 3 and sold as 3/8in long (8mm) The third photos shows the Fleischmann screw method. These are very thin and require support to keep the bogie in place. I use a small roundish piece of plastic or thick card (the white pieces below the screw head). To keep the bogie wheel from fouling the floor or chassis sides I use a small plastic washer. A piece of plastic card or paper card of the right thickness would also work. In photo 4 the plastic washer can be seen under the bogie. Photo 5 shows the washer and photo 6 shows the box in came in. I got mine from Woodies in Dundalk. I think they cost around €2 MikeO
- 19 replies
-
- 1
-

-
- rolling stock
- card
- (and 1 more)
-
The magnetic clamps look useful. I see the yellow ones are contained in the N gauge Pack of tools. Would they fit inside N gauge coaches. I got some white magnetic clamps from York Models which are fine for larger N gauge buildings but are far too big for use in the coaches. MikeO
-
Thanks jhb that is a good tip about the match sticks. I find that straightening the corners and making it all square can be fiddly. they should help and also make a better fit for the roof. MikeO
- 19 replies
-
- 1
-
-
- rolling stock
- card
- (and 1 more)
-
The models look very impressive. 3D printing has a lot of advantages but for me the big draw back would be the initial drawings whether in CAD or Sketchup. MikeO
-
An interesting construction method. I suspect it requires a lot of careful drawing and cutting. It might useful to apply strengtheners to your existing coach body at each end and/or along both sides or at specific intervals. I use mounting board but a couple of pieces of 200gsm card laminated together and then glued to the ends and aside would also help. If using thinner card more pieces would be needed. Even if you do not keep this coach body you will get good experience. You might have to strengthen the roof also usually a second piece about 1mm smaller all round is sufficient. MikeO
- 19 replies
-
- 2
-
-
- rolling stock
- card
- (and 1 more)
-
Very good start. Nice clean and neat lines. is this the shell or have you added the skin? I found that using a piece of round dowel rod or round knife handle helps in curving the roof if it is made from card. Takes awhile though to get a good profile. MikeO
-
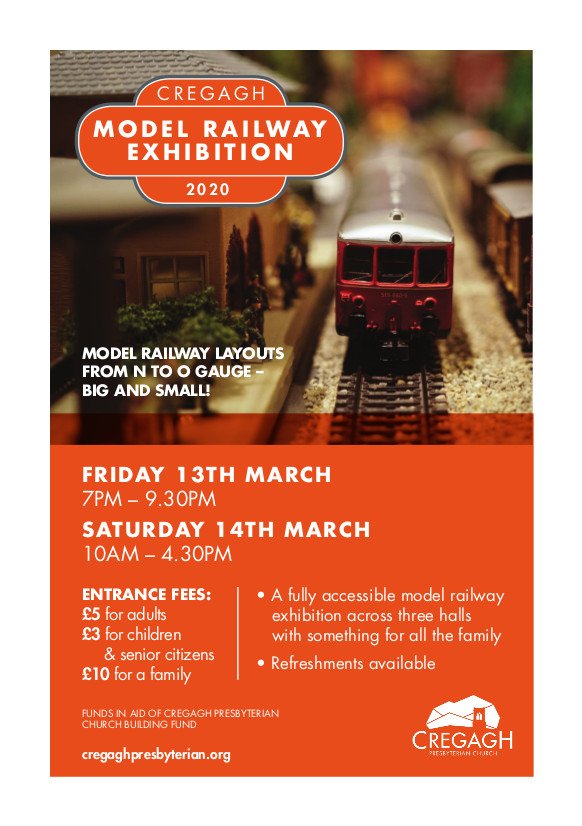
NIRCLASS80 Thanks I missed that post. I just got the flyer yesterday should have checked. MikeO
-
Hi Folks A new railway exhibition is being held this year. See Flyer below. I believe there may have been previous exhibitions the last of which took place around 2013. Any support will be welcome by the organisers MikeO
-
HI LostCarPark The data sheet is very interesting. With regard to card rolling stock I have created a new thread so as not to take this one off topic https://irishrailwaymodeller.com/topic/8308-n-gauge-card-rolling-stock/ MikeO
-
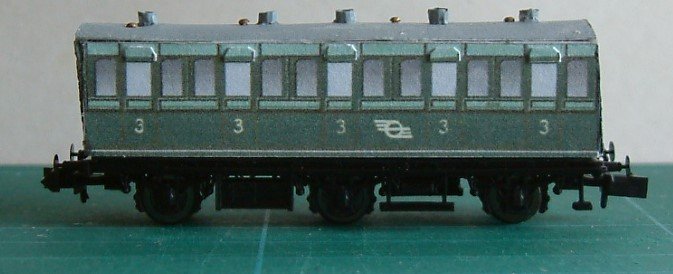
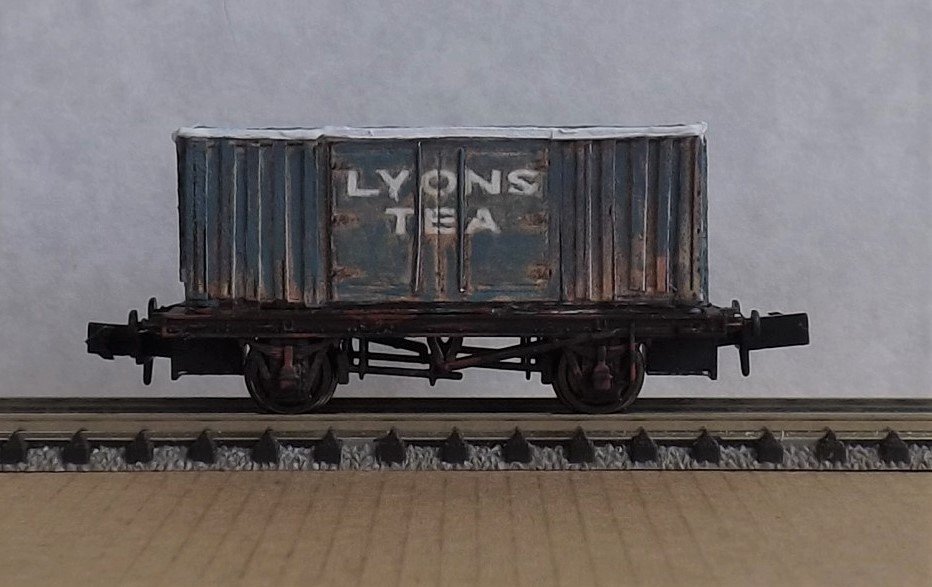
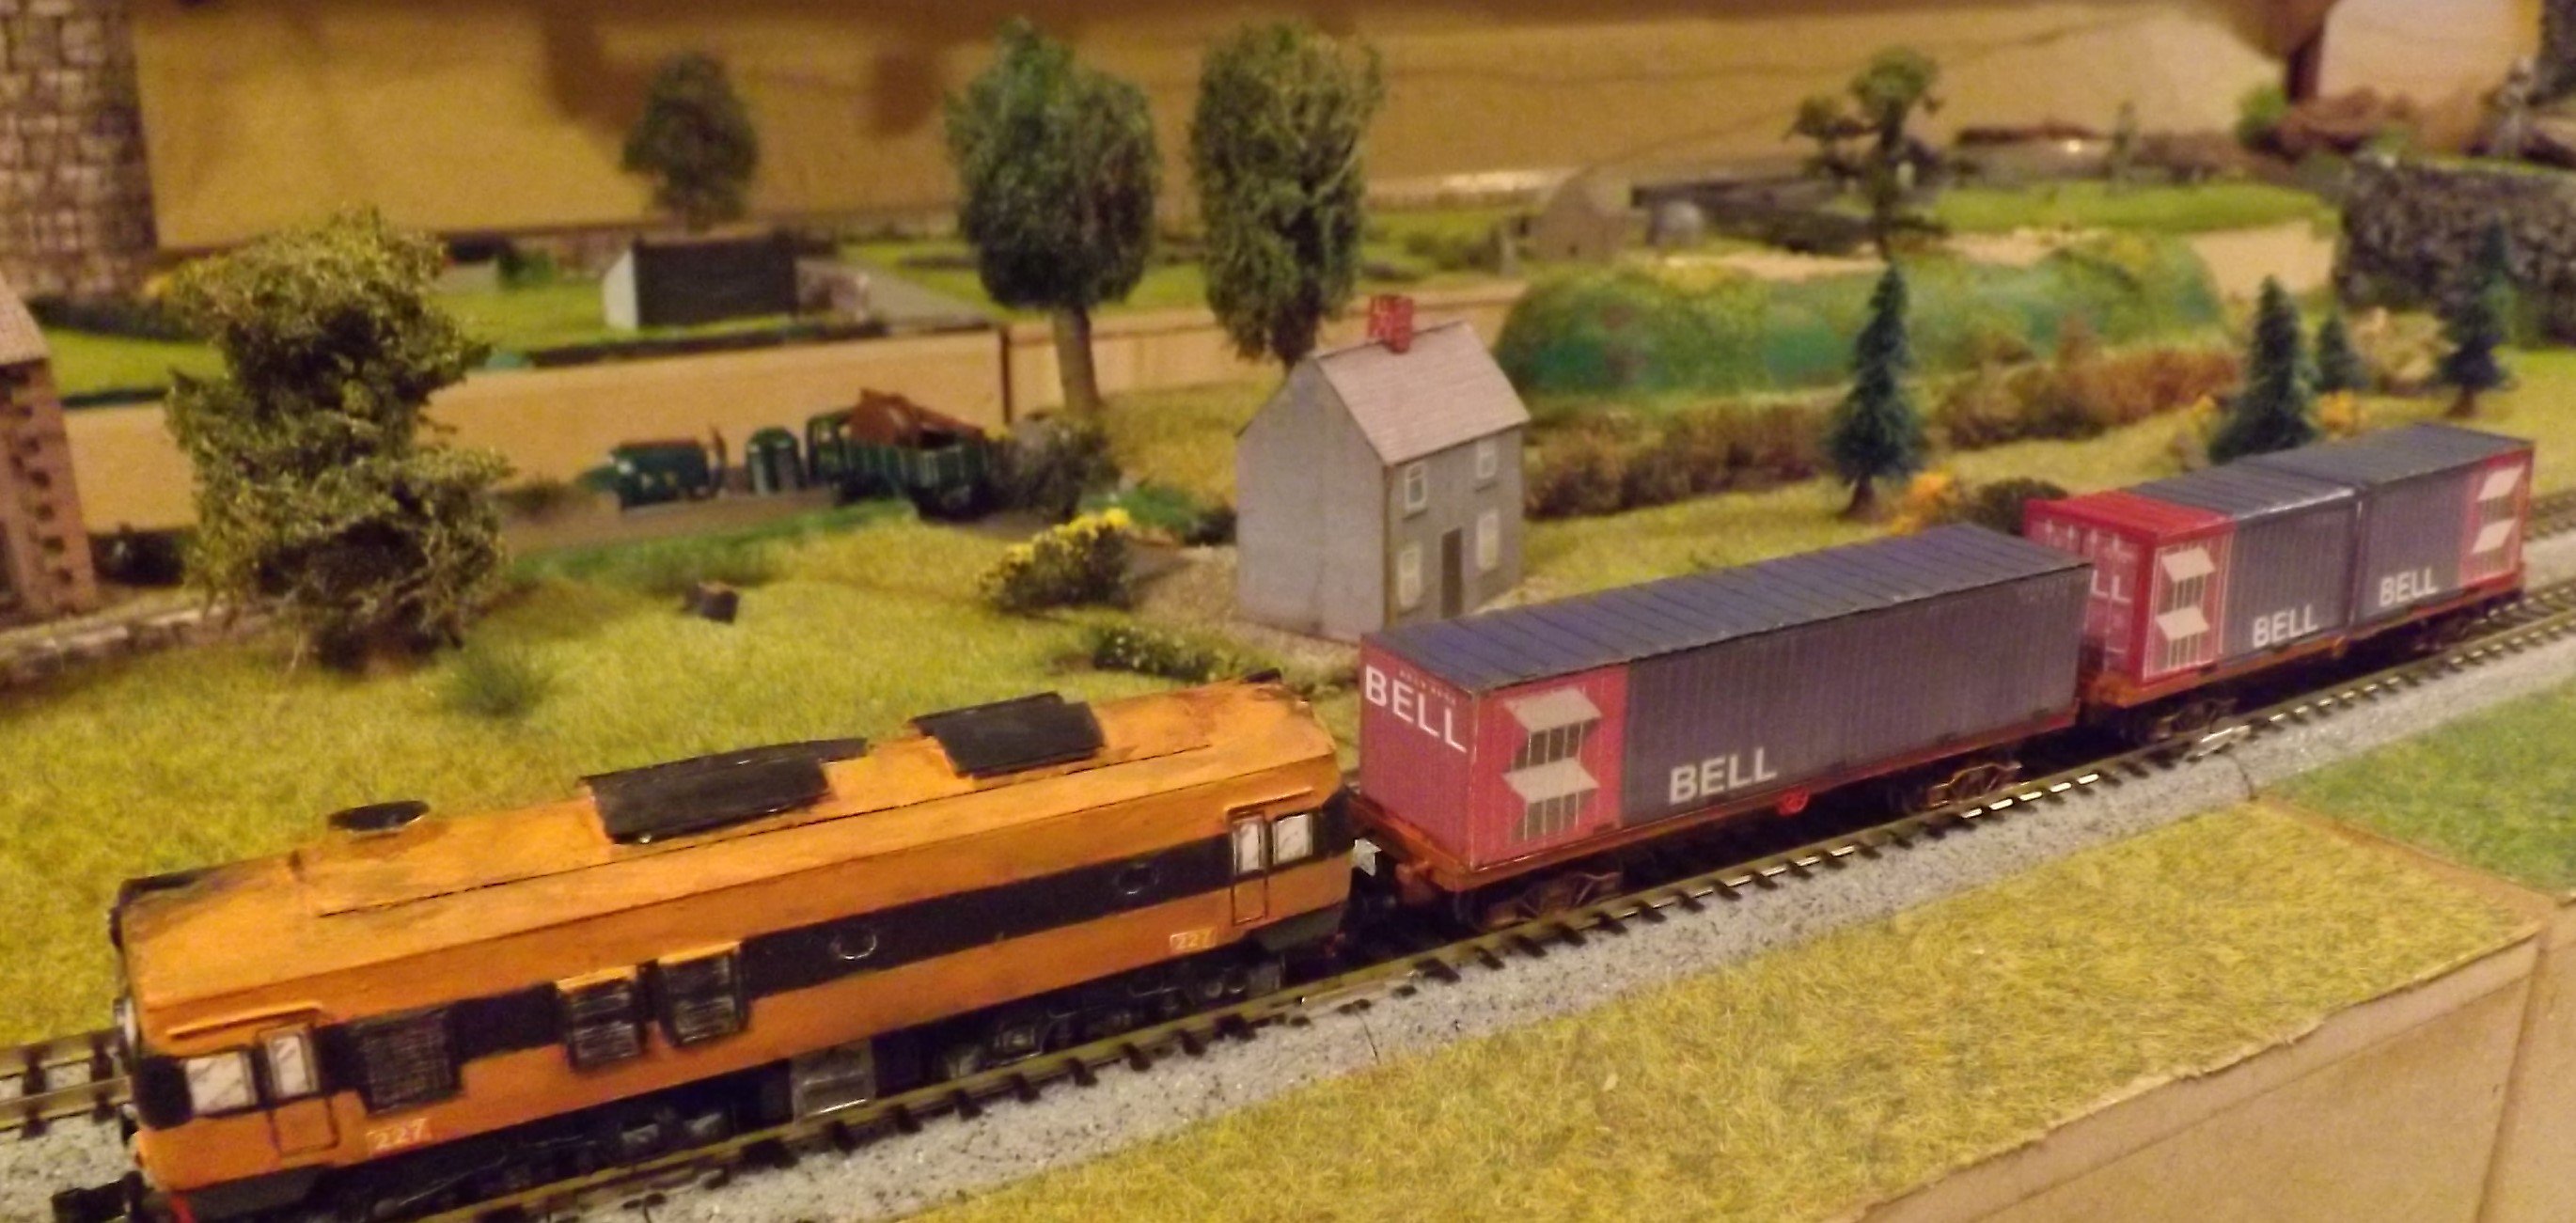
HI LostCarPark In N gauge card rolling stock is feasible but I am not aware of any where you can get an N Gauge kit which can be cut out and glueed together in the same way you do with Metacalf and other building kits. You can get OO gauge and larger card kits and scale them down. Also you can get diagram books such as those sold by the IRRS and scale them down. Wagons are usually fairly straight forward but coaches where windows need to be cut out to install glazing etc can be difficult, the small windows more so. Plenty of sharp blades, a good metal ruler and a fairly steady hand are required. Card can be a little flat and can benefit from such of plastic strips or wire as appropriate. Attached are a number of photos which hopefully illustrate the above comments First is a Wagon purely made from card and is a scaled down Alphagraphix OO gauge kit The second is a 6 wheel coach from Alphagraphix and scaled down The third is a wagon which started life a photograph and has been scaled and enhanced by vertical plastic strips The fourth shows how I made the body of the container from card although again plastic strips were used this time on the roof. That to me was easier then trying to cut card to a consistent width and length The last shows how such models can look well at normal viewing distance despite their appearance close up. The first container is that in photo 4 while the second container has been enhanced with plastic strips around the edge. With more care than in the first 3 photos card models can look very professional. But it does require a lot of patience and attention to detail. Another way to use card is to glue the required parts on to an existing donor model. The C Class loco in photo 5 shows what can be achieved. MikeO
- 19 replies
-
- 8
-
-

-
- rolling stock
- card
- (and 1 more)
-
Wexford Model Railway Club's Annual Exhibition 2020
MikeO replied to Irishrailwayman's topic in What's On?
Hi Gerry Sent you a pm MikeO- 20 replies
-
- 1
-
-
- model railway exhibition
- annual exhibition
- (and 2 more)
-
Thanks debrawenlock It was a great day with plenty of interaction with the public. Unfortunately I missed a lot of good layouts including yours. MikeO
-
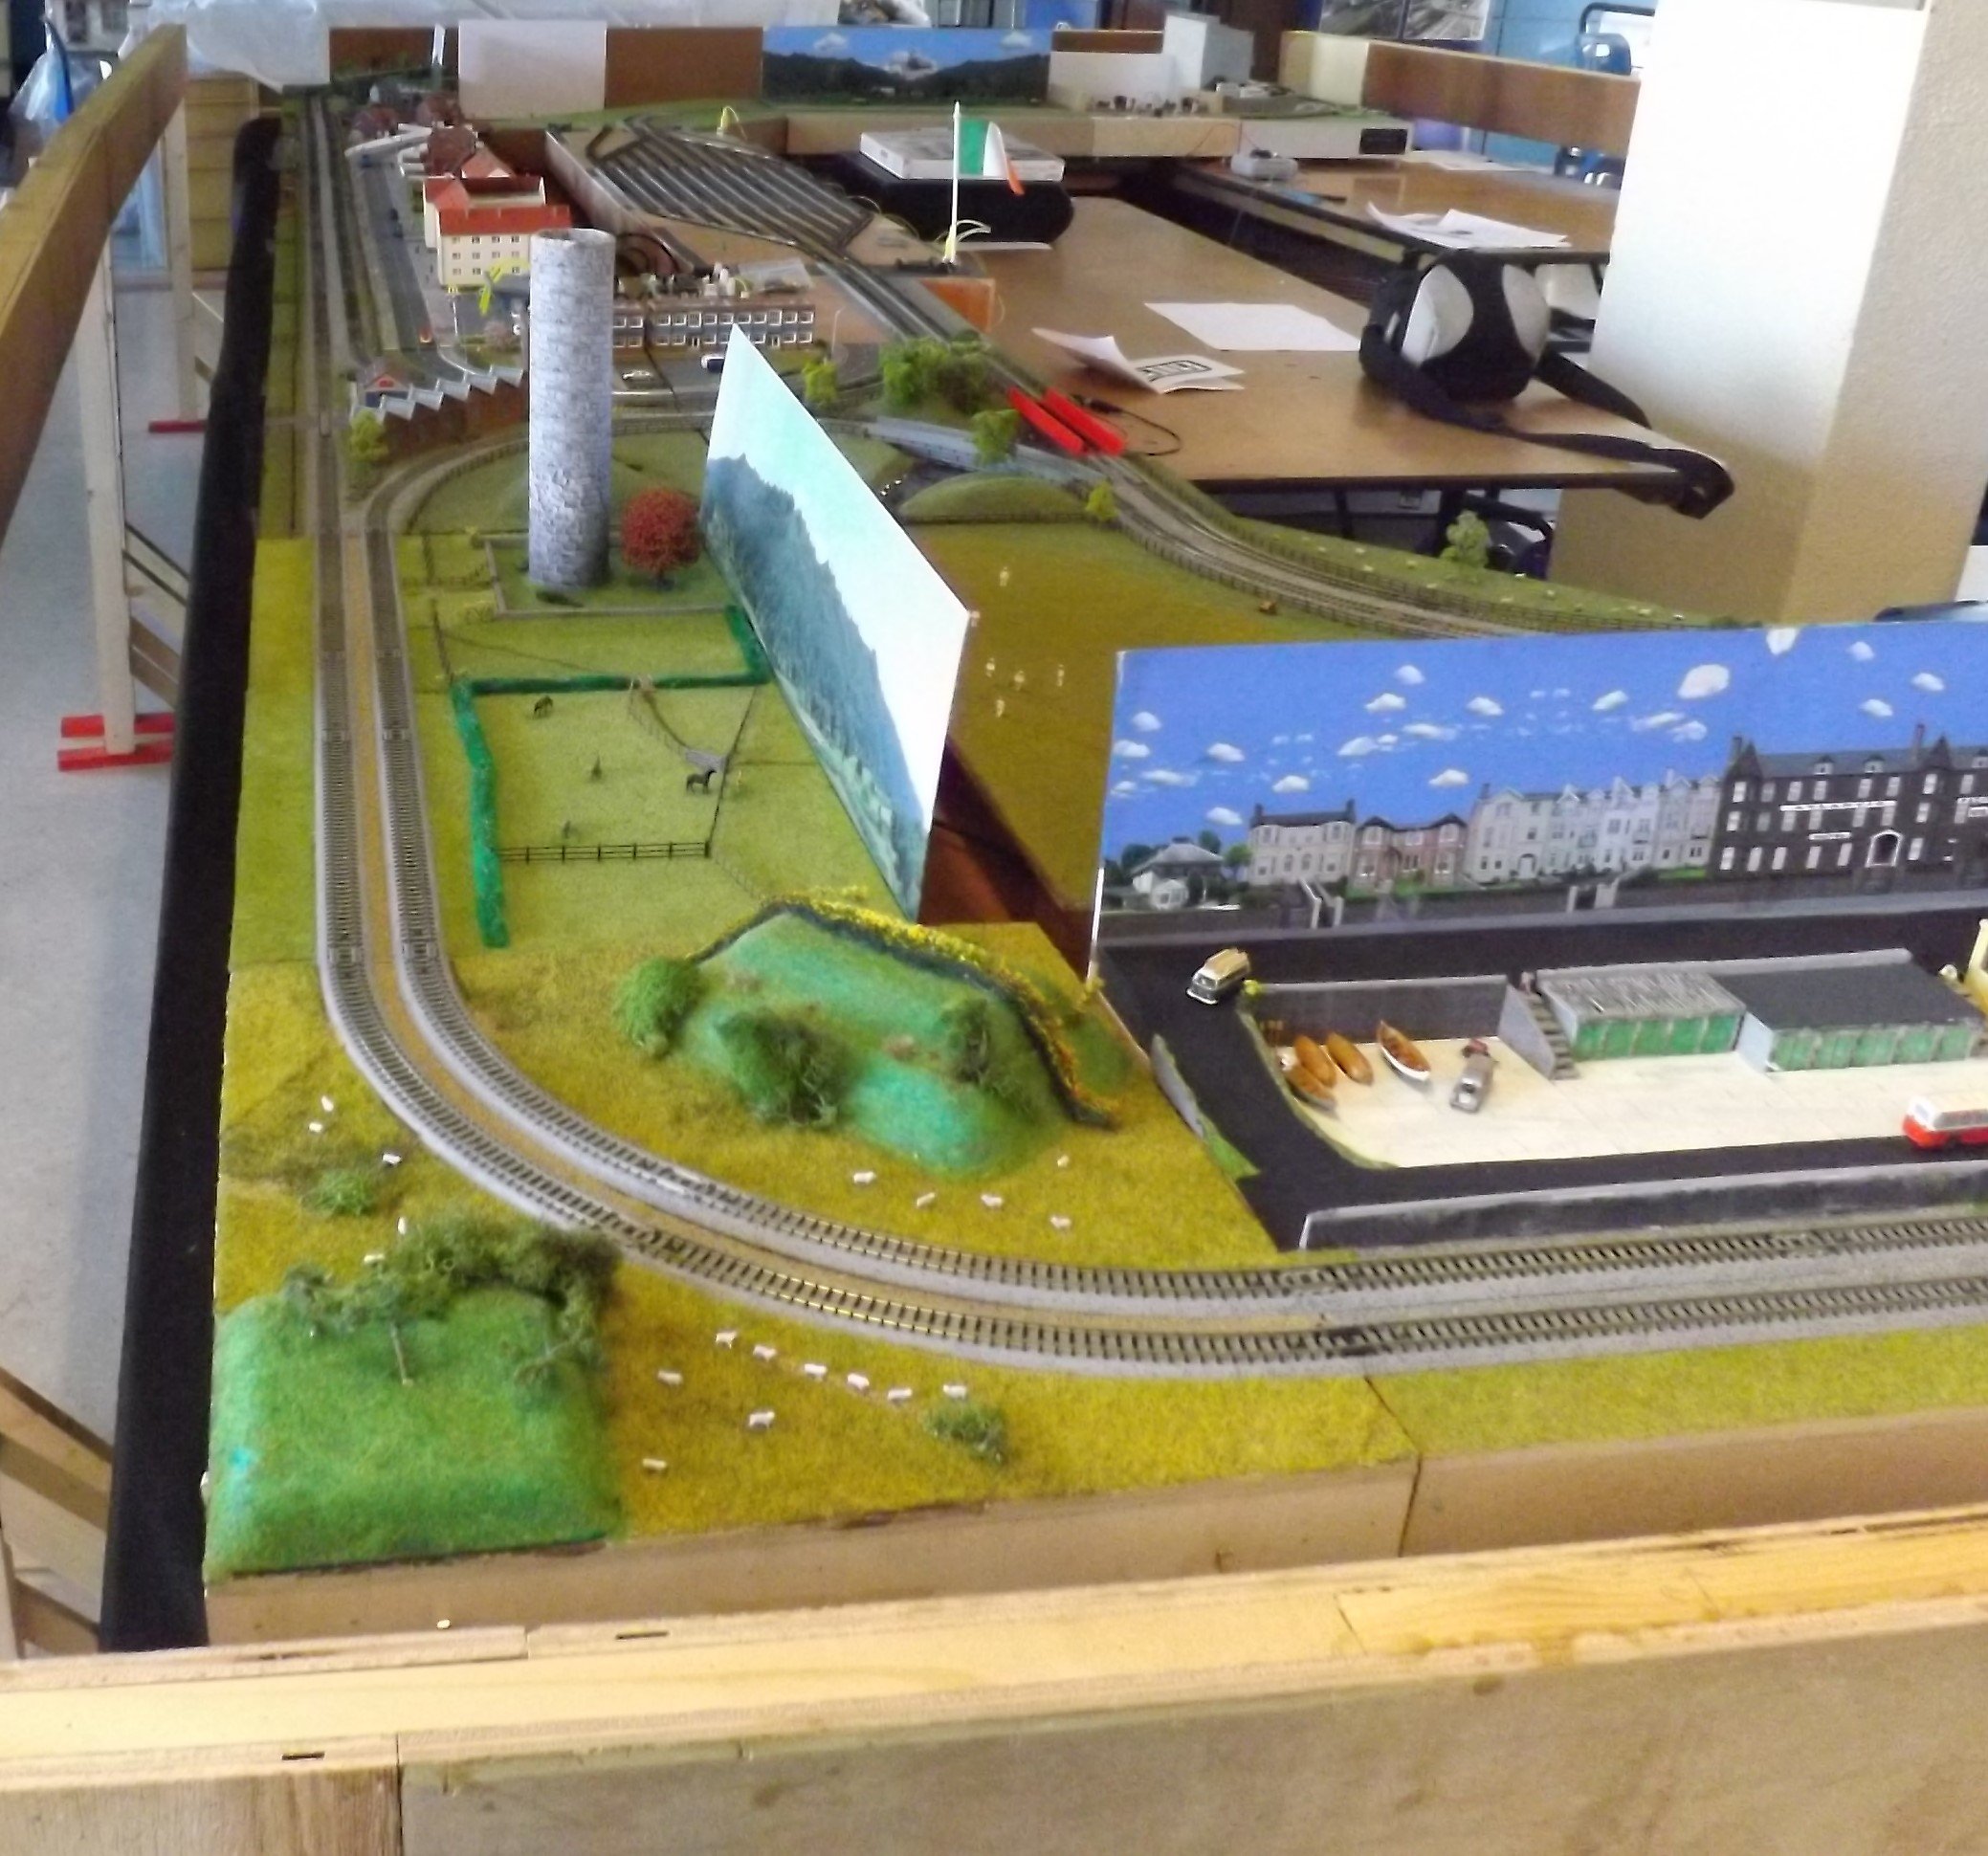
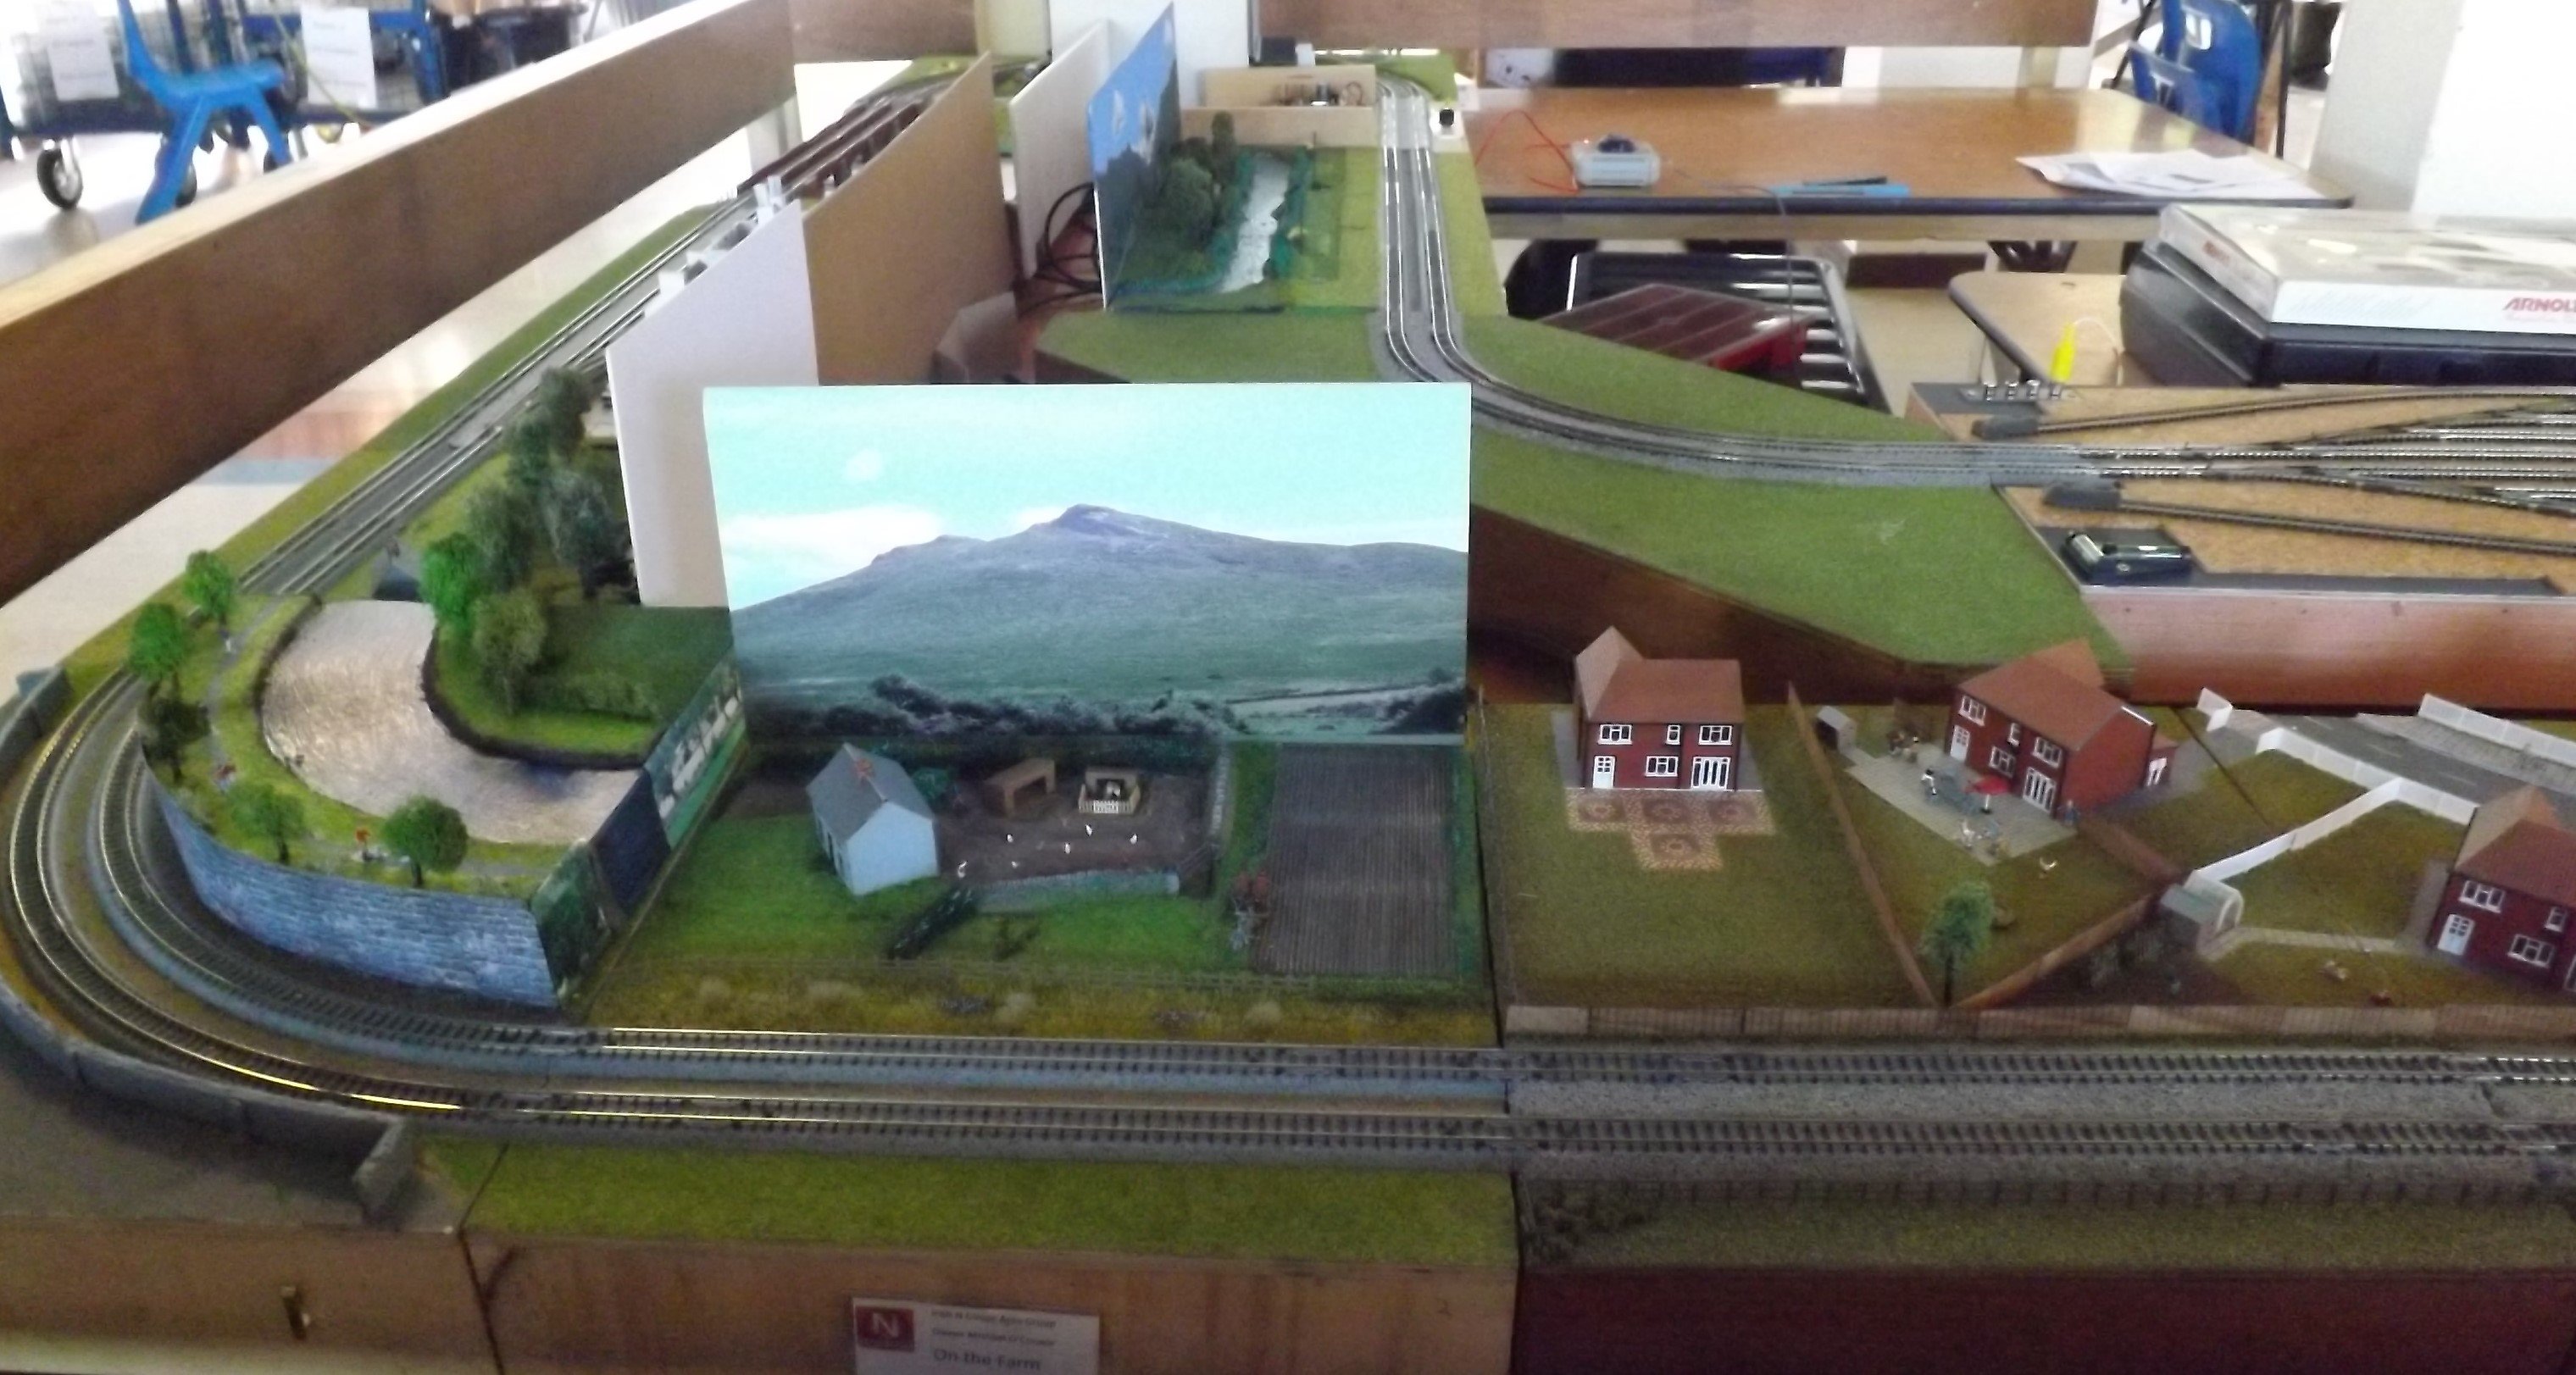
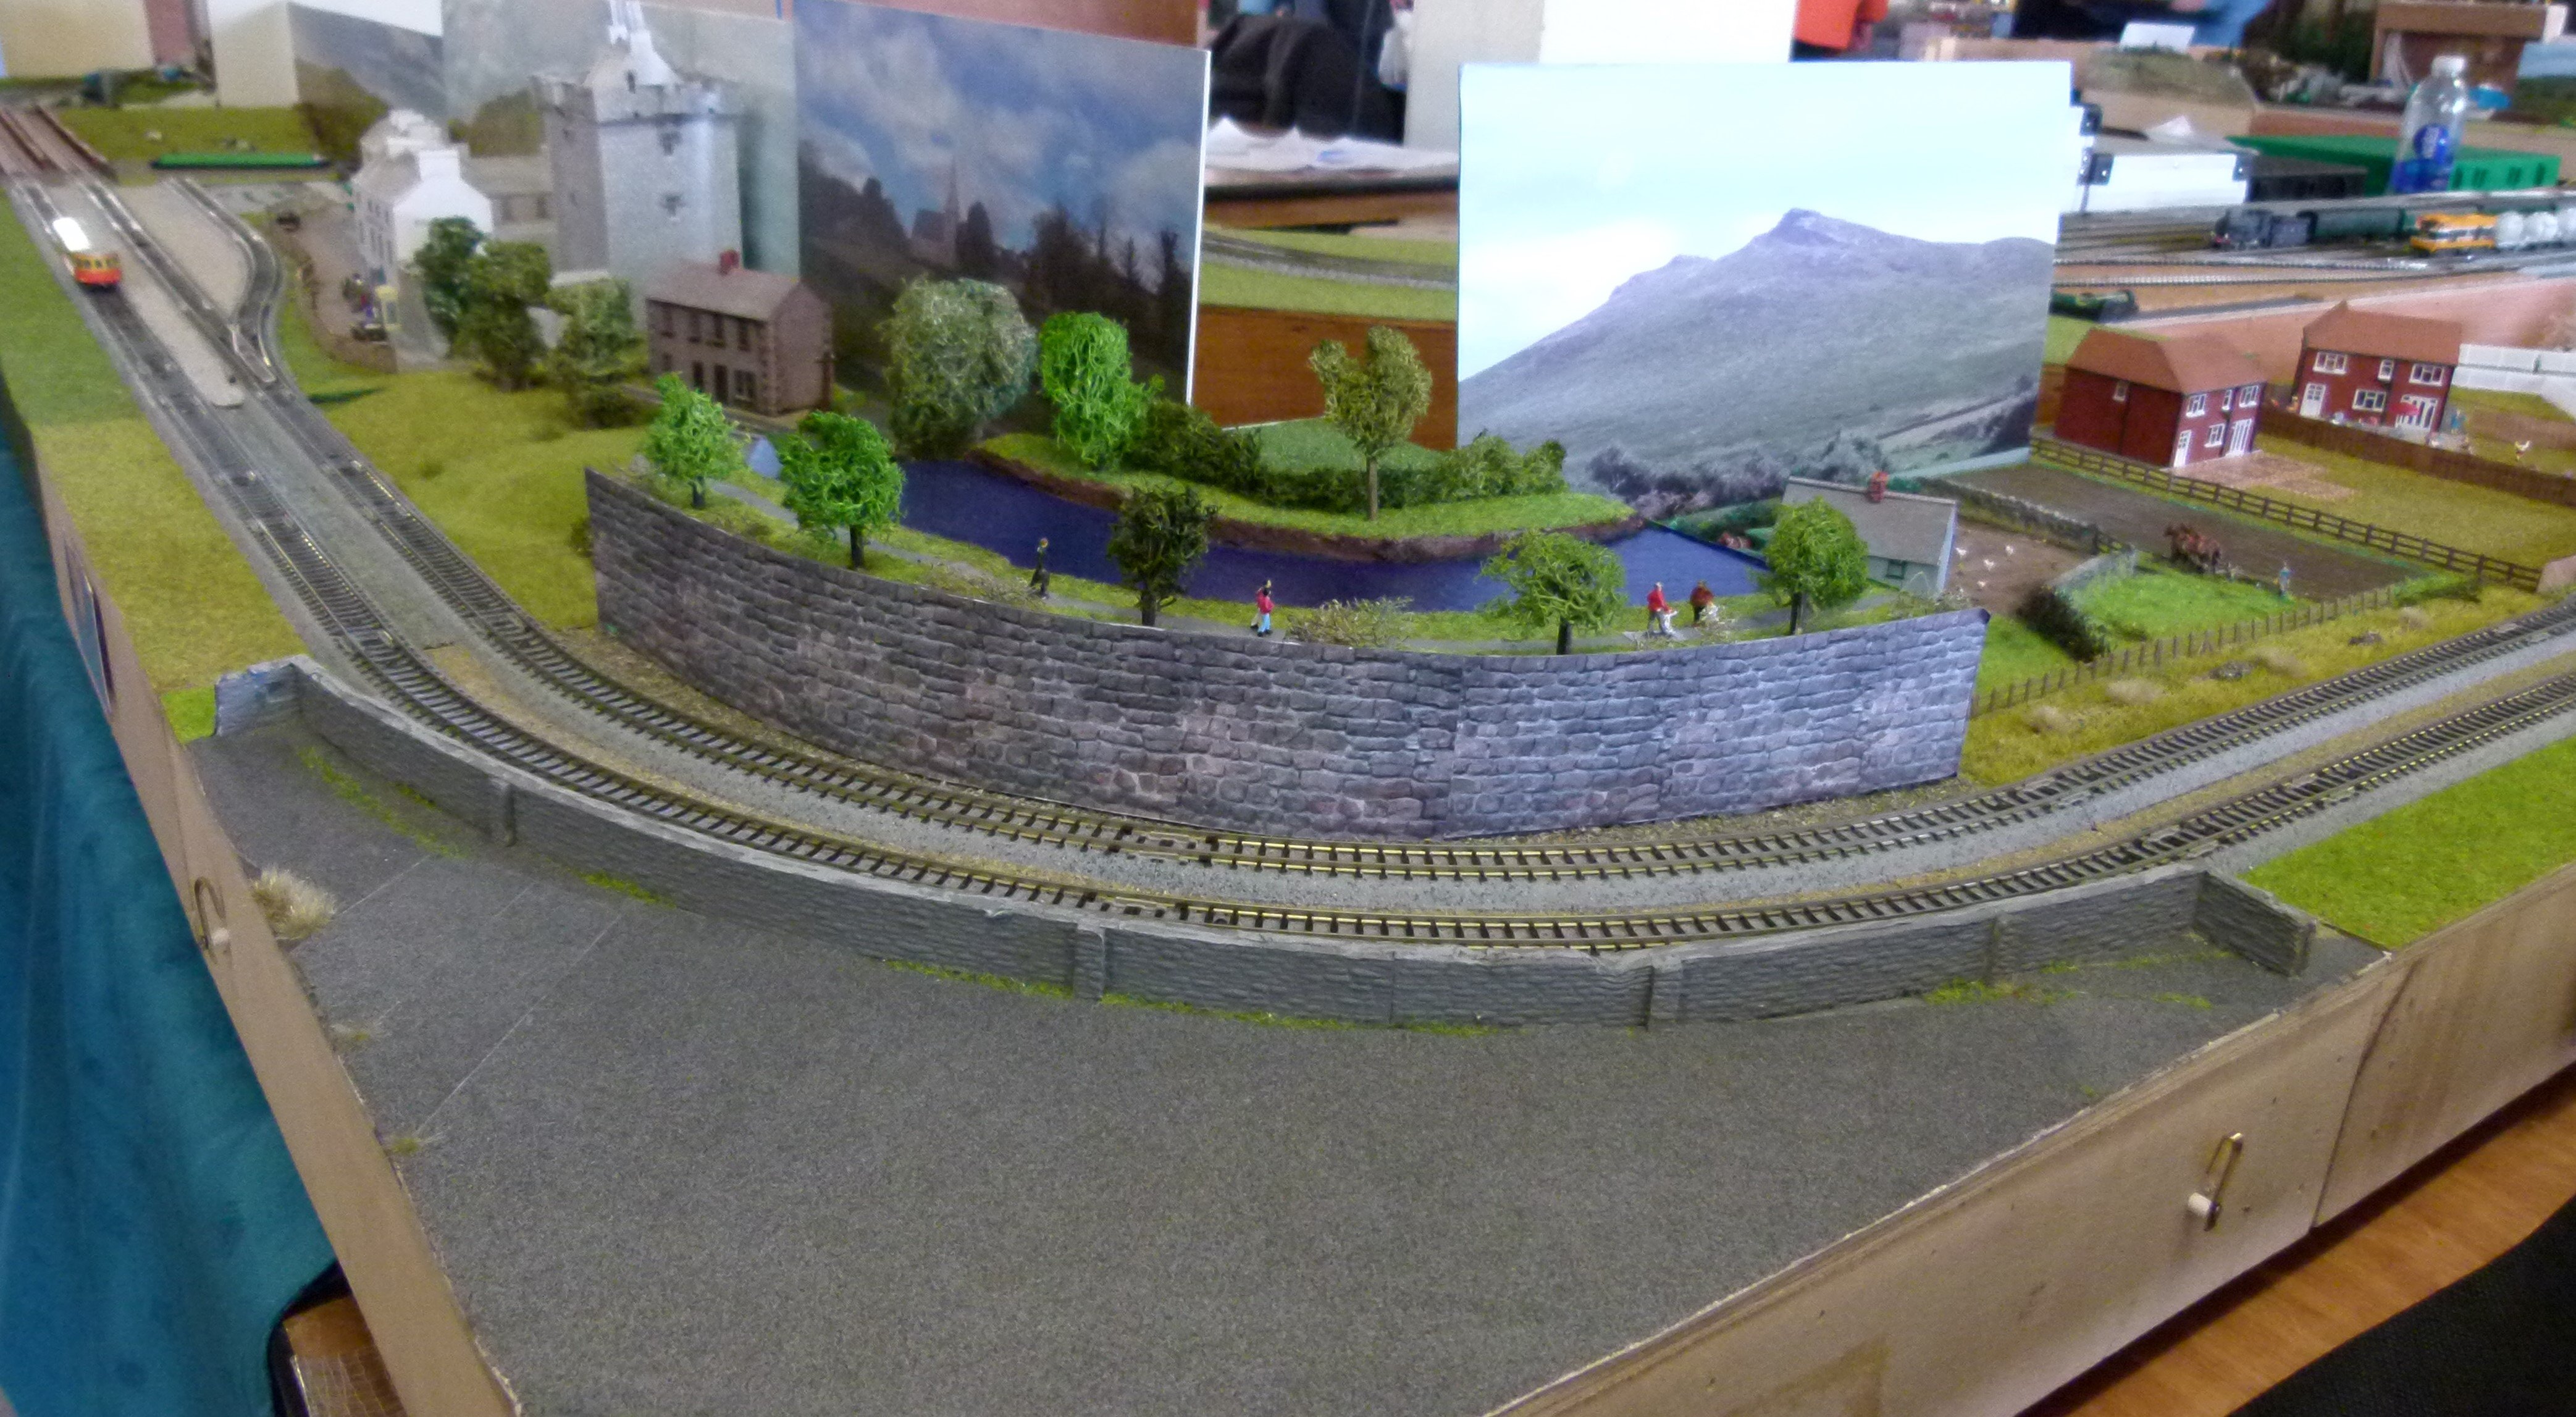
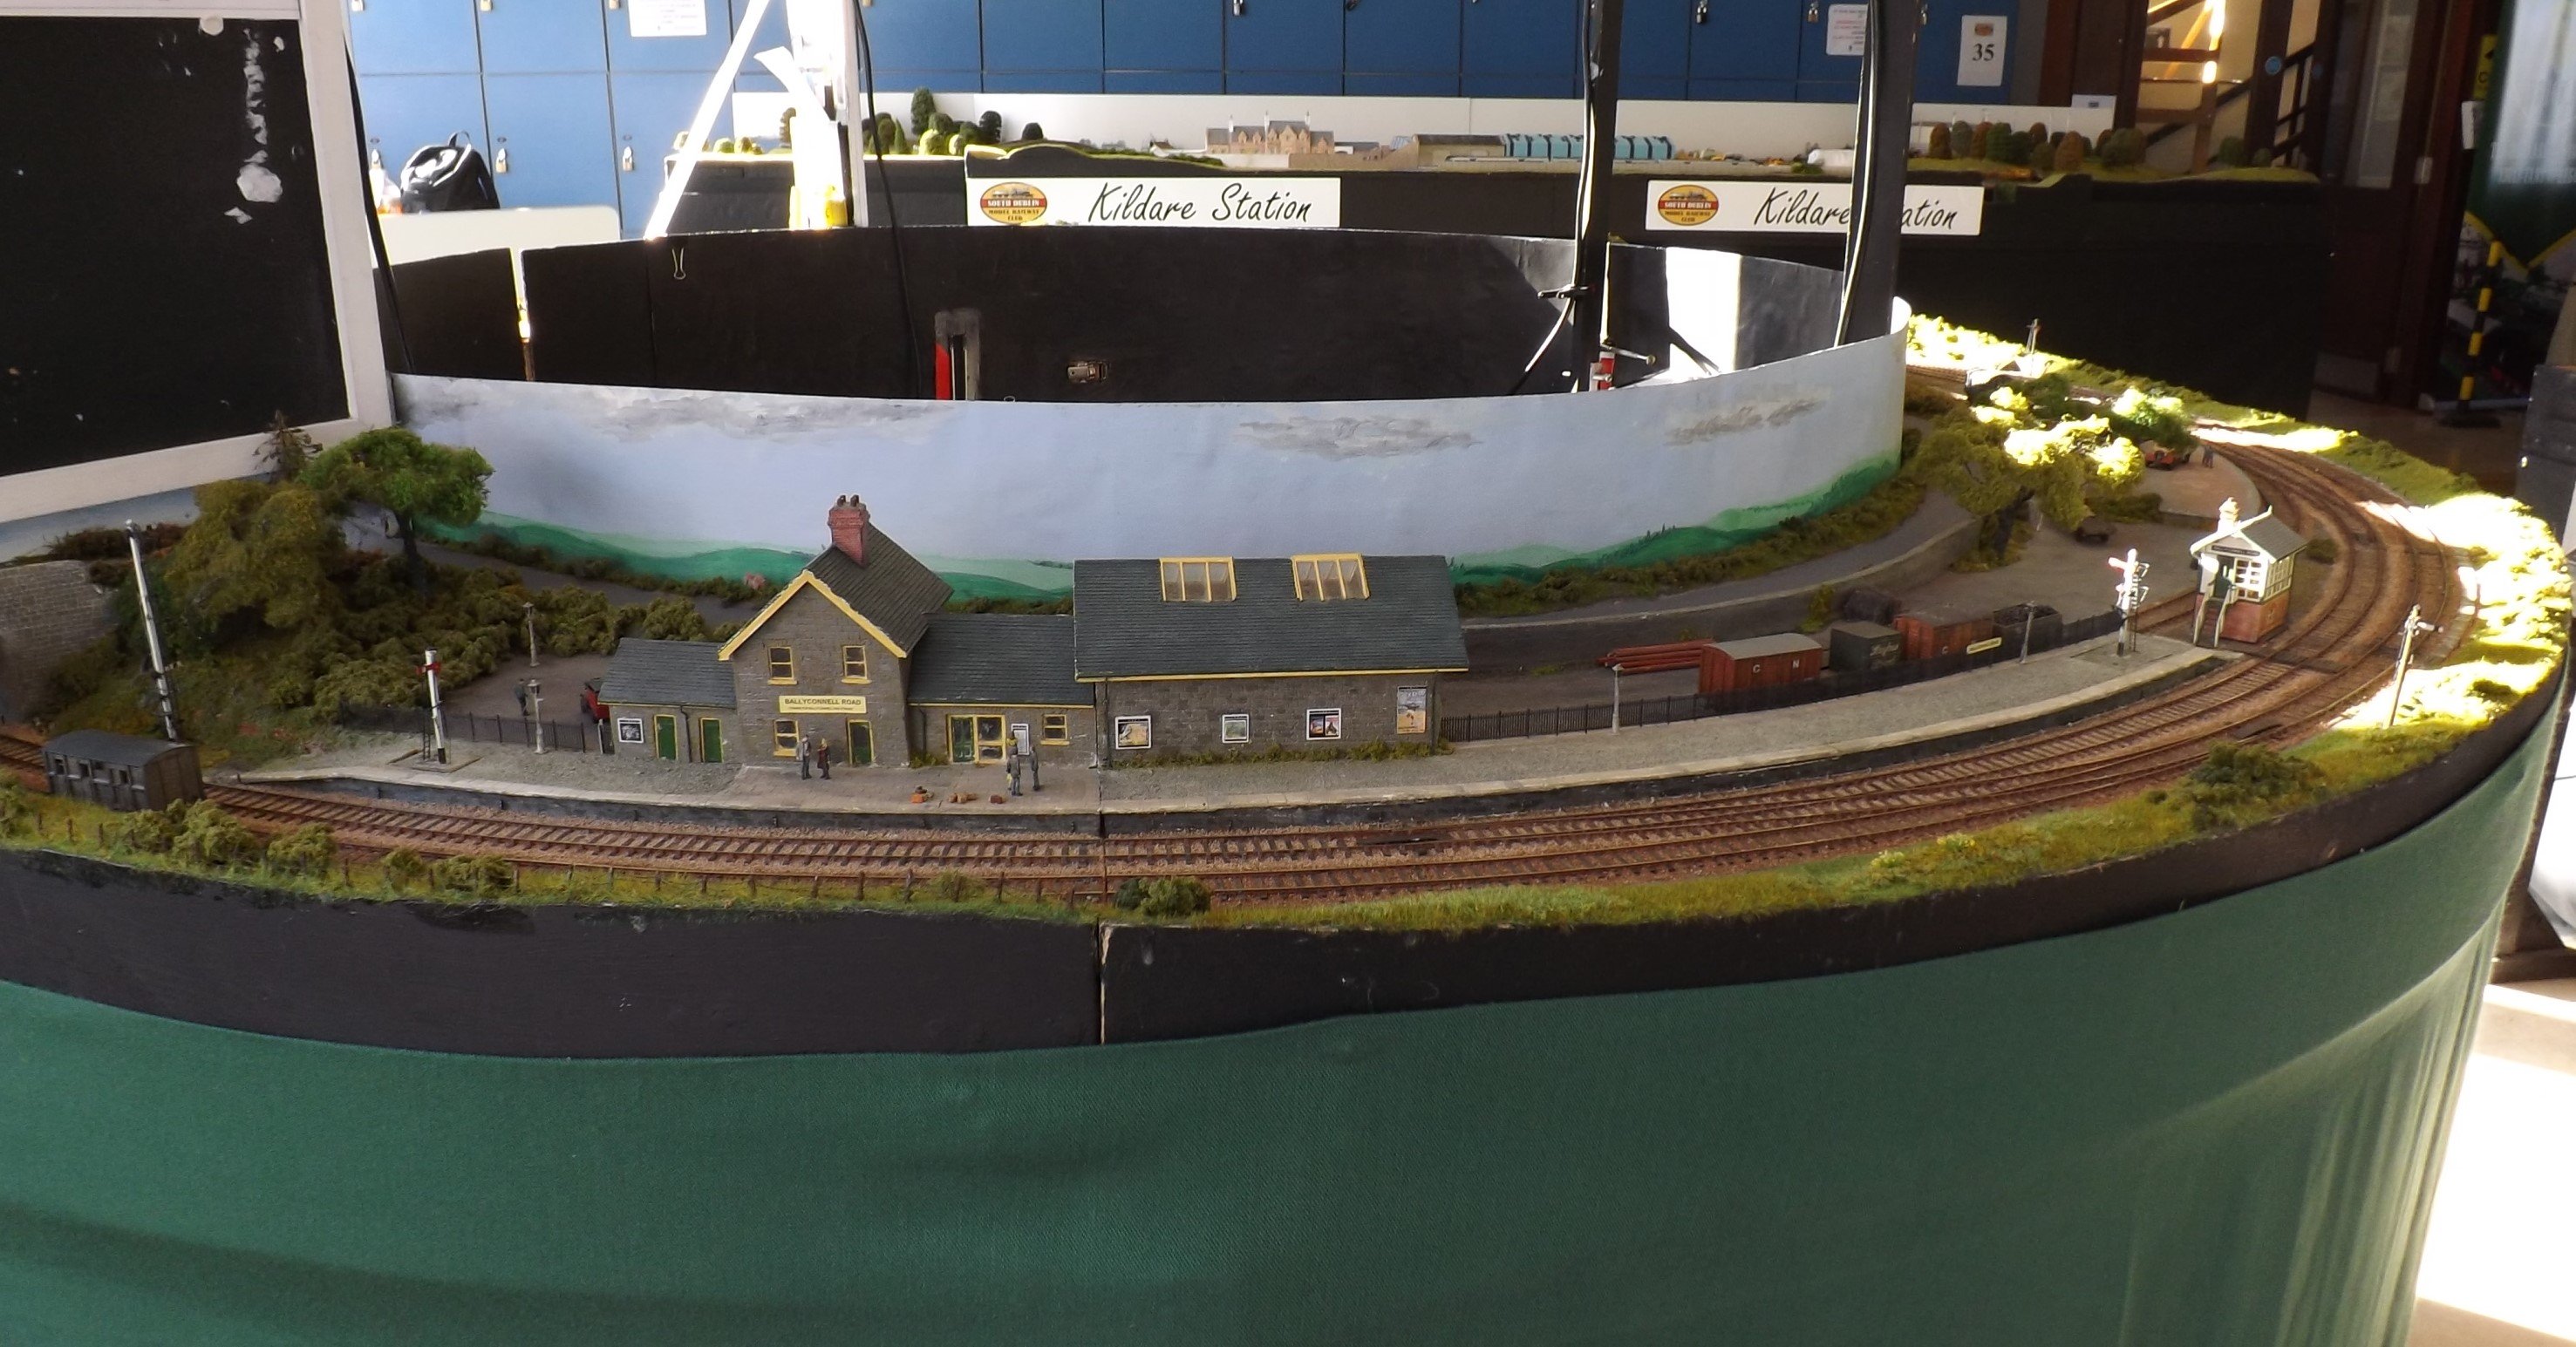
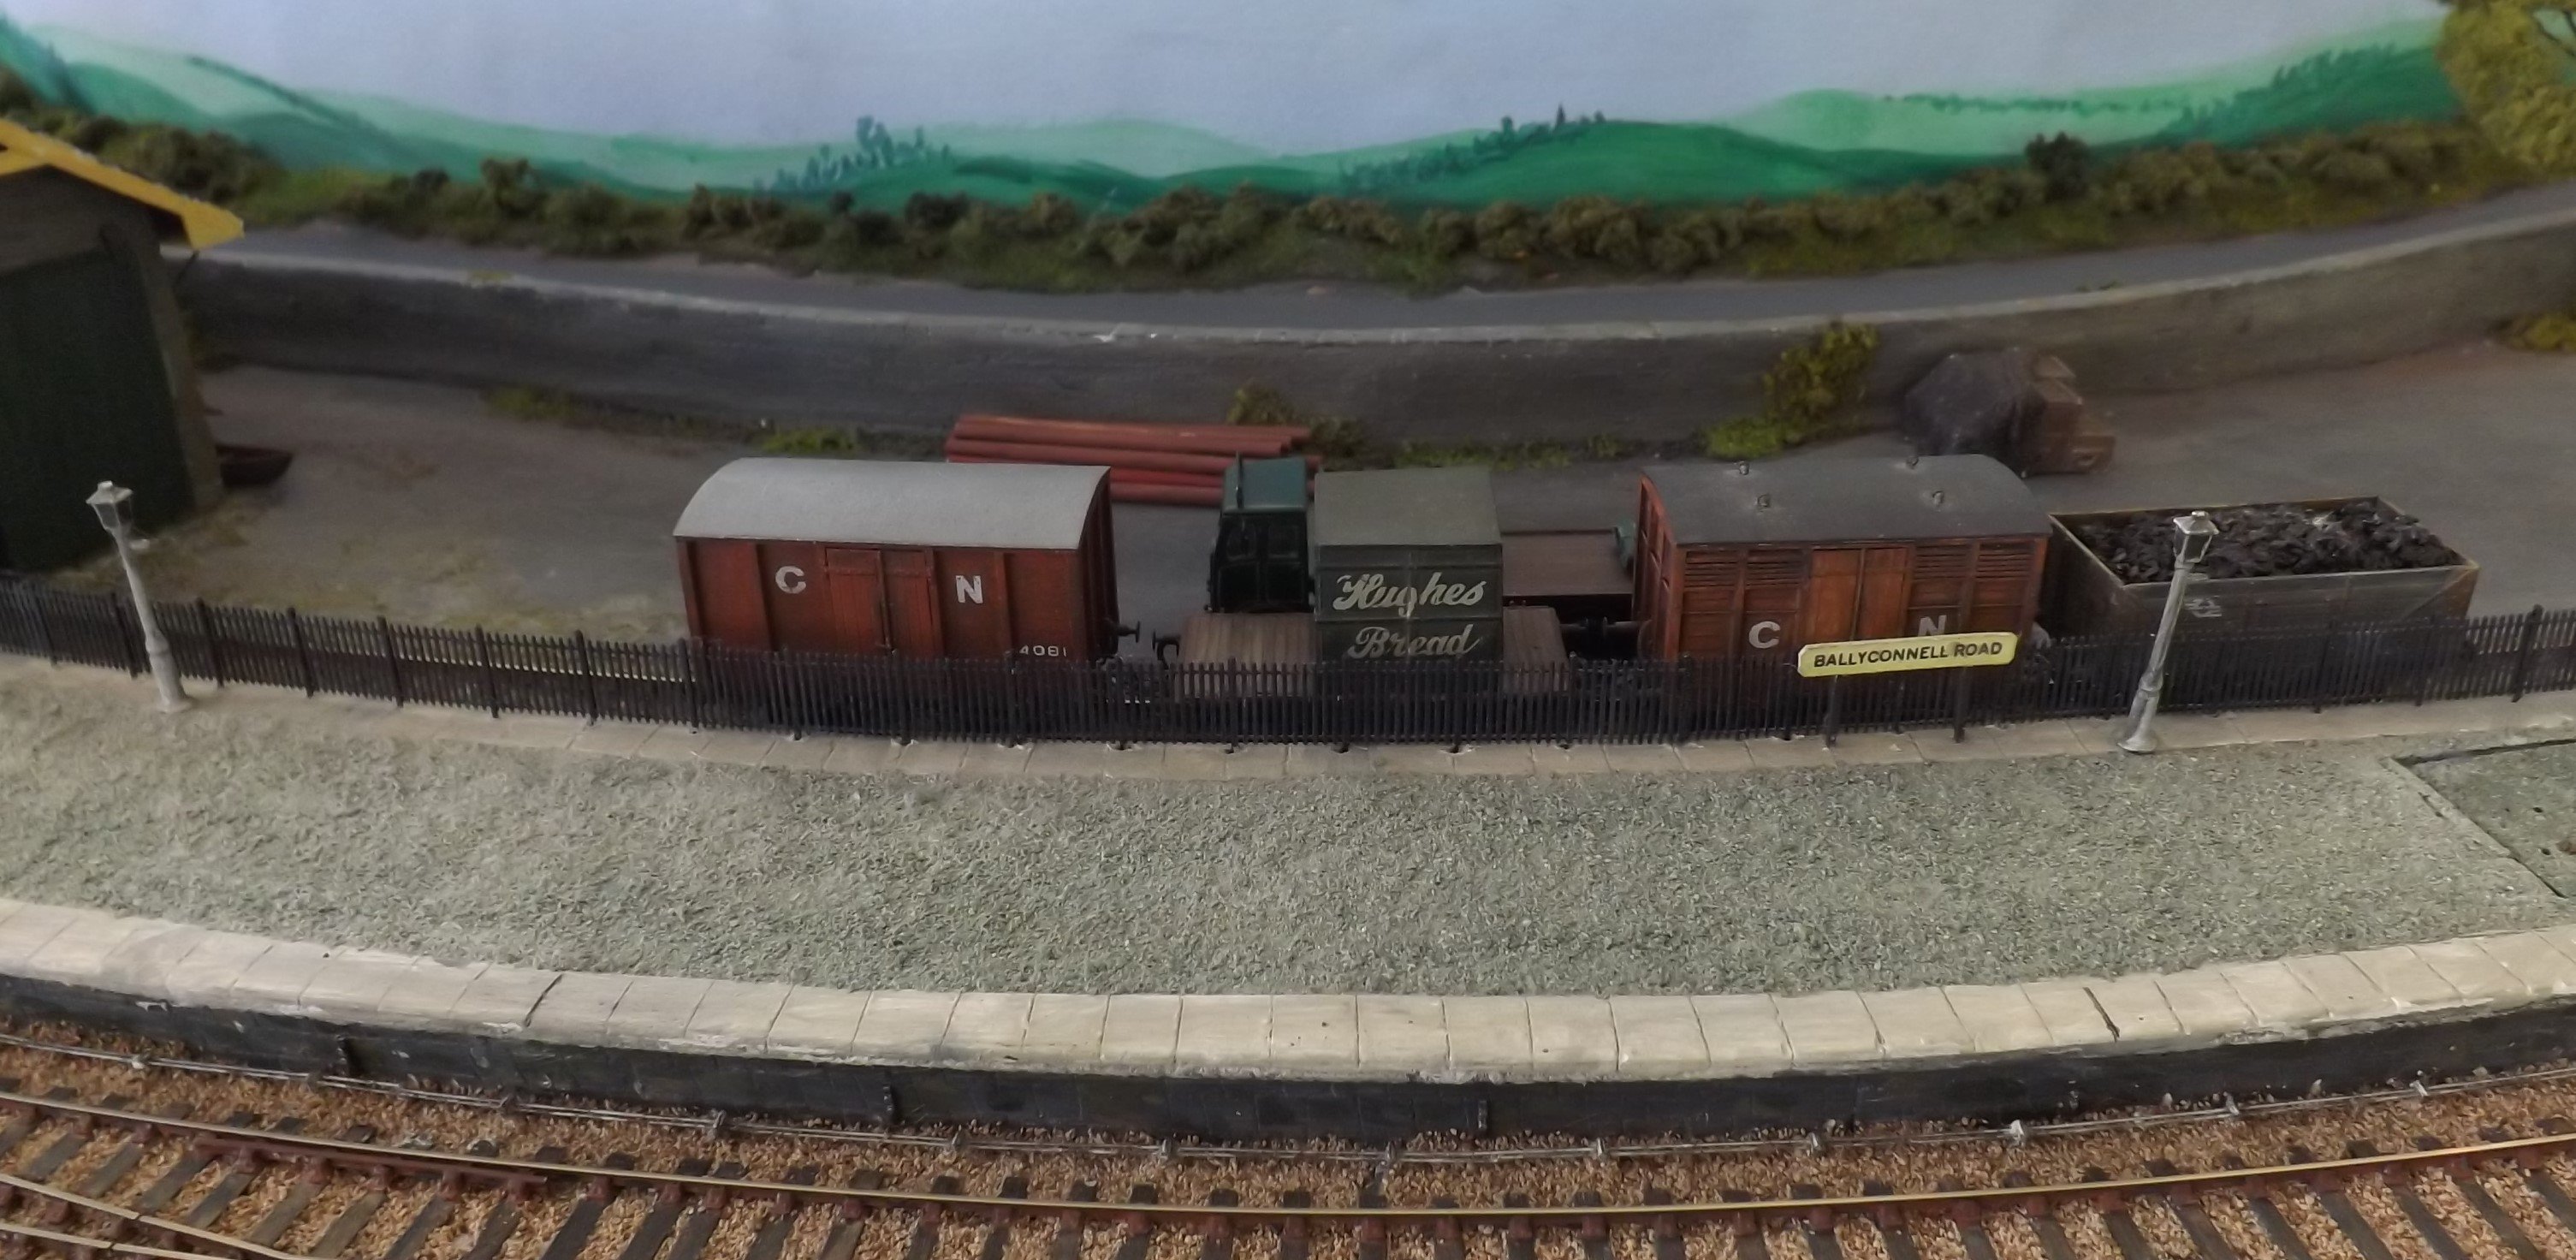
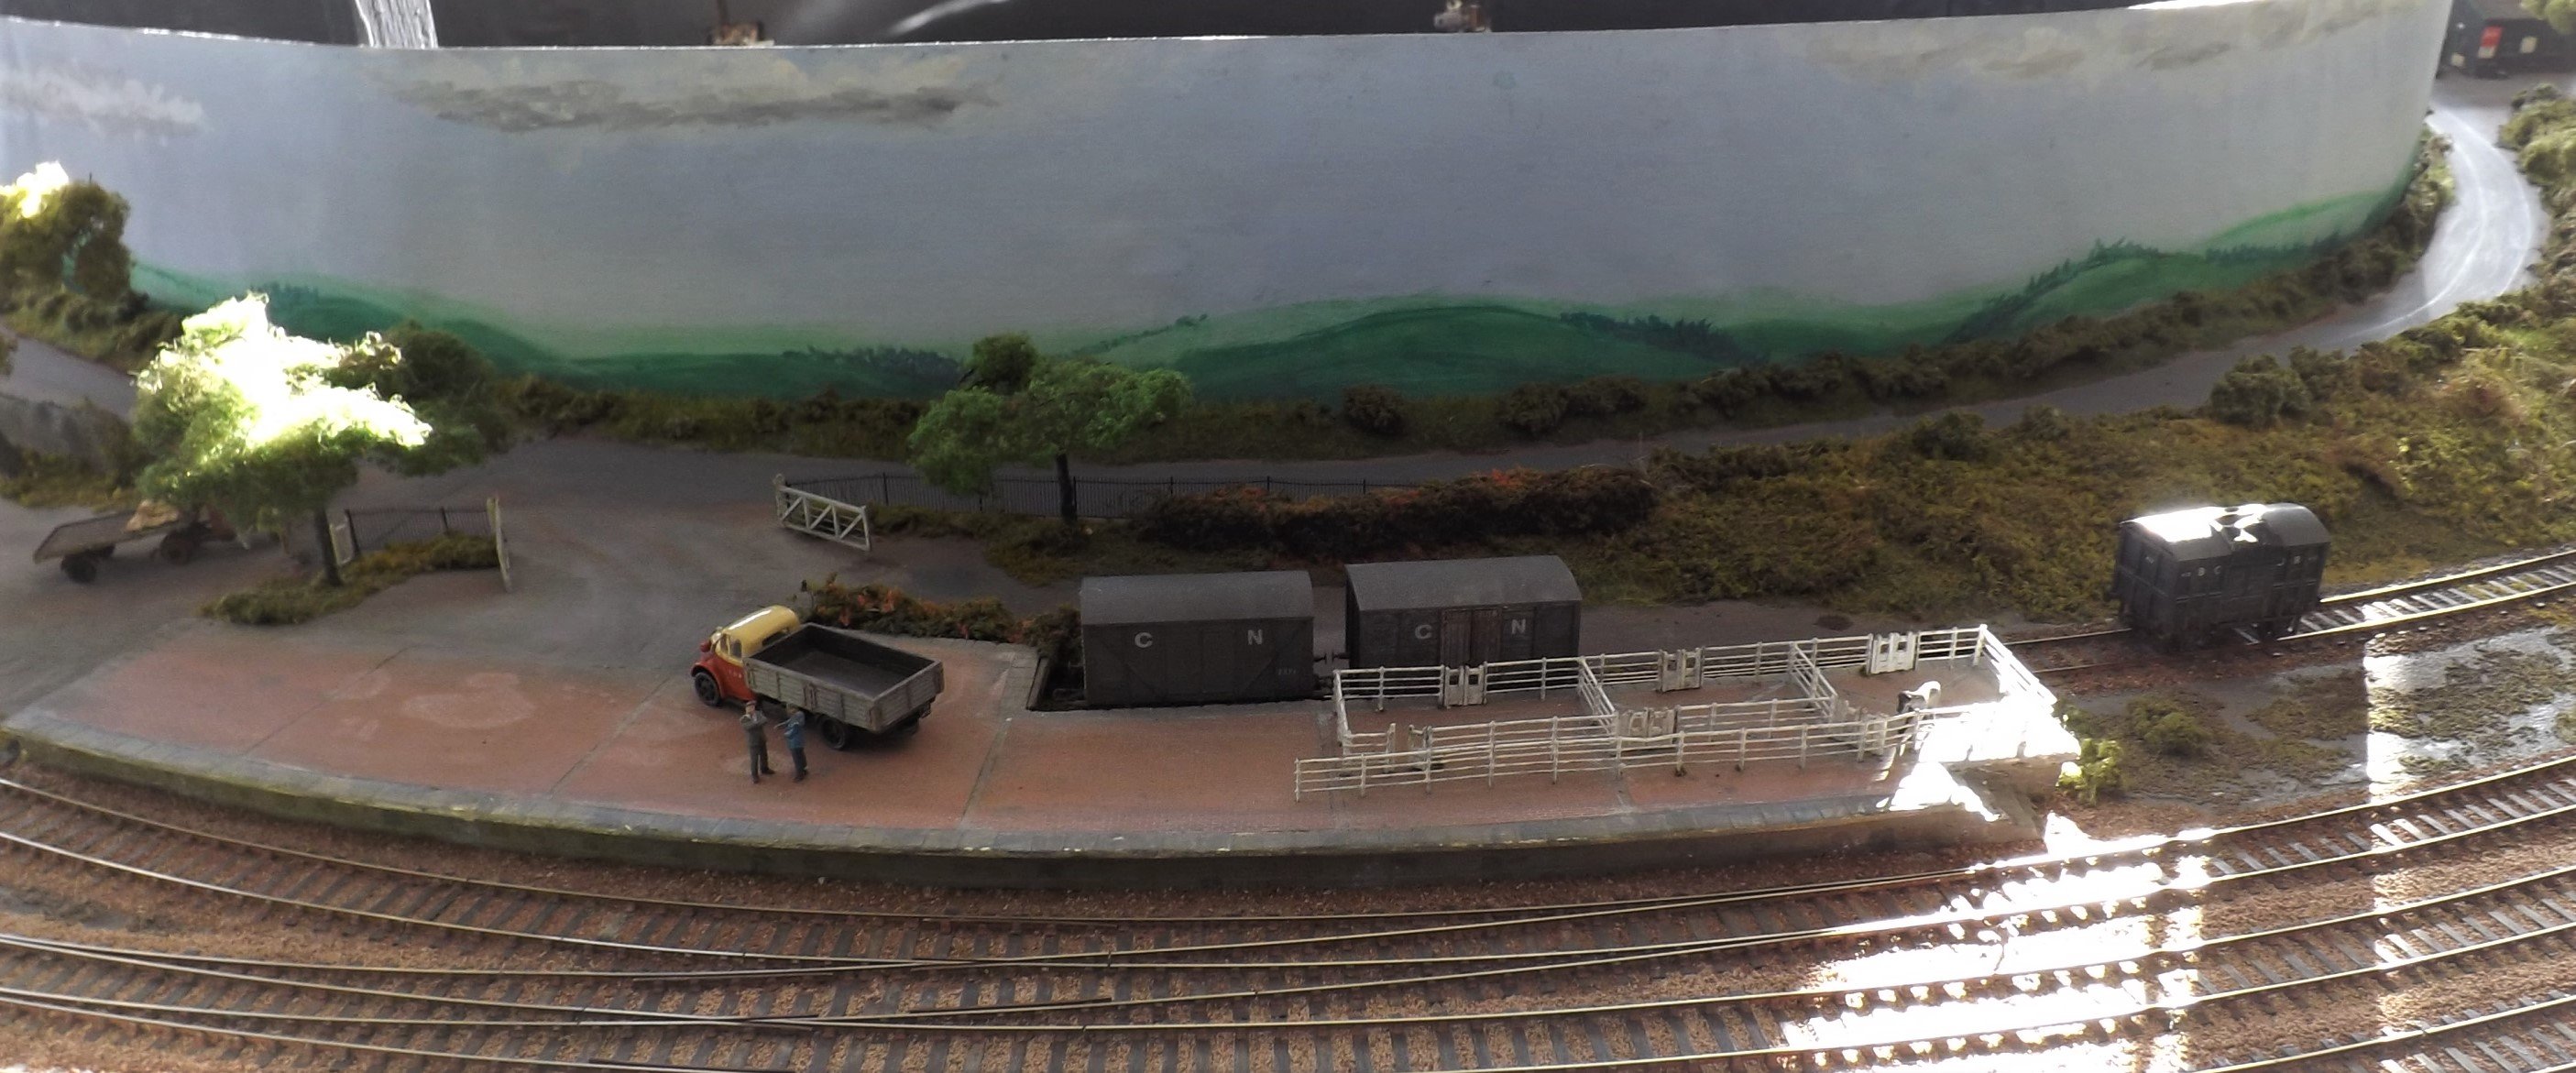
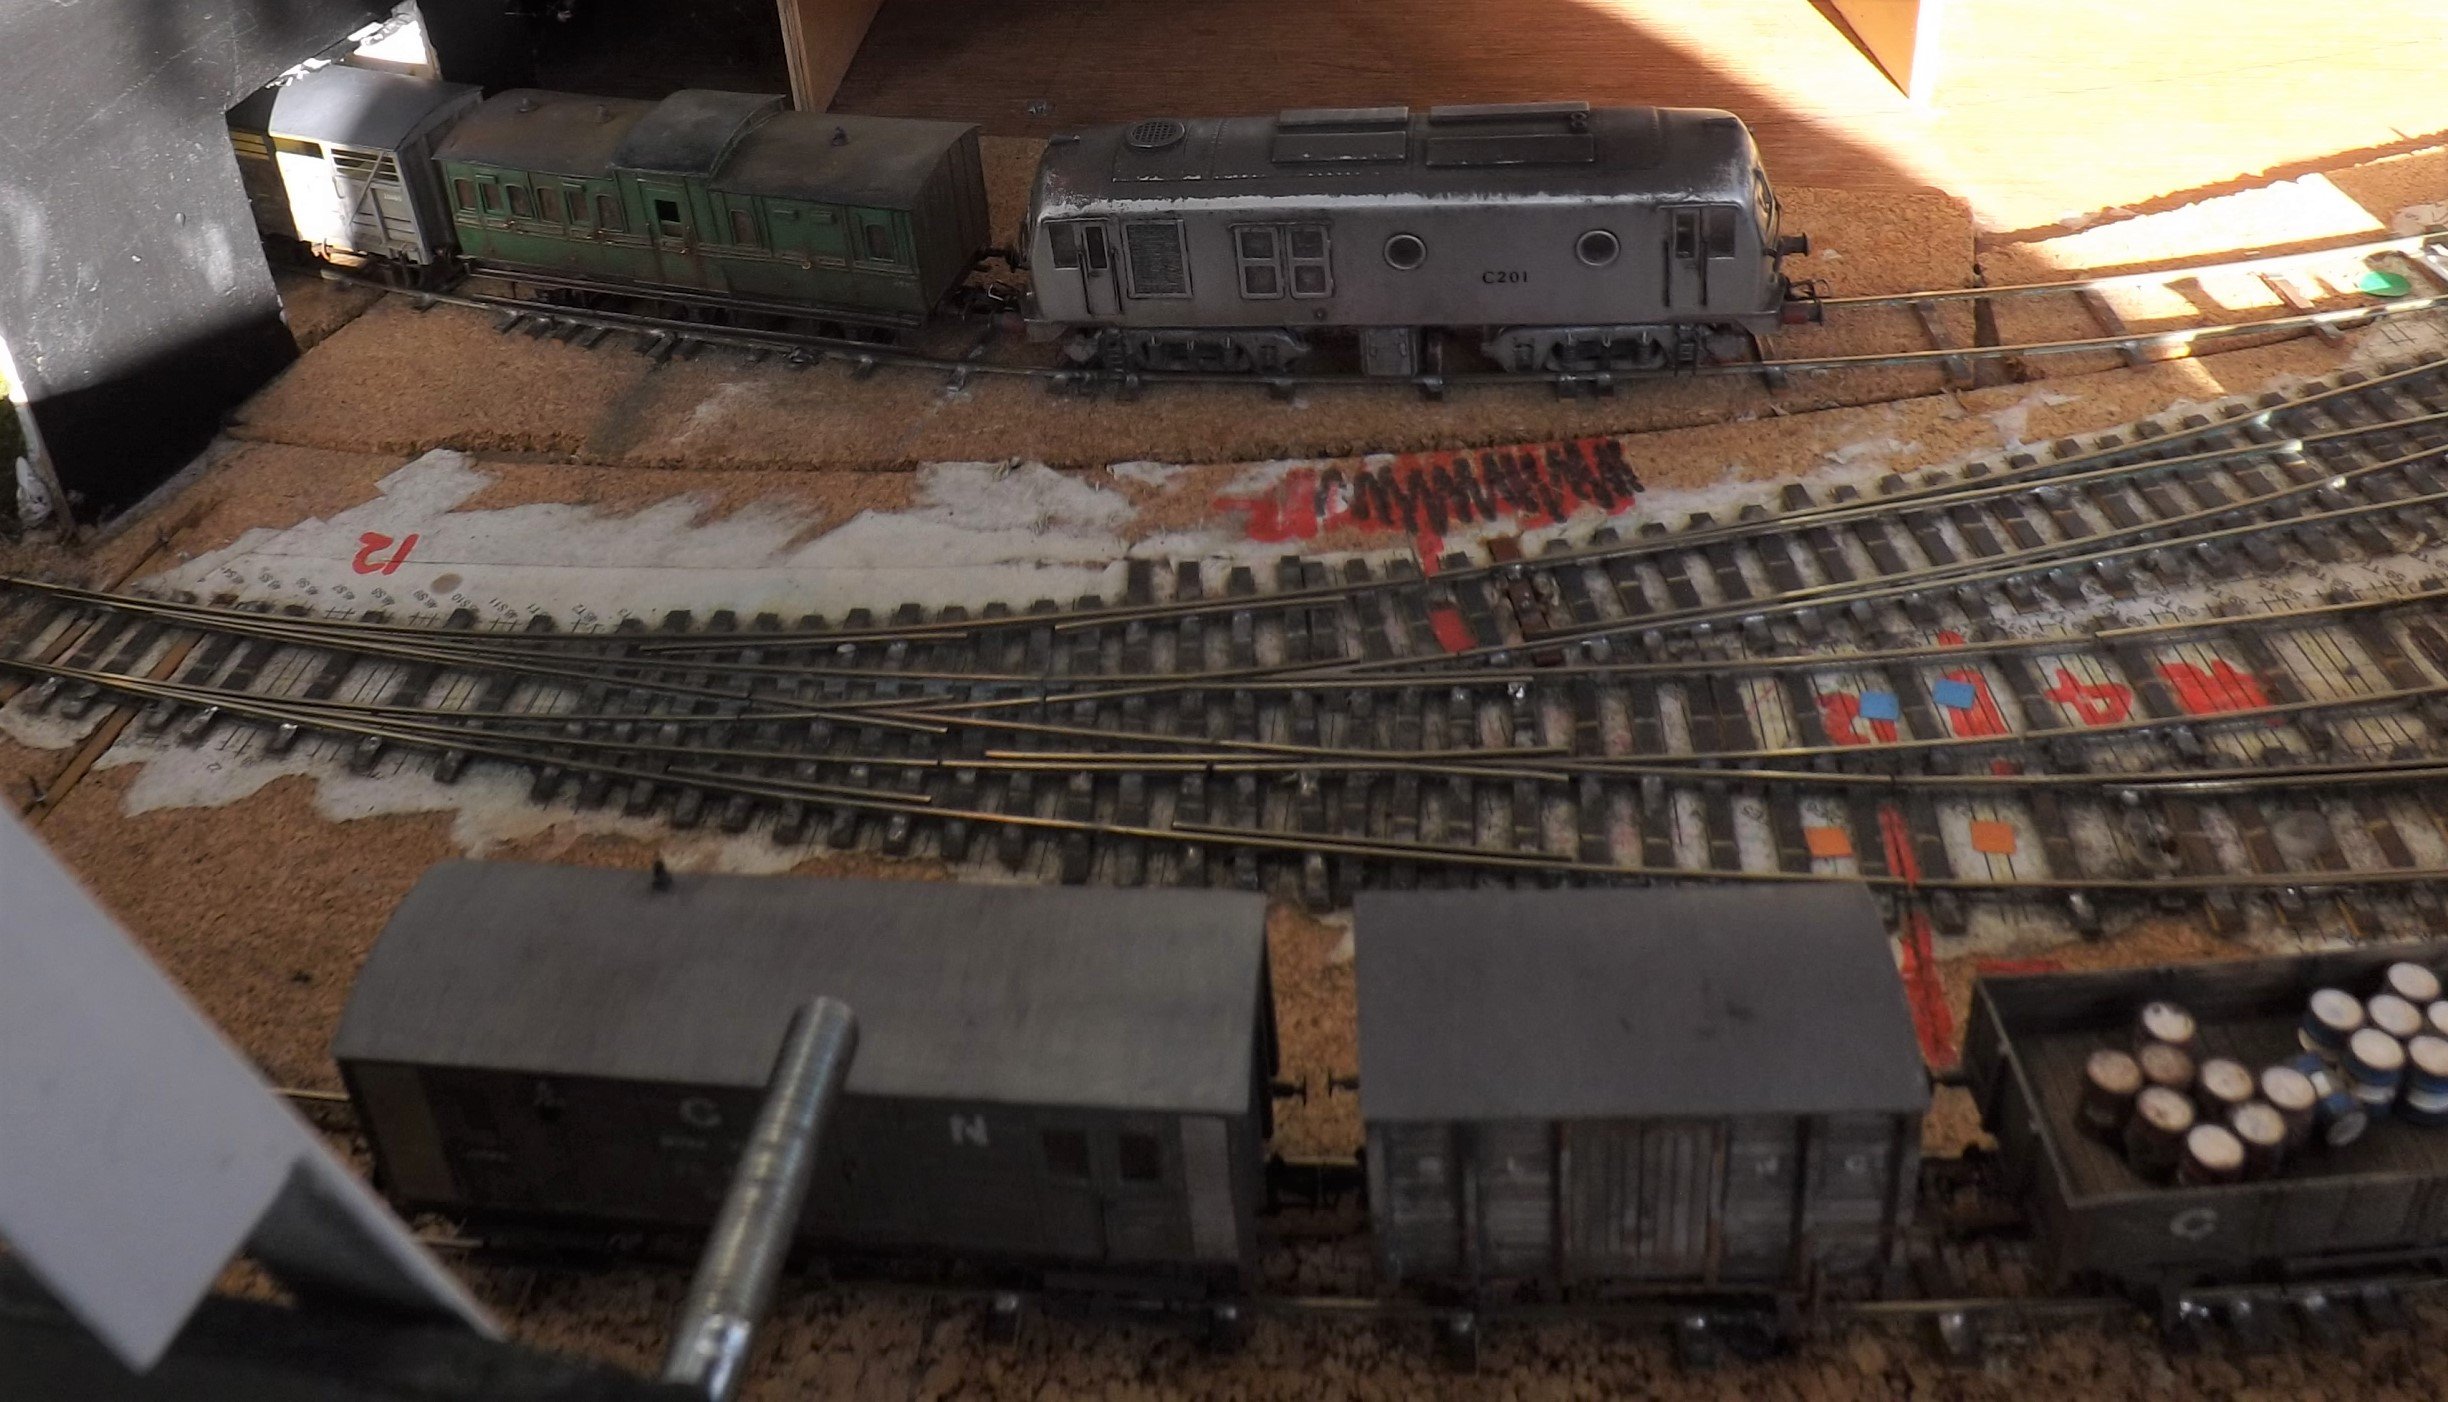
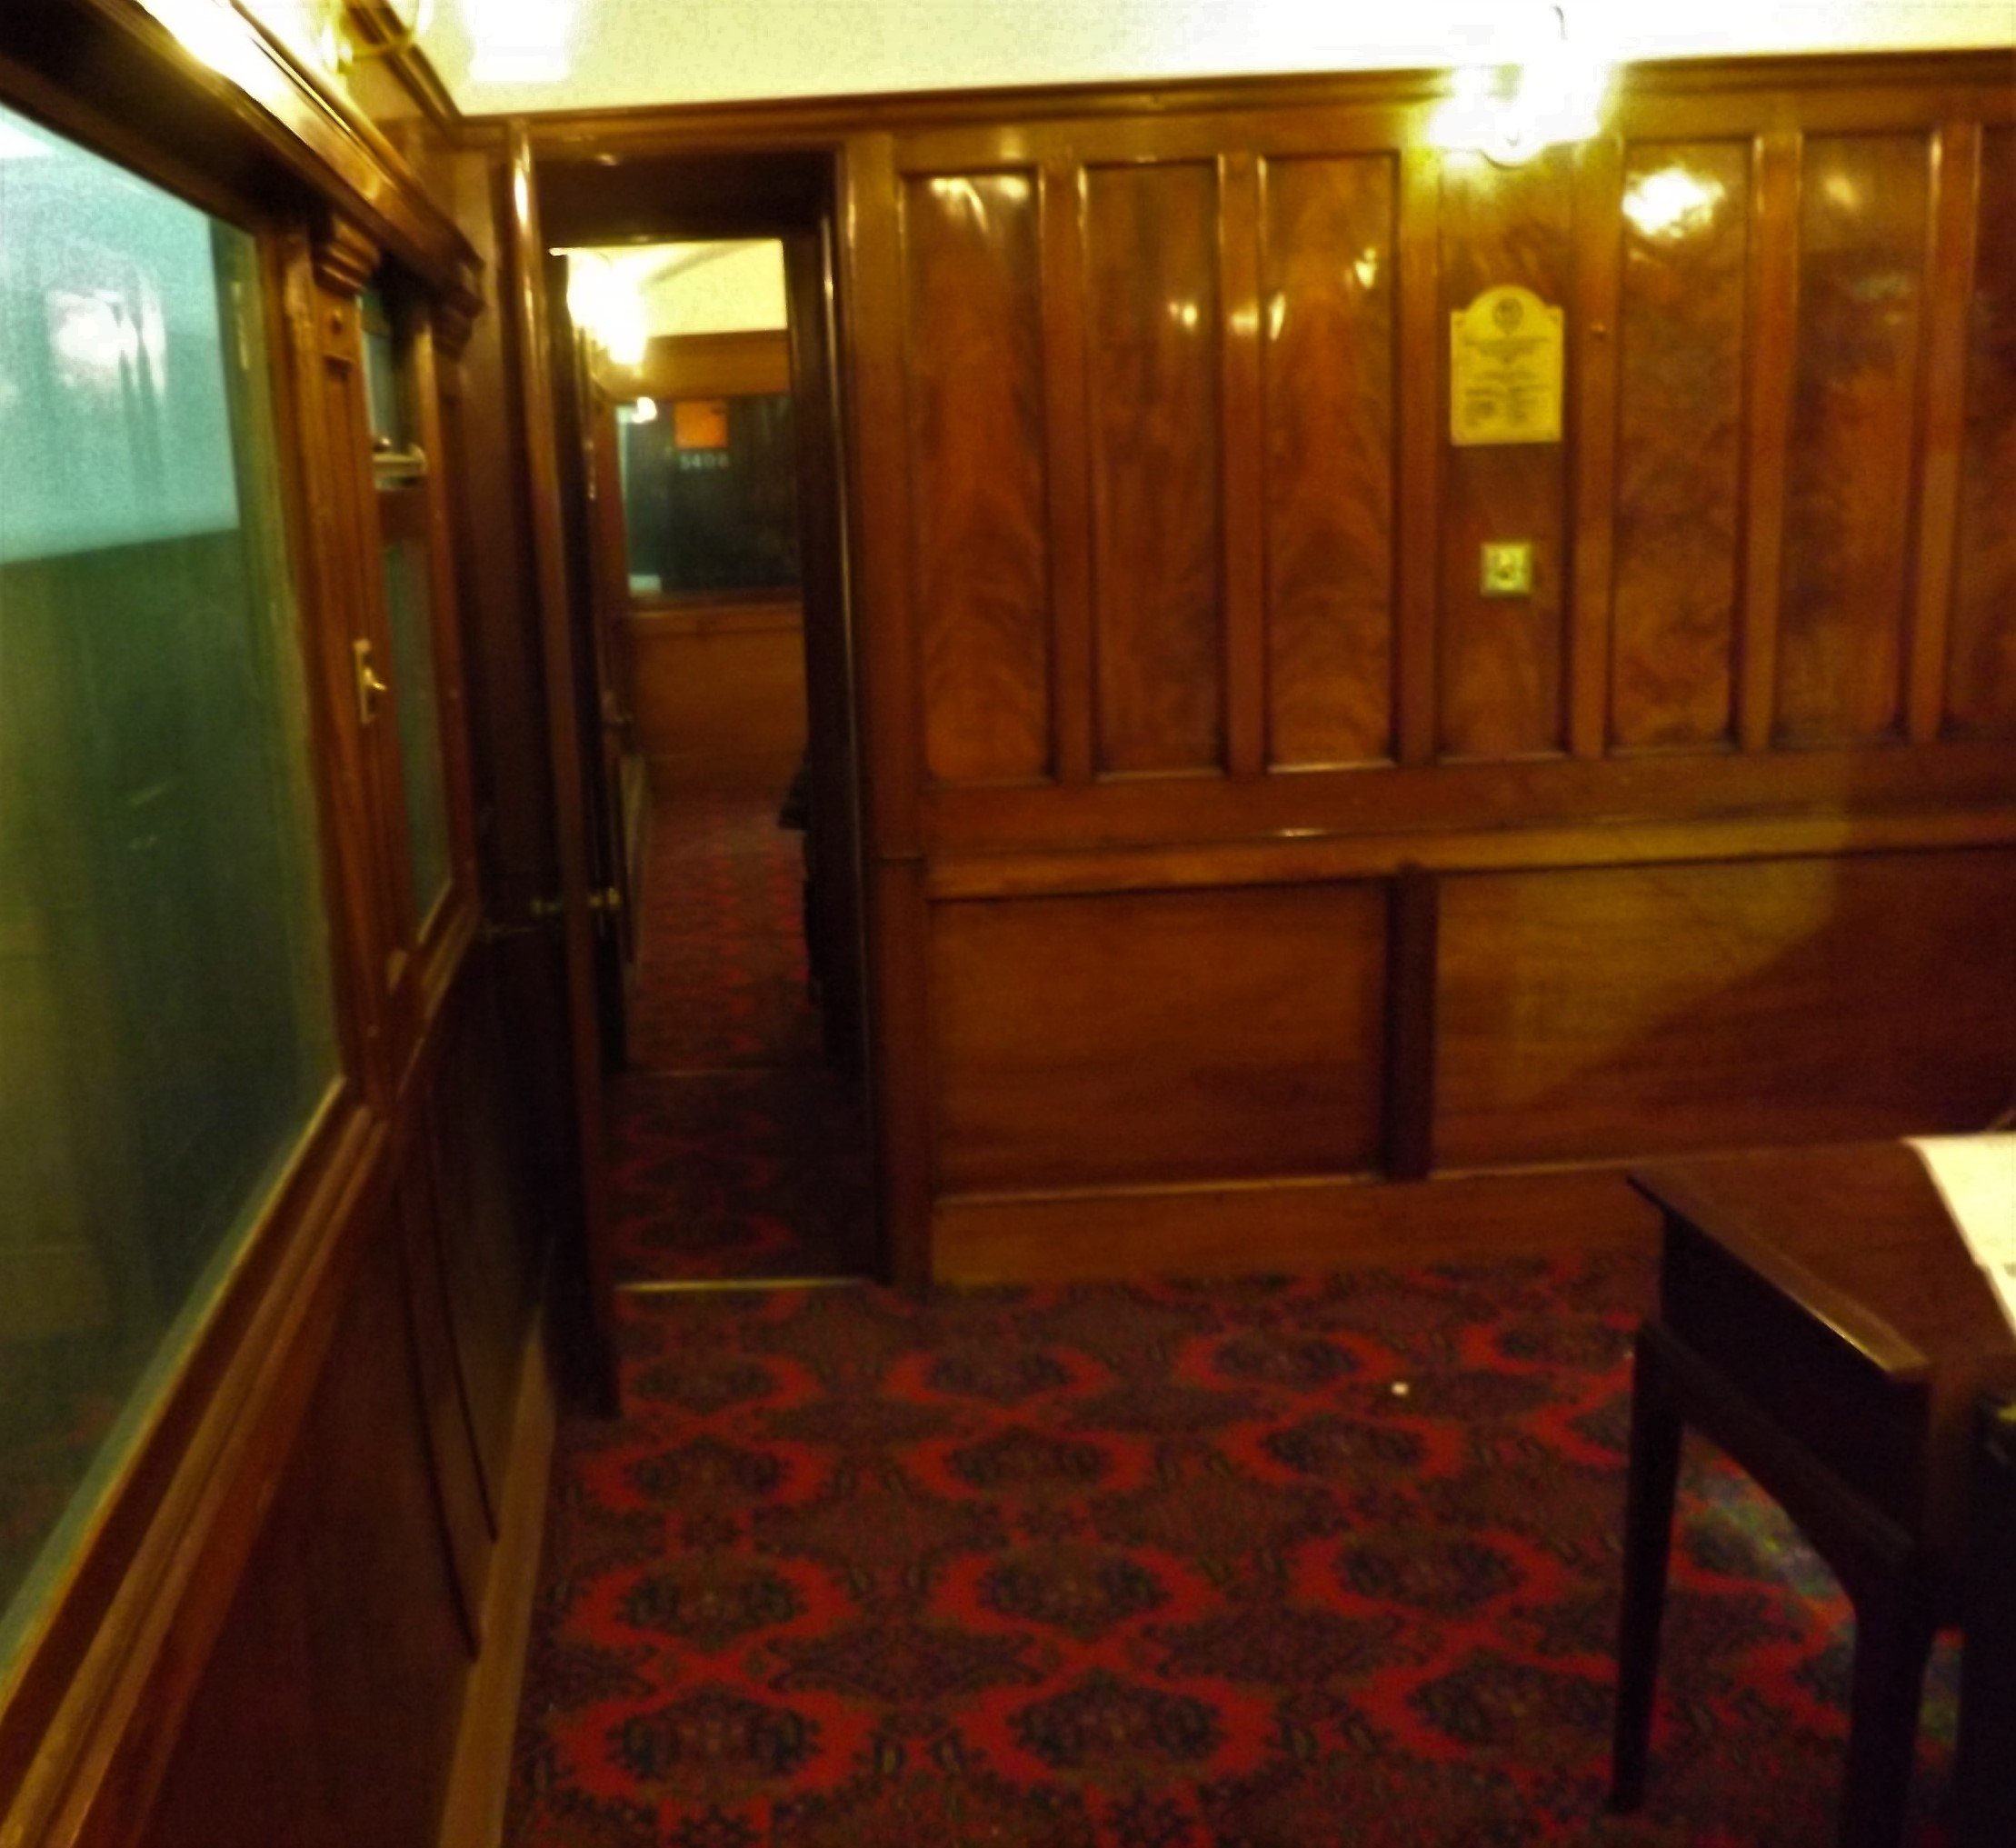
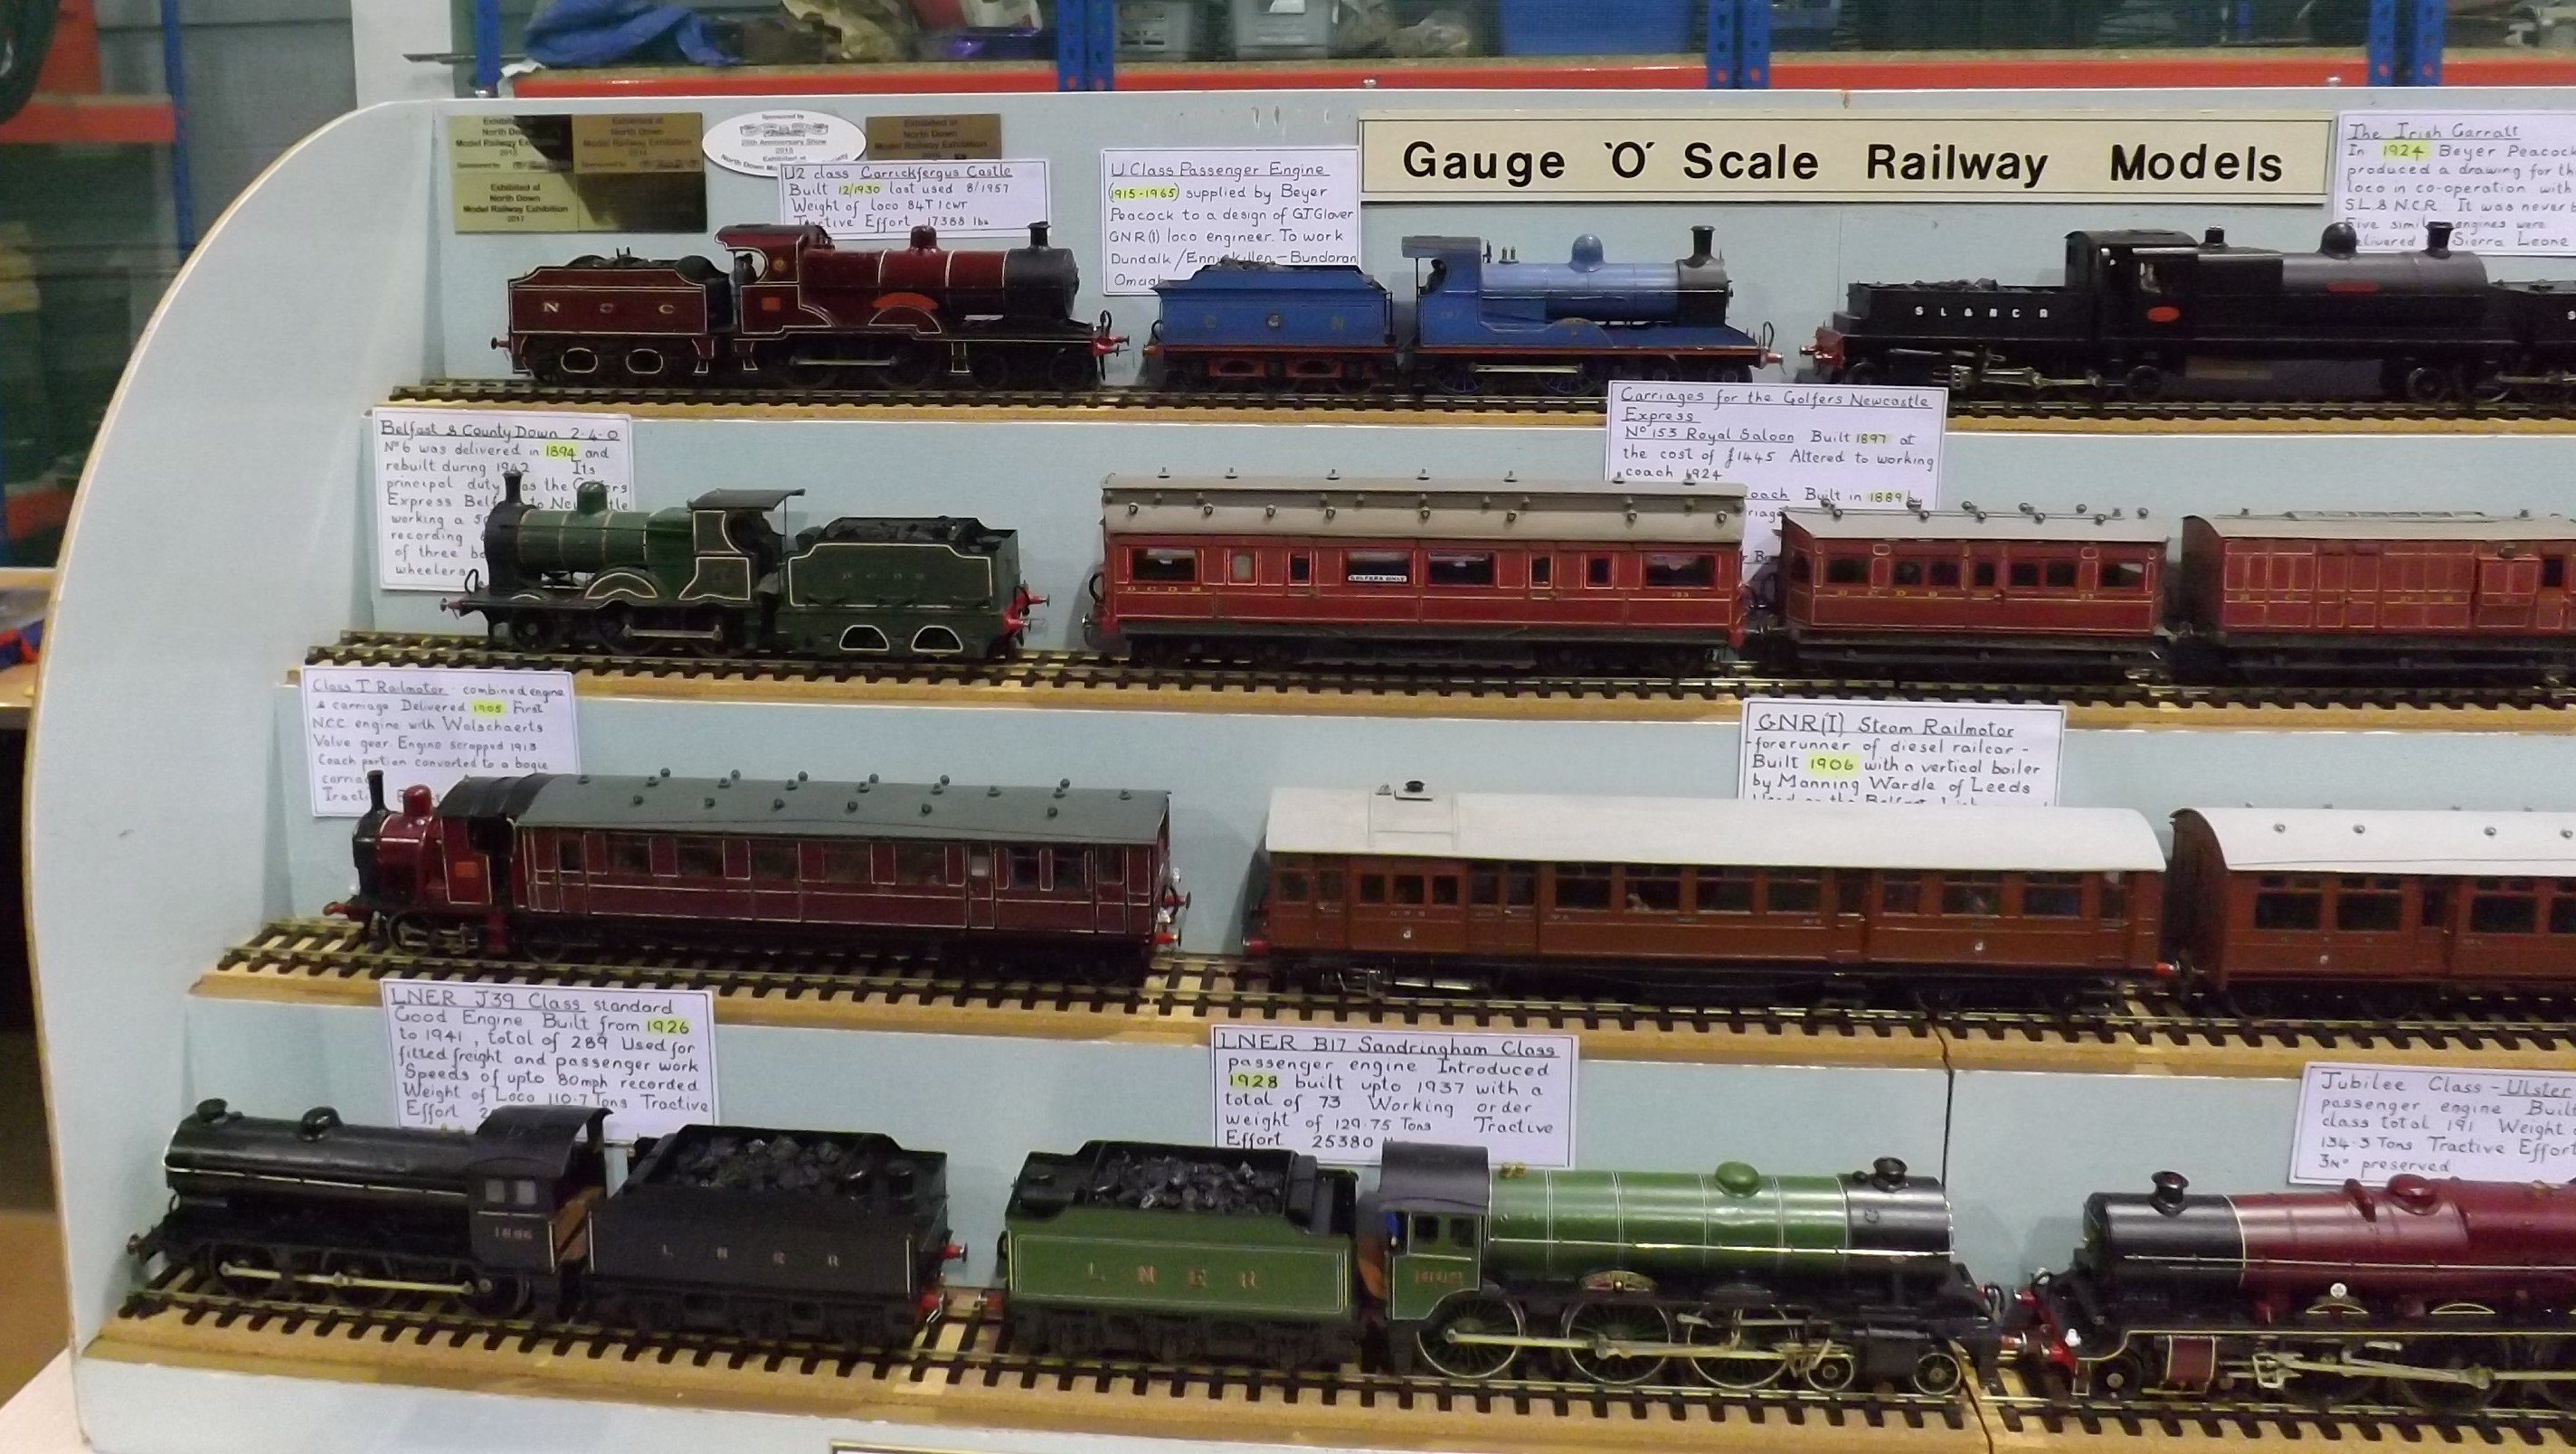
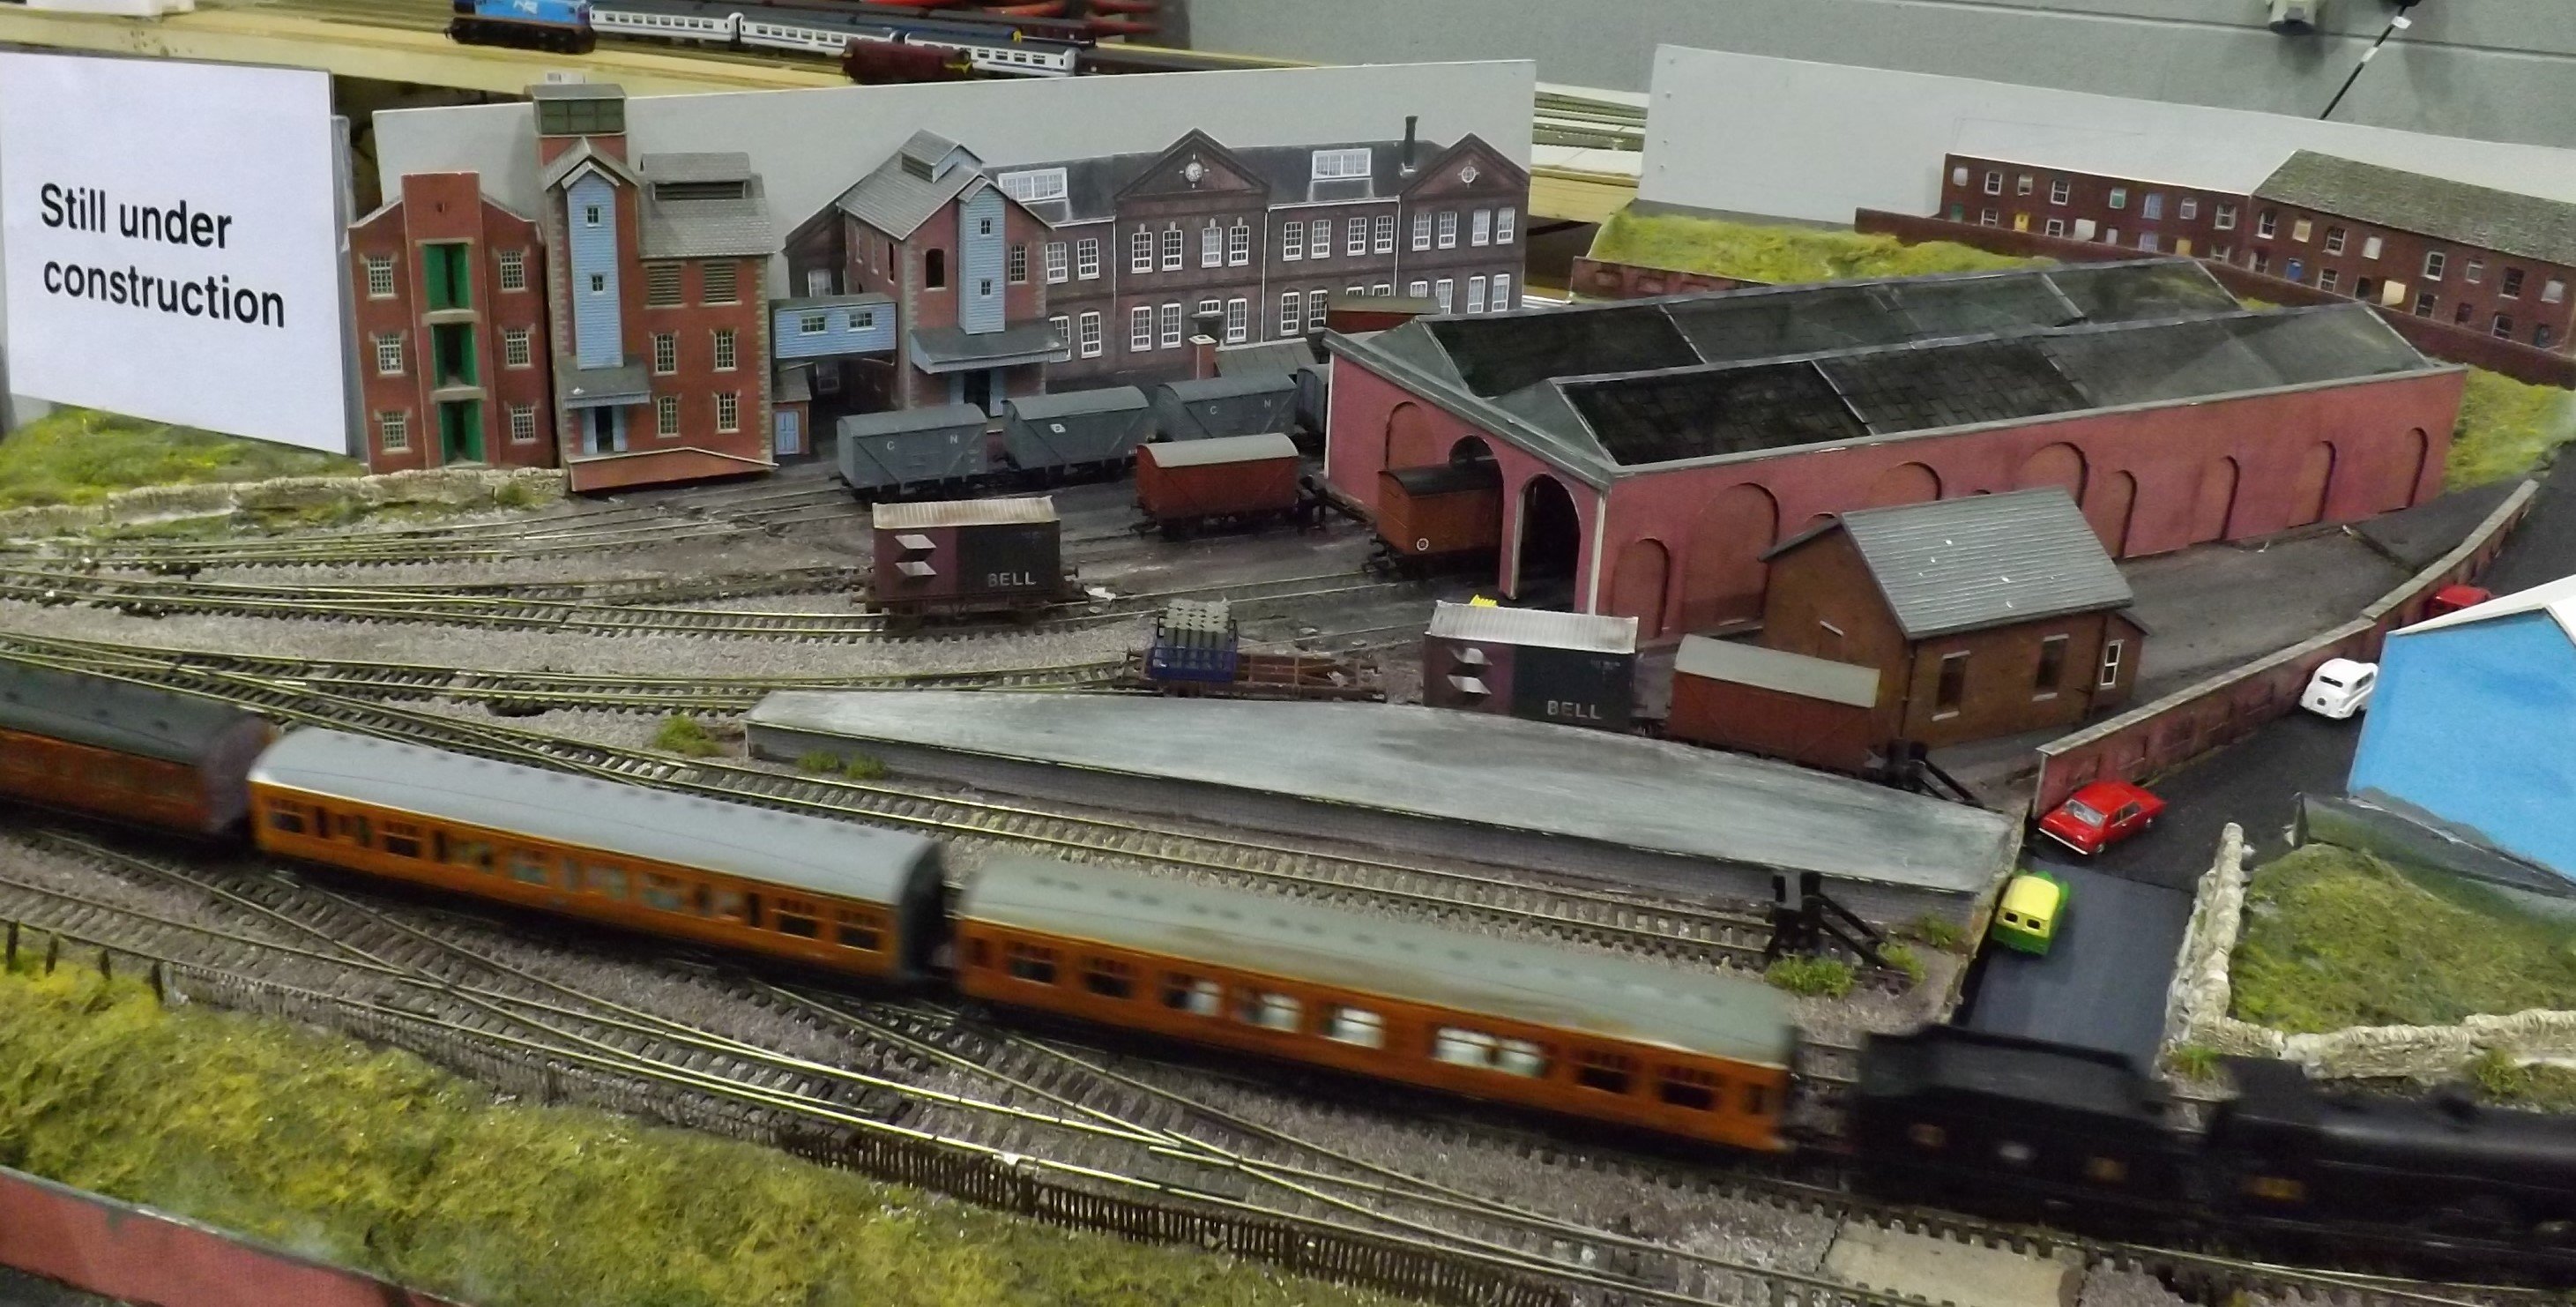
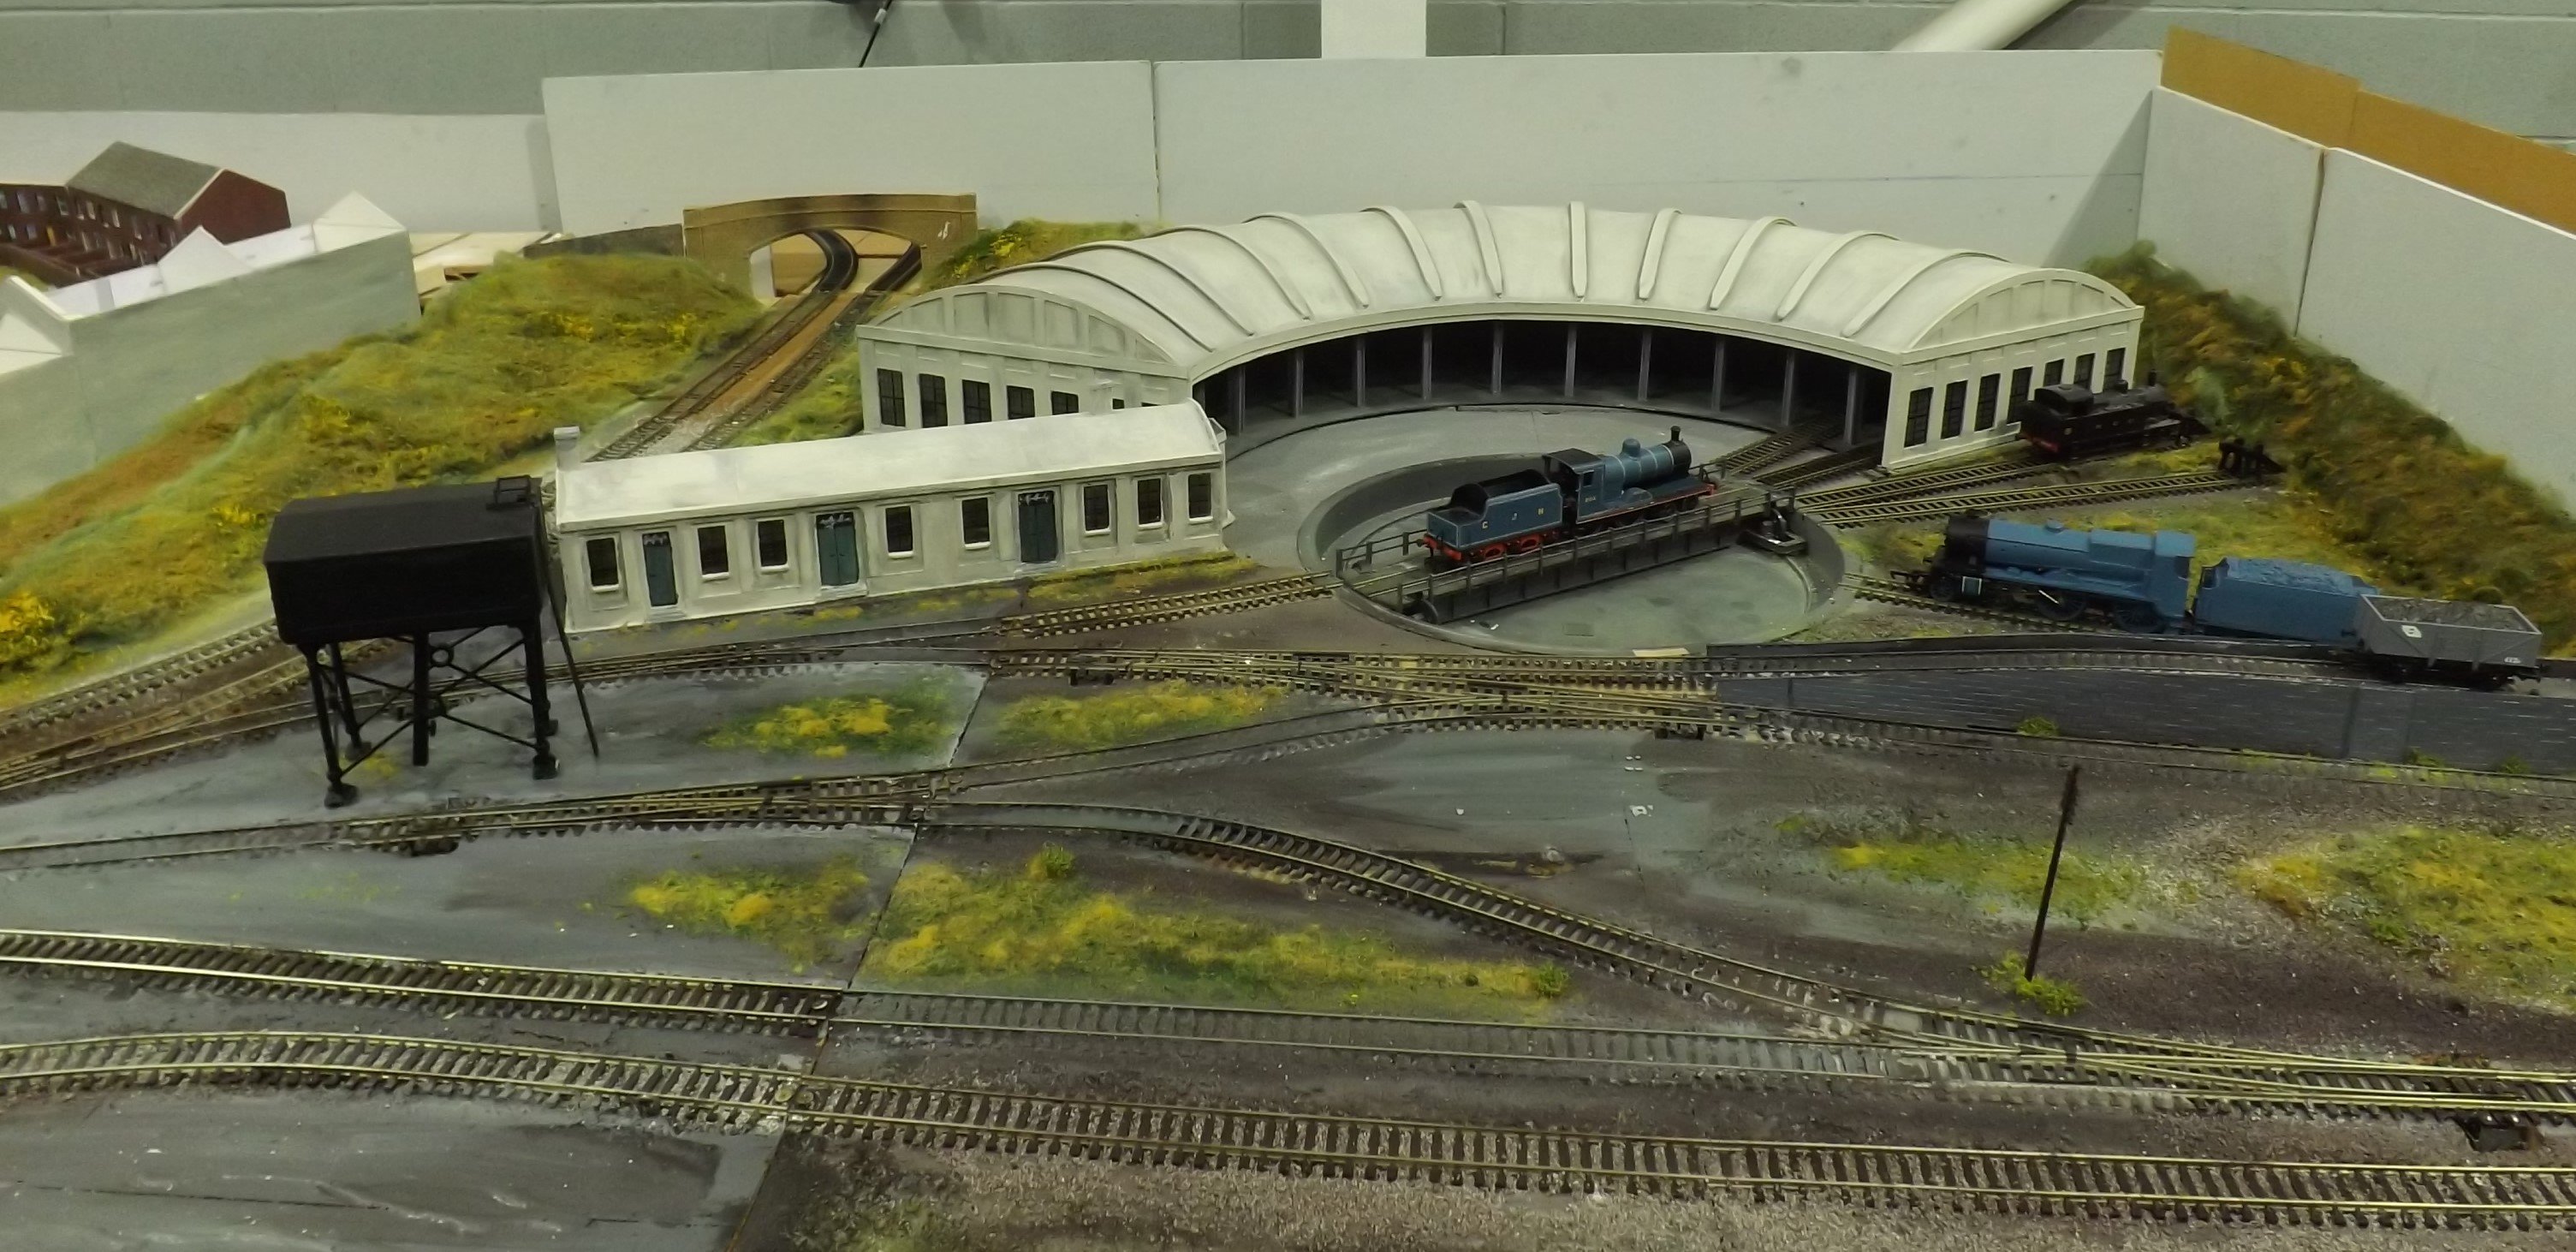
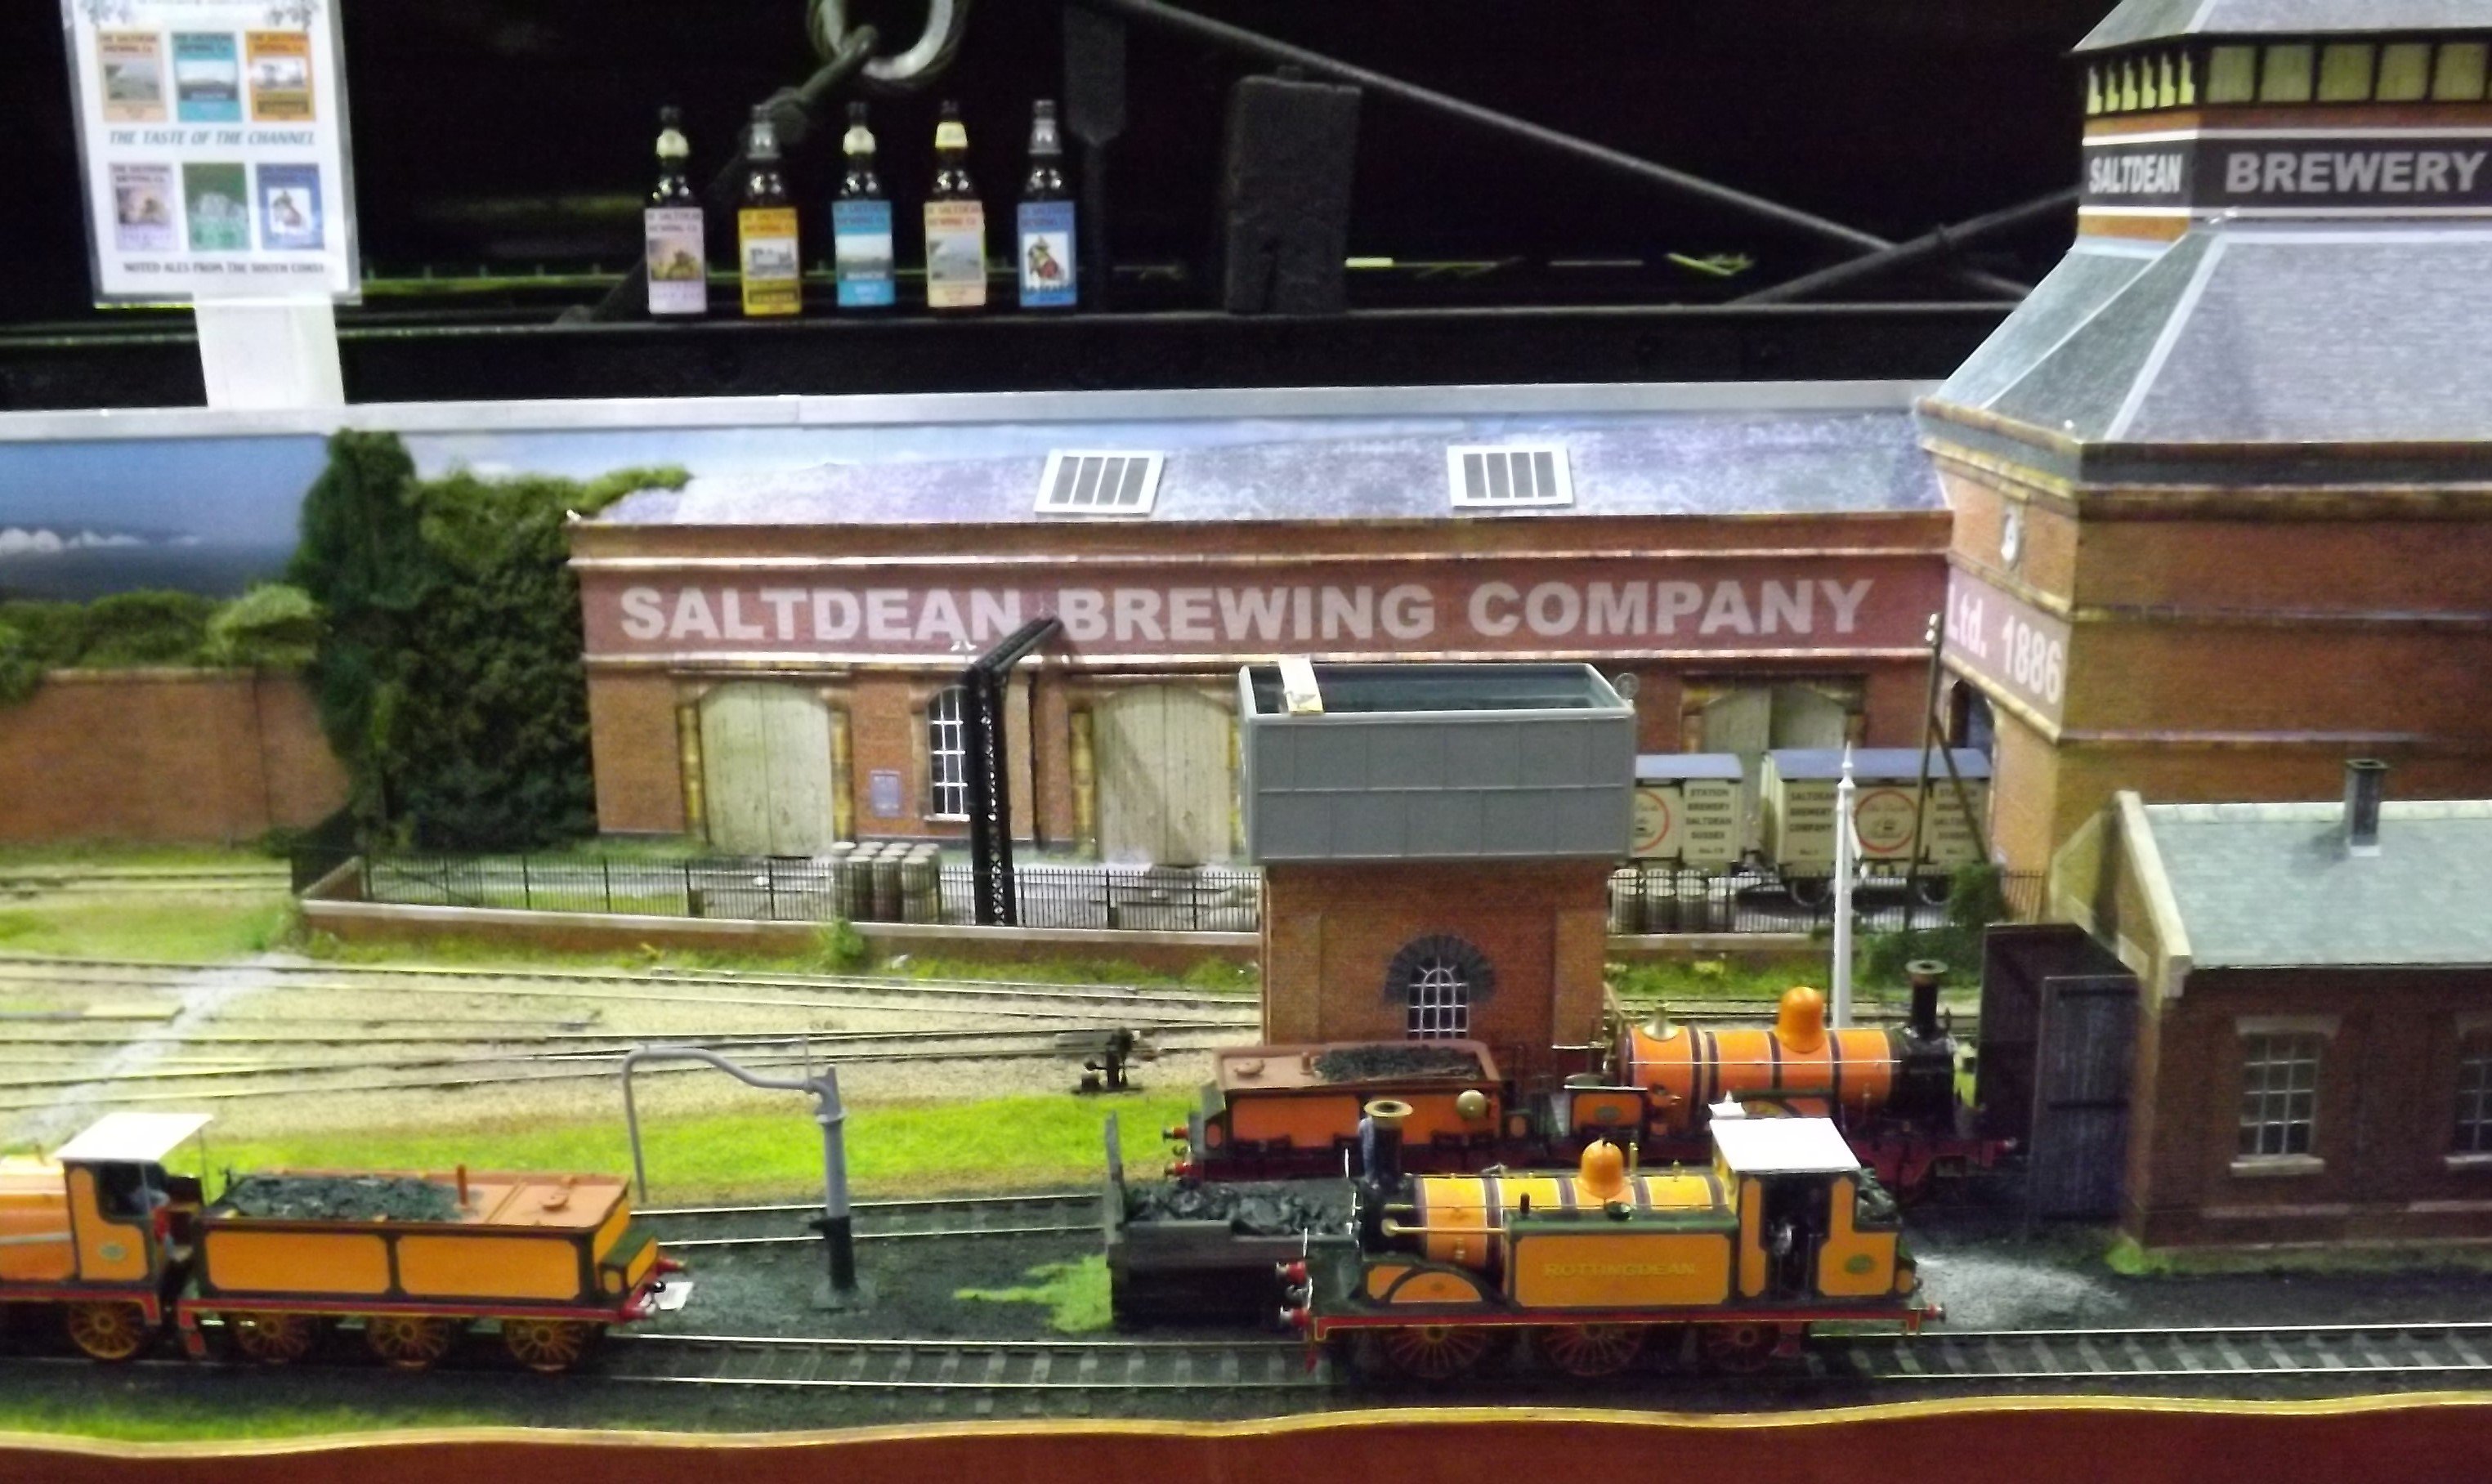
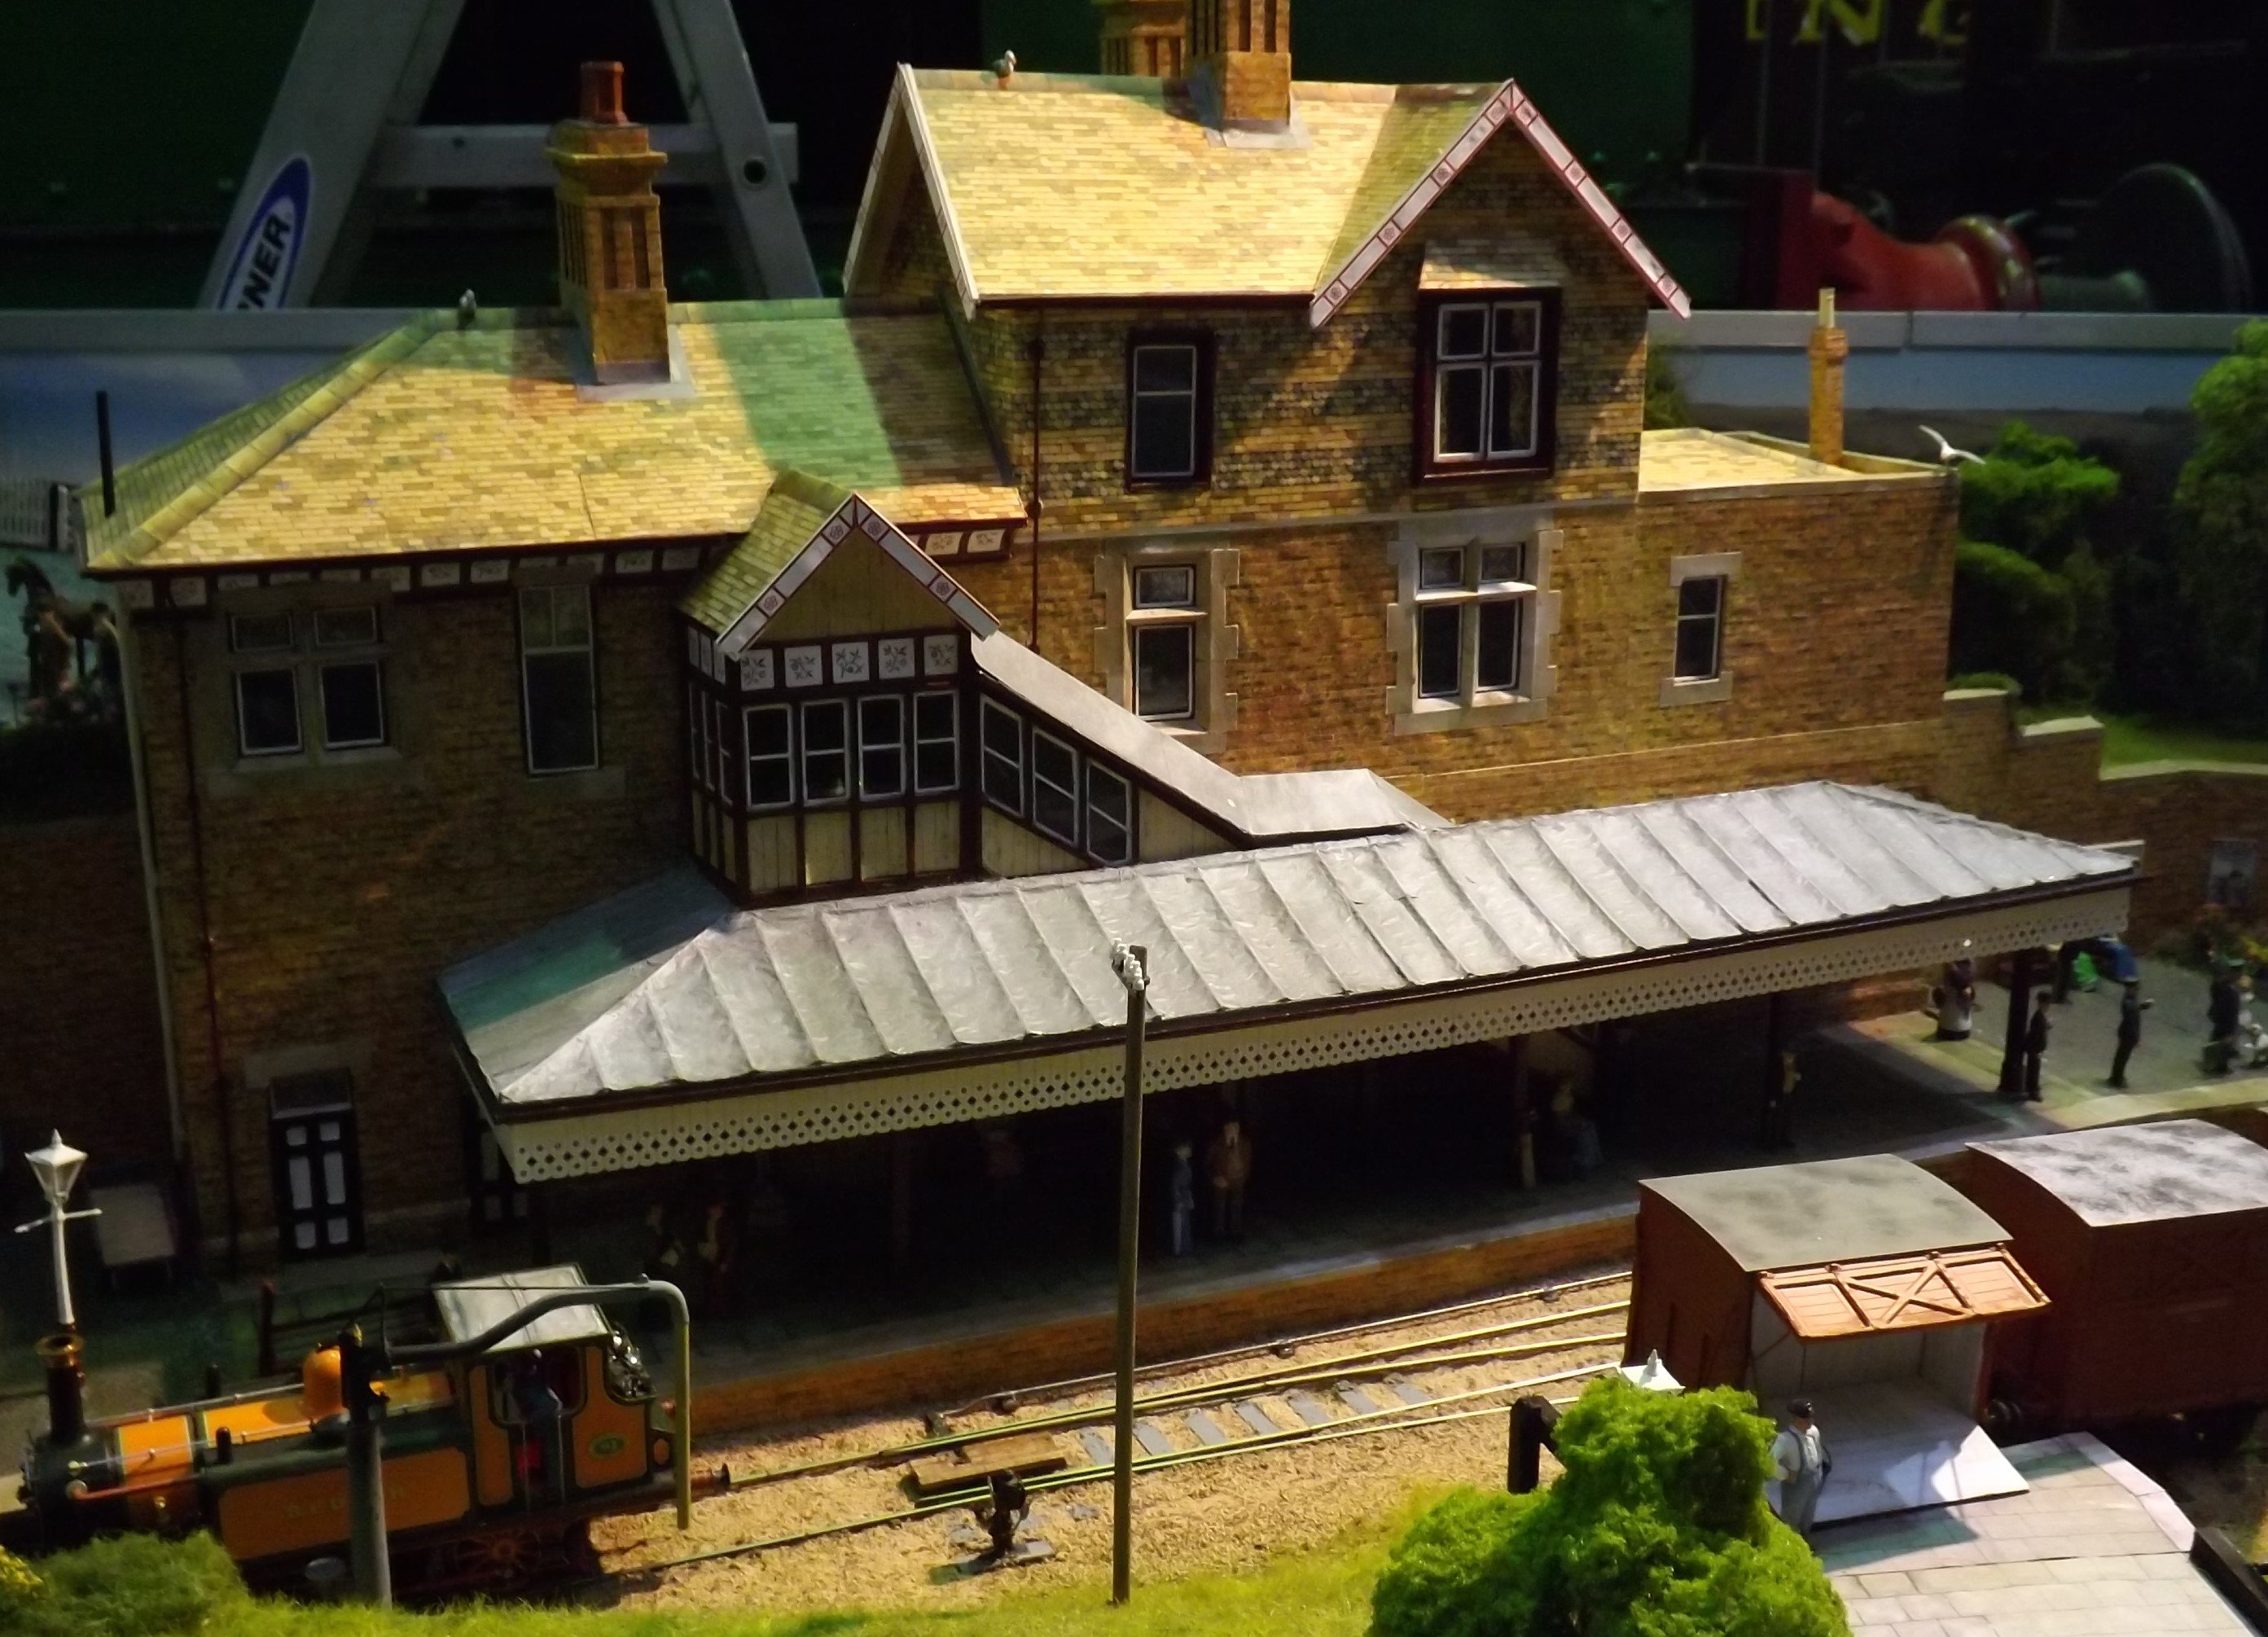
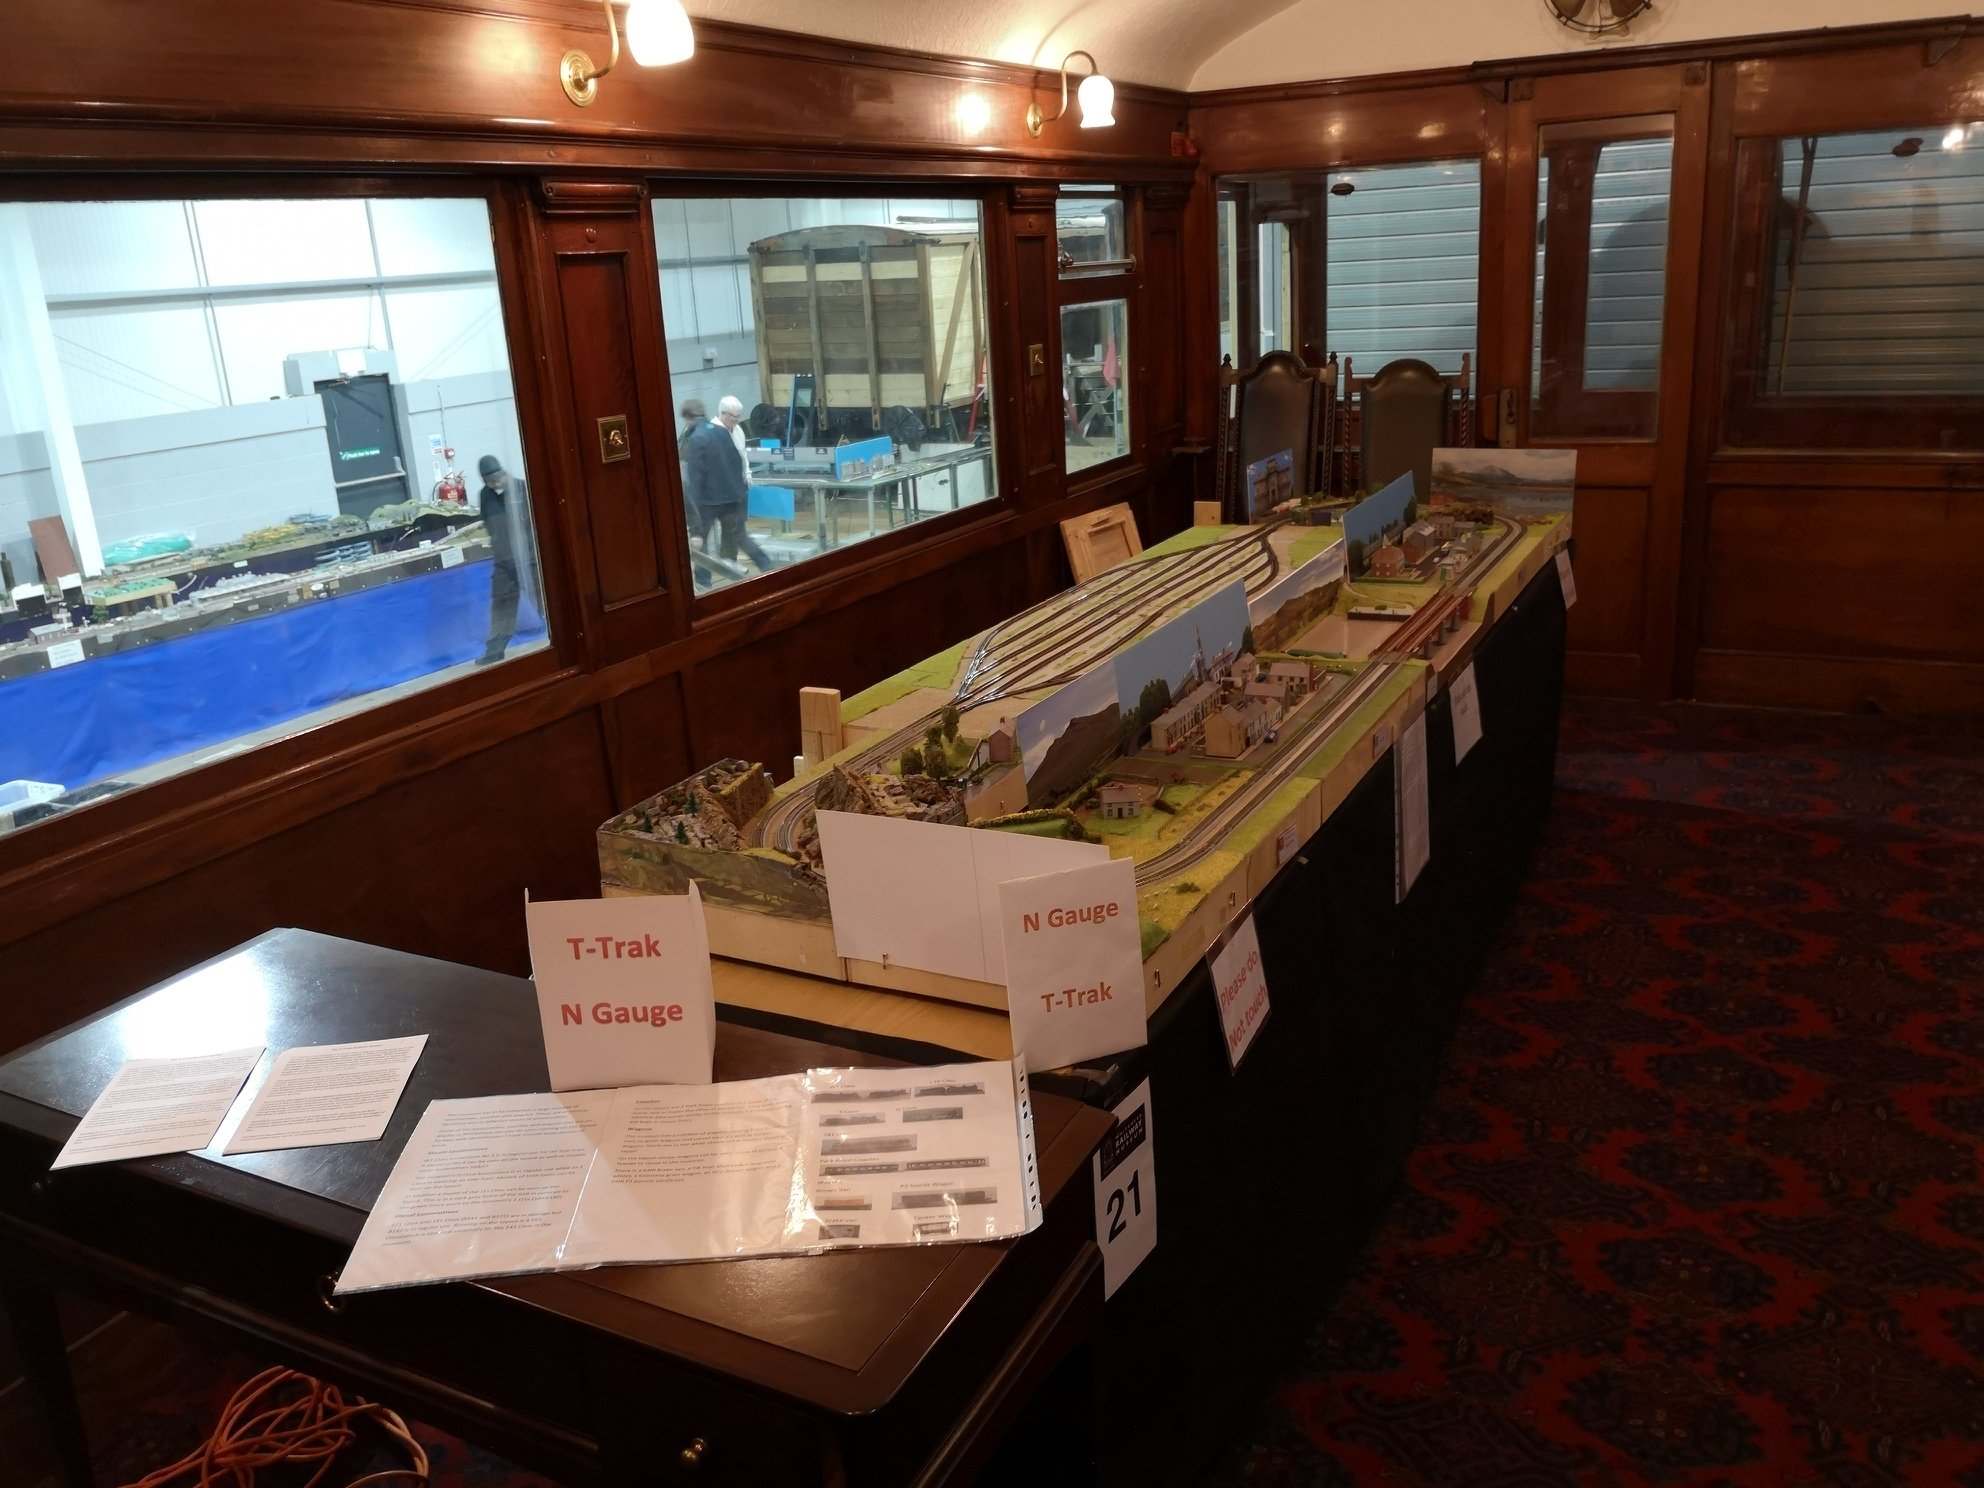
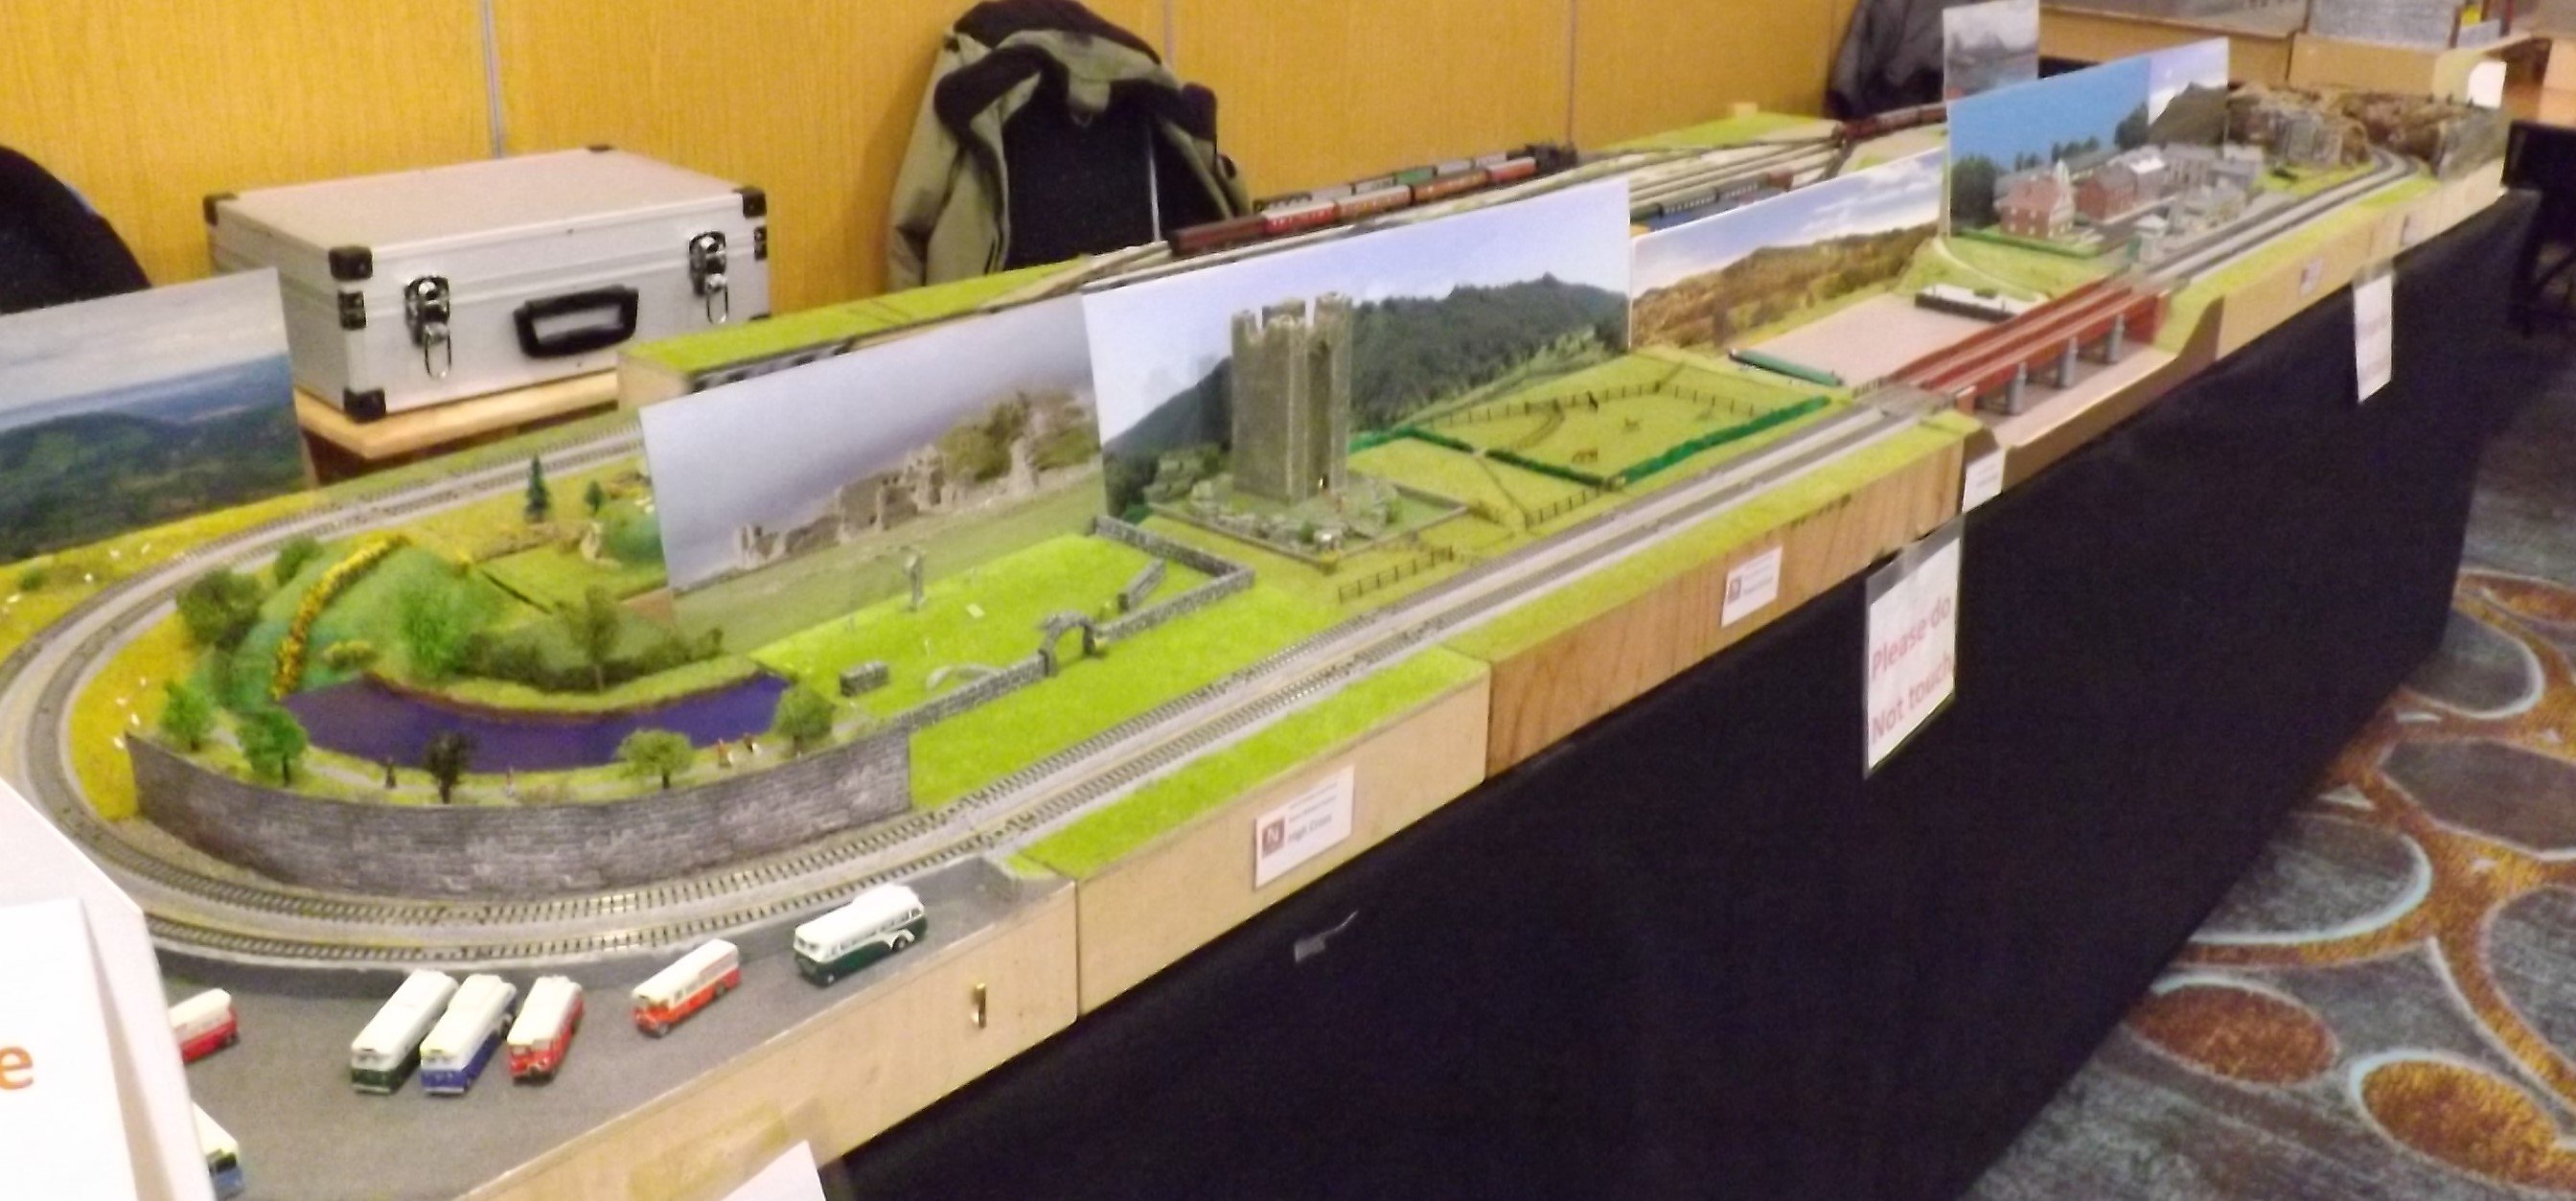
Over the last 4 weeks the T Trak layout has made 3 appearances, Blackrock, Whitehead and La Mon Hotel. The following photos are a selection from each. Included in the Blackrock Section are some more photos of Ballyconnel Road. Unfortunately the T Trak photos do not have any trains apart from 1 Swedish railcar. T Trak Ballyconnel Road Whitehead At this show we were fortunate to be located inside the Directors Saloon (No 50). Include are some photos of other layouts located in the main train gallery. I did not get to see any others in the rest of the museum. The first two photos show the inside of the saloon. Next is a display of mostly Irish O gauge models The Portadown Layout which I think is under new owners is billed as a work in progress Two photos of this The Saltdean layout was also here I only got 2 photos La Mon Hotel I got a better selection of photos here MikeO
-
This question comes up now and again and the answer as BosKonay says there are not enough people interested in Irish N gauge to make RTR a profitable concern, hence the concentration on conversions and scratch building. Taking the membership of this form as an example, there are probably only about 5 people with a declared interest in Irish N gauge a very tiny percentage, under half of 1%, of the total membership of 1289.
-
Eoin That is disappointing but I suppose that is the vagaries of printing even on a professional level. Some time ago I got electragraphix sides for MK2 coaches where the "orange" had the same hue as the OO gauge coach in your photo but a got the same sides earlier this year and the "orange" was not too far off the shade on your Friday prints. MikeO
- 55 replies
-
- 1
-
-
- 141 gauge n
- 141
- (and 1 more)