GNRi1959
-
Posts
1,476 -
Joined
-
Last visited
-
Days Won
27
Content Type
Profiles
Forums
Events
Gallery
Blogs
Everything posted by GNRi1959
-
More progress today at Omagh North as the build and detailing continues at the rear of the Goods Yard shed.

-
Do you mean the tapered ends? I think it is essential with some rolling stock that simple need a little extra clearance when entering the station or bays. With Omagh, their were no tapers, the platforms just got narrower in general.
-
Nelson, no problem. I'm quite busy too assembling a goods yard building that's not that difficult but testing! I look forward to your information, thanks
-
Paddy, it can be as wide as you wish,
-
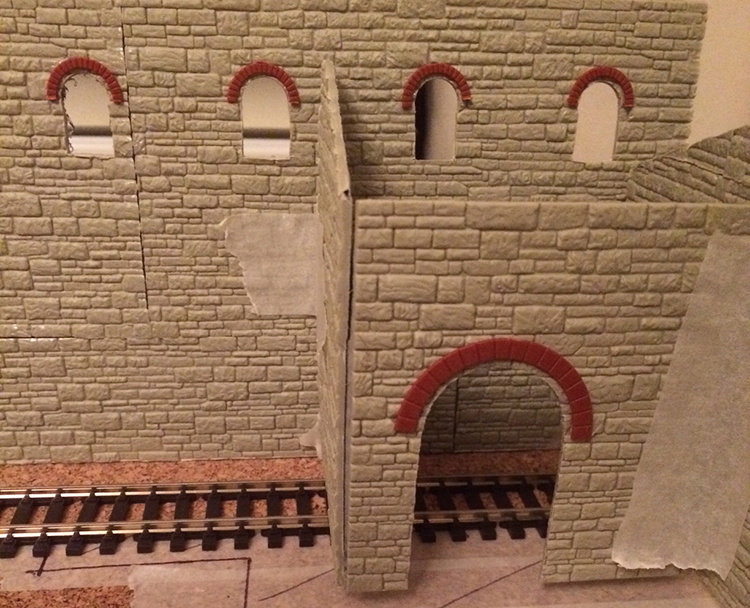
Paddy, tyhis platform is part-commercial part scratch built. I used the Peco stone faced platform edging strips (LK -62), faced with Wills course stone SSMP200 (cut into 15mm strips) and glued direct to the Peco platform edging. When I am happy with the clearances and shape of the edging I stuck it down with UHU glue. When dry, I decked it with Will Victorian paving SSMP221, carefully scribed to fit. It works! Don't forget to throw away those awful printed stone stickers that come with the Peco platform edging.
-
Before I start looking through the various suppliers catalogues of parts I wonder if there is anyone out there that has scratch build GNRi wagons and can identify a source of suitable W-irons, axle boxes and brakes. Its an interesting project as a sideline to buildings and scenery.
-
I am looking for 2 x banks of 4 GEM mercontrol levers as shown. Will pay reasonable price.
-
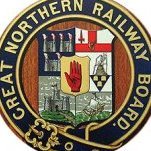
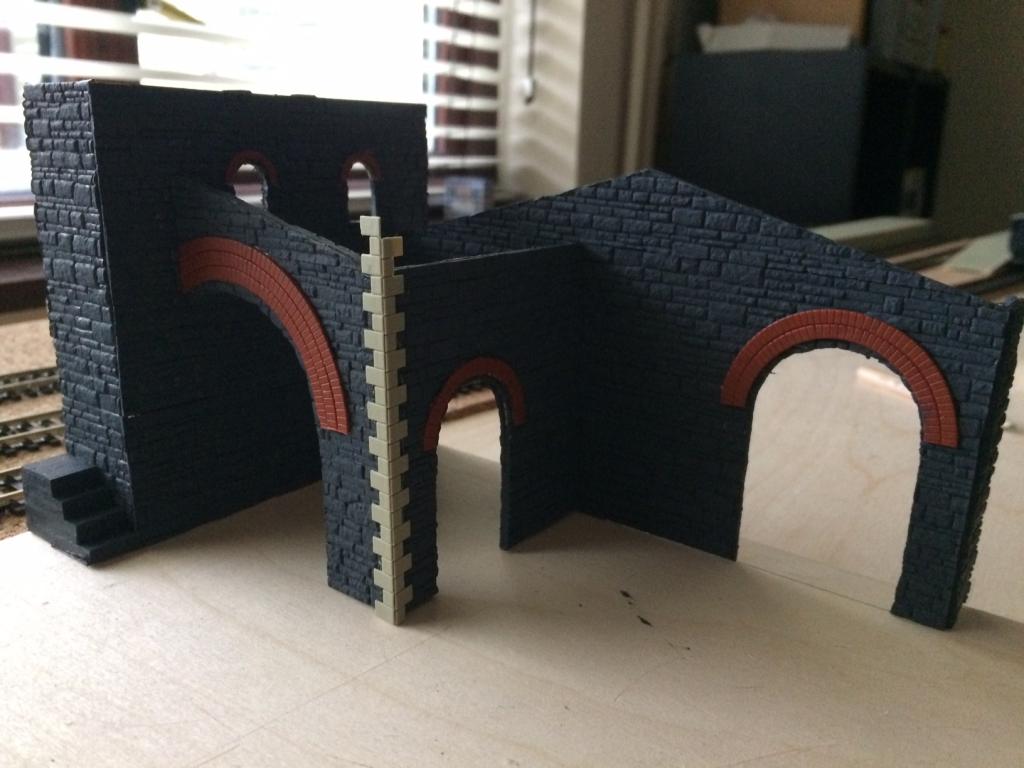
I'm working on the rear end of the Goods Yard shed at the moment. I am only modelling this to give me a scenic break and give engines a purpose to stop. Its quite nice looking because I am cutting large door openings in the Wills Course stone and laying brick arches above the curves openings. Its quite effective. The goods yard building is built against a huge retaining course stone wall and I have taken the liberty to add a two extra openings to the wall to 'lift' its appearance, as it is bland. It seems to have worked. These small openings above roof level were built up with red brick so they are purely cosmetic. Everything is just sitting loose at moment held together with masking tape until I am certain that it works. I've still got two openings to cut for wagons etc and then I'm ready to assemble.
-
I'm in no real hurry to ballast to be honest. I'd like to know what do I use to weather and paint my track, bearing in mind that I won't be air-brushing but painting by hand. Is there a specific paint on the market to achieve the same results as the pictures above?
-
You are too kind, thank you for your generosity.
-
My track is laid and wired and running well. I have a list of jobs that need doing but can anyone suggest what order I do these. Don't want to run into trouble later. Point Controls Painting and weathering my rails Ballasting Laying dummy point control kits Thanks
-
TDR, I managed to pick up a pack on eBay - less than the normal price. Thanks for your kind offer anyway.There is a small platform section within the good yard shed that needs modelled with platform and I would need it for this anyway.
-
Its worked out fine, I need a pack to deck another small section of platform that I over-looked and this will be fine now. As for 'shortening a section of platform' I just wouldn't.
-
I'll hold out, if a bit doesn't turn up I may ask Peco if they have any samples.
-
PS. Does anyone know the internal sizes of the brick arches in Wills SS55 kit?
-
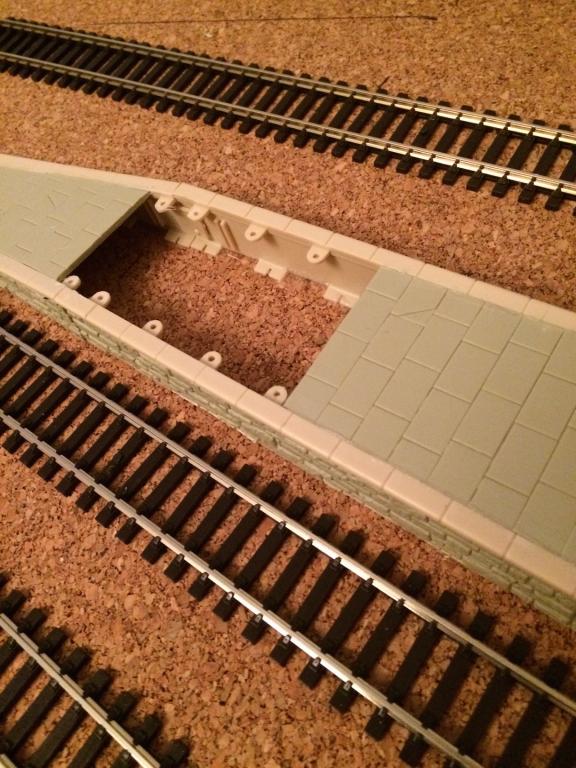
Can anyone help with a small piece of Wils paving approx 90mm x 50mm. I've run out completely and don't want to buy a full pack. The photo will show what I need. This is the only piece of platform left in the layout.Please.
-
Today the rewiring came to an end with all cables, terminating in small 'spade connectors' (that I soldered myself!) were labelled and connected up through the new switch panel on the front of the baseboard edge. I'm still trying to find six small screws to fix the DPDT slide switches to the perspex panel, probably need to use self tappers of tiny countersunk screws and bolts. The first of the platform ends were laid using Peco platform edging, faced with Wills course stone and paved on top with Wills paving. It looks really good and starting to look like a station. The track runs well and I'll have to start replacing any missing sleepers that were cut during the track laying process. It is coming together slowly and I am really enjoying the time I work on it.
-
You're too sharp boy!
-
Omagh North had a total re-wiring over the past few days. All cables were re-routed around the baseboard edges under bell-wire clips and away from paintwork. I am seriously considering the Megatracks point system that controls up to 12 points from one board. Tomorrow I have to make one final linking of cables to new front panel mounted board and I can start of the platforms.
-
Sorry, I don't
-
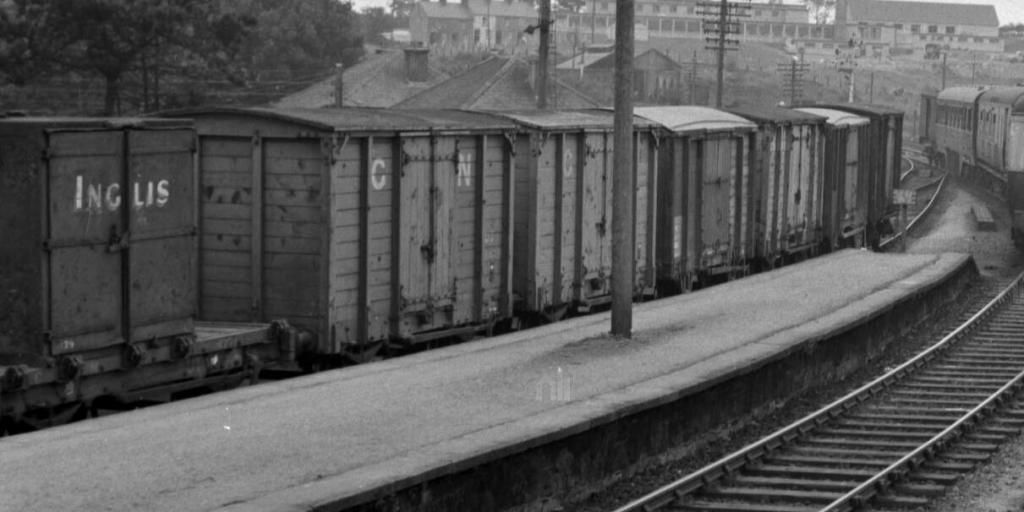
Leslie, heres one of your Inglis bread container in the siding at Omagh General Station.
-
Yesterday Omagh North took a backward step, though for the better! I have repositioned my DPDT switches from the baseboard top to the edge of the framing out of sight. I filled the opening with a very neatly fitted piece of ply. This also means that I can erect a proper background, if I ever go public. During the process I decided that the wiring, which looked a terrible, should be stripped and a fresh start made. This time I want to route the cases along the inside edges of the baseboard frame before exiting at the front panel. The rewiring will be thoughtful and involve labelling everything for future movement. A box of cable clips will contribute to the tidy up. All areas under paintwork and track work will be left cable free for possible electronic point controls in future. Question: If I have fixed track work to a 3mm cork roll underlay, can my Peco platform edging strips be fixed to the cork also or do I need to fix to plywood baseboard level to maintain true scale heights?
-
Kirley, amazing looking layout and models. The thing is, the more wagons you have, the better they look. Thanks for letting me view. Will this layout be at Bangor? Which paints did you use to finish?
-
Theres so much happening at the moment with Omagh North. At one end its a partial build of Shed in goods yard to create a scenic break, points to be connected to some sort of levers, platform ends to form, water tower and plumbers store to scratch build. Other end I have a road bridge to scratch build and lot of trackside detail to study and source. Its nice to just work a little at a time and enjoy it.
-
I received this demonstration piece today Andy and I really was impressed with it. It puts all out out of my mind that it is cheap yet effective way of controlling paintwork. I'd be really pleased with this system. I can't say thank you loud enough, it was a very nice thing to do.