-
Posts
922 -
Joined
-
Last visited
-
Days Won
55
Content Type
Profiles
Forums
Events
Gallery
Blogs
Store
Community Map
Everything posted by Tullygrainey
-
That’ll be it
-
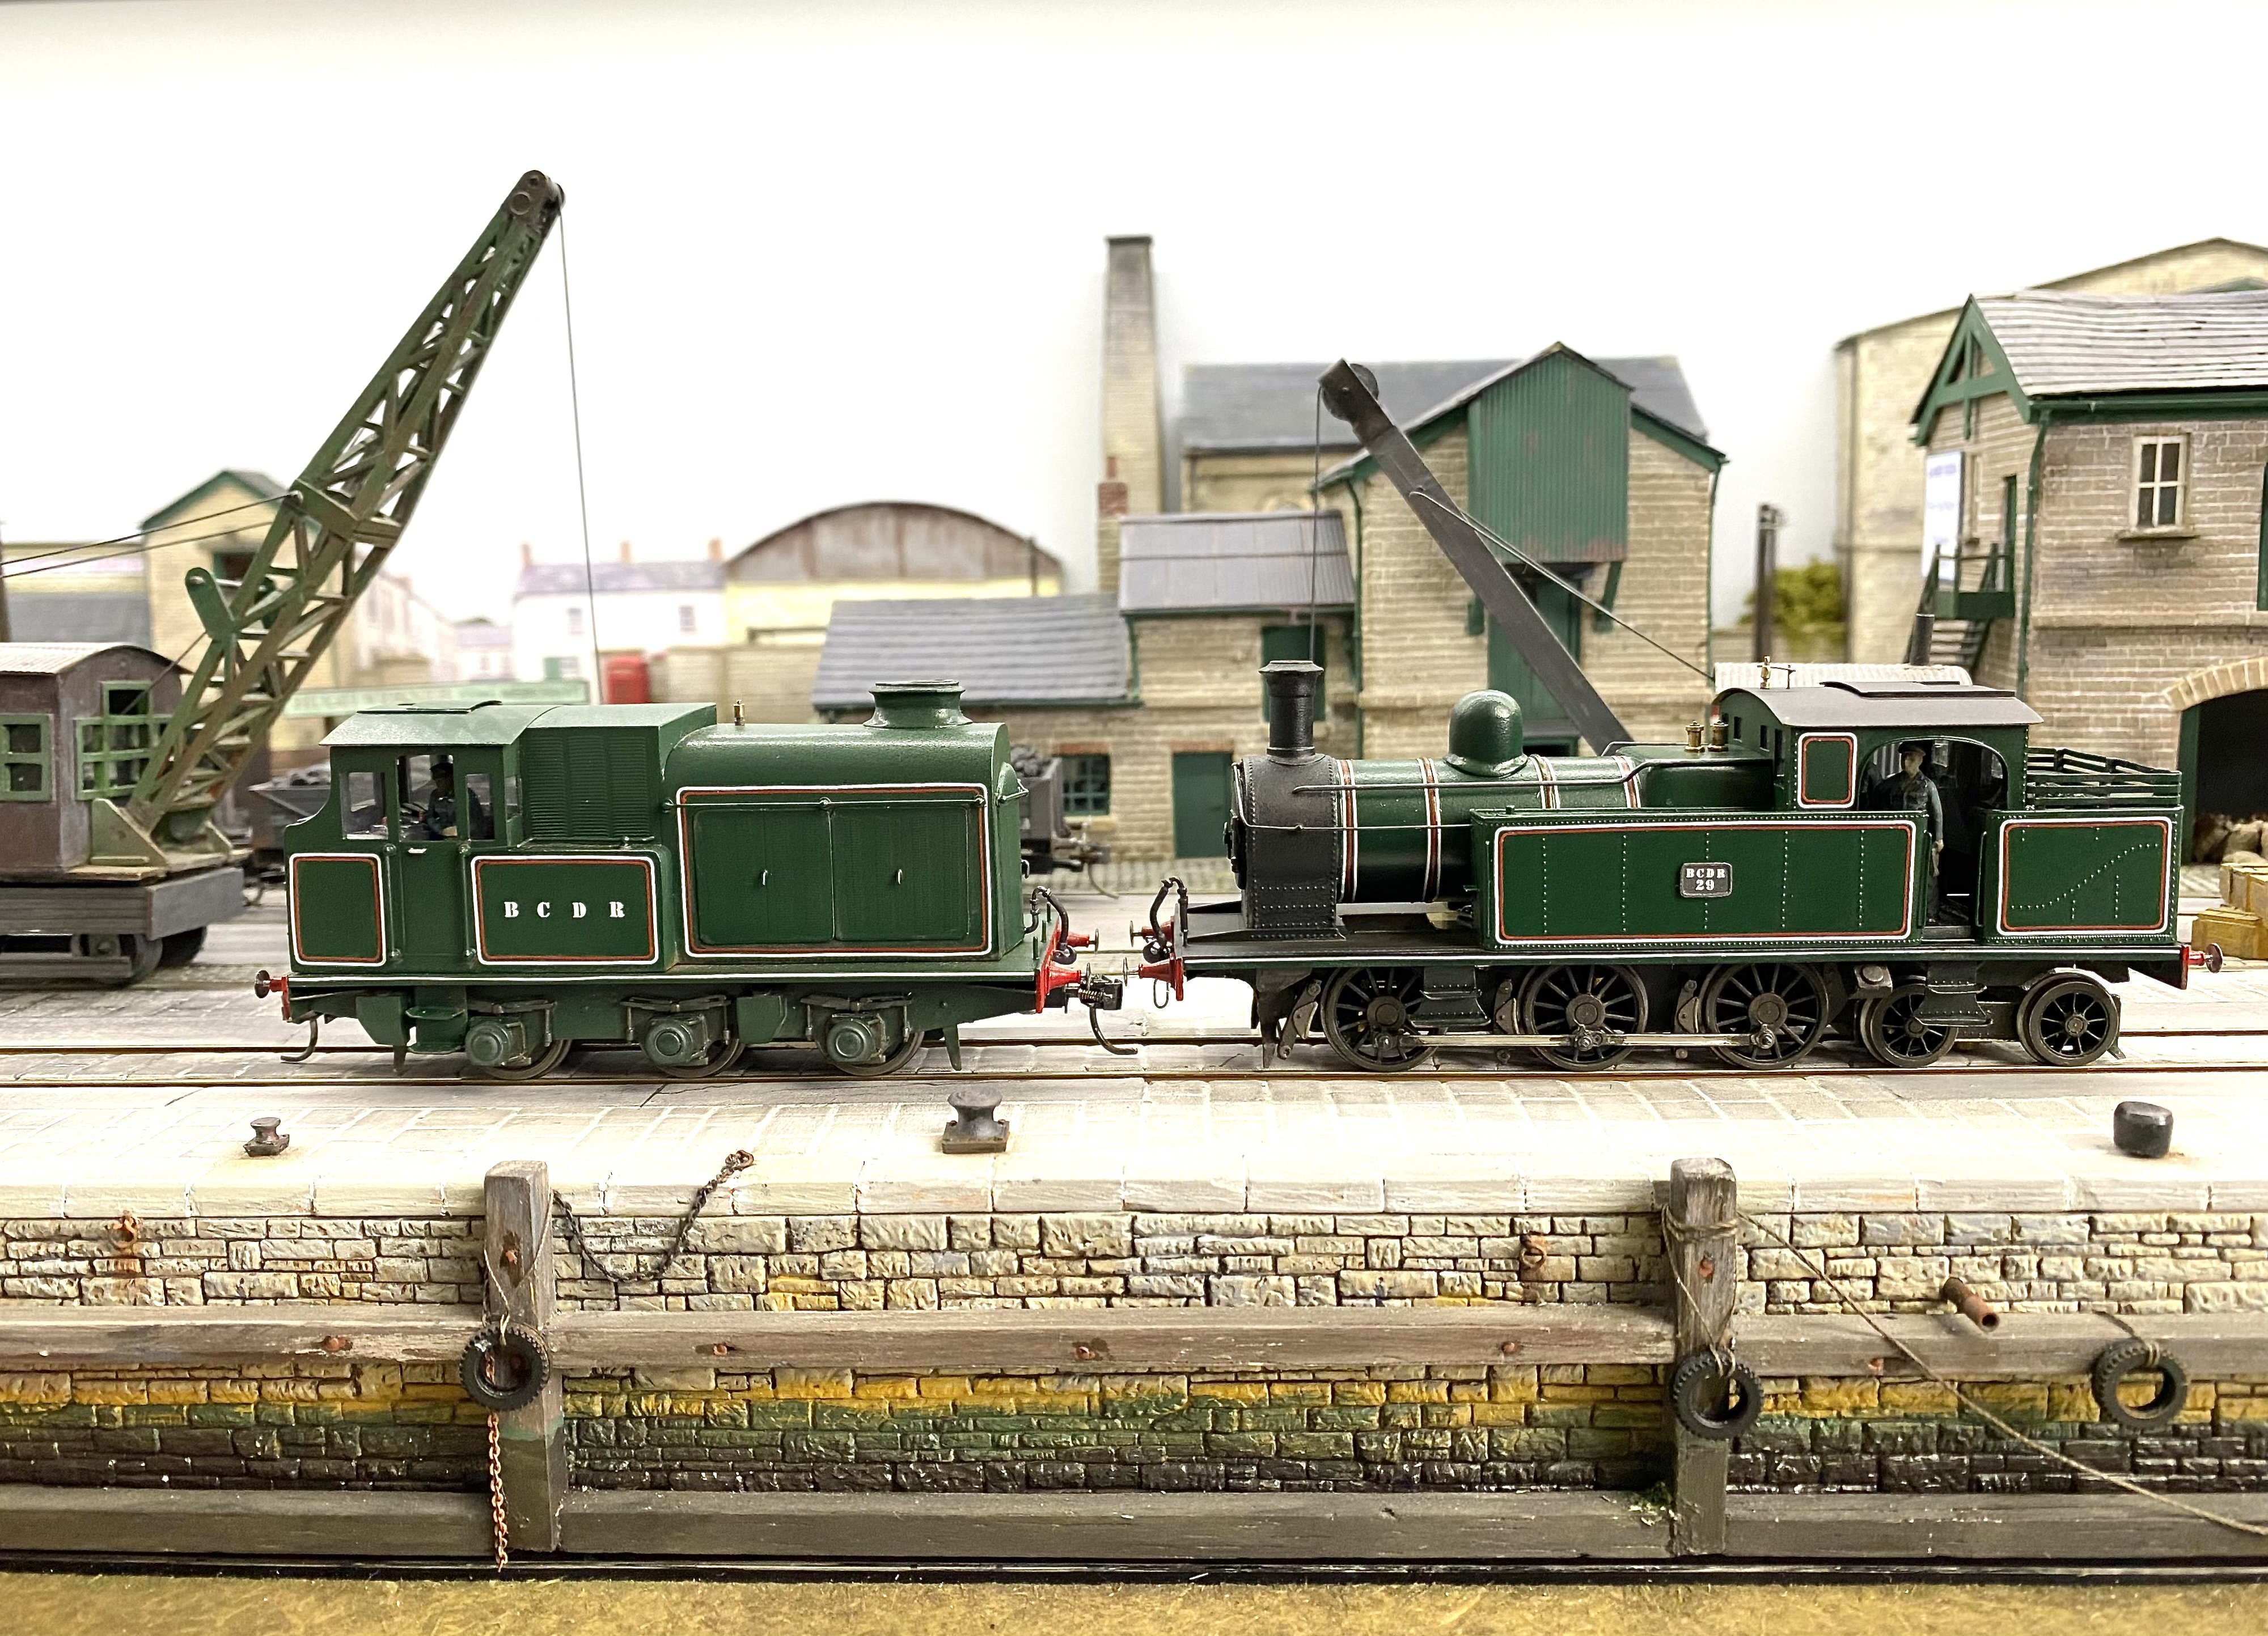
An interloper was spotted shunting at Loughan Quay today. Provenance unknown. I think there's a contractor somewhere missing an engine. HL .mov
-
Hawthorn Leslie 0-4-0ST in 4mm
Tullygrainey replied to Tullygrainey's topic in British Outline Modelling
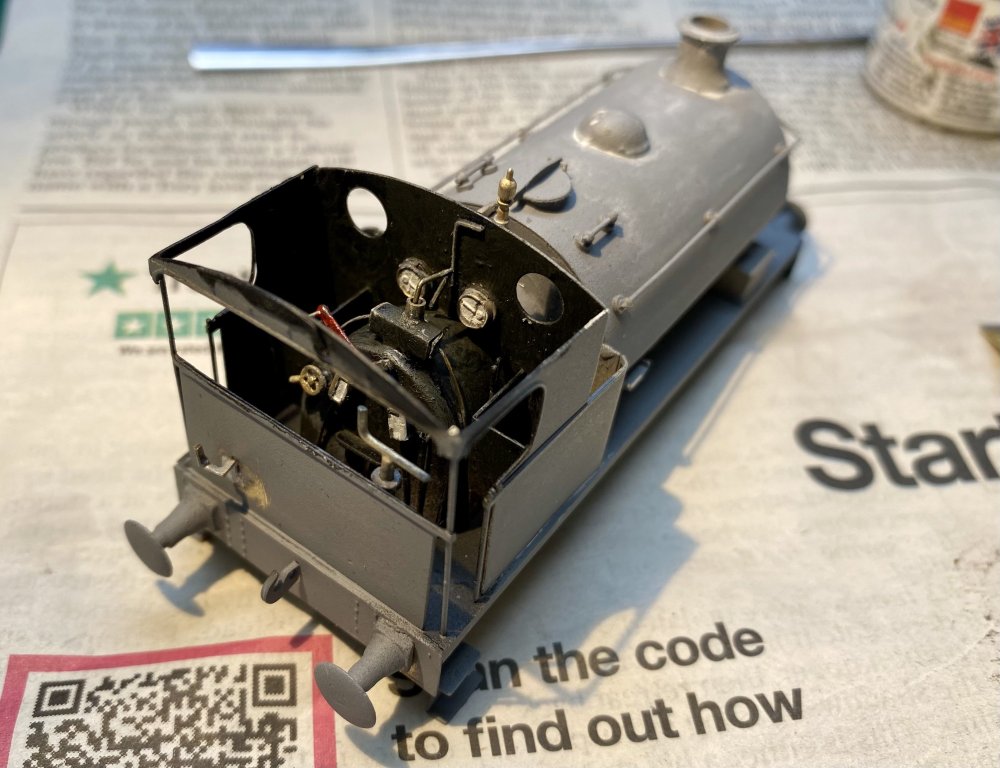
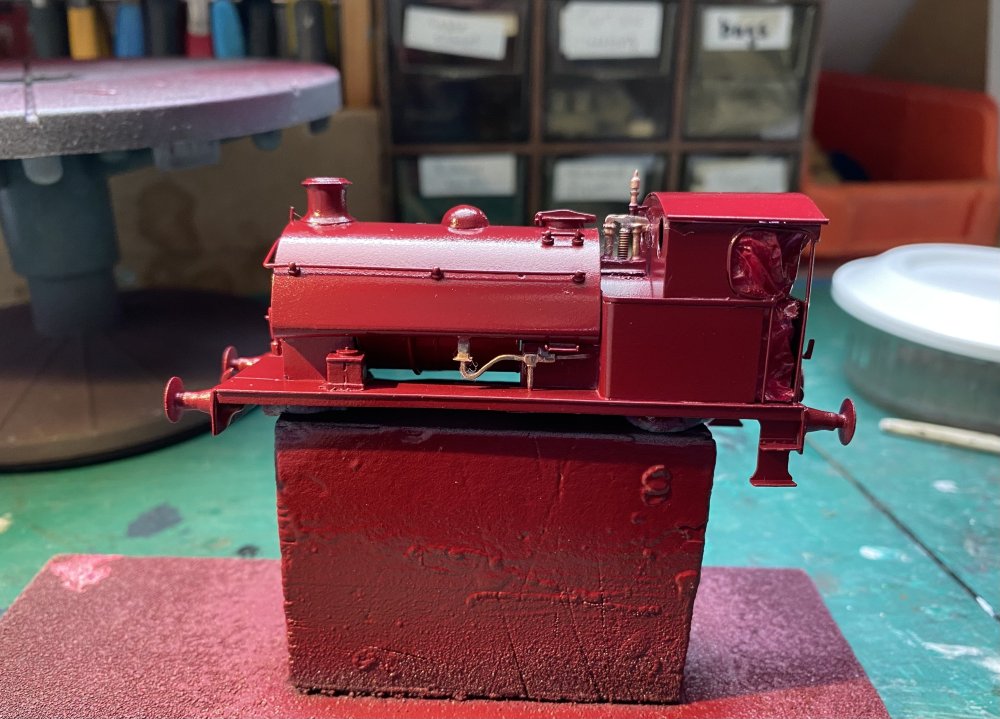
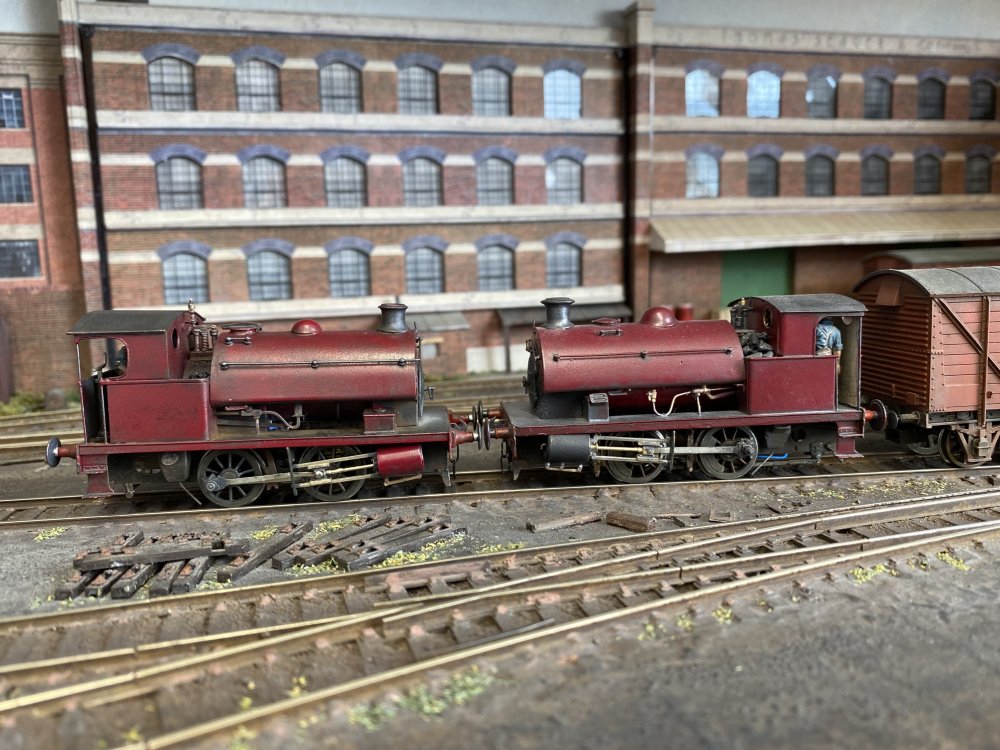
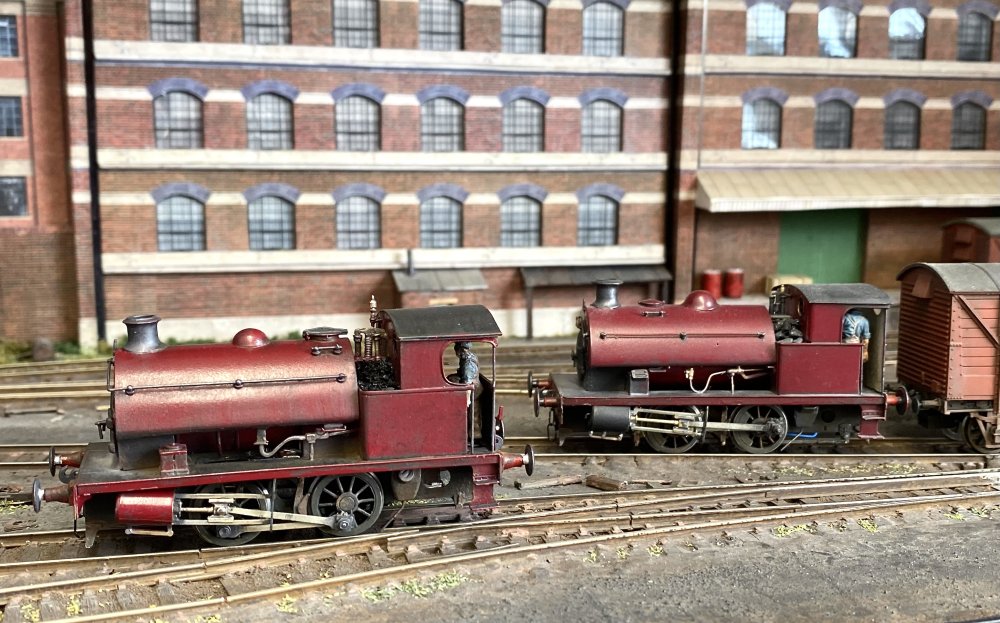
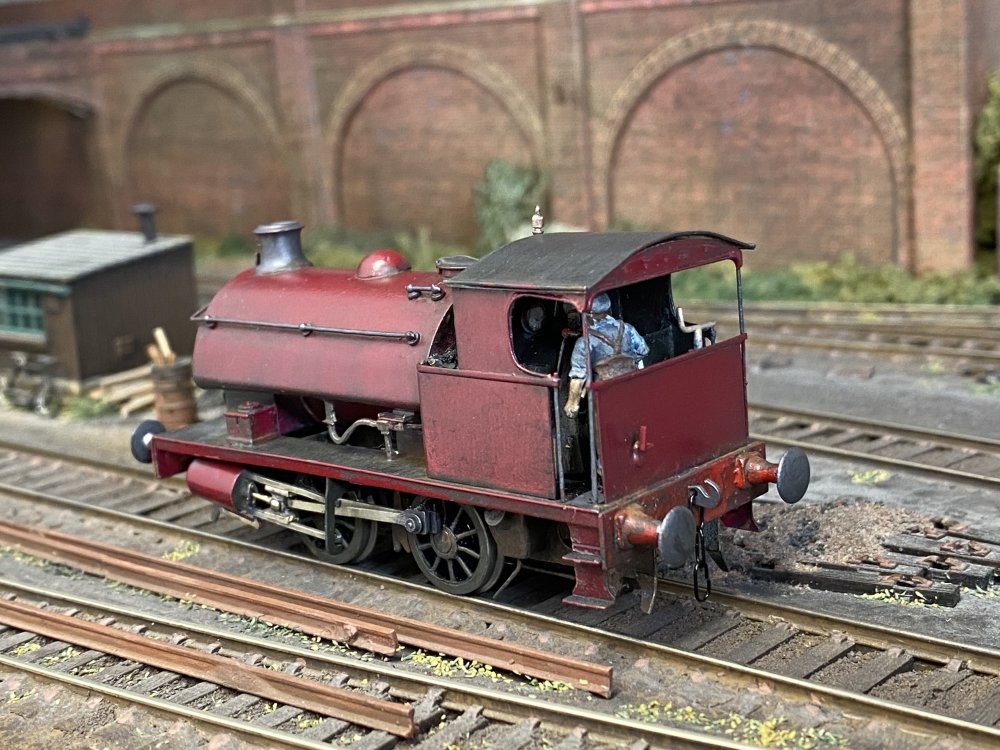
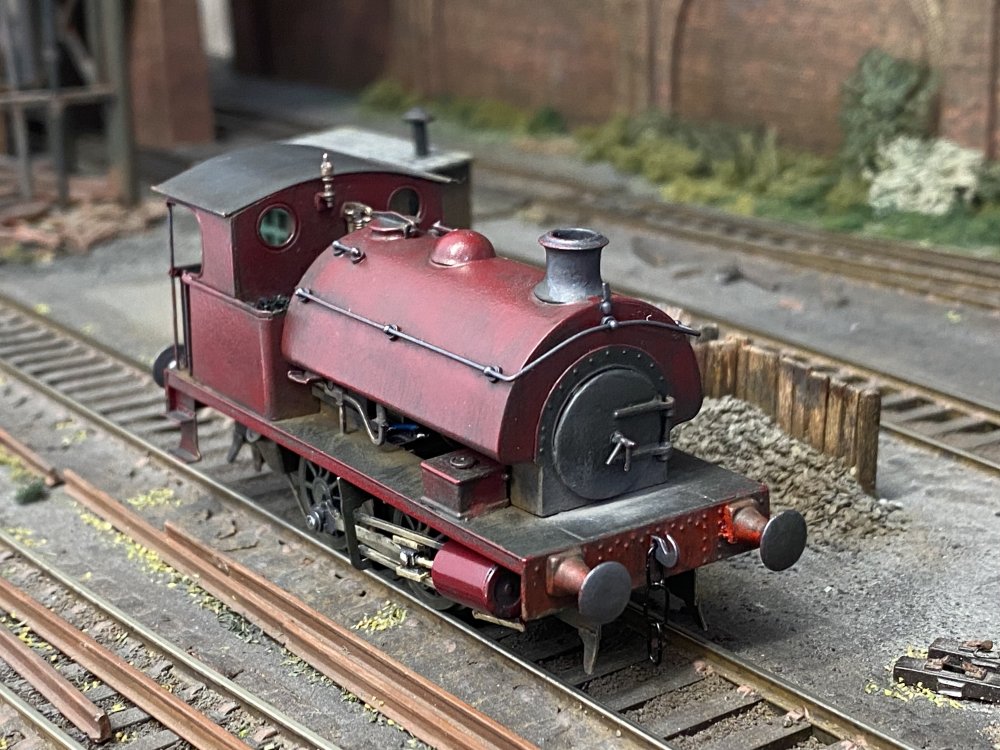
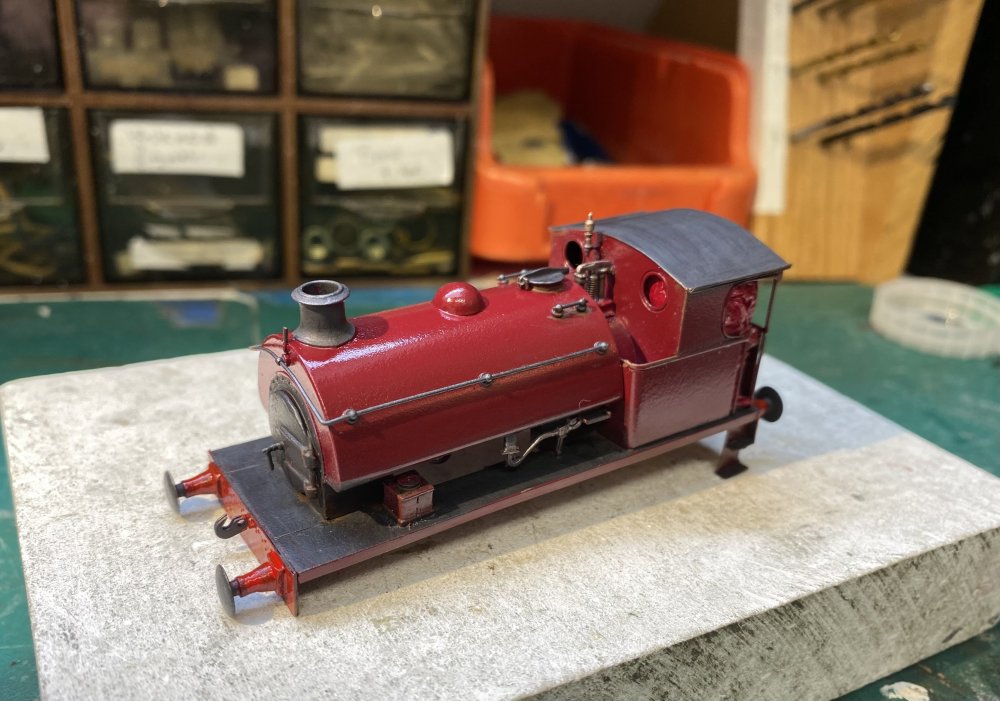
Time for paint. A coat of Halford's etch primer was first.... ...some filler here and there and then some detail painting in the cab before the roof was soldered on. Next, the cab interior was masked off (actually stuffed full of tissue paper) before the colour coat went on. Halford's rattle can again, Vauxhall Burgundy Red. I intended to use Humbrol Maskol on the whistle and the various other bits of valvery and pipery but forgot so some careful use of cellulose thinners on a small brush took the paint off again in the required places. Matt Black and Metalcote applied with a brush took care of most of the other details. The paint was left to dry for a day or so before weathering with paint and powders. The chassis got treatment to match. There are a few little details needing attention but I think it's just about done. HL was painted to match its stablemate, a Robert Stevenson Hawthorn 0-4-0ST built a year or two ago from a High Level kit. Alan- 31 replies
-
- 10
-

-

-

Hawthorn Leslie 0-4-0ST in 4mm
Tullygrainey replied to Tullygrainey's topic in British Outline Modelling
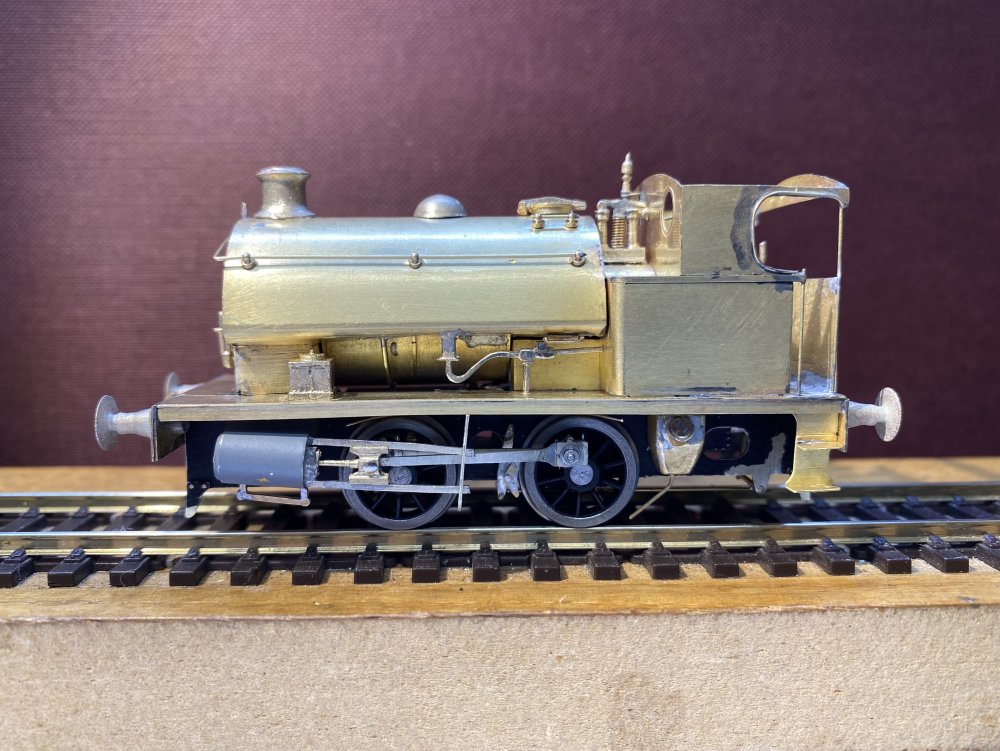
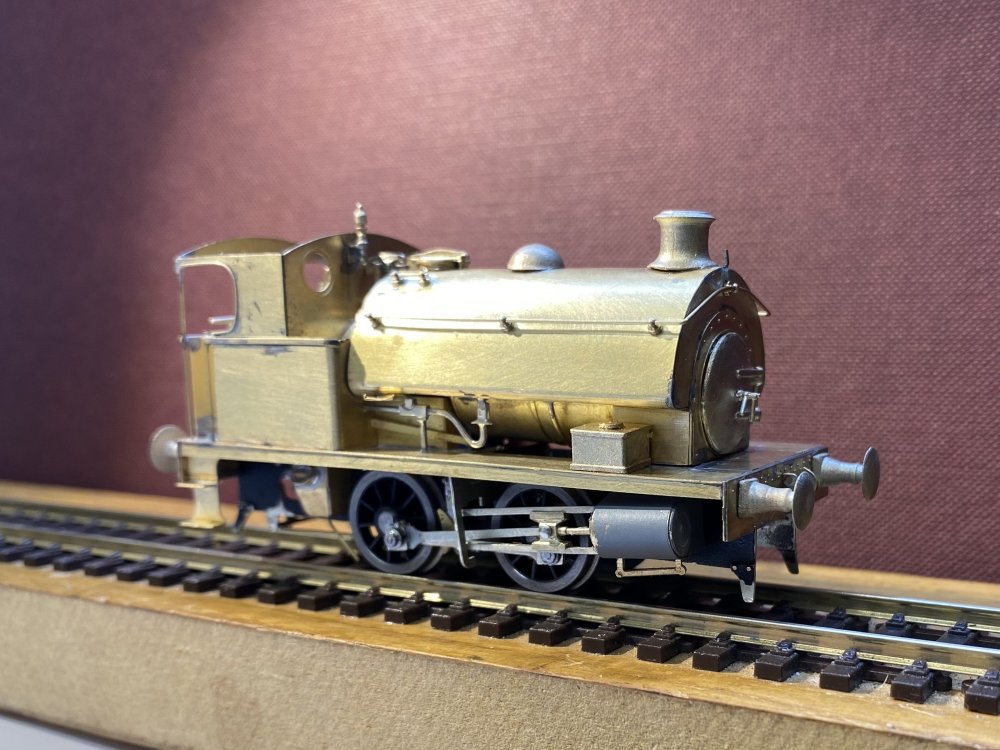
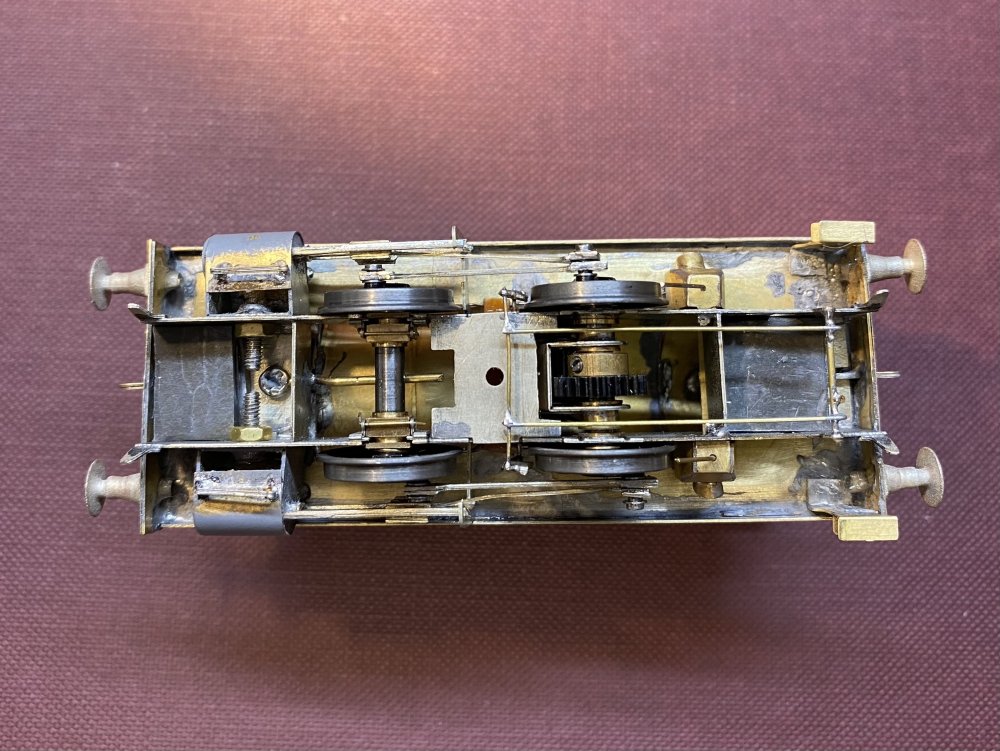
A bit more progress with HL. The chassis still has a bit of a tight spot which I'm at a loss to explain. I can see no obvious cause but it's probably some tiny error of geometry and it's really only noticeable at very slow speed so I'm not messing with it any more for fear of making it worse. Most of the detailing has now been added to the shell and it's just about ready for the Halfords livery. The photos are useful in showing up the little gaps that the naked eye doesn't see (or pretends not to ) and these will need a bit of filler... ...and here's the scruffy underbelly where all the solder hides. The brake rodding is pretty approximate and you'll see I've only fitted brakes to the rear axle. At the front, it's all a bit tight with the slidebars and what have you so I left them off, reasoning that they can barely be seen anyway. Some lead weight has been added to the chassis, front and back. There's some in the bodyshell too. A first run on the shuttle plank Hawthorn Leslie .mov Alan- 31 replies
-
- 10
-

-

Hawthorn Leslie 0-4-0ST in 4mm
Tullygrainey replied to Tullygrainey's topic in British Outline Modelling
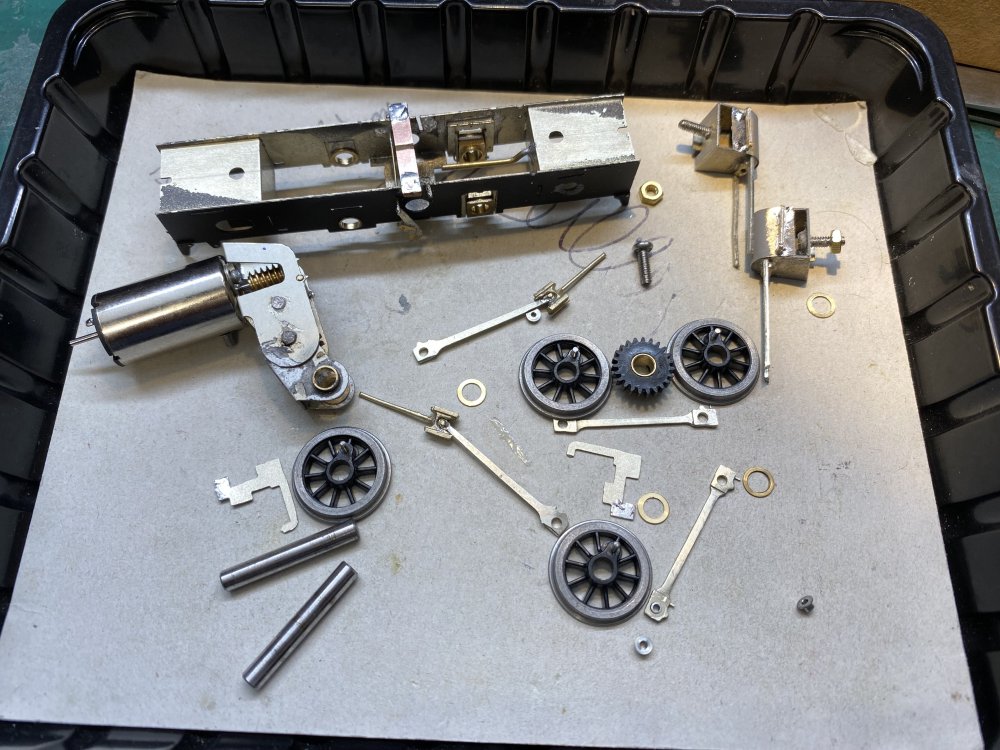
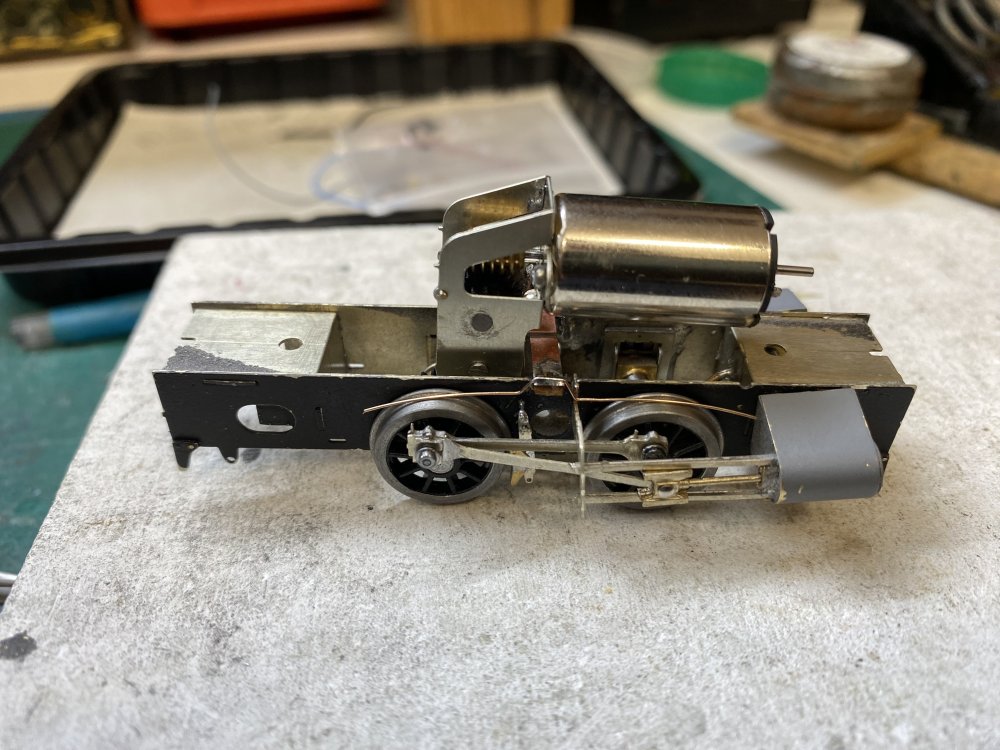
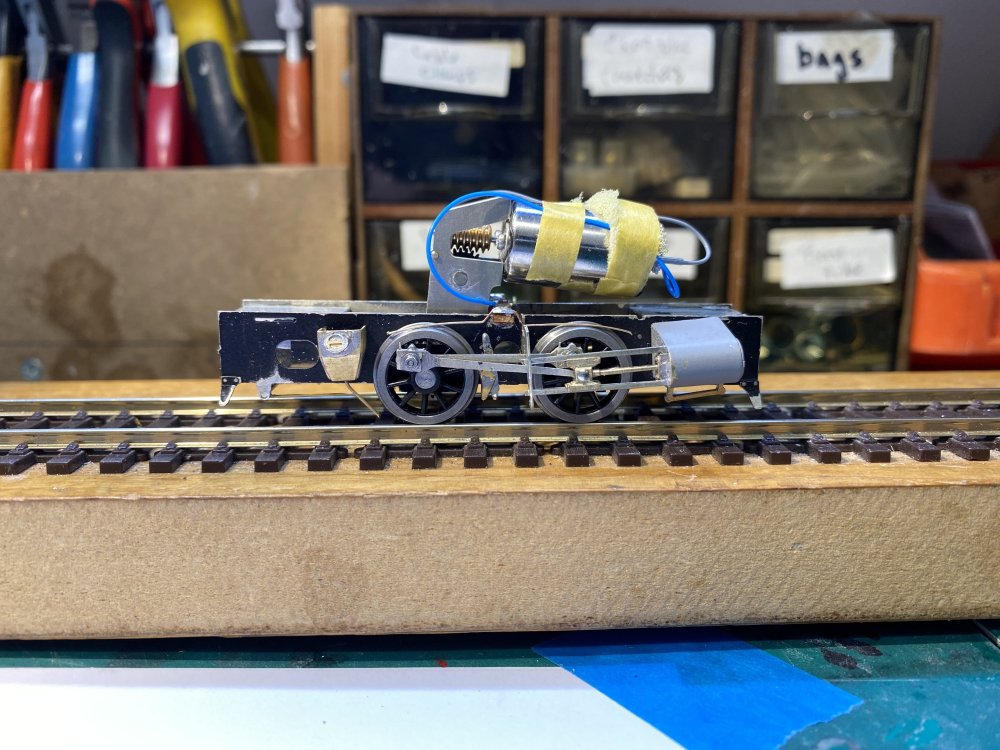
Fitting pickups to HL was a bit of a faff, working round motion brackets and brake hangers. The first attempt worked fine until the body went on and my carefully routed wires touched the edge of the running plate causing a short circuit. It was easier to start again than to re-bend the wires. Anyway, got there in the end and I've now promoted pickups to the 'little-things-sent-to-try-us' club. However...., all the messing about clearly deranged something because the limp was back with a vengeance - a tight spot with the motor flailing about on every revolution. It defied diagnosis and I spent a daft amount of time on it, getting nowhere. I was considering a different hobby. I could also hear the big hammer stirring in the cupboard so parked the job before terminal damage was done. Eventually, I reduced the chassis to its constituent parts and started again. Two steps forward, one back and a number sideways. It's back together now and working ok again. It even runs inside the bodywork. I think the problem was a wheel rim becoming slightly askew on its centre - hardly surprising given the abuse inflicted in the course of this build. I always hope to be able to put the wheels on once and not have to take them off again. I've never managed that. Ever. The chassis is looking a bit the worse for wear but paint is easily fixed. The taped foam on the motor is to reduce its capacity to flail about or short its terminals inside the boiler. Not too tidy but who'll see it. I'll maybe stick with railway modelling a bit longer. Alan -
Looking good
-

Hawthorn Leslie 0-4-0ST in 4mm
Tullygrainey replied to Tullygrainey's topic in British Outline Modelling
This incessant rain can only mean one thing - less gardening, more modelling. Predictably, as soon as the crankpin nuts went on and were tightened, HL developed a limp which tried my patience somewhat. "Fit coupling rods and ensure smooth running" began to feel like a mountain to climb for a while. I use Gibson wheels and like them but I find fitting the crankpins a challenge. They screw into a hole in the wheel and cut their own threads as they do. The difficult bit is making sure they go in absolutely perpendicular. I got two straight and 2 with a bit of a lean towards the wheel hub. Taking the dodgy wheels off again, removing the crankpins and refitting them carefully got them a bit straighter and went some way towards elimination the limp. Some reaming of the rods also helped. The etched bits for cylinders and slidebars went together quite nicely. The crossheads, complete with piston rods are supplied as brass castings thank goodness and though they needed a bit of work to make them fit the con rods, it was still easier than trying to assemble such parts from bits of etched brass. Attaching connecting rod to crosshead, using a plain pin as per the instructions is one of those hold-your-breath tasks. So easy to lock the two parts together with solder. One method is to use a paper washer between the parts to stop the solder flowing where you don't want it. Ciggy paper is recommended. I didn't have any so I assembled the bits, taped them down and introduced a tiny drop of oil into the recess in the crosshead. Quick in and out with a smidgeon of solder on the iron and job done. The oil keeps the joint free. Phew. The crankpins and nuts on the front axle needed filing back to clear the crosshead. I thread-locked them first. They're not coming off again. All in all, this bit of the build went better than expected but the proof will be a working chassis fitting snugly inside the body. Arranging pickups will be a challenge too. So far, it's performing well. IMG_9578.MOV Looking at this video, I think the pivot rod on the front axle needs some adjustment. The chassis looks a bit nose-down. Alan -

Ballycastle Locomotive by Chris Romain
Tullygrainey replied to Patrick Davey's topic in Irish Models
Chris Romain built a very fine model of Killybegs in 10mm. It was featured in Railway Modeller and Model Railway Journal. -
Lovely stuff Nelson. So much to see!
-

Hawthorn Leslie 0-4-0ST in 4mm
Tullygrainey replied to Tullygrainey's topic in British Outline Modelling
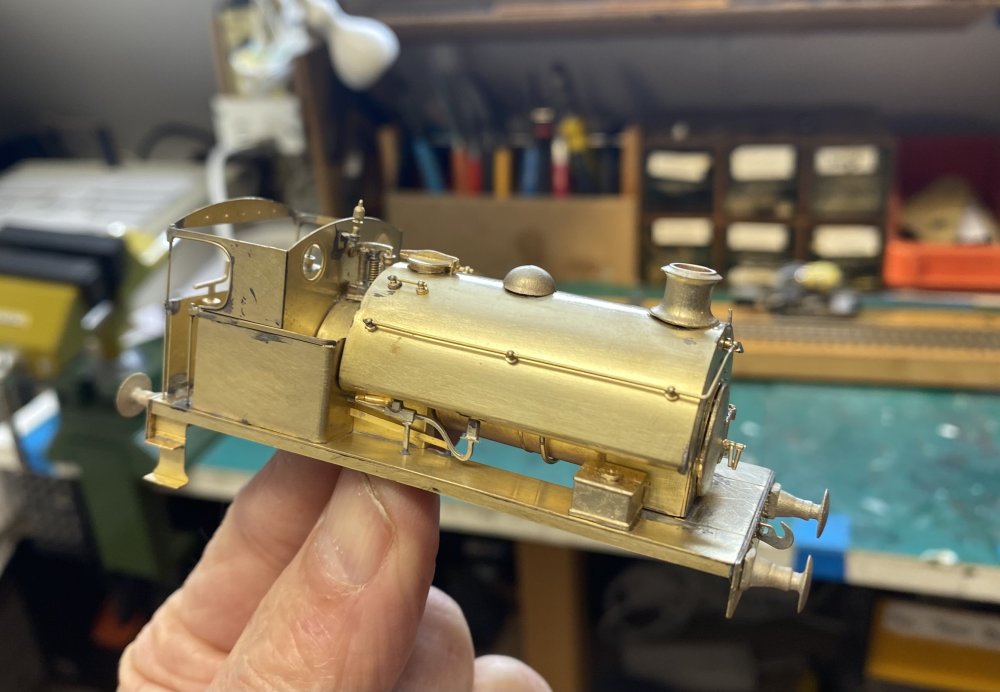
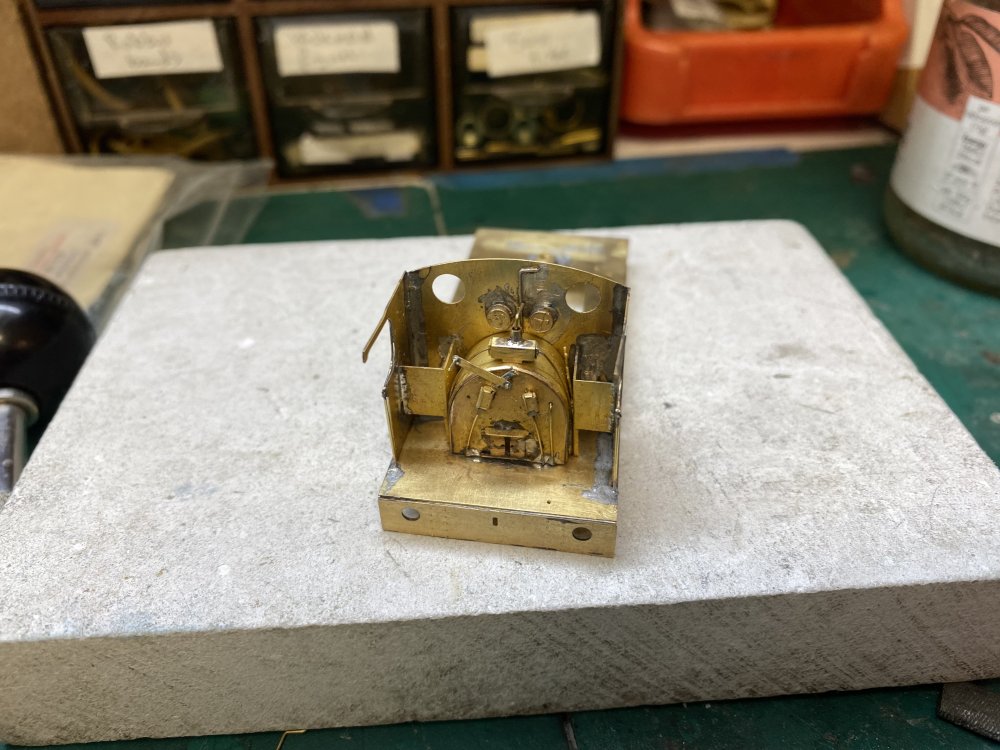
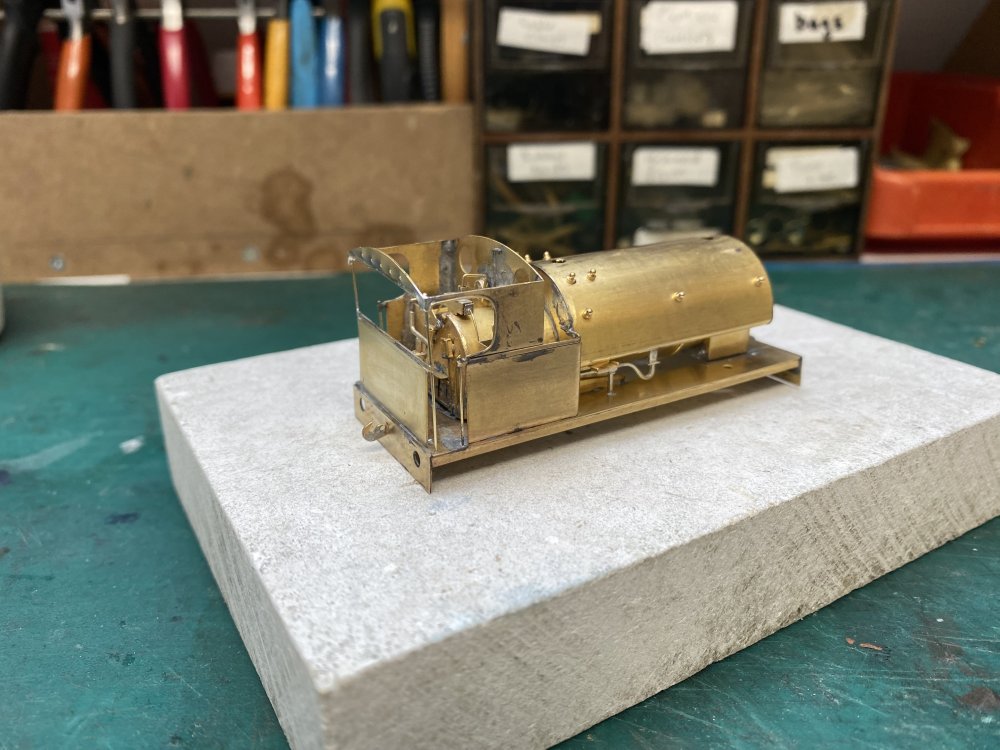
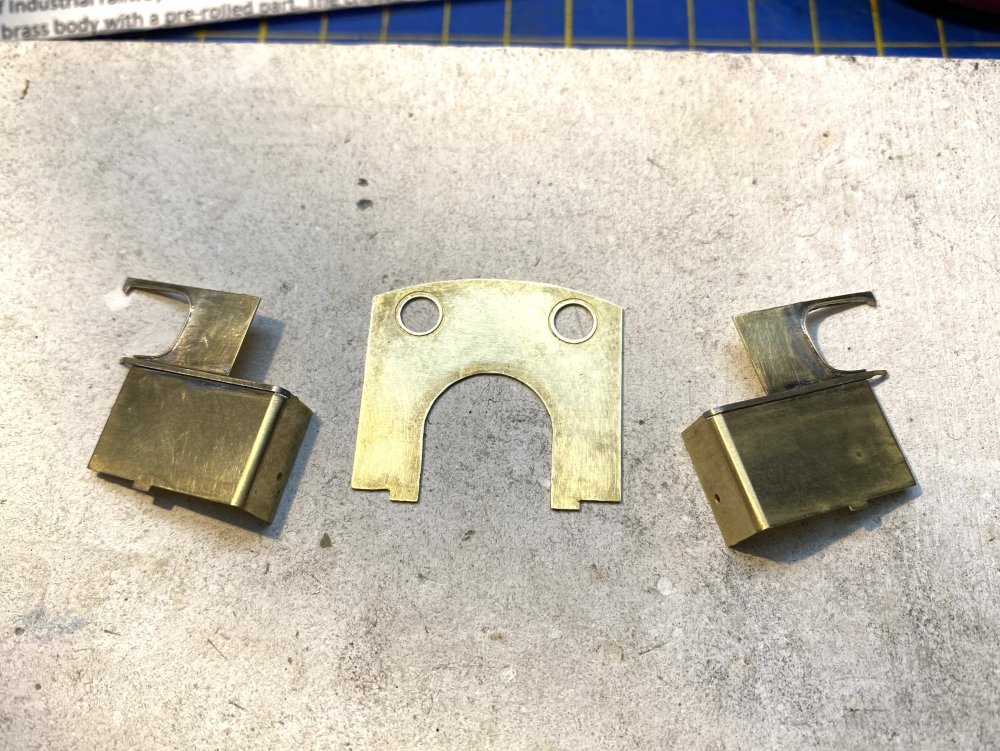
A bit more work on the shell. The kit came with some cast brass bits for detailing the cab but I mostly used the etched parts. I opted for the open-backed cab version which will make it easier to paint the cab interior. It's ended up a bit ramshackle thanks to everything needing to be suspended in space while the solder went in - three hands would've been useful. But then, a well used industrial tank engine like this ought to be a bit battered, oughtn't it? That's my excuse anyway. Enough of the shell is built now to allow trial fitting of the gearbox. I haven't had to remove any of the boiler bottom yet but it may come to that. The two halves of the articulating gearbox are now locked together with a blob of solder. Back to the chassis. Gearbox in and wheels on. I used my trusty GW Models jig to mount the wheels and quarter them. It's a great little tool that takes some of the agro out of quartering Gibson wheels and I wouldn't be without it. First trial run under power. So far, so good. IMG_9568.MOV Cylinders, slidebars and con rods next Shunting along, Alan -

Brookhall Mill - A GNR(I) Micro Layout
Tullygrainey replied to Patrick Davey's topic in Irish Model Layouts
Clandestine? In that uniform? -

Hawthorn Leslie 0-4-0ST in 4mm
Tullygrainey replied to Tullygrainey's topic in British Outline Modelling
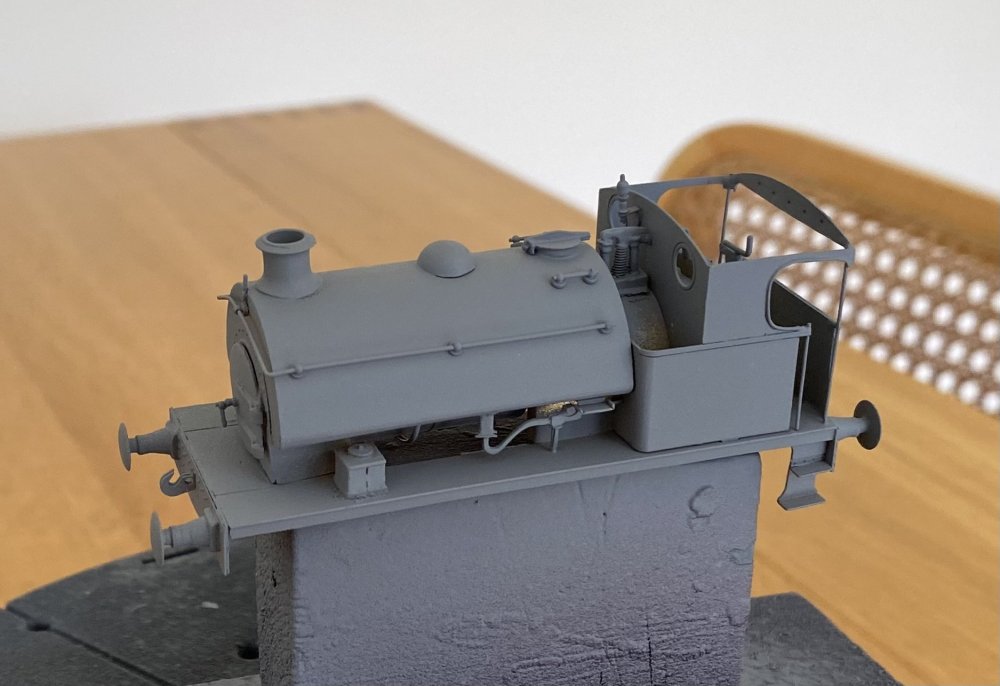
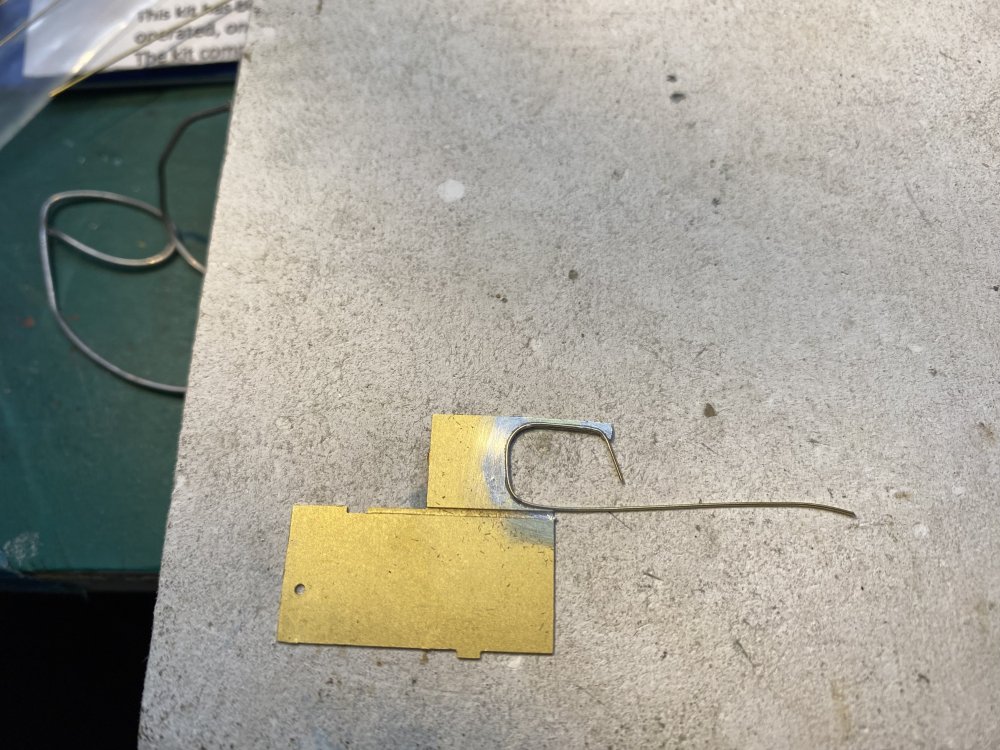
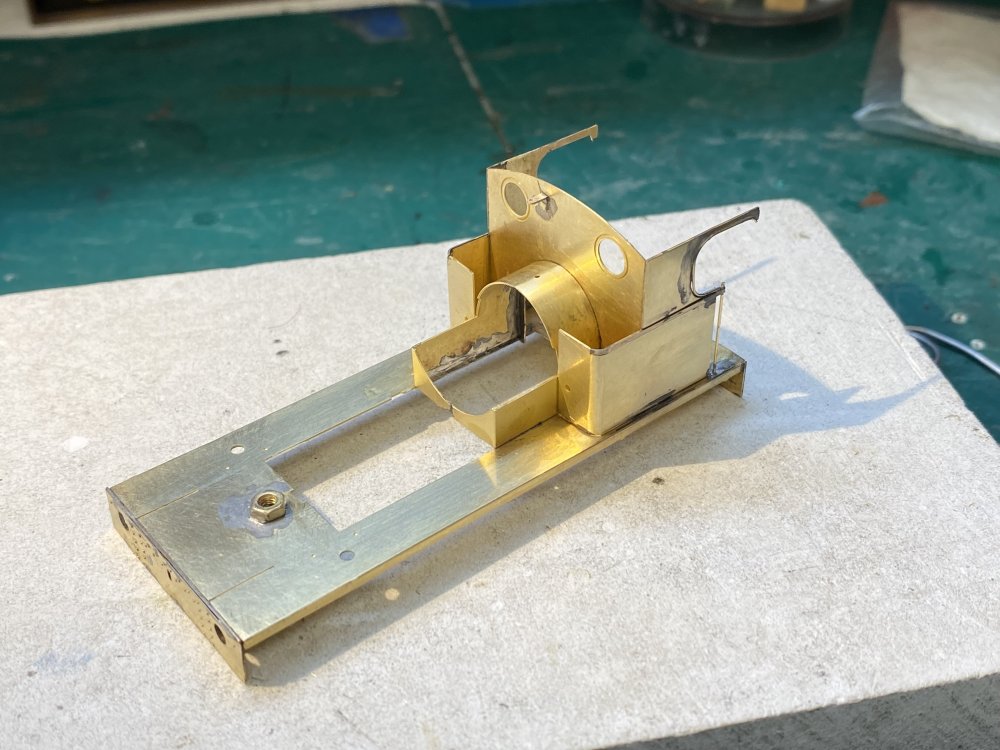
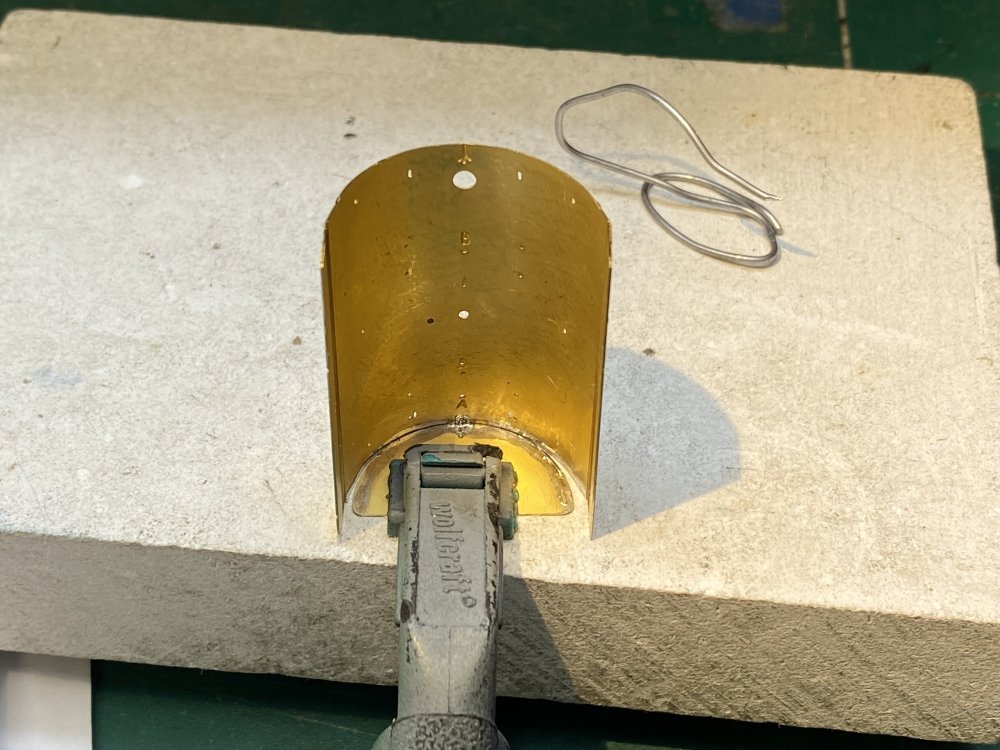
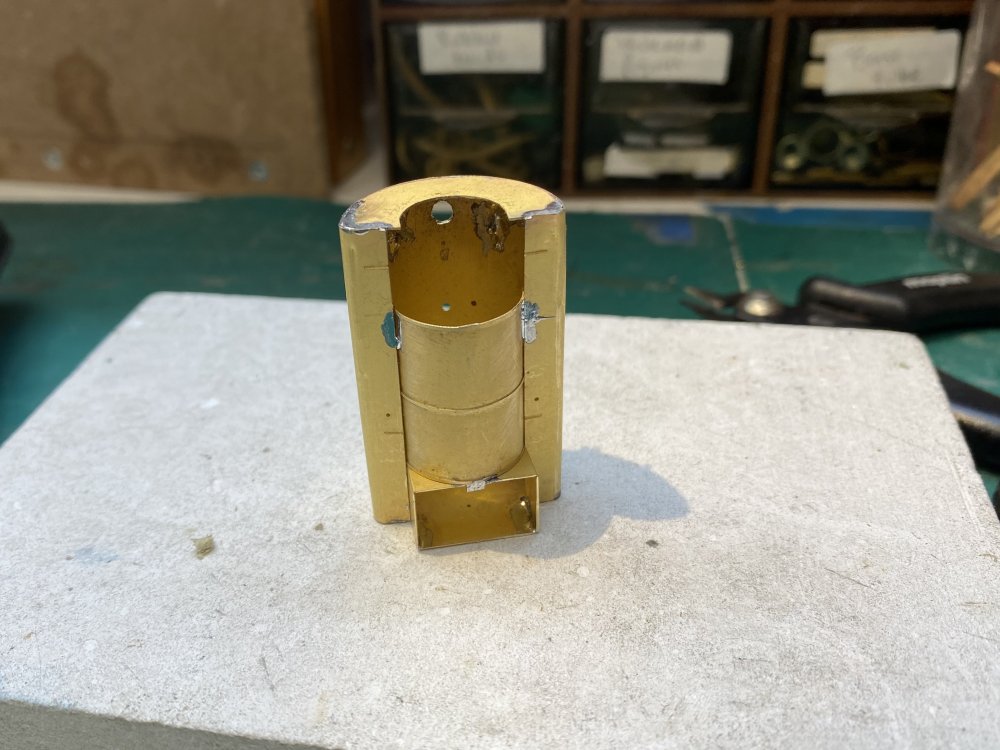
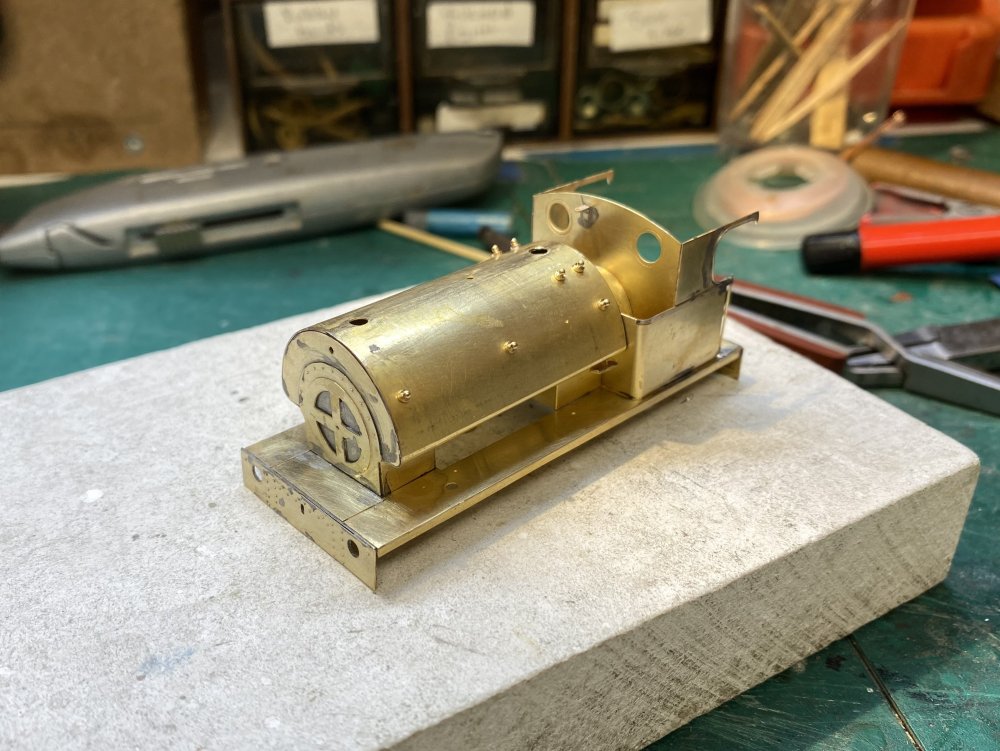
Some progress on H. Leslie's bodywork. Tricky little beast, this one. A saddle tank that had to be rolled and a lot of edge to edge soldering. I decided the best way to make things fit was to solder up the shell, then carve bits out of it until the chassis/motor can slide into place. That boiler bottom is unlikely to survive intact. Those of a sensitive disposition, look away now. -

Hawthorn Leslie 0-4-0ST in 4mm
Tullygrainey replied to Tullygrainey's topic in British Outline Modelling
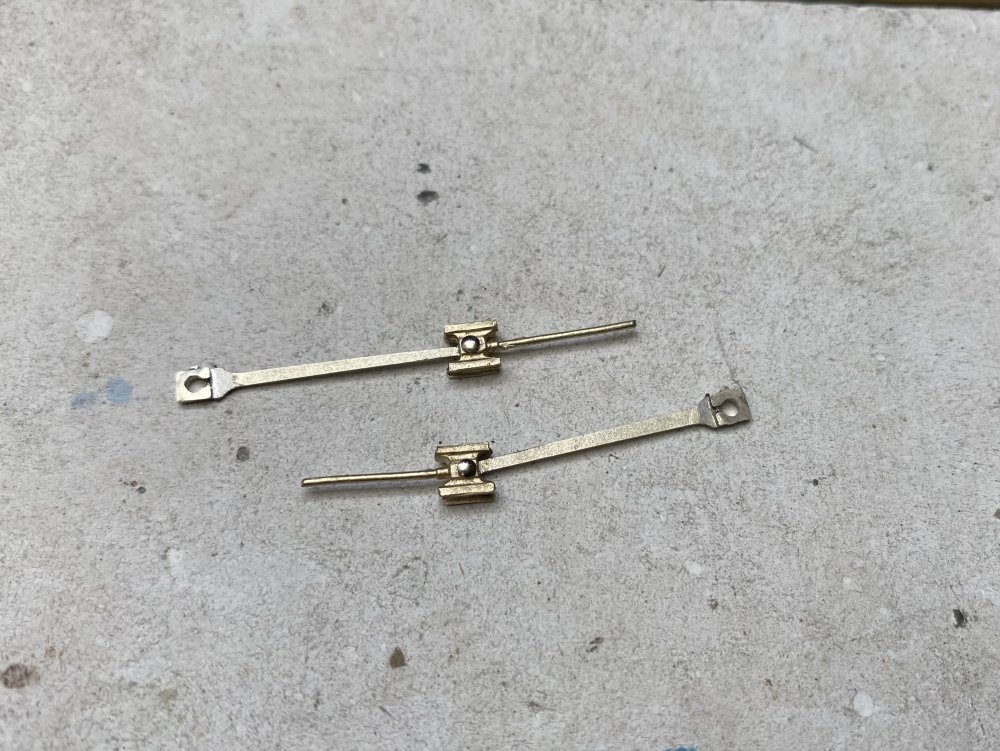
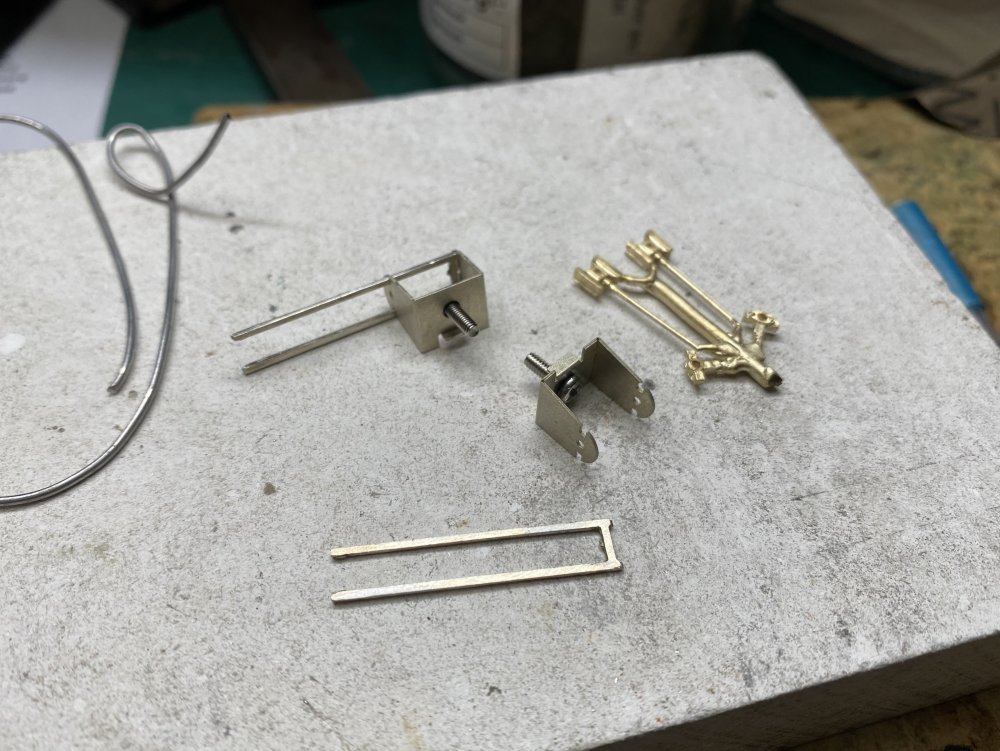
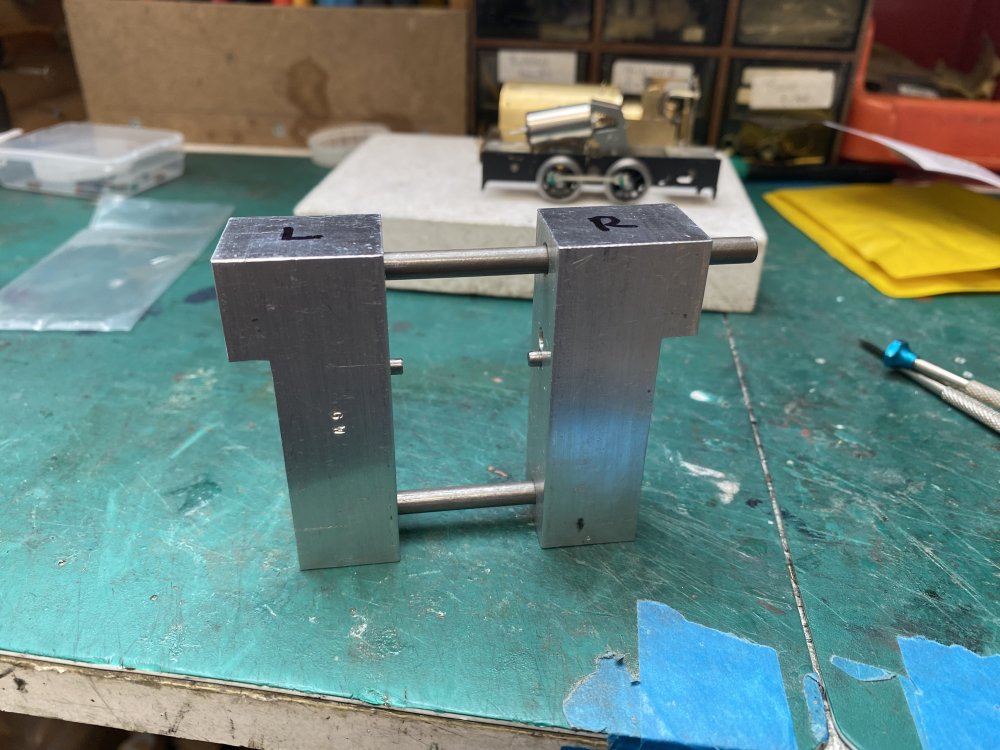
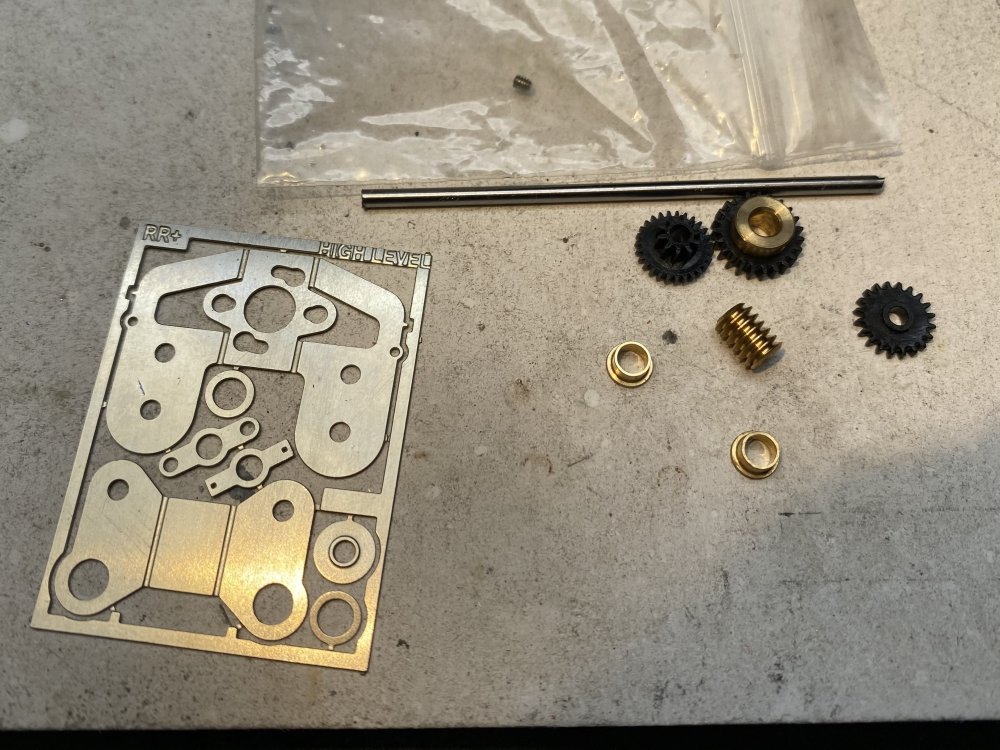
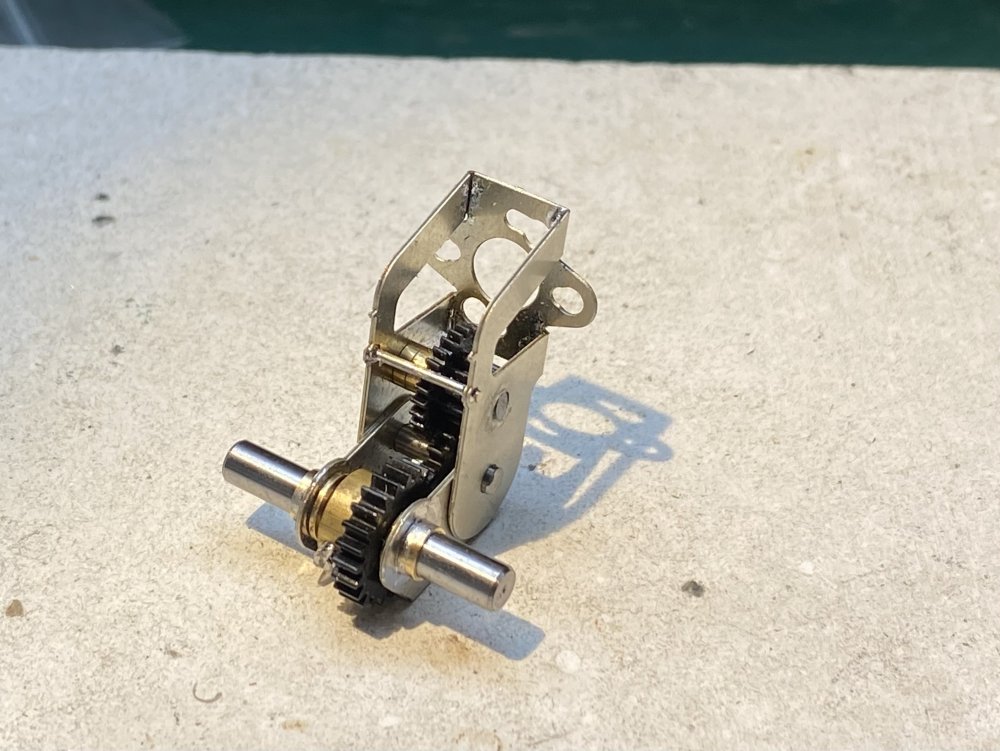
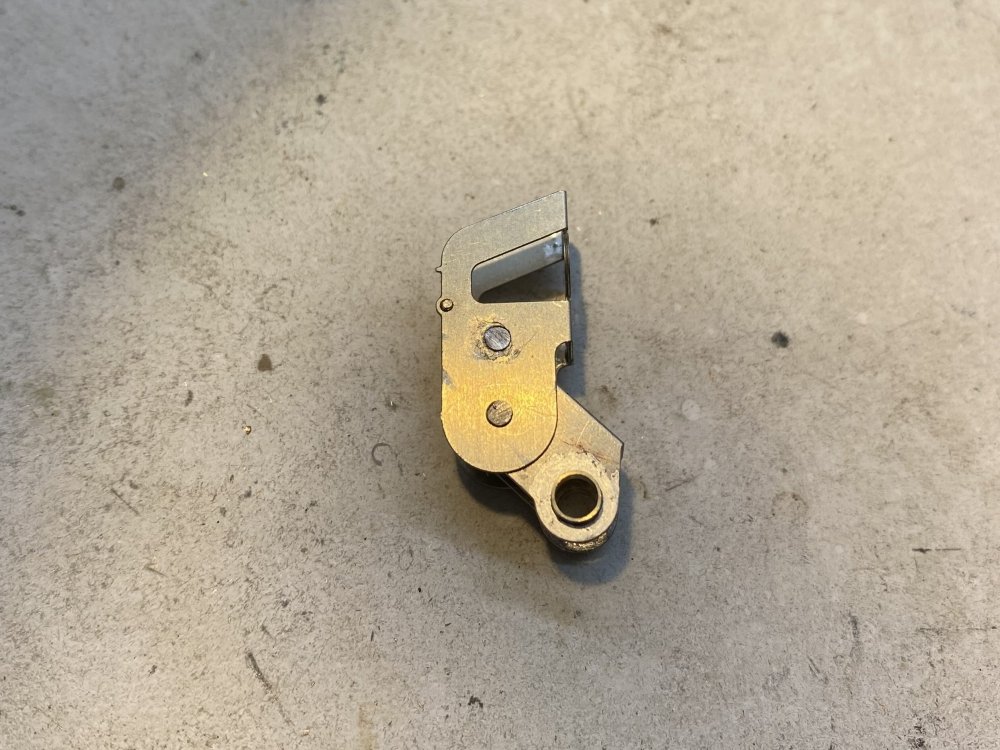
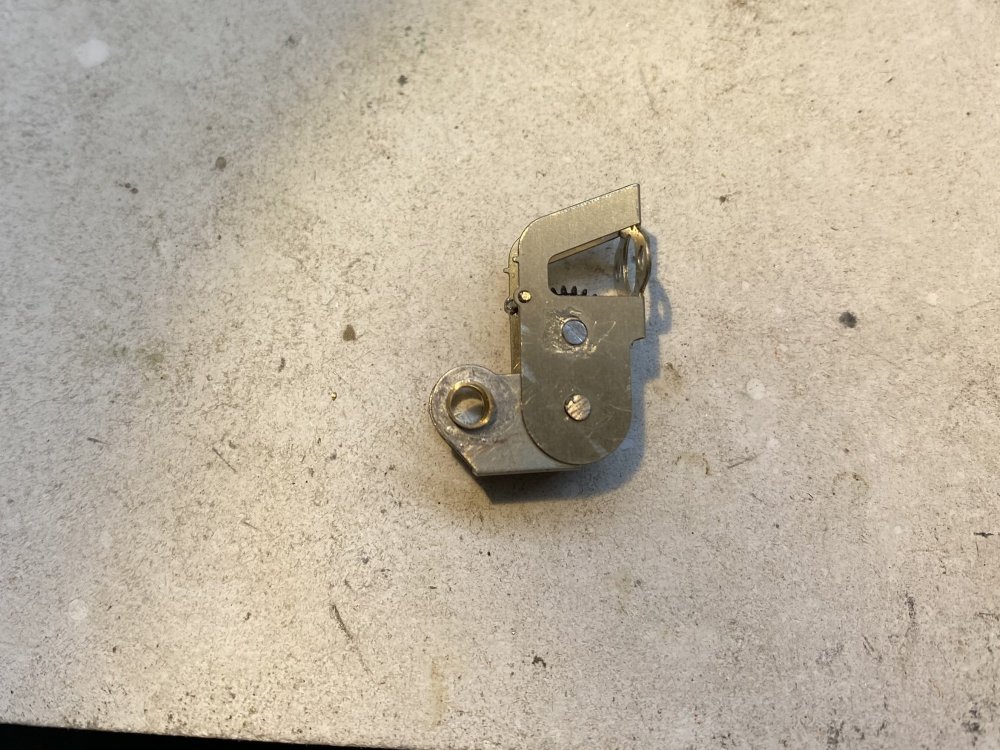
More Hawthorn Leslie. A High Level RoadRunner Plus gearbox was bundled with this kit. Little gem. The 2mm steel shafts on which the gearwheels freely rotate are fixed in place with glue on one end. This can be tricky and I managed to lock the primary drive up almost solid by being too free with the superglue. Discovered in time to push the shaft out and start again. Used UHU instead - it doesn't run along the shaft. The final drive on this gearbox can swing through an arc to aid fitting it into different chassis. From here... ... to here... ... but it then needs to be locked in one position using solder or glue before being used. To do that, I need to know that it will fit inside the bodywork. Too high and the motor may not fit underneath the saddle tank... ... too low and it may not clear the bottom of the boiler. The geartrain may also intrude into the cab in this position... .. so I'm going to park the chassis for a bit and build enough of the superstructure to let me decide where to lock it. Decisions, decisions... Alan -

Hawthorn Leslie 0-4-0ST in 4mm
Tullygrainey replied to Tullygrainey's topic in British Outline Modelling
The instructions for this one are brief, to the point and for the most part unambiguous. One sentence though, made me laugh out loud and if you've ever built an etched chassis, it may make you laugh too.... "Fit coupling rods and ensure smooth running" Seven little words to describe at least three days of sweat, toil and bad language. -
I suppose even Mashimas give up the ghost eventually. Good luck with the rebuild David. The High Level motor & gearbox combination should be a good substitute.
-

Hawthorn Leslie 0-4-0ST in 4mm
Tullygrainey replied to Tullygrainey's topic in British Outline Modelling
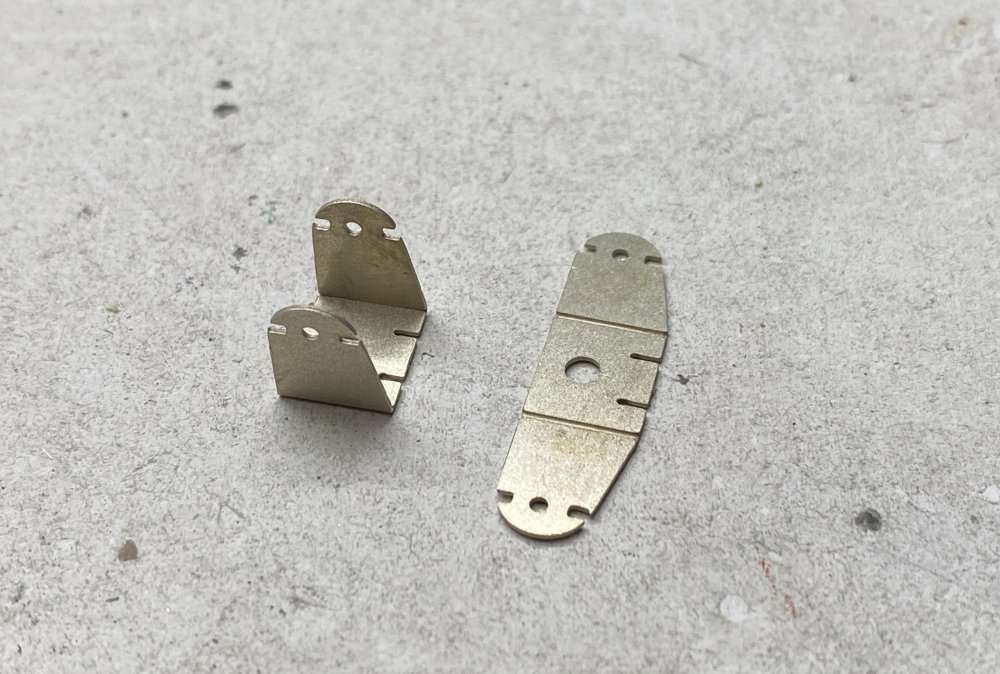
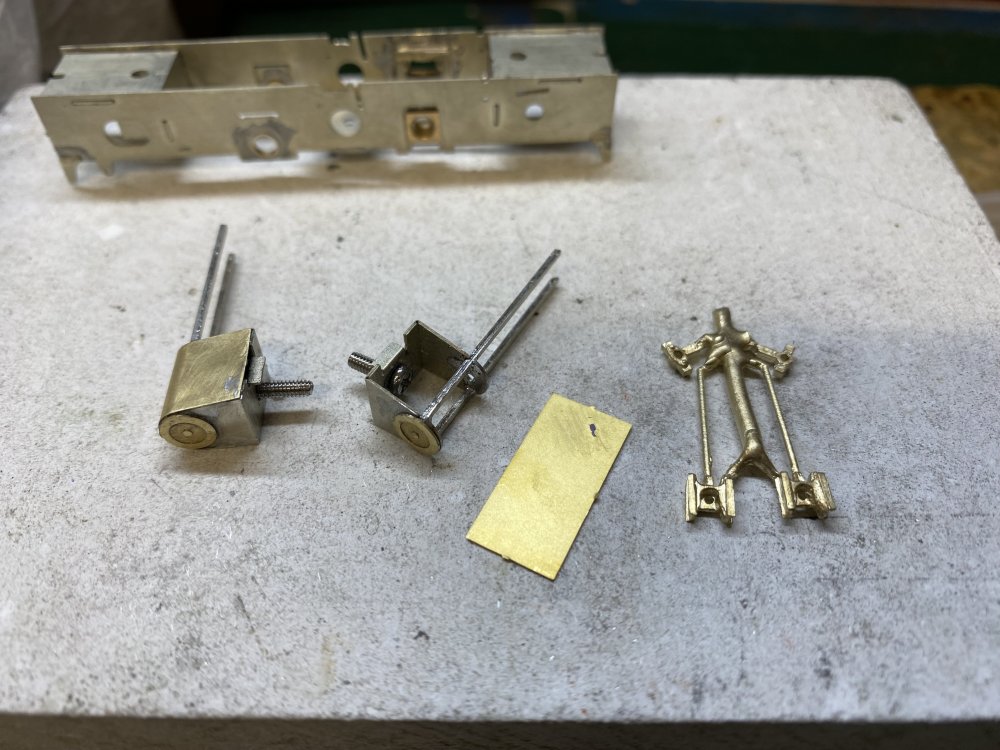
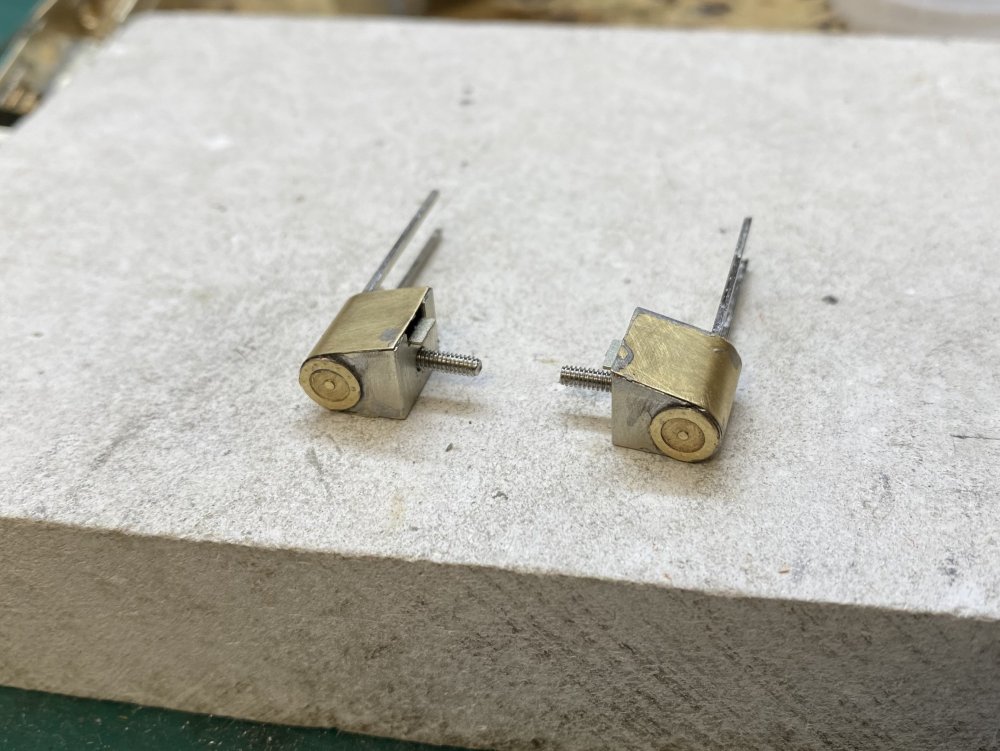
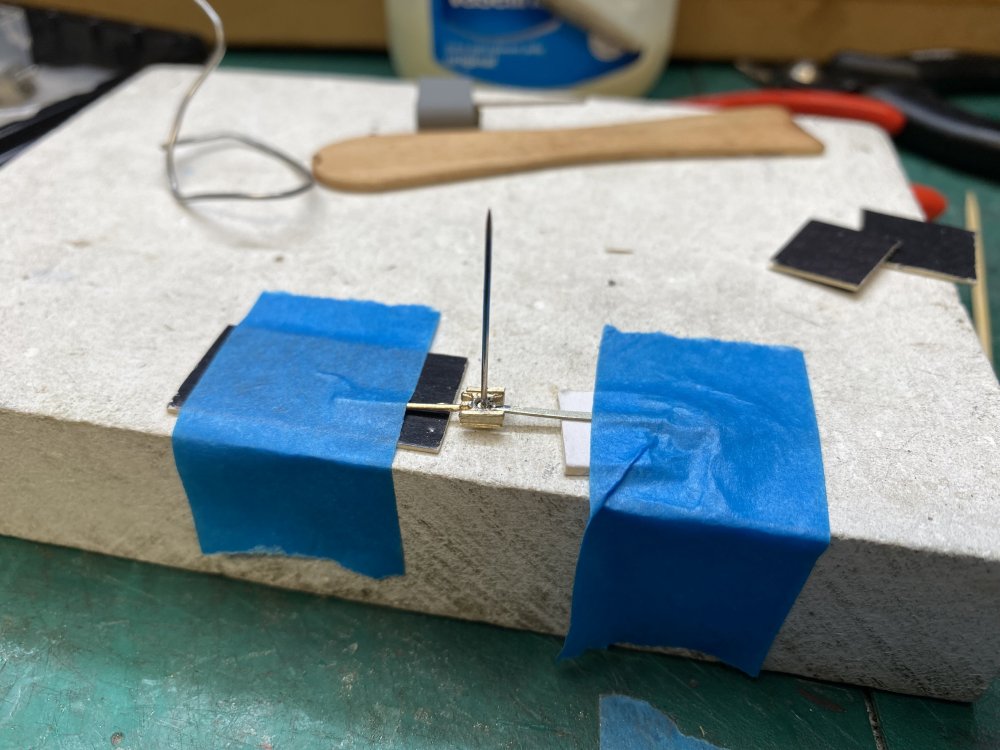
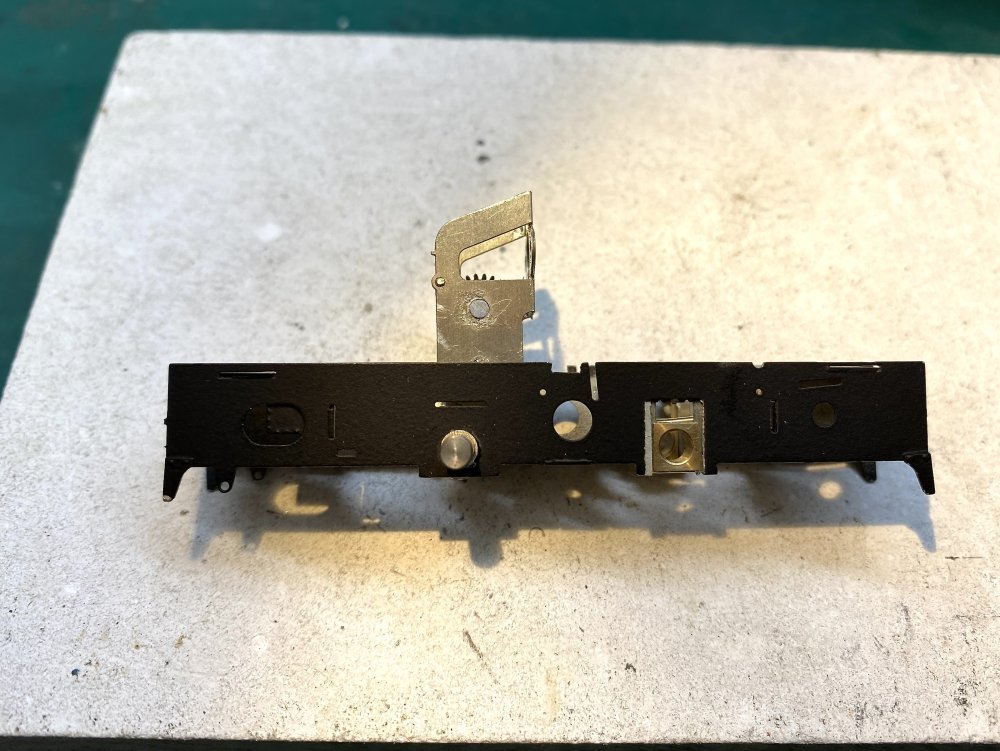
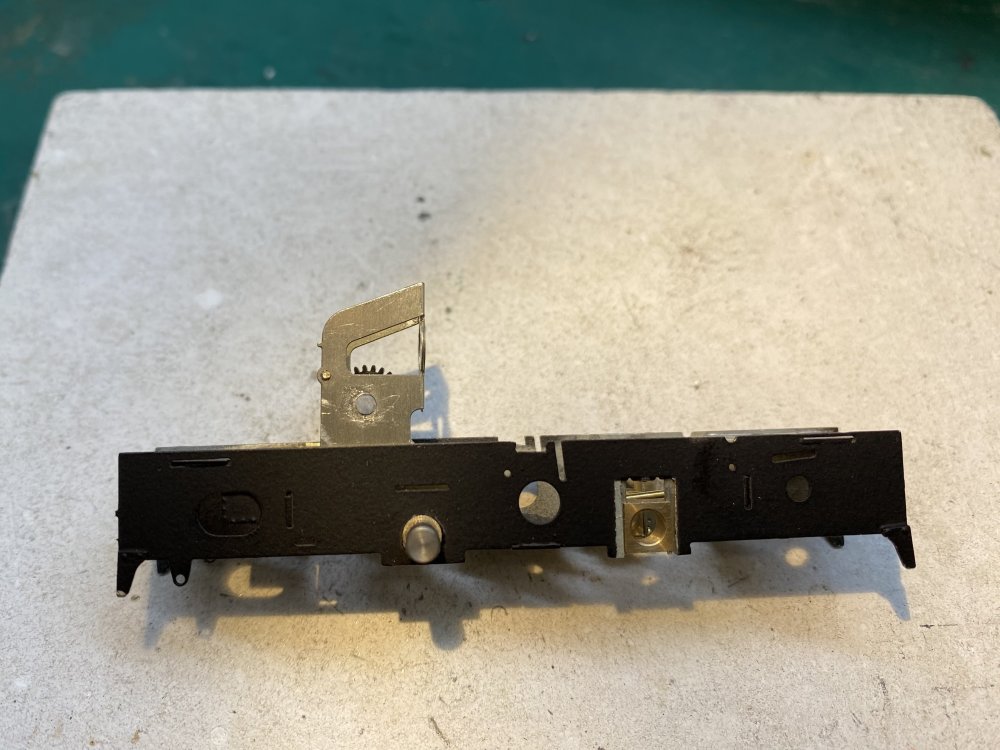
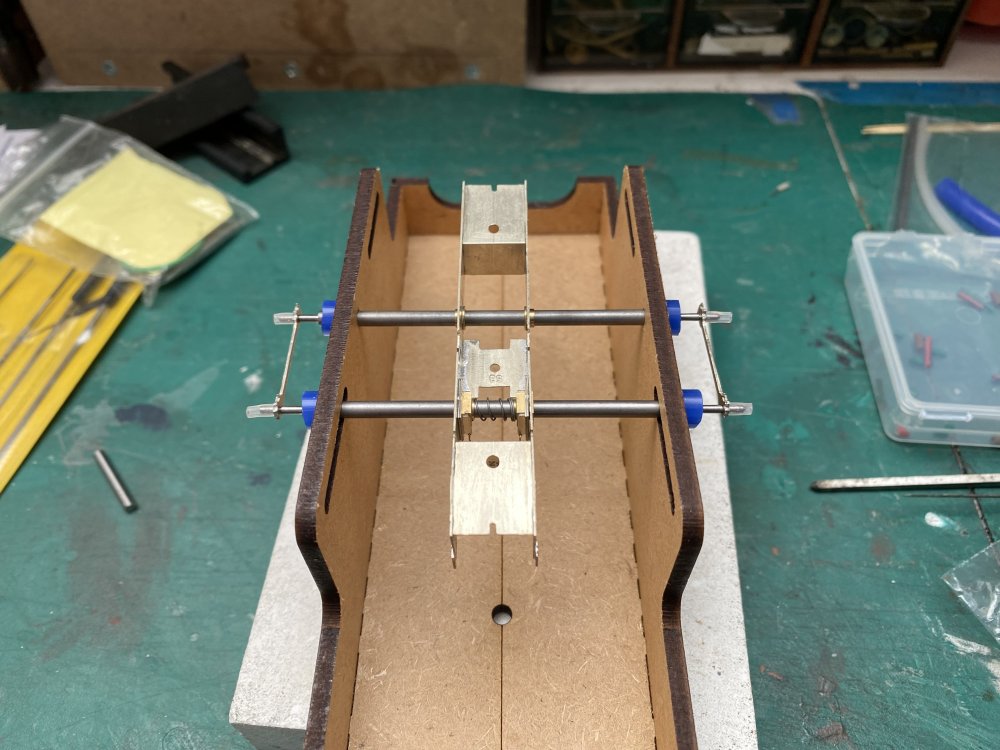
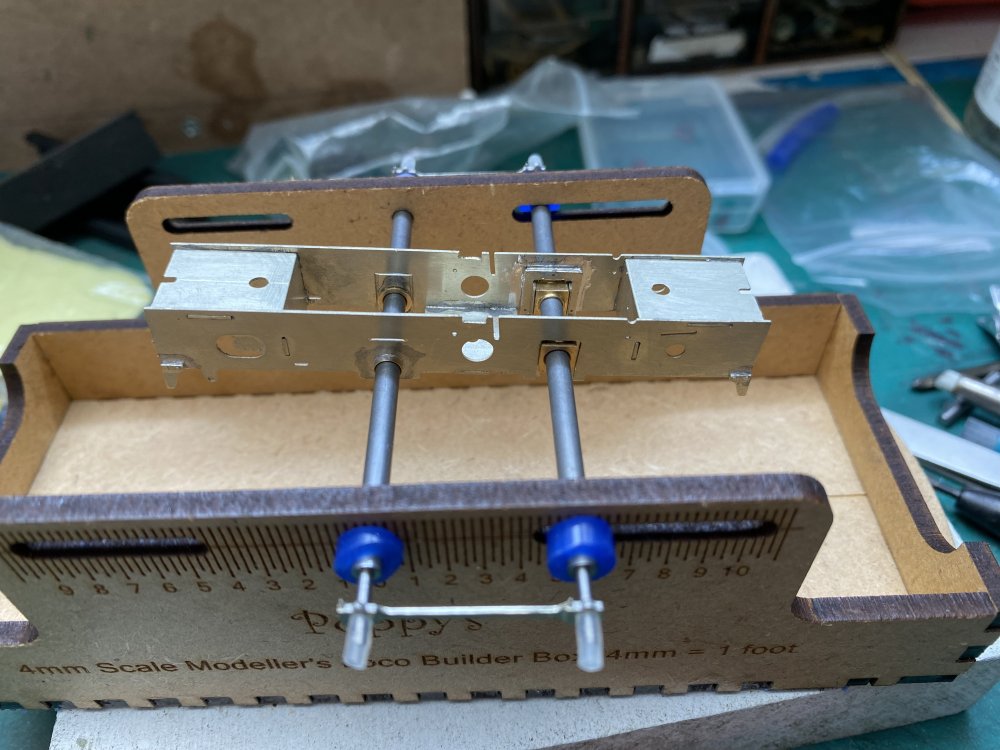
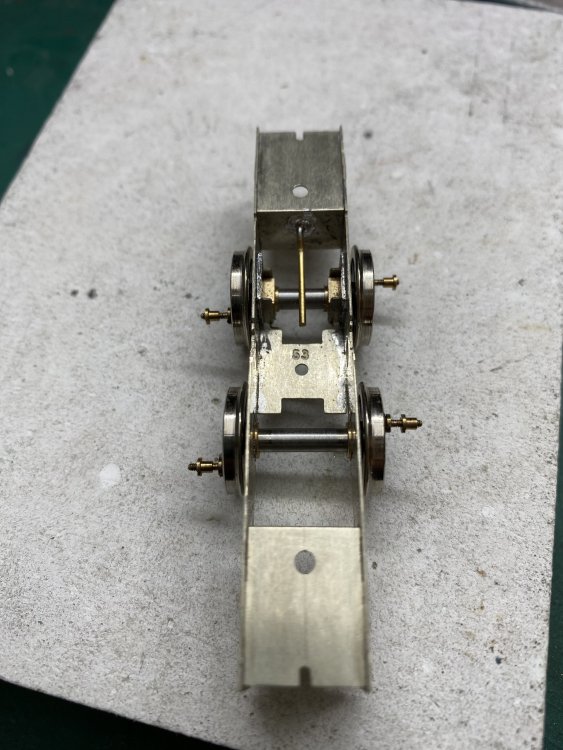
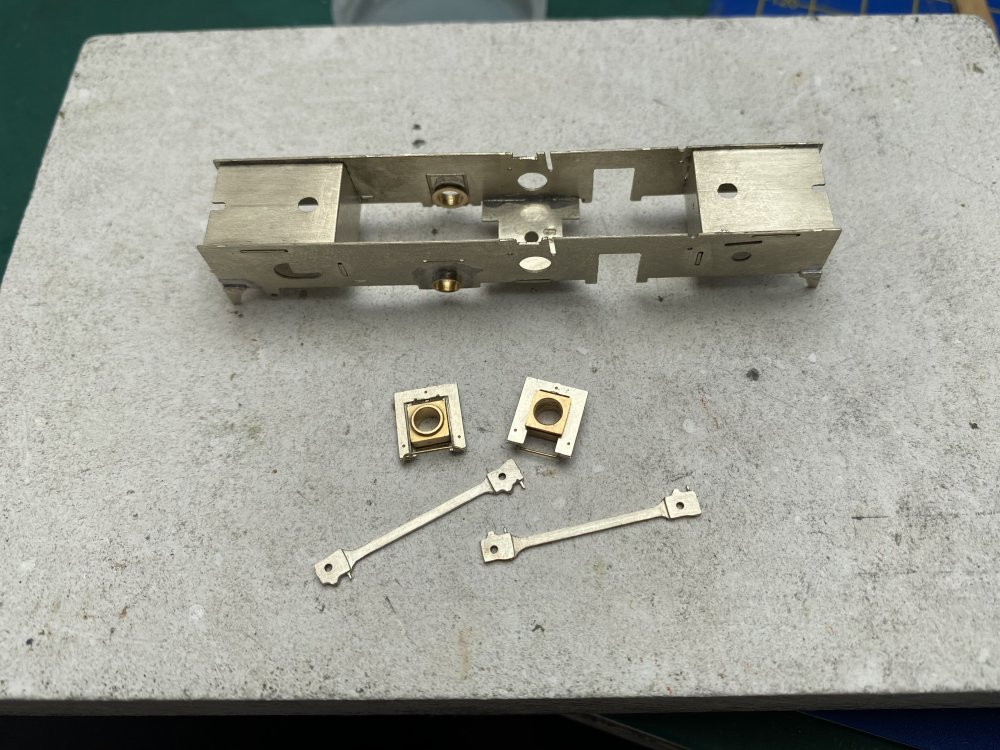
Coupling rods and hornblocks. The gubbins of a compensated chassis. The rods are two layers soldered together. The hornblocks are High Level SpaceSavers with bearings for 1/8th inch axles. Nice fold-up design. No soldering required for these. Poppy Woodtech chassis jig came into play to set up the chassis. The crankpin holes on the rods were reamed to be a neat fit on the axle ends. A bit of biro spring between the hornblocks helps keep them in place for soldering. Hornblocks soldered in The finished model will have Gibson wheels which are an interference fit on their axles so to avoid taking them on and off too often, a temporary set of old Scalelink wheels (which bolt on) were used to help set the chassis sitting level so the compensation beam could be soldered in place. Despite my best efforts, I still drilled the hole for the compensation beam in the wrong place, meaning that it had to be bent to sit on top of the axle - just what I was trying to avoid in the first place Job done. One compensated chassis. The rods will need to be reamed out a bit more to fit the Gibson crankpin bearings. Then we'll see if we have a free-rolling chassis. Best to establish that before trying to add connecting rods, crossheads and slidebars to the mix. Happy Easter everyone. Alan -

North Down MRS Exhibition and Fair , Bangor - 23 and 24 March 2024.
Tullygrainey replied to steventrain's topic in What's On?
Thank you for those kind words about the County Down locos Jonathan. It was a pleasure to meet you. Maybe get a chance for a proper chat next time. Just to avoid any confusion, I can’t lay claim to the H&W diesel No28 in UTA black (though I wish I could). That’s a very fine example of Gareth Brennan’s work. -

Brookhall Mill - A GNR(I) Micro Layout
Tullygrainey replied to Patrick Davey's topic in Irish Model Layouts
Lovely afternoon. Good company and sound-chipped diesels. Who could ask for more! -

Hawthorn Leslie 0-4-0ST in 4mm
Tullygrainey replied to Tullygrainey's topic in British Outline Modelling
If I could match that bloke I’d be eggstatic -

Hawthorn Leslie 0-4-0ST in 4mm
Tullygrainey replied to Tullygrainey's topic in British Outline Modelling
Maybe it’s so small it’s approaching watch-making. Travelling hopefully -

Hawthorn Leslie 0-4-0ST in 4mm
Tullygrainey replied to Tullygrainey's topic in British Outline Modelling
The problem with shiny brass is that it tarnishes. You have to Brasso it every second day -
Yes David! By coincidence I’ve been pondering No6 for a while. That particular wheel arrangement, along with 4-4-0s too seems to be tricky to get working properly so I’m tempted by the challenge. I have a copy of Mike Sharman’s little book ‘Flexichas’ in which he describes a novel approach. I’d like to try it! A bogie tank would be good too. I did one from an Adams Radial but it would be nice to get a bit closer to the prototype with a scratch build. What are you planning with that footplate?
-

Hawthorn Leslie 0-4-0ST in 4mm
Tullygrainey replied to Tullygrainey's topic in British Outline Modelling
I have High Level and MJT versions in the drawer and was debating which to use but yes, probably the High Level ones. -
After a very enjoyable weekend with Patrick Davey's Brookhall Mill at the Bangor Show last weekend, my loco-building gene started to agitate again. What next? A number of folk have suggested (and keep suggesting!) a BCDR Baltic but those things still have too many wheels and whirly bits. As well as all things BCDR, I have an abiding affection for scruffy little shunters, both steam and diesel and in my to-do drawer for a while now has lurked an etched kit for a Hawthorn Leslie 0-4-0 saddle tank crying out to be built. So I've made a start on it. Since it's not by any stretch an Irish loco, you'll find the build in the 'British Outline Modelling' part of the forum. Alan
-
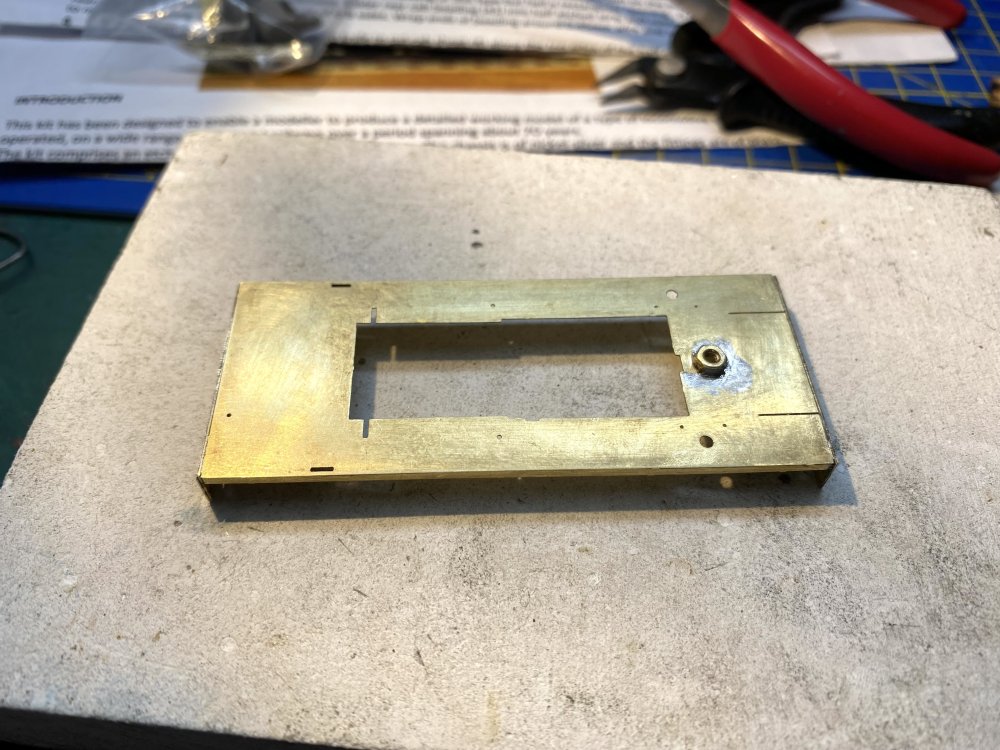
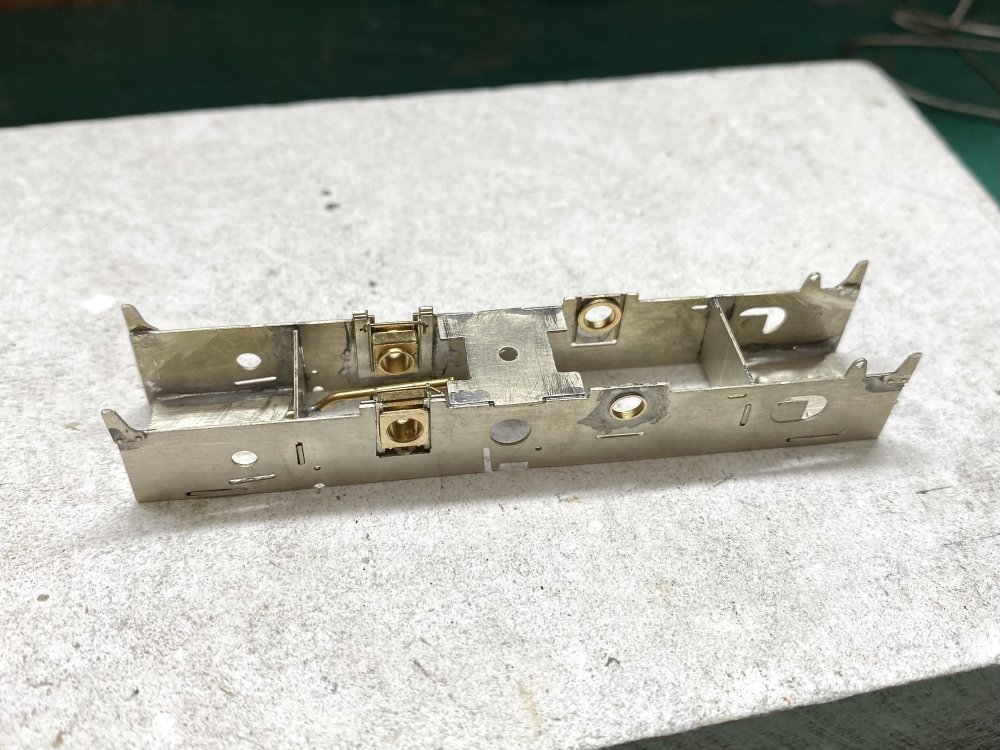
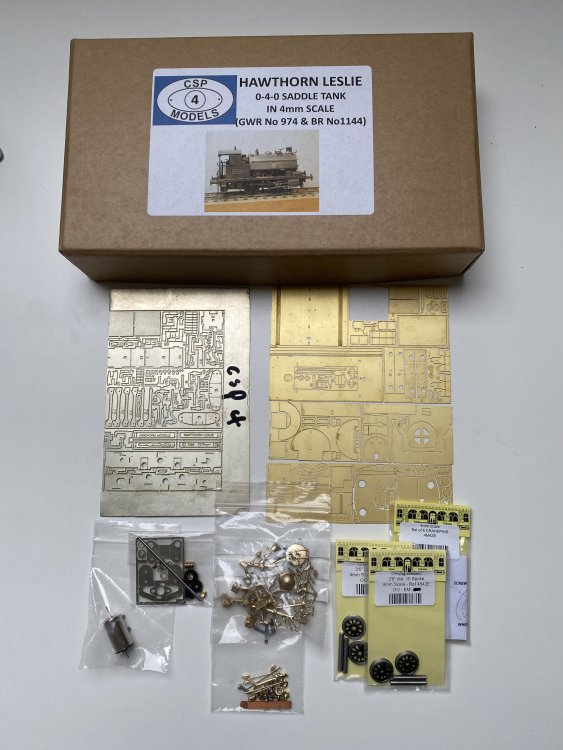
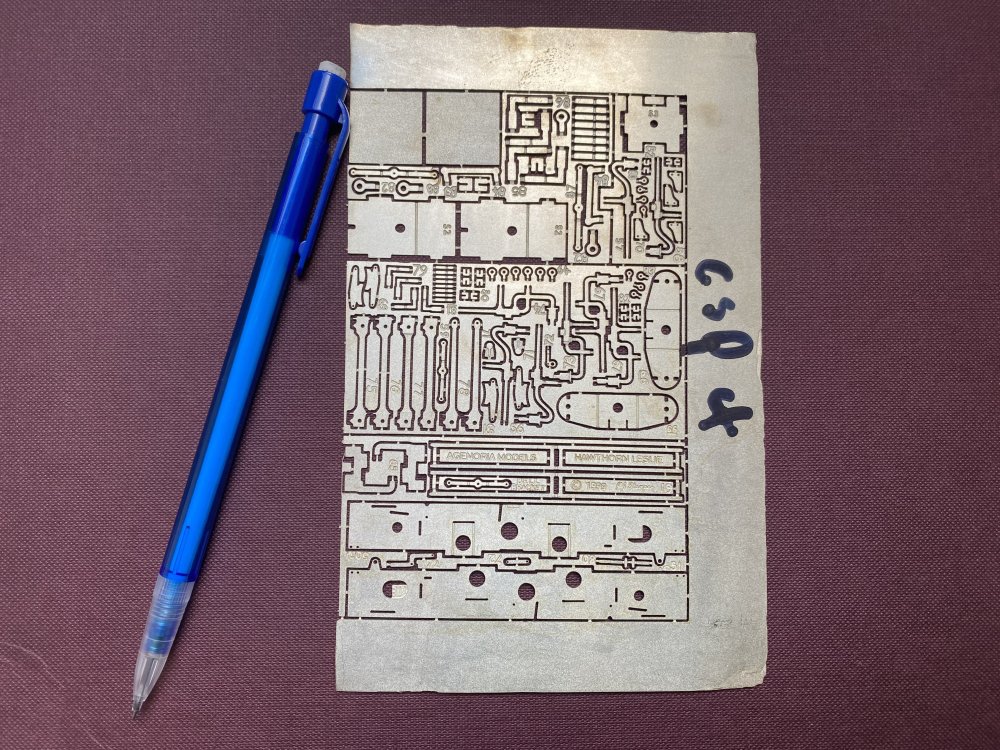
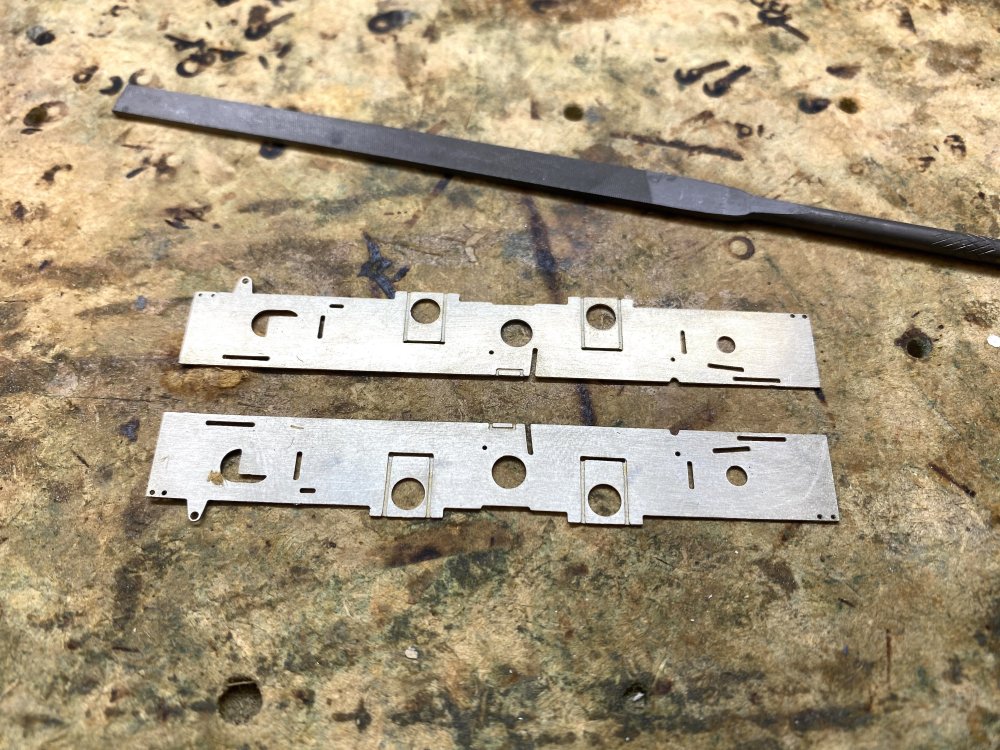
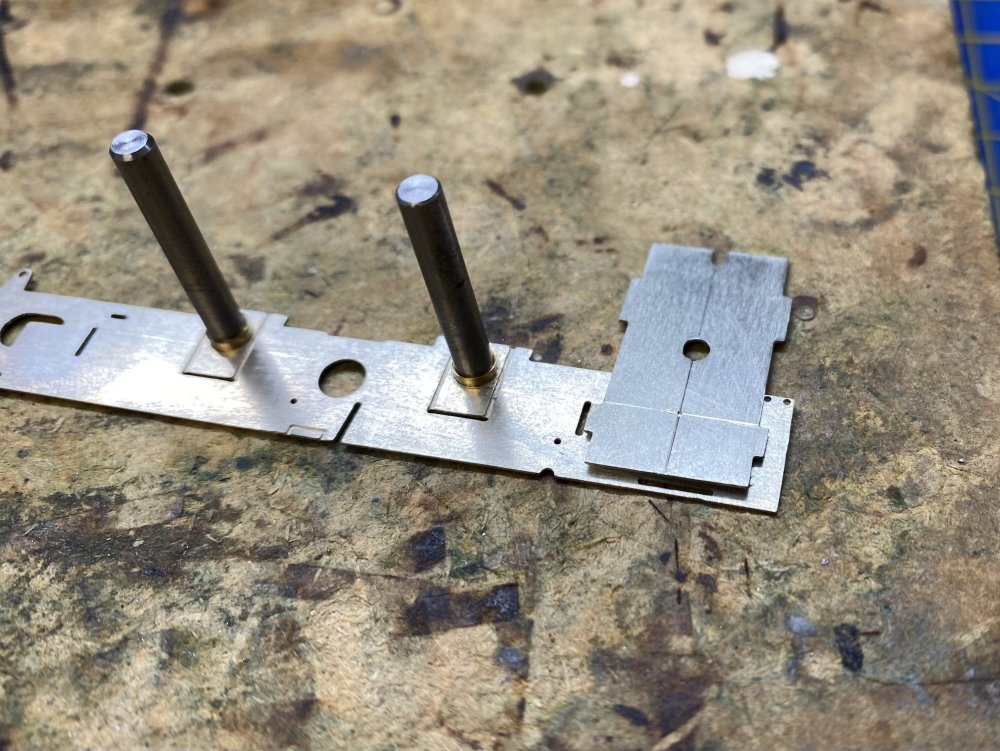
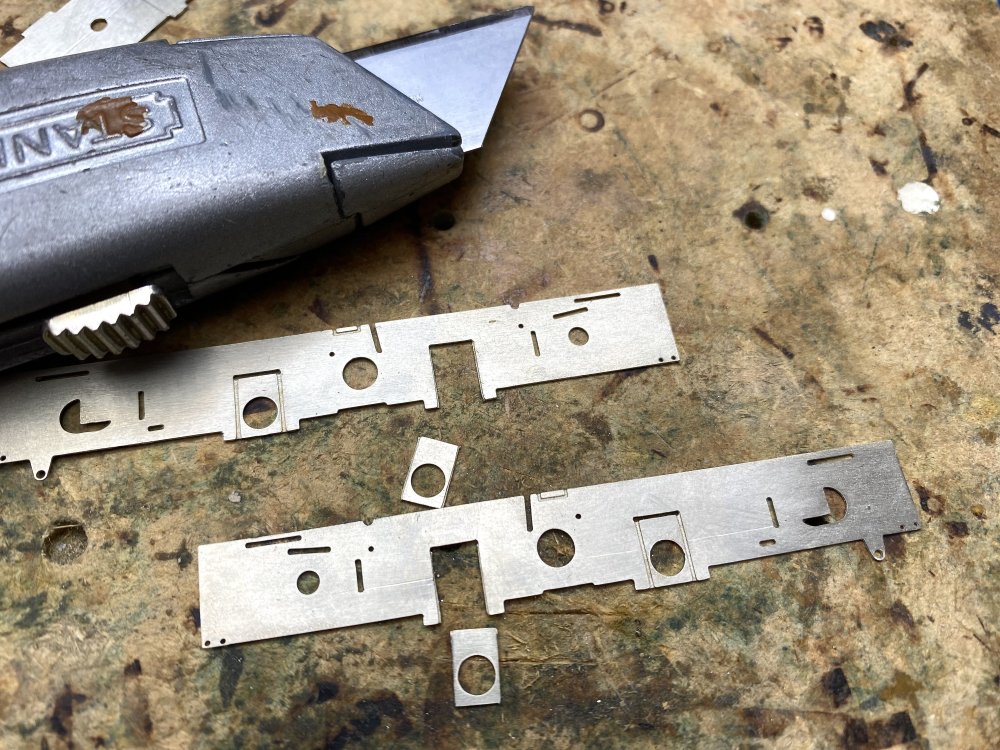
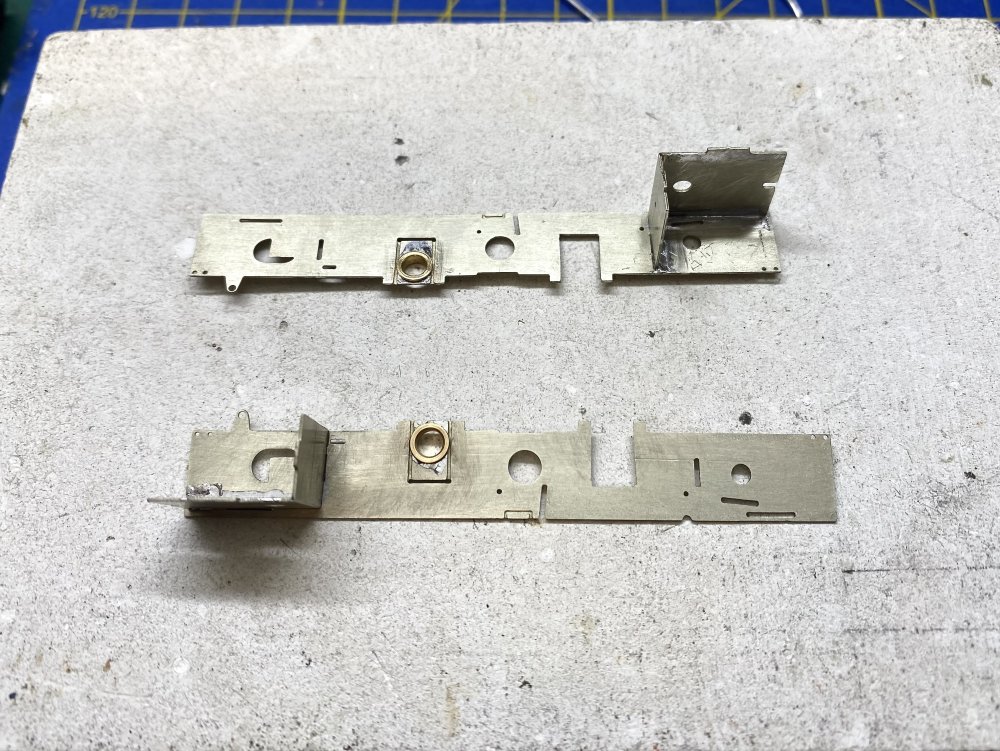
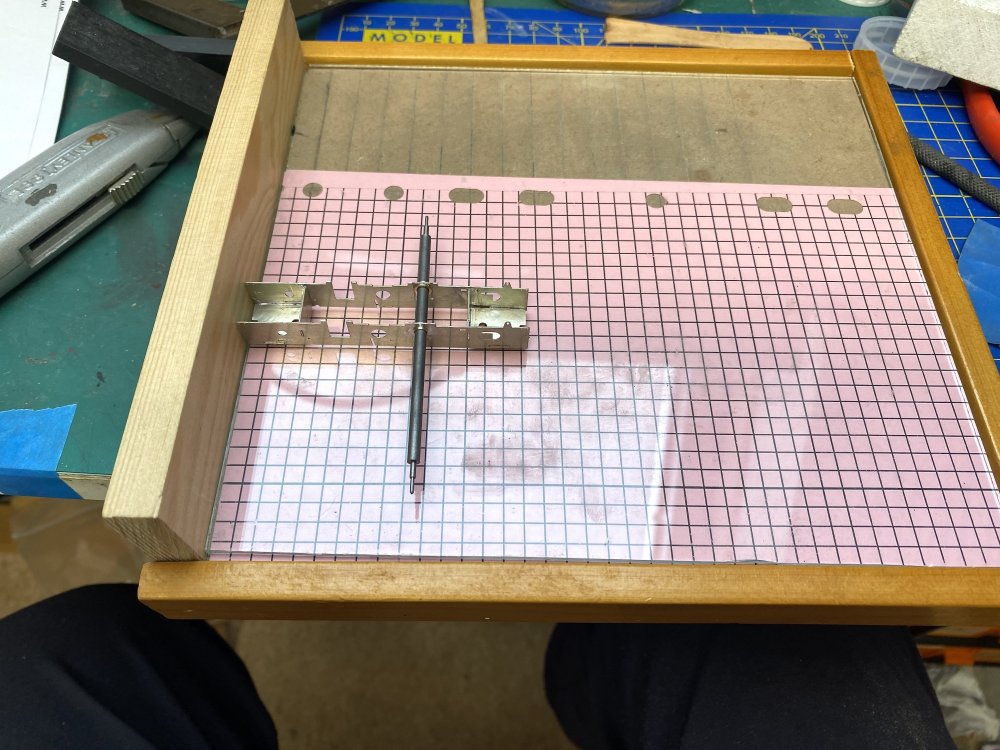
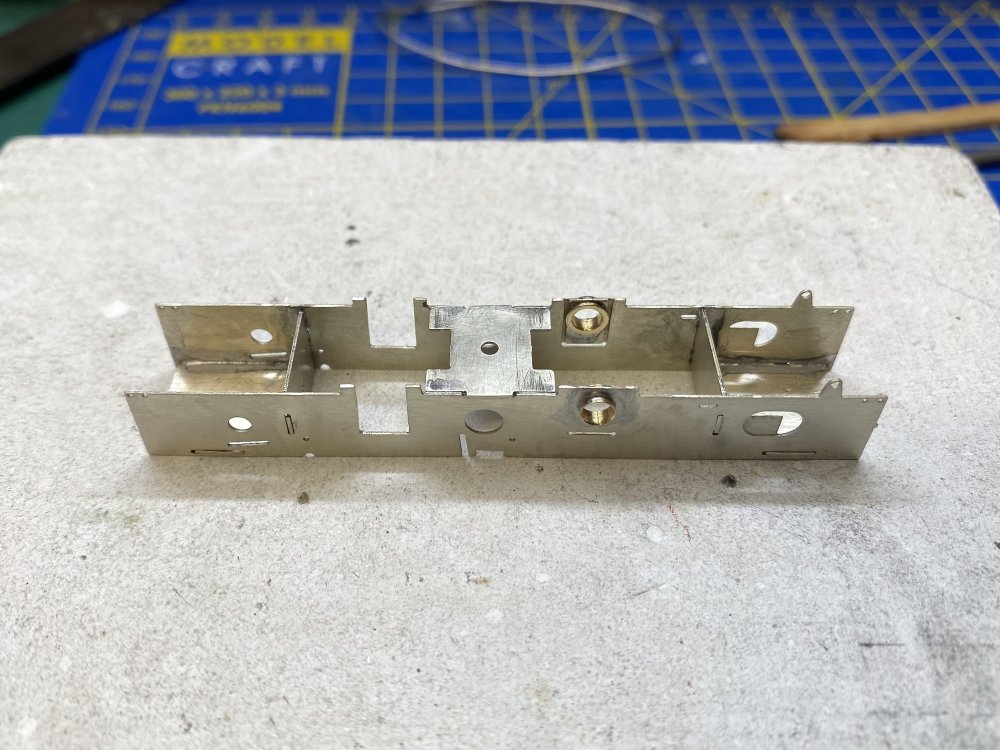
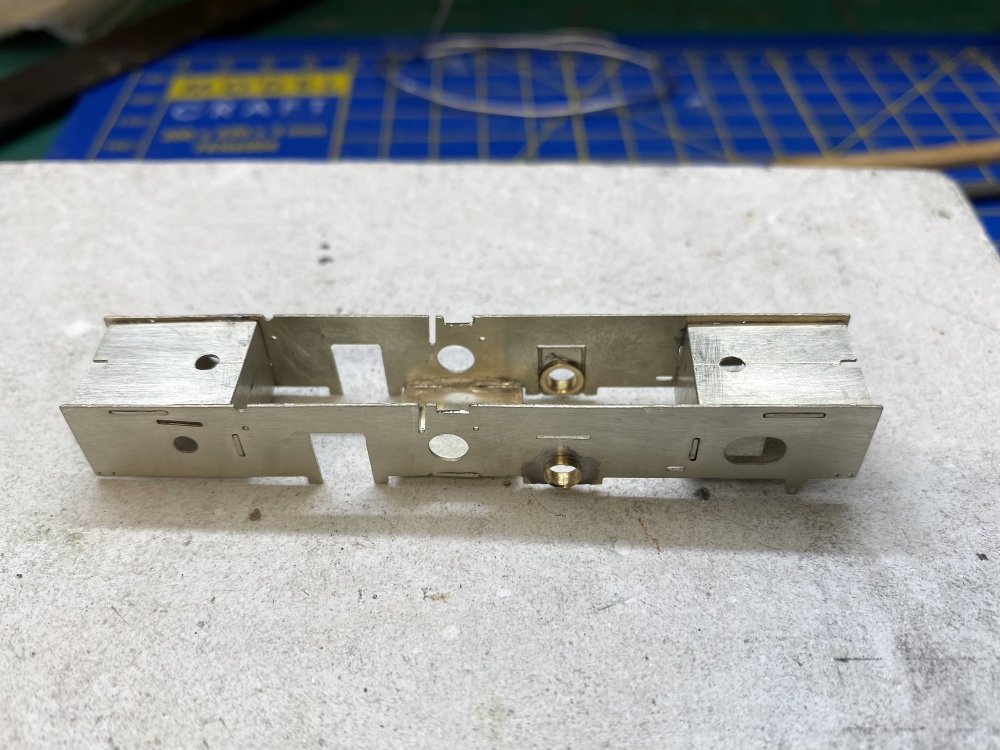
As well as all things BCDR, I have an affection for small shunters, both diesel and steam and this etched kit for a Hawthorne Leslie 0-4-0ST in 4mm/foot scale has been in my to-do drawer for a while now. The kit was bought complete with motor, gearbox and wheels so all the bits are here. No excuses. Time to get going on it. It's here rather than in my workbench thread because it ain't Irish. Though marketed by CSP these days, the chassis etch identifies it as an Agenoria Models kit. If memory serves, Agenoria produced kits in 7mm scale, suggesting that this one is the original etch scaled down to 4mm. The result is some impossibly small bits which I suspect the carpet monster will acquire before ever I manage to attach them to the loco. Whilst the instructions just describe the building of a rigid chassis, the frames have been designed to accommodate hornblocks for a compensated chassis and have half and fully etched guidelines for fitting these. With only 4 wheels and a short wheelbase, this little beast will need all the help it can get to stay in contact with the rails and not stall over points or bumpy track so some form of compensation would be desirable. I'm building it with one rigid (driven) axle and one mounted in hornblocks, pivoting about a central point. This will require something to pivot on so the first job was to drill a hole in the front frame spacer into which a short bit of 0.7mm brass rod can be soldered to provide a fulcrum for the front axle. Some jiggery-pokery required to get it in roughly the right place. A Stanley knife and a fine file took care of cutting out the hornblock openings. The fixed bearings for the rear axle were soldered in - shoulder inside for OO according to the instructions and not what I would usually do. Spacers folded up and chassis assembled on a sheet of glass on top of a board with an end stop to help keep it square. The long axle also provides a visual cue. Important to proceed slowly and keep checking for squareness. A bent chassis will never run well. And here it is, hopefully straight and the basis for hanging all the other bits on. Next job will be assembling the rods and hornblocks. The former will then be used as jigs to set the latter in place. More soon. Alan
.png.c363cdf5c3fb7955cd92a55eb6dbbae0.png)
