Brack
-
Posts
71 -
Joined
-
Last visited
Content Type
Profiles
Forums
Events
Gallery
Blogs
Community Map
Everything posted by Brack
-
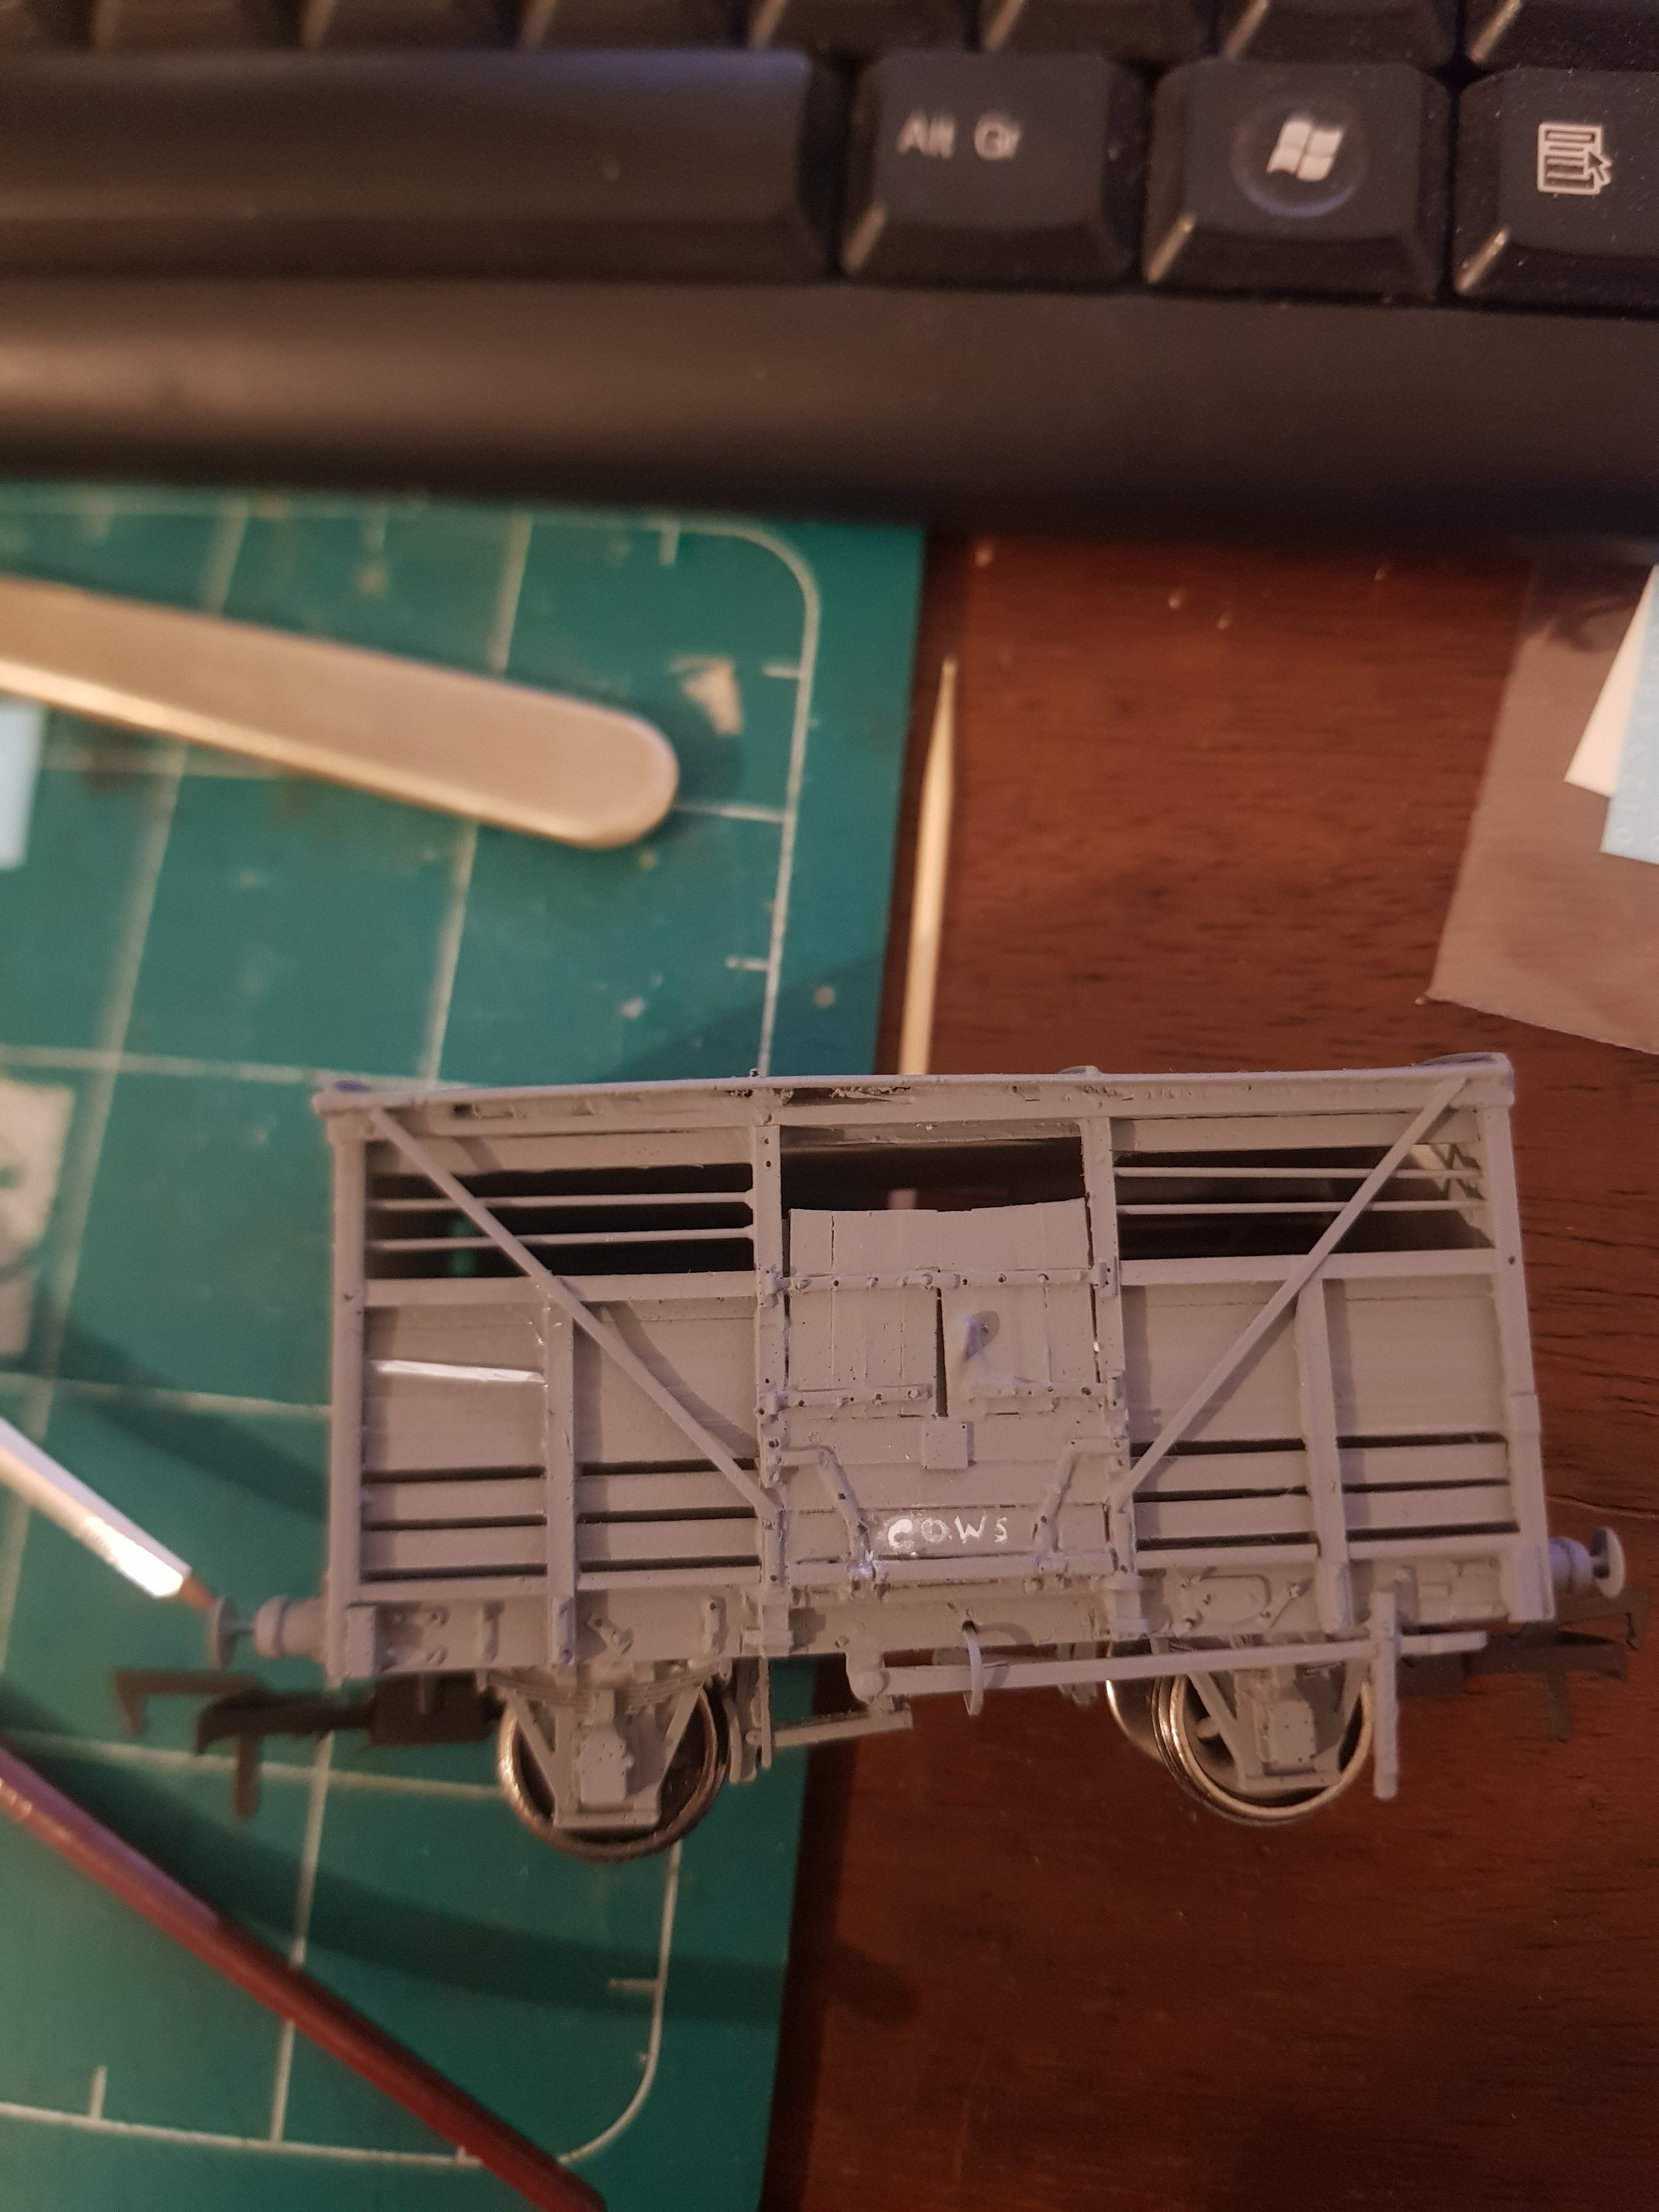
On a slightly more depressing note, bought some microsol/set, put a bit of klear/gloss varnish on the surface (which has had a week to dry). Tried twice more on the snails. This happens every time: They curl up into a tight little roll. The transfers look fine on their backing, but I've made a lot of models, with decals from loads of different sources and never had any do this before. A bit of silvering, or old decals tearing, but none that literally curl up away from the surface whatever you do. This is from the other week - decals went on fine. Might try and paint one. Or 3D print a stamp or stencil!

-
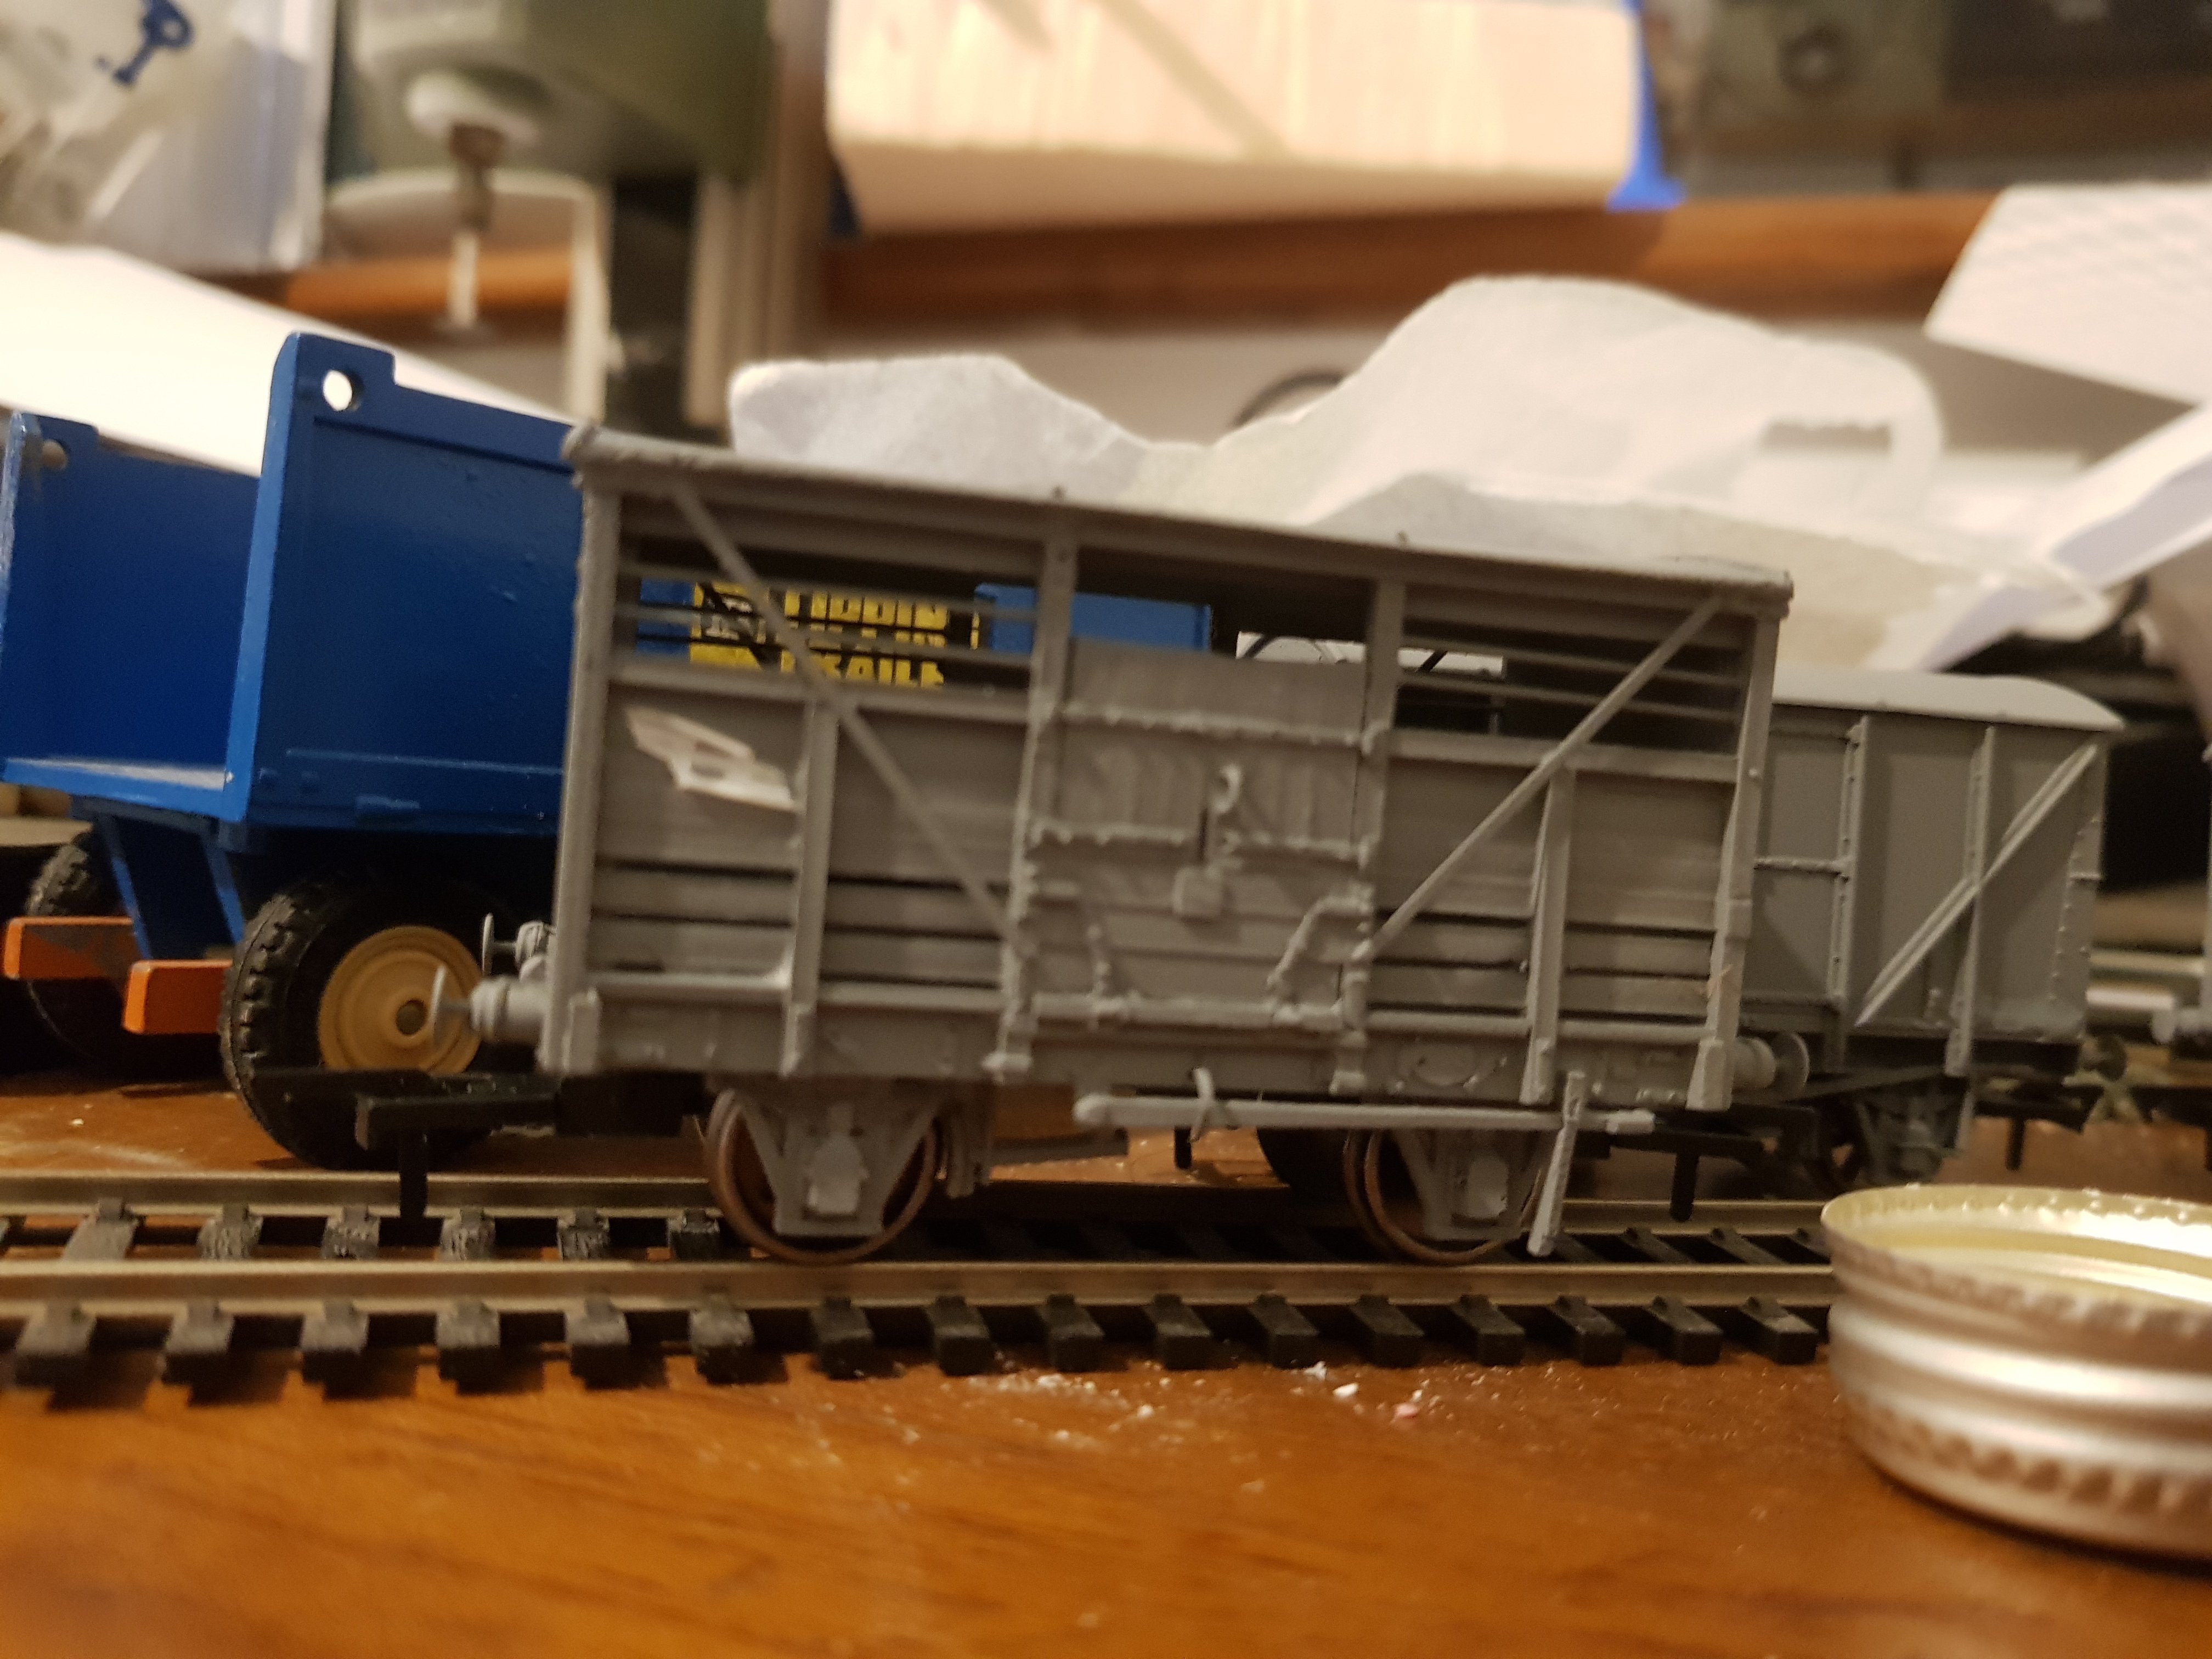
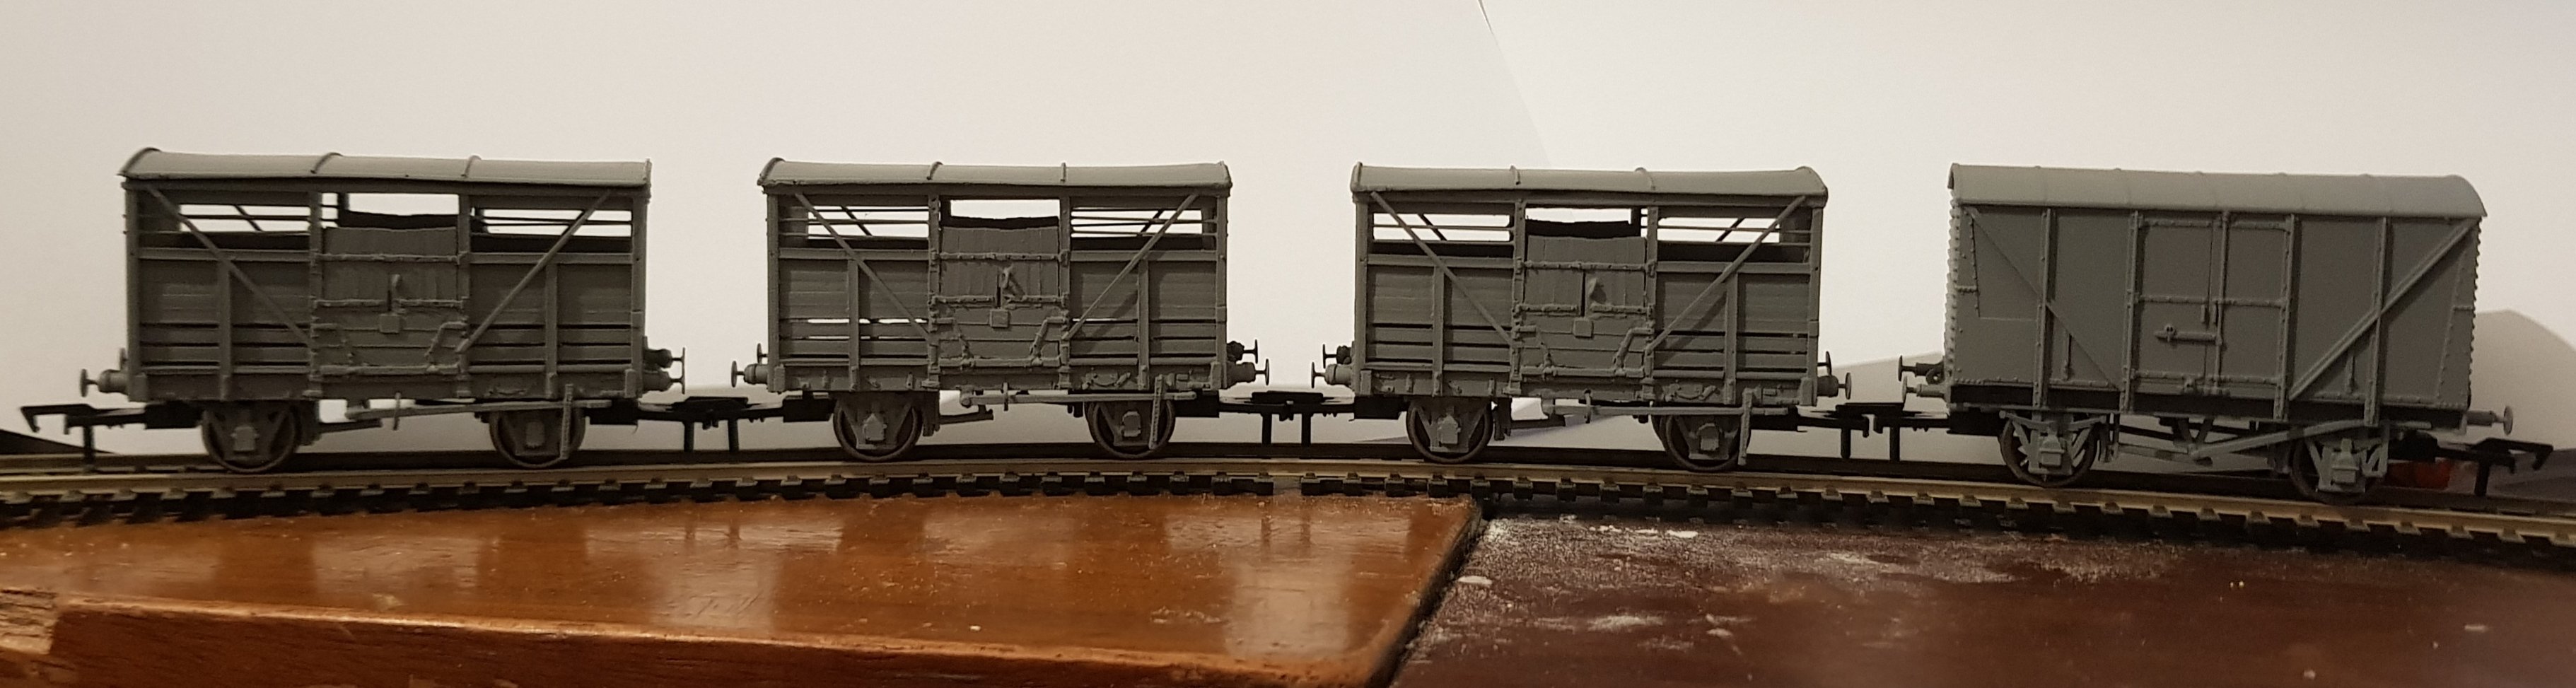
Bit of a pain today with the cattle wagons - the snails curled up and wouldn't stick, despite attempting to persuade them with carrs transfix and others. I haven't had any trouble shoving transfers straight onto halfords grey before, but these definitely aren't cooperating. Plan B involves a coating of klear on the area first, and I've ordered some microsol/microset as I've heard others swear by it. So there might be a brief hiatus until they turn up. It was all going a bit too smoothly! As an aside, the cattle wagons are a vastly easier build than the corrugated wagons - there is a lot of drilling, but a pillar drill makes light work of it. I only broke 1 drill this time too.
-
Done a bit more after the kids went to bed. Details on and given a spray. I used the last of my can of Halfords CIE gray, down to fumes, but just about got there. Tomorrow I might get the decals and weathering on. We should really have come to see you at the end of the week Dad, rather than on tuesday! Still, your birthday/christmas present is sorted! Although I still need to make some sort of trolley for you little works line.
-
Progress, of a sort. The third van is lagging a touch behind the others as its sides had warped somewhat. A soaking in hot water then spending overnight clamped in a vice between bits of plywood appears to have sorted it.
-
Self propelled cranes and small coasters
Brack replied to David Holman's question in Questions & Answers
On the subject of small ships - a while back I looked at the Ilen (A 56' ketch built in ireland for serving isolated stations in the falklands, but recently returned and restored). there are lines plans and 3D models of the hull available online http://www.tradboats.ie/projects/south/ak-ilen/ (Tradboats also has a lot of other useful scans/plans of little boats) https://afloat.ie/blogs/sailing-saturday-with-wm-nixon/item/27910-vintage-wooden-boats-get-a-lift And the images on this site might give you enough to make profiles for the hull: https://bluejaydesign.github.io/projects/ilen/ilen.html -
Regarding the point throw and rotating ground signals, perhaps a lever or bell crank to multiply the linear movement of the points. then a link to a crank or rack and pinion (or small geneva wheel?) to convert that to rotary movement. It'd take some adjustment to get it spot on though. Or you could put a servo motor to rotate the ground signal triggered by the same switch as the point.
-
The pacific tank would make more sense as a big baltic, but it'd be 20 years too late for the post ww1 baltic tank fad (none of which were particularly successful - ltsr, furness, gswr, bcdr, l&y etc)
-
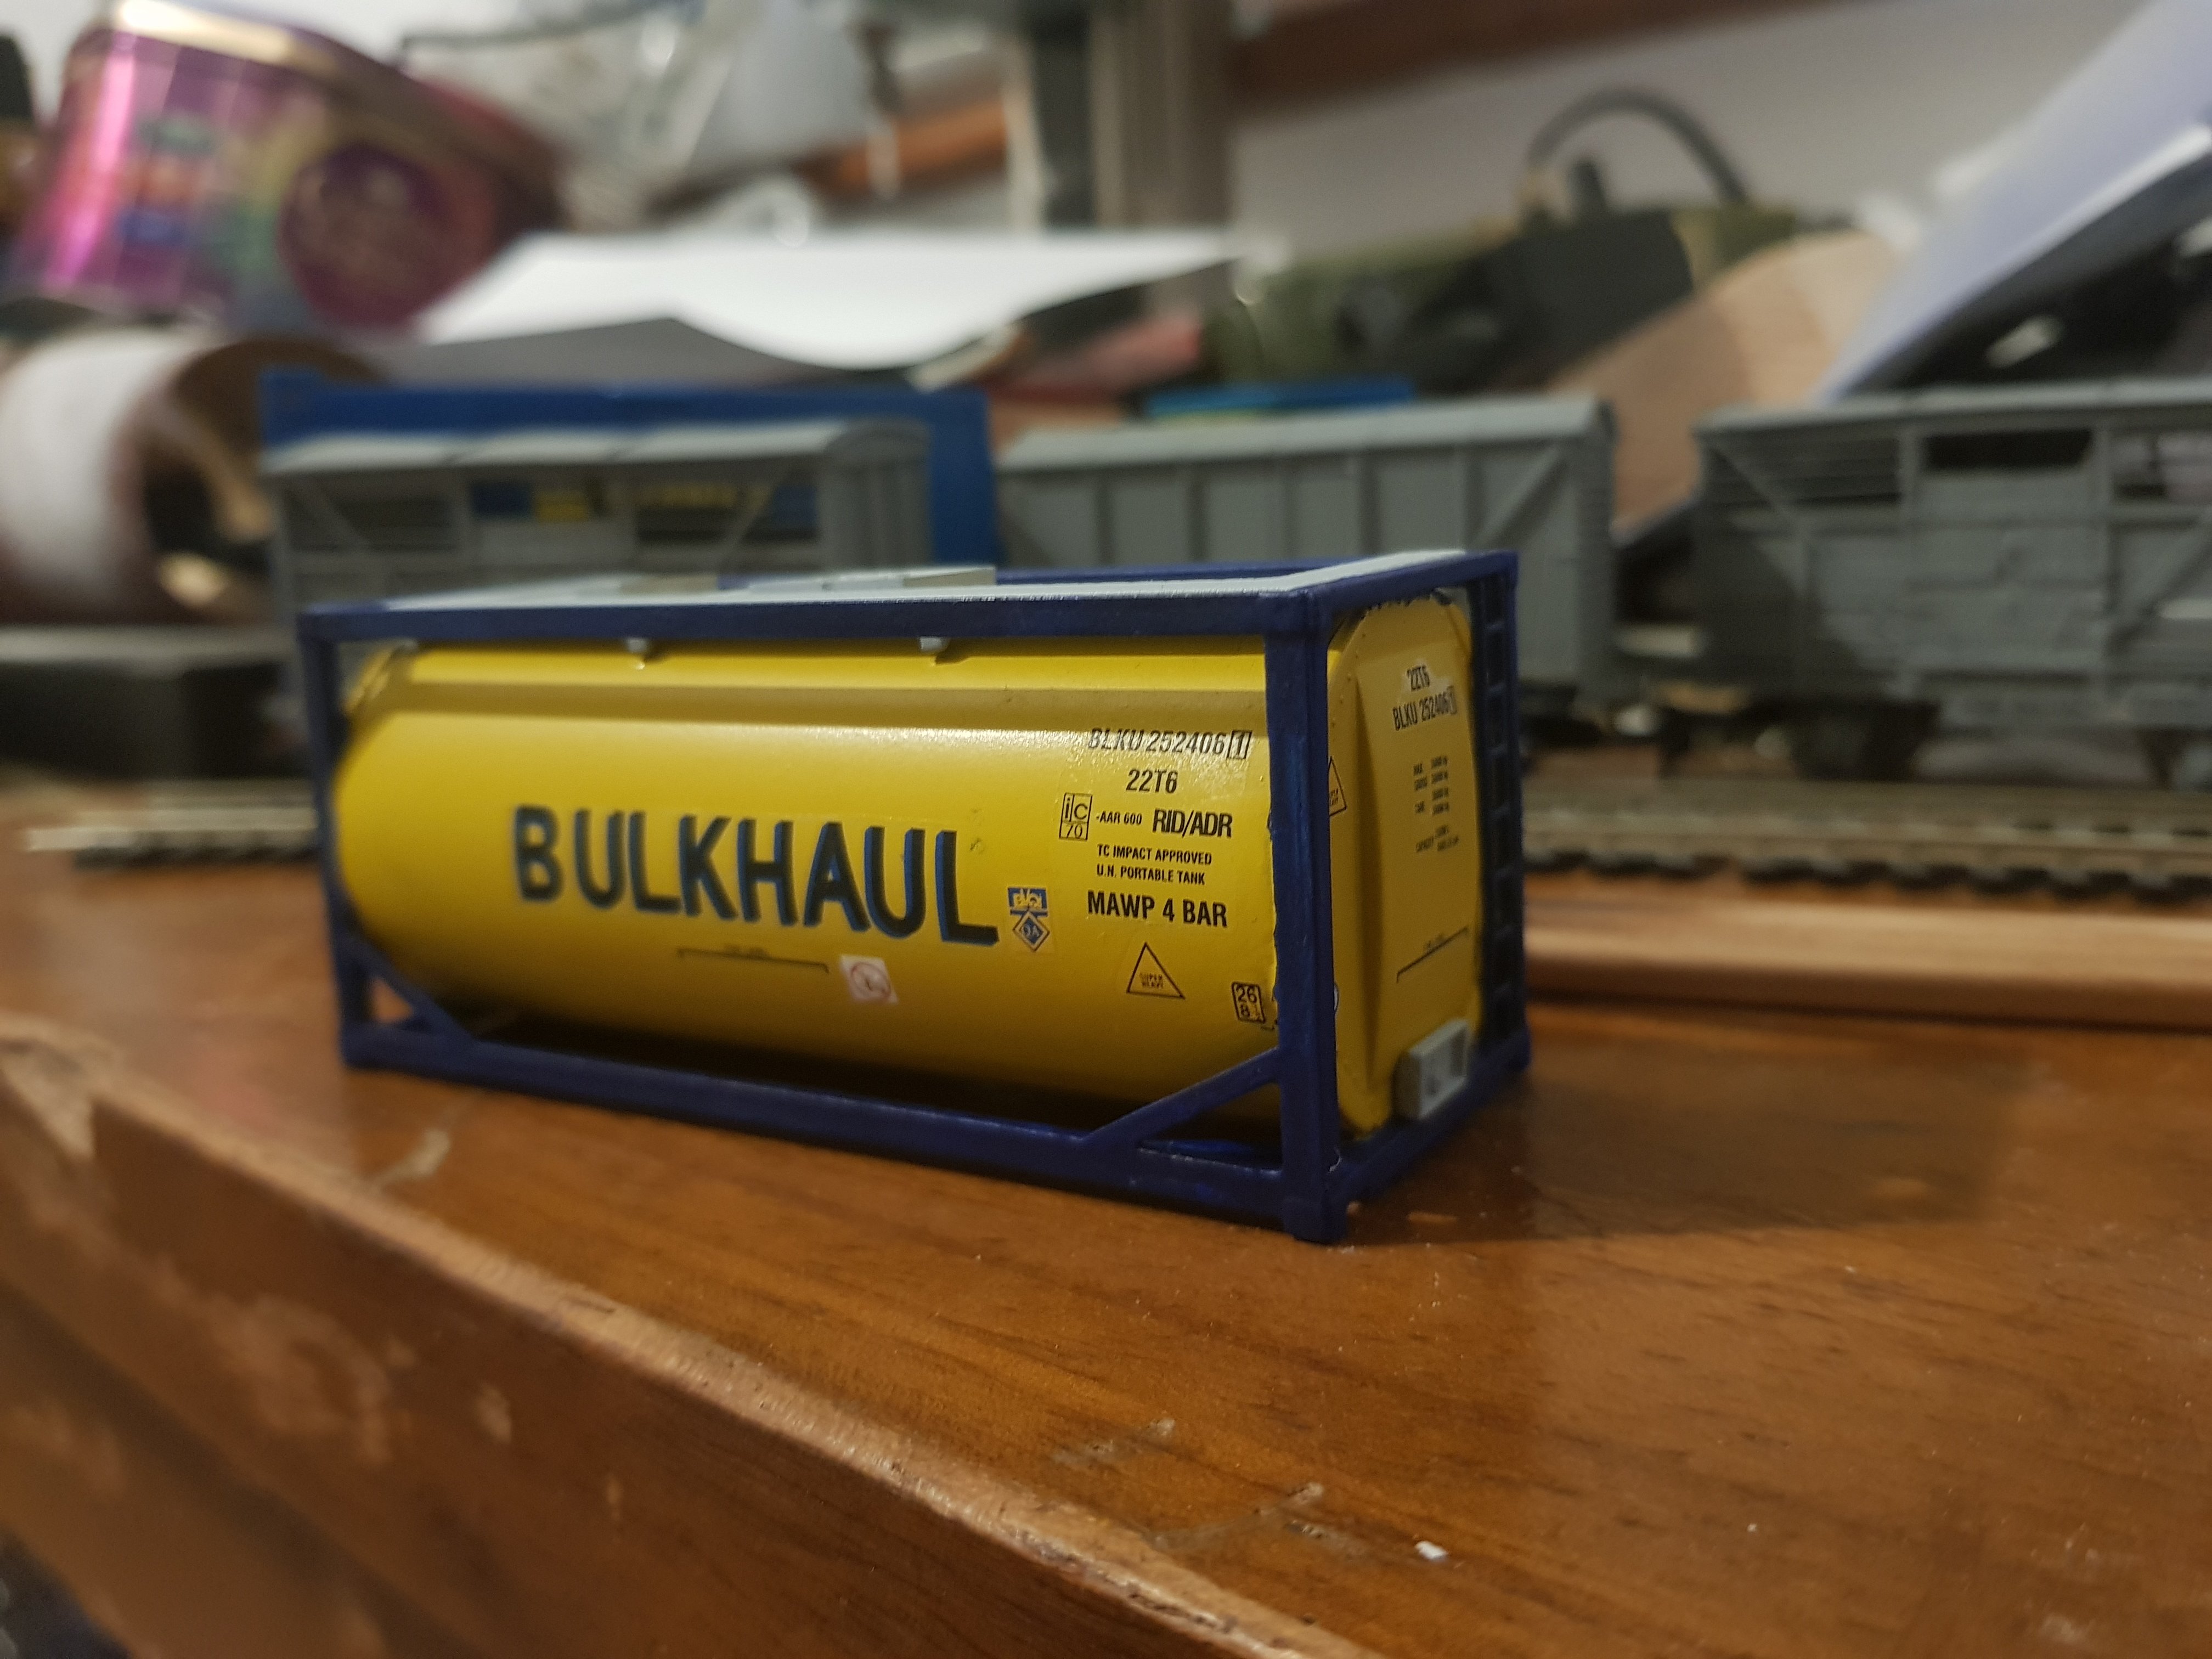
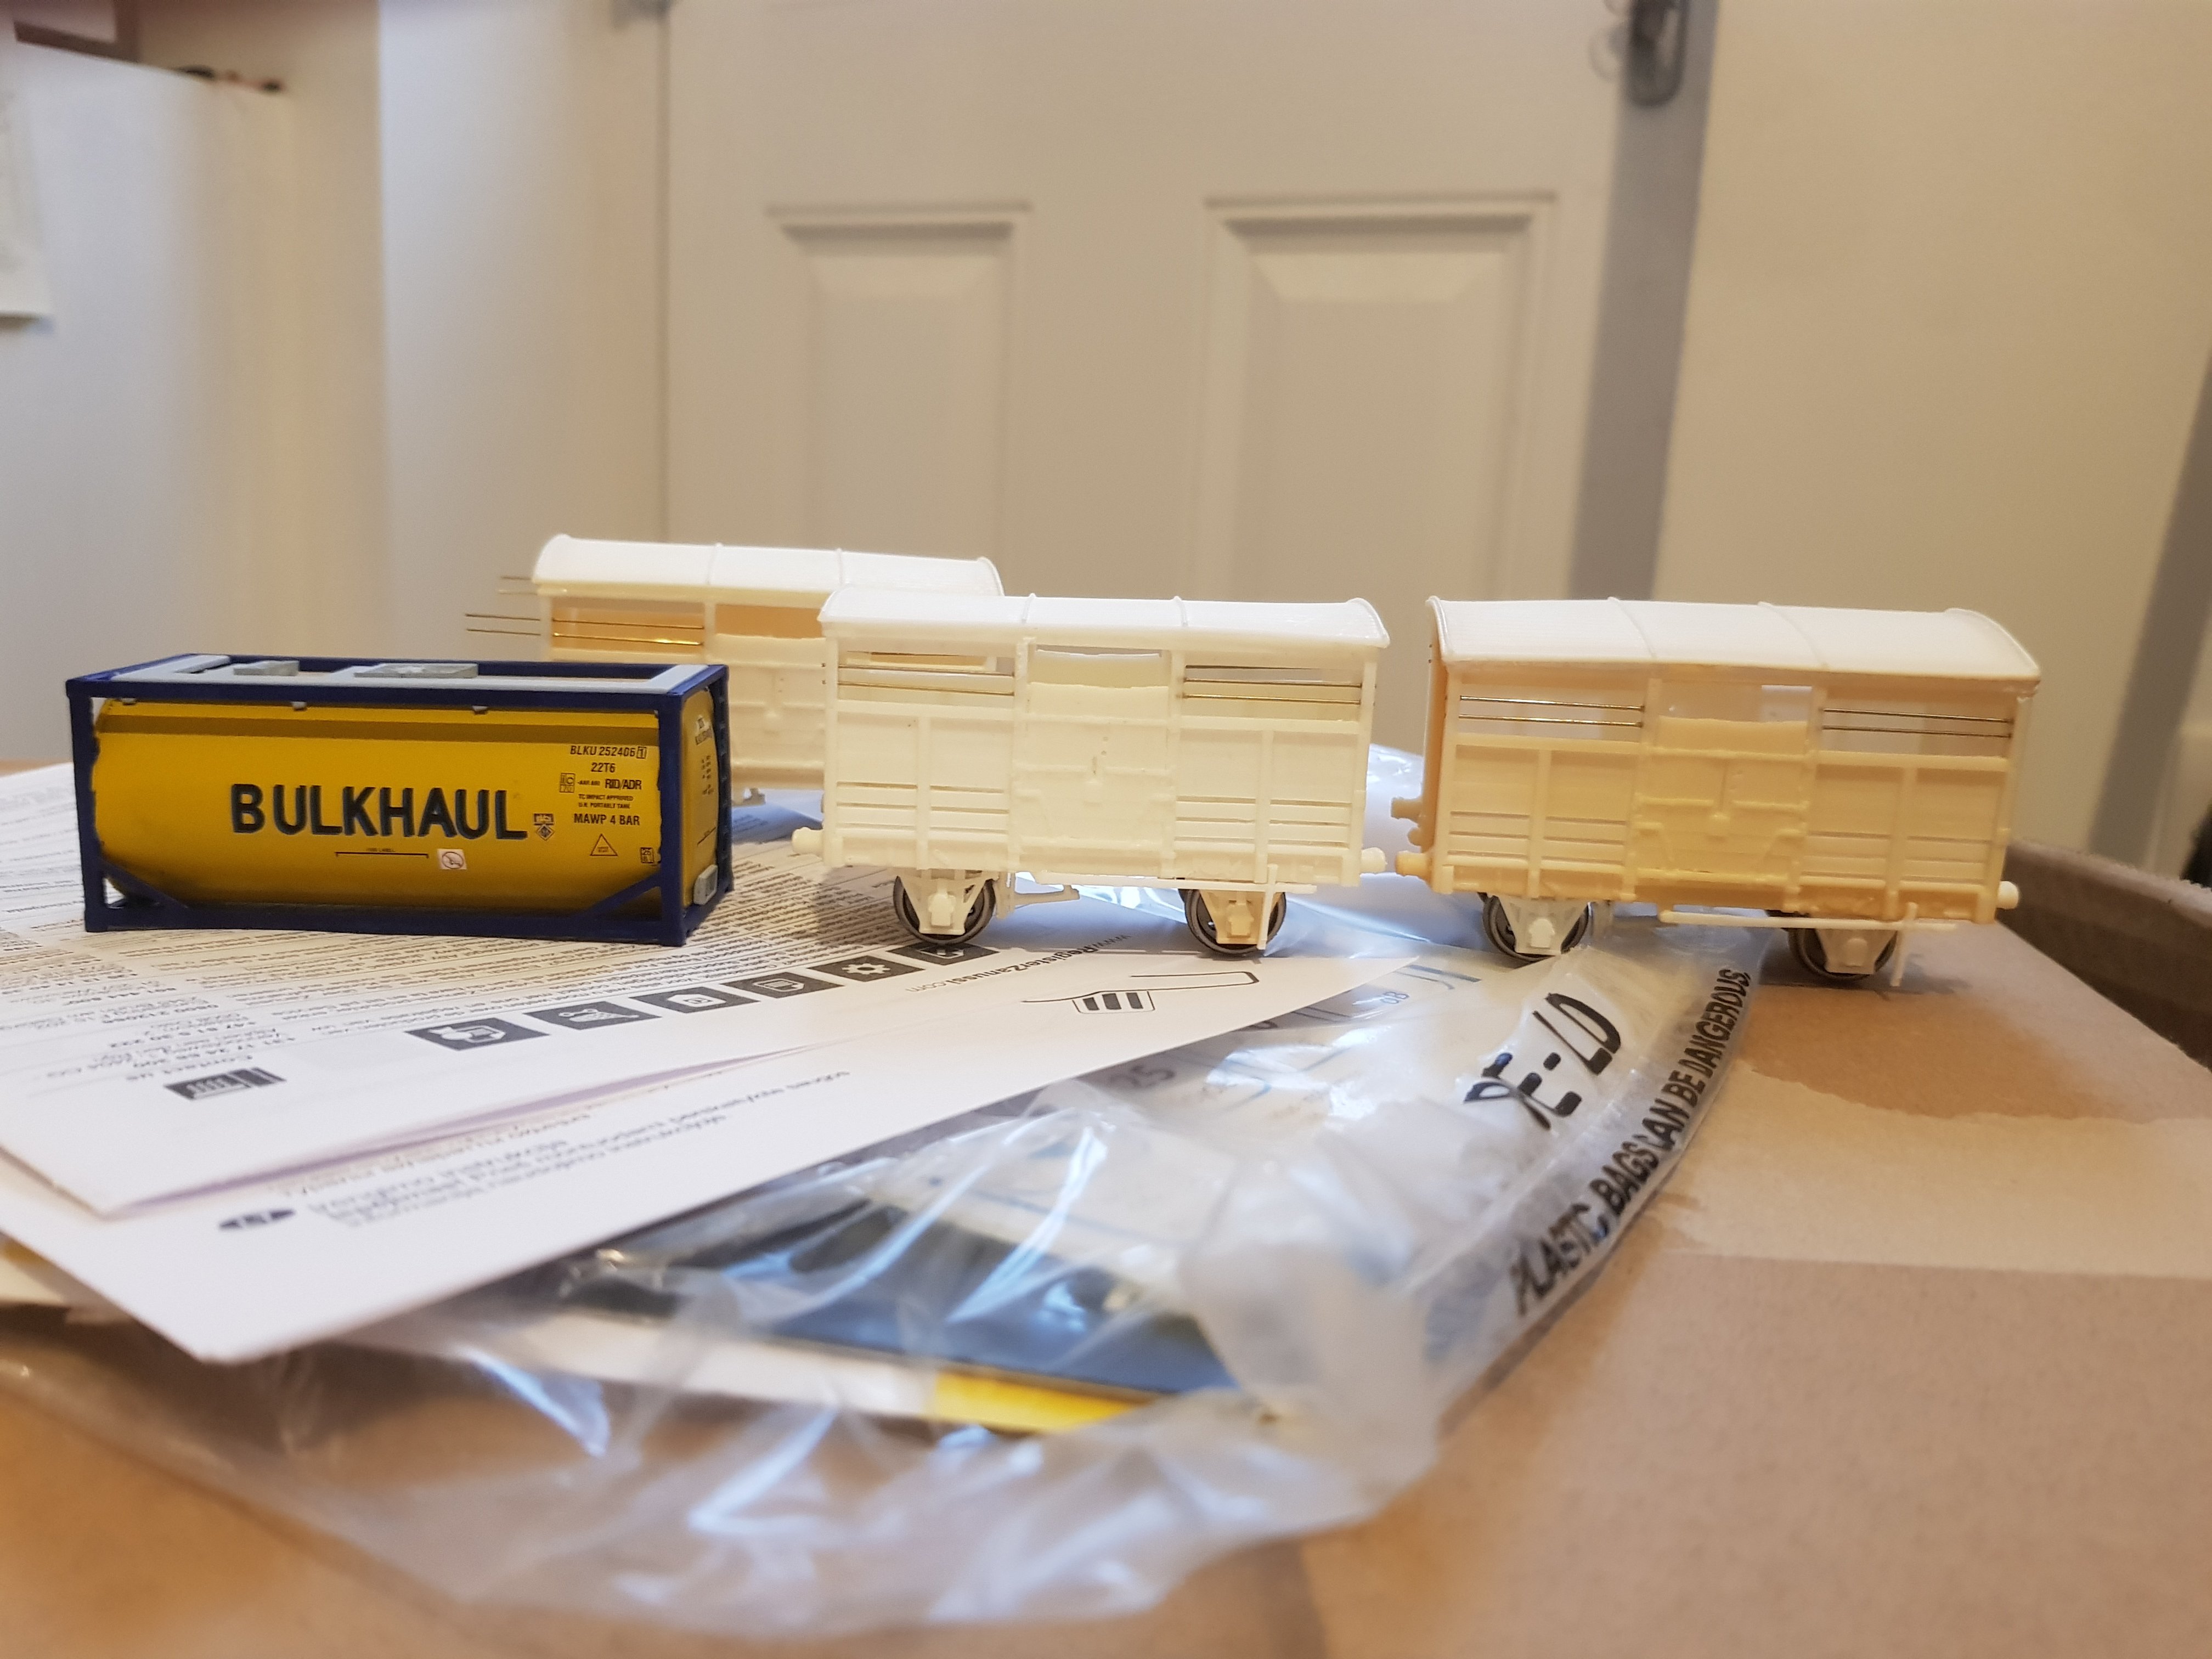
And then there were 4... Who knows, might even have your Vans built by the time you're allowed to come and get them! (The second tanktainer is now fully stripped and ready for the second attempt at painting).
-
Has there been any OO/HO model trains produced with operational doors?
Brack replied to ShaneC's question in Questions & Answers
BA Bodil I assume? -
You know, I've had a lot of people (who don't do CAD or 3D printing) that rescaling is easy, just a couple of clicks. Yes and no. As someone who has produced the same loco in CAD for 3D printing in 1/43, then 1/24, 1/17 and 1/32 scale, it certainly isn't just a matter of rescaling! The loco in question is the smallest Bagnall standard saddle tank (4"x7" Sipat class). 1/43 (this is mine - the others below are customers models) 1/24 1/17 If the 2 scales are fairly close you can just rescale and get away with it, but for a bigger jump (e.g 4mm to 7mm, or 4mm to 2mm) the thicknesses, detail levels and sizes of everything are pretty different. The easy bits to rescale are fortunately the hardest to draw in the first place (chimneys, domes, steam manifolds/ boiler fittings). Provided you drew them at the limit of what is possible in the smaller scale, you can enlarge them and they'll work fine. However bodywork thicknesses and strengths vary enormously, and the different scales of loco had to be adapted to their various mechanisms, so effectively large bits were redrawn from scratch. All in all I reckon it took 50-60% of the time it took to draw the thing in 1/43 to get it rescaled to 1/24, both redrawing bits and adding extra details that I couldnt have done in the smaller scale. If you drew the first CAD in a larger scale you'd run into problems as none of your fine detail parts would be viable when reduced as theyd be too weak, too small and likely beyond the capabilities of the machine, assuming you worked to its capabilities in the first place. I mean, you can just select it all and use the rescale command and it'll work, but it won't get you a good result (in my opinion). Obviously a coach is a slightly different matter, but I would hope they would use the same idea/process of re-evaluating which detail can/should be included and redrawing things to the best fit for fidelity, robustness and machine capabilities.
-
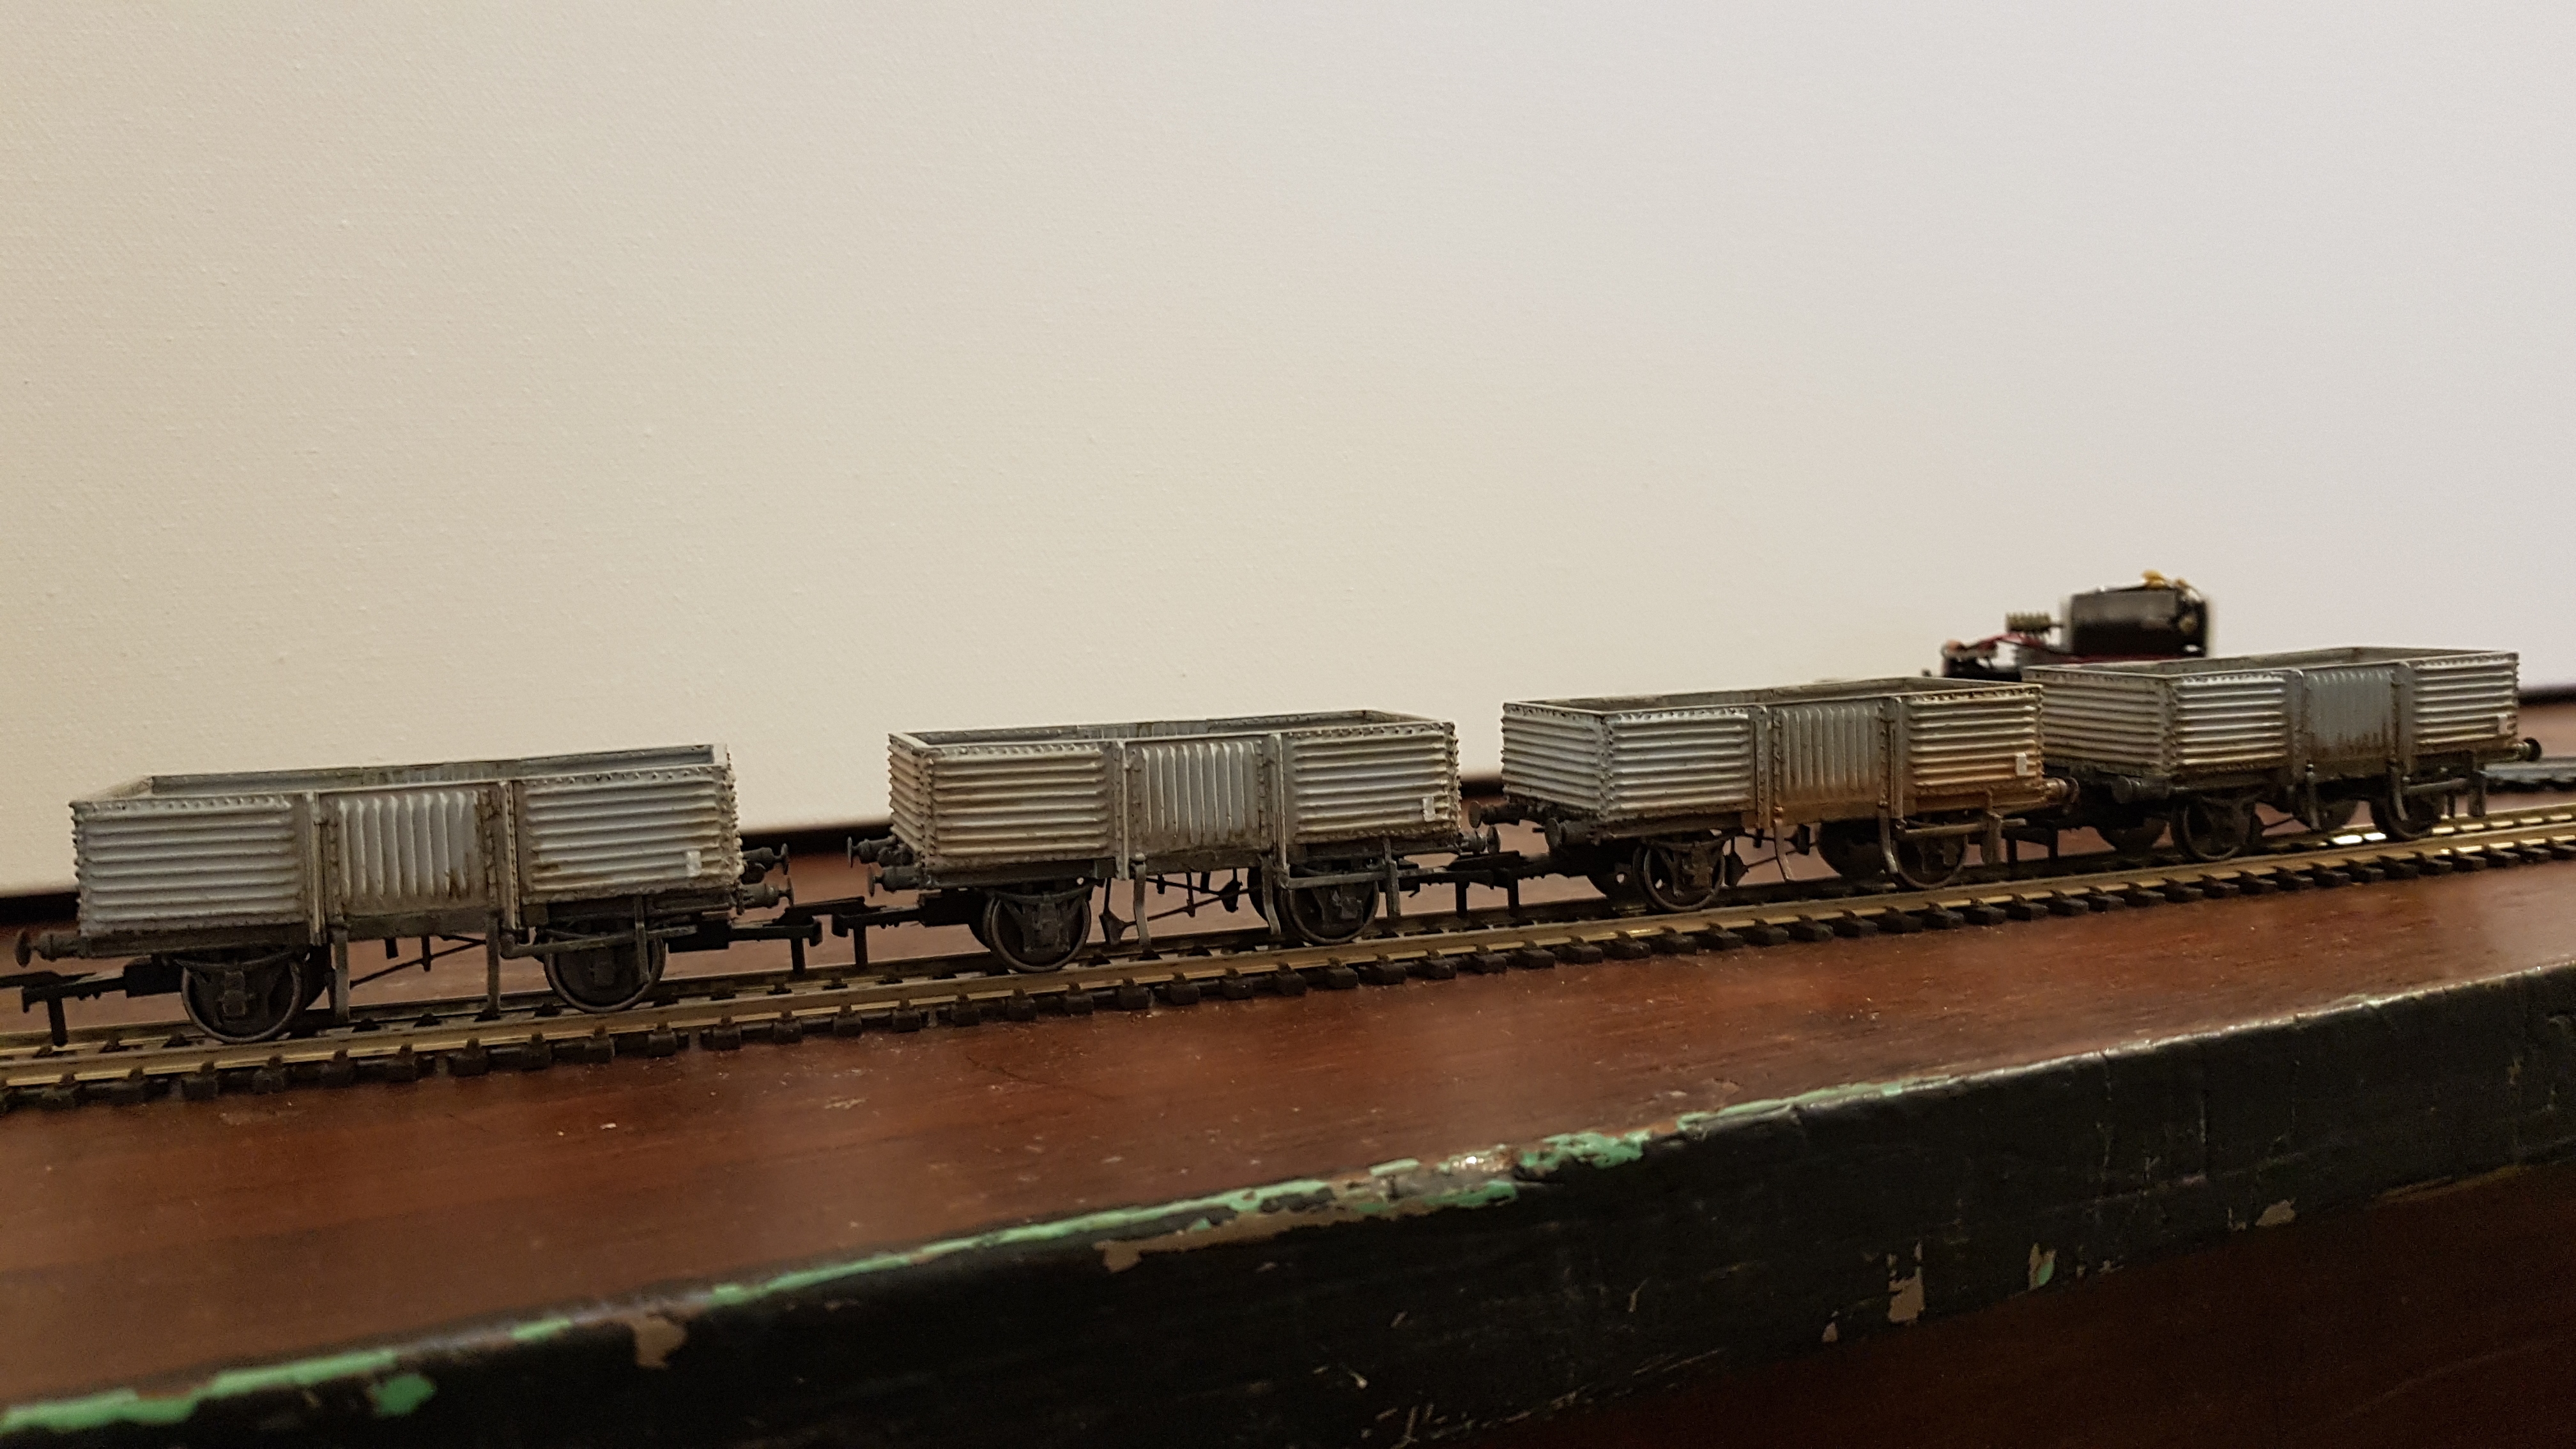
Thanks all - the kits themselves are nicely made, and theres a lot of texture to the wagons in terms of rivets, strapping and corrugations, so painting is just highlighting what is already there, if that makes sense. The instructions describe using diluted b&q tester pots of paint. I didnt fancy that! Working from photos the wagons seem to have been unpainted, but the zinc galvanisation weathers to a slightly blue light grey. I used a can of u-pol acid etch primer (it works fine on plastics, and gives a much lighter gray and slightly finer finish than standard halfords gray primer) which looked about right for the base colour. The underframes were originally painted. I mixed up some lner wagon grey, a bit of br bauxite and a few drops of black and put a few drops of water in to thin it a bit, then smeared it over the underframe. As each brush load of this was used, the drying remnants were used to dry brush the rivets on the wagon bodies. A few spots of corrosion were dry brushed on in bauxite. Looking at photos the bottom of the bodies and where the rivets were takes on a slightly brown colour where the rust stains it, this was done by putting army painter soft tone wash on those bits (not all over as you might often use a toning wash). This allows you to make the corrosion slightly different on each wagon. On our allowed christmas visit I was handed a bunch of kits to build for Dad - following the 4 opens there are 3 cattle wagons and a van to build. 4 wagons finished in 2 months is pretty good going for my modelling these days, but hopefully i can get the rest finished a little quicker! These arent my first irish models - a few years back i built dad a few of the ssm/dapol tank wagons and produced a rake of 11 bubbles using Dapol prestwin kits, my own 3d printed bodies and the ssm detail etch, before they became available rtr, which obviously look better than my efforts, but don't smell as minty (that nice cement effect is toothpaste/water). At some point I'll get more done on the sligo tanks as well.
-
Dad - thought I'd report this on your thread (given this is your commission). Progress... (The other 2 are in various stages of painting). I've begun to remove flash from the cattle wagon parts, put a few of the sides in hot water for 5 mins then under a big flat lump (actually a NEMA23 stepper motor, but it was weighty, flat and next to me when I needed a weight) for a few days. Cant say I love batch building, especially the brake gear! The supplied thin staples for the door springs were a pain - you're supposed to do 2 staples together so they're wide enough, but every time I tried to trim or bend a pair they would split and separate somewhere. A look in the tool cupboard turned up some Stanley 6mm heavy duty staples which are the correct width to use as single staples, a bit thicker, but I think they look alright, and they're certainly more robust. They're not quite finished yet - when the brown wash I used to suggest rust dries I'll do a little work with weathering powders.
-
Do you know when the smokebox doors were changed? Obviously I've drawn up the one from the GA, then when I looked at the render I realised every photo I'd seen showed a door flush at the edges and dished in the middle (like on lough erne there, although maybe not with so many dents!). Dad found a photo from 1924 showing the smokebox door as on the drawing, but everything after that shows all 3 with the flush smokebox doors. I'll have to redraw it! Luckily with CAD/3D printing editing bits or producing multiple versions is pretty easy. The trouble with CAD drawing is you zoom in to 8 times bigger than the model will actually be and get perfectionist about little bits of curves or things that wouldnt actually be visible on the finished thing! Still, it's good to get back in the swing of things.
-
Of course after you've spent an hour getting very subtle, smooth curves right on the smokebox sides, redoing them again and again, carefully tracing them off the works drawings, you find a photo of Lough Gill showing a bunch of angular flat patches all over the place. Could've saved myself a lot of bother!
-
I've started a bit today. Getting the compound curves on the smokebox sides and piano front was a nightmare and took ages. I figured the rest of it would be easier so started at this end.
-
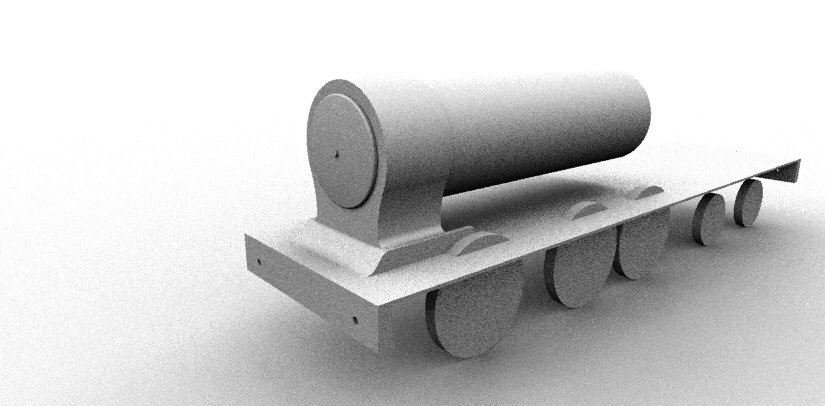
I am (slowly) going to be producing some of the Sir Henry class in 4mm scale (16.5mm) for my Dad. However I started, then Dad sent me some rather better drawings (from the IRRS) so I binned what I'd started. I've been a tad busy of late scratchbuilding a garage conversion/extension and kitchen in 1:1 scale (started in November, we did all boarding, plumbing, wiring, plastering, flooring etc ourselves whilst dealing with two little kids and working from home, so progress wasn't that rapid) , but we're almost there with those now. I have a 3D printer and plans to convert my little milling machine to CNC for producing the chassis. give me a few months, once there is something there I'll be posting it up.
-
If you needed somewhere to run it in there's a good few miles of track halfway across the irish sea...
-
mgwr preserved railway Connemara Railway project.
Brack replied to ttc0169's topic in What's happening on the network?
True, but Lady Edith has steamed in preservation.... -
If you are to use Archer's Rivets (and they really are good) it's worth being aware that the sheets advertised as for certain scales or purposes (e.g the o scale freight car ones) cost more per rivet than the ones which just describe themselves as rivets in x size. I usually use 88016 on my O9 stuff, but you might need beefier ones for broad gauge stock. Also, I find brushing a layer of klear on first, then once it dries putting the rivets on, then putting another layer of klear over them before you move on to the other side is recommended. I'm sure you can work out how I learned that one...
-
Thank you Angus. I missed that you were doing the small tank first, sorry! If I get the CAD done it is very easy to produce fittings such as sandboxes, chimney, dome etc in larger or smaller scales should people want them (if people would prefer to turn their own in a lathe I understand that too mind). Rescaling the model is about 50-70% of the work required to make the thing in the first place (if you do it properly!) as you need to change wall thicknesses and redraw detail parts to the size/resolution restrictions of the production process. Not saying no, but it might be some time before we get further down that road! Not sure how people do things in 2mm scale, I find O9 frustrating enough (not that there's much room there - it might be 7mm scale but my Sipat is only 66mm long, there was much more space in my 4mm scale LNER Y7!). This project is something that has been bubbling for a year or two in conversations with dad, as I've become increasingly fed up with Shapeways. The plan is to buy my own resin 3D printer, convert my proxxon mill to CNC (I have the bits!) and then I should be able to knock out stuff relatively easily. Chassis parts shouldn't be too bad if I can mill them, although I've successfully used 3D printed chassis blocks in 9, 12 and 16.5mm gauges before. However I do need to learn how to use a resin 3D printer and how to use a cnc mill, not too tricky, but there will be a learning curve. In fairness my Sipat was finished 6 weeks after I opened a CAD program for the first time, so I'm confident I can get on with it. However I have a house to rebuild, a job, a wife and two youg kids, so time isn't as freely available as it used to be! I'll stop clogging up your thread. Once I have something worth seeing I will start my own elsewhere.
-
Hello folks, after several months of hints/persuasion etc I'm looking in to making some large tanks in 4mm scale for my Dad (irishswissernie). Most likely through 3D printing, at which I have some previous, although usually very narrow, rather than broad gauge (https://brackmodels.weebly.com/). I too had the side elevation of the works GA from the old MOSI site, but not having paid for the proper one the resolution wasn't great (cannot read any dimensions at all) so I ended up asking some questions regarding widths and Dad pointed me to this thread. Whilst the information here has meant that everything I had sketched out in CAD yesterday will now be binned, I have had a small breakthrough this morning which might help like minded people on here. A few years back the very useful beyer peacock drawings on the old MOSI website disappeared as they were ordered to make their website match the other science museum group ones. However it seems that getty images have copies of the images. I discovered this morning that their preview image size has increased, and I could now get a 2048 pixel wide image of the GA, which means dimensions are now readable! What is more, I found the front and rear elevation of the cab. Which it seems might help Angus and a few others. https://media.gettyimages.com/photos/general-arrangement-drawing-of-sligo-leitrim-northern-counties-064-picture-id493708064?s=2048x2048 https://media.gettyimages.com/photos/general-arrangement-drawing-of-sligo-leitrim-northern-counties-064-picture-id493708076?s=2048x2048


.jpg.3f398b0118f7a2a6a45e1a30b9a46d19.jpg)