Si2020
-
Posts
266 -
Joined
-
Days Won
11
Content Type
Profiles
Forums
Events
Gallery
Blogs
Everything posted by Si2020
-
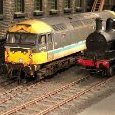
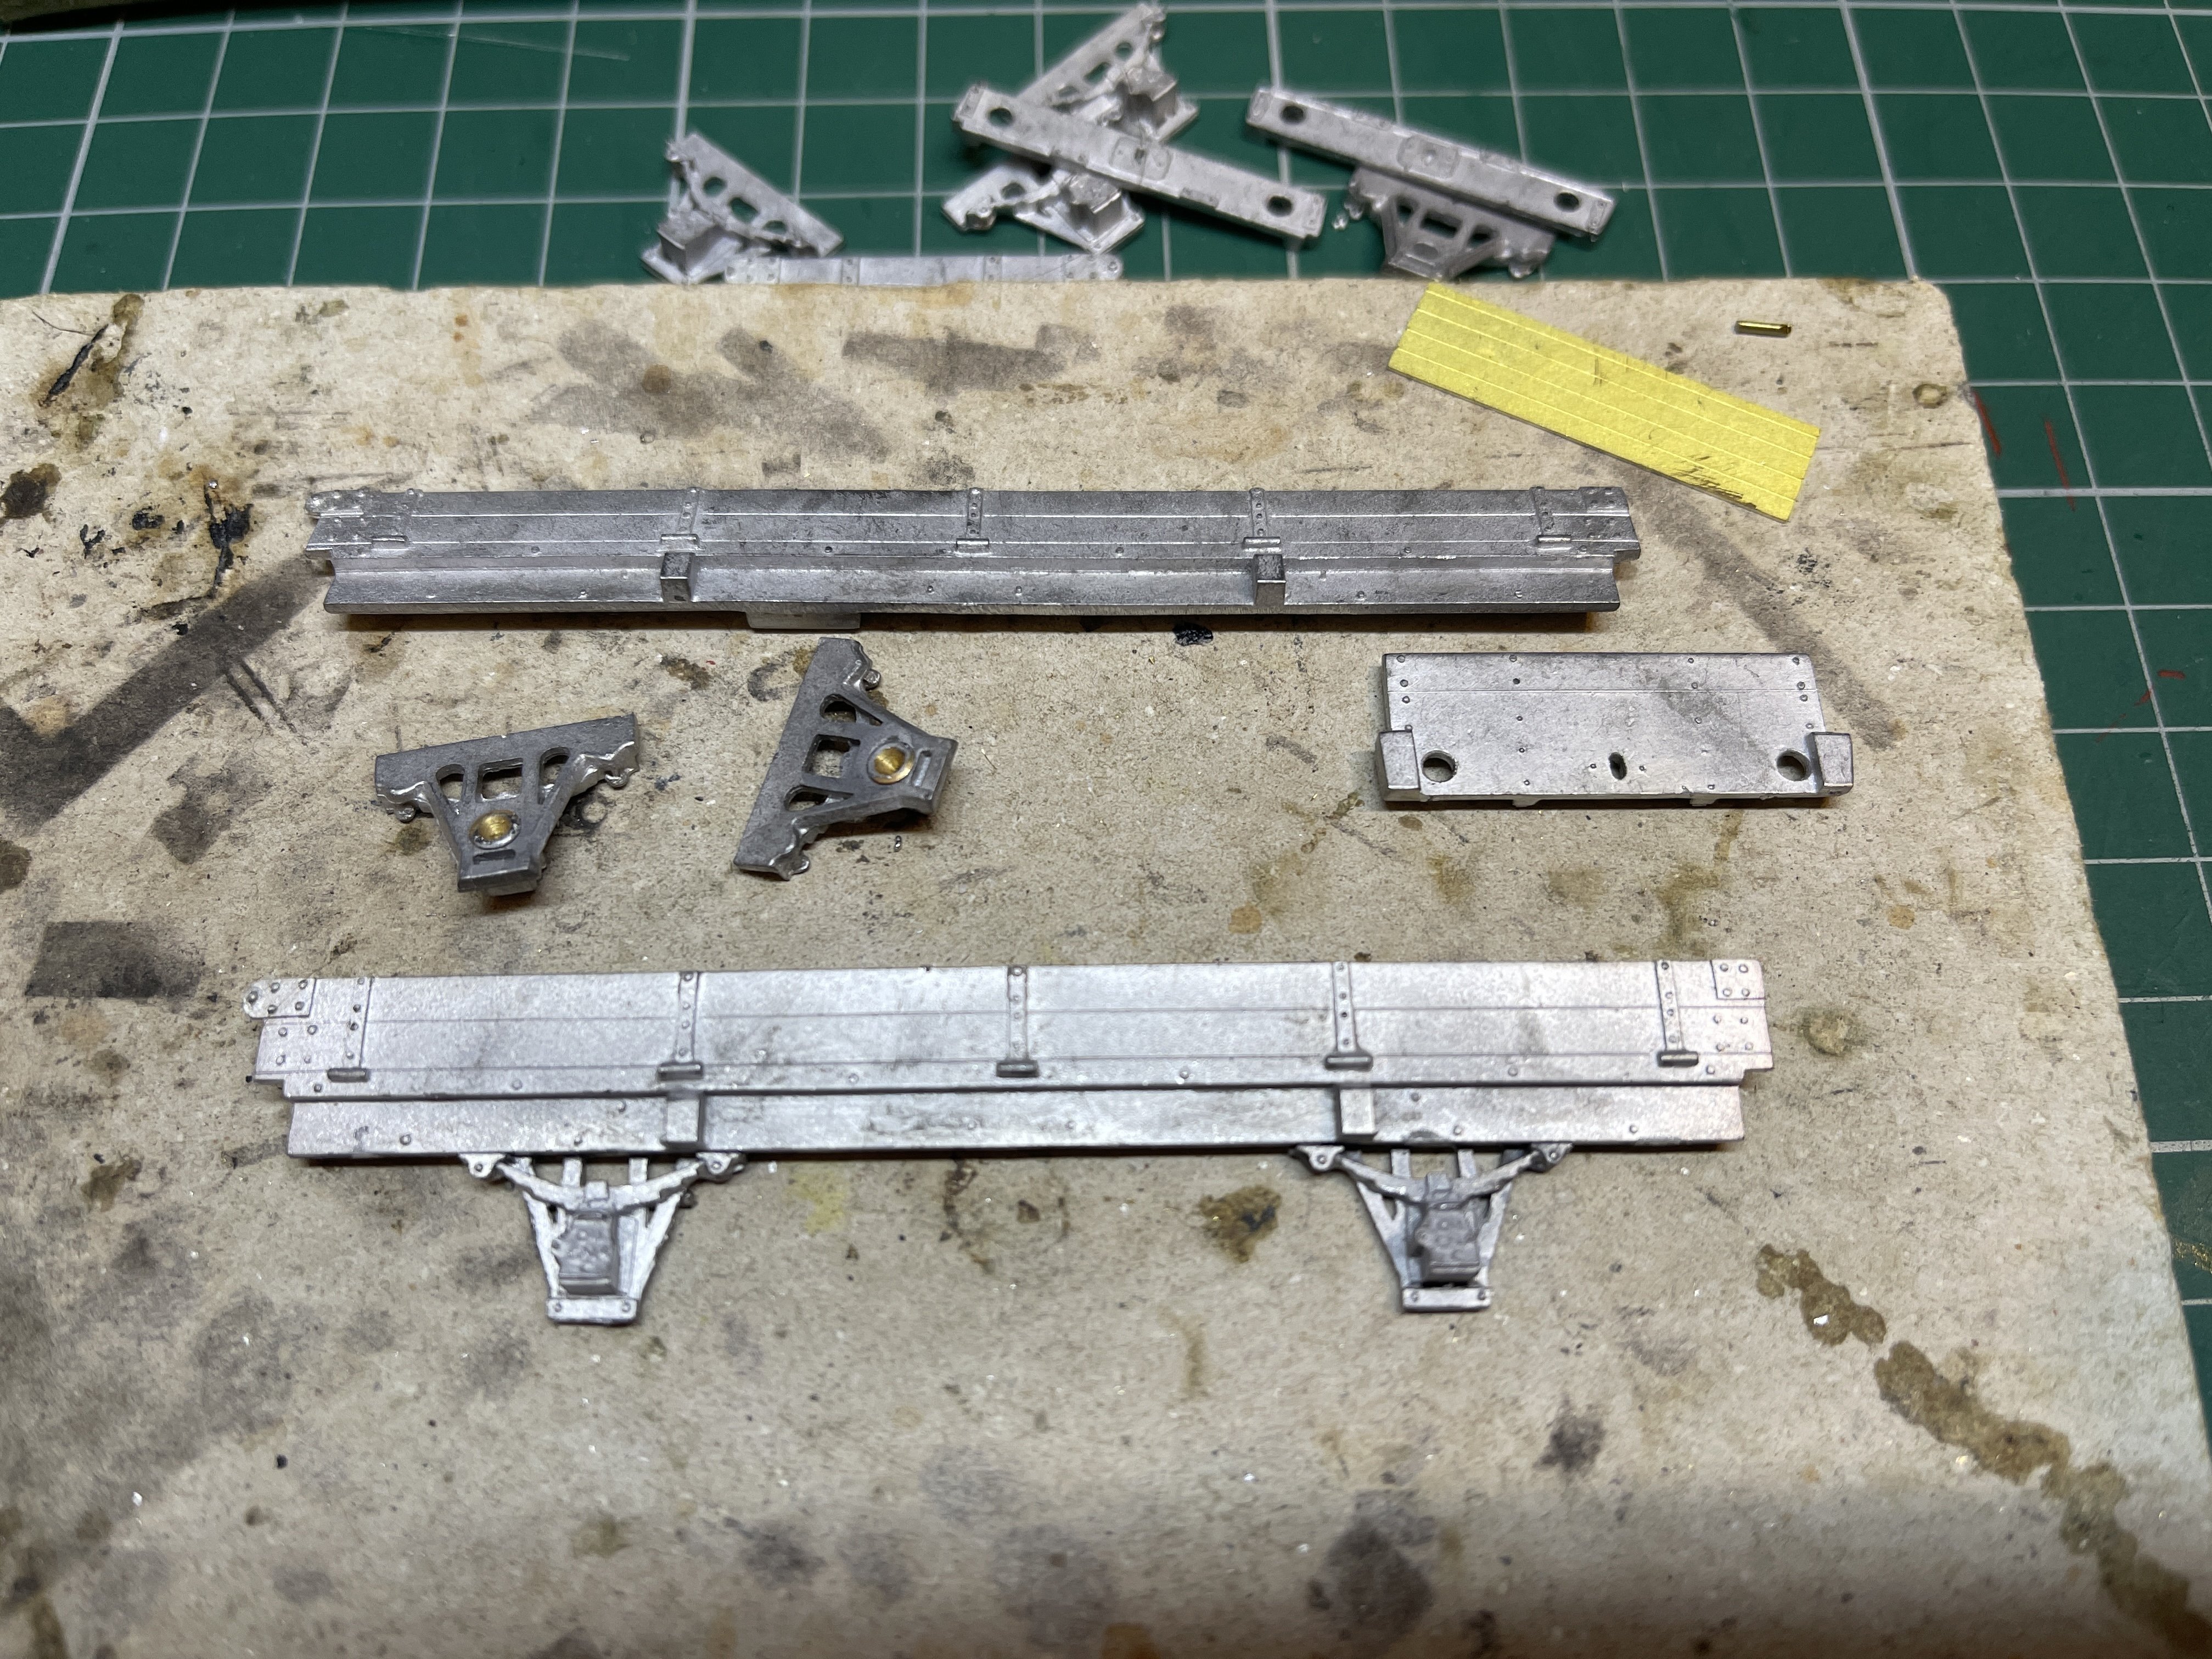
Hi, Yes mostly white metal with a brass chassis.
-
Where did the summer go A recent item that i had on the bench was this, A C16 in the process of cleaning the body before a coat of primer.

-
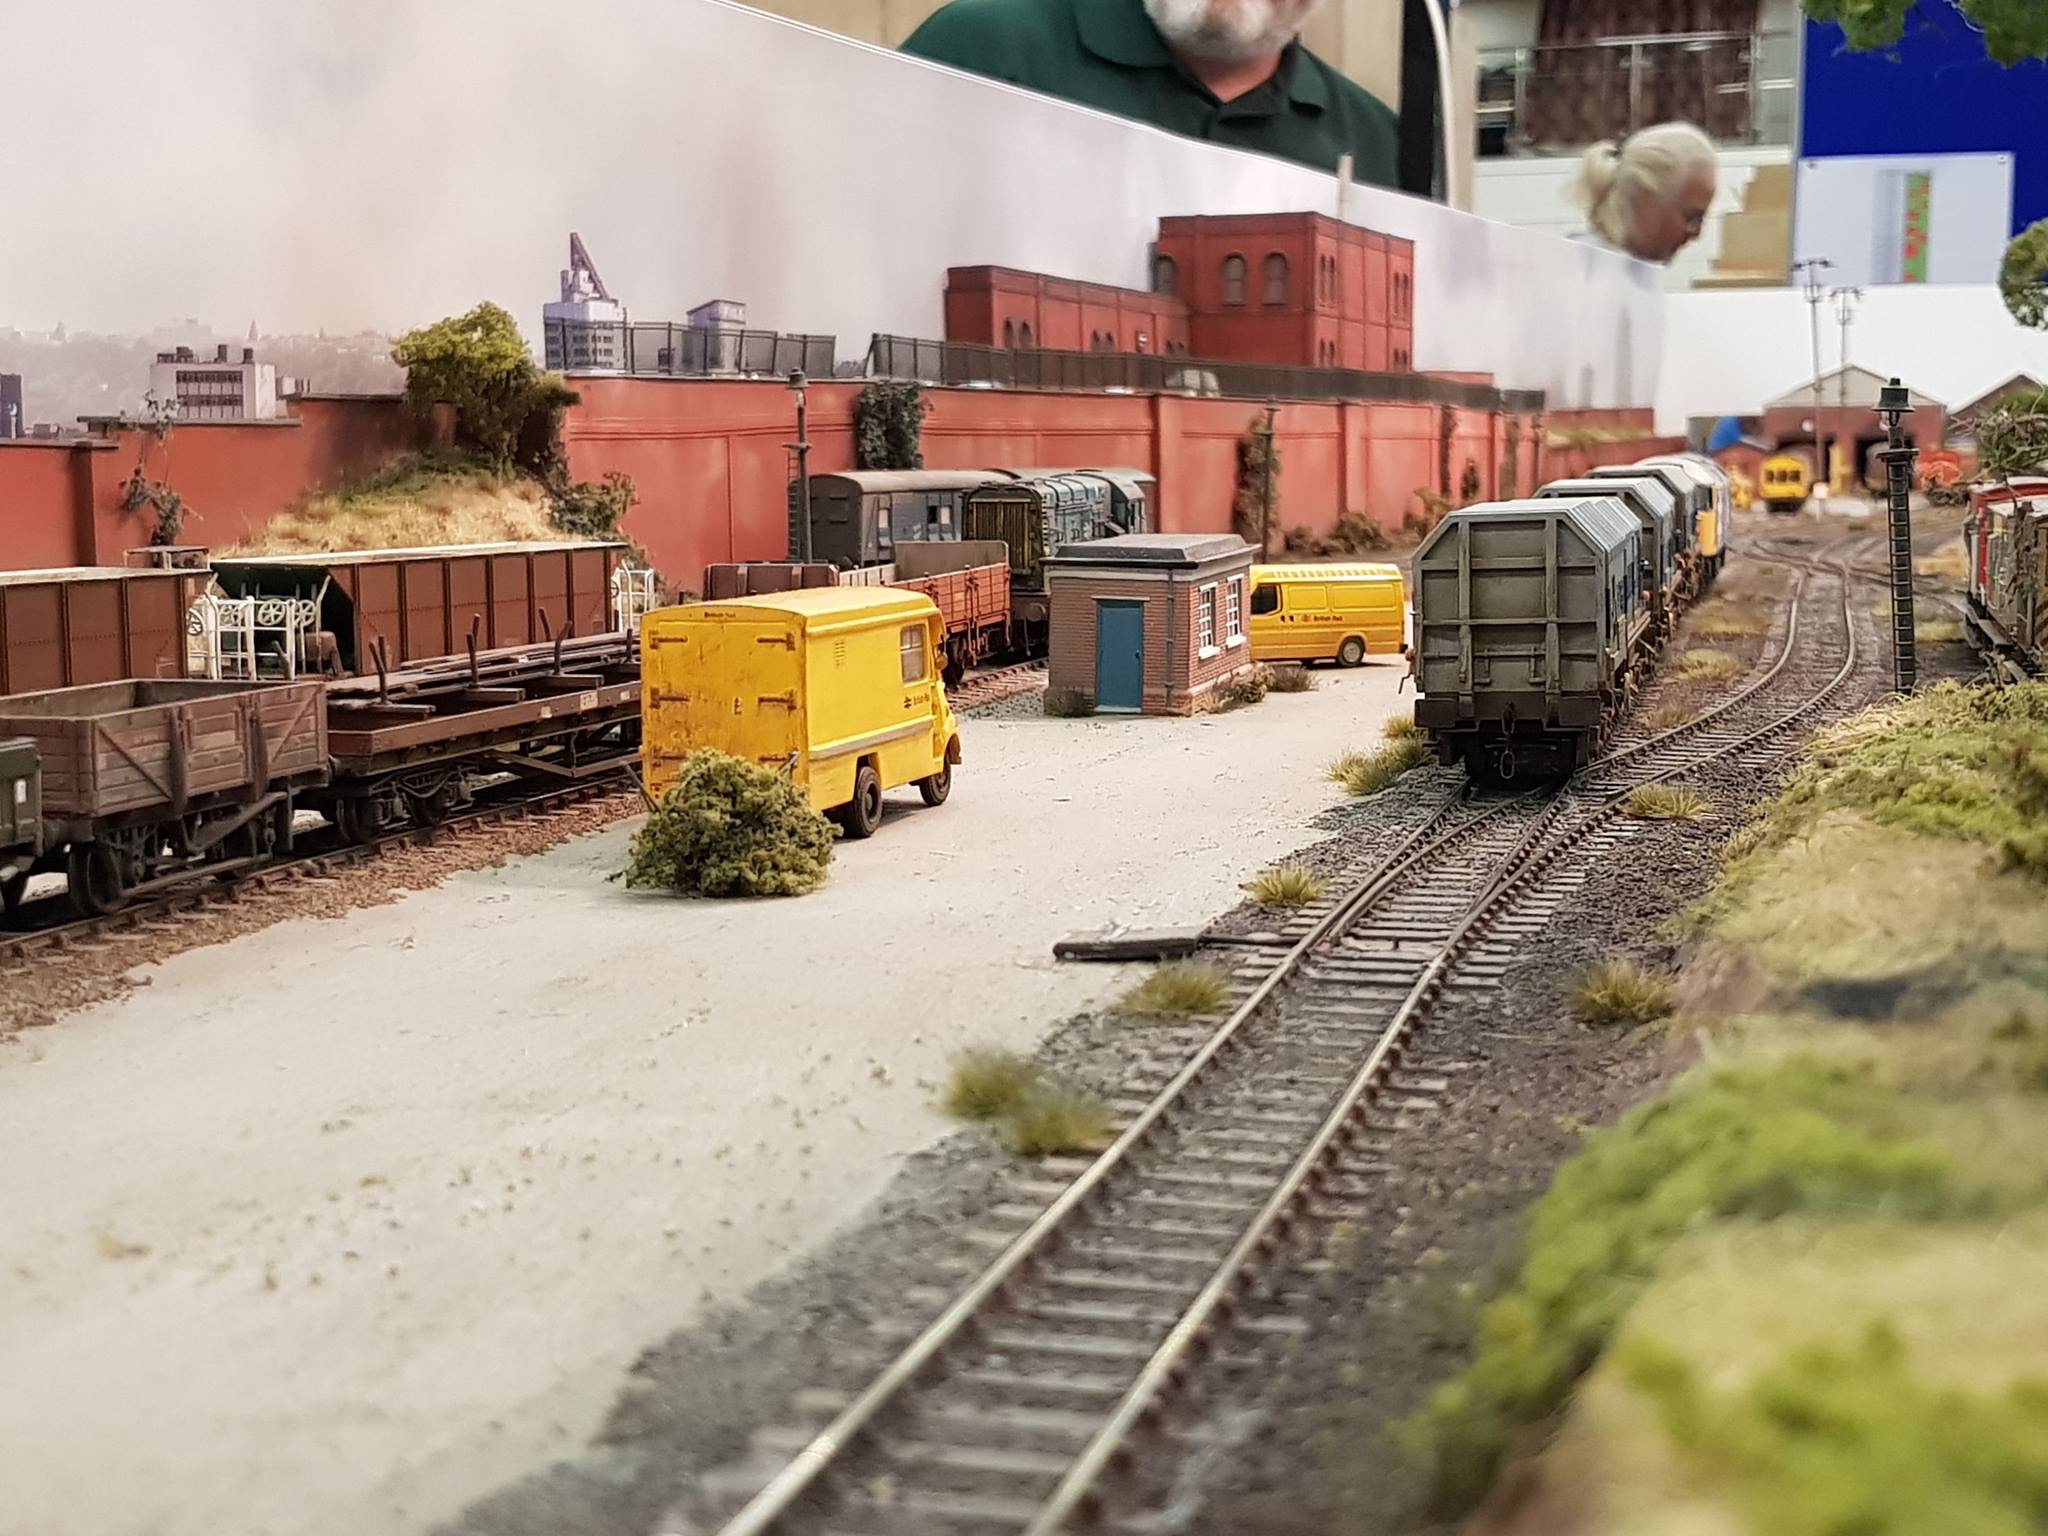
Thought I would pop in for a quick update whilst the securrty code for work comes through to access the system. Been building some track work for a friends layout. The crossover is in a helix and has 2 points that are curved D12s and are 30" and 27" radius.
-
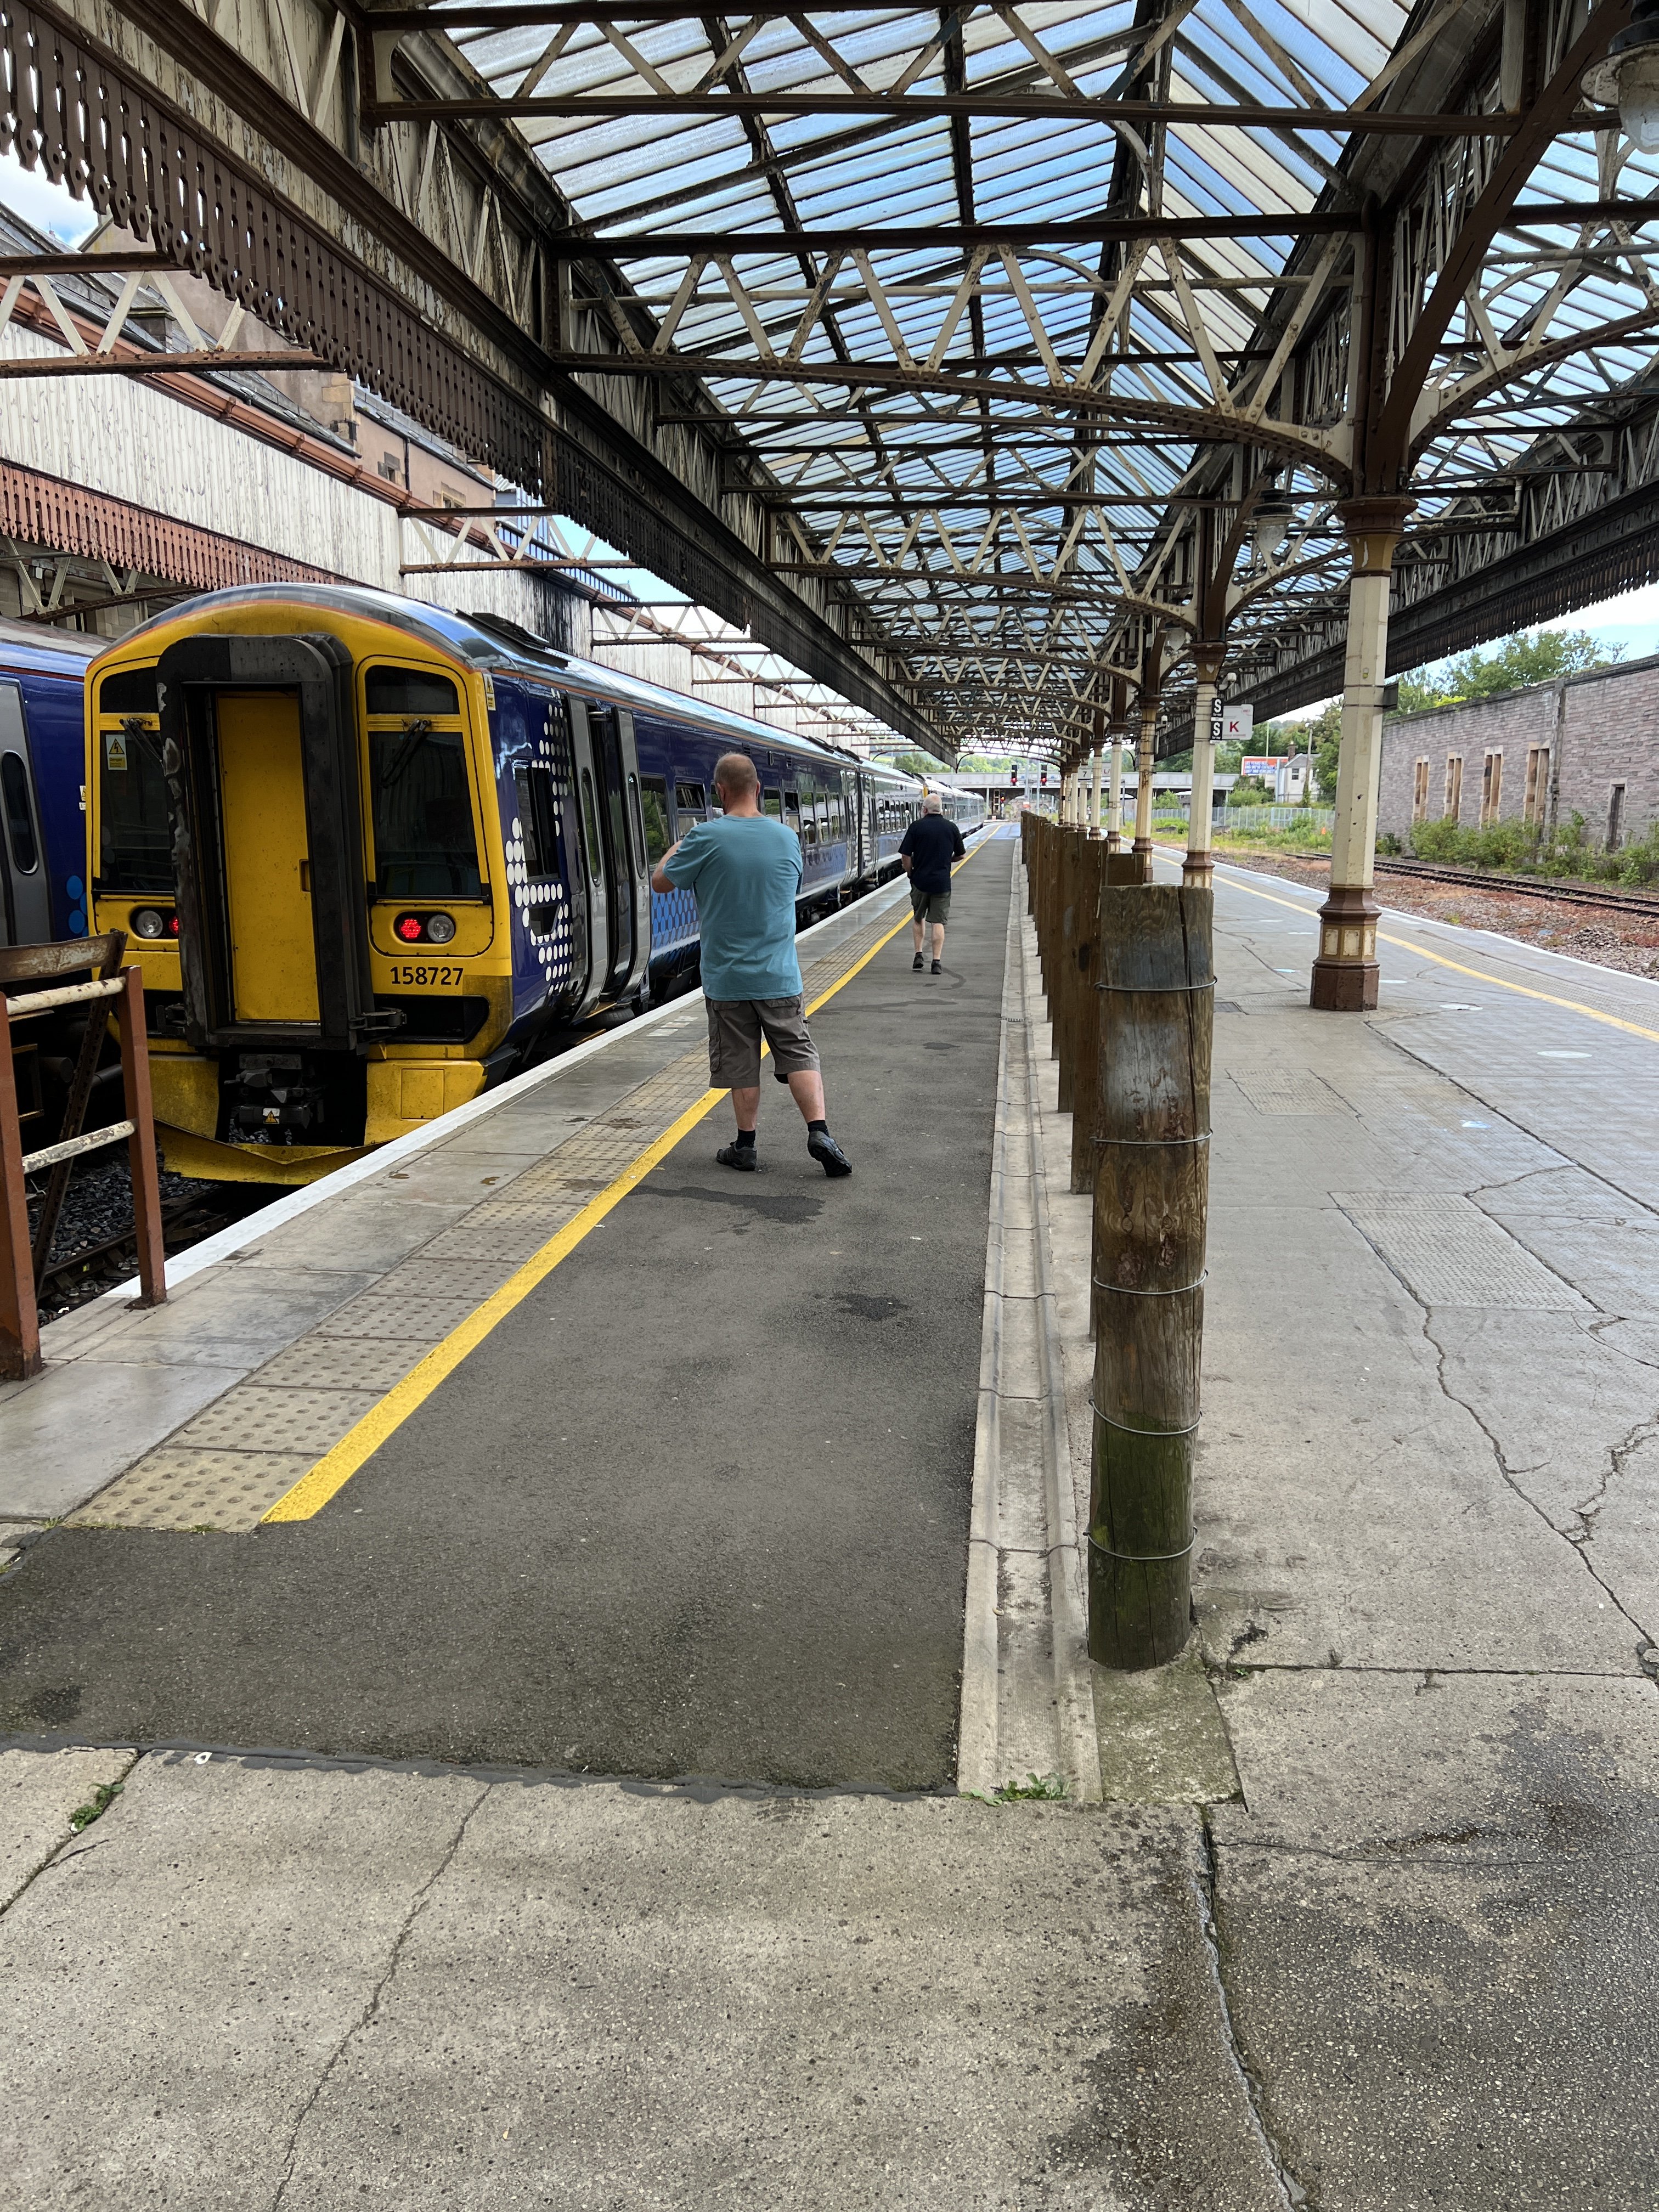
Late on Saturday afternoon What do you do after spending a day operating model trains........ you go unit spotting at the station
-
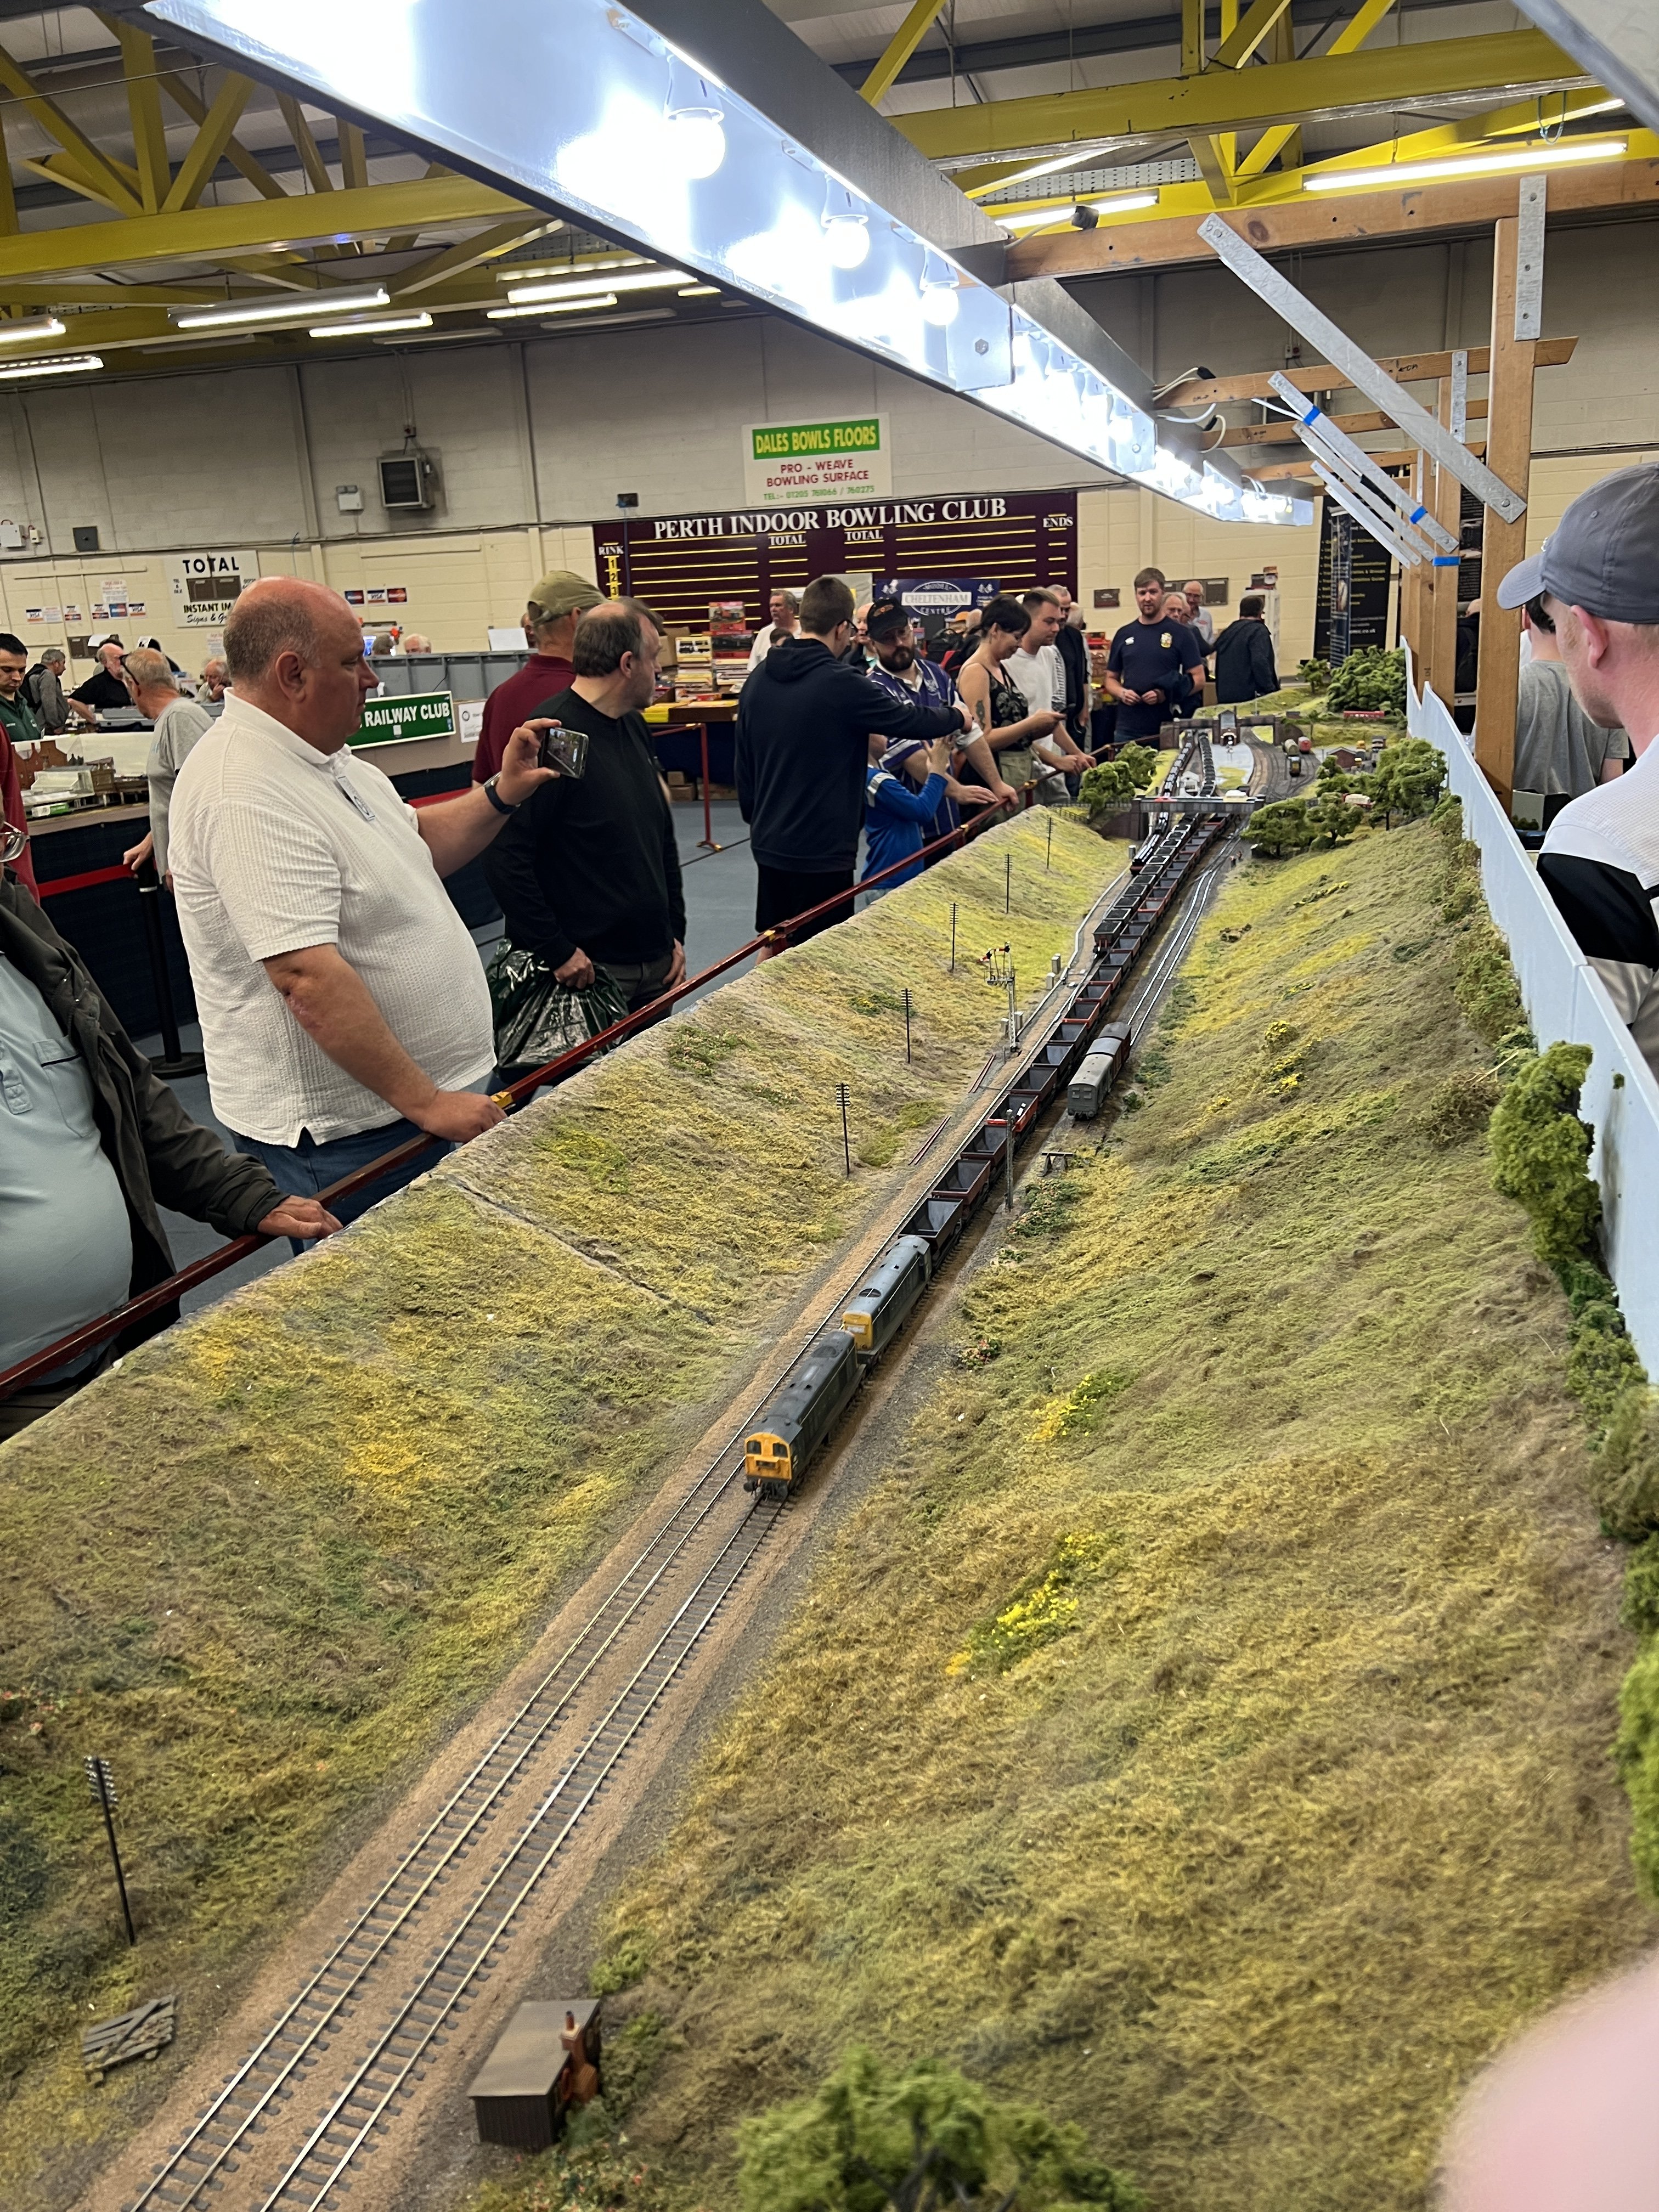
So we made it home from the Perth exhibition after a great weekend. Had a few gremlins due to the heat in the hall but on the whole we had a great weekend and the layout was well recived. Got small list of bits to do before w head off to Wigan in October. Apolagise now for the photo dump of the weekend coming over the next couple of weeks. Thanks
-
With Perth less than 7 days away, well the journey North starts on Thursday. There has been a few last minutes tasks to complete and finish off those last few bits of stock making thier debut at the show. Just a few bits for weathering.
-
Thanks for the kind comments, I will pass them on to Dave who is the scenry side of the team. When we first got the layout it was just a backscne all the way down and it was thought a bit of a corrigated wall would add a bit of intrest to the area.
-
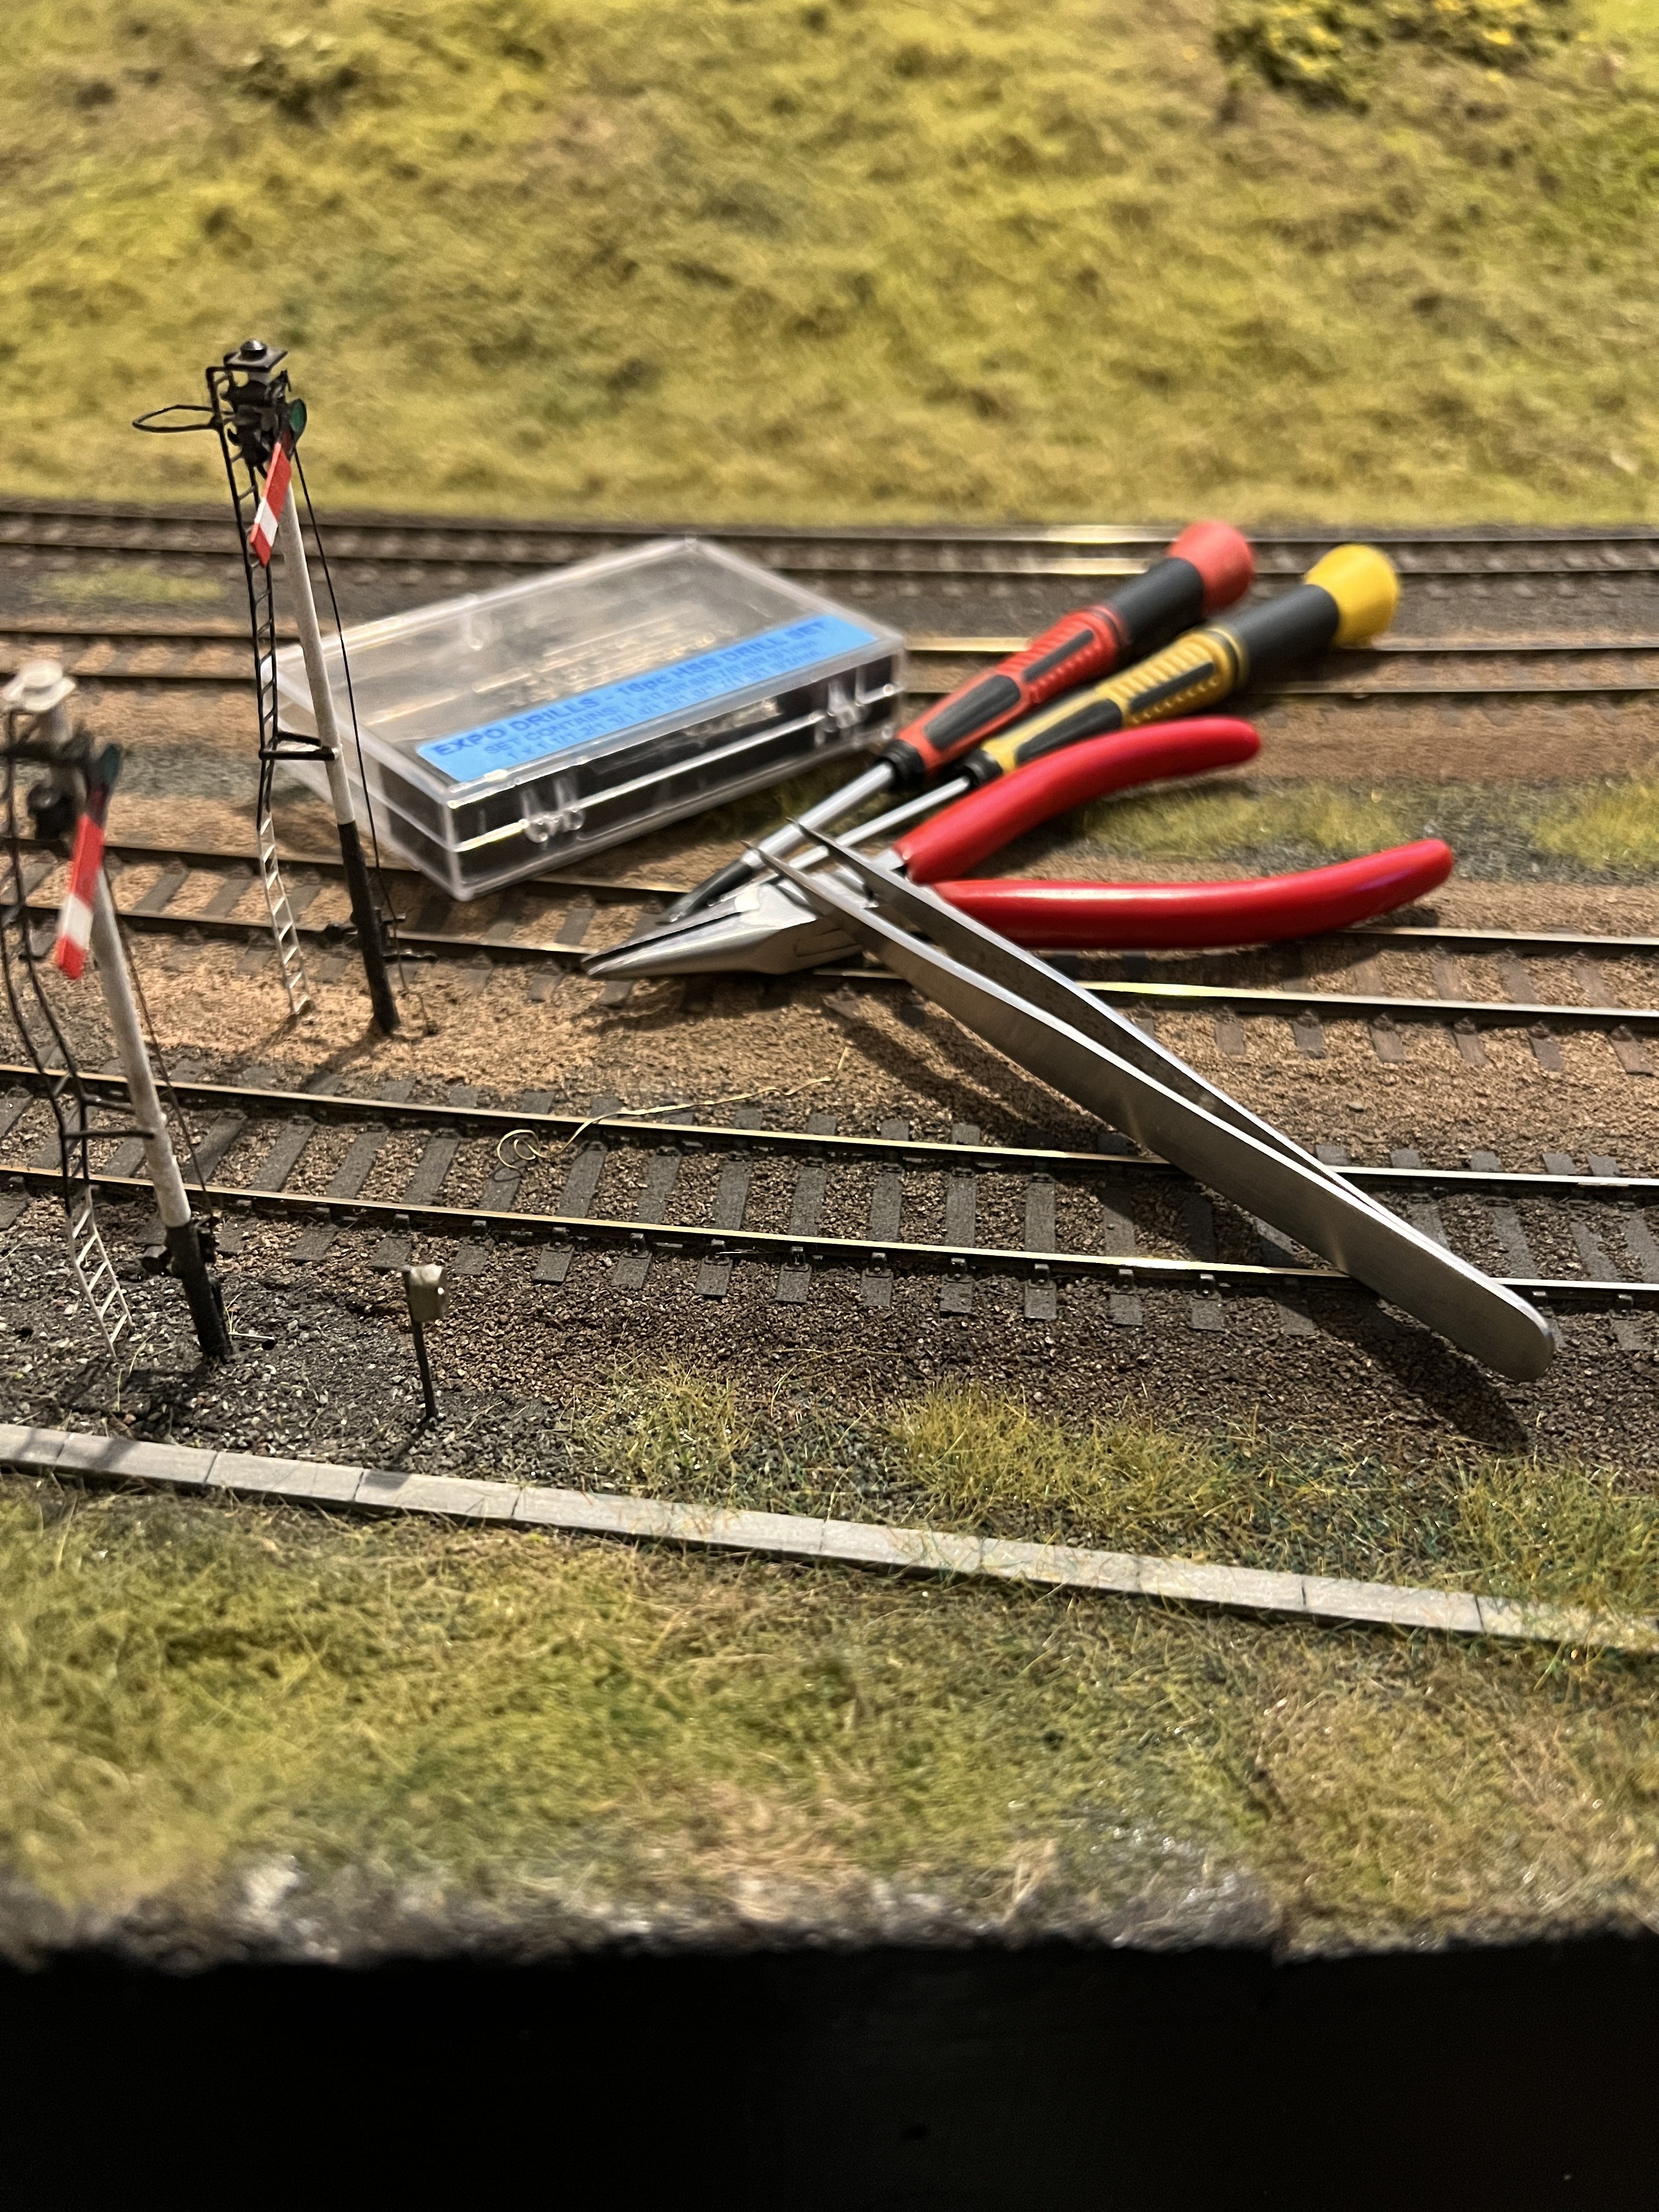
So as the Perth exhibition is getting ever closer we have been working on the layout Also did some work on the signals
-
Next up was a Gresley brake 3rd, built from a MJT bits
-
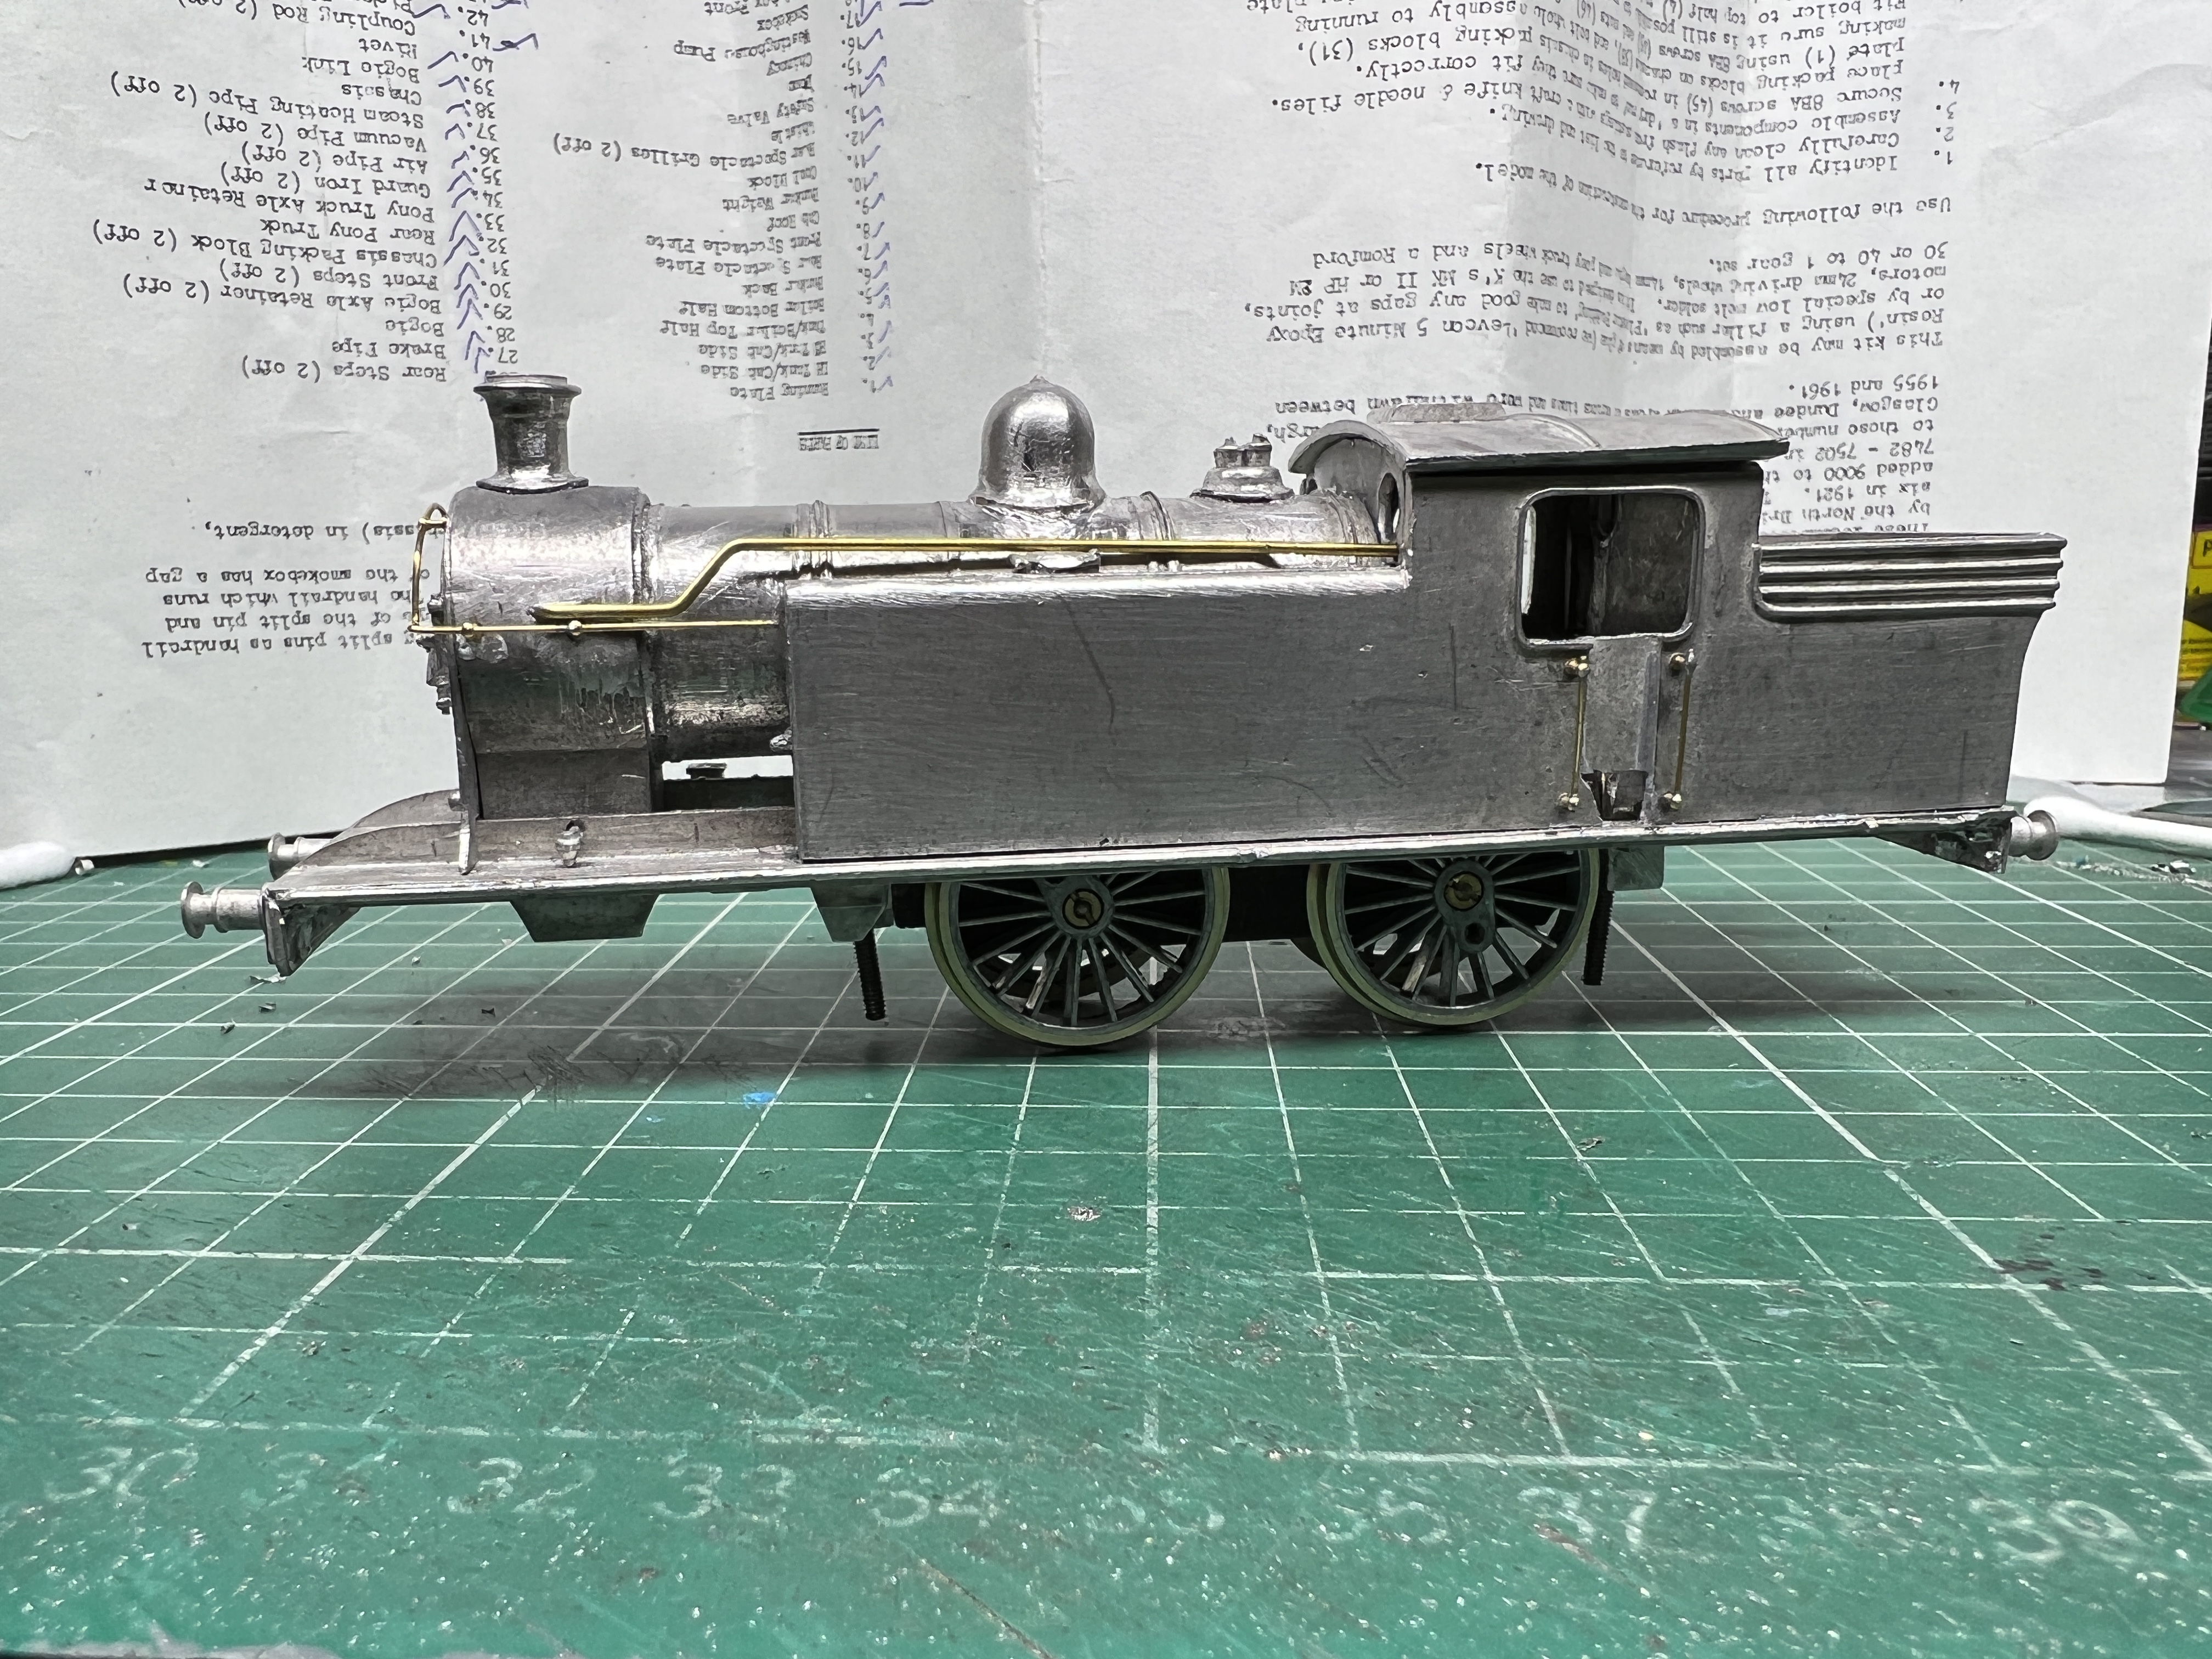
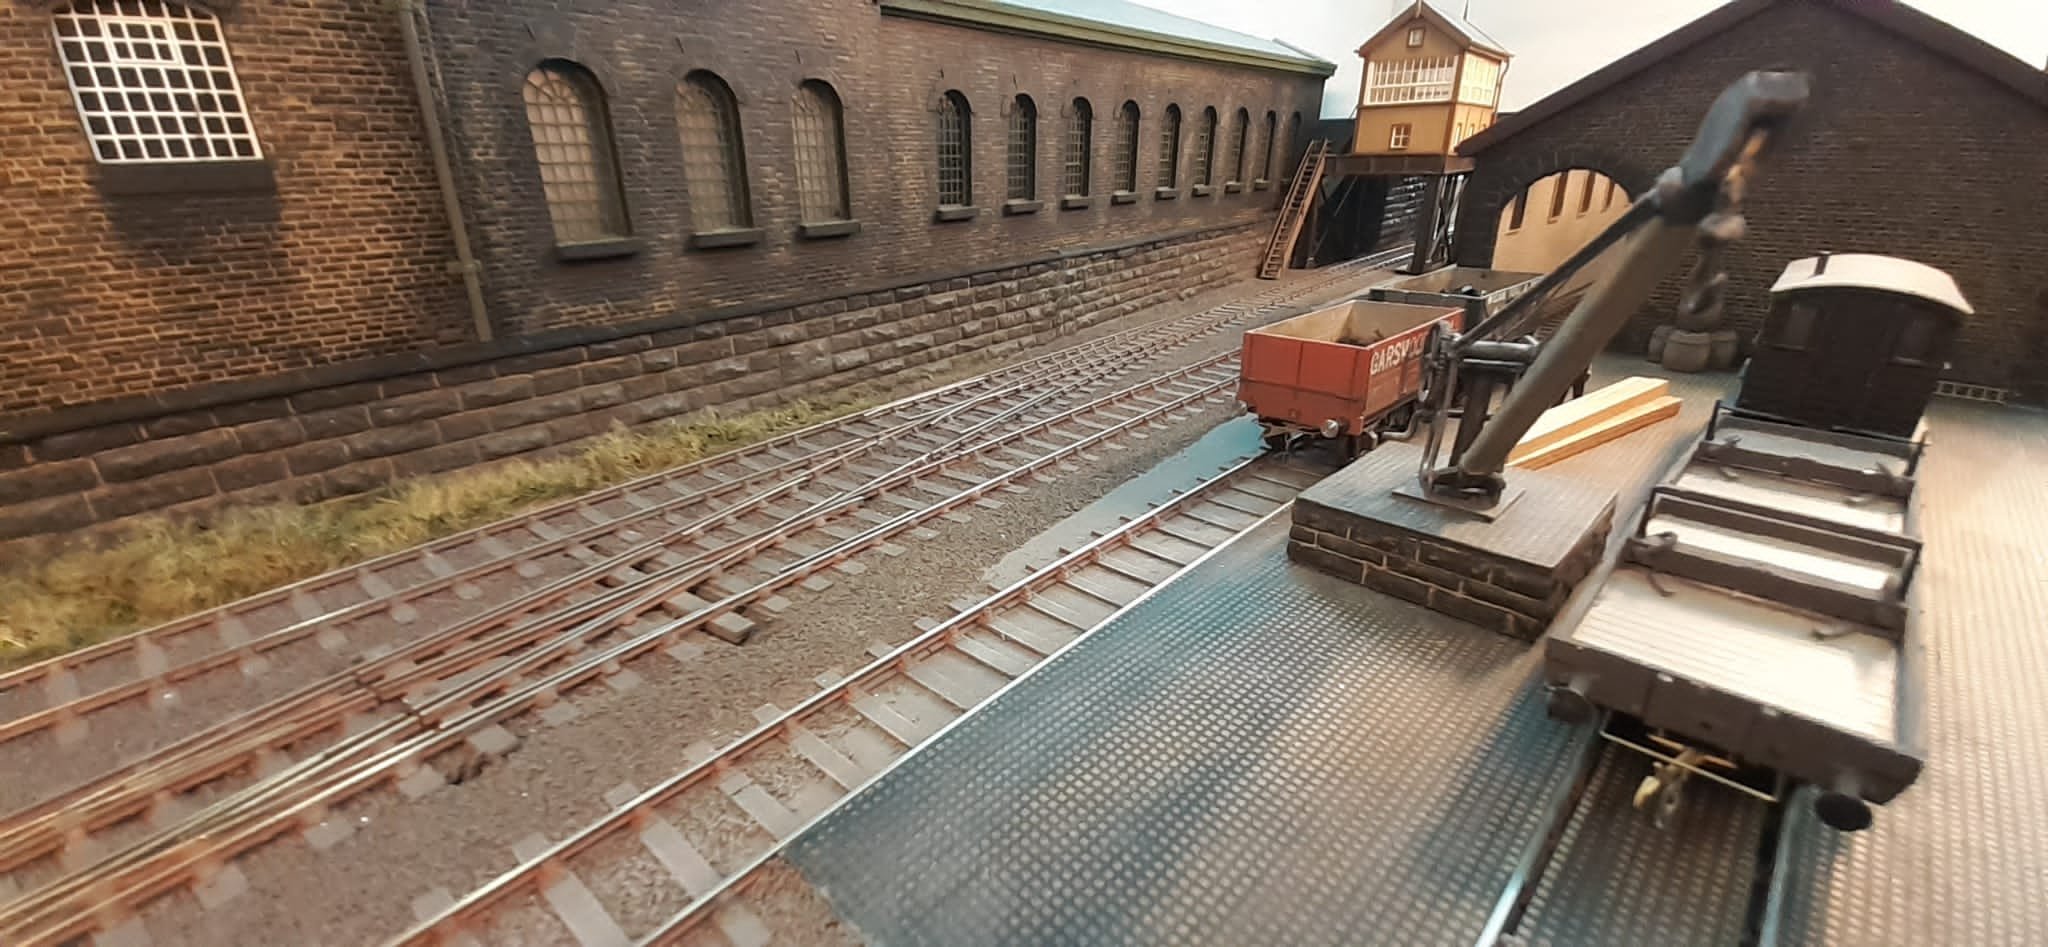
As I haven't posted in here for a while as been busy concentrating on getting stock ready for the big layout, here is a photo of the good shed and yard area
-
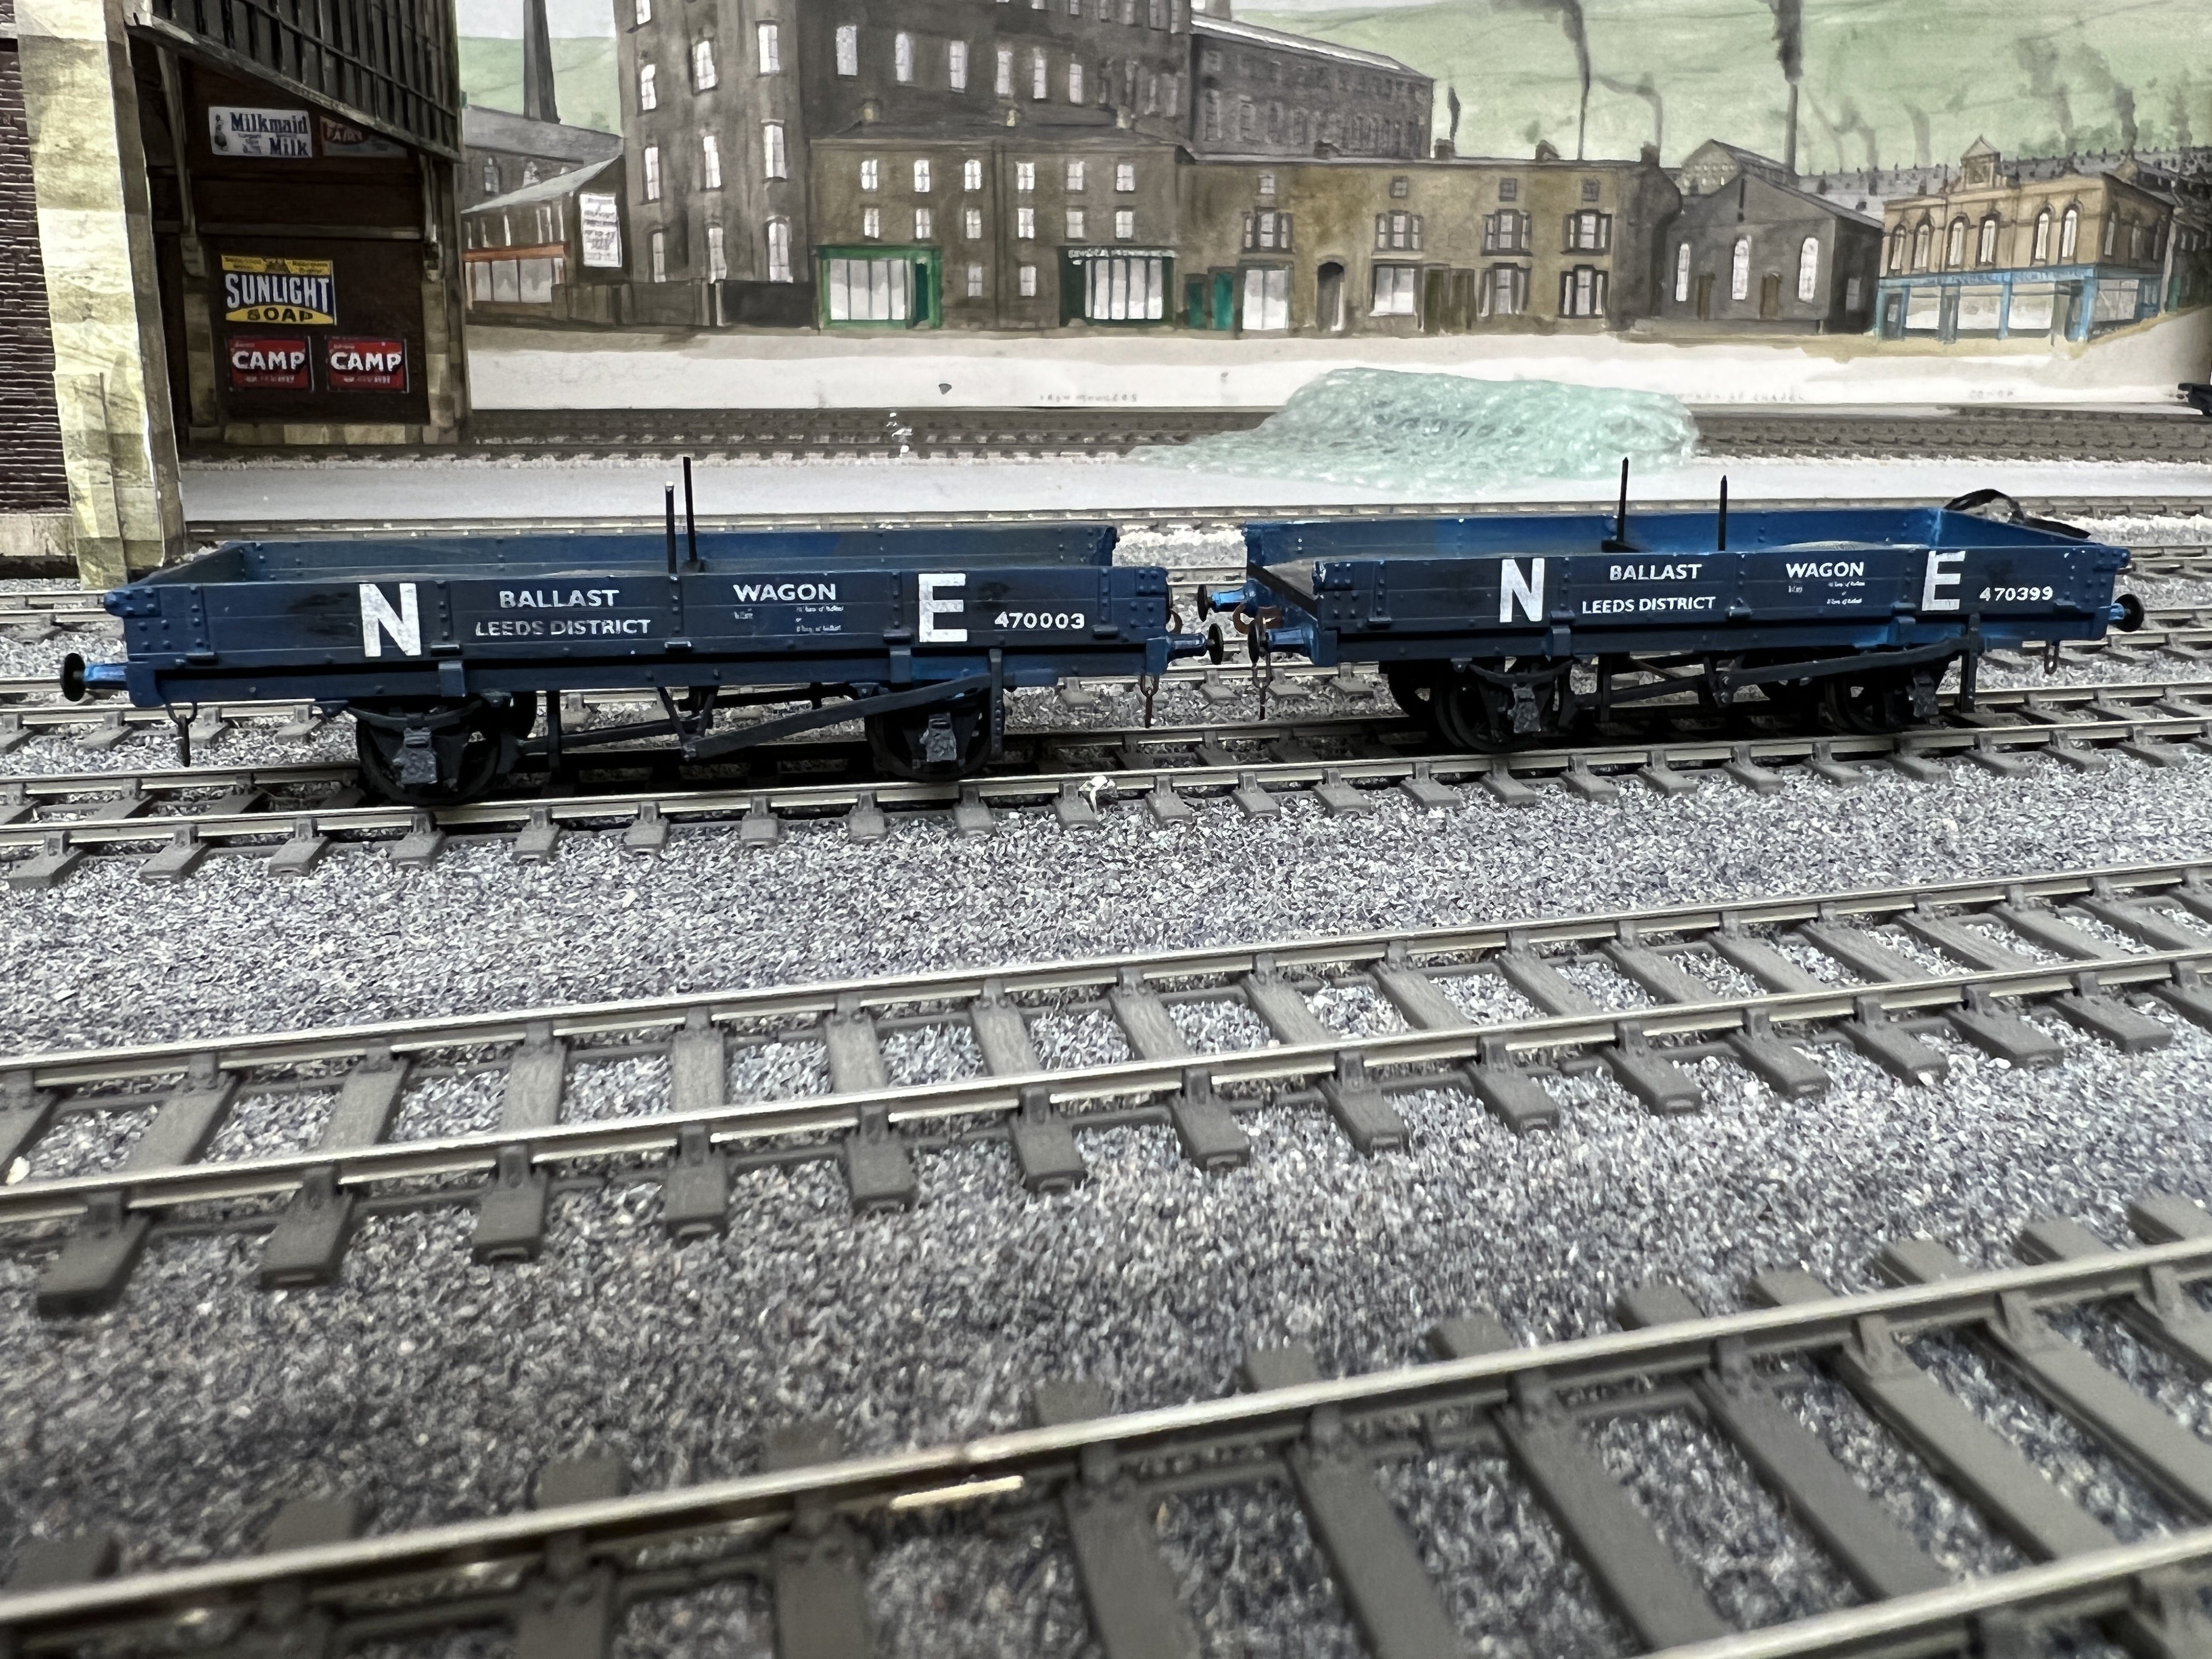
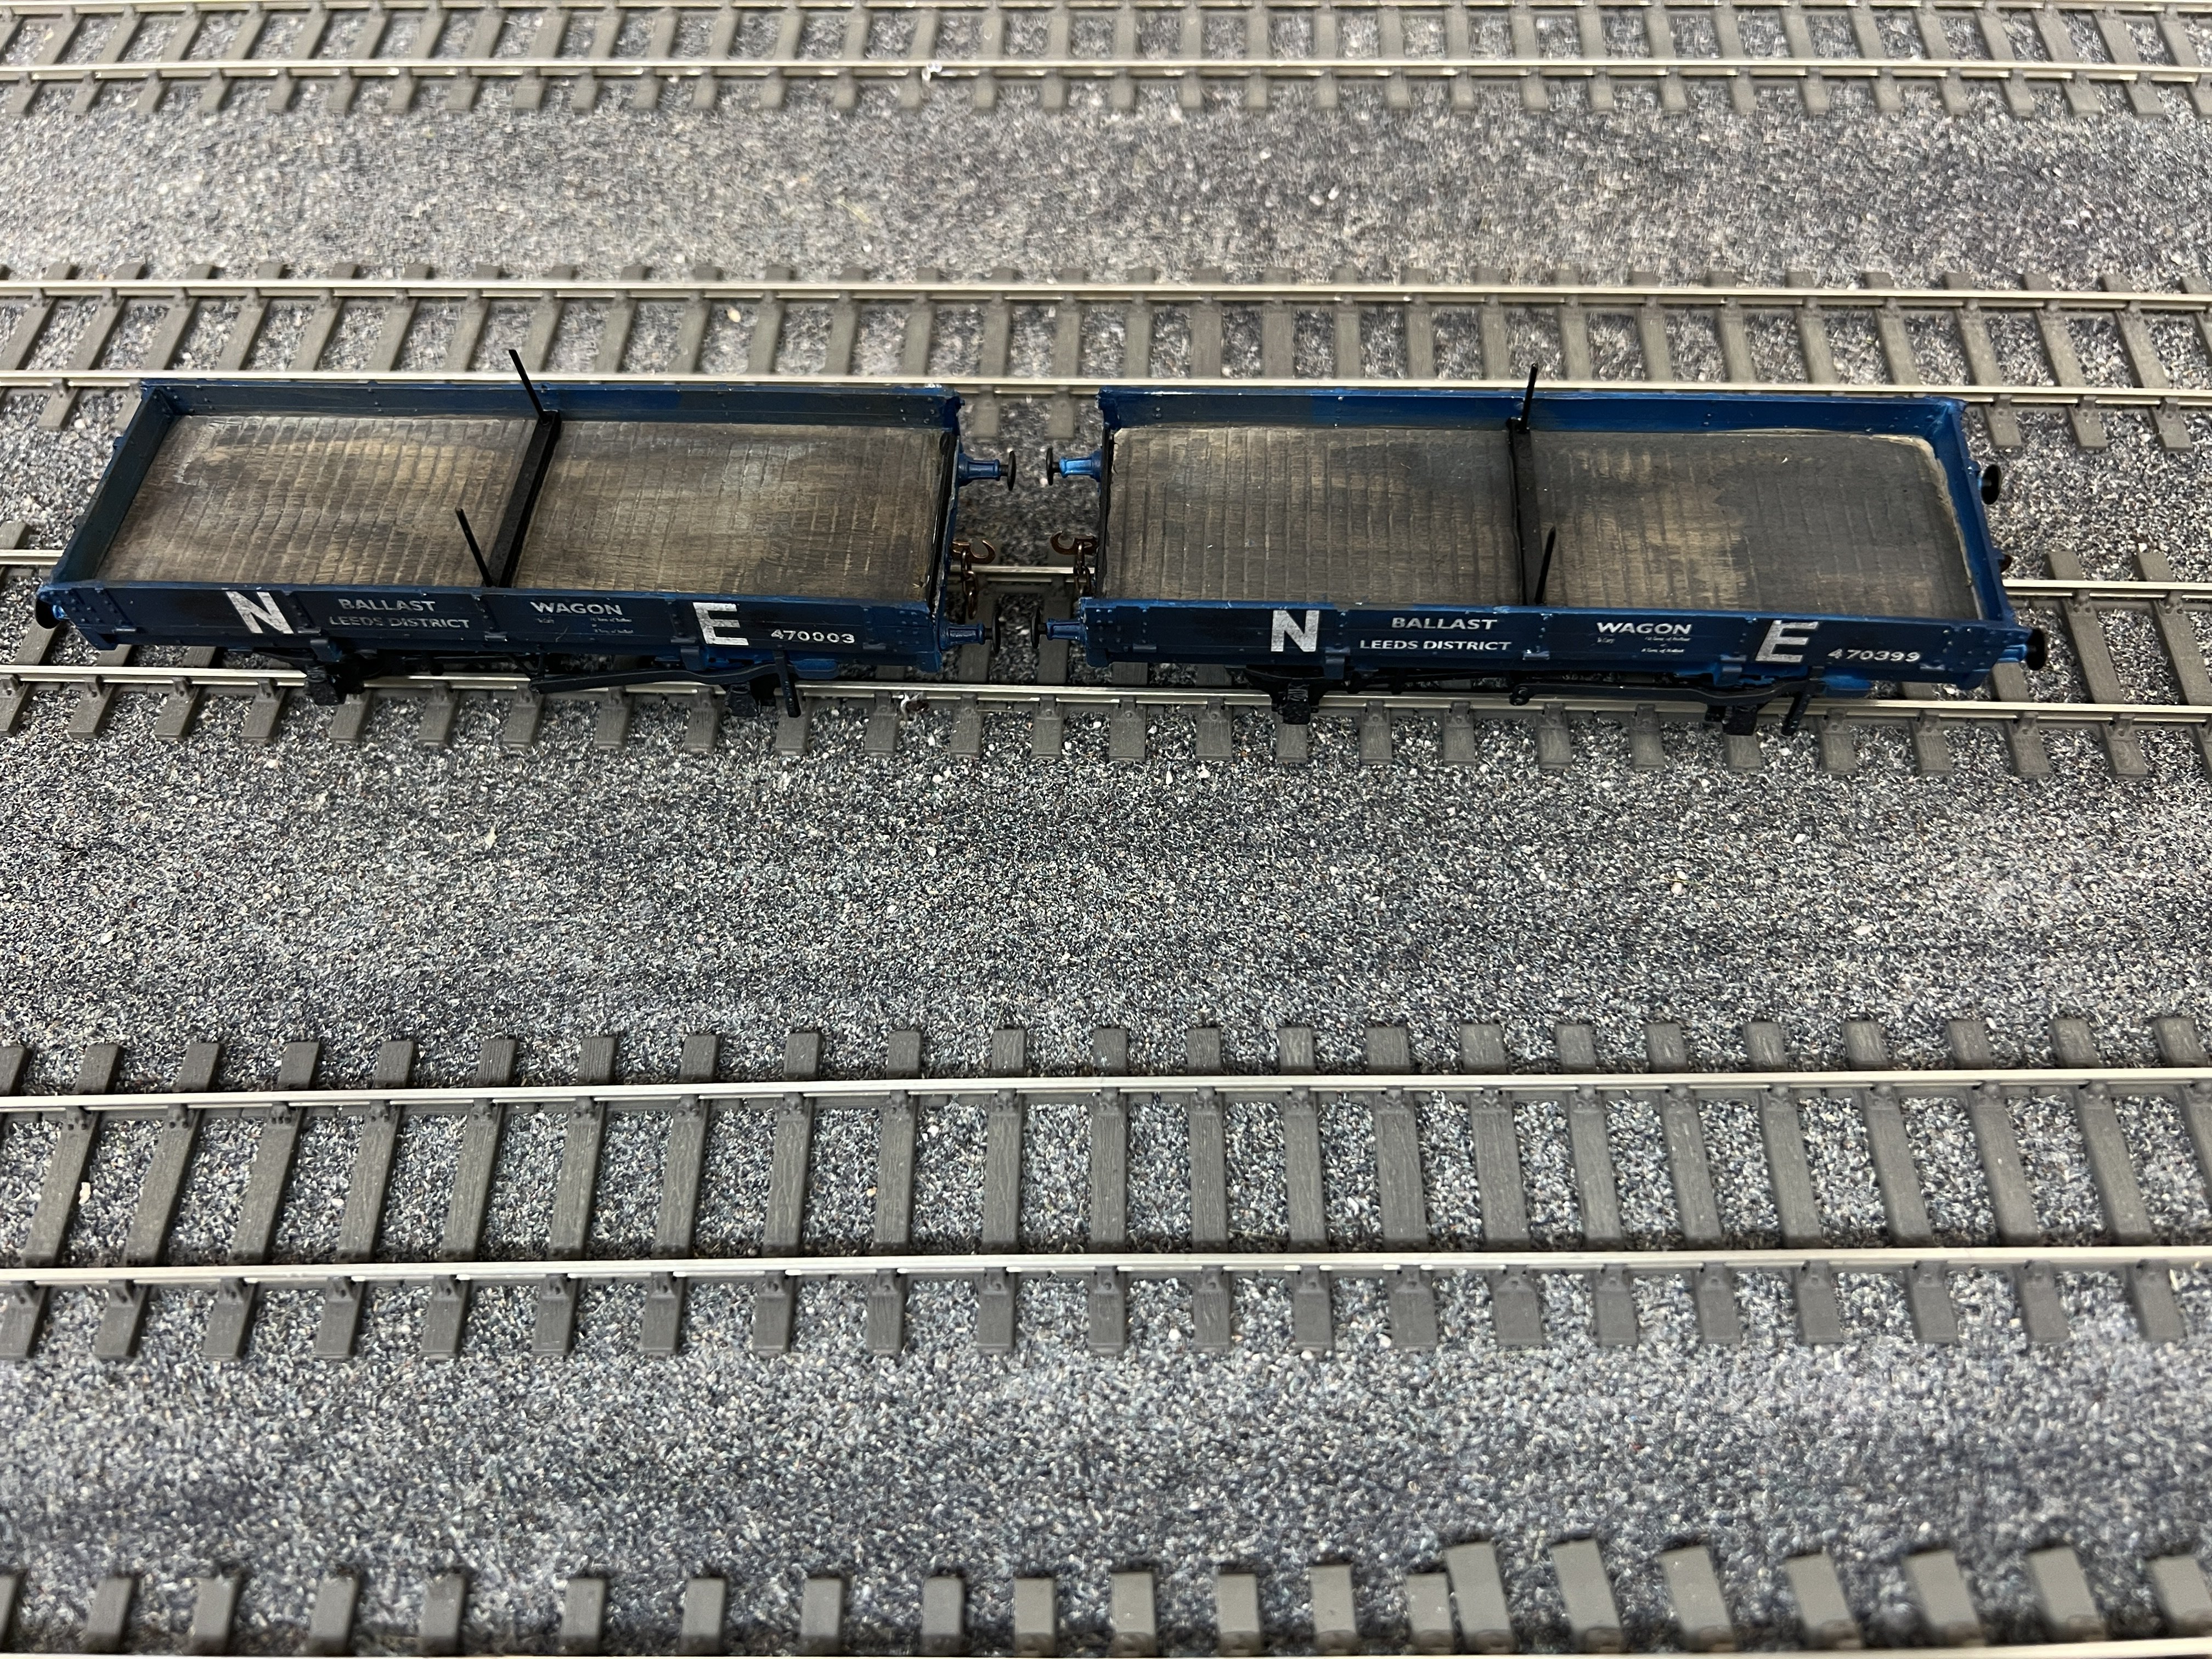
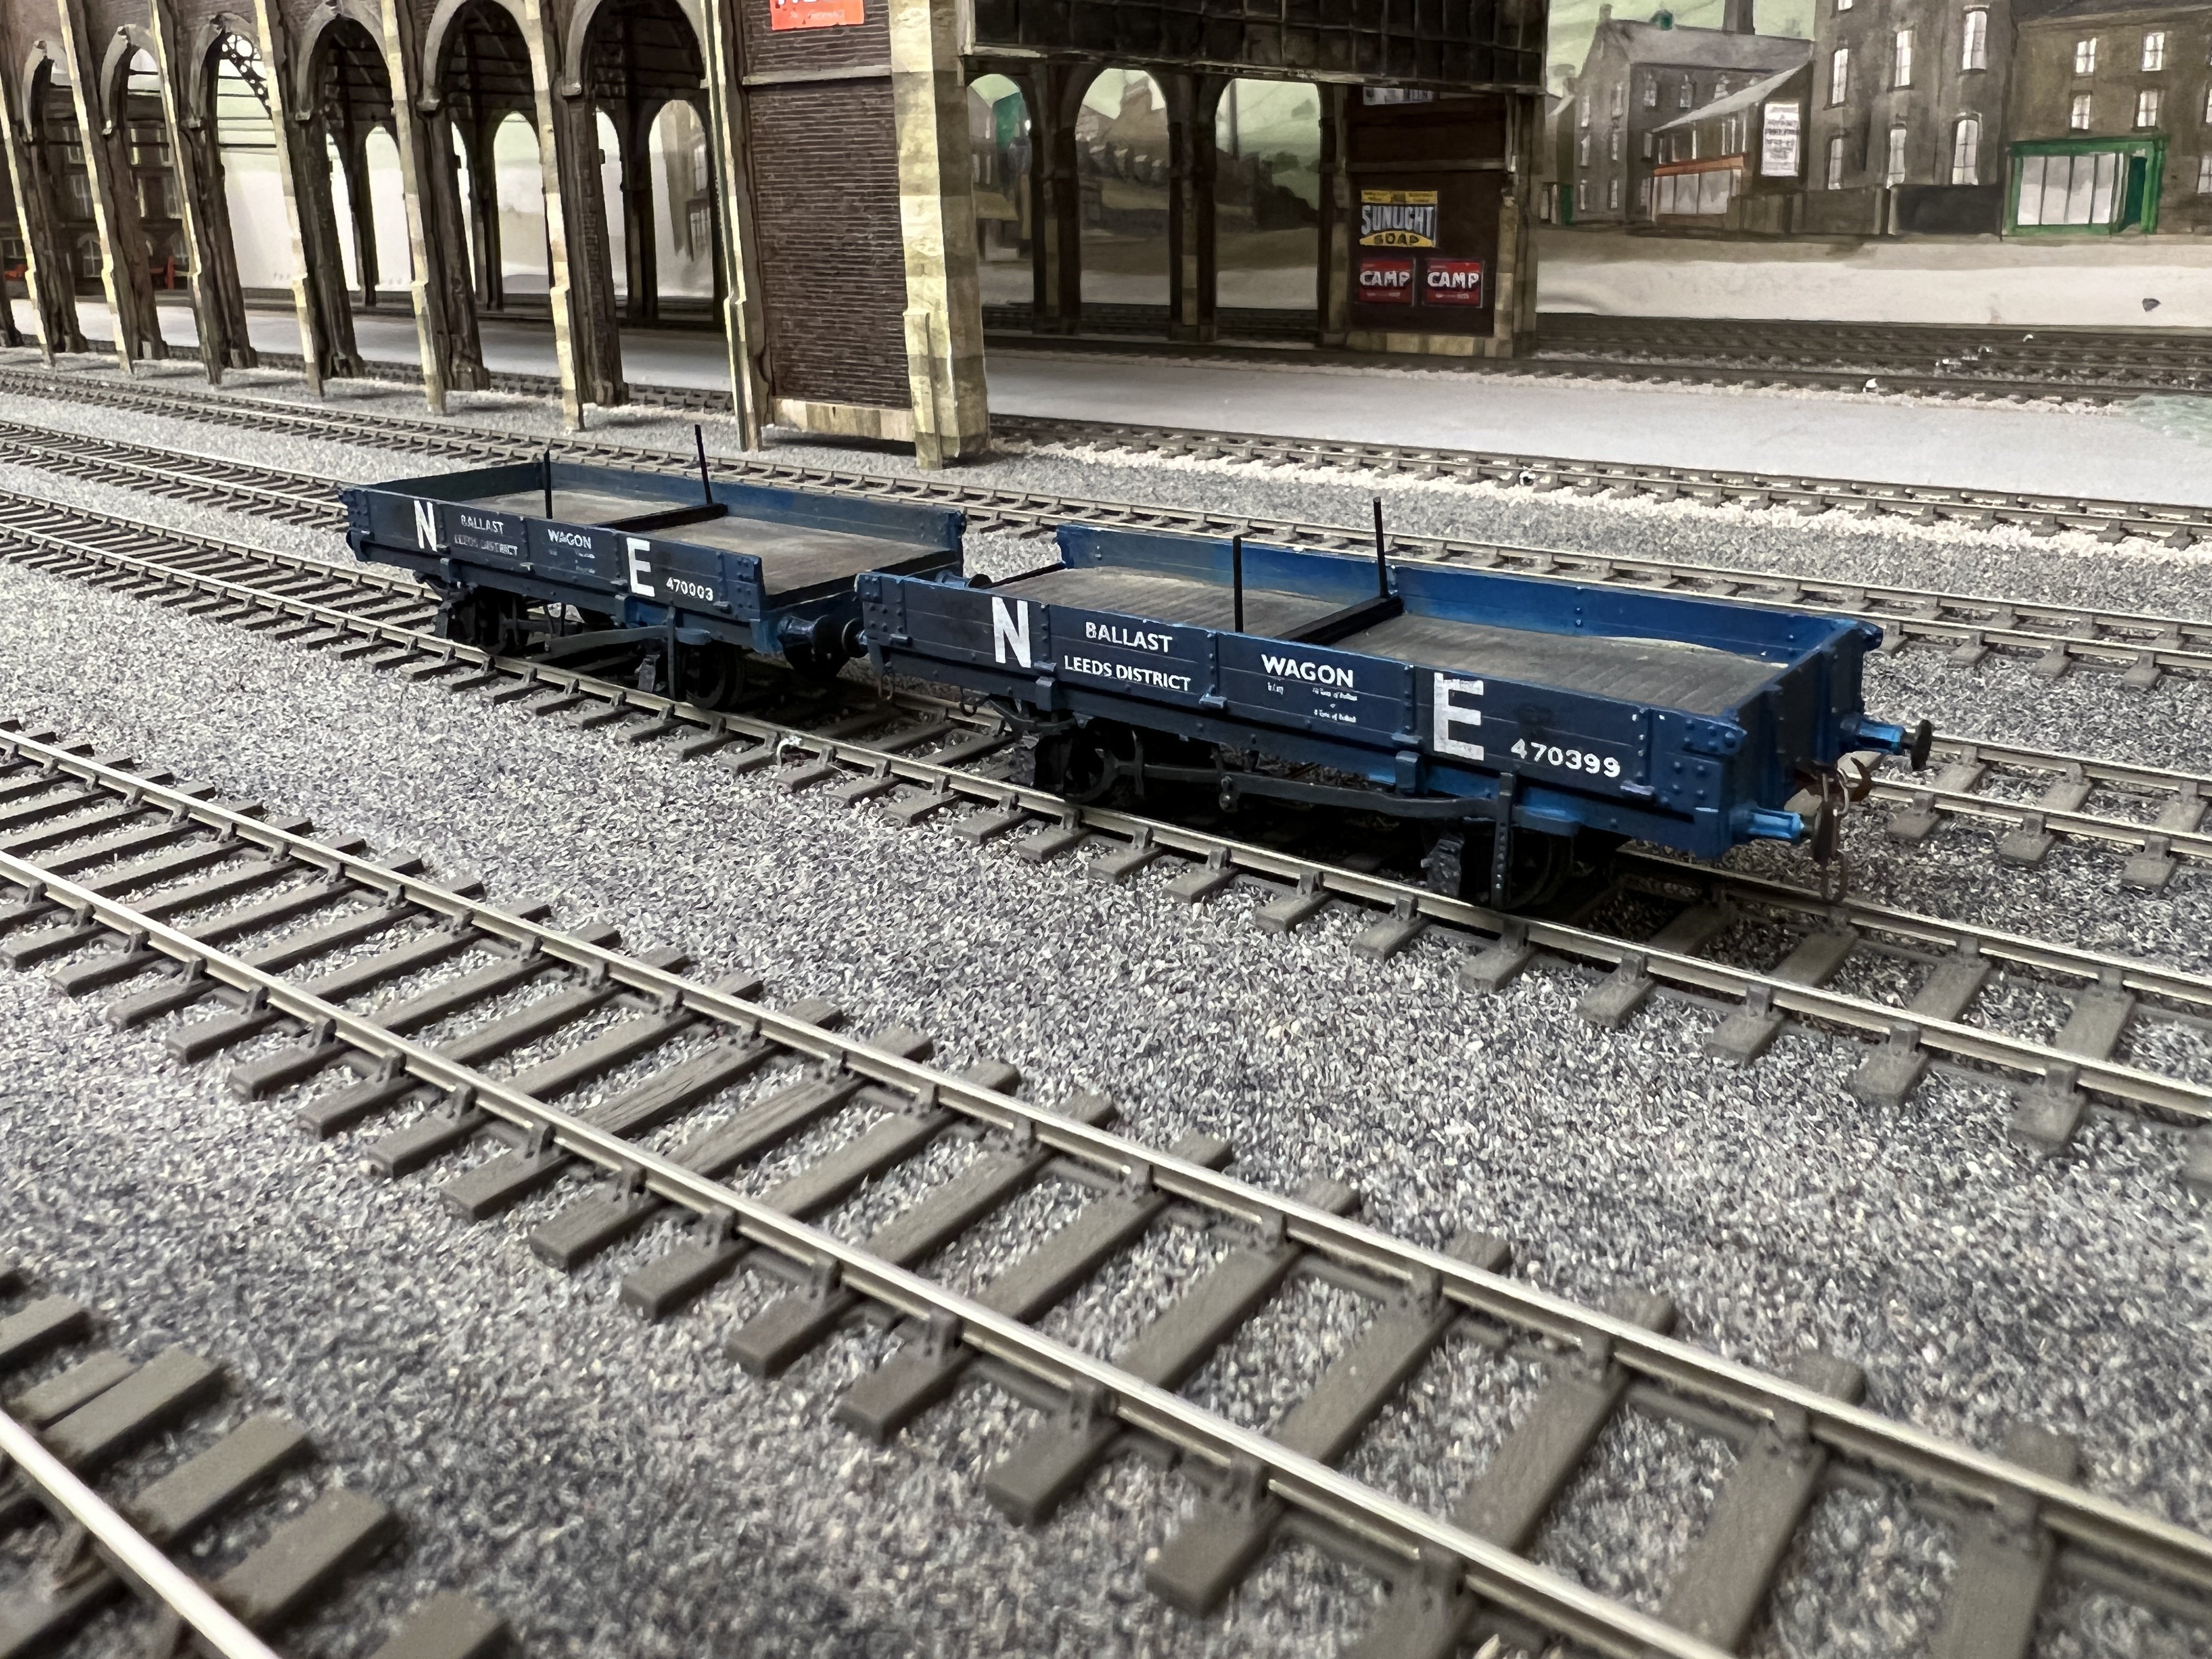
The end result for the ballast wagons with the custom transfers These have been built in the rail carrying version. Thanks
-
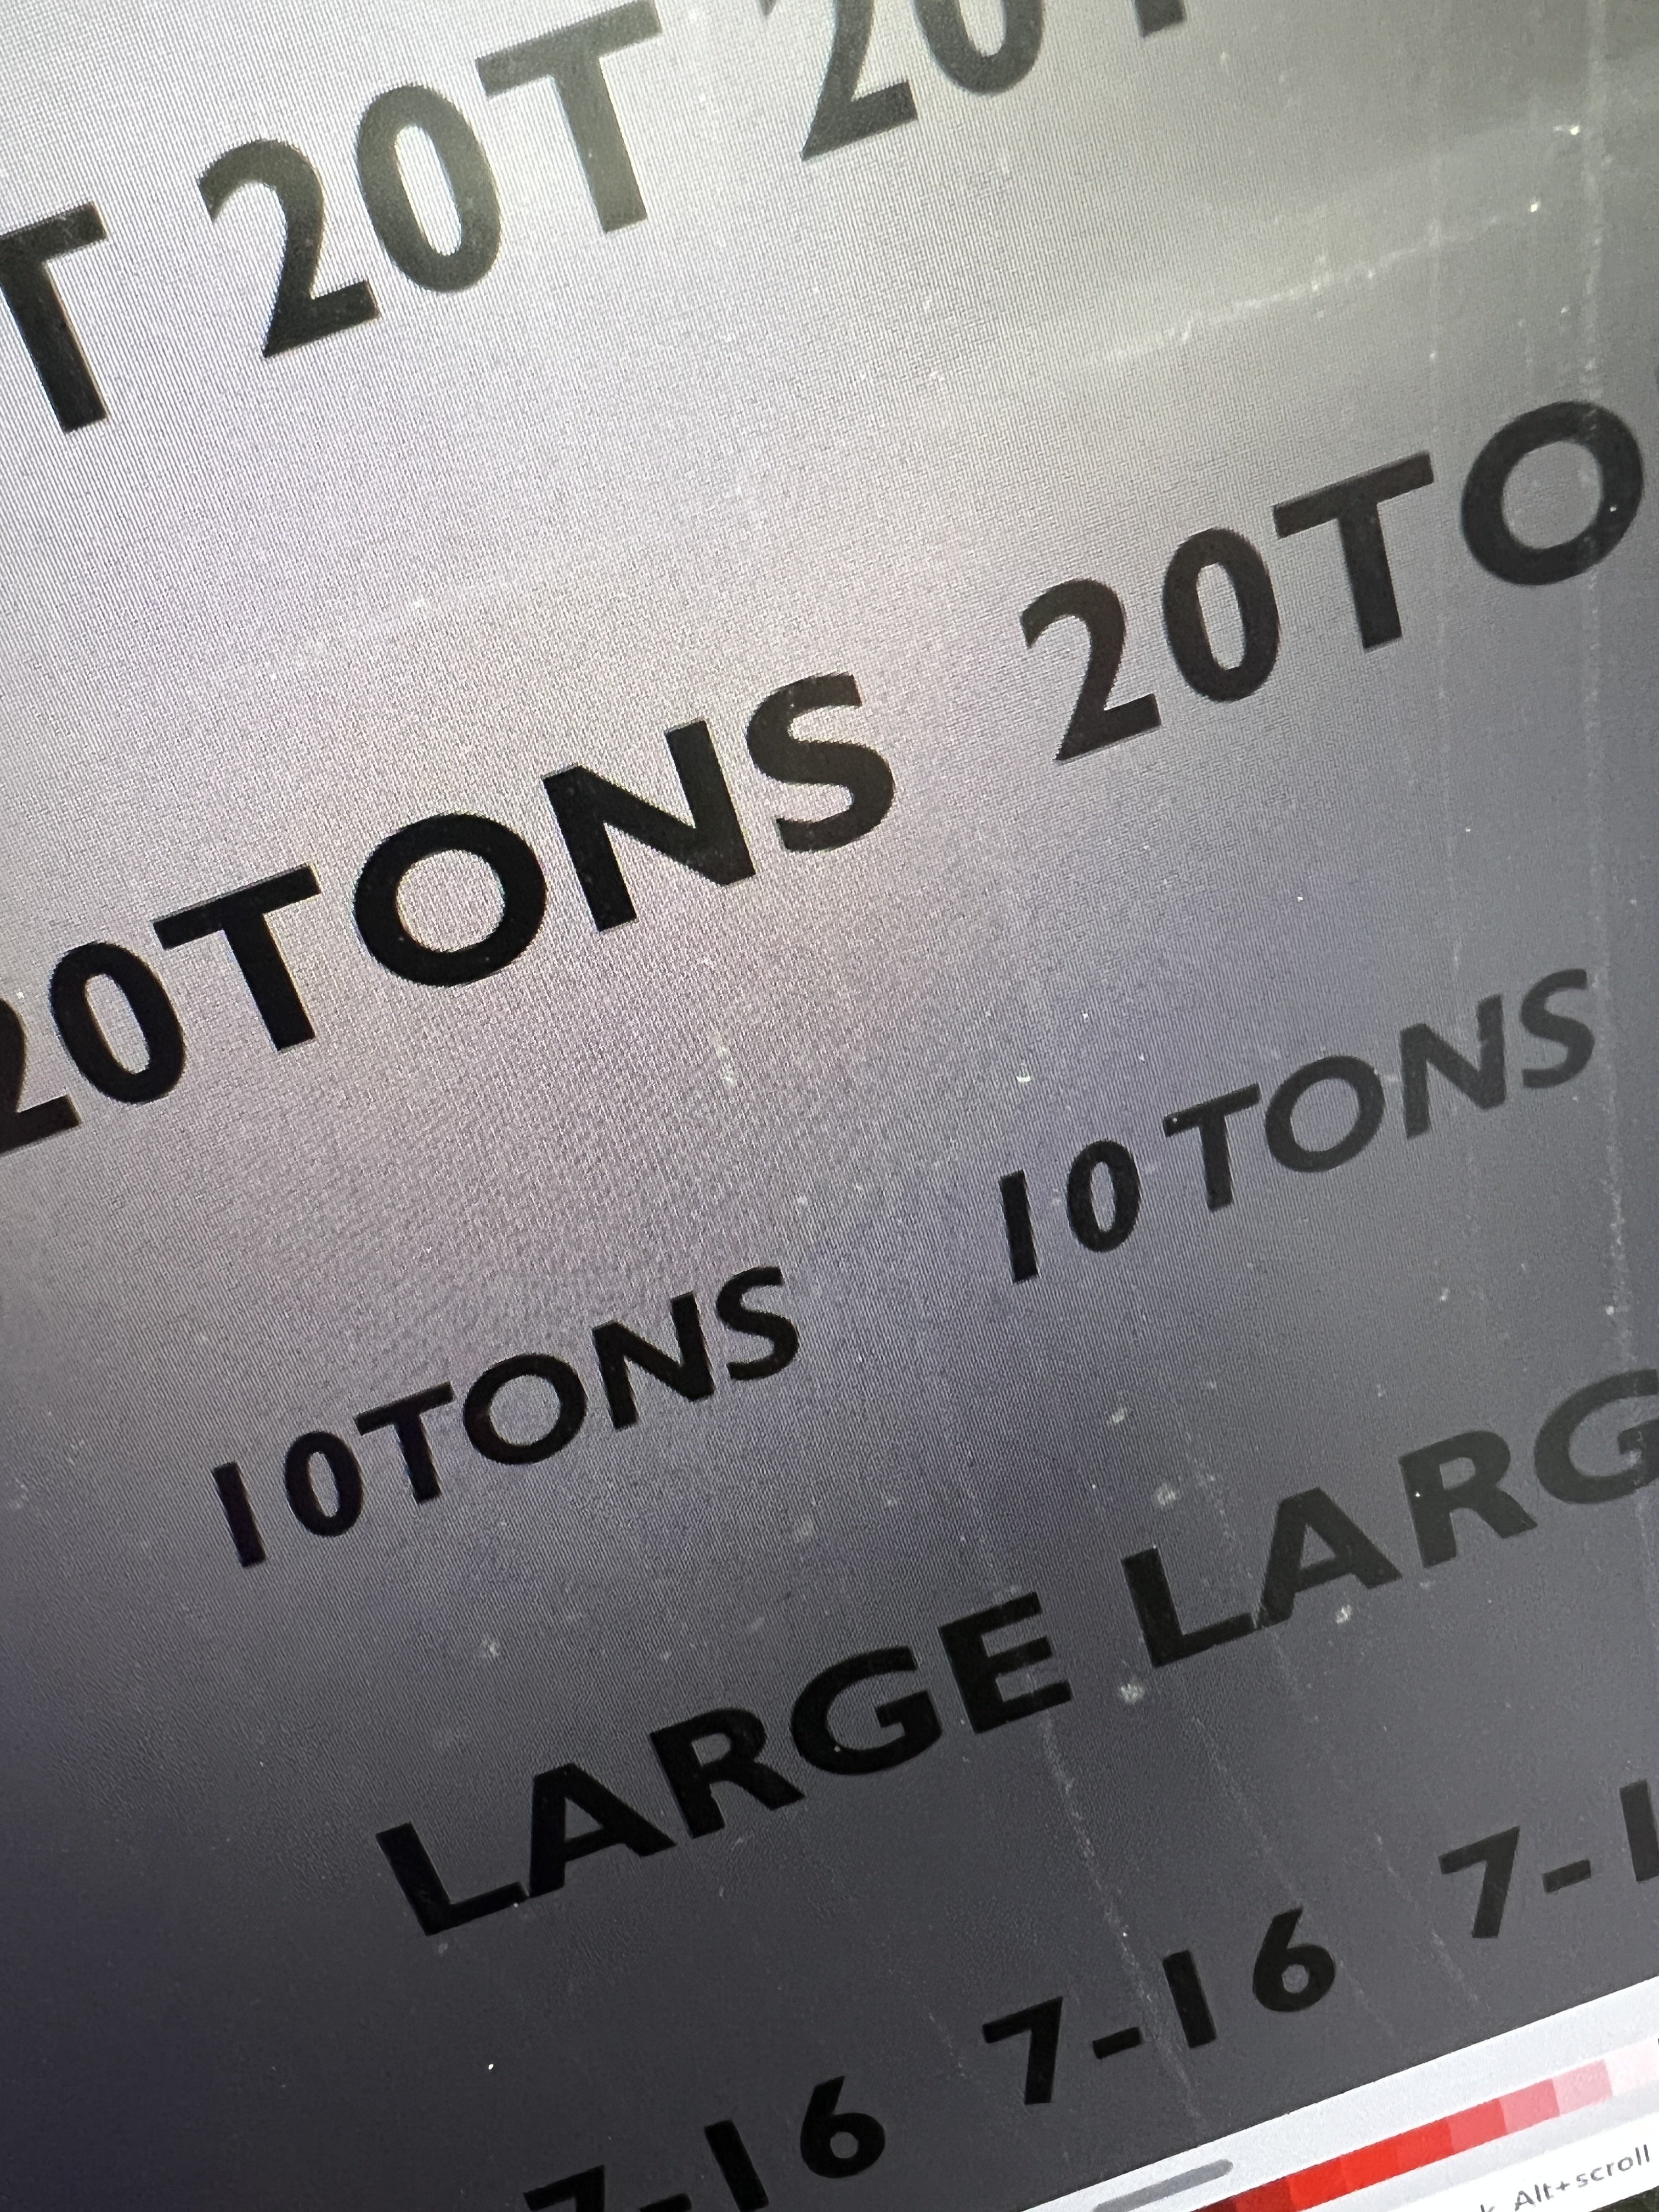
A bit of design work has been done recently. One of the issues when kit building is the lack of the right transfers in some cases, so that leaves desgining your own to fill the gaps. Spent a pleasent couple of hours working out sizes and styles, fonts etc. Looking forward to seeing how they turn out
-
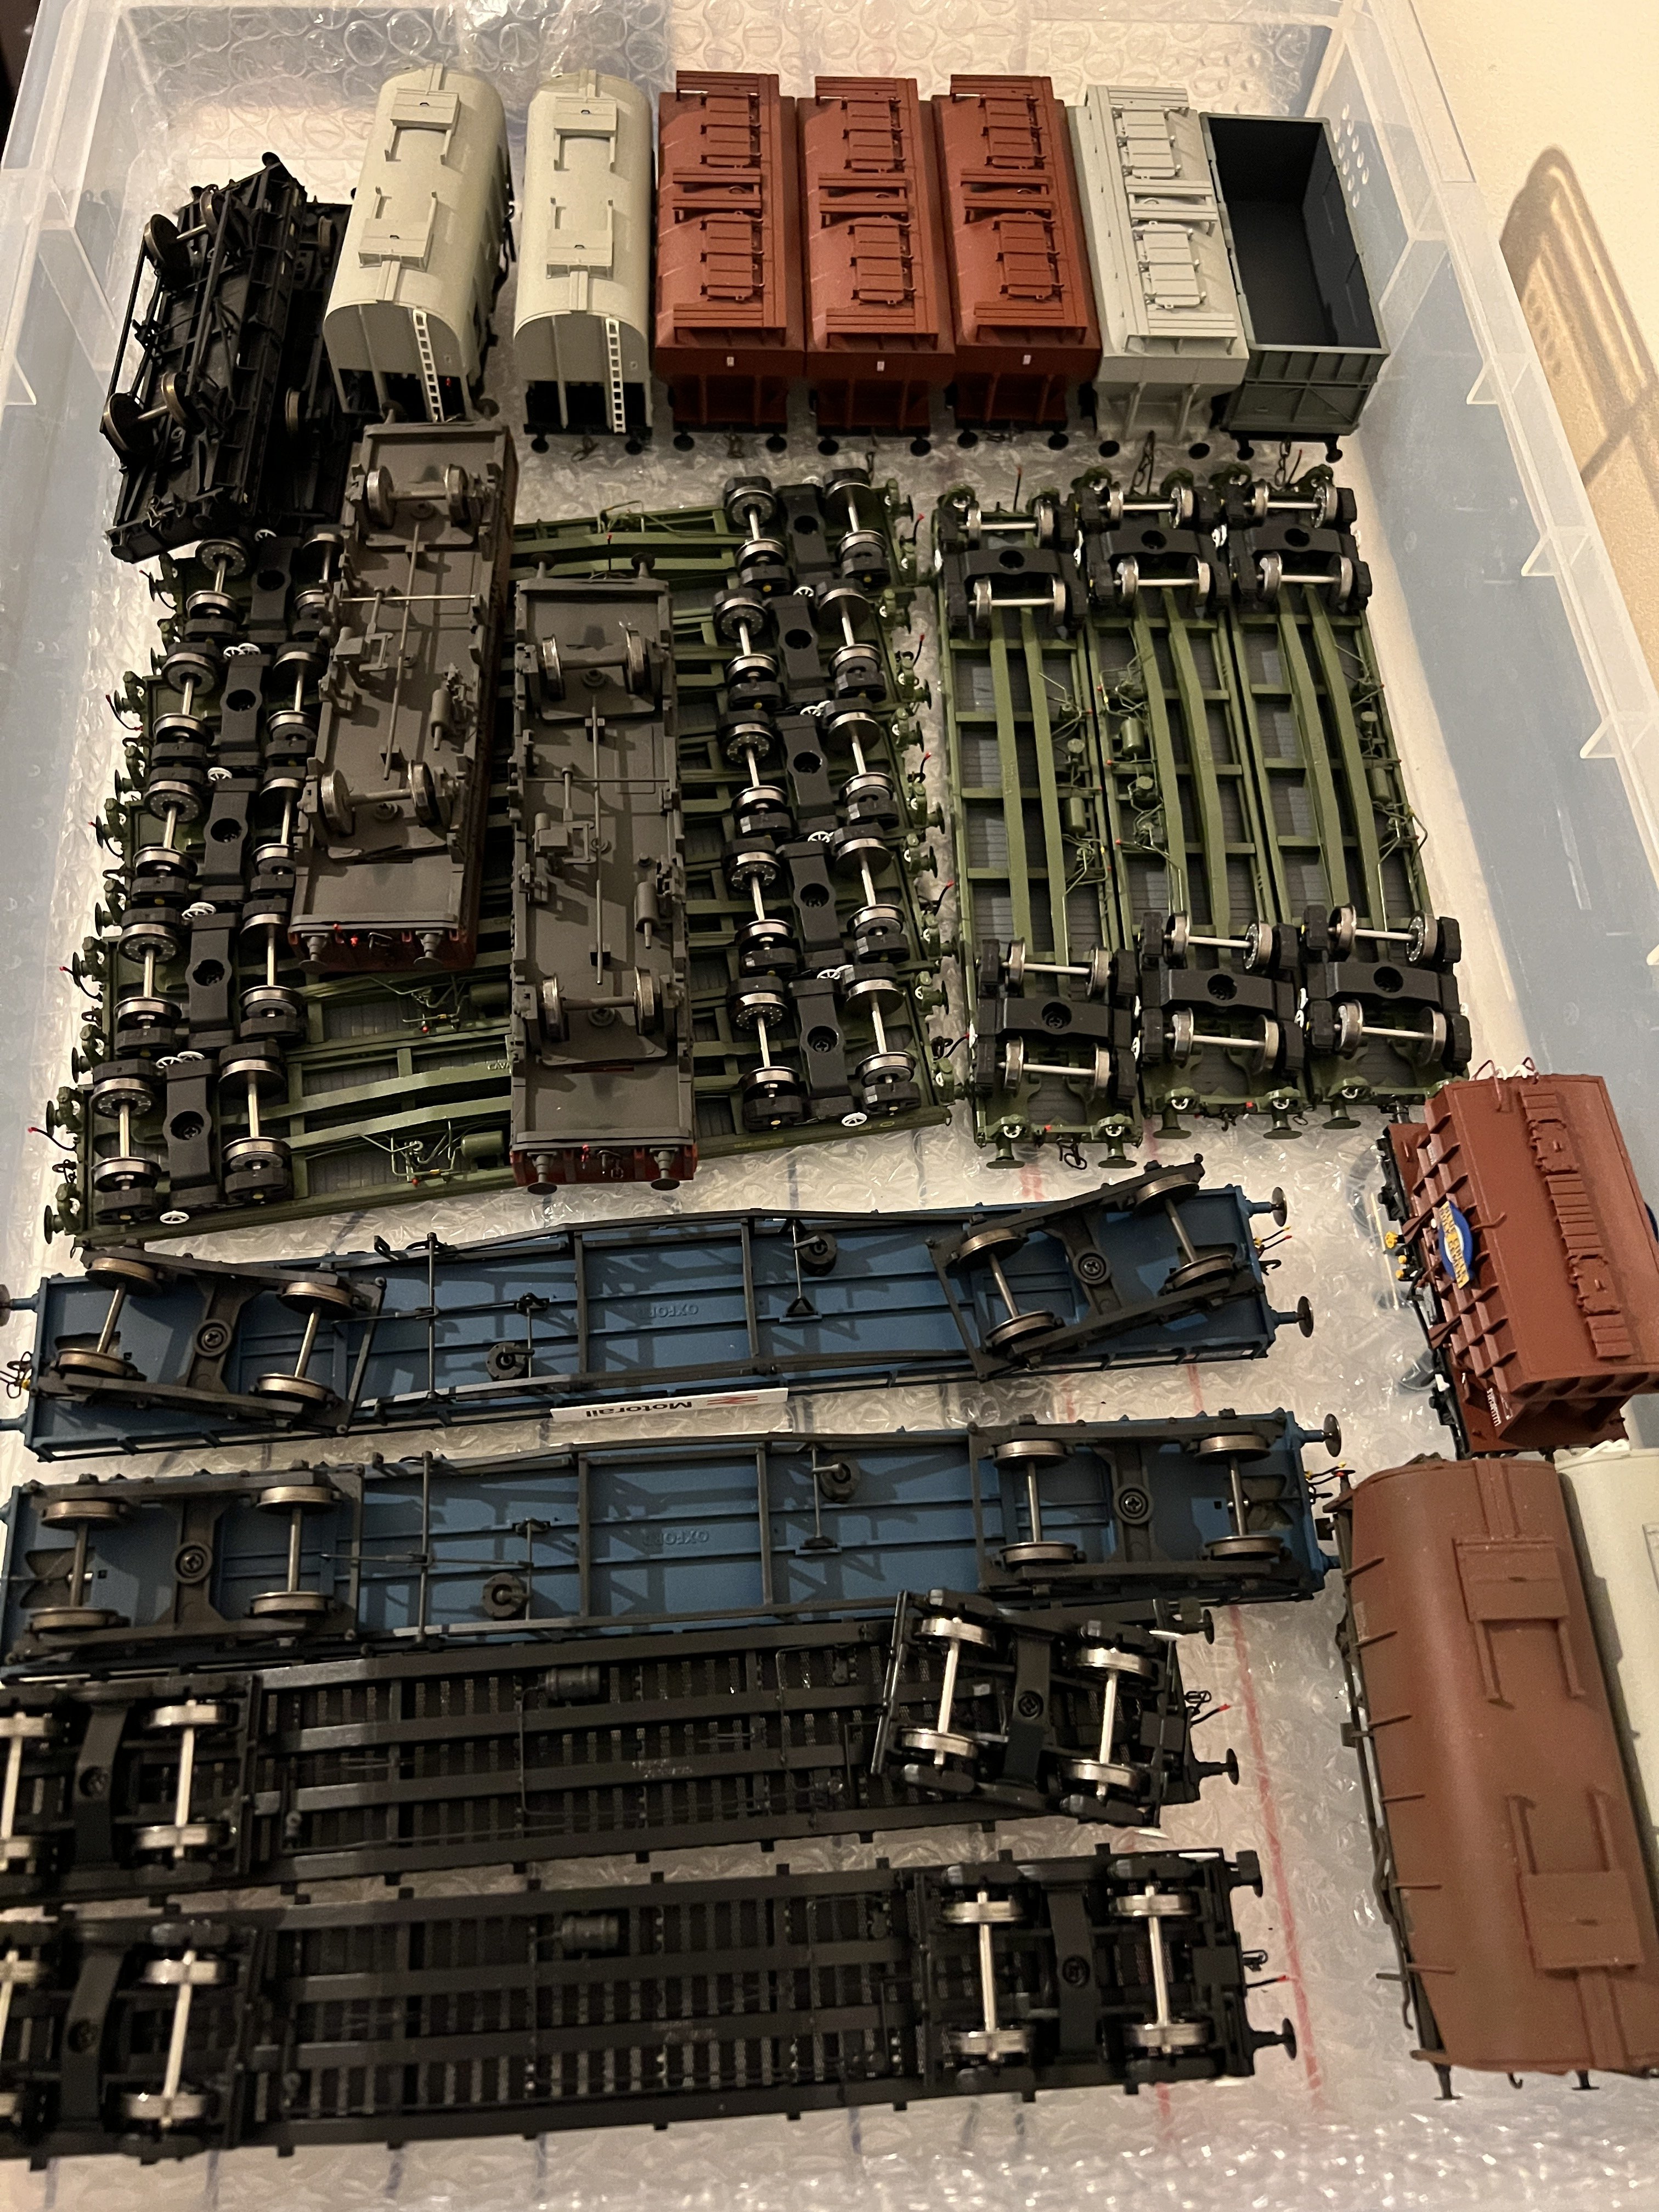
Hi all, Some more ballast wagons on the bench. I'm sure they are breeding when I leave the bench.
-
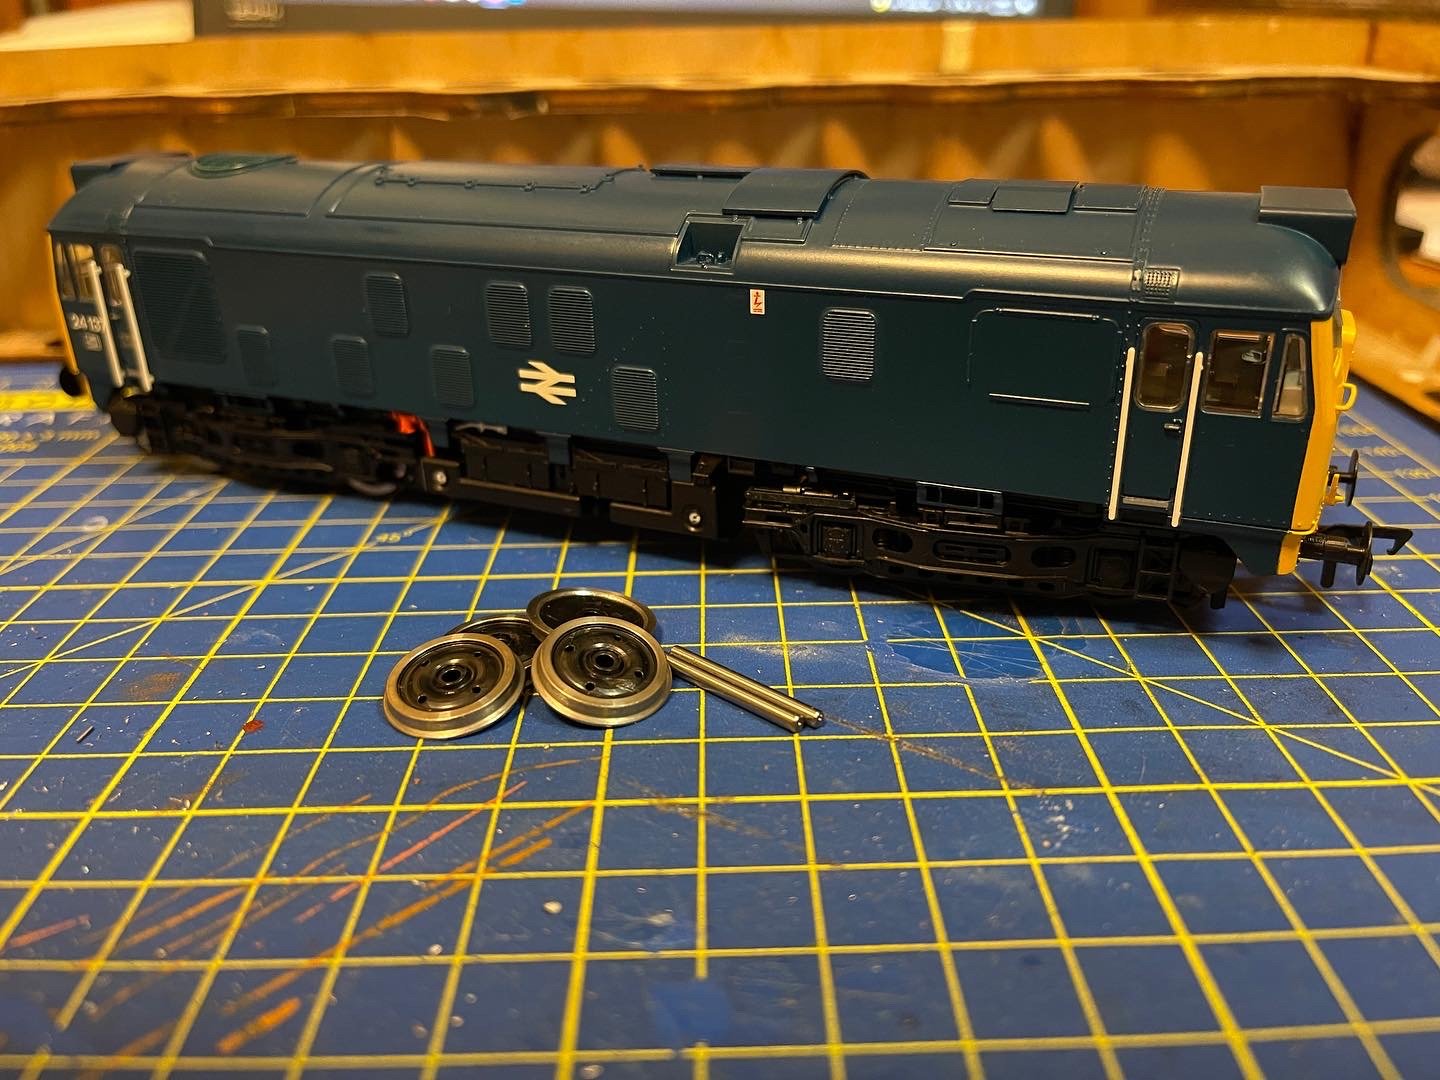
Hello all, Hope you are all having a nice weekend. Its been another busy week on the bench with a few things done. First up is a Em conversion of a bachmann class 24 using AG wheels.
-
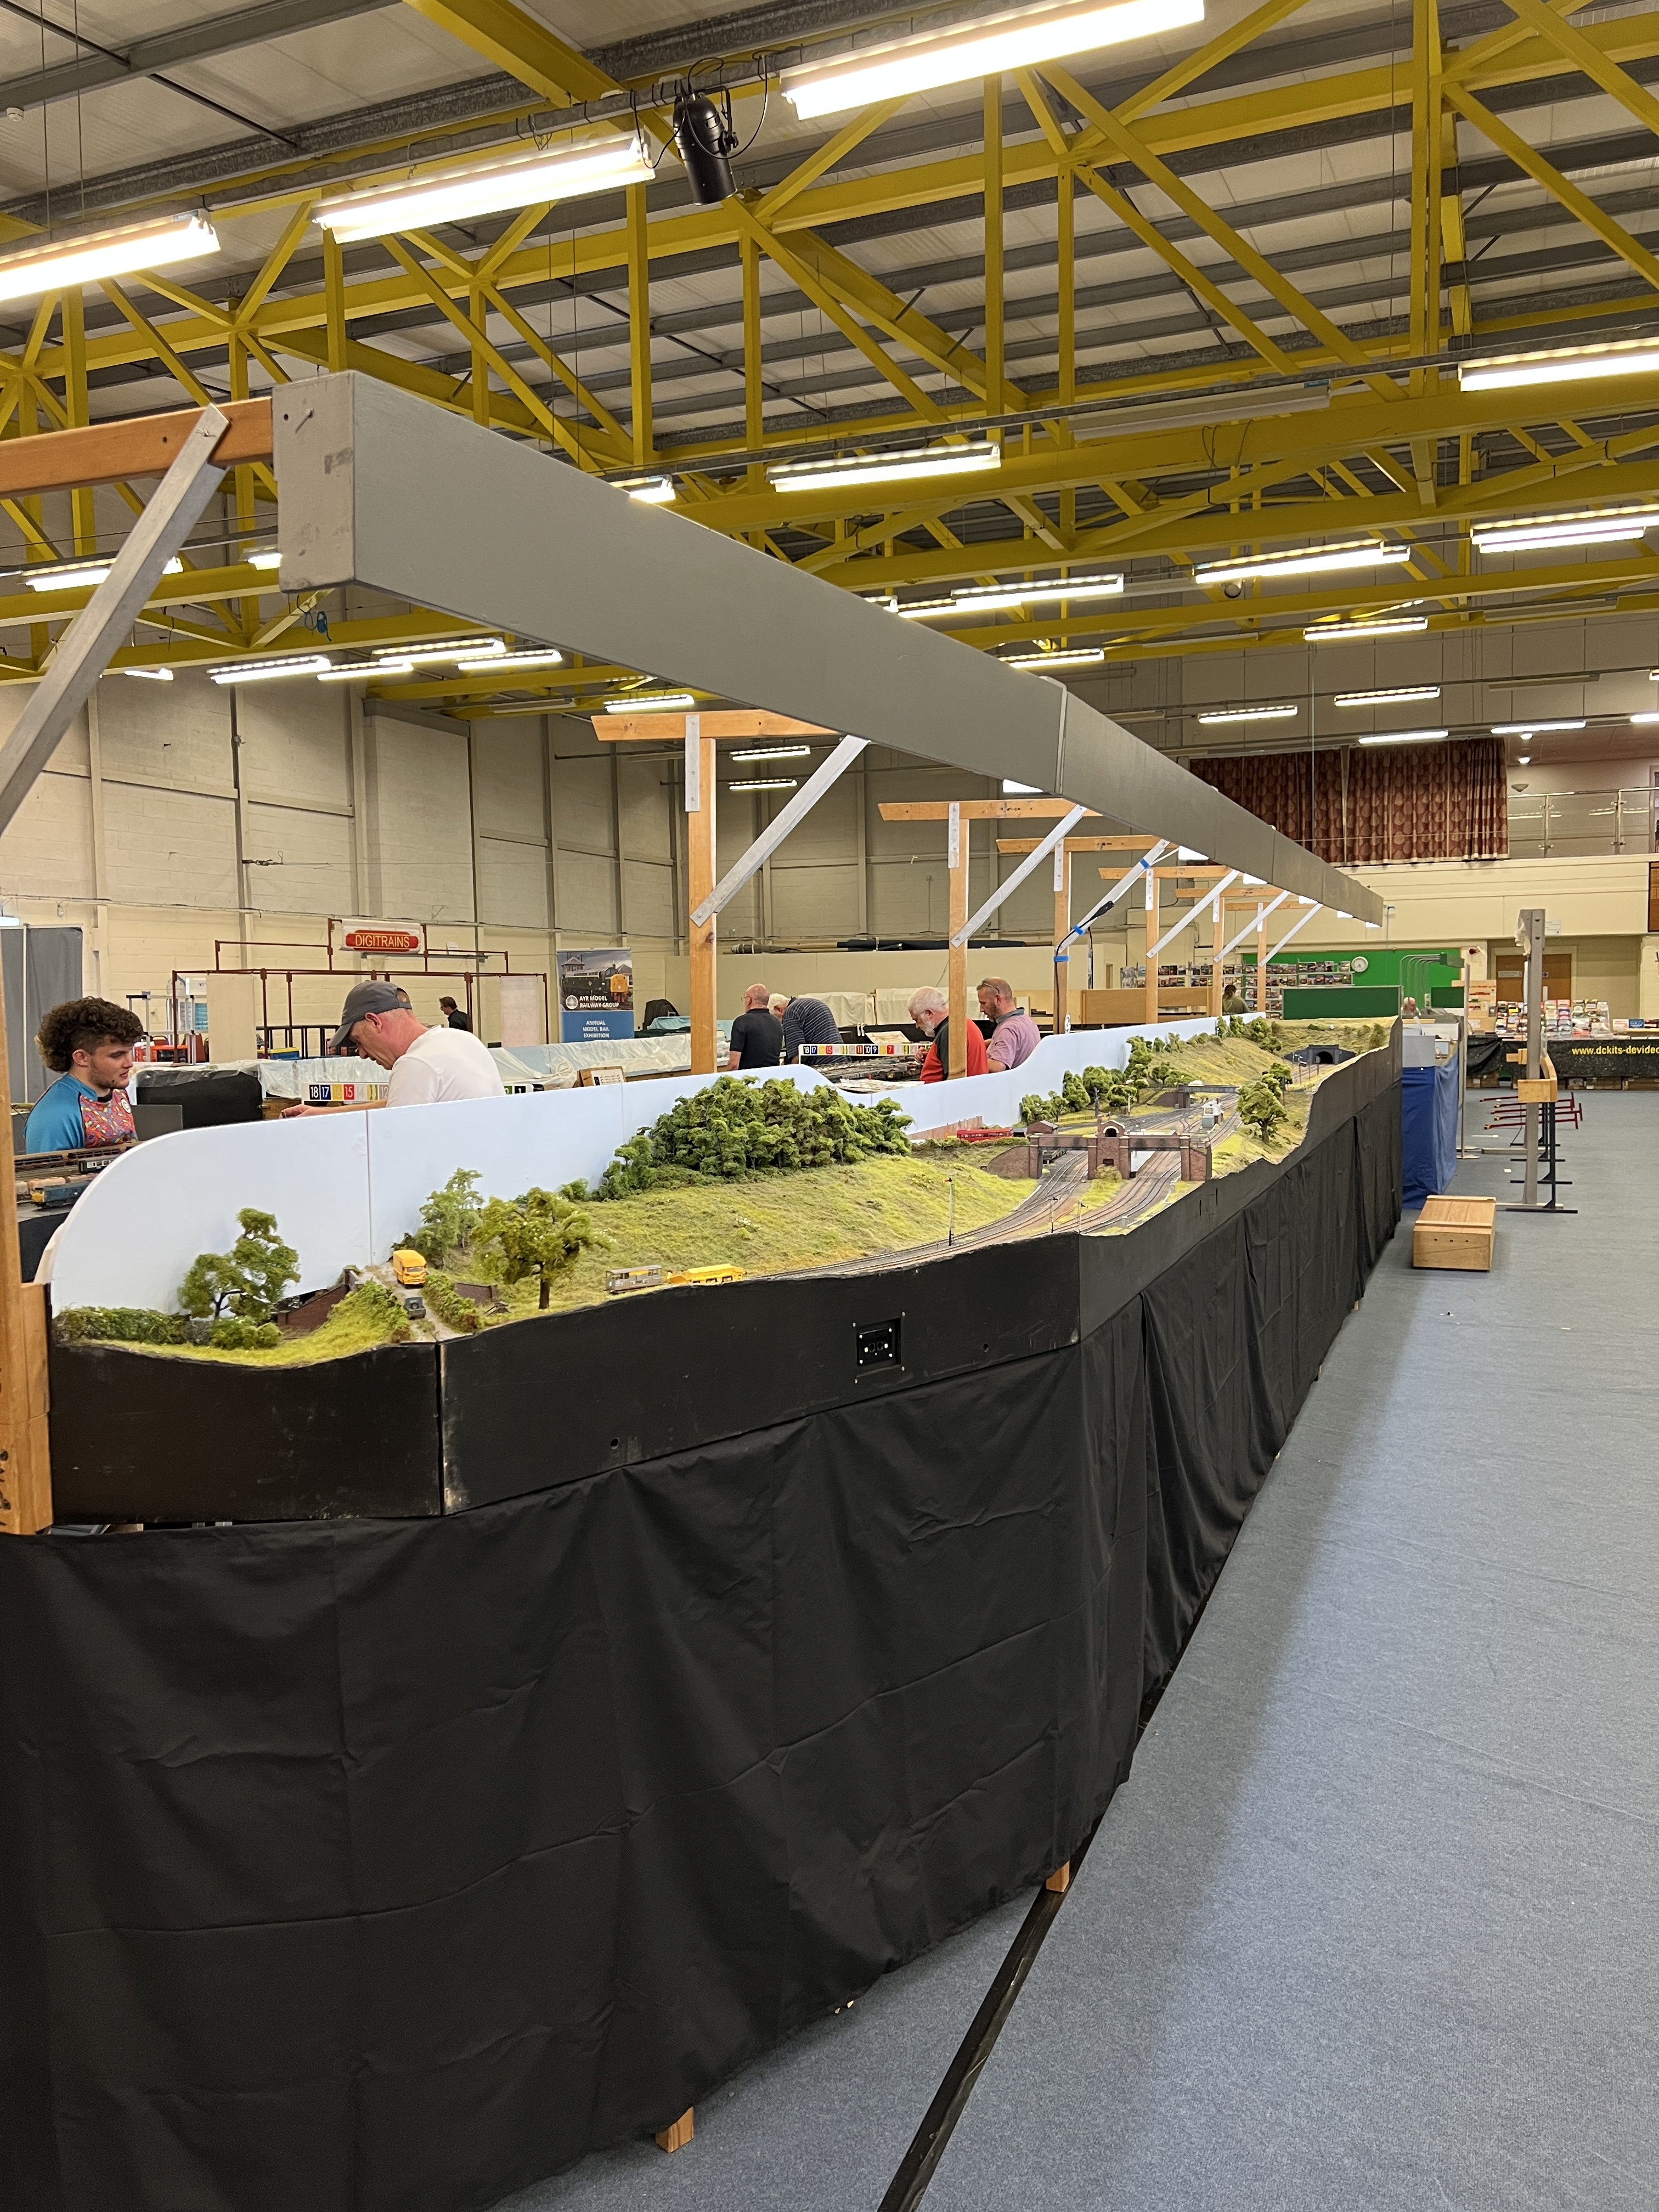
Thanks Stephen. We never saw it when the Wolverhapton club origonally had it, only in videos and photos. Not sure why with the amount of shows we have attended with other layouts. The first time we unpacked it after getting it we were impressed with it. you dont realise how big 40ft is until you see it in the flesh. Its taken quite a bit of work to get it to where it is now DCC wise and has caused some head scratching but we can't wait to get out with it in June at Perth as we have a few suprises both on and off the layout that will be debuting at the show.
-
Its been photoshopped in. The photo was taken for an article that we had published about the layout in the May 2019 issues of British Railway Modelling Magazine.
-
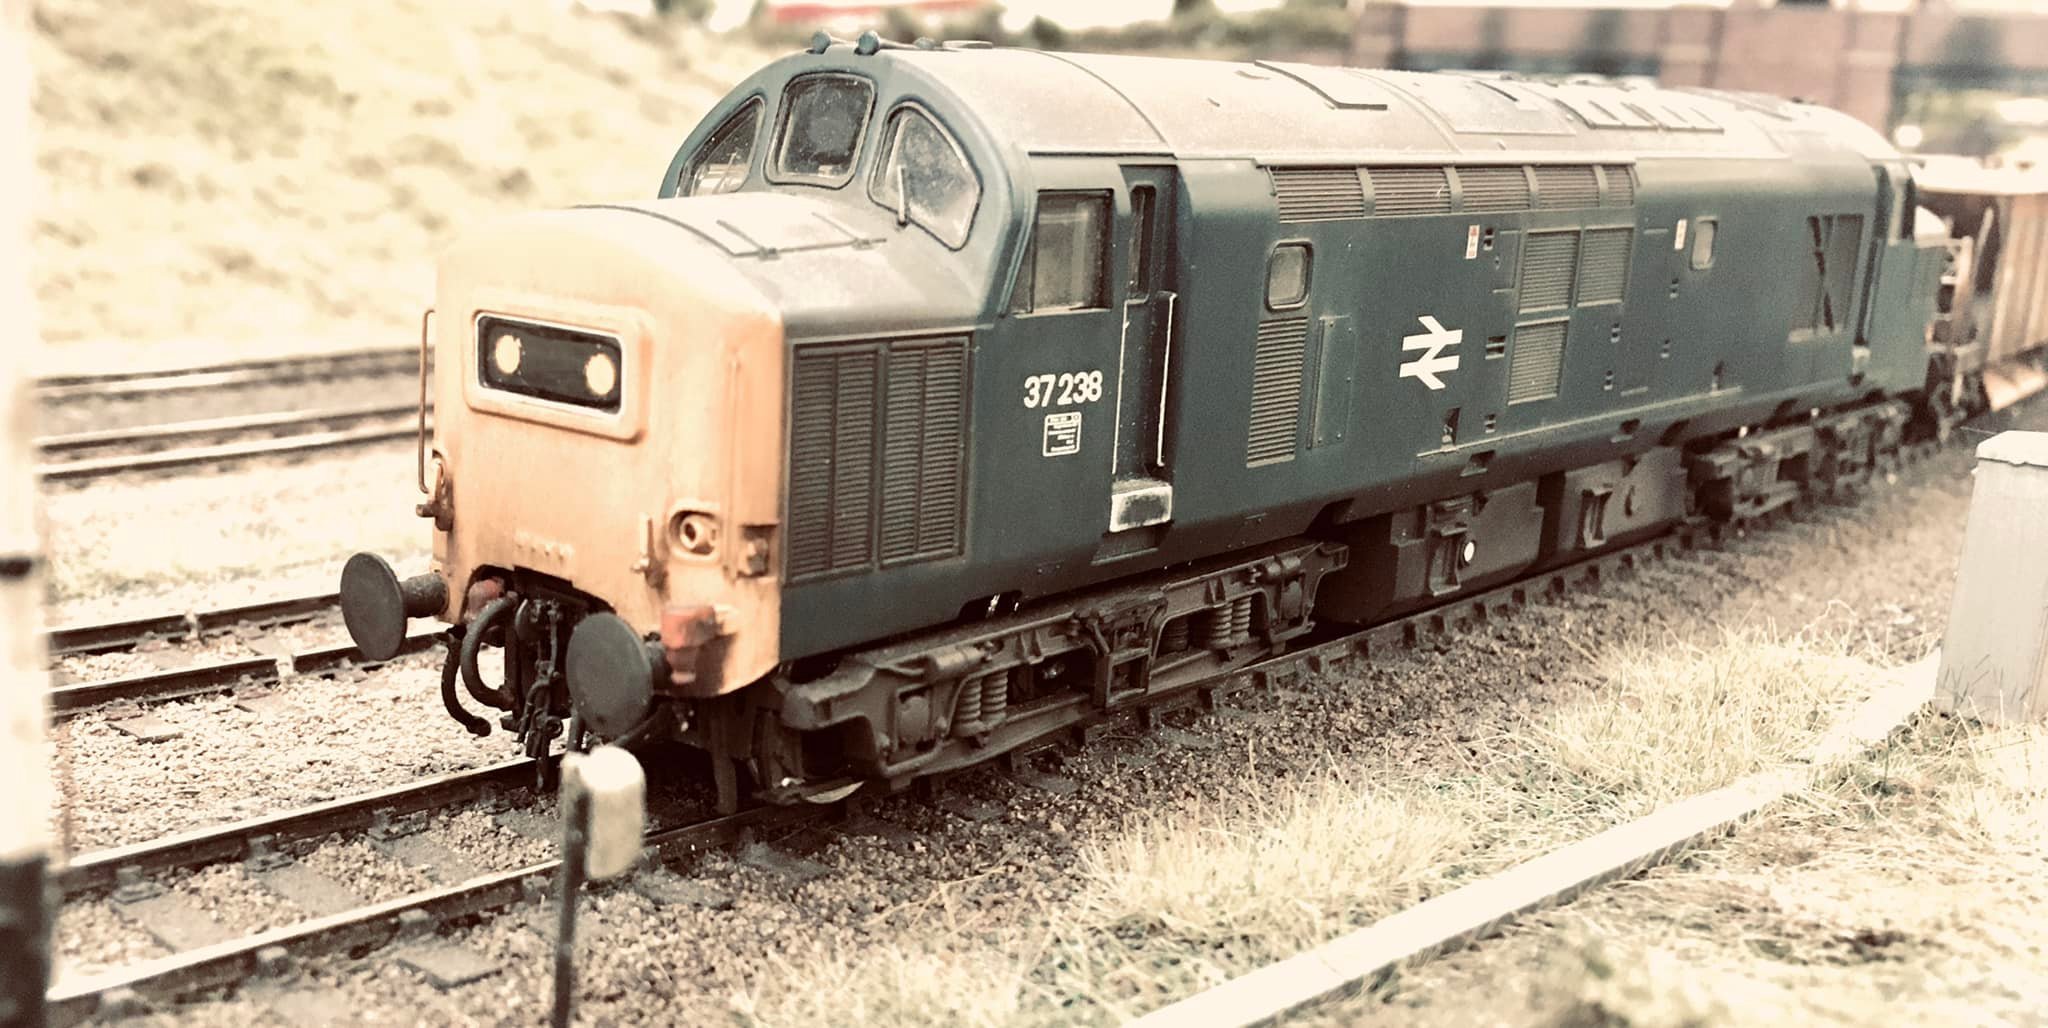
Thanks, I always try to get them looking like they would have done. Some times it can take ages to find the right photo for the look I want.
-
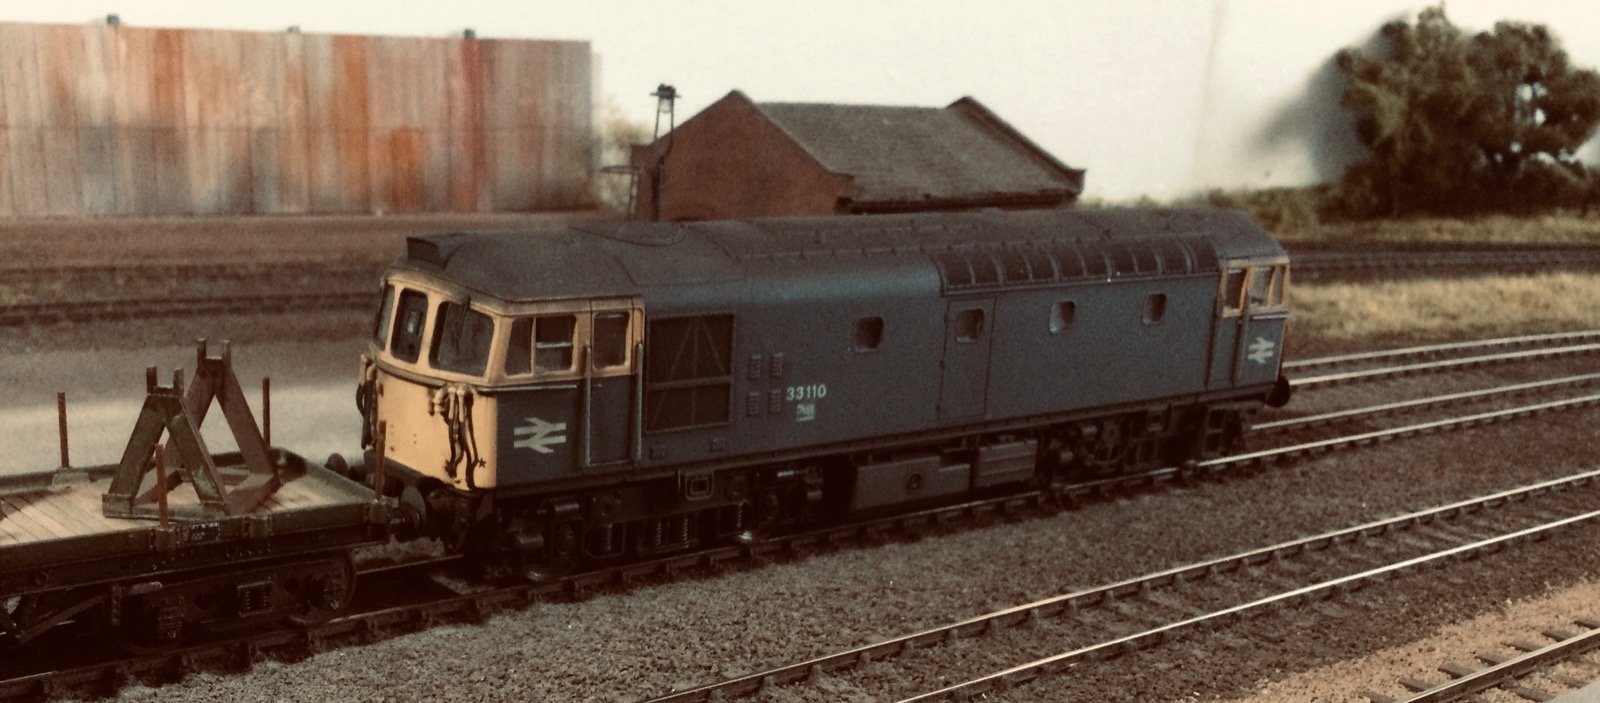
Its been a while since I last posted in Thorne Yards thread so thougt I would pop up a few photos. So first up is 33 110 with one of the new cable wagons.
-
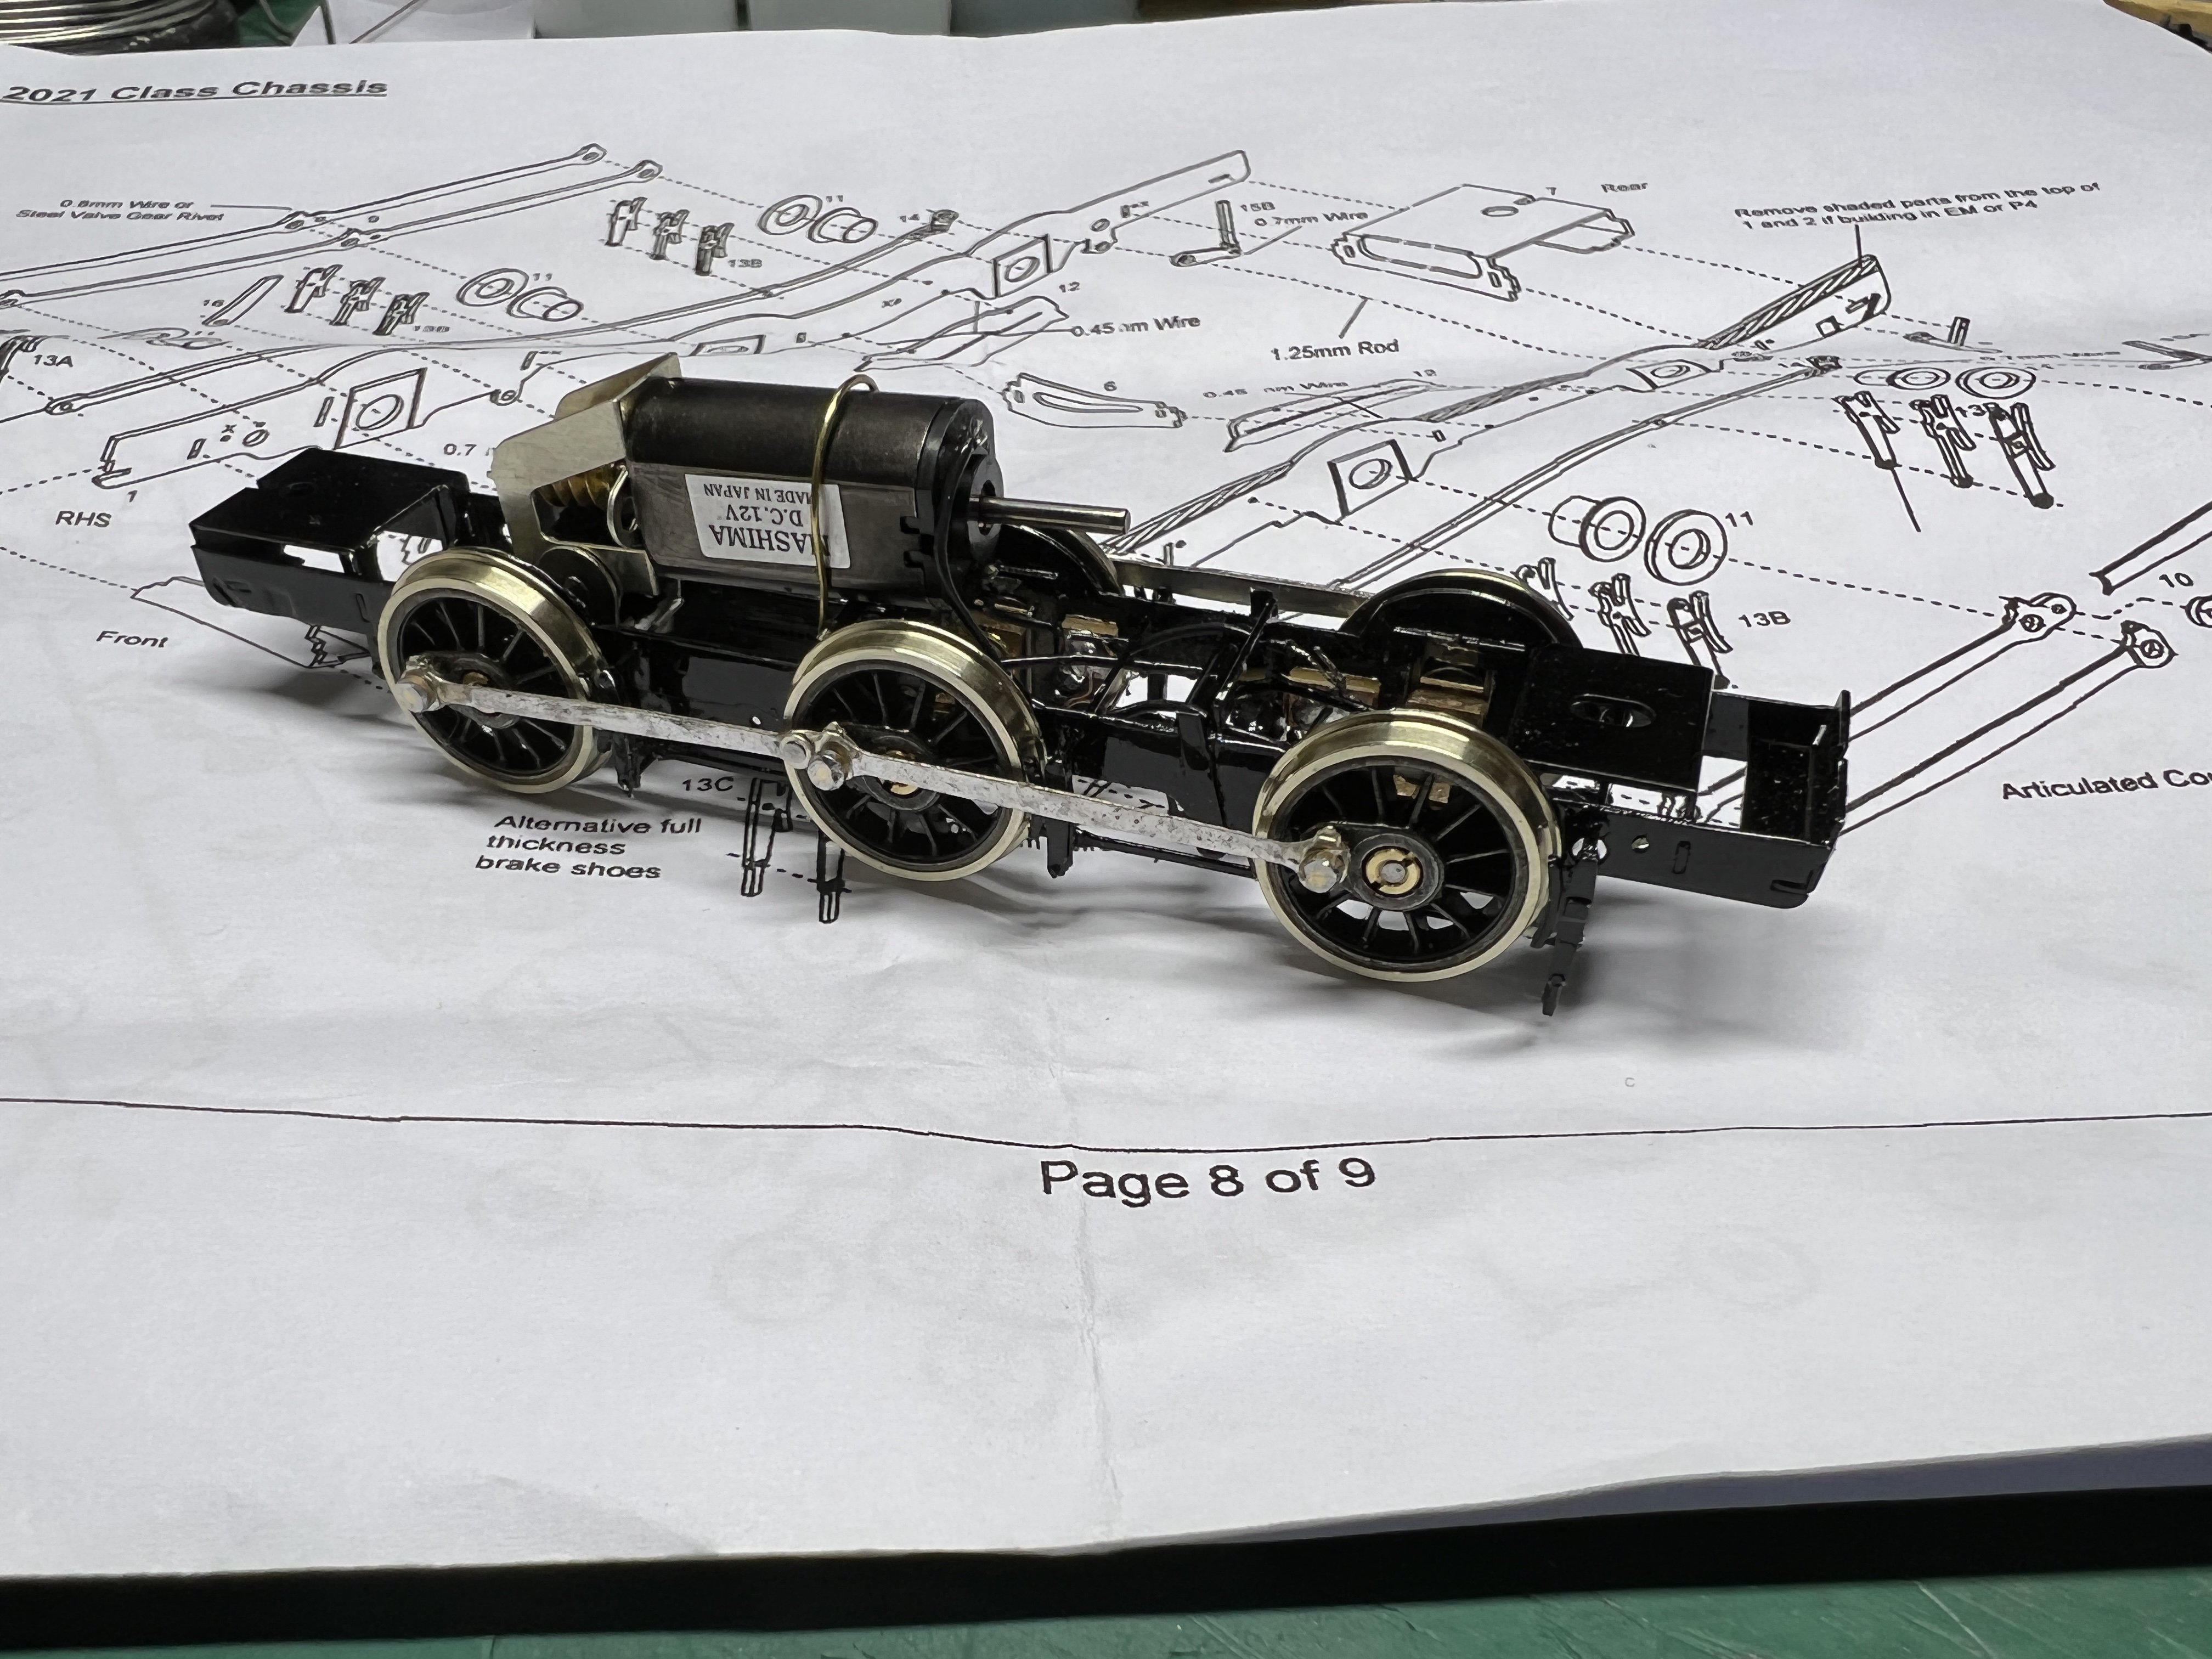
Thanks, They are standard High Level kits hornblocks. I personally I don't use anything else. Hi Joe, At this moment in time I'm not sure as it will depend on how much space is avaible in the bolier area as its been fitted with sound and a stay alive so a bit of stuff to fit in there. Thanks
-
The bench has been a bit busy recently with a few things going on. So first up, I have been building a couple of EM gauge chassis. This is for a GWR 2021 class.
-
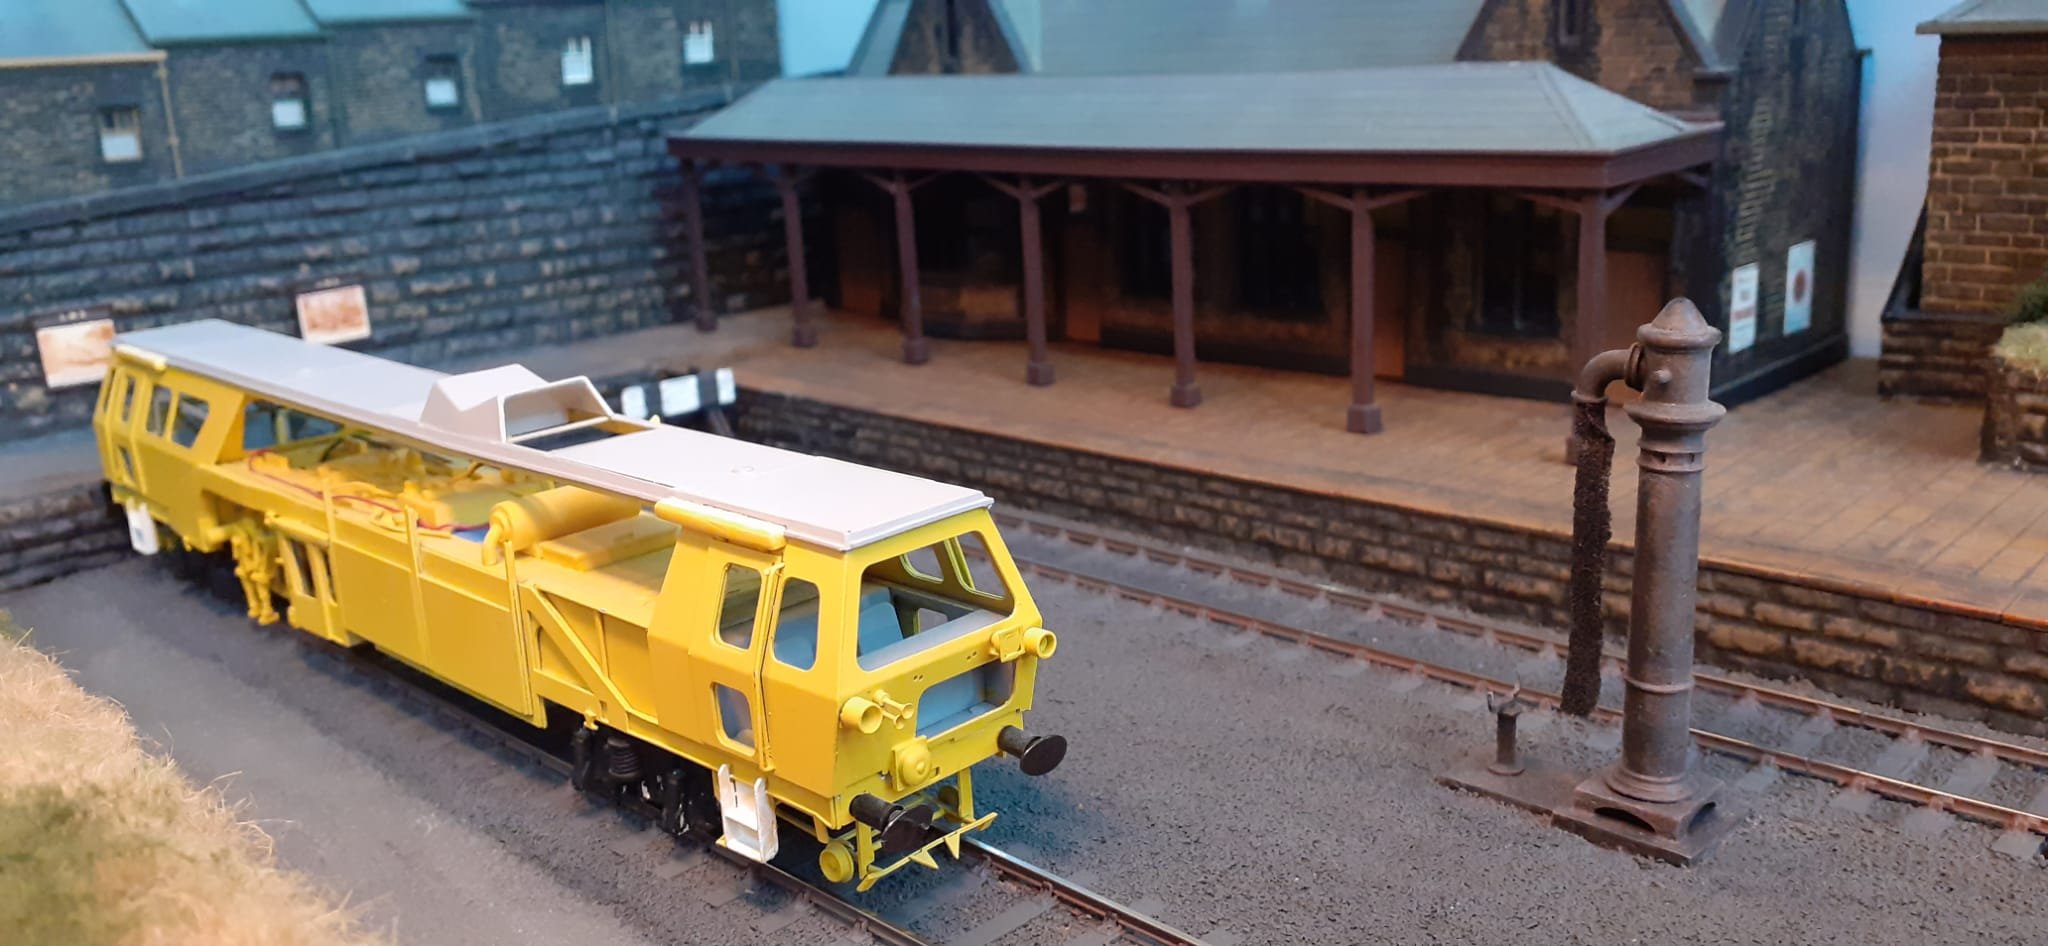
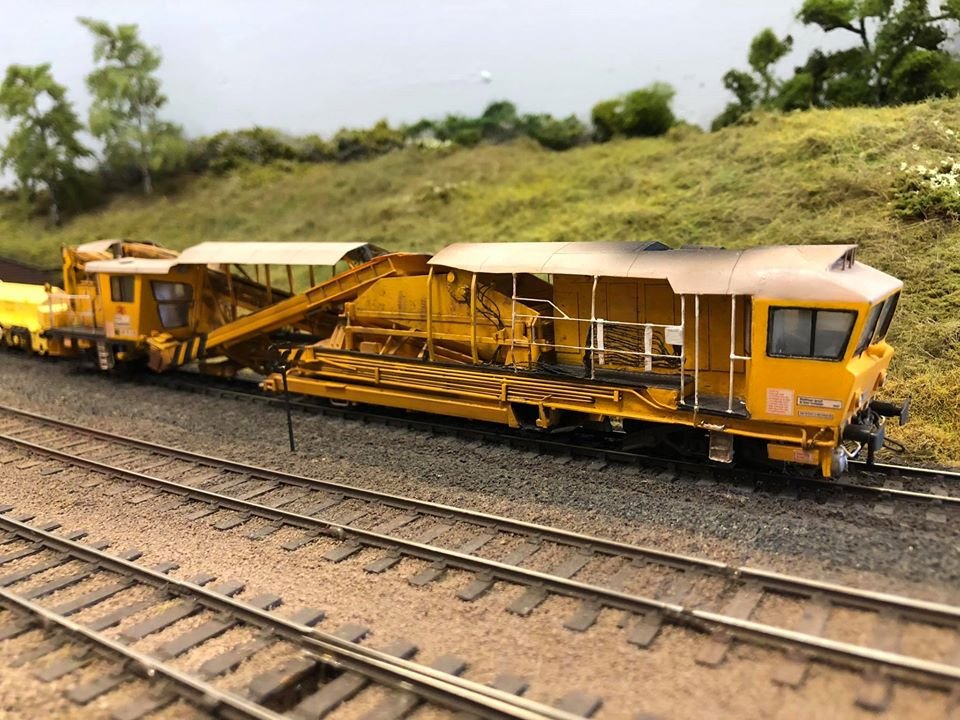
As we had the Deltic appear on the layout for the last hour and a bit for the show we also got out some other items that don't normally get a run out The tamper is still under construction so was having a test trip or two out. Just have another couple of them to build.