-
Posts
236 -
Joined
-
Days Won
10
Content Type
Profiles
Forums
Events
Gallery
Blogs
Store
Community Map
Everything posted by Si2020
-
HI, I will see what I can do as the only flat cars I have are in 1/35th scale
-
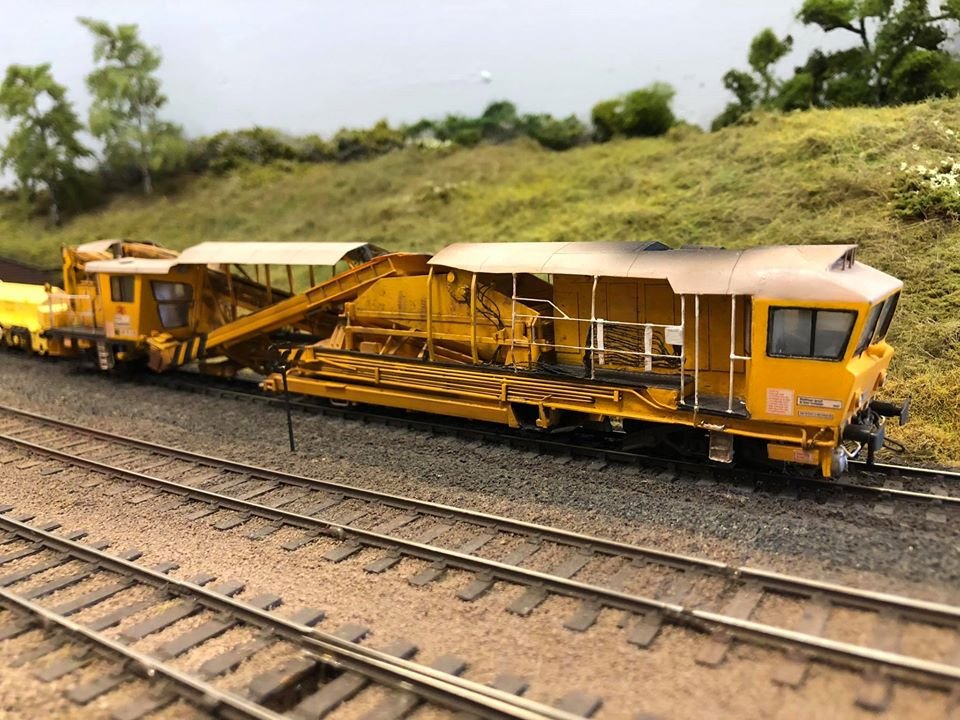
Morning all, So keeping on with the american stuff (In the British section of the forum ) Here is a flat car that i weathered up
-
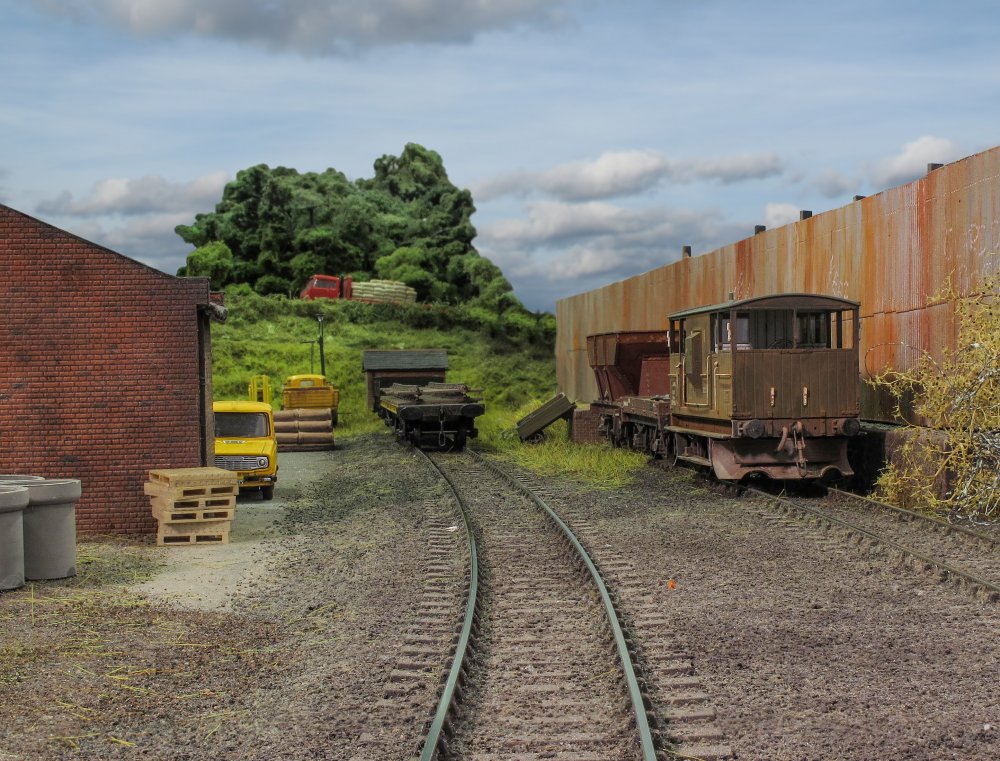
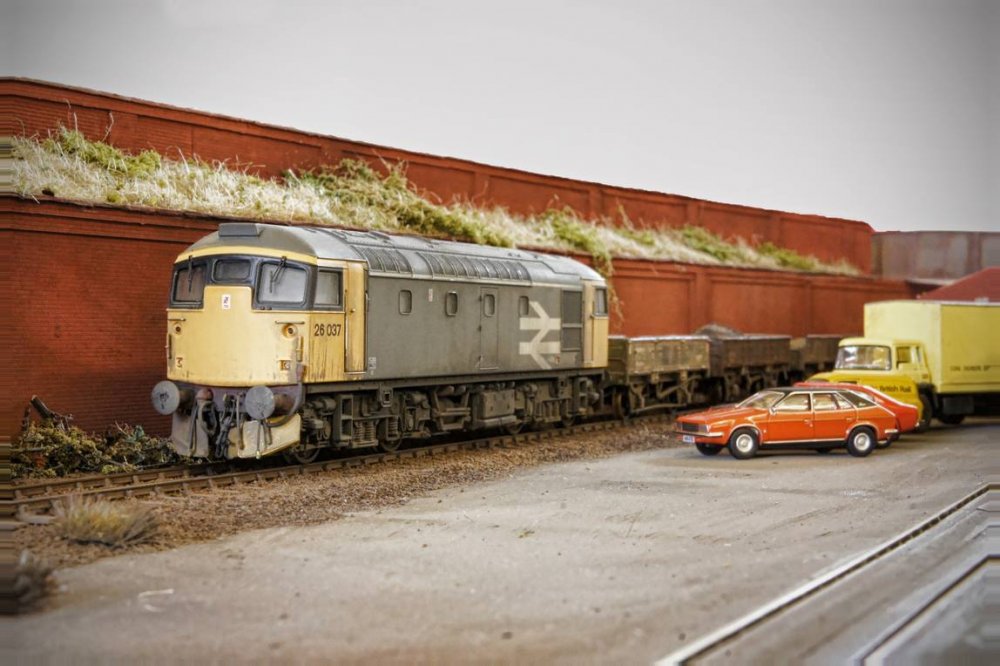
Hello, So its been a while since I last posted. Not much has happened to be honest as with having all the show bookings cancelled/postponed there hasn't been a reason to set the layout up. So here are a couple of photos taken at the 2016 Derby show, I think I am working my way though the pile of stock kits for the layout as old converted RTR stock is phased out. I will post up some photos of the kits as im building them if people are intrested?
-
HI all, Whats this two post in one day........ Well I forgot to say that we have had some show confirmations for Charwelton into the 80s So we are going to be at the following shows over the next couple of years. 2022 Perth June Wigan October 2023 Railex May Whilst the above shows are in the UK, we do attend international shows both as visitors and exhibitors (If we are invited). If you are at any of the abve then please pop by the layout and say hi, none of us bite.....honest.
-
- 85 replies
-
- 11
-

-

-
-
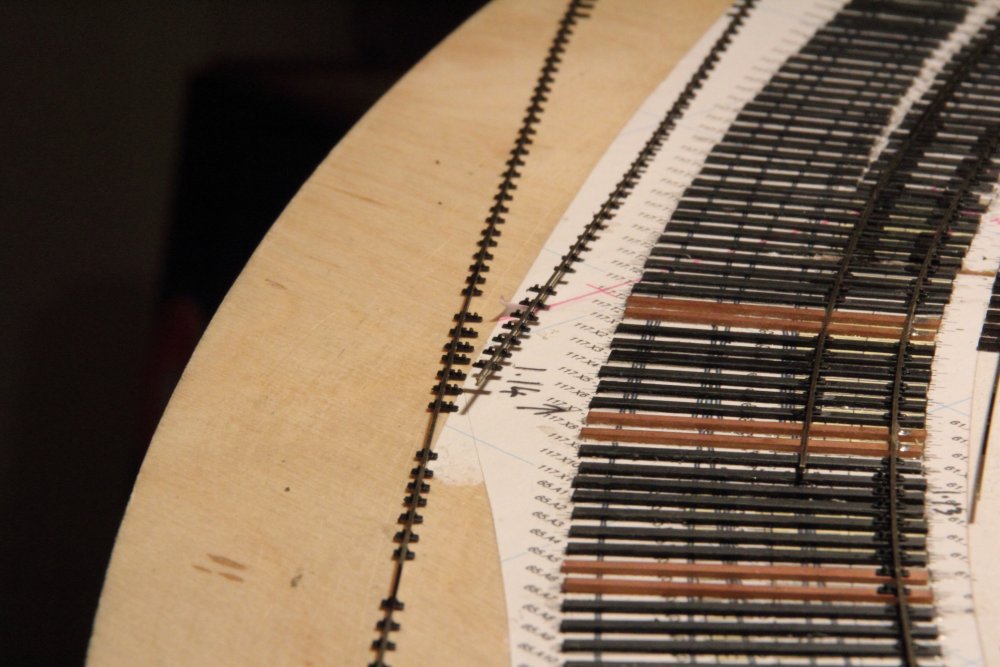
Some of the rails being added to the sleepering. I had also best pull my finger out and crack on with it as the layout now has its first exhibiton booking for next year......
-
Thanks Robert, It ran find before (got a couple of good ones) but the person I fitted it for wanted a stay alive and it now runs for 20 seconds without the sound on across the bench.
-
Hi all, Not much has been happening on the layout as its had to stay packed up in its travel crate due to visitors at home and Ive been concentrating on the big train set for the past few months but I'm please to announce that we will be attending the 2022 Railex show. It will be nice to get out to exhibit with the layout. Here is a view of the layout from the scenic end. Taken at the Perth exhibition in 2018, cant believe its been that long!! Thanks for looking.
- 56 replies
-
- 6
-

-

-
HI all, Been abit busy recently but here is two of the Model Rail Mag 16xx. It was decided to remove the PCB and it was fitted with a Zimo sound decoder and stay alive. I also added some crew.
-
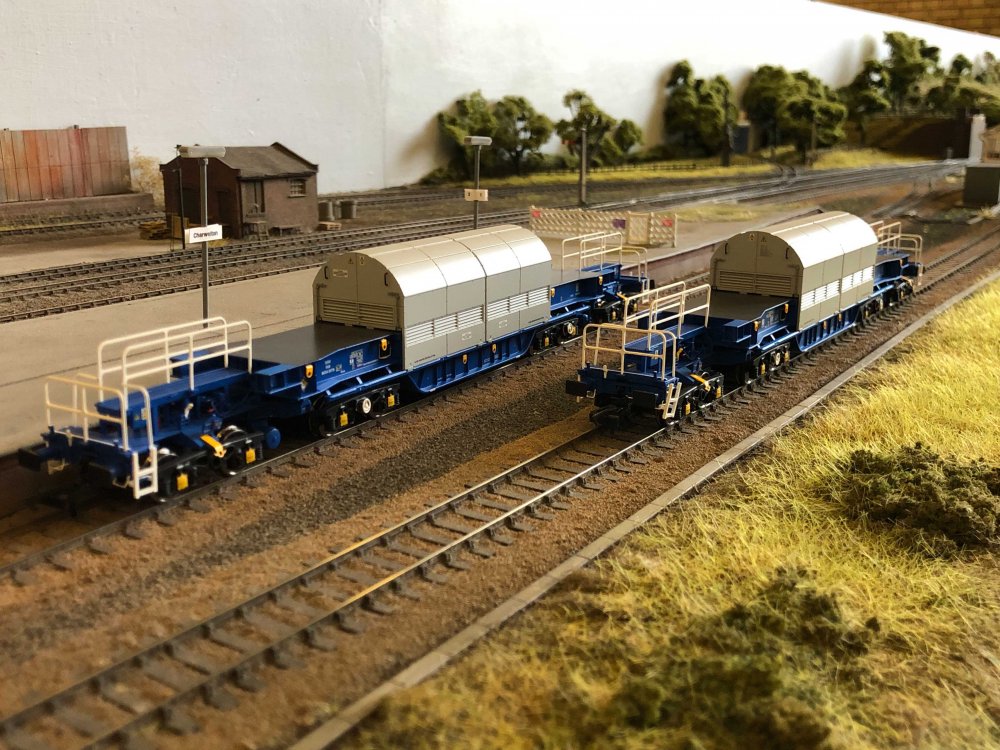
So its been a while since the last post due to work, lots of gluing being done...... Any way due to the size of the layout we can only set it up when we are at shows or at our working weekends and this weekend is just one of those weekends. Lots of work was being done but these had truned up so it would have been rude not to pop them on the layout for a few photos Lovley set of wagons and too modern to be run on the layout at a show but once I've done the support coaches they can have a few trips round when we are working on the layout.
-
When we first got the layout we had did think that the task of converting it to DCC wouldn't be that difficult, well we may have been a bit wrong with that assumption. These are a couple of pics of the 2 contorl panels....... The main panel Fiddle Yard panel Since these where taken we have removed most of the wiring and the main panel is now being fitted out using the megapoints controls for the signals and points.
-
So after posting the photo of the sign post without the sign I've been making a new one to try and reduce the list of jobs that need doing as there is a provisional exhibition invite for 2022. A few mins with some scrap etch and a bit of spare rail and it now just needs a coat of paint and planting on the layout.
- 56 replies
-
- 4
-

-
- 56 replies
-
- 7
-

-
Sadly not, They fall a few years outside the time frame for the layout at shows plus there are enough wires under it to prevent extra being added to the top ....... However thats not to say that if you stood line side you might see one or possibly two of them in photos and videos in the future
-
-
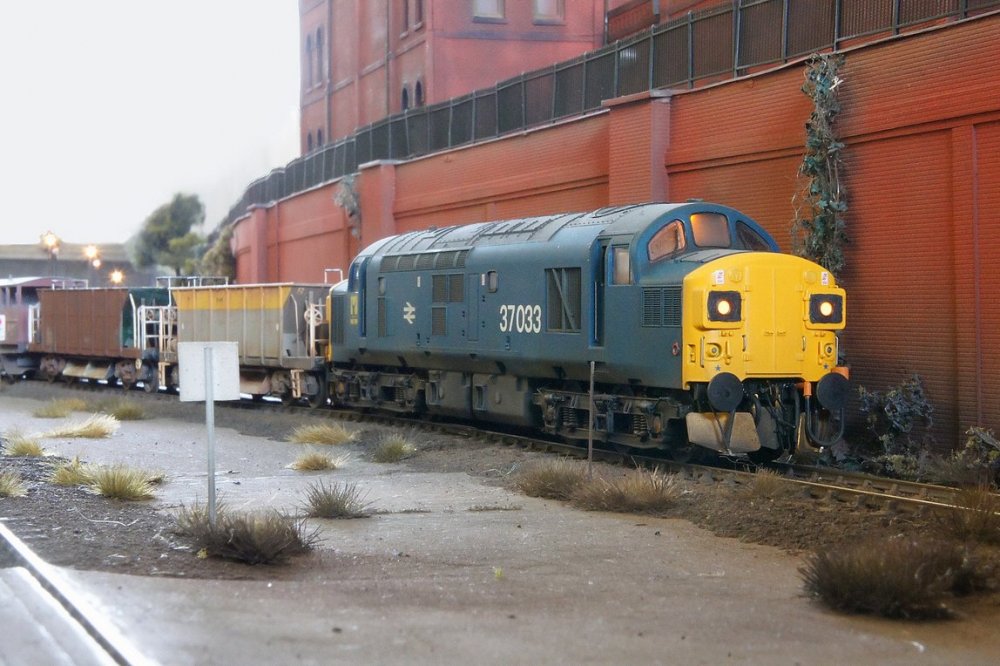
Looking at 37 033 leaving the yard has reminded me that I need to replace the stop board that use to live on the pole that is level with the door on the 37
- 56 replies
-
- 7
-

-

-
Yes it is the High level kits verison.
-
Hello everyone, Been a bit busy with things recently so not had much chance to post anything up. Been working on this recently The chassis needs a bit of a clean up before the next step. Excuse the photo from the spray booth, it was the only place left to take a photo that doesn't have anything in the background your all not meant to see. Thanks
-
As its friday i thougt it would only be fair to post up another photo. Now this is one of those views you only get to see if your operating the layout.
- 85 replies
-
- 10
-

-

-
- 56 replies
-
- 7
-

-
A quick photo showing the station building wiht one of the kit built locos that are used on the layout.
-
Had a couple of sound fittings come in recently. One was the new Bachamnn 94xx and Bachamnn 9F. The 94xx had working lamps fitted bth front and rear with the rear one being able to show both white and red depending on direction of travel. The 9F also had working lamps fitted with the lamps programmed to show either express passenger configuration or express freight. The top lamp will come on and off as part of the freight lamp code but can also be switched on and off as required. It also had a rear lamp with both red and white being able to be shown and firebox flicker. Unfotunaty i didnt take a photo of the lamps working or the firebox flicker working.
.png.c363cdf5c3fb7955cd92a55eb6dbbae0.png)
