Fowler4f
-
Posts
288 -
Joined
-
Last visited
Content Type
Profiles
Forums
Resource Library
Events
Gallery
Blogs
Store
Community Map
Everything posted by Fowler4f
-
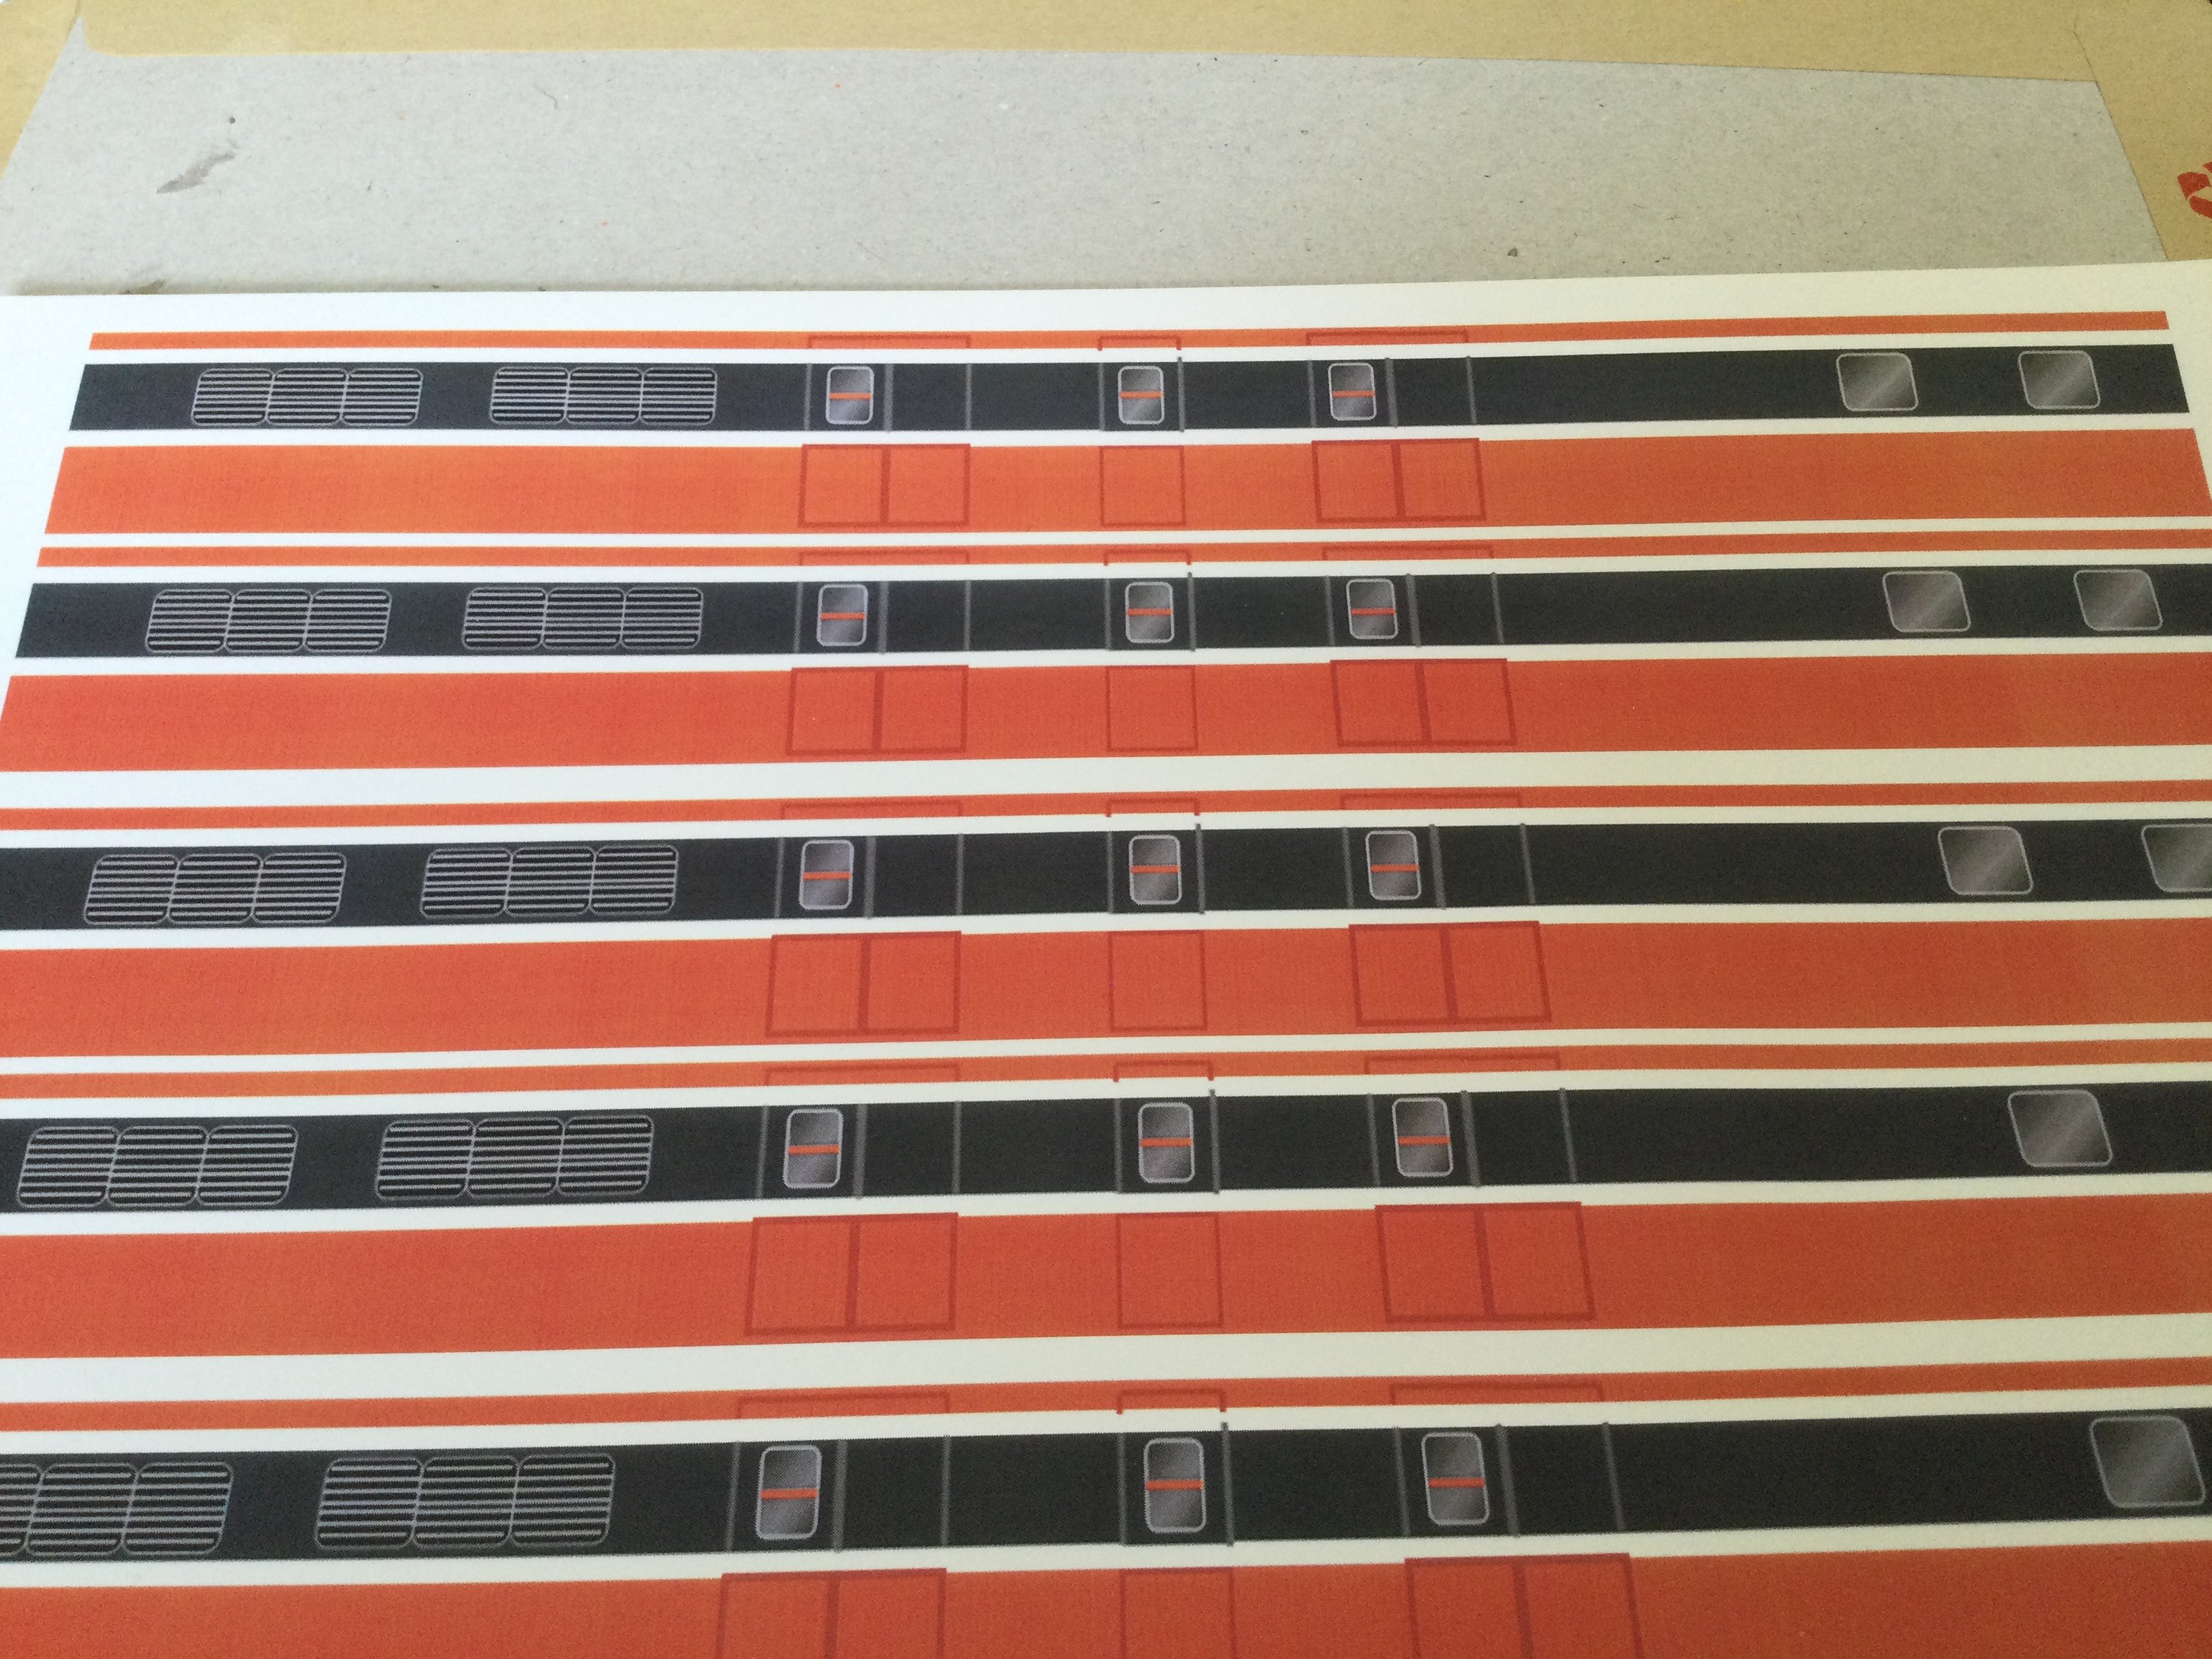
A60 Transfers. (LOCO not incl.) End panels & side panels. £5 incl p&p. UK. Paypal f&f. Paypal F&F. Will do one Loco complete + 2 end panels.

-
If anyone wants the spare A60 transfers, there is enough to do 1 loco ie end panels and side panels and then still 2 end panels as well. £5 incl P&P. PayPal UK only. Thanks
-
Photo taken 17/6/2022 @20.08. Now form a tight circle.
-
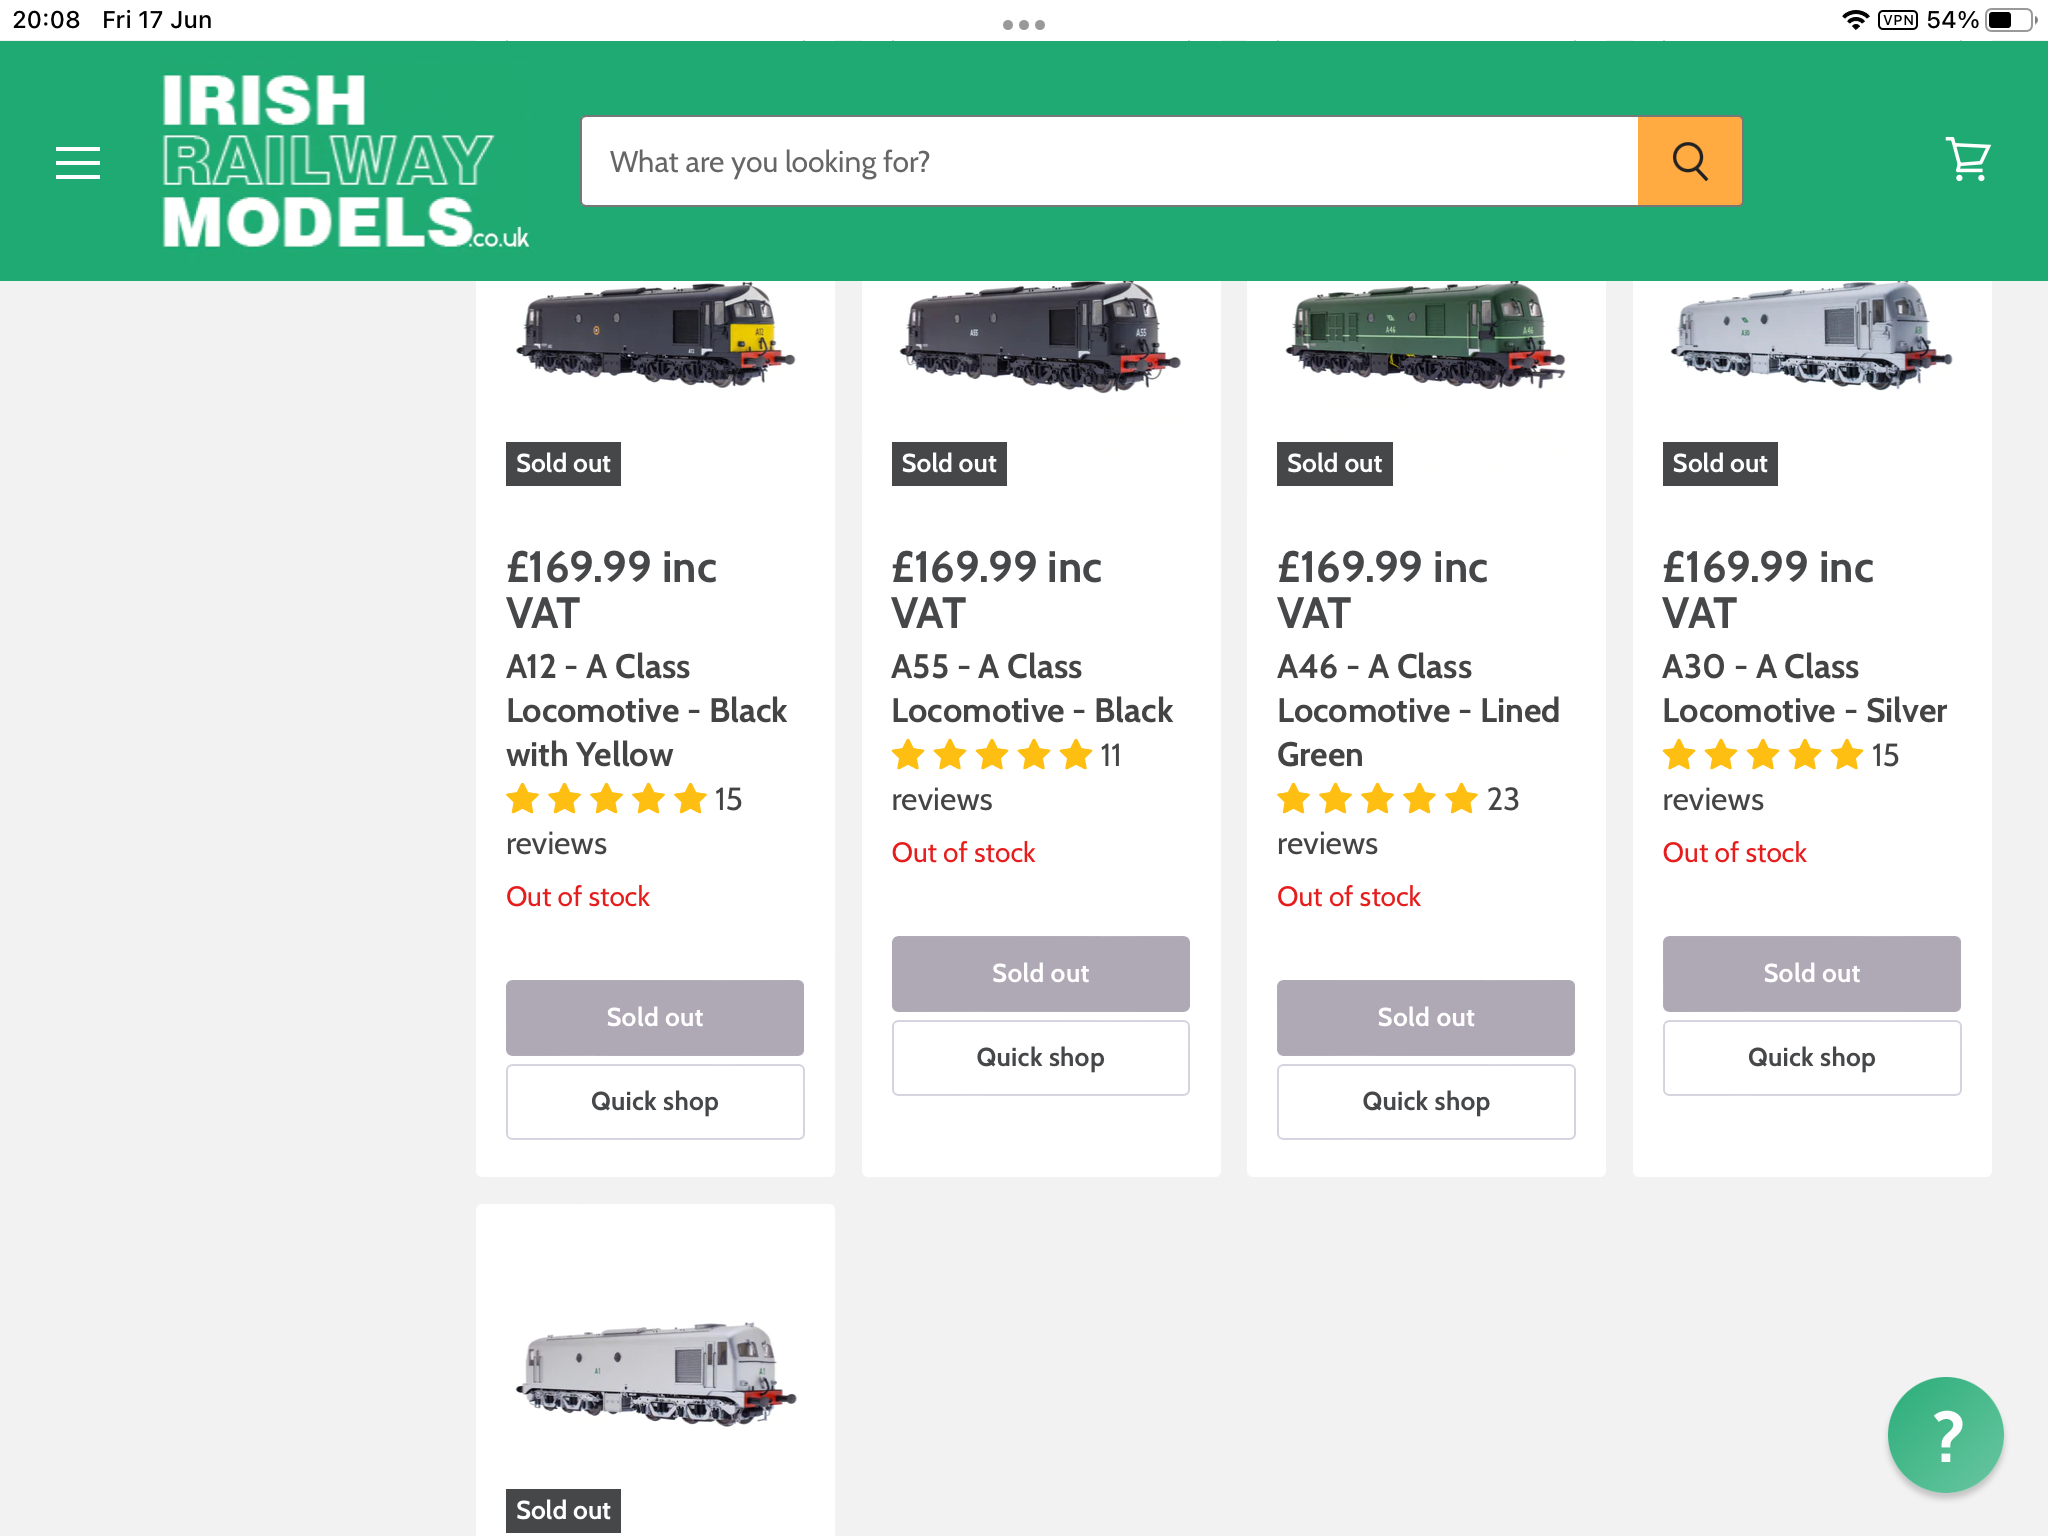
Not on the IRM UK Website, that’s where the problem arose.
-
Your post is repulsive and racist, "P###y I######n". The IRM UK webite shows all A Class sold. Having purchased 18 A class locos already, I will not take any lessons on how to spend my money from anyone such as you. End of conversation.
-
IRM, I’m not happy to say the least, I have now paid over the top for A30 from Private Supplier as I understood you had sold out. Rubbish ! I have purchased Eighteen A Class from you already. I recently received a demand of full payment for 13 Magnesite wagons when I had already paid £200 + towards the order, granted there are now in stock earlier than expected and I have agreed to pay then balance ! But I am beginning to think we are being taking for granted and that is not good enough. No excuses, thank you.
-
On further investigation, Woodlands Scenics HL 656 Moly (Molybdenum) grease is recommended for model railway locos, where as the white grease is for RC Boats/Cars. BACHMANN do a grease but I can’t find any recommendations.
-
I’m glad you asked this question as it’s been on my mind for some time, especially grease. For oiling, I use Modelcraft POL 1000 Precision Lubricator @£3.55, before I changed from British Steam to Irish Diesels last year. Woodland Scenics Hob E lube white grease, it’s a bit expensive @£7.55 for small tube but then you don’t need a lot per loco. I have used Woodland Scenics track pens to weather sleepers and rails and found them very good. For wheel cleaning, Isopropyl Alcohol and plenty of cotton buds, don’t use anything abrasive as you may scratch the wheels. I picked up 077 last weekend and the bogie at No.1 end had come loose. I was surprised at the number of drive cogs between the axles, 6 at least and all need greasing. Someone else may have better options.
-
A30 sold out ! Yesterday IRM Website showed 32 in stock, ouch as I was going to buy one later this year, when Crossley sound decoders came available.
-
Hornby R439 230mm x30mm. Same size as adhesive panels. Just need to apply some transfers.
-
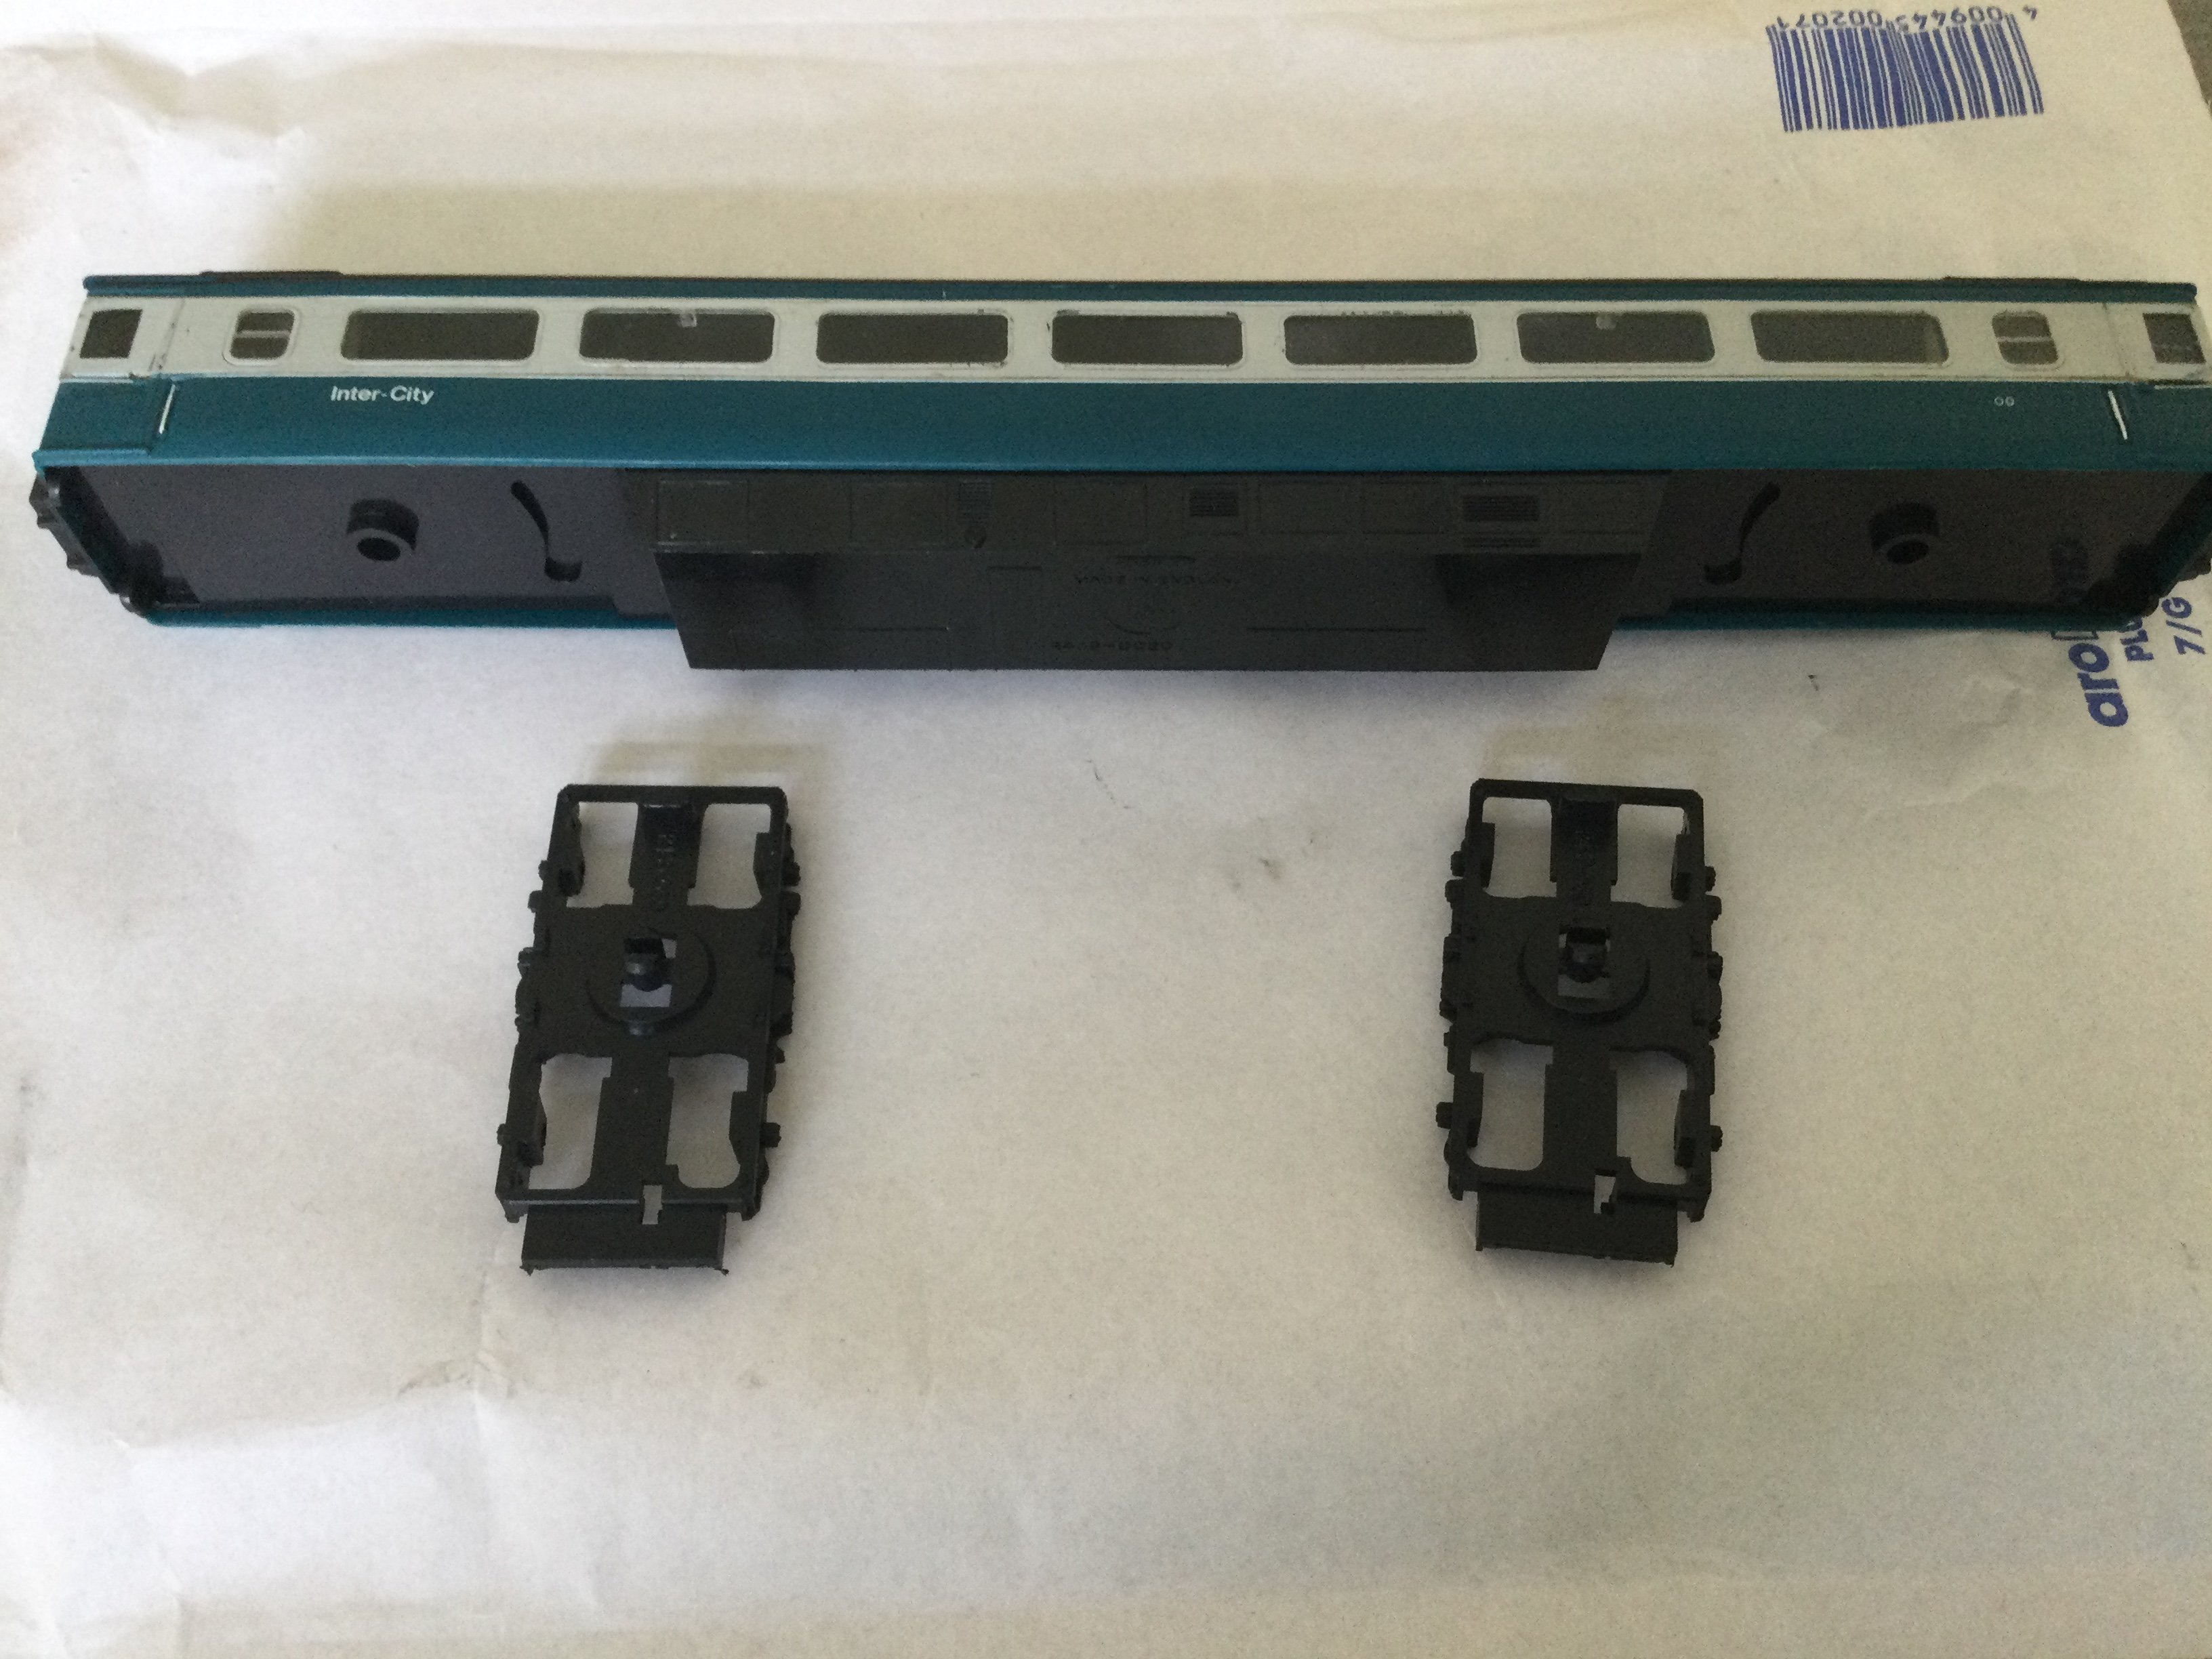
Hoping to turn this Mk3 coach into a Generator Van. The bogies will have new wheel sets and NEM Converters (for Kadee No.18 couplers) added. The coach will have adhesive side panels added. Total cost @£30.
-
Locking bars fitted to 40'.
-
The latest arrivals (undecorated 20’/40’) from Arran, spray painted with the only paints I had. Need to get some decals to finish. + fit locking bars, as supplied.
-
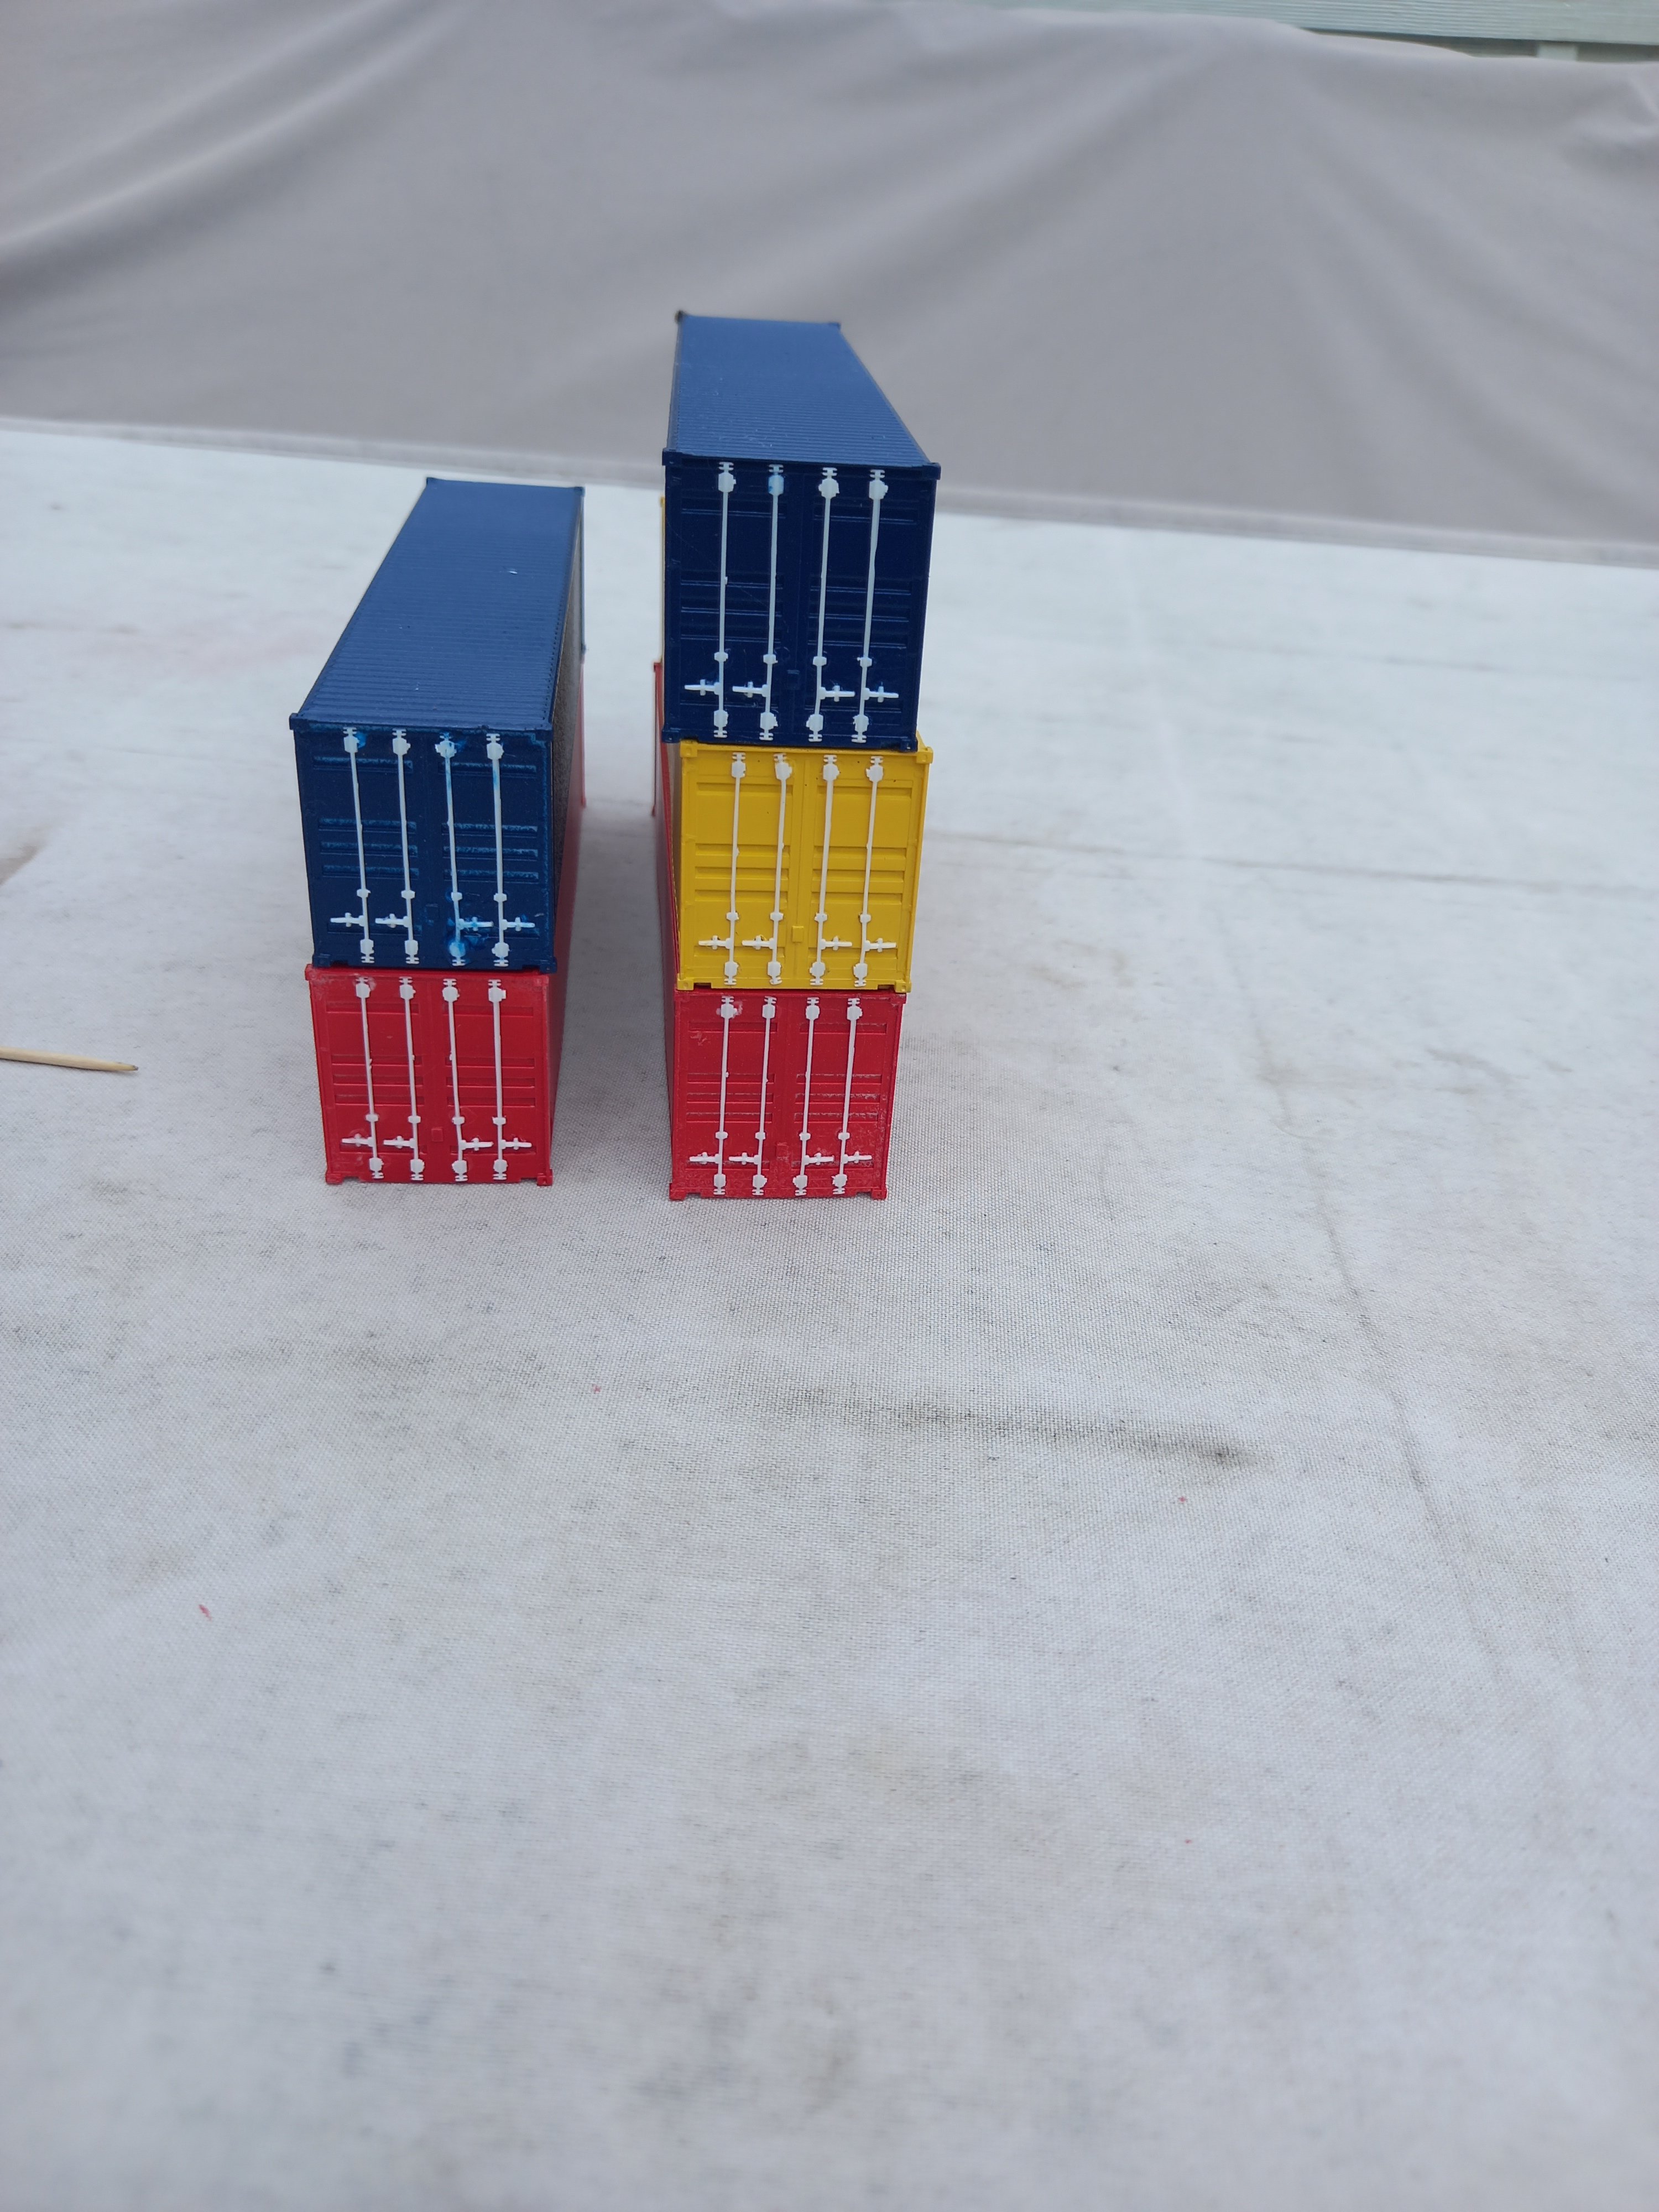
Some of the containers from C-Rail-Intermodal. More to come !
- 213 replies
-
- 10
-

-

-
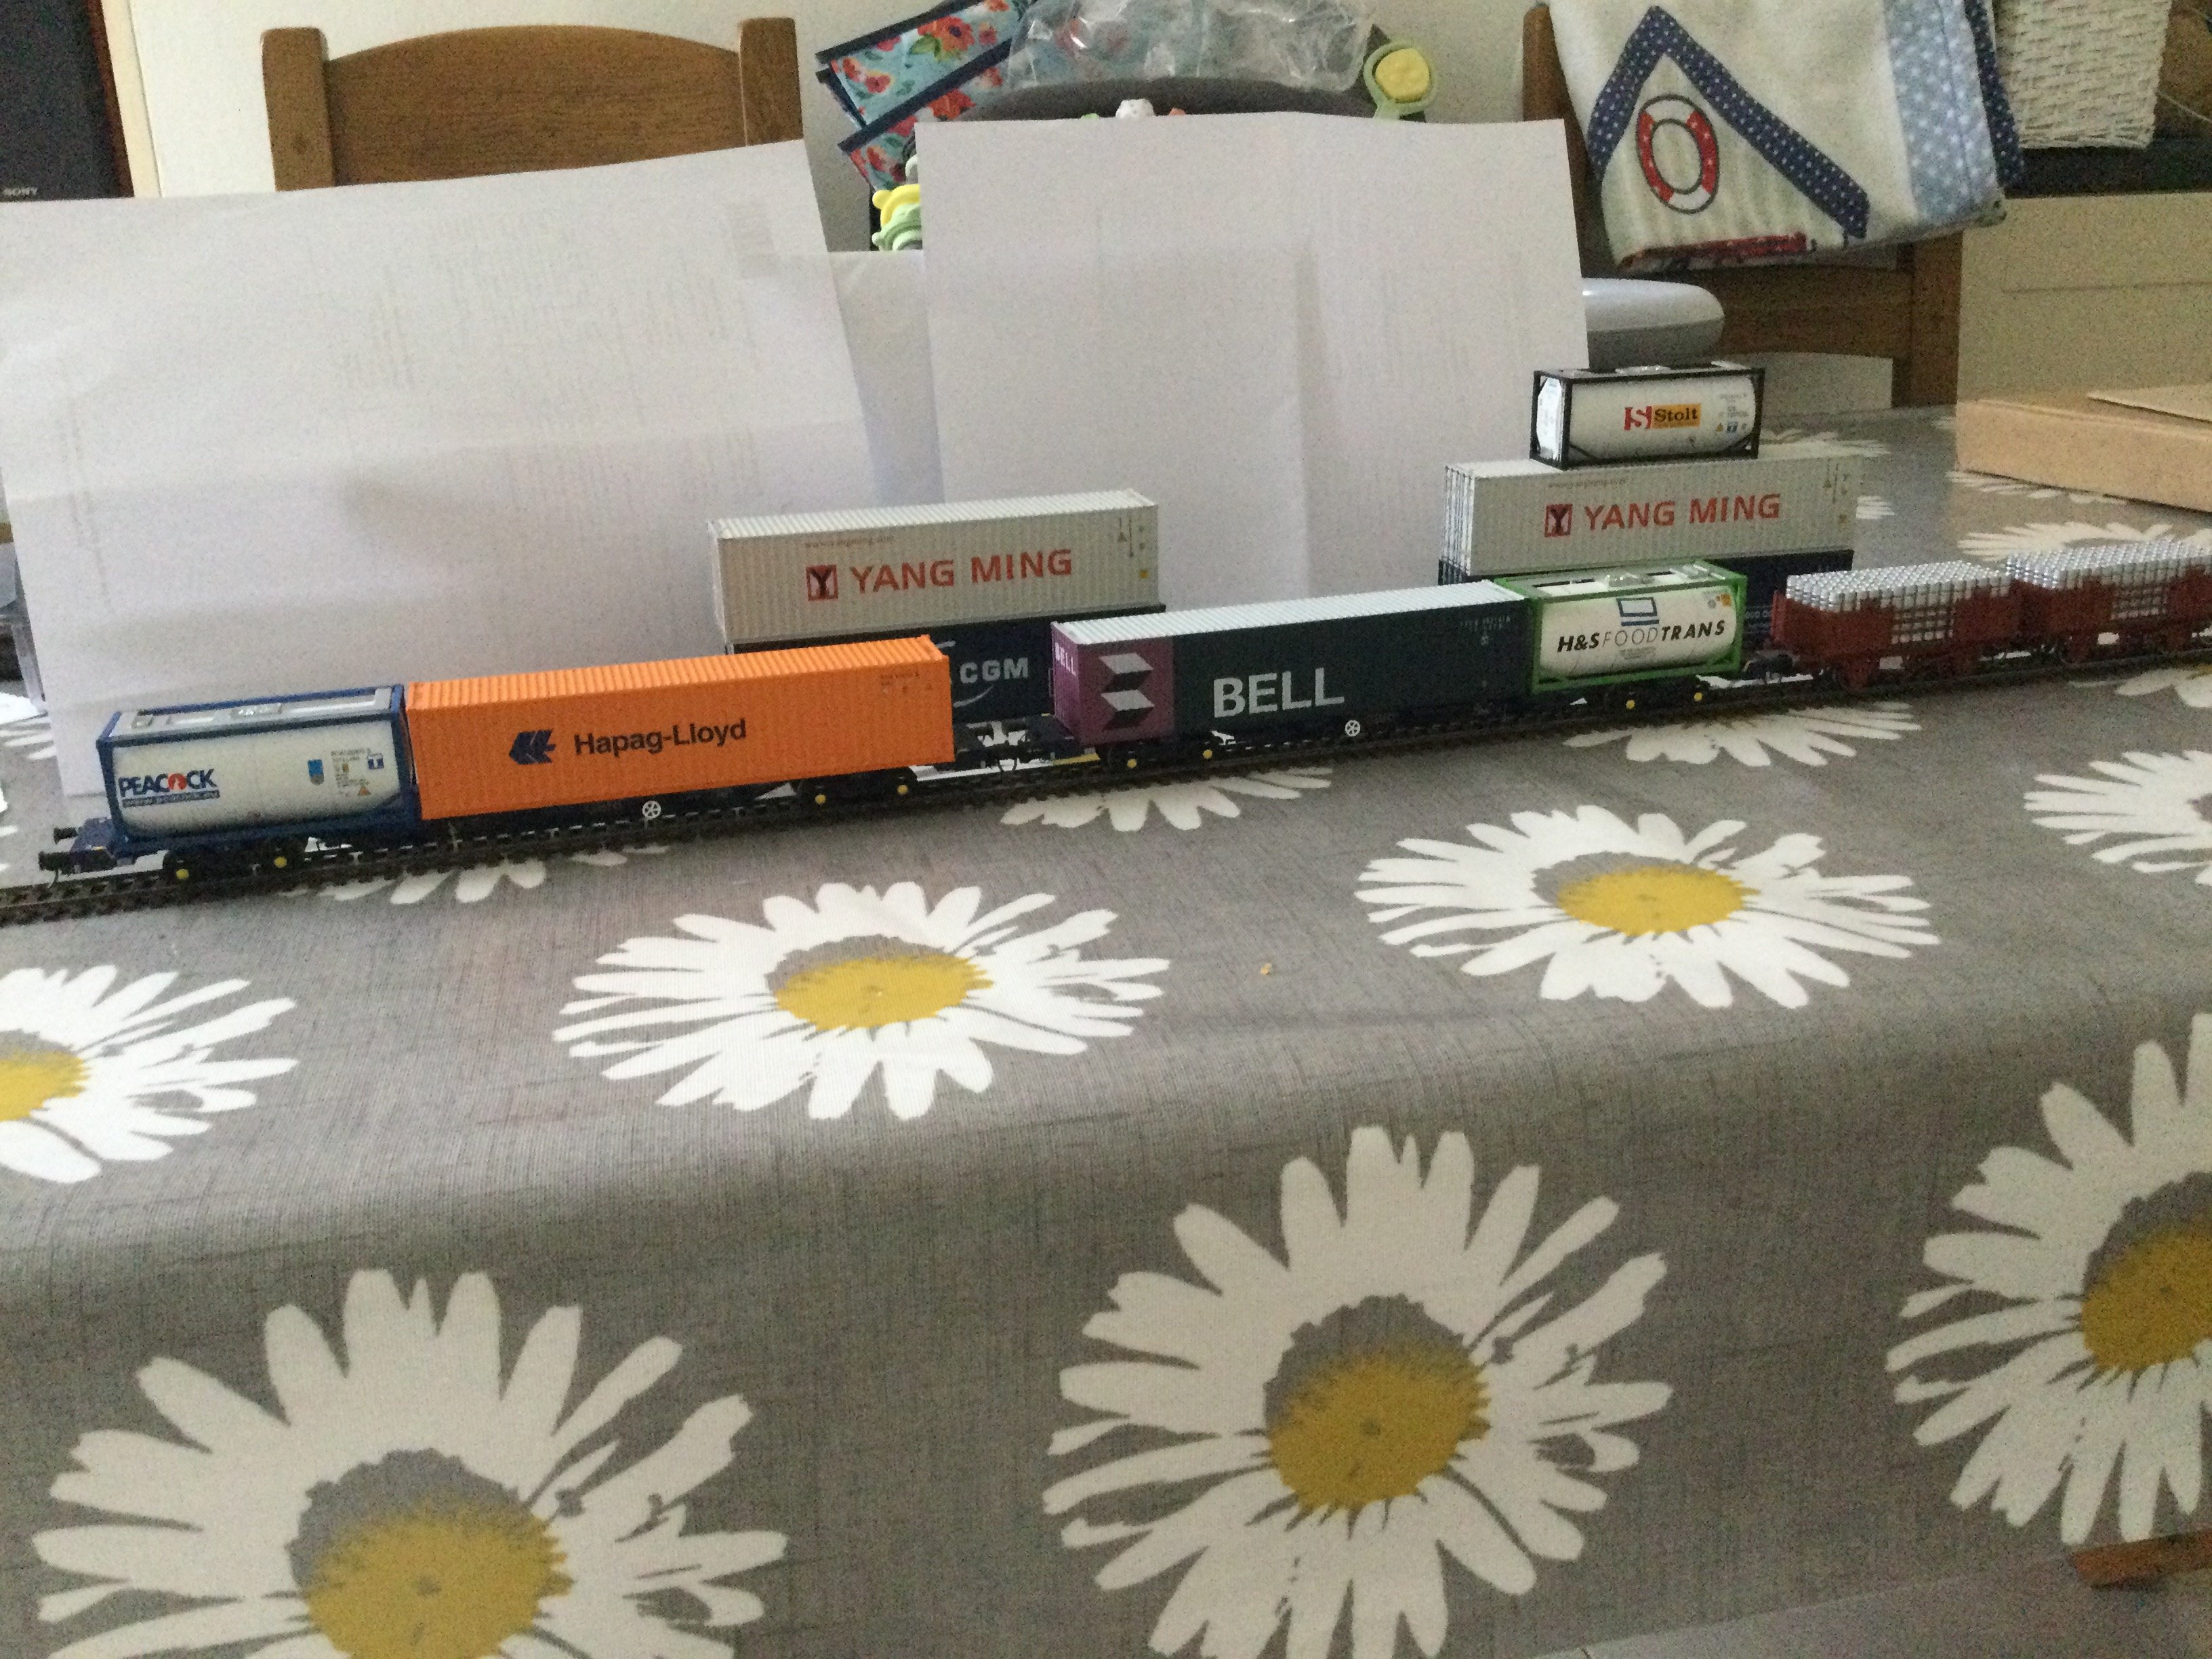
A few of my recent acquisitions !
-
Thanks Darius, l had forgotten about Eugene’s videos. I have now purchased 4 of blue wagons, GBRf won’t be on there for long ! Also purchased containers from C-Rail.
-
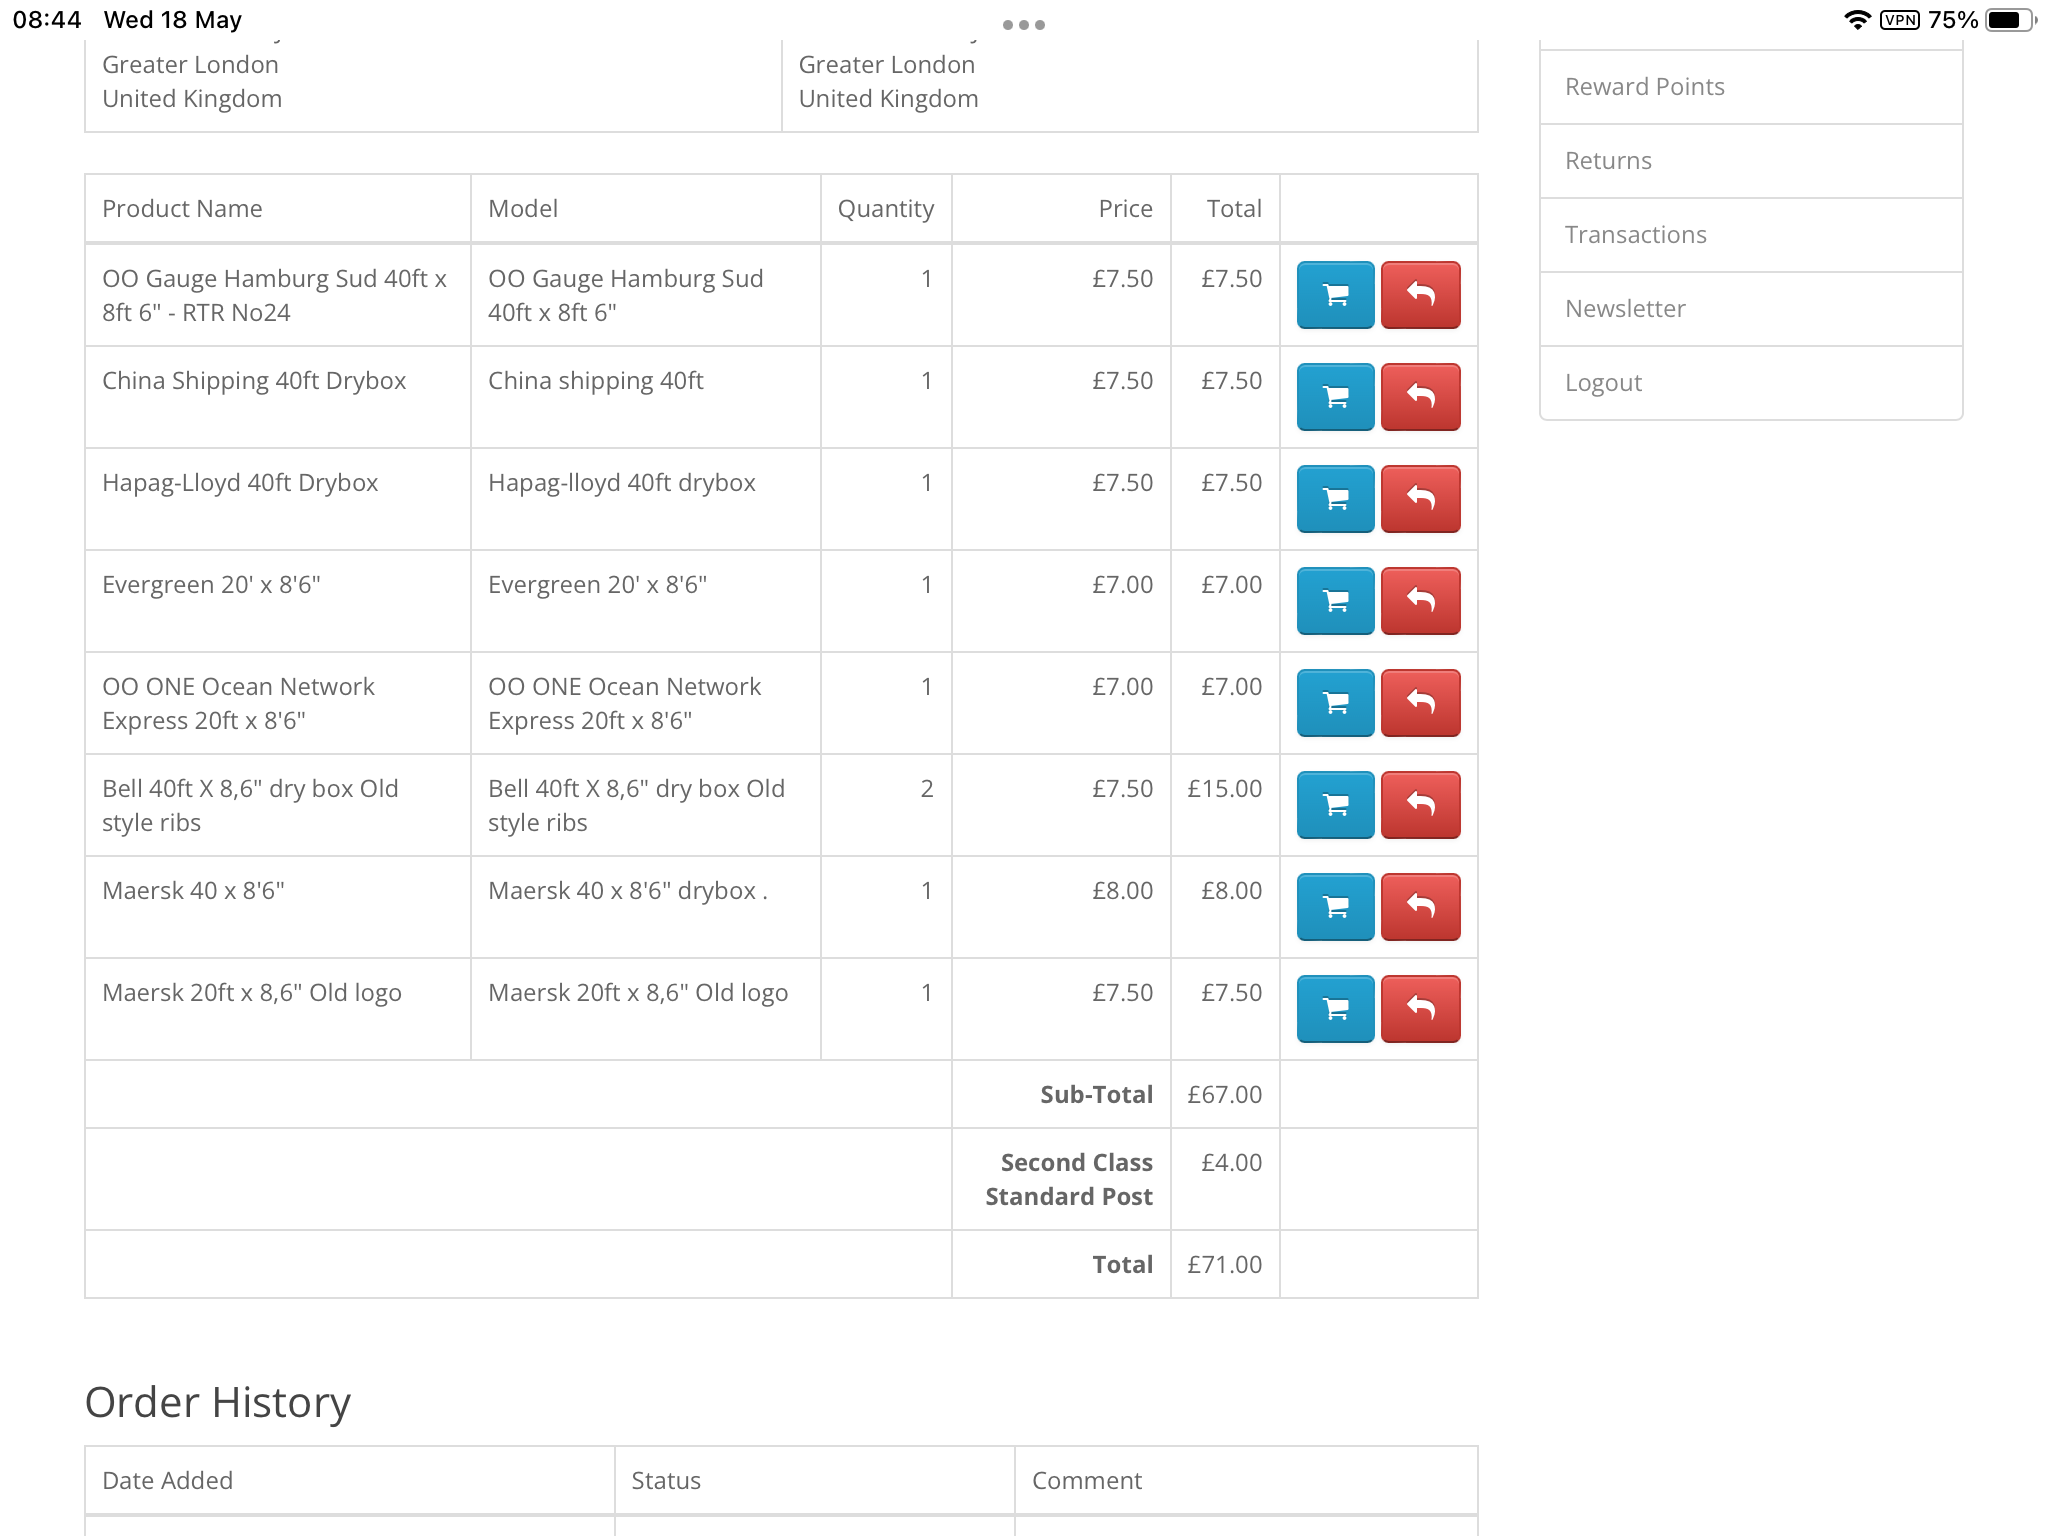
I’m looking to build up a fleet of container wagons, Hattons do their own brand of FEA S. Has anyone purchased these from Hattons ? Are they good quality build and run well ? At £25 a wagon they seem excellent value, I’d liked to be assured before loosening my wallet. Thanks.
-
new year new layout 1990s container terminal and tmd
Fowler4f replied to Sean's topic in Irish Model Layouts
Cool, I’ve got Sets A&B but I may keep them as spoil wagons. -
new year new layout 1990s container terminal and tmd
Fowler4f replied to Sean's topic in Irish Model Layouts
Sean, where did you source the container flats and what brand are they ? I need to start building up a fleet of containers and wagons. Rails are the cheapest for Baccy FGA + there is a Bell container, also Megafret set. I can’t find Dapol FEA-B Spine sets yet ! -
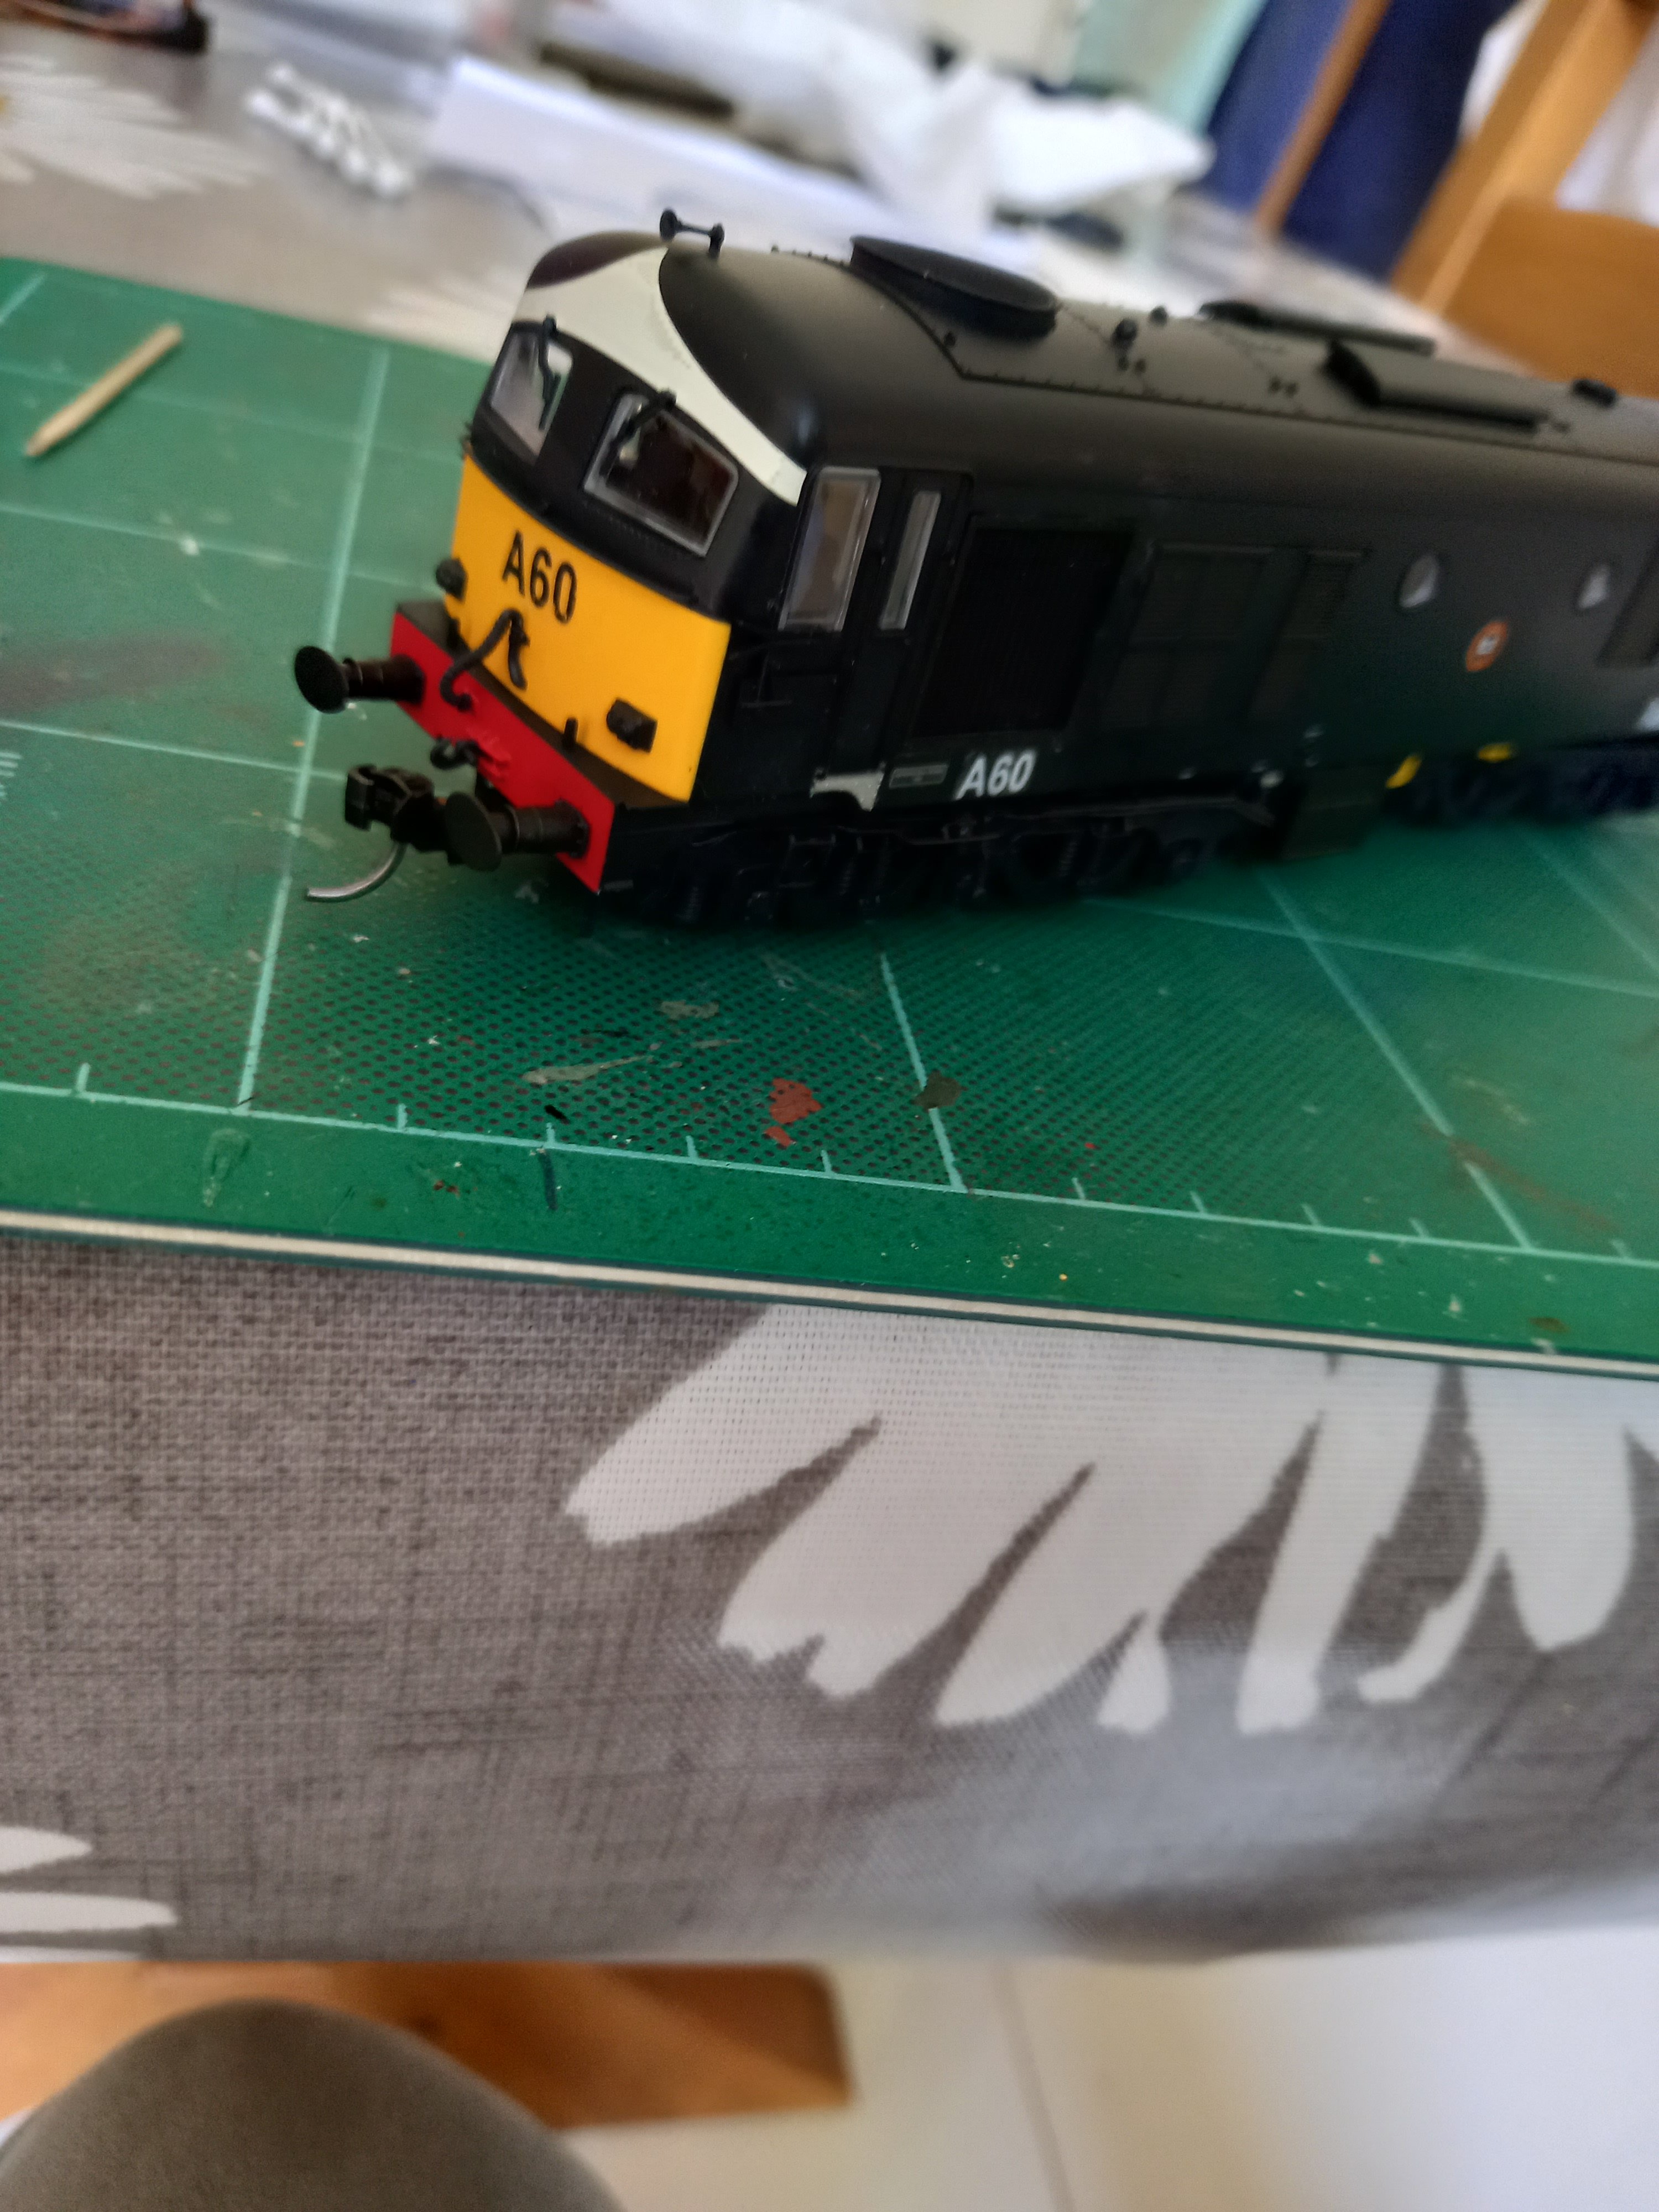
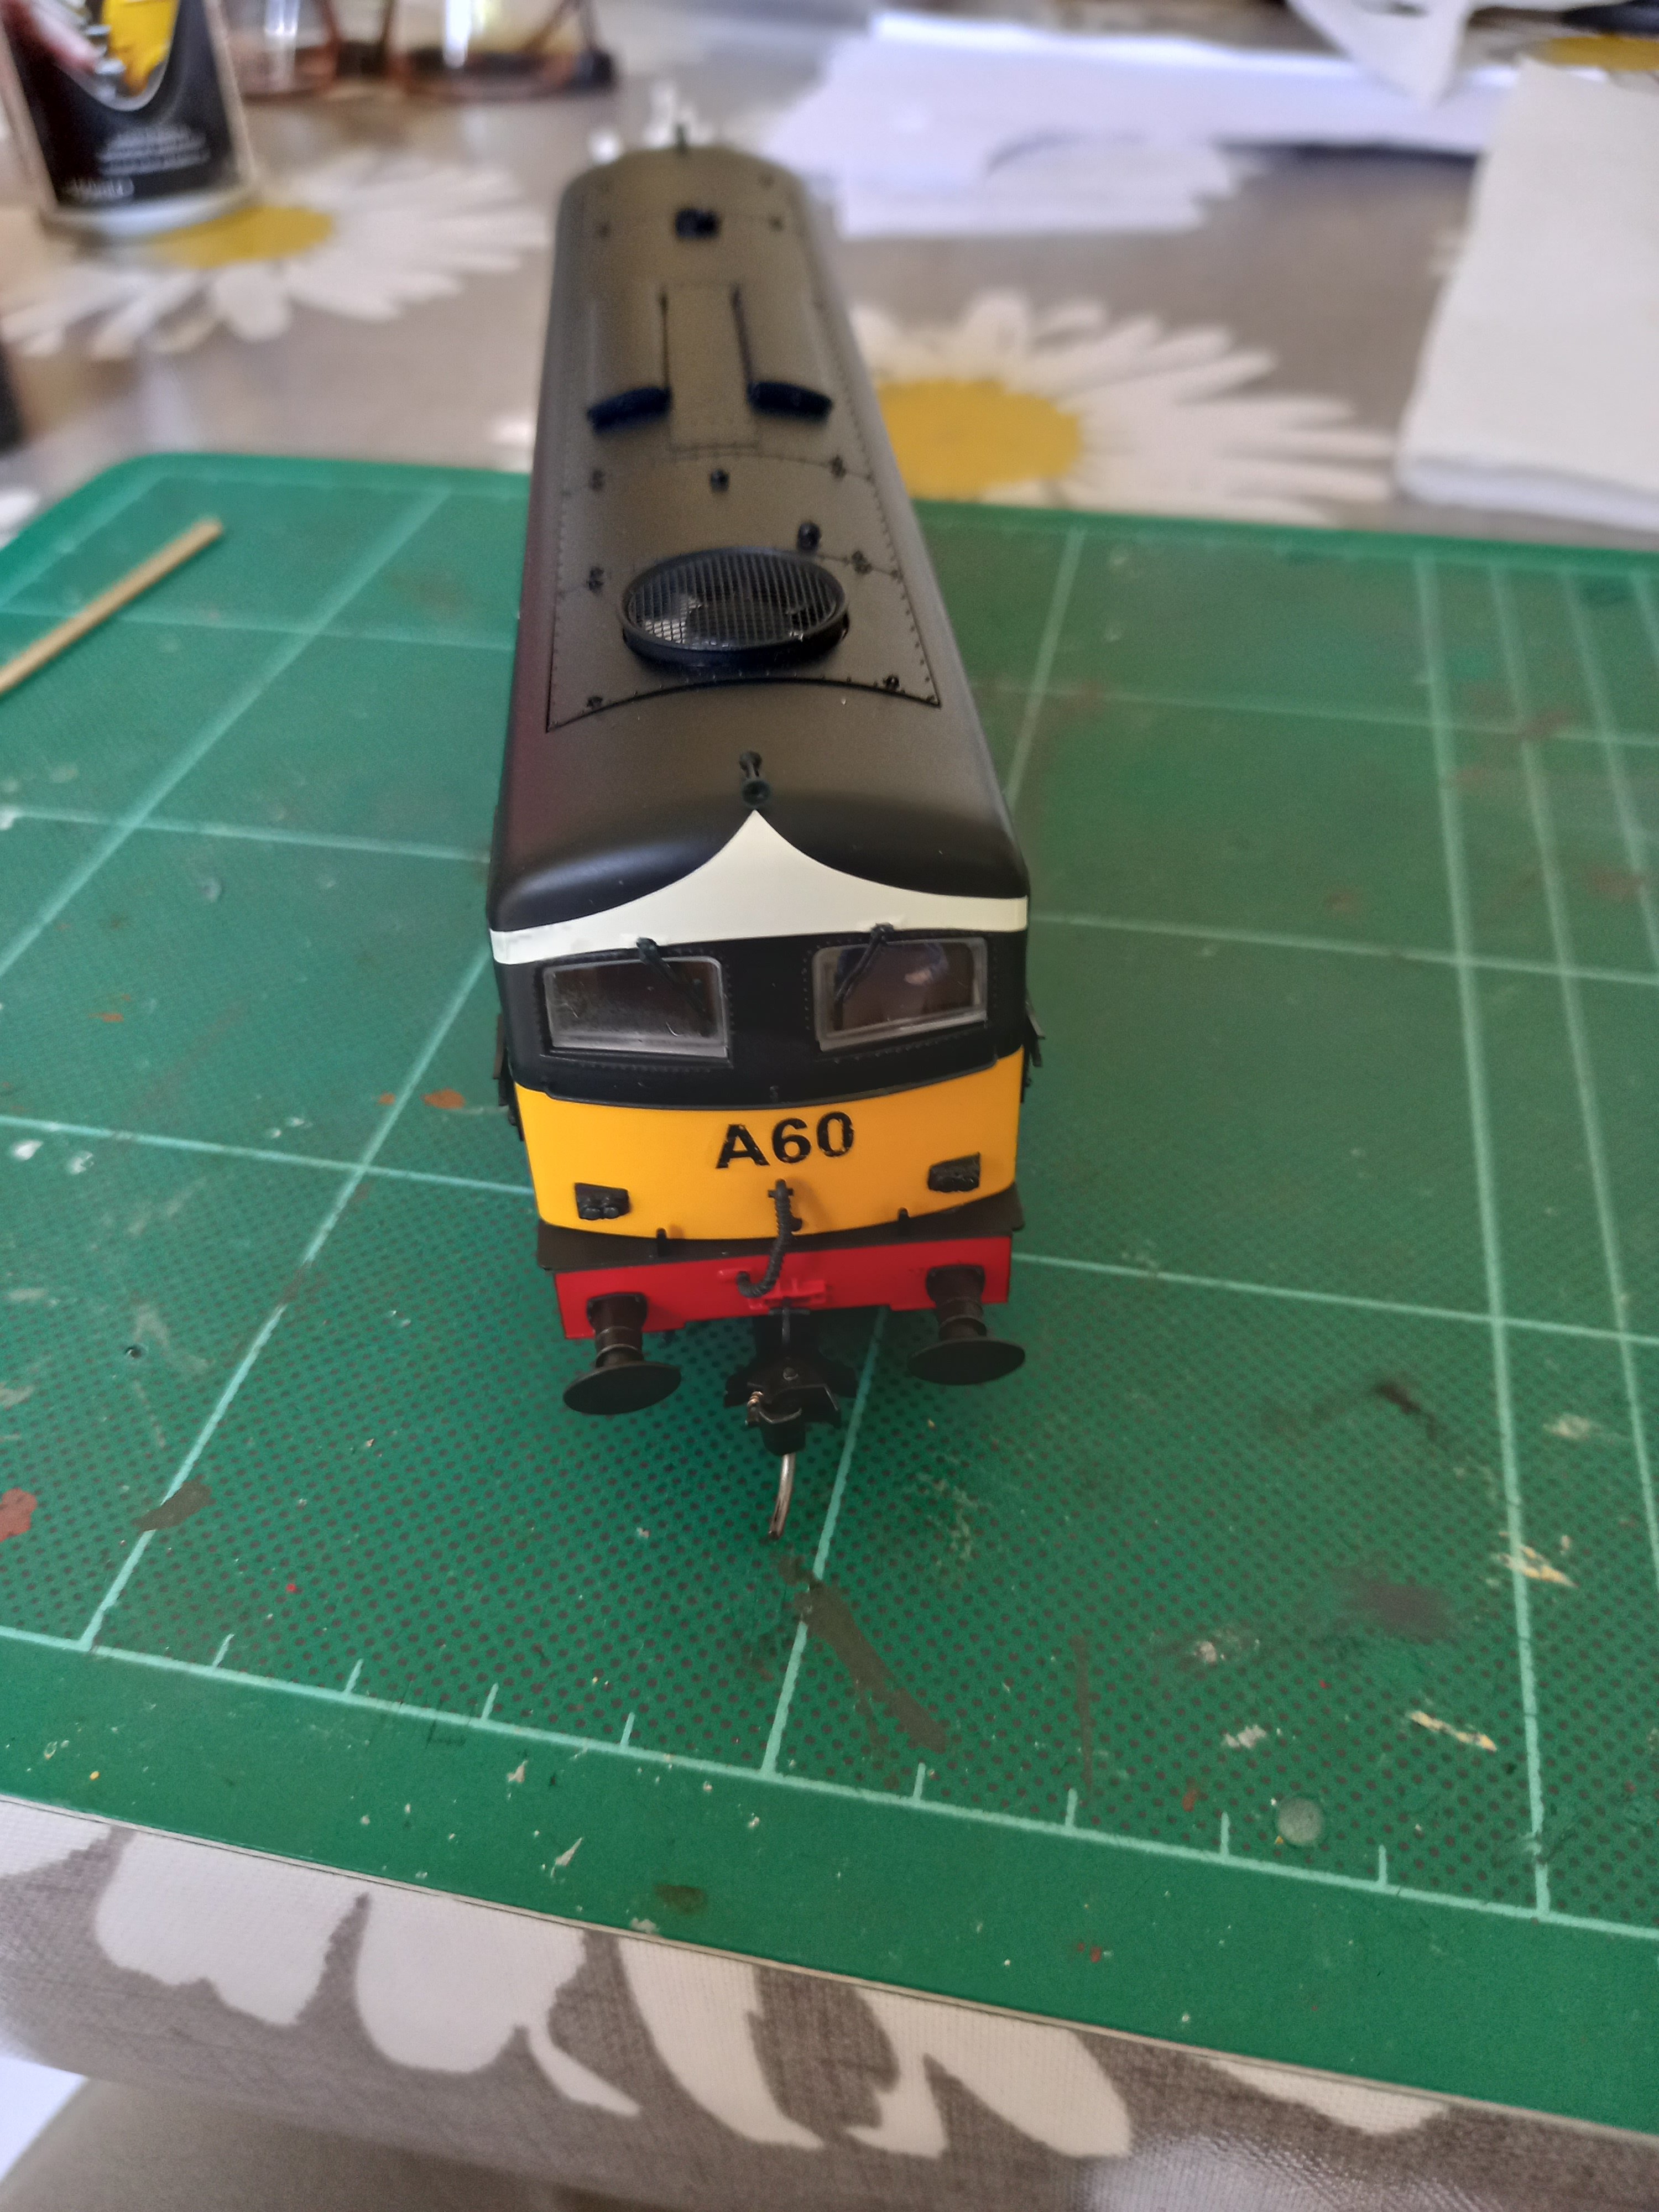
A12 renumbered to A60, transfers slightly oversize especially the side ones. T-Cut did the job on removing original numbers(thanks Flange Lubricator for that tip) and a light spray of clear varnish to finish.
-
Crossley Sound Decoders for A1/12/15/30/42/46/55.
-
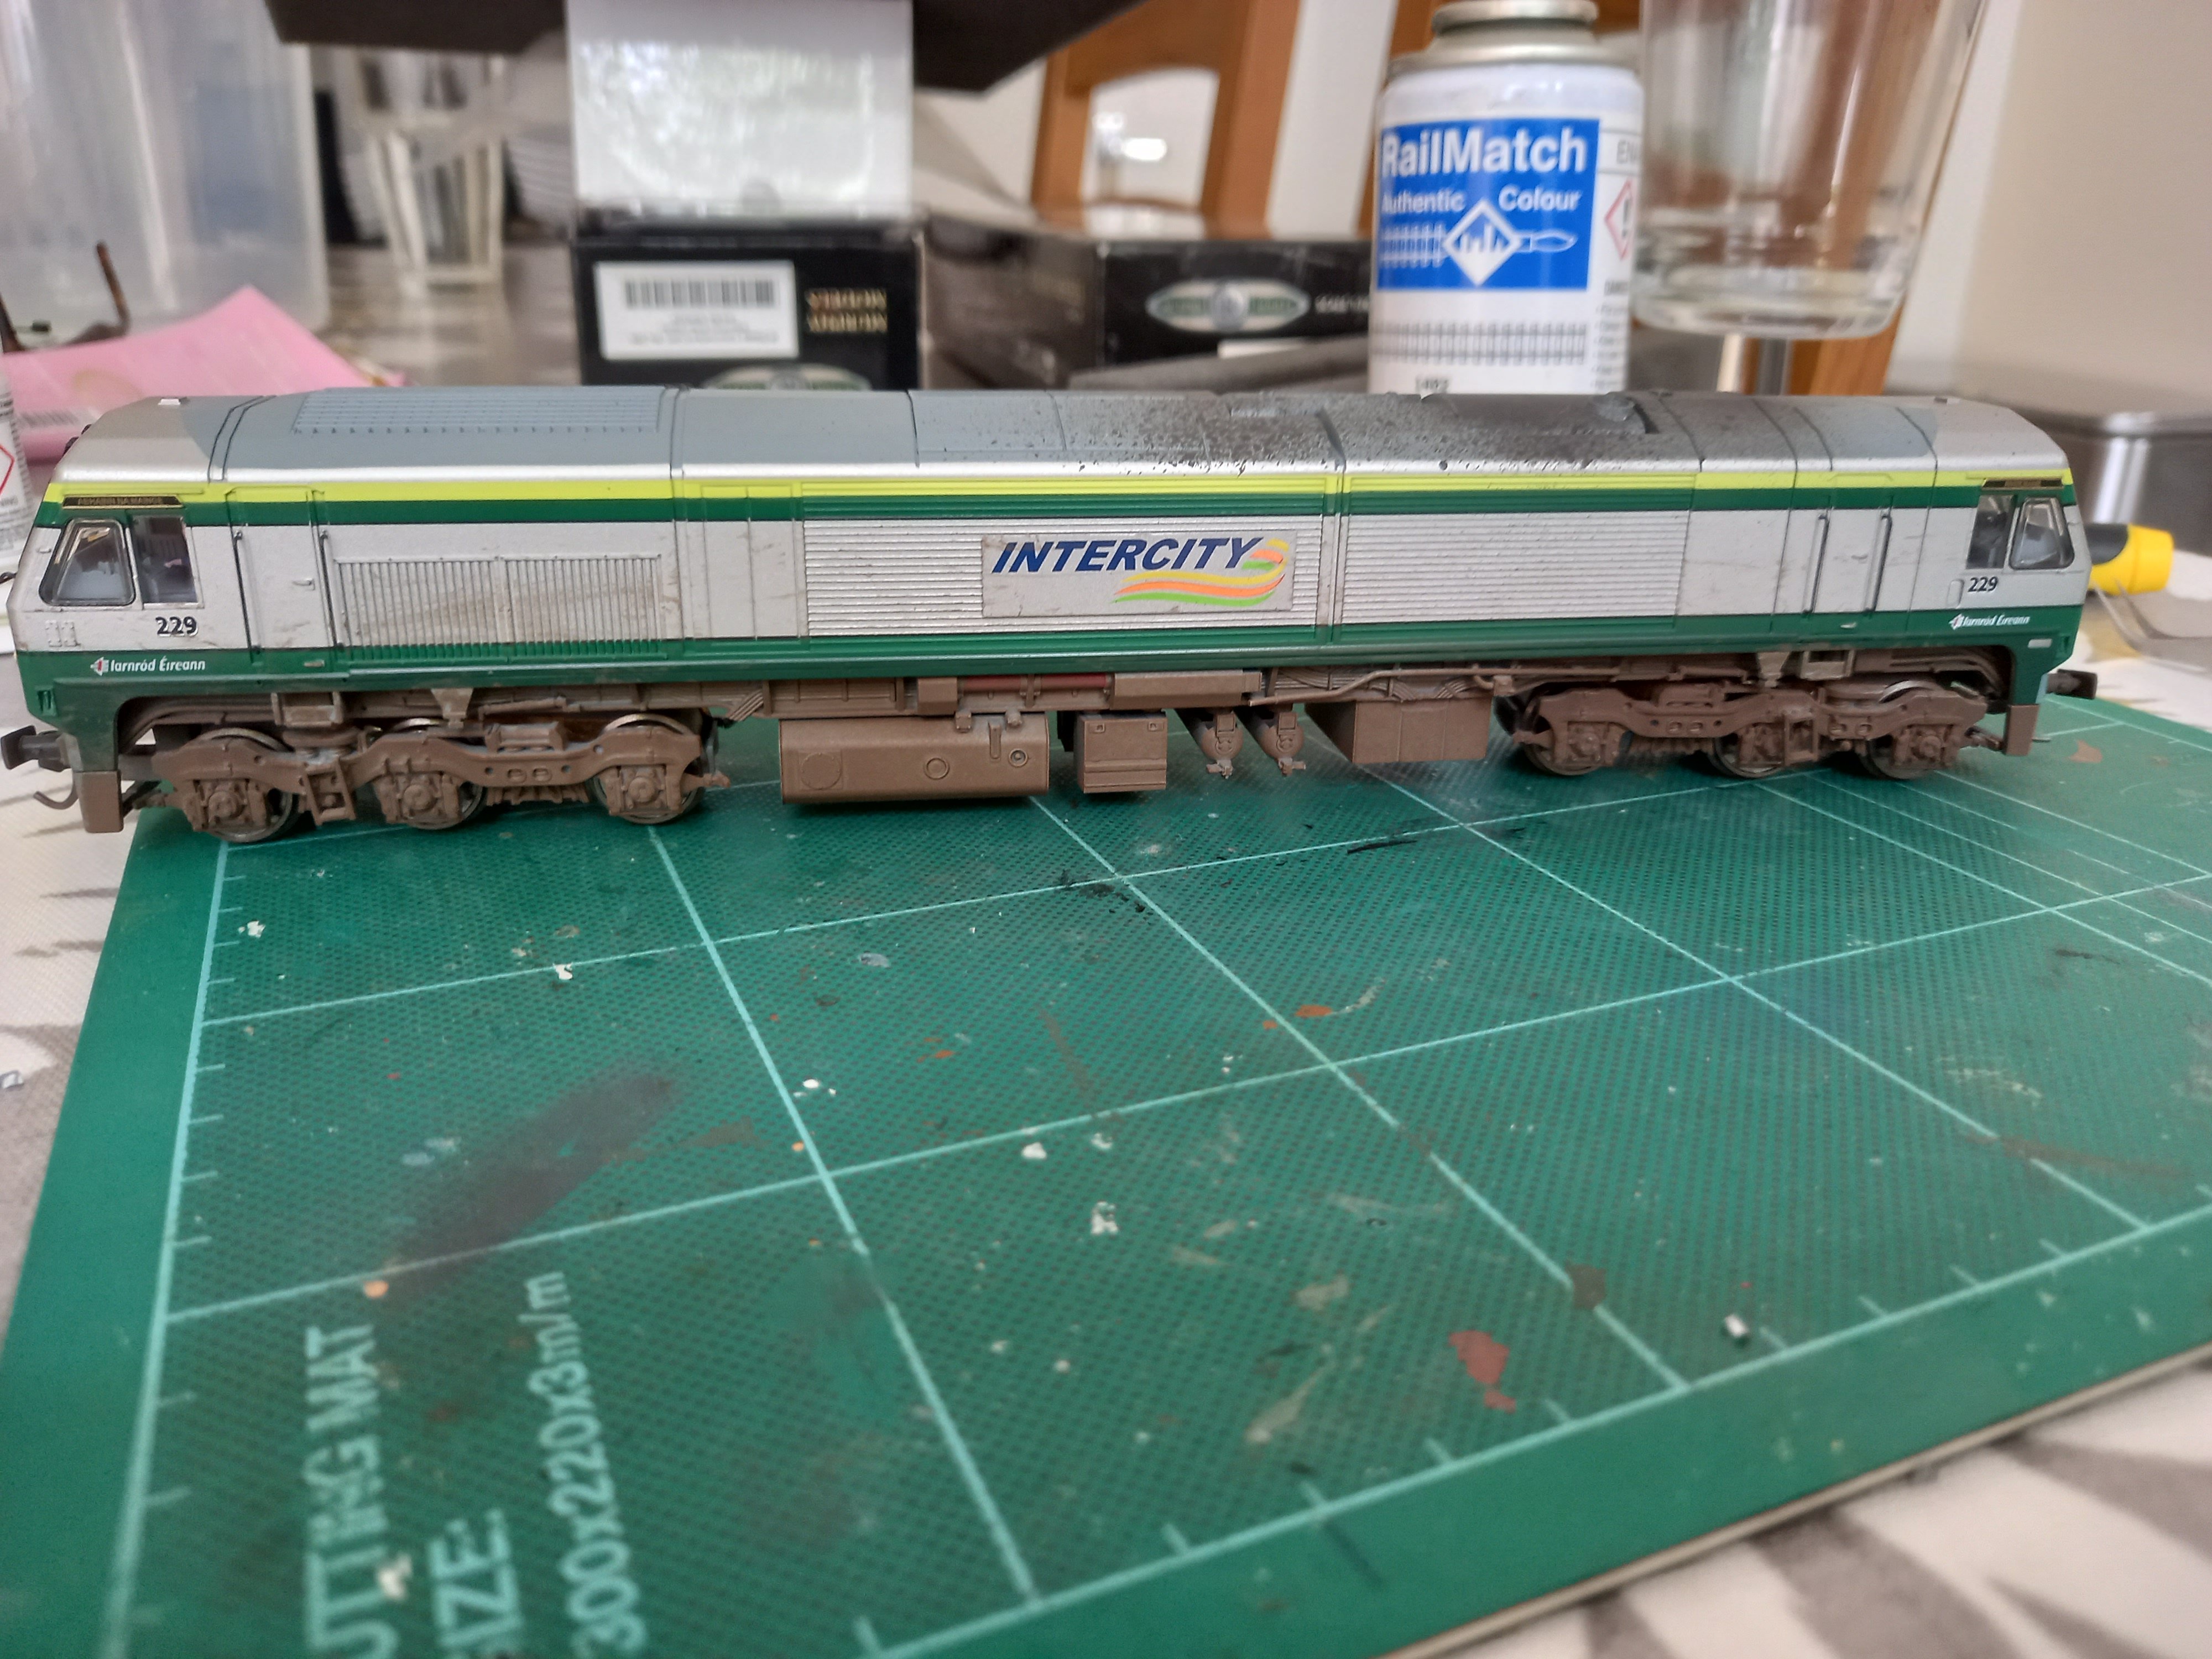
Thanks Rob, I use RailMatch spray cans, so it’s a bit hit and miss especially the roof exhaust area.
-
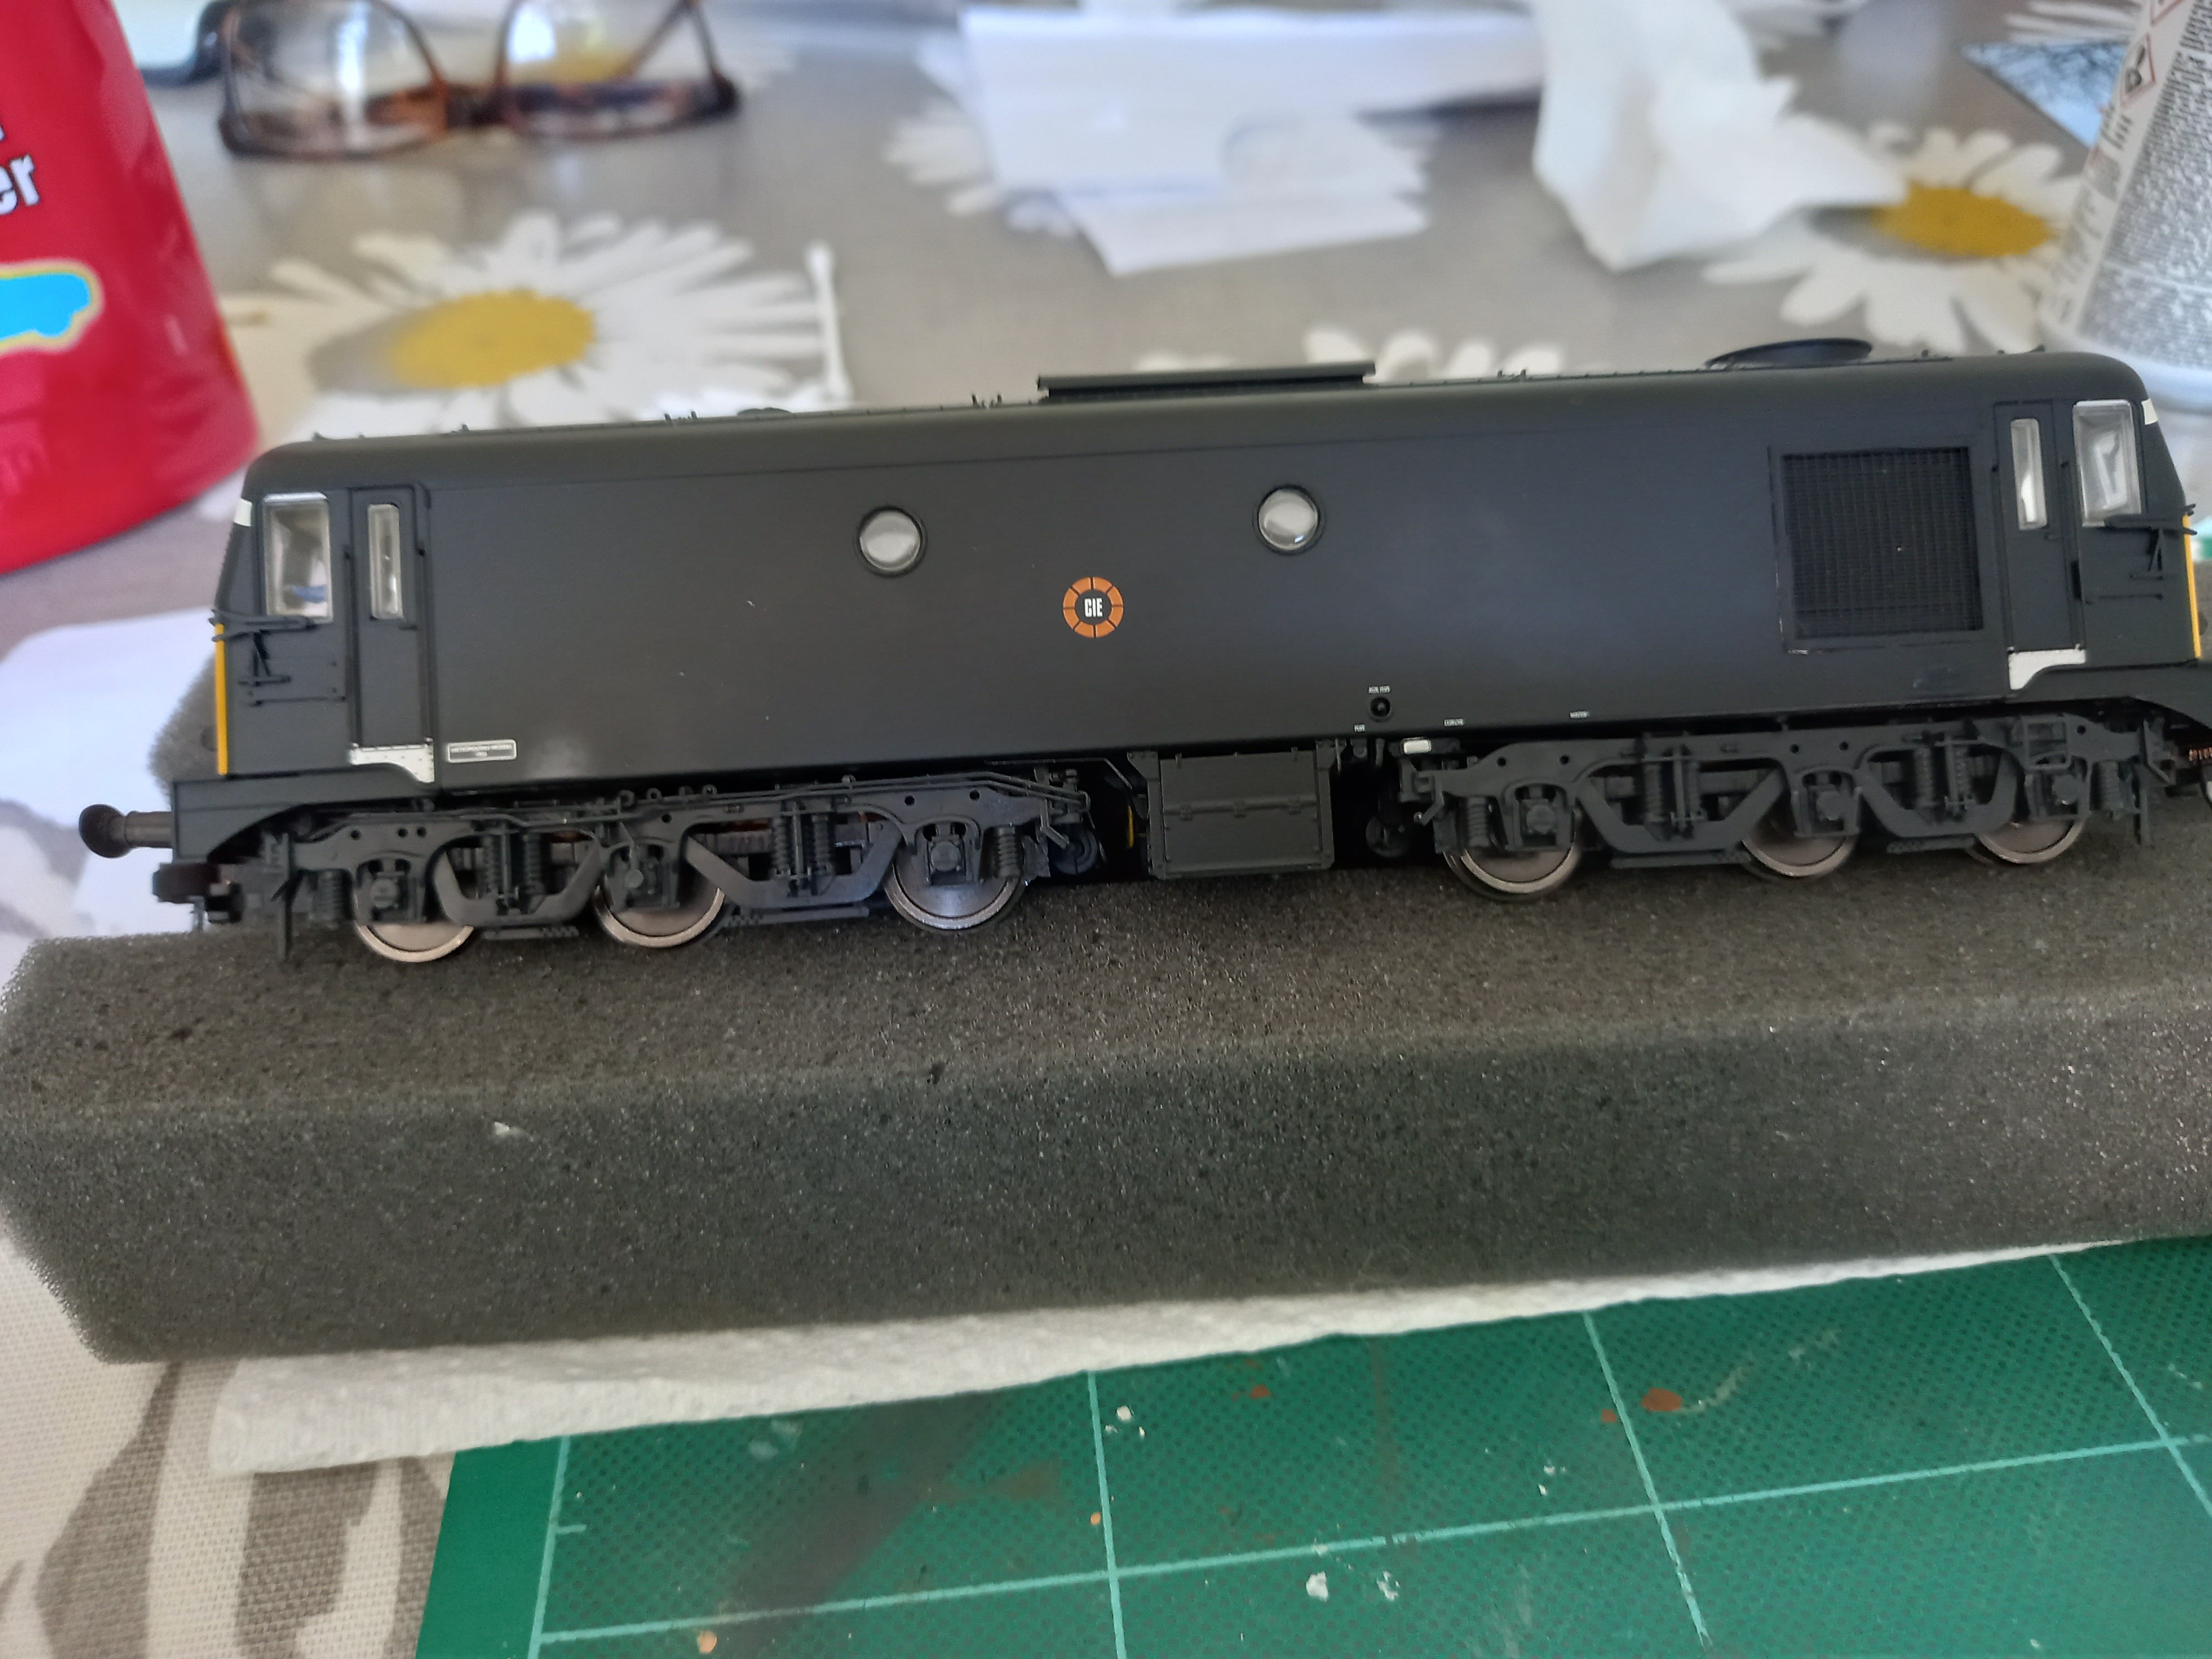
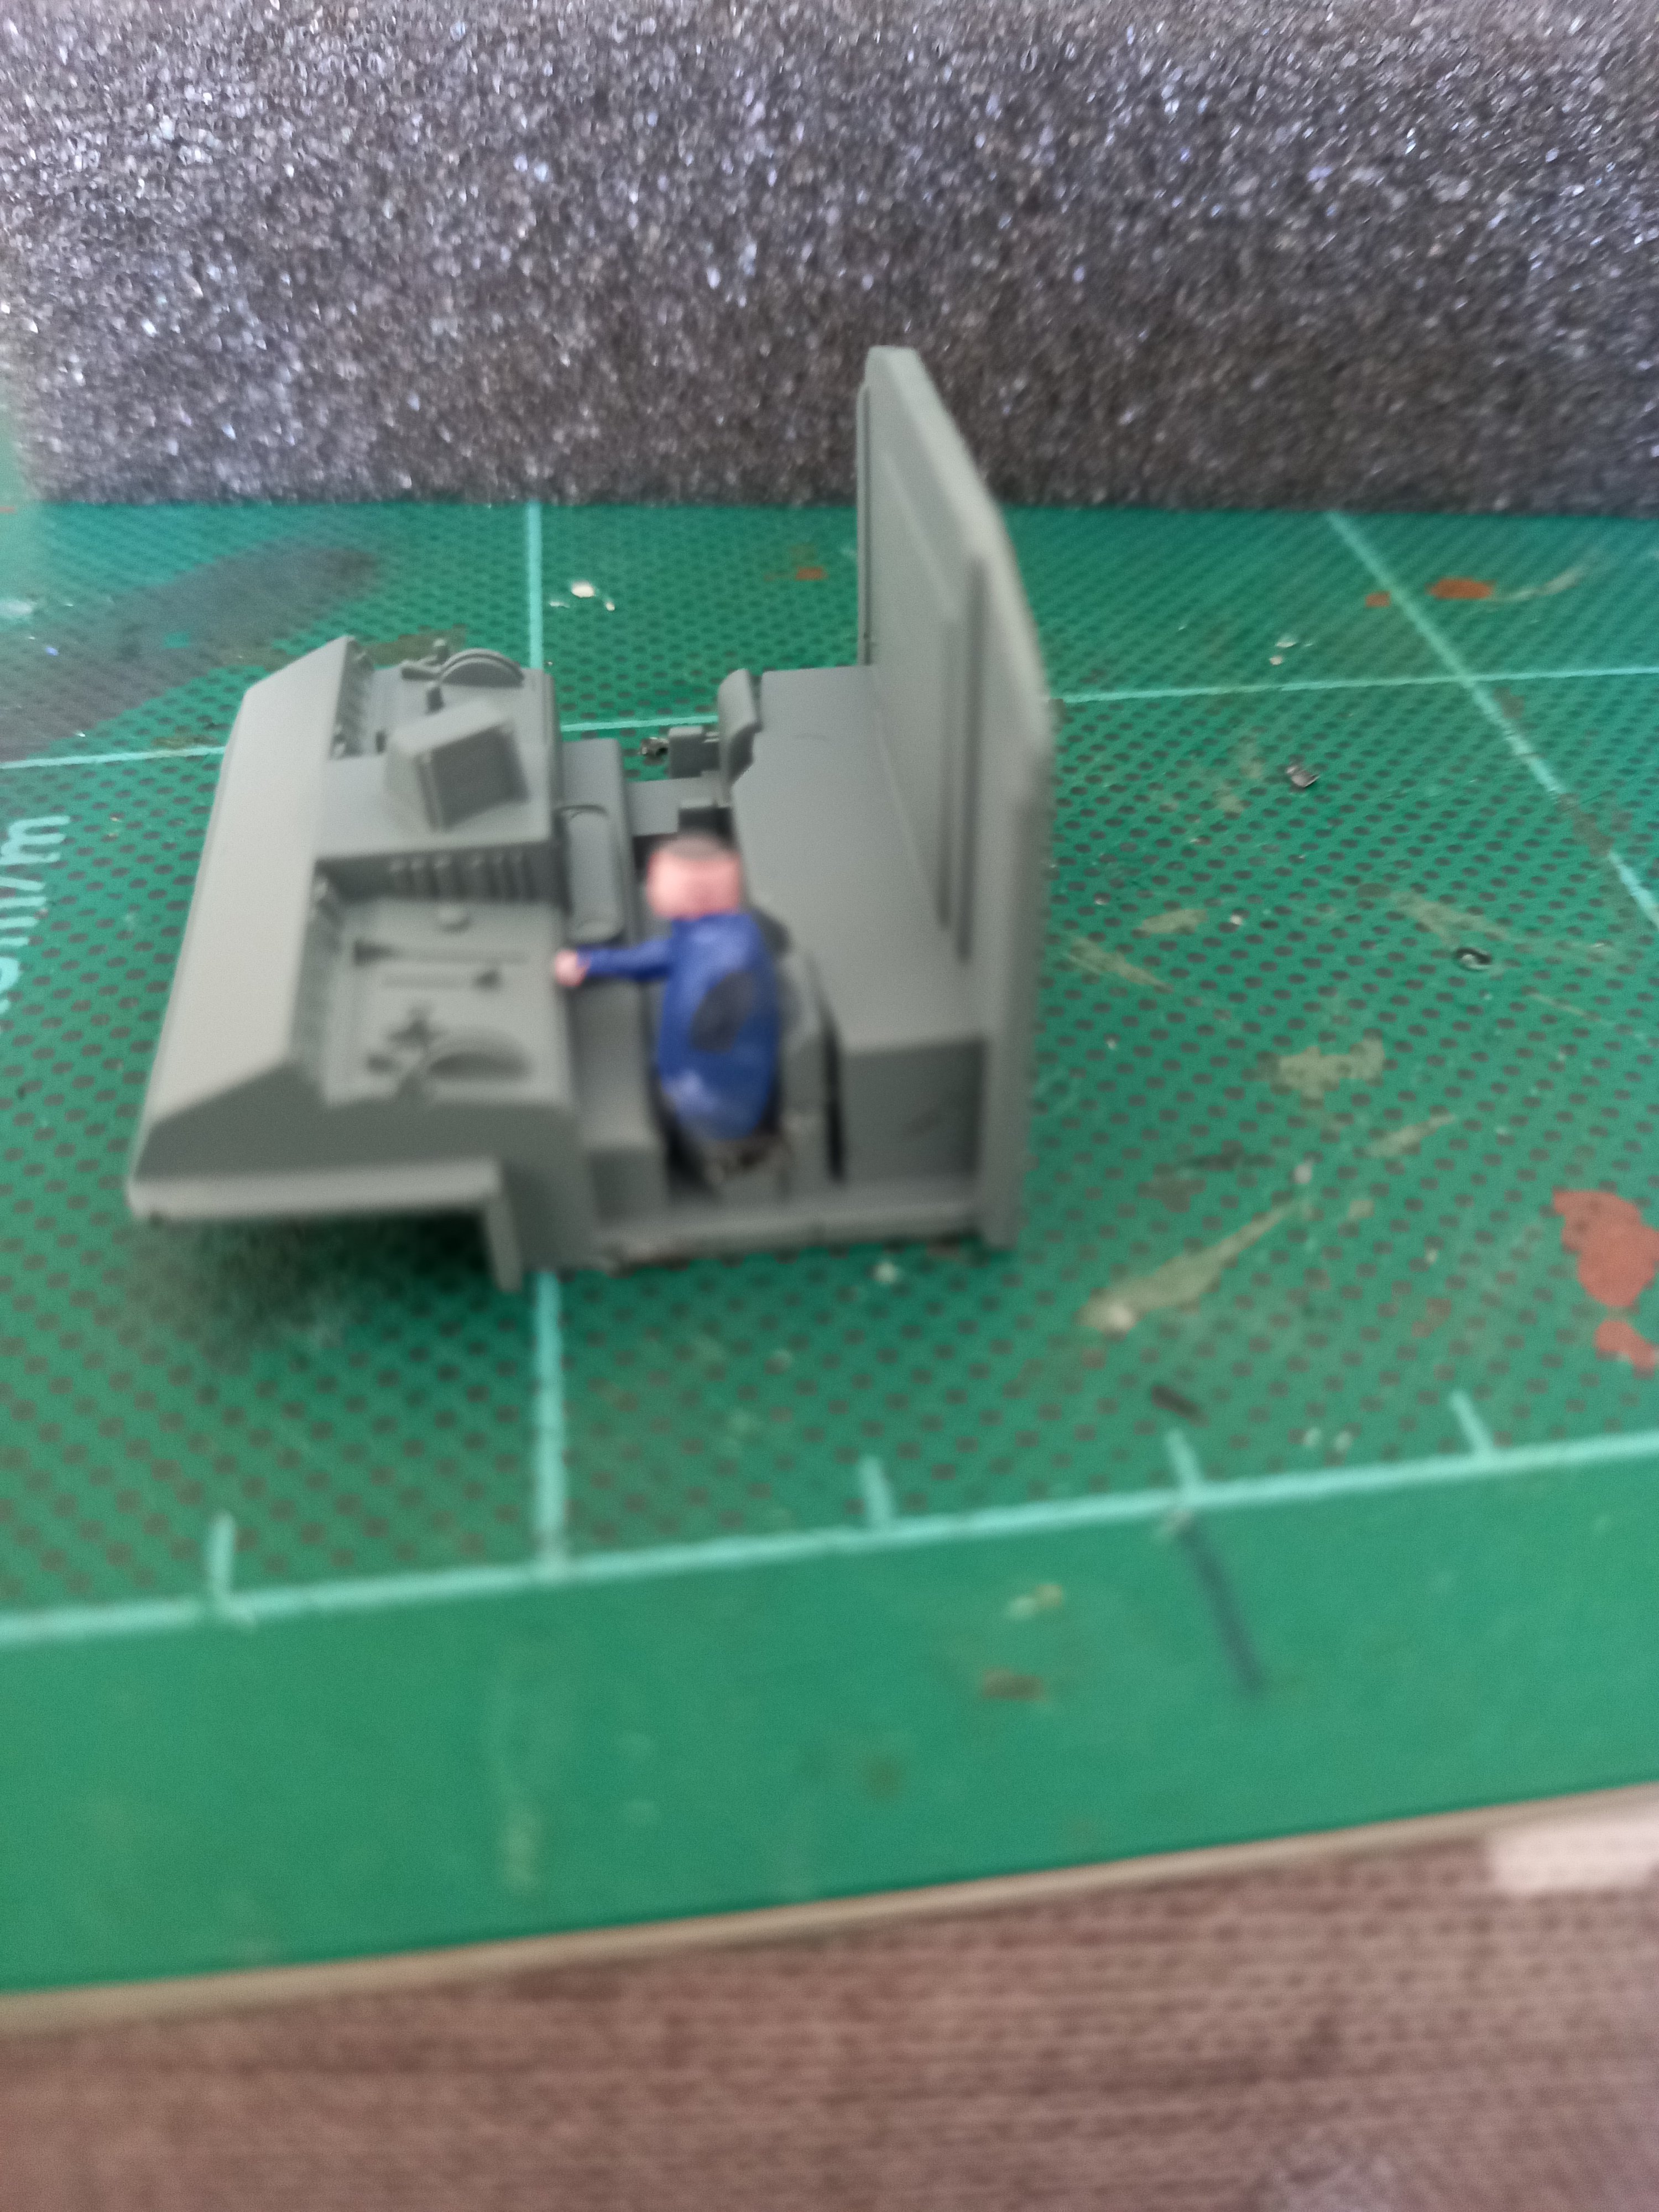
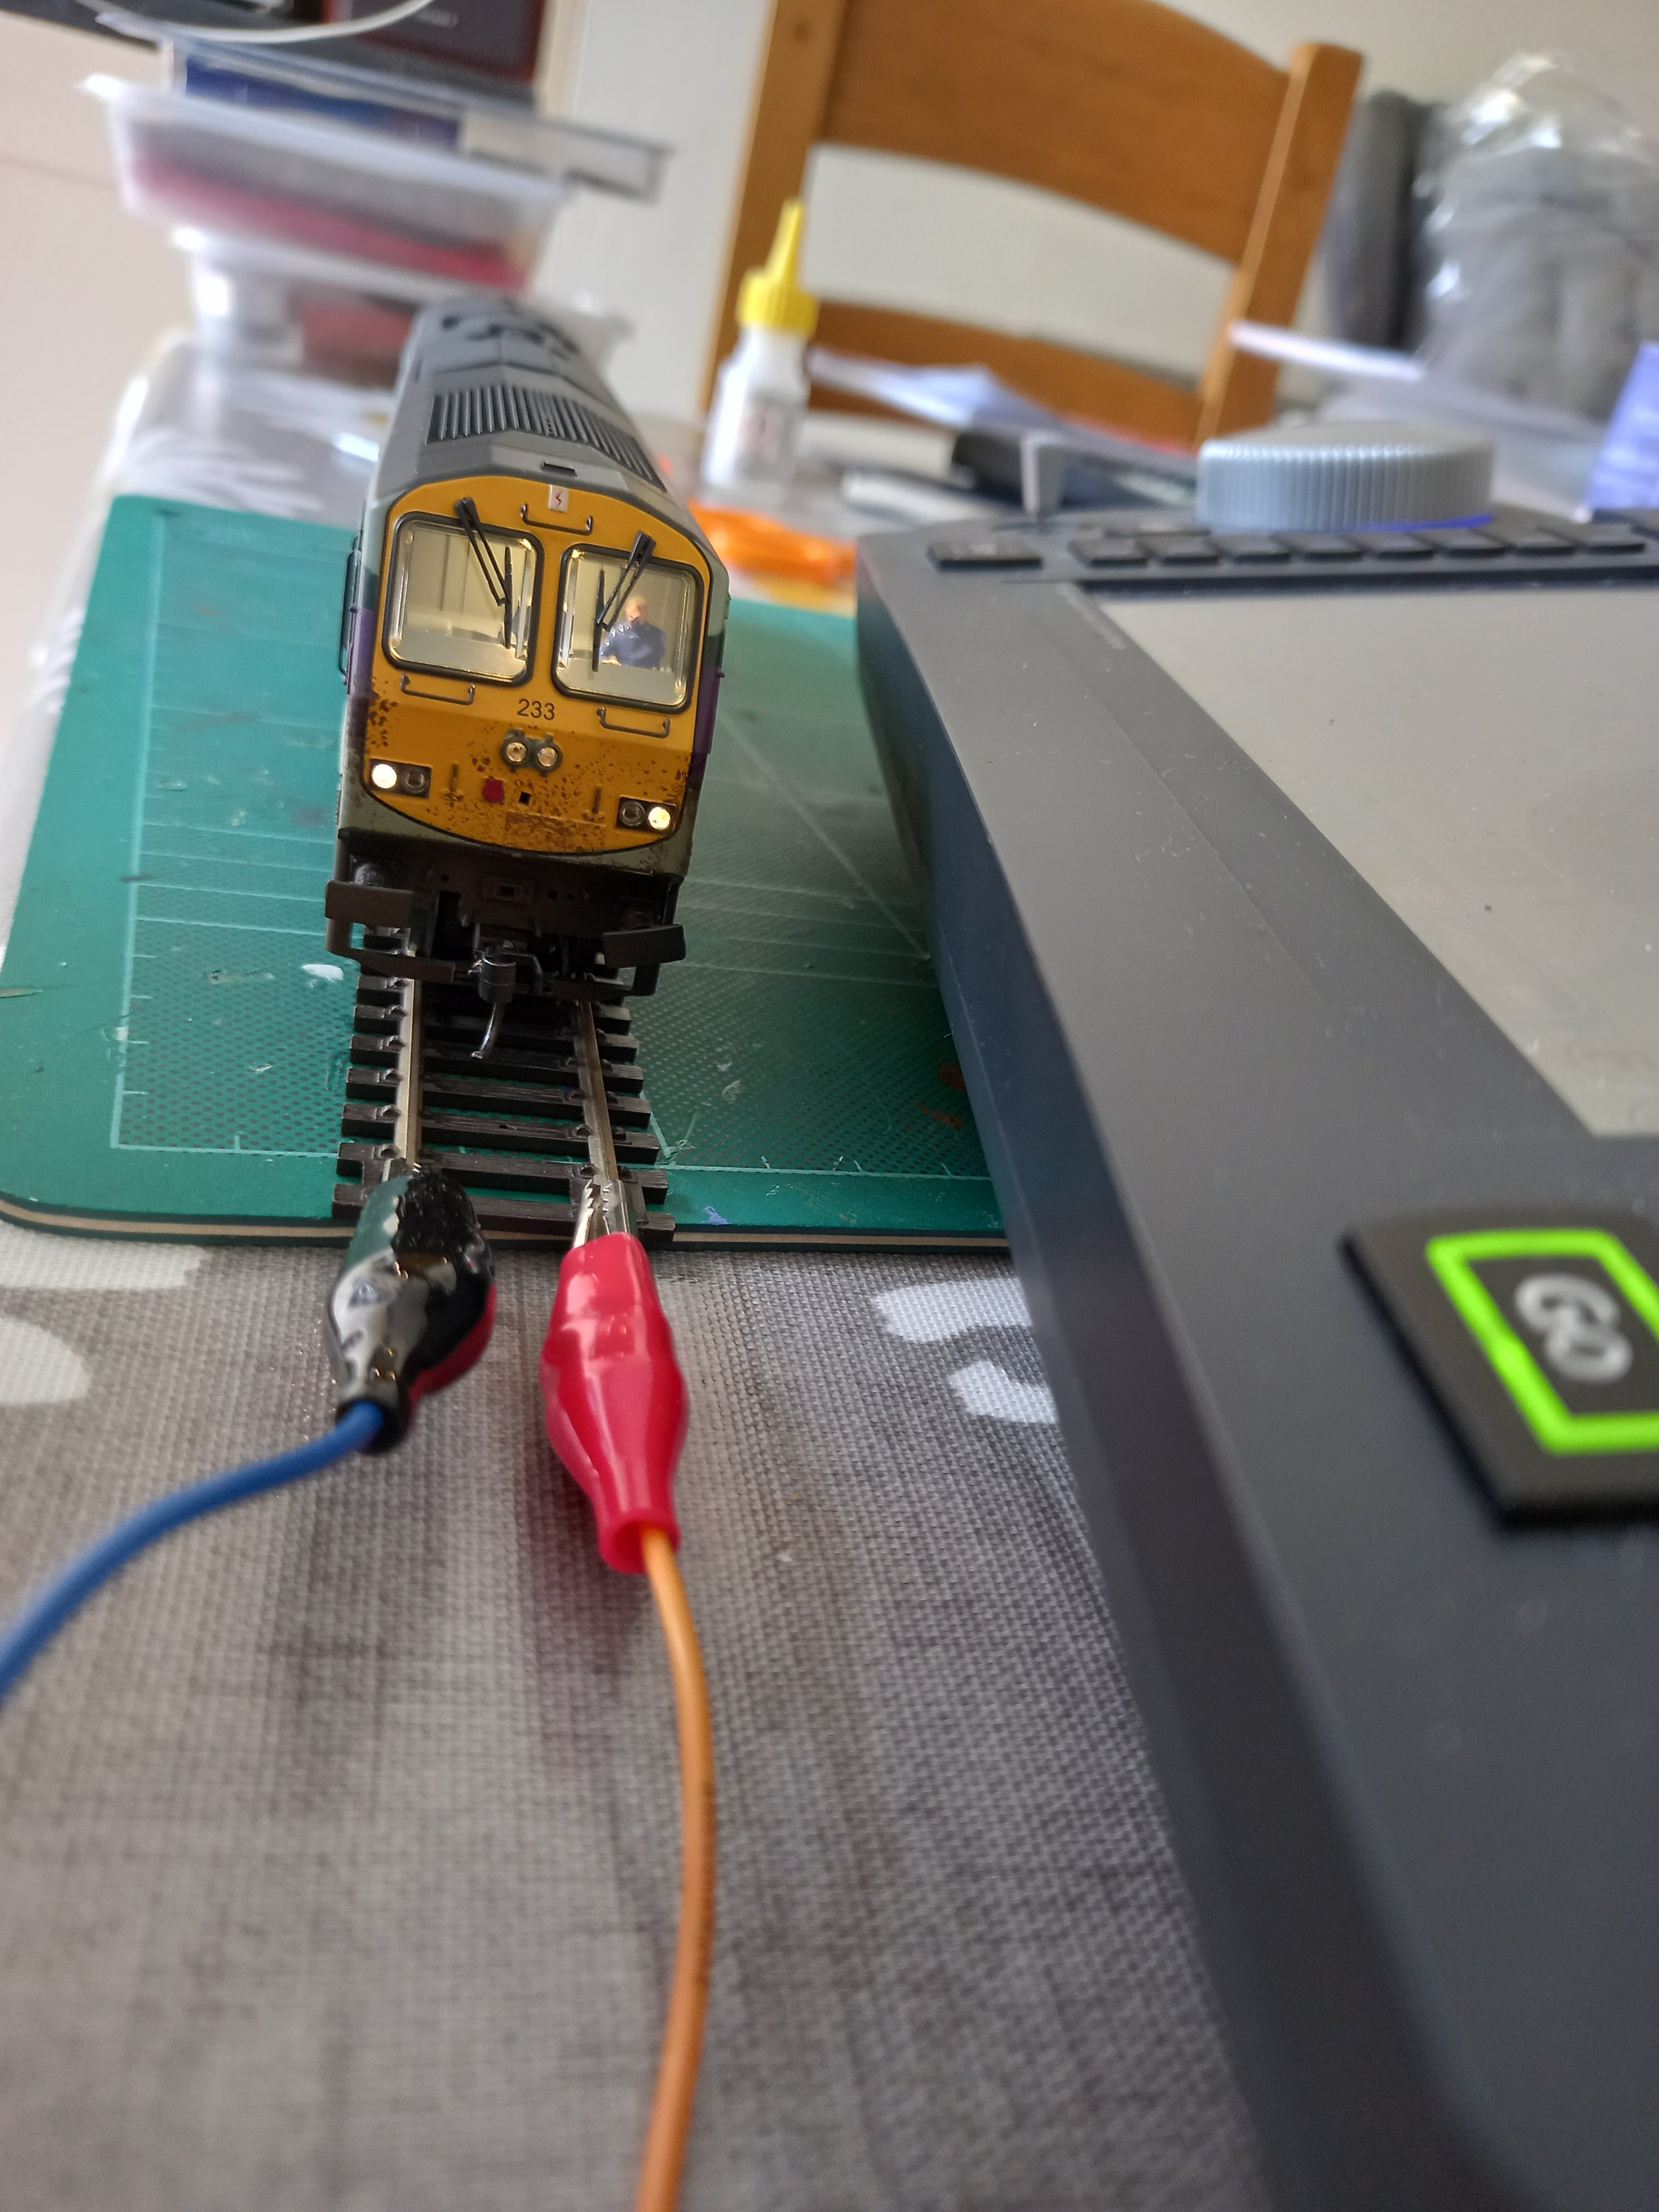
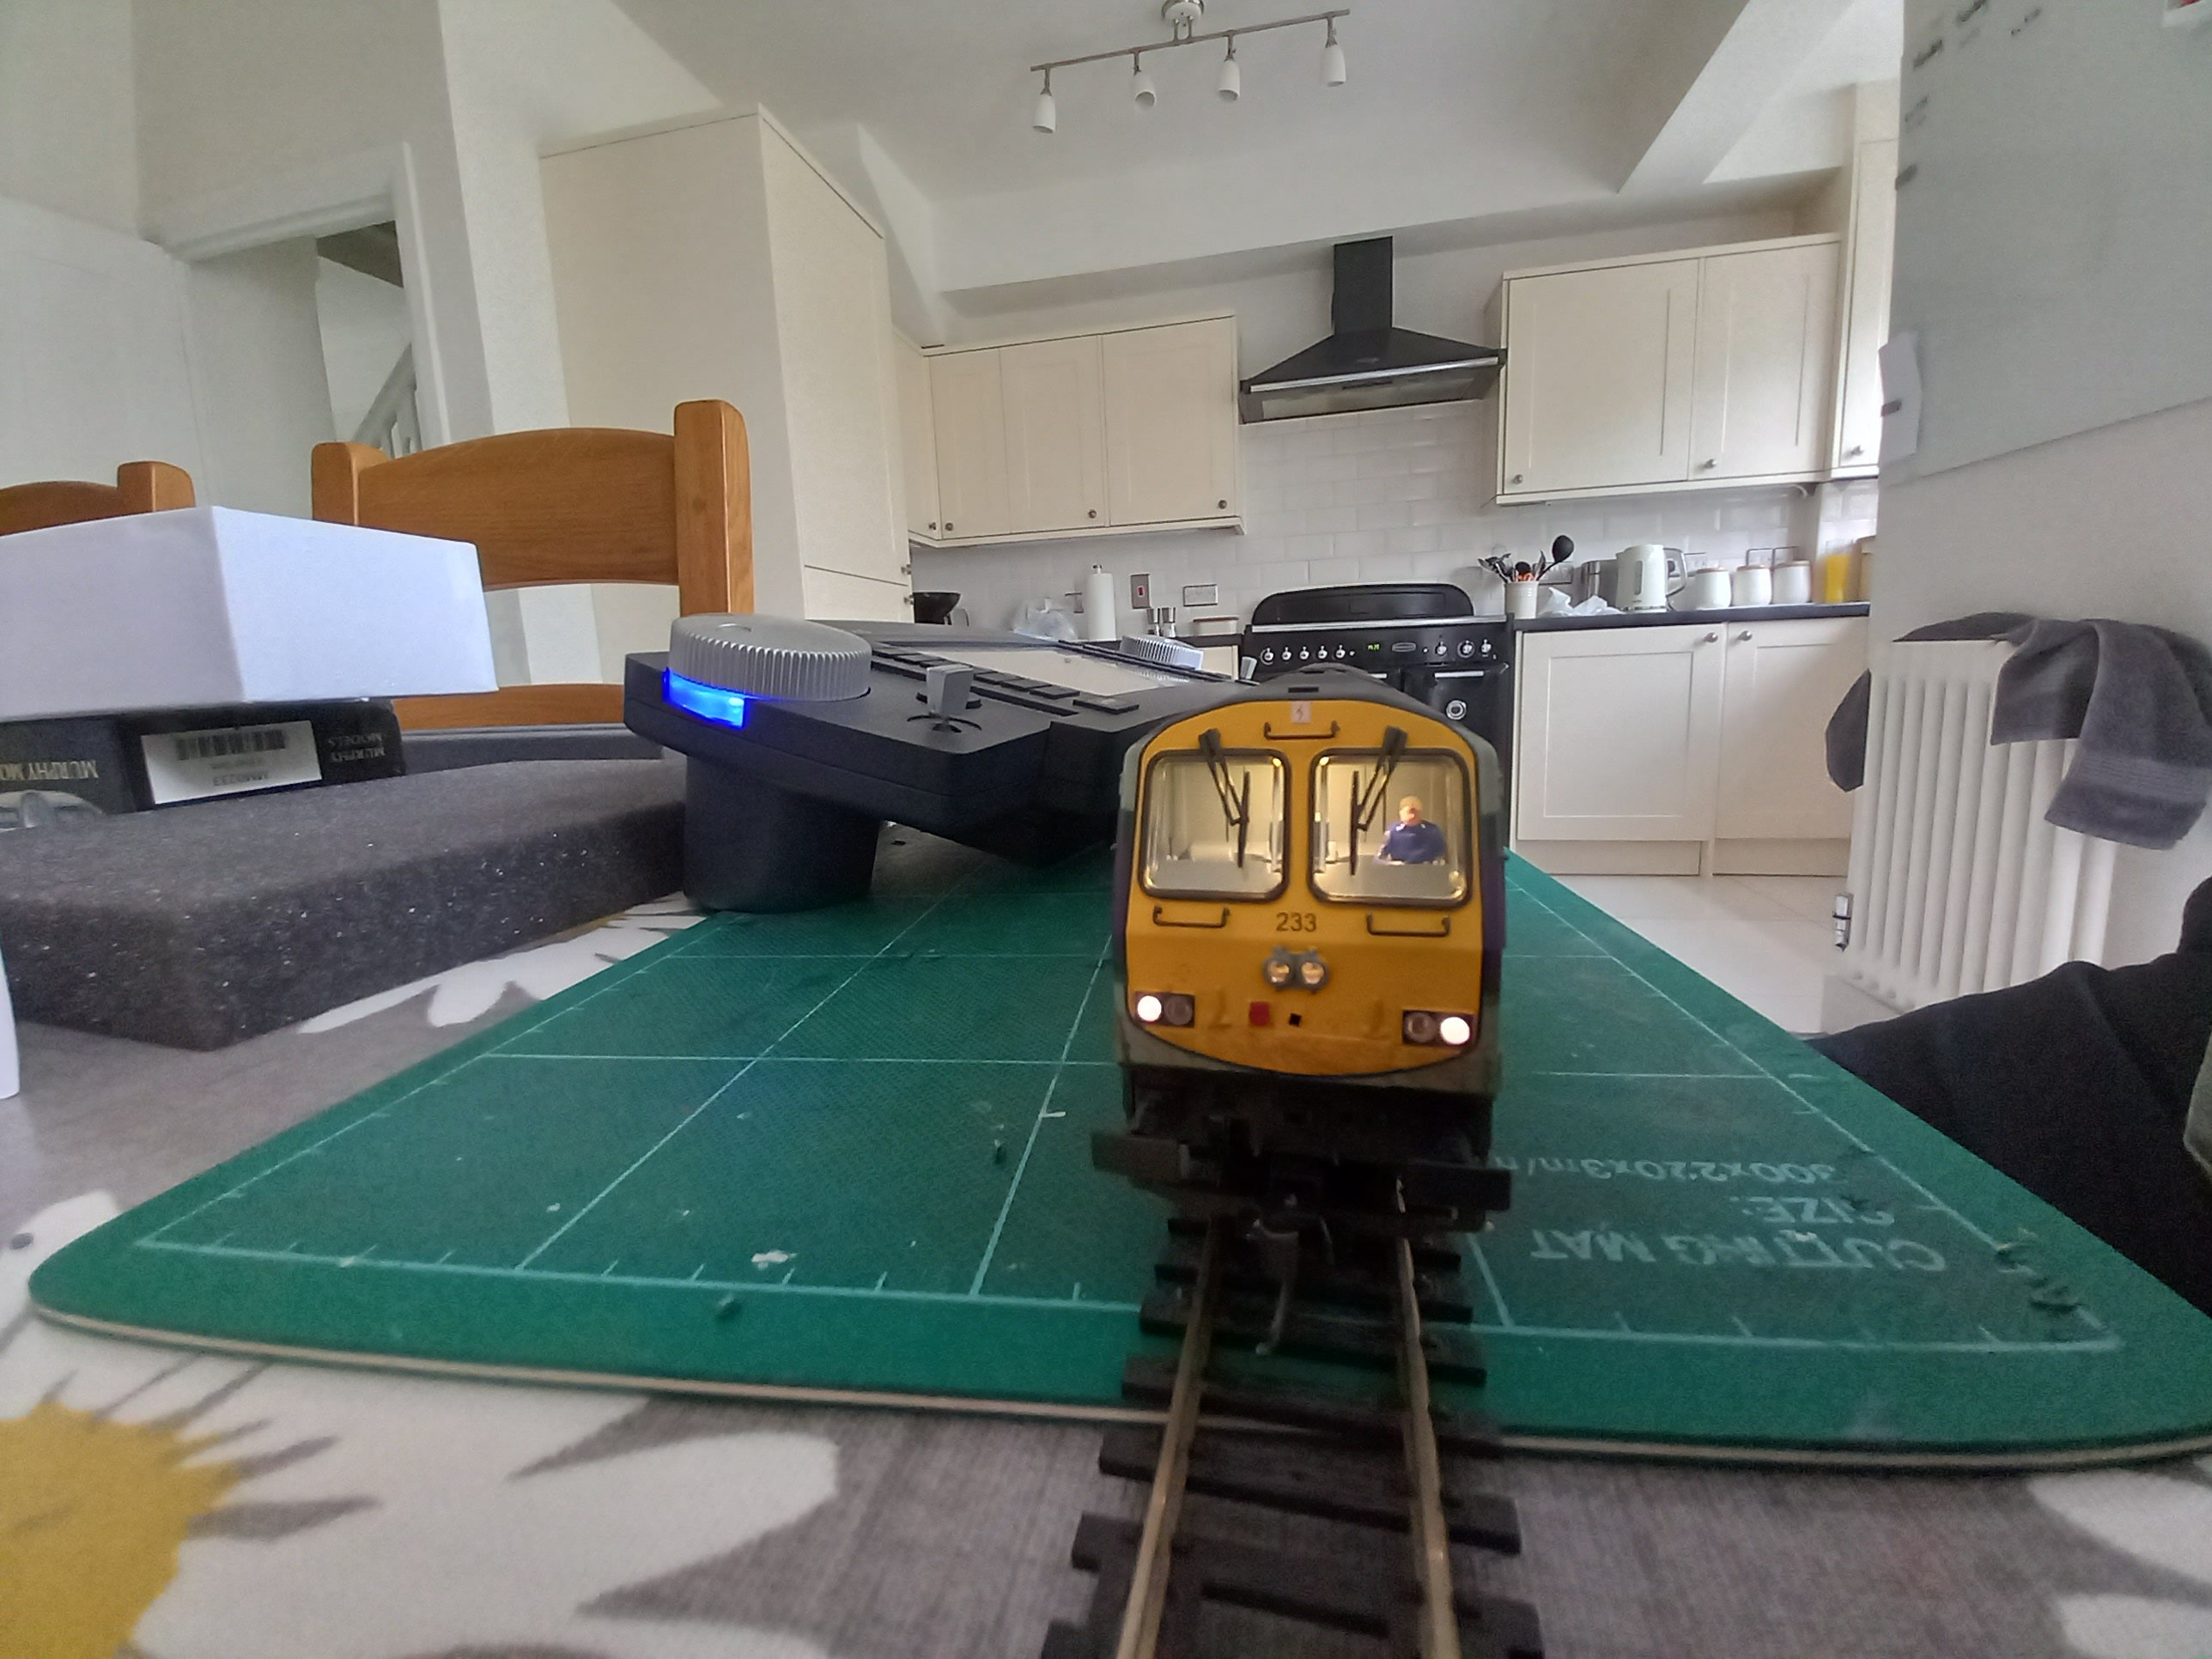
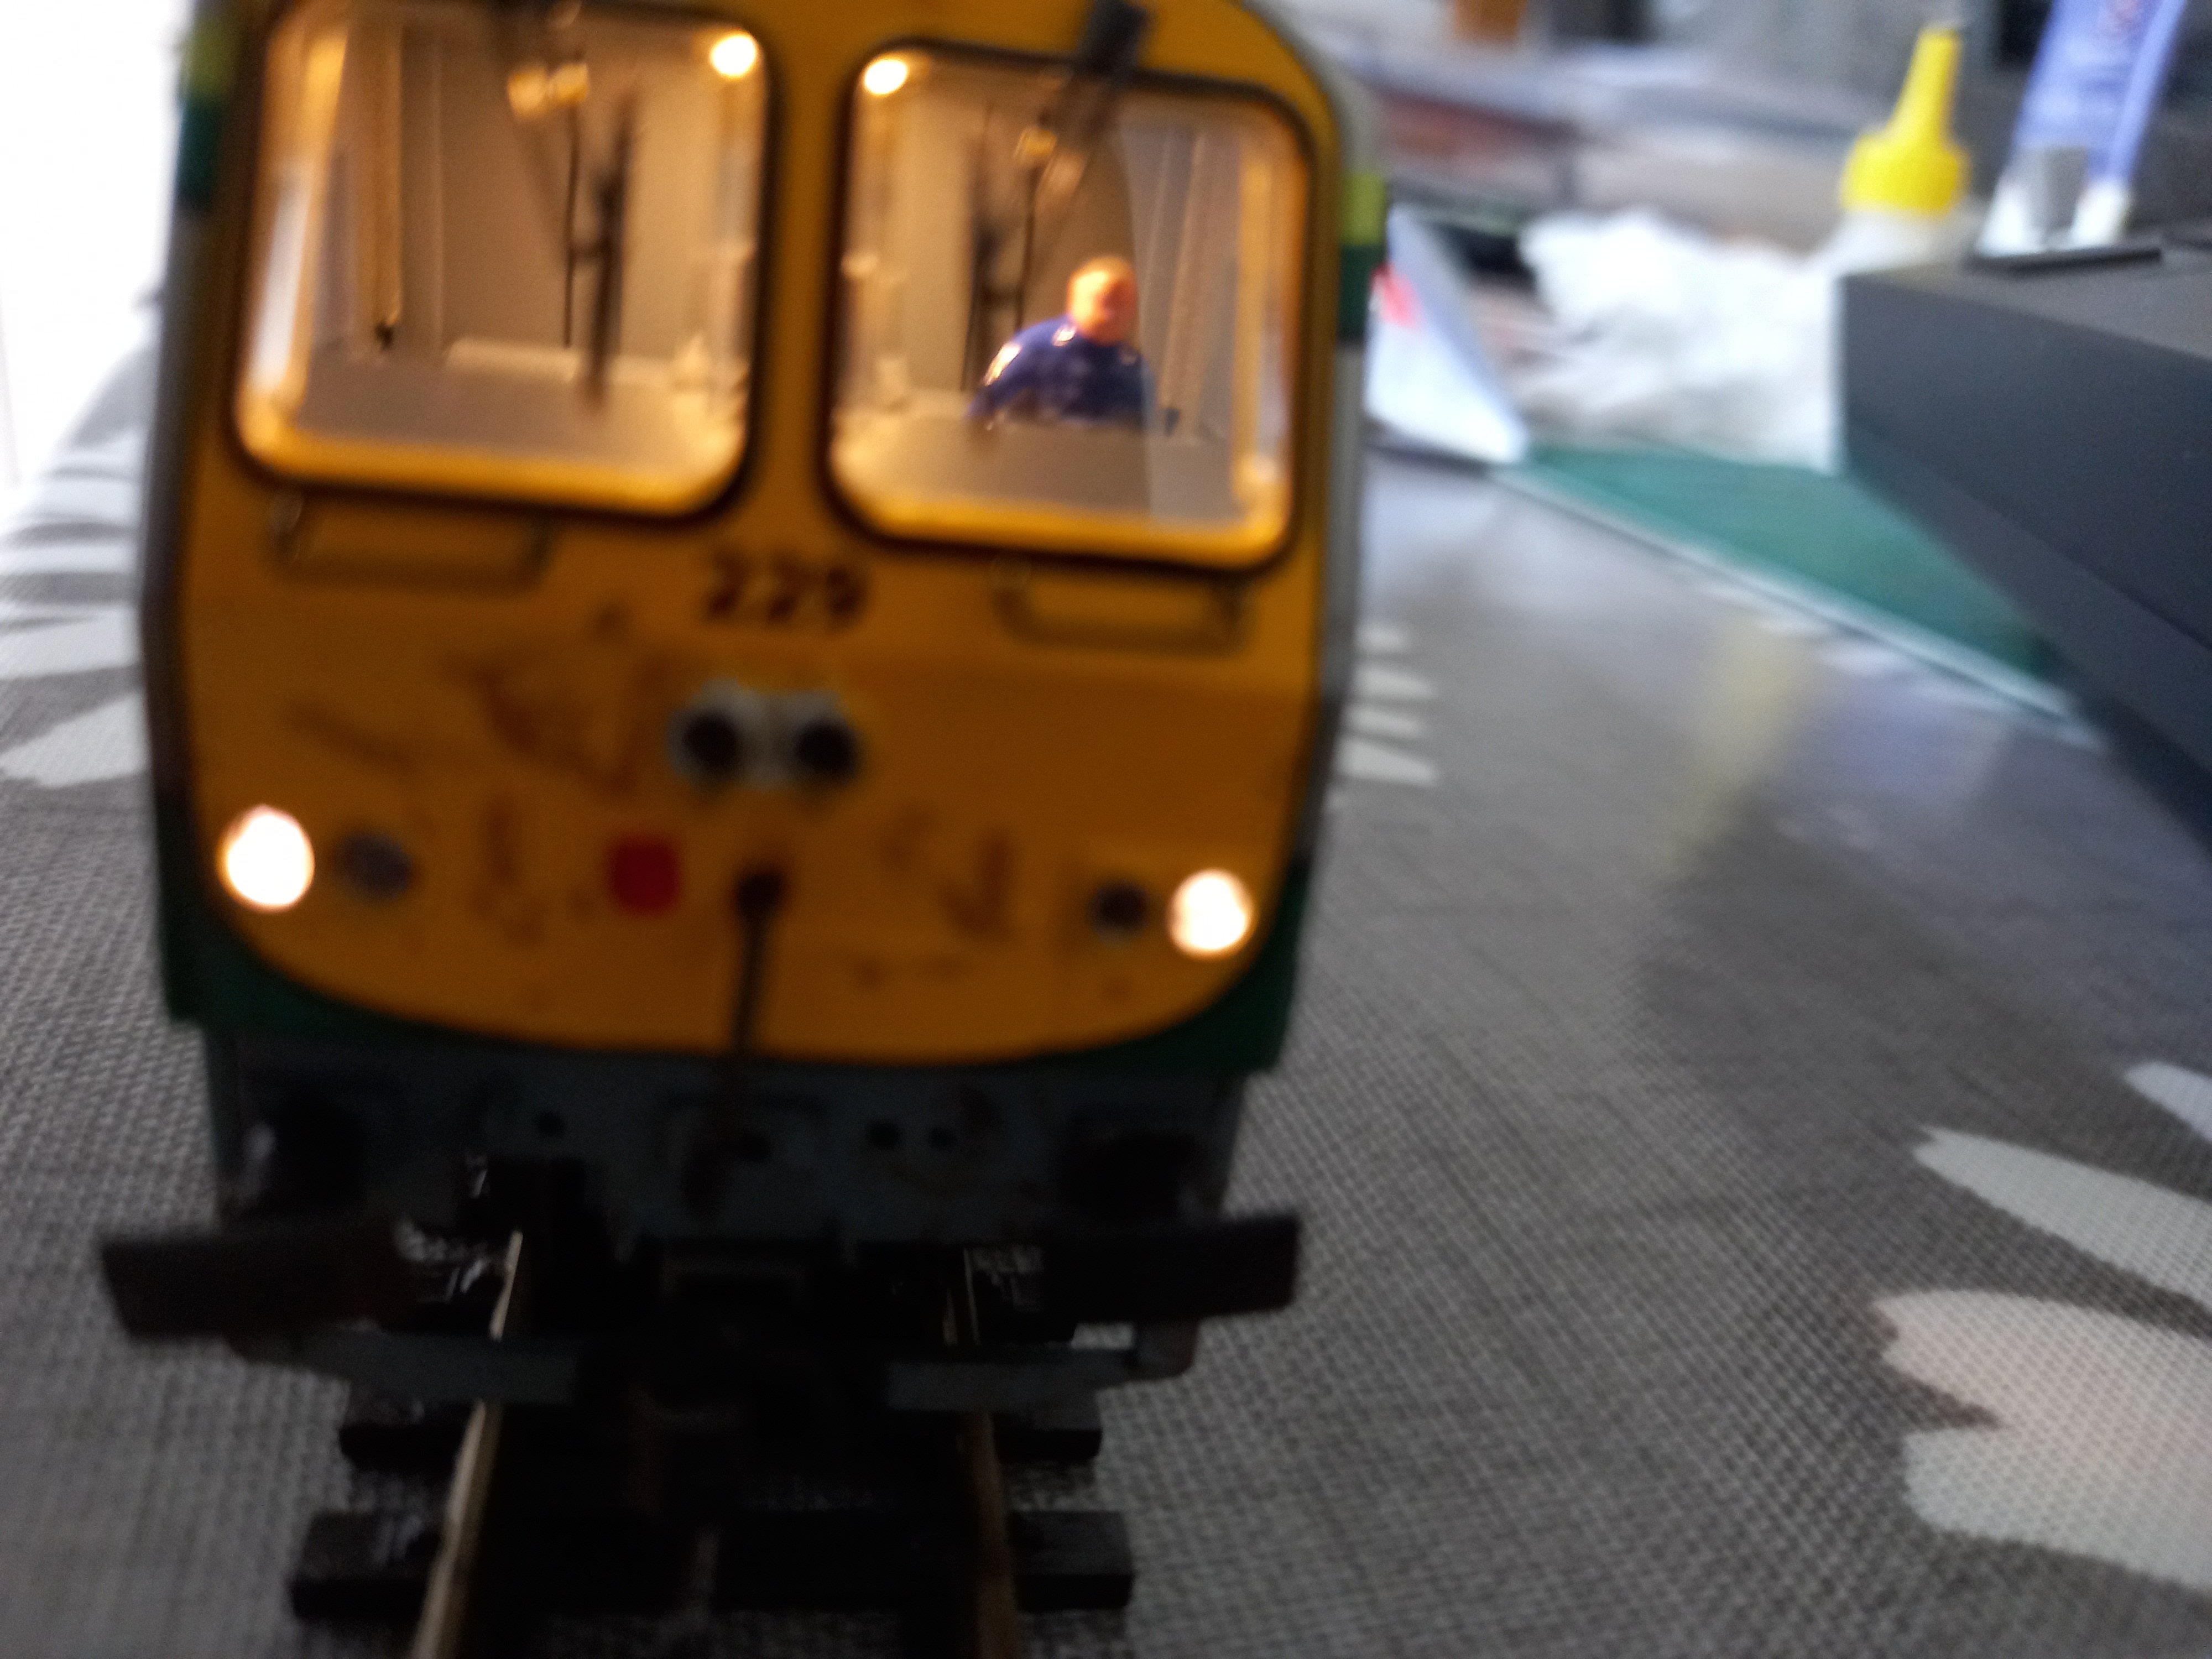
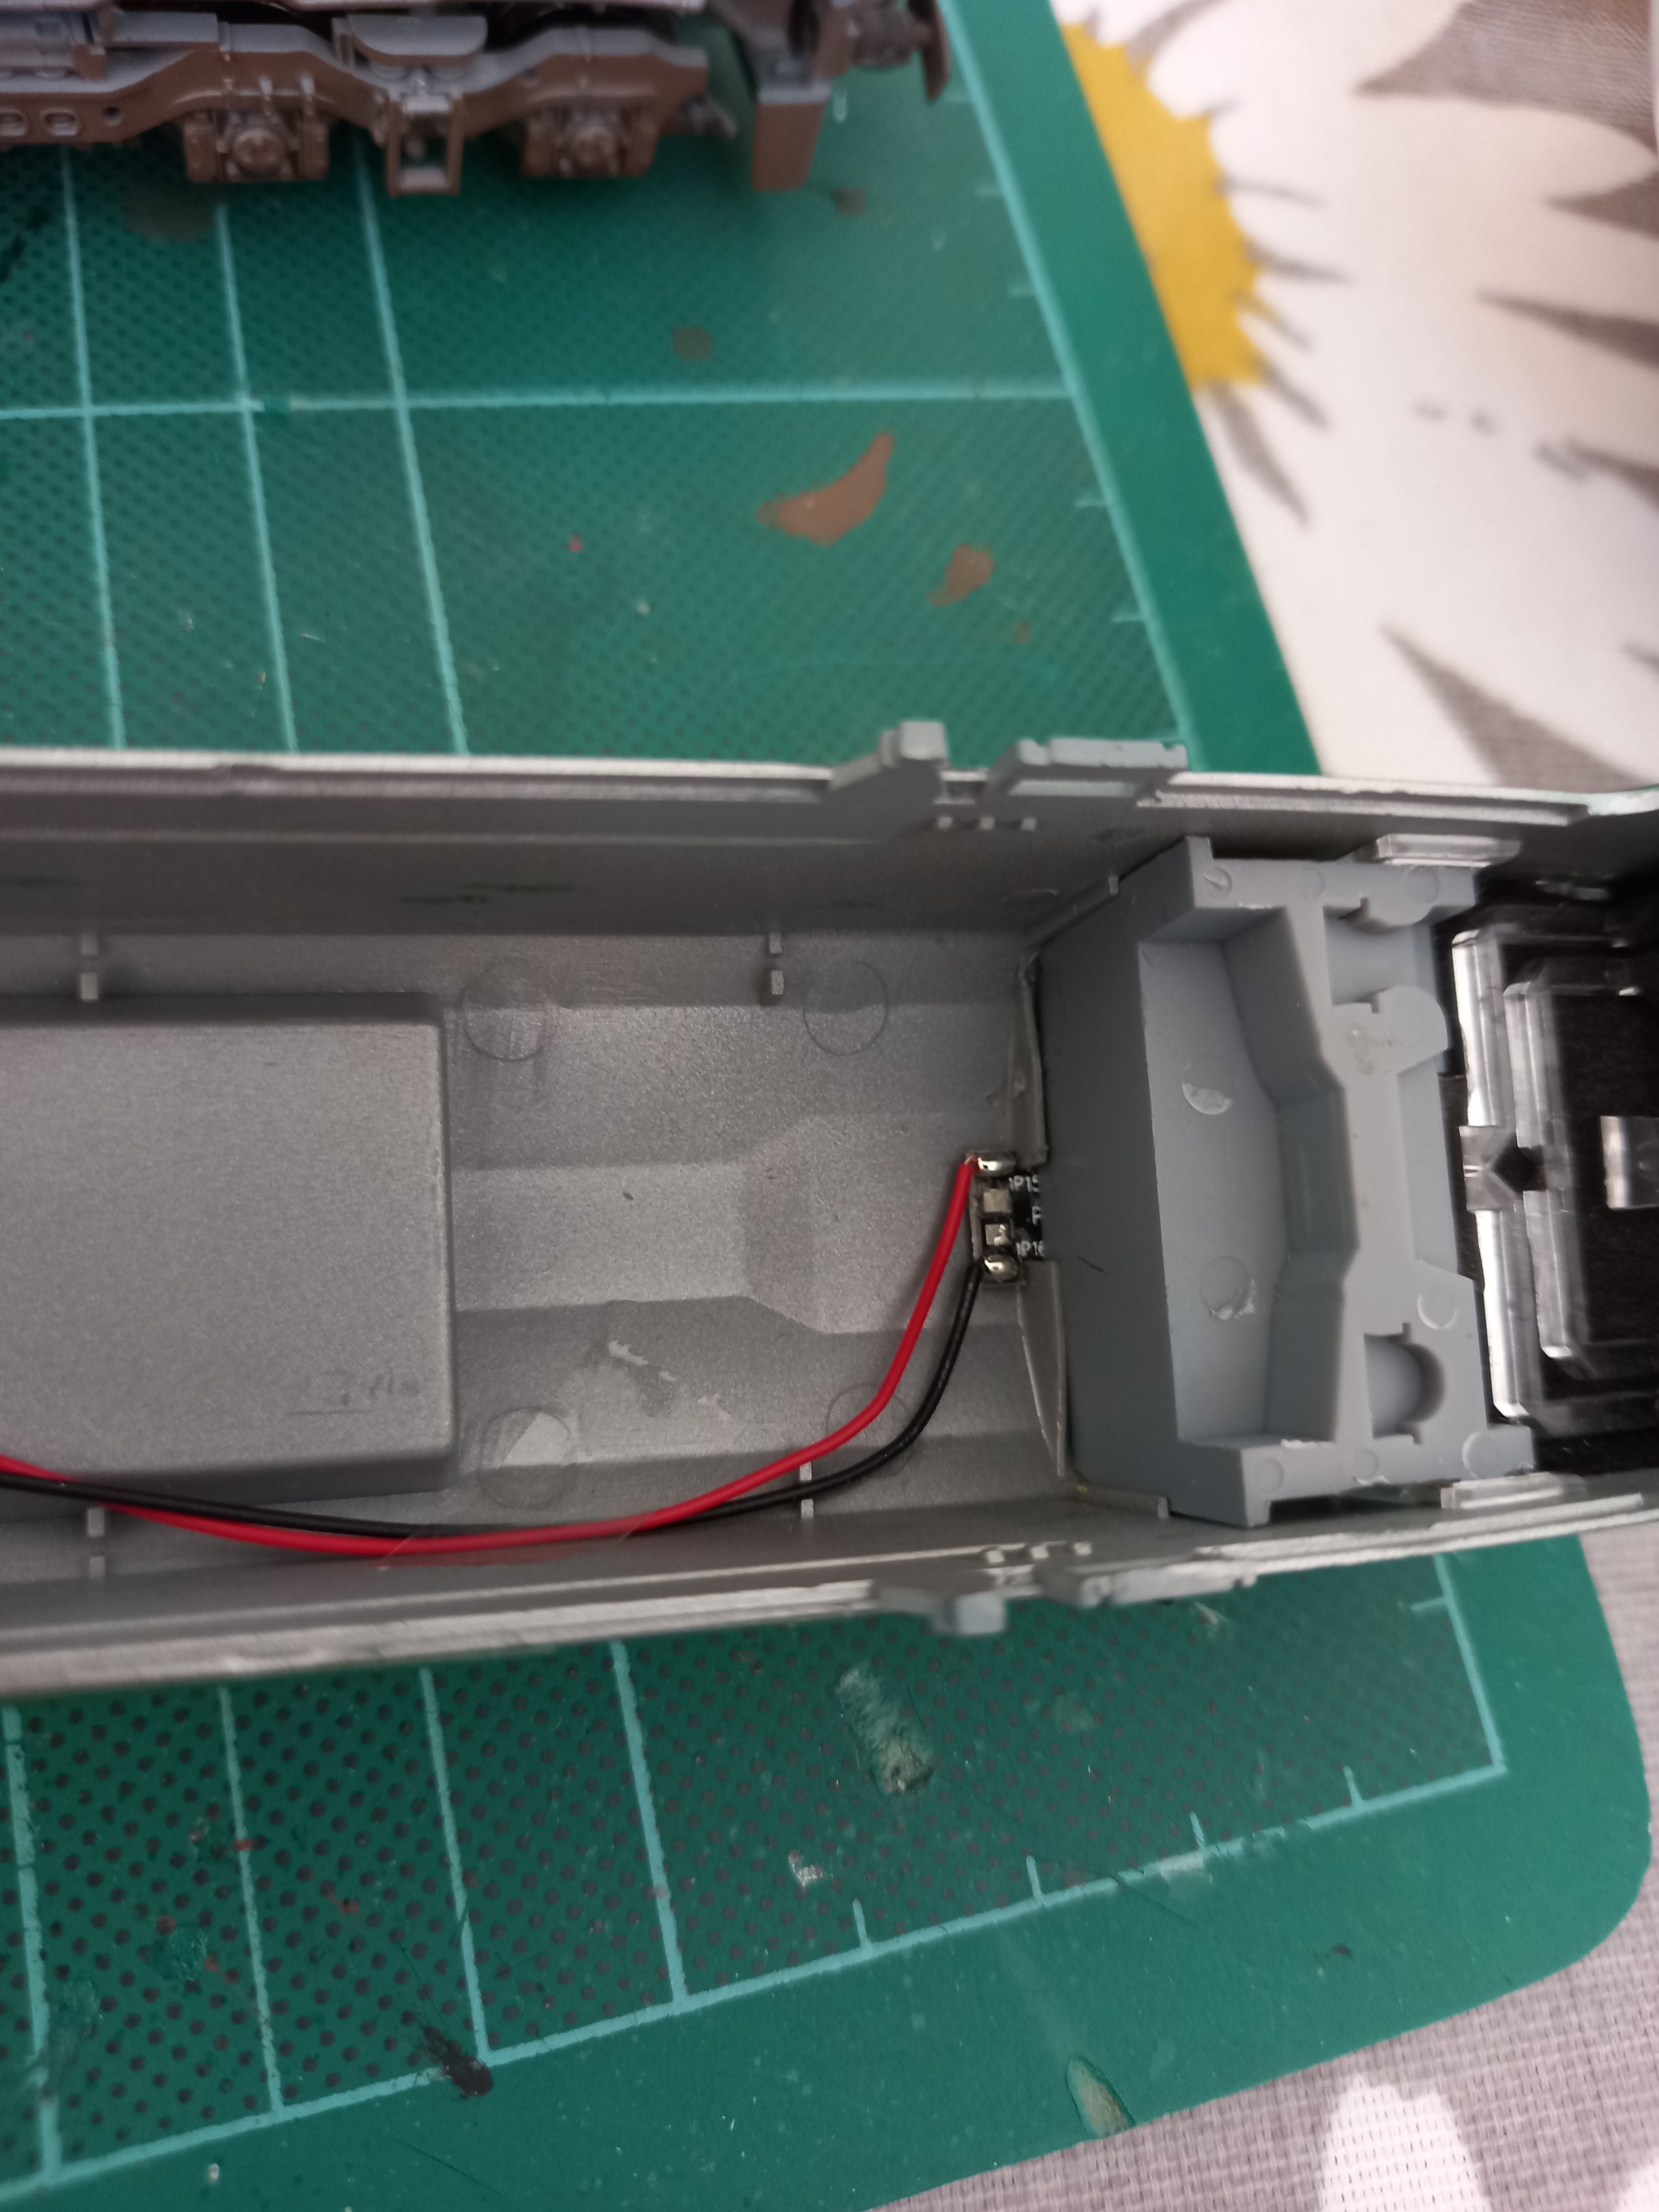
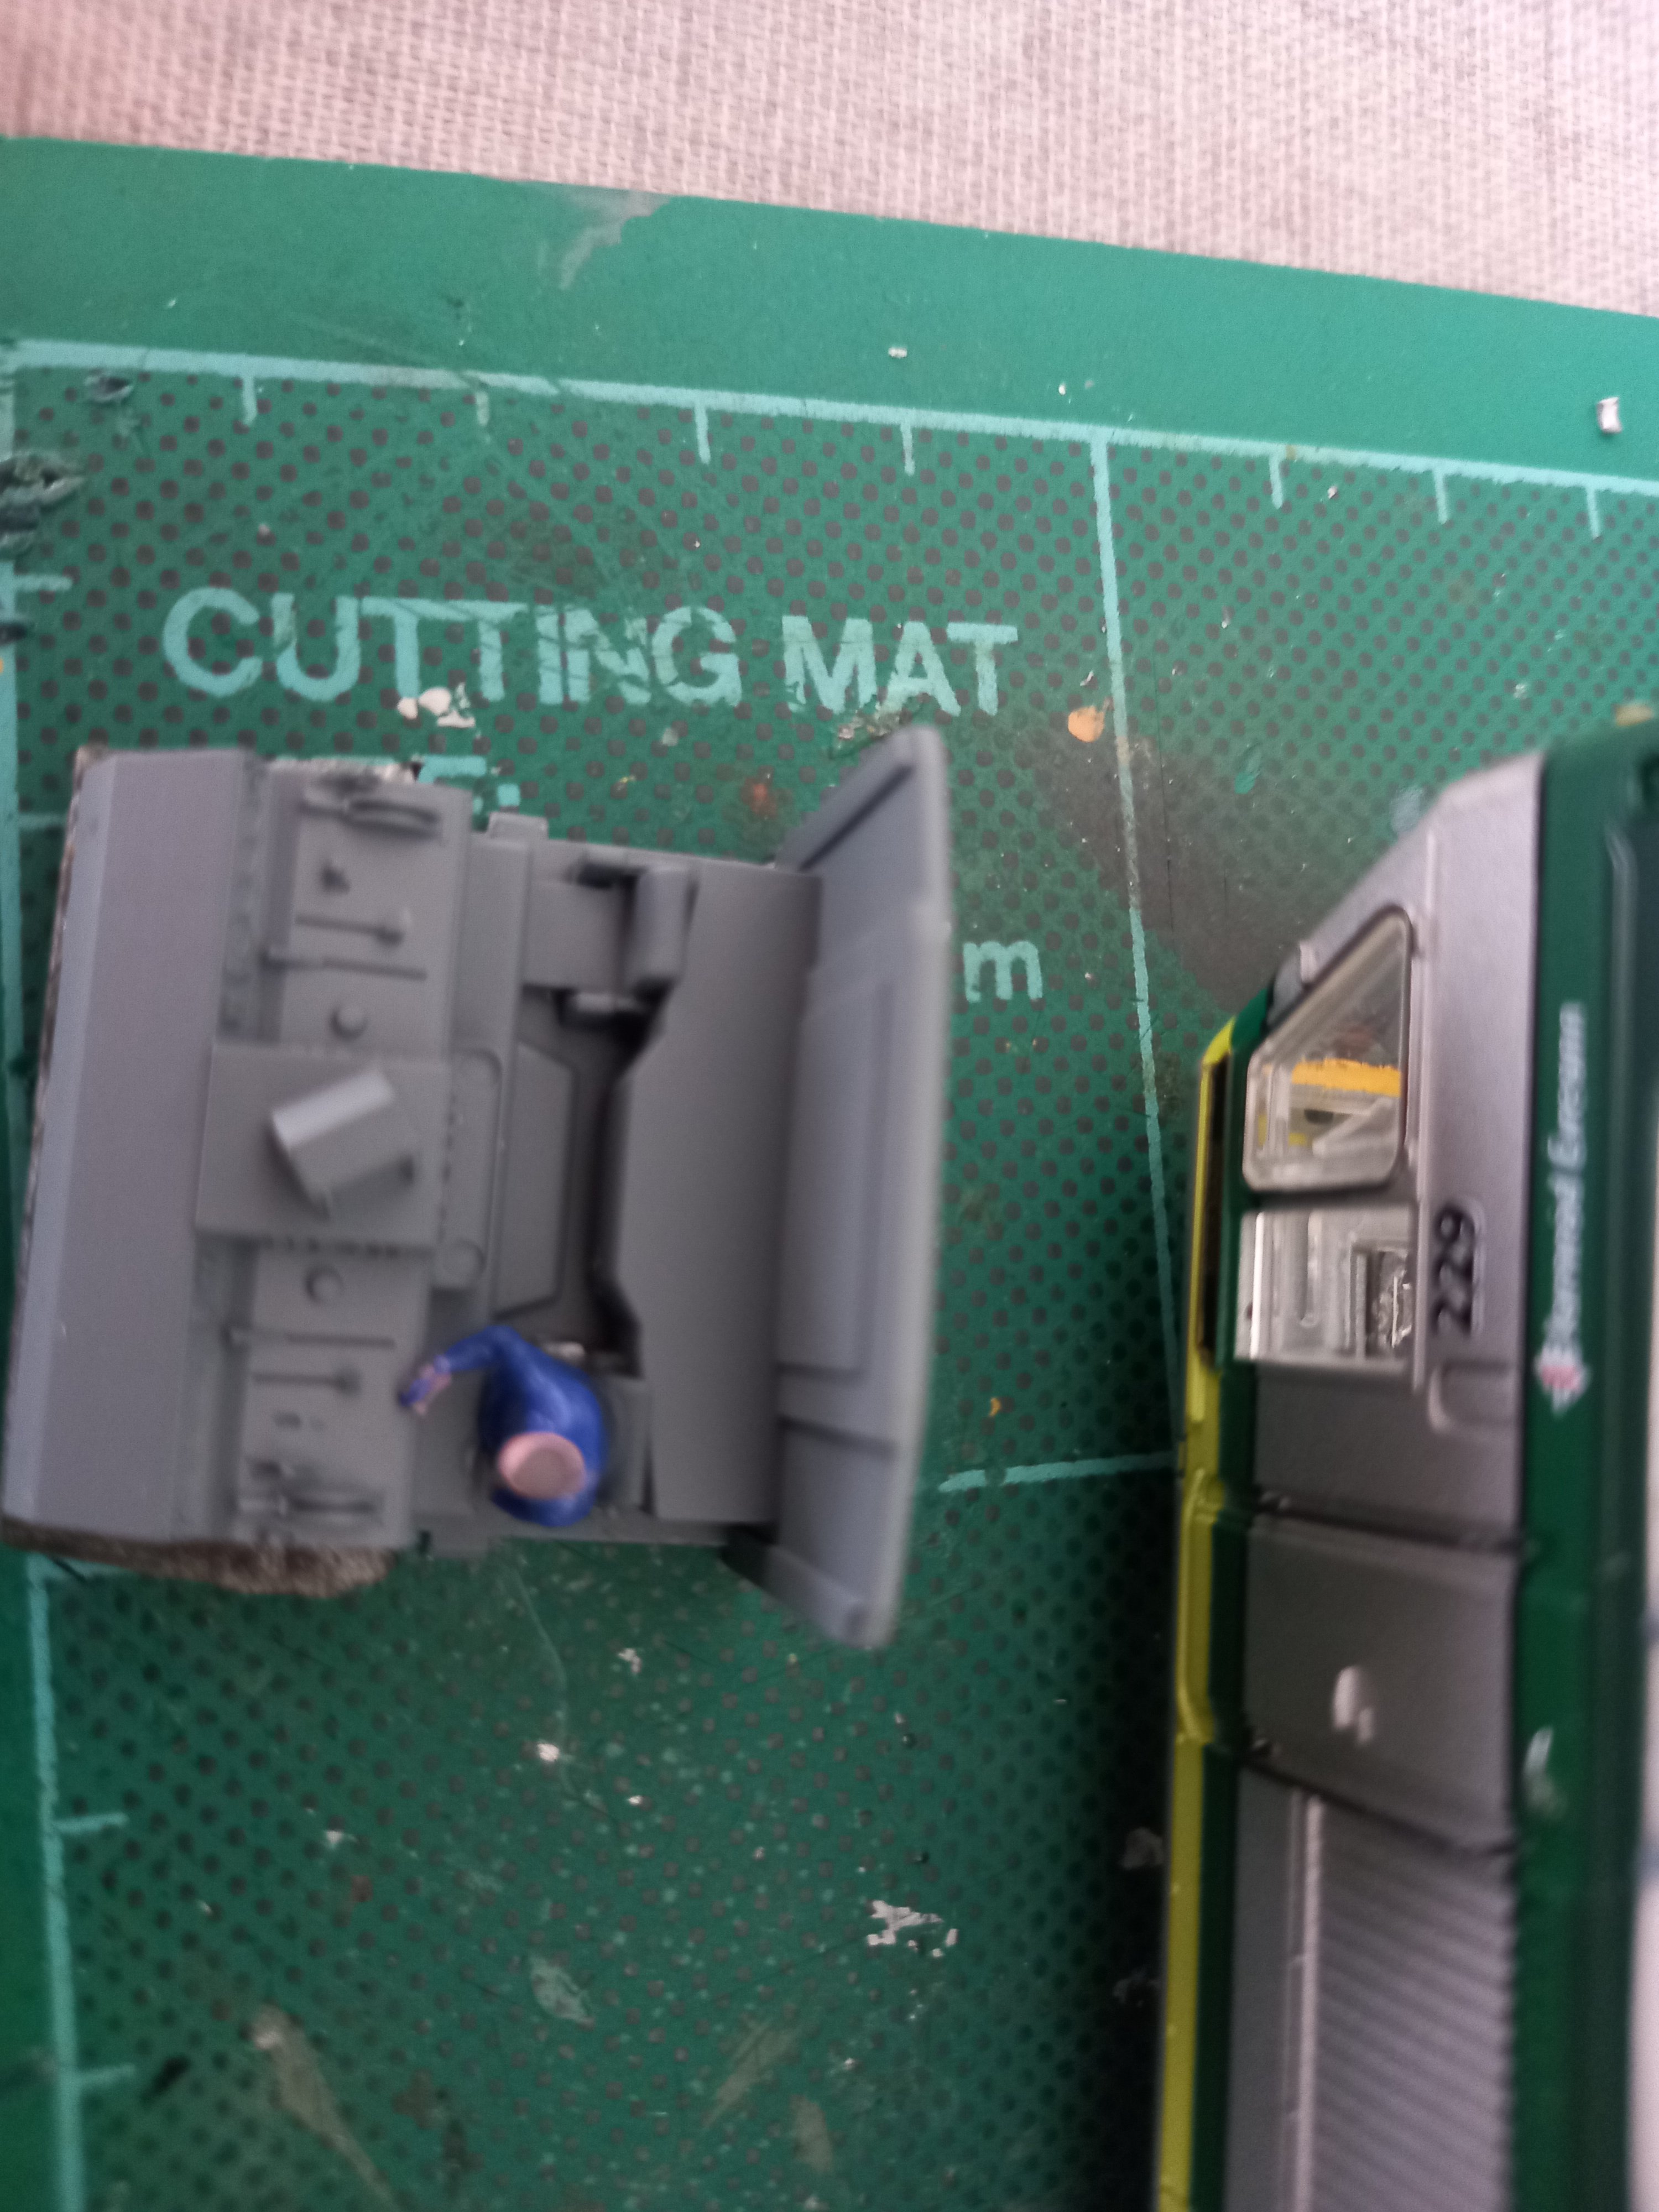
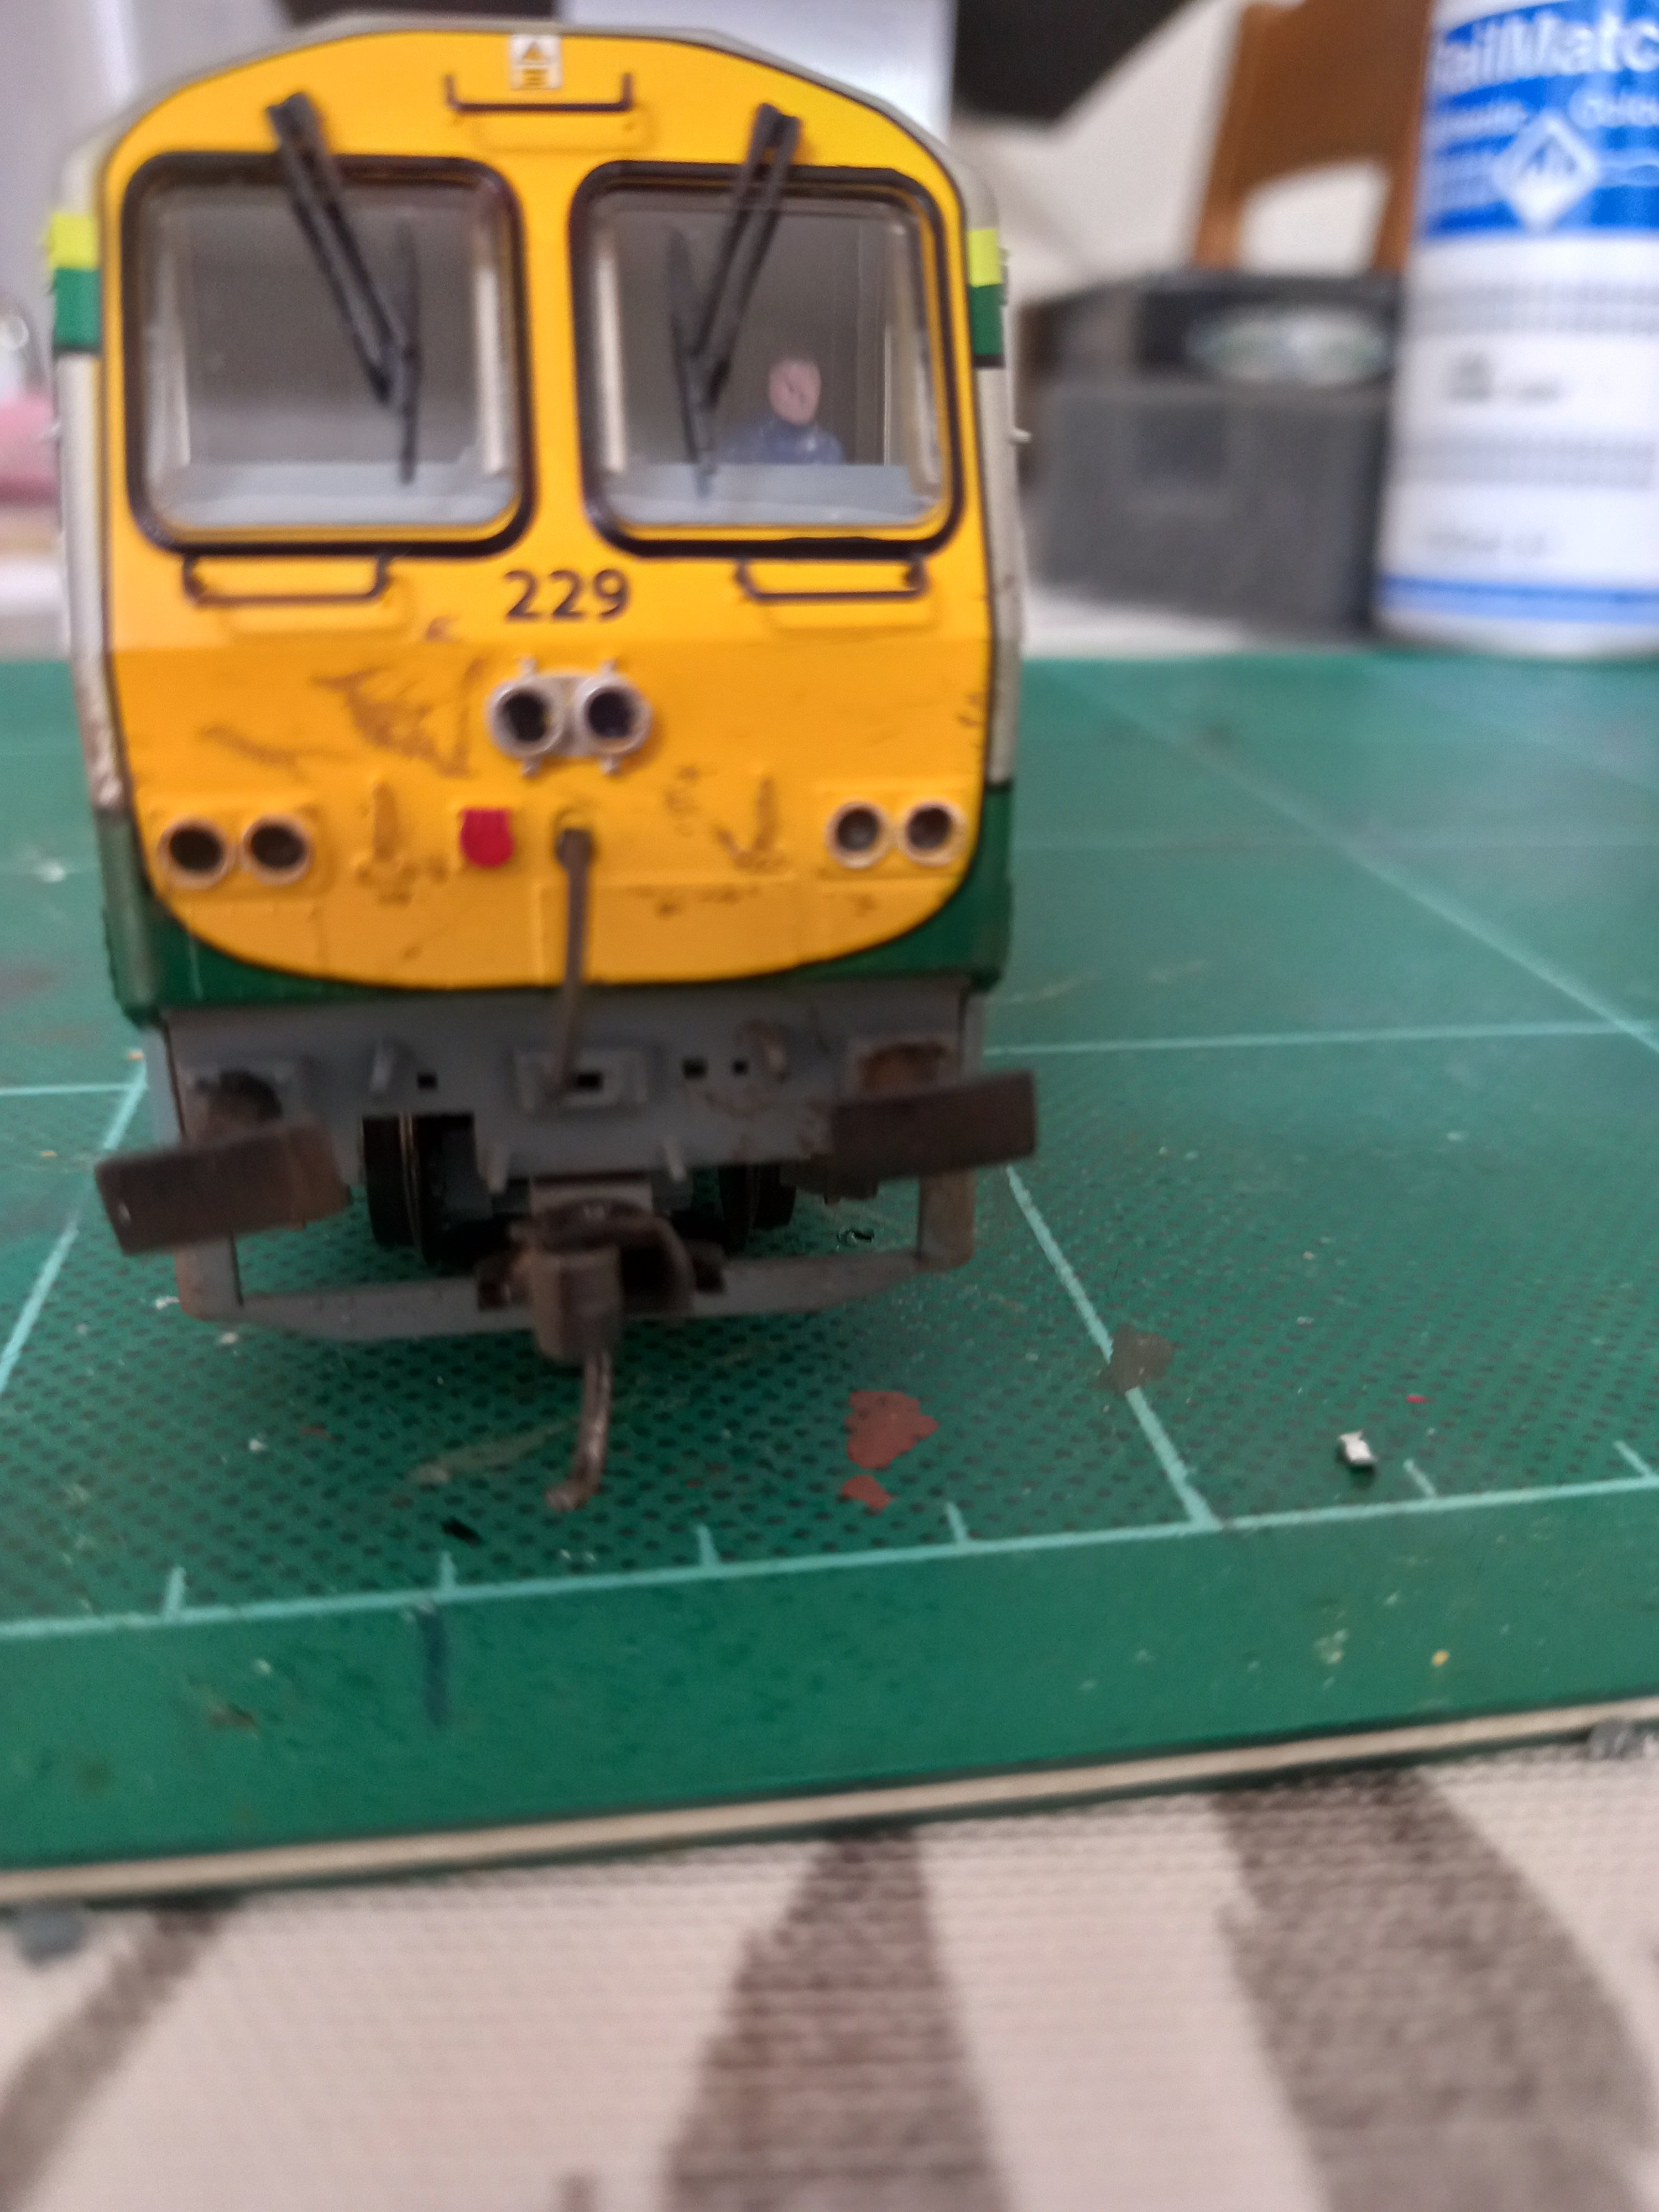
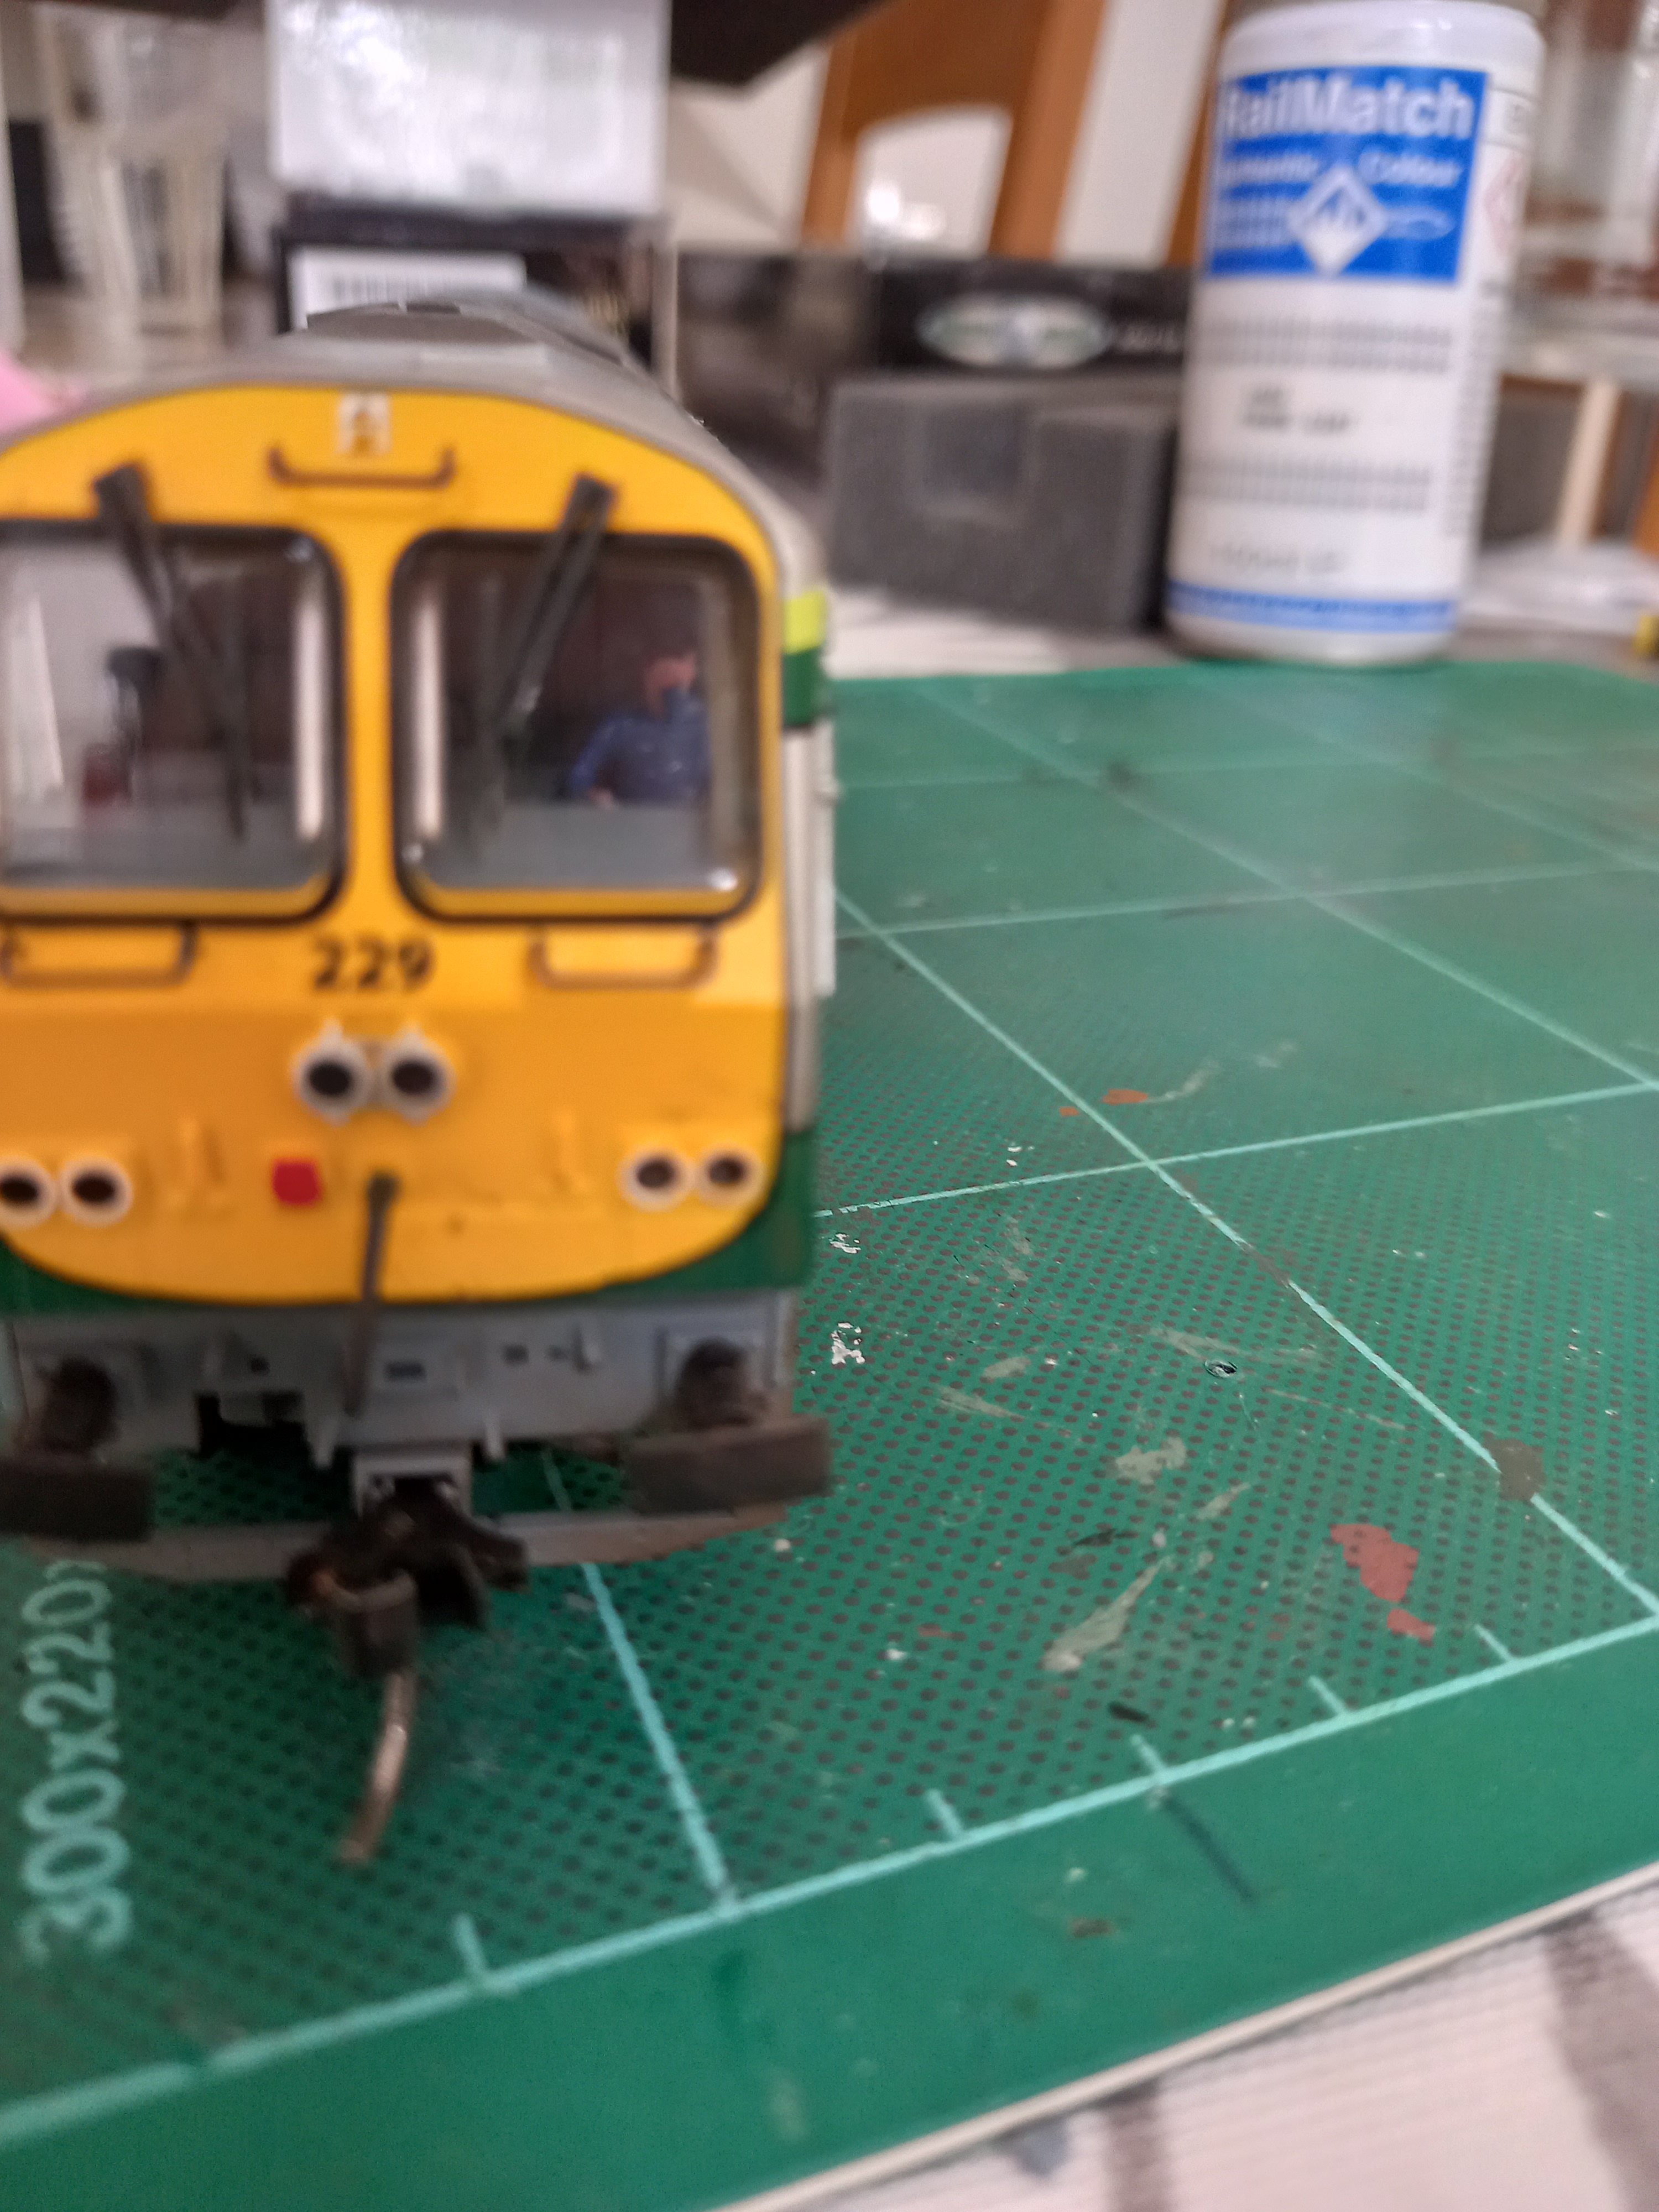
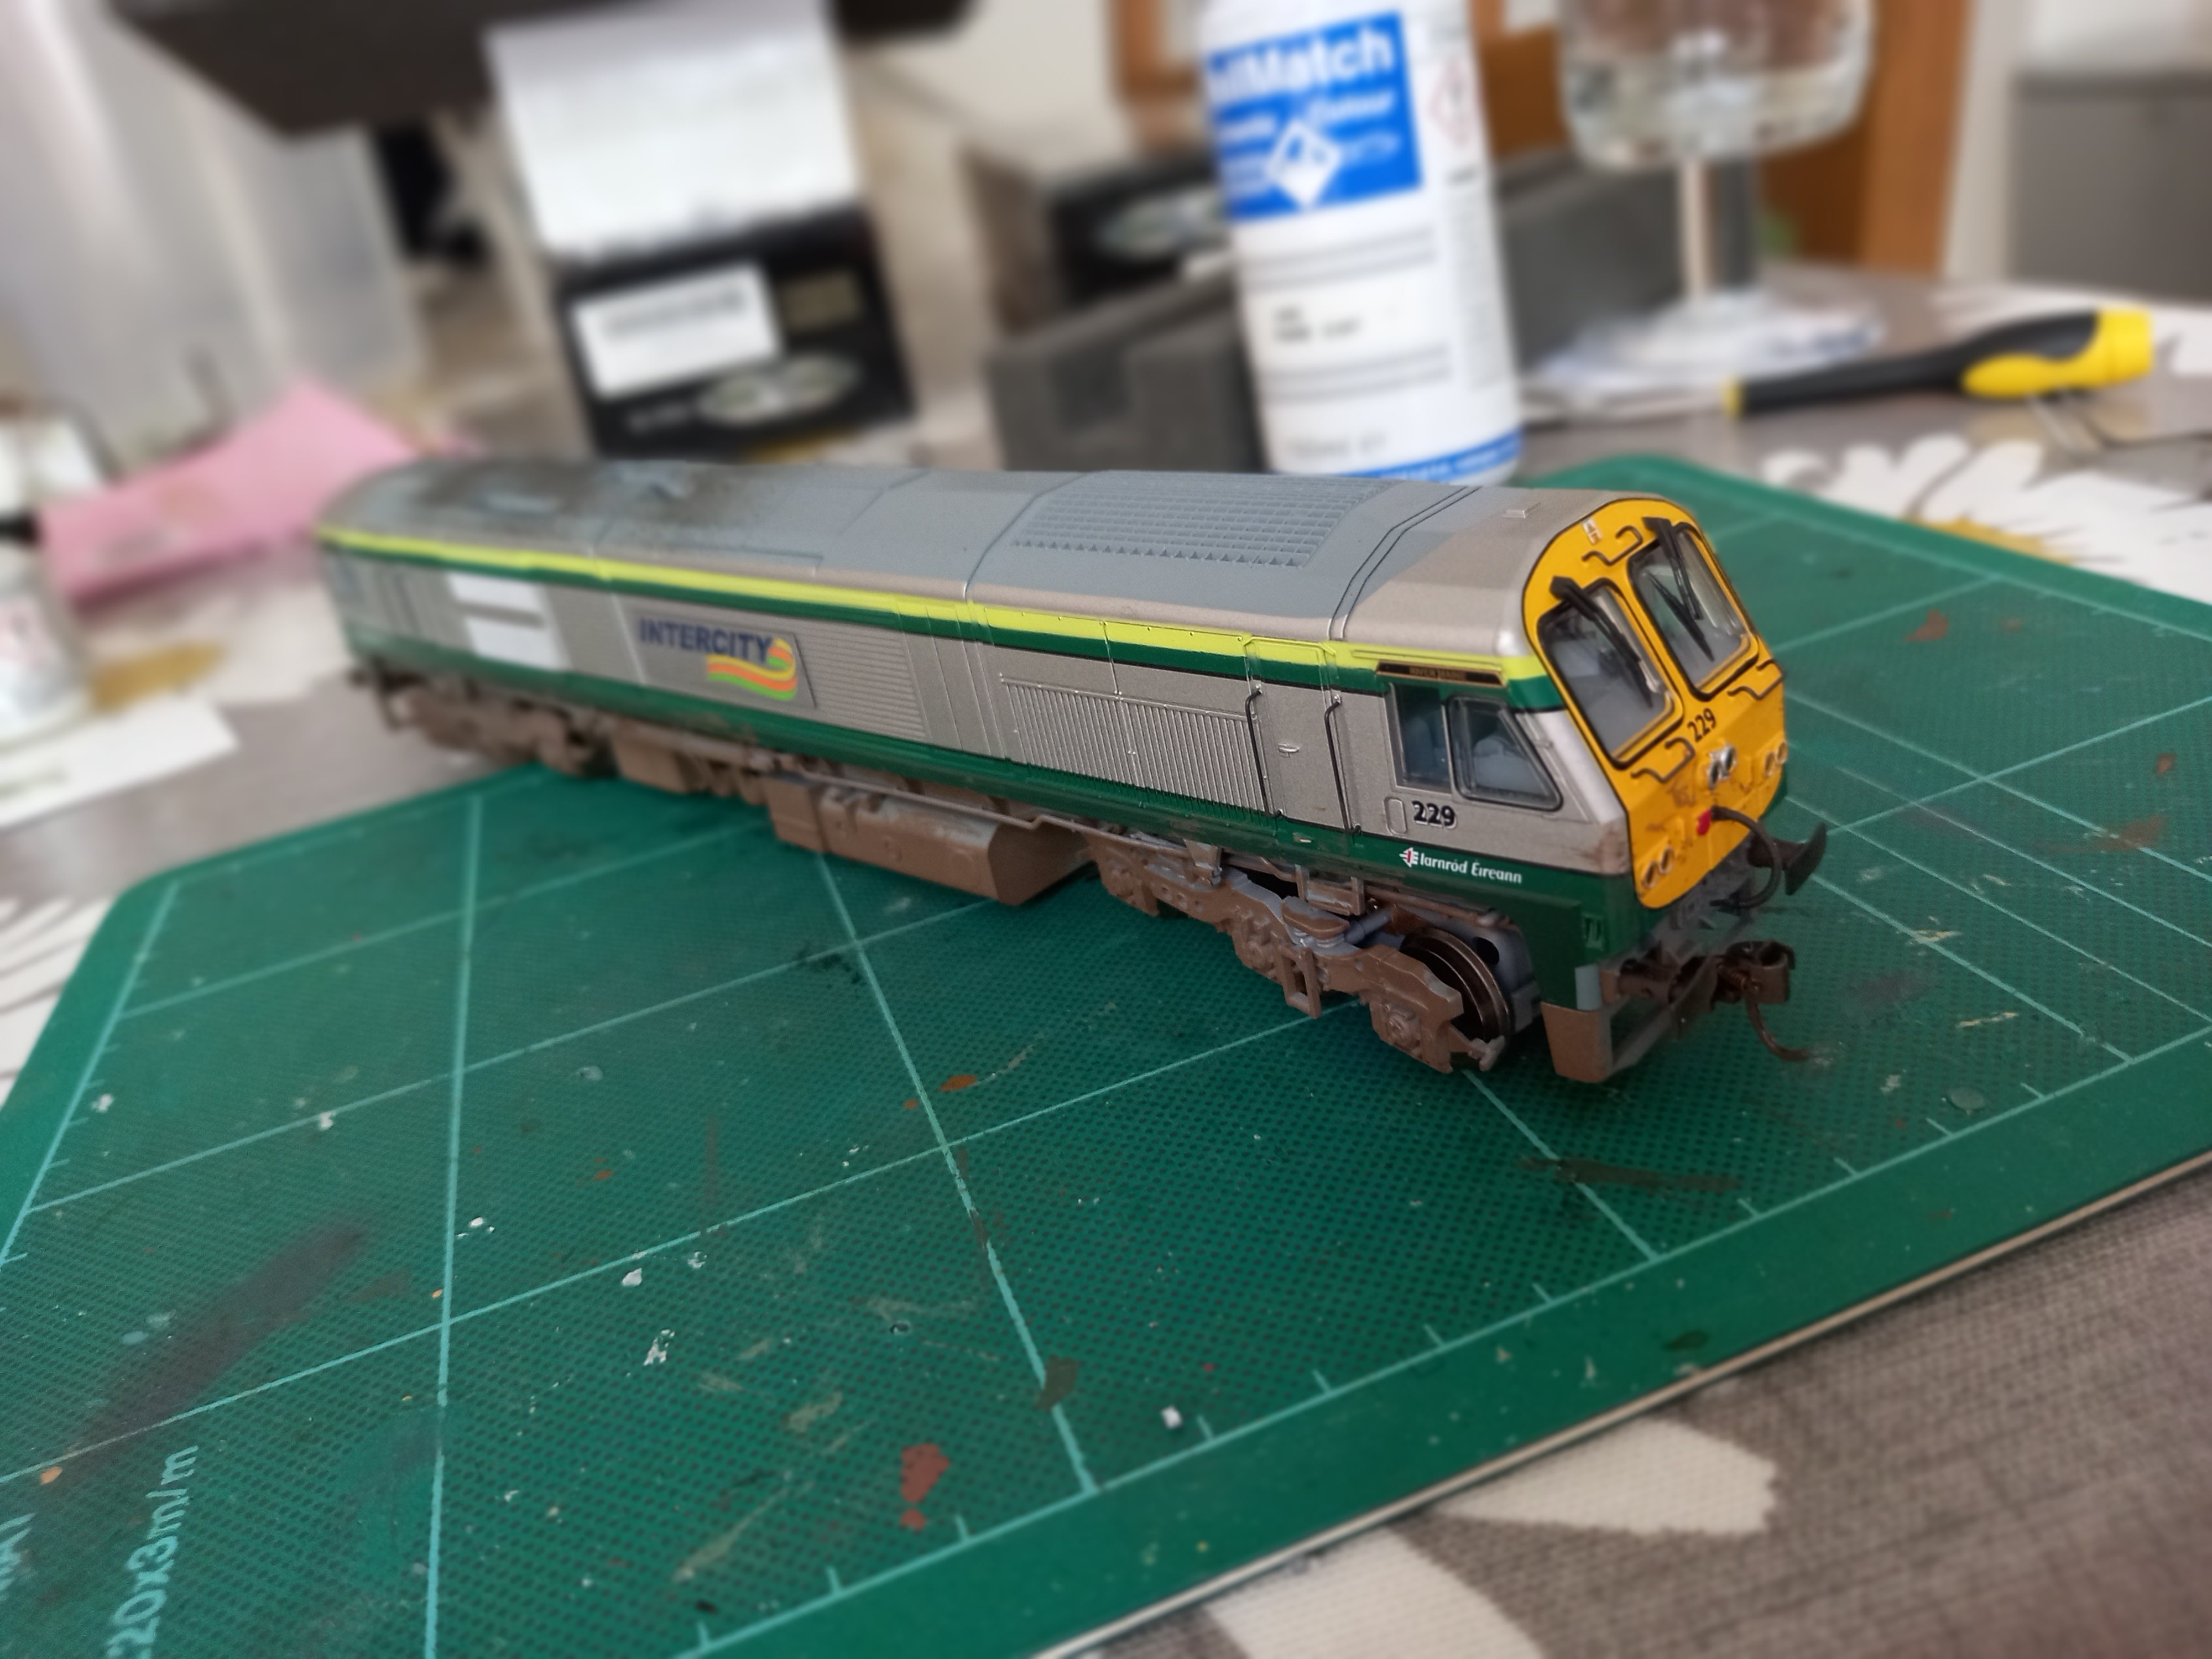
233 different cab removal, no lugs on cab floor, the cab is held in by the sides of the driving desk (the L shaped piece @90° to to horizontal side piece) that clip on to front of cab windows. The clear plastic pieces that form the marker/tail lights came away, when I put them back in place both had a touch of plastic weld to keep them in situ. I had to tape down the cab lights as they were loose. 233 was weathered as well. The poor fella of a driver lost his arm in surgery !
-
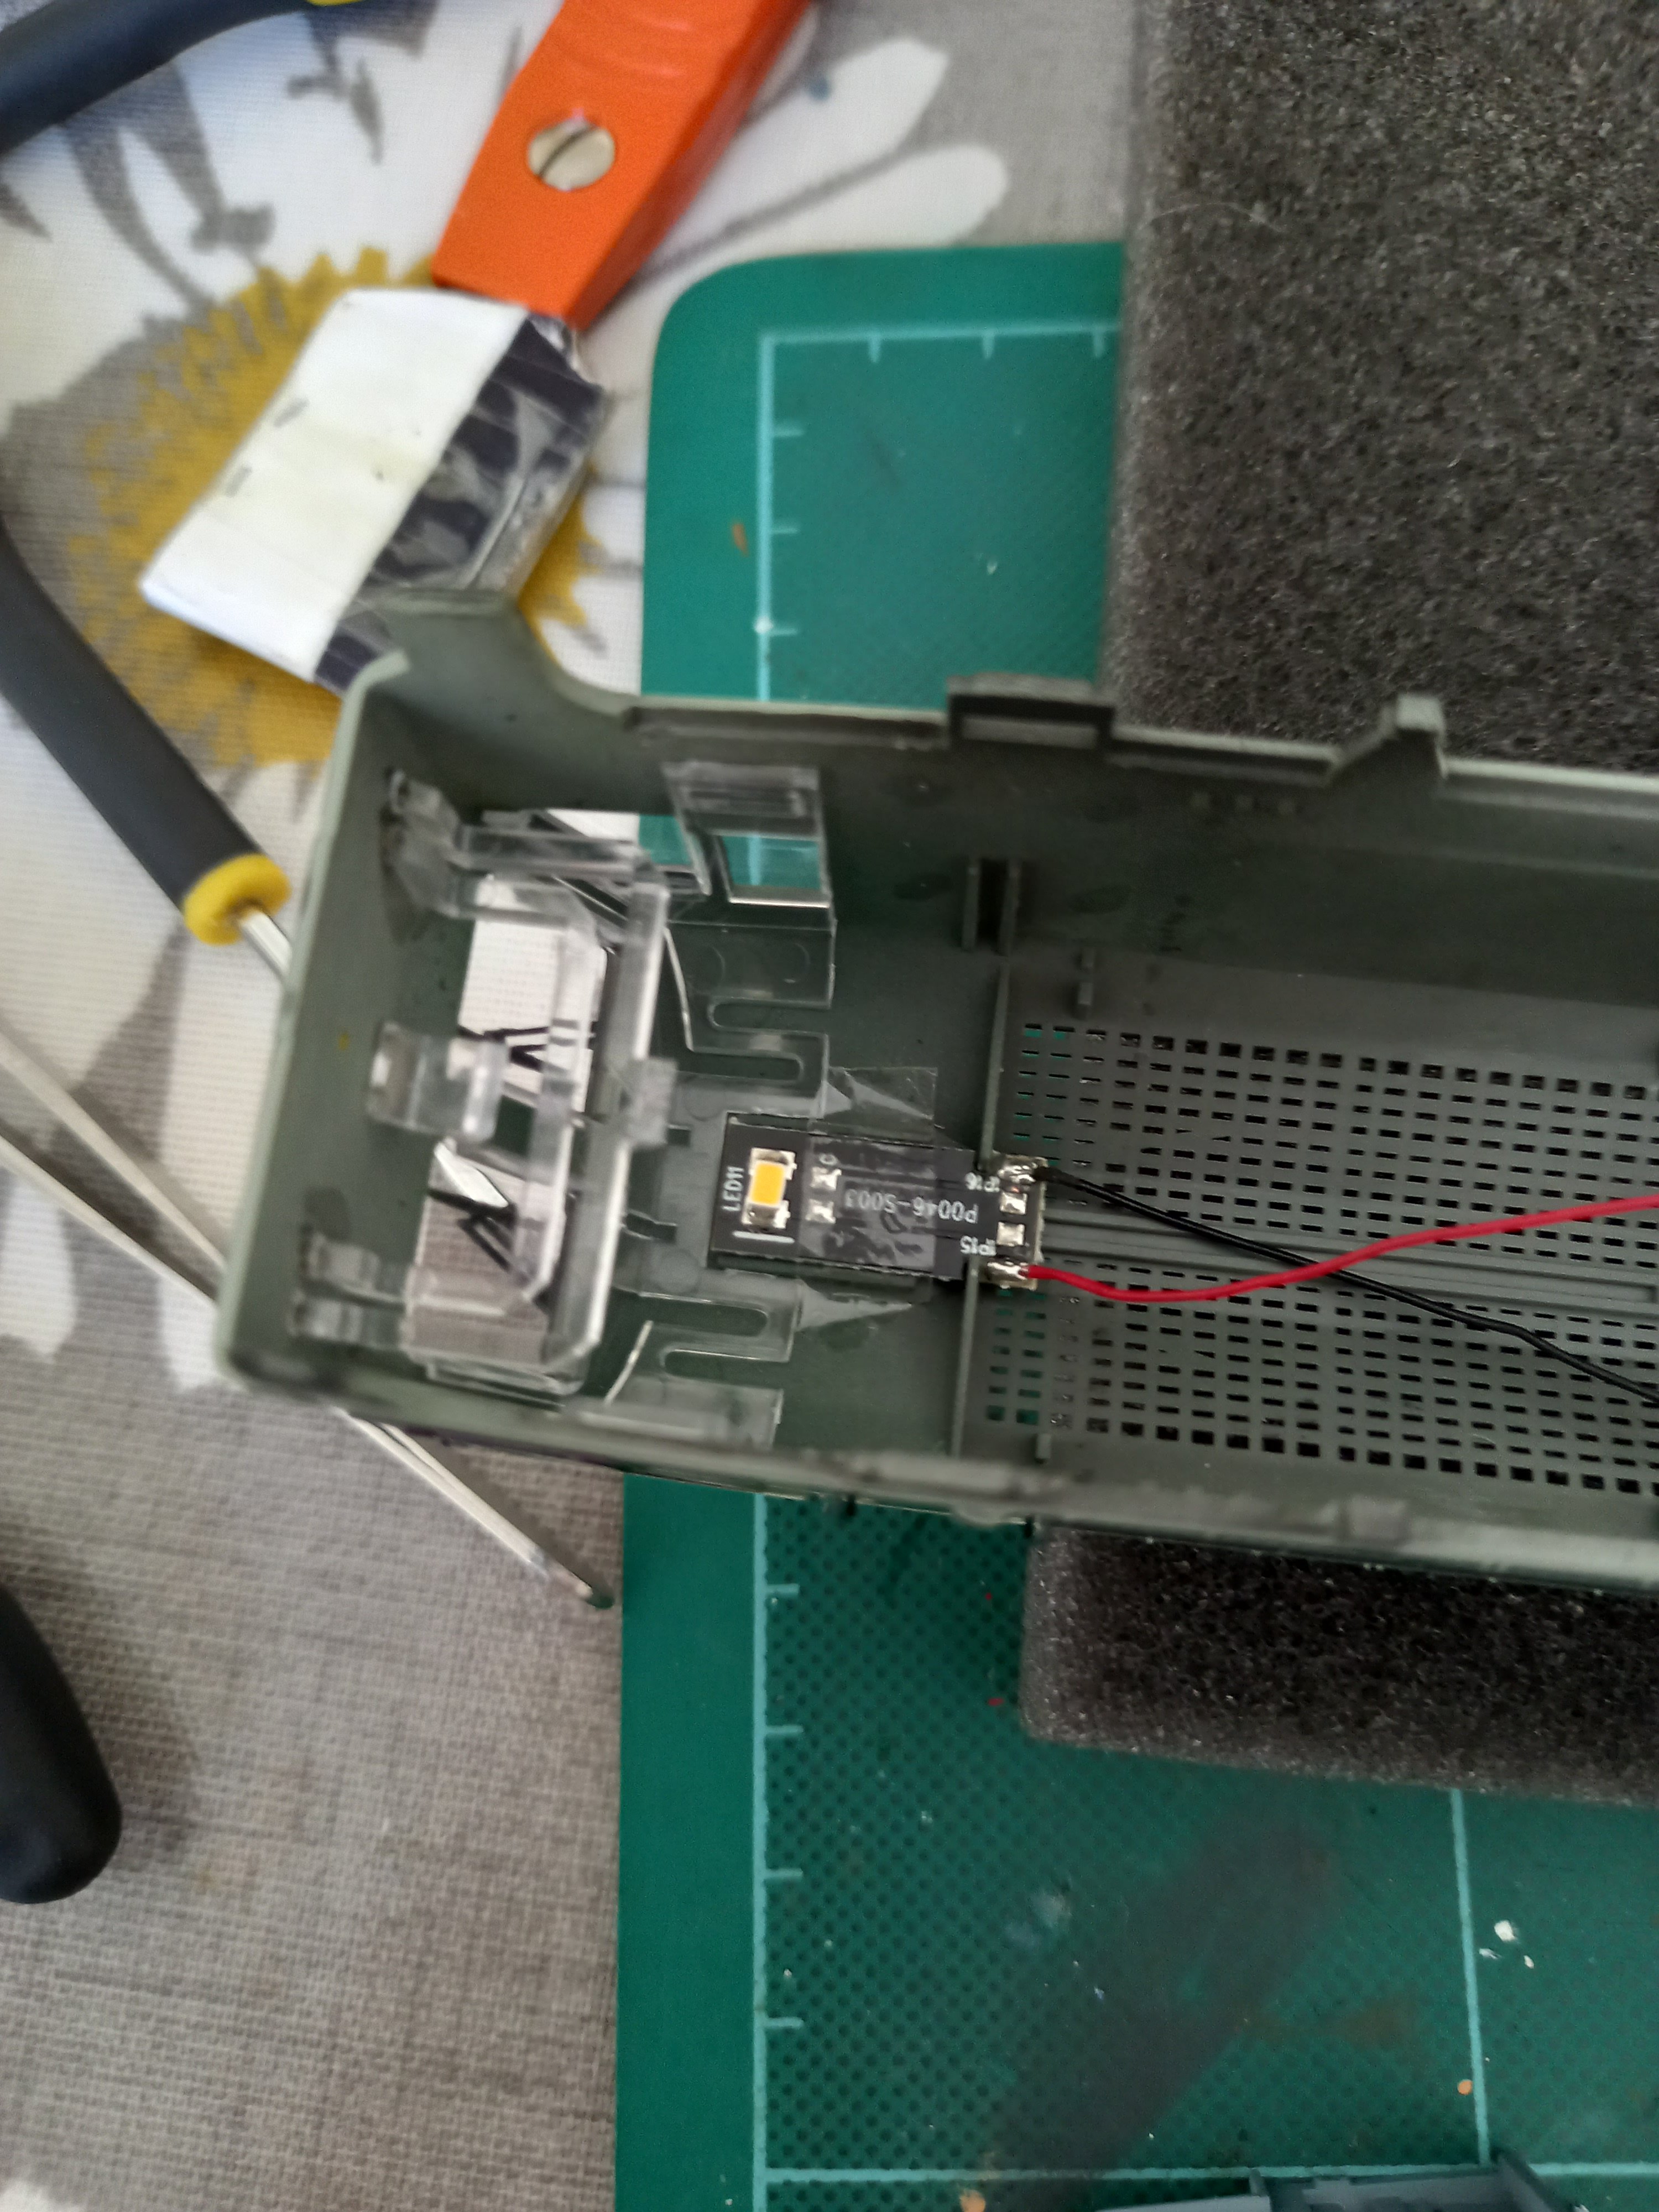
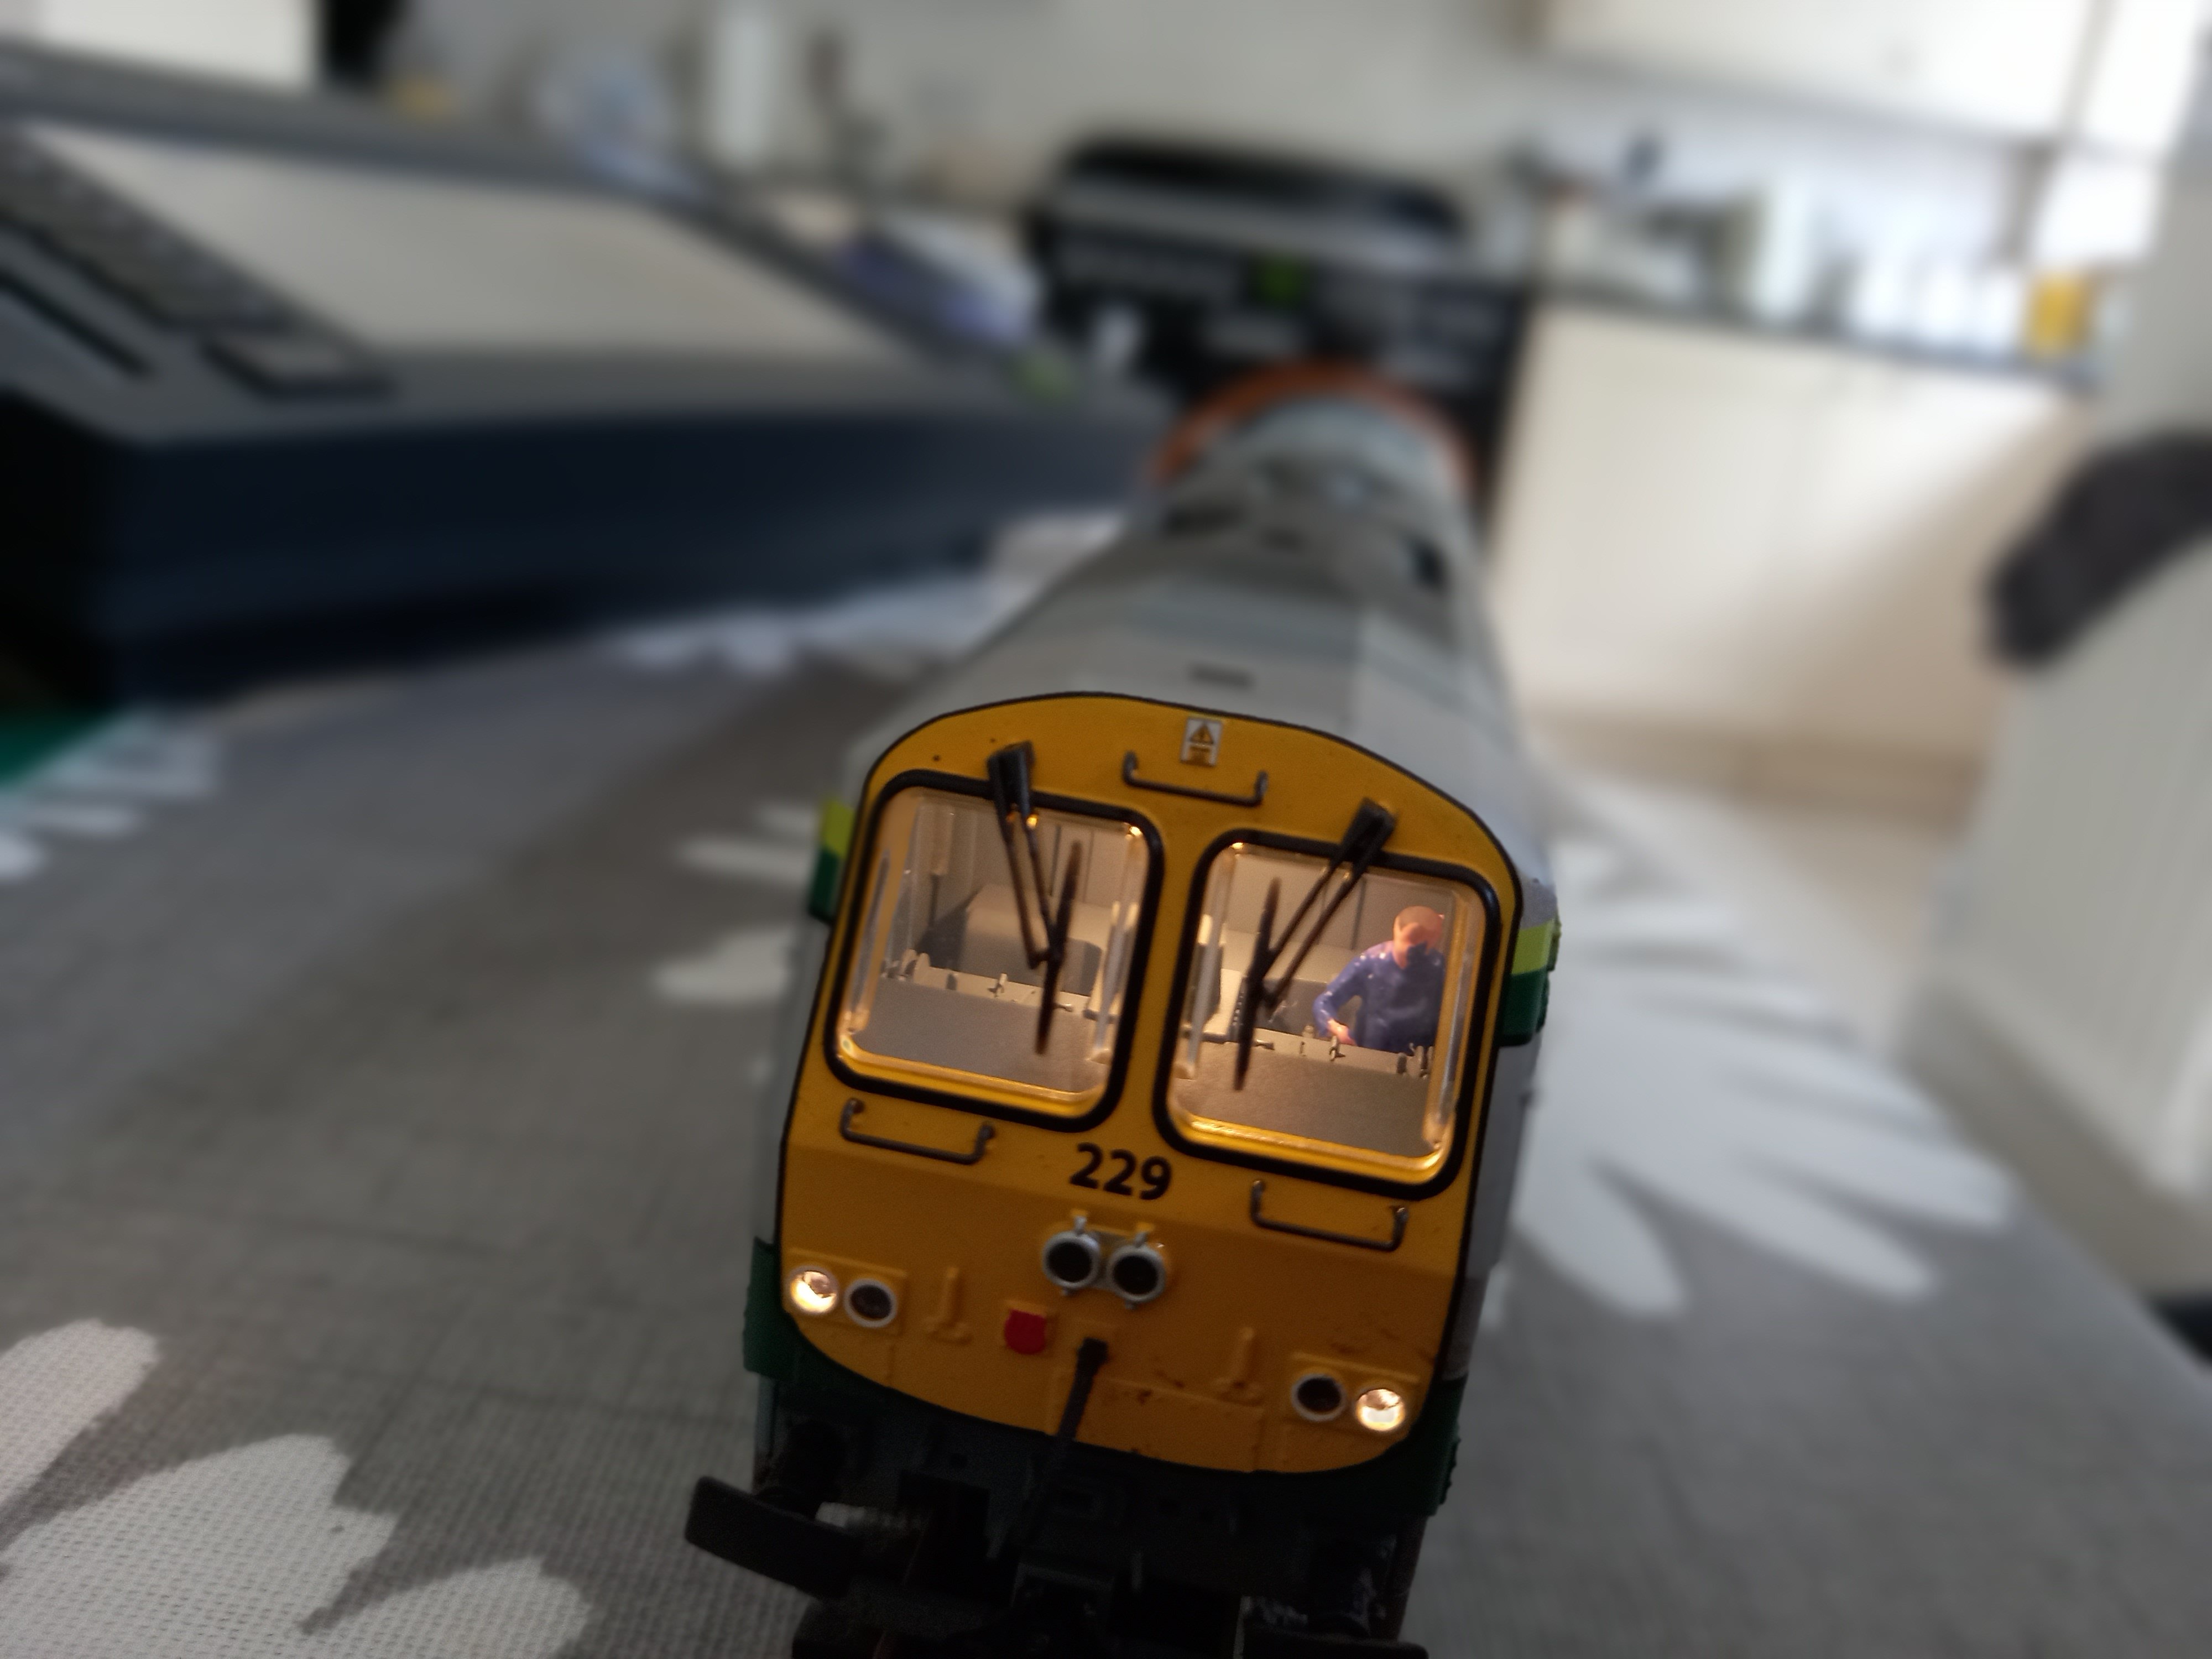
Photos with cab lights illuminated.
-
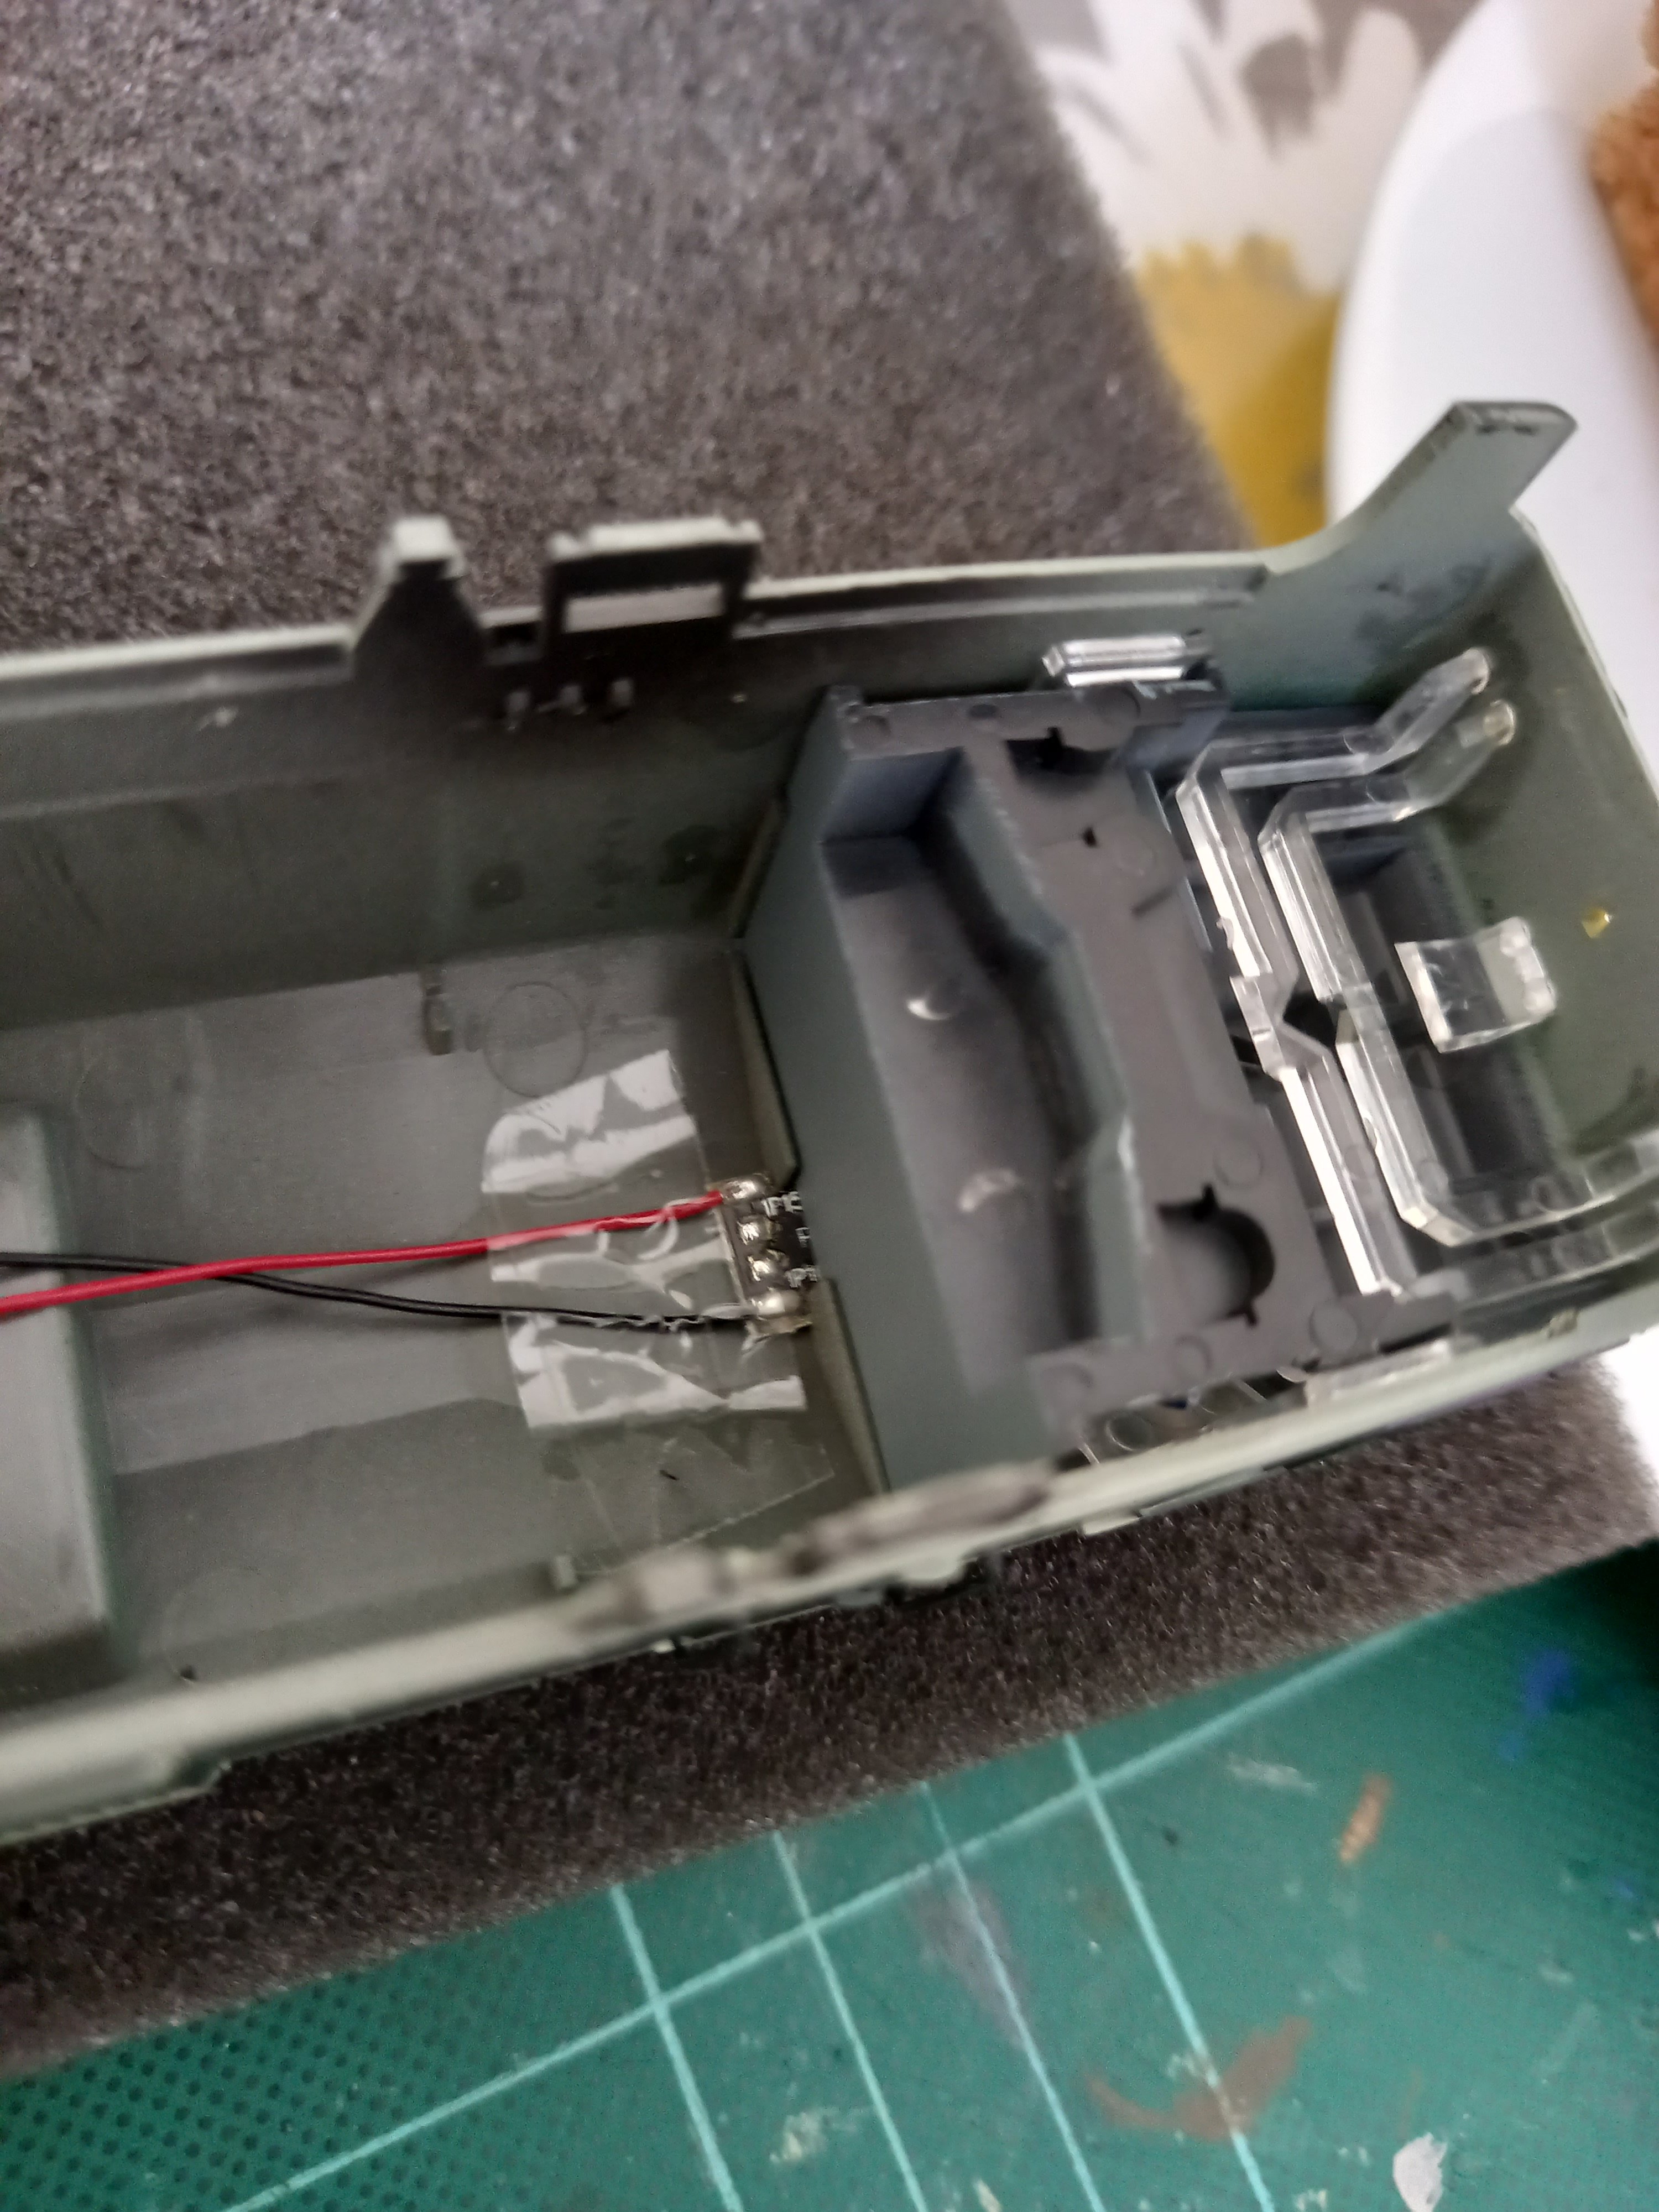
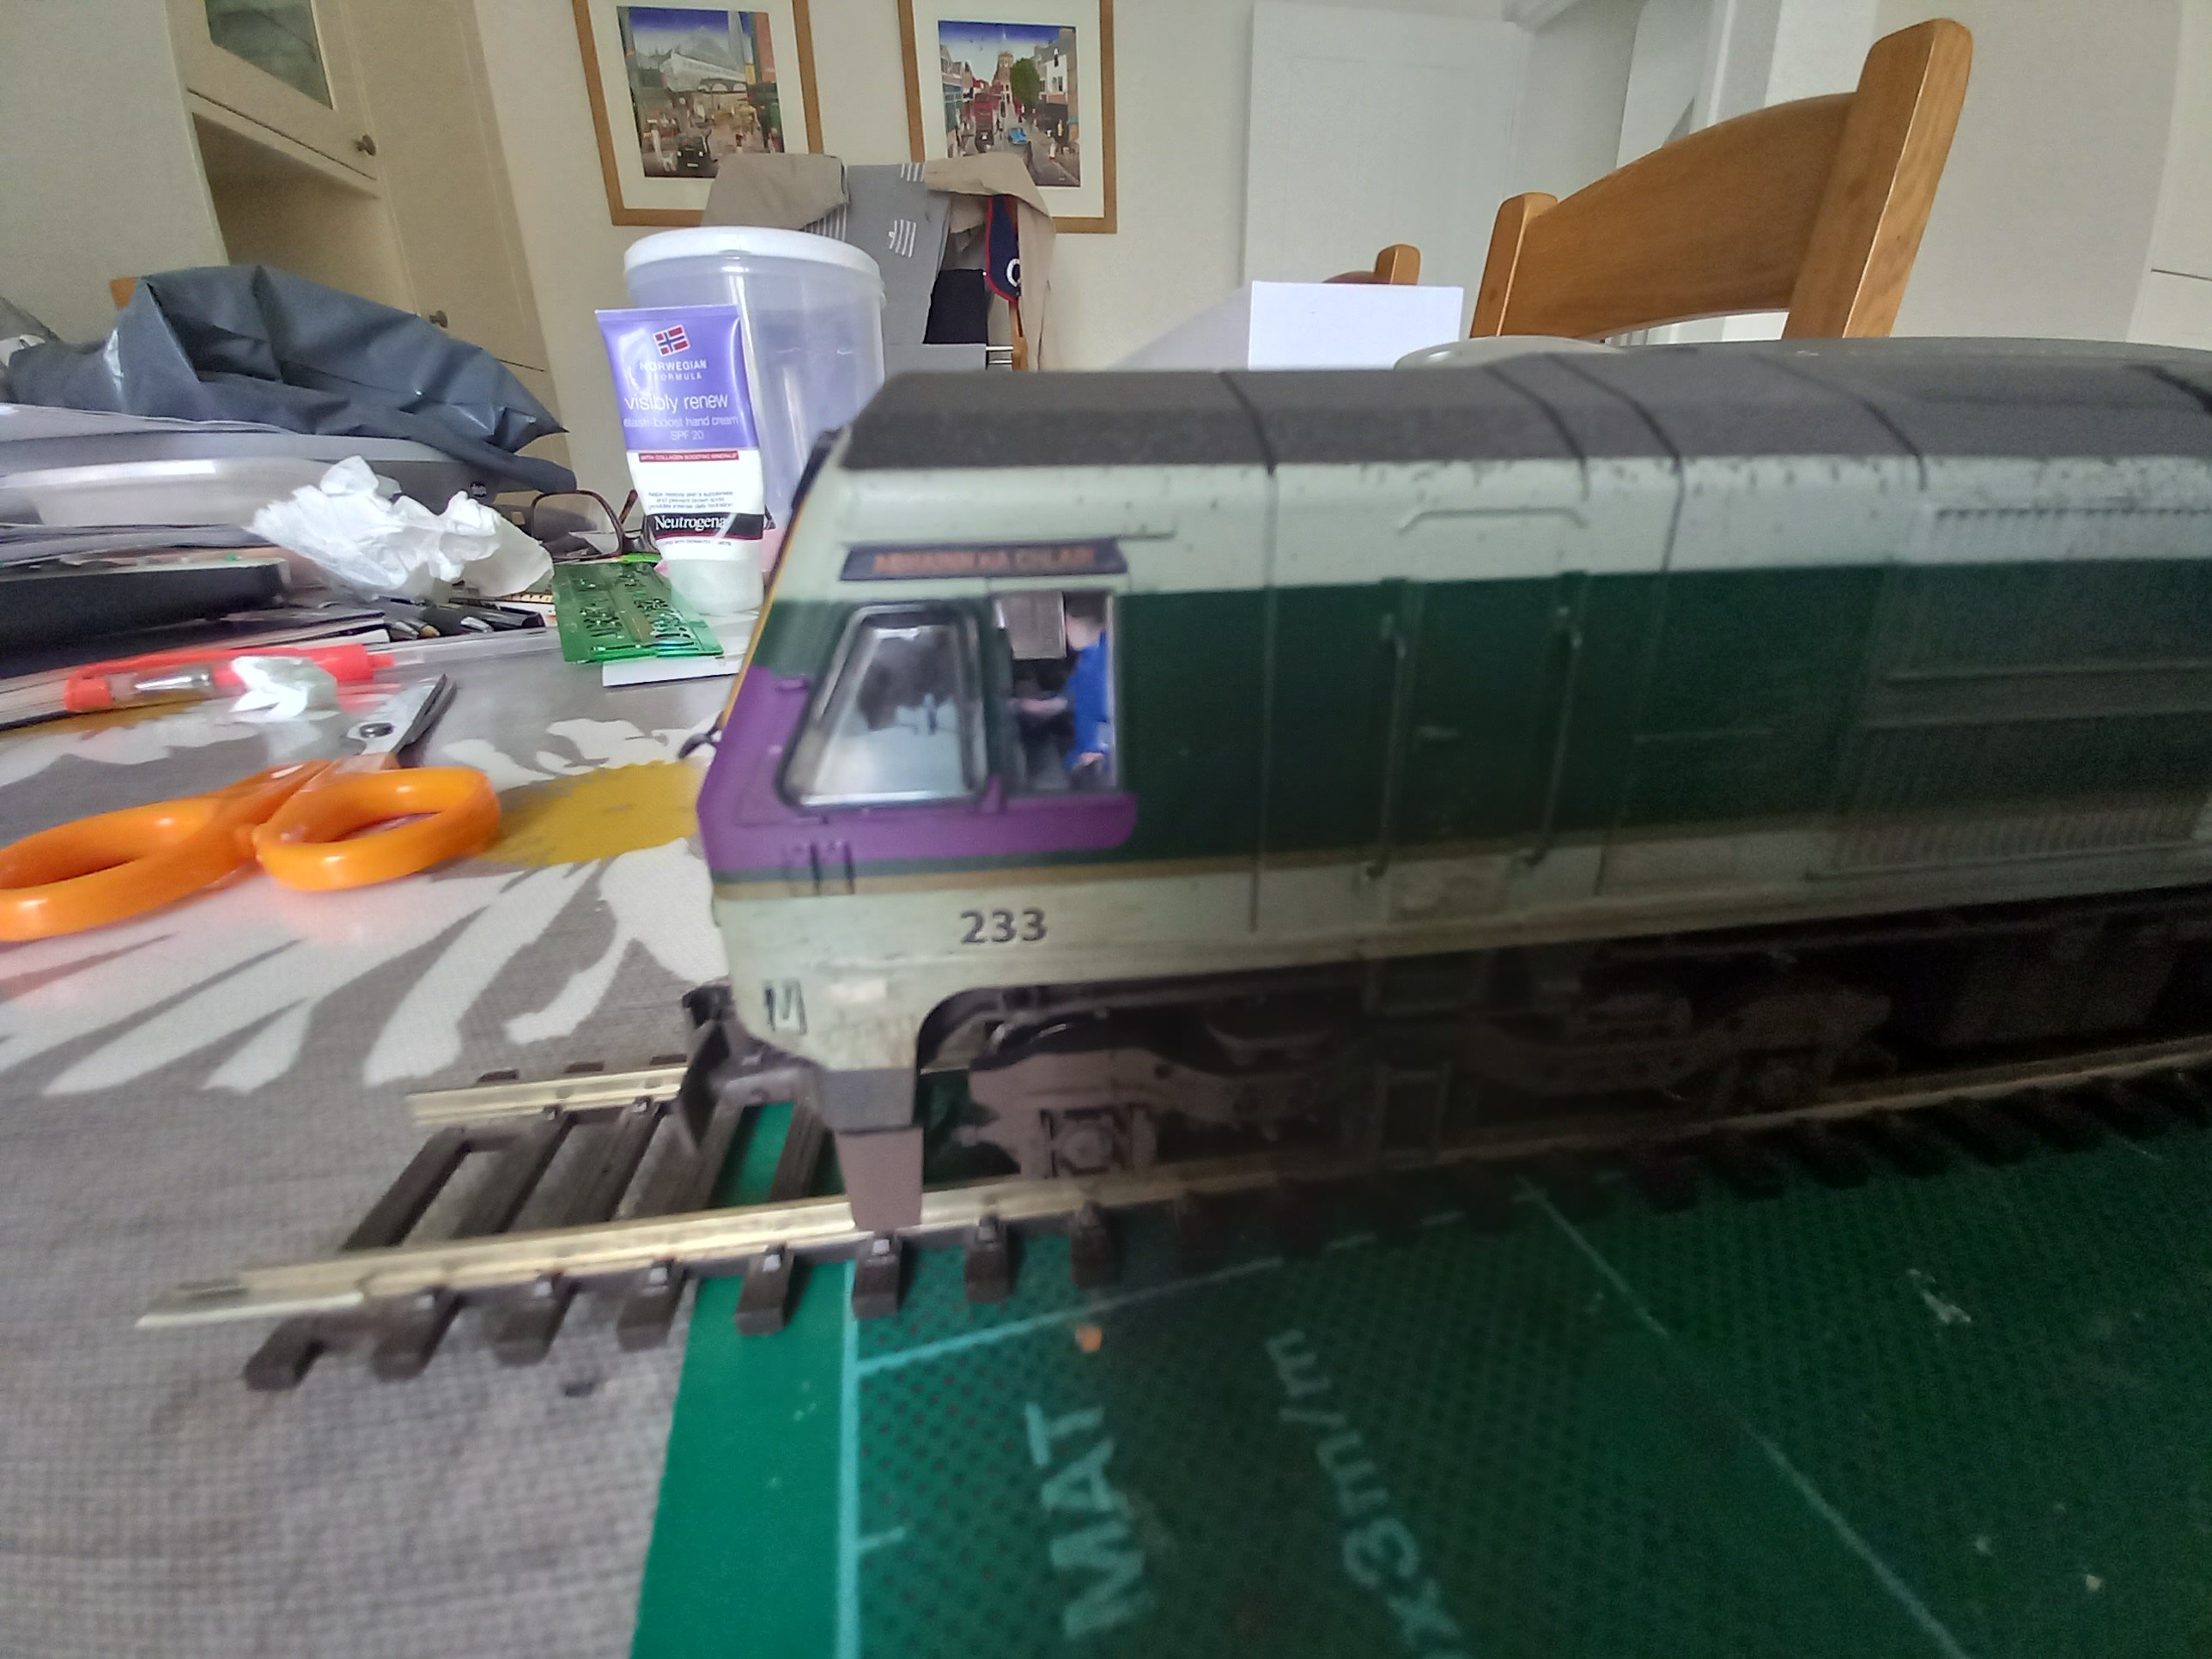
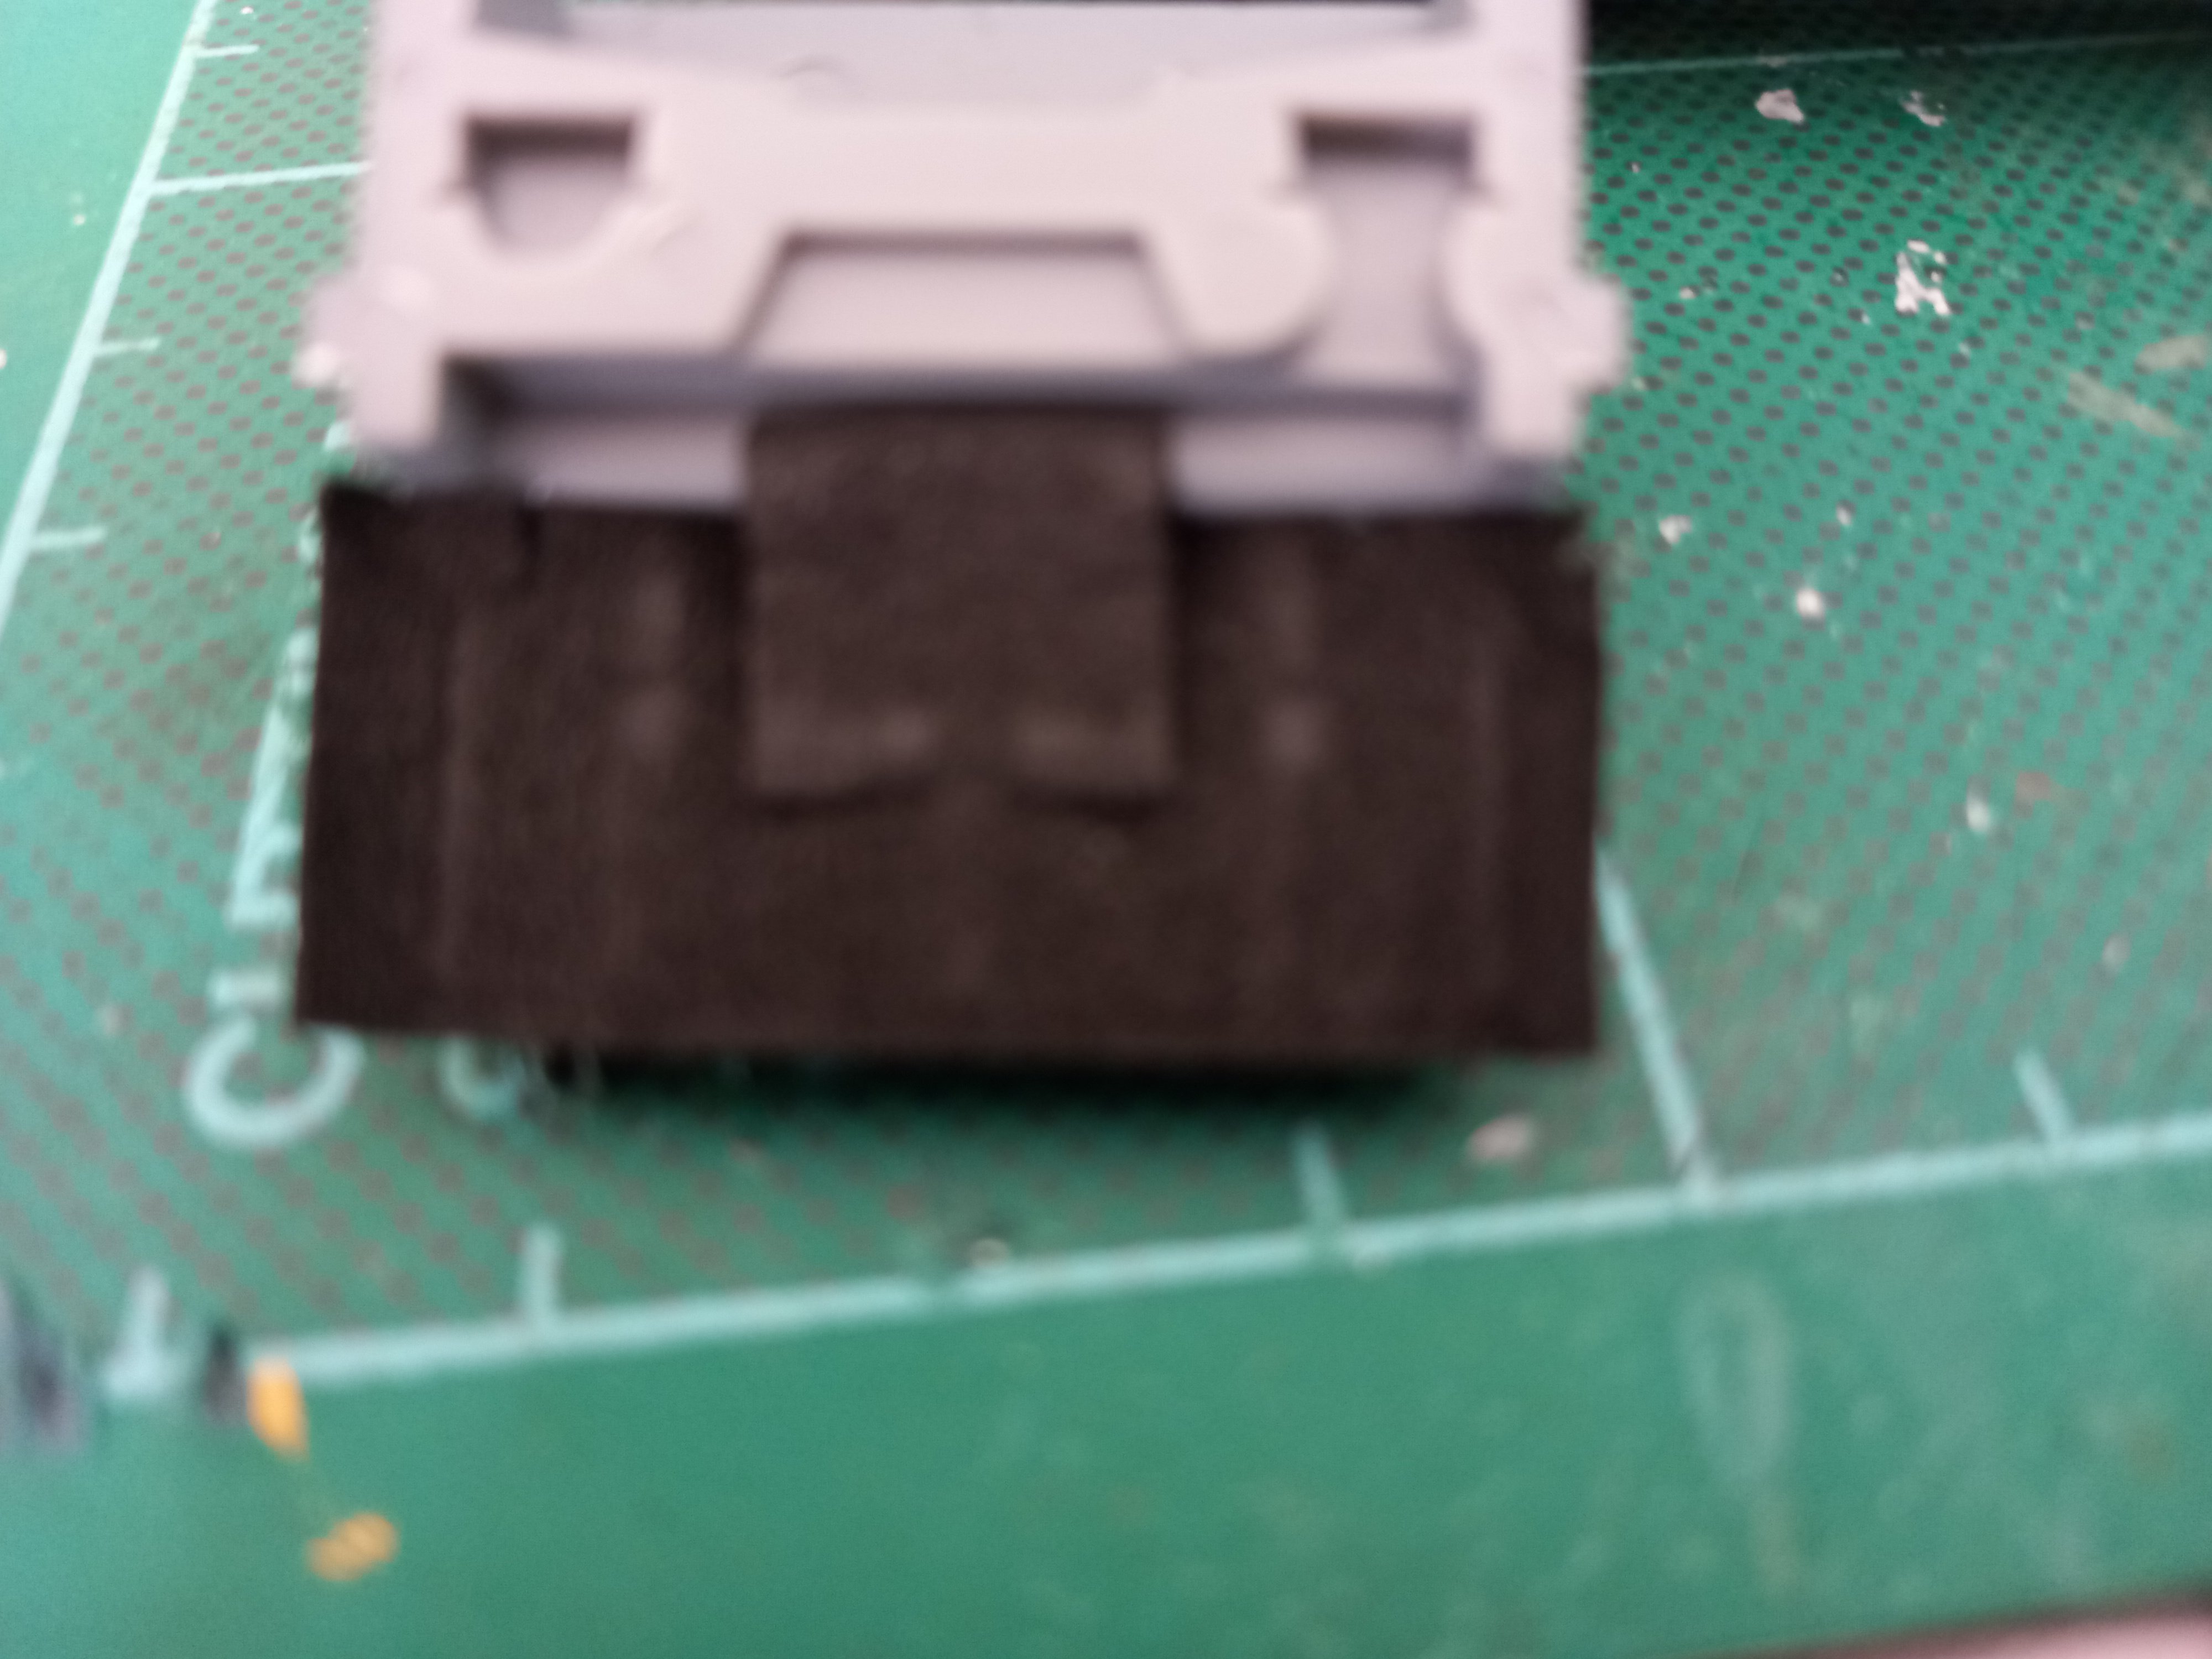
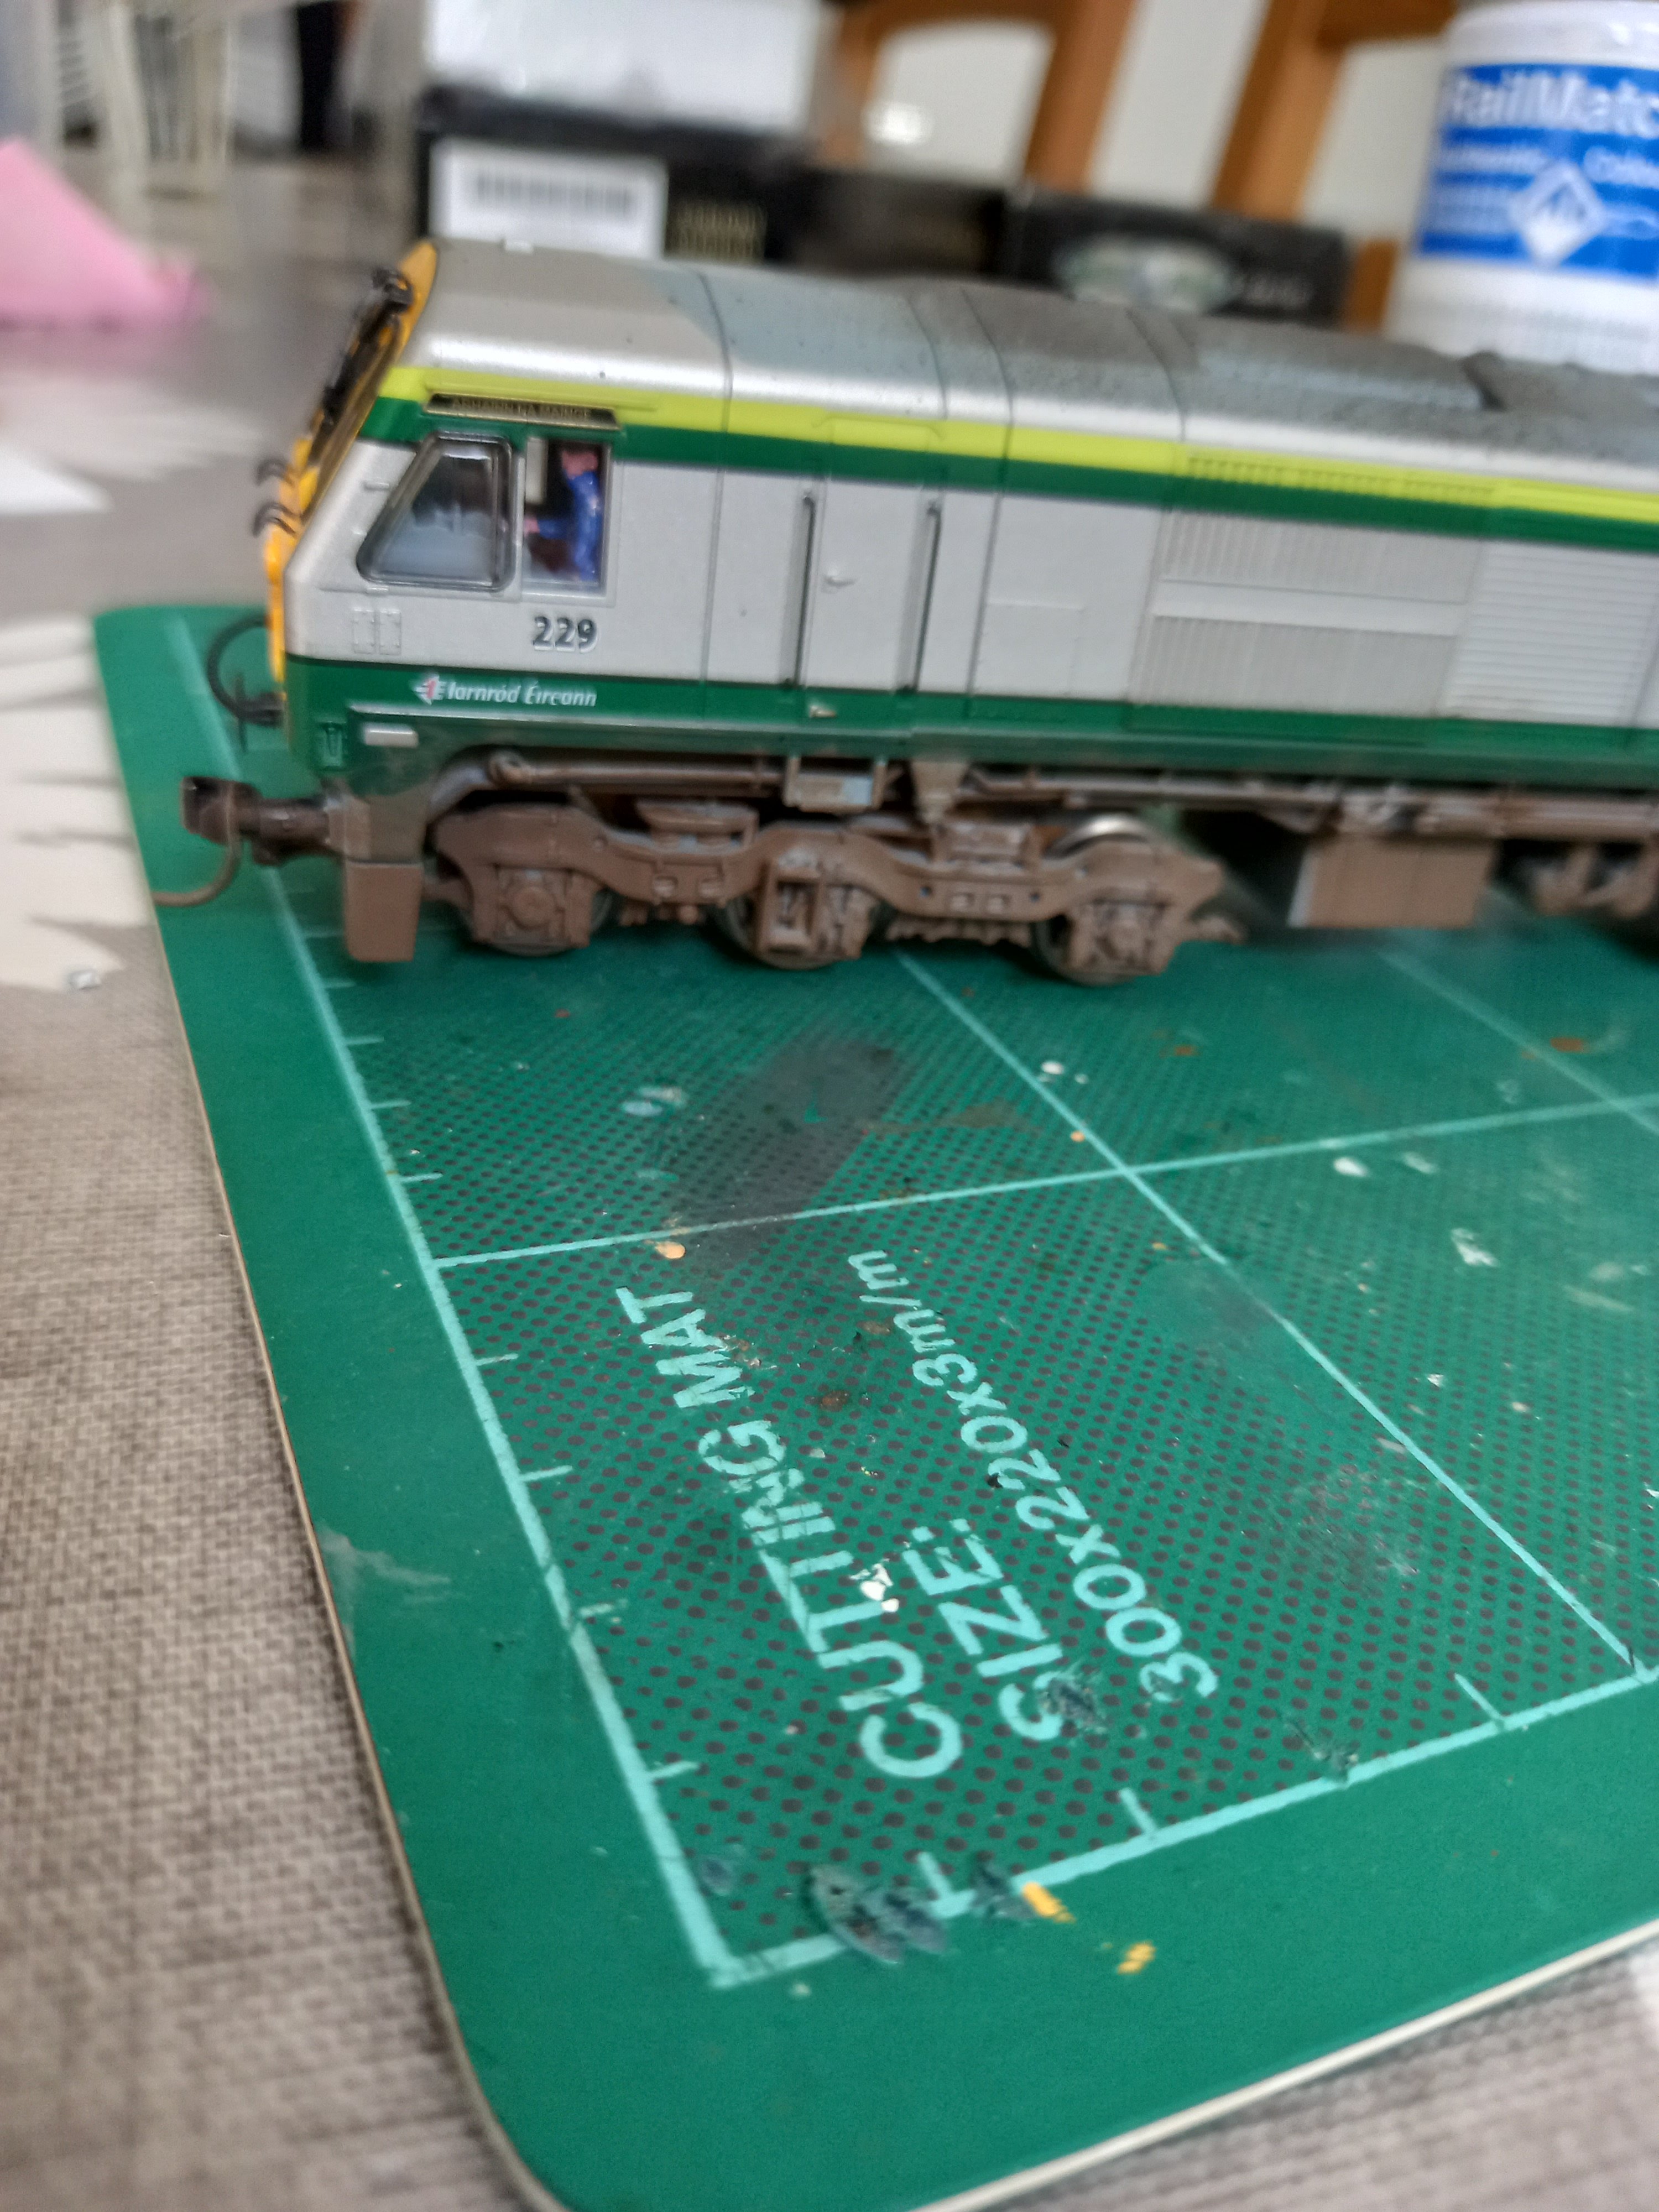
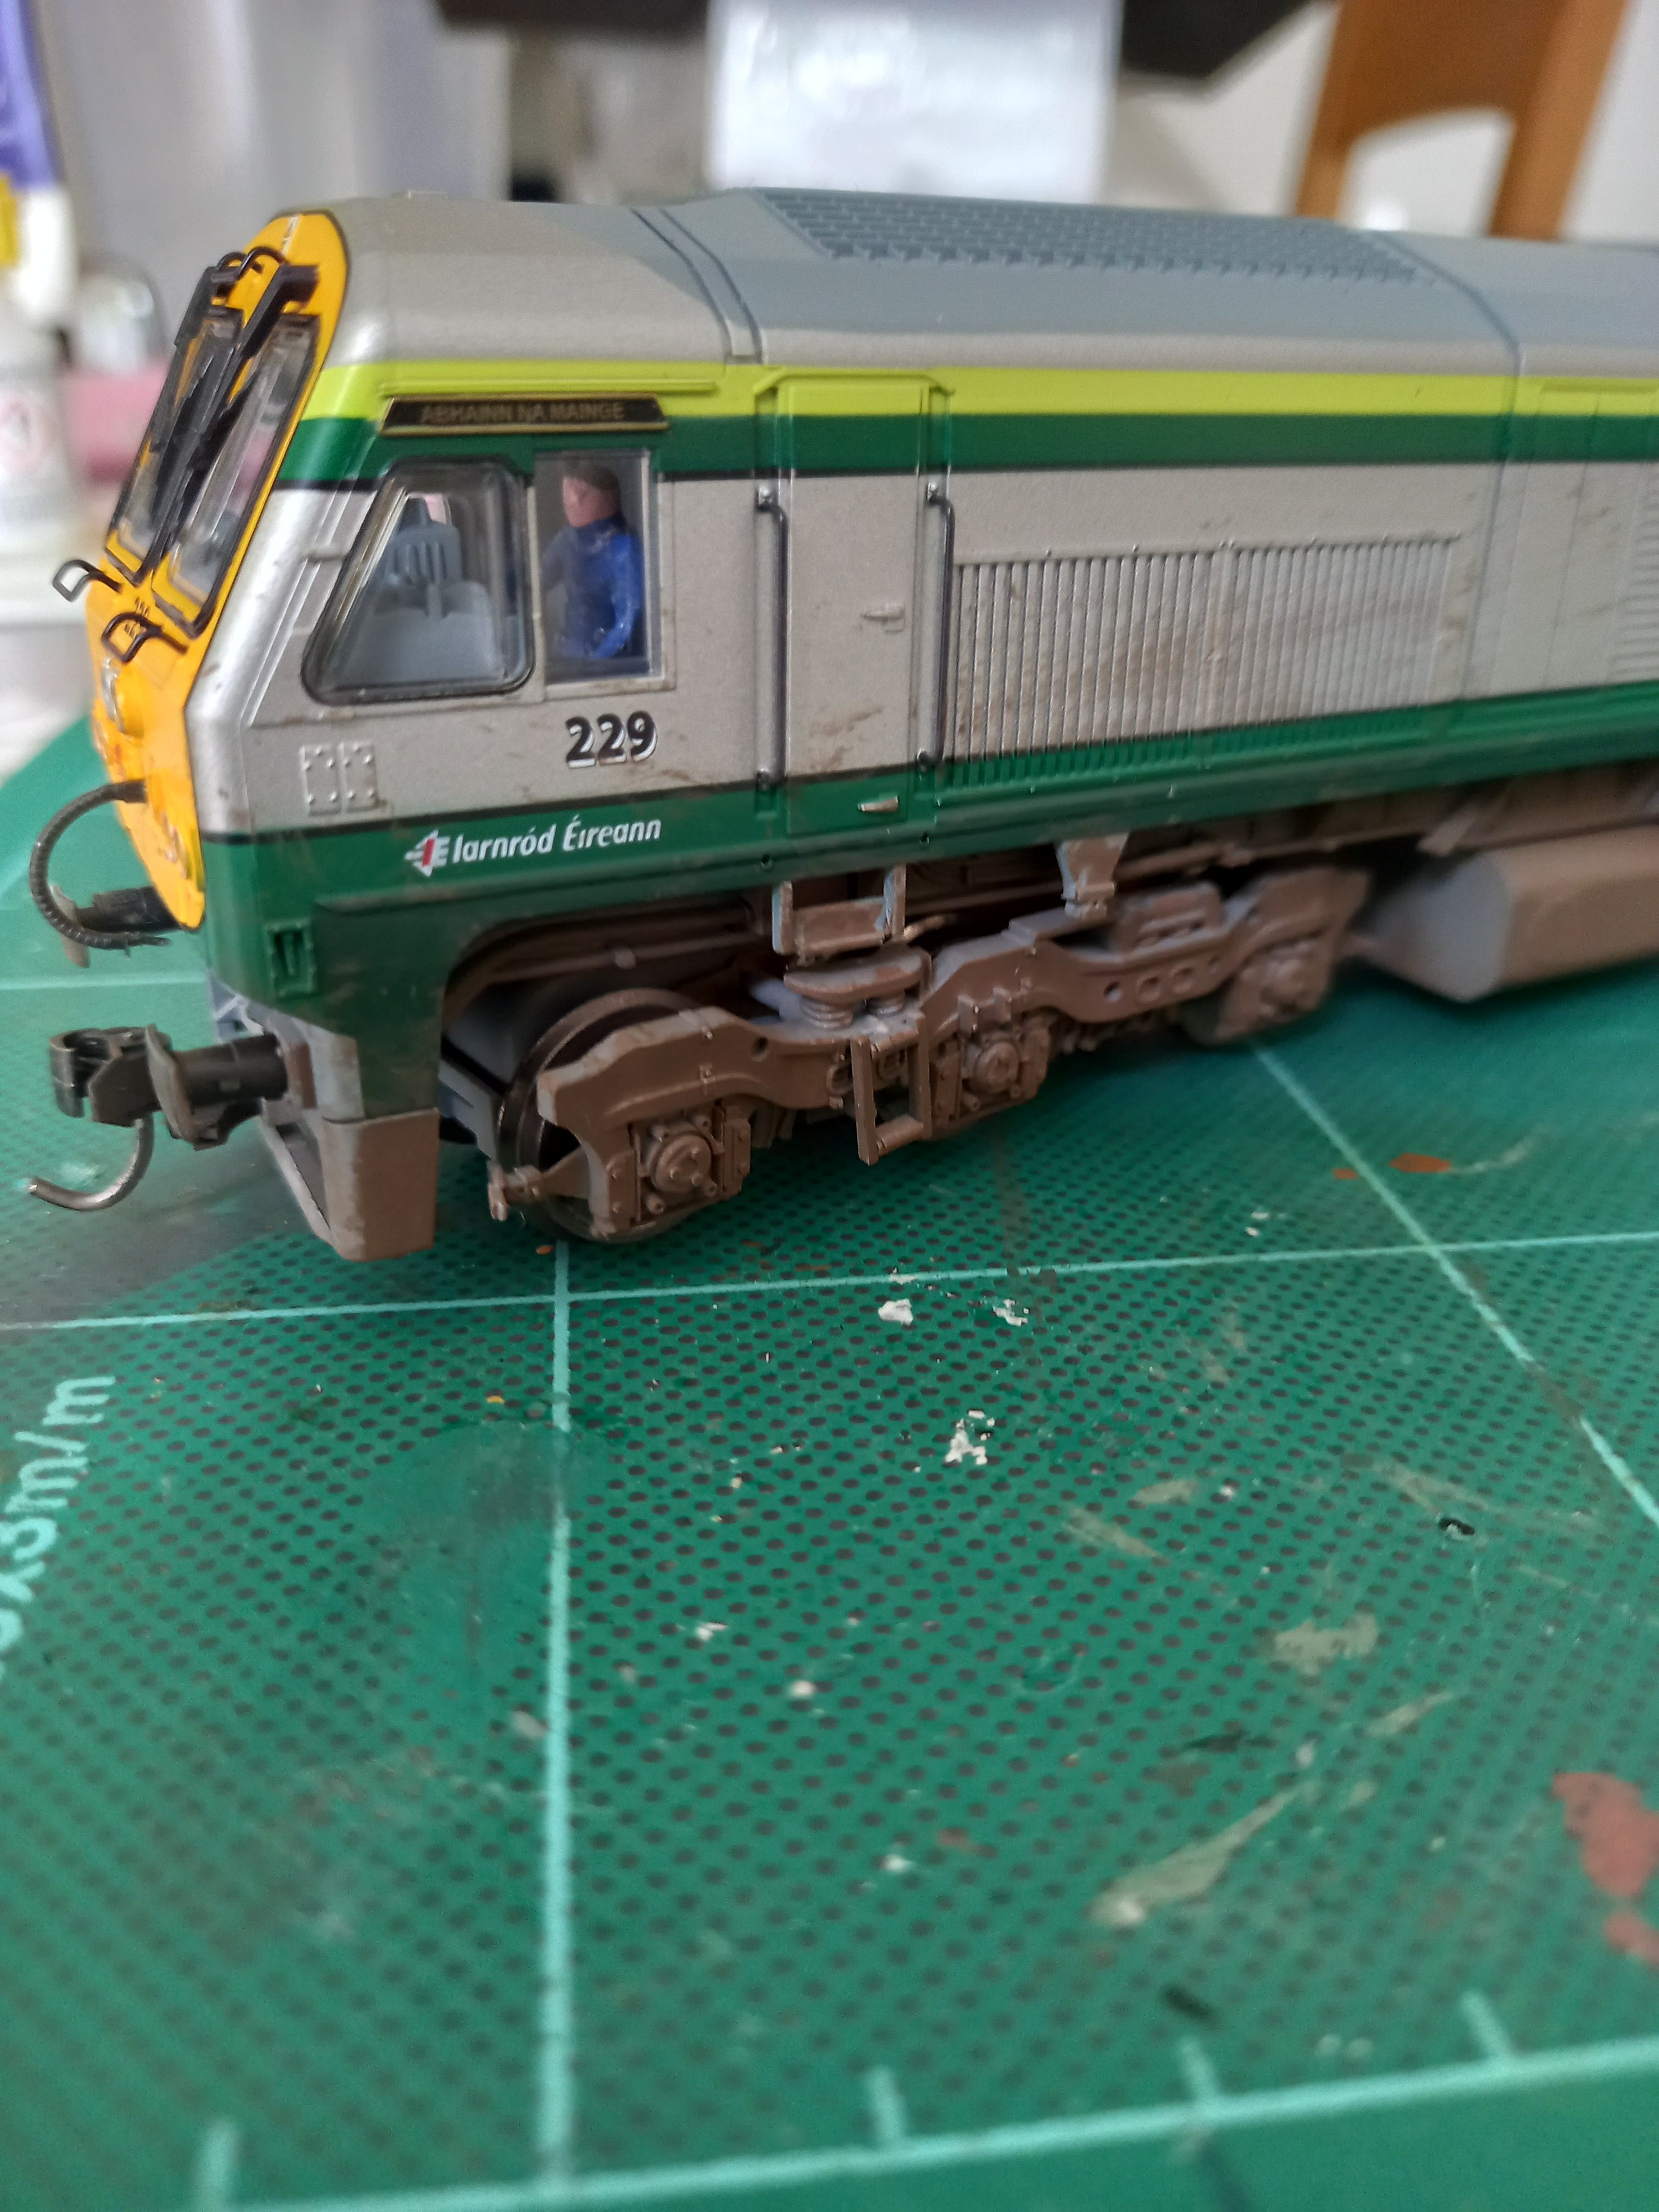
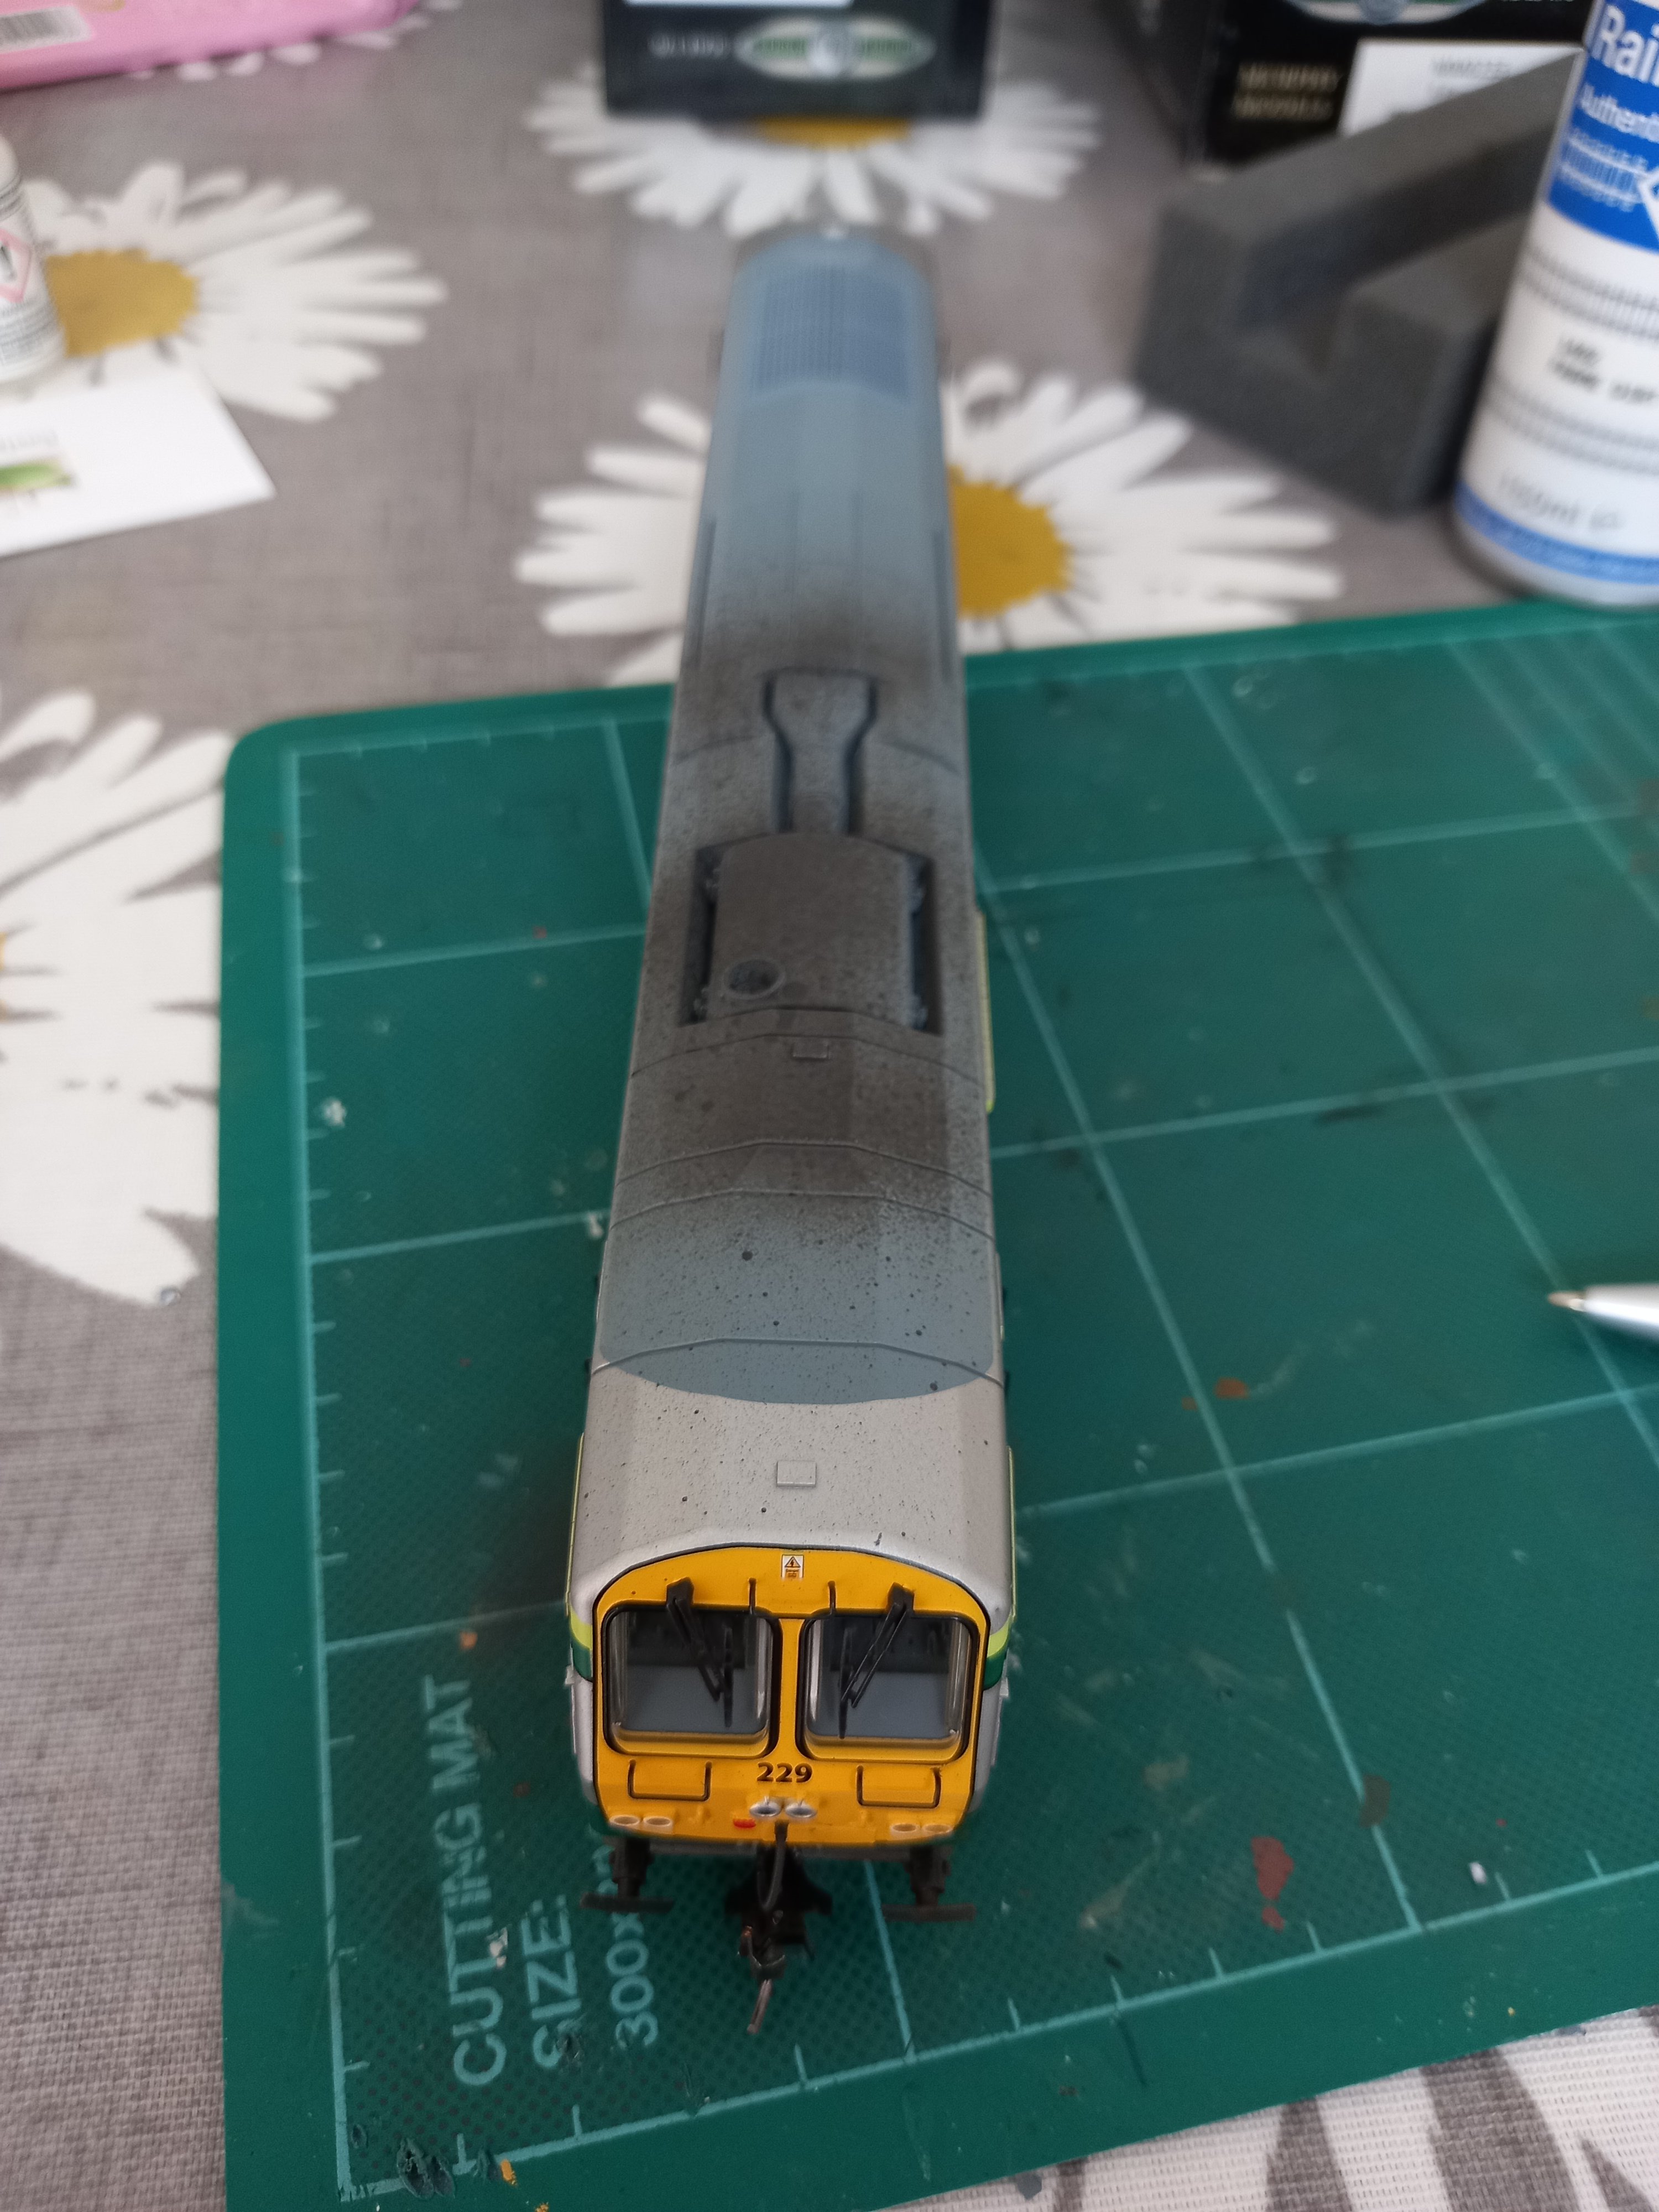
229 is a later model than 203. The inside of cab body has 2 side grooves that the back of cab fits in above rear of cab light. The side lugs on cab floor by each seat need to be freed upwards from side glazing, then cab back will slide out. The underneath of the cab has a black tape attached to prevent light bleed. To replace cab push cab into place, but keeping the 2 floor lugs above the glazing until you can slide the cab back wall into the side grooves. Then push lugs into place in glazing. I took the opportunity to weather the frames and roof as nice day here in Wimbledon.