Horsetan
-
Posts
2,296 -
Joined
-
Last visited
-
Days Won
4
Content Type
Profiles
Forums
Events
Gallery
Blogs
Community Map
Everything posted by Horsetan
-
-
The "S" wasn't on the list. It may yet still be in the pile of the rest to be discovered..... This is the list so far:
-
Down with this sort of thing!
-

CIE locomotive livery variations 1960-1990
Horsetan replied to jhb171achill's question in Questions & Answers
"Nurse! Nurse....!" -
There certainly was. I drove it at the Chatham Show in 2002.
-
CIE locomotive livery variations 1960-1990
Horsetan replied to jhb171achill's question in Questions & Answers
Cryptic ones. -
^^ This. An order will be made in the next week or so for a Finney T9 inside motion kit to try to make life a bit easier in respect of crossheads and slidebars......
-
The layout is based in Australia.
-
-
-
-
-
-
-
-
-
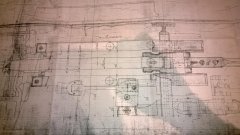
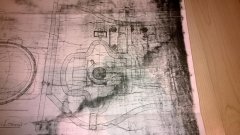
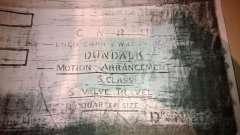
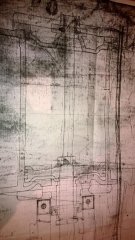
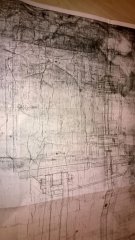
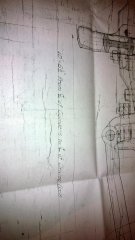
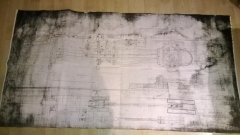
Some views of the drawing uploaded here
-
-
-
Measurement between cylinder centre line and lead driving axle
Horsetan posted a gallery image in Member Albums
-
Quarter-size drawing which takes up an entire table
Horsetan posted a gallery image in Member Albums
-