
Darius43
-
Posts
1,256 -
Joined
-
Last visited
-
Days Won
92
Content Type
Profiles
Forums
Events
Gallery
Blogs
Store
Community Map
Everything posted by Darius43
-
Cab front and door handrails fitted. I used 0.45mm dia. brass wire for the door rails and 0.7mm dia. nickel silver wire for the cab front rails. Cheers Darius
-
Buffer beam details fitted. Cheers Darius
-
I replaced the rather crude mesh grilles provided with the kit with etched brass grilles from A1 Models. Did the same for the Class 27. Cheers Darius
-
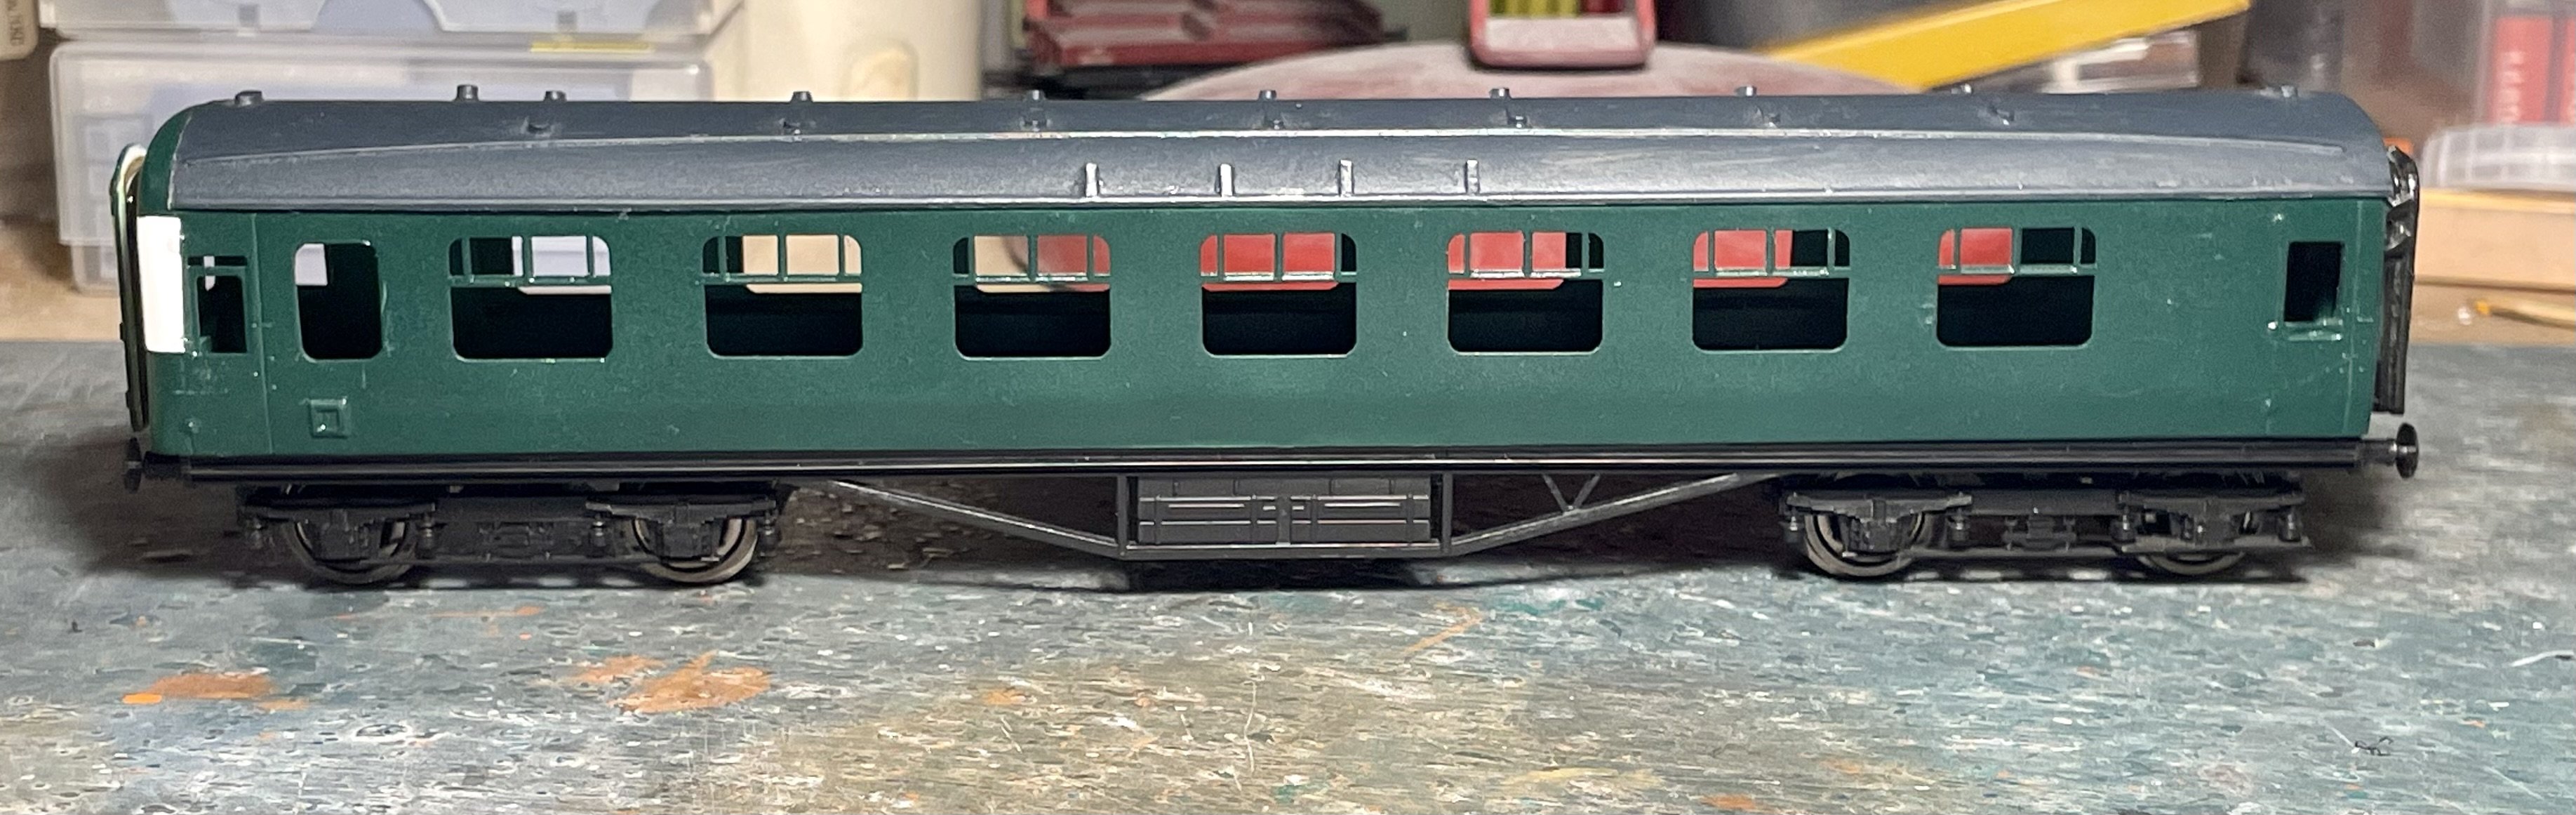
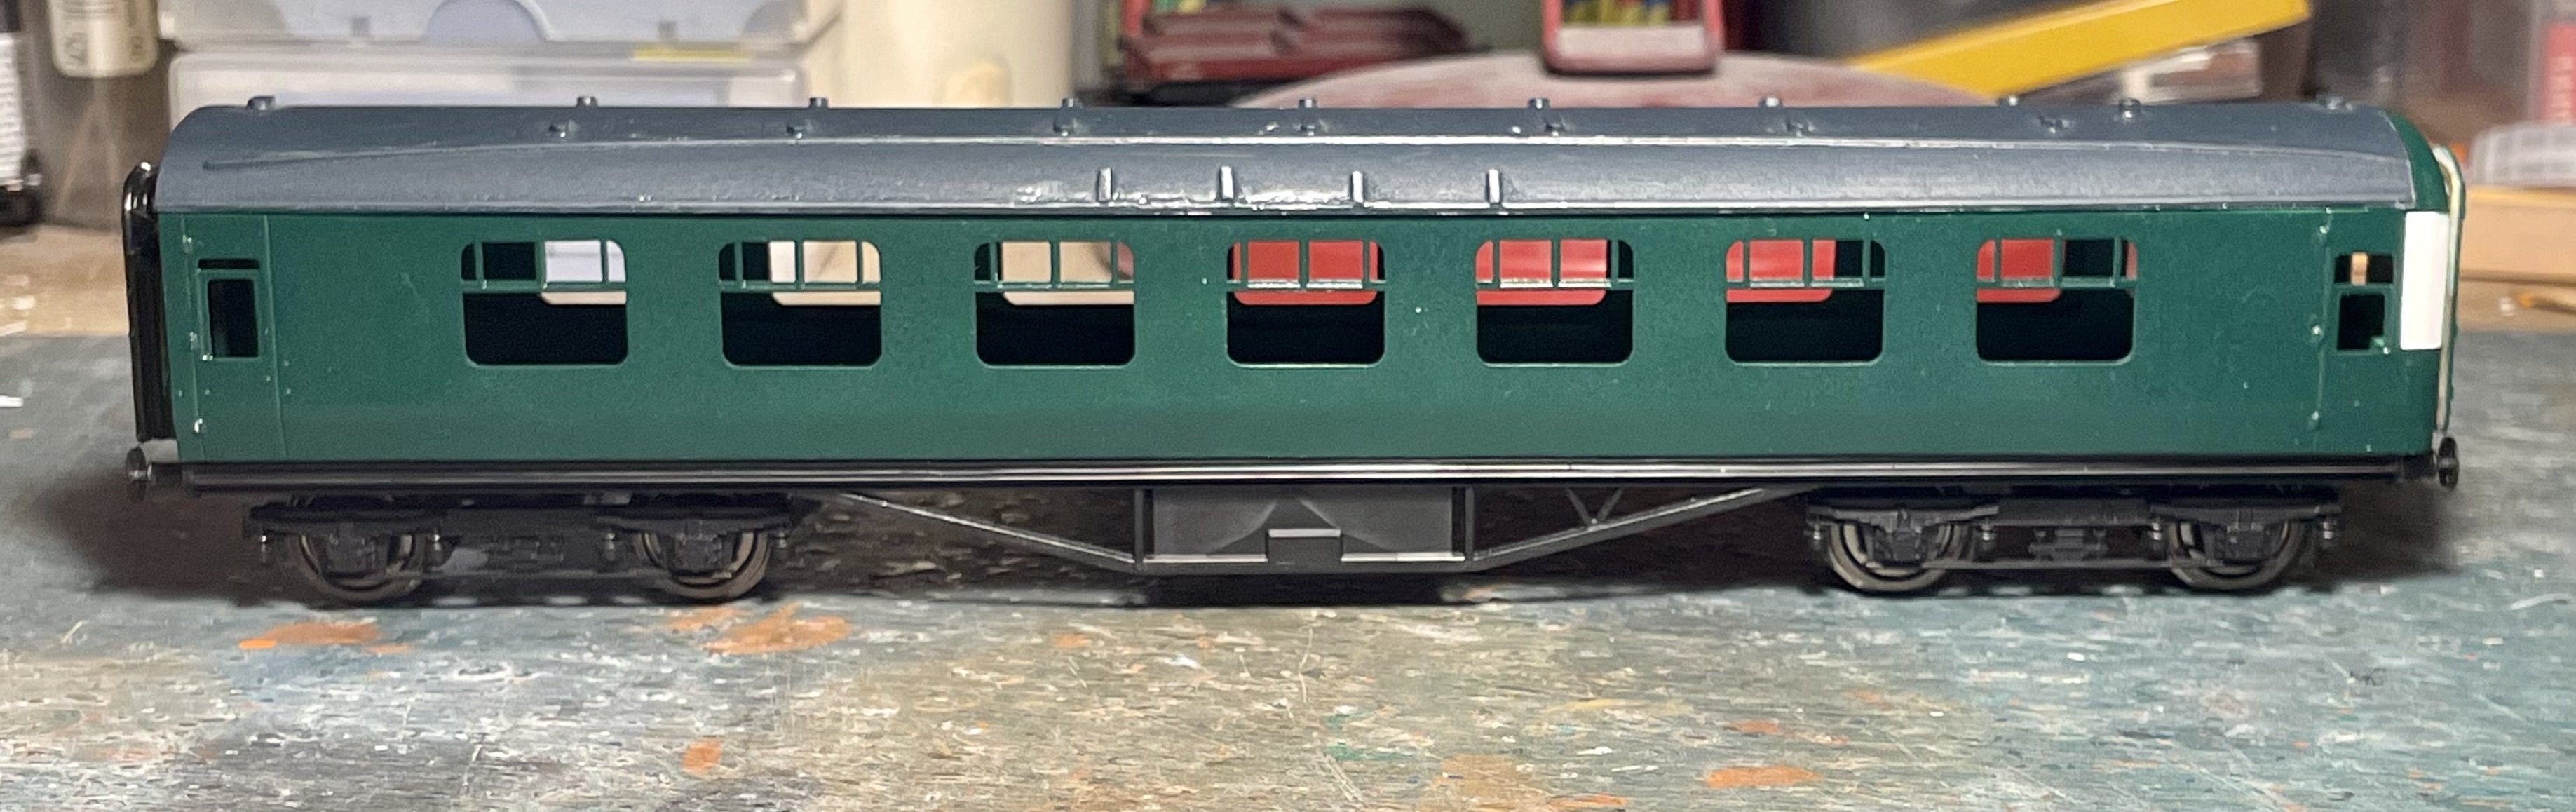
Secondary painting completed. Cheers Darius
-
Initial painting completed. Cheers Darius
-
I was aware of the fuel tank differences between the 33 and 27 but chose not to hack about the chassis too much at this stage. I’ve been collecting MTK for some time now and am building them for fun and to show that they can be built to a reasonable standard compared to the rtr Heljan examples - of which I have quite a few. At the end of the day I really enjoy building kits. Cheers Darius
-
Hot on the heels of the Class 27 comes this very similar kit. Cheers Darius
-
Fantastic!!!!! Pre-orders in. Cheers Darius
-
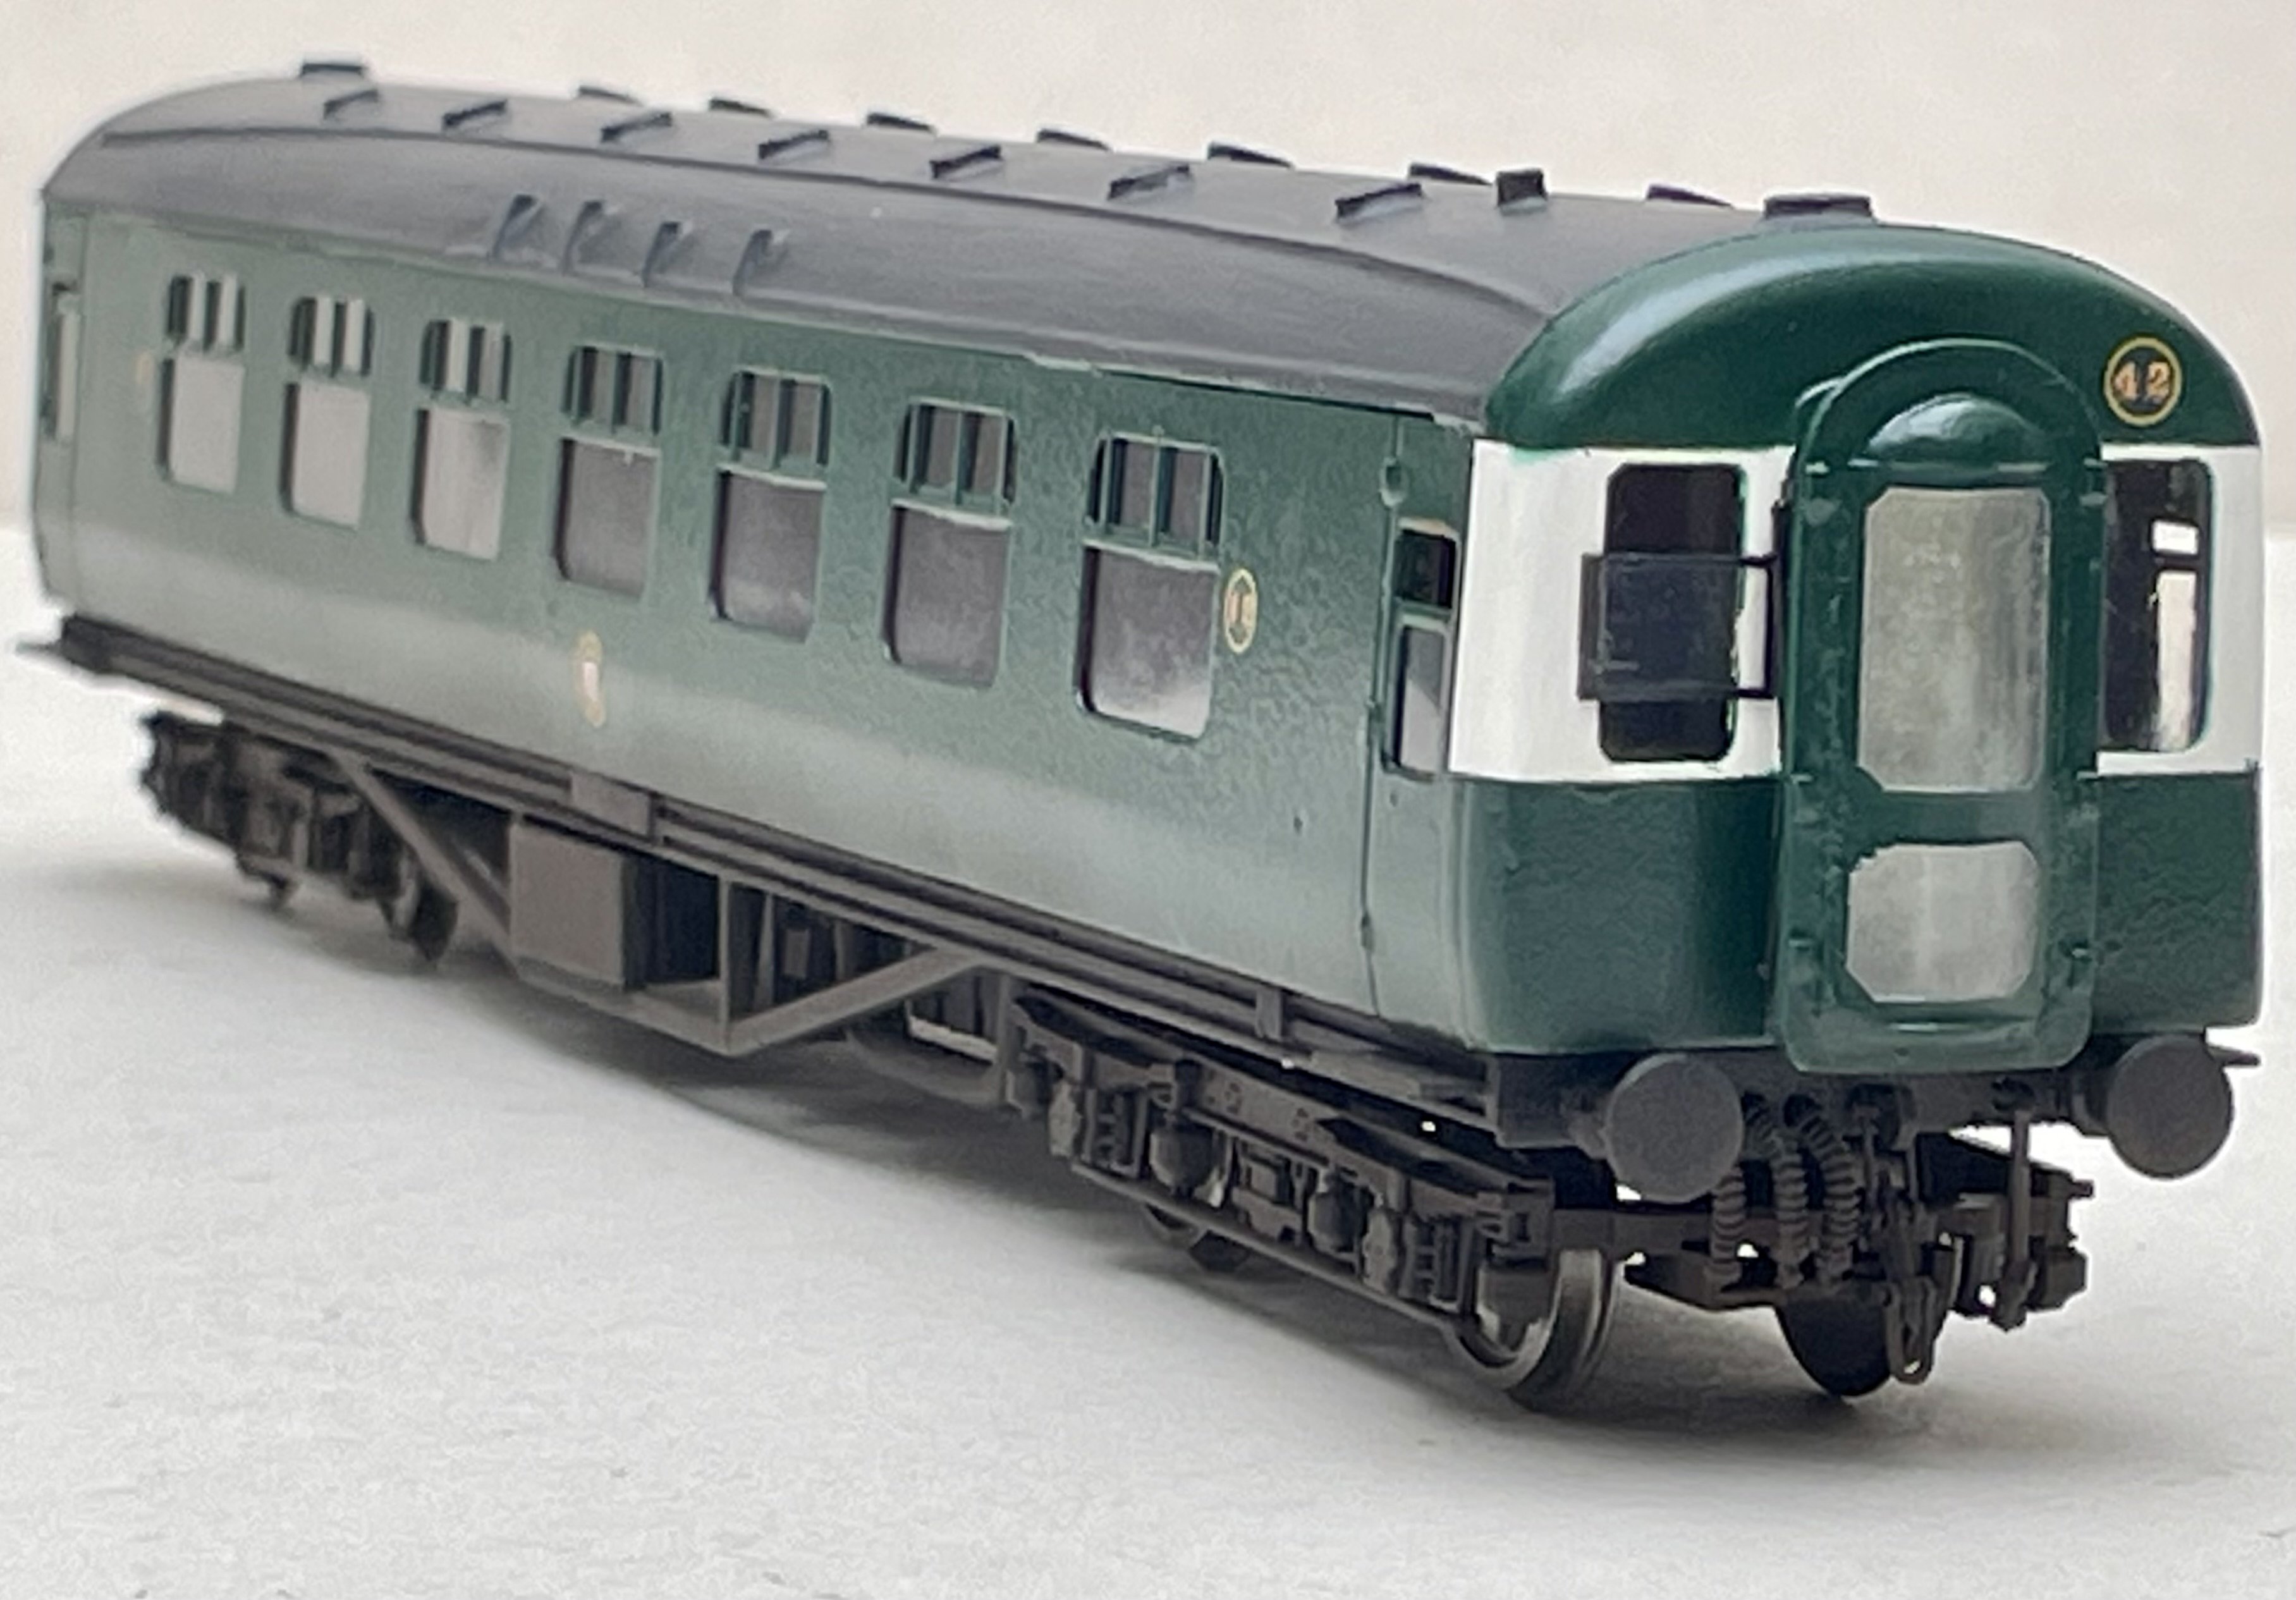
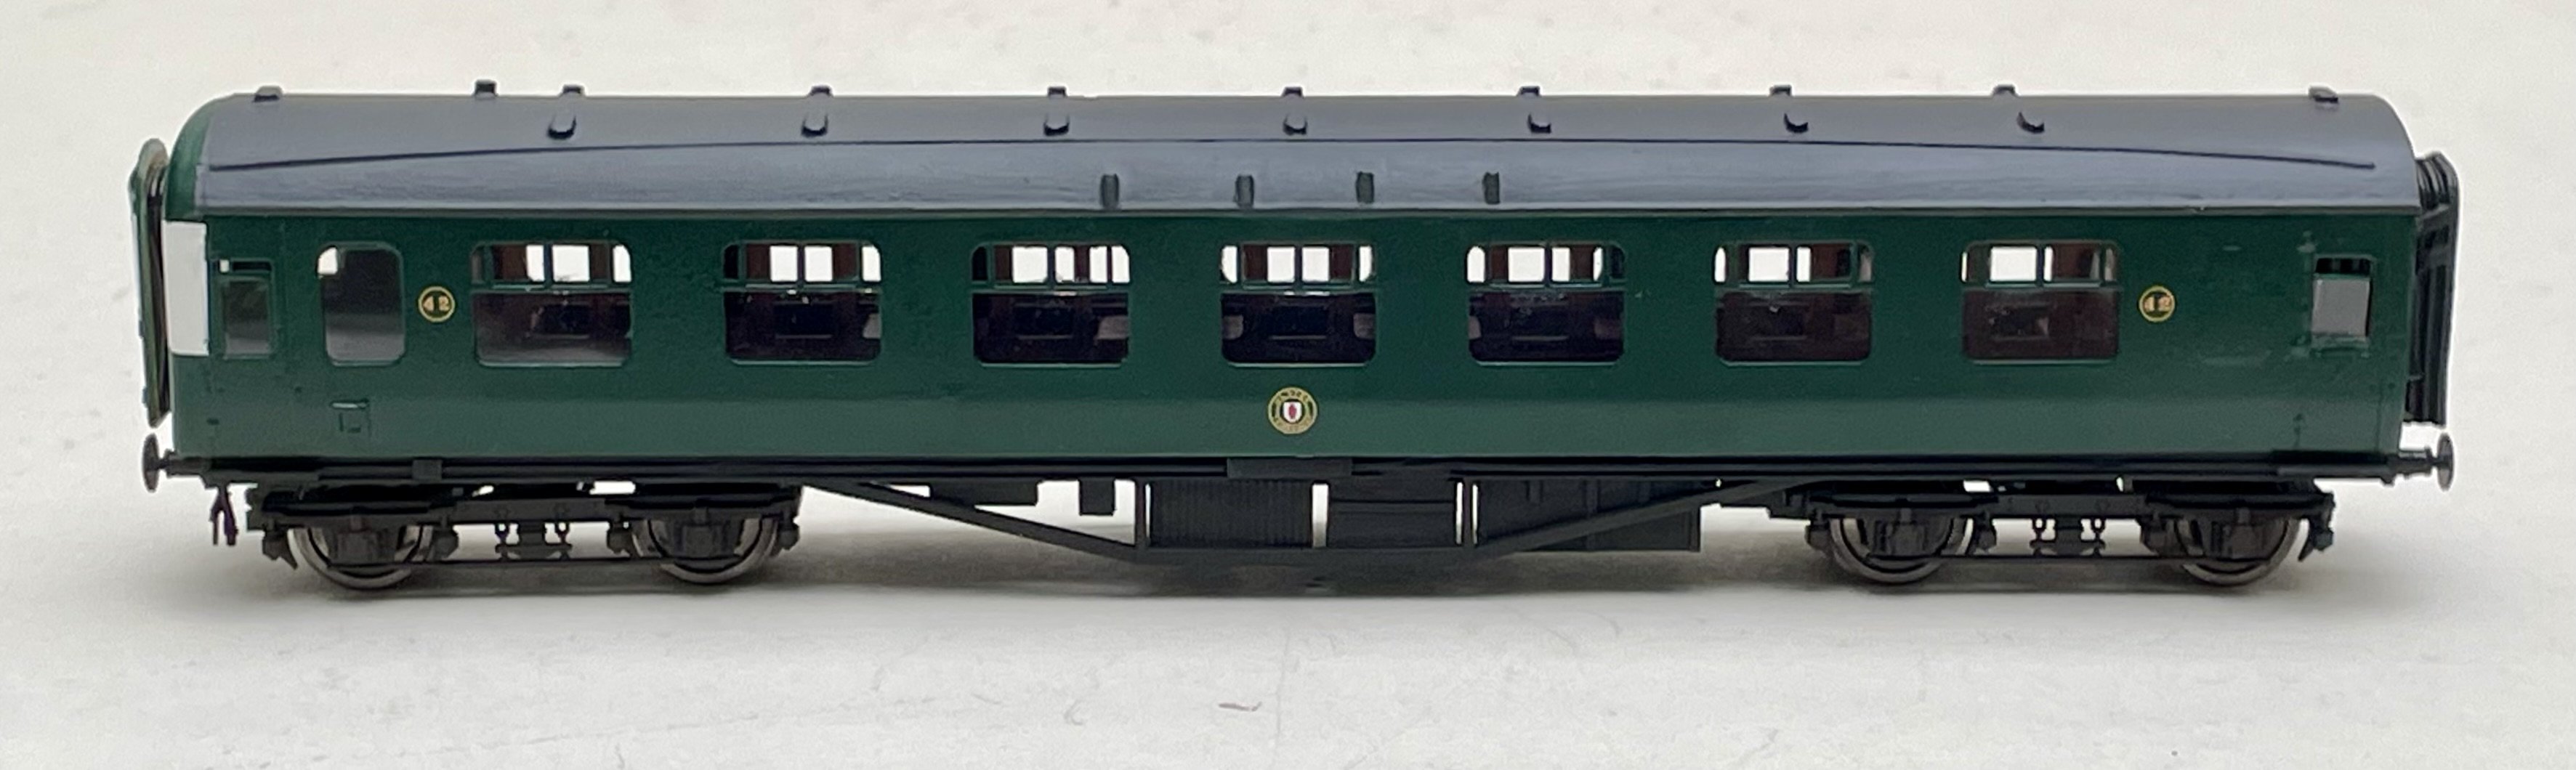
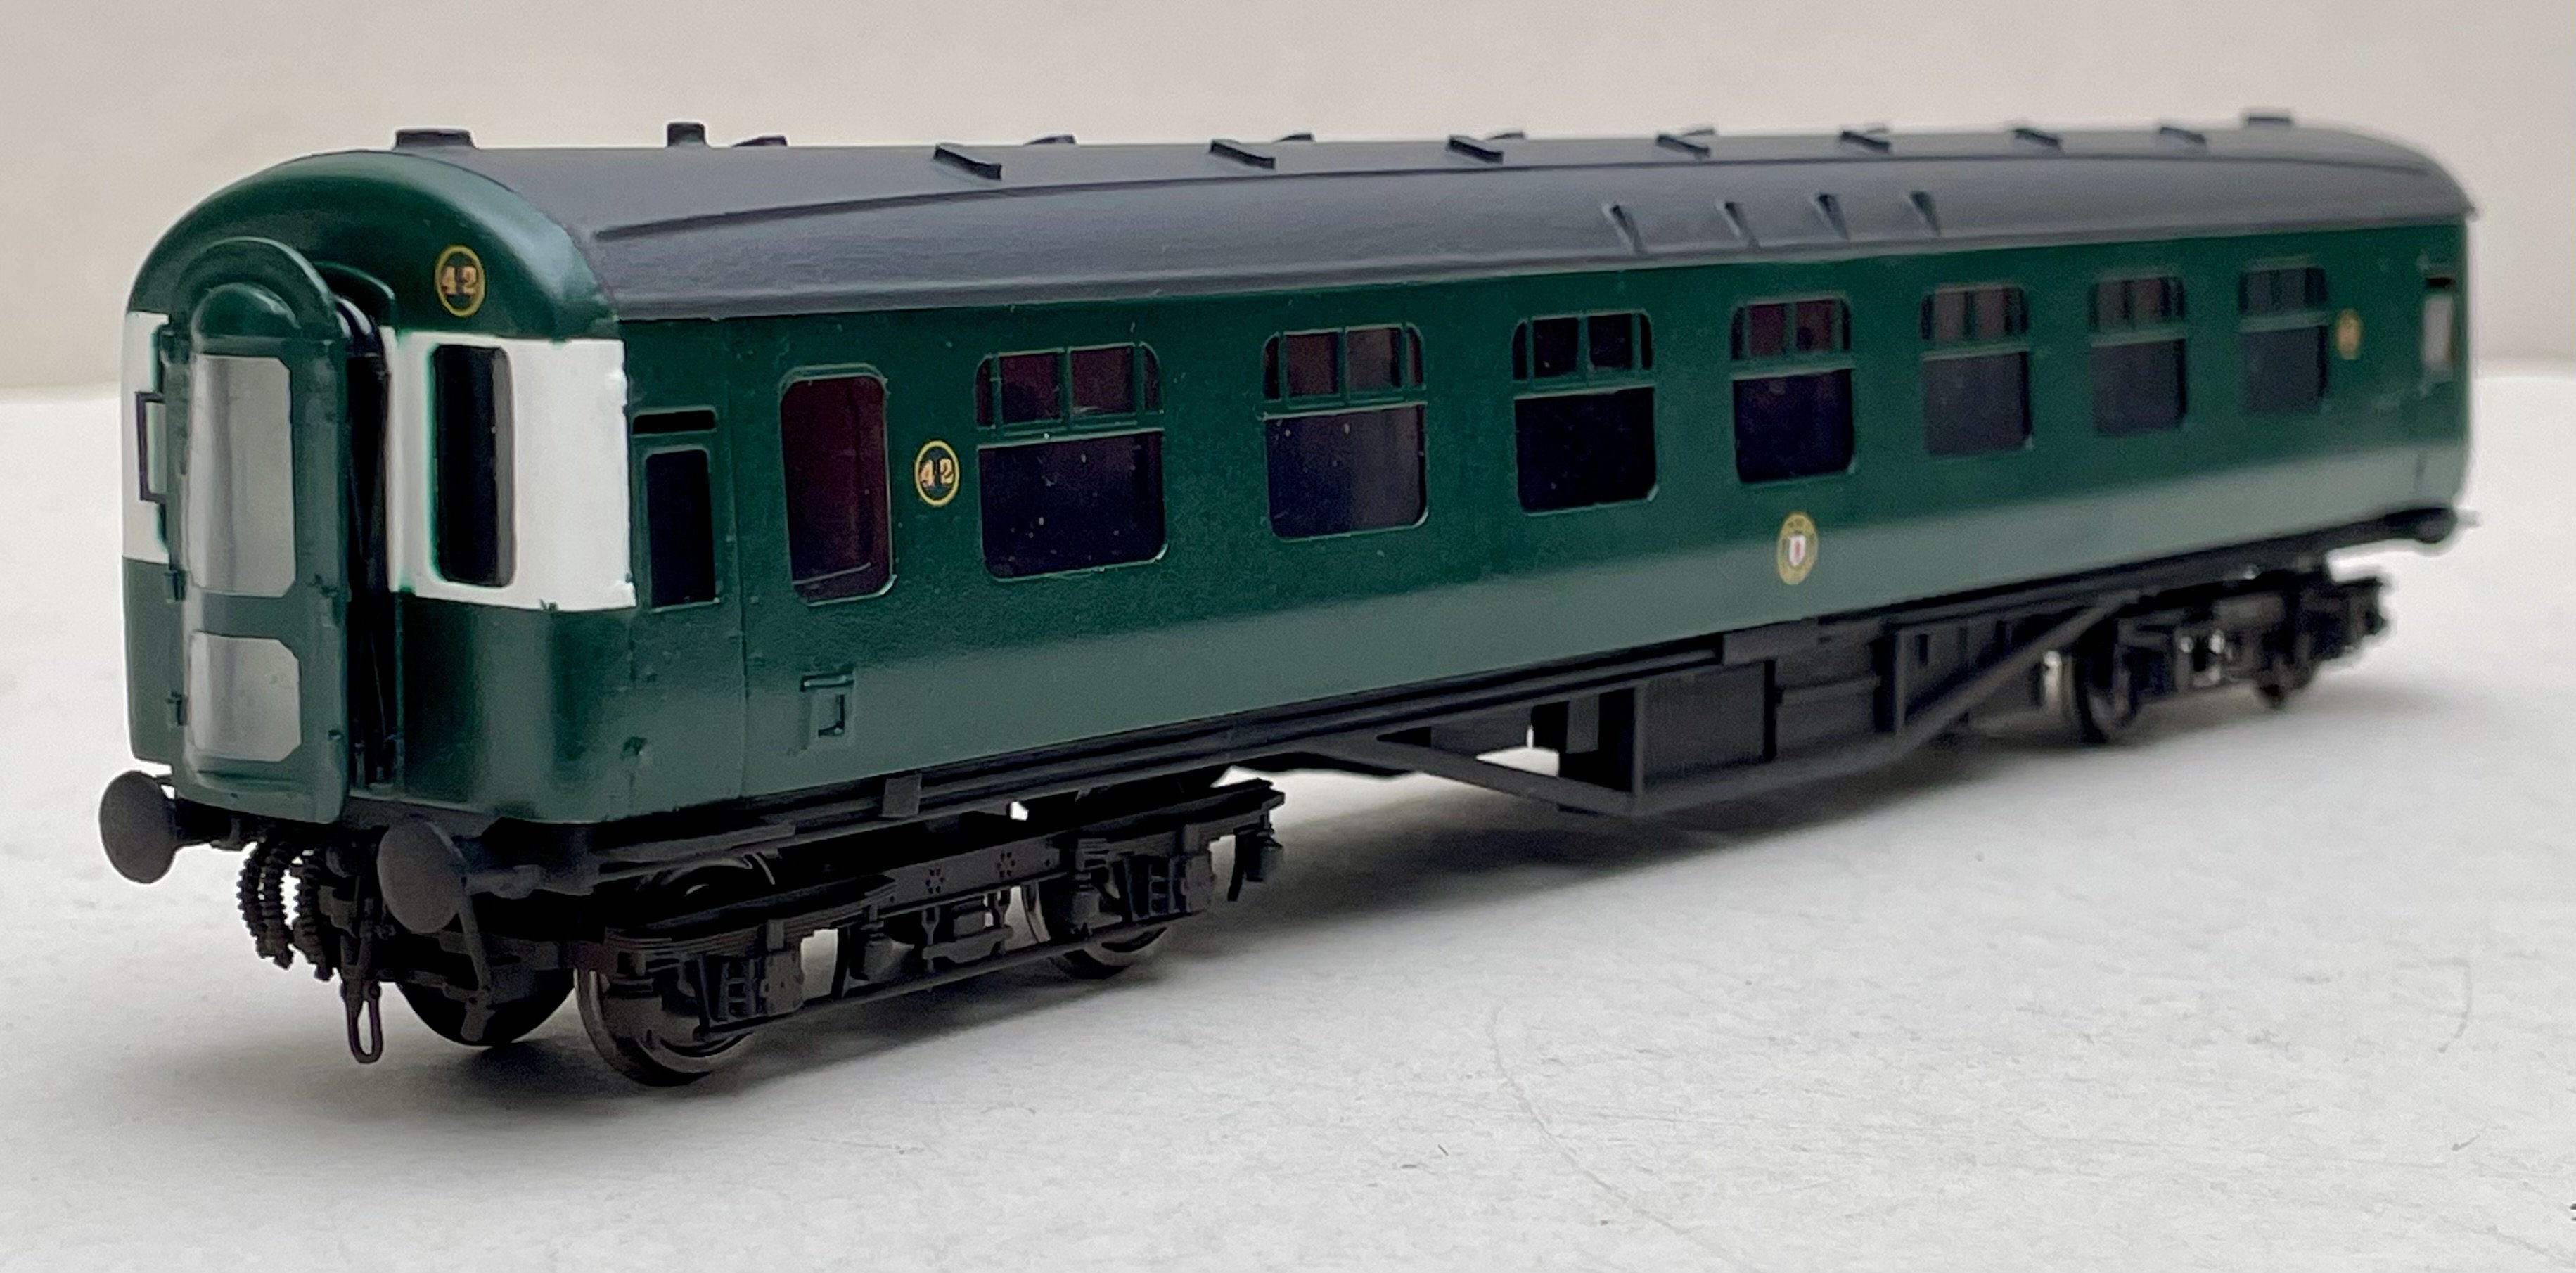
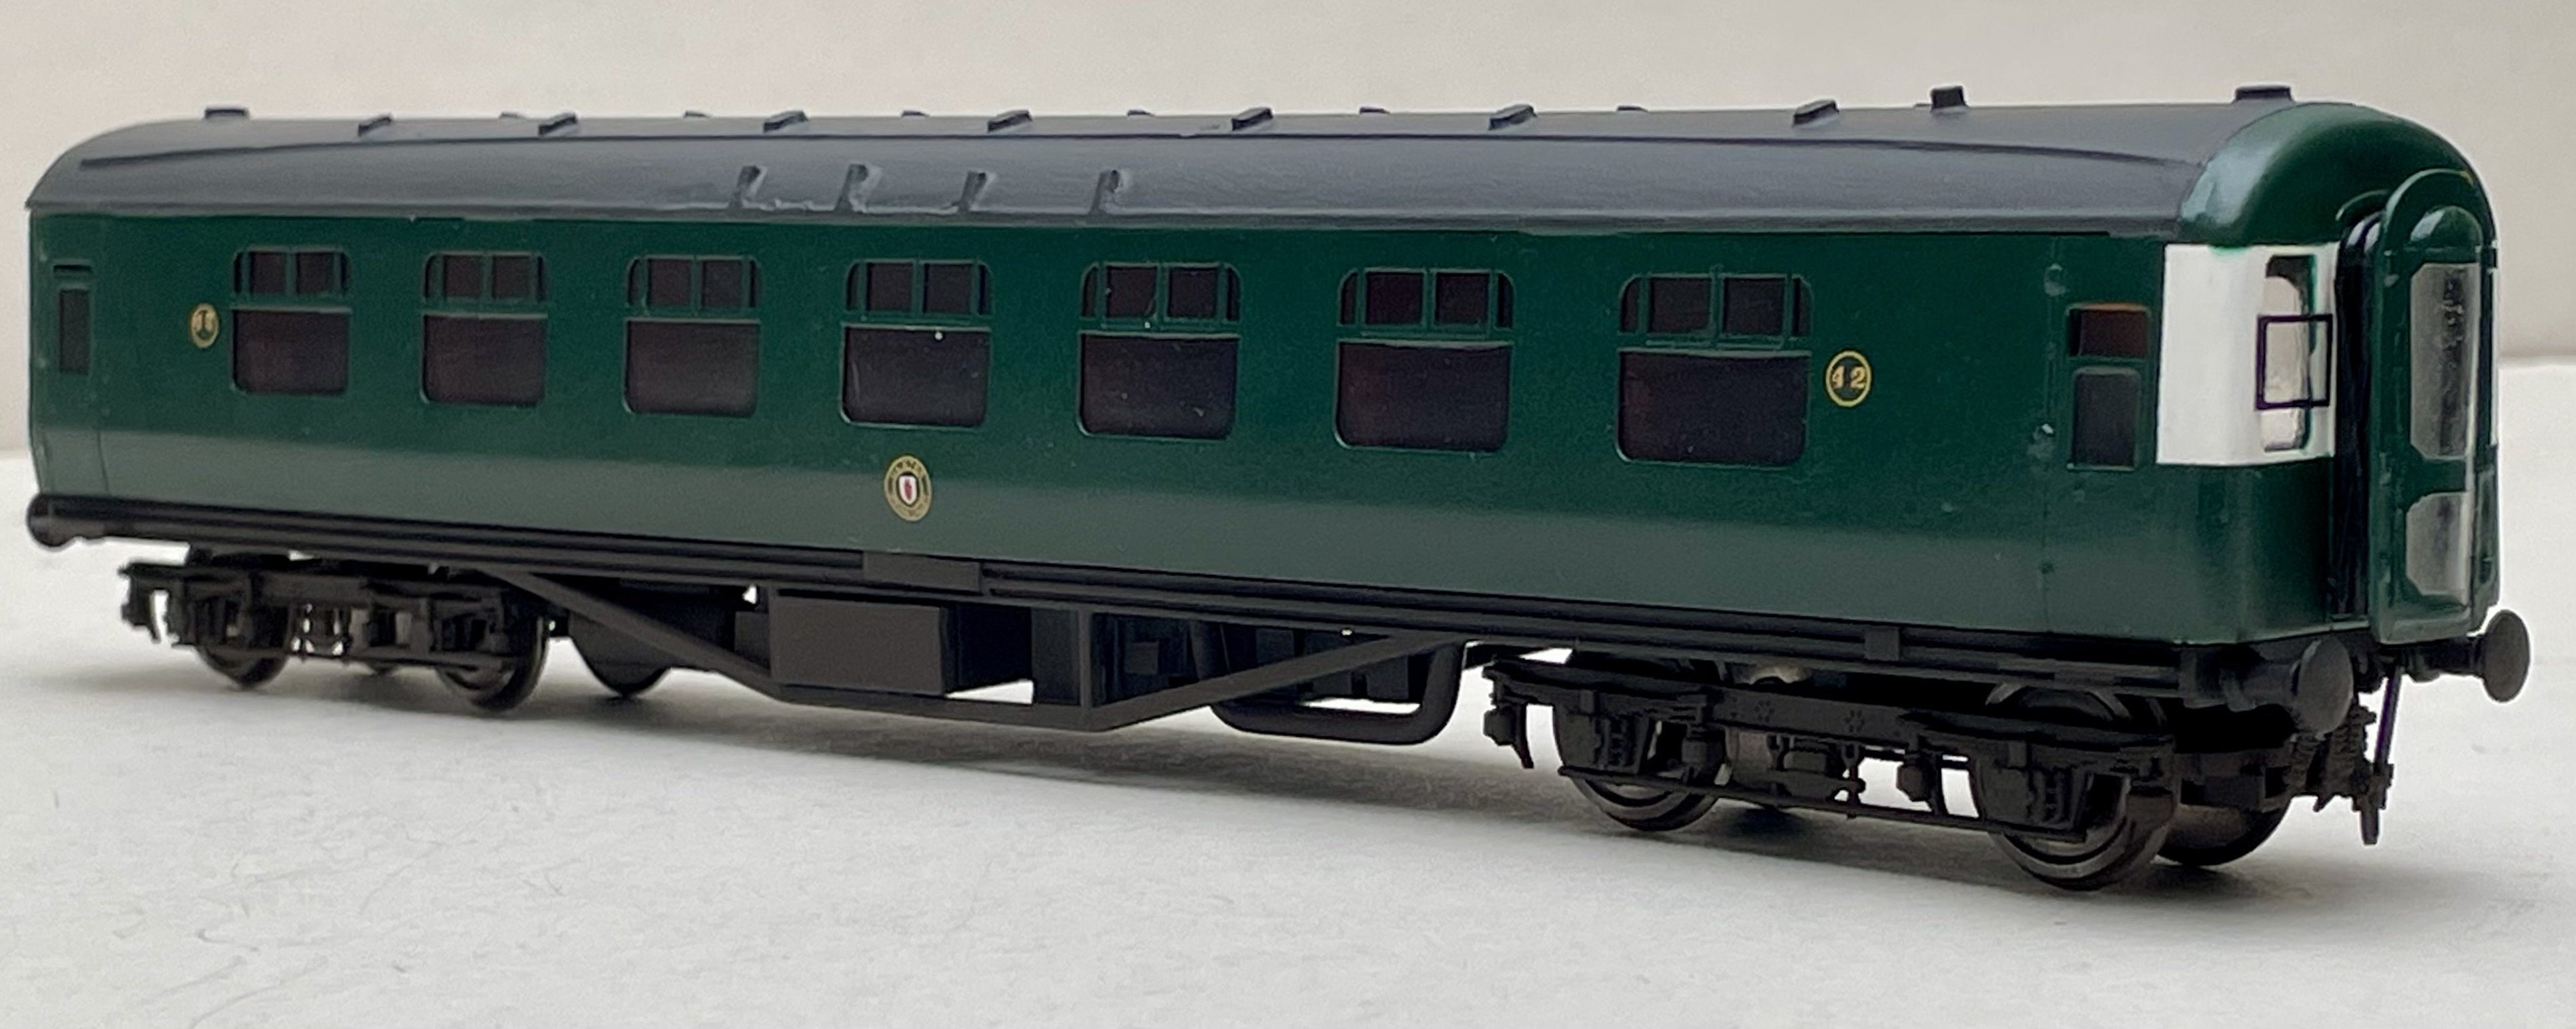
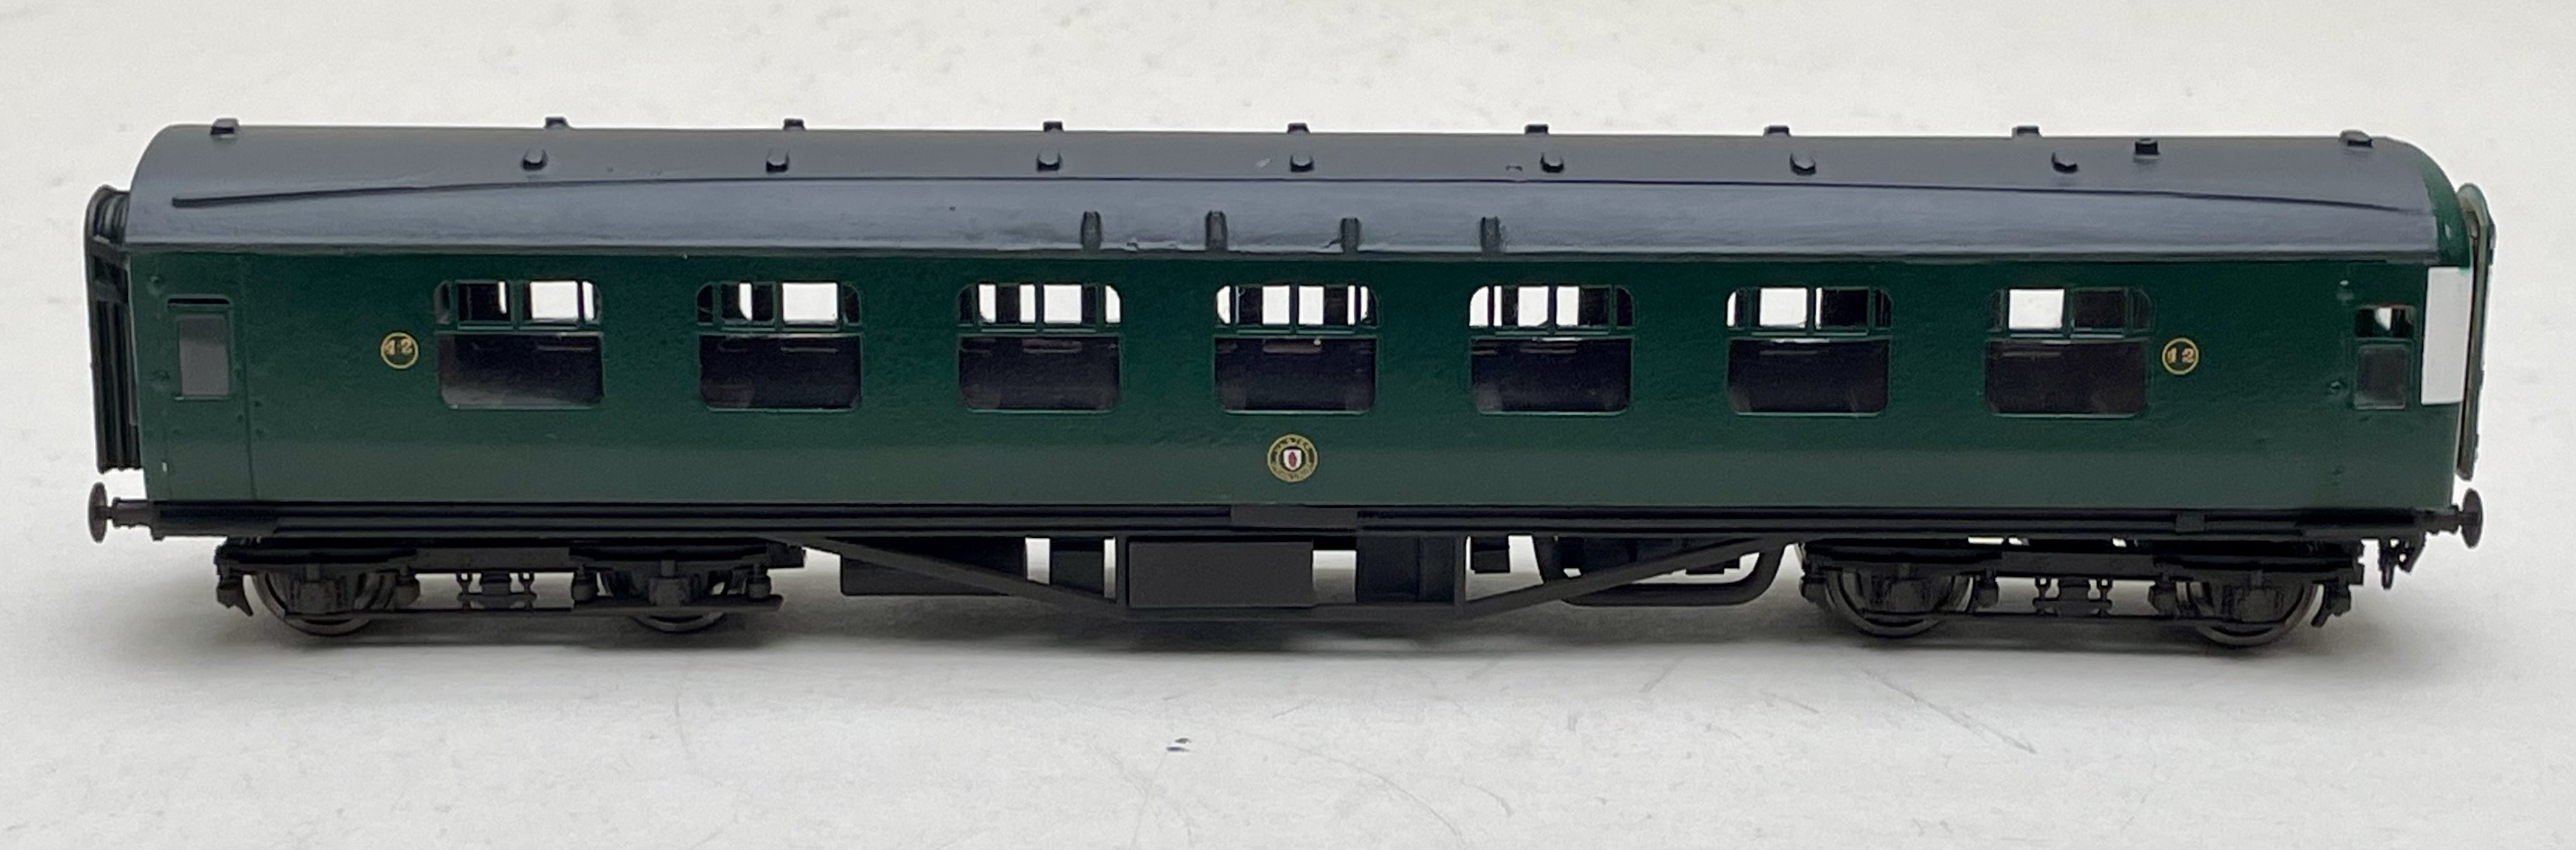
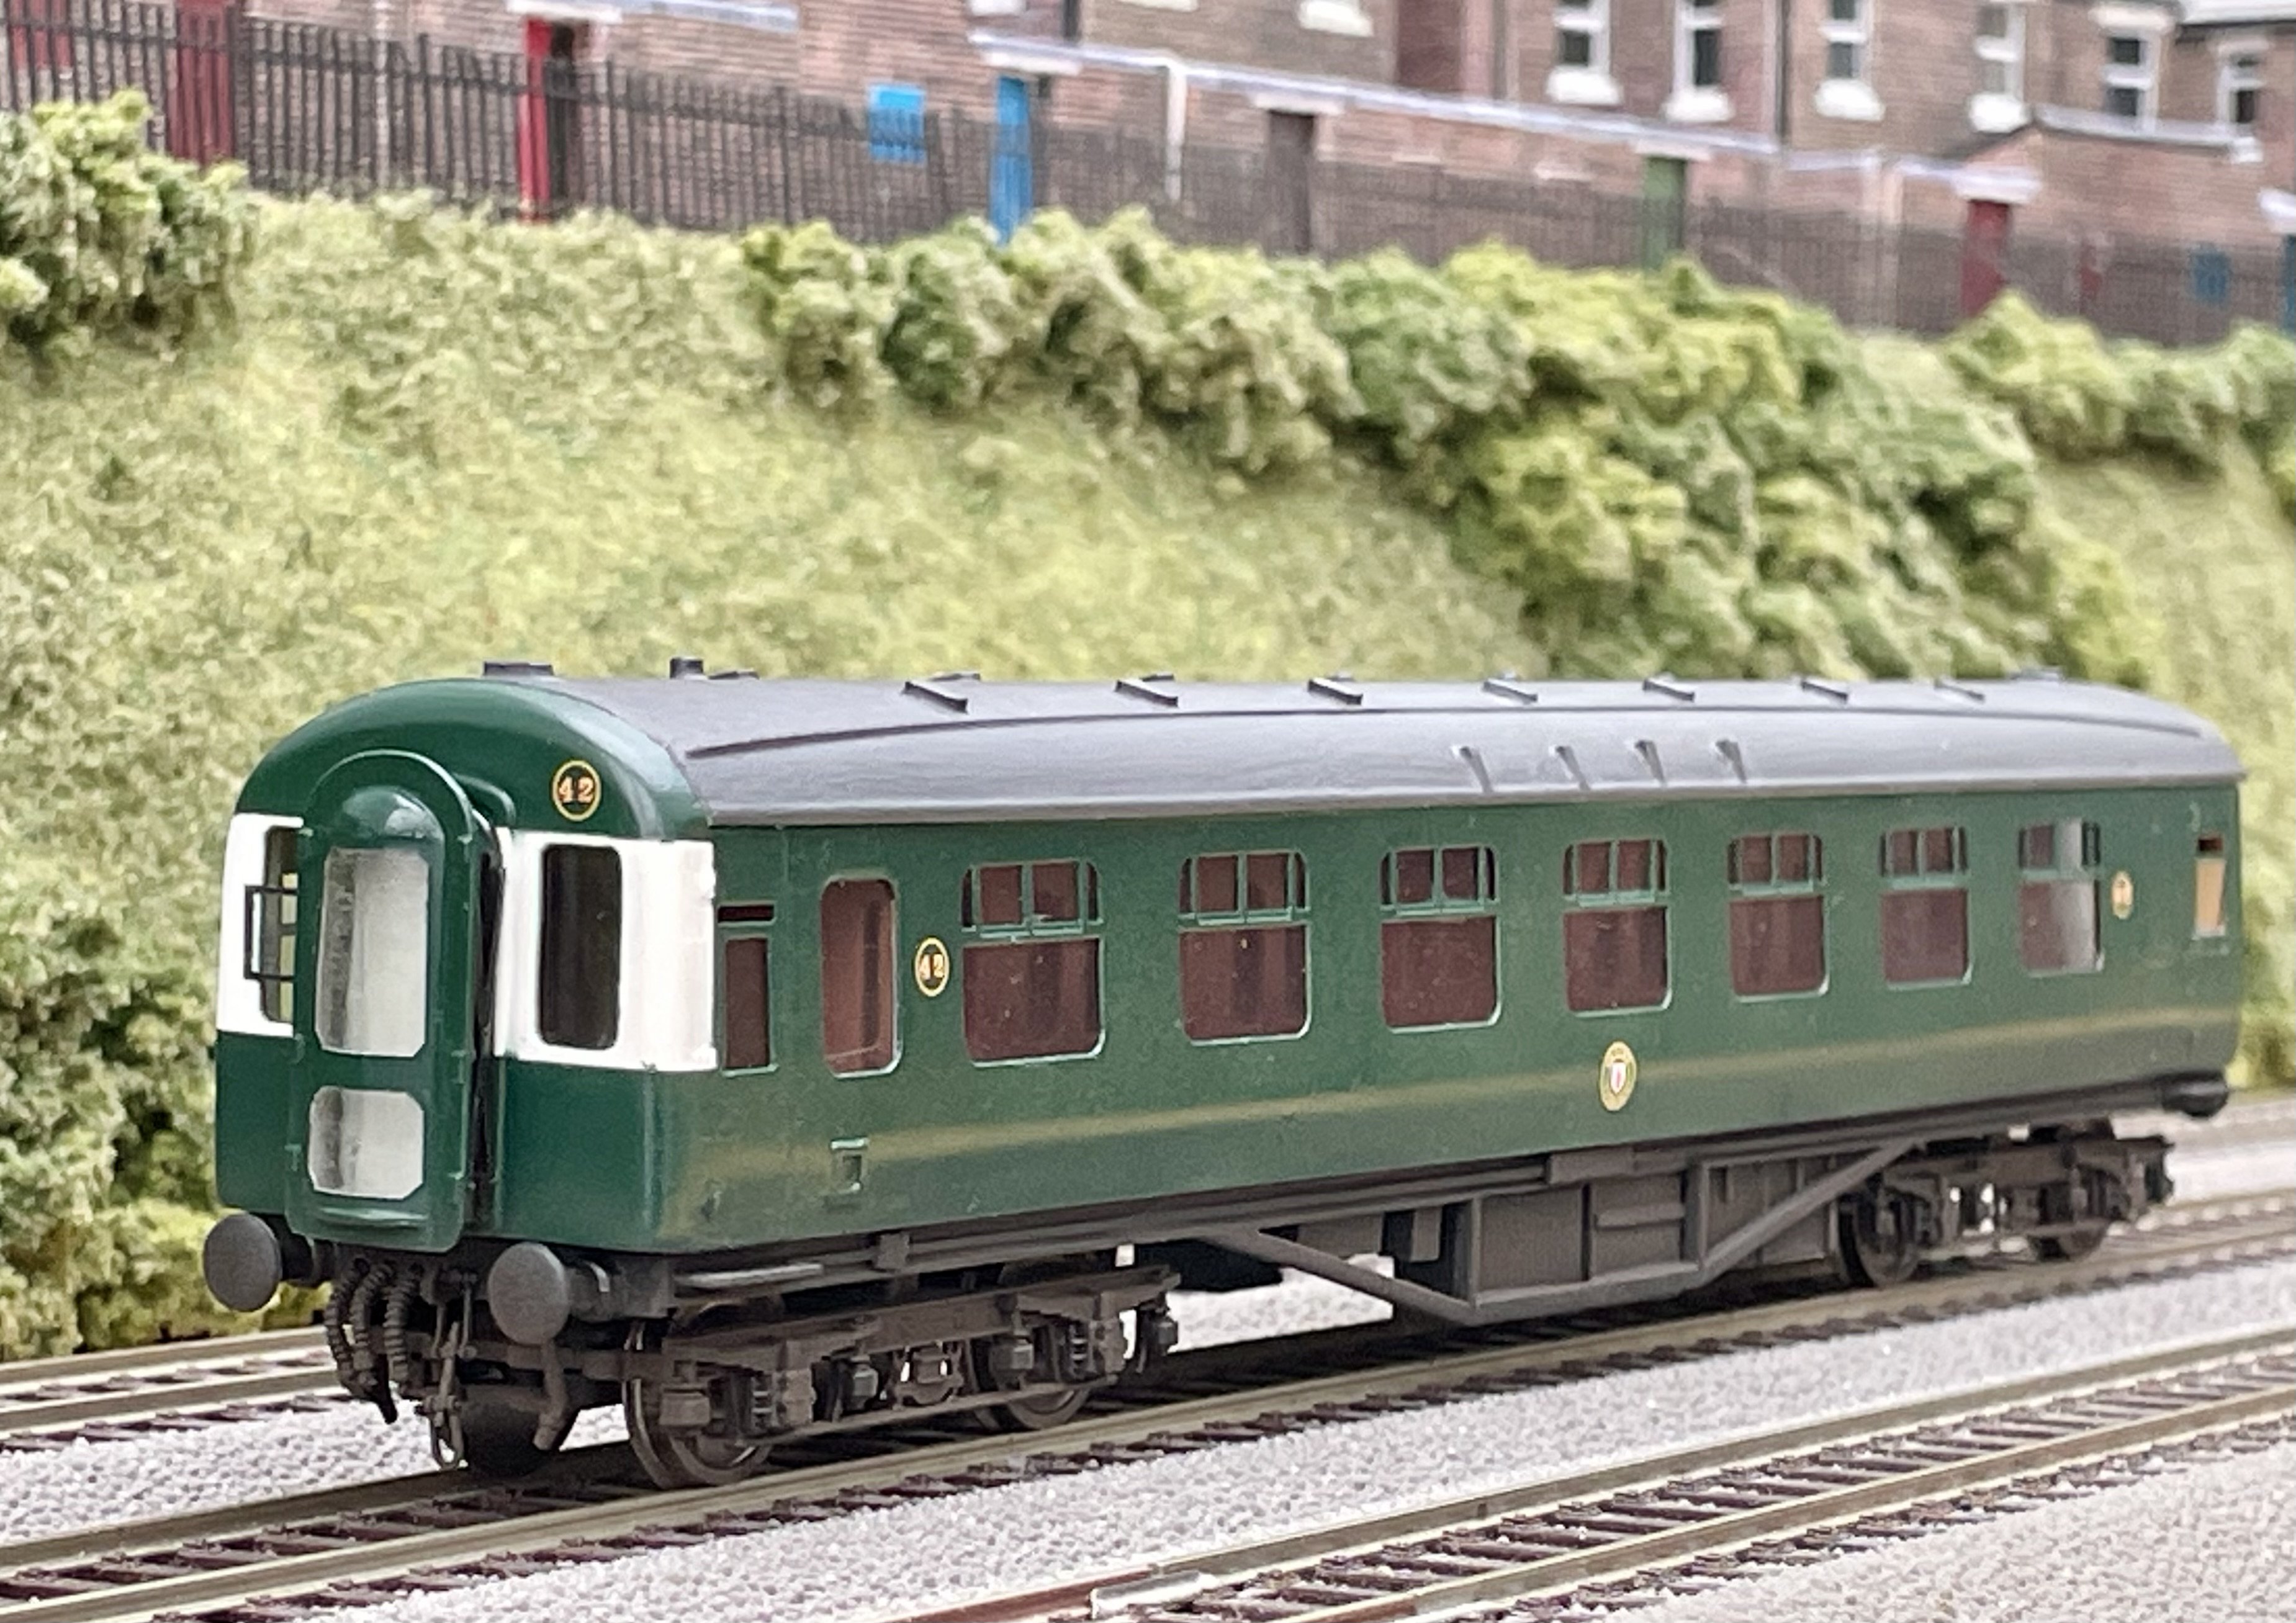
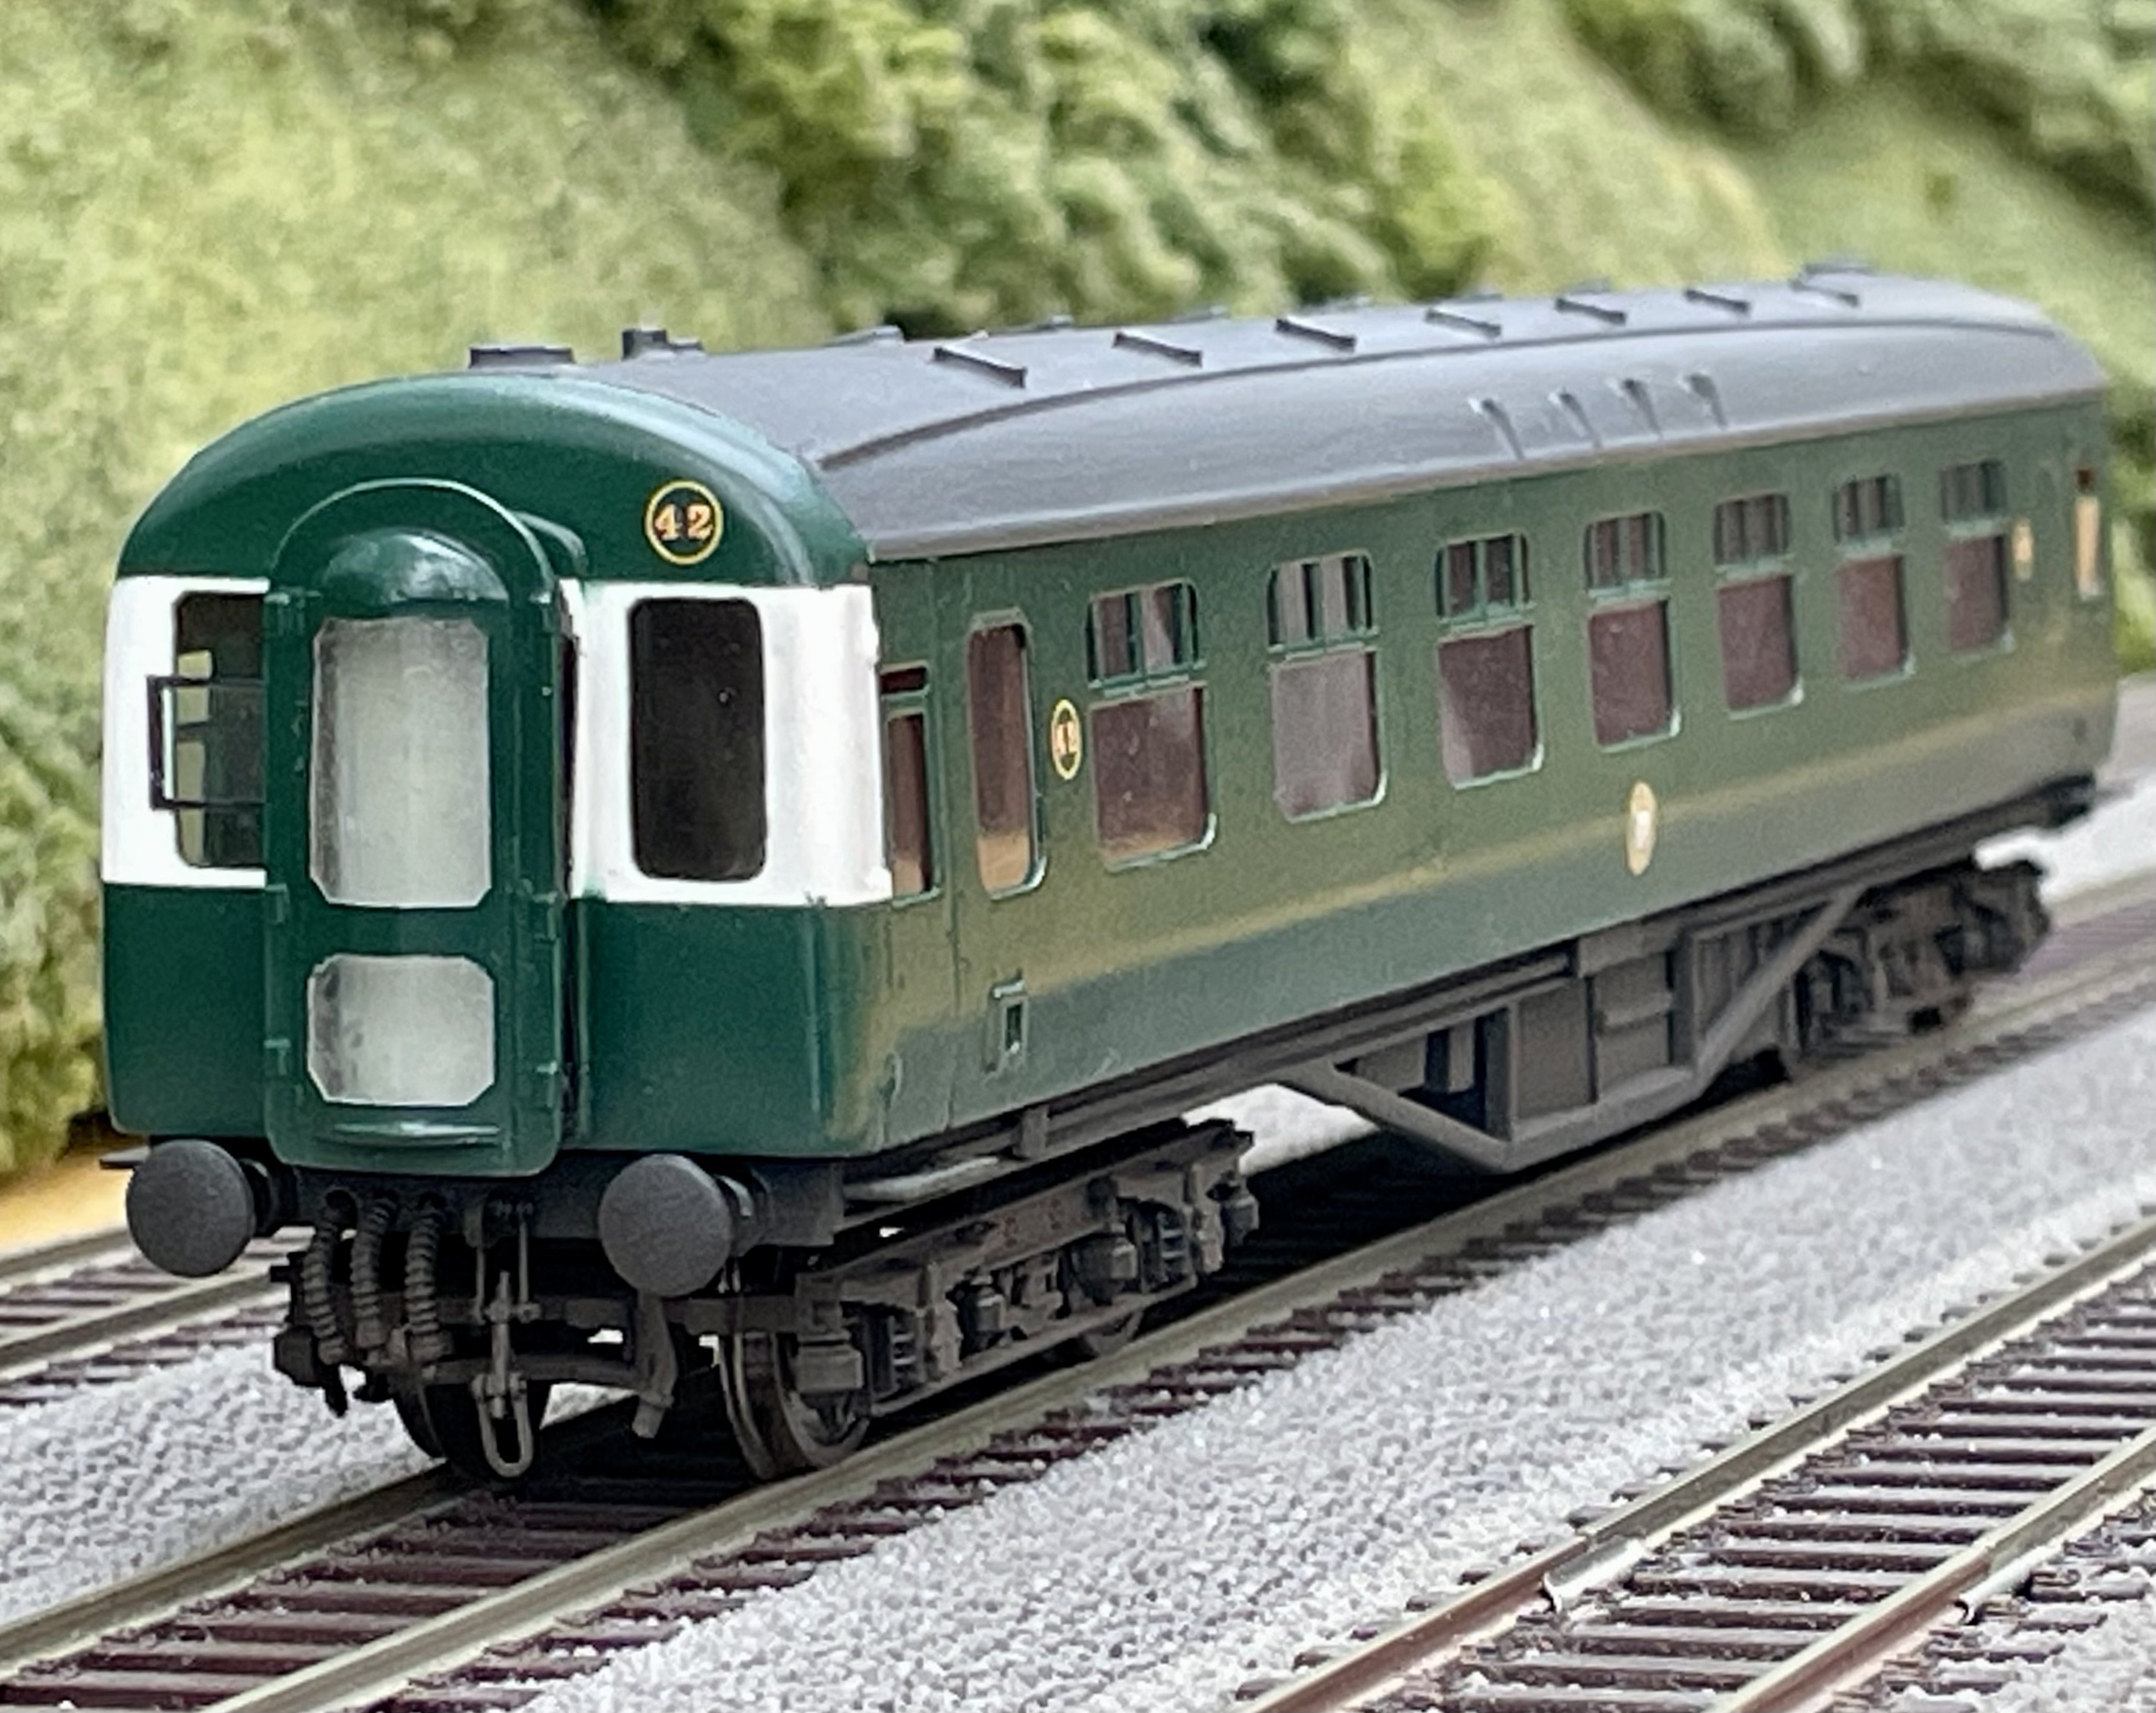
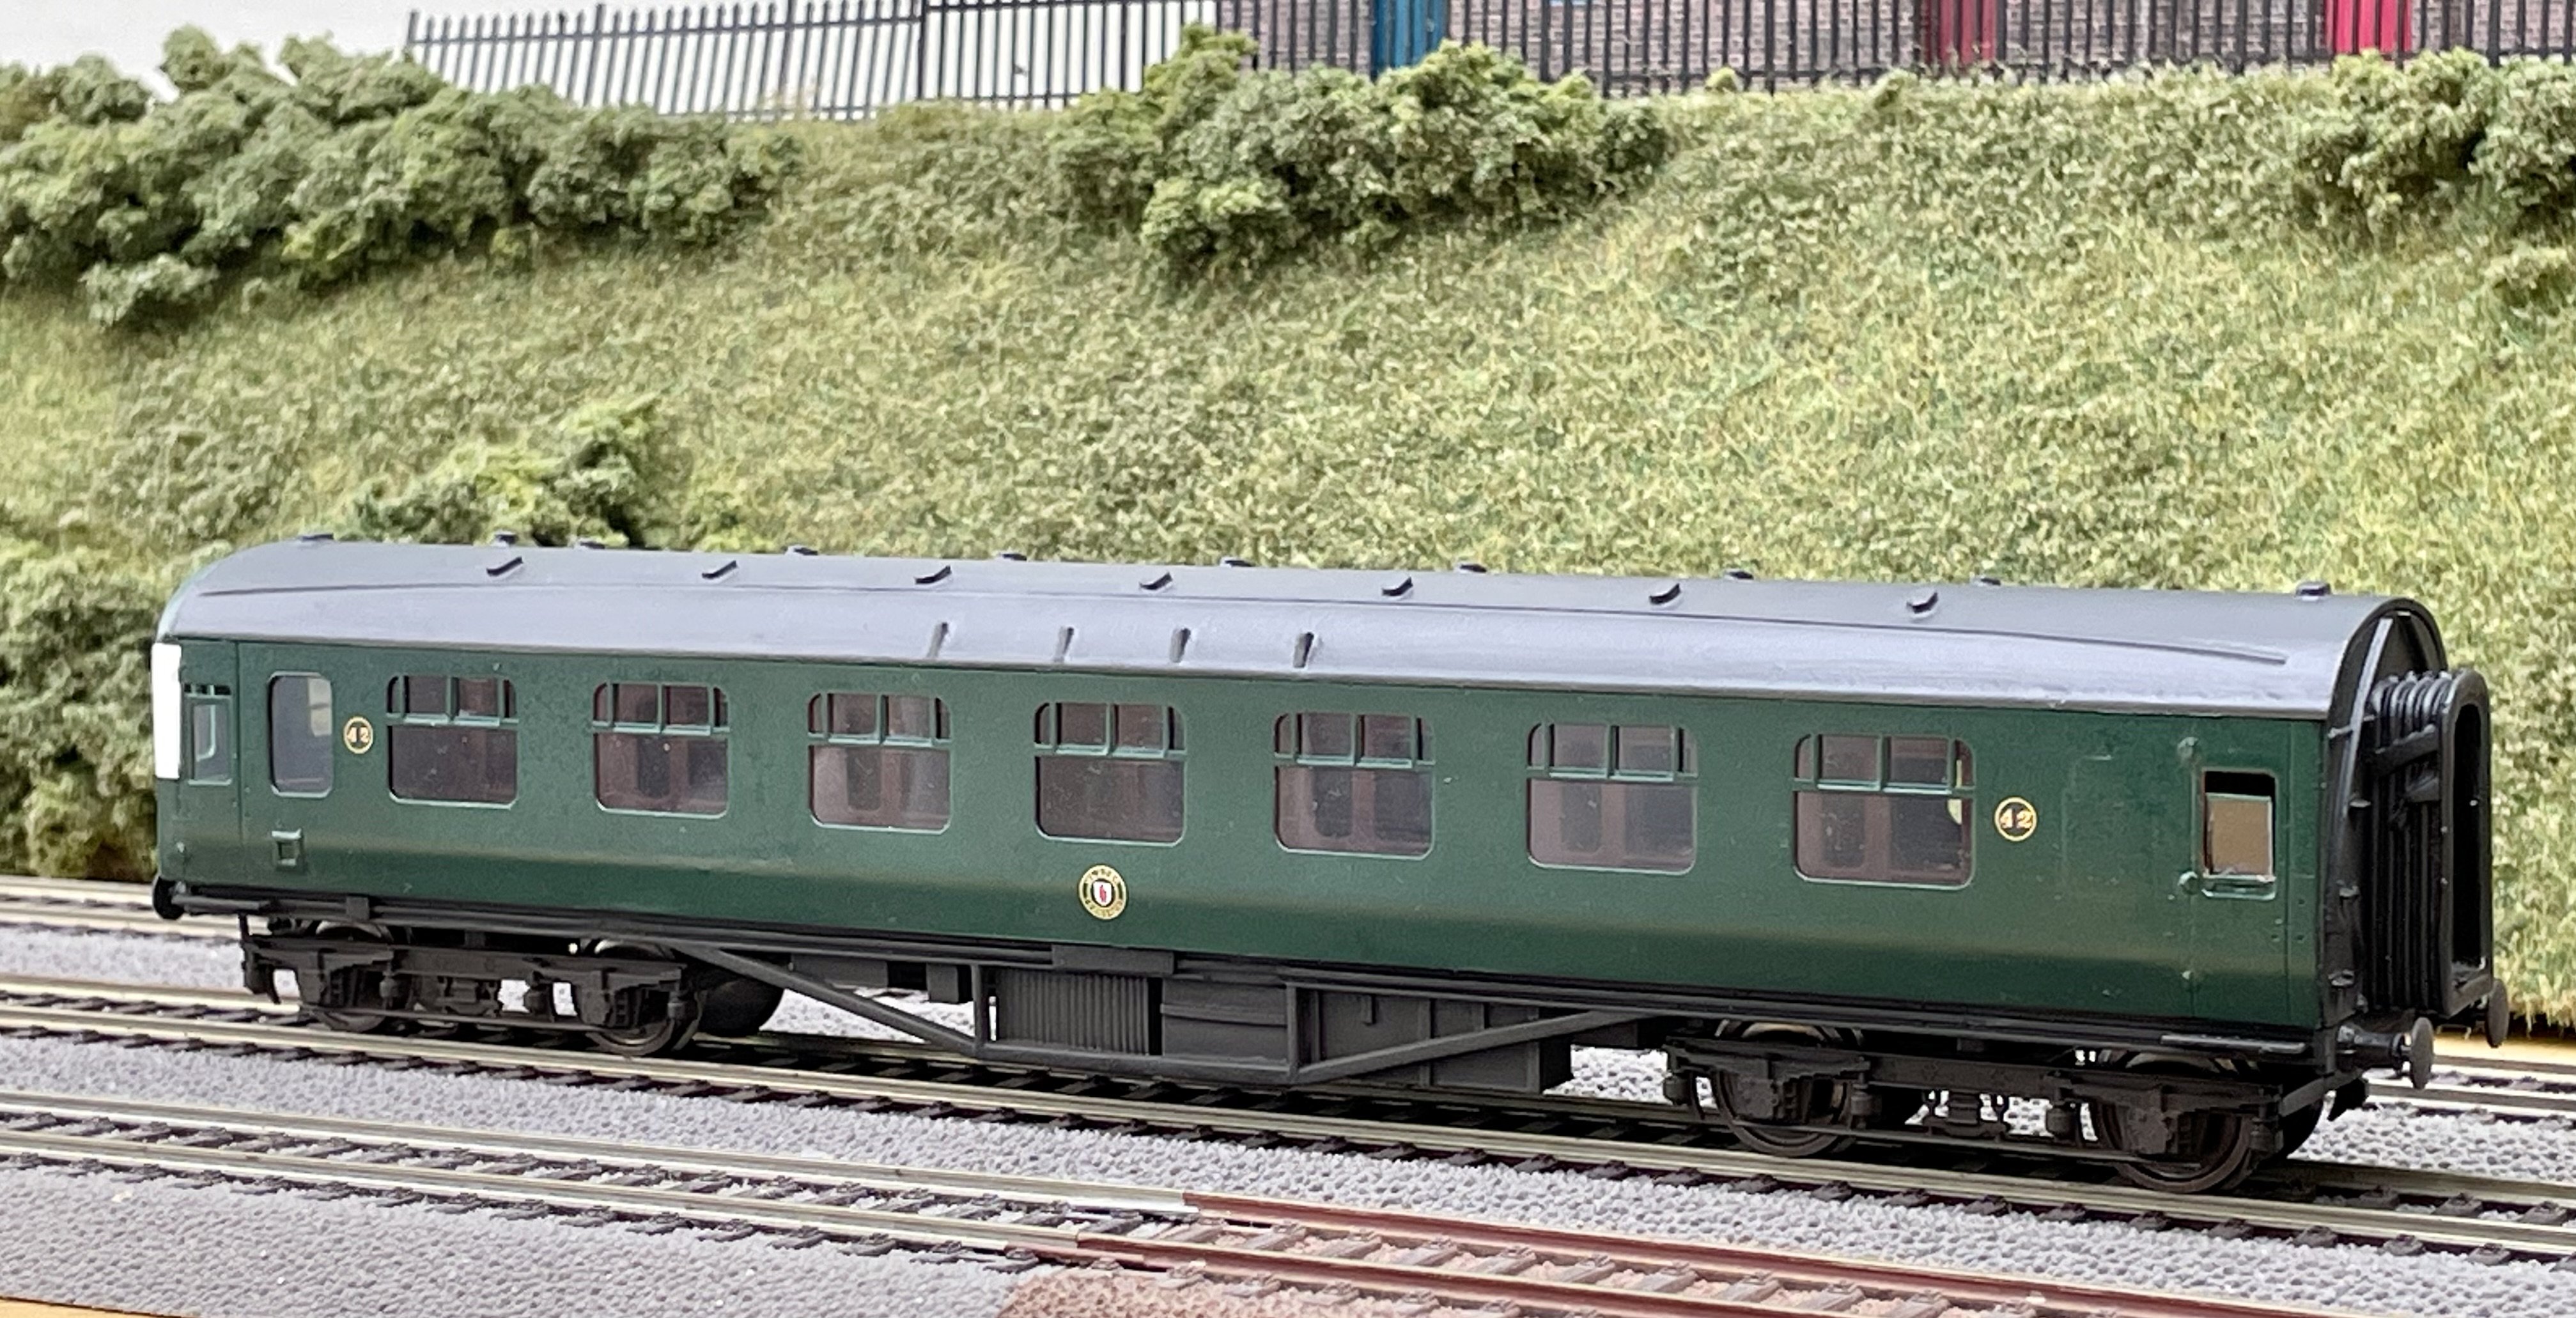
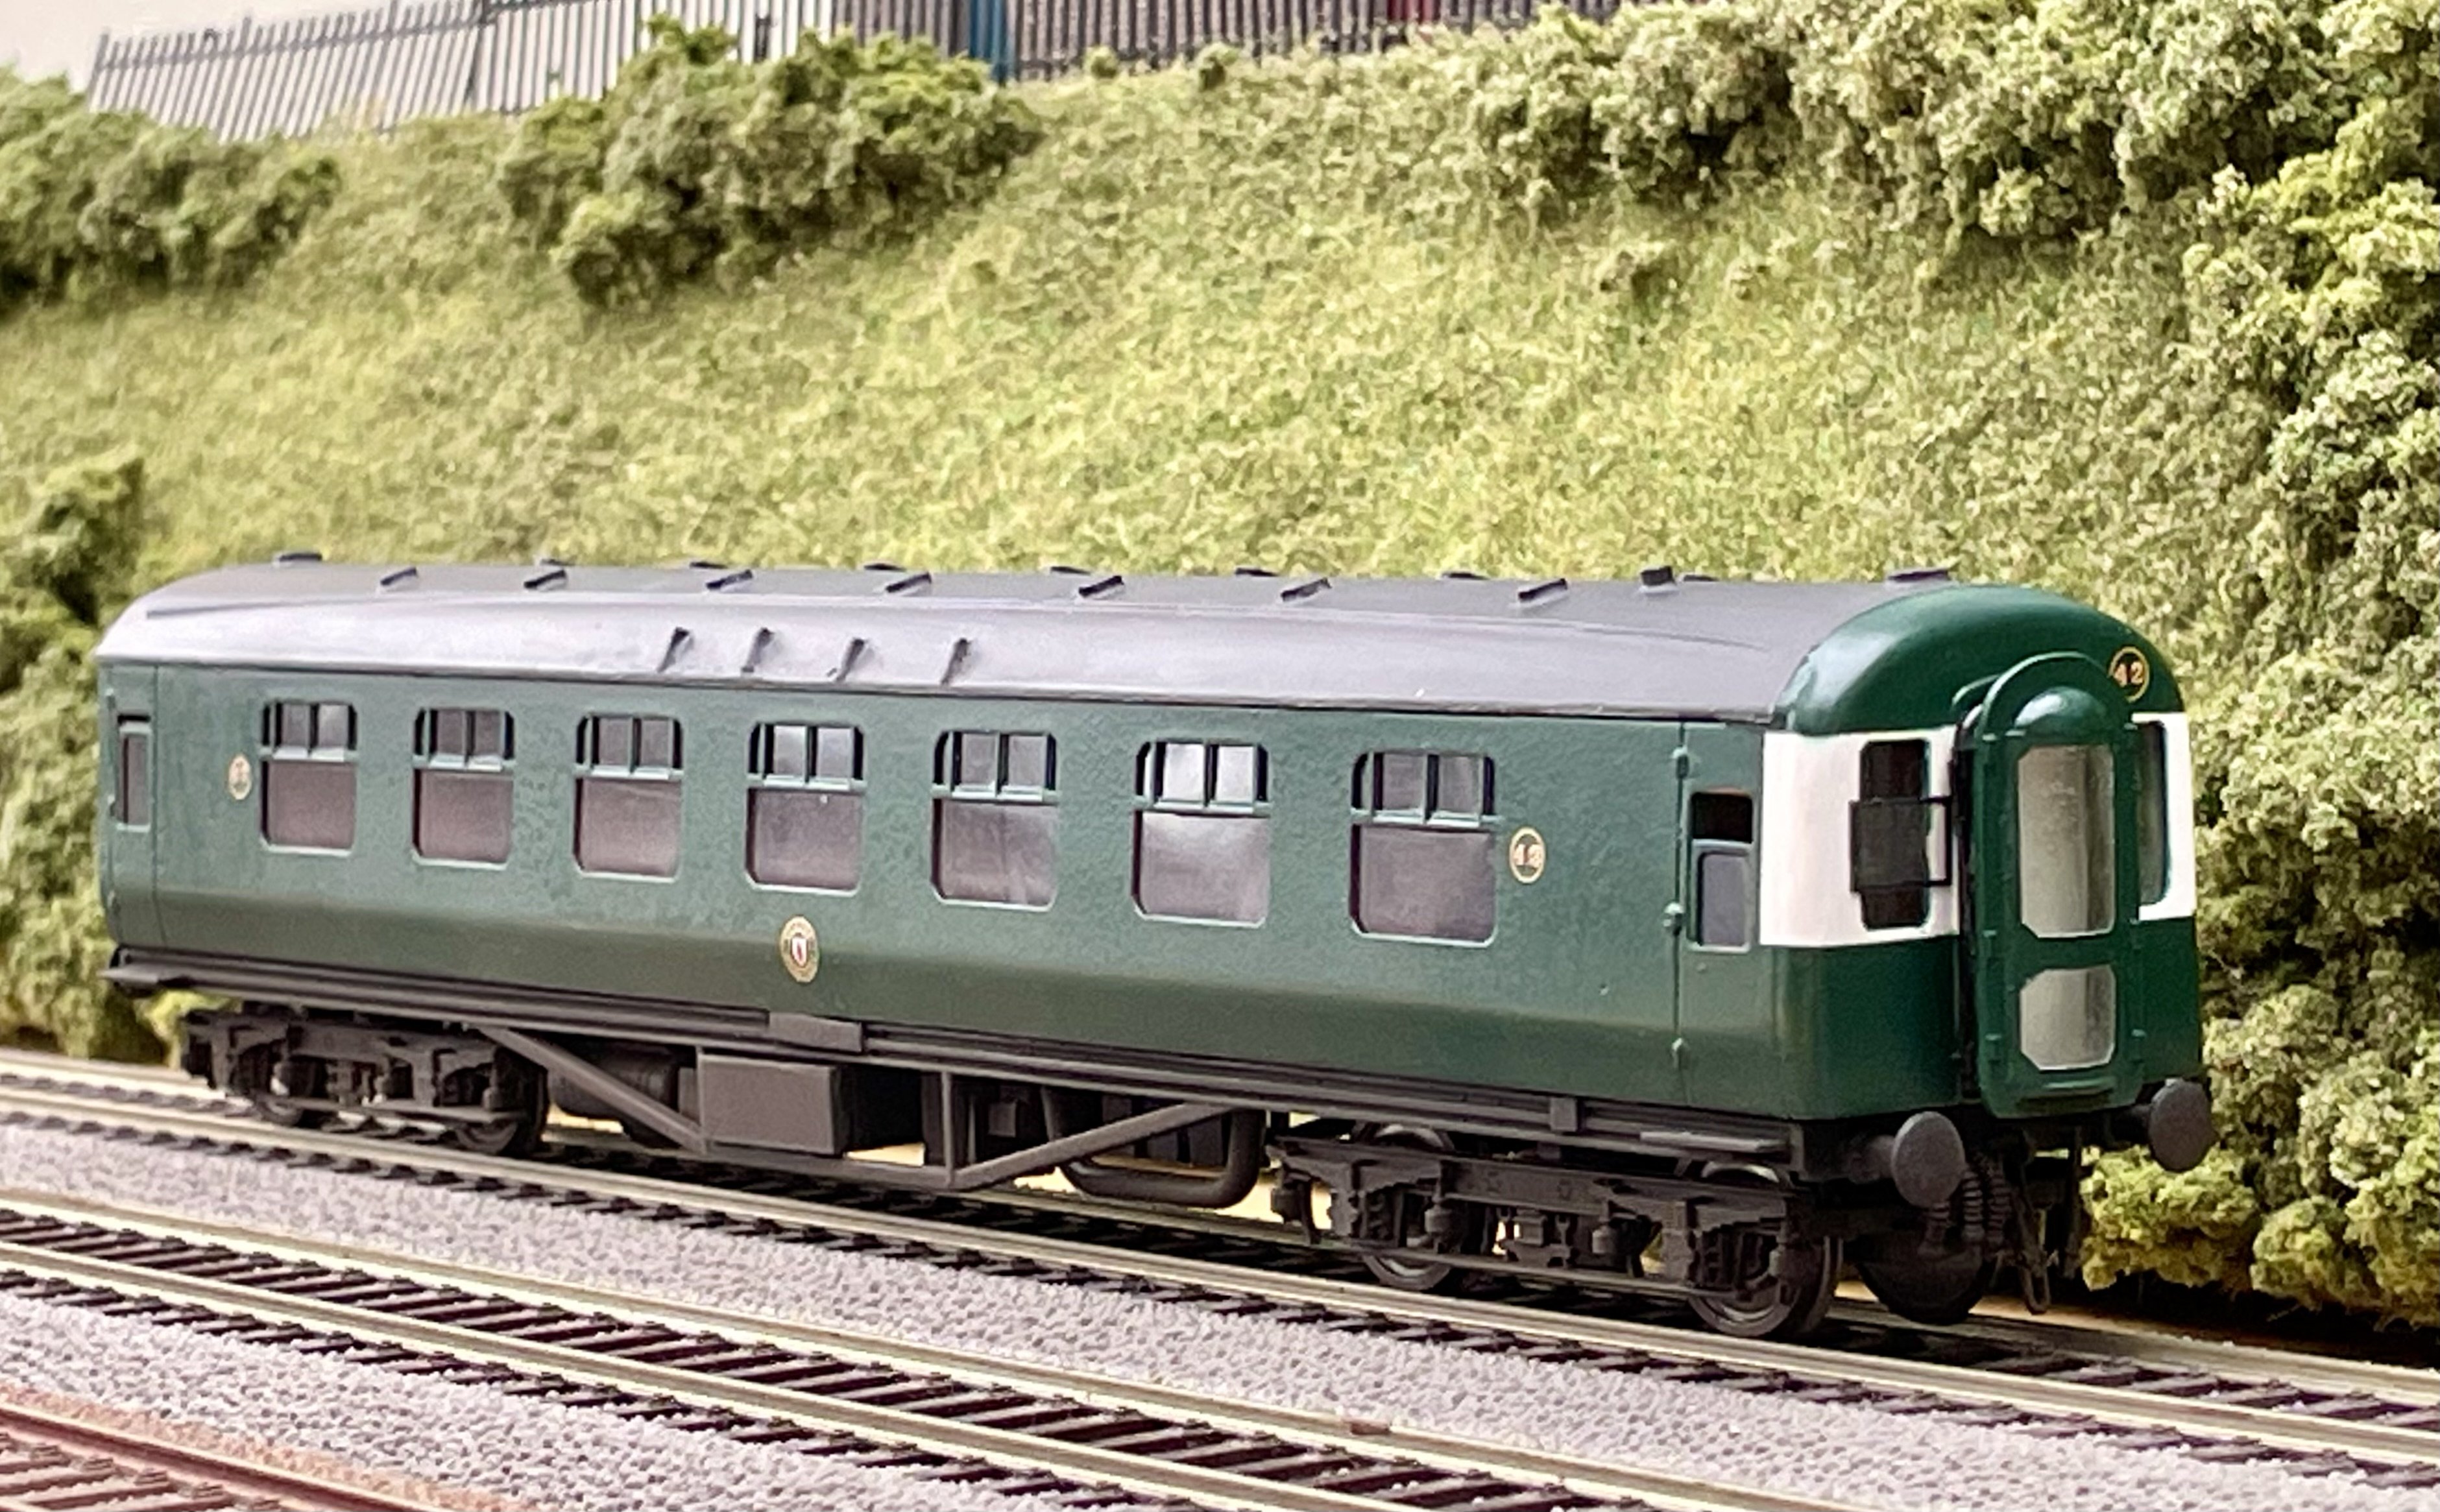
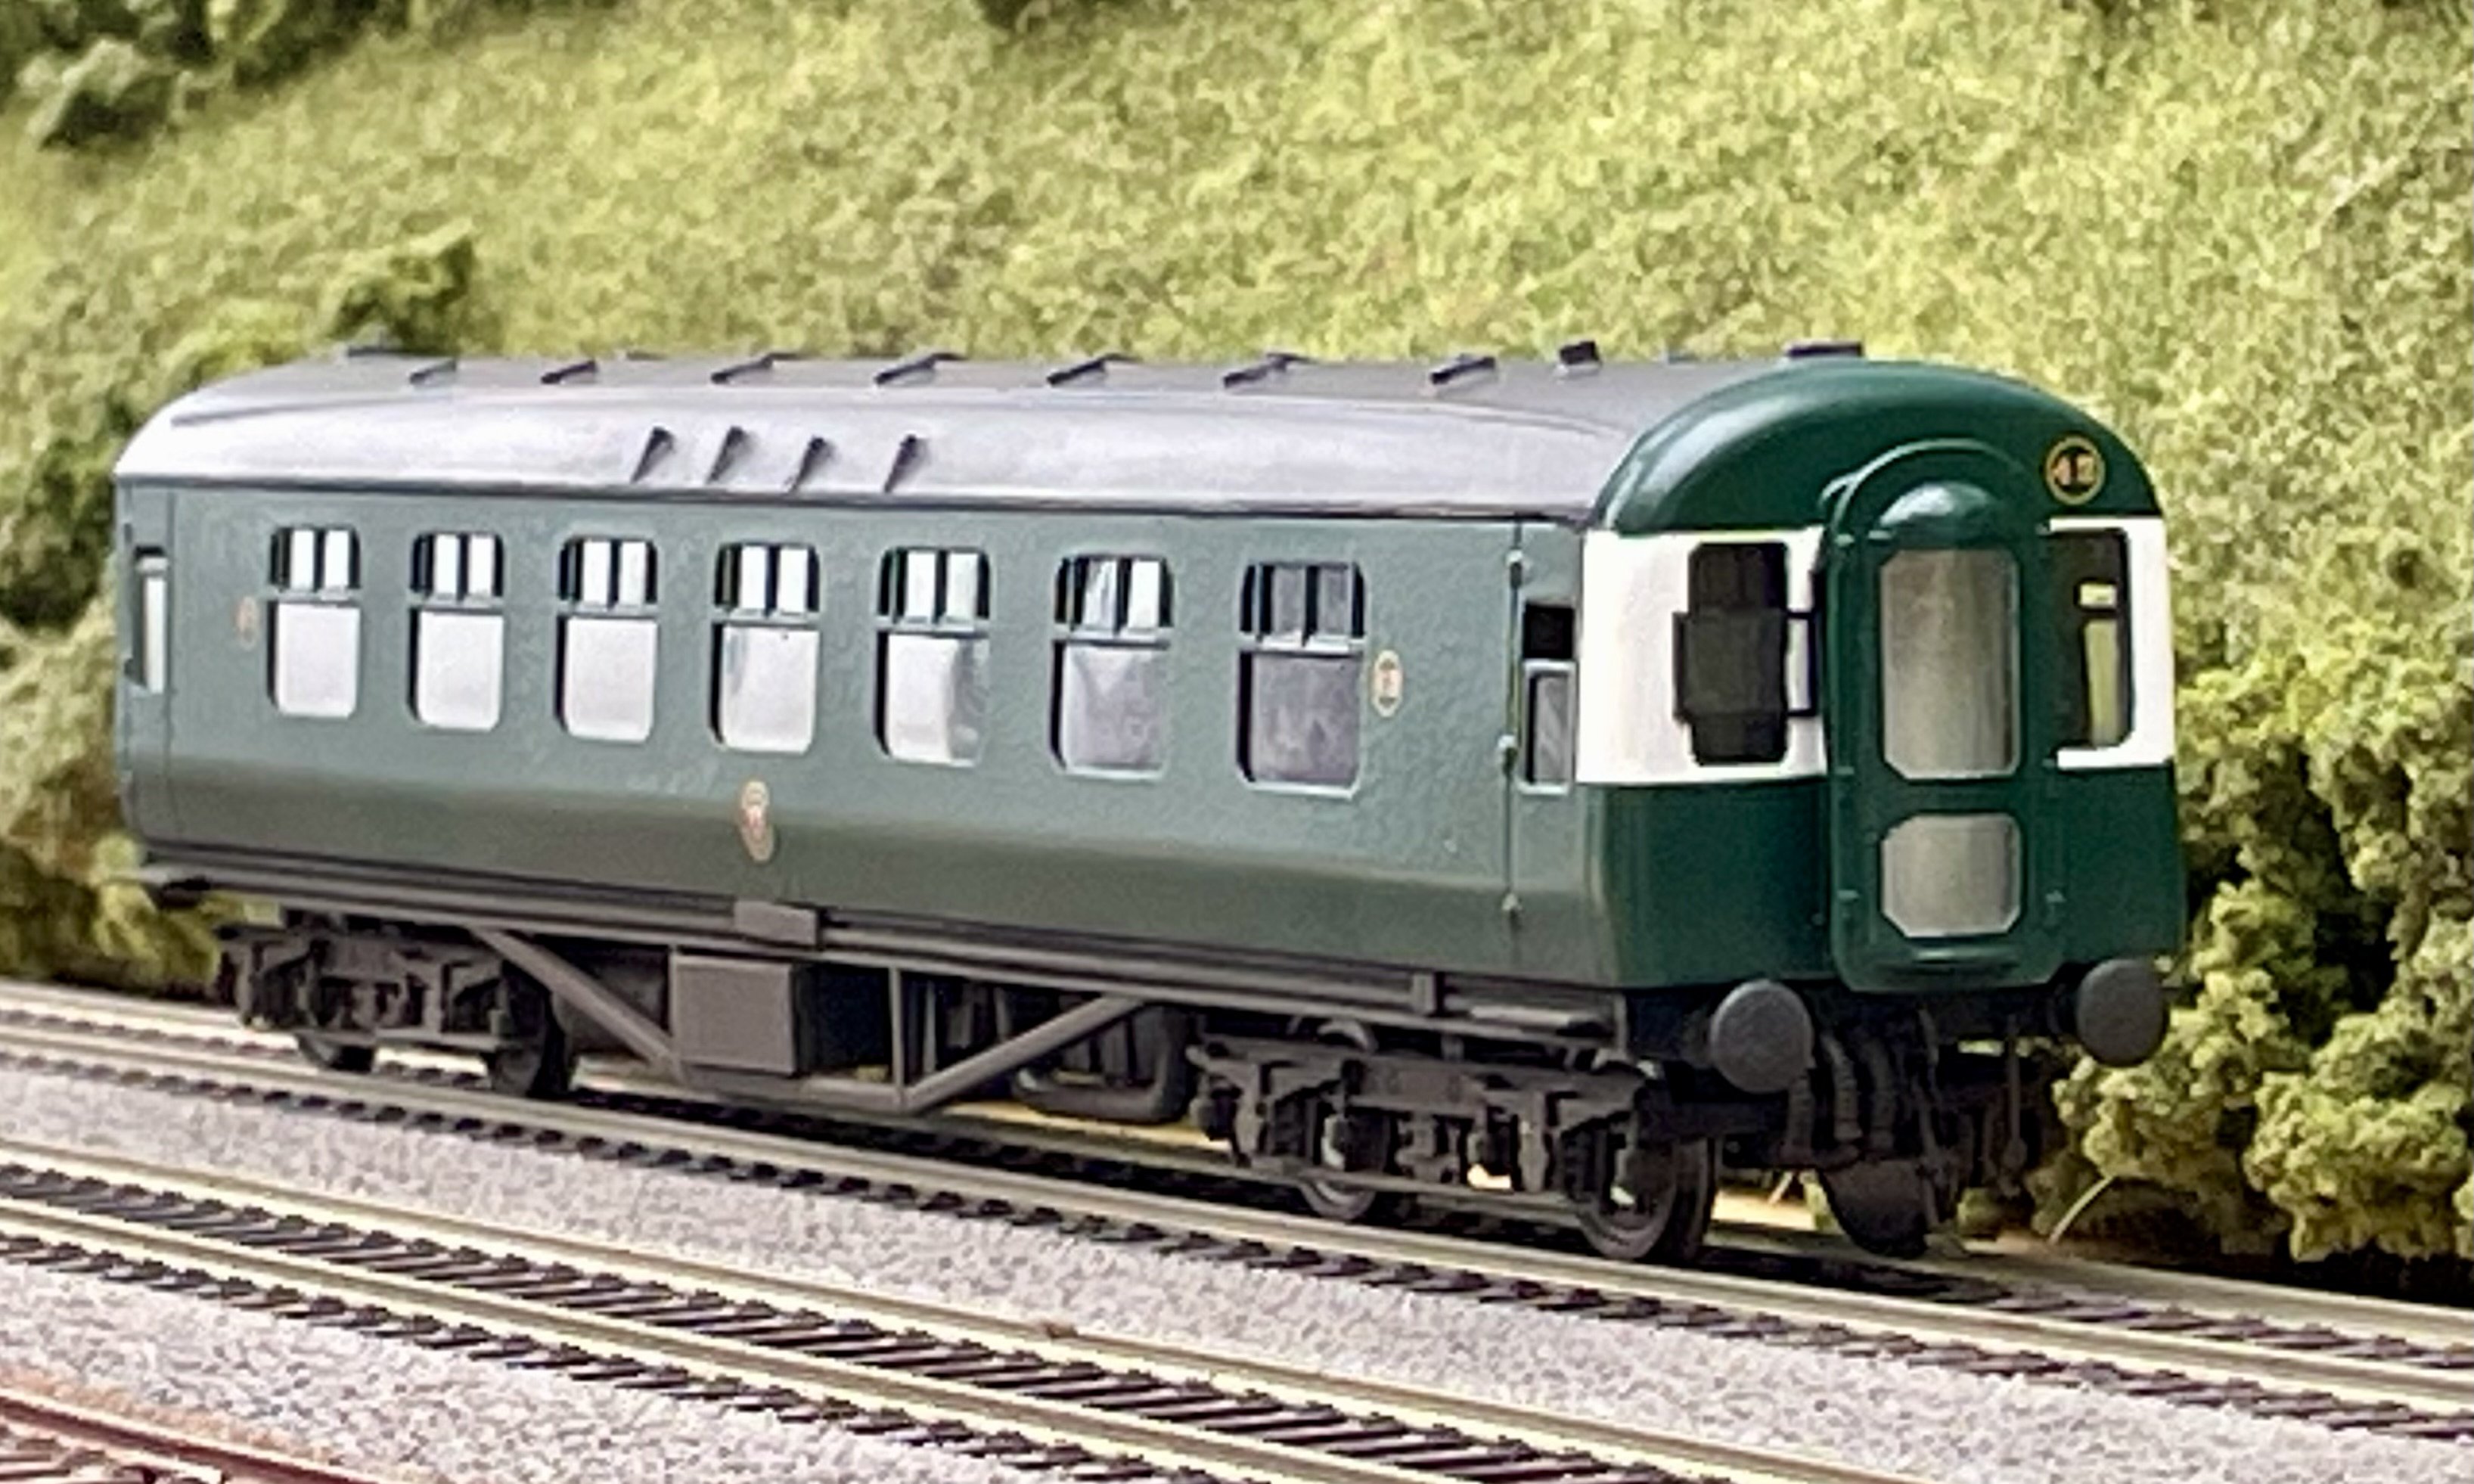
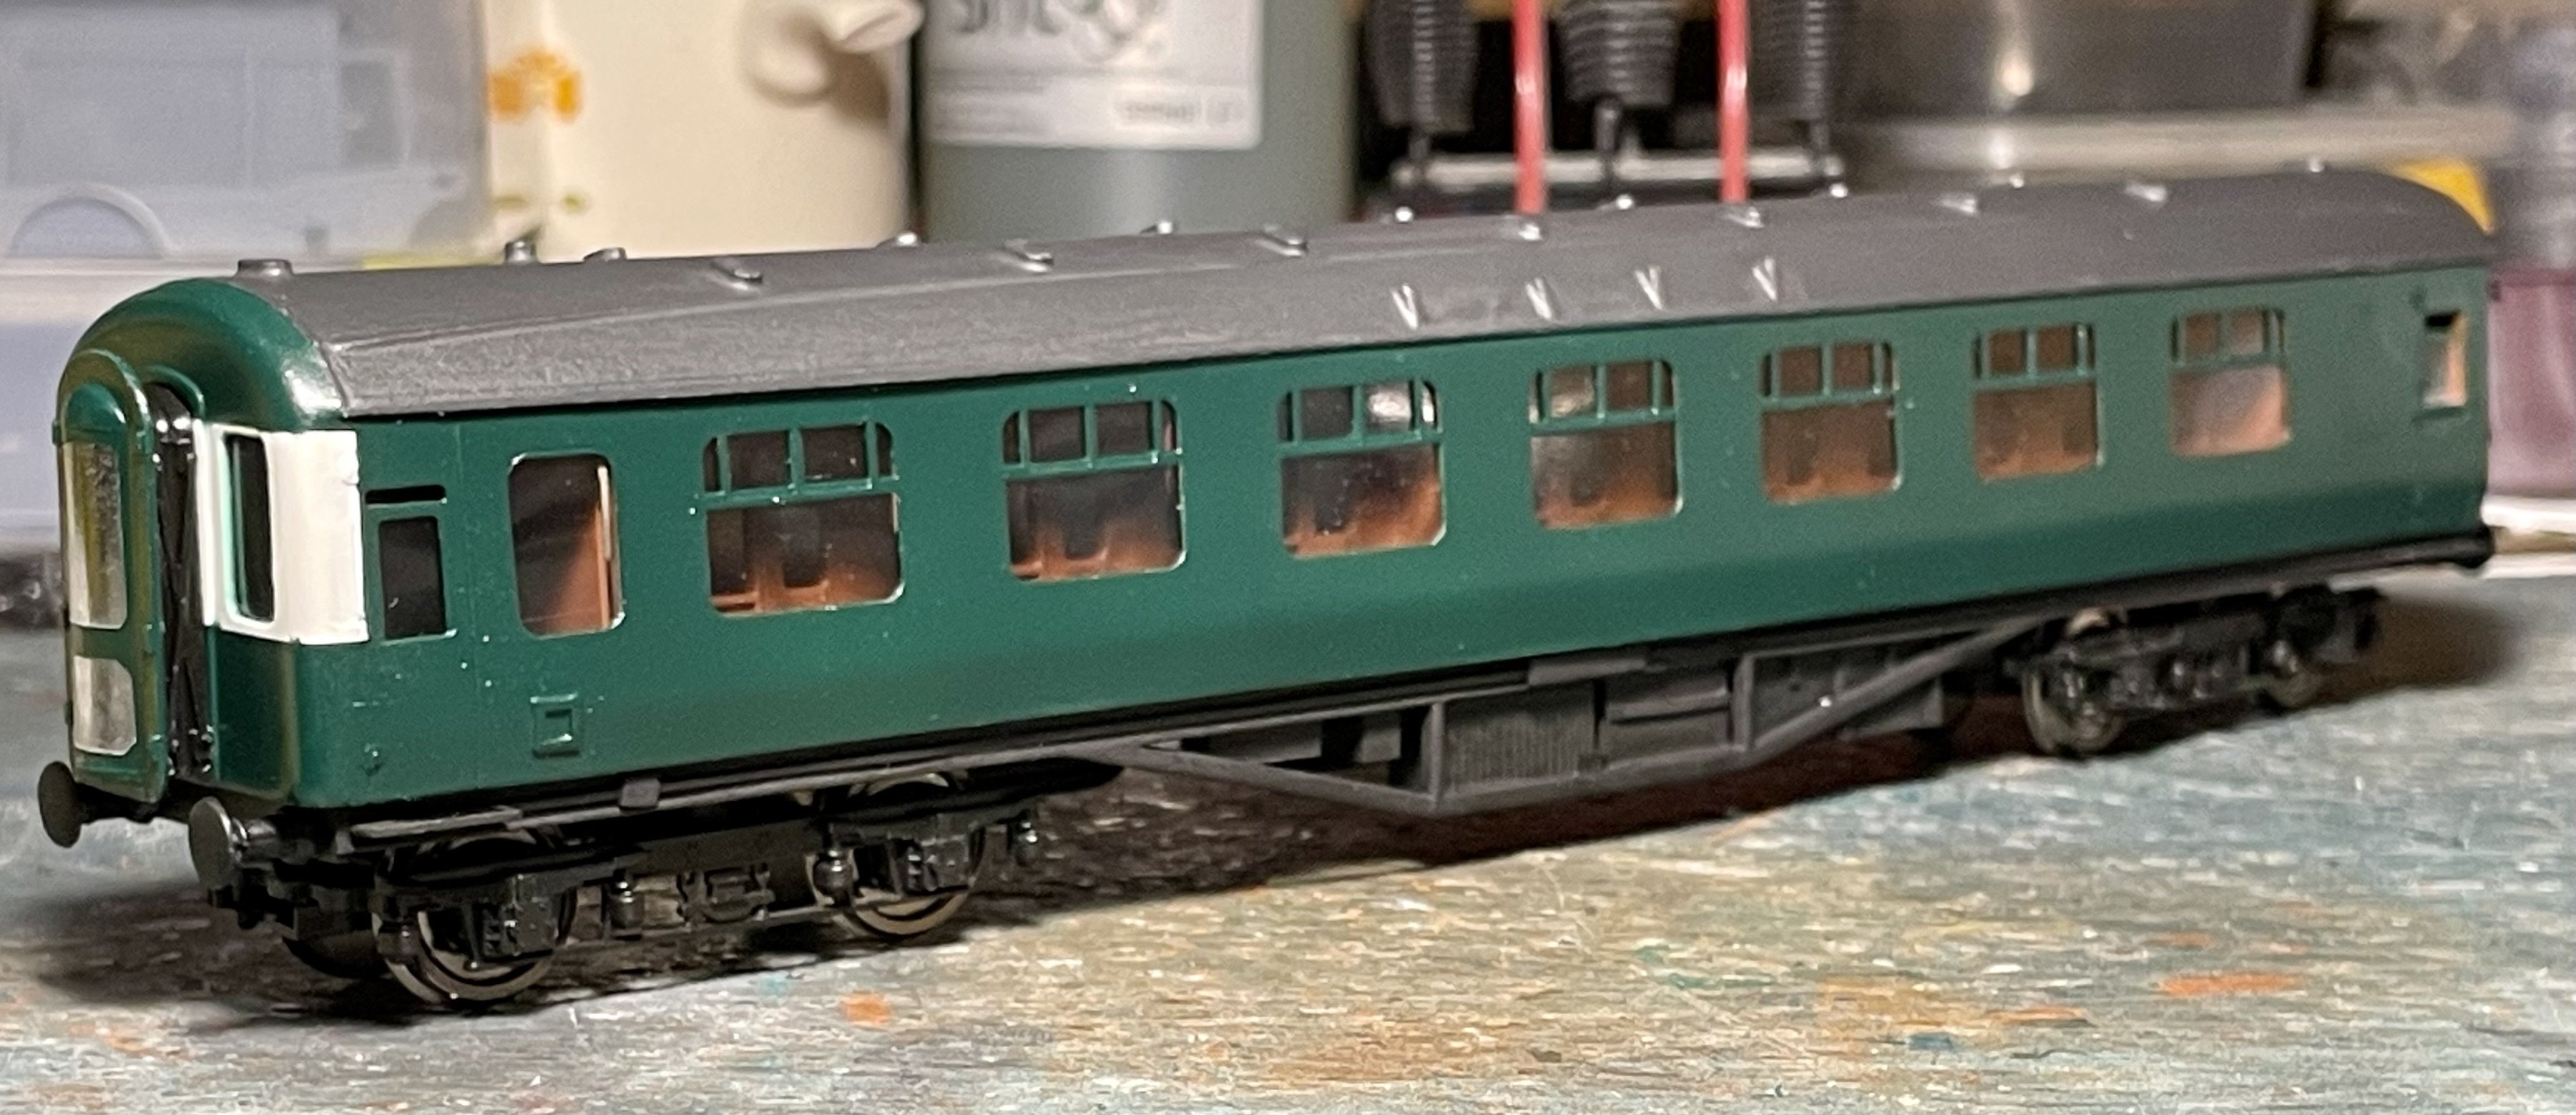
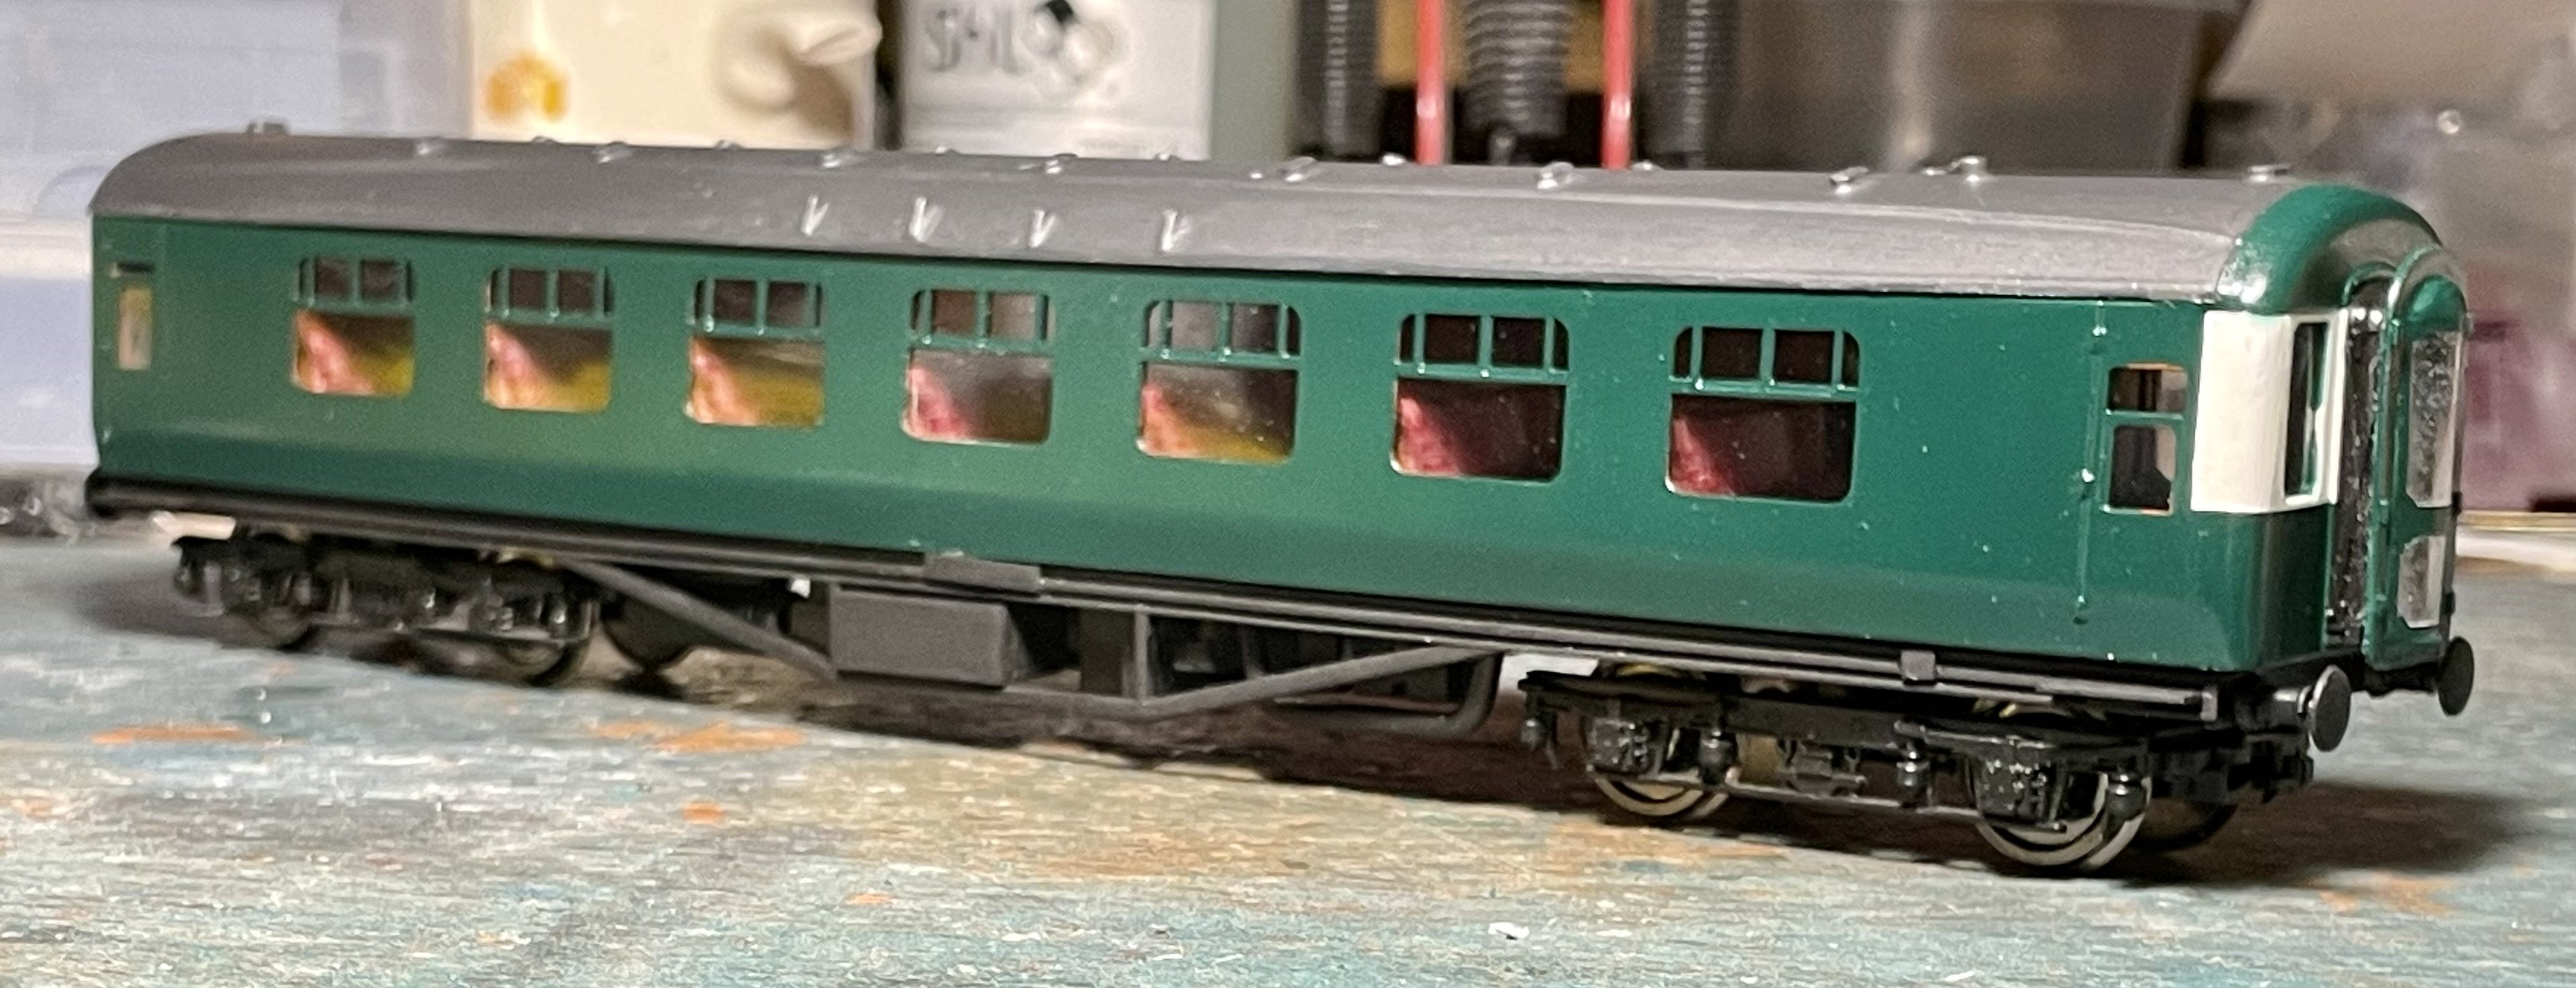
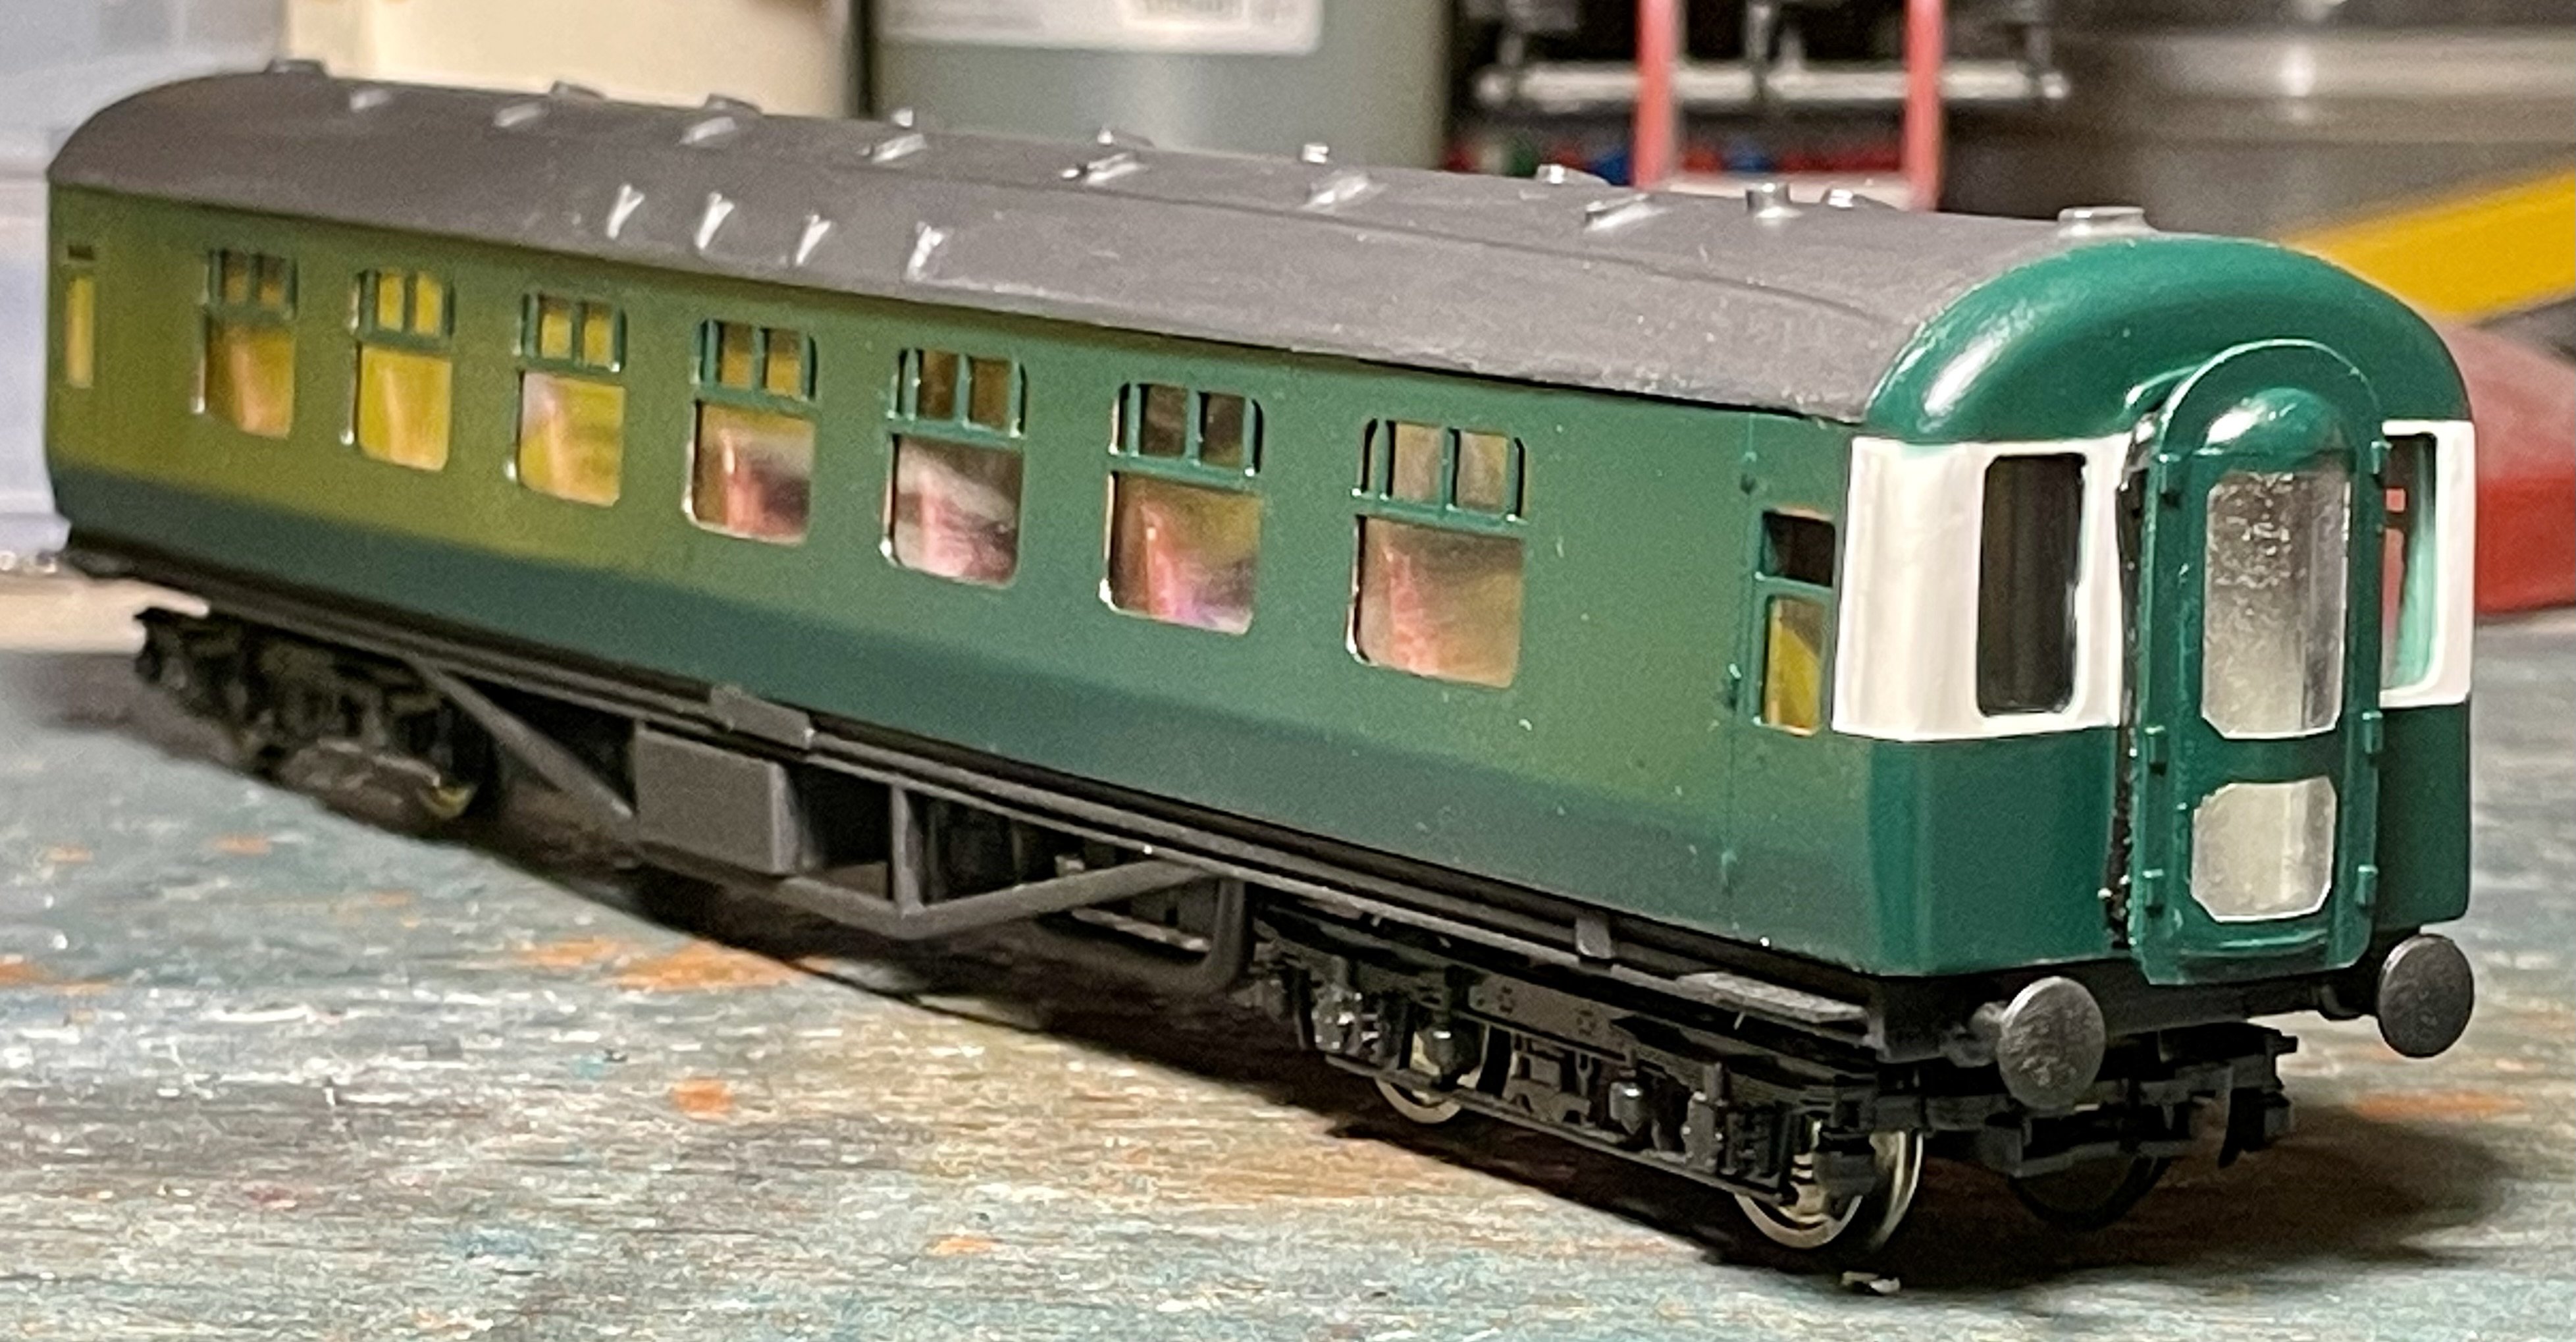
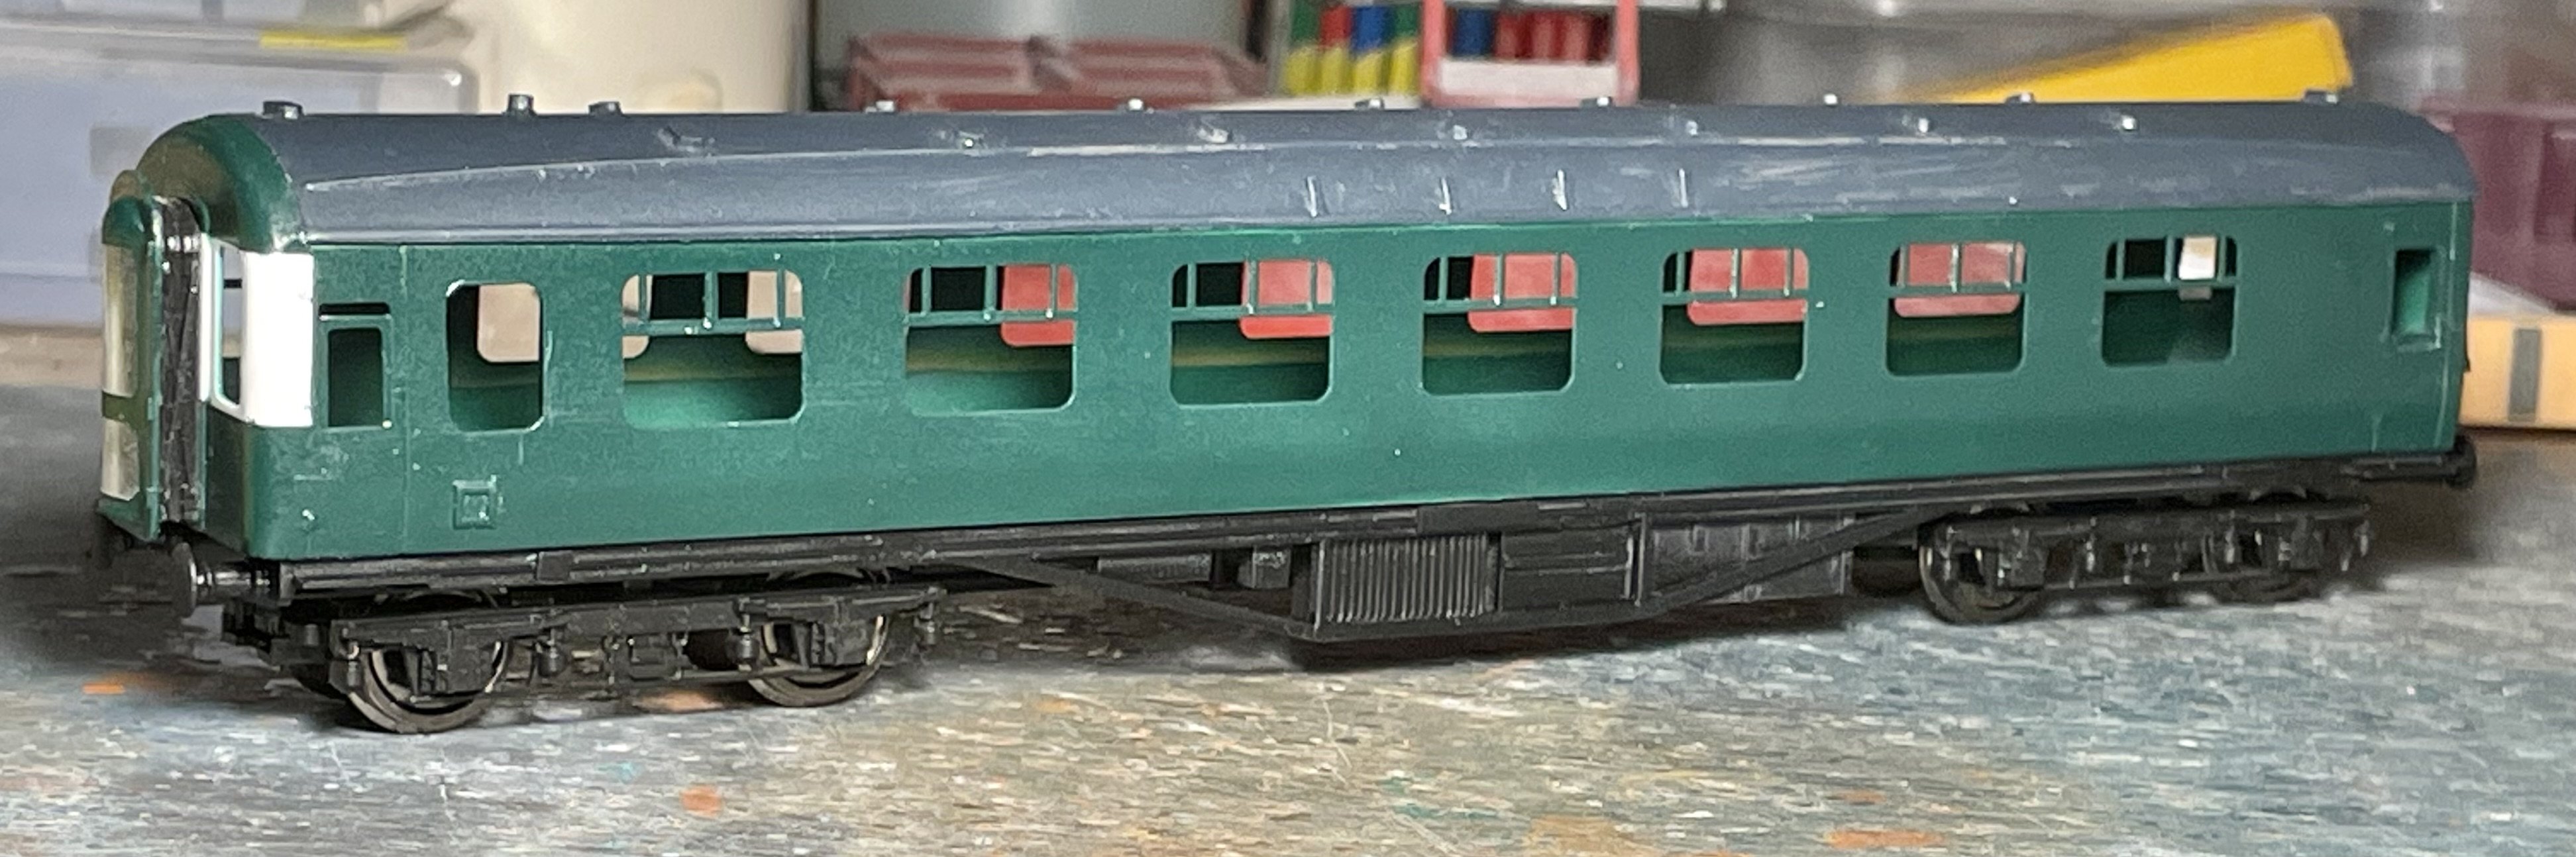
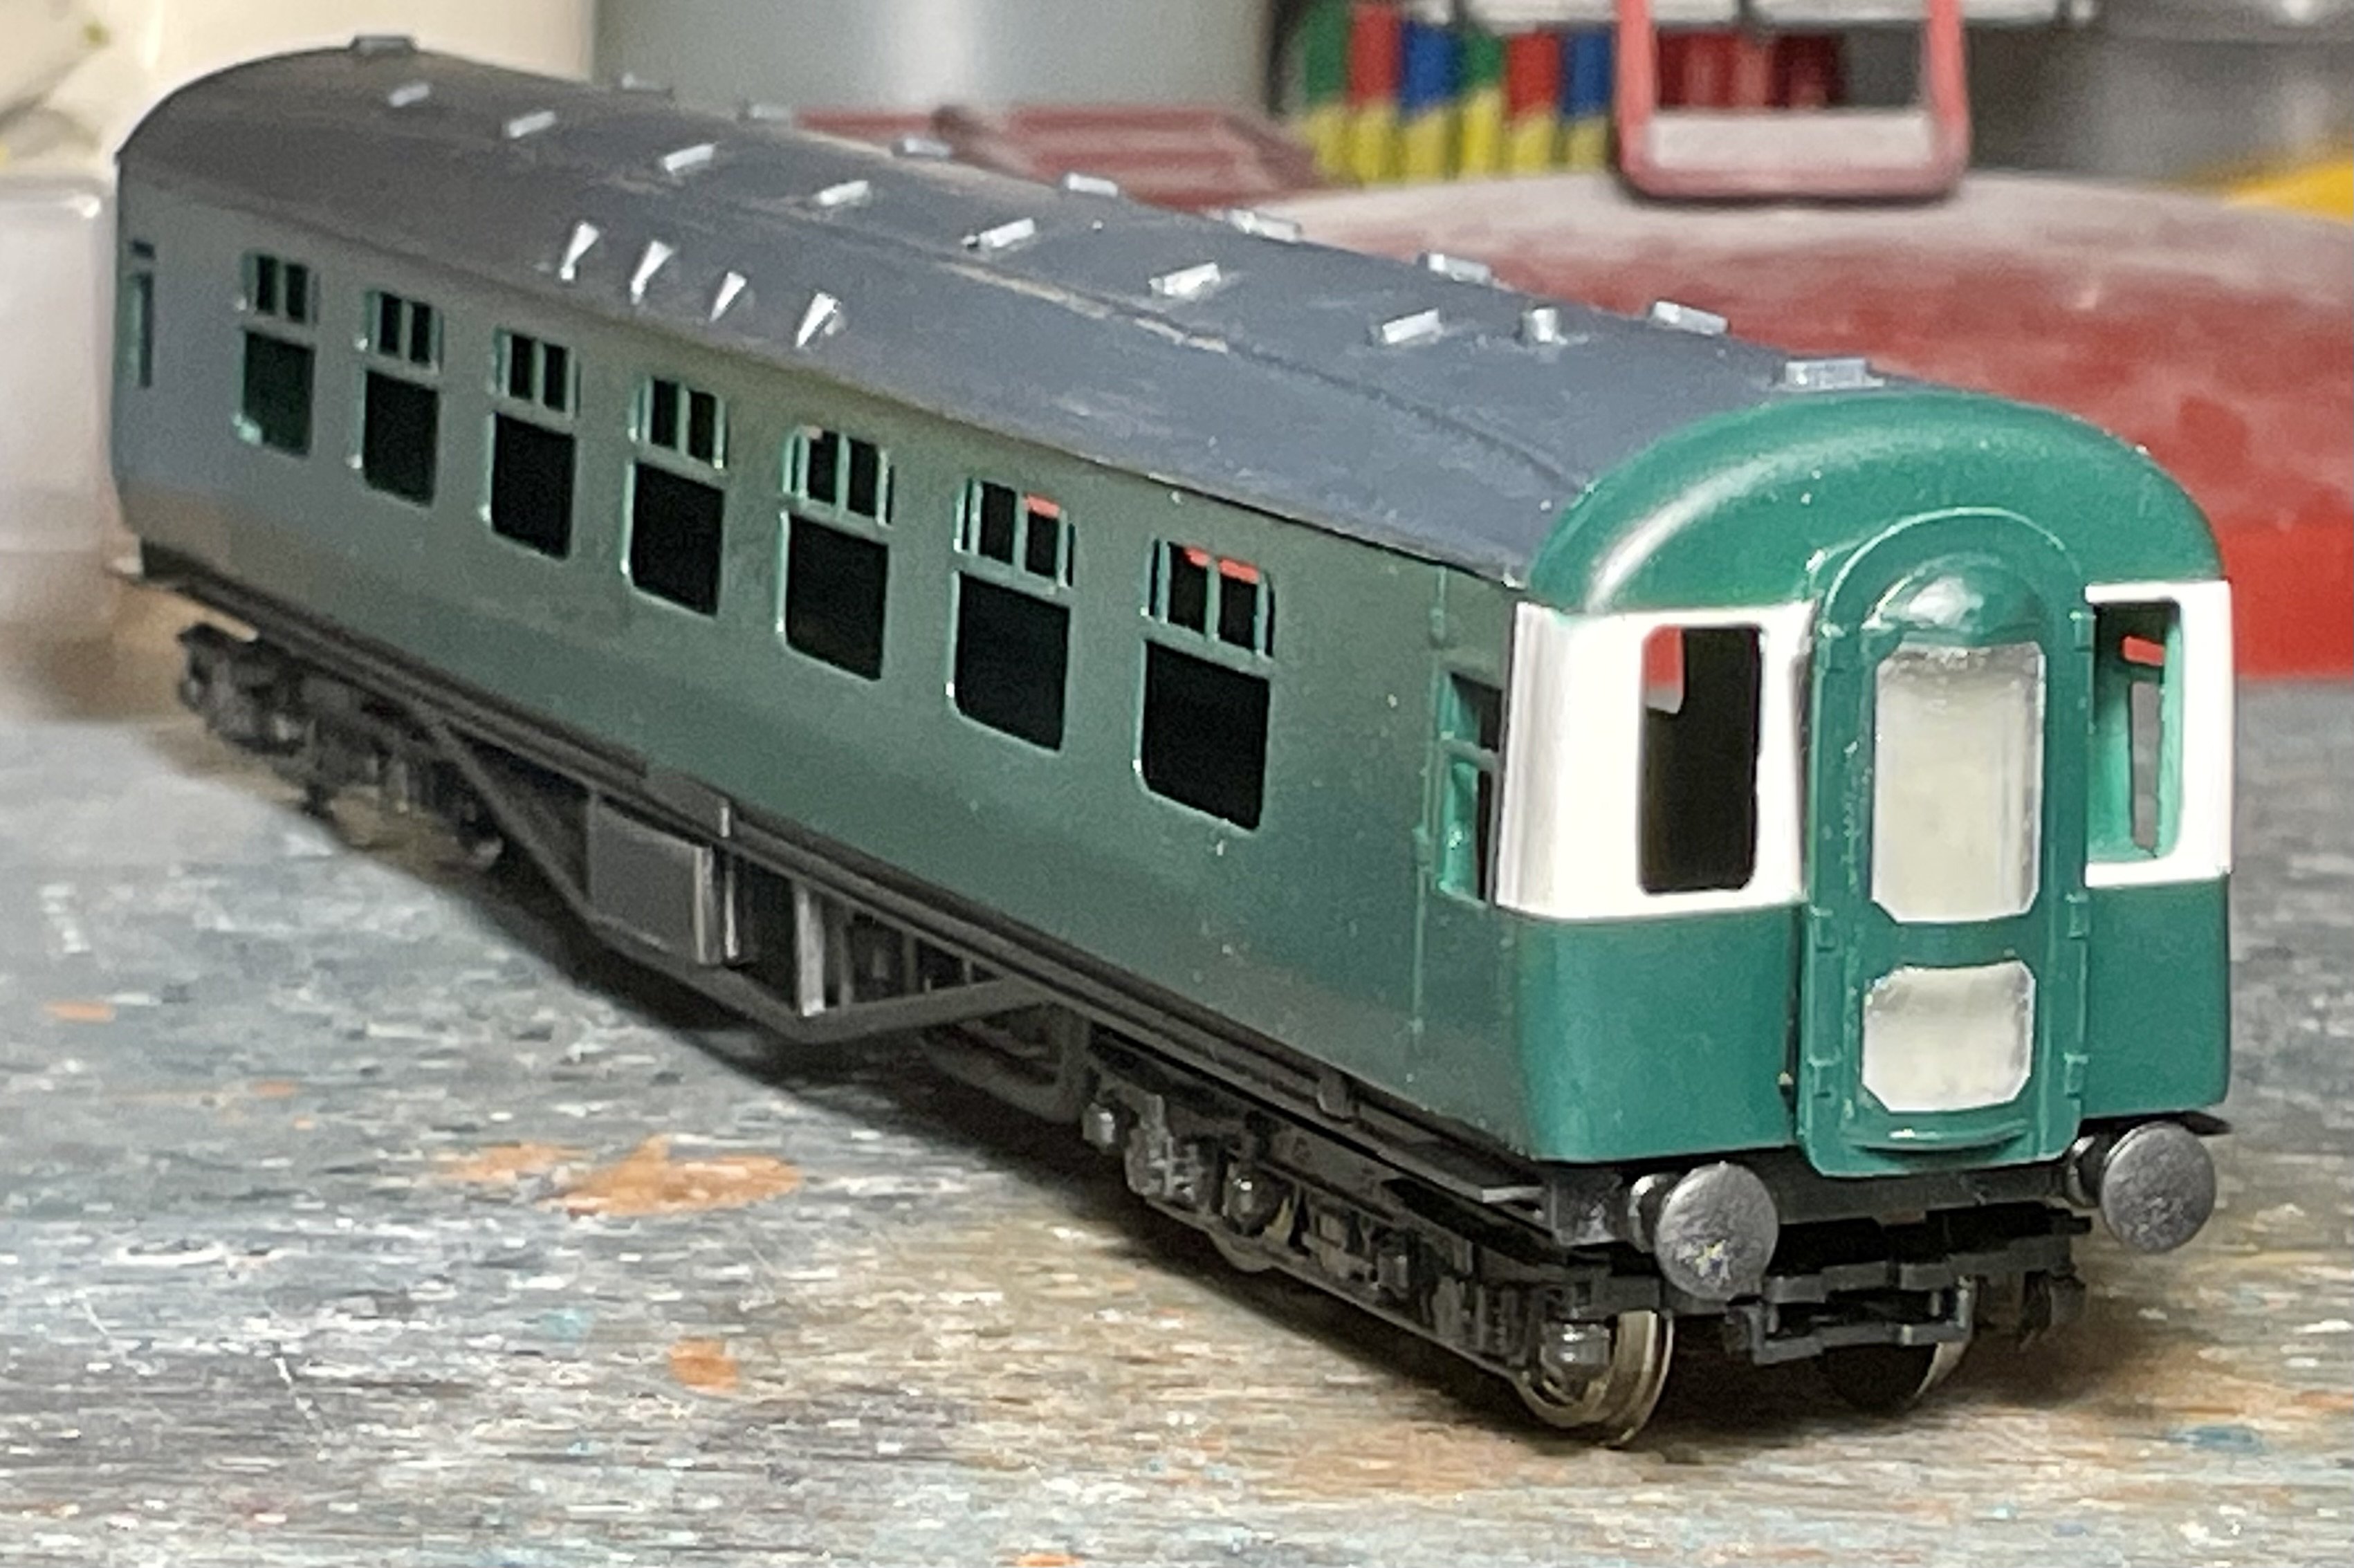
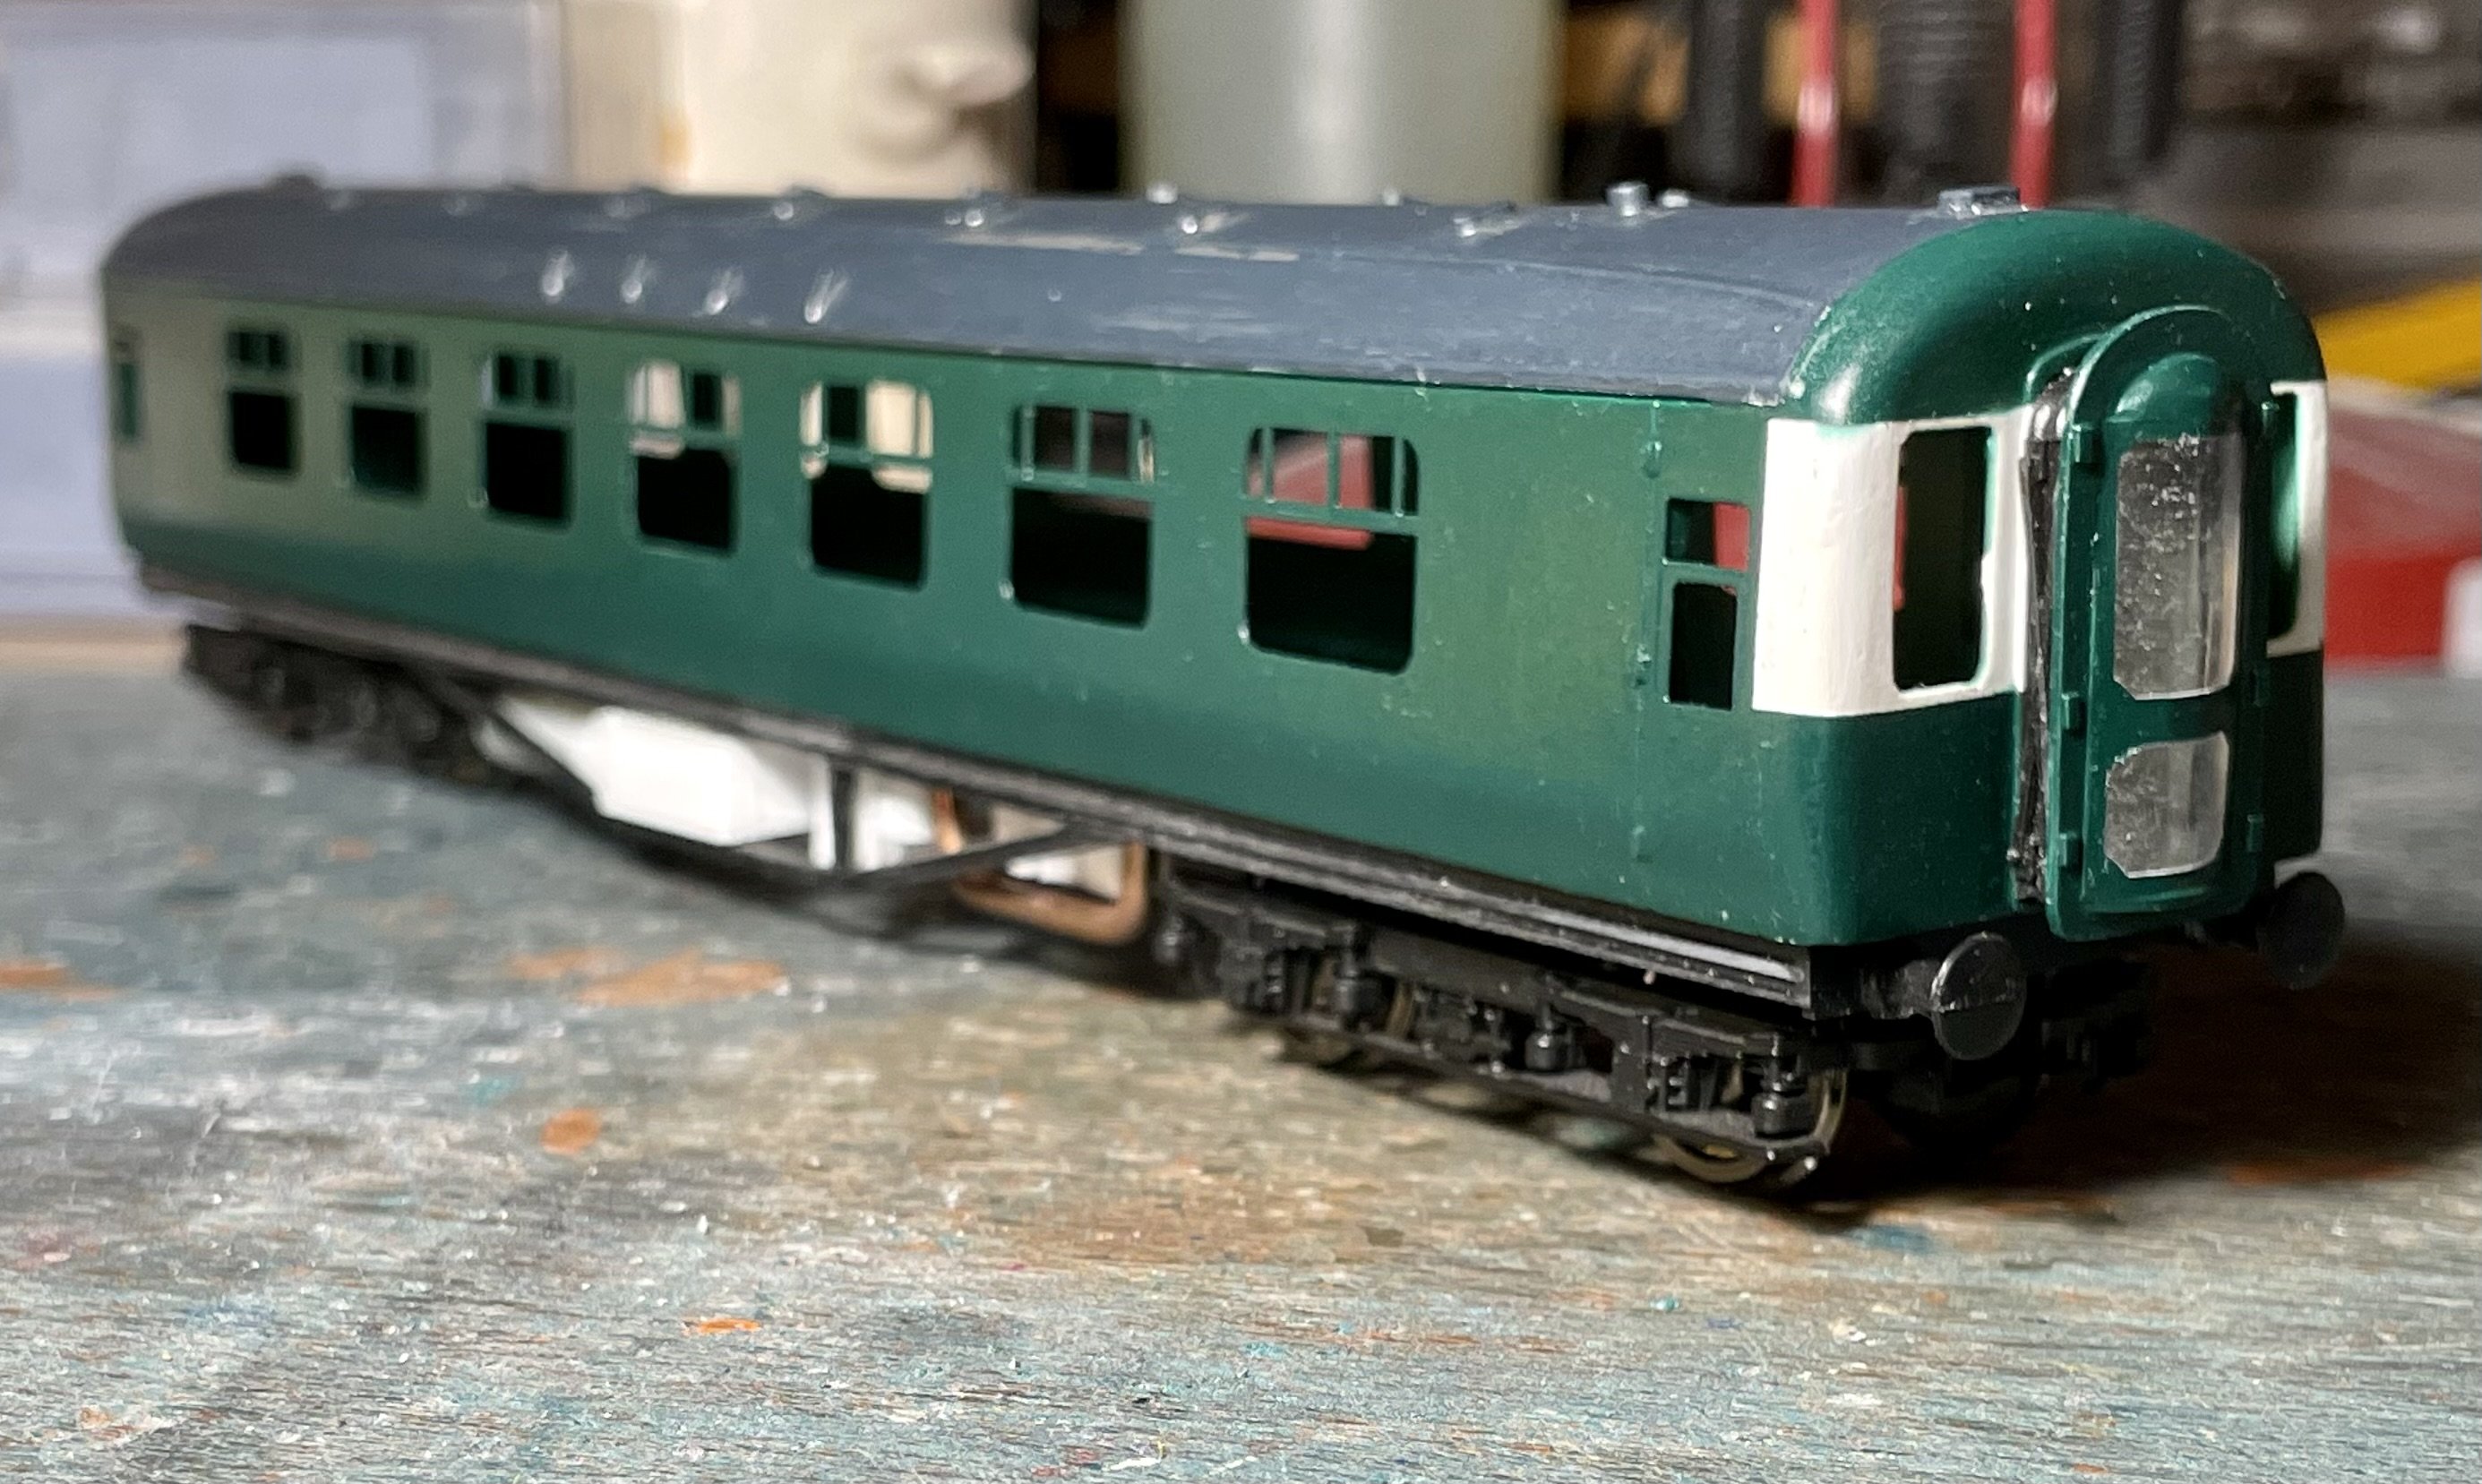
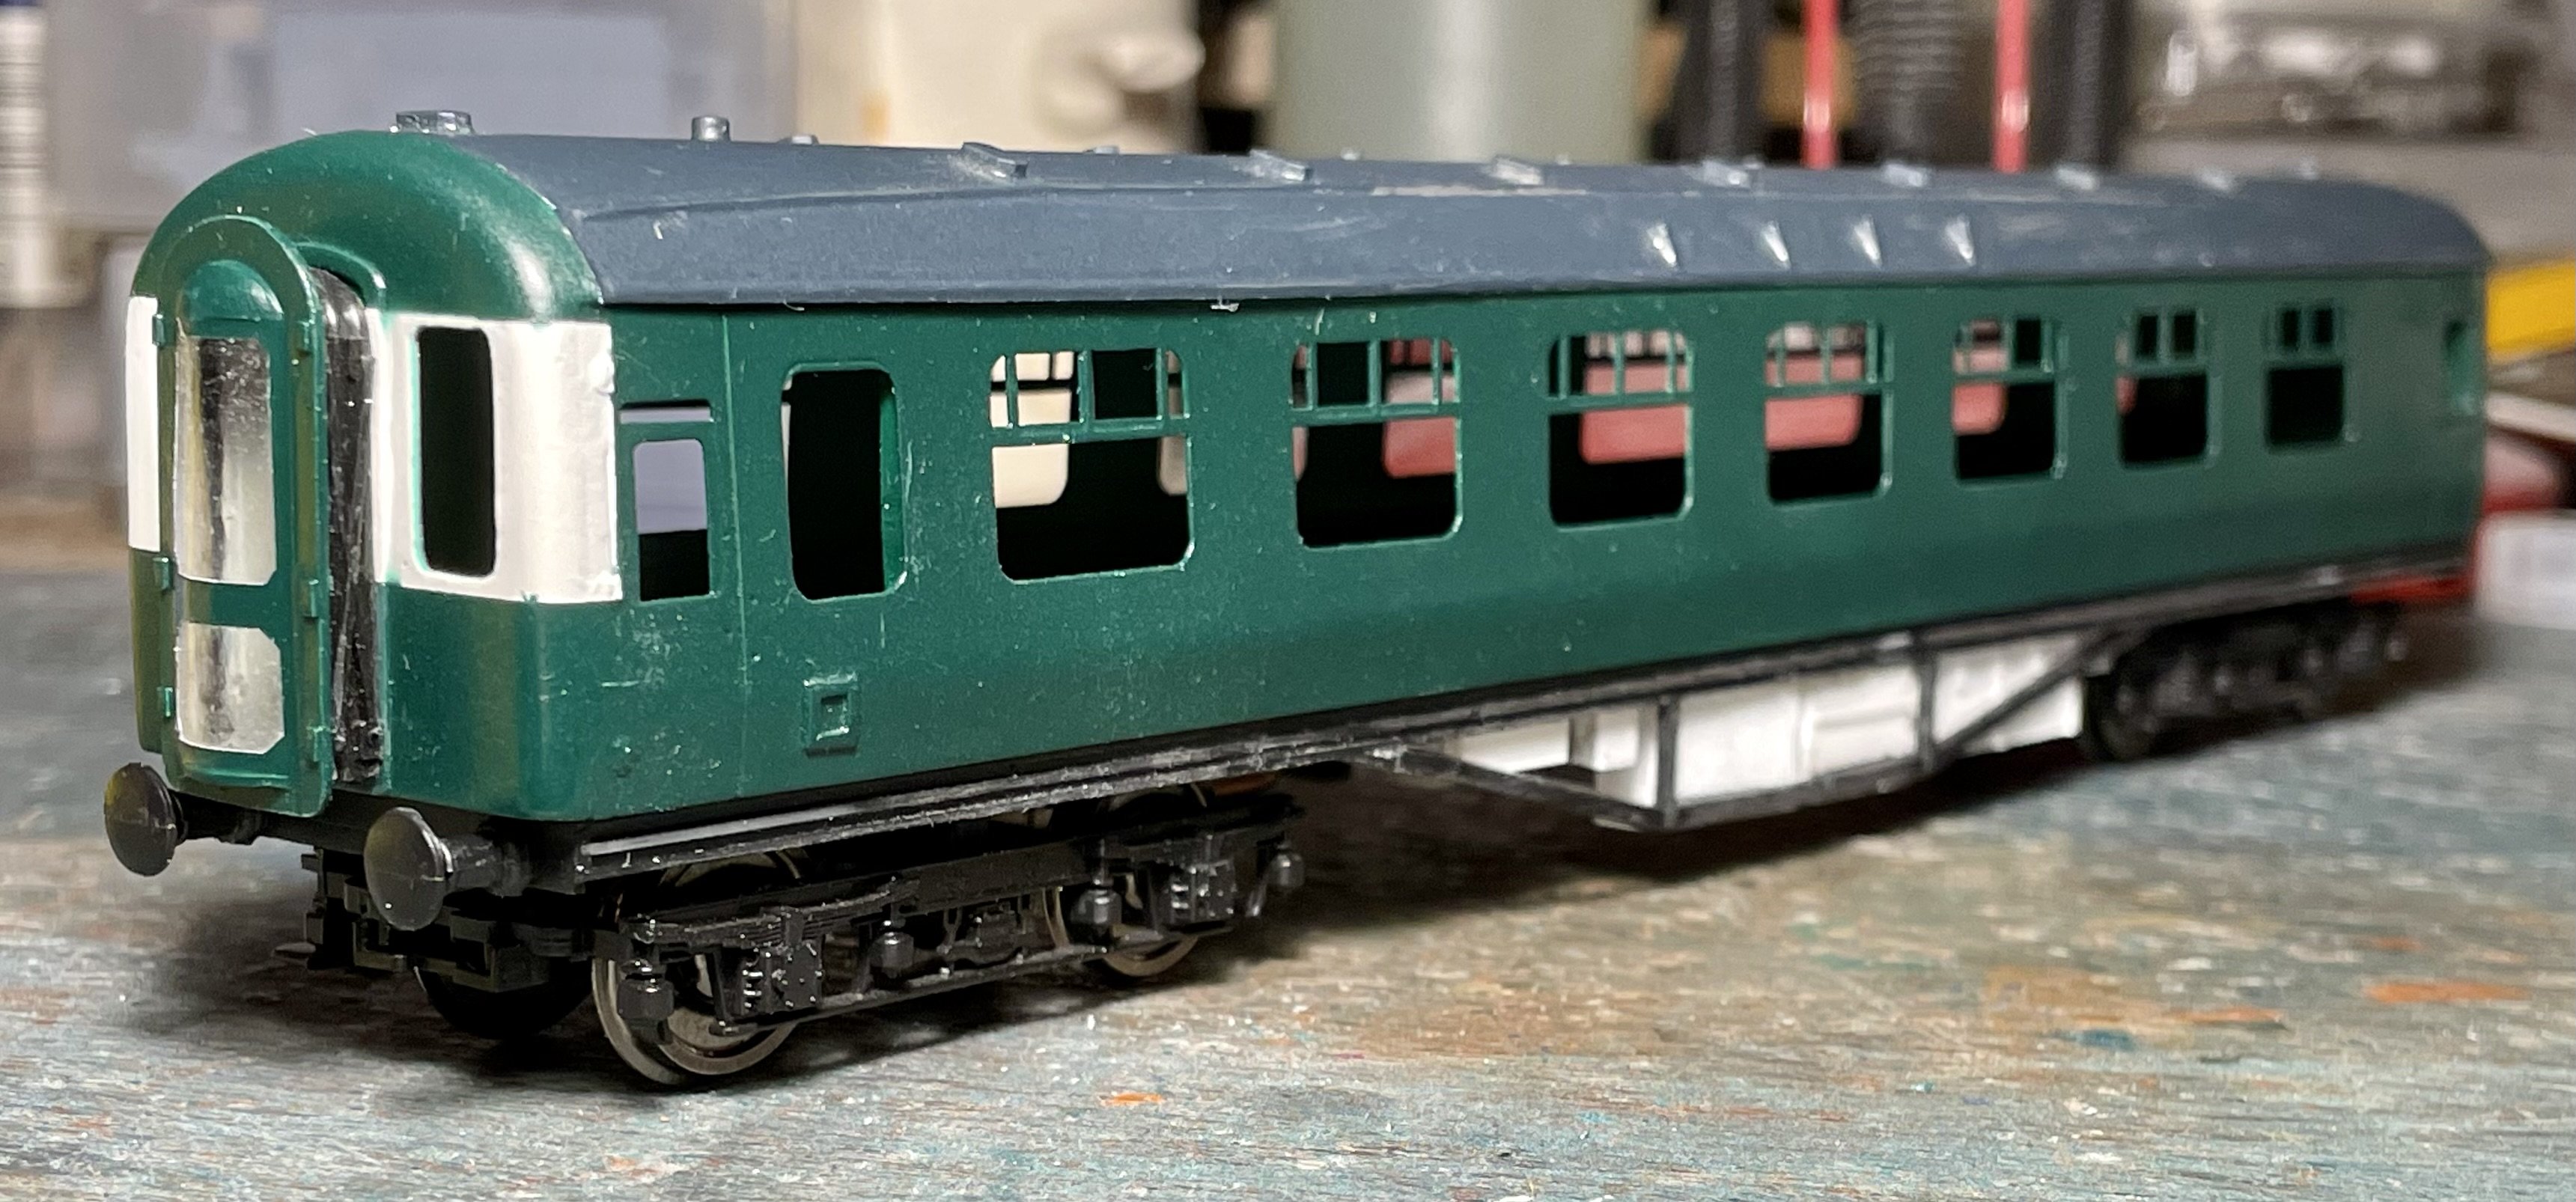
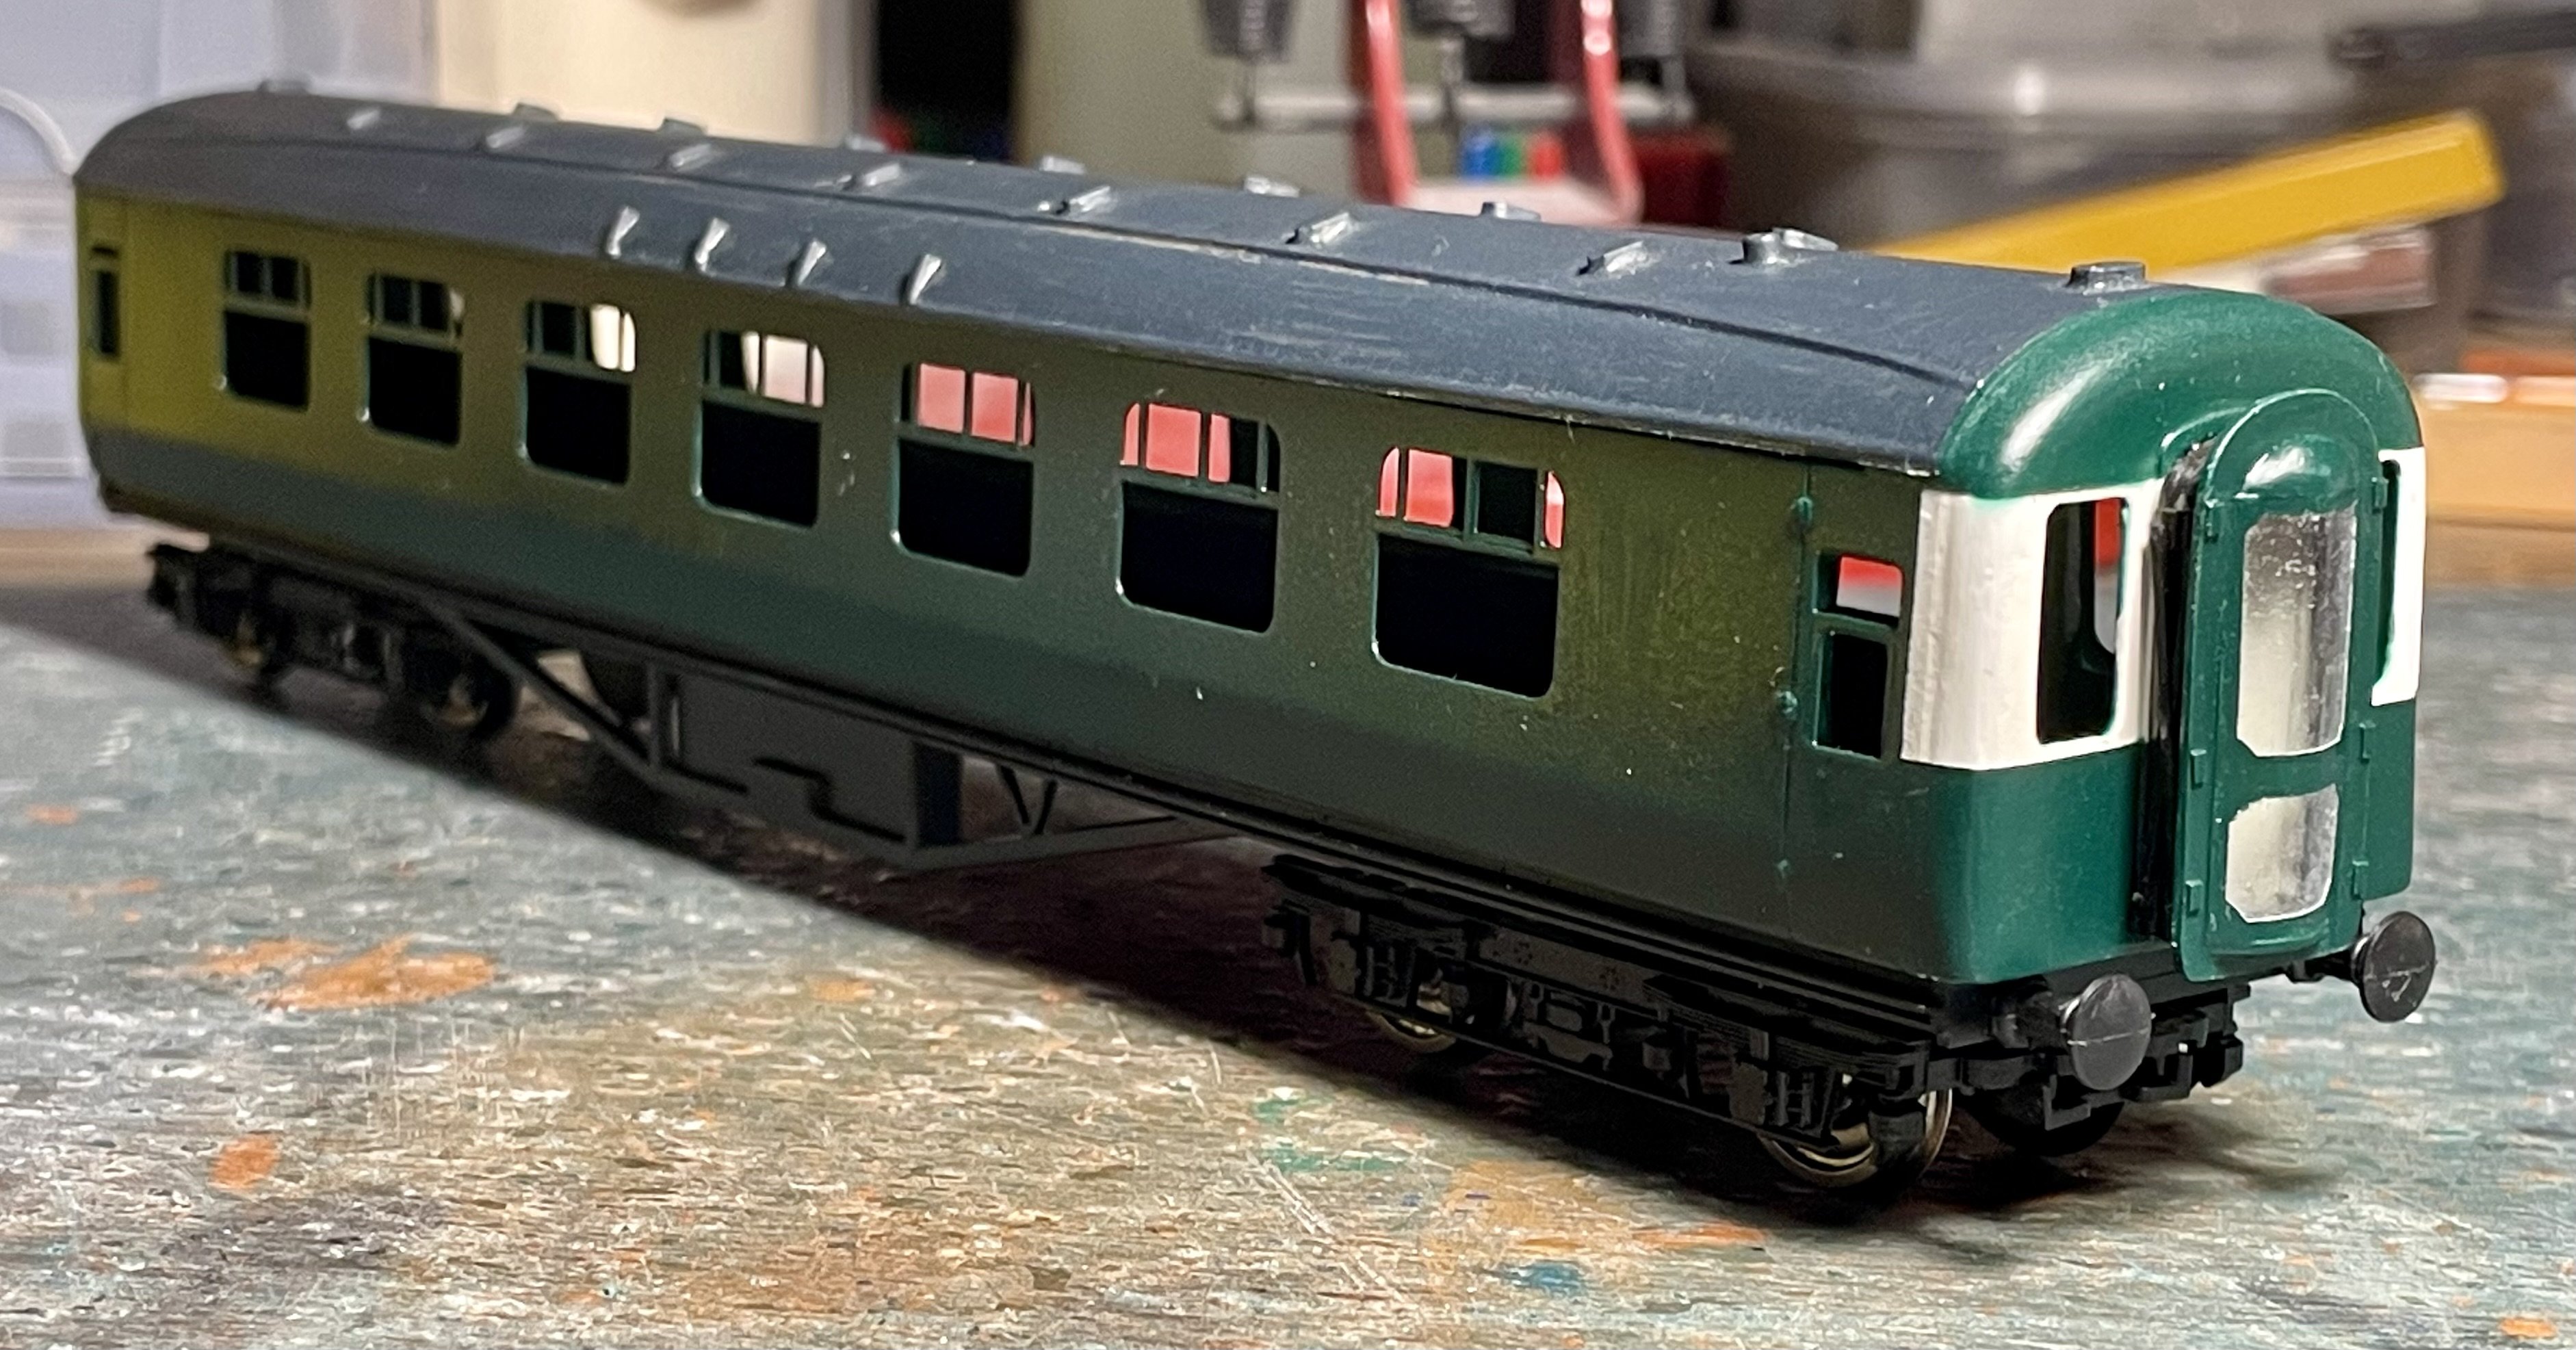
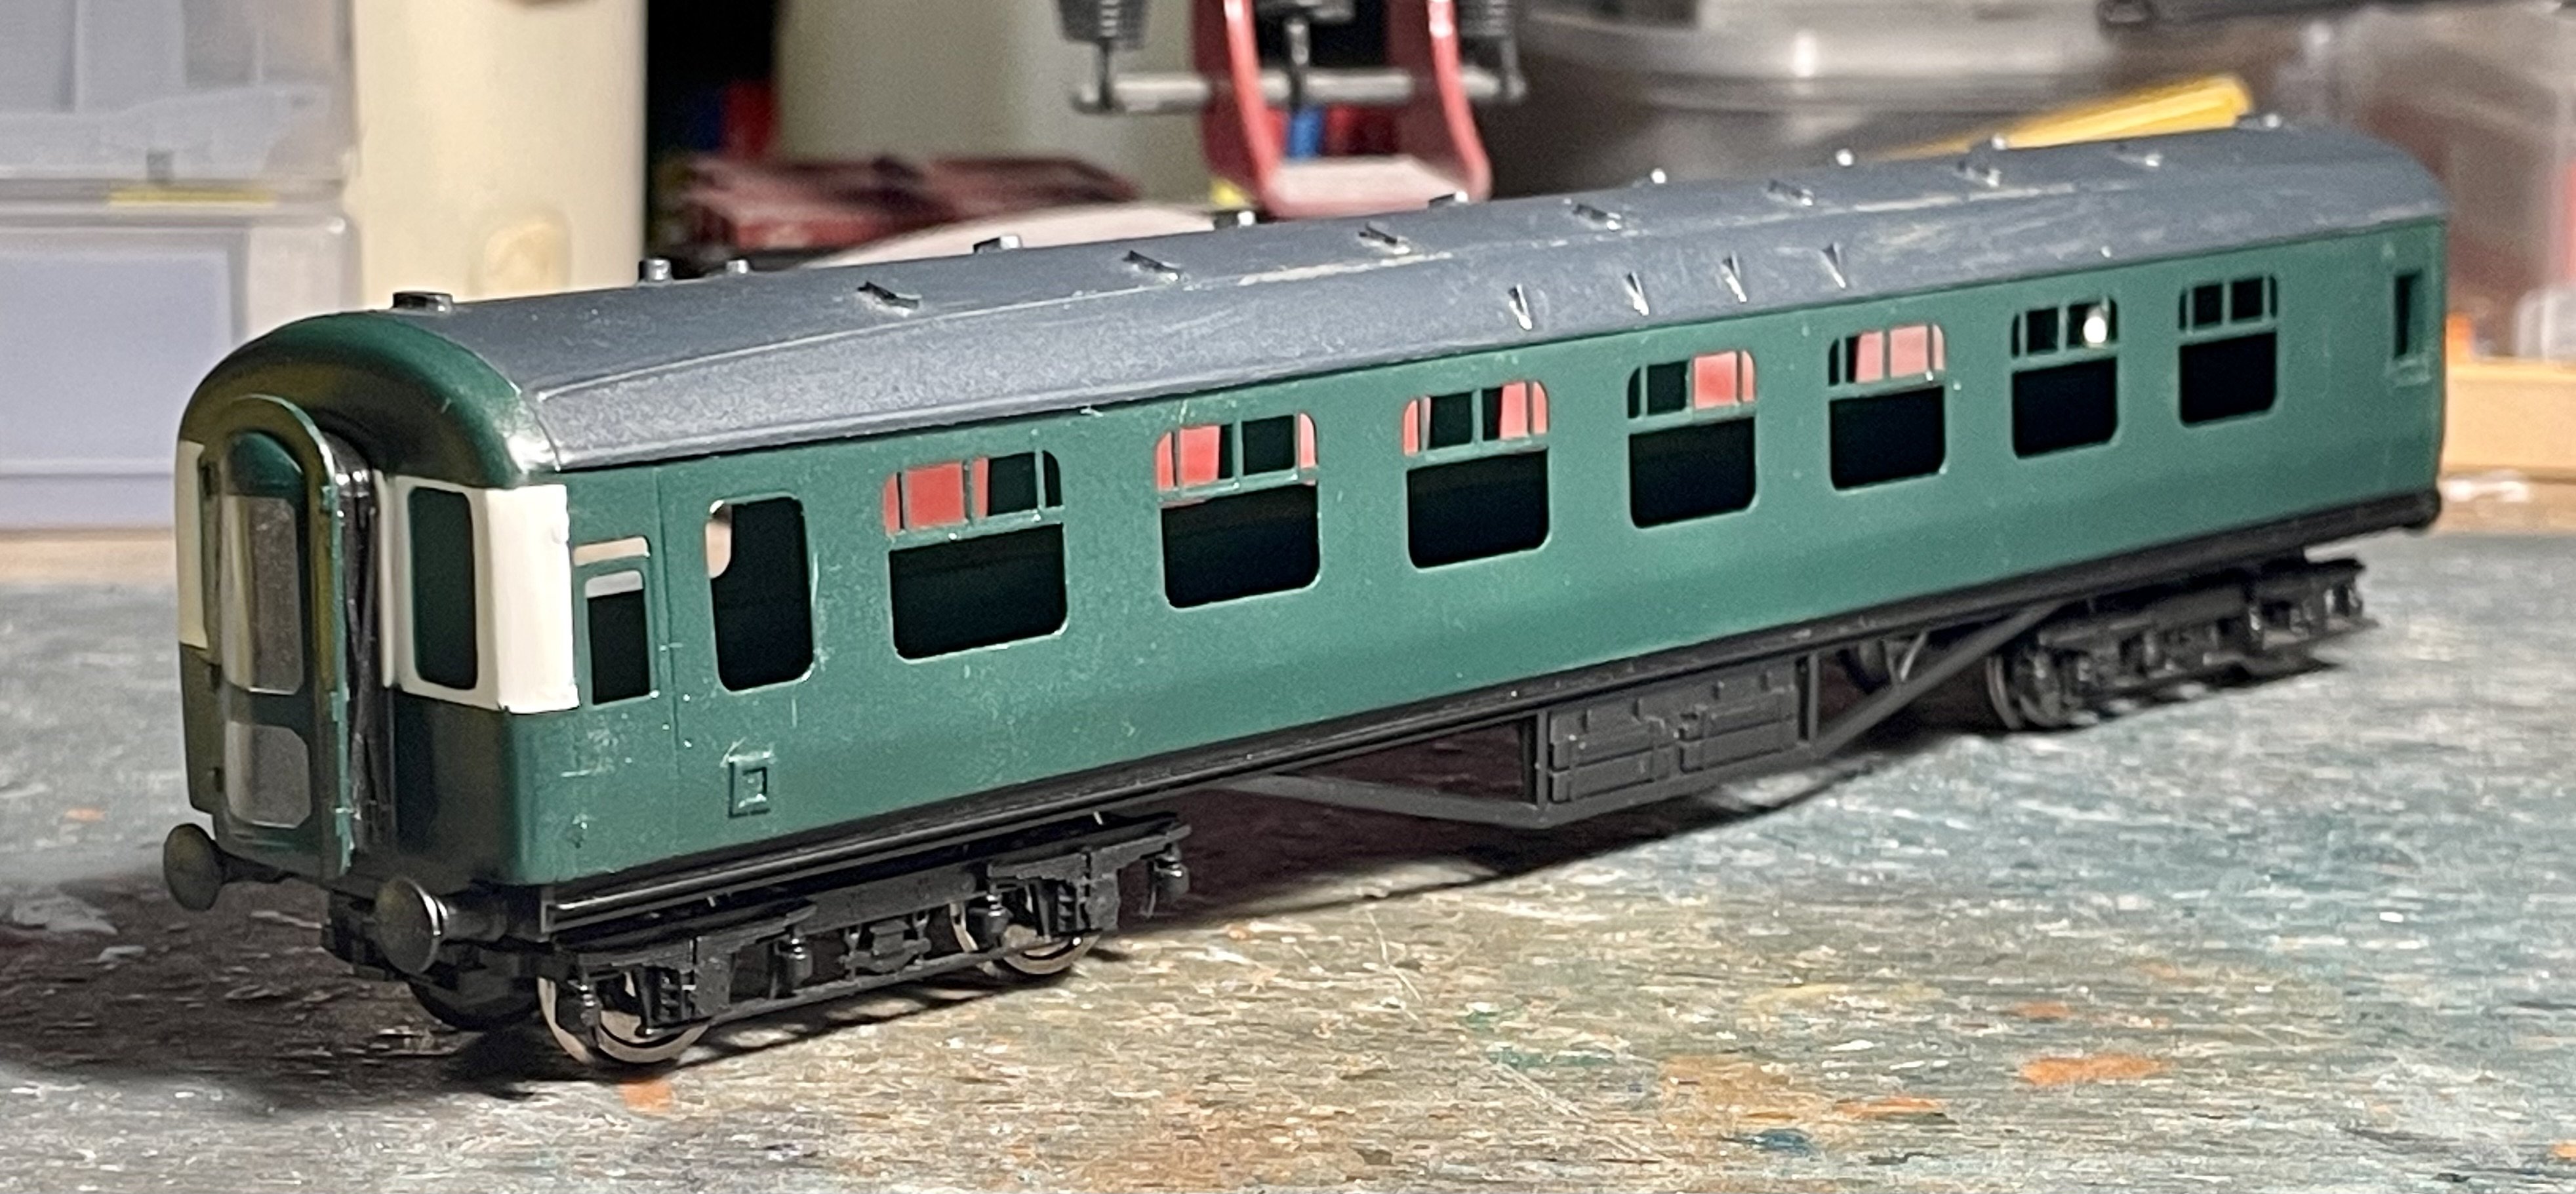
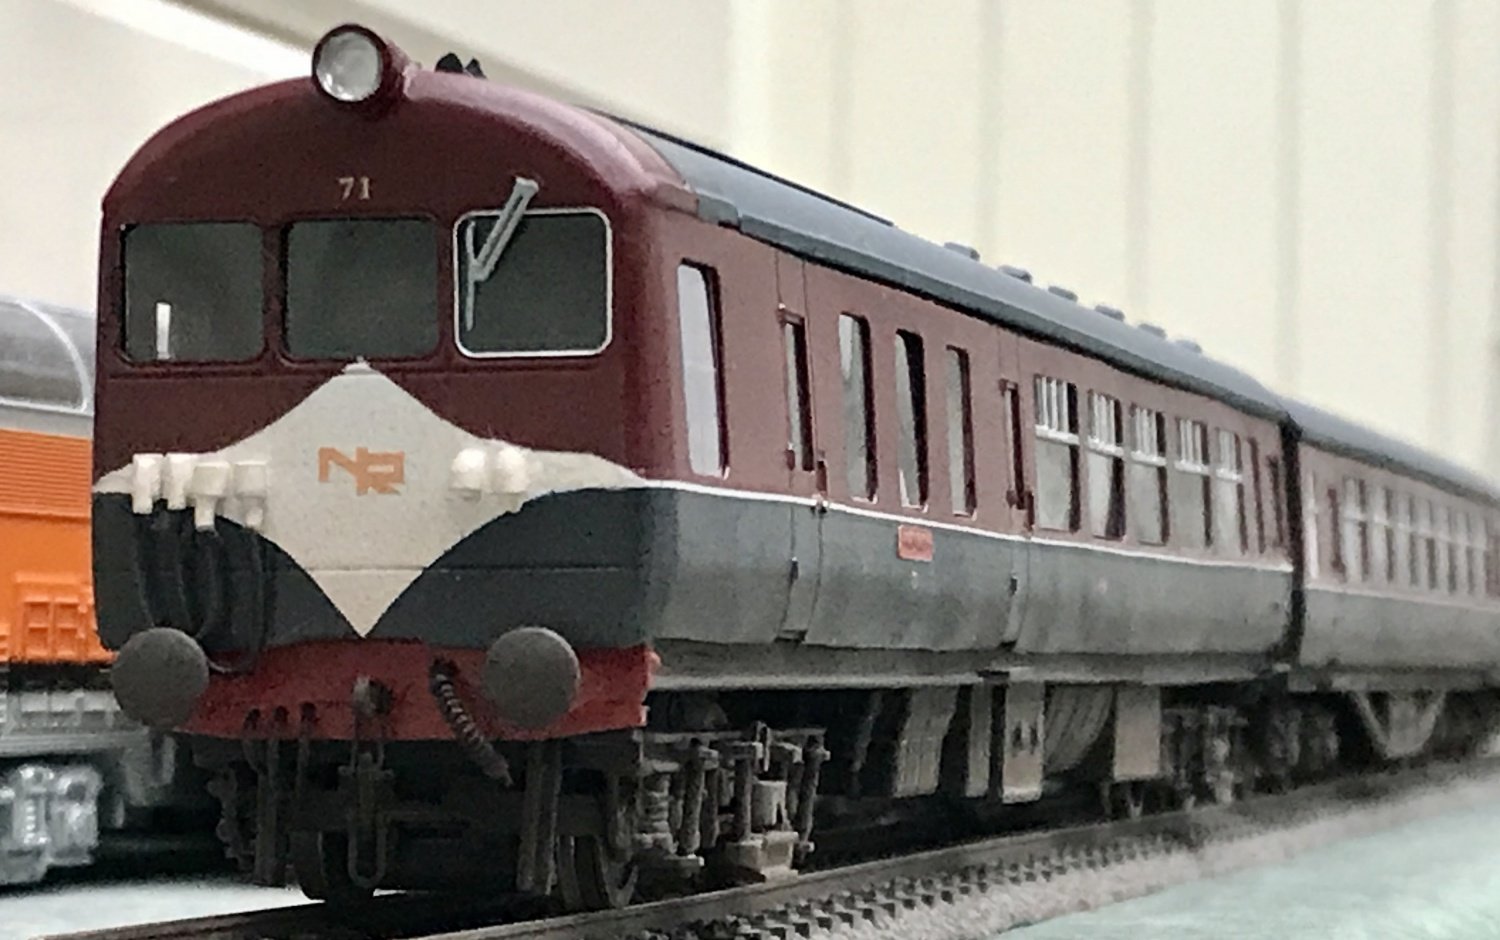
UTA “Sputnik” MPD No.42 - Dapol coach with Comet sides and scratch built undergibbons. Decals are by Railtec. Cheers Darius

-
Decals and light weathering to finish. Cheers Darius
-
Hence their “Sputnik” nickname. Cheers Darius
-
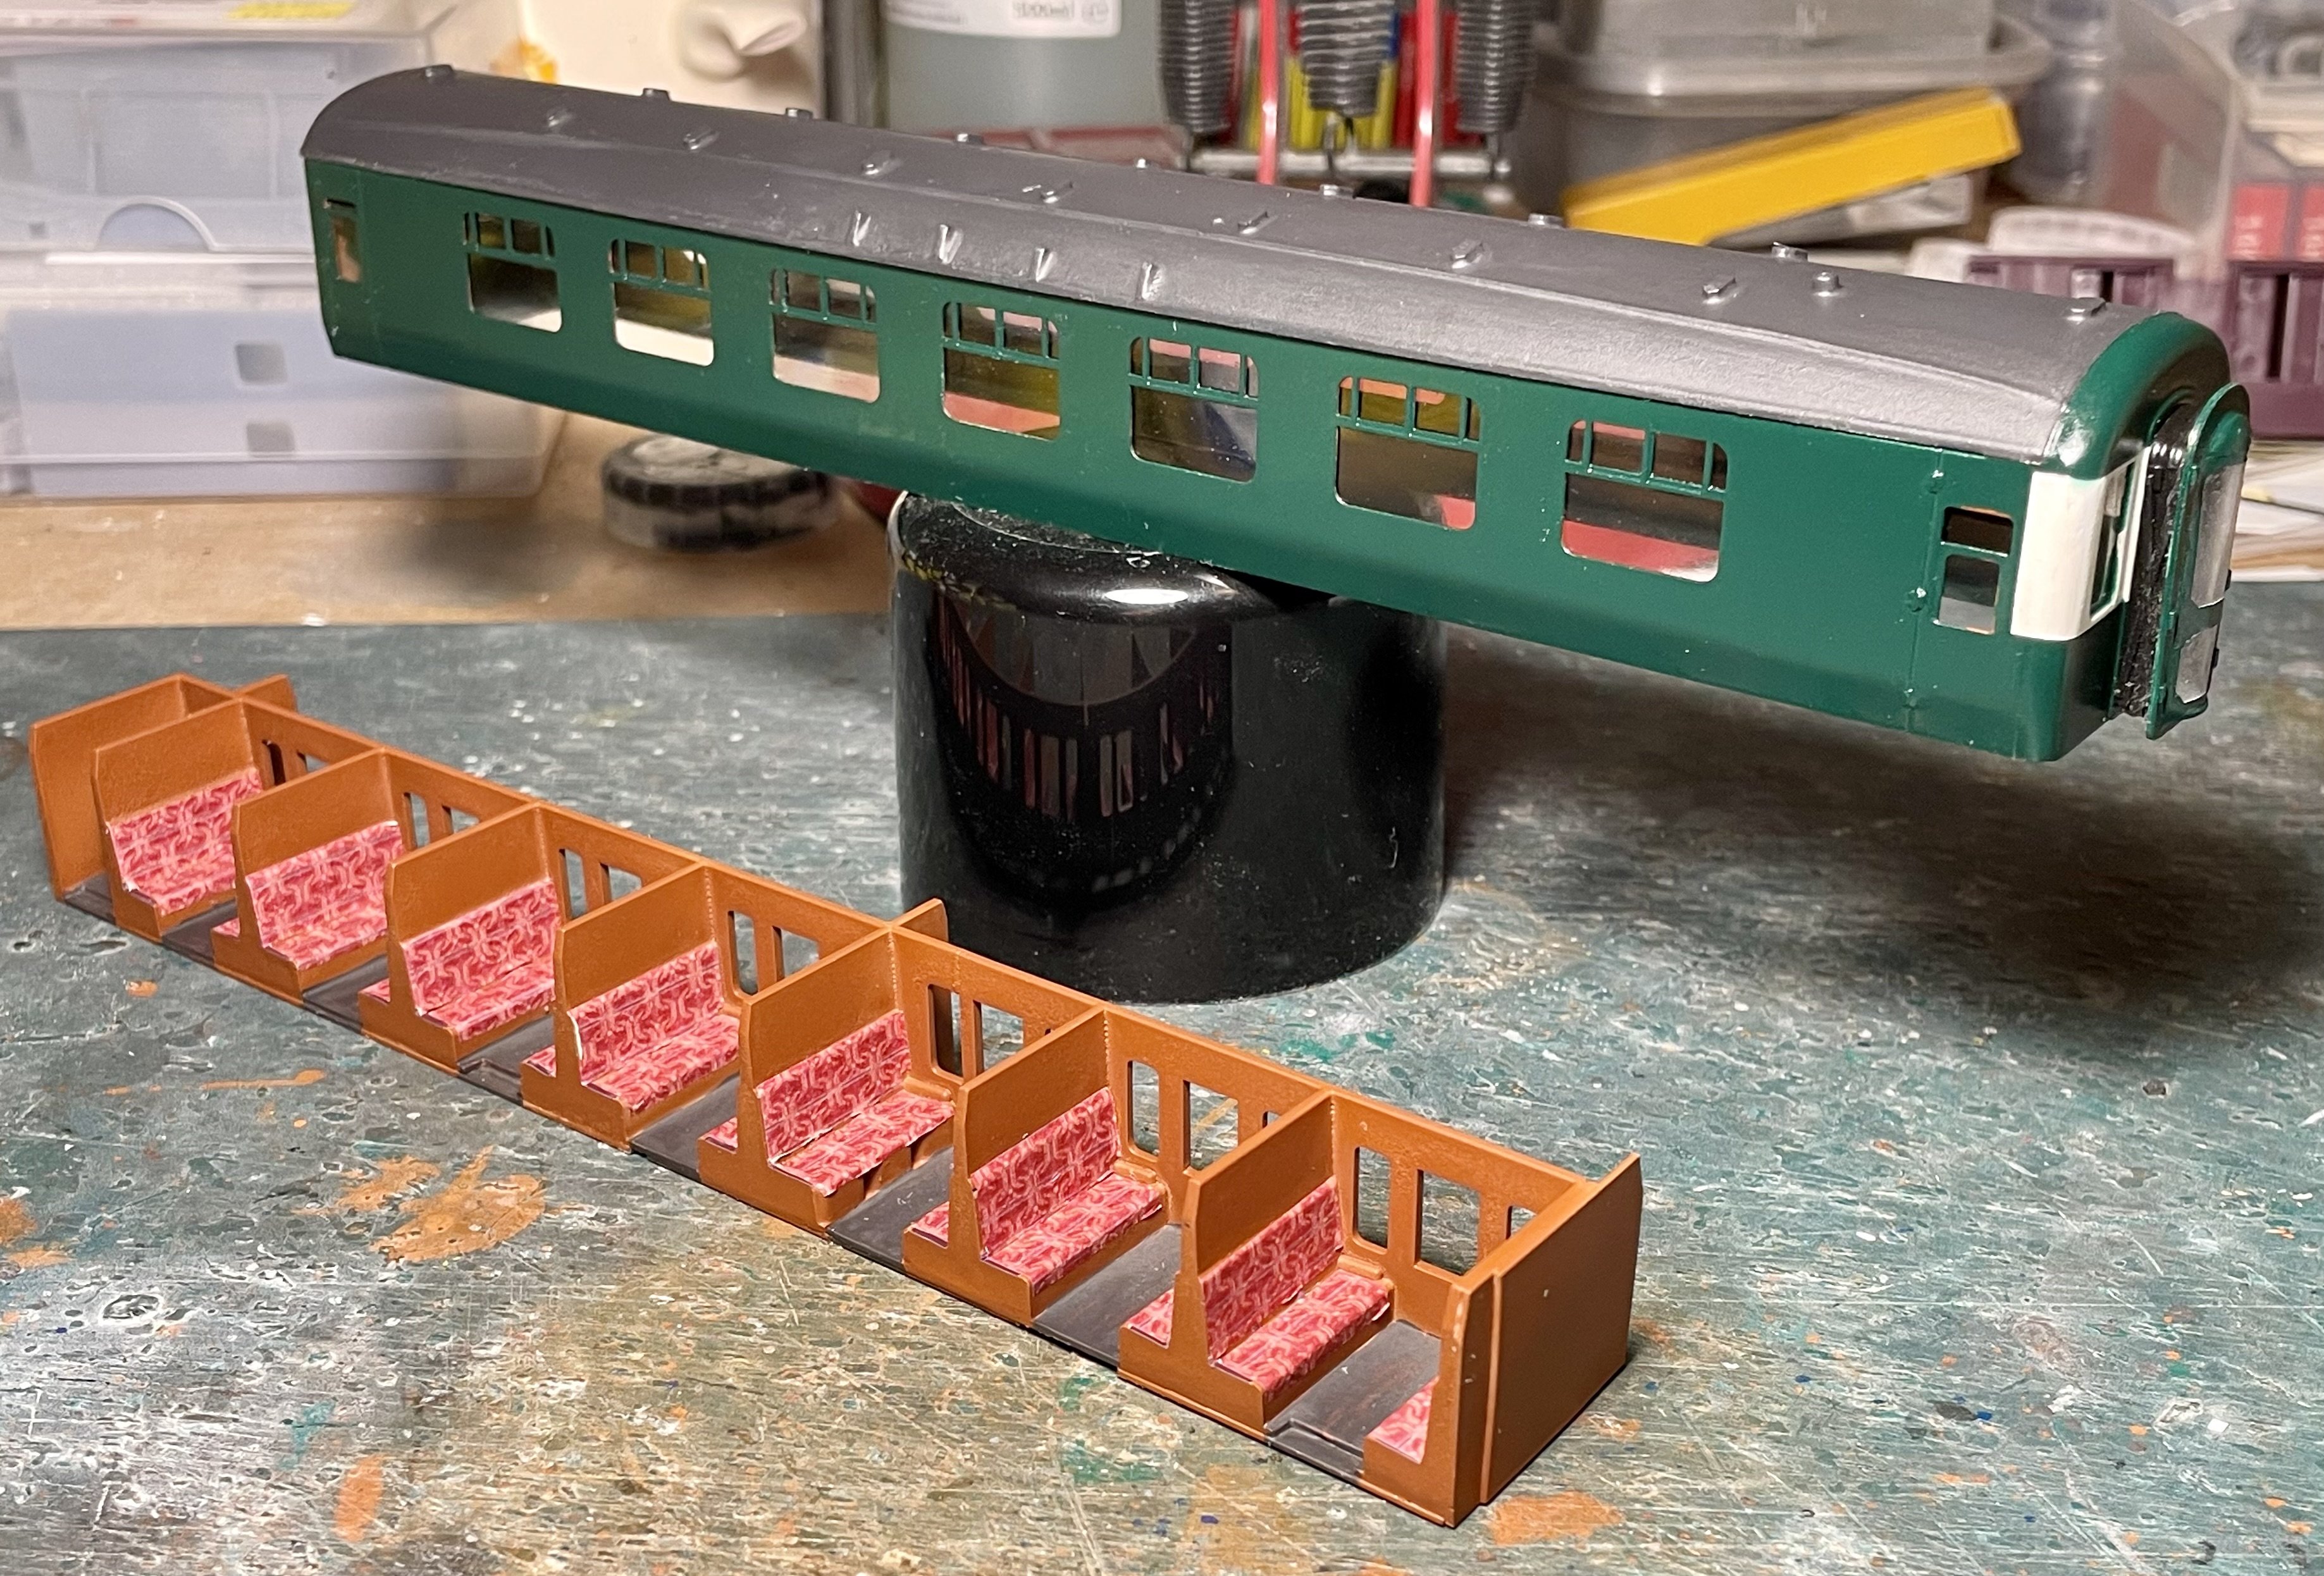
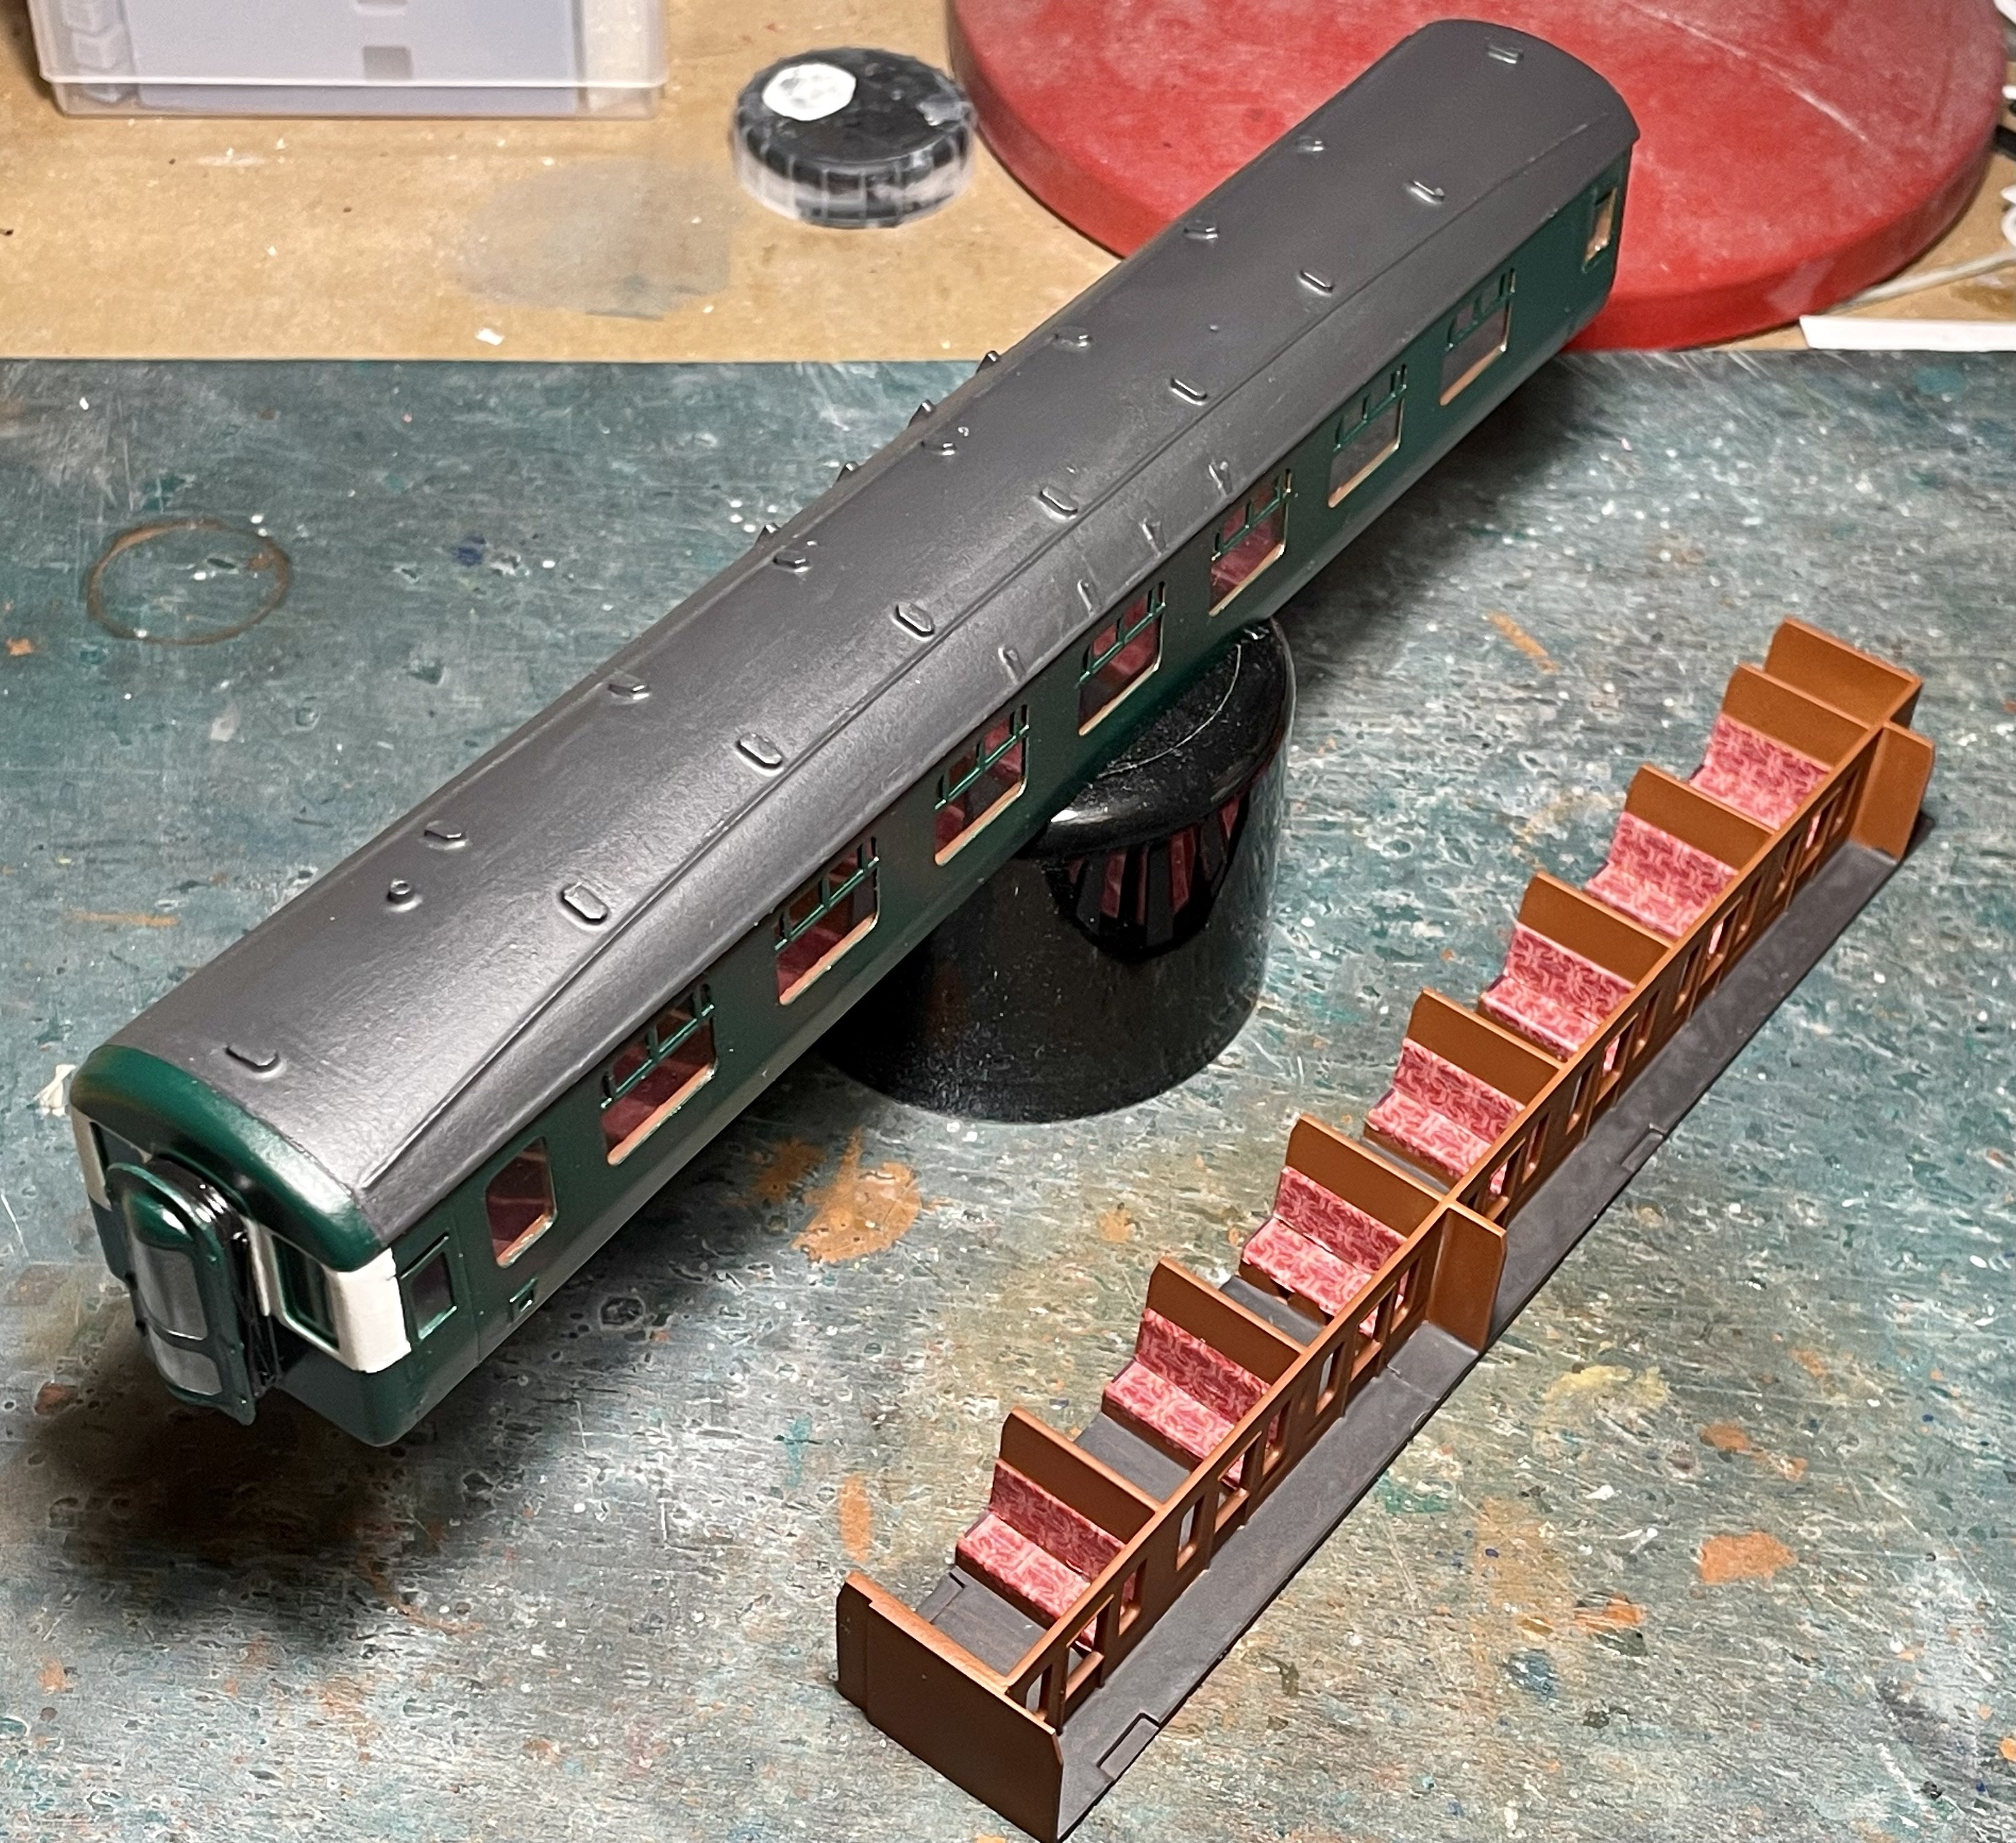
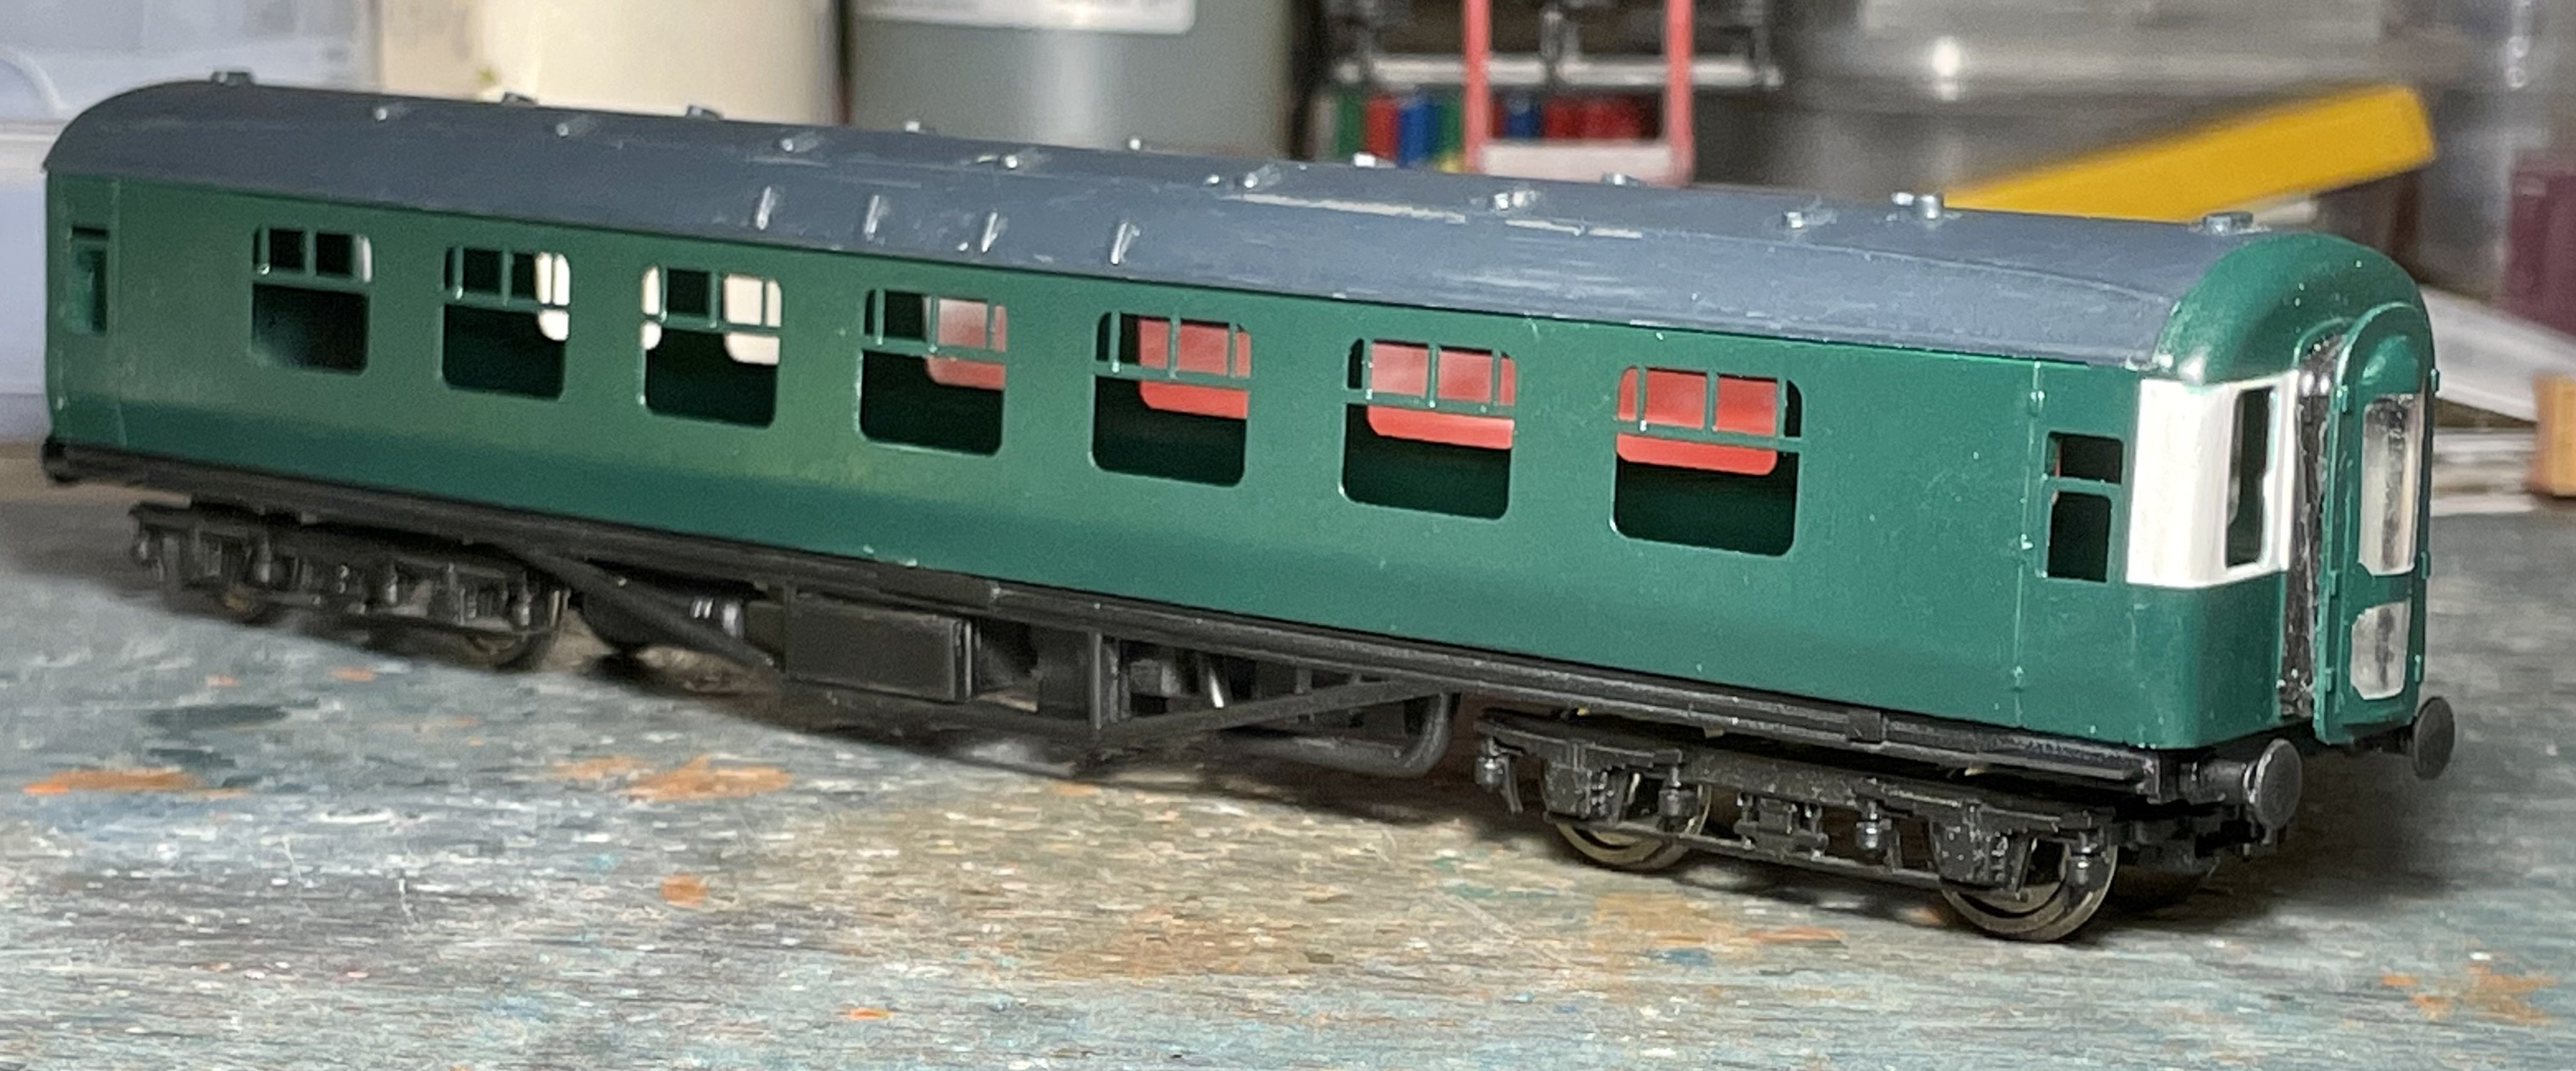
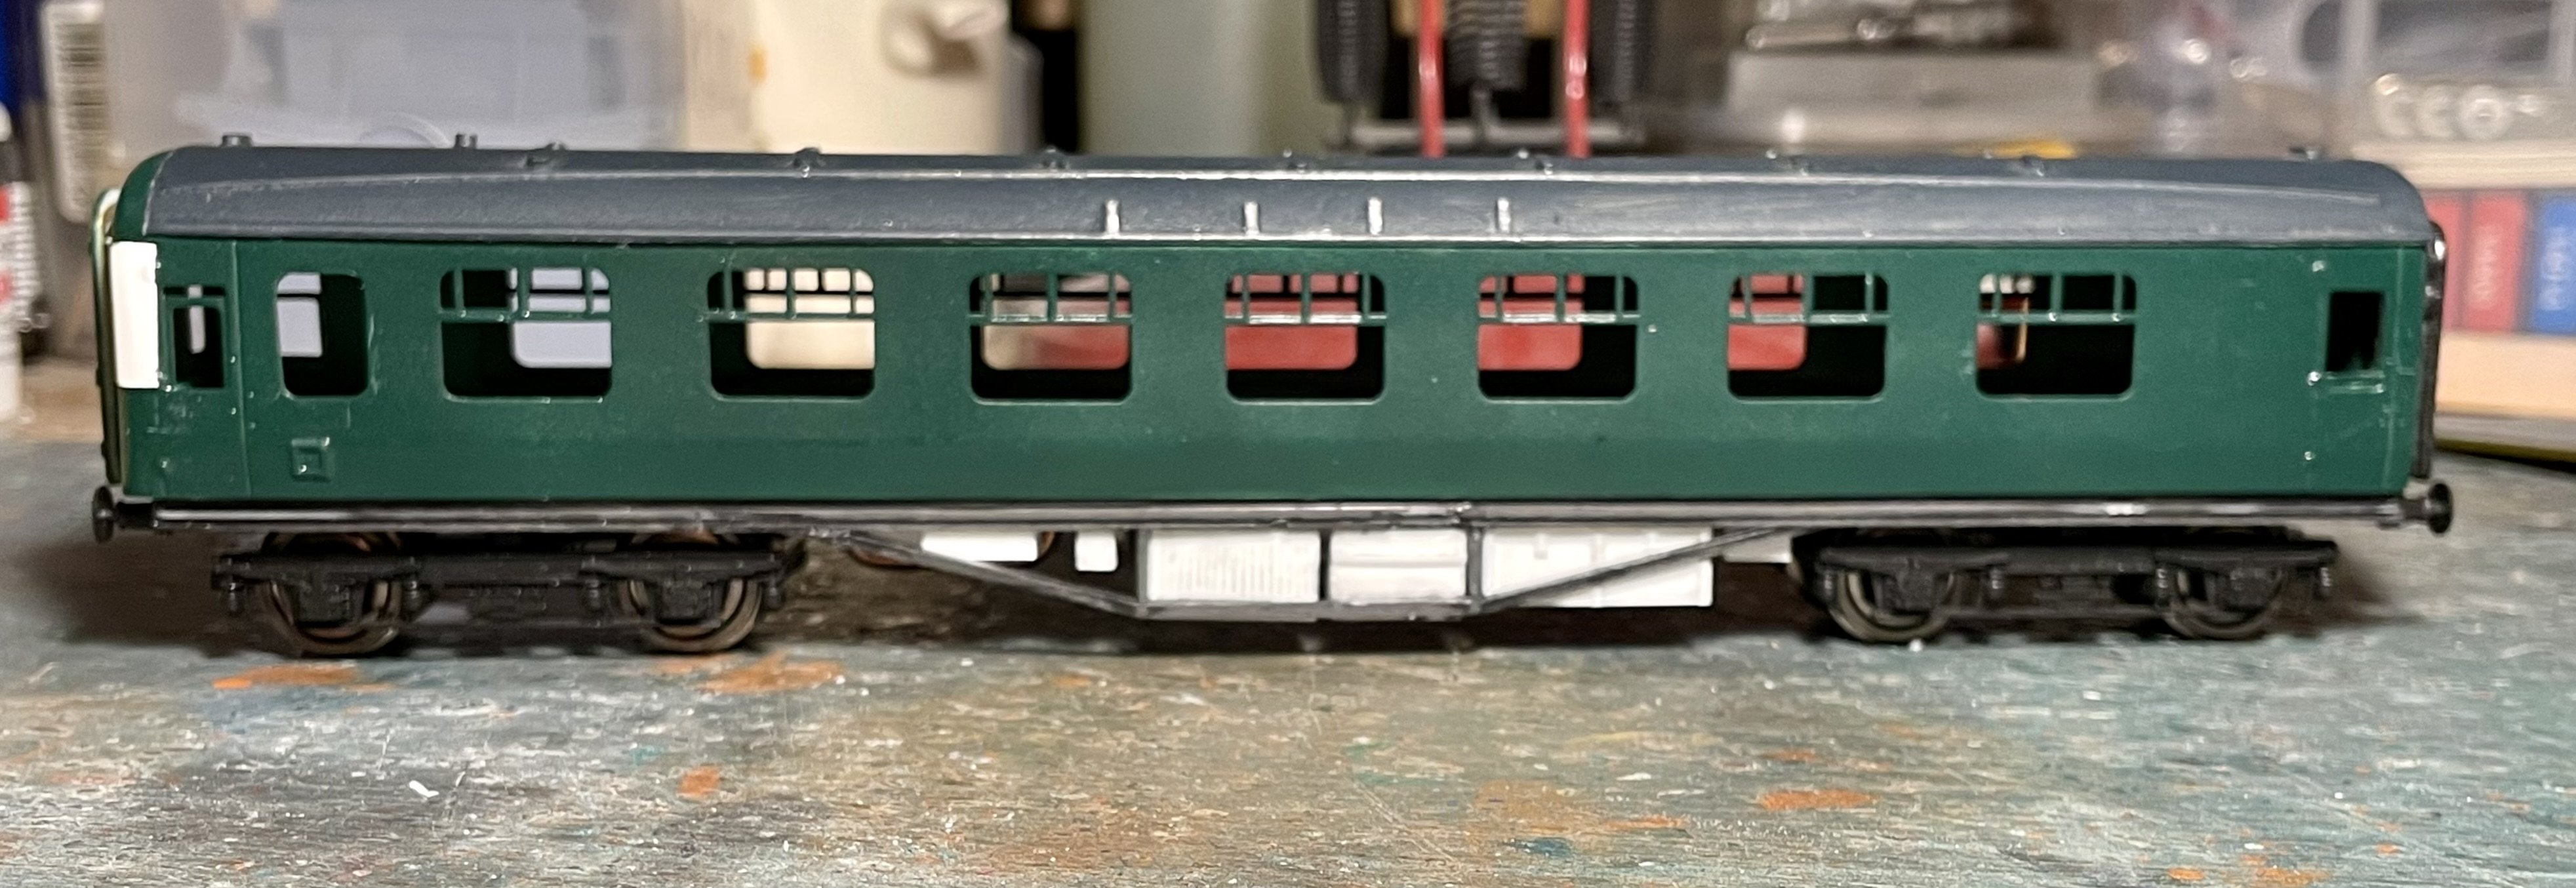
Glazing fitted and interior cut and shut from spares box coach interiors. Decals and other details next. Cheers Darius
-
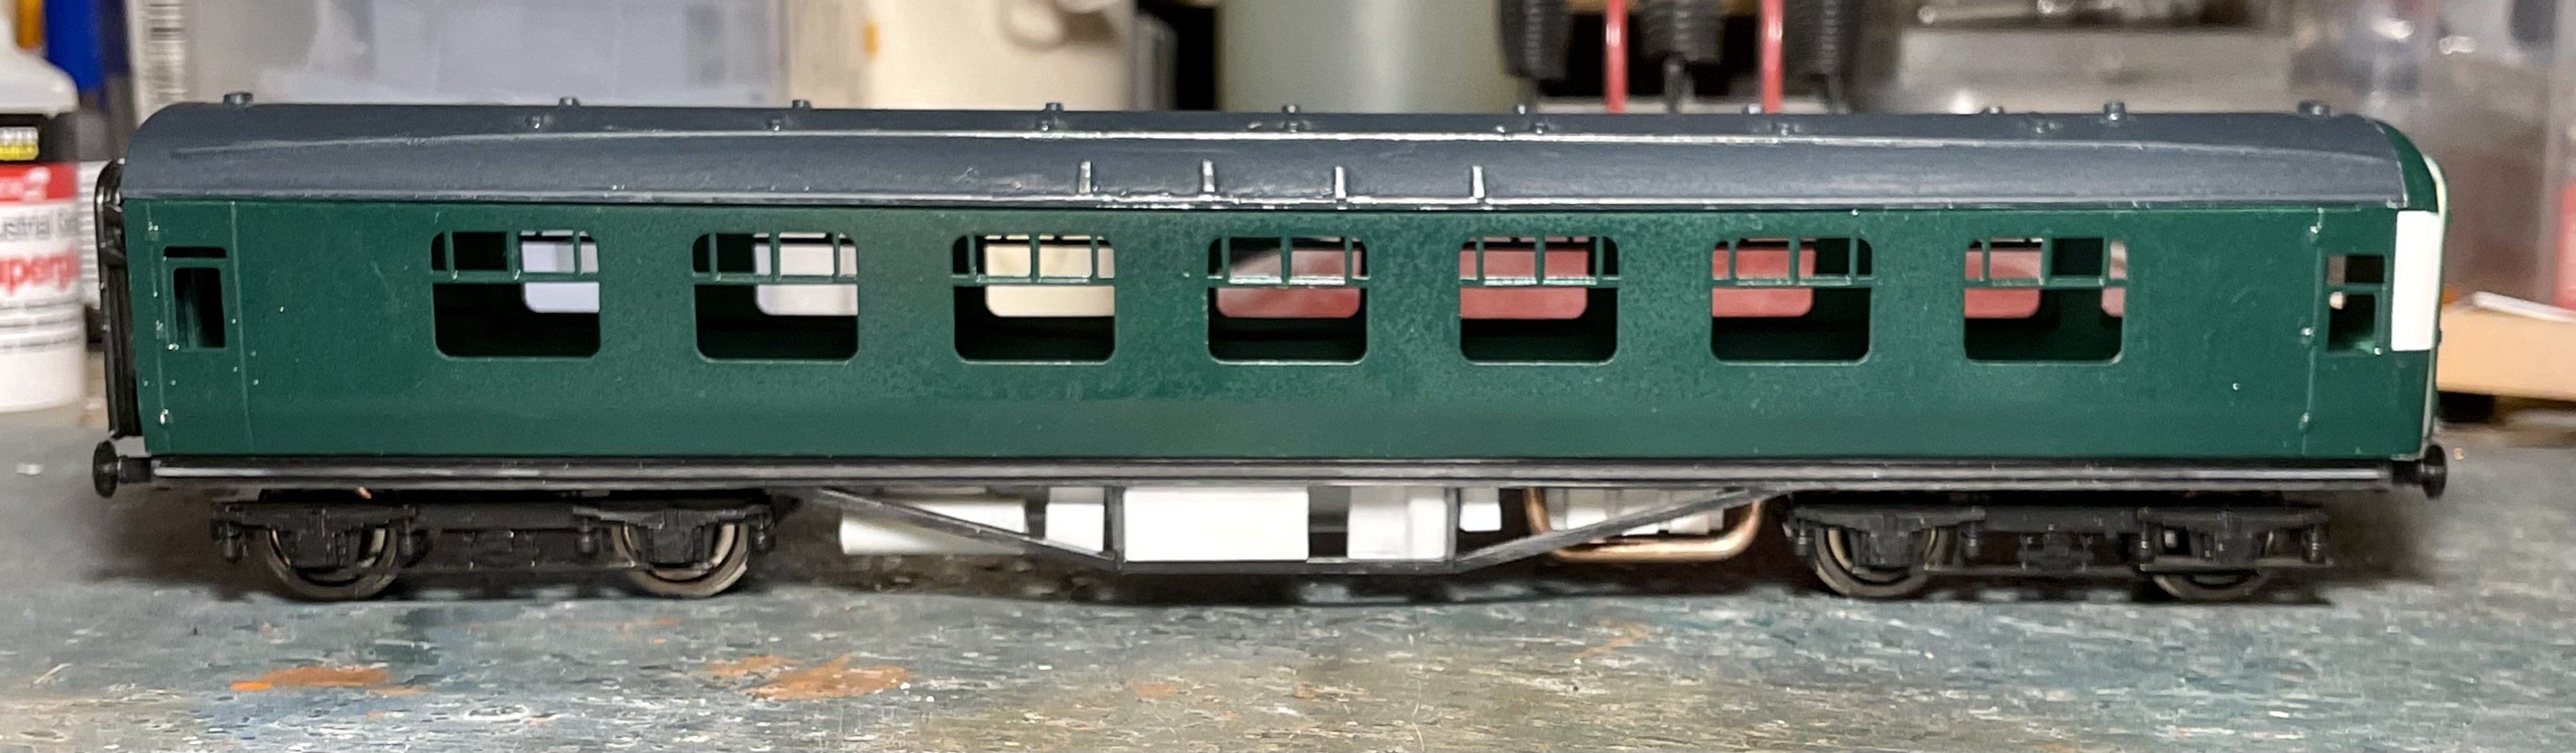
Undergibbons painted. Cheers Darius
-
Undergibbons fitted using plasticard and copper rod. Cheers Darius
-
Getting back to this one, finally. New undergibbon fittings, glazing and interior required. Cheers Darius
-
Something different - BR wagon built for carrying DEMU engines between depots on the Southern Region. 3D printed kit by 12A models. The kit goes together nicely. I printed my own decals based on images on the 12A models website. Cheers Darius
-
Decals applied and light weathering to finish. Cheers Darius
-
Dunglazin. Cheers Darius
-
Cab front and door handrails fitted. Cheers Darius
-
Spares box buffer beam details added to one end. Cheers Darius
-
I have no idea what you are talking about or why you PM’d that strange video to me - please don’t send any more to me. Let’s stick to modelling - on the subject of which I’m off to work on the Class 27… Cheers Darius
-
To which I would state that I was tought* English in the 20th century not the 17th. Cheers Darius * at Belfast Royal Academy.
-
I haven’t yet fitted the replacement motor. How this is done is shown* in this video. * I don't favour “shewn” as we can’t have archaic and eat it… Cheers Darius
-
MTK supplied mesh fitted to bodyside grilles. Cheers Darius
-
Primary painting completed. Cheers Darius