.png.c363cdf5c3fb7955cd92a55eb6dbbae0.png)


Colonel
-
Posts
300 -
Joined
-
Last visited
-
Days Won
3
Content Type
Profiles
Forums
Events
Gallery
Blogs
Everything posted by Colonel
-
A fellow club member provided a third Gaugemaster W on Sunday, which worked without problems all day, so am hoping there are no hidden issues in the wiring. Perhaps the lurking of my 40 year old H&M Clipper as the the final option prevented further mischief!I Nevertheless, getting through five different controllers over a two day show is a worry and reflecting on the experience makes you realise that options are fairly limited for an analogue layout, especially if you want a handheld one. Gaugemaster do the two I've already got, while Morley do a hand held one to go with their cased units. However, there is just not enough fine control in the latter for a small shunting layout and though better, the W also lacks the finesse of the feedback unit. The much missed Pentroller is only available second hand and even then is rare, because it is probably the best and folk rightly hang on to them. The only alternatives seem to be DCC (been there, tried it, not for me) or maybe the latest analogue versions of that like the Gaugemaster Infinity. However, at over £360, not something to be taken lightly. Thoughts anyone?
-
The feedback and W are both old and it is a loose wire inside the former that is the problem. Seems Ws are prone to the issue I have, but you don't expect it on a new one.. Another option possible for today, but if not I hope we can muddle through.
-
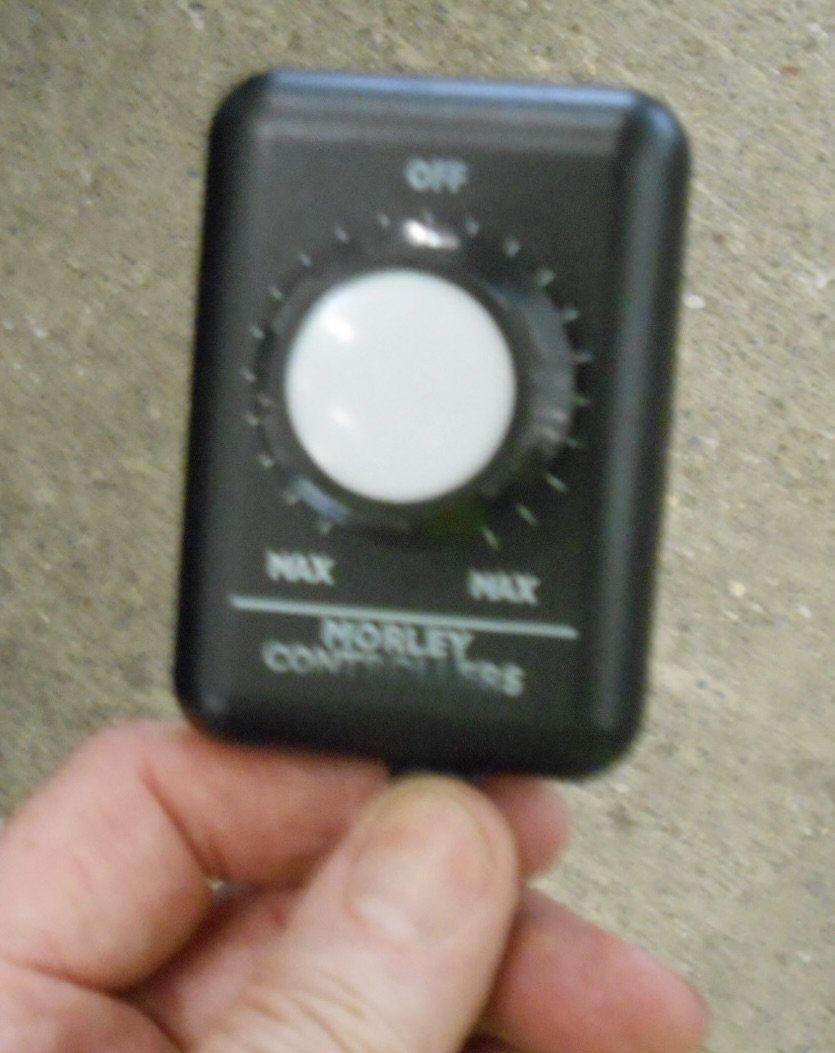
It gets worse, Alan. The Morely controller just isn't up to the fine control needed on a small layout. As a result, it was impossible to do any shunting because I couldn't run trains slowly enough to stop over the uncoupling magnets. So the two railcars had to do the bulk of the work, with the two Swilly tanks just about managing their trains, but having to run much too quickly for my liking. Spent the second half of the day trying to work out what combinations might work best for Sunday, while also had to bring home several wagons and coaches to repair the DG couplings. I've done well over 100 shows and today was by some distance the most challenging and disappointing I've ever experienced. :-( :-( :-[
-
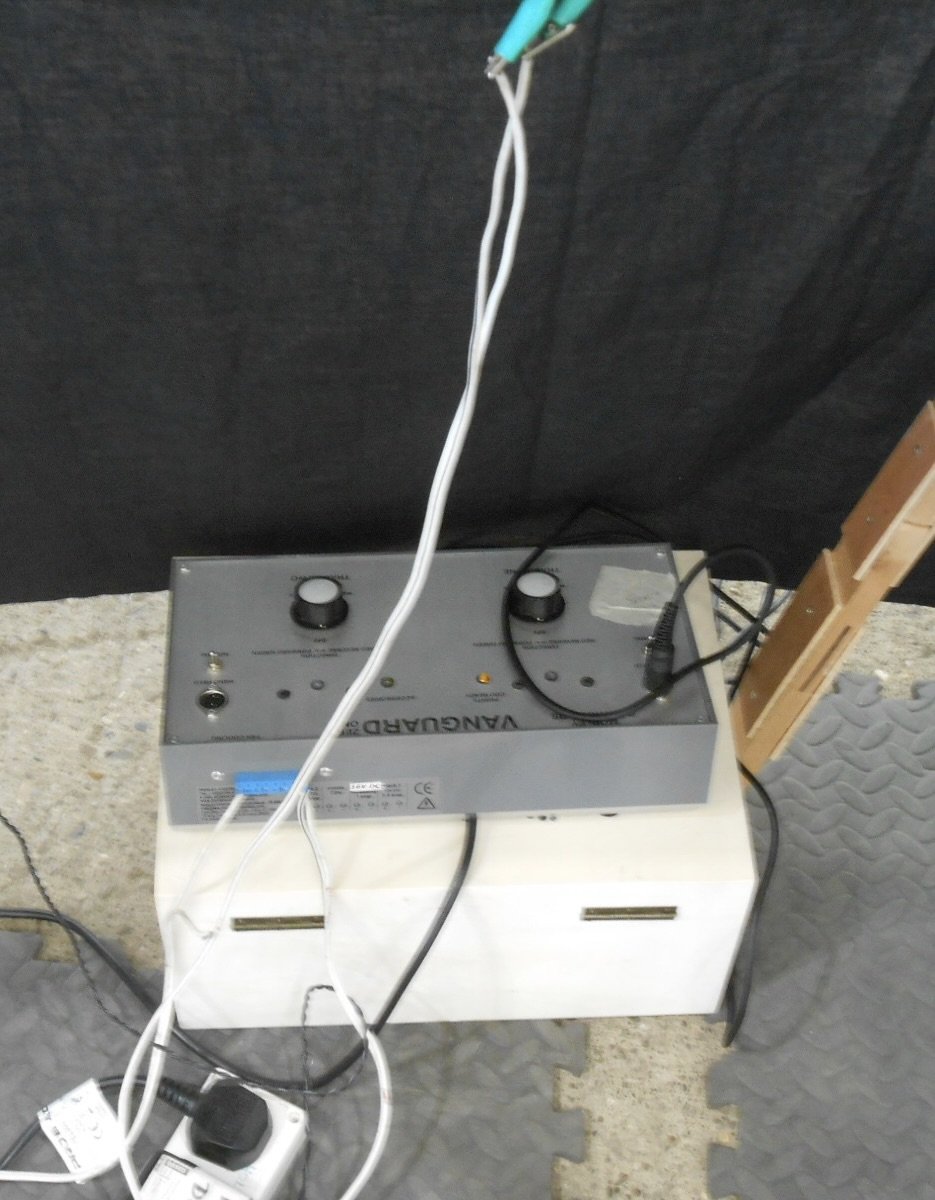
Can't quite believe I'm writing this, but when setting up Swillybegs at the Chatham Show today, found that all three of my controllers are now useless! The two Ws as previously reported, but now the Feedback unit has a problem with a loose wire, inside the casing, which I can't access. So, what to do? Then I remembered the Morely controller we use on the Club 0 gauge layout. So, cut the two 12v wires from the back of the Gaugemaster socket and joined them to the !2v output from the Morely. This unit has the provision for a handheld unit and this is what I'm now using over the weekend. It has no feedback feature, so works well with all motors. Fingers crossed. Wish me luck - there will be a bit of rewiring needed before the layout goes out again in August...

-
Alphagraphix do three of the four wheel coaches in a single pack of their card kits. At either three of four quid, 7mm scale, a real bargain and you could easily reduce them to 4mm on a copier.
-
No 4-8-0, or indeed 4-8-4T David. They will neither fit the headshunt, nor the turntable. The new W controller has proved disappointing though, as it has the same issues as the old one: VERY slow up to notch 8, then full speed after that. Given I use a Gaugemaster transformer, no idea what the problem might be, but they will have to go back after the show.
-
Interesting and indeed a bit sad reading these comments when on this side of the water we have so much. Without consulting a map, I think there are at least ten preserved railways (standard and narrow gauge) within an hour's drive of where I live and am guessing the same must apply to much of the country. Indeed, sometimes wonder if there are too many, but thus far, they are managing, albeit in increasingly challenging times.
- 89 replies
-
- 2
-

-

-
- west clare
- narrow gauge
- (and 2 more)
-
That second photo is so dramatic - just look at the gradient!
-
Oops! July it is. The weekend after next in fact....
-
A bit far for those of you on the other side of the water, but our latest Model Railway exhibition takes p!ace on 18/19 August in the Historic Dockyard Museum, Chatham. Well over 100 stands, including 30+ layouts and many of the major traders and manufacturers. If that wasn't enough, you can do "Driver for a Tenner" on one of the museum's diesel locos and even have a go at working one of the steam cranes.
-
You can only admire such tales of resourcefulness!
-
My new Model W arrived today and seems to have solved the problem, so guess that will be my 'go to' controller from now on - at least for Swillybegs. The feedback unit works well enough with my Northport Quay stock. The W is still needed for the mobile crane and as back up for the broad gauge of course.
-
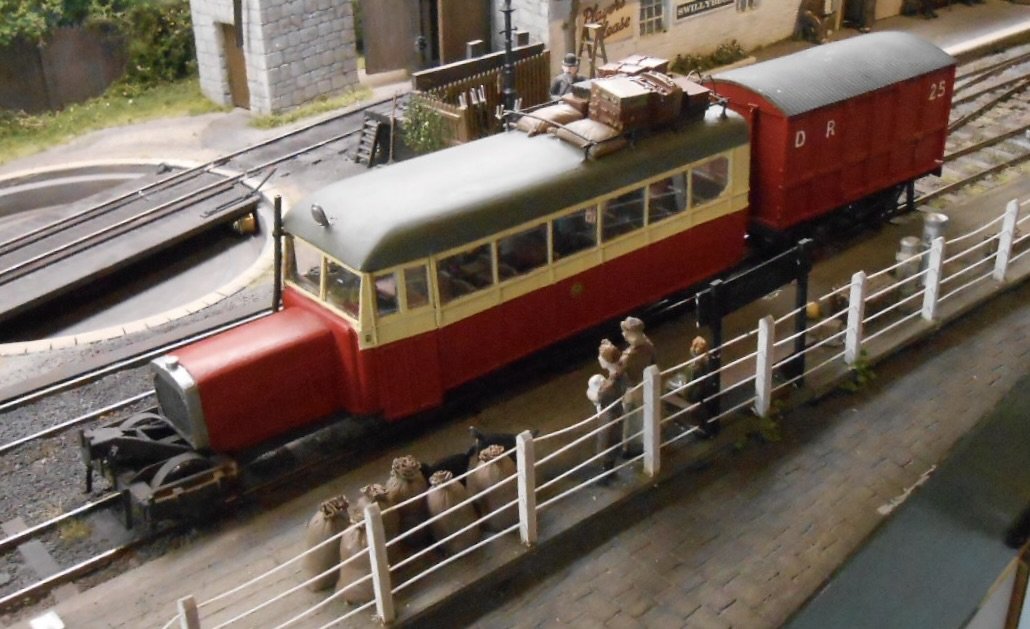
It's been a while, but Swillybegs is back in the frame over the next few weeks, with a late invite to the Chatham Show in under two weeks time, then Hornby/Margate on 15/15 August, the latter alongside their full size collection. So, have recently been working on the layout and stock to get things ready. Fingers crossed, everything seems ok, but note my last entry, back at the end of January! Otherwise, it has mostly about integrating the newest item of stock, Donegal Railcar 8, into proceedings. Turned out to be a tale of two controllers at the moment. My go to has always been a Gaugemaster hand held, feedback model [the black one], with the Model W as standby. However, some motors, especially coreless ones, don't like the feedback model. The result is what might best be described as 'cogging' - hesitant running, almost as if there's a pick up astray somewhere. The Model W, being simpler, doesn't give such problems, but the payback is not such fine control. Anyway, whatever motor is in Railcar 8's bogie, it certainly doesn't like the feedback controller and though things are smoother with the W, they are very 'two speed'. The model crawls along up to about 'notch 5', then suddenly bursts into life. I must have had the W for 30 years, so I've ordered a new one. Yes, I know they come with a lifetime guarantee, but time is tight. The alternative is to run Railcar 8 in reverse, where, for whatever reason, the cogging effect is less. So, shades of Skibbereen, where trains arrived in the headhunt, before reversing into the platform, then likewise reversing out after turning. Have also added a bit of detailing to No8 in the form of luggage, both on the roof and inside - the latter being white metal to give a bit more weight over the motor bogie. The train is deemed to be running on the North Donegal Tramway & hence uses the front platform, so at the moment, the two ex Clogher tanks will act as spare engines.
- 78 replies
-
- 16
-
-
Article in Railway Magazine confirms Ryder Cup services
-
Yep - everything hangs together really well.
-
Been round the Ring of Kerry three times and yet to see much due to (very) soft days. Better luck when we went to Dingle and with the road closely following the railway, you really can see how steep, wild and challenging the route must have been. Plus we have Patrick Whitehouse's fabulous photography of course.
-
Those card kits are a remarkable resource. I've built dozens of wagons, coaches and even a railbus or two by using them as starting points for construction in plasticard. At just three or four quid each, they are absolute bargains as well. The buildings are great too.
-
You could always change to 7mm scale JD - Alphagraphix do a good range of six wheelers, plus their card kits of course Can only agree with you on the way etched kits seem to be going, however, if it is coaches you want, what about plasticard? Basic tools only are needed - pencil, ruler, snap off bladed craft knife, plus time of course. The worst job with scratchbuilding coaches is marking out, then cutting out the sides and (especially) windows. A bit tedious and repetitive, likewise adding toplights and/or panelling from microstrip. Plastic seats are available and so also must be bogies, buffers and the like. Roofs can be something solid, like balsa, sanded to shape. Maybe worth a try?
-
Never seen that happen before!
-
Nice, small buildings for Macmine, but the station at Tipperary is enormous. Interesting to see the slide chairs on the point at Westport.
-
Always nice to see more photos of this remarkable model railway.
-
Good to know that both you and the layout are well, Paddy!
-
Sounds like different groups/individuals are cherry picking the Worsley archive - which makes sense I suppose, because it keeps the cost from being prohibitive. Can't help thing that in an ideal world a well funded individual or group would buy the lot and then donate the various parts to relevant societies, who could then act as custodians, because it would be a shame to lose what Allen has created over the years. Equally, as we know, the world is not ideal and as has already been shown, dealing with such things is far from simple. Well done to those who are trying!
-
And 5'6 gauge is seriously wide when you see one of their preserved locos up front. Nothing to do with here, but there is a British built shunter on a plinth by the Sunderland like Staines at Almeria in Spain.
-
REALLY don't like snakes, so thank you St Patrick!