.png.c363cdf5c3fb7955cd92a55eb6dbbae0.png)


Colonel
-
Posts
300 -
Joined
-
Last visited
-
Days Won
3
Content Type
Profiles
Forums
Events
Gallery
Blogs
Everything posted by Colonel
-
I have a 7mm scale one, built from the Worsley etches. Modified it to a 601, though how accurate it is am not sure. Construction is somewhere in my Work bench thread and it features on Northport Quay.
-
An early C in 7mm would be nice...
-
Fairly sure it is one of the two Sligo tanks built after the war. The rounded cab roof is the give away and in the background you can see one of the earlier Large Tanks for comparison. Either way, found myself dribbling again - Sligo, Swilly and Donegal all in the same post! Magic.
-
Thanks everyone. As David Galteemore has pointed out, the garage style has appeared before, on Arigna Town. That model now resides on the Club 0 gauge layout, but an internet search reveals the design was fairly common, often with an office to the side. No room for the latter here though!
-
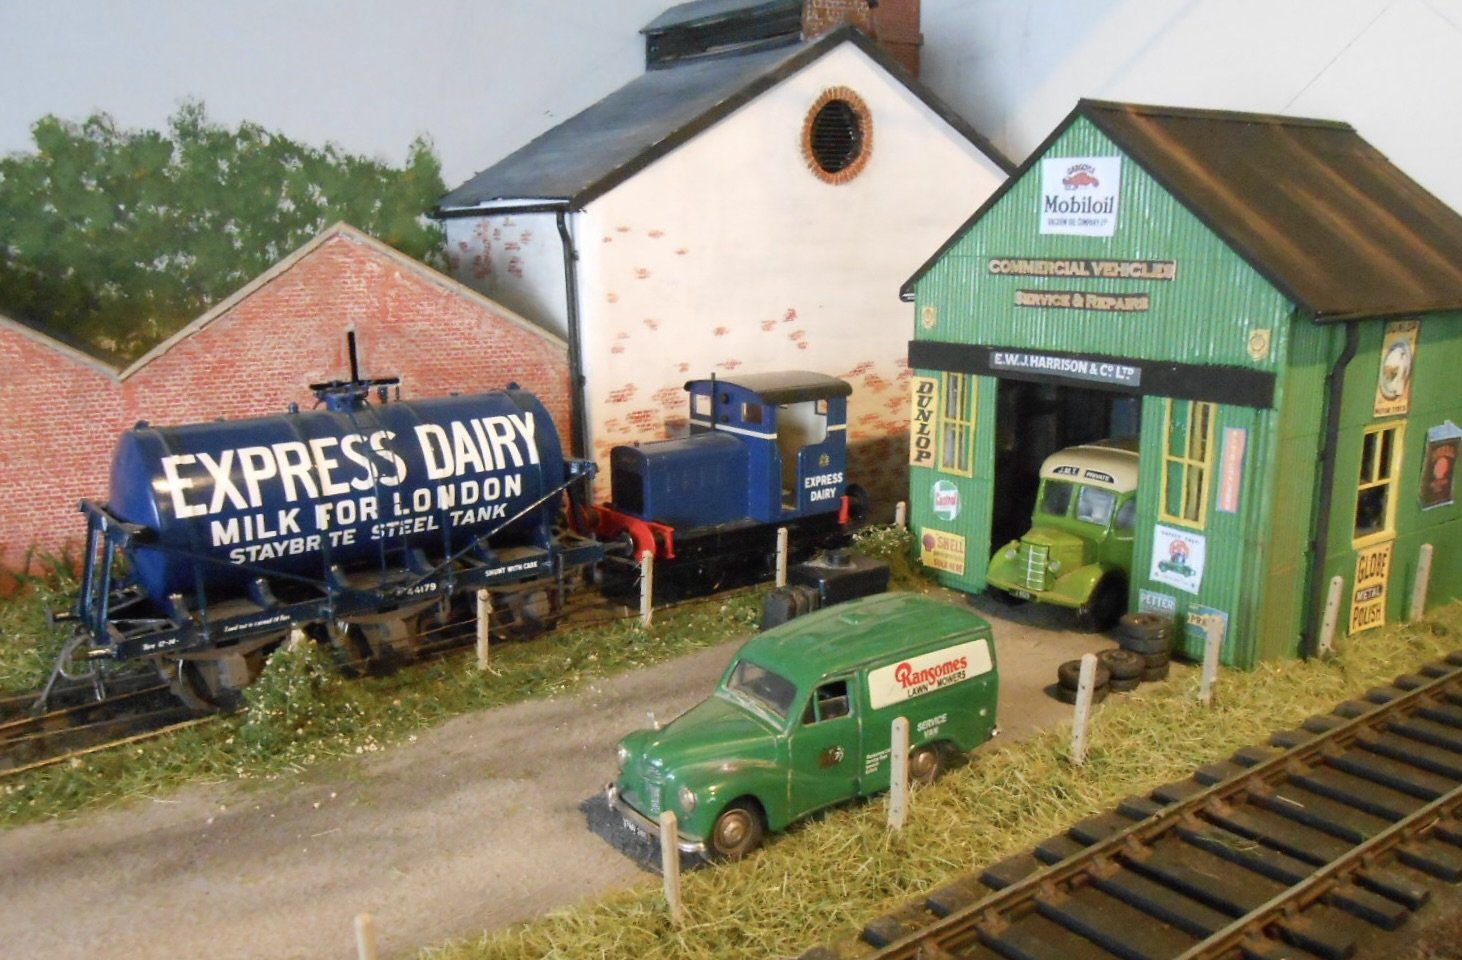
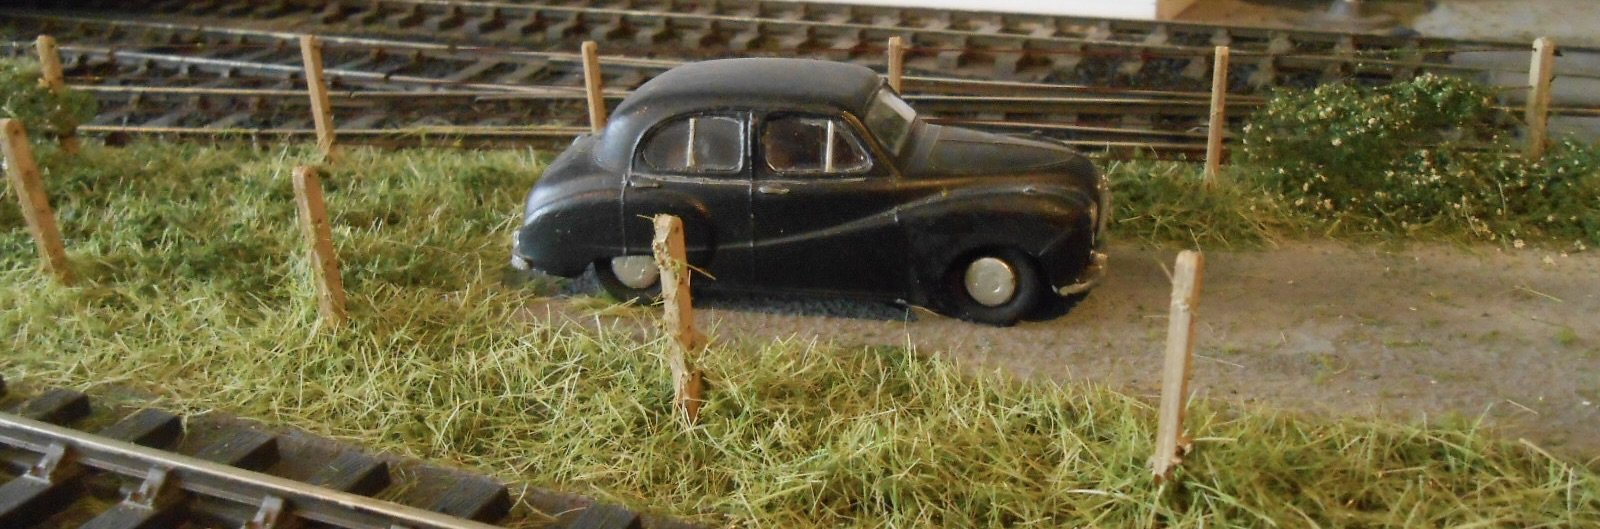
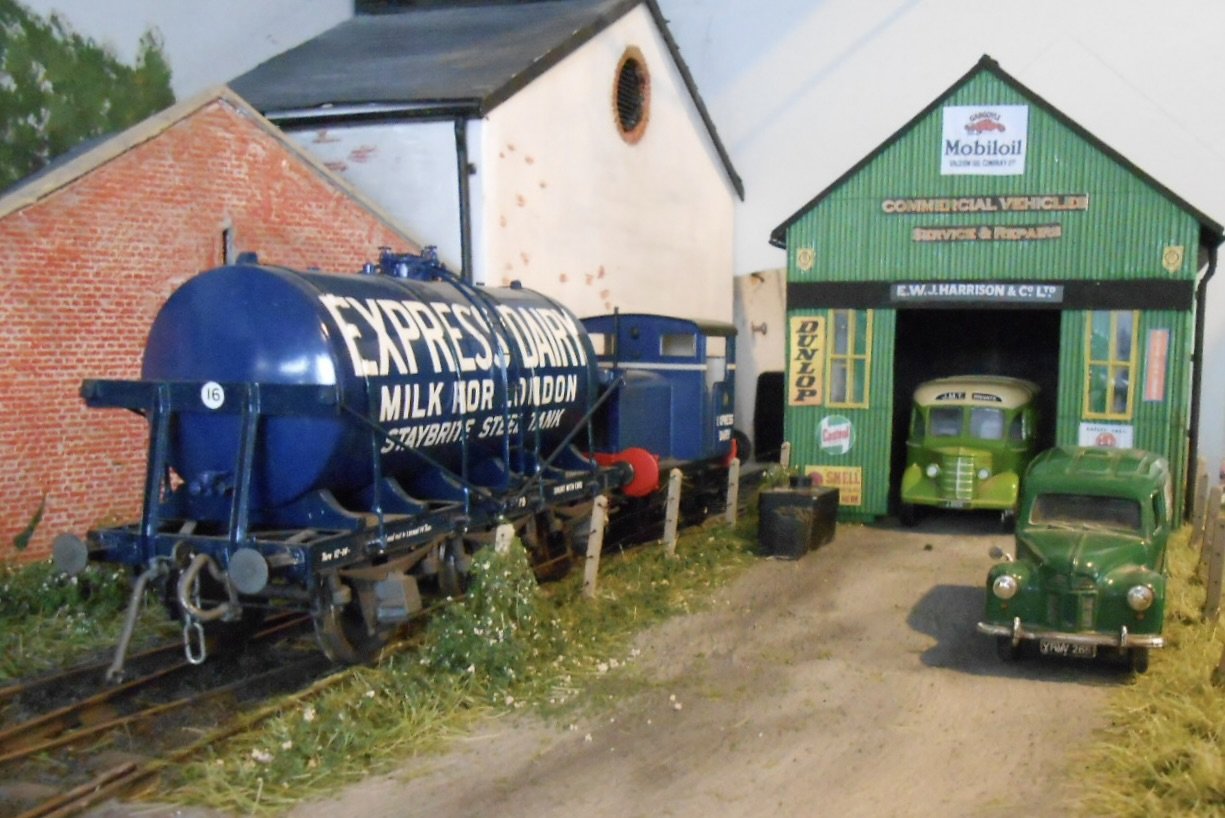
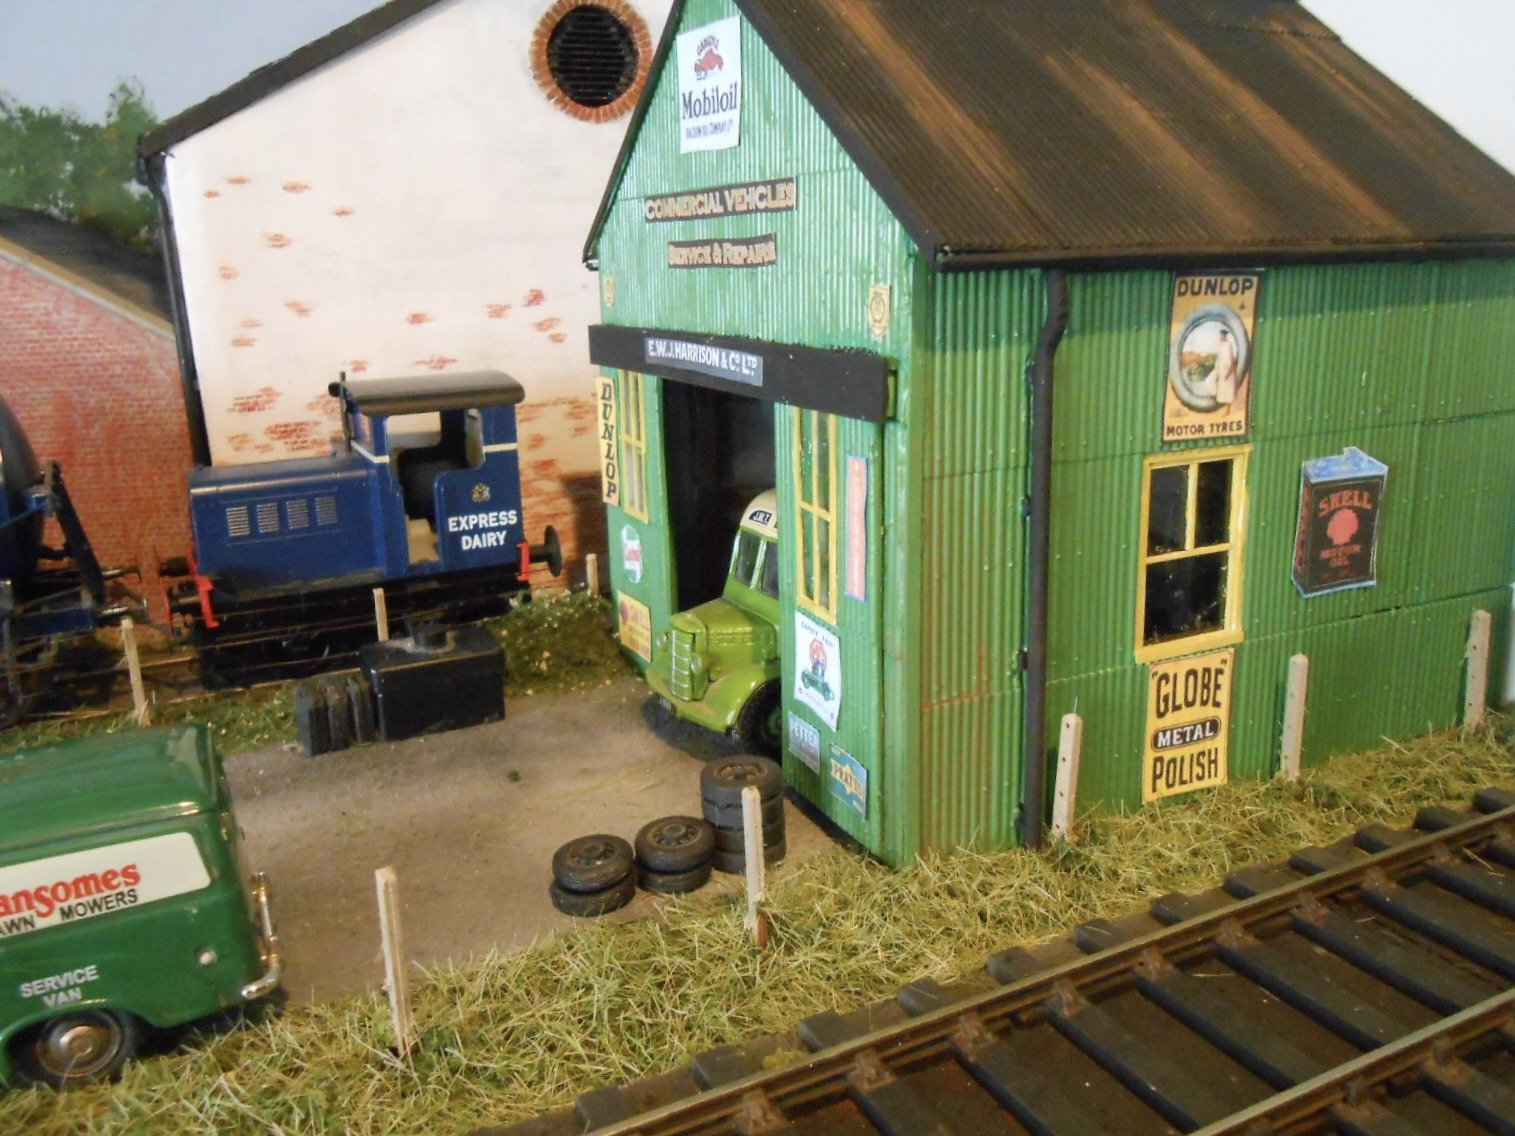
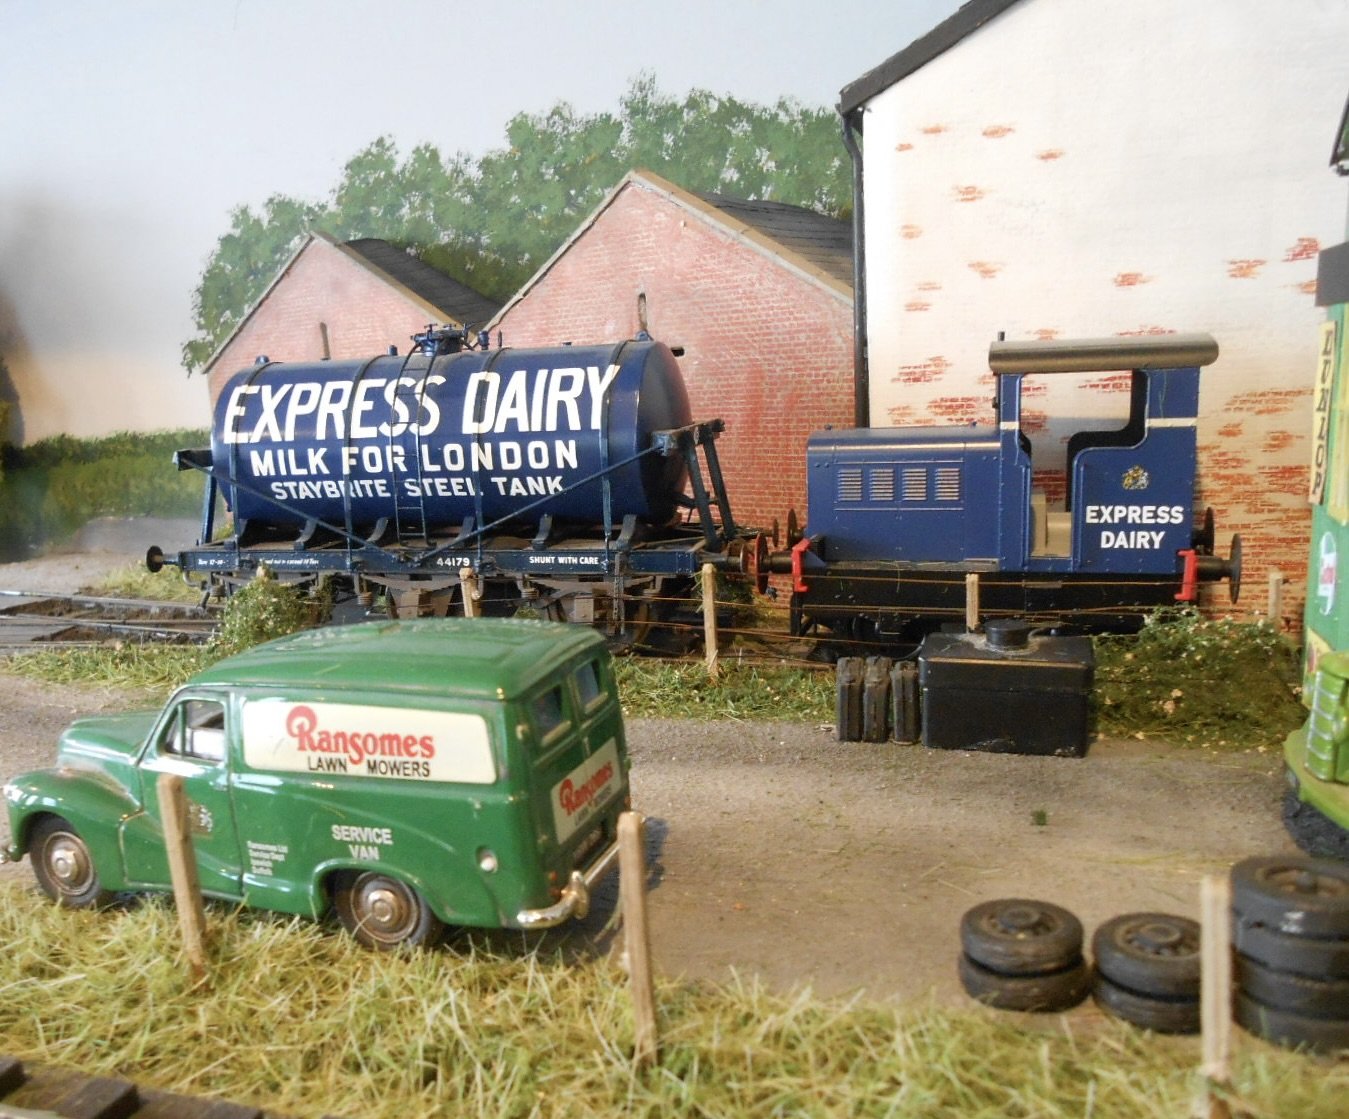
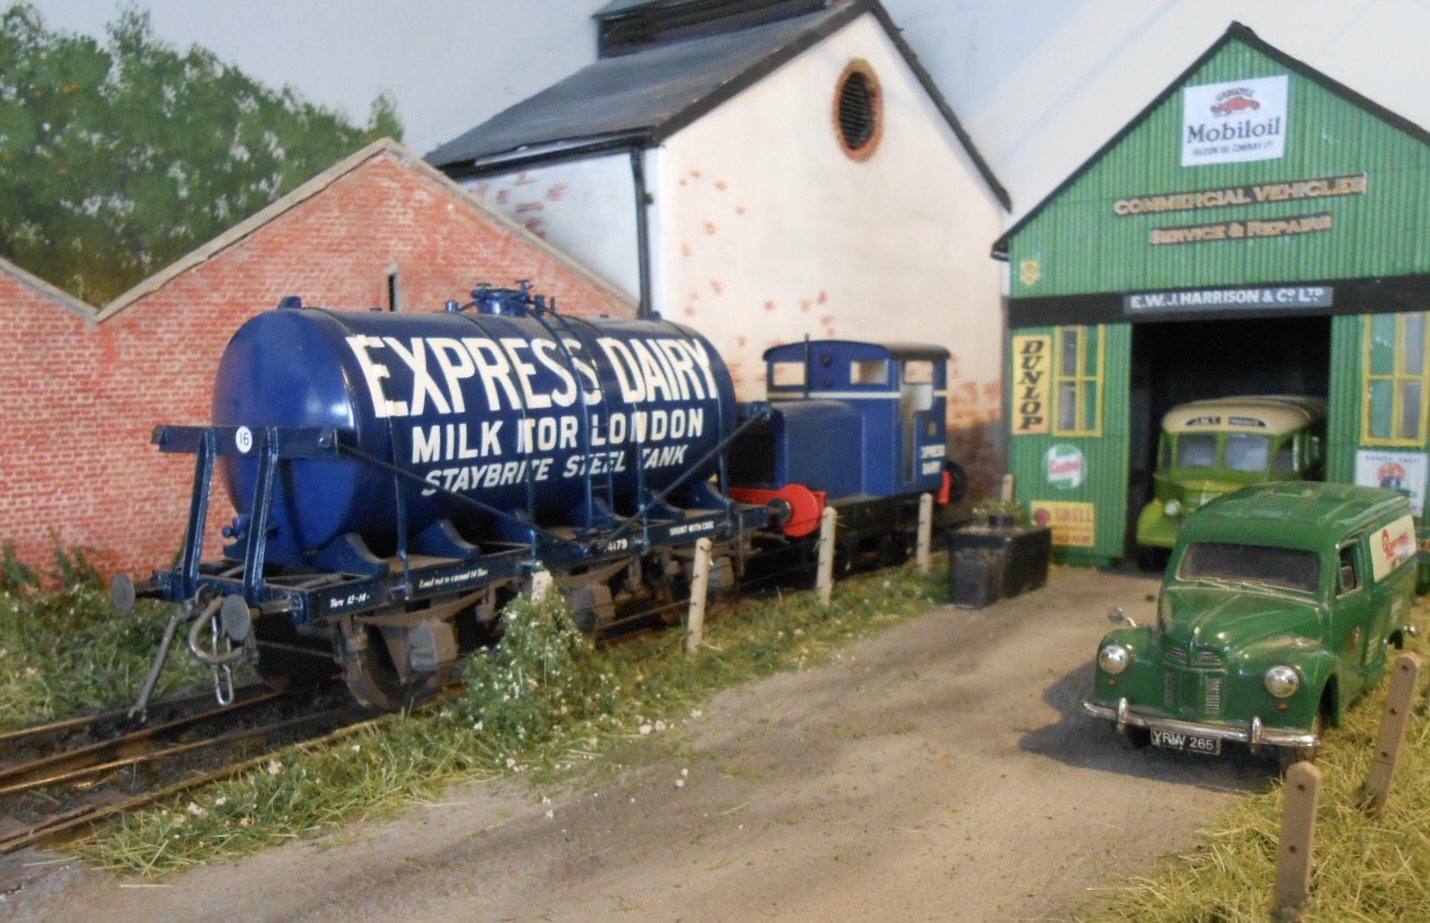
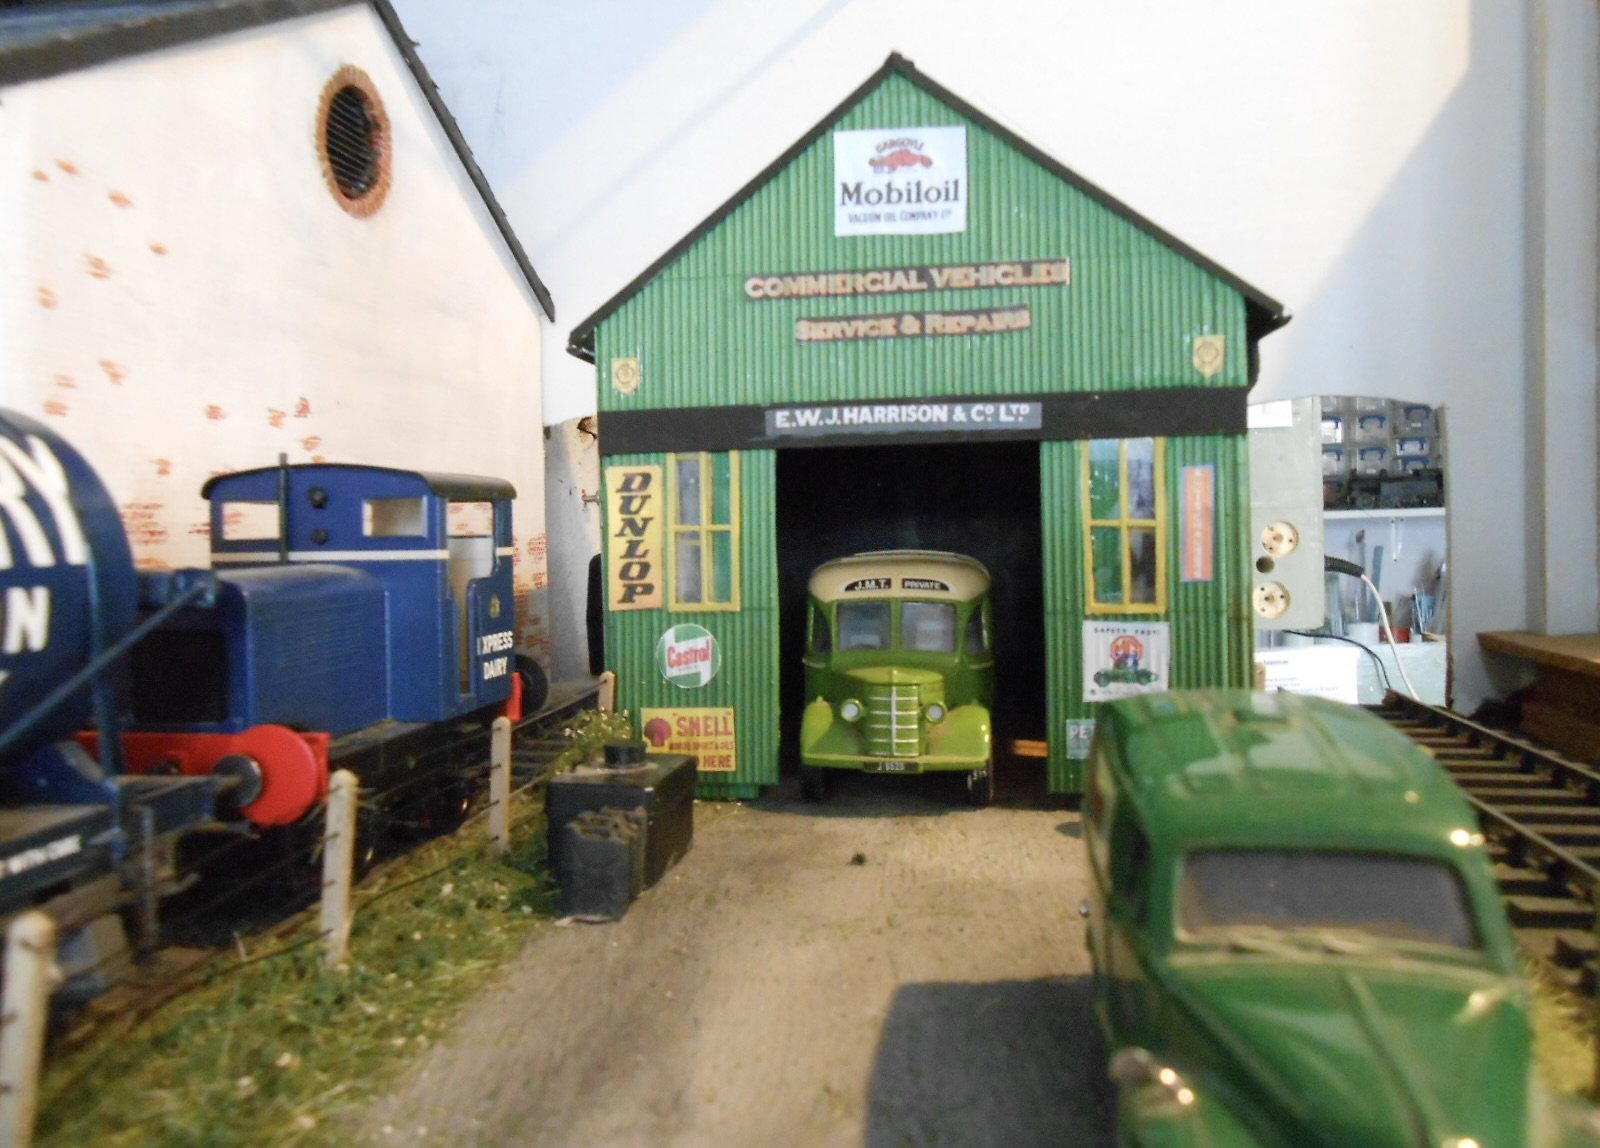
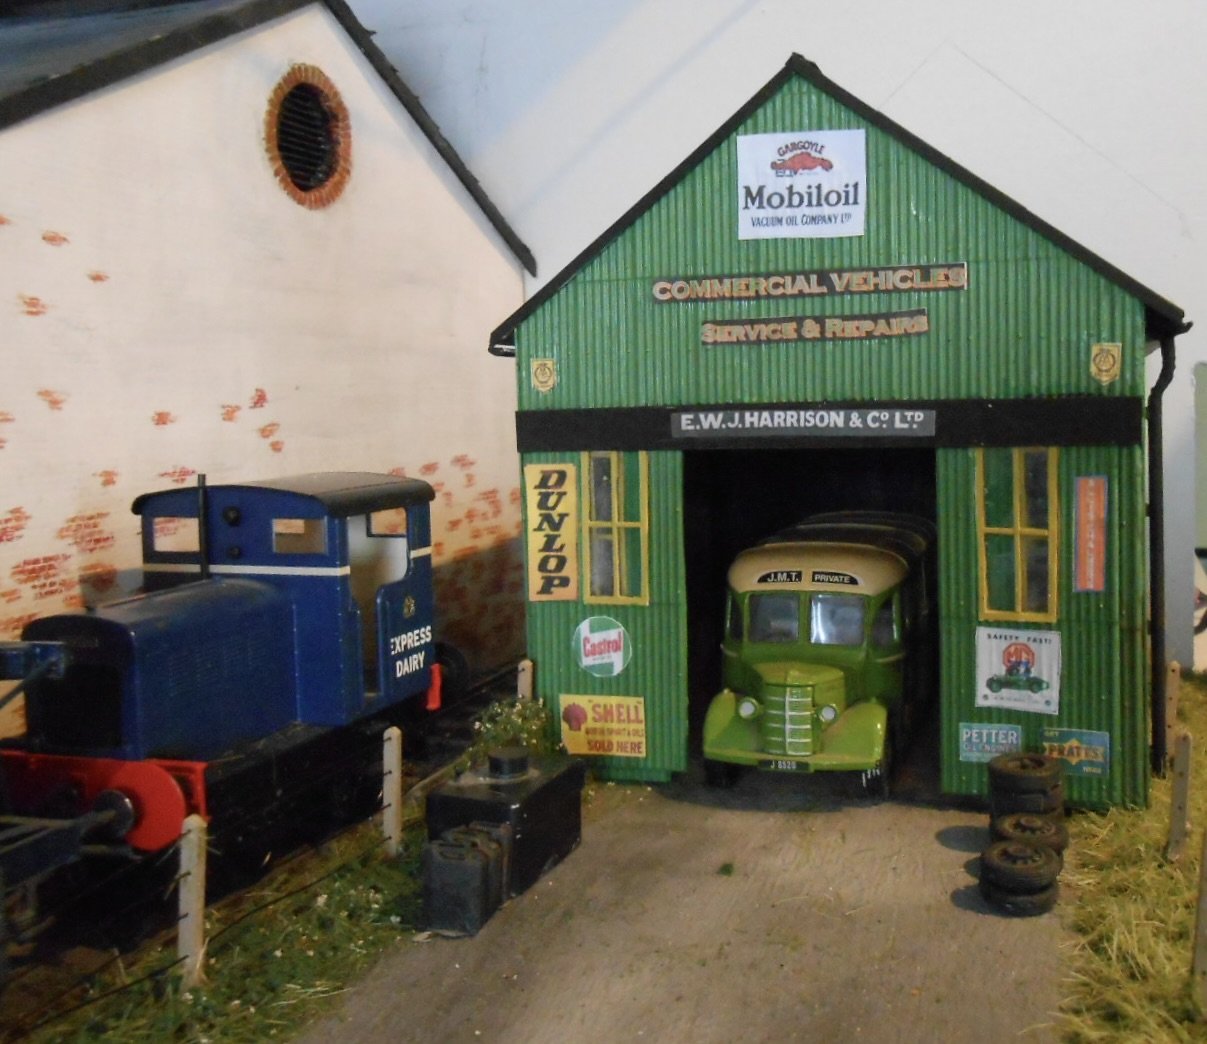
As you can see, there is another addition to the the right side scenics, this time a commercial vehicle repair shop. The building itself is made from Wills 4mm scale corrugated asbestos sheets, which work really well as 7mm scale corrugated iron. A basic card shell underneath, some hand made windows, plus a few paper labels acting as enamel signs and that's about it - though, a bit more weathering still needs doing. The scenics are a case of rinse and repeat as per last time, though for the yard surface I added chinchilla dust to the filler/pva/paint mix and then, once set a dusting of various weathering powders. Fence posts are laser cut plywood, with fishing line for the wires. A lot more clutter is still needed around the workshop. Road vehicles are [and will be] a mixed bunch. The Bedford OB is a Corgi Classic I picked up for a fiver the other day, while the Ransomes van [ideal for East Anglia] is a Vanguard model. The latter is at least 1:43, whereas the bus is 1:50 - mostly hidden in the workshop, it hopefully passes muster. There's a box of Dinky and Corgi models, from my childhood, in the the loft, which may get raided as per the Austin Somerset [below] though one has to beware as many of these are also 1:50 scale. I 'doctored' the Austin a few years ago, with a basic new chassis & wheels, plus glazing. The numberplate is that of Dr Ian Allen - famous railway photographer and local GP in these parts. So, there we are - am quite pleased with the way this end of the layout is developing. It's becoming the intimate scene I want to portray. The left hand track [with the DS shunter] is the private siding, leading to who knows where, but certainly out into the fields as an agricultural tramway, with sidings to the yet to be built dairy in the middle of the layout. The other track is the 'main line' [more of a branch] which will have various BR locos and short trains, connecting with the private line. Much ado about nothing as Iain Rice used to say.

- 93 replies
-
- 11
-

-

-
Lovely stuff! Details everywhere, while that colour slide is a gem.
-
When multiple things the like you've been dealing with of late, it's not hard to doubt yourself! There are so many variables in chassis building that I sometimes wonder why we bother. That said, your methodical approach usually pays dividends, while recent issues seem more to do with quality of actual components rather than construction. Hopefully, the cause with present itself after time on the shelf...
-
A real beauty, oozing with character - well done!
-
Splendid! Each picture a little time capsule.
-
Well worth you doing an article for one of the magazines. The Modeller pay well and the is also every reason for features on the rolling stock too. Deserves a wider audience!
-
More like full size practice than modelling. Love it!
-
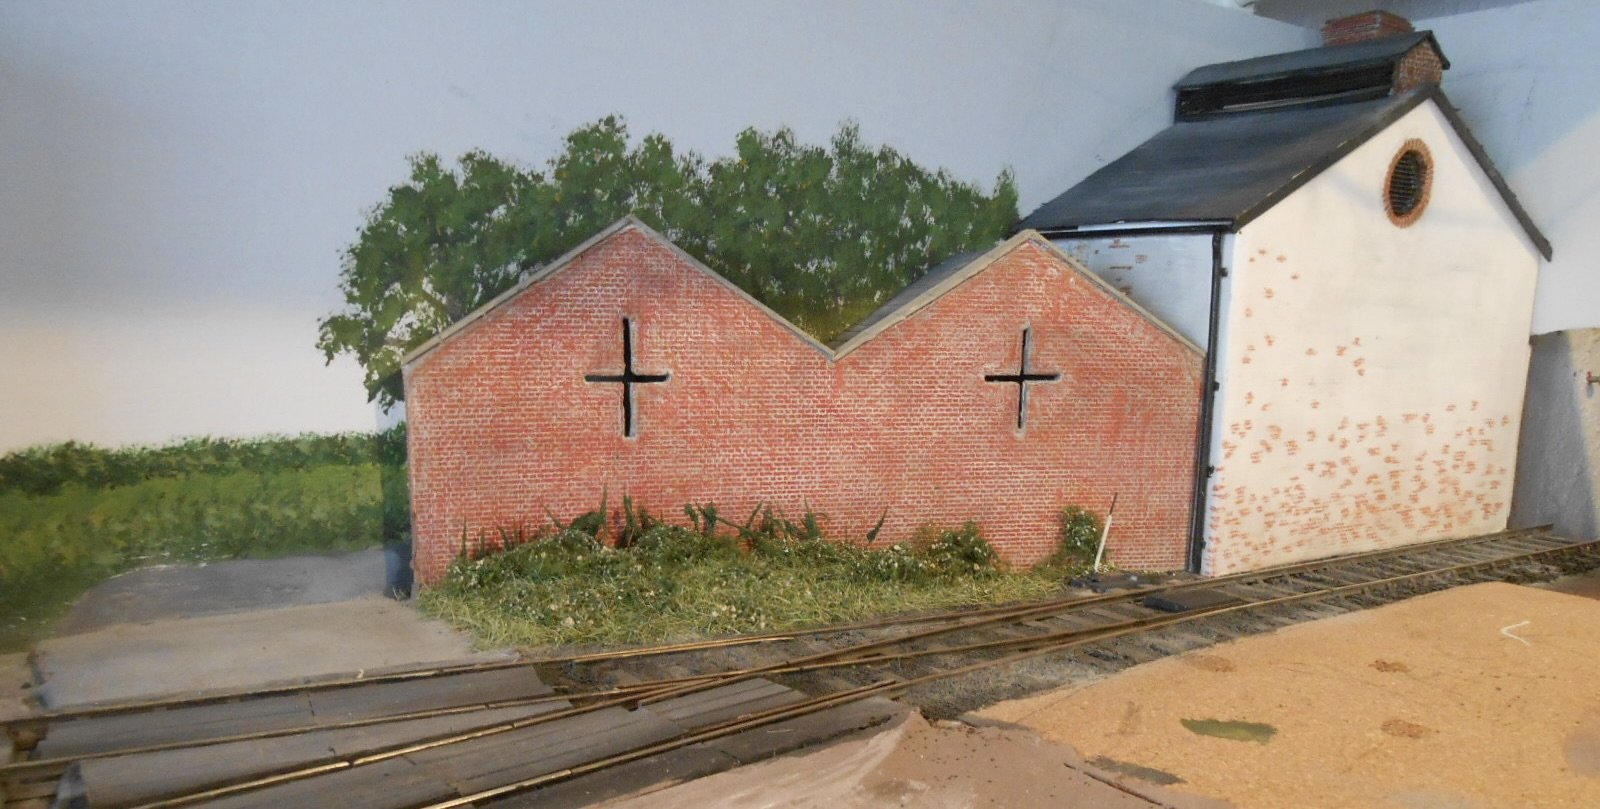
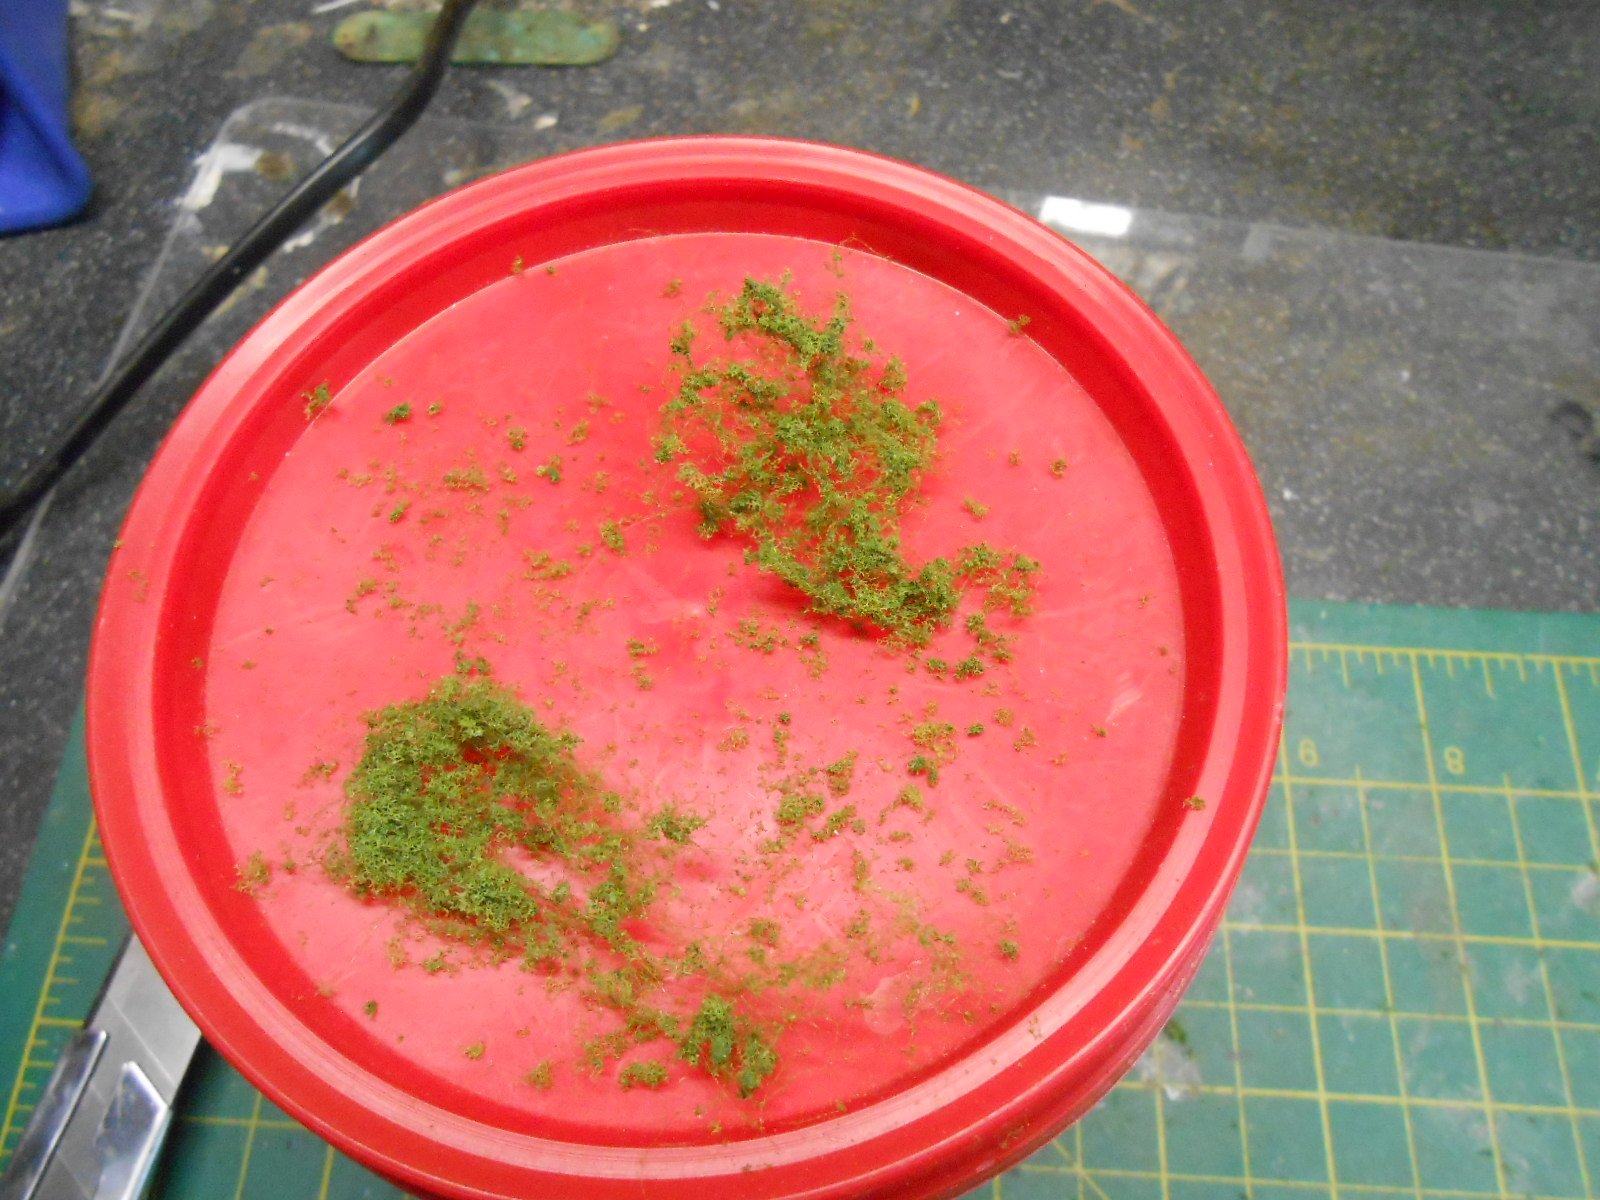
Hot sunny weather is not exactly conducive to model making. When it is nice outside, you want to be there to enjoy it, but when it is over 32c, as it has been here of late, then lurking indoors sometimes seems the best option - except that, despite our best efforts, it's been pretty hot there too. Anyway, not being one for sitting still for long, have found that doing bits of scenic work, which involves little and often, helps pass the times and means I'm still getting stuff done. So, have been working on the area in front of the new industrial buildings. As you can see, it is mostly a small triangle of wasteland, a place of nettles, dog roses, brambles, weeds and so on. There's nothing too complicated about creating this sort of thing - all the ideas come from Gordon Gravett's books. Step one was to prepare a sub base of card & foam board, which was then covered in a mixed of filler, pva glue and brown paint. Once this was dry/set, I then covered it with a mixture of Woodlands Scenics coarse and fine scatter, which adds a nice subtle texture. The static grass machine comes out next, adding a couple of layers of mixed fibres [colour and length] on top of the scatter. The latter needs to be fairly well soaked in glue for the first layer, but once it has set I use cheap hair spray for the second lot of fibres. Once dry, on top of this I dab small amounts of pva, upon which I sprinkle fine, dark green scatter, which is the first step in creating weeds Woodlands foliage is then used for the larger plants. You tease out a small amount, which you can then fix in place with pva, before adding more fine scatter to this to create the leaves. For flowers [eg brambles and dog roses] I add white and pink granules to the fine scatter, about five to one in favour of the latter, which seems to give the right effect. After that I added some nettles, made in the same way as before, by wiping thicker fibres in pva and then straight into fine, dark green scatter. Once dry, they are easy to plant in the deeper foliage, fixed with more pva. As you can see, I've also ballasted the track in this area and made some sleepers from thick card to create the road crossing into the garage area. Hopefully, the weather is going to cool down soon, so I can get back to more substantial modelling.
-
Nice!
-
In the early days of P4, rewheeled Lima diesels, with lots of added weight were known to be excellent haulers.
-
Elegant work as ever. I suspect the Society of Why Don't My Models Work Without Fettling has a considerable number of members, of whom I am also a member. If I could be bothered, am sure a suitably rude sounding acronym could be formulated.
-
Sound very much like Aveling and Porter locos. Essentially traction engines on rails. The Brill Tramway had one as did Garretts of Leiston, plus numerous chalk and cement works.
-
I suppose that, being made first and foremost as toys, they made them sturdy. Current models are works of art, with complex mechanisms and remarkable haulage capacity.
-
Any news of this fantastic layout? See its been nearly a year since the last post.
-
Thanks Eoin. Love the chassis set up!
- 69 replies
-
- 2
-
-

-
- o gauge layout
- irish outline
- (and 2 more)
-
Sounds like it is running better than mine ever did - three coaches was its limit and not a patch on the Hornby Dublo Pacific my friend had. Things have certainly moved on since then, but I wonder how salvageable some of the current finescale ft will be in 60 years time - especially if they are actually used in a regular basis.
-
7mm scale GMs - tell us more, please!
- 69 replies
-
- 1
-
-
- o gauge layout
- irish outline
- (and 2 more)
-
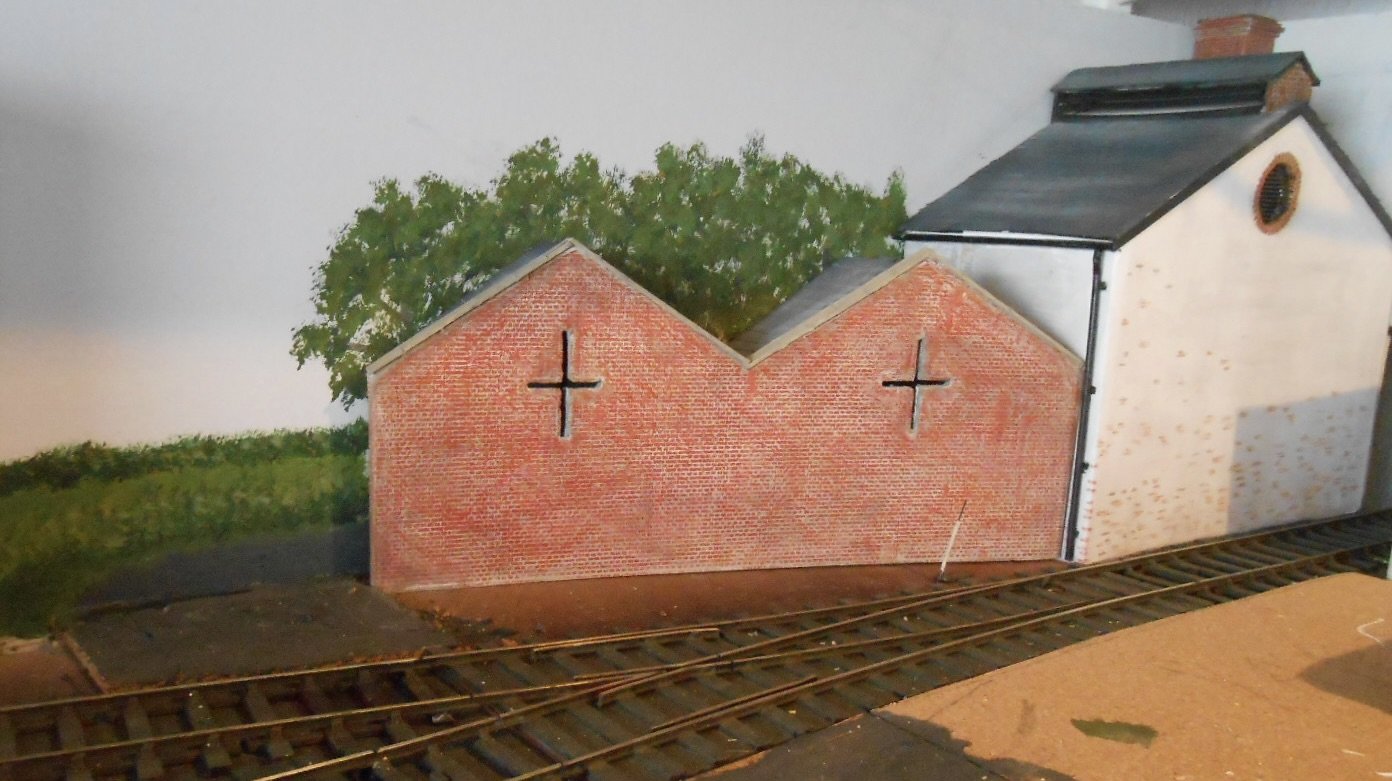
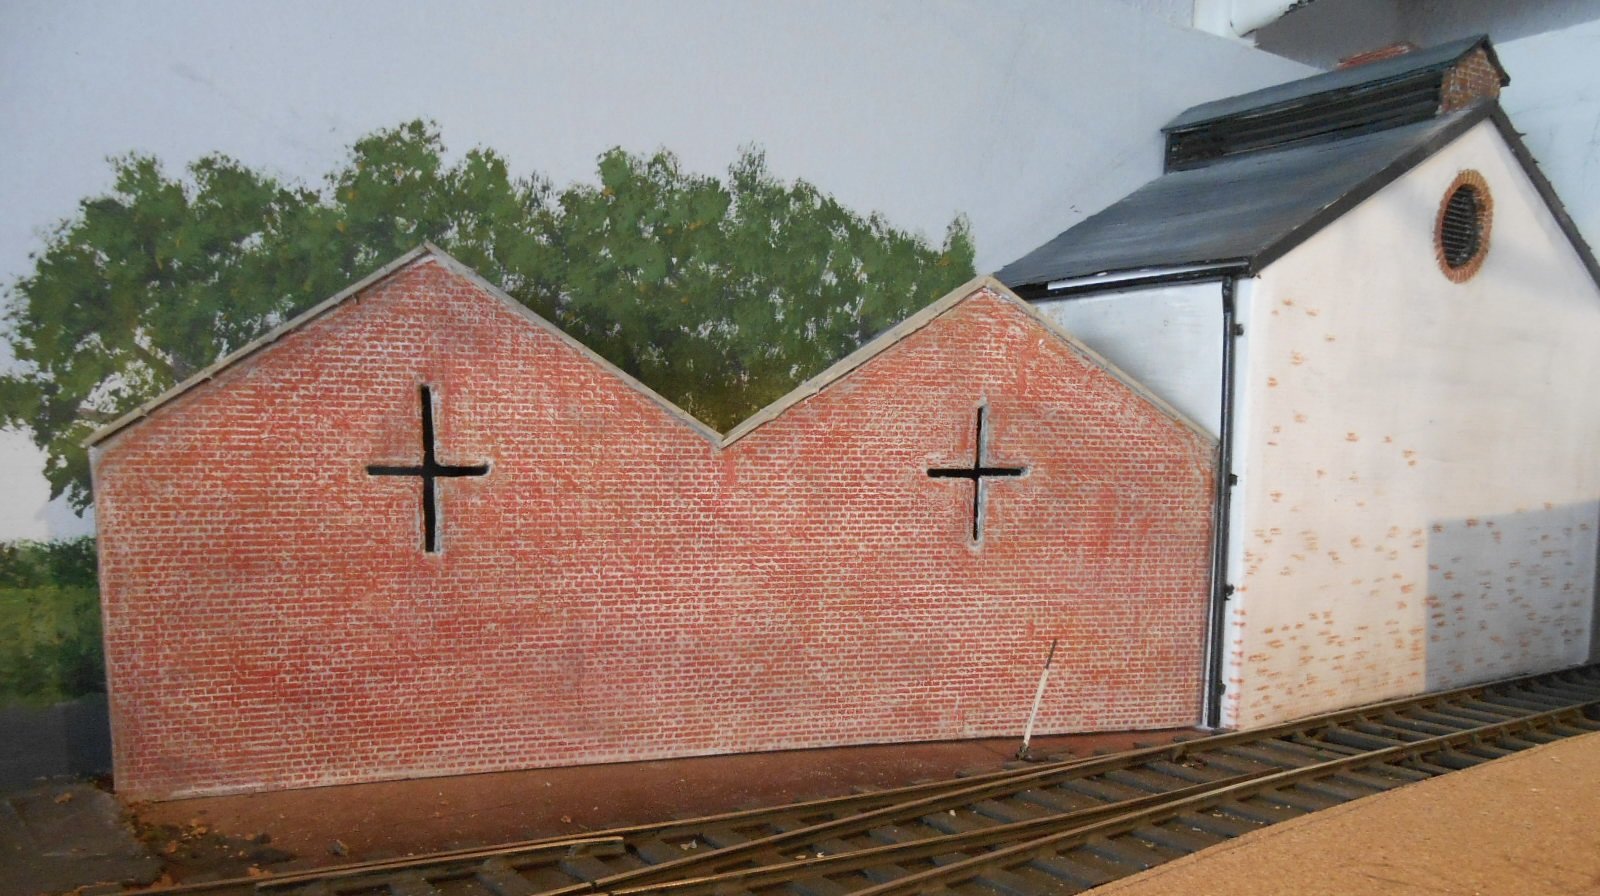
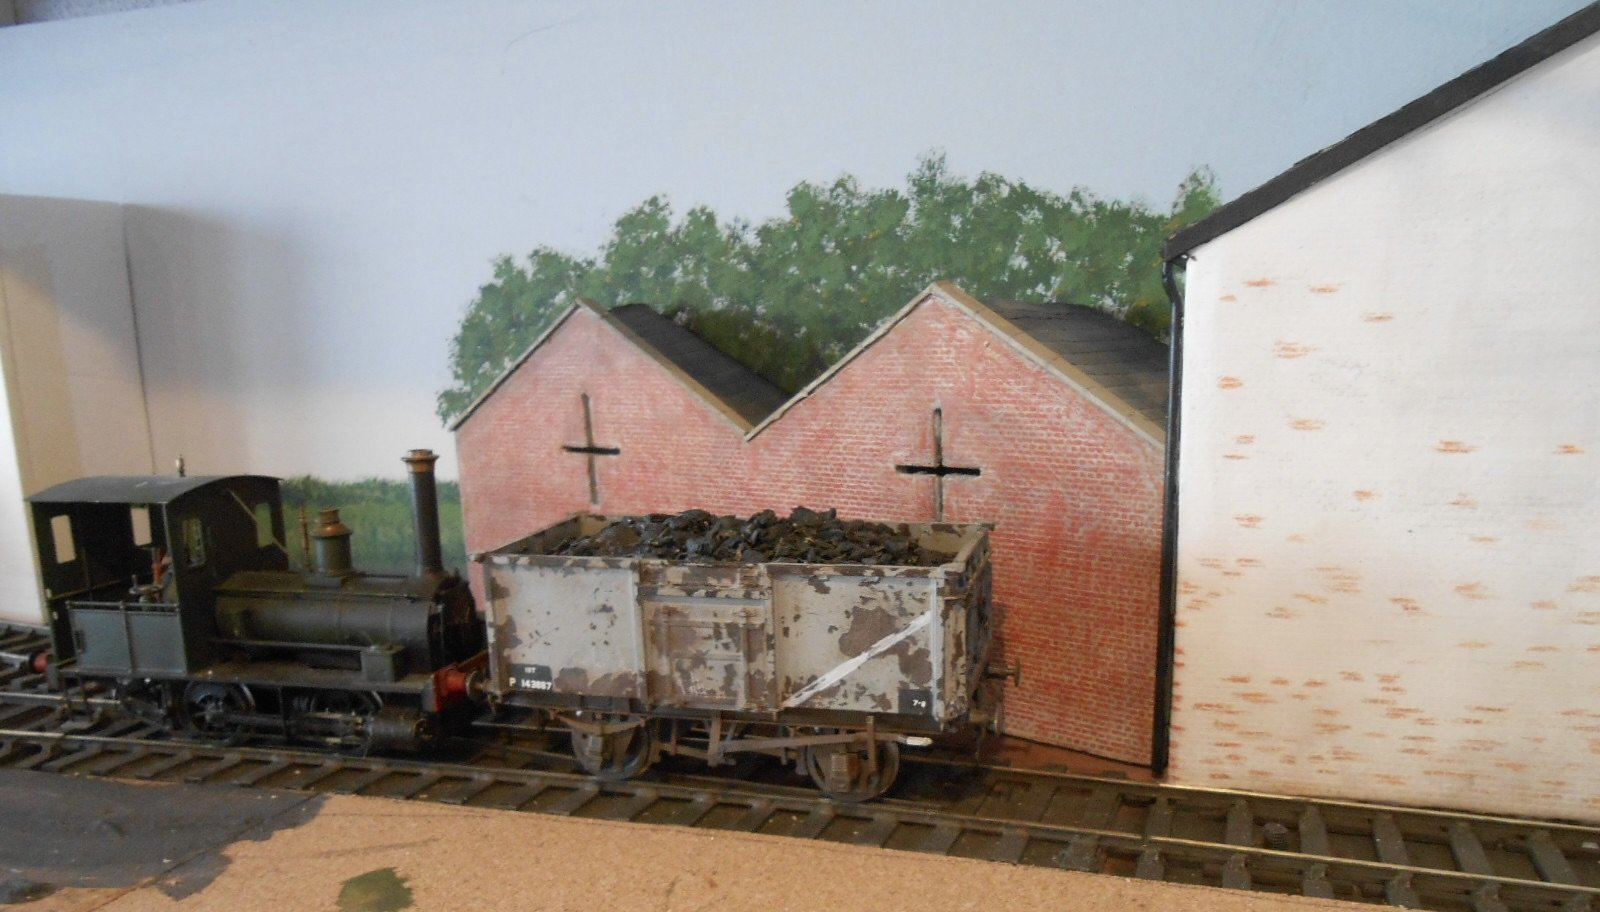
I've been working on the two industrial buildings this week. Nothing special about them really, except perhaps that, with all the talk about 3D printing, these are very much old school, being foam board shells, covered with Howard Scenics embossed brick. Roofs are both card, with water-colour paper cut into strips for the slates. Plain brickwork is water-colour pencil "brass rubbing' style over the embossing, with acrylics doing the job everywhere else. The next job is to bed both buildings into ground cover. As you can see, the back scene has been enhanced in my usual style, with acrylics to represent trees and hedgerows, along with a road curving round behind the building. I will be adding a crossing for this road, into the yard, serving either a car repair shop or a small independent bus garage. The other two pictures show my George England [ex Wantage] well tank, pushing a loaded wagon of coal off scene to the gas/engineering works.
-
Thanks Rob. As I've said before - clever stuff!
-
Methinks some of our brethren are speaking in tongues and are making my thumbs itch. Alchemy and acronymphomania! As ever, there is so much to learn about new and seriously clever stuff.
-
Fascinating. Do you have to CAD all those supports in, or are they part of the printing software and process?