-
Posts
3,490 -
Joined
-
Last visited
-
Days Won
11
Content Type
Profiles
Forums
Events
Gallery
Blogs
Store
Community Map
Everything posted by Glenderg
-

The possibility of a RTR 20ft wagon chassis?
Glenderg replied to leslie10646's topic in General Chat
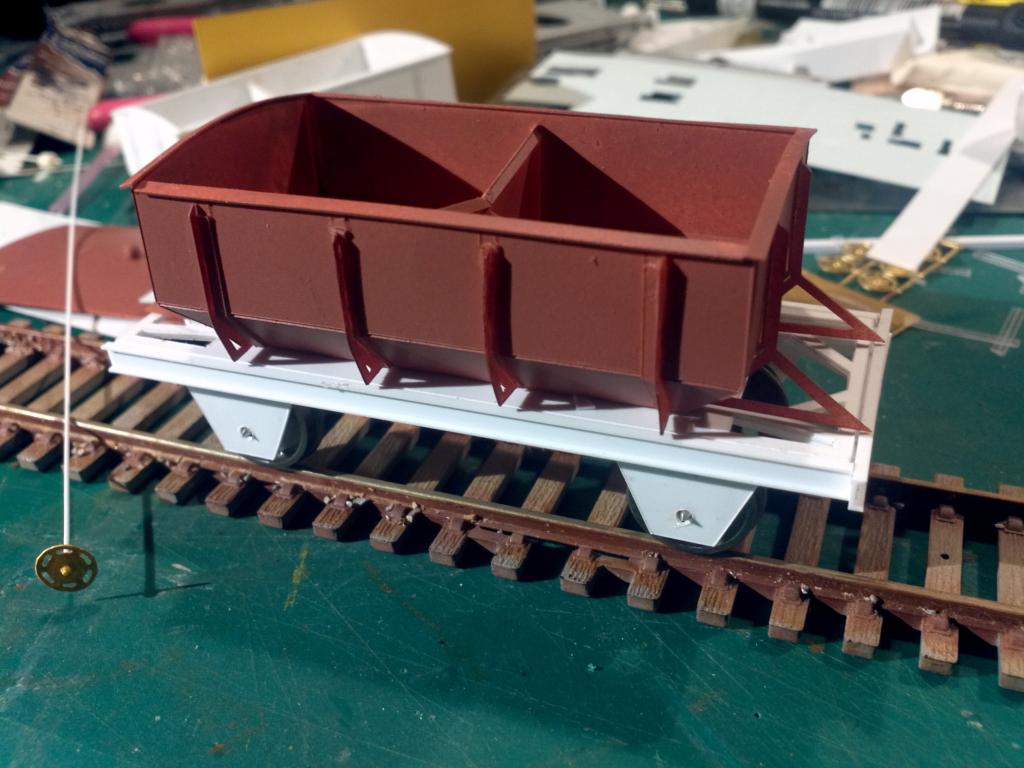
Quick and dirty prototype this evening - not for the finescale modeller, but it works. Concept is a fold up inner frame and then cosmetic solebars and buffer beam on. Added additional shims around the bearing to stop the wheelset dropping out.[ATTACH=CONFIG]12540[/ATTACH] This is the scale width of the real thing, with a scale ballast hopper on top. All i need now is to cast the cosmetic axel assembly and detail it up, as ou would with a prestwin - brake gear, bum hopper, brake wheels vac pipe, buffers and coupling hook. Cost to me so far.... a little over a euro..... -

The possibility of a RTR 20ft wagon chassis?
Glenderg replied to leslie10646's topic in General Chat
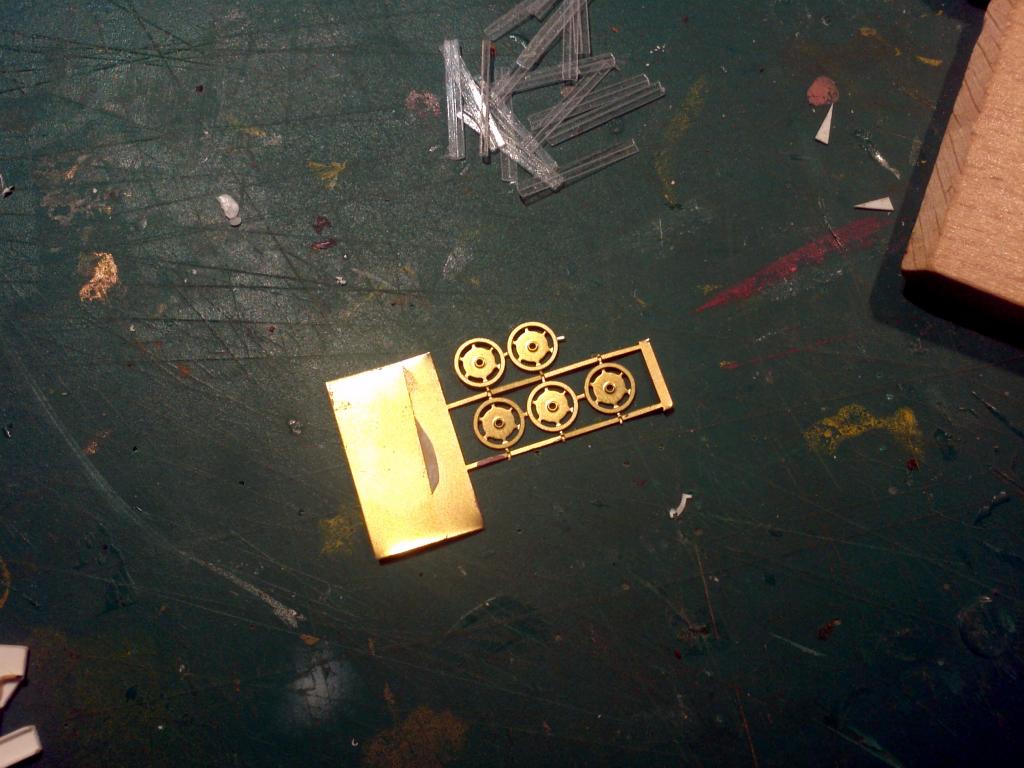
Twould appear they are irish. People use kadee brake wheels as a stop gap, but they tend to stick out. These are the ones you'll be wantin. A prototype from SSM... -

The possibility of a RTR 20ft wagon chassis?
Glenderg replied to leslie10646's topic in General Chat
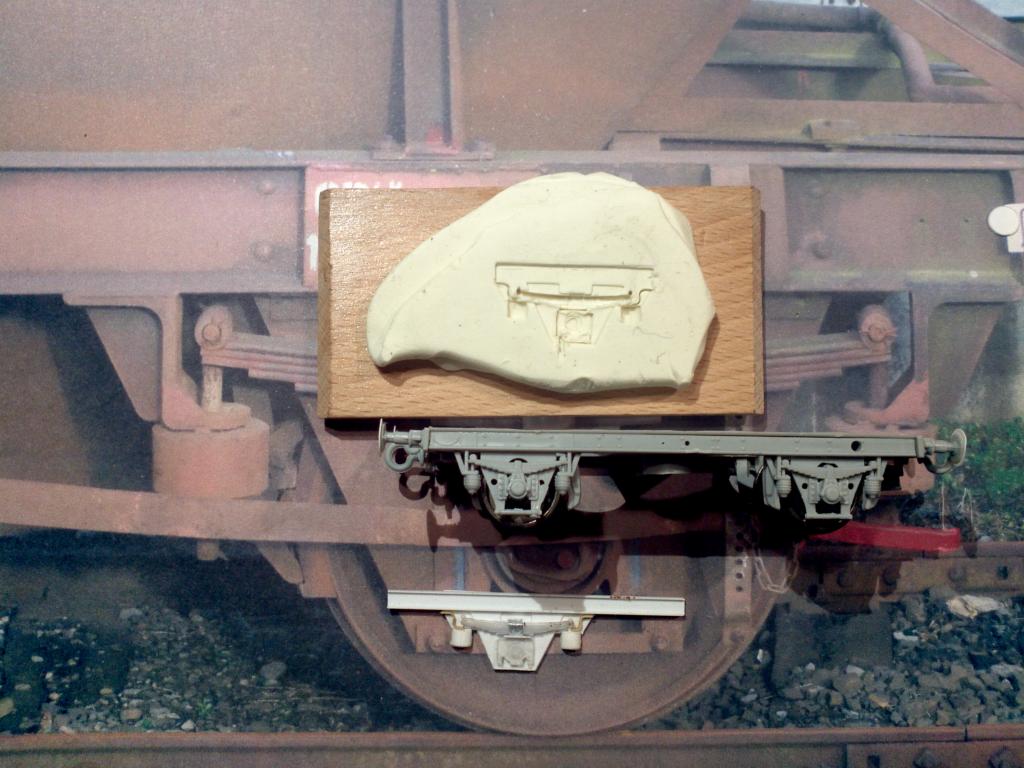
I've been working on the prestwin chassis, like most of us here, and generally accepting it as legit for irish just because it has the 12 ft wheelbase. The more of them i built, the more i've seen their shortcomings. Buffers are wrong, brake gear is weird, and size is a bit unreliable. At the weekend i just got a goo on me to have a look at making up the axle box, leaf springs, and dampers to see if it could be cast. Up top is a bit of mawla, ( just to check the voracity of the model) the middle is the prestwin, and below my effort. You can see the obvious difference between the prestwin and the original. Not making out for a minute my effort is super duper here... Where i'm going with this is three fold. If a chassis is to be available that is ball park correct, it needs to be priced below the cost of the dapol prestwin as it does not contain wheels nor couplings so we're talking about 4 ish euro to make it competitive. Resin is a donkey material that does more twisting than elvis and has no weight, so is whitemetal the preferred option? Lastly, are folks prepared to add after market buffers coupling hooks and brake gear, or would they want it included in the overall kit? I'm just throwing this out there for a bit of disussion. Casting is not in my skillset, but it might inform other manufacturers. Richie. -
Jhb - i have some slides from Cabra in the 70's that show the original livery of gunsmoke blue/grey up top and black for the chassis. The wagons are so clean, they even have a brake van at the rear!
-
Superb! Mind if i add those tips to my "tutorial"? Richie
-
Top class as always K!
-
The very best of luck George with the next adventure, sounds like an interesting departure. As the lads have said, you're work speaks for itself, so don't be a stranger! Couldn't do without tips like the "superglue resevoir" richie.
-
Try using the masking tape on a spare bit of plastic to do a test white line. Put the paint on, and let it dry. If it's streaking, and you've put the masking down right, you've either put too much paint on in one go, or the paint is too thin and running underneath the masking. Better to put on three thin layers of paint, than a single heavy one. HTH. R.
-
A strangely entertaining experience i find. Be interesting to see what she looks like in the buff.
-
Really impressive. What manufacturer are they from ?
-
Laminates? Iarnrod Eireann Uniforms? Luas Tickets? Filofaxes? Me head exploded.
-
Oh wow, they look superb. Looking forward to them a wee bit dirty, but they look the biz... When can we expect a vid of them in action?
-
Mark, I think I can "find" the main discharge nozzle in the kit too, will update on the next bubble.
-
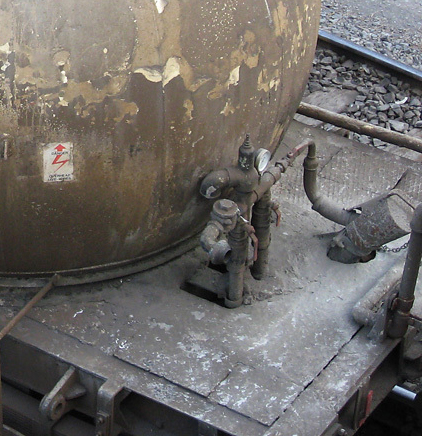
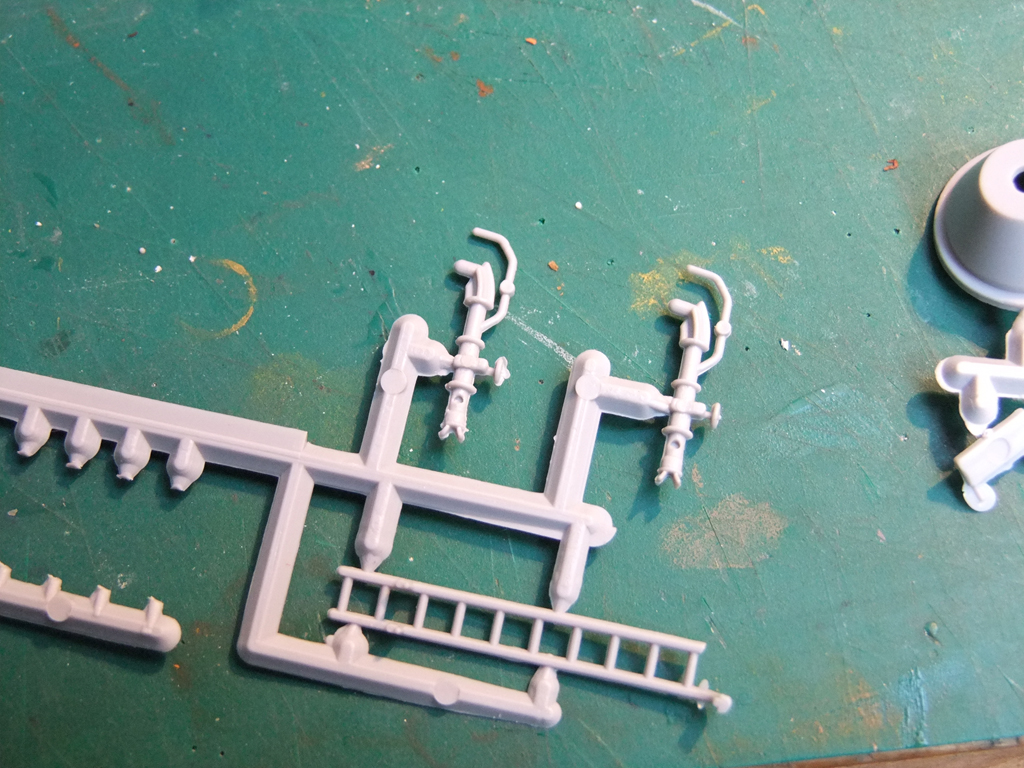
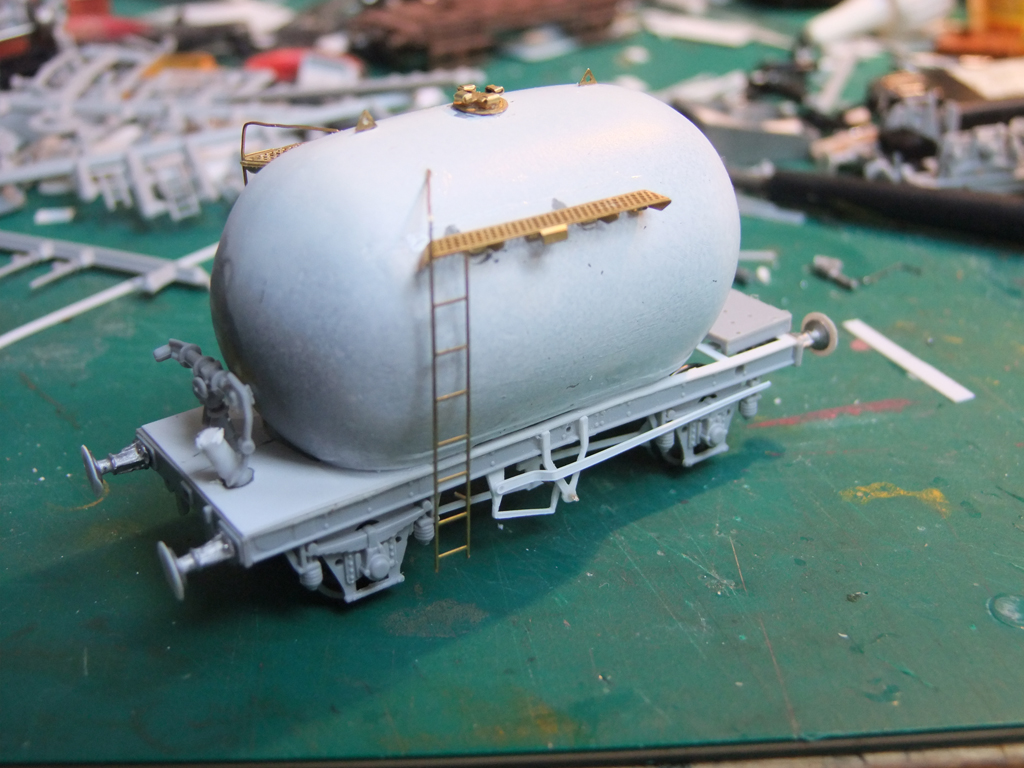
Quick little hint more than tutorial. Following on from the D&M release, and my own building of a cement bubble, I was faced with the "how do the pipes at the end" question. Now this isn't perfect, but to my mind it's good enough to add a bit of detail. Pipes in question.. Spares from the Dapol Prestwin Kit... Grab the pair of pipes from either lower left or right. and one of the discharge pipes from this sprue. Make two small holes on the deck to the left of centre and pop in the upright pipes, shearing off the horizontal parts. Nip off the extra piece on the discharge pipe, and turning the discharge pipe on the side glue it to the two uprights. A piece of cotton bud/cocktail stick at an angle should do for the main tank discharge pipe. Just a bit less naked methinks.
-

The possibility of a RTR 20ft wagon chassis?
Glenderg replied to leslie10646's topic in General Chat
To address both Horsetan and Warbonnets thoughts, the Minimum wage in Ireland is €8.65 an hour. So let's start with that in respect of the chassis alone. I timed it this evening to trim, fix, add larger irish buffers plates, and add some detail. Cleaning up the underside and adding a passable brake gear would easily take another 15 minutes. So we're up to €16.00. Squirt of primer and let the whole thing dry, another 50 cent. Oh and what if you wanted steps for that brake van, or a plough for the ballast plough. Another half hour to get them right, form them, wait for them to glue, so we're up at €21.00. At this point lets assume, as a wagon, I'm going to do the Ballast Plough. Do I ask the punter to pay for my design skills that are put into it spread over the cost of the amount of wagons I intend to produce? Of course I do. A meagher rate of €22 per hour would be absolute base, and looking at least 8 hours to produce and refine accurate CAD drawings would be damn fine progress. So let's go with that for pig iron. €176. Let me assume I'll sell 36 of those units over the lifetime of the project, that adds another €5 to each kit. So, quick recap. Loads done, but only a chassis glued together - €26.00. I need to cut out the styrene parts to form the cab, glue them and let them sit. €1 for the styrene and 1 hour to assemble the cab. €35.65 By the time I form a roof, get the ventilators, add the handrails to the sides, another hour has gone by. €44.30 - say €45.00 to pay for the brass and the glue and the vents. Another squirt of primer, and let her sit. Paint will take another hour in the morning, and that's only the base coat. €53.65 and wait for the base coat to harden, usually overnight. Make it €55 to pay for the paint. And the masking tape. Decals can be sourced from whomever, say €2 as a rough figure. It takes me ages to put decals on, don't want them sliding all over the shop, so we're up to €65.65. Once that's done it has to get a coat of sealer to blend the decals, and lock the finish. That takes a few hours to harden properly, and then the windows and etches can go on the top, so probably up around the €70.00 mark now, and you have a finished ballast wagon. Here's the hidden bit - If I started one on a Monday morning 9 a.m., I would be lucky to have one haven gone all the stages of drying for paints by friday afternoon. I'd also have to do about 8 of them to make my time worthwhile. Now imagine I had the cheek to add a modest bit of profit on top, say a tenner for taking the risk and so on, would you buy a poxy ballast plough for €80 ???? I certainly wouldn't. Thoughts on a postcard... Richie. -

The possibility of a RTR 20ft wagon chassis?
Glenderg replied to leslie10646's topic in General Chat
Ballast Plough Ballast Wagon Magnesite Wagon Pallet Cement Curtain Cement 20 Planked, 20 Steel and 30 Ton Brake Van Bulleid Open Beet Wagon (Double Bulleid) Cable Train Wheelset Wagon Shallow Spoils Bayrte Ore Plenty stuff to lash to a prestwin chassis..... -
Exquisitely subtle tones on that LNER Wagon, really really impressive. Is the cattle wagon one of Leslies (PW) masterpieces?
-
OooOoo, nice work!
-

The possibility of a RTR 20ft wagon chassis?
Glenderg replied to leslie10646's topic in General Chat
For even making the effort, I take my virtual hat off. Am sure the 5000 would shift, eventually. Therein lies the commercial problem. "eventually" -
Tunes by Micheal O'Suilleabhain, a student of O'Riada in UCC. Legend. Fabulous video Patrick.
-
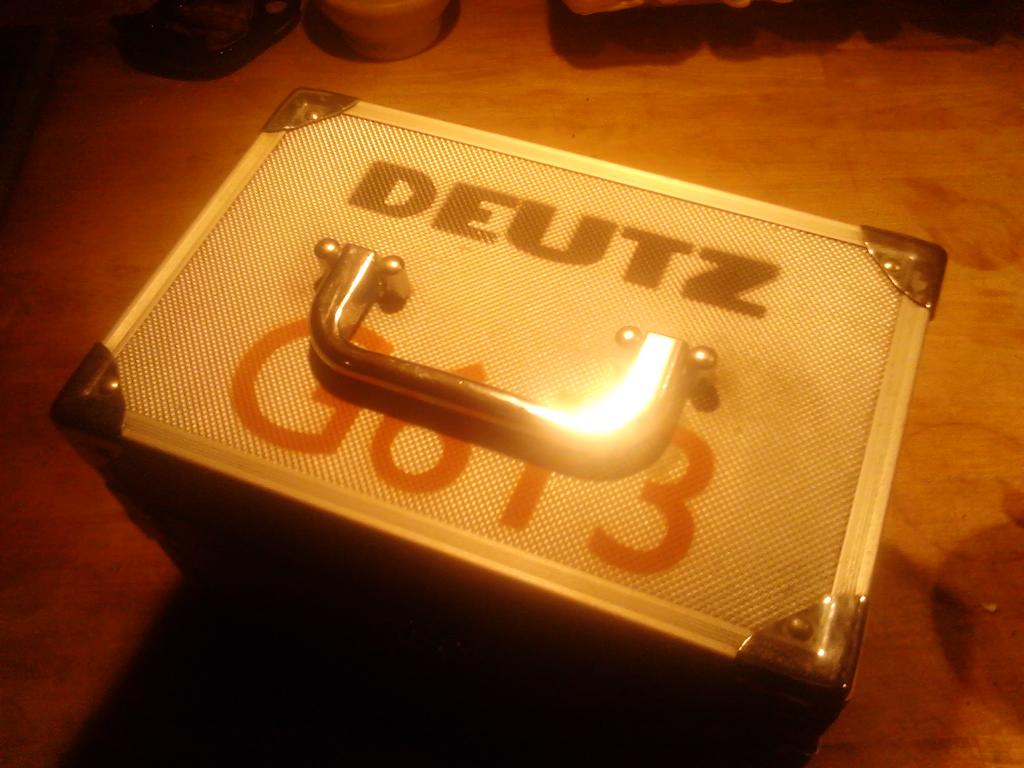
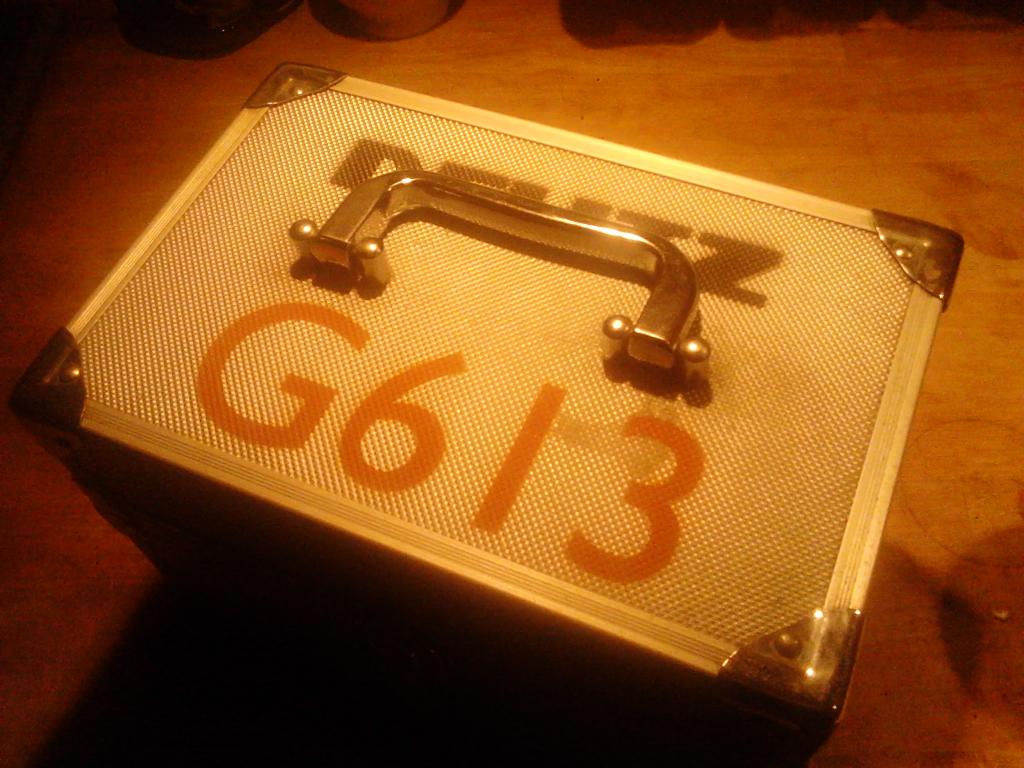
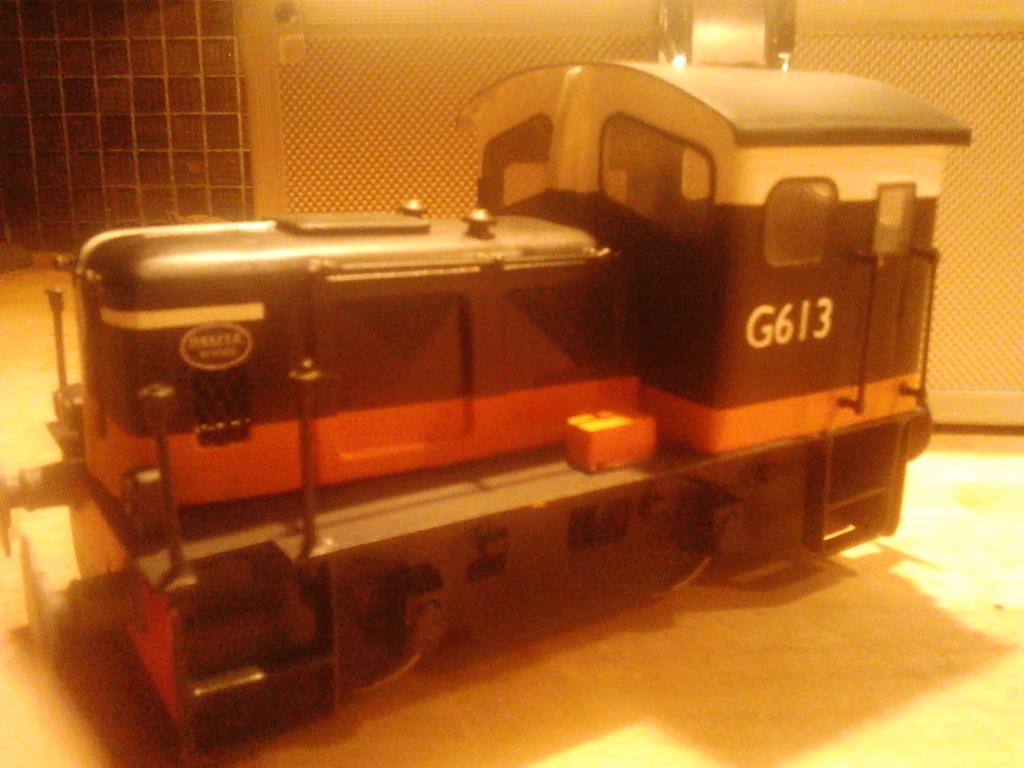
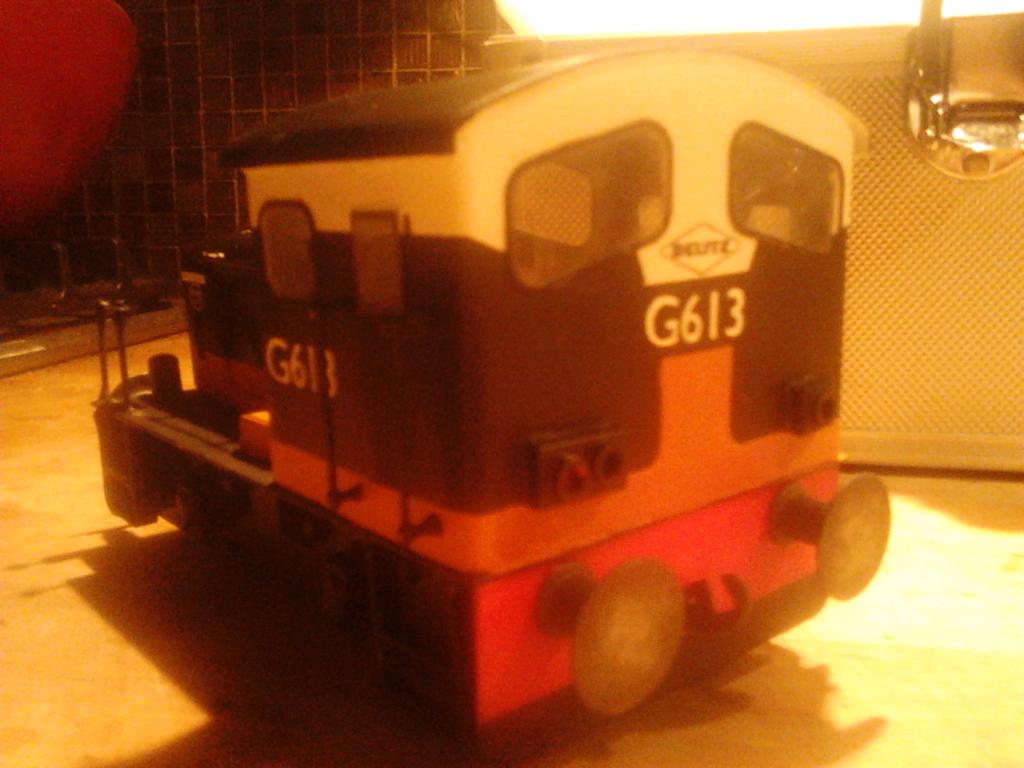
Not often stuff arrives at my door in an aluminium flight case without a pair of russian/south american heavies accompanying the goodies. This time it was just wrenn, with a sratchbuilt 0 gauge G Class, in all over black without markings, windows, nor decent budget. Have a nice flight dave. Am sure she'll still be here when you get back.... (taking offers...) R.
-
The windows are painted in? So that doesn't technically make them windows, just recessed panels? Have I that right?
.png.c363cdf5c3fb7955cd92a55eb6dbbae0.png)
