.png.c363cdf5c3fb7955cd92a55eb6dbbae0.png)


Paddy Mac Namara
-
Posts
186 -
Joined
-
Last visited
-
Days Won
1
Content Type
Profiles
Forums
Events
Gallery
Blogs
Everything posted by Paddy Mac Namara
-
OO Irish freight wagons, vans etc
Paddy Mac Namara replied to Paddy Mac Namara's topic in Irish Models
thanks Fran, no shame trying to earn a living. -
Hi all, any ideas for where i can get irish wagons etc for my layout, or even hornby/dapol/bachmann stuff that wouldn't look to out of place. i'm flexible on the era, 70's ,80's, 90's. not kits though. RTR cheers paddy mac
-
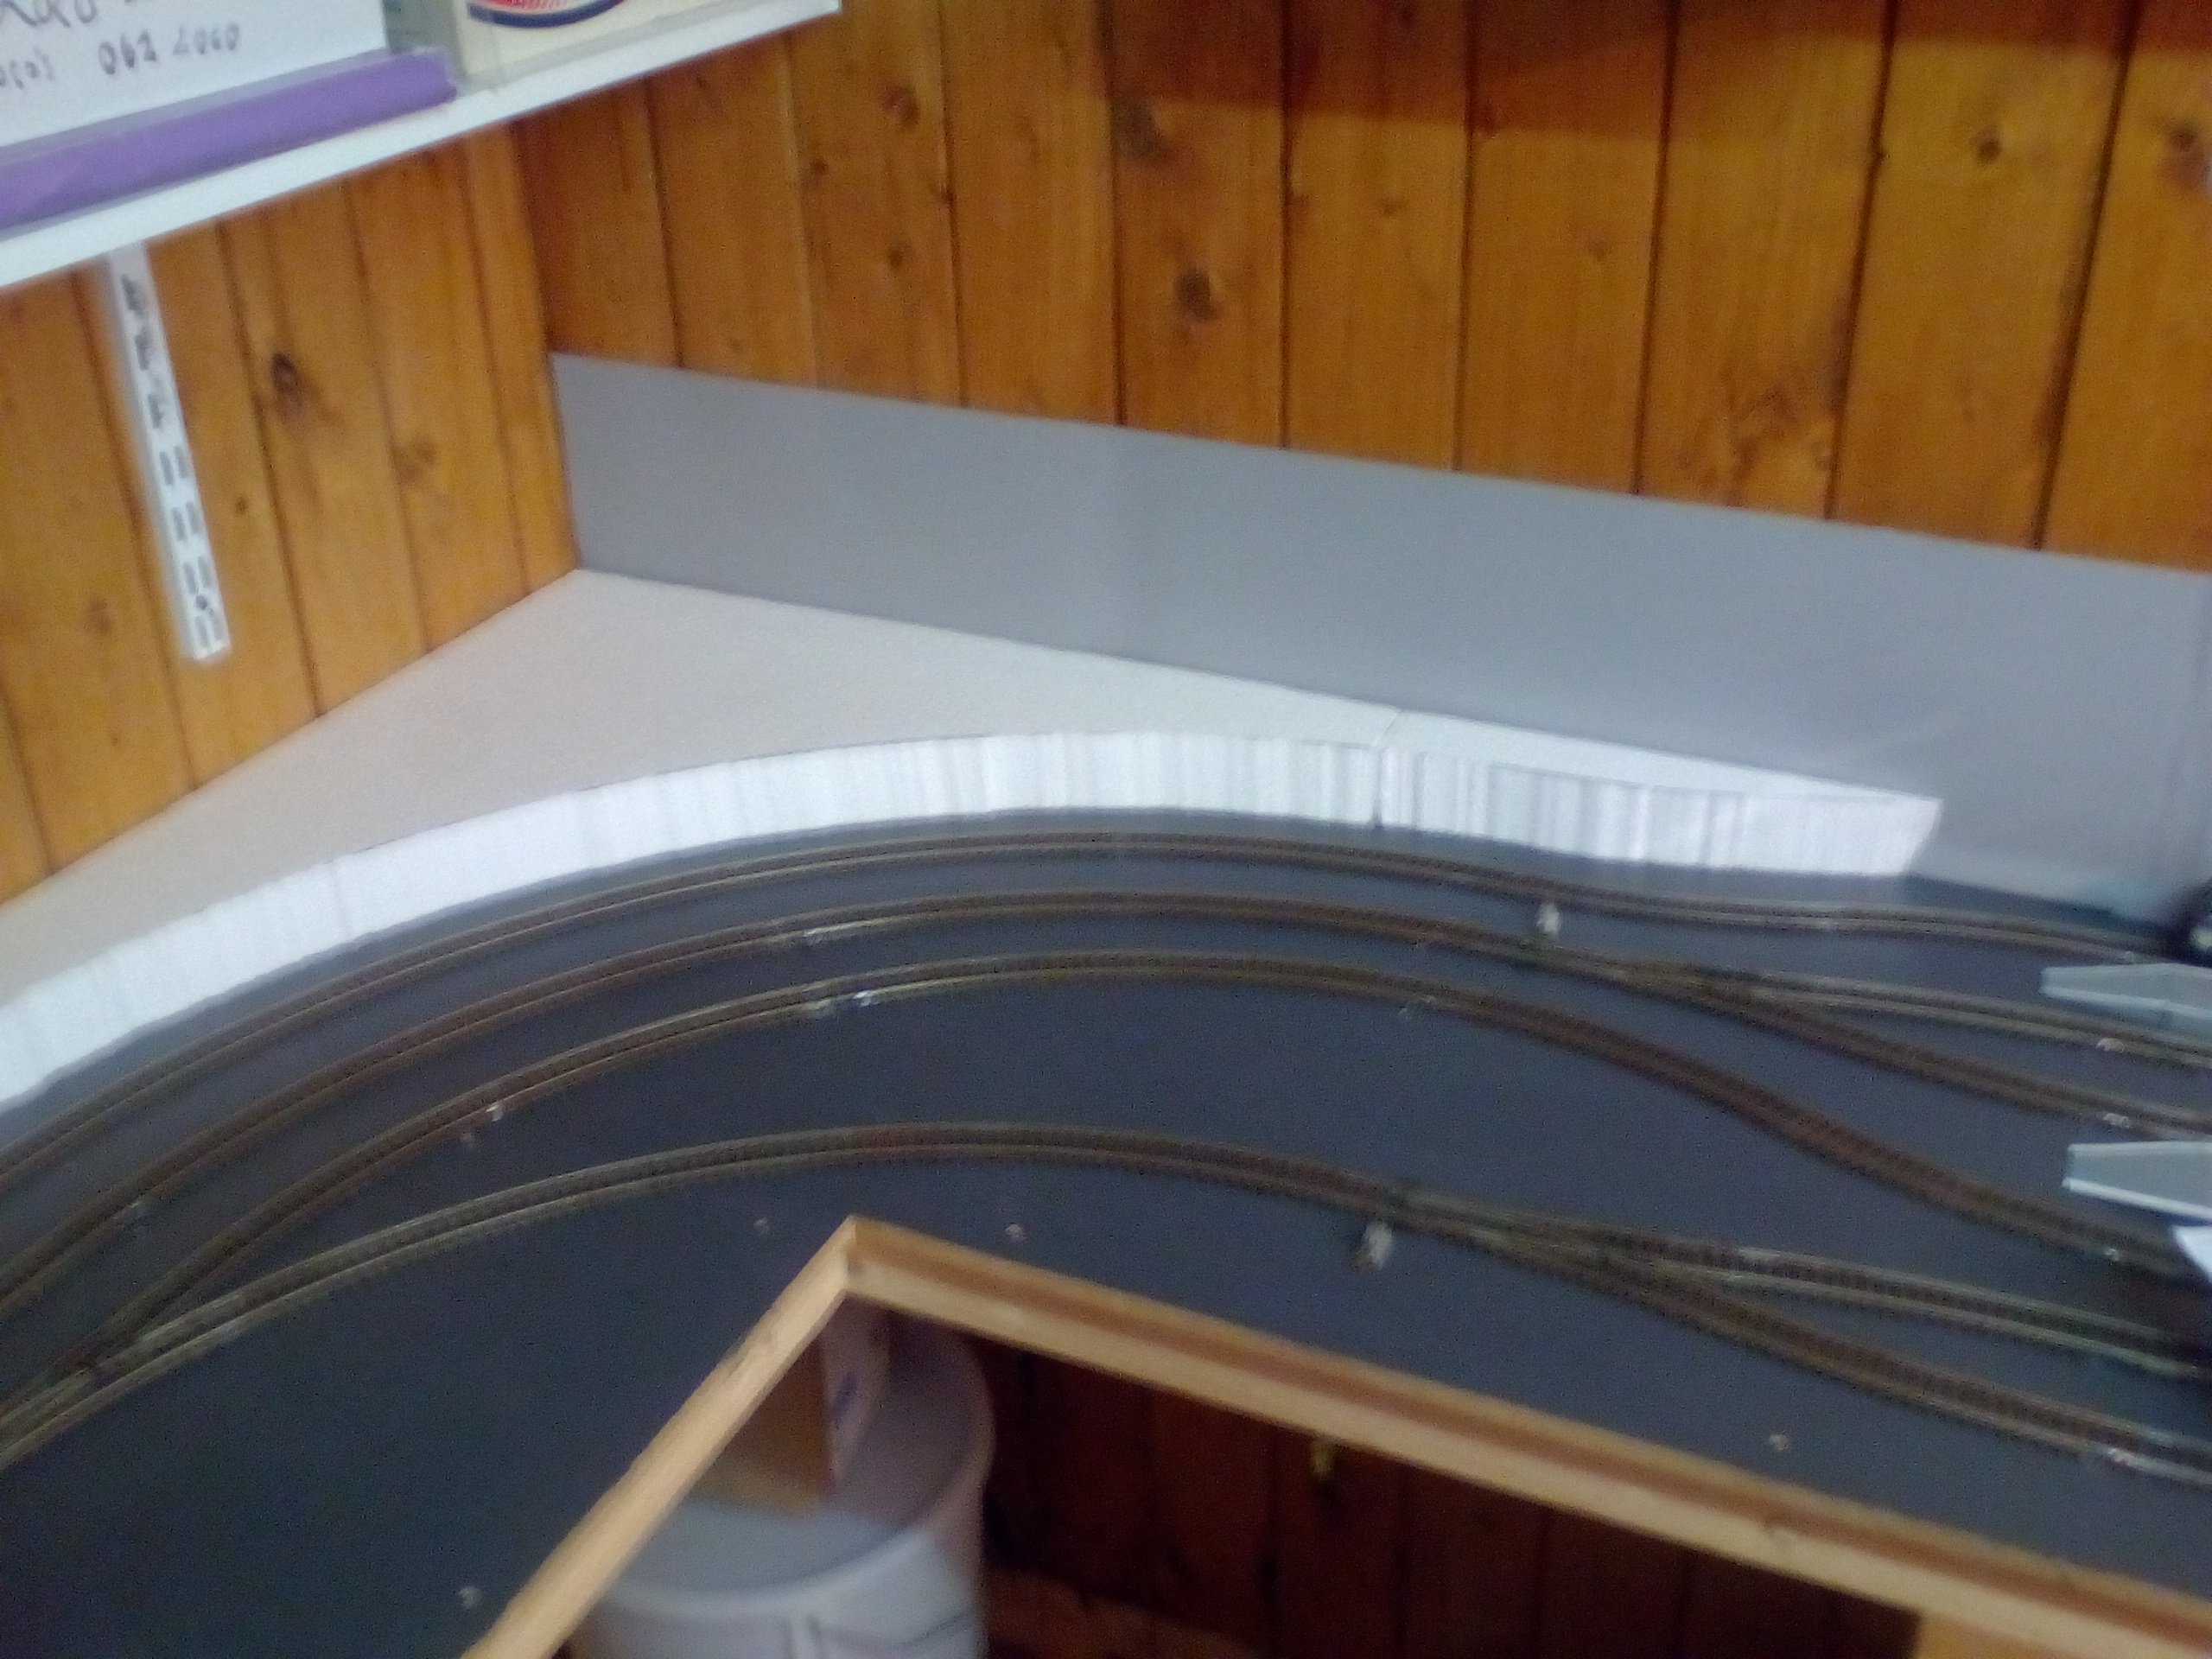
cheers rob, track is Hornby, painted with acrylic "burnt umber", of course no ballasting done yet, i have so much track i'm not looking forward to that job
-
Plaster is usually white when fully dry.
-
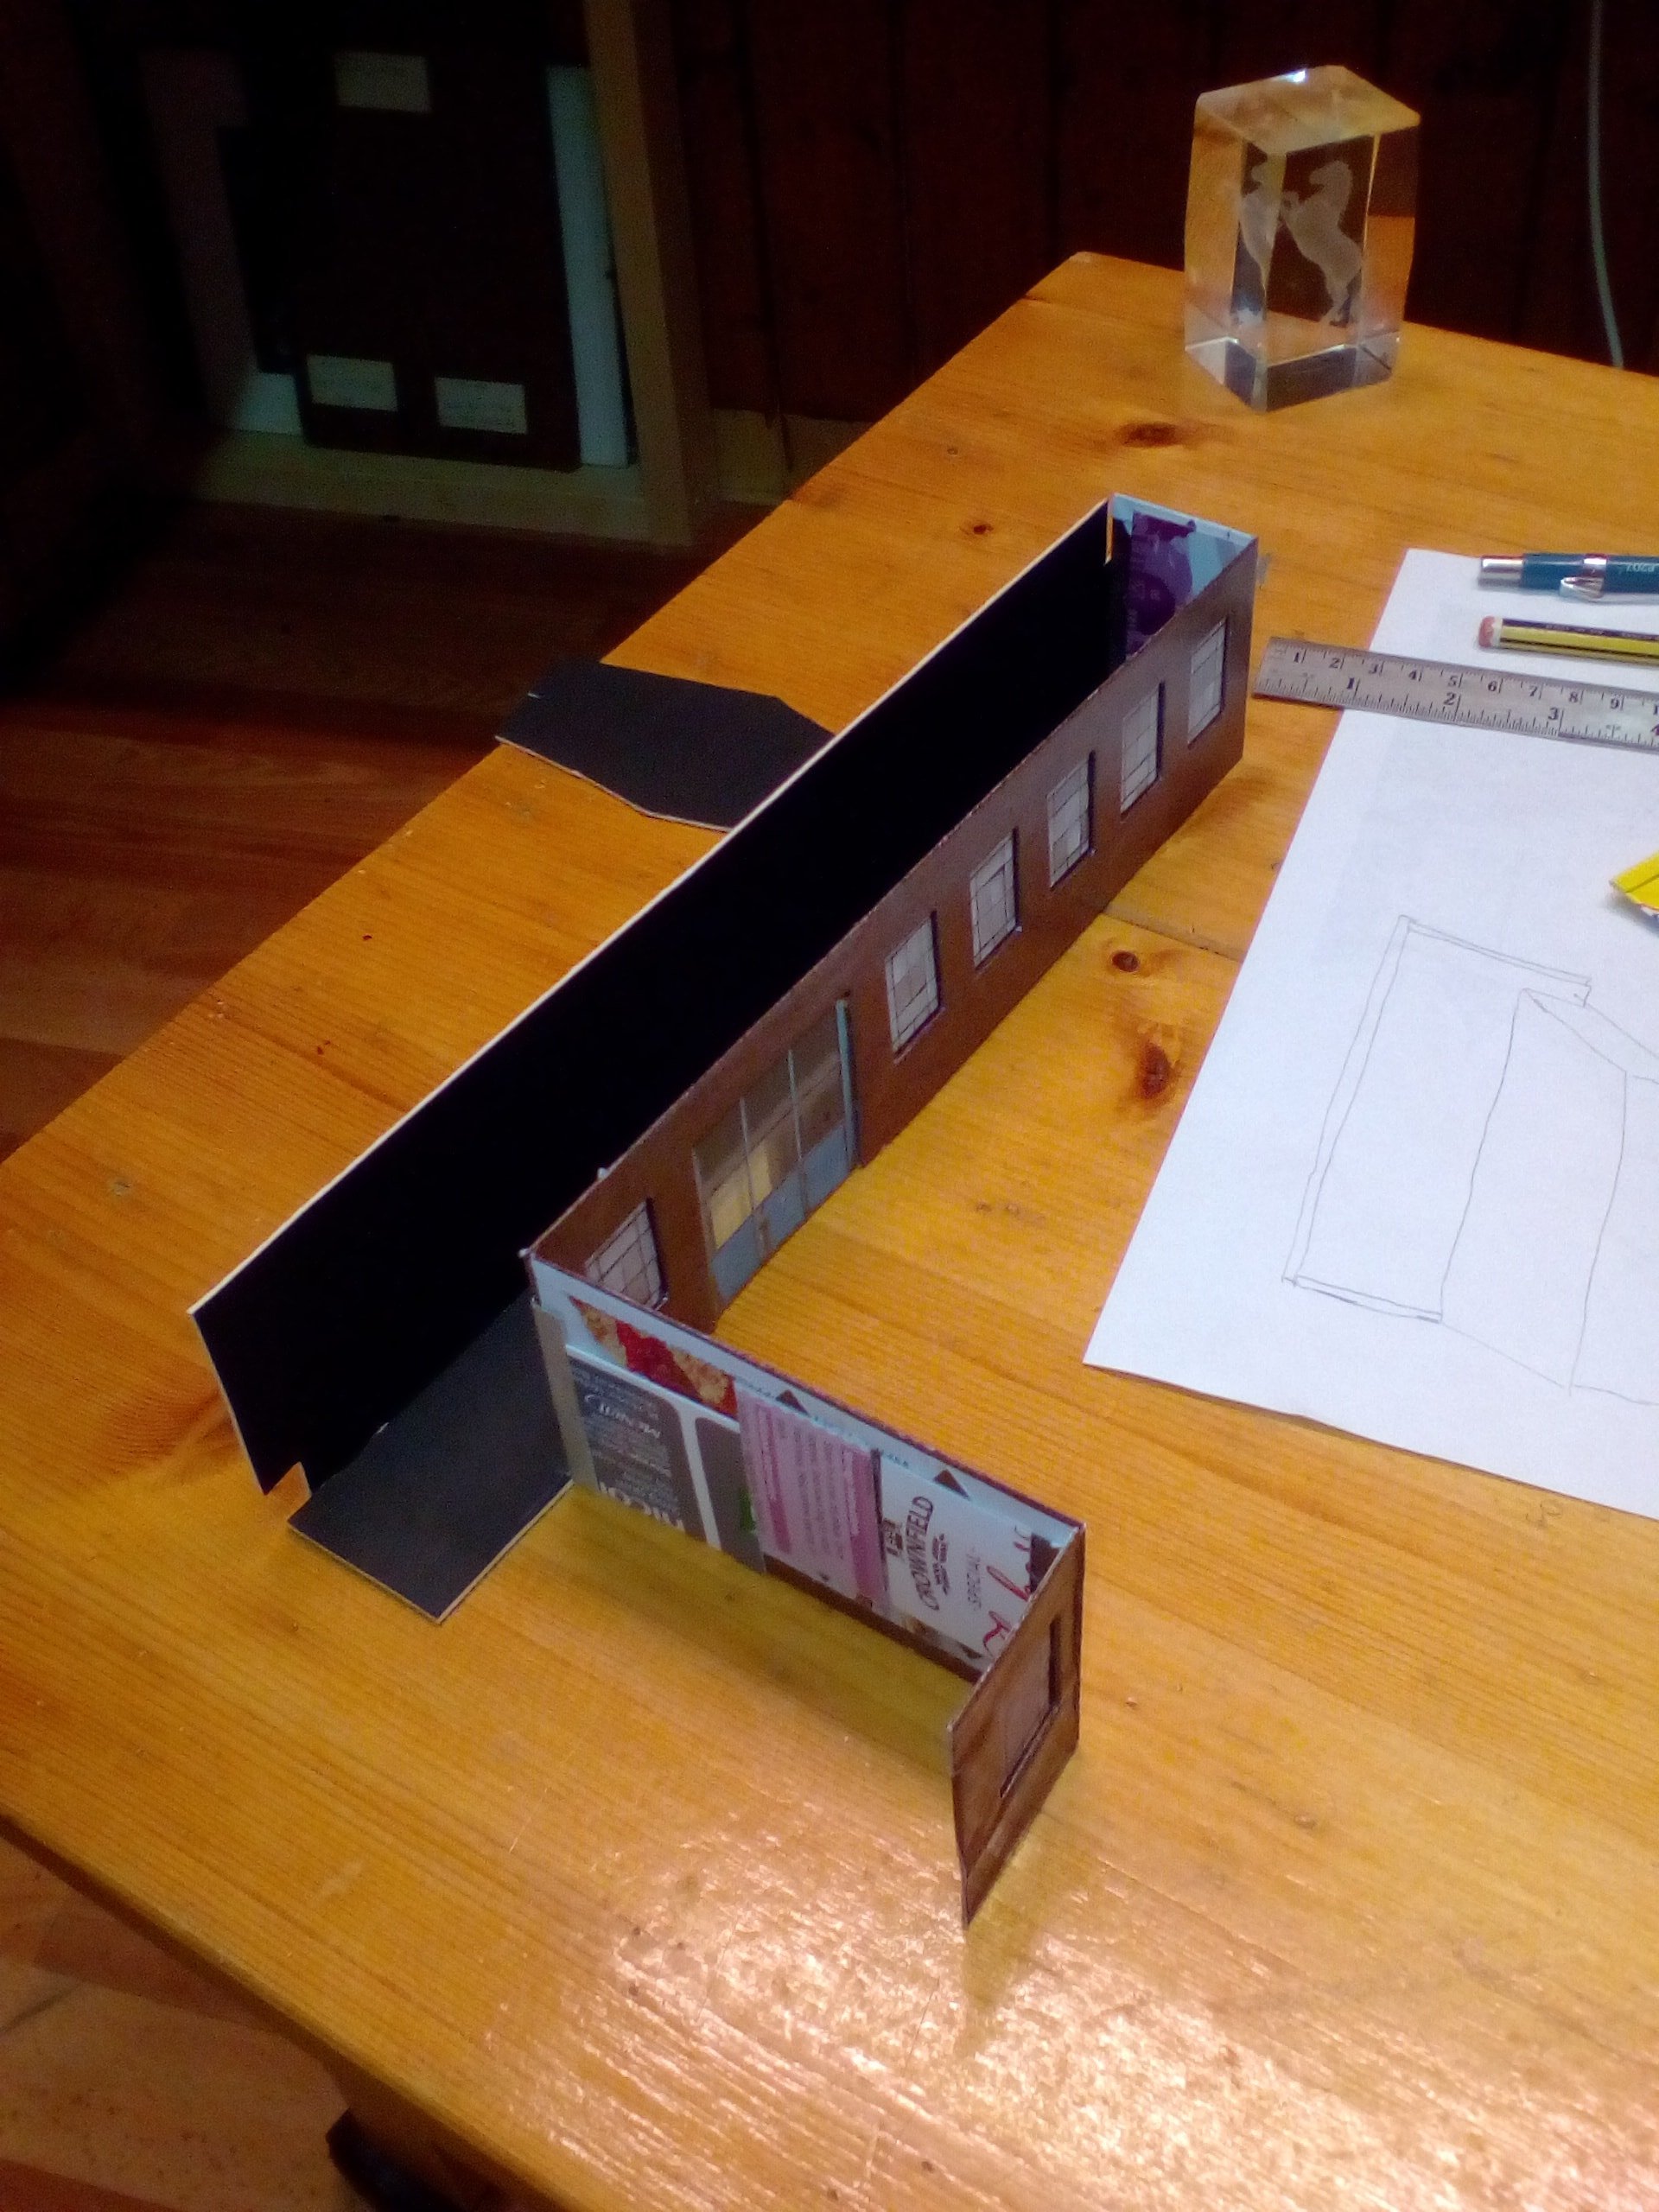
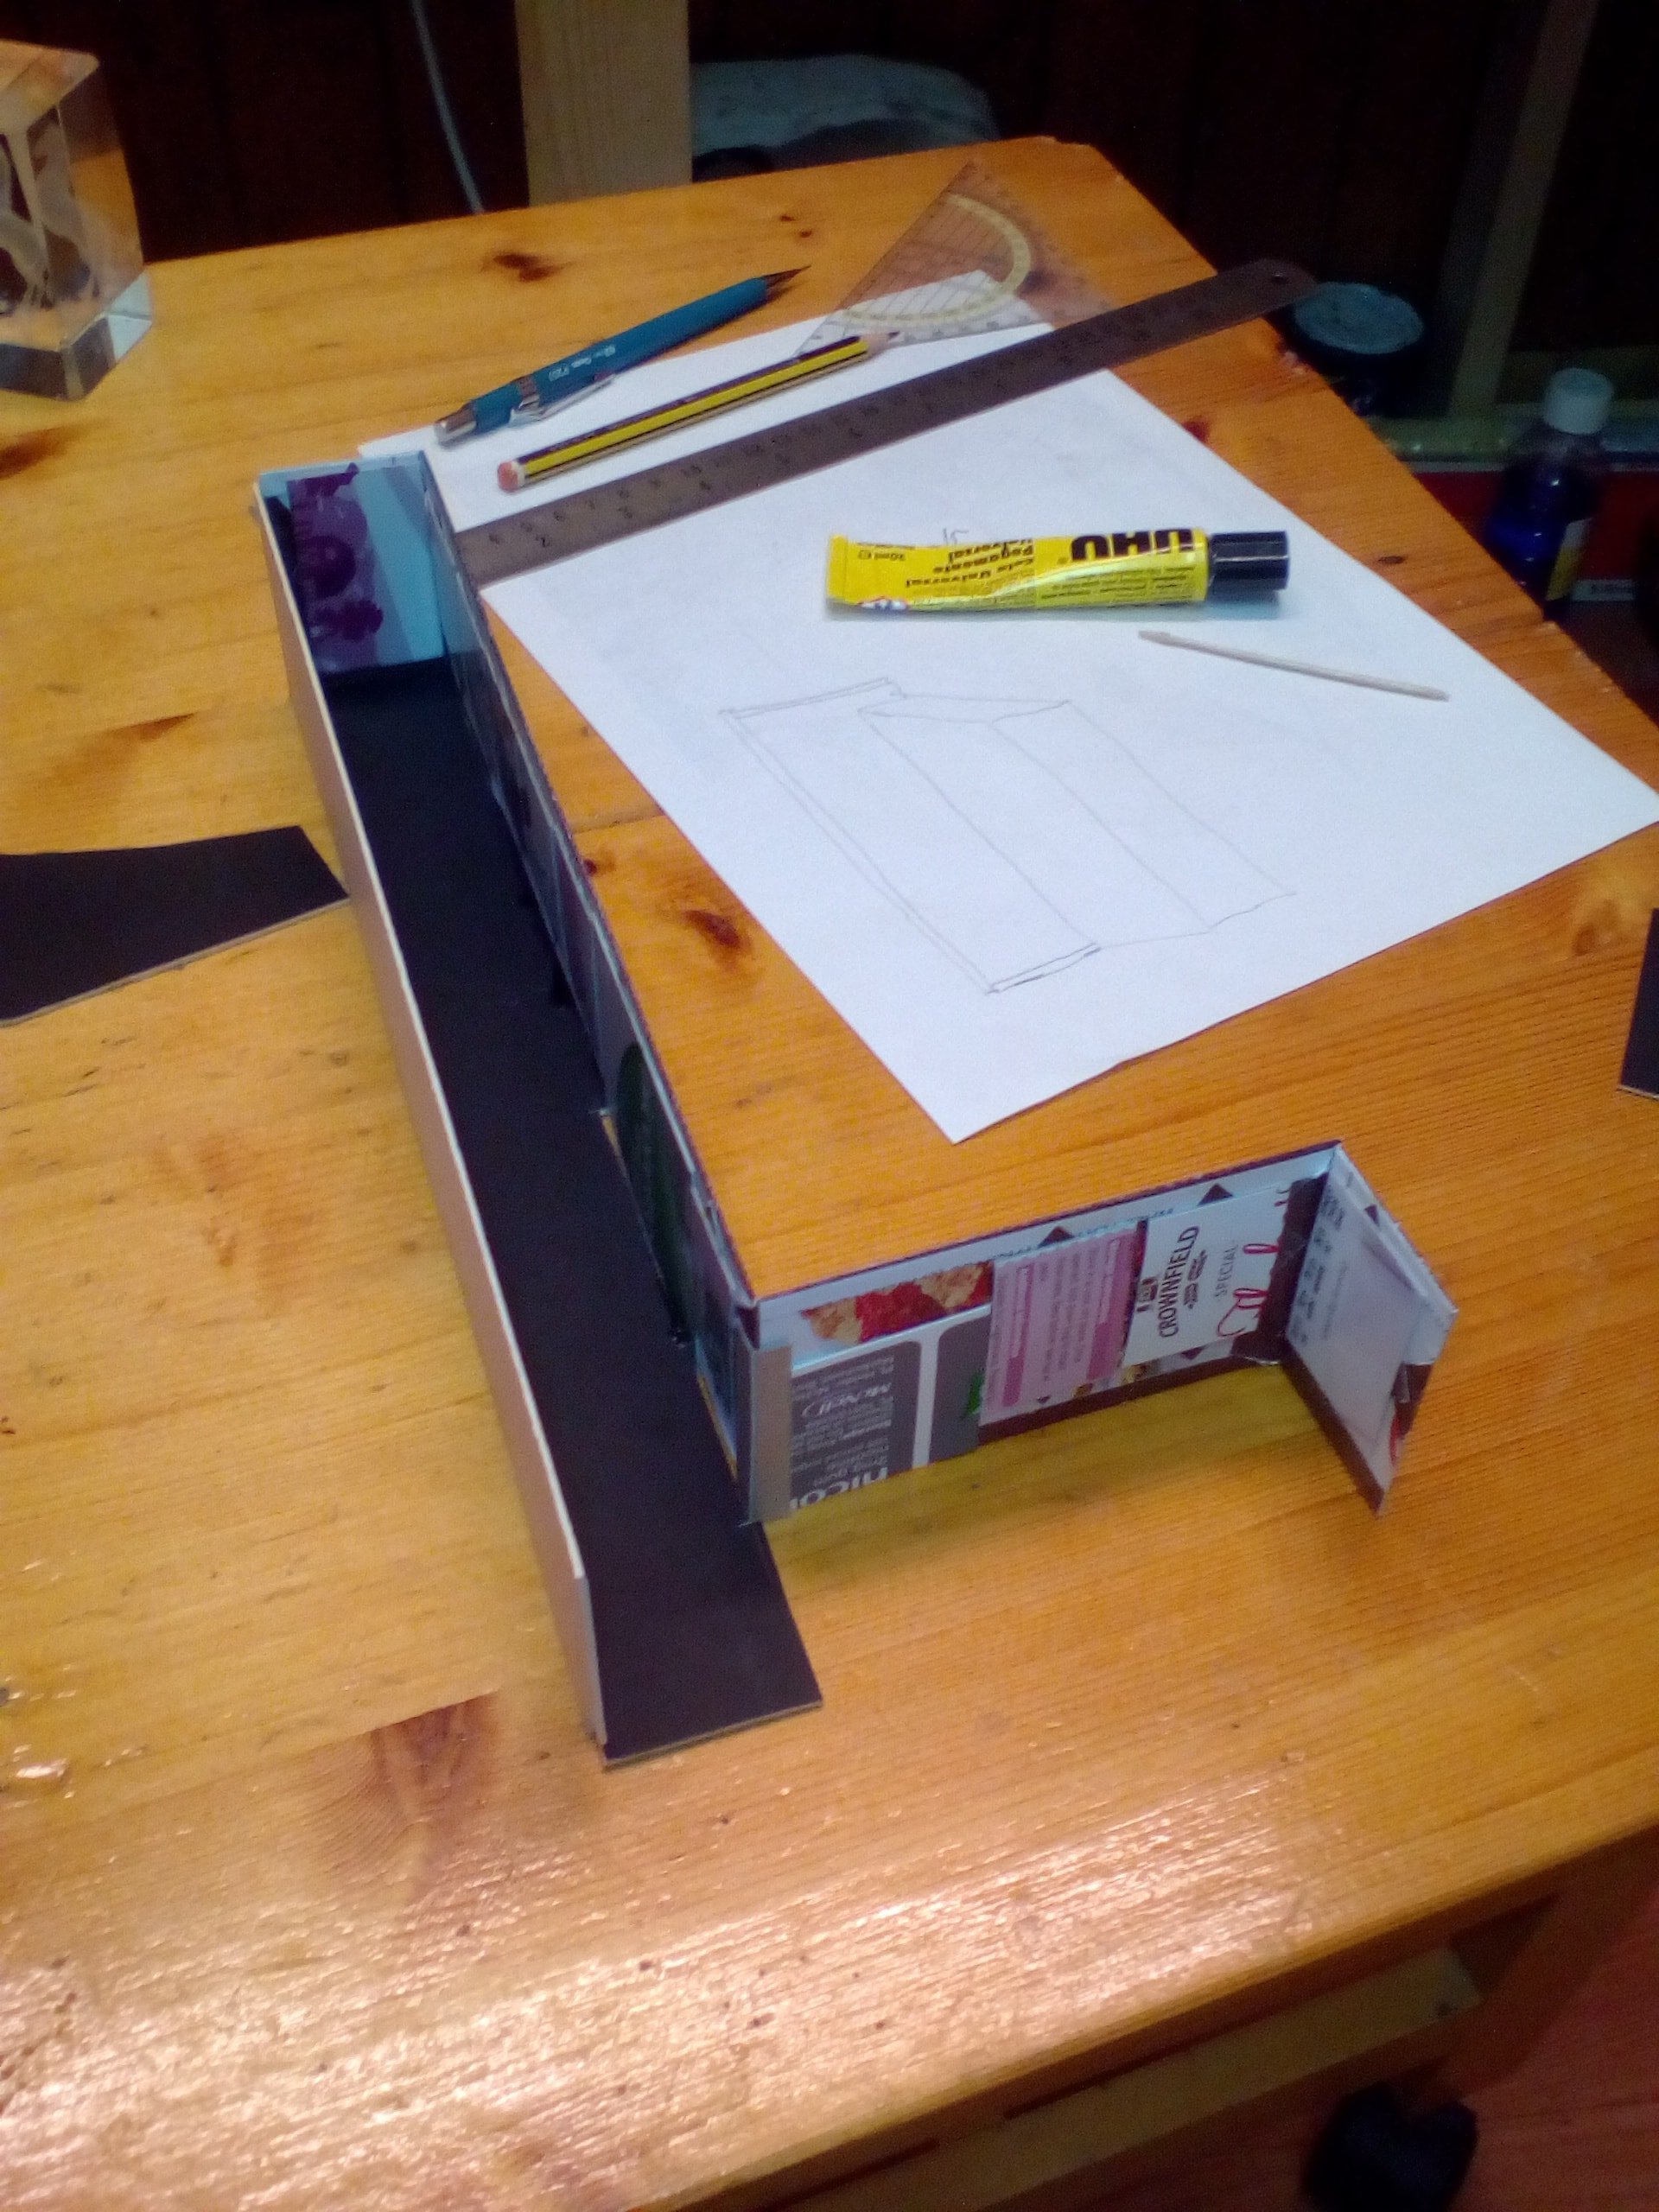
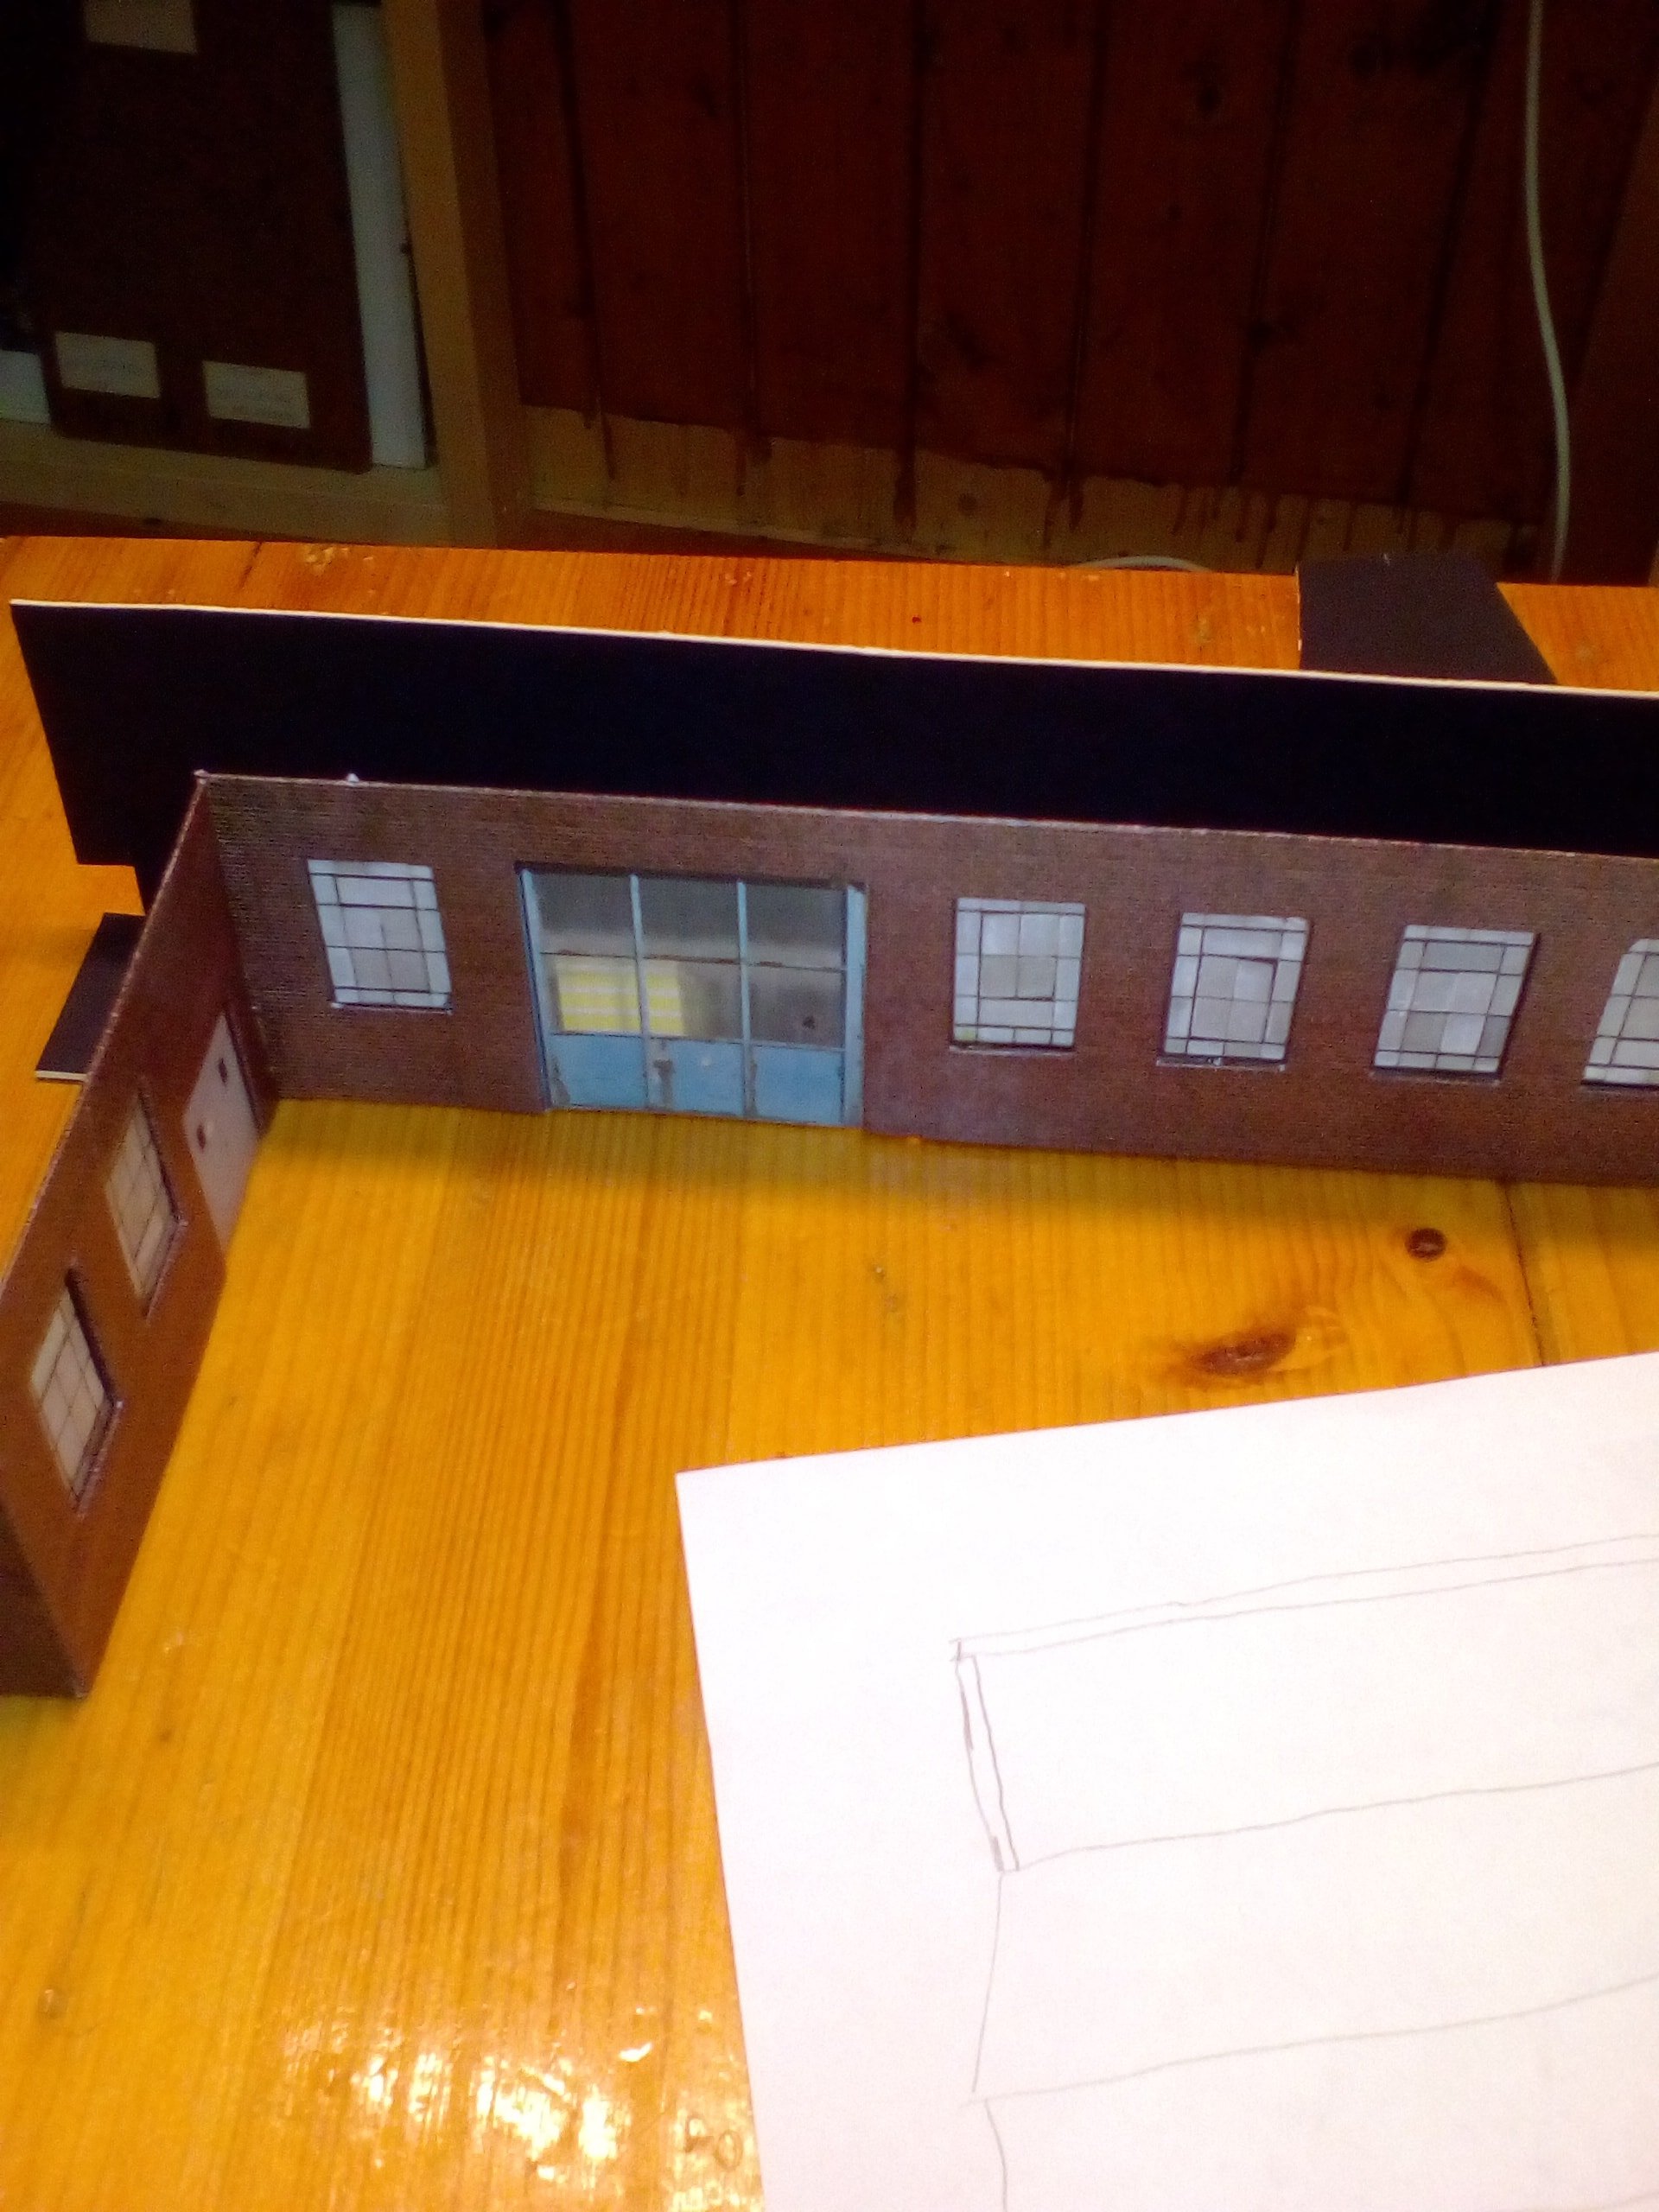
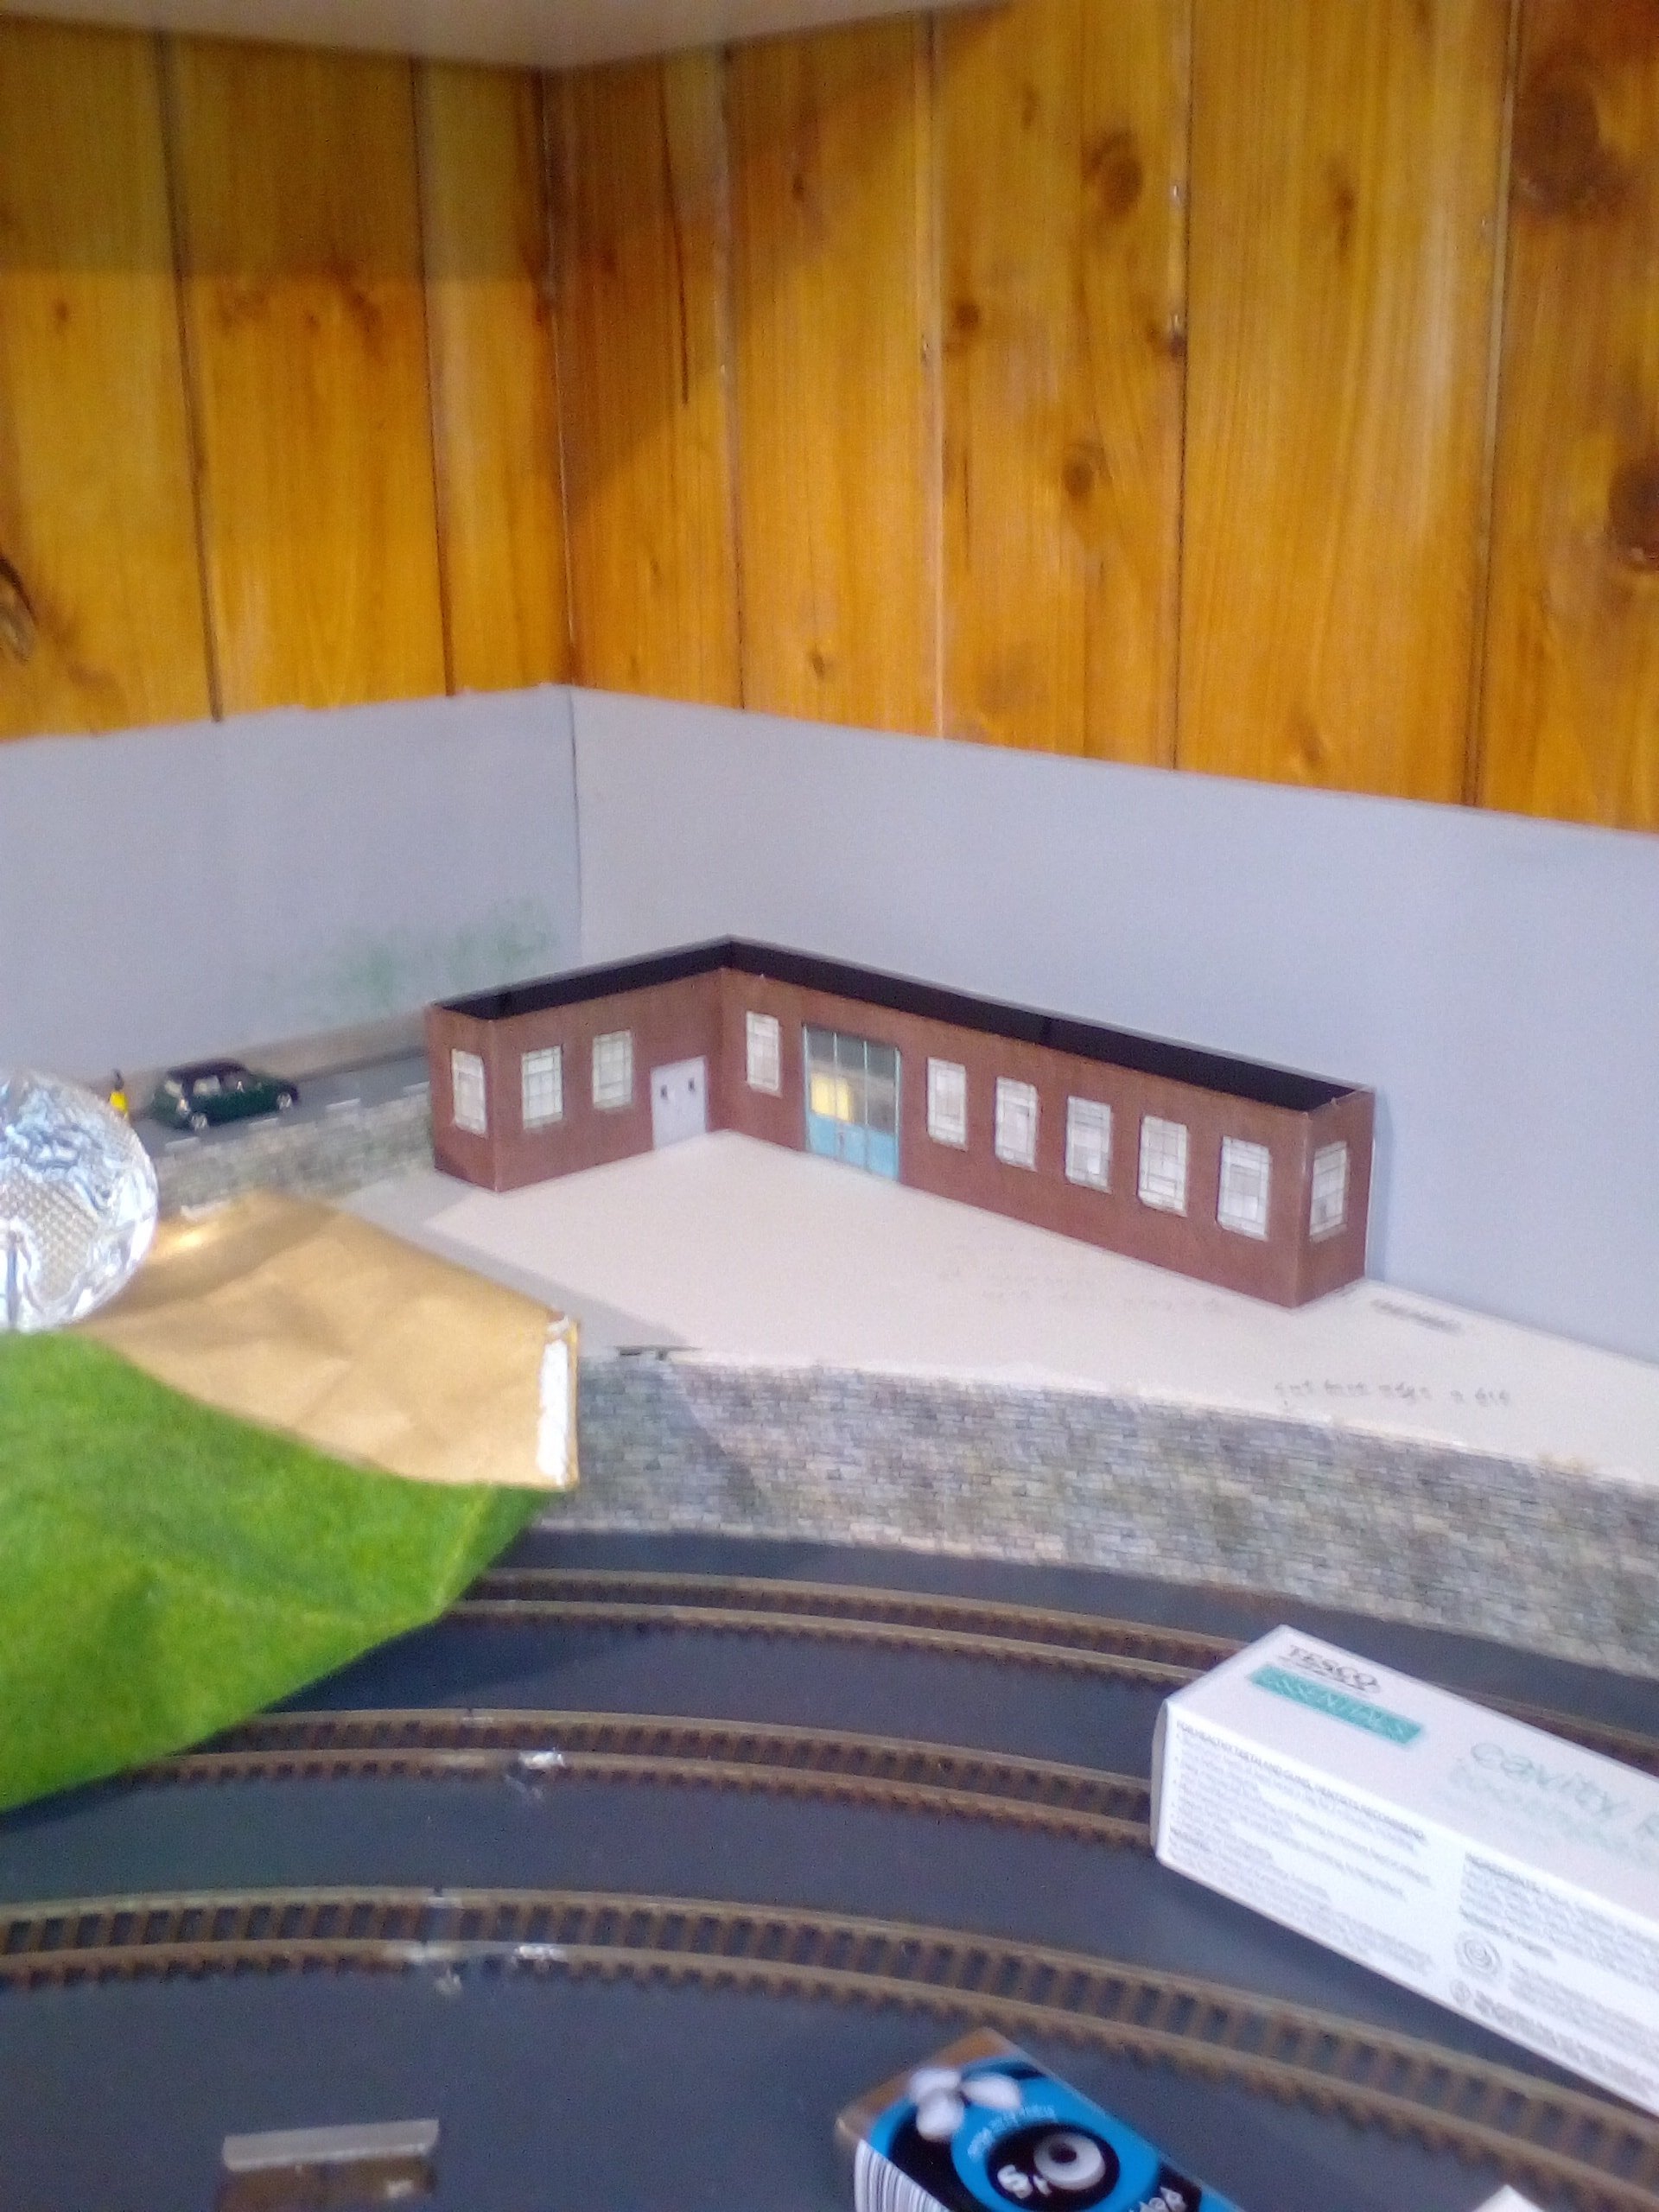
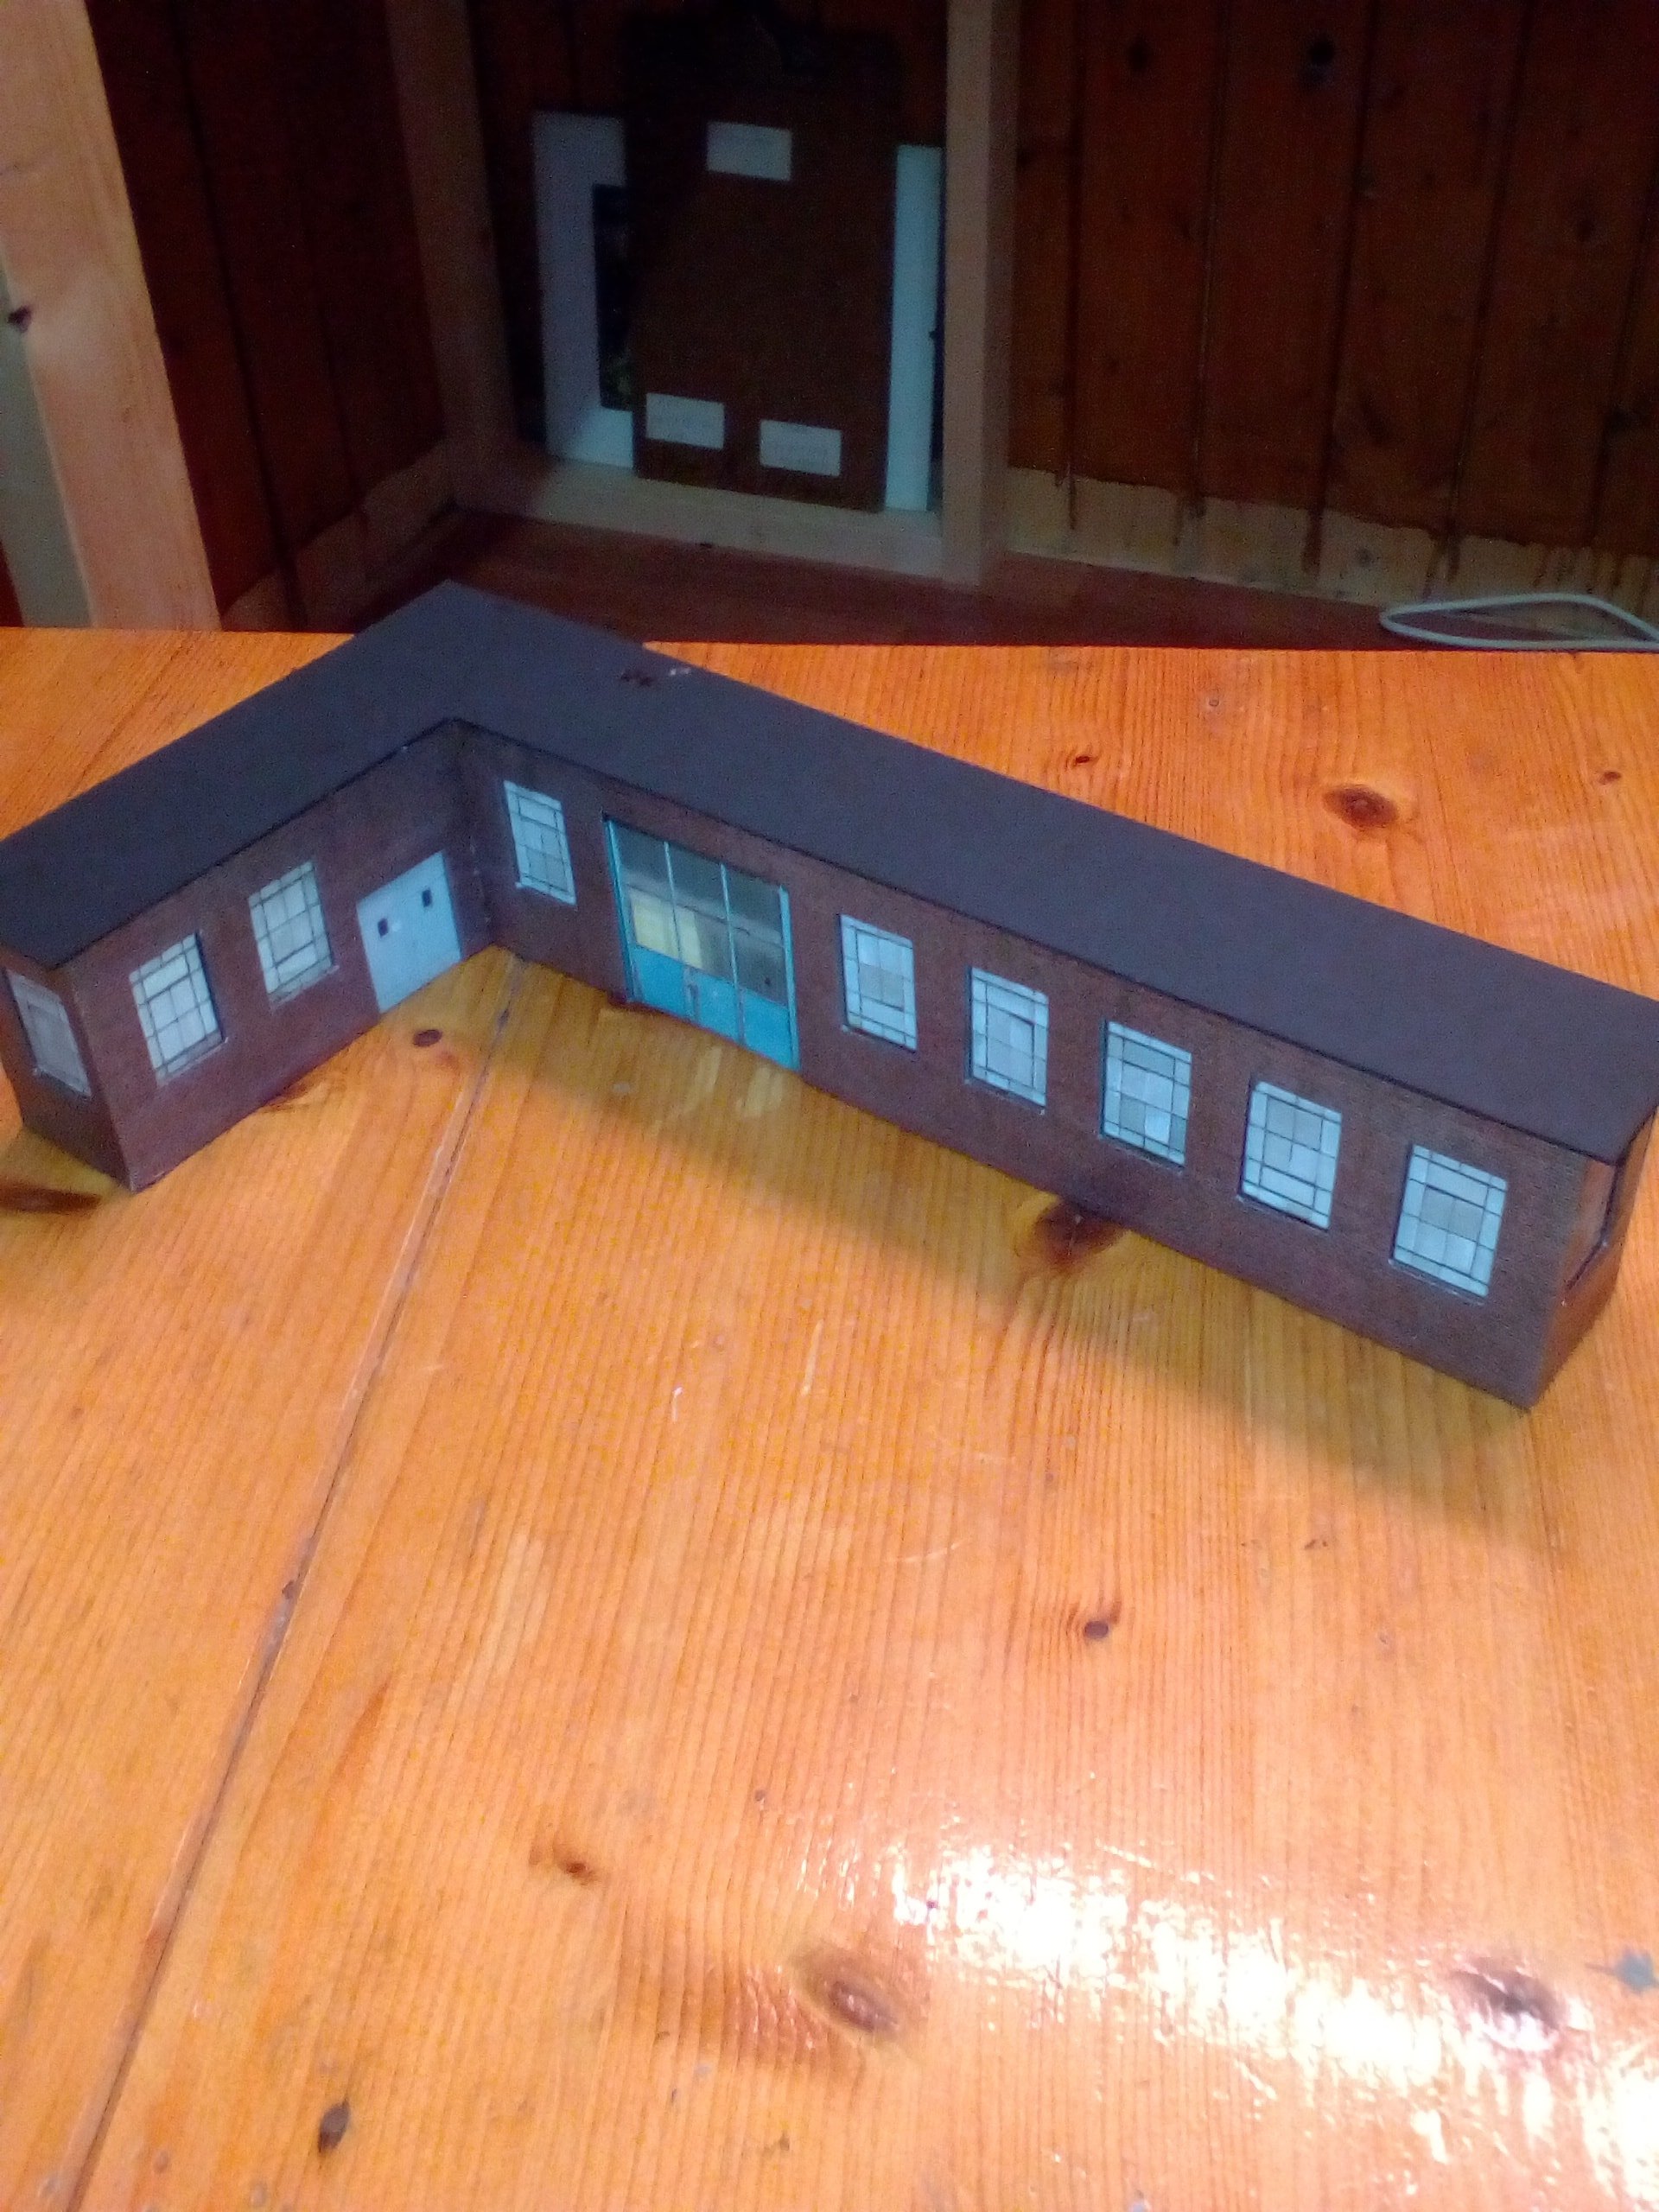
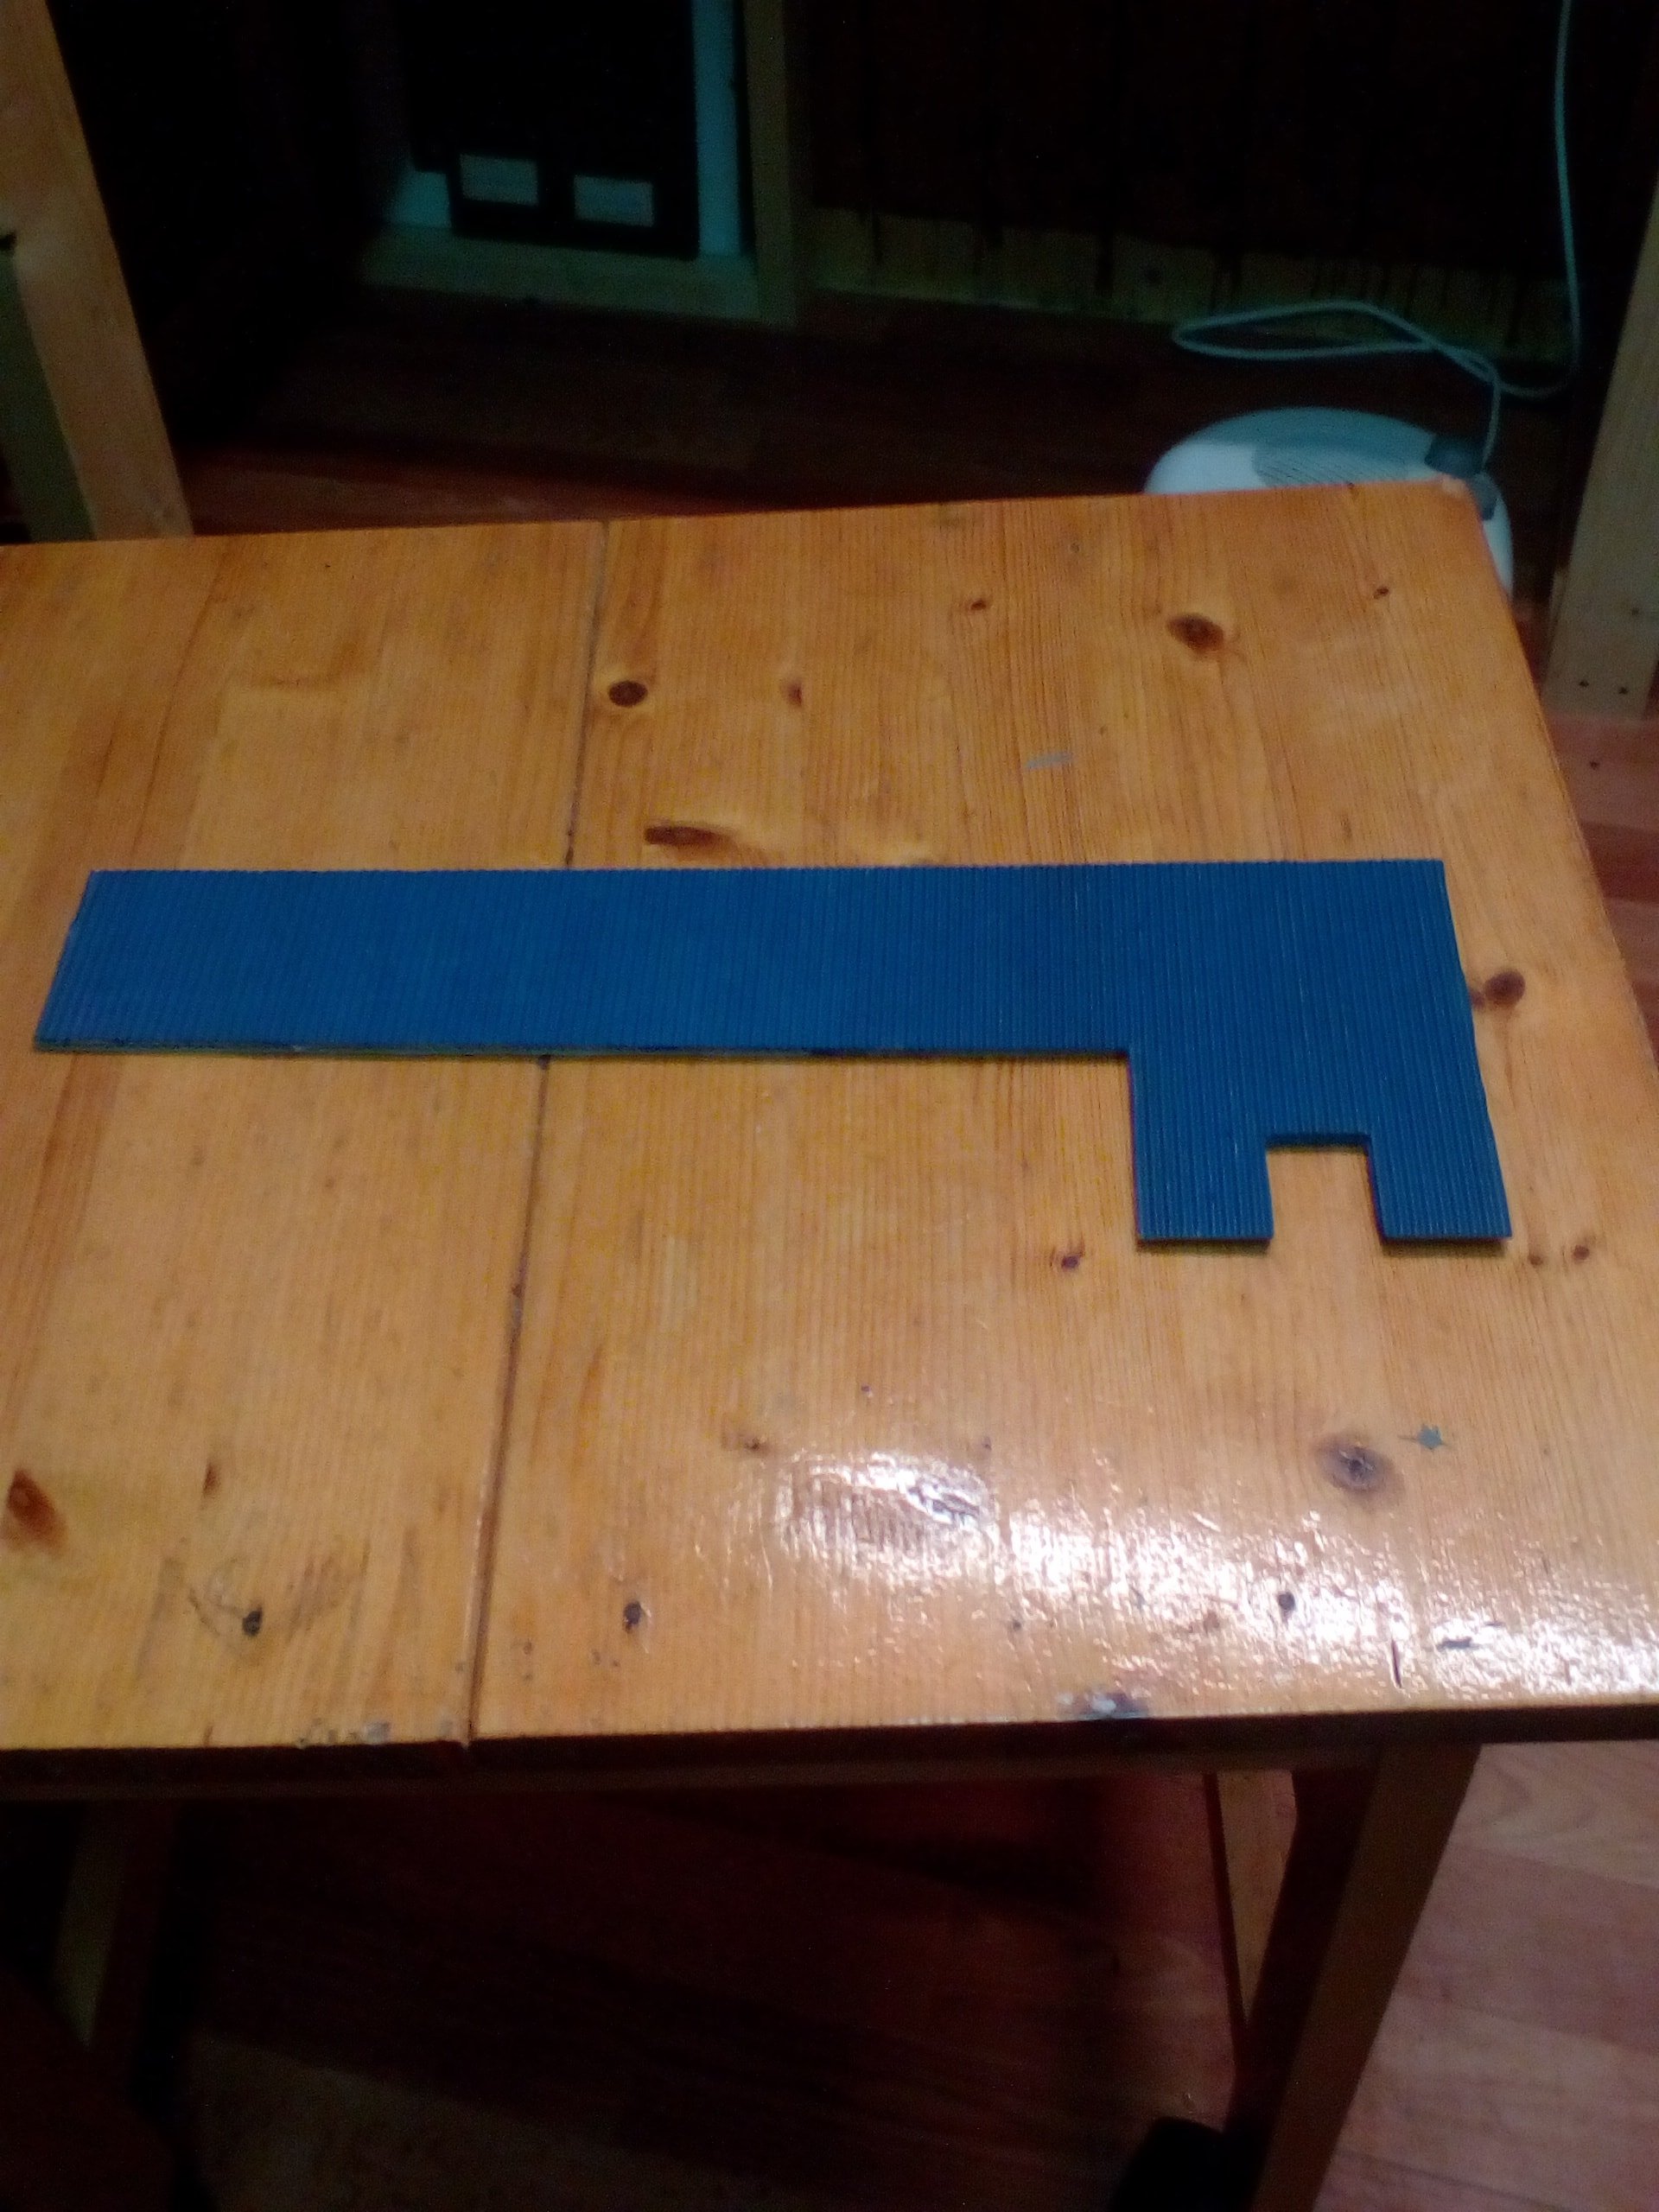
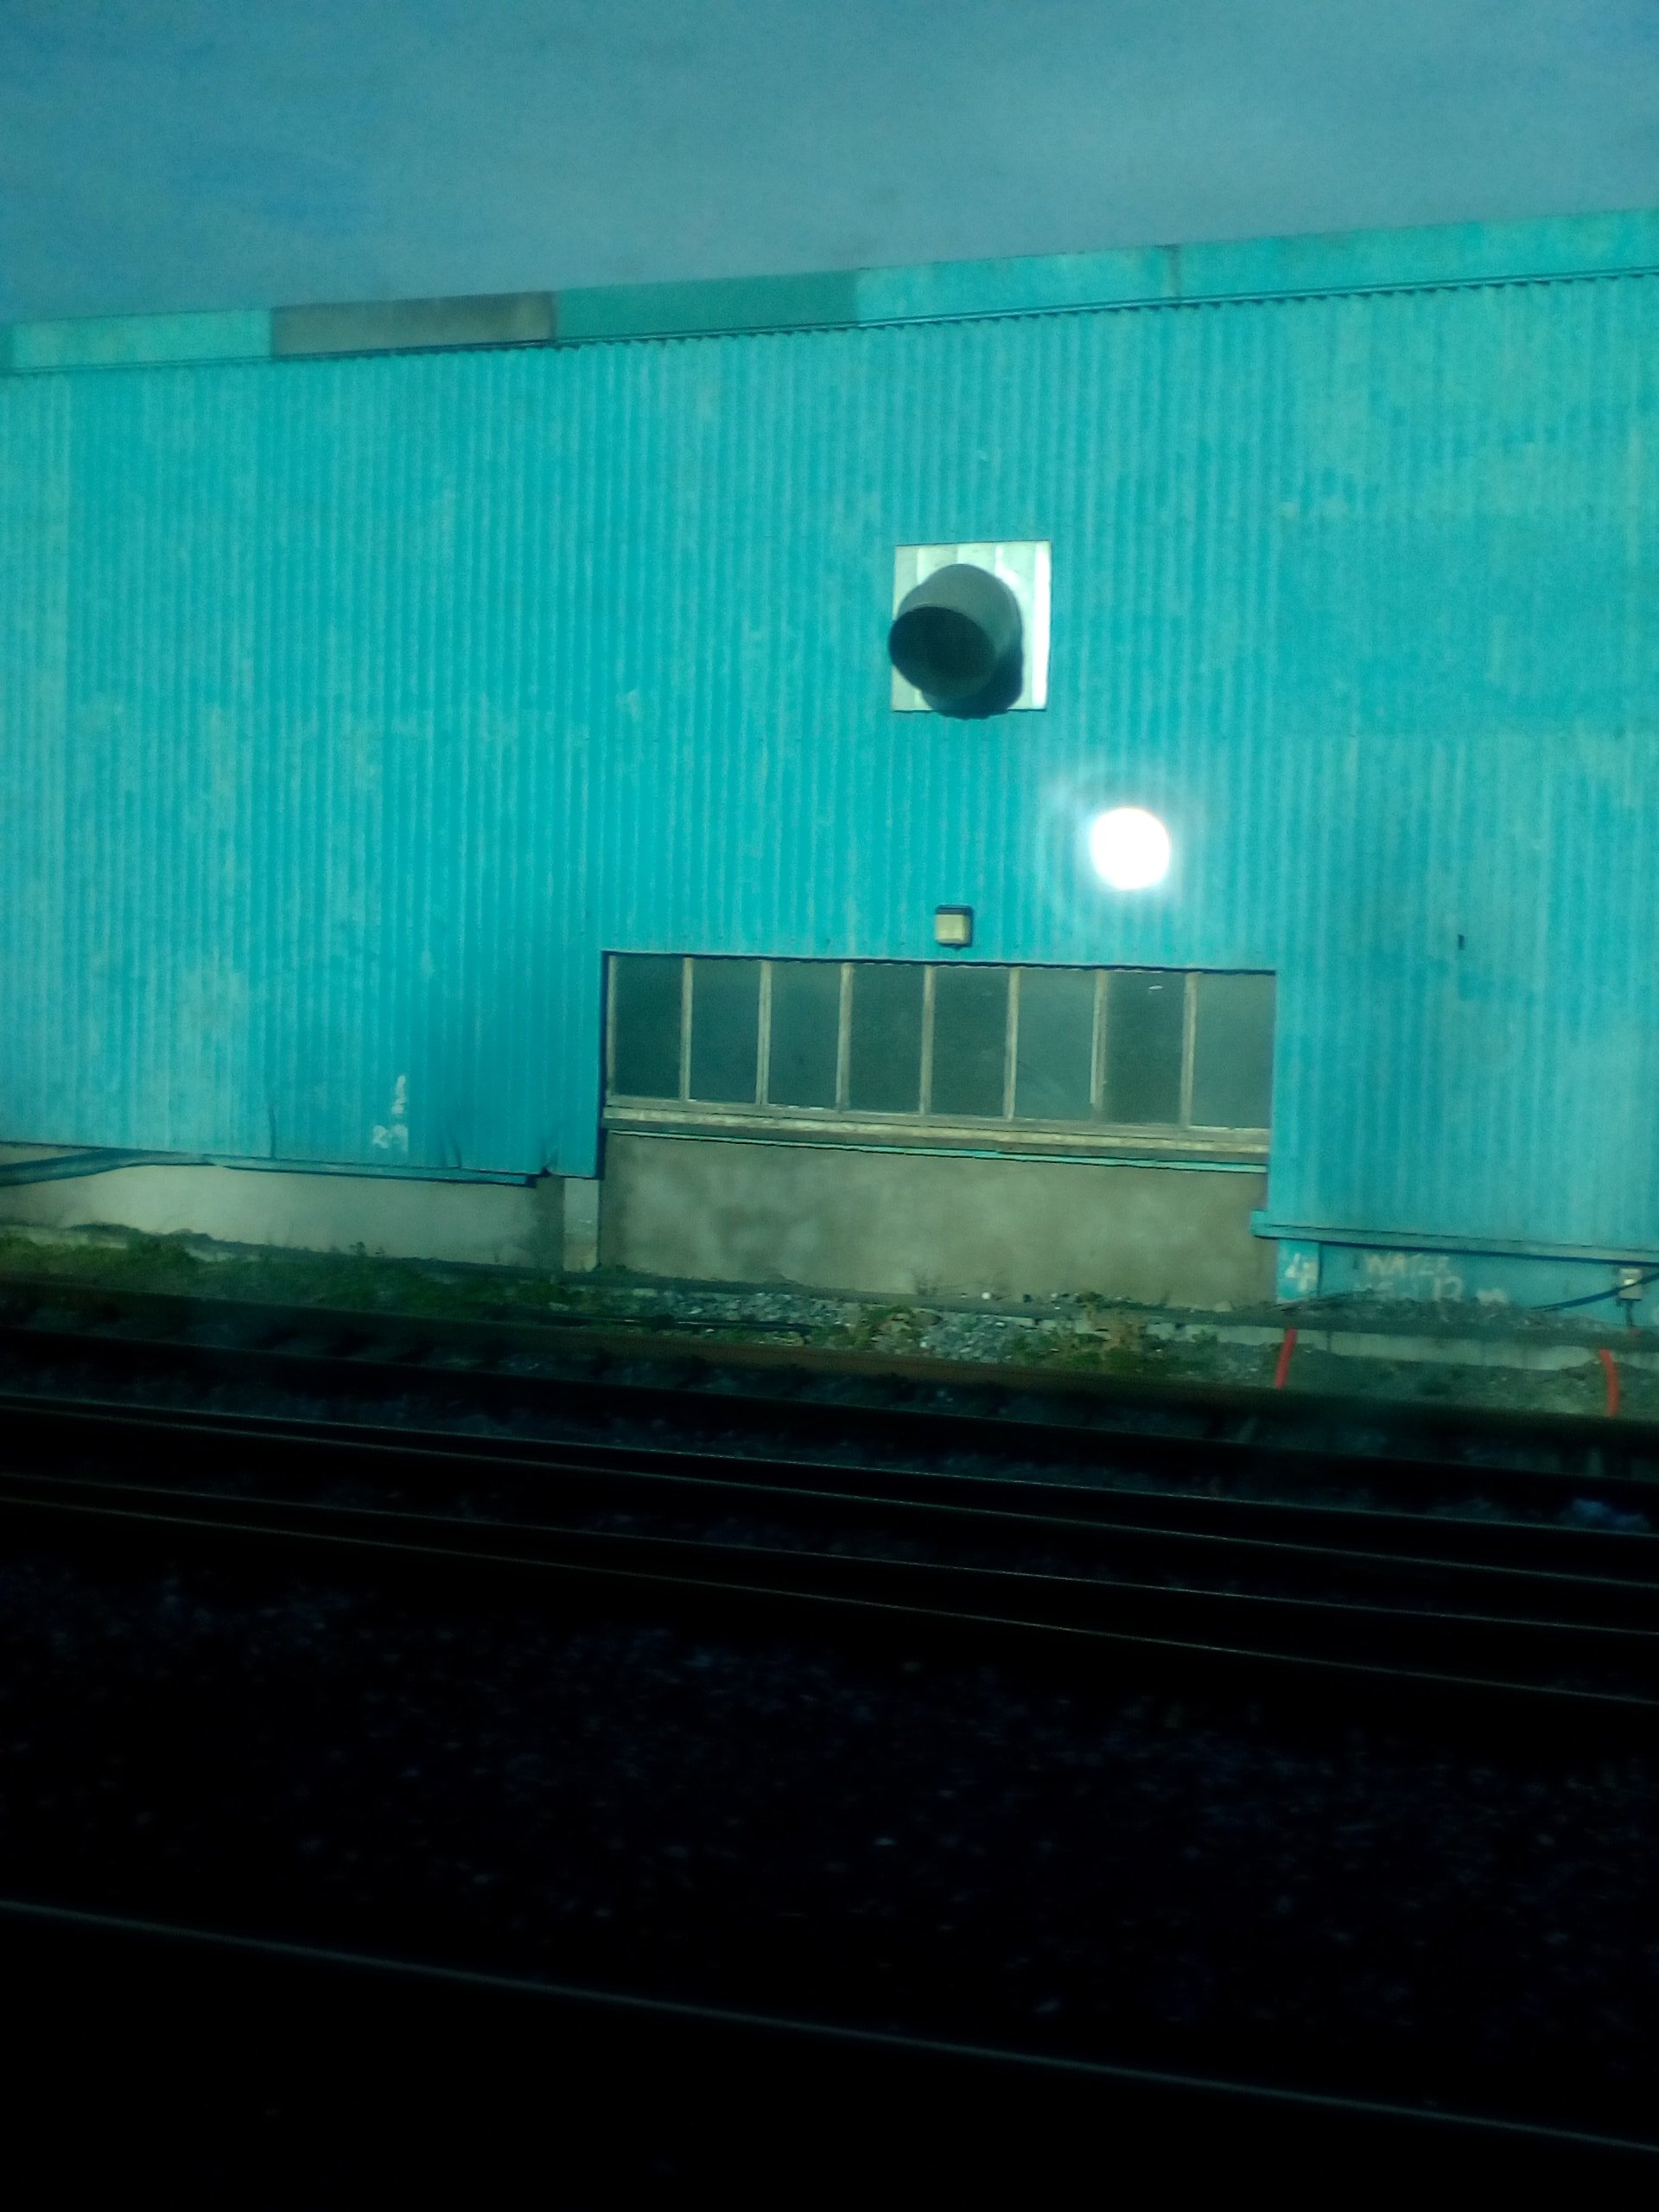
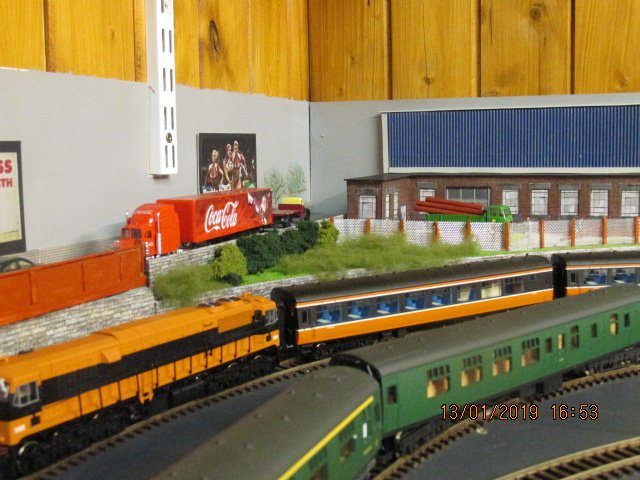
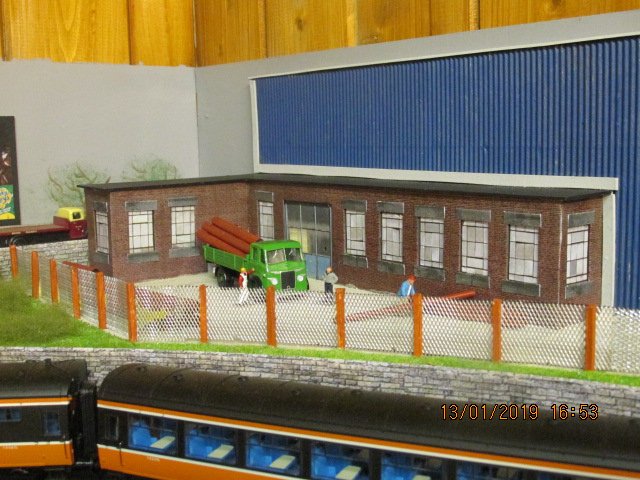
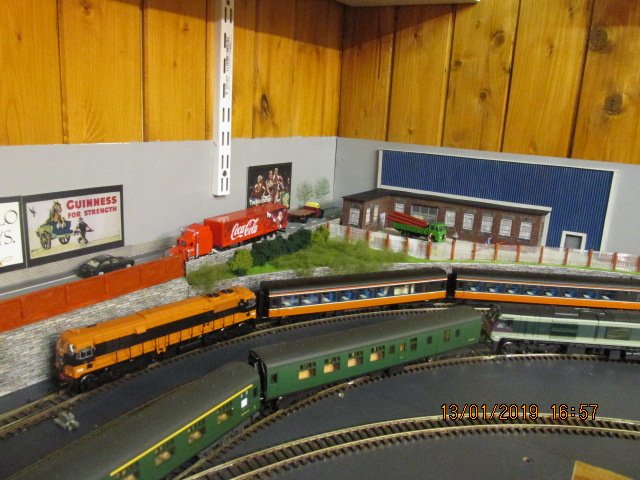
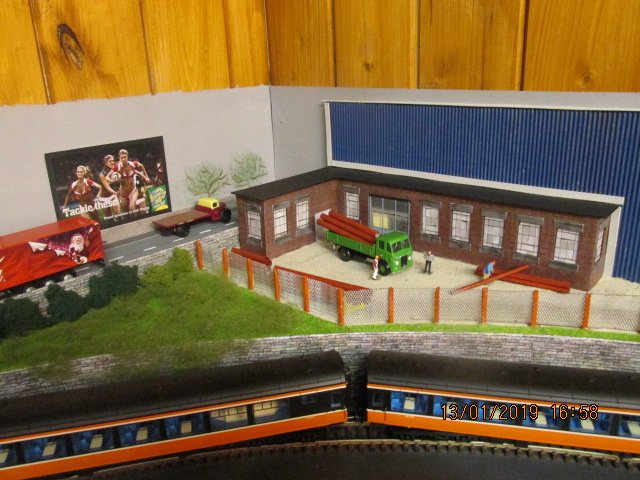
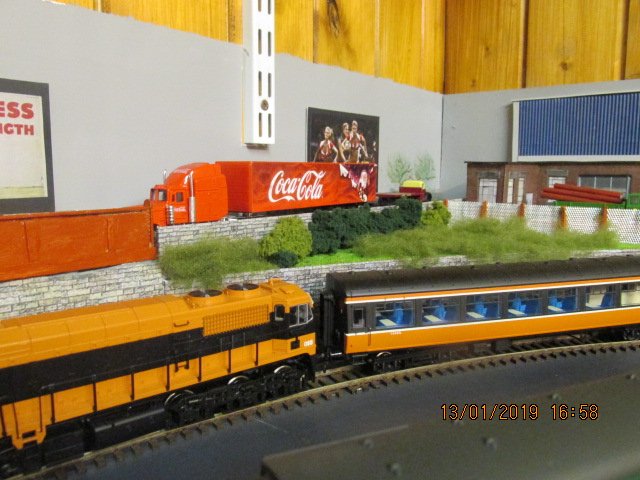
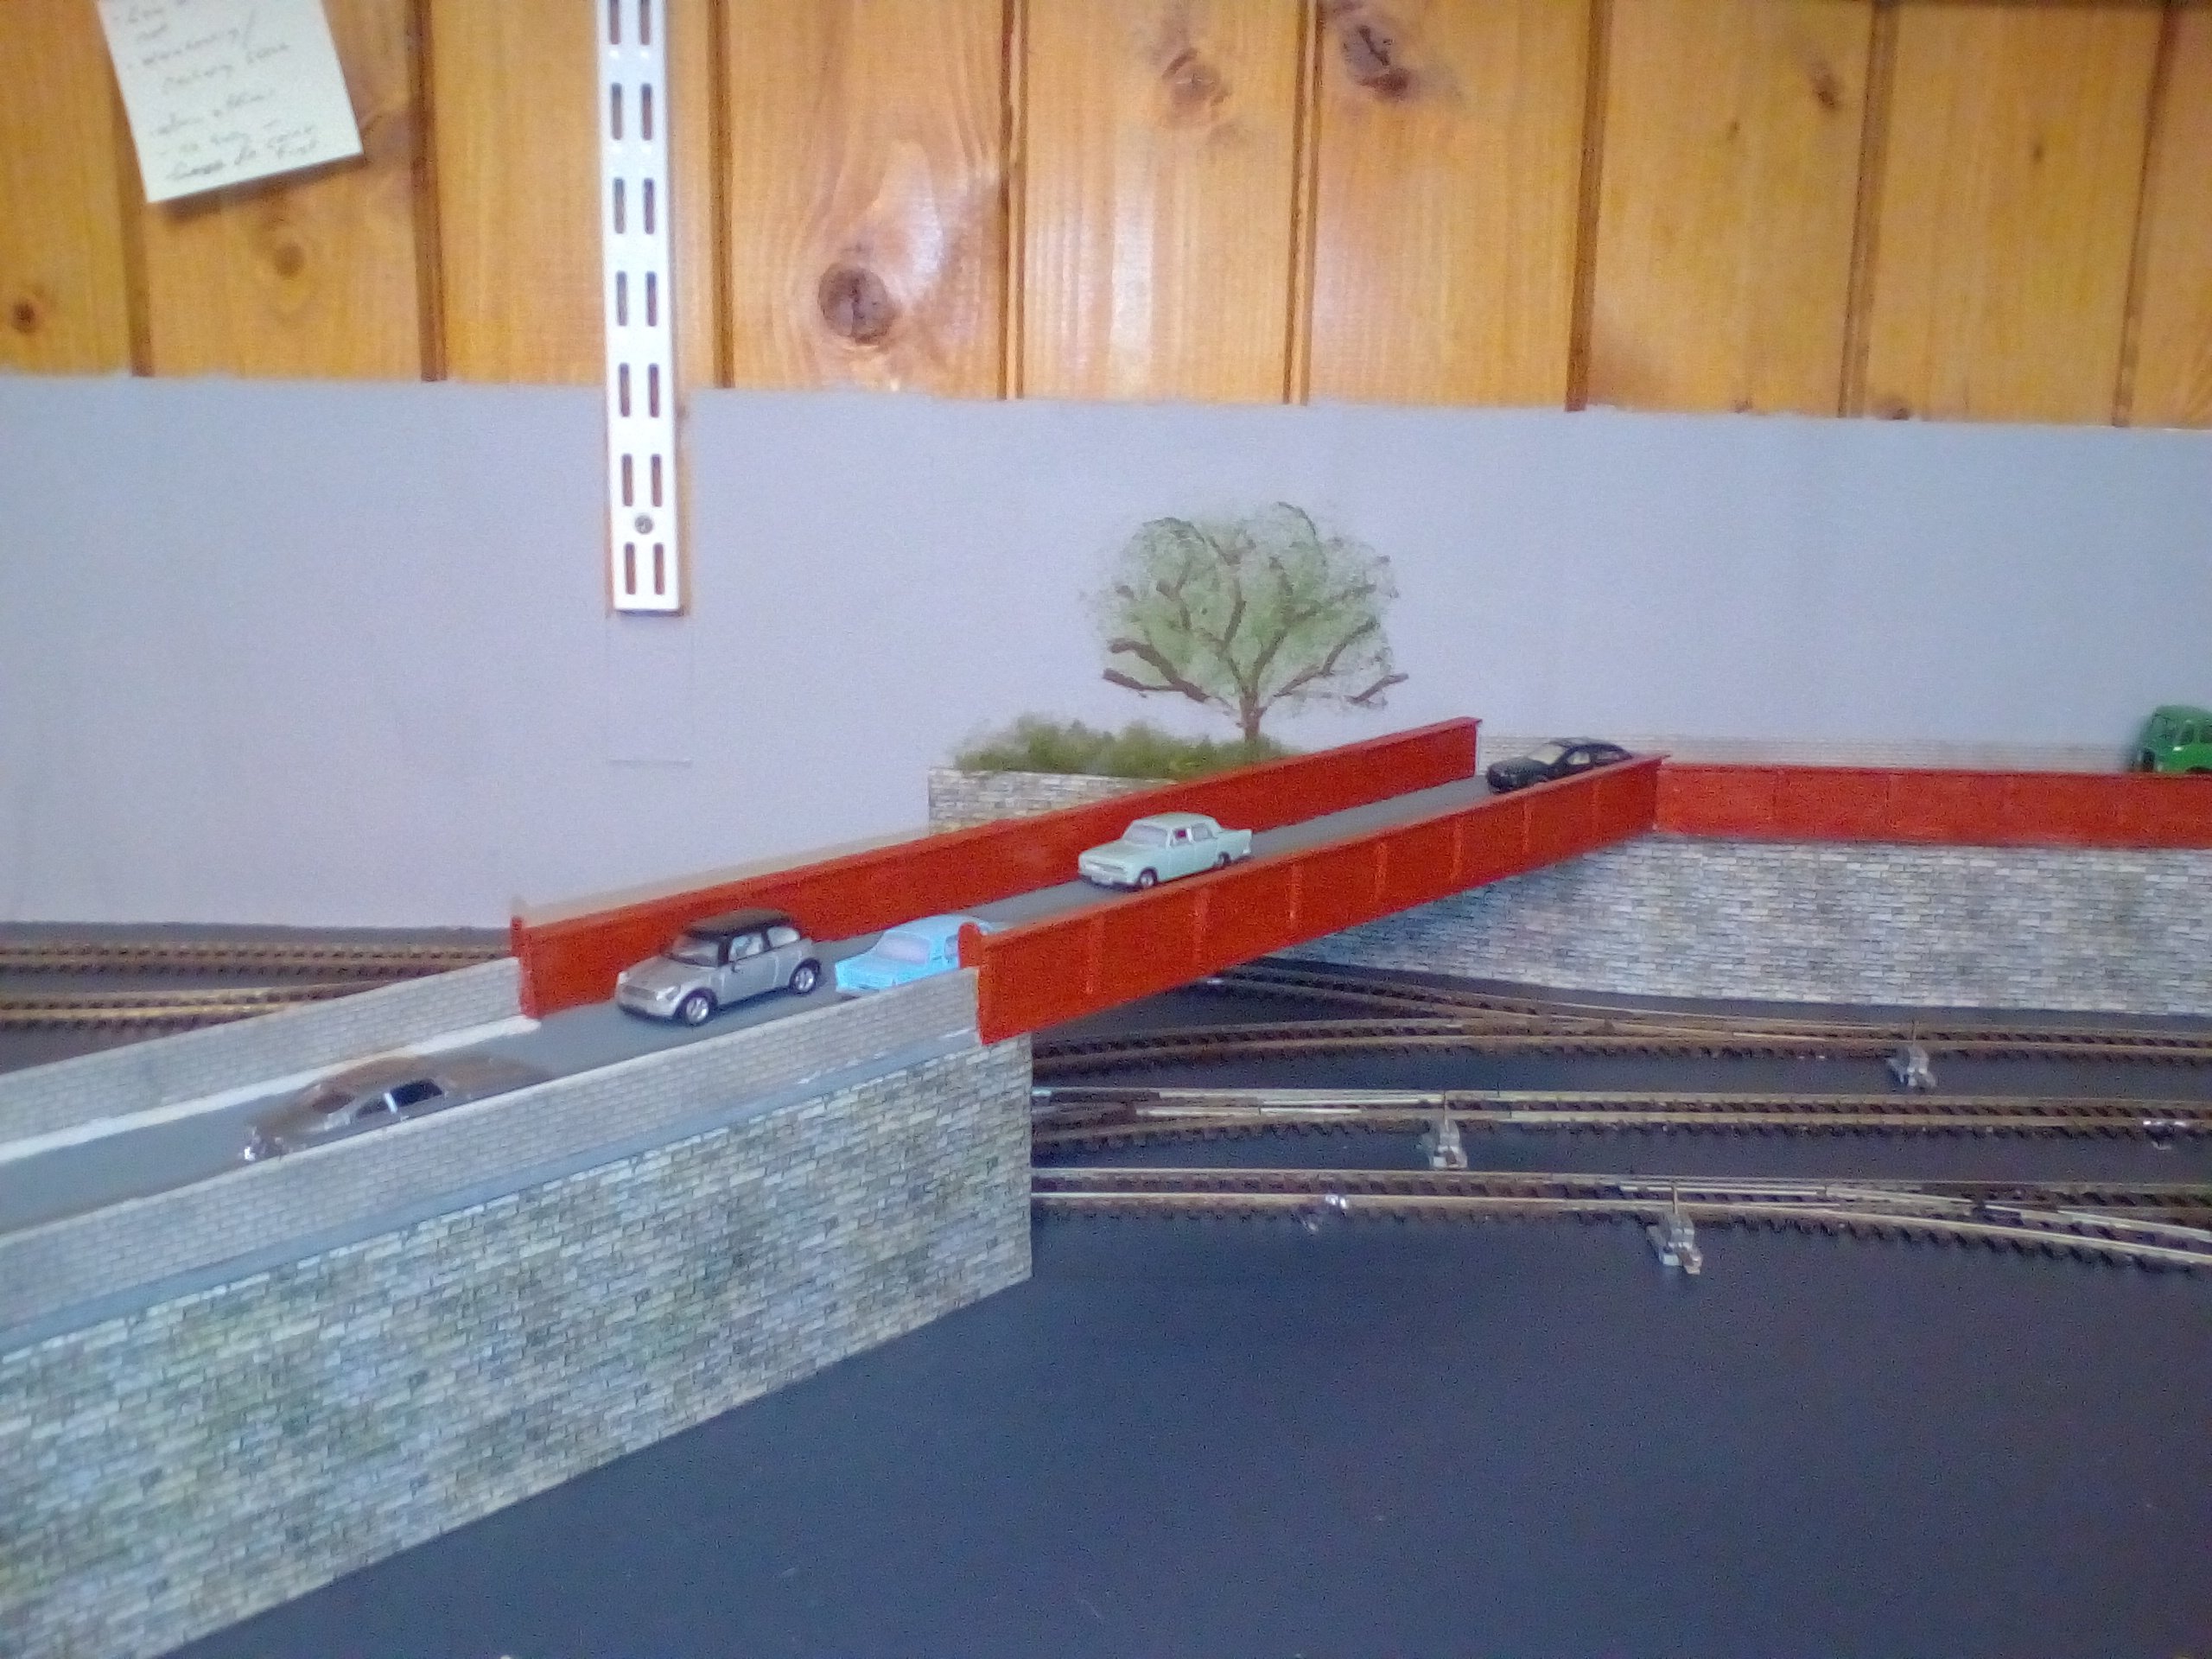
A lot more detail added to station throat. Warehouse building is using templates and brick paper from card kit download. Blue warehouse cladding is corrugated paper painted, well, blue, inspiration for this colour is from loco cleaning building in Heuston station. I’ve shown some of the stages in the production of the card model, which will be old news to most of you, but I hope will be of interest to newer modellers. Fencing around warehouse is made with car repair mesh from Halfords, and those really thick long matches. So where am I going with all this, you might ask….or not. Originally, I wasn’t intending on having a road overbridge here, just the cutting. But I commute to Dublin Heuston and look out the window… a lot, and there is a road overbridge on the way in, so I thought why not, and it gives a scenic break to the flatness of the layout, and I think we all like to see our trains appear from under a bridge. On the way into Heuston there are offices close to the railway line at Inchicore and this is the inspiration for the warehouse. So, the layout has morphed into a 4 track through station like Celbridge with a taste of the complexity of track and industrial/commercial activity on the way into Heuston. On the south side of Celbridge we have fields and on the north side a golf course, so not a whole lot to model. Although I’ve never seen a golf course modelled….so maybe next time.

-
i meant on the emabankment?
-
sorry.....i meant track plan....that we could see...
-
like it, is that modelling clay?
-
like it pat, you sure made a lot of buildings, with card i presume? great work and looks like you have a nice bit of space, have you a track that we could see? cheers paddy mac
-
thanks for likes guys. must do better quality photos next time
-
Some progress on scenic work at station throat, still a lot more detail to add.
-
cheers
-
Diamond Crossing Protector
Paddy Mac Namara replied to Paddy Mac Namara's question in DCC, Electrics and Electronics
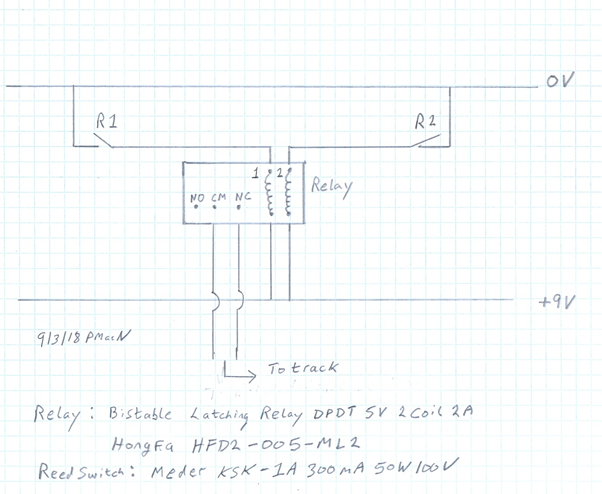
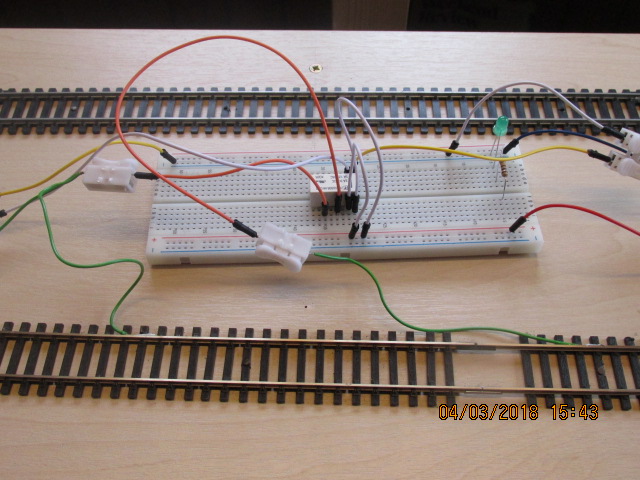
As promised some detail on the circuit used in the most recent video on “Celbridge” As before my test track is not actually an X crossing but the two parallel tracks simulate what I want to do. Track 1 is the main-line thru the junction and the reed switches are here. Track 2 is the “suburban” line and is required to wait for the main-line to pass thru the X crossing, this track is isolated either side of the X crossing. R1 is the reed switch that detects the loco as it approaches the “X crossing” R2 is the reed switch as it leaves the “X crossing” junction. The isolated section on track 2 (the one I want to shut down) is connected to the relay thru the common (cm) and normally closed (nc) pins. So the isolated section is live at the beginning of the sequence. When R1 is activated by magnet on loco it closes and delivers power to coil 1 on the relay, this causes relay to open the cm/nc circuit and so power is cut off to the isolated section on track 2. Because this is a latching relay we only need one pulse to coil 1 and the cm/nc remains open. (it doesn’t matter that R1 opens again once the loco moves away, once “latched” it stays latched). Coil 2 un-latches the relay. So once the loco passes over R2 it activates coil 2 which unlatches the relay so the cm/nc circuit reverts to it original state and power is returned to isolated section on track 2. As noted before this is a WIP and a learning curve, I am working on solutions to problems such as what if the loco on the suburban line is in the middle of X crossing as loco on mainline approaches….watch this space.
-
thanks, was on the site couldn't get info on what size the OO gauge magnet is?
-
What happens.....crash bang multiple casualties... Its still very much a work in progress, and learning what sensors work best and easiest. So when i actually use it on the layout i'll probably have another reed switch on the junction, and if junction is occupied i'll cut power to mainline, will probably need to get into some Arduino work then, unless i can get away with just using some kind of logic circuit.....so more research to do
-
thanks, been a bit of trial and error with magnets, got 8mm dia ones and they were too small, the one in the photo is 25mm and 3 mm thick and it fouls on the track with my 141's....d'oh 16 mm gauge. I want to get one small enough, but strong enough as i may locate reed switches beside track not under it. cheers paddy mac
-
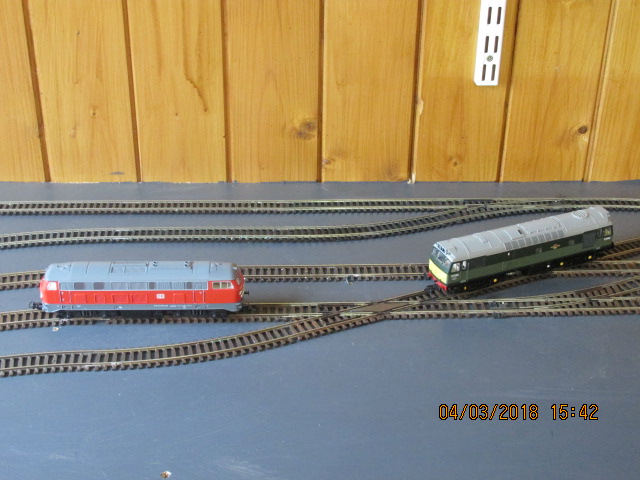
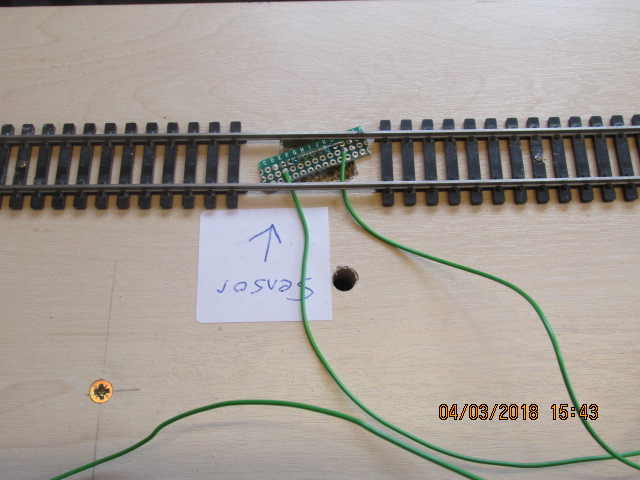
The next chapter in my efforts to control trains thru the diamond crossing. This is a photo of actual X crossing on the layout. The green loco is on the mainline which has priority, the red loco is on the commuter line, I want to cut power to this line when the mainline is coming thru. I’ve made up a test twin track board to…. well test it. This time I’m using reed switches to detect position of the train, switches are activated by magnet attached to the loco, see photo. And the control is via a “Latching” relay. Main improvements over last attempt is the simplicity of the system with reed switches as opposed to the light sensors, as discussed before. Also my “discovery” of the latching relay means once the train is detected it stays detected, until the next reed switch is activated. Photos and video below. I’ll give more detail and a circuit diagram over on the Electronics forum. And the video
-
Photo Time warp - my first layout 1970s
Paddy Mac Namara replied to Noel's topic in Irish Model Layouts
Great memories, thanks for sharing. I must have got my first hornby "train set" when i was around 12, 1977. basic oval 040 loco wagons and a point. As some of you know “good toys” anything electrical was very expensive back then, so it was a great treat to get one I lived in Tipperary, so no handy trip into marks models, I used to buy track, directly from Hornby by post paid for with postal orders. And then the seemingly long wait to get the part…very exciting. Anyway had enough room, just about to set up an 8 x 4 in the bedroom, but it was a put up and take down job. By the time I was 16 I had a double oval with two locos (I am not a huge collector of locos, I have about 14 collected over almost 20 years, my 12 year old self would be thrilled). Station sidings and other buildings. The baseboard was painted green, that was it, not really modelling…but still. We moved home so I had to sell it on…..i think I got an OK price for it all things considered. Then the wife bought me a Flying Scotsman set in 1999….the rest is history -
David, many thanks for such a detailed response. Plenty of food for thought......i get it tho', you can't retrospectively add depth you have to plan in advance, i hope to try it out on my "corners" later in the layout. cheers and many thanks.
-
doesn't look too temporary to me, looks like you have a nice little den for yourself
-
Hi Dave Sometimes you’re browsing thru the forum you come across something you haven’t seen before…properly. I’m working on my own backscene at the moment, I like the way you have the painted street going behind “cullens tea rooms” gives great impression of depth, also the street continues (tapers) into the backscene at the end, I’m really not sure where it finishes….great work. I can see it and kind-off know how you did it, but have never tried something like that before. So any tips on technique. Also if you see my recent posts on Celbridge I have footbridge going into backscene, have you any suggestions to give that some more depth. My artistic skills would not be great but my daughter has a good eye. Cheers Paddy mac.
-
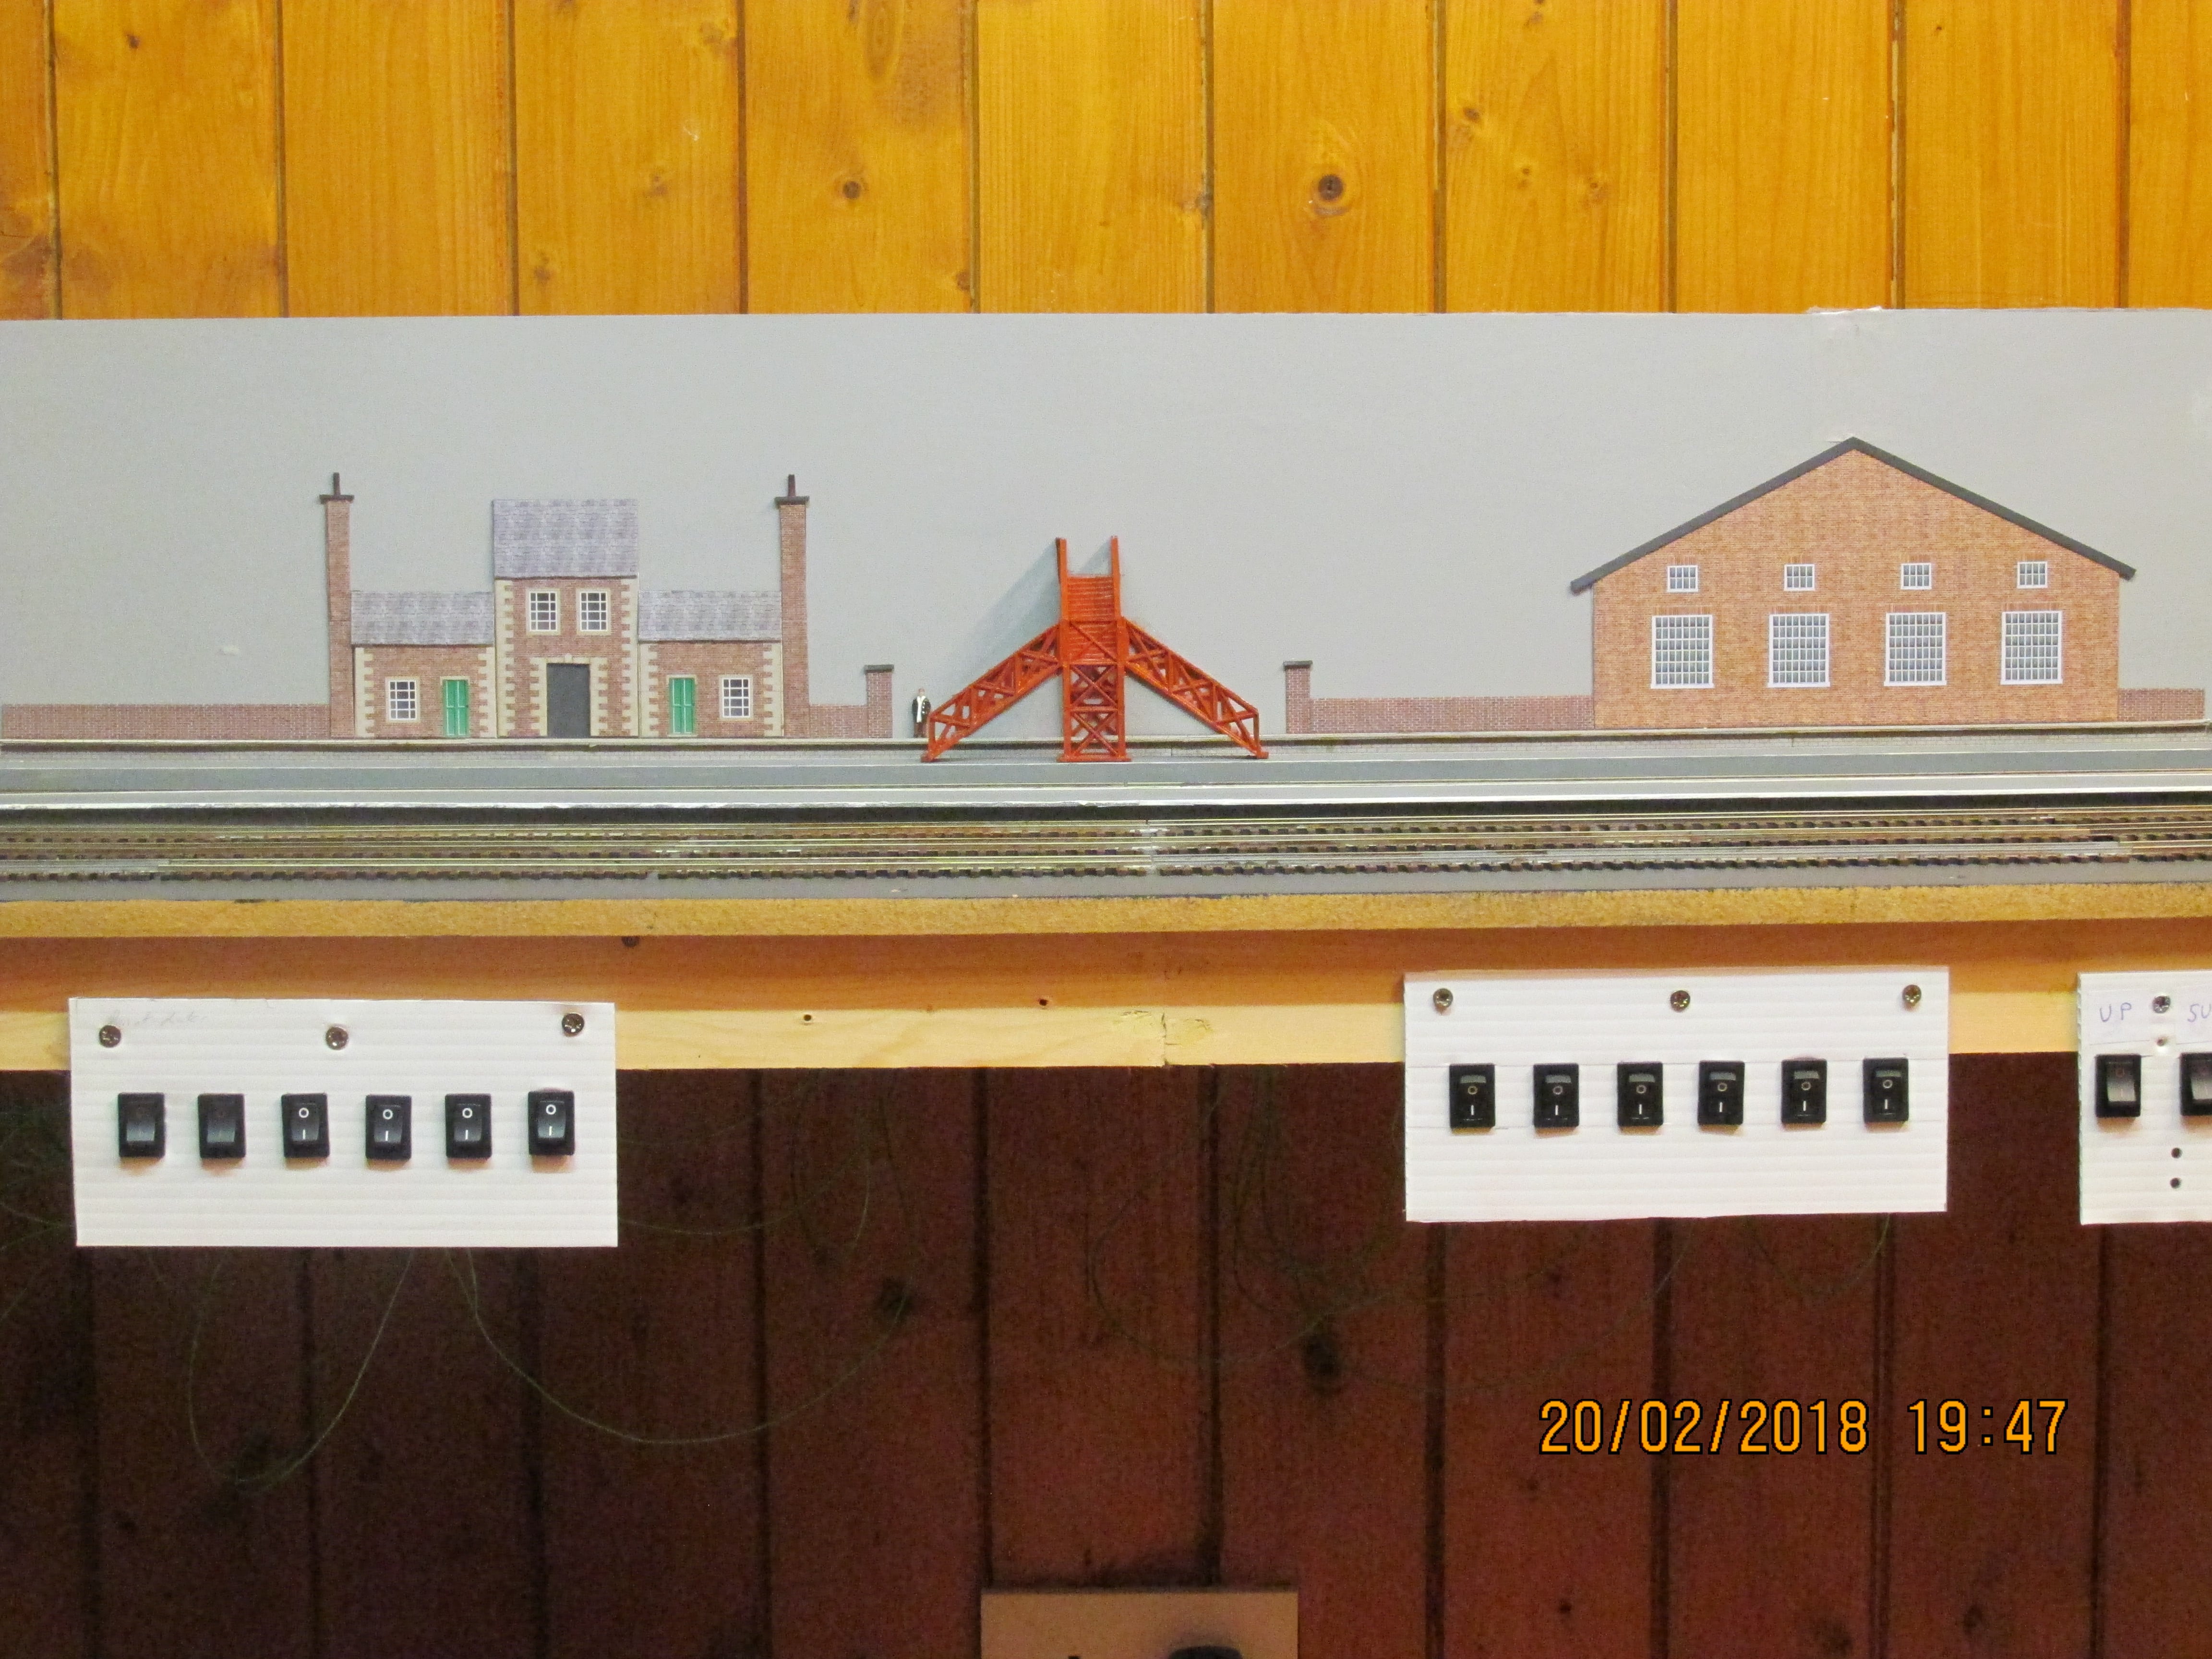
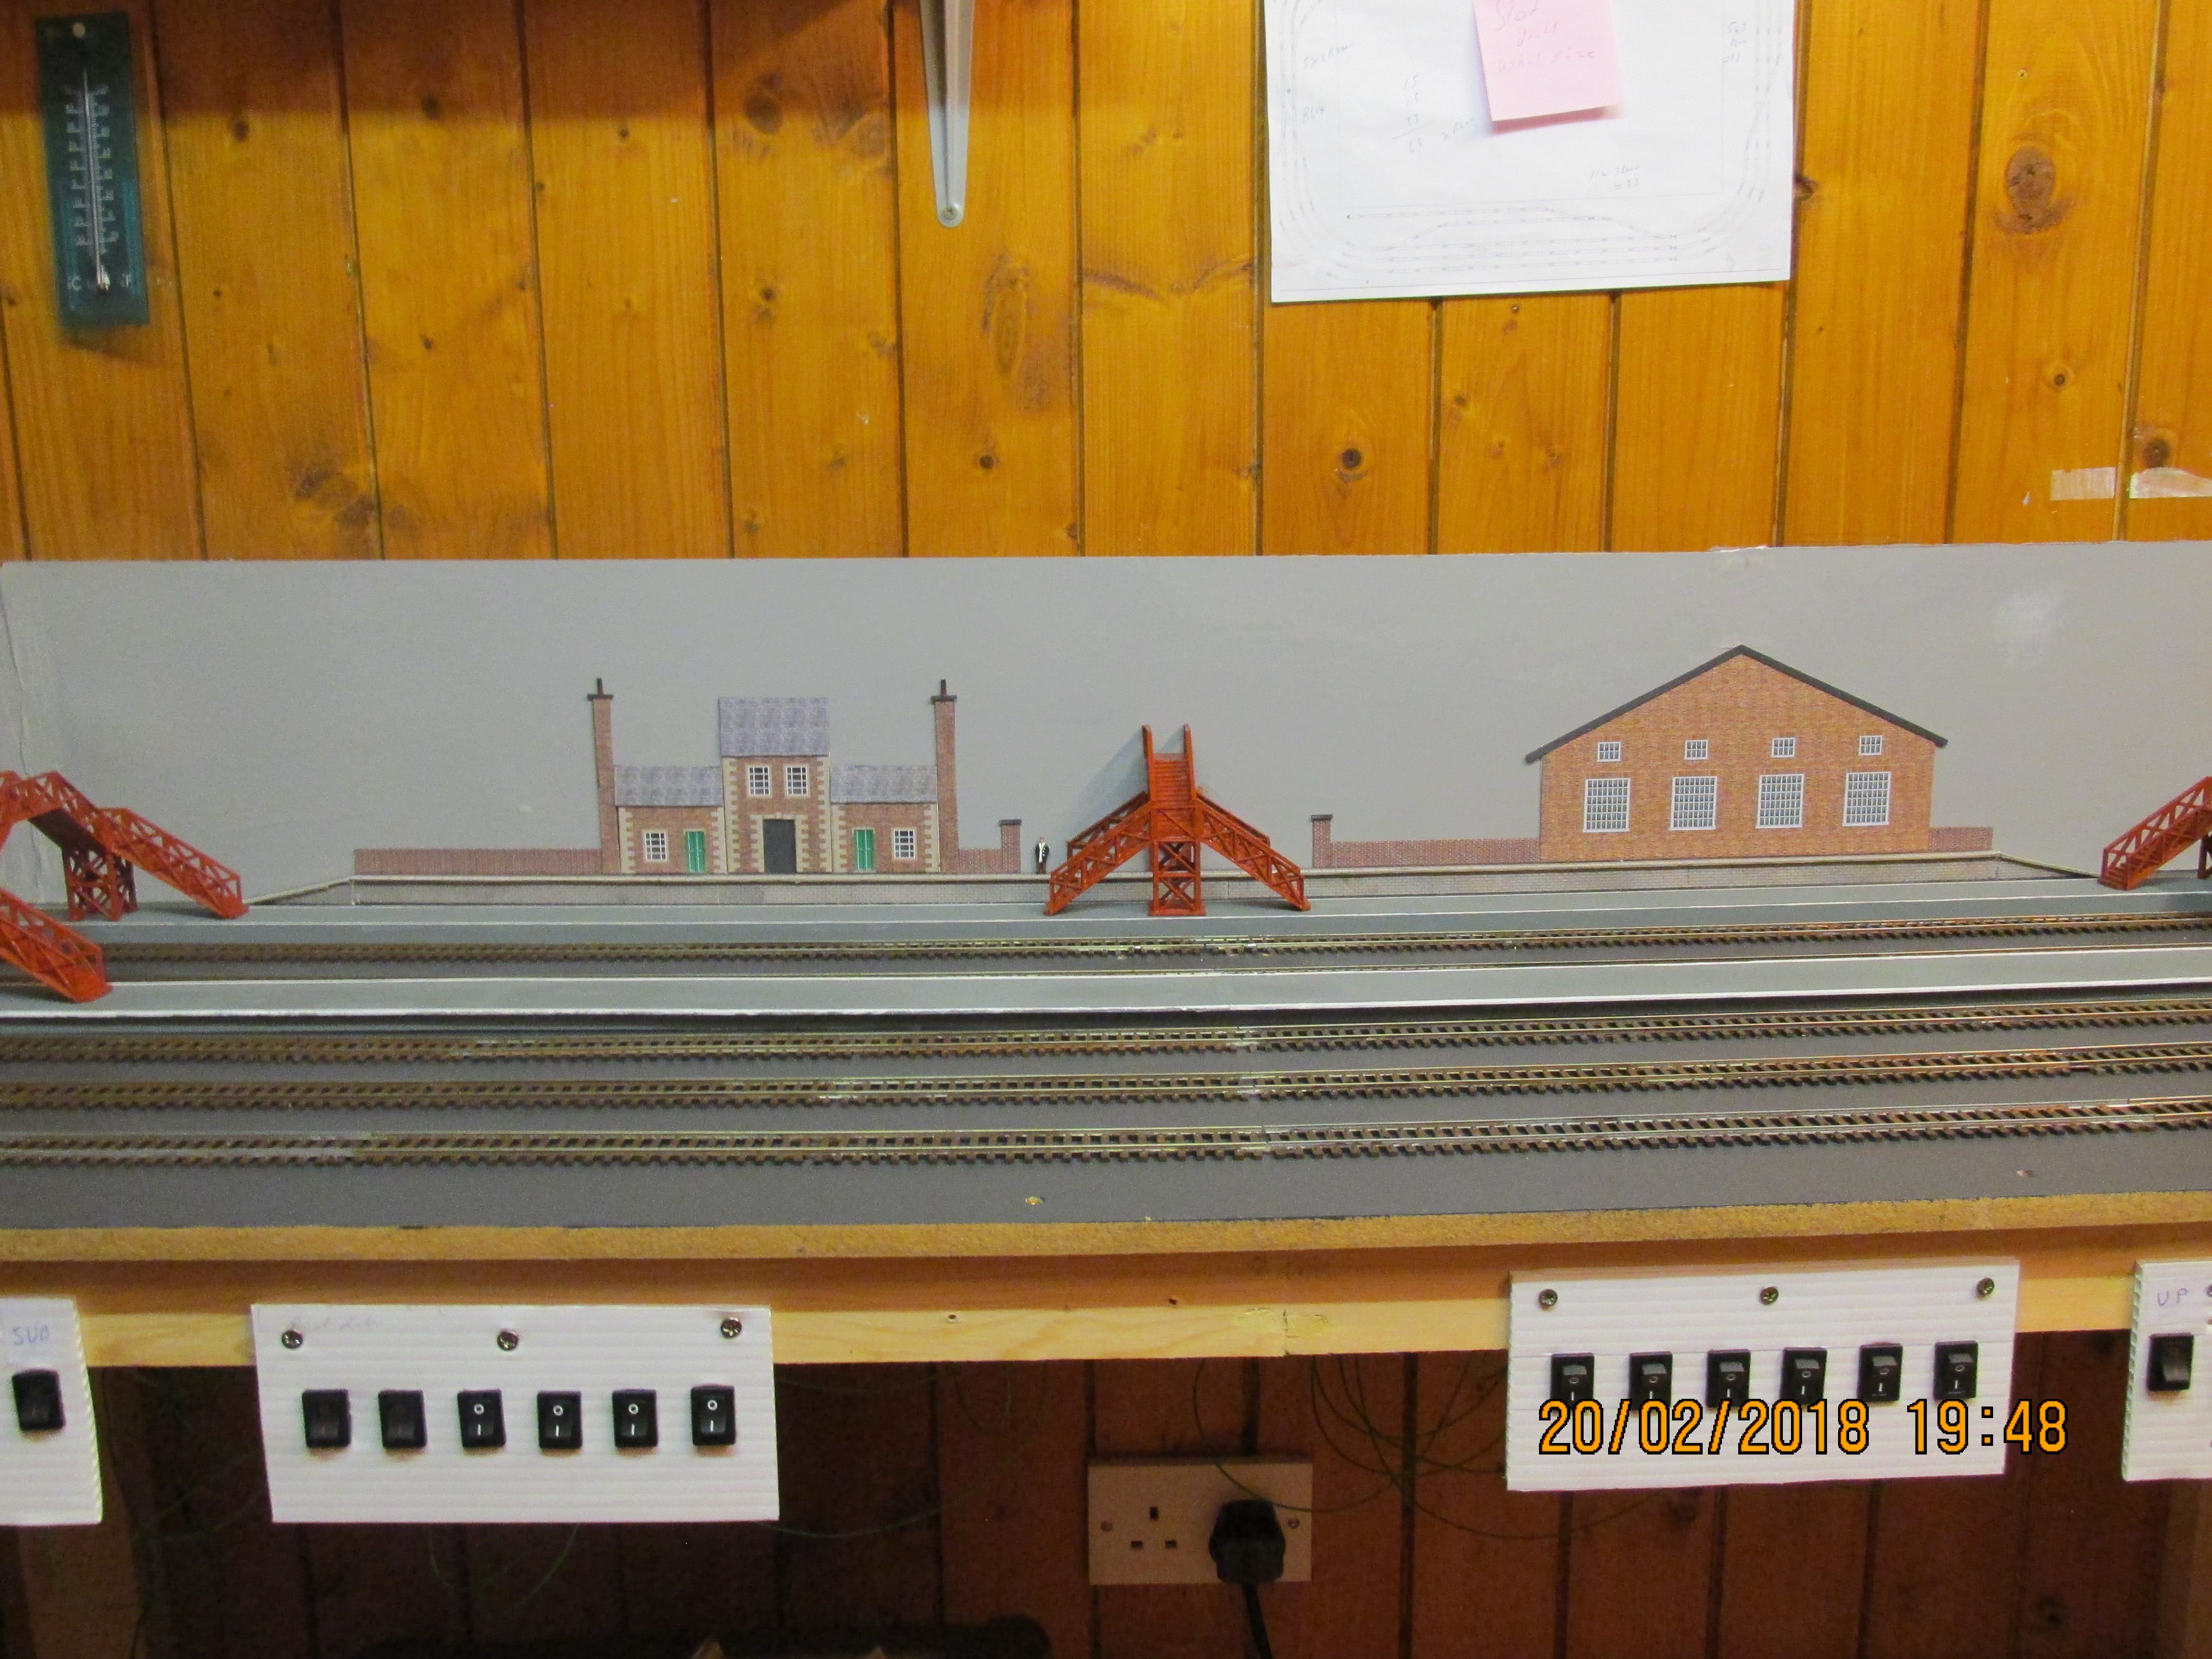
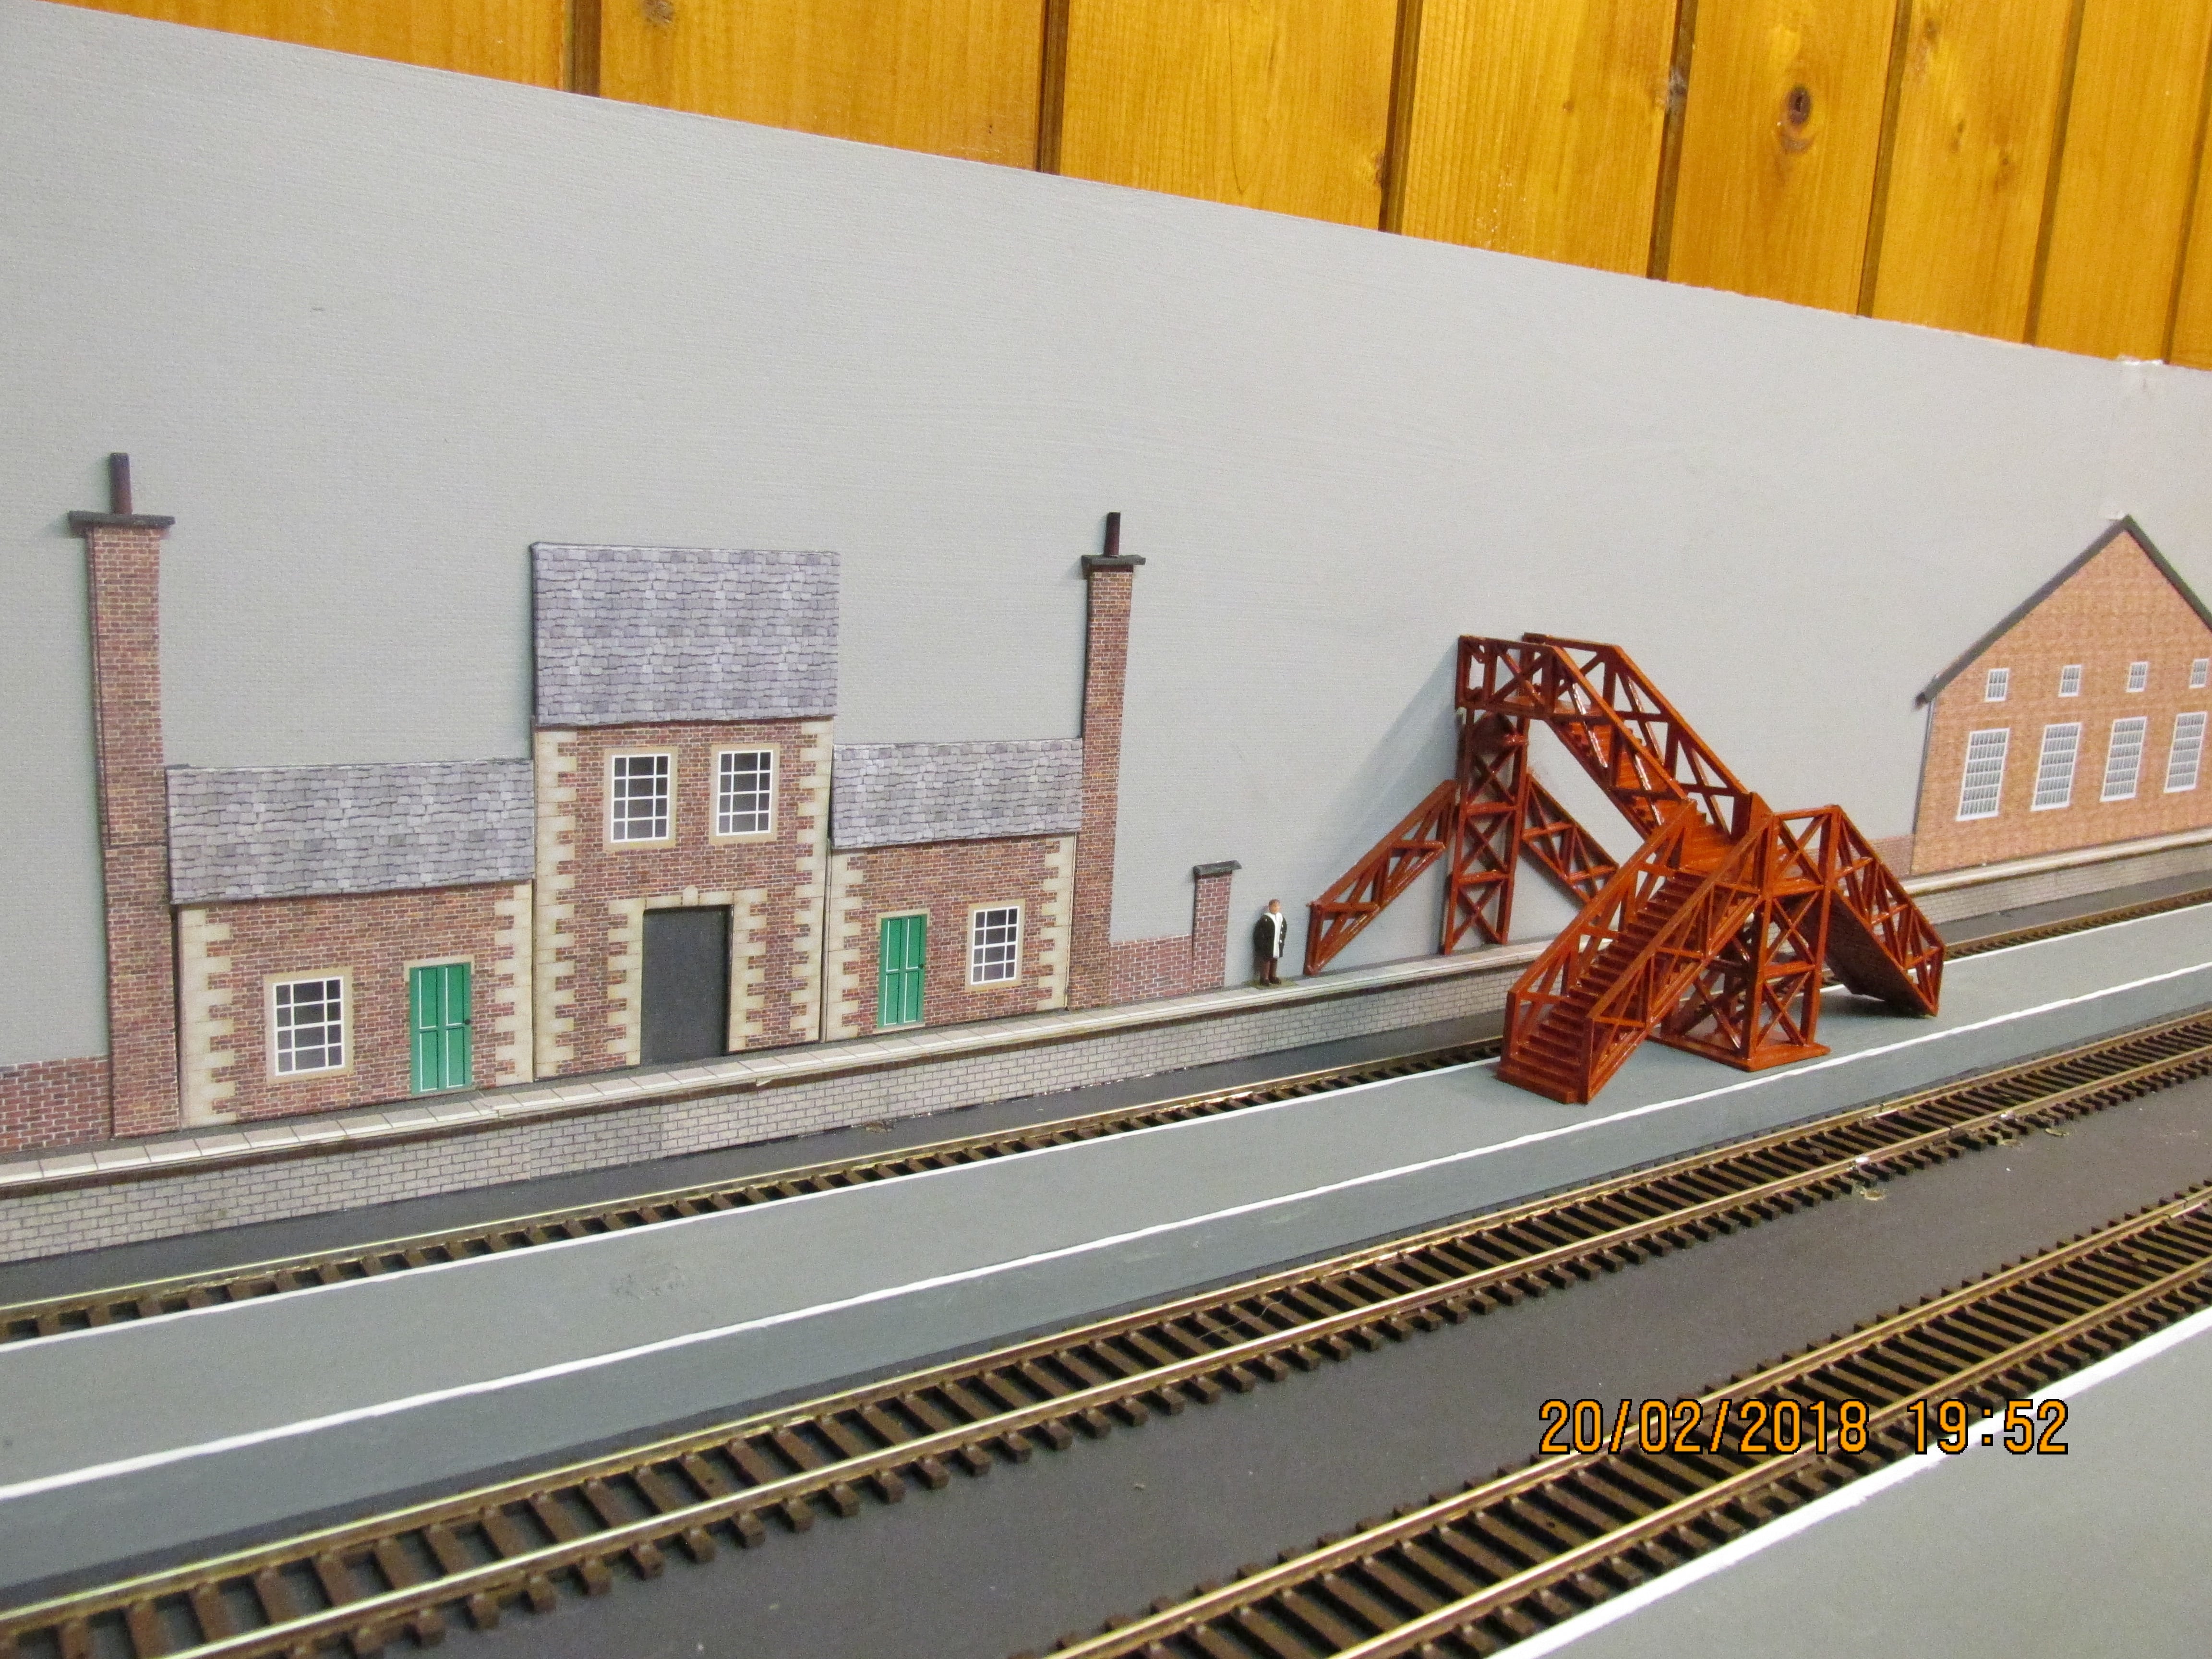
Progress on the backscene in the station area. some heavy card about 2mm thick painted neutral grey. and then added some very low relief buildings made up from card kit downloads.
-
love the layout, whats the overall size, you certainly seem to be fitting plenty in there, like to the use of Y junctions so you can change trains
-
thanks for the likes guys, been away from the forum for a while, so this feature is new to me, must find out how to use it
-
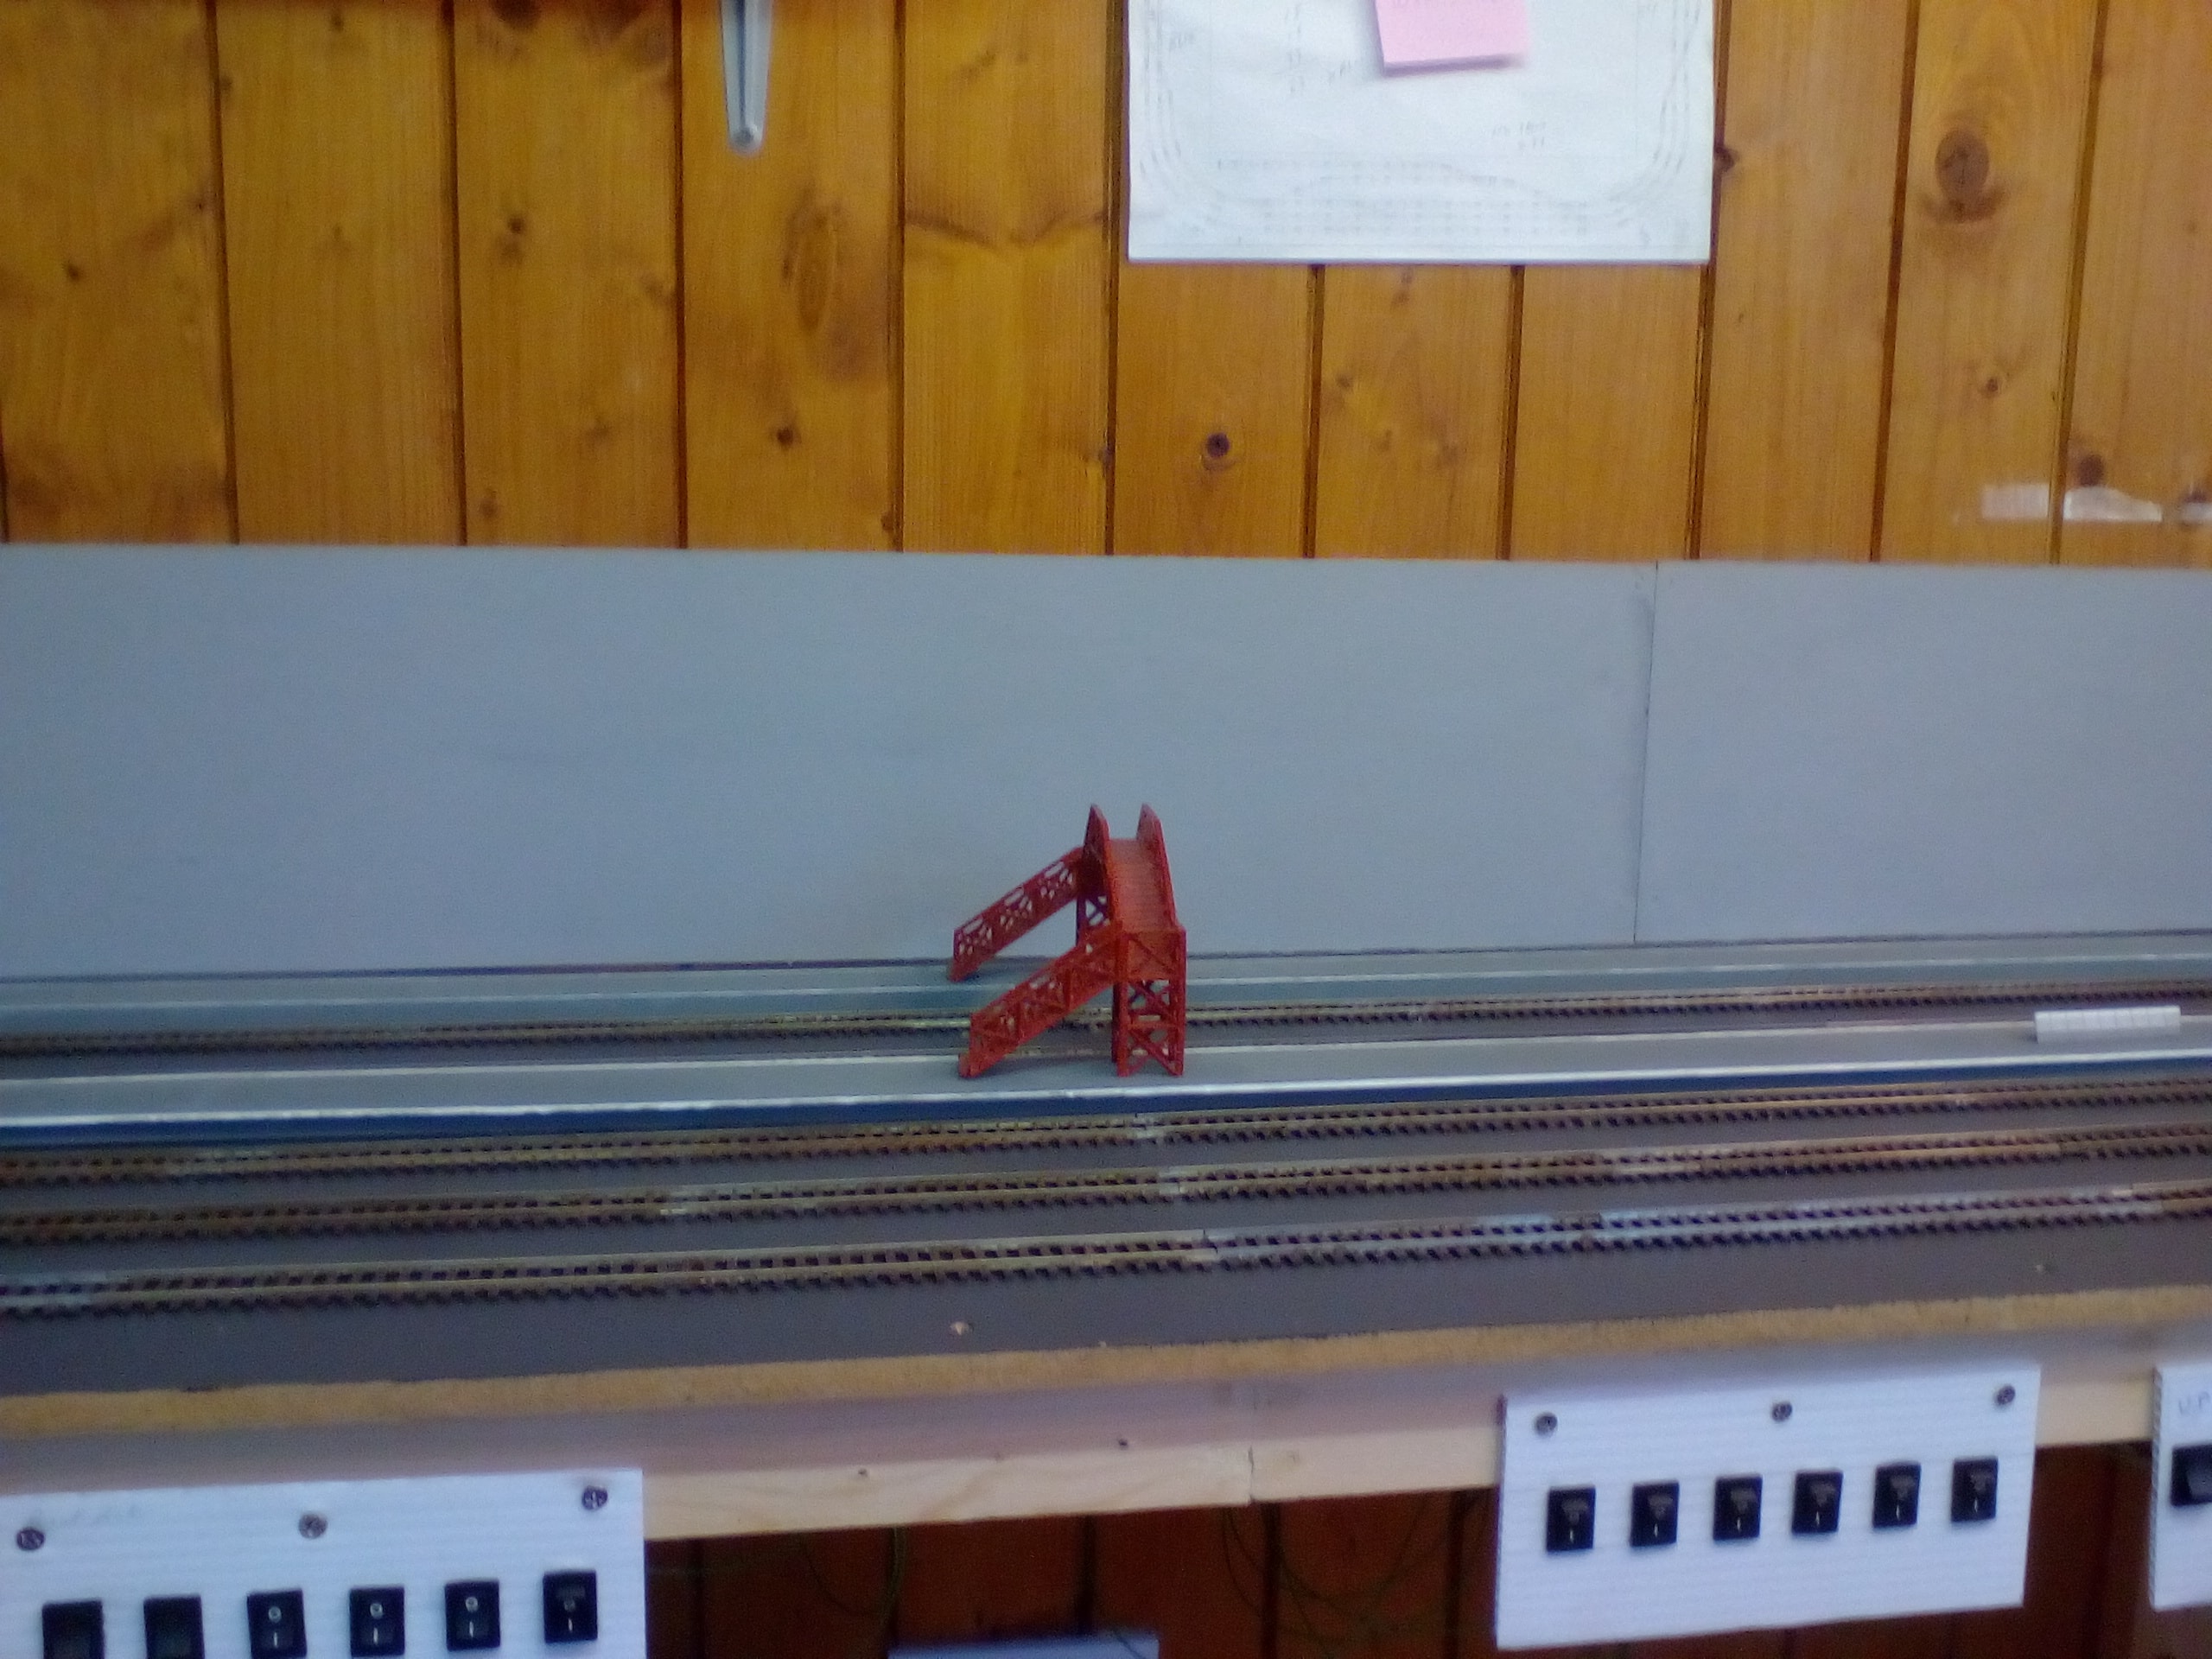
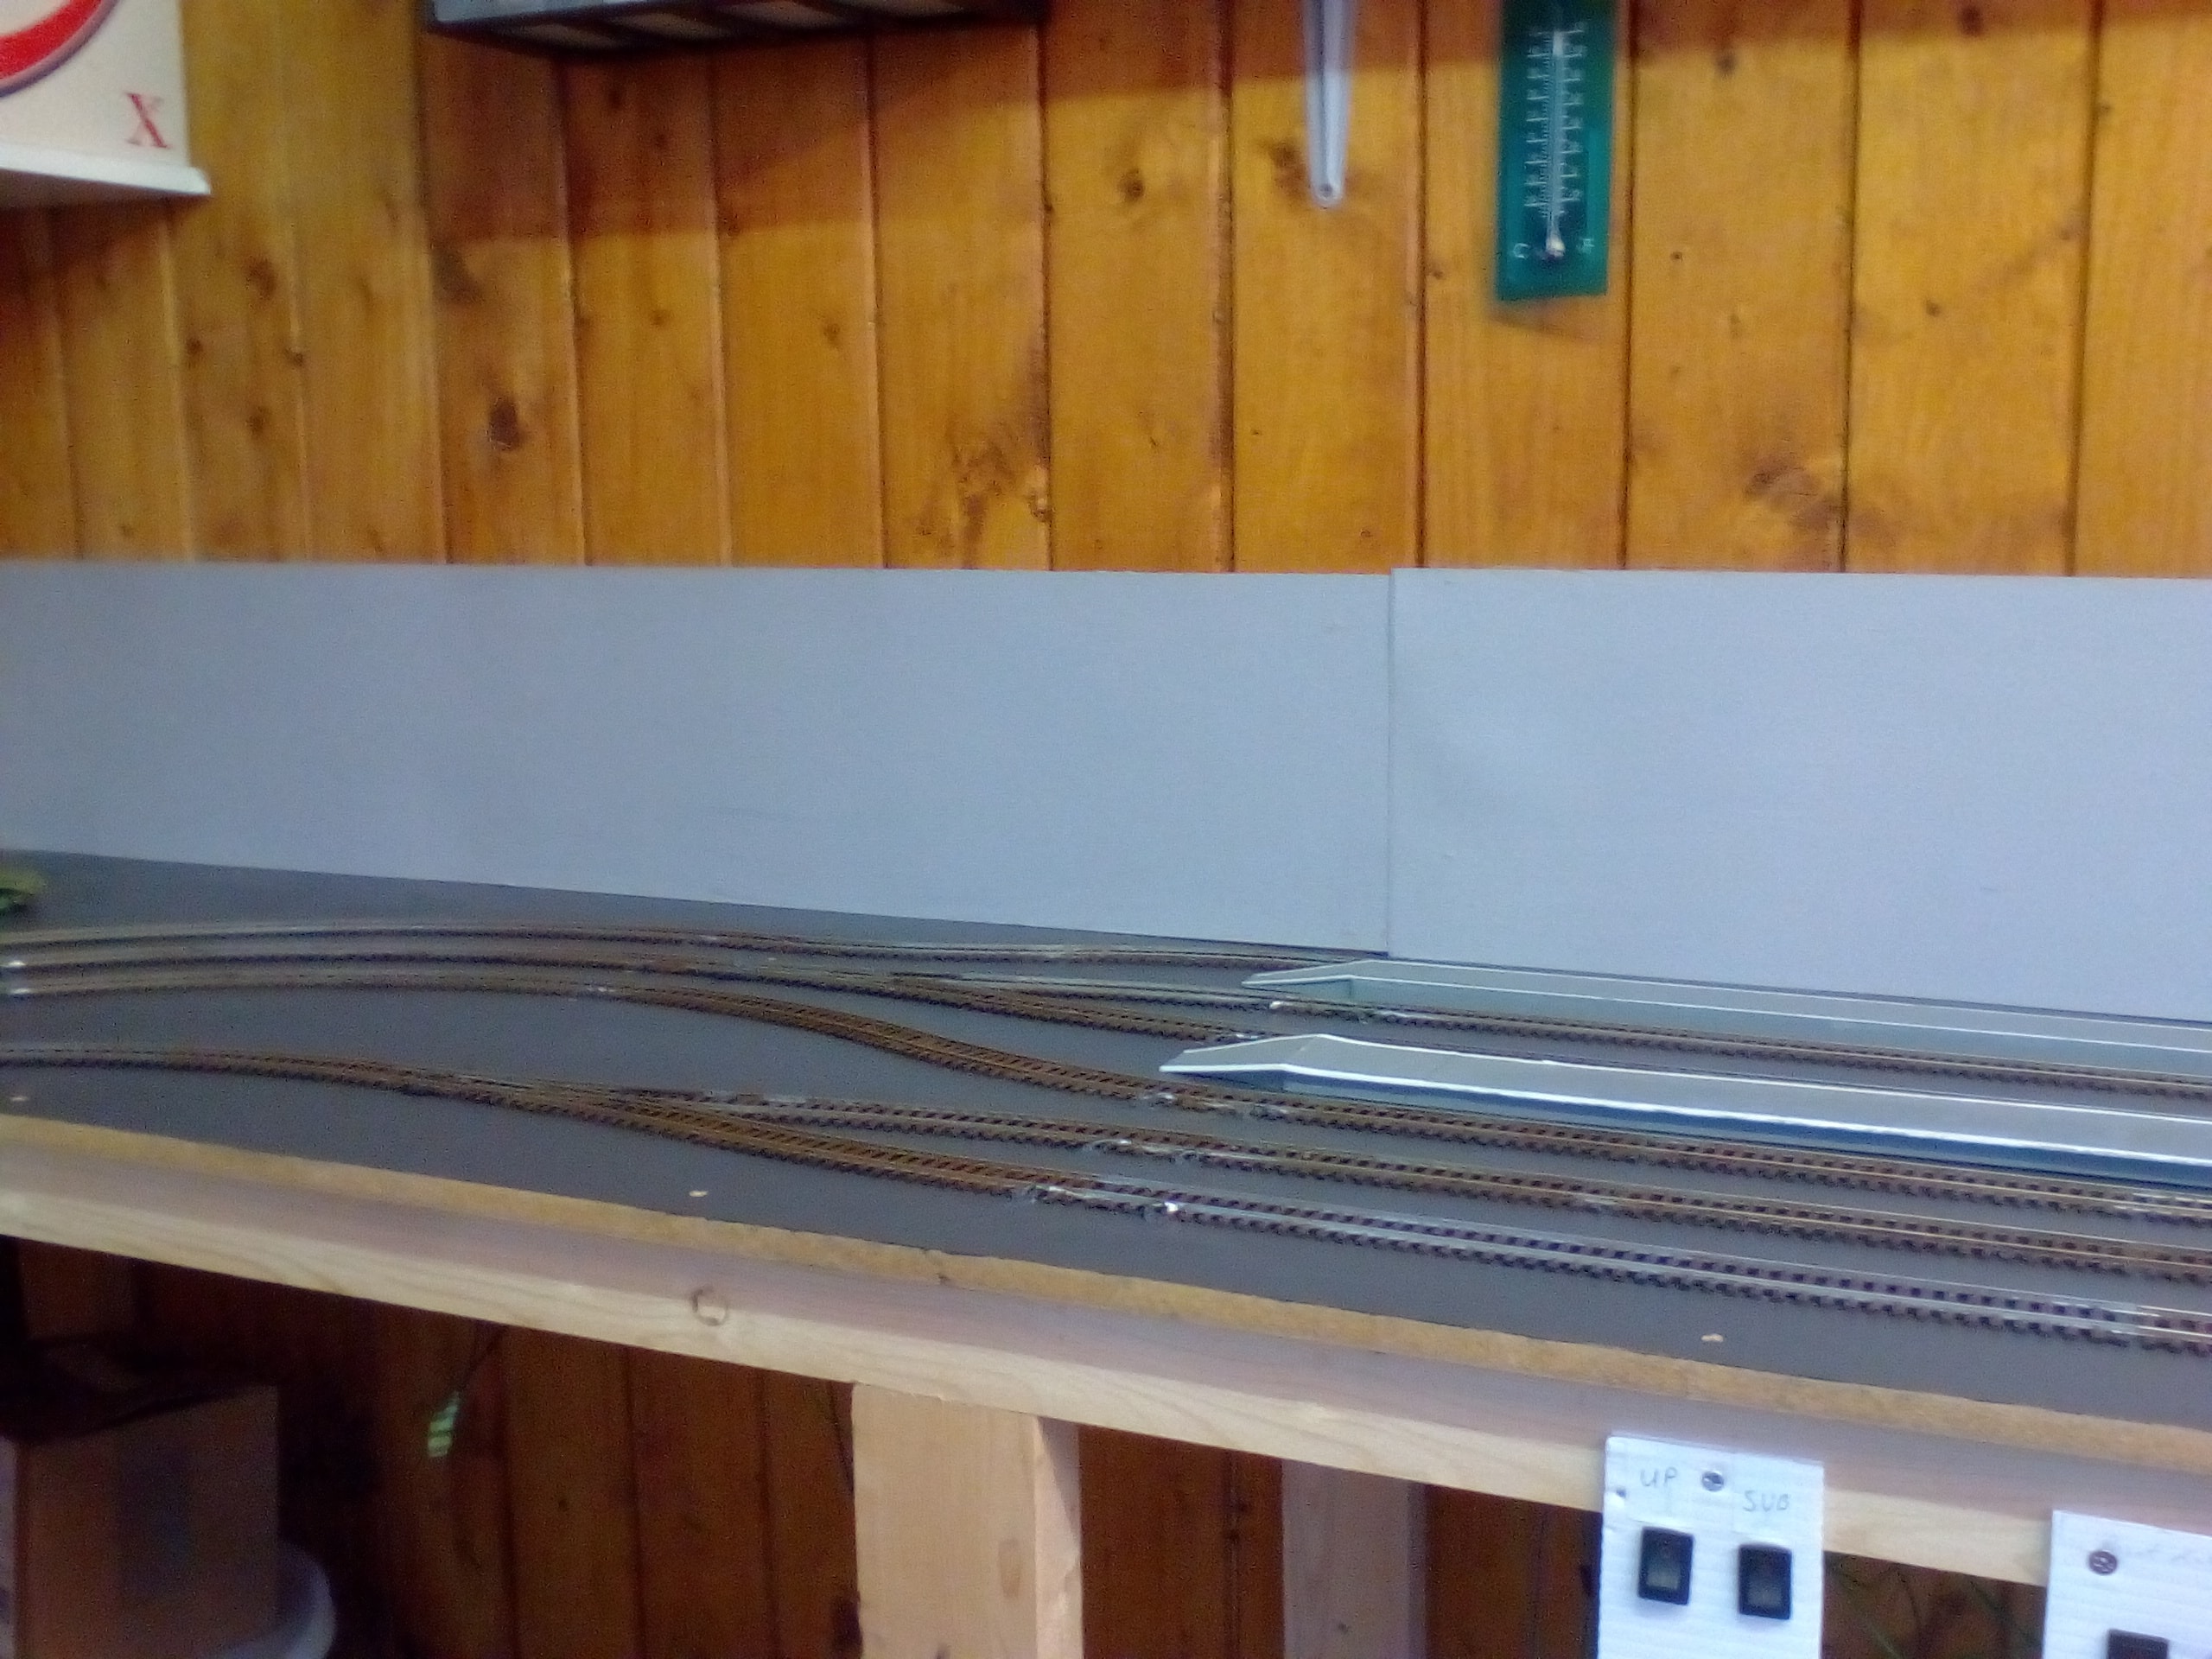
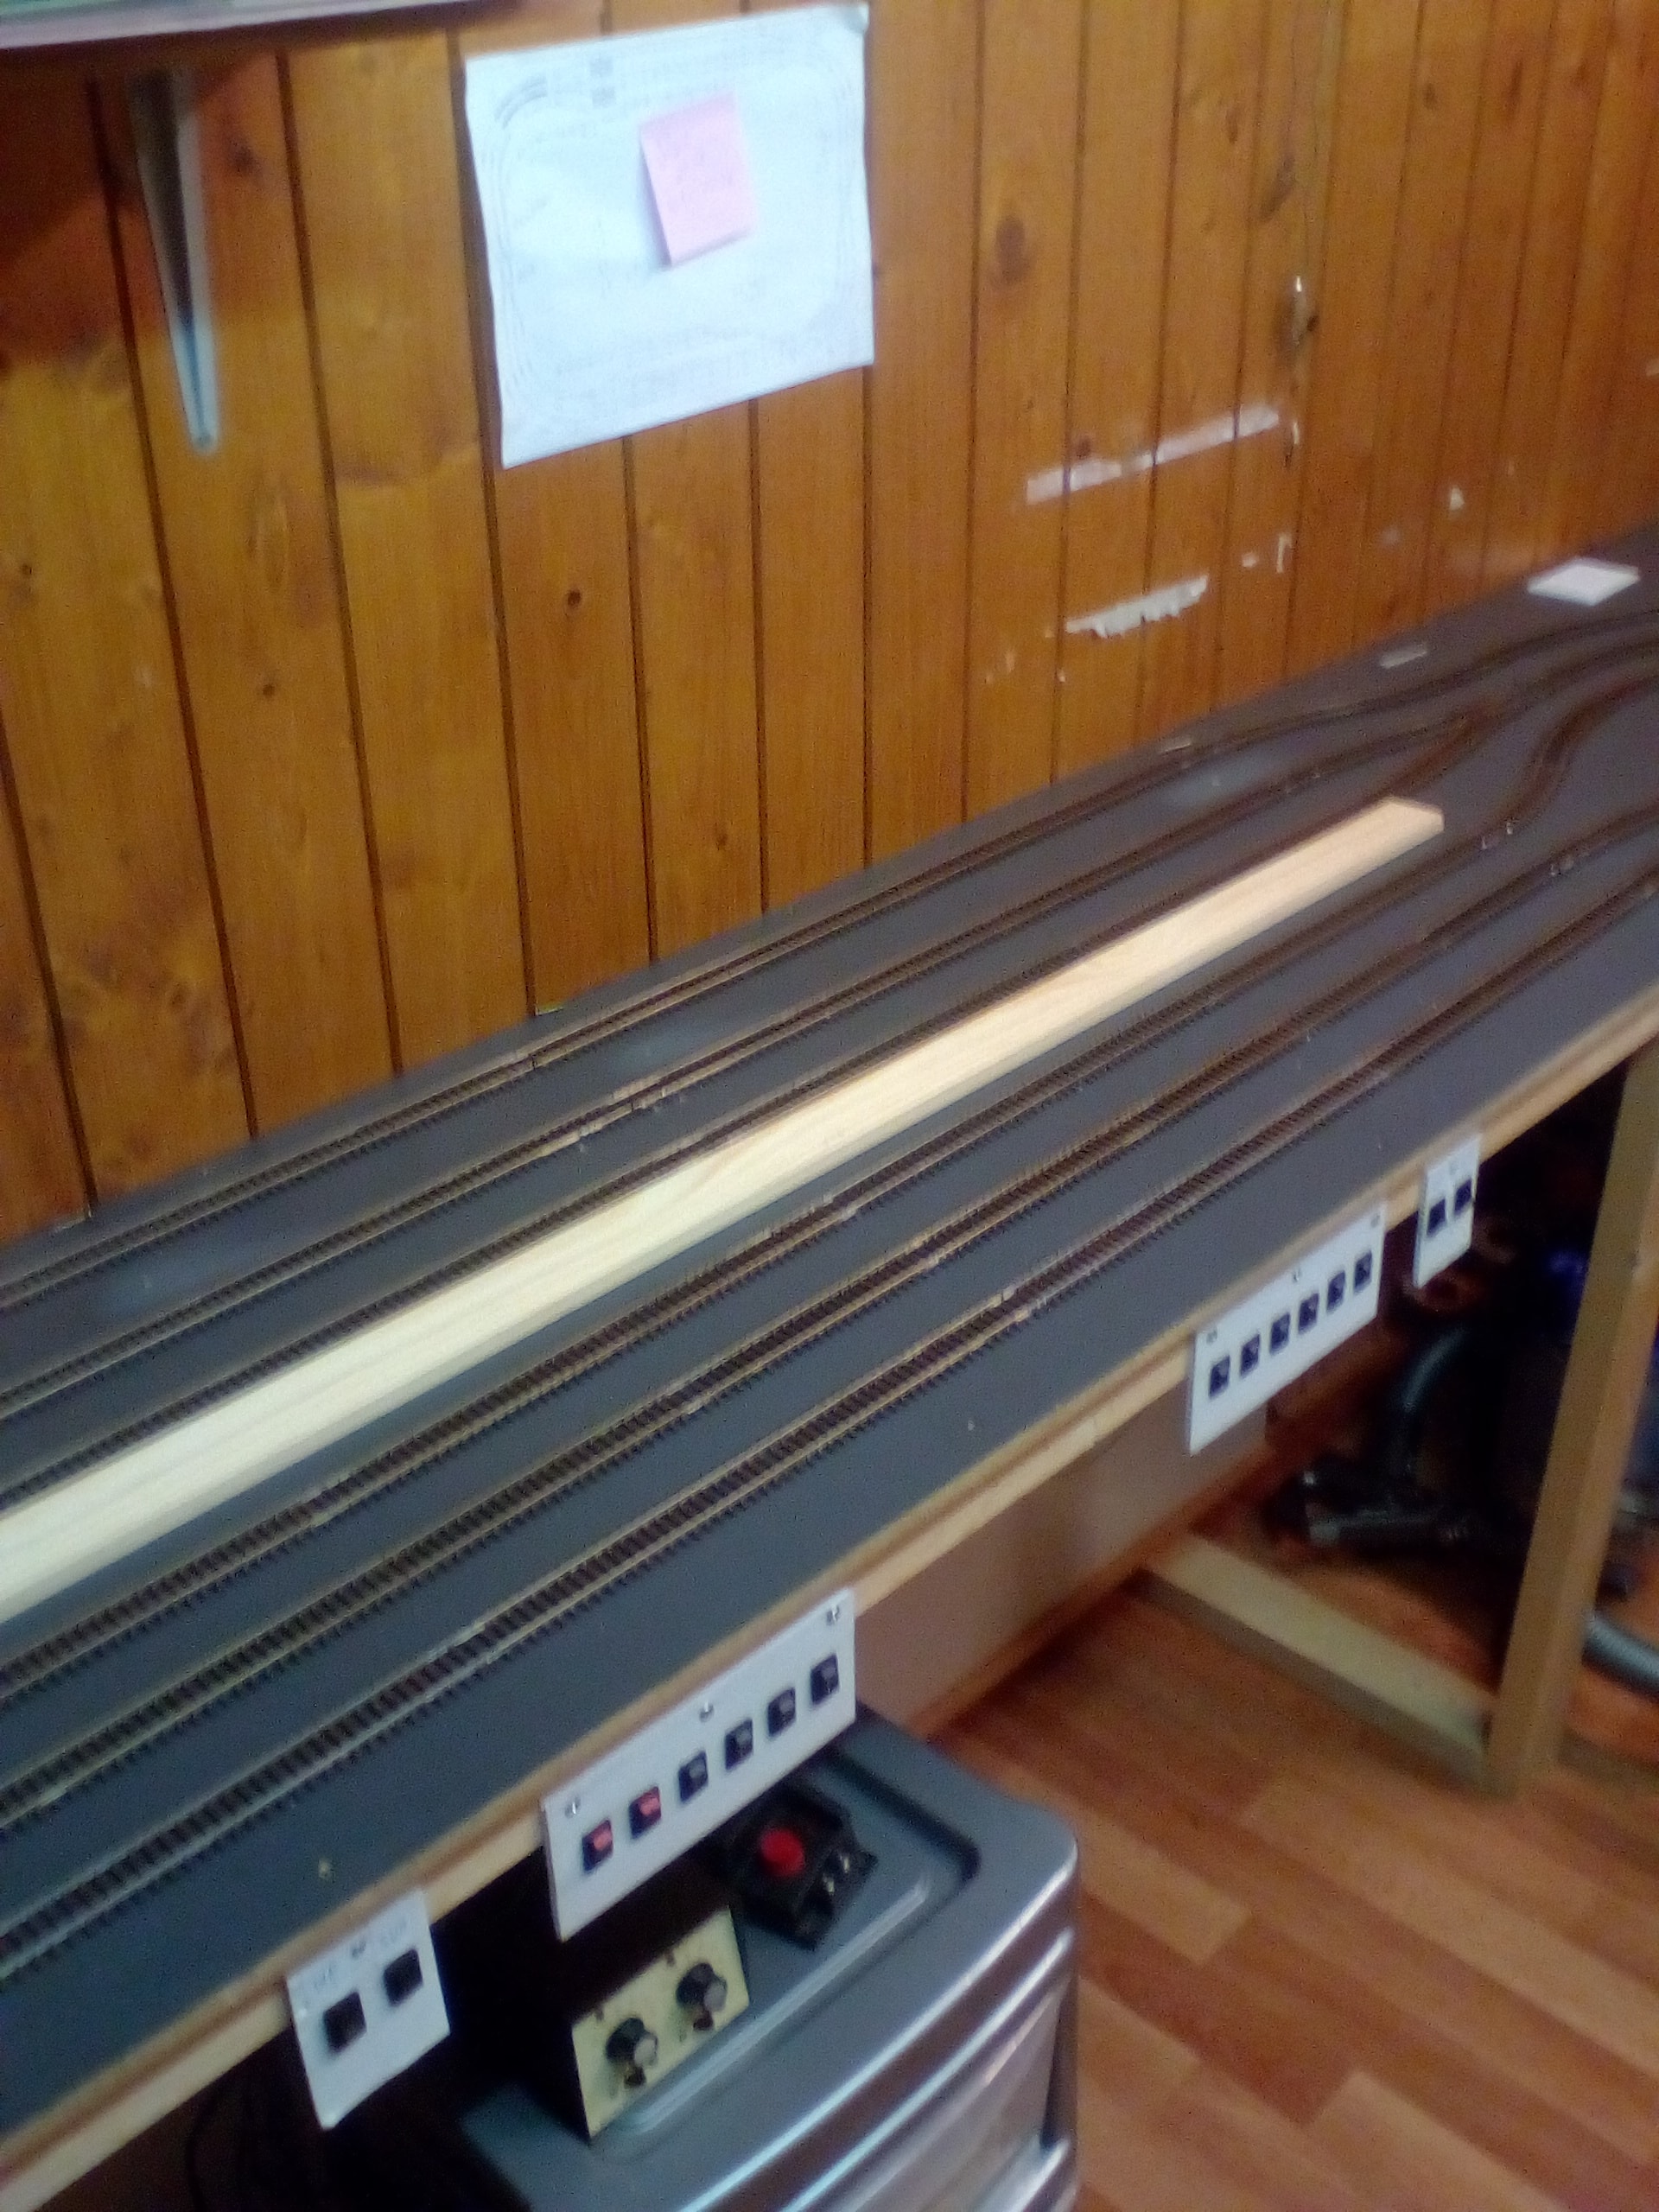
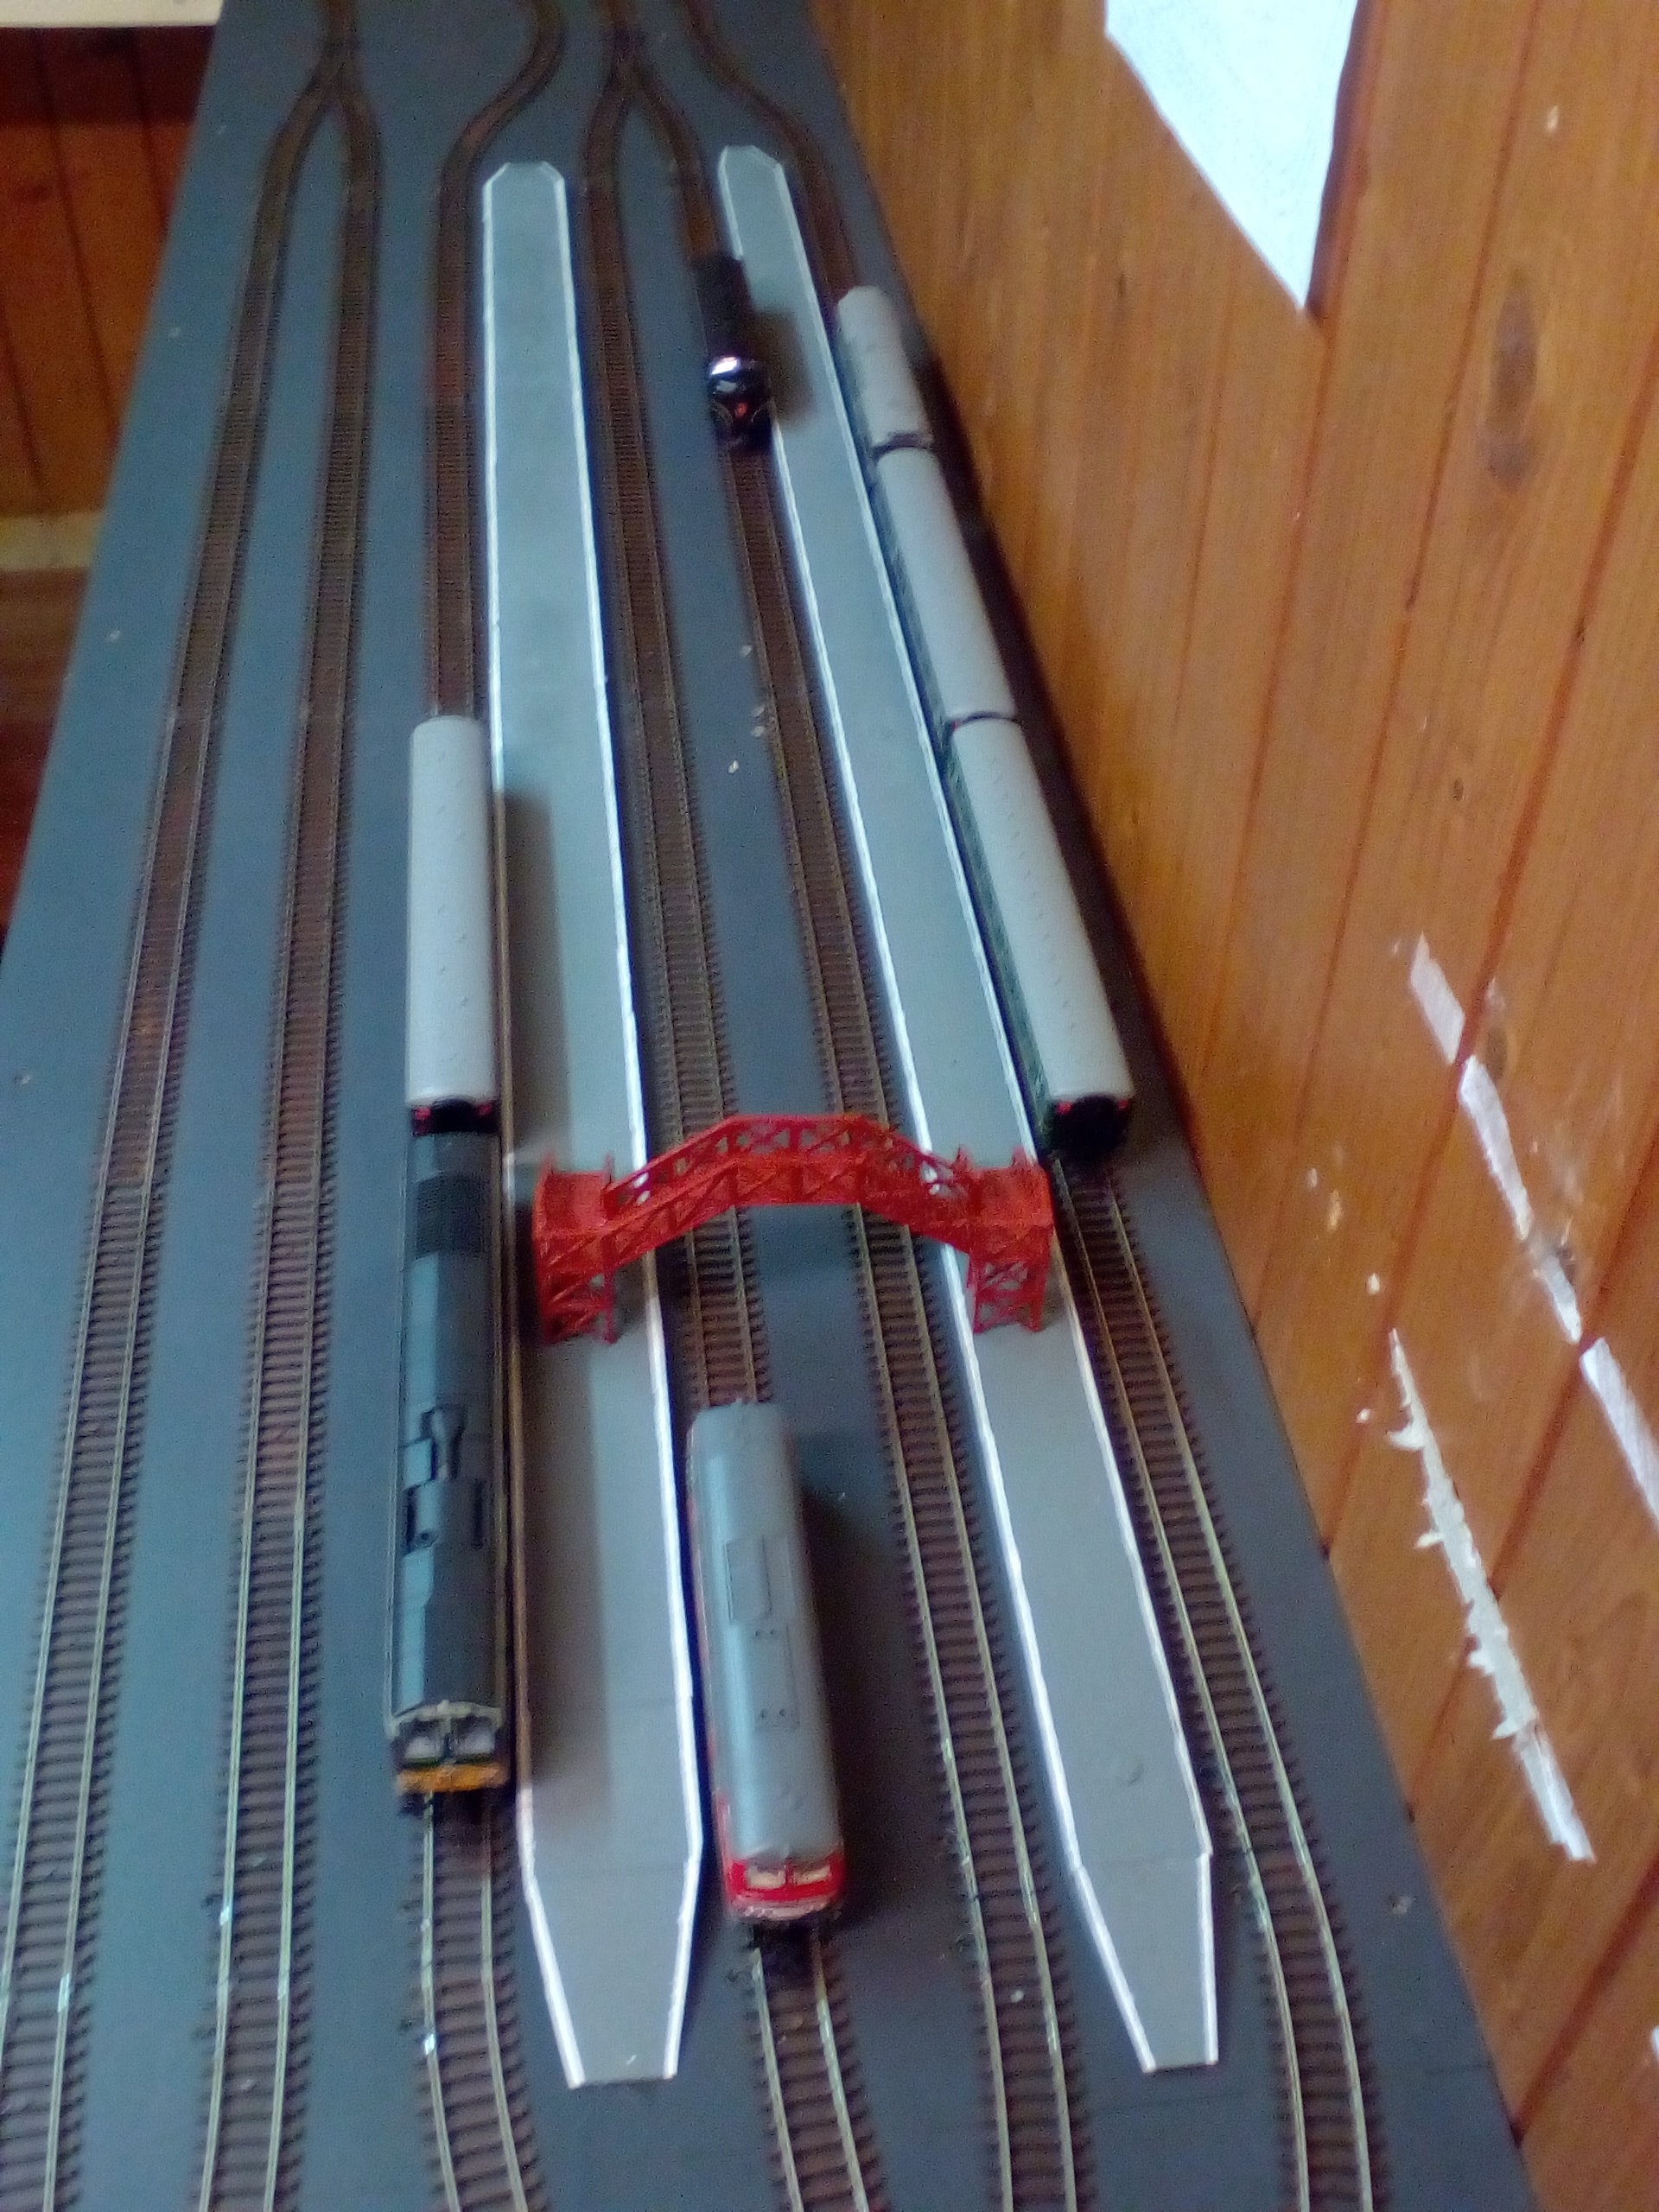
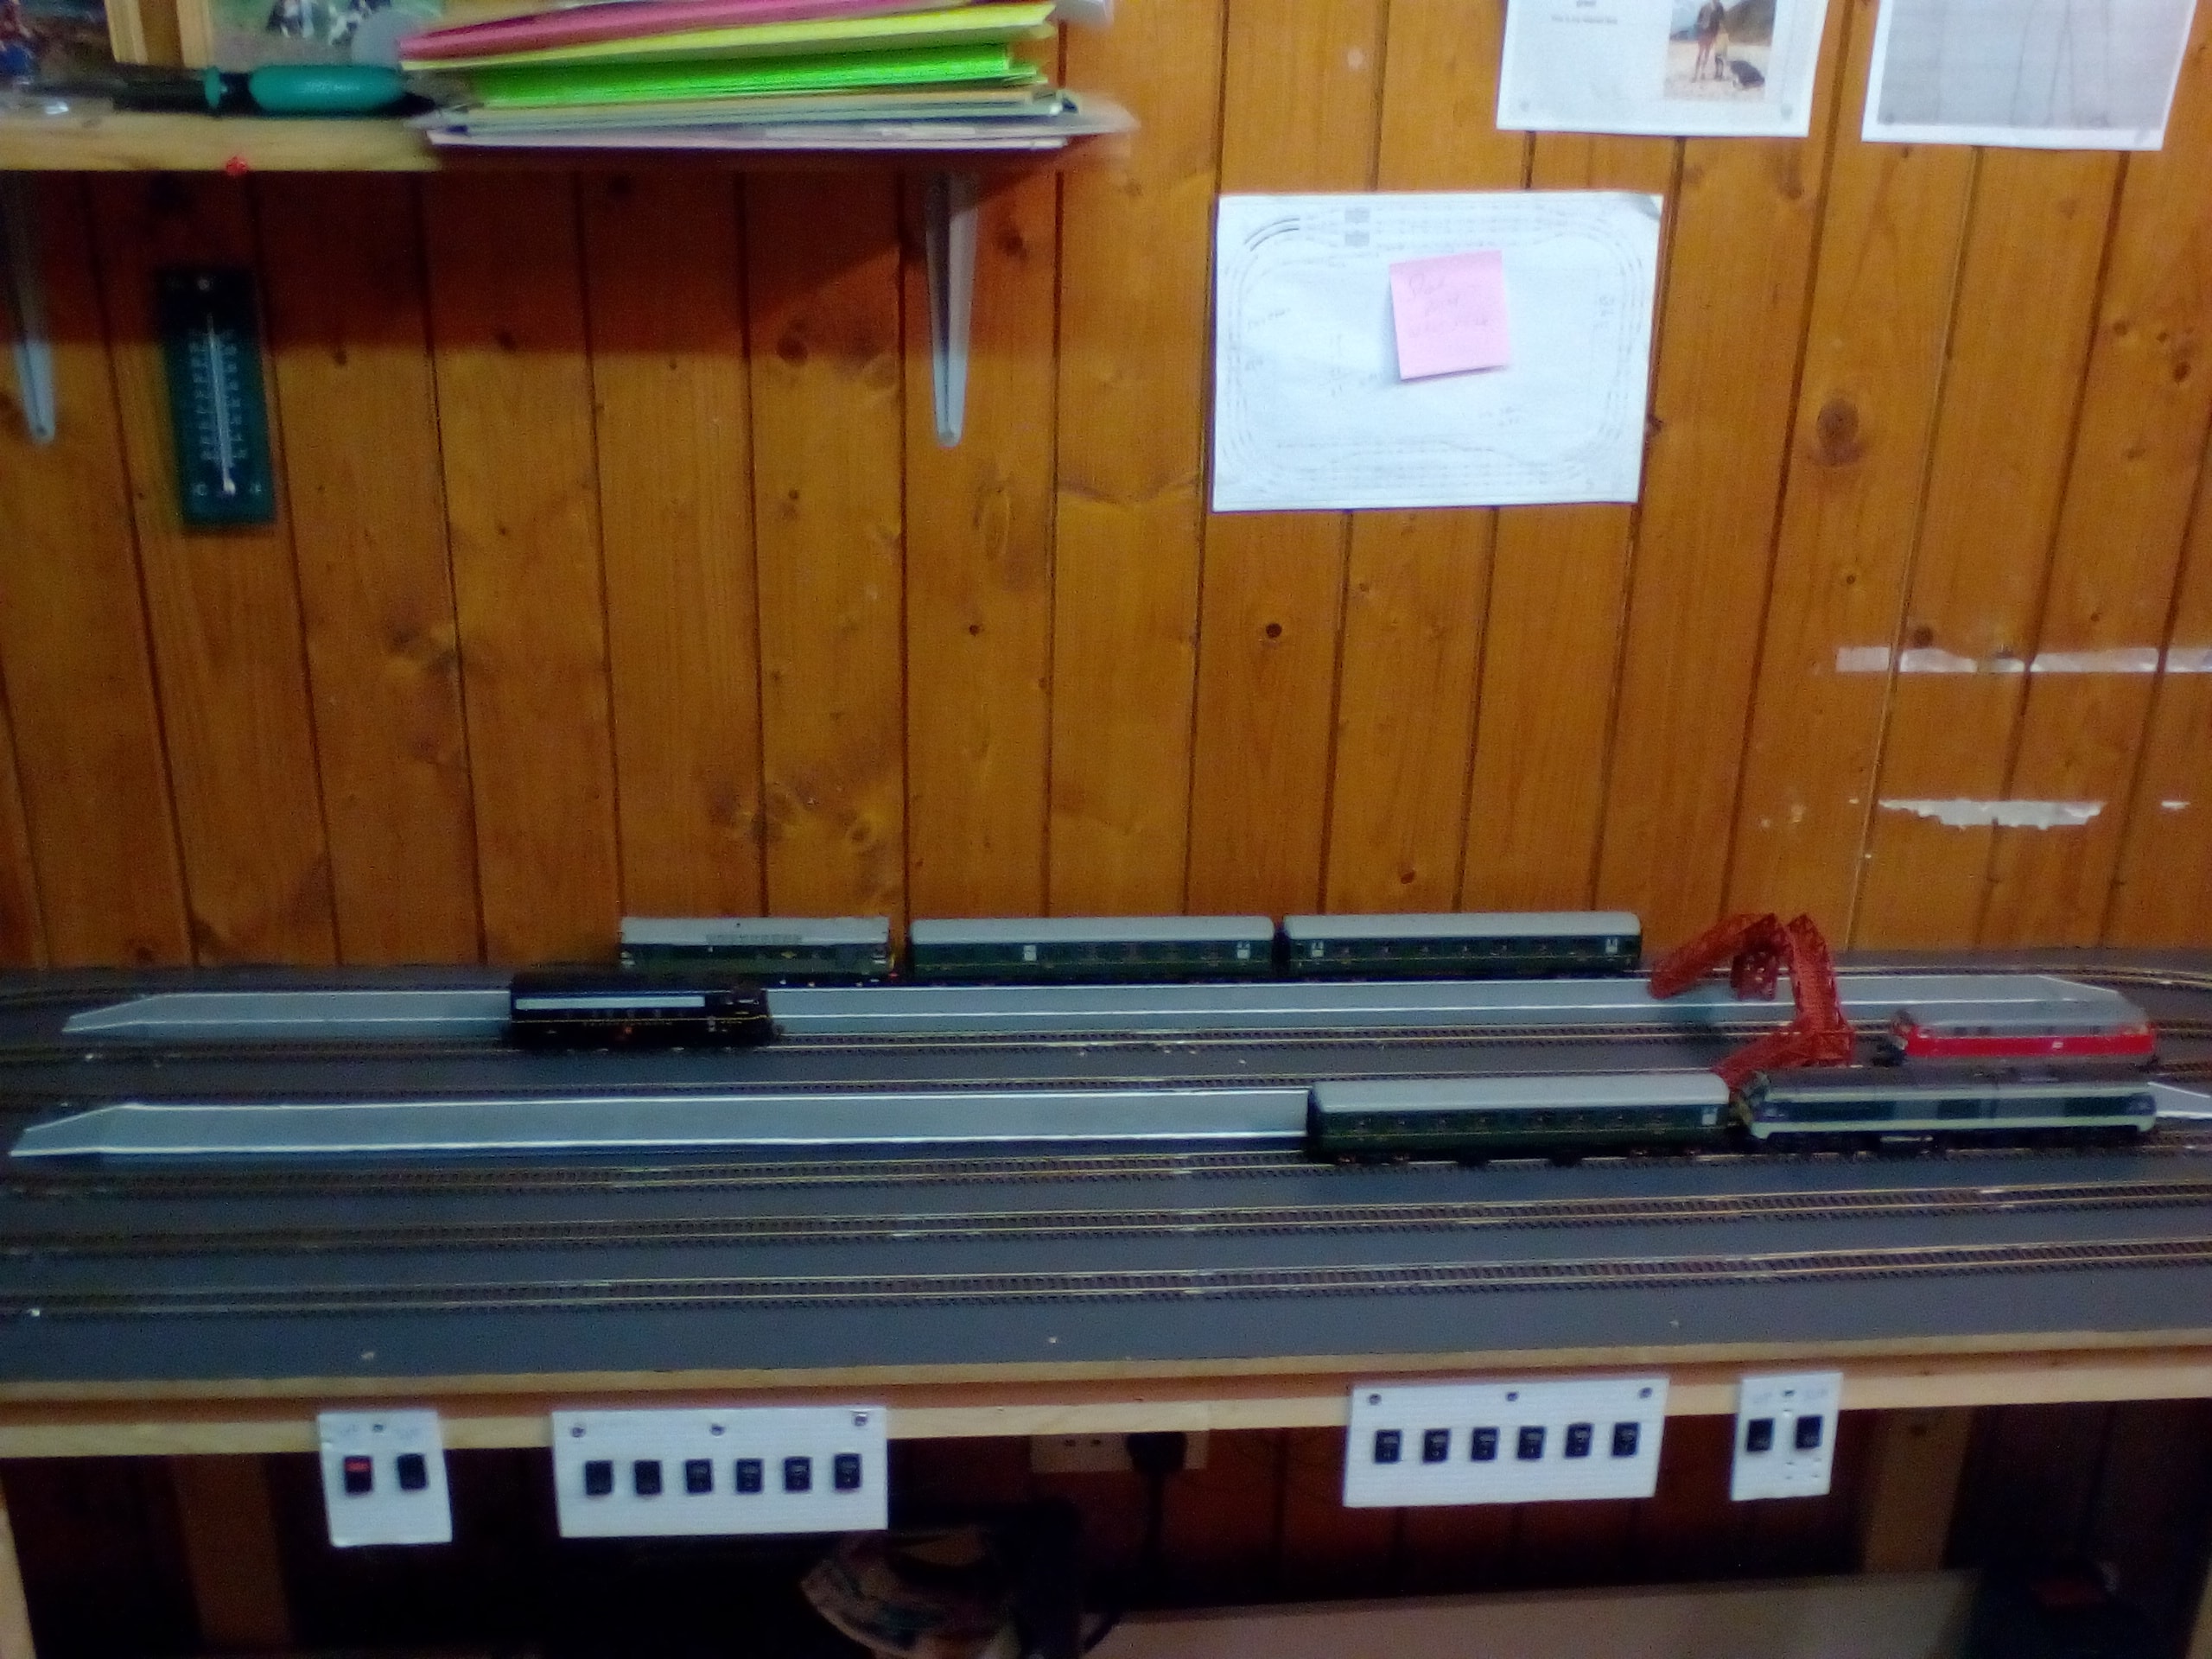
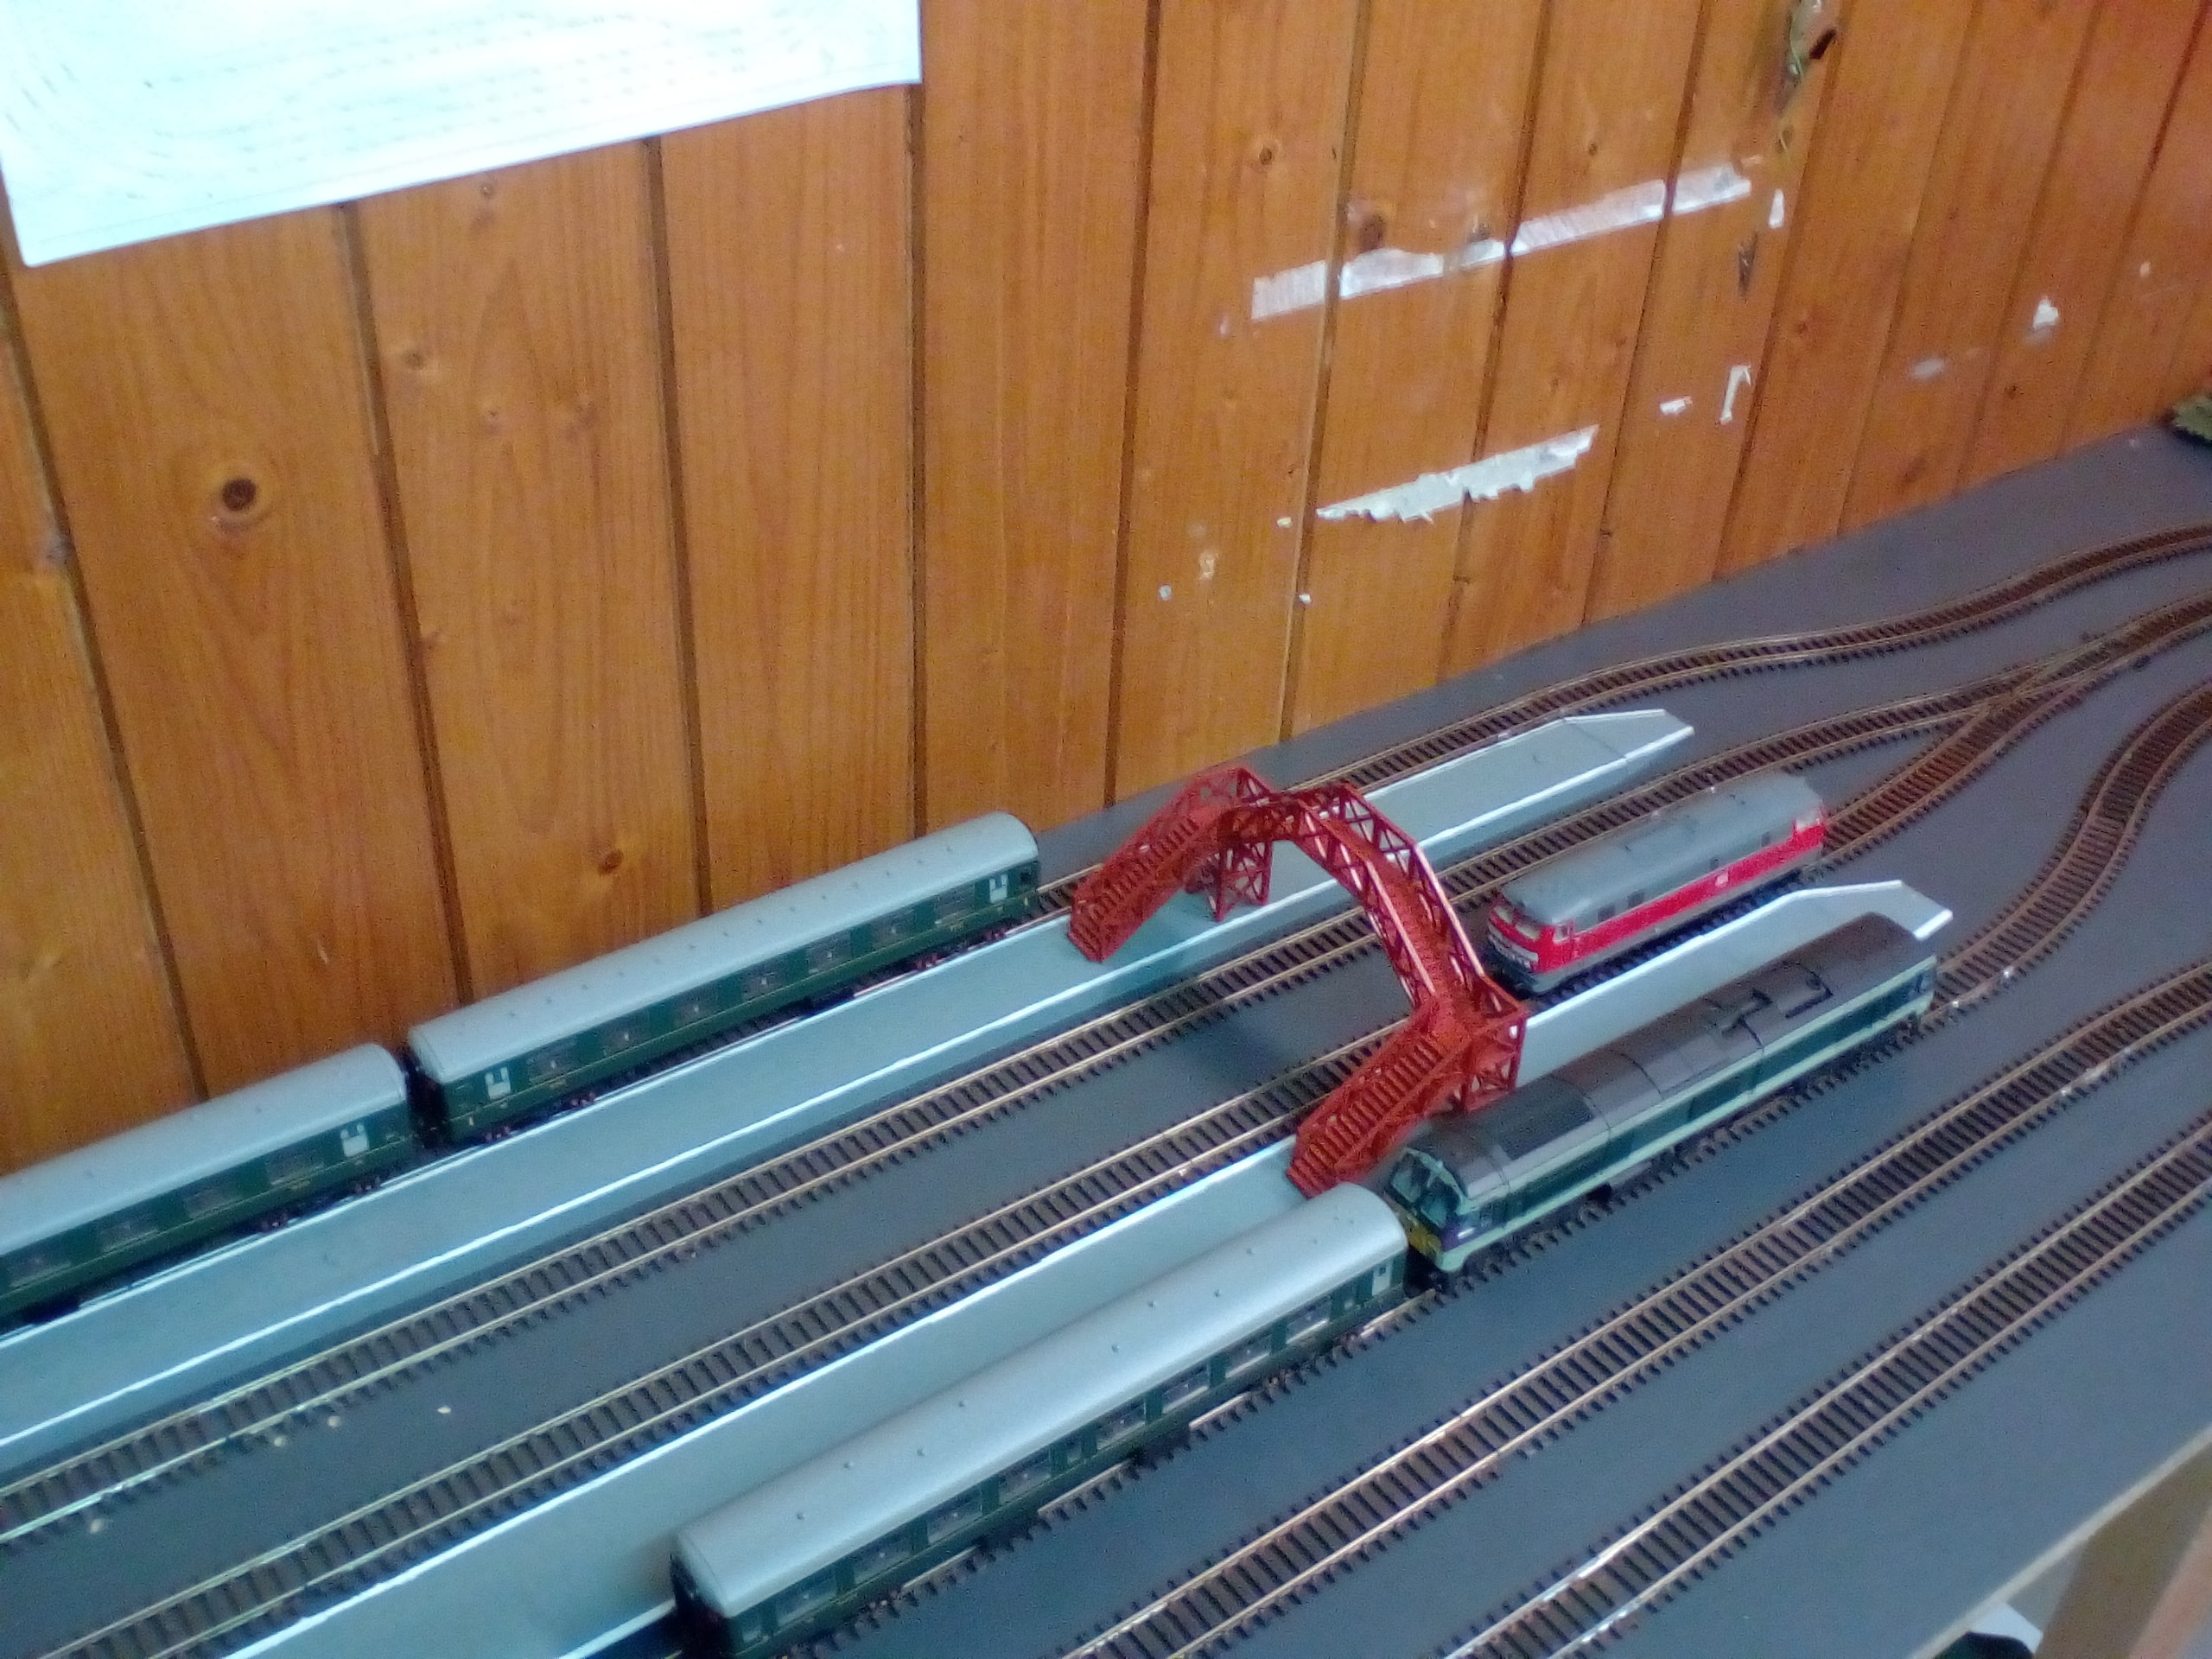
Some progress. Platforms