ger711
-
Posts
80 -
Joined
-
Last visited
Content Type
Profiles
Forums
Events
Gallery
Blogs
Everything posted by ger711
-
If you could get hold of some of the old style Kinder Eggs, a Dapol Prestwin Chassis and SSM's detailing etch, you would have no problem building one. Maybe someone on here could tell you where you could pick up Kinder Eggs or an alternative body. Ger.
-
Superb Job on the A Class. Glad to have been able to help. Ger.
-
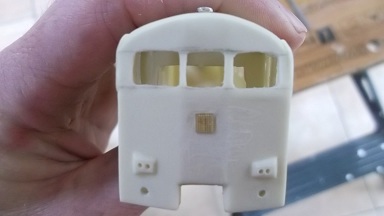
Kirley, First thing I did was to draw a pencil line across top and bottom of all windows and then filed them to get them as even as possible. For glazing, I used the printed window sheet that was provided and placed this under a thicker plastic sheet and drew around the templates. Each one was then cut and filed to fit each window. I used a rough template of the Loco sides and ends and stuck the pieces to this with Blu Tac until I'm finished painting. The plastic I used was from the Hornby Class 55 box and is a good thickness. To secure them in place I would recommend Glue N Glaze as it dries clear and is invisible. Ger.
-
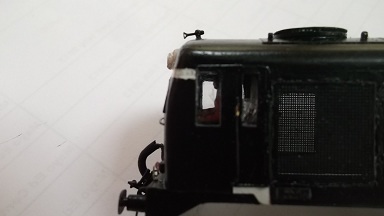
Kirley, You are right the side louvre grills are not very clear. I spoke to Des and he said it was almost impossible to get them even to what they are now as the louvres are so thin. I don't know if it's possible to etch them in Brass. Maybe when painted they won't look so bad. Windows are going to need some work. Ger.
-
Thanks Des, There is Glue N Glaze in the dial holes to represent glass although you can't see it nor won't see it when it's in the body, but why not. I'm putting some ladders on the bogies now, then the body needs painting and finally the wiring and lighting. Will keep you posted. Ger.
-
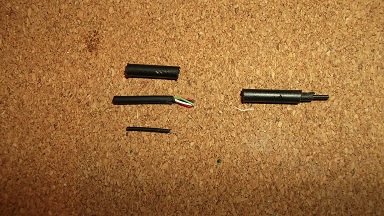
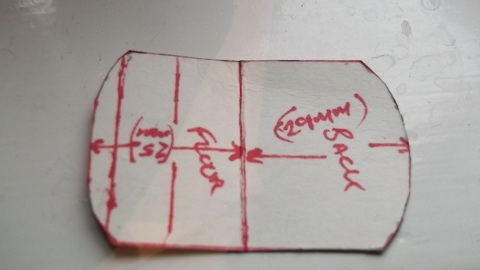
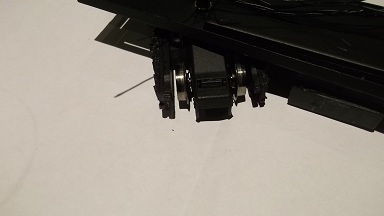
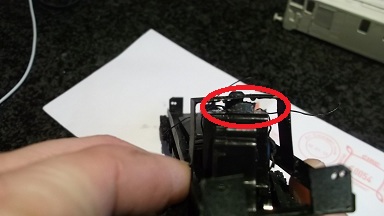
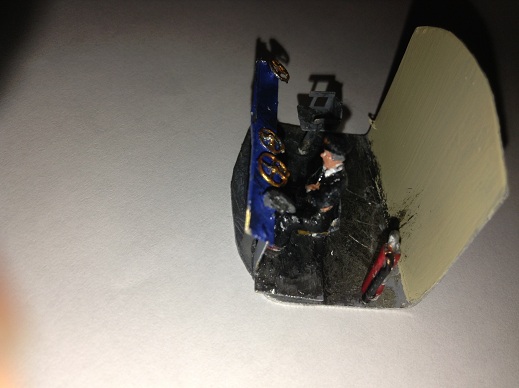
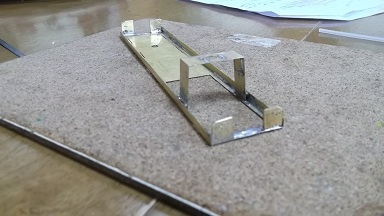
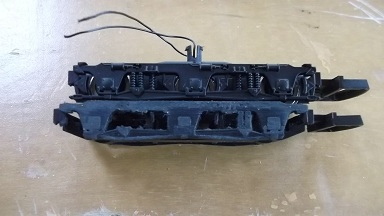
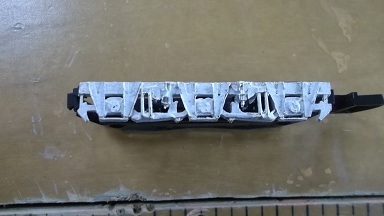
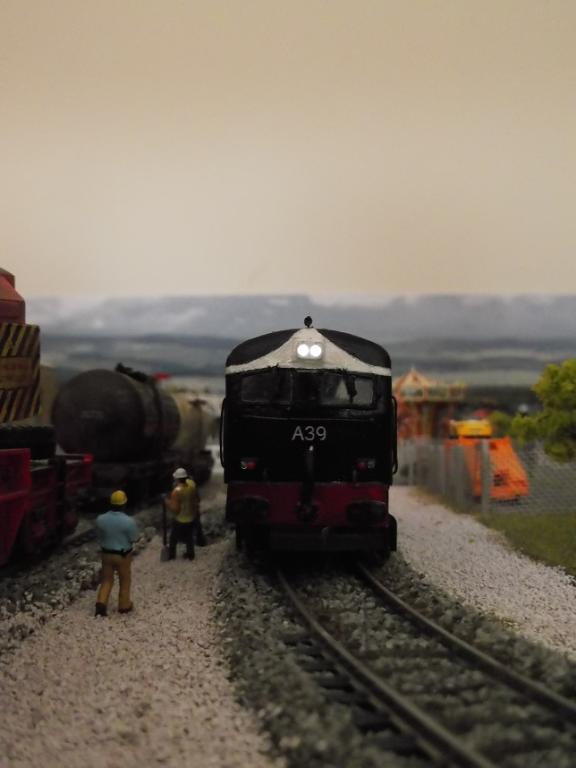
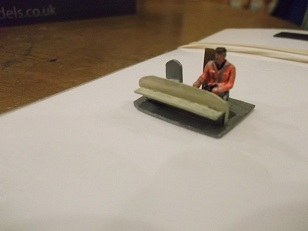
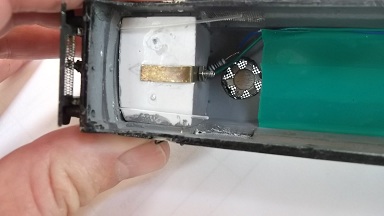
Some more pictures. Cab floor/Bulkhead template. Back is 29mm and floor is 25mm. Cabin detail attached to Bulkhead/Floor made from aluminium. Showing where Bogie end was removed to clear Fuel Tanks Note difference in gap at bogies. Also note how high the spindle protrudes. Spacer made from tubing to correct problem above. Last picture is something I was trying for lighting. Top piece is plastic tubing, middle piece is some rubber coated wiring and last piece is actually Fibre Optic. The LED goes into one end of the tubing, then after removing the inner wires, the rubber covering is cut and inserted into the other end of the tubing. Finally the Fibre Optic is pushed in and up against the LED inside the tube. Works OK and may make it easir for mounting. We'll see. Ger.

-
Des, That is the way I constructed the Chassis. When the spindle goes through the hole in the mount there is 4mm between the top of the bogie and the spindle lugs. This allows the mount to drop down. I have placed a 3mm piece of tubing over the spindle before pushing it through the hole and with the rockers in place this worked for me. It's not a big deal. Enjoying the challenge. Ger.
-
Kirley, I only used a couple of the weights cut down to 53mm (see pic 8 on previous page). This allows them to sit between the opening for the Motor Bogie and the hole for the other one. For the problem with the fuel tanks, I just removed the back piece from the front Bogie and it works fine. For the other problem, I inserted a small piece of tubing under the high bogie mount and it balances out perfectly. I'll try and get some pics up later. Ger.
-
Buy it and your making a GRAVE mistake. Sorry couldn't resist. Should rename this site Irish Railway Modellers and Comedy Club.
-
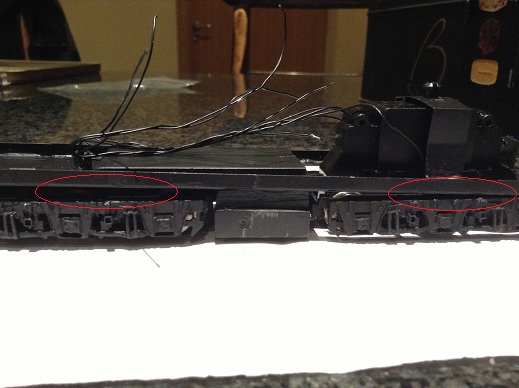
Hey Kirley, If that works for you then it would be the easier option. Only problem I can see (well 2 actually) is that the hole may have to be larger to fit the two wires through. Secondly as I mentioned above, the connections to the tiny LED are extremely delicate and liable to snap off if moved around too much. My reasoning for trying to mount them on the chassis was to have all the wiring within the chassis so the body can be removed hassle free. If you are going this route you could use Glue N Glaze tinted yellow to give a more prototypical light and also seal in the LED. Let me know how you get on. I am also discovering problems with the Class 55 bogies. When I replaced them into the Chassis after priming one of them was catching the Fuel Tanks (which I wrongly described as Battery Boxes above). I had to cut the back piece off. Fuel Tanks were mounted dead centre. The other problem is that the spindle on top of the Motor Bogie is too high and even wth the rockers in place it allows the body to sit too far down in comparison to the Non Motor Bogie so it's not level. I hope to correct this with some tubing between the top of the Bogie and the high bogie mount. I will post pictures in the next day or so. Anyone else having problems?? Ger.
-
You are right about the weight. My A Class was slipping all over the place even on the level. Glued the weights into the roof space as there was more room and then I didn't have to cut them!
-
Thanks Dave, As I said it has nothing to do with me. That's what he wanted it listed at. I will pass your comments on to him and see if he will change the price. Ger.
-
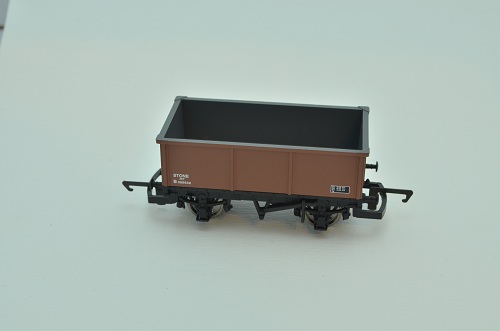
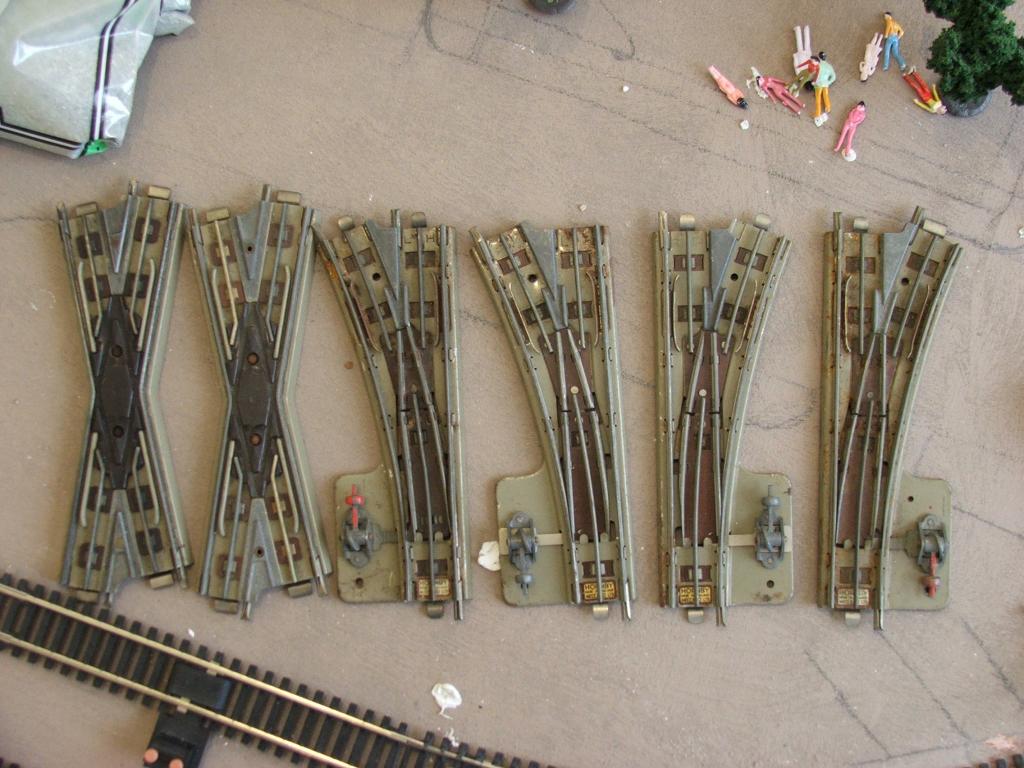
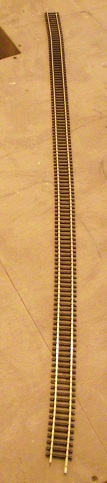
At last he has come back to me with prices. I never said which Thursday by the way!! The Pullman set is €65 + postage (please note 2 are @25 and 1 at 15 because it is missing one of the lugs that hold the bogie in place.) Pullmans can be sold seperately if required. Wagons x 2 @ €5 each + postage Peco flex track long lengths x 3 @ €17 each + postage Vintage Meccano points @ €10 euro each + postage. I have no interest financially in this sale and am only doing someone a favour by posting this. Anyone interested let me know and I will pass on your details to the seller. Thank you, Ger.
-
Sorry lads, I tried to post some photos here but it crashed twice. I have opened a new thread. Ger.
-
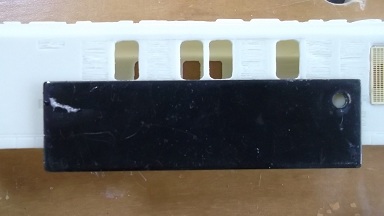
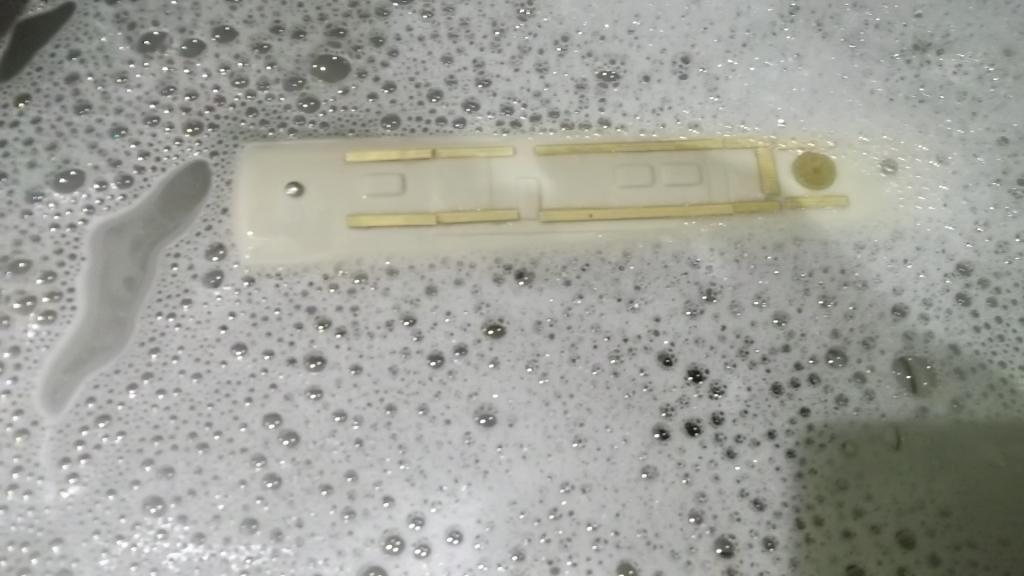
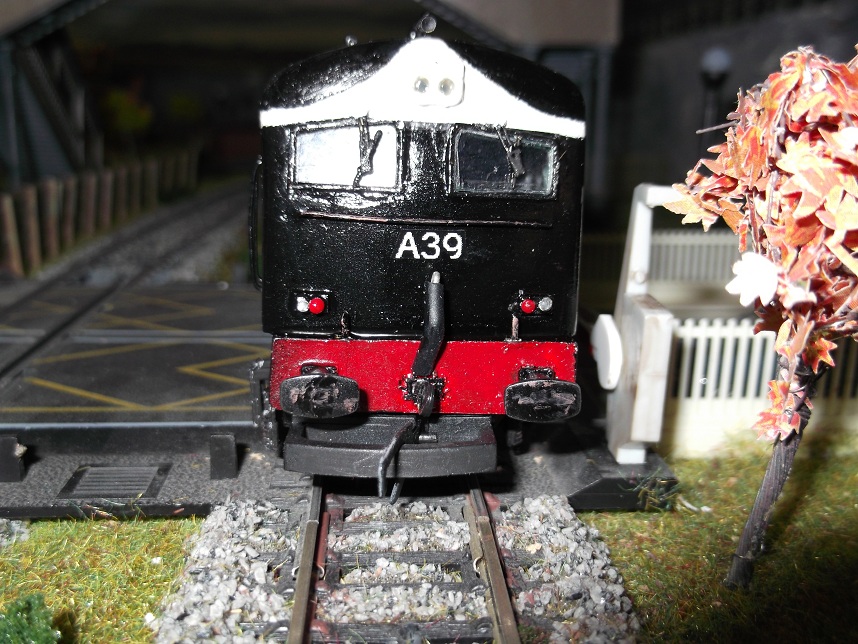
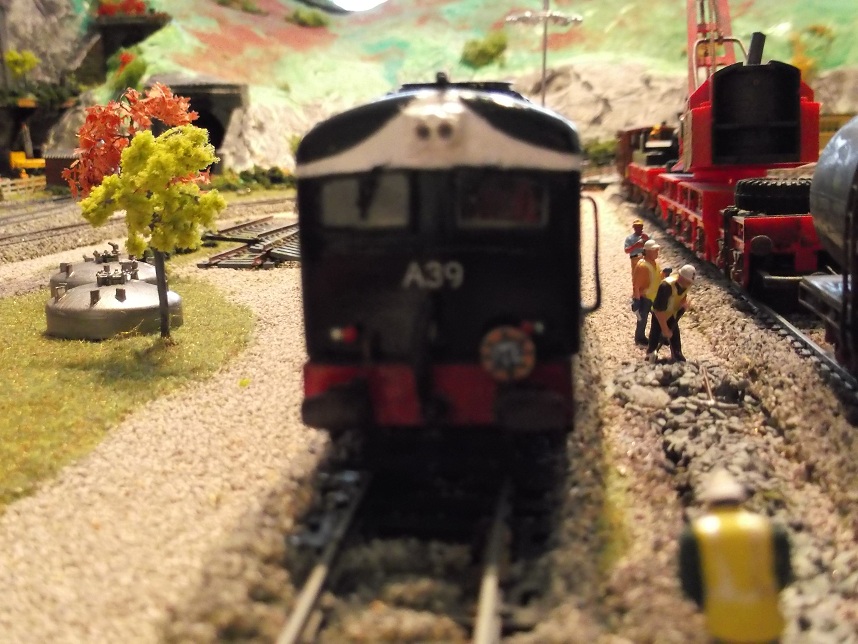
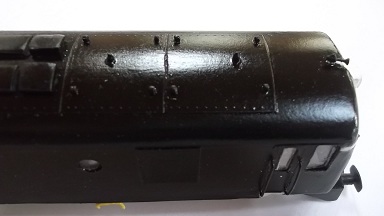
I have started the build on this kit and had some questions. I spoke to Des and we spent some time on the phone going through any issues. Firstly the Chassis. It is a simple fold and it goes floor flat to the bottom and sides facing up into the body. I've attached the high bogie mount and also added some scrap pieces at the ends to hold the lights in place (not sure of how I'll do the lights yet). Also I've attached the rockers for the high bogie to allow it to pitch. Hope I got this right. Des? Speaking to Des, we both agreed that it was probably better to just sand the Class 55 bogies down flat rather than cutting the sides off. White Metal Bogie sides attached. Windows needed sanding to straighten and line them up. More so the front windows. Front Horn Grill fitted The hole for the door handle is on the left but should be to the right. I have changed this and added a brass handle. This is made from 0.45mm brass wire crushed at one end and glued in place. Chassis has some weights (from Hornby Class 55) cut to size and glued in. White Metal battery boxes cut back to give more realistic profile, then the whole lot was primed. Roof detail added then the floating test! Joking, just washing off any residual Resin before priming. This may not be very clear but each piece of glazing was cut and shaped from the thicker plastic that came in the Hornby Class 55 box. It is held in place with Blue Tac until required. I will be doing some more work over the next few days and hope to post more pictures. I am trying to design a floor and bulkhead to make fitting the Cab Control Desk easier. One other thing to note is the LED's. They are very very delicate and I would recommend taping or gluing the wires together at the LED end so they don't snap off. Any questions or comments let me know. Ger.
-
Folks, Des has already posted a photo of the assembled Cab. It's here http://www.irishrailwaymodeller.com/showthread.php/115-SSM-Sulzer-101/page13 I have started mine and will post some pictures tonight. I can start a seperate thread or just add them on here if enniscorthyman doesn't mind. Ger.
-
Excellent work Kirley, just one thing I would do is to remove those bases from the Cows and just glue the legs to the ground, unless they are going to be milked!
-
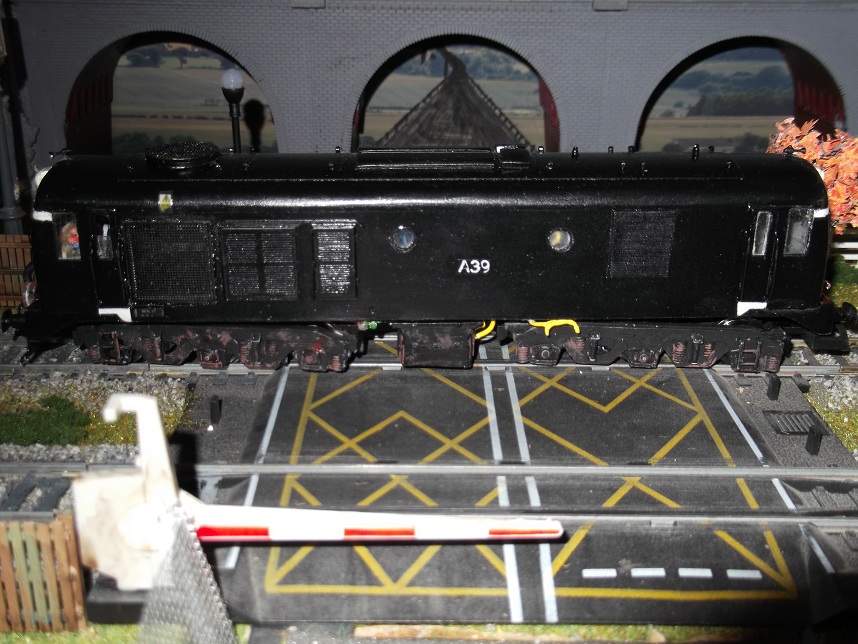
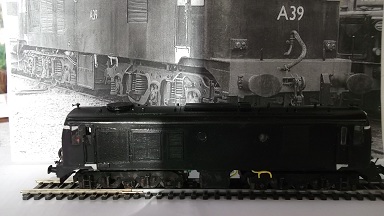
Hoping to paint mine in the Green Livery. Looking at Des's photo and the RPSI colour it looks quite bright so I was looking at RAL6024 Traffic Green or RAL6032 Signal Green. I'd like to hear anyone else's opinion. Will be starting a Workbench thread on the 101 build very soon. Ger.
-
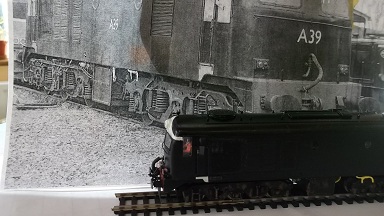
This is from the derbysulzers.com mentioned on the Sulzer 101 post in News. And is for the 101's "The superstructure is full width with a cab at each end. Cab side recesses provide accomodation for tablet catcher equipment." Ger.
-
Des, Just a quick note to say thanks for all the work you put into getting this model ready. It was hard work but well worth it. Looking forward to see how all the builds go. Wishing you and yours a peaceful and Happy Christmas and lots of goodies for 2013. Ger.
-
Sincere condolences to you and your family.
-
Dave, I have an old Lima one that still runs. Also have a Thomas Loco available. PM me. Ger.
-
Kirley, I used the tops of stanchion posts from Athearn models for the lifting rings. Alternatively as Anto suggested a long time back, bend some 0.33mm wire around a small piece of wire. Another thing you might consider for weight is to glue some metal strips into the roof. Looking forward to the finished item. Good Luck. Ger.