Warbonnet
-
Posts
7,097 -
Joined
-
Last visited
-
Days Won
251
Content Type
Profiles
Forums
Events
Gallery
Blogs
Store
Community Map
Everything posted by Warbonnet
-
Well spotted on the tan band Richie. That livery was the finest hour of the A Class. My kingdom for a top notch one!
-
I'd agree that the white stripe on the A Class is too wide George. It has to be said though that the Q kits cab looks so much better than the Silver Fox effort!
-
I have travelled on the Mayo trains a bit recently which have been made up of a 4 car and 3 car ICR for a 7 coach train.
-
We would love to see it Geordiekerryman! We have sections for North American, British and Continental. So, feel free to stick it in the applicable area!
-
Photographic Website Updates
Warbonnet replied to thewanderer's topic in Photos & Videos of the Prototype
A few more prototype photos from myself uploaded. I'm going to go for the more unusual and for stuff not always photographed but that might be of use to modellers (as well as the more glamorous stuff!) when I go back out with the camera. http://www.flickr.com/photos/77496544@N07/with/10965533366 -
I let you away with it because you left your handbag at home!
-
Okay gents lets keep it civil and move on. Thank you.
-
You could always look at doing the body to run on a suitable chassis as Bachmann boast a considerable Railcar catalogue...
-
They'd look great on my fire on Christmas Night
-
I never said you didn't have sense, just that you may have more trains than it. You strike me as someone who is in the top brass of the model train collecting union. Pacific wouldn't be big enough to handle them all!
-
Photographic Website Updates
Warbonnet replied to thewanderer's topic in Photos & Videos of the Prototype
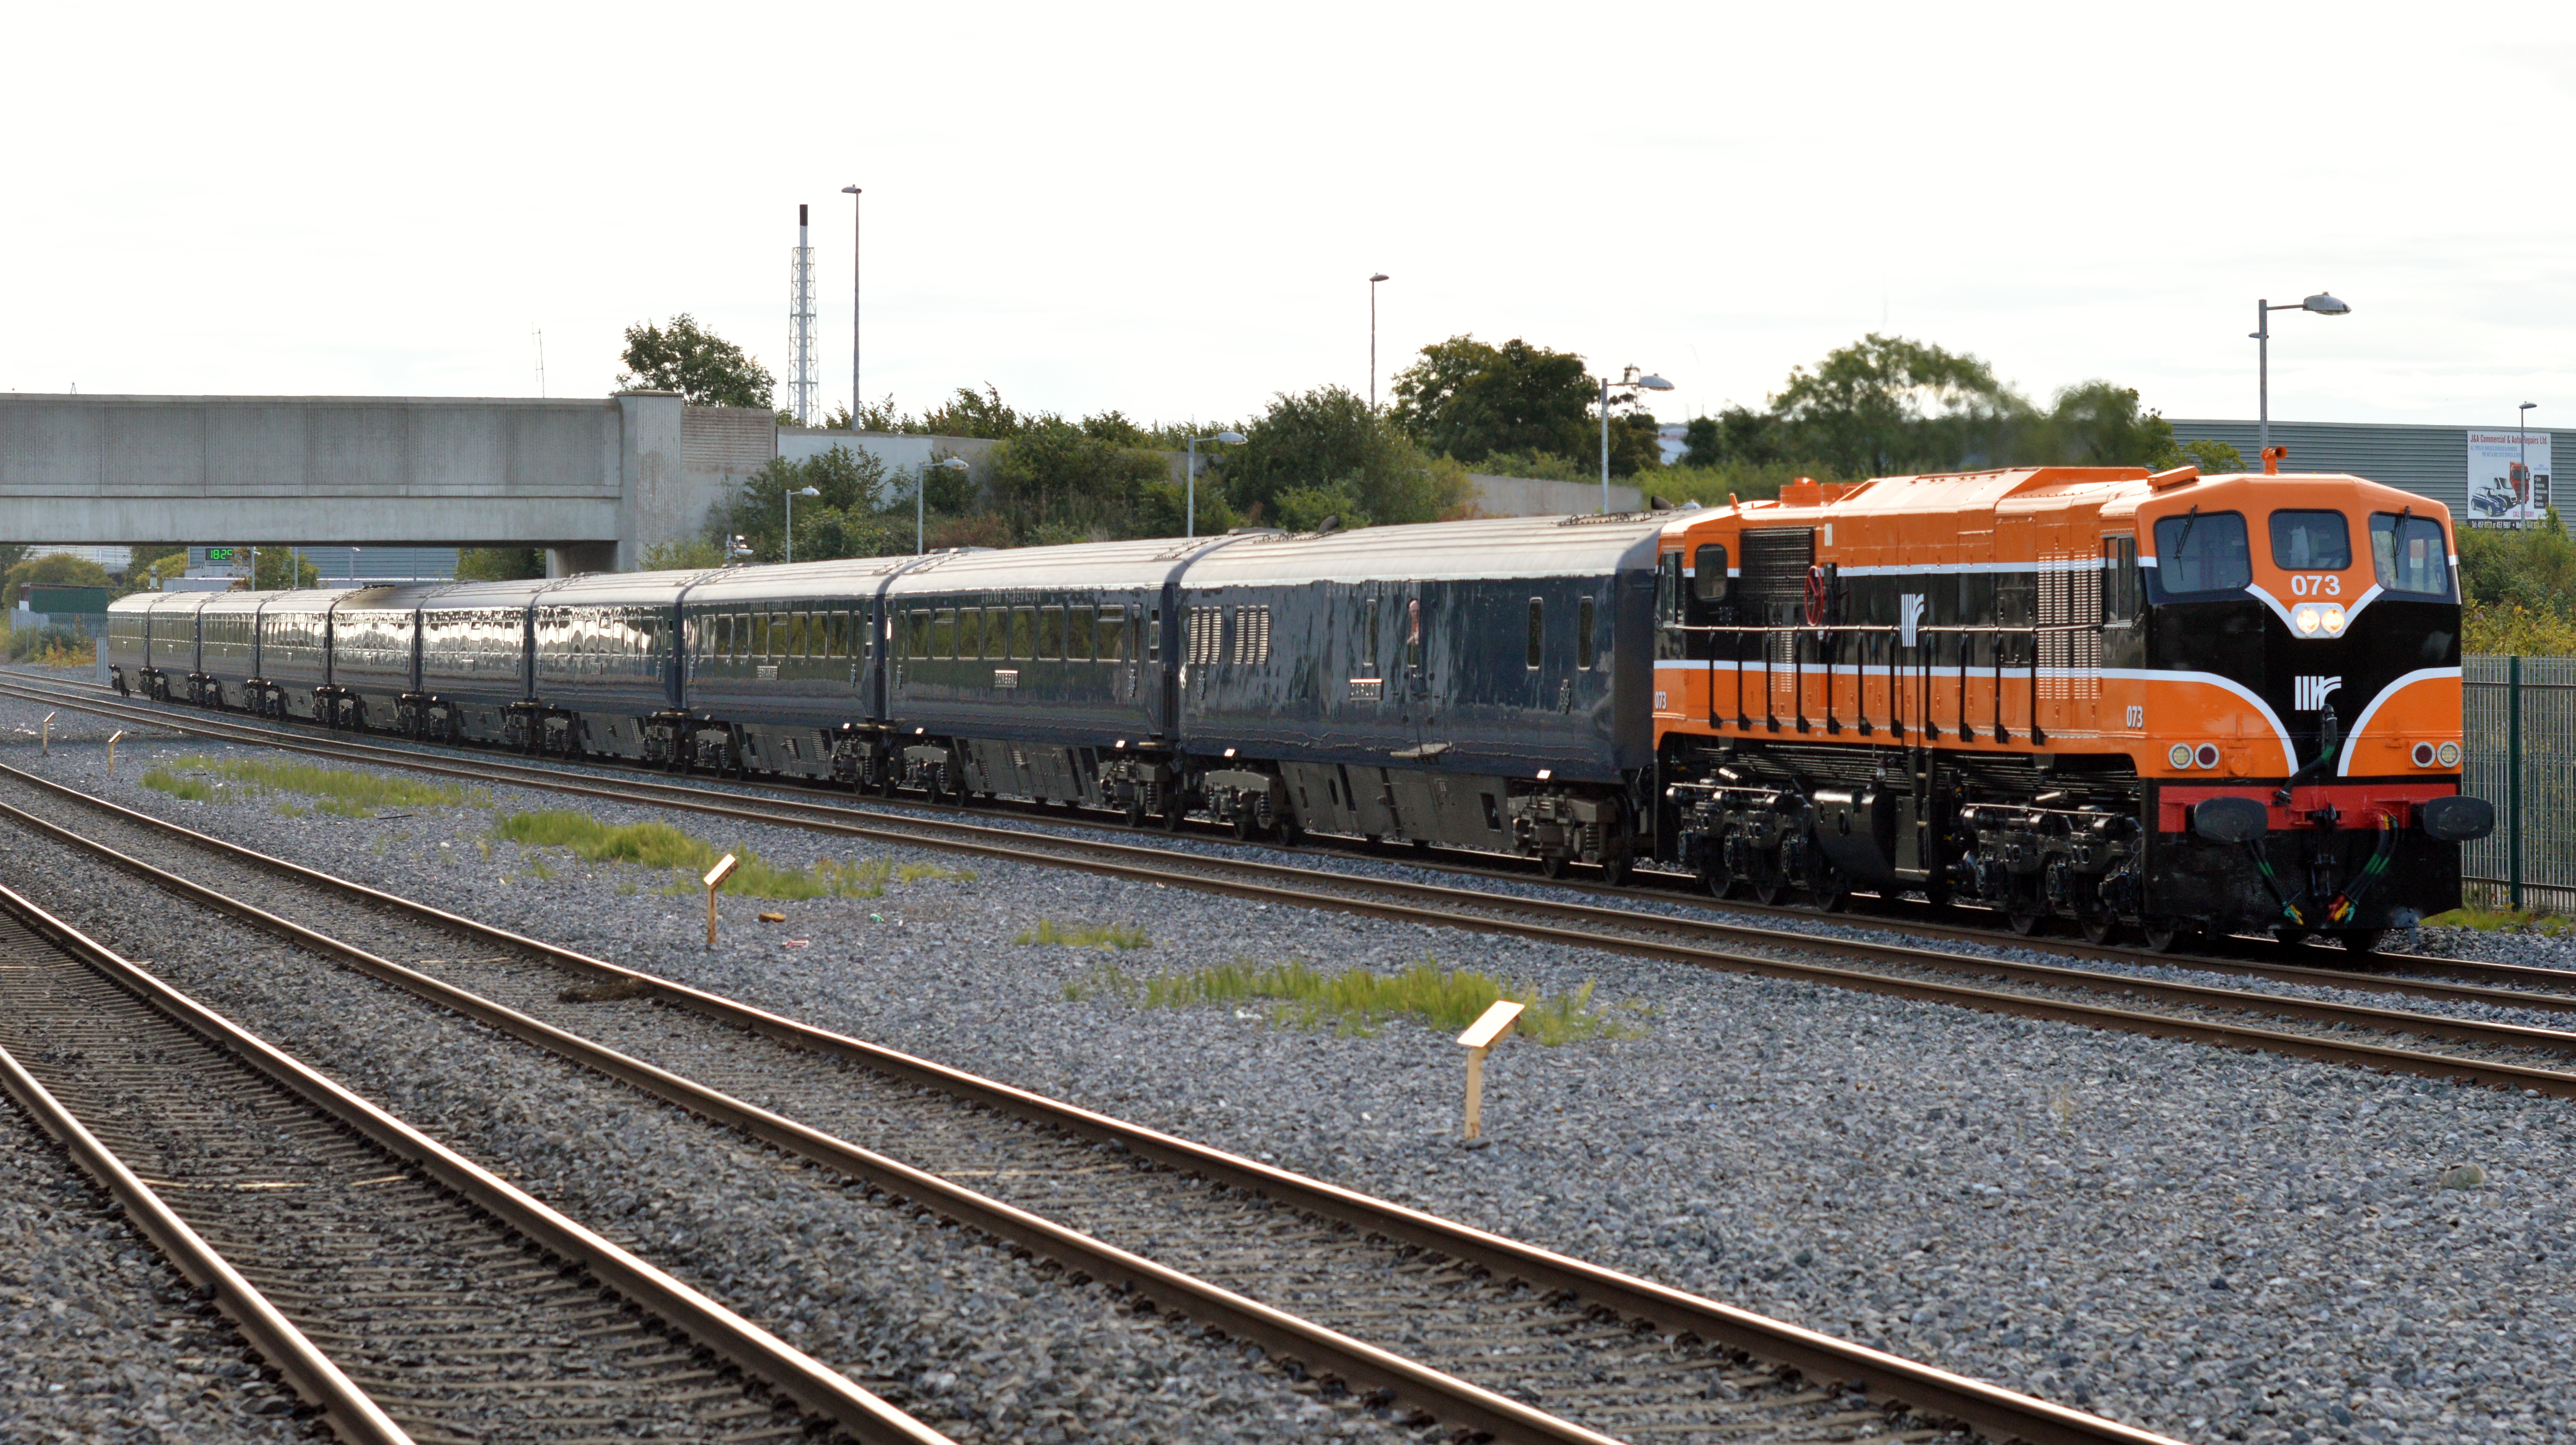
Cheers Noel, must get you to arrange it for me to get pics of the triple filter on 201s for Rich! -
Photographic Website Updates
Warbonnet replied to thewanderer's topic in Photos & Videos of the Prototype
No bother Rich. I always wondered if the box was too small, the air tanks themselves were too small, or both! I'll see what I can do in the new year, but it's a bugger getting close to these fellas other than standing on a platform! It's a pity there's no more tours of Inchicore but sure we know who's to blame for that! -
Worth dropping Wrenneire an PM if you're looking for Irish stuff, he usually has pretty much anything you could think of.
-
Photographic Website Updates
Warbonnet replied to thewanderer's topic in Photos & Videos of the Prototype
Some additional photos added, including Enterprise and 201 detailing/weathering shots http://www.flickr.com/photos/77496544@N07/ -
Maybe there's a bigger picture...
-
He has a resprayed commuter railcar too. Maybe he is on a budget or maybe he's got more trains than sense....
-
Just a memory - Phibsboro Modellers Shop
Warbonnet replied to Sulzer201's question in Questions & Answers
-
-
Yeah I saw a modified 170 on one of the Wexford clubs layouts at a few of the shows and it looks a lot closer to my eyes. The builder made a nice job of it!
-
I wouldn't have thought that a voyager would be a close match for a 22000. Still, would look good on the site there.
-
Looks like you've taken to the hobby like a fish to water, good to see! You have a nice bus collection there too, all you need is a figure of Olive from 'On The Buses' and you're set!
-
Photographic Website Updates
Warbonnet replied to thewanderer's topic in Photos & Videos of the Prototype
It's a long time since a Mark 3 gleamed sadly... -
Photographic Website Updates
Warbonnet replied to thewanderer's topic in Photos & Videos of the Prototype
The interior of the state coach is beautiful, I just wished I got more and better pics as it was a bit of a rush at the time. Lovely model Dave, I'm 90% sure she got Black & Tan too if you feel the need for a second one. The paint job on that one is 1st class. -
Best. Truck. Ad. Ever... [video=youtube;j-b1q-Ea9E8]http://www.youtube.com/watch?v=j-b1q-Ea9E8
-
Photographic Website Updates
Warbonnet replied to thewanderer's topic in Photos & Videos of the Prototype
Managed to add some more pics to both the model sets and the real railway set. Warning - This includes many traces of ICRs!